The Beginner's Guide To Cricut Mat Sizes and Types: learn exactly which cutting mat to use for which project, with free printable guide.

Jump to:
- What Is A Cutting Mat?
- Do I Always Need A Mat?
- Cricut Cutting Mat Colours and Types
- Blue -Lightgrip Mat
- Green -The Standardgrip Mat
- Purple -StrongGrip Mat
- Pink -The Fabricgrip Mat
- Free Cricut Mat Cheat Sheet Here
- What If I Don't Choose The Correct Mat?
- Cricut Cutting Mat Sizes
- Explore and Maker Series Cutting Mats
- Cricut Joy Cutting Mats
- How Many Cutting Mats Do I Need?
- Mat Care
- What If My Cutting Mat Isn't Sticky?
- TroubleShooting
- Storing Cricut Mats
- More Helpful Cricut Information
When you first get a Cricut machine it feels like there is a lot to learn, and it can be very confusing. Today we're going to take a deep dive into Cricut mats. We talk about what they are and how to you use them, and then get into how you know what Cricut mat sizes to choose, and what colour mat you need which depends on the material your cutting. It can feel a little complicated at first, but I promise that by the end you'll know exactly what mats to buy and when to use them for all your Cricut projects.
What Is A Cutting Mat?
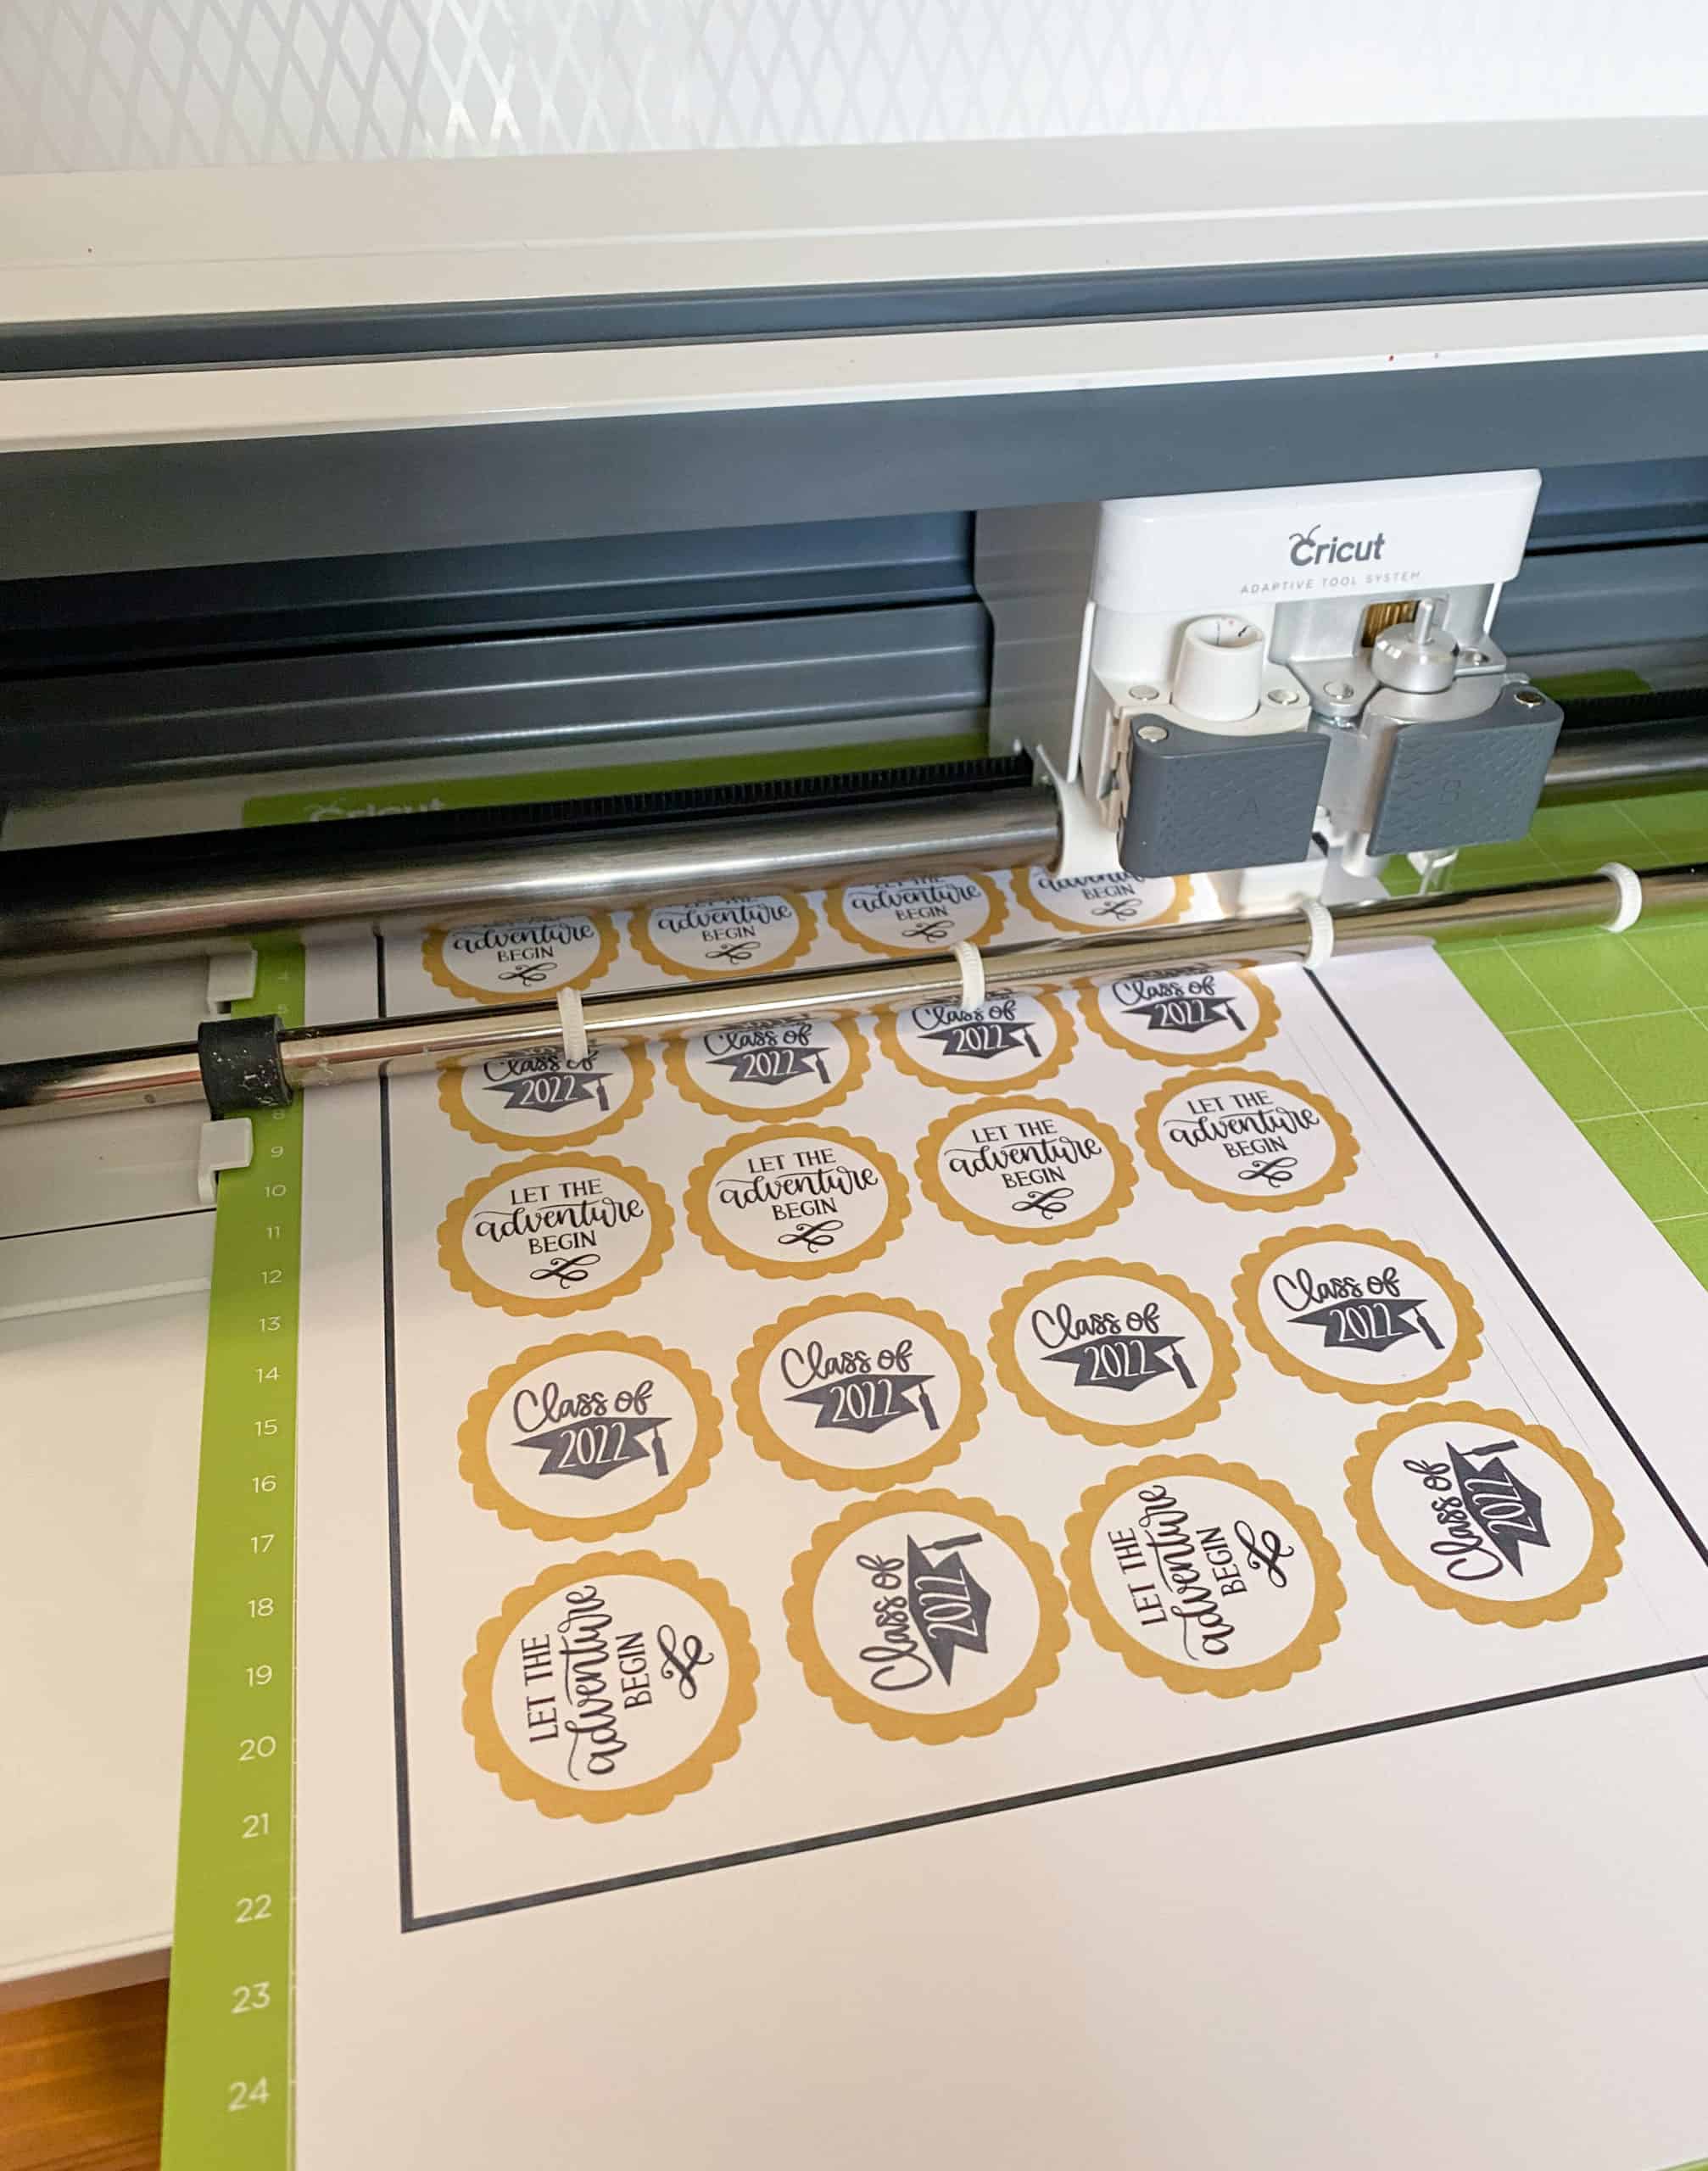
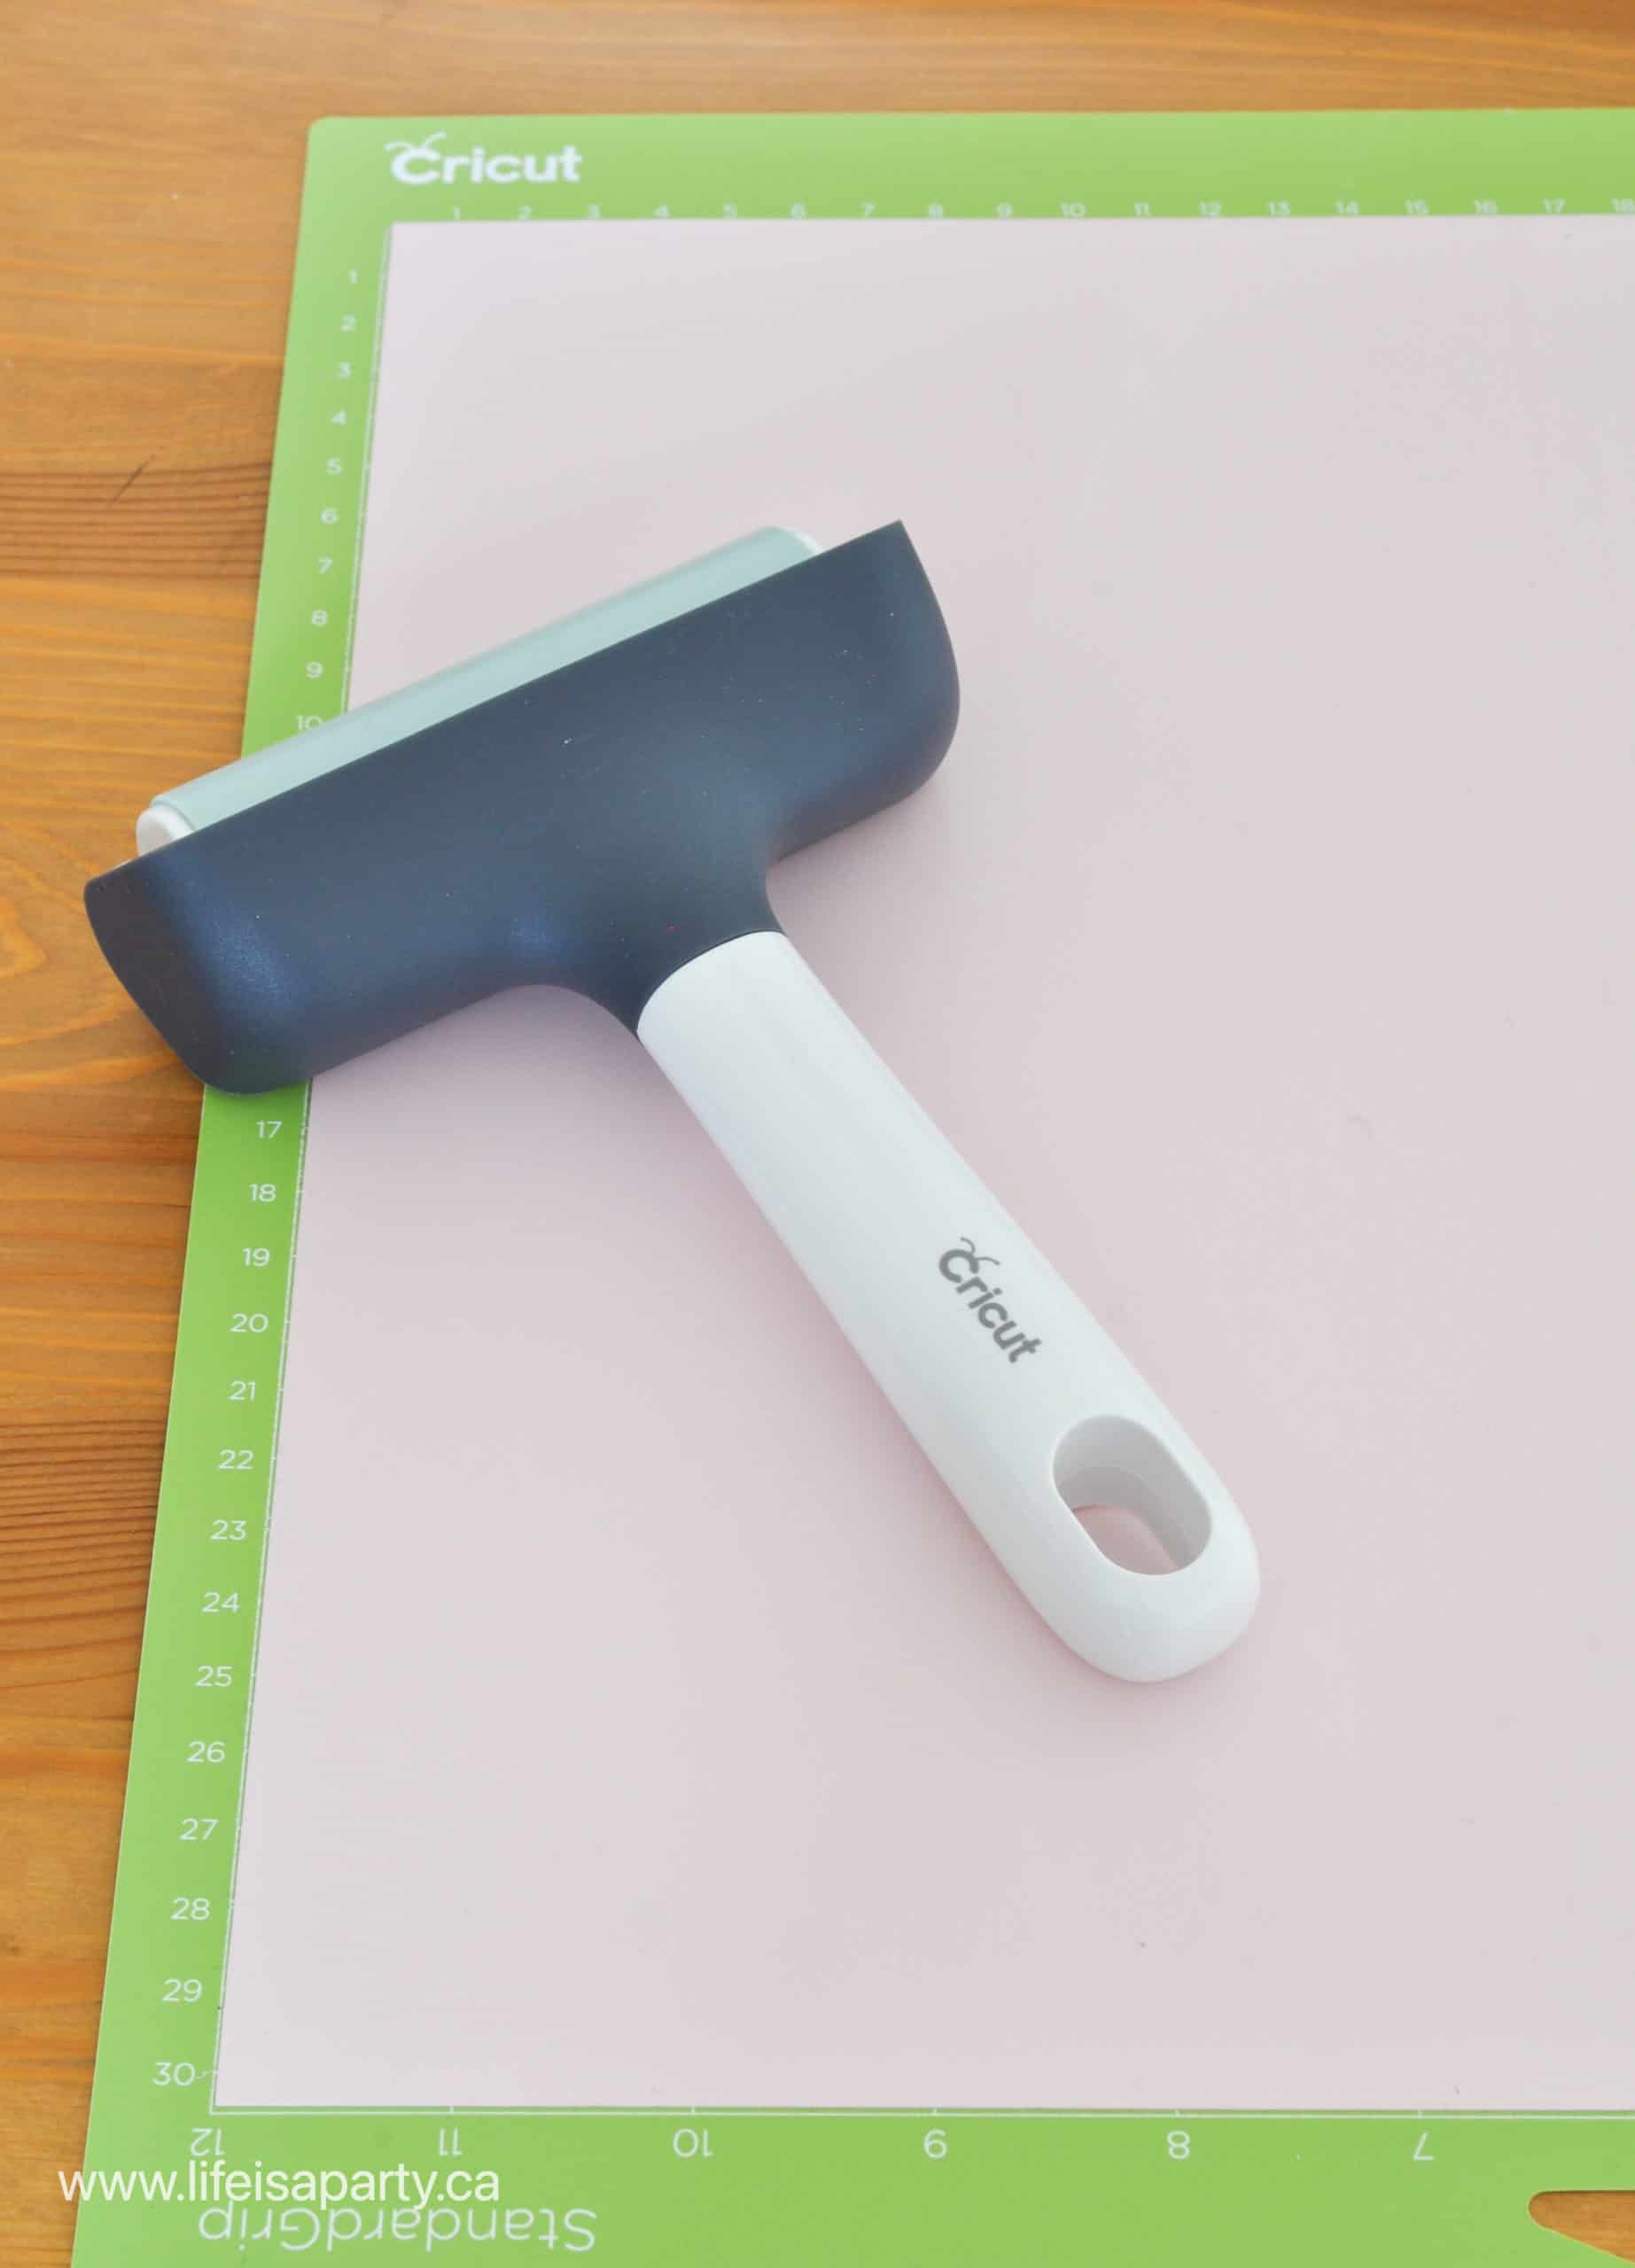
First things first, what are Cricut cutting mats, and why do I need one? A cutting mat is what you use to hold your material while the cutting machine is cutting it. They are sticky to hold your material as the blade passes through it. If your mat isn't sticky enough (they lose their stick with use) then your material may slide out of place and be ruined during the cutting process. Check out this post on The Best Way To Clean A Cricut Cutting Mat.
The different mats come in different colours. Each colour is a different level of tack or stickiness designed to hold different materials.
Cricut mats are covered in a 1 inch grid to make lining things up and measuring easier. If you're having trouble picturing a finished project size, use the grip mat like a ruler to figure your finished project size. There is also centimetre metric measurements along 2 sides.
Mats have a top and bottom, the top is the edge with the hole for hanging at the top. You can feed either the top or bottom into your Cricut machine. Varying which end you feed into your machine will help your cutting mat wear more evenly. You can not feed the sides of the mat into the Cricut machine first.
Do I Always Need A Mat?
No you don't always need a cutting mat. If you have a Cricut Maker 3, a Cricut Explorer 3, or a Cricut Joy machine then you can use smart materials without a mat. Keep in mind though that this only works for what Cricut labels smart material, and even with these newer machines many materials still require a mat to cut them. Chances are that even with a new machine you will still need to use a mat sometimes.

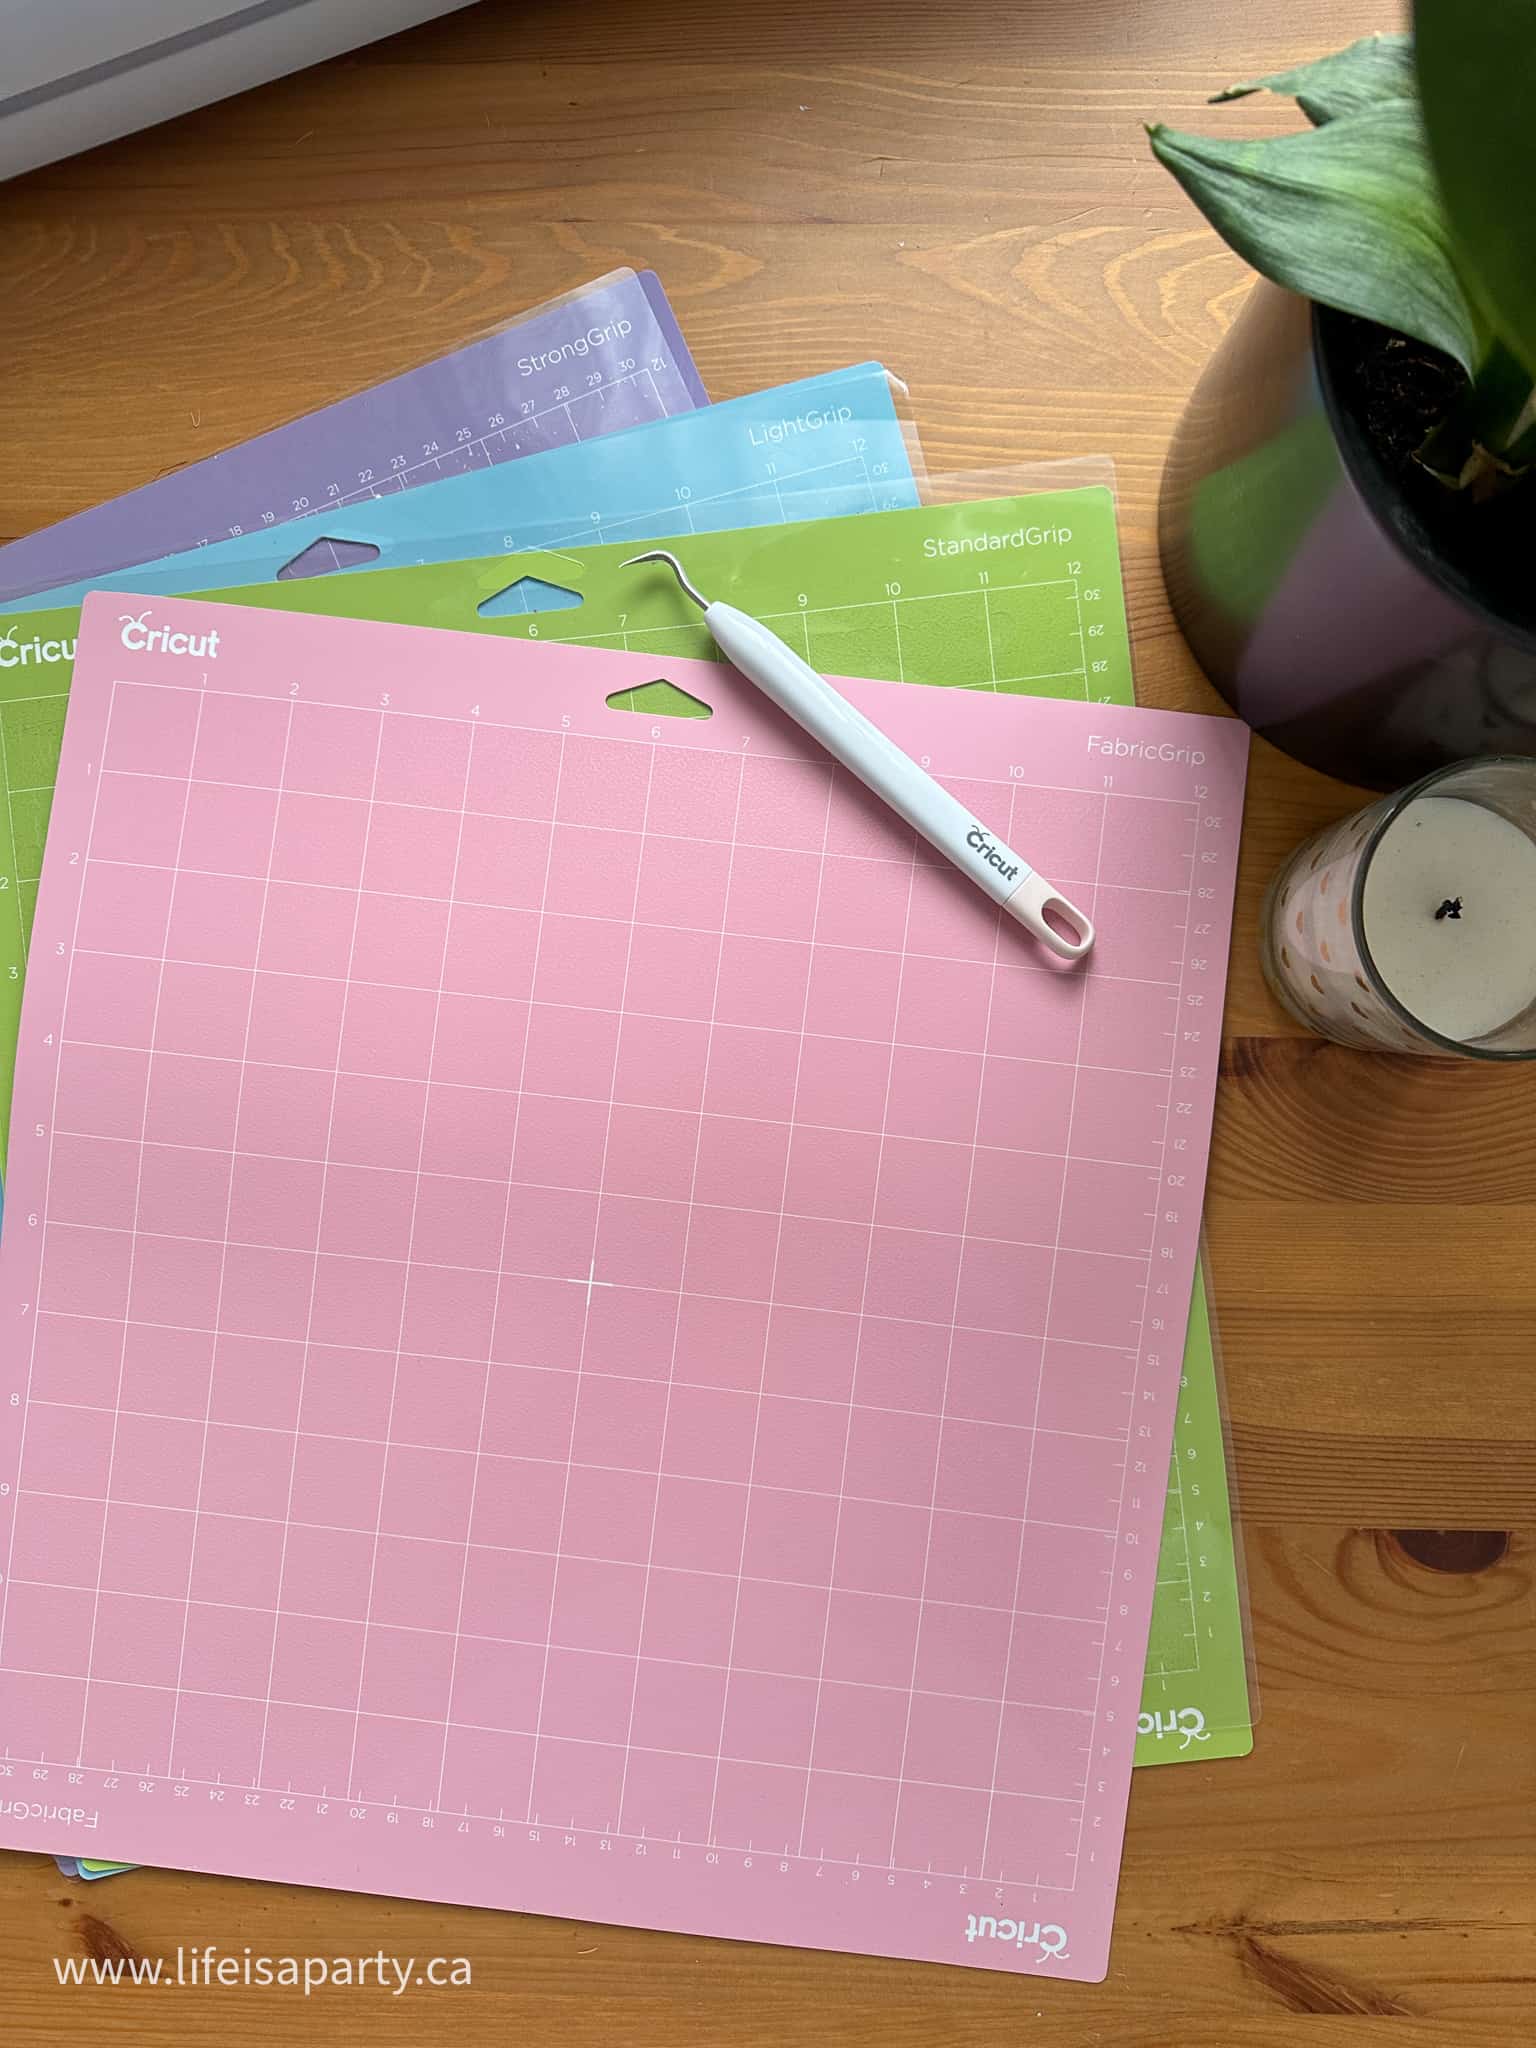
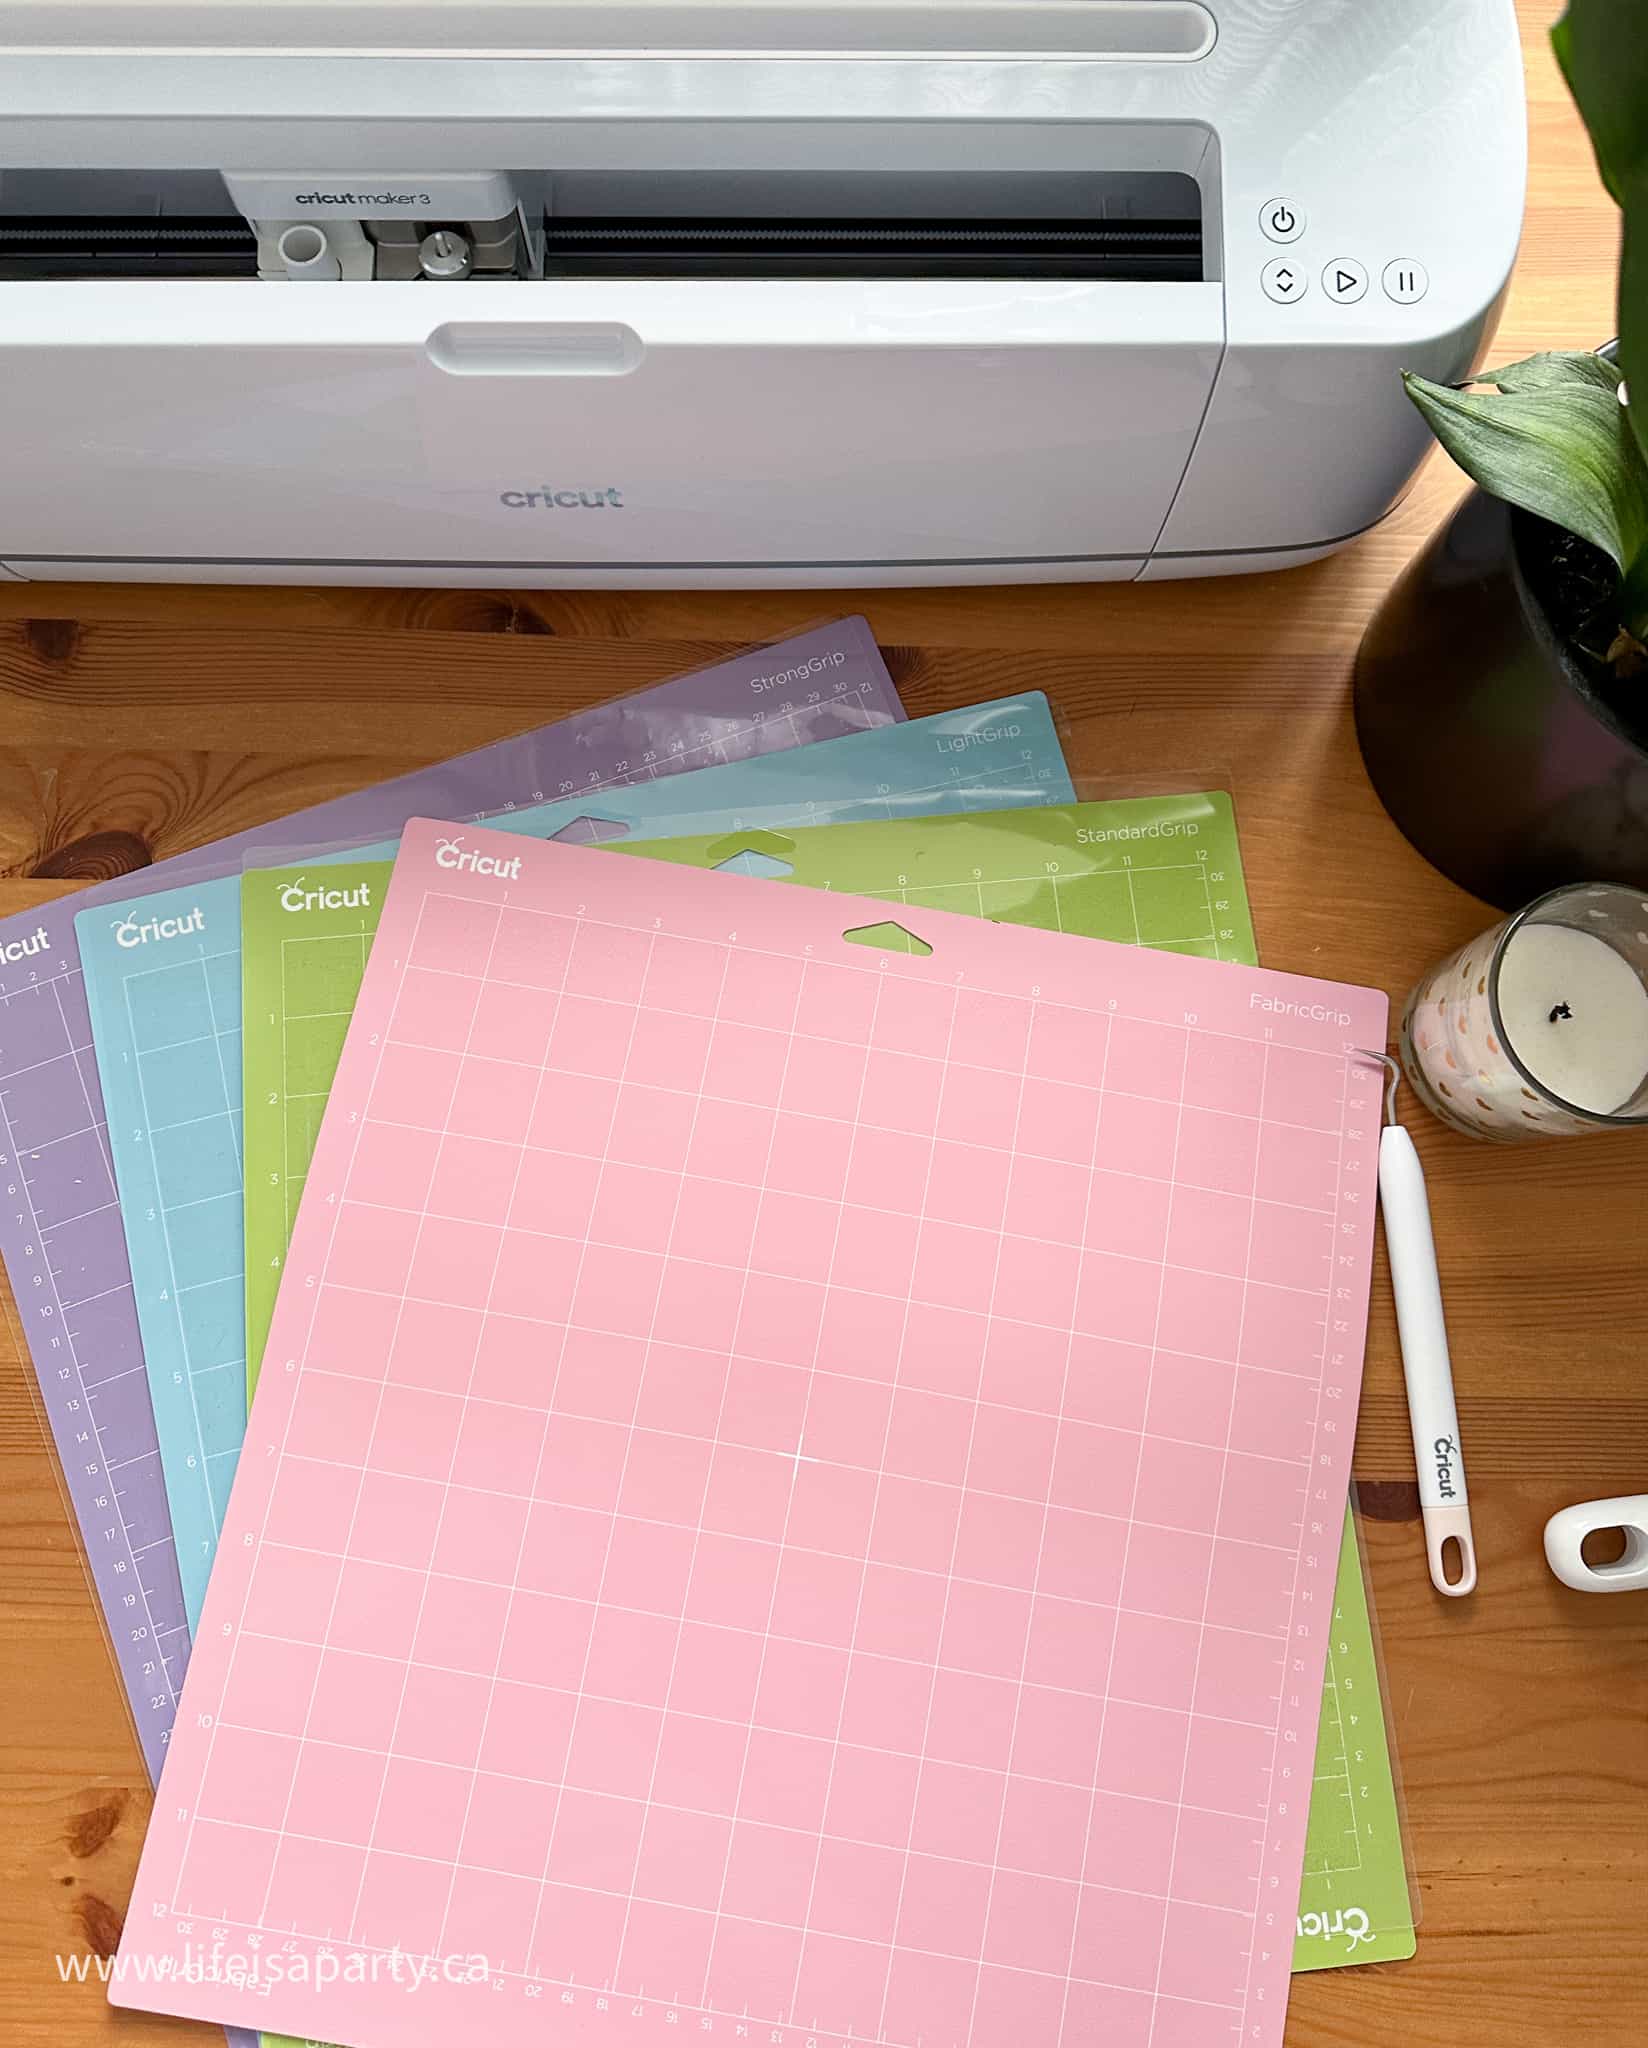
Cricut Cutting Mat Colours and Types
In the Cricut world, cutting mats come in different colours and the colours correspond to different types of cricut mats. The different types of mats have different grip strengths. One of the most common questions is which mat do I use?
The Cricut can cut such a wide variety of materials. For each new project, you will have to choose which cutting mat is best for the material you using.

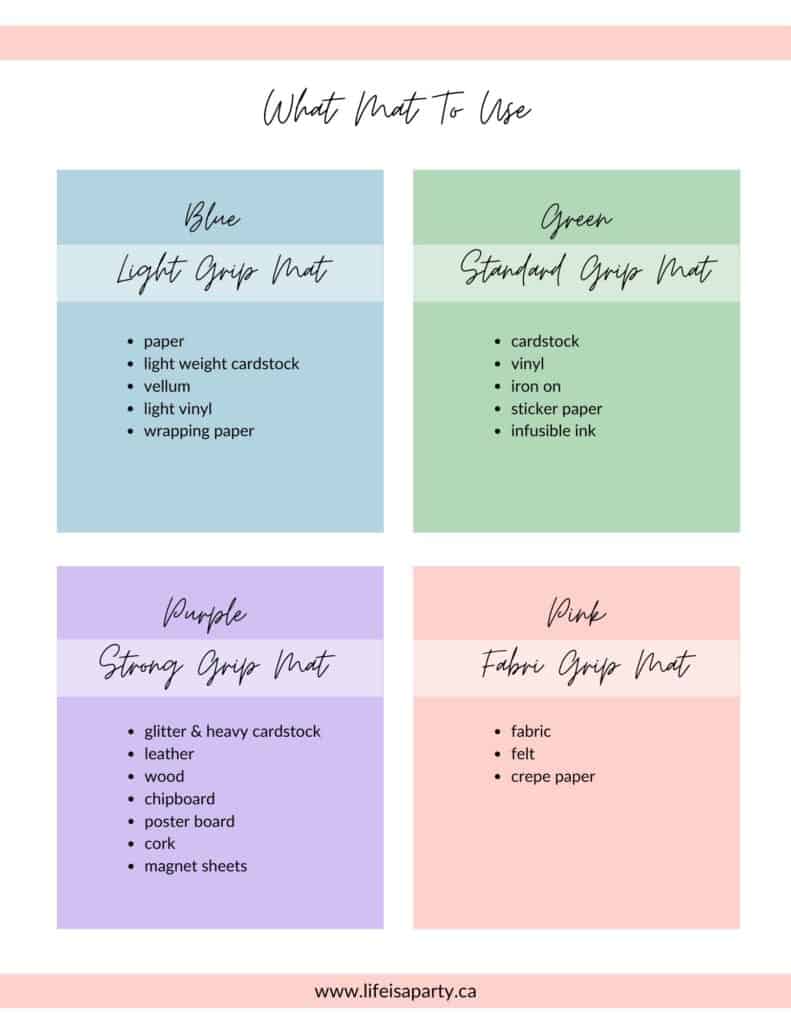
Blue -Lightgrip Mat
The blue mat is the light grip mat and is designed to be used for lighter materials. You would choose this blue lightgrip mat to cut more delicate materials, and lightweight materials.
You would use this mat to cut out:
- scrapbook paper
- light cardstock
- regular office copy paper or printer paper
- vellum
- construction paper
- wrapping paper
Green -The Standardgrip Mat
The green mat is the standard grip mat and is the mat you will probably use 90% of the time to cut the most common materials. This mat is the most of the multi-purpose mats, and standard mats can be used with a wide range of medium-weight materials.
You would use the Standard Grip mat for cutting:
- cardstock
- permanent or removable vinyl
- Iron-on (HTV -heat transfer vinyl) vinyl
- sticker paper
- infusible ink
Purple -StrongGrip Mat
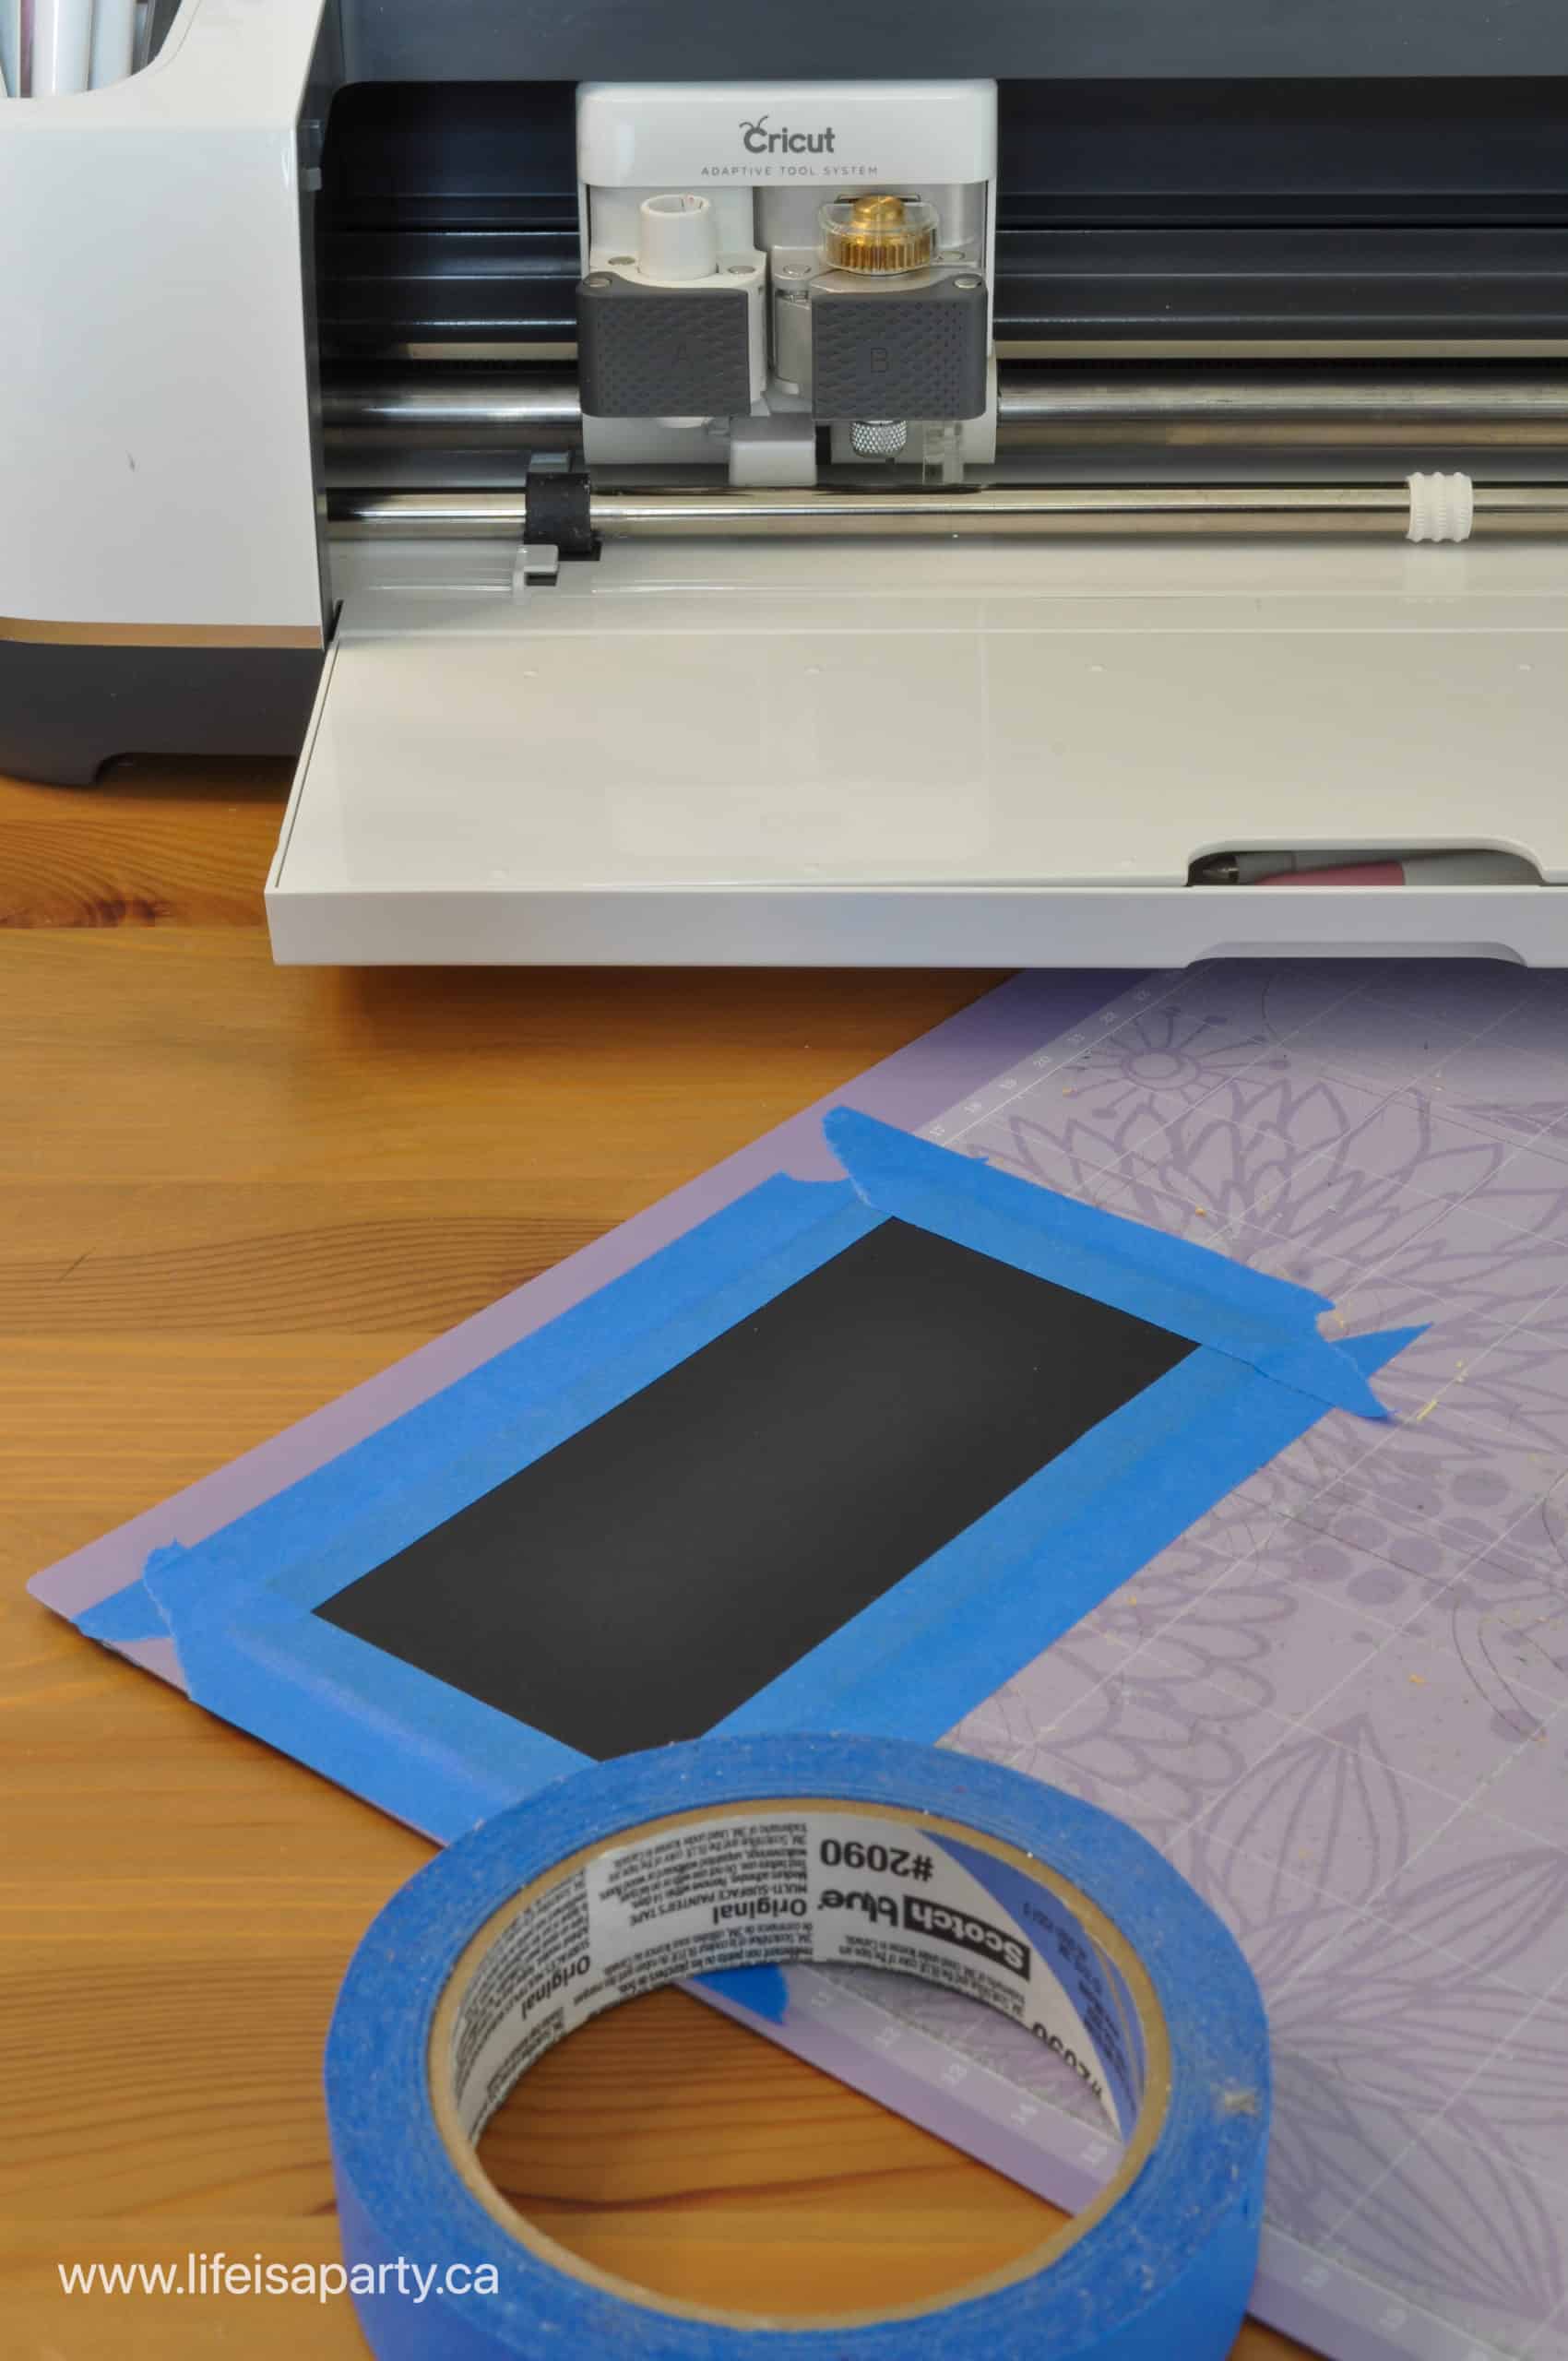
This purple mat is the strong grip mat, and used for heavier material that requires a stronger, sticky-er mat to hold them. At times this mat is used with the addition of painters tape around the outside of the thicker material, for even greater hold. The purple stronggrip mat is necessary for heavyweight materials.
- heavy cardstock
- glitter cardstock
- balsa wood, or basswood
- chipboard
- poster board
- leather
- cork
- magnet sheets
Pink -The Fabricgrip Mat
The pink mat is the fabric mat, and designed to hold fabric. This fabric grip mat is used with bonded fabric for the Explore machine , or with the rotary blade for the Cricut Maker machines.
- fabric
- felt
- crepe paper
Free Cricut Mat Cheat Sheet Here
We have a free cheat sheet that you can print and refer to anytime you need to see what materials you can cut with which Cricut cutting mat. Never get confused about the different grips again. It's available for free to any of our subscribers. Subscribe below for instant access.
What If I Don't Choose The Correct Mat?
Since Cricut cutting mats come in different grip strengthsIf you use a mat that is not sticky enough to hold your material, it may slide during the process and ruin the cut.
If you choose a type of mat that is too sticky, it may be difficult to remove your material resulting it rolling and curling or ripping.
Cricut Cutting Mat Sizes
Cricut cutting mats come in a variety of sizes and are available at the craft store. The different sizes are useful for cutting out different size projects. The material size will help you choose the cutting mat size.
Explore and Maker Series Cutting Mats
12 x 12 Mat with 11.5 x 11.5 Cutting Space
The standard cutting mat size for all of the Explore and Maker series Cricut machines is 12 x 12. You will definitely need this size of mat in your collection. You can buy the lightgrip, standardgrip, stronggrip, and fabricgrip mats in this size. A lot of the materials, like scrapbook paper, cardstock, and vinyl are sold in 12 x 12 sheets.
The mat size is slightly larger than the cutting area. Cricut Design Space requires a ½ inch margin to ensure that the edge of a projects isn't cut off.
12 x 24 Mat with 11.5 x 23.5 Cutting Space
If you are making larger projects, you can also get a 12 x 24 size mat. This is excellent for big projects like larger signs. It allows you to make larger projects, without having to split a design up into smaller pieces.
There is also something called Larger Than Mat projects, these are often things like a large character cutout that you might use as party decor. These projects are larger than even the largest mats and are typically carefully divided into pieces that are then glued together. The over size 12 x 24 mat is very helpful for these projects.
Cricut Card Mat 2 x 2
This new Cricut mat is based on the popularity of the Joy card mat. It allows all Explore and Maker machine users to cut out up to 4 folded greeting cards at a time, and is compatible with all of Cricuts insert and cutaway cards.
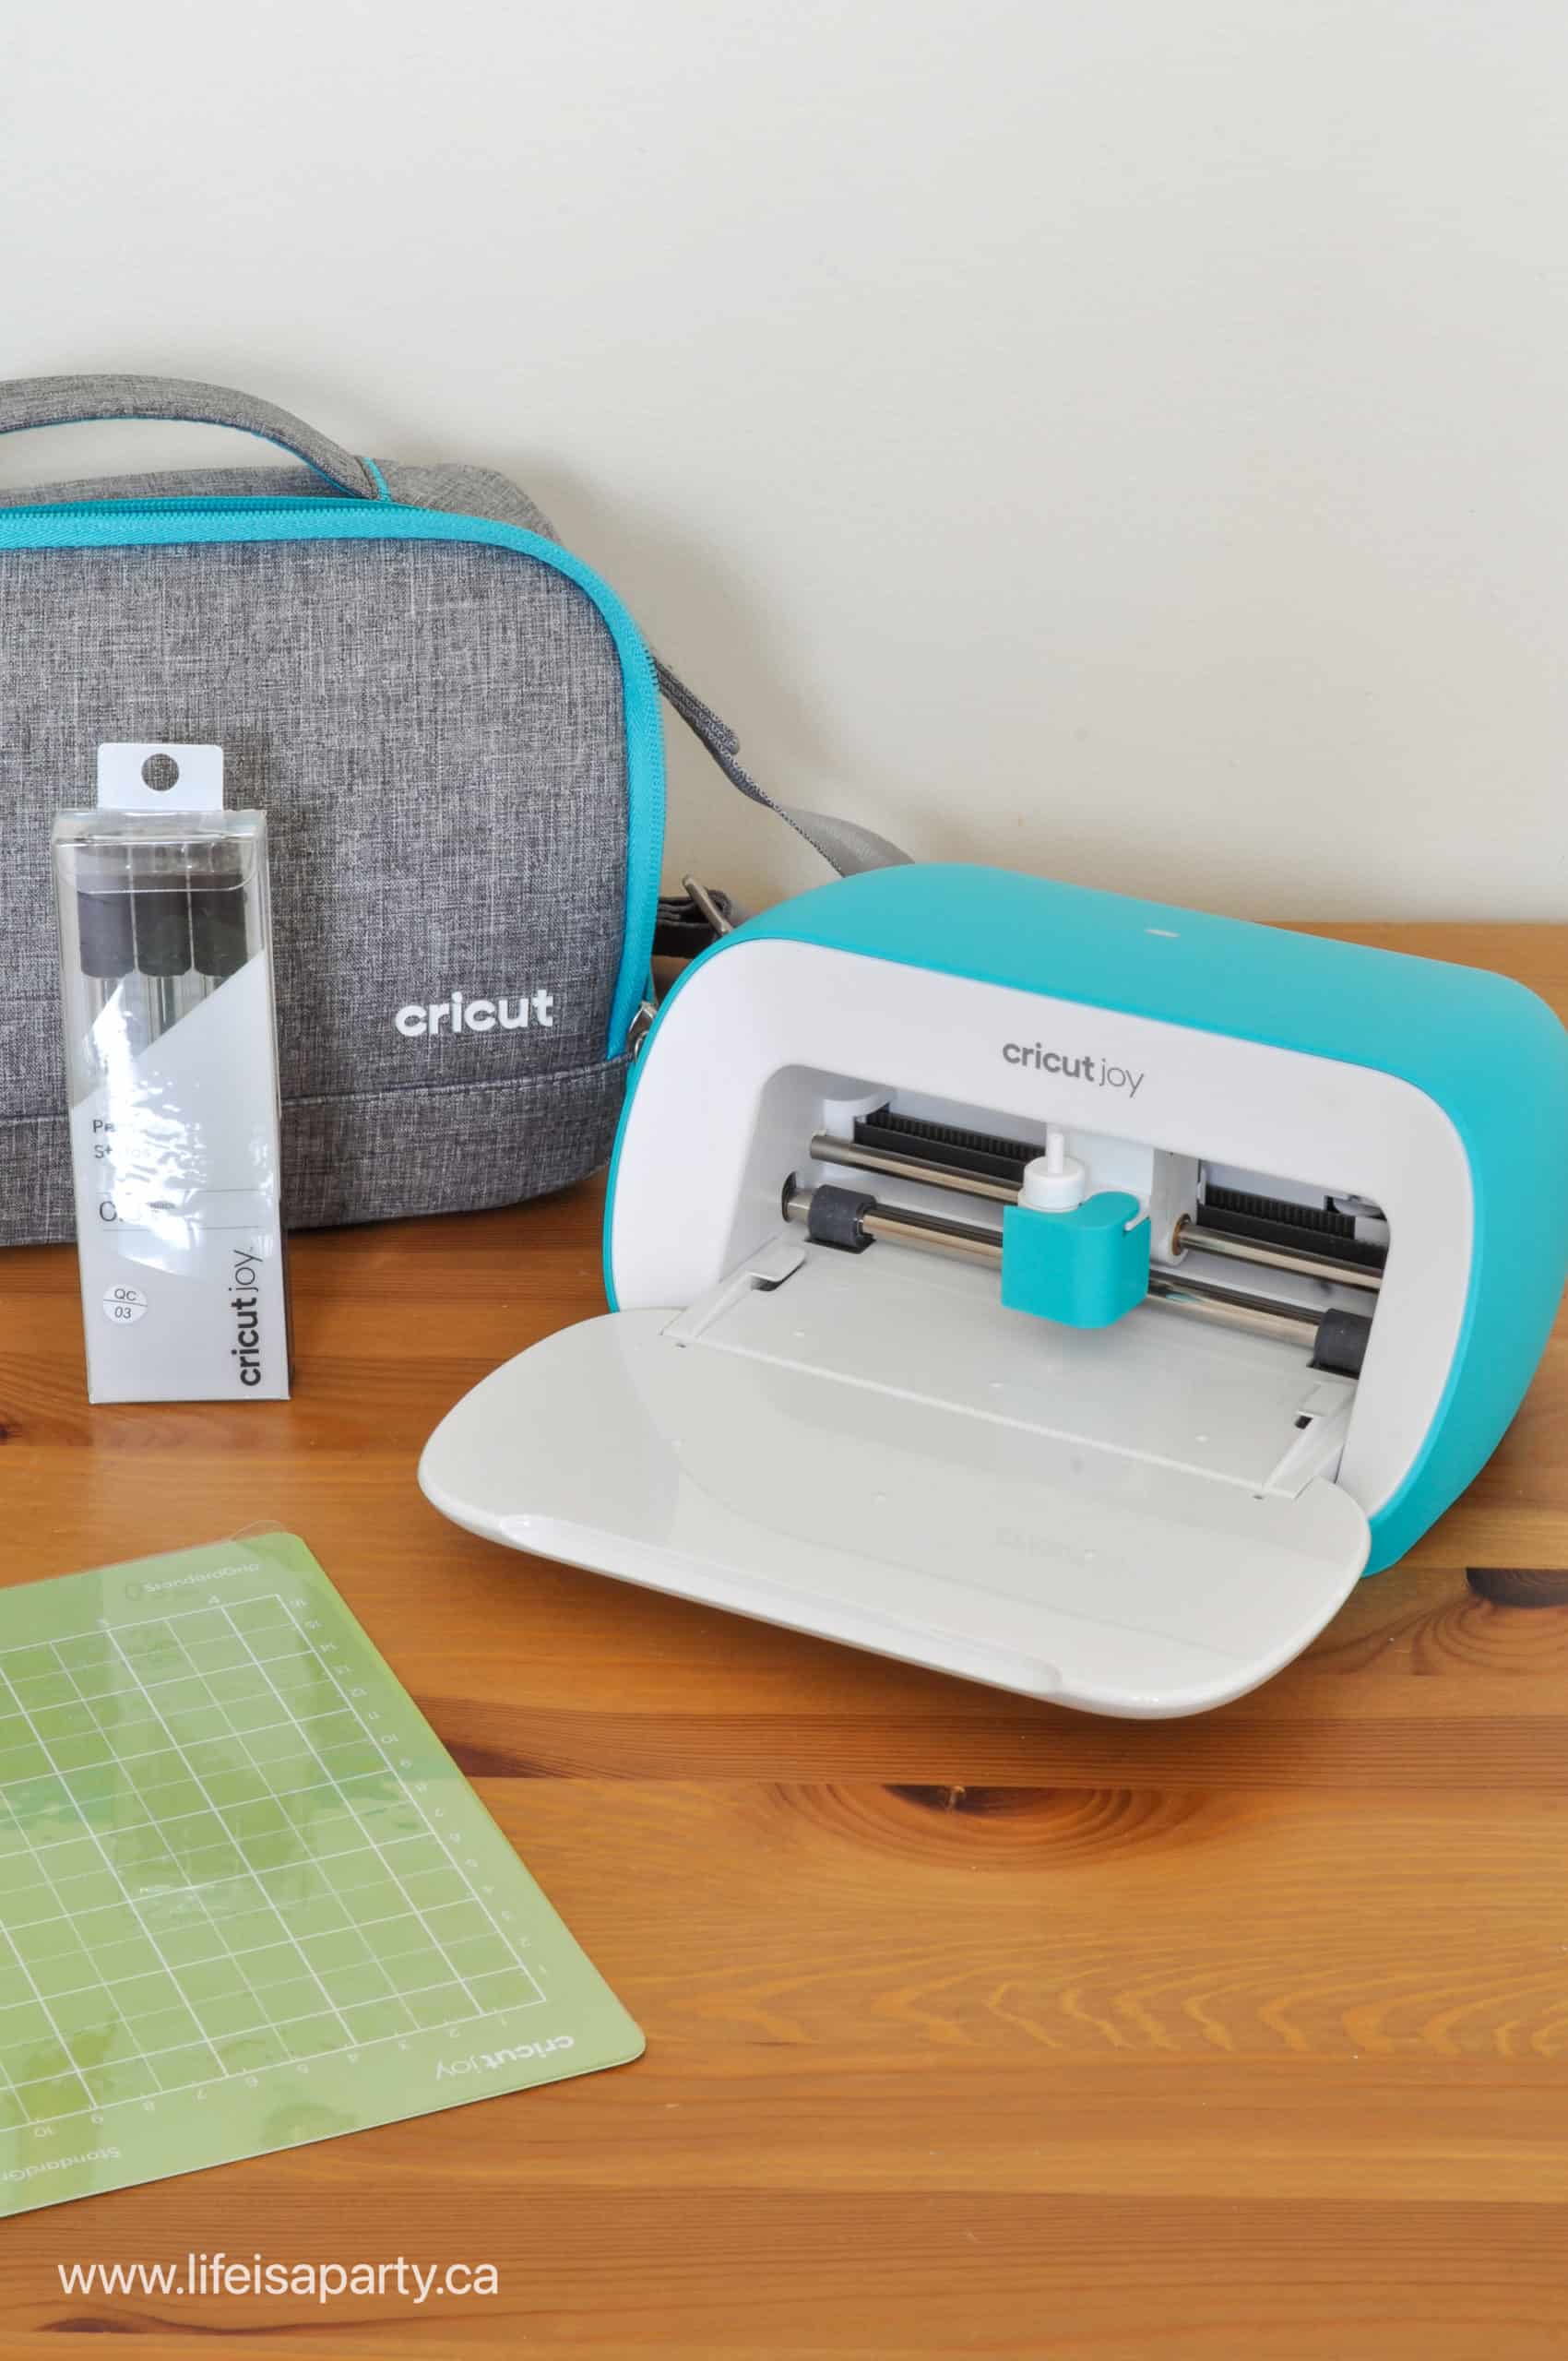
Cricut Joy Cutting Mats
4.5 x 6.5 Mat with 4 x 6 Cutting Area
This is the regular sized mat for the Cricut Joy, that you will use most often.
4.5 x 12 Mat with 4.5 x 11 Cutting Area
This is the longer mat for the Cricut Joy, that will allow you to cut longer projects on your Joy.
Cricut Joy Card Mat
This mat is specially design to be used for card making. It is compatible with all of Cricuts insert and cutaway cards.
How Many Cutting Mats Do I Need?
This depends on what materials you are cutting on your Cricut machine. You will definitely need green standardbrip mats. I recommend having at least two of them, so that if you are cutting out a large project you can be loading one into the machine, and unloading the first one during the second cut time. This will help cut down the cutting time of larger projects.
You may want to buy the rest of the mats as you need them. It of course handy to have at least one of each colour, and perhaps the oversized version of the green mat. You may also want to have a new spare one on hand for each colour also. There's nothing more frustrating than getting already to cut out a new project and discovering you can't make it because your old mat is worn out and not sticky enough.
Mat Care
How do you care for your Cricut cutting mat?
The first step to maintain a sticky mat is to be sure to clean off any leftover paper, or debris after cutting. Use the scraper tool with a little bit of pressure or use tweezers to remove anything from the machine mat. Some people like to use a lint roller to remove debris from their cutting mat, especially after cutting fabric.
The second step, and one of the easiest ways to keep your mat sticky is to always replace the transparent cover to any cutting mat after you're finished using it, and to store it with this protective cover in place. This will greatly increase the life of your mat.
Another tip is to rotate the mat and use the bottom as the top sometimes. Often the top of the mat, in the left corner is the first area on a mat to lose its stick, because it's the most used. When cutting smaller materials you can place your material in another less used area, and move the object on the cut preview screen.
What If My Cutting Mat Isn't Sticky?
If you're cutting mat has lost its stickiness you can clean your Cricut mat. Read all about how to use baby wipes, or mild dish soap to to clean a cutting mat that isn't sticky anymore here.
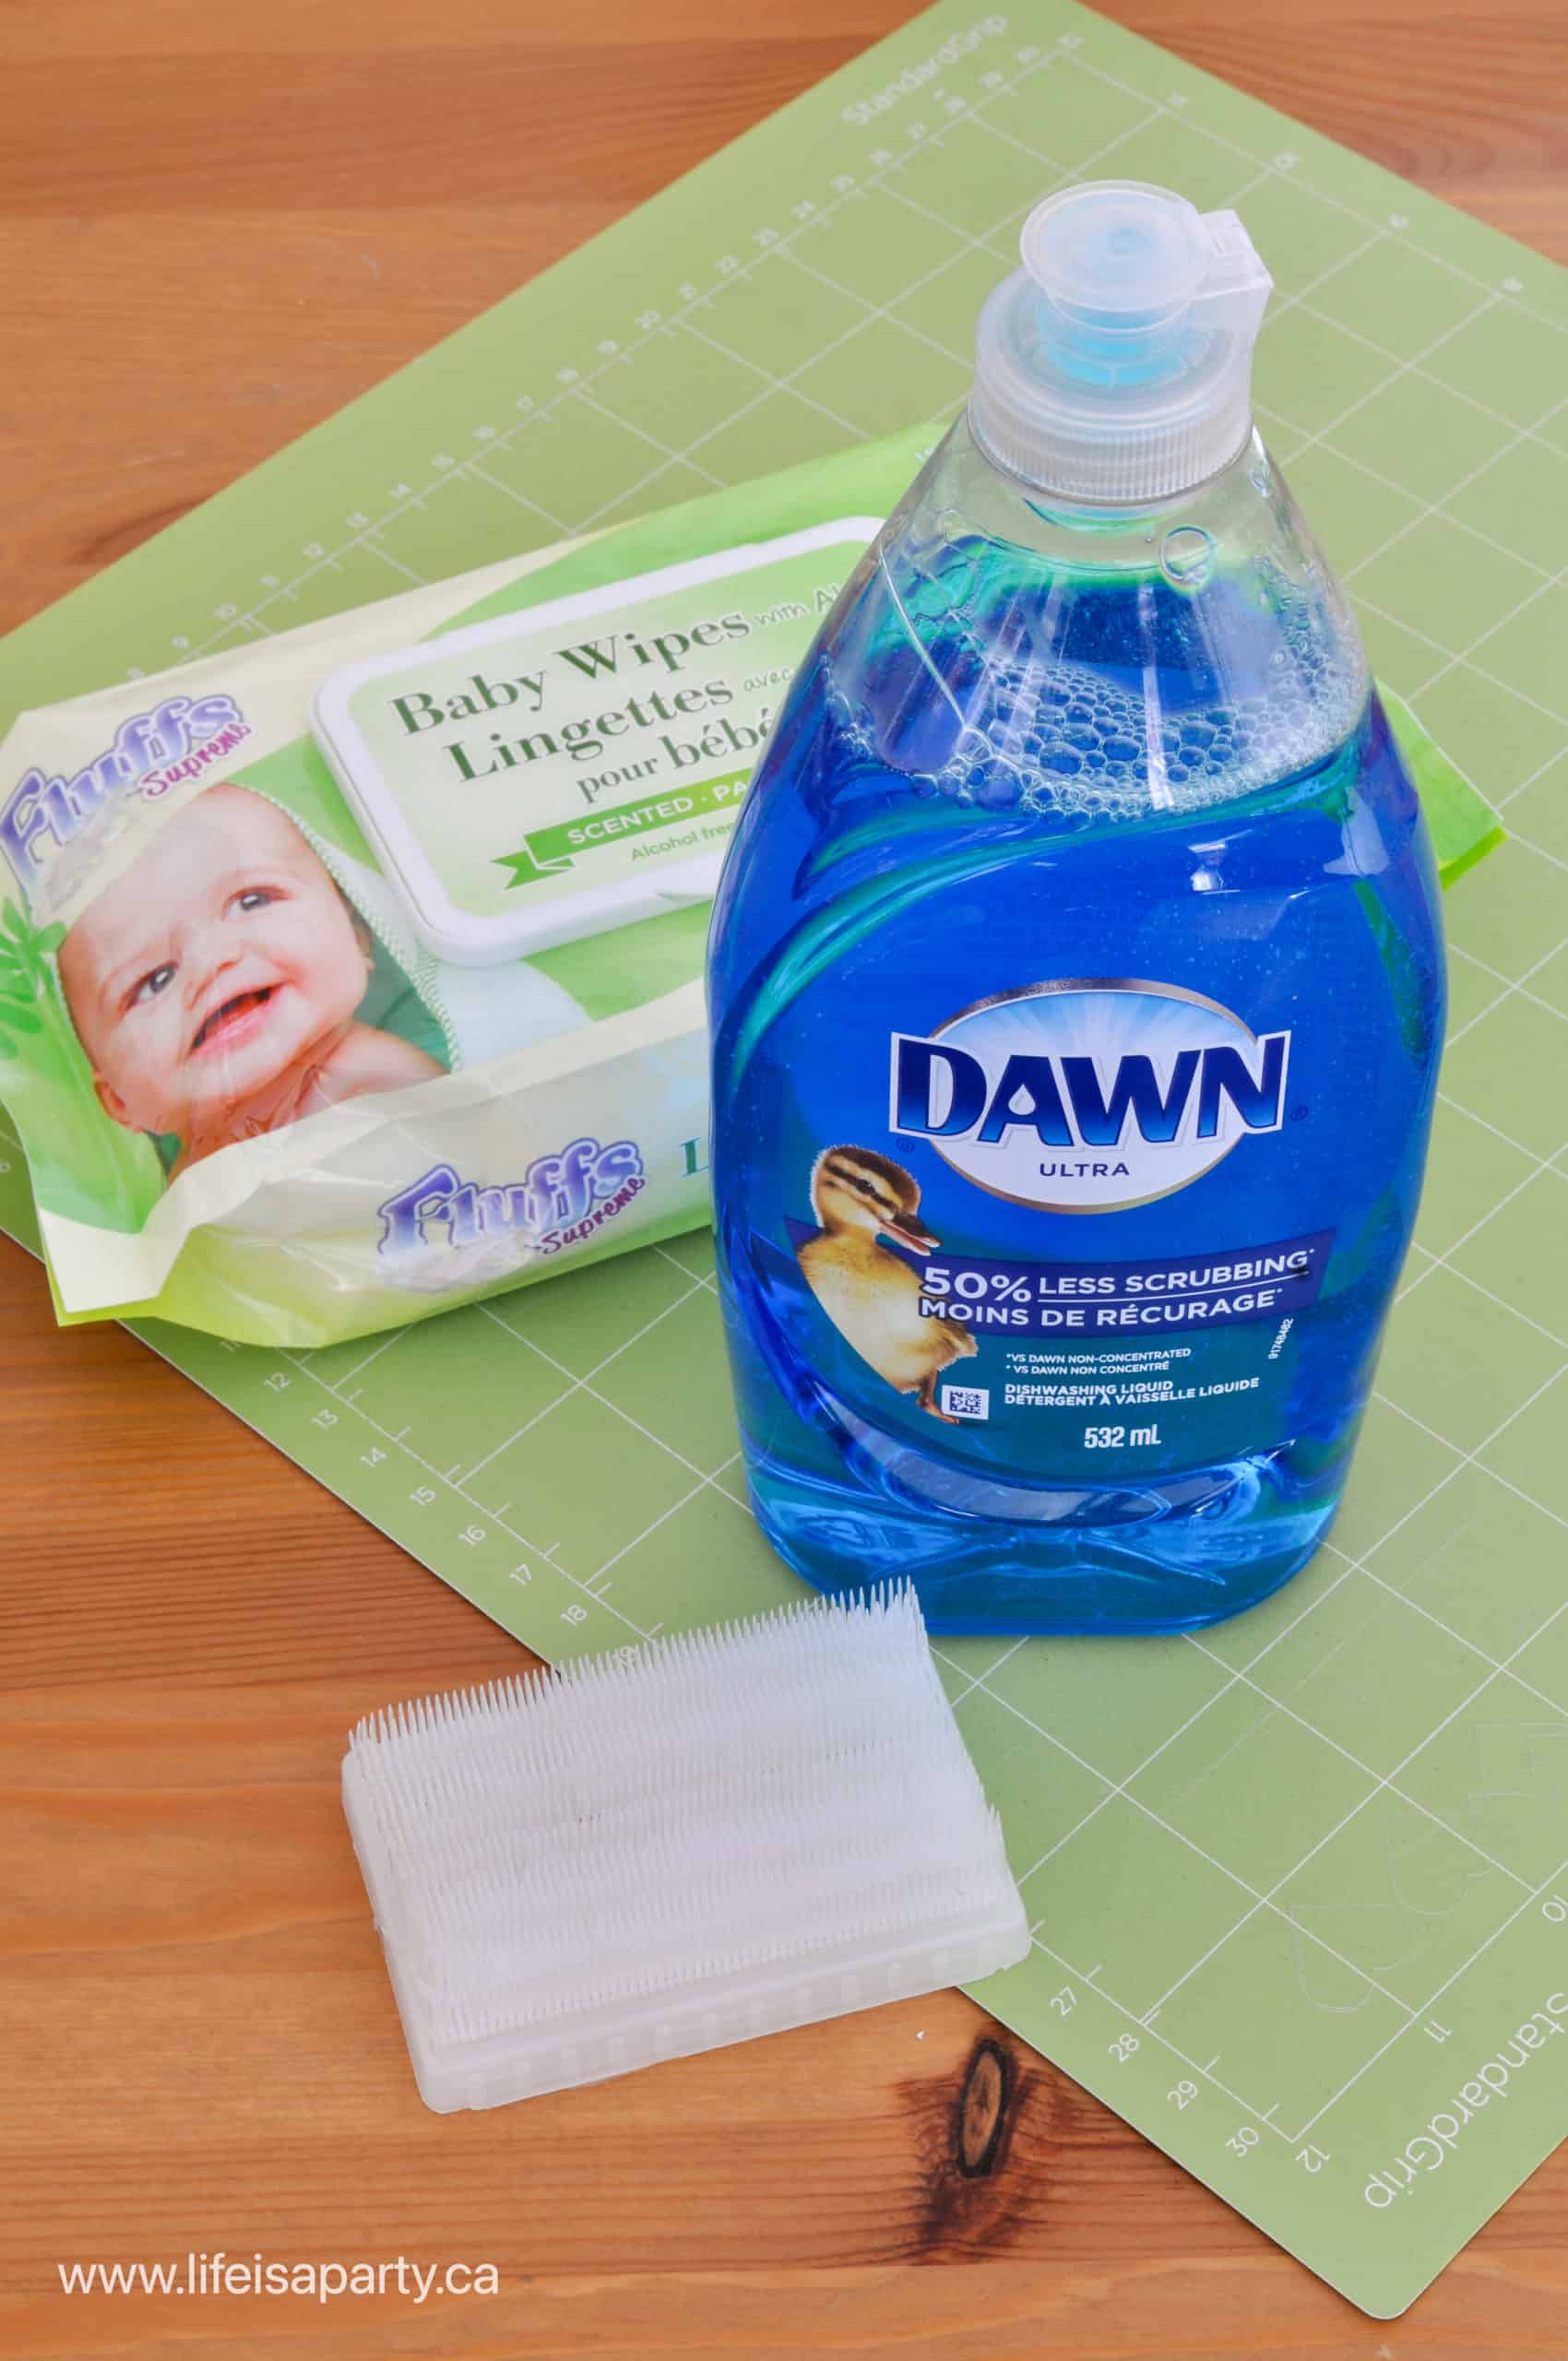
Cricut mats don't last forever. You can expect to get around 40-50 cuts out of your mat before having to replace it. Watch for sales, or multi packs to help save on the cost of replacing them.
TroubleShooting
If you're material is sliding around during the cut and moving on the cutting mat then it may be time for a new mat. If you don't get a clean cut, your mat may have lost its stickiness. You can try cleaning it to restore some of the stick -see how to clean your Cricut mat here or you may have chosen the wrong tack level for your material. Use our free cheat sheet to help you decide on the right mat.
Storing Cricut Mats
The main thing to remember is to always store your Cricut cutting mats with the transparent cover on them. This will protect your mat from dust and debris and extend it's life. You will also want to ensure that the mat is somewhere where it can lay, stand, or hang flat and that it doesn't become bent.
All the Cricut cutting mats come with a small hole in the top, that's handy for storing them. If you're lucky enough to have a craft room, lots of crafters like to store their mats hanging on the wall with a simple hooks. You can also use this method inside a craft closet or on the back of a door with a removable command hook.
I store my regular size mats on my bookcase, standing vertically. This means I can find them easily, and they're always close at hand for using. It's easy to find any different colour I need.
For the extra long 12 x 24 inch mats, I saved the original shipping box that they came in to help protect them from bending and have it tucked in the side of my craft closet. Since these ones are so large, under a bed or couch might be a good spot too.
You now know everything you need to all about Cricut mat sizes and types. Happy Cricut crafting!
More Helpful Cricut Information
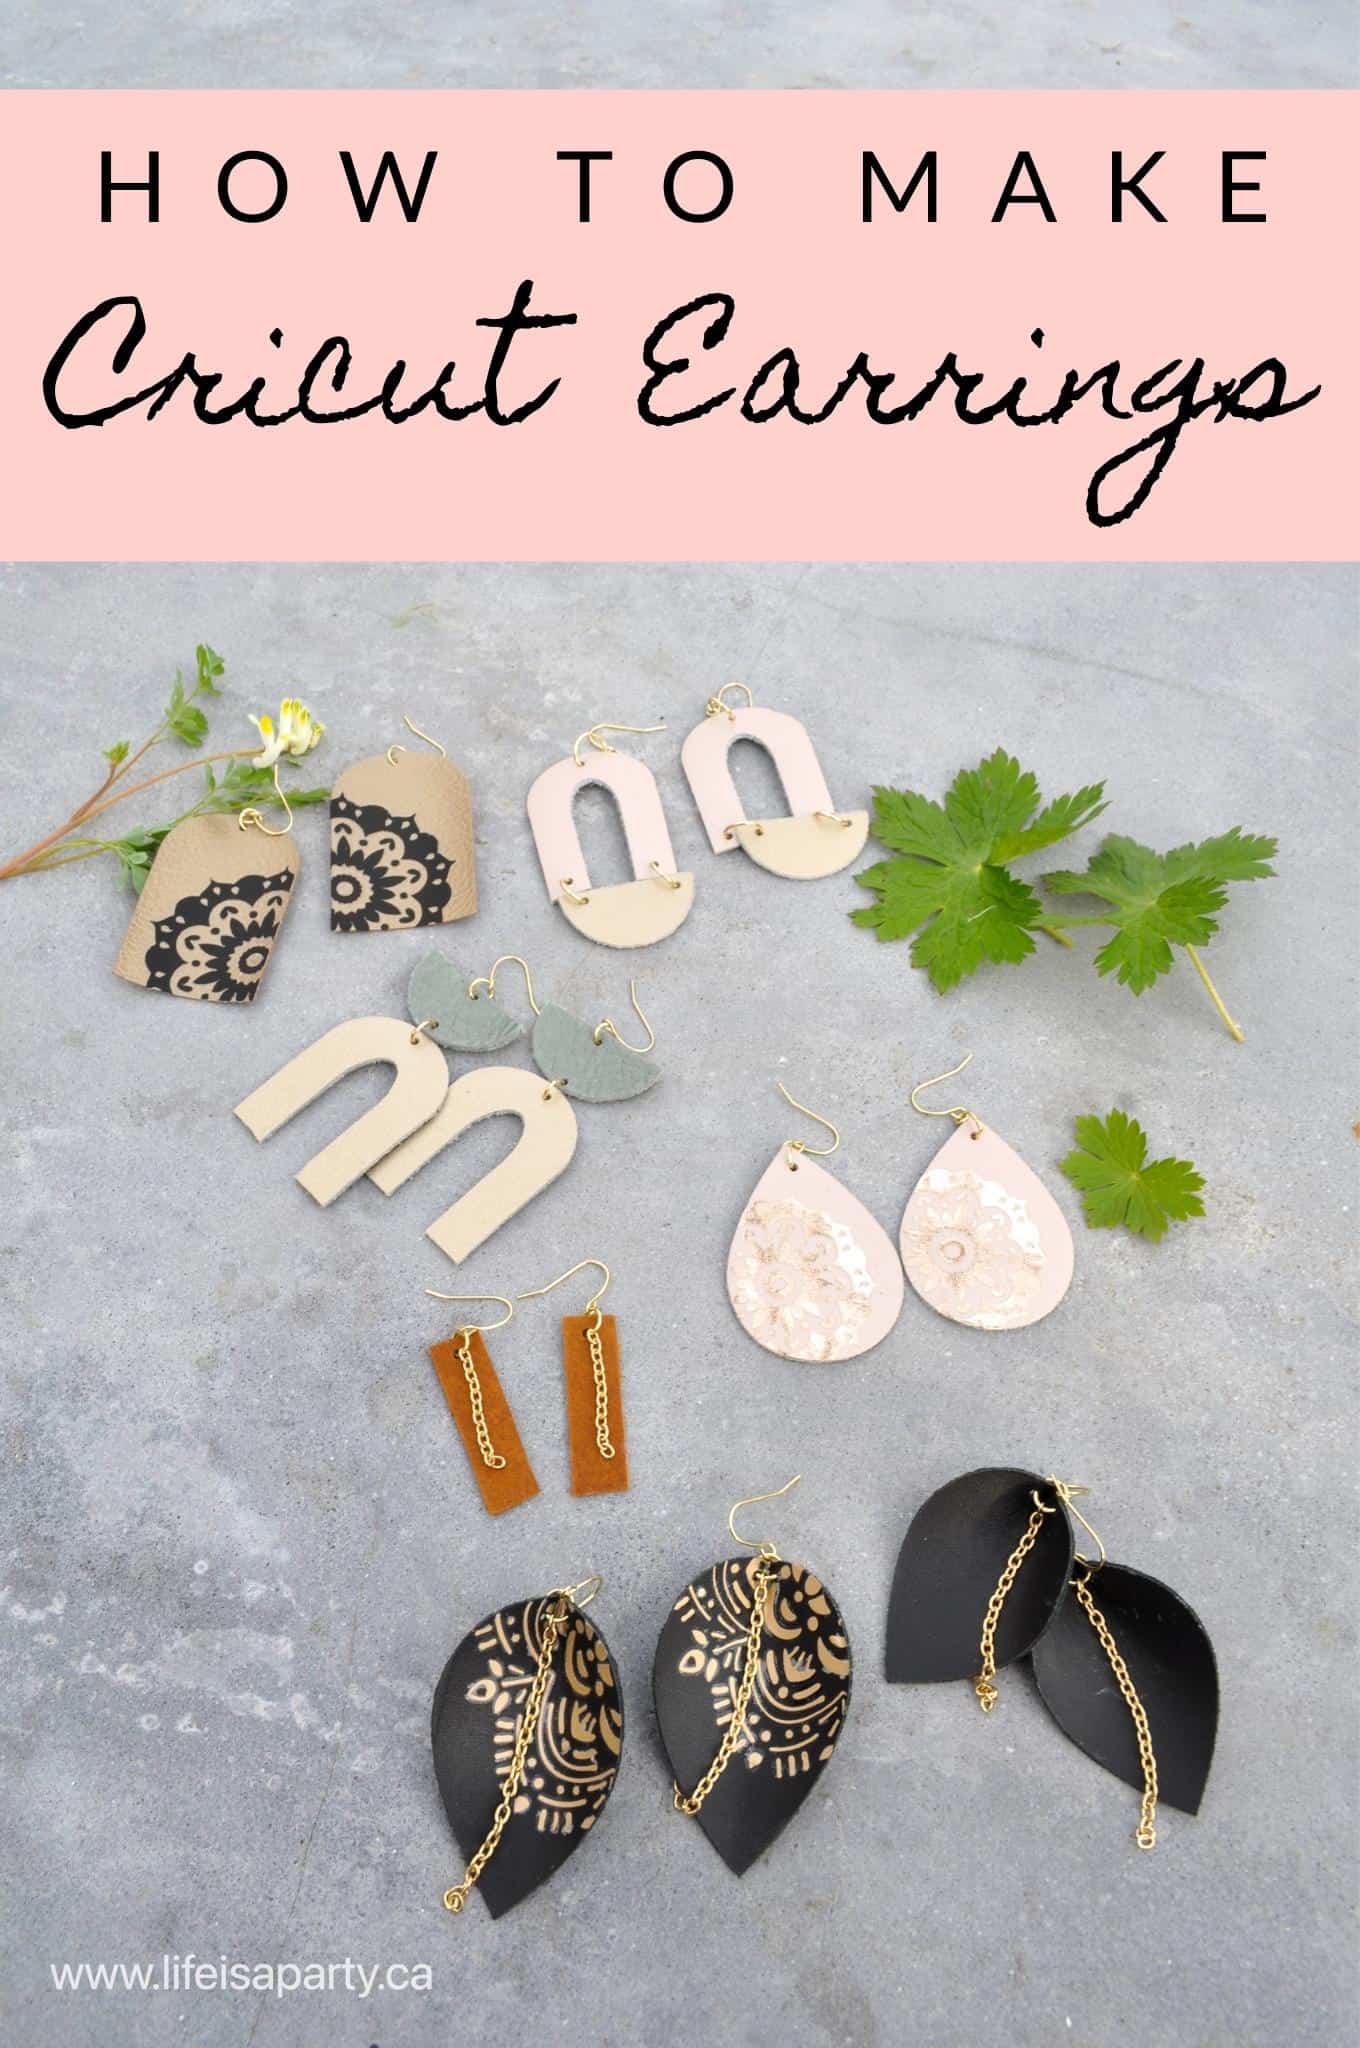
You might also like our post on How to Make Earrings with a Cricut here.
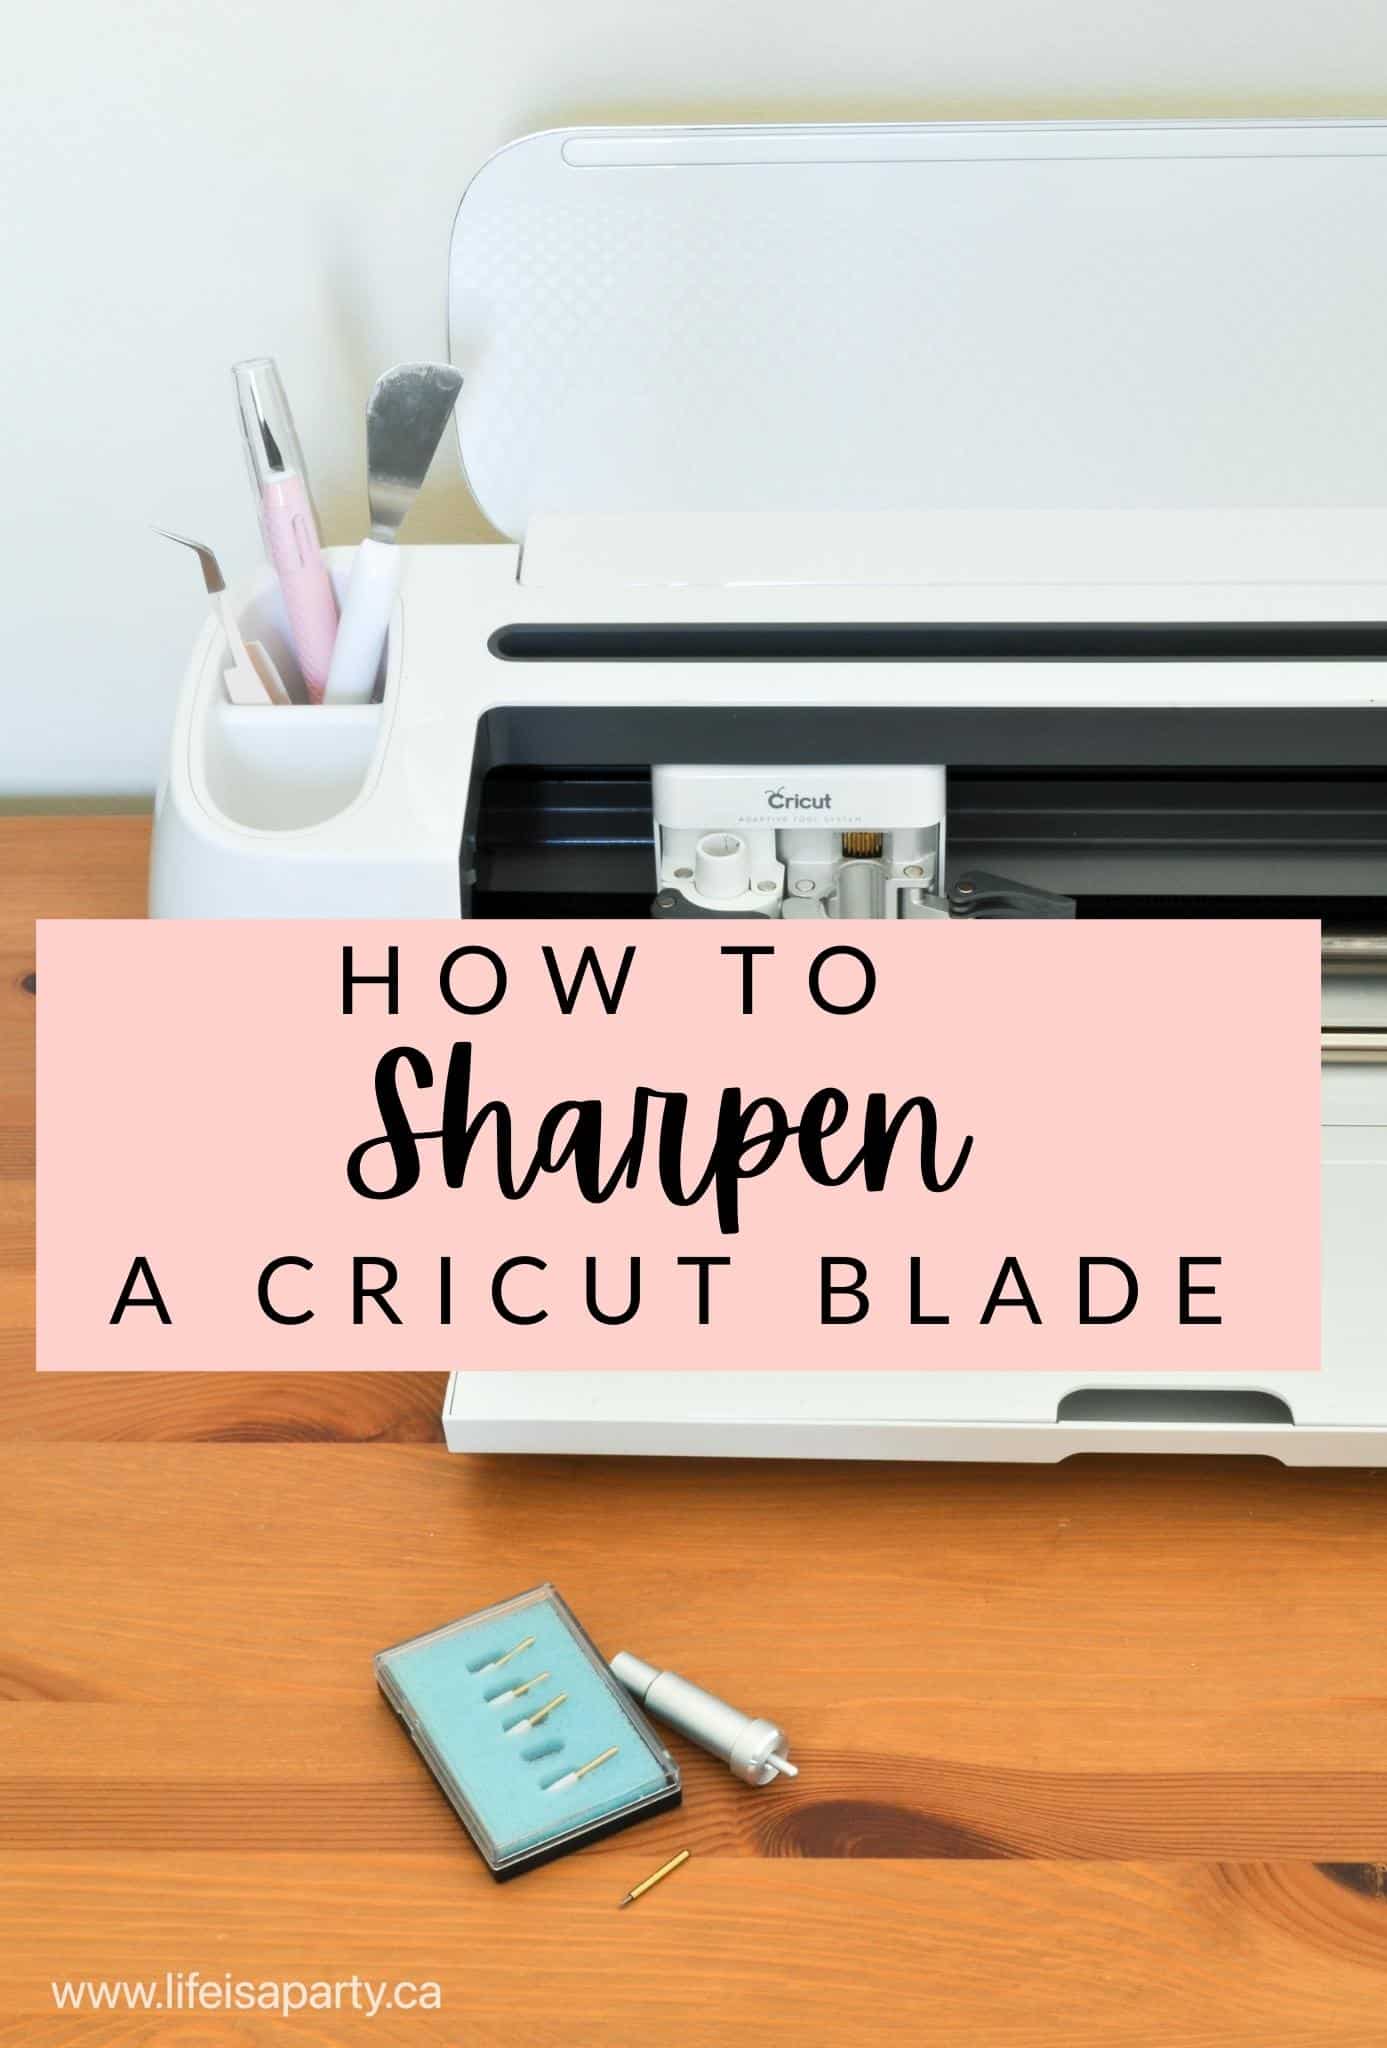
Also check out How To Sharpen A Cricut Blade here.
You might also enjoy How To Cut Vinyl on a Cricut here.


Leave a Reply
You must be logged in to post a comment.