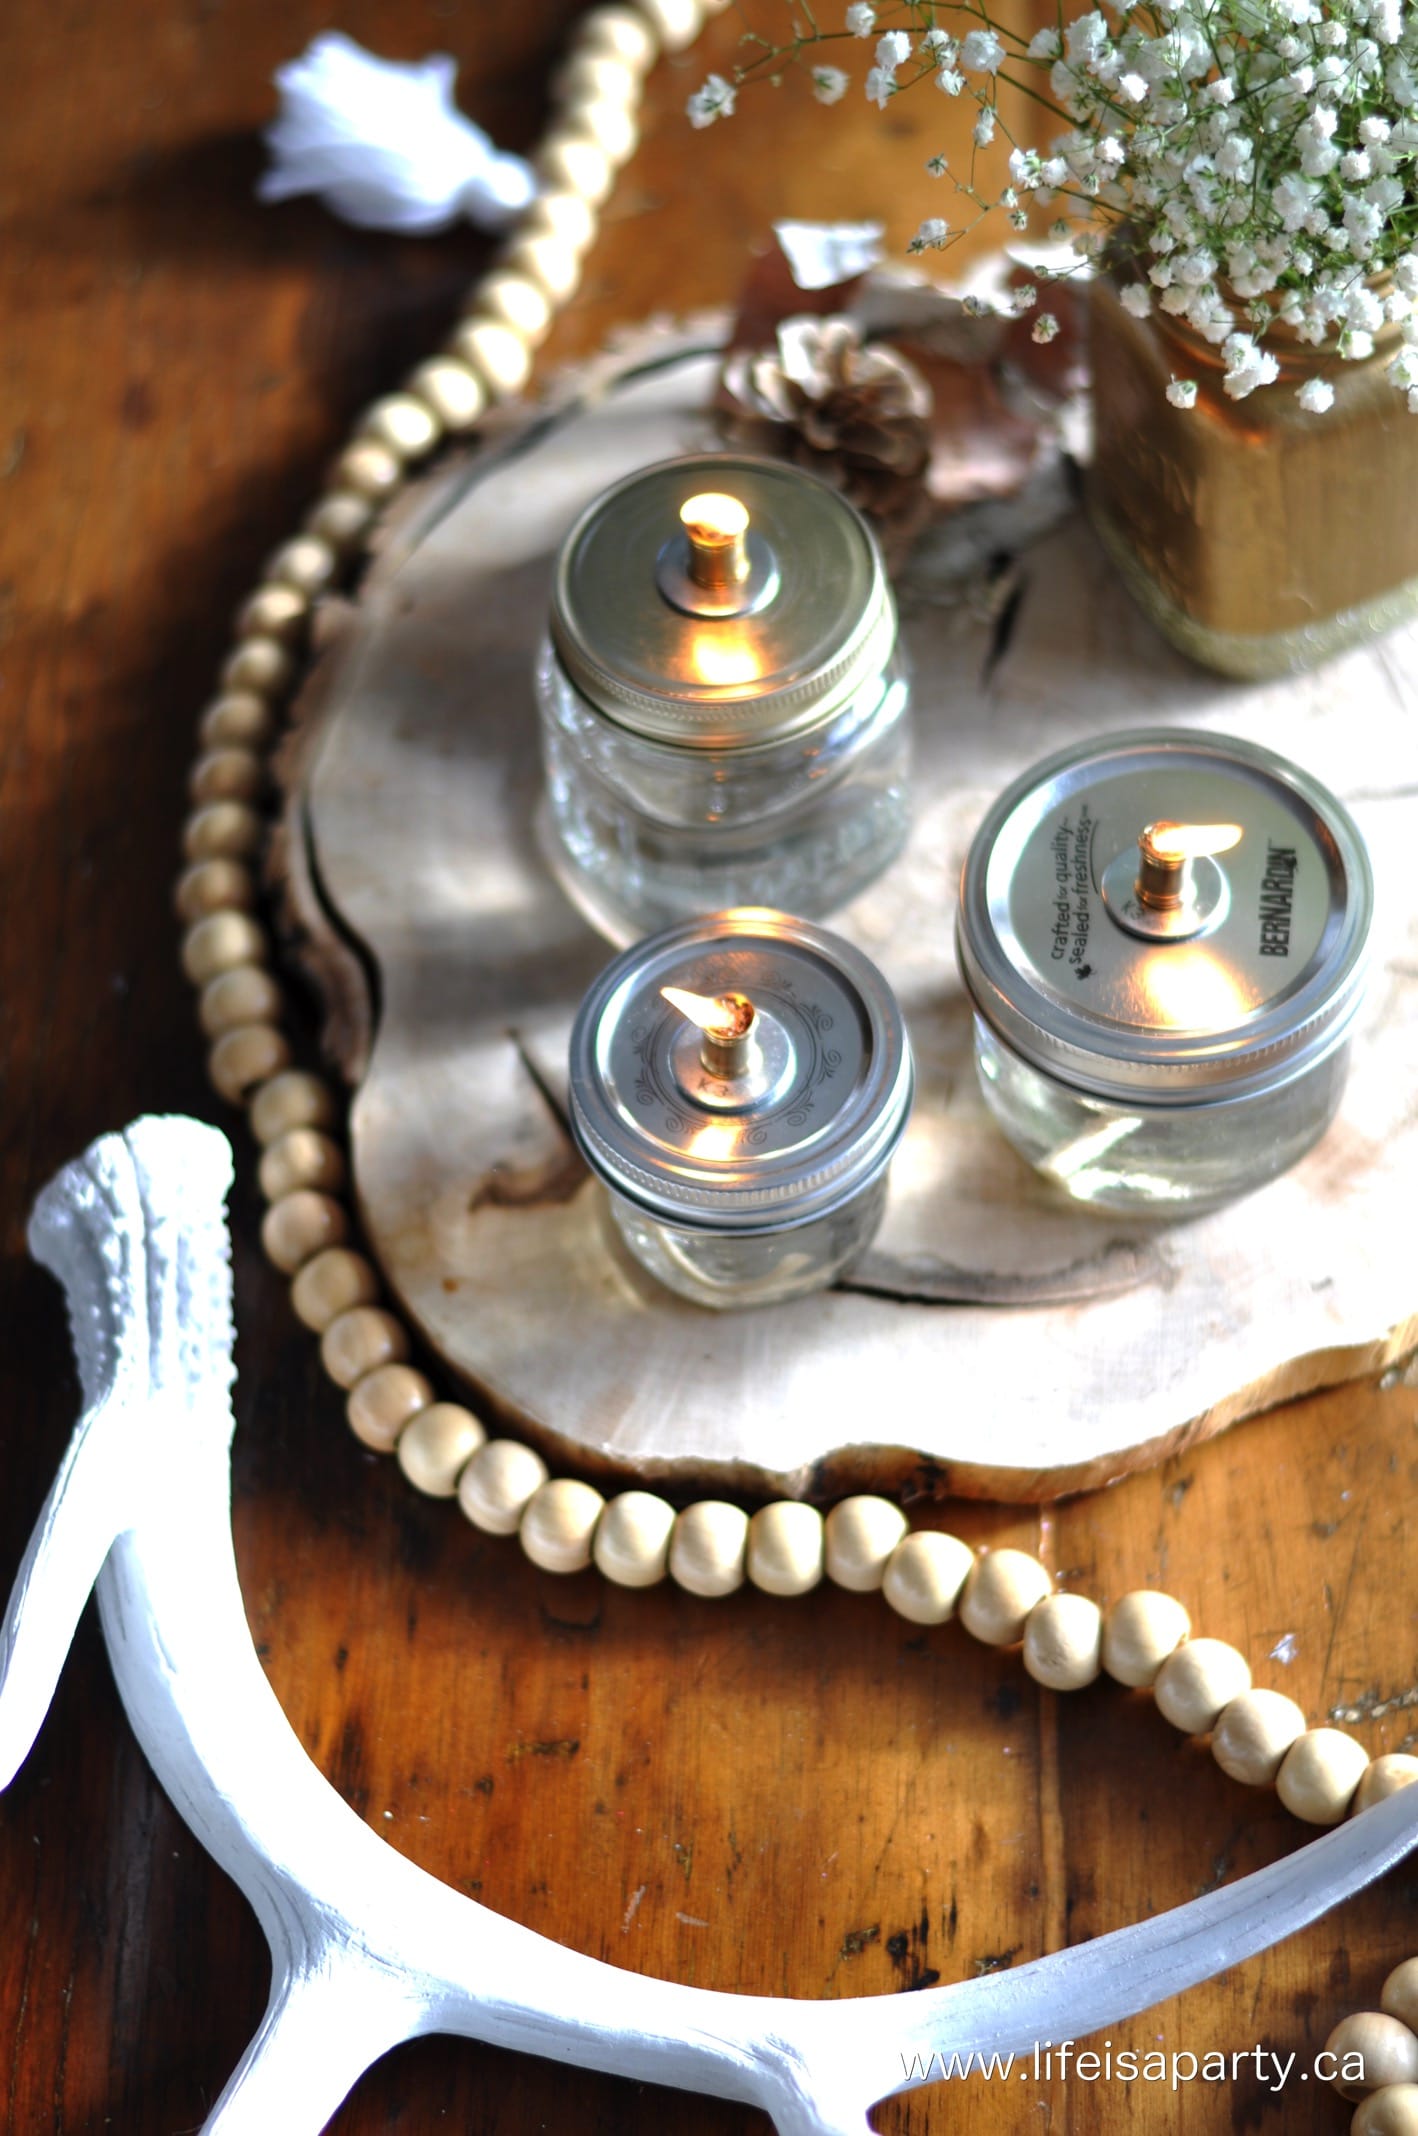
Make these easy and beautiful DIY Mason Jar Oil Lamps. They're simple to make and perfect for a party, wedding centrepiece, or just in your home as decor.

Jump to:
Why You'll Love This Craft
- They're simple and inexpensive to make.
- The finished oil lamps make a beautful centerpiece or home decor.
- The oil lamps are made from easy to find materials, including any size mason jars.
During the dark days of winer, I thought a little light filled project would add some warmth and brightness. These Mason Jar Oil Lamps are pretty simple to put together, and are really, really pretty. They make a lovely gift for someone. These mason jar oil candles are also perfect for a romantic atmosphere or dinner date setting. They're also perfect for outdoor use.
You might like our Toy Felt Cookies, Ribbon Wall Hanging, or How To Paint A Buffalo Check Feature Wall.
Mason Jar Oil Lamp Materials:
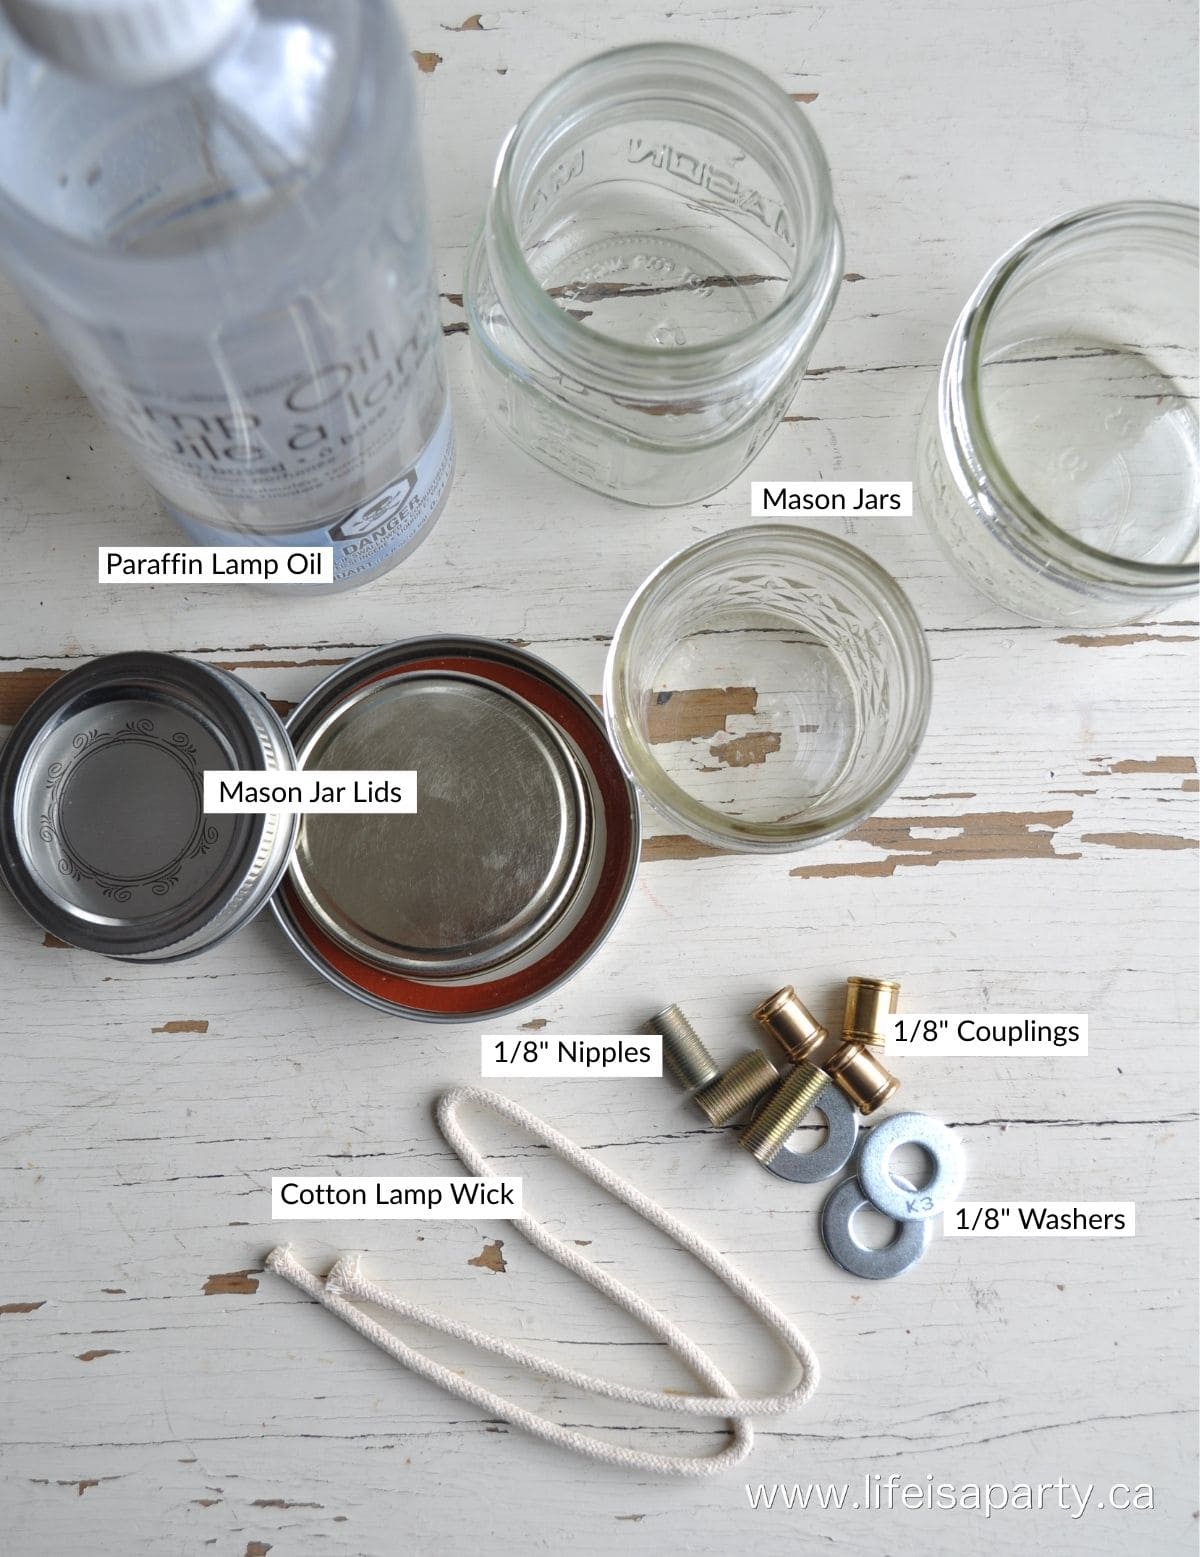
- 3 Different Small Mason Jars With Lids: You can use any size or make of mason jar for this craft, just make sure you have a lid that fits. We used 3 different sizes for interest.
- Paraffin Lamp Oil: We found ours at the hardware store.
- Cotton Lamp Wick: These are usually found with the camping supplies, or in the candle making section of the craft store.
- Nipples ⅛": Look for the nipples in the lighting supplies section of the hardware store.
- Couplings ⅛": Look for the couplings also in the lighting supplies section of the hardware store.
- Washers ⅛"
Variation
You could use coloured lamp oil in your mason jar, to give the project some color.
Choosing Your Lamp Oil
There are different options when it comes to choosing the type of lamp oil to use in your mason jar oil lamp burner. We went paraffin lamp oil as it's a clean burning oil. It's also quite easy to find at any hardware store.
If you were using these lamps in an outdoor space and wanted to keep the bugs away with a scented flame you could also use citronella oil in them.
You can also alter the smell of your oil by adding drops of essential oil, such as lavender essential oil, cinnamon oil, peppermint oil, or any of your favourite essential oils.
Can You Use Olive Oil In A Mason Jar Oil Lamp?
Olive oil and vegetable oil has been used for thousands of years as a lamp fuel. Cooking oils are easily available and burn very cleanly.
The problem with using it here is that the olive oil is thicker than lamp oil and doesn't absorb up the wick as well. A floating wick works better with vegetable or olive oil because it floats on the surface and doesn't have to travel up the wick. Olive oil isn't flammable like lamp oil, so that the wick can float on the surface.
It might be fun to experiment with different designs to try modify our design to work with a floating wick.
Safety Note:
Never leave a mason jar oil lamp unattended. Keep away from children, pets, and flammable materials.
Instructions:
Step 1: The first step in making your mason jar oil lamp is to drill a hole in the canning jar lid.
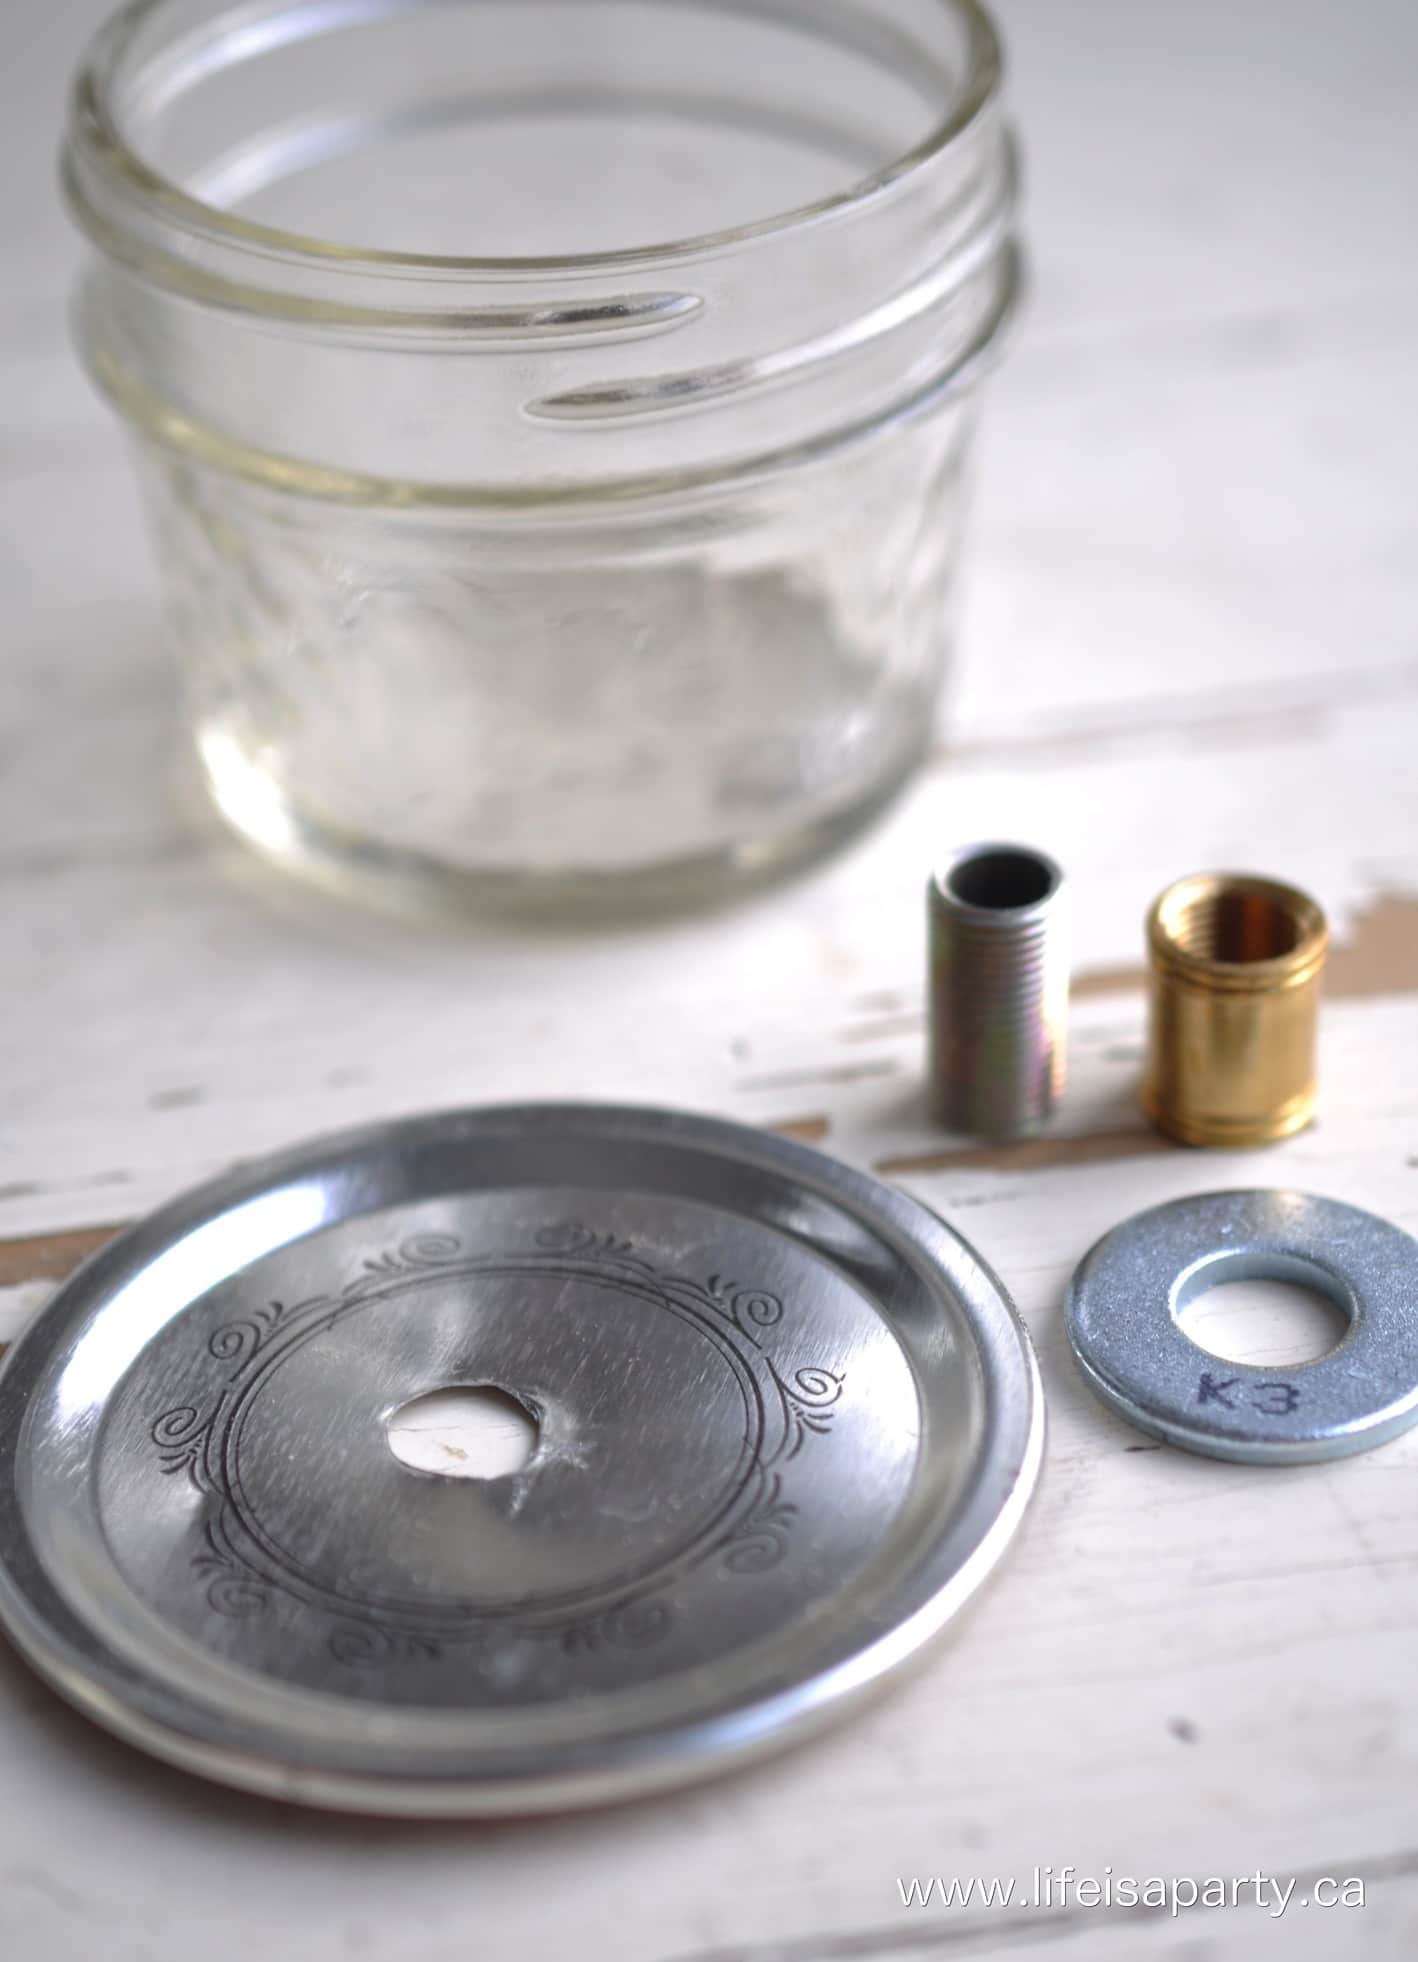
I found it a little tricky to get it in the center of the lid, and found drilling a small pilot hole first, and then the larger ⅛" one worked best. It still isn't perfect, but it doesn't need to be, so don't worry.
Once you've done your first jar lid, repeat this process for the rest of the lamps you're making.
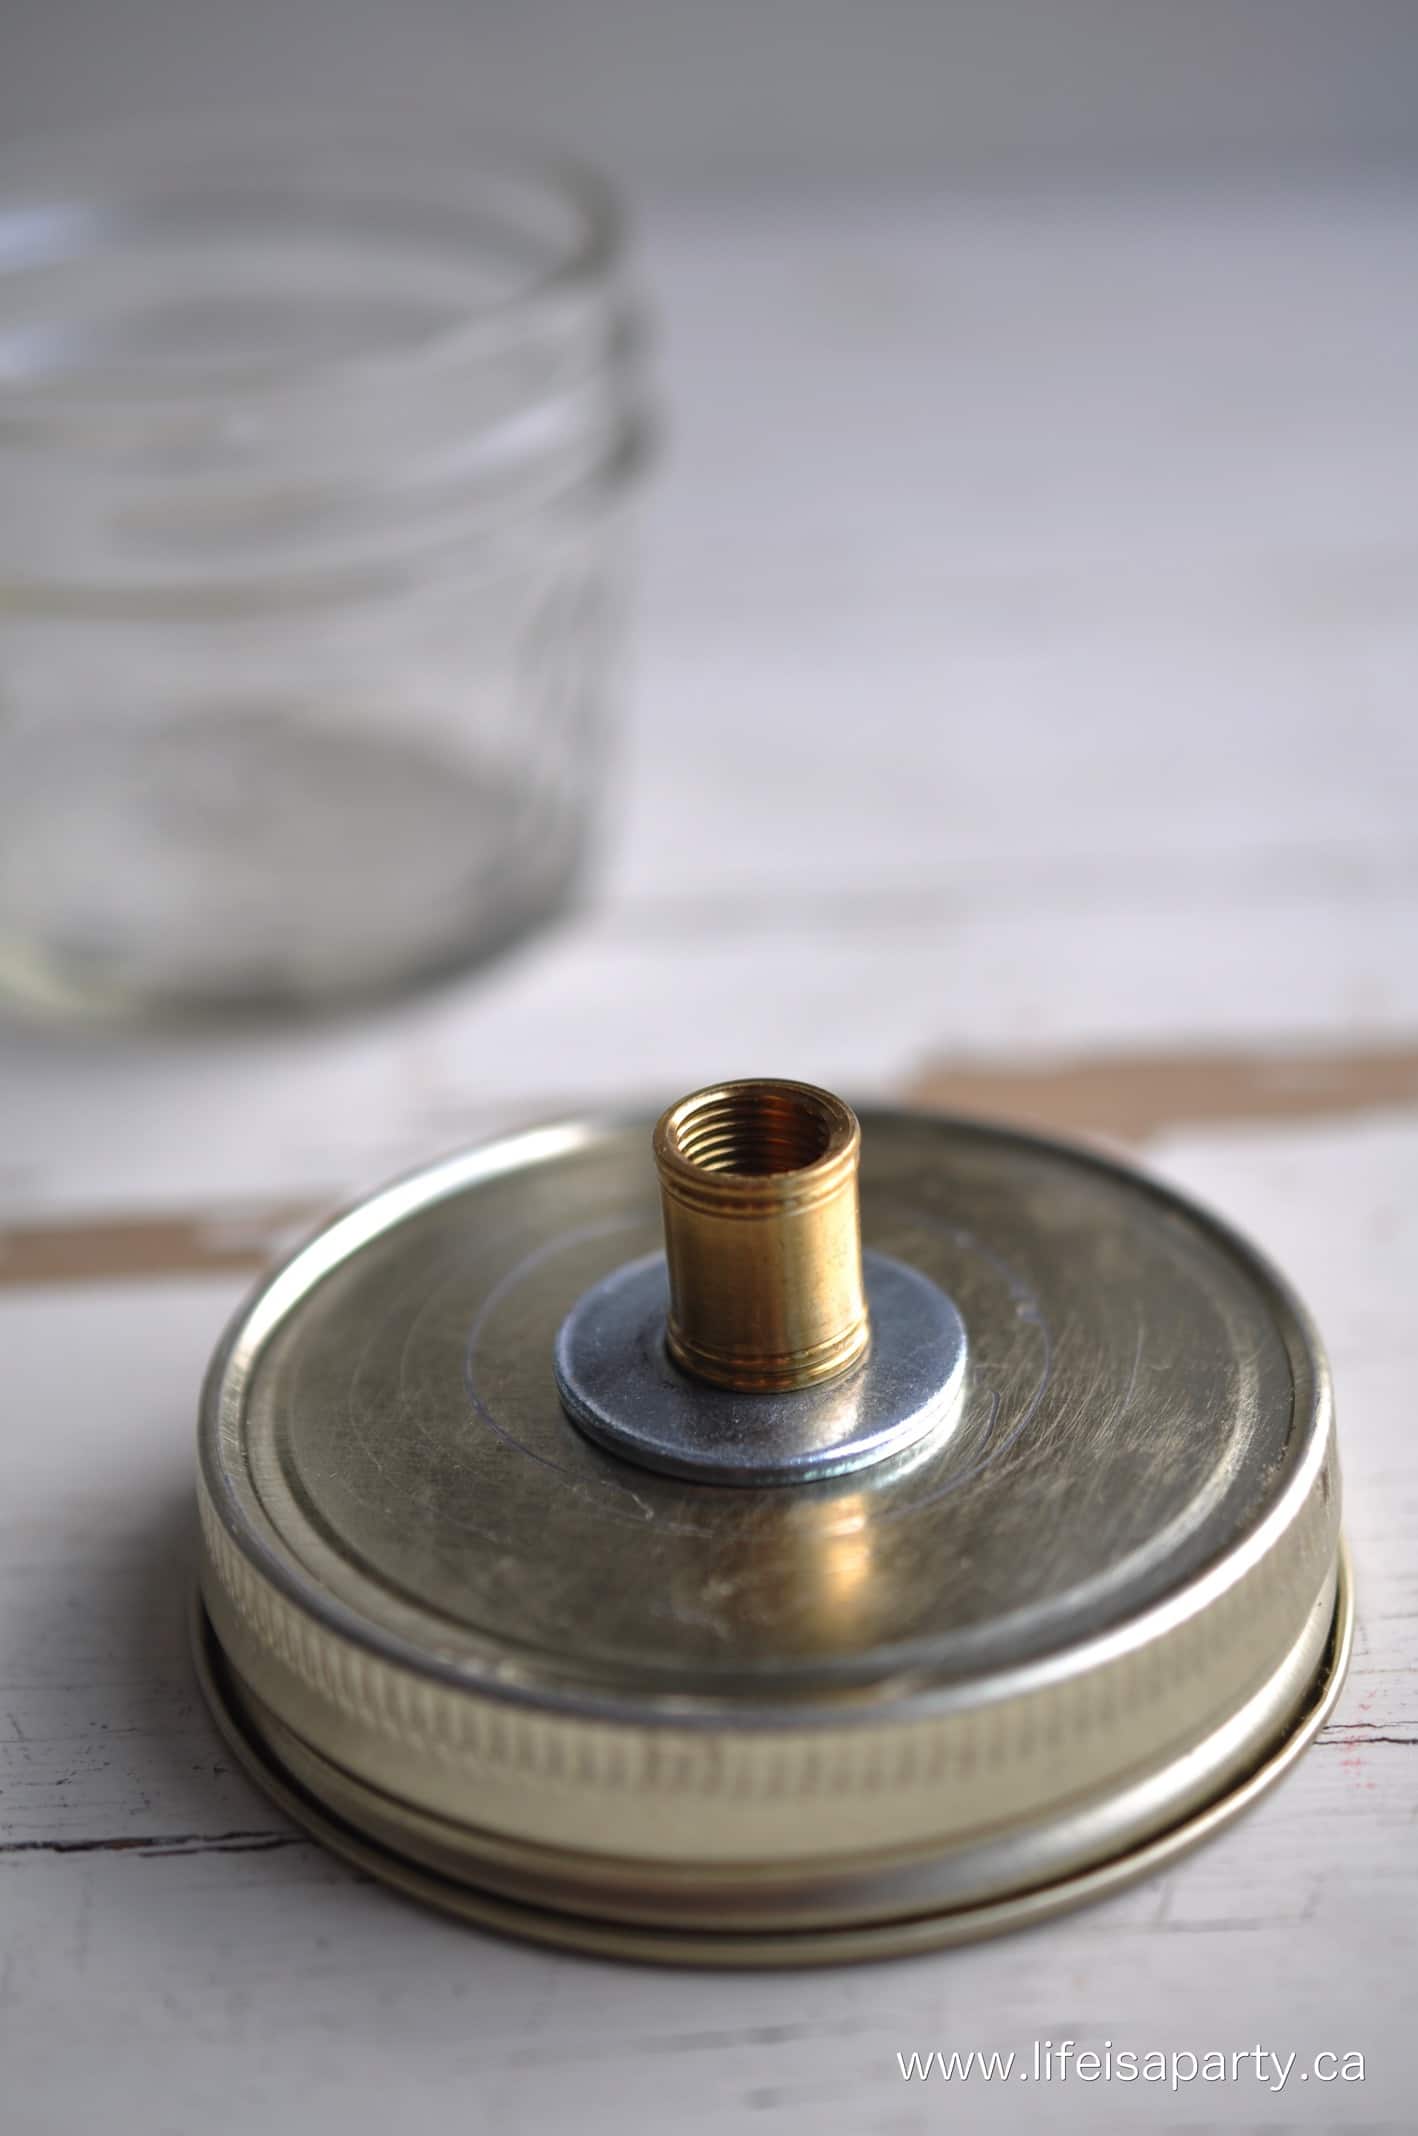
Step 2: Next, you thread the nipple through the hole, so it's about half way through each side, and then add the washer and screw the coupling onto the top of the lid.
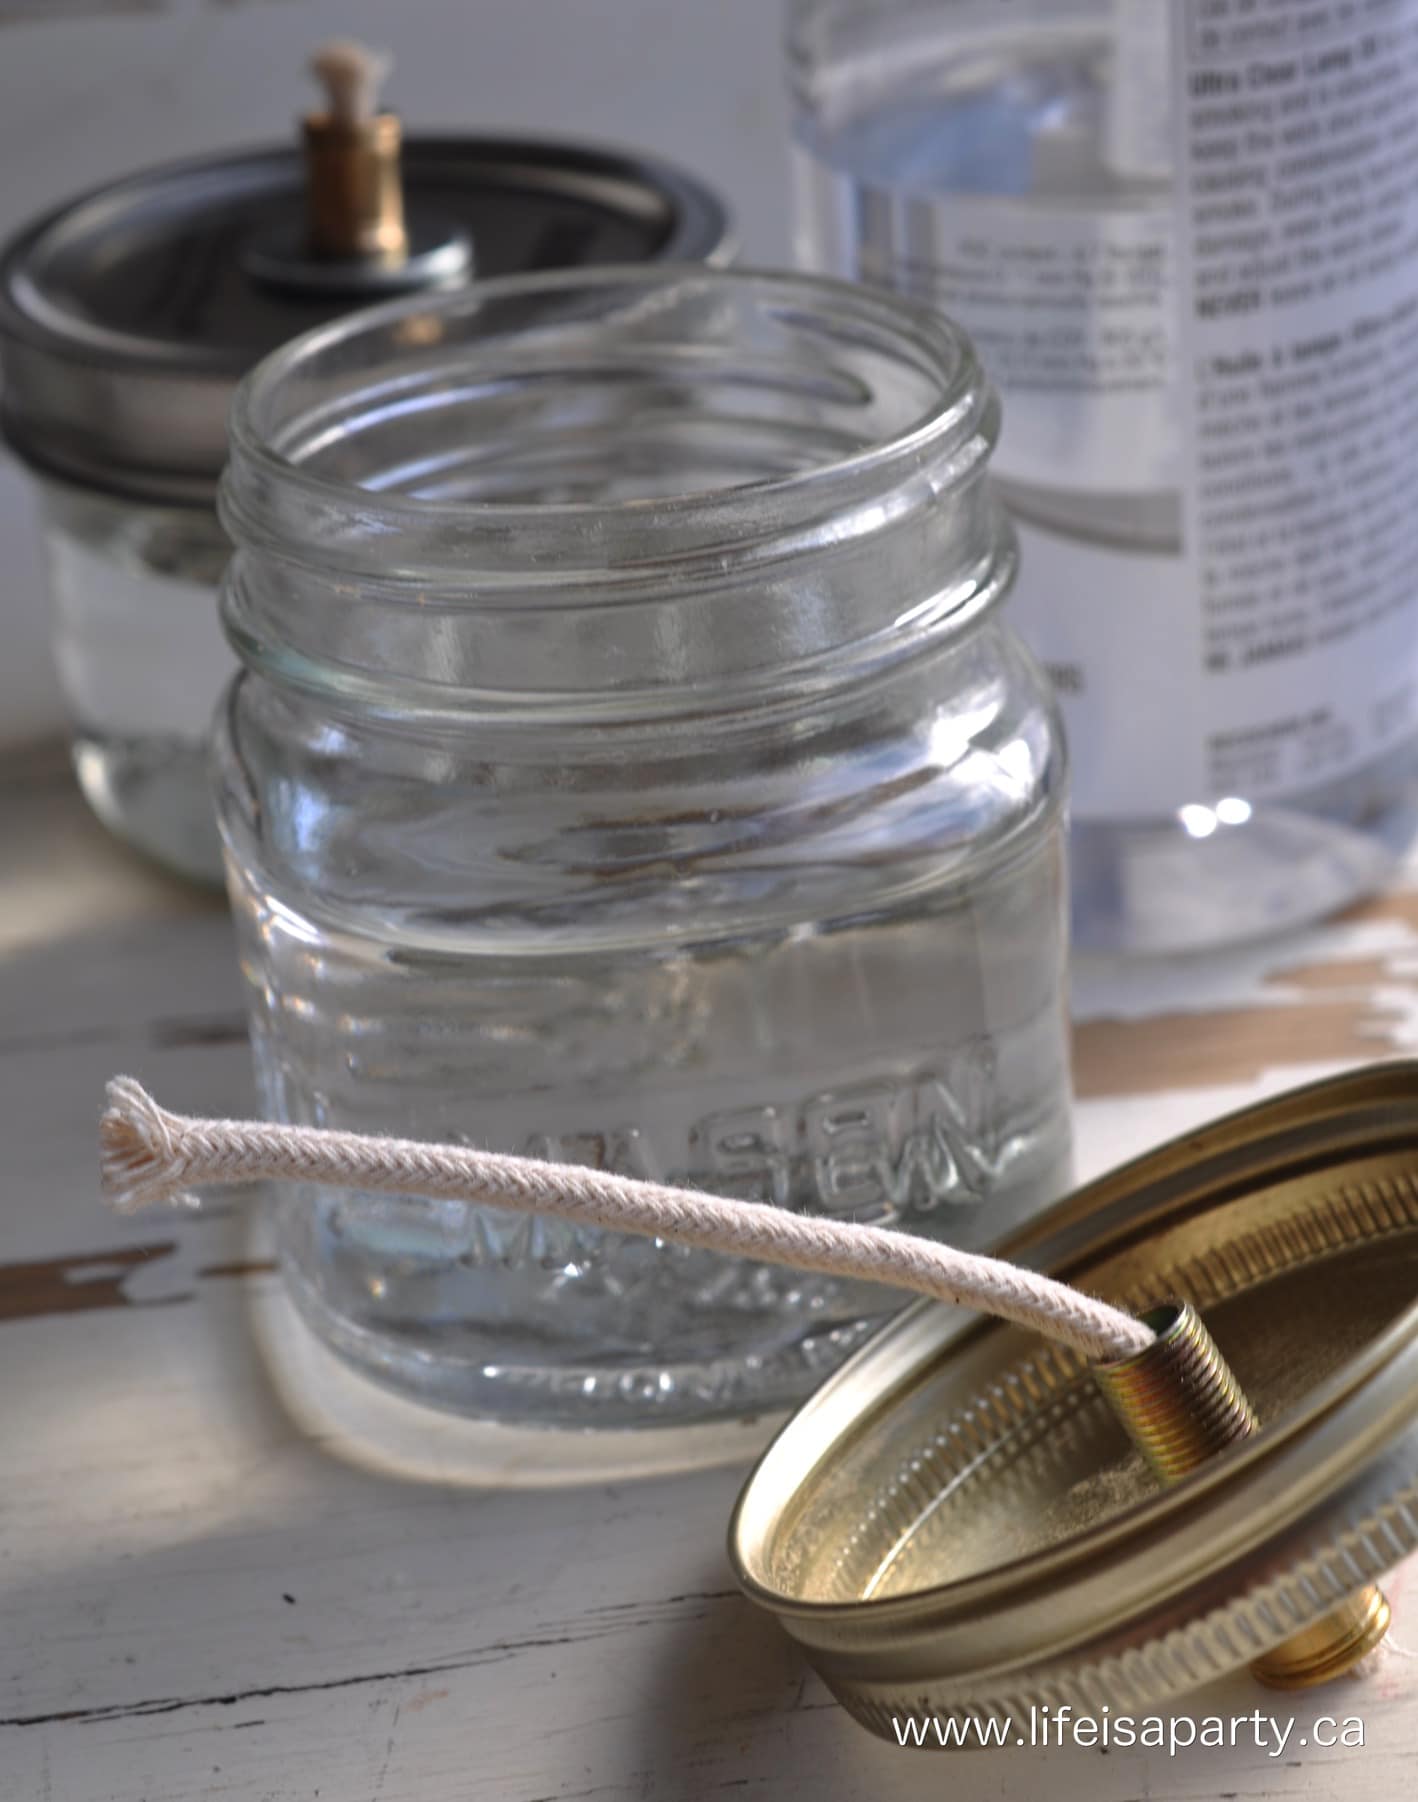
Step 3: Cut a piece of the cotton wick with enough length of wick so that it is a little longer than the depth of your jar and thread it through the mason jar lid.
Fill up your mason jar with lamp oil.
The remaining length of the wick will rest on the bottom of the jar, and you can pull it up as necessary. Save your remaining lamp wicks that you've cut off to use as extra wicks in the future.
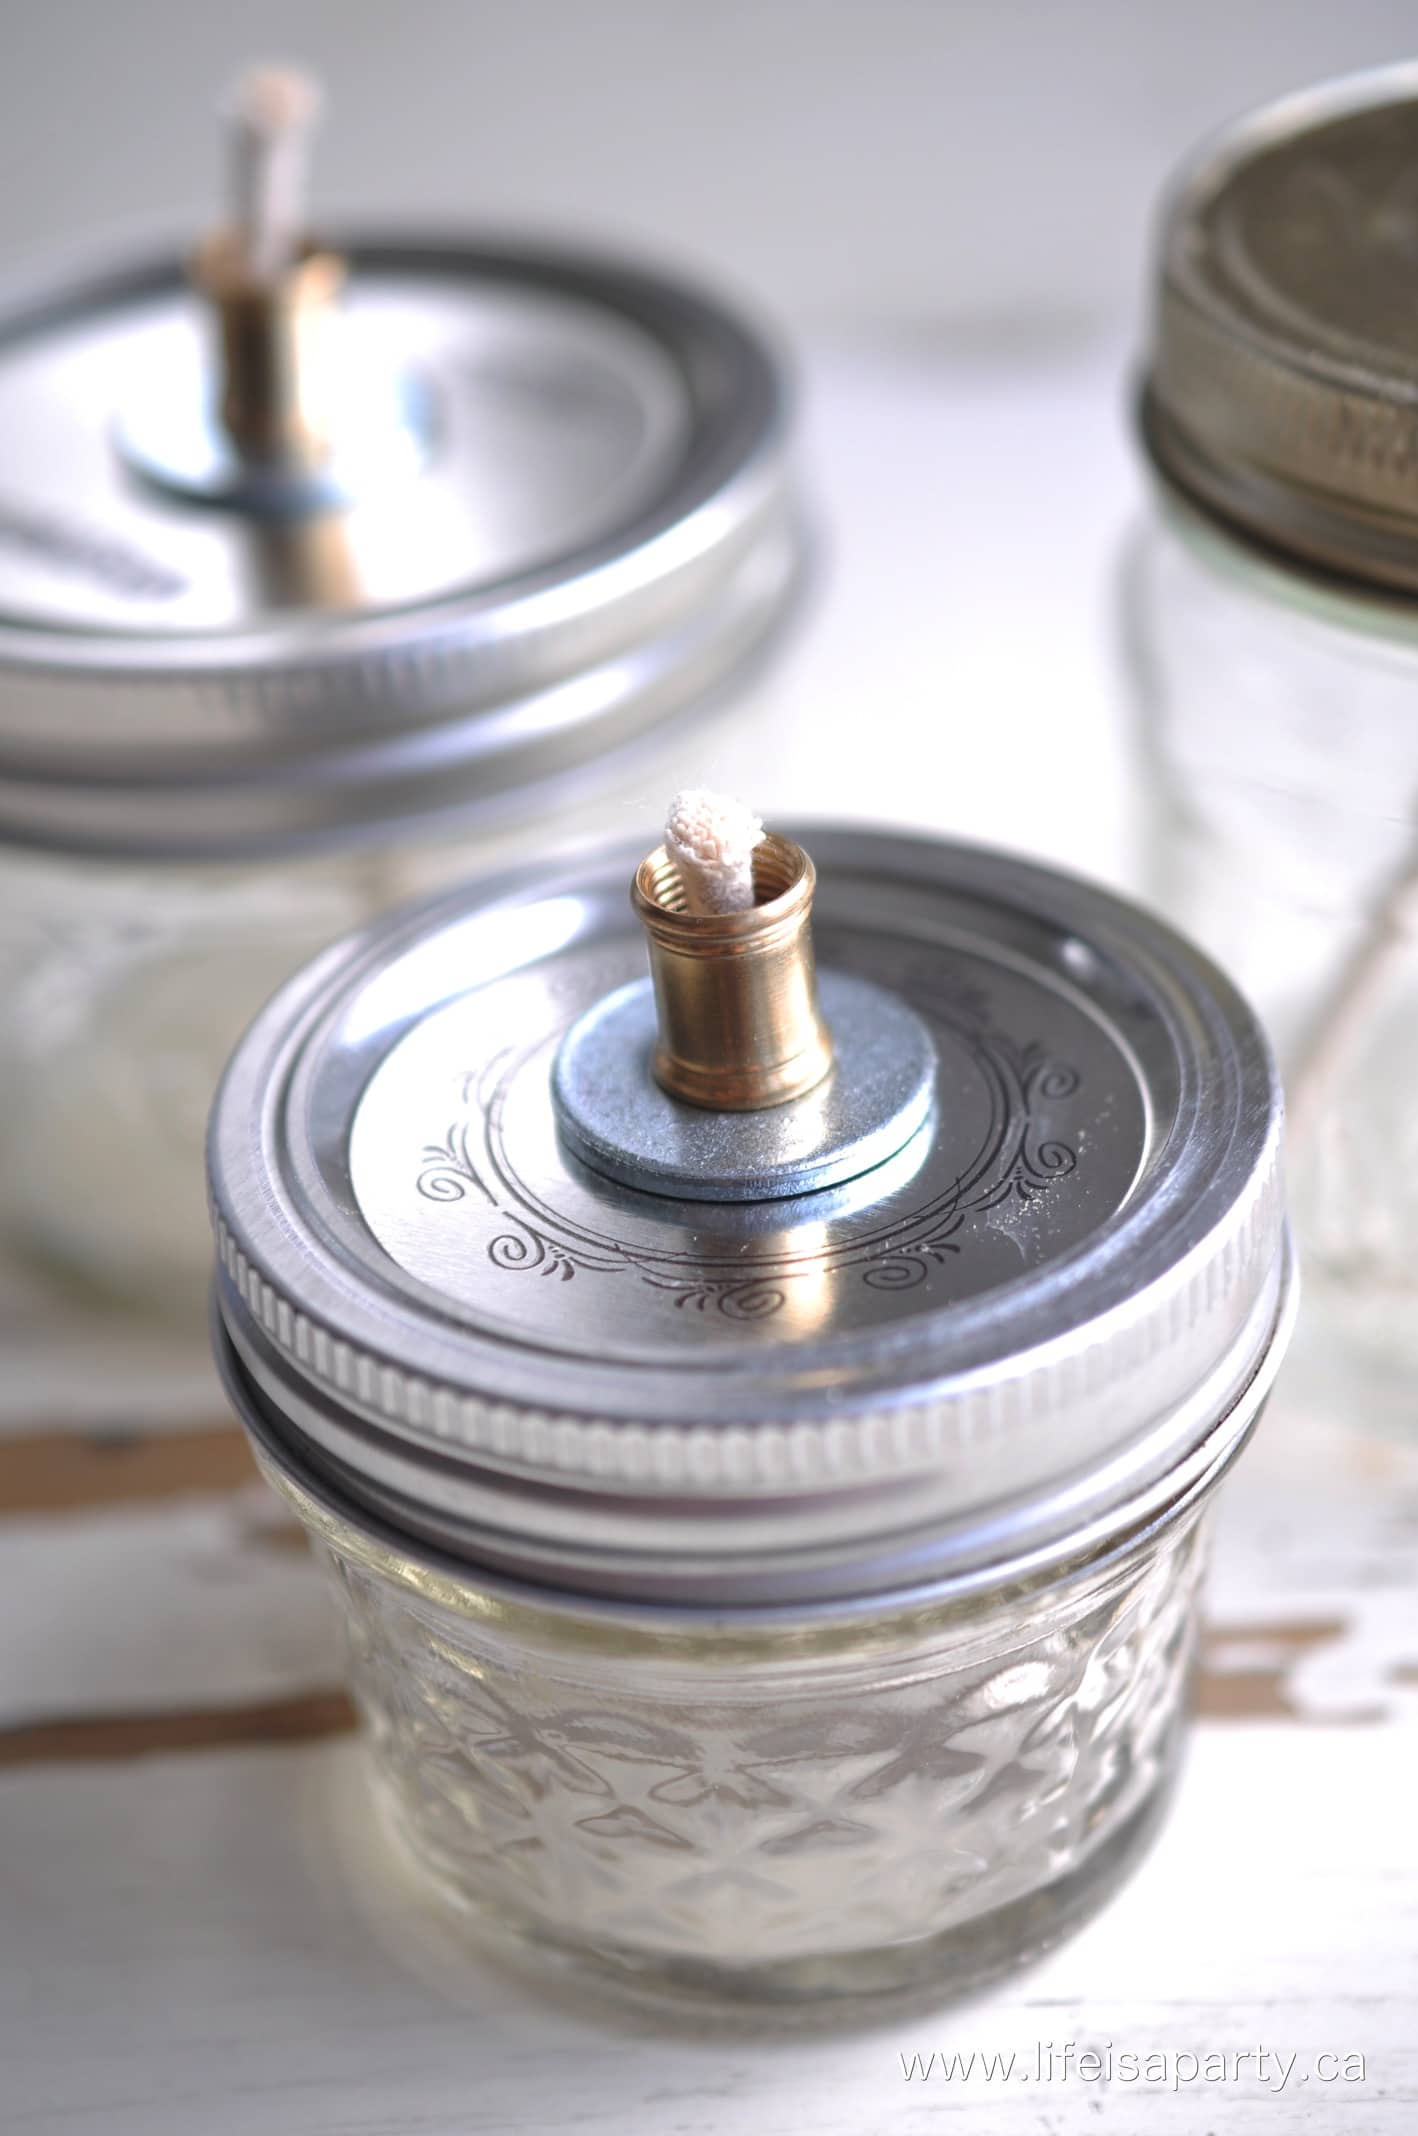
Step 4: Now, screw on the lid on to the top of the jar, with just a little wick at the top.
Give the wick a bit of time to soak up the oil before lighting it for the first time.
Expert Tip: If the wick is too long, it will cause the lamp to smoke, in which case you can trim it shorter, or push it down to make it shorter.
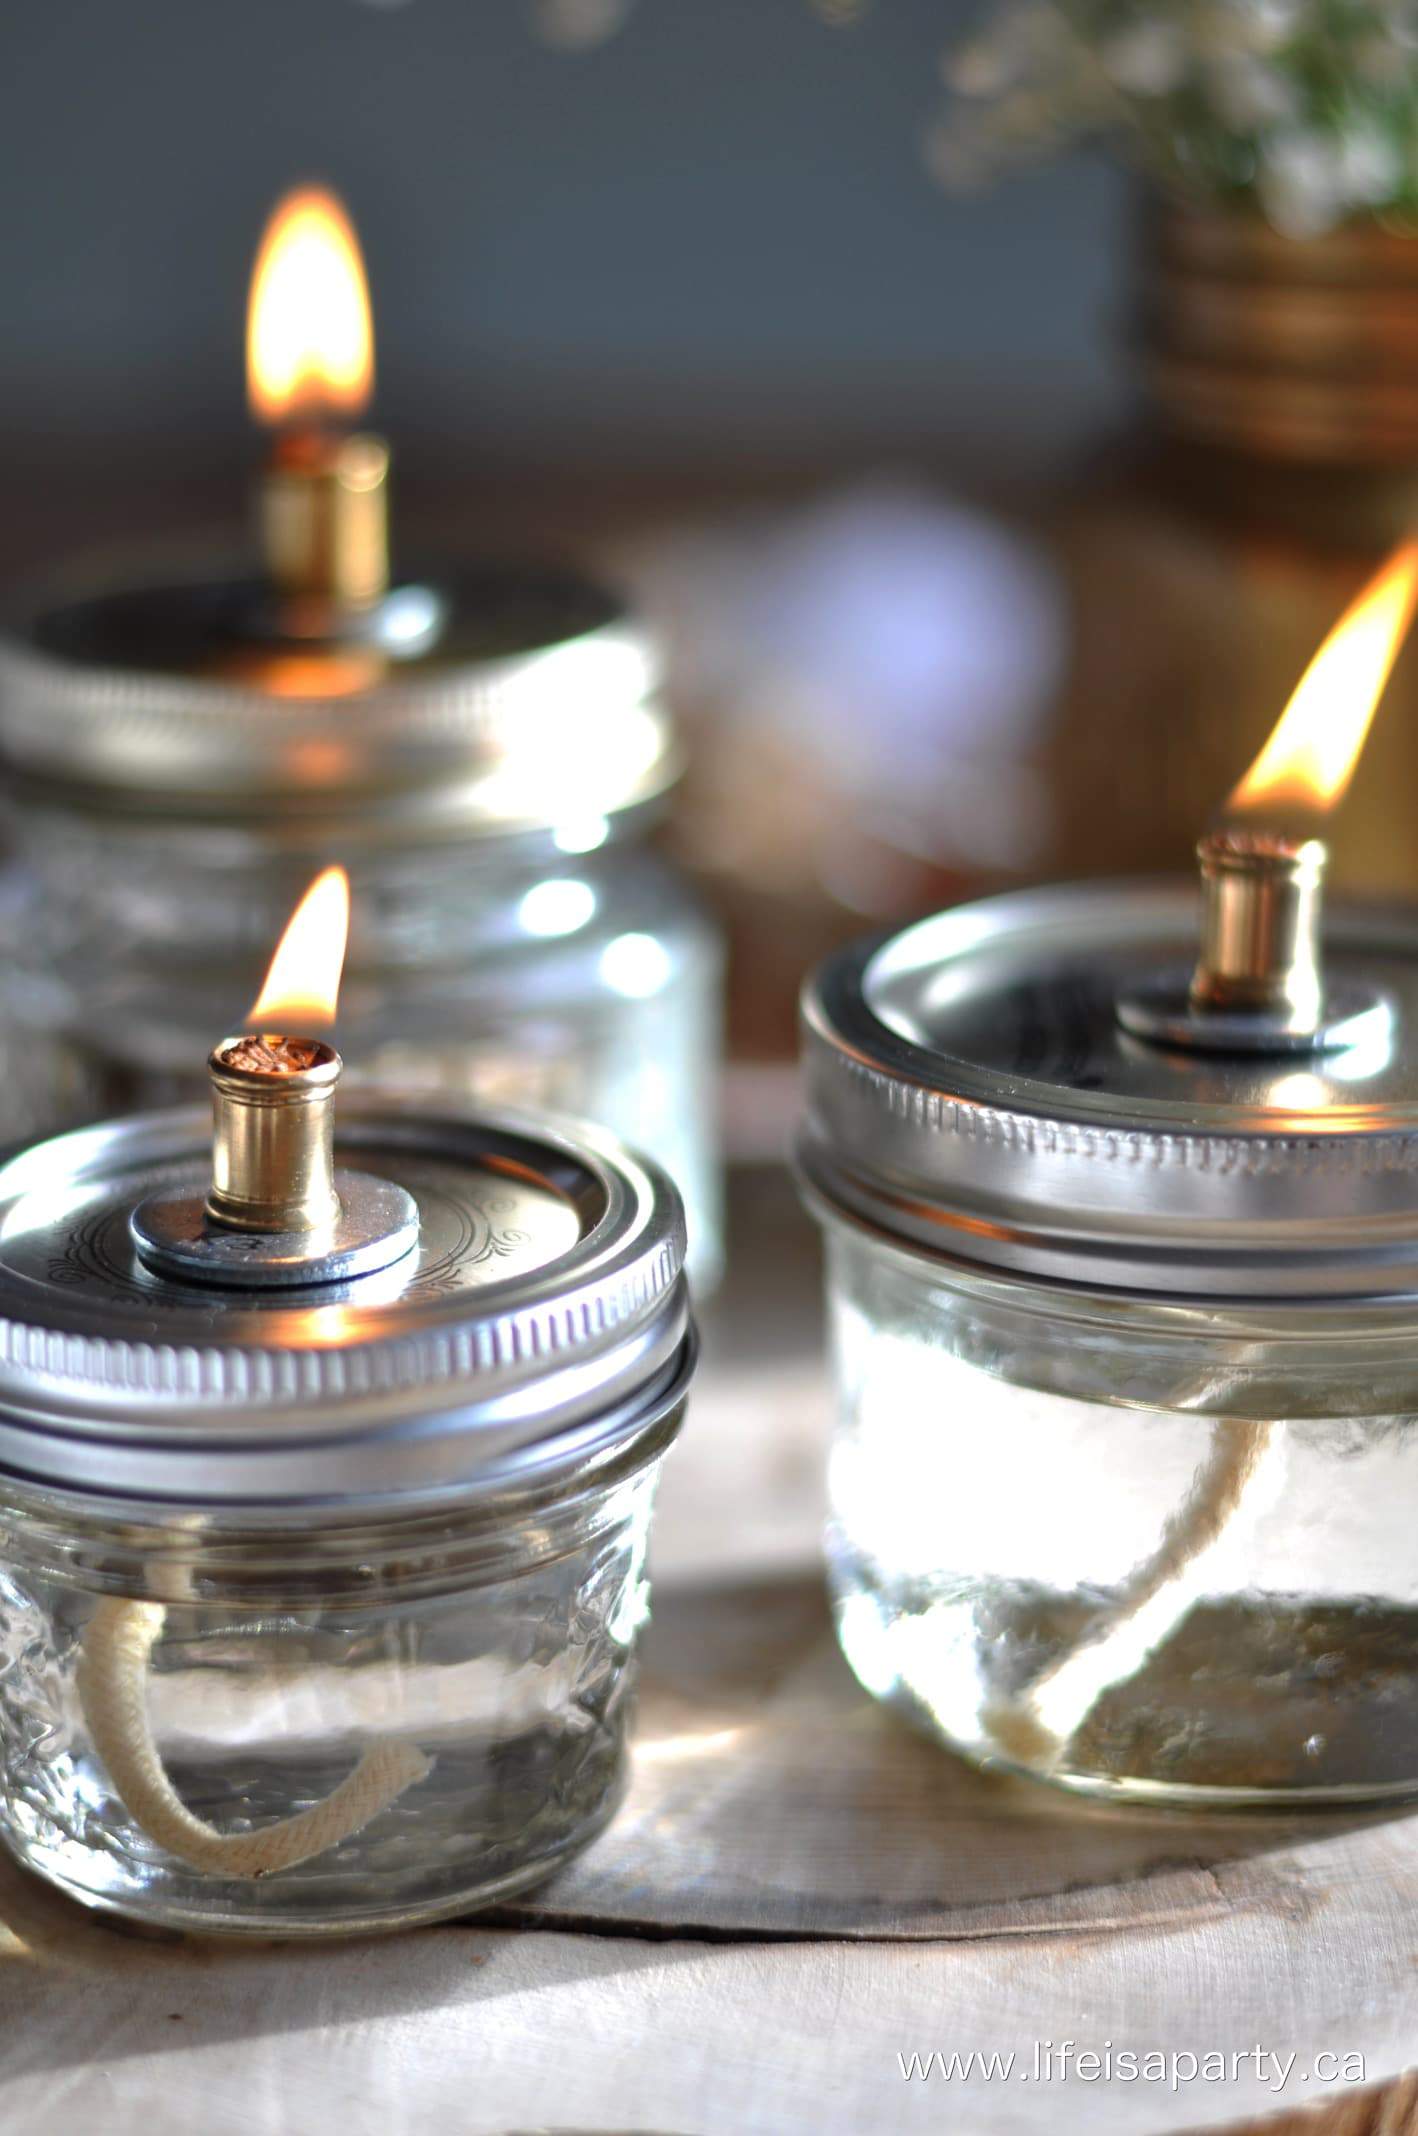
I think they'd be really lovely as wedding centrepieces, and I think I'll use mine for an upcoming party.
These should help me get through some of the long nights of winter a little more easily, with their warm cozy light.
With DIY Mason Jar Oil Lamps, life really is a party!
More Craft Inspiration
Frequently Asked Questions
Yes. Remember to never leave a mason jar oil lamp unattended. Keep away from children, pets, and flammable materials.
Your wick is too long. Extinguish your lamp, and trim the wick shorter or pull it down to adjust it before relighting.
Blow out the flame, or use a candle snuffer to extinguish your mason jar oil lamp.
How long a mason jar oil lamp burns depends on several factors. We recommend using paraffin lamp oil, which burns most effectively. Your burn time will depend on your type of oil, size of the mason jar, the thickness of the wick, and length of the wick. In general, 1 cup of lamp oil should burn between 3-12 hours.
If you try our tutorial on How To Make to Make A Mason Jar Oil Lamp or any other ideas on the blog please let me know how it went in the comments below. Thanks for visiting today!
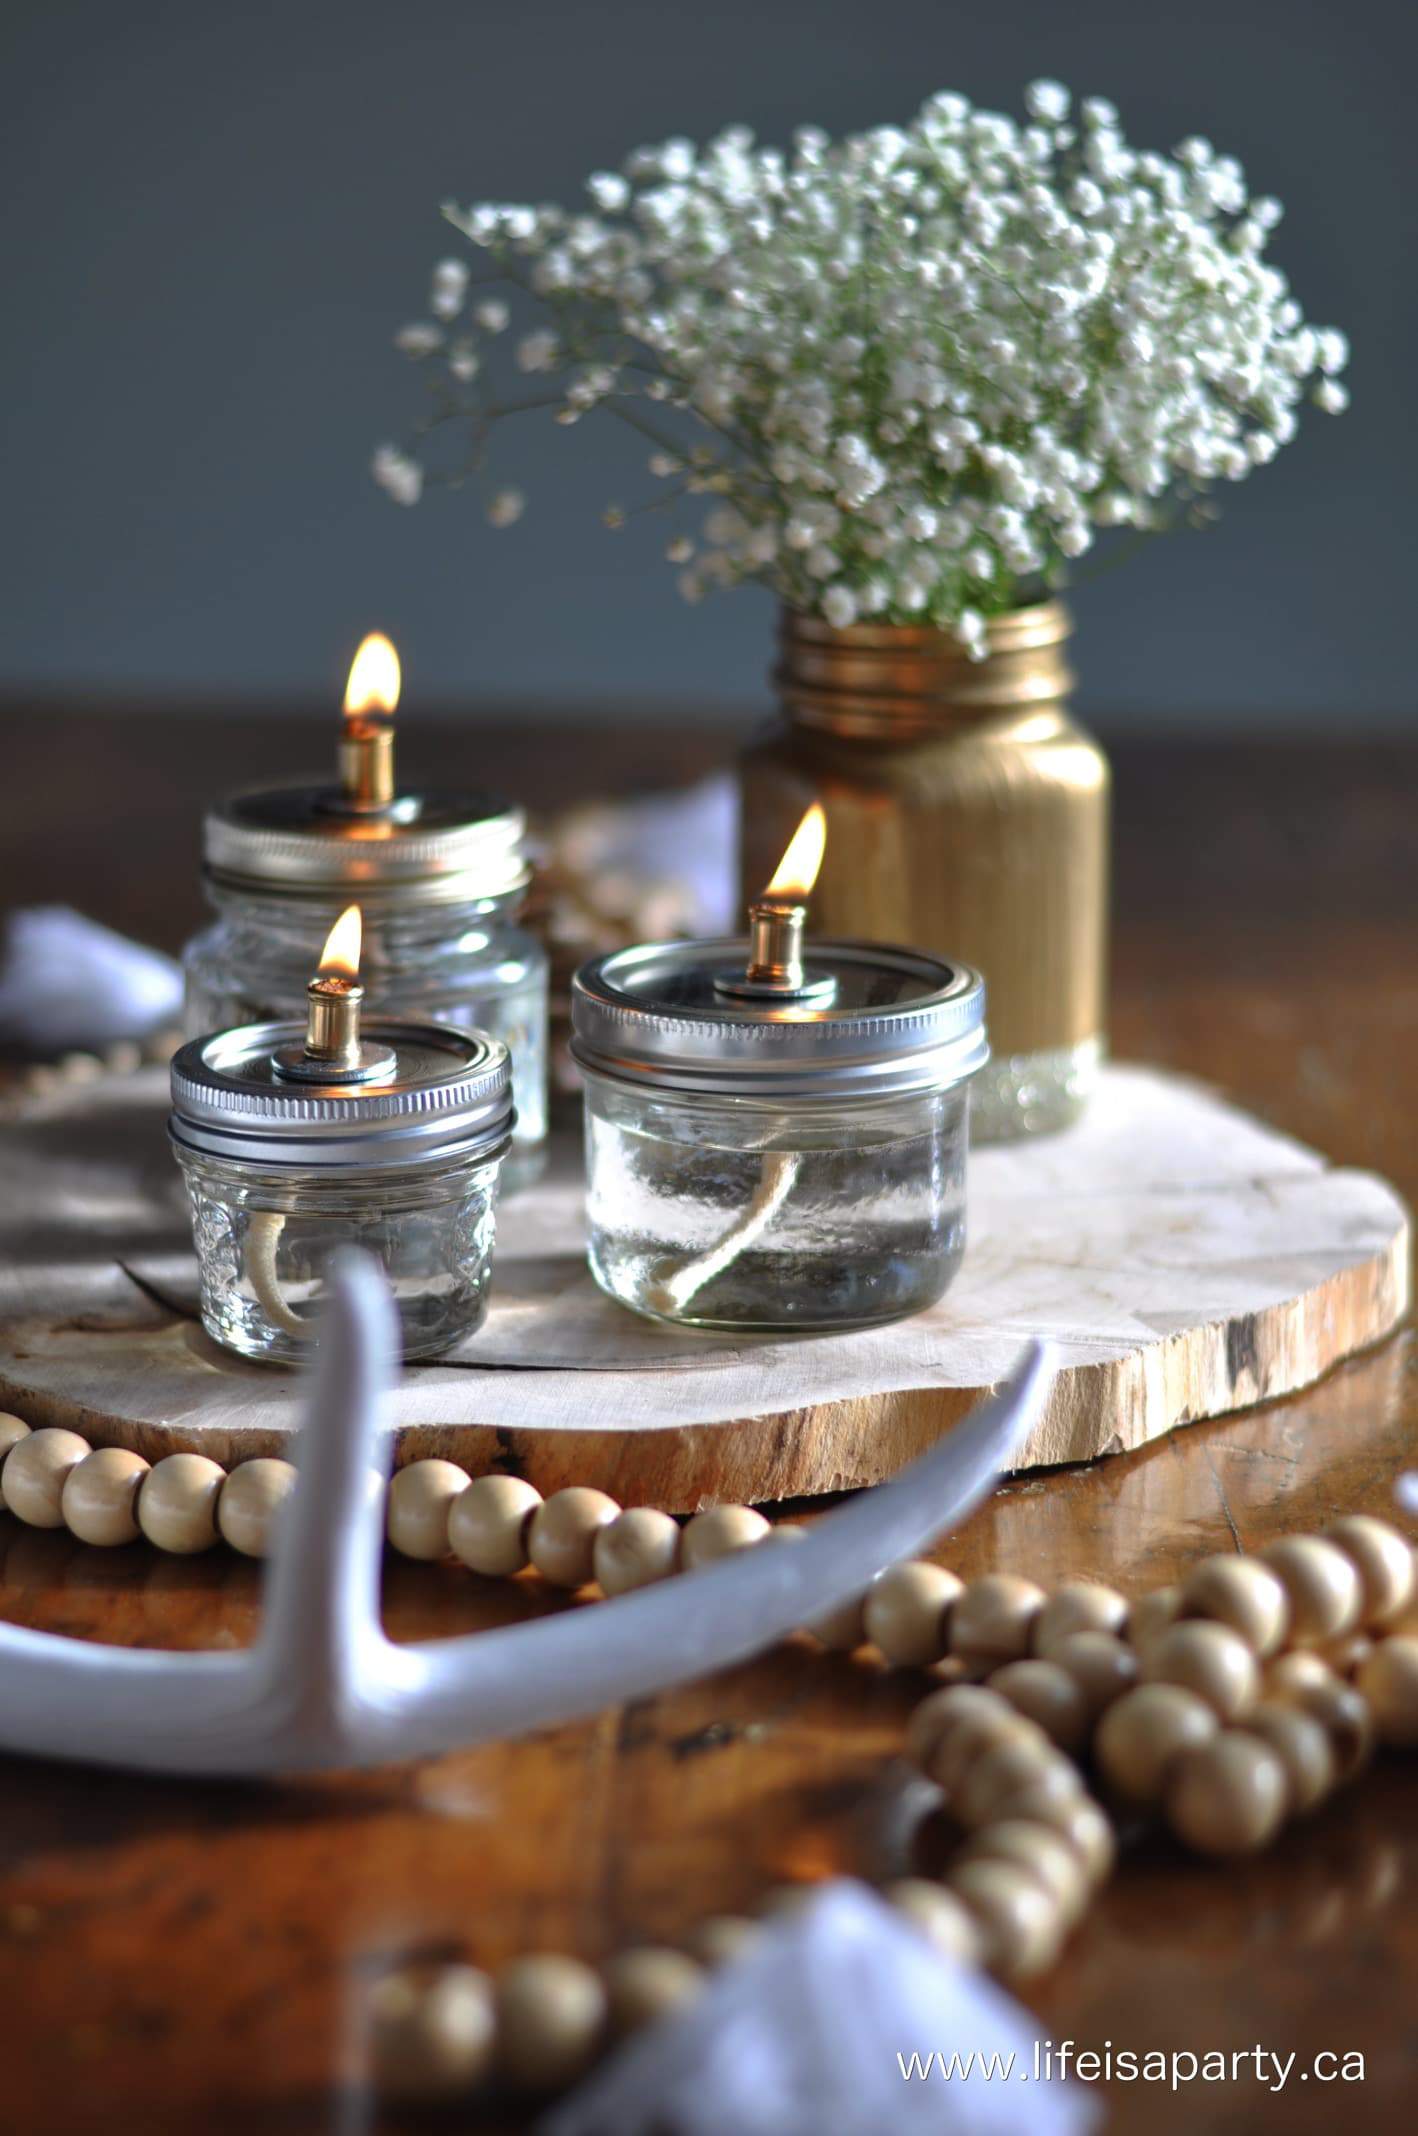

Mason Jar OIl Lamps
Equipment
- Drill with ⅛" Drill Bit
- scissors
Materials
- 3 Mason Jars
- Paraffin Lamp Oil
- Cotton Lamp Wick
- 3 ⅛ " Nipples
- 3 ⅛" Couplings
- 3 ⅛" Washers
Instructions
- The first step in making your beautiful mason jar oil lamp is to drill a hole in the canning jar lid. I found it a little tricky to get it in the center of the lid, and found drilling a small hole first, and then the larger ?" one worked best. It still isn't perfect, but it doesn't need to be, so don't worry. Once you've done your first jar lid, repeat this process for the rest of the lamps you're making.
- Next, you thread the nipple through the hole, so it's about half way through each side, and then add the washer and screw the coupling onto the top of the lid.
- Cut a piece of the cotton wick with enough length of wick so that it is a little longer than the depth of your jar and thread it through the mason jar lid. Fill up your mason jar with lamp oil. The remaining length of the wick will rest on the bottom of the jar, and you can pull it up as necessary. Save your remaining lamp wicks that you've cut off to use as extra wicks in the future.
- Now, screw on the lid on to the top of the jar, with just a little wick at the top. If the wick is too long, it will cause the lamp to smoke, in which case you can trim it shorter, or push it down to make it shorter. Give the wick a bit of time to soak up the oil before lighting it for the first time.



Emma Liston says
Love these. I've always been a bit scared of trying to diy candles but you've made this look really easy. Good job 🙂
dnr says
Hi Kelly,
Scented lamp oil would be a great choice. Best of luck.
Dannyelle
Kelly says
I was wondering if I used sent oil for oil lamps. Would that be ok?
dnr says
Thanks Christina, I've been working hard on my photography,so your compliment means a lot!
Thanks again,
Dannyelle
Christina @ The DIY Mommy says
Oh, these are GORGEOUS! Now I really want to try making some - what a lovely thing to make for the chilly and dark winter months. Your photos are top notch too!
dnr says
Thanks Sonja!
Sonja @ SustainMyCraftHabit says
Such a great idea! And your pics...using wood slices, pine cones and birch bark...simply beautiful.
dnr says
Thanks Joann,
They're pretty easy to put together.
best of luck,
Dannyelle
Joann @ Woman In Real Life says
These are so great! And they look so pretty the way you have presented them. I want to make some too!
dnr says
Aw...summer nights, can't wait.
Dannyelle
dnr says
Heather, these would be perfect outside in the summer. Thanks.
Dannyelle
Ariel says
I'll definitely be bustin these out come summer. Great idea 🙂
Heather @ New House New Home says
Stunning! Simple! Creative! Love them. Wouldn't they be pretty outside on a warm summer evening.
dnr says
Thanks Laurie.
Laurie @ Vin'yet Etc. says
These are awesome! I've always wanted to make some but just wasn't sure how, this tutorial is perfect, I think I could handle making some of these, they'd even make great hostess gifts! Pinned!