Make these 3D Origami Hearts out of any paper, like white paper, coloured paper, or old book pages. Perfect for Valentine's Day decor, wedding decor, a baby nursery, or for gifting to your sweetheart.

Jump to:
What We Love About This Craft
- All you need is some paper for this craft -which makes it really inexpensive.
- The fact that they're 3D makes them extra special.
- They're really easy to make, once you get the hang of it.
- They make the cutest decor, especially for Valentine's Day.
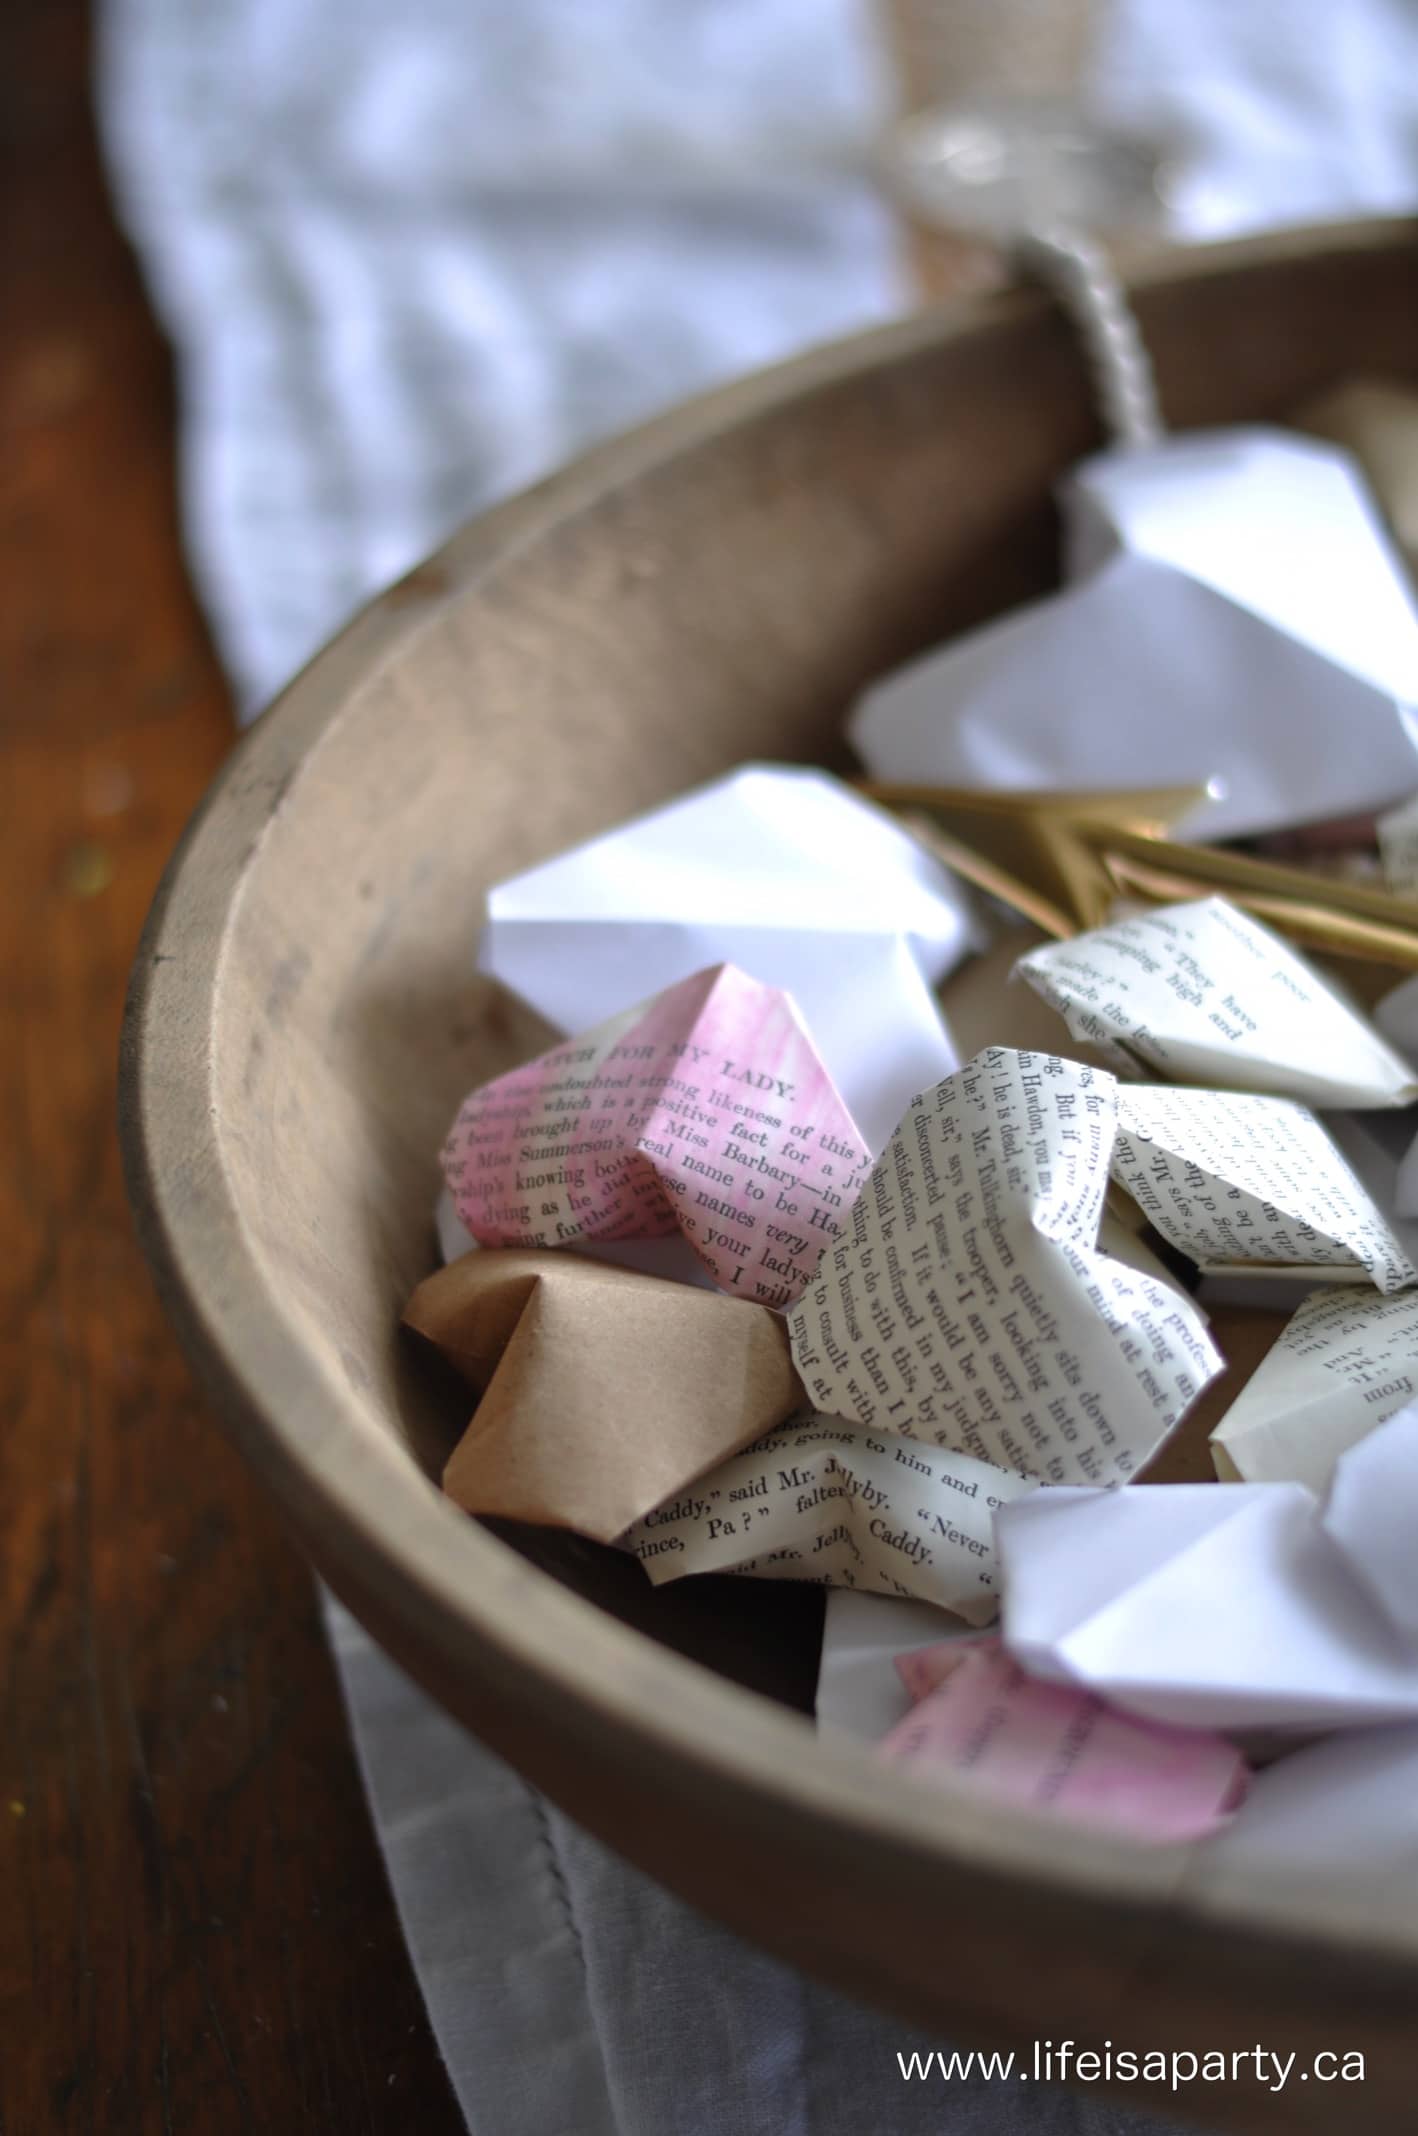
What's better than a bowl full of hearts for Valentine's Day? Nothing. I love adding cute neutral Valentine's Day decor to my home to celebrate the season of love. These yarn hearts and Book Page Heart Garland are more favourites.
These 3D Origami Hearts are super easy to make. Origami is the Japanese art of paper folding. These small trinkets of folded paper are often given as origami gifts. You may have seen origami cranes in the past, but you can also make a 3D puffy heart out of paper too.
An easy origami heart is the perfect lovely heart project to give to your Valentine this year, use for decor, or incorporate into your party decor. You might also like our 20 At Home Valentine's Day Ideas.
Materials:
For this project, I made lots and lots of the 3D Origami Hearts out of
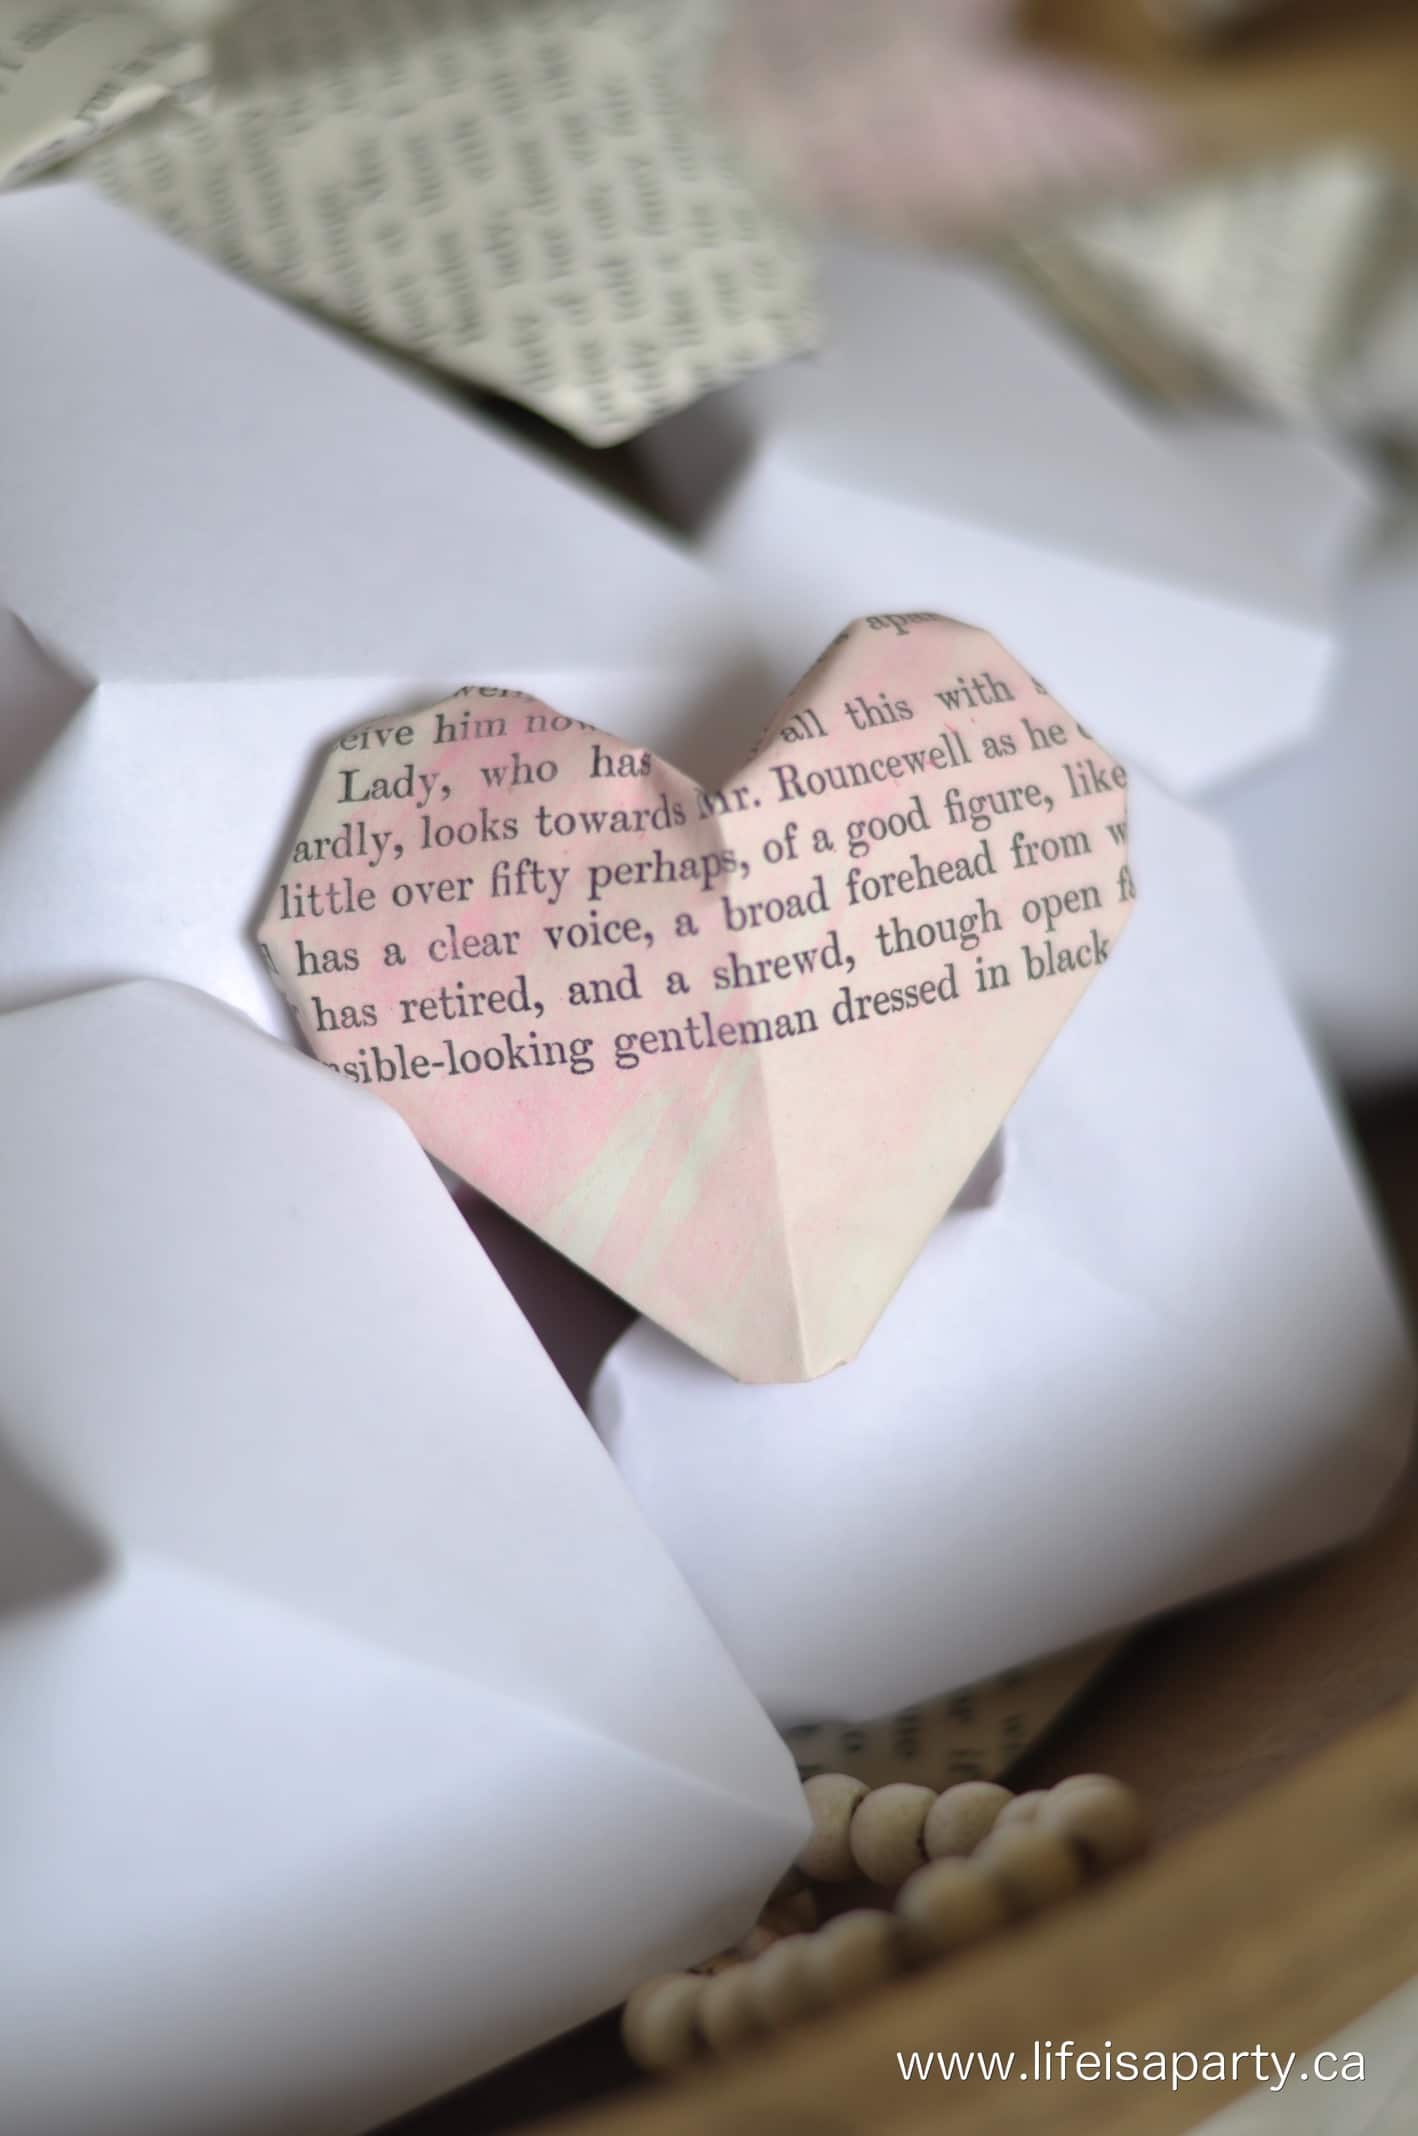
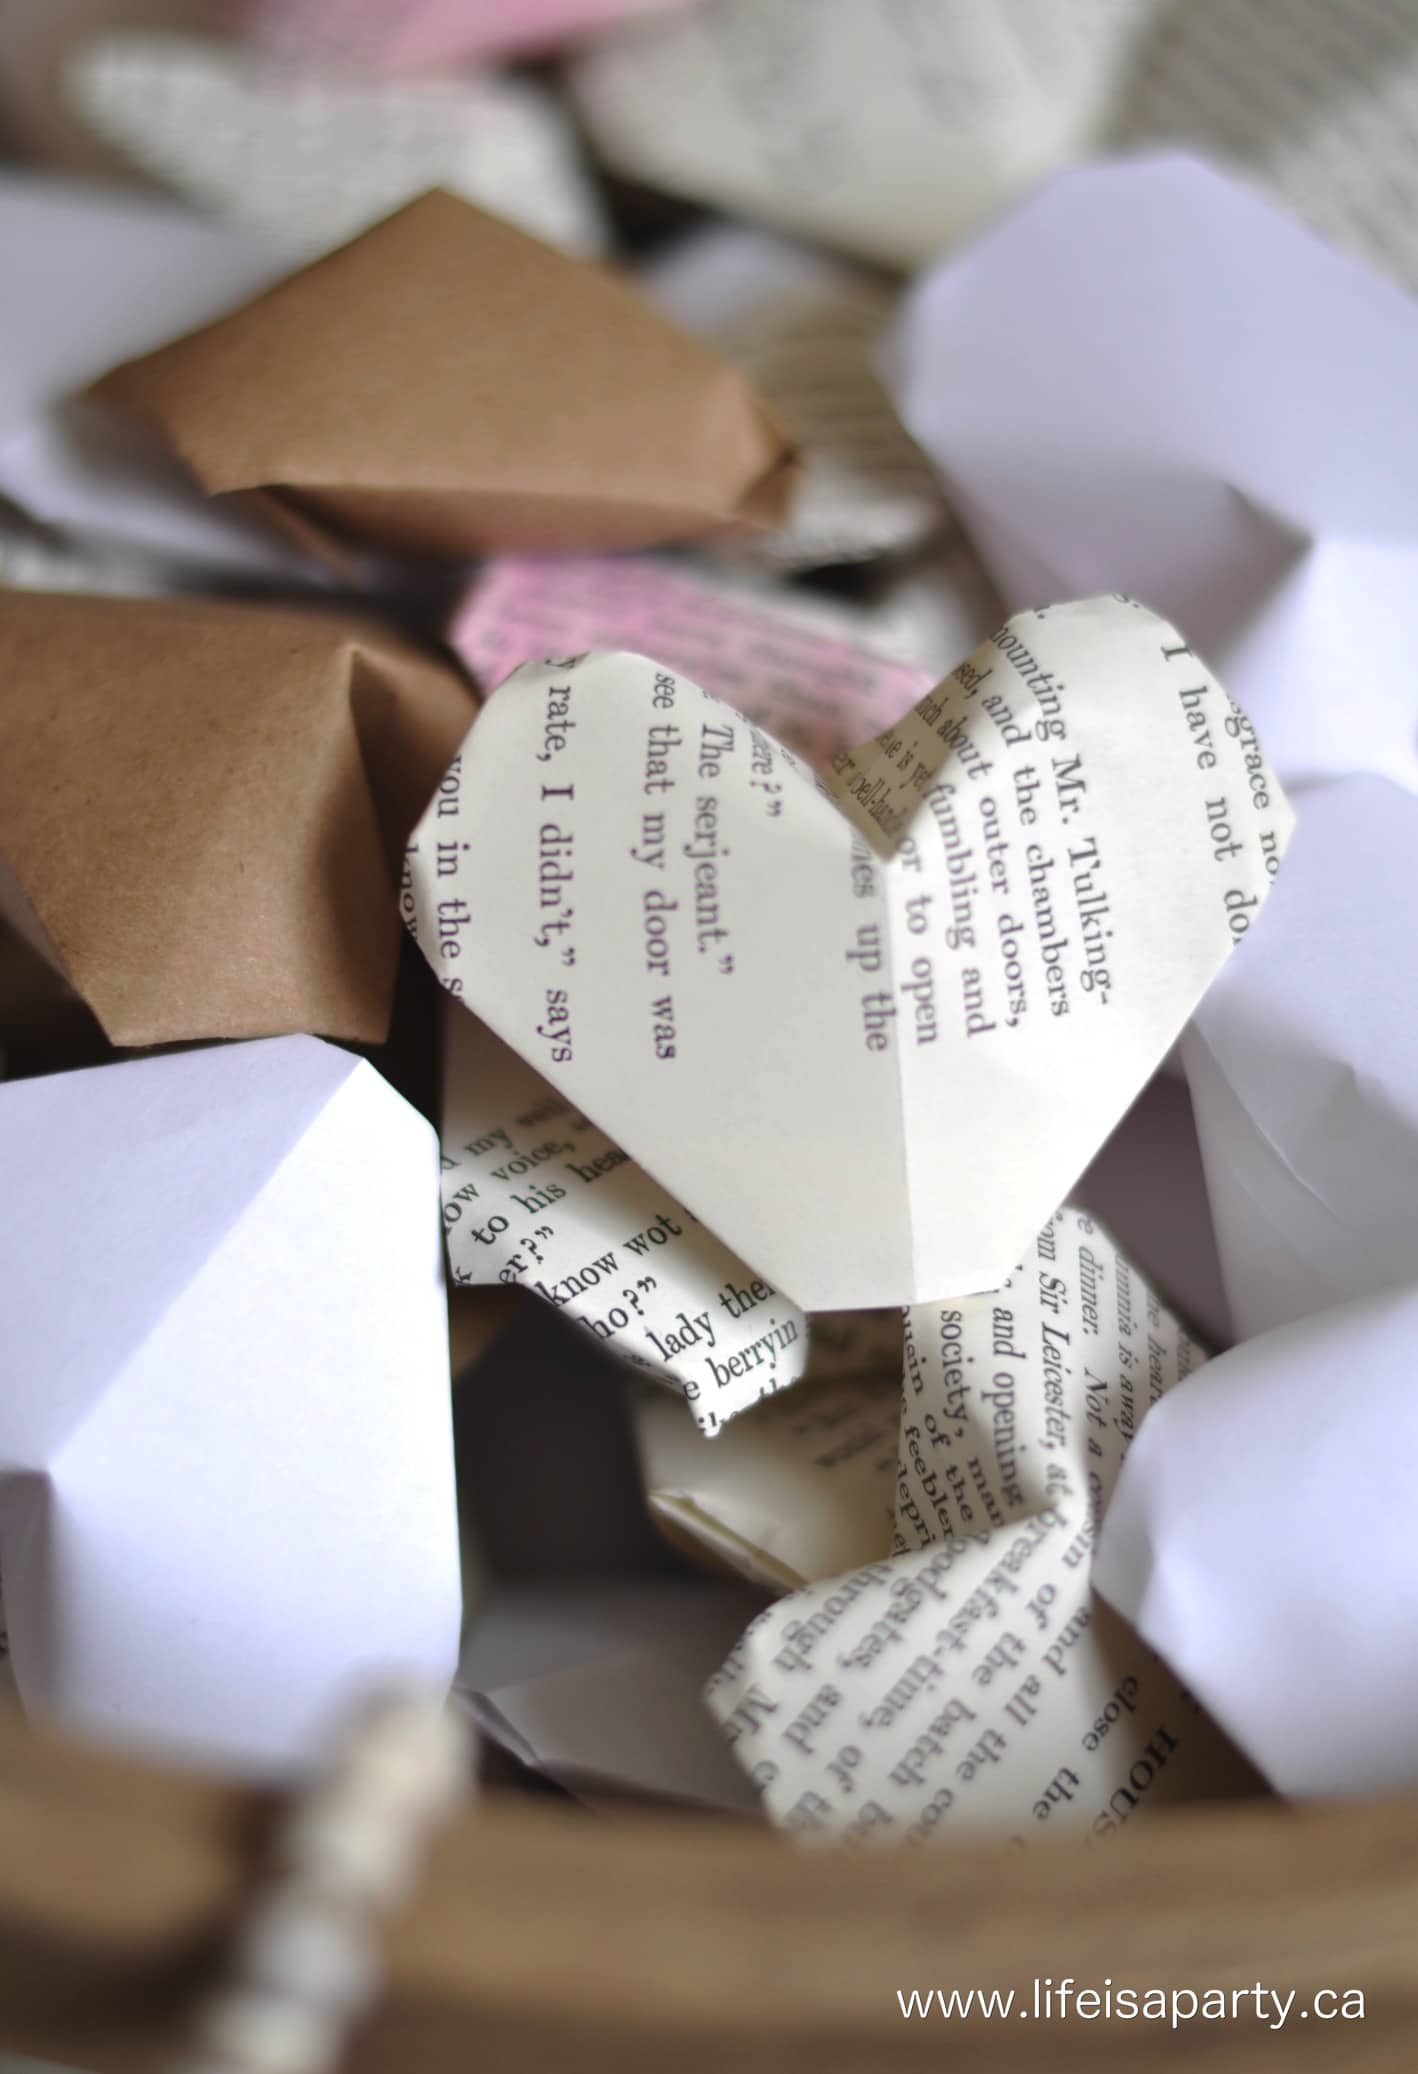
- Paper: I used white paper, brown kraft paper, and old book pages for my hearts, but you can use any paper you like, as long as it's not too thick.
- Watercolours: Some of the book pages were painted with pink watercolours before I folded them, for a little bit of pretty colour.
Variations:
You can make your hearts as big or small as you like.
Cute origami paper would be a really good choice too. If you're making this for decor, use any color paper or scrapbook paper that matches your home or party.

Top Tip:
You could use any square piece of paper for this project, as long as it's not too thick, since thicker paper can be difficult to fold precisely. Card stock is not the best choice for this craft.
Origami Heart Instructions:
1. To begin our origami heart tutorial, we must start with a square paper. If you have a rectangle, fold one corner down to meet the opposite side, then cut off the bottom to leave a triangle. Next, unfold the paper to reveal a square.
You can make a paper origami heart in any size, but to begin with I wouldn't make it too small or too big. Our paper here is about 4 inches square.
The first step is to fold the paper in half and create a center crease in it, then unfold it.

2. Next, turn the sheet of paper so that it is open with the fold crease line running vertically. Fold up the bottom of the paper about ¼ of an inch. Then use that new folded edge as the new bottom of the paper, and fold the paper in half horizontally.
3. Making sure the open part of the fold is at the top, fold the top right corner to the bottom edge, bottom corner, to form a triangle on one side.
4. Do the same on the other left side with the top left corner folded down to the bottom edge to form a matching triangle on the other side. The whole paper now looks a bit like the roof of a house.

5. Working with the top layer of paper, take the bottom middle corner of the triangle on the right side and fold it so that the edge lines up with the top triangle edge. Do the same on the other side, creasing hard. Then unfold both of those folds leaving the crease marks.
6. Starting with the lower left tip of the paper, fold it to meet up with the crease line you just created, on the middle edge. Do the same with the other side.

7. Next, open up the open edge of the triangle you just created on top, and tuck the piece of paper from underneath into it. Crease it hard. Do the same on the other side.

8. Then fold in the edges of the top four corners just slightly to make the whole shape more heart shaped.
9. Lastly you're going to blow some air with your mouth into the bottom point of the heart to inflate it, while using your finger to gently push down the centre and form the heart shape.

How To Make A 3D Origami Heart Video
Origami is one of those things that is easier to explain in video tutorials than in writing.

With a bowl full of hearts for Valentine's Day, life really is a party!
Frequently Asked Questions:
You can use any paper for this craft, like regular copy paper, scrapbook paper, origami paper, brown kraft paper, or old book pages. We don't recommend using card stock for this craft as it's too stiff and thick, which makes it hard to work with.
The folds are a little tricky at first, but once you get the hang of it, these 3D origami hearts aren't too hard to make. Most 7 -12 year olds should be able to make these.
We used ours as Valentine's decor in a large bowl. They'd also be cute for a wedding shower or baby shower as decor. They're also cute for gift giving, especially around Valentine's day.
All you need is one square of paper to make a 3D origami heart.
More Valentine's Day Inspiration


If you try these 3D Origami Hearts or any other ideas on my blog please leave a star rating and let me know how it went in the comments below. Thanks for visiting today!
Equipment
- 1 Pair of Scissors
Materials
- 1 piece paper any color or pattern
Instructions
- To begin our origami heart tutorial, we must start with a square paper. If you have a retangle, fold one corner down to meet the opposite side, then cut off the bottom to leave a triangle. Next, unfold the paper to reveal a square. The first step is to fold the paper in half and create a center crease in it, then unfold it.
- Next, turn the sheet of paper so that it is open with the fold crease line running vertically. Fold up the bottom of the paper about ¼ of an inch. Then use that new folded edge as the new bottom of the paper, and fold the paper in half horizontally.
- Making sure the open part of the fold is at the top, fold the top right corner to the bottom edge, bottom corner, to form a triangle on one side.
- Do the same on the other left side with the top left corner folded down to the bottom edge to form a matching triangle on the other side. The whole paper now looks a bit like the roof of a house.
- Working with the top layer of paper, take the bottom middle corner of the triangle on the right side and fold so that the edge lines up with the top triangle edge. Do the same on the other side, creasing hard. Then unfold both of those folds leaving the crease marks.
- Starting with the lower left tip of the paper, fold it to meet up with the crease line you just created, on the middle edge. Do the same with the other side.
- Next, open up the open edge of the triangle you just created on top, and tuck the piece of paper from underneath into it. Crease it hard. Do the same on the other side.
- Then fold in the edges of the top four corners just slightly to make the whole shape more heart shaped.
- Lastly you're going to blow some air with your mouth into the bottom point of the heart to inflate it, while using your finger to gently push down the centre and form the heart shape.


dnr says
Thanks so much Susan, and best of luck with them!
Dannyelle
susan says
I LOVE THESE HEARTS!! CAN'T WAIT TO TRY.....THANK YOU FOR THIS LOVELY "GIFT". LorrieLors
B.Lee says
Love.love.love !!! Thanks,had to pause video a few times but I got it. Thanks again.
Cathy says
My end is not open, what did I do wrong?
dnr says
Elanor that's such a sweet idea, hope he loved it!
Best,
Dannyelle
Elanor says
Great tutorial! I've just made one and put it in my boyfriends slipper to find when he gets in from work.
dnr says
Anna, thank you for the lovely comment. I'm so glad the tutorial was helpful!
Dannyelle
Anna says
Hi Dannyelle my year 7 son has an origami project and I've been looking for great, but easy origami for him to do. I have to say not only are your hearts gorgeous, but your tutorial made them super easy! Thank you so very much.
dnr says
Maria, so glad it was helpful, and all the best for your upcoming wedding!
Dannyelle
Maria A. says
So easy to follow, thanks so much for the video. I will definitely use these for my wedding reception. So sweet!
Juhana says
I love this video so much!You are amazing:)
I wish you mention me in your next video.
I hope you read this.
dnr says
Thanks Yvonne, so glad you liked it!
Dannyelle
Yvonne Dunmore says
Thank you, thank you, thank you for this video. I love these little puffy hearts. I made origami hearts for Valentine's Day this year and also a (girly) baby shower. Mine were the flat kind but I absolutely love these 3D ones. Good luck and God Bless you for all your future videos. <3
dnr says
Thanks Andrea. I was kind of amazed how well she knew how to make a video, and then she had all these little tips from watching YouTube videos, it was the sweetest. You should definitely give it a try!
Dannyelle
Andrea @ personallyandrea says
These are the cutest things EVER and your video is super-well done! Congrats Danyelle!
xo
Also I think my 11 year-old and I need to make these 🙂