Helping families make memories through celebrating in big and small ways.

Hi, I’m Dannyelle and I want to help you make life more of a party.
I love creating -whether it’s making crafts and DIY’s, putting together celebrations, cooking and baking, or decorating my home. I hope I can give you some inspiration, ideas, and know-how.
CHECK OUT OUR LATEST INSTAGRAM POSTS:


Summer Ideas
From Recipes to Party Ideas.
Summer Ideas
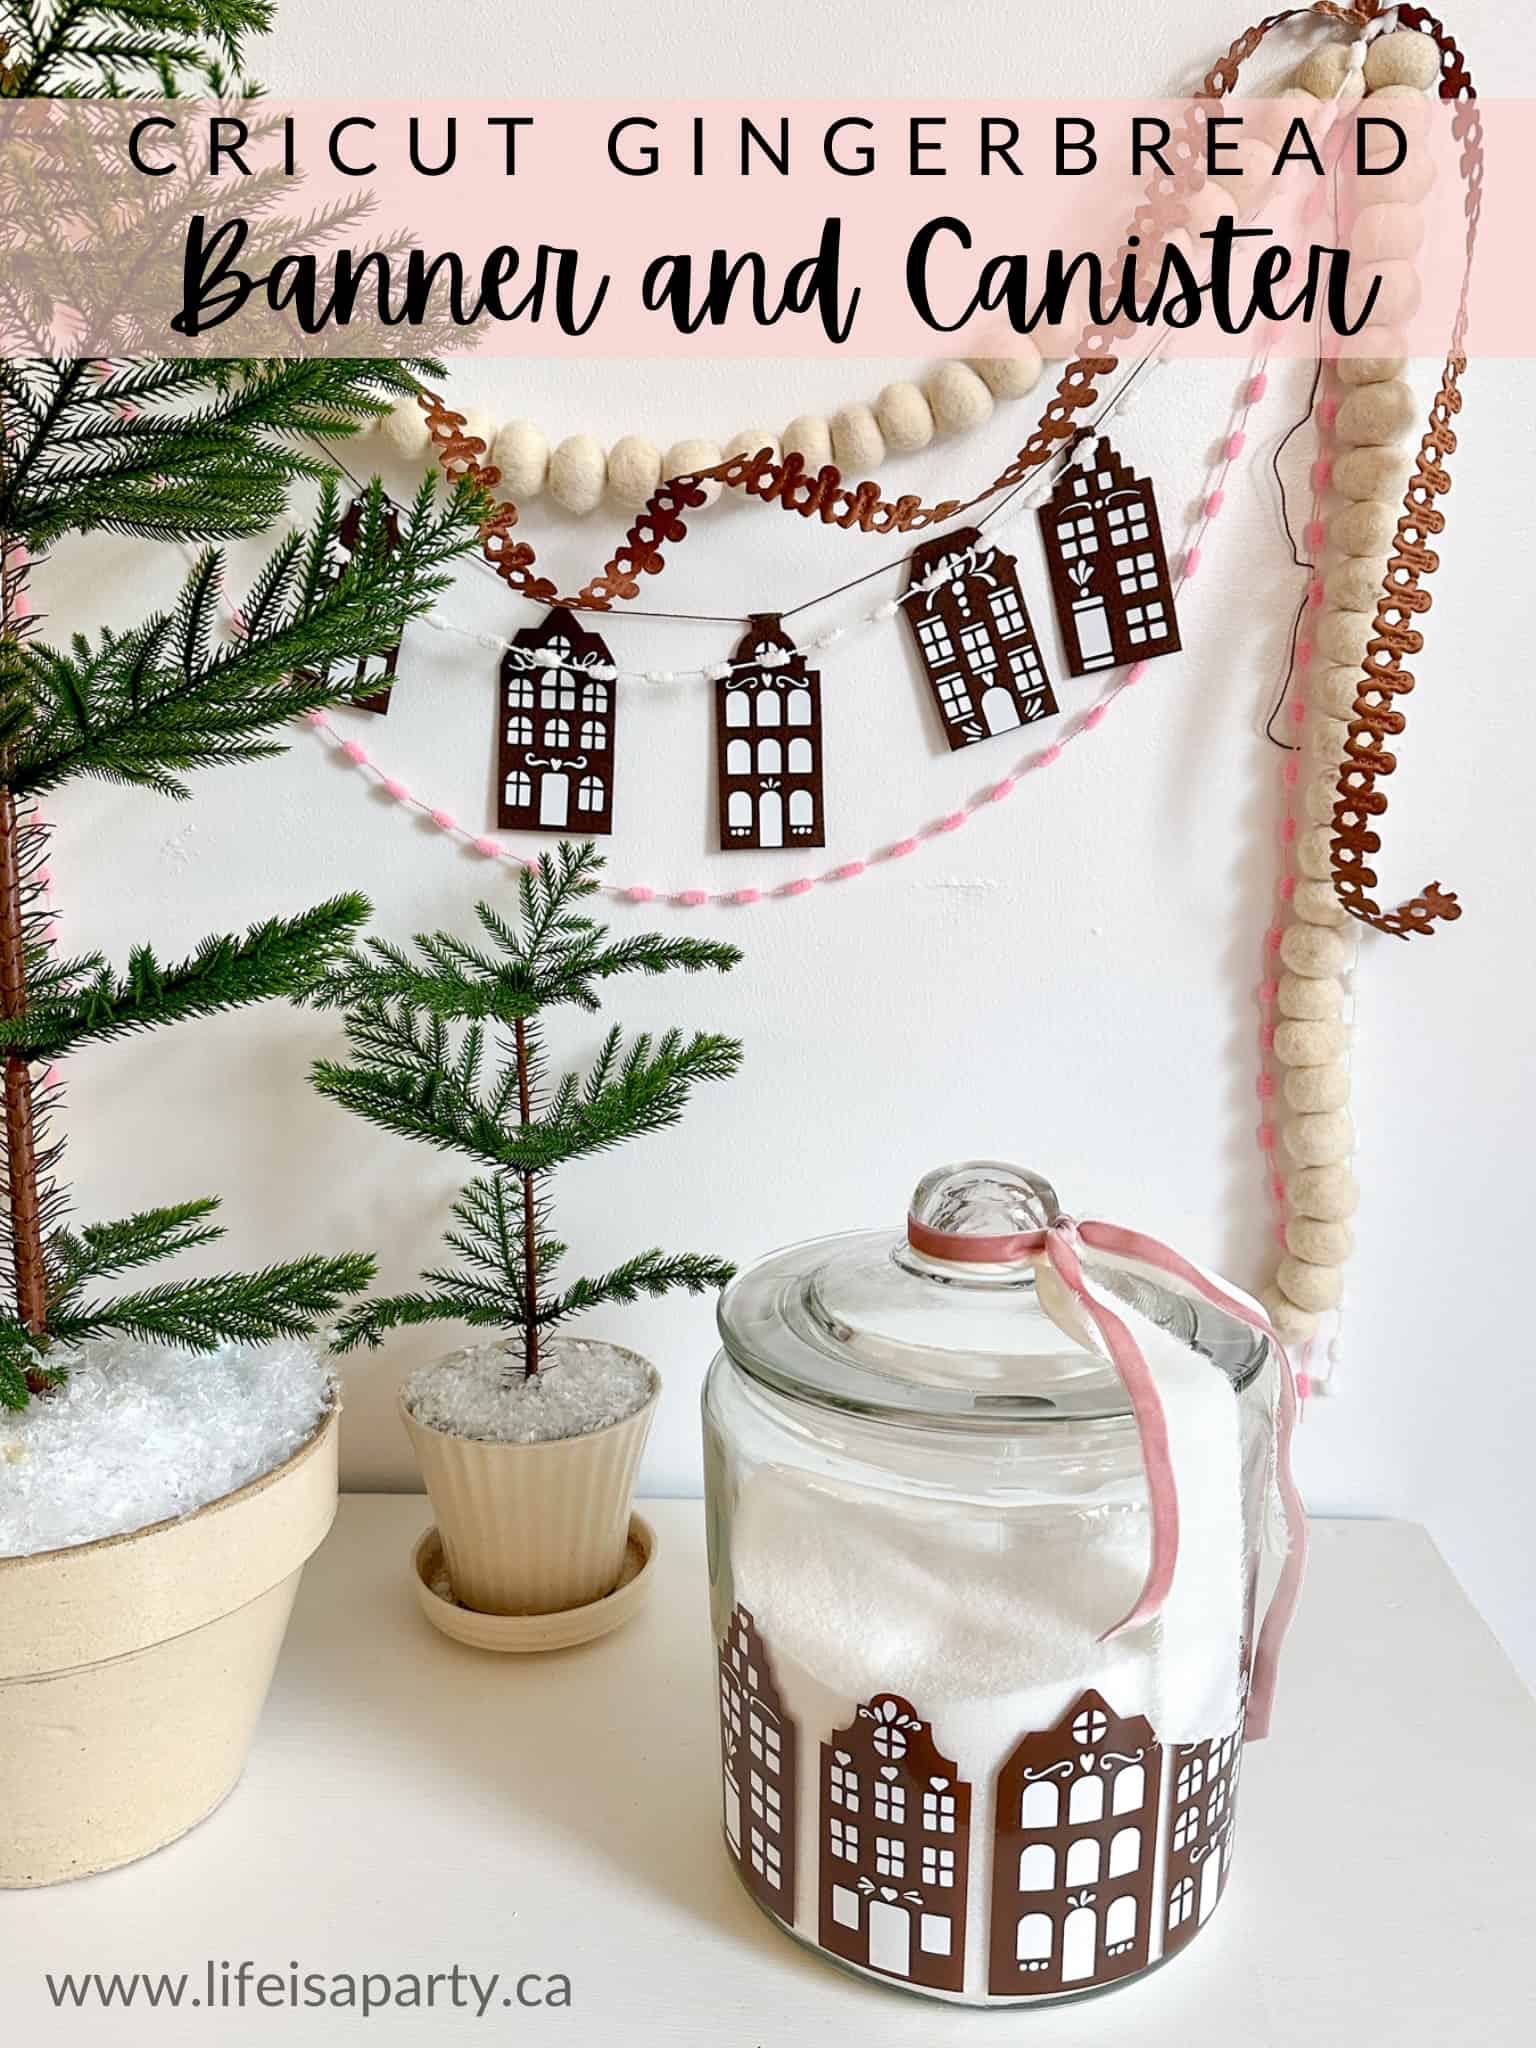
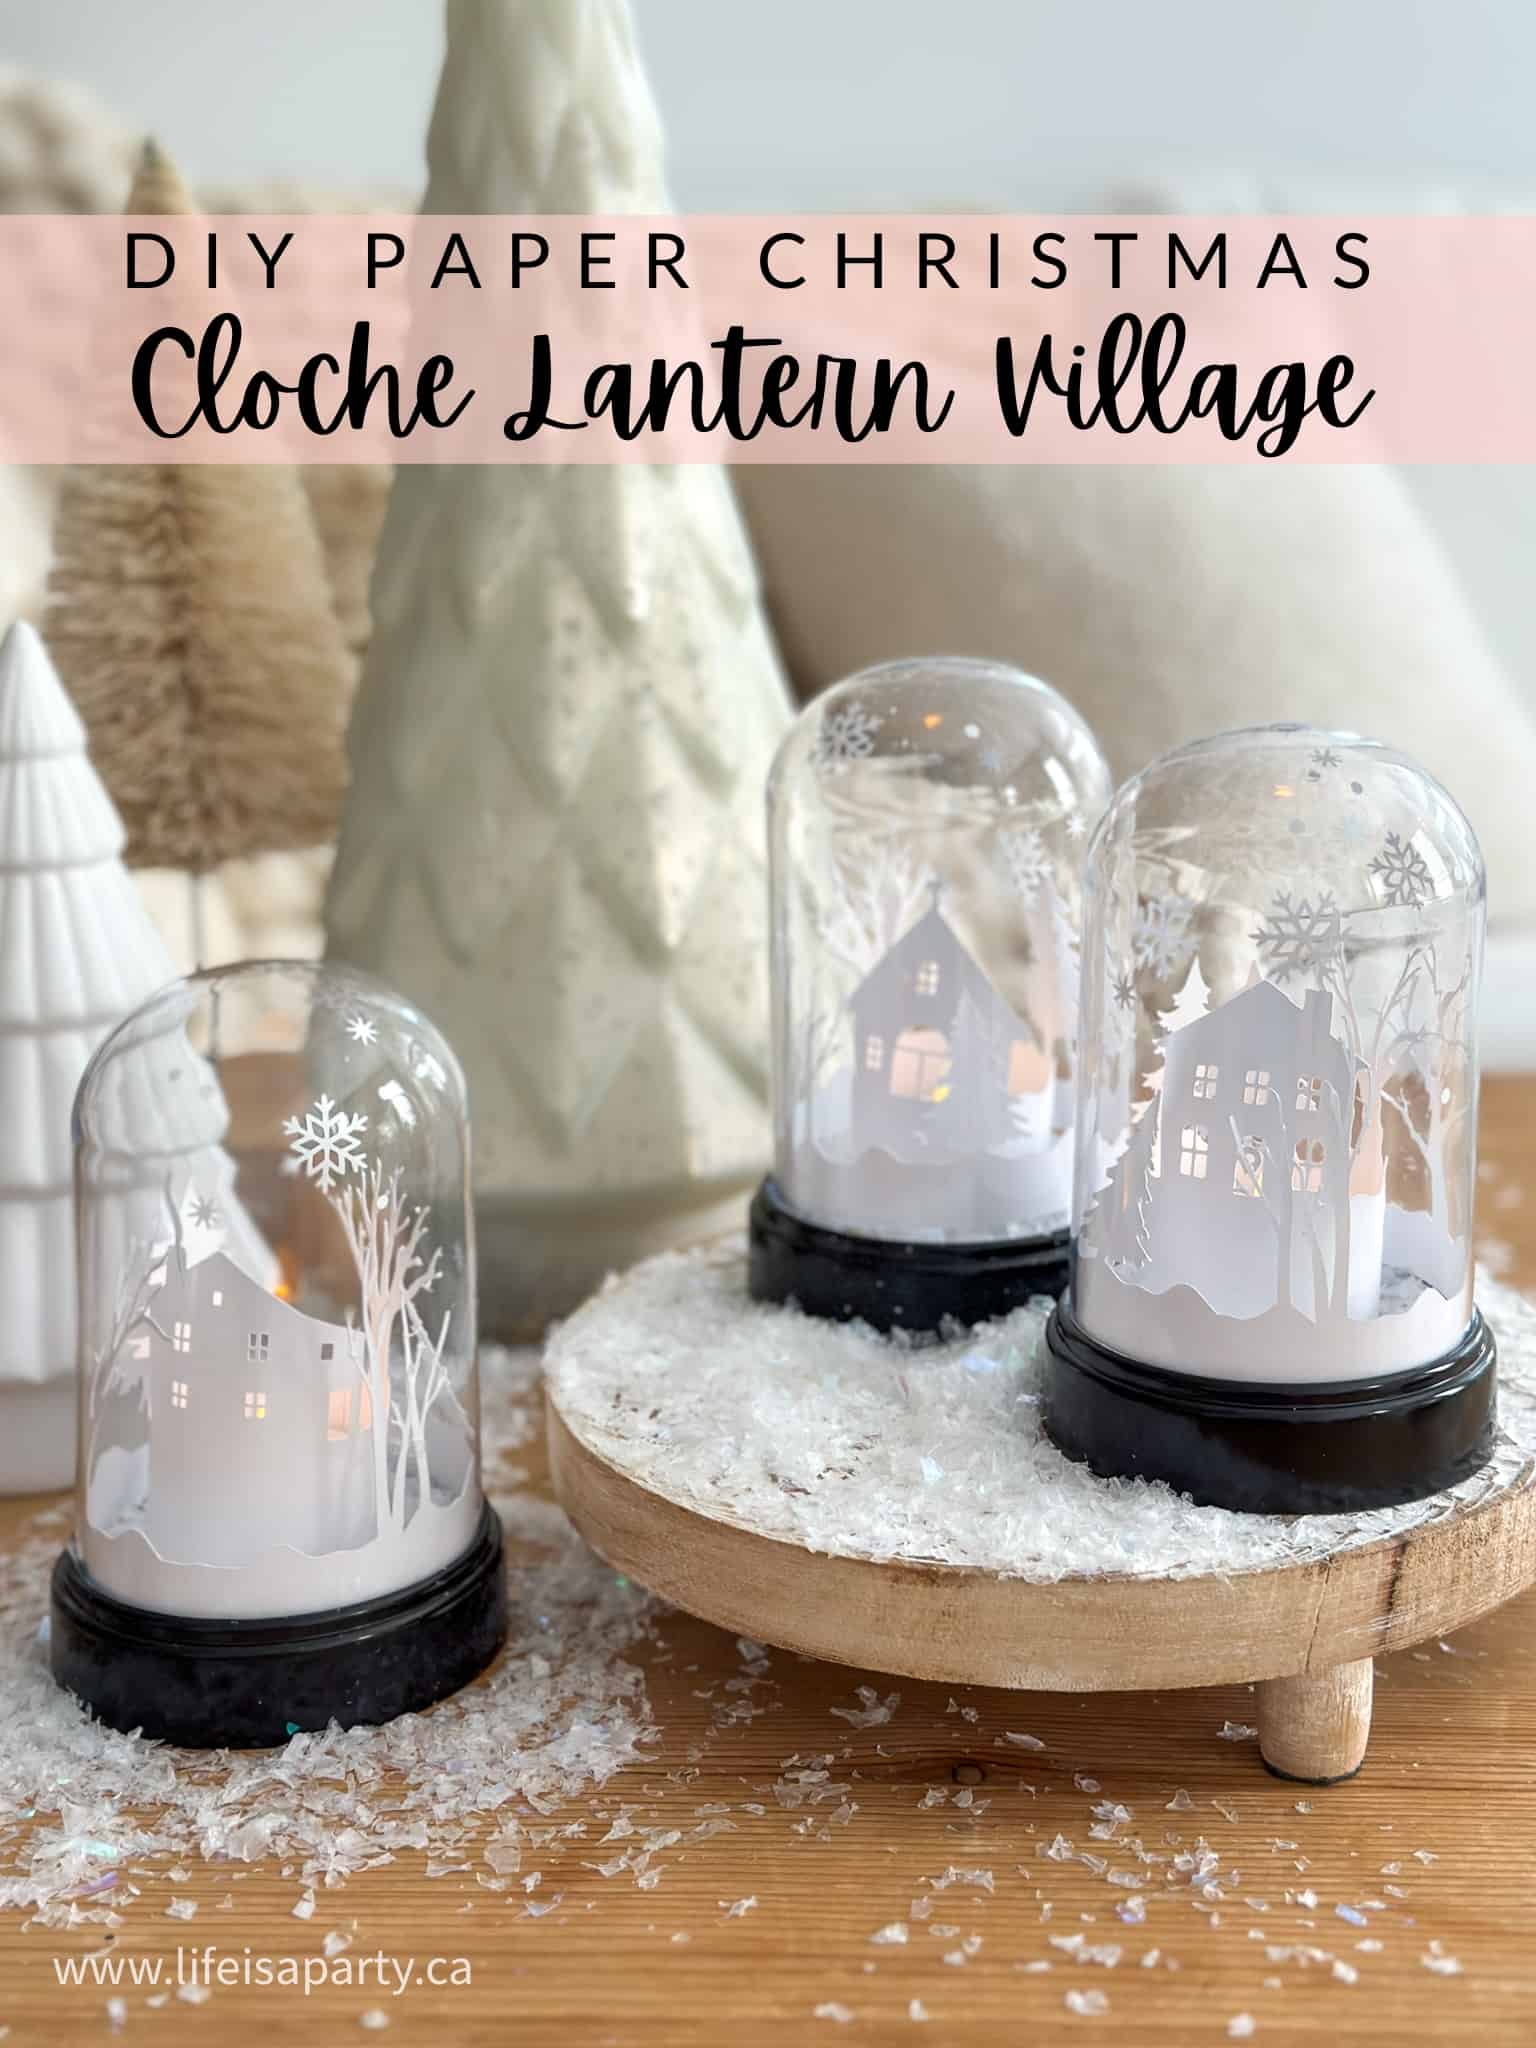
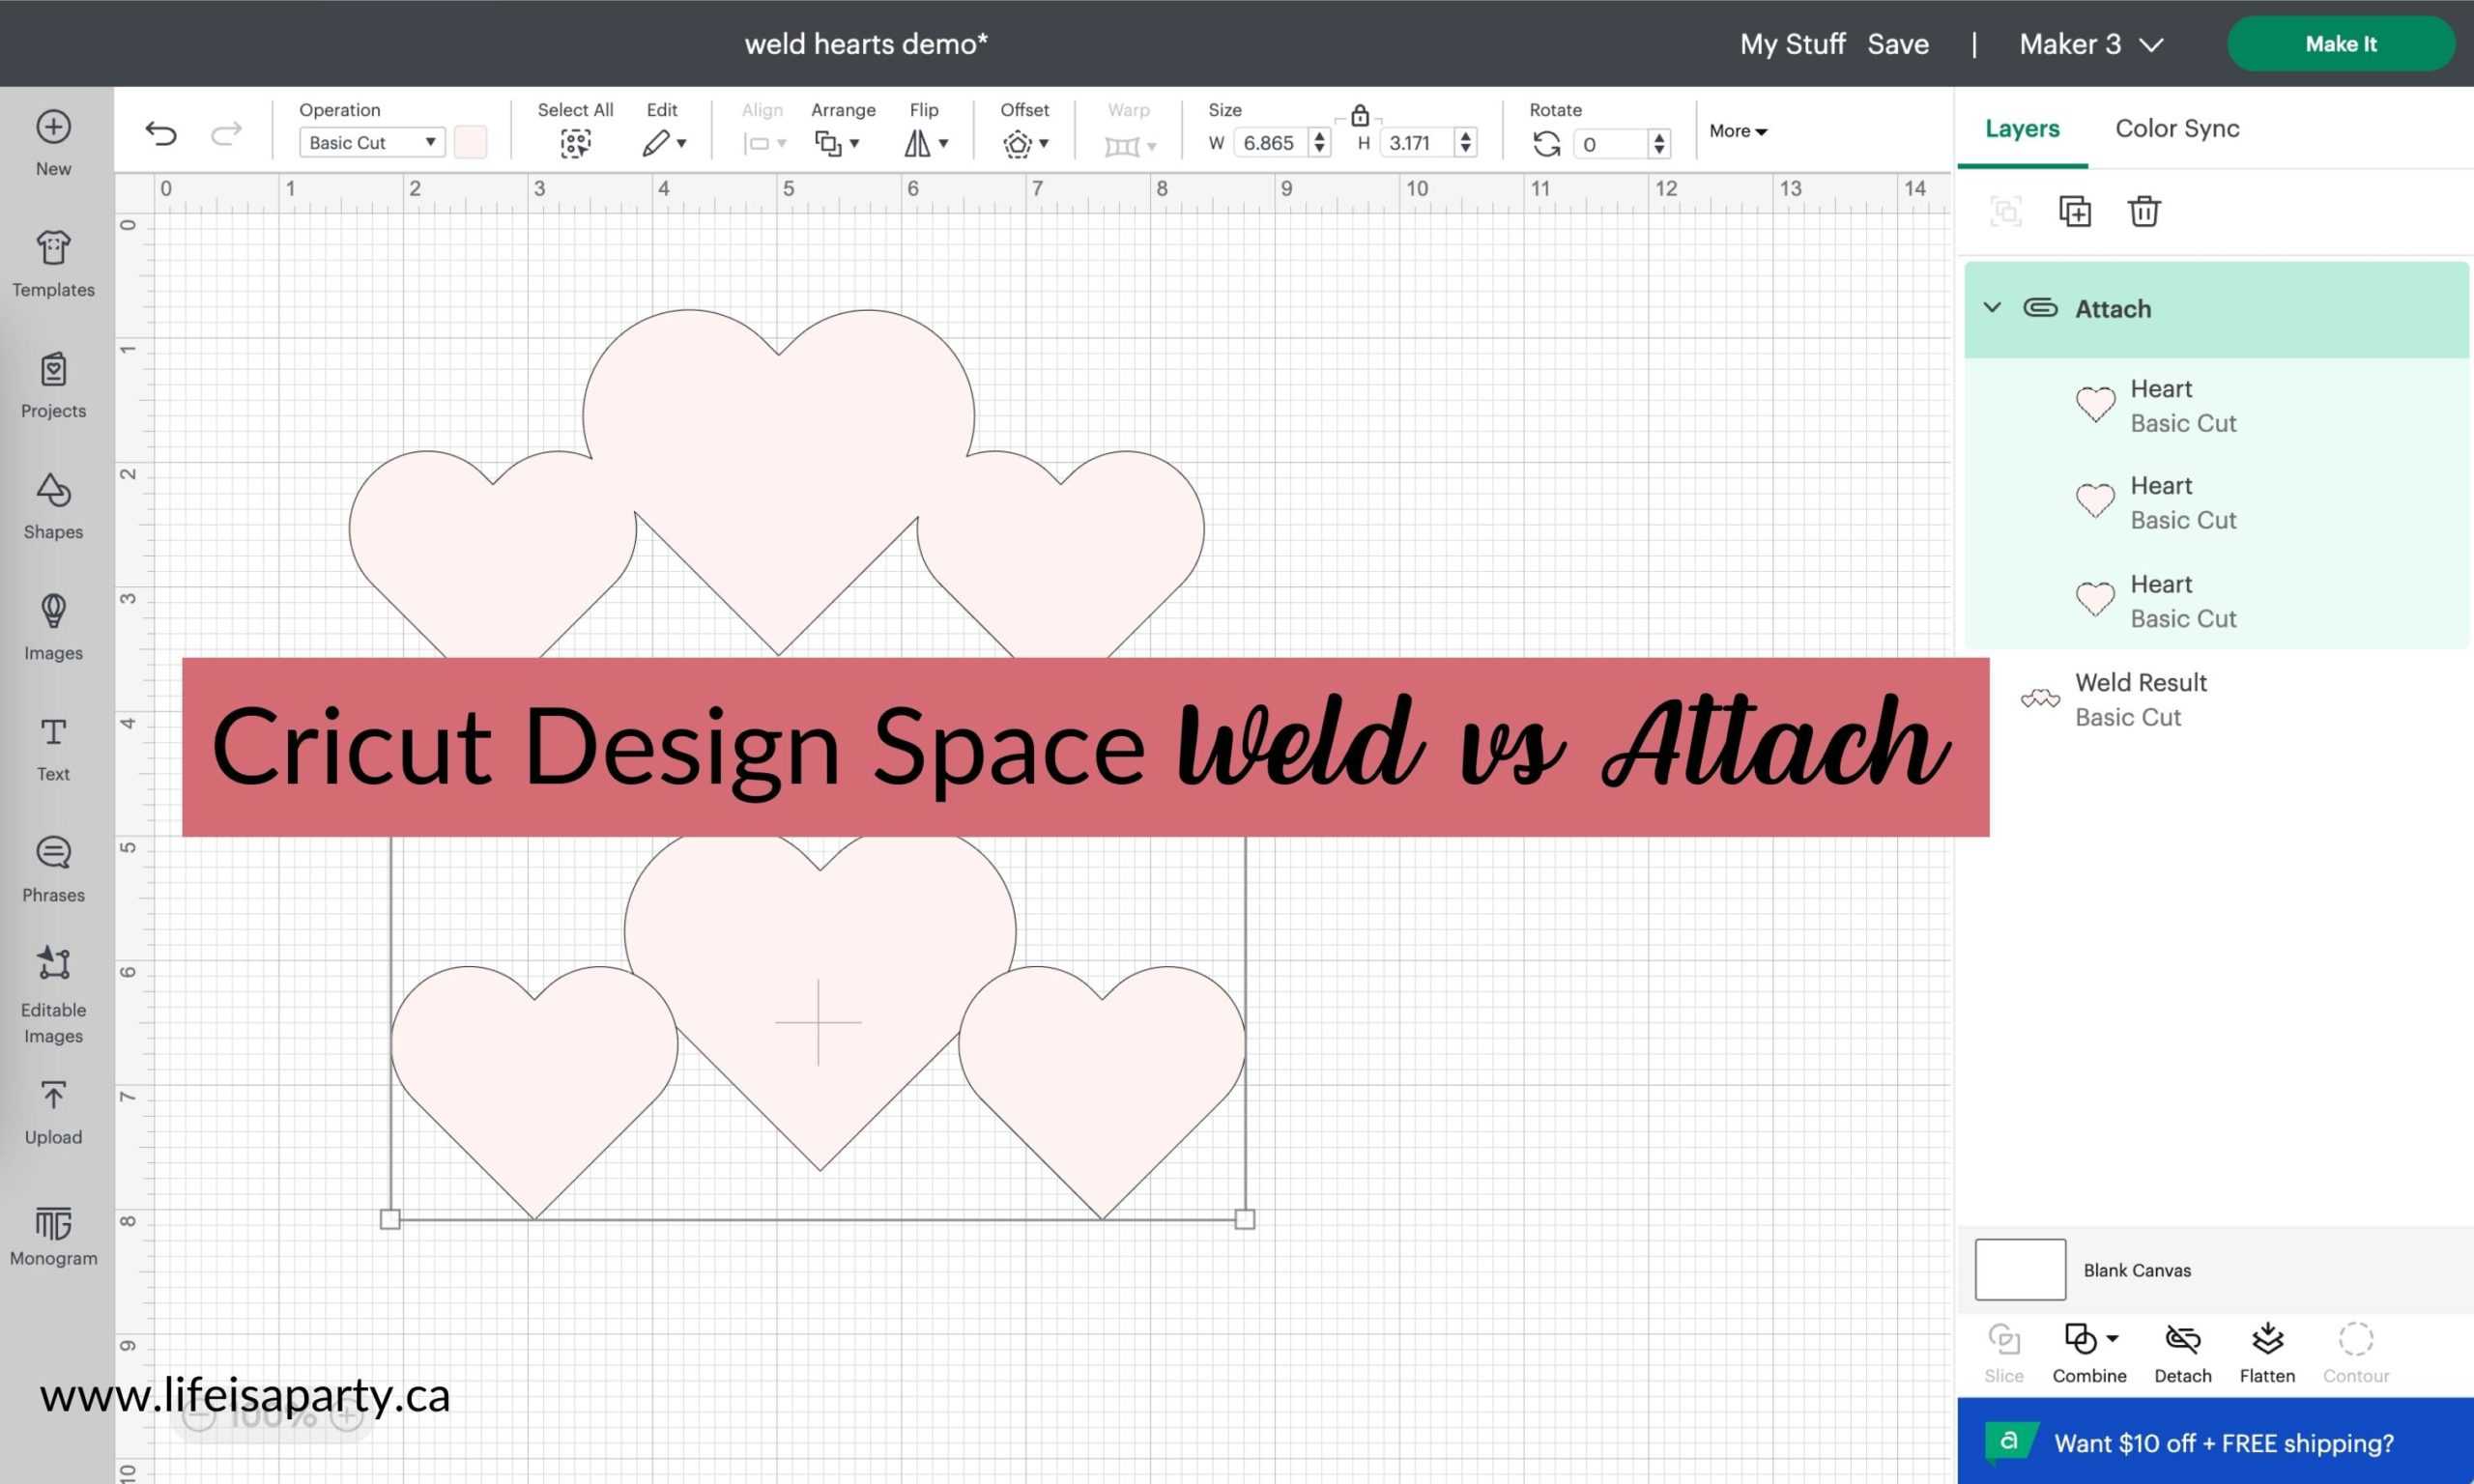
Cricut
Tips and Tricks, Understanding Design Space, and Project Ideas
Are you a Cricut crafter?
I can help you with that. Here’s what to do next!
First grab our mini e-book 10 Mistakes You’re Making With Your Cricut and How To Avoid Them here.
Second check out The Cricut Handbook with illustrated instructions on how to use your Cricut.
Third take The Cricut Course to master your Cricut machine and make everything you’ve ever wanted to.
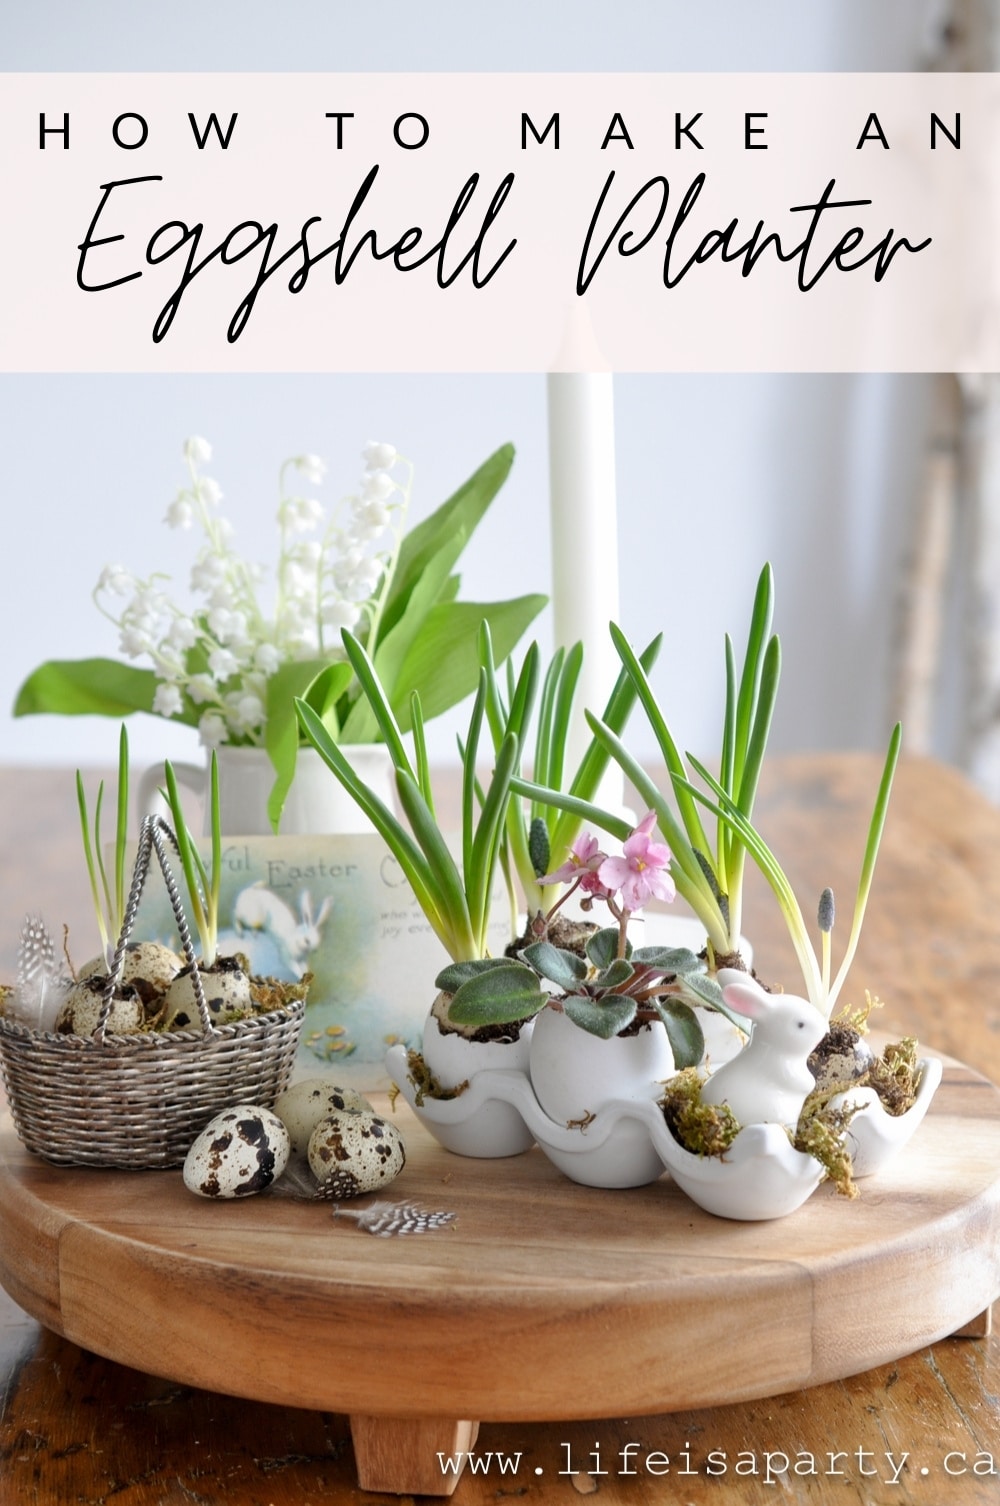
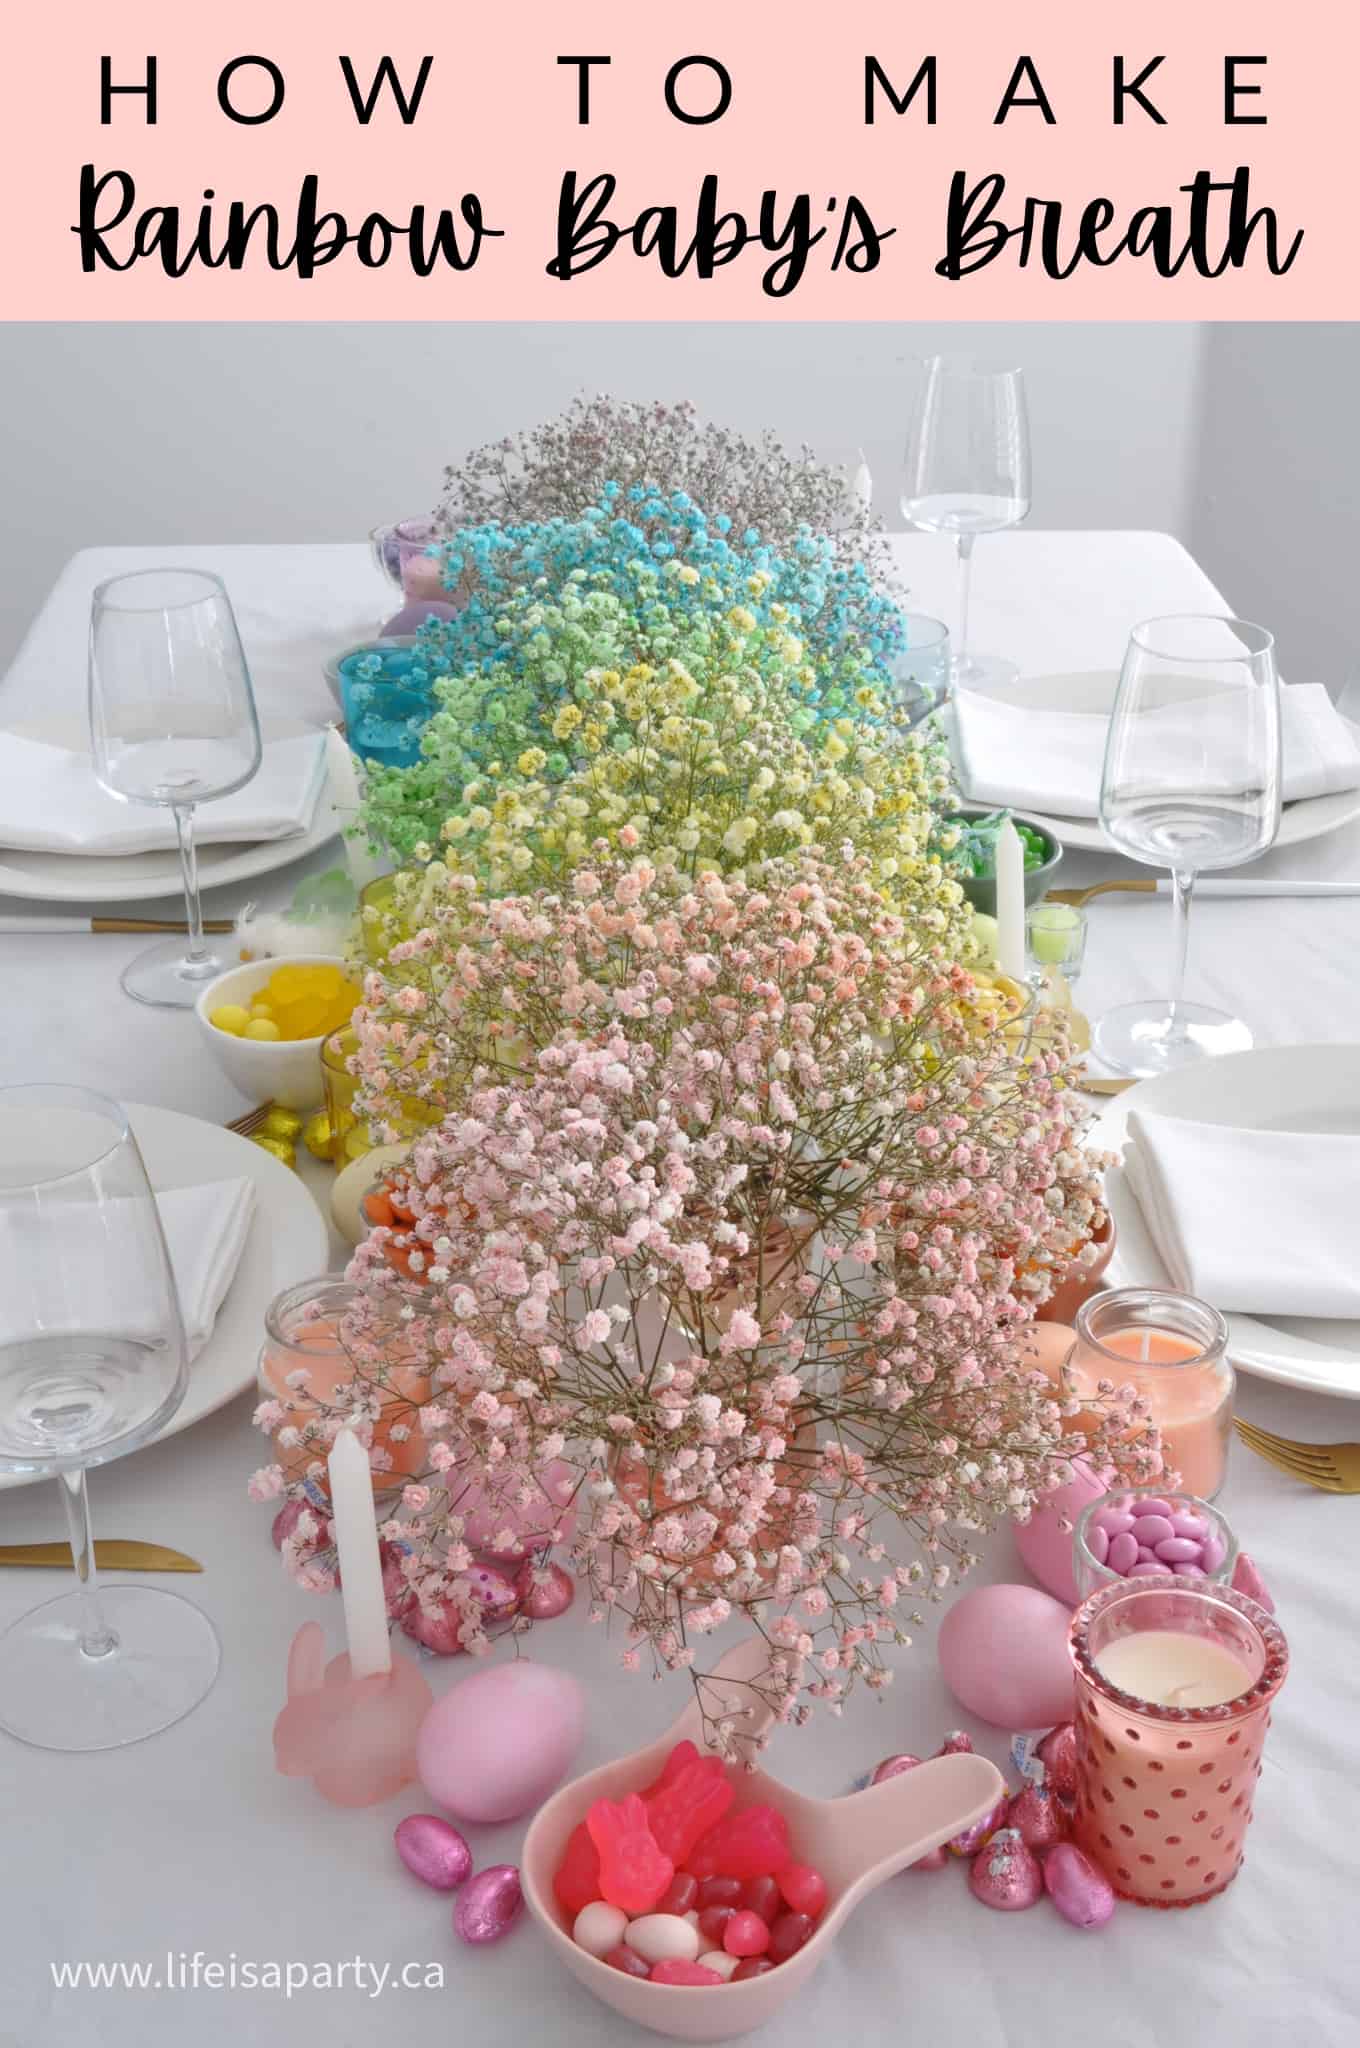
Crafts and DIYs
Crafting ideas, and DIY projects
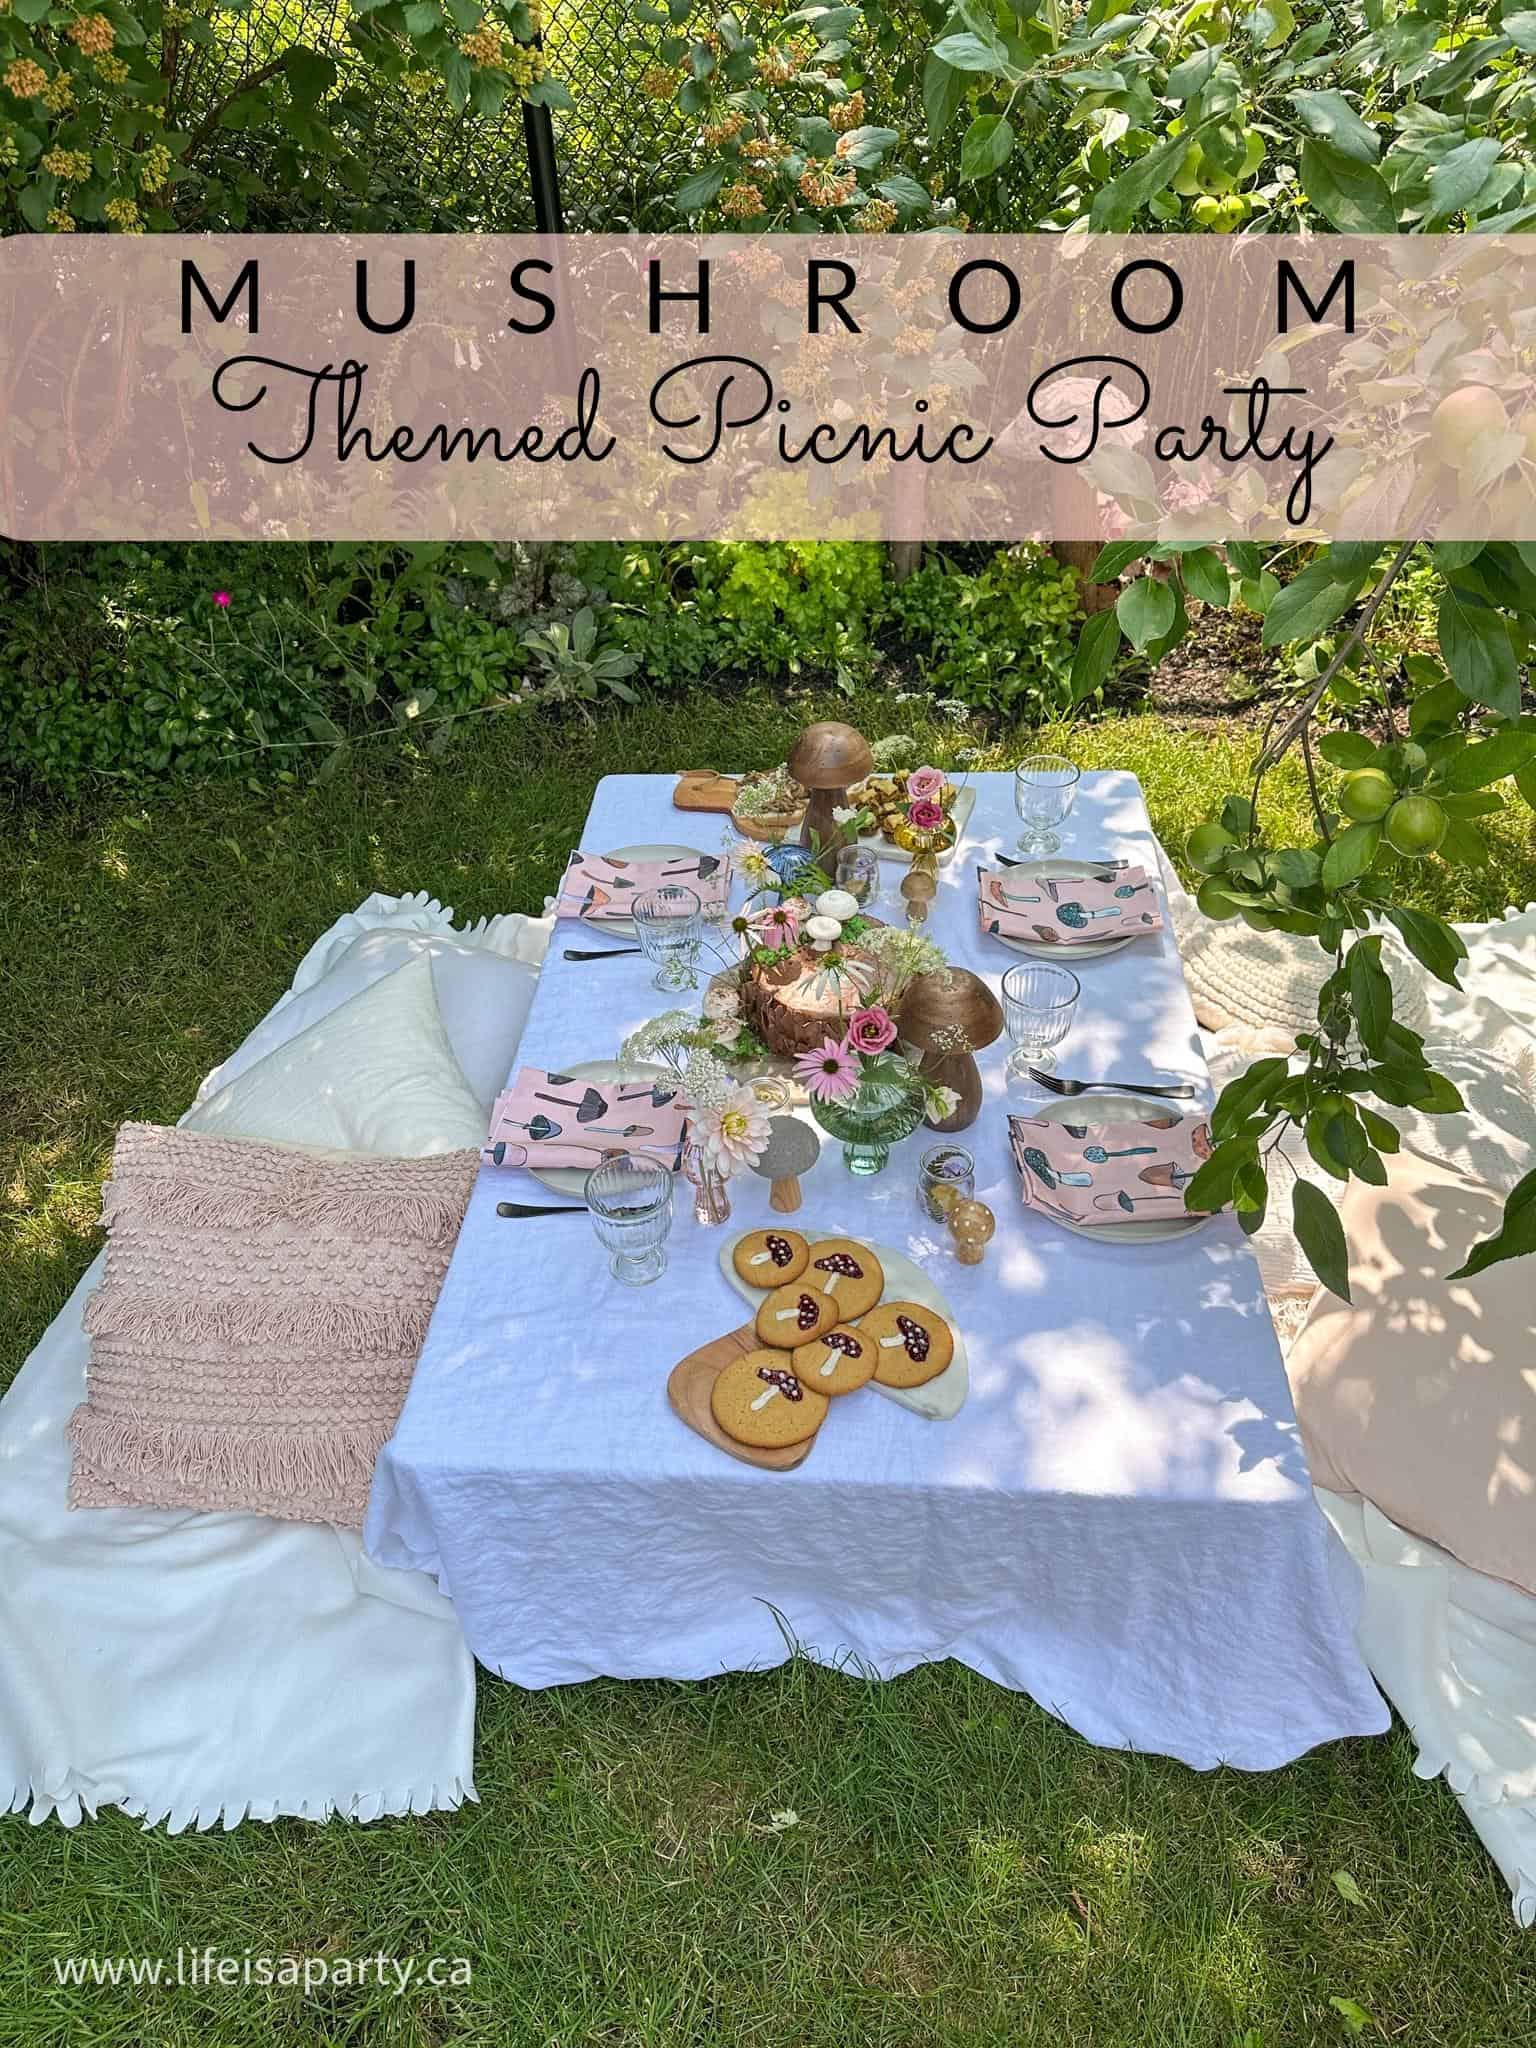
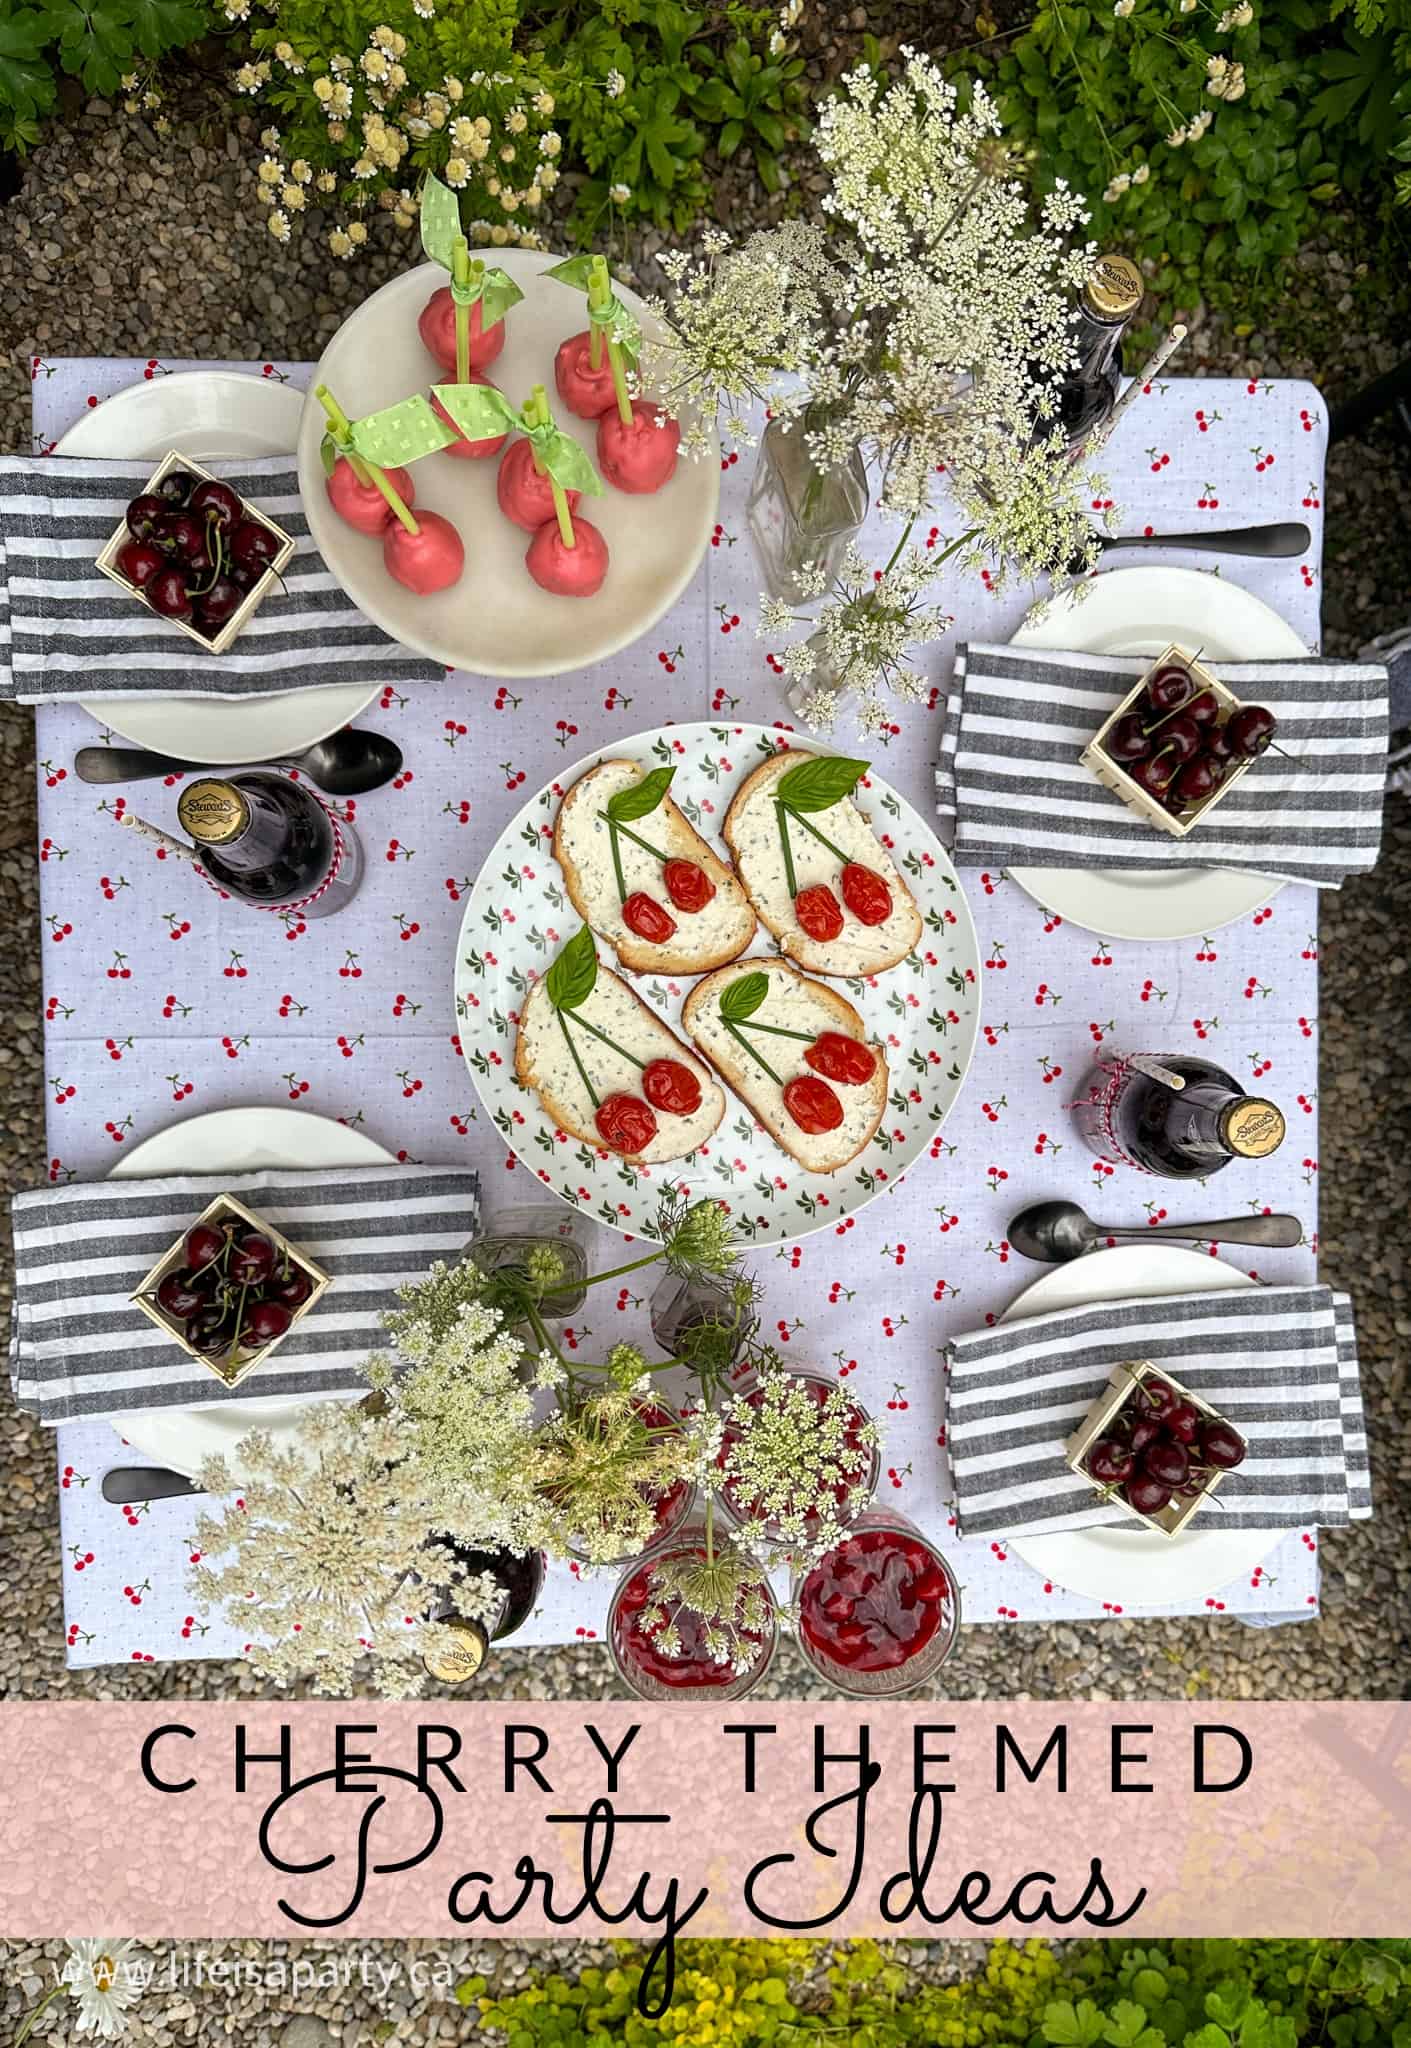
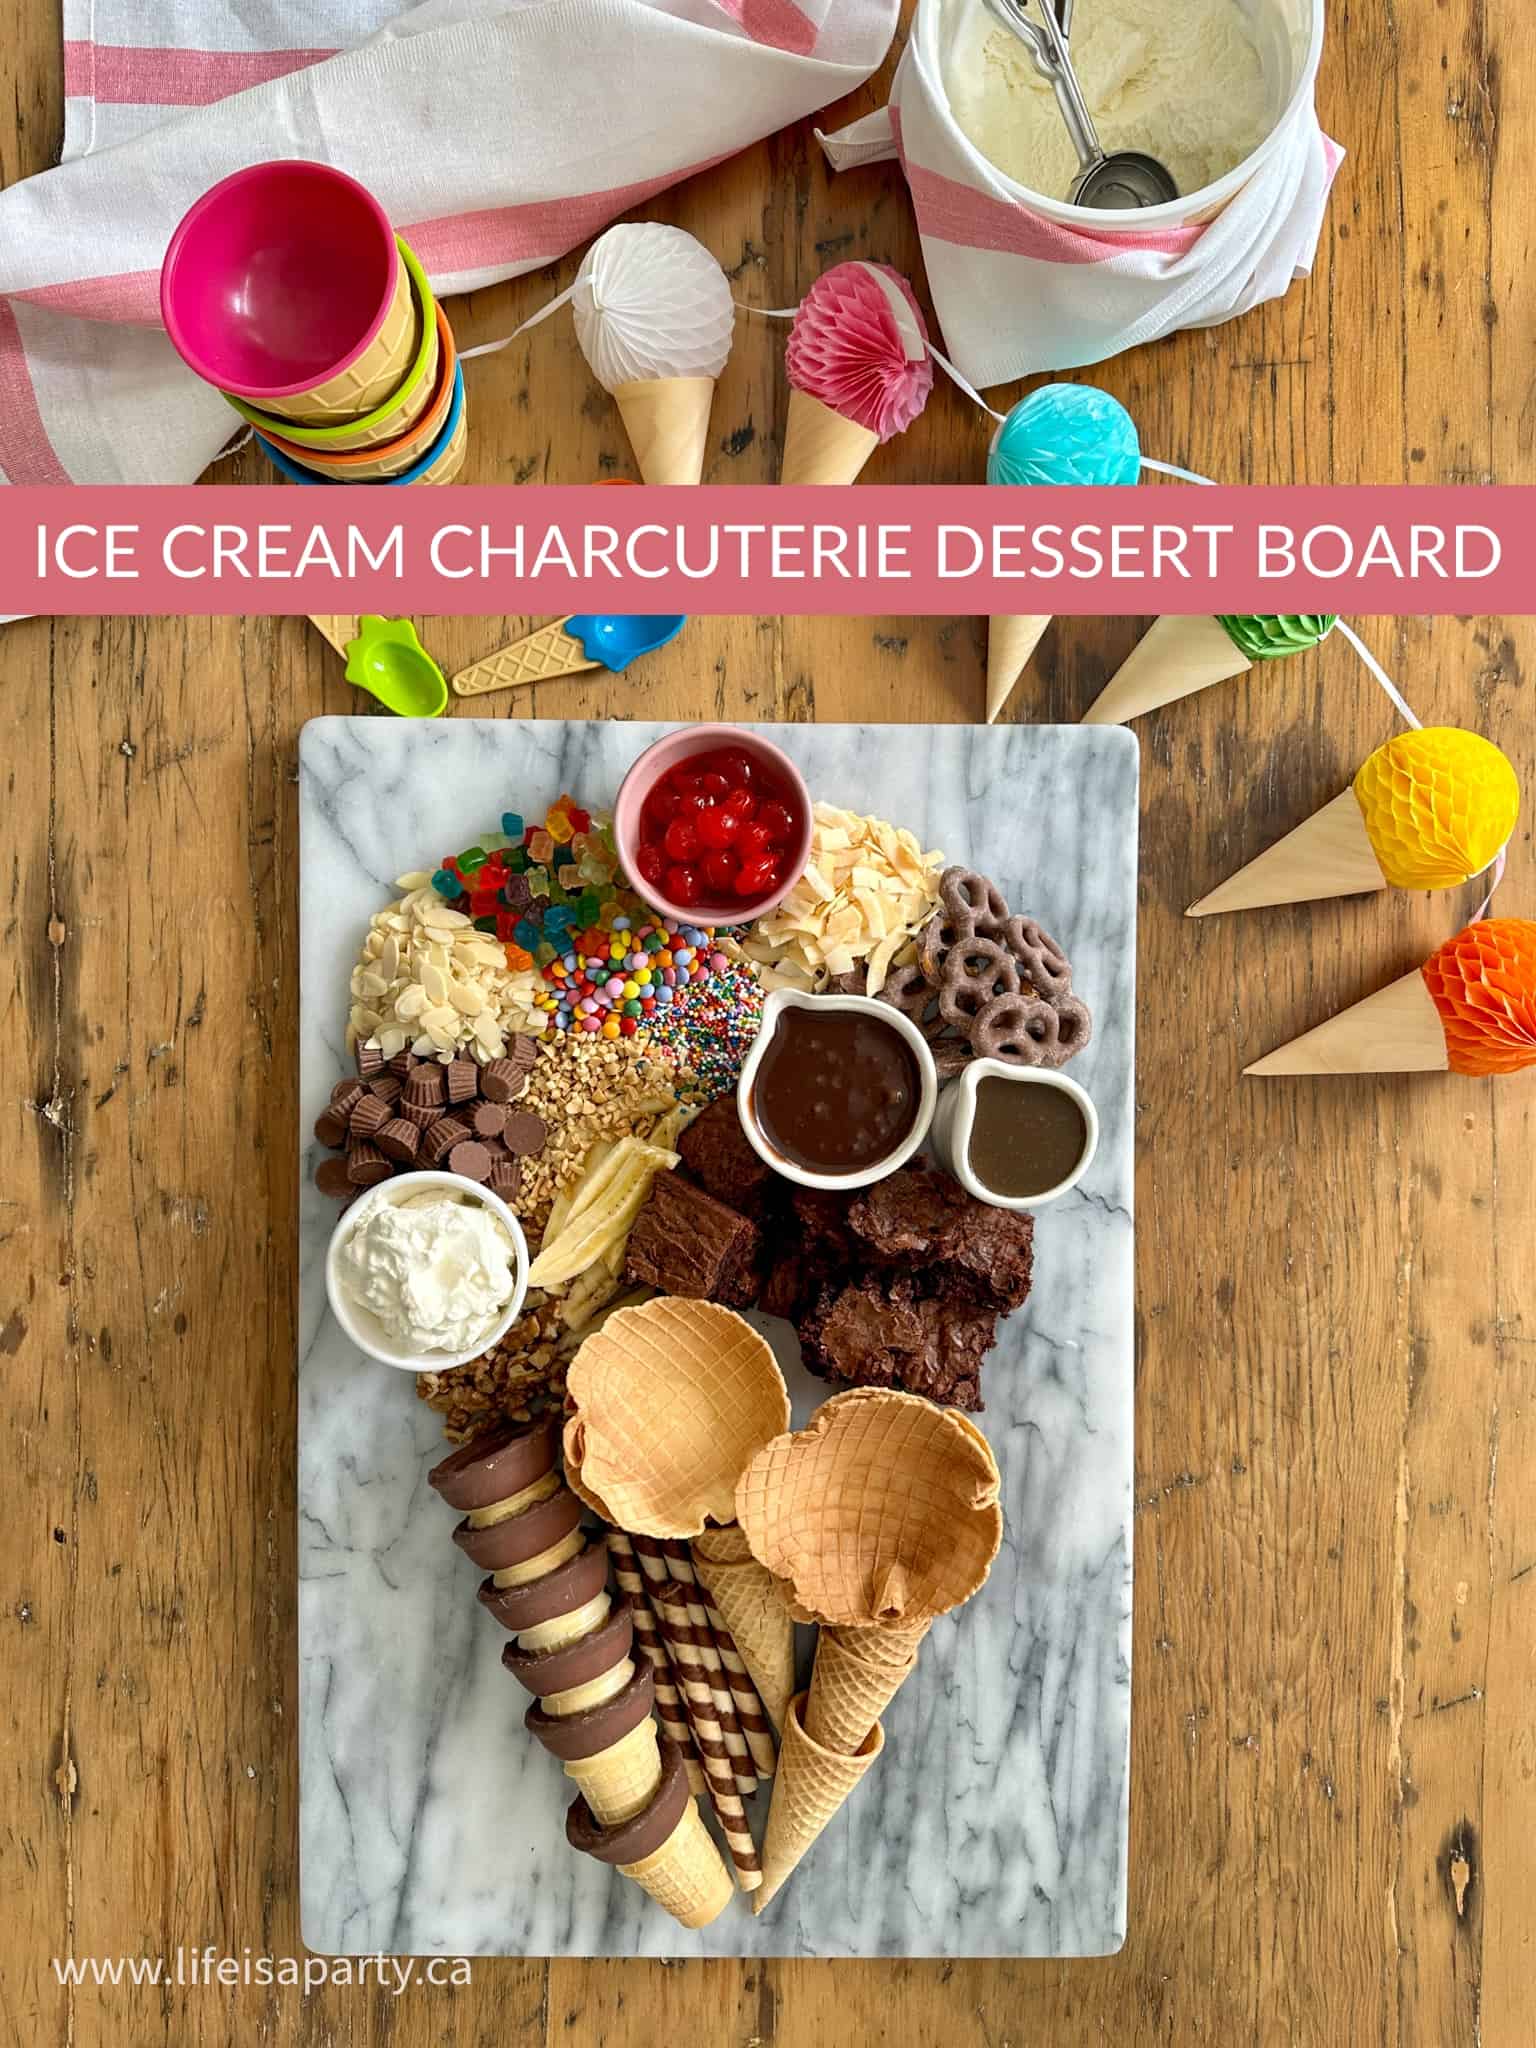
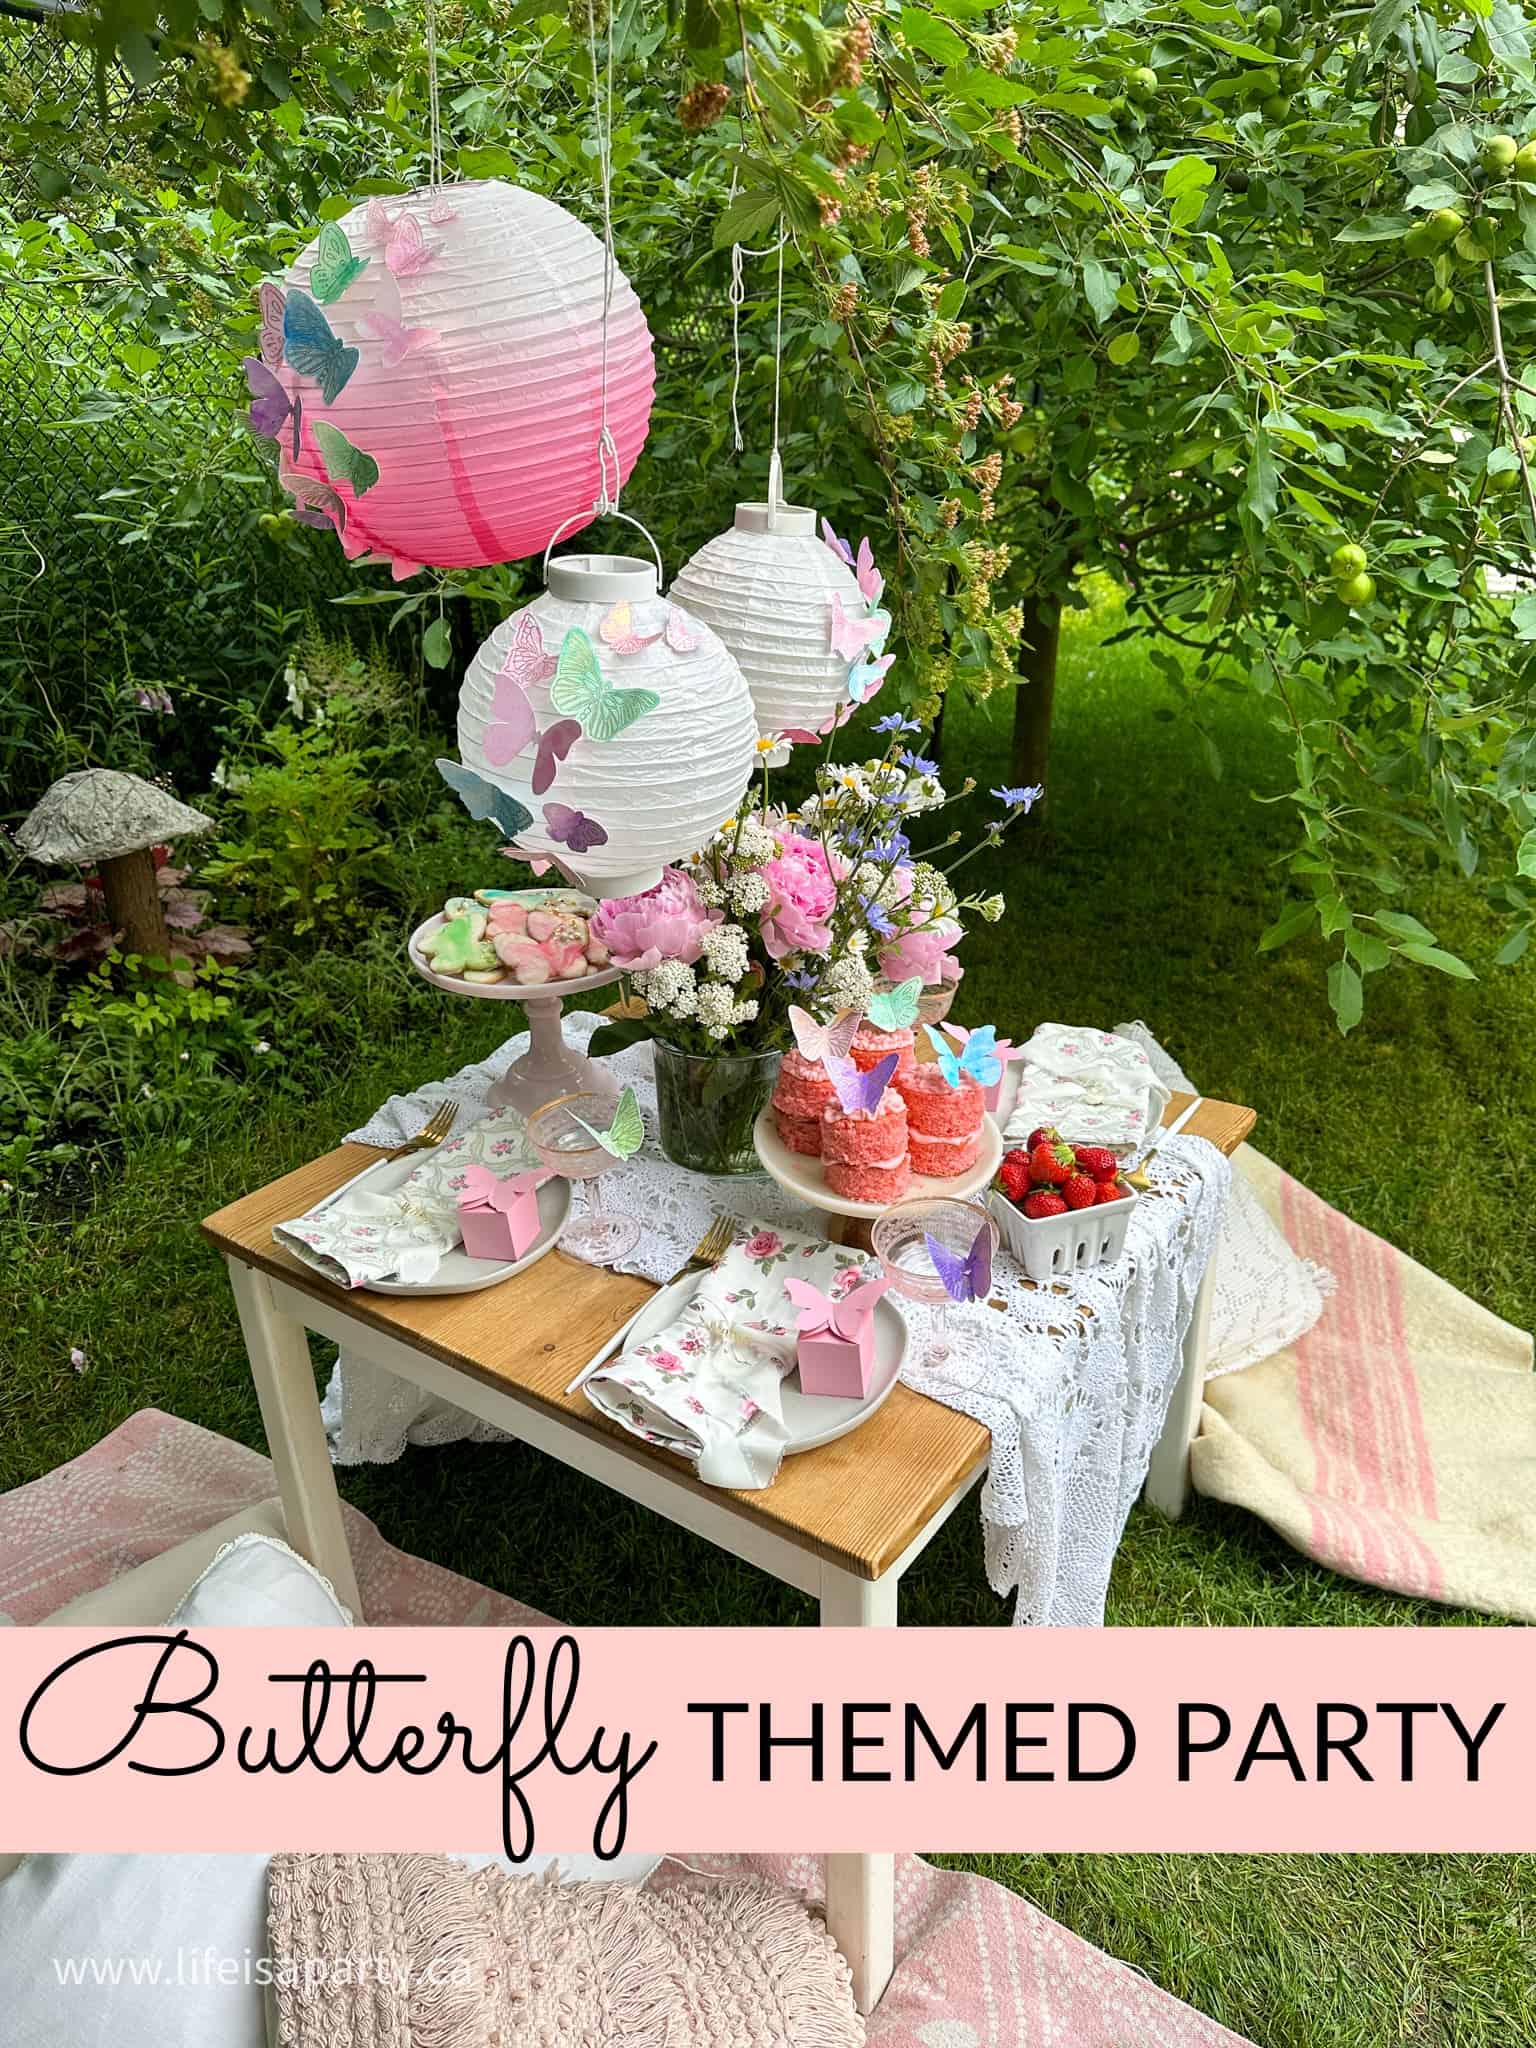
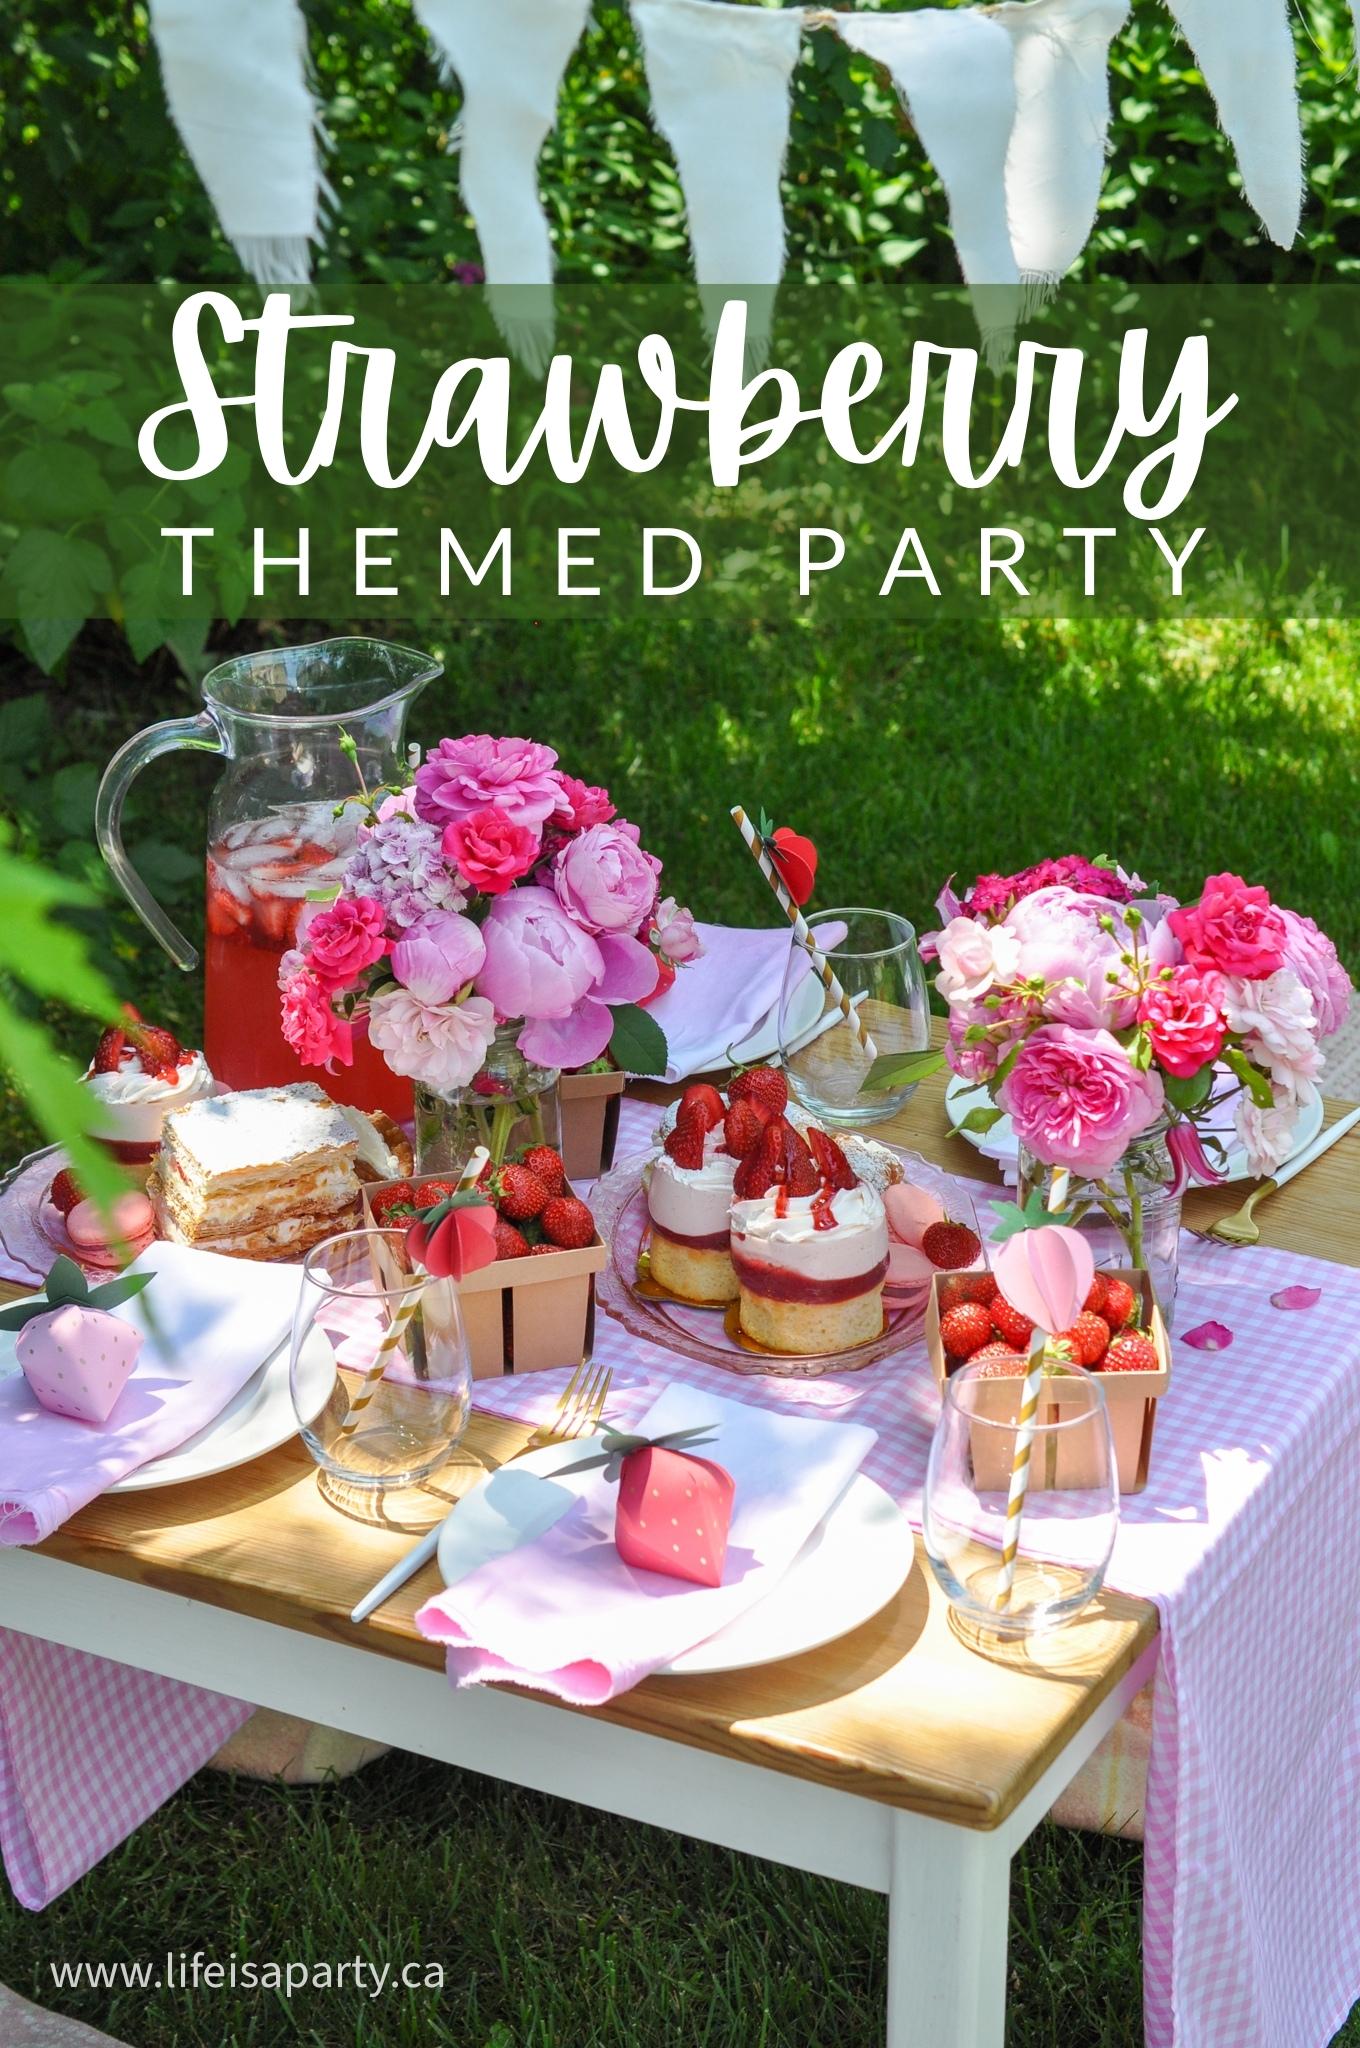
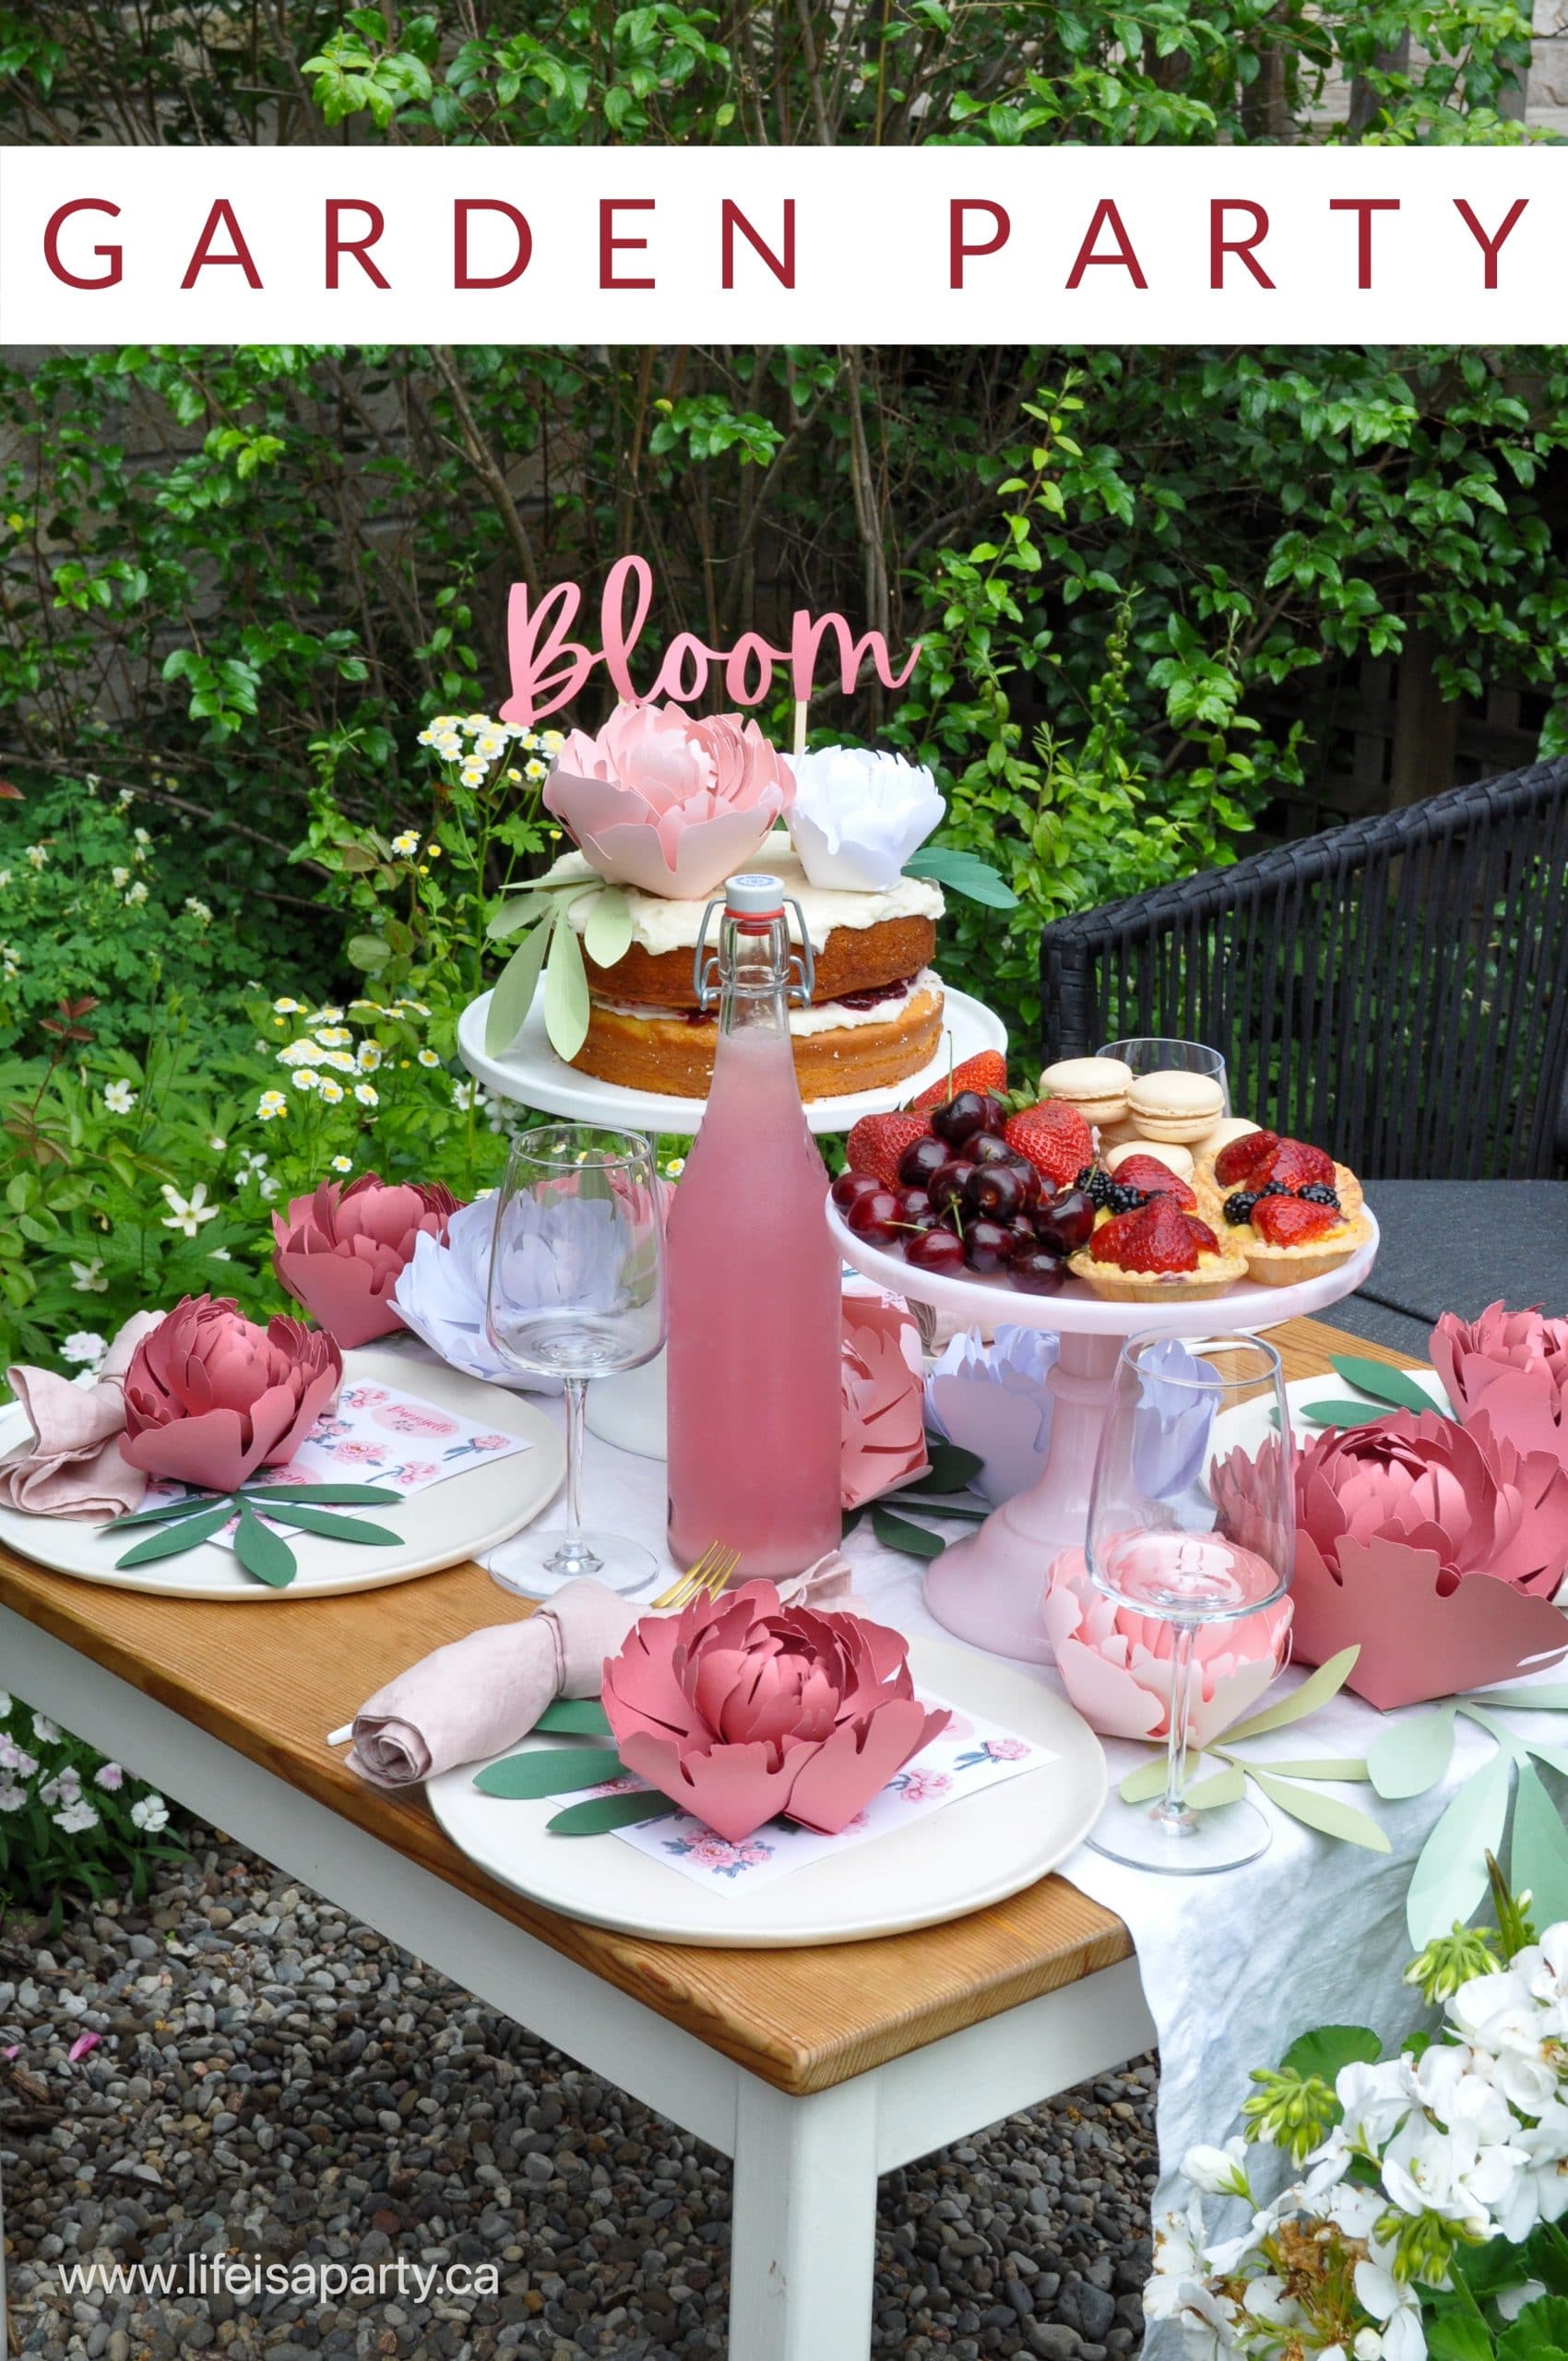
Parties and Entertaining
Parties, Dinner Parties, Birthdays, Themed Parties, and Movie Nights
Parties and Entertaining Blog Posts

Do you want to throw the best parties and get togethers?
I can help you with that. Here’s what to do next!
First grab our free Party Planning Guide here.
Second check out the Celebrate All Year Planner to help you get organized.
Third take the Entertaining 101 Course to become a confident, organized host, who has fun at their own parties.
Recipes
Breakfast, Main, Desserts, Appetizers, Drinks


get our free mini e-cookbook here
Tried and True Favourites Cookbook
All our tried and true favourite recipes. These are the recipes we’ve made over and over, because they’re no fail, and everyone loves them.
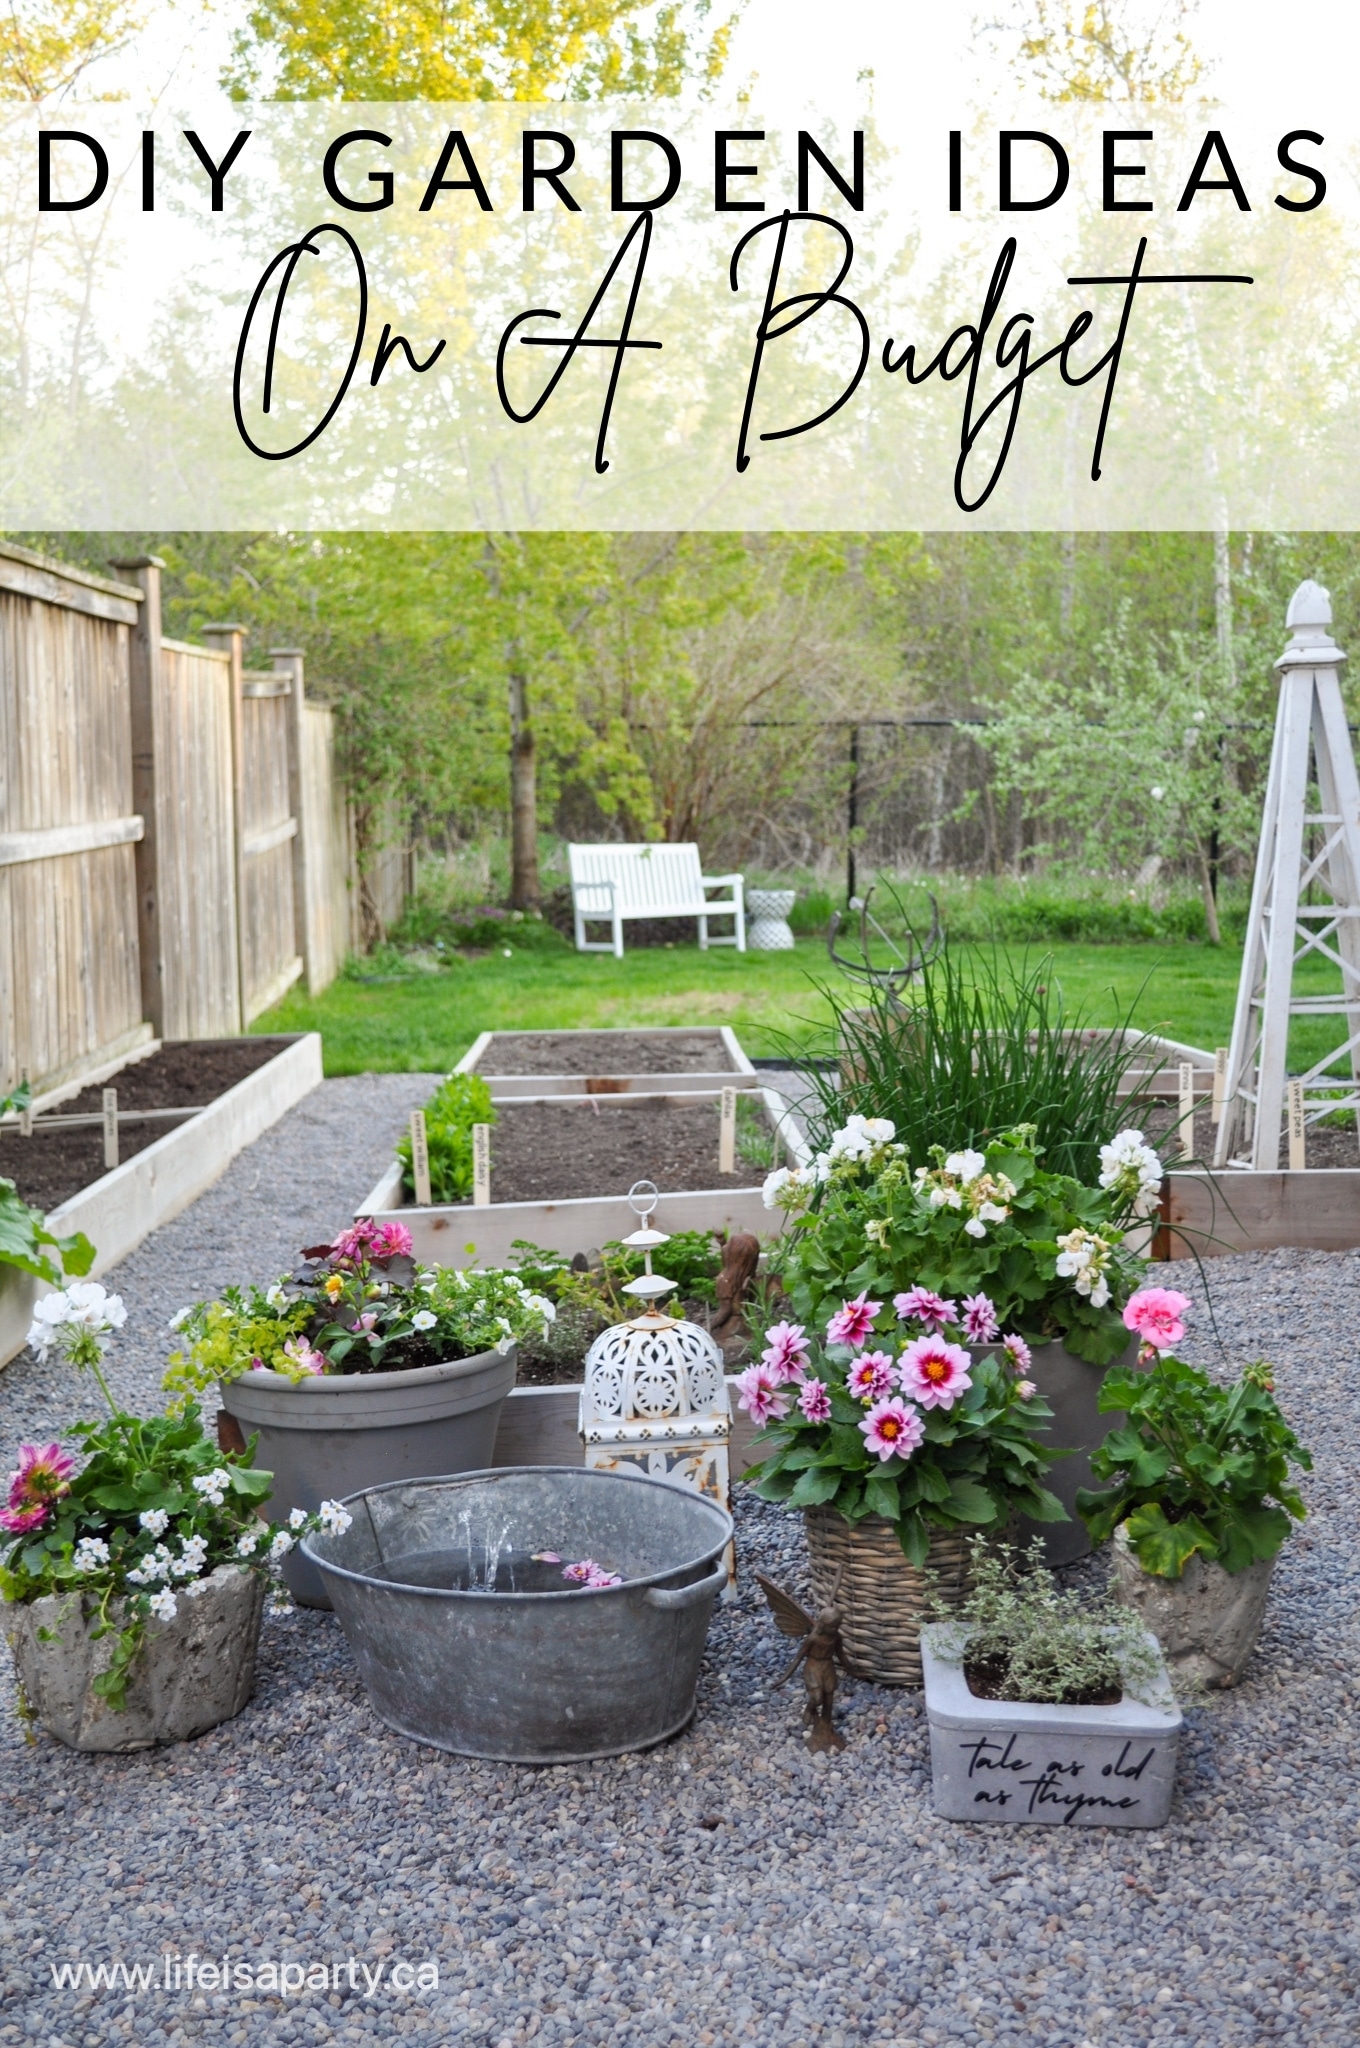
Home and Garden
Home Decor, Home Tours, Tablescapes, Garden
Home and Garden Blog Posts