Celebrating every day.
Helping families make memories through celebrating in big and small ways. Lots of easy recipes, party and entertaining inspiration, home decor, and ideas for celebrating the holidays.
Trending Recipes
- Easy Small Batch Pancakes For Two Recipe
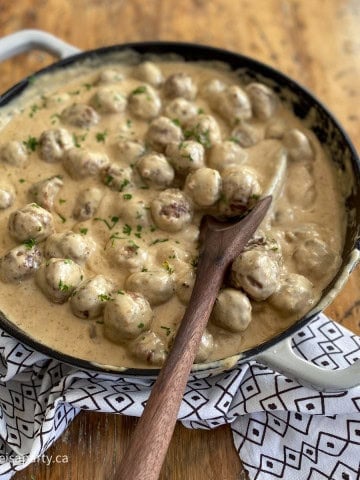
- Easy Recipe for Swedish Meatball Sauce
- Tim Hortons Copycat Iced Capp Recipe
- Best Homemade Mac and Cheese with Panko Breadcrumb Topping
- Homemade Honey Cruller Donuts
- Easy Homemade Fair Funnel Cakes Recipe
- Easy Banana Snack Cake
- Old Fashioned Almond Bear Claw Pastries Recipe


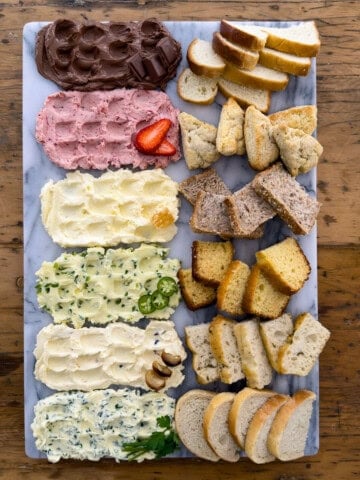
Butter /Toast Party
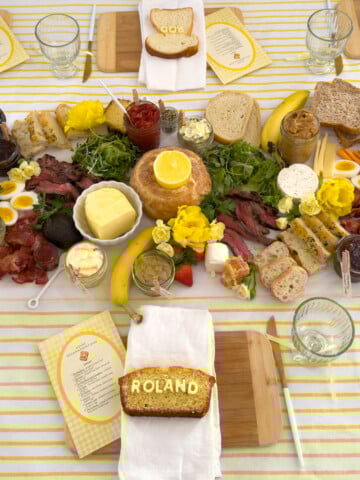
- The Ultimate Butter Themed Party -A Toast Dinner
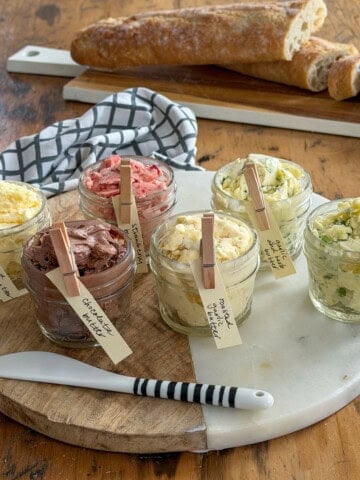
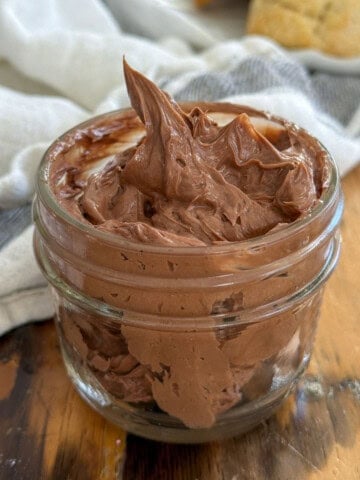
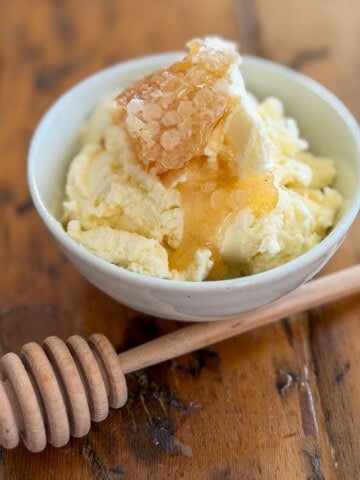
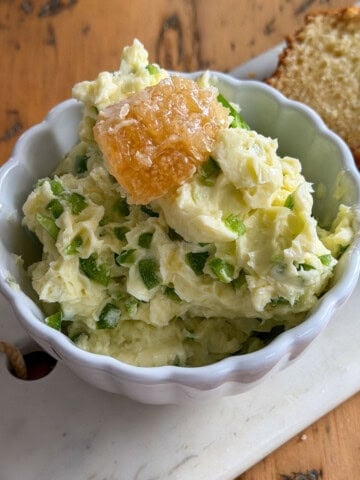
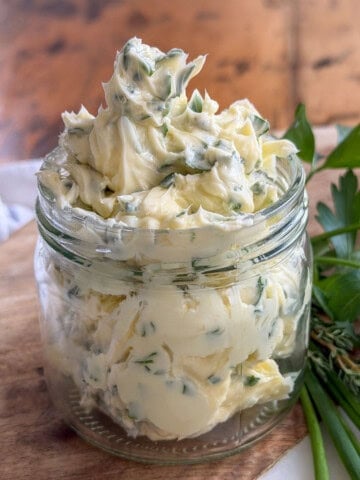
- Compound Butter Recipes: Six Tested Flavors from Savory to Sweet
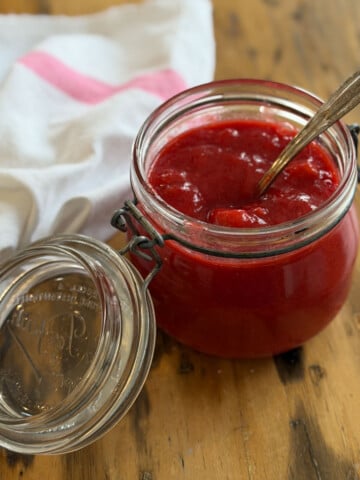
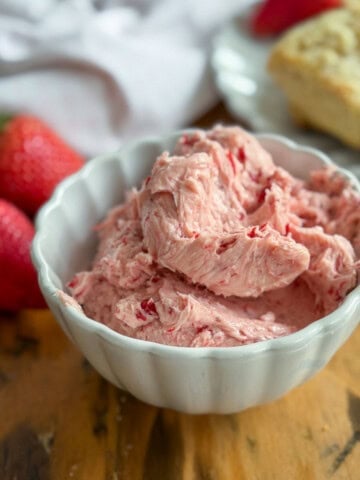
- Strawberry Butter
- Chocolate Butter
- Whipped Honey Butter -The Easiest Two Ingredient Compound Butter
- Jalapeno Honey Butter
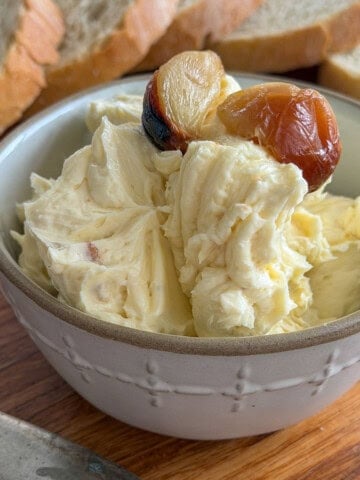
- Garlic Herb Compound Butter
- Butter Board with Savory and Sweet Compound Butters

About Dannyelle
Hi, I'm Dannyelle and I want to help you make life more of a party. I love creating -whether it's making crafts and DIY's, putting together celebrations, cooking and baking, or decorating my home. I hope I can give you some inspiration, ideas, and know-how to help you make some amazing memories with your friends and family.
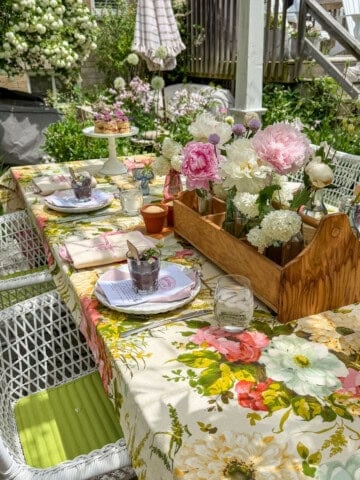
Parties and Entertaining
We love to celebrate. Get ideas from our real parties for celebrating and entertaining from birthday parties, to movie nights, to dinner parties.
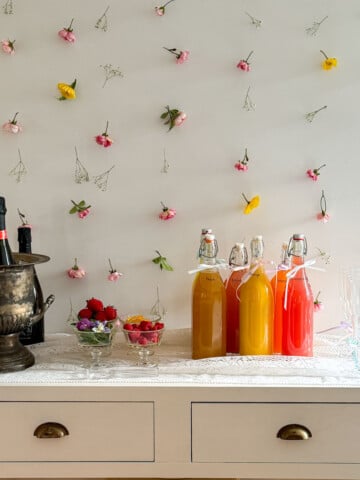
- How to Set Up a Beautiful Mimosa Bar
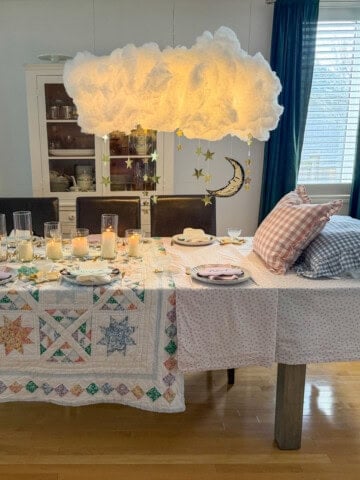
- Breakfast for Dinner Party: Brinner Under the Stars
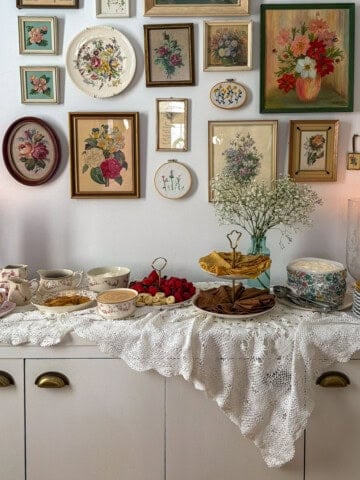
- Tea Party Food: The Complete Guide to Sandwiches, Scones and Sweets
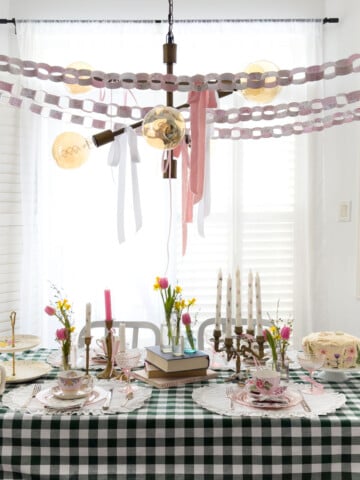
- Little Women Party: A March Sisters Vintage Tea Party
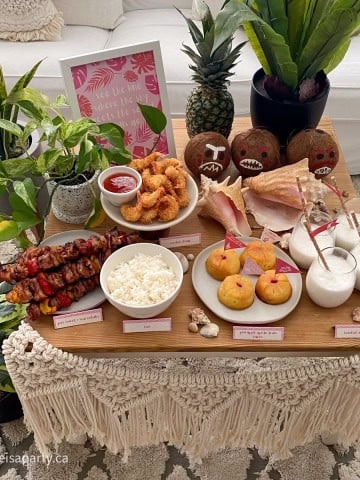
- Circus Party Ideas: Elevated Dinner Party
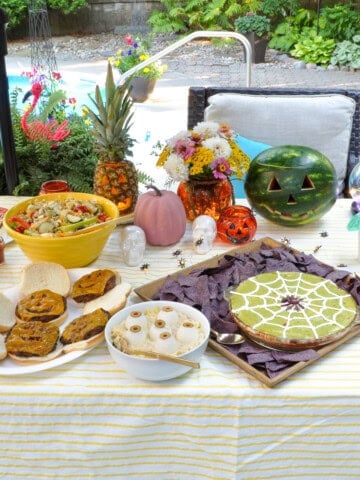
- Summerween Party Ideas
- How To Host A Bridgerton Themed Viewing Party
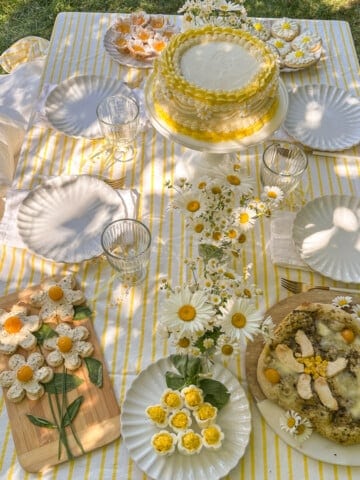
- Teddy Bear Breakfast Party Ideas


Favourite Movie Nights
We love a good themed movie night around here. Check out all our ideas for themed dinner, snacks and sweets as well as decor and printables to take your movie night to the next level!


Home and Garden
Home is where the heart is. Whether we're getting the house and garden ready for entertaining or enjoying the cozy space all on our own, there truly is no place like home.