Fairy Gardens: See how to make fairy houses and decorate with small plants, and accessories to create the perfect container fairy gardens.
[feast_advanced_jump_to]These Fairy Gardens are one of the sweetest projects I've ever made, and I was so excited about doing them. We made one for each of my little girls. I also made one just for me so I won't turn into the bossy mom who controls the craft project by making very strong suggestions to her kids about colour and placement choices...I'm sure you can't relate. 😉 They were so cute, that I even made one for my own mom and her garden!

Use A Container
I have heard of and even seen fairy gardens in the past and thought they were cute. I didn't like though that they were hard to see in a flower boarder garden, and often became grown over. Then I saw one made in a container. Perfect for the deck, where it can be easily played with and admired. (Just don't touch Mommy's, lol)

How To Make Fairy Houses
- dollar store bird house
- paint stick
- saw
- hammer
- finishing nail
- fine sandpaper
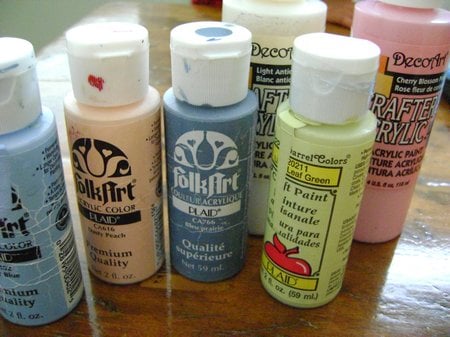
- paint
- glitter
- lacquer
- wood skewer
- ribbon
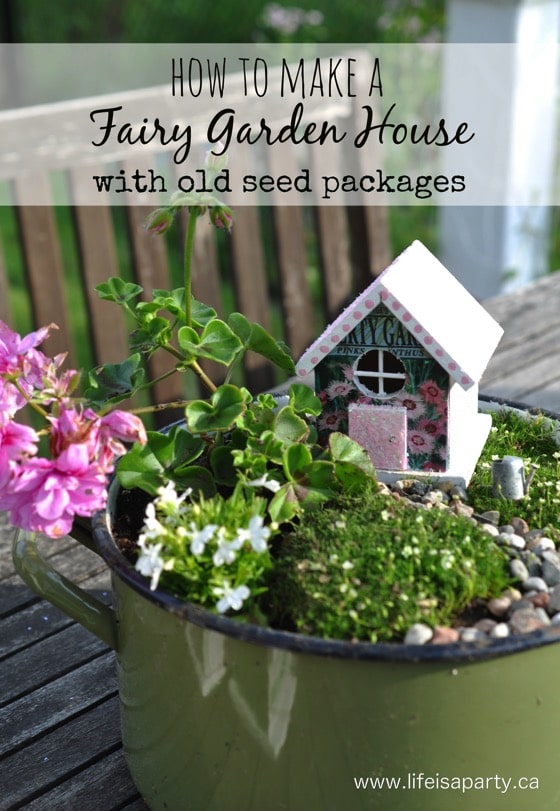
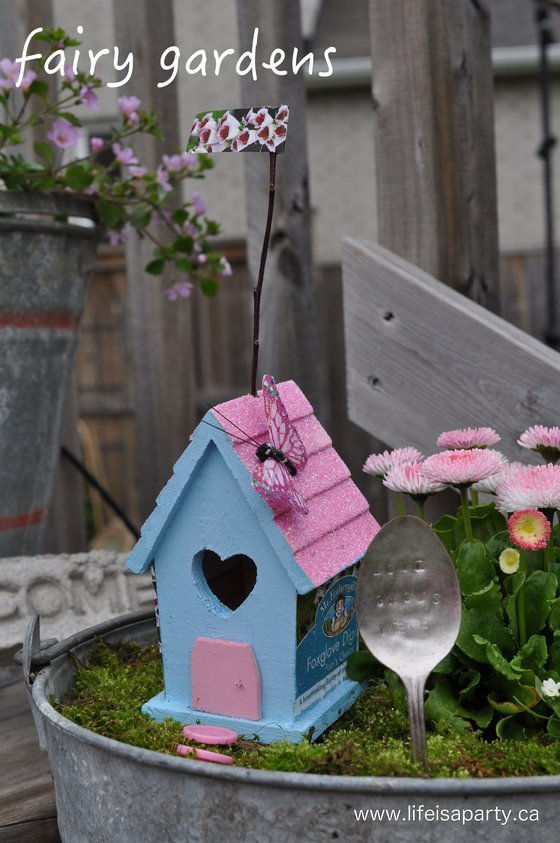
I decided to use dollar store bird houses for the fairy houses themselves. We wanted them to look more like fairy houses, so the first thing we did was saw off the bird perch and replace it with a fairy door. The doors are made out of a small sawed off piece of a paint stir stick.

After sawing and sanding them smooth, I nailed the little paint stick door on with a small finishing nail, and left the nail protruding slightly to look like a little door knob. We also removed the eye hook from the top, and I replaced them with small flags made out of a wooden skewer and a piece of ribbon sewn on.
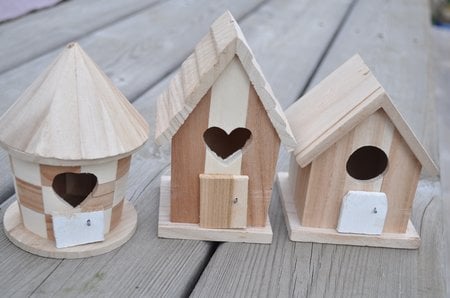
I was also inspired by my Christmas Glitter Houses to add a little glitter to the the fairy houses. After they were painted, next I glittered the roofs and doors, and then applied several coats of clear Lacquer to make them more weather proof. I love them in all their happy pastel colours.

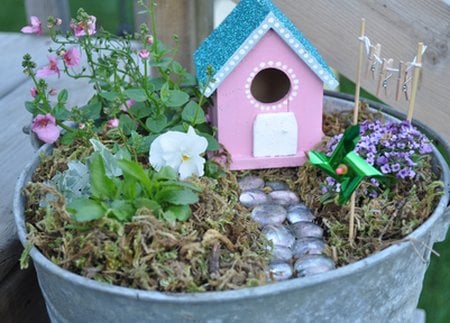
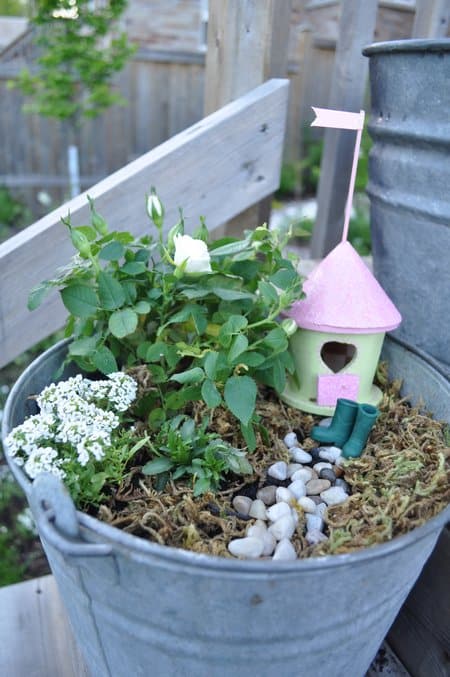
The Gardens
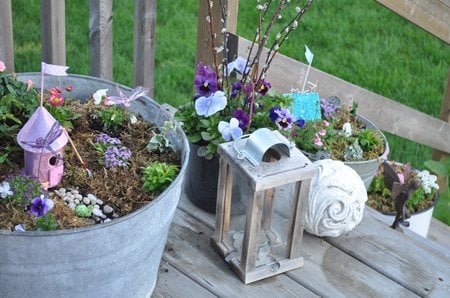
I used vintage galvanized steel wash basins for the gardens, as well as some enamel ware. The one for my Mom is done in a large Terracotta pot, to fit in with her other pots.
Basically use any large garden pot that you love. Make sure there are holes in the bottom for drainage.

Choose some small plants that won't get too big for your fairy garden.
After planting several small plants around the pot, we covered the rest of the "yard" with moss, and created a small pathway to the front door with pebbles.
Fairy Garden Accessories
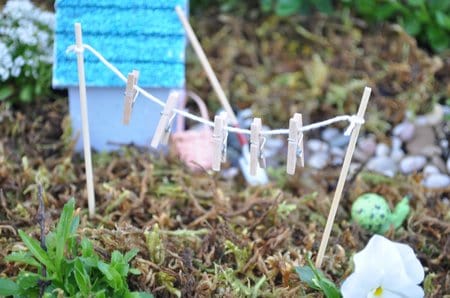
Next we made the fairy clothes line so the fairies could hang out their washing. The clotheslines are made from two wooden skewers, some kitchen string, and mini-clothes pins from the dollar store.
I got so excited about the fairy gardens that I wanted to include a few more little details. I thought that a miniatures doll house store would be a great source of mini-garden pieces. At the miniature store I found this pretty little watering can, in addition to some baskets, and shovels.


How cute are these little rubber boots!
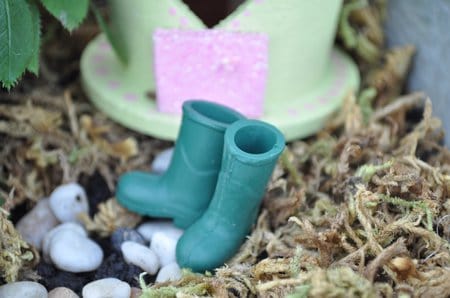
This fairy must have left them outside of her door after a long, hard day of work out in the garden. 😉
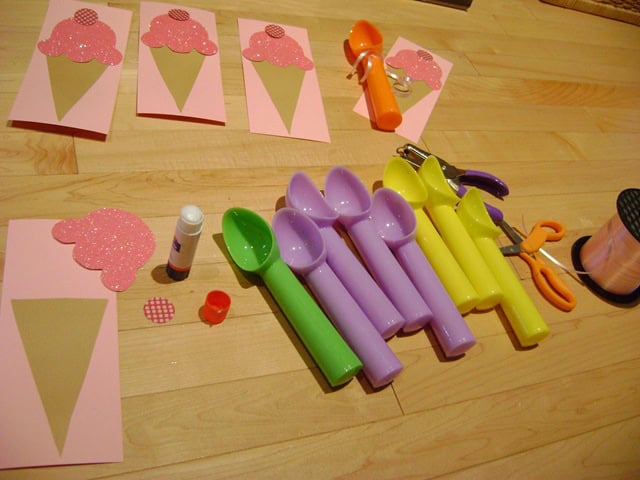
Another fun detail was to use the stamped spoons I made here, as a welcome sign.


Ceramic Mushroom Makeover
This pot has a fun toadstool mushroom in it. I found these brown ones at the dollar store.

Next I spray painted it bright pink.

After the mushroom was painted pink, I added glitter dots. Then when I lacquered it, the finish crackled slightly, but I thought it added a little realistic mushroom texture.

I love how it looks like a shady spot for a garden fairy to rest on this cute little metal chair after her hard work. The chair is also from the miniature store. Isn't the mini shovel propped up against it the sweetest?
Groups Of Pots To Make A Fairy Village
My little girls each made one large garden in the galvanized wash tubs. I did mine in several other little pots. I love the way the pots look all clustered together, like there is a new fairy sub-division that just was built in town. Time to put up the "For Rent" sign and see if any fairies move in!

With our own Fairy Gardens, life really is a party!
More Fairy Garden Posts
You might also enjoy How To Make a Fairy Garden House with old Seed Packages
Also check out How To Make A Fairy Garden
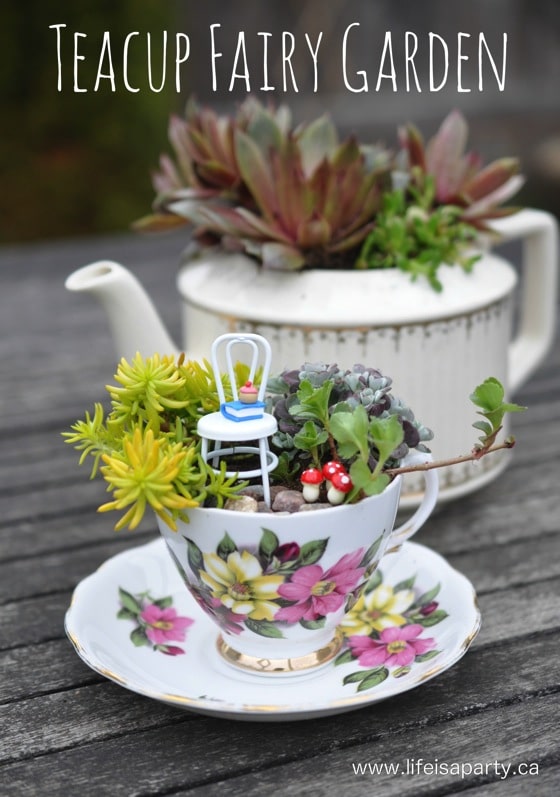
Another fairy garden post you might enjoy is Teacup Fairy Gardens