• Skip to primary navigation
  • Skip to main content
  • Skip to primary sidebar
Life is a Party
  • Recipe Index
  • Parties & Entertaining
  • Fall
  • Subscribe
  • Free Resource Library
menu icon
go to homepage
  • Recipe Index
  • Parties & Entertaining
  • Fall
  • Subscribe
  • Free Resource Library
subscribe
search icon
Homepage link
  • Recipe Index
  • Parties & Entertaining
  • Fall
  • Subscribe
  • Free Resource Library
×
Home

Christmas Home Tour -Green Christmas Decor

Christmas Home Tour -Green Christmas Decor

Dec 5, 2019 · 6 Comments

Green Christmas decor ideas.

Christmas Home Tour: Rustic Scandinavian Christmas Home Tour, with some modern boho touches and green Christmas decor.

Green Christmas decor ideas.
[feast_advanced_jump_to]

This Christmas Home Tour is probably my favourite post of the year.  I love decorating for Christmas, and I can't wait to share with you what I've come up with this year.  I'm embracing the rustic Scandinavian look again this year -it's my favourite and also lots of green Christmas decor.  I love the emphasis on bringing the outdoors in.  I've been out foraging and it's feeling a little like a forest in here -but in the best possible sense.  😉
Rustic Scandinavian Christmas House Tour, with bit of modern boho.
Rustic Scandinavian Christmas Home Tour, with bit of modern boho.

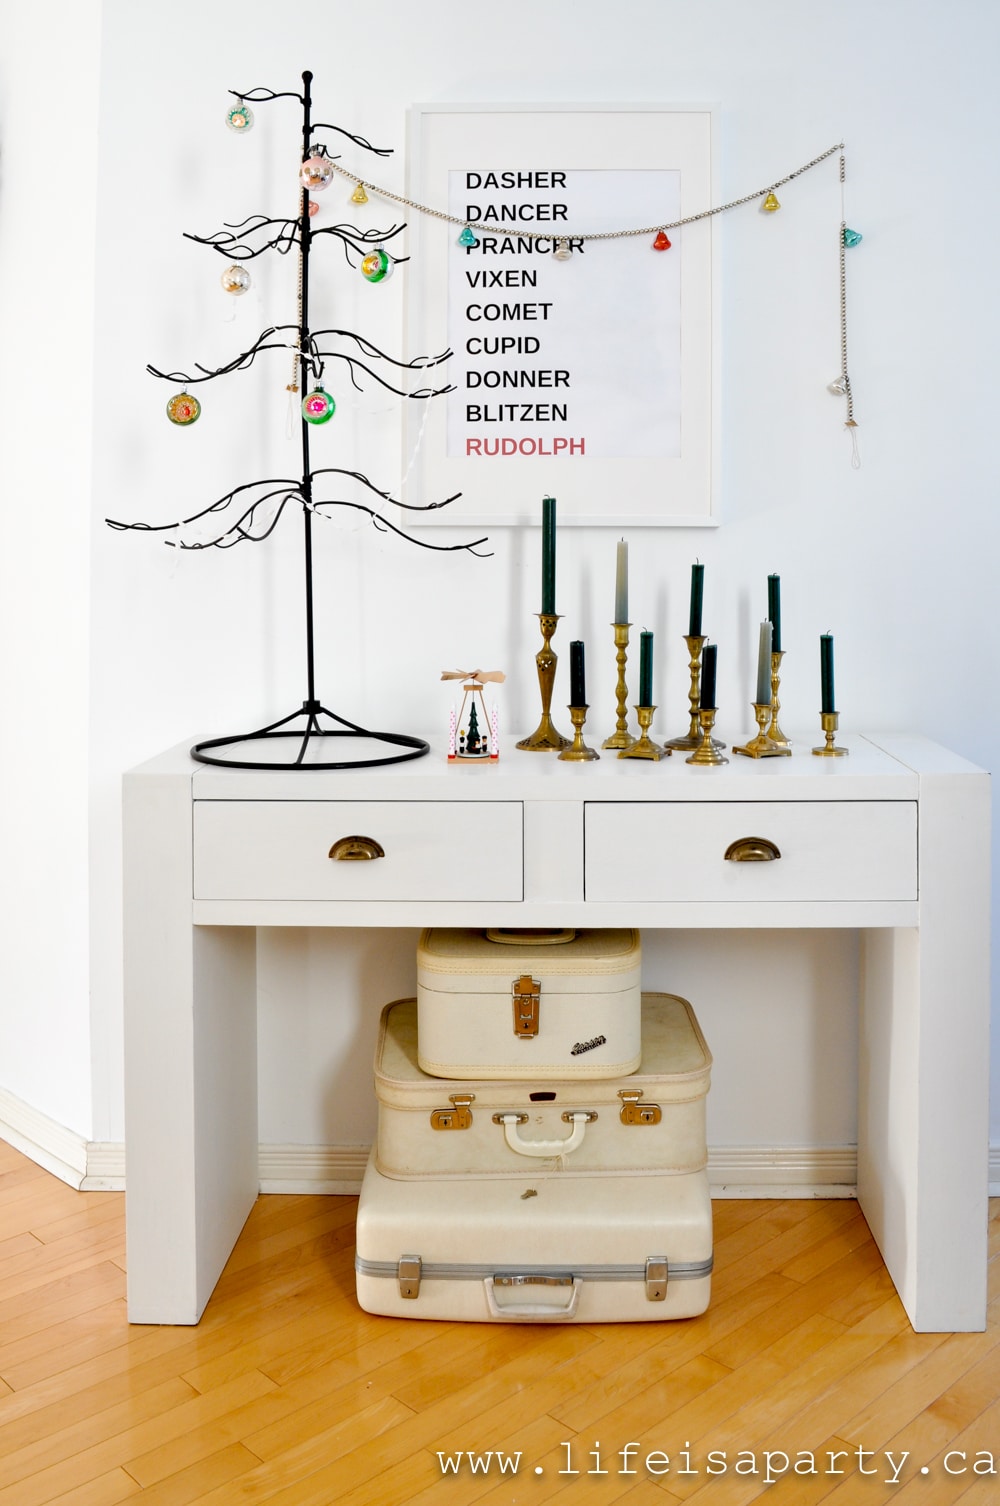
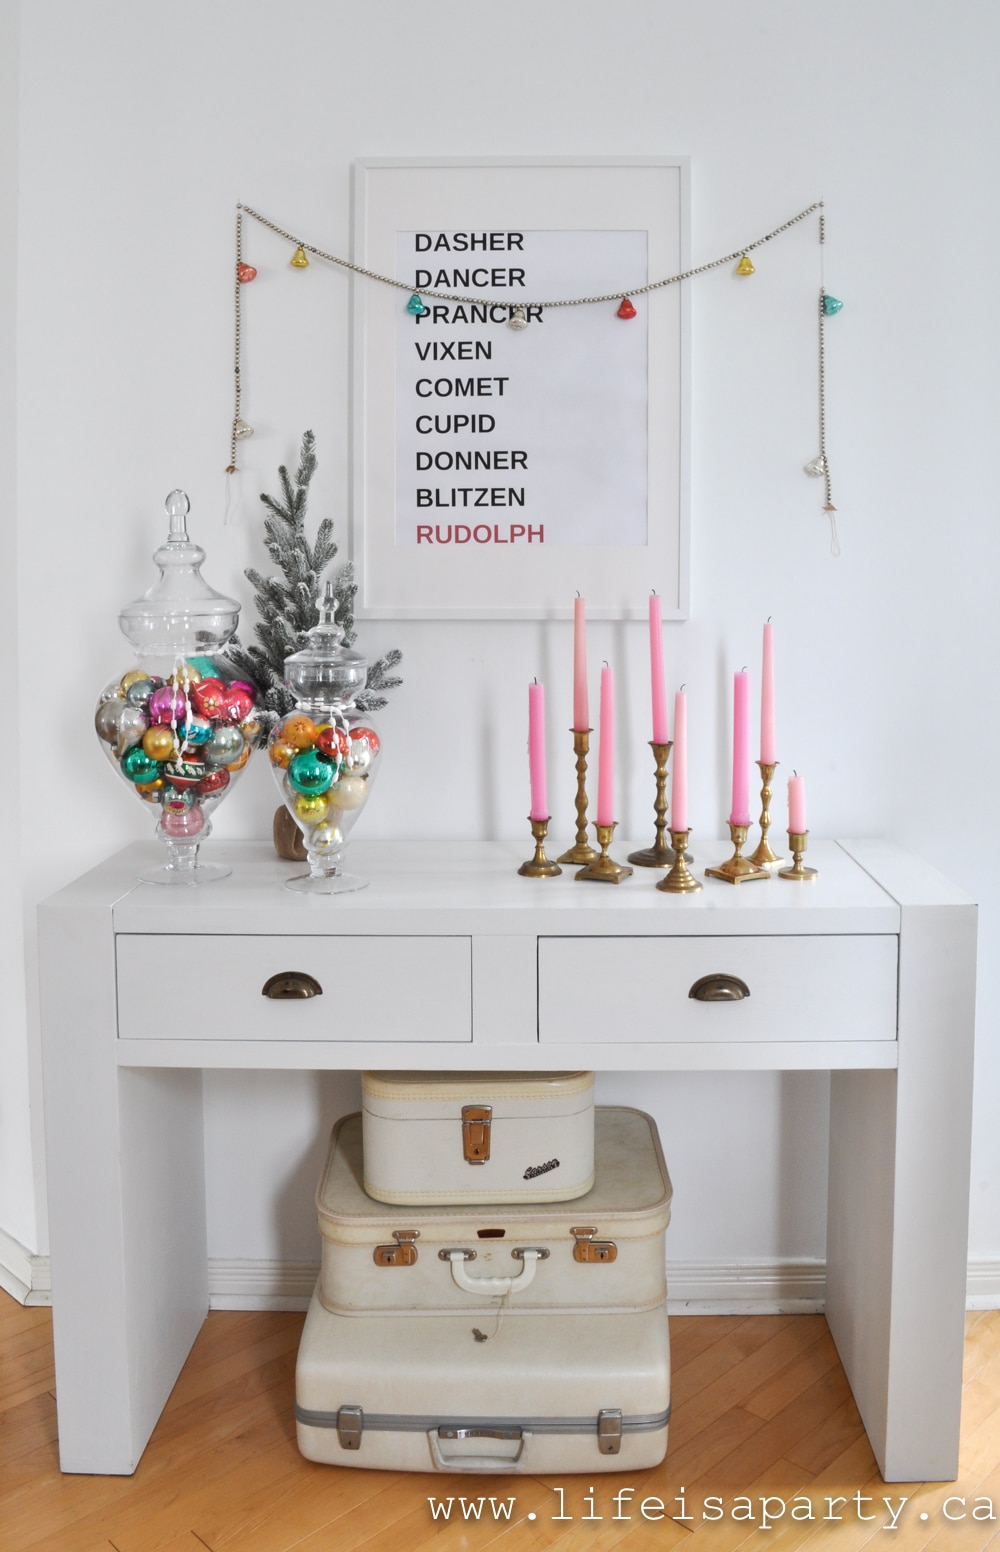
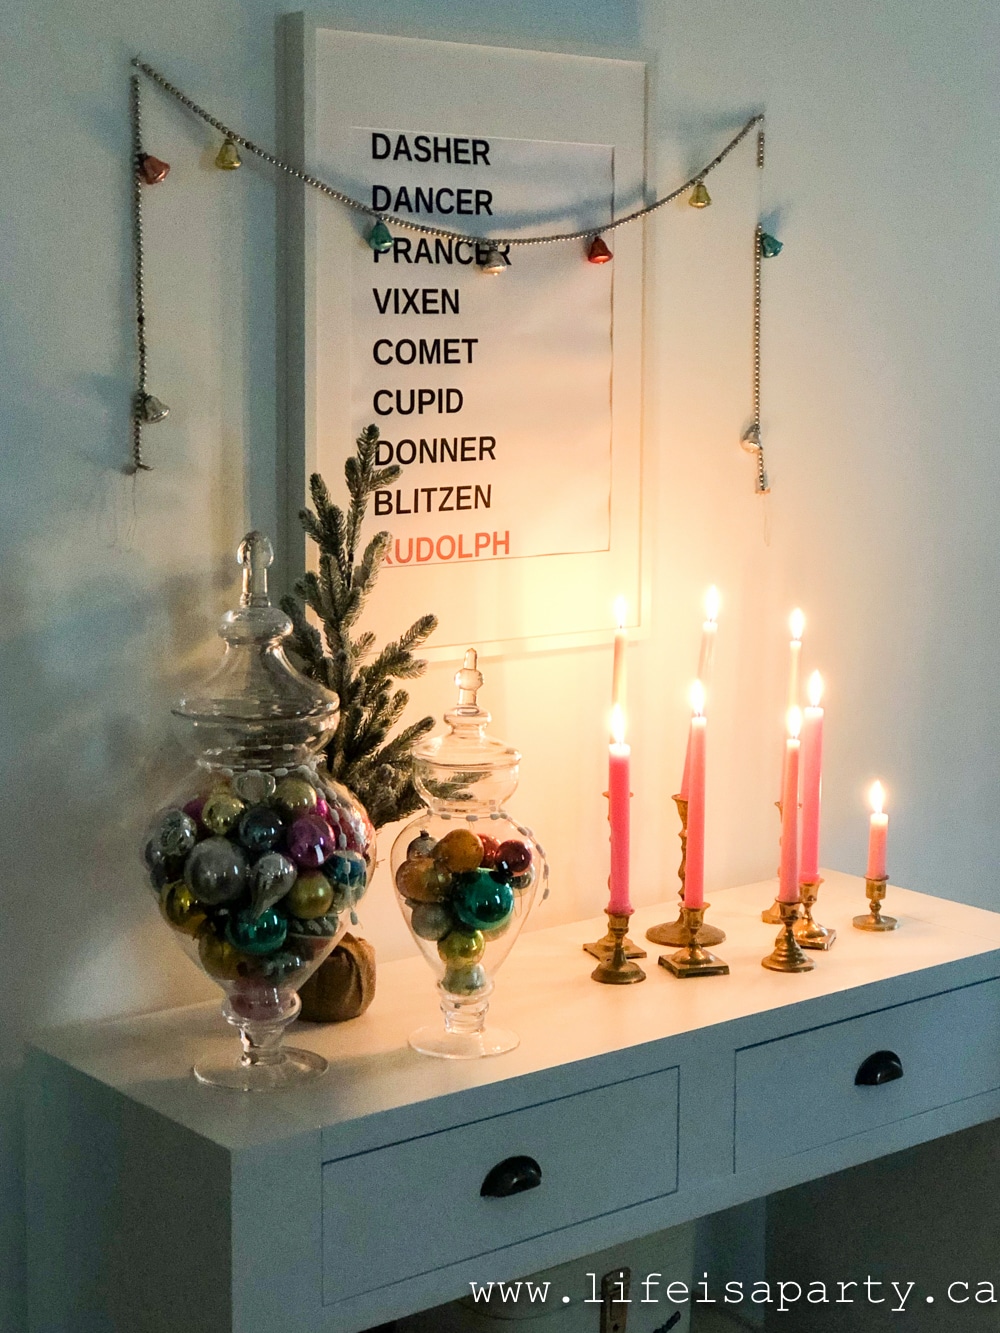
Come on in, this front console table sits by the front door and it's dressed up for Christmas with a print from our Etsy shop -you can find it here.  I also added in a few vintage pieces.  The ornaments have been collected over years of thrifting.

Green Christmas Decor In The Dining Room

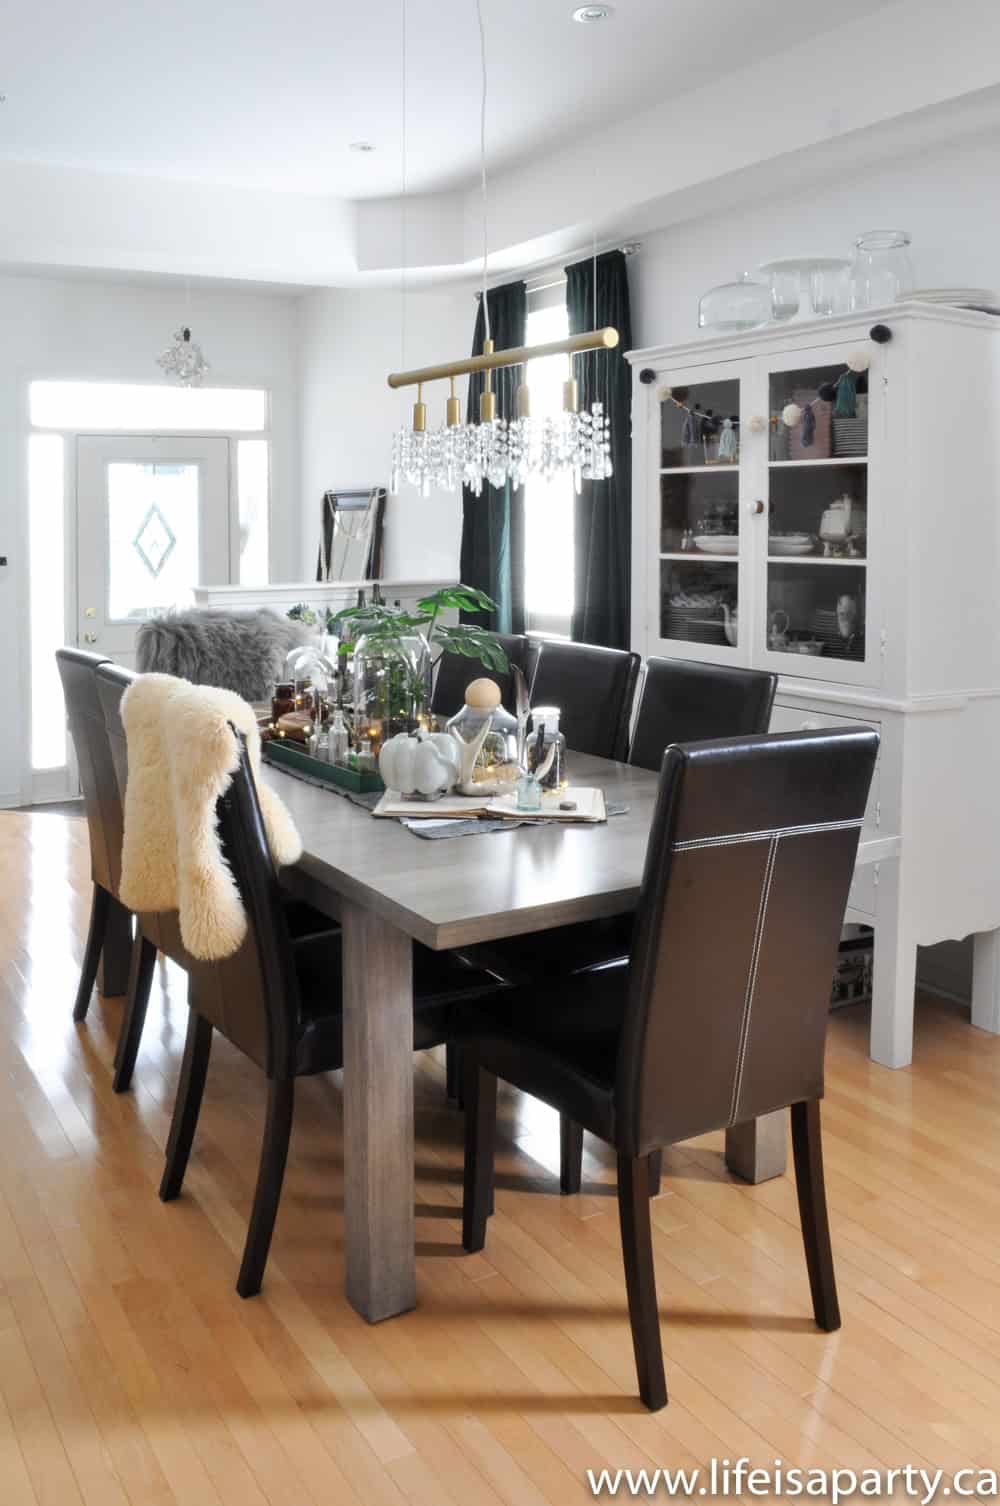
The dining room is the first room in our home.  

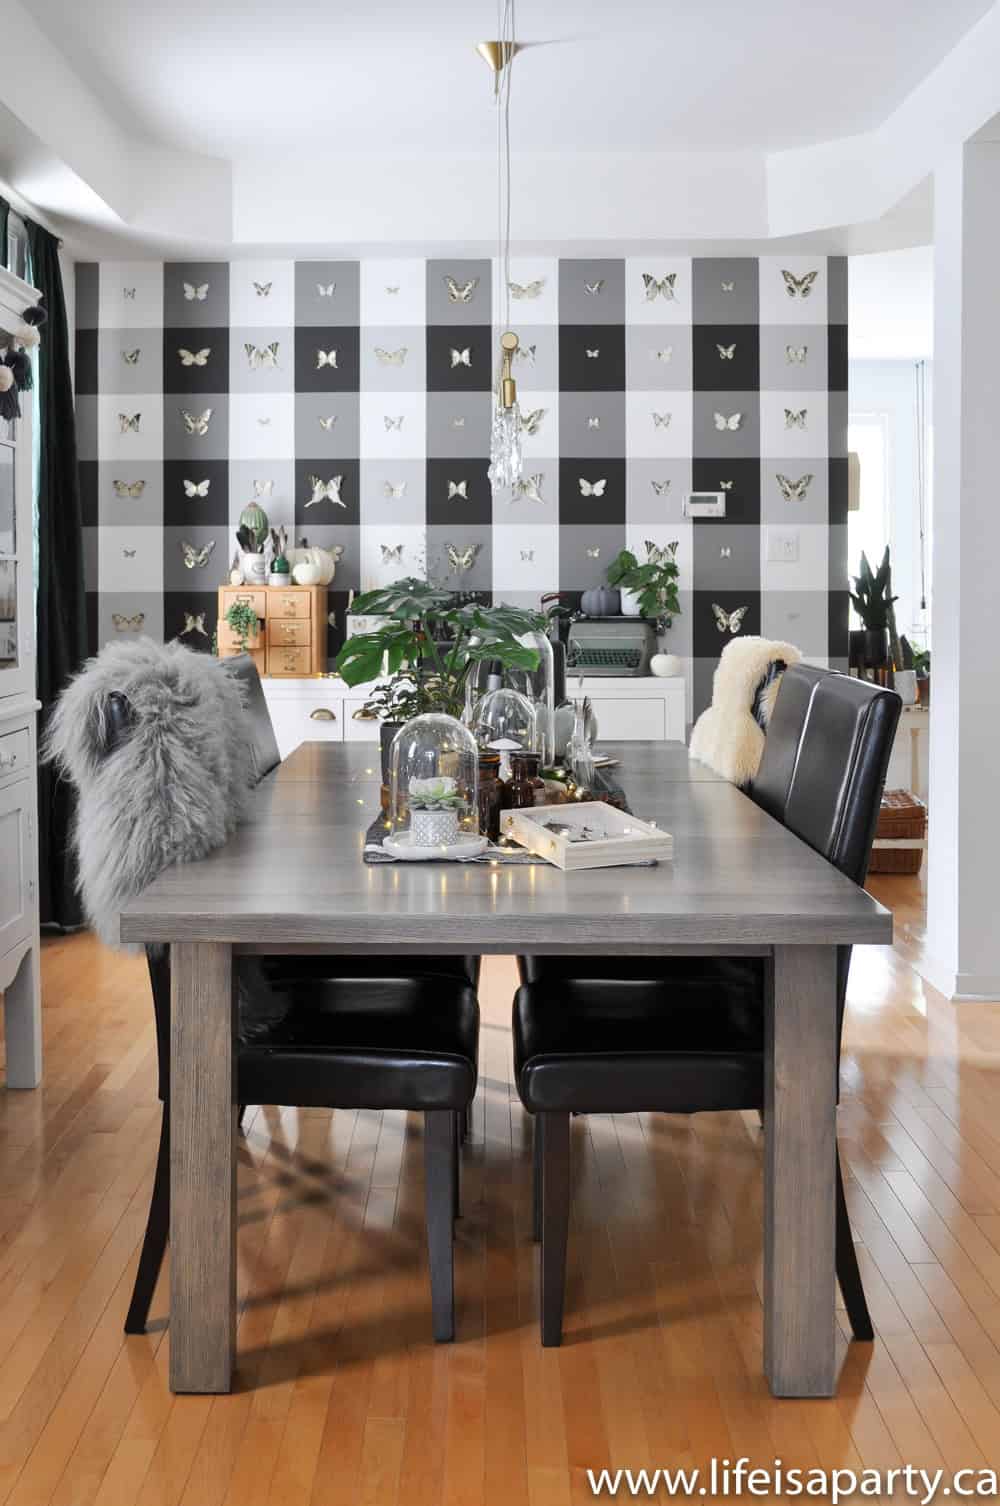
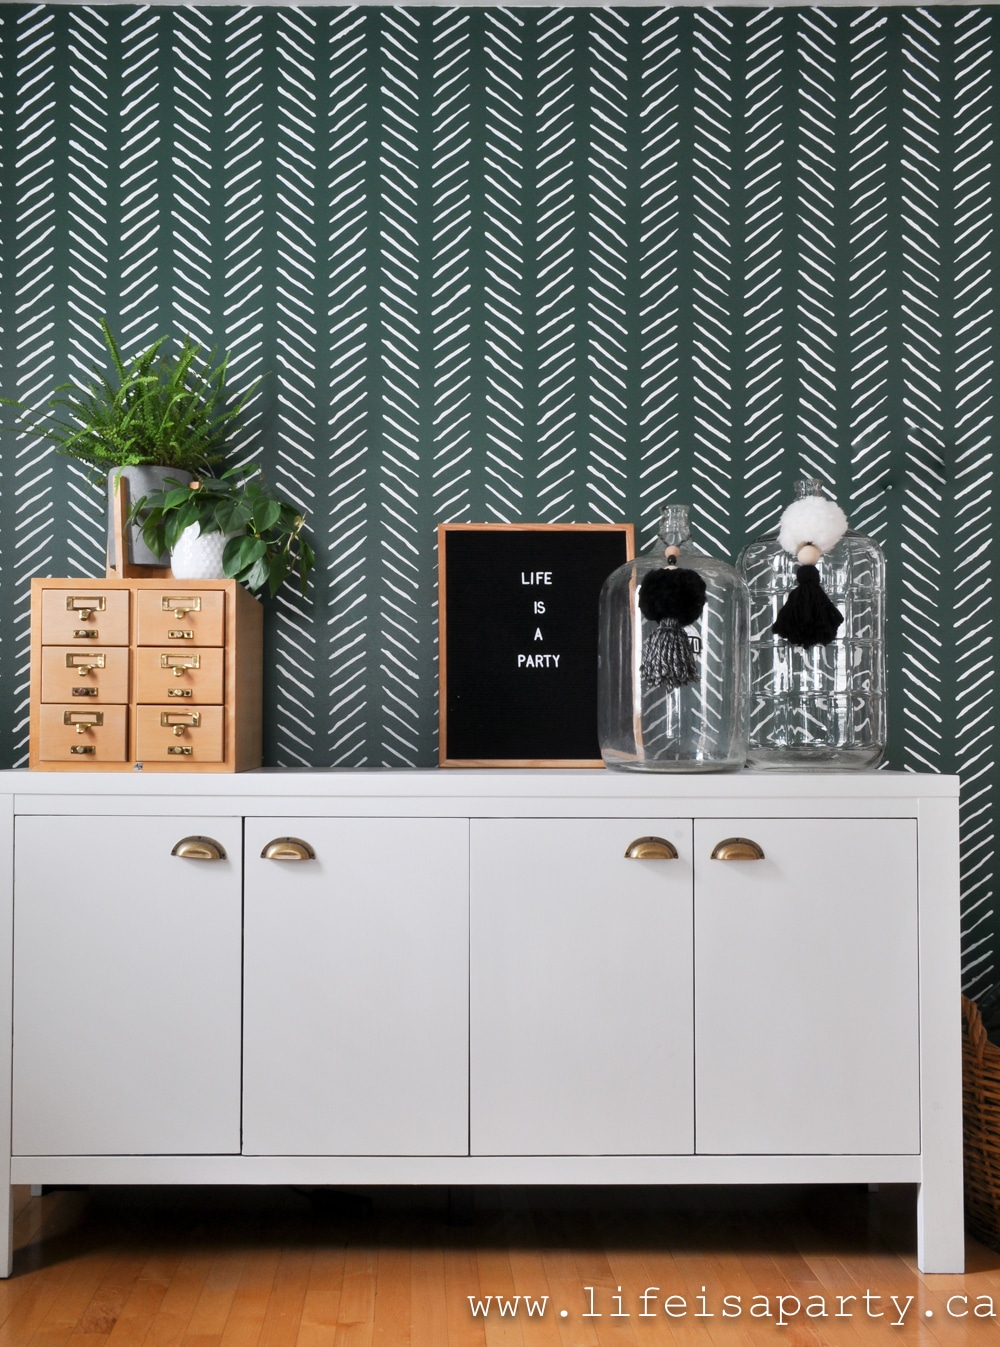
The Green Feature Wall

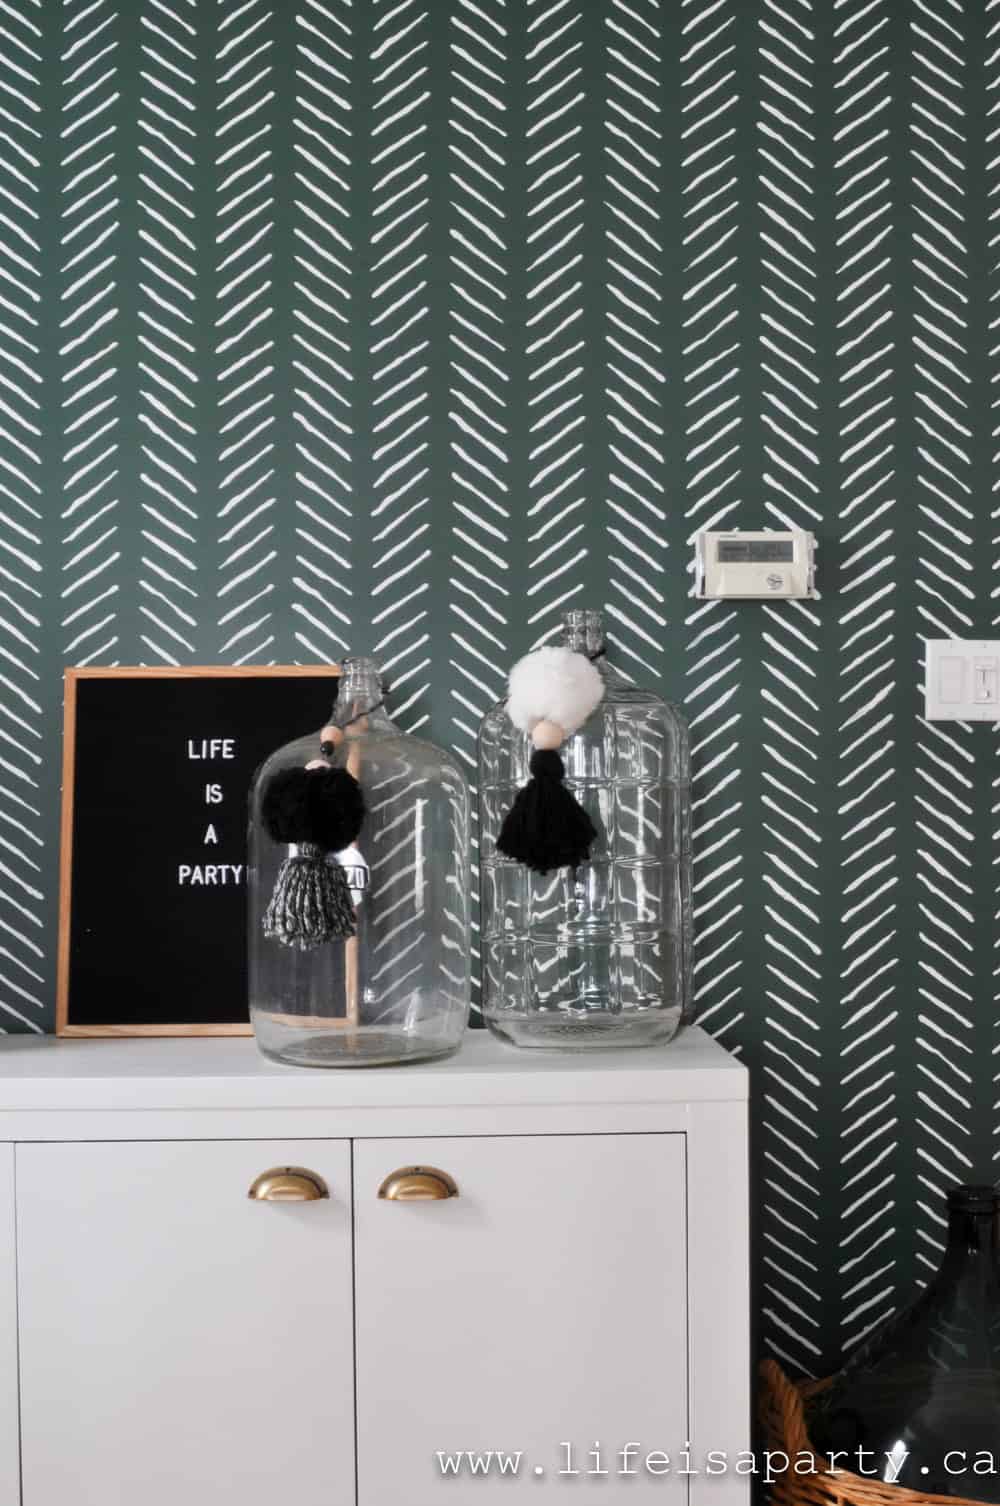
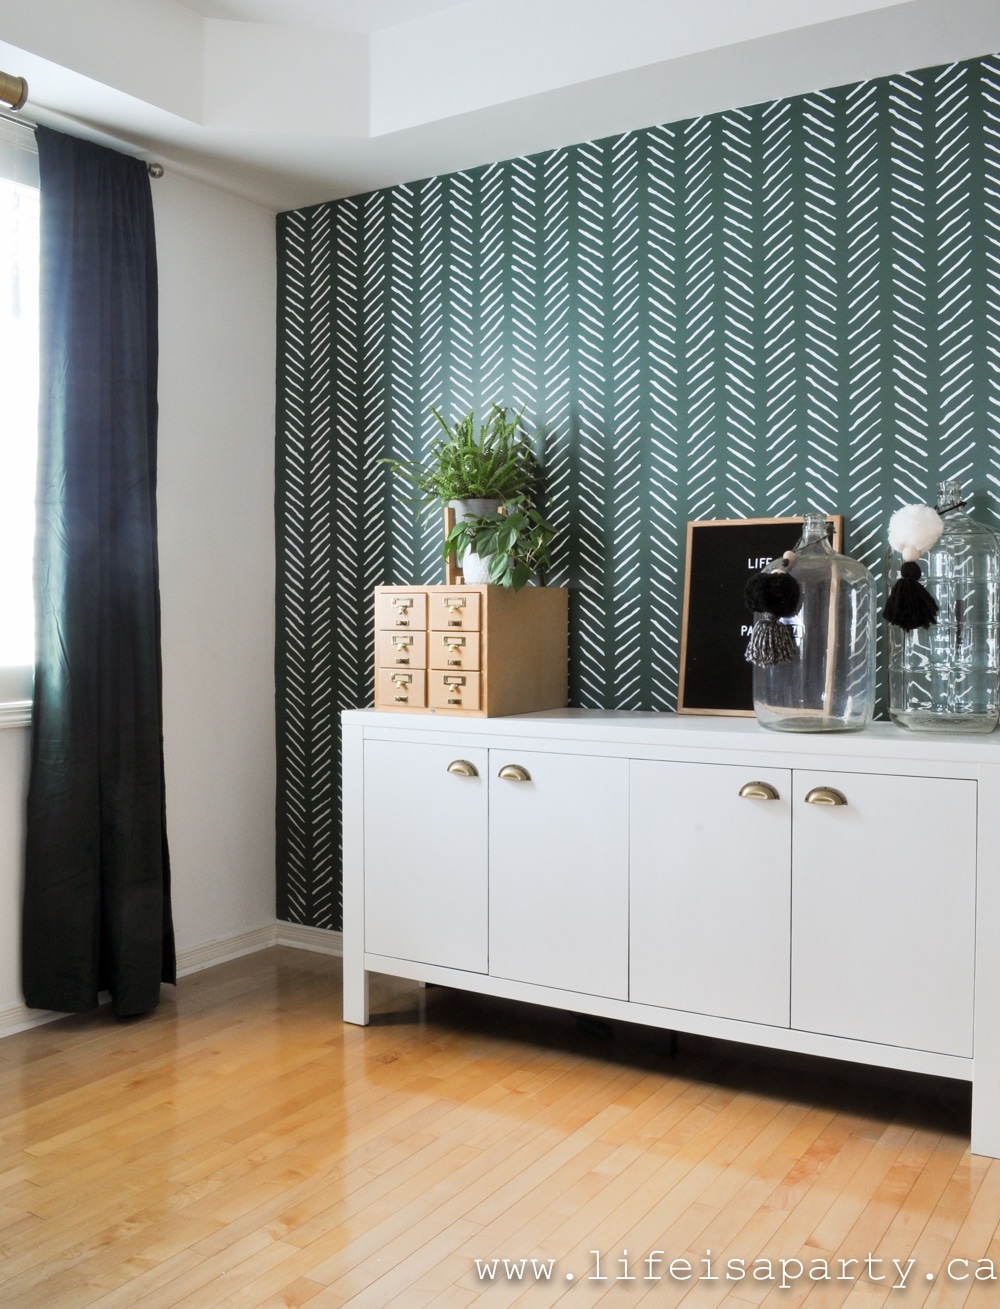
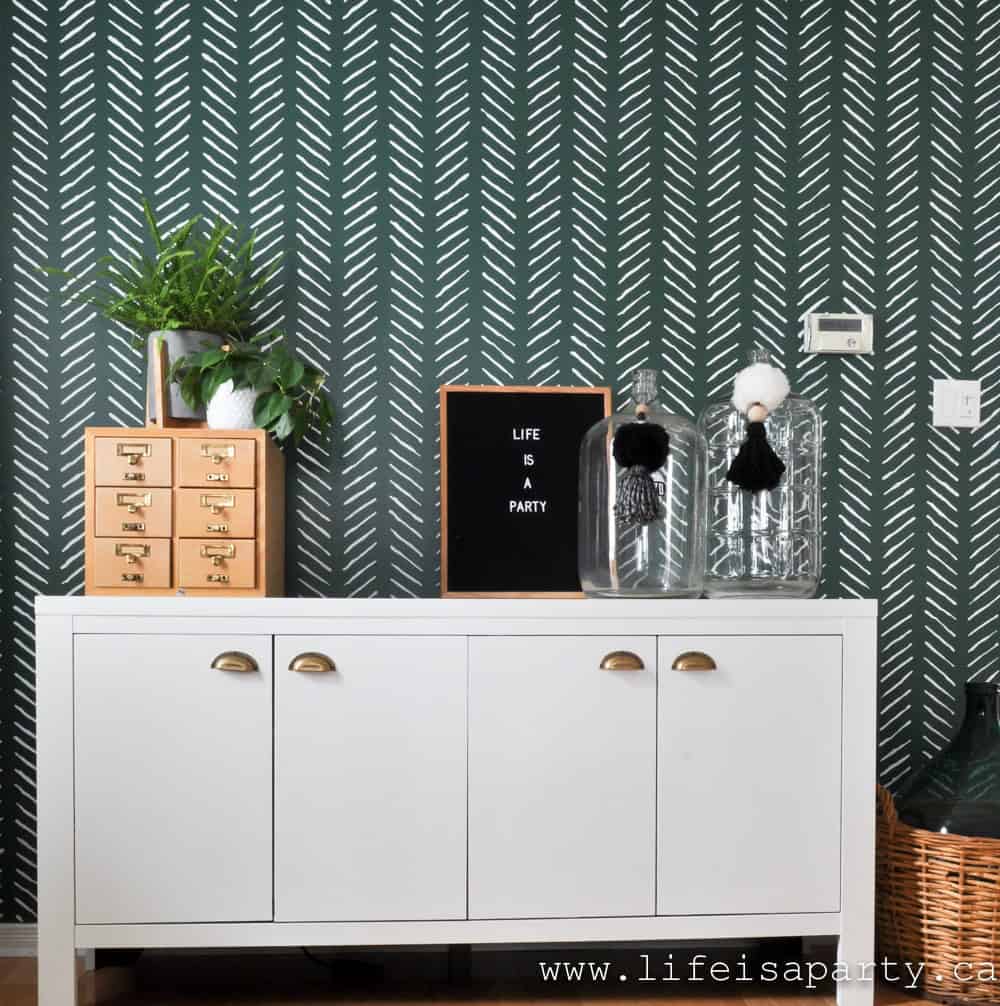
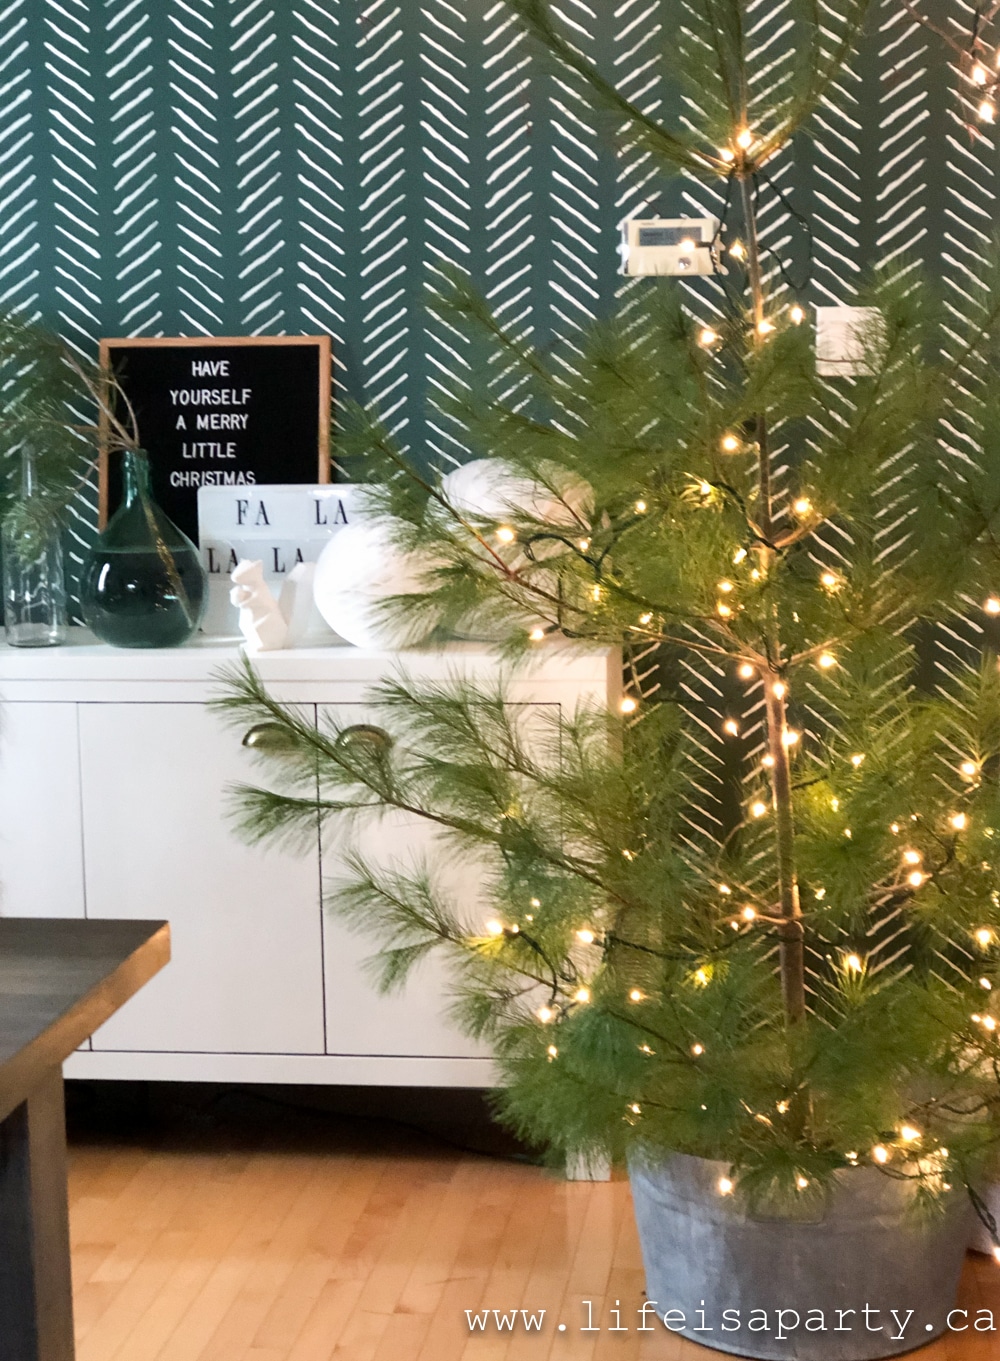
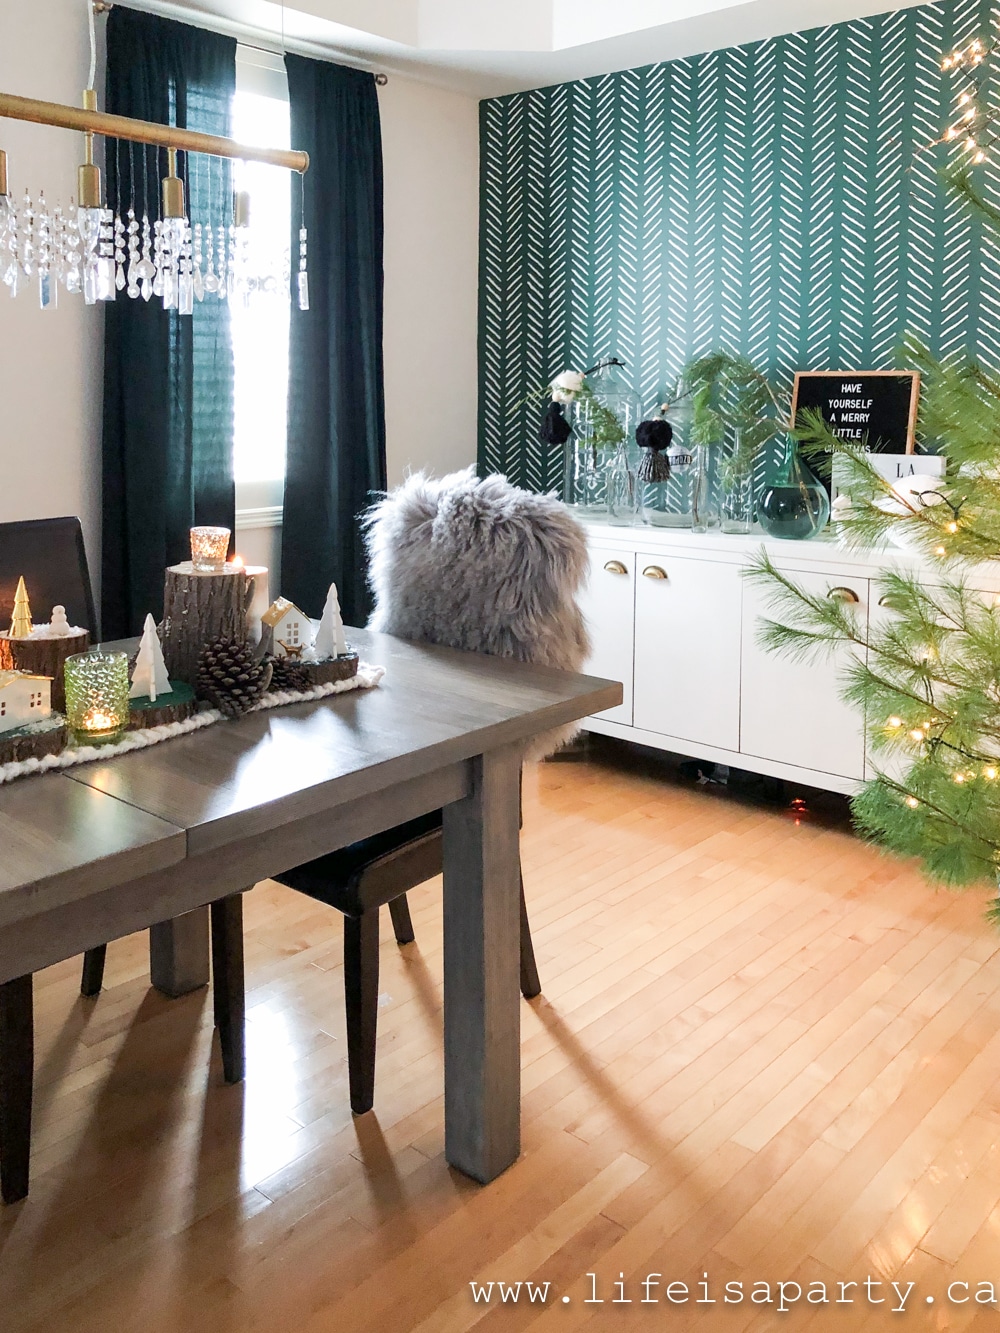
I recently changed our accent wall -you can read all about our DIY green stencil feature wall here.  It feels so Christmas-y, but will be great all year round.
Rustic Scandinavian Christmas Home Decor with green Christmas decor

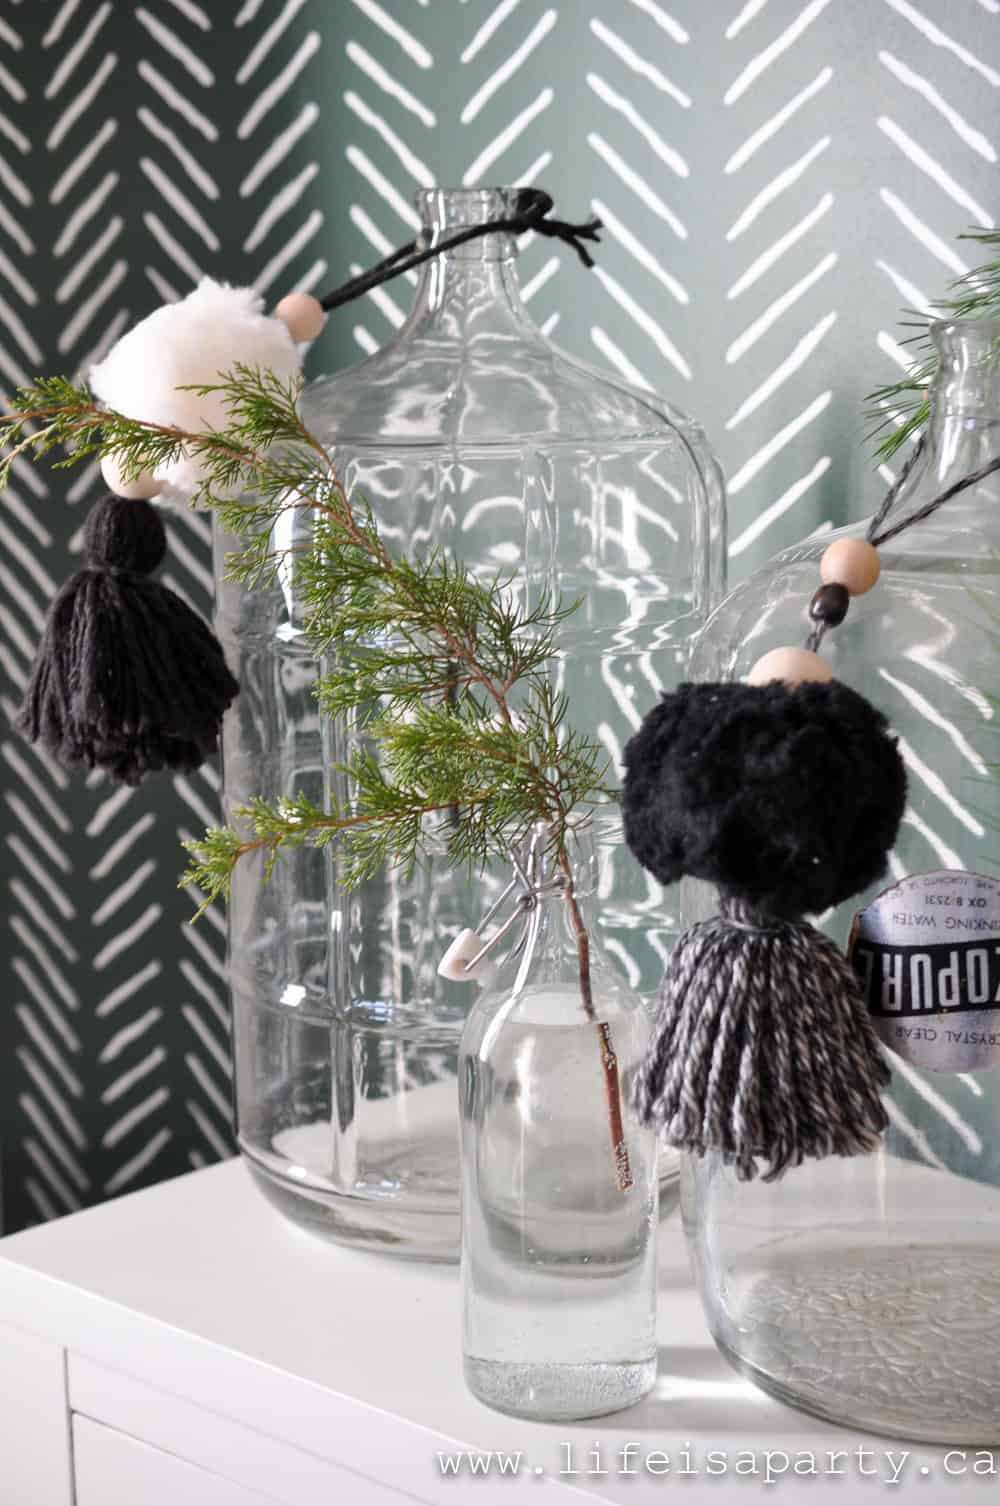
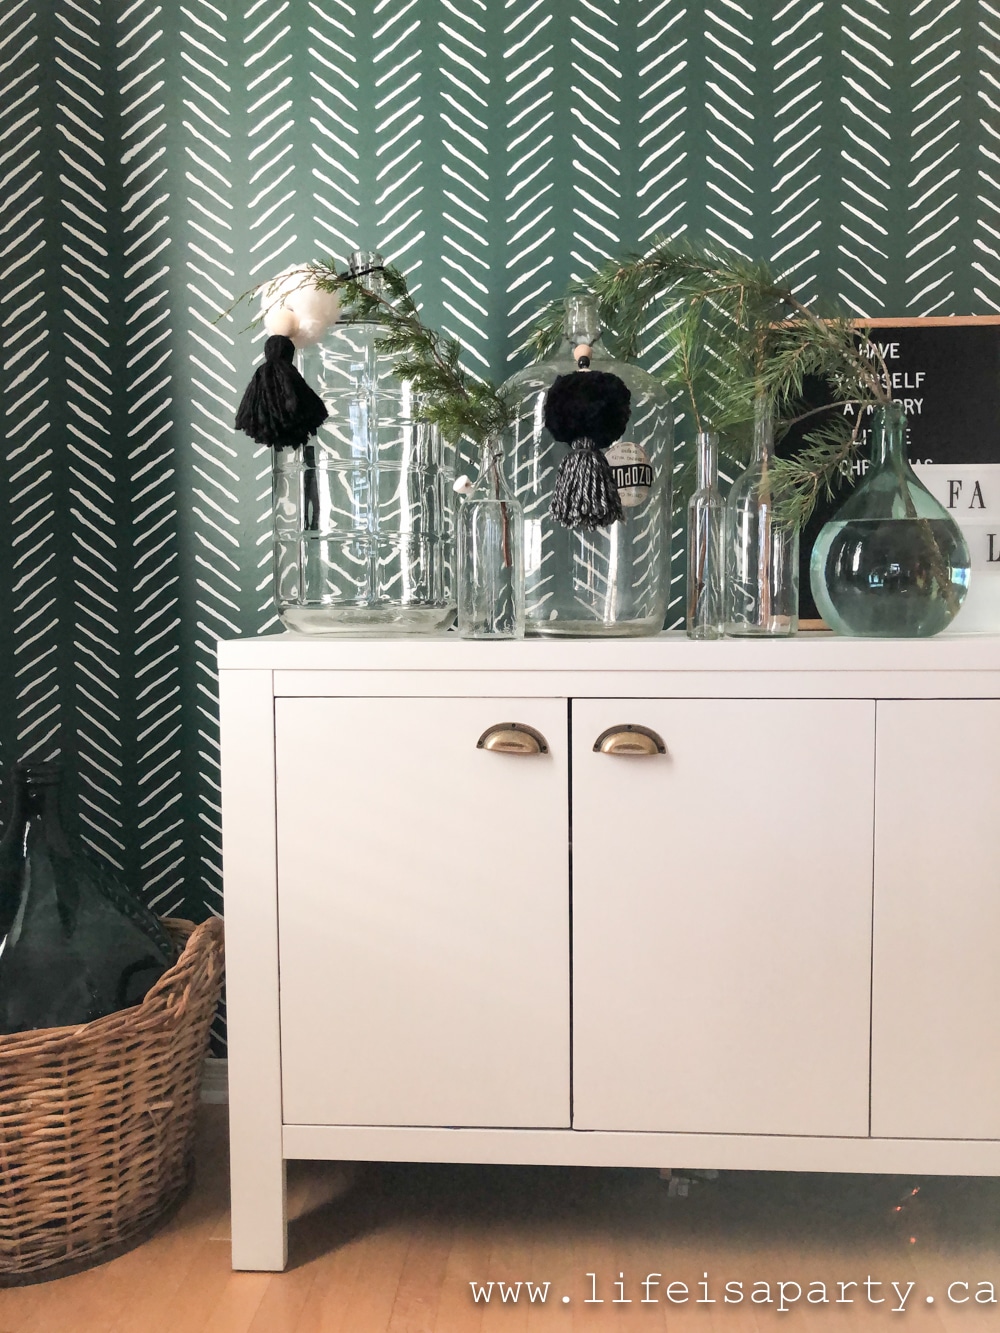
I decorated the buffet with some thrifted glass bottles -old water bottles and demi johns I've collected.  I thought they'd be beautiful for Christmas with some fresh greens in them, and I added a few homemade tassels.
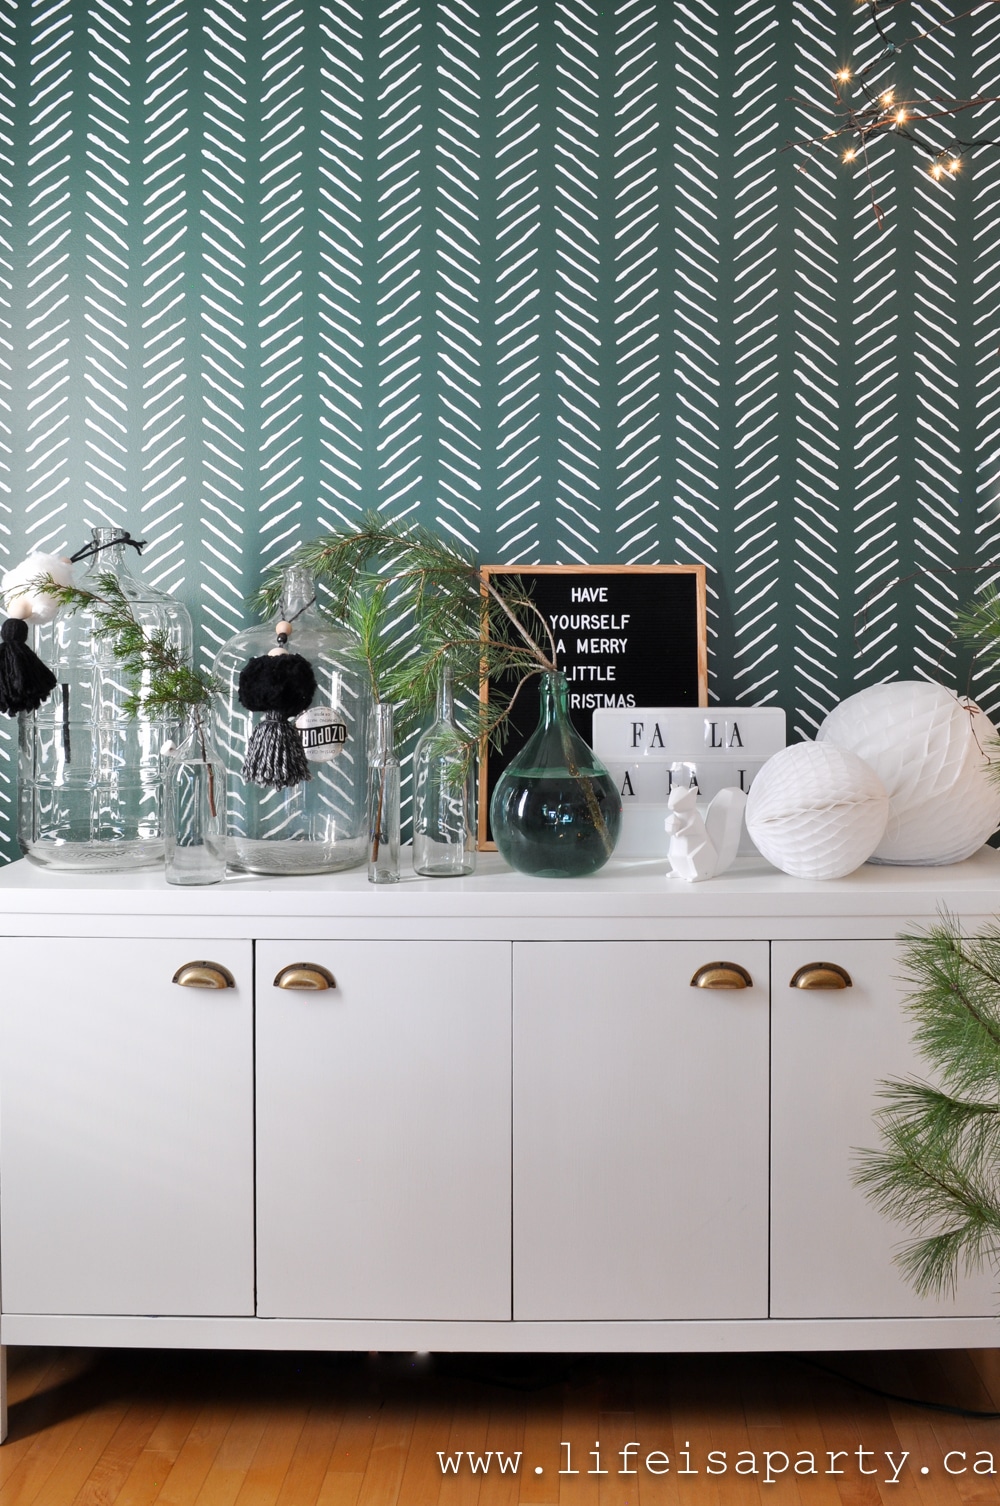
Rustic Scandinavian Christmas Decor, with a bit of modern boho.
green Christmas decor
Vintage glass bottles with fresh Christmas greens.

Dining Room Table

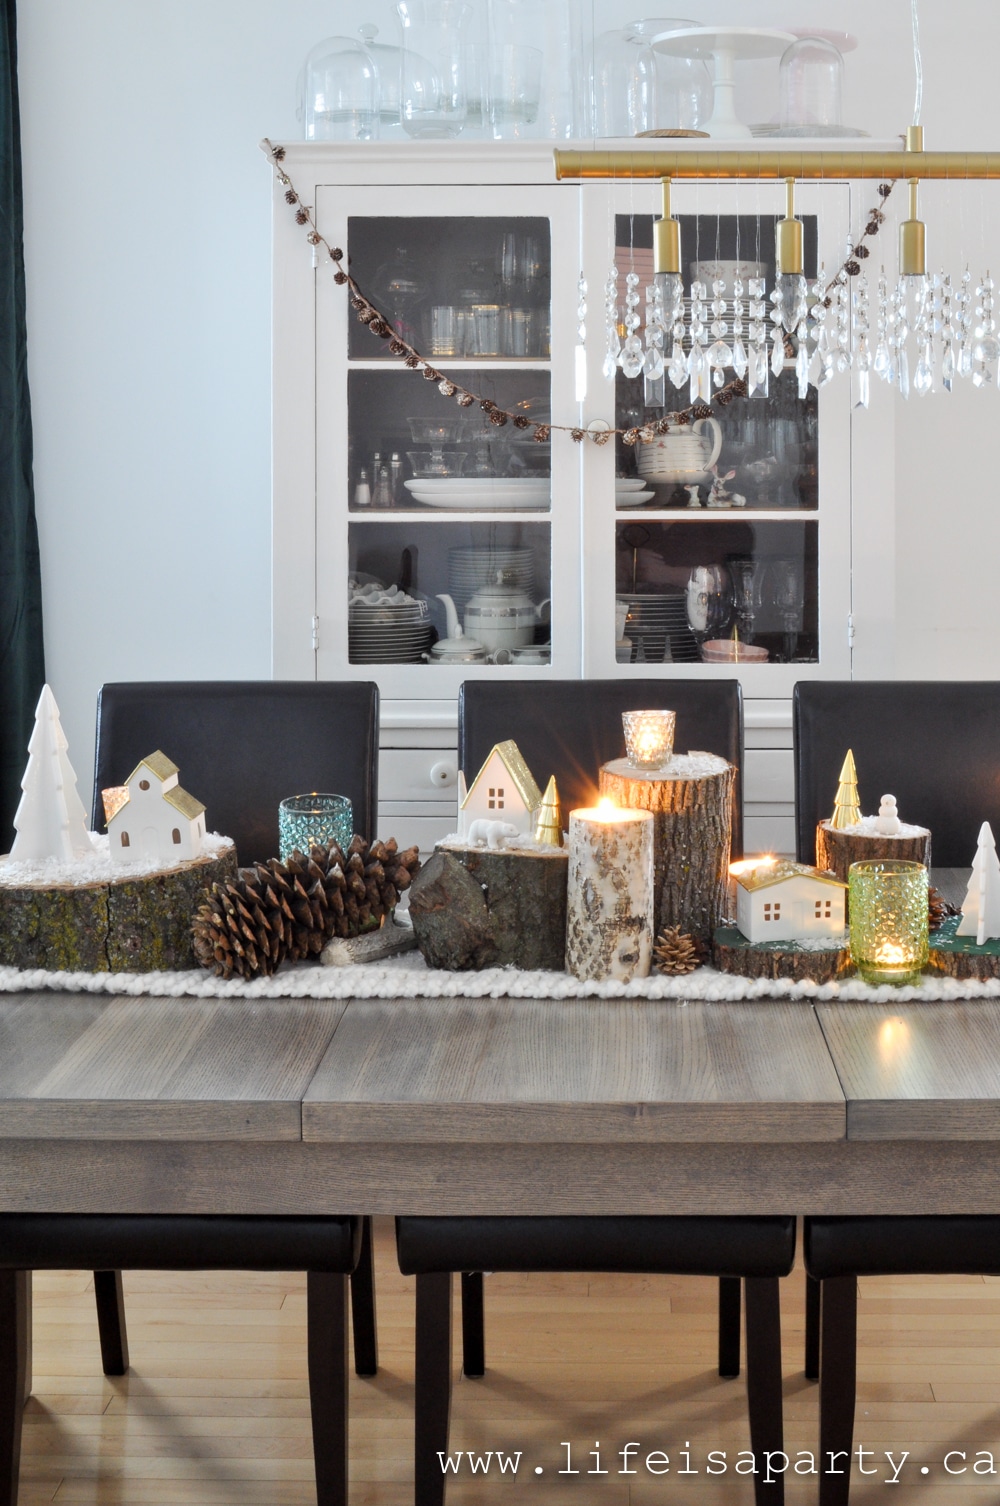
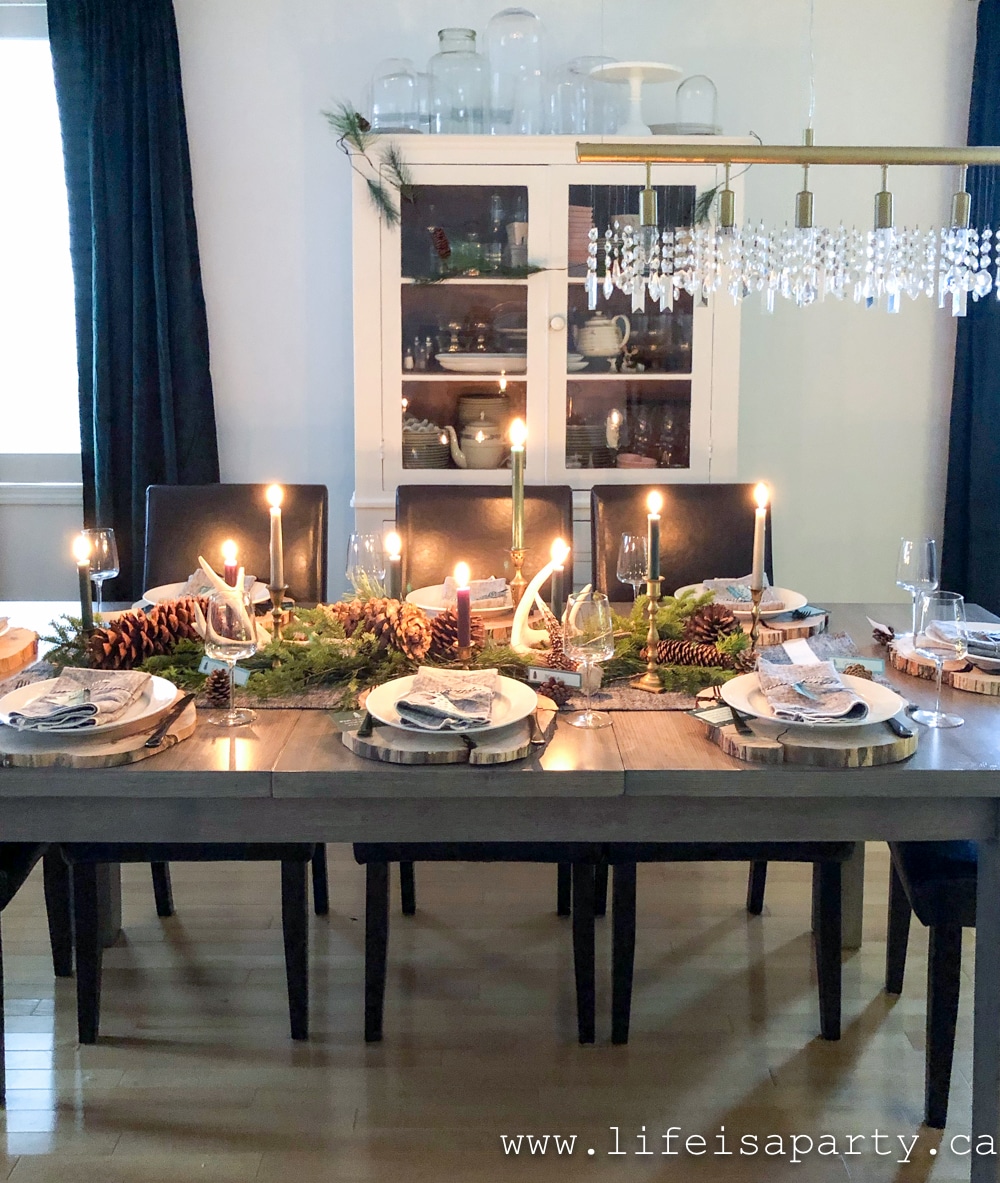
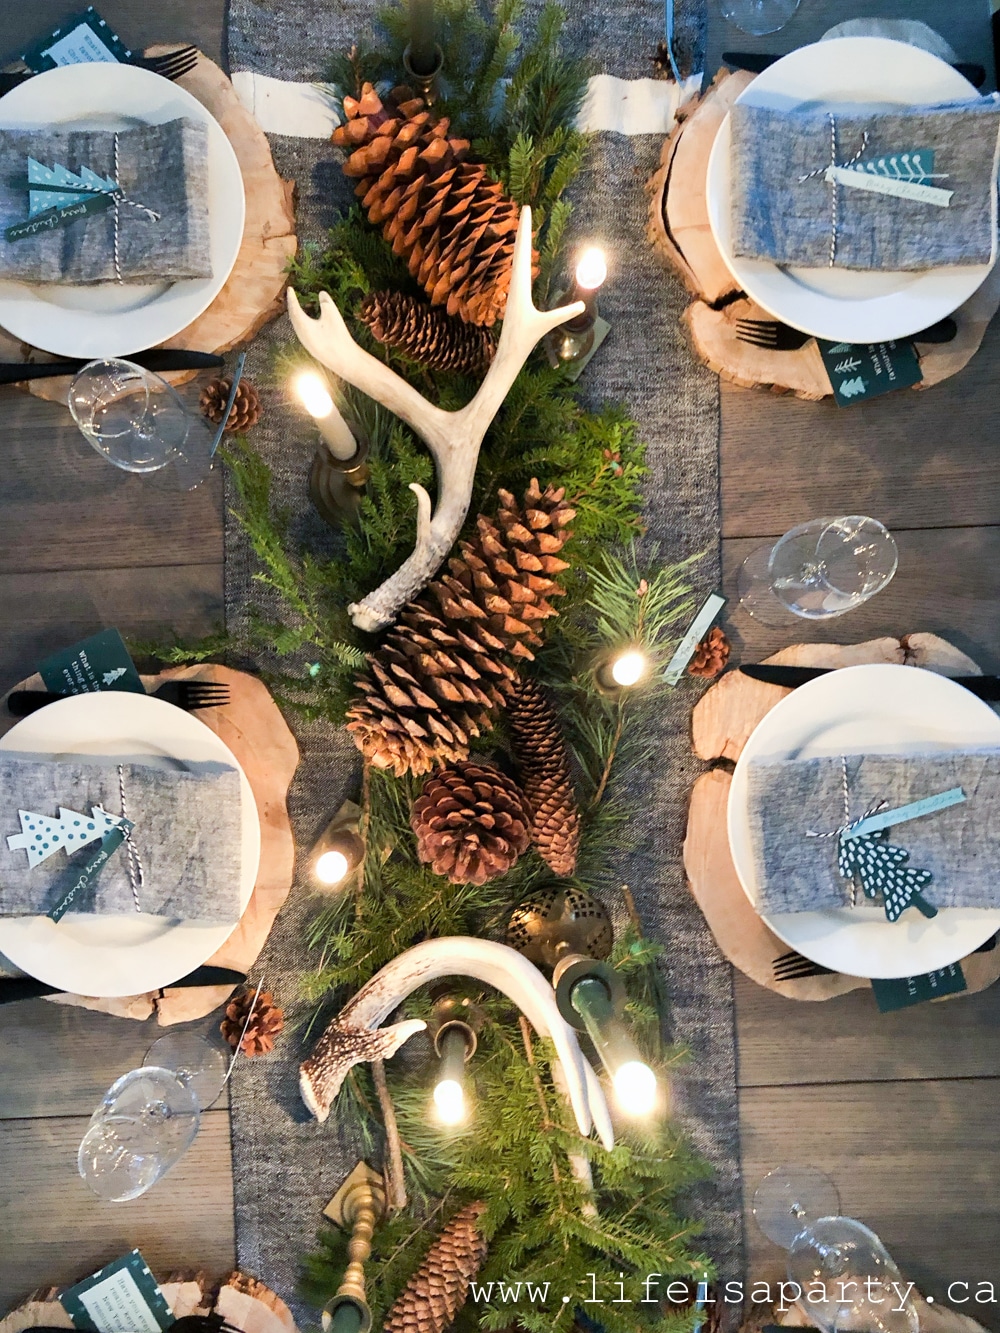
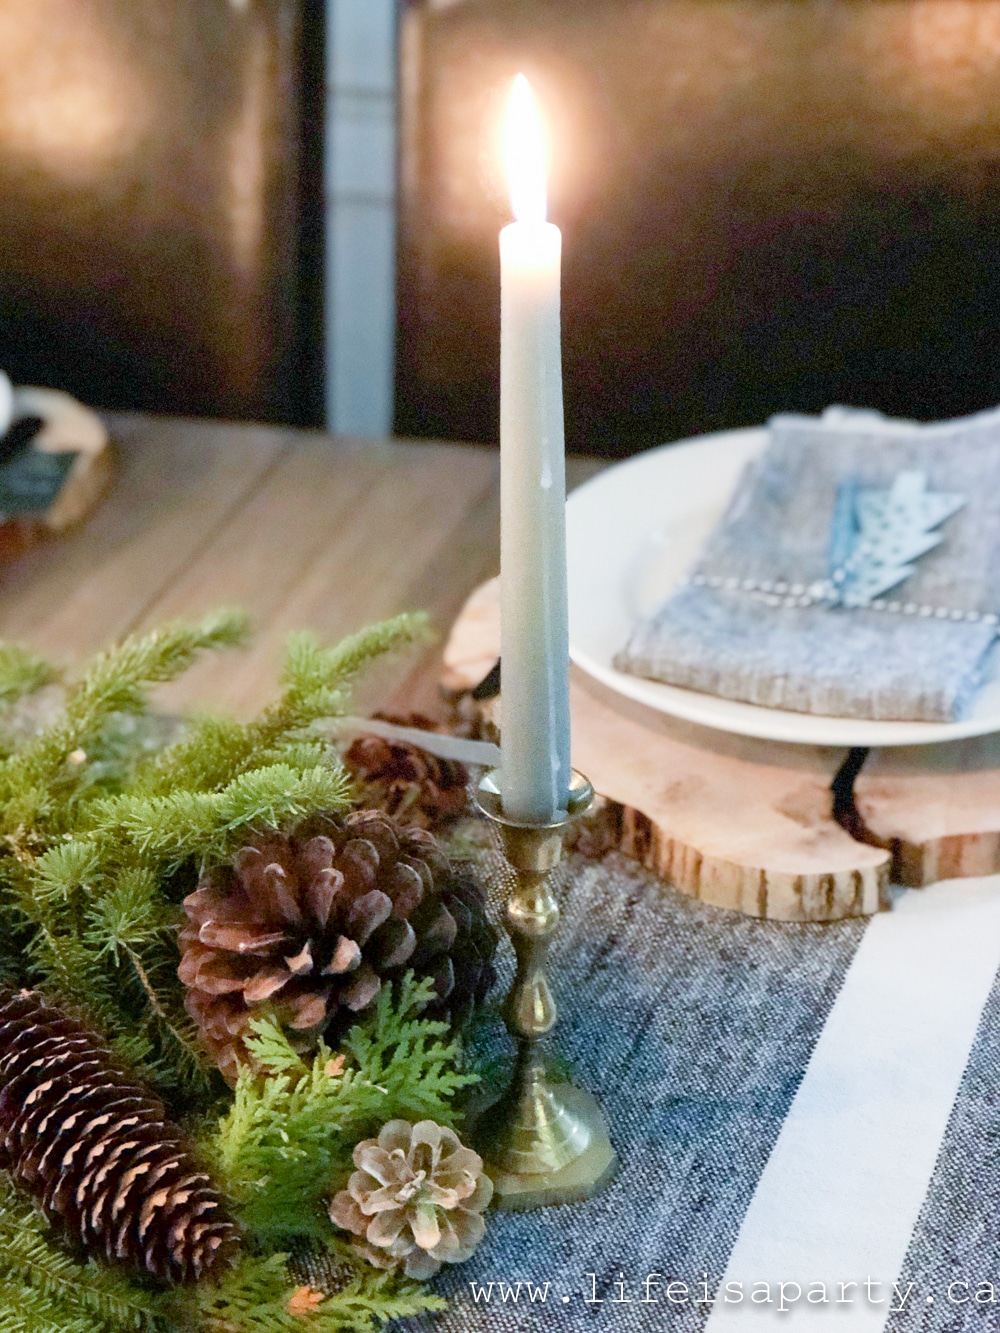
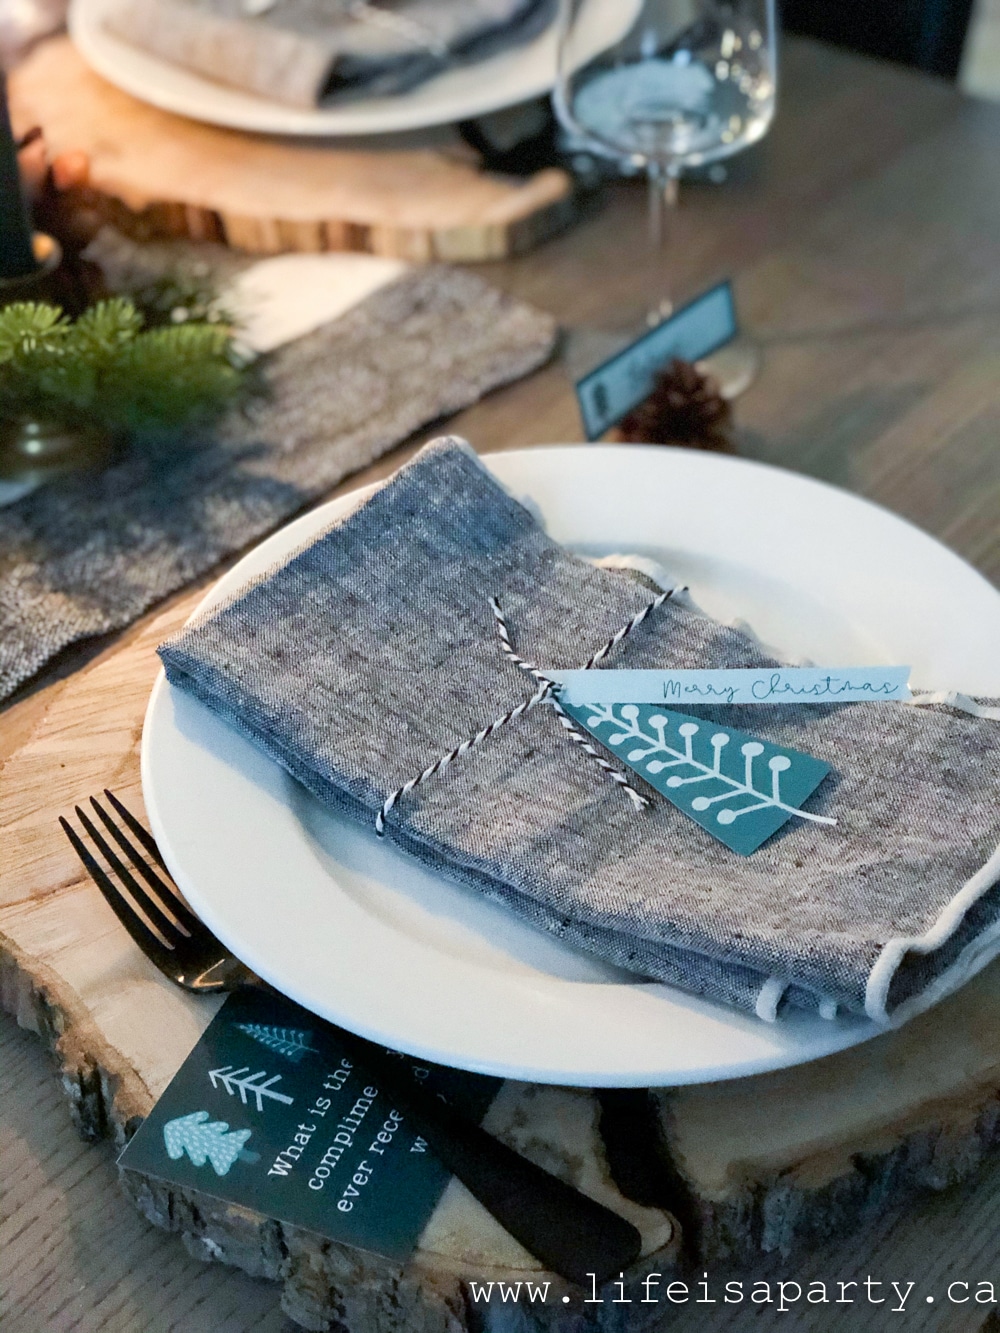
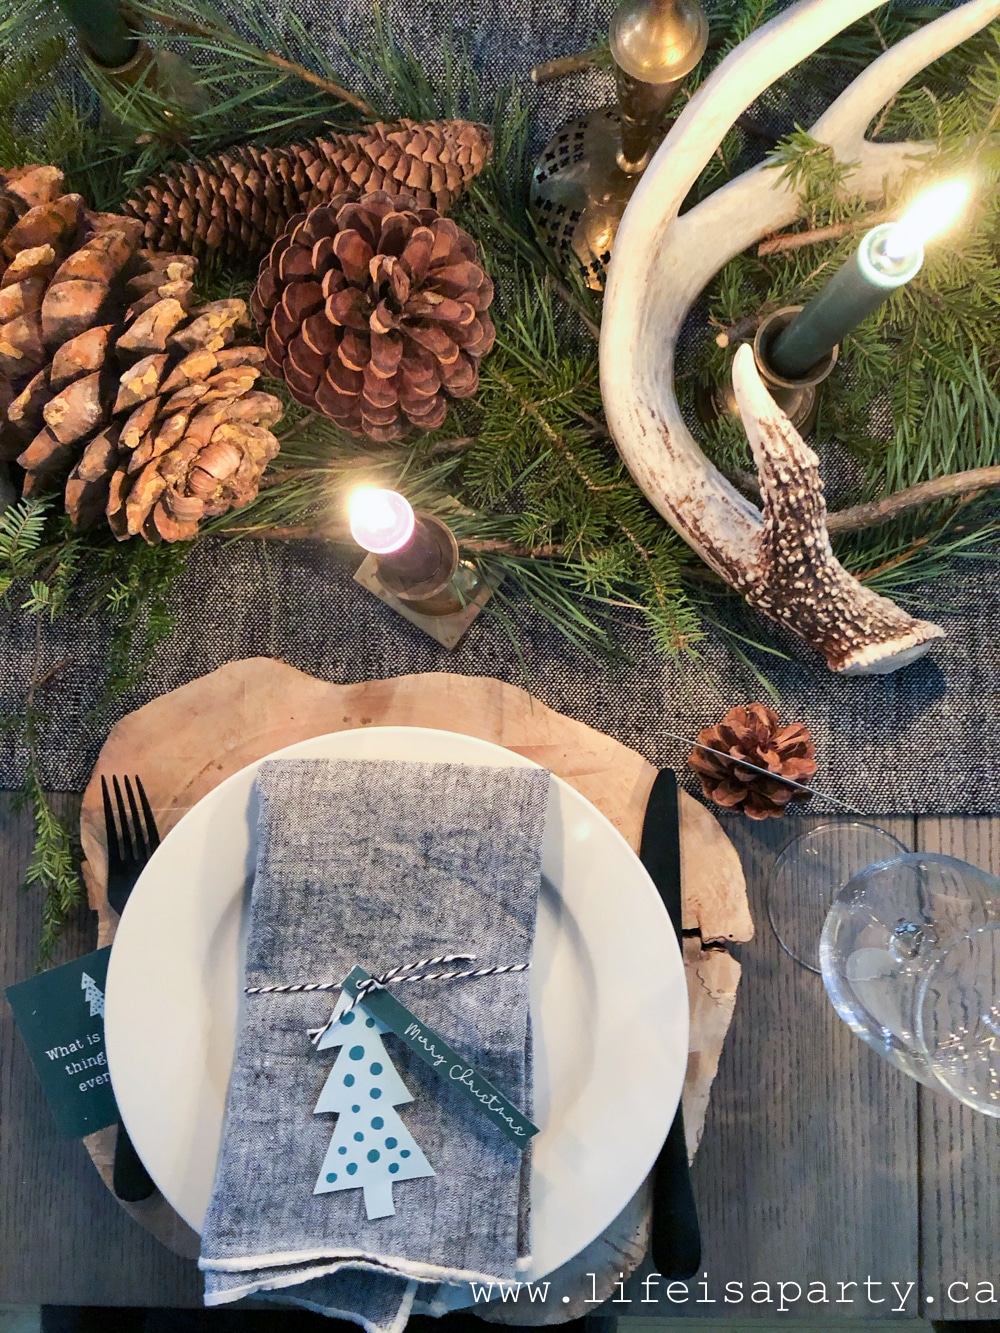
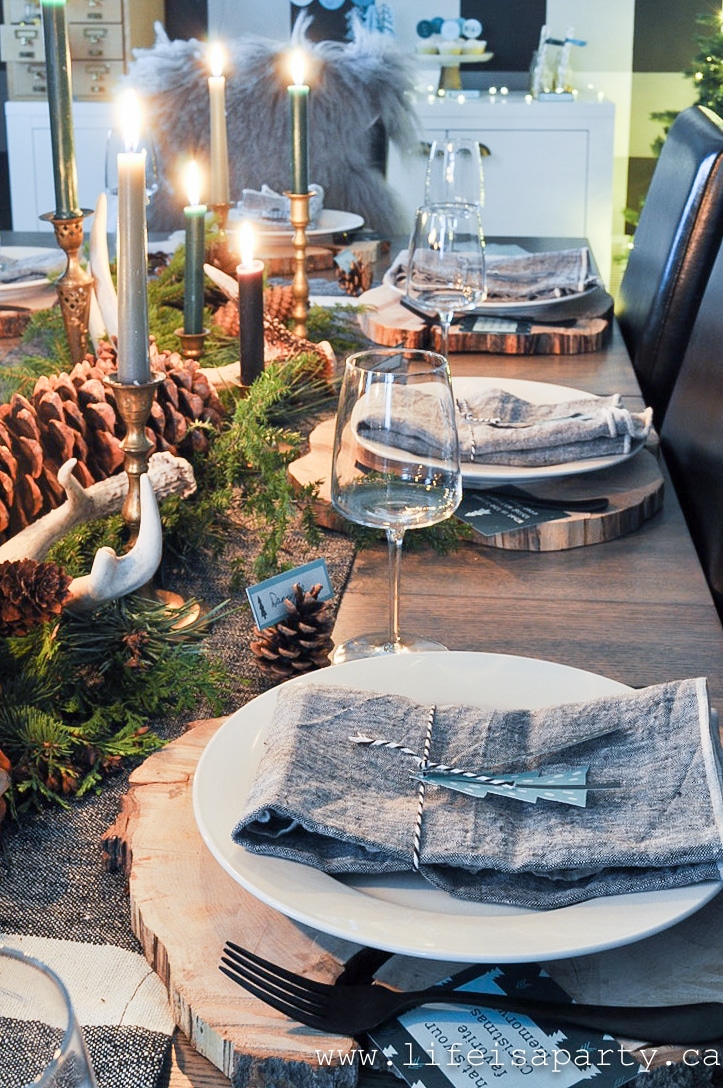
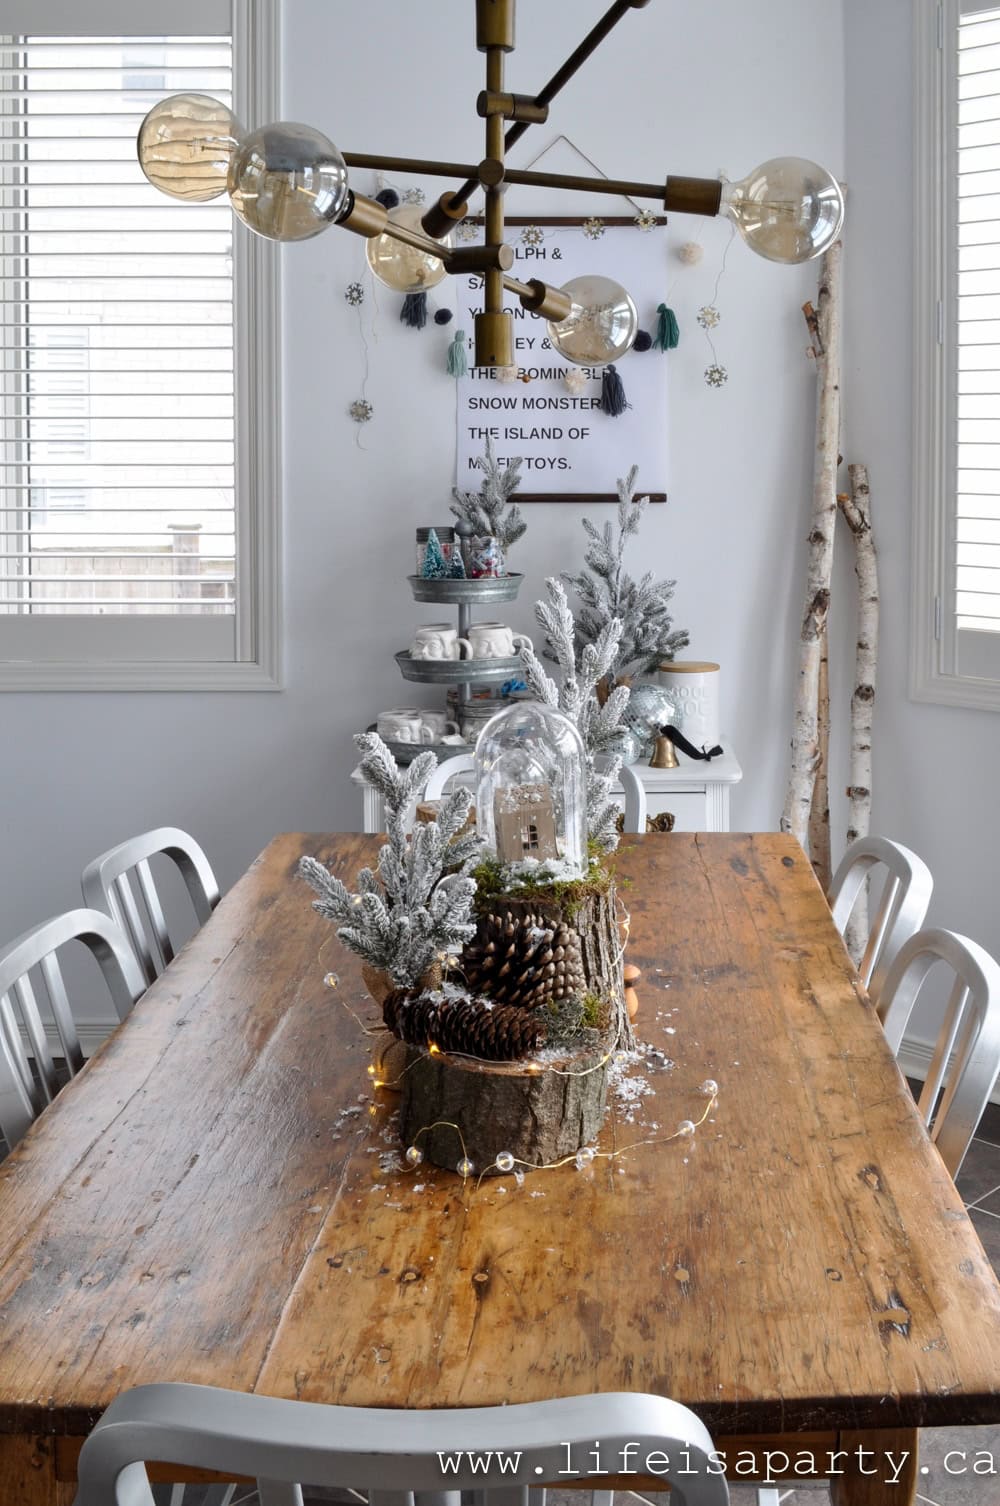
For the dining room table, I used wood stump pieces to create a centre piece.  
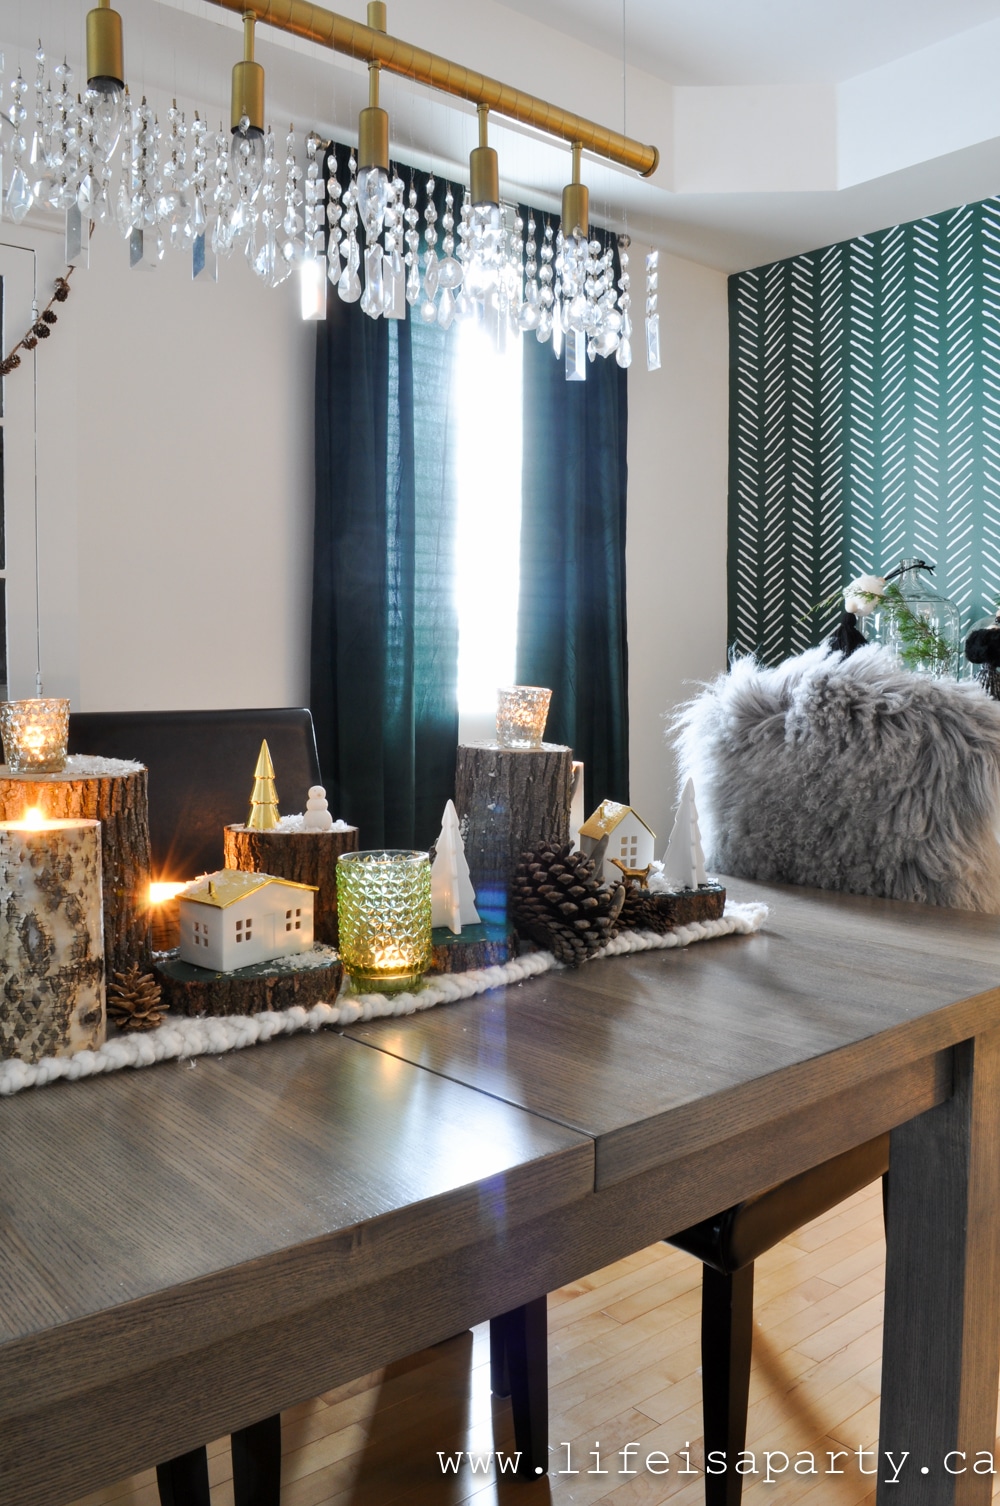
Rustic Scandinavian Christmas Home Tour, with bit of modern boho.
Christmas table scape with wood logs and candles and green decor

I'd had this idea in my mind since last year, but wood pieces can be a little hard to come by.  Luckily my sister had a friend who is an arborist and helped us out.  I love how it turned out, and you'll see I repeated it throughout the main floor.
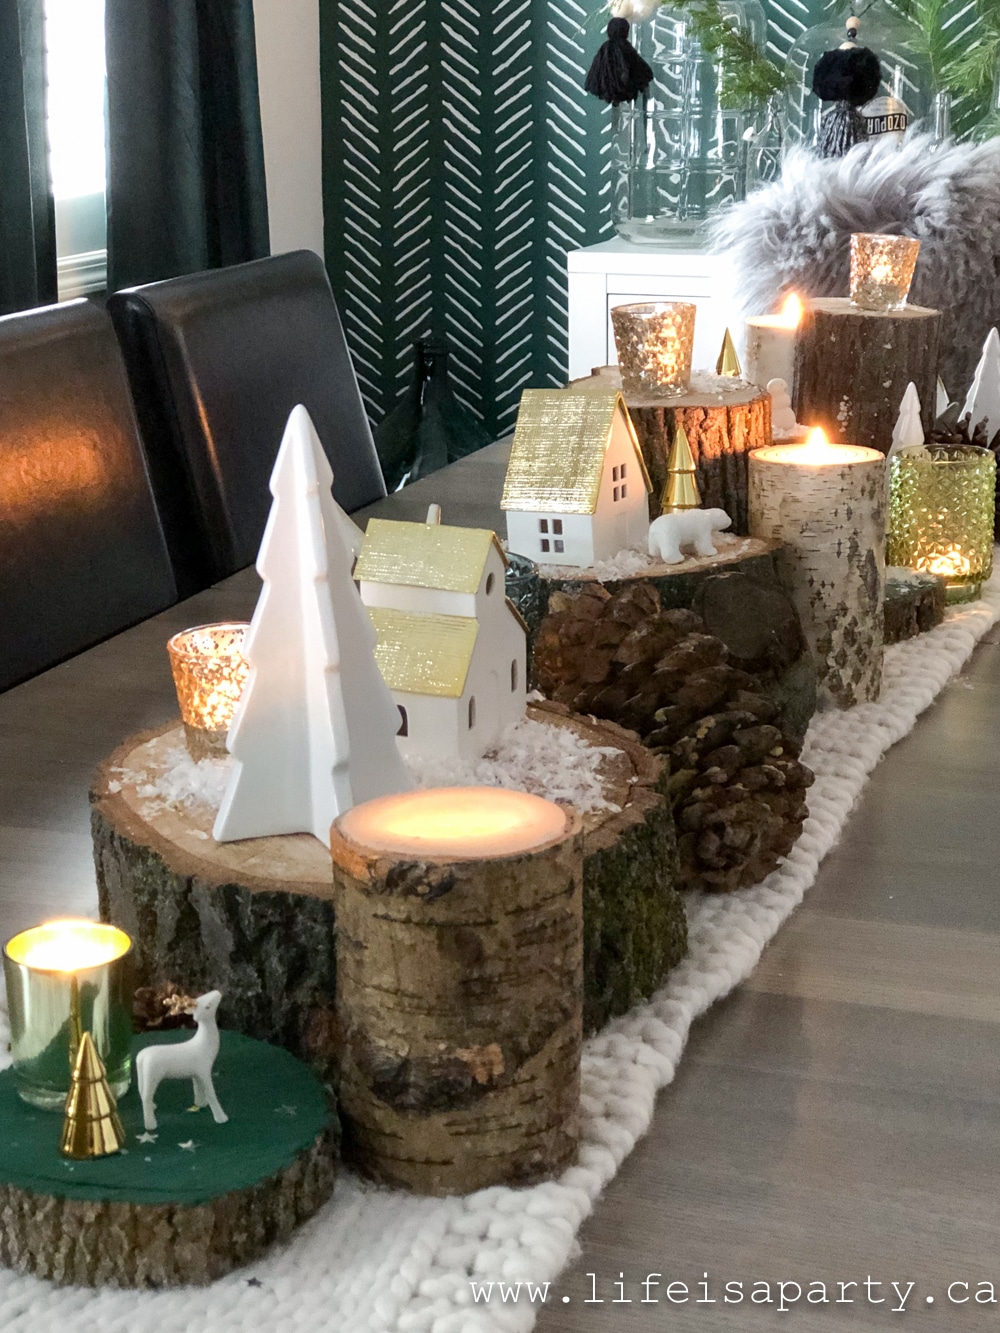
Christmas centre piece with rustic materials and green Christmas decor.

I painted a few of the tops different shades of green in the dining room and it's a fun way to tie the colour in.
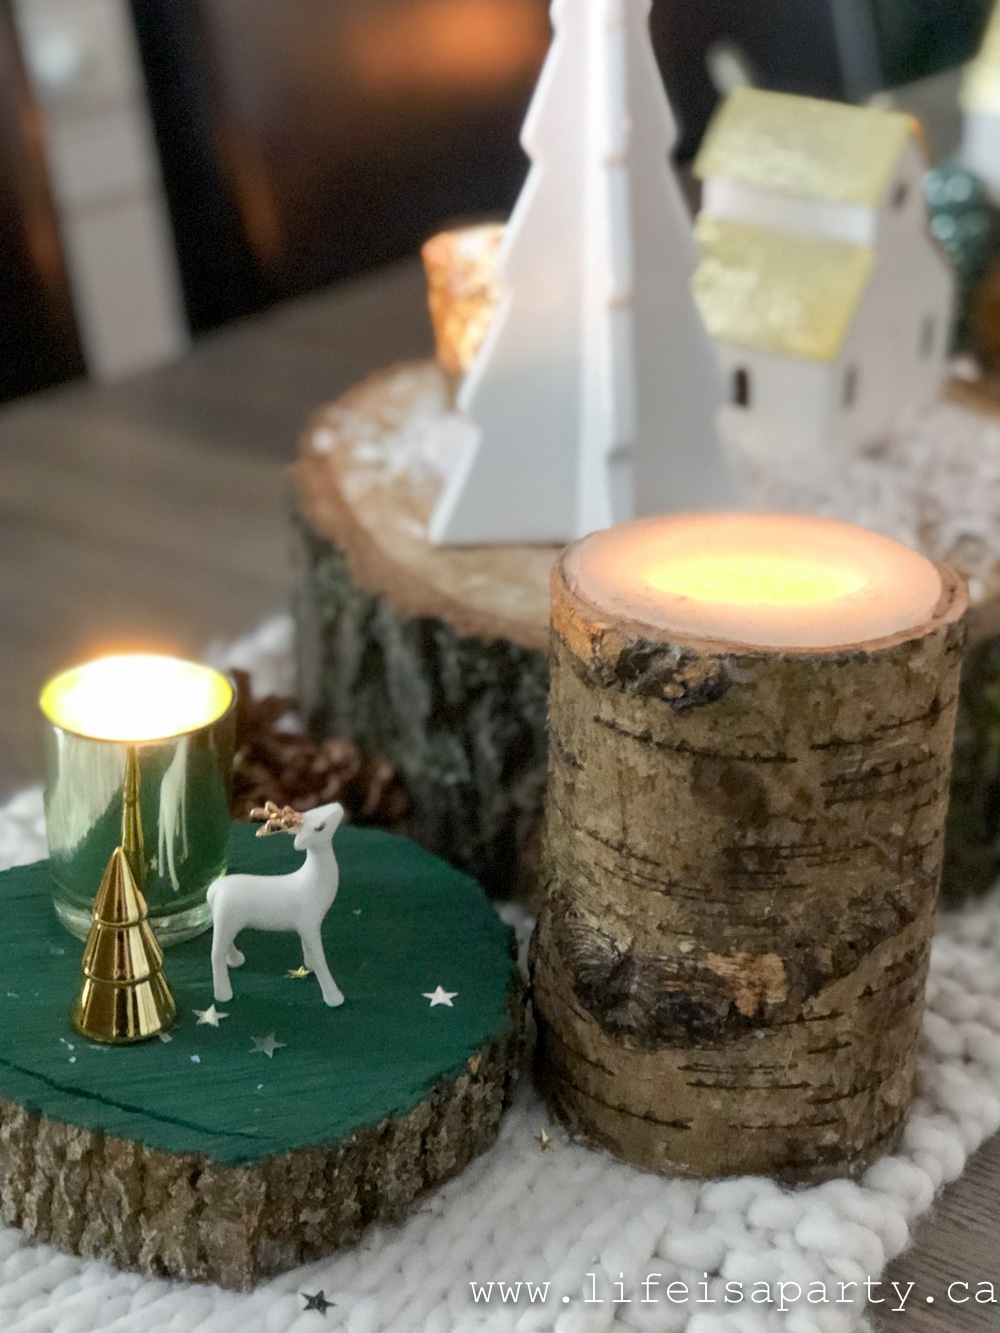
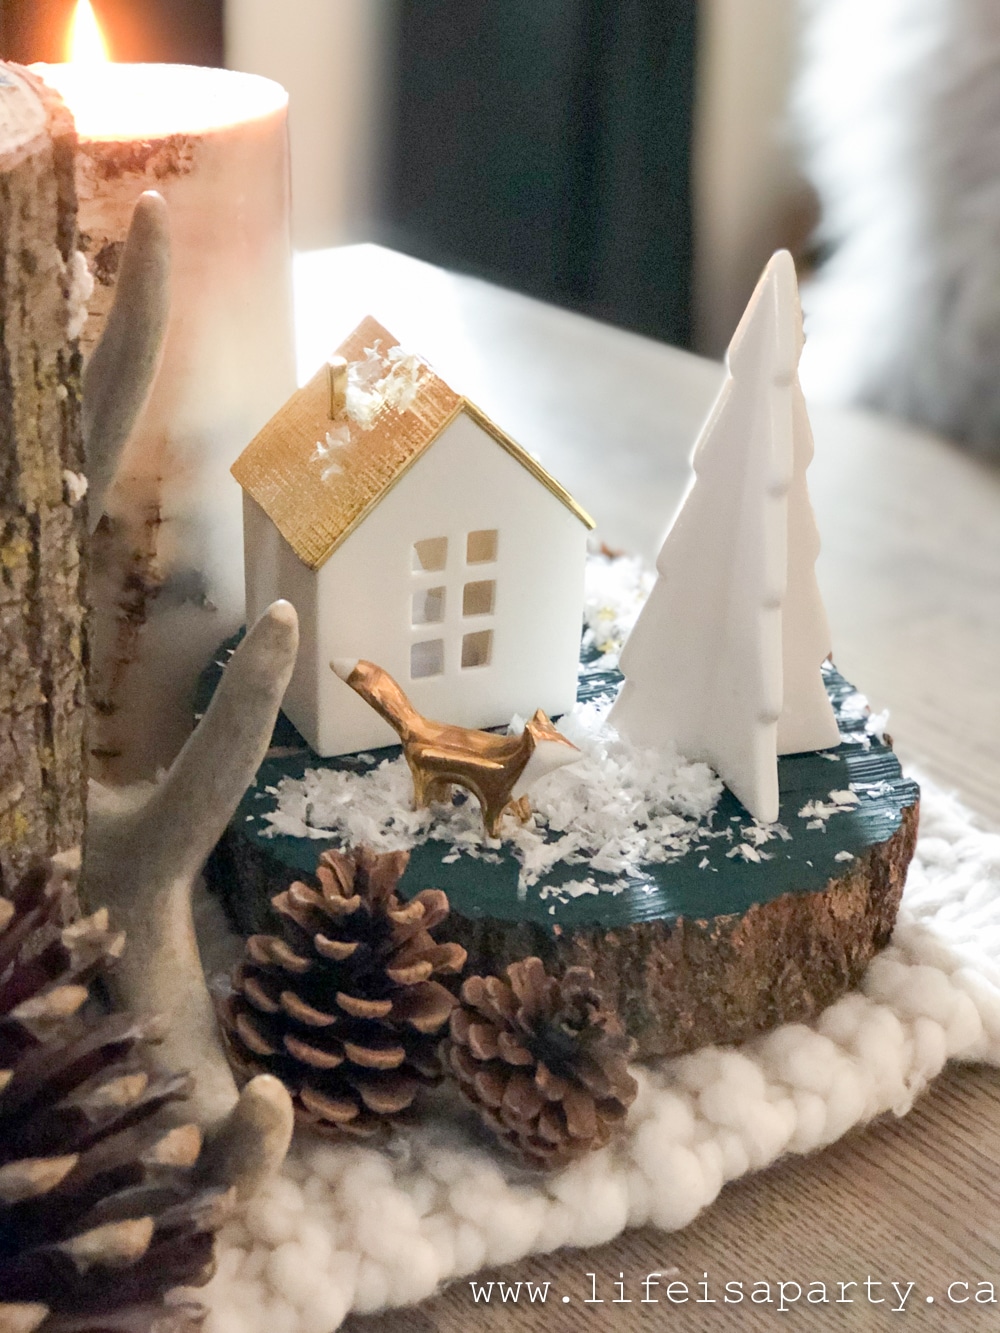
Christmas village centre piece
Gold and White Christmas village

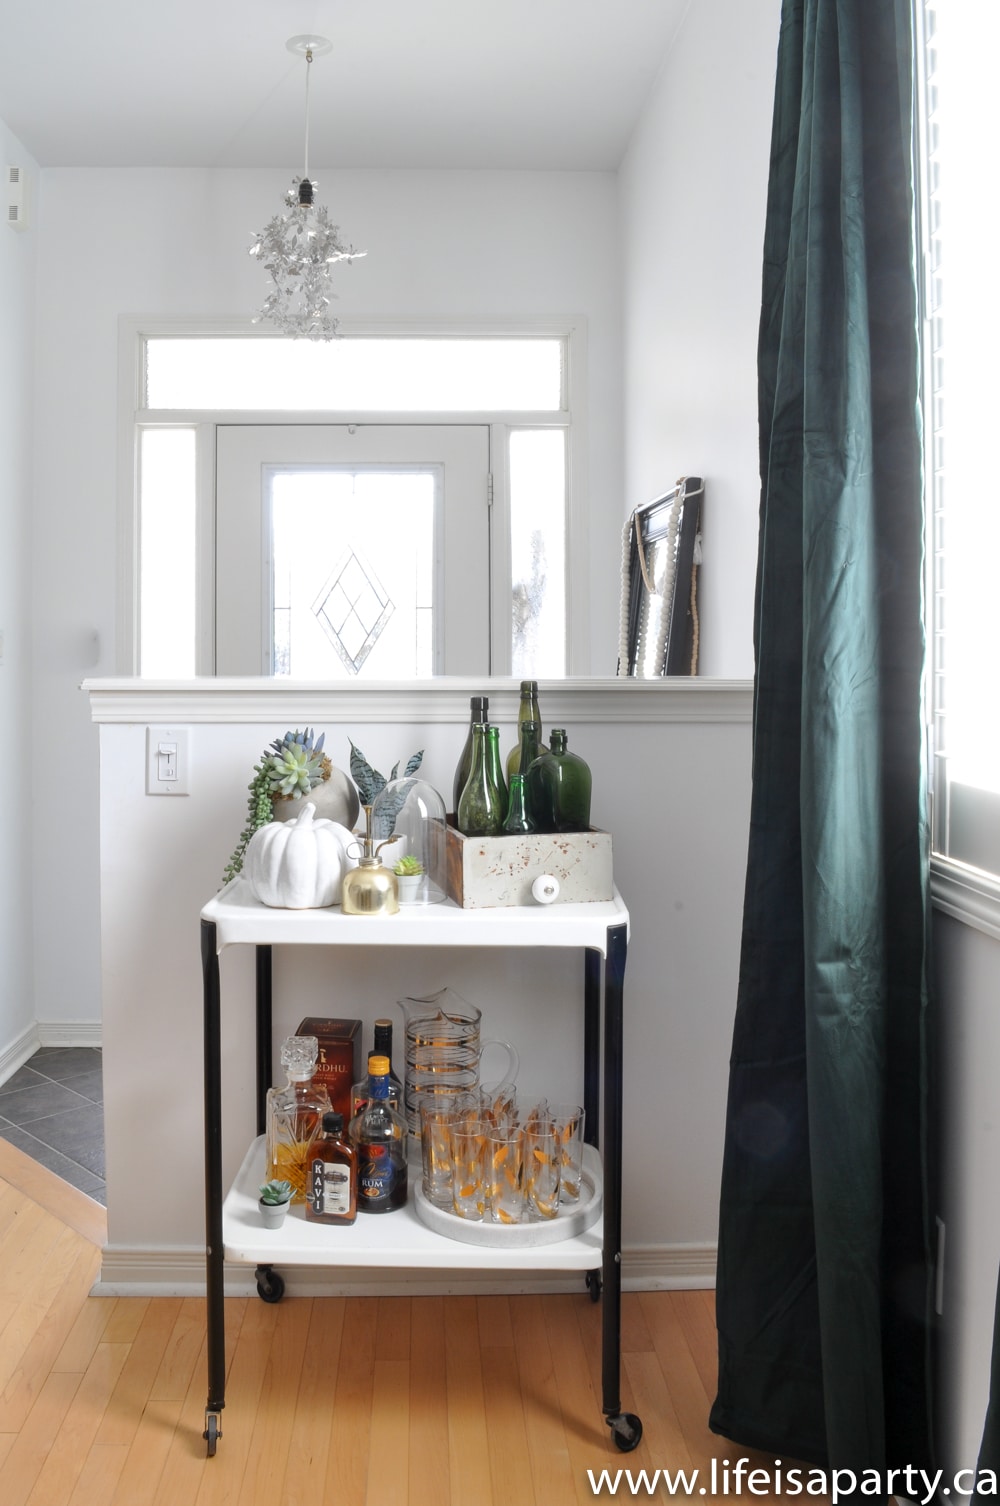
Bar Cart

Over on the other side of the room I have a little bar cart ready for some Christmas cheer.
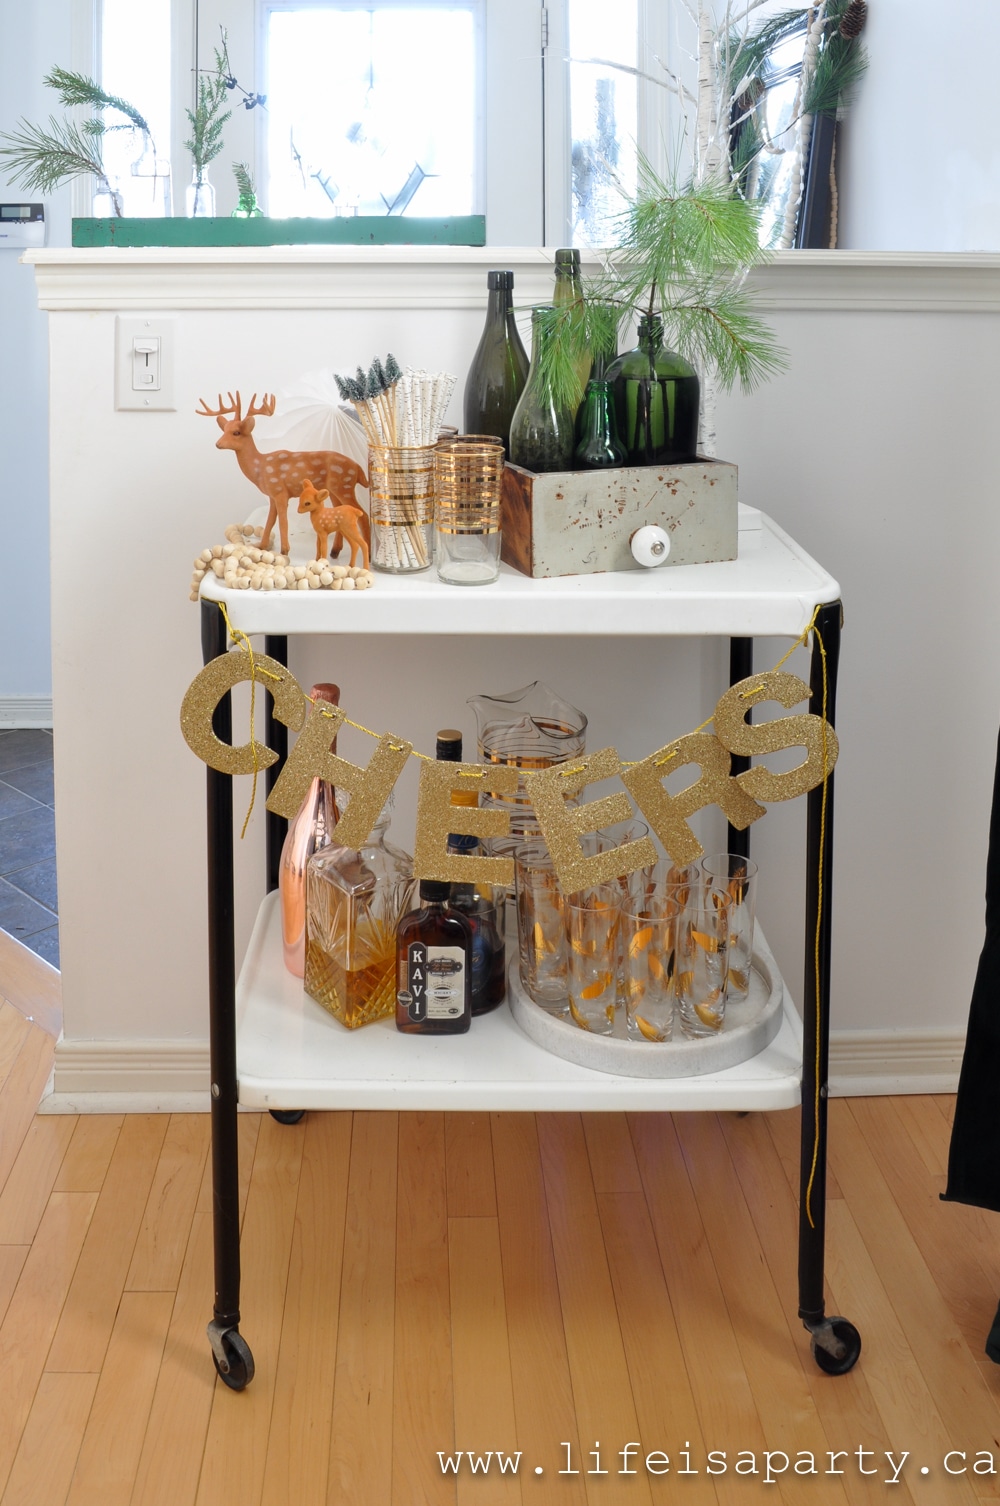
green Christmas decor bar cart

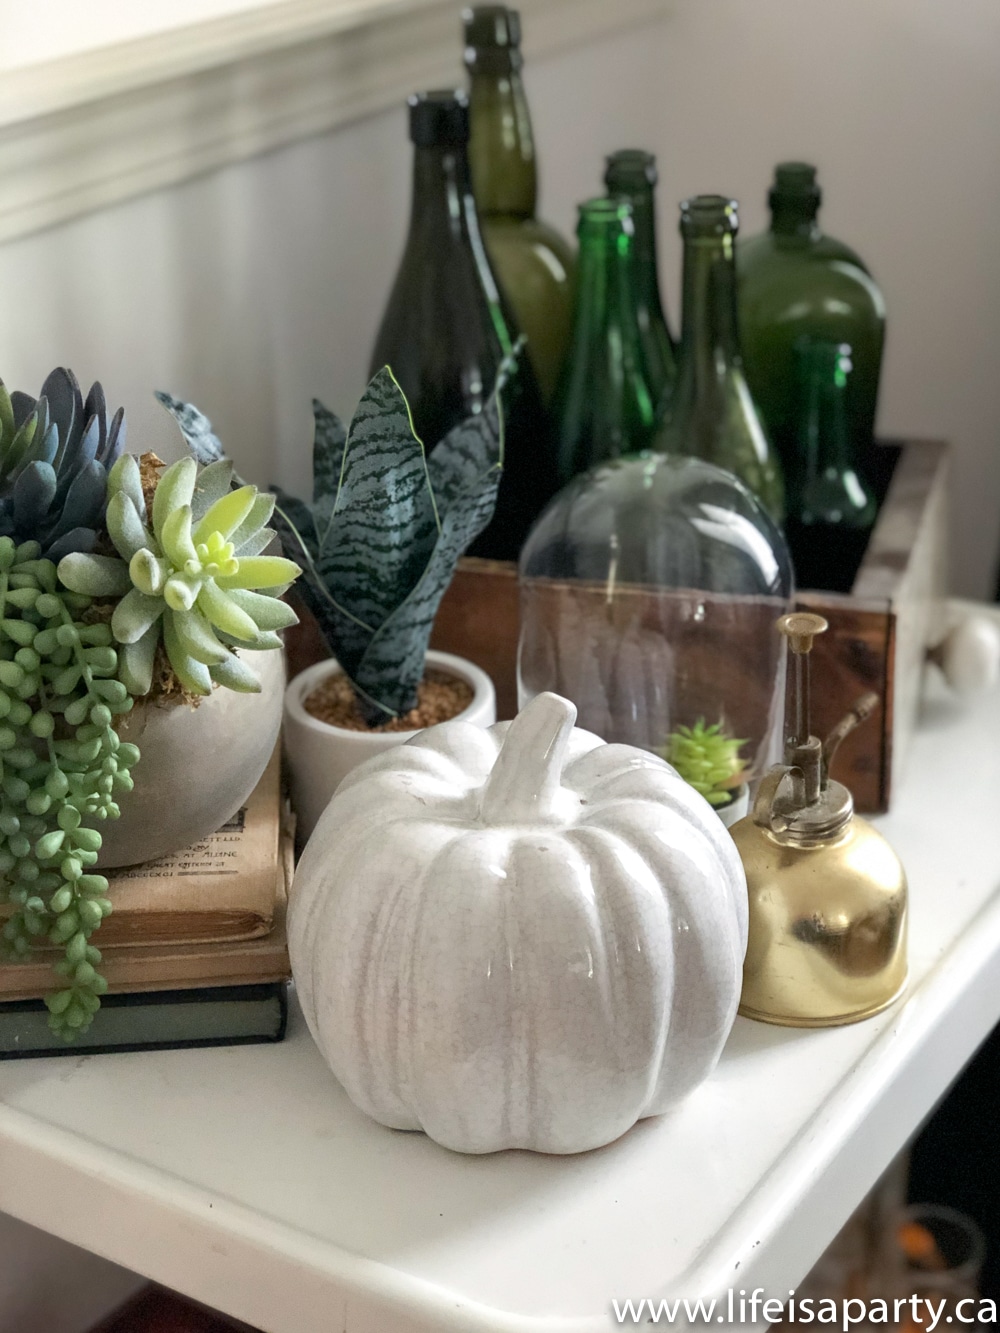
Another element I repeated in my Christmas decor this year is glass bottles full of fresh greens and this year with lots of green Christmas decor, the green glass is perfect.  
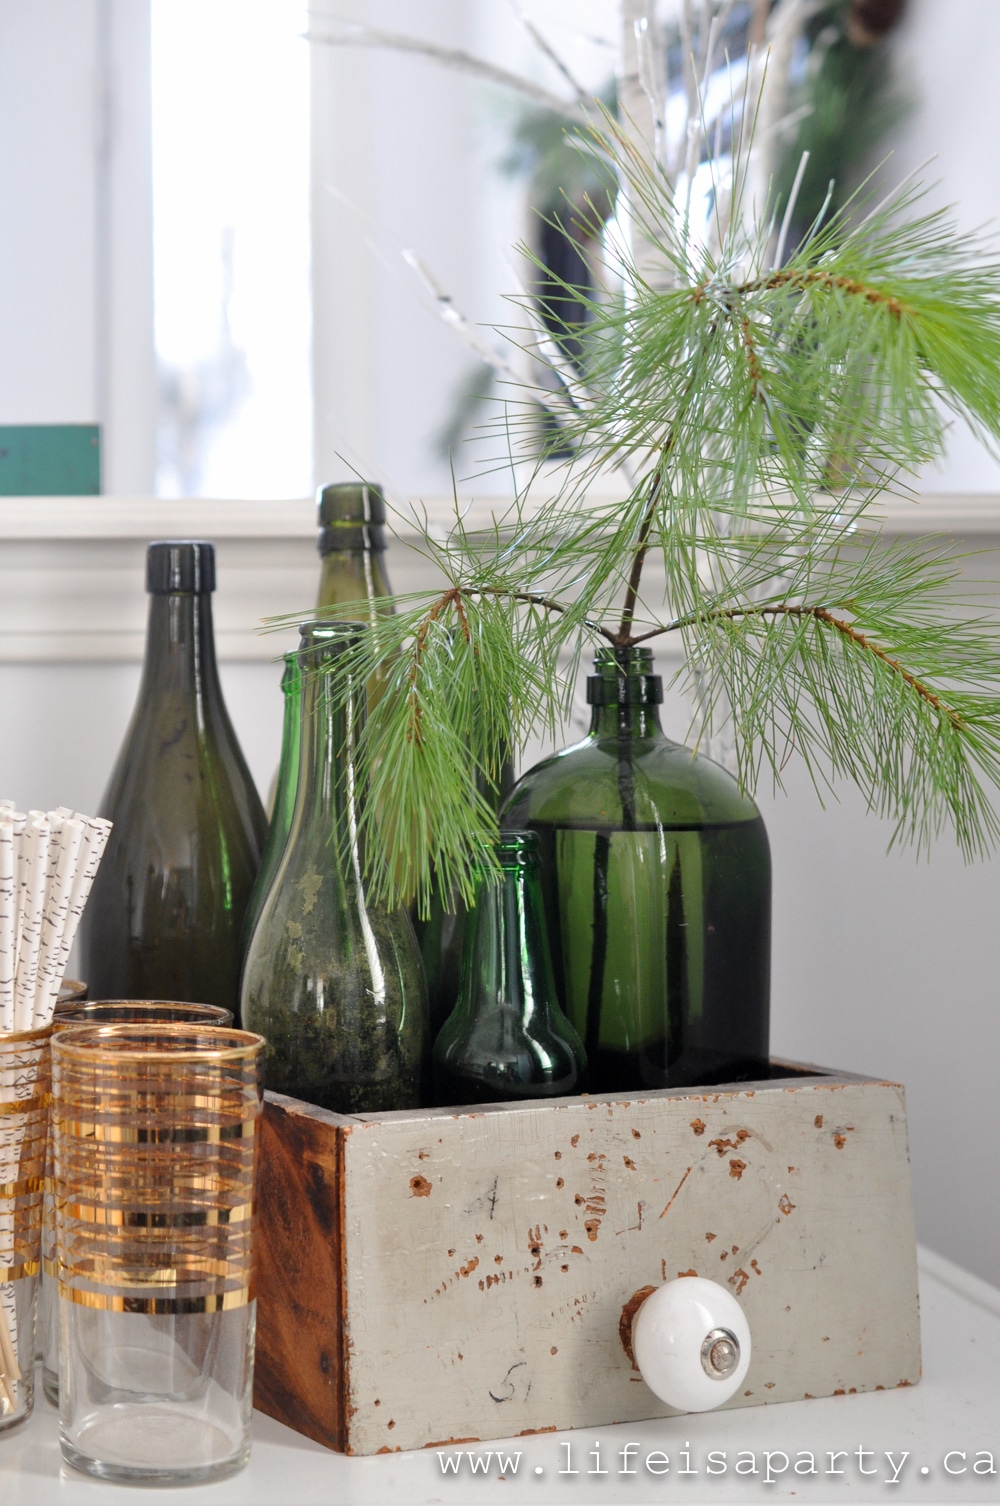
Vintage green glass bottles with evergreen pieces.

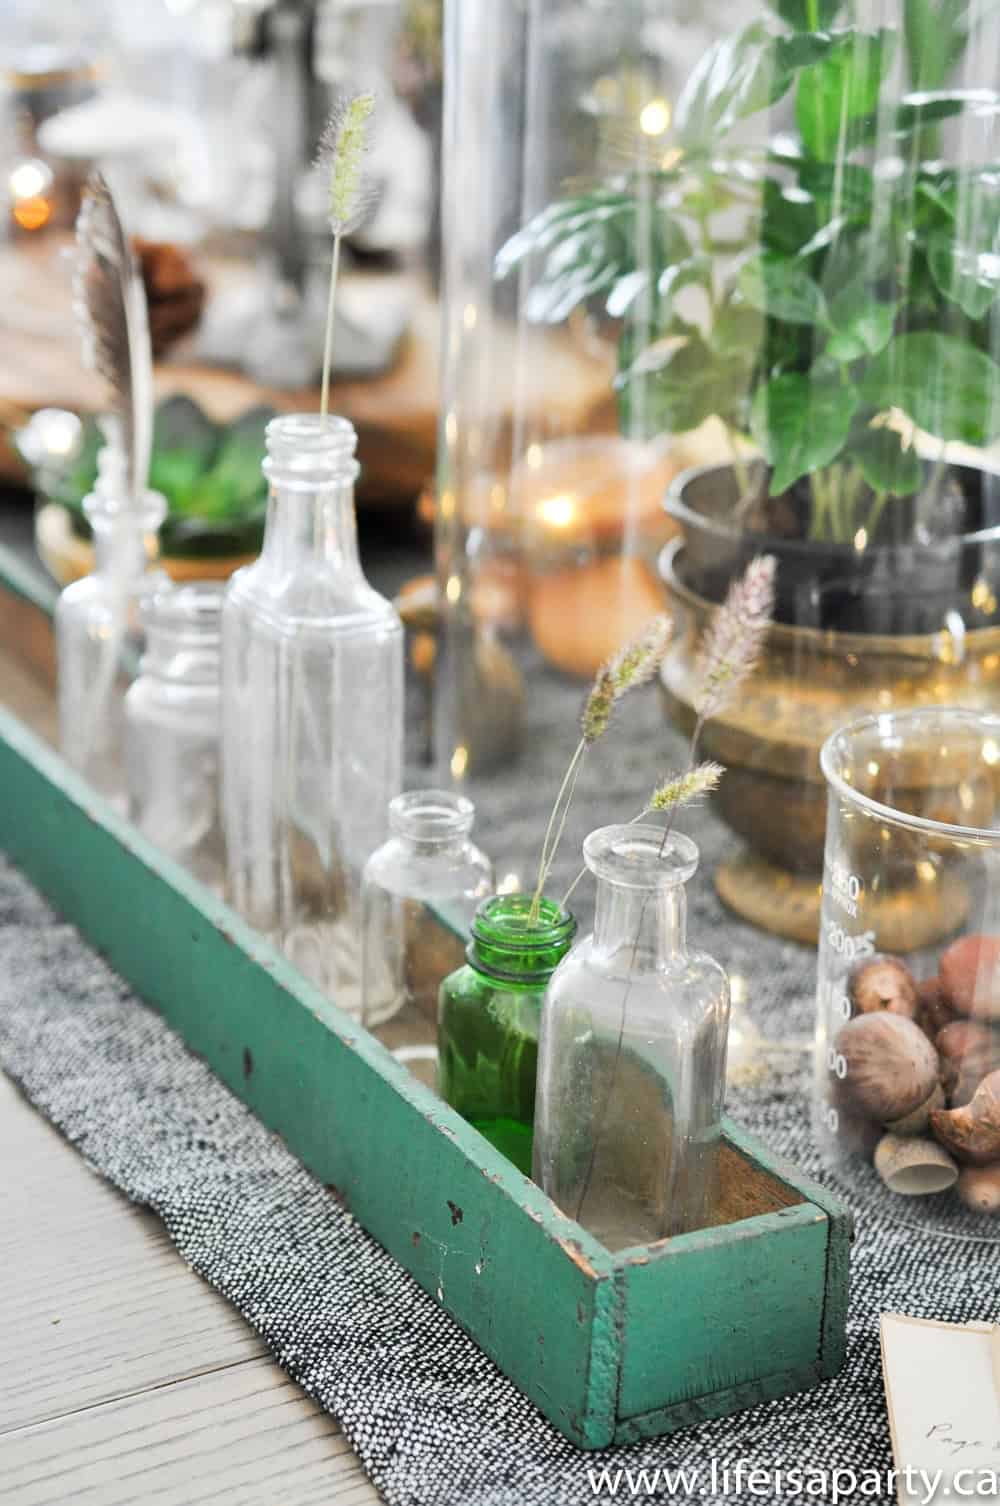
This is one of my favourite elements, this green vintage trough that I picked up at an antique fair this fall, filled with vintage bottles and more fresh greens I collected on a few winter walks.
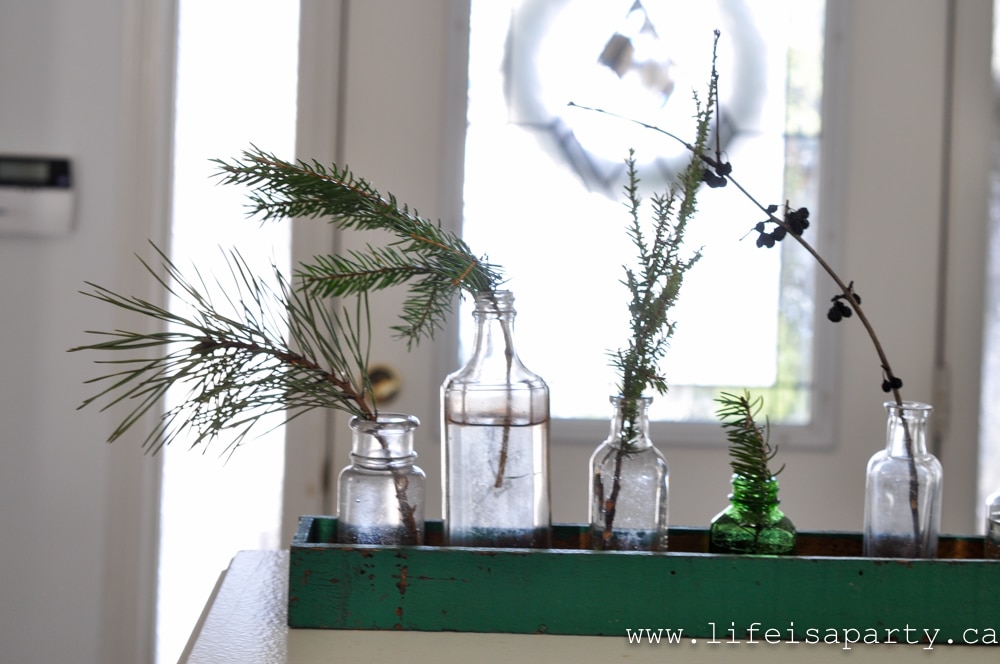
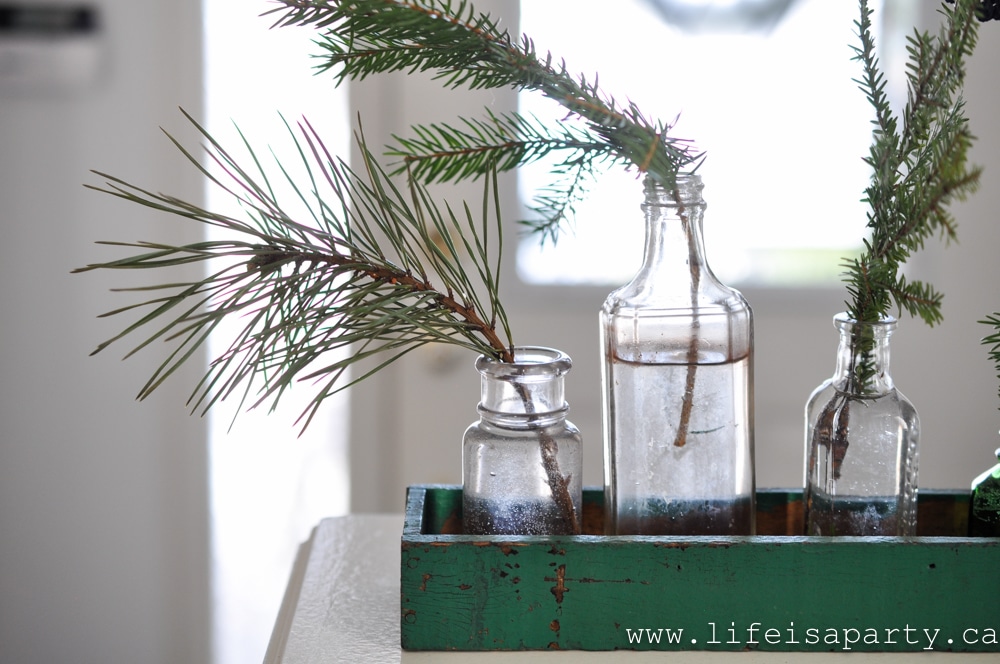
vintage glass bottles with Christmas greens
vintage glass bottles holding Christmas greens

Now into the living room, but first the stairs.
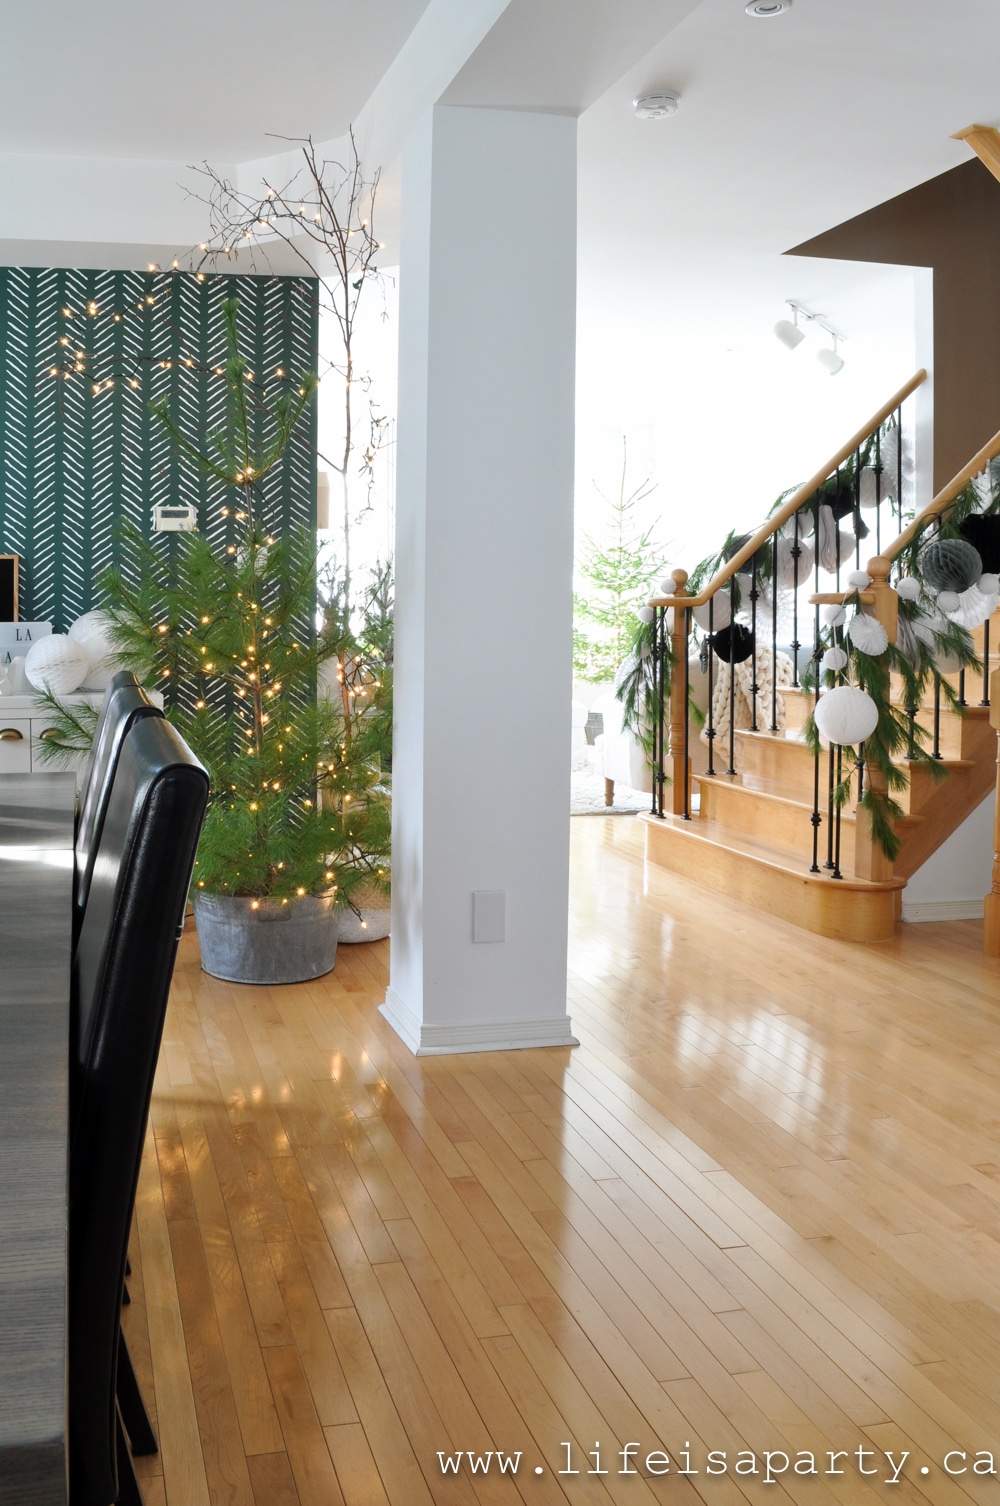
Rustic Scandinavian Christmas Home Tour, with some of modern boho touches.
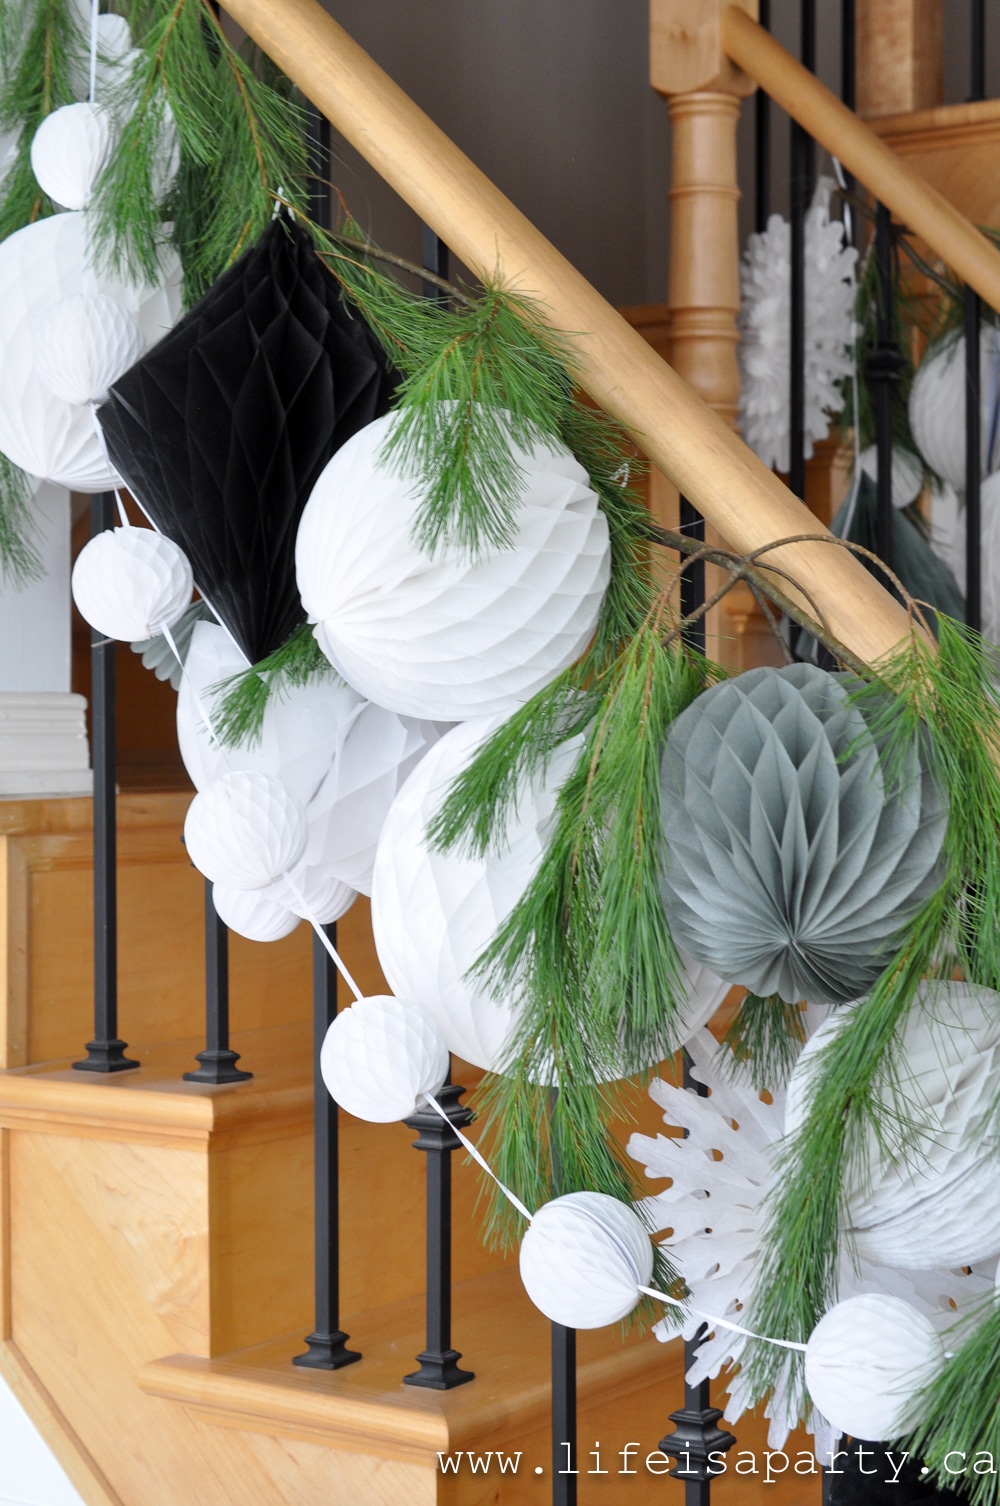
Christmas stairway with honeycomb balls

The Stairs

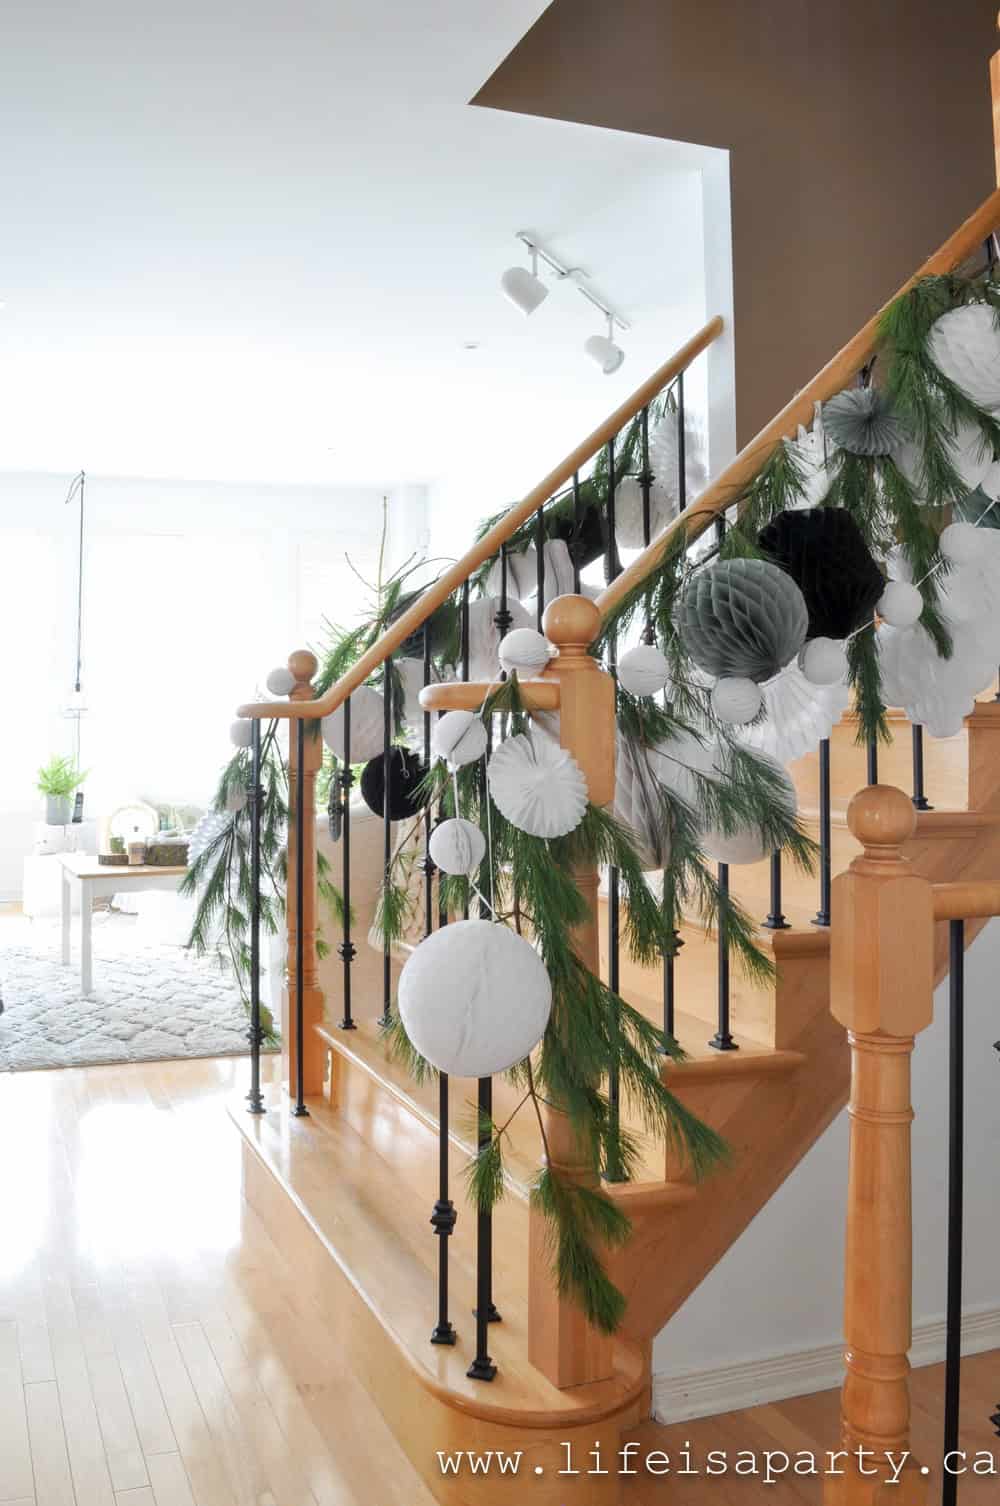
This was a fun idea inspired by Scandinavian decor, where they often use paper ornaments, like the classic stars.  I used honeycomb party balls and I love how it turned out.  Here's the view from the other side.
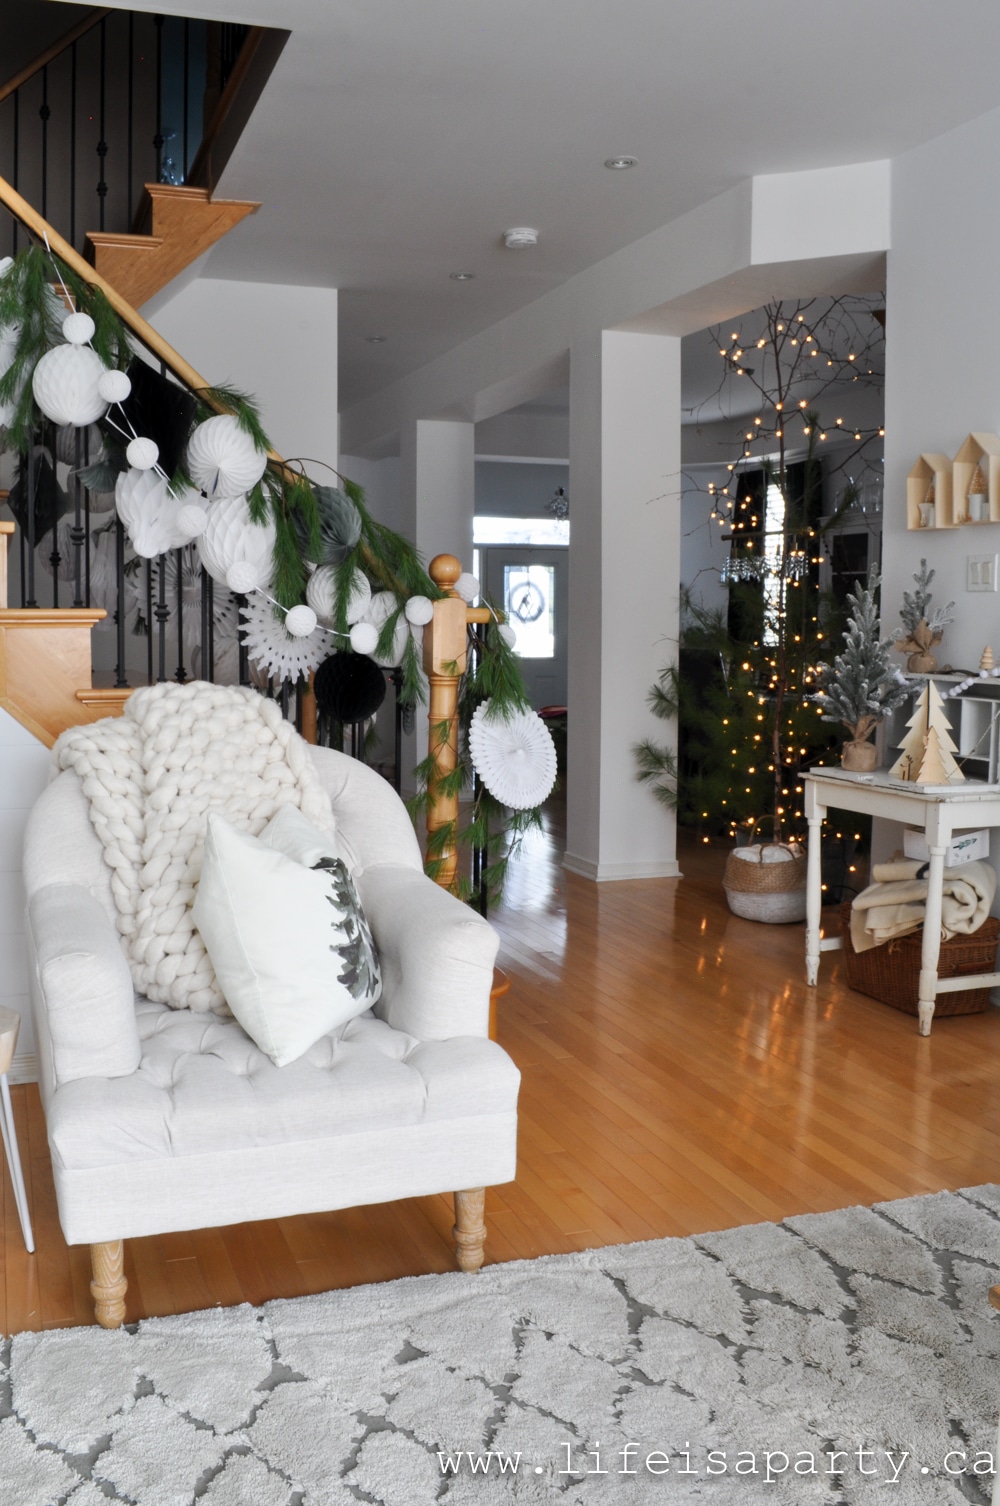
Rustic Scandinavian Modern Boho Christmas Home Tour

I was lucky to find an independent dollar store that had the honeycomb balls.  I tied them with clear fishing line to start.  Next I layered in some fresh pine boughs, and used a little more fishing line where I need to.
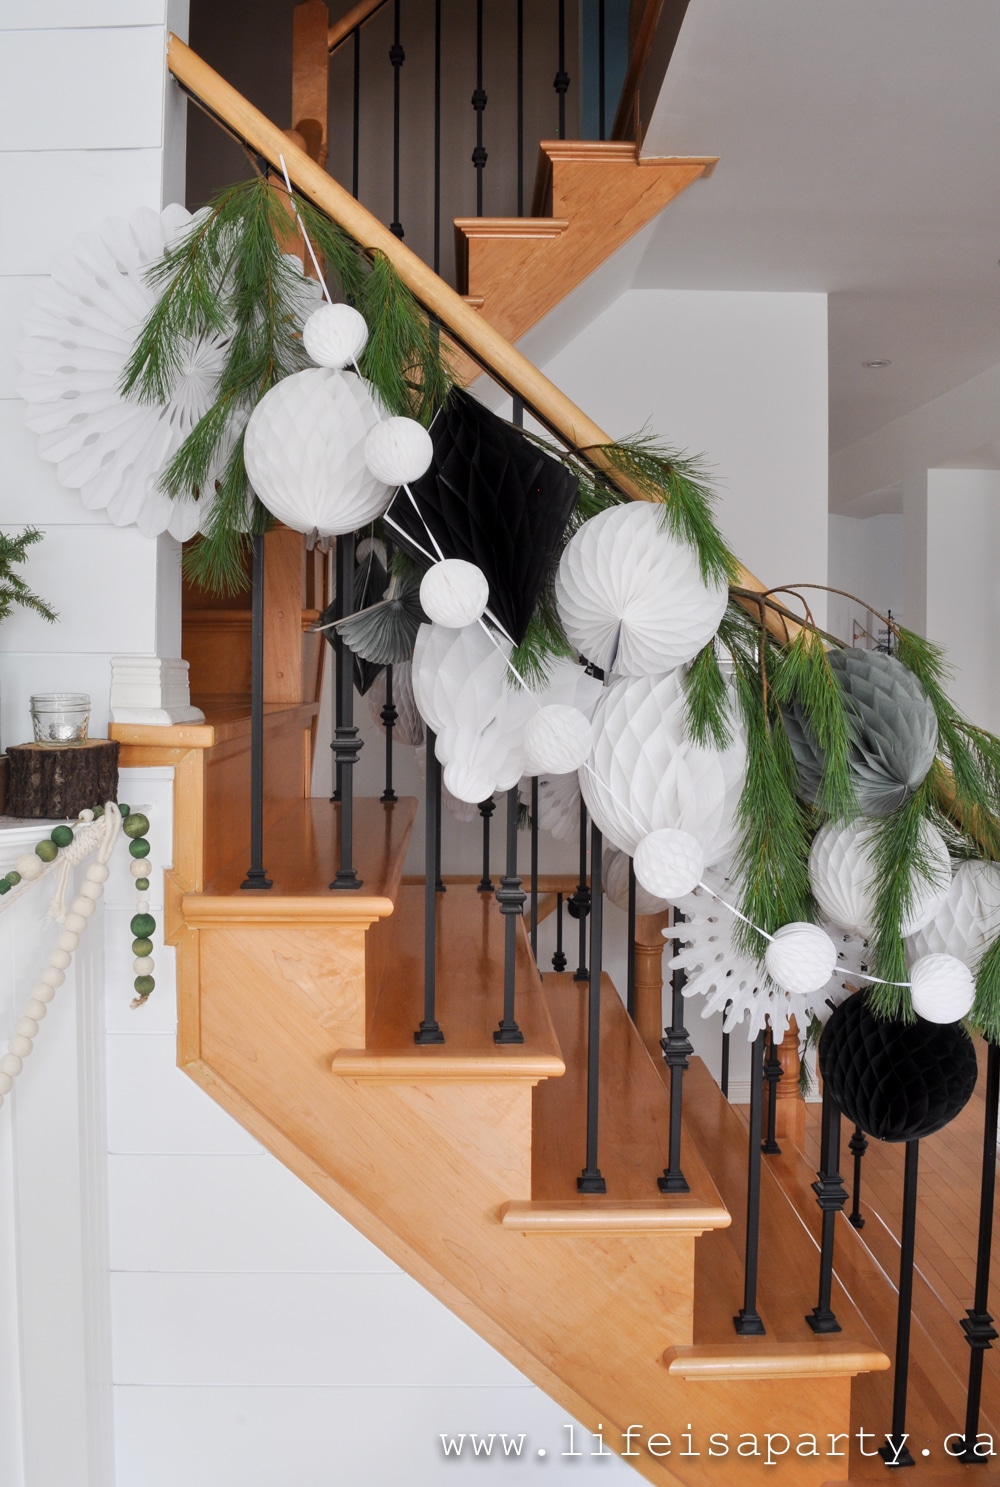
Christmas Stairway Decoration
Christmas Stairway Garland

I kept mine neutral.  I used mainly white, but added a little black and grey for some depth.
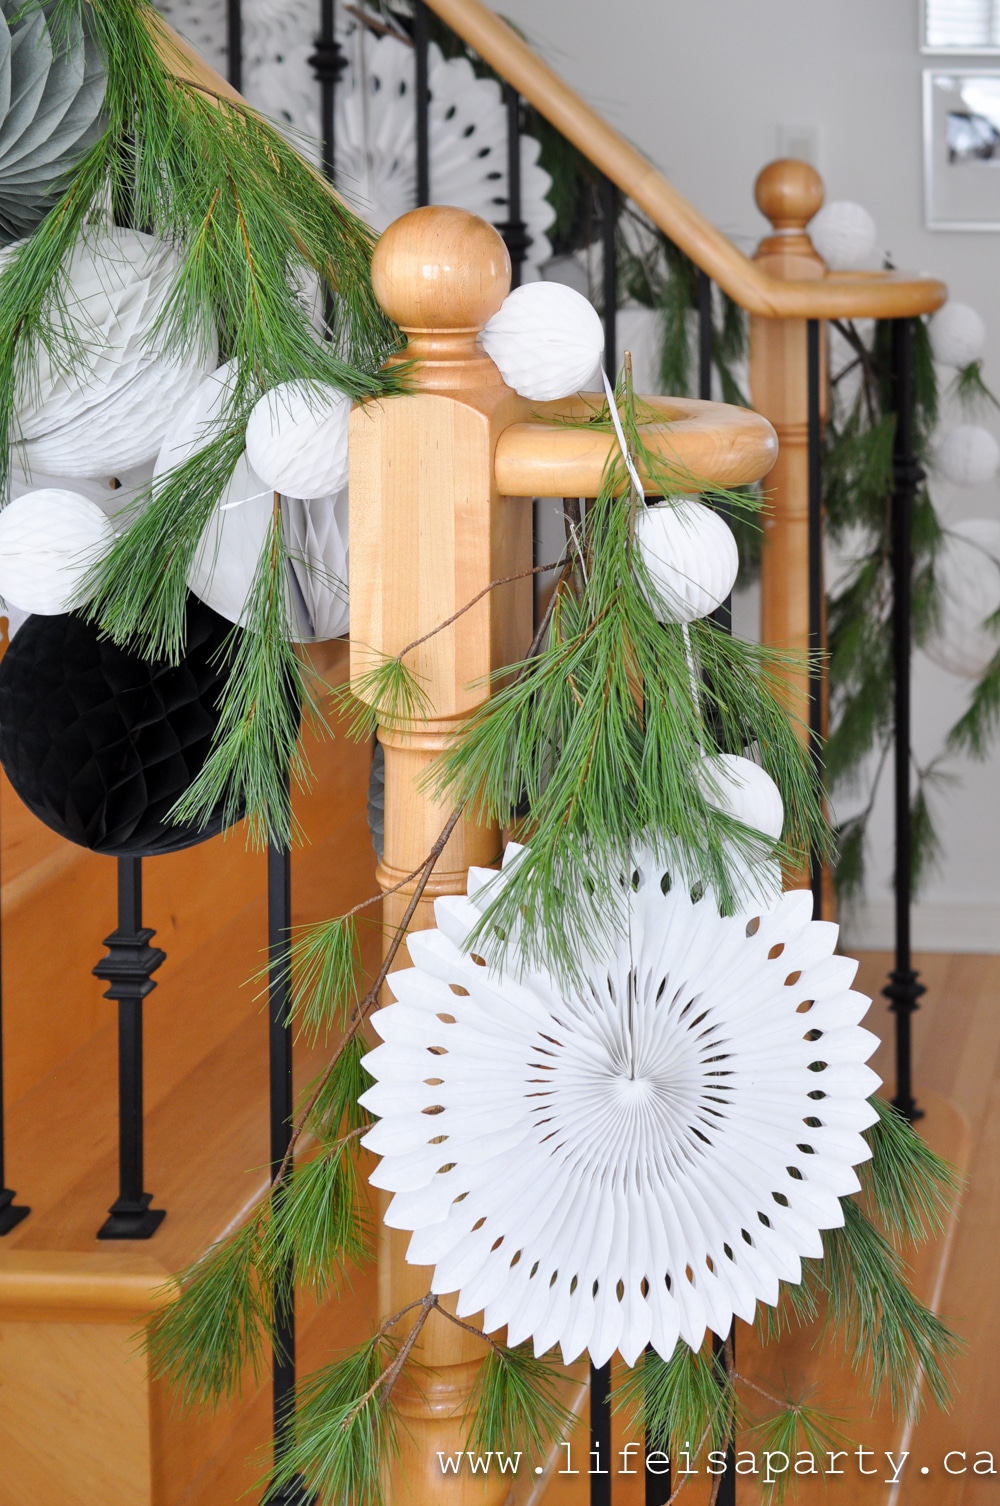
Christmas Stair Decoration

Green Christmas Decor In The Living Room

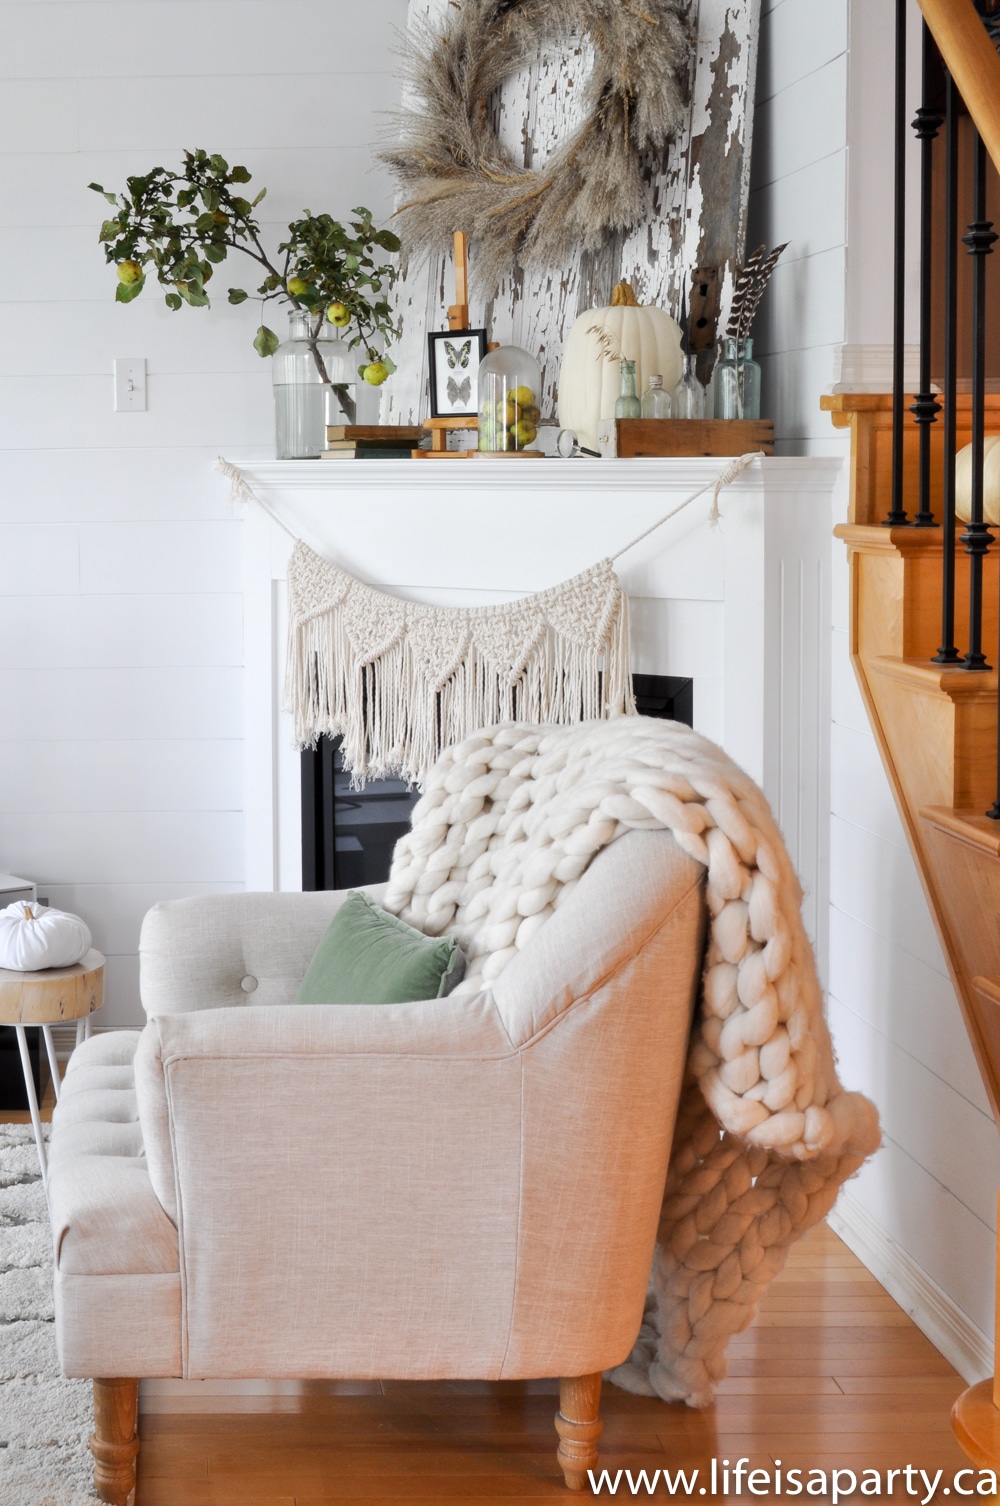
The stairs are right beside our corner fireplace.
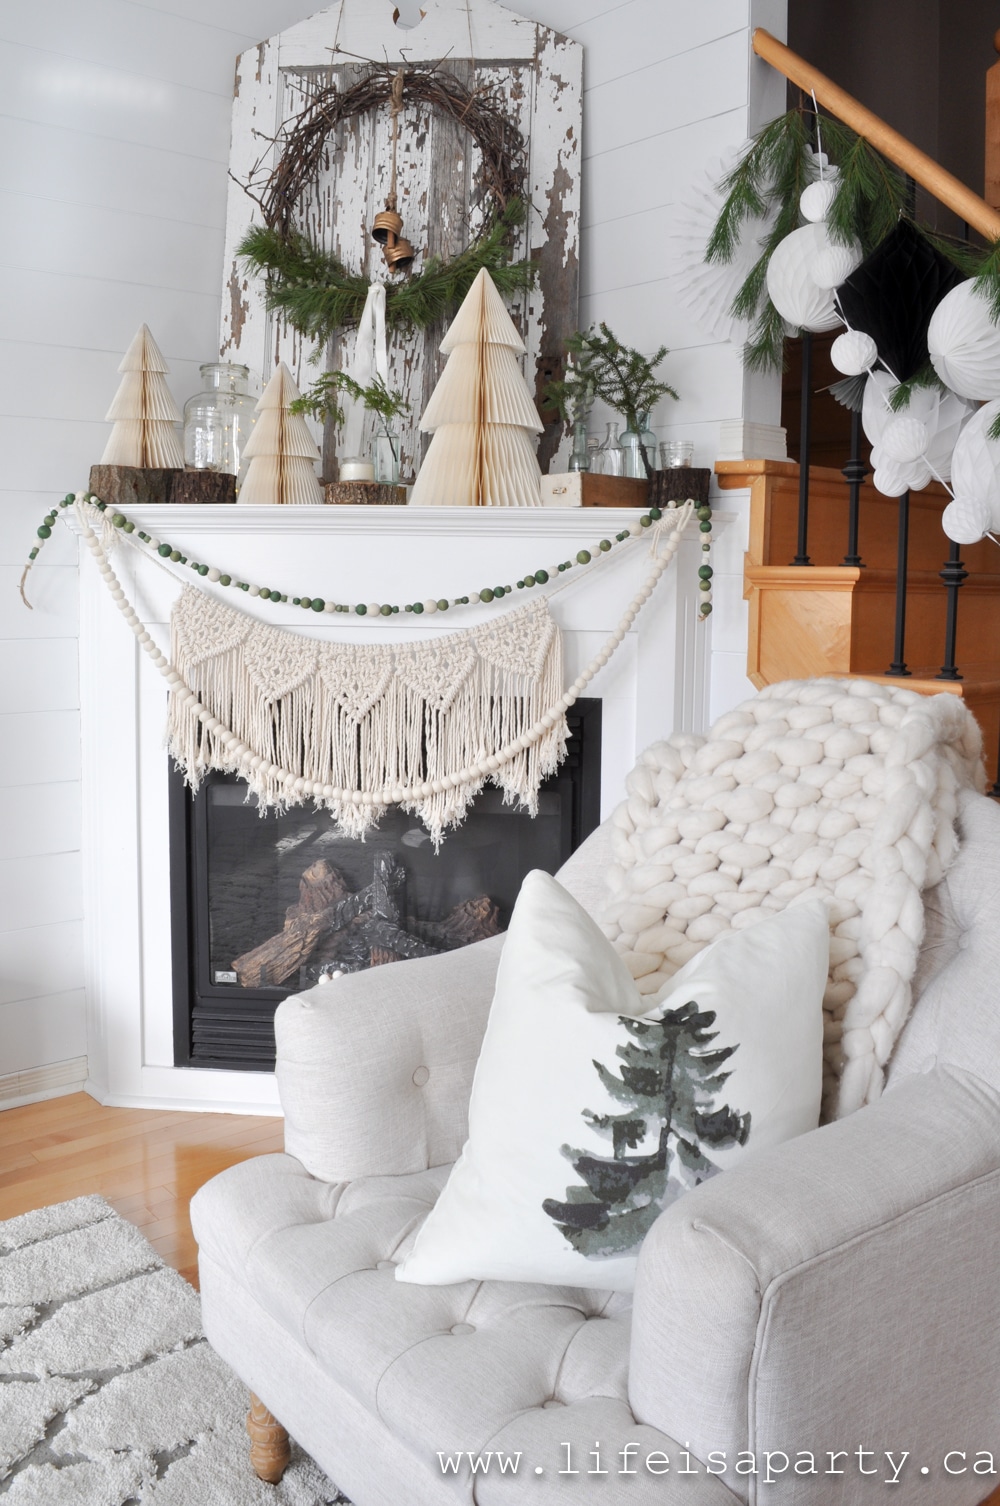
green Christmas decor

The Mantel

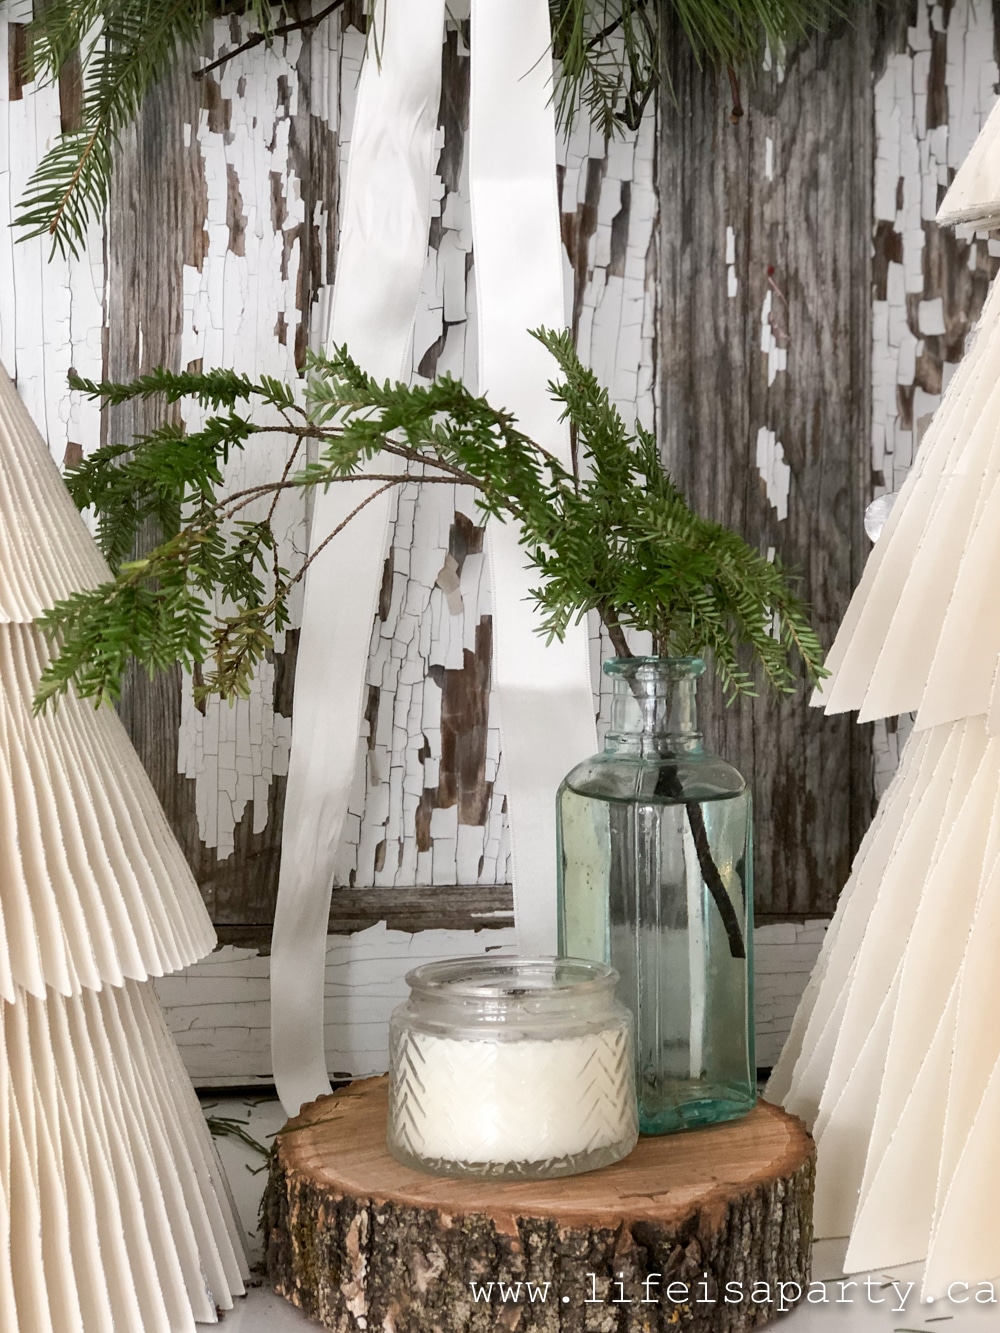
The paper trees tie in well with the paper balls on the stairs.  And I also repeated the wood stump pieces and the vintage glass bottles with fresh greens.  I went out into the woods and found some grapevine and twisted it into a nice big wreath for here, and then added some fresh greens.  The bells are a great addition.
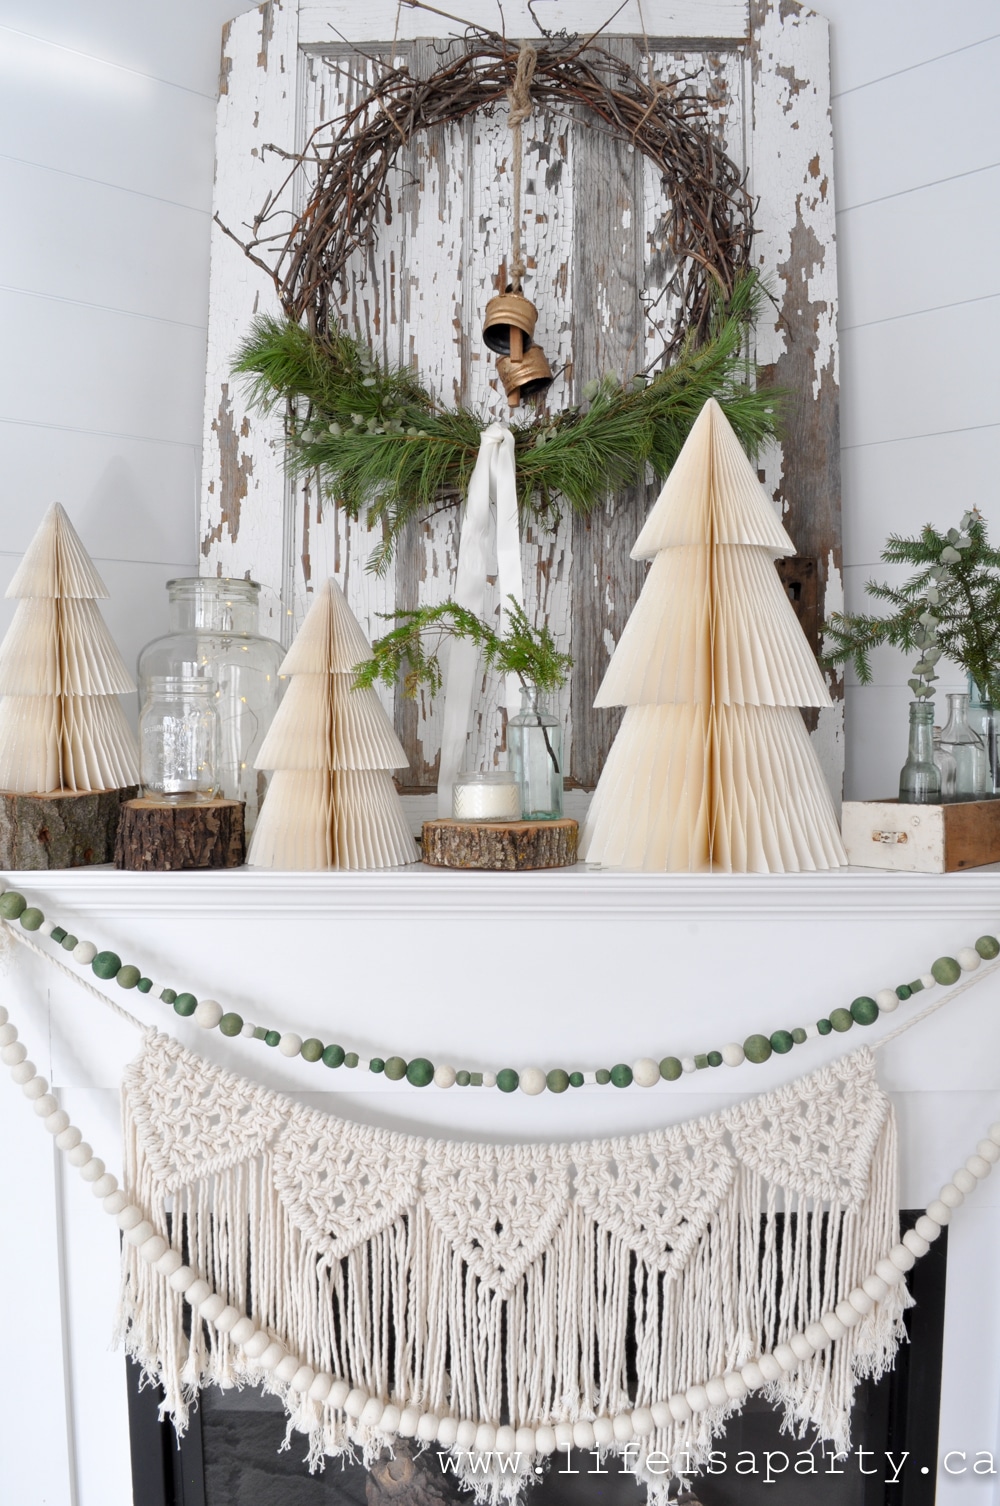
green Christmas decor mantel
green Christmas decor

I also layered this macrame bunting I made -DIY macrame bunting garland -see how I made it here, with some green wood beads and felt ball garland.  The beads were the perfect way to tie in my green Christmas decor theme for this year.
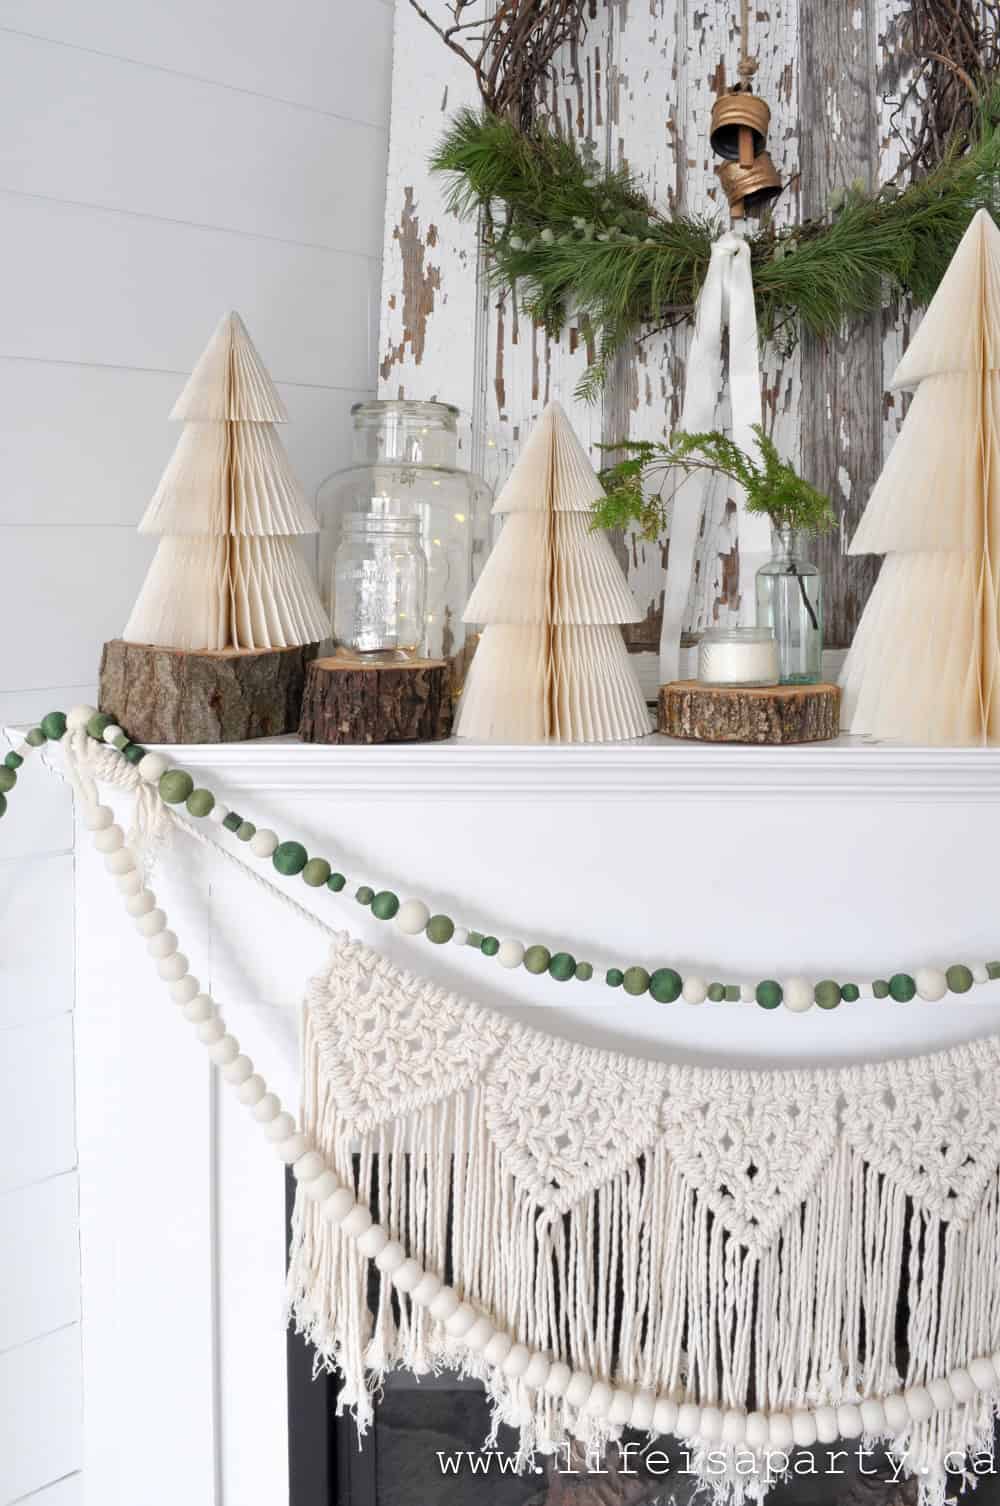
Rustic Scandinavian Modern Boho Christmas Home Tour

Advent Calendar

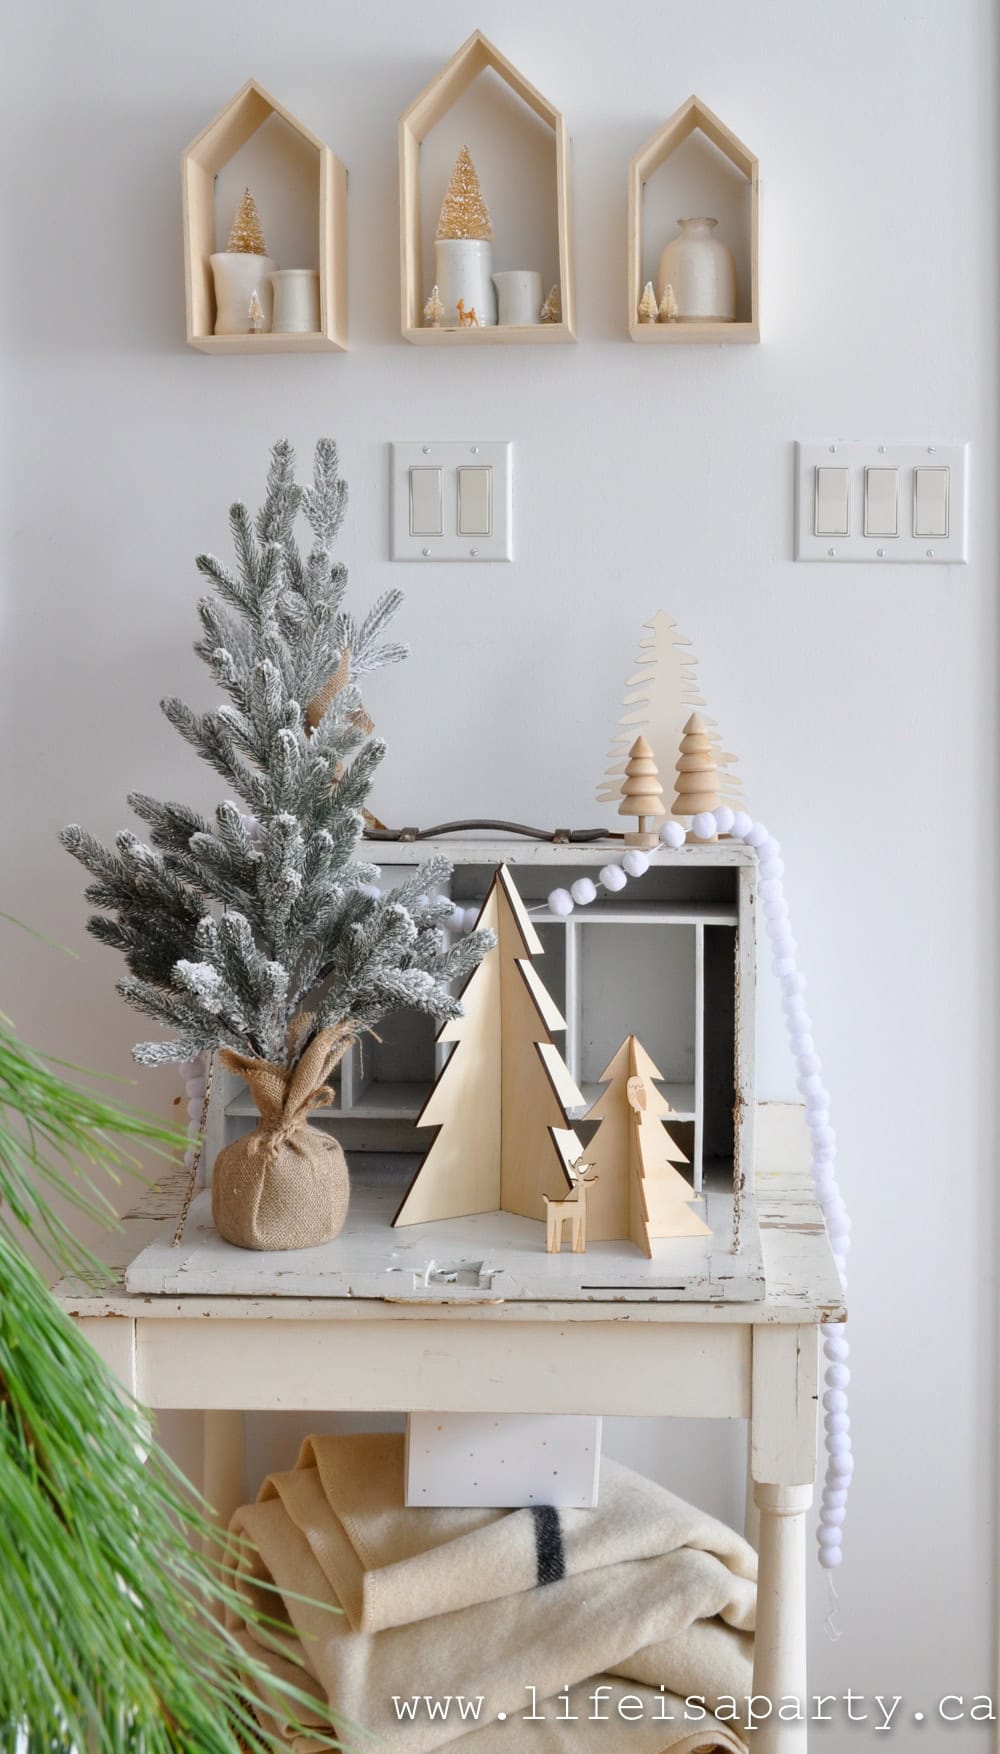
At the bottom of the stairs there's a little table that has our advent calendar on it.  It's a wooden one, with a tree that you add a little wooden animal to each day.  It's so cute, and every little animal is delightful.
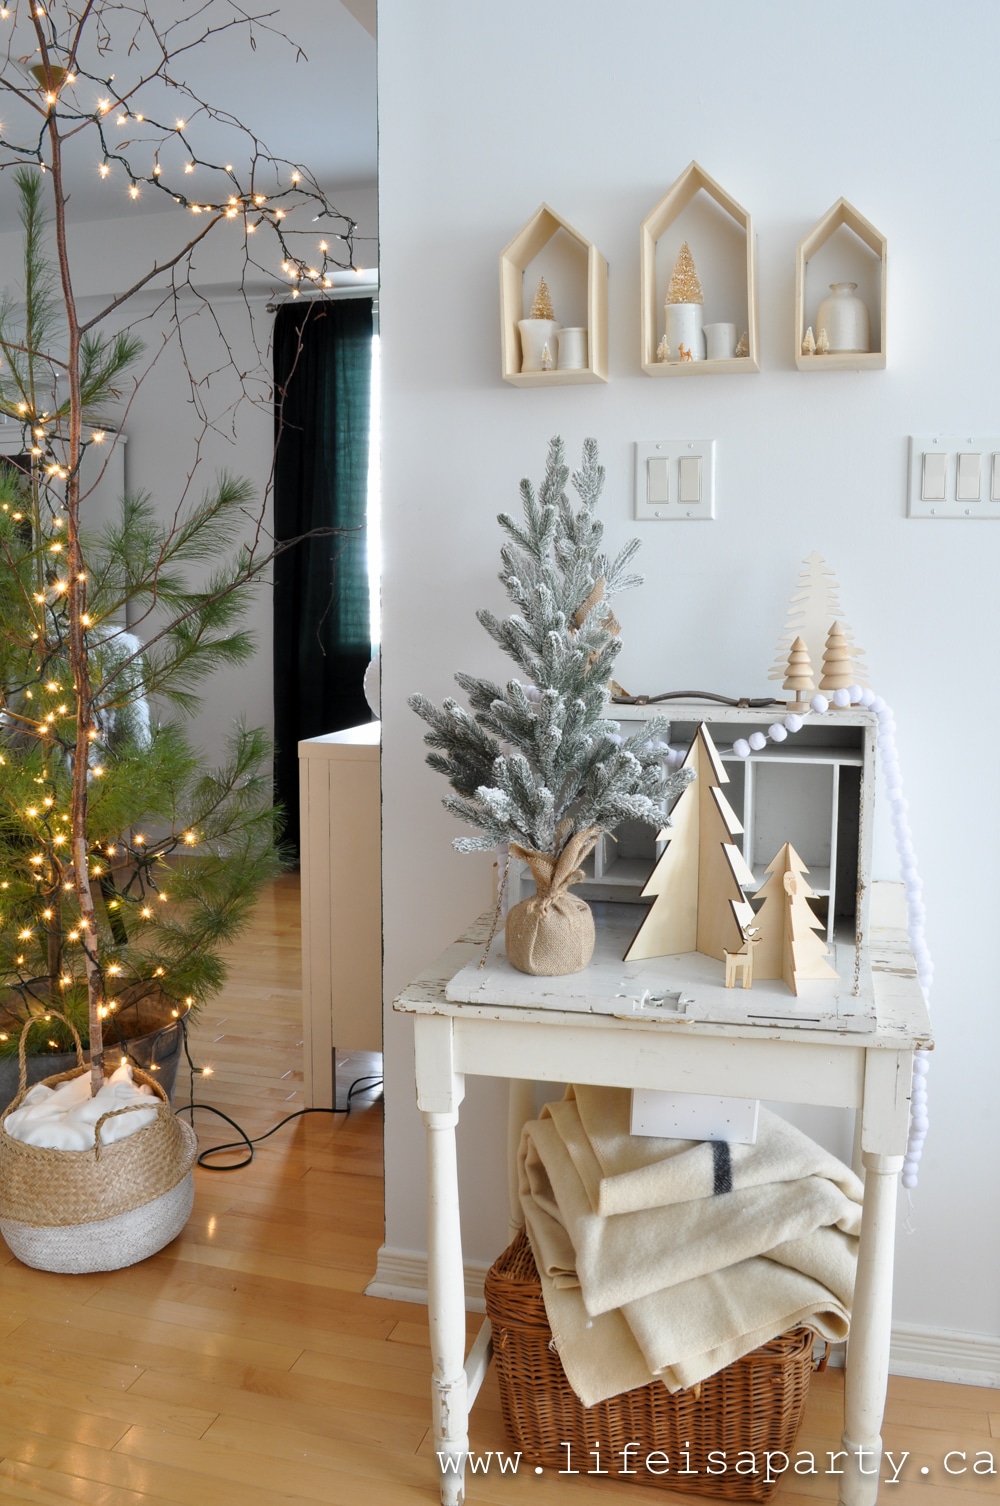
Rustic Scandinavian Modern Boho Christmas Home Tour
Neutral Woodland Christmas advent calendar

This collection of trees is so pretty here.  And my little house shelves got dressed up with more trees, this time white mini bottle brush ones.

green Christmas decor

In the living room I added more green Christmas decor with lots of cozy pillows.
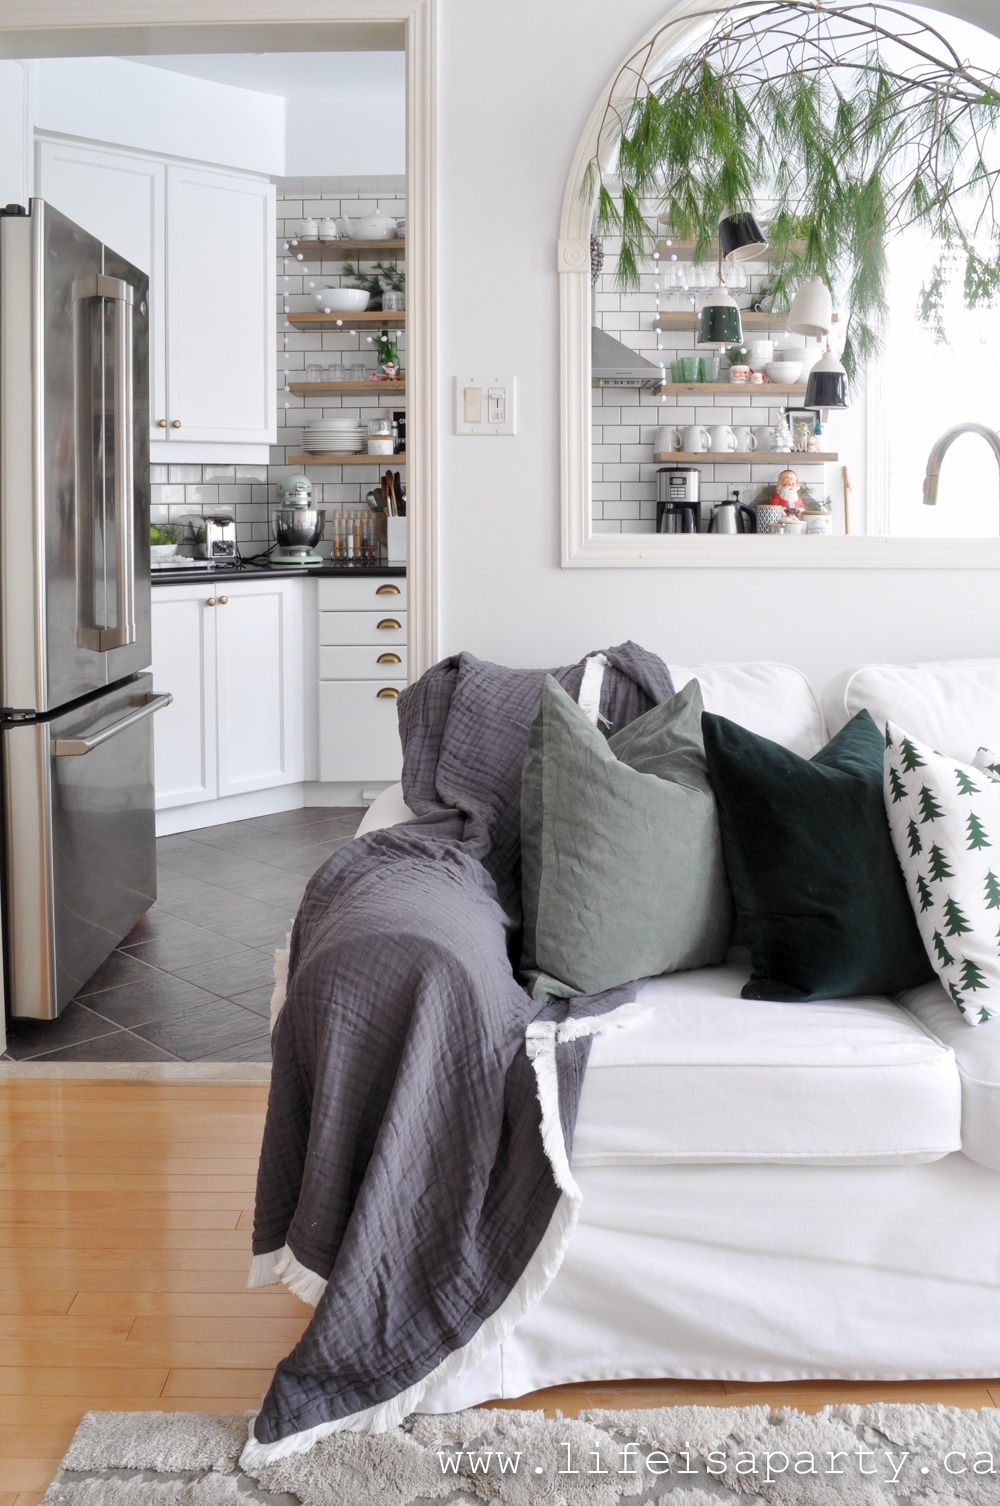
green Christmas decor

This is the perfect spot to curl up for a Christmas movie.  I am in love with this cozy new Charcoal Muslin Throw With Fringe from Natures Sweet Creation.   It's so soft and perfect for snuggling up with.  Everything in Melissa's Etsy shop is beautiful and so well made.  I know we'll enjoy this beautiful piece for a long time.
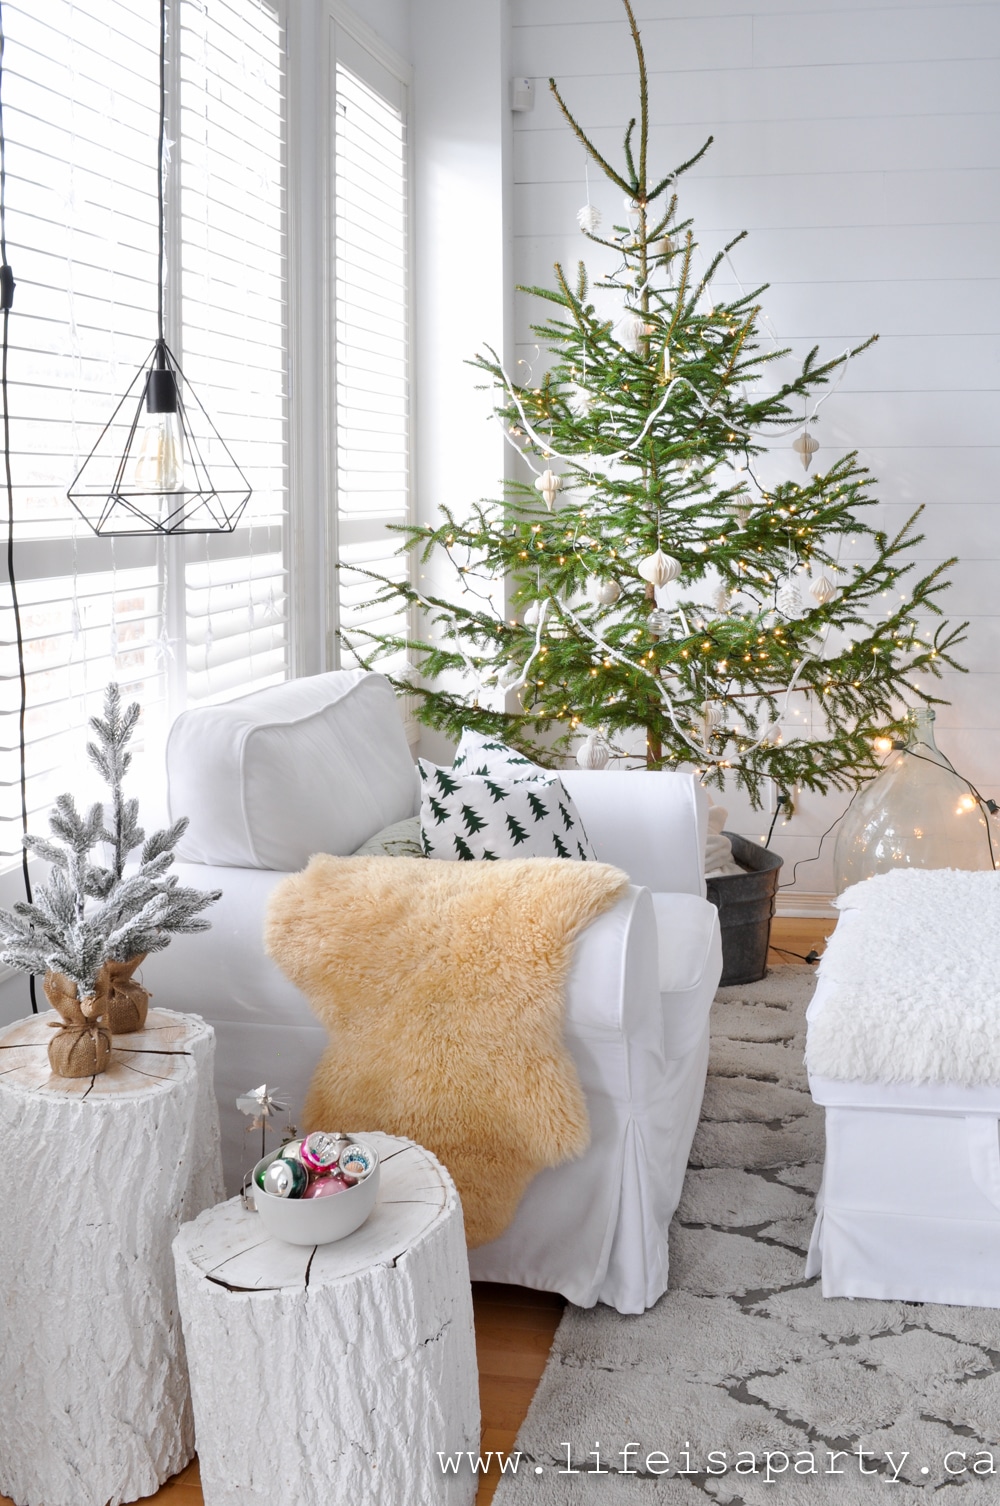
Rustic Scandinavian Christmas Tree

Christmas Tree

Over on the other side of the room is our Christmas tree.
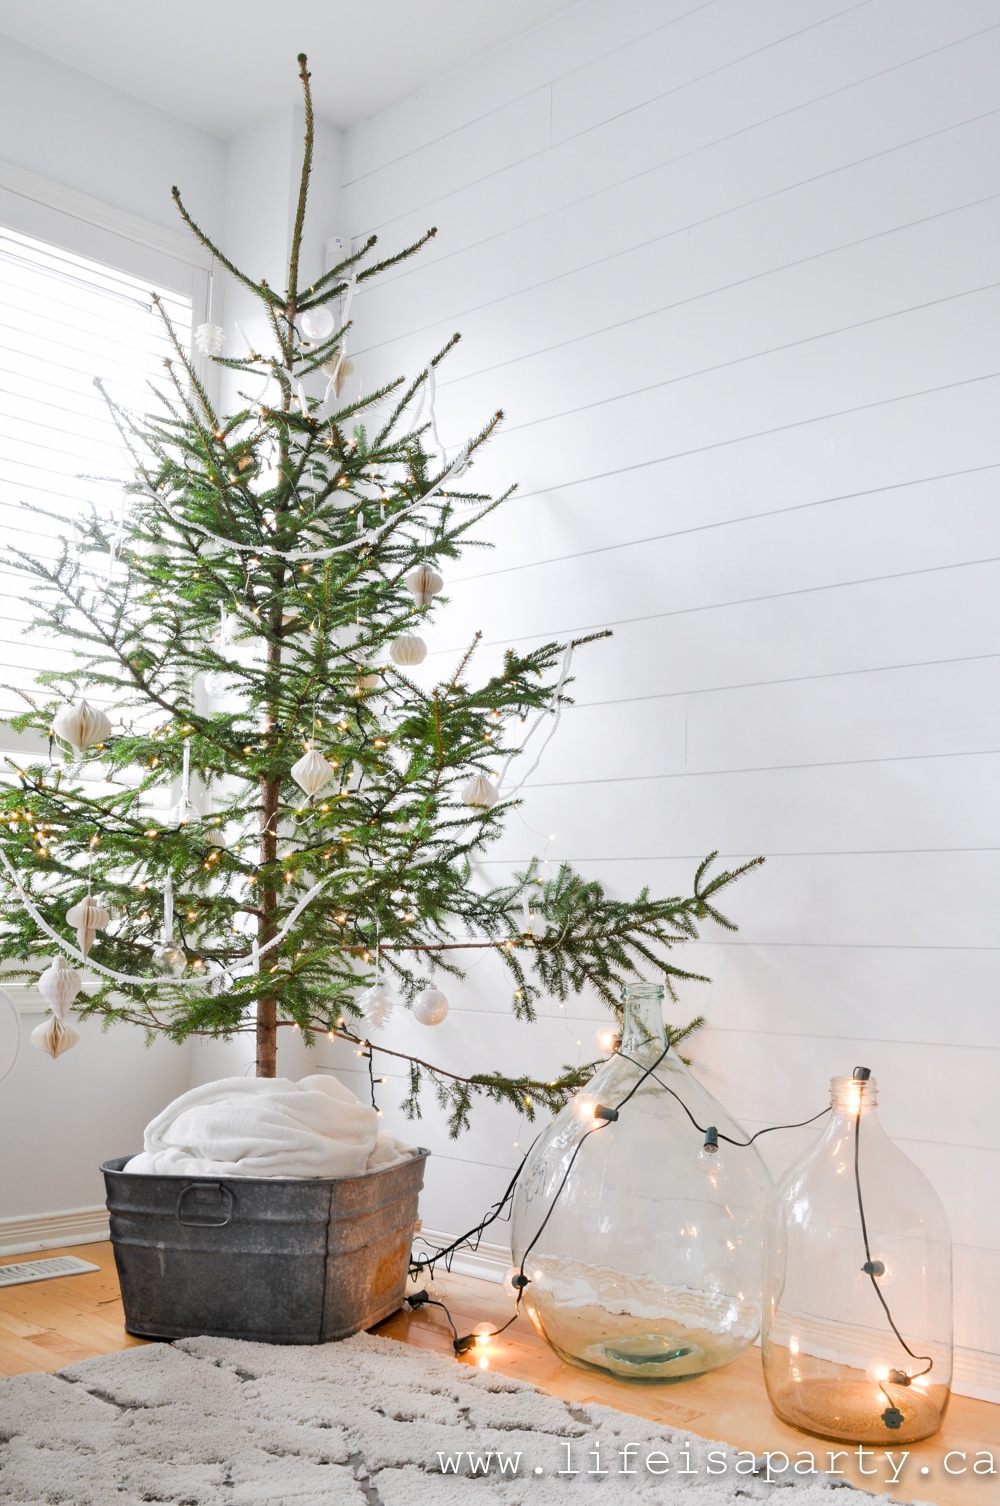
sparse Scandinavian Christmas tree

I love a sparse Scandi style of tree and this one is a beauty.  
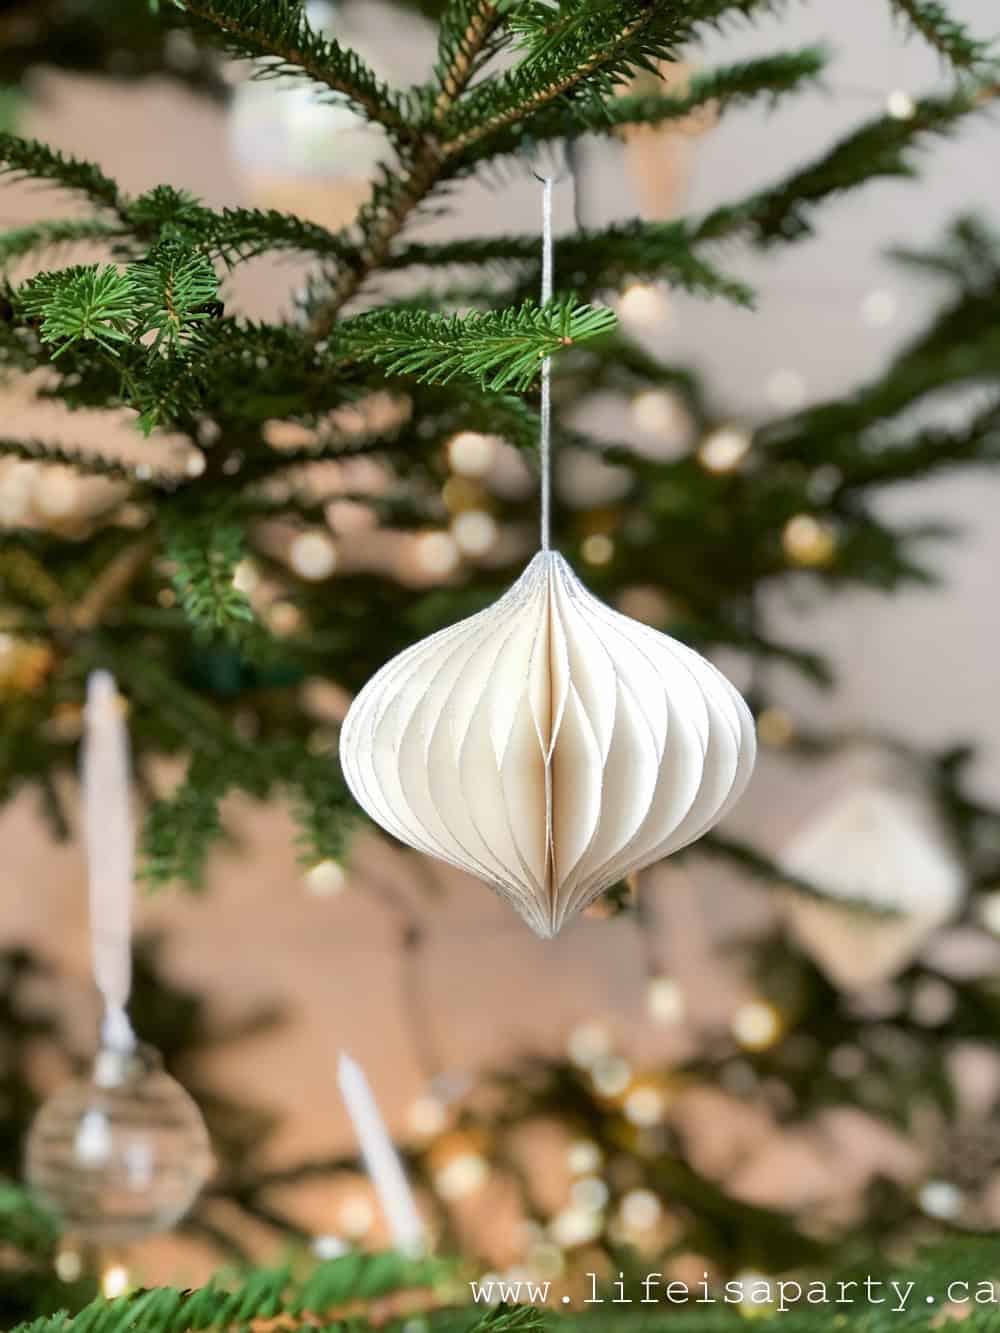
paper Christmas ornament

The pretty paper ornaments help to tie in with the stair decorations.  The beautiful old fashioned Christmas tree candle holders are something I've been thinking about adding the last couple years and was lucky enough to find at the thrift store this year.  I won't light them of course, but even un-lit they are so beautiful.
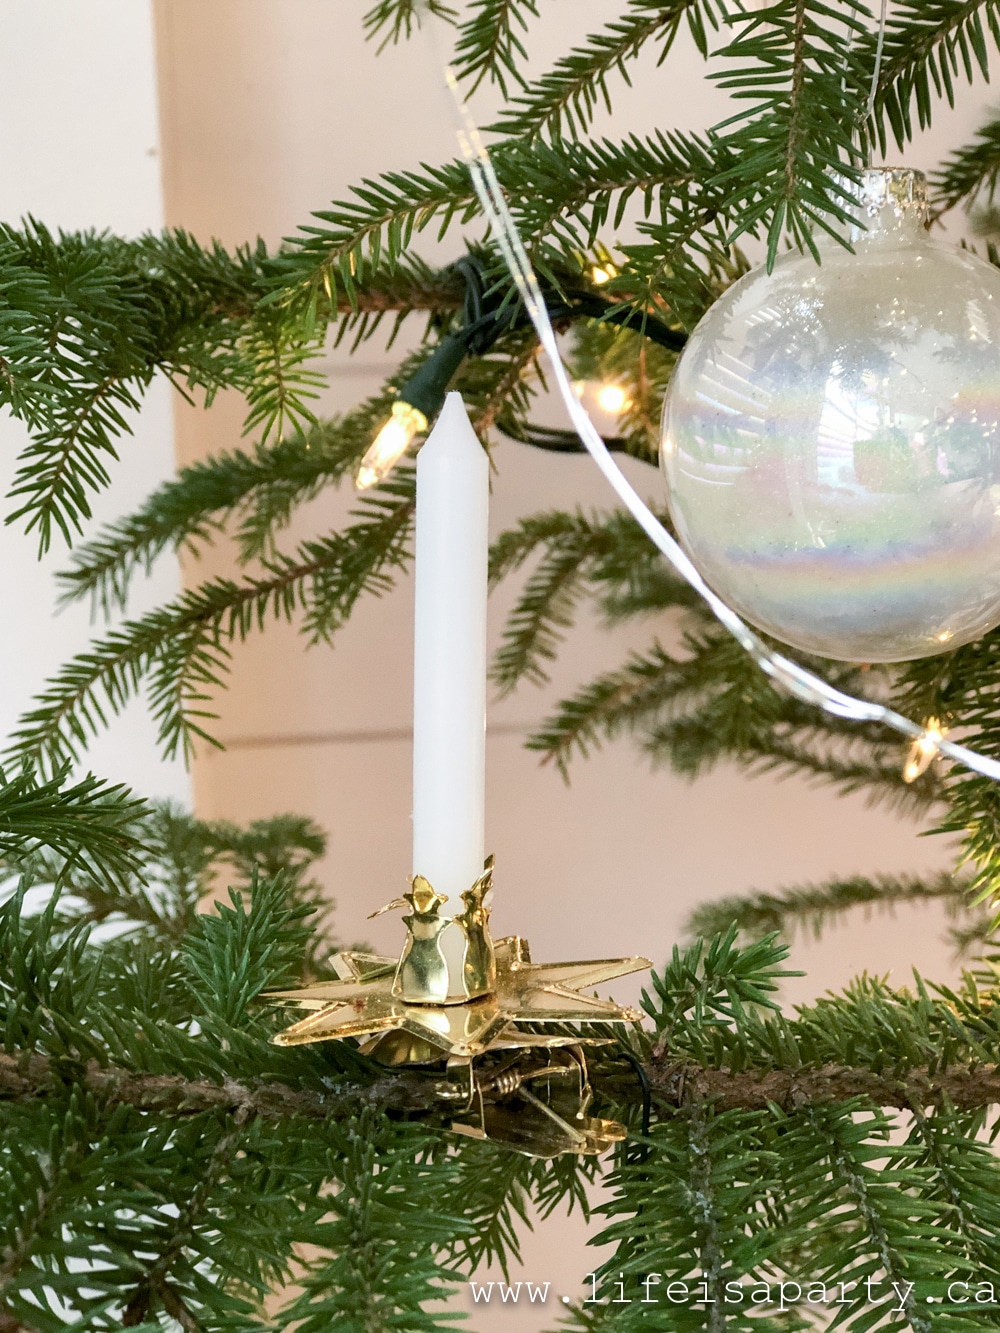
Vintage Christmas tree candles

The tree decorations are very simple.  Just the paper ornaments some glass and white balls, paper pinecones, the candles, and some pompom fringe garland.  I should perhaps add a paper star to the top.
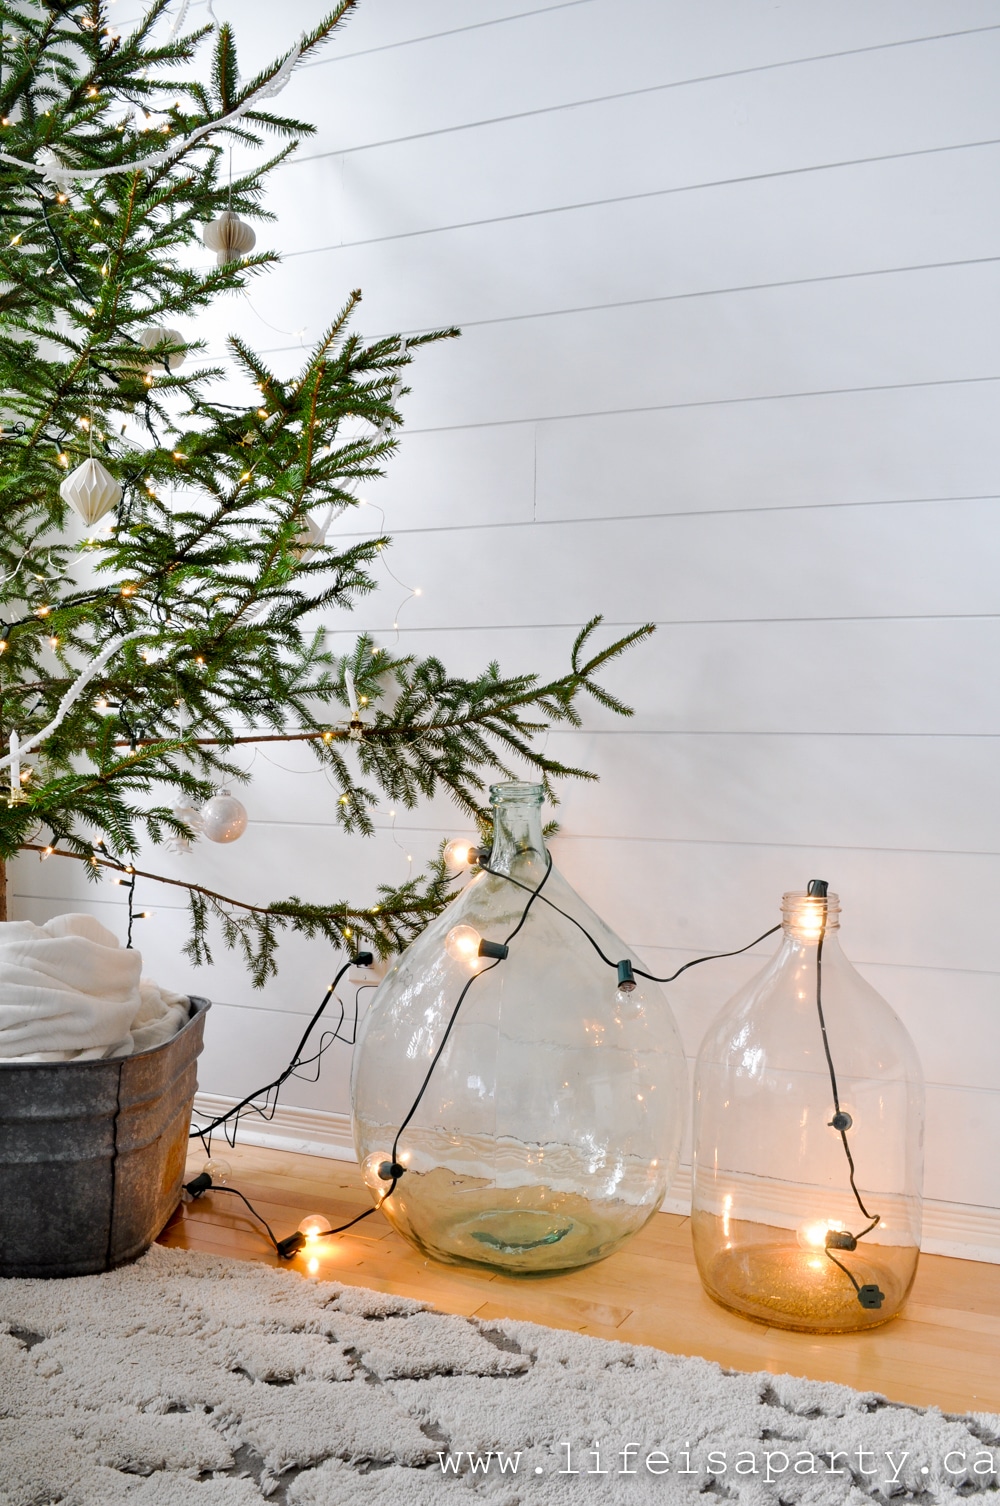
vintage demi John bottles with Christmas lights

And more glass bottles, with these fun lights.

Havanese dog in front of a Christmas tree

And Oscar always seems to want to be in on the home tours, so since he kept getting in my shots I asked him to pose.

Coffee Table
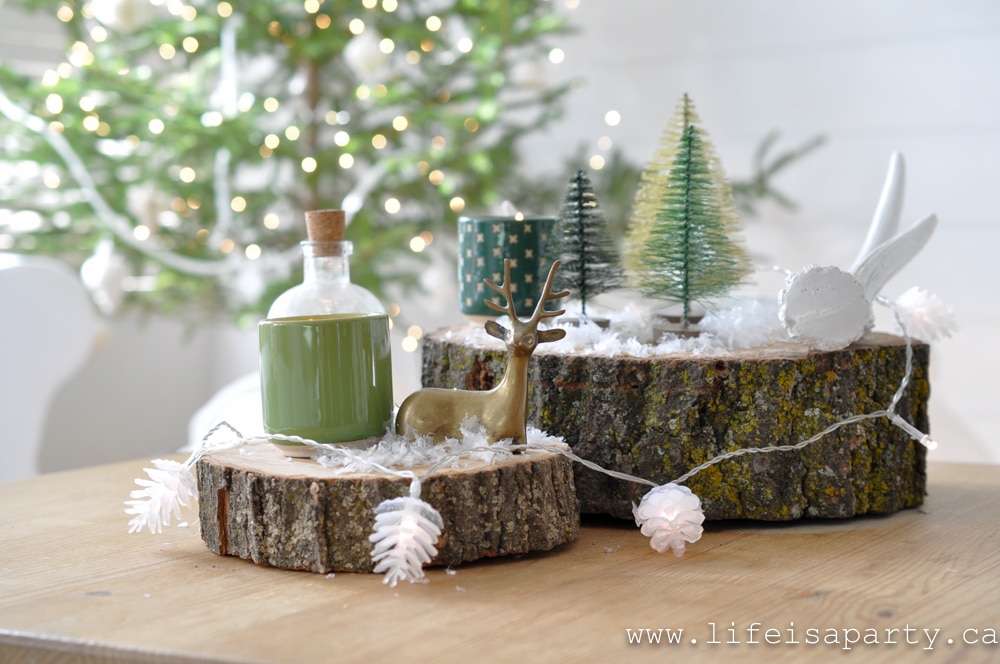
green Christmas decor

On the coffee table more wood pieces and faux snow.  I love these little pinecone lights, they're a fun dollarama find.
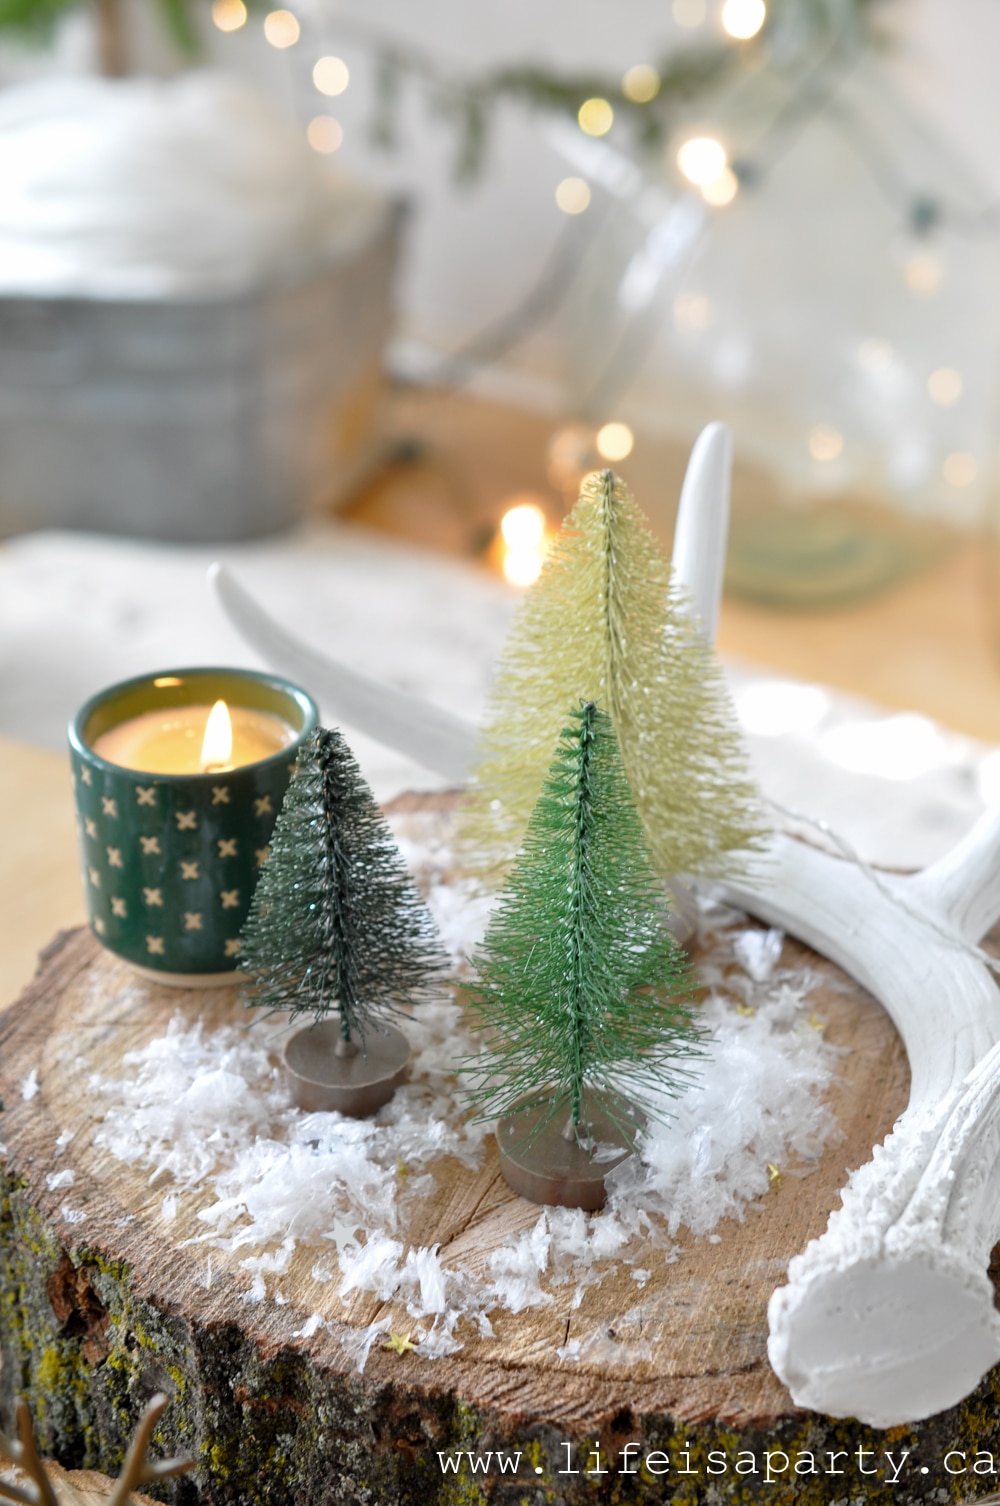
green Christmas decor

Pass Through

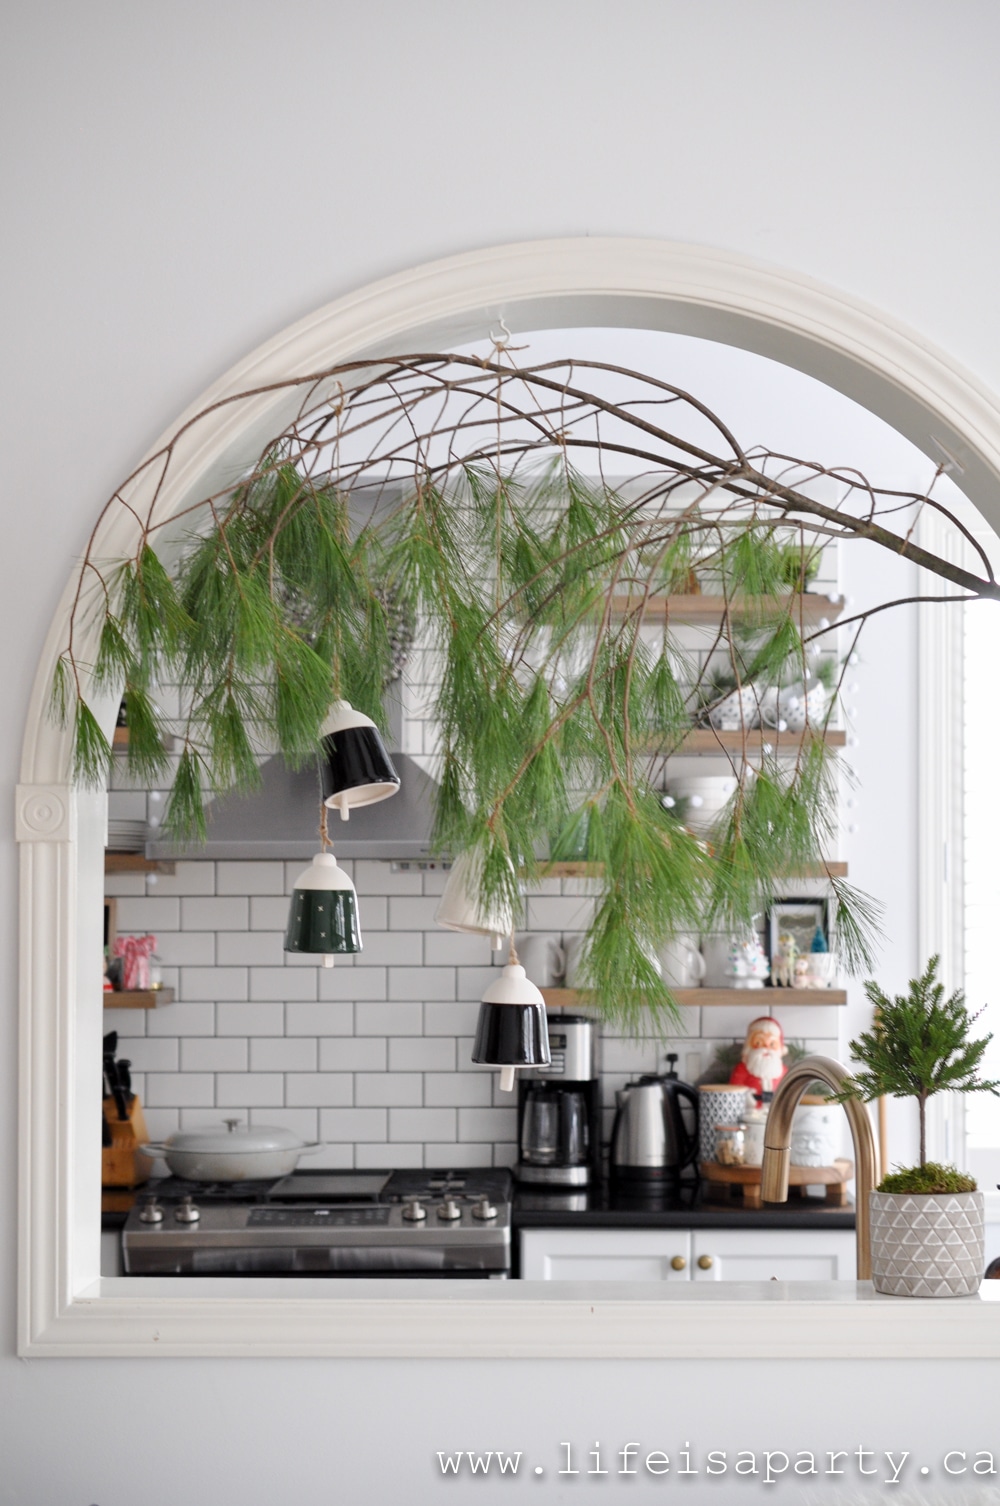
In the pass through I hung a beautiful fresh pine branch.  And then I added some bells.
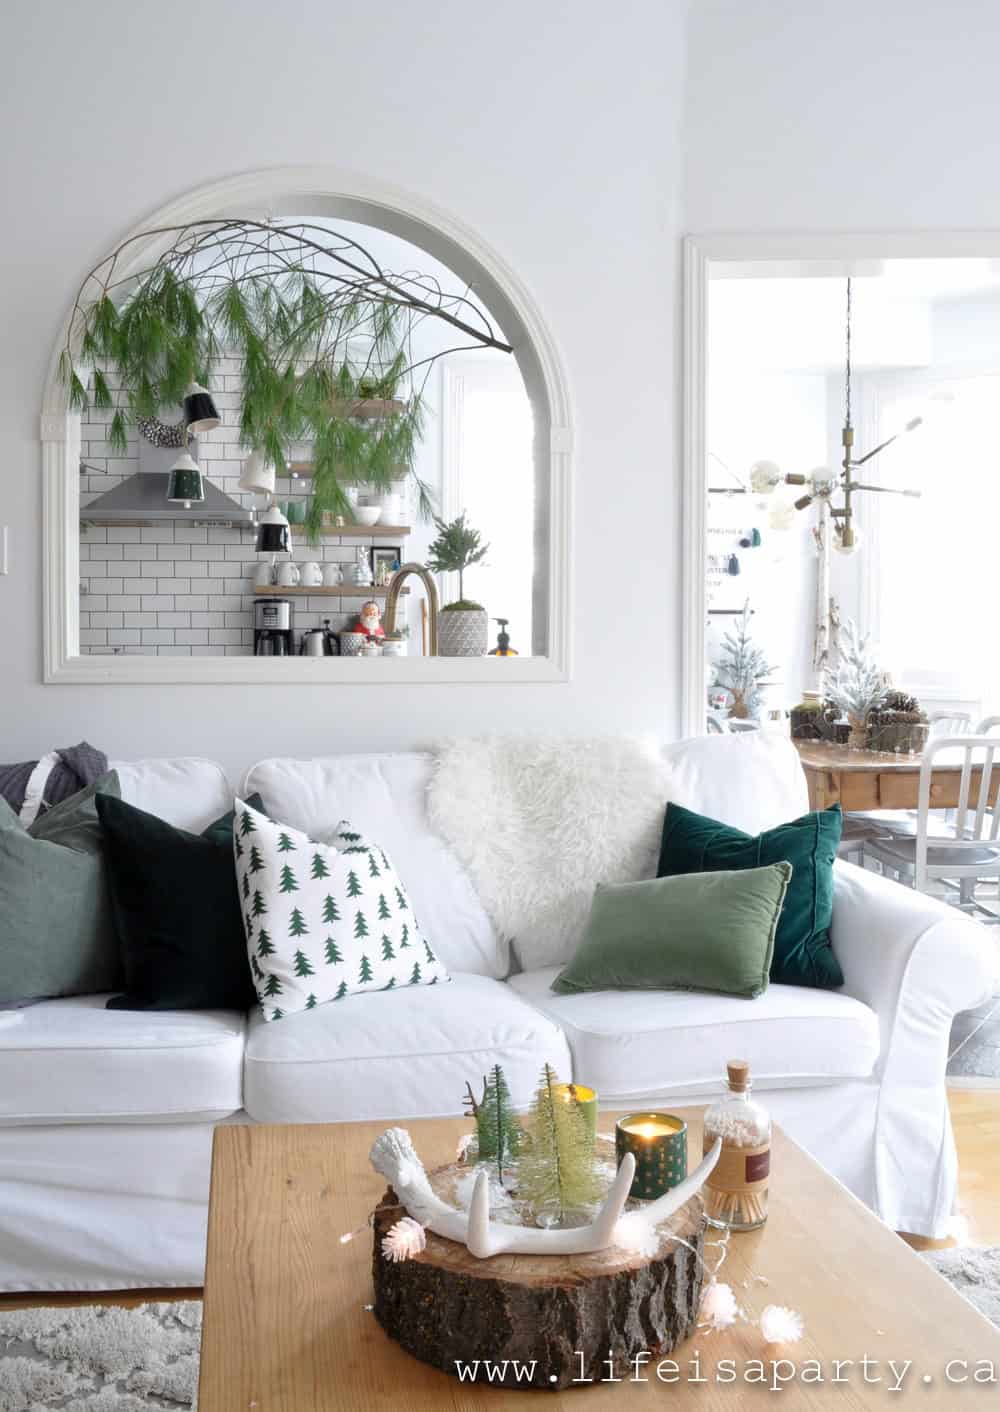
green Christmas decor

The bells are from the Target dollar spot from a little cross border shopping trip and I love them.
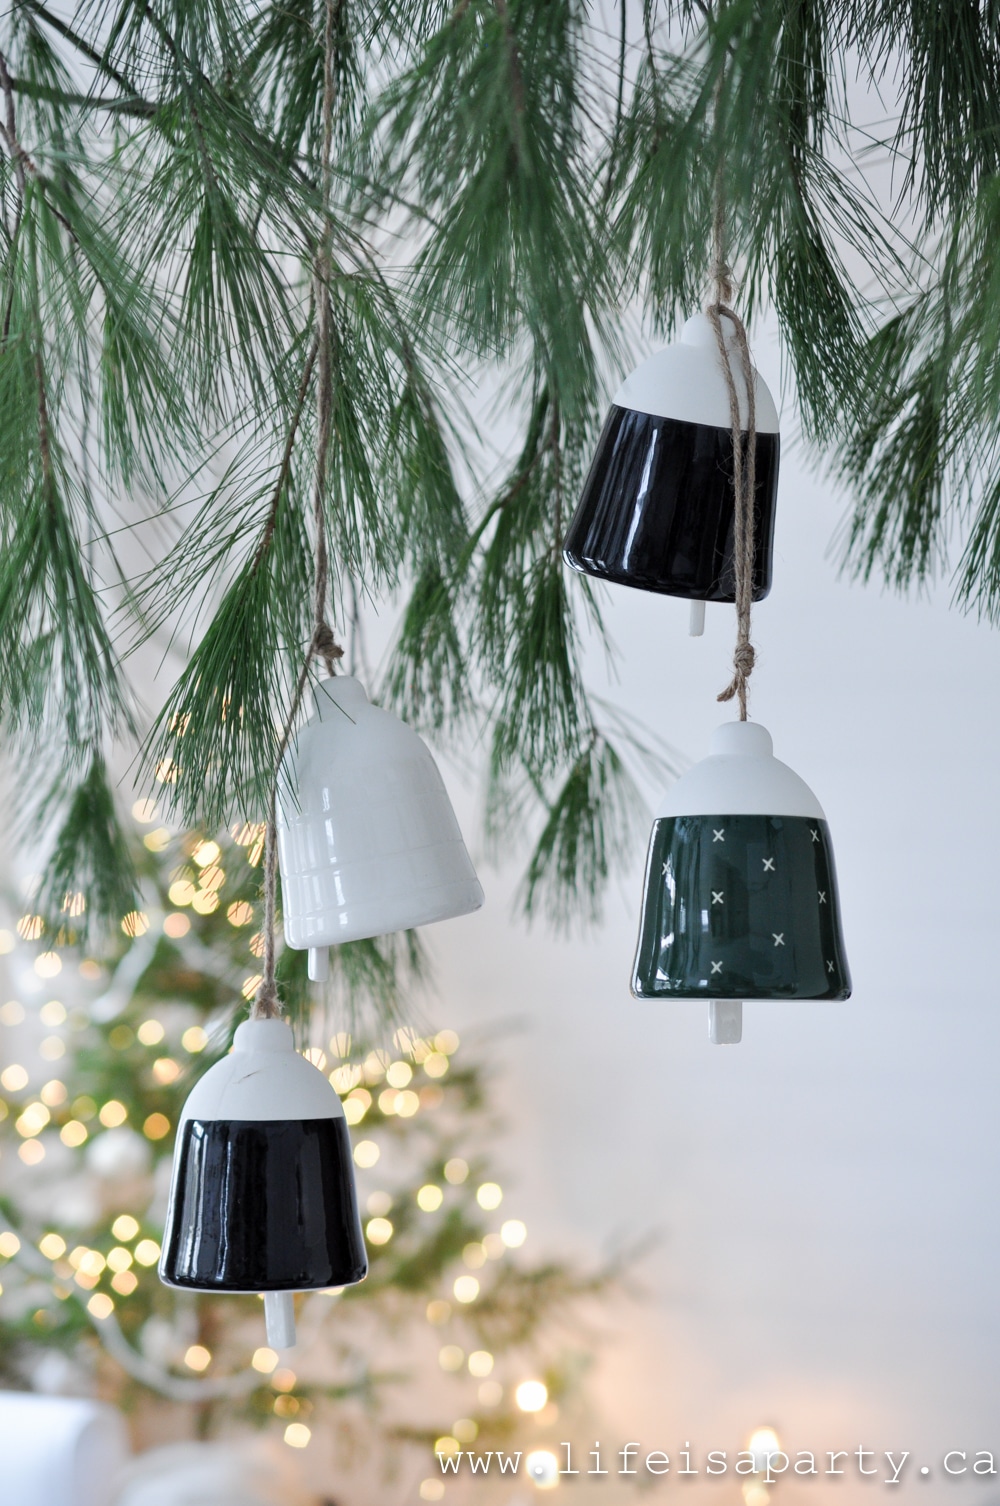
green Christmas decor
Christmas ceramic bells

Green Christmas Decor In The Kitchen

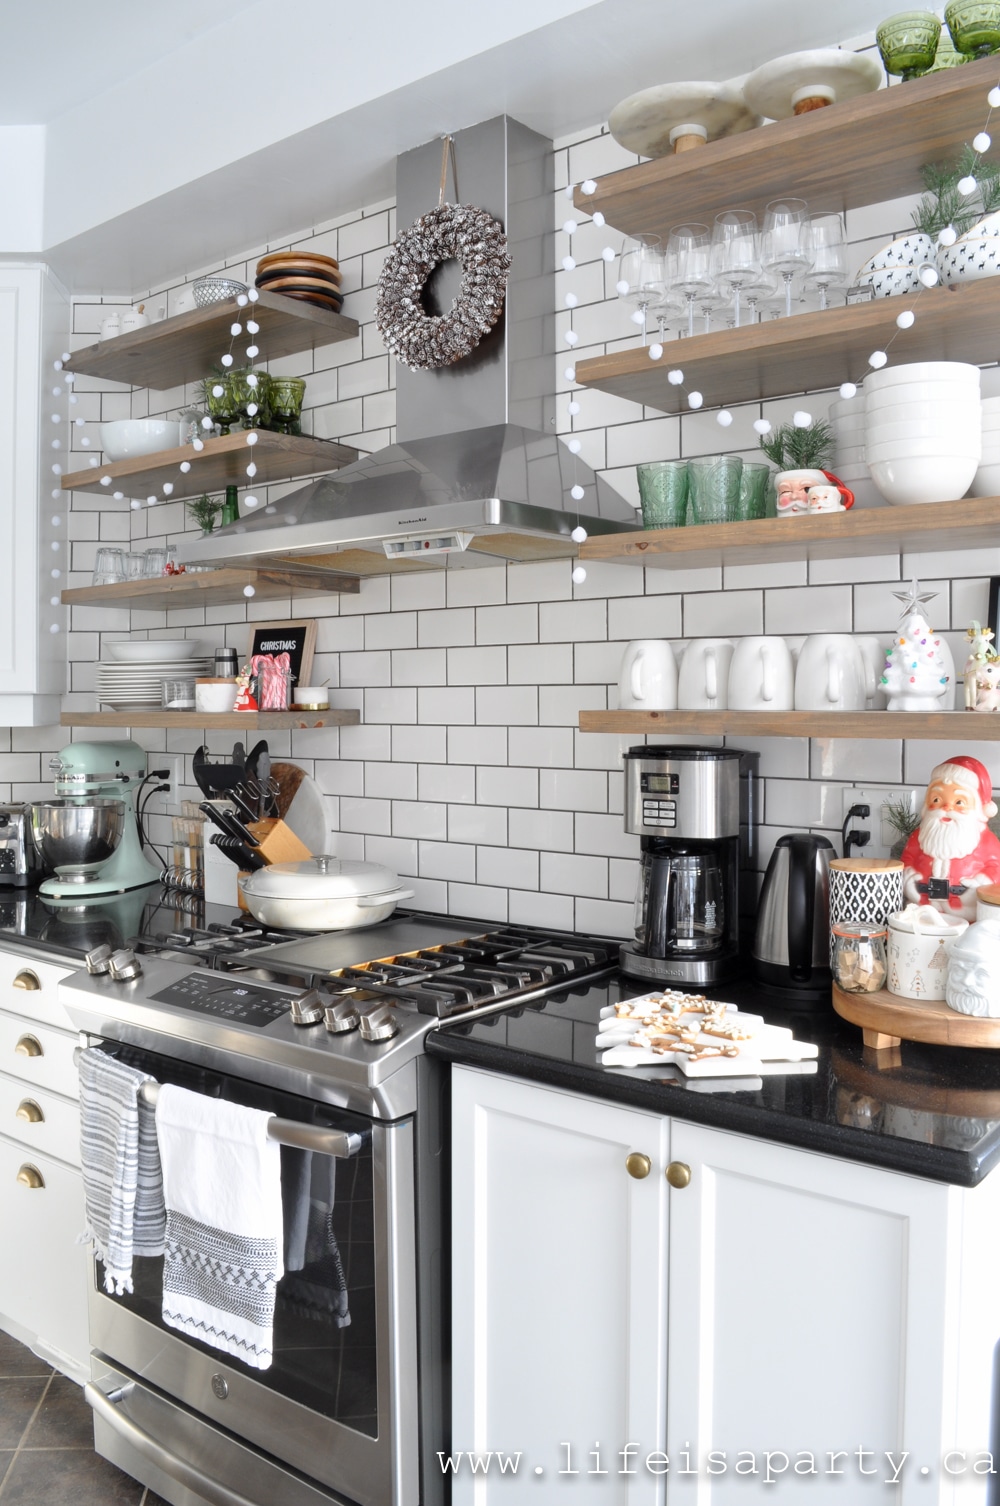
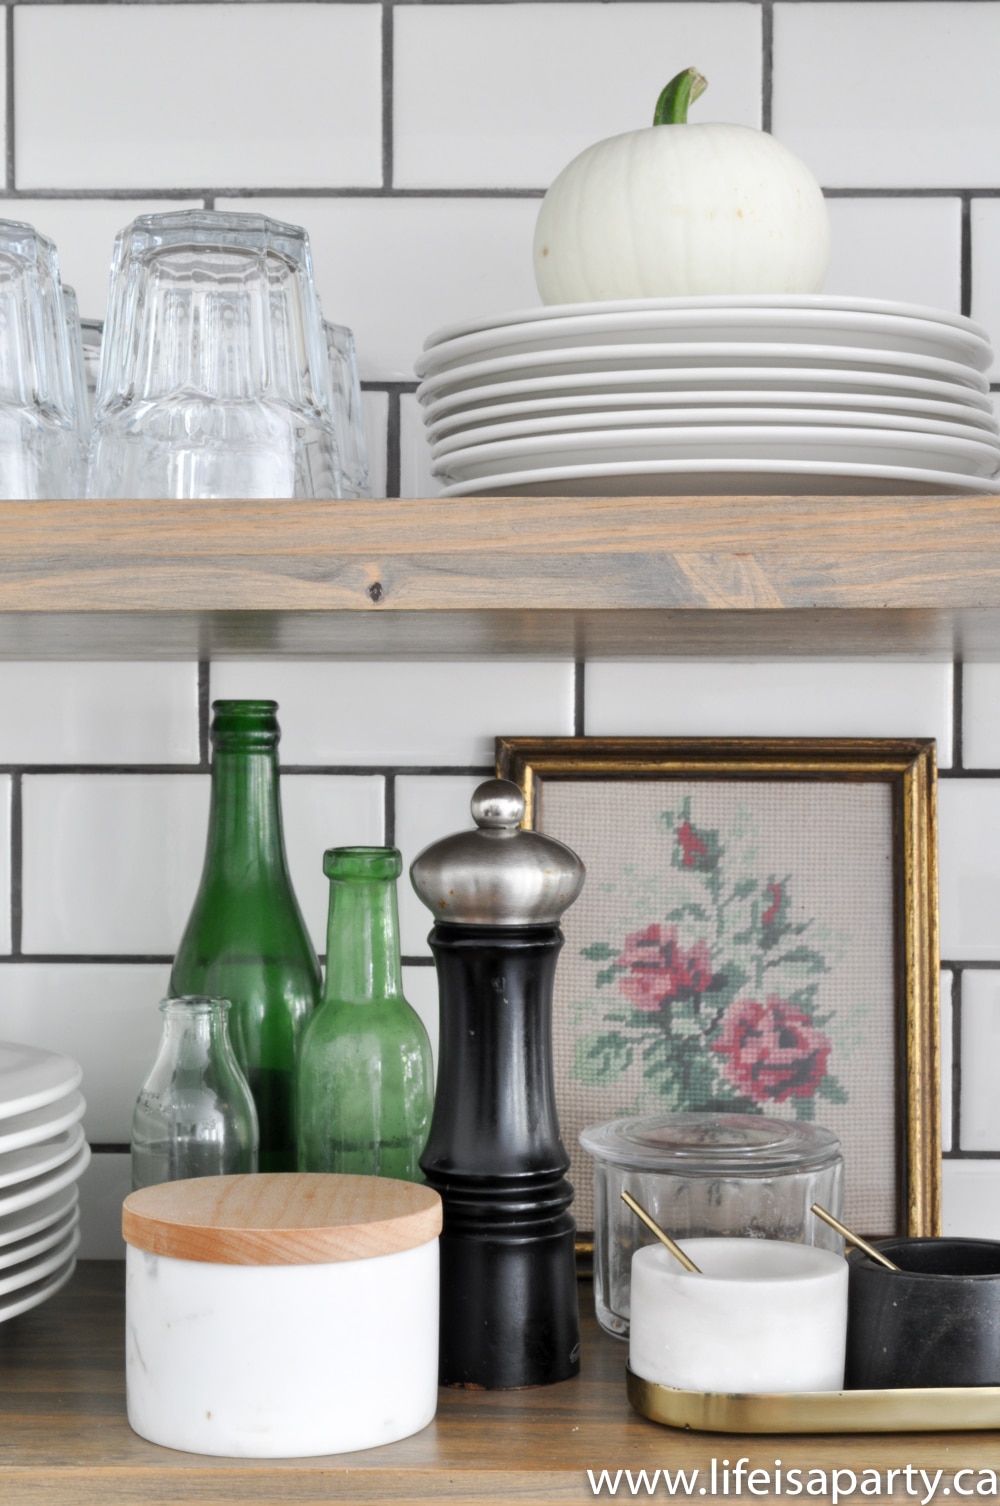
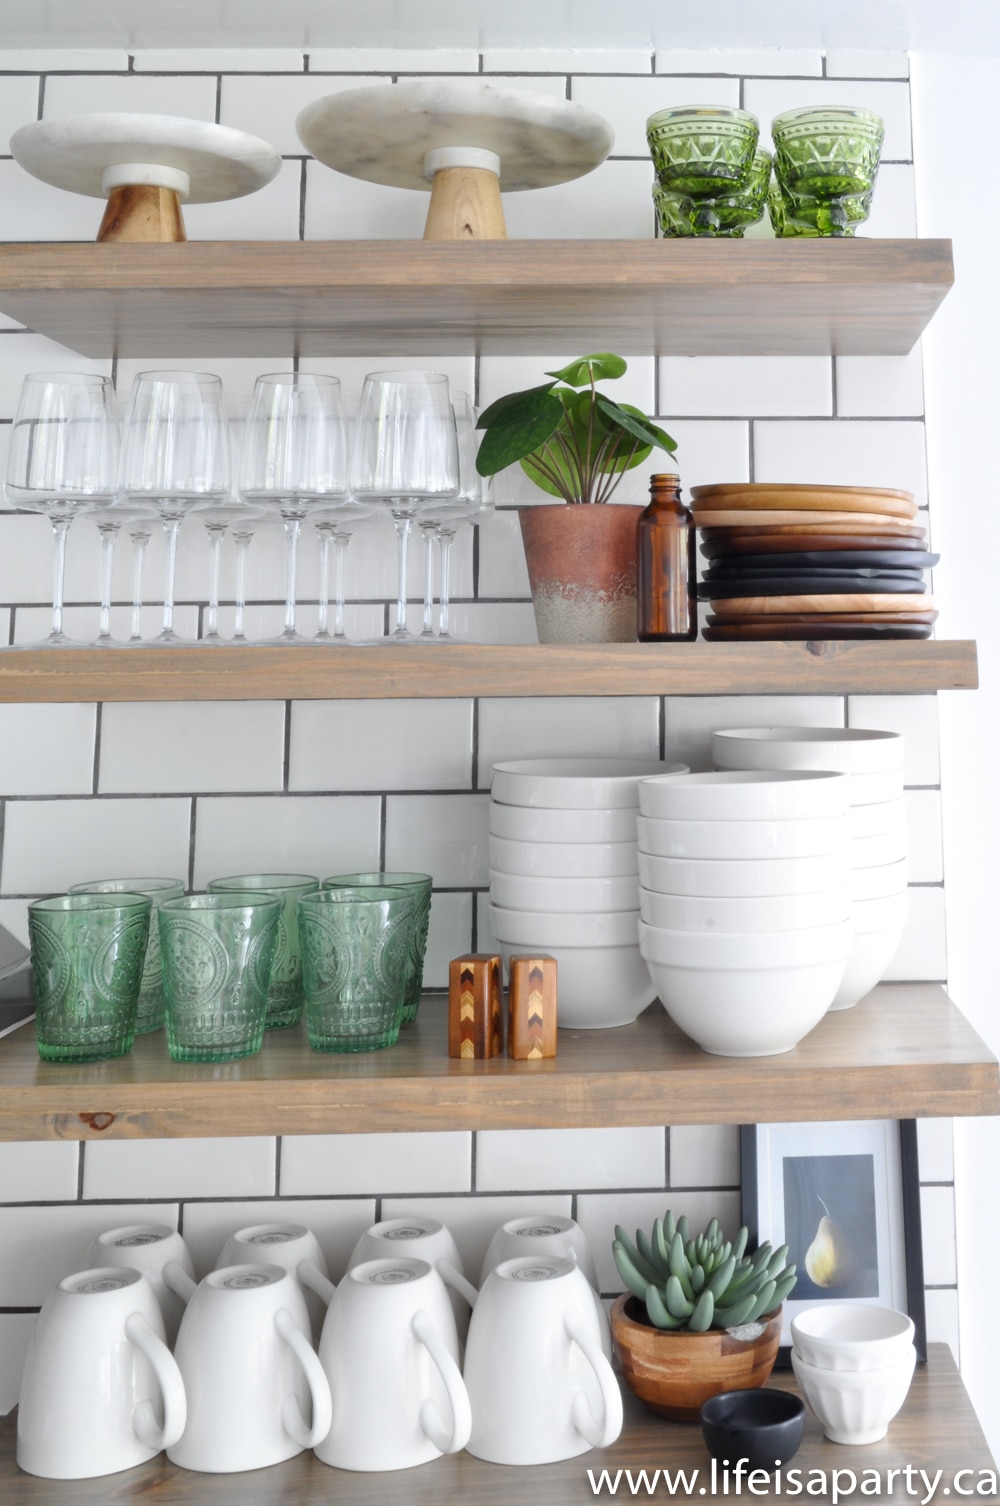
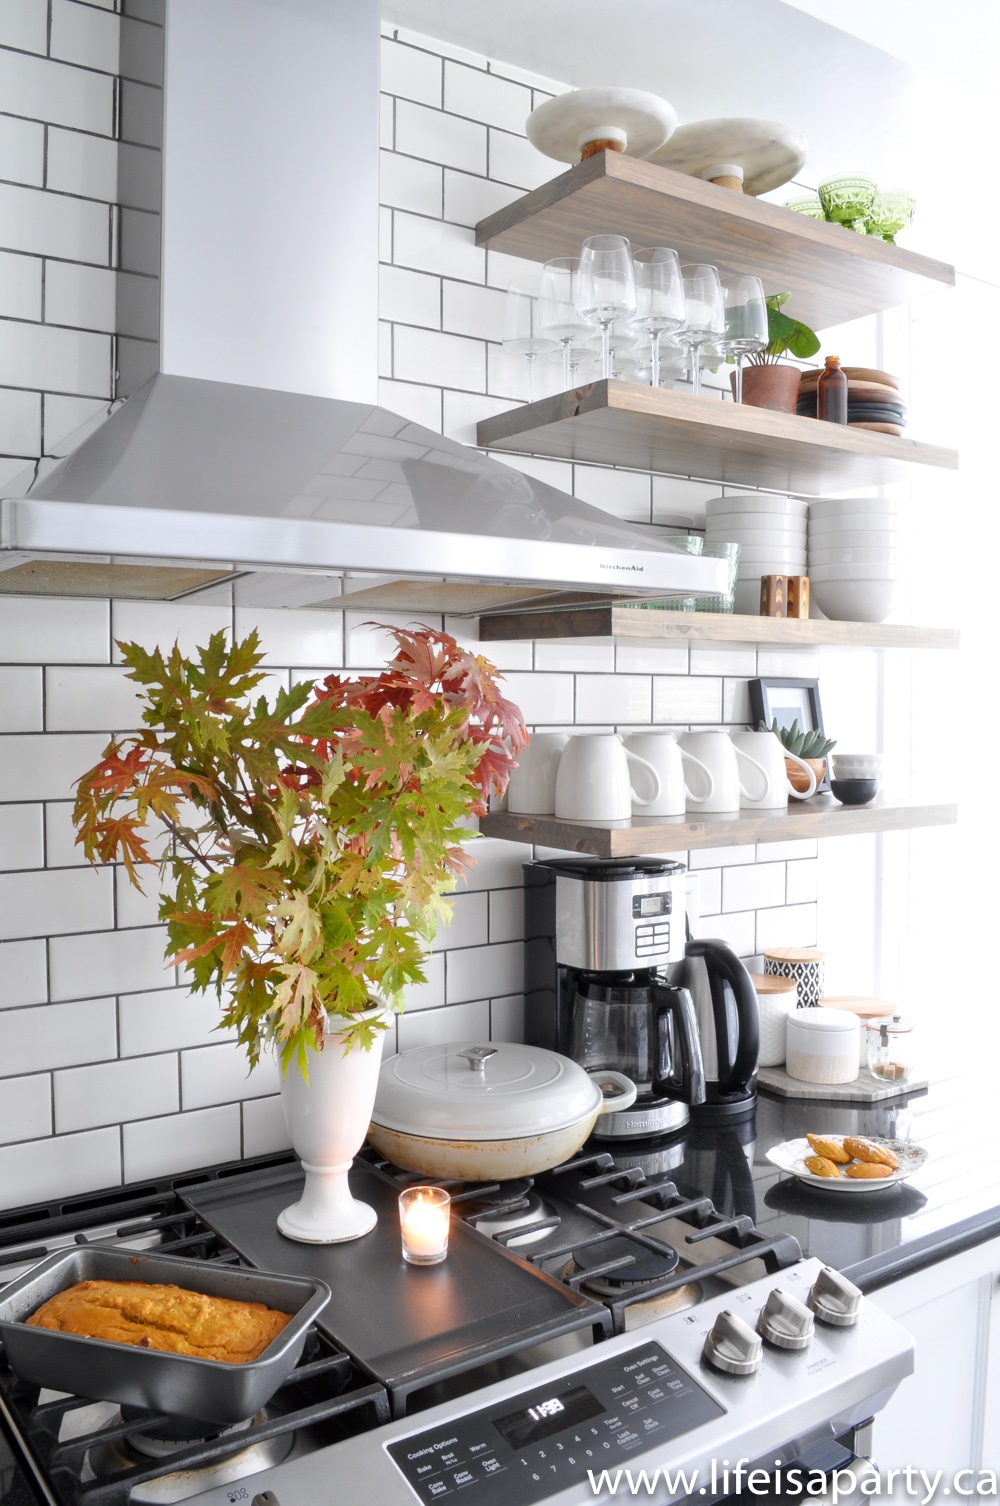
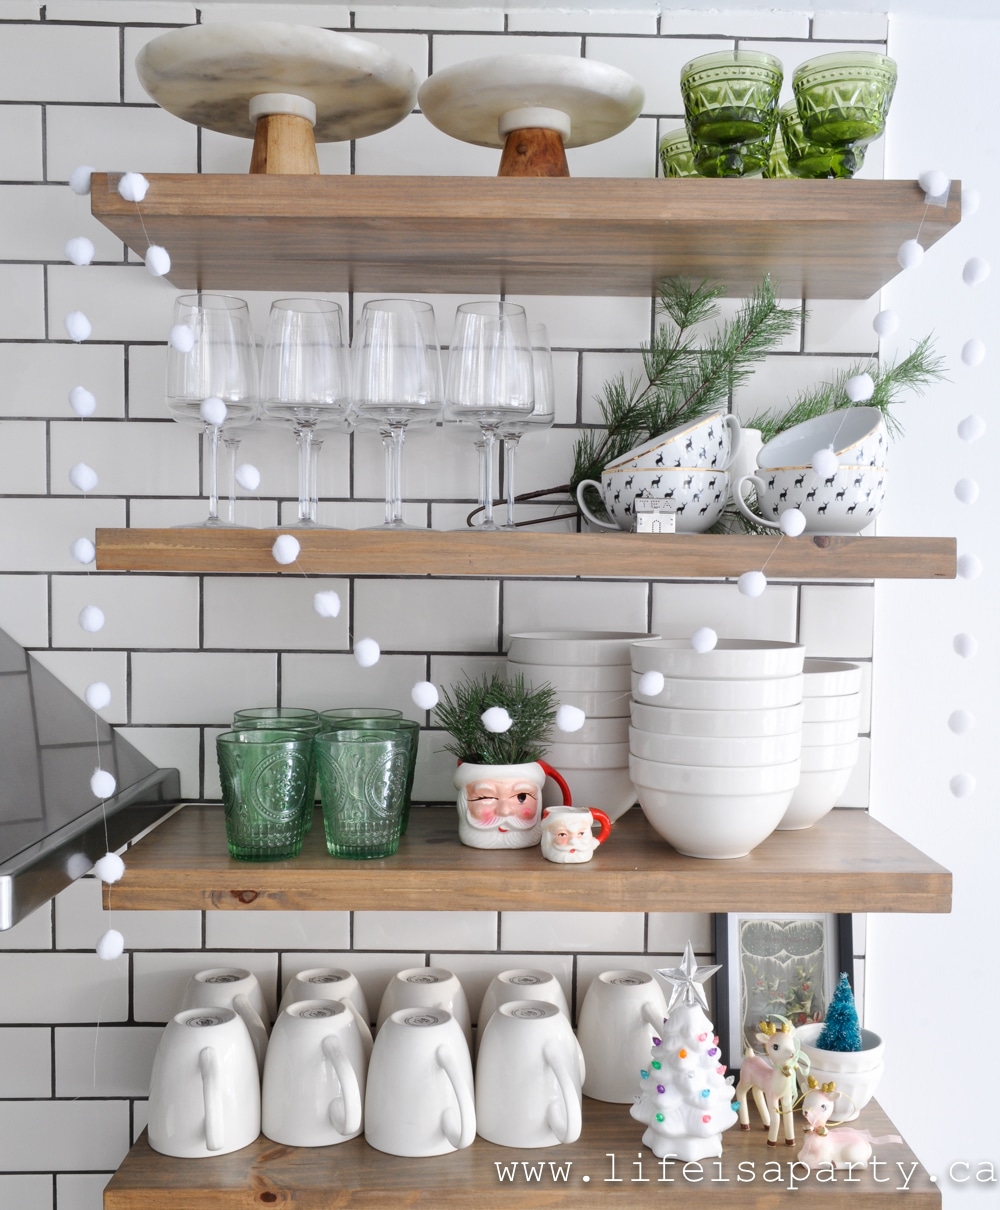
And that leads us into the kitchen.  We gave our kitchen a facelift a few years ago.  We took down our cupboards and added open shelves and subway tile -you can read all about it here.  Now I love decorating our shelves for each season.
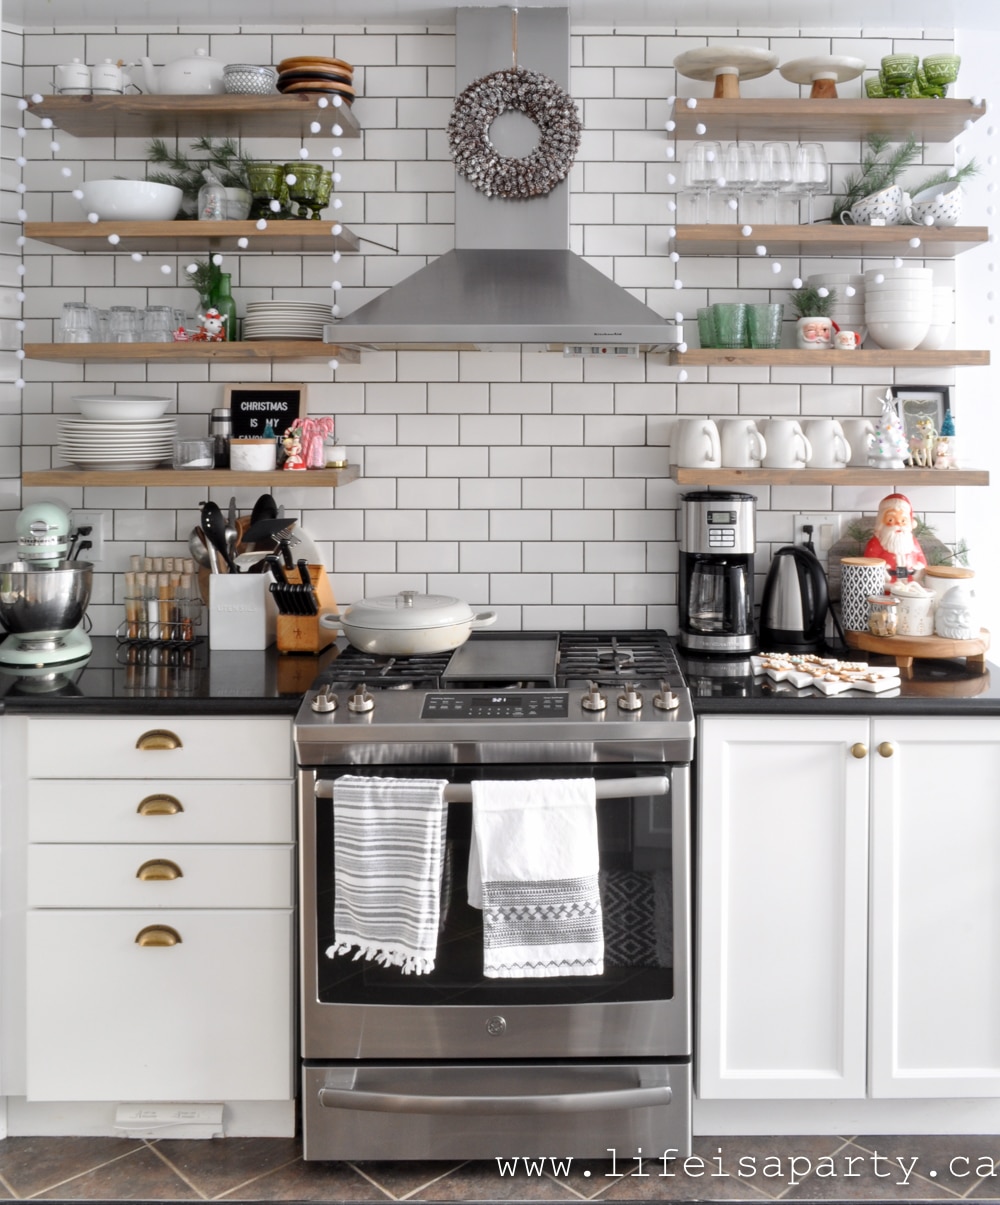
Open kitchen shelves decorated for Christmas with green decor

Open Shelves With Green Christmas Decor

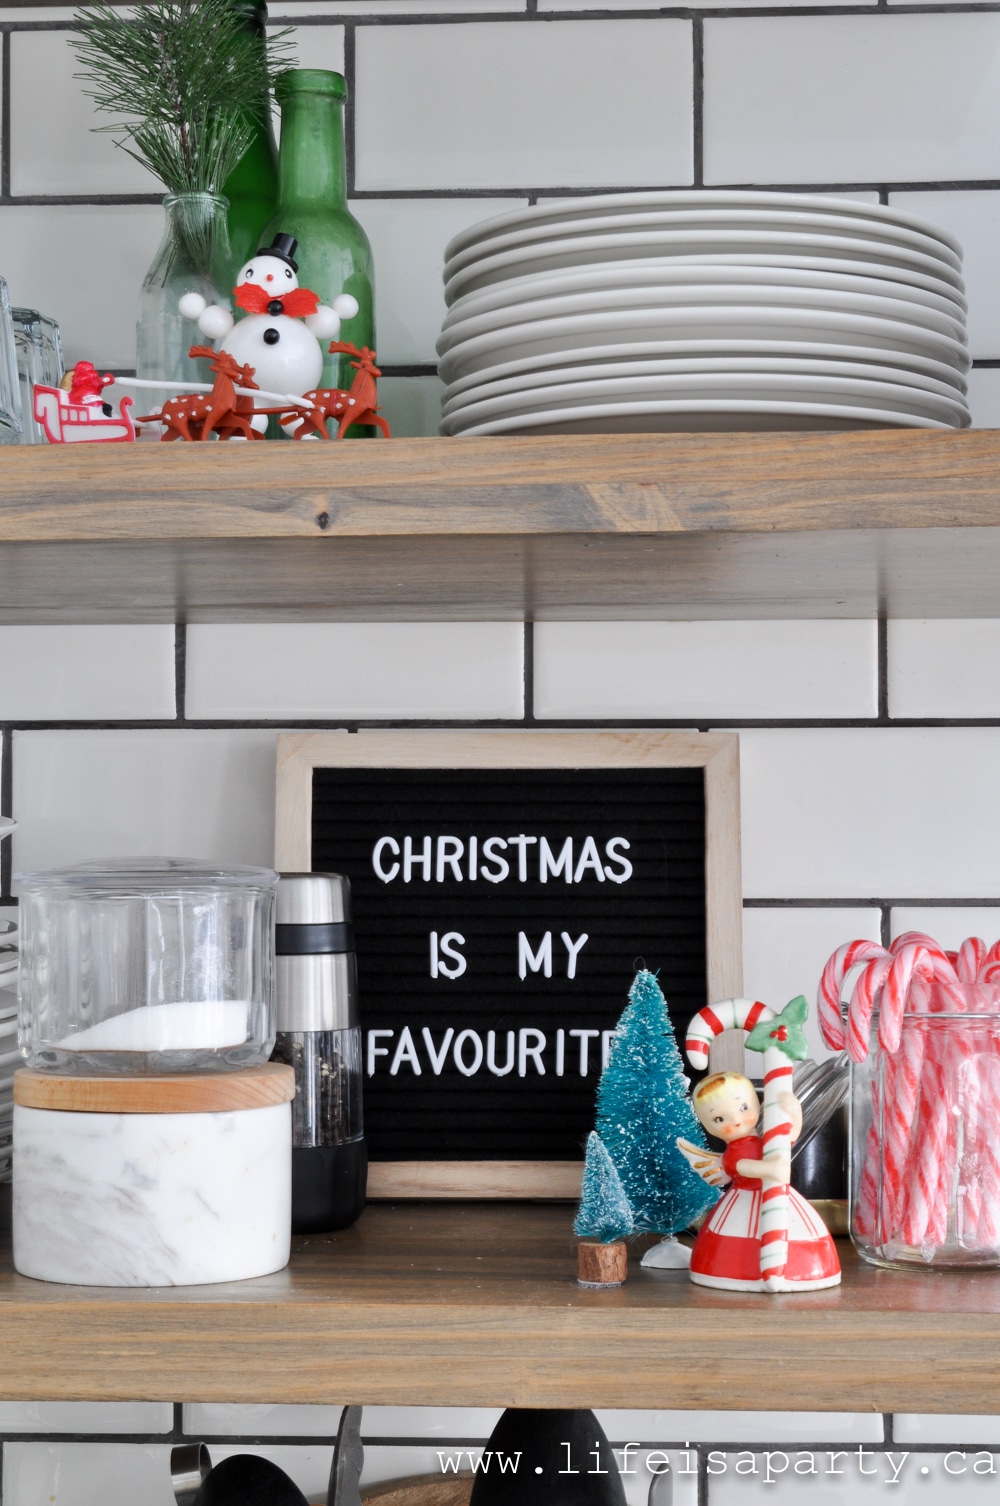
These shelves have to work hard since we have quite a small kitchen, and no pantry.  All our everyday dishes are here, but there's still room for some fun seasonal touches and this year some green Christmas decor.
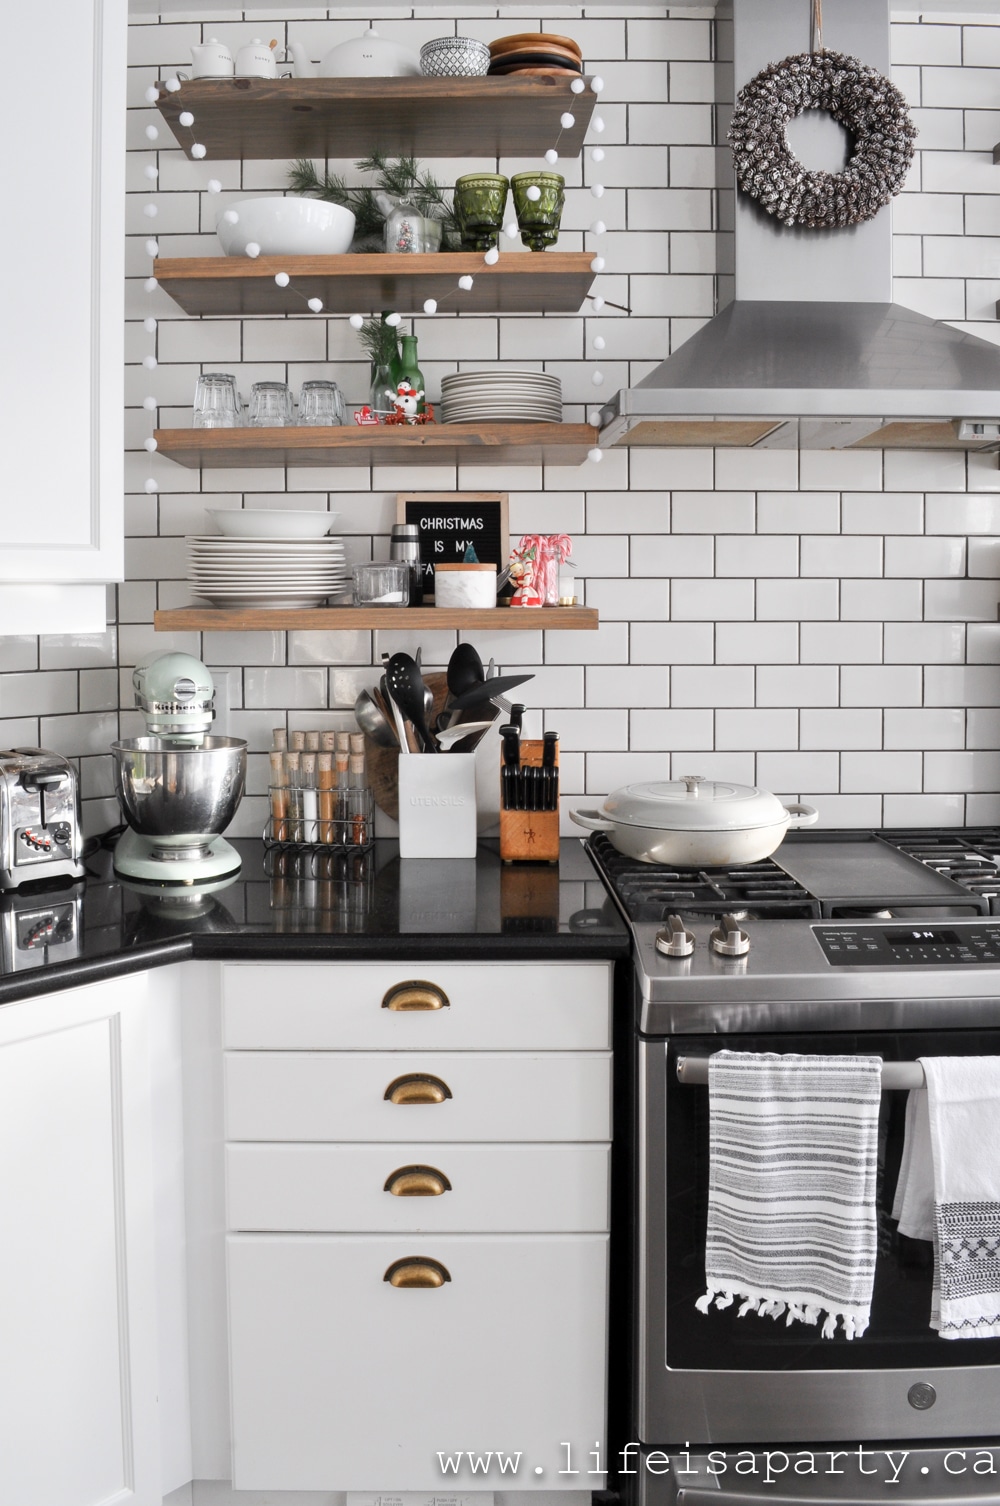
open kitchen shelves decorated for Christmas with green decor

The vintage finds are so fun.

Christmas Home Tour: Rustic Scandinavian Christmas Home Tour, with some of modern boho touches.

Over on the other side we have a coffee and tea station set up.
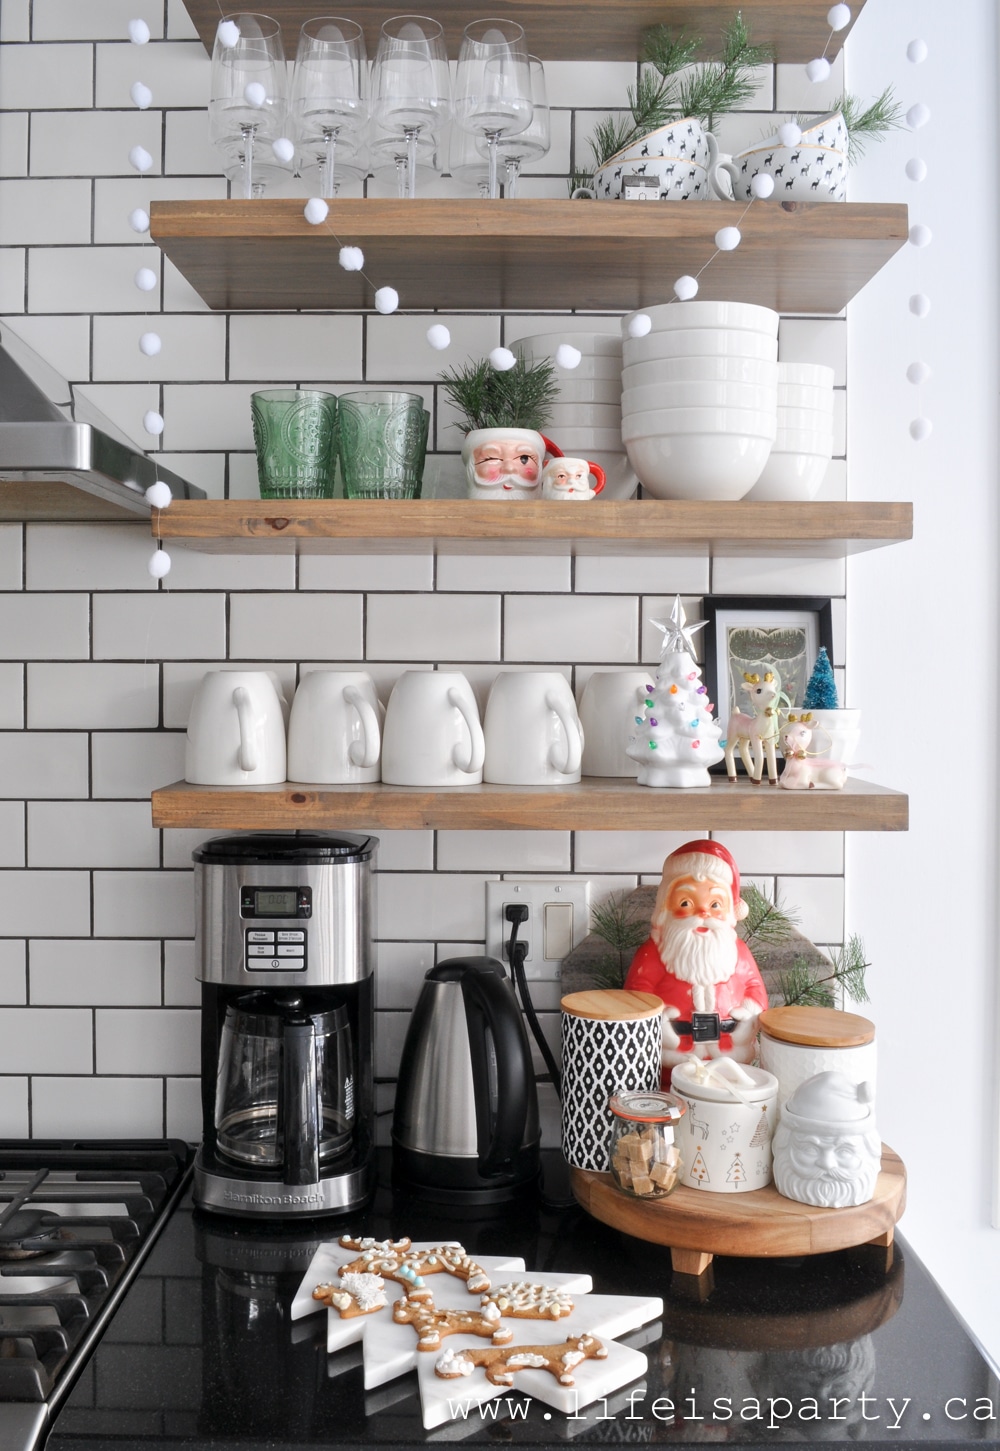
Christmas Home Tour: Rustic Scandinavian Christmas Home Tour, with some of modern boho touches.

The large plastic Santa is a new thrift store find, and I kind of love him.  
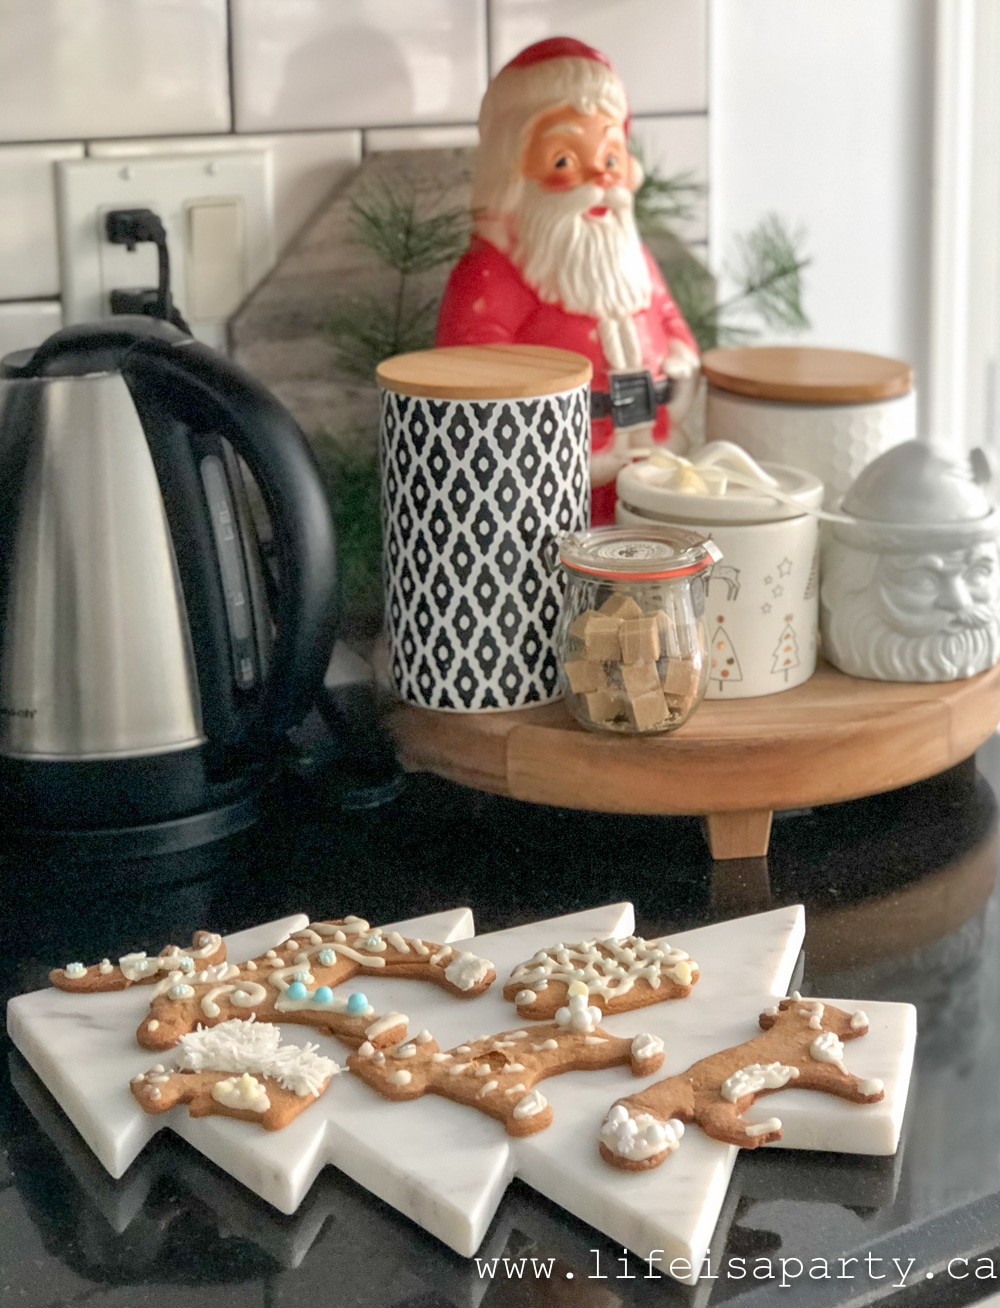
Christmas Home Tour: Rustic Scandinavian Christmas Home Tour, with some of modern boho touches.

I also found a few Santa mugs a few years ago, but I'm definitely on the hunt for more vintage ones.
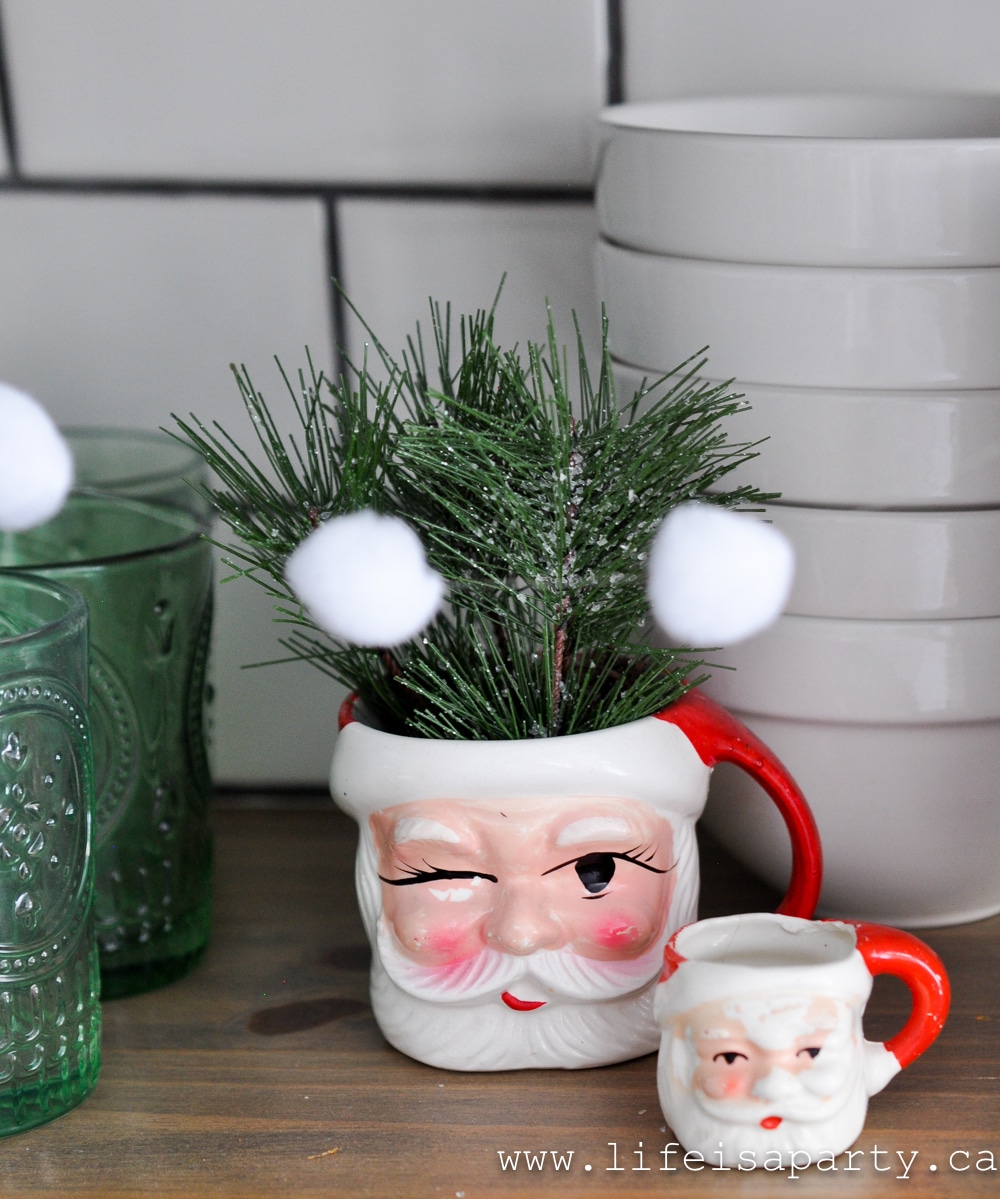
Vintage Santa mugs
green Christmas decor
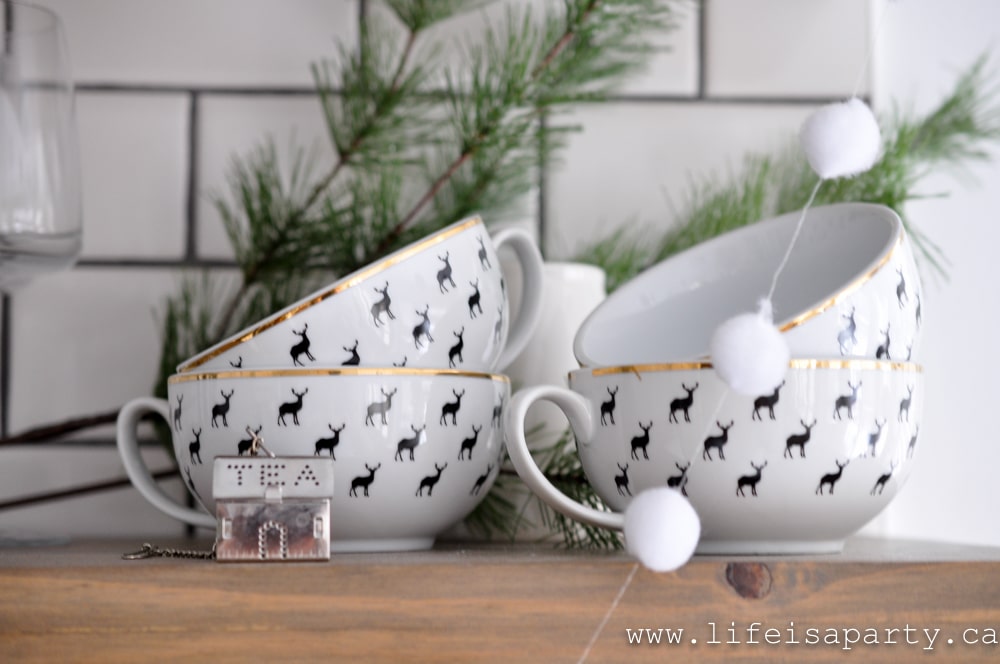
Christmas teacups green Christmas decor

And this little ceramic tree is a new one made to look old and it even lights up.  So cute.
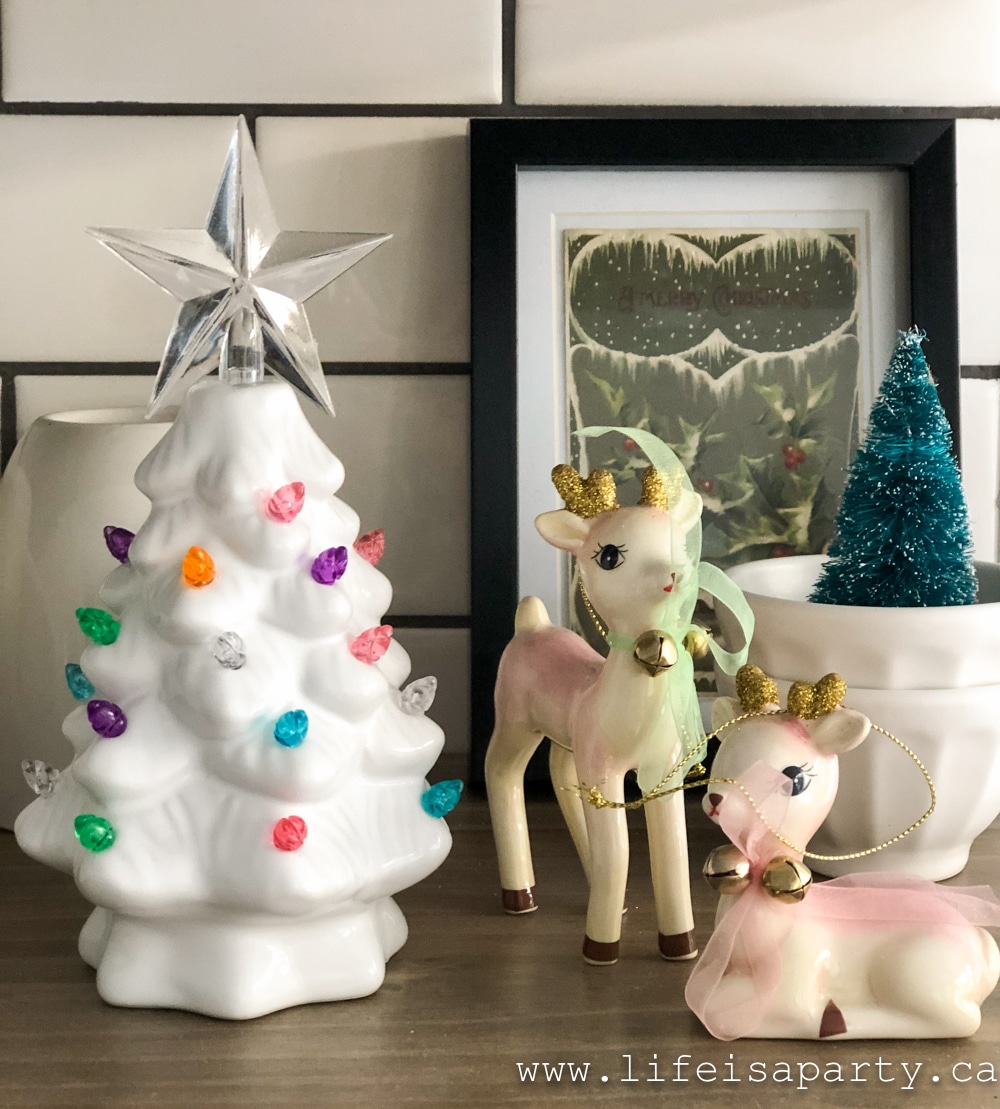
retro style Christmas decorations
Kitchen Open Shelves with green Christmas decor

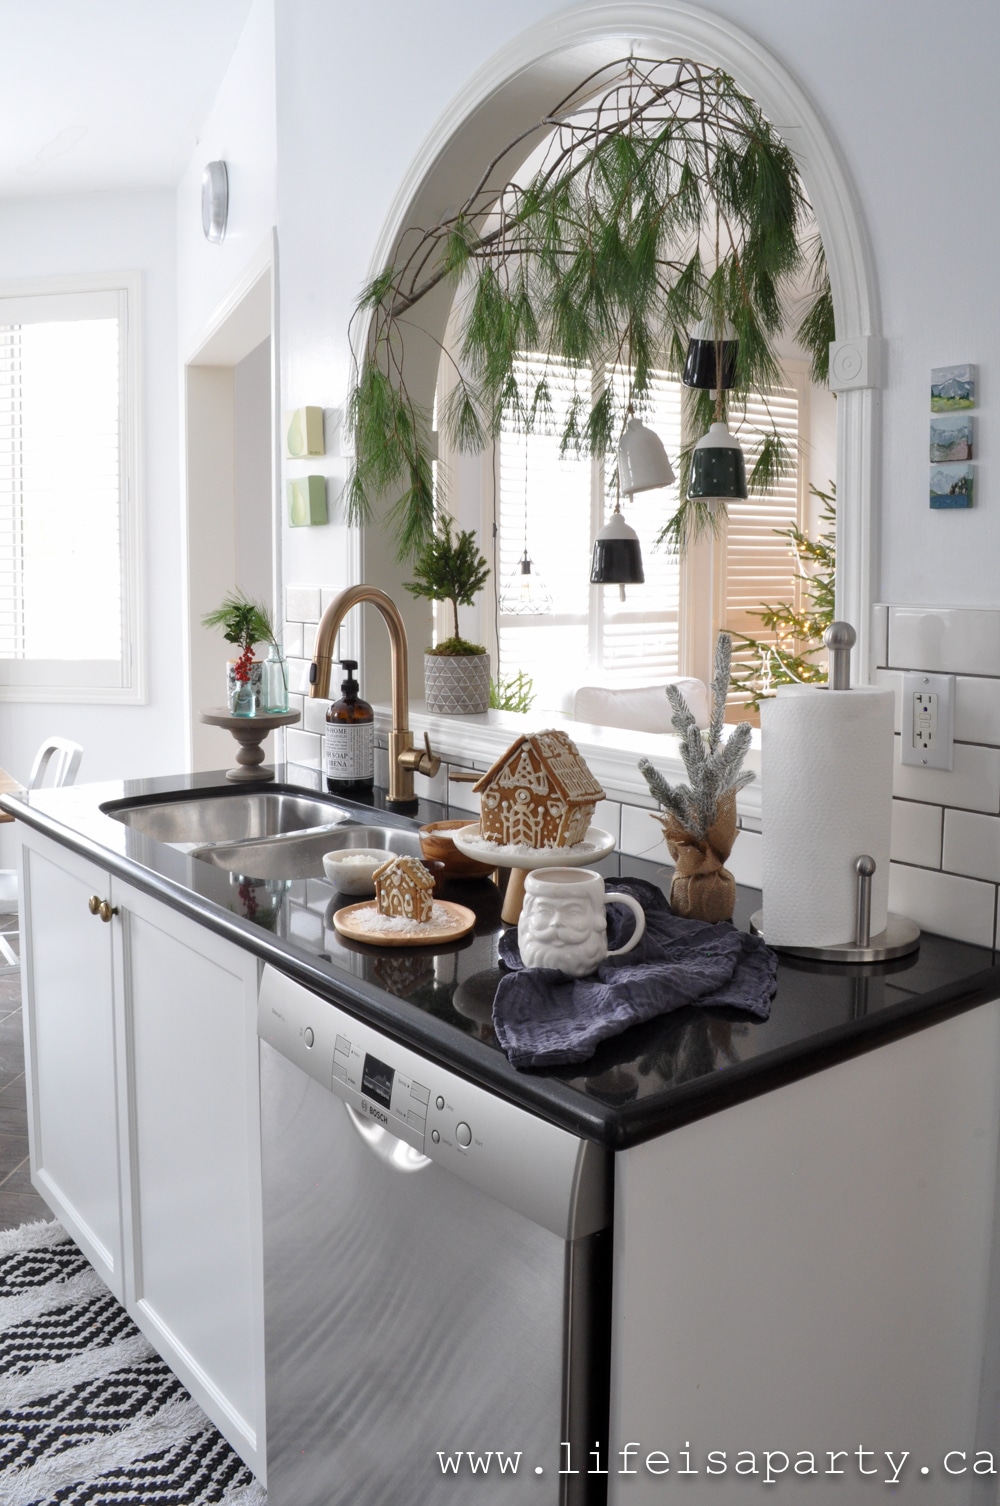
This little spot on the counter is looking cute and ready for Christmas baking.
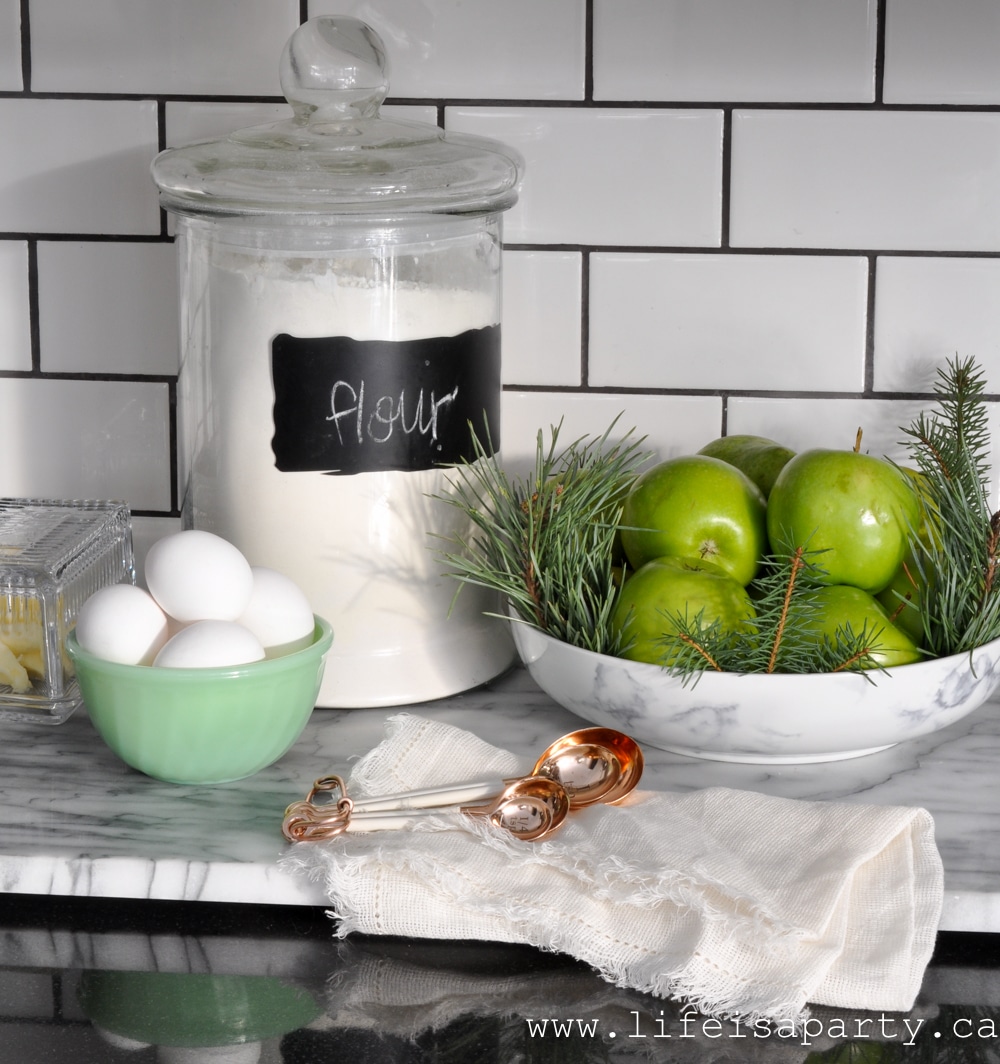
Christmas baking station with green Christmas decor

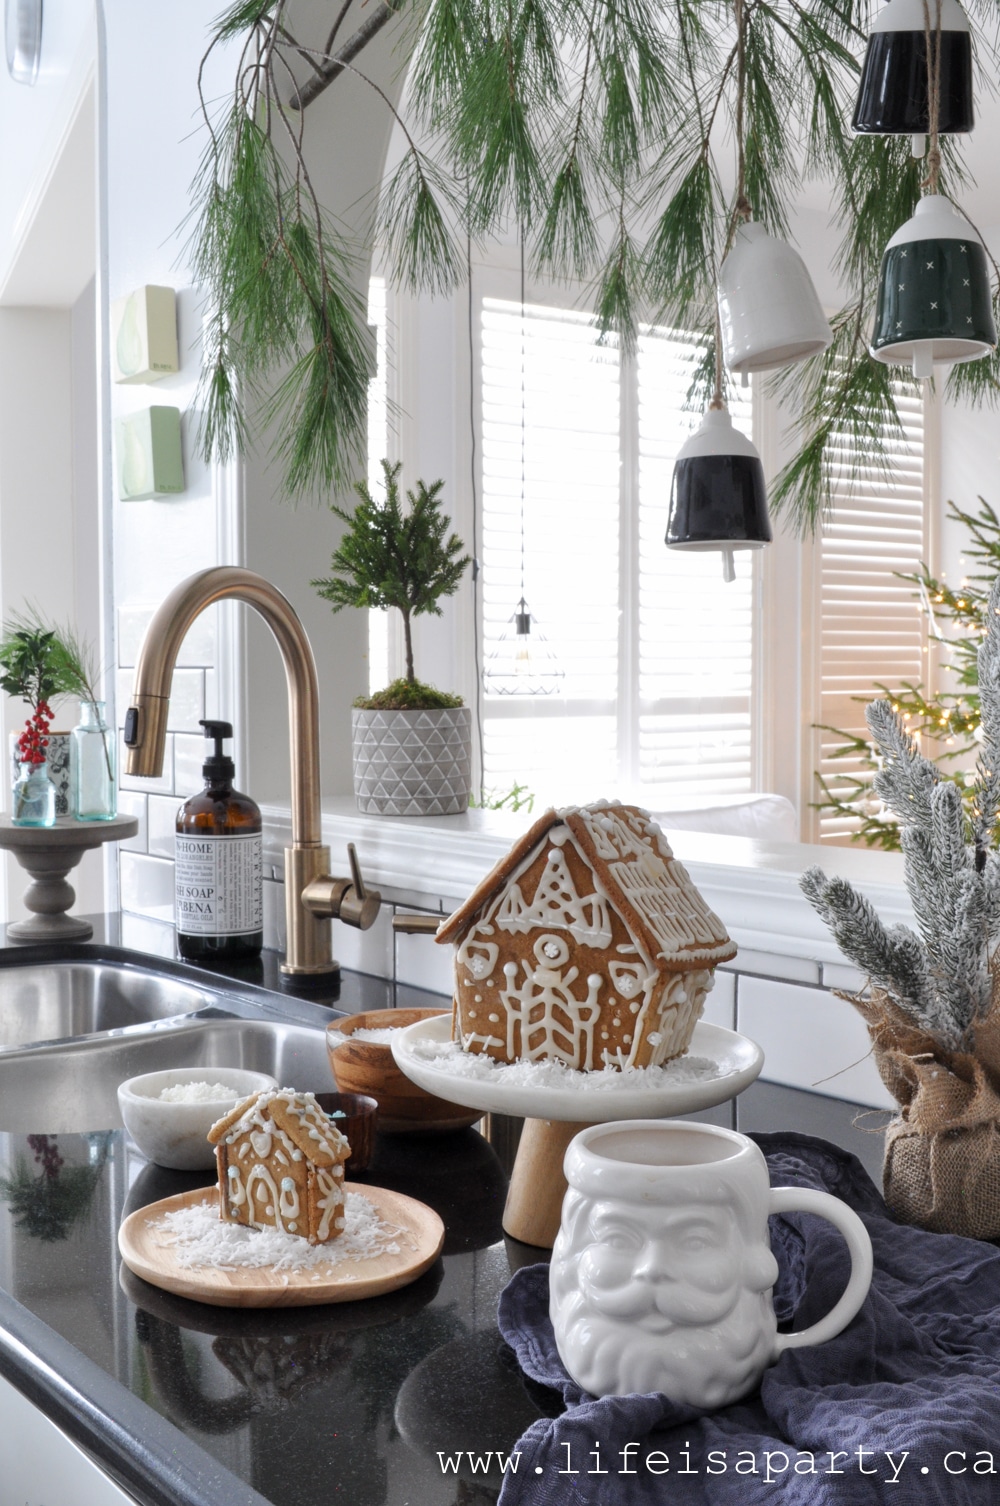
And the baking is already well underway here.  My daughters have already made gingerbread houses and cookies and they're adorable.
green Christmas decor
Rustic Scandinavian Modern Boho Christmas House Tour
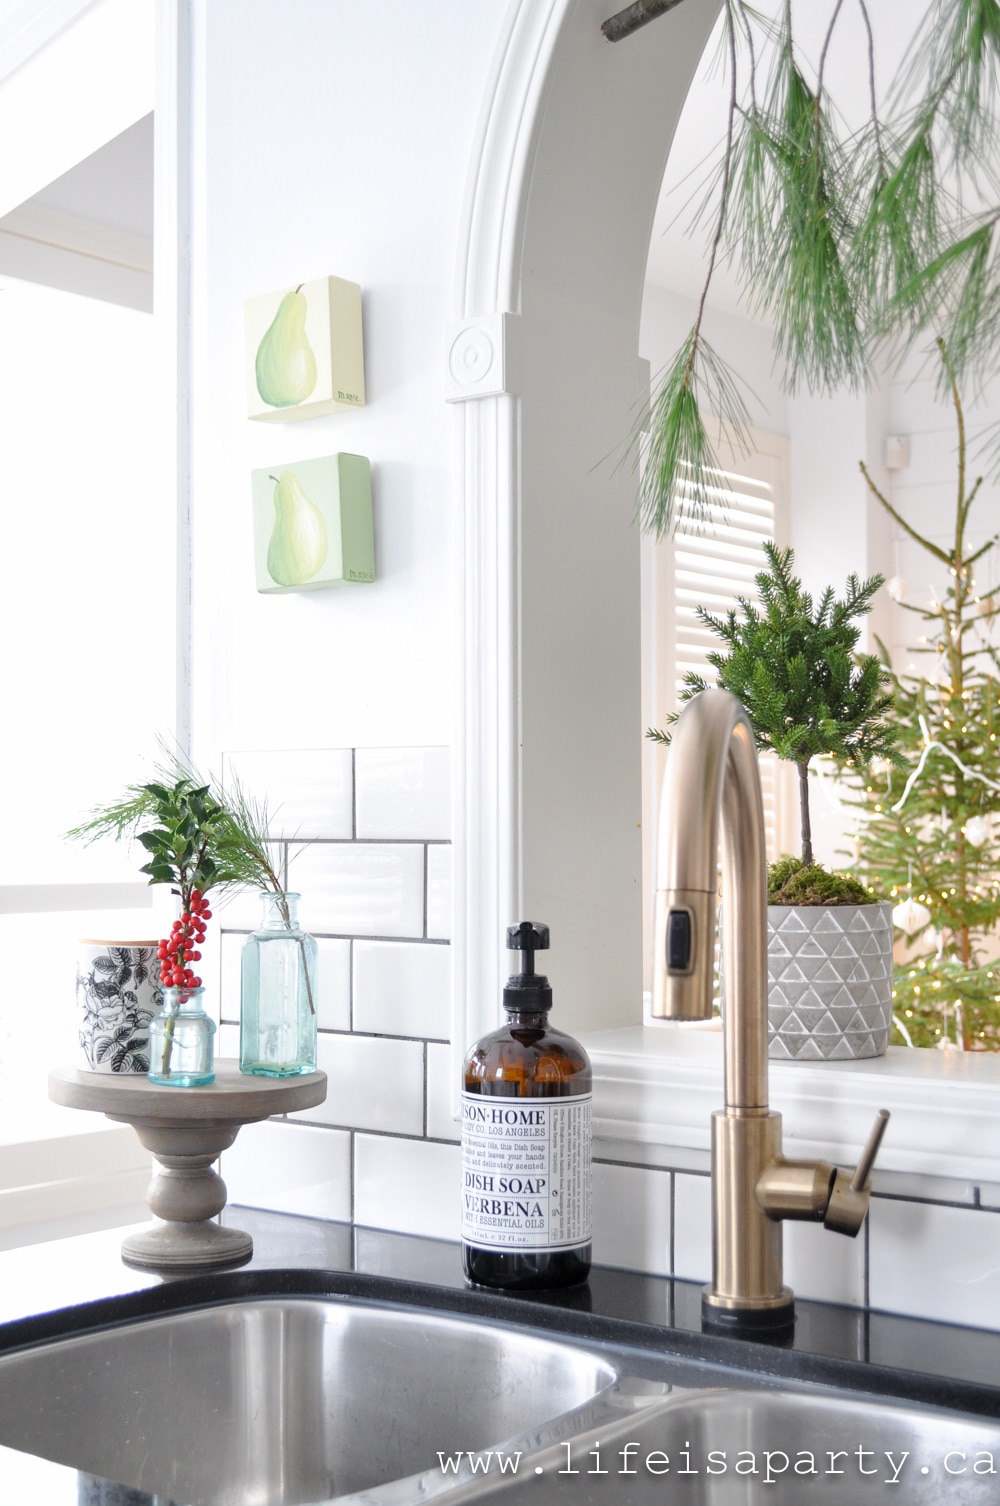
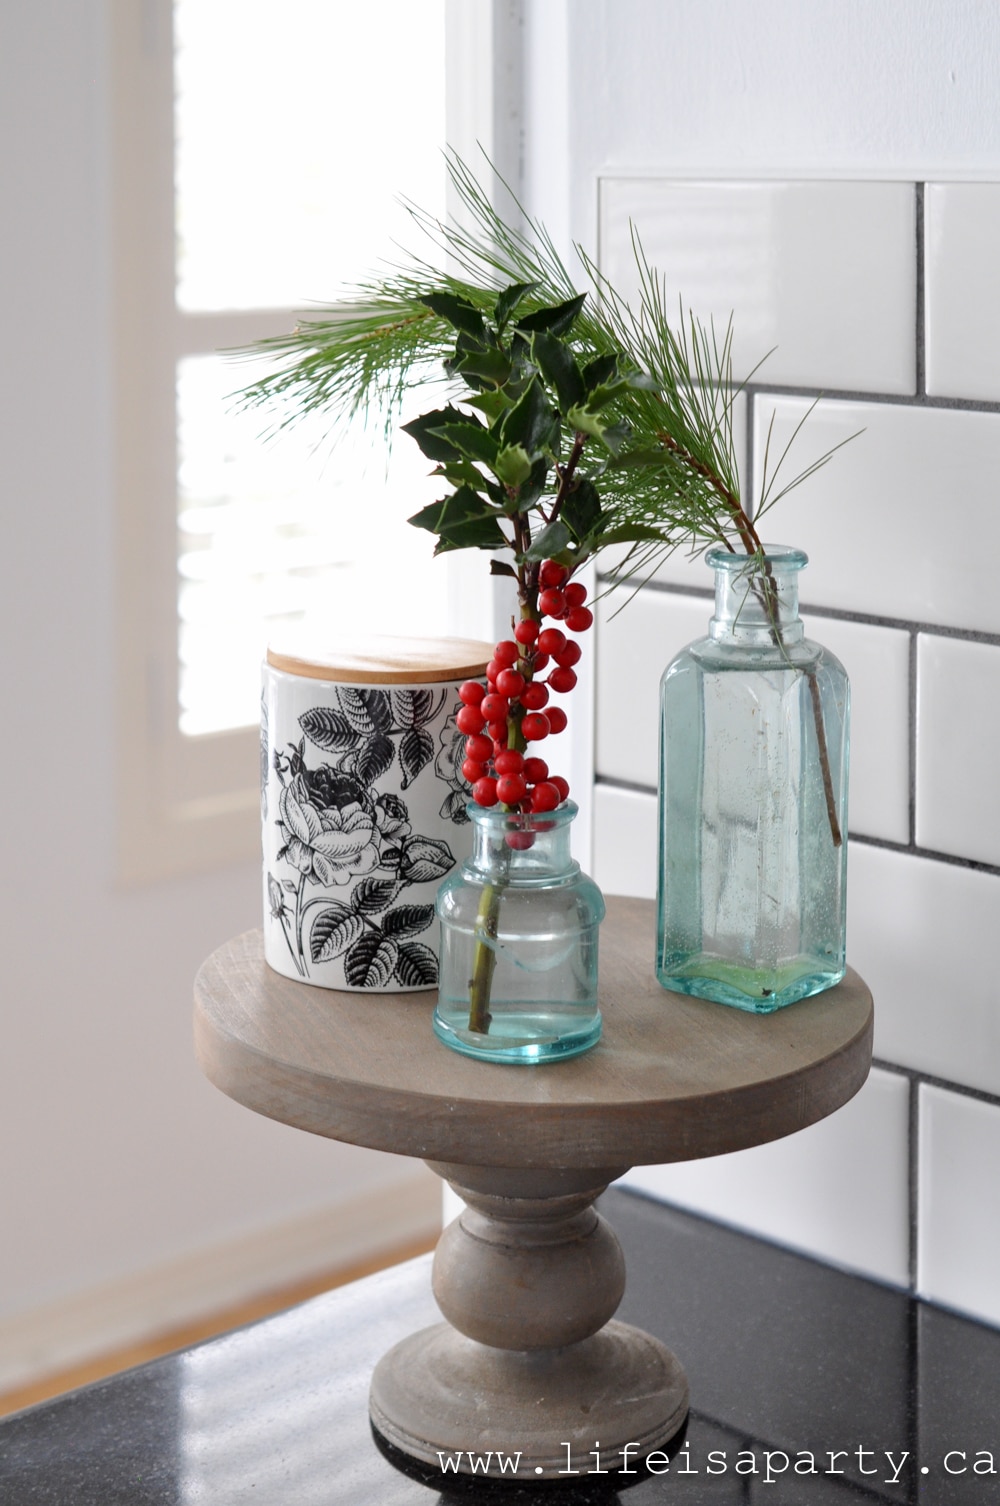
holly and pine in a vintage glass bottles
Christmas Gingerbread House

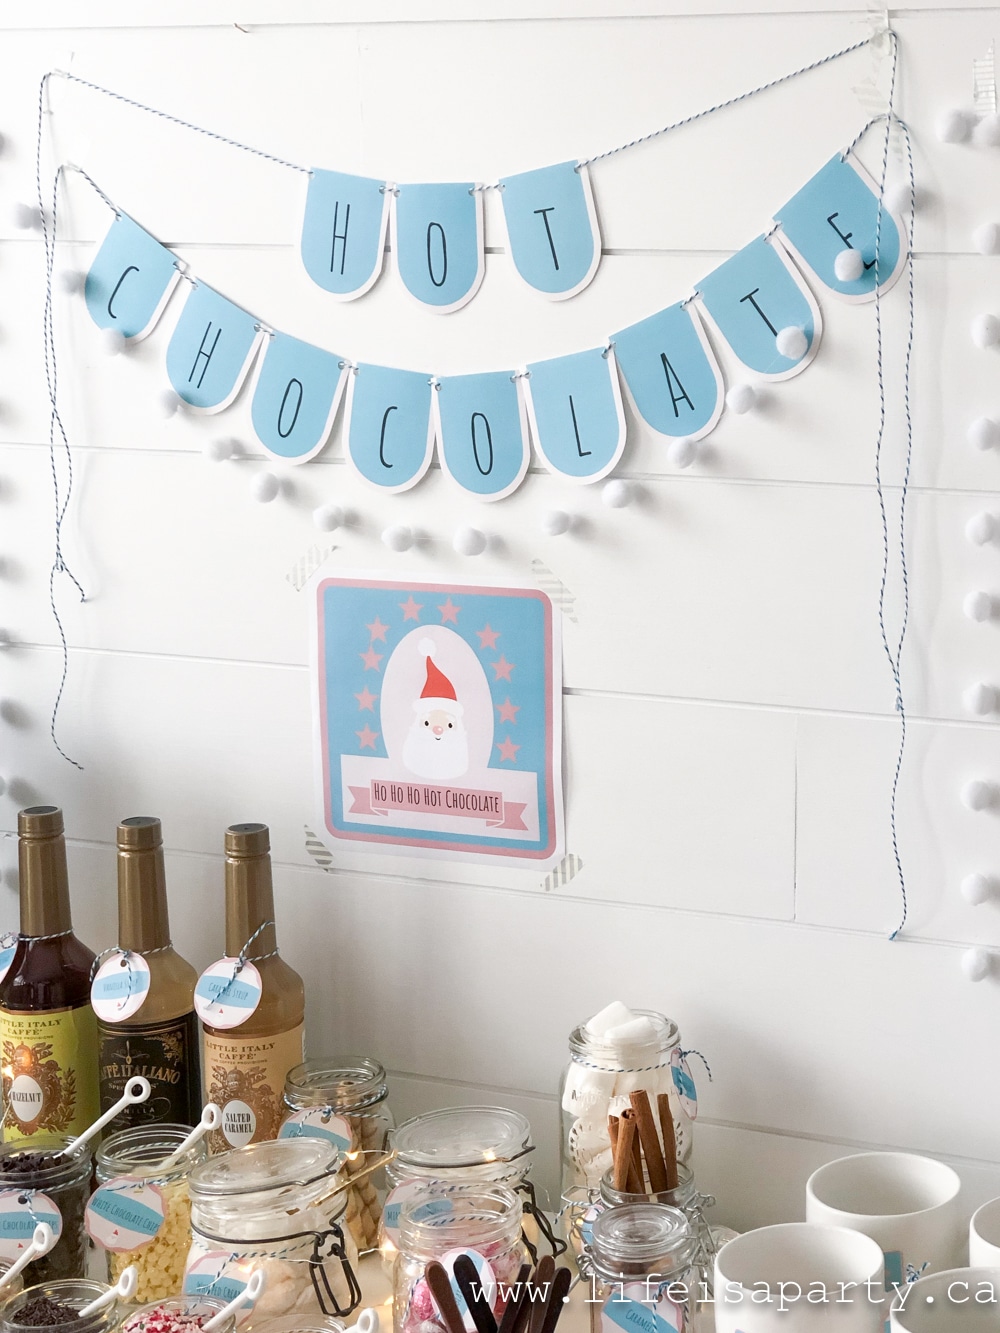
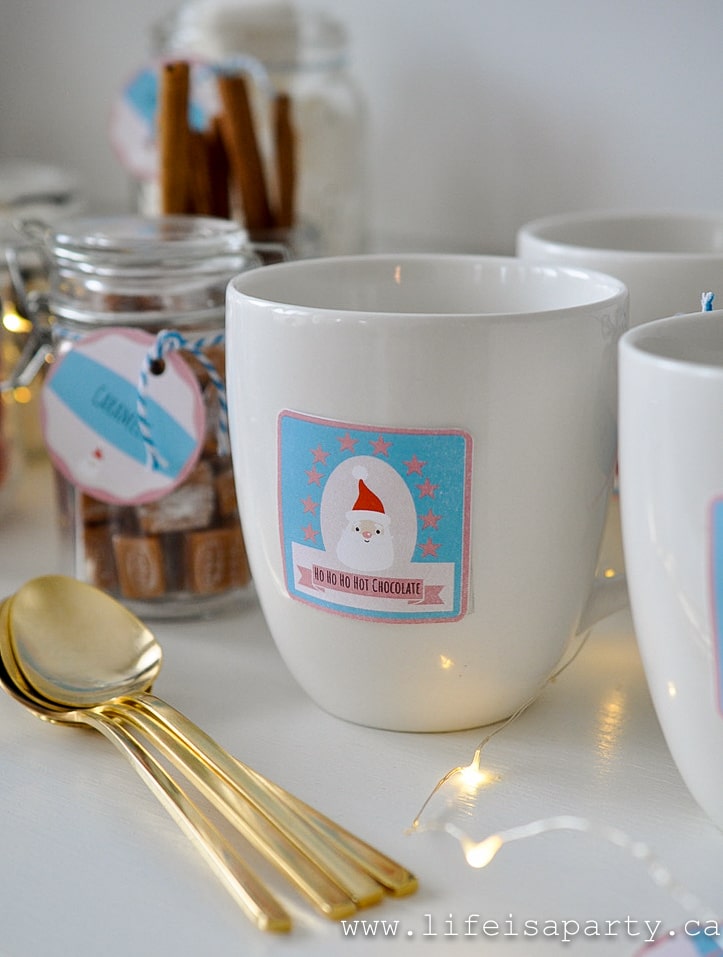
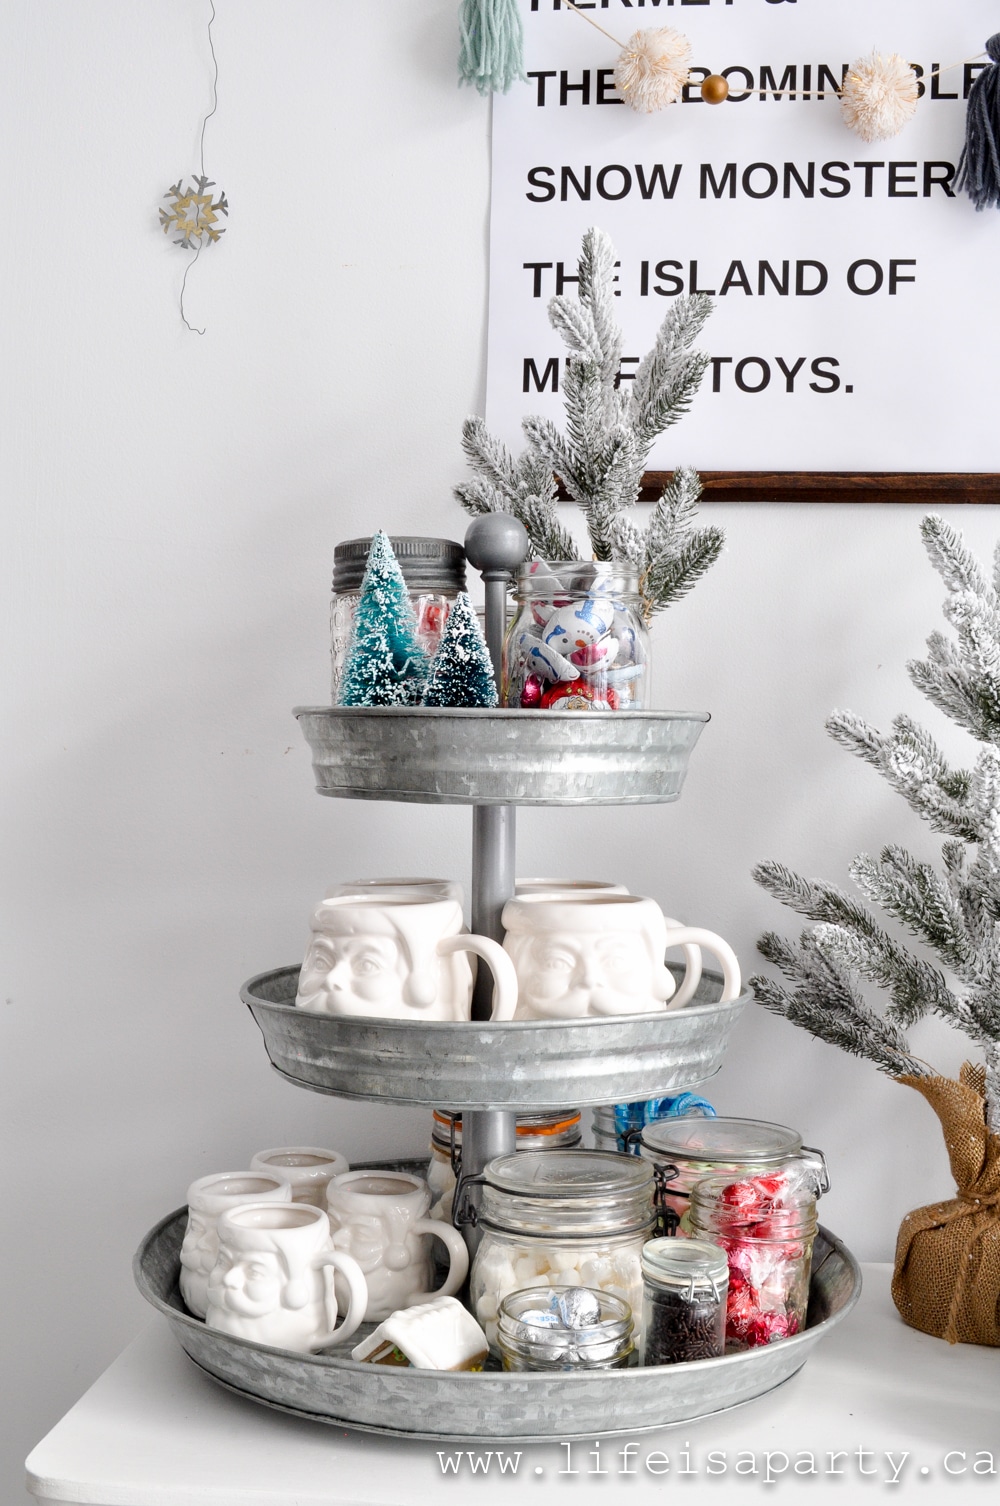
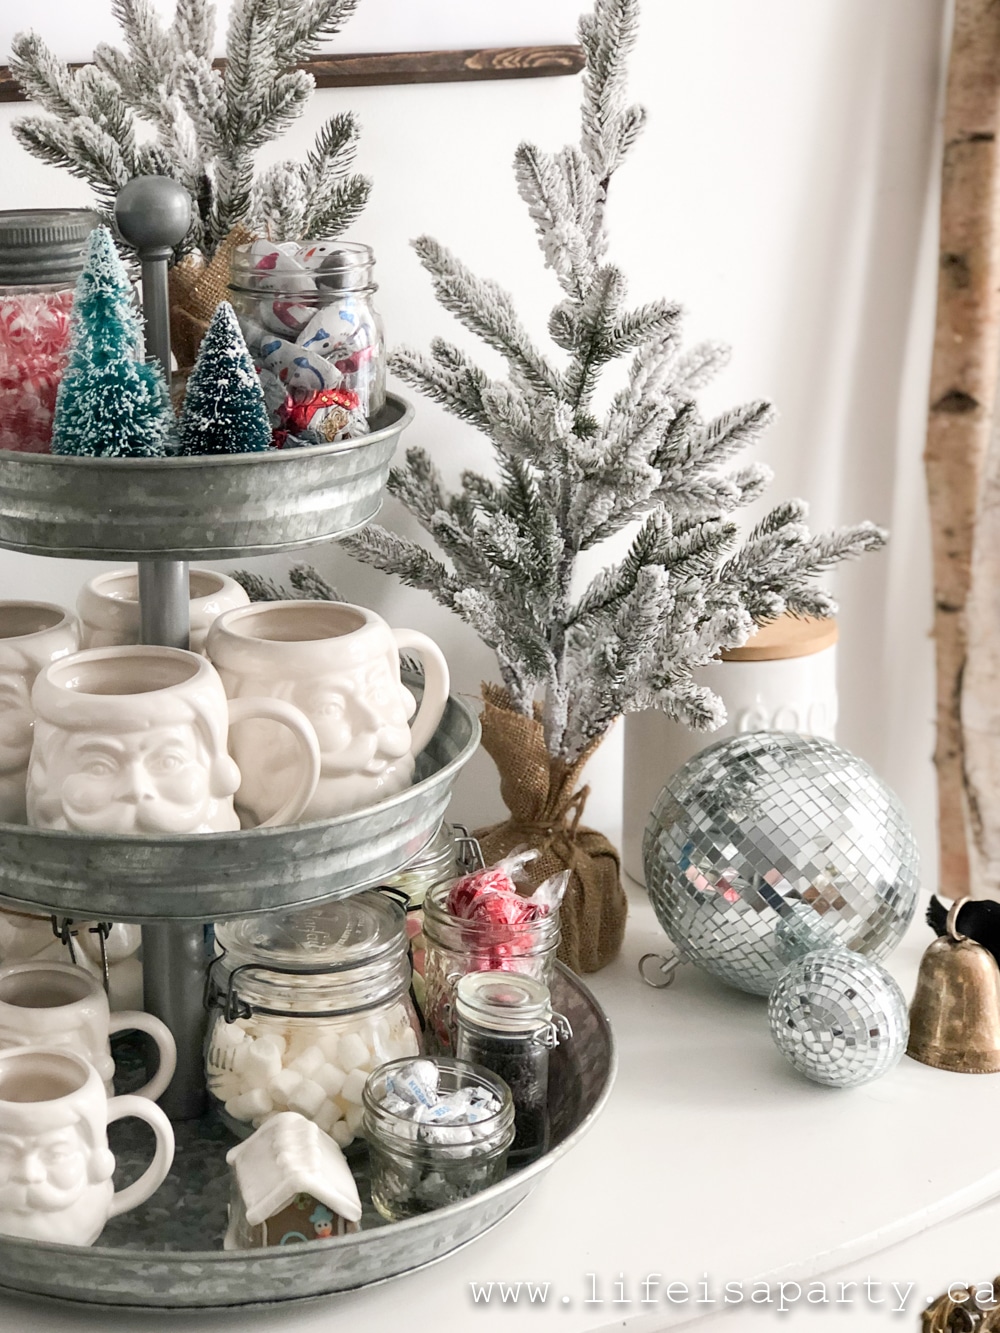
I love these new mugs too.  Another cross border shopping find at Walmart, and so inexpensive.  I got a whole set for my hot chocolate station.

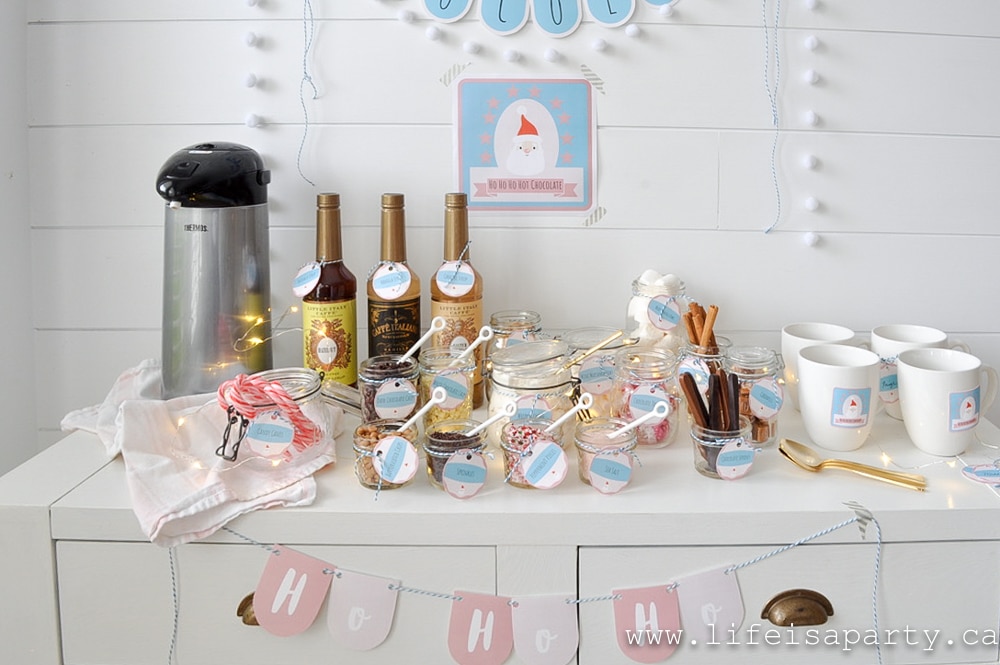
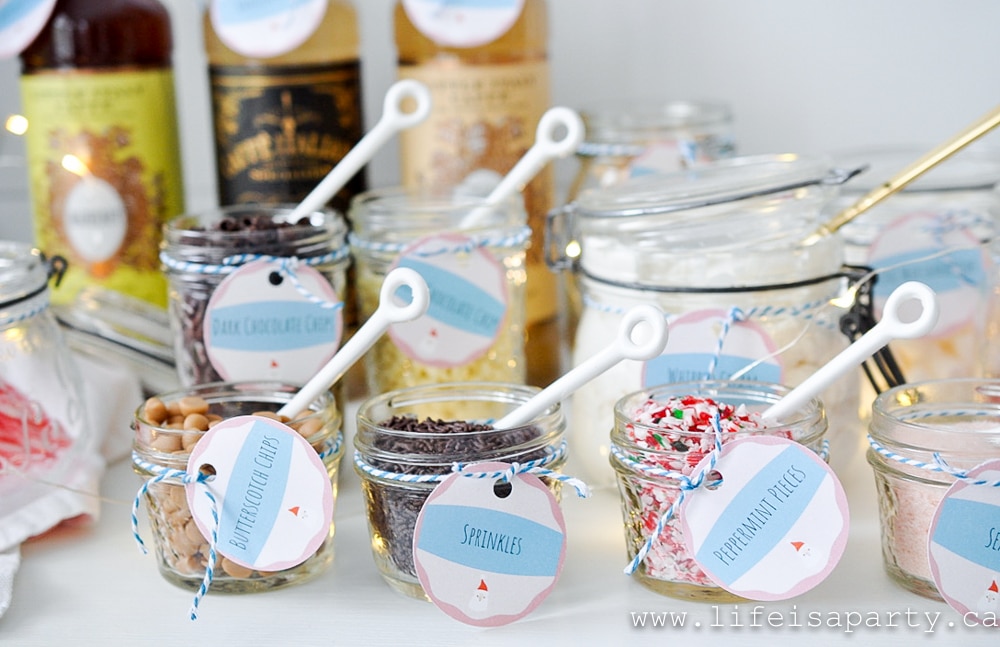
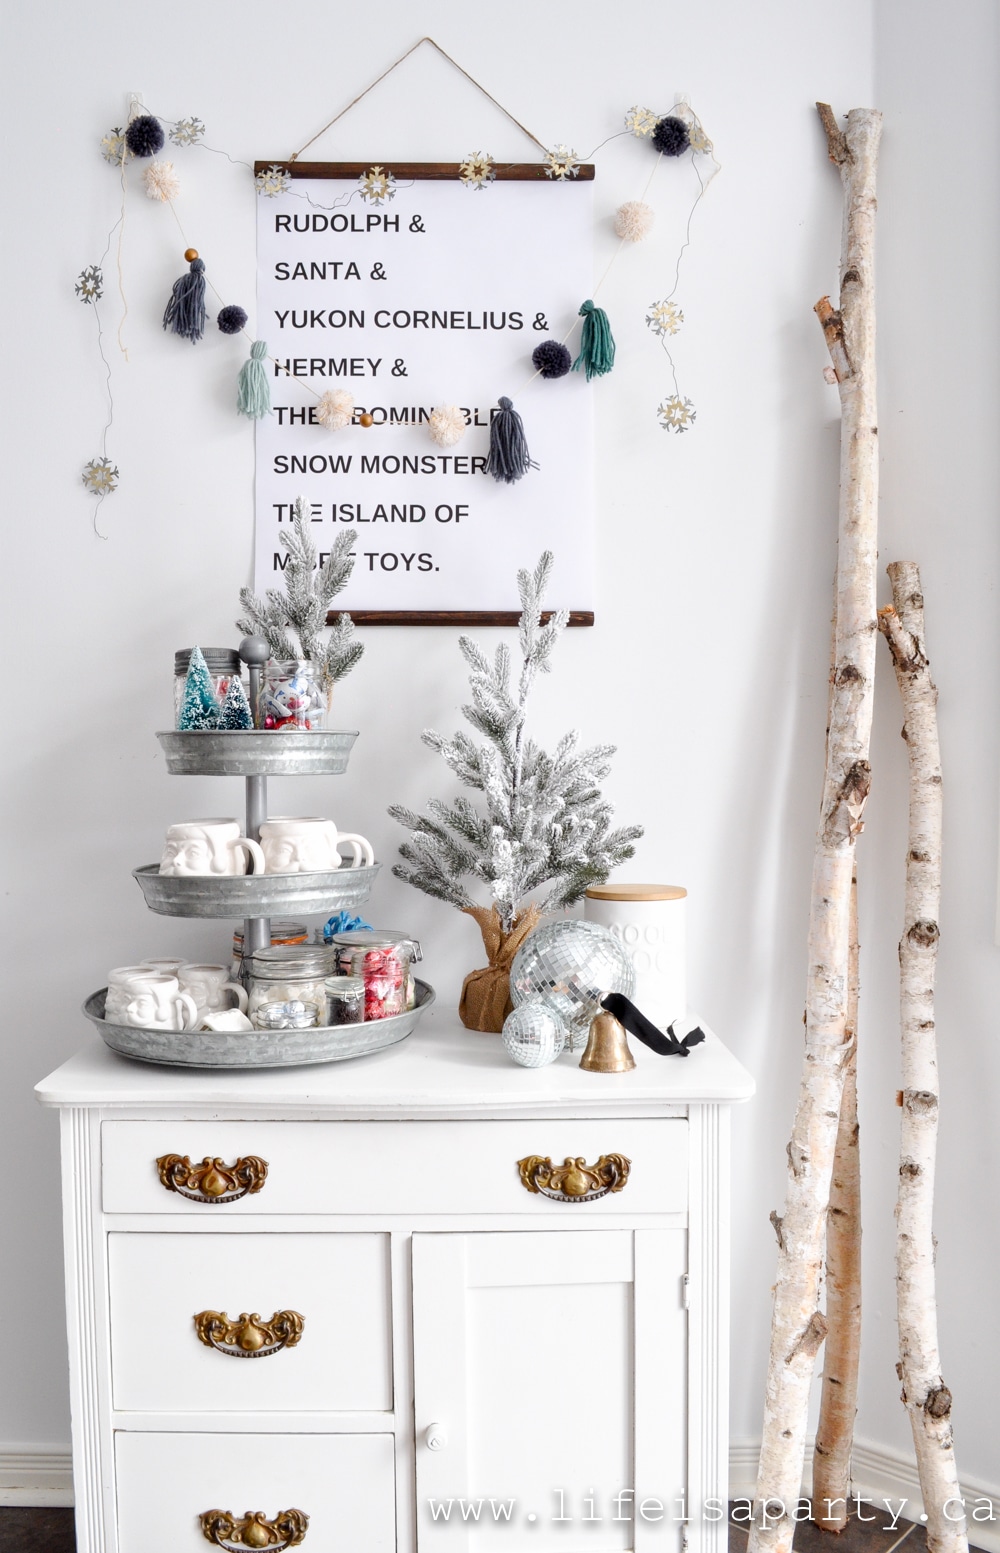
Hot Chocolate Station
Rustic Scandinavian Modern Boho Christmas Home Decor

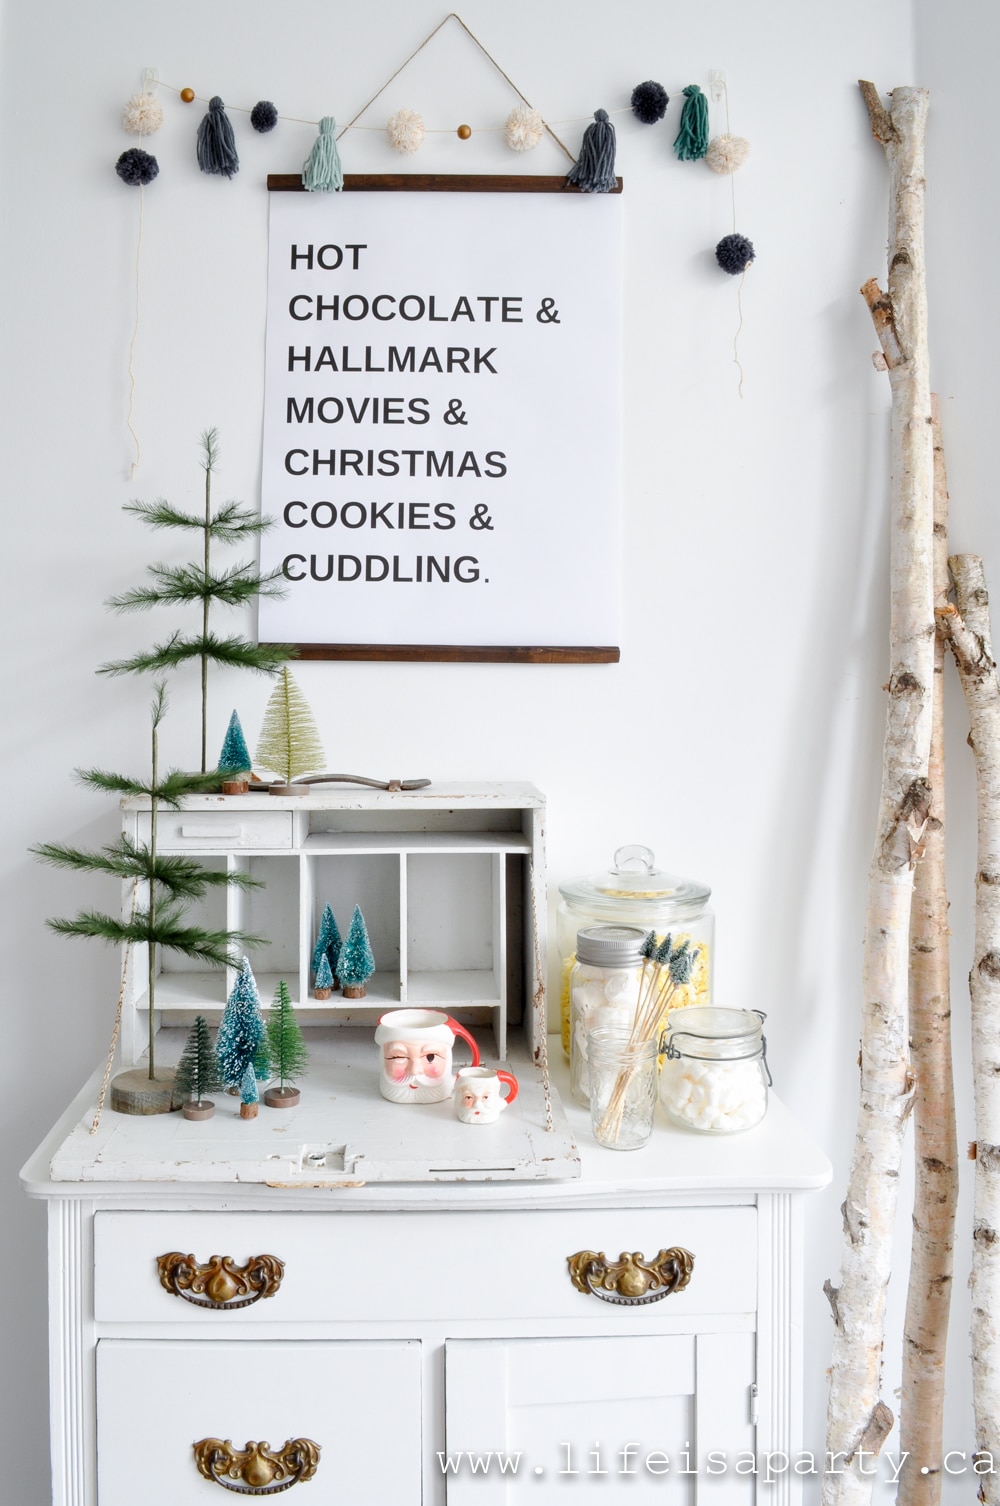
My girls love having a little hot chocolate station set up here.  It's often a treat for them after school, and then they take it with them and sip it while they work on their homework.
Christmas Hot Chocolate Station

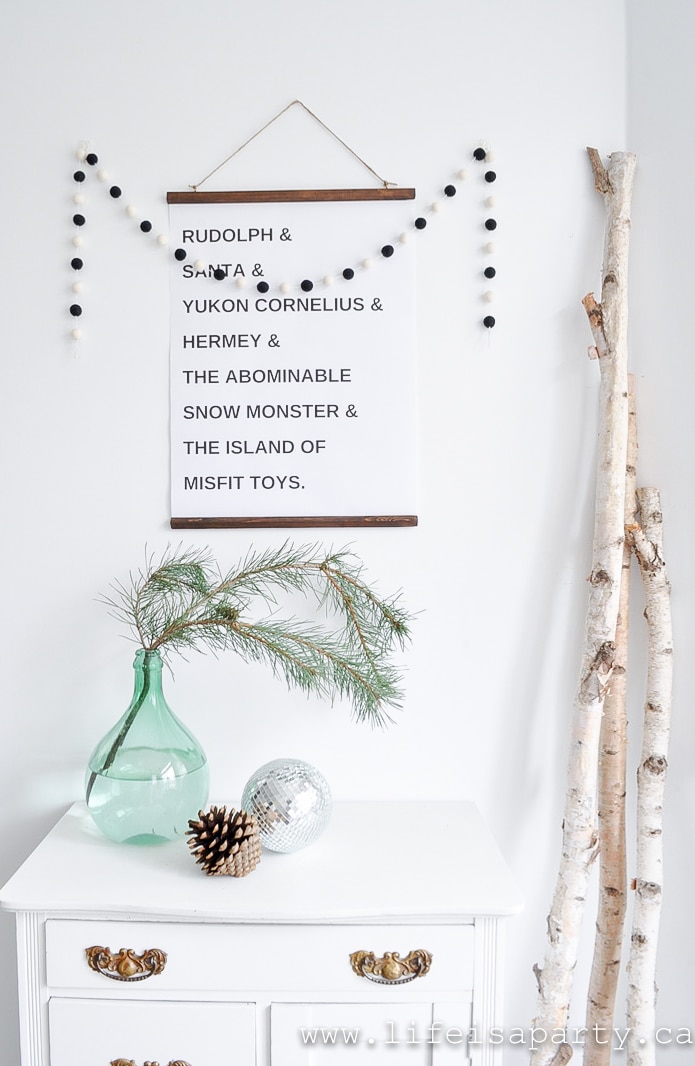
The poster is another one from our Etsy shop -you can find it here.  It's from that old Christmas special Rudolph the Red Nosed Reindeer.  I love how the message of the show is that there is a place for all the "misfits".  It's such a fun reminder of that message.
Christmas Hot Chocolate Station

Kitchen Table

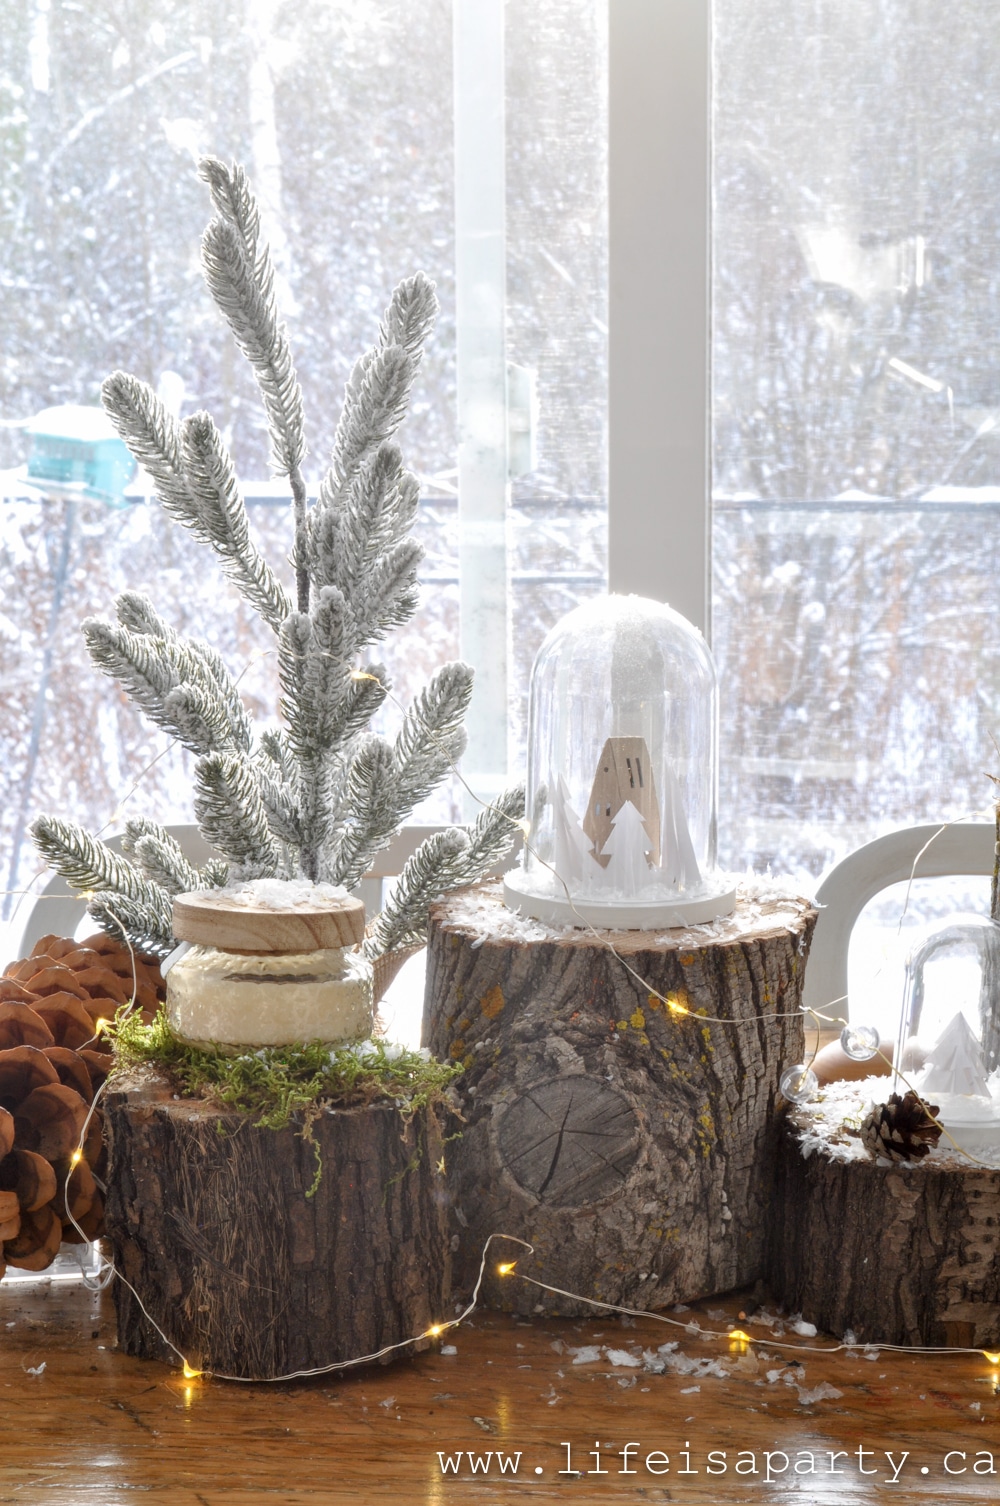
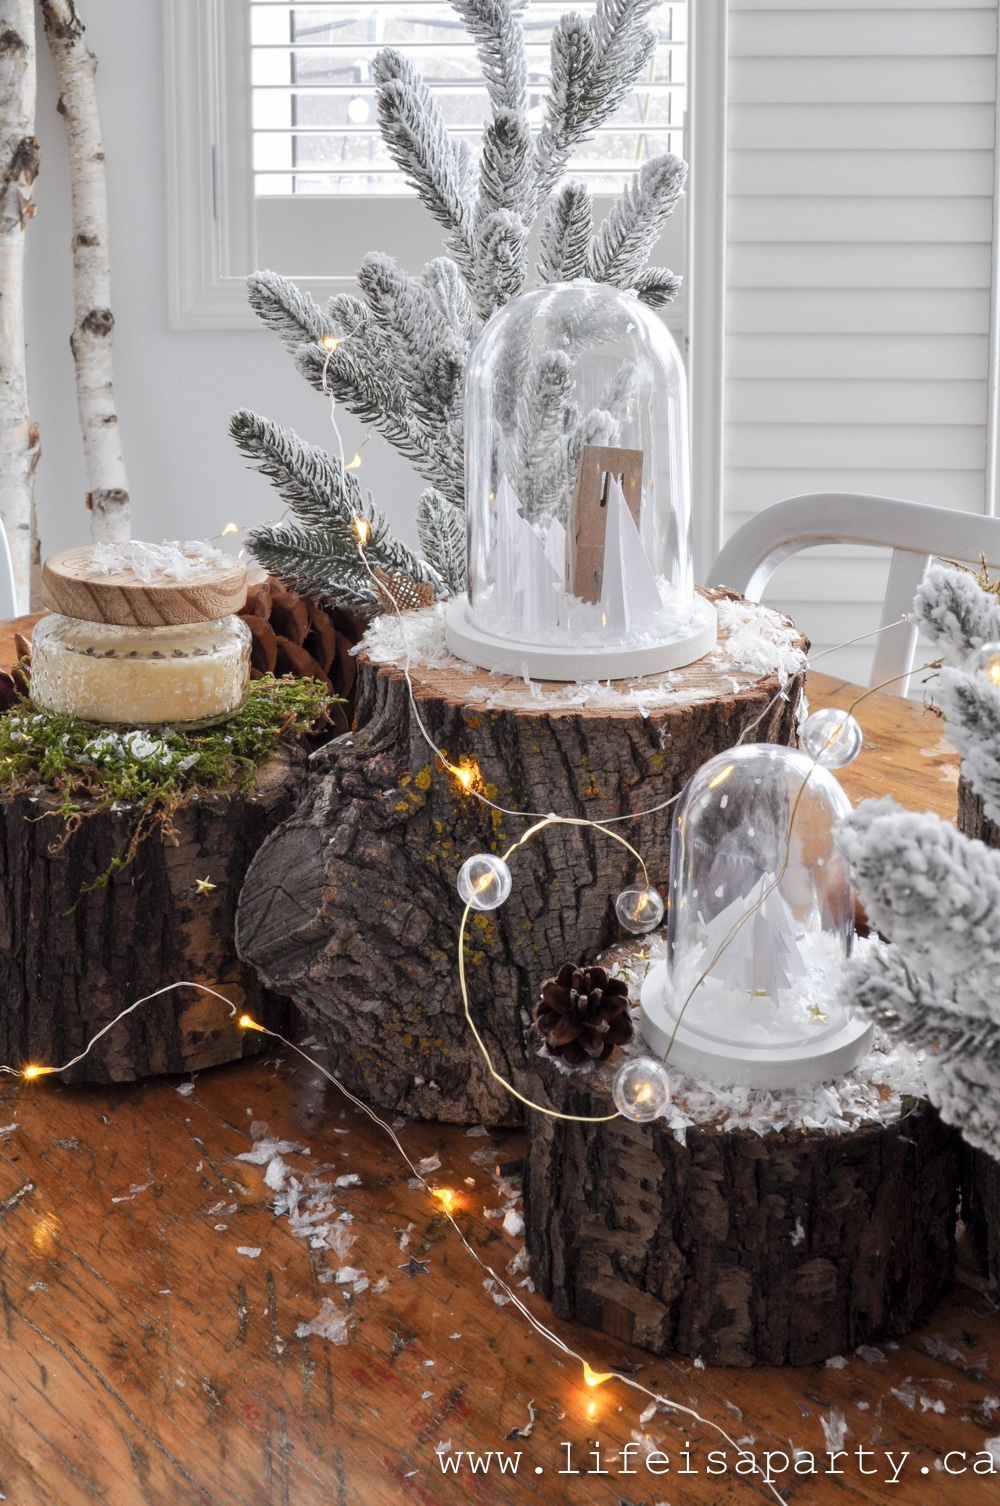
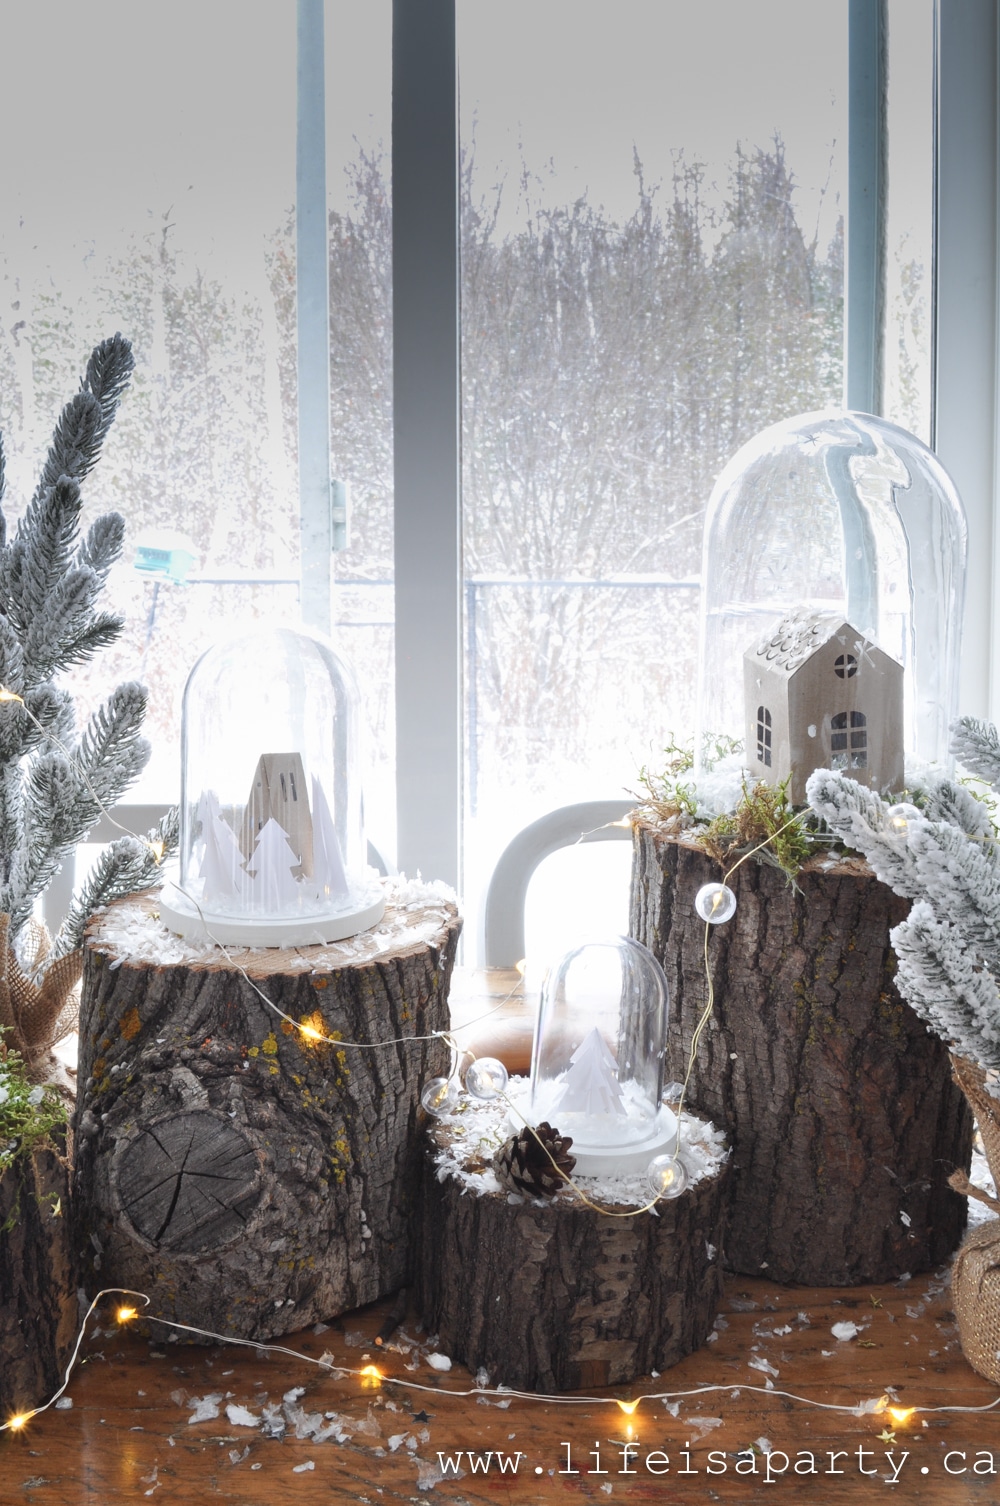
On the kitchen table I repeated the wood again, but this time incorporated some other elements.  I used cloches and little paper houses my daughter made, along with moss, pinecones, and mini lights.
Rustic Scandinavian Modern Boho Christmas Home Decor
Rustic Scandinavian Christmas centre piece
Rustic Scandinavian Modern Boho Christmas Home Decor

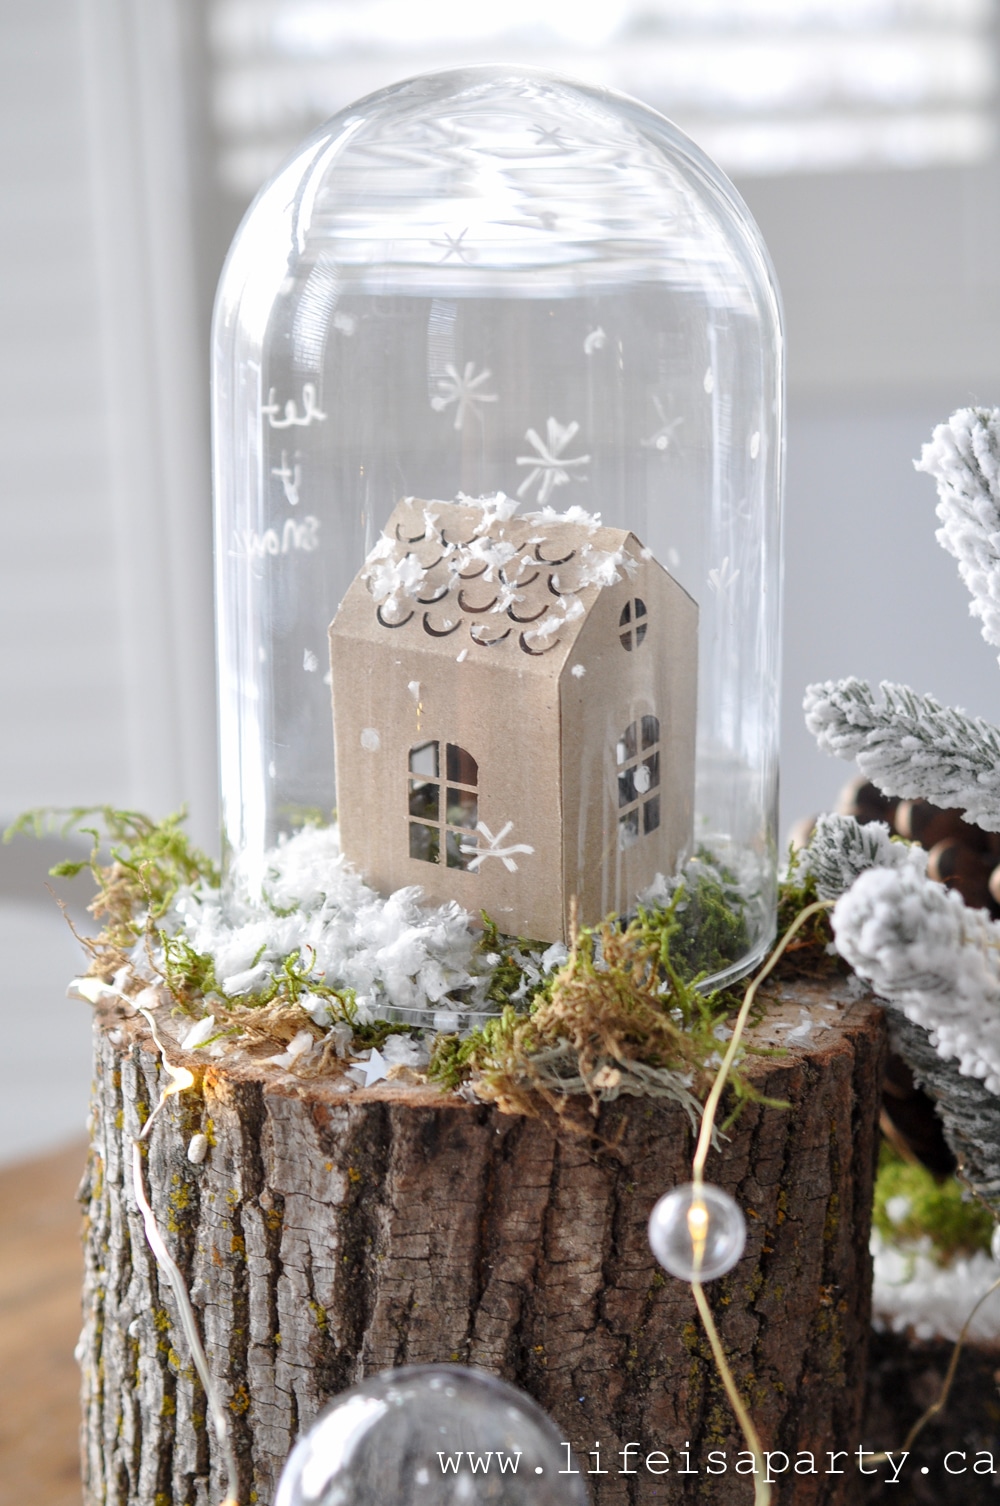
The paper houses were a quick Cricut project, you can find the pattern for them here.
Rustic Scandinavian Modern Boho Christmas Home Decor

I used a white chalkboard marker to add some snowflakes and "let it snow" to the cloches.  It will wash off afterward.  
Rustic Scandinavian Modern Boho Christmas Tour

And there ends my tour.  Thanks so much for hanging in with me through all these pictures.  I hope you enjoyed them and found a little inspiration.  My biggest tips are to repeat elements to make the whole area feel cohesive, and to bring the outdoors in. It's so good to get outside collecting, and the price is always right too. 😉

More Inspiration

You might also like our Christmas Family Room tour here.
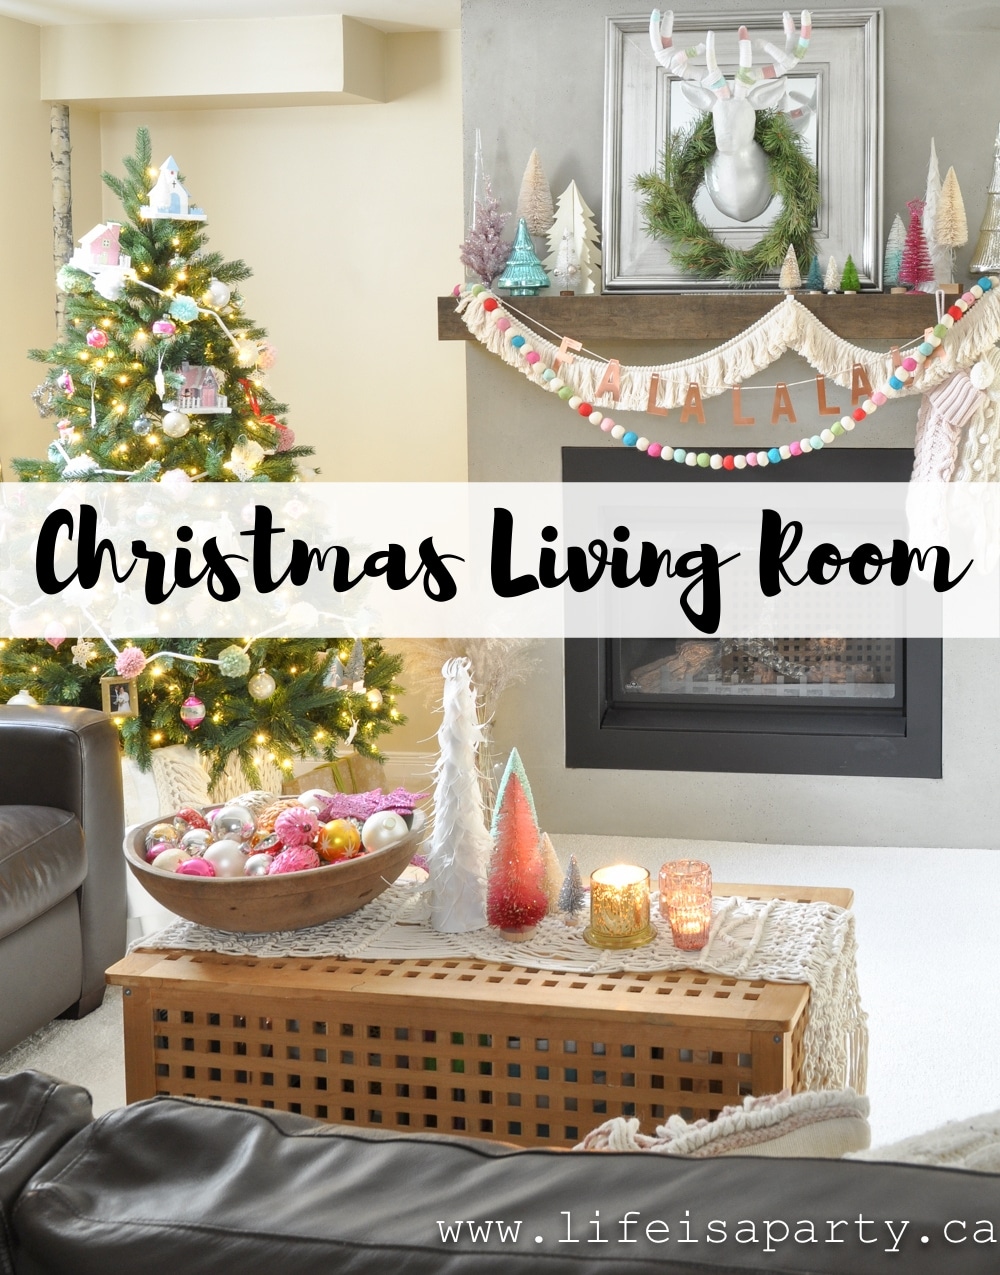
Colourful Christmas Family Room: Inspired by Anthropologie, with bottle brush Christmas trees, mercury glass, vintage ornaments, macrame, & pastel colours.

Also check out our Cozy Christmas Bedroom Tour here.
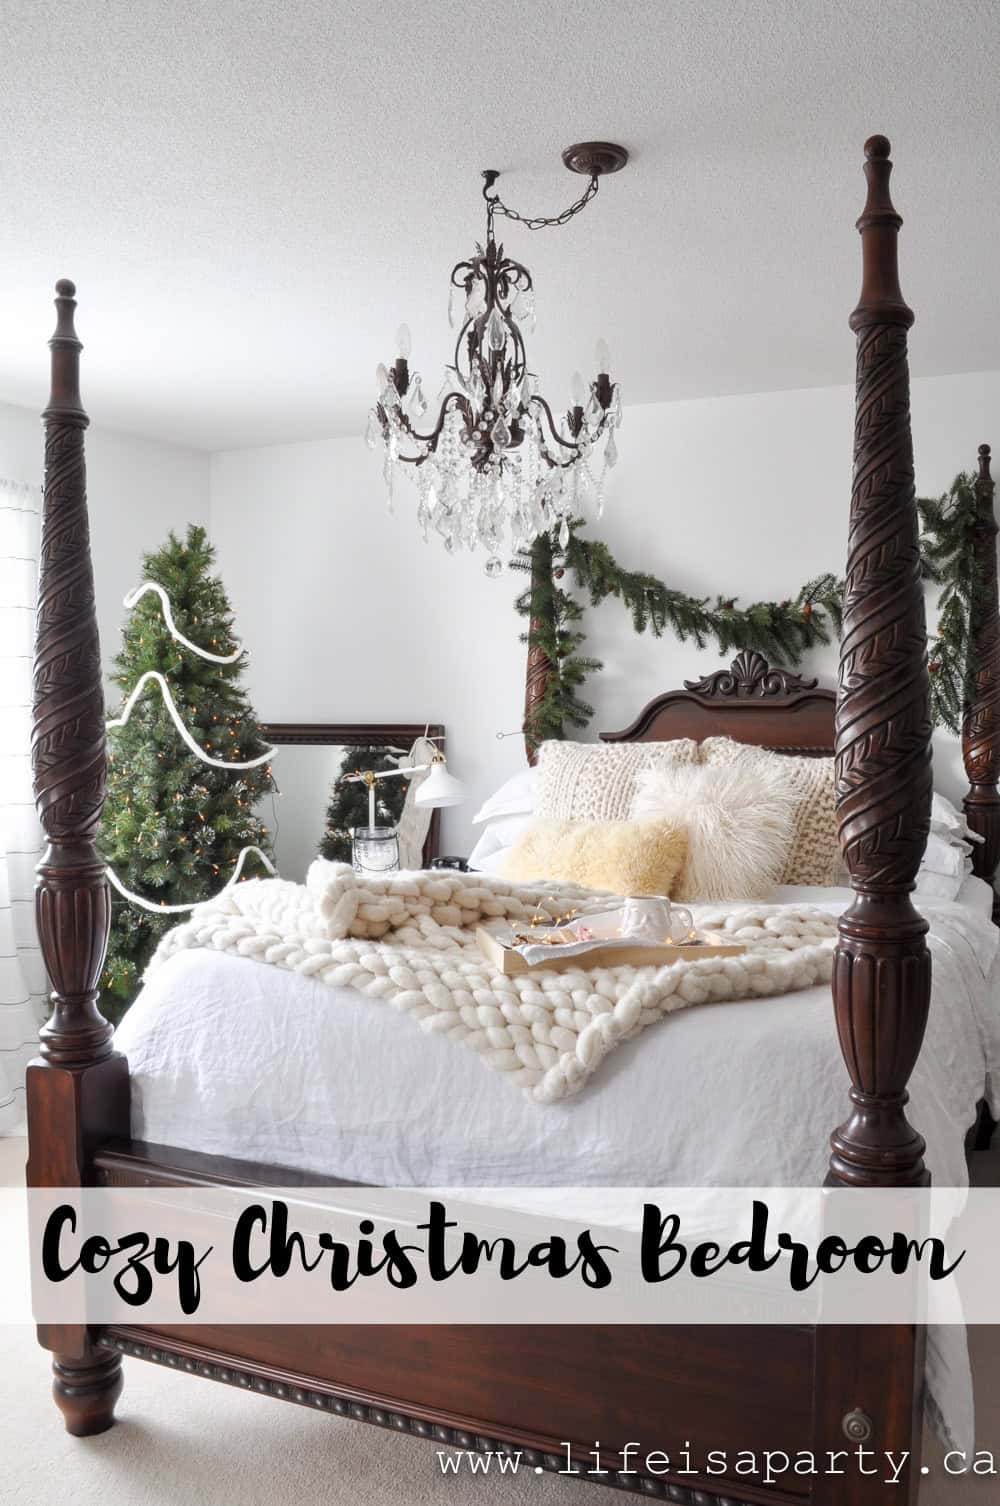
Cozy Christmas Bedroom: Linen and chunky knits, a Christmas tree, candles, and a Christmas gallery wall help create a cozy space for Christmas.

You might also enjoy A Boho Christmas Tour here.
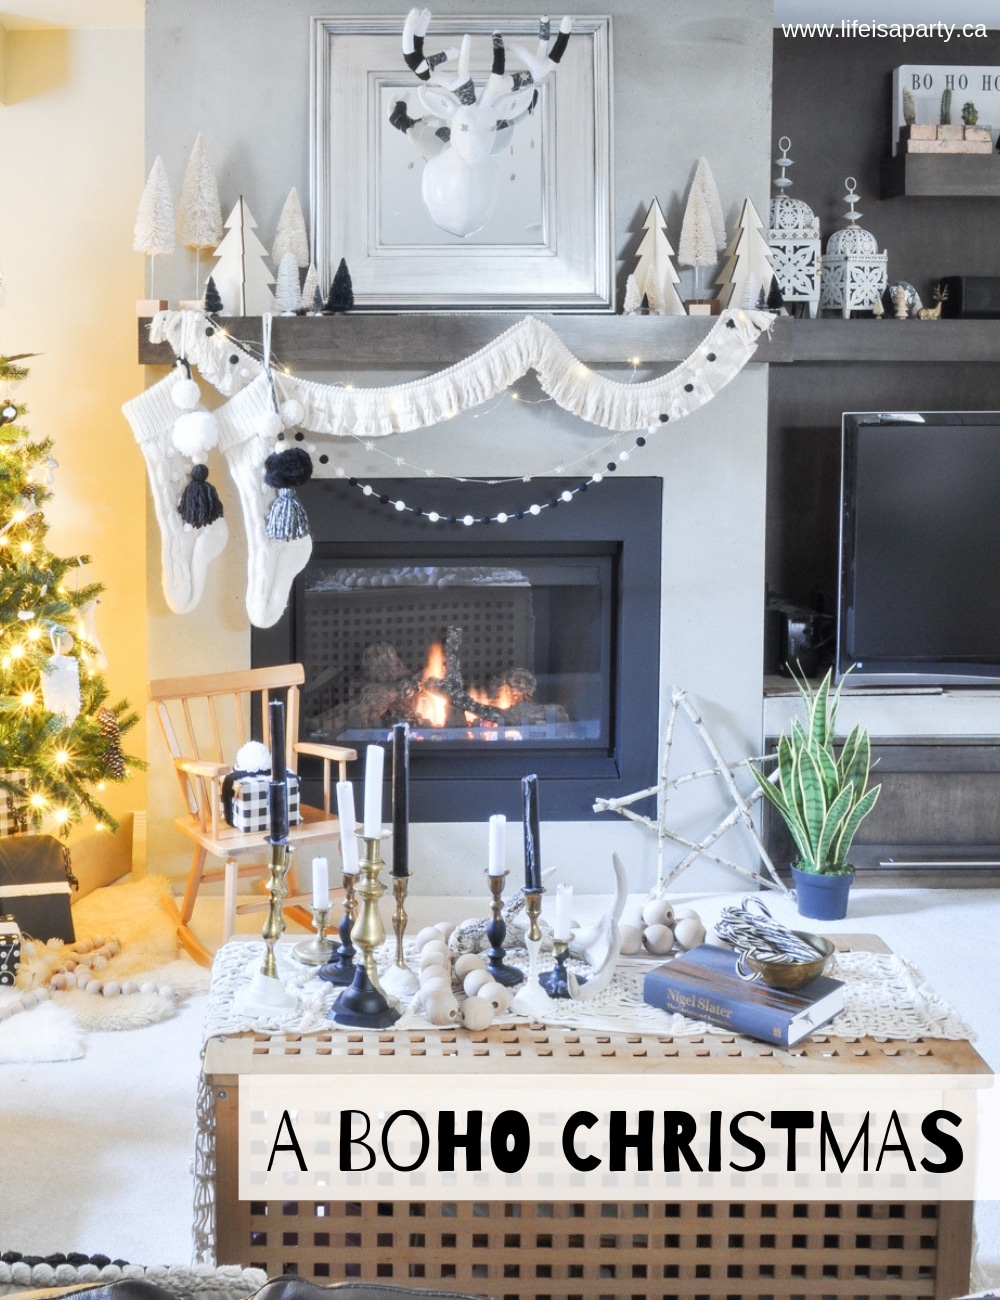
Boho Christmas Decor: decorated for Christmas with black and whtie boho including lots of texture, tassels, pom poms, brass, wood, and twinkle lights.

Green Feature Wall

Nov 27, 2019 · Leave a Comment

Green feature wall.

Green Feature Wall: the perfect shade of green paint, and the hand drawn chevron stencil create the an amazing feature wall.

Green feature wall.
[feast_advanced_jump_to]

This green feature wall is my new favourite thing.  It's amazing how one wall, one new paint colour, one stencil, and one weekend can make such an amazing change.

Green Feature Wall with stencil

Feature Wall

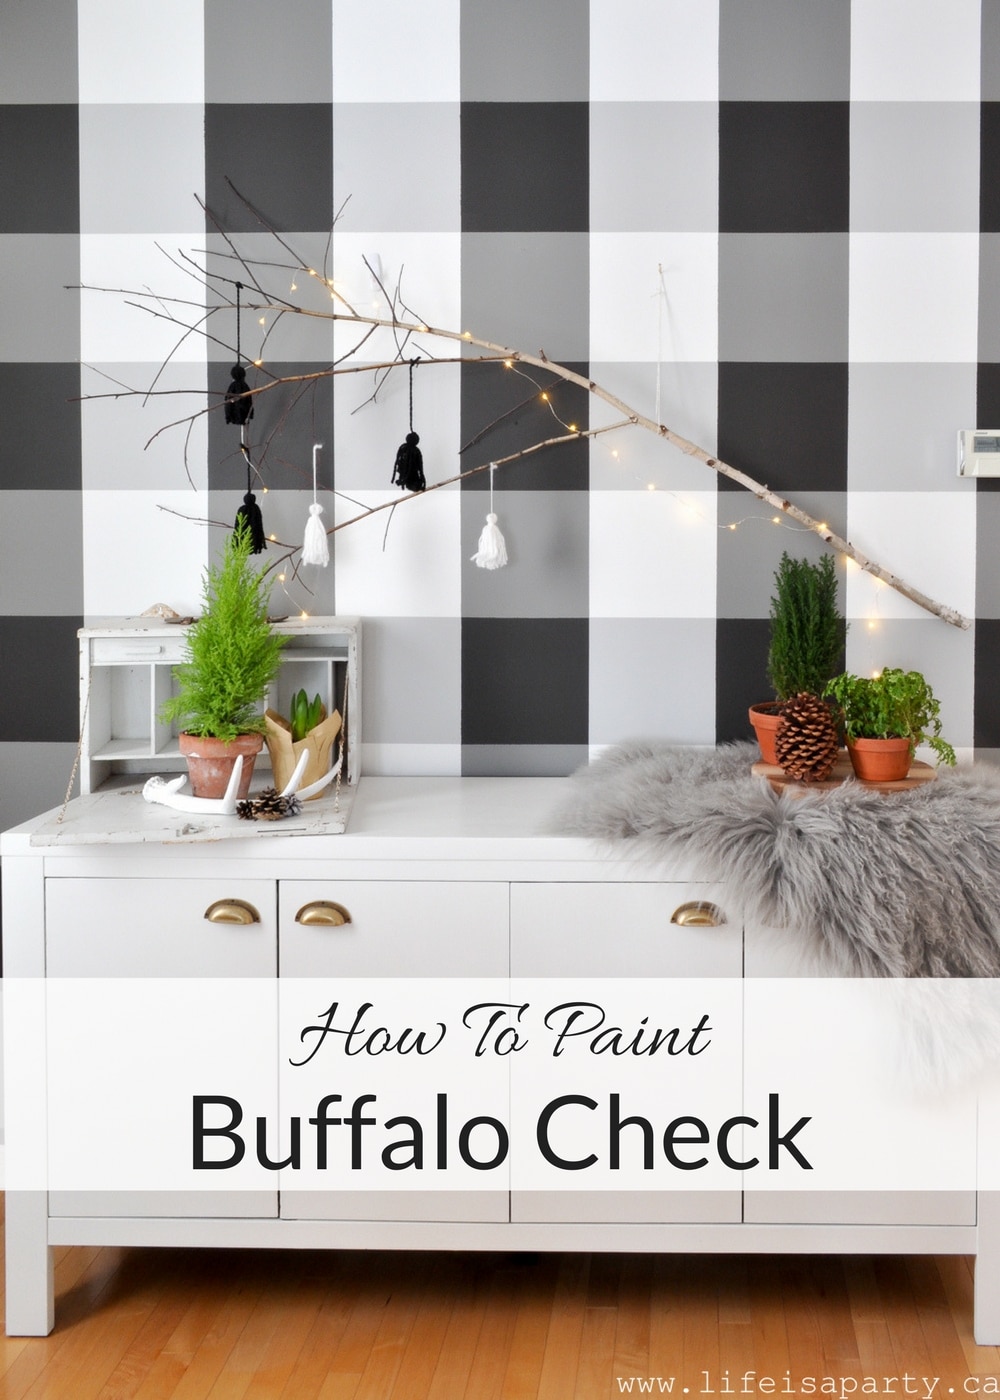
I decided a few years ago -has it really been that long? to make this wall in to a feature wall.  I remember feature walls in the 90's and jumped onto their return.  This black and white buffalo wall feature wall was a triumph -see the whole tutorial on how to create it here.  It too was a weekend project and I actually still loved it.  But, it was time for a bit of a change.

I was inspired by some simple and inexpensive changes I made in the dinning room for fall.  I swapped out my curtains for these velvet green ones.  And I removed my homemade drop cloth slip covers -see how I made them here.  I wanted to make the room a little more rich and moody with some darker colours added in.  There was still plenty of white to keep it bright, but the new darker elements added some depth to the space.  

Green Feature WallValspar's Billiard Room 5005-6C

The green curtains inspired the idea of a green feature wall.

The Perfect Green

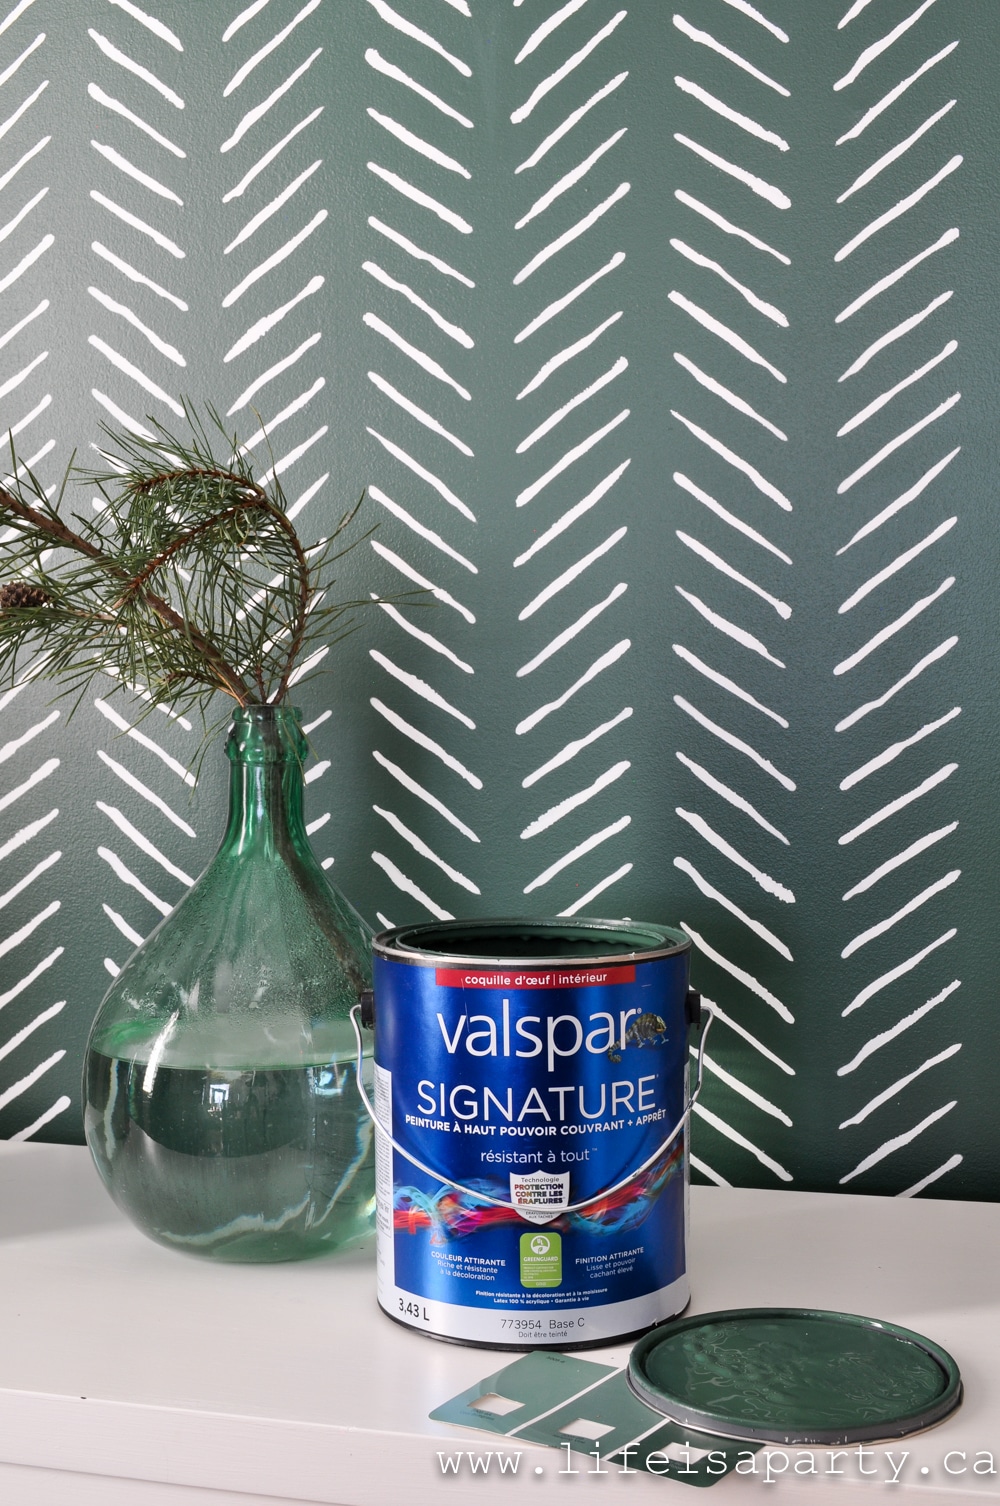
Valspar's Billiard Room 5005-6C

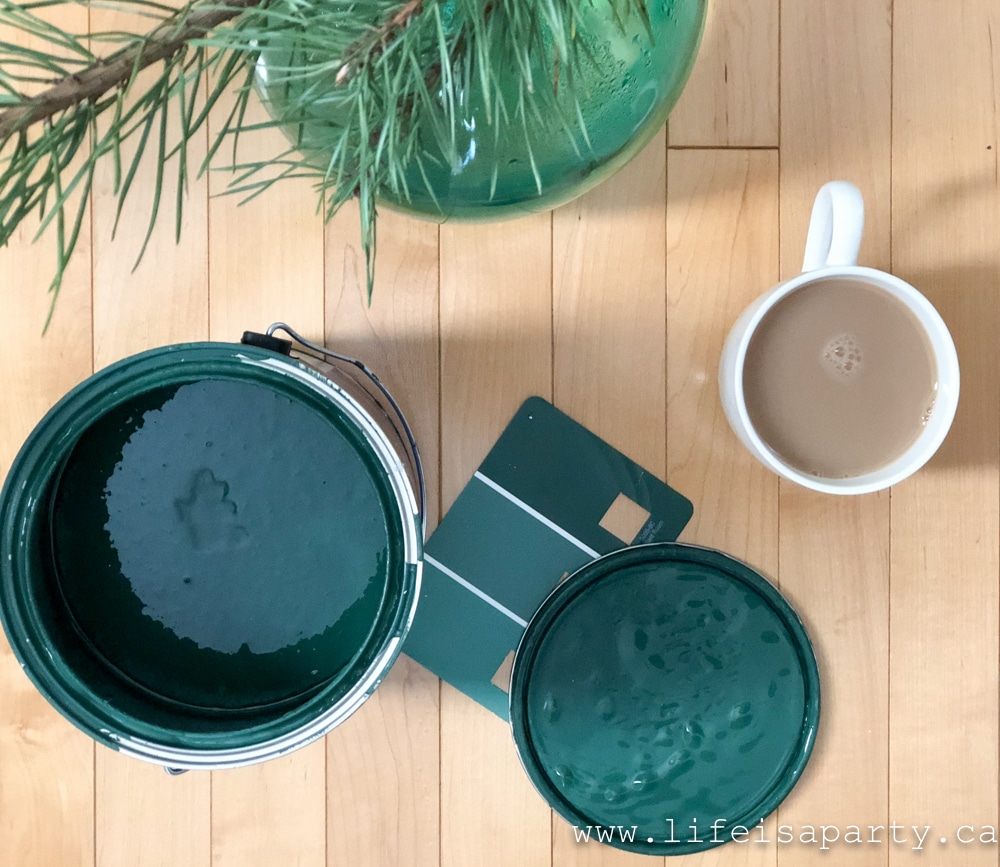
The colour is amazing.  It's Valspar's Billiard Room 5005-6C  It's the perfect dark green.  It's not to blue-ish or teal, it's not too olive.  I just love it.  

valspar billiard room green paint

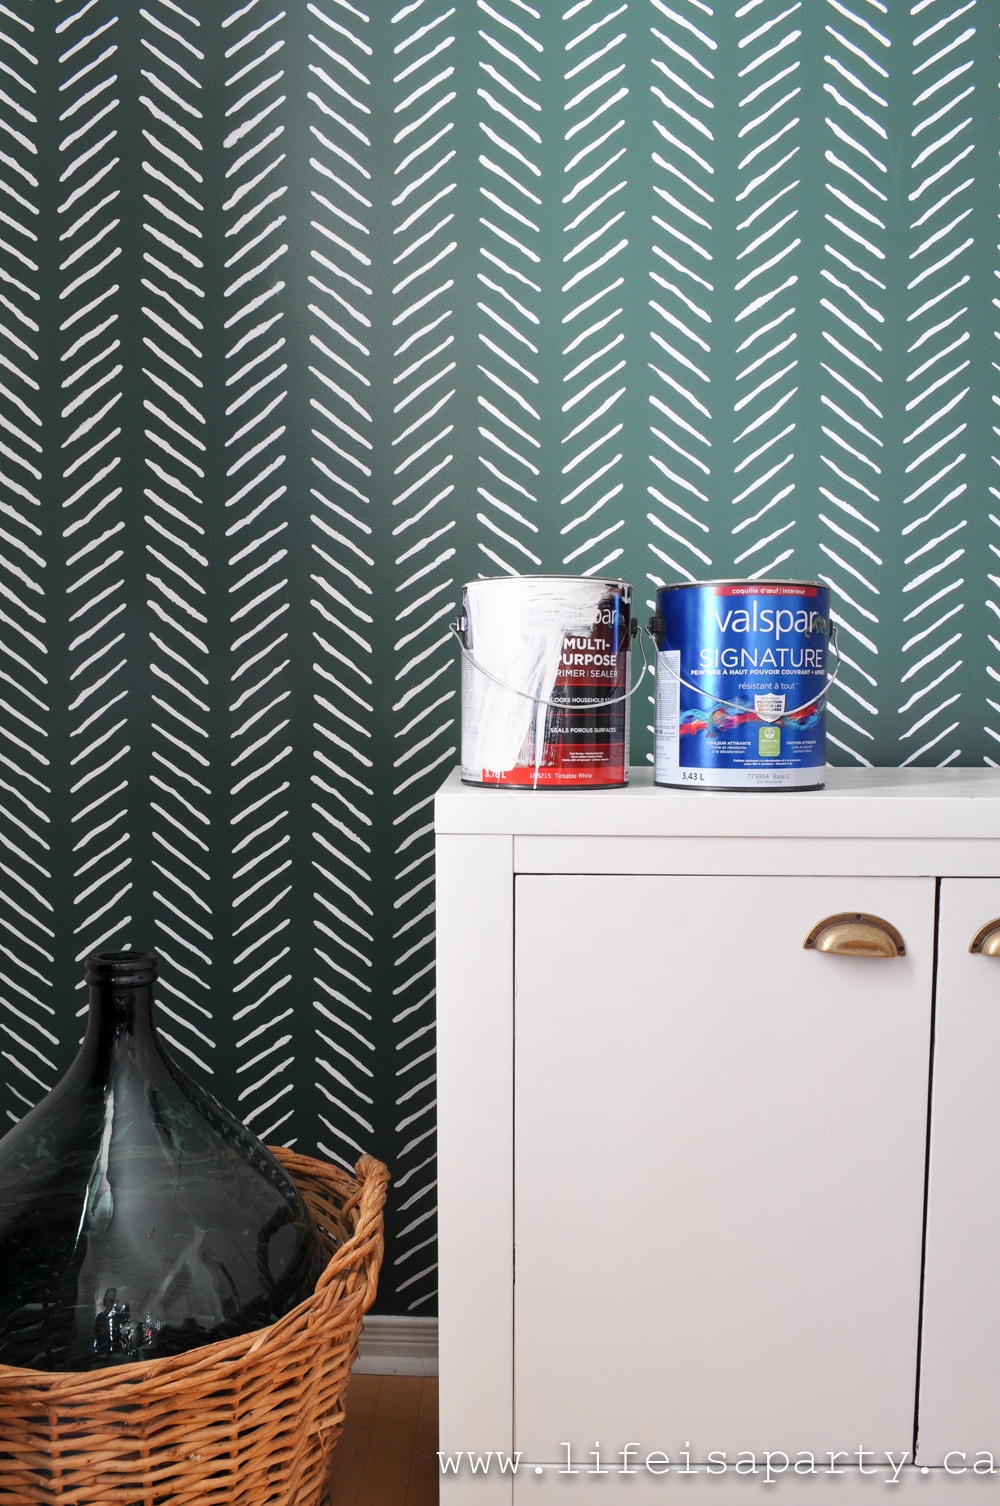
Because we were covering over our buffalo check wall, I did a bit of light sanding first.  The check had different layers of paint so I sanded off the edges of the strips.  I also had a few holes to fill.  After that I applied Valspar's primer.  It did a great job of covering and prepping the wall.

paint and primer for a green feature wall

I painted two coats of the Billiard Room.  The coverage was great, especially for such a dark colour.

The Stencil

After we had our amazing green base, it was time for step two.  I was inspired by Sweet Domicile's kitchen -check out her amazing instagram account here.  Nicole used the  Cutting Edge Stencils Chevron stencil in her apartment as an alternative to wallpaper and it turned out so great.  

how to stencil a feature wall

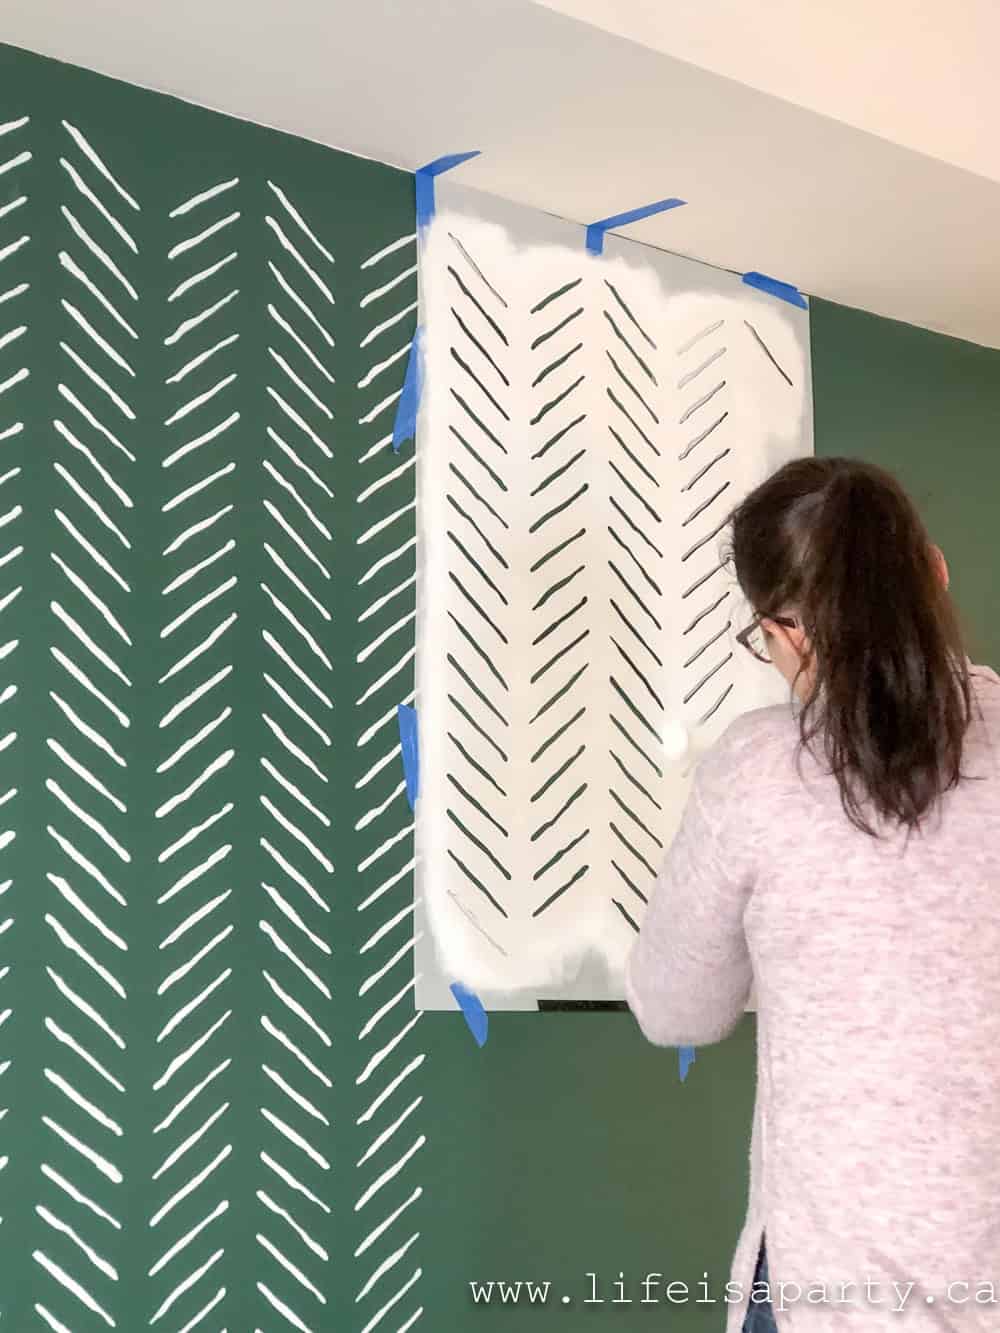
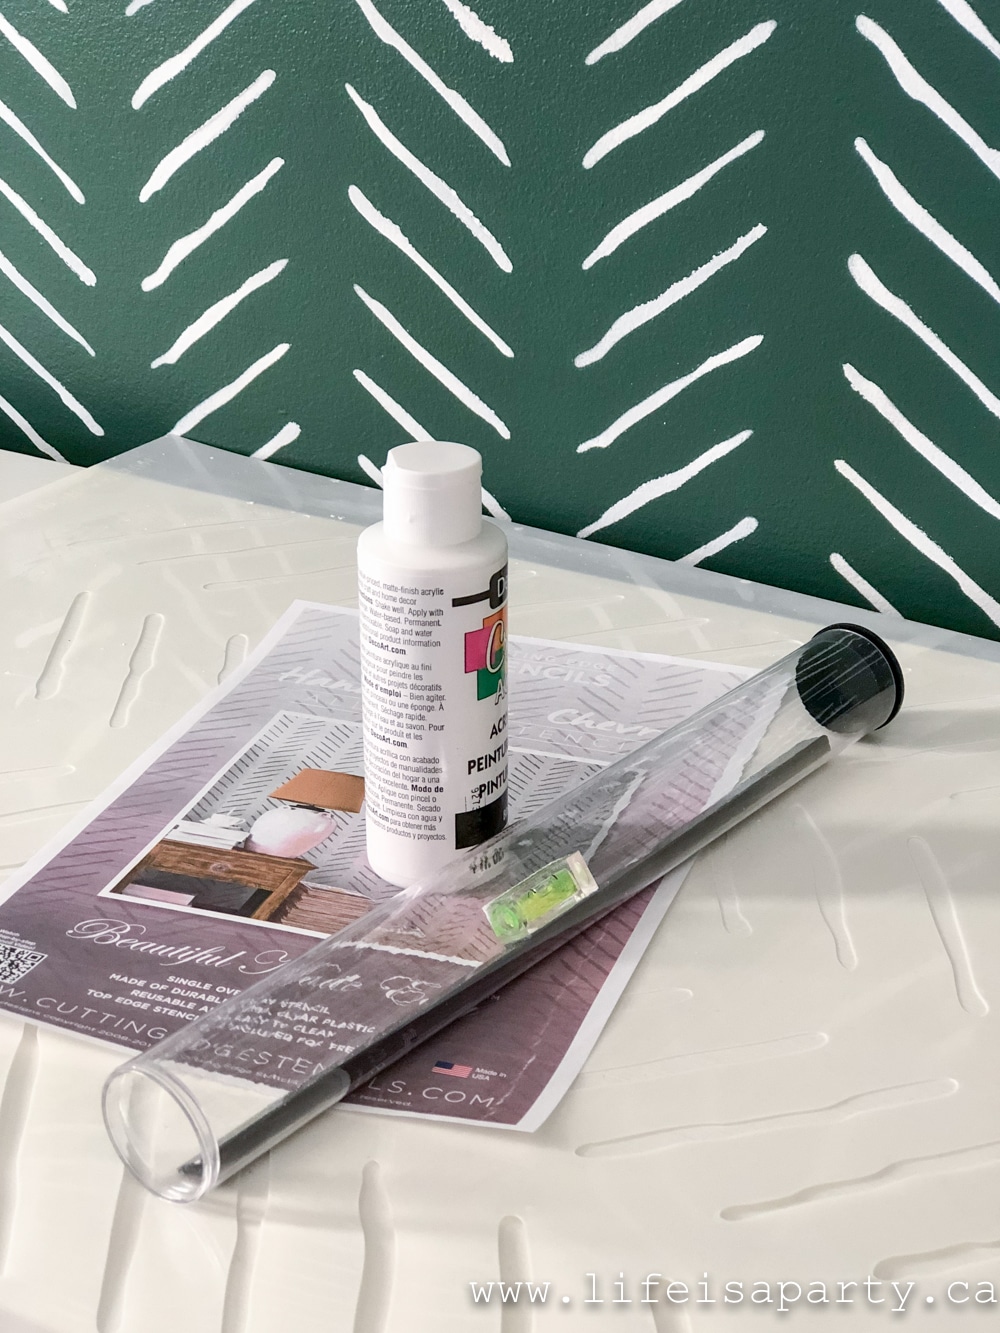
My friend came over on a Saturday morning and we worked away with the stencil.  It's the  Hand Drawn Chevron Wall Stencil.   We used the foam roller that came in the kit and craft paint per their recommendation because it dries quickly and has good coverage, and it worked great.  

stencil, stencil level, and craft paint

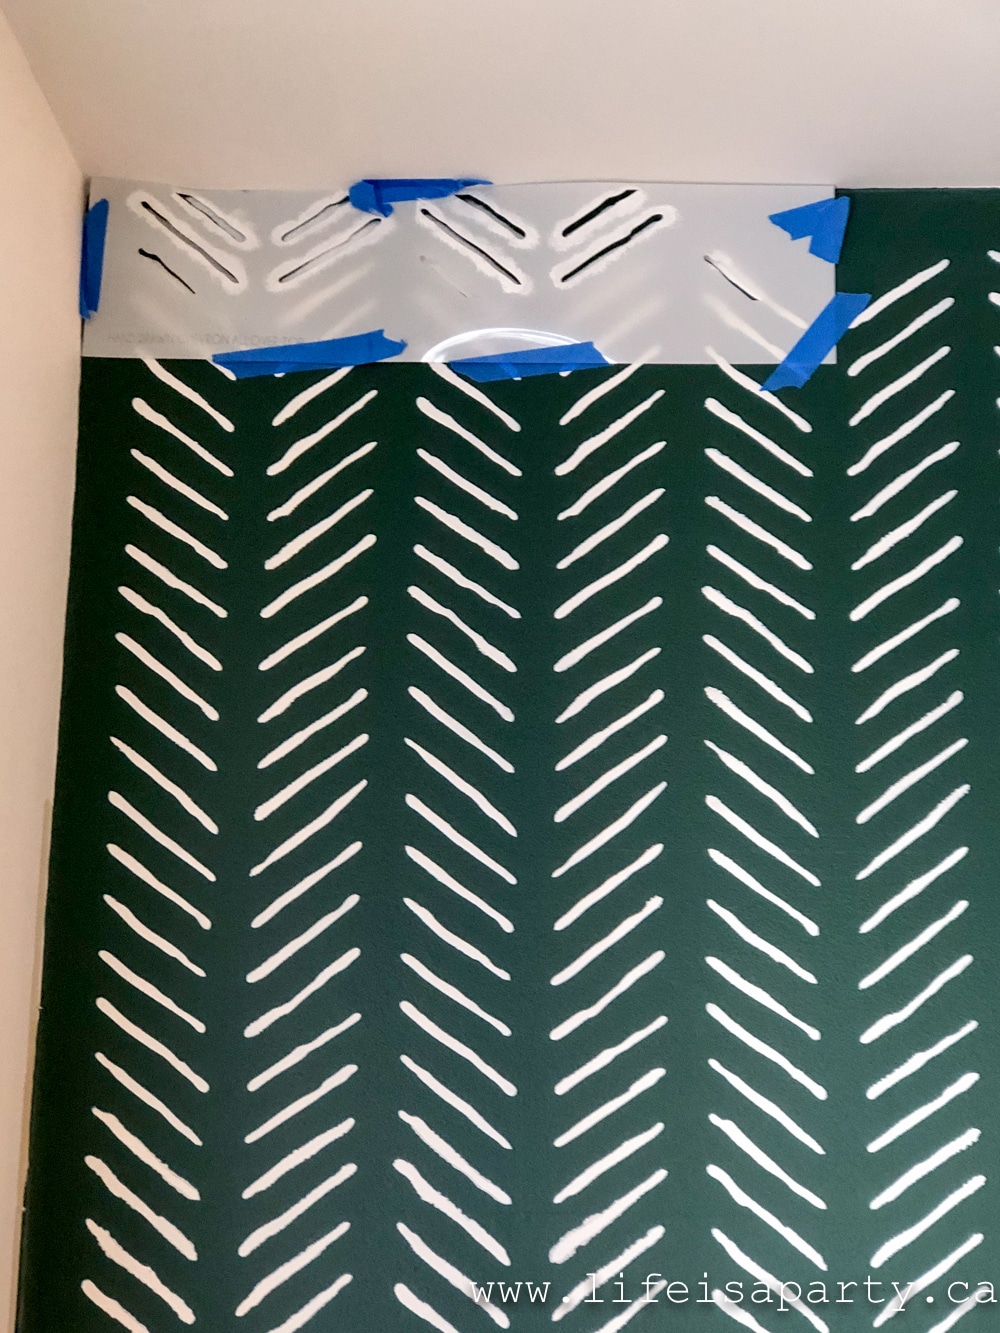
The edge pieces that come with the stencil worked great too to finish off the design at the ceiling.  We had very little bleeding with the stencil overall.  Because the design we used is so free hand looking we left the little bit of bleeding we had and found it just blended in and added to the handmade quality of the over all look.  There were a few tricky spots around the thermostat -oh dreaded thermostat.  But we were able to bend the flexible stencil around it and also do a few spots free hand.  

how to stencil the top of a wall

The stencil was time consuming but very easy to do.  Not complicated at all.  I highly recommend roping your best friend into it so you can just chat the afternoon away as you work.  😉

Green Feature Wall: the perfect shade of green paint, and the hand drawn chevron stencil create the an amazing feature wall.

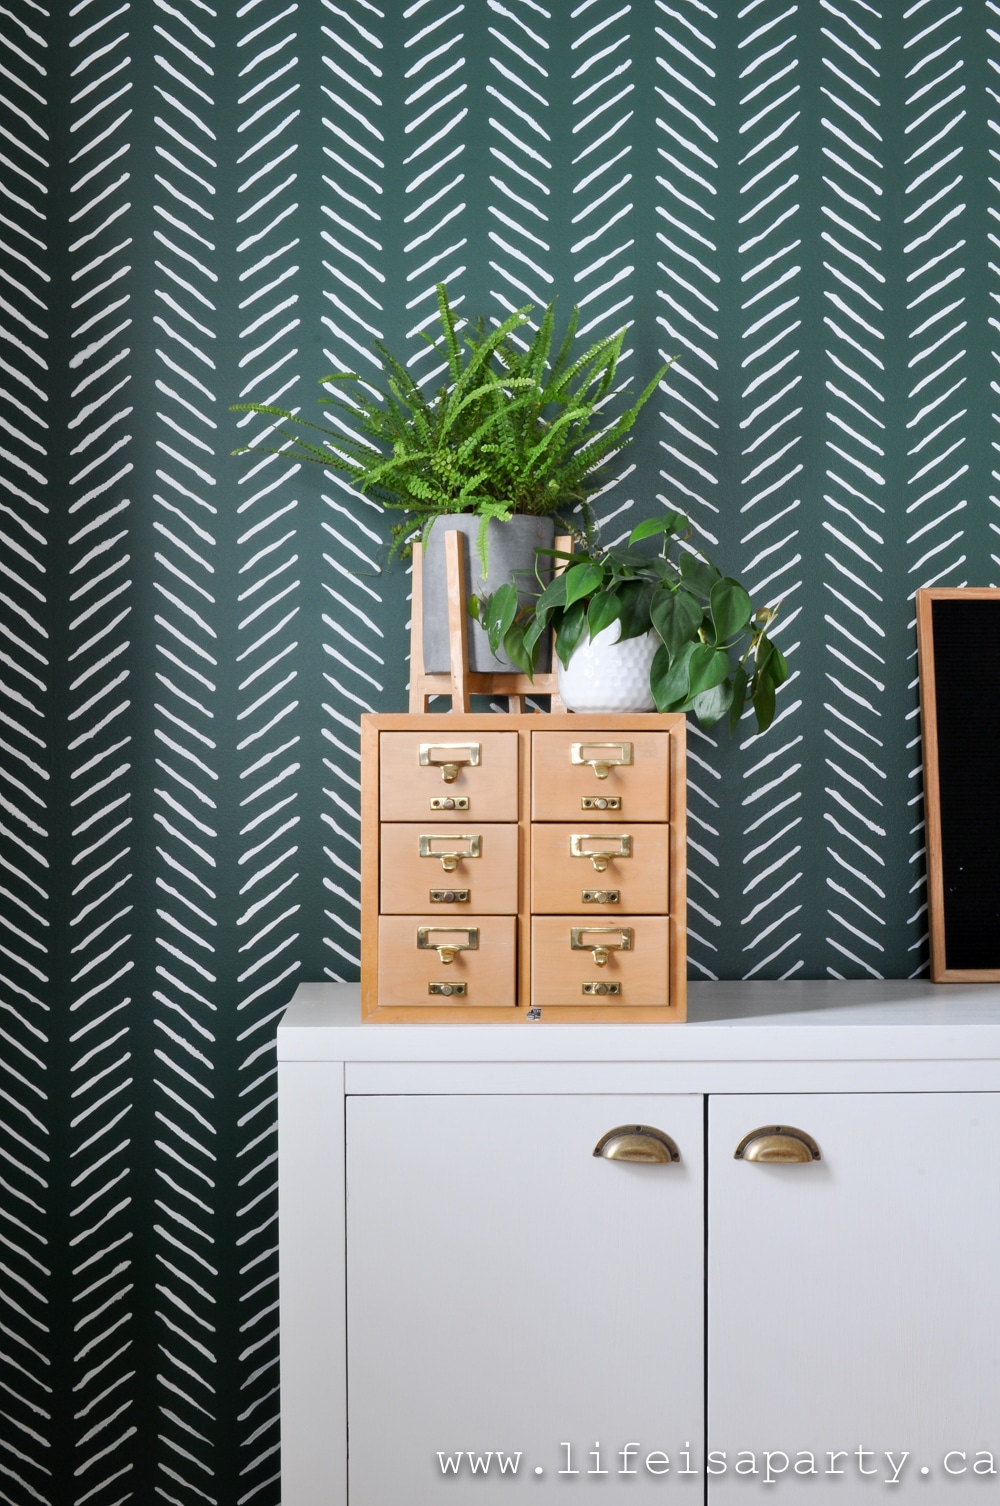
I love how the wall turned out.  It adds so much to the space.  I love the green and the stencil creates so much interest.  I also love that this was a fairly quick weekend project, and changes the room so much.  

Green Feature Wall: the perfect shade of green paint, and the hand drawn chevron stencil create the an amazing feature wall.

It's perfect for Christmas, but I think it will have a lot of staying power after that too.

Green Feature Wall: the perfect shade of green paint, and the hand drawn chevron stencil create the an amazing feature wall.

This post is sponsored by Valspar Paint and Cutting Edge Stencils.  As always all opinions are my own.  Thank you for supporting the brands that make Life is a Party possible.

You might also enjoy our post on How To Paint A Buffalo Check Feature Wall. 

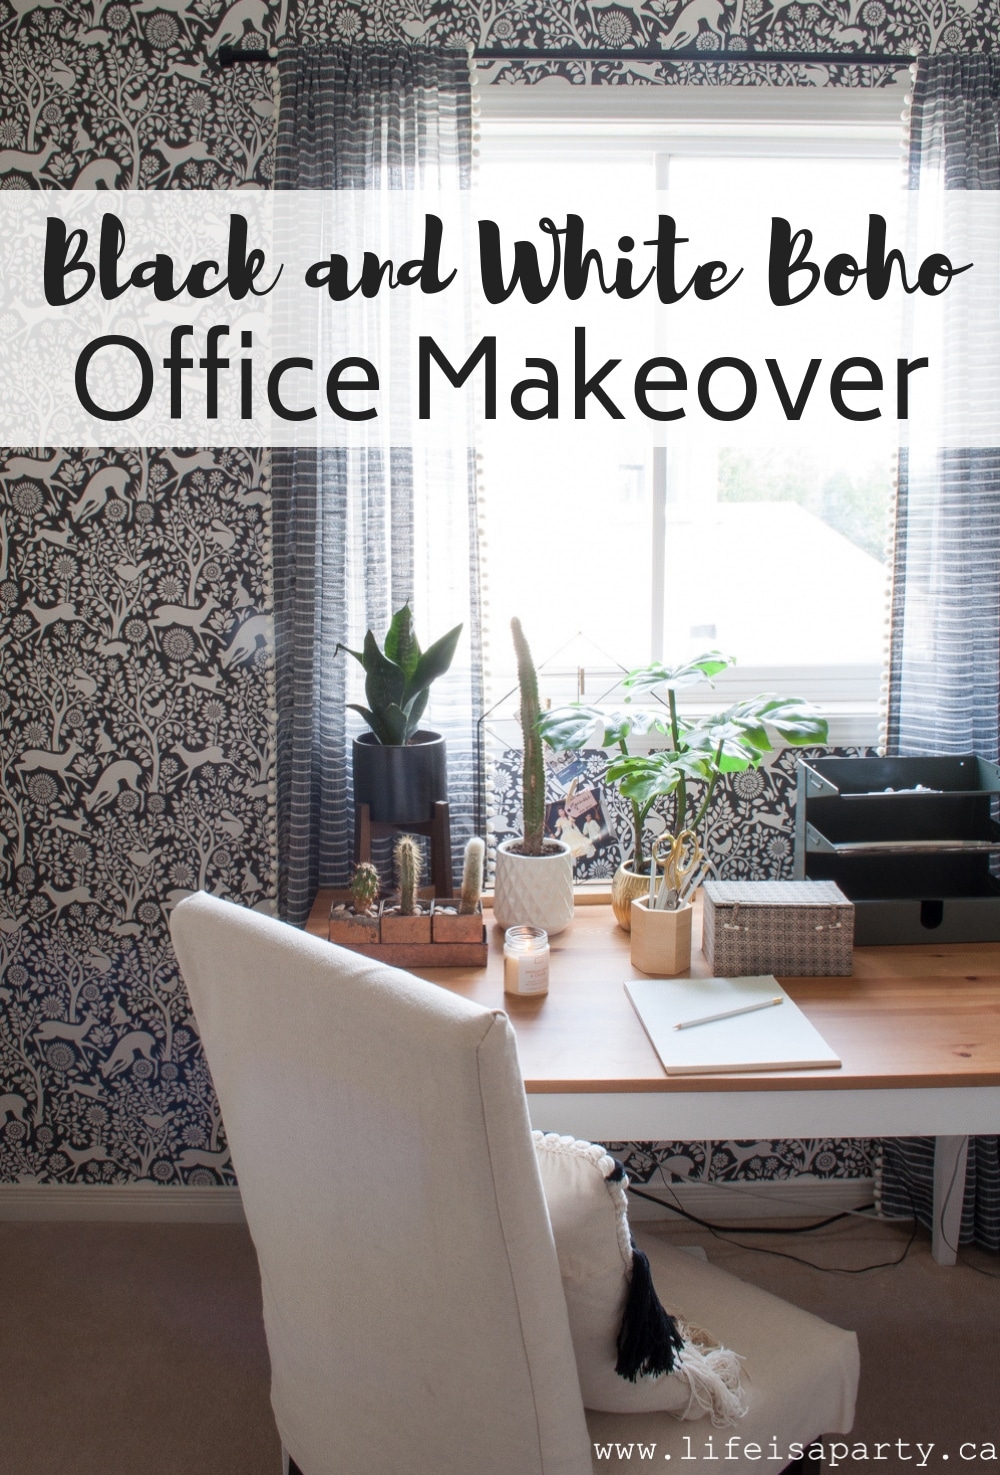
Also check out our Black and White Office Makeover here.

Black and White Boho Office Makeover: whimsical wallpaper, a wood bead chandelier, art, drapes, and lots of plants give this office the perfect boho vibe.

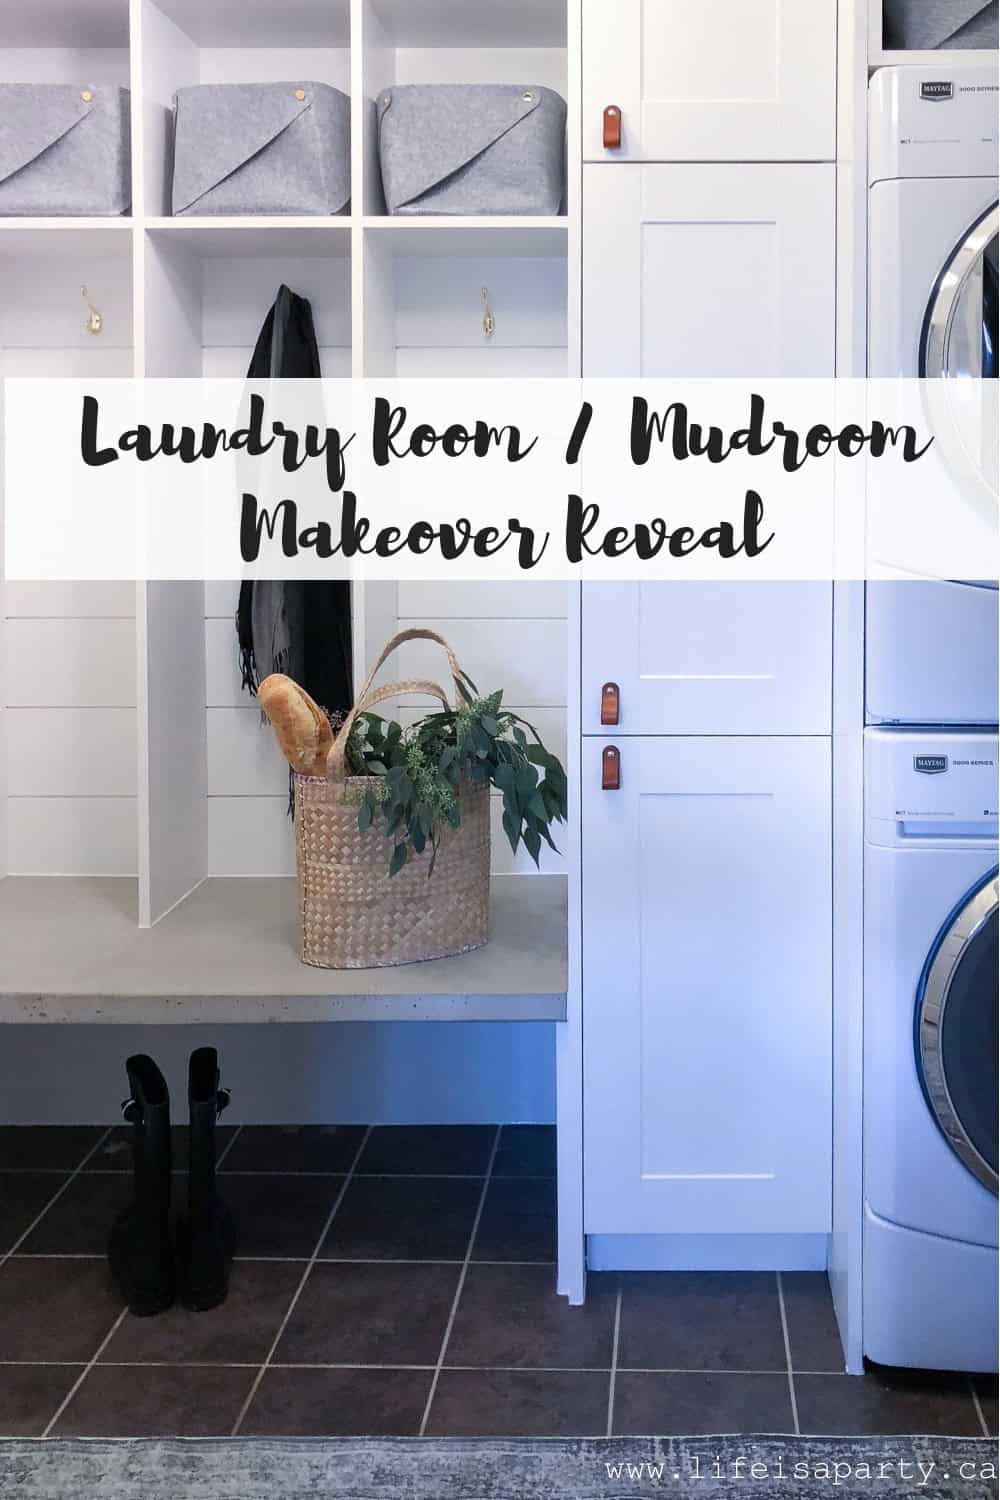
You might also enjoy our Laundry Room/ Mudroom Makeover here.

Laundry Room / Mudroom Makeover Reveal: From a chaotic and messy space to an organized and beautiful one with built-in lockers and storage solutions, shiplap, concrete, leather, brass and wood accents.

Christmas Fireplace Mantel

Nov 26, 2019 · 6 Comments

colourful Christmas mantel decor ideas

Christmas Fireplace Mantel: Colourful pastel with a boho vibe, this Anthropologie inspired mantel is so much fun!

colourful Christmas mantel decor ideas
[feast_advanced_jump_to]

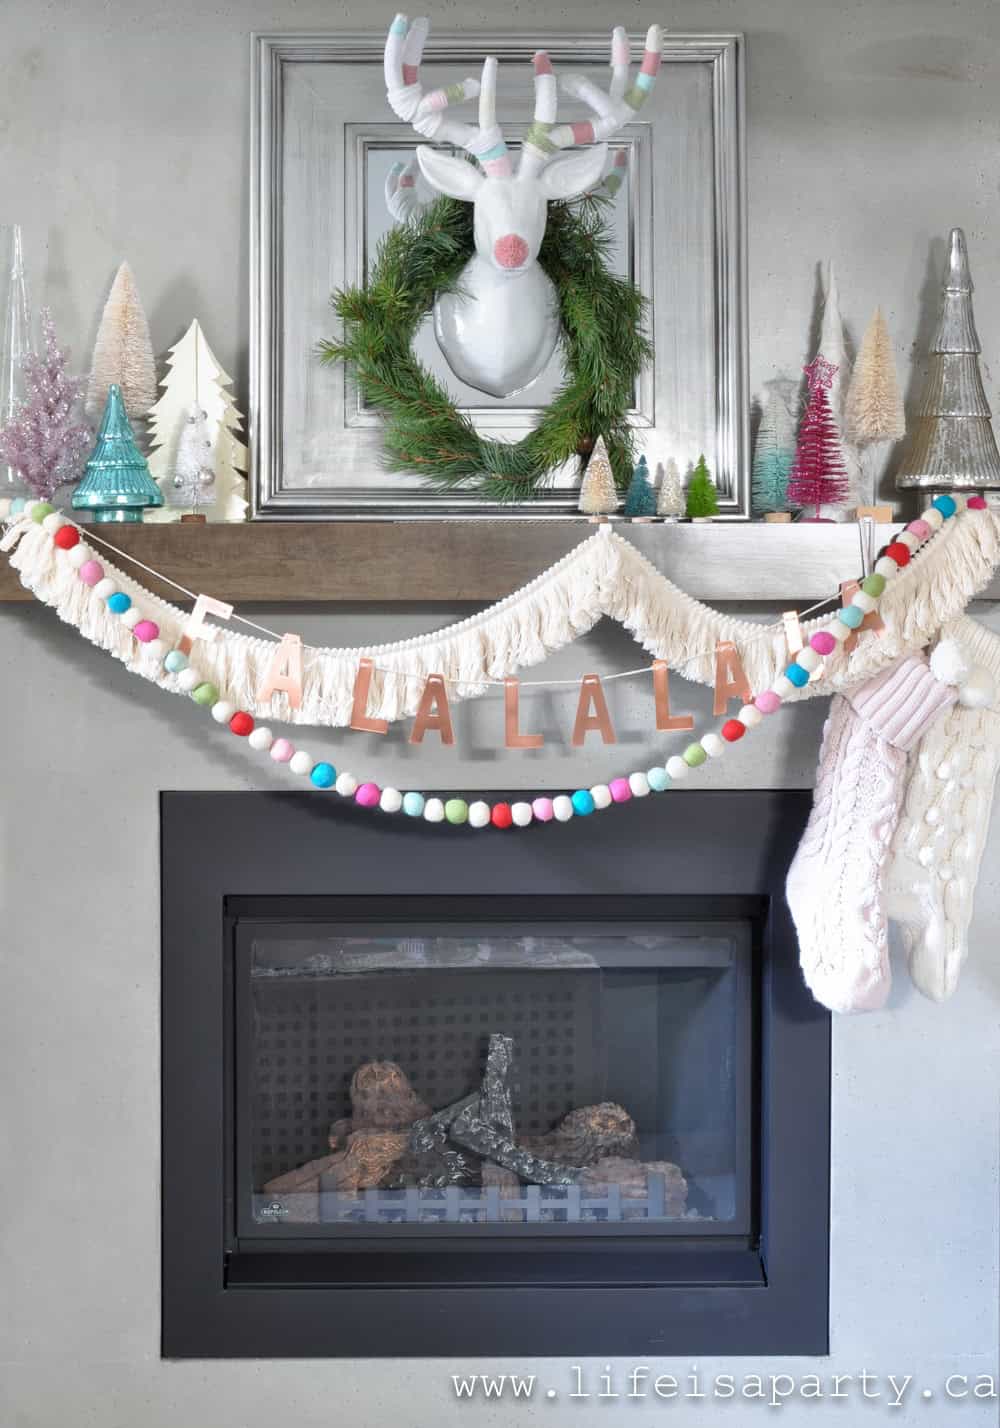
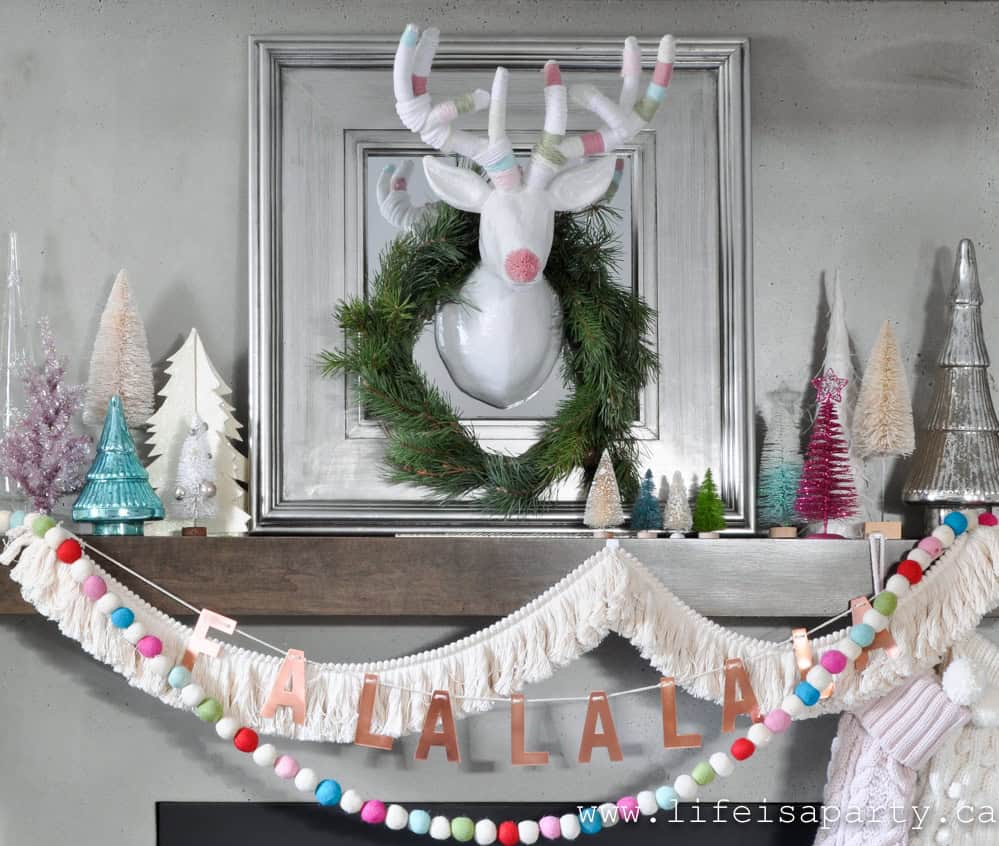
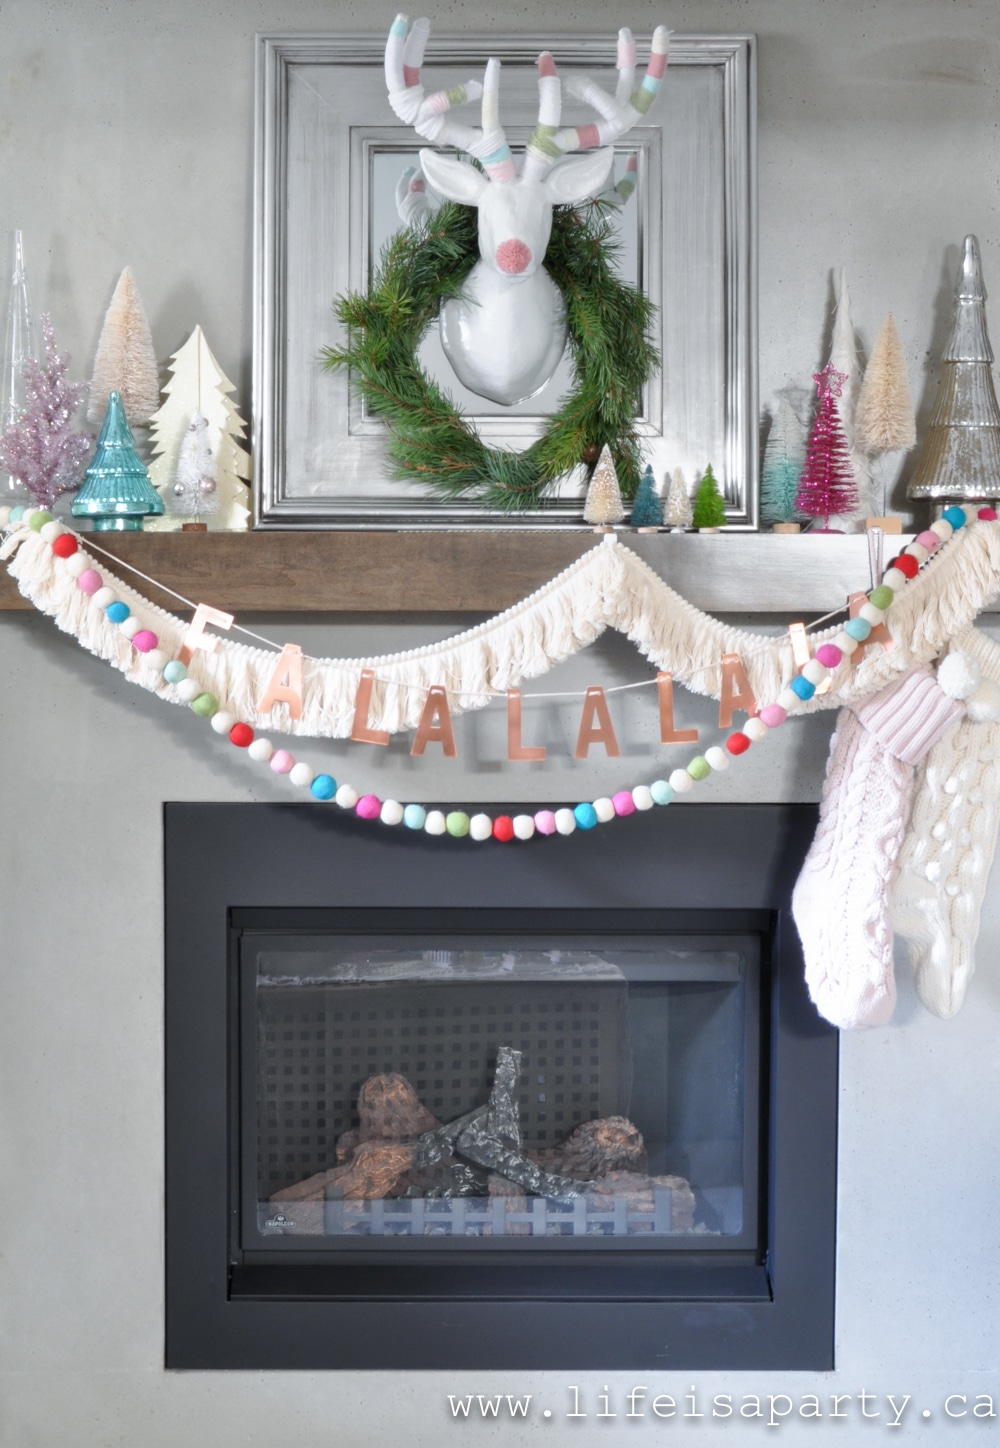
This year's Christmas fireplace mantel is fun and colourful, and inspired by the Anthropologie look I've been seeing everywhere.

I actually did something very similar to this mantel last year, but it was all in black and white -you can see it here.  This year we added a little colour with all the pretty pastels!  And I have to say that this mantel feels so cheerful and happy.  It's really making me want to be in this room more than usual.  What could be better than decor that makes you want to linger because it's so joyful?

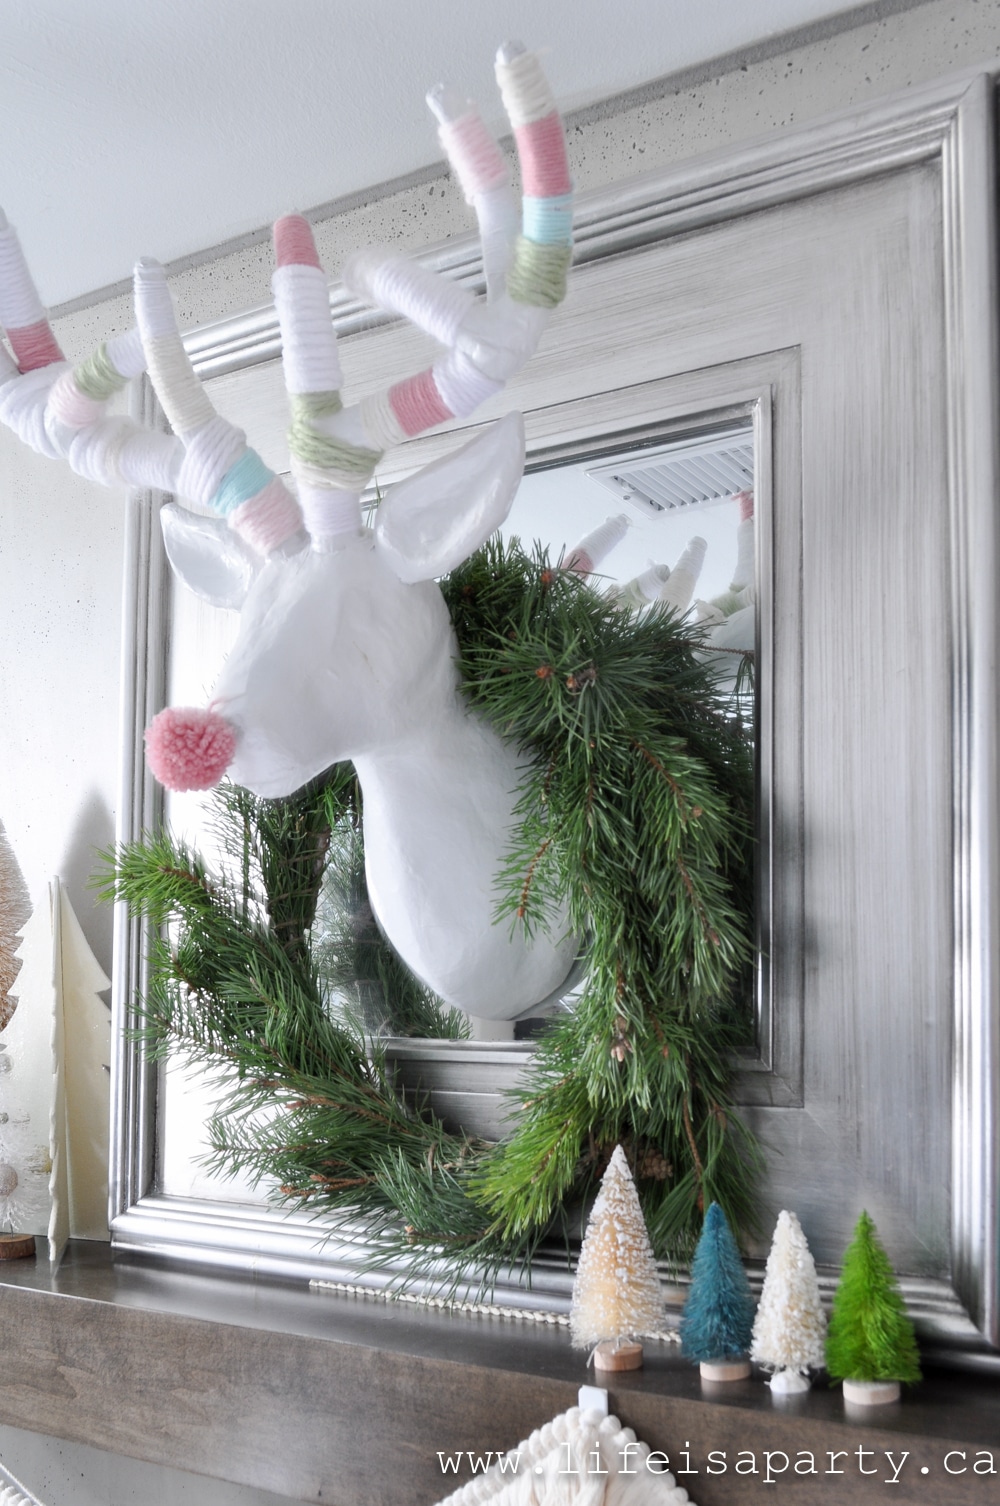
paper mâché deer head with yarn wrapped antlers for Christmas

Deer Head Makeover

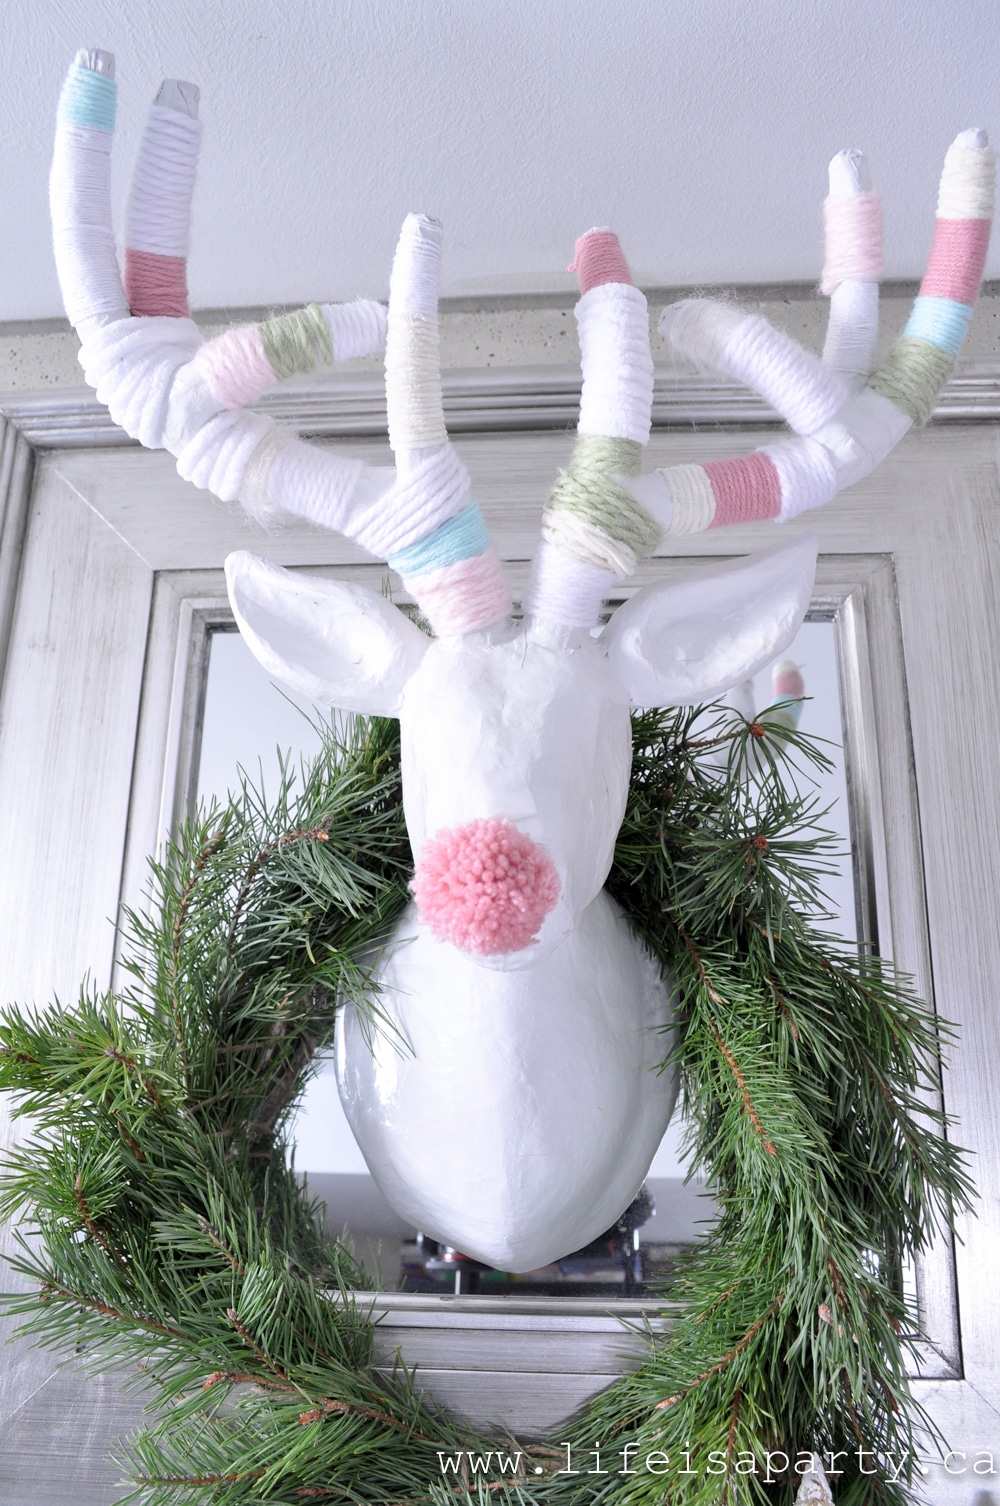
I started out with my deer head.  It's a paper mâché piece that I've had for years.  When I first got it I spray painted it white.  Last year I added some yarn to the antlers for a little texture and a little bit of that boho vibe.  I loved it.

Christmas fireplace mantel

So this year I swapped out the grey and black I used last year and added some pink, green, and turquoise.  And then, just for fun we gave him a pom pom nose as well.

faux deer head over Christmas fireplace mantel

Adding Some Colour

The colours for the deer head were inspired by the felt ball garland.  I found it at Homesense, and loved how fun it was.  The retro inspired colours really appealed to me.

pastel Christmas fireplace mantel

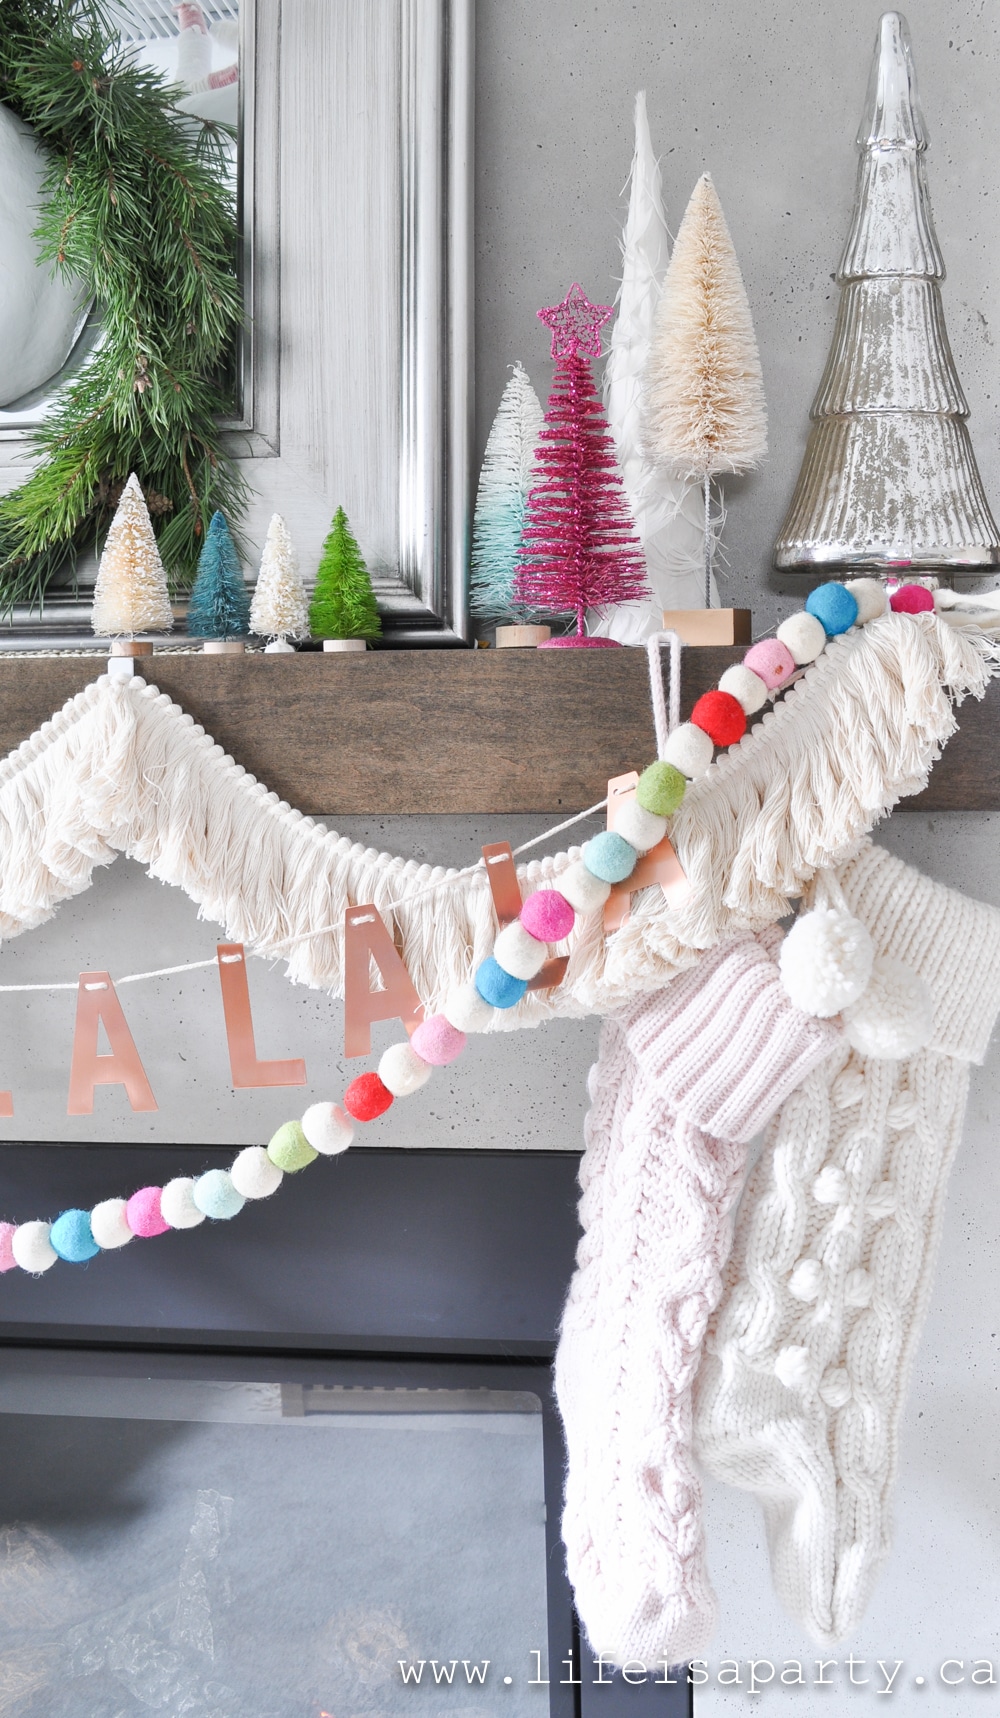
I layered the felt ball garland with some fringe trim, and this fun "fa la la la la" metal garland.   Everything is hung up with some command hooks.  I love how easy they are to work with and that they leave no marks when you remove them.

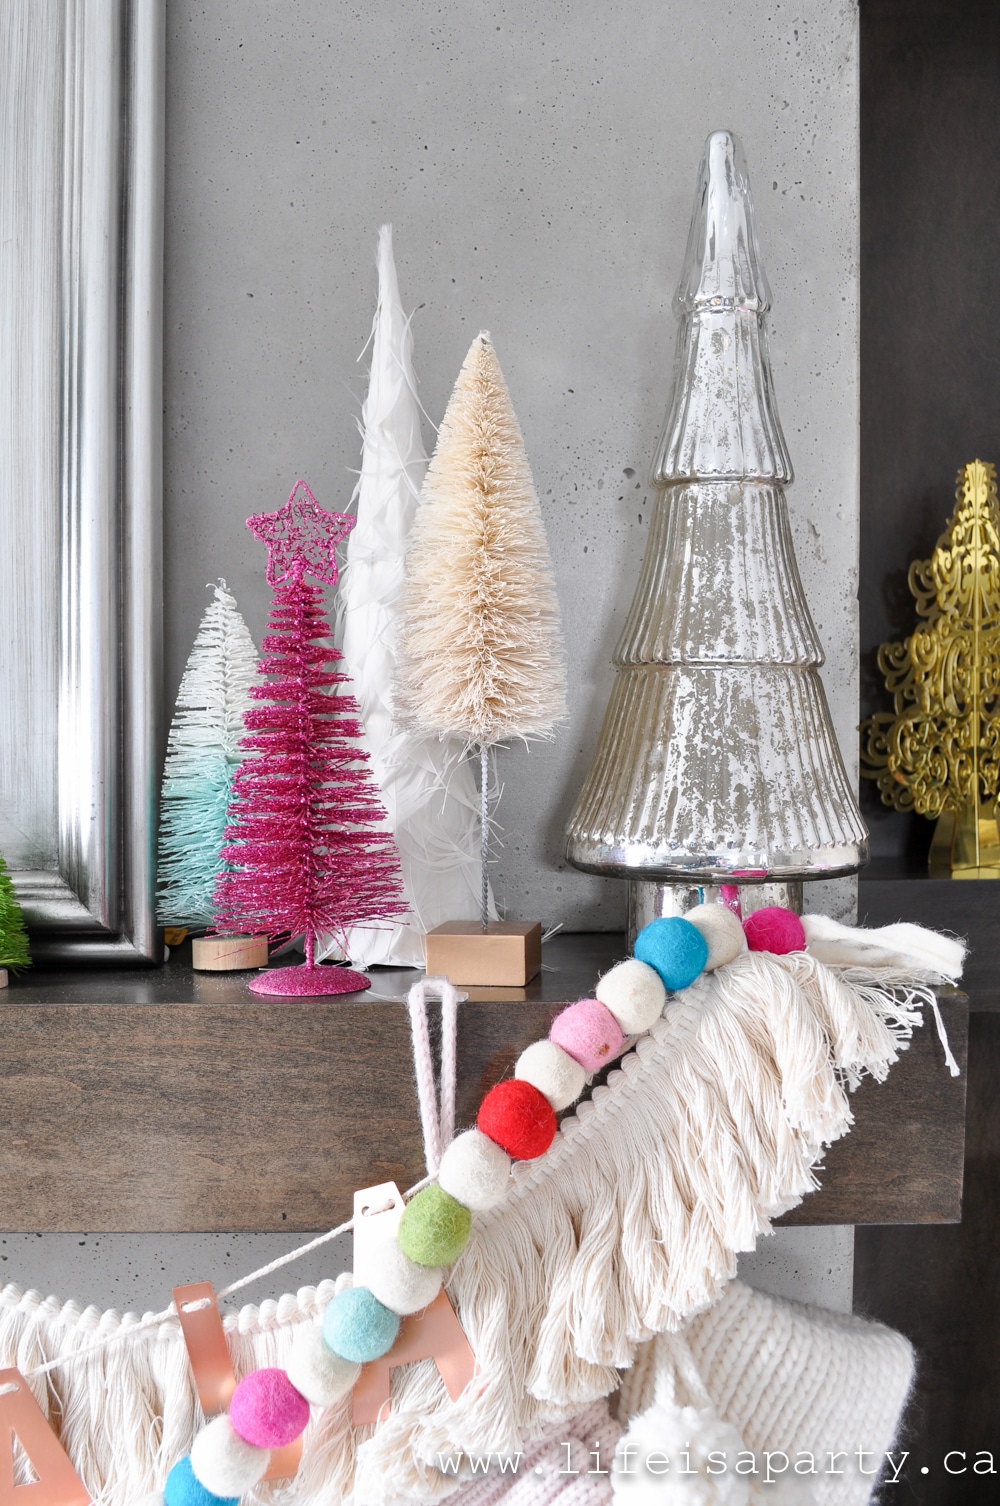
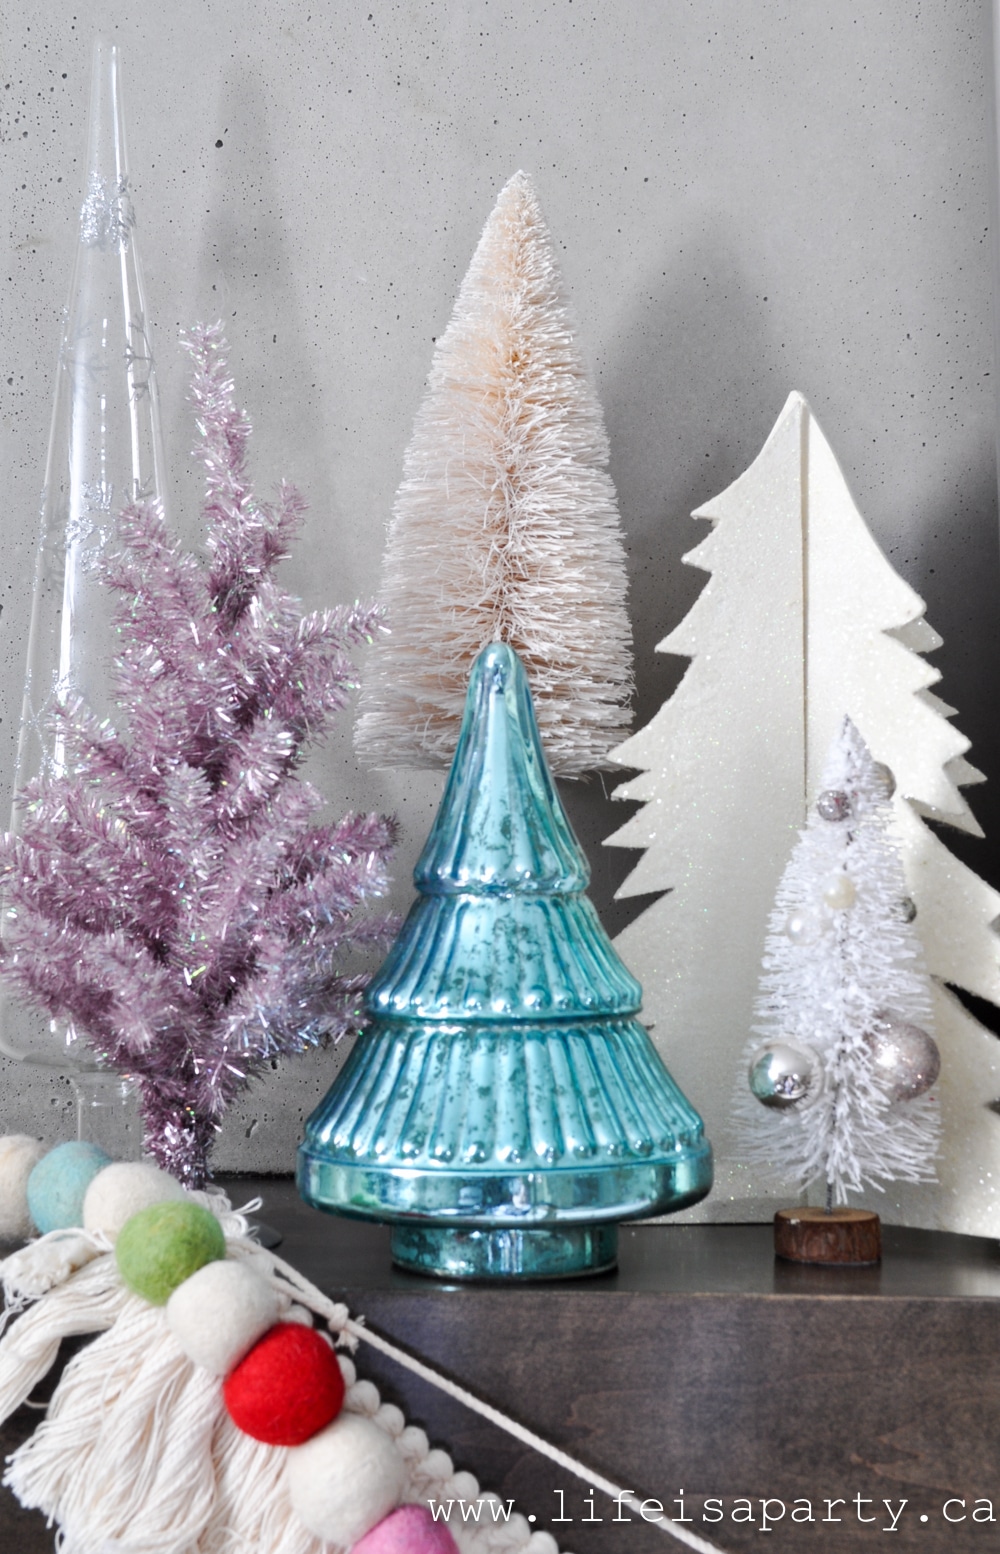
bottle brush Christmas trees and mercury glass tree

A Forest Of Trees

The colours in the garland inspired me to pick up a few colourful trees, and pull out some that I haven't used in years.  I bought the mercury glass trees years ago and it was nice to pull them out again.  I didn't want the mantel to be too colourful, so I grounded it all with lots of white, and neutrals too.

colourful pastel table top Christmas trees on a mantel

We also added a few pretty knit stockings.  I love the texture they add to the mantel.

Christmas fireplace mantel

DIY Fresh Pine Wreath

And the last element I added was a fresh pine wreath.  Adding in some greenery helps to tie in with the Christmas tree, and a wreath around the deer head seemed like a fun way to do it.  I used some fresh pine I cut in the forest and  just an old wire coat hanger as a free wreath frame.  It was a quick and easy project, and adds more texture, and that great smell of fresh pine.

colourful pastel Christmas Mante

This mantel was really easy to put to together, and I mostly shopped the house for it which is always nice.  My only purchases were the felt garland, and some yarn in co-ordinating colours that I also used to make pom poms for the Christmas tree that I'll be sharing soon.  I hope it inspires you to dig out something you've had for awhile and maybe use it in a different way.

More Inspiration

You might also enjoy our Christmas Living Room Tour here.

Colourful Christmas Family Room: Inspired by Anthropologie, with bottle brush Christmas trees, mercury glass, vintage ornaments, macrame, & pastel colours.

Also check out our Boho Christmas Tour here.
Boho Christmas Decor: decorated for Christmas with black and whtie boho including lots of texture, tassels, pom poms, brass, wood, and twinkle lights.

You might also like our Christmas Mantel.

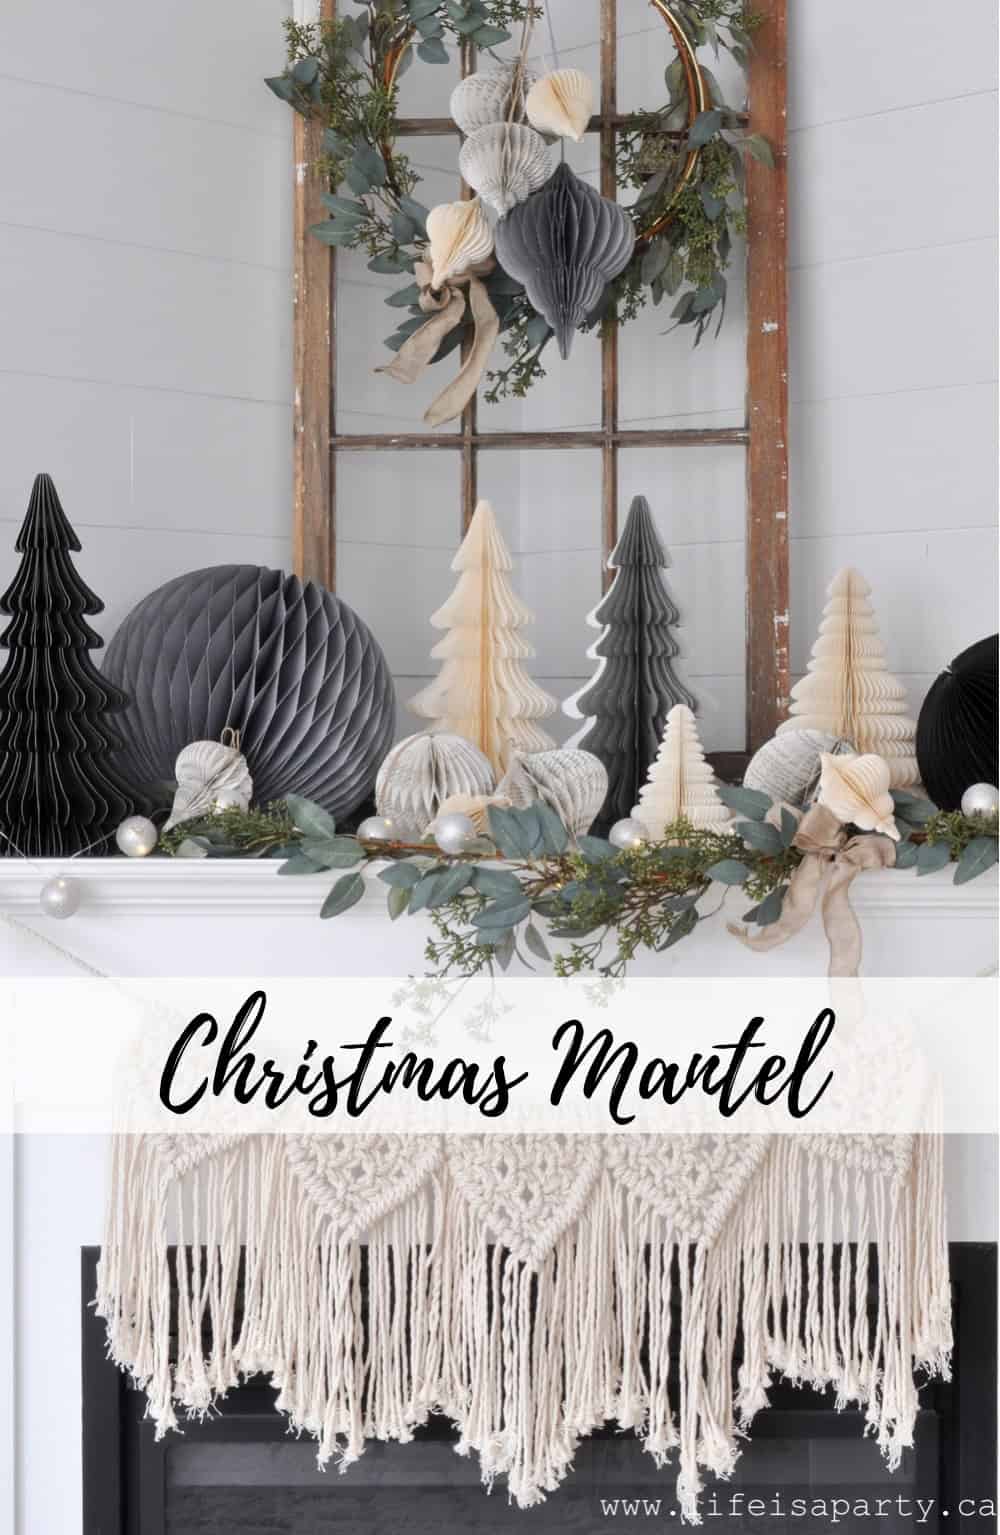
Christmas Mantel: beautiful paper honeycomb ornaments, balls, and Christmas tree decorations, combined with eucalyptus garland and twinkle lights.

Thrift Store Christmas Table and Thrift Store Tips

Nov 22, 2019 · Leave a Comment

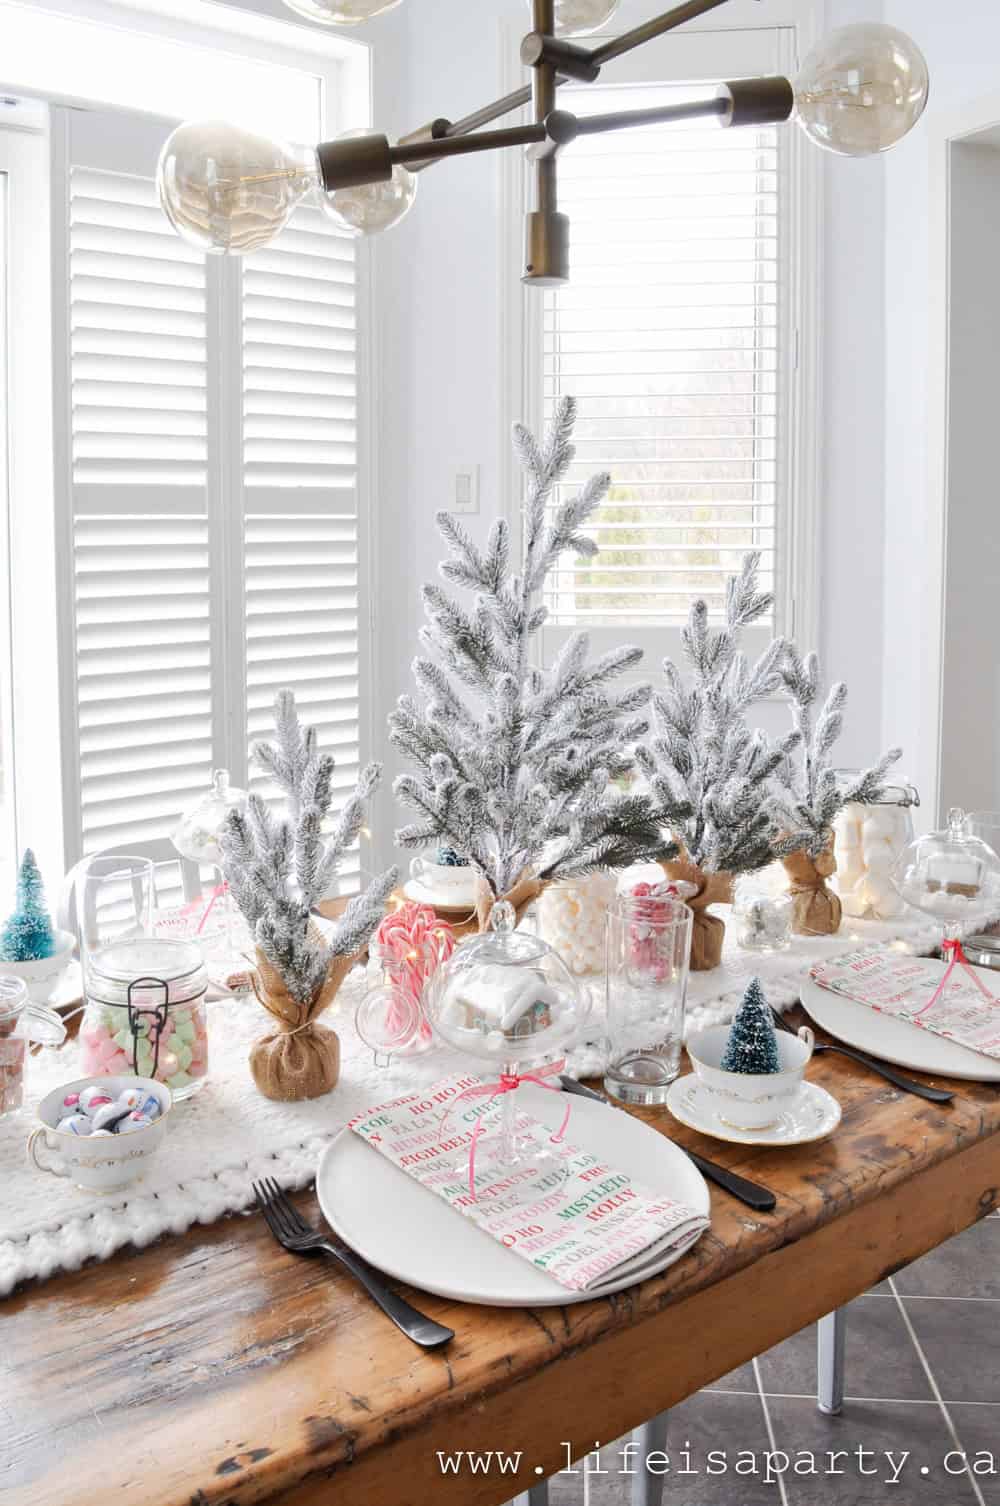
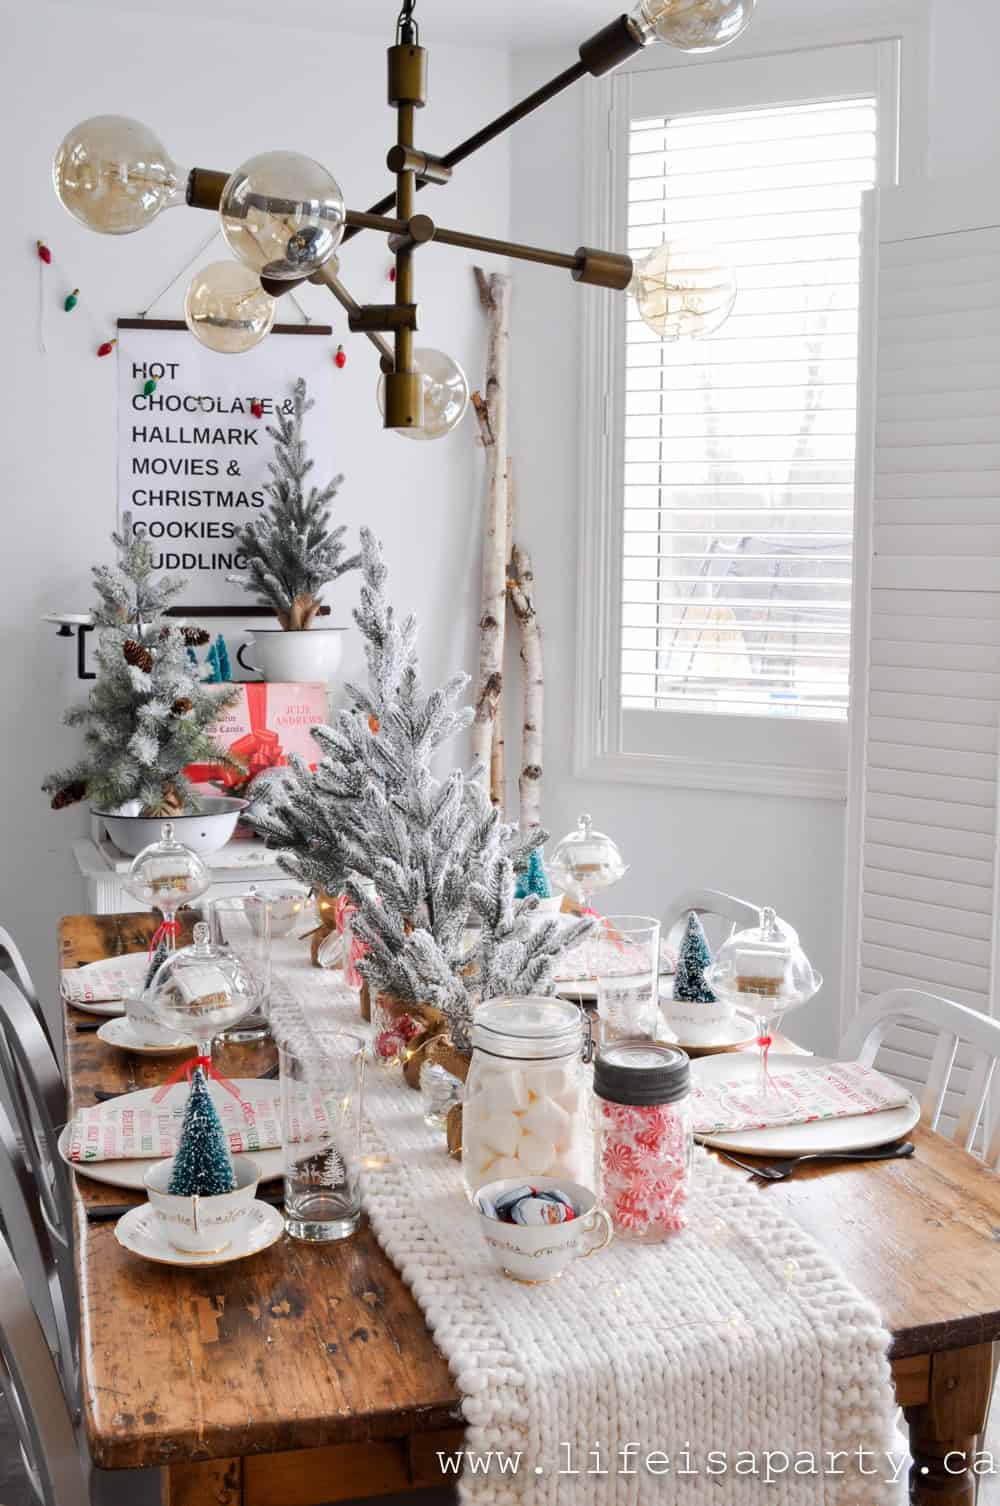
Christmas tablescpae

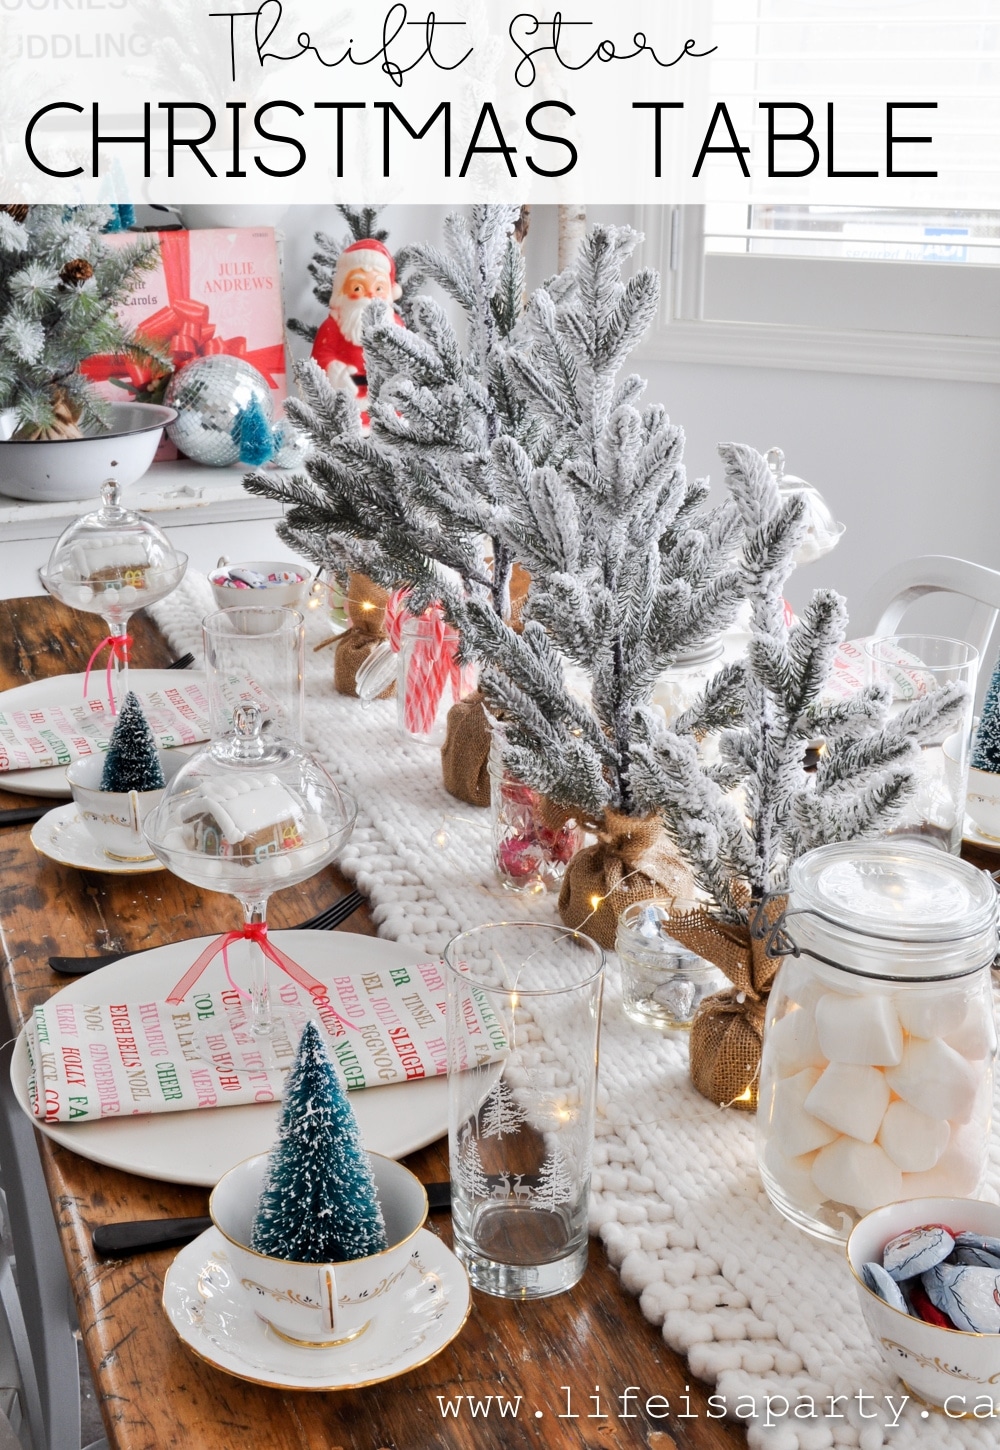
Thrift Store Christmas Table and Thrift Store Tips: beautiful Christmas table put together with thrift store finds, and 9 tips for thrifting.

Christmas tablescpae

I love setting a pretty table, especially for an occasion, and there is no better occasion than Christmas!  I found lots of the things for my table today at the thrift store.  They always have great finds in their houseware department.

Thrift Store Christmas Table and Thrift Store Tips: beautiful Christmas table put together with thrift store finds, and 9 tips for thrifting.

A Love Of Thrifting

I started thrifting when I was in University out of necessity.  Money was tight and I found a few thrift stores near the apartment I rented with my friends.  One of my best thrift store finds back then was a vintage bowl that I filled with vintage ornaments -also found thrifting.  I loved it, and in fact I still have the bowl and the Christmas ornaments to this day.  It was then that I discovered the thrill of the hunt.

Thrift Store Christmas Table and Thrift Store Tips: beautiful Christmas table put together with thrift store finds, and 9 tips for thrifting.

I had so much fun shopping for this beautiful Christmas Table.  Let me share some of my thrifting tips -things I've learned over many years of thrifting.

1. Look For Seasonal Items Out Of Season

Look for seasonal items out of season.  Anything Christmas is a hot item right now, so if you see treasures like vintage ornaments, or antique Santas out of season make sure you grab them.  It's a general rule of thrifting that you need to get it when you see it or it will be gone, and it's even more true of seasonal items.

Thrift Store Christmas Table and Thrift Store Tips: beautiful Christmas table put together with thrift store finds, and 9 tips for thrifting.

2. Go Often

Go often.  Try and make regular quick trips to the Care and Share.  New inventory is coming in all the time.  And new inventory is being put out on the floor all the time.  Best to pop in often, since you never know when something you love will be put out.

Thrift Store Christmas Table and Thrift Store Tips: beautiful Christmas table put together with thrift store finds, and 9 tips for thrifting.

3. Mix and Match

Mix and Match. When setting a table for an occasion like Chrsitmas it might be challenging to find a complete set of something.  Feel free to mix and match.  For example mix a couple different designs of dishes or glassware  or jars but look for something that they have in common, like colour to tie it all together.

Thrift Store Christmas Table and Thrift Store Tips: beautiful Christmas table put together with thrift store finds, and 9 tips for thrifting.

4. Think Outside The Box

Think outside of the box.  Use teacups to hold Christmas trees, string lights as a garland, use a vintage enamelware teapot to hold a Christmas tree.  Sometimes thrifting requires a little bit of imagination.  Try and think about things beyond their obvious use.

Thrift Store Christmas Table and Thrift Store Tips: beautiful Christmas table put together with thrift store finds, and 9 tips for thrifting.

5. Plan Ahead

Plan ahead.  It might a few trips to the thrift store to find all the elements you're looking for.  Give yourself time to look on different occasions so you can find what you need.

6. Be Flexible

Be flexible.  Try not to go to the thrift store with a plan set in stone.  You never know what you'll find -or won't find, so be open to changing direction depending on what you find that day.

Thrift Store Christmas Table and Thrift Store Tips: beautiful Christmas table put together with thrift store finds, and 9 tips for thrifting.

7.  Shop Your House

I always shop my house for a tablescape.  I was looking for pieces to use at the thrift store, but also always keeping in mind what I already owned and what I could mix in with my thrift store finds.

8.  Mix Vintage With Modern

I never want my table to look quite like it was my Grandmother's, or all from the antique shop so I always try to mix my vintage treasures in with modern pieces to create a nice balance.

Thrift Store Christmas Table and Thrift Store Tips: beautiful Christmas table put together with thrift store finds, and 9 tips for thrifting.

9.  Donate Items Back To The Thrift Store When You're Finished

If you love setting tables as much as I do, you have probuably run into the problem of storage. One great solution is to donate items back to the thrift store when you're finished with them.  If you need to buy extra dishes for a big get together for example and don't want to store something that you'd use so infrequently, feel free to donate them back when you're done.  The prices are so great, and the money used for so much good that you can pick up some more if you need to years from now instead of tying up space.

Thrift Store Christmas Table and Thrift Store Tips: beautiful Christmas table put together with thrift store finds, and 9 tips for thrifting.

Christmas Table

Vintage Pieces

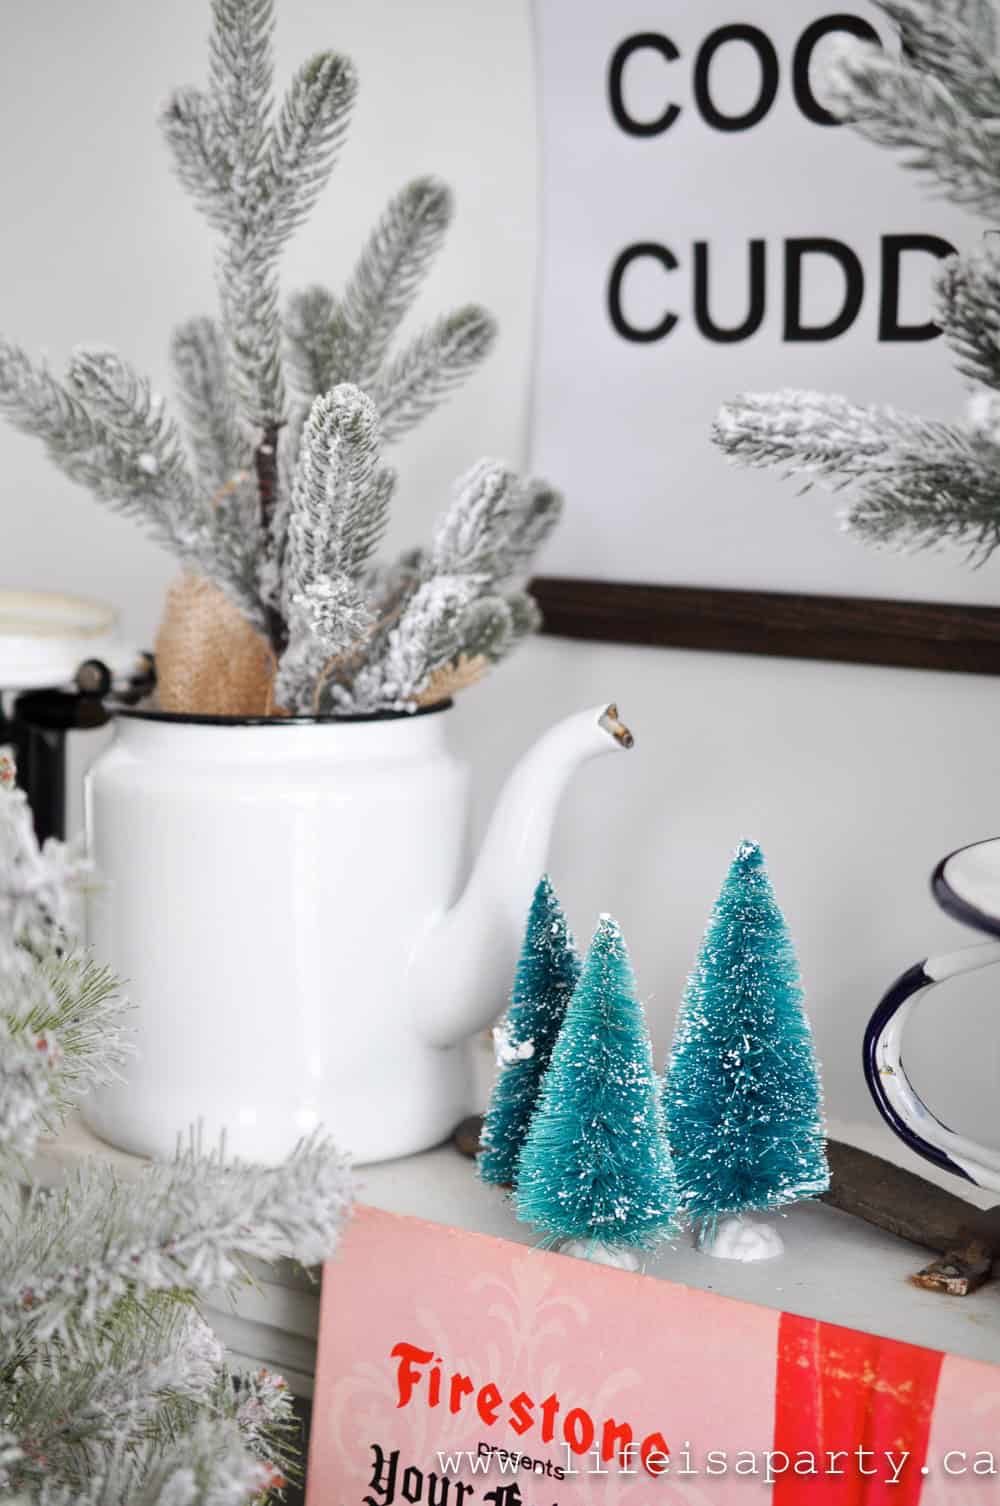
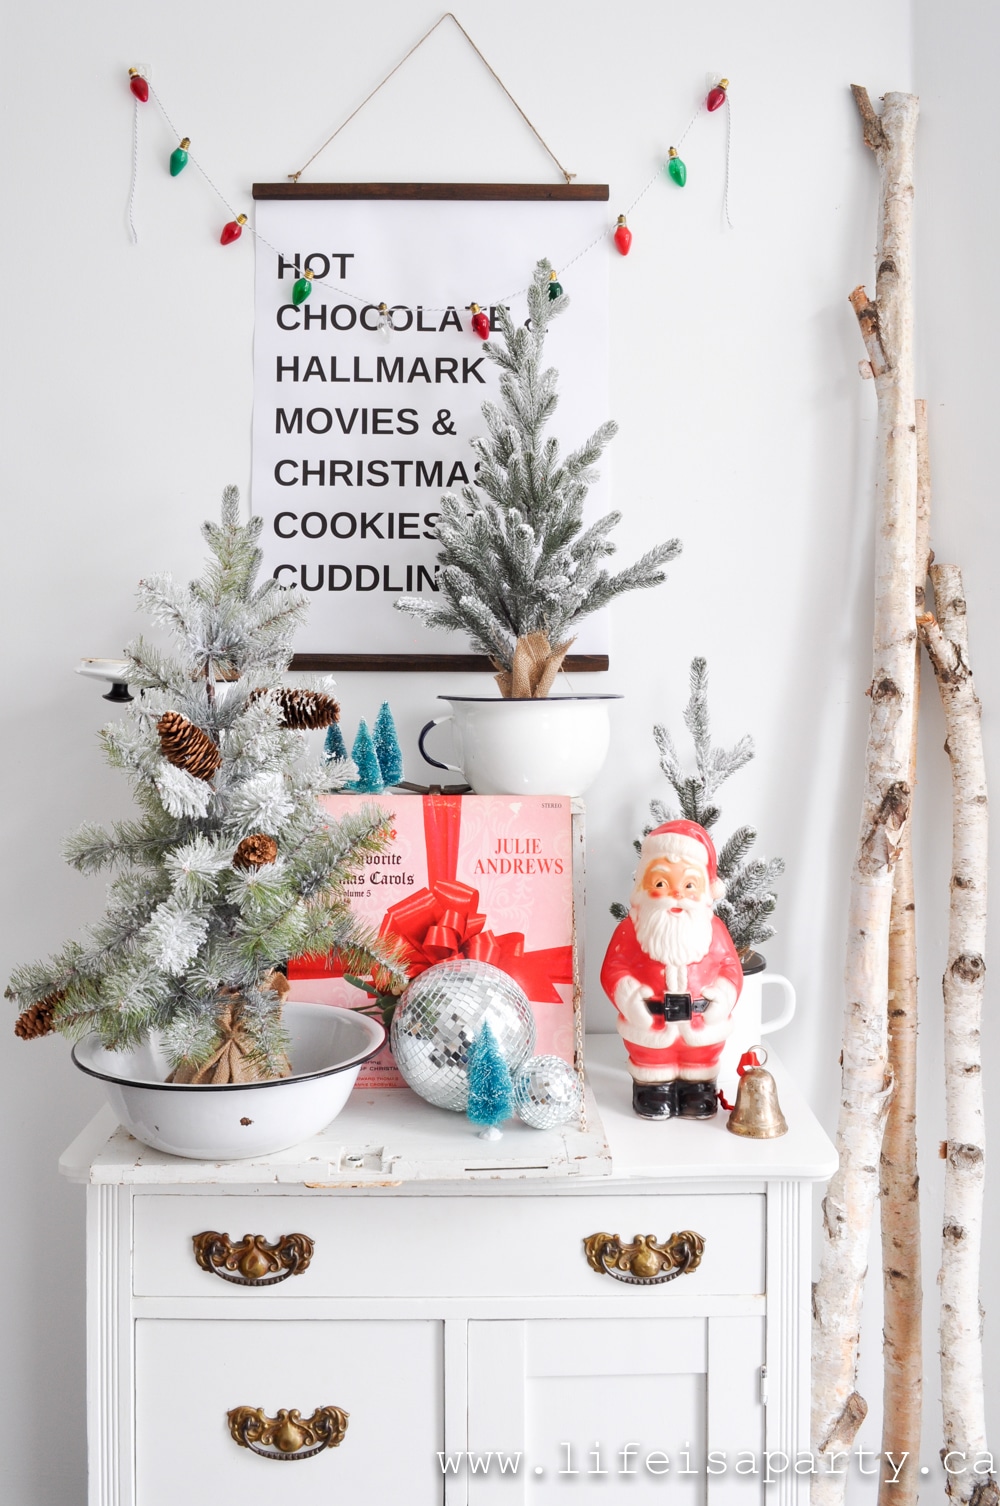
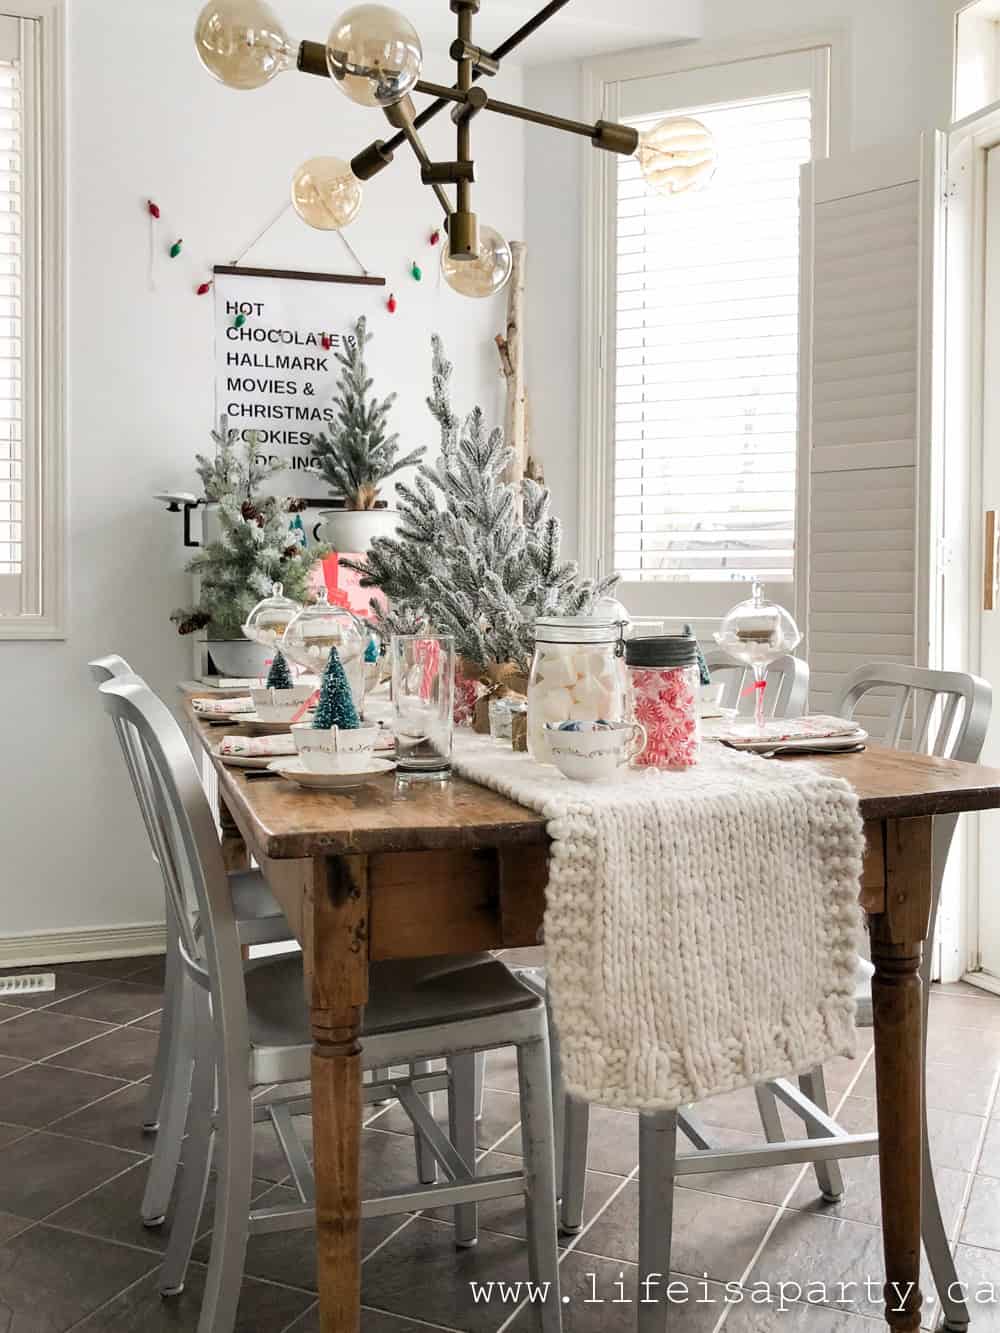
This table was so much fun to put together.  I started out with the enamelware collection.  It came in while I was shopping and it was the starting place for this table.  When I saw it I thought it would look so pretty with little trees in it.

Thrift Store Christmas Table and Thrift Store Tips: beautiful Christmas table put together with thrift store finds, and 9 tips for thrifting.

I also spotted the Christmas record and couldn't resist the pink and red together.  I didn't buy it to play the record, I thought it would be really fun as a graphic decor piece.  My other real find that day was the large vintage plastic Santa.  It's actually an old piggy bank, and such a cute vintage piece.

Thrift Store Christmas Table and Thrift Store Tips: beautiful Christmas table put together with thrift store finds, and 9 tips for thrifting.

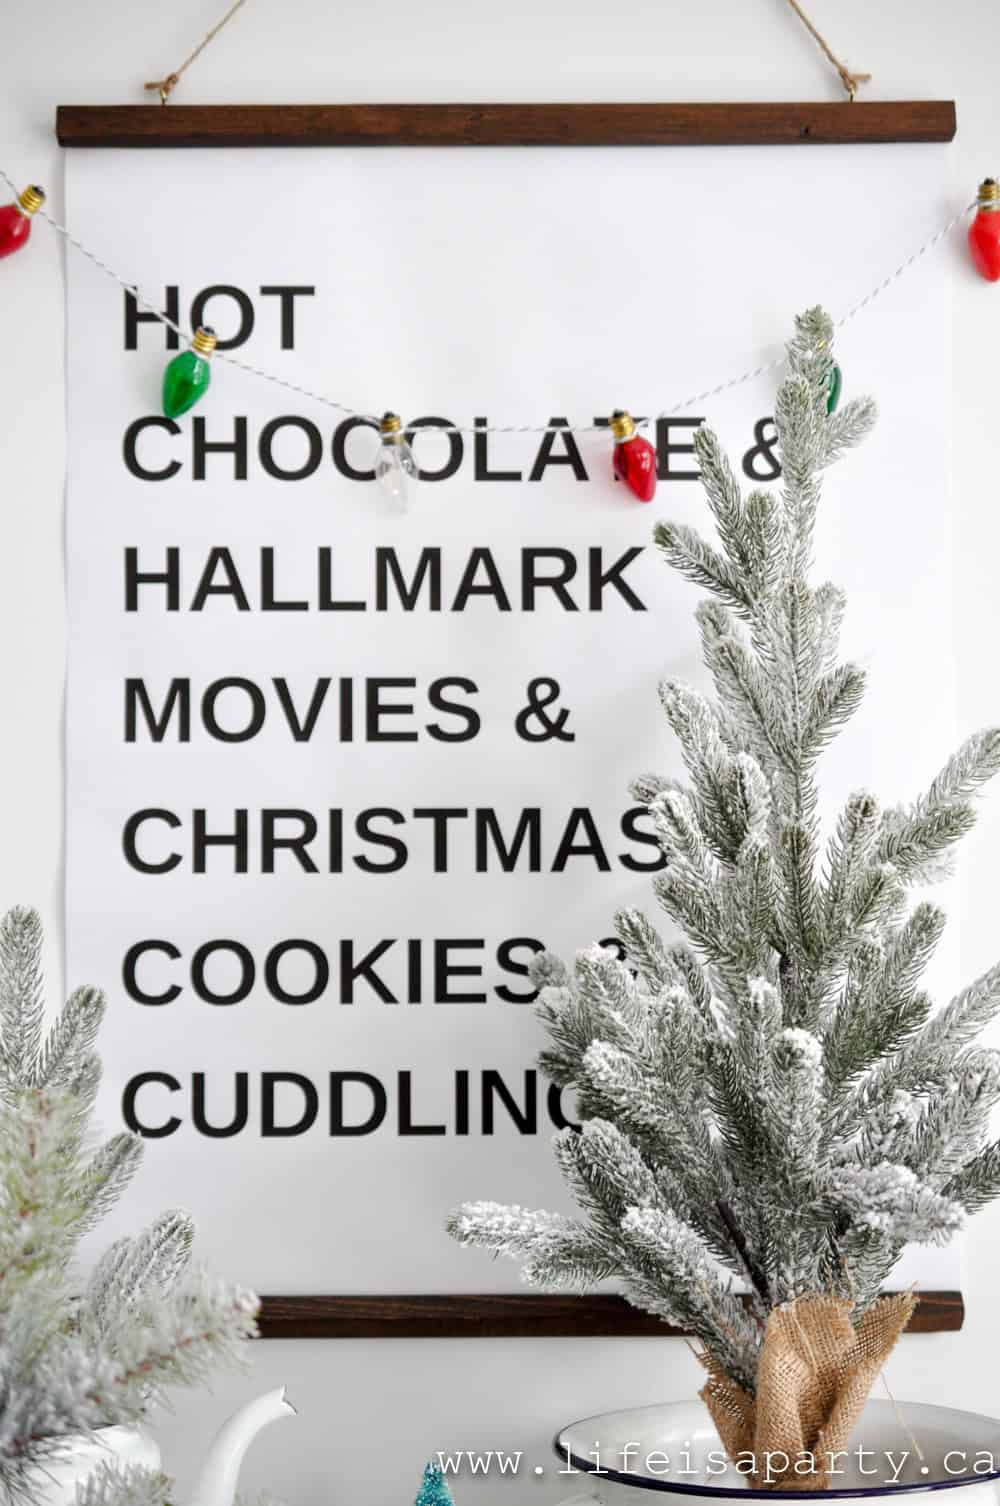
When I set up the table I knew these pieces would be great as background.  I also mixed in one of my printable art pieces -which you can read all about and how to make the hanging frame here.

Thrift Store Christmas Table and Thrift Store Tips: beautiful Christmas table put together with thrift store finds, and 9 tips for thrifting.

The Table

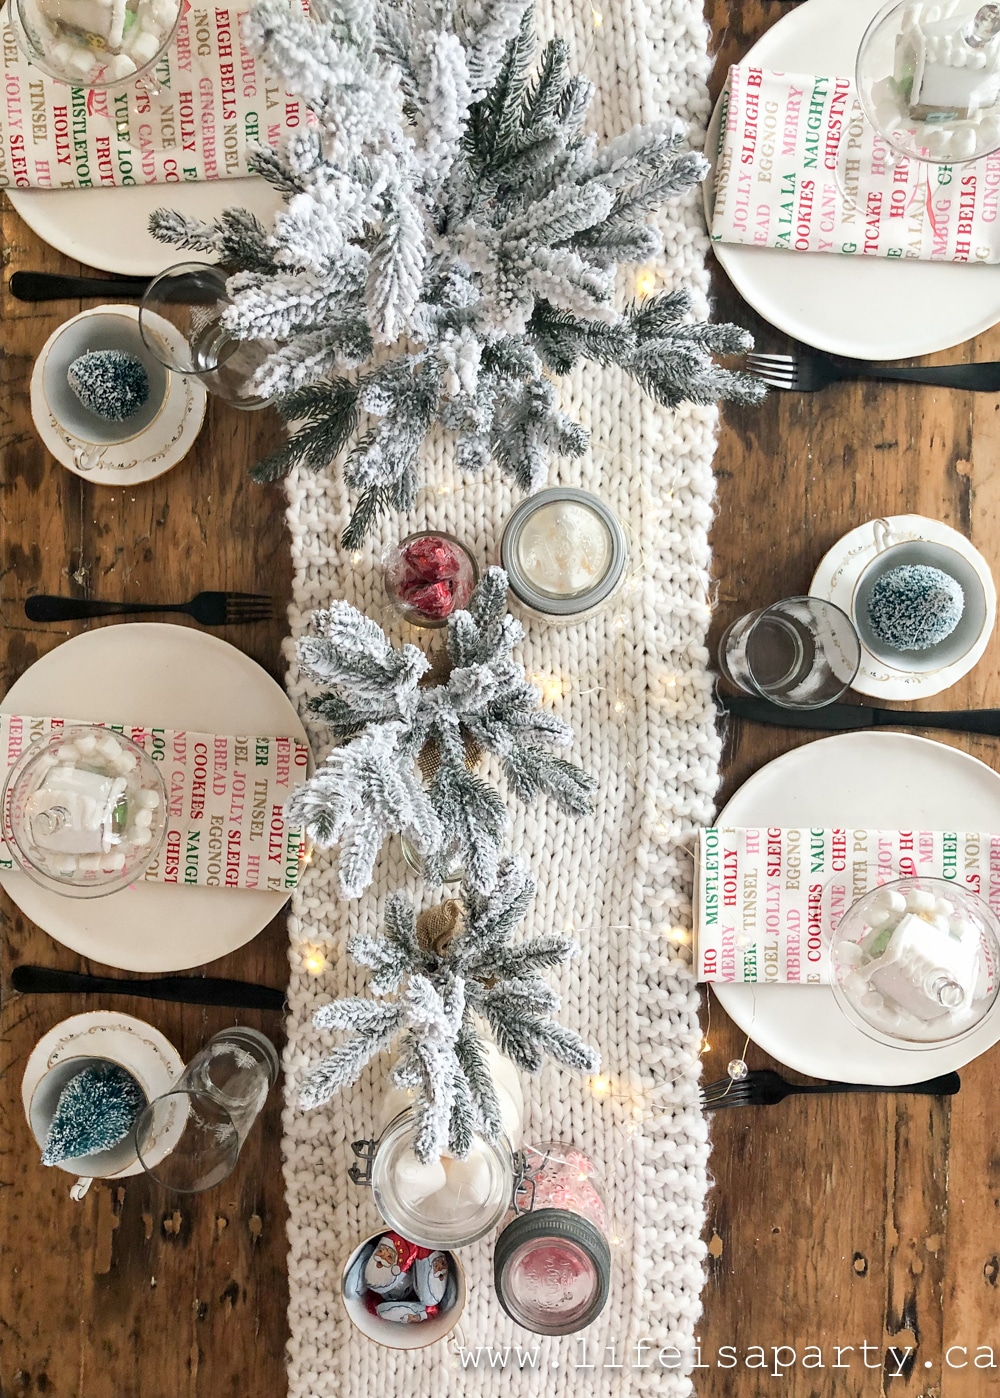
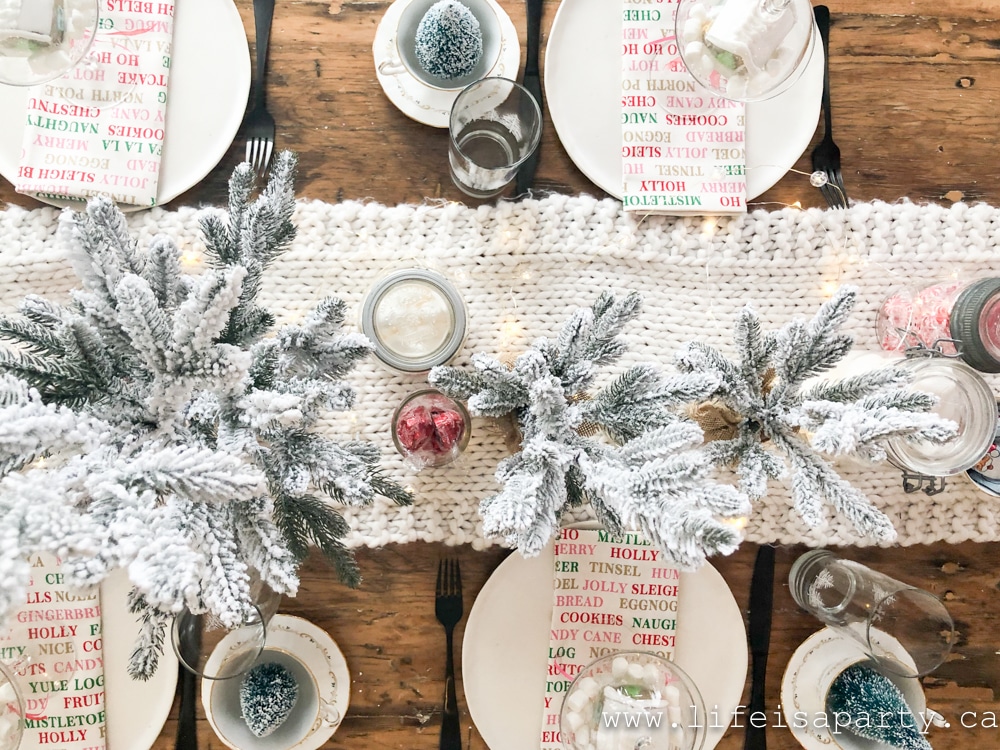
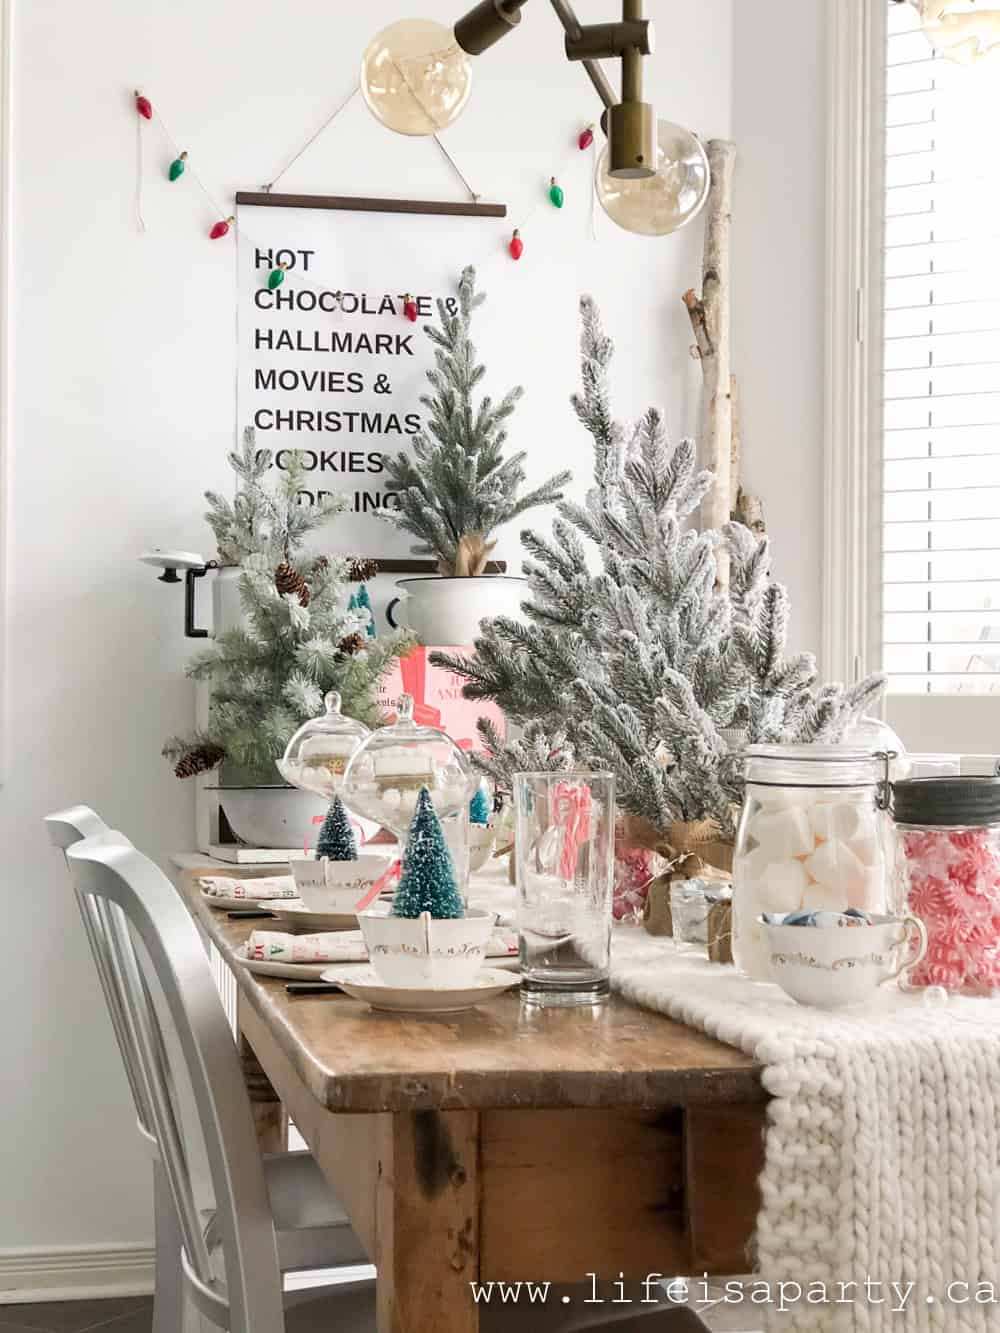
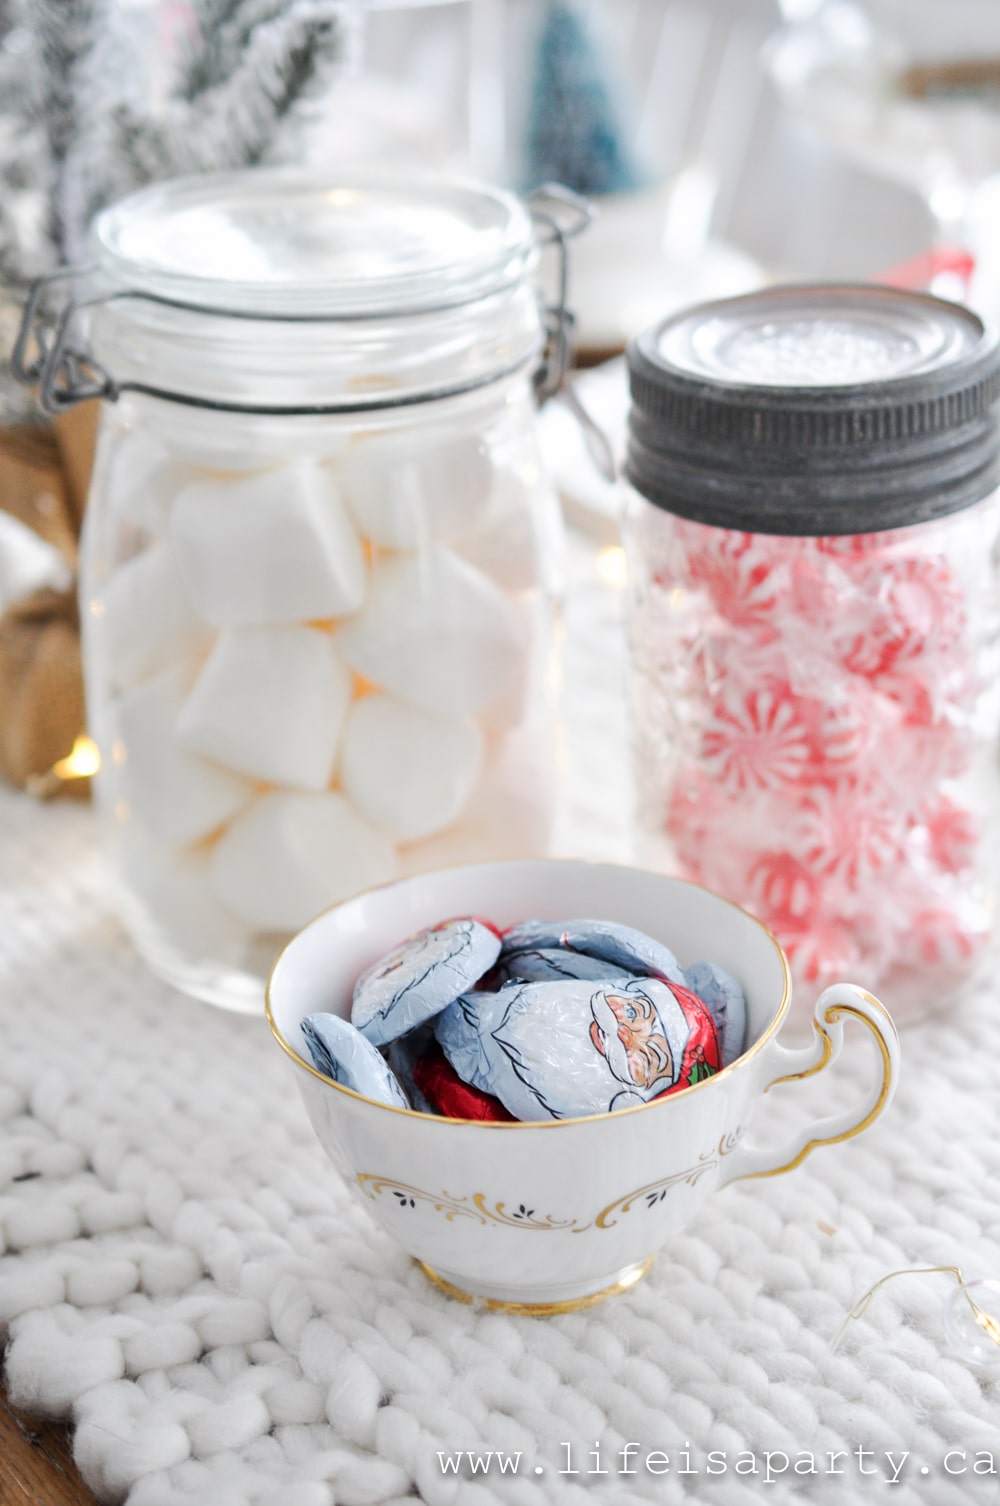
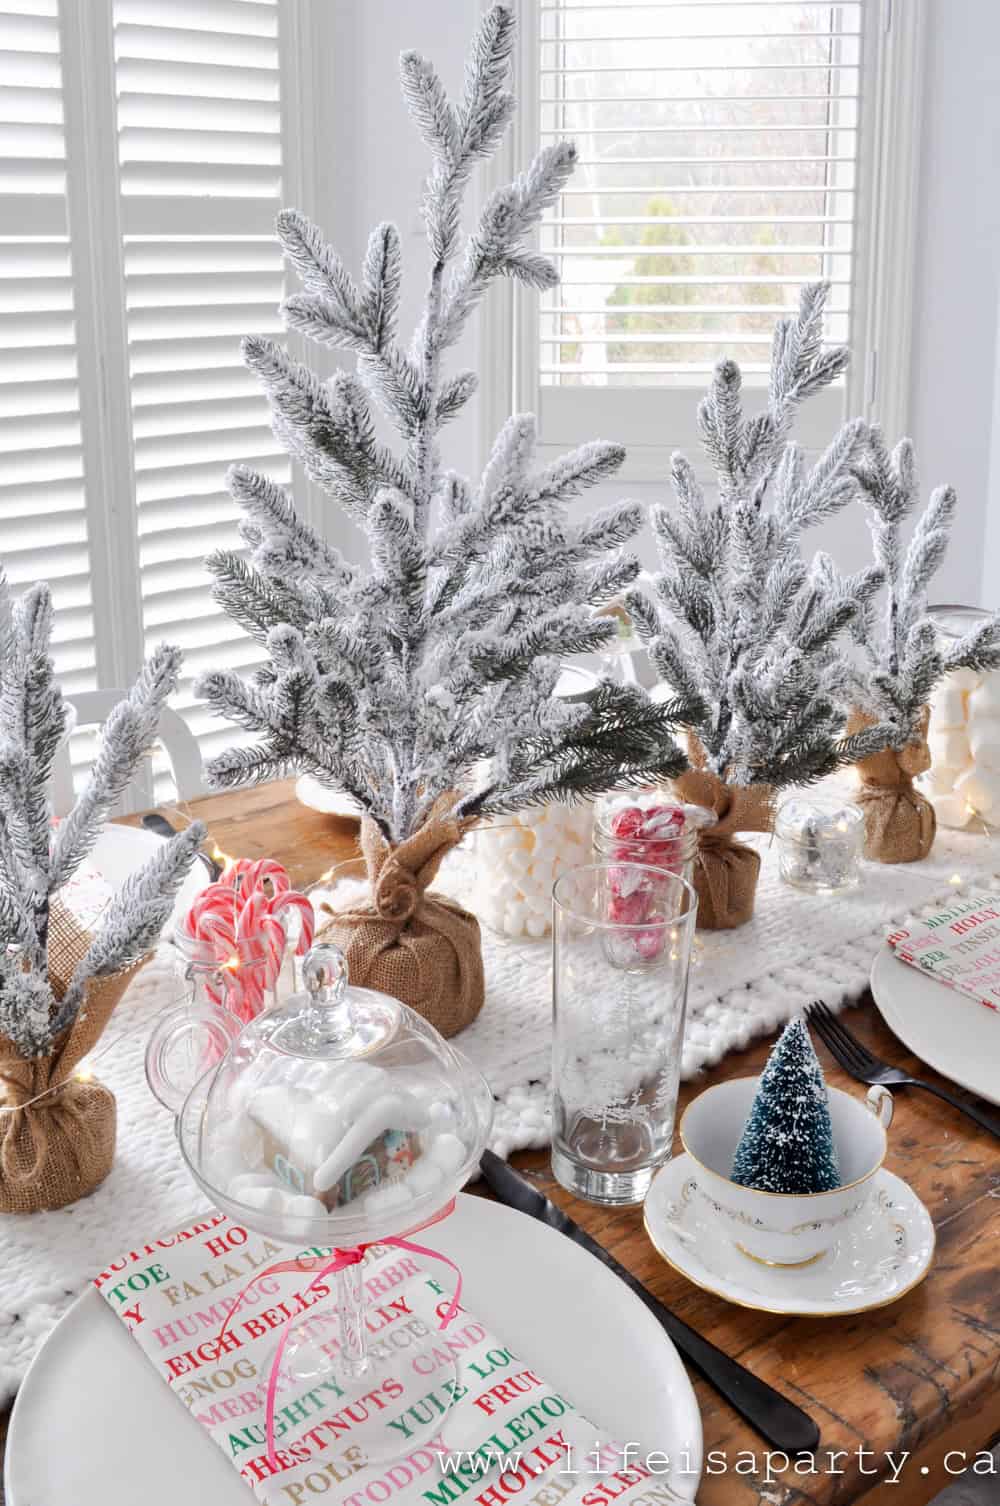
For the table itself, I decided to repeat the Christmas trees down the middle of the table.  While I was thrifting I also picked up a mix of mason jars.  They've been used to hold assorted Christmas candy on the table.

Thrift Store Christmas Table and Thrift Store Tips: beautiful Christmas table put together with thrift store finds, and 9 tips for thrifting.

I also found the pretty gold and white teacups while at the thrift store.  They would be lovely for hot chocolate at this table, and great with all the marshmallows, candy canes, and chocolates on the table too.

Thrift Store Christmas Table and Thrift Store Tips: beautiful Christmas table put together with thrift store finds, and 9 tips for thrifting.

I put some little bottle brush trees in each one.   They look so cute.

Thrift Store Christmas Table and Thrift Store Tips: beautiful Christmas table put together with thrift store finds, and 9 tips for thrifting.

Placesettings

Most of the rest of the placesetting is from items I already had.  I shopped my house.  I also love to mix vintage with modern pieces and the black cutlery, pottery plates, and fun napkins add a bit of an updated feel to the table.

Thrift Store Christmas Table and Thrift Store Tips: beautiful Christmas table put together with thrift store finds, and 9 tips for thrifting.

Gingerbread Houses

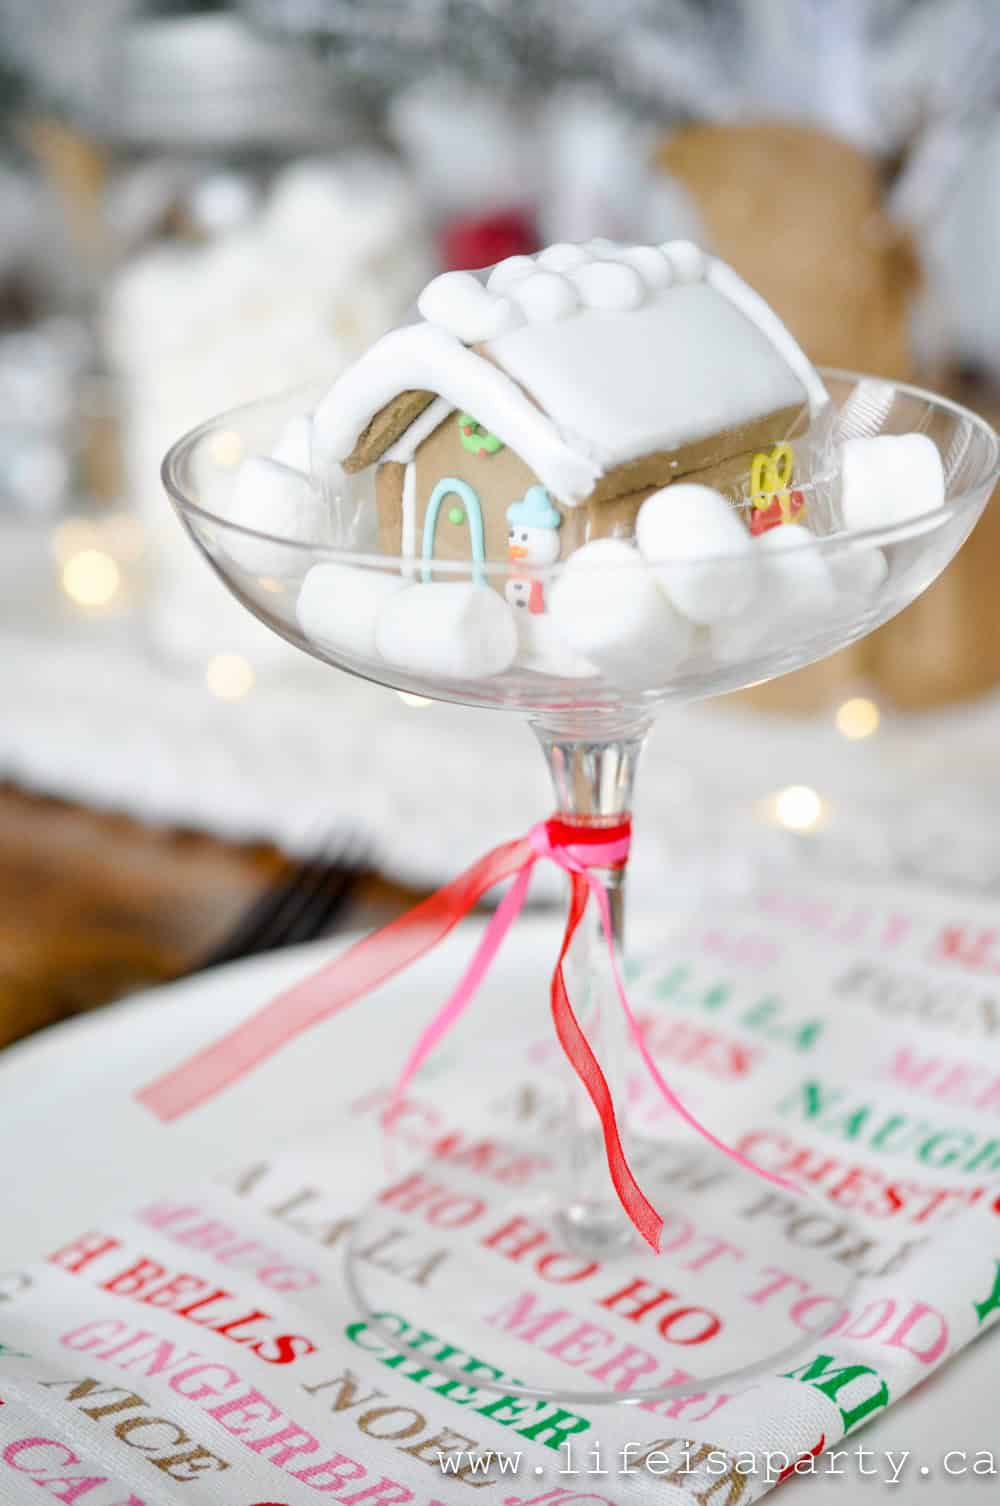
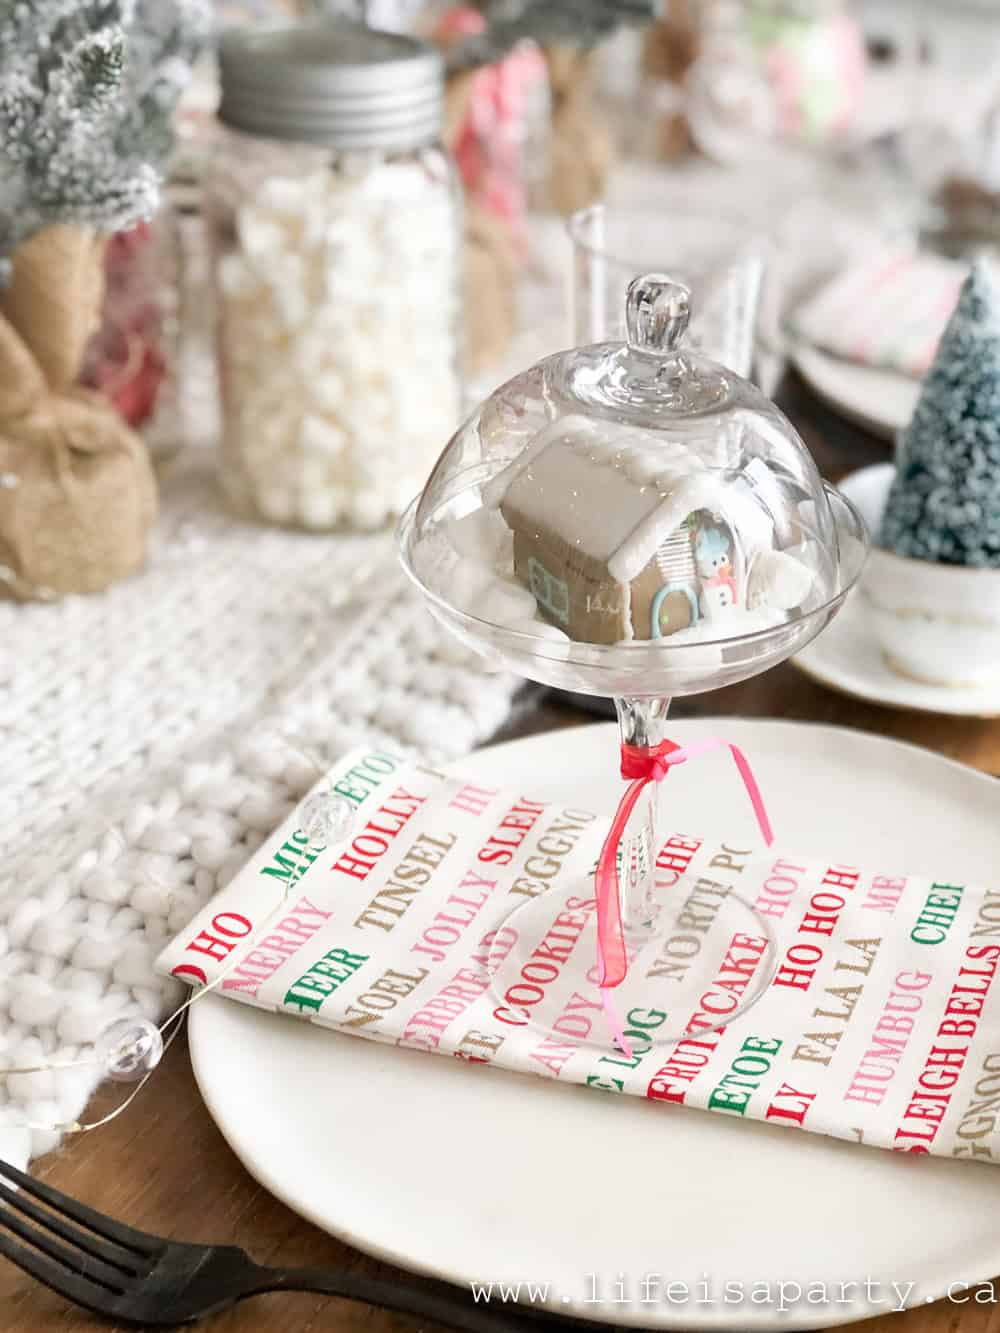
One of my favourite elements on the table are the cute little gingerbread houses.  If you didn't have glass cloches like mine vintage champagne flutes would be really pretty too.

Thrift Store Christmas Table and Thrift Store Tips: beautiful Christmas table put together with thrift store finds, and 9 tips for thrifting.

I picked up the little gingerbread houses at the dollar store -or make your own, and surrounded them with mini marshmallows for a bit of snow globe effect.  Just a little ribbon added to them helps tie them back to our colour scheme.

Thrift Store Christmas Table and Thrift Store Tips: beautiful Christmas table put together with thrift store finds, and 9 tips for thrifting.

This table was so much fun to put together.  And I hope these thrifting tips are helpful too.

Thrift Store Christmas Table and Thrift Store Tips: beautiful Christmas table put together with thrift store finds, and 9 tips for thrifting.

With a pretty thrifted Christmas table, life really is a party!

More Inspiration

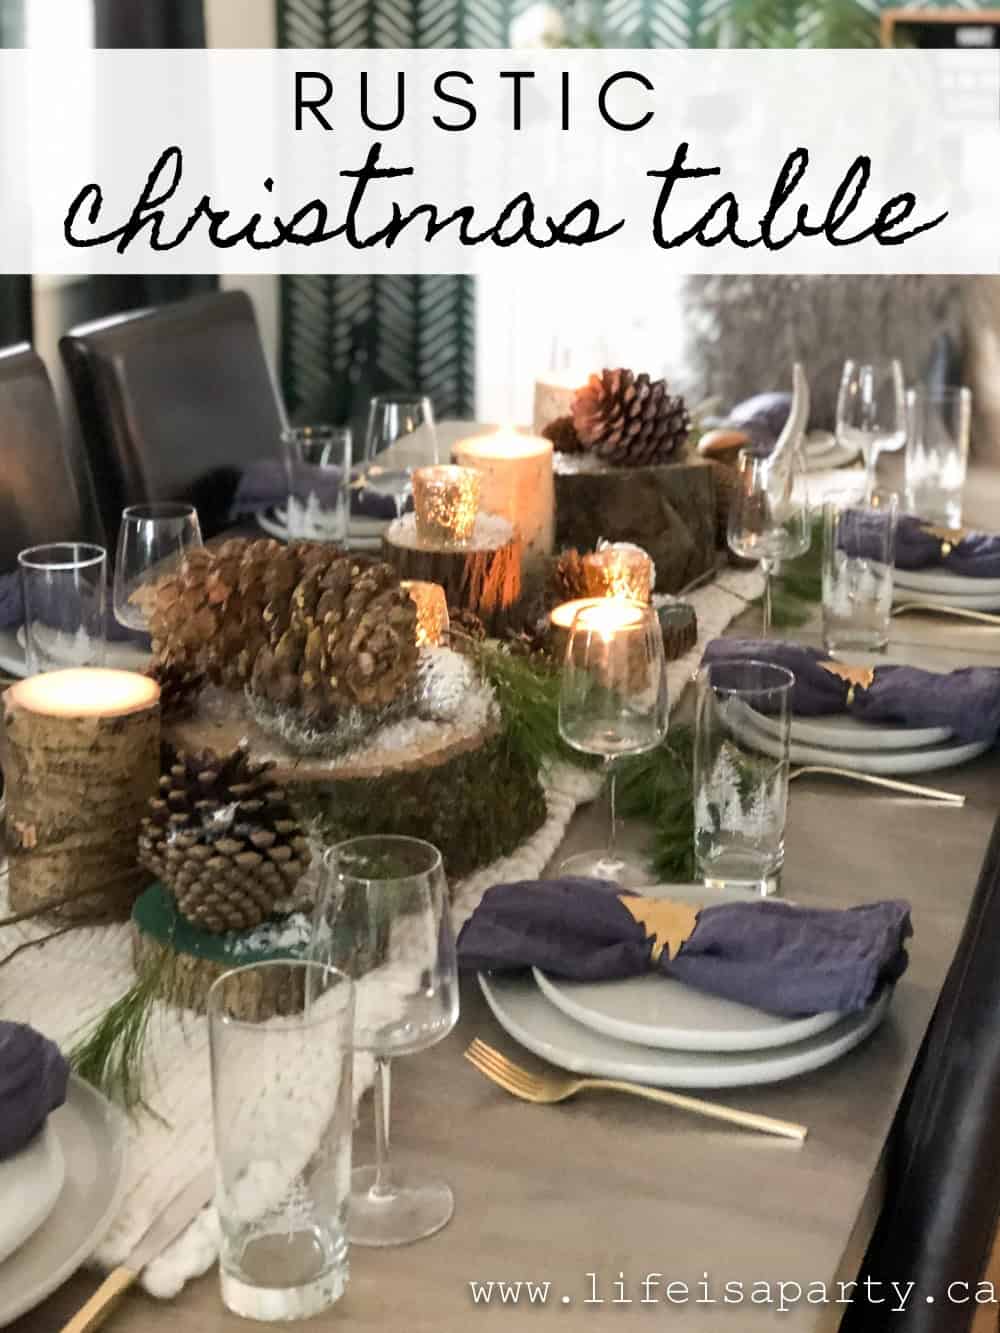
You might also like our Rustic Christmas Table here.

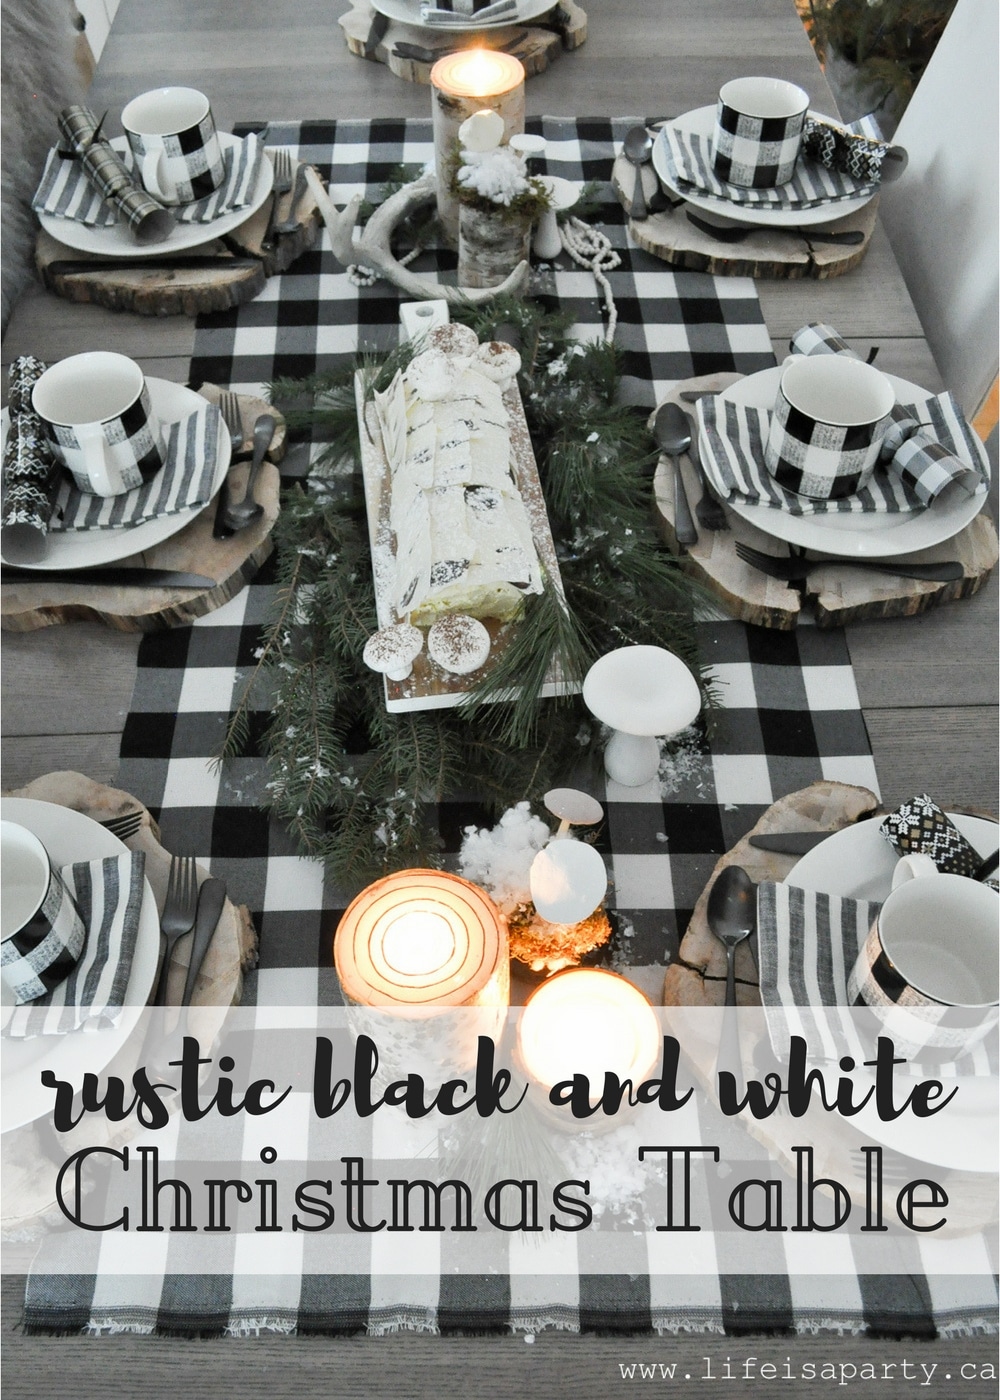
Also check out our Black and White Christmas Table here.

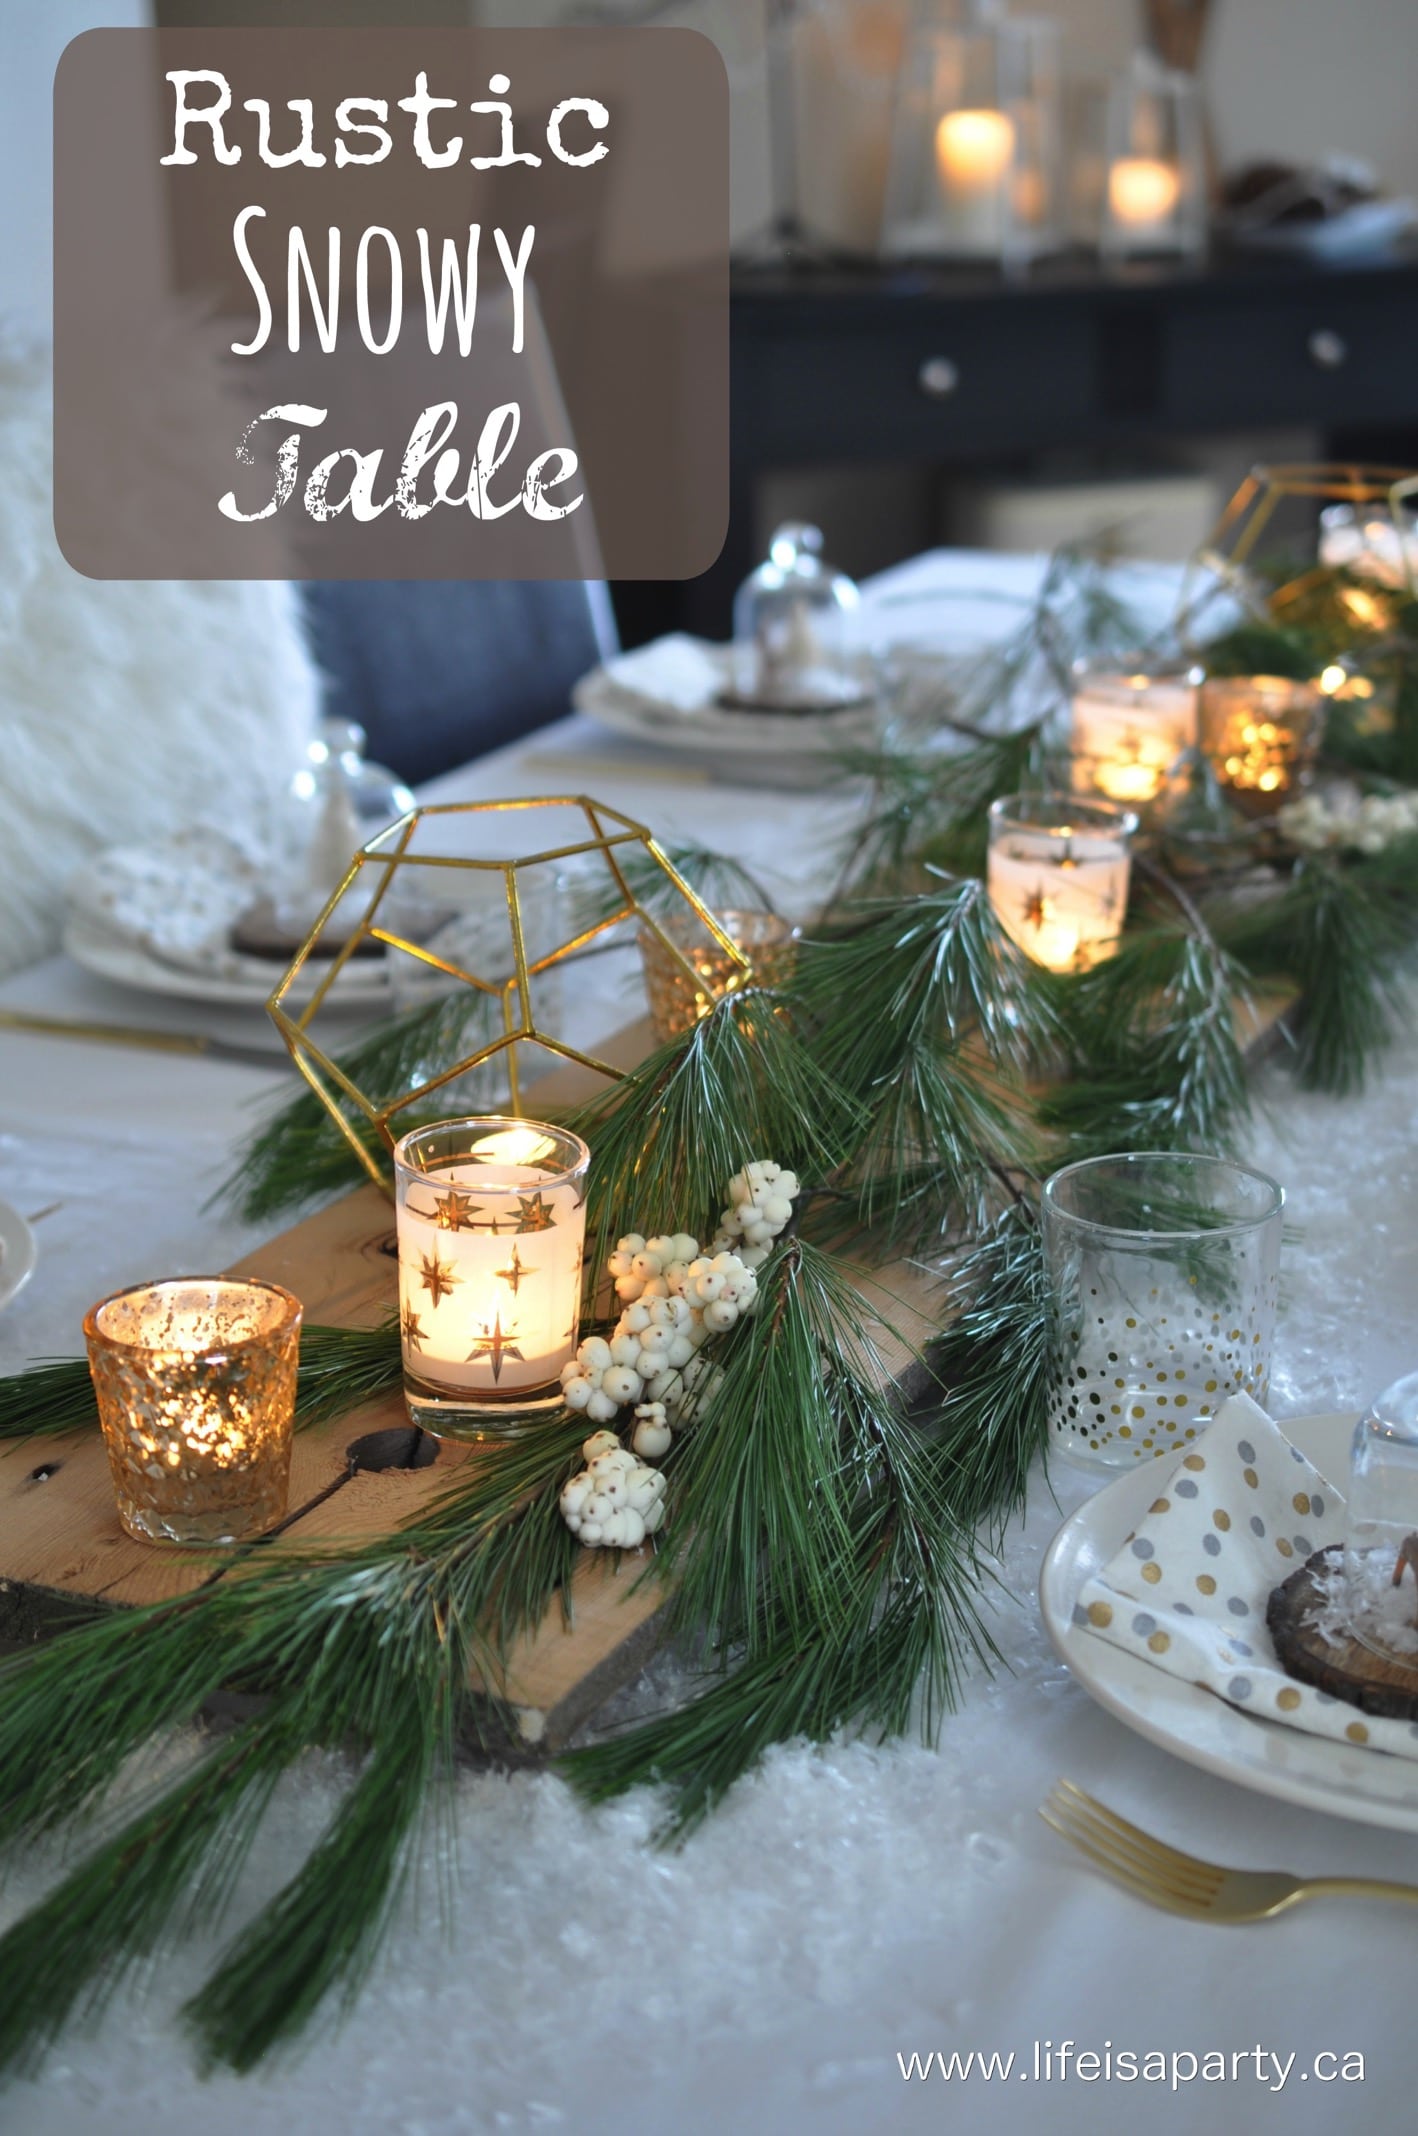
You might also enjoy our Rustic Snowy Table here.

Pumpkin Bread Pudding

Nov 21, 2019 · 1 Comment

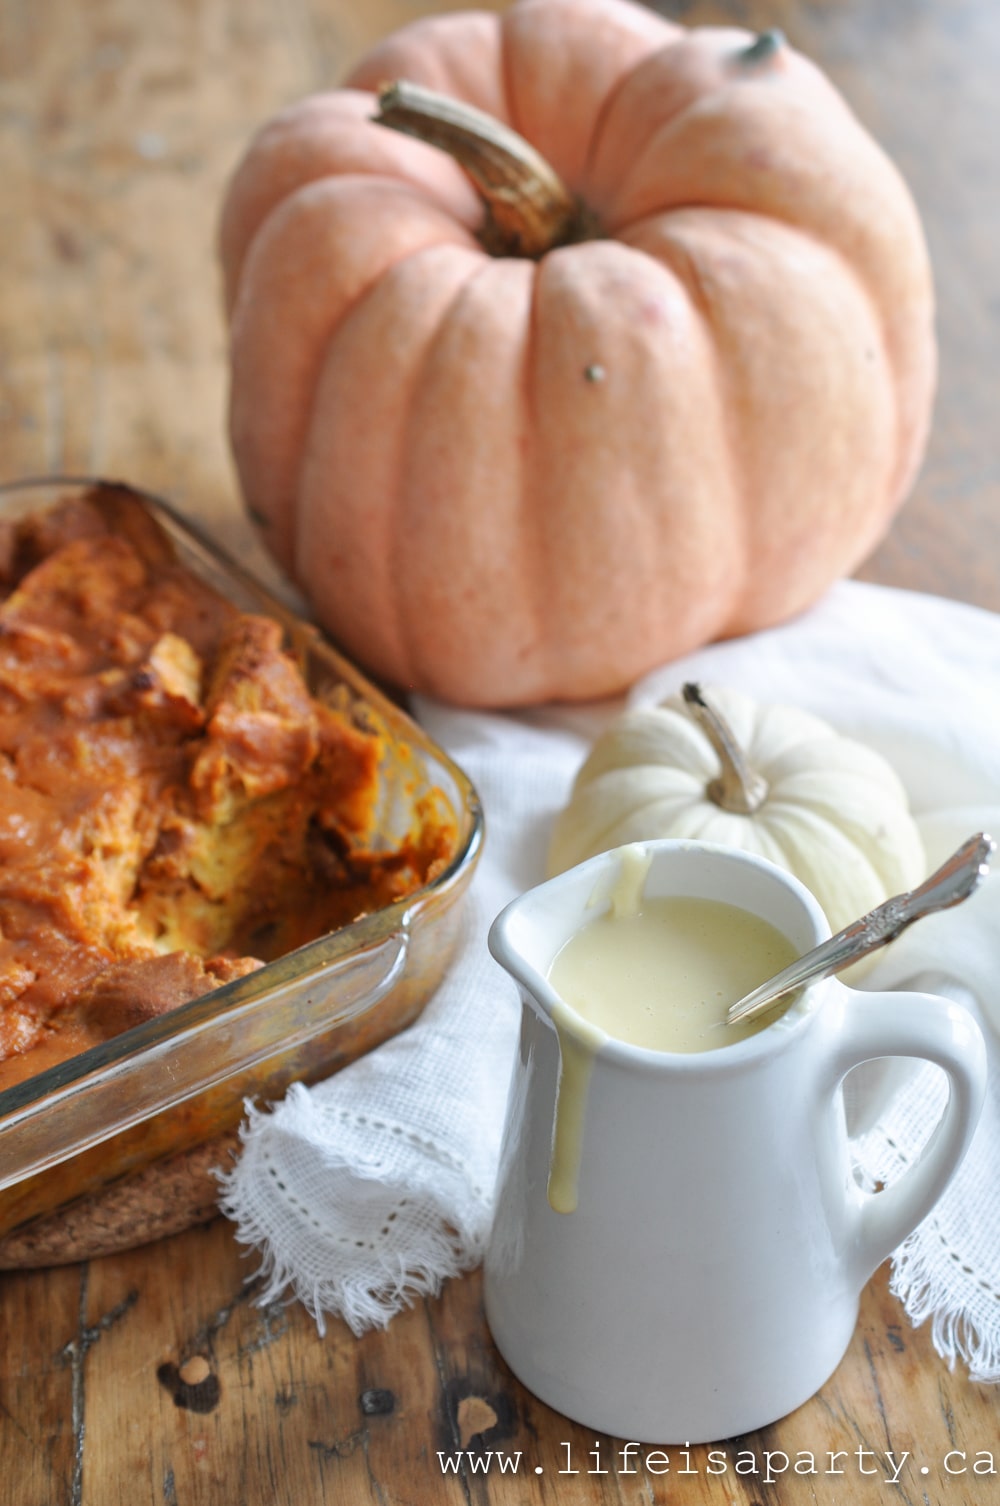
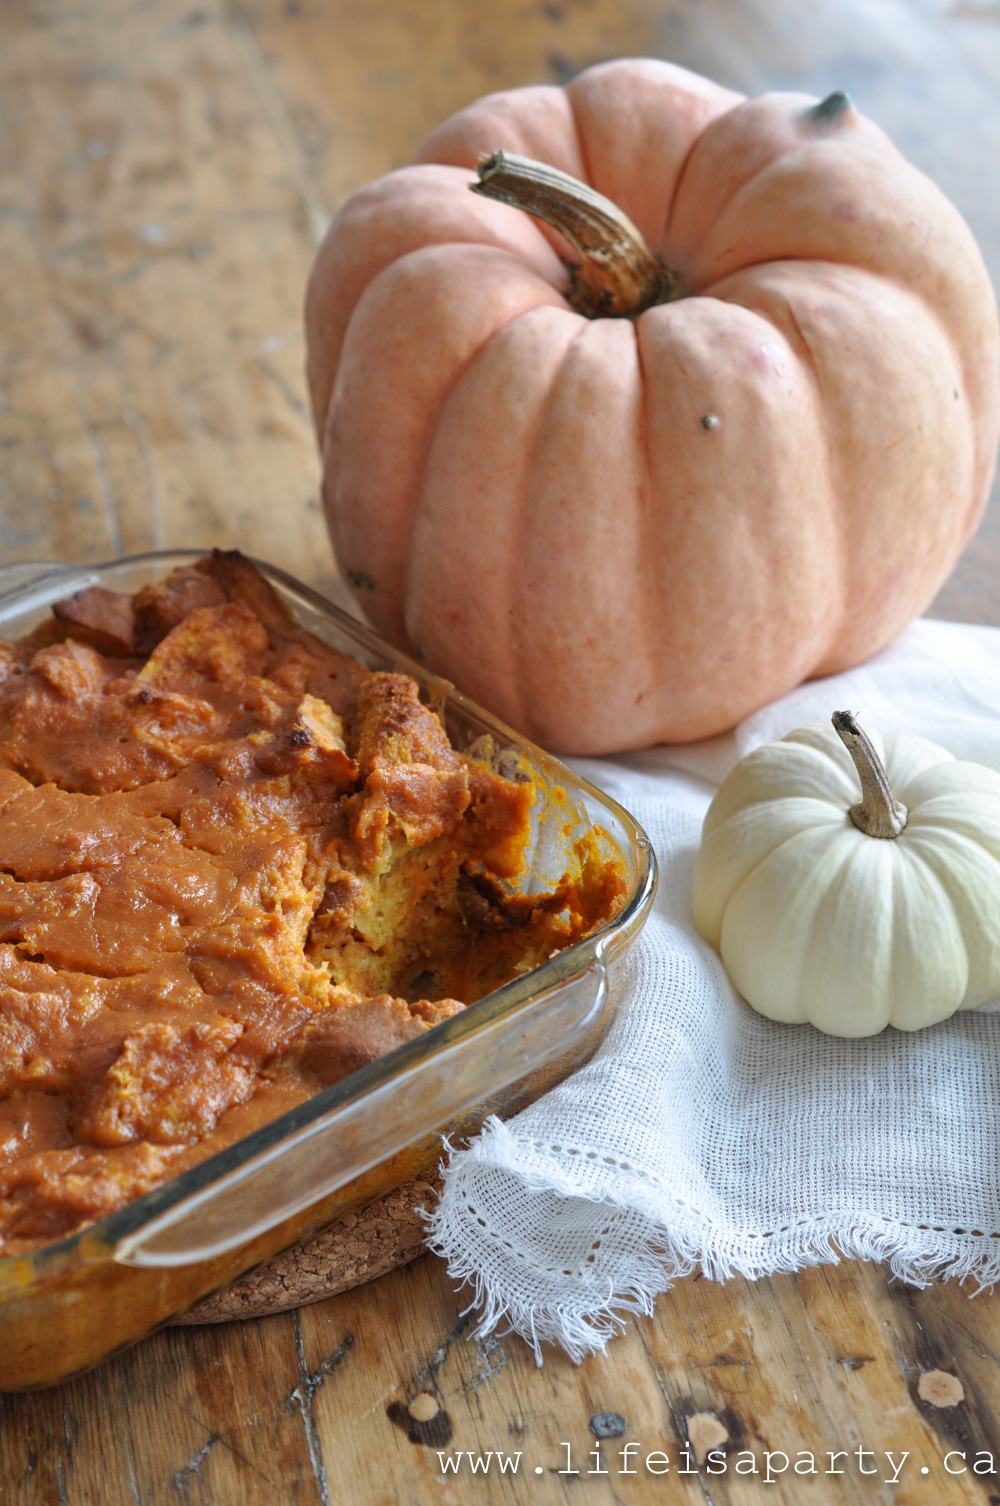
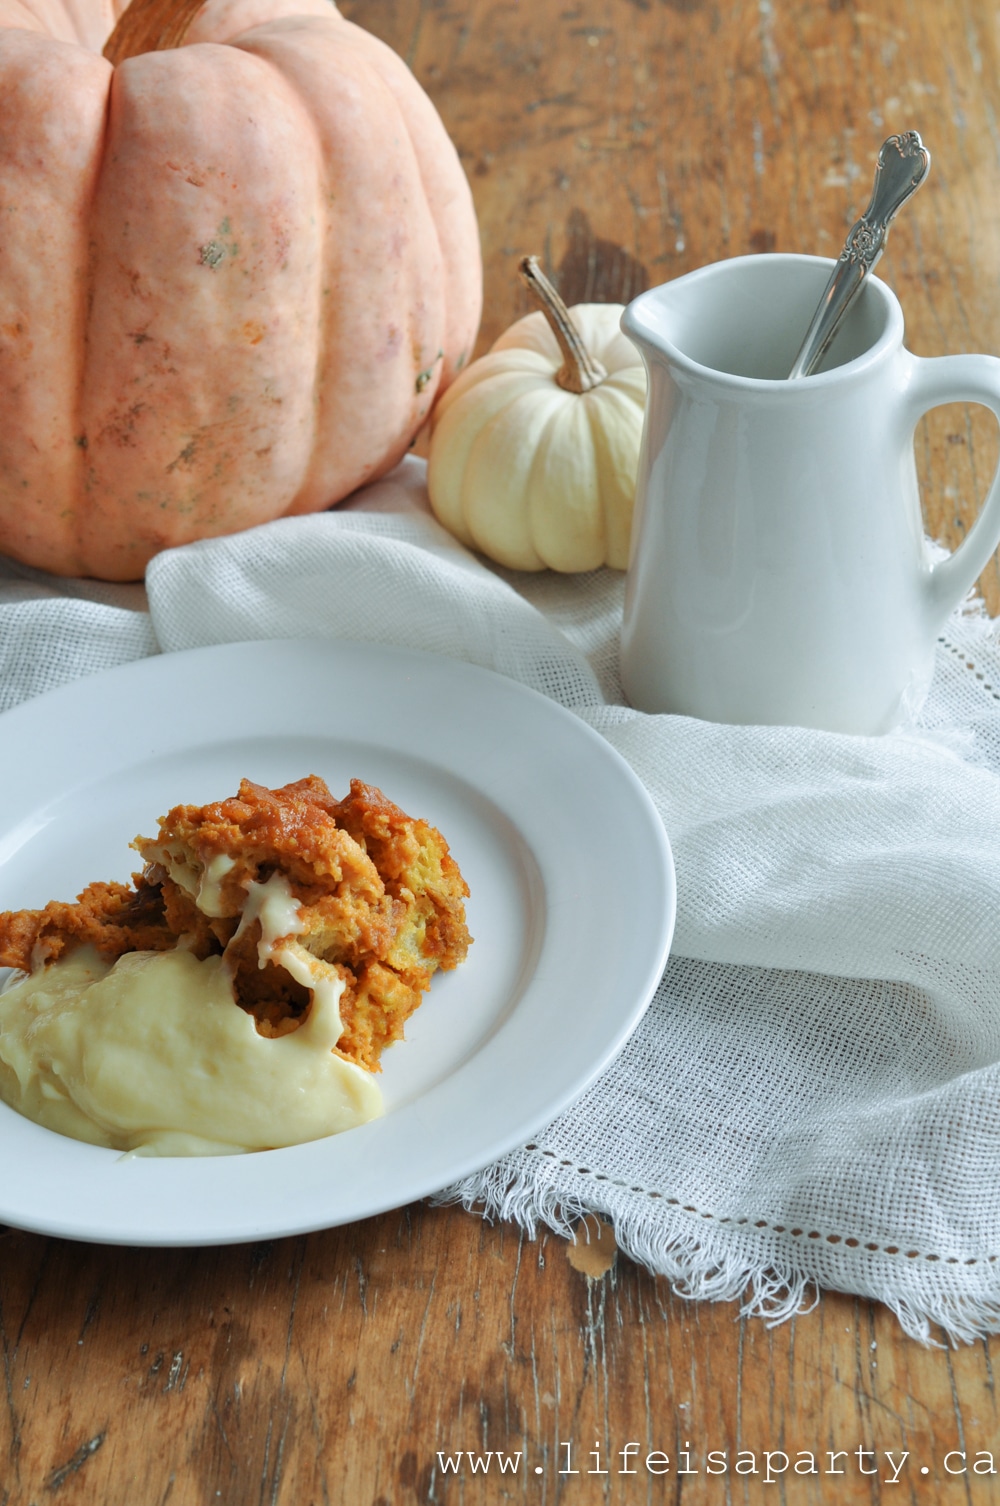
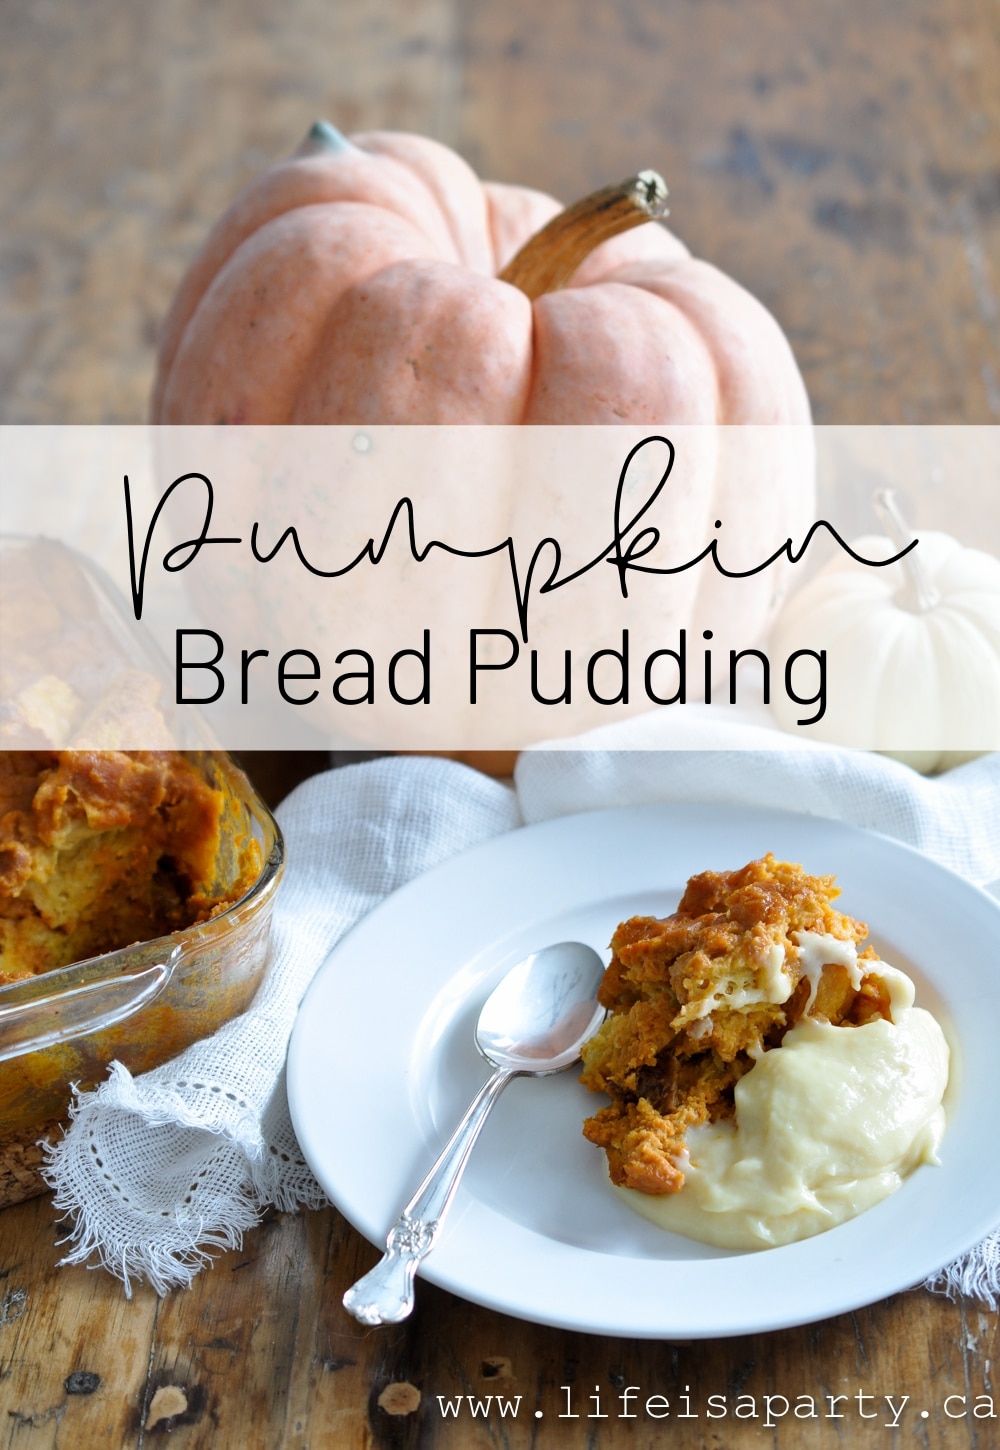
pumpkin bread pudding

Pumpkin Bread Pudding: this recipe is easy and delicious, perfect for Thanksgiving and the holidays.

pumpkin bread pudding
[feast_advanced_jump_to]

Perfect for Thanksgiving or the Holidays

This pumpkin bread pudding recipe is the perfect easy pumpkin dessert.  Don't bother messing around with pastry, or other complicated pumpkin desserts.  This easy pumpkin bread pudding is pure comfort food, and so delicious.  It would be a great addition to your Thanksgiving and holiday baking lineup.  Or it makes an impressive dessert for a dinner party for lovers of all things pumpkin.  

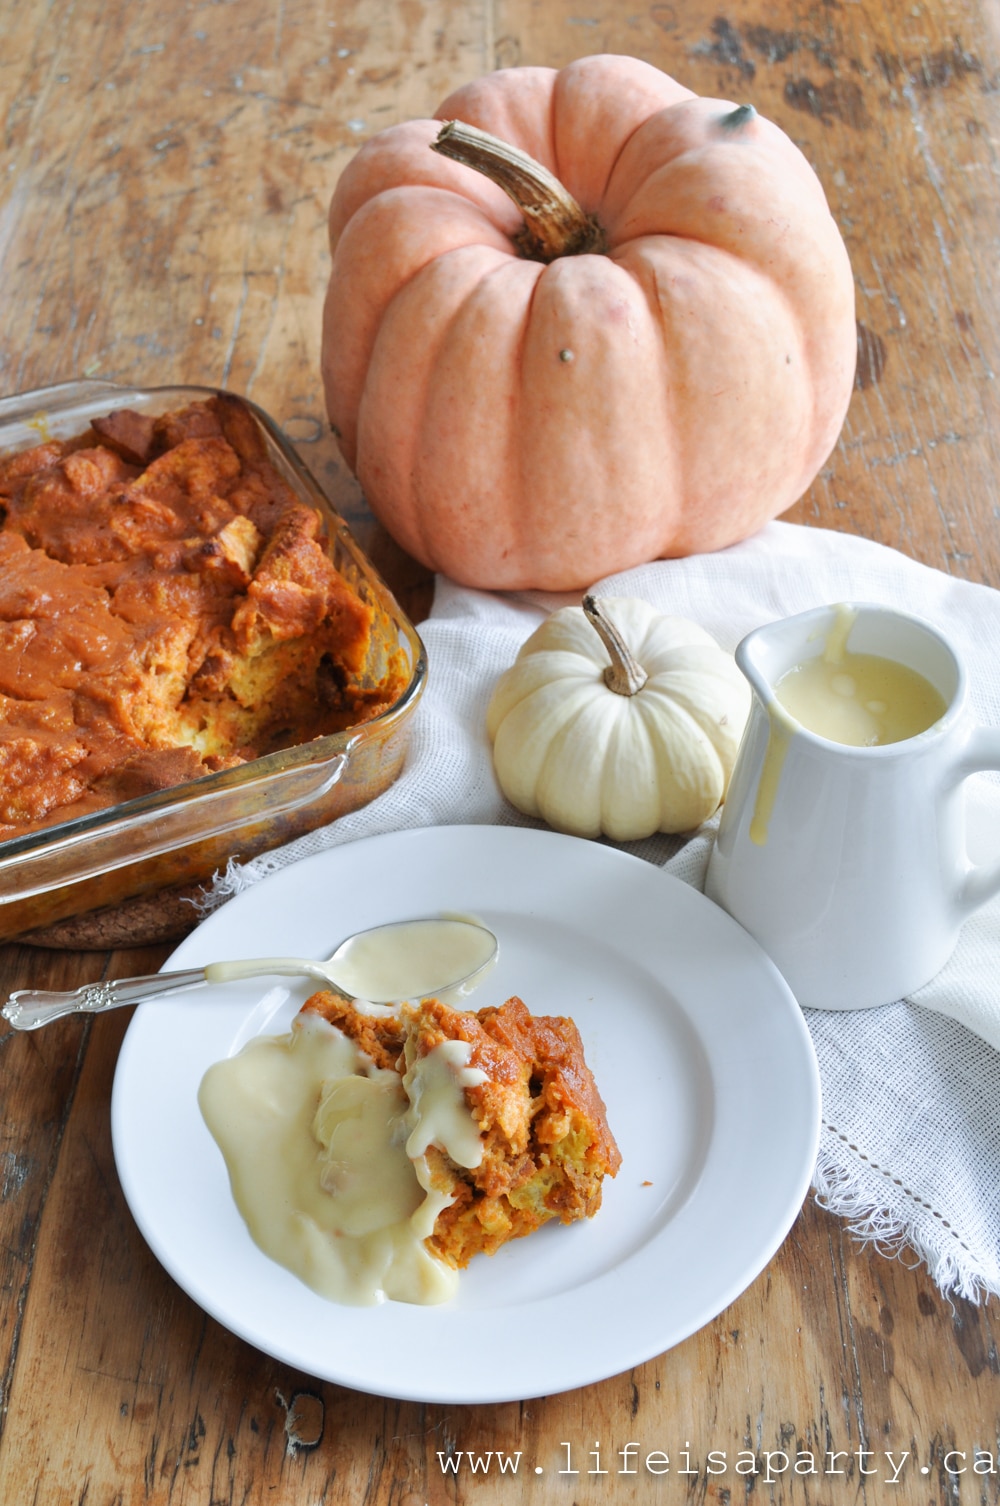
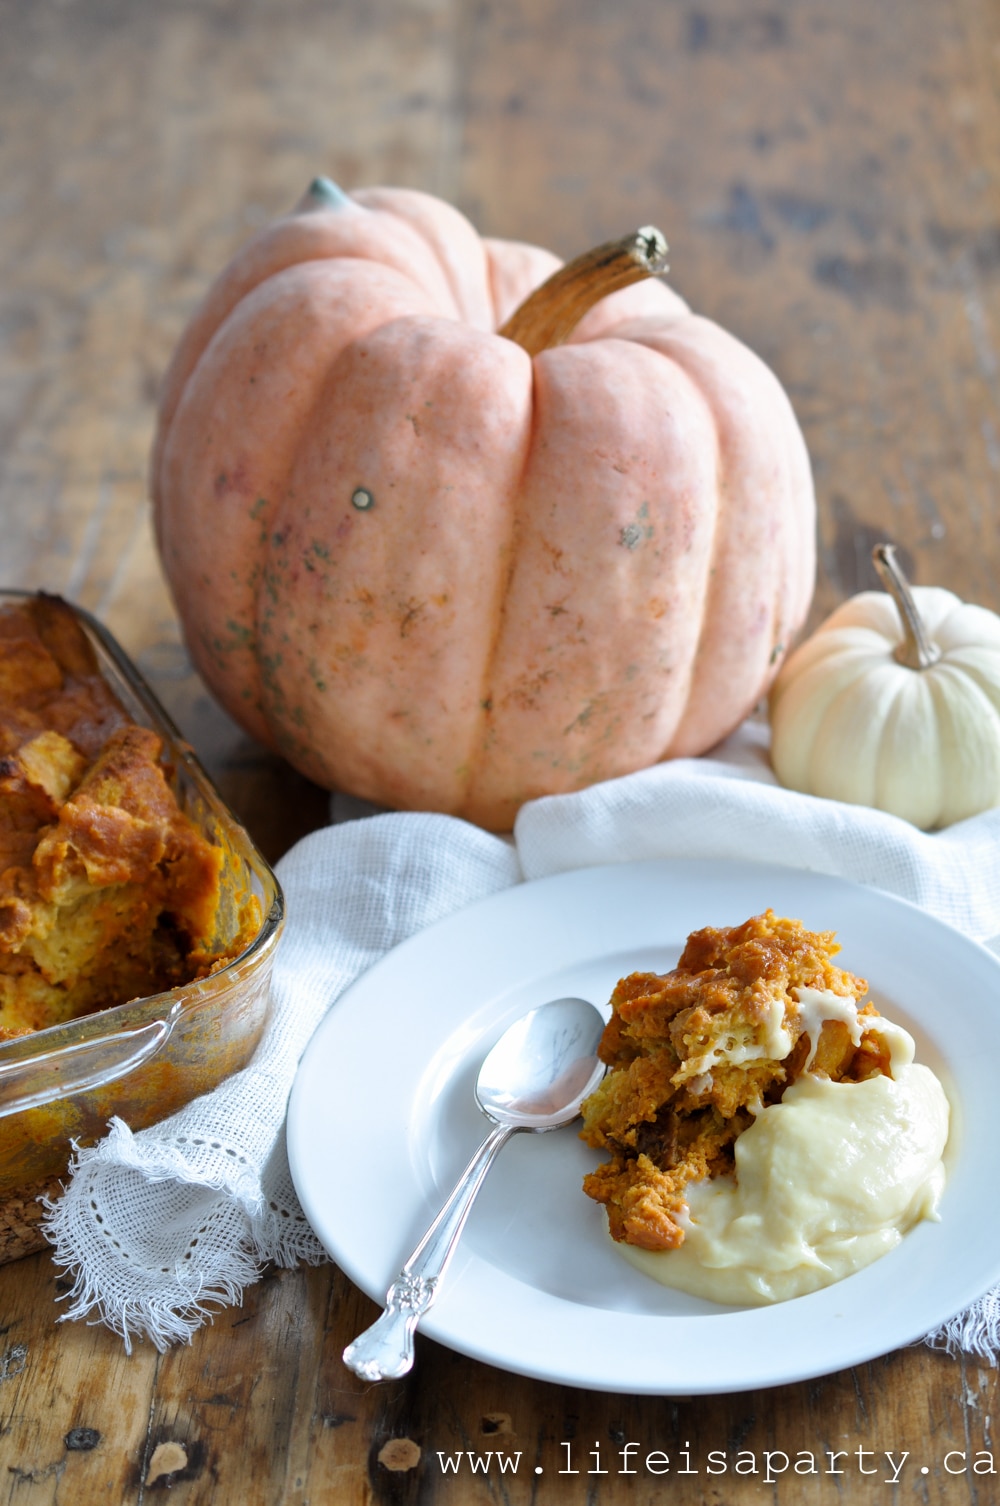
Pumpkin Bread Pudding with custard sauce

Secret Ingredient -Bread Options

I'm a big fan of bread pudding recipes in general, but this pumpkin version is the perfect twist for the holidays.  It's pumpkin-y and creamery, and so, so good.  And bread pudding is really easy to put together.  This pumpkin bread pudding is taken to the next level by using egg bread.  

how to make Pumpkin Bread Pudding

We have a little family run bakery nearby that sells fresh egg bread each day.  It's the kind of place that bakes each morning and sells out each afternoon.  They aren't the cutest building and I have to admit that if someone hadn't told me to go there I probably would have passed it by.  Since discovering it a few years ago we seriously go just about every week.  Egg bread can be a little tricky to find, but it adds a richness to this dish that can't be beat.  If you don't have egg bread available you could try this recipe with challah bread, or French bread, or any crusty bread to make your cubed bread.  You could also try it with cinnamon  swirl bread.

Bread pudding is an early nineteenth century England creation, as a way to use up stale bread.  Homemade bread pudding is easy to make and a great way to use up old bread or leftover bread, and turn it into a wonderful dessert.  Our delicious pumpkin bread pudding version has plenty of warm spices like a traditional pumpkin pie, but without all the effort.  You'll love this dish as a great make-ahead dish, especially when entertaining this fall season.  It's the perfect dessert for fall flavors.  

Pumpkin Puree

When shopping for your pumpkin puree, be careful not to purchase pumpkin pie filling by mistake.  The canned pumpkin pie filling already has sugar and pumpkin pie spices mixed in.  You want to use pumpkin puree, which is canned pumpkin only.  

You could also make homemade pumpkin puree if you prefer.  Use small pie pumpkins to make your puree for the best and sweetest flavor.

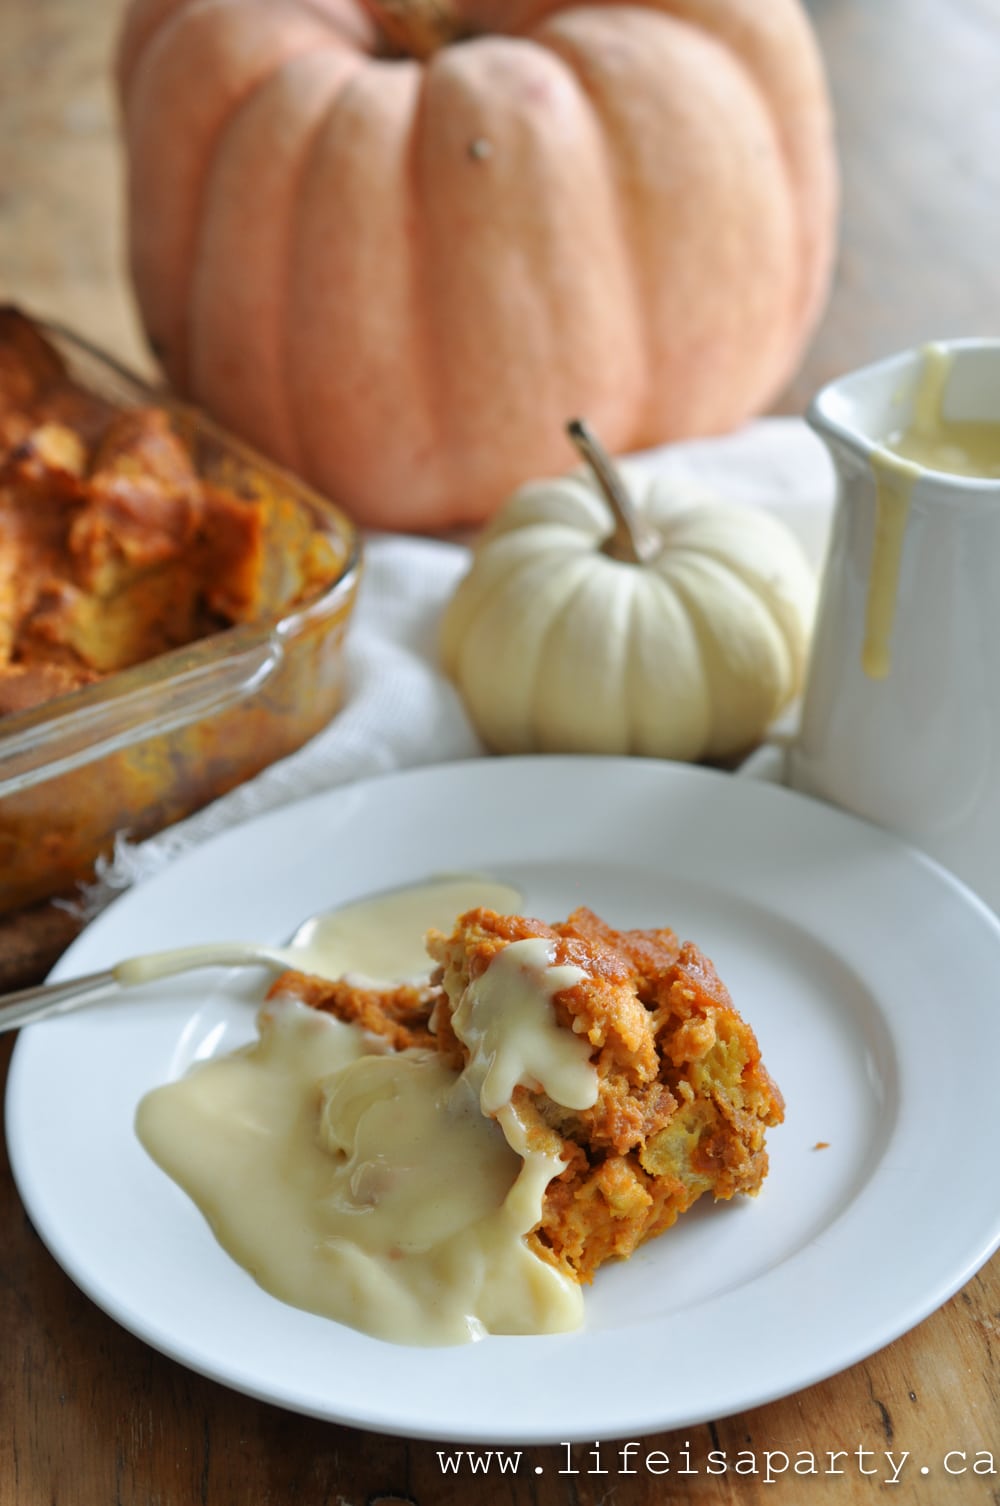
Pumpkin Bread Pudding with warm custard sauce
Pumpkin Bread Pudding recipe

I hope you love this recipe as much as I do.  Just typing it up and seeing the pictures again has my mouth watering and makes me want to make it again soon.  This is a great recipe if you're a pumpkin lover.

Bread Pudding with pumpkin

What To Serve With It

I served this at a dinner party the night I took the pictures.  In fact, I was finishing up the pictures just as my guest were arriving.  We had a lovely cheese board, and some amazing pasta with braised beef, Caesar salad and garlic bread.  But you know what everyone was just waiting for?  The dessert they saw and smelled when they arrived.  After waiting all evening for it, finally they were able to report it was worth the wait!  

I served the pumpkin bread pudding warm with warm custard sauce.  You can make your own, or look for the canned version at the grocery store.  It would also be delicious with a bourbon sauce, or your favorite caramel sauce.  This dish has great pumpkin flavor and is wonderful served with vanilla ice cream.  The warm bread pudding is so good with a scoop of ice cream, which starts to melt and tastes delicious.  But you can also serve this dish at room temperature.

Looking for a dish for crowd?  Feel free to double the recipe and bake in a larger baking dish, and increase the baking time slightly.

If you love pecans, you could add roasted chopped pecans to sprinkle over the top of pumpkin bread pudding for a little crunch.  

Pumpkin Bread Pudding thanksgiving dessert

This is the perfect dish this time of year, and the best bread pudding for pumpkin lovers.  It's the best way to finish off a meal, or even Thanksgiving dinner.  It's sure to become a family favorite. If you love easy recipes that are also delicious, you love this easy bread pudding.

Recipe

pumpkin bread pudding

Pumpkin Bread Pudding

Classic bread pudding get's a fall makeover with the flavour of pumpkin and cinnamin.
5 from 1 vote
Print Pin Rate
Course: Desserts
Cuisine: American
Prep Time: 10 minutes minutes
Cook Time: 30 minutes minutes
Total Time: 40 minutes minutes
Servings: 9 servings
Calories: 333kcal
Author: Dannyelle Nicolle-Ramjist

Ingredients

  • 7 cups of egg bread cubed
  • 1 cup heavy cream
  • 3 eggs
  • 1 cup milk
  • 1 cup brown sugar
  • 2 cups pumpkin puree
  • 1 teaspoon vanilla
  • pinch of salt
  • 1 teaspoon cinnamon
  • warm custard to serve with

Instructions

  • Combine the pumpkin puree, eggs, milk, heavy cream, brown sugar, vanilla, cinnamon and salt in a large mixing bowl.
  • Cut your bread into 1-inch piece cubes. Add in 7 cups of bread cubes to the pumpkin mixture, and stir gently to combine without breaking up the bread cubes.
  • Pour the mixture into an 8 x 8 greased baking dish and bake at 350 degrees for 30 minutes.
  • Serve the bread pudding warm with a warm custard sauce.

Nutrition

Serving: 1g | Calories: 333kcal | Carbohydrates: 44g | Protein: 8g | Fat: 14g | Saturated Fat: 8g | Polyunsaturated Fat: 5g | Cholesterol: 118mg | Sodium: 198mg | Fiber: 2g | Sugar: 25g
Tried this Recipe? Tag me Today!Mention @LifeisaParty or tag #lifeisaparty!

With Pumpkin Bread Pudding for dessert, life is really a party!

More Inspiration

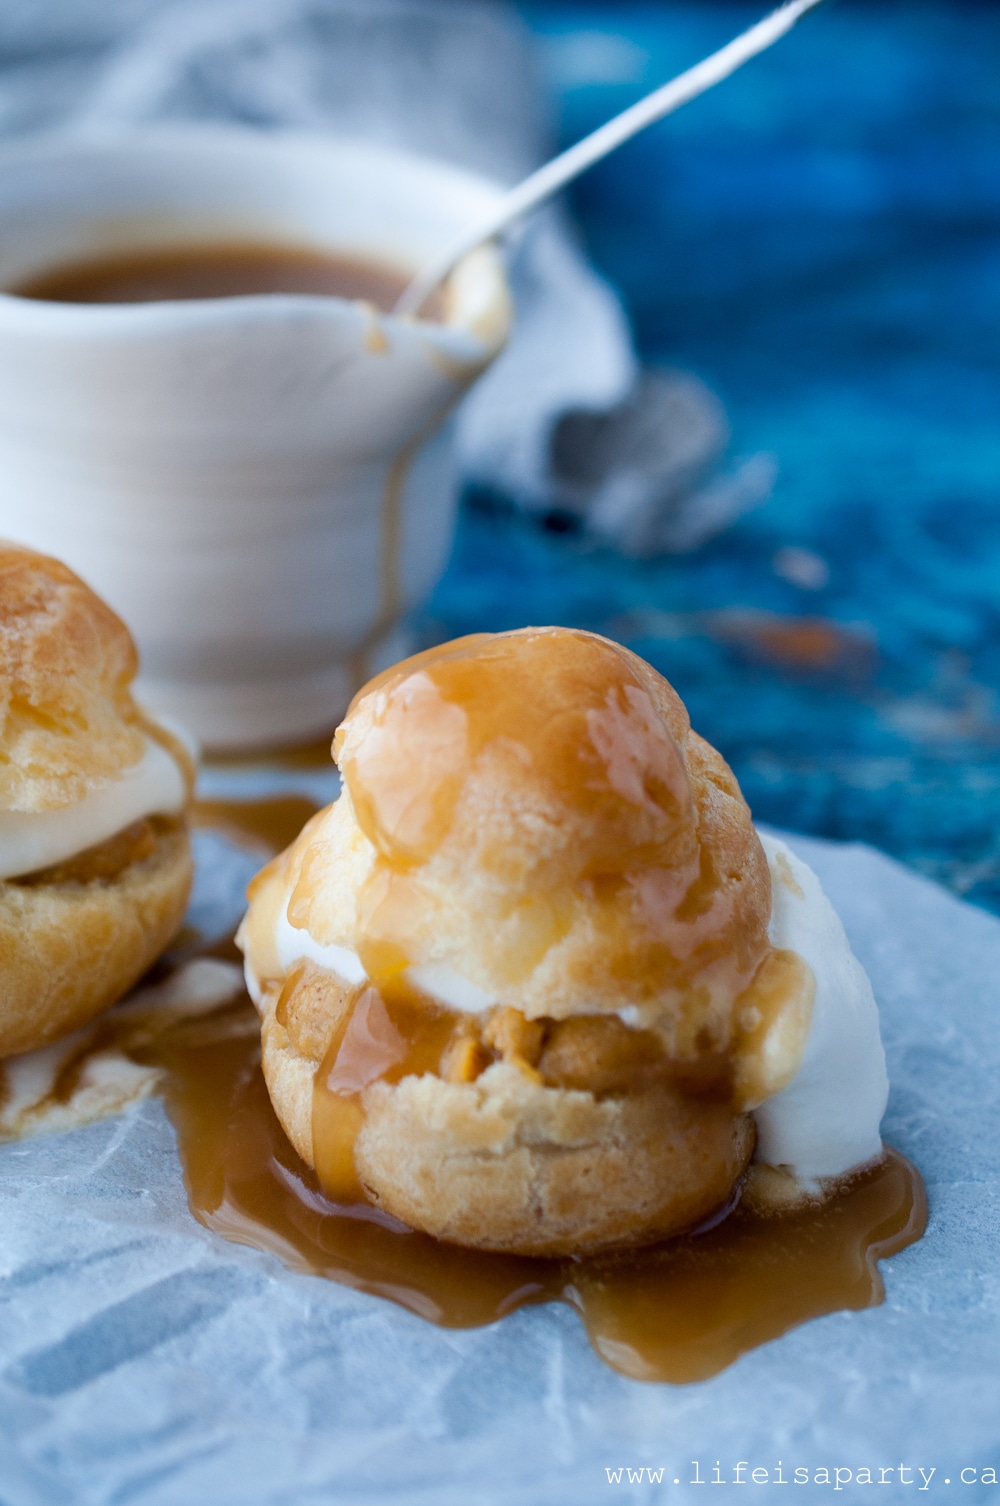
Love pumpkin recipes.  Check out our Pumpkin Cream Puffs here.

Pumpkin Cream Puffs: A cream puff filled with pumpkin pastry cream, whipped cream, and topped with warm caramel sauce for the perfect fall dessert.

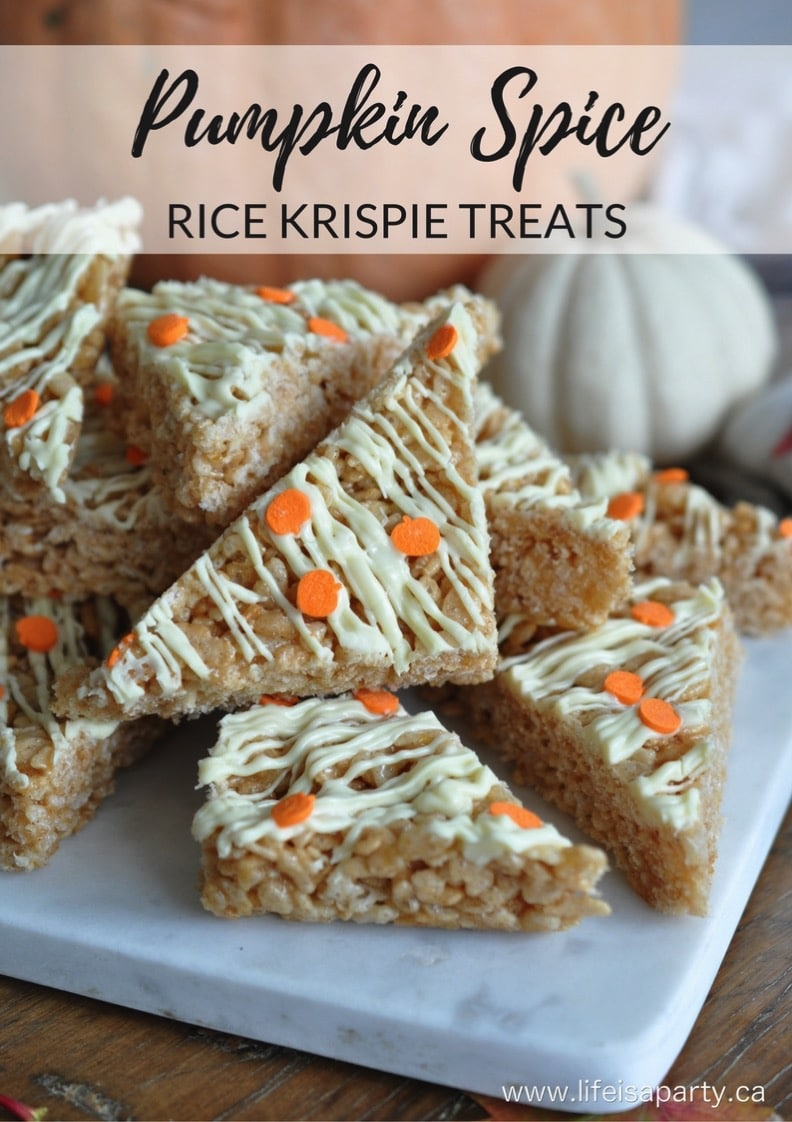
Also check out our Pumpkin Spice Rice Krispie Treats recipe here.

You might also like our Pumpkin Blondies here, they're a family favourite!

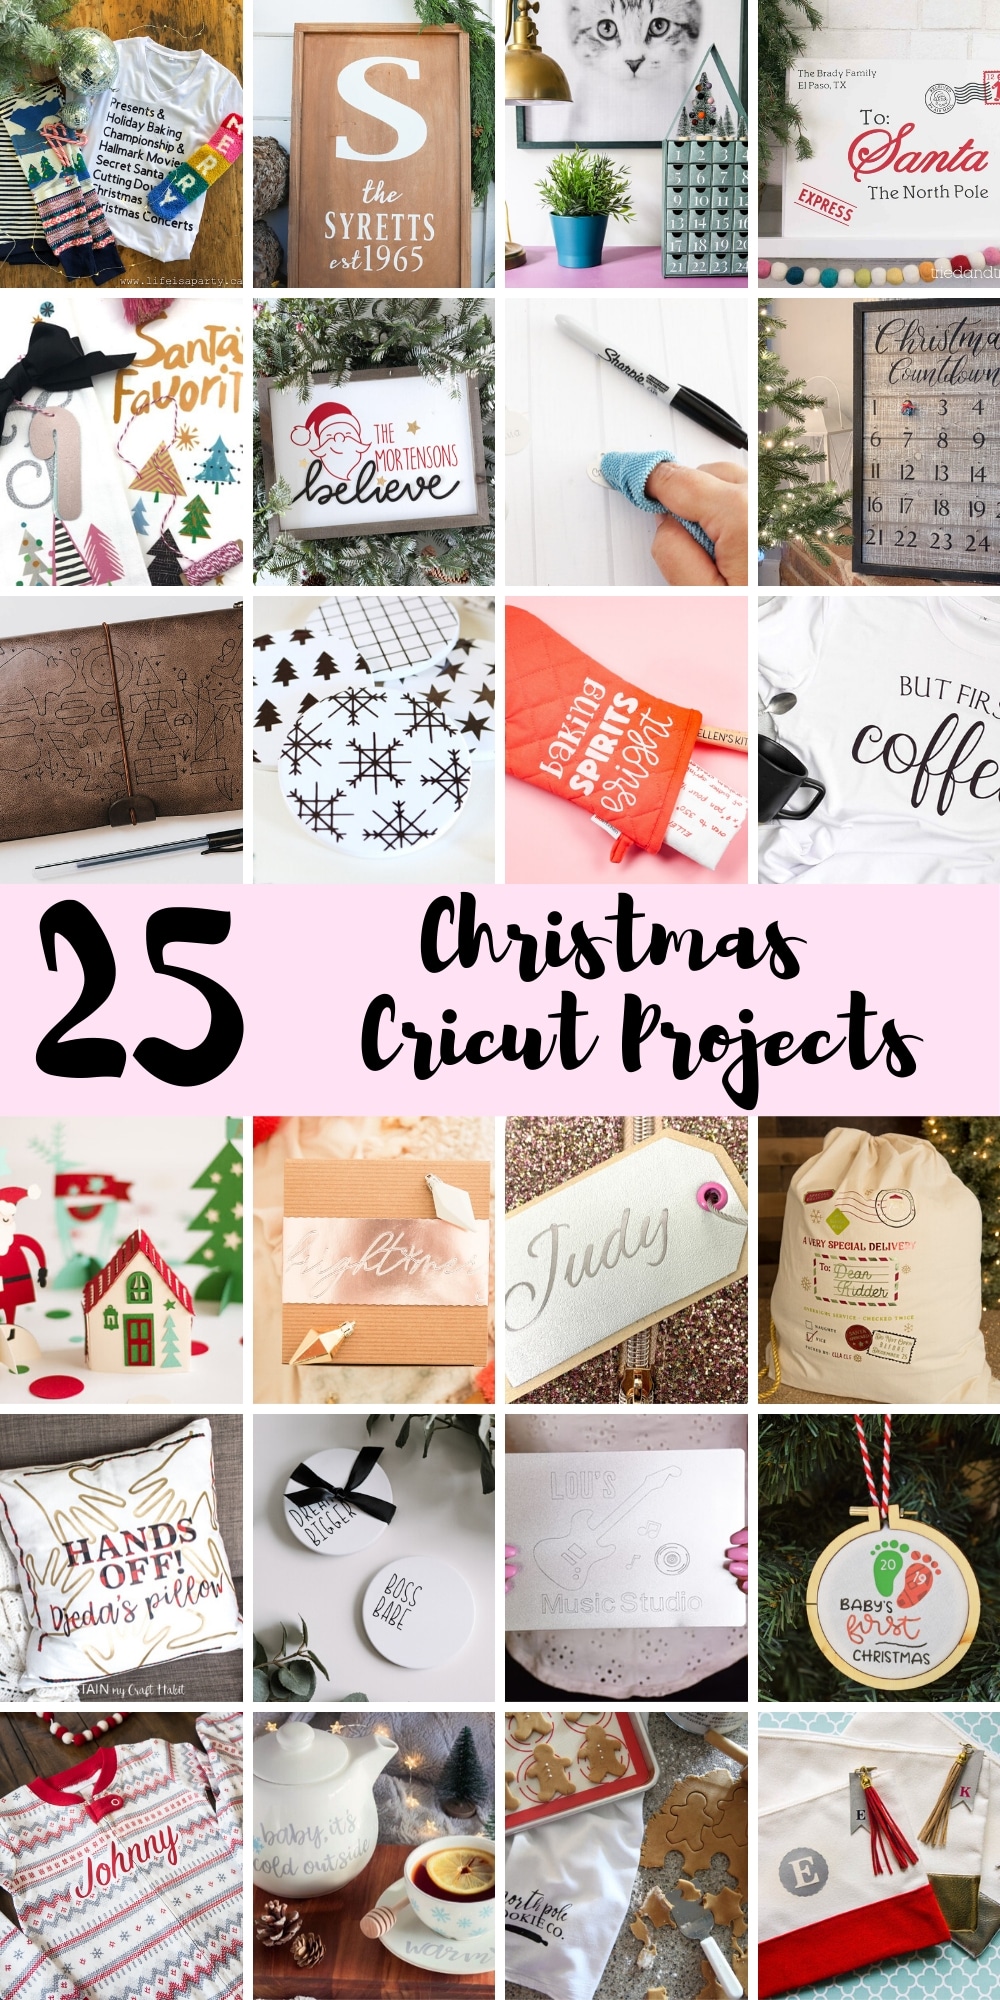
25 Christmas Projects You Can Make With Your Cricut

Nov 20, 2019 · Leave a Comment

25 Christmas Cricut Projects you can make for gift giving and celebrating.

25 Christmas Cricut Projects: inspiration and ideas for all your Christmas crafting with your Cricut machine.

25 Christmas Cricut Projects you can make for gift giving and celebrating.
[feast_advanced_jump_to]

One of my favourite crafting tools has become my Cricut machine. It's so versatile.  You can make so many amazing things with it. I especially love it around the holiday season when I can personalize gifts and decor.  Whether you have a Cricut joy, explorer, or maker, there are so many amazing Cricut craft ideas you make for the holidays.

Today I'm sharing 25 Christmas Projects you can make with your Cricut to get you inspired for all your holiday making!  There's so many great gift ideas for all your family members.  There's also cricut Christmas crafts for your holiday decor, advent calendars, cute ornaments, Christmas cards, Christmas stockings and more.  Put your Cricut cutting machine to good use this and create everything you need for this festive time of year.  There's so many great ideas that you will be inspired for the whole season.

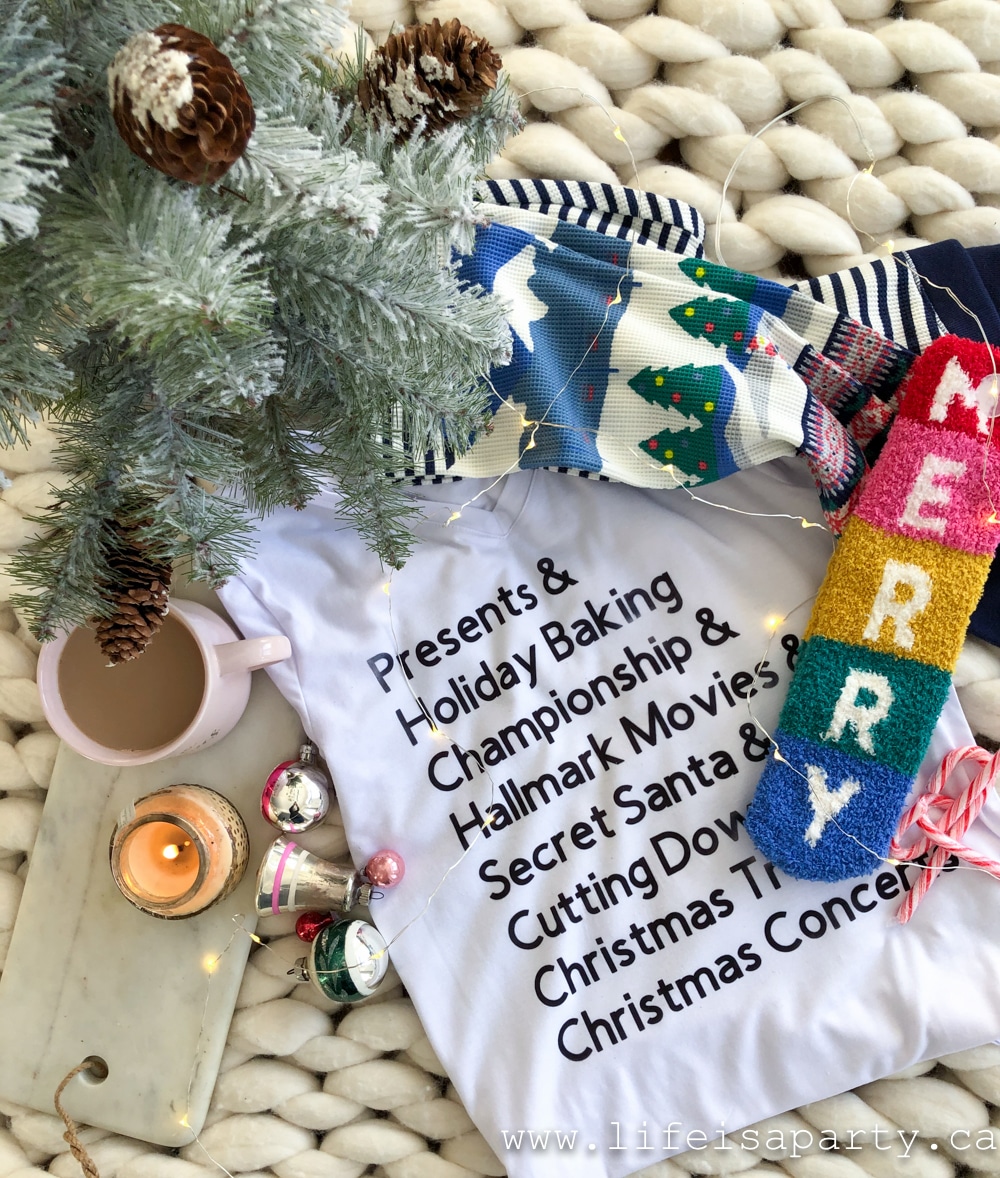
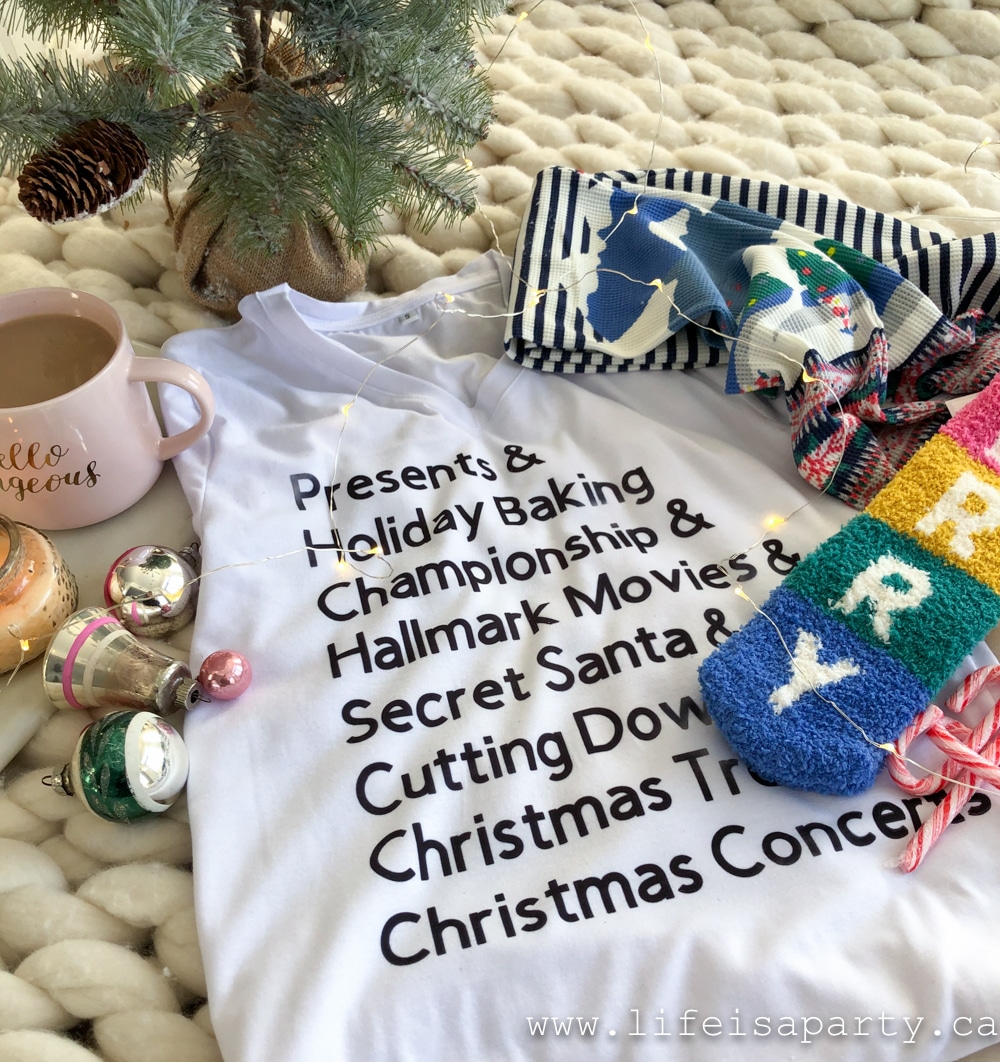
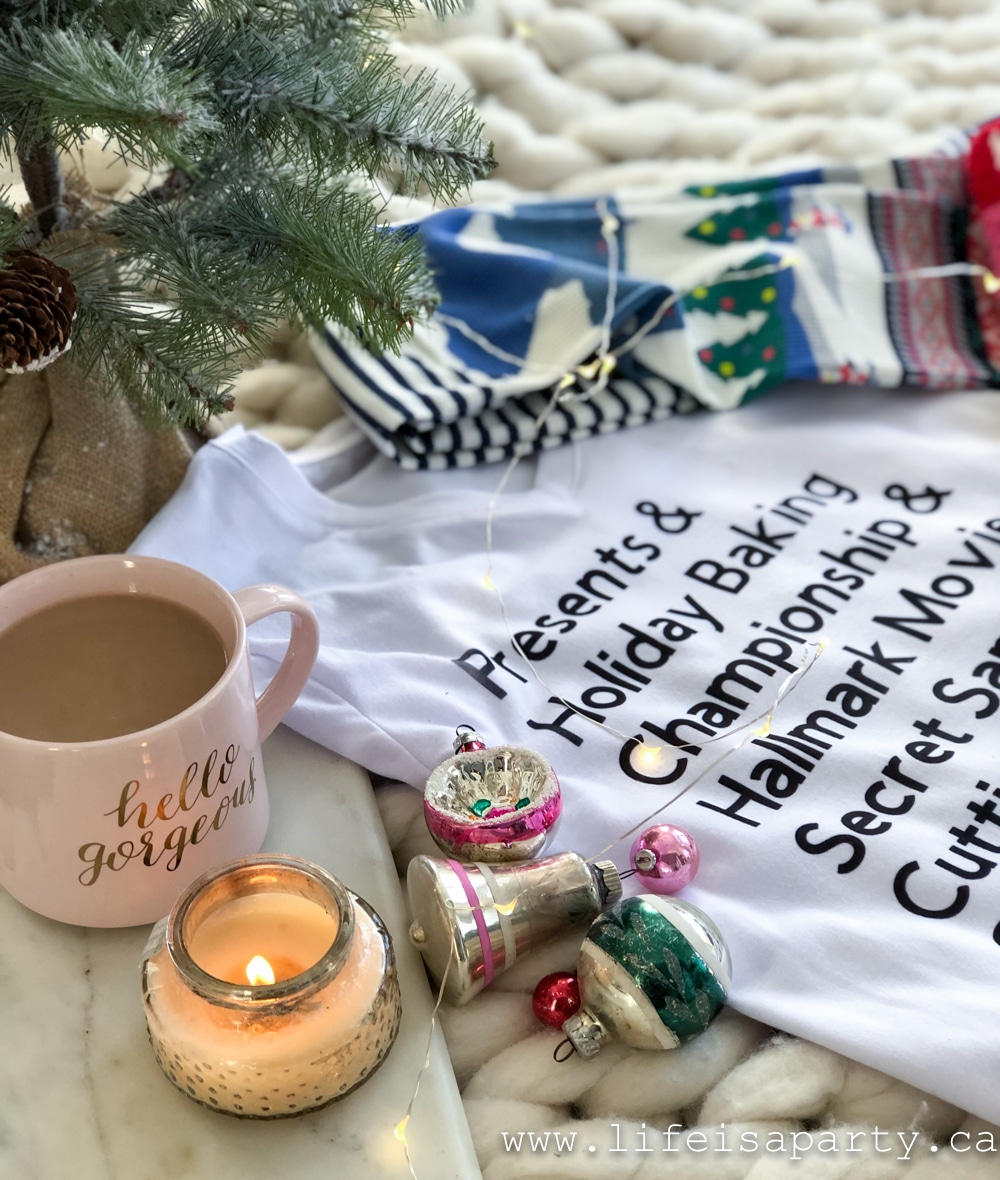
Number one on my list is the Christmas Favourite Things Christmas pajamas we made last week.  I asked my girls for a personalized list of their very favourite things about Christmas and made them personalized pj tops.  It's so fun to be able to make the perfect gift for the whole family.  

The Creative Possibilities Are Endless

Last year we made personalized pj's too.  I used the iron on to add my girls nick names to their pjs.  We made them together on Christmas Eve, so that they could pick the fonts and designs.  Not only was it the perfect personalized gift, but it's the sweetest memory now of making them together.  

One of my very favourite things about the Cricut Maker is just how very versatile it is.  It cuts so many different materials -the only end to the things you can make is your imagination!

Christmas Cricut Projects

1.  Christmas Favourite Things Pajamas from Life is a Party.  This years homemade Christmas gift of pajamas for my daughters turned out great.  We were inspired by the favorite things song.  You could personalize these for anyone you know with a list of their favorite things, or use the actual song lyrics.

DIY personalized Christmas pyjamas made with a Cricut machine.

Christmas Sign

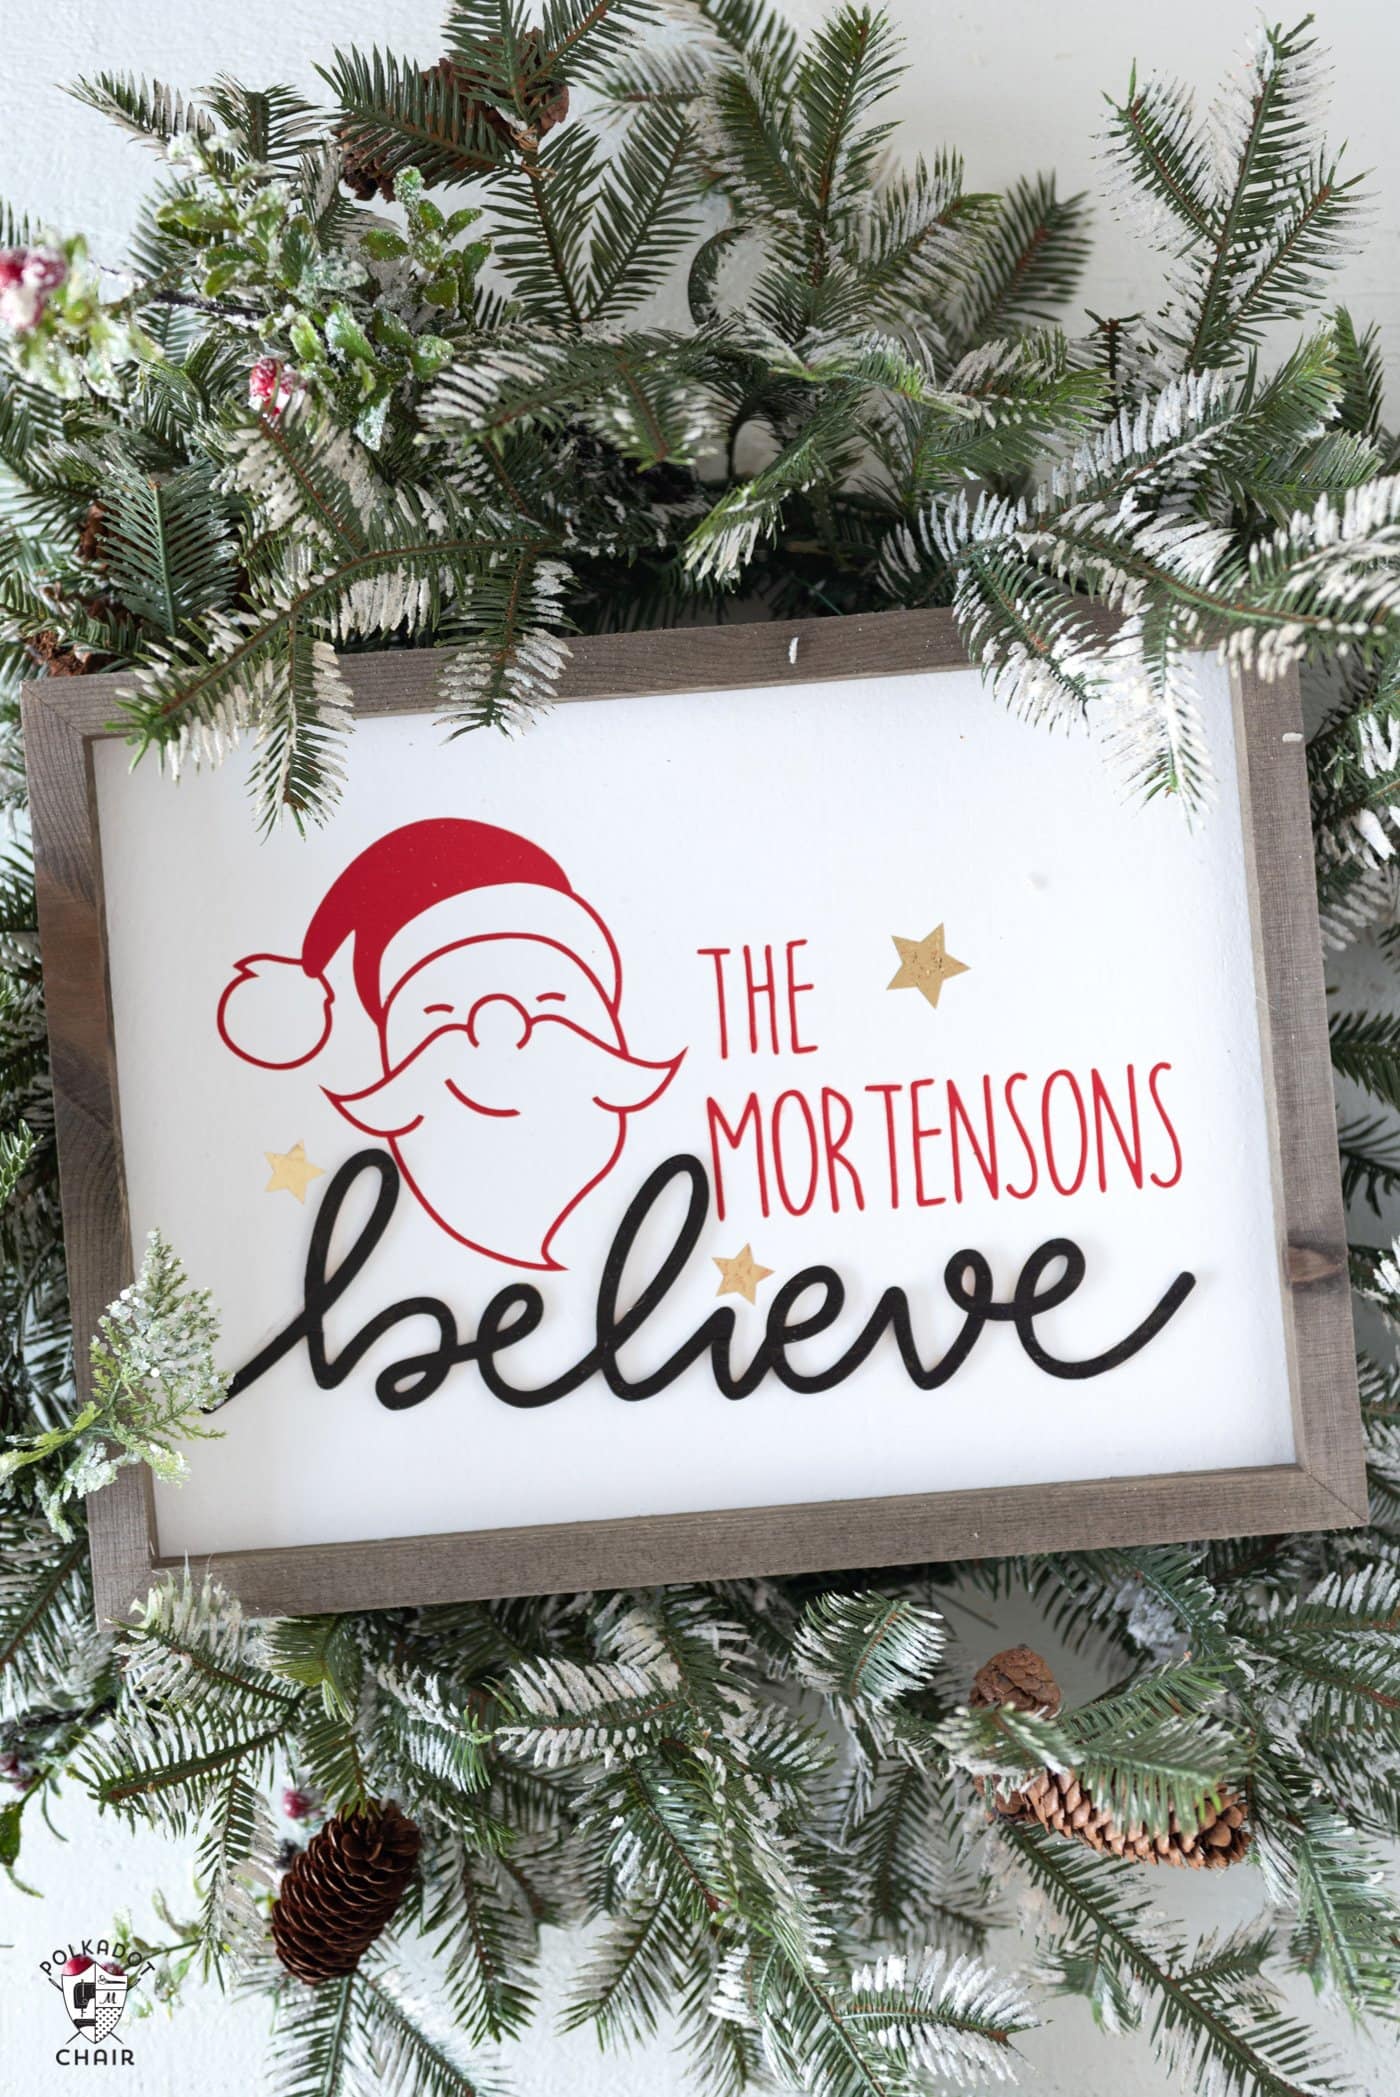
2.   DIY Believe Sign from Polka Dot Chair. Use Cricut Design Space to personalize a sign like this one with a family last name for the perfect personalized holiday home decor.

Cricut Christmas Sign

Metal Engraving

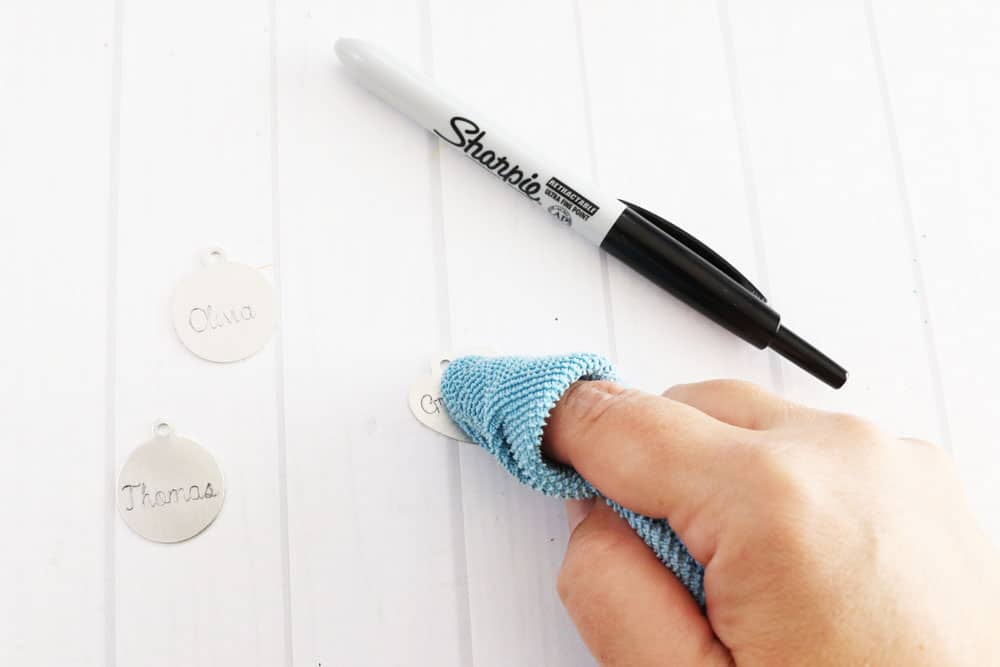
3.  Engraved Charm Bracelet from Laura's Crafty Life. The perfect way to personalize a gift.  This step-by-step tutorial will have you making these easy gifts for everyone on your list!

Cricut engraved charms

Santa Letter Sign

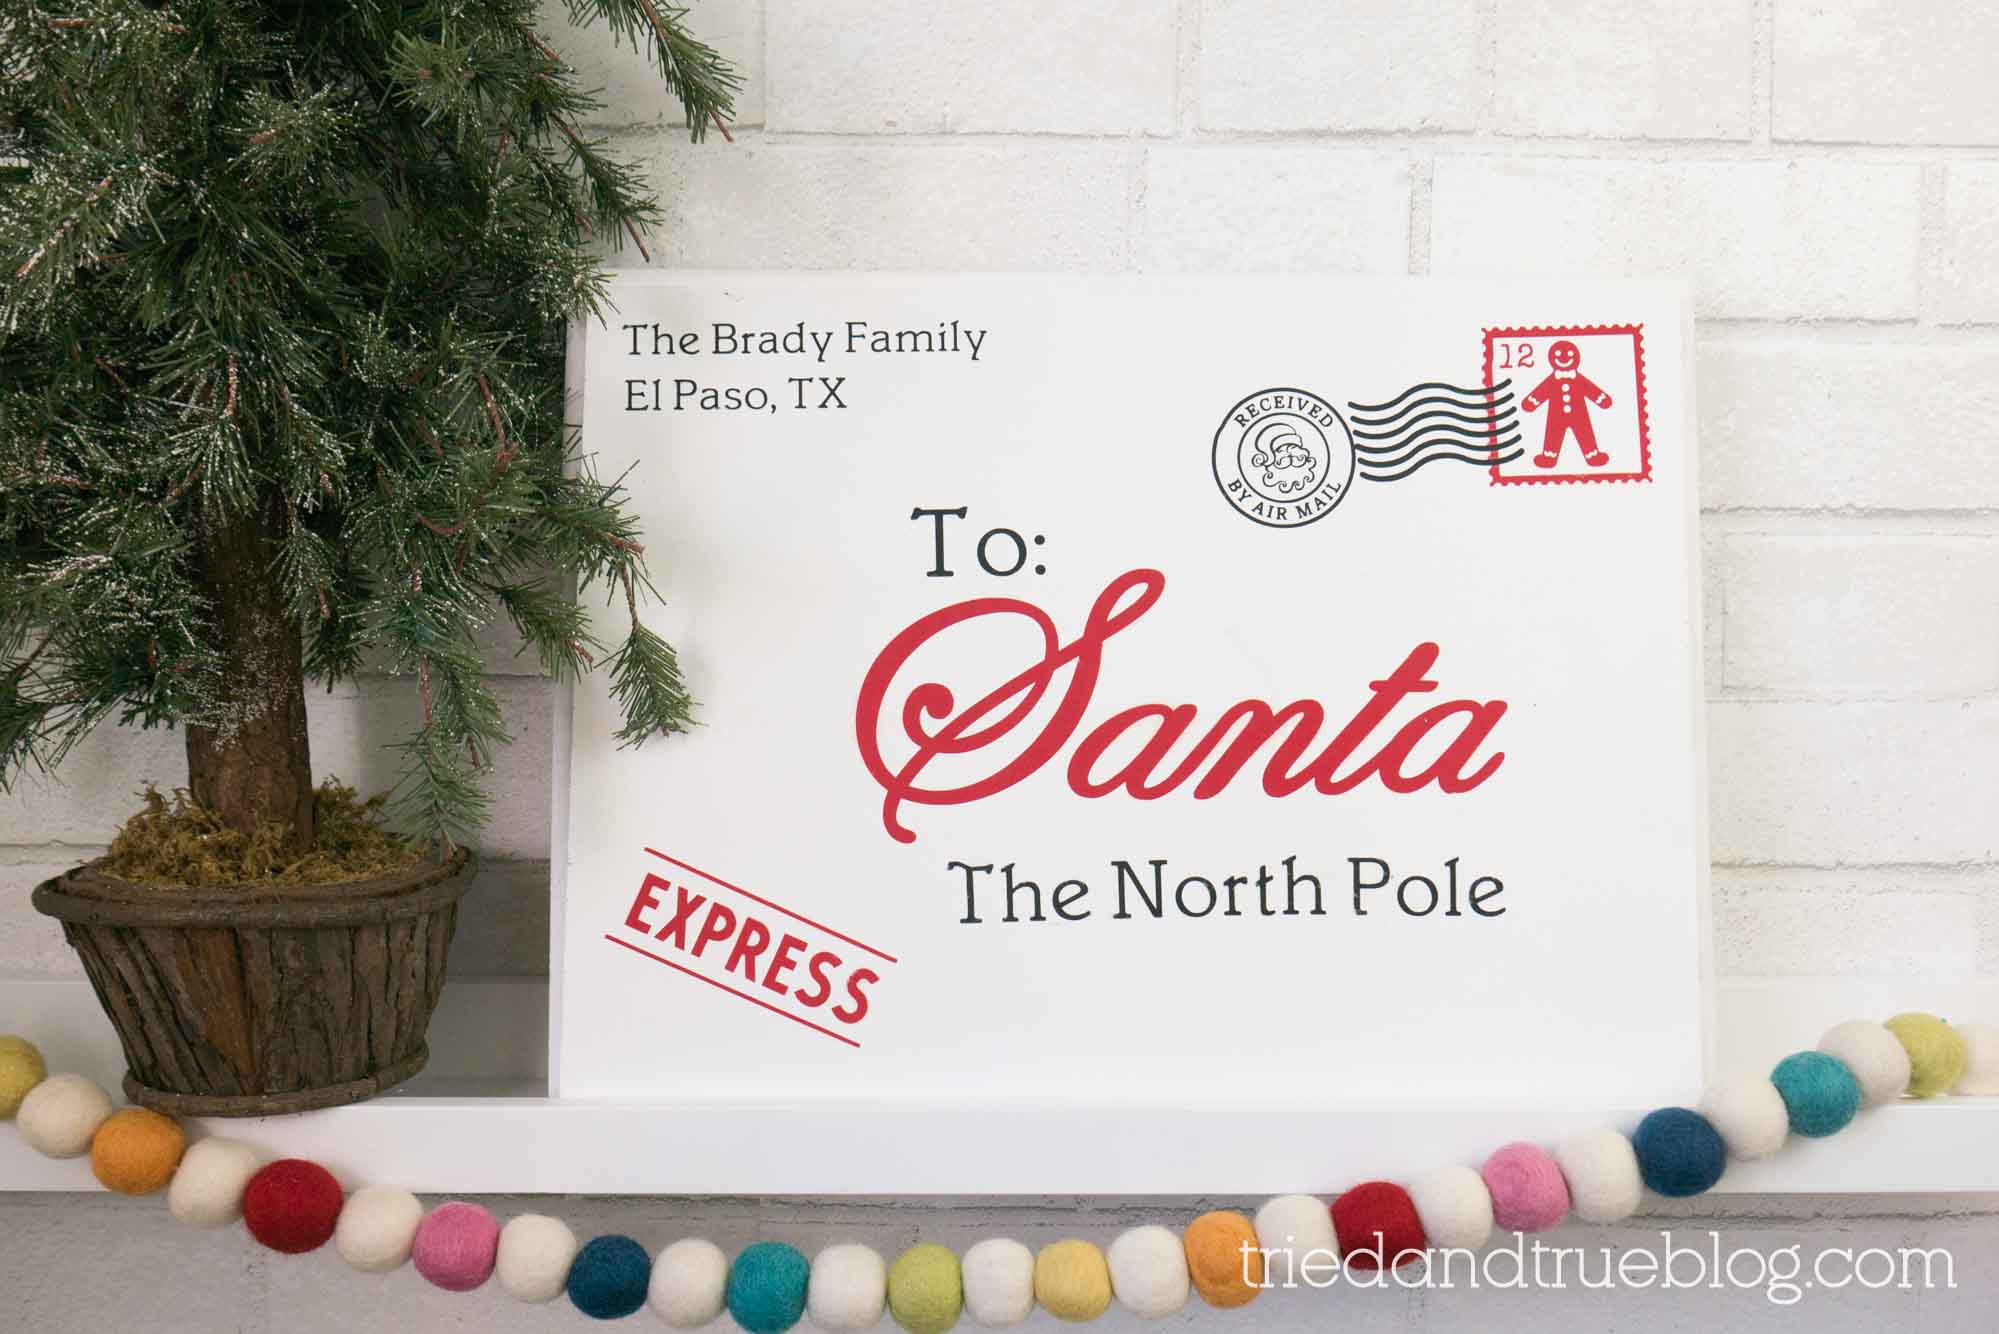
4.  Personalized Letter To Santa Wood Sign from Tried and True. One of my favorite things to do with kids for Christmas is to write a letter to Santa. This sign is so adorable to personalize and bring out every Christmas to decorate.Cricut Letter to Santa sign

Santa Sign

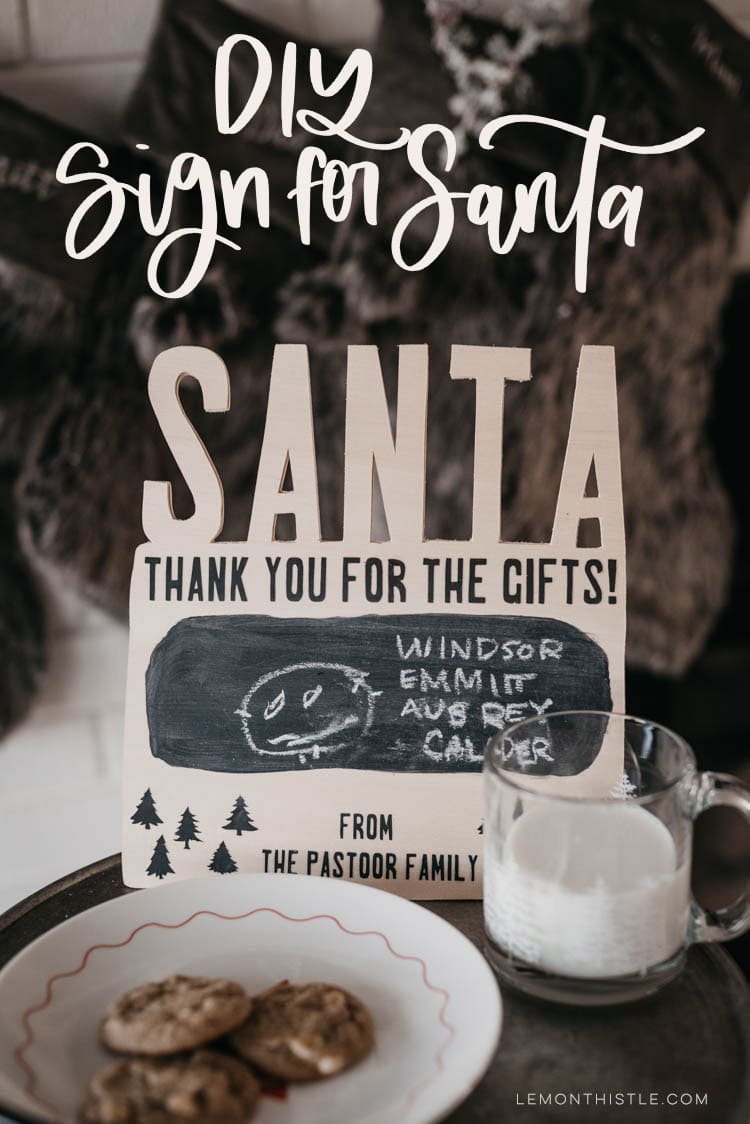
5.  DIY Sign for Santa from Lemon Thistle.  We love handmade signs and this Christmas one is so sweet! The cute design is perfect for leaving Santa a note on Christmas Eve, and you can personalize it too.Cricut DIY Santa Sign

Personalized Sign

6.  Personalized Christmas Sign from 12 On Main. This personalized sign is perfect for the holidays for a personal touch.  This is an easy craft that is a fun way to give a personalized gift to someone special.

Cricut Personalized Sign

Advent Calendar

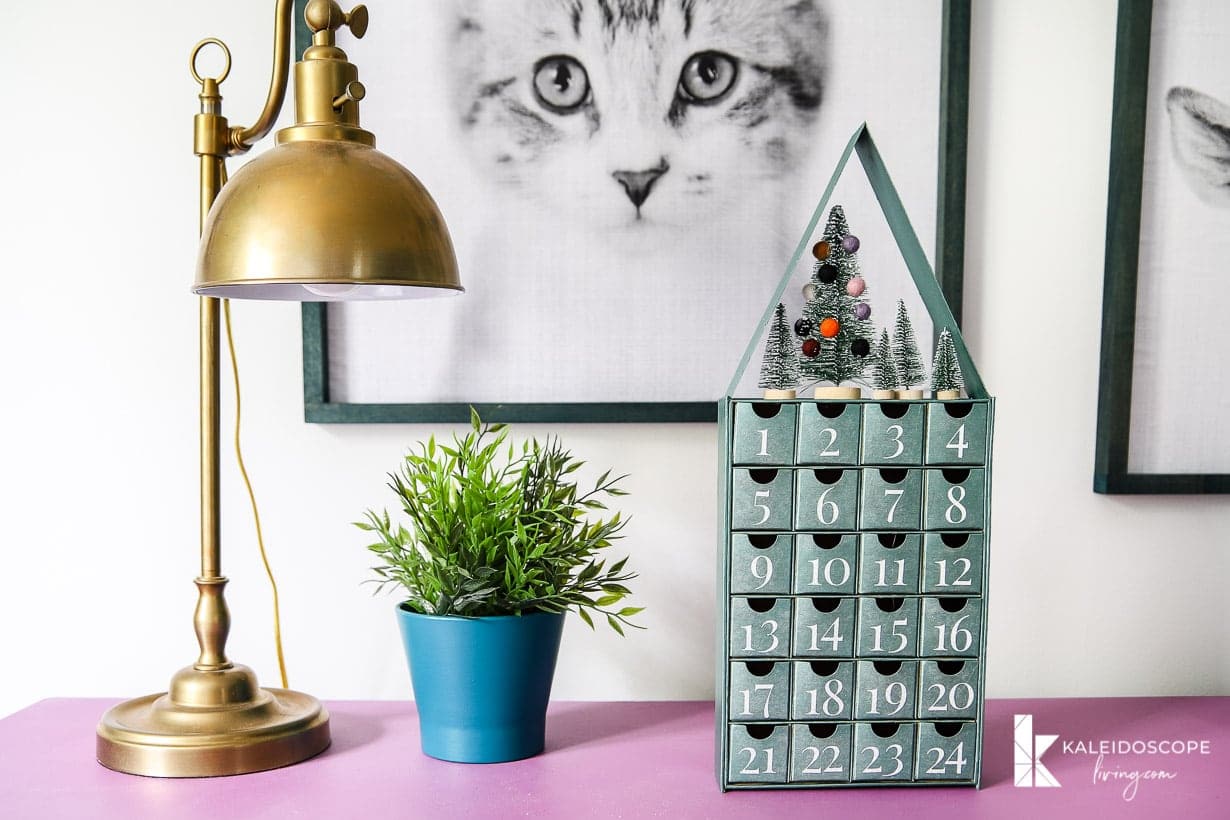
7.  DIY Advent Calendar from Kaleidoscope Living.  I love the tradition of an advent calendar and this one couldn't be cuter.  The best part about this one is that you can use it year after year.  It would be so much fun to open a new drawer every morning this December.  This is one of my favorite Cricut Christmas ideas.

Cricut Advent Calendar

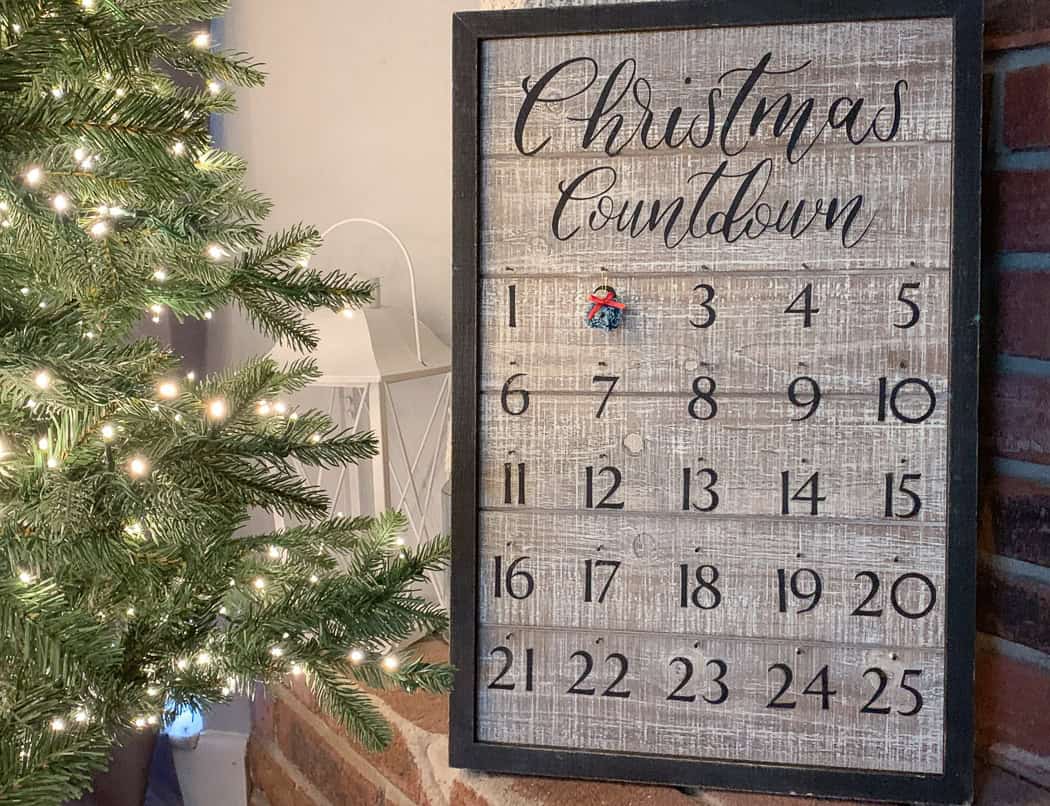
Christmas Countdown

8.  Wooden Advent Calendar with Everyday Party. This Christmas countdown is so sweet.  Use heat transfer vinyl on wood to create this for your own home.

Cricut Advent Countdown

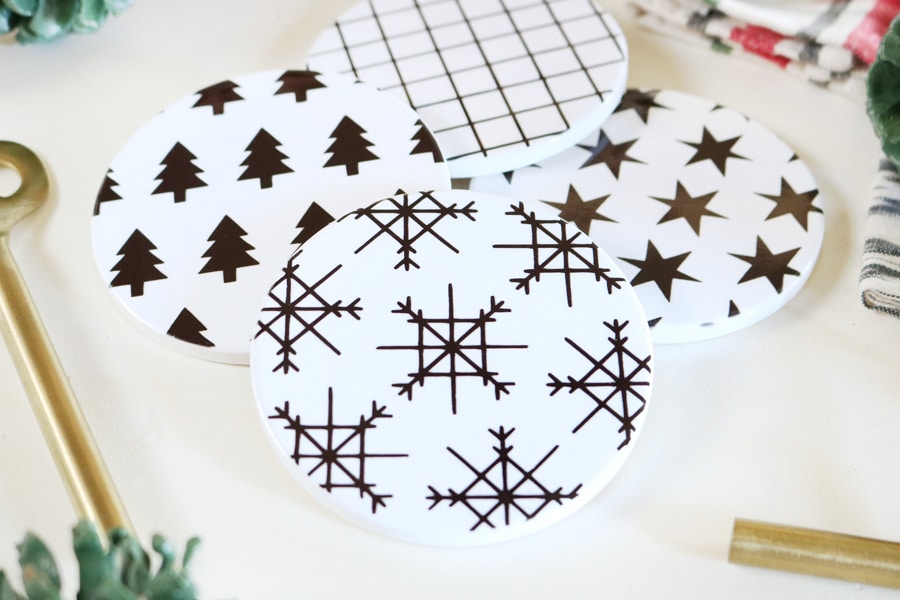
Coasters

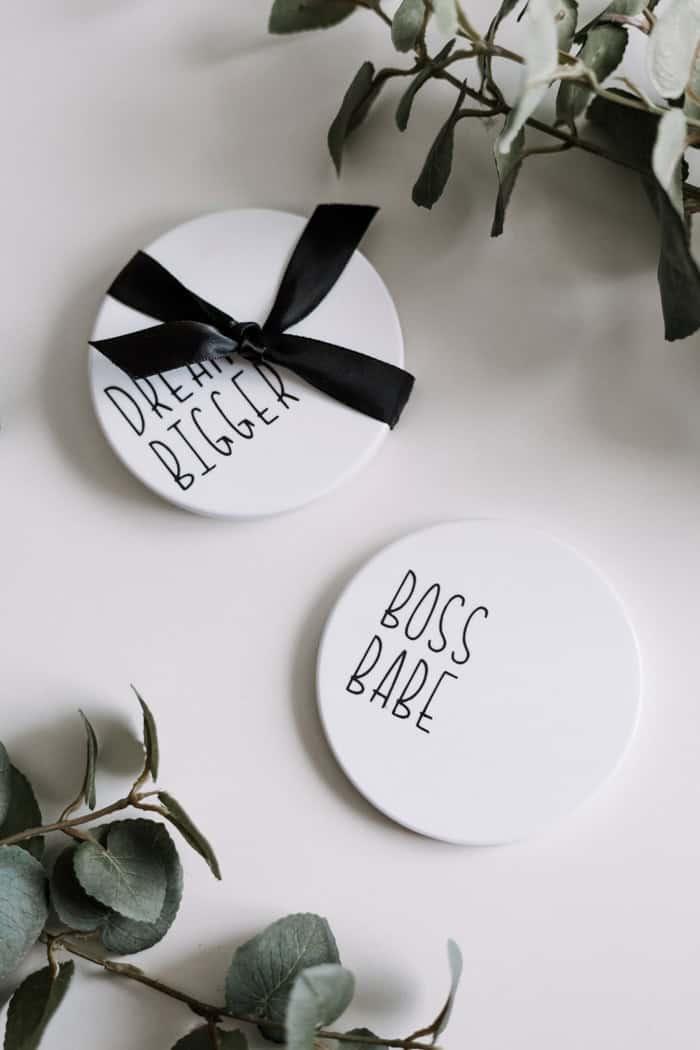
9.  Black and White Modern Christmas Coasters from Crafted Sparrow. These gorgeous coasters make a great gift.  Make them the easy way with infusible ink.

Cricut Christmas Coasters

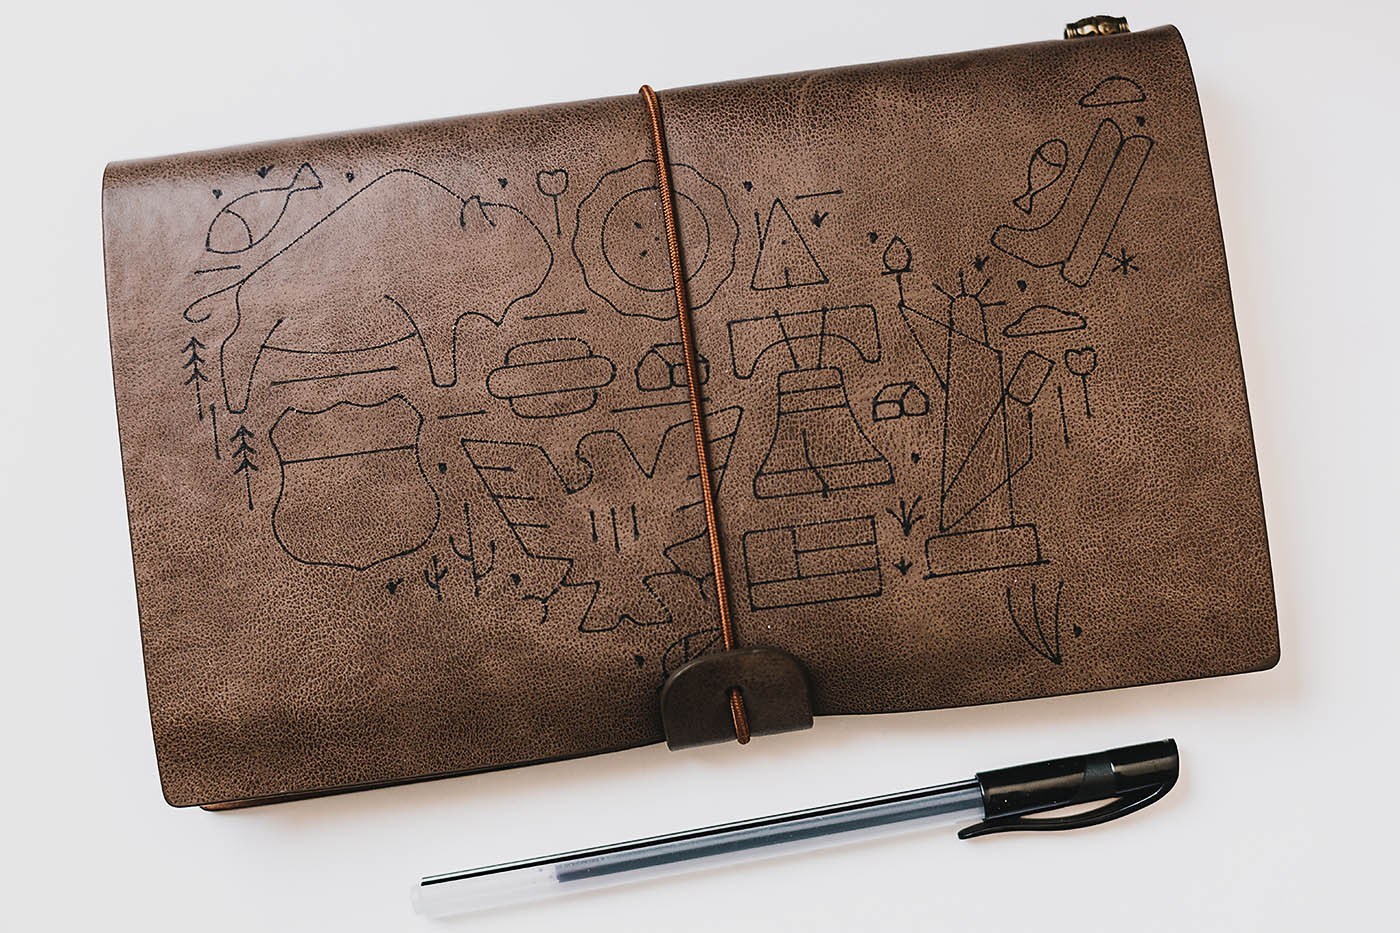
Leather Project

10.  Embossed Leather Travel from All For The Memories. How cool is this DIY Christmas gift?  Did you know you could emboss leather with your Cricut machine?  Check out the blog post for all the instructions.

Cricut Leather Pouch

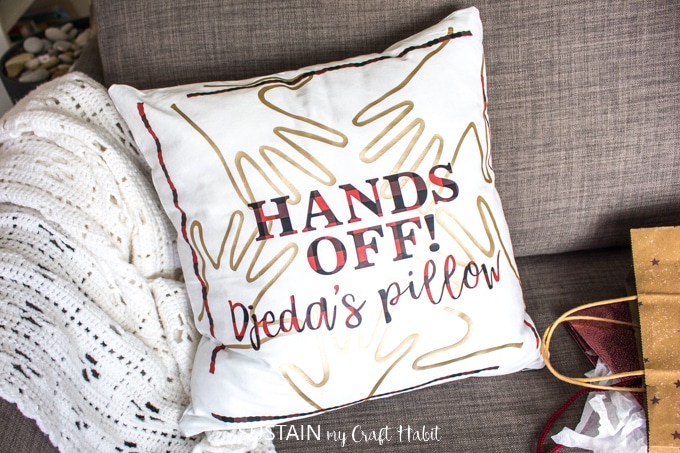
Pillow

11.  Personalized Pillow from Sustain My Craft Habit.  Personalized DIY Christmas decor is the cutest!  This gives me a ton of inspiration for grandparent gifts this Christmas.

Cricut Personalized Pillow

Coasters

12.  Personalized Coasters from Love Create Celebrate.  More great DIY Christmas gifts.  Your friends would love opening up these and enjoy their inspiring messages.  The holidays are the perfect time for sending a little encouraging message like these.

Cricut Coasters

Gift Wrap

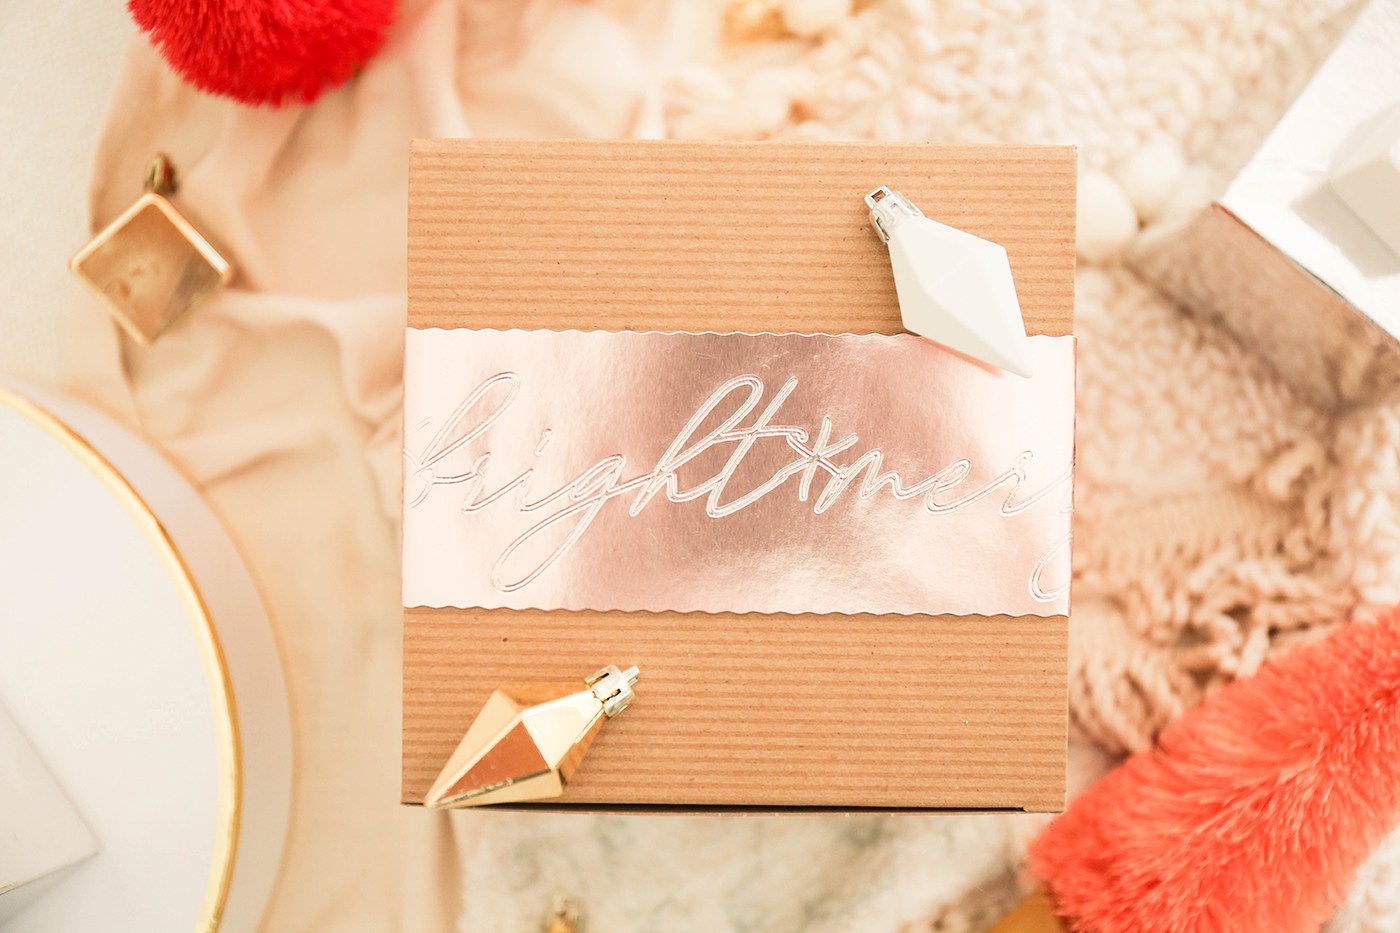
13.  Personalized Foil Gift Wrap from Proper.  How about making your gifts extra special this year with personalized wrapping.  Use foil board in a variety of colors and the debossing blade for this fun project that's perfect for wrapping homemade gifts.

Cricut Gift Wrap

Gift Tags

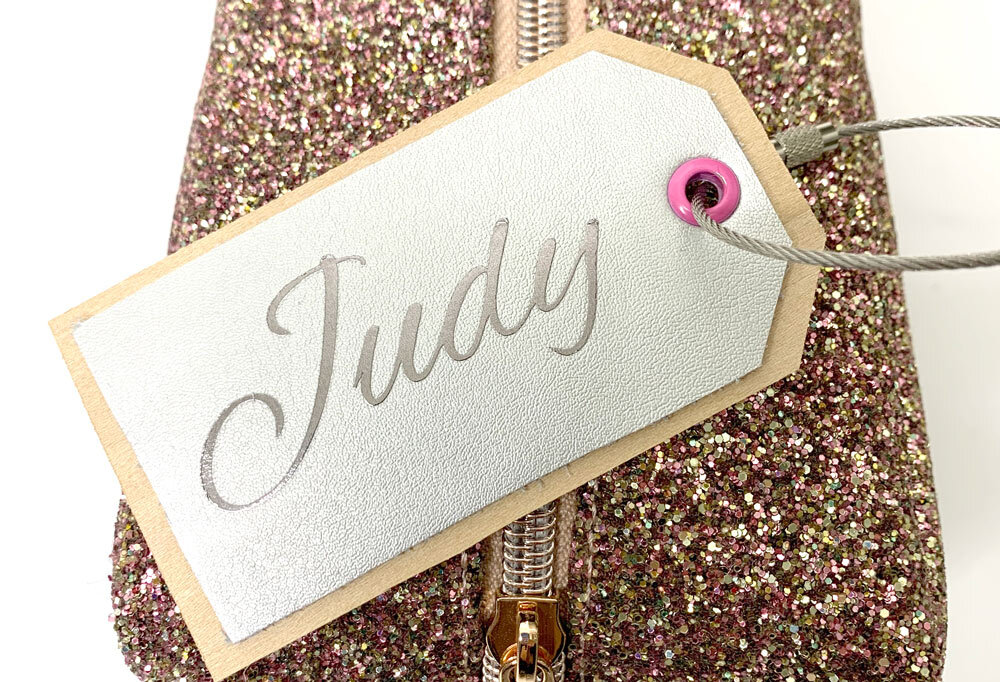
14.  Leather and Wood Personalized Gift Tags from Missy Briggs. I love these reusable Christmas gift tags.  They're perfect for decorating packages or gift bags.

Cricut Gift Tag

Oven Mitts

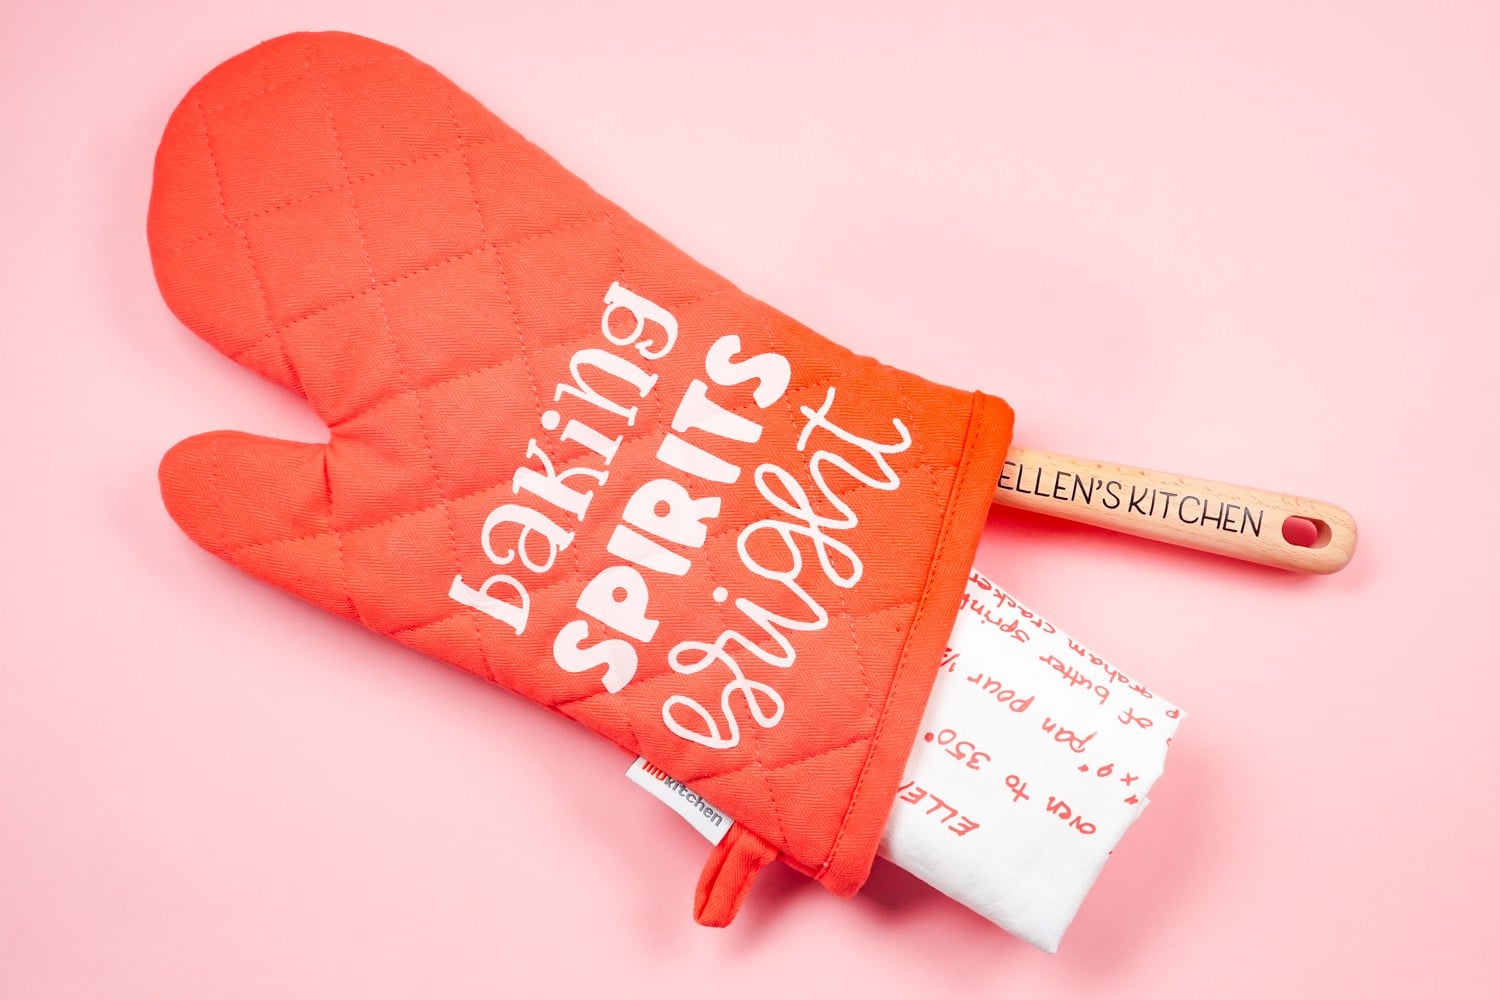
15.  Christmas Baking Set with Hey, Let's Make Stuff. This personalized oven mitt is the perfect gift idea for the baker or chef in your life.  Even Cricut beginners will love this project, with just one material to use to create these great gifts.

Cricut Personalized Oven Mit

T-Shirt

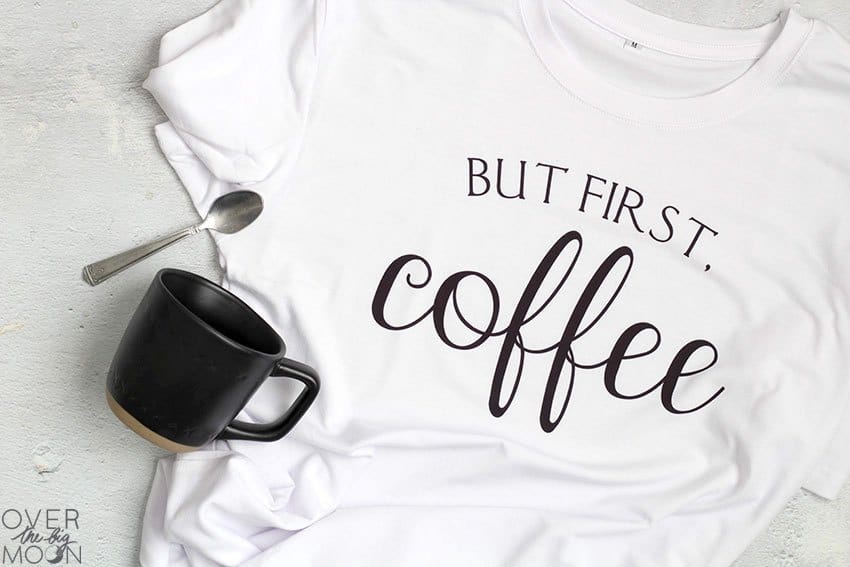
16.  Coffee Lovers Gift from Over the Big Moon.  A personalized t-shirt for the coffee lover on you list!  This project is perfect for gift giving this Christmas season.

Cricut T-Shirt

Makeup Bag

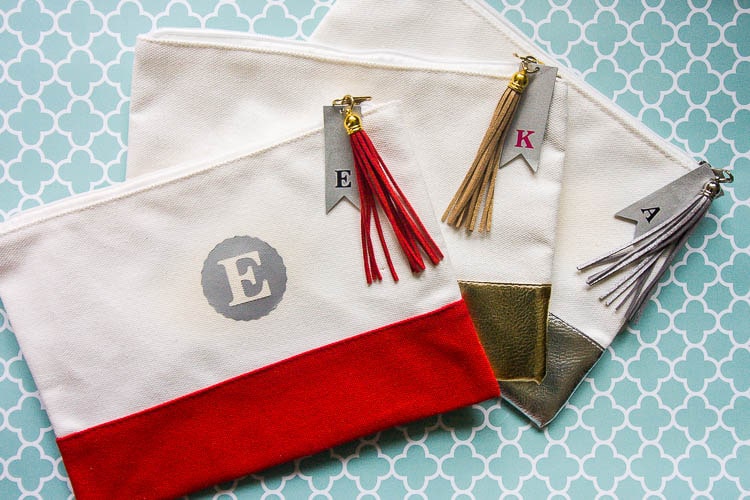
17.  Monogramed Makeup Bags from Small Stuff Counts. I love this idea, especially for hard to shop for tween and teen girls.  They'd love this personalized makeup bag.

Cricut Makeup Bag

Santa Sack

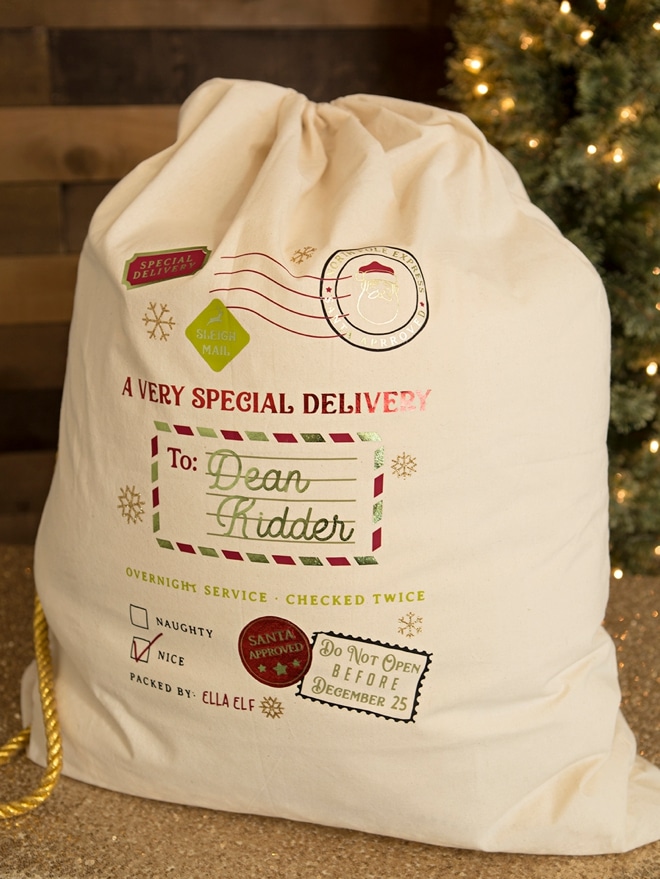
18.  Personalized Santa Bags from Something Turquoise.  What a great idea this is.  Perfect for gift giving on Christmas morning and reusable too.  Sure to save some elves a lot of wrapping time.

Cricut Santa Sack

Metal Sign

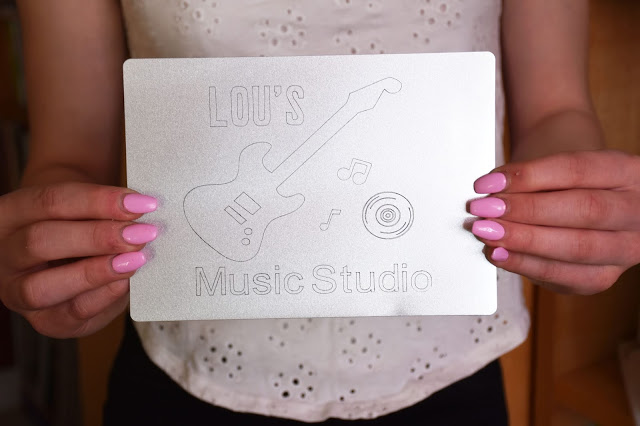
19.  Engraved Metal Sign from Woman In Real Life. You can use your Cricut to engrave on metal.  What a great way to make a personalized gift for someone special.

Cricut Metal Sign

PJs

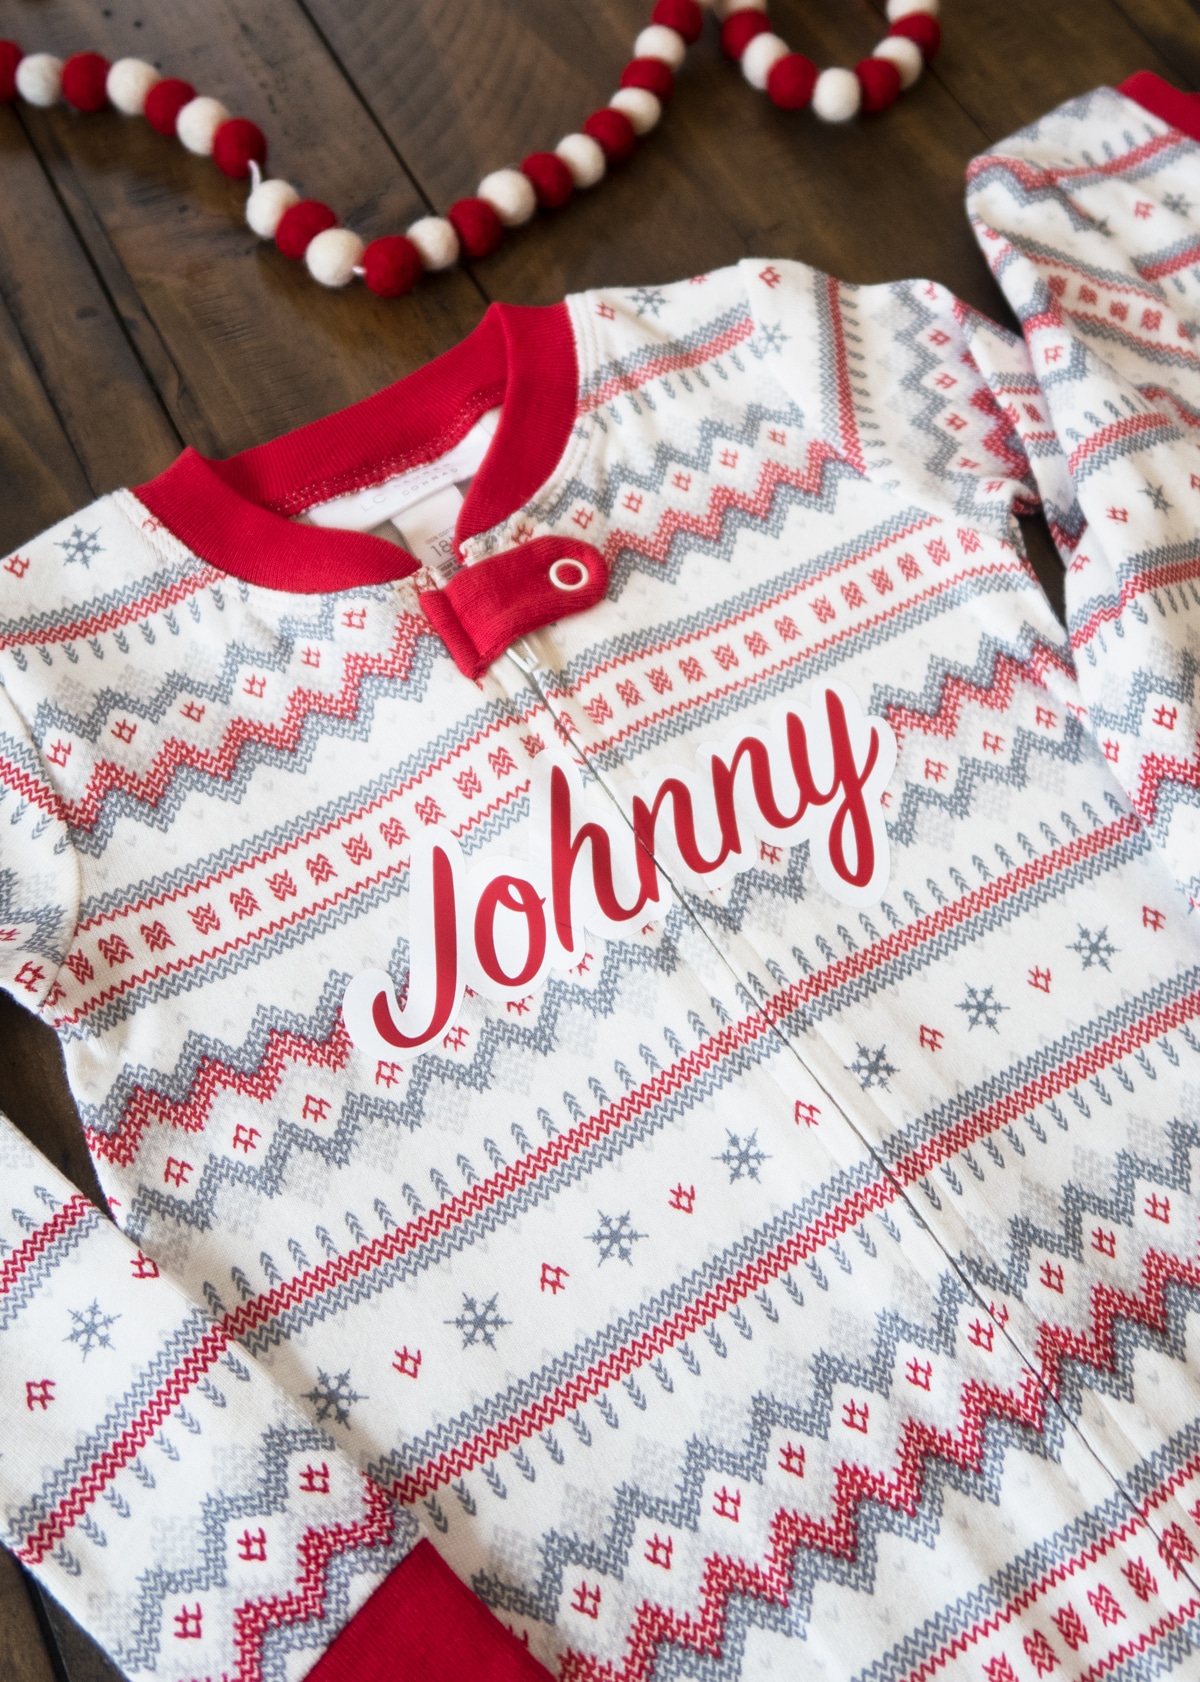
20.  Personalized Christmas Pyjamas from Weekend Craft.  I love homemade gifts, but especially when they're this cute!  How adorable are these for Christmas photos too.  You could even do matching ones for the whole family.  Look for inexpensive matching pjs in everyone's size and then customize them with everyone's name for the perfect handmade gifts.

Cricut Christmas Pajamas

Tea Set

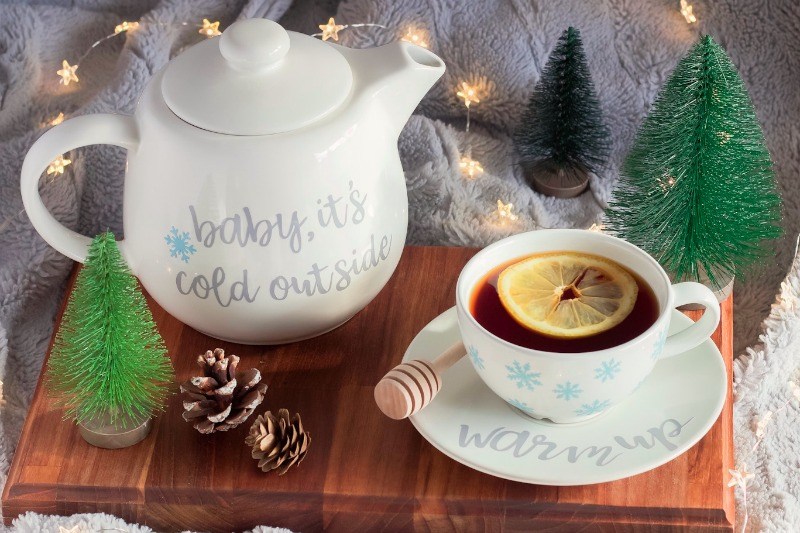
21.  Baby It's Cold Outside Tea Set from The Best Of This Life.  How cozy is this idea.  Use adhesive vinyl for these handmade Christmas gifts. Pair them with cookies and tea for a great gift for anyone on  your list.

Cricut Personalized Teapot and Cup

Baking Set

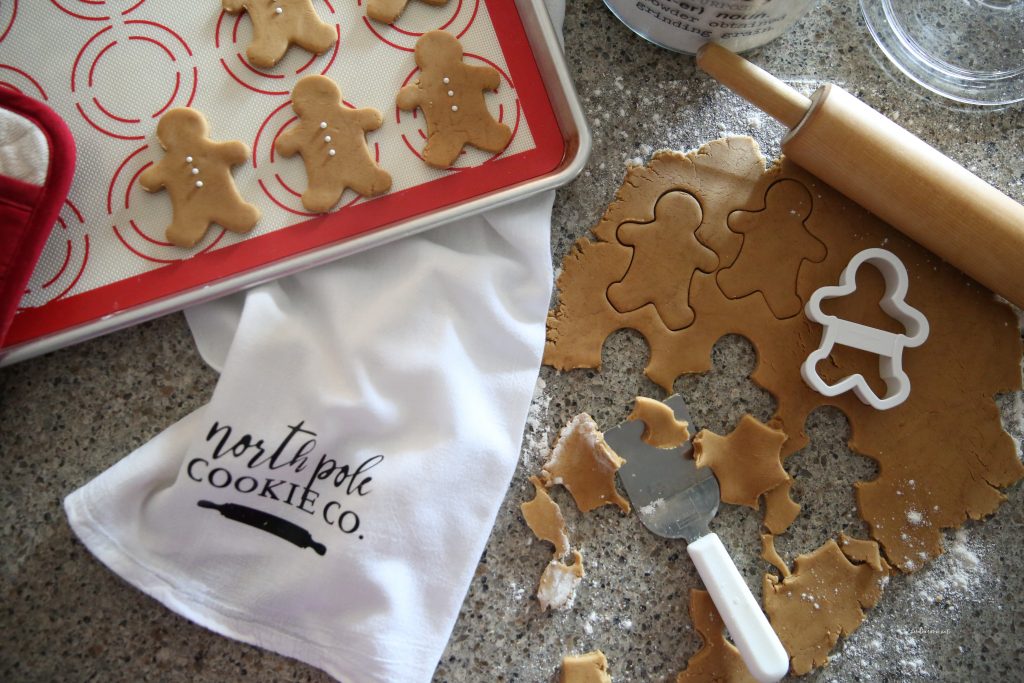
22.  Baking Gift Idea from The Idea Room.  Turn regular tea towels, pot holders, and aprons into great Christmas gifts with some iron-on vinyl. 

Cricut Tea towel

Tea Towel

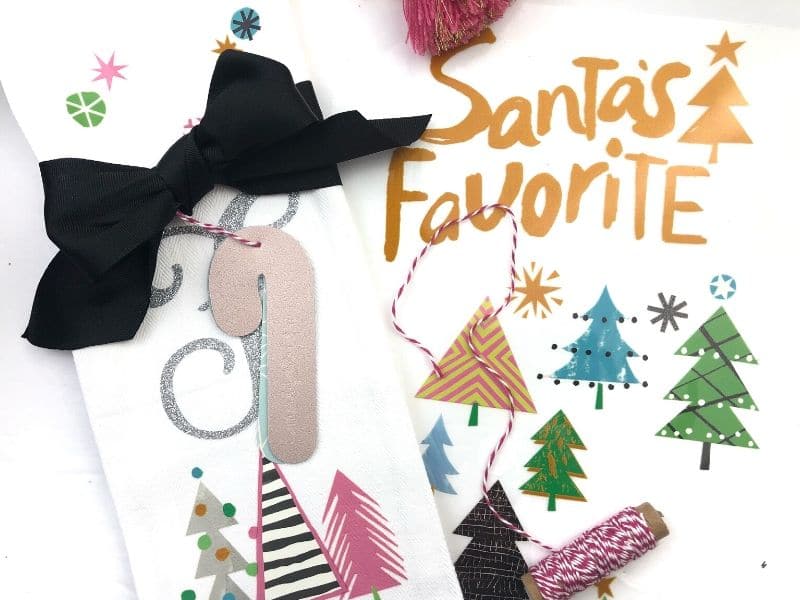
23.  Personalized Christmas Tea Towel from Southern Couture.  How about a personalized tea towel for a hostess gift this year? 

Cricut Christmas Tea Towel

Christmas Village

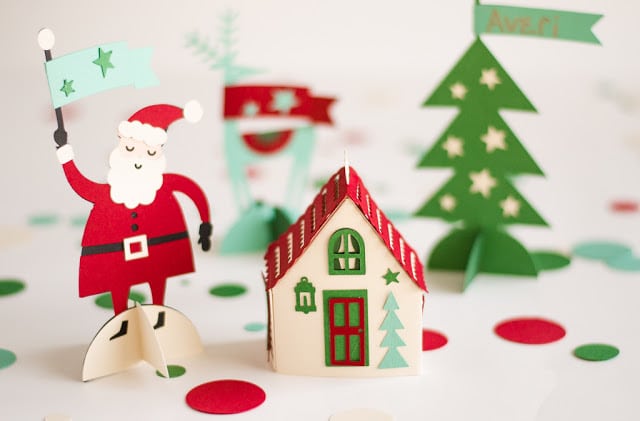
24.  Christmas Town from Fawn.  One of my favorite Christmas Cricut ideas is this cute little holiday village.  Cricut Christmas projects like this village are so fun to create and add to them year after year.

Cricut Christmas Village

Ornament

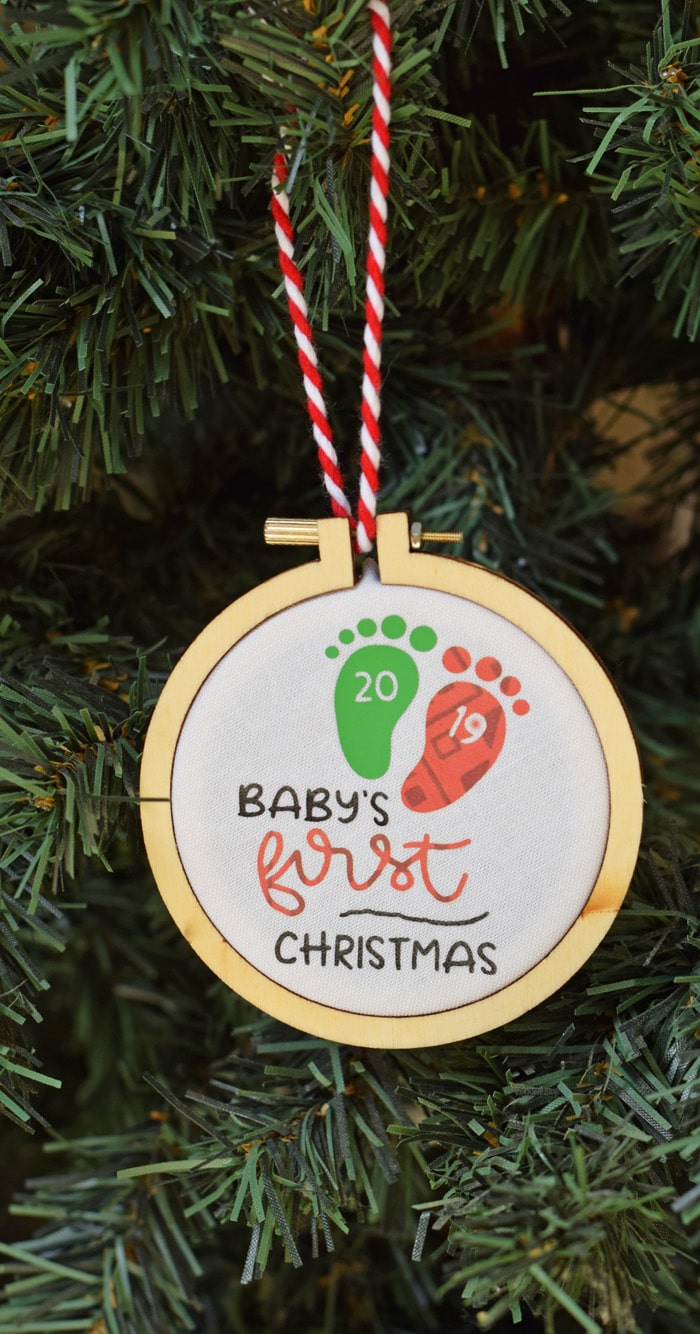
25.  Baby's Fist Christmas Ornament from It Happens In A Blink.  DIY Christmas ornaments are so much fun, especially when they're personalized to mark a special occasion like this one.  Use your Cricut for all your DIY ornaments this year and have the cutest Christmas tree decor.  Handmade ornaments like this one become a keepsake for years to come.

Cricut Christmas Ornament

I hope these amazing Christmas craft ideas have inspired you to get creative with your Cricut this Christmas making Cricut Christmas decorations, trying all the Cricut Christmas gift ideas. 

With homemade personalized gifts, life really is a party!

More Christmas Cricut Projects

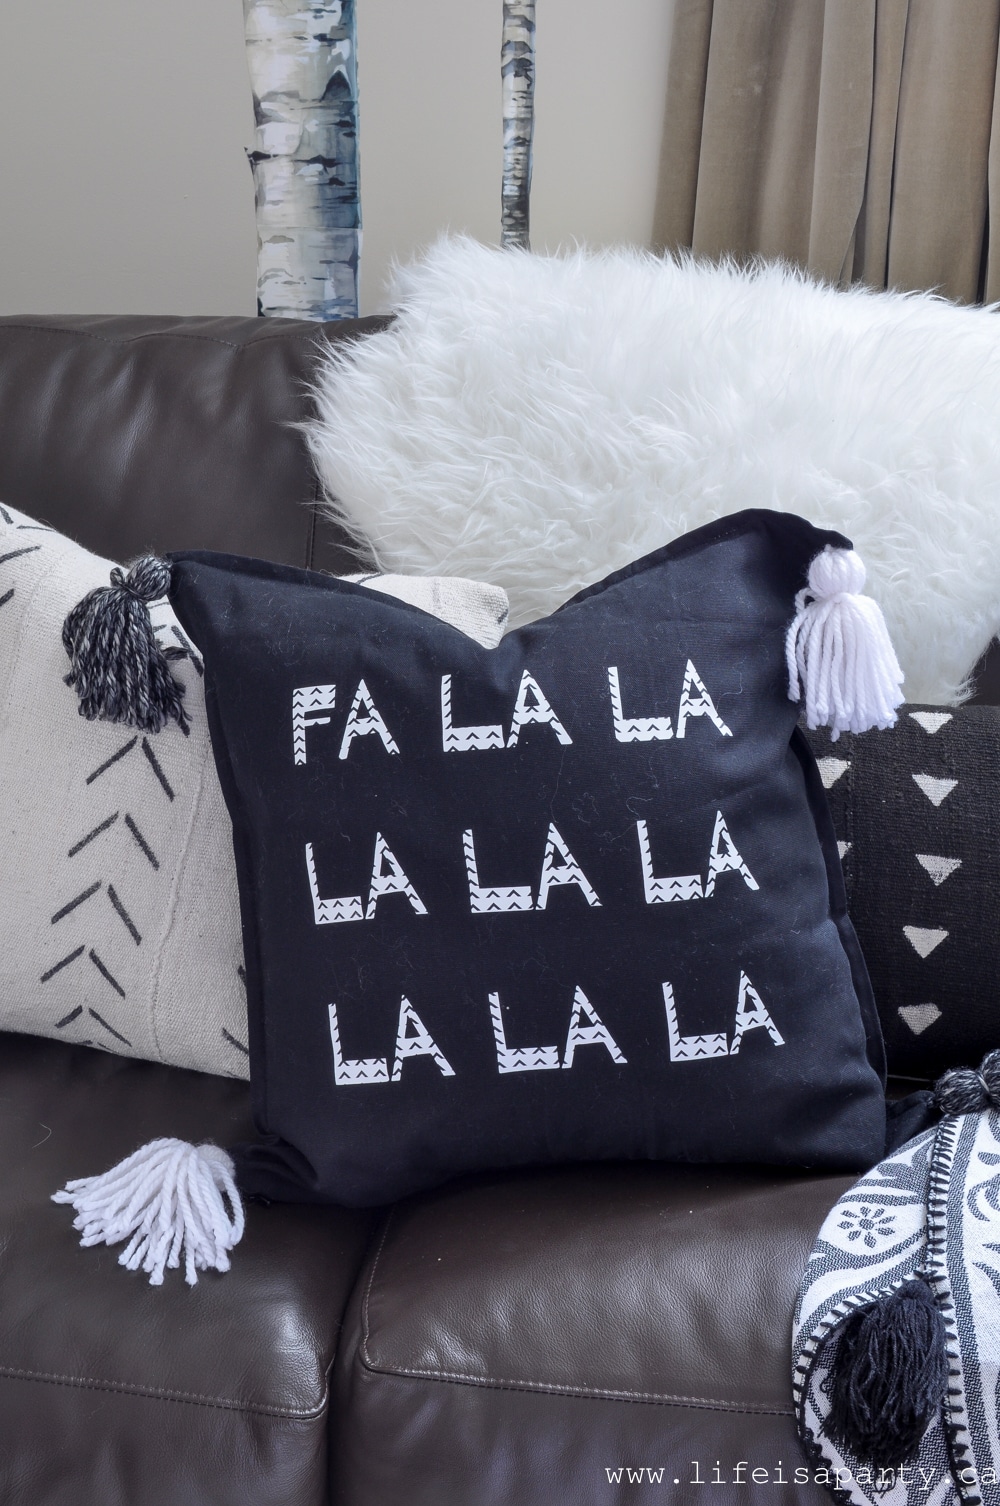
You might also like our Cricut Fa La La Pillow here.

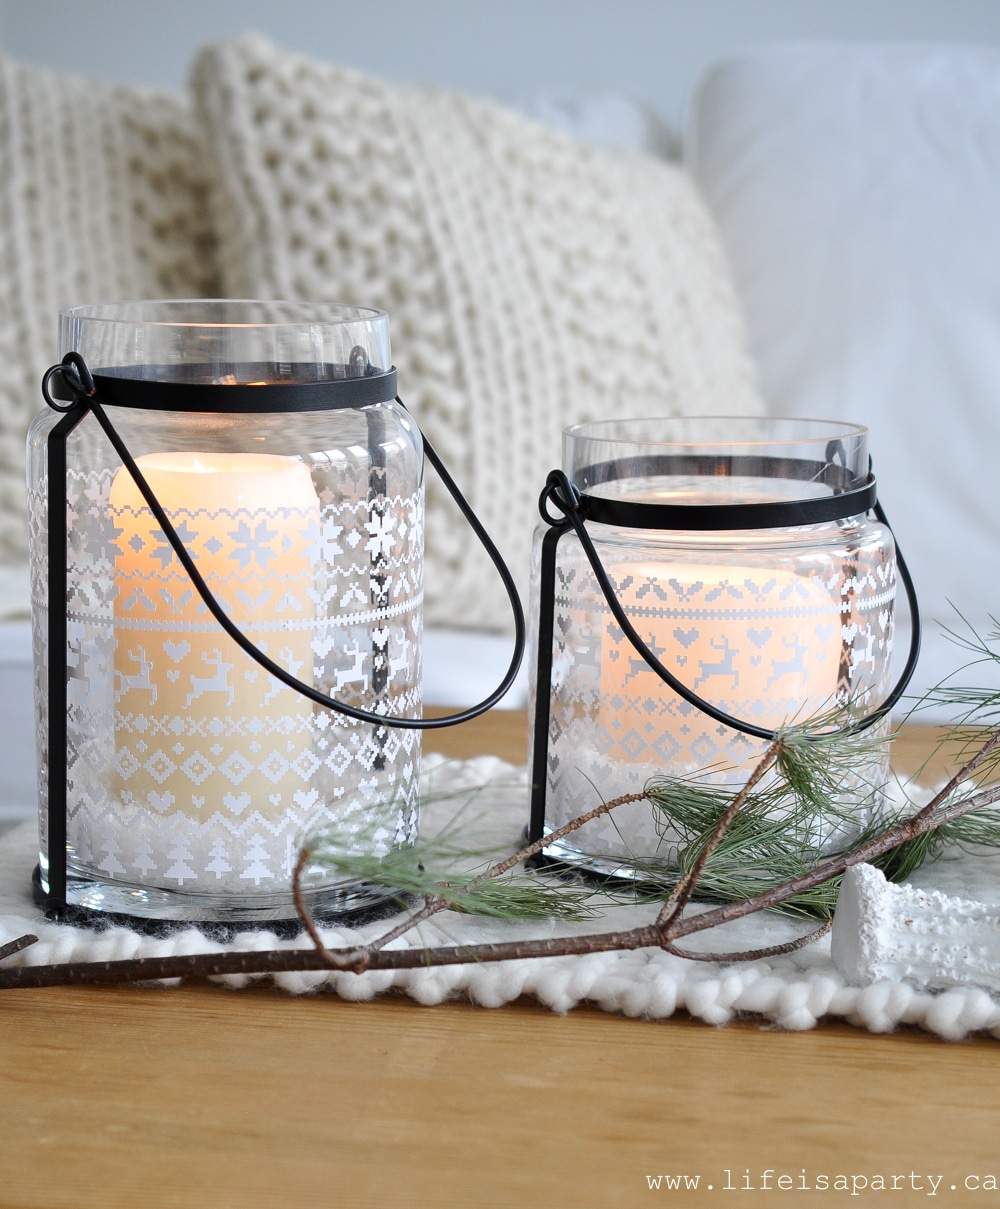
Also check out our Cricut Fair Isle Candle Holders here.

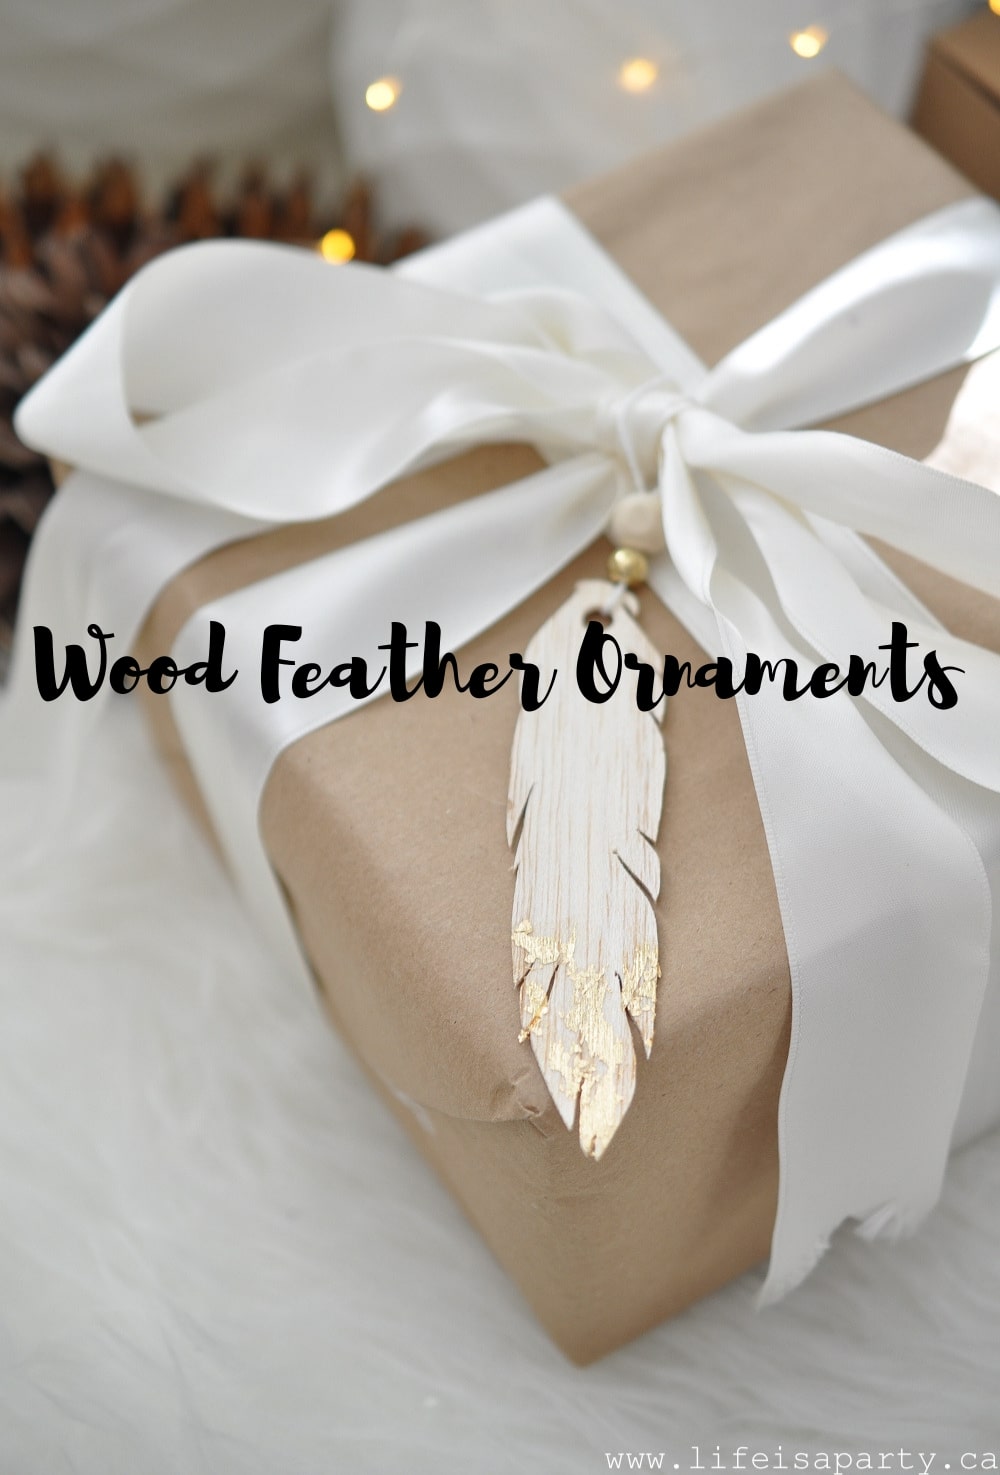
You might also enjoy our Cricut Wood Feather Ornament here.

Coal Rice Krispie Cookies

Nov 19, 2019 · 5 Comments

coal Rice Krispies

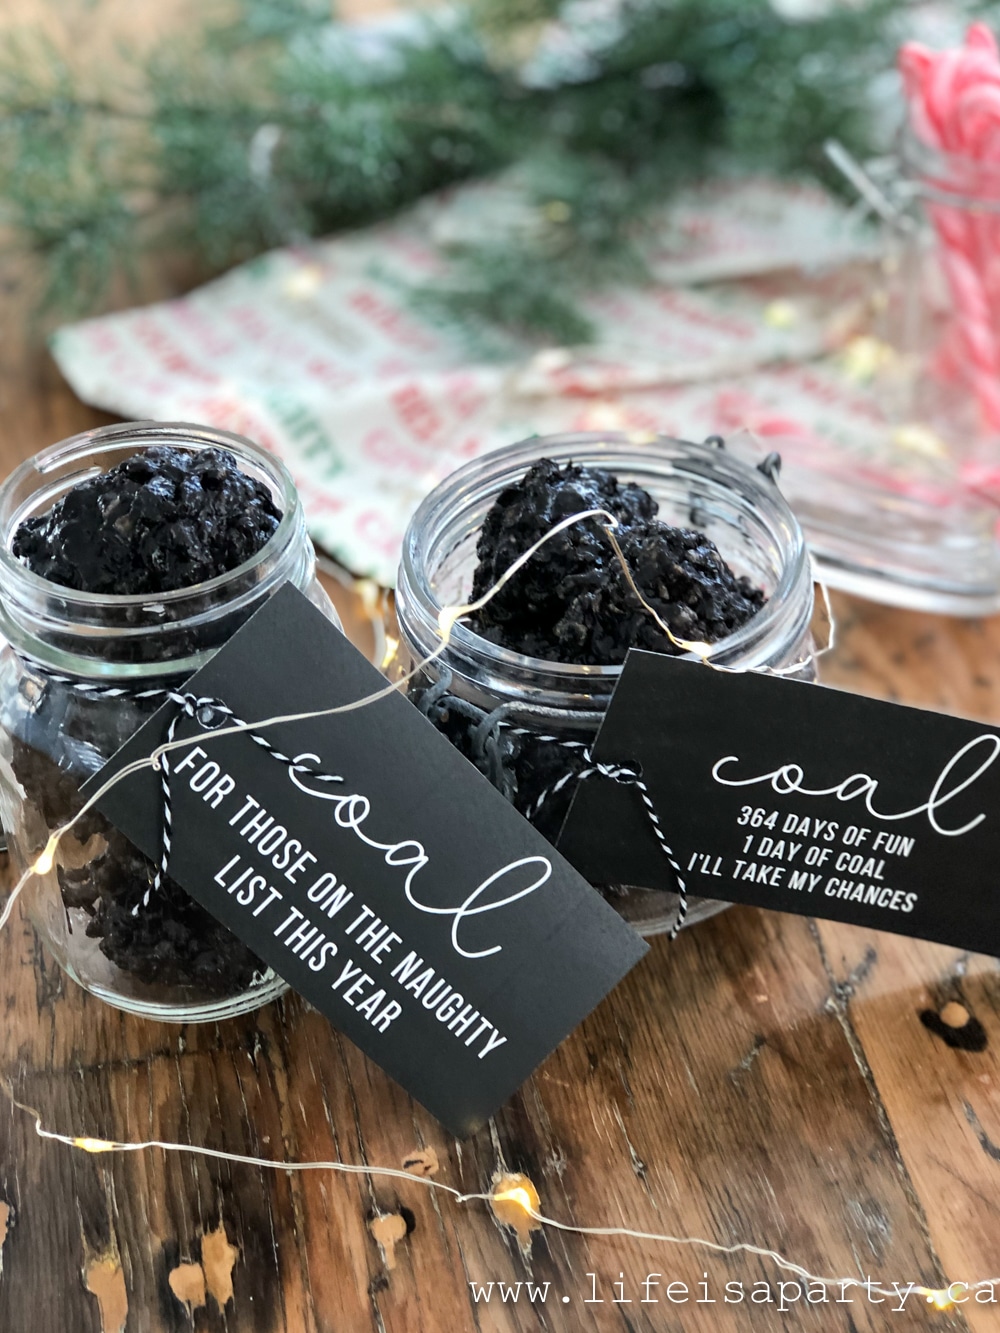
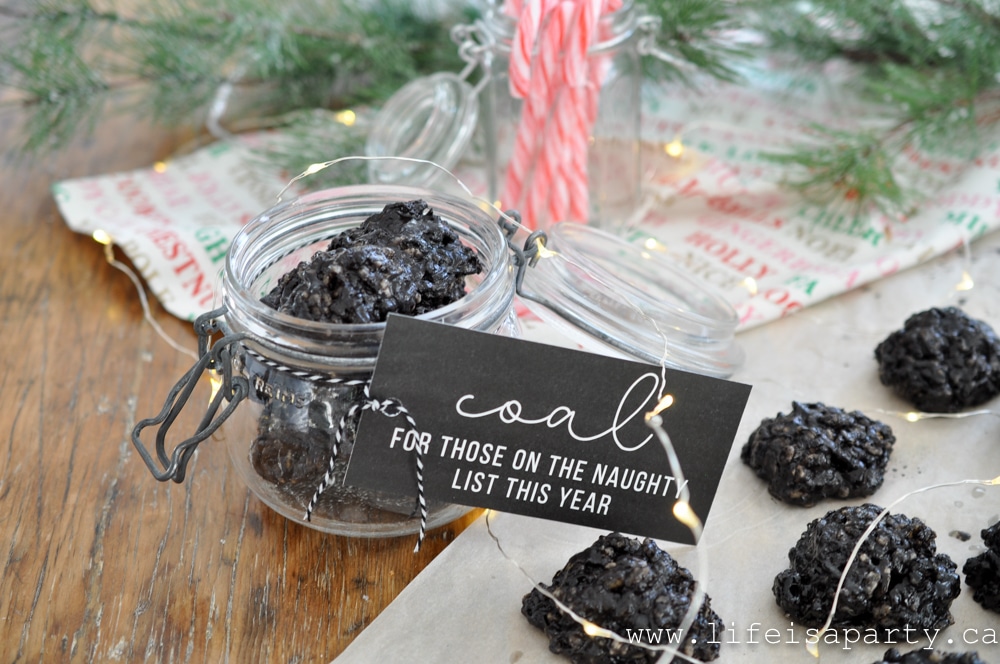
Coal Rice Krispie Cookies: This recipe and printable gift tag is the perfect treat for anyone who is on Santa's naughty list this year.

coal Rice Krispies
[feast_advanced_jump_to]

Do you have someone on your gift list this year who's been naughty? This is the perfect gift for them. These Coal Rice Krispie Cookies are adorable and delicious. If you have to get a lump of coal in your Christmas stocking this Christmas, you certainly want it to be the rice krispies treats kind. 😉

Coal Rice Krispie Cookies

The Perfect Gift For Someone On The Naughty List

Many, many years ago when one of my daughters was almost three she was worried she was on the naughty list. Those were our Dora the Explorer years...anyone else remember those? There was a Christmas episode about how Swiper was on the naughty list. She had done a few naughty things in a row, which was very unlike her, and was worried that she might not make it on to the nice the list in time for Christmas. I remember taking her to visit Santa and asking him to reassure her. It's been a long time since anyone around here was sincerely worried about which list they were on. Hopefully because we're all so nice. 😉

Coal in your stocking cookies

Coal Rice Krispie Cookies

This recipe is for oreo lumps of coal really easy to put together -only 5 ingredients. The cookies get their black colour in part from the addition of Oreo cookies. These coal cookies taste like a delicious combination of oreo balls and Rice Krispies -yum! They're super quick to make, and a great no bake recipe for the holidays. This oreo Christmas coal recipe uses simple ingredients, you might already have in your pantry.

Coal Rice Krispie Christmas Cookies

This super cute treat is so yummy, even people on the nice list will want them. They are perfect for gift giving this time of year. These make a fun gift for a holiday party. They would also be fun as a stocking stuffer for family members. Or they'd make a really cute holiday gift for a teacher, coach, bus driver, neighbour. It's always nice to have a little something to add to a gift card, and this would be a great choice. Or use this coal candy as a delicious gift for neighbors to wish them a merry Christmas.

how to make Coal Rice Krispies

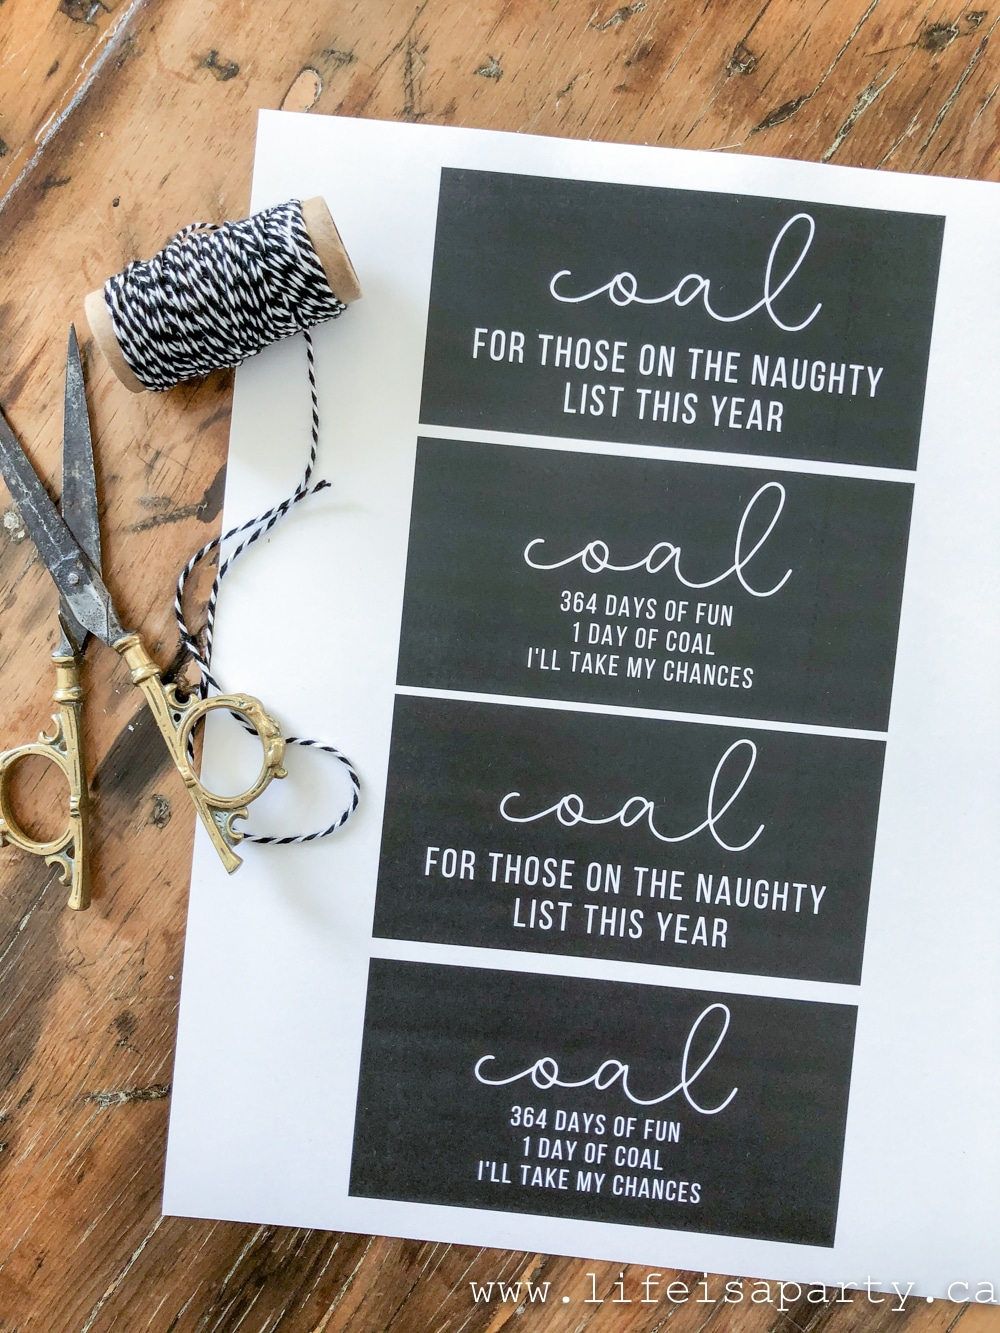
The printable tag really makes it, and is available for free. Just subscribe to Life is a Party below, and then you can access our free printable library and print the gift tags to add to your cookies for gift giving. Put your oreo coal cookies in an airtight container, or a cellophane bag for gift giving.

These krispy treats are not only adorable, but they're also delicious and so much fun. Guaranteed to give anyone who receives them a smile. ;). These small cookies are also a great dessert idea, and a really fun addition to holiday cookie trays, especially for the rice krispie treats lover.

Recipe

coal Rice Krispies

Coal Rice Krispie Cookies

Delicious Rice Krispies with the flavor of Oreos.
5 from 1 vote
Print Pin Rate
Course: Dessert
Cuisine: American
Prep Time: 10 minutes minutes
Cook Time: 20 minutes minutes
Total Time: 30 minutes minutes
Servings: 24
Calories: 33kcal
Author: Dannyelle Nicolle-Ramjist

Ingredients

  • 303 g pkg regular oreo cookies
  • 400 g pkg marshmallows
  • 4 cups rice krispies
  • 3 tablespoon butter
  • black food colouring

Instructions

  • Put the oreo cookies in a food processor and pulse with the blade attachment until they are ground to a fine crumb. If you don't have a food processor, make your crushed oreos by putting your oreos in a ziploc bag, and rolling with a rolling pin until they're all finely crushed. Set aside.
  • Measure 4 cups of rice krispies into a mixing bowl and set aside.
  • Prepare a surface for the finished cookies by spreading a piece of parchment paper or wax paper on a table, and having two large spoons and a glass of cold water ready.
  • Place butter and marshmallows in a large saucepan. Cook over a medium heat, stirring occasionally until all the marshmallows are melted and combined. Turn off the heat.
  • Add enough black food colouring to make the marshmallow mixture black. Add in the oreo crumbs, and rice krispies and stir until completely combined and black. If needed add a little more food colouring.
  • Using two spoons dipped in cold water to help prevent the cookies from sticking, take a spoonful of the hot cookie mixture, and use the second spoon to help remove it onto the parchment paper and create misshapen balls of the cookie mixture.
  • Let the cookies set and cool slightly, but while still warm, use your fingers to compress the cookies slightly and make them look like lumps of coal.
  • Let cool completely and store in an airtight container.

Nutrition

Serving: 1g | Calories: 33kcal | Carbohydrates: 5g | Fat: 2g | Saturated Fat: 1g | Cholesterol: 4mg | Sodium: 38mg | Sugar: 1g
Tried this Recipe? Tag me Today!Mention @LifeisaParty or tag #lifeisaparty!
Coal Rice Krispie homemade Christmas gift idea

With Coal Rice Krispie Cookies for your whole family to enjoy, life really is a party!

Free Printable Gift Tags

Coal Rice Krispie Cookie free printable label

Get your free printable gift tags to go with these cute cookies here.  Just subscribe to our newsletter and gain free and instant access to our printable library as our thank you.

More DIY Gift Idea Inspiration:

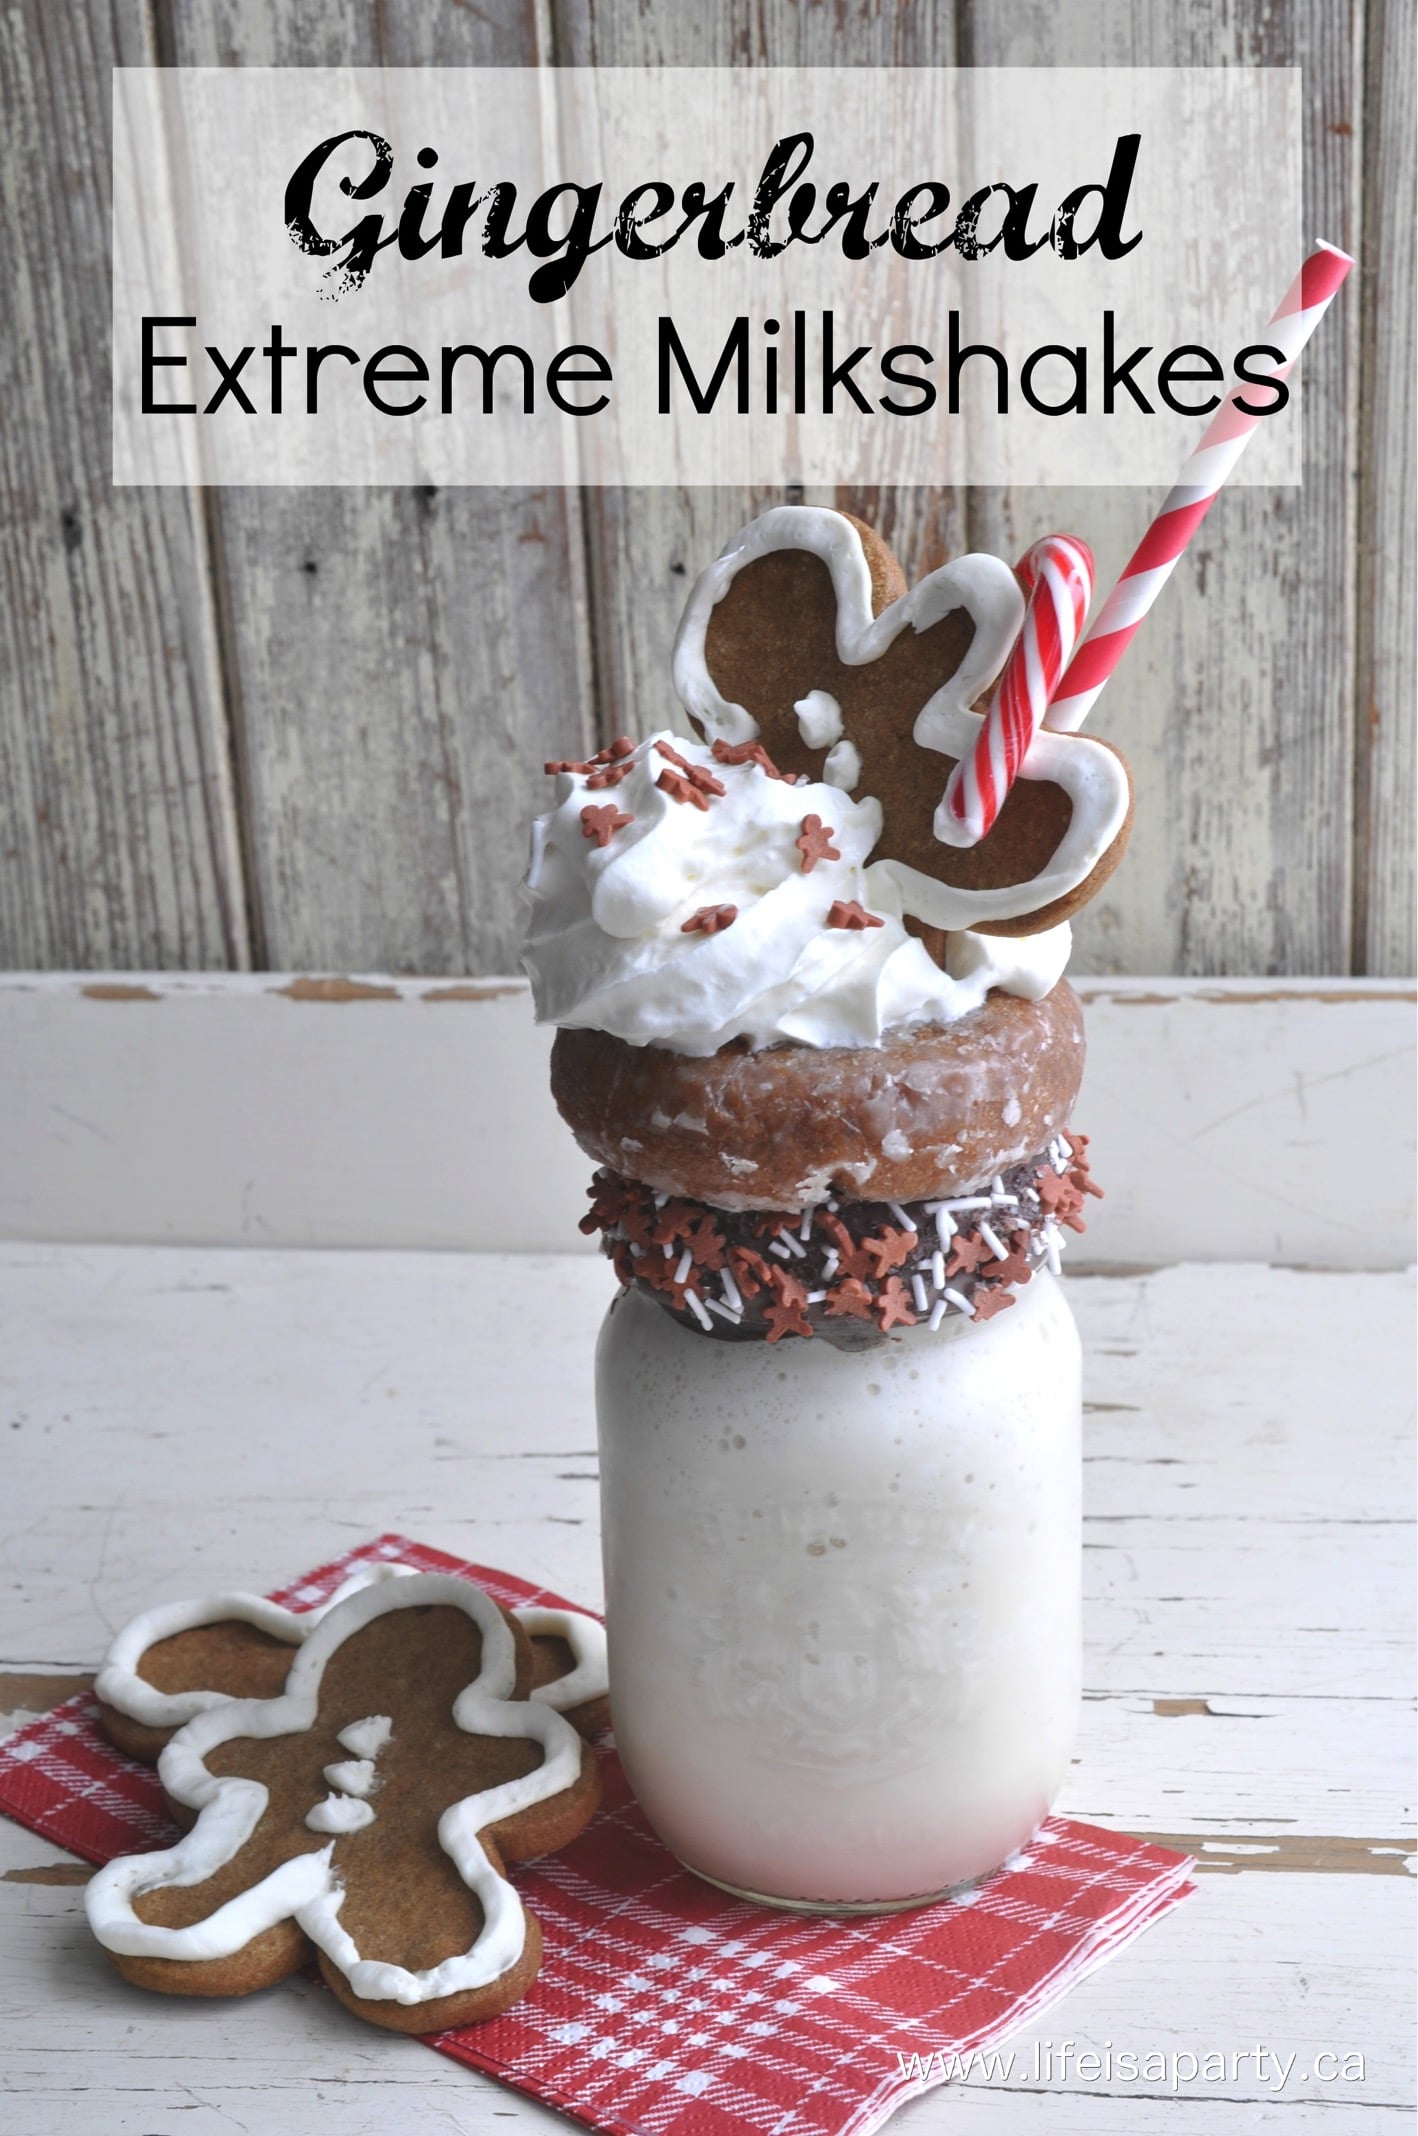
You might also like our Gingerbread Extreme Milkshakes here.

Gingerbread Extreme Milkshake Freakshake: Recipe for gingerbread syrup and gingerbread extreme milkshakes. Perfect treat for the holidays.

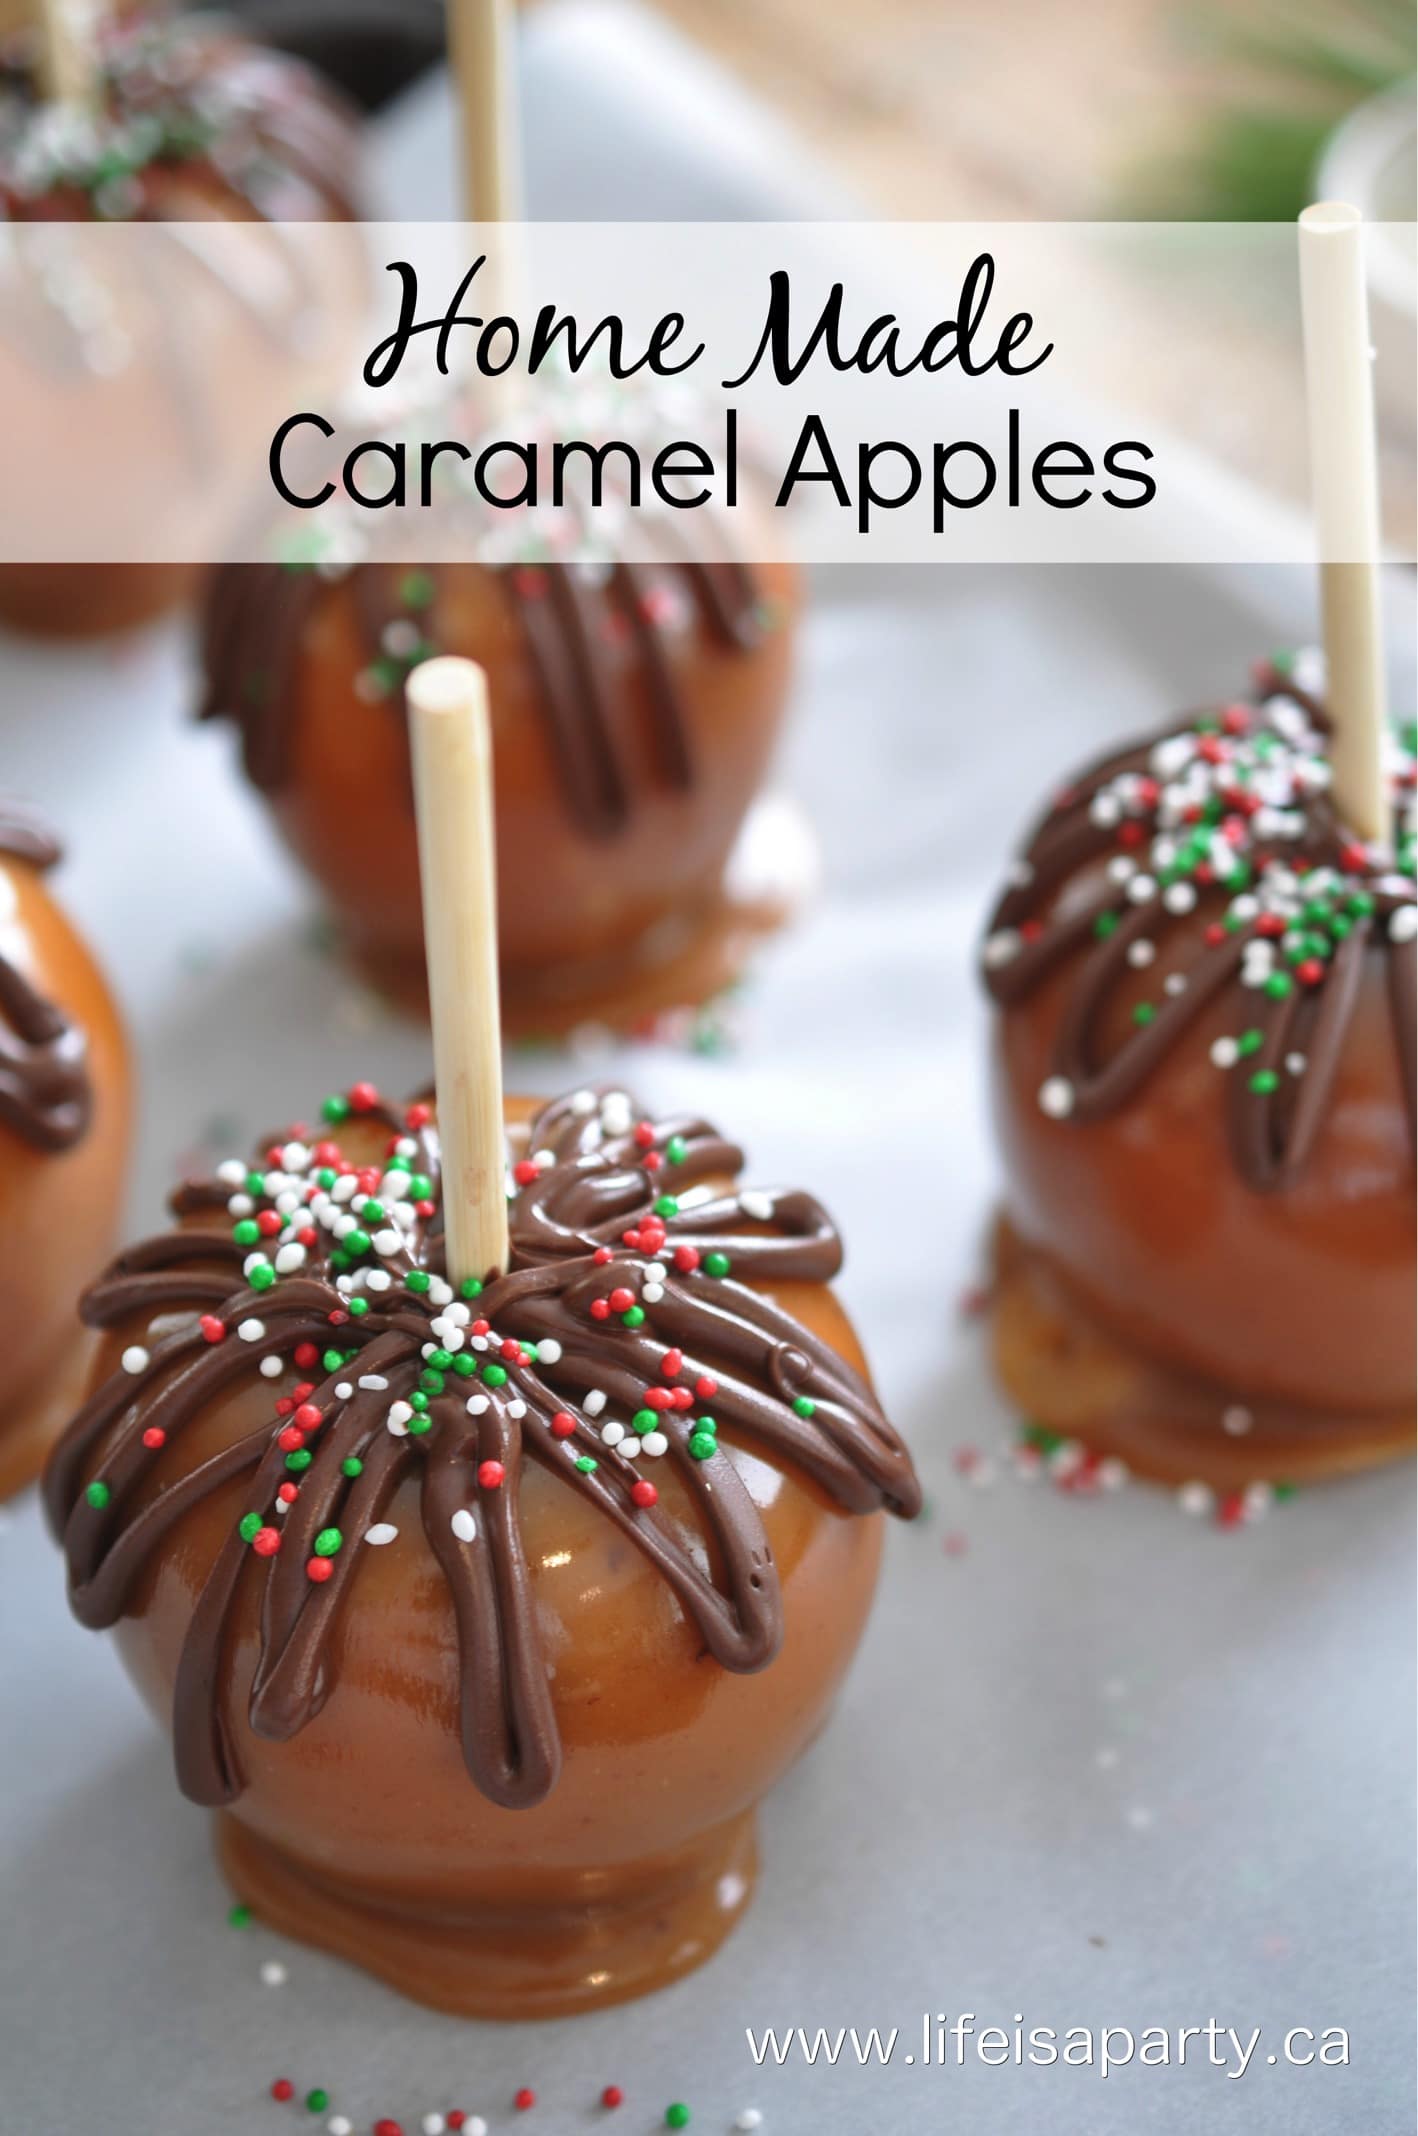
Also check our our Homemade Caramel Apples recipe here.

Caramel Apple Recipe: Easy, homemade Caramel Apples, perfect for Christmas gift giving, or anytime of year. Add your favourite toppings.

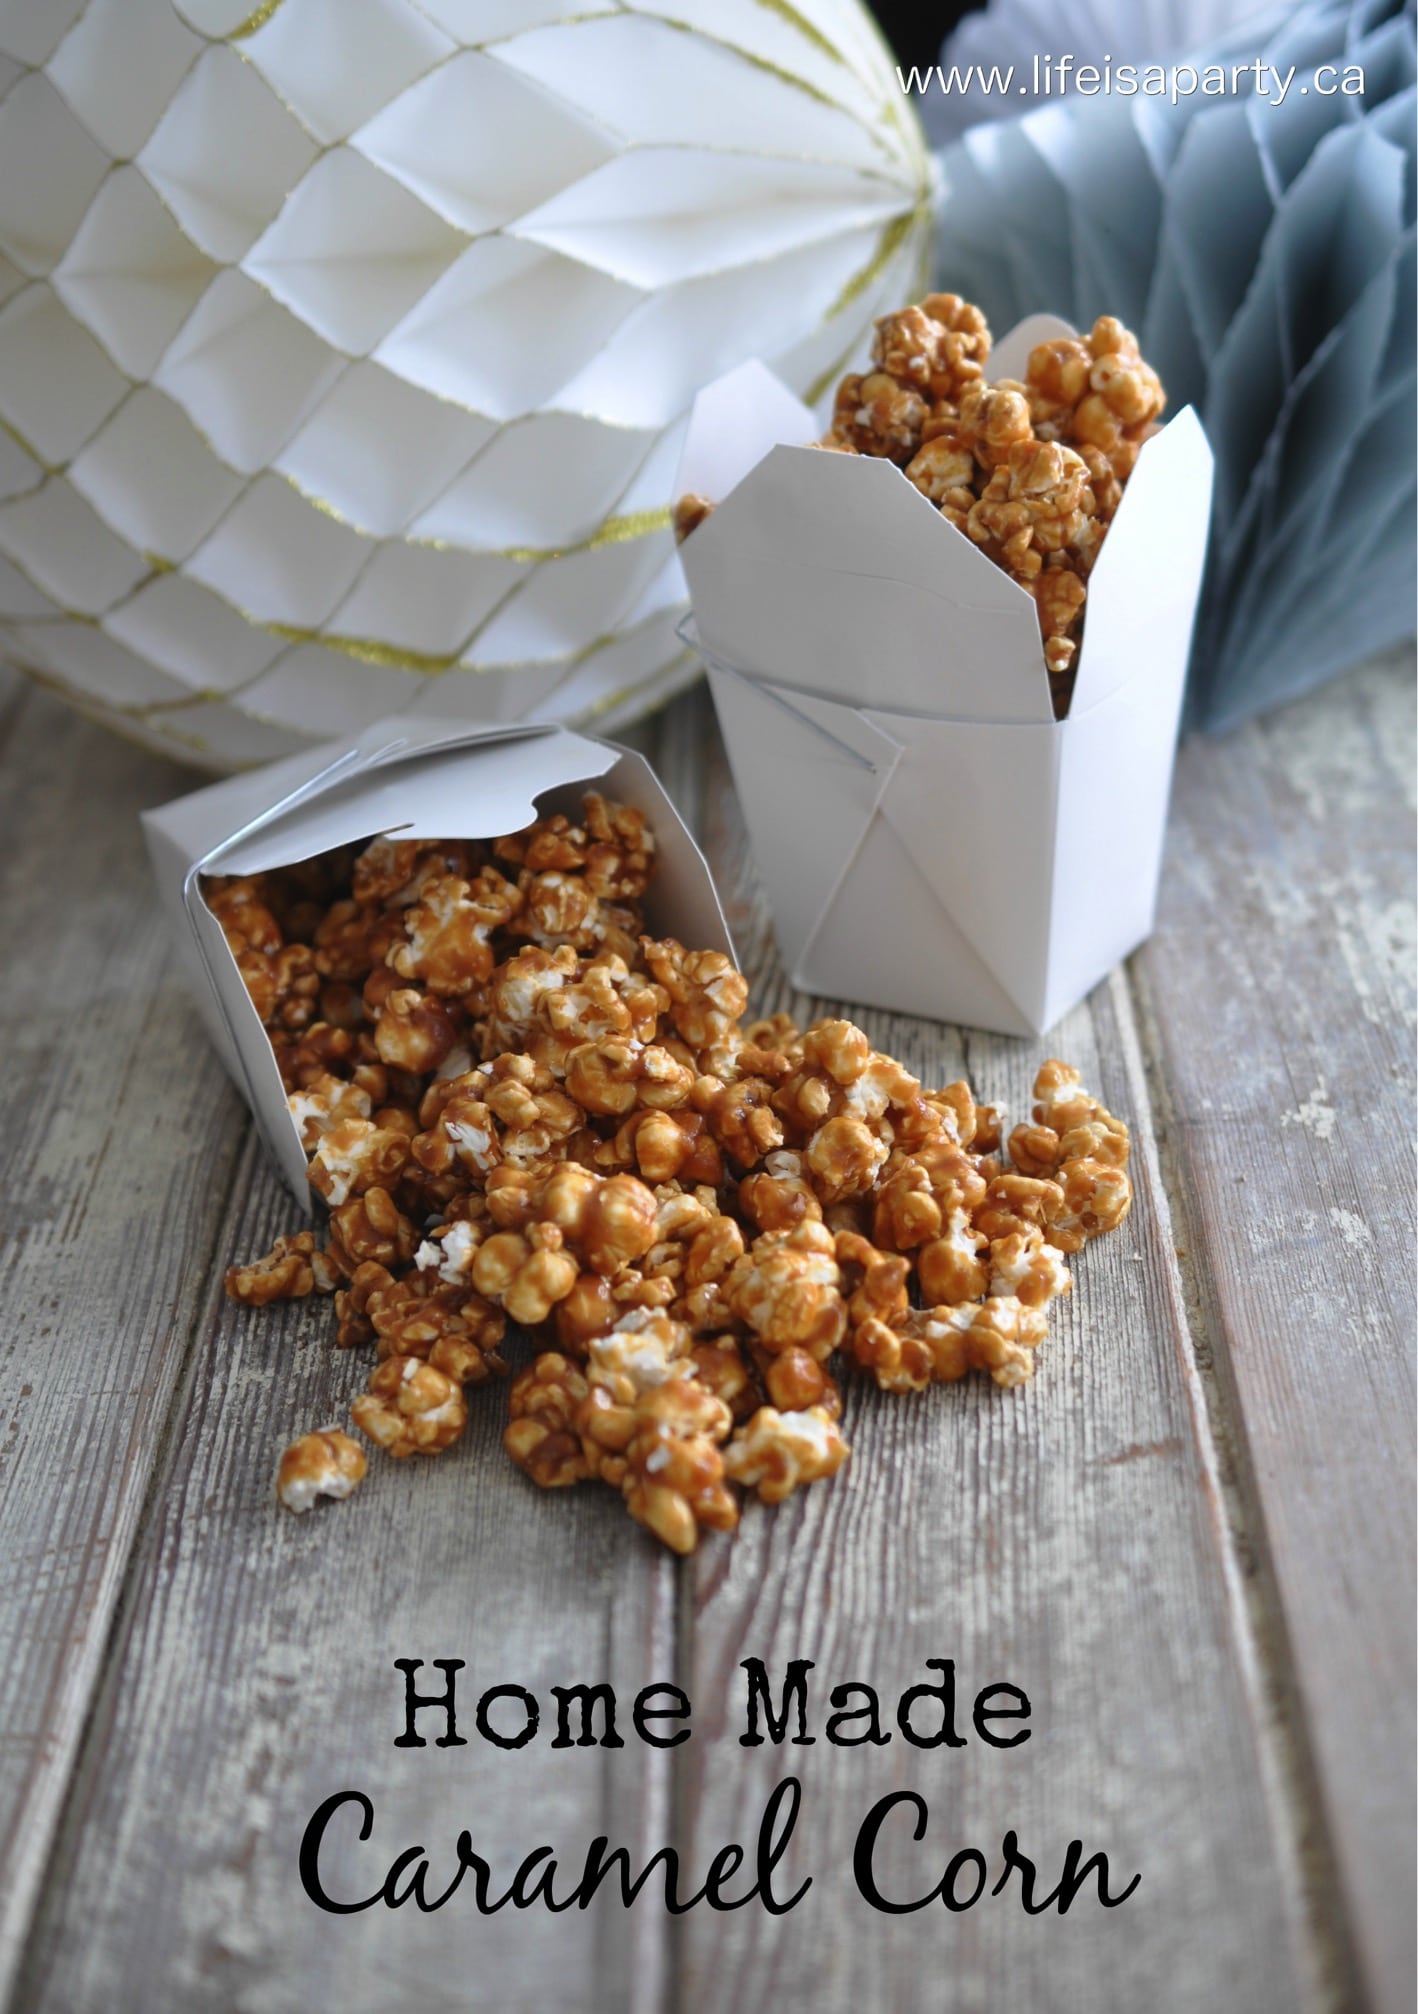
You might also enjoy our Homemade Caramel Corn recipe here.

Printable Christmas Gift Tags

Nov 15, 2019 · Leave a Comment

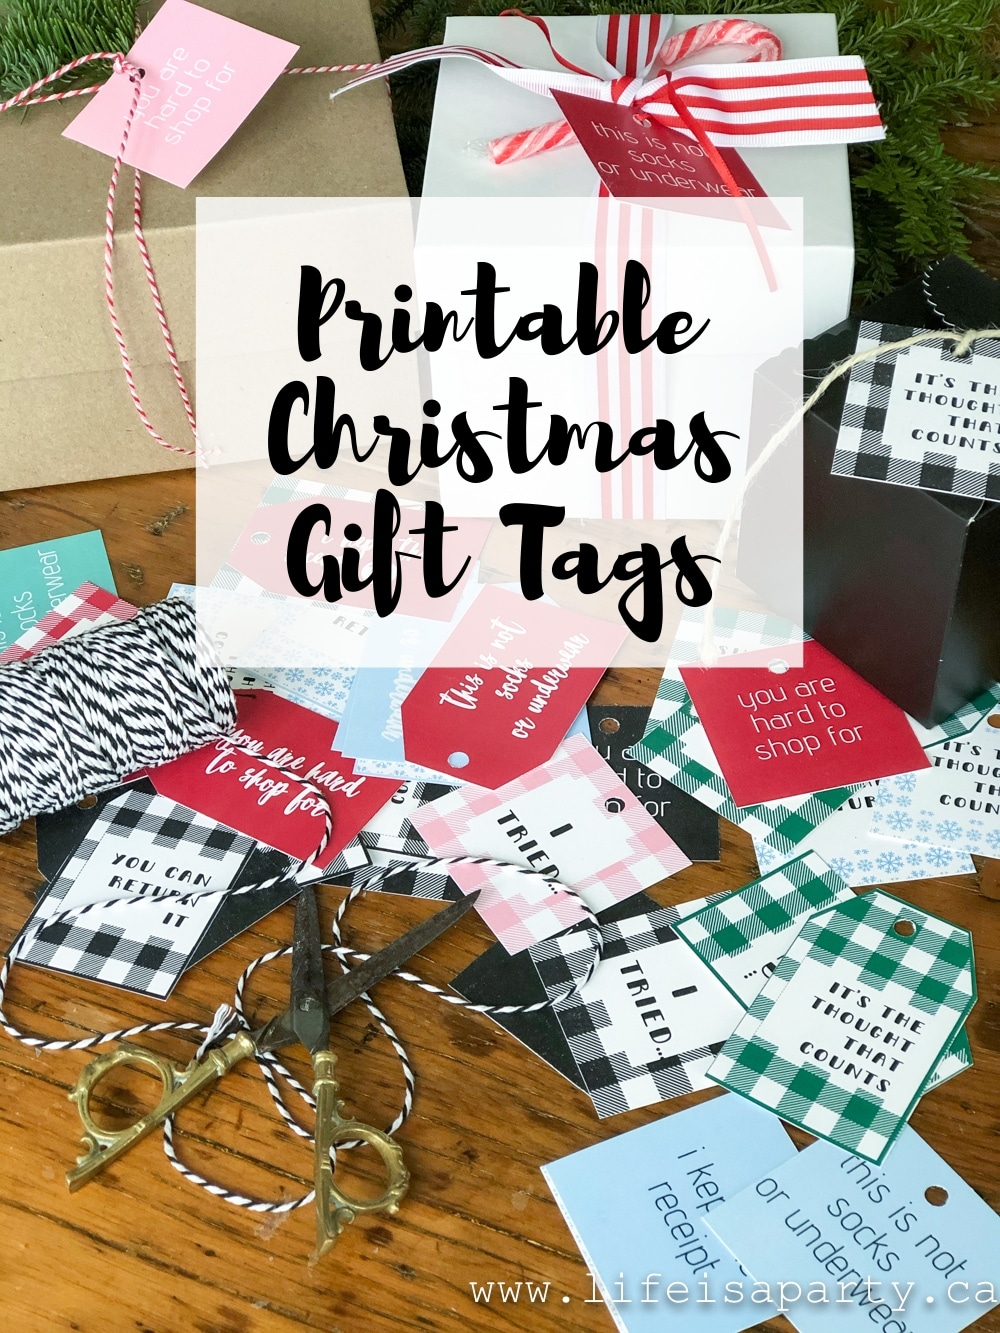
printable Christmas gift tags

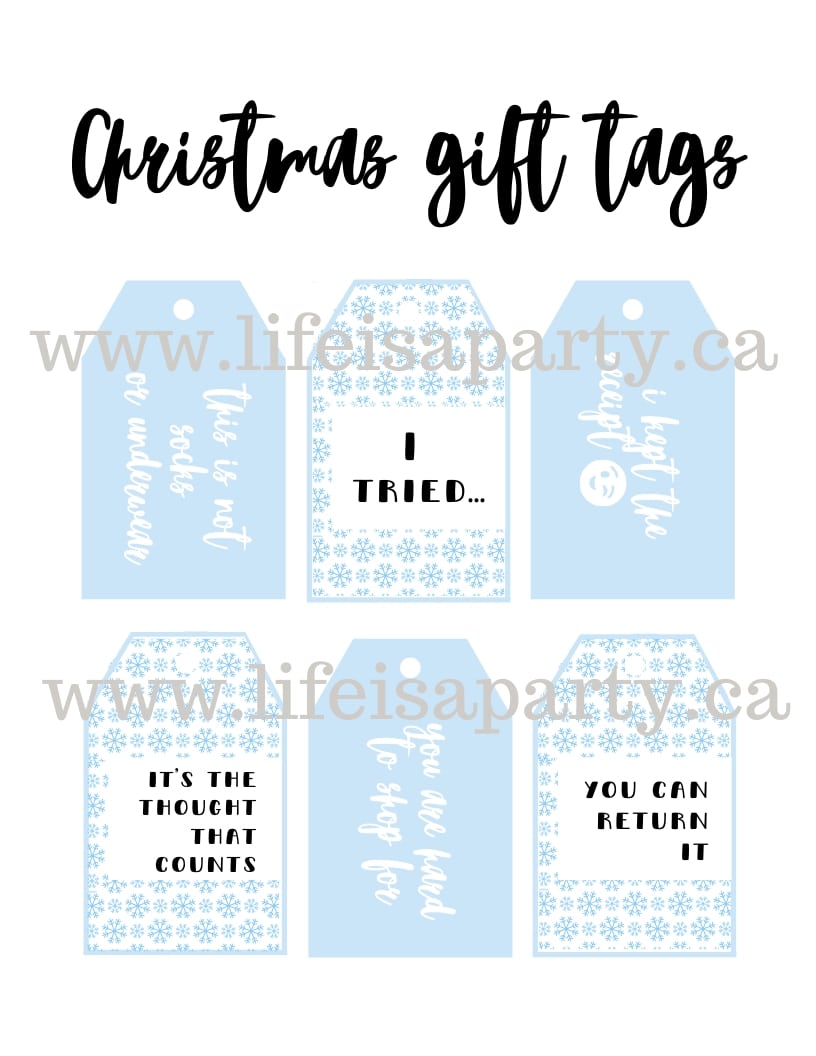
Printable Christmas Gift Tags: these funny Christmas tags come in blue, black and white, red and green, or a colourful muliti-color set.

printable Christmas gift tags
[feast_advanced_jump_to]

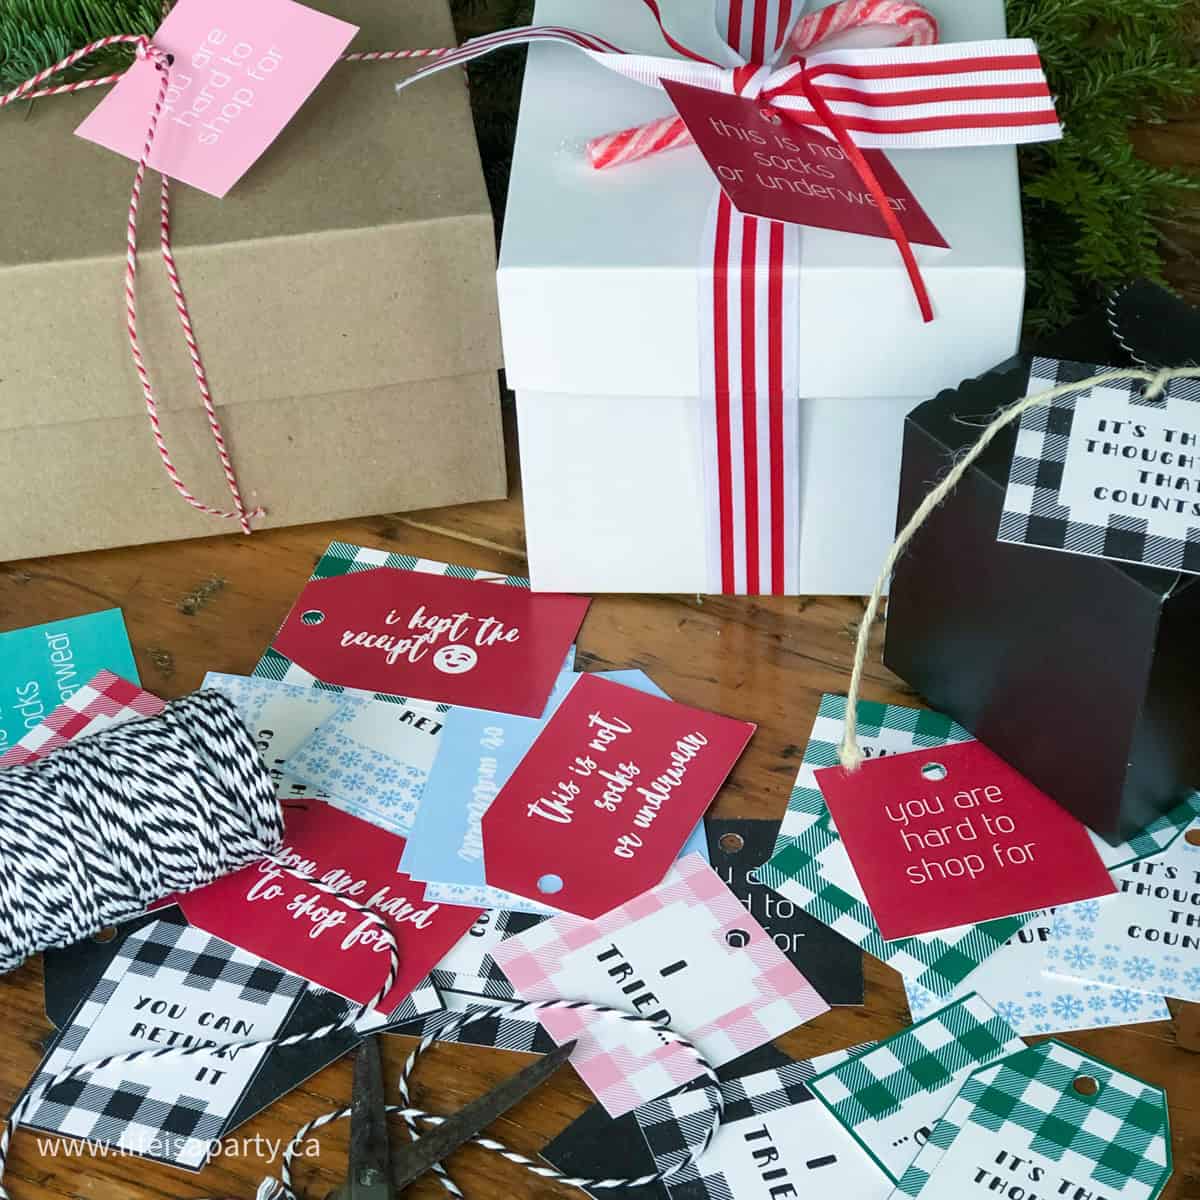
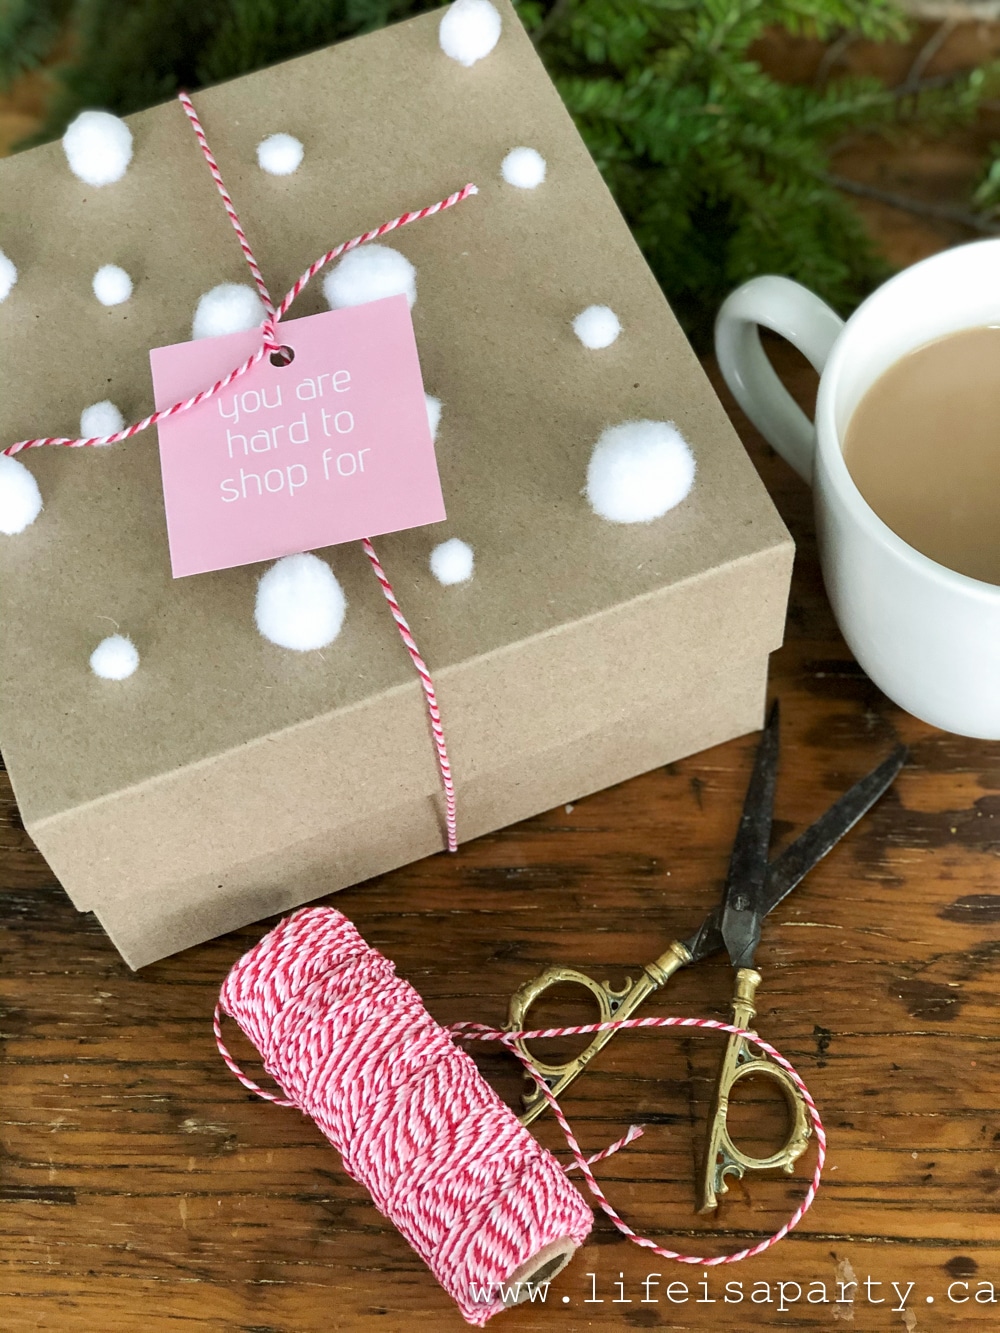
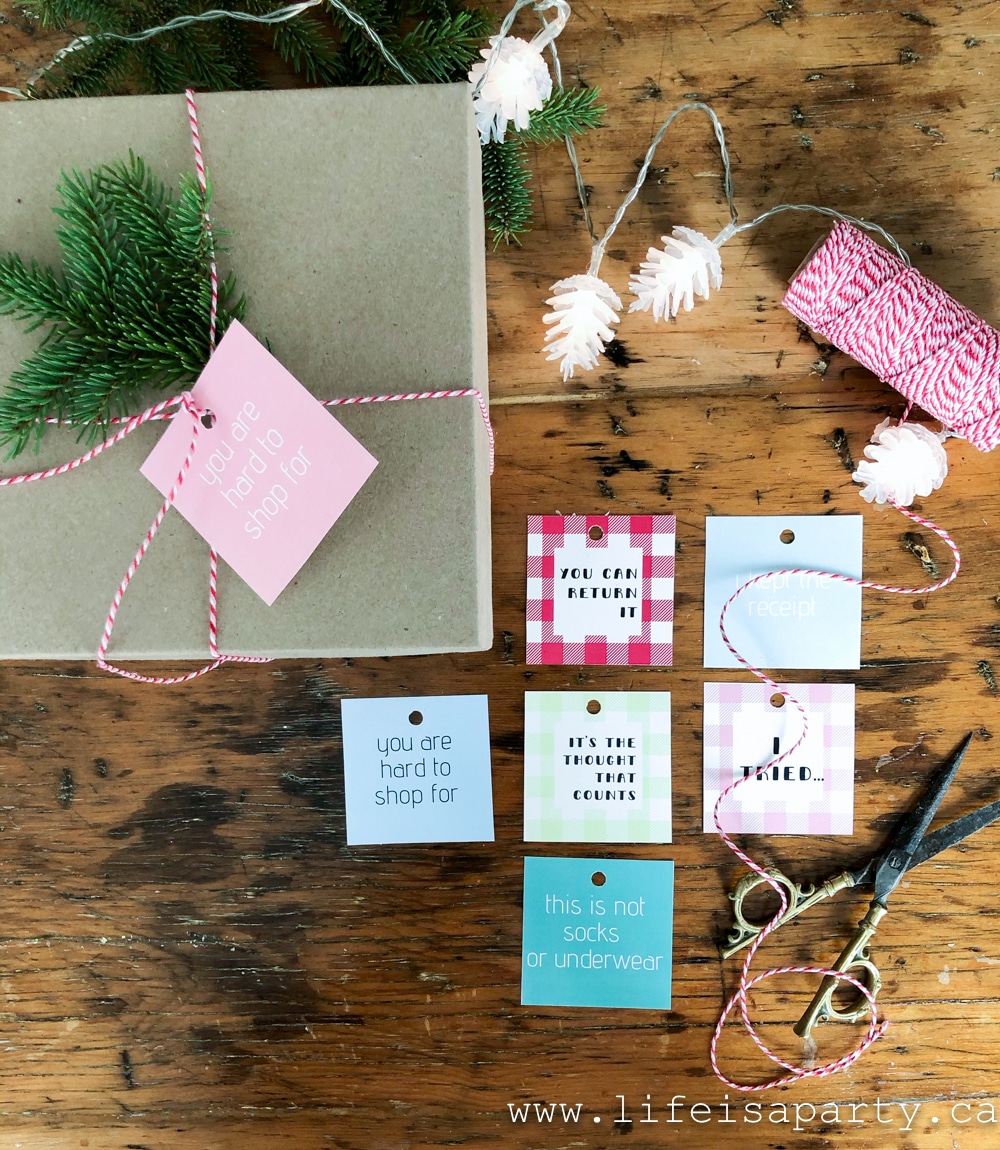
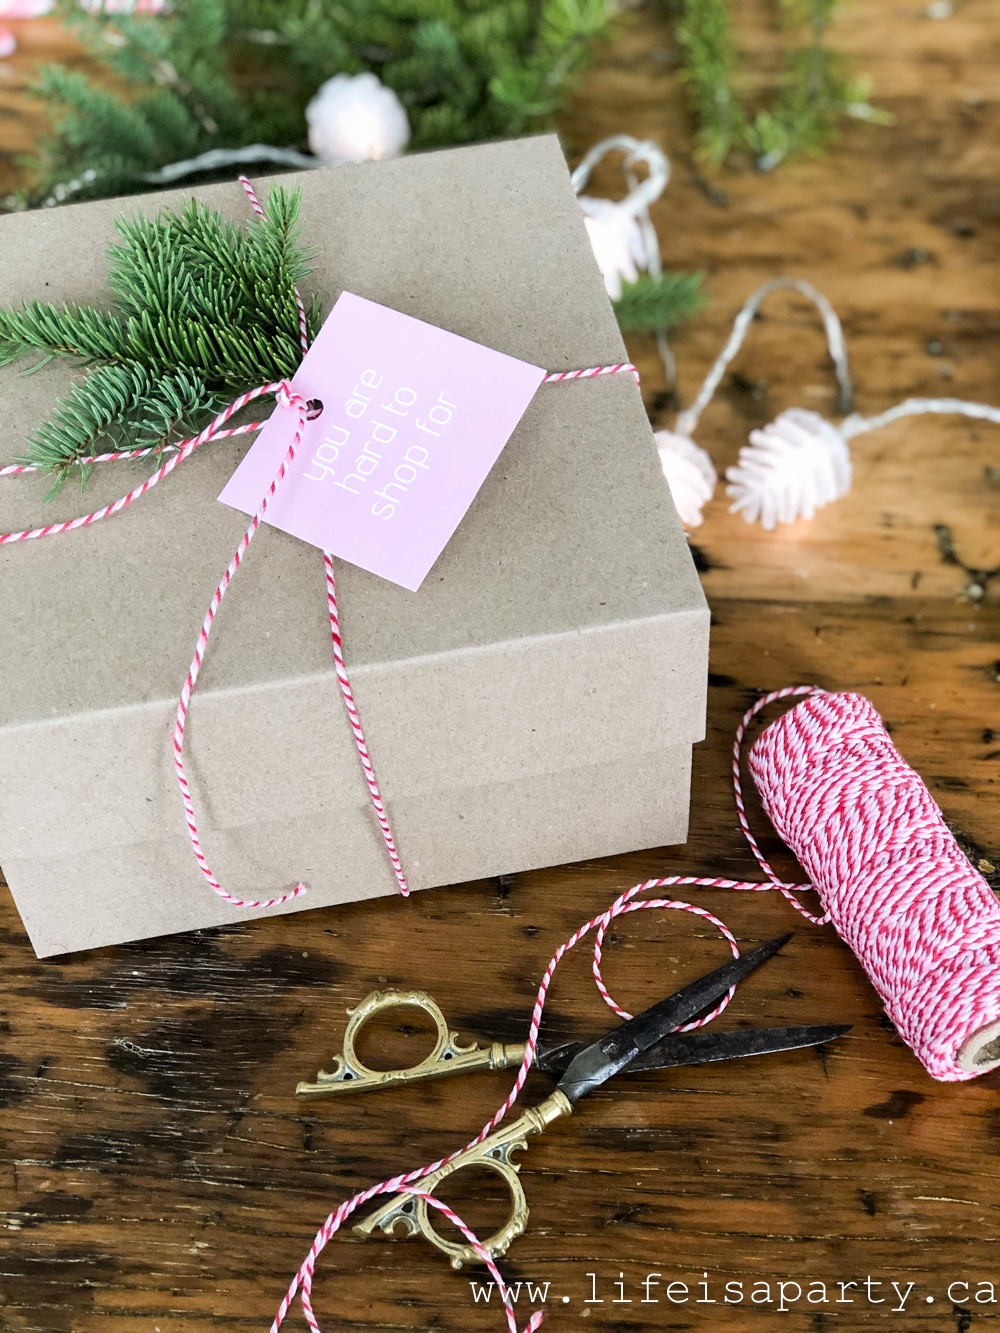
These printable Christmas gift tags should put a smile on your face.  If you have anyone on your list who is difficult to shop for these are the gift tags for you.

Printable Christmas Gift Tags: these funny Christmas tags come in blue, black and white, red and green, or a colourful muliti-color set.

Unfortunately I was raised with a mother who had a bad poker face and was hard to please when it came to gift giving.  To this day she often doesn't like her gifts on Christmas.  The refrain from the giver as they were being opened was often "I have the receipt for it if you want to return it."  It makes me laugh.  And has lead to many funny moments between my mom and sister and I.   And so these tags were made thinking of her. ;). I hope they make you giggle too.

Printable Christmas Gift Tags: these funny Christmas tags come in blue, black and white, red and green, or a colourful muliti-color set.

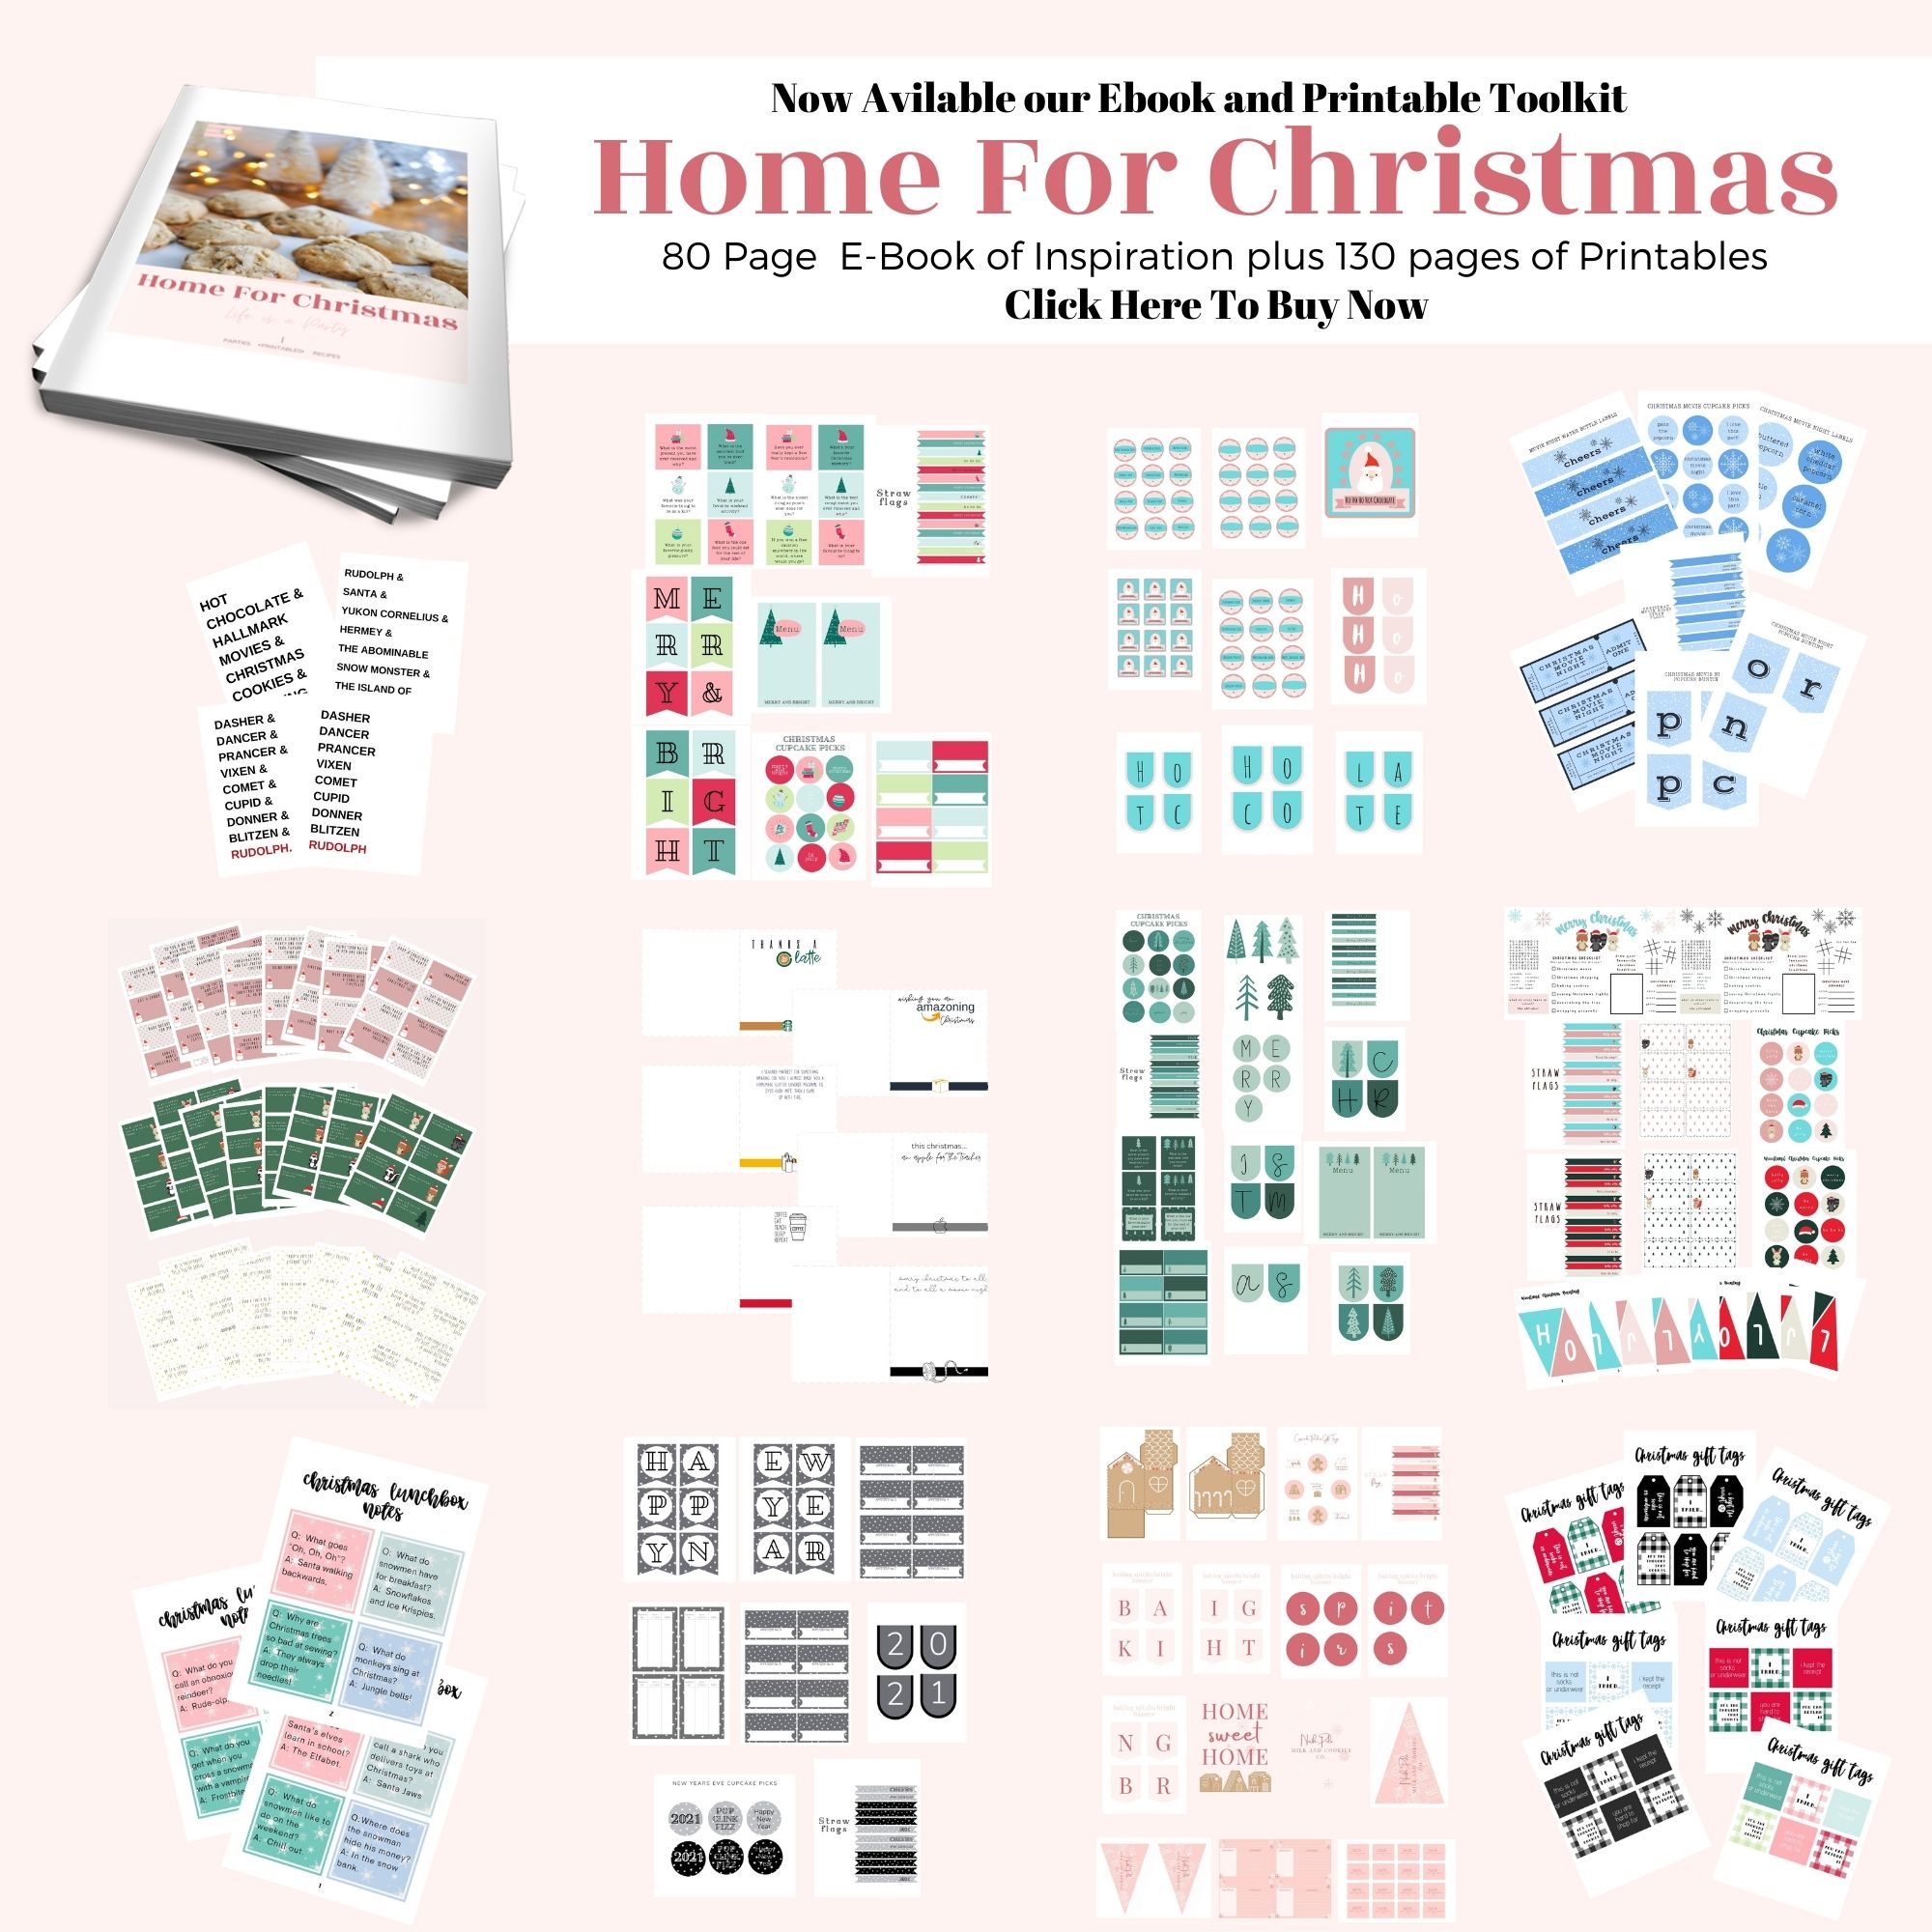
Home For Christmas Ebook and Printable Toolkit

No Christmas Toolkit would complete without a set of great gift tags.  Our collection is designed to have everything you need do the holidays well, so these were an important addition.  The Home For Christmas Ebook and Printable Toolkit came about when our readers told us that their biggest holiday struggle was time.  We thought that if we could put everything you might need in one, inexpensive, big bundle you might be able to spend less time preparing this Christmas, and more time actually celebrating!  You can buy the gift tag set on its own here.  Or purchase them as part of the Home For Christmas Ebook and Printable Toolkit here.

Printable Christmas Gift Tags in Different Colour Options

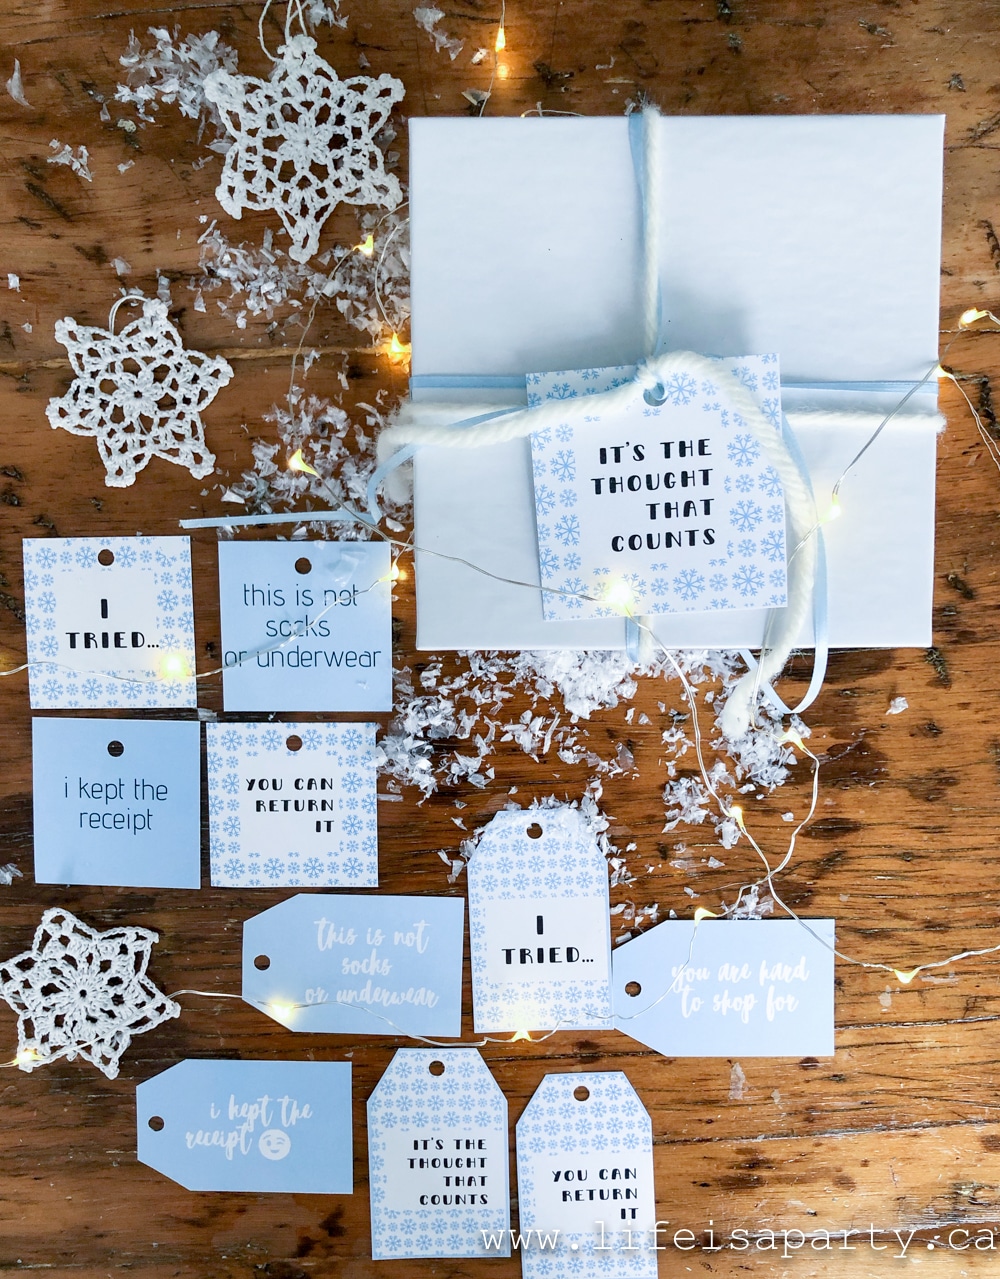
Since it's always nice to coordinate your gift tags to your Christmas decor colours, we made 4 different colour sets.  We hope there's one that's perfect for your colour scheme this year.

Blue

Printable Christmas Gift Tags: these funny Christmas tags come in blue, black and white, red and green, or a colourful muliti-color set.

If you love blue the gift tags are available in this pretty blue colour with snowflakes.

Blue Funny Christmas gift tags

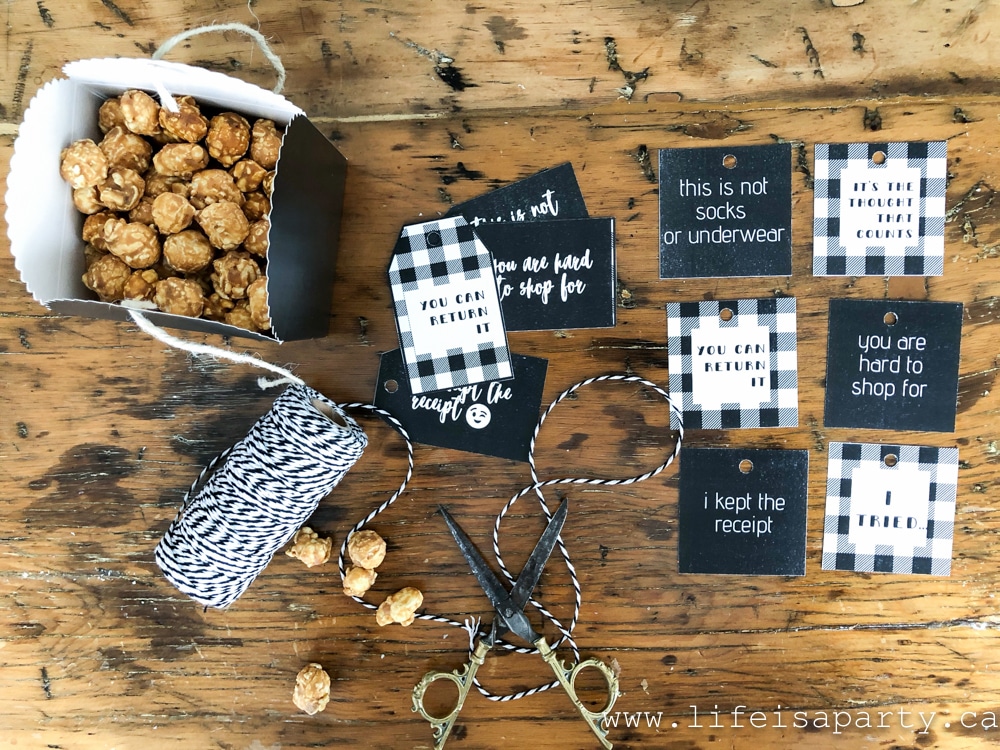
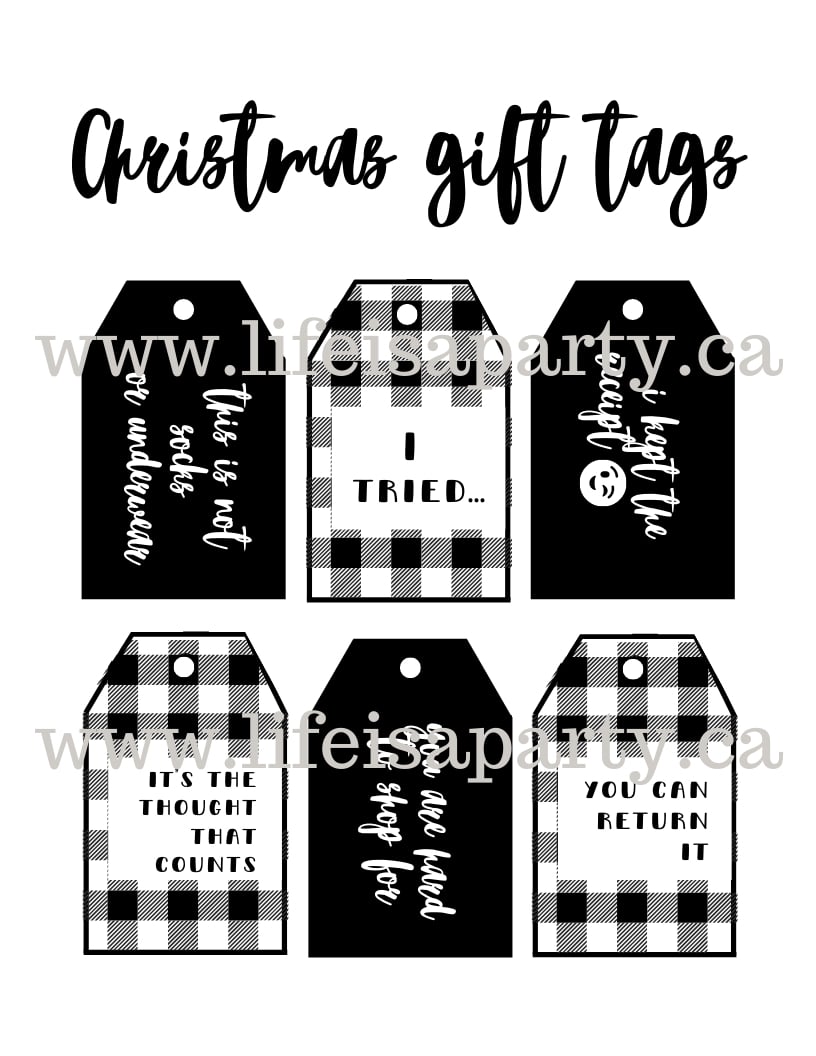
Black and White

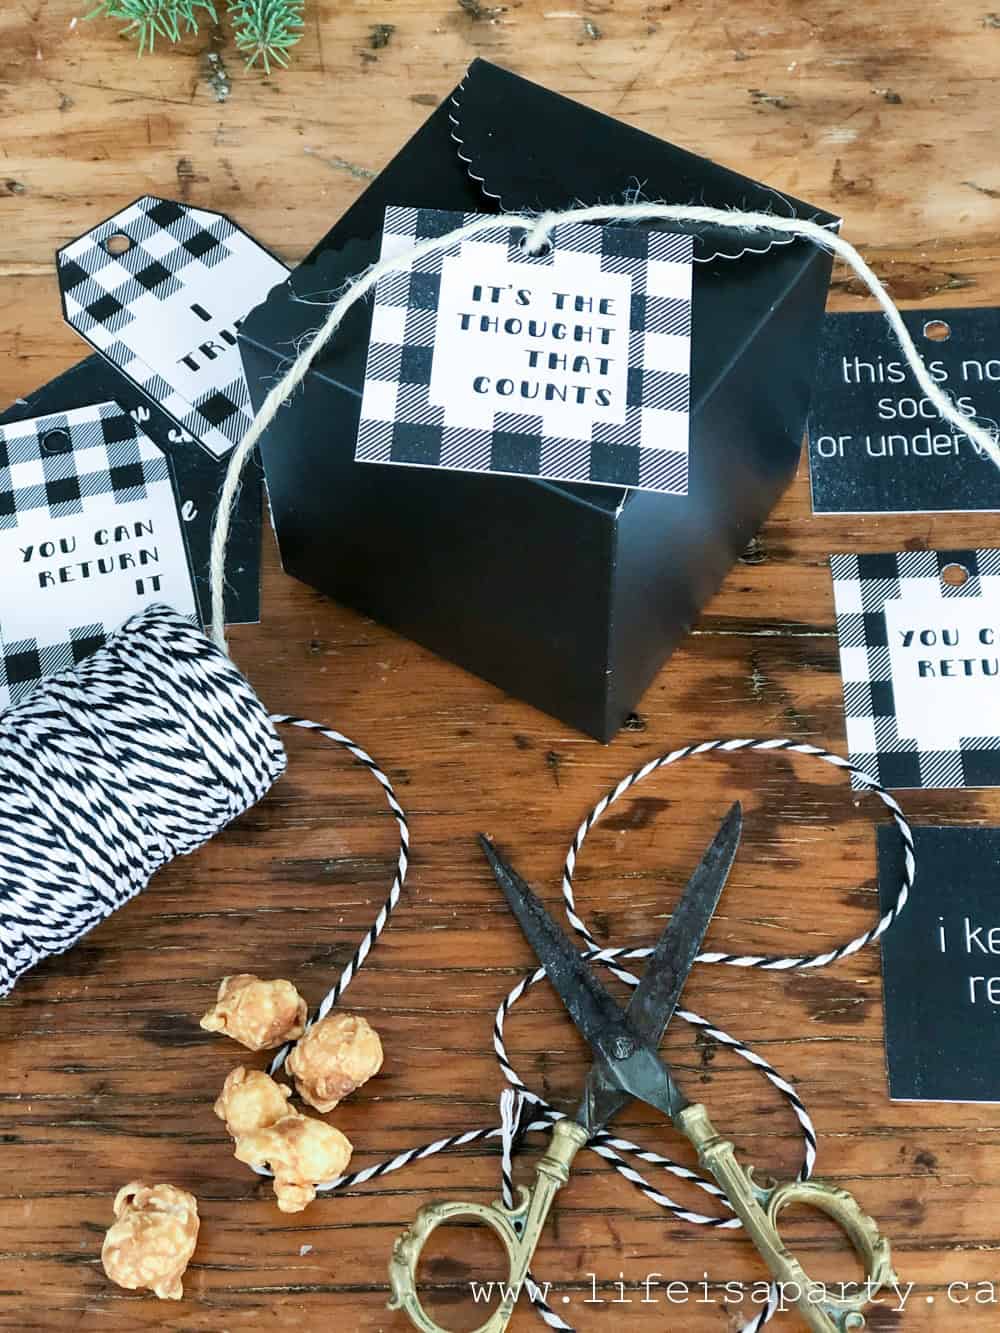
If you love the black and white look, these gift tags will be perfect for you.  

Black and White Printable funny Christmas gift tags
Black and White Funny Printable Christmas Gift Tags

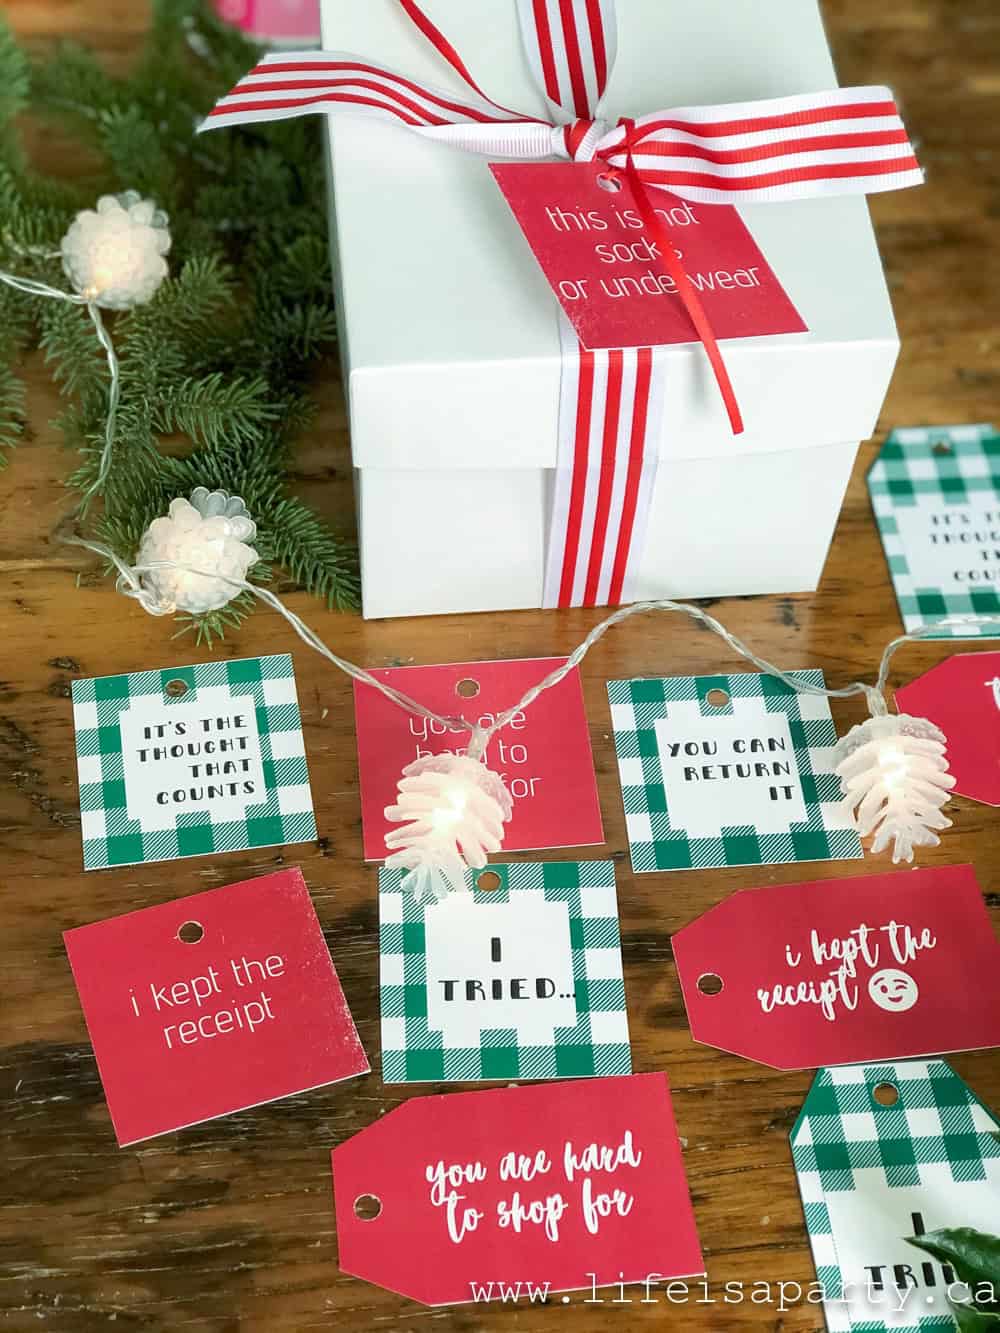
Red and Green

If you love the traditional red and green colours for Christmas then you will love this colour option.

Printable Christmas Gift Tags: these funny Christmas tags come in blue, black and white, red and green, or a colourful muliti-color set.

Colourful

I made this set to match our Merry and Bright Party Set.  If you love colour, then this colourful set is perfect for you. 

Printable Christmas Gift Tags: these funny Christmas tags come in blue, black and white, red and green, or a colourful muliti-color set.

I had a lot of fun putting these together.  It's fun to be funny.  When given the choice to laugh or cry, especially at Christmas, always choose laugh.  🙂

Printable Christmas Gift Tags: these funny Christmas tags come in blue, black and white, red and green, or a colourful muliti-color set.

Purchase the gift tag set -which includes all the colours here for just $1.99 here.  Or purchase the entire Home For Christmas Ebook and Printable Toolkit here and have everything you need for Christmas all in one spot.

With these funny printable Christmas gift tags, life really is a party!

More Inspiration

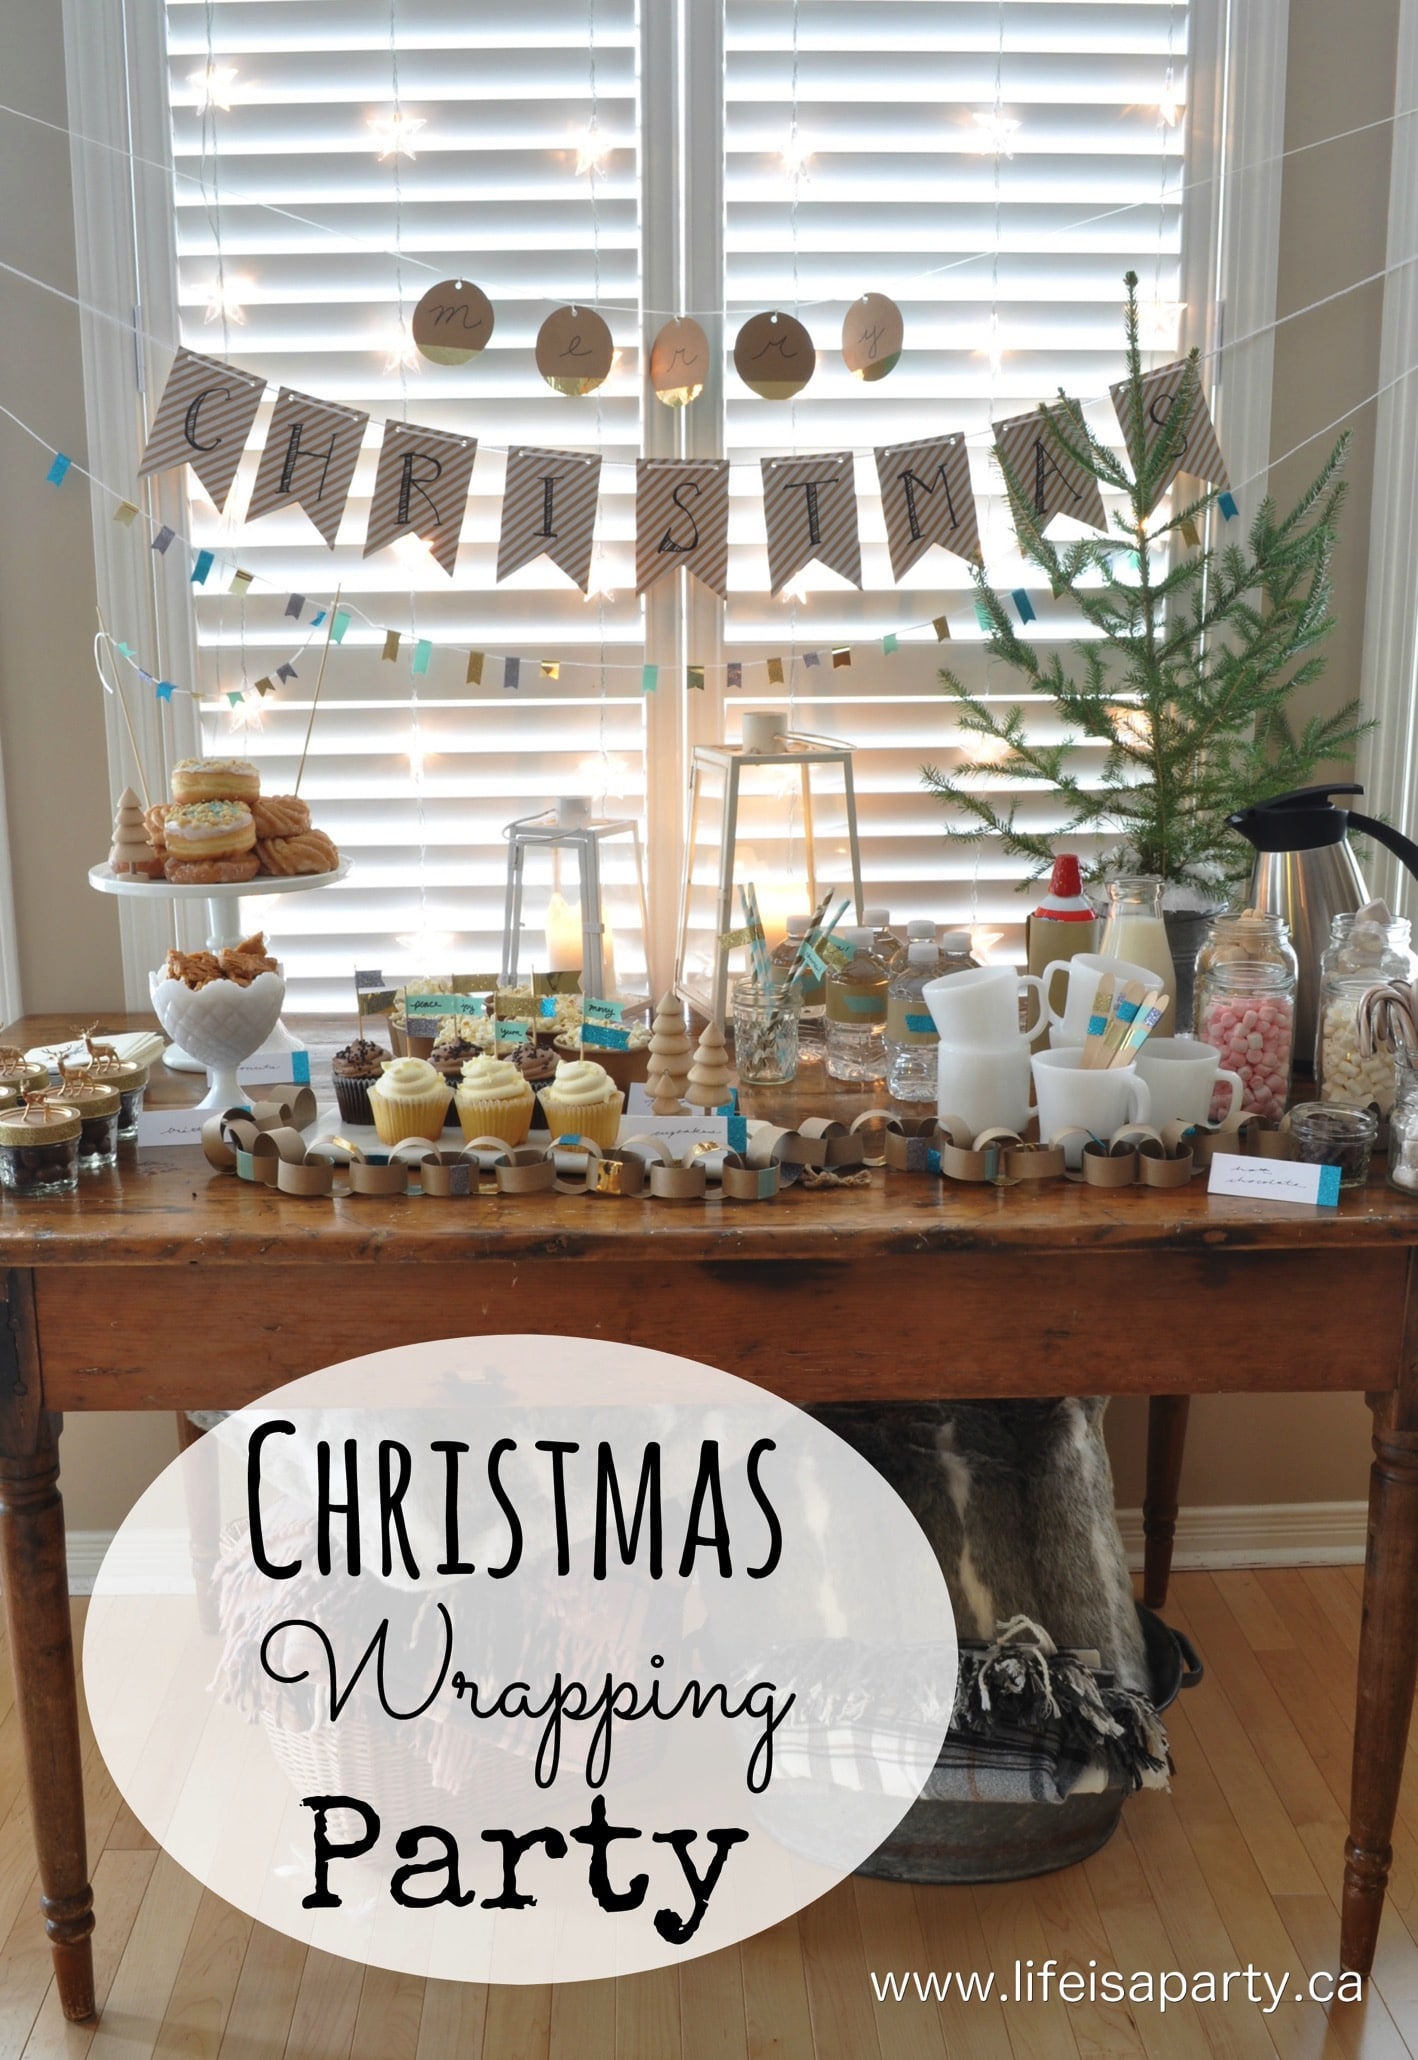
Want more gift wrapping inspiration?  Check out this Christmas Wrapping Party.

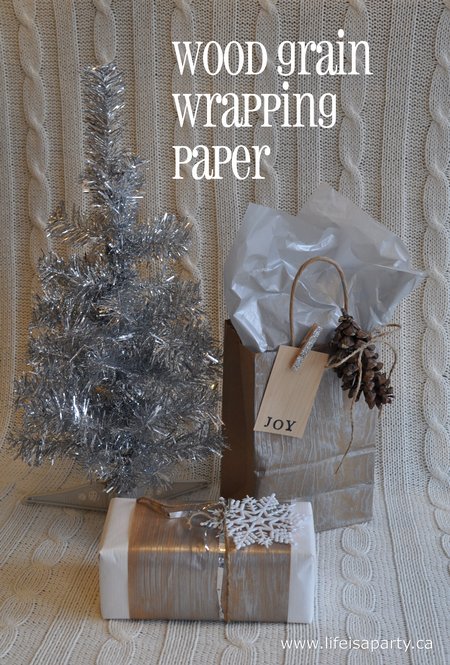
Also check out our DIY Wood Grain Faux Bois Wrapping Paper here.

Wood Grain Faux Bois Wrapping Paper

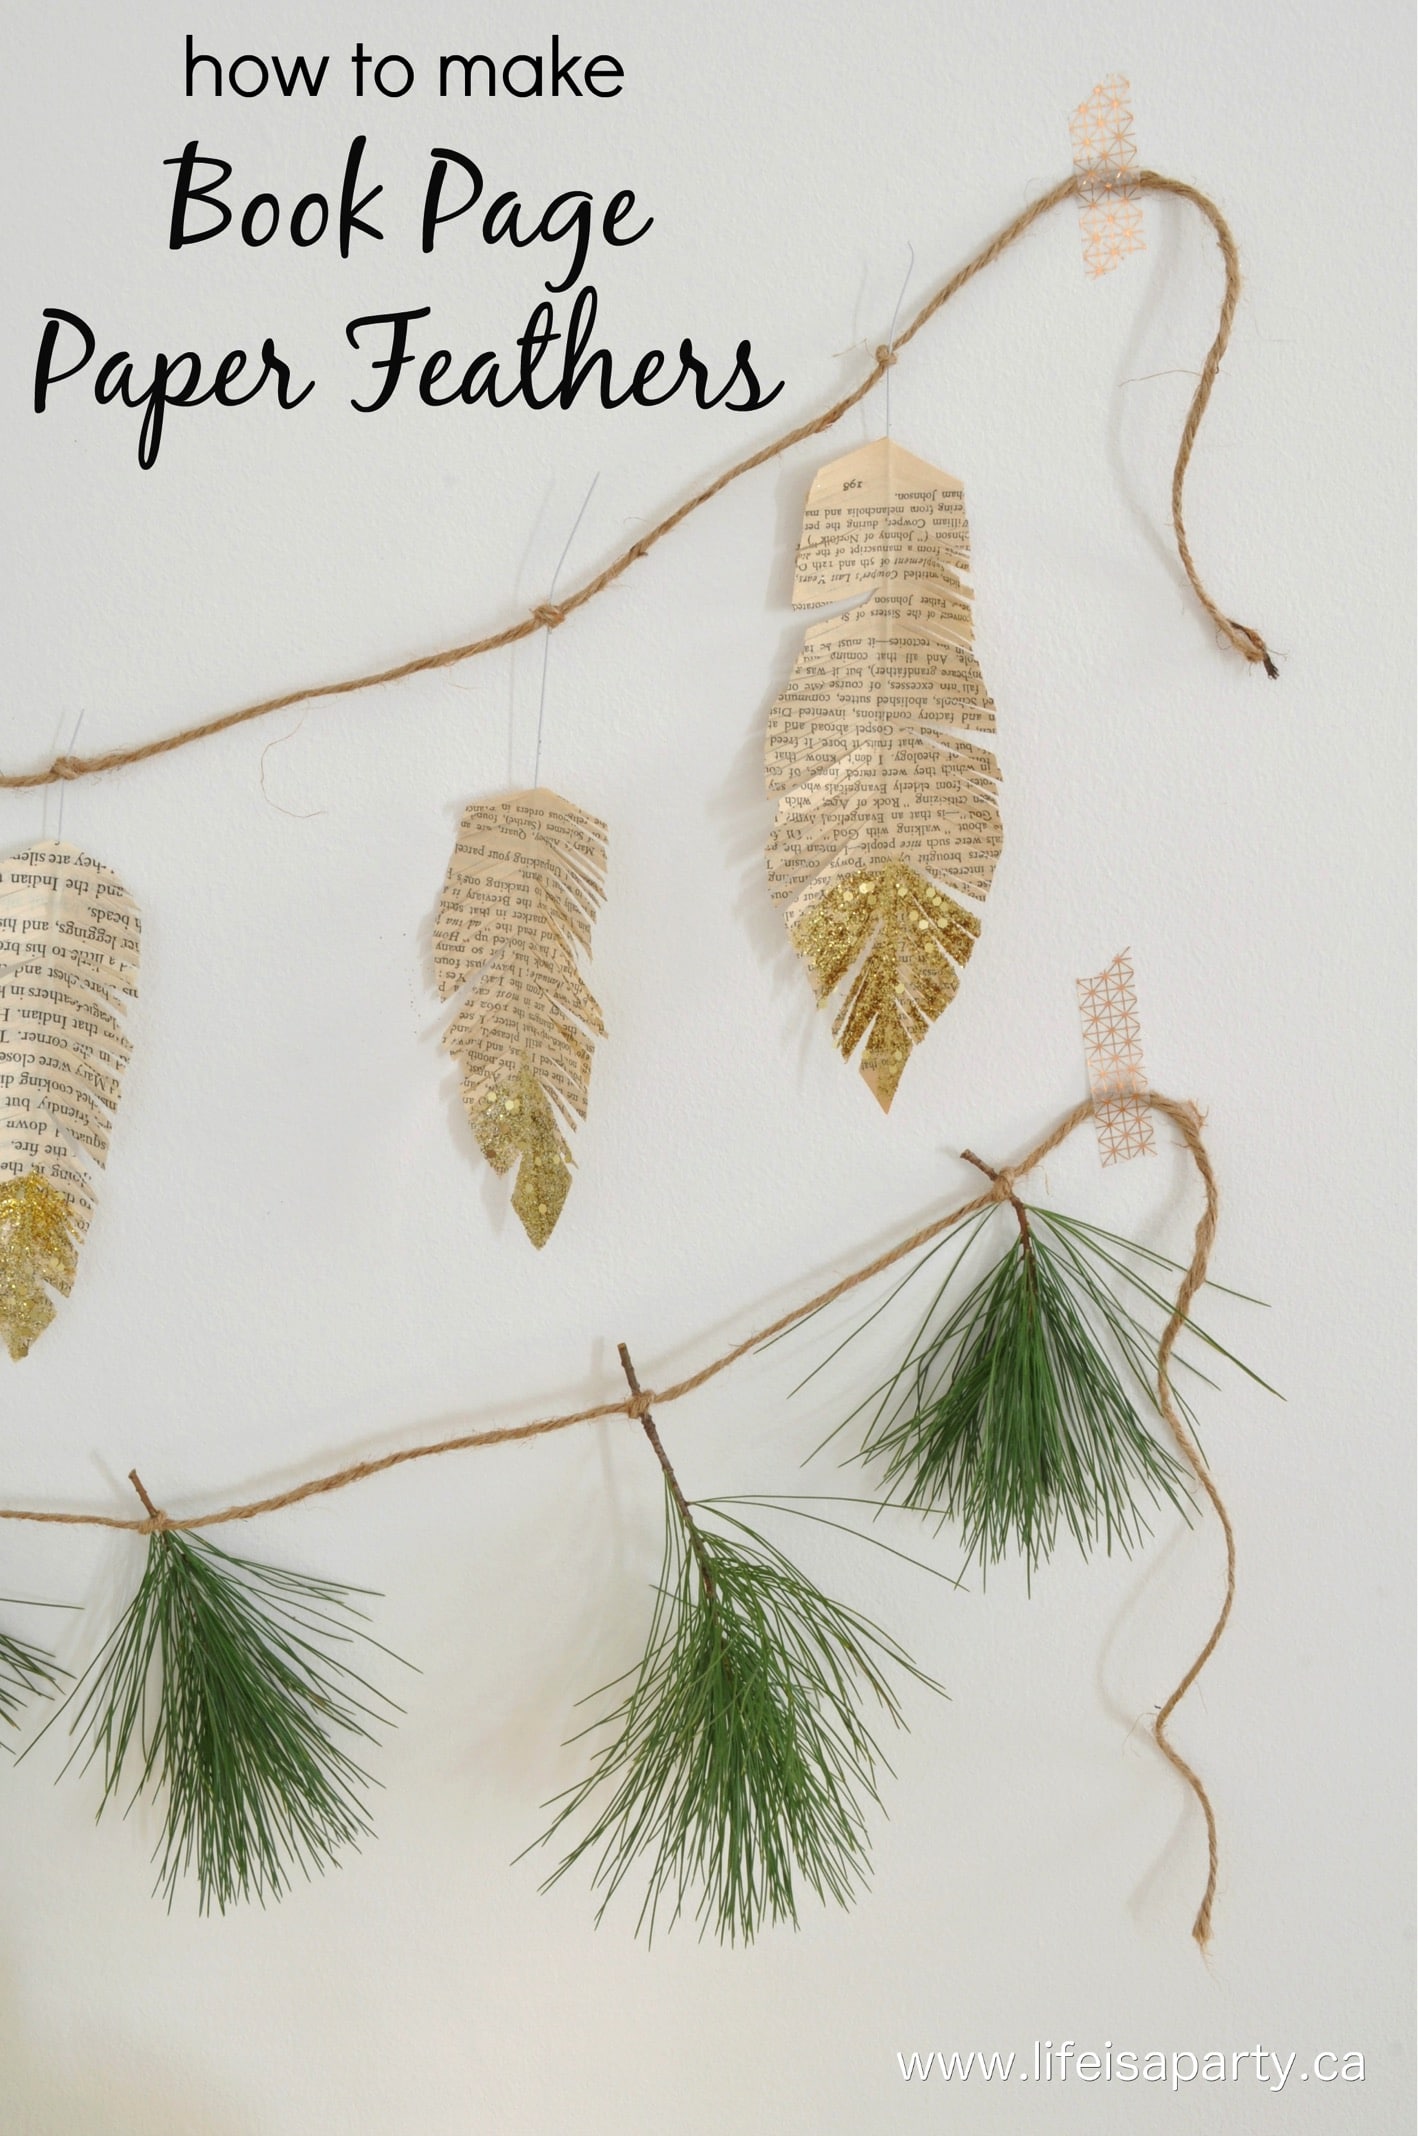
You might also enjoy our DIY Book Page Paper Feathers here.

Merry and Bright Christmas Party

Nov 14, 2019 · Leave a Comment

Merry and Bright Christmas party printable set.

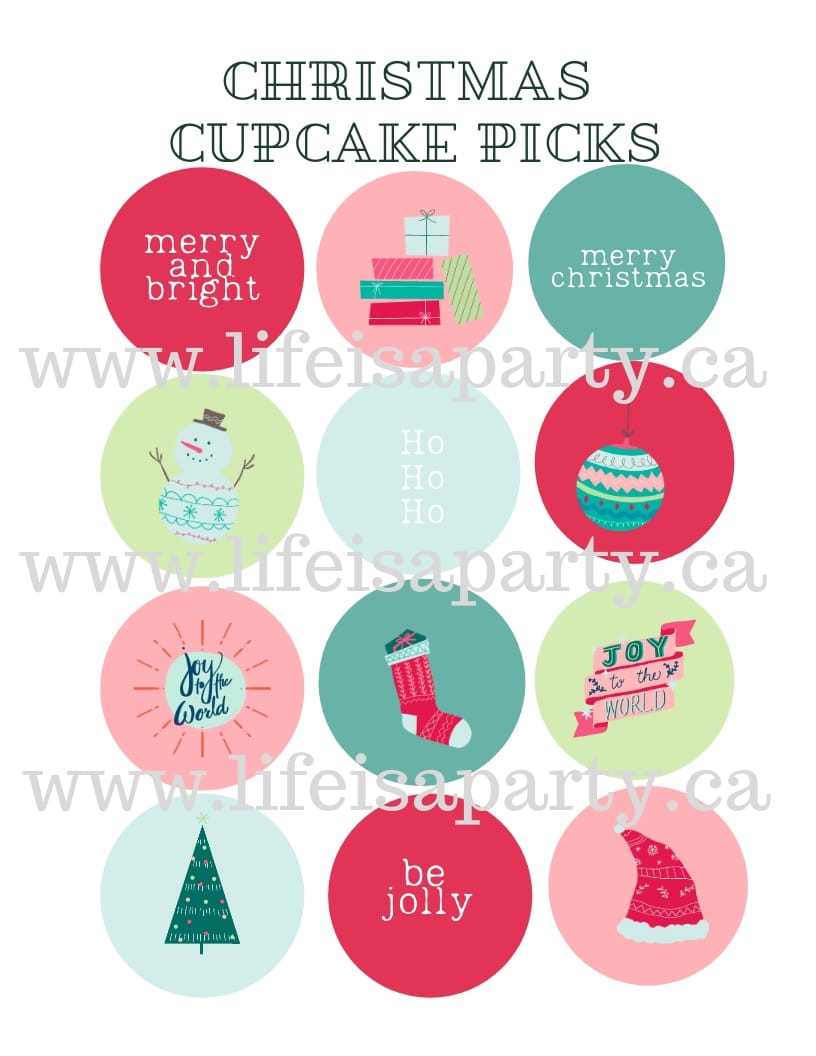
Merry and Bright Christmas Party Set: these party printables include menus, place cards, straw flags, conversations starters, cupcake picks, and a banner.

Merry and Bright Christmas party printable set.
[feast_advanced_jump_to]

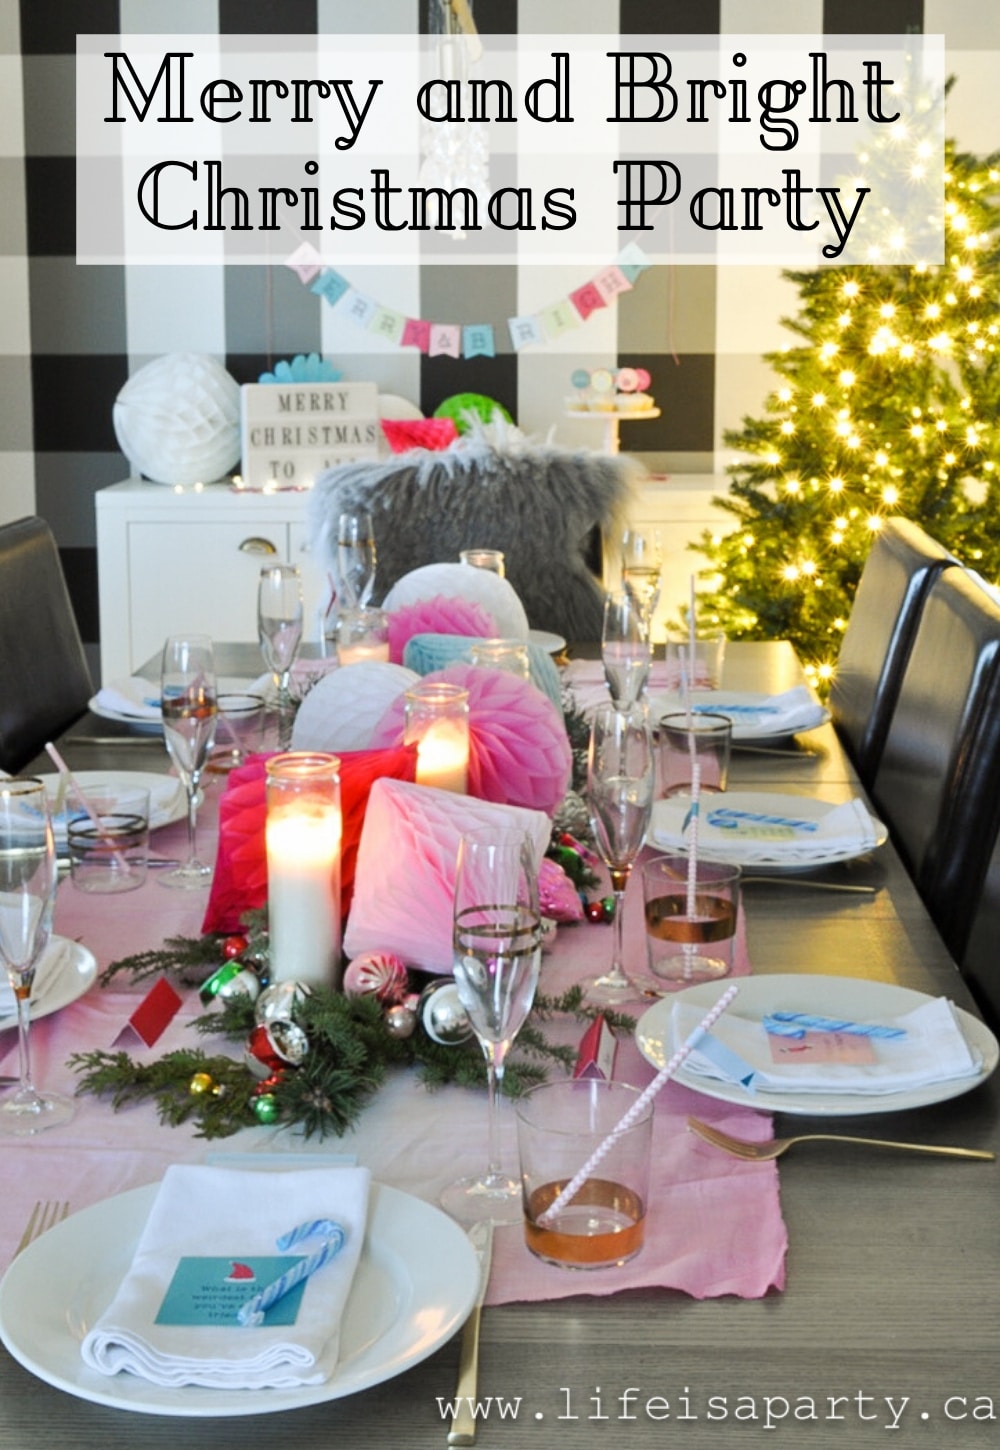
This Merry and Bright Christmas Party printables set is so much fun.  It's bright and colourful and and feels a little bit retro in all the best ways.  As soon as your guests arrive at a party like this their eyes will light up and the fun will begin!

Home For Christmas Ebook and Printable Toolkit

The Merry and Bright Printable Party Set is available for purchase in our Etsy shop here.  Or buy it as part of our Home For Christmas Ebook and Printable Toolkit and save.  We asked our readers what is the biggest challenge you face when it comes to entertaining and the holidays.  The number one answer we received was time.  

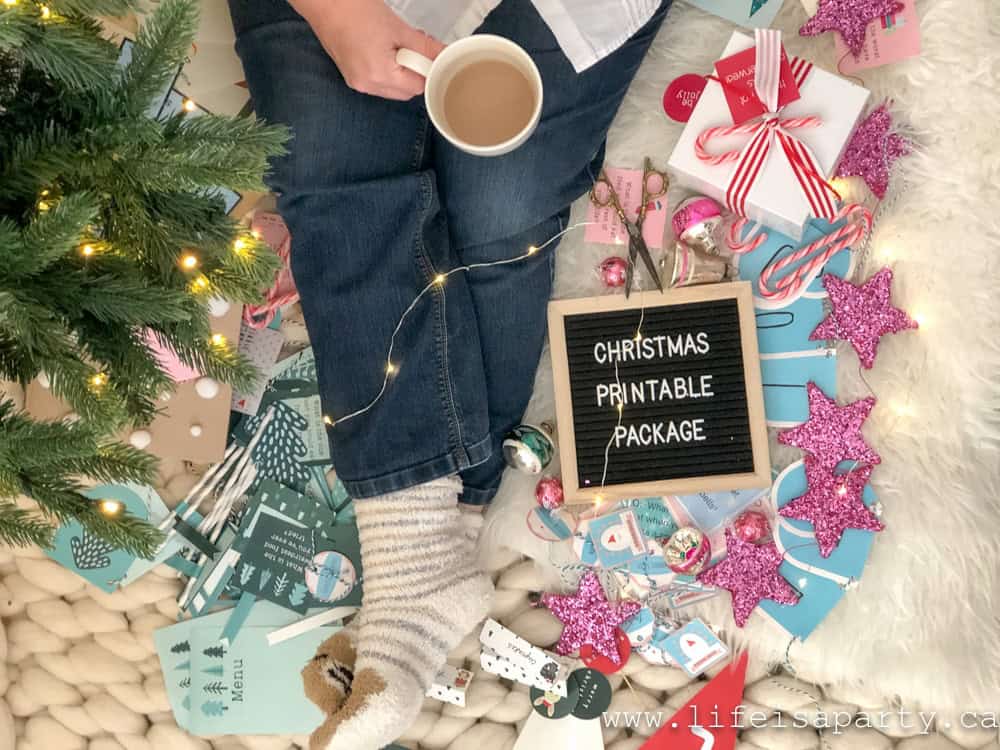
So we created a our Christmas Printable Package so that you'd have everything you need to celebrate the whole season all in one place, for one low price.  We included 5 different sets for entertaining -including this one, as well as gift tags, advent activity printable cards, gift card holders, Christmas art, and Christmas joke lunch box jokes.  We bundled them all up to save you over 60%.  Purchase the Home For Christmas Ebook and Printable Toolkit here. 

We're hoping that this year you can spend a little less time preparing, and more time actually celebrating the holidays!

Merry and Bright Christmas Party Printables Set

If you love colour this is the perfect party set for you.  We included lots of fun details, in such pretty colours.

Place Settings

Merry and Bright Christmas Party Set: these party printables include menus, place cards, straw flags, conversations starters, cupcake picks, and a banner.
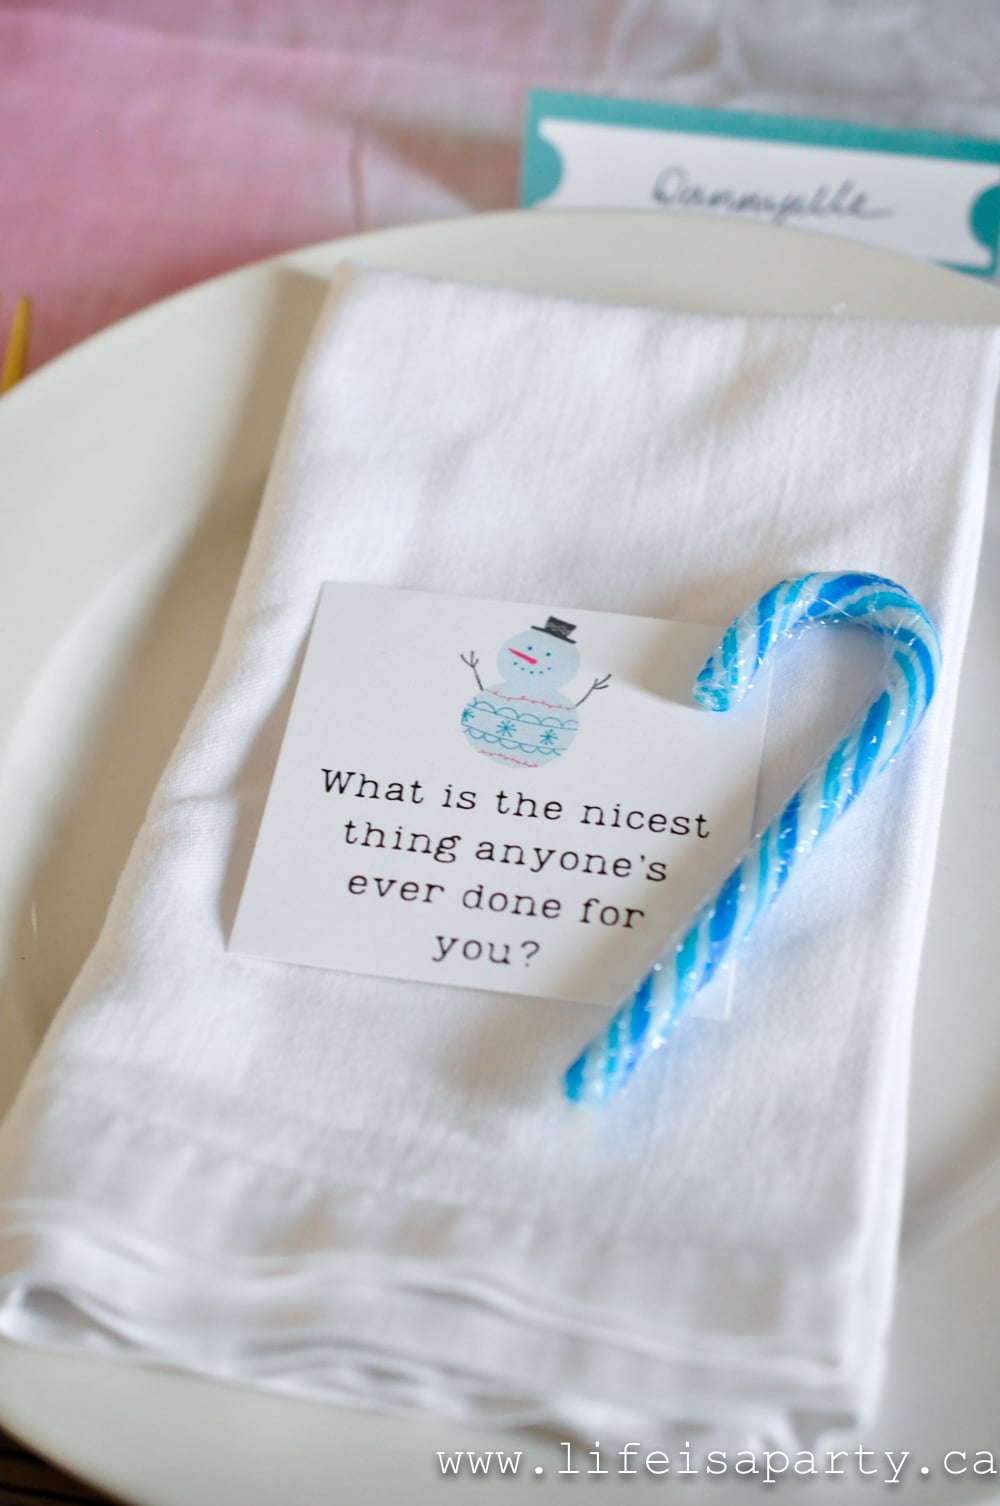
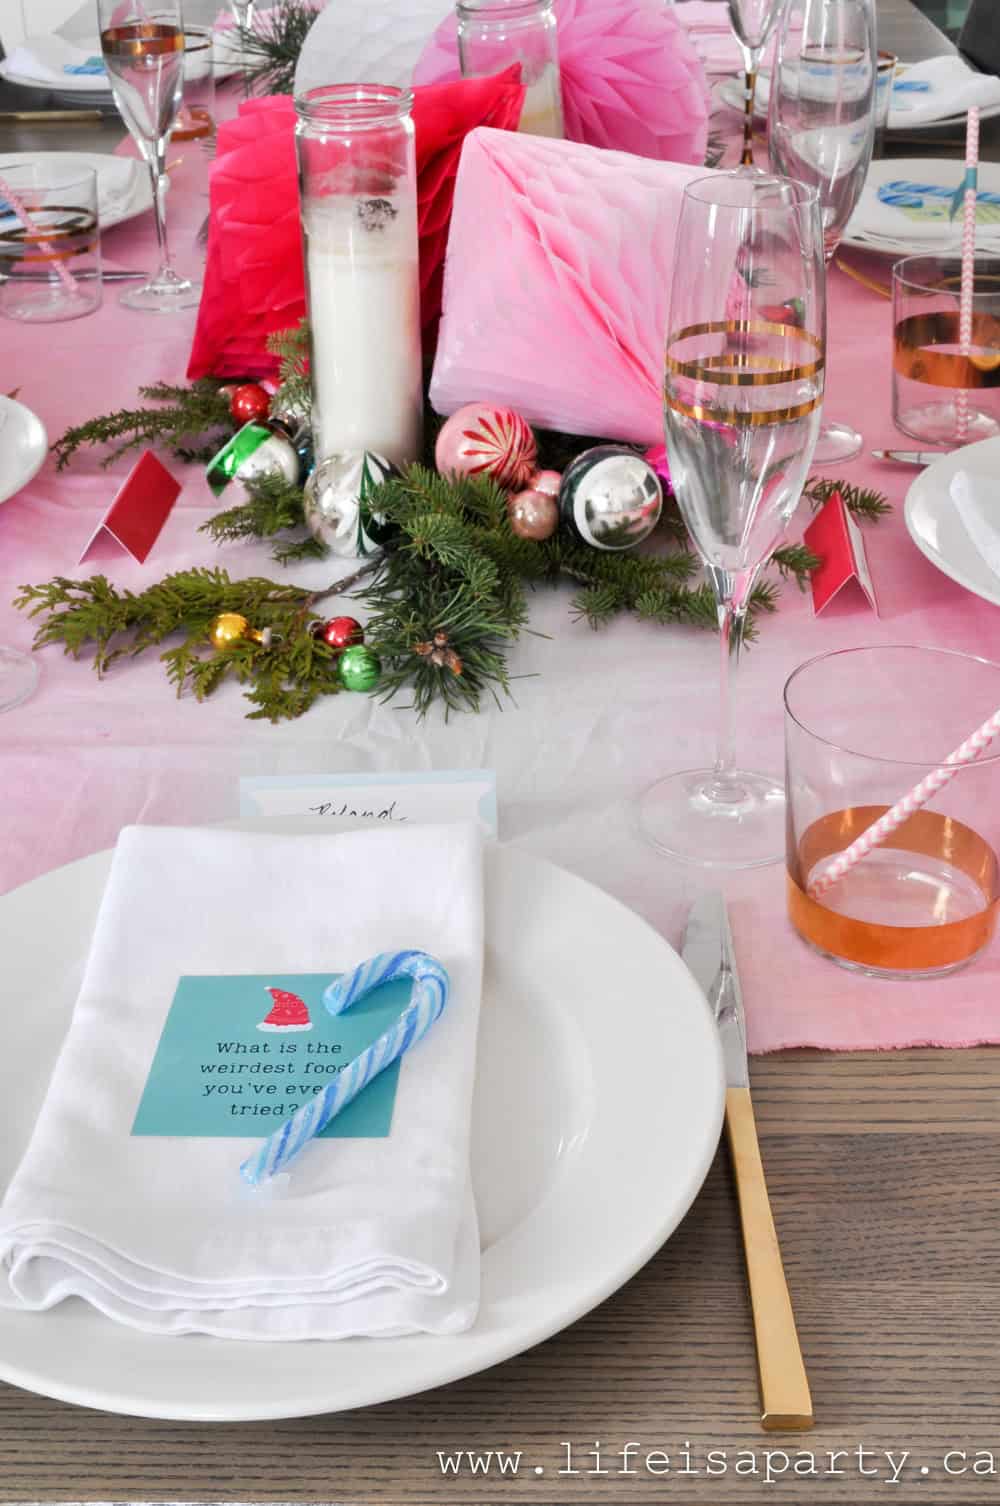
Christmas place setting and blue candy cane

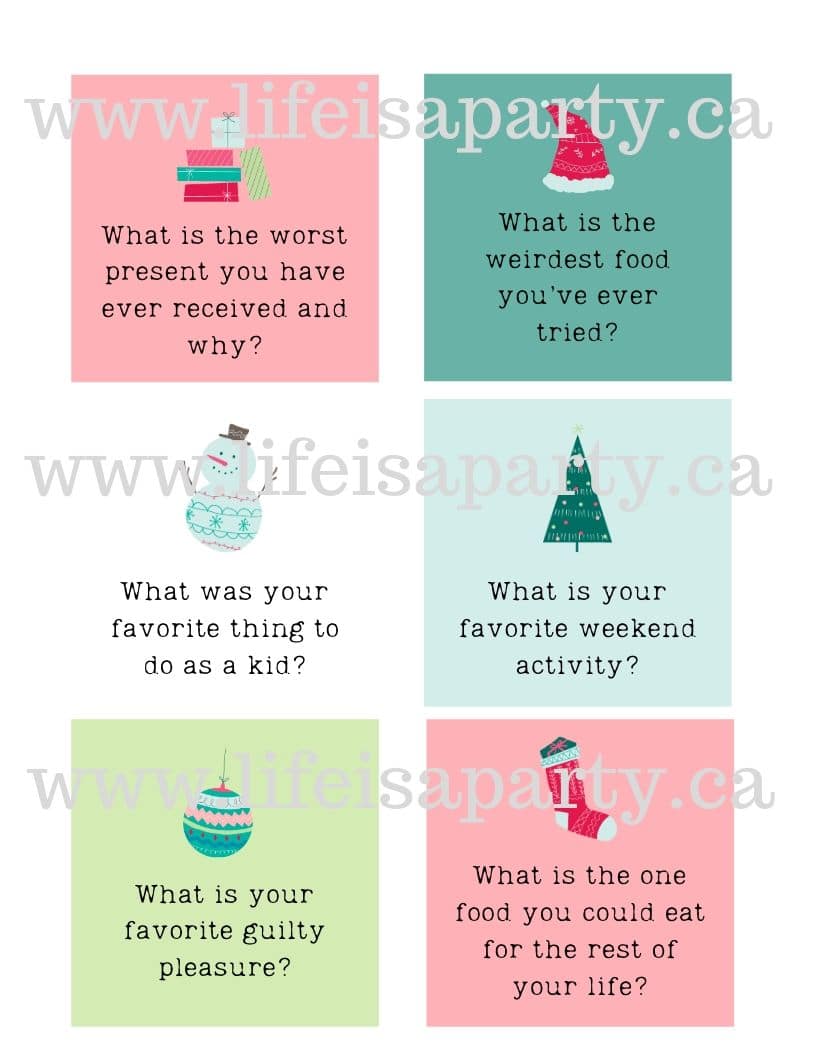
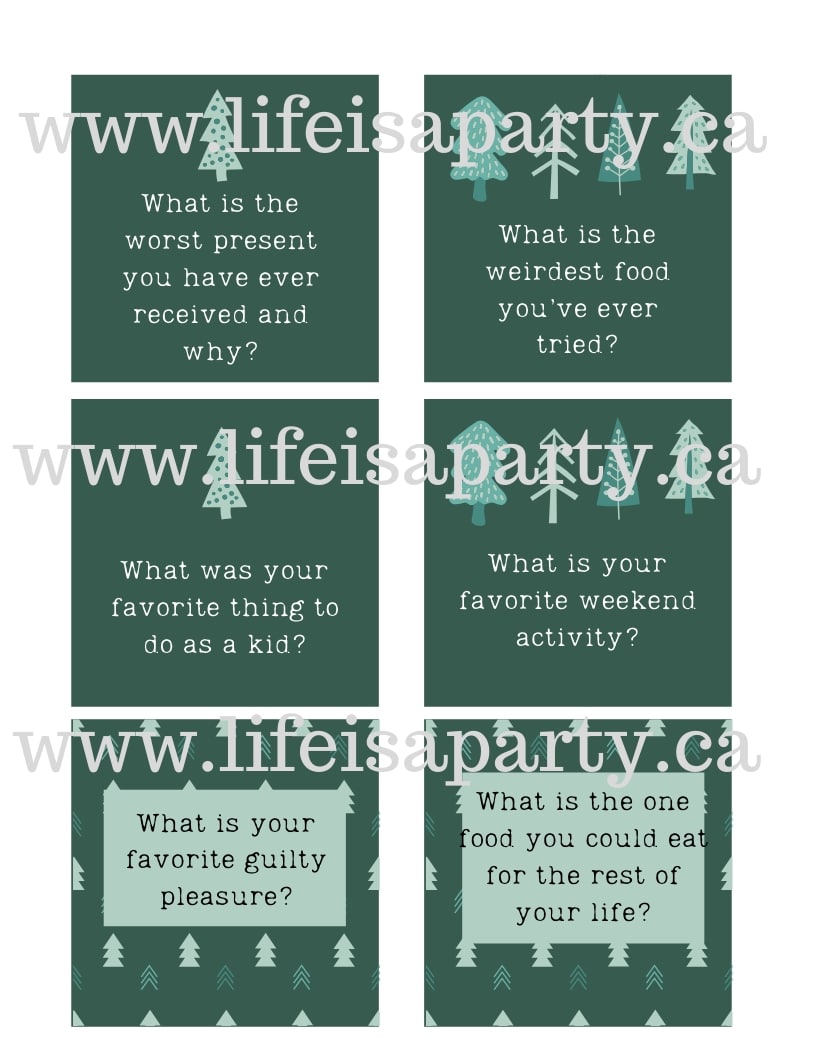
Let's start with each place setting for our table.  We designed 12 different fun conversation starters to get things rolling over dinner.

Colourful Christmas Party Table
Printable Christmas Conversation Starter Cards
Merry and Bright Christmas Party Set: these party printables include menus, place cards, straw flags, conversations starters, cupcake picks, and a banner.

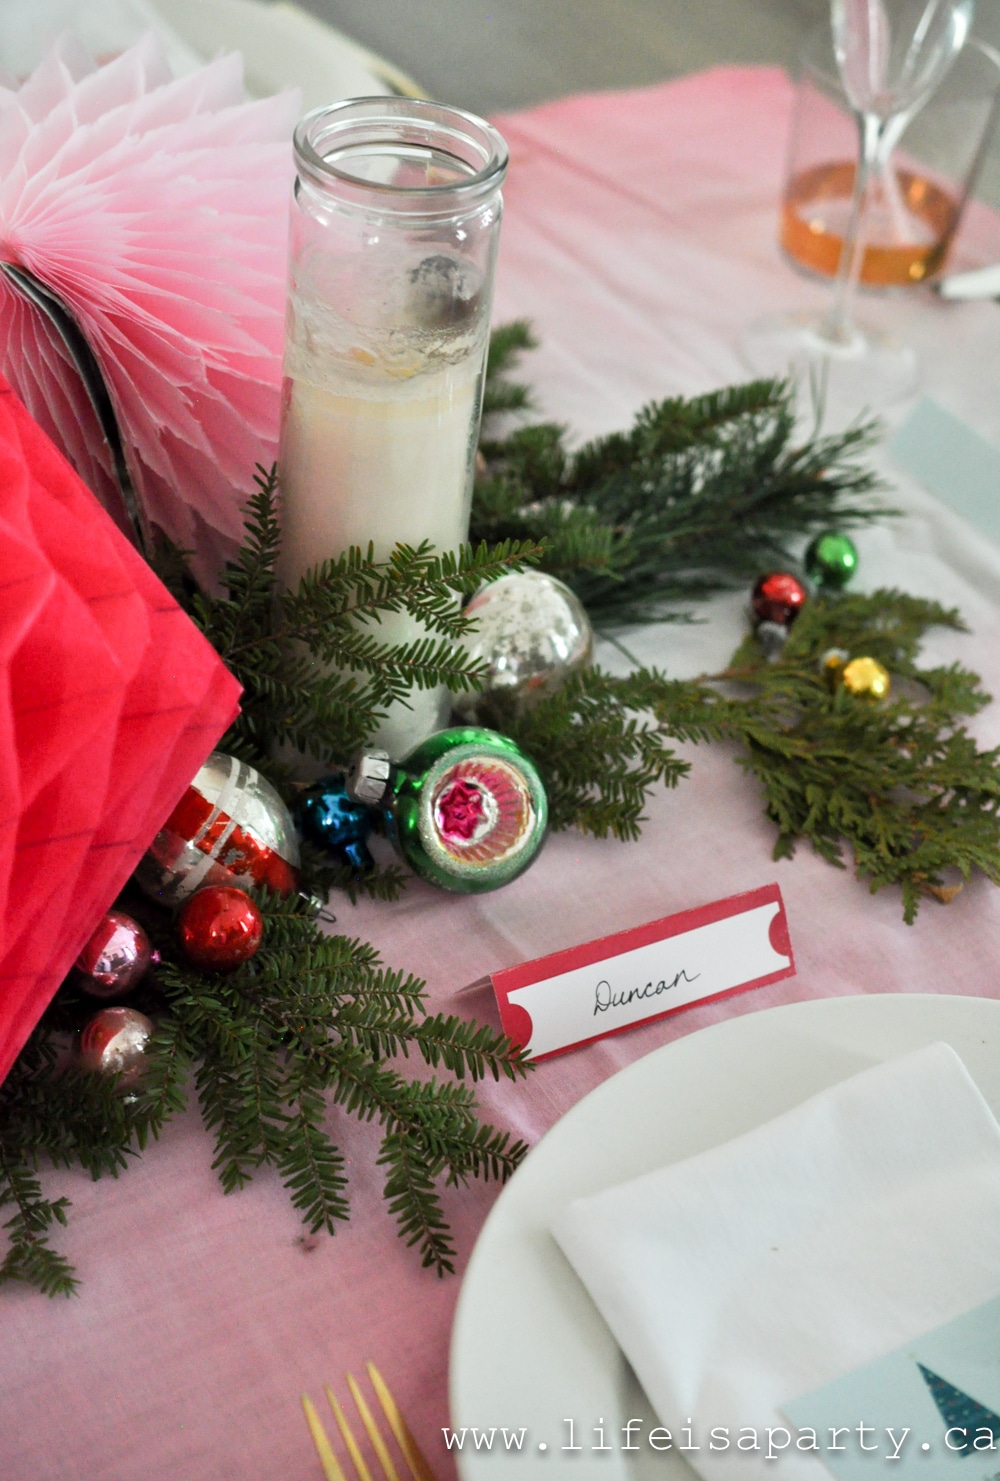
There are also tent folding place cards that you could also use for food labels in coordinating colours.

Merry and Bright Christmas Party Set: these party printables include menus, place cards, straw flags, conversations starters, cupcake picks, and a banner.

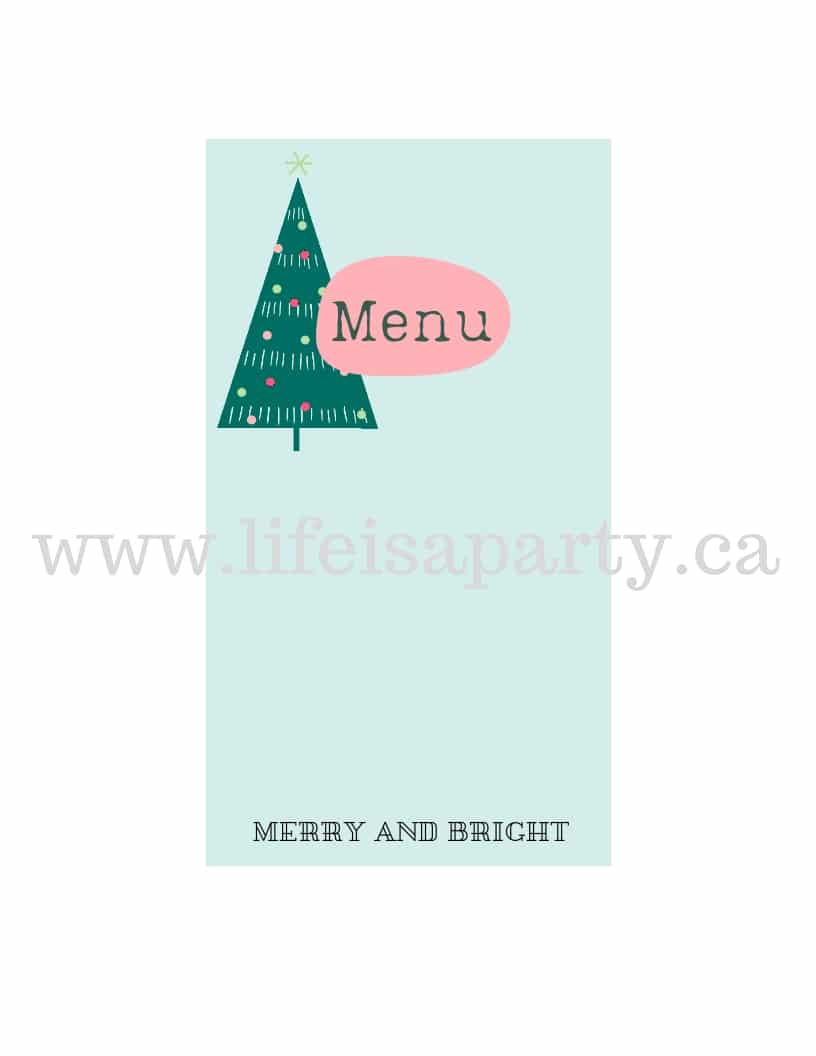
We also created the cutest Menu Cards, that you can print out and fill in with a marker.

Printable Christmas Menus

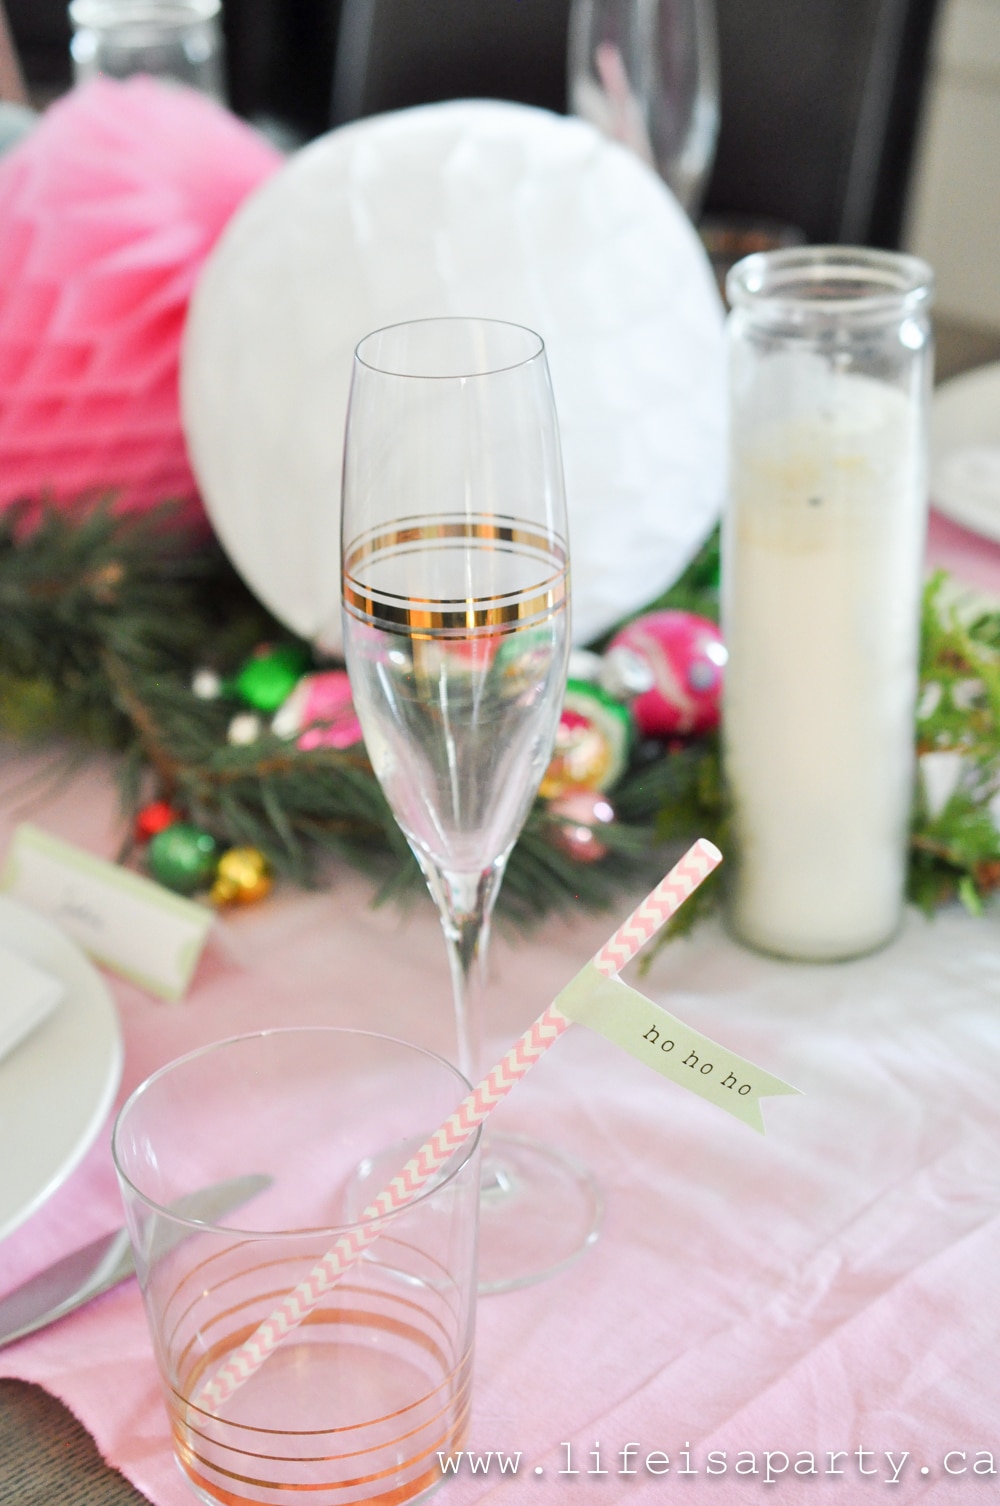
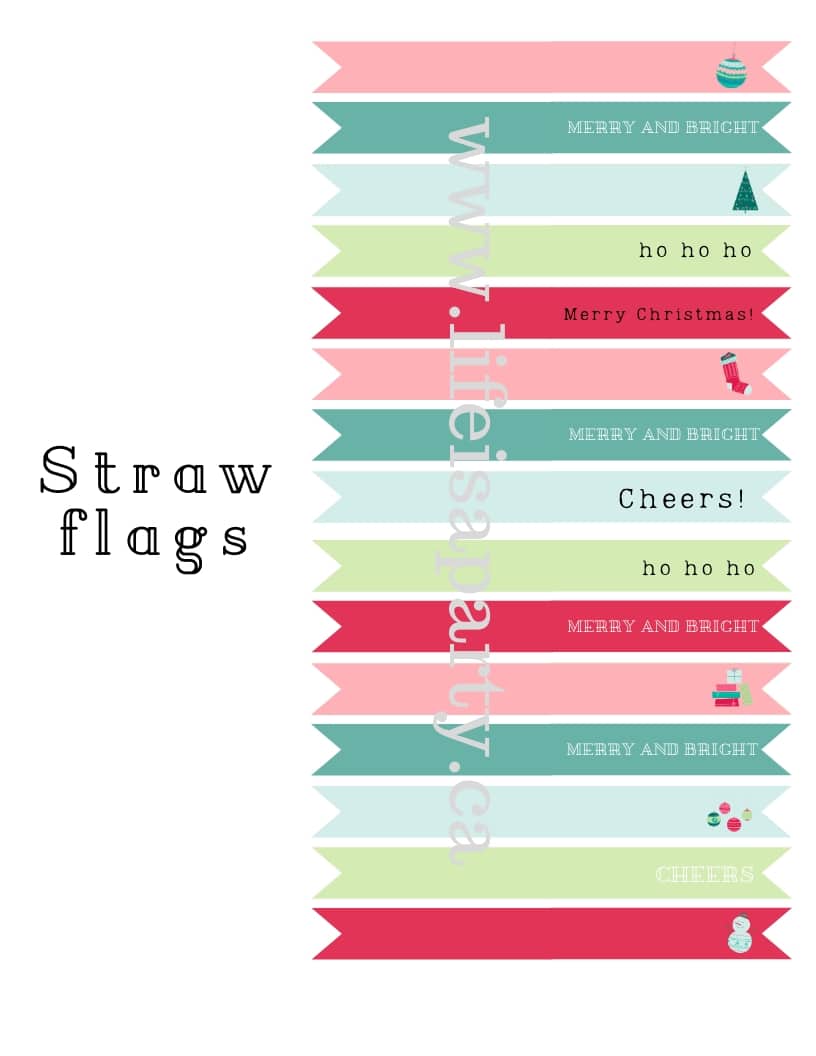
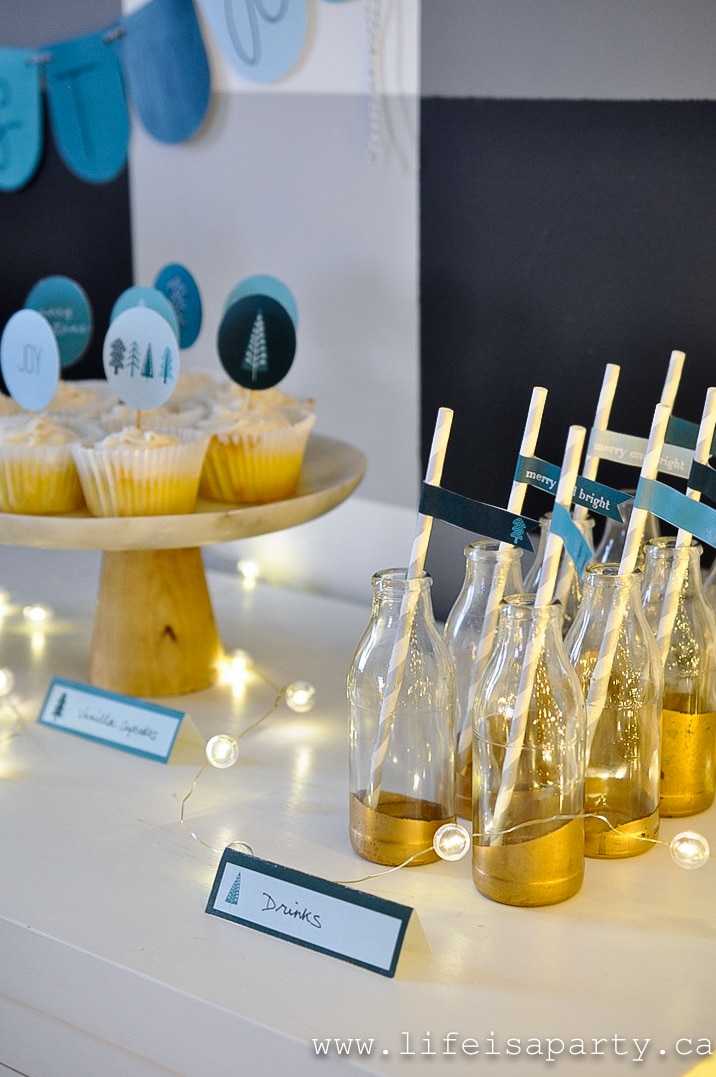
There are also some fun straw flags.  Just print them out, cut them, and glue them on to paper straws for a festive look.

Merry and Bright Christmas Party Set: these party printables include menus, place cards, straw flags, conversations starters, cupcake picks, and a banner.
Christmas Printable Straw Flags

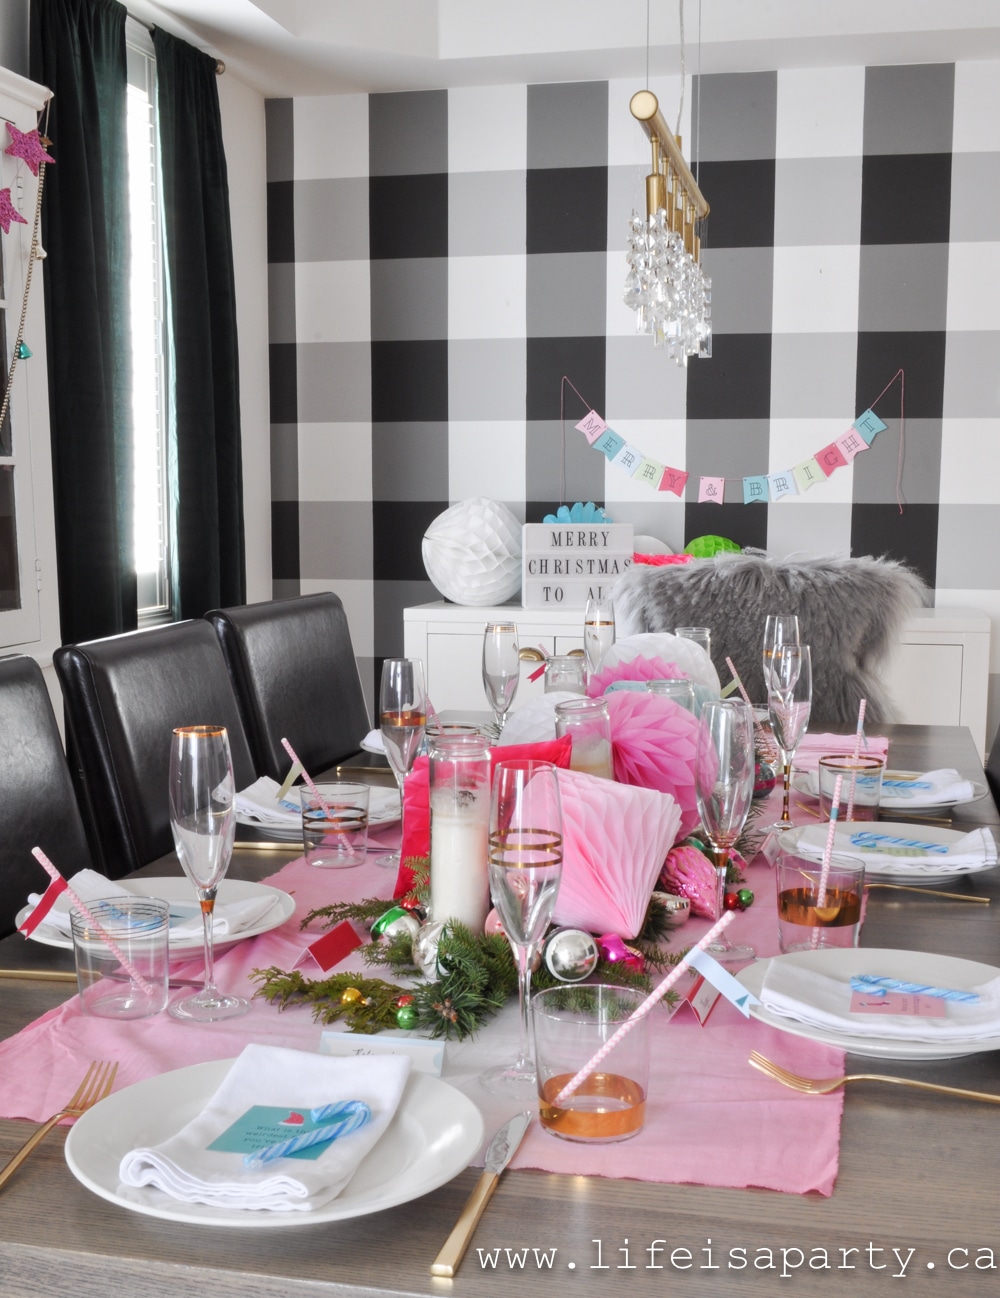
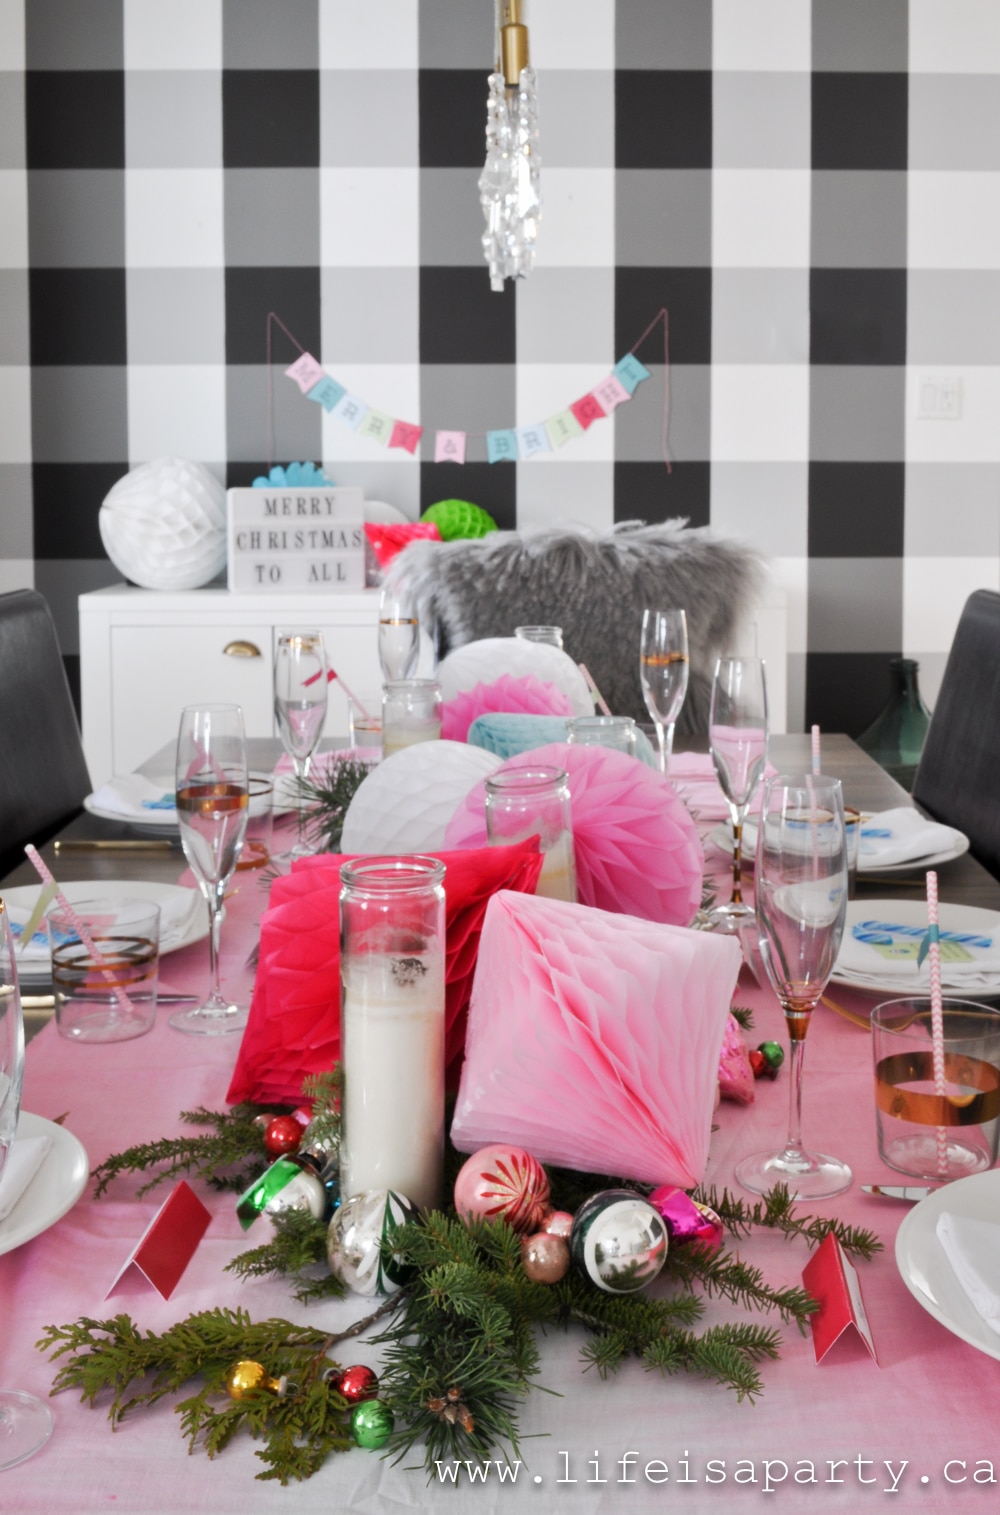
Centre Piece

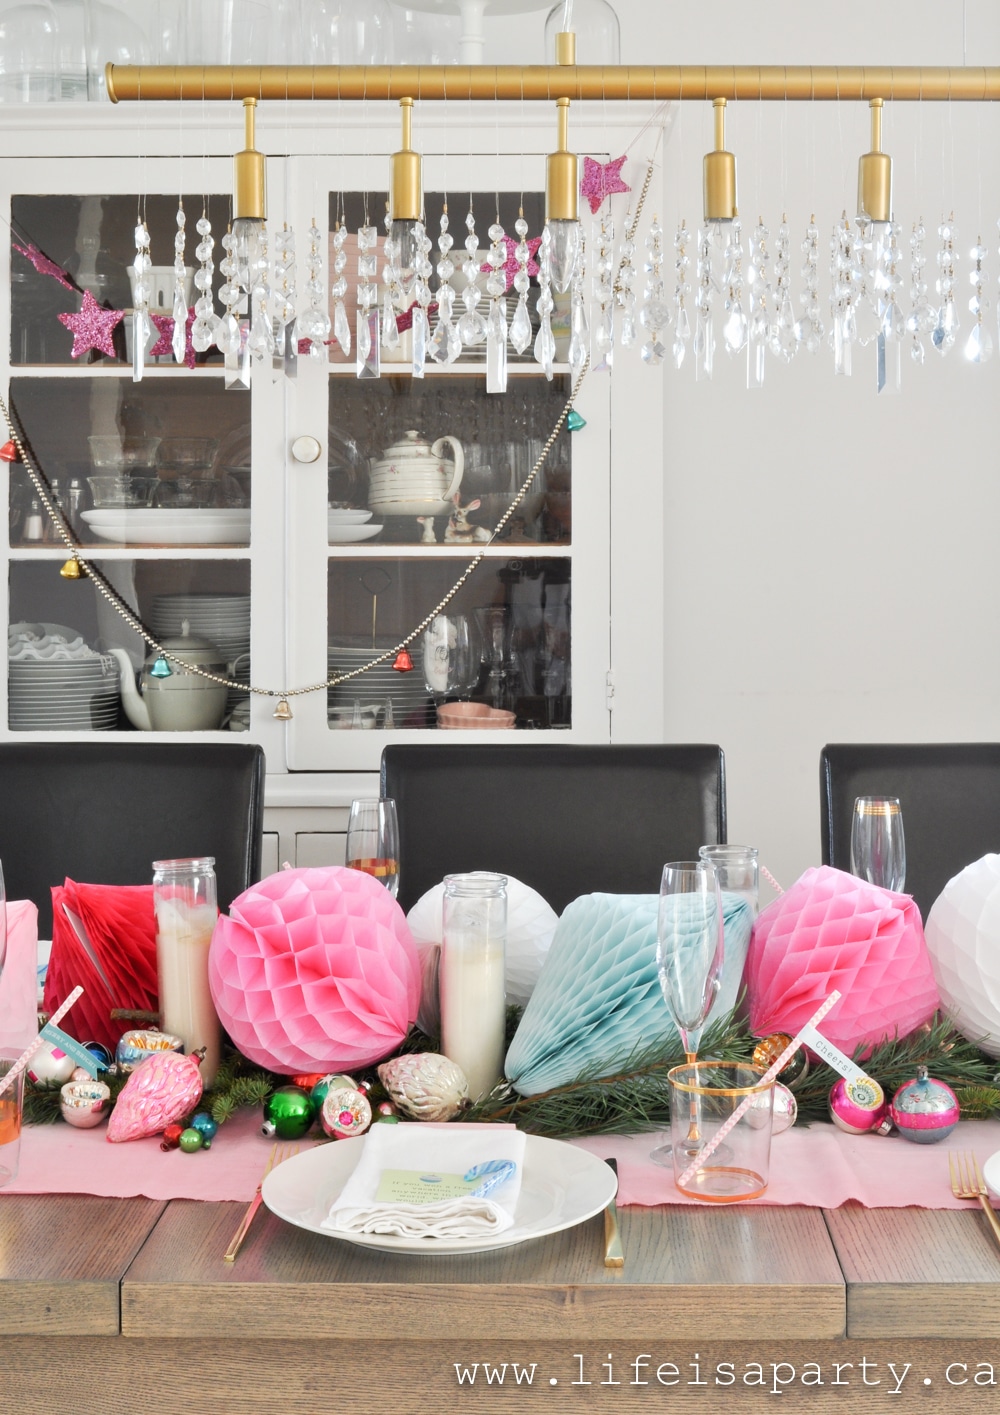
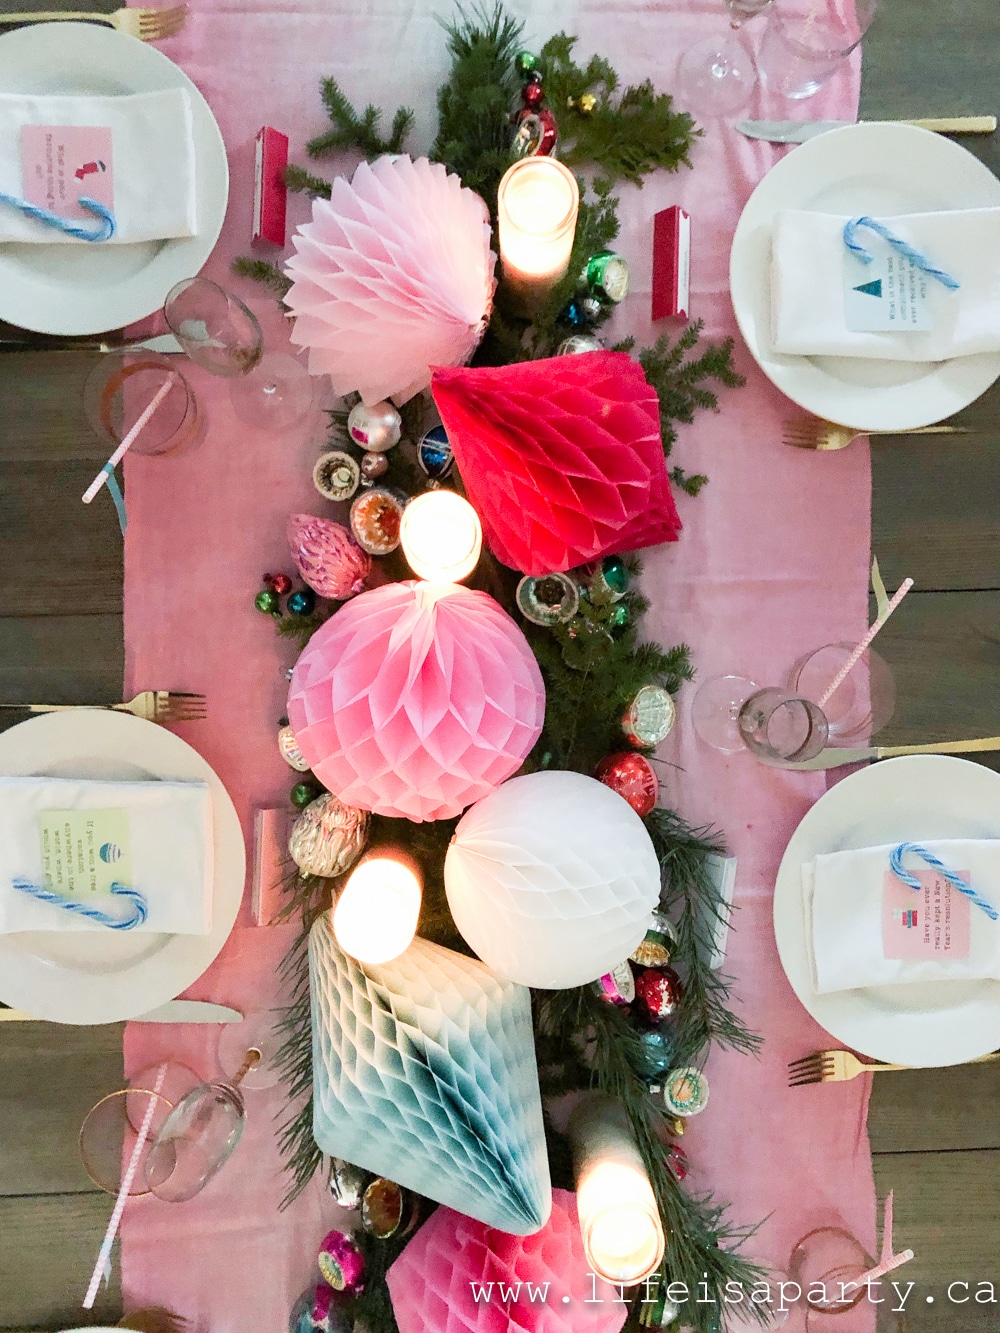
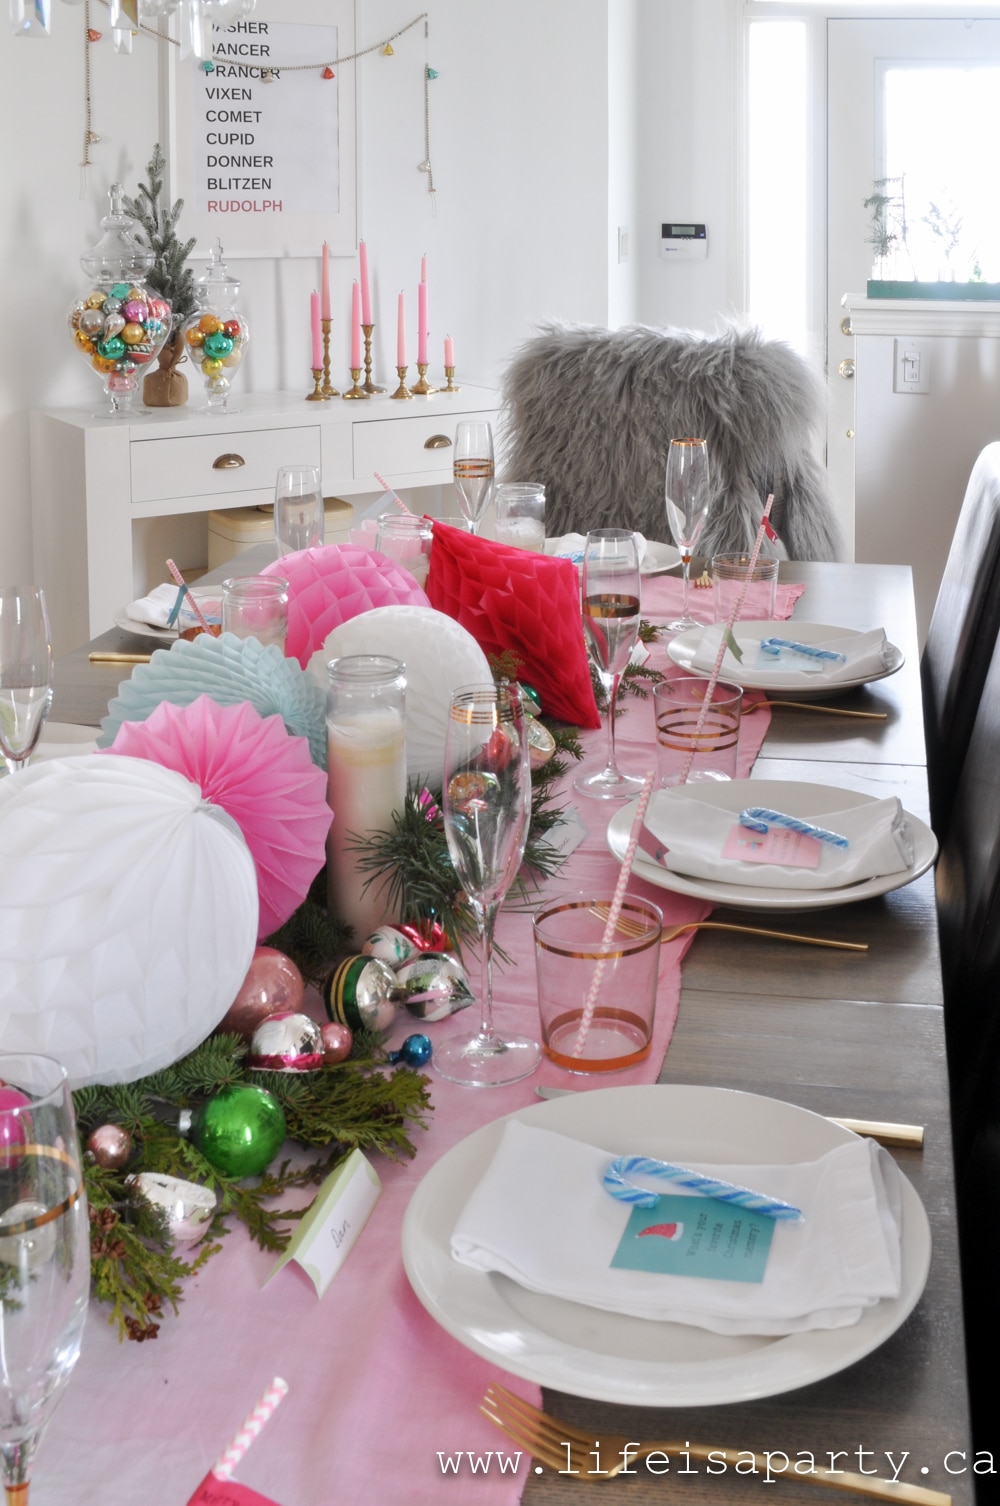
For this table I started with a fun ombre table runner -you can see how I DIY'd this runner here.

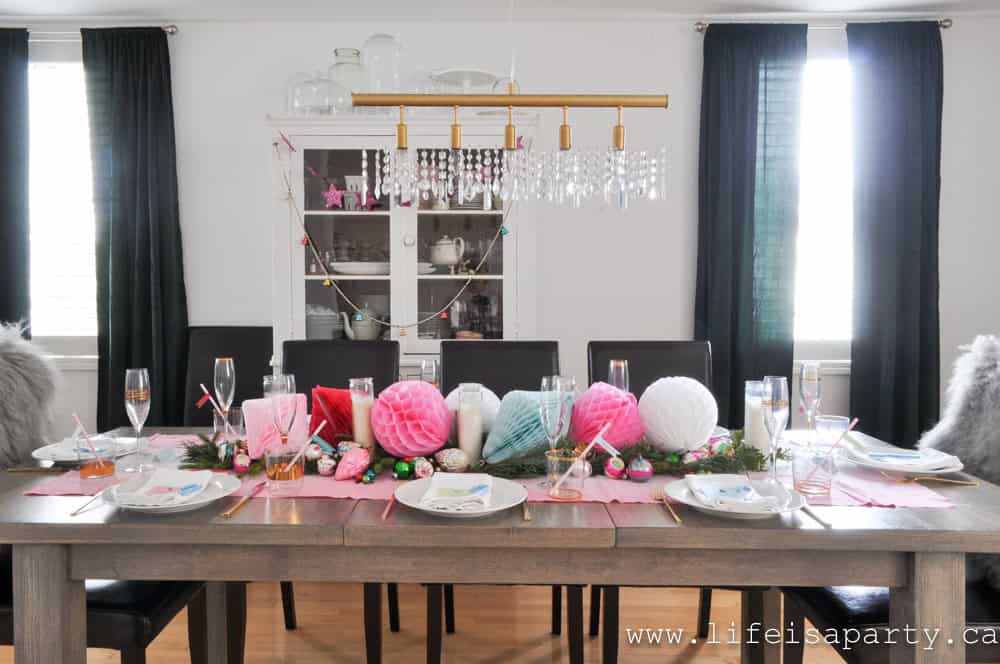
Pink Christmas Table, colourful and fun

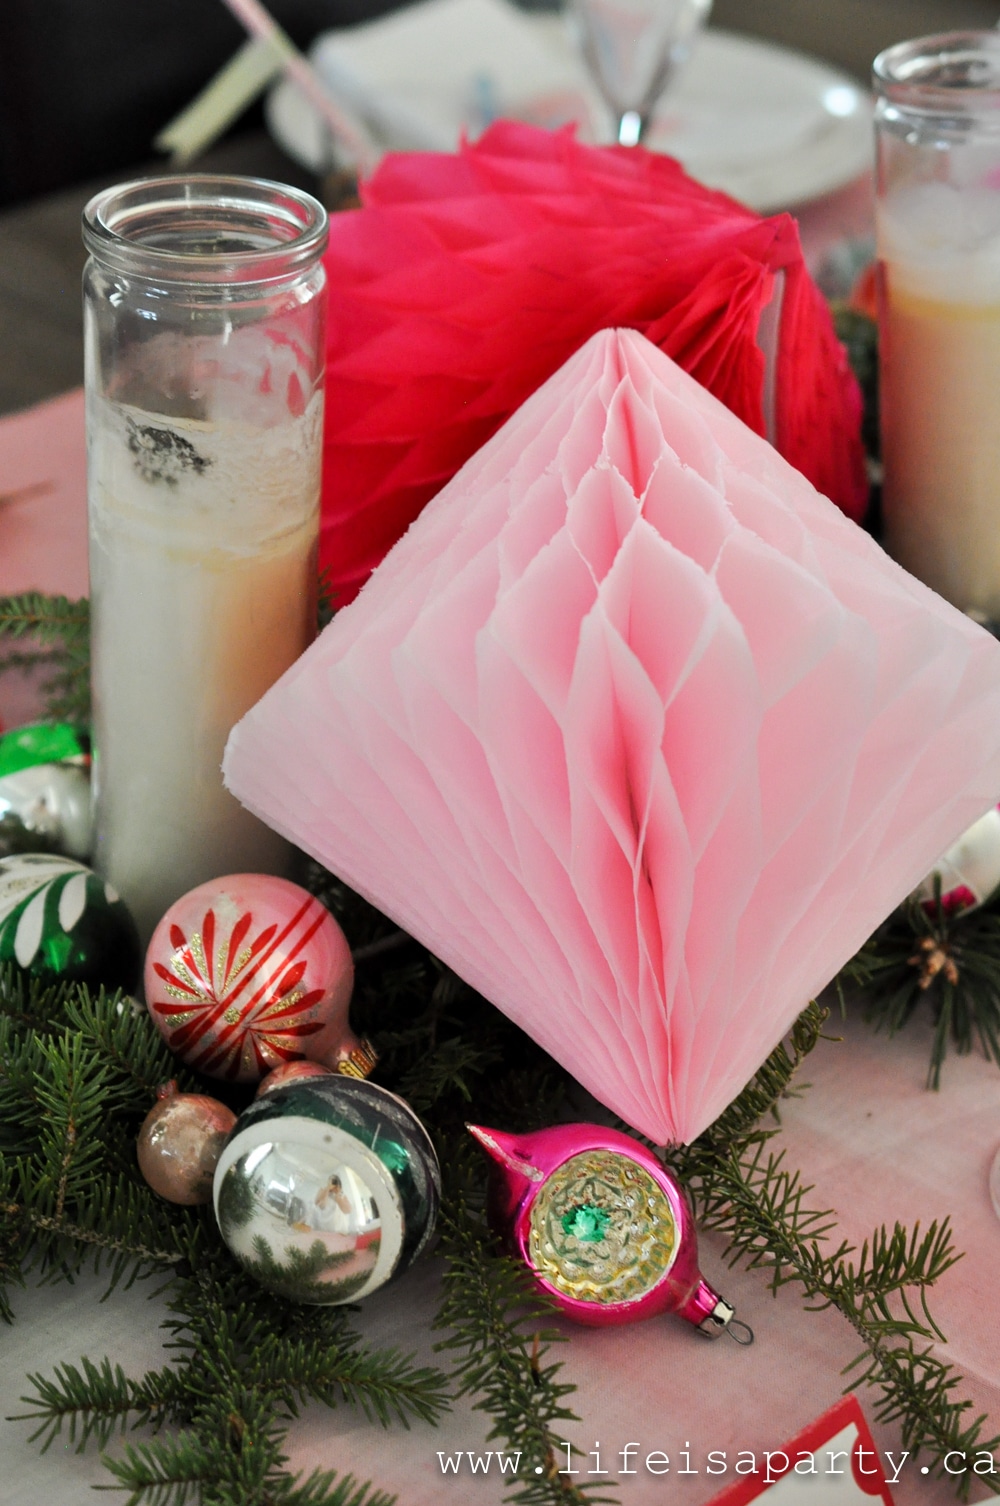
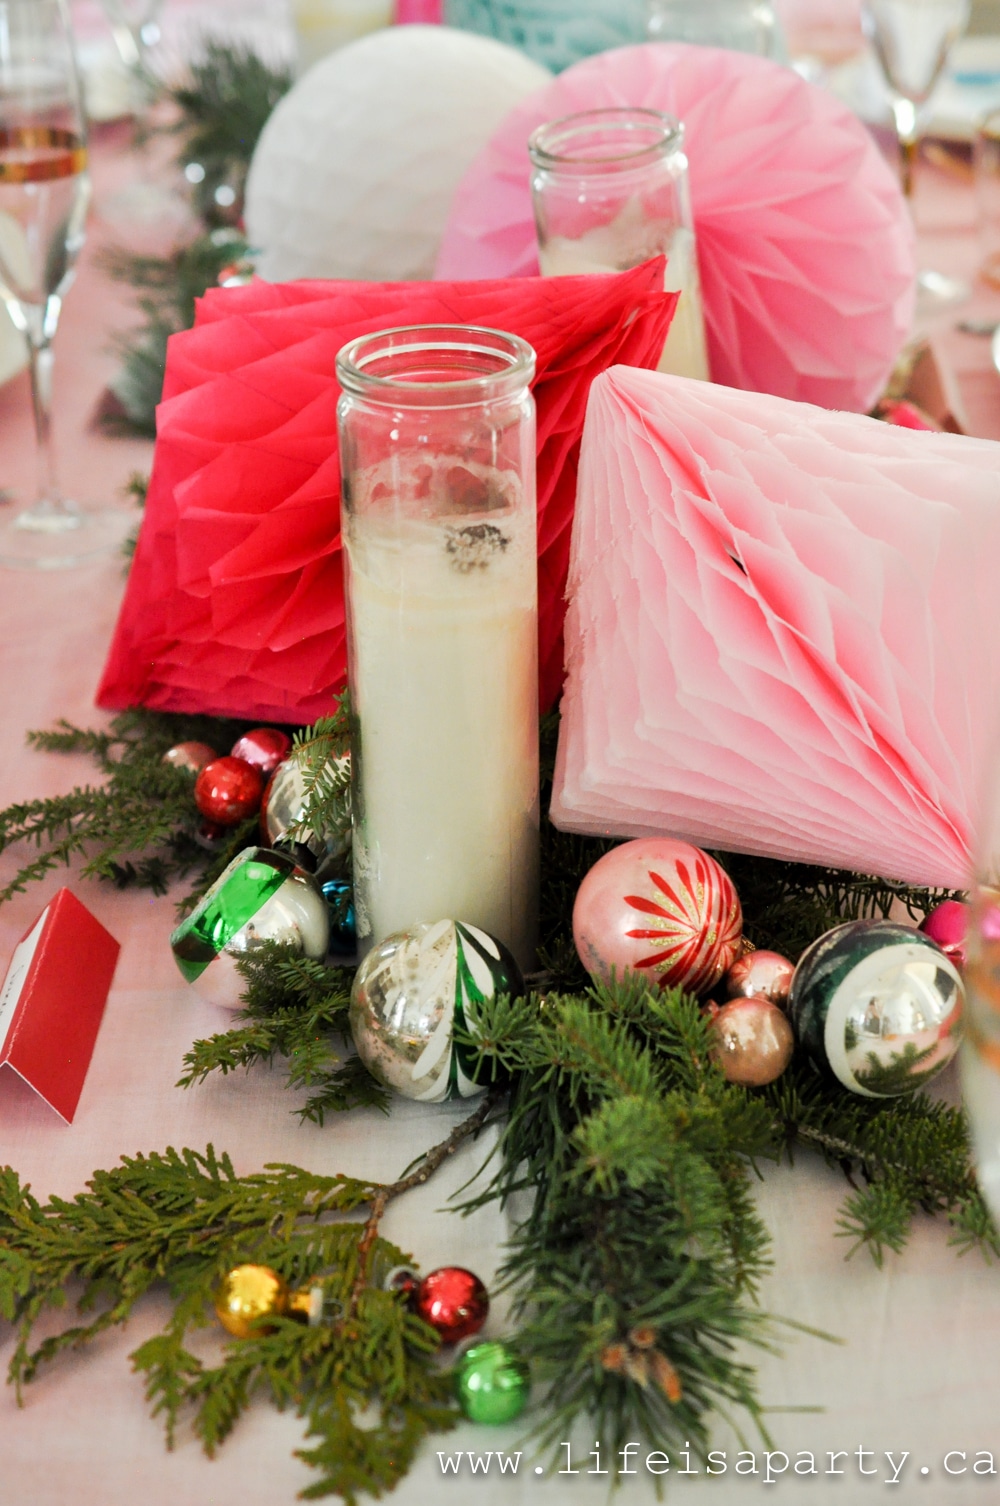
Next we layered on some playful paper honeycomb balls and diamonds.  And then I added some fresh greens all around them.

Christmas Table Setting with vintage ornaments

We added some tall candles for a little sparkle, and then the best party -vintage ornaments.  

Merry and Bright Christmas Party Set: these party printables include menus, place cards, straw flags, conversations starters, cupcake picks, and a banner.

I've been collecting vintage Christmas ornaments for years.  A few are from antique stores, but mostly I pick them up at thrift stores when ever I see them.  They aren't in abundance, and they're very saught after, so you've got to pick them up whenever you see them.

Merry and Bright Christmas Party Set: these party printables include menus, place cards, straw flags, conversations starters, cupcake picks, and a banner.

This table was so much fun to put together. And when my dinner guests walked into it, they literally squealed with delight.  

Merry and Bright Christmas Party Set: these party printables include menus, place cards, straw flags, conversations starters, cupcake picks, and a banner.

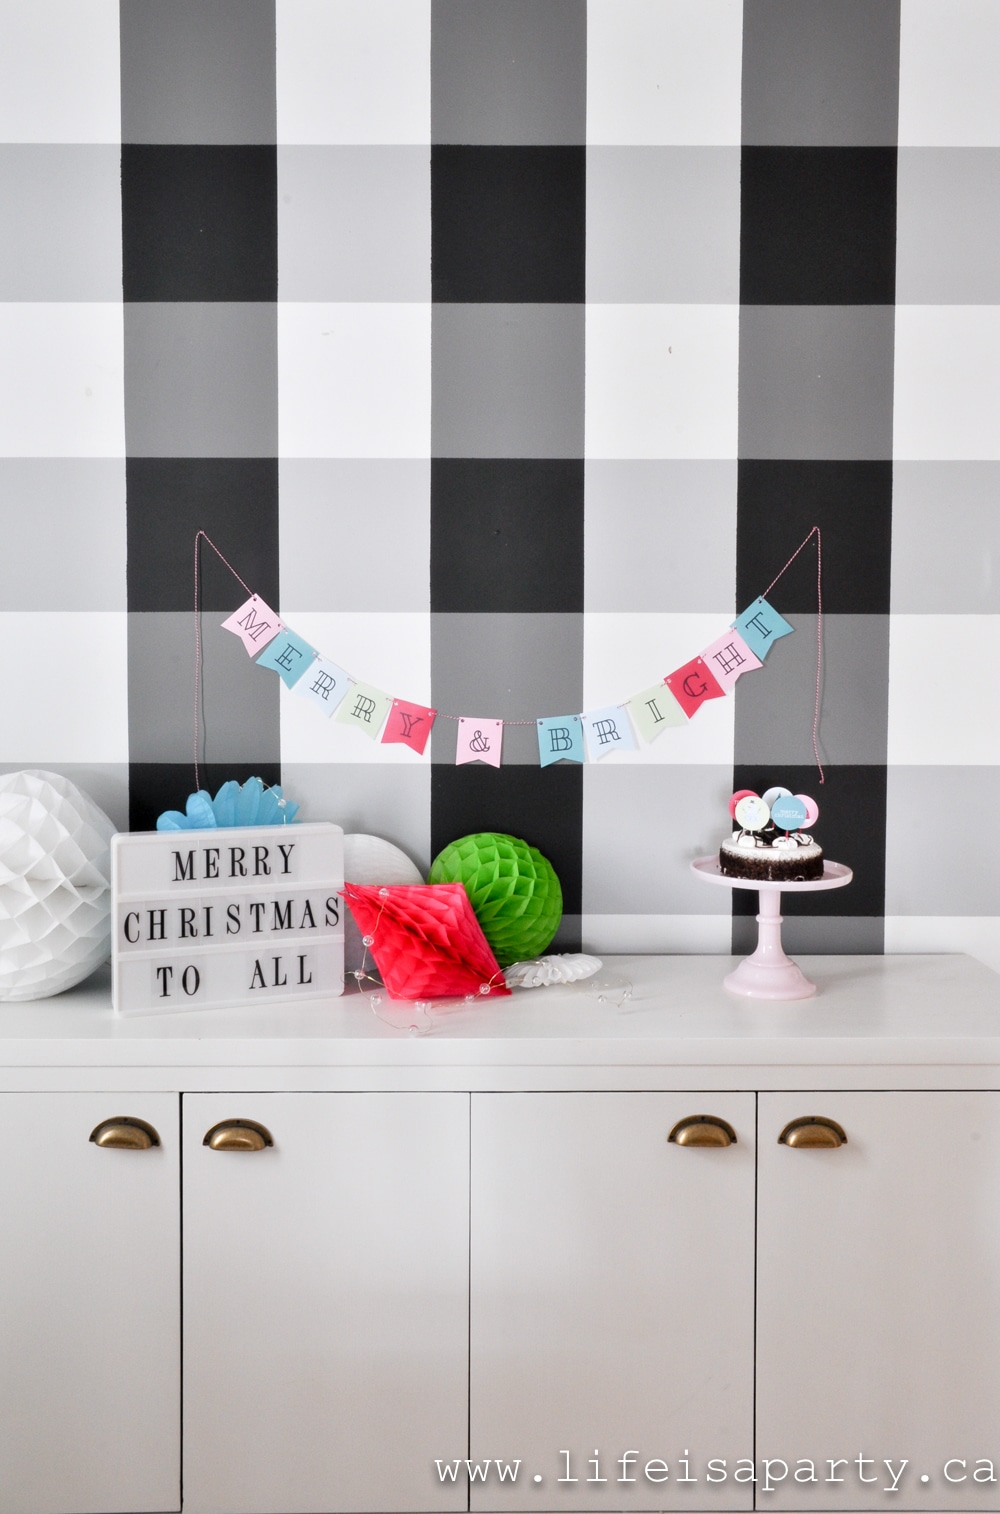
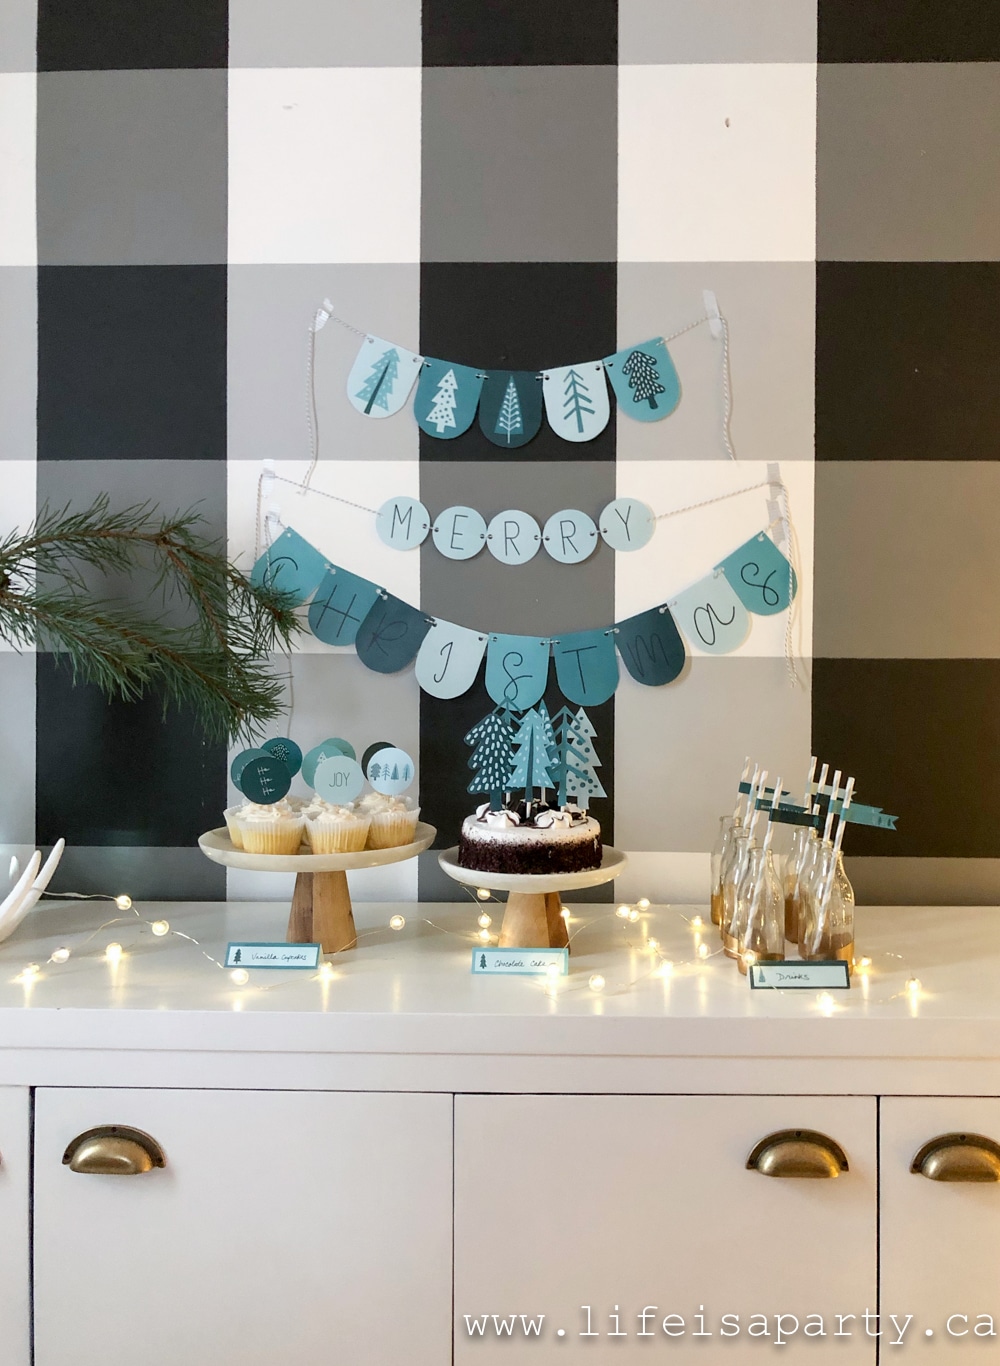
Over on the buffet we hung our lovely "Merry and Bright" banner.

Merry and Bright Christmas Party Set: these party printables include menus, place cards, straw flags, conversations starters, cupcake picks, and a banner.

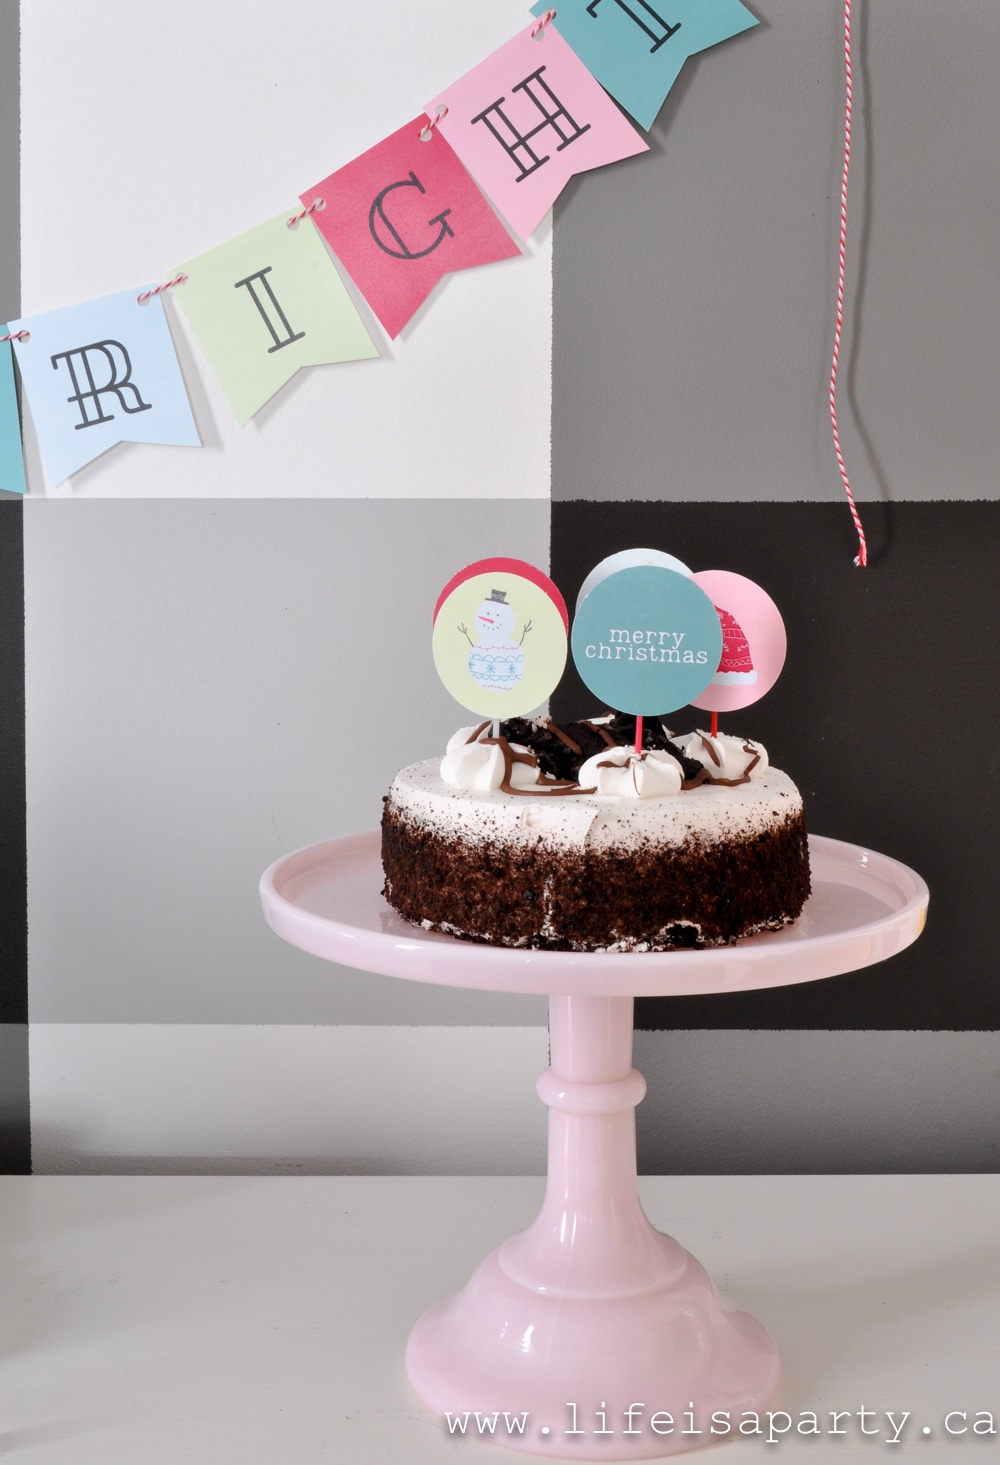
And then we used more honeycomb balls, and diamonds.  There's a little dessert over here to.  I originally shoot this party on a rather dark day, so you might notice that there's two different desserts.  The day I had this party it was much brighter so I re-shot it, only problem was we had already eaten the cupcakes.  ;). Luckily I had a little cake for that night.

Merry and Bright Christmas Party Set: these party printables include menus, place cards, straw flags, conversations starters, cupcake picks, and a banner.

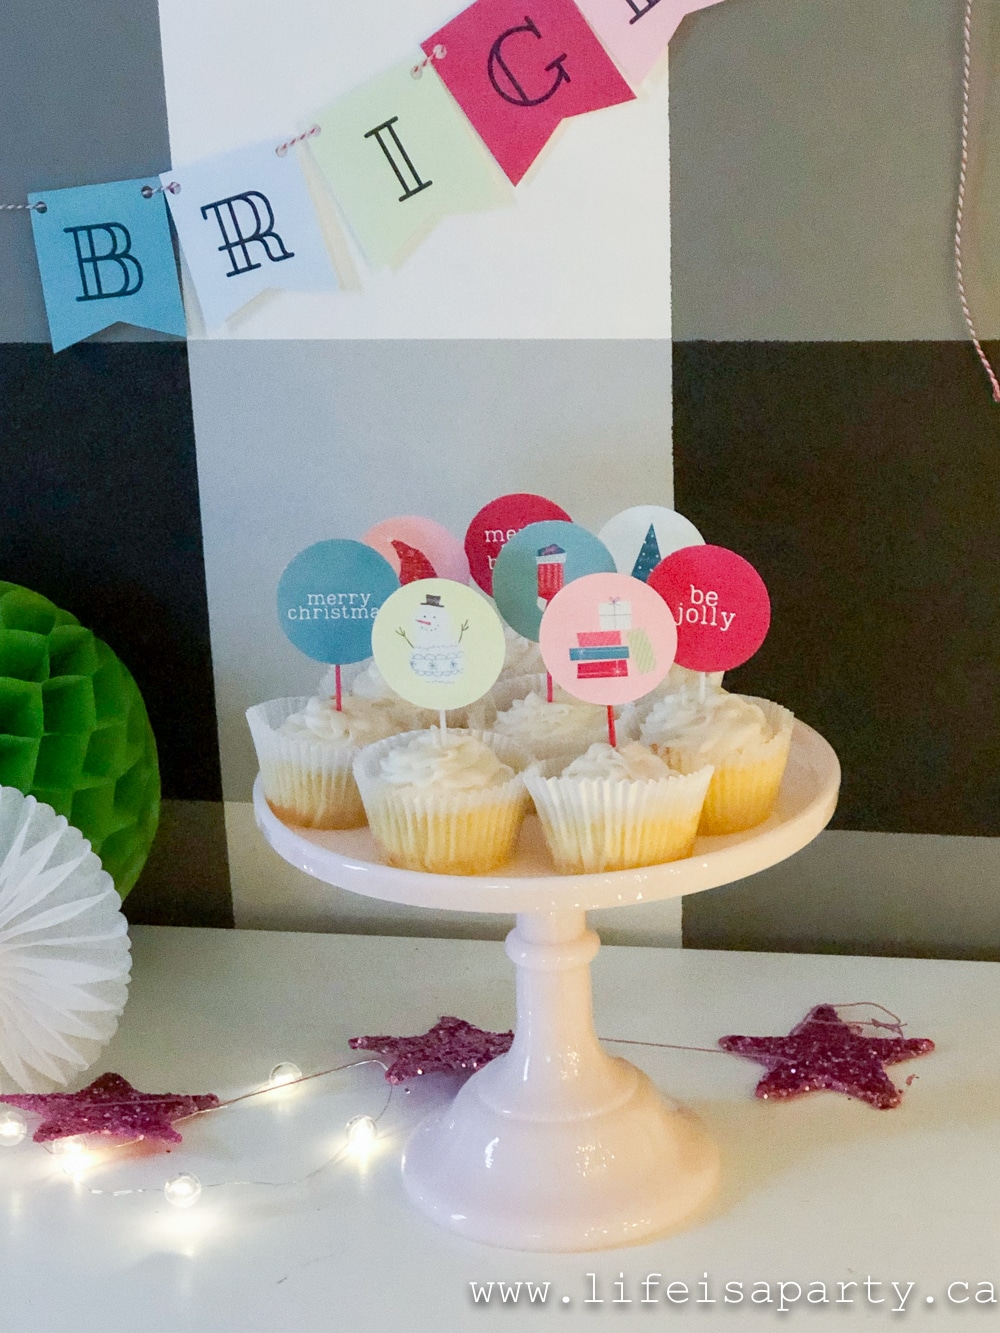
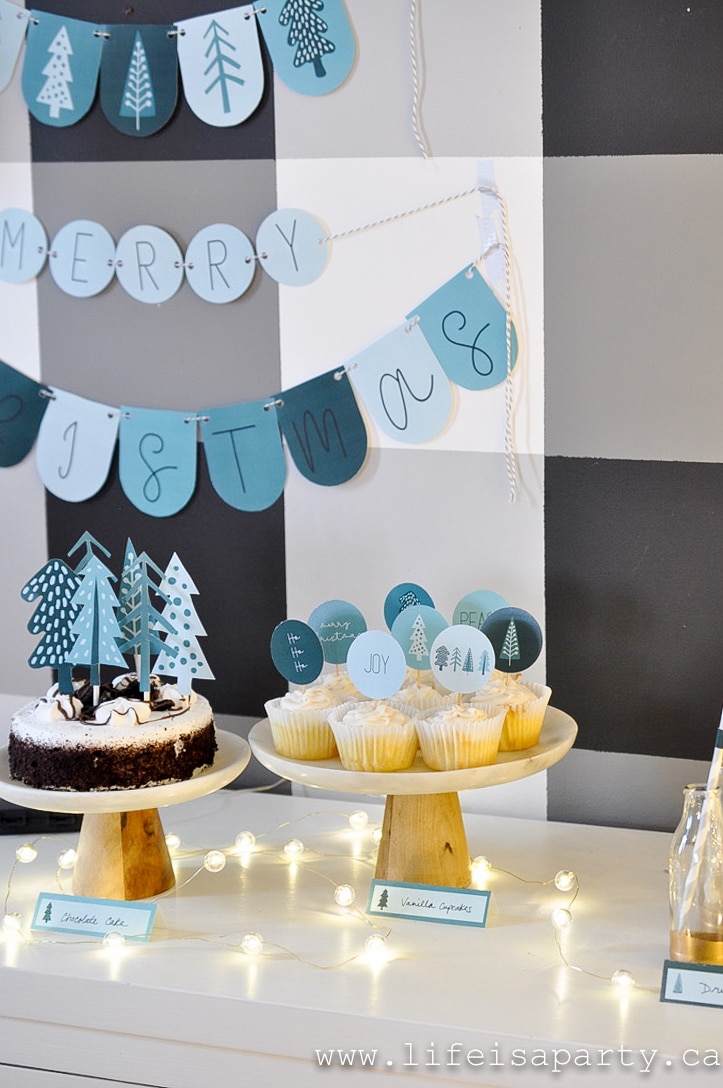
Here you can see how adorable the cupcake picks are, and how they can dress up some plain cupcakes for a party.

Printable Christmas cupcake picks
Merry and Bright Christmas Party Set: these party printables include menus, place cards, straw flags, conversations starters, cupcake picks, and a banner.

But they also dressed up this little store bought cake beautifully too.  I think they'd look pretty adorable stuck in just about anything.  They would also be adorable as gift tags or as favour tags.  The possibilities are pretty much endless.

Merry and Bright Christmas Party Set: these party printables include menus, place cards, straw flags, conversations starters, cupcake picks, and a banner.

This party was so much fun to create.  I hope it inspires you for some of your get togethers this Christmas. 

Merry and Bright Christmas Party Set: these party printables include menus, place cards, straw flags, conversations starters, cupcake picks, and a banner.

You can purchase the Merry and Bright Party Set on its own here.  Or order it as part of our Home For Christmas Ebook and Printable Toolkit here.  

With a pretty, colourful, festive Christmas party printables set like this, life really is a party!

You might also like our Thrift Store Christmas Table here.

Thrift Store Christmas Table and Thrift Store Tips: beautiful Christmas table put together with thrift store finds, and 9 tips for thrifting.

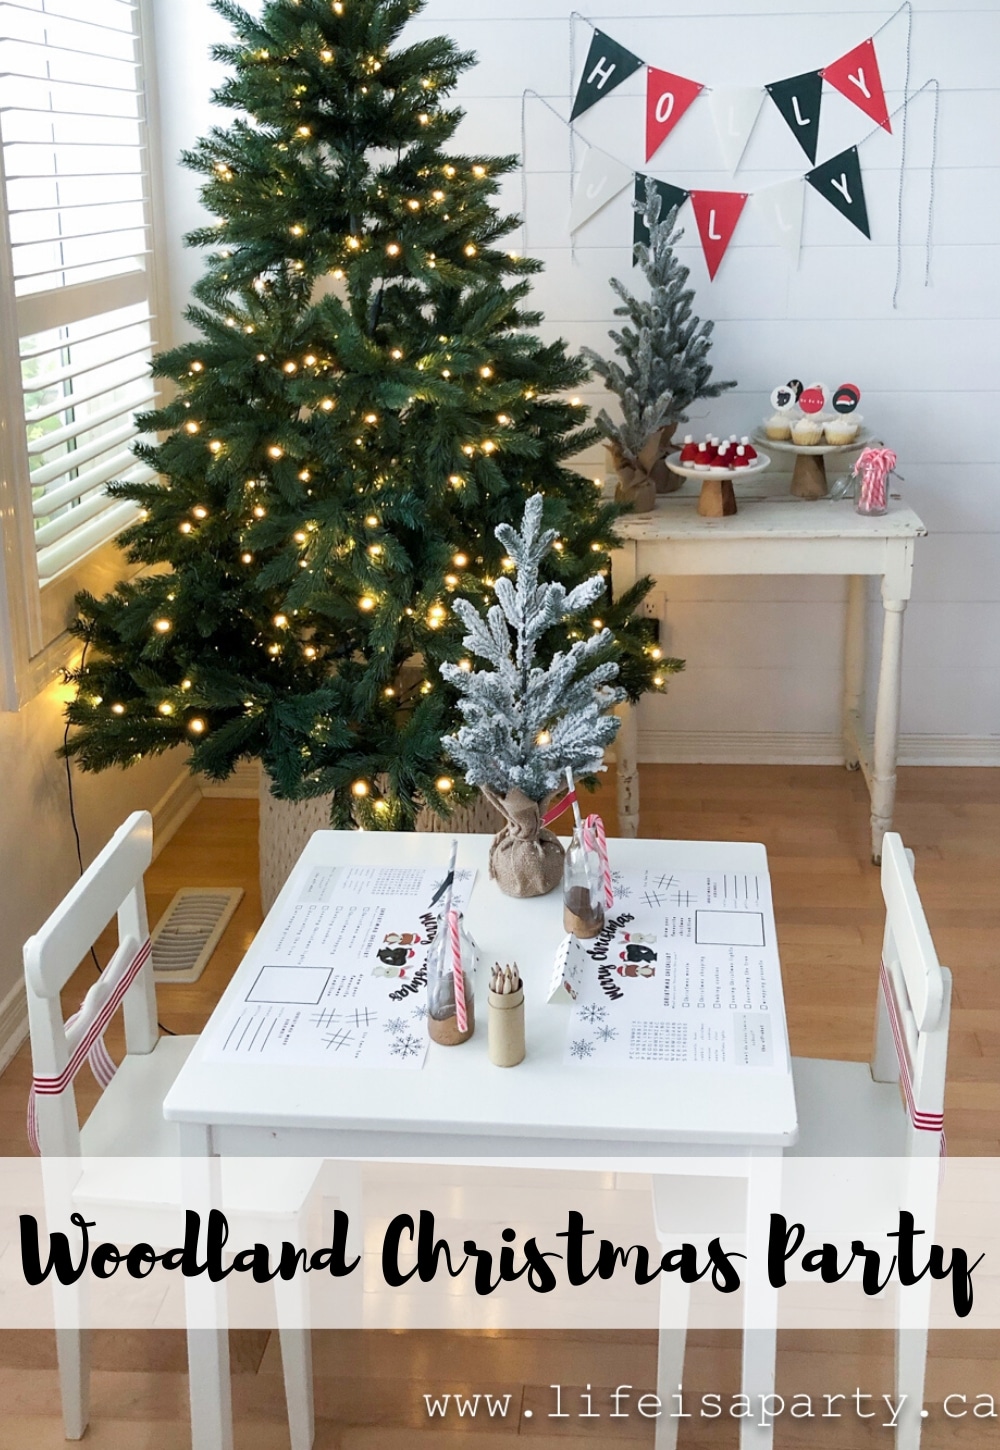
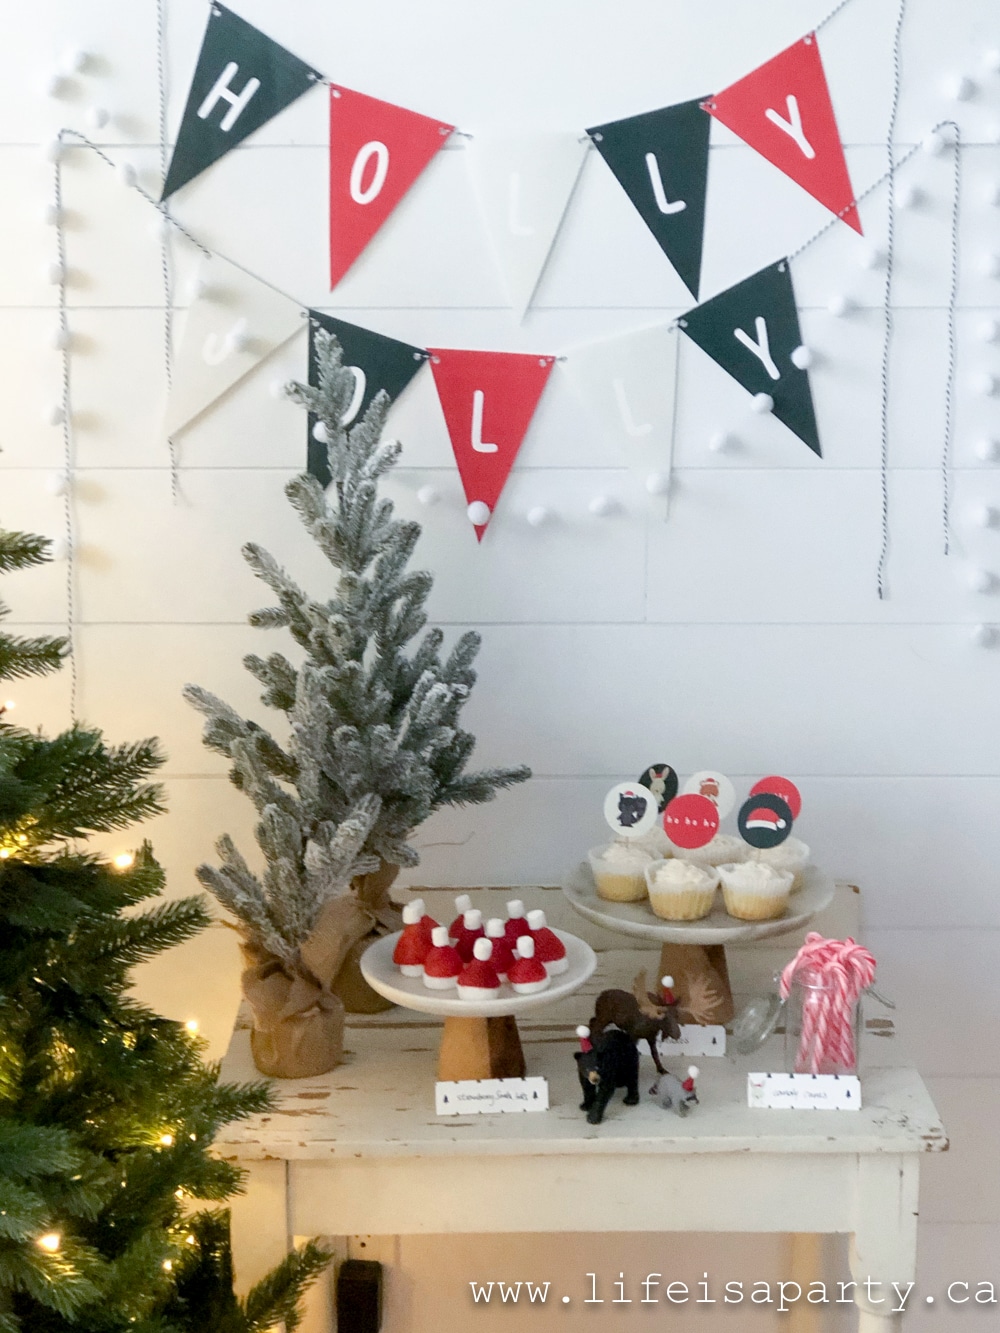
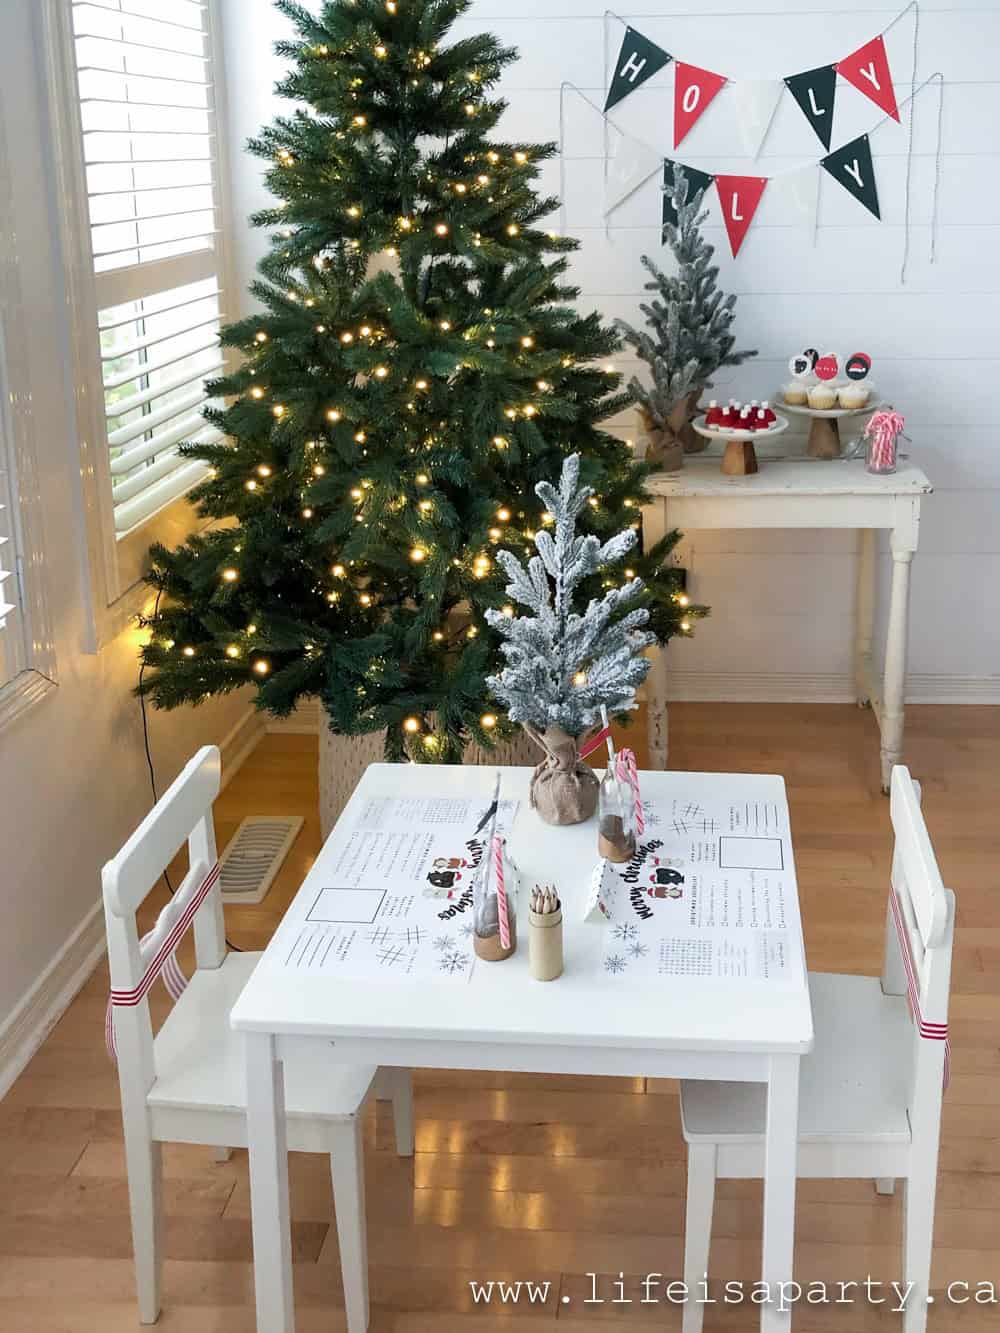
Also check out our Holly Jolly Woodland Christmas Party here.

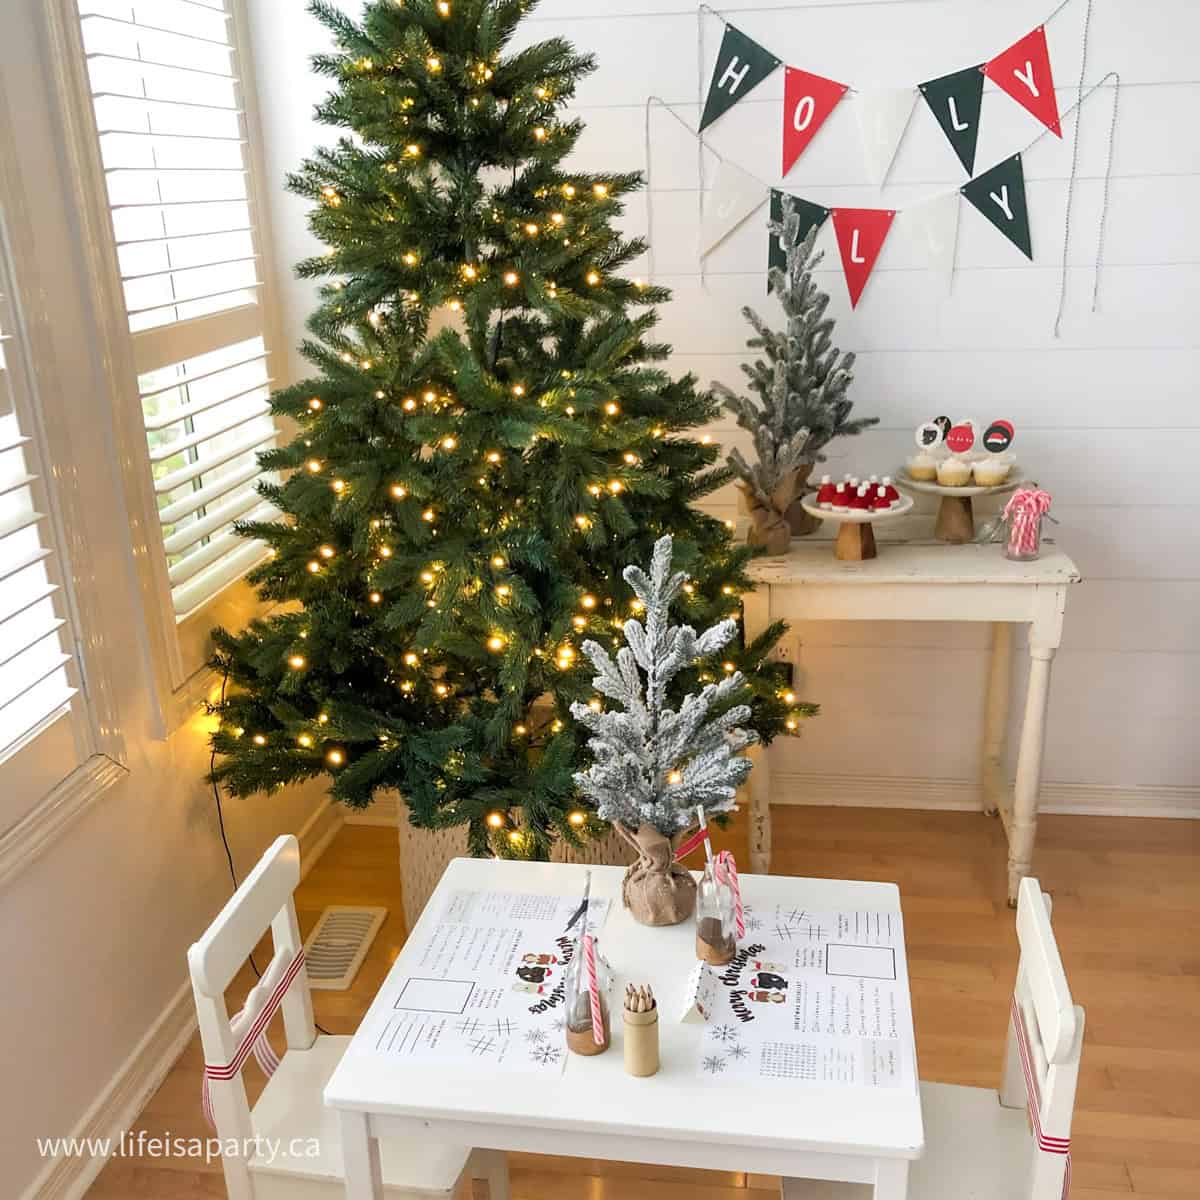
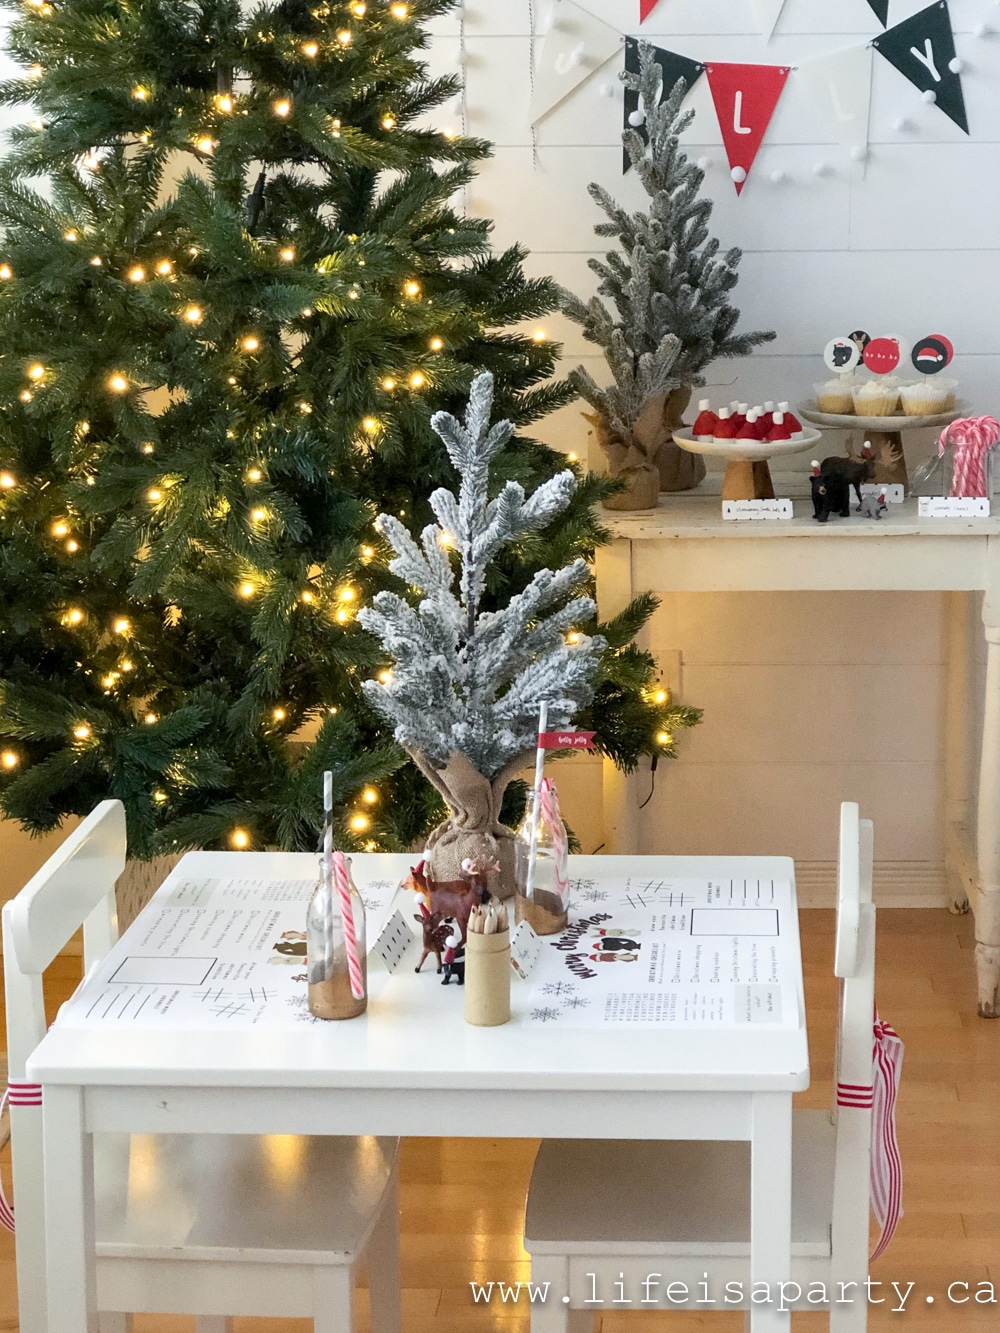
Woodland Christmas Party: This red and green woodland animal printable party package includes kids activity placemats and everything else for your party.

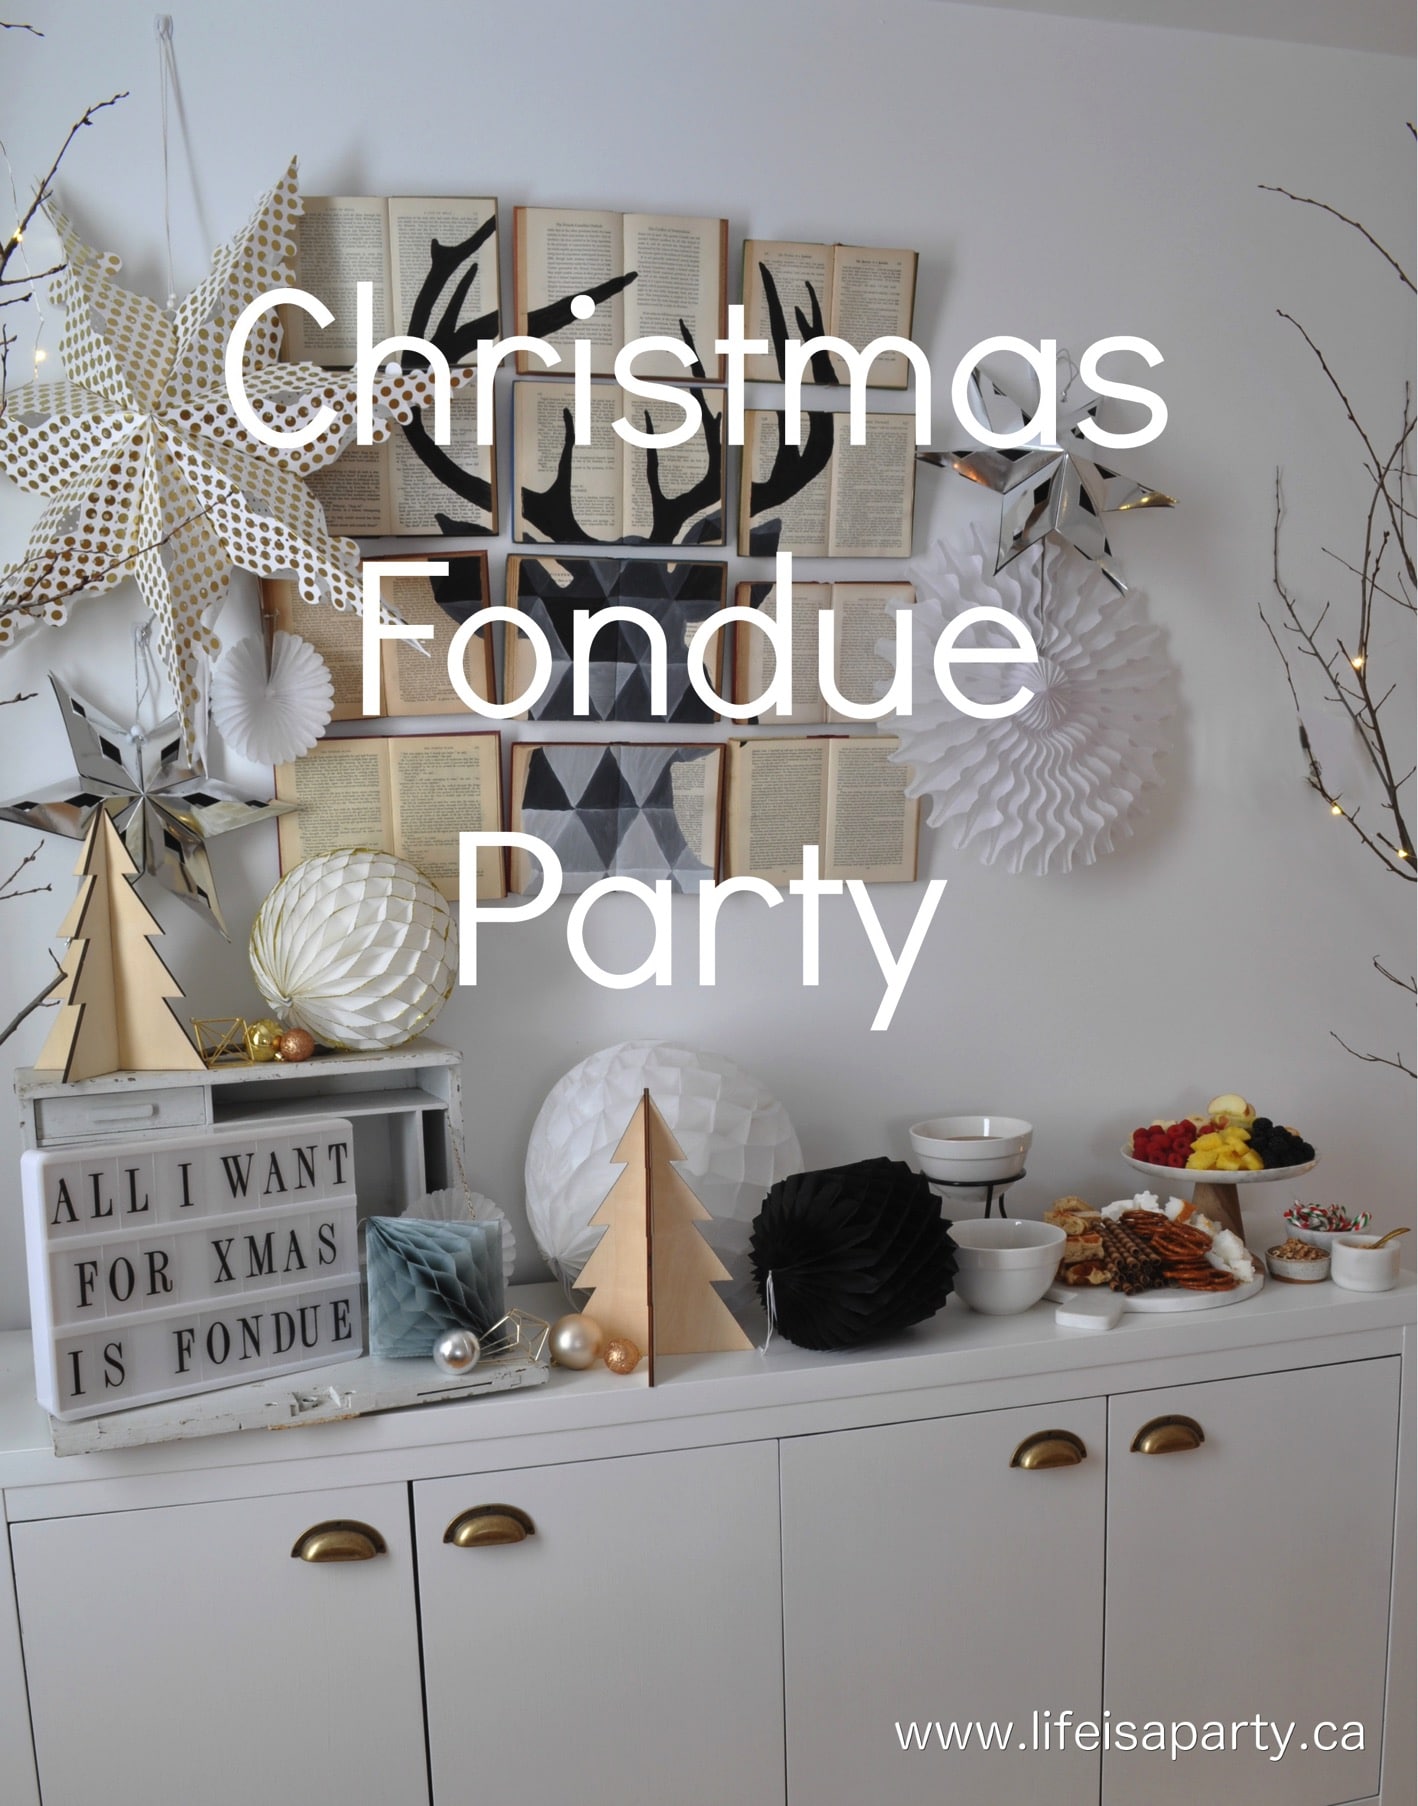
You might also enjoy Christmas Fondue Party here.

Cricut Maker Christmas Favourite Things Pajamas

Nov 13, 2019 · Leave a Comment

DIY Christmas favourite things pyjamas.

Cricut Christmas Pyjamas: use your Cricut Maker and Infusible Ink to create personalized Christmas favourite things pjs.

DIY Christmas favourite things pyjamas.
[feast_advanced_jump_to]

Today I'm sharing these adorable Cricut Christmas Pajamas.  Every Christmas I love to give my girls a special pair of new Christmas Pajamas on Christmas Eve.  It's been a tradition that we've always done for them.  

Last year I made them a special pair with my Cricut Maker and added their nick names to their pj tops.  This year I'm using my Cricut Maker again and infusible ink to create a Christmas favourite things pj top.  My Cricut Maker has turned into one of my favourite crafting tools.  It's so versatile.  I love all the different materials it can cut, like fabric, paper, vinyl, leather and even wood.  Check out the wood feather decorations I made last Christmas with my Cricut maker here.

Cricut Christmas Favourite Things Pajamas: 

Christmas Favourite Things Pajamas: use your Cricut Maker and Infusible Ink to create personalized Christmas favourite things pajamas.

I was inspired by this Christmas art work I made a few weeks ago -check it out here, and thought how fun it would be to personalize the Christmas favourites list for everyone in your family and make it special to them.  For my youngest daughter Maddie, I asked what her very favourite things about Christmas were. This is the list she came up with.  My older daughter came up with her own different personalized list, and I'll be making her a special pj top too.  

Christmas Favourite Things Pajamas: use your Cricut Maker and Infusible Ink to create personalized Christmas favourite things pajamas.

Then I thought how fun it would be to make one for myself and my husband too.  It's such a fun idea to really personalize a gift, and share a few inside jokes about everyones particular favourites.  My list might include a puzzle, and my husband always upgrades our computers over the Christmas break so his list might include that and a few of our favourite Christmas treats like chocolate covered almonds.  Once you start thinking about it the list could go on and on.  And you can imagine the reactions surprising your family with these on Christmas Eve.  It would also make for some pretty cute Christmas morning pictures with everyone in their personalized pjs.  I bought matching pj bottoms too.  Here's how I made it.

Materials:

For this project you will need

  • Cricut Maker
  • Infusible Ink T-shirt Blank
  • Infusible Ink Transfer Sheet -Black
  • Cricut Standard Grip Mat
  • Cricut Tool Set
  • Cardstock
  • Butcher Paper 
  • EasyPress 2
  • Lint Roller
  • EasyPress Mat
  • Christmas  Favourite Things Pattern in Design Space

How To Make Your Infusible Ink Cricut Christmas Pajamas:

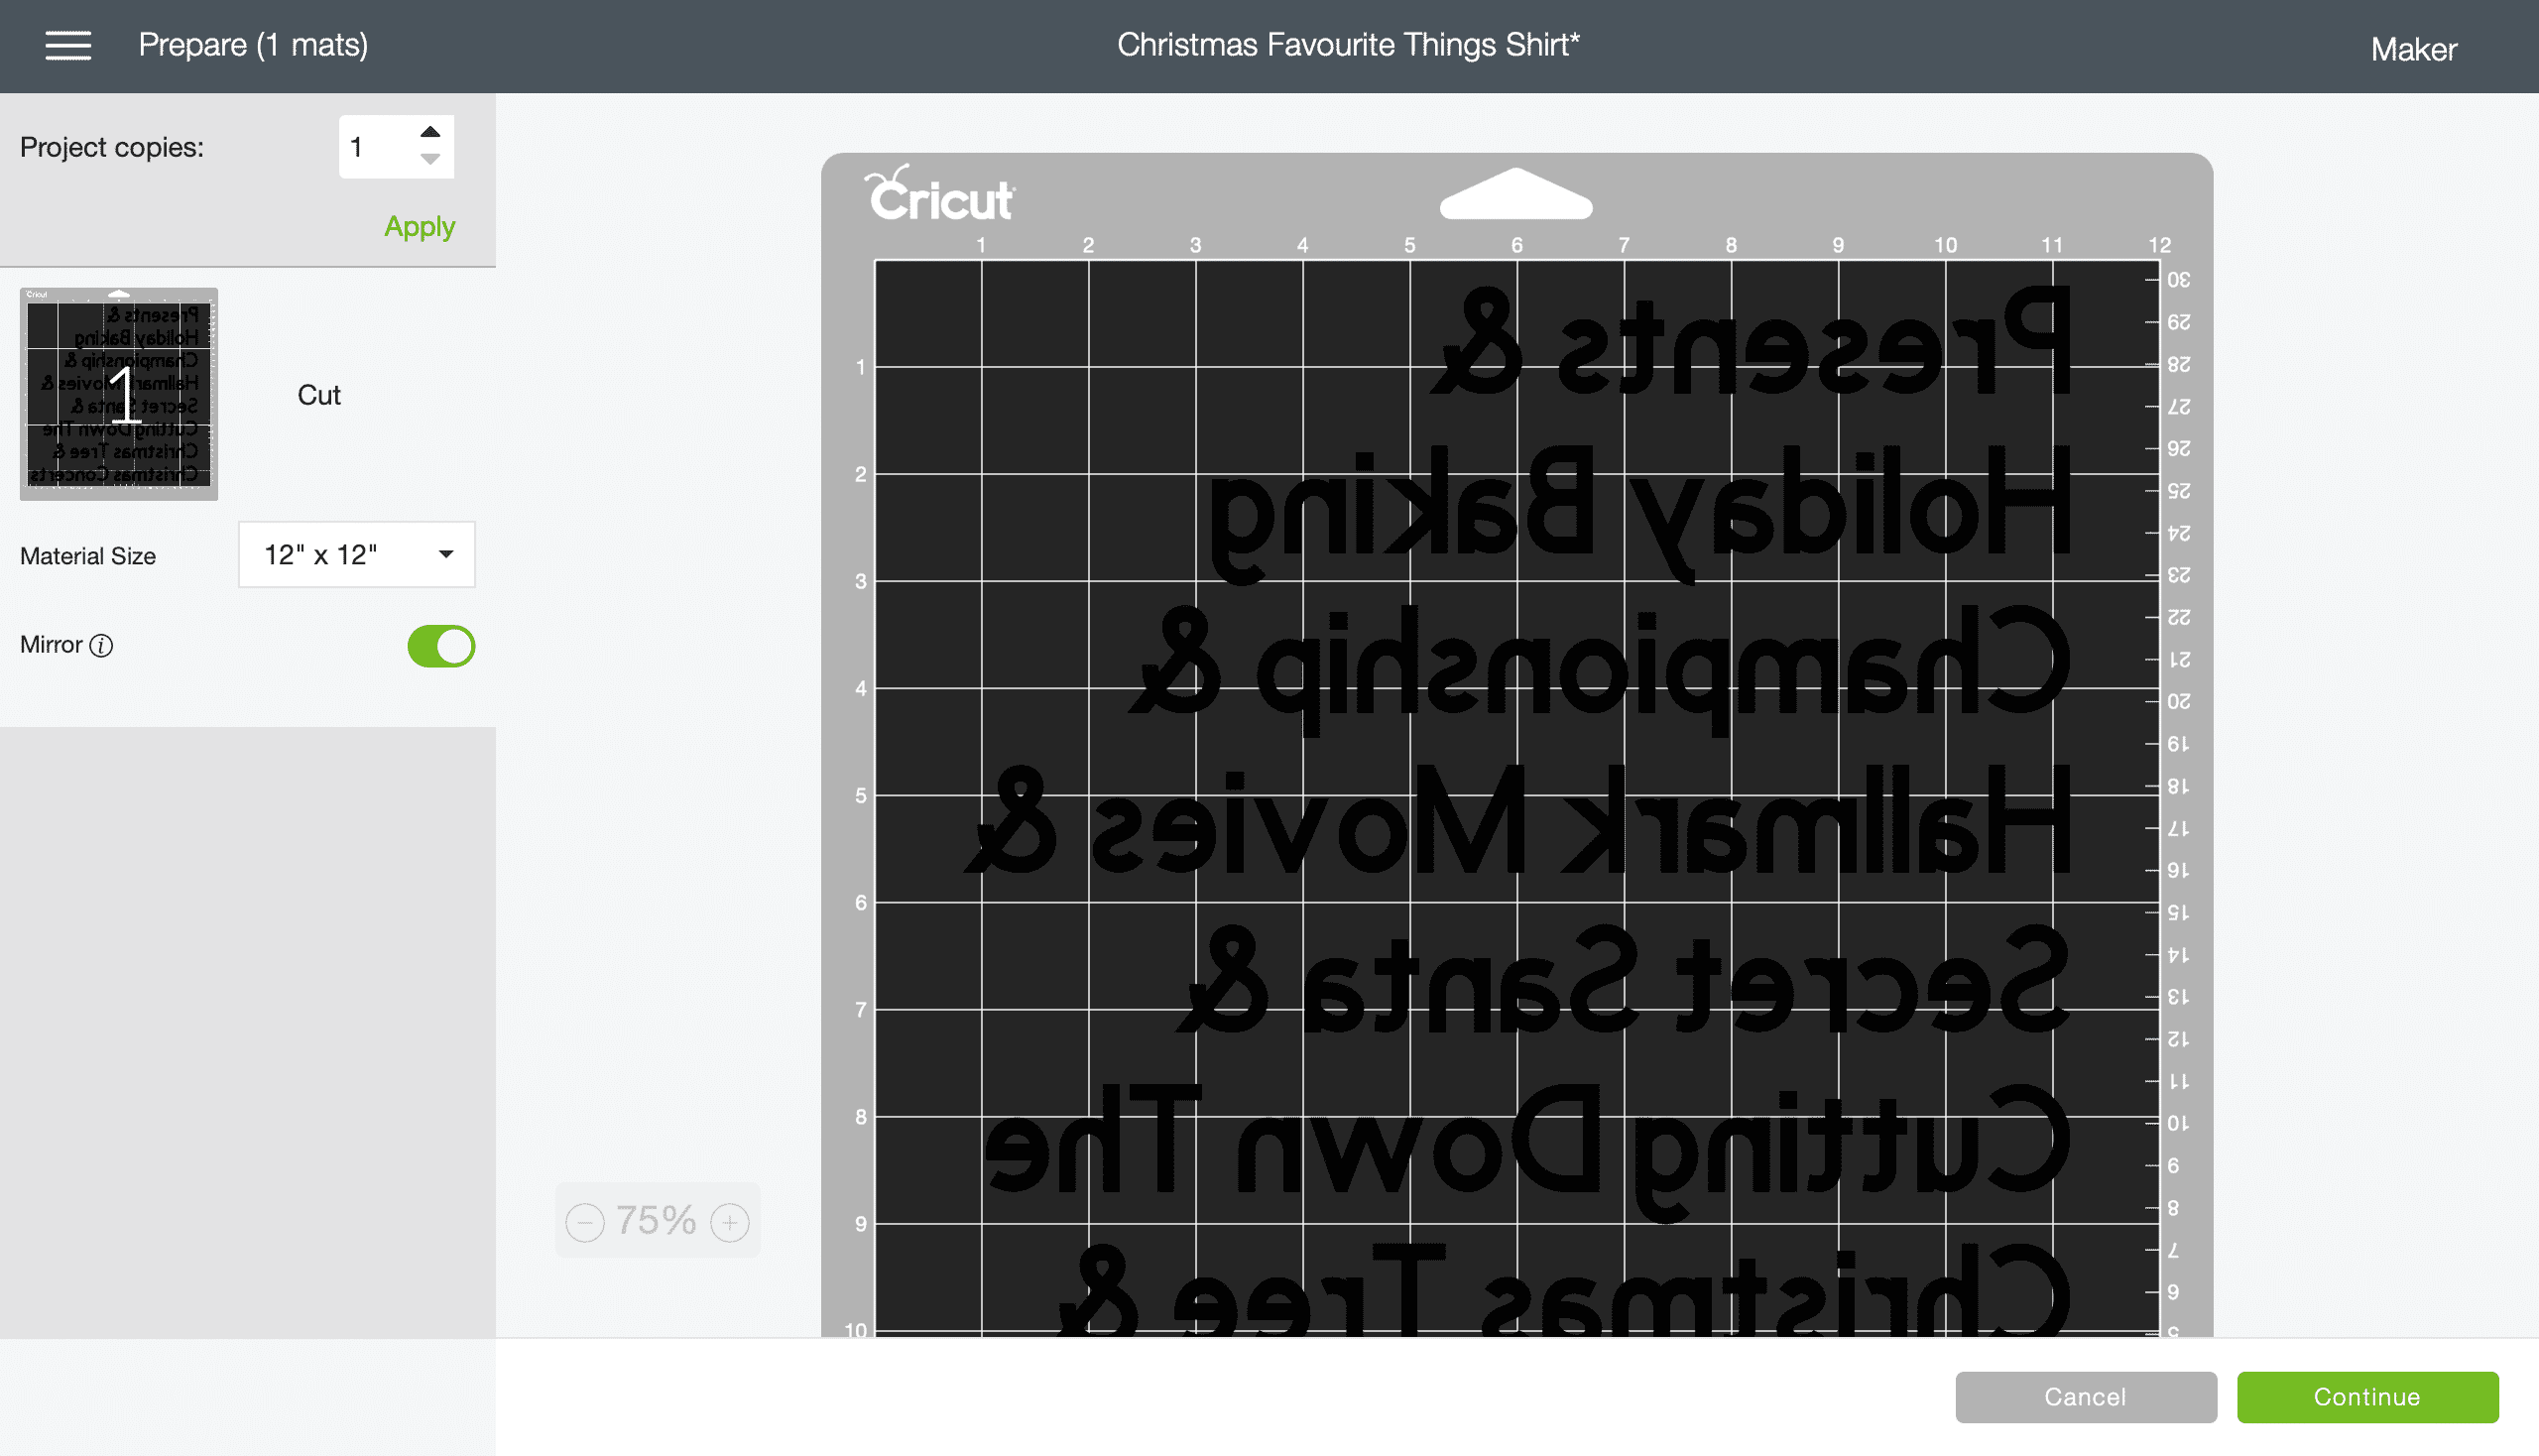
I began by creating the cut pattern.  You're welcome to use my pattern, find it here. You can edit it to personalize it for whomever you're giving it to.  

Christmas Favourite Things Pajamas: use your Cricut Maker and Infusible Ink to create personalized Christmas favourite things pajamas.

When you're ready to cut it out, hit continue.  Be sure the "mirror image" is on.

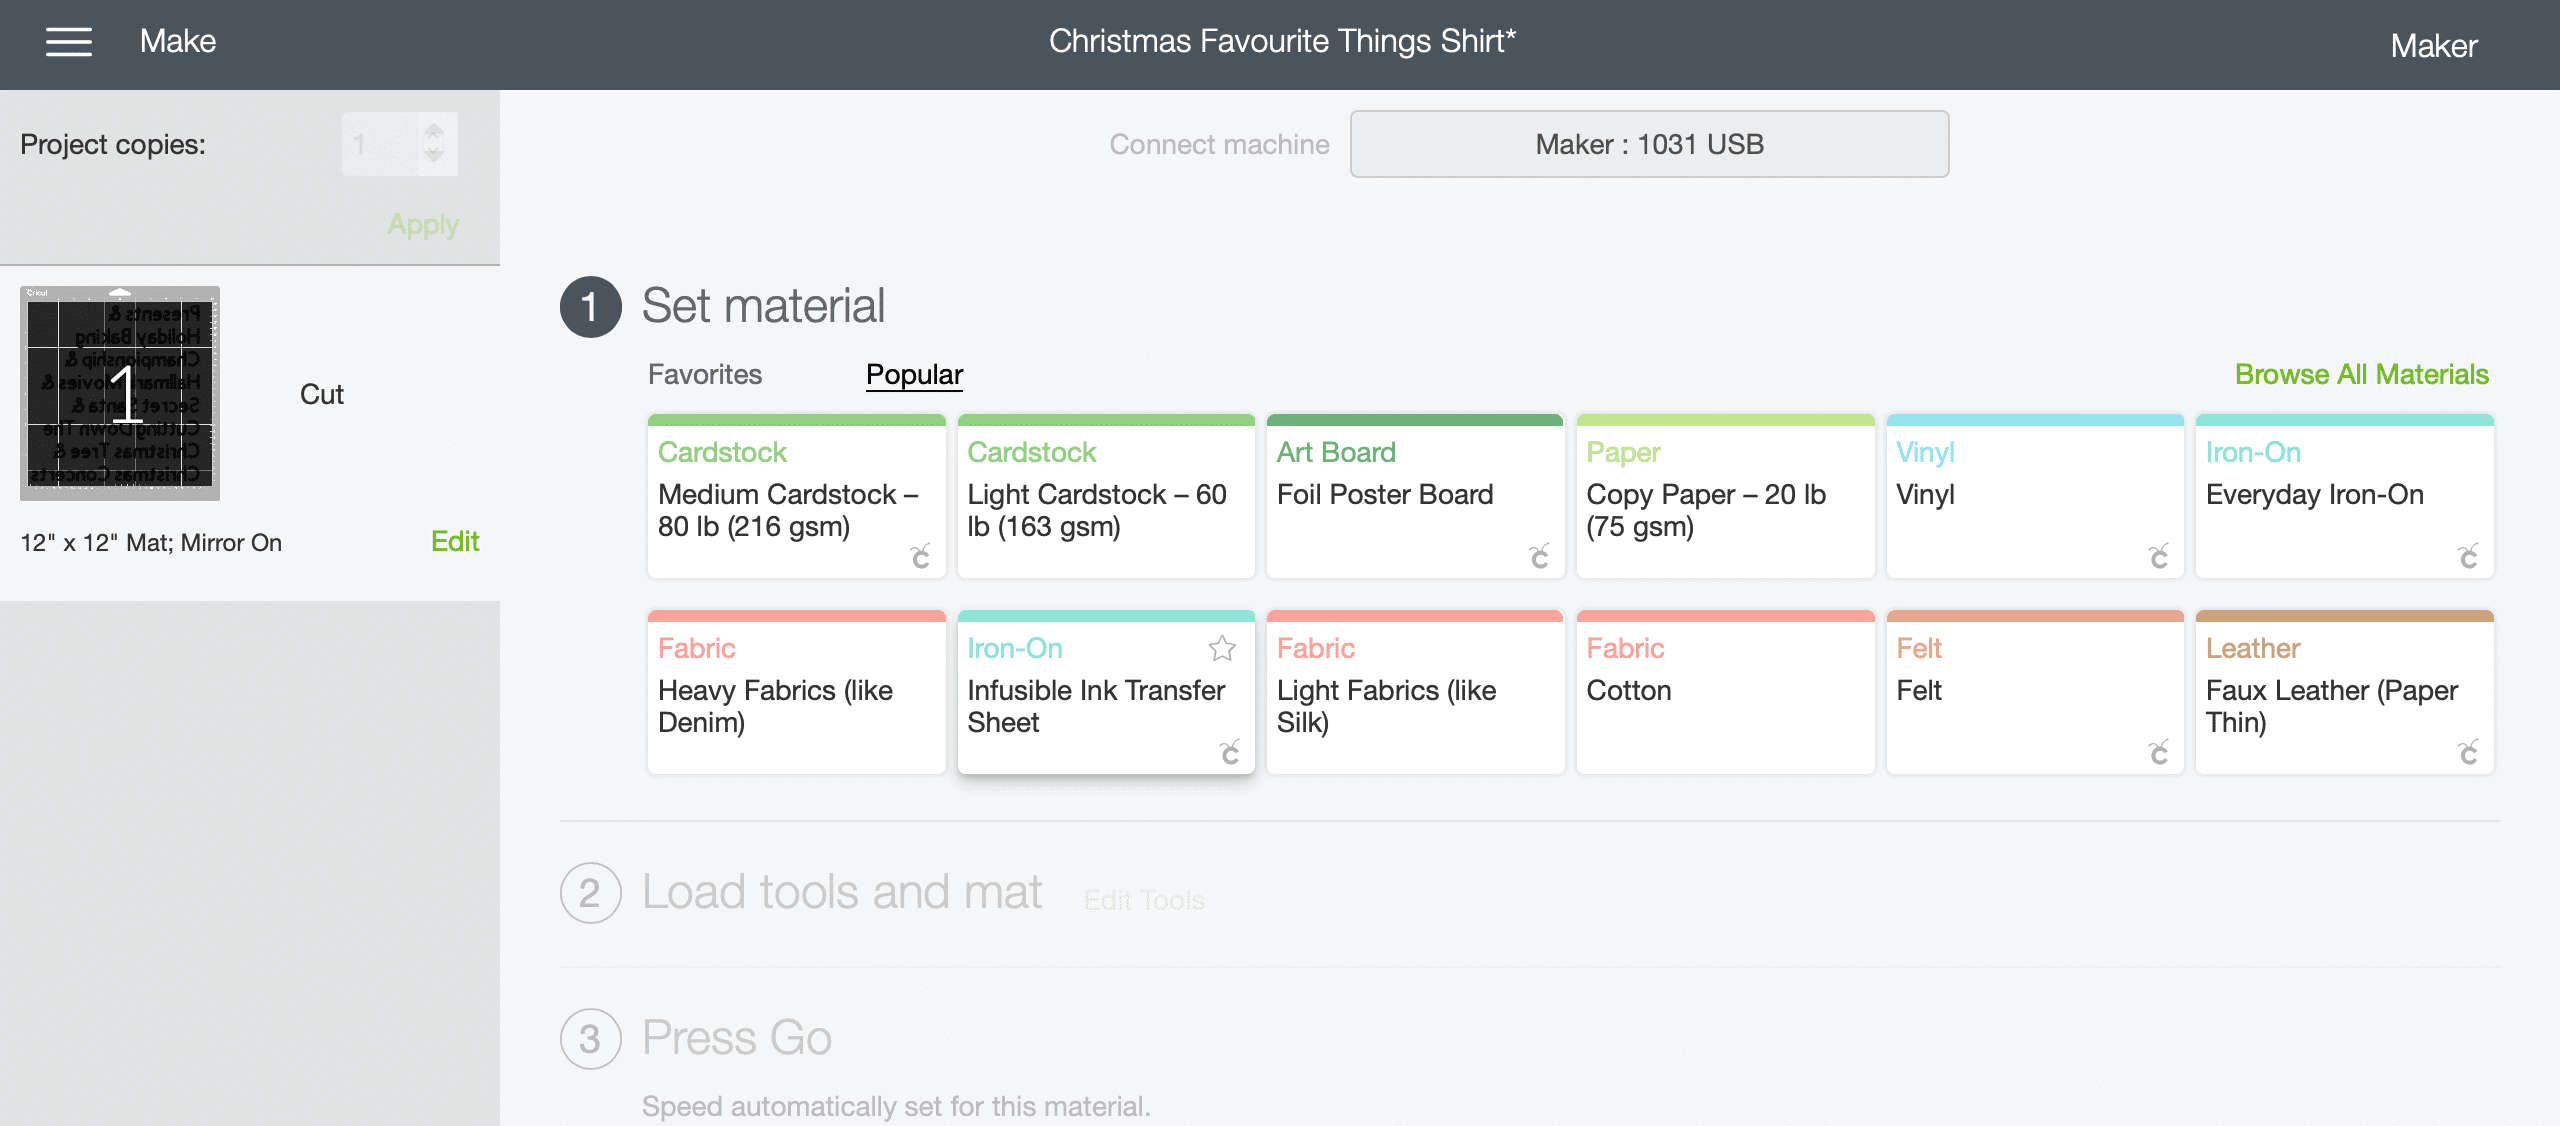
Choose Cricut Infusible Ink Transfer Sheet as your cutting material.

Christmas Favourite Things Pajamas: use your Cricut Maker and Infusible Ink to create personalized Christmas favourite things pajamas.

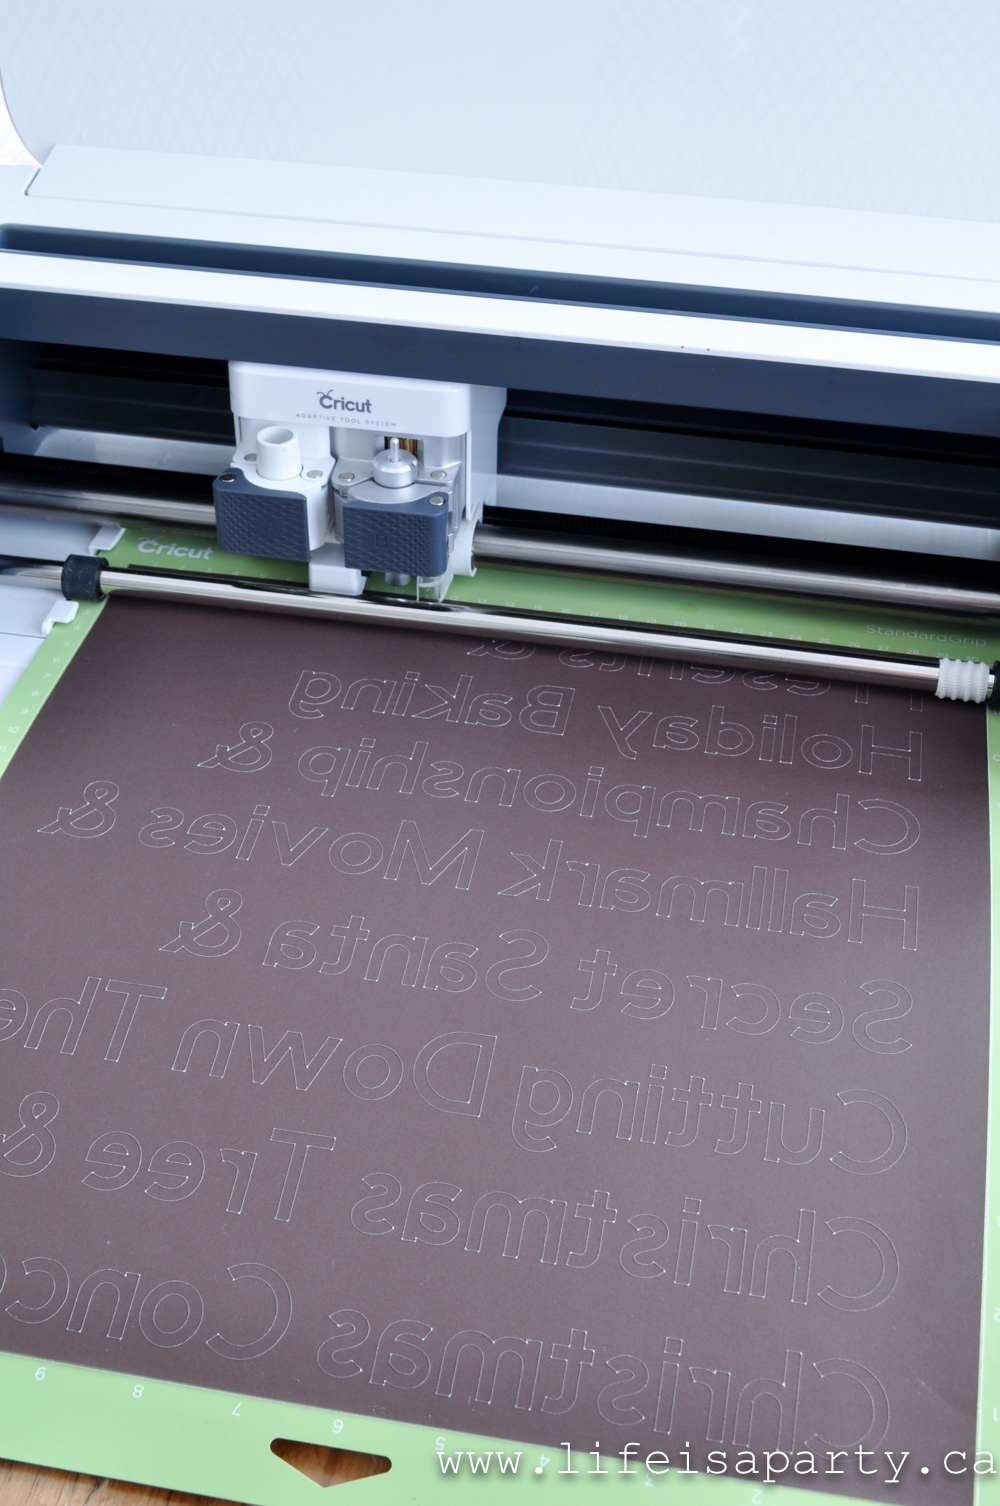
Next, apply your Cricut infusible ink transfer sheet to a regular cutting mat ink or colour side up, and cut out your infusible ink transfer sheet.

Christmas Favourite Things Pajamas: use your Cricut Maker and Infusible Ink to create personalized Christmas favourite things pajamas.

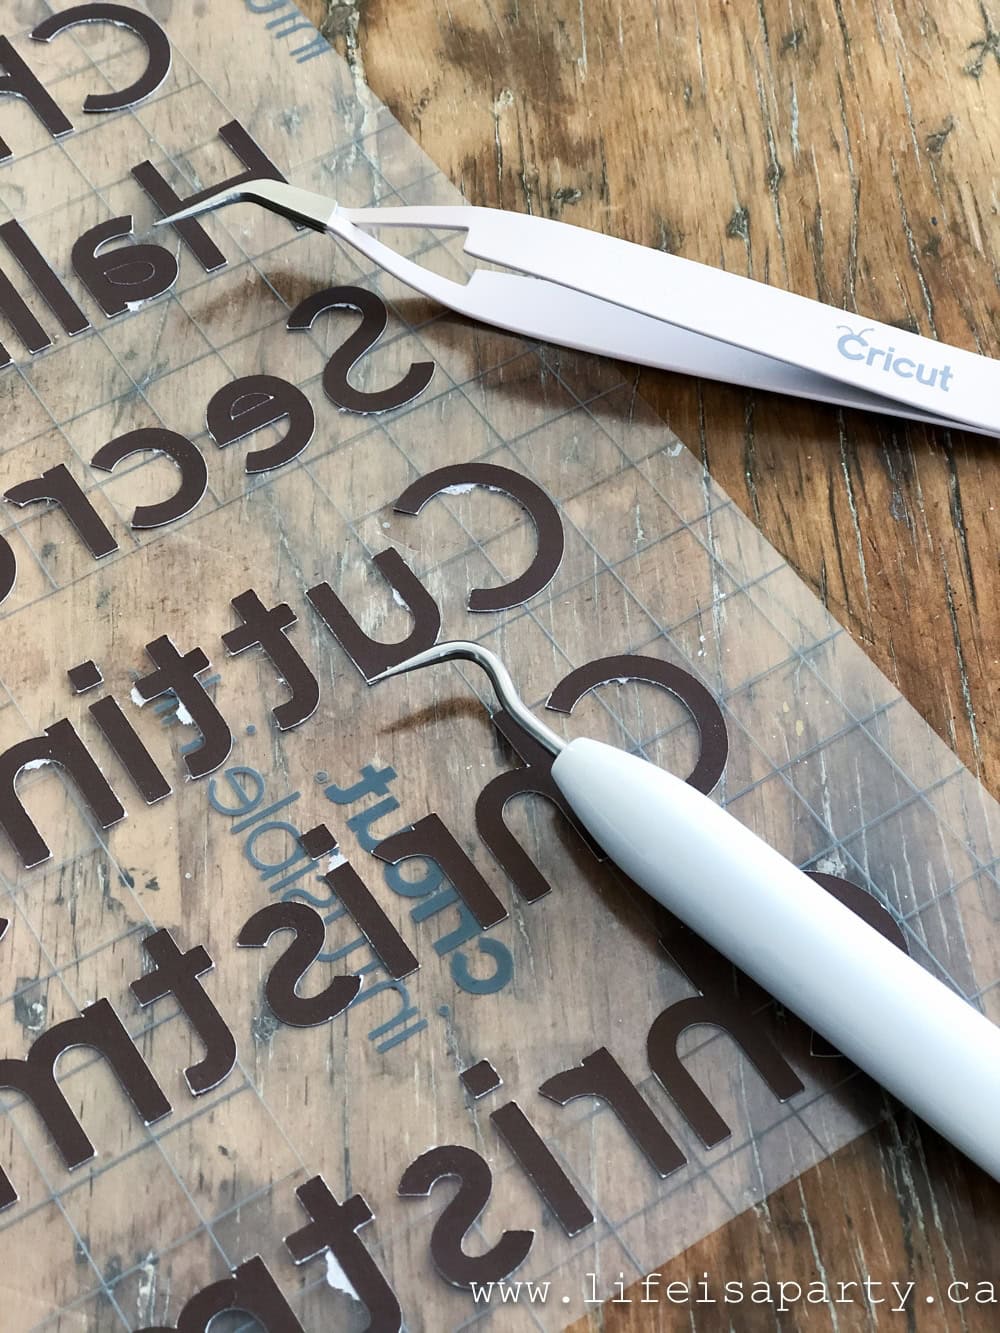
Once the infusible ink transfer sheet is cut out, remove it from the cutting mat and weed it using your Cricut tool set.  I love storing my tools in the compartment of my Cricut Maker, it's such a handy storage area.

Christmas Favourite Things Pajamas: use your Cricut Maker and Infusible Ink to create personalized Christmas favourite things pajamas.

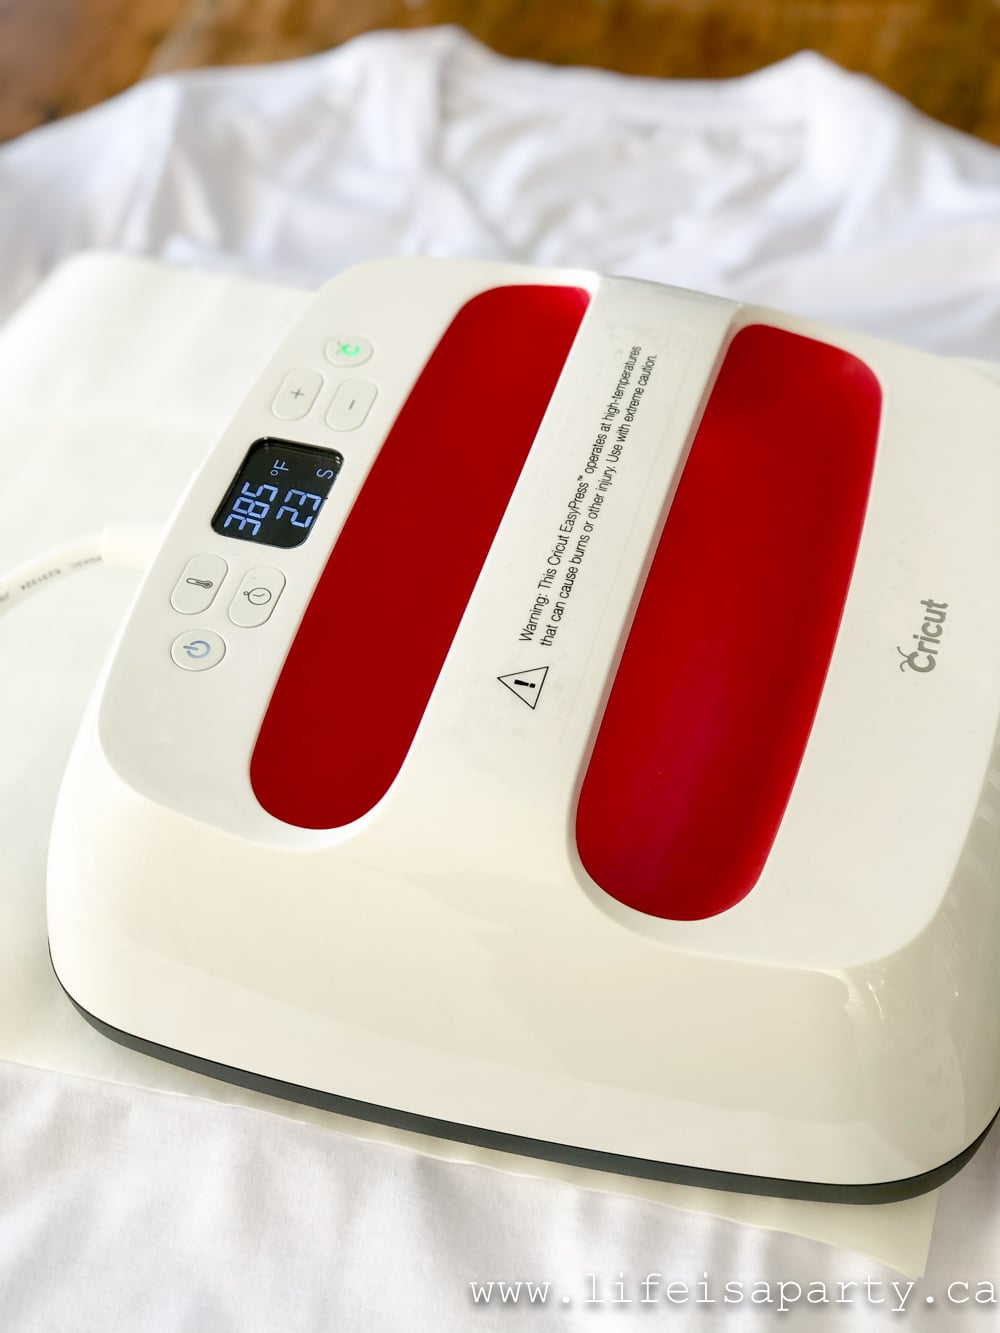
To apply the infusible ink to the t-shirt, preheat your Easy Press 2 to 385 F and set the timer for 40 seconds.  To prepare the t-shirt to receive the infusible ink transfer sheet, layer your Easy Press mat, and the t-shirt, with card stock inside.  Next, use the lint roller to make sure the t-shirt surface is completely lint free.

Christmas Favourite Things Pajamas: use your Cricut Maker and Infusible Ink to create personalized Christmas favourite things pajamas.

Use the Easy Press 2 to preheat the t-shirt for 15 seconds.  Now apply the infusible ink transfer sheet to the t-shirt, taking care to line it up in the middle.

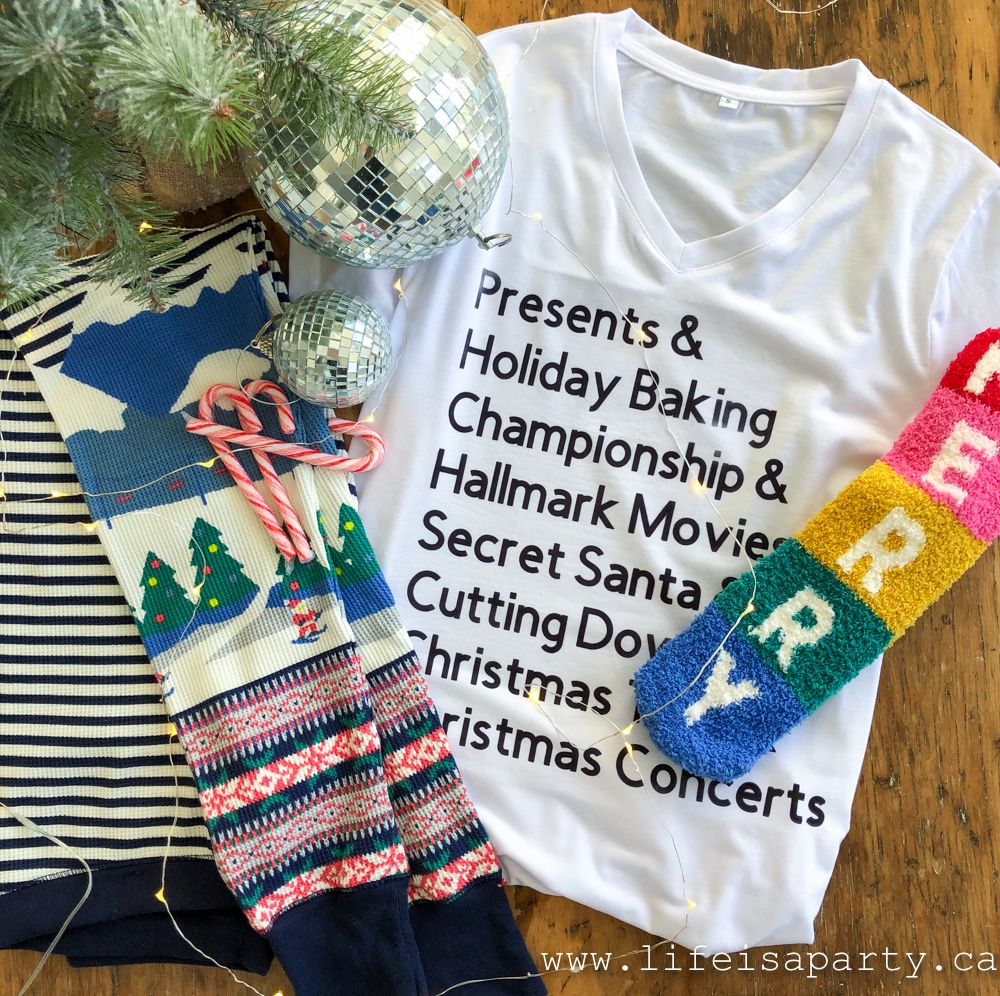
Next, place a piece of butcher paper on top of the infusible ink transfer sheet.  Place the Easy Press 2 on top with light pressure, and without moving it at all for the 40 seconds.  Remove the Easy Press.  Allow the transfer to cool slightly, and then remove it to reveal your beautiful personalized Christmas Favourite Things t-shirt.

Christmas Favourite Things Pajamas: use your Cricut Maker and Infusible Ink to create personalized Christmas favourite things pajamas.

The Perfect Gift

I really love working with the infusible ink, it really creates the most professional finish.  I can't wait to share these Christmas pjs with my girls on Christmas Eve - and maybe I'll even get busy and create a set for my husband and I too.  

Christmas Favourite Things Pajamas: use your Cricut Maker and Infusible Ink to create personalized Christmas favourite things pajamas.

With personalized Cricut Christmas pyjamas, life really is a party!

You might also like our 25 Christmas Projects You Can Make With Your Cricut post here.

25 Christmas Cricut Projects: inspiration and ideas for all your Christmas crafting with your Cricut machine using paper, fabric, metal, leather, and more.

Also check out our Cricut Fair Isle Candle Holders here.

You might also like our Cricut Wood Feather Christmas Ornament here.

Free Printable Advent Calendar Activities (60+ Ideas for Families)

Nov 13, 2019 · Leave a Comment

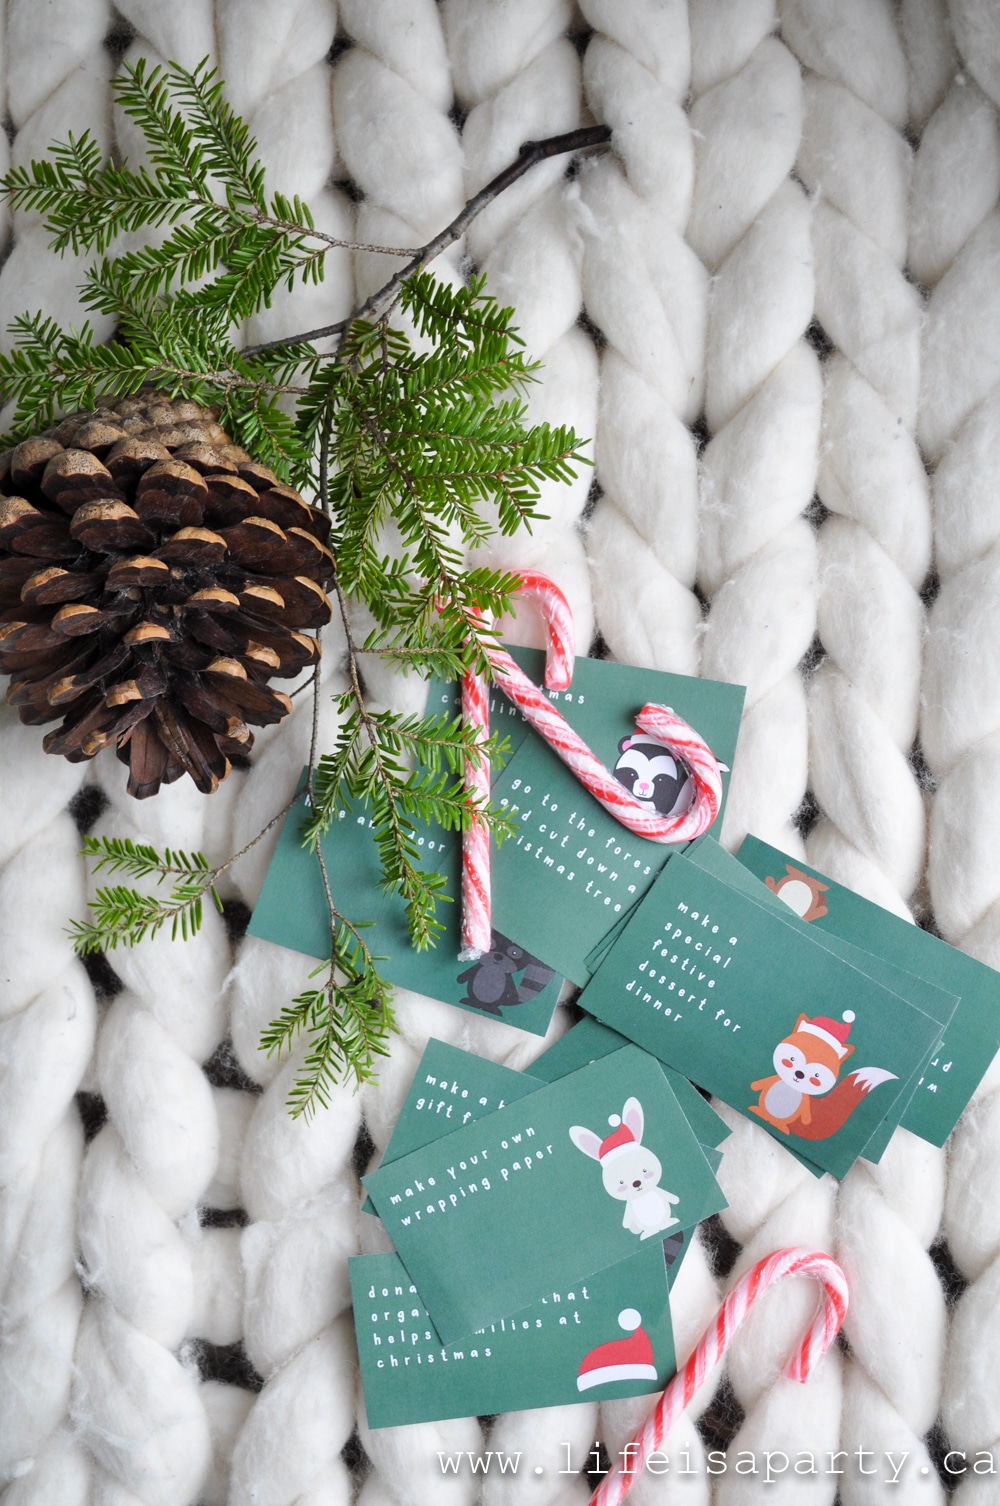
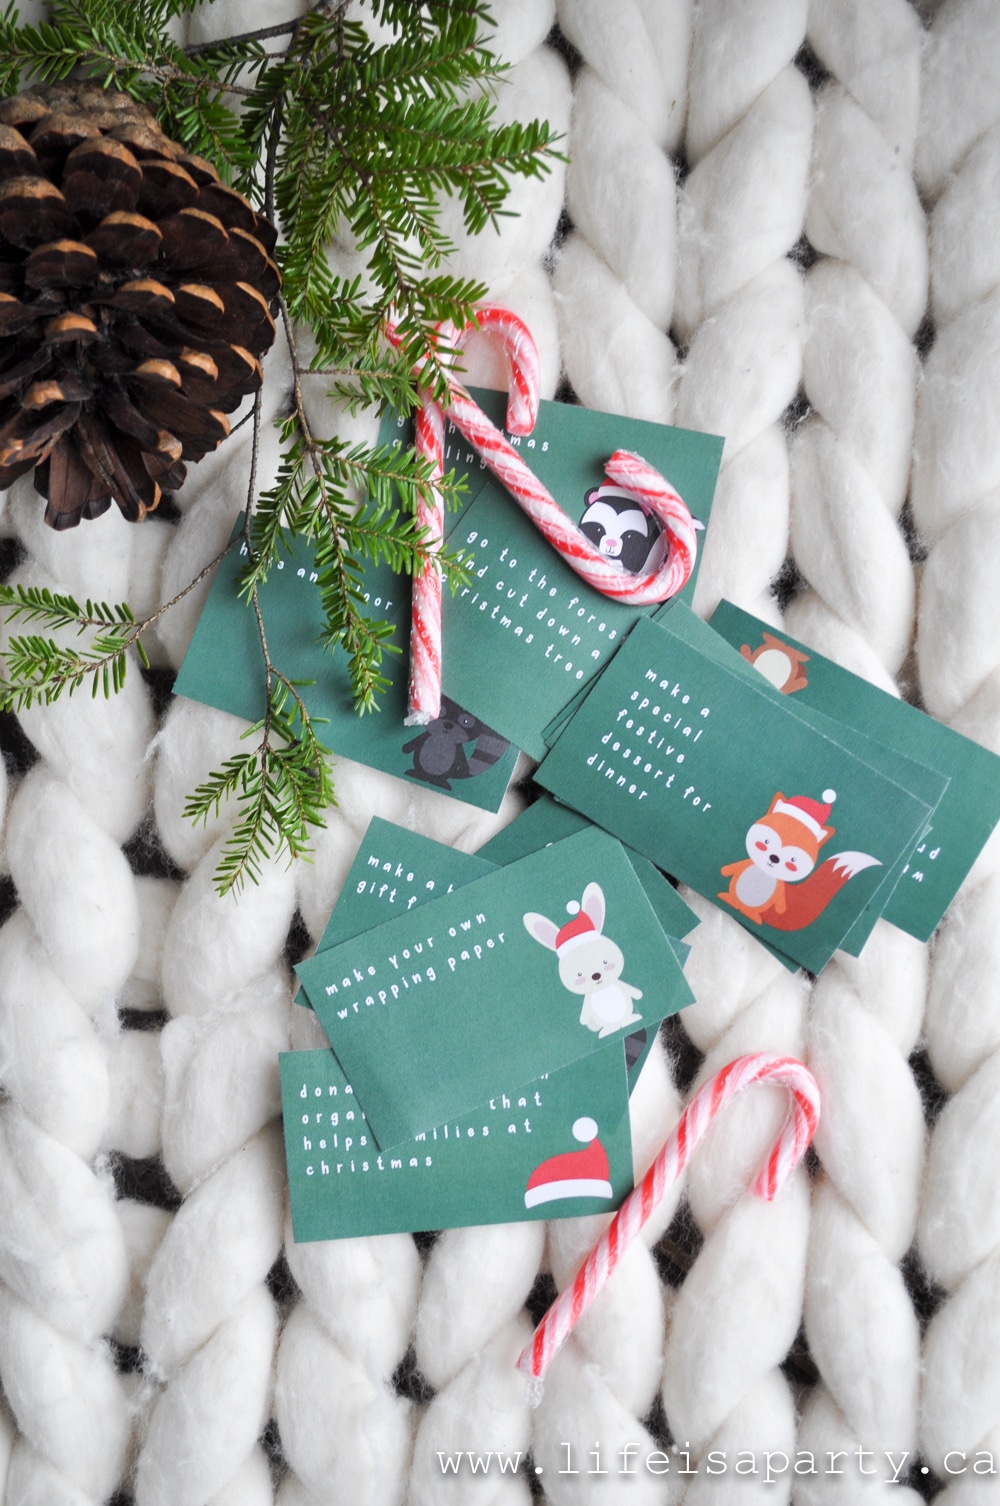
Printable Christmas Advent Activity Cards in green with forest animals on them.

These free printable Christmas advent activity cards are perfect for adding to your activity advent calendar this year. With over 60 different family friendly activities to choose from, pick 24 and make some special memories with your kids this year.

Printable Christmas Advent Activity Cards in green with forest animals on them.
[feast_advanced_jump_to]

A Quick Look

📋 What You Get: 60+ printable activity cards
🎨 Design Options: 3 beautiful styles to choose from
⏲️ Activities Range: 5 minutes to special outings
👨‍👩‍👧‍👦 Best For: Families with kids ages 3-12
🎁 Cost: Completely free for subscribers
💭 Top Tip: Make a master calendar for yourself so you remember what's planned and have supplies ready!

Why You'll Love These Advent Calendar Activities

  • Over 60 activities give you tons of choice to customize for your family.
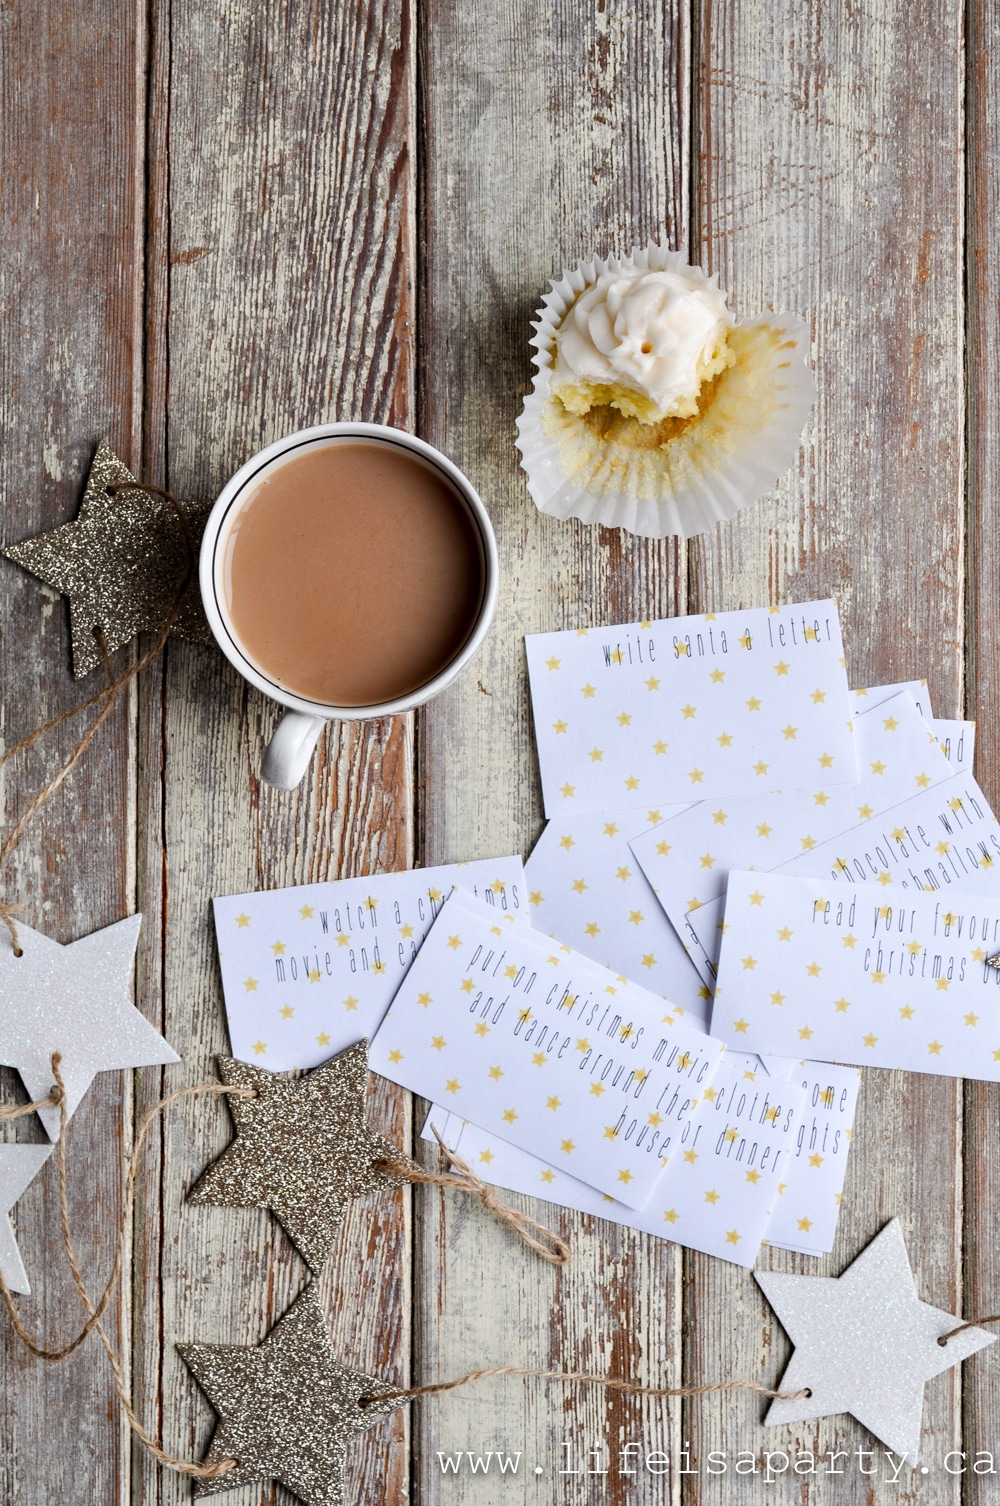
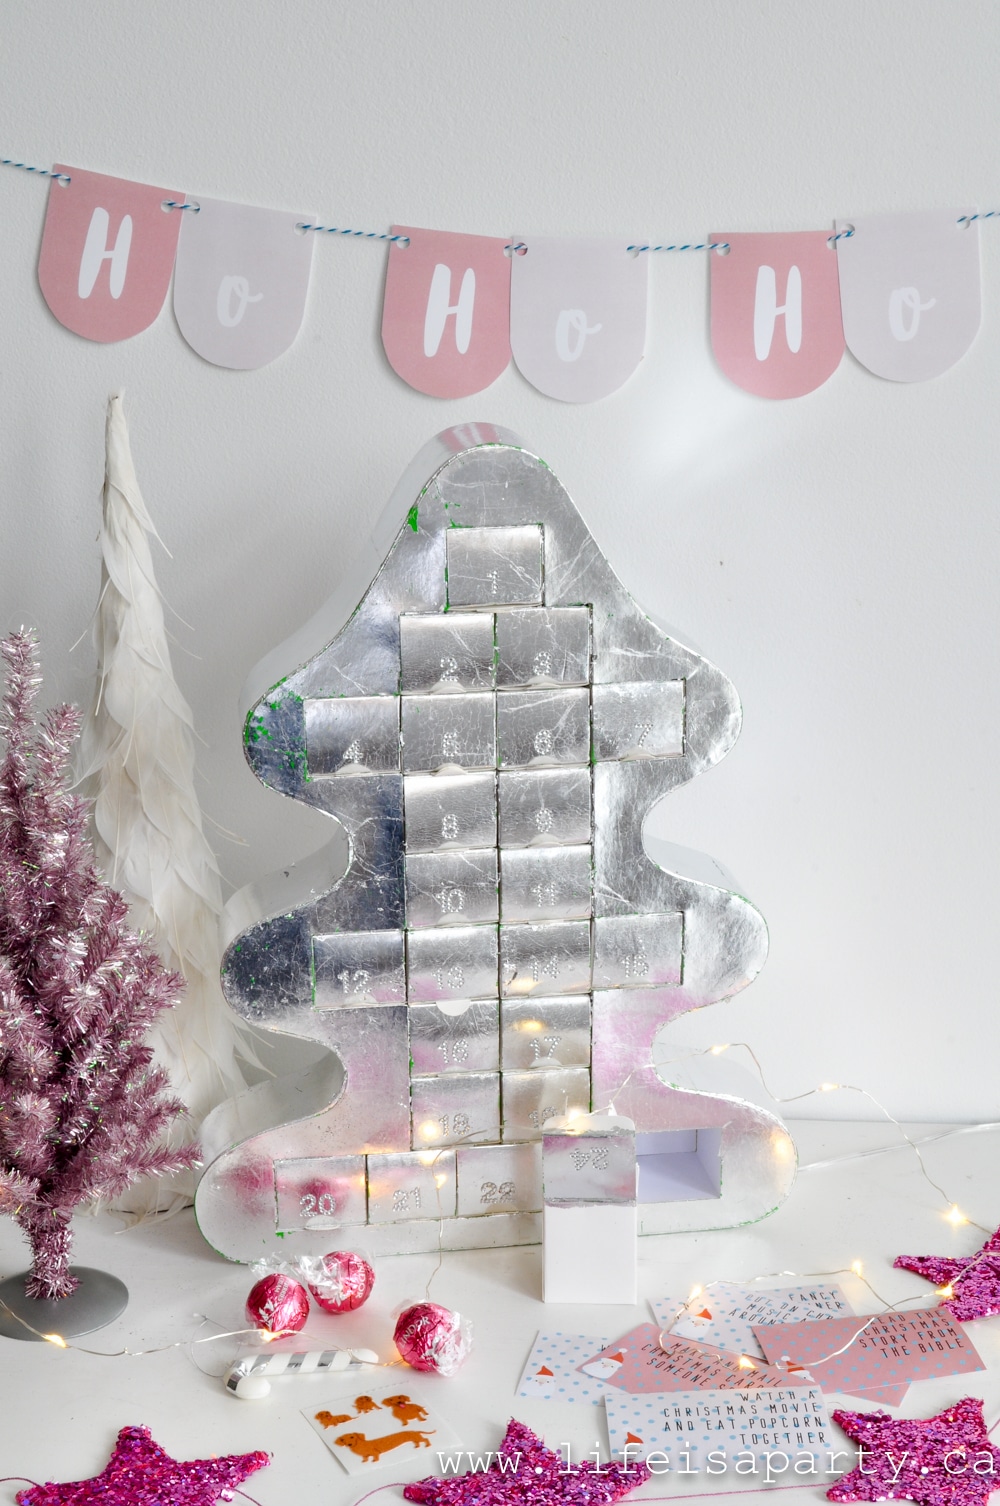
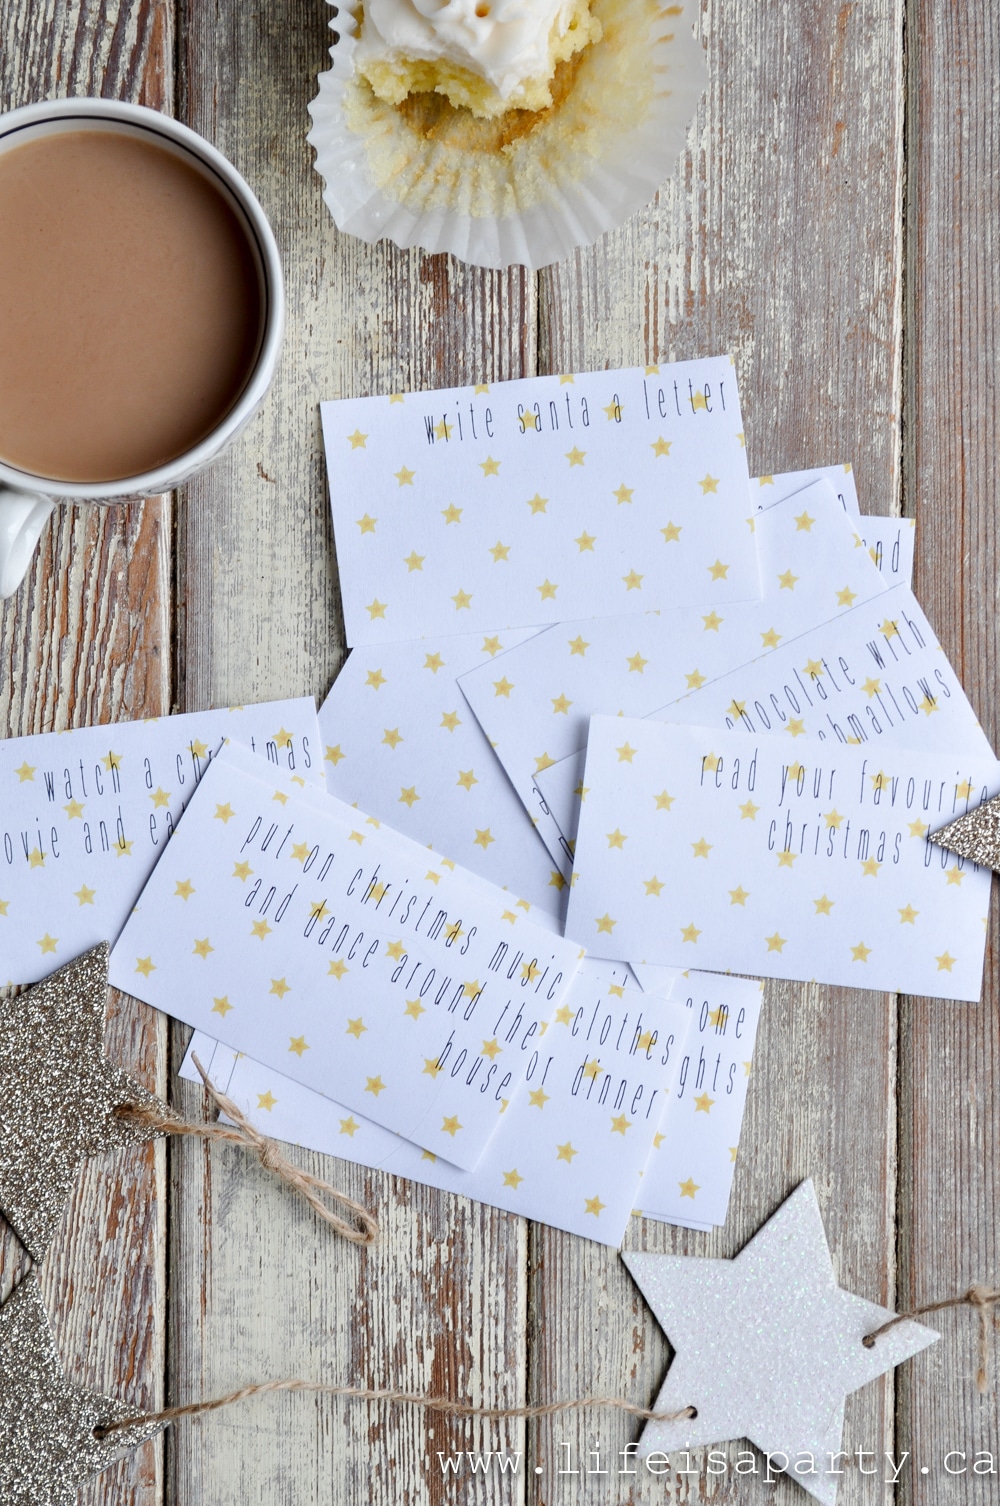
  • Three beautiful designs so you can pick the style you love (yellow stars, pink/blue Santa, green woodland animals).
  • Mix of simple and special from 5-minute activities to memorable outings.
  • Free printables ready to download and use immediately.
  • Tested by real families these are activities kids actually love.
  • Flexible planning swap activities based on weather, schedule, or mood.

The best Christmas memories aren't about the presents under the tree. They're about the moments spent together. These free printable advent calendar activities help you create 24 days of intentional family time, with over 60 activities to choose from so you can customize your countdown to fit your family perfectly.

I started making activity advent calendars when my girls were little because I wanted them to remember more than just gifts. Each December day brought a small surprise activity we'd do together. Years later, those are the memories they treasure most. The Christmas picnic under the tree. Painting their fingernails red and green. Calling grandparents to sing carols. Simple moments that became our family traditions.

If you love advent traditions, you might also enjoy our DIY Christmas Story Book Advent Calendar for daily reading, our Little House Advent Calendar tutorial, or our Cricut Advent Calendar with Free SVG for crafters.

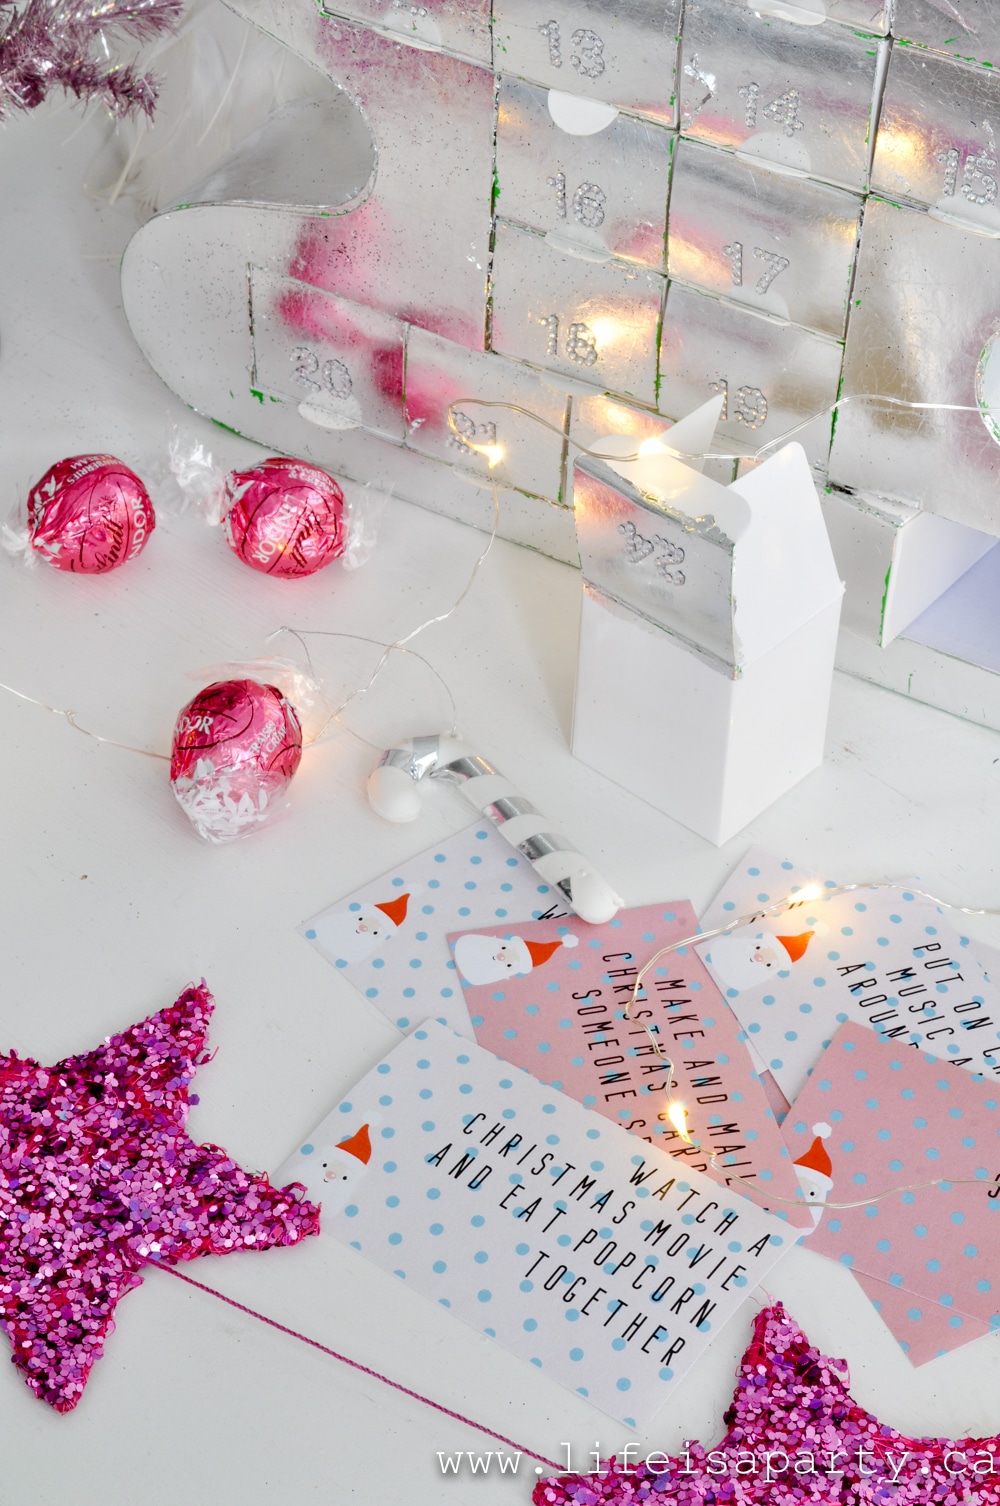
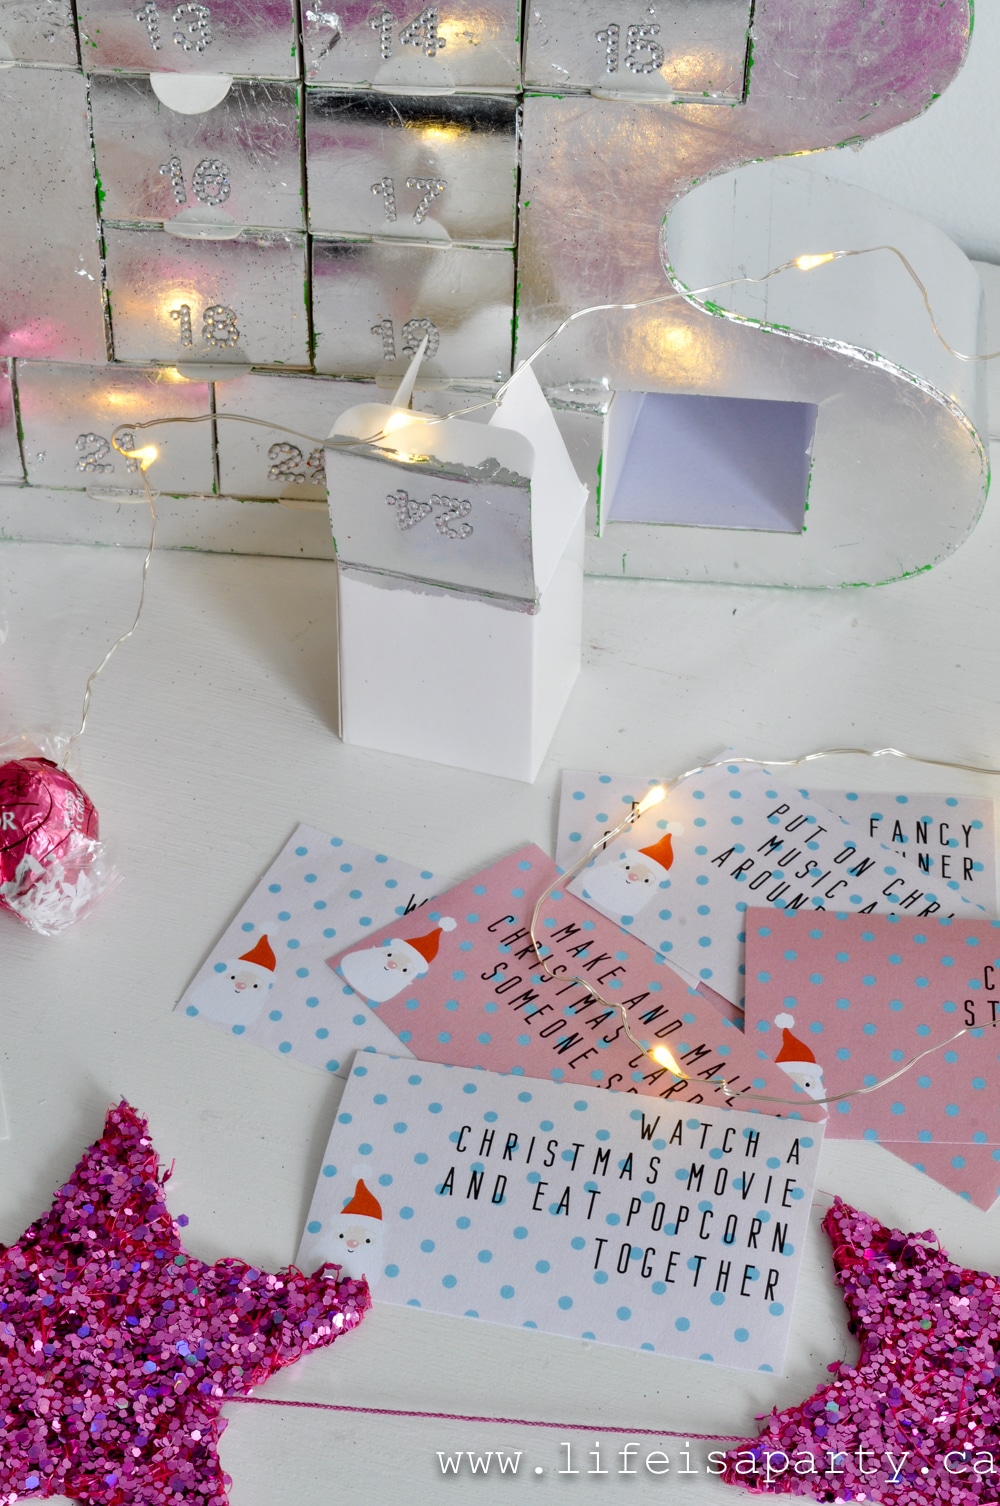
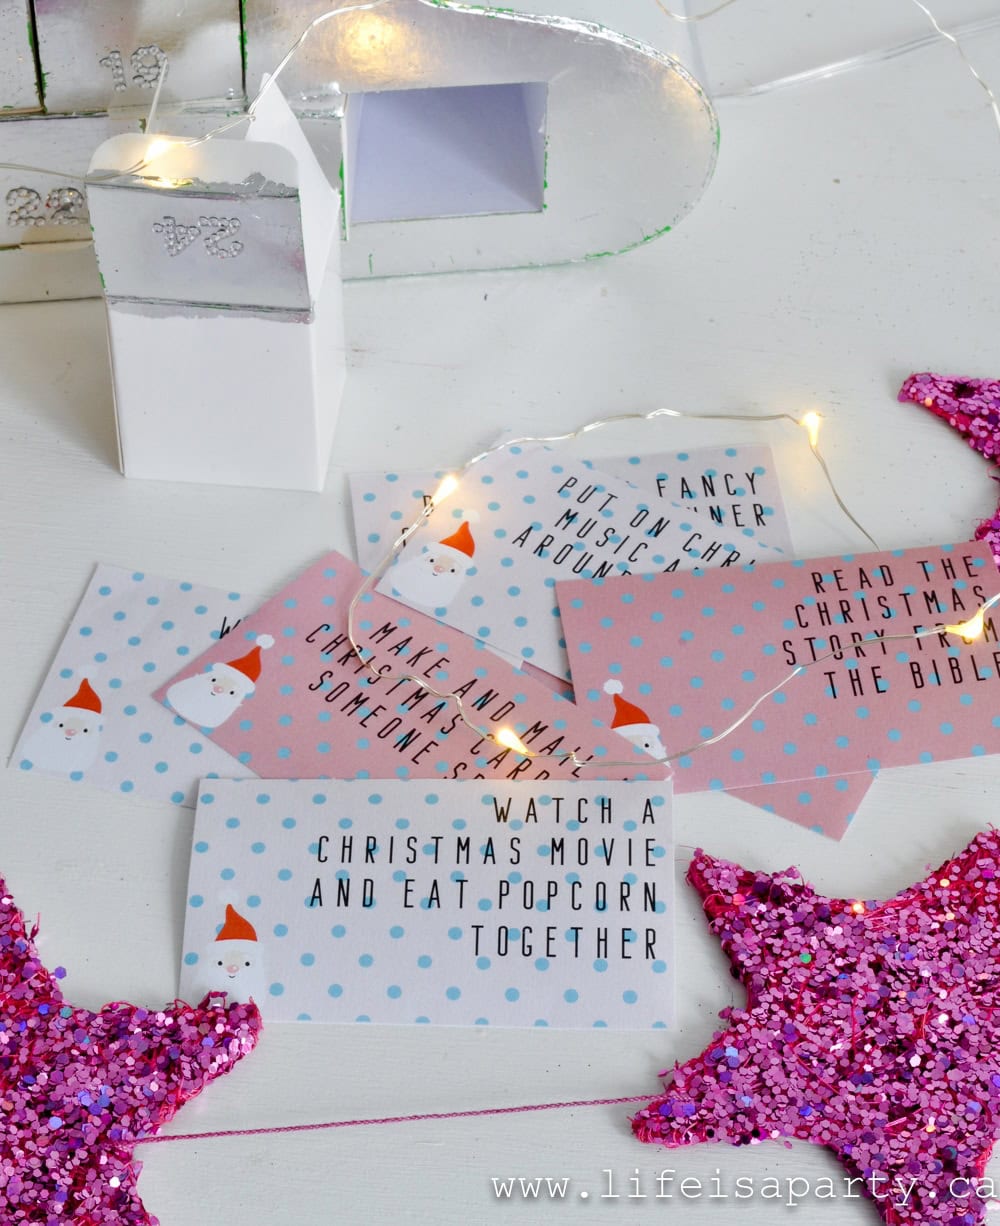
Advent Calendar and printable activity cards

Inside Your Free Printable

When you download these printables, you'll get everything you need to create a meaningful activity advent calendar.

60+ Activities to Choose From

With over 60 different activities included, you can pick the perfect 24 for your family. The variety means you'll find activities that fit your schedule, budget, and family's interests.

Three Beautiful Design Options

Choose from three festive designs that match your Christmas decor:

Yellow Star Pattern - Classic and cheerful with gold stars on cream background
Pink and Blue Santa Pattern - Playful and colorful with cute Santa illustrations
Green Woodland Animals - Natural and sweet with forest creatures

Printable Christmas Advent Calendar Activities: with over 60 different activities to choose from pick 24 and make some special memories with your family this Christmas.

How to Plan Your Activity Advent Calendar

Creating your calendar takes just a little planning upfront for smooth sailing all December long.

Choose Your 24 Activities

Look through all 60+ options and select the 24 that work best for your family. Consider your schedule, budget, and what your kids would genuinely enjoy. You don't need to use activities you dread or that don't fit your life.

  • Mix it up: Include a variety of simple and elaborate, at-home and outings, active and quiet. This balance keeps things interesting without overwhelming anyone.
  • Consider ages: Toddlers and preschoolers do great with sensory activities (bubble bath, hot chocolate, Christmas music). Elementary kids love crafts and baking. Tweens and teens appreciate experiences and outings.
Printable Christmas Advent Activity Cards

Make a Master Calendar for Yourself

This is my biggest tip from years of experience. Create a master calendar listing which activity happens which day. This prevents you from forgetting what's planned and helps you prepare.

  • Why this matters: You'll remember to buy hot chocolate for that day, pick up craft supplies ahead, and know when you need to schedule the tree-cutting outing. Nothing worse than opening a card that says "bake cookies" when you have no ingredients!
  • Two approaches: Either fill your calendar completely at the start of December, or fill it the night before day-by-day. The second option gives you flexibility to choose activities that fit each day's reality.
Printable Christmas Advent Calendar Activities: with over 60 different activities to choose from pick 24 and make some special memories with your family this Christmas.
  • Balance Simple and Special Activities: Not every activity needs to be elaborate. In fact, the simple ones often become the most treasured memories.
  • Save elaborate for weekends: Big activities like gingerbread houses, tree cutting, or ice skating work best when you have time and aren't rushed.
  • Use quick ones for school nights: Five-minute activities like wearing Christmas socks, drinking from special mugs, or lighting a candle are perfect for busy evenings.
  • Include things you're doing anyway: If you have a school concert, make that an advent activity. Already planning to get your tree? Put it on the calendar. This takes pressure off while still creating special moments.

Age Considerations

  • Ages 3-5: Focus on sensory activities, simple crafts, and short experiences. They love hot chocolate, Christmas music, special snacks, and simple decorating.
  • Ages 6-9: Can handle more complex crafts, baking projects, and longer outings. They're excited about traditions and love being helpers.
  • Ages 10-12: Appreciate meaningful activities like acts of kindness, special outings, and family traditions. They can handle advanced baking and crafts.
  • Teens: Focus on experiences, giving back, family time, and traditions. They might roll their eyes but secretly love it.
  • Mixed ages: Choose activities everyone can participate in at their level. Older kids can help younger ones with crafts.
Printable Christmas Advent Calendar Activities: with over 60 different activities to choose from pick 24 and make some special memories with your family this Christmas.

Ways to Display Your Calendar

Once you've chosen your activities and printed your cards, you need somewhere to put them.

Refillable Advent Calendars

Wooden or fabric advent calendars with little pockets or drawers work perfectly. Add your printed activity card to each day's pocket. You can include a small treat too if you wish, but the activity is the main event.

Printable Christmas Advent Calendar Activities: with over 60 different activities to choose from pick 24 and make some special memories with your family this Christmas.

Envelopes or Paper Bags

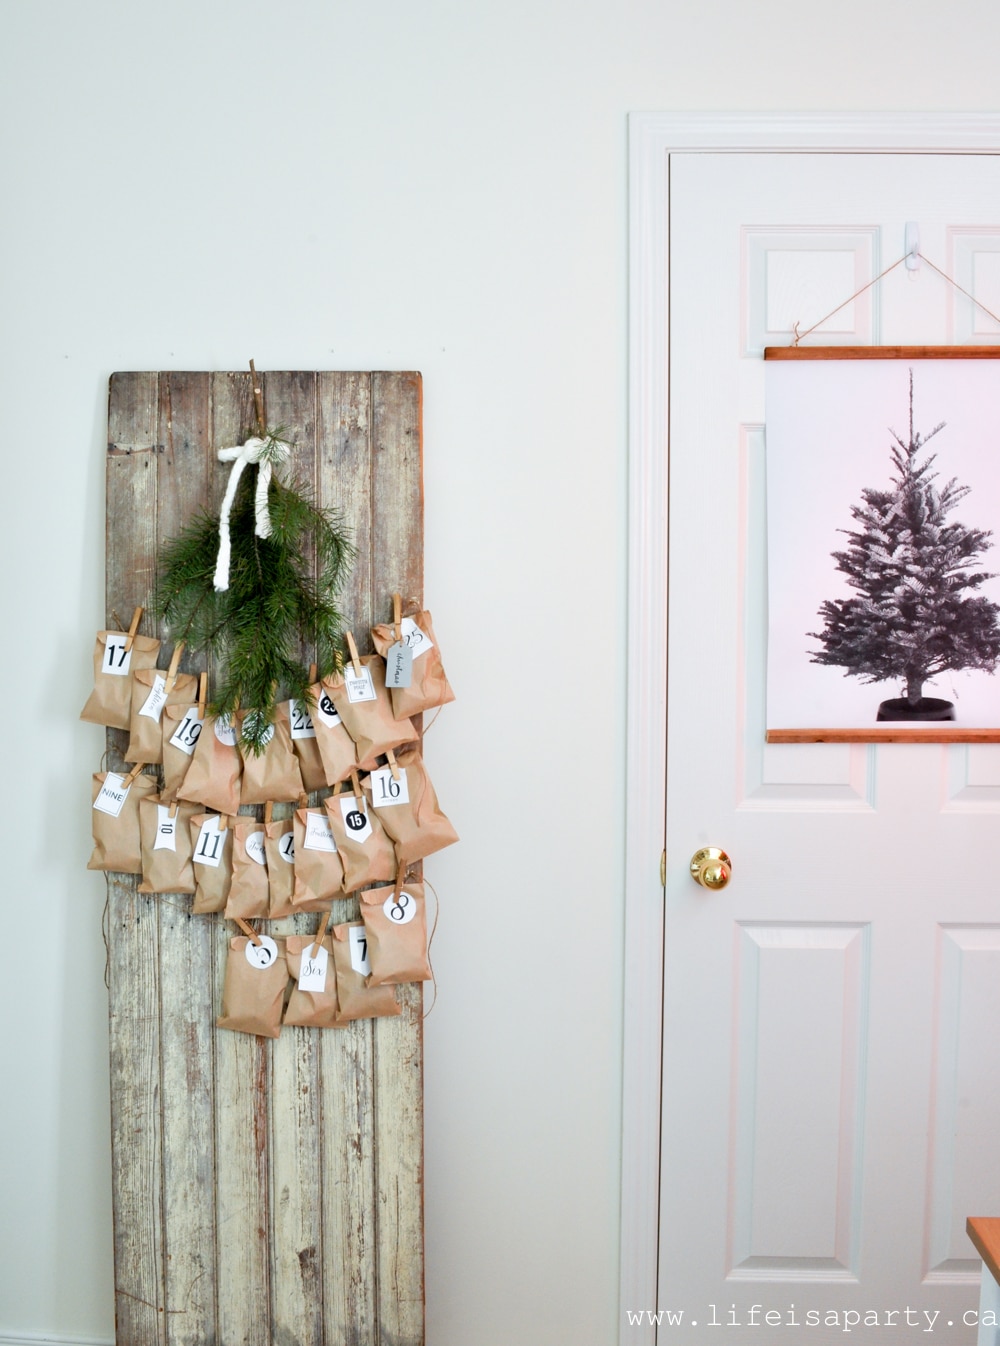
Number 24 small envelopes or paper bags and place one activity card in each. Hang them on a string with clothespins, arrange on a bulletin board, or set them in a basket. or clip them to some garland. This is budget-friendly and customizable.

Paper bag advent calendar

DIY Calendar Projects

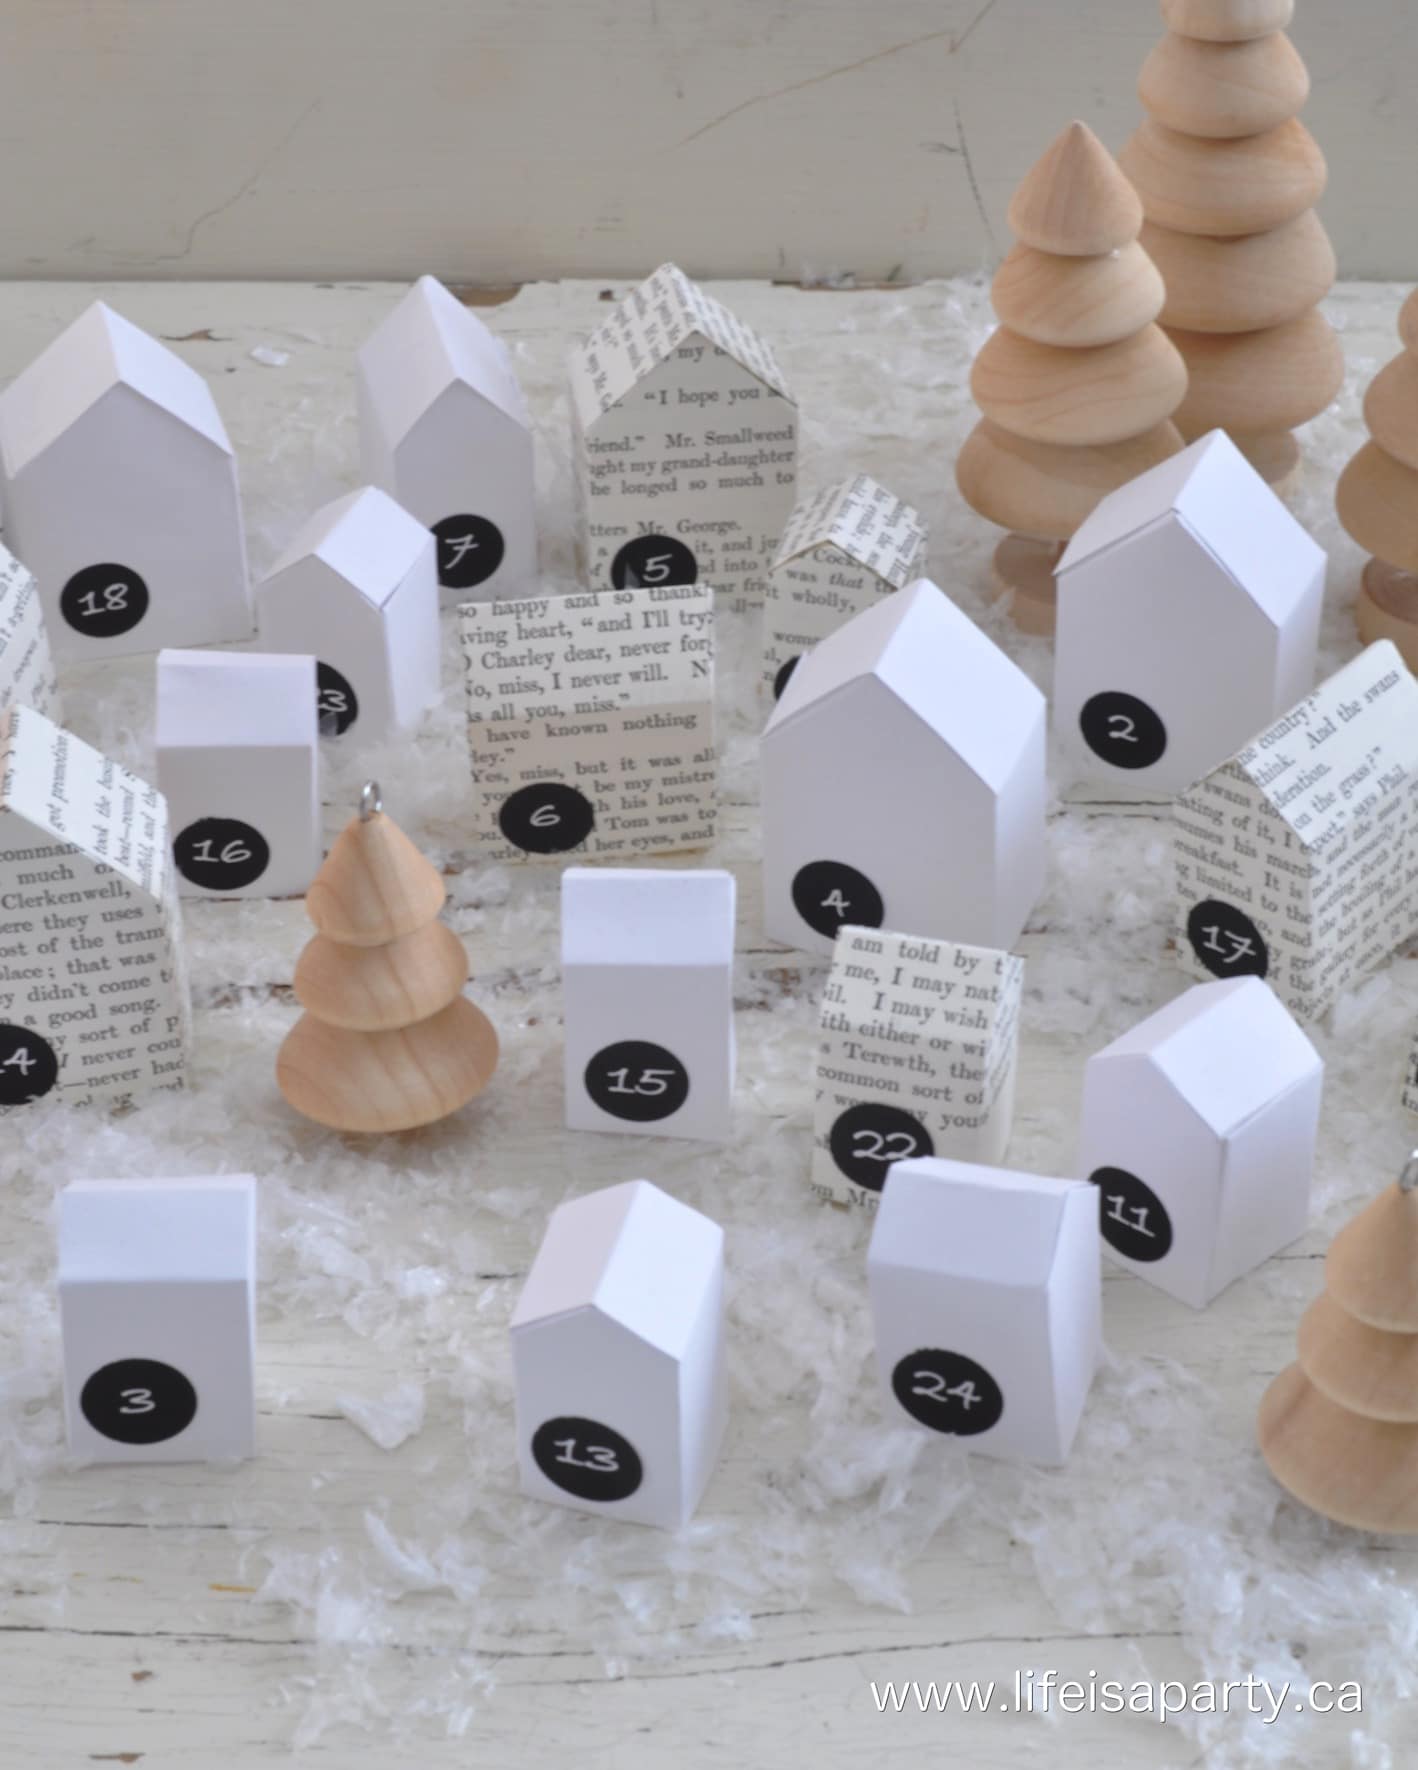
If you're crafty, make your own display. Our Little House Advent Calendar tutorial shows how to create a paper house village where each house opens to reveal an activity. Our Cricut Advent Calendar offers a different DIY option with free cut files.

Handmade little paper house advent calendar village

Simple Display Ideas

Clip to ribbon -Hang ribbon on the wall and clip cards with mini clothespins
Hang from branches -Attach cards to a decorative branch in a vase
Advent tree -Create a small tree just for activity cards
Magnetic board -Use magnets to attach cards to a metal board
Pocket chart -Repurpose a classroom pocket chart for home use

Our Family's Favorite Activities

After years of activity advent calendars, certain activities became beloved traditions my kids still remember.

Christmas picnic under the tree -We'd spread a blanket under our Christmas tree and eat dinner picnic-style with Christmas lights glowing. Think picnic food like hotdogs. Simple but magical.

Wearing Christmas socks -This sounds so basic, but my girls loved this simple tradtion. Easy win for school nights.

Painting fingernails red and green -A five-minute activity that made them feel festive and special. Perfect for a quick weeknight.

Special bubble bath with Christmas music -Bath time became an event with Christmas carols playing and extra bubbles. They felt pampered.

Calling grandparents to sing carols -Grandparents loved this surprise, and my kids giggled their way through "Jingle Bells." Created connection across distance.

Hot chocolate bar -We'd set out toppings like marshmallows, whipped cream, and candy canes. Each person customized their perfect cup.

The elaborate activities like making gingerbread houses were fun, but honestly, these simple traditions are what they remember most. The activities that became "ours."

Printable Christmas Advent Calendar Activities: with over 60 different activities to choose from pick 24 and make some special memories with your family this Christmas.

Tips for Advent Calendar Success

Learn from my years of trial and error. These tips will help your advent calendar be a joy instead of a stress.

1. Keep It Simple

You don't need to create Pinterest-perfect moments every day. Simple activities done with presence beat elaborate activities done while stressed. If you're exhausted, choosing "wear Christmas socks" is completely valid.

2. Use Easy Activities on School Nights

Save the time-intensive activities for weekends when you actually have time. School nights deserve five-minute activities like listening to Christmas music during dinner or lighting a special candle.

3. Include Things You're Doing Anyway

If you're already planning to cut down a tree, see lights, or attend a concert, put those on your calendar. No need to invent 24 brand new activities when you're already doing festive things.

4. Be Flexible and Swap as Needed

Weather changes plans. Kids get sick. Work emergencies happen. Give yourself permission to swap activities around. If Saturday's ice skating gets rained out, do a cozy at-home activity instead and save skating for another day.

5. Don't Try to Do It All

You have 60+ activities to choose from, but you only need 24. Save favorites for next year. Rotate different activities each December. This keeps things fresh and takes pressure off.

6. Let Go of Perfection

The gingerbread house will be messy. The snowflakes will be crooked. The caroling will be off-key. That's the whole point. These are real family moments, not magazine photoshoots.

Printable Christmas Advent Calendar Activities: with over 60 different activities to choose from pick 24 and make some special memories with your family this Christmas.

How to Download Your Free Printables

These printable advent activity cards are free for Life is a Party subscribers. Sign up below for instant access to our free resource library where you can download and print them.

After subscribing:

  1. Check your email for the access password to our free resource library.
  2. If you don't see it, check your junk mail.
  3. Enter the library and search for "Advent Calendar Activities".
  4. Download the PDF with all three designs.
  5. Print on cardstock or regular paper.
  6. Cut out your favorite 24 cards.
  7. Add them to your calendar display.
  8. Make memories with your kids all Decemeber long.

Printing tips: Cardstock makes sturdier cards that last for years. Regular printer paper works fine if you're using envelopes or pockets. Print at home, at a copy shop, or your local library.

With Christmas Advent Activities, life really is a party!

Frequently Asked Questions

How many activities are included?

Over 60 different activities are included in the printable download, giving you plenty of options to choose the 24 that work best for your family.

What ages are these activities appropriate for?

Most activities work well for kids ages 3-12, with many suitable for the whole family including teens and adults. Choose activities that match your children's ages and interests.

Do I need all 60 activities or just 24?

You only need to choose 24 activities for your advent calendar (one per day from December 1-24). The extra options let you customize and choose your favorites, and things you think would work best for your family.

Can I reuse these printables next year?

Absolutely! Print on cardstock for durability, store in an envelope after Christmas, and reuse every year. Many families rotate different activities each year to keep things fresh.

What if an activity doesn't work for our family?

That's exactly why there are 60+ options. Skip anything that doesn't fit your family, budget, schedule, or interests. Choose only the 24 you'll actually enjoy.

Can I share these printables with friends?

Please direct friends to this post to download their own copy through the free subscriber library. This helps support the blog and lets them access all our free resources too.

More Advent Ideas

  • Story book advent calendar countdown to Christmas.
    DIY Christmas Story Book Advent Calendar
  • DIY paper house advent calendar.
    Little House Advent Calendar
  • Teacup advent wreath.
    DIY Teacup Advent Wreath
  • Cricut advent calendar made of small boxes, including a free SVG cut file.
    Cricut Advent Calendar with Free SVG

If you use these Advent Calendar Activities or any other ideas on my blog, please let me know how it went in the comments below. Thanks for visiting today!

Mushroom Christmas Ornament

Nov 13, 2019 · 10 Comments

wine cork mushroom Christmas ornament

Wine Cork Mushroom Christmas Ornament: up-cycle an old sparkling wine cork to make a Christmas ornament with craft paint, book pages, and glitter.

wine cork mushroom Christmas ornament
[feast_advanced_jump_to]

Can you guess what we made our magical little fairy mushroom Christmas ornaments out of?  It's an up-cycled sparkling wine cork.  So you'll have fun making this project -one way or another.  ;). These DIY mushrooms are so easy to make and really fun upcycle project.  These Christmas tree ornaments are the perfect addition to your holiday decor to add a touch of whimsy.  The supply list for this DIY is short, and these are simple enough to make with kids.

Wine Cork Mushroom Christmas Ornament

UpCycling A Wine Cork

For me it's not Christmas without a few crafts, and this is a really simple one.  I had collected these corks awhile ago, thinking I might use them in a fairy garden as mushrooms and forgotten about them. When I first saved them I thought that they really looked like a mushroom shape, with the bottom of the cork resembling the bottom of the stem of a mushroom, and the bulbous end of the cork resembling the top of the cap of a real mushroom. When I found them in my craft stash the other day, I thought how cute they would be as Christmas ornaments.

Wine Cork Mushroom Christmas Ornament

Christmas Mushrooms Tradition

Perhaps including mushrooms as Christmas ornaments is more of a European thing... I always see Christmas mushrooms on Instagram accounts from there and love them.  We also notice them every Christmas at Ikea but they're always red...not my favourite colour.  So making them is the perfect way to create them any colour you like.  Of course if you're a fan of traditional red and white polka dot mushroom top, you can make them like that with the addition of a little red and white paint on top.  

DIY Mushroom Christmas Ornament

Easy Materials

These were really easy to make and I used craft supplies I already had around the house, so no need for a trip to the craft store.  They are adorable.  

Recipe

wine cork mushroom Christmas ornament

Mushroom Christmas Ornament

DIY mushroom ornaments made from a sparking wine cork.
No ratings yet
Print Pin Rate
Course: Christmas Crafts
Cook Time: 10 minutes minutes
Total Time: 10 minutes minutes
Servings: 1 Ornament
Author: Dannyelle Nicolle-Ramjist

Materials

  • sparkling wine corks
  • white craft paint
  • old books
  • mod podge
  • glitter
  • small eye hooks

Instructions

  • Begin by painting the whole cork white and letting it dry.
  • Next, pull out some pages from an old book and cut them into small strips.
  • Paint the top of the cork with mod podge, and then decoupage the book page strips on to the top of the cork to create the cap of the mushroom. Paint another coat of mod podge on top to seal the book pages.
  • While the mod podge is still wet, dip the top of the cork into glitter.
  • After the mushroom is fully dry, screw one of the eye hooks into the top for hanging on your Christmas tree, or leave it as is to place on a stump
Wine Cork Mushroom
Wine Cork Mushrooms
diy Mushrooms
how to make a mushroom ornament

glitter mushroomsNature Inspired Christmas

I love a Scandinavian inspired Christmas look.  And part of that look is always bringing the outside in.  So I've got them sitting with some logs, pinecones and greens.  These are the perfect magical element to add in.  And when I get my tree up, I may add my DIY mushroom ornaments there as well.

glitter mushrooms

Colorful Options

This little craft was so easy to put together.  It would be a great one to do with kids.  You could also use different colours.  These would be really cute in pastels, or if your a fan of the traditional red that would be cute too.  You could add polka dots with paint to the top as well.  Before adding glitter, leave the mushroom stem white, and add a very thin coat of acrylic paint or water colours to the top of the mushroom cap, so that you can still see the book pages through the paint.  Then use end of a paint brush to add some paint polka dots on top.

Wine Cork mushrooms
Mushroom Christmas Ornament

Ornaments, Gift Toppers, or Napkin Rings

These are such unique Christmas ornaments.  They would also be really cute as gift toppers.  Just tie a little bit of ribbon through the hook on top of the mushrooms and tie it on to a Christmas present to decorate.  You could even use these mushroom ornaments as napkin rings for a pretty Christmas table setting.  There are so many different ways you could use these during the holidays.  They turned out so cute and add so much fun to your tree, gifts, or table this holiday season.

With a magical Mushroom Christmas Ornament, life really is a party

More Christmas Ornament Inspiration

Want to make air dry clay mushrooms?  Check out our DIY Mushroom Wreath here.  There's a full tutorial on making mushroom clay sculptures, that you could easy turn into your own clay mushroom ornaments.

You might also like our Felt Mushrooms here.  See how to make your mushroom pattern to make DIY fabric mushrooms with red and white felt.

DIY Felt Mushrooms: easy to sew red and white polka dot mushrooms with felt, and cork and wooden spool stems. Perfect for your spring decor.

You might also enjoy our Mini Macrame Christmas Ornaments here.

Mini Macrame Christmas Ornaments: Easy DIY Macrame Ornament tutorial, perfect for the beginner. No macrame experience required.

Scandinavian Inspired Trees Christmas Party Printable Set

Nov 12, 2019 · Leave a Comment

Christmas table party printables

Scandinavian Inspired Trees Christmas Party Printable Set: rustic, minimal, and with varying shades of green this printable set of conversations starters, napkin rings, straw flags, and more will have you party ready.

Christmas table party printables
[feast_advanced_jump_to]

This is the perfect party set for some one who loves the Scandi look.  It was influenced by the fact that I'm using green as an accent colour this Christmas.  I think this will probably be the set that I use for my Christmas dinner.  Every year we have family over on Chrsitmas day.  I cook a big turkey and my mom and sister bring other dishes.  We sit around our dining room table, eating and making merry.  It's the perfect ending to my favourite day of the year.  I like to make the table special, and this year this set will be perfect.

Scandinavian Inspired Trees Christmas Party Printable Set

Home For Christmas Ebook and Printable Toolkit

This set is part of our Home For Christmas Ebook and Printable Toolkit.  Our readers told us that their biggest struggle with the holidays was time.  So we made a great big package that has everything you'll need to make life a party this Christmas.  We hope that having it all in one place will mean less time preparing this year, and more time for you to actually celebrate.  You can buy the Scandinavian Inspired Trees Christmas Party Printable Set individually here, or as part of our Home For Christmas Ebook and Printable Toolkit here  in our brand new Etsy shop.

Scandinavian Inspired Trees Christmas Table

I love the rustic, cozy vibe of Scandinavian decor, especially in the winter.  Hygge is still going strong. This party set has lots of Christmasy ever green trees on it, in the prettiest shades of green.  I put together a whole set of everything you need to set a beautiful table, and create a beautiful party setting.

Rustic Scandi Christmas Table

We created a simple Christmas centre piece with some real evergreen branches, pinecones, antlers and brass candlestick holders.  

Rustic Scandinavian Christmas Table

To continue the woodsy feel, I also used some wood slice chargers.

Scandinavian Inspired Trees Christmas Party Printable Set

At each place setting I used one of the trees, printed on card stock and cut out, along with the Merry Christmas flag.  

Scandinavian Inspired Trees Christmas Party Printable Set

There are five different designs of trees in the set, and this is just one fun way to use them.

Scandinavian Inspired Trees Christmas Party Printable Set

At each spot we also  added a place card with a pinecone place card holder.  These are the one sided place cards, but there are also tent style folding place cards in the set too.  They're great as food labels as well.

Scandinavian Inspired Trees Christmas Party Printable Set

I also thought it would be fun to include a menu card.  You can print the menu card out, and then use a marker to fill it in.

Scandinavian Inspired Trees Christmas Party Printable Set

They would be really cute tucked into the napkins at each place setting too.

Scandinavian Inspired Trees Christmas Party Printable Set

At each spot we also included a fun conversation starter card.  Each one is different and there is a set of 12.

Scandinavian Inspired Trees Christmas Party Printable Set

Treat Table

Scandinavian Inspired Trees Christmas Party Printable Set

Over at the treat table we hung our two banners that come with this collection -the trees and our "Merry Christmas" one.  These banners are so cute they'd look great as part of your Christmas decor all season long too.  We strung ours up with some bakers twine and washi tape.

Scandinavian Inspired Trees Christmas Party Printable Set

Our coordinating straw flags look adorable in these little bottles, and perfect for party time.

Scandinavian Inspired Trees Christmas Party Printable Set

We also included cupcakes with the adorable cupcake picks.  Just print out and use a large 2-inch circle craft punch to cut them out really quickly and easily, then attach to a wood tooth pick with tape or hot glue. These are perfect to dress up some plain cupcakes.  They'd also be really cute as favour tags, or gift tags, just write the name or message on the back, and hole punch to add some ribbon or twine to attach them.

Scandinavian Inspired Trees Christmas Party Printable Set

One of my favourite details from this party was using the trees as cake picks.  I cut out the same trees that I used for the napkins and glued them to lollipop sticks and they created the most beautiful little forrest on this simple store-bought cake.

Scandinavian Inspired Trees Christmas Party Printable Set

Treat time is the best time.

Scandinavian Inspired Trees Christmas Party Printable Set

I hope that if you like things a little more minimal and rustic that you love this party set as much as I do.

Scandinavian Inspired Trees Christmas Party Printable Set

You can purchase this Scandinavian Inspired Tree Christmas Party Set here.  Or buy it as part of our Home For Christmas Ebook and Printable Toolkit here .

With a beautiful Christmas table like this one, life really is a party!

You might also like our Merry and Bright Christmas Party here.

Merry and Bright Christmas Party Set: these party printables include menus, place cards, straw flags, conversations starters, cupcake picks, and a banner.

Also check out our Christmas Fondue Party here.

You might also enjoy our Christmas Dessert Party here.

Christmas Jokes Lunch Box Notes

Nov 11, 2019 · Leave a Comment

printable Christmas jokes

Christmas Jokes Lunchbox Notes: add a smile and a note to your child's lunch with these printable lunchbox notes for Christmas.

printable Christmas jokes
[feast_advanced_jump_to]

Who won't want to give their little one a smile in the middle of the school day?  Our Christmas Jokes Lunchbox Notes are the perfect, easy way to spread a little holiday cheer this season.

Christmas Jokes Lunchbox Notes

Buy them as part of our Home For Christmas Ebook and Printable Toolkit or on their own here.  We designed the Home For Christmas Ebook and Printable Toolkit when our readers told us that their number one struggle around the holidays is time.  We put together everything you need to celebrate the season well all in one place.  So you can spend less time preparing this Christmas and more time actually celebrating!

These fun little notes are the perfect to tell your little one you're thinking about them while they're at school.  Just purchase, download, and print at home.  Keep them with your school lunch supplies and use them to add a sweet note to your kids lunch leading up to Christmas.  

Christmas Jokes Lunchbox Notes

These joke would also be great for homemade Christmas crackers.  They're not crackers without a joke.  😉

Christmas Jokes

These would also be really sweet to include in an advent calendar.  If you're using one with little drawers, or pockets to fill add in these jokes with your other special treats.

lunchbox notes for xmas

Or use these Christmas jokes at each plate for a Christmas dinner to help everyone get the laughs started at the table.

Christmas Jokes

No matter how you use them, they're guaranteed to create some smiles -and maybe a few groans too. 😉

lunch bag with a xmas joke attached

With Christmas Joke Lunchbox Jokes, life really is a party!

Want more Christmas inspiration?  

Check out our Top 10 Family Christmas Movies here.  Perfect for family movie night around the holidays.

Top 10 Family Christmas Movies

Also check out our Nutcracker Christmas Tea Party here.  Such a special holiday tradition to begin.

Nutcracker Tea Party: ideas for themed foods and decor

You might also enjoy our Christmas Movie Night here.

.

Christmas Hot Chocolate Bar Ideas with Free Printables

Nov 8, 2019 · Leave a Comment

printable hot chocolate bar buffet labels and decor

Create a beautiful Christmas hot chocolate bar that looks magazine-worthy but is actually easy to set up. Includes free vintage-inspired printables, comprehensive topping ideas, and budget-friendly display tips.

printable hot chocolate bar buffet labels and decor
[feast_advanced_jump_to]

A Quick Look At This Post

  • 📋 Party Idea: Christmas hot chocolate buffet with free printables
  • ⏲️ Setup Time: 30-45 minutes (once you have supplies)
  • 🎄 Best For: Holiday parties, family gatherings, or everyday Christmas season enjoyment
  • 🎨 Difficulty: Easy -anyone can create a beautiful hot chocolate bar
  • 💭 Top Tip: Use mason jars in different heights to create visual interest and make toppings easy to access, and storage of leftovers easy.

Why You'll Love This Christmas Hot Chocolate Bar

  • Beautiful and Functional: Your hot chocolate bar will look magazine-worthy while actually being easy for guests to use.
  • Free Printable Labels Included: Skip the DIY design work with our vintage-inspired printable labels, posters, and banners.
  • Works for Parties or Everyday:  Set it up once and enjoy it all season long, or create a special station just for your holiday gathering.
  • Budget-Friendly: - Mix thrifted finds, DIY touches, and strategic purchases to create the look without breaking the bank.
  • Frees Up the Host:  Self-serve stations mean you can enjoy your party instead of serving refills all night.
Christmas hot chocolate bar

A Christmas hot chocolate bar is one of my favorite ways to add festive charm to any holiday gathering. After years of hosting parties and creating seasonal celebrations, I've learned exactly what makes a hot chocolate station both beautiful and functional - from choosing the right containers to organizing toppings so guests can easily help themselves.

Whether you're setting up for a big holiday party or creating an everyday station your family can enjoy all season long, this guide has everything you need including topping ideas, free printable labels, and step-by-step setup tips.

If you love this Christmas hot chocolate bar, you might also enjoy our Christmas Tea Party, Christmas Cookie Baking Party, or Christmas Movie Night ideas for more festive holiday entertaining inspiration.

ho ho ho hot chocolate buffet

What You Need for a Christmas Hot Chocolate Bar

Before you start setting up, gather your supplies. Having everything on hand makes the process so much smoother.

Serving Vessel:

  • Large thermos: look for these at thrift stores!
  • Slow cooker or Crock Pot: keeps chocolate hot for hours, great for a party.
  • Coffee Urn: another great option for very large parties.
  • Kettle and Container of Hot Chocolate Mix: this is perfect for an everyday set up, so your family can boil the kettle and help themselves anytime.

Display Items:

  • Serving boards or trays (wood cutting boards work great)
  • Cake stands or pedestals (create height and visual interest)
  • Tiered serving stands

Containers:

  • Mason jars in various sizes (tall for cookies and straws, short for toppings, mini for sprinkles)
  • Small bowls or dishes
  • Vintage containers or tins
  • Pretty serving dishes

Accessories:

  • Ladle (for serving from slow cooker)
  • Small scoops for toppings
  • Tongs for cookies and large items
  • Stirring spoons (wood spoons are cute and budget-friendly)

Mugs and Plates:

  • Festive Christmas mugs
  • Plain white mugs with our printable labels added
  • Disposable coffee cups with sleeves (for larger parties) and our labels added as stickers
  • Santa mugs, snowman mugs, or other holiday designs
  • If you're adding cookies and treats, you might like to also include some small plates, disposable are great for a large party
Christmas hot chocolate bar

Labels and Decor:

  • Small Christmas decorations (mini trees, pinecones, fairy lights)
  • Printable labels (I've got you covered with free ones below!)
  • Baker's twine for tying labels
  • Hole punch for label attachment
  • Washi tape for hanging banners

Toppings & Add-Ins

how to set up a hot chocolate bar

The toppings are what make a hot chocolate bar so fun and special. Here's a comprehensive list of ideas - choose your favorites or go all out!

Marshmallows & Whipped Cream:

  • Regular marshmallows
  • Mini marshmallows
  • Jumbo marshmallows
  • Flavored marshmallows (peppermint, chocolate)
  • Fresh whipped cream
  • Canned whipped cream
  • Marshmallow fluff

Candy & Chocolate:

  • Candy canes (large and small)
  • Crushed peppermints
  • Peppermint bark pieces
  • Chocolate chips (milk, dark, white, or peppermint)
  • Hershey's Kisses
  • Mini Reese's cups
  • M&Ms (regular or peppermint)
  • Andes mints
  • Toffee bits
  • Butterscotch chips
  • Chocolate truffles

Cookies & Baked Goods:

  • Pirouette cookies (hazelnut rolled wafers)
  • Biscotti
  • Mini gingerbread cookies
  • Shortbread cookies
  • Milano cookies (especially peppermint)
  • Oreos
  • Wafer cookies
  • Bear claw pastries (like our Old Fashioned Bear Claw recipe)

Stirrers & Mix-Ins:

  • Cinnamon sticks
  • Peppermint sticks
  • Chocolate spoons
  • Peppermint chocolate stirring sticks
  • Rock candy sticks
  • Chocolate-covered pretzel rods
hot chocolate buffet

Syrups & Sauces:

  • Caramel syrup
  • Chocolate syrup
  • Peppermint syrup
  • Vanilla syrup
  • Hazelnut syrup
hot chocolate station

Crunchy Toppings:

  • Crushed graham crackers
  • Cookie crumbs
  • Coconut flakes
  • Chopped nuts (pecans, almonds)
  • Toffee bits
  • Sprinkles (Christmas colors!)
  • Coarse sea salt
hot chocolate topping ideas

Special Additions:

  • Fresh grated nutmeg
  • Cinnamon sugar
  • Cocoa powder for dusting
  • Mini chocolate chips
  • White chocolate shavings

Most of the toppings I include can be found at the bulk food store, which makes it easy to buy small quantities and offer lots of variety without spending a fortune or having tons of leftovers.

How to Set Up Your Hot Chocolate Bar

Setting up your hot chocolate bar is easier than you think. Here's the simple process I follow every time.

Choose Your Location: Pick a spot that won't interfere with kitchen use. A side counter, bar cart, or buffet table work perfectly. For everyday stations, choose your "non-busiest" counter so it can stay up all season. Make sure you're near an outlet if using a slow cooker.

Create Height and Visual Interest: Start with your hot chocolate serving vessel as your anchor. Consider adding cake stands, pedestals, or a large tray as your base.

Arrange Your Toppings: Use mason jars in varying sizes. Tall jars hold cookies and cinnamon sticks, medium jars work for marshmallows and candy canes, small jars are perfect for crushed peppermints and sprinkles. Cluster similar items together and put the most popular toppings (marshmallows, whipped cream) front and center.

Add the Finishing Touches: Place small scoops, tongs, or spoons in each jar. Set out napkins and position mugs near the hot chocolate without blocking topping access. Consider tucking in some fresh evergreen clippings, scattering pinecones, or adding fairy lights for a cozy glow.

Free Christmas Hot Chocolate Bar Printables

This is where your hot chocolate bar goes from nice to wow. Our free printable package includes everything you need to create a cohesive, polished look.

Circle Labels: The set includes over 20 different circle labels for all your favorite toppings - marshmallows, mini marshmallows, whipped cream, candy canes, peppermint, chocolate chips, cinnamon sticks, cookies, sprinkles, caramel, and more. We included blank labels too so you can add any toppings we missed or write guests' names on cups.

Print them at home and use a 2-inch craft punch to cut them out quickly. Hole punch at the top and tie onto mason jars with baker's twine. For cups, use a glue stick to add them and wash them off afterward super easily. For disposable cups, print the labels on sticker paper and add directly to the cups for a customized coordinated look.

hot chocolate bar labels
hot chocolate labels
Christmas party hot chocolate bar station

Posters and Banners: The set includes a sweet Santa logo poster and two bunting options - hot chocolate bunting and "Ho Ho Ho" bunting. We used simple washi tape to hang everything without damaging walls. These are so cute they might stay up all Christmas season!

how to make a hot chocolate bar

The square logos also work as cupcake picks - just cut them out, glue to toothpicks, and use to top coordinating cupcakes. And we used the small square logos on our cups too.

Christmas party printables

Get Your Free Printables: All of these printables are available for free in our subscriber resource library. Sign up below to get instant access to this Christmas hot chocolate bar set plus dozens of other free party printables, seasonal decorations, and entertaining guides.

Christmas party hot chocolate station

Styling Your Hot Chocolate Bar

I love the vintage feel of our hot chocolate bar with its pink and turquoise color scheme. This aesthetic runs through our Holly Jolly Woodland Party printables too, so you can mix and match for a cohesive holiday look.

Quick Styling Tips:

  • Stick to 2-3 main colors (pink and turquoise, red and green, or silver and gold)
  • Use similar containers throughout (all mason jars, all white dishes, or mix vintage finds)
  • Wrap baker's twine around jars for a coordinated touch
  • Add pinecones, fairy lights, or fresh evergreen clippings between jars
  • Use brown kraft paper or a pretty cloth as your base

Budget-Friendly Ideas:

  • Shop thrift stores for vintage containers and mugs
  • Look for inexpensive mason jars and containers at the dollar store
  • Use kitchen items as decor (cutting boards as risers, vintage books for height)
  • Buy a few new items on sale
  • Pick up free evergreen clippings at Christmas tree farms

The beautiful thing about a hot chocolate bar is it makes your whole kitchen look festive, even though it only takes up a small section of your countertop.

how to set up a hot chocolate bar

Hot Chocolate Serving & Display Options

For Parties: A slow cooker on the warm setting is perfect - keeps chocolate hot for hours with no effort. Use a ladle for neat serving.

For Smaller Parties: A large thermos works great for family stations. Look for these at thrift stores for just a few dollars.

For Large Crowds: A coffee urn keeps chocolate accessible for big groups.

For Your Family: Set up a hot chocolate station at home on your kitchen counter. For the hot chocolate include a container of hot chocolate mix, and a kettle for boiling water.

Party vs. Everyday Setup: For parties, go all out with 15-25+ toppings. For an everyday station you leave up all season, choose 5-8 favorite toppings in lidded mason jars to keep things fresh. Both approaches work beautifully -it just depends on your needs and space.

You might love our Homemade Marshmallows as a special topping - they're easier to make than you think!

hot chocolate bar printables

Frequently Asked Questions

How much hot chocolate do I need for a party?

Plan for about 1-1.5 cups per person. For a party of 20, make 20-30 cups of hot chocolate. Most slow cooker recipes yield 15-18 cups, so you may need to make a double batch for larger groups. Remember, not everyone will want hot chocolate, so err on the side of slightly less rather than way too much.

Can I set up a hot chocolate bar the day before?

You can set up your display, containers, and toppings the day before, but wait to make the hot chocolate until the day of your party for best flavor and texture. Wrap any open containers with plastic wrap, or use mason jar lids to keep toppings fresh.

What's the best way to keep hot chocolate warm for a party?

A slow cooker on the warm setting is ideal for parties. Or choose a large thermos. Make sure to stir occasionally if using a slow cooker to prevent a skin from forming on top.

What are the most popular hot chocolate toppings?

Marshmallows (regular and mini), whipped cream, candy canes, chocolate chips, chocolate spoons, and peppermint pieces are always the first to go. Start with these essentials, then add fun extras based on your preferences and budget.

Can I make this nut-free for allergies?

Absolutely! Skip any nuts, peanut butter cups, or products made in facilities with nuts. Most candy, marshmallows, chocolate chips, and cookies can be found in nut-free versions. Always check labels if you're serving guests with allergies.

Do I need to include everything on the topping list?

Not at all! Choose 8-12 toppings for a simple setup, or go bigger with 20-25 for a really impressive display. Pick what your family or guests will actually enjoy and don't feel pressured to include everything.

holiday hot chocolate

Final Thoughts

Setting up a Christmas hot chocolate bar is one of the easiest ways to add magic to your holiday season. Whether you're hosting a big party or just want to make December mornings more special for your family, a hot chocolate station creates those warm, cozy moments we all love about this time of year.

The best part? It doesn't have to be complicated or expensive. With some mason jars, your favorite toppings, and our free printable labels, you can create something beautiful that everyone will enjoy.

More Holiday Entertaining Ideas

  • Christmas tea party with table decor, menu, and recipes.
    Christmas Tea Party
  • Christmas baking party with free printables.
    Christmas Cookie Party
  • How to throw a nutcracker themed tea party with food and decor ideas.
    Nutcracker Tea Party
  • Christmas movie night printables, tickets, decor, labels
    Christmas Movie Night Free Printables

If you try this Christmas Hot Chocolate Bar or any other ideas on my blog, please let me know how it went in the comments below. Thanks for visiting today!

Christmas Gift Card Holders

Nov 7, 2019 · Leave a Comment

printable Christmas gift card holder

Christmas Gift Card Holders: this set of six printable gift cards holders help take your gift card giving to the next level. Purchase, download, and print.

printable Christmas gift card holder

These Christmas gift card holders are the perfect way to dress up a gift card for giving to teachers, coaches, bus drivers, Sunday school teachers... the list goes on and on.  

Teacher, Bus Driver, and Coach Gift Ideas

I was once a teacher.  And let me say that taking the time and money and thought to send any gift with your child is really a lovely gesture and I always appreciated it no matter what the gift was.  But, teachers do only need so many mugs, candles, and boxes of chocolate, you know what I mean?  I always feel like the gift of a gift card is one of the most appreciated.  It doesn't have to be for a huge amount, it really is the thought that counts.  A small gift card to Tim Hortons or Starbucks really is a great thought gift.  And here's the perfect way to dress it up a little.  Along with some other gift card ideas.

Home For Christmas Ebook nd Printable Toolkit

It's also Day Four of sharing our Home For Christmas Ebook and Printable Toolkit.  We asked our readers what is your biggest struggle with the holidays and they overwhelmingly agreed it was time.  We put together this huge bundle of printables to save you time this Christmas.  We've got everything you need for celebrating this season well all in one place.  So you can spend less time preparing and more time celebrating this year.

There are 10 sets of printables in the Home For Christmas Ebook and Printable Toolkit.  We've already shared a blog post on our Christmas Movie Night Printables, Christmas Printable Art, and our Holly Jolly Woodland Christmas Party Set.  Stay tuned here as we share a different set each day.

Christmas Gift Card Holders: this set of six printable gift cards holders help take your gift card giving to the next level. Purchase, download, and print.

The gift card holders are part of the Christmas Printable Package which is our best value at an over 60% savings, or you can purchase just the set of Christmas Gift Card Holders here.  Purchase our PDF files and print the cards on card stock at home on your printer and you'll be all set for gift giving.

There are six different designs in this set.

Starbucks

We have a Starbucks gift card holder that says "Thanks a latte".

Printable Starbucks Gift Card Holder

Tim Hortons

Our Tim Hortons card says "Coffee Eat Teach Sleep Repeat" and make the perfect teacher's gift.

Printable Tim Hortons Gift Card Holder

Visa

This one should bring a smile to your face.  It says "I scoured Pinterest looking for something amazing for you. I almost made you a homemade glitter covered macrame tie dyed oven mitt.  Then I came up with this."  Ha, ha.  The gift everyone really wants, a visa gift card. 😉

Printable Visa Gift Card Holder

Movies

This card is great for a movie theatre gift card, or a Netflix gift card.  It says "Merry Christmas to all and to all a movie night."  It also would be fun as part of a movie themed gift basket with a DVD, cozy socks, popcorn and other snacks.

Printable Movie Gift Card Holder

Amazon

Here's a fun way to give to an Amazon gift card.  The gift card holder says "Wishing you an Amazoning Christmas".  Amazing. 

Printable Amazon Christmas Gift Card Holder

Apple

And last but not least another teacher gift idea.  This gift card holder says "This Christmas...an apple for the teacher."

Printable Apple Christmas Gift Card Holder

I hope you like this Christmas Gift Card Holder Set -puchase the set of six here, or the as part of the entire Christmas Printable Package.

Christmas Gift Card Holders: this set of six printable gift cards holders help take your gift card giving to the next level. Purchase, download, and print.

With these great Printable Christmas Gift Card Holders, life really is a party!

You might also like our Christmas Joke Lunch Box Note printables here.

Christmas Jokes Lunchbox Notes: add a smile and a note to your child's lunch with these printable lunchbox notes for Christmas.

Also check out our Christmas Gift Tag printables here.

Printable Christmas Gift Tags: these funny Christmas tags come in blue, black and white, red and green, or a colourful muliti-color set.

You might also like our Vintage New Years Cards Free Printables here.

Vintage New Years Cards: enjoy these eight free printable vintage New Years cards -just download and print. Post marked 1911 -1917.

Holly Jolly Woodland Kids Christmas Party

Nov 6, 2019 · Leave a Comment

Christmas party printable set Holly Jolly

Woodland Kids Christmas Party: This red and green woodland animal printable party package includes kids activity placemats and everything else for your party.

Christmas party printable set Holly Jolly
[feast_advanced_jump_to]

Today is Day Three in sharing our Christmas Printable Package and we have the cutest kids Christmas party to share with you.  This is the first set we made for this package and it is so, so cute.  If you love a little woodland at Christmas and traditional red and green then this is the party set for you.

Home For Christmas Ebook and Printable Toolkit

Our Home For Christmas Ebook and Printable Toolkit is a whole set of 12 different printable sets that contains everything you need for the holidays.  There are 7 different party sets, as well as lunch box jokes, gift tags, gift card holders, advent activities, and Christmas art.  Our readers told us that their biggest struggle when it comes to celebrating the holidays was time.  So we put together everything you need all in one place to save you running around and gathering it all.  All you have to do is purchase and print at home or upload to your favourite office supply store and print there.  This year spend less time preparing and more time celebrating.  

Each individual set is available in our Etsy shop, or purchase the whole package here.  Our way of saying Merry Christmas.

Woodland Christmas Party

Kid's Table

For our party we set up the sweetest kid's table, but this set would be lovely for a playful family party too.

kids Christmas table

To add a little Christmas feel to the chairs we tied on some simple red and white stripped ribbon.  I love how little inexpensive details like this can add so much to a party.

kids Christmas table

For this party set we created these activity placemats.  

Kids woodland Christmas party Formatted to print on legal size regular paper, they're perfect as placemats.

kids printable Christmas activity placemat

 We added some pencil crayons to the table so the kids could work on all the little activities.  This would be perfect to keep little ones happy and occupied at a family party.

Kids Christmas table with animal toys

On the table we used the little juice bottles that have been painted with gold paint at the bottom, along with our printable straw flags, and a candy cane.

Drinking bottle with a paper straw and candy cane

There are also some printable place cards in the set, or you can use them as food labels, or both like we did.

Christmas place card

Woodland Christmas Party Animals

We also added some animal friends to the table.  Inspired by the cute little creatures on the printable, we added in some toy ones.  And since it's Christmas everyone got a their own teeny tiny Santa hat too.

Toy animal models in mini Santa hats

To make the hats we used some red card stock and mini white pom poms.  

making mini paper Santa hats for toys

Just cut out a cone like shape, and then hot glue the paper into a hat shape and add the pom pom on the end.  To attach the hats to the animals we used a little more hot glue.  When the party's over, just pop them right off and the glue should leave no mark at all.

toy fox model in a santa hat

Treat Table

We also set up a little treat table at the side for this party.  Over the table we hung our beautiful "Holly Jolly" banner that's part of the printable set.  Just print on card stock, cut out and use a hole punch to make some holes, then string on to baker's twine.

Christmas treat table

On the sweets table we served up some cupcakes with cupcake picks from the printable set.  I love how they take plain cupcakes to the next level.

Christmas cupcakes

There's also some more of our little creature friends.

Christmas toy animals in Santa hats

And we made more Santa hats for the party, but these ones are for eating.  

strawberry and marshmallow Santa hats

These were so simple to make and such a huge hit.  

strawberry and marshmallow Santa hats

Start with regular size marshmallows for the base, cutting off about a third of one.  Place them sticky side up on a serving plate, and then layer on a strawberry that you've trimmed the stem off of and made flat.  For the top of the hat, trim a tiny slice off of a mini marshmallow so that it's sticky too and stick that part to the strawberry.  The sticky marshmallows should hold everything in place.  

Strawberry and marshmallow Santa hats

And since it's a Christmas party, we had to include more candy canes.

candy canes in a jar

This party set up couldn't be any cuter, could it?  How about creating something magical for the little ones in your life this Christmas with this beautiful printable set.

Christmas party treat table dessert table red and green

You can purchase the Holly Jolly Woodland Christmas Set here. 

kids woodland Christmas party

Or go for our best value and purchase the entire Christmas Party Package at only $24.99 and have everything you need to celebrate the whole season at your finger tips.

Christmas Printable Package

You might also like our Christmas Movie Night here.

Also check out our Christmas Fondue Party here.

You might also enjoy our Christmas Storybook Advent Calendar here.

Storybook Advent Calendar: Wrap up 24 Christmas story books, and let your children pick a new one each to read together at bedtime.

Christmas Art Work

Nov 5, 2019 · 7 Comments

Christmas art downloads

Printable Christmas Art -large and inexpensive printable engineer prints and a DIY wood hanger makes the perfect Christmas Art Work on a budget.

Christmas art downloads

This modern printable Christmas art work is so much fun, and really inexpensive to DIY the hanging frame.  It's the perfect fun addition to your Christmas decor this year.

It's also Day 2 of sharing printables from our Home For Christmas Ebook and Printable Toolkit.  My readers told me that their biggest struggle with the holidays was time, so I put together a huge bundle of Christmas printables, so you'd have everything you need in one place and can spend less time preparing and more time celebrating this Christmas. 

Engineer Prints

Today's items in the Christmas Printable Package are these beautiful large format art pieces.  Download them all or just one from our Etsy shop and have them printed at your local office supply store.  

Printable Christmas Art

I feel like printers have a secret and it's that you don't have to order expensive posters, you can order inexpensive engineer prints.  The quality is a little less, but for word art like this it looks great.

Printable Christmas Art

Engineers prints are so much cheaper.  For me they cost $2 for black and white and $5 for colour for the 18 x 24 inch size.  

Printable Christmas Art

You just upload your file to the office supply store on-line and pick up in the store.  And another secret...I never pay extra to have it ready by the next day, but it almost always is.  😉

Printable Christmas Art Work on a budget.

Hanging The Art

Once you have your inexpensive, large, beautiful art, it's time to hang it.  You can of course use a frame.  This one above is from Ikea and looks great.  But if you're looking for a cheaper option then these wood strips are perfect and they look great too.

budget Christmas Art Work
Christmas Art Work

Materials:

  • Art print
  • nailing strip
  • sandpaper
  • wood stain (optional)
  • stapler
  • eyehooks
  • twine or ribbon

How To:

Start by purchasing nailing strips in the lumber section of the home improvement store.  These are really inexpensive -like .88 inexpensive.  Bring the nail strip to the cutting section of the store.  They will do 2 free cuts on any wood purchase so ask them to cut the strip into two 18 inch sections.

Wood nailing strips
Supplies to make a DIY frame for hanging posters

Give the ends of the wood a slight sand to remove any splinters.  If you like to, at this stage you can add stain.  We did some with a dark stain to play off of the dark black type.  Once the stain dries you're ready to attach it to the art piece.

two strips of wood stained dark

Begin by adding two small eye hooks to the top piece of wood.  Space them evenly from the edges, about 2 inches.

how to make a poster hanger

Next lay out your art and line up the wood at the top and bottom.  Working from the back, use a stapler to attach the wood to the paper.  Start in the middle and work outward, making sure it's straight and taunt.

diy poster hanger

Lastly tie some twine, or ribbon to the eye hooks to hang it.  

diy poster hanger

We had so much fun coming up with our word art.  The reindeer names are so fun, choose between the plain list, or with & signs.  The favourite things list reminds us of all the reasons that Christmas is our very favourite holiday.  And lastly the list of characters from that old TV Christmas special we all watched as kids, Rudolph the Red Nosed Reindeer just might be my very favourite.  It so cute and retro, and cool at the same time.

Buy The Prints and More

You can purchase our art pieces here for just $1.99 each or check out this post for free sources of images.  We have our pieces available for download in 18 x 24 or 8.5 x 11

Reindeer Name List Art

Why not purchase our entire Home For Christmas Ebook and Printable Toolkit.  Get all the art shared here in all the sizes, plus 5 complete Christmas party sets, as well as gift tags, advent activities, gift card holders, and lunch box jokes.  You'll be all set for a season of celebrating.  

More Inspiration

Also check out our Modern Boho Christmas Wreath here.

You might also enjoy our DIY Wood Christmas Art here.

Christmas Movie Night Free Printables

Nov 4, 2019 · Leave a Comment

Christmas movie night printables, tickets, decor, labels

Set up a Christmas Movie Night with our snowflake themed Christmas or winter movie night free printables. We've included a popcorn banner, labels, water bottle wraps, straw flags and movie night tickets. These are perfect for a wintery movie night with family, kids, date night, or to invite friends over.

Christmas movie night printables, tickets, decor, labels
[feast_advanced_jump_to]

Why We Love This Party

  • Is there anything better than a festive movie night with snacks?
  • We love the themed printables that make the evening feel extra special.
  • The movie ticket is the perfect invite.

There's something about Christmas movies that makes them feel extra special.  Perhaps it's because watching movies together as a family feels like a tradition.

If you love movie nights too, check out our Free Movie Night Printables for any time of year, Valentine's Day Movie Night, Summer Outdoor Movie Night, and Halloween Movie Night.

We set up our Christmas movie night in the living room, with lots of cozy blankets and pillows for lounging.

Tickets Please

These free printable movie tickets could not be any cuter.  

Give them to your kids before movie night, slip one to your husband for a romantic movie night date for two, or use these as an invitation to invite friends over.

Snack Station

We set up a really fun snack station for our movie night, because what's a movie night without great snacks?!

For drinks we had bottled water with cute printable wraps to match the party.  Just download them, print them on regular paper, cut them out and tape them on to really dress up a water bottle.

And the cute straw flags are the same.  Cut them out and use a glue stick to add them to paper straws.

We also served some cupcakes.  Bake them yourself or pick them up at the grocery store.  They'll coordinate perfectly with the party with our cupcake picks.  Use a 2 inch circle punch from the craft store to punch them out really quickly and then hot glue or tape them to a toothpick to make the cupcake picks.

My favourite part of this party was the popcorn!

The popcorn banner is part of the set and strung on some baker's twine and taped up with some washi tape.

We served buttered popcorn, caramel corn, and white cheddar popcorn, but there are some blank labels included in case you add some different varieties.  

The little paper bags were dressed up for the party, too with one of the cupcake picks taped onto the front.  So simple and so cute.

Decorative Touches

We added a letter board filled with our favourite movies to set the scene.  And we spelled out "Christmas Movie Night" on our Lightbox.

What are some of your favourite holiday movies?

I hope this party is inspiring you for some cozy nights in with your favourite people celebrating the season this year.  

How To Get The Free Printables

Our free printables are available for instant access to subscribers in our Free Resource Library. Just subscribe below and check your email for the password for access.

With a Christmas Movie Night, life really is a party!

Frequently Asked Questions

How can I get the free printables?

These printables and tons more are free for subscribers in our Free Resource Library. Just subscribe for instant access. Don't see them in your email? Check your spam or junk folder.

What if I don't have a color printer at home?

You can print these at your local office supply store, or check your local library, most have a color printer you can use for a very minimal charge.

 If you try these Christmas Movie Night Free Printbles or any other ideas from the blog please let me know how it went in the comments below. Thanks for visiting today!

More Christmas Entertaining Inspiration

  • Elf on the shelf arrival letter and breakfast.
    Elf on the Shelf Arrival Letter + Welcome Breakfast Ideas (2026)
  • Ice skating party ideas with decorations and food.
    Winter Ice Skating Party Ideas
  • Santa themed Christmas breakfast
    Santa Themed Christmas Breakfast Ideas
  • Rustic Christmas Table Decor: wood pieces make a rustic centrepiece with pinecones, candles, and faux snow for a little Christmas magic.
    Rustic Christmas Table

DIY Large Inexpensive Art -Colour Engineer Prints

Oct 22, 2019 · 1 Comment

how to make your own large inexpensive art

DIY Large Inexpensive Art -Colour Engineer Prints: Sources for free images, and instructions on printing and hanging colour engineer prints.

how to make your own large inexpensive art
[feast_advanced_jump_to]

This art work is so inexpensive to make and has so much impact in a room.  I love it so much, I find myself changing it out for a new one every season.  For less than $10, you'll want to create some large, beautiful art for your home too.

Colour Engineer Prints

These prints are so inexpensive because they are large colour engineer prints.  It feels like the secret your printer doesn't want you know.  In Canada the  18 x 25 size is less than $5 to print, and even less in the US.  You can easily order it on-line and pick it up in-store from you favourite print shop.  It's quick, easy, and inexpensive -ticking all our boxes!  

It is printed on very light weight paper, and it's not really crisp and high quality.  For the first print I had done, I was a little nervous that it wouldn't look very good. But because these are so large, they actually look just fine printed at this quality.  And you just can't beat the price.  If you wanted something a little more permanent and higher quality you could of course pay more for it.  For our purposes though, the colour engineer prints are the perfect low cost high impact solution.

The first thing you'll need to do is find a large image to print.  I have used a few different sources that I really like.  

Free Images

The first time I tried it I wanted to create the look of vintage botanicals for a fall home tour.  I stumbled upon the Biodiversity Heritage Library.  It's like a treasure trove of vintage botanicals, including all kinds of plants, animals, and insects.  All the images are free to use.

Are Inexpensive Art

I recently created another vintage one, also found for free at Biodiversity Heritage Library.  This one is a poster of different insects from this year's fall home tour.

Free Vintage Botanical Bug Insect Poster
Free Vintage Botanical Insect Chart

They have so many amazing images and they're all free to use.  There's lots of pretty flowers, and leaves as well.  The hardest part is choosing which one to use.

Another amazing source of free images is the website Unsplash.  The beautiful photography is free for personal use.  There are so many amazing images.  I've found myself changing it out each season.  Here is one of my very favourites, from last years Christmas home tour.  This deer in the snow was the perfect piece to go with my decor.

Free Large Christmas Art

Last Christmas I also printed this adorable Christmas tree and hung it in the study.

Free Christmas Tree Image Art

And one final piece from last year's Christmas tour is this one hung with a vintage clothes hanger in the mudroom.Large Inexpensive Art How To

For the spring I added this rabbit to the kitchen, and it was perfect.

Large Inexpensive Art How To

There are so many amazing images at unsplash it is hard to choose.  One thing to consider though is if you want your images in portrait or landscape mode.  I've done all of mine in portrait.  One time I really liked a landscape mode one though, so I just edited it and cropped it to change the orientation.

To Hang The Print 

To hang the printed images I usually use a really inexpensive method.  I attached some small wood strips to the top and bottom of each image.  

The wood is from Home Depot.  It's called 1 x 1 x 4  Nailing Strip and is just .86 per piece.  You can get it cut right there -usually free, but I think $1 per cut if they charge you.  Get it cut to the width of your image.   You can add a little stain to the wood, or leave it as is like I did.  You might need to give your cut edge a little sanding.

To attach your image, just staple the wood to the back of the image.  

And then to hang it, add two simple screw in eye hooks to the top and attach some twine.  Easy peasy.  Want to see exactly how I did?  Check out my Instagram Story highlights in my profile for video.

Where to find free images to print

I'm about to order some new prints to use in my decor this Christmas.  

With Inexpensive Large Art, life really is a party.

Kids Thanksgiving Table

Oct 11, 2019 · Leave a Comment

Kids thanksgiving table.

Kids Thanksgiving Table: a leaf mobile, painted pumpkins, velvet pumpkins, and leaf crowns create a special spot for special guests.

Kids thanksgiving table.
[feast_advanced_jump_to]

Holidays are all about getting together with friends and families, if you're lucky there will be some kids on your guest list this year.  I've set a special kids thanksgiving table today; just their size, just for them.

We did our table with a colour scheme of pink, mustard yellow, and plum.  Navy blue would also be a great addition to this colour scheme too.  

Leaf Mobile

We started out with making our branch mobile to hang over the table.  

felt leaf branch mobile

The felt leaves were cut out on the Cricut Maker -you can find our cut pattern here.  We used Cricut felt and it turned out great.  You could, of course, use scissors to cut out felt leaves too.  Or instead of felt, you could make the leaves from scrap book paper.  We also made some pom poms and tassels out of some yarn in coordinating colours.  To create the mobile, we strung different leaves, pom poms, tassels and wood beads on to yarn with a darning needle and then tied the strands onto the branch.  

Branch mobile with felt leaves, pom poms, tassels, and wood beads

We used a hook in the ceiling to hang our branch over the kids table, and it turned out great.  It's so pretty that it would make great kids decor in a bedroom or nursery.

kids thanksgiving table

Leaf Crowns

We also created some sweet little leaf crowns out of felt leaves.  I started with a basic crown shape in pink felt, and added the leaves.  

felt leaf children's crown

The leaves were pinched together slightly in the middle to give them some dimension.  Because I wasn't exactly sure how big they needed to be for my guests, I stitched some ribbon on the back so that they were adjustable.  They look so sweet on each chair, just waiting for a little leaf fairy princess to wear them.

pink, mustard yellow, and plum table scape

Painted Pumpkins

There were a few leaves left over from our crafts so we used them on the table around our centrepiece.  

kids fall table

For the centre piece we painted some real baby boo mini white pumpkins with our pink, mustard yellow, and plum colours.  I love how they look.  It would be really fun to get the kids to help make these, and I think they'd love to see their pumpkins used on the table.  

painted pumpkin

Fall Candy

We also added a few sorted candies to the table for nibbling.  We went with chocolate covered peanuts, mini peanut butter cups, and pumpkin spice covered almonds.  

fall candy

Gummy pumpkins, candy corn, fall coloured smarties, m and ms, or jelly beans would also be a great option.  I used some mini mason jars, since they're nice and strong, and they'd be no worry of breaking them.

Velvet Pumpkins

The pink velvet pumpkins are also a fun addition.

pink velvet pumpkin

They're so soft and fuzzy.  I think they'd a be a fun addition to the kids play kitchen for fall too.  I used real pumpkins stems on mine, but little sticks would work great too.

over head view of a kids thanksgiving table

Place Settings

At each place setting we used a paper napkin, wooden plates, and cute little bottles.  

glass bottle with a pink paper straw

These bottles are some up-cycled juice bottles that we masked off with masking tape, and painted with gold craft paint to create the dipped look.  And the bottles have some cute pink paper straws in them.  

Kids Thanksgiving Table: a leaf mobile, painted pumpkins, velvet pumpkins, and leaf crowns create a special spot for special guests.

This table will hopefully be a really inviting and special spot for any kids coming to your Thanksgiving celebration.  It's nice to create a special spot just for them, at just the right size.

kids thanksgiving table mustard yellow, pink, and plum

With this Kids Thanksgiving Table, life really is a party!

More Thanksgiving Table Inspiration

Want more Thanksgiving Table Inspiration?  Check out our Black and White Modern Farmhouse Thanksgiving Table

Black and White Modern Farmhouse Thanksgiving Table: White pumpkins, black cutlery, and DIY macrame napkins rings make the perfect Thanksgiving table.

Our Dark and Moody Thanksgiving Table

Dark and Moody Thanksgiving Table: purple leaves, dark dahlias, and plums, red pears, apples, pomegranates, and blackberries create the perfect centrepiece.

The Fall Leaves and Pink Pumpkins Thanksgiving Table

Fall Leaf Thanksgiving Table: Hanging pressed fall leaves, and pink heirloom pumpkins, ombre leaf cookies, and cloths pin place cards make a beautiful table.

A Vintage Botanical Scientific Thanksgiving Table

Vintage Botanical Scientific Thanksgiving Table: scientific glass, old books, a microscope, and lots of botanical specimens create a beautiful table.

Vintage Botanical Scientific Thanksgiving Table

Oct 10, 2019 · Leave a Comment

vintage botanical thanksgiving table

Vintage Botanical Scientific Thanksgiving Table Ideas: scientific glass, old books, a microscope, and lots of botanical specimens create a beautiful table.

vintage botanical thanksgiving table
[feast_advanced_jump_to]

Visual Story Telling

This Vintage Botanical Scientific look has long been a favourite of mine.  And I thought it was perfect to inspire some Thanksgiving table ideas for your celebration this year.

It was only fueled by a recent visit to The Wizarding World of Harry Potter.  I was delighted by the scenery, and the extraordinary details -things like large mystical animal skeletons in Hogwarts main hall, books, and scientific instruments and in the darker area of Diagon Alley all the potion ingredients.  It was very inspiring.  It made me excited about the art of visual story telling -and how to do it on a table.  

The story I'm telling with my tablescape today is of a Victorian woman who is a hobby botantist.  She collects leaves, and flowers, and elements of nature, and brings them home to study them and classify them.  I imagine her working, until it's requested that she clear the table for dinner, and in response she pushes everything to the centre and sets the table around her work.

Thrift Store Finds

I told the story using lots of vintage and thrift store pieces.  I'm excited to be working with Stouffville Care and Share, a part of MCC Thrift.  One woman's trash is truly another woman's treasure.  Along with keeping unwanted items out of landfill, and finding treasures at great prices, MCC thrift stores use the money they raise to do so much good with locally, nationally, and internationally in social justice, domestic abuse, towards ending poverty, and working for peace -just to name a few.

The look of the table is full of thrifted treasures.  It is full and rich. It's the opposite of minimalist, it's maximalist.  I've corralled all my items down the centre of the table on a dark runner. The main colour in the table is green, so where I could I used green elements.  

Vintage Botanical Scientific Pieces

I created the scientific feel with the use of lots of scientific glass filled with flowers, leaves, and grasses to be studied, as well as dry seeds.  

There's also a mix of thrifted bottles holding more specimens.  I also added an old microscope, look for these in the office section of the thrift store.  I also included several plants and some glass cloches.  

To make the table feel like fall, I used pumpkins, pressed leaves and seeds all of which could be collected this time of year.

There's a few special elements on the table -a vintage magnifying glass for further inspection, our botanist's spectacles left on the table, antique ruler for measuring specimens, and a compass so she doesn't get lost in the woods.  

There is a special section of Stouffville Care and Share Thrift Store where antique finds are available through silent auction.  Be sure to check it out for extra special finds. 

The vintage books used on the table are also thrift store finds.  I looked for ones with green covers to fit our colour scheme -be sure to peek under the covers.  

Place Settings

At each place setting I've used thrifted vintage silverware. I love the look of the mismatched sets, and add so much character to any table.  

I also used some thrifted vintage green goblets -one of my favourite finds of late.  To make each place setting extra special, I've added a little pumpkin and a favour.  

To make the favours I used some new test tubes -beware of using old scientific glass for food as it might have been used for chemicals or inedible substances.  I filled each test tube with chocolate covered peanuts and added a vintage looking Botanical label to use as a place card. 

You can download the Botanical label for free if you're a subscriber to Life is a Party.  Subscribe below and download the free printable in our Free Printable Library.

This table was so much fun to put together.  I hope it inspires you to do some visual story telling in your table settings and start shopping at the thrift store.  Be sure to check out our Facebook Live and IGTV all about the table too.

With a Vintage Botanical Scientific Thanksgiving Table Ideas, life is really a party.

More Thanksgiving Table Ideas Inspiration

Want more Thanksgiving Table Inspiration?  Check out more of our tables.

Black and White Modern Farmhouse Thanksgiving Table

Black and White Modern Farmhouse Thanksgiving Table: White pumpkins, black cutlery, and DIY macrame napkins rings make the perfect Thanksgiving table.

Dark and Moody Thanksgiving Table

Dark and Moody Thanksgiving Table: purple leaves, dark dahlias, and plums, red pears, apples, pomegranates, and blackberries create the perfect centrepiece.

Fall Leaves and Pink Pumpkins Thanksgiving Tables

Fall Leaf Thanksgiving Table: Hanging pressed fall leaves, and pink heirloom pumpkins, ombre leaf cookies, and cloths pin place cards make a beautiful table.

Fall Leaf Thanksgiving Tablescape

Oct 9, 2019 · Leave a Comment

Fall leaf themed thanksgiving tablescape.

Fall Leaf Thanksgiving Tablescape: Hanging pressed fall leaves, and pink heirloom pumpkins, ombre leaf cookies, and cloths pin place cards make a beautiful table.

Fall leaf themed thanksgiving tablescape.
[feast_advanced_jump_to]

This Fall Leaf Thanksgiving Tablescape was inspired by all the beautiful leaves that are turning colours outside right now.  We're lucky enough to live on the edge of a forest, and the colours out our window are gorgeous.  

Thanksgiving table with pink pumpkins and fall leaves

Fall Leaves and Pink Pumpkins

The first thing I did to create this table was to go for a walk and collect leaves.  Then I pressed them in a some books for a few days, so they would dry nice and flat.

fall leaves pressed in a book

I used some simple white thread to hang them from my light fixture.  

fall leaves hanging from thread
fall leaves thanksgiving table

They're so pretty and it's such an easy, and inexpensive idea that has so much impact.  

fall leaves and pink pumpkins rustic thanksgiving tables cape

I knew I wanted to use these amazing heirloom pink pumpkins on the table, so as I was searching for leaves I looked for yellow, burgundy, and peachy-orange.  These pink pumpkins are a real favourite of mine.  I love the colour, but also the amazing shape of them -they look like something right out of a fairytale.

fall leaves hanging over a table

I layered the pumpkins on a vintage pink tablecloth, used as a runner on the table.  It's a great way to use a vintage cloth if it has a few stains on it.  Around the pumpkins I layered more of the pressed leaves.  For candles I used these inexpensive church candles from dollar tree.  I thought that with our leaves hanging down that the glass canister would make it a little more safe.

pink pumpkin and a candle

Place Settings

For the place settings, I started with my favourite handmade pottery plates from France.  I just love these and they are like a little bit of art for the table.  Their organic shape is perfect for our earthy vibe.  

thanksgiving place setting with fall leaves

On top of that, I layered some wood plates, that also have the organic shape to them.  

pink thanksgiving table

The napkins are some made from some unfinished linen fabric.  They've been washed a few times and have a beautiful frayed edge.  

Thanksgiving table setting

On the napkin I added another pressed leaf with a simple clothes pin.  These clothes pins have been spray painted gold, and then I used a fine point sharpie to add everyones name and use them as place cards.  Love this simple, but special and personalized touch.  

fall leaf place card

I also added a pretty sugar cookie.  I used my Grandma's sugar cookie recipe, and cut them out with a maple leaf cookie cutter.  

peach ombre sugar cookies in a leaf shape

To make the icing in an ombre effect, we divided the cookies into five piles, and then started with adding just two drops of yellow food colour and two drops of red food colouring to create a beautiful soft peach.  For each pile of cookies we added two more yellow, and two more red drops of food colouring to the icing.  I love the result, and these cookies looked beautiful with our table.  And everyone loves a little sweet treat at their spot. 😉

Fall Leaf Thanksgiving Table: Hanging pressed fall leaves, and pink heirloom pumpkins, ombre leaf cookies, and cloths pin place cards make a beautiful table.

I used my gold cutlery and some amber glasses to finish things off. 

We Were Together

In the background I added one of my favourite quotes "we were together, I forget the rest", and few more fall leaves.

This is such a pretty table, and I love how it's the traditional fall colours -almost.  This is also one of the more simple tables, but it still feels really special.

overhead view of a thanksgiving table

If you'd like more ideas on how to set a pretty table, and a printable checklist so that you don't forget anything, be sure to sign up for our Free Dinner Party Challenge.  It's a 3 day free course delivered right to your inbox that will help you prepare for having guests over with lots of free printable worksheets and checklists.  Sign up below.

With a pretty Fall Leaf Thanksgiving Table, life really is a party.

Fall Leaf Thanksgiving Table: Hanging pressed fall leaves, and pink heirloom pumpkins, ombre leaf cookies, and cloths pin place cards make a beautiful table.

Want to see a video all about the table -check it out on Facebook or IGTV.

More Thanksgiving Tablescape Inspiration

Check out our Black and White Modern Farmhouse Thanksgiving Table.

Black and White Modern Farmhouse Thanksgiving Table: White pumpkins, black cutlery, and DIY macrame napkins rings make the perfect Thanksgiving table.

You might also like our Dark and Moody Thanksgiving Table.

Dark and Moody Thanksgiving Table: purple leaves, dark dahlias, and plums, red pears, apples, pomegranates, and blackberries create the perfect centrepiece.

Also check out our Kids Thanksgiving Table here.

Kids Thanksgiving Table: a leaf mobile, painted pumpkins, velvet pumpkins, and leaf crowns create a special spot for special guests.

Halloween Ghost Rice Krispie Treats

Oct 9, 2019 · 13 Comments

Halloween ghost shaped white chocolate covered Rice Krispie squares

These ghost rice krispie treats are the perfect easy recipe for a special Halloween sweet treat on a stick for your little ghouls and goblins. They're easy to make, and so yummy.

Halloween ghost shaped white chocolate covered Rice Krispie squares
[feast_advanced_jump_to]

Why We Love This Recipe

  • Rice Krispie Squares are a classic because of their great taste and how quick and easy they are to make.
  • Adding chocolate makes these even better!
  • Turning these into Halloween treats by making them into ghosts is so cute.
  • They're perfect for all your Halloween celebrations and parties.

These sweet little ghost rice krispie squares are the perfect treat for your little ghouls and goblins this time of year.

Ghost Halloween Rice Krispies Treat

Rice Krispie Squares are a favourite at our house, and such an easy dessert with simple ingredients, so I thought it would be fun to make some special ones for Halloween. And there are no cookie cutters required for this simple treat.

These would be great for a party like our pink Halloween party, or classroom celebrations, or so much fun tucked in a lunch box for a special treat. Or make them part of a ghost themed snack board, Halloween Smores, as part of a Harry Potter snacks board, or for a Halloween movie night. They're quite easy peasy to make, and the kids can help out too. 

Ghost Rice Krispie Treats

Simple Ingredients

I also love that Rice Krispie cereal treats only have a few ingredients, and they're pretty much foolproof. Who doesn't love easy halloween treats? They also seem to be everyone's favorite recipe for a no-bake dessert.

  • White Chocolate: Wilton candy melts work well for the chocolate coating, you can find them in the baking aisle at a craft or baking specialty store. Or you can also use white chocolate chips. Remember white chocolate burns very easily, so be sure to melt it carefully.
  • Popsicle or Lollipop Sticks: We used popsicle sticks for our ghost rice krispies treats, but another great option is to use a lollipop stick, or leave them plain with no sticks as regular cookies.
  • Coconut Oil or Vegtable Shortening: If you find that the melted white chocolate is too thick to dip easily, try adding in a little bit of coconut oil, or vegetable shortening to make it a little runnier.  Don't add too much at a time though, or it won't set properly.
  • Ghost Eyes: We used chocolate chips for our ghost eyes, but you could use candy eyeballs instead.
Halloween Rice Krispie Treats

Storing

The layer of white chocolate coating on these festive halloween rice krispie treats will also make them last a little while longer -that is if you can keep people from eating them! Store these fun halloween treats in an airtight container at room temperature for the best results. Or wrap these cute halloween treats in plastic wrap or individual cellophane bags for holiday treats.

How To Make Ghost Rice Krispie Treats

See exact ingredients and steps below in the recipe card.

1. Prepare a 9 x 12 baking dish by spraying with non-stick spray or coating in butter. Set aside.

2. In a large pan over medium heat melt the marshmallows and butter, until all the marshmallows are melted. Stirring the whole time.

3. Remove the melted marshmallows from the heat and stir in the vanilla and rice cereal into the marshmallow mixture. Quickly place the mixture in the prepared pan while it's still hot. Use a spoon dipped in cold water to smooth them out. Allow them to cool.

4. Once cool, cut the rice krispies into small rectangles.

5. To create the ghosts, use a sharp knife to cut the edges of the top of a rectangle to make it into a ghost shape. .Or, if you have one you could use a ghost cookie. Then insert a popsicle stick into the ghost shapes.

Rice Krispie Treats

6. Melt white chocolate in a double boiler or microwave safe bowl. Use a spoon to help cover the ghost in white chocolate. Place on parchment paper or wax paper and add milk chocolate chips for eyes. Allow to harden and enjoy! Store your batch of rice krispie treats in a sealed container.

Ghost Rice Krispie Squares

This fun halloween treat is are perfect for any halloween celebrating.  Your whole family will love this great recipe for a no bake halloween dessert.  These ghost chocolate rice krispie treats are especially fun for a school halloween party. These delicious treats are guaranteed to be a huge hit for a classroom party. Move over Halloween candy, candy corn, and peanut butter cups, classic rice krispie treats just got a new fun twist with our Halloween makeover! 

With these Ghost Halloween Rice Krispy treats as a spooktacular treat, life really is a party!  Happy halloween!

Halloween Cookies

Frequently Asked Questions

Can I use a cookie cuter to cut the ghosts out?

Yes, but the method we used creates less waste, is easy, and we think it looks great.

Can I make these ahead of time?

Yes, these keep really well. The added layer of chocolate keeps them fresher longer than regular Rice Krispie treats. Feel free to make them a few days ahead of when you need them.

Can I make them without the lollipop sticks?

Yes just leave the out for regular ghost shaped Rice Krispie squares.

If you try this Ghost Rice Krispie Treats Recipe or any other recipe on my blog please leave a star rating and let me know how it went in the comments below. Thanks for visiting today!

More Fall Recipe Inspiration

  • Pumpkin spice Rice Krispie treats recipe.
    How To Make Pumpkin Spice Rice Krispie Treats
  • How to make a pumpkin spice milkshake.
    Pumpkin Spice Milkshake Recipe
  • A loaf of moist pumpkin bread with walnuts on a cutting board.
    Moist Pumpkin Bread With Walnuts
  • Pumpkin blondies with pumpkin frosting.
    Pumpkin Blondies with Pumpkin Frosting
Ghost Rice Krispie Squares: the perfect easy recipe for a special Halloween sweet treat on a stick for your little ghouls and goblins.

Recipe

Halloween ghost shaped white chocolate covered Rice Krispie squares

Ghost Halloween Rice Krispies

The perfect Halloween treat of Rice Krispies covered in white chocolate.
5 from 1 vote
Print Pin Rate
Course: Recipes
Cuisine: American
Prep Time: 10 minutes minutes
Cook Time: 5 minutes minutes
Total Time: 10 minutes minutes
Servings: 12
Calories: 252kcal
Author: Dannyelle Nicolle-Ramjist

Ingredients

  • 6 cups rice krispies cereal
  • ¼ cup butter
  • 10 oz bag of regular or mini marshmallows
  • 1 teaspoon vanilla
  • non-stick cooking spray
  • 2 cups white chocolate wafers
  • ¼ cup milk chocolate chips
  • 12 popsicle sticks

Instructions

  • Prepare a 9 x 12 baking dish by spraying with non-stick spray or coating in butter. Set aside.
  • In a large pan over medium heat melt the marshmallows and butter, until all the marshmallows are melted. Stirring the whole time.
  • Remove the melted marshmallows from the heat and stir in the vanilla and rice cereal into the marshmallow mixture. Quickly place the mixture in the prepared pan while it's still hot. Use a spoon dipped in cold water to smooth them out. Allow them to cool.
  • Once cool, cut the rice krispies into small rectangles.
  • To create the ghosts, use a sharp knife to cut the edges of the top of a rectangle to make it into a ghost shape. .Or, if you have one you could use a ghost cookie. Then insert a popsicle stick into the ghost shapes.
  • Melt white chocolate in a double boiler or microwave safe bowl. Use a spoon to help cover the ghost in white chocolate. Place on parchment paper or wax paper and add milk chocolate chips for eyes. Allow to harden and enjoy! Store your batch of rice krispie treats in a sealed container.

Nutrition

Serving: 1g | Calories: 252kcal | Carbohydrates: 42g | Protein: 3g | Fat: 9g | Saturated Fat: 5g | Polyunsaturated Fat: 3g | Cholesterol: 13mg | Sodium: 147mg | Fiber: 1g | Sugar: 24g
Tried this Recipe? Tag me Today!Mention @LifeisaParty or tag #lifeisaparty!

Dark and Moody Thanksgiving Table

Oct 8, 2019 · Leave a Comment

Dark and moody thanksgiving table.

Dark and Moody Thanksgiving Table: ideas for thanksgiving table using dark purples, and red leaves, flowers, and fruit to create the perfect centrepiece.

Dark and moody thanksgiving table.
[feast_advanced_jump_to]

This Thanksgiving table is Dark and Moody and full of ideas for your thanksgiving table.  It was inspired by fall fruits like apples, red pears, pomegranates, grapes, and plums.

Dark red and purple tables cape

It kind of reminds me of when I was little and made a paper mâché cornucopia horn at school. I can remember my mom making it the centrepiece of the Thanksgiving table full of fall fruits and vegetables.  This is a slightly more sophisticated version. 😉

Dark and Moody Thanksgiving Table

I started out with a dark runner down the centre of the table and added my paint dipped brass candlesticks, see how I made them here.  Next I started layering the centre piece.

Dark purple and red leaves layered down the centre of a table

Materials:

  • sand cherry branches
  • Japanese maple branches
  • purple kale leaves
  • Northern sea oats ornament grass
  • Japanese painted fern
  • pomagranates
  • red pears
  • red delicious apples
  • red and black grapes
  • plums
  • blackberries
  • sedum autumn joy flowers
  • dahlias

To Make the Dark and Moody Centrepiece

First I added some beautiful dark purple sand cherry branches, and Japanese maple branches.  If you didn't have these, any dark leaves would work, including red maple.  Then I layered in some purple kale leaves, Japanese fern, and some grasses.  I love the delicate texture of the fern and the grasses, in contrast to the other leaves.

Dahlias and red oat grass

Next I layered on the fruit.  Starting with the large pomegranates, red pears, and apples, grape clusters, and then adding in the plums, and finally the small black berries. Figs would be lovely too if you could find fresh ones.

red and purple friuts
fall fruits
dark purple centre piece

My final layer was to tuck in some flowers.  I started first with the sedum, and then adding in the final finishing touch of the dark dahlias.

Dahlias and pomegranates
Dahlia centrepiece

Because I just layered all the florals on top of the runner, and they don't have a water source this arrangement won't last too long.  But there is a certain beauty in creating something in the moment to be enjoyed in the moment.  Do it in the afternoon and it will be lovely for dinner, but don't do it the night before.  

dark and moody tables cape
purple and red table centrepiece

If you did want it to last longer you could use floral water tubes for each individual bloom or arrange these in vases, or a long low container with floral foam.  This method is much easier, but not too lasting.

Dark and Moody Thanksgiving Table: purple leaves, dark dahlias, and plums, red pears, apples, pomegranates, and blackberries create the perfect centrepiece.

Place Setting Ideas for your Thanksgiving Table

ideas for thanksgiving table

The place settings are quite simple.  I started with my everyday white plates, and then layered a dark linen napkin and a black side plate.  On each side plate there is a piece of Japanese painted fern and a red pear or apple -I alternated for interest.  I used black cutlery, but gold would have been pretty too, to tie in with the brass candlesticks.  And finally I had some pretty purple glasses.

ideas for thanksgiving table

This table was so fun to put together, and I loved being able to forage for a lot of the materials in my own yard.  I think this dark and moody look is going to be on the rise, and it feels especially perfect for fall.

ideas for thanksgiving table

With a pretty Dark and Moody Thanksgiving Table, life really is a party!

More Ideas for your Thanksgiving Table

You might also like Vintage Botanical Scientific Thanksgiving Table here.

ideas for thanksgiving table

Also check out Fall Leaf Thanksgiving Table here.

ideas for thanksgiving table

You might also enjoy our Rustic Neutral Thanksgiving Table here.

ideas for thanksgiving table

Black and White Modern Farmhouse Thanksgiving Table

Oct 7, 2019 · Leave a Comment

Black and white farmhouse style thanksgiving table.

Black and White Modern Farmhouse Thanksgiving Table: White pumpkins, black cutlery, and DIY macrame napkins rings make the perfect Thanksgiving table.

Black and white farmhouse style thanksgiving table.
[feast_advanced_jump_to]

This Black and White Modern Farmhouse Thanksgiving Table is perfect for the neutral lover.  The white pumpkins make it still feel like fall, despite the absence of the typical orange, yellow, and red.  I'm sharing this table as the first one, in our whole week of Thanksgiving table inspiration.  Be sure to check out the blog everyday for a different Thanksgiving tablescape.  You can also follow along on Instagram, and Facebook and see exactly how I put each table together each day.

Black and White Modern Farmhouse Thanksgiving Table: White pumpkins, black cutlery, and DIY macrame napkins rings make the perfect Thanksgiving table.

The Centrepiece

For this table I started out with a runner made from old book pages.  It was super simple to do.

Pumpkin centre piece thanksgiving table

I just ripped out the pages from an old thrift store book and placed them down on the table to create a runner.  I love how this adds another layer of interesting texture to our table.  

bookpage runner made from old books

When decorating with neutrals it's always important to use lots of different textures to add interest and help keep the look from being boring.

White Pumpkins Modern Farmhouse Tablescape

Next we layered on some white pumpkins as a centre piece.  Look for different varieties, and different shapes, and shades of white to make it more fun.  I also wove in some led mini lights.  You could use these or candles for a little sparkle at night.

White Pumpkins Thanksgiving Table

Lastly I snipped some eculptus from my garden and tucked it around the pumpkins.  You could find this easily at the store, or try using some green leaves, like oak leaves for a similar look.

Place Settings

For the place settings I used my favourite everyday white dishes.  I love using these for big dinners because they can go in the dishwasher with no worries, and it makes clean up so much easier.  I also layered on my "give thanks" side plates.  These are a DIY from a few years ago -see how exactly how I made my DIY Give Thanks Plates here.  They're done with a special marker for ceramics that you bake in the oven to make food safe, and dishwasher safe.  I love bringing these plates out at Thanksgiving.

Thanksgiving table

I love the black cutlery here.  It adds another element of black.  I always say that interesting cutlery is like jewelry for the table.

Macrame Napkin Rings

The napkin rings are another quick DIY.  I'll be working on getting a tutorial up for them soon.  They were really simple, just a lark's head knot to attach the rope to the rings, and then a few square knots.  These would be easy enough for even a first timer at macrame.  I love how they add more texture to the table.

Macrame Napkin Rings

This simple table was quite easy to put together and I hope it inspires you.  Remember, we'll have a different idea everyday here all week long leading up to Canadian Thanksgiving this weekend.

White Pumpkin Fall Decor

With a pretty Black and White Modern Thanksgiving Table, life is really a party.

You might also like our Fall Leaf Thanksgiving Table here.

Fall Leaf Thanksgiving Table: Hanging pressed fall leaves, and pink heirloom pumpkins, ombre leaf cookies, and cloths pin place cards make a beautiful table.

Also check our Boho Thanksgiving Table here.

Boho Thanksgiving Table: Elements of Boho Style like macrame, plants, natural elements, colour, and global influence to help you create a boho tablesacpe.

You might also like our Kids Thanksgiving Table here.

Kids Thanksgiving Table: a leaf mobile, painted pumpkins, velvet pumpkins, and leaf crowns create a special spot for special guests.

Thanksgiving Hostess Gift with Free Printable Gift Tag

Oct 6, 2019 · Leave a Comment

Thanksgiving hostess gift and free printable gift tag

Thanksgiving Hostess Gift: Give your hosts drinks with a cheeky free printable gift tag for friends or family in 3 different colours.

Thanksgiving hostess gift and free printable gift tag
[feast_advanced_jump_to]

It's nearly Thanksgiving here in Canada, and many of us will be heading over to the homes of our family or friends to enjoy some turkey together.  It's always nice to bring a little hostess gift and this one is really fun!

Seasonal Drinks

Last year I put together a fall bar cart, and we really enjoyed trying some different pumpkin beers and hard apple ciders.  It was fun when guests came over too, to offer them something different and seasonal.

Pumpkin Beer and Apple Cider

Thanksgiving Hostess Gift

So this year when I wanted to pick up a few more again, I got thinking what a lovely gift they would make.  And it's totally perfect for bringing to Thanksgiving or Friendsgiving dinner too.  The checky card makes it extra smile worthy.

free printable thanksgiving gift tag, black and white

I made a couple versions of the gift tag -ones for friends and one for family depending on where you're headed for Thanksgiving.  I also made each one in black and white, pink and yellow, or traditional fall colours -so just choose your favourite.

Free printable Thanksgiving gift tags

The LCBO has these 6 pack carry cases for free in store, so it's perfect for creating your own little variety pack.  I thought it was fun to get a variety to try out.  I did three pumpkins beers, and three ciders.  You could of course go with all pumpkin, or all cider if you prefer.  In fact this little tag would be fun for any type of alcohol, including a bottle of wine.

Thanksgiving Hostess Gift: Give your hosts drinks with a cheeky free printable gift tag for friends or family in 3 different colours.

Materials

  • 6 pack of pumpkin beer or cider, or your choose of alcohol
  • printable gift tag
  • hole punch
  • ribbon
free printable Thanksgiving gift tags

To Put It Together

  1.  Download the gift tag from our free printable library.  Not a member yet?  Subscribe below and gain access to this tag, and lots more free printables.
  2. Cut out the tag, and punch a hole in the top.
  3. Tie it on to the alcohol of your choose, and you're all ready for gift giving.

It's always nice to bring a little gift to Thanksgiving get togethers, and this one is sure to bring a smile to everyone's face.  

Thanksgiving Hostess Gift: Give your hosts drinks with a cheeky free printable gift tag for friends or family in 3 different colours.

With a perfect Thanksgiving hostess gift, life really is a party!

Want our free printable Thanksgiving Gift Tags?  Subscribe to Life is a Party below for access to entire free printable library.

Also check out Black and White Farmhouse Thanksgiving Table here.

Black and White Modern Farmhouse Thanksgiving Table: White pumpkins, black cutlery, and DIY macrame napkins rings make the perfect Thanksgiving table.

You might also enjoy our Dark and Moody Thanksgiving Table here.

Dark and Moody Thanksgiving Table: purple leaves, dark dahlias, and plums, red pears, apples, pomegranates, and blackberries create the perfect centrepiece.

Easy Turkey Sandwiches with Cranberry Mayo

Oct 5, 2019 · Leave a Comment

Turkey sandwich with cranberry mayo, and lettuce.

Easy Turkey Tea Sandwich Recipe with Cranberry Mayo: use deli turkey, store bought cranberry sauce, and mayo for this delicious sandwich.

Turkey sandwich with cranberry mayo, and lettuce.
[feast_advanced_jump_to]

We'll all short on time these days. But this easy turkey sandwich recipe with a quick cranberry mayo are really fast to make. And they're so good and such a delicious recipe!

When we were planning our fall tea party we knew we had to include some turkey sandwiches. And what goes perfectly with turkey? Cranberry. So we made a really quick and easy cranberry mayo to go with it and they were so delicious.

Read all the details of our Fall Tea Party here.

Fall Tea Party

These sandwiches are delicious any time of year, but these are especially the perfect sandwich for a fall or even a Christmas tea party. (Remember our Nutcracker tea party?)

Turkey Sandwich with Cranberry Mayo

This turkey sandwiches recipe would be a great way to use up some leftover roast turkey, so keep this recipe in mind the next day after Thanksgiving or Christmas dinner as the easiest way to use up your thanksgiving leftovers. But don't worry if you don't have roast turkey. This turkey sandwich recipe works perfectly with some grocery store deli turkey too.

Easy Turkey Tea Sandwiches with Cranberry Mayo
turkey sandwich with cranberry mayo

There's nothing like a proper tea party, with little tea sandwiches. These are so quick and easy that they're easy to make.

Turkey Sandwich Recipe Variations:

I'm a huge fan of a classic turkey sandwich, like the recipe I've just shared. But if you're looking for something a little more than a simple turkey sandwich, here are some suggestions.

Turkey Club Sandwich

I love a good club, and these can be made with chicken or turkey, and your leftover ham, or some pork bacon. It's the perfect way to elevate a leftover turkey sandwich. Use white bread or whole wheat bread, and layer in some tomato slices, and lettuce or fresh spinach leaves for a twist. Get the full recipe for the ultimate club sandwich here.

Grilled Cheese Turkey Sandwich Recipe

Do you love hot sandwiches? Try a turkey grilled cheese with your favourite cheese, like provolone cheese, or swiss. Take it to next level with the addition of crispy bacon, or turkey bacon and it will love at first bite. Make it the traditional way in a frying pan, or try it in a panini press brushed in olive oil. Cook it until it's golden brown. For an easy meal serve it with chips or a salad.

Or for another variation try a turkey melt, as an open face sandwich. Layer your turkey breast onto the bread on a baking sheets, and then top with your favourite cheese. You might also like a condiment like the cranberry mayo we shared above, regular mayo, or mustard as the first layer on the bread. Keep the cheese on top so that the cheese melts nicely and keeps your turkey from drying out. Try monterey jack for a little spice, or smoked turkey from the deli counter for another variation.

Recipe

Turkey sandwich with cranberry mayo, and lettuce.

Easy Turkey Tea Sandwiches with Cranberry Mayo

Turkey and cranberries are the perfect combination in this easy, delicious sandwich.
5 from 2 votes
Print Pin Rate
Course: Sandwich
Cuisine: American
Prep Time: 10 minutes minutes
Total Time: 10 minutes minutes
Servings: 2 sandwiches
Calories: 782kcal
Author: Dannyelle Nicolle-Ramjist

Ingredients

  • 4 bread slices -white or whole wheat
  • 2 teaspoon butter
  • 1 tablespoon mayo
  • 1 tablespoon cranberry sauce
  • 6 slices turkey deli meat or leftover roast turkey
  • 2 pieces red leaf lettuce

Instructions

  • First make your cranberry mayo. We used store bought canned cranberry sauce, and mayonnaise. Combine them in a small bowl. If you're making more than 2 sandwiches, just remember to equal proportions of cranberry sauce and mayo. Stir until completely combined and set aside.
  • To make the sandwiches, butter your slices of bread and layer several slices of turkey, some red leaf lettuce (or your favourite kind of lettuce) and some cranberry mayo. Slice the sandwiches into triangles to serve, and enjoy.

Nutrition

Serving: 1g | Calories: 782kcal | Carbohydrates: 105g | Protein: 49g | Fat: 20g | Saturated Fat: 5g | Polyunsaturated Fat: 11g | Cholesterol: 127mg | Sodium: 1560mg | Fiber: 14g | Sugar: 10g
Tried this Recipe? Tag me Today!Mention @LifeisaParty or tag #lifeisaparty!
turkey tea sandwiches

With these Easy Turkey Sandwiches with Cranberry Mayo, life really is a party!

More Inspiration

  • How to make the perfect clubhouse sandwich.
    How To Make The Perfect Club Sandwich
  • Chicken salad in a toast cup with onion sprout garnish.
    Easy Chicken Salad Toast Cups
  • Scotch eggs sliced in half showing the hard boiled egg center on a white plate.
    Homemade Scotch Eggs Recipe
  • Campfire paninis on a plate.
    Campfire Paninis

Browned Butter Madeleines with Pecans

Oct 1, 2019 · 8 Comments

Browned butter madeleines with pecans.

Browned Butter Madeleines with Pecans: this recipe uses browned butter, chopped pecans, and brown sugar for the perfect nutty flavor.

Browned butter madeleines with pecans.
[feast_advanced_jump_to]

Madeleines are the loveliest little cake like cookie.  Classic madeleines are  perfect with a cup of tea.  And with the addition of browned butter, brown sugar, and pecans these seem just right for fall.  The browned butter adds to the nuttiness and creates a depth of flavor, and the pecans are the perfect little crunch.

Fall tea party treats, cookies and tea pot.

For our recent Fall Tea Party we thought it would be nice to include some Browned Butter Madeleines with Pecans -read all about the fall tea party here.

Madeleines

My youngest daughter, who loves to bake, is named Madeline.  I remember buying Madeleines for the get together after her baby dedication.  They just seem like the perfect cookie for her.

Pecan Madeleines

Recently when we were doing a little shopping on vacation we found a nonstick madeleine pan at a little kitchen shop and decided we should buy it and try out some Madeleine recipes.  I say we, but it was really Maddie.  She read up all about them, and started experimenting. 

Pecan Madeleines and powdered sugar.

She developed this madeleine recipe herself and made these, and they are so delicious.  When they are fresh they have the perfect slightly crunchy outside, and soft inside.  They're not overly sweet, and the pecans add a great flavour and little bit of crunch -perfect for fall.  A Madeleine and an afternoon tea is a match made in heaven.  They're the perfect treat when you want something small.

Madeleines are originally from France.  They are a very small sponge cake baked in a distinctive shell type shaped madeleine molds.  The perfect madeleine sponge cakes are soft on the inside, with crisp edges.

Tea cups and pecan madeleines

Browned Butter

We love using browned butter in baking because it adds such great flavor.  Browning the butter makes gives it a nutty flavor, and depth of flavor including caramel notes, and toasty flavors.  Using browned butter in baking adds all the goodness of butter, and a little bit more.  It's a great way to elevate almost any recipe.  These brown butter madeleines are full of brown butter flavor and so delicious.  A traditional madeleine uses regular butter, but this version of the tiny cakes is even better.

As the butter heats up, the water in it evaporates.  Next the milk solids in the butter darken and the brown bits fall to the bottom of the pan and it realizes a nutty aroma.  This is browned butter and at this stage you're ready to remove from the heat and let the browned butter cool.

Pecans

We've added some chopped pecans to our madeleines.  Traditional madeleines are vanilla flavor.  They are also often flavored with lemon juice and zest.  But there are lots of other variations also.  Because it's such a plain little cake, it's fun to play around with your favorite flavorings.  They are often made with ground almonds, so using a different nut wasn't much of a stretch.  The pecan flavor pairs so perfectly with the nuttiness of the browned butter.  It also gives a really pleasant tiny crunch to the madeleines.

madeleines In a madeleine tin
Madeleines

We baked out madeleines in batches.  Make sure to wipe out the madeleine pan and respray with nonstick cooking spray before cooking the second batch.  While the madeleines are on the cooling rack we like to give them just a little sprinkle of icing sugar.  The white looks so pretty on the golden brown color of the madeleine cake, and adds a little bit more sweetness.

Storage 

For best results your freshly baked madeleines are best eaten the day you bake them.  When they're fresh you have the characteristic soft centers to the French butter cakes, with crispy edges on the outside.  But if you do have leftovers you can store them to the next day in a airtight container at room temperature.

These are sure a favourite at our house, and I hope you like them too.  They're the perfect dessert when you want something a little sweet with tea or coffee.

Recipe

Browned butter madeleines with pecans.

Browned Butter Madeleines With Pecans

Not too sweet cake like cookies, with crunchy pecans.
5 from 1 vote
Print Pin Rate
Course: Desserts
Cuisine: French
Prep Time: 15 minutes minutes
Cook Time: 14 minutes minutes
Total Time: 29 minutes minutes
Servings: 24
Calories: 120kcal
Author: Dannyelle Nicolle-Ramjist

Ingredients

  • ½ cup butter
  • ⅓ cup white sugar
  • ⅓ cup brown sugar
  • I cup all purpose flour
  • ⅔ chopped pecans
  • ½ teaspoon baking powder
  • 2 eggs
  • 1 teaspoon vanilla extract
  • ¼ cup confectioner's sugar for dusting

Instructions

  • Add butter to a heavy saucepan, and cook over a medium heat, stirring constantly. Cook until the butter foams, turns clear, and then medium brown. Pour the browned butter into a glass measuring cup and allow to cool for 10 minutes.
  • In a medium bowl combine the flour, white sugar, brown sugar, pecans, and baking soda. Set aside.
  • In a small mixing bowl combine eggs, and vanilla and whisk until frothy, about 1 minute.
  • Add the egg mixture to the flour mixture and stir with a rubber spatula until just combined. Add the cooled brown butter and stir until just combined, without over mixing. Cover the bowl and let the madeleine batter rest in the fridge for an hour, or upto overnight.
  • Preheat the oven to 350 and spray a madeleine tin with cooking spray. Fill the molds with a generous tablespoon of batter. Bake about 14 minutes, until the madeleines are puffed and golden, and spring back from the edges when touched. Remove from the pan and cool on a wire rack. Dust with confectioner's sugar before serving.

Nutrition

Serving: 1g | Calories: 120kcal | Carbohydrates: 15g | Protein: 1g | Fat: 6g | Saturated Fat: 3g | Polyunsaturated Fat: 3g | Cholesterol: 26mg | Sodium: 47mg | Sugar: 10g
Tried this Recipe? Tag me Today!Mention @LifeisaParty or tag #lifeisaparty!
tea cups and fresh baked Madeleine cookies

With homemade brown butter madeleines with pecans, life really is a party!

More Recipe Inspiration 

You might also enjoy our Pumpkin Bread Pudding Recipe here.

Pumpkin Bread Pudding: this recipe is easy and delicious, perfect for Thanksgiving and the holidays.

Also check our our Pumpkin Blondies here.

You might also like our Caramel Apple Trifle Recipe here.

caramel apple trifle

Cricut Halloween Trick or Treat Bag

Sep 25, 2019 · Leave a Comment

Cricut Halloween Trick or treat bag made with infusible ink.

Cricut Halloween DIY Trick or Treat Bag: Less Tricks More Treats free Cricut pattern to create the cutest bag for trick or treating and all fall long.

Cricut Halloween Trick or treat bag made with infusible ink.
[feast_advanced_jump_to]

This adorable DIY Trick or Treat Bag is easy to make and so much fun.  When I was a kid I loved Halloween.  There were always school parties with everyone in costumes, and old fashioned games like bobbing for apples.  That was all fun, but the best part had to be trick or treating.  Back then we usually used an old plastic grocery bag. Anyone else remember that?  

Trick or Treating is still my favourite part of Halloween.  These days I'm just walking my girls around the neighbourhood, but there's still something about seeing the neighbours, and all the kids costumes, and of course the candy!  My kids are very generous, and very willing to share their treats so it's still very fun.

DIY Trick or Treat Bag

Custom Trick or Treat Bag

When I was a little girl I loved getting home from trick or treating and dumping out my bag of candy.  We all used to claim a section on the living room rug and sort our candy into piles -chocolate, chips, gum, etc.  Then it was time for sampling.  My kids do the very same -oh and let's not forget trading with your siblings for more of your favourites.  My girls love to finish the night with a hot chocolate and a few treats from their bags.

Trick or Treat Bag: Less Tricks More Treats

This custom Trick or Treat bag was so fun to make.  I used my amazing Cricut Maker.  It's one of my very favourite craft tools.  There's pretty much no end of what you can cut out and what you can make with this amazing cutting machine.  And ever since I made this tote bag and costers with Cricut Infusible Ink, I I couldn't wait to use it again.

Materials:

  • Cricut Maker
  • Infusible Ink Transfer Sheet -Black
  • Cricut Infusible Ink Tote Bag
  • Butcher Paper 
  • Cricut Standard Grip Mat
  • Cardstock
  • EasyPress 2
  • Lintroller
  • EasyPress Mat
  • Less Tricks More Treats Free PNG File -from our subscribers free resource library

How To Make the Trick or Treat Bag:

Begin by creating the cut pattern.  The PNG is available for free for Life is a Party subscribers in our Free Resource Library.  Subscribe below for access.  Download the Less Tricks More Treats file.  

To create in Cricut Design Space, start a new project, and click the upload button.  Upload the free file.  Make sure the background is removed, then add to your canvas.  Adjust the size to fit your bag. When you're ready to cut it out, click Make It.  Be sure to "mirror image" is on. cricut trick or treat bagChoose Cricut Infusible Ink Transfer Sheet as your cutting material. cricut Infusible Ink bag 

  • Next, apply your Cricut infusible ink transfer sheet to a regular cutting mat, and cut out your infusible ink transfer sheet.
  • Once the infusible ink transfer sheet is cut out, remove it from the cutting mat and weed the it.  To apply the infusible ink to the tote bag, preheat your Easy Press 2 to 375 F and set the timer for 40 seconds.  To prepare the tote bag to receive the infusible ink transfer sheet, layer your Easy Press mat, the tote bag, with cardboard inside.  Next, use a lint roller to make sure the tote bag surface is completely clean and lint free.
  • Use the Easy Press 2 to preheat the tote bag for 15 seconds.  Now apply the infusible ink transfer sheet to the tote bag, taking care to line it up in the middle.
  • Place a piece of butcher paper on top of the infusible ink transfer sheet.  Place the Easy Press 2 on top with light pressure, and without moving it at all for the 40 seconds.  Allow the transfer to cool slightly, and then remove it to reveal your beautiful tote bag.
Cricut Halloween Trick or Treat Bag

Perfect To Use All Fall

I love how this bag turned out.  The infusible ink is an amazing product that creates the most professional finish.  

Cricut Halloween DIY Trick or Treat BagI won't be just saving it for trick or treating on Halloween night, this cute bag will be in circulation all fall long.

Trick or Treat BagWith this cute custom Cricut Halloween Trick or Treat Bag, life really is a party!

You might also like our Ghost Rice Krispie Squares here.

Ghost Rice Krispie Squares: the perfect easy recipe for a special Halloween sweet treat on a stick for your little ghouls and goblins.

Also check out our DIY Faux Concrete Pumpkins here.

DIY Faux Concrete Pumpkins: easy DIY to transform inexpensive dollar store pumpkins with a concrete faux paint finish.

You also might like our Pumpkin Fairy House Jack-O-Lanterns here.

Pumpkin Fairy House Jack-O-Lanterns: this Halloween carve your pumpkins into fairy houses, and see the warm glowing light through the windows at night.

Fall Tea Party

Sep 24, 2019 · 5 Comments

Fall tea party in a garden with tea and treats set up in front of an outdoor couch.

This Fall Tea Party has a fall inspired menu with recipes, ideas for decor, and is set in a beautiful autumn garden setting. You will love enjoying the flavors of fall as you sip tea with your friends.

Fall tea party in a garden with tea and treats set up in front of an outdoor couch.
[feast_advanced_jump_to]

Why We Love This Party

  • Fall just might be the best season of all.
  • Pumpkin, apple, pecan, turkey, and cranberry meet a tea party.
  • Tea sandwiches, scones, and sweets are the perfect three course menu.

Every season has its charm, but is there anything more pleasant than a warm fall afternoon, with the sun shining, and the leaves turning? And there's nothing better than tea parties, so enjoying afternoon tea in the garden before the cold weather arrives, seemed like the recipe for a great time.

We love a tea party around here. If you do you should also check out our Christmas tea party, Winter tea party, our Valentine's Day tea party, and our tips on how to throw an afternoon tea party for adults.

Tea in the Garden

I love to add a few seasonal touches outside for fall like some mums and pumpkins. I thought this would be the perfect spot for an afternoon tea with some girl friends.

fall tea party in the garden
fall tea in the garden
fall garden party
fall garden with pumpkin

A few cozy blankets and pillows made it extra cozy for friends -and doggies.

what to serve at a fall tea party
Havanese dog in the garden
fall tea party in the garden

And even the little fountain looked ready for fall with a few mum blooms floating in the water.

fall flowers in a garden fountain

Fall Tea Party Menu

fall tea party menu

We love a traditional tea party food menu. For our fall tea party we were inspried by the season. For our autumn tea menu we served:

  • mini sausage rolls
  • turkey sandwiches with cranberry mayo -recipe here
  • scones-recipe here with apple butter-recipe here and cream
  • fall leaf sugar cookies -delicious recipe here
  • pecan madeleines -recipe here
  • pumpkin blondies -recipe here

Tea Sandwich Ideas

We wanted to include the flavors of fall with our harvest tea party. First things first, we started with the tea sandwiches.

Turkey was the perfect choice, with a perfect cranberry sauce mayo, to make you think about Thanksgiving flavors. Find our turkey sandwich with easy cranberry mayo recipe here.

tea party sandwiches

We have a favourite British bakery that makes delicious sausage rolls, so they are an easy choice for us.

You could also include traditional finger sandwiches like cream cheese and cucumber, egg salad tea sandwiches , and chicken salad. Don't forget to cut the crusts off.

And if you're serving kids, you really can't go wrong with the classic peanut butter and jam. Use seasonal cookie cutters to cut out the pb&j sandwiches for a fun festive touch.

Scones

You can't have a high tea without scones with jam and cream.

how to host a fall tea party

This is the perfect time of year for some apple treats, and we paired our plain scones with some homemade apple butter and sweet whipped cream.

The apple butter is an easy slow cooker recipe. Make it days ahead and store in the fridge. Or look for a store bought version with the jams and jellies.

tea and scones

It's difficult to find real clotted cream here, but whipped cream makes a great substitute. Other great choices would be serve mini pumpkin scones. 

tea party menu ideas

Tea

And don't forget a good, big, hot pot of tea for tea time.

backyard tea party

I love regular black tea, but a herbal tea for fall would be lovely too. And don't forget tea is traditionally served with milk, not cream. You could also add some sugar or honey.

If it's a hot day outside, iced tea would be a great option too.

Sweets

Arguably, the best part of a tea party is the little sweets. Our fall inspired sweets are the perfect sweet finish to the tea party.

You can't really have a fall themed tea party without including some pumpkin. We made our famous pumpkin blondies with pumpkin frosting. They're chewy and sweet and perfectly pumpkin-y.

fall tea party ideas

We also made some ombre frosting easy cut out sugar cookies. These are a real favorite and we make them for lots of special occasions. We cut them out with a leaf cookie cutter for fall and they were perfect in their pretty shades of peach and pink.

what to serve at a tea party

And finally we made some homemade browned butter pecan madelines. These are the perfect little tea cake, soft and tender on the inside, and slight crunch from the pecans.

What a feast of sweet treats!

autumn tea party

Serving

High tea traditionally involves a three tiered tray. Each level is a different course -savoury sandwiches, scones and cream, and lastly sweets for dessert. We created the same feel with three separate footed plates, one for each course. 

tea party menu

This tea party was so fun to put together. And even more fun to enjoy. 

Perhaps every season change should be greeted with a special seasonal tea party in its honor?

backyard tea party

Whether it's just a few pumpkins, and some store bought fall treats, or lots of homemade favourites, a fall tea party is the perfect way to make life a party.

More Tea Party Inspiration

  • Tea party table set for an adult tea party.
    Tea Party Food: The Complete Guide to Sandwiches, Scones and Sweets
  • Green gingham tablecloth with vintage teacups, candelabra, tulips and daffodils set for a Little Women party.
    Little Women Party: A March Sisters Vintage Tea Party
  • Winter tea party with snowflake decor and menu.
    Winter Tea Party: Snowflake Theme Decor and Menu
  • Tea party table set for an adult tea party.
    How To Throw An Afternoon Tea Party For Adults

Frequently Asked Questions

Can you prep the food ahead of time?

We made the sweets the day before the party. The scones are best made the W\Wheremorning of the party, and so are the tea sandwiches. Make sure to wrap up things in plastic wrap of put in air tight containers before serving.

Where are the light up "TEA" letters from?

I found them at the craft store, but look on line or places like Etsy for them.

Where are the tea cups from?

These pretty black and white tea cups are a vintage find, from an antique store. Look for something similar at an antique shop, thrift store, or an on-line buy and sell group.

If you try any of the ideas from this Fall Tea Party or any other ideas on my blog please let me know how it went in the comments below. Thanks for visiting today!

Fall Home Tour

Sep 17, 2019 · 14 Comments

fall decor home tour

Fall Home Tour: Full of autumn decor ideas for Vintage Botanical Scientific Decor with Boho Maximalist Influence with lots of plants, insects, and pumpkins.

fall decor home tour
[feast_advanced_jump_to]

Welcome to our fall home tour full amazing autumn decor ideas.  I've been busy transforming our home, and I love how it's turned out.  It's a little different.  A little more full, with so many interesting and collected finds.  I'd call this style vintage botanical science decor -with some real boho influence.  I've included some science decor in my decorating a few other times -here and here, but this time is the best time.  I stuck with my favourite black and white colour scheme this fall, and added in an accent colour of green.  You'll see the boho influence too with all the plants, grasses, feathers, and twinkle lights.

Vintage Botanical Scientific Decor
Vintage Botanical Scientific autumn decor ideas

We have this console table near the front door, and it's full of little treasures this fall.  I like to think about a Victorian botanist who's been collecting all fall and studying different plants.  But this year you see she's developed an interest in insects too.

Vintage Botanical Scientific Fall Decor

Fall Home Tour Inspiration

It's amazing where you can find inspiration.  This summer we took a trip to Florida and enjoyed a great family vacation at Disney World.  One day we headed over to Universal to visit the Wizarding World of Harry Potter.  The displays were pretty incredible.  It was so detailed that it really did make you feel like you were in the story.  As we wound our way around the Hogwarts castle in the line up for a ride there were classroom props like bottles of ingredients for potion making, and skeletons of magical animals, and text books.  I felt so inspired.  The more I looked the more I saw.  When we returned to Disney World, I started looking at the displays differently and noticed more and more details, and felt more and more inspired to bring a little story telling to my own fall decor.

fall bar cart ideas

I already loved the look of vintage scientific pieces in decor, so my theme for fall was decided.  I'm also feeling influenced by some of the maximalist boho decor I've seen emerging all over Instagram and Pinterest.  I love simple too, but there is something about this collected look that's so fun.  Bring on all the autumn decor ideas full of layers of plants, vintage, and scientific collections.

fall home tour

Dining Room

Would you believe I had most of these items already, but I did pick up a few new to me vintage pieces, including some creepy crawlies.  I also removed the chair covers in the dining room -remember the ones I made from drop clothes here?  I felt like the black chairs helped add a moody darker layer for fall.  Also, I picked up some inexpensive dark green velvet curtains.  It's amazing what a difference a few changes can make to a room.

fall dining room decor ideas

On the dining room table the collection really comes to life.  My own little cabinet of curiosities.  

Vintage Botanical Scientific Fall Decor ideas

To create this look I started out with lots of house plants -some are real and some are faux.  I added in some glass cloches -since they feel very science-y.  I also included lots of glass bottles, and scientific glass.  

vintage bottles in a tray

And some pieces I've been collecting just for this look -some old notes, a compass so my wandering botanist doesn't get lost in the woods, a vintage ruler, and old telescope found on kijiji, magnifying glasses, and old spectacles.

Vintage Botanical Scientific Decor

And then I layered in lots of natural elements she might be studying, some insects, feathers, grasses, pinecones, mushrooms, chestnuts, seeds, and acorns.

Vintage Botanical Scientific Autumn Decor Ideas
boho plant decor

It was so much fun to put these collections together and play with some storytelling.

Vintage Botanical Scientific Tablescape

I can imagine her pushing her work to the centre of the table, and then coming back to it to work some more later.

Fall Dining Room Ideas

The Butterfly Wall

And one of my favourite elements in the room is the checked feature wall.  I created the buffalo check wall with paint -you can read all about it here.  Since we were adding the collection of insects this fall, I thought it would be fun to create a butterfly specimen wall.

Vintage Botanical Scientific Decor

I used paper butterflies, and straight pins to create this look.  Insect pins are usually black, so I spray painted some regular straight pins black.  Then I attached the paper butterflies to the centre of each square with one, folding the wings up a little to create some dimension.  

fall home tour

I love how it kind of looks like wallpaper.  It was really easy to do for a huge impact in the room.

boho fall decor

On the buffet cabinet, I've included more of the collection.

vintage fall decor ideasThe vintage typewriter and spectacles are all ready for typing up notes of observations.

science themed fall decor

My favourite new piece is this vintage card catalogue.  I found it at the antique fair a few weeks ago, and it's perfect for this look.

Fall Home Tour
vintage card catalogue

This area might just be my very favourite. 😉

bohemian decor for fall

Autumn Decor Ideas In The Living Room

Over in the living room, the theme continues.  

Fall Home Tour

This little vintage table at the end of the stairs is full of more collections for fall.

neutral fall decor

This brass bug was a thrift store find this week -you might have seen in Instagram Stories.  He was just too perfect to not use with all the other bugs for fall.

amber glass fall decor

I shared the fall living room mantel last week, you can read all about it here.  

neutral fall mantel

This DIY wreath turned out so great.  I made it with some foraged grasses that grow wild where I live, and an up cycled wreath form.  There's a full tutorial for the DIY Pompas Grass Wreath here.

neutral fall fireplace mantel

Over on the couch, I added in some green pillows, in some really rich cozy velvet for fall.

green fall living room decor

On the coffee table there's a collection of pumpkins -this unusual green one is so cool.  I'll try and save some seeds from it and see if I can grow some for next year.  And the bug collection is such a neat natural element too.  The velvet pumpkins in the living room are a diy.  I've saved some old pumpkin stems from last year, and hope to make a few more with a tutorial.  Those real stems really elevate the project.

green pumpkin
boho fall home tour
boho fall home tour

The Kitchen

autumn decor ideas for the kitchen

Over in the kitchen I kept things on the table nice and simple.  This old wood dough bowl is another antique fair find from years ago.  

autumn decor ideas

It's perfect for every season by just changing out what's inside of it.  This year there's a collection of dollar store pumpkins that I painted from orange to white, and a few mini velvet pumpkins mixed in.

wood dough bowl full of mini pumpkins

On the little side cupboard there's more plants, vintage bottles, and grasses for fall.

free vintage botanical art insects

The poster is a free download from The Biodiversity Heritage Library.  They have all kinds of amazing antique plant, animal, and insect drawings, all available for free download.  I'm planning to do a whole blog post about how to make inexpensive large poster art like this from colour engineer's prints -coming soon.  free printable vintage botanical insect poster

There's pretty much nothing better than being able to go for a walk and cut a few pretty branches and bring them home and put them in a vase.  This time of year, every leaf really is a flower.

autumn decor ideas

Open Shelves

Also, I always love decorating my open shelves for each season.  My brother-in-law made the floating shelves for me out of inexpensive plumbing supplies -see how here.  It's really fun to change them up each season.

open kitchen shelves with fall decor

My daughter Maddie loves to bake and she's already making pumpkin Madelines, and ginger pumpkin bread with walnuts to tempt us this fall.

fall open shelves

On the shelves I've added a few pops of green, some pumpkins, and plants to tie in with the rest of the house.

kitchen floating shelves fall decor

The green glasses were a fun vintage find at the thrift store, and I can't wait to use them this fall.

kitchen floating shelves fall

I always like to add a little art to the shelves, and this time I'm using Craftberry Bush's free pear printable.  Lucy is an incredible artist and I always love her work, this one was perfect for here this fall.

open shelves decorated for fall

It's the little details that make a house feel like a home.

fall kitchen decor

There were so many photos to share with you this season for our fall home tour, because this year my styling was full of special little pieces.  I'll be sharing lots of closeups and more details on Instagram Stories this week so be sure to follow along.  And I do hope you're feeling inspired for fall.

autumn fall decor ideas

Fall Mantel

Sep 11, 2019 · 6 Comments

Fall mantel

Fall Mantel: Inspired by the season, bringing the outdoors in with pumpkins, apples, feathers, and vintage science themed decor.

Fall mantel
[feast_advanced_jump_to]

Redorating the mantel is a sure sign of the seasons changing.  This year for Fall I wanted to incorporate some pumpkins, and apples as well as a bit of a vintage science feel.

The Wreath

The Pampas Grass Wreath is the one I made last week. You can find the whole tutorial on how to make a DIY Pampas Grass Wreath here.  It's made of grasses that grow wild around my house, and it was fun hunting and gathering for it.

Fall Mantel

The wreath is hung on this old door I found at an antique store.  I love it's chippy old white paint, and since we have a corner shaped mantel, the door makes a great backdrop for the mantel.

fall mantel ideas

Science Elements

This year I'm decorating again with a vintage botanical science theme to my decor for fall.  I picture a Victorian woman with a bit of a flare for the study of plants and insects.  To pull off this look, I've  incorporated a few vintage pieces -my favourite is the vintage drawer with the old bottles.  I imagine her collecting and sorting different flowers, feathers, and plants to examine.  

boho fall mantel

This year I'm incorporating some different insects into my decor.  These beautiful butterflies are also from an antique fair.

fall decor ideas

And my scientist, she's also got her books and magnifying glass for further study.

pumpkin and vintage books

The apples are some from an old crab apple tree I found on a walk.  They won't last too long, but they feel perfectly fall.  And they smell great too.  The good news about fresh foliage that won't last is that it will require more fall walks to look a replacement.

fall apples and pumpkins

Bunting

The macrame bunting is a favourite of mine.  I shared how I made the DIY macrame bunting garland here -it's really easy, even if you're a beginner at macrame.  I can't seem to take it down -it just seems to look good for every season.

fall mantel

This mantel is just the beginning of my fall decor.  Be sure to check out my fall home tour next week -and follow along on Instagram Stories for behind the scenes and to watch my progress.

boho fall decor

With a pretty fall mantel, life really is a party!

You might also enjoy our Fall Home Tour here.

Fall Home Tour: Vintage Botanical Scientific Decor with Boho Maximalist Influence means lots of plants, insects, and pumpkins.

Also check out 5 Ways To Make A Cozy Fall Bedroom here.

Cozy Fall Bedroom: 5 simple ways to make your bedroom cozy for fall, like candles, layers, books, natural elements, and neutral decor.

You might also like our Neutral Fall Mantel here.

Easy DIY Pampas Grass Wreath

Sep 3, 2019 · 6 Comments

Pampas grass wreath DIY

Pampas Grass Wreath: This inexpensive DIY wreath is made from foraged grasses. Perfect for fall, easy to make and full of texture.

Pampas grass wreath DIY
[feast_advanced_jump_to]

I've fallen in love with pampas grass.  As a child born in the 70's, I remember it from then.  It's back and I love the boho vibe it adds to any space, so I thought it would be fun to create a pampas grass wreath.

I also love that lots of different grasses grow wild all around where I live.  We went out and found some in feathery white, and some darker, and I mixed it in with a few other wild grasses I found growing wild.  I love to decorate for the season, by bringing the outside in.  For the fall season I love to add fall decorations like pumpkins, and leaves, and these grasses are perfect to add to your home decor for the season too.

Pampas Grass Wreath: This inexpensive DIY wreath is made from foraged grasses. Perfect for fall, easy to make and full of texture.

This wreath was really easy to put together.  And the price is certainly right.  I upcycled an old straw wreath form that I had used before.  The grasses are free, you just need to go and collect some.  The creamy white pampas grass is just starting to get feathery here, and not quite there yet.  In another week or so it will be so soft and fluffy.  This was perhaps a little easier to work with.  I'm hoping that as it dries, it might become more feathery and fluffy.

This wreath is a great addition to your home décor. It's neutral, but adds such great texture to any space.

Wreath Base

I used a straw wreath base for this project and it worked really well.  Another option would be a foam wreath base.  Either of these are a great choice.  I won't use a grapevine wreath base or a wire metal wreath base for this project.  The grapevine natural wreath won't be perfectly smooth or round, so it would be a little bit harder to work with.  And the wire wreath is too flat to give your wreath a nice form.

Wire, Twine, or Hot Glue

You could attach your grass stems using floral wire, twine, or hot glue and a hot glue gun for this pampas wreath.  I used twine for my mine, because I found it easy to work with.  Wire is a great choice too, and might be easier to tighten and make a very secure wreath.  For your own pampas grass wreath, hot glue could work also for this project, but might be more time consuming to glue down each individual pampas grass stem.

Pampas Grass Wreath: This inexpensive DIY wreath is made from foraged grasses. Perfect for fall, easy to make and full of texture.

Materials:

  • wild grasses
  • straw wreath form
  • twine

How To Make A Pampas Grass Wreath

To make the grass wreath, start by collecting your grasses.  I found mine growing near where I live along the side of the road.  Collect more than you think you'll need, because you don't want to run out and have to go collect more.  If you aren't able to collect the grass where you live, you can of course buy some.  Look online for the best prices.

Pampas Grass Wreath: This inexpensive DIY wreath is made from foraged grasses. Perfect for fall, easy to make and full of texture.

To prep your fresh grasses, cut them all to around 30 cm long, removing the green leaves, and just leaving the ends of the feathery grasses.  Mix your different types of fresh pampas together.

The easy way to make your large wreath more even and help ensure you don't run out of grass before you're done, is to divide your pile into 4, and try to use one pile of grass on each quarter of the wreath frame.

Pampas Grass Wreath: This inexpensive DIY wreath is made from foraged grasses. Perfect for fall, easy to make and full of texture.

Tie the twine tightly on the wreath, leaving the spool attached. To attach your grasses, start with a small bundle, lay them out on your wreath facing one direction.  Wrap the twine tightly around it.  Add another bundle of grass facing the same direction, overlapping the previous one and the twine, and wrap it tightly with twine.  Continue all the way around the wreath, tucking the last plume section under the first stem section.  Tie off the twine at the end.

Pampas Grass Wreath: This inexpensive DIY wreath is made from foraged grasses. Perfect for fall, easy to make and full of texture.

Hair Spray

The natural texture of this wreath is so beautiful.  Because some of the feathery fluffy pampas grasses might shed, you can spray the pampas grass plumes with a little hair spray to help prevent shedding of your dried grasses.

This wreath should dry beautifully and be re-usable.  Use it for new seasons by adding a piece of ribbon.  A red hanging ribbon would be a great addition to this as a Christmas wreath.

Pampas Grass Wreath: This inexpensive DIY wreath is made from foraged grasses. Perfect for fall, easy to make and full of texture.

Something Different For Fall

I love how this wreath turned out.  It's feathery and fine, and beautiful.  The mix of colours is really subtle and nice -I really like the creamy white pampas grass mixed with the darker ones.  It has tons of texture.  And, it's perfect for fall, but a little different from what you might typically think of as fall.  It would be great as a front door wreath, on a fireplace mantle in a living room, or anywhere you want to add some texture with a boho wreath.

Pampas Grass Wreath: This inexpensive DIY wreath is made from foraged grasses. Perfect for fall, easy to make and full of texture.

With a DIY Pampas Grass Wreath, life really is a party!

More Inspiration

You might also enjoy our Elements of Boho Style post here.

Boho Thanksgiving Table: Elements of Boho Style like macrame, plants, natural elements, colour, and global influence to help you create a boho tablesacpe.

And you might like our Fall Home Tour here.

Free Printable Lunch Box Notes

Aug 21, 2019 · Leave a Comment

back to school lunch box notes

Free Printable Lunch Box Notes: perfect for the first week of school to remind your little one how special they are, paired with a little treat.

back to school lunch box notes
[feast_advanced_jump_to]

It's back to school time, and it can be hard for little ones to transition back after a long summer.  Help them to know you're thinking of them by including our sweet little free printable lunch box notes in their lunch.

We've designed 6 different free lunch box notes, perfect for back to school.

Free Lunch Box Notes

Subscribe below for instant access to the free printable Lunch Box Notes.  Then you can print them out at home.  Next, cut them out and add them to your child's lunch to put a smile on their face at lunch time.

We've designed some of the notes to go with a special treat.   "Book worms are the best worms" is paired here with some gummy worms. 

book worm Free Printable

"You're the apple of my eye" is perfect paired with an apple, apple sauce, or any apple flavoured treat.

Free Printable Lunch Box Notes

"Smart Cookie" is perfect with a little bag of cookies for snack time.

Free Lunch Box Notes

And "Stay Sharp" would be perfect with some pencils, or a pencil sharpener.

Free Lunch Box NotesThere's two more "first day of school" and "back to school" that would be great that first day.

back to school Lunch Box NotesAlso, these are even more special with a handwritten note of encouragement on the back from mom or dad, especially if anyone is struggling with first week back jitters.

Free Lunch Box NotesRemember to let your little ones know just how special to you they are with this thoughtful little treat.

With our lunch box notes, life really is a party!

Subscribe below for instant access to these Free  Lunch Box Notes, and our whole Back To School Printable Package as well as others.

free back to school printables

And the year before that -Back To School Dinner 2017

And the year before that... Back To School Dinner 2016.

And, the year before that, Back To School Dinner 2015.

You might also like our Notebook Paper Sugar Cookies:

Or our Marshmallow Pencil Snacks:

Or our Apple Truffle Pops:

Caramel Apple Trifle

Aug 20, 2019 · 1 Comment

Caramel apple trifles made in mason jars.

Caramel Apple Trifle: layers of cake, caramel, cooked apples, custard, and whipped cream create the perfect fall dessert. Make it from scratch, or use store bought ingredients to make it quick and easy.

Caramel apple trifles made in mason jars.
[feast_advanced_jump_to]

I always love to make an apple dessert for my kids on the first day of school.  We have a special dinner together to hear all about their day, and it just seems right to finish it all off with an apple dessert.  

Read all about this year's back to school dinner with free printables here. It's so perfectly fall, and back to school. This year my youngest helped with this Caramel Apple Trifle.
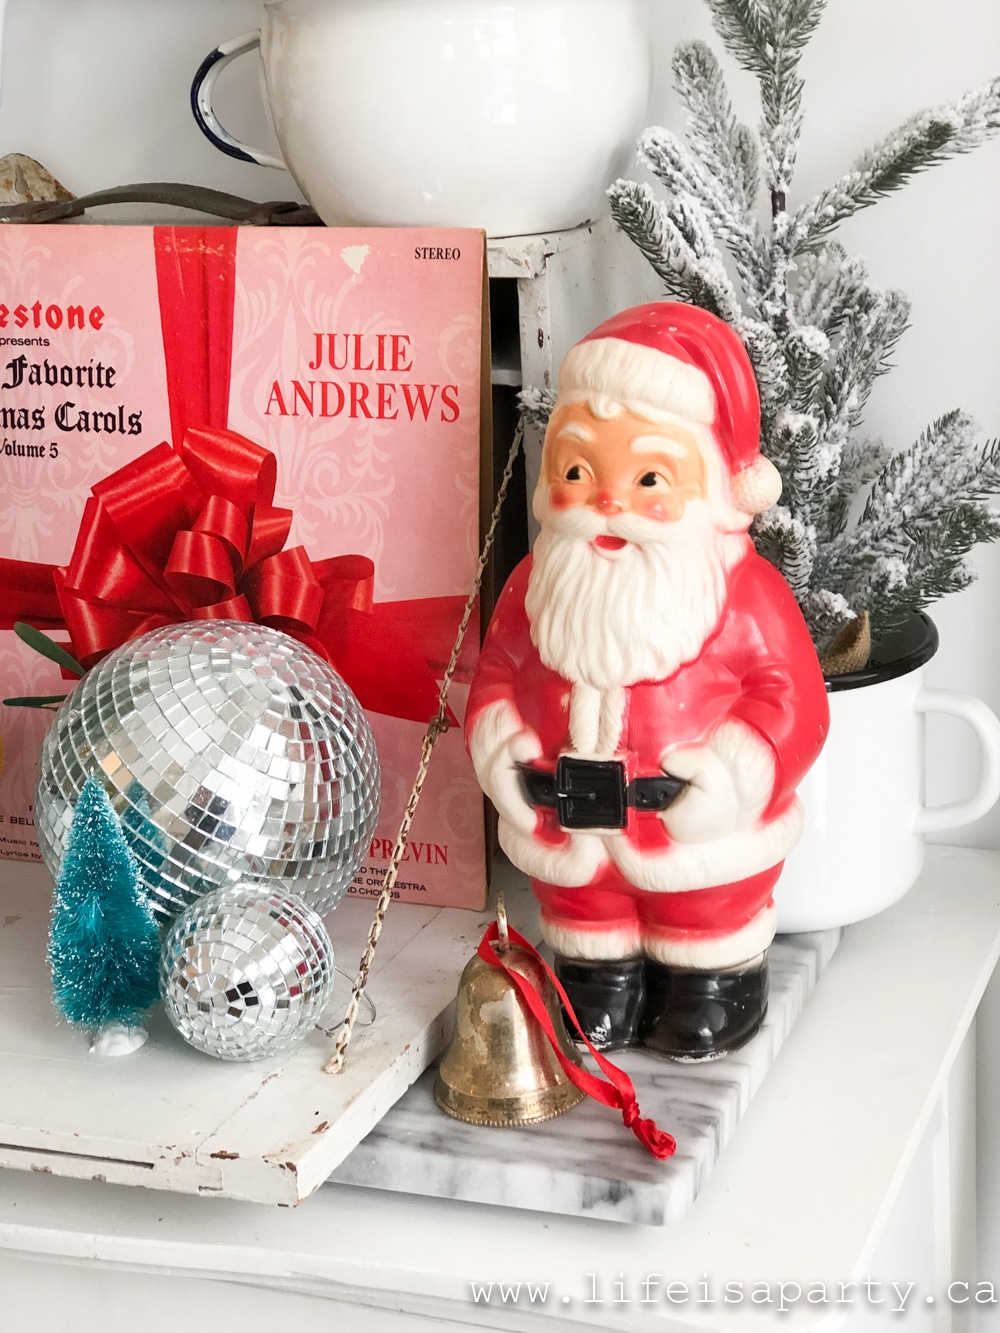
You might also like Eggnog Bread Pudding, Mini Apple Crisp in a Jar, Caramel Apple Fondue, and Pumpkin Blondies with Pumpkin Frosting.

making Caramel Apple Trifle in a mason jar

I love serving it in mason jars for an individual dessert, but you could also make this in a large trifle bowl to feed a crowd.

Caramel Apple Trifles in mason jars

This recipe could be quick and easy, or take a little longer with home made versions... it's totally up to you.  We made homemade caramel sauce, and custard, and whipped cream but you could also pick up some pre-made caramel sauce, vanilla pudding, and canned whipped cream or cool whip for a quicker version that would also be really delicious.

how to make Caramel Apple Trifle

I love this dessert for fall, and any cinnamon apple lovers you know are sure to love it as well.  This caramel apple trifle recipe is perfect for when apples are at their best this time of year.  Fall is also fair season where I live.  So a caramel apple trifle seems like the perfect fall dessert for more reasons than one.  The apple filling is pretty easy to put together, and makes the house smell amazing!  The apples are the star of this dessert, but the combination of cake, and creamy custard, and rich caramel, and a sprinkling of crunchy pecans is a pretty amazing combination.

If you're an apple pie filling lover, than you love this combined with a delicious drizzle of caramel sauce.  These mini apple pie trifle desserts are perfect for entertaining too. These are great as a make ahead for the next day.

how to make a layered individual Caramel Apple Trifle

I picked up all the ingredients at Giant Tiger.  Look for their Giant Value products for great price, and great quality.

Caramel Apple Trifles layered in mason jars
Caramel Apple Trifle: layers of cake, caramel, cooked apples, custard, and whipped cream create the perfect fall dessert.

Quick and Easy Version

Don't have time to make everything from scratch?  Good news, you can substitute the homemade elements for some quicker and easier versions. Instead of making custard, use some vanilla pudding mixes instead, or canned ready made custard.  No time to make the homemade caramel sauce? Substitute an already made version.  Can't make the sauté apples from scratch? Try using layers of apple pie filling instead.  We used store bought pound cake for our trifle base, but you could bake cake for this layer yourself if you prefer.

Individual or Large Serving

We've made our individual servings in small individual glass jars, you could also small dessert bowls, so everyone has their own small bowl.  Another option is to make one large trifle dish.  Be sure to cover with plastic wrap and store leftovers in large glass bowl or individual servings in the refrigerator.

This dessert was so delicious.  And I love that you can make a quick an easy version with some store bought time savers, or make it all from scratch depending on your time and preferences.  This is one of the best dessert recipes for any apple lovers.

More Trifle Recipes

  • Easter trifle with Cadbury mini eggs on a wooden dining table with a floral napkin and gold spoons.
    Easter Trifle with Cadbury Mini Eggs
  • Individual chocolate brownie trifle in a glass with gold spoons.
    Mini Chocolate Brownie Trifles
  • Group of individual trifles in glass dessert bowls.
    Easy Individual Mini Trifle Cups Recipe
  • Three individual black forest trifle mason jars with chocolate cake, cherry pie filling, whipped cream, and chocolate shavings on a wood table with white spoons and fresh flowers.
    Black Forest Trifle in a Mason Jar

Recipe

Caramel apple trifles made in mason jars.

Caramel Apple Trifle

Sweet caramel and apple trifle with custard and cake.
5 from 1 vote
Print Pin Rate
Course: Dessert
Cuisine: British
Prep Time: 30 minutes minutes
Cook Time: 2 hours hours
Total Time: 2 hours hours 30 minutes minutes
Servings: 4
Calories: 1597kcal
Author: Dannyelle Nicolle-Ramjist

Ingredients

For the Caramel Sauce

  • 1 14 oz can sweetened condensed milk

For the Apples

  • 4 apples peeled and sliced
  • ½ cup brown sugar
  • 1 teaspoon cinnamon
  • ½ teaspoon nutmeg
  • 1 teaspoon vanilla extract

For the Custard

  • 1 cup milk
  • 2 eggs
  • ⅓ cup sugar
  • 2 tablespoon flour
  • 2 tablespoon cornstarch
  • ⅛ teaspoon salt
  • 1 teaspoon vanilla extract

For the Whipped Cream

  • 1 cup whipping cream
  • 1 teaspoon vanilla extract
  • 2 tablespoon sugar

To Assemble The Trifles

  • 1 prepared vanilla cake mix or pound cake
  • 4 tablespoon pecans toasted and chopped

Instructions

To Make the Caramel Sauce

  • To make the caramel sauce, place a sealed, unopened can of sweetened condensed milk in a large pot and fully cover in water.
  • Boil the can for 2 hours, making sure to keep it covered in water the whole time. Set a timer and check it every half hour and add water to the pot if necessary. If the pot were to boil dry, the can could explode, which would be dangerous, so be sure to boil it carefully. After two hours remove from the water and allow to cool slightly. Remove the lid, and the insides will have turned into caramel sauce. Note: we only used half of the finished can for this recipe. This process is quite time consuming so be sure to do it first thing or even the day before, and give it some time to cool before using it.

To Make the Apples

  • Combine the sliced apples, brown sugar, ground cinnamon, nutmeg, and vanilla in a saucepan, and sauté apples over medium heat until the apple cinnamon mixture has softened about 5-6 minutes. Let the apple mixture cool slightly before adding to the trifles.

To Make the Custard

  • Whisk the egg, and egg yolk with the sugar. Add in the flour, cornstarch, and salt. Whisk until the mixture becomes pale yellow.
  • Heat the milk in a large saucepan over medium heat until the milk is hot but not boiling. Add ¼ cup of the hot milk to the egg mixture and whisk milk quickly to combine. Then add another ¼ cup of the hot milk and whisk quickly again. Slowly add the rest of the hot milk to the egg mixture, whisking quickly the whole time.
  • Add the egg mixture to a clean saucepan and return to a medium-low heat, whisking continually until the mixture begins to thicken and boil.
  • Remove from the heat and whisk in the vanilla, continue whisking until smooth. Allow to cool.

To Make the Whipped Cream

  • Add heavy cream or sometimes called whipping cream to a stand mixer, or pour into a large mixing bowl and use an electric mixer and mix on high speed until soft peaks form.
  • Add sugar and vanilla, and continue whipping until firm peaks form.

To Assemble the Trifles

  • In four mason jars, add a layer of cubed cake, about ⅓ of the jar.
  • Next, add a layer of custard.
  • On top of the custard add a layer of the apples.
  • Next, add a layer of caramel sauce.
  • Finally finish the trifles with a layered of whipped cream and chopped pecans.

Nutrition

Serving: 1Servings | Calories: 1597kcal | Carbohydrates: 272g | Protein: 25g | Fat: 49g | Saturated Fat: 26g | Polyunsaturated Fat: 18g | Trans Fat: 1g | Cholesterol: 221mg | Sodium: 1340mg | Fiber: 7g | Sugar: 204g
Tried this Recipe? Tag me Today!Mention @LifeisaParty or tag #lifeisaparty!
Apple Trifle recipe

This a great make ahead easy recipe.  With Caramel Apple Trifles, life really is a party!

More Apple Dessert Inspiration

You might also like our recipe for Homemade Caramel Apples here.
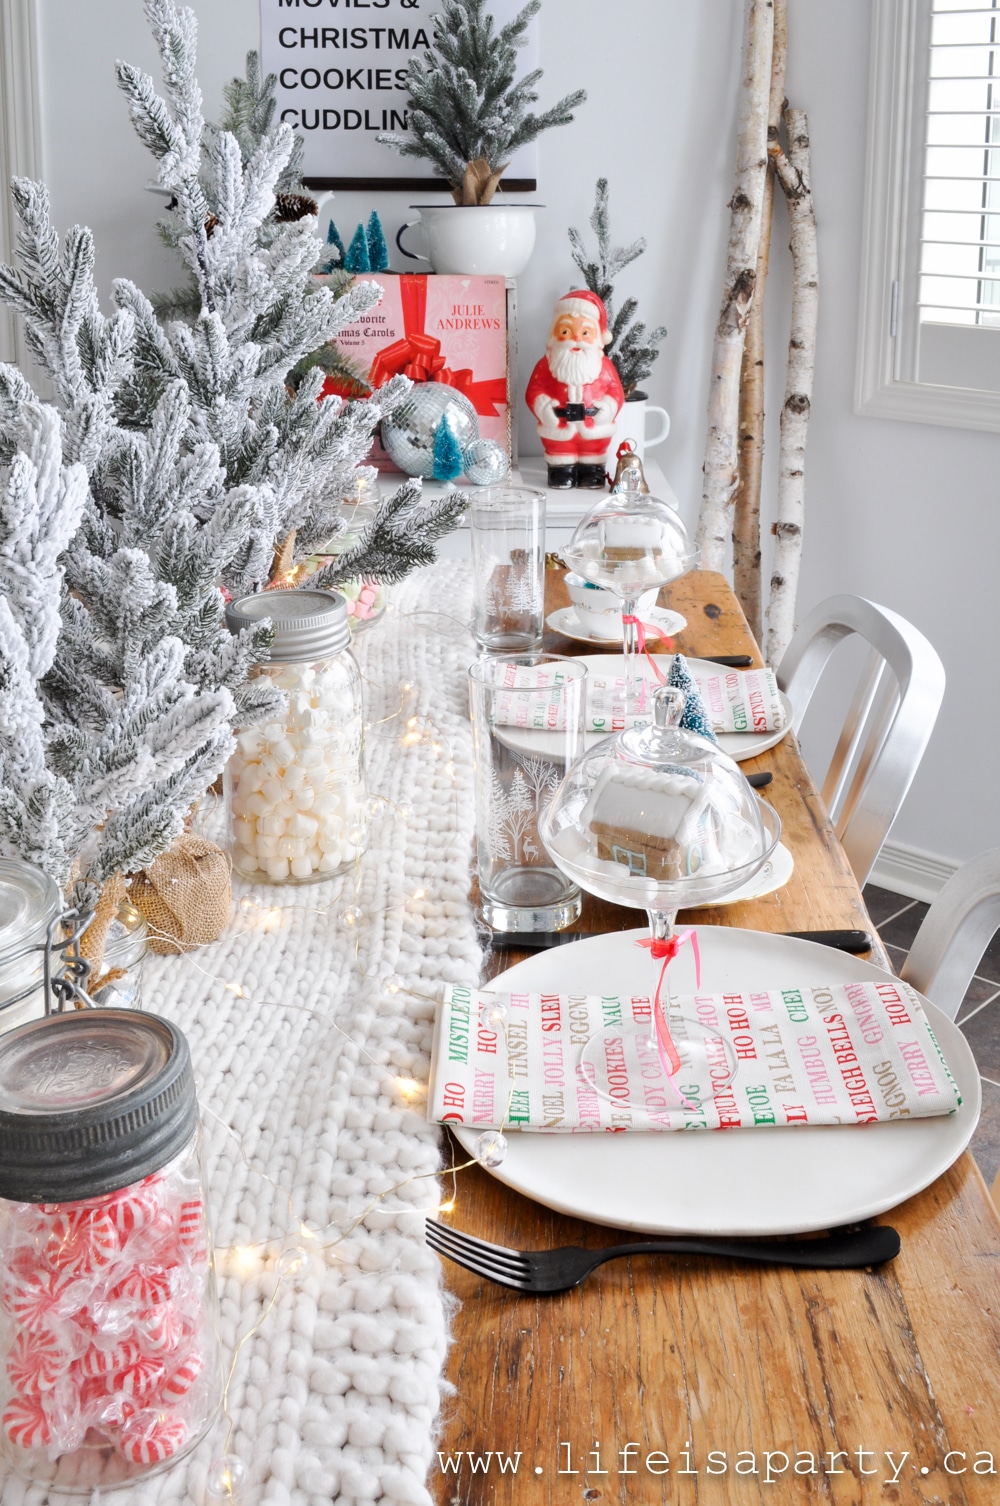
Also check out our Caramel Apple Fondue here.
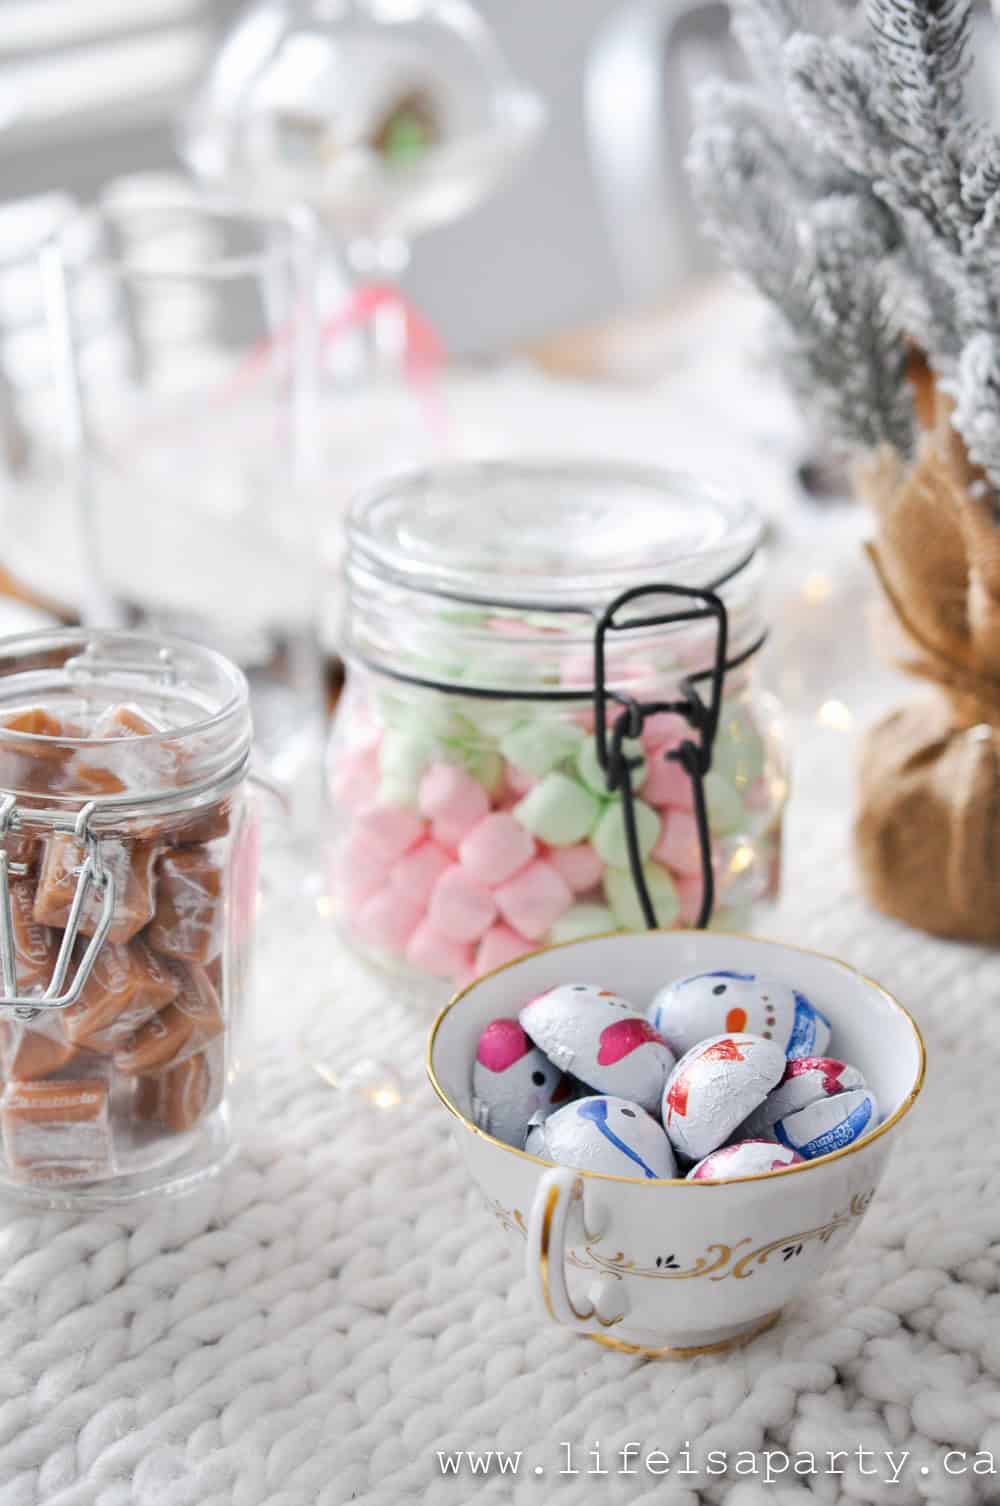
You might also like our Easy Apple Crisp recipe here.
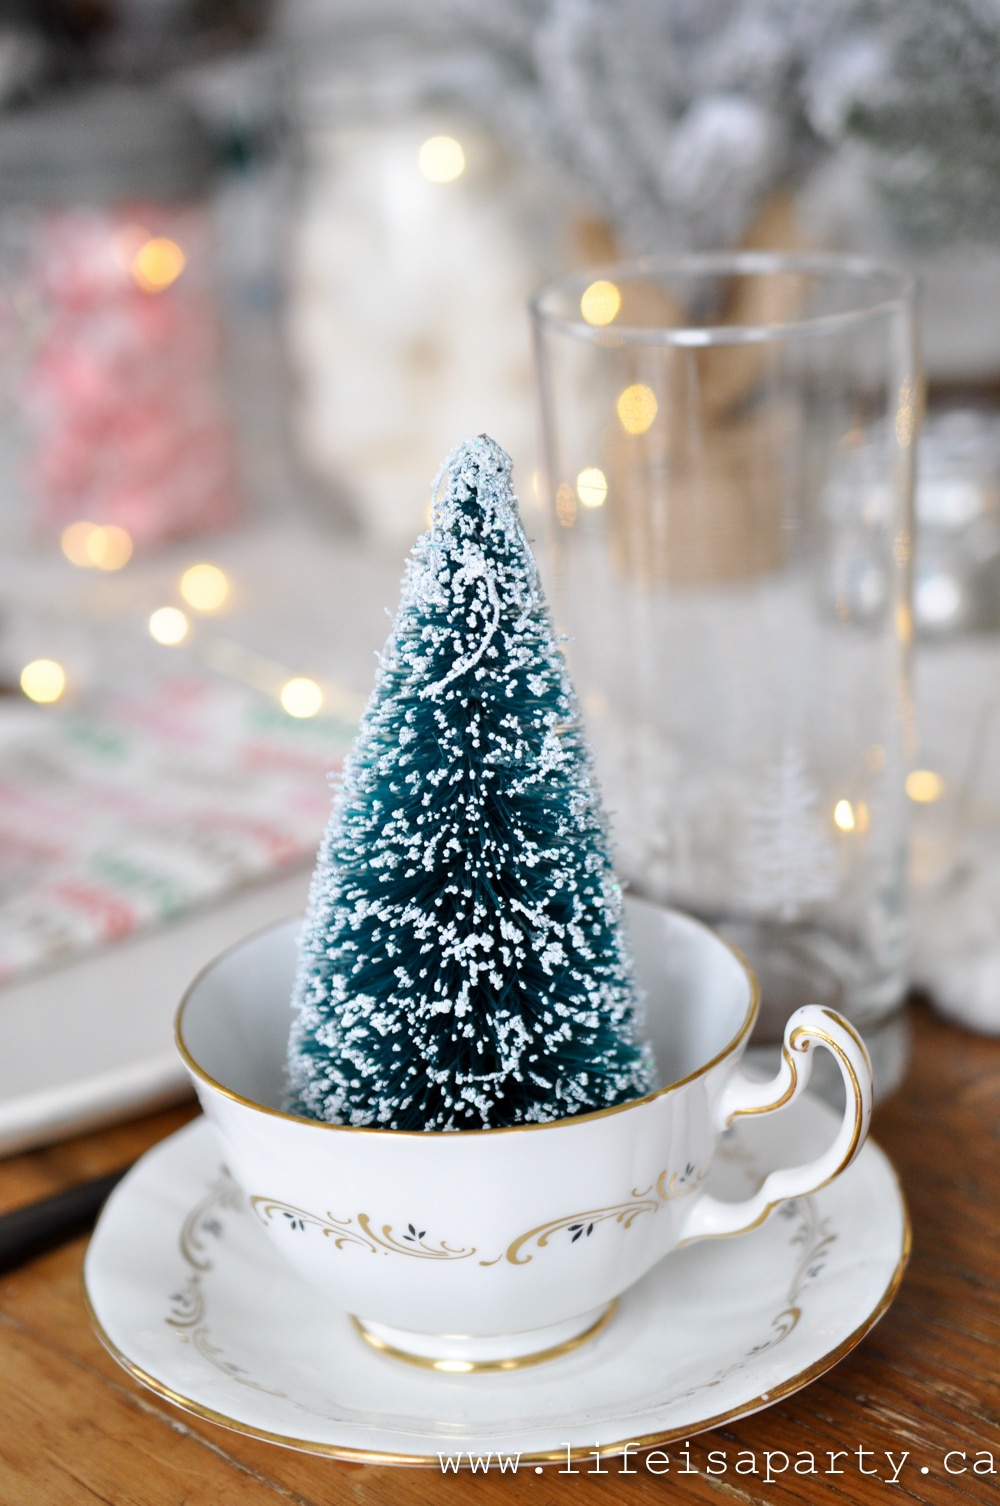
Back To School Family Dinner Ideas

Aug 19, 2019 · Leave a Comment

Back to school party family dinner

Back To School Printables and Family Dinner: decor ideas, dinner and free printable Back To School printables, and "All About Me" sheet.

Back to school party family dinner
[feast_advanced_jump_to]

Start A Tradition

It's a tradition at our house to have a back to school dinner on the first day of school and hear all about the first day of school.  This year we've made some free Back To School Printables too.

Back To School Dinner

We get to hear stories about who's in our kids classes, what teachers they have, and how they think the year will go, as well as updates on all their friends.  I always try to make it special for them, and it's something they look forward to.  I think I might be doing some version of it even when they're in University!

Back To School family dinner

Free Back To School Printables

The years do pass quickly, and family traditions are so important for creating your family's story.  I think any excuse to connect with our kids is a good one.  This year I'm sharing things a little early in the hopes that it helps you celebrate back to school at your house too.  We've created some amazing free printables for this party, and they're available to all our subscribers.
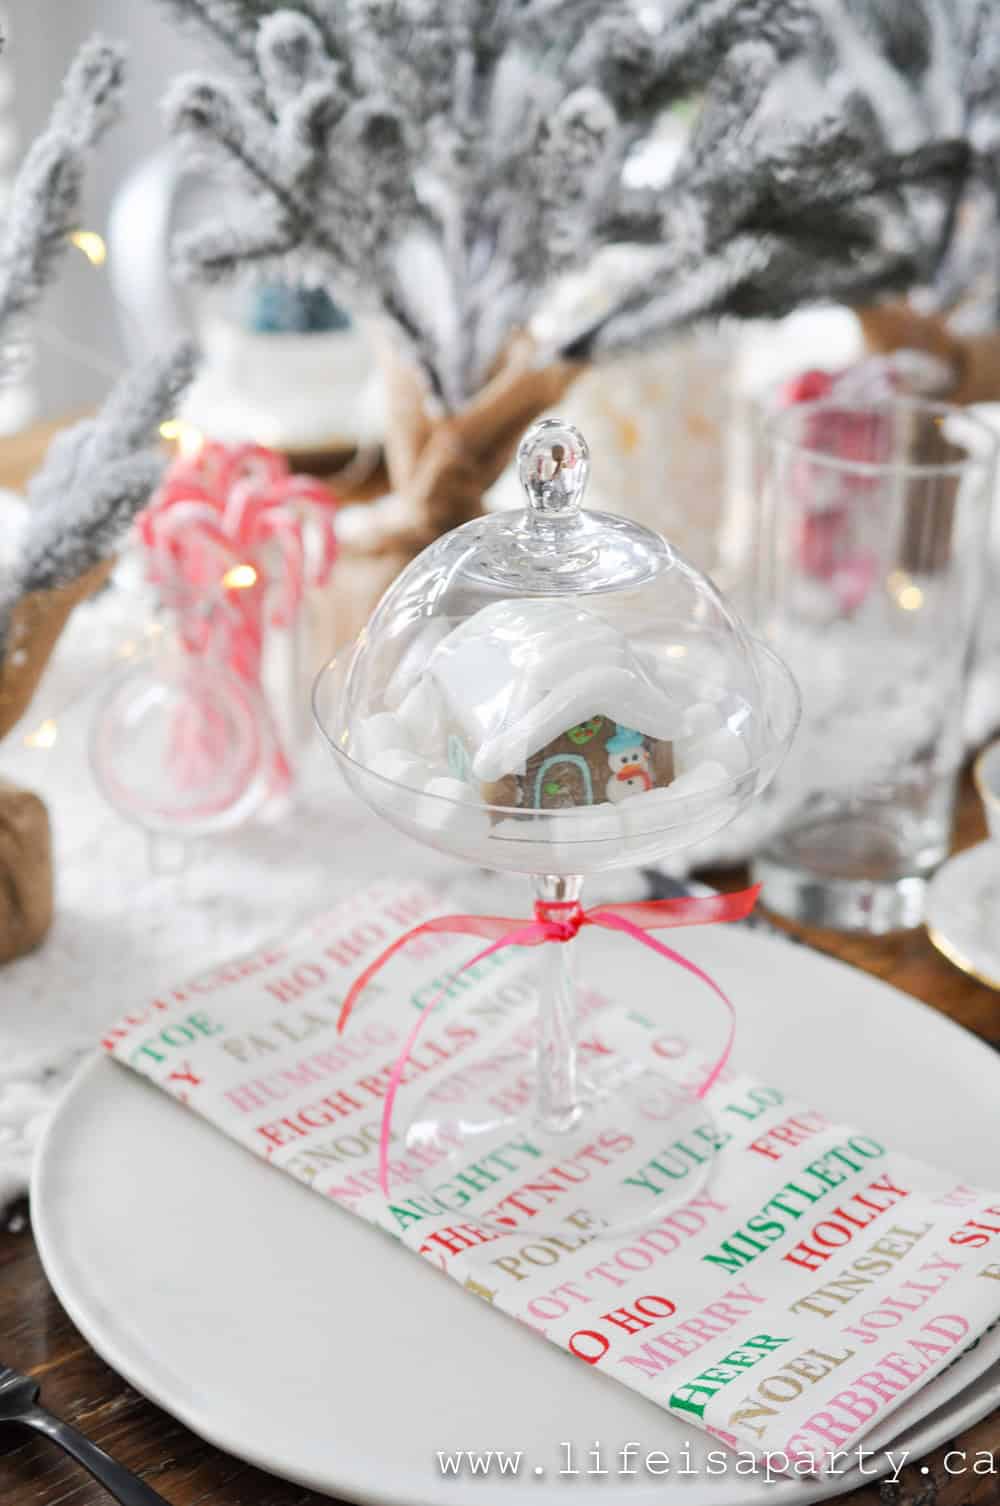
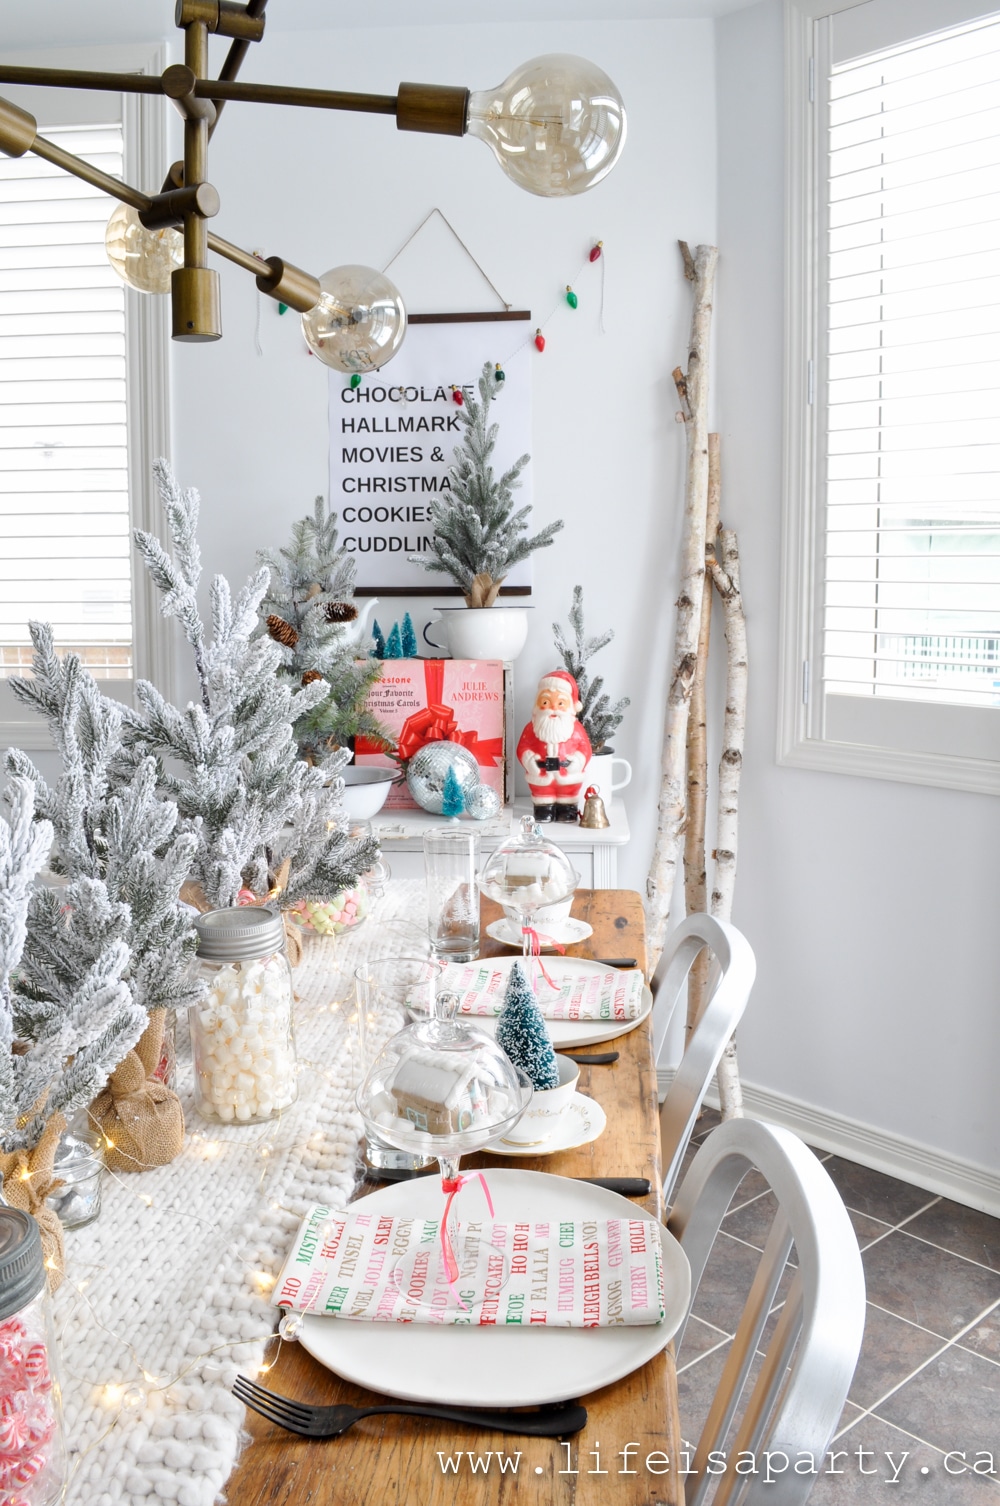
Back To School free printables

There's a printable back to school banner, cupcake pics, lunch box notes, and an "All About Me" sheet that I hope will help you create a really special tradition for your family.

The Tablescape

I partnered with Giant Tiger to put together this post and found so many great pieces, at amazing prices.  For the table setting I actually started off with a curtain I found on clearance, and used it for my table runner.  It was the perfect colour and looked great.

back to school party

I layered on top some gorgeous cement candle holders from Giant Tiger also.  I just loved their tropical plants, and bought lots to use as a centre piece down the middle of the table.

Back To School party decorations

Pencil Planters

I had fun creating some simple DIY Back to School planters with some pencils.  We used our saw to cut the pencils in half, and then used simple elastics to wrap them around the plant pots.

DIY Back To School Party Decorations -pencil planters.

It was a really easy DIY and couldn't be more perfect for a back to school table.

Make your own Back To School Party Decor

At each place setting, I used our Lunch Box Notes as a napkin ring --which you can have as a free printable by subscribing below.  I made some simple pom poms with yarn, and added them to each napkin too.

Back To School Party Printables

The Dinner

I also added a Caramel Apple Trifle to each person's spot.  I love to have an apple dessert for back to school, it just seems perfect for fall.  We made these as individual servings in mason jars.

free back to school printables

You can find the full recipe Caramel Apple Trifles here.  The dessert got topped off with our free back to school cupcake topper printables.  I just printed them at home, cut them out with a circle punch, and hot glued them to some toothpicks.  They look so great in our desserts.  These would look great in another individual desserts too, especially cupcakes.

back to school dinner

Also on the table, I included all of the girls' school supplies.  Giant Tiger had a great selection of everything from mechanical pencils to calculators.

free back to school Party Printables

For dinner I always think of back to school as the return to comfort food.  I picked up everything for dinner at Giant Tiger -a simple salad, garlic bread, stuffed chicken breast and pasta.

back to school family dinner

For drinks, I thought it would be fun to stick with the apple theme and made Caramel Apple Floats. These were really easy to make.

back to school party ideas

We filled a mason jar about ⅓ full with apple juice, added in a couple of scoops of vanilla ice cream, and then topped it up with ginger ale.  Then we drizzled a little caramel sauce over the top.

free back to school printables

I used paper straws, and hot glued on a couple of the cupcake topper back to school printables -so simple and adorable.

Free Printable Back To School Banner

Back To School printable banner free

To set the scene for the festivities, we added this great back to school banner, which we're offering as a part of the back to school free printable package.

free Back To School printable banner

Just print it out on your home printer, cut it out, punch some holes in the corners and string it up.

Back To School party decorations

Free Printable "All About Me" Sheet

And one more fun addition to the dinner is this "All About Me" back to school printable.  Have your kids fill it out over dinner, and use it start the conversation about the day.  Keep it after as a fun keepsake.

Back To School all about me printable

Subscribe for free instant access to our Free Back To School Printables.

More Inspiration

Want some more Back To School Dinner Inspiration?  Check out last years Back To School Family Dinner 2018:

And the year before that -Back To School Dinner 2017

And the year before that... Back To School Dinner 2016.

And, the year before that, Back To School Dinner 2015.

You might also like our Notebook Paper Sugar Cookies:

Or our Marshmallow Pencil Snacks:

Or our Apple Truffle Pops:

S'mores Charcuterie Board

Aug 14, 2019 · 9 Comments

S’mores charcuterie board with graham crackers, marshmallows and chocolate for summer entertaining.

S'mores Charcuterie Board is the sweetest way to enjoy everyone's favorite campfire treat. This easy dessert board idea is loaded with graham crackers, marshmallows, chocolate, and gourmet toppings so guests can build their own perfect s'mores. Whether you're hosting a backyard bonfire, or planning a camping trip, a s'mores dessert board is guaranteed to be the hit of the night.

S’mores charcuterie board with graham crackers, marshmallows and chocolate for summer entertaining.

Why You'll Love This

  • Creating a board with all your smore fixings is the ultimate way to serve guests, that's self serve friendly, and looks abundant.
  • Our homemade graham crackers and marshmallows take this board over the top! But you can also save time with store bought options -whichever works best for you.
  • All these fun options make these not your everyday smores!

"Made this for a ladies night campfire. It was a hit! Thank you for the inspiration." -Corrine via Pinterest

[feast_advanced_jump_to]

We've included step-by-step ideas, topping suggestions, and even homemade elements like graham crackers and marshmallows. With endless combinations to try, this s'mores charcuterie board will be the star of your summer entertaining.

You might also like our Hot Chocolate Charcuterie Board, Halloween Smores, Chocolate Charcuterie Board, and Ice Cream Sundae Board.

And if you love campfire cooking you might also like our savory smores, made with cheese roasted over the fire and crackers.

Is This Actually Charcuterie?

Charcuterie, grazing boards, and dessert boards have become so popular lately, and they're just perfect for entertaining. Guests can help themselves, and come up with their own perfect combinations. Lately I've seen more and more dessert inspired charcuterie boards and thought that a S'mores Dessert Board might just be the most perfect dessert we could come up with this summer -spoiler alert, it was!

Technically speaking a charcuterie board is made up of cured meats, but in more recent times people have used the term to describe any curated board of goodies, including a traditional meat and cheese board ingredients all the way to dessert themed boards. We're using the term in this more general way here.

S'more Charcuterie Board

Perfect for Camping

We were invited to visit friends at a campground for a day and brought this along to share. It was a huge hit! It's perfect for a campfire on camping trips, but it would be great at any summer party -even if it was roasting the marshmallows over some candles. Our friends -and their family who were there raved about the s'more platter. And the run away hit of the night was definitely the homemade graham crackers. Consider them crowd tested and approved! They were the first thing to go on the whole board.

make your own s'mores buffet

Ingredients

  • Homemade Graham Crackers: We made homemade honey graham crackers. We used this recipe from Brown Eyed Baker, but since graham flour is so hard to find we substituted whole wheat flour. They were a little fiddle-ly to deal with, and the dough was a bit crumbly even with rolling them out between parchment with no added flour. But, they were the hit of the night. Everyone raved about them, and they were the first thing gone from the tray. Even if you were only making traditional s'mores with no extra toppings these homemade classic graham crackers would bring your s'mores up to the gourmet s'mores level.
  • Chocolate Covered Graham Crackers and Chocolate Digestive Cookies: These are perfect for smores, because the heat from a toasted marshmallow perfectly melted the thin layer of chocolate.
  • Chocolate: We had an assortment of chocolate bars; milk chocolate, dark chocolate, a bar with coconut in it, and almond Hershey bars, peanut butter cups, and Hersey's cookies and cream. 
  • Nutella: Was a big hit, a real crowd favorite.
  • Dutch De Leche: We did a homemade version, but you can also purchase ready made. The homemade dulce de leche is a really easy recipe, it's just takes a bit of time. To make the dulce de leche you start with an un-opened tin of sweetened condensed milk. You submerge the sealed tin in a pan of boiling water, and let it boil for 2 hours. You must keep the tin can covered in water, if it boils dry it can apparently explode hot caramel everywhere and be very dangerous. I've made it many, many times and never had any problem at all. I usually set a timer and check the water levels every half hour and top up the way as necessary. After two hours remove it from the boiling water and open it. It is the most delicious caramel dulce de leech inside -as if my magic. It is such a delicious addition to s'mores, especially if you're a caramel lover.
  • Marshmallows: We made homemade marshmallows. You can of course, use store bought marshmallows instead of, or in addition to homemade marshmallows. We did a vanilla and chocolate swirl version of homemade marshmallows.  We used this recipe from Elton Brown.  To make them vanilla and chocolate, first we layered about ⅔'s of the marshmallow mixture into the baking dish. Then we added 2 tablespoon of coco powder to the remaining ⅓ and combined before layering it on top and giving it a bit of swirl with the vanilla underneath. Homemade marshmallows aren't too difficult to make, you just need a candy thermometer and a stand mixer. They do need to sit overnight, so do give yourself enough time to make them. They are so delicious; light and airy, like eating what a sweet cloud must taste like, and guaranteed to impress your friends.
S’mores dessert board with peanut butter cups and homemade graham crackers.

Variations

Some people also like to include some of these fun options on their smores snack board:

  • Fresh Fruit: Sliced fresh strawberries, bananas, peaches, or apples make additions to smores.
  • Chocolate: Chocolate chips which sometimes melt more easily, since they're small are a great option. Ghirardelli squares add a gourmet chocolate option. Chocolate mints are a great option for mint lovers.
  • Flavored Marshmallows: Look for different marshmallow options like toasted coconut, strawberry, chocolate, or cinnamon.
  • Differnt Cookies: Rice Krispie Treats make a fun additon, and you can even roast them. Shortbread cookies or chocolate chip cookies are a yummy option too.
  • Different Spreads: try adding pistachio for Diabi smores, peanut butter for the peanut butter lovers, or even jam for a fruity fix. Marshmallow fluff is a great additon also.

gourmet smores 

How To Put Together Your Smore Charcuterie Board

1. We put our classic s'mores board together on a large tray with a edge to make sure nothing fell off of the side. You could also use a wooden board, or large cutting board for your own s'mores board.

Laying things out on a dessert tray makes for a beautiful presentations, and makes it easy for everyone to see all the options.

2. We started out arranging our food with the homemade marshammows right down the centre, because they were the star of the show.

3. Next we added in a few small bowls of our Nutella and Dulce De Leche. These spreads add so much to the whole smores experience and lead to so many great combinations of flavors.

4. Then we layered in our cookie options.

5. Lastly, we added all our chocolate options to the board, breaking the chocolate bars into squares.

Don't forget some long forks or classic sticks for roasting your marshmallows, and some spoons to use for the spreads.

how to make a s'more snack board desert

Expert Tip: Bring some wet wipes to the campfire to make cleanup a little easier.

Toasted marshmallow on a graham cracker with melted chocolate for a classic s’more.

We had so much fun sharing this s'mores charcuterie board around an open fire. The best part was trying different combinations and coming up with new favourites. 

The traditional s'mores combo was a favourite for some people, but lots enjoyed going to the next level with new combinations of their favorite toppings.

There were endless combinations to create. I highly recommend this for any camping get together or at your backyard fire pit for your next party as a really fun idea.

With a S'mores Charcuterie Board, life really is a party!

gourmet s'more dessert board platter tray

Frequently Asked Questions

What is a smores charcuterie board?

A smores charcuterie board is a combination of cookies, chocolate, spreads, and marshmallows on a tray for easy serving.

What do you serve on a smores charcuterie board?

We like to serve different cookie options, chocolate options, marshmallows and spreads like Nutella and Dulce De Leche on our s'mores charcuterie board, so guests can help themselves to all different combinations of ingredients.

How do you make a smores charcuterie board ahead of time?

Yes, assemble your smores charcuterie board ahead of time. Be sure to wrap it tightly with plastic wrap to keep everything fresh, and help prevent the marshamallows from drying out. It doesn't need other be refrigerated.

More Board Inspiration

  • Ice cream charcuterie dessert board in the shape of an ice cream cone.
    Easy Ice Cream Sundae Charcuterie Dessert Board
  • Easy hot chocolate charcuterie board filled with hot chocolate mix, whipped cream, chocolate, marshmallows, and cookies.
    Hot Chocolate Charcuterie Board
  • Chip charcuterie board with different chips, and salty snacks.
    Chip Charcuterie Snack Board
  • How to make an individual charcuterie boards.
    Individual Charcuterie Boards

If you try this Smores Charcuterie Board or any other recipe on my blog please leave a star rating and let me know how it went in the comments below. Thanks for visiting today!

Recipe

S'mores charcuterie board with graham crackers, marshmallows and chocolate for summer entertaining.

Smores Charcuterie Board

Gourmet S'mores board with different cookies, chocolate, spreads, and marshmallow options.
5 from 1 vote
Print Pin Rate
Course: Dessert
Cuisine: American
Prep Time: 15 minutes minutes
Total Time: 15 minutes minutes
Servings: 12
Calories: 579kcal
Author: Dannyelle Nicolle-Ramjist

Ingredients

  • 24 Graham Crackers
  • 24 Chocolate Covered Graham Crackers
  • 16 Chocolate Digestive Cookies
  • 1 Milk Chocolate Bar
  • 1 Dark Chocolate Bar
  • 1 Milk Chocolate with Coconut Bar
  • 1 Milk Chocolate with Almonds Bar
  • 8 Reese's Peanut Butter Cups
  • 1 Cookies and Cream Chocolate Bar
  • 1 cup Nutella 
  • 1 cup Dulce de Leche
  • 24 large Marshmallows

Instructions

  • We put our classic s'mores board together on a large tray with a edge to make sure nothing fell off of the side. You could also use a wooden board, or large cutting board for your own s'mores board.
  • Start out arranging your marshmallows down the centre of the tray or board. See the info. above for homemade or use store bought marshmallows.
  • Next, add in a few small bowls of Nutella and Dulce De Leche. Be sure to include some spoons for serving.
  • Then layer in the different kinds of cookies.
  • Lastly, add all the chocolate options to the board, breaking the chocolate bars into squares.

Notes

Don't forget some long forks or classic sticks for roasting your marshmallows, and some spoons to use for the spreads.
Expert Tip: Bring some wet wipes to the campfire for easy clean up.

Nutrition

Calories: 579kcal | Carbohydrates: 92g | Protein: 8g | Fat: 21g | Saturated Fat: 11g | Polyunsaturated Fat: 2g | Monounsaturated Fat: 5g | Trans Fat: 0.01g | Cholesterol: 1mg | Sodium: 532mg | Potassium: 296mg | Fiber: 5g | Sugar: 49g | Vitamin A: 15IU | Vitamin C: 0.1mg | Calcium: 92mg | Iron: 5mg
Tried this Recipe? Tag me Today!Mention @LifeisaParty or tag #lifeisaparty!

Butter Chicken Pizza Recipe

Aug 8, 2019 · 3 Comments

Homemade butter chicken pizza with naan bread, yogurt drizzle, and fresh cilantro.

This easy butter chicken pizza recipe is made using frozen naan bread and jarred butter chicken sauce from the grocery store. It's quick and easy, and perfect for any butter chicken lover.

Butter chicken pizza recipe, made with frozen naan bread and jarred butter chicken sauce.
[feast_advanced_jump_to]

Why You'll Love This Recipe

  • We love butter chicken -so butter chicken + pizza = a match made in heaven!
  • It's made with frozen naan bread, and jarred sauce so it's very quick and easy to put together, even on a weeknight.
  • The combination of the creamy, rich butter chicken with the sweetness of the caramelized onions, and the freshness of the yogurt and fresh cilantro is amazing!

The yogurt was an unexpected, but necessary asset to tone down the sweetness from the onions. All the flavors went well together! Thank you for an exciting and enjoyable recipe...amazing! -Samantha, via Pinterest

Butter Chicken is a real favourite around here... and so is pizza.

Our family loves going out for authentic Indian food.  My husband is of Indian descent, and our local Indian restaurant is a regular stop for us.  My girls basically only order the butter chicken and have it with rice and naan bread.  It is so delicious and a real favorite food.

Also check out our make-your-own pizza party and our favorite pizza dessert s'mores pizza. Love chicken recipes? You might also like our Honey Garlic Chicken Wings.

Butter Chicken Meets Pizza

When I saw a favourite frozen pizza brand offered a Butter Chicken Pizza we had to try it.  It quickly became a family favourite, until it was discontinued.  I was pretty sad the first time I noticed it had disappeared from the stores.

Butter chicken pizza with a drizzle of yogurt and fresh cilantro.

What's a girl to do?  

Make her own.  

And I have to say, our's turned out even better than the frozen one we used to buy!  

If you love butter chicken and also love traditional pizza, you should give our butter chicken pizza recipe a try. It's the perfect crowd pleasing fusion dish.

Ingredients

See exact measurements in the recipe card.

Butter chicken pizza ingredients on a wood table.
Butter chicken pizza ingredients.
  • Frozen Naan Bread We used some shortcuts for our butter chicken pizza ingredients to make it a little quicker and easier to make.  Instead of using pizza dough, we used store bought frozen naan bread as the base which gives more authentic Indian flavor.  Look for the frozen naan bread or garlic naan in the freezer section of your grocery store.  
  • Butter Chicken We used a jarred butter chicken sauce.  You could also use leftover butter chicken.  You do want to use a saucy butter chicken, because you will use the curry sauce as the pizza sauce for your naan pizza.  These little shortcuts help make this a doable at home weeknight meal.
  • Caramelized Onions Don't skip the caramelized onions in this recipe.  They add a wonderful sweetness to the pizza.  The best way to make them is over a low heat so that they do not burn.  As they cook the natural sweetness from the onions intensifies and they turn a beautiful golden brown color.  This process can take a while, but adding the brown sugar and Worcestershire sauce speeds it up a little and creates a wonderful sweet and a little sticky final result.  
  • Yogurt We finished our pizzas with a little natural yogurt.  Indian curries are often served with natural yogurt, and it adds so much to these pizzas.  We tried it both with and without this topping and found it was so much better with.  It might sound like an unusual ingredient, but trust me, you need to try it.
  • Fresh Coriander We also like to add a sprinkle of fresh coriander leaves.  This adds some freshness and brightness to the dish.

Time Saving Shortcuts

I love that this recipe uses frozen naan bread and jarred sauce so it's quick and easy, and perfect for even a weeknight dinner.  Make it in about the same time it would take to order and pick up take out.

Butter chicken pizza on a cutting board.

Instructions

Frying pan of bite size uncooked chicken pieces.

Step 1: Prepare your butter chicken according to the directions on the sauce. Chop the chicken breast in bite size pieces. Cook the chicken pieces in 1 tablespoon of oil, on a medium-high heat, until cooked through.

Butter chicken in sauce in a frying pan.

Step 2: Next add the butter chicken sauce, and simmer. To make it more creamy, add heavy cream at the end.

Sliced onions in a frying pan with brown sugar, ready to be caramalized.

Step 3: To make the caramelized onions, begin by slicing the onion. Add 1 tablespoon of oil to a frying pan and saute over a medium to low heat. Add brown sugar and worsheshire sauce.

Caramelized onion slices in a frying pan.

Step 4: Cook until the onions are dark and sticky, taking care not to burn them.

Making butter chicken pizza, adding cheese on a baking tray.

Step 5: To assemble the pizzas, place the frozen Naan bread on a baking sheet. Divide the butter chicken between the four Naan breads. Now add the caramelized onions, dividing them evenly over the 4 pizzas. Top each pizza with ½ cup of grated mozzarella cheese.

Butter chicken pizza with yogurt and cilantro on a cutting board.

Step 6: Bake the pizza at 400 in a preheated oven, for about 10 min. until the cheese is melted and bubbling. Before serving top each pizza with chopped fresh cilantro, and a drizzle of yogurt. Enjoy!

Frequently Asked Questions

Can I use leftover butter chicken for this butter chicken pizza recipe?

Yes, if you have leftover butter chicken from your favourite Indian restaurant this is a great way to use it up.

Do you cook the chicken before you put it on the butter chicken pizza?

Yes, cook the chicken in a skillet and add the butter chicken jarred sauce to it, following the directions on the package. Once prepared add the cooked butter chicken to your pizza.

Do I have to caramelize the onions before adding them to the butter chicken pizza?

We love the sweet flavor of the caramelized onions and think they add so much to this pizza. But if you're short on time you can leave them out.

More Chicken Recipe Ideas

  • Chicken salad finger sandwiches on a white ruffle plate with a rose teapot and bud vases on a green gingham tablecloth.
    Chicken Salad Finger Sandwiches
  • Chicken sausage and shrimp gumbo in a cast-iron pot.
    Tiana's Chicken, Sausage, and Shrimp Gumbo Recipe
  • Homemade honey garlic chicken wings.
    Honey Garlic Chicken Wing Recipe
  • Homemade butter chicken pizza with naan bread, yogurt drizzle, and fresh cilantro.
    Butter Chicken Pizza Recipe

If you try this Butter Chicken Pizza Recipe or any other recipe on my blog please leave a star rating and let me know how it went in the comments below. Thanks for visiting today!

Recipe

Homemade butter chicken pizza with naan bread, yogurt drizzle, and fresh cilantro.

Butter Chicken Pizza

Video

Naan bread covered with creamy and spicy butter chicken, sweet caramelized onions, and fresh cilantro.
5 from 2 votes
Print Pin Rate
Course: Main
Cuisine: American, Fusion, Indian
Prep Time: 30 minutes minutes
Cook Time: 10 minutes minutes
Total Time: 40 minutes minutes
Servings: 4 small pizzas
Calories: 839kcal
Author: Dannyelle Nicolle-Ramjist

Ingredients

  • 4 frozen naan bread
  • 400 mL jar butter chicken sauce
  • 2 tablespoon olive oil
  • 3 large chicken breasts
  • 3 tablespoon heavy cream
  • 1 onion
  • 2 tablespoon brown sugar
  • ½ teaspoon Worcestershire sauce
  • 2 cups grated mozzarella cheese
  • ½ bunch fresh cilantro
  • ½ cup plain natural yogurt

Instructions

  • Prepare your butter chicken according to the directions on the sauce. Chop the chicken breast into bite-sized pieces. Cook the chicken pieces in 1 tablespoon of oil, on a medium-high heat, until cooked through.
  • Next add the butter chicken sauce, and simmer according to the package directions. To make it more creamy, add heavy cream at the end.
  • To make the caramelized onions, begin by slicing the onion. Add 1 tablespoon of oil to a frying pan and saute over a medium to low heat. Add 2 tablespoon of brown sugar and Worcestershire sauce.
  • Cook until the onions are dark and soft, taking care not to burn them.
  • To assemble the pizzas, place the frozen Naan bread on a baking sheet. Divide the butter chicken between the four Naan breads. Add the caramelized onions, dividing them evenly over the 4 pizzas. Top each pizza with ½ cup of grated mozzarella cheese.
  • Bake the pizza at 400 in a preheated oven, for about 10 min. until the cheese is melted and bubbling. Before serving top each pizza with chopped fresh cilantro, and a drizzle of yogurt. Enjoy!

Notes

Look for frozen naan bread in the freezer section of the grocery store.
You could use leftover butter chicken for this recipe instead of making your own.

Nutrition

Serving: 1Servings | Calories: 839kcal | Carbohydrates: 63g | Protein: 57g | Fat: 39g | Saturated Fat: 17g | Polyunsaturated Fat: 20g | Cholesterol: 163mg | Sodium: 1069mg | Fiber: 3g | Sugar: 16g
Tried this Recipe? Tag me Today!Mention @LifeisaParty or tag #lifeisaparty!

Lilo and Stitch Themed Dinner and Movie Night

Aug 2, 2019 · 1 Comment

Lilo and Stitch dinner and a movie party ideas, plus themed menu.

This Lilo and Stitch themed dinner is perfect for a dinner and a movie night. Watch for family movie night or a Disney dinner and movie date night. We have the perfect easy decor ideas, printable and editable menu cards, and the recipes.

Lilo and Stitch dinner and a movie party ideas, plus themed menu.
[feast_advanced_jump_to]

Why We Love This Dinner and Movie Night

  • The food was so good!
  • The bread pudding with caramel banana sauce and vanilla ice cream deserves it's own bullet point -yum!
  • Our menu was inspired by the menu from Ohana at Disney World, but our version is a fraction of the price of visiting the resturant.
  • The tropical theme was so pretty and fun.

Lilo and Stitch

The classic animated Disney film favourite Lilo and Stitch is the theme for our party!  It's  the old story of someone seemingly unloveable, receiving love and learning to give it in return.  And set in Hawaii, Disney's Lilo and Stitch is full of pretty scenery,  hula dancers in Hawaiian leis, surfing scenes, and sunshine.  

Inspired by the film, we put together a fun and easy Hawaiian theme menu that paired with it perfectly for a great "Dinner and a Movie Night".  

This would also be a great idea for a Lilo and Stitch birthday party.  Watching this beloved family film and making a some traditional Hawaiian dishes is a great family night that kids of all ages will love, but it would also be a very fun Disney date night idea.  This is a great way to enjoy yummy food and great movie together.

Lilo and Stitch themed coffee table picnic table.

We're planning a trip to Disney soon, and it's inspired us to enjoy some old Disney movies together as a family before we go.  We had actually never seen Lilo and Stitch before and I have to say I really enjoyed it #tearjerker.  

My daughter Maddie put this whole viewing party together -from the table setting, printable menus, to most of the cooking.  I love summer holidays when kids have time to make creative ideas come to life.

Lilo and Stitch themed dinner and movie night with a table set up in the living room.

Lilo and Stitch Tablescape

We wanted to eat our dinner in the living room while we watched the movie, so instead of the the dining room, she set up dinner on our coffee table in our living room. Coffee table picnics are always so much fun.

Lilo and Stitch themed dinner table with candles and menu cards.

Maddie set the table with a really simple paper palm leaves table runner that she made.  She used regular copy paper and cut it out on the Cricut into tropical leaves.  You could also make them from construction paper.

Free printble Lilo and Stitch menu cards.

For the rest of the table she just used some things we had around the house. Our simple white plates are layered with small wood side plates that feel perfect for our Hawaiian feel.  

We also used some vintage brass candlesticks and gold cutlery to add warmth to the table.  

The color scheme was inspired tropical flowers, and the pretty napkins in different shades of pink and orange with gold polka dots were perfect.  You could also look for palm shaped placemats at the dollar tree to create a tropical paradise feel also.  A flower lei at each place setting would be a lot of fun too.  Beach balls would be so much fun to add as well and be great as party favors in you were hosting a birthday party.

Free Printable Lilo and Stitch Menu

She also created the cutest printable menus which you can access for free by subscribing to our newsletter below, and receiving instant access to our Free Printable Library.  They look great on each place setting, and are such beautiful party decorations.

Lilo and Stitch free party printable menu card.

Free Editable Lilo and Stitch Menu

I'v also made a new editable menu card. Want to change one of the items on the menu? Use our free Canva template, and make any changes you want in a free Canva account. Get the link to the template in the Free Resource Library.

Lilo and Stitch Dinner

The menu of delicious Hawaiian recipes is inspired by the Polynesian restaurant 'Ohana, at Disney World, where Lilo and Stitch are known to make an appearance.  (Check out their dinner menu here.)  

Sweet and Sour Pork Kebabs

Maddie made the sweet and sour pork kebabs with this recipe -and they were really delicious!  These pork and pineapple skewers also have a delicious sweet sticky sauce that you will love.  Inspired by the traditional flavors of Hawaii, these are such a favorite.  You can also make them with chicken instead of pork, if you prefer.

Side Dishes

To go with our kebabs we had some side dishes of grilled veggies and garlic noodles -inspired by the Ohana menu.  

Rice would be a great easy side dish option too.

Sweet and sour pork kebabs with garlic noodles and coconut milkshakes.

Coconut Milkshakes

The coconut milkshakes have become a family favourite of ours and the recipe is really simple.  You can find our coconut milkshake recipe here.  It is one of our very favorite Hawaiian-inspired recipes.  
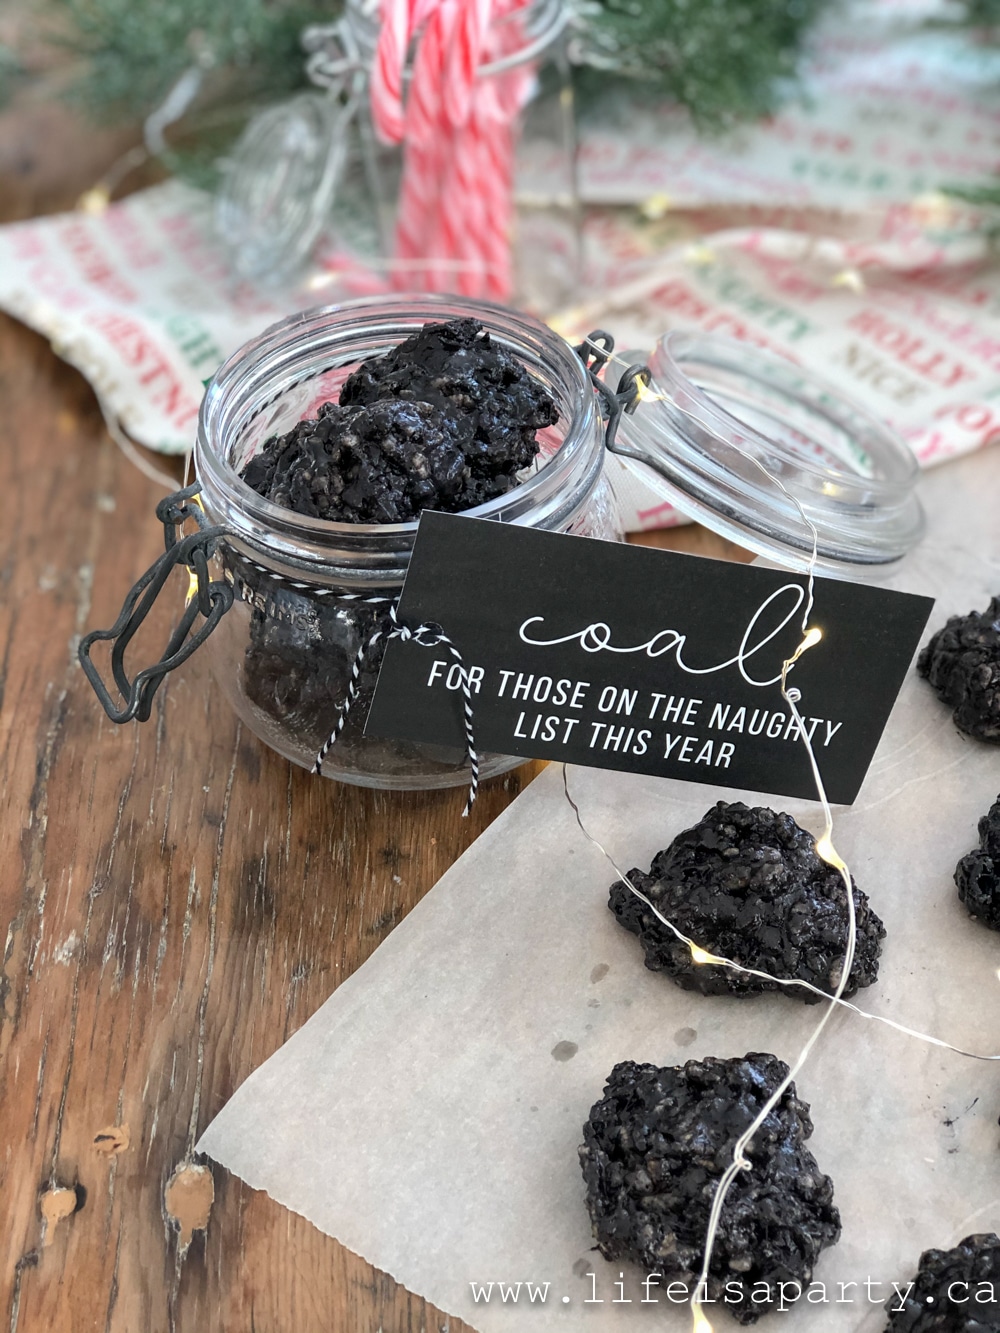
It only takes three ingredients to make it.  It's a good idea to top it off with with a mini beach umbrella cocktail pick.  If you're making this for adults, you can add shot of rum to your coconut milkshake for a fun frozen cocktail.

Dessert

Bread pudding with banana caramel sauce and vanilla ice cream for a Lilo and Stitch themed dinner.

For dessert, we were inspired by the 'Ohana's famous Tropical Bread Pudding with Caramel Banana Topping.  

Maddie started out with a basic bread pudding recipe and used egg bread to add some richness.  And then for the caramel sauce, she used the sauce from our Pumpkin Cream Puffs  -find our caramel sauce recipe here, and added in sliced bananas.

Serve the bread pudding with vanilla ice cream and the caramel banana sauce over top.  

It was really delicious.  

It would be a great dessert as an alternative to traditional birthday cakes for birthday parties too.  Just add a candle and sing Happy Birthday! This was so good, and our whole family loved it.

Bread pudding in a baking dish with a pot of caramel banana sauce and a tub of vanilla ice cream for a Lilo and Stitch themed dessert.

We had a great time enjoying our delicious film-inspired recipes for dinner while we watched the movie.  It was so fun, and perfect prep for our Disney trip.  It would be a great "Dinner and Movie" for any special family night, birthday party, or special date night.  Just put some Hawaiian music on and enjoy cooking these recipes inspired by authentic Hawaiian cuisine flavors.
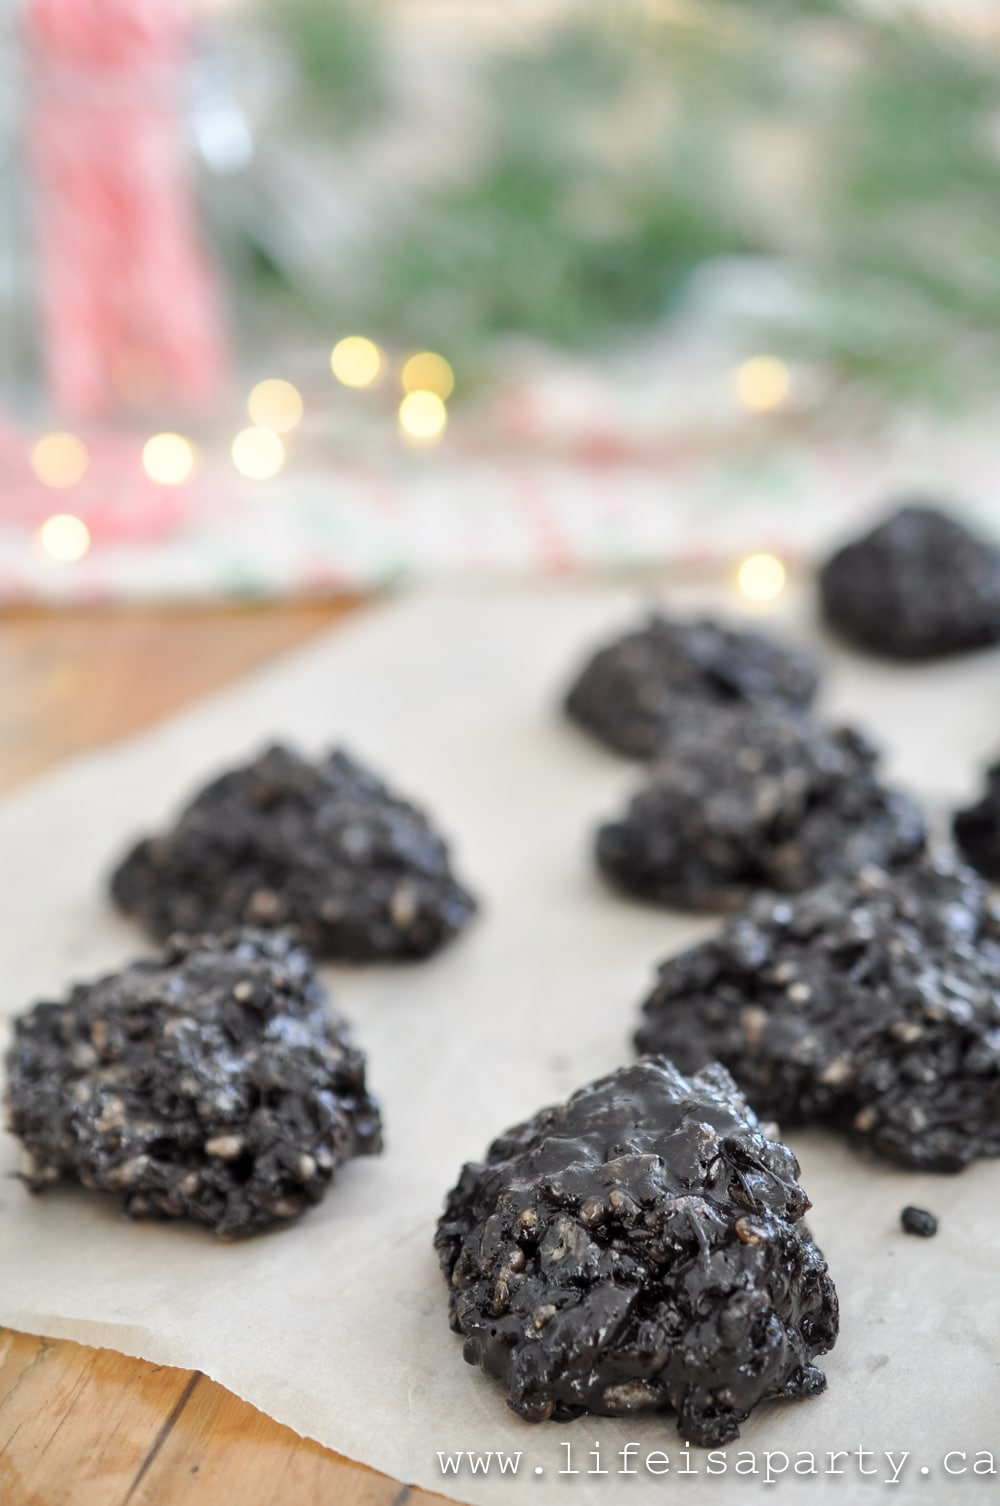
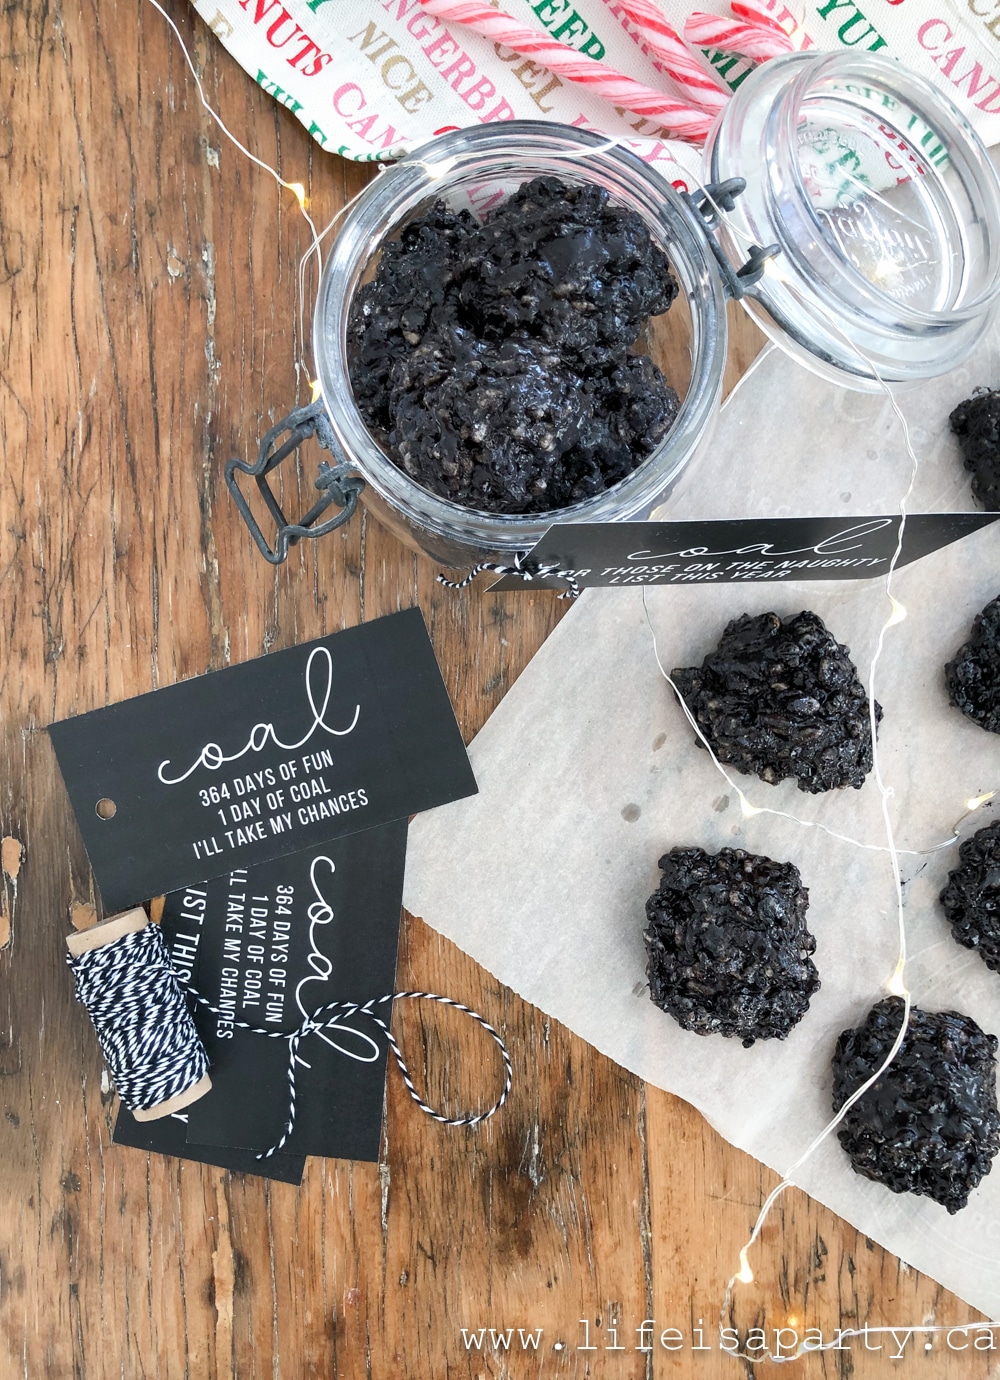
Coffee table set up for a Lilo and Stitch themed dinner and movie night.
Lilo and Stitch free printable menu card.
Lilo and Stitch themed dinner and movie night set up in a living room.

With a Lilo and Stitch themed Dinner and Movie night, life really is a party!

Frequently Asked Questions

Can I make this Lilo and Stitch themed dinner ahead of time?

You can make the bread pudding and the caramel sauce ahead of time and reheat when it's time to serve. The noodles and kebabs are best served as soon as they're cooked.
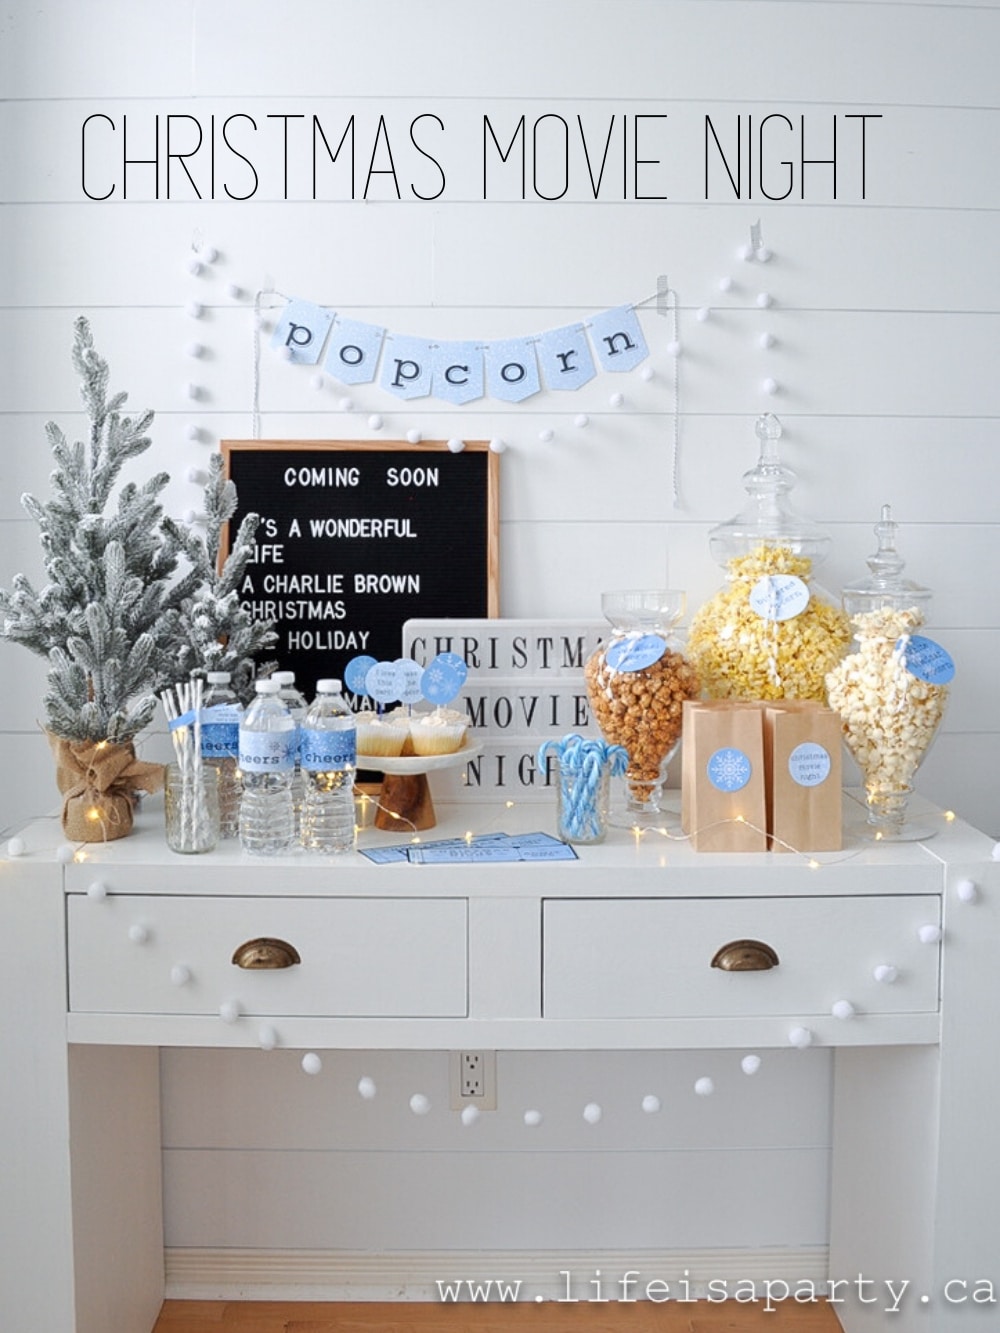
How did you cut the palm leaves?

We used our Cricut machine to cut out the paper plam leaves. If you don't have a Cricut you could find a pattern on-line and trace the onto construction paper and cut them out with scissors.

Any other drink options?

You could also serve coconut water, or tropical fruit punch as a great drink option.
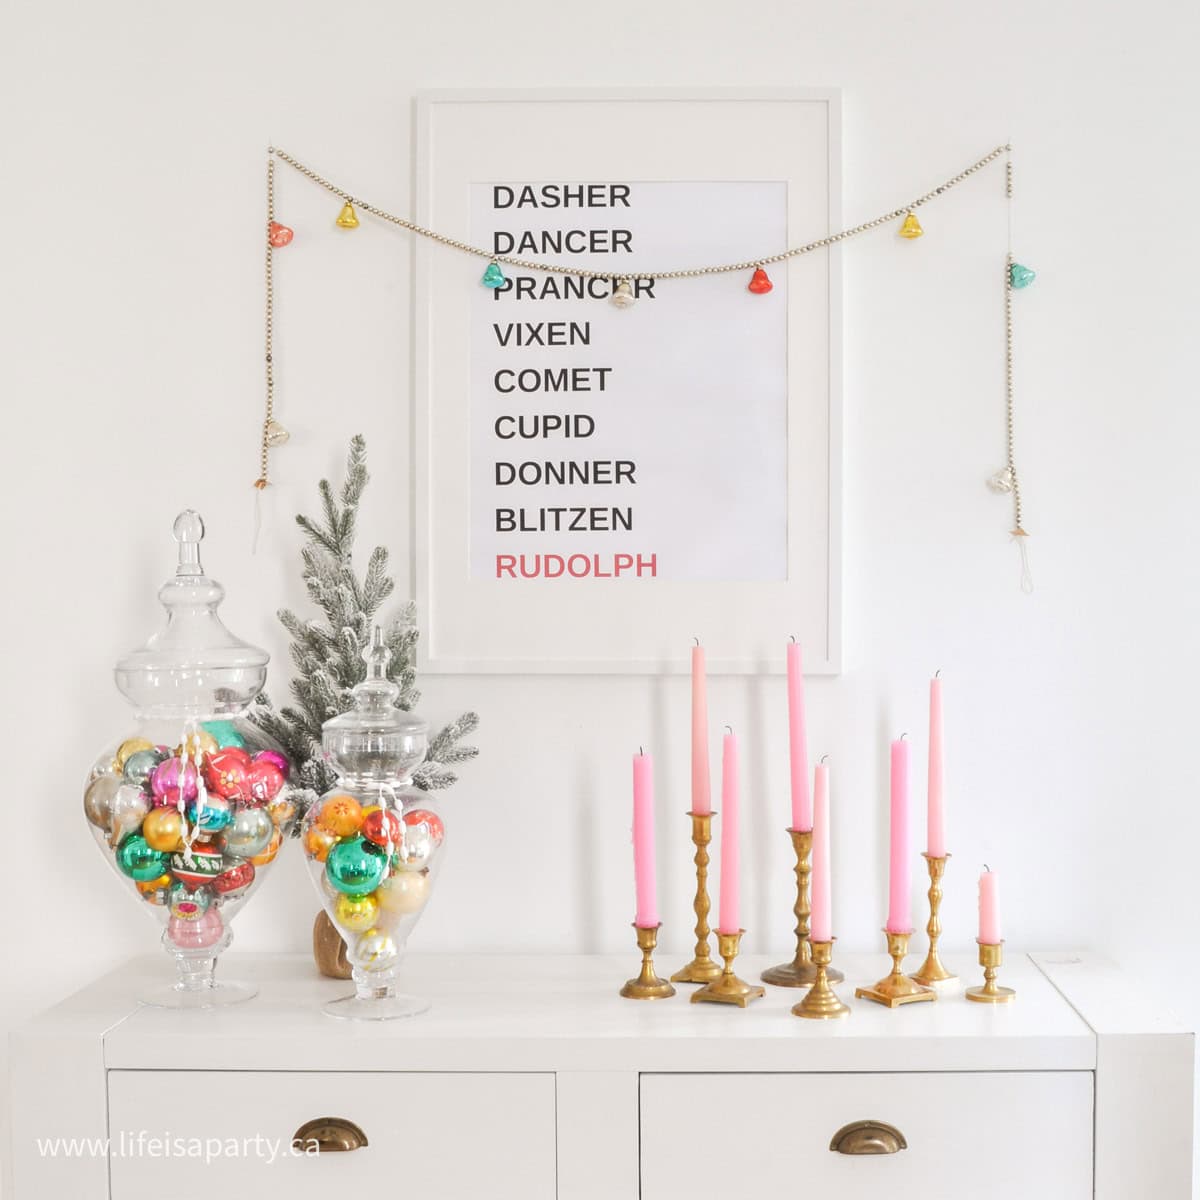
More Disney Movie Night Inspiration

  • Moana themed party ideas and menu with food.
    Moana Themed Party -Dinner, Movie Night & Food Ideas
  • Frozen themed menu, party decor and printables.
    Frozen Themed Party -Dinner and Movie Night
  • Beauty and the Beast party table with food and decorations.
    Beauty and the Beast Party -Themed Dinner and Movie Night
  • The Princess and the Frog party food table set up with food from the mvoie and DIY decor.
    The Princess and The Frog Party -Dinner and A Movie

If you try this Lilo and Stitch Themed Dinner and Movie Night or any other ideas on my blog please let me know how it went in the comments below. Thanks for visiting today!

  • « Go to Previous Page
  • Page 1
  • Interim pages omitted …
  • Page 5
  • Page 6
  • Page 7
  • Page 8
  • Page 9
  • Interim pages omitted …
  • Page 21
  • Go to Next Page »

Primary Sidebar

Welcome!

Life is a Party is all about helping you celebrate everyday with great food, entertaining and party inspiration, and seasonal crafts and home decor inspired by the holidays.

More About Dannyelle

Trending Recipes

  • Mac and cheese with panko breadcrumb topping.
    Best Homemade Mac and Cheese with Panko Breadcrumb Topping
  • Homemade iced capps in glasses on a wood table.
    Tim Hortons Copycat Iced Capp Recipe
  • Dirt Pudding no cream cheese in glasses with candy rocks, and fresh mint that looks like a little plant.
    Easy Dirt Pudding Recipe without Cream Cheese
  • Easy 3 ingredient coconut milkshake recipe.
    Easy Coconut Milkshake Recipe
  • Easy food processor scones on a plate with jam.
    Easy Food Processor Scones
  • Fluffy small batch pancakes for two ready to serve on a plate with syrup.
    Easy Small Batch Pancakes For Two Recipe

Fall Ideas

  • Pumpkin shaped dinner roll recipe, with a herb stem.
    Pumpkin Shaped Dinner Rolls
  • Fall breakfast board
    Fall Breakfast Charcuterie Board
  • Halloween witch decorations
    Witch Halloween Decor
  • fall home decor
    Fall Decorating Ideas -Home Tour
  • Modern Boho fall mantel ideas.
    Modern Boho Fall Mantel Ideas
  • Homemade pink candy apples on a cutting board.
    How To Make Pink Candy Apples

Entertaining Ideas

  • Adult mermaid party table set on the beach with cake and shells.
    Adult Mermaid Party Ideas: A Beach Picnic Goodbye to Summer
  • Overhead view of tomato party table with pizza and appetizers.
    The Ultimate Tomato Party: A Tomato Girl Summer Garden Gathering
  • Camp themed party table with green gingham tablecloth, wildflowers, and Welcome to Camp banner.
    The Ultimate Camp Themed Party for Adults
  • Garden party table set under white pergola with vintage floral tablecloth, pink peony centerpiece in wooden tool caddy, white wicker chairs, and climbing white roses in background.
    Garden Themed Party
  • Complete mimosa bar setup on white console table with vintage silver ice bucket, labeled colorful juice bottles, small glass garnish bowls, and ribbon-tied champagne flutes on white lace tablecloth with flower wall backdrop.
    How to Set Up a Beautiful Mimosa Bar
  • Breakfast for dinner party table styled like a bed with star quilt tablecloth, gingham pillows, and cloud installation above.
    Breakfast for Dinner Party: Brinner Under the Stars
  • Recipe Index
  • Parties & Entertaining
  • Fall
  • Subscribe
  • Free Resource Library

Footer

back to top

as seen in:

Better Homes and Garden Logo
American Farmhouse Style logo.
Apartment Therapy logo.

About

  • Privacy Policy
  • About

Subscribe

  • Sign Up! for emails and updates
Contact

  • Contact

As an Amazon Associate I earn from qualifying purchases.
Copyright © 2025 Life is a Party

Share
Pin
Post
Share
Pin
Post

Rate This Recipe

Your vote:


A rating is required
A name is required
An email is required