• Skip to primary navigation
  • Skip to main content
  • Skip to primary sidebar
Life is a Party
  • Recipe Index
  • Parties & Entertaining
  • Fall
  • Subscribe
  • Free Resource Library
menu icon
go to homepage
  • Recipe Index
  • Parties & Entertaining
  • Fall
  • Subscribe
  • Free Resource Library
subscribe
search icon
Homepage link
  • Recipe Index
  • Parties & Entertaining
  • Fall
  • Subscribe
  • Free Resource Library
×
Home

Easy DIY Star Garland

Easy DIY Star Garland

Nov 18, 2020 · 6 Comments

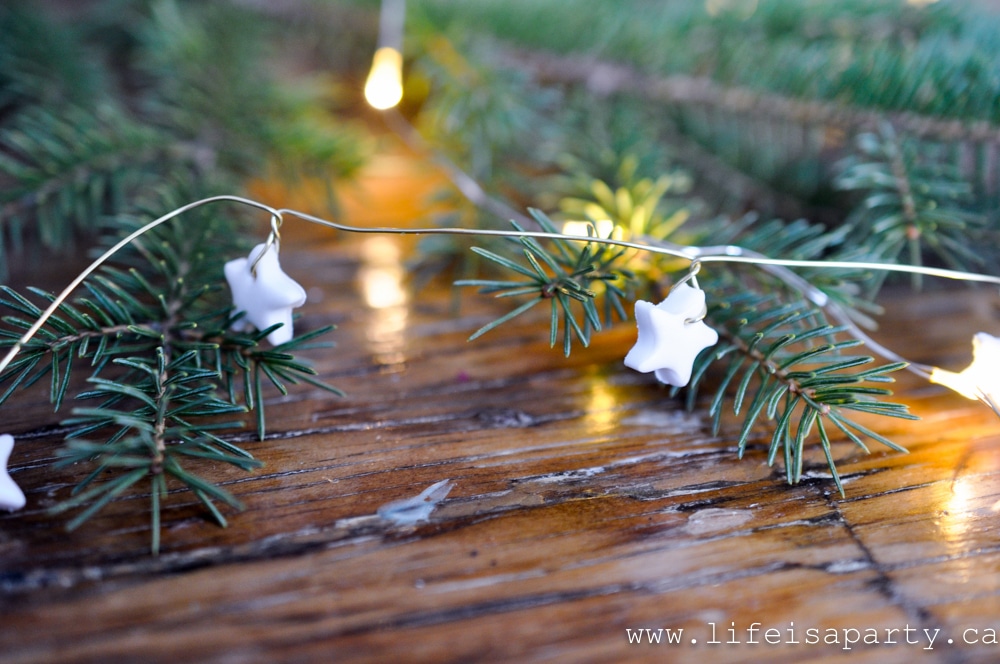
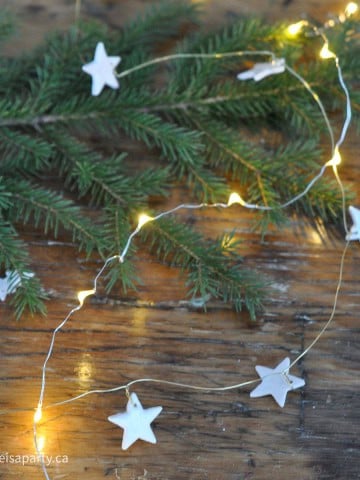
DIY Christmas star garland made from polymer clay and gold wire.

DIY Star Garland: easy craft using polymer clay and gold wire to create a beautiful star garland for Christmas decorating.

DIY Christmas star garland made from polymer clay and gold wire.
[feast_advanced_jump_to]

It's beginning to feel a lot like Christmas! I'm excited to share this fun and easy DIY Star Garland today. I used polymer clay to make the the small stars.  This homemade garland turned out so cute and is a great addition to our holiday decor.   These are perfect for your Christmas tree, wrapped around a Christmas package or used with greenery for your Christmas garland.

You might also like our DIY Paper Feathers, or DIY Birch Wreath.
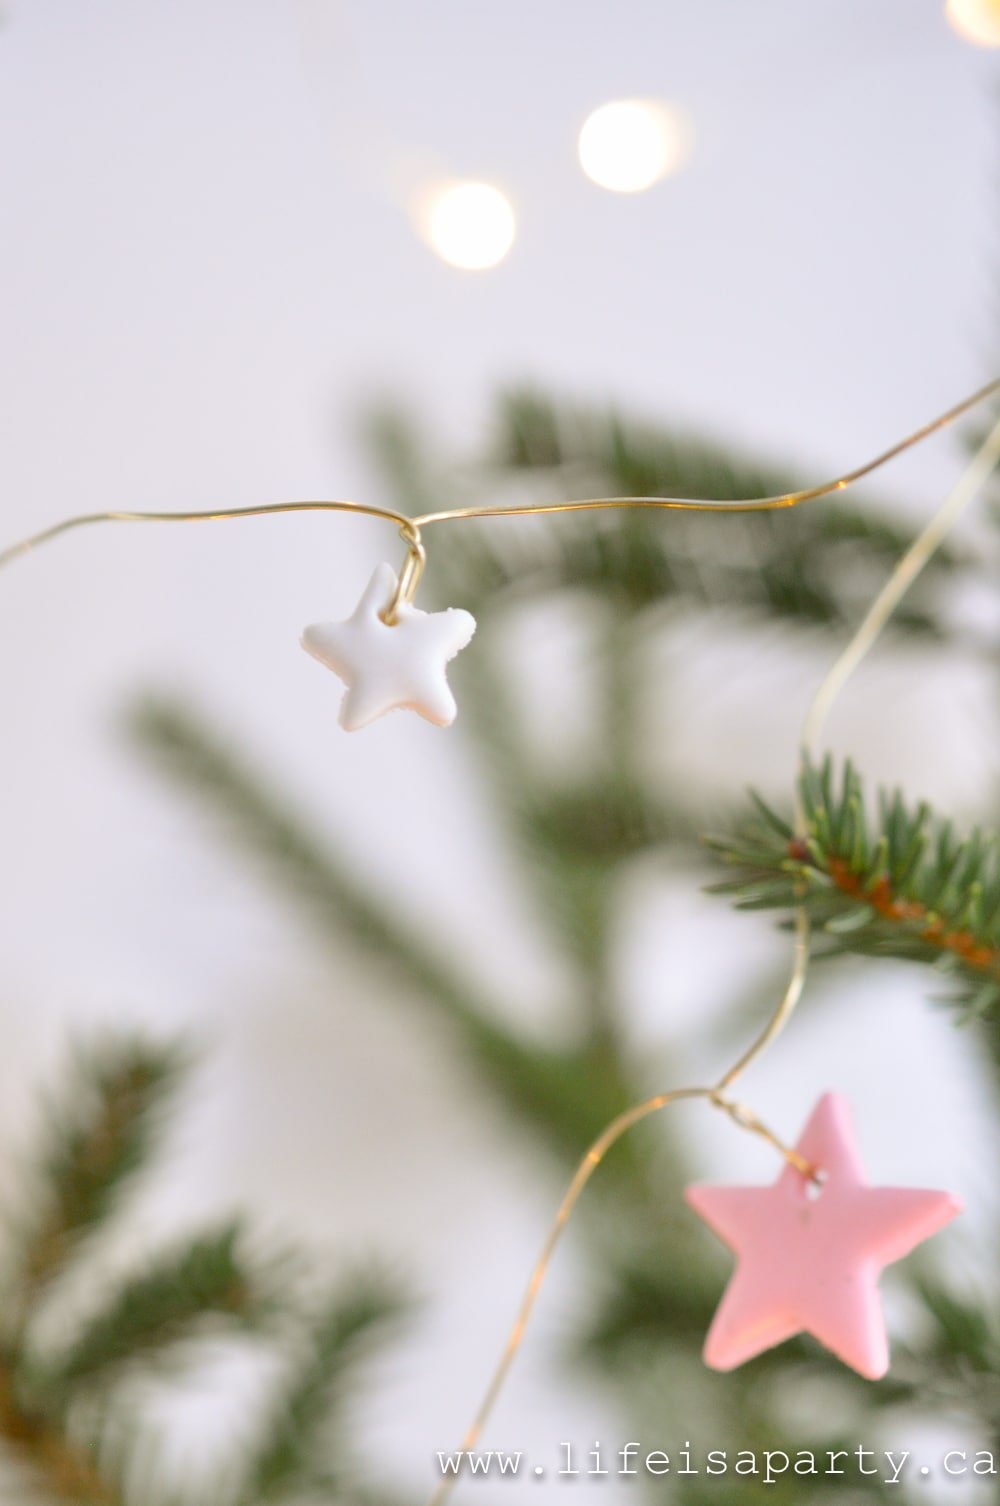
polymer star garland

Handmade Christmas Decor

This year I think we're all home more than usual and craving some fun homemade Christmas projects. I made the stars for this DIY star garland out of polymer clay, and then painted with some iridescent paint for a little extra sparkle -but you could always skip this step for a more rustic feel.  I made this garland for Christmas, but you could also make it for memorial day or the fourth of july and make your own star garland in different colors.  Change the star colors to red, white, and blue for independence day.  These pink ones would even be sweet decor for a baby showers.

I strung the stars with some gold wire. The wire works really well because it holds them in place perfectly, and adds its own sparkle to the project too.  You could use silver wire, if you prefer, or white.
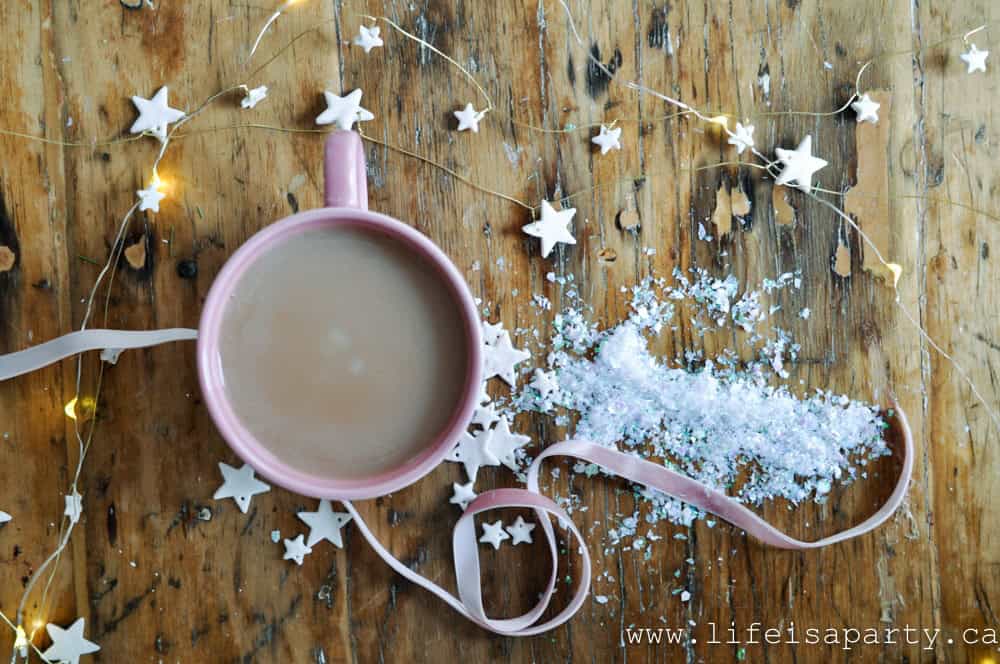
how to make a star garland

DIY Star Garland Materials

To make this project you'll need:

  • polymer clay (white and pink)
  • dowel or small rolling pin
  • parchment paper
  • small star cookie cutter
  • toothpick
  • baking sheet
  • iridescent paint
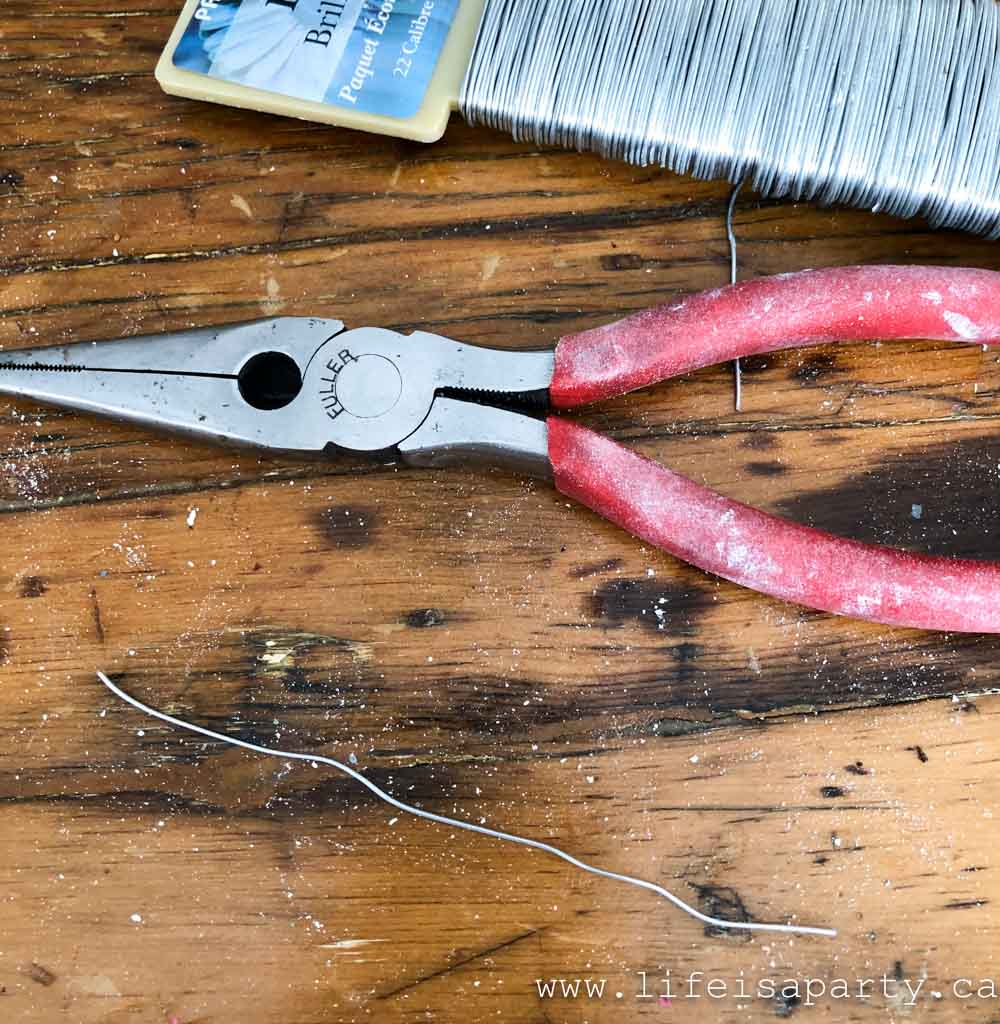
  • fine gauge gold wire
how to make a star garland

How To Make A DIY Star Garland

Making The Stars

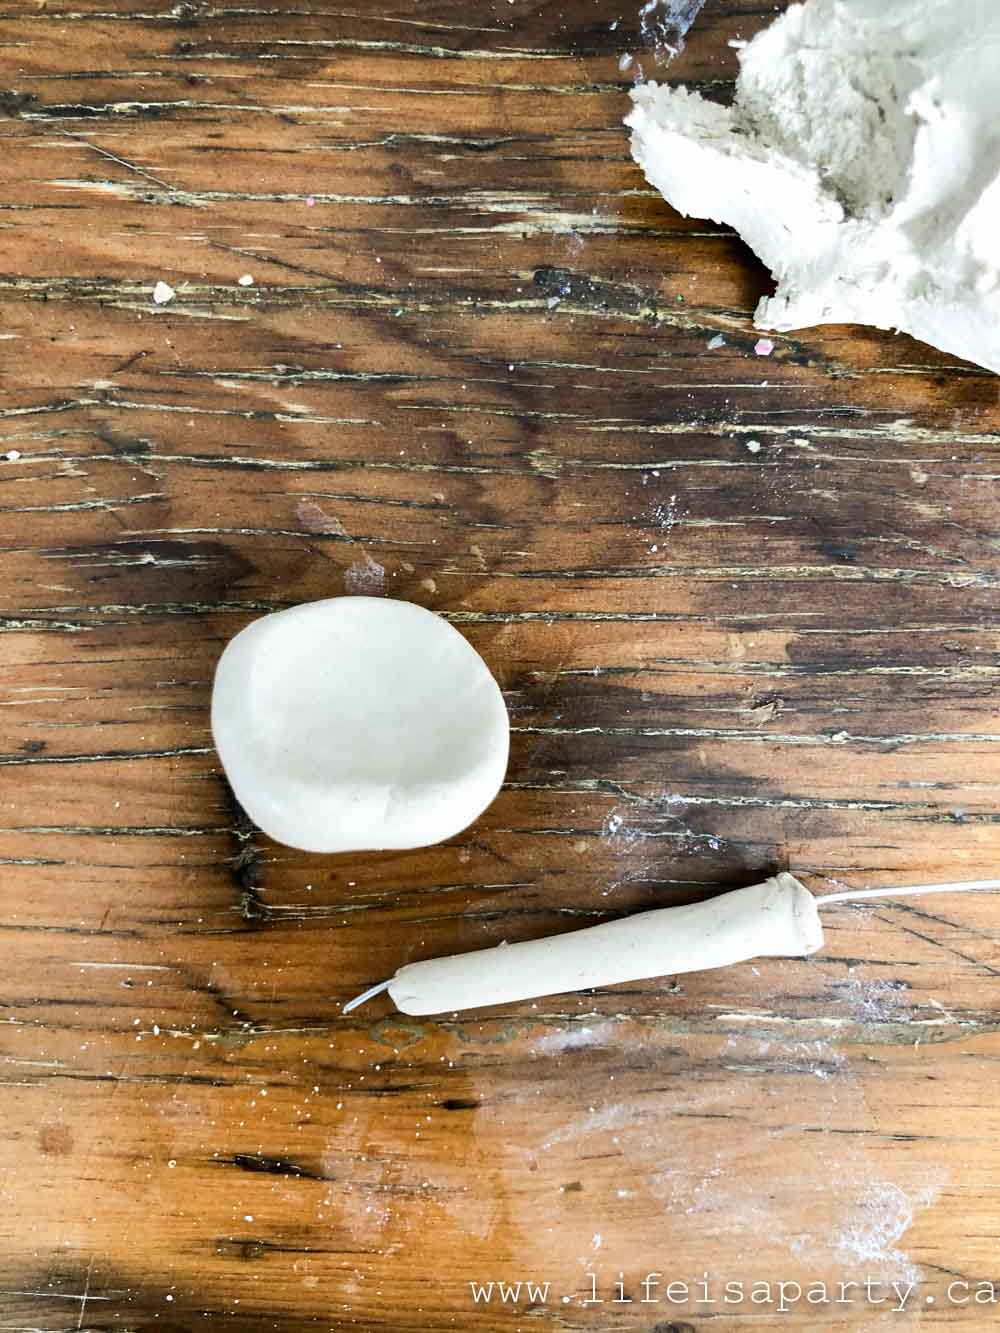
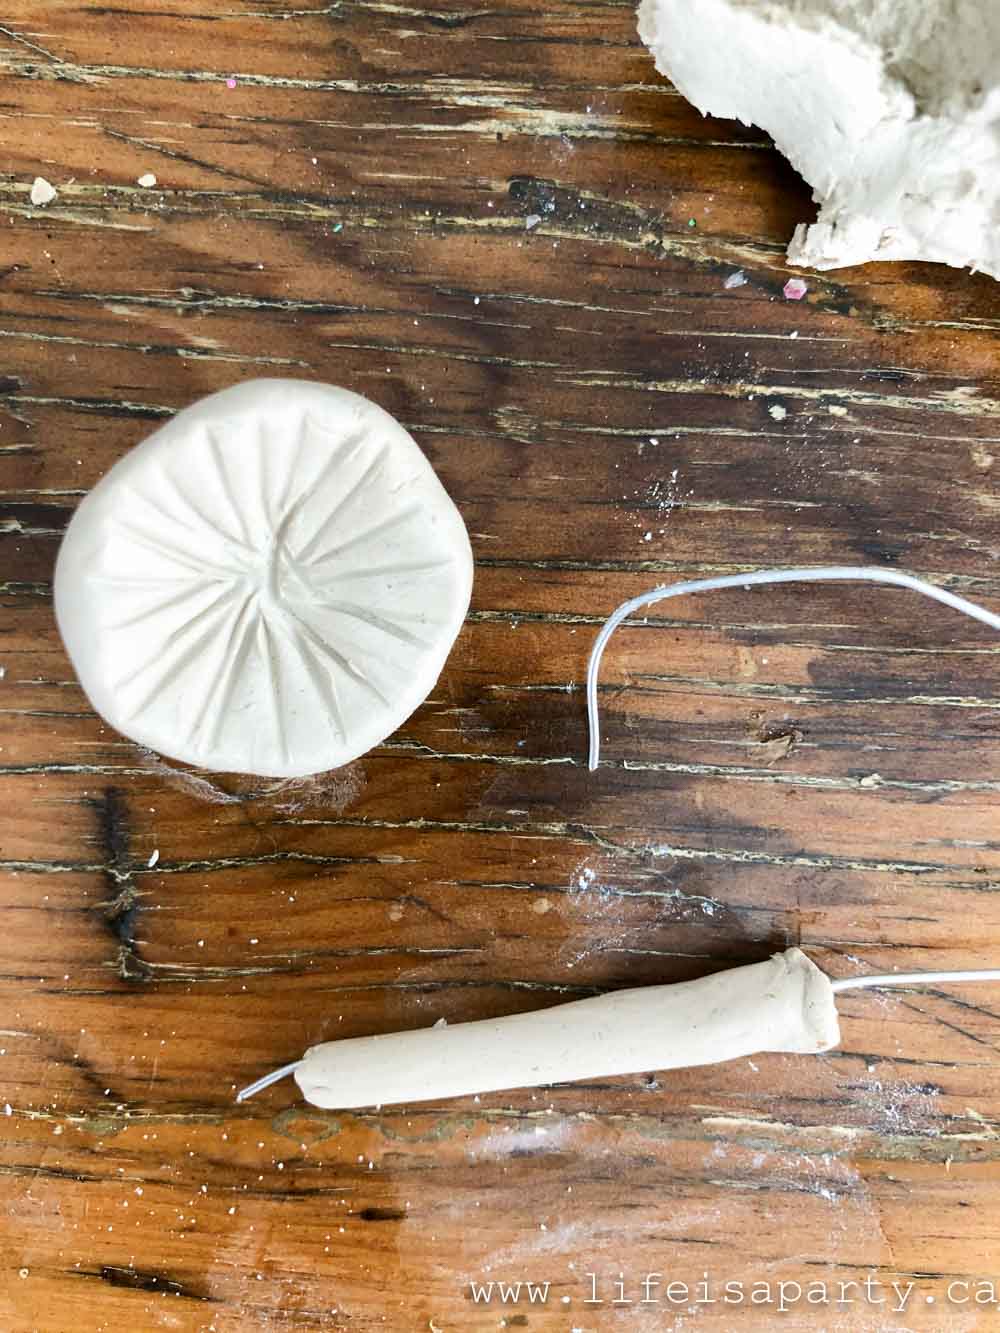
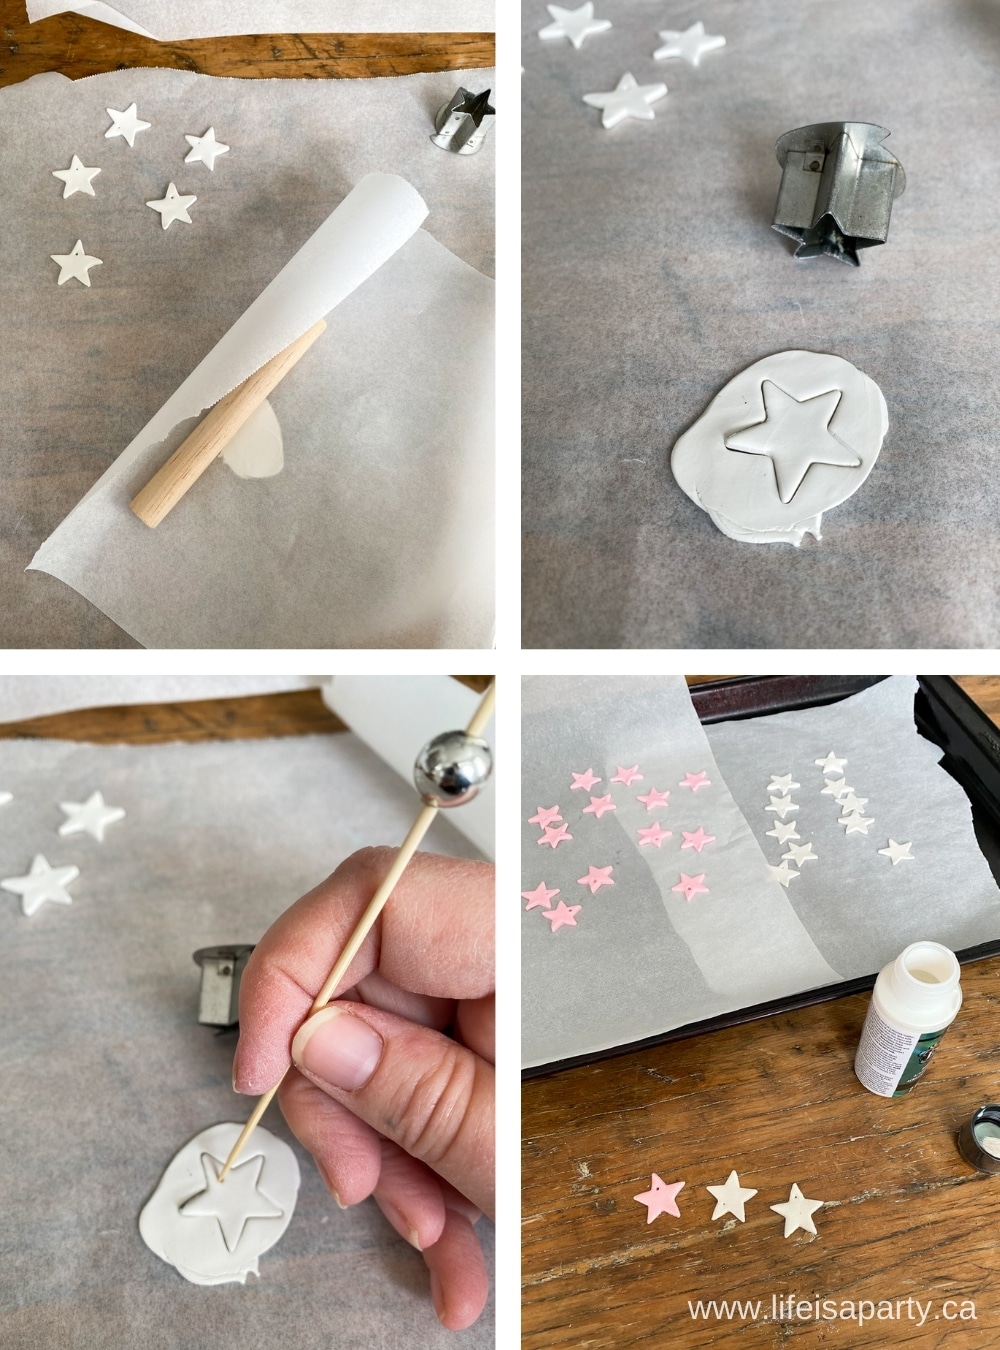
Begin by kneading the polymer clay until it's soft and pliable.  Work on a piece of parchment, especially with the white polymer clay, because it picks up bits from any surface really easily, and marks the clay.  Cover the polymer with a second piece of parchment and roll it out flat with a rolling pin or dowel to about 1/16 th of an inch, or your desired thickness.

Use a small star cookie cutter to cut out star shapes.  The cookie cutters I used were about 1 inch and ½ inch in size.  These aren't actually cookie cutters, they're much smaller than cutter.  They're polymer clay cutters.  Look for them in the craft store, with the polymer clay supplies. 

Transferring The Stars

Because the stars are so small it's difficult to transfer them once they're cut out without damaging the star points, so I found the best way was to remove the extra clay from around them, and leave them in place on the parchment paper. 

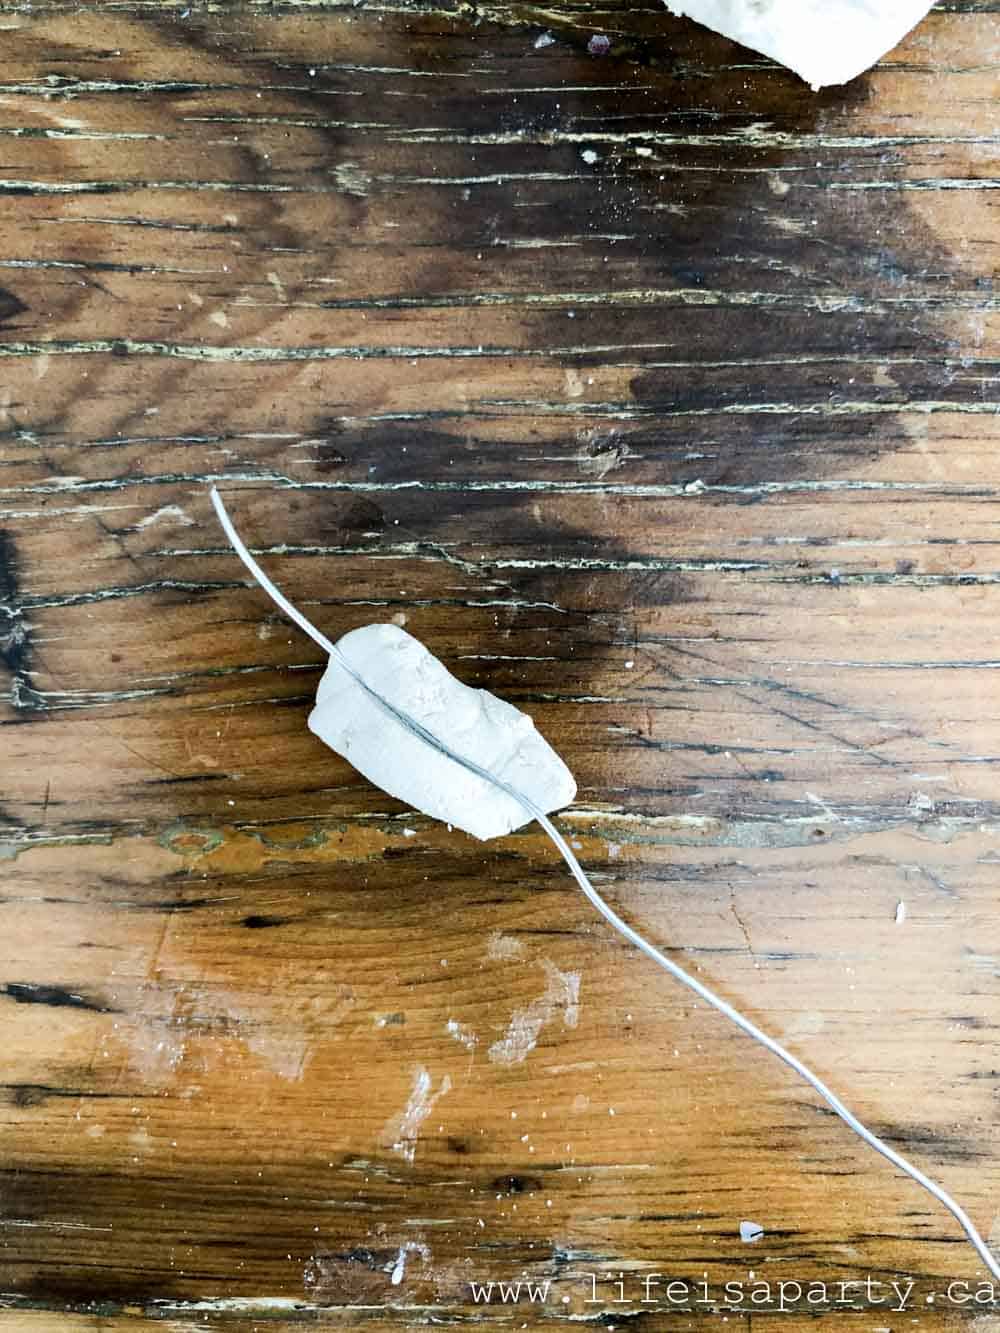
Before baking, your last step is to create a small hole in the point of the star shape for the wire.  I used a small toothpick for this.
DIY polymer clay star garland

Baking Your Stars

To bake your star, place your parchment paper full of stars on a cookie sheet and bake in the oven to harden them, according to the manufactures directions for baking temperature and time.

Painting

Once the stars are baked and cooled, paint one side of them with the iridescent paint.  Once dry, flip them over and paint the back side.

Making The Garland

To make the garland cut a length of about 4 ft of wire at a time, and thread on one tip of the star at a time.  Twist the wire several times around the star, and then leave a gap of 1 ½ inches to 2 ½ inches between each star to create a chain of stars.  Wire works much better than a long piece of string for this because it's easy to twist around the stars and hold them in place easily.
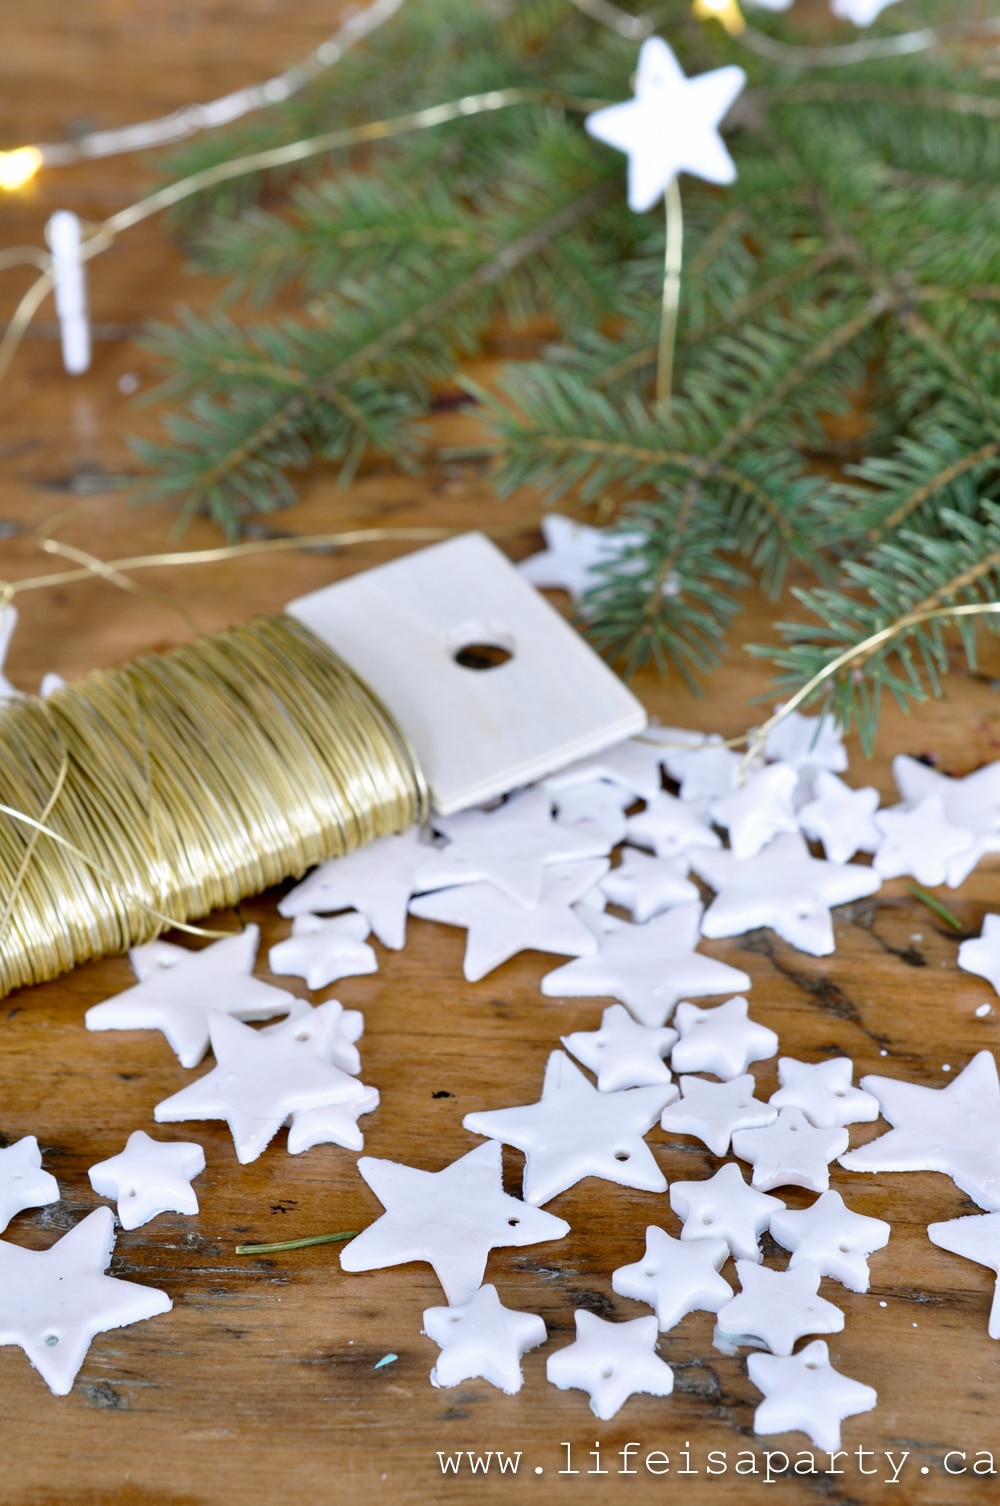
polymer clay star Christmas ornaments

Recipe

DIY Christmas star garland made from polymer clay and gold wire.

DIY Star Garland

No ratings yet
Print Pin Rate
Cook Time: 20 minutes minutes
Total Time: 20 minutes minutes
Author: Dannyelle Nicolle-Ramjist

Equipment

  • dowel or small rolling pin
  • oven

Materials

  • polymer clay white and pink
  • parchment paper
  • small star cookie cutter
  • toothpick
  • baking sheet
  • iridescent paint
  • fine gauge gold wire

Instructions

  • Begin by kneading the polymer clay until it's soft and pliable. Work on a piece of parchment, to keep the clay clean. Cover the polymer with a second piece of parchment and roll it out flat with a rolling pin or dowel to about 1/16 th of an inch, or your desired thickness.
  • Use a small star cookie cutter to cut out star shapes. Remove the extra clay from around the stars, and leave them in place on the parchment paper.
  • Next, create a small hole in one tip of each star for the wire, using a small toothpick.
  • To bake your star, place your parchment paper full of stars on a cookie sheet and bake in the oven to harden them, according to the manufacturer's directions for baking temperature and time.
  • Once the stars are baked and cooled, paint one side of them with the iridescent paint. Once dry, flip them over and paint the back of each star.
  • To make the garland cut a length of about 4 ft of wire at a time, and thread on one tip of the star at a time. Twist the wire several times around the star, and then leave a gap of 1 ½ inches to 2 ½ inches between each star to create the star garland.

This project is really easy and so fun to create.  It would be a great project to do with kids too, because it's kind of like playing with play dough.  If you don't like your first attempt you can redo it over  and over before you bake it and make it permanent.  
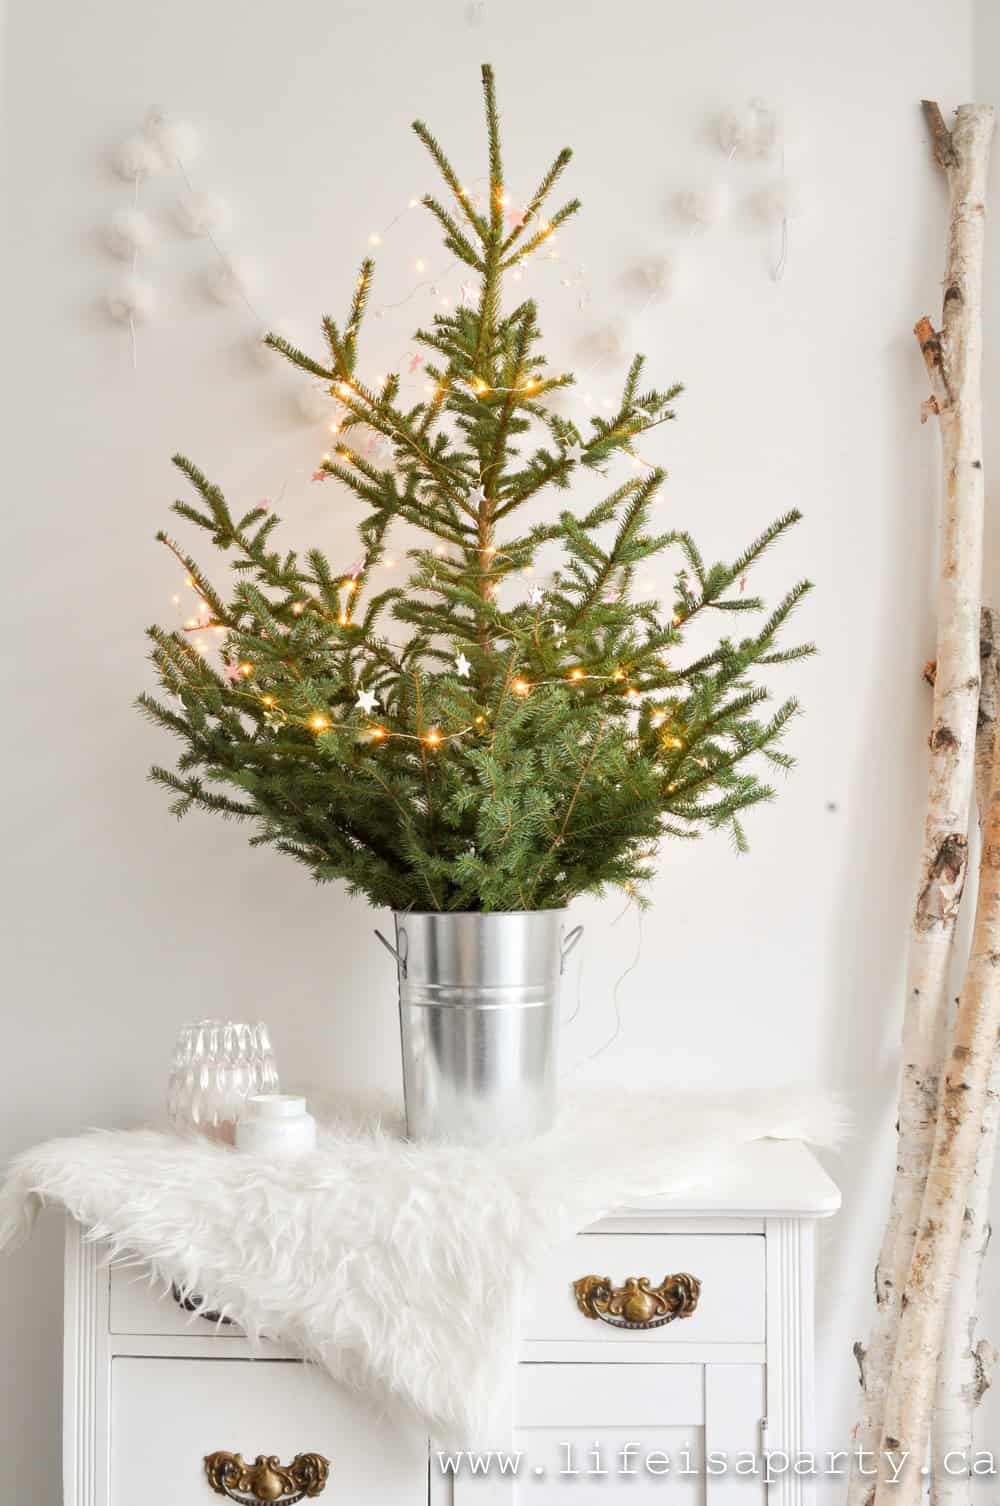
mini Christmas tree in a galvanized bucket

You could make these in any colours to fit your Christmas decor also.  I chose white and pink, but all white, or gold would be really lovely too.
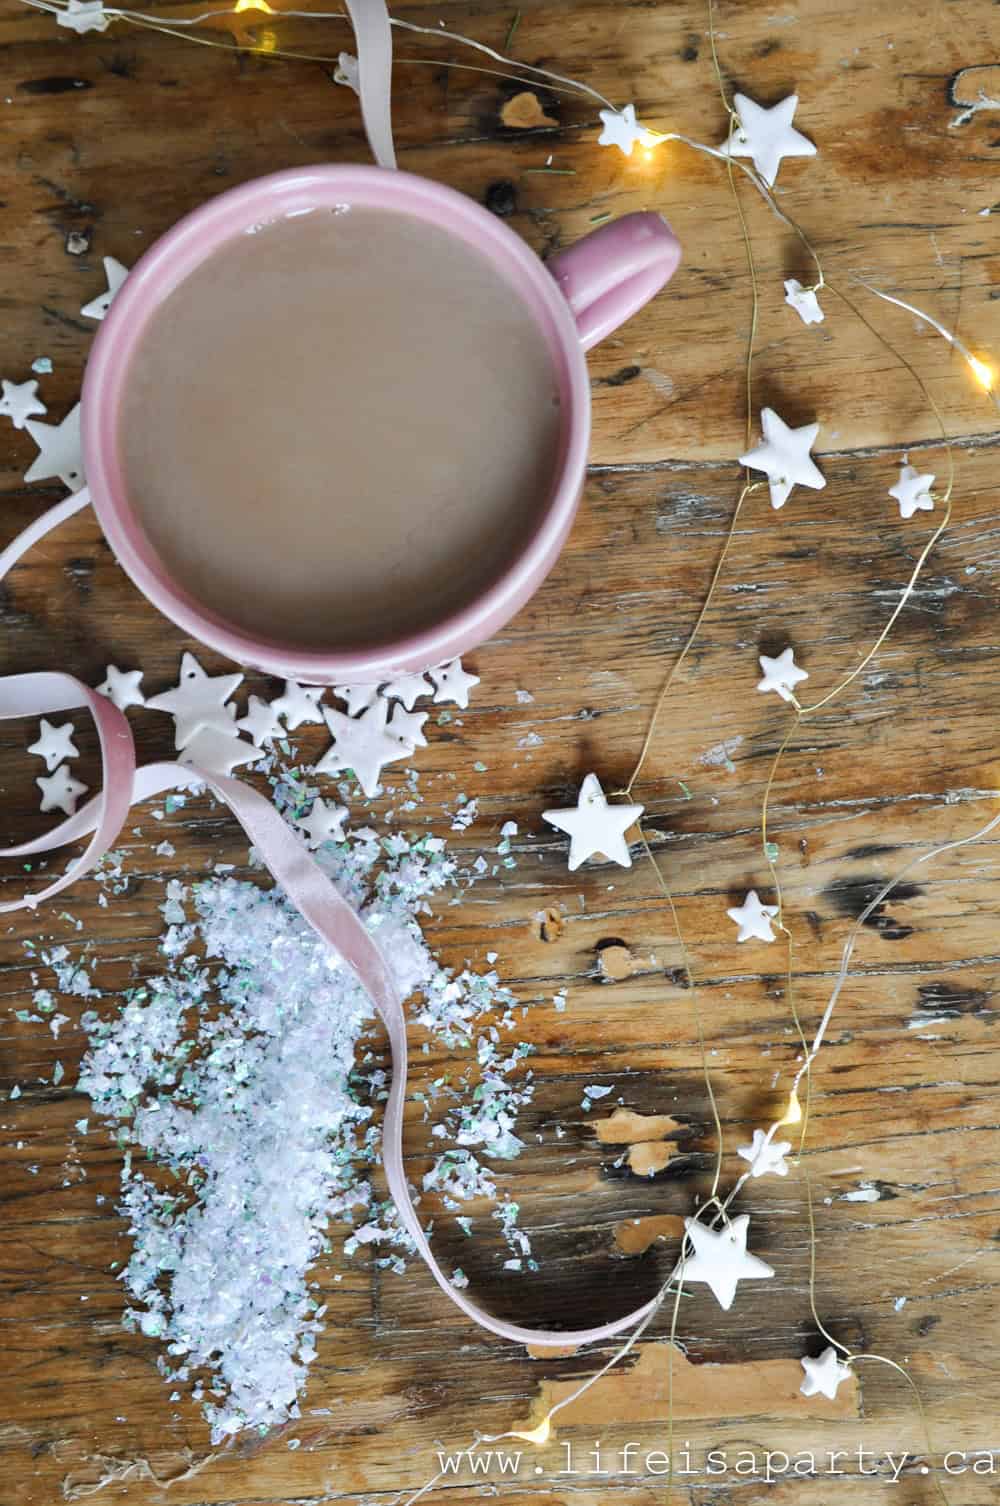
mini star garland

We made my garland in two different sizes, and used it in several different places.  I kept the two sizes of stars as separate garlands, but you could mix them if you prefer.   It looks beautiful on a small tree in my kitchen.  I'm even adding it to my star garland and mantel too.  It would even look great layered with ribbon and used on a present, or attached to your own gift tags.

This project is a great way to add some homemade decor to your Christmas decorations this year.  And there are so many fun options of how you could make it and where you could use it.

With this beautiful DIY star garland, life really is a party.

More Christmas Ornament Inspiration

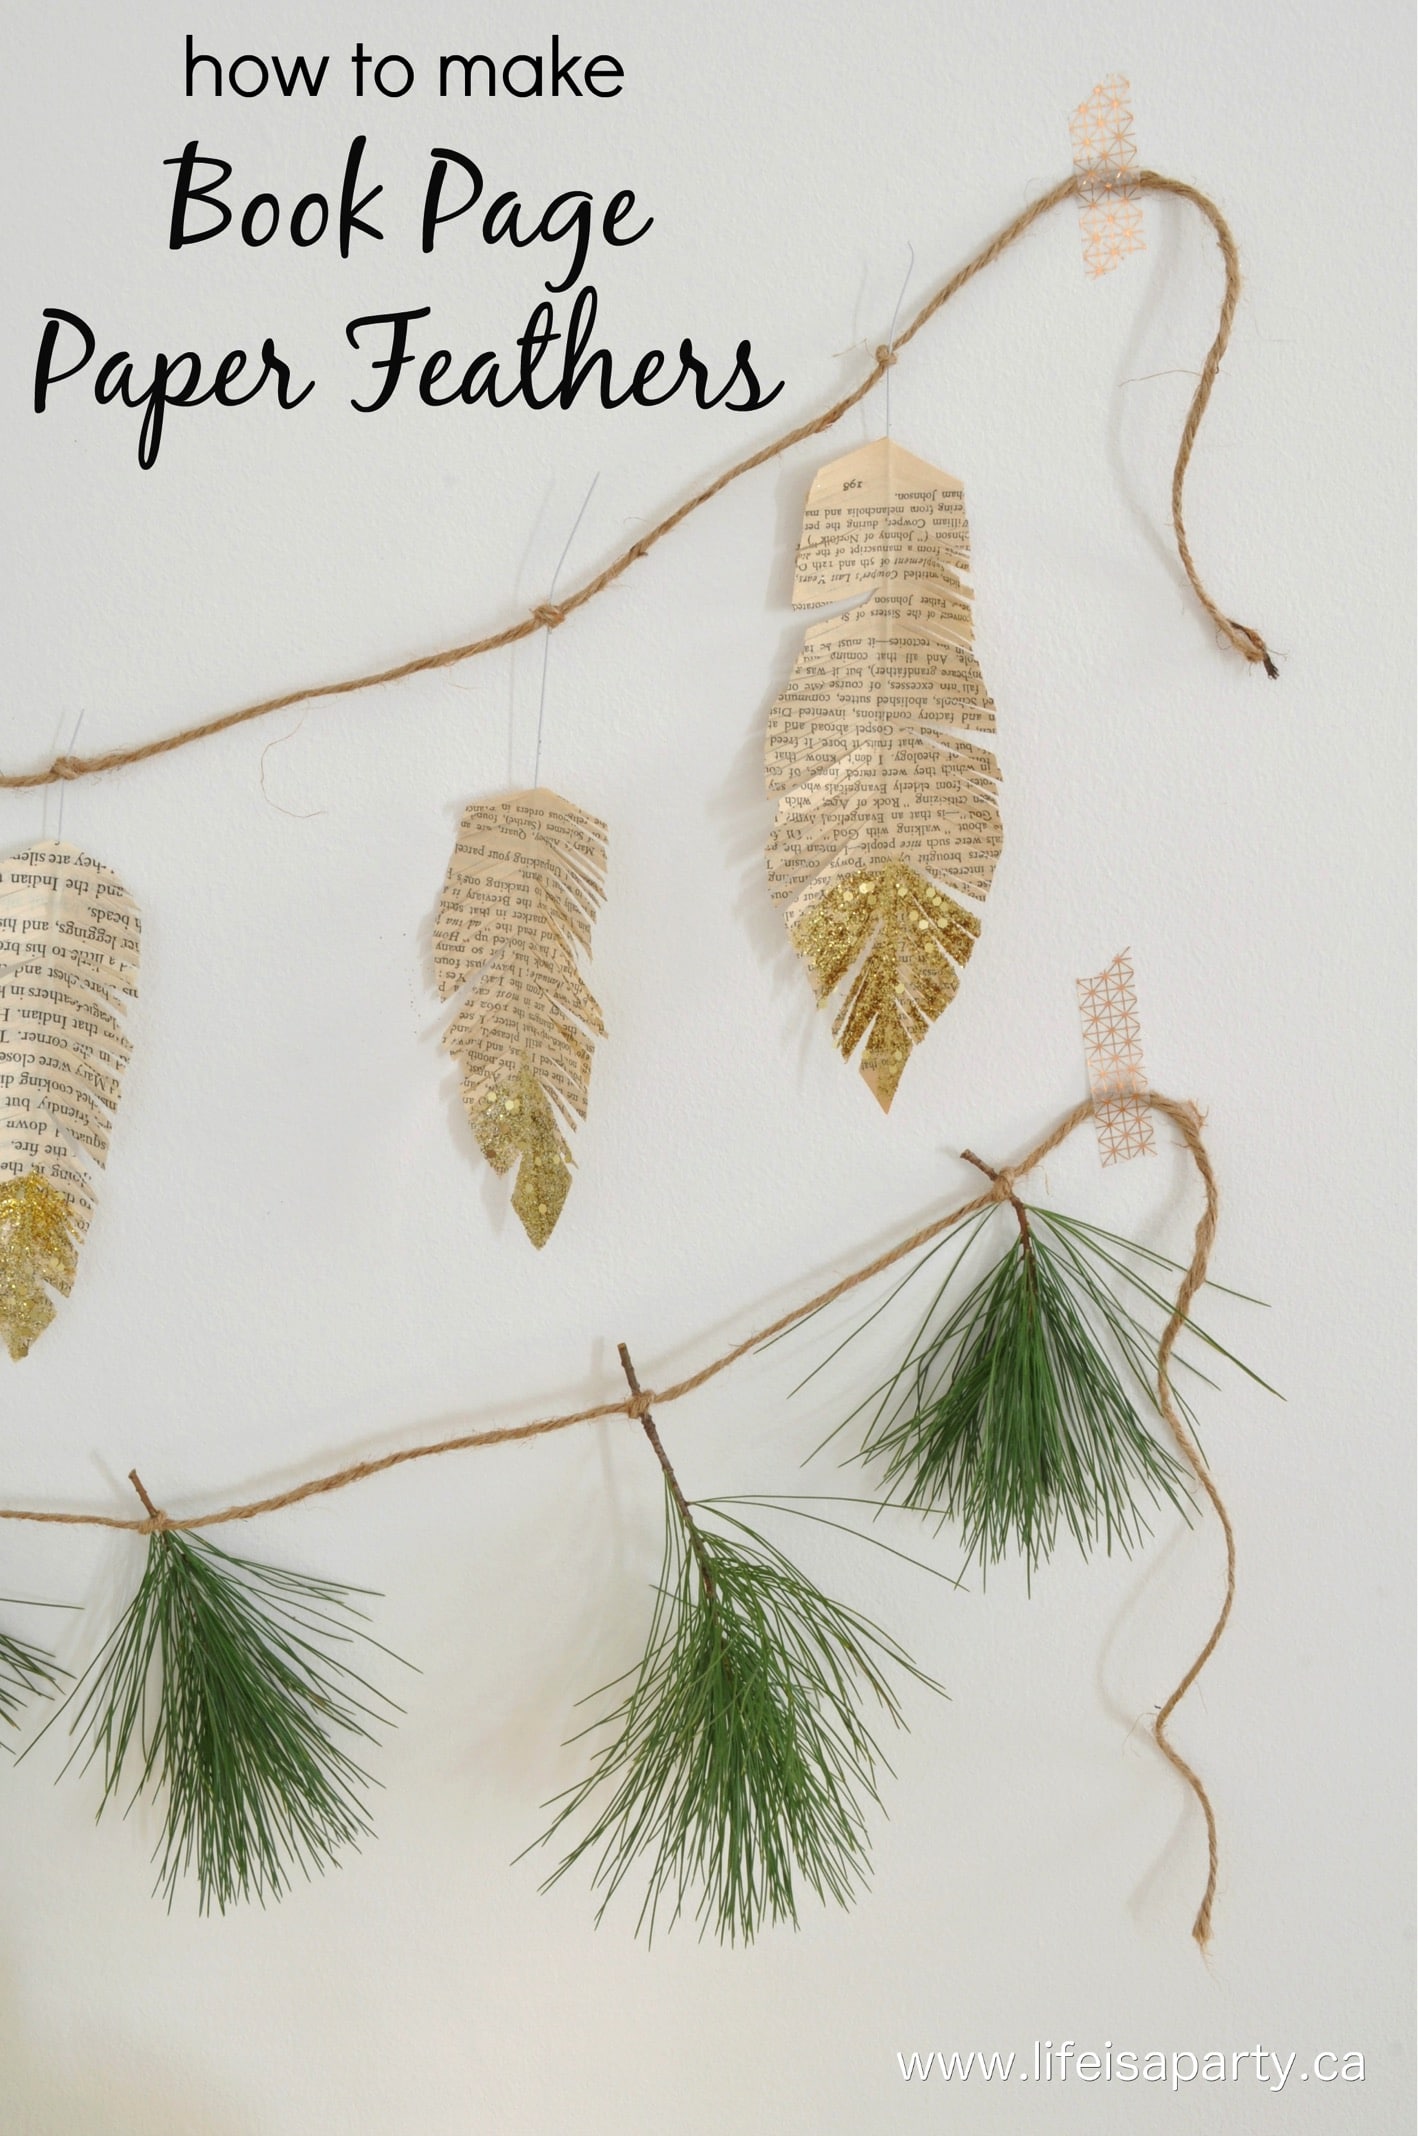
Also check our Book Page Paper Feathers here.
You might also like our Concrete Star Christmas Ornaments here.
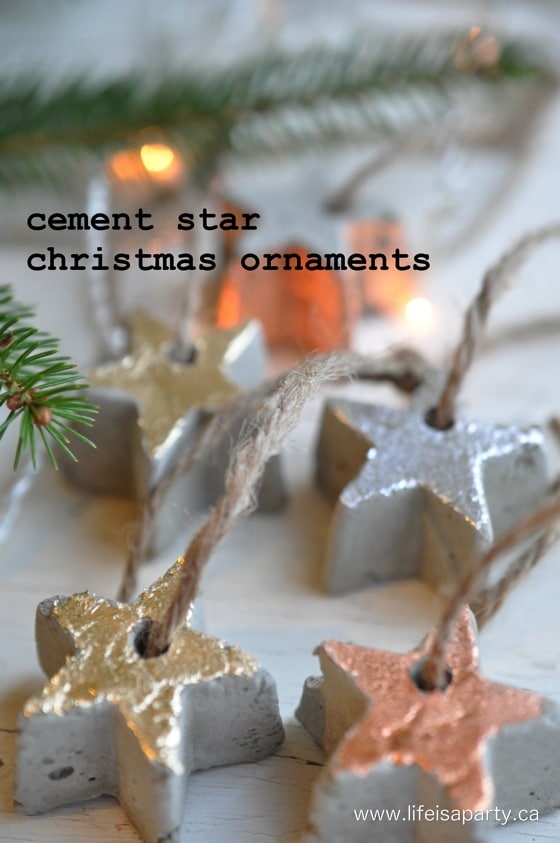
DIY Concrete Star Christmas Ornaments: discover how to make beautiful decorations from some concrete, an ice cube tray, and some gold leaf.

Polymer Clay Christmas Village Tiny Houses

Nov 4, 2020 · 4 Comments

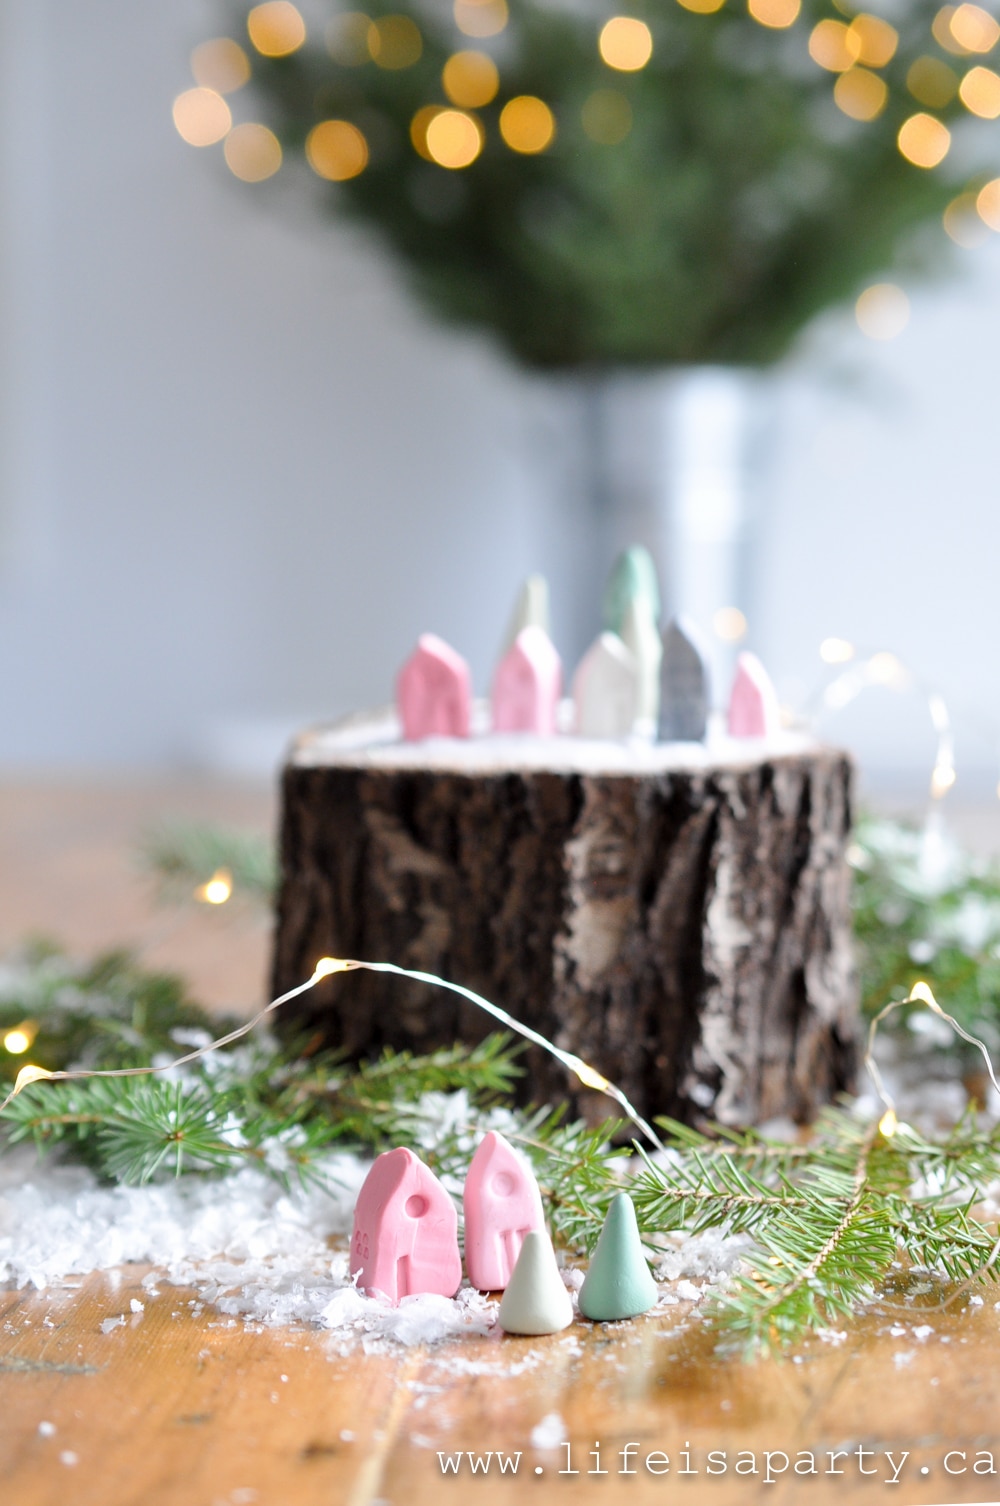
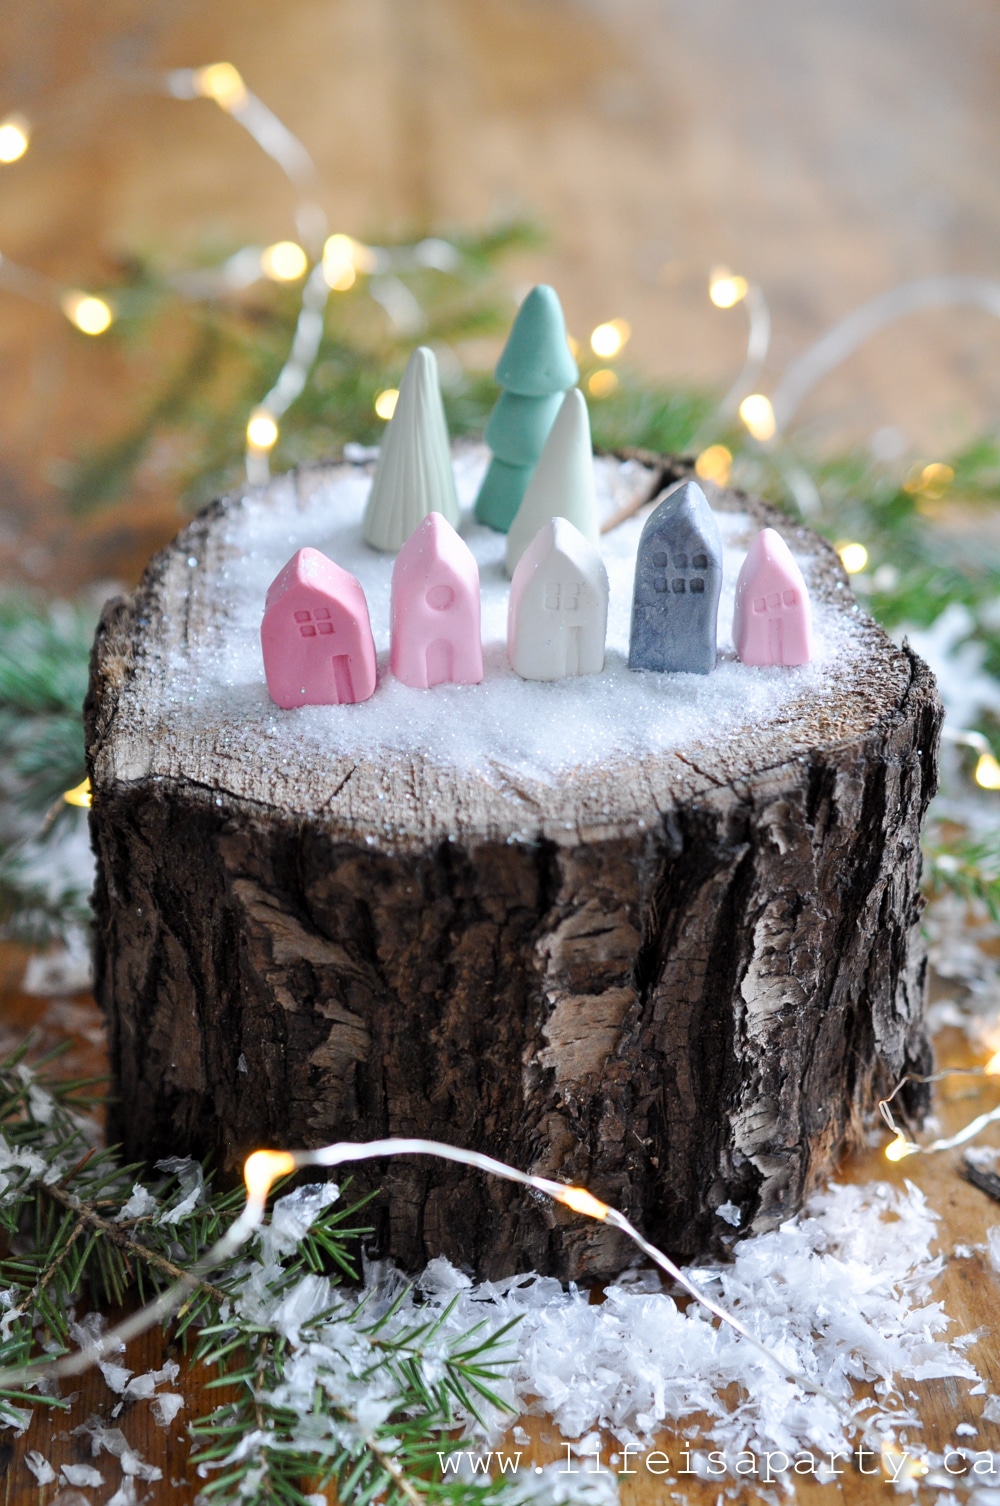
DIY polymer clay miniature village

Polymer Clay Christmas Village: DIY miniature polymer clay houses and trees make a decorative miniature Christmas village.

DIY polymer clay miniature village
[feast_advanced_jump_to]

This polymer clay Christmas village is such a fun DIY for the holidays. And it's one of my favorite polymer clay ideas for a Christmas project.  Everything miniature is always so cute.  And Christmas villages are a favourite of mine.  I used polymer clay to make this one.  It's a really simple DIY and you could make it in any colour to fit your decor.

This DIY is really simple to make. These little houses were actually inspired by some miniature ceramic houses I saw and thought I could make my DIY version with polymer clay.  I love decorating this time of year.  This village of polymer miniature houses turned out so sweet.  You will love getting these out every year.

miniature polymer clay Christmas houses

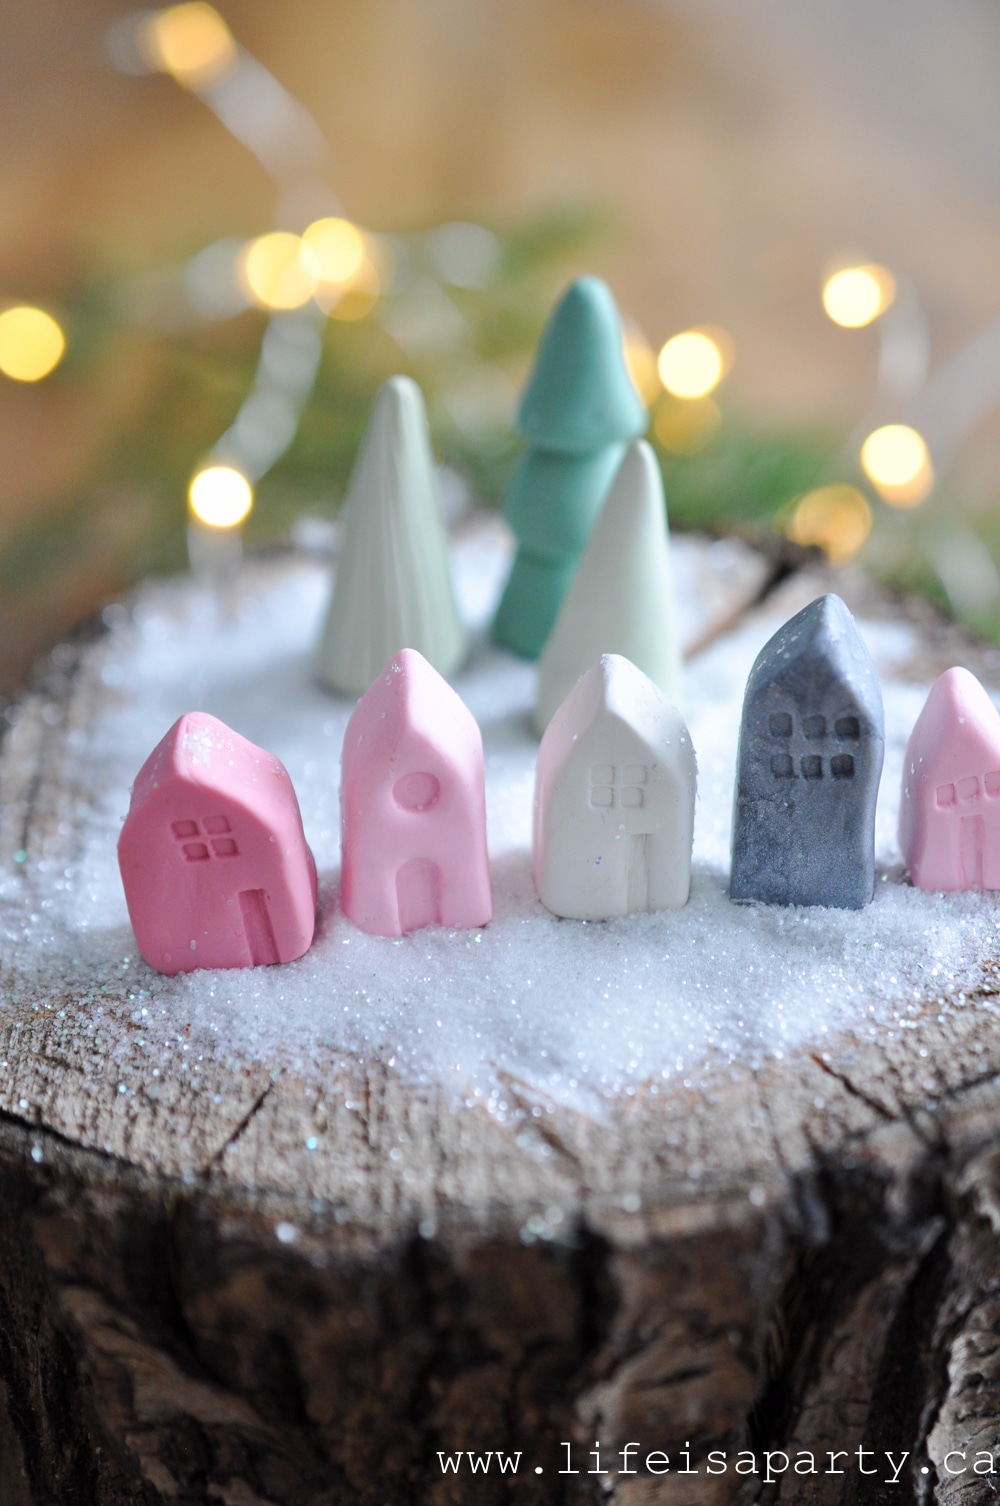
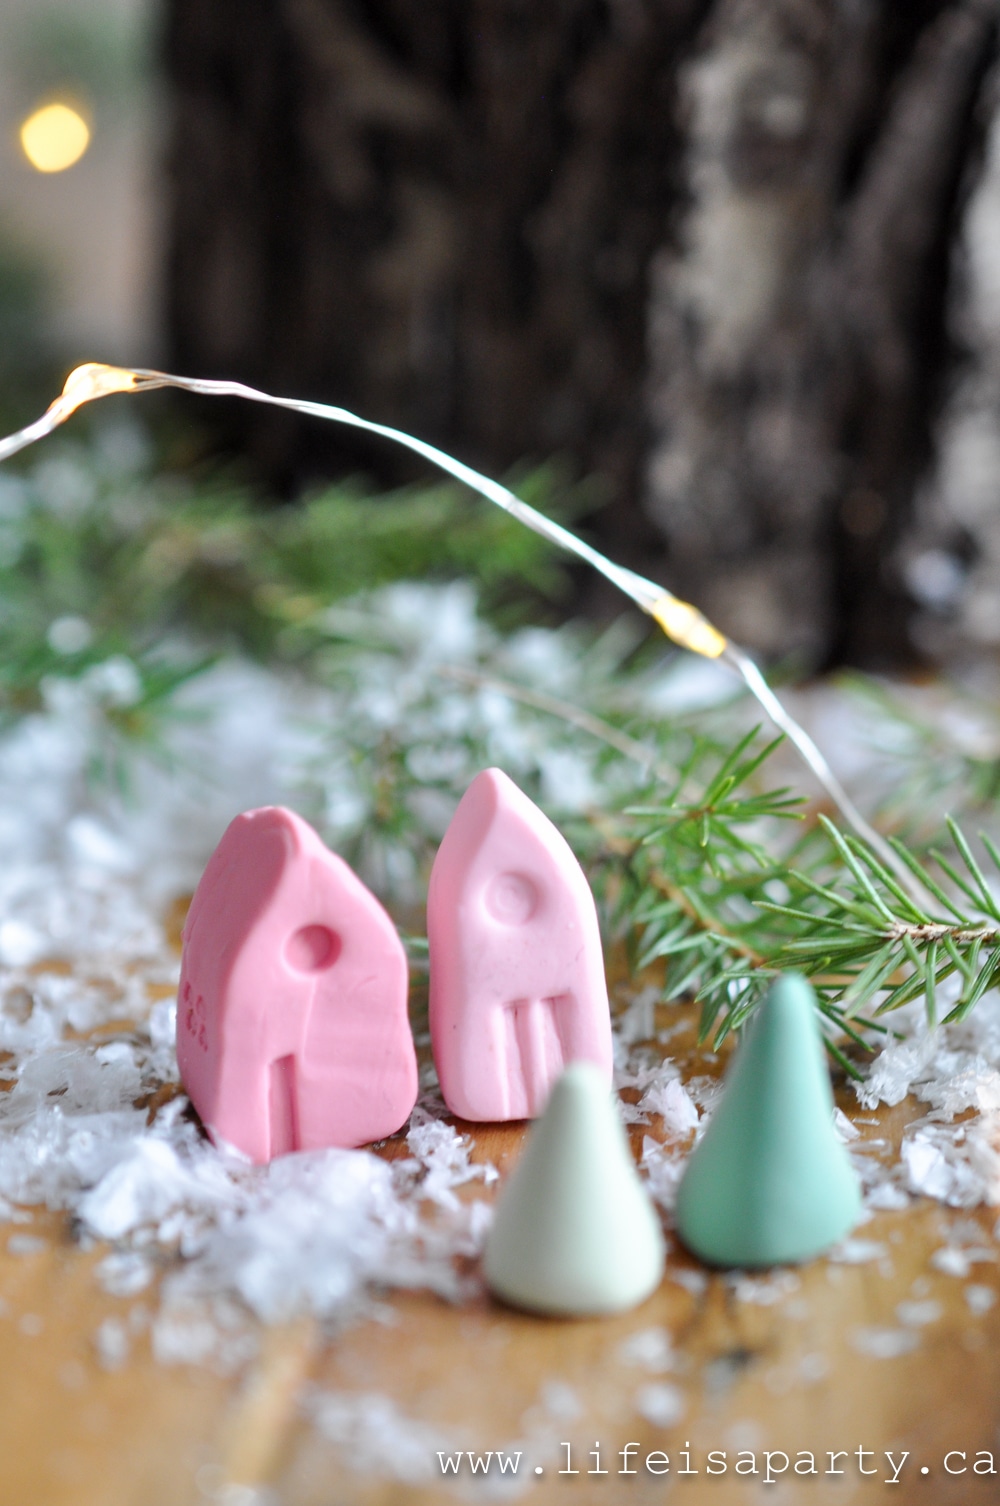
I used some pretty pinks, but this would be beautiful all in white, or any colours to match your Christmas decor.

Polymer Clay

If you're new to the world of polymer clay, I think you'll love using it. I love working with polymer clay, because it's easy to work with, and you can be so creative with it.  It's inexpensive and readily available.  Look for it at your local craft store.  It's easy to work with.  You can make any different shapes, and you can combine clay in different colors to make any clay projects.

DIY miniature clay houses

Materials

  • polymer clay
  • matchstick
  • lollipop stick
  • knife
  • parchment paper
  • baking tray

Forming Your Polymer Clay Houses

Start by kneading a small piece of polymer clay.  It's best to work on a piece of parchment paper, because the colour from the clay tends to leave residue on a work surface and transfer to the next colour you work on.  Take care to make sure your hands and tools are clean when you switch colours too.

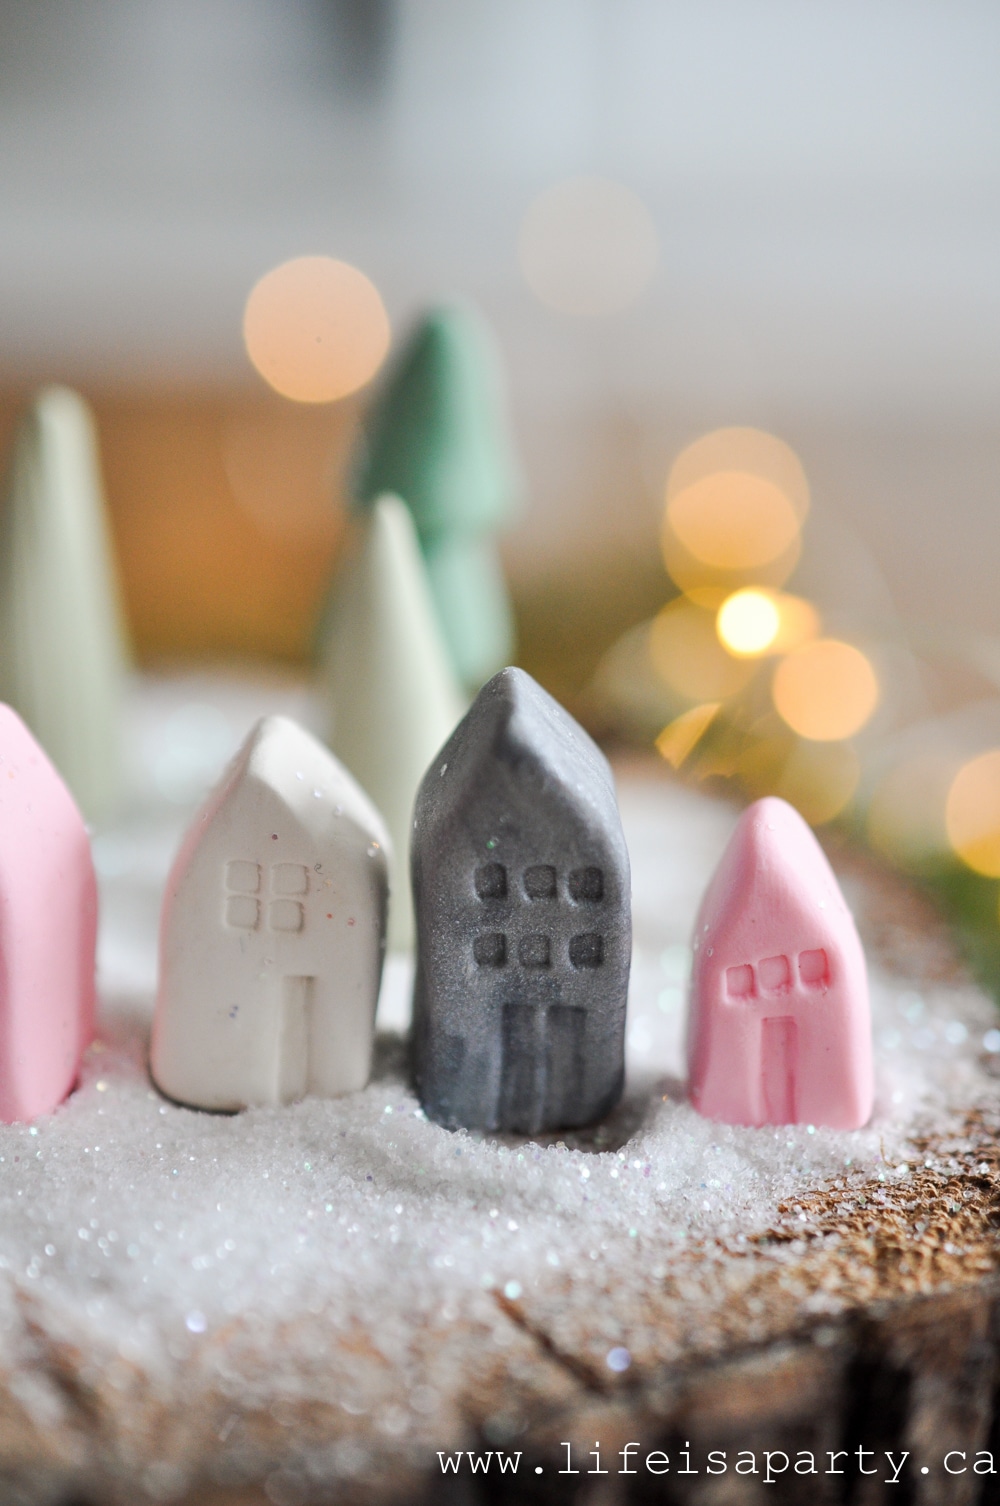
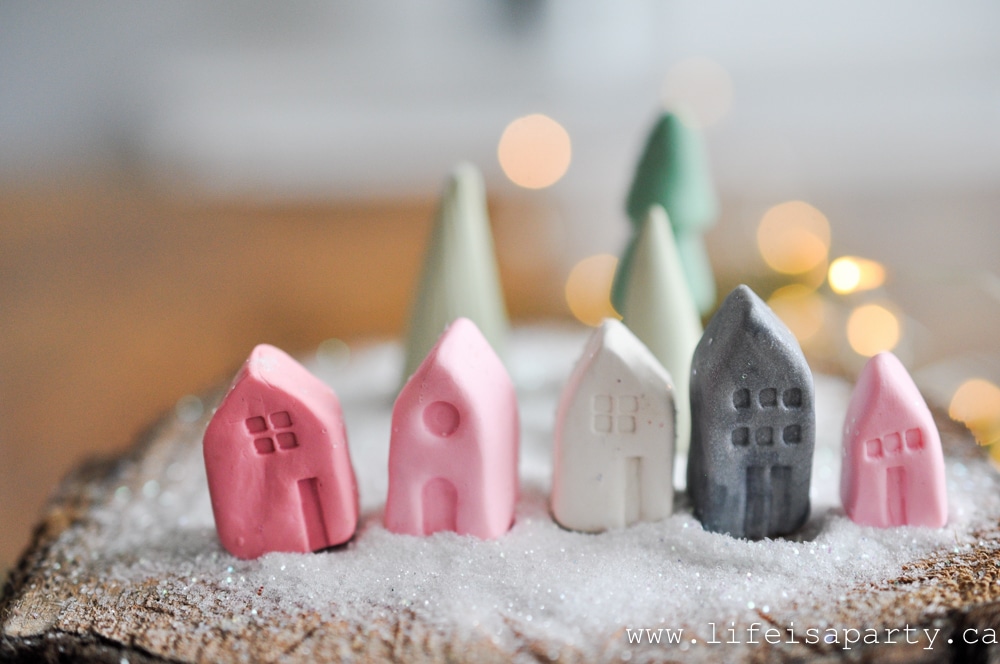
Begin my kneading your clay and softening it.  Use your fingers to form a cube shape for the base of the house and then flatten the top into a roof to make your polymer clay miniature house.  Try to make the houses slightly different sizes, some shorter, some taller, some wider, some smaller for variation.  Mine were about 1-1.5 cm wide, and about 2 cm tall at the peak of the roof.

miniature house tutorial

Adding Details

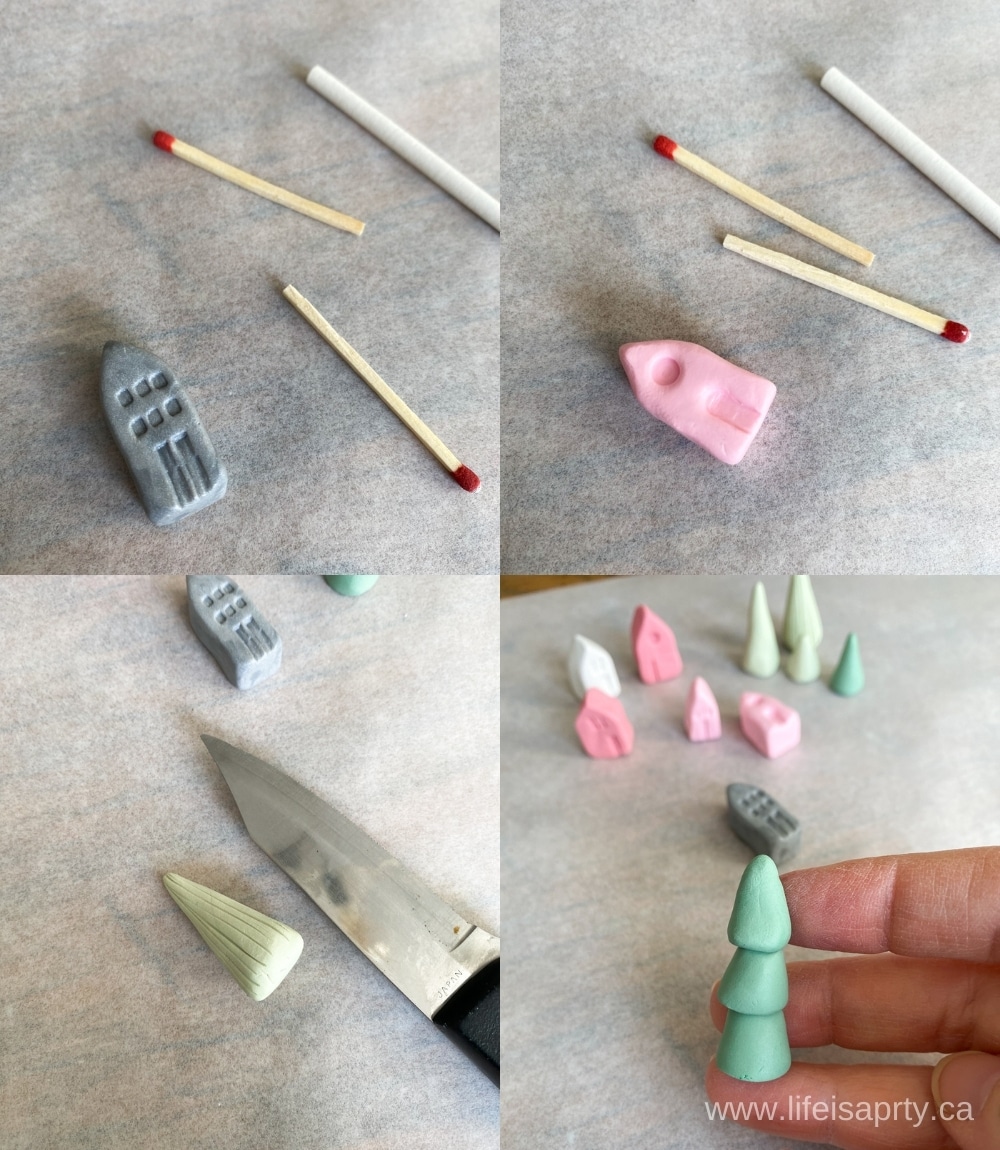
To add the details of the windows and doors use the end of a matchstick.  One small square for a window, or four small squares together, or a line of three.  

For the round window, use the end of a lollipop stick.

To make the doors, use the side of a matchstick.  Or two together for double doors.

To make the rounded door, use a lollipop stick to make the round top, and the matchstick to make the straight section.

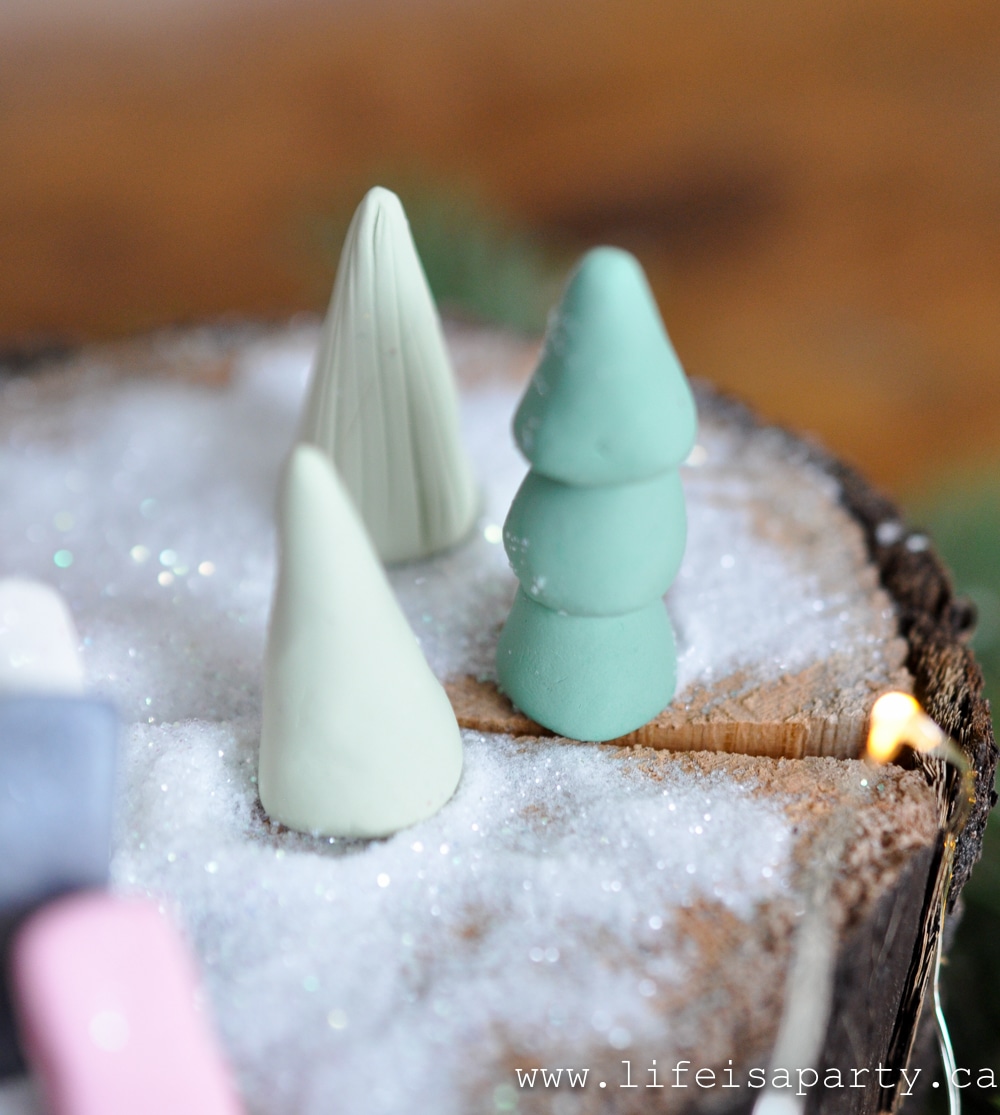
To make the trees, I used some green polymer and rolled it into a cone shape.  On one I added a line detail with the straight side of  a knife.  Another was formed with three cone pieces stuck together.

miniature polymer clay houses

If you're not happy with the design, just knead it again and start over.  Once you're happy with the design, you're ready to bake it in your home oven.

how to make a miniature clay house

Baking The Polymer Clay

Follow the instructions for baking for your particular brand of polymer clay, the package directions are on the side.  I used sculpey clay and it was 15 min. at 375 per ¼ inch of polymer clay.  I have used a toaster oven in the past and accidentally burned it, so I recommend a regular oven.  Cover a baking tray with parchment and bake the pieces as directed.

miniature polymer clay Christmas trees
DIY miniature Christmas village

After they cool they're ready to set up into a village.  

miniature Christmas village

Recipe

DIY polymer clay miniature village

Polymer Clay House Christmas Village

No ratings yet
Print Pin Rate
Cook Time: 15 minutes minutes
Additional Time: 15 minutes minutes
Total Time: 30 minutes minutes
Author: Dannyelle Nicolle-Ramjist

Equipment

  • home oven

Materials

  • polymer clay
  • matchstick
  • lollipop stick
  • knife
  • parchment paper
  • baking tray

Instructions

  • Working on a piece of parchment paper, because the colour from the clay tends to leave residue on a work surface and transfer to the next colour you work on. Take care to make sure your hands and tools are clean when you switch colours too. Begin my kneading your clay and softening it. Use your fingers to form a cube shape for the base of the house and then flatten the top into a roof to make your polymer clay miniature house.
  • Make different houses in slightly different colors, and different sizes; some shorter, some taller, some wider, and some smaller for variation. Make them about 1-1.5 cm wide, and about 2 cm tall at the peak of the roof.
  • To add the details of the windows and doors use the end of a matchstick. One small square for a window, or four small squares together, or a line of three. For the round window, use the end of a lollipop stick. To make the doors, use the side of a matchstick. Or two together for double doors. To make the rounded door, use a lollipop stick to make the round top, and the matchstick to make the straight section.
  • Make trees using green polymer clay and roll it into a cone shape.
  • Bake the clay according to the package directions, in your oven, on a parchment lined baking tray.
  • Once cool arrange your village and sprinkle with glitter or faux snow.

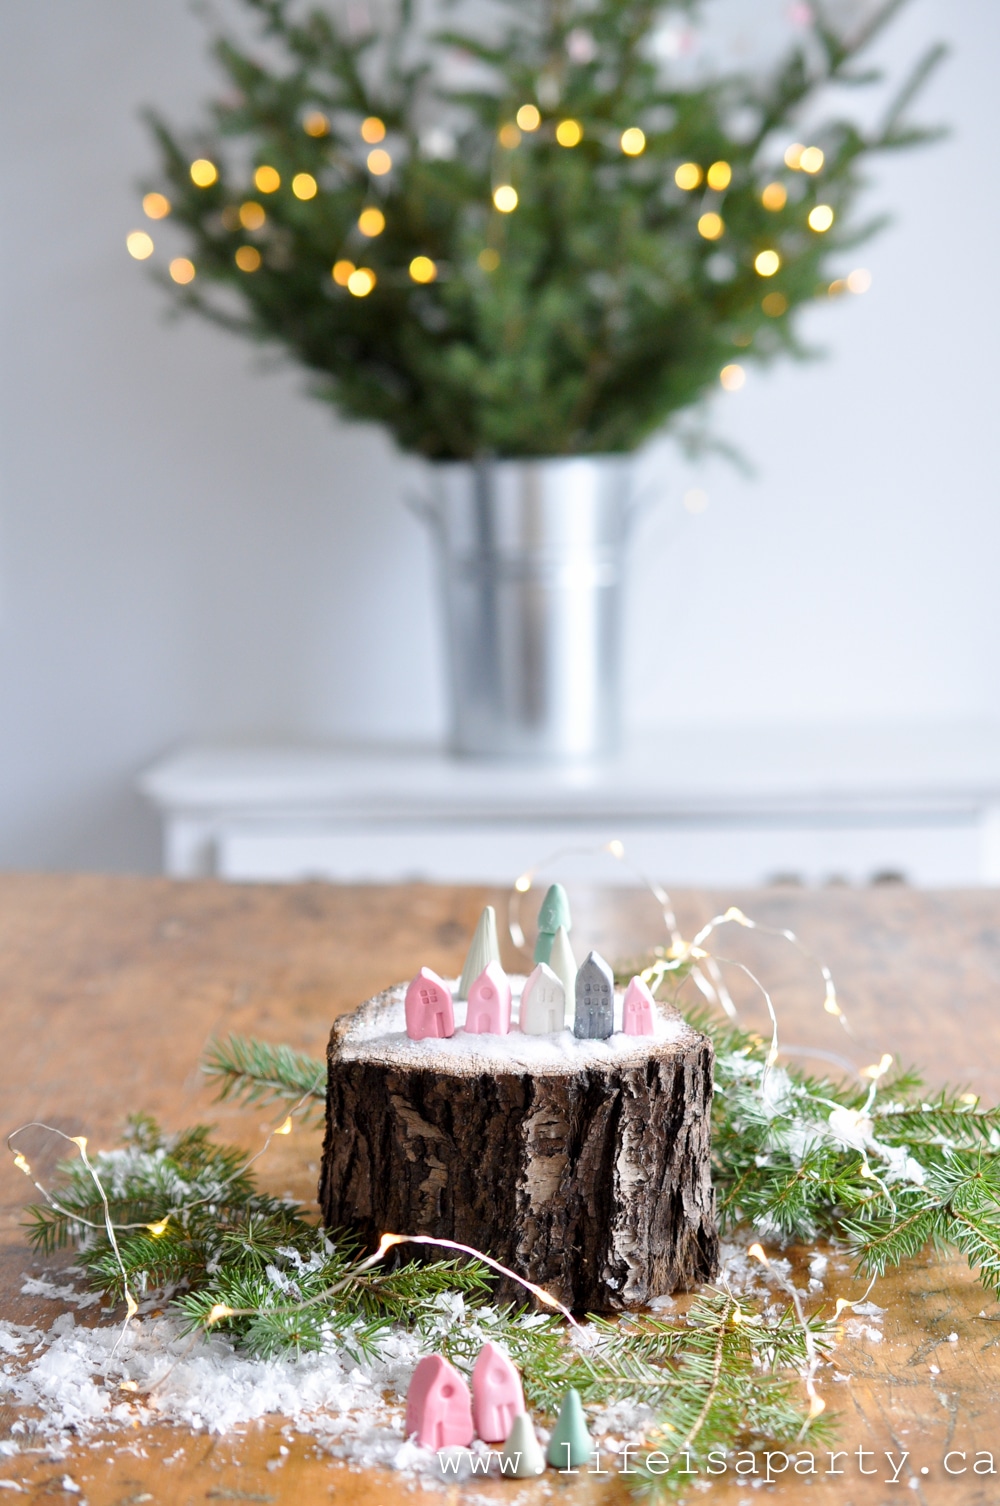
I set mine up on a old log piece and used some white glitter as snow.  They'd be perfect on a little window sill, or a small shelf.  Best positioned somewhere where you can appreciate their tiny size.  This project didn't take much time to make at all, and it turned out so cute.  This would make a lovely handmade gift for anyone on your list.  Make the polymer clay house village in their favorite colors to personalize it.

miniature clay houses

With a polymer clay house village all ready for Christmas, life really is a party.

More Christmas Project Inspiration

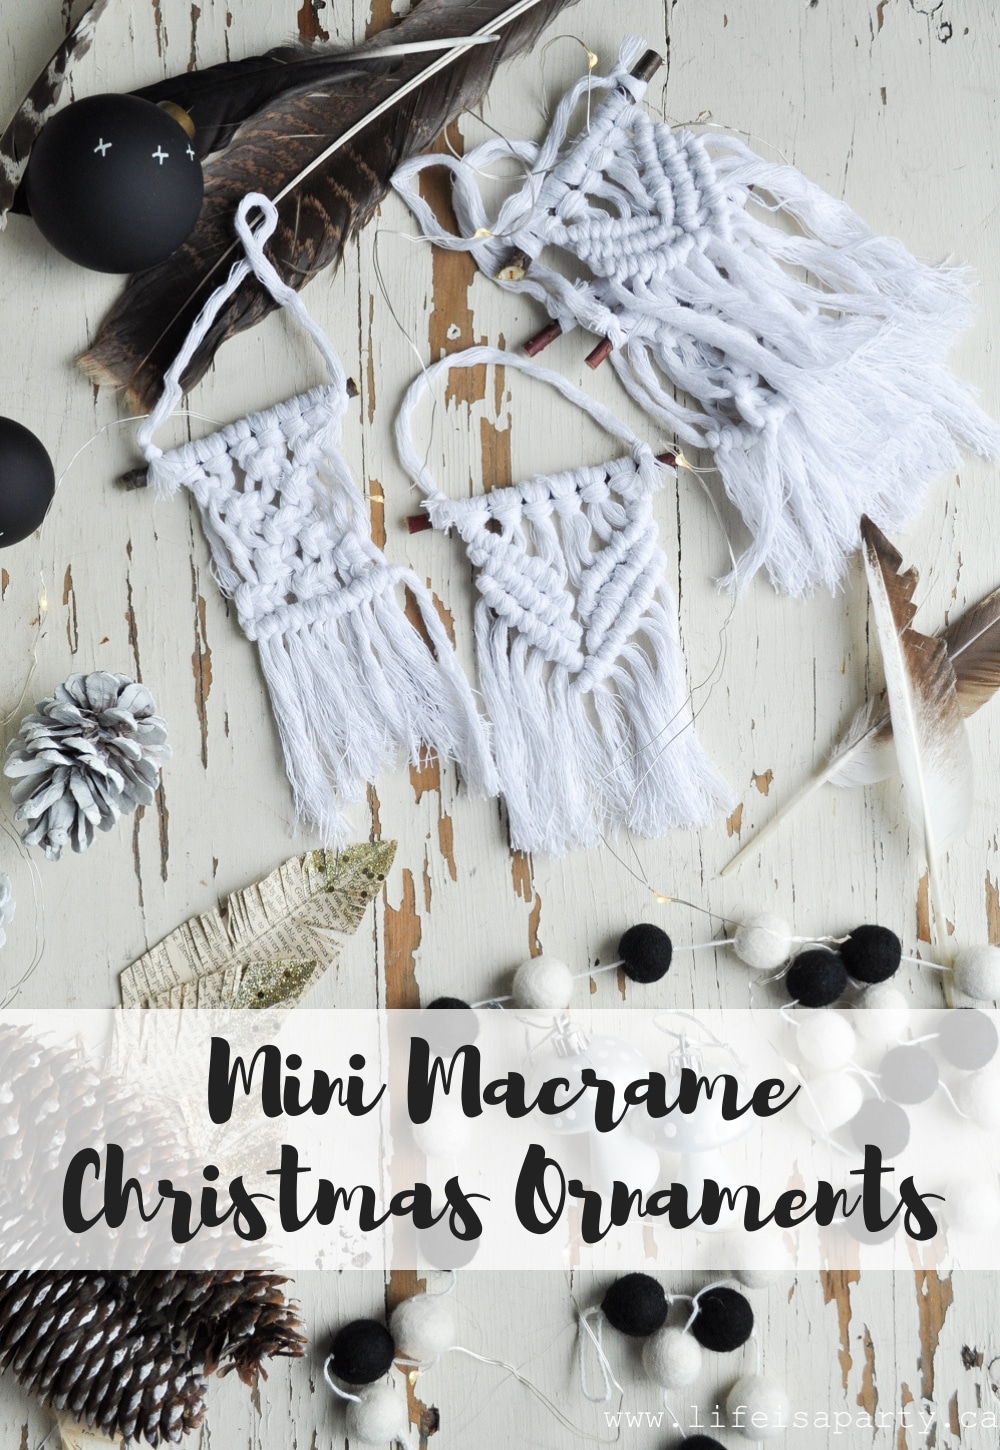
You might also like our Christmas Macrame Ornaments here.

Mini Macrame Christmas Ornaments: Easy DIY Macrame Ornament tutorial, perfect for the beginner. No macrame experience required.

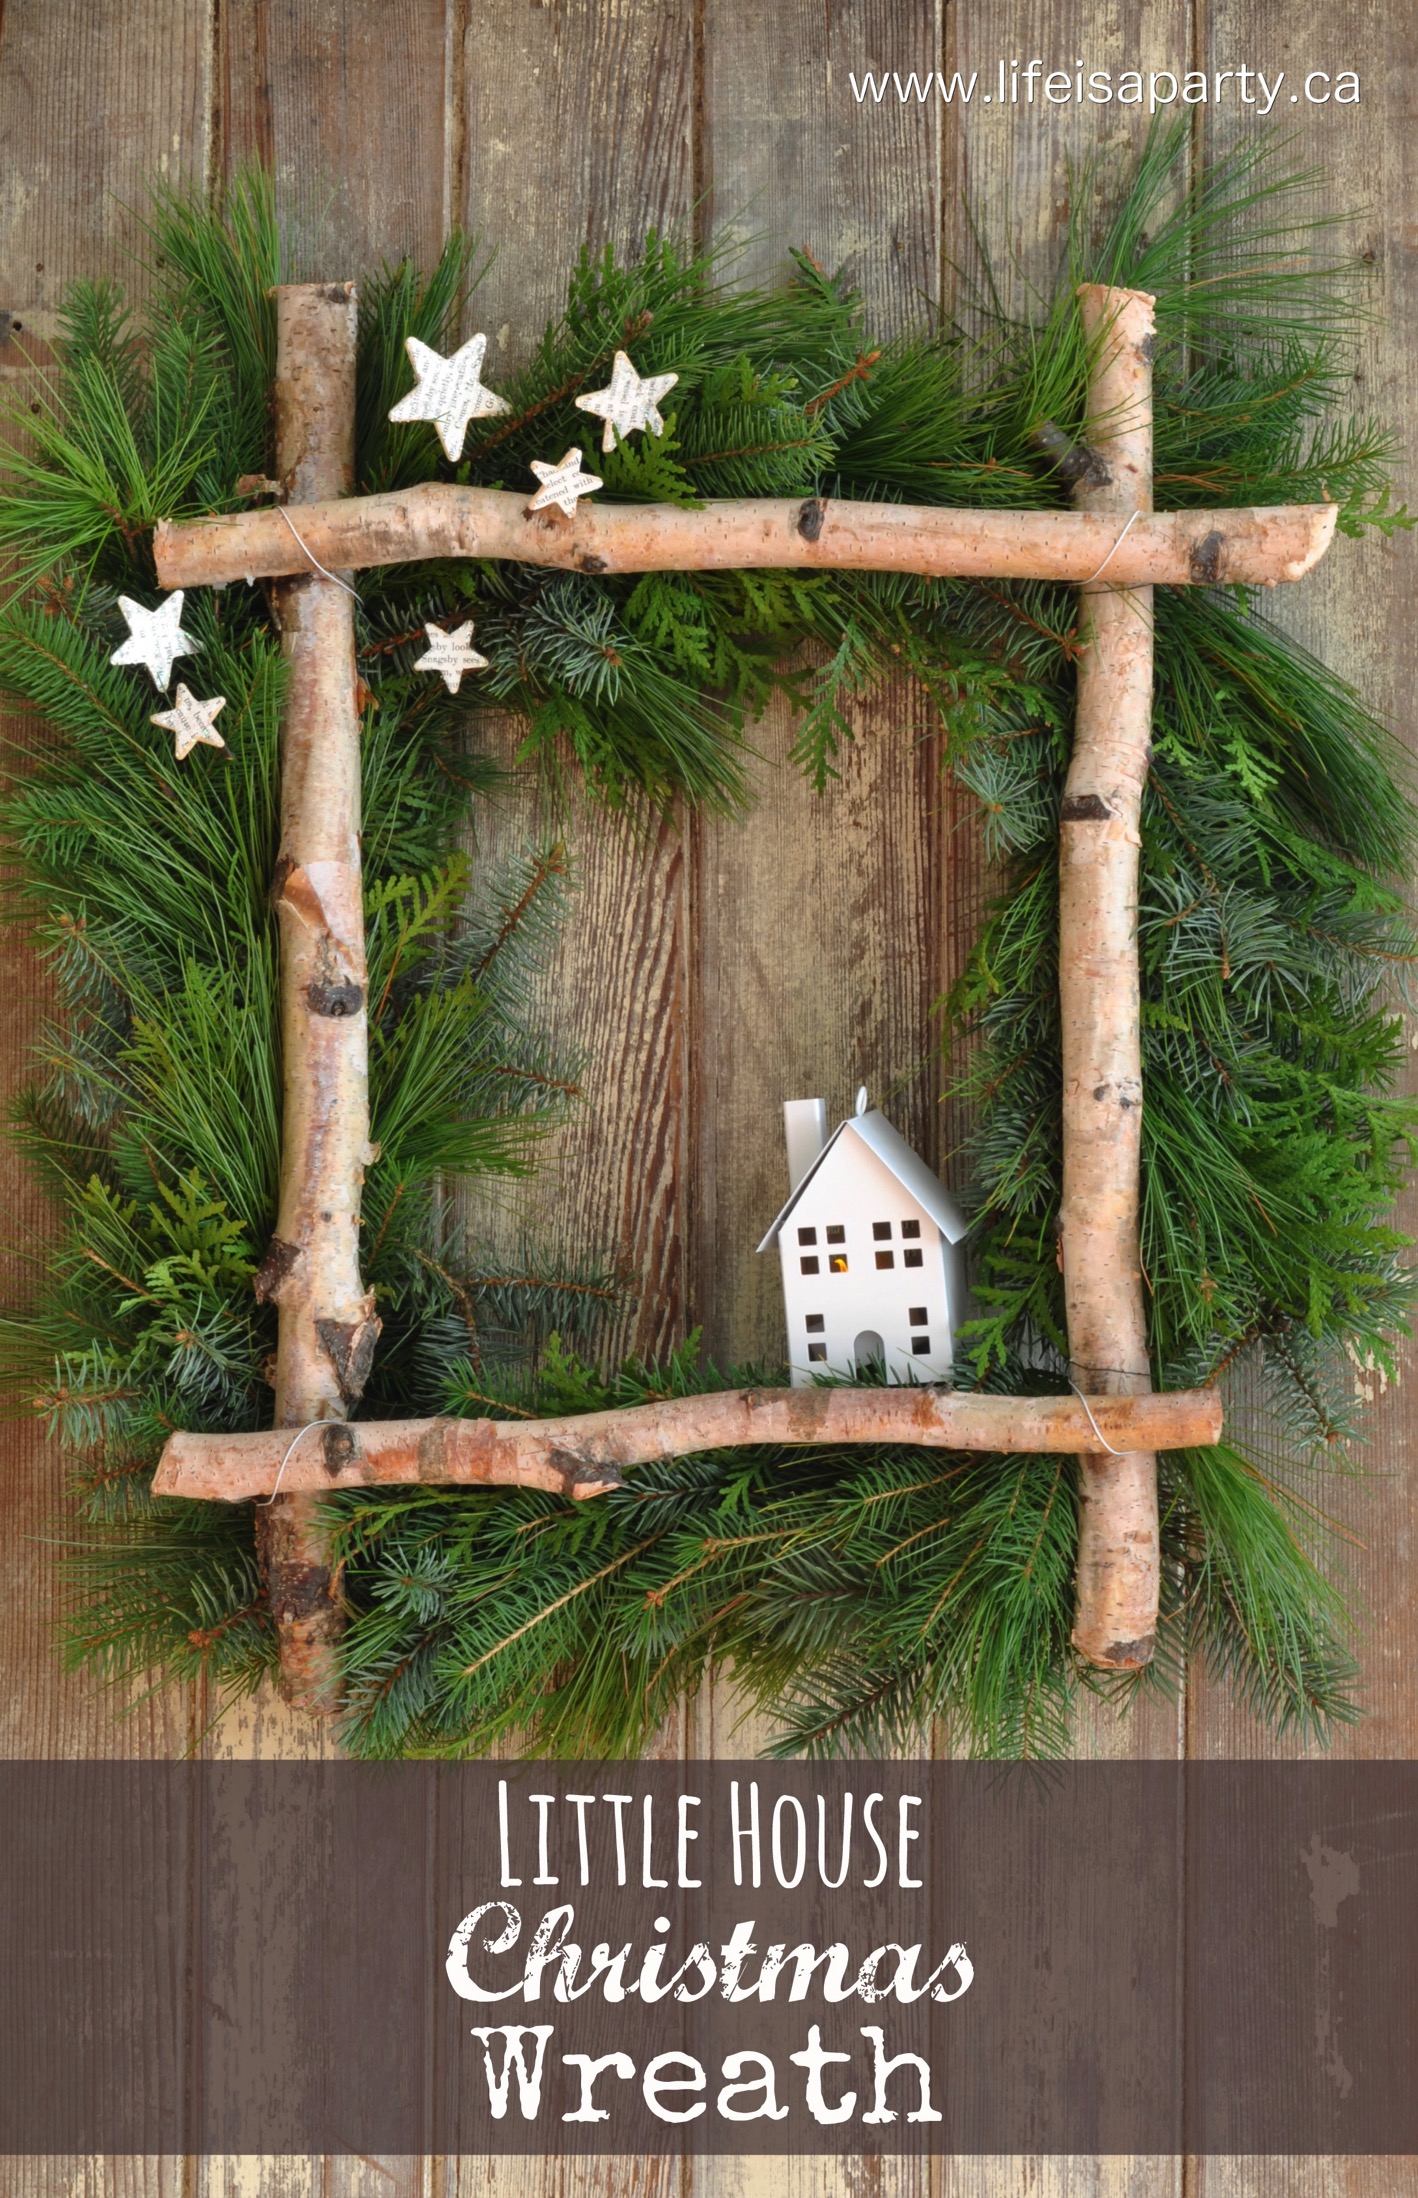
Also check out our Christmas Wreath here.

Birch Christmas Wreath:-full tutorial to make your own square wreath from some gathered greens, birch logs, and a coat hanger. Perfect for Christmas.

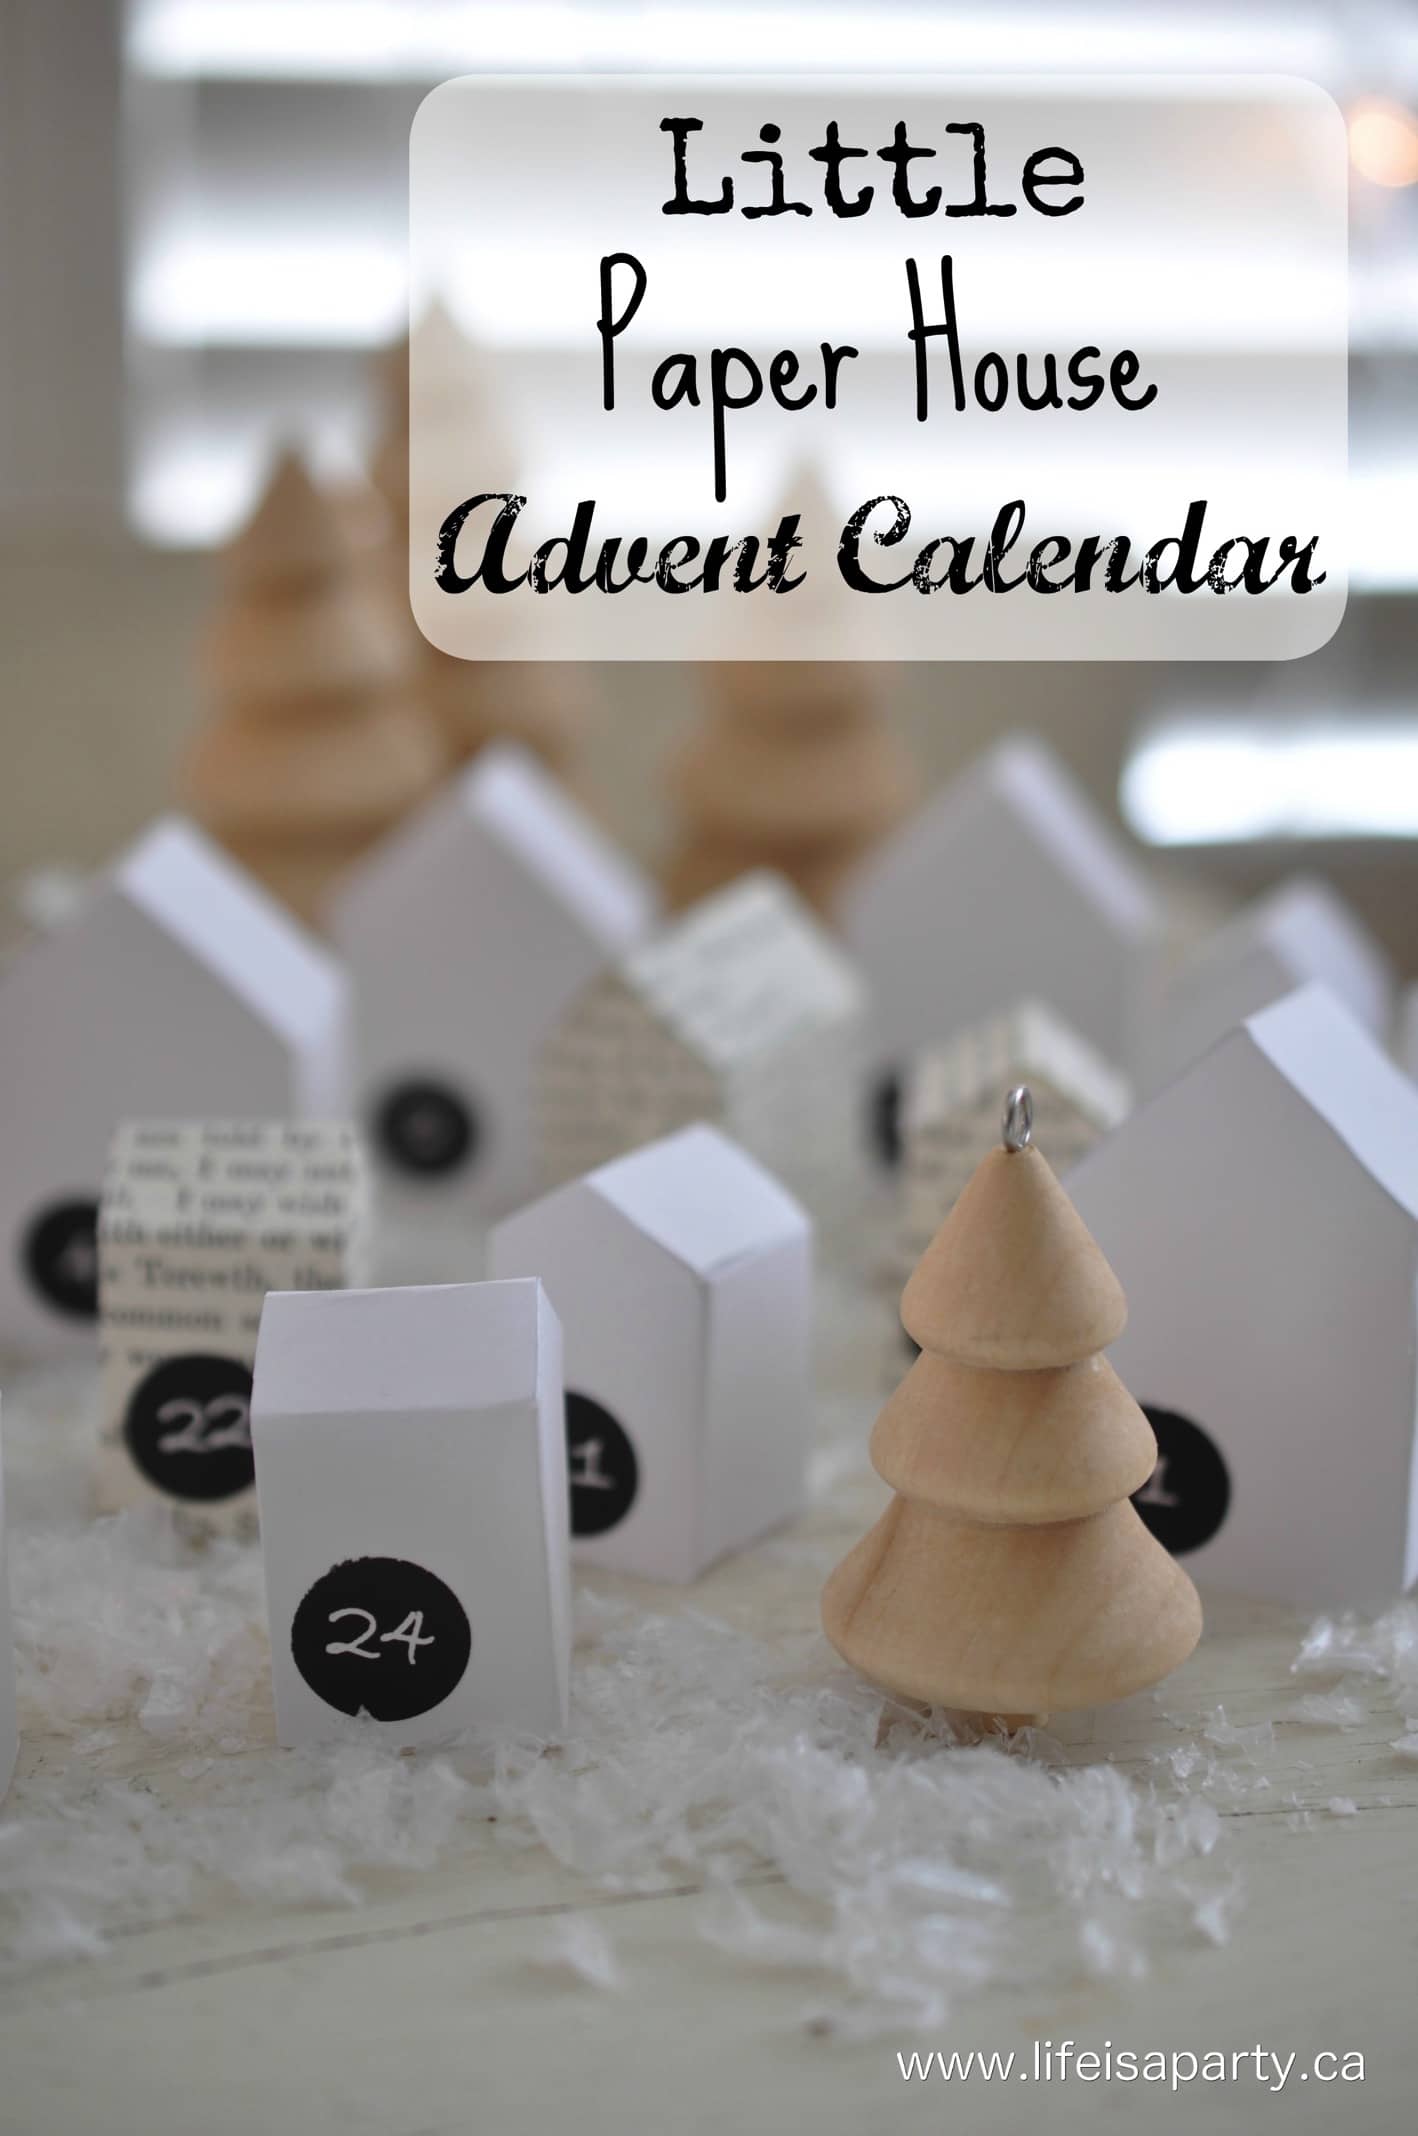
You might also enjoy our DIY Paper House Advent Calendar here.

DIY House Advent Calendar: A pattern for 3 sizes of paper houses, and printable number labels to make your own advent village.

How To Save Seeds and Free Printable Seed Packages

Oct 28, 2020 · 7 Comments

how to save seeds and free printable seed packages

How To Save seeds and Free Printable Seed Packages To Store Them: save the seeds of your favourite plants to grow again next year.

how to save seeds and free printable seed packages
[feast_advanced_jump_to]

Discover how to save seeds from plants so you can grow them again.  Easy step by step.  Plus create your own adorable free printable seed packets that will keep them dry, dark and safe.  Perfect for gift giving too.

Today I spent a little time out in the garden harvesting seeds.  I love my beautiful flowers, and saving seeds is the perfect way to enjoy even annuals year after year.  It's really easy to do too.

Collecting Seeds

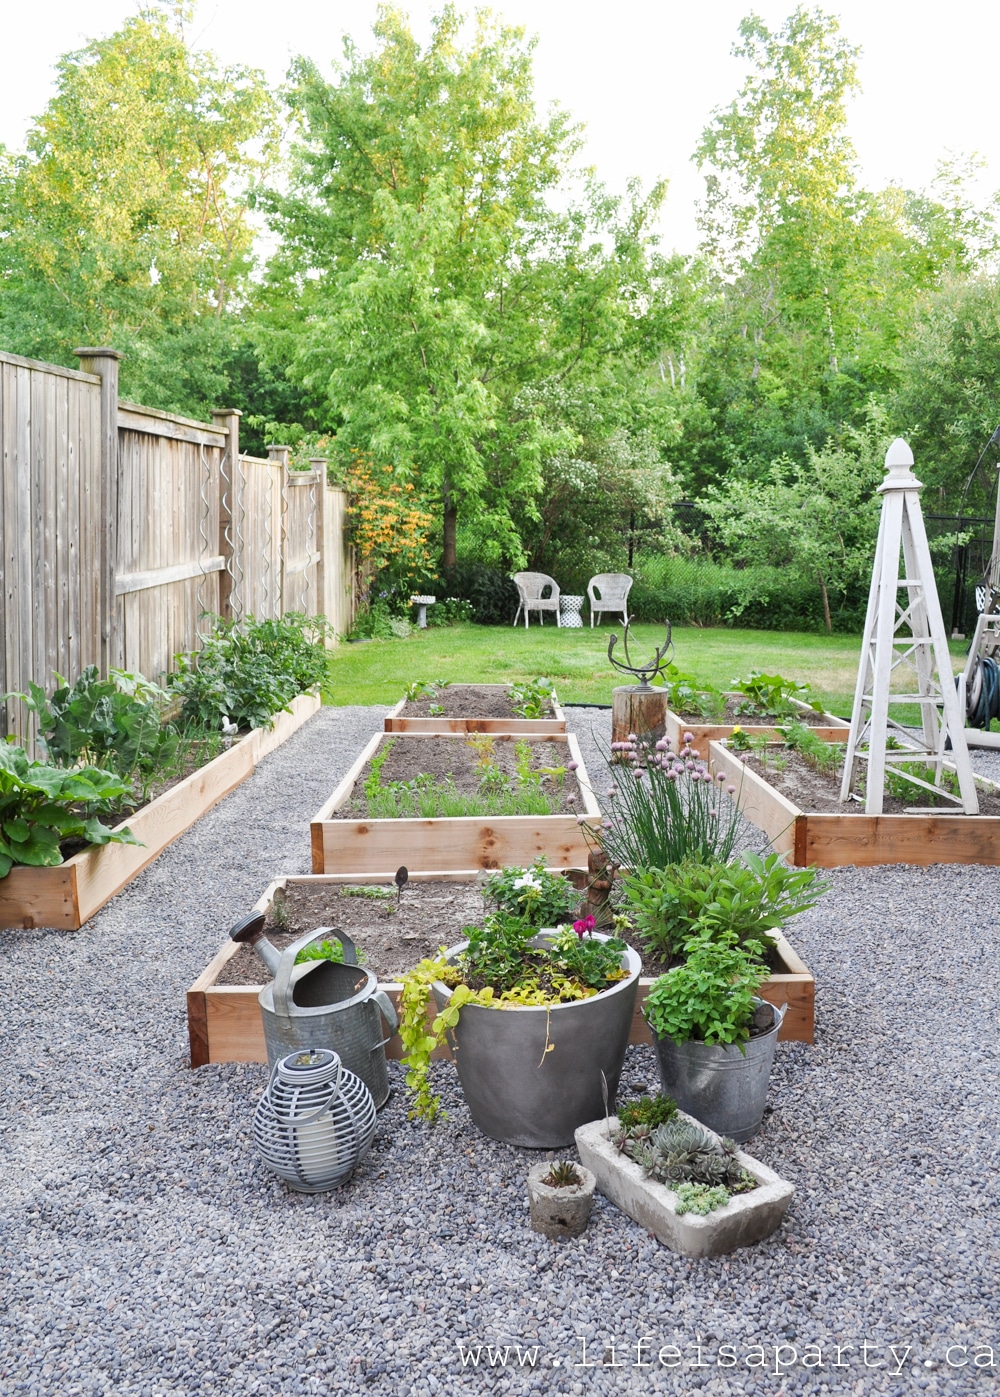
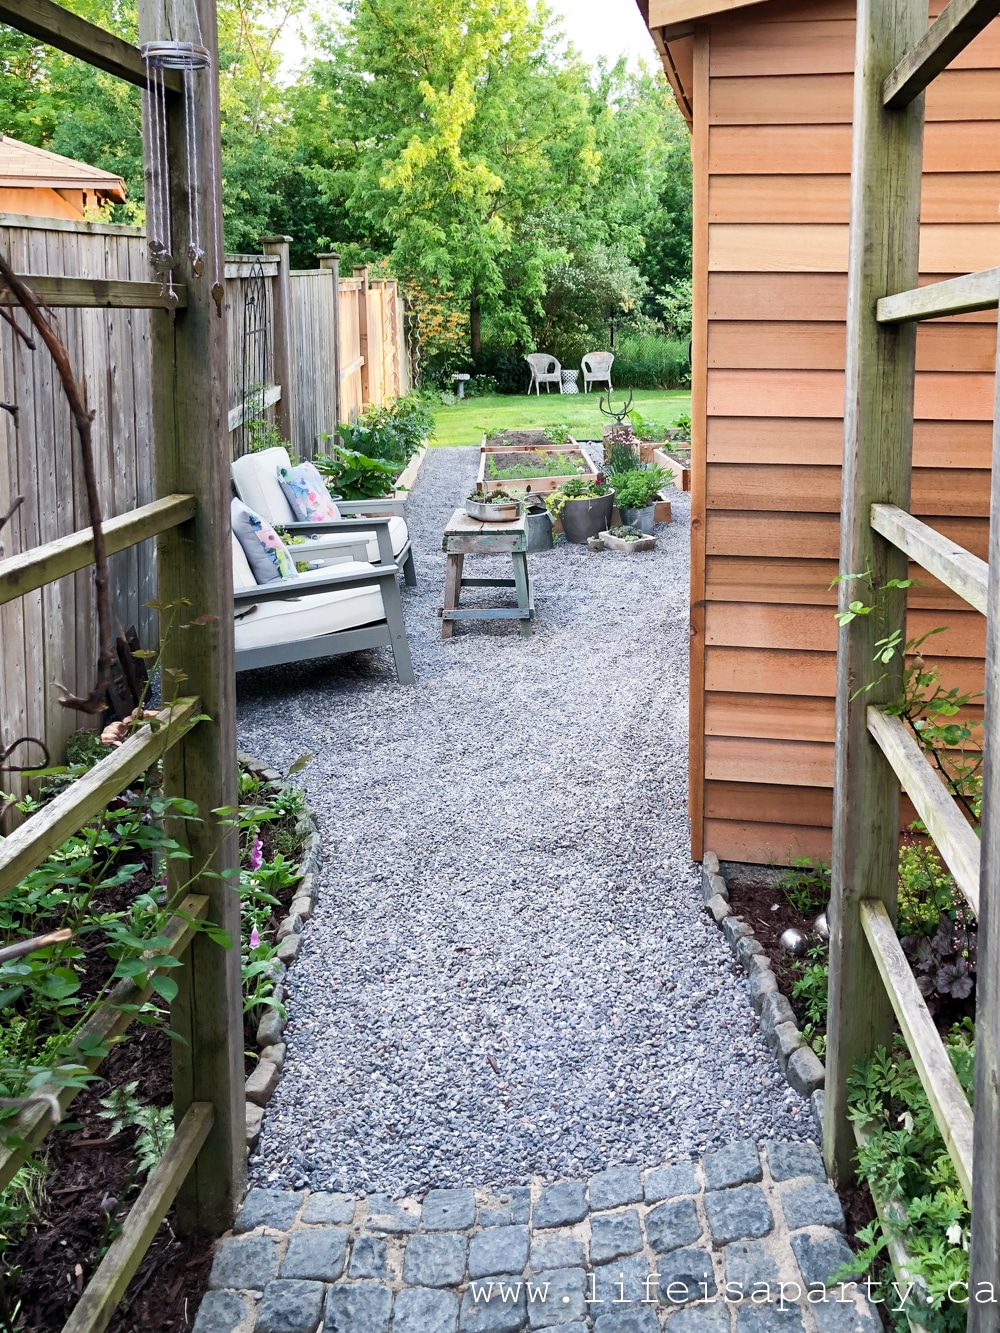
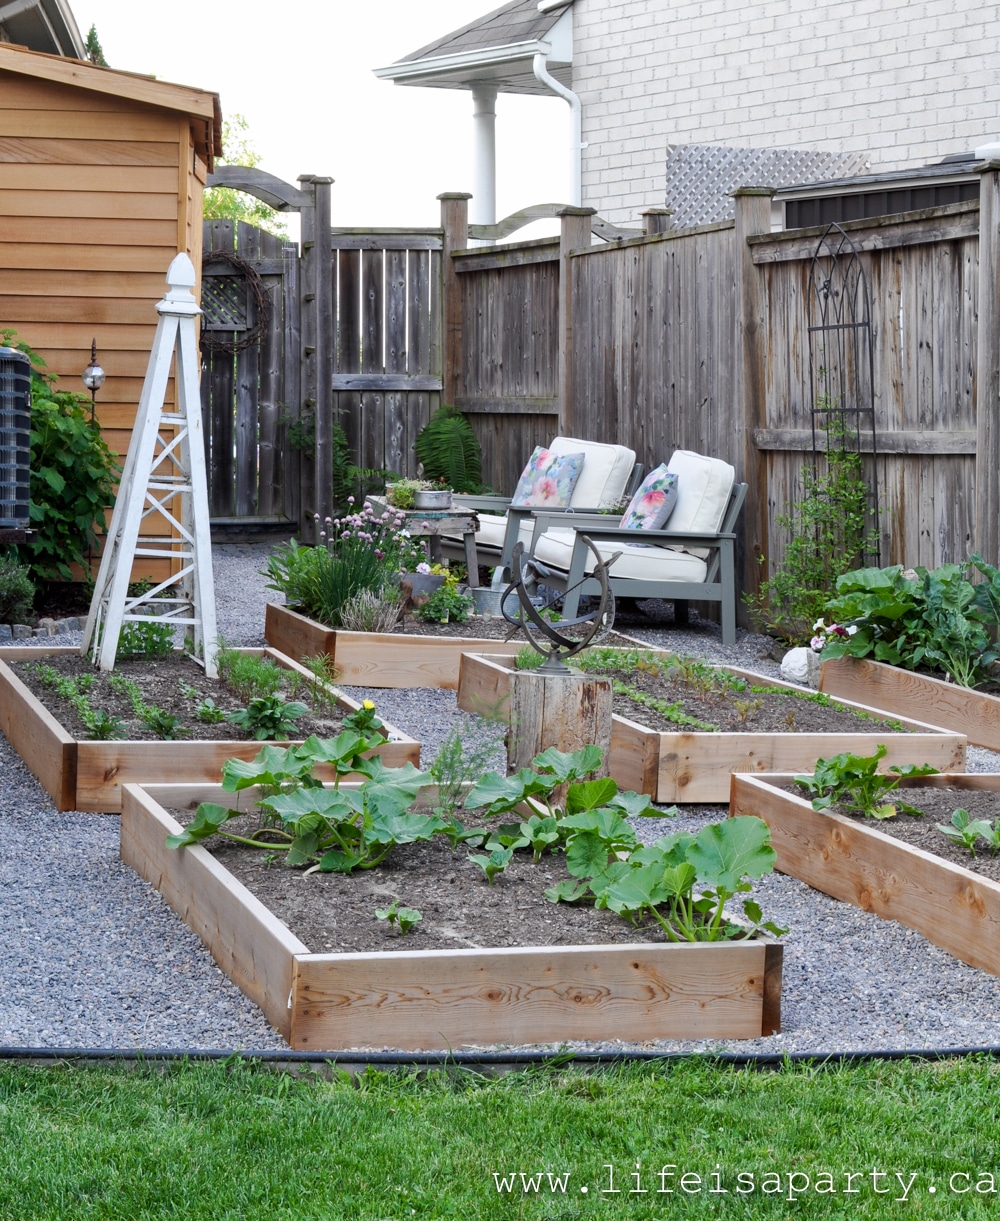
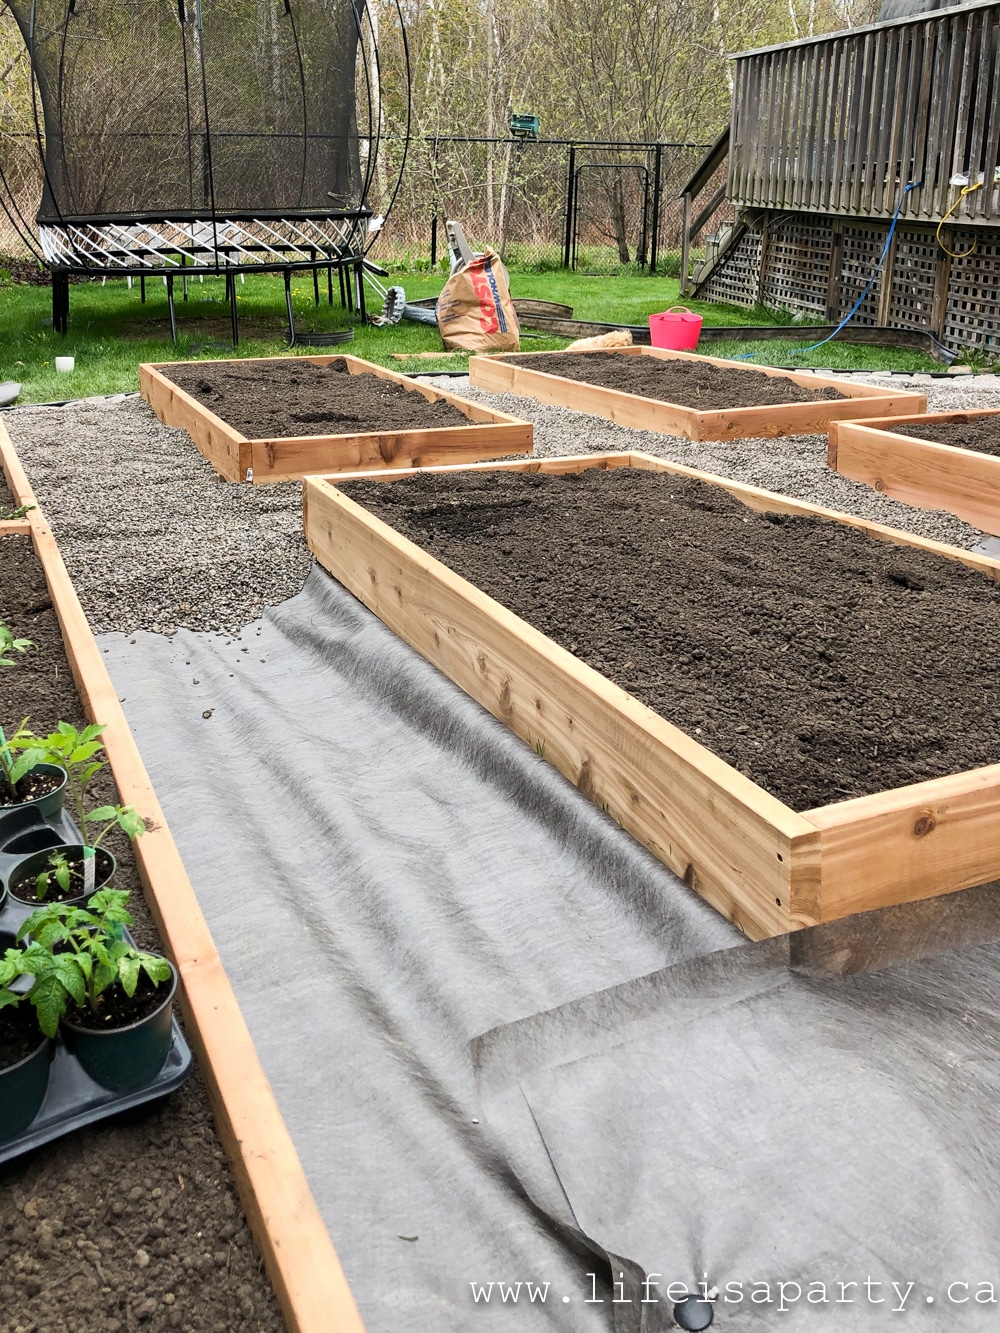
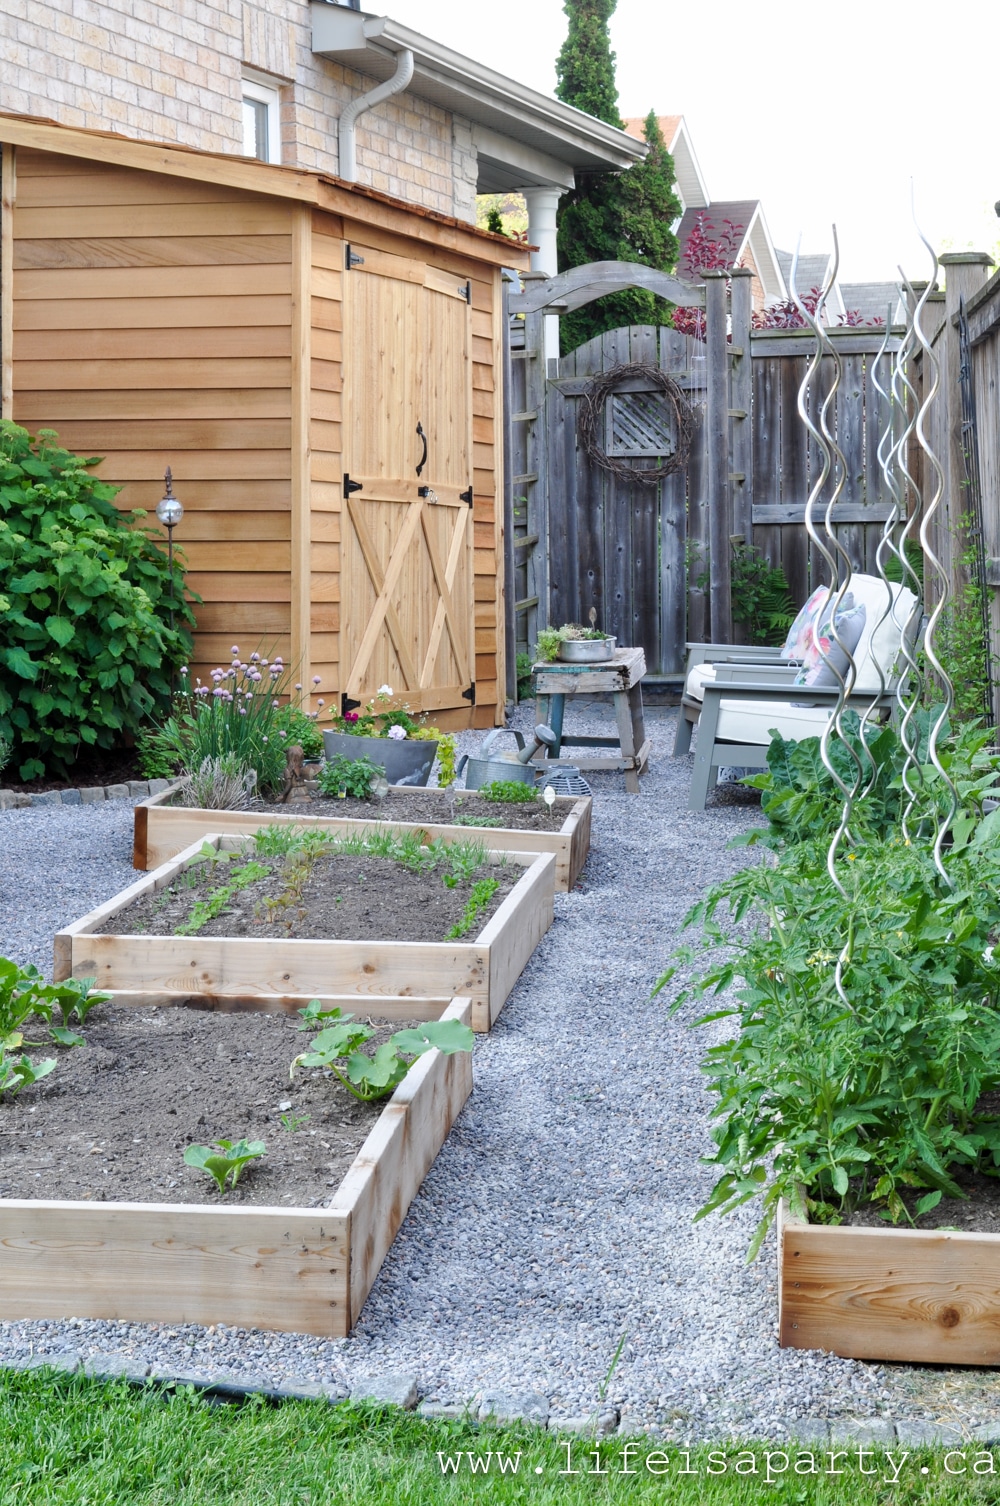
This year we made-over our little veggie garden in our underused side yard.  We added raised beds, a garden shed, and pea gravel paths to create our portager garden.  You can read all about the whole progress of making the portager garden here.

portager gardenAnd this fall I did a little update and shared some of the things we were harvesting and fall garden ideas here.
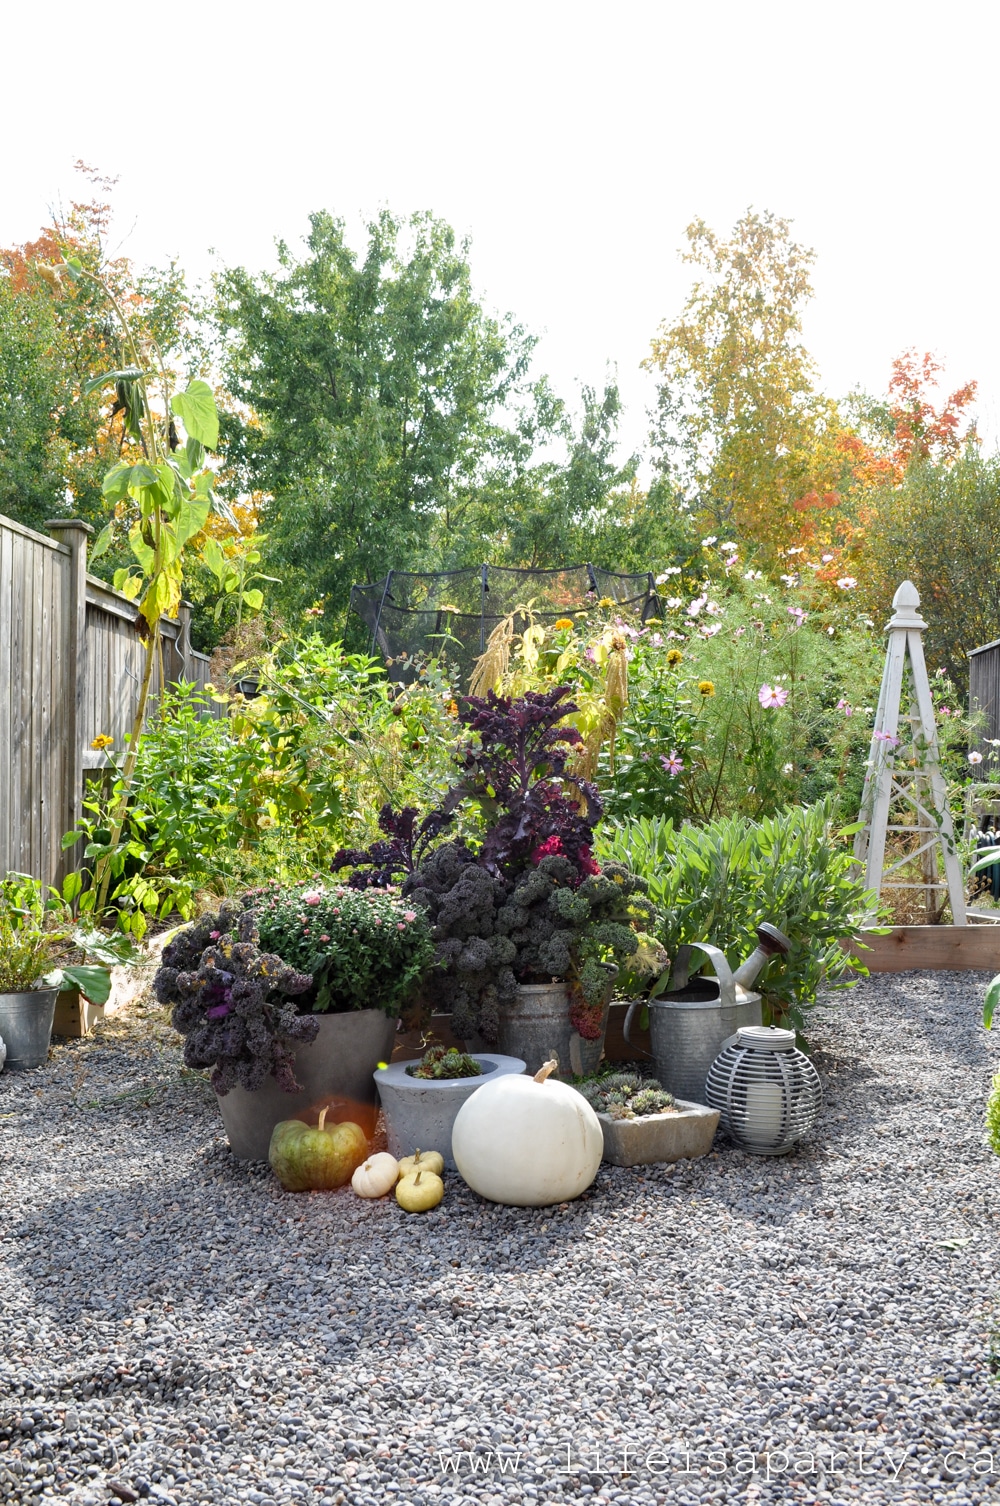
portager garden

A portager garden is a French term used to describe a garden that combines vegetables, herbs and flowers.  We had two raised beds where we grew flowers from seed.  This fall I thought it would be fun to collect some of the seeds from the annuals so we could plant them again next year.

Collecting The Seeds

how to save seeds and free printable seed packages
how to save seeds from annual flowers

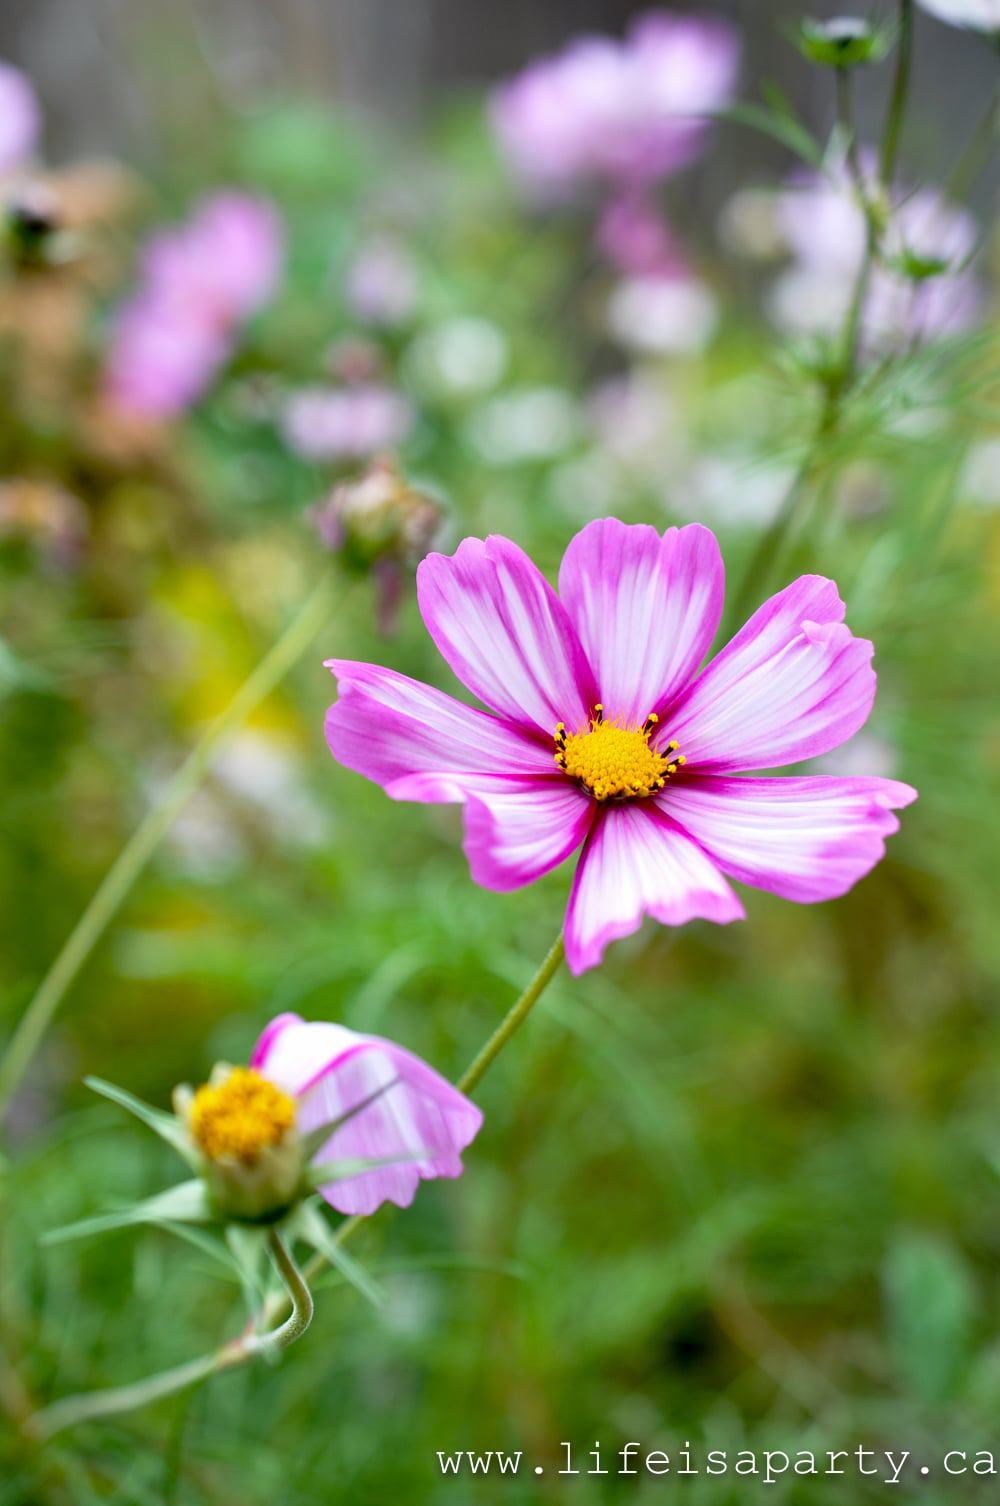
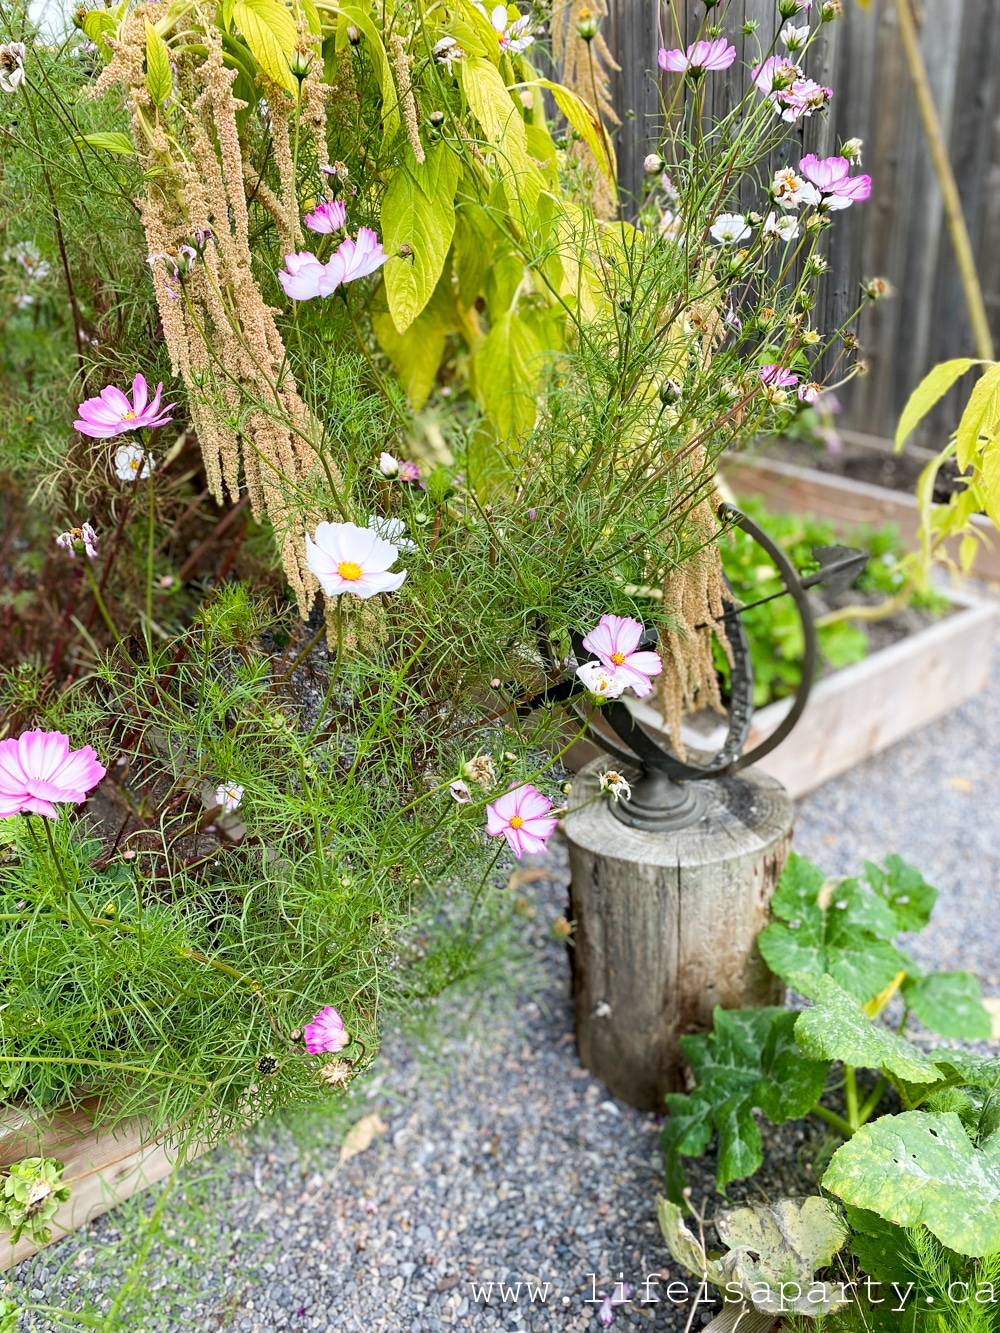
These cosmos were so pretty, and it's really easy to save the seeds from your own garden.  Just pick the bloom after it goes brown and dies back.  This time of year, everything is going to seed for winter.

how to save flower seeds for next year

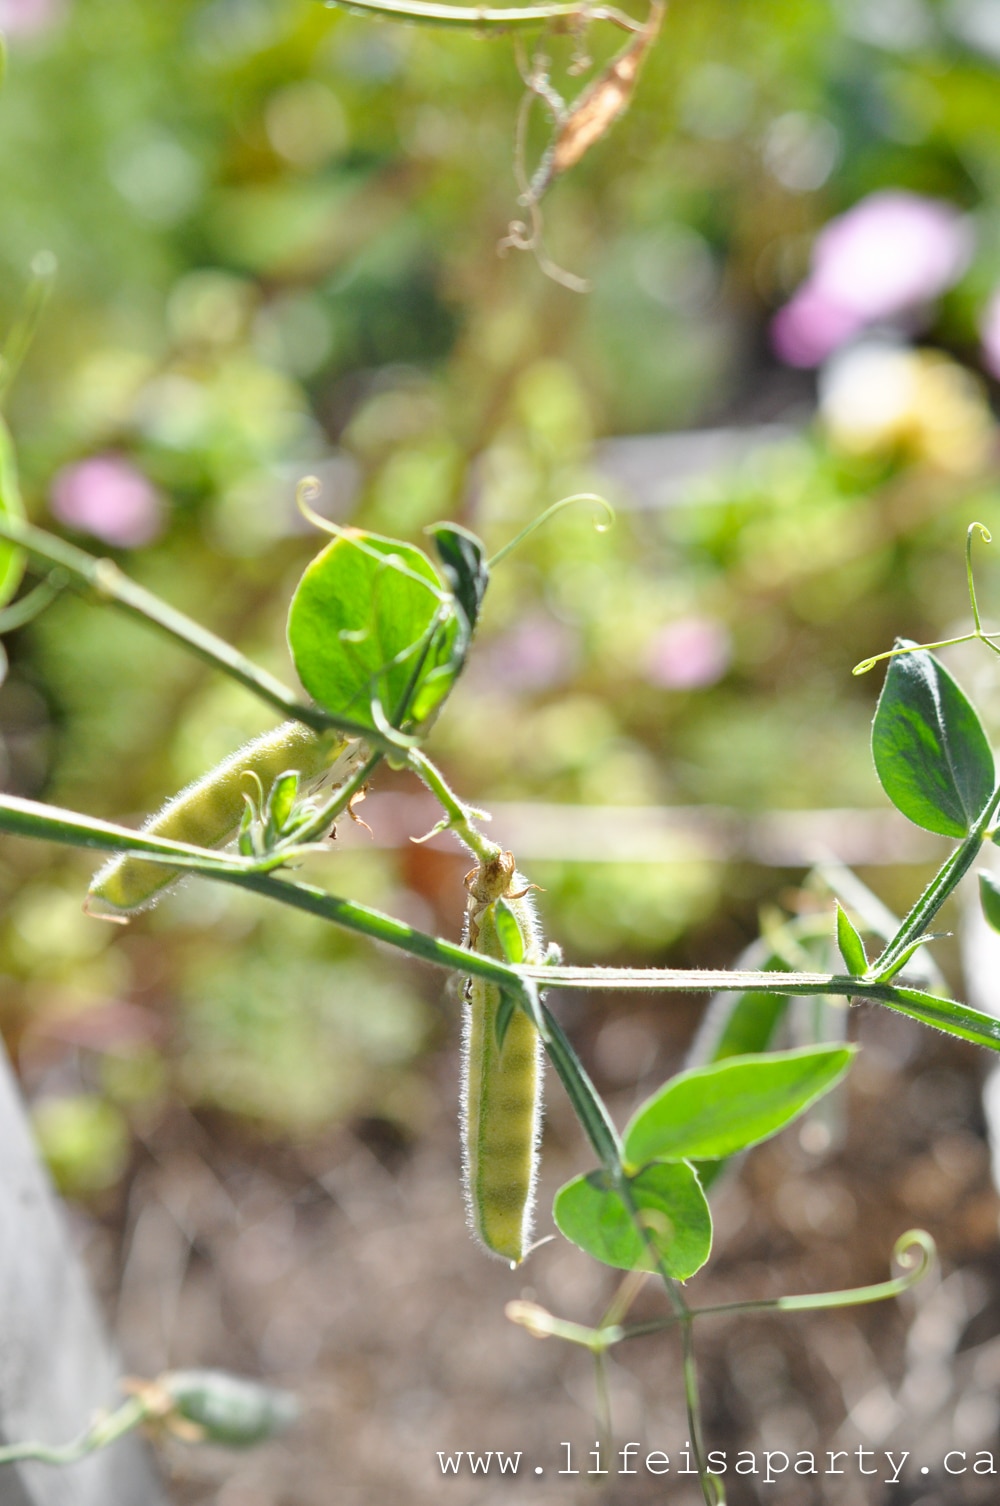
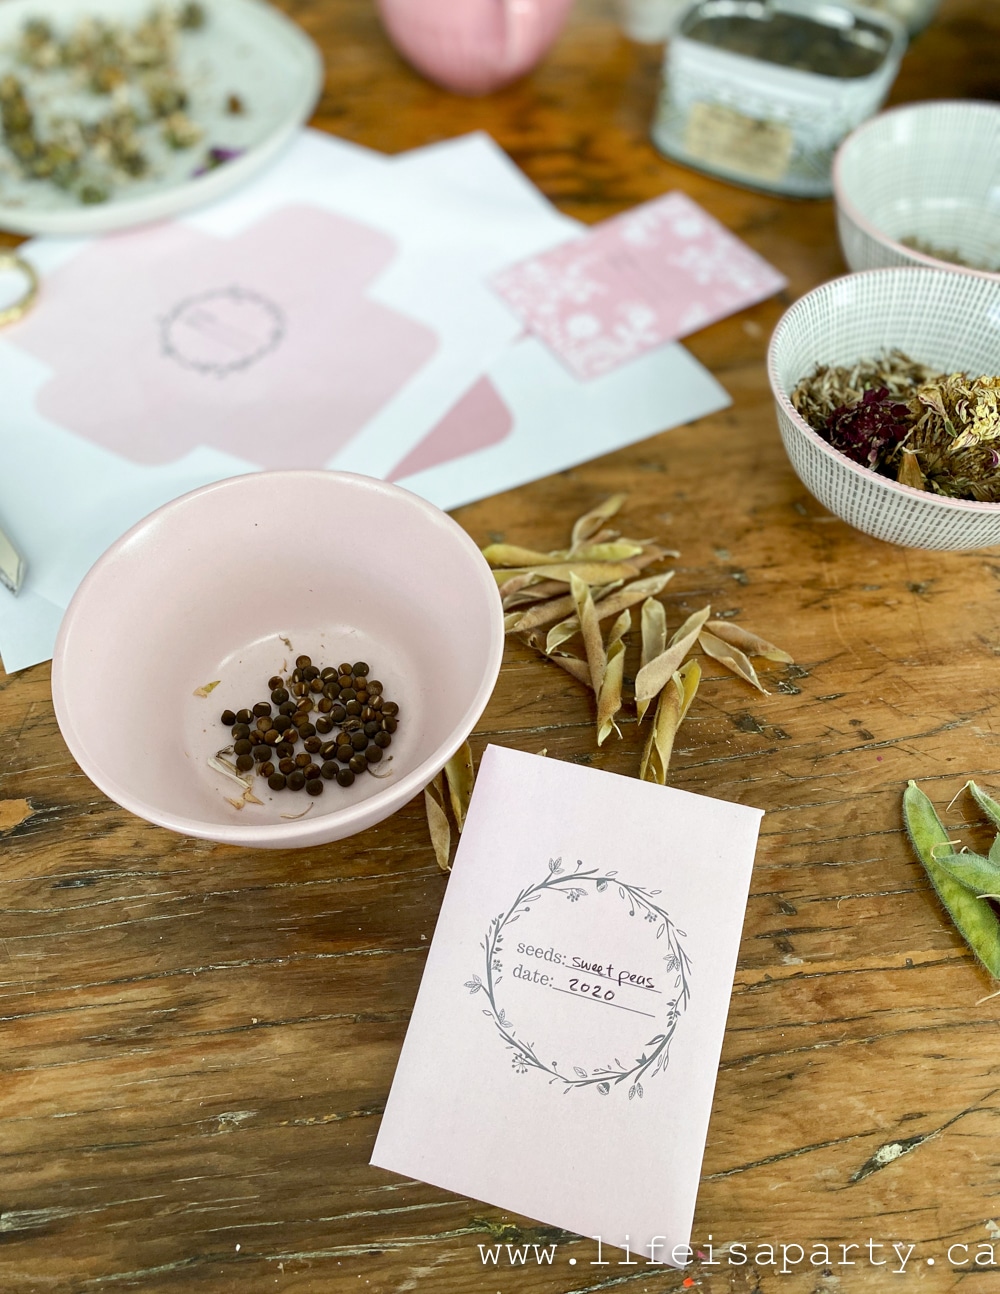
I collected a few different kinds of seeds from my garden including some sweet peas.  To collect your own seeds, you just pick the pea pod for these ones.

how to save seeds for next year

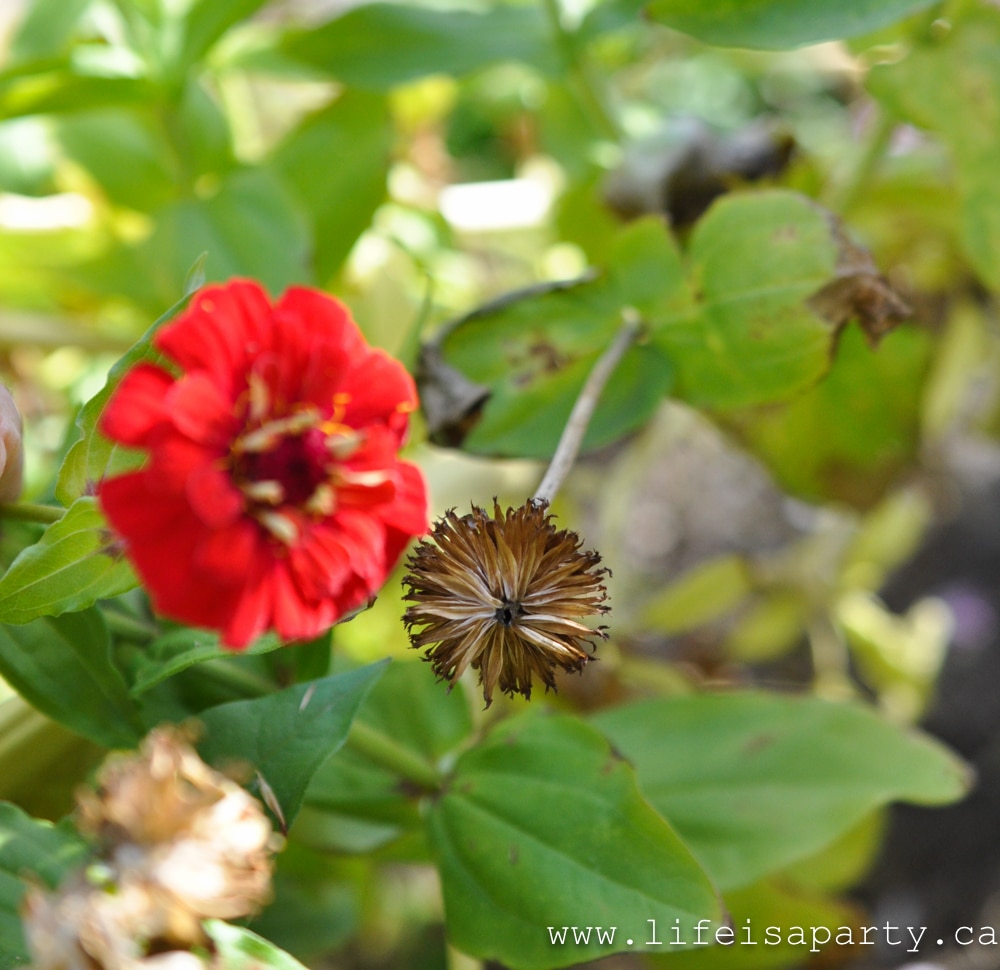
Zinnias are another favourite around here.  Once the flower head goes brown like this one, you pick it.  This is such a great way to have garden seeds for your favourite flowers year after year.

Drying the Seeds

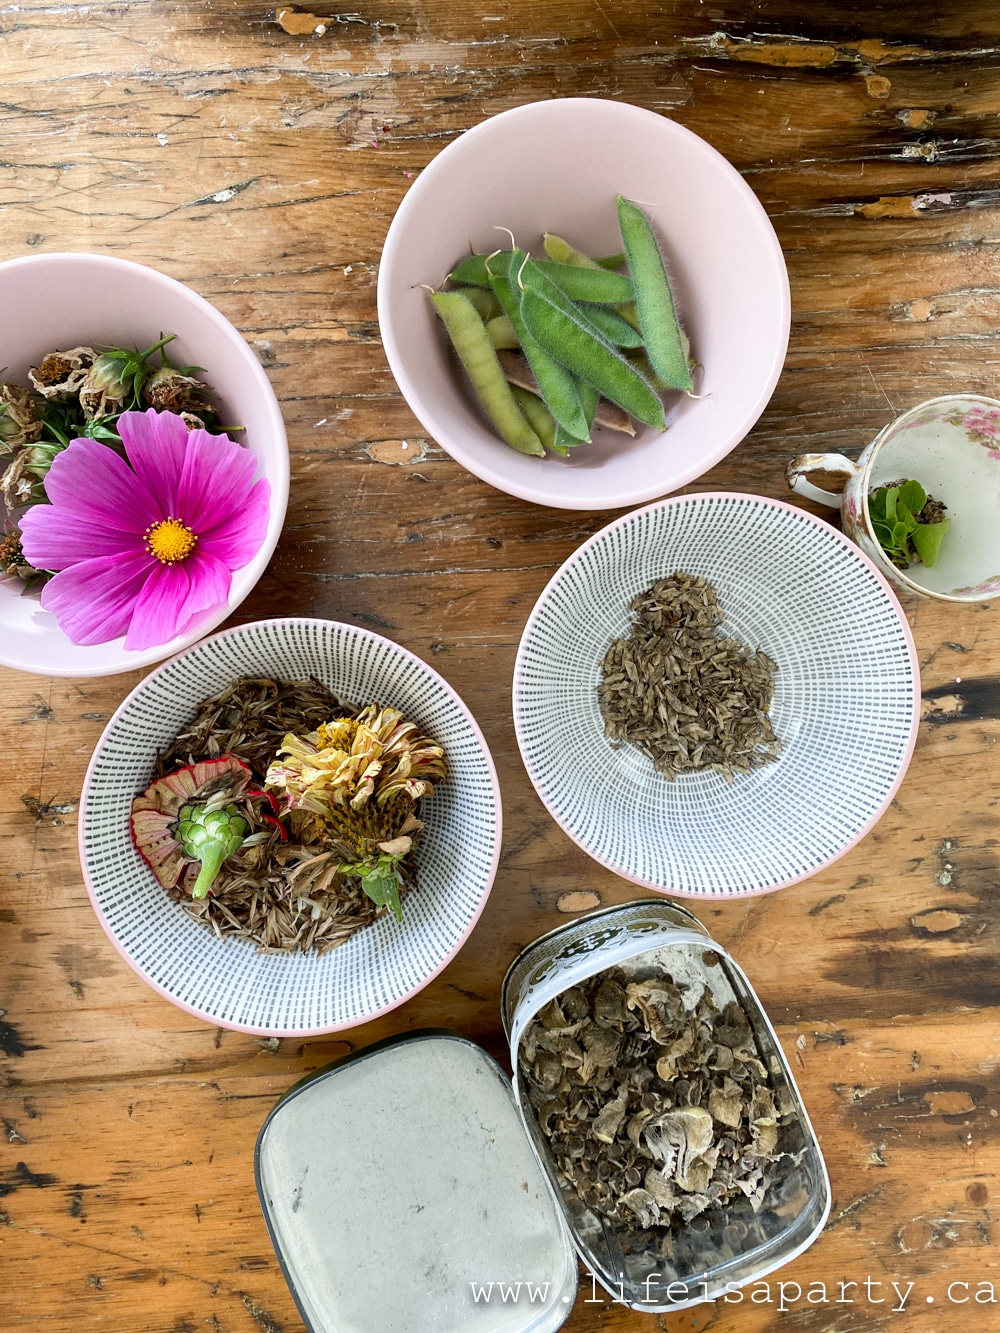
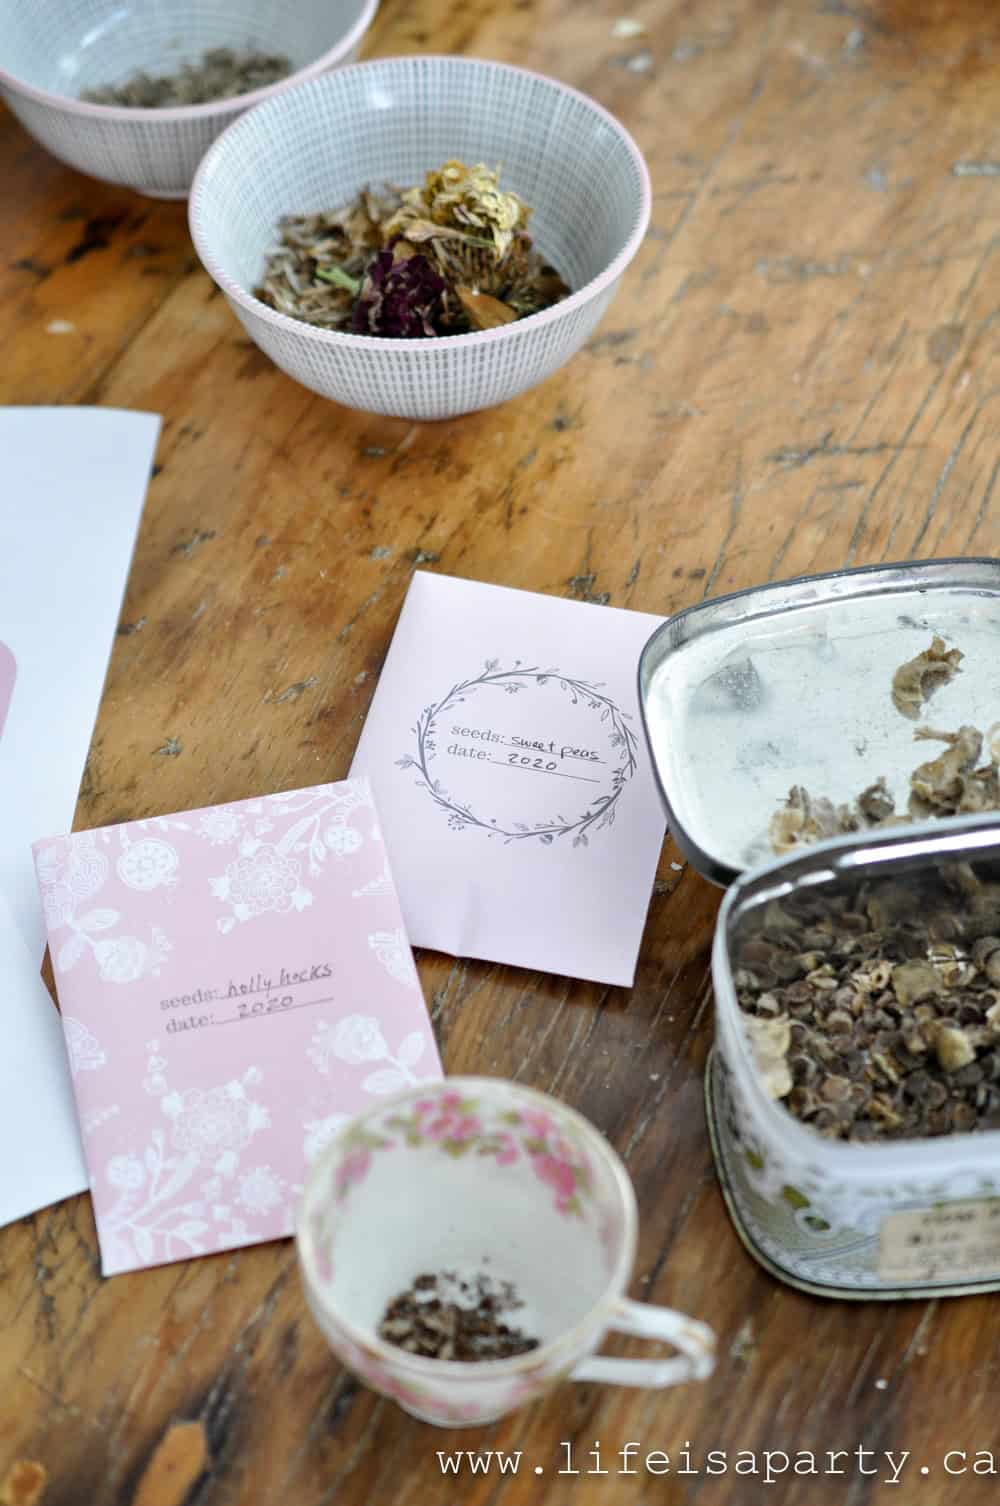
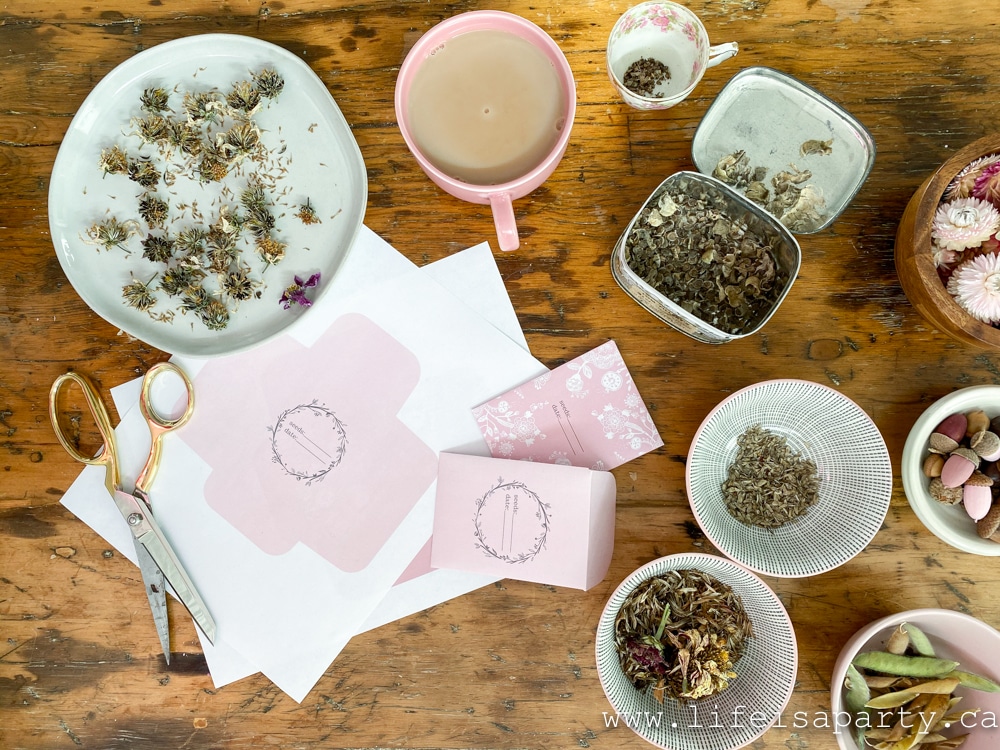
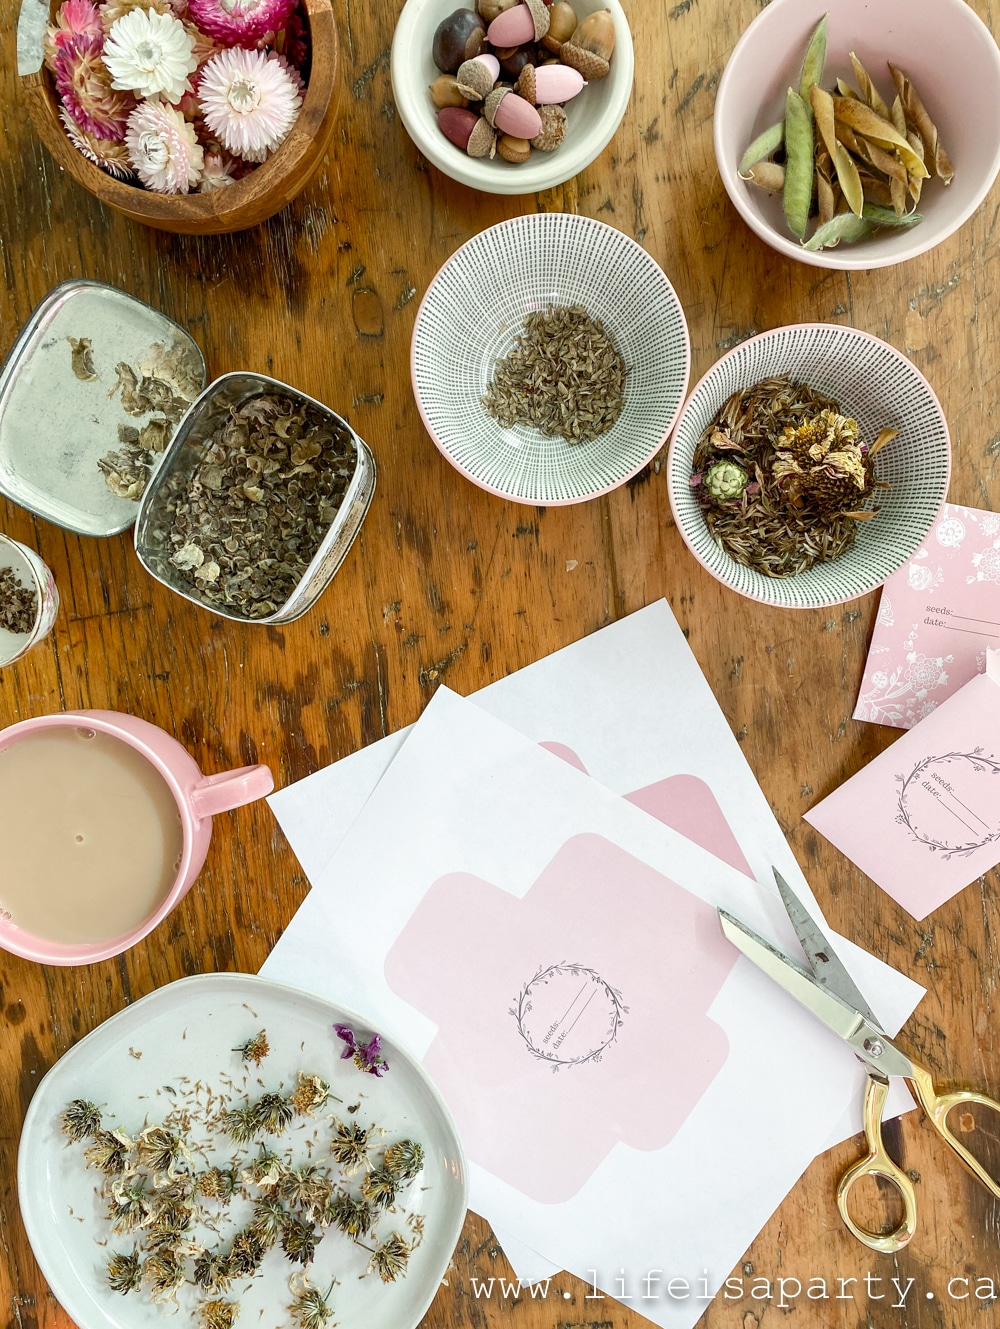
I collected different seeds in little bowls and brought them into the house to dry out.  Some of them were already dried out, but others like the sweet peas were still green.

how to save seeds

Some of them need a little more space, so that they weren't touching and won't rot. So I spaced them out on a small plate and left them to dry out for about the week.  You'll know when they're ready because they will be brown, and dry, and opened up.

saving seeds for next years garden

Free Printable Seed Packets

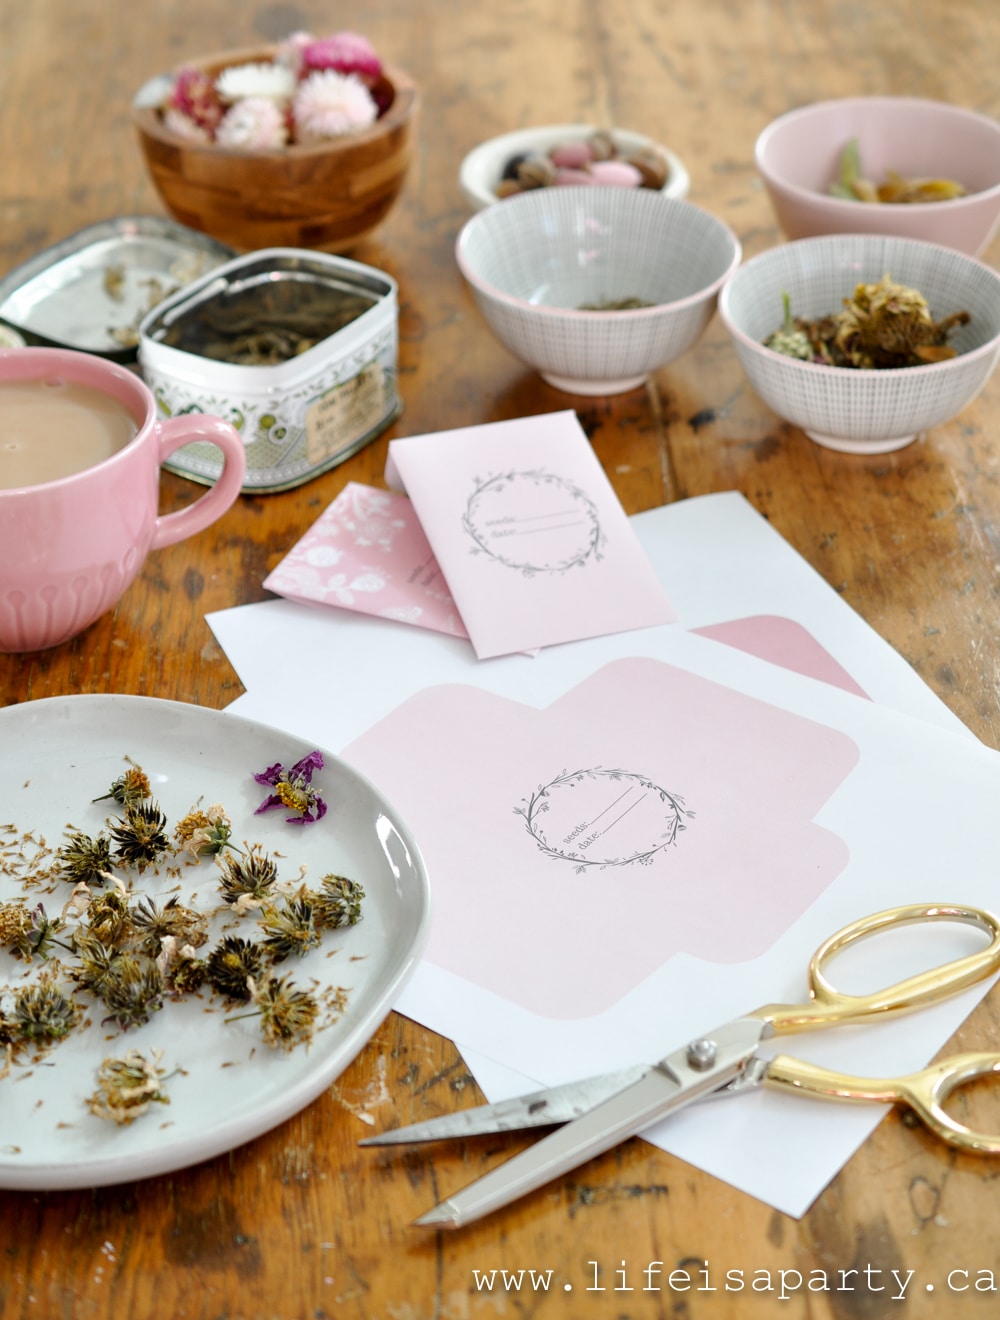
The best way to keep your seed stash over the winter is in a dry, dark environment.  Save your ziplock bag for the kitchen, they're not a great choice for storing seeds for the following year.  Your favorite seeds prefer paper so they can breath.  Any paper envelope will do, but I designed these beautiful free printables.

DIY free printable seed packages

They're available for subscribers as a free printable in our free printable library. Subscribe below and have instant access.

You can print the free seed packet on your home computer, cut them out, and use a glue stick to glue the sides and top flap together.  Our seed packet designs include a spot to record the seed type.  Be sure to add the name of the type of seed to each envelope and the year they're from for future reference.

how to make your own seed packages

Perfect For Gift Giving

Do you have a fellow gardener on your Christmas list?  These printable seed envelopes are so much fun for gift giving.  Bundle them up your seed packet envelopes together with a little twine and watch the delight on the recipients face as they open these little beauties.  This is such a cute way to gift seeds.

This printable seed packet template is also the easy way to bring your extra seeds to seed swaps with gardener friends or family members.  Pass on your seeds from last year using our DIY seed packets.

?Make your own seed packets to store your own seed for next year, or use these small packets for gift giving.

how to make your own seed envelops

With the past years favourite seeds collected and saved for spring and free printable seed packages, life really is a party.

seed saving and free printable seed envelopes

Subscribe here for access to our Free Printable Seed Packages.

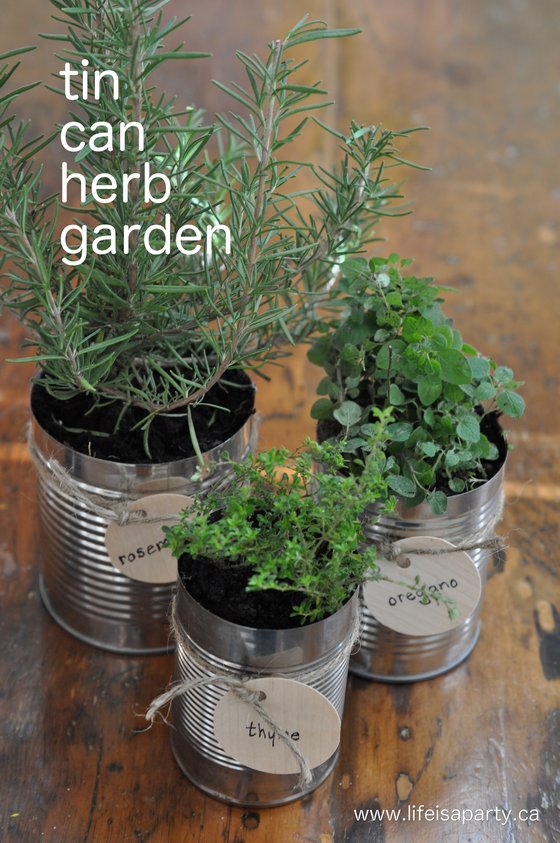
You might also like our  Tin Can Herb Garden post here.

Getting the Garden Ready For Winter and A Tin Can Herb Garden: dig up some herbs at the end of the garden season and bring them in to enjoy indoors.

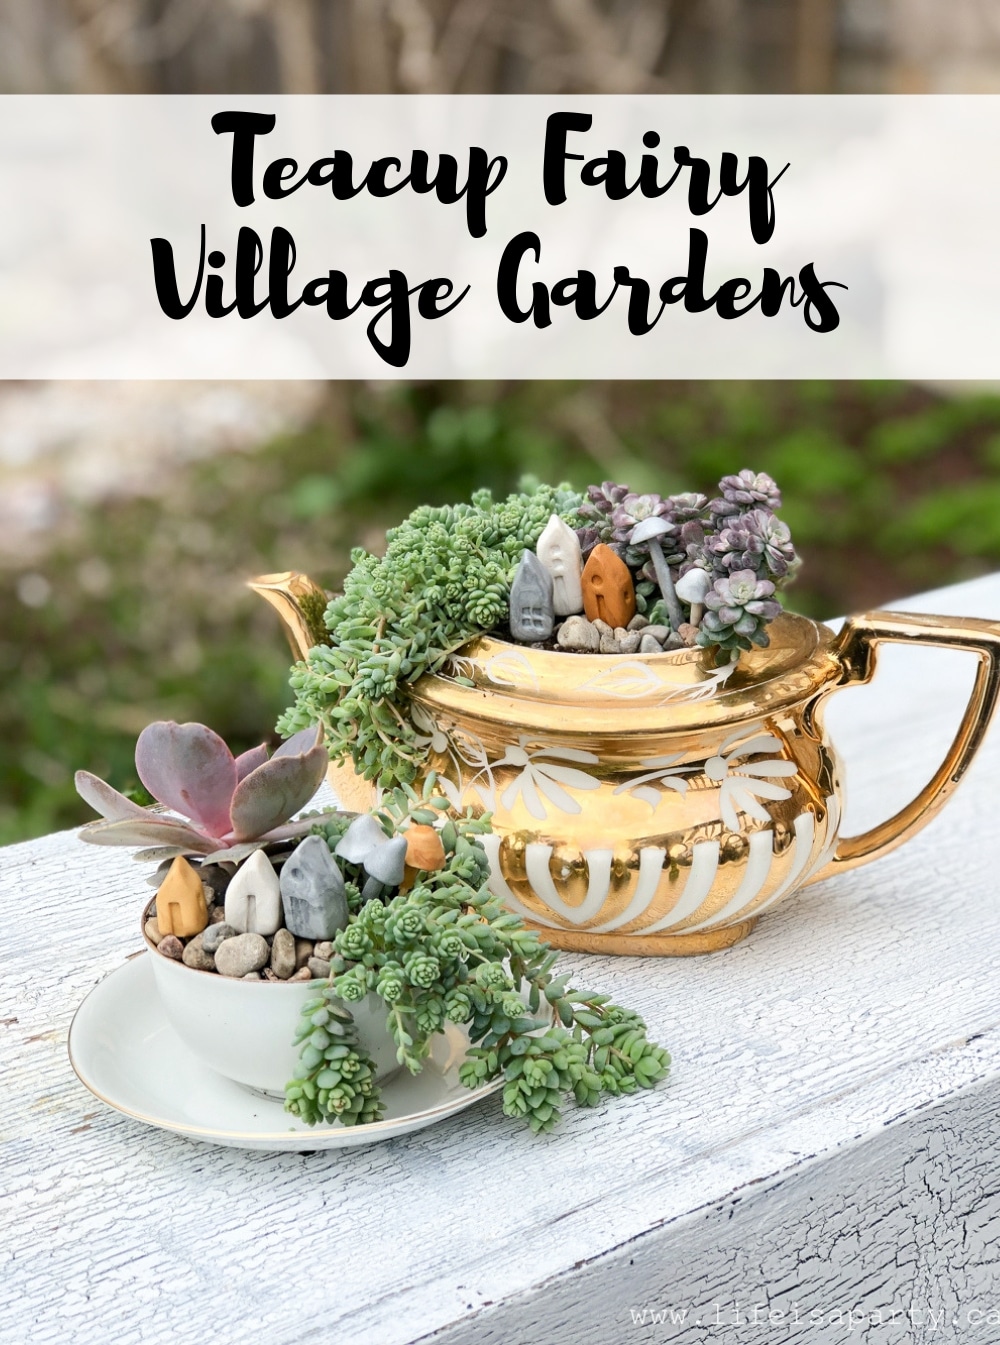
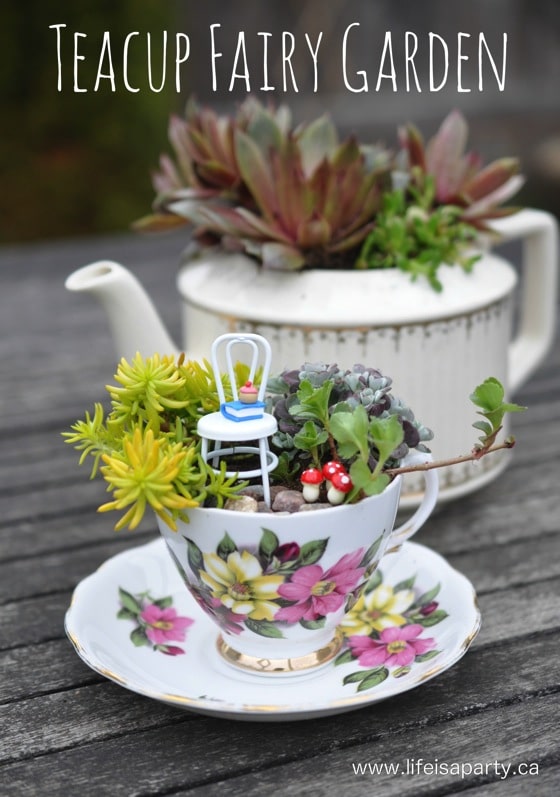
Also check out our Teacup Fairy Village Gardens post here.

Teacup Fairy Village Gardens -use teacups and teapots to create these whimsical miniature fairy gardens with polymer clay houses and mushrooms.

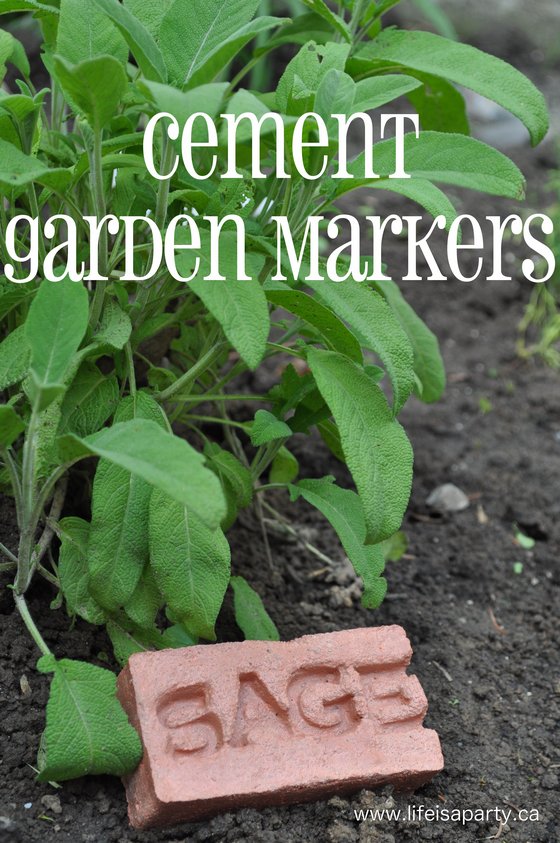
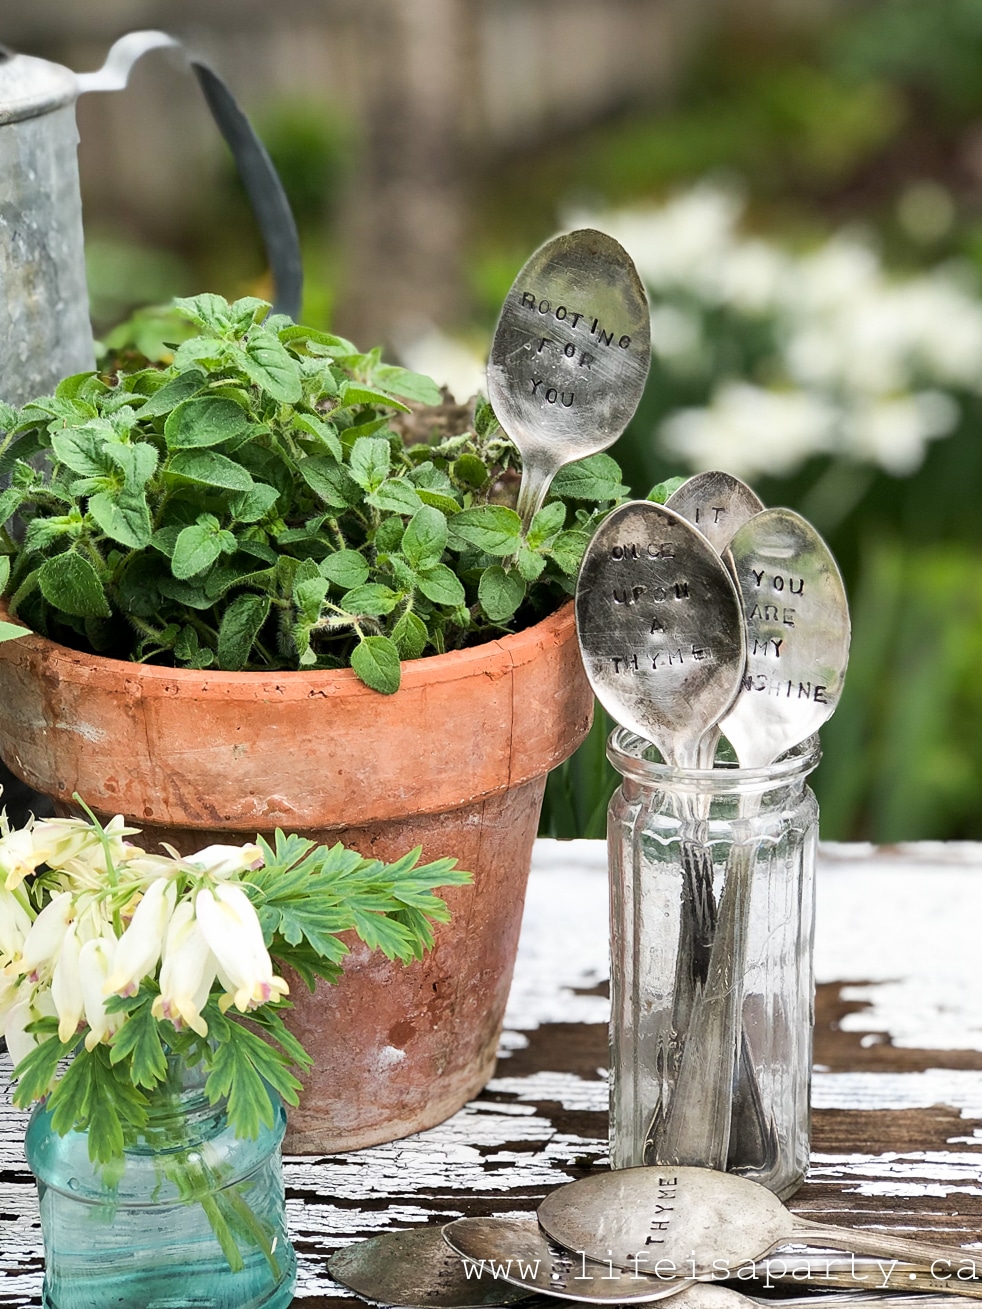
You might also enjoy our DIY Cement Garden Markers here.

DIY Garden Markers: these cement garden markers are long wearing and beautiful, perfect for marking any plants or herbs in your garden.

How To Make Pink Candy Apples

Oct 7, 2020 · 3 Comments

Homemade pink candy apples on a cutting board.

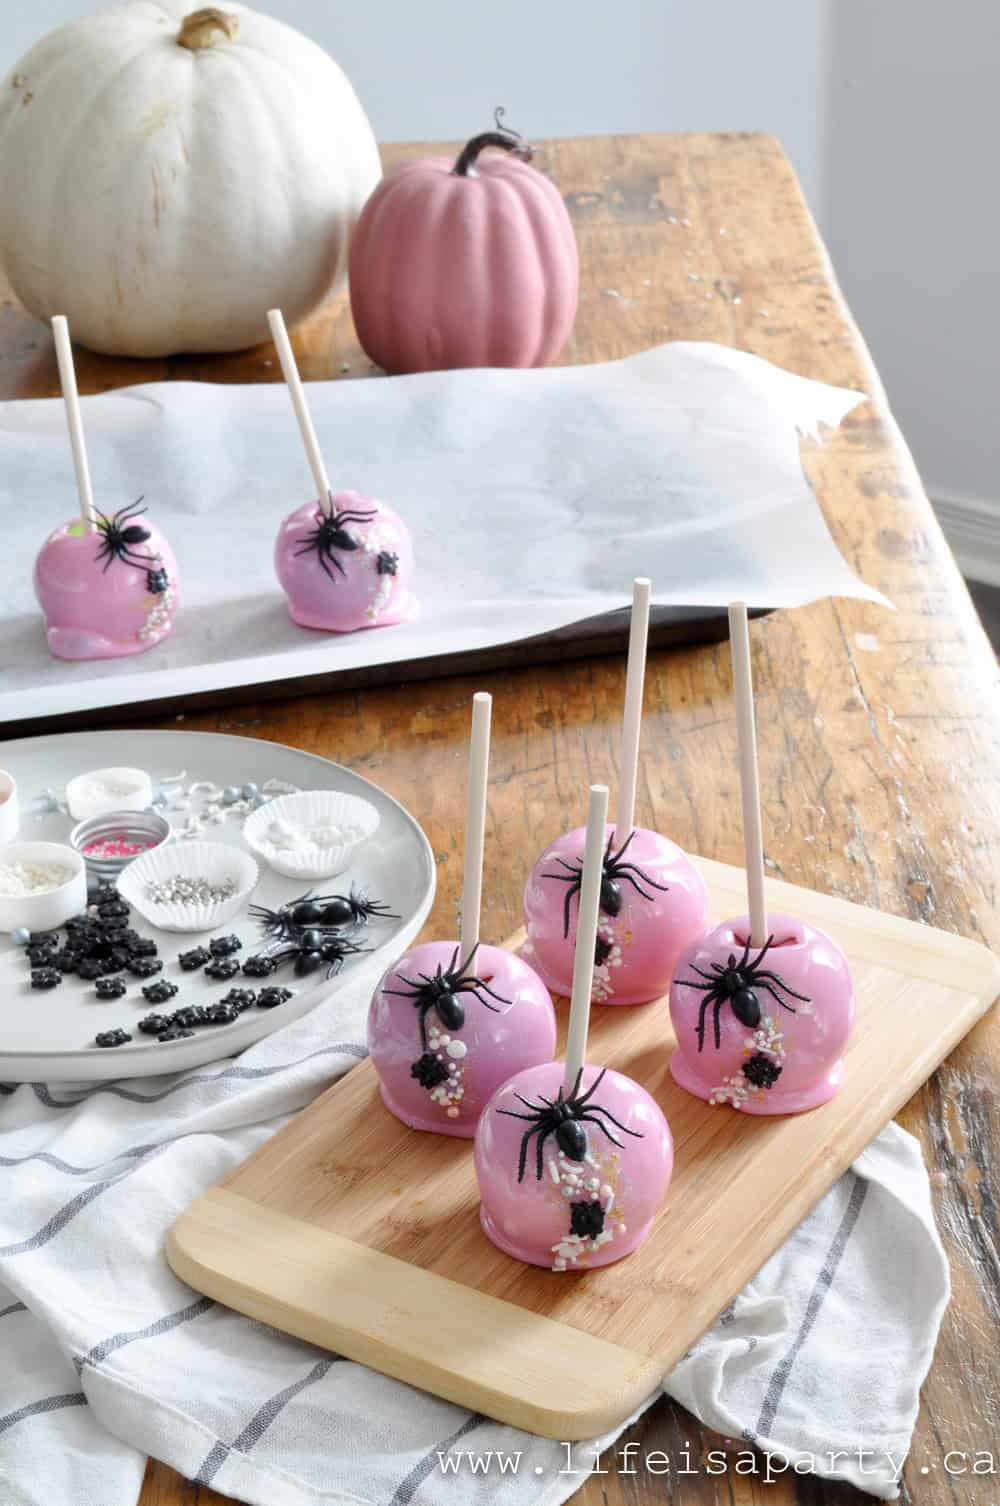
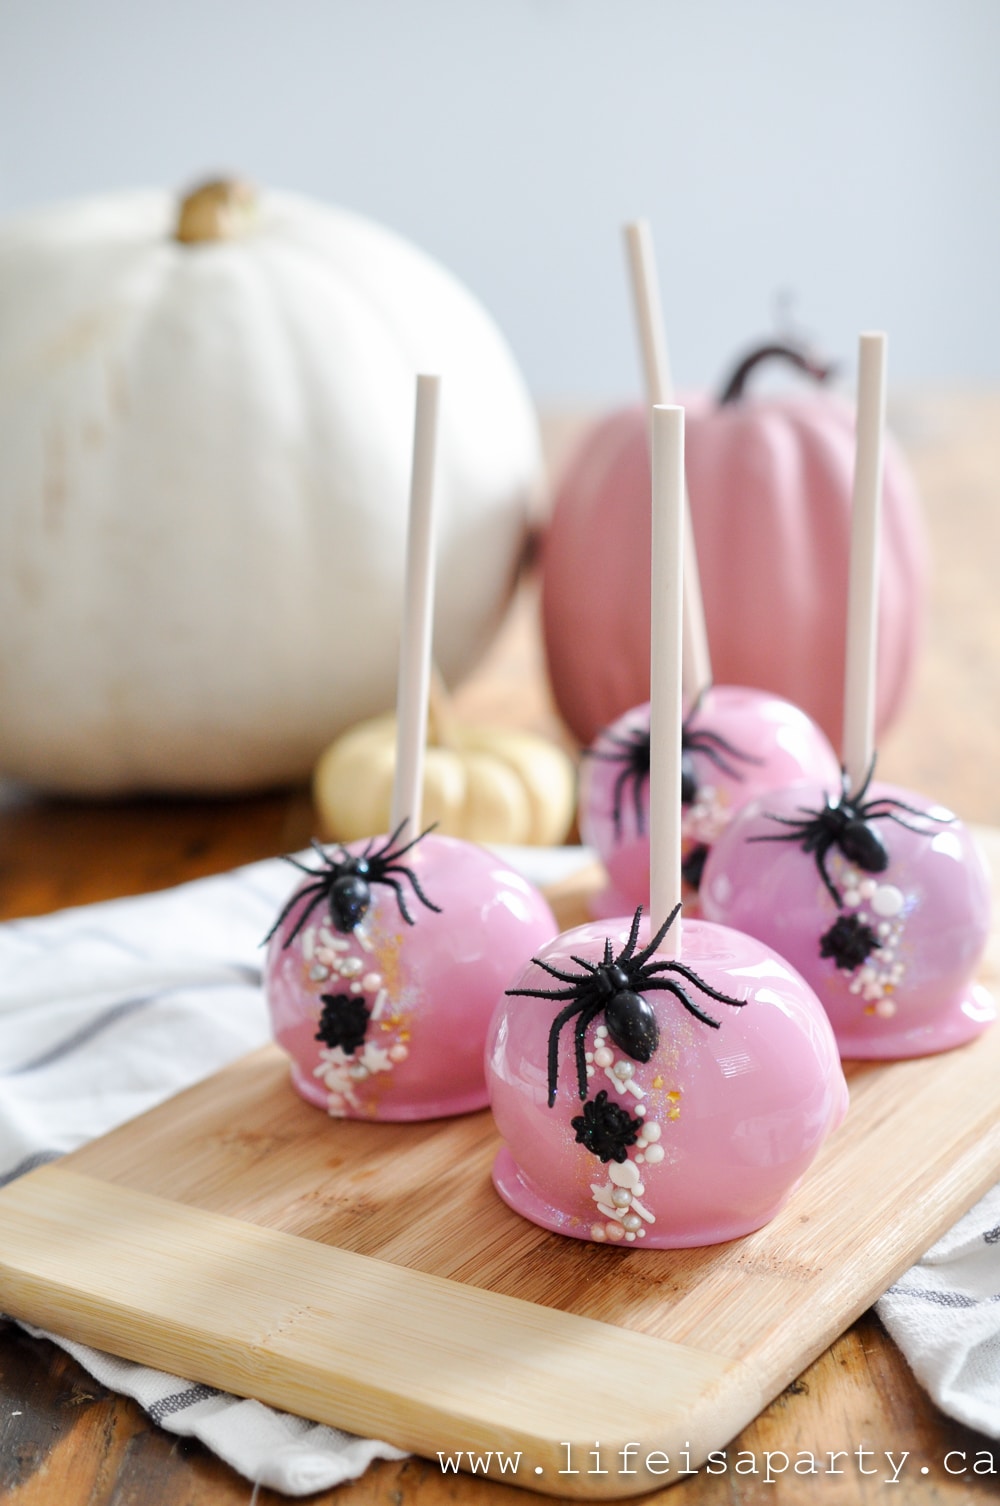
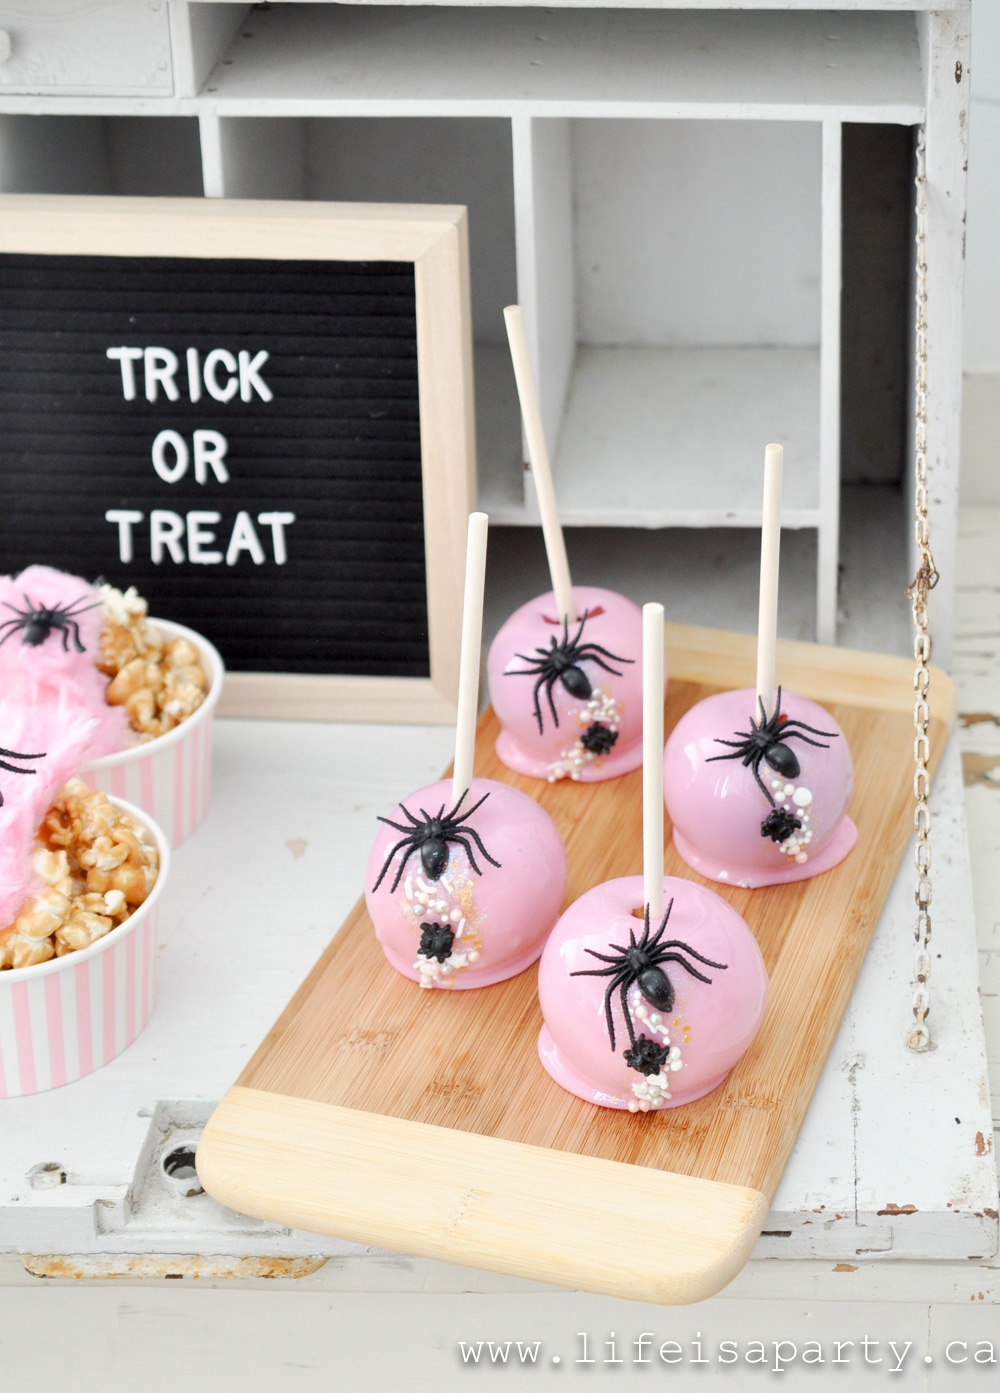
These pink candy apples are perfect for the pink lover! Our homemade candy apples are just like you used to get at the fair or carnival, but made even better because they're "pretty in pink".

Homemade pink candy apples on a cutting board.
[feast_advanced_jump_to]

Why We Love This Recipe

  • Candy apples are so delicous and the perfect homemade candy treat.
  • Just when you thought candy apples couldn't get any better, they did by being pink!
  • We love these as party of a party food table or dessert table, or to give to guests as a party favor.

For our pink Halloween party, I thought pink candy apples would be the perfect treat -and they were.  I decorated mine for Halloween, but you easily leave off the spiders if you need them for a different celebration. They're really fun for Halloween parties. Serve them with these Ghost Rice Krispie Treats. They'd also be great for special birthday parties, or a pink baby shower. 

Homemade pink candy apples with sprinkle decorations.

Candy Apples vs. Caramel Apples

These are the traditional kind of candy apples that you would get at a fair or carnival, usually glossy red.  They are hard and crunchy, and that's exactly how they're supposed to be.  If you're looking for a soft, creamy caramel apple check out my recipe for those here.

If you want to make traditional red candy apples you can use this recipe. You might also like our Caramel Apple Fondue Recipe.

Ingredients

  • White and Pink Food Coloring Gel

Tip: The trick to making these pink candy apples is to use some white food coloring along with the pink food coloring.  

Without the white food colouring, the candy would be transparent, and the apple colour would show through, like the traditional red ones.  

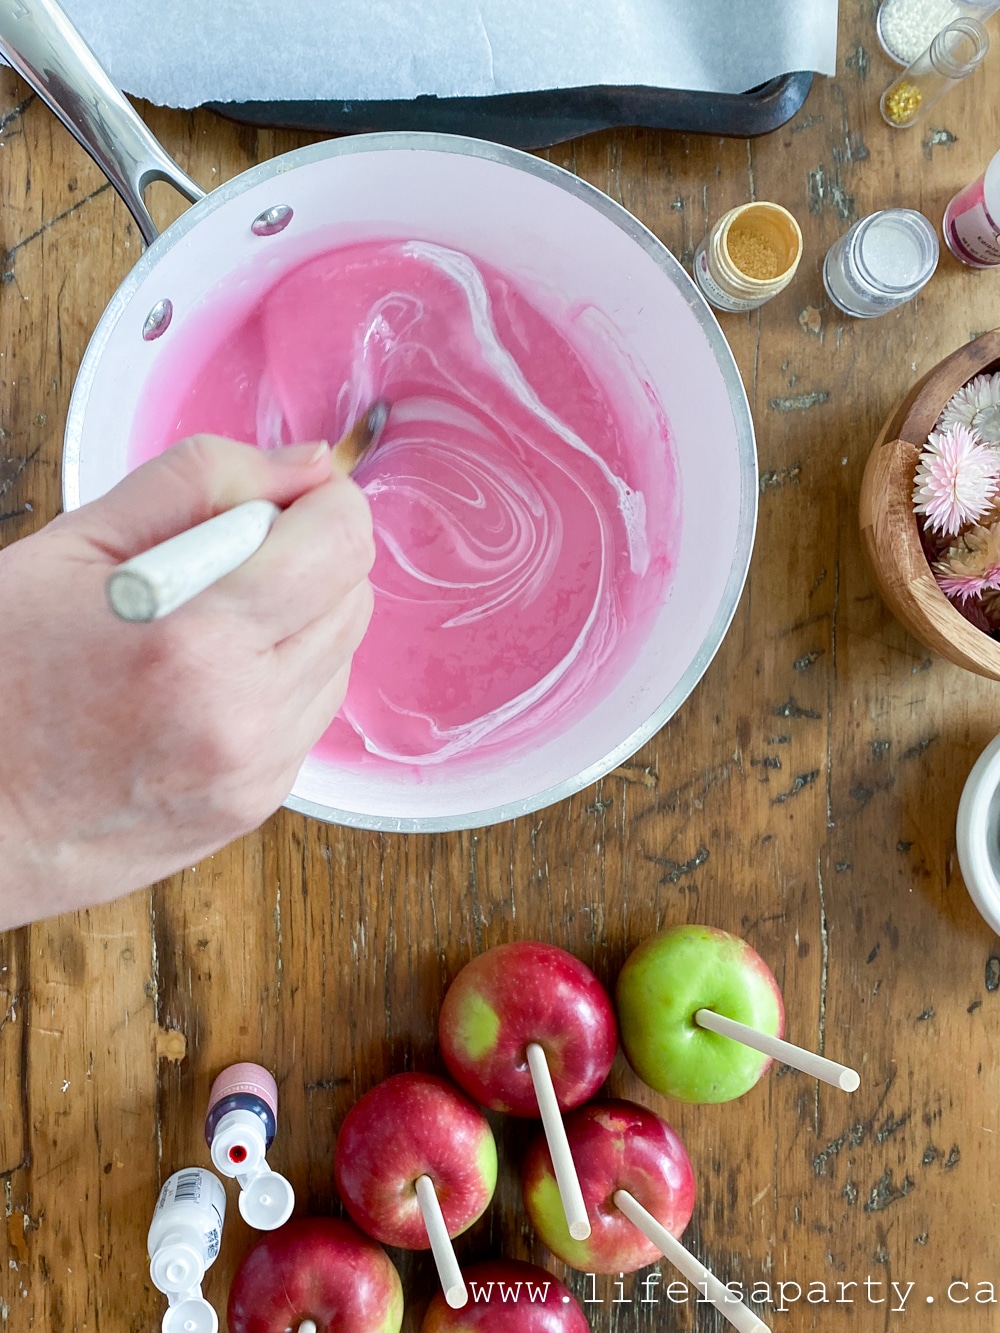
The white makes them opaque and you can add any other colour you like.  This soft pink was exactly what we were going for.  You will want to use gel food coloring for these when you make your own candy apples, as it gives the best, most intense color.

  • Apples

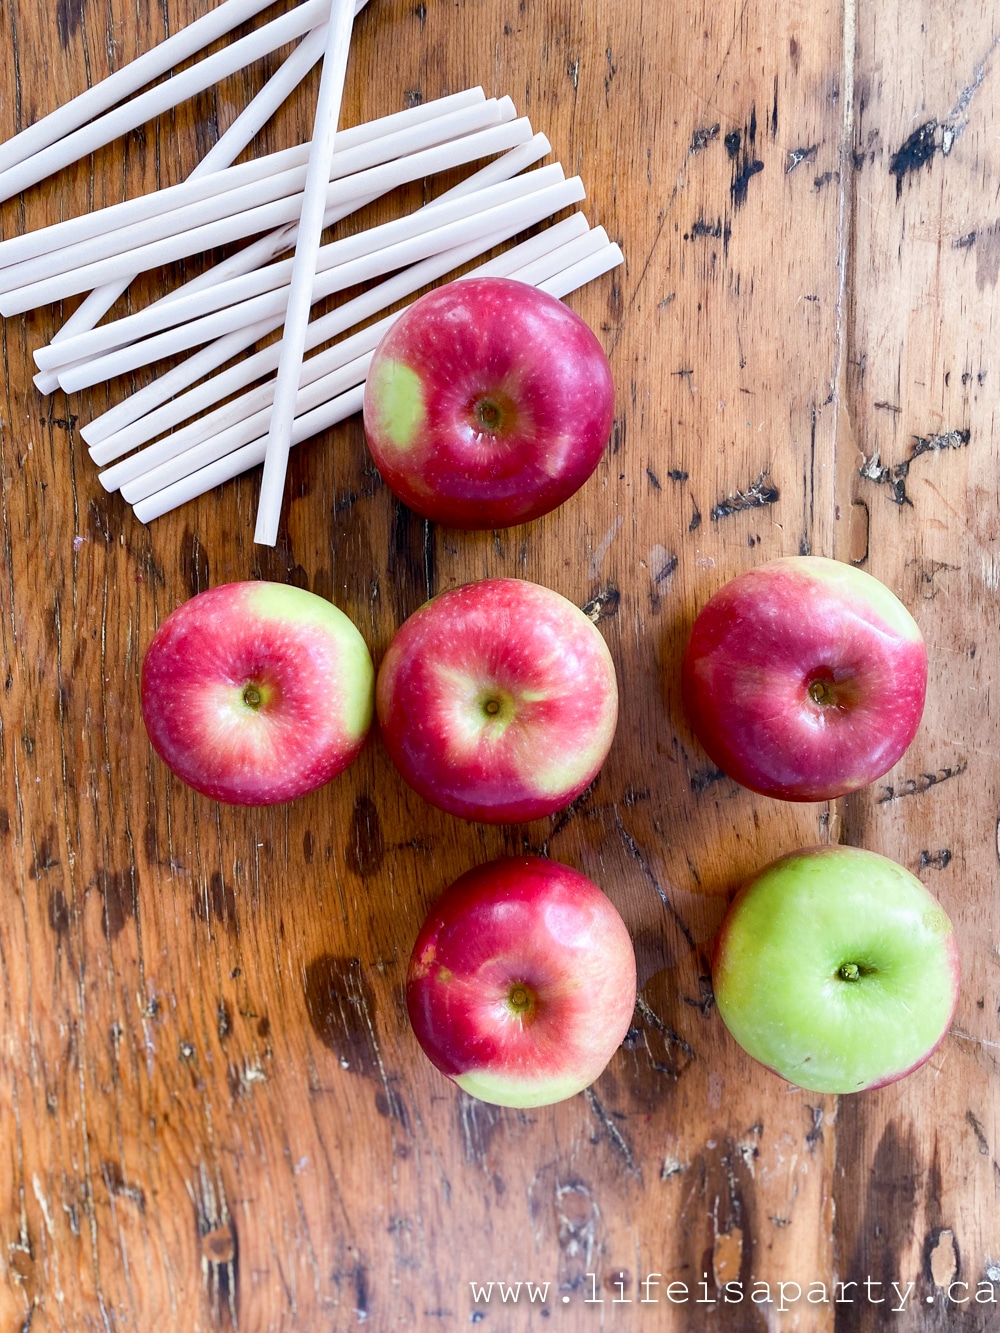
You can use any kind of apples you like for your candy apples.  Choice red apples or green apples.  Some people prefer to use tart apples, like tart granny smith apples, because the tart apple contrasts with the sweet candy coating.  You will want a crisp apple.  Other good choices are gala apples, or pink lady.

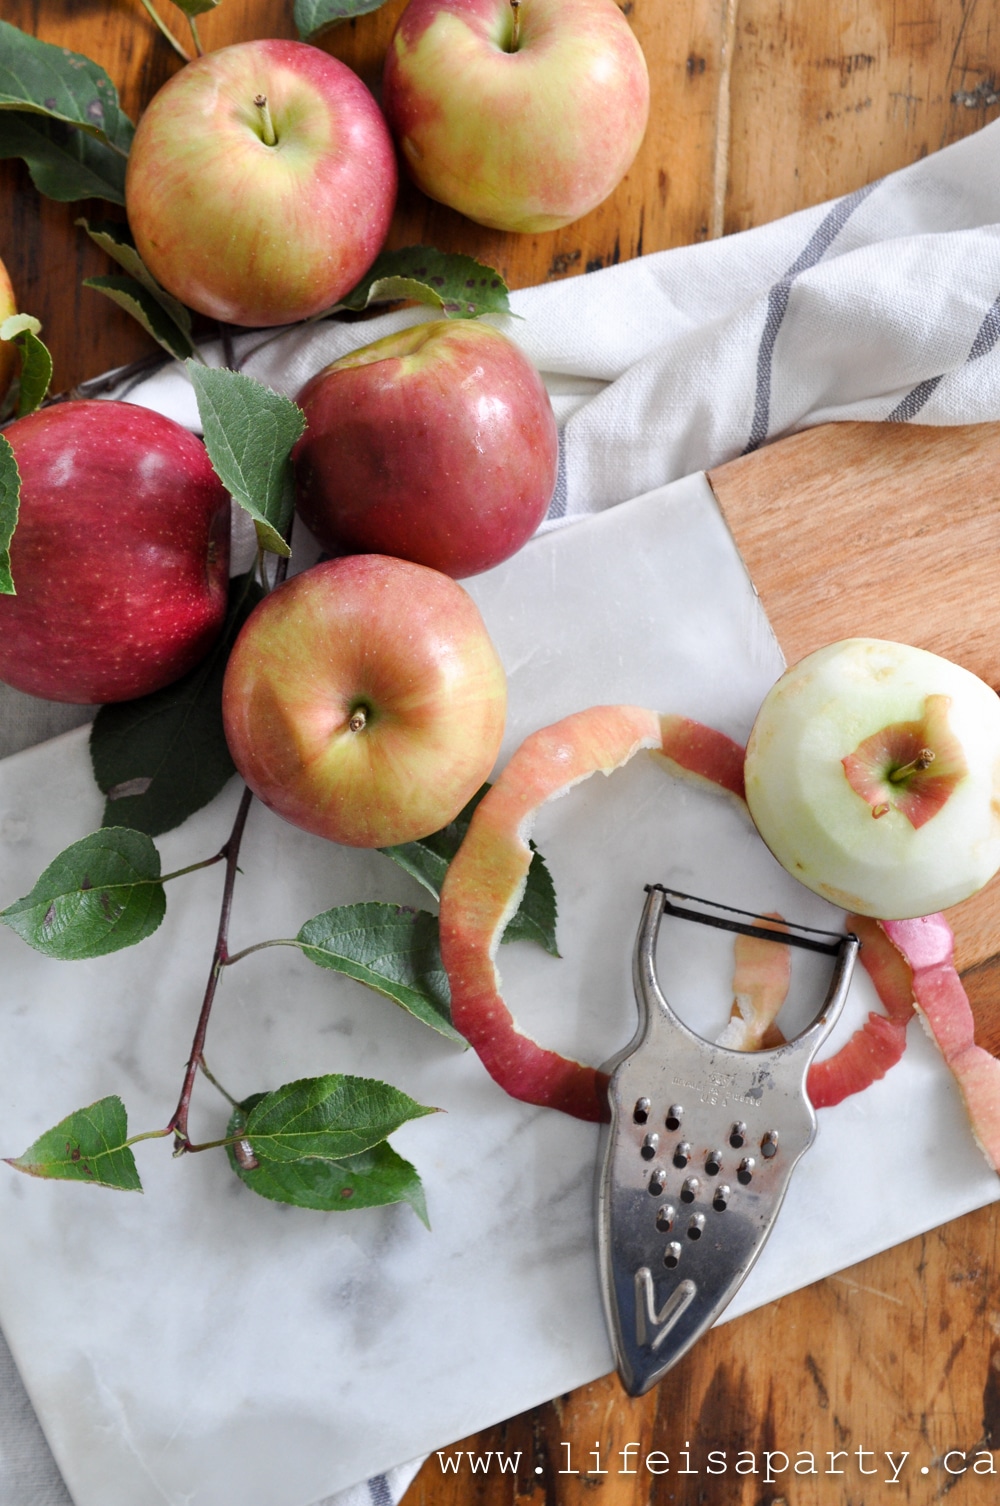
The biggest issue you will face making candy apples is having your candy coating not stick well to the apples.  This happens when you try to apply the candy coating to waxed apples.  Most apples you buy in the grocery store have been covered in a wax coating to make them look more appealing and shiny.  If you are using grocery store apples you will have to remove the wax first.  

The wax coating can be removed by dipping the apples in boiling water and then buffing the apples with a dry paper towel or tea towel.  

The hot water melts the wax, and the cloth allows you to wipe if off of the apple.  Be sure to not leave your apples in the hot water too long though, because it can start to cook the apples slightly and cause them to turn brown and soft.

If you pick your own fresh apples, or buy them at an apple orchard you can skip this step, because they won't have wax on the outside.  That's what we did for our candy apples.

  • Corn Syrup

The trick to adding sprinkles and decorations to the finished candy apples was to use some light corn syrup on the set candied apples as edible "glue".  

  • Sprinkles and Decorations

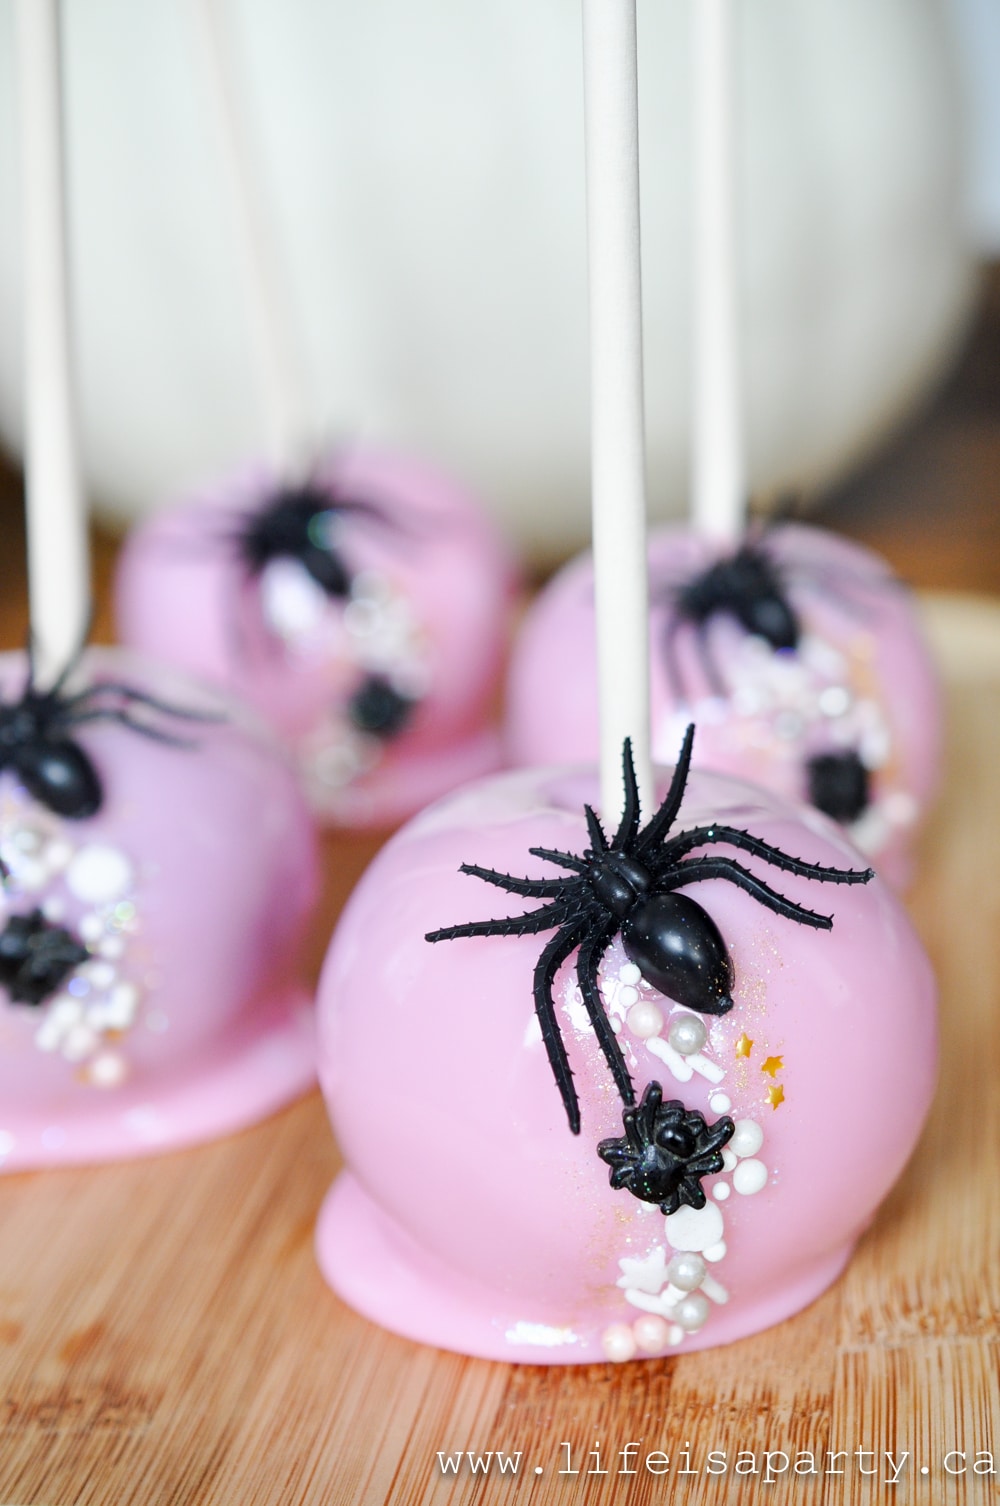
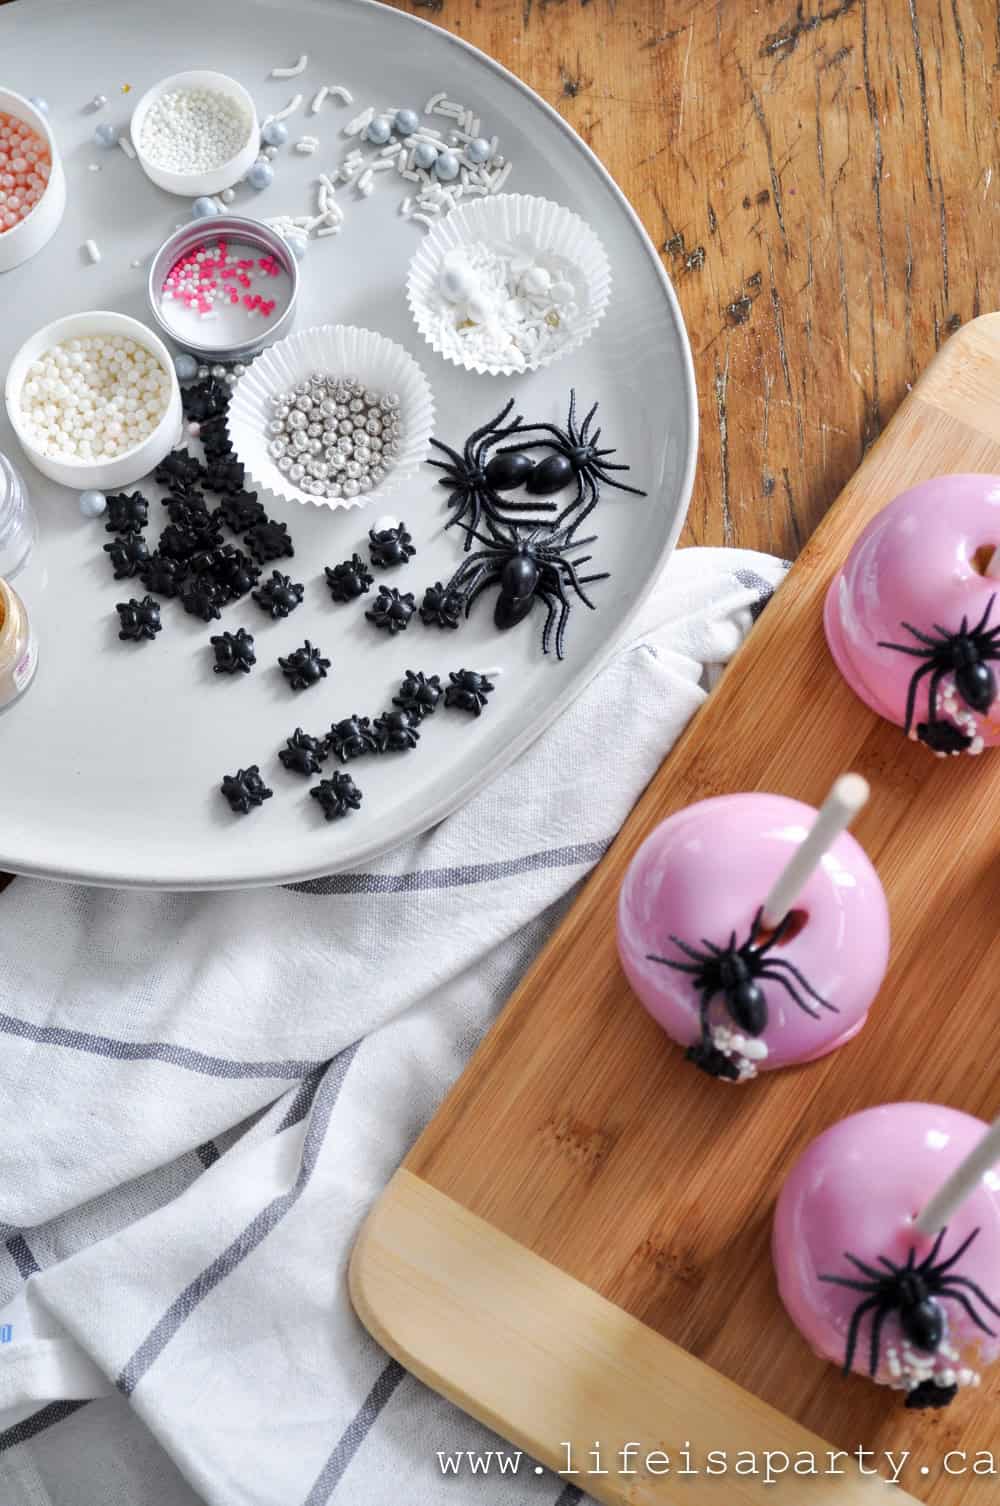
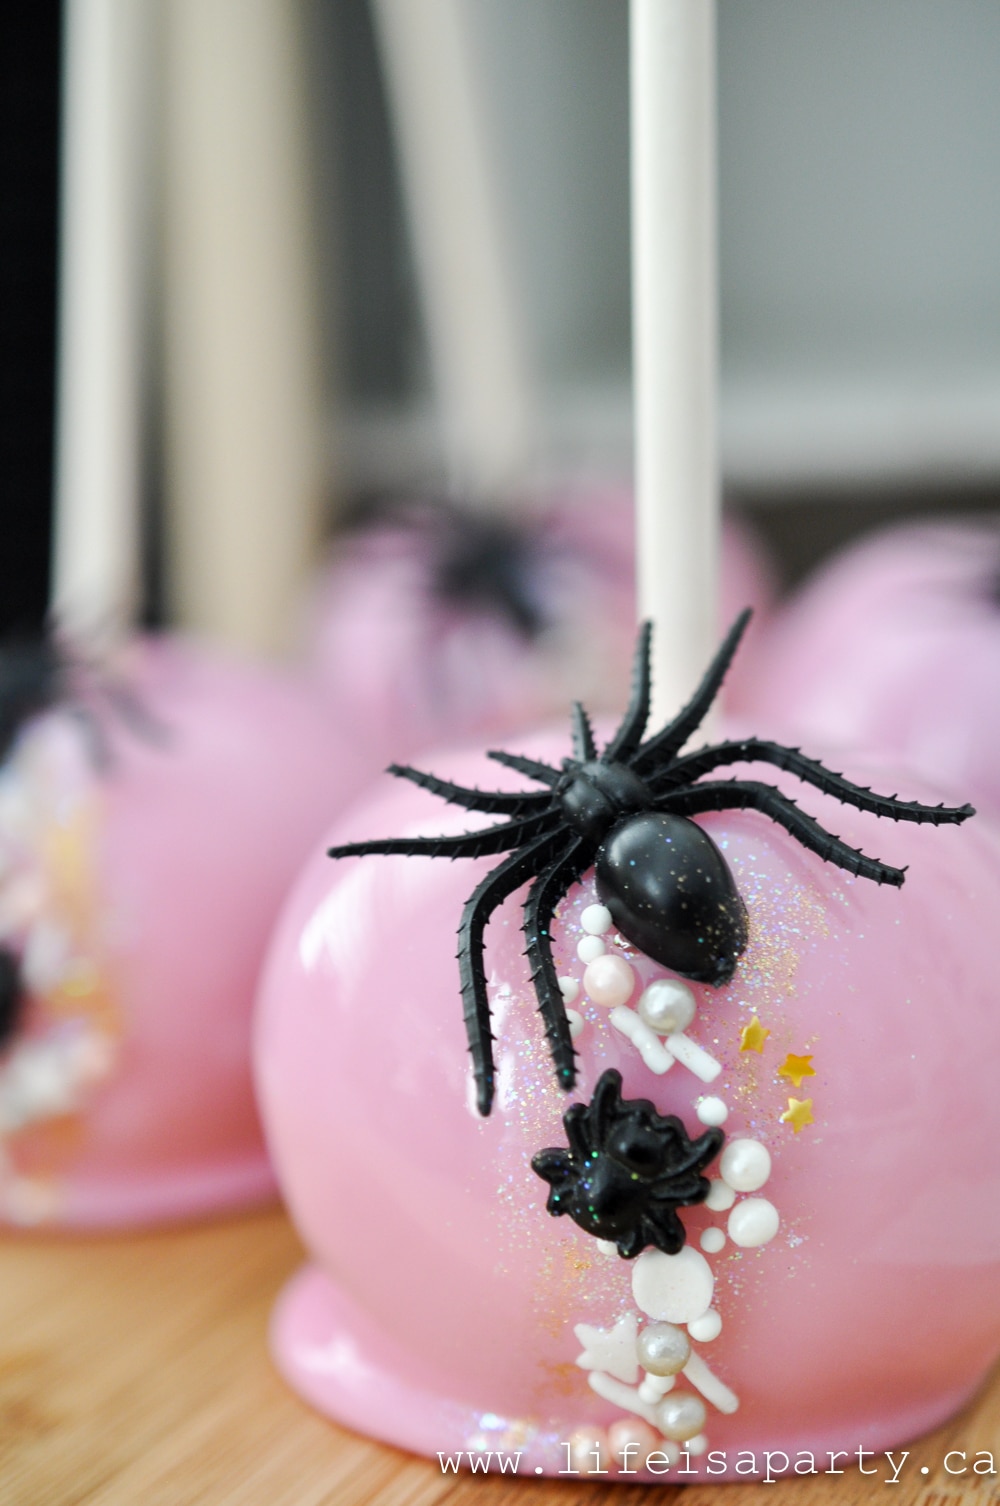
We started out with a larger plastic non-edible spider and added in lots of sprinkles, nonpareils, spider candies, edible gold stars and edible glitter.  The glitter adds the most beautiful sparkle to these.  

We included the plastic spiders because they were so fun, and made sure to tell our guests that they were non-edible and to remove them before eating.  If you were worried about including something non-edible you could just leave those off.

Equipment

  • Candy Thermometer

Making your own candy is intimidating to a lot of people.  It's true that it can be tricky.  You will need a candy thermometer.  Using a thermometer is the easiest way to know when your candy is at the right stage.  Candy experts use different methods to know when the sugar mixture is at the hard crack stage and right temperature.  On your first try, or if you're still a beginner, it's definitely easier to use a candy thermometer to make the perfect candy apple, without all the guesswork.  

Candy thermometers are inexpensive and easy to find at any good kitchen shop, or on-line, and they're good to have on hand for any hard candy making.

Expert Tip

When working with the hot candy coating, you'll also want to be careful to avoid sugar burns.  This candy coating is very hot when you're working with it, and also sticky and hard to remove.  You don't want to accidentally get it on your skin and burn yourself.  

Work carefully.  

If you do accidently get some of the candy coating on yourself, get the area into cold still water immediately to remove the sugar and soothe the area.  This is not a great recipe to make with children for this reason.  They can help you decorate the finished apples though.

Making homemade pink candy apples and adding sprinkles for halloween.

Instructions

See the recipe card below for ingredient measurements.

1. We used small apples from an orchard that were not coated in wax. If you are using store-bought apples that are coated in wax, you'll have to remove the wax to help the candy stick to the apples. To remove the wax, dip the apples in boiling water and then buff the apples. Also, add wooden skewers or a small dowel into the centre of the apple. Prepare a baking sheet with parchment paper that has been sprayed with non-stick cooking spray.

homemade candy apple recipe

2. To make the sweet candy coating, add the sugar, water, and corn syrup to a medium saucepan and combine. Bring it to a boil over high heat. Reduce to a medium-high heat and add a candy thermometer into the mixture. Continue to boil until the candy reaches a temperature between 300-310 degrees. Occasionally brush down the side of the pan with cold water and a pastry brush to help prevent re-crystallization.

3. When the candy reaches 300-310 degrees remove from the heat, and add the food colouring. Adding the food colouring at the end prevents the white food colouring from turning yellow at all during cooking. I added around a ½ teaspoon of white colouring and just 1-2 drops of soft pink.

how to make candy apples pink

4. Working carefully and quickly because the candy starts to cool, tilt the pan and dip each apple individually. Coat the whole apple completely, and then left it drip off slightly to avoid excess drip forming a large puddle of candy at the base of the apple. Place the dipped apples on the parchment lined baking sheet to set. Take care working with the candy as it's very hot. Have a bowl of ice water standing by incase of any burns.

Homemade pink candy apple candy coating in a pot, ready to dip the apples.

5. After the apples are set, decorate with sprinkles. Use some more light corn syrup as "glue" to adhere the sprinkles. We used a combination, including a plastic spider (not edible) spider candy, sprinkles, nonpareils, and edible glitter. These apples are best served the day they are made. Any humidity will make the apples sticky, so store in an airtight container

Plate of sprinkles and decorations for pink candy apples.

More Homemade Candy Inspiration

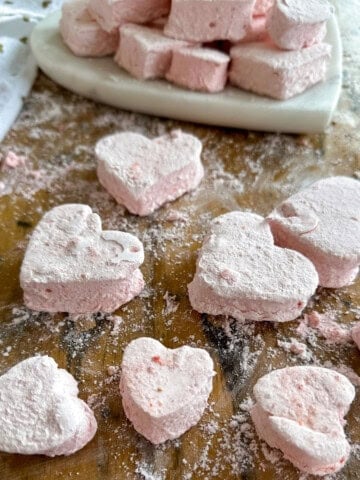
  • Close up of pink heart-shaped strawberry marshmallows dusted with coating.
    Homemade Strawberry Marshmallows with Freeze Dried Strawberries
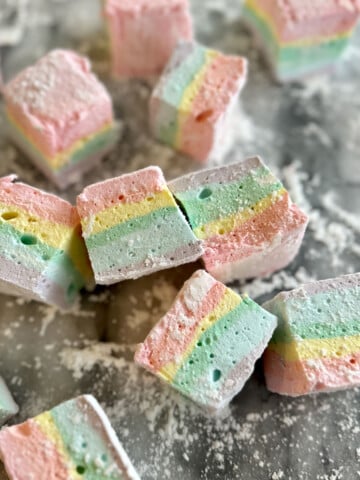
  • Soft, fluffy homemade rainbow marshmallows with beautiful pastel layers.
    Rainbow Marshmallows
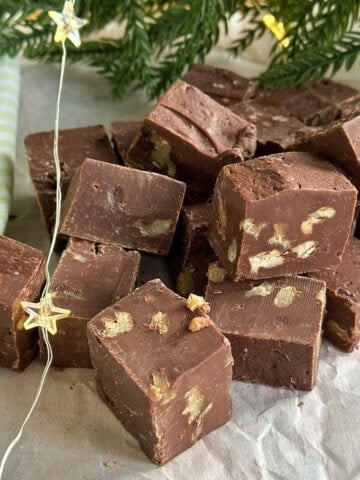
  • Easy chocolate walnut fudge made in the microwave with sweetened condensed milk, cut into squares.
    Easy Chocolate Walnut Fudge -Mrs. Weasley's Recipe
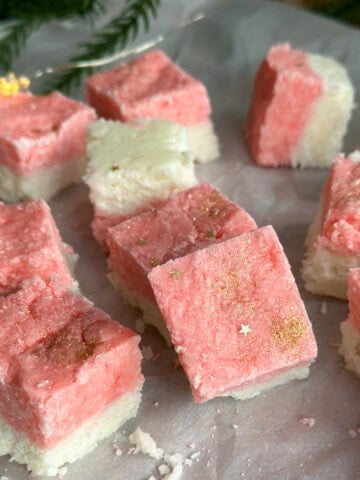
  • Homemade pink and white coconut ice recipe, cut into squares on parchment paper.
    Coconut Ice Recipe (Pink & White Coconut Candy)

Frequently Asked Questions

Can I make these ahead of time?

These are best served the day they are made. Any humidity will make the apples very sticky. Be sure to store them in air tight container.

Why are my candy apples so sticky?

Any humidity will cause the candy coating to become sticky. Be sure to store them in an airtight container. They are best the day they are made.

Why isn't my candy coating sticking to my apple?

Store-bought apples are usually coated in wax. Be sure to remove the wax first by putting the apples in boiling water for a few seconds and then buffing the wax off. Or, buy your apples at a farm shop or farmer's market where they don't coat the apples in wax.

If you tried this Pink Candy Apple Recipe or any other recipe on my blog please leave a star rating and let me know how it went in the comments below. Thanks for visiting today!

Homemade pink candy apples on a cutting board.

Recipe

Homemade pink candy apples on a cutting board.

Pink Candy Apples

Video

Carnival style pink candy apples with hard candy coating.
5 from 2 votes
Print Pin Rate
Course: Desserts
Cuisine: American
Prep Time: 20 minutes minutes
Cook Time: 15 minutes minutes
Total Time: 35 minutes minutes
Servings: 6 -8 apples
Calories: 351kcal
Author: Dannyelle Nicolle-Ramjist

Ingredients

  • 2 cups white sugar
  • ¾ water
  • ½ cup white corn syrup
  • 6-8 apples
  • white food colouring
  • soft pink food colouring
  • assorted sprinkles

Instructions

  • We used small apples from an orchard that were not coated in wax. If you are using store bought apples that are coated in wax, you'll have to remove the wax to help the candy stick to the apples. To remove the wax, dip apples in boiling water and then buff the apples. Also add wooden skewers or a small dowel into the centre of the apple. Prepare a baking sheet with parchment paper that has been sprayed with non-stick cooking spray.
  • To make the sweet candy coating, add the sugar, water, and corn syrup to a medium saucepan and combine. Bring it to a boil over high heat. Reduce to a medium-high heat and add a candy thermometer into the mixture. Continue to boil until the candy reaches a temperature between 300-310 degrees. Occasionally brush down the side of the pan with cold water and a pastry brush to help prevent re-crystallization.
  • When the candy reaches 300-310 degrees remove from the heat, and add the food colouring. Adding the food colouring at the end prevents the white food colouring from turning yellow at all during cooking. I added around a ½ teaspoon of white colouring and just 1-2 drops of soft pink.
  • Working carefully and quickly because the candy starts to cool, tilt the pan and dip each apple individually. Coat the whole apple completely, and then left it drip off slightly to avoid excess drip forming a large puddle of candy at the base of the apple. Place the dipped apples on the parchment lined baking sheet to set. Take care working with the candy as it's very hot. Have a bowl of ice water standing by incase of any burns.
  • After the apples are set, decorate with sprinkles. Use some more light corn syrup as "glue" to adhere the sprinkles. We used a combination, including a plastic spider (not edible) spider candy, sprinkles, nonpareils, and edible glitter. These apples are best served the day they are made. Any humidity will make the apples sticky, so store in an airtight container

Nutrition

Serving: 1g | Calories: 351kcal | Carbohydrates: 92g | Sodium: 16mg | Fiber: 4g | Sugar: 85g
Tried this Recipe? Tag me Today!Mention @LifeisaParty or tag #lifeisaparty!

Pink Halloween Party

Oct 5, 2020 · 2 Comments

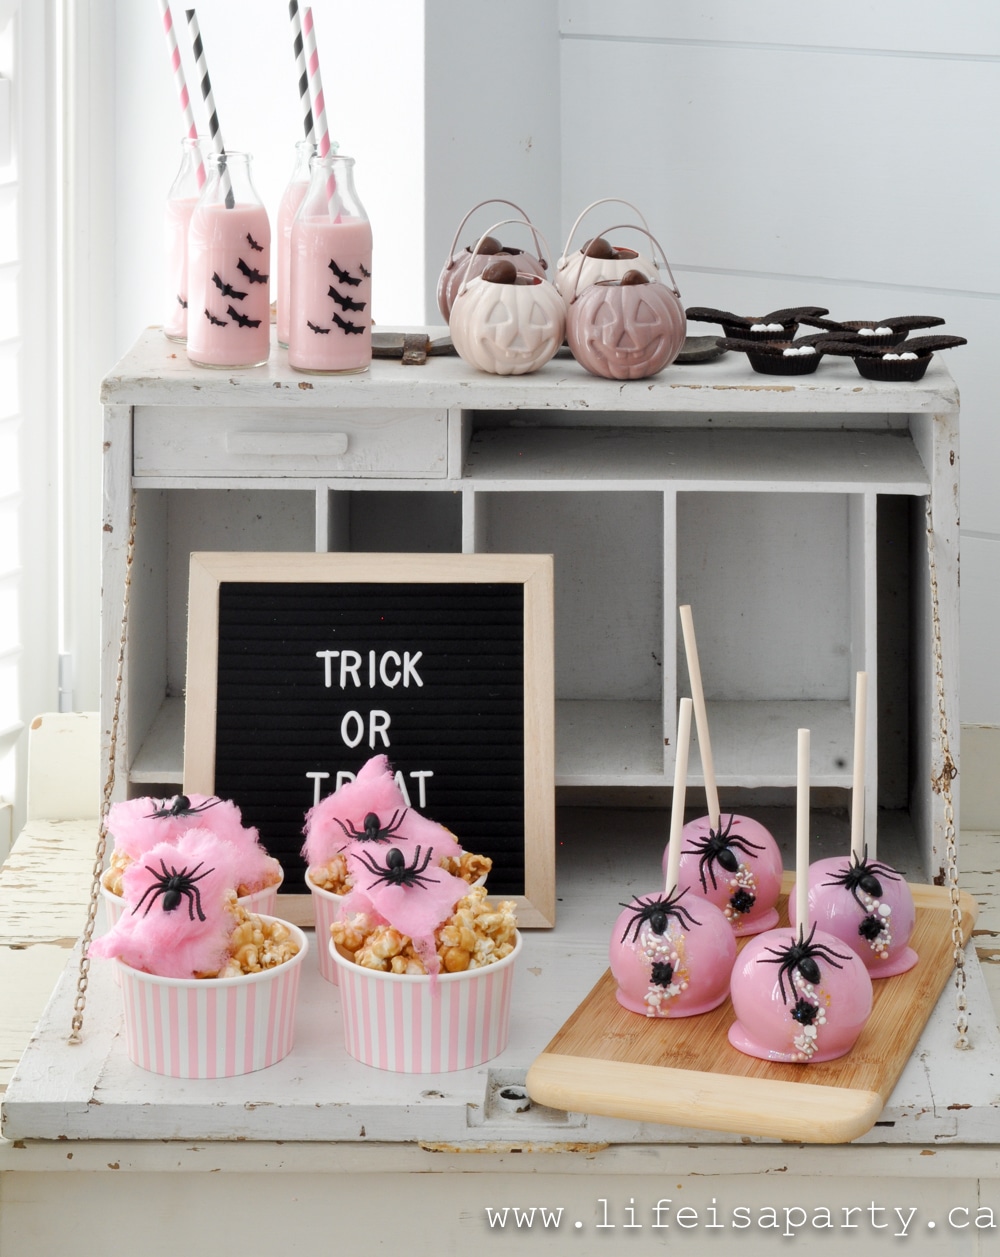
Pink Halloween party and decorations with pink treats snack table.

This Pink Halloween Party is full of DIY decorations, pink Halloween food and snacks, and some fun activity ideas for kids. If you're a pink girlie, you're going to love Halloween's best glow up ever!

Pink Halloween party and decorations with pink treats snack table.
[feast_advanced_jump_to]

Why We Love This Party

  • Pink! Is there any better color?
  • Lots of fun DIY ideas for making the cutest pink Halloween decor.
  • We're here for the snacks! Halloween food is adorable, pink Halloween food is the cutest ever!
  • Sweet kids activities your littles will love.

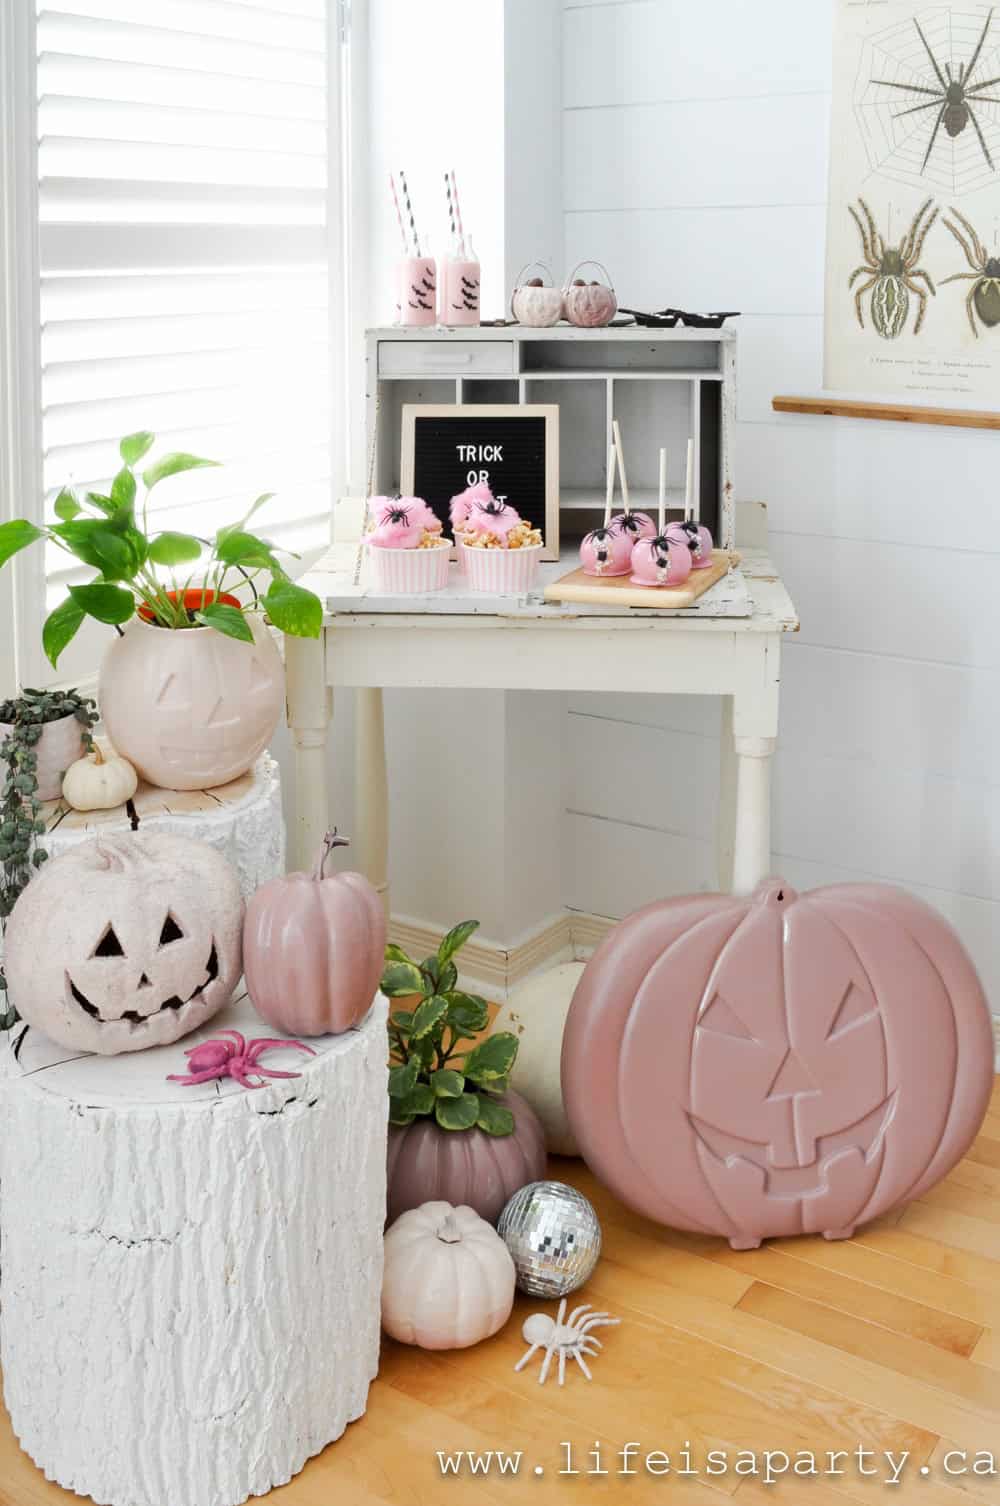
Halloween just turned pink! I'm so excited to share my pink Halloween party with you. It was so much fun to put together and could not be cuter. 

pink Halloween party

We wanted to inspire you with this sweet get together for close friends or family. A black Halloween party is fun, but how about giving your Halloween parties a makeover with pink!

It's perfect as a Halloween get together, or to give you ideas for home decor items this spooky season. You might also like our DIY Crescent Moon Wreath, Pumpkin Fairy Houses, our Ghost Themed Food Ideas, Summwerween Party, or Halloween Movie Night with Free Printables.

Halloween party ideas

Pink Halloween Party Decorations Makeover

I found lots of fun finding Halloween decor and party supplies at the thrift shop, and used some old stuff from last year and gave it a pink makeover.

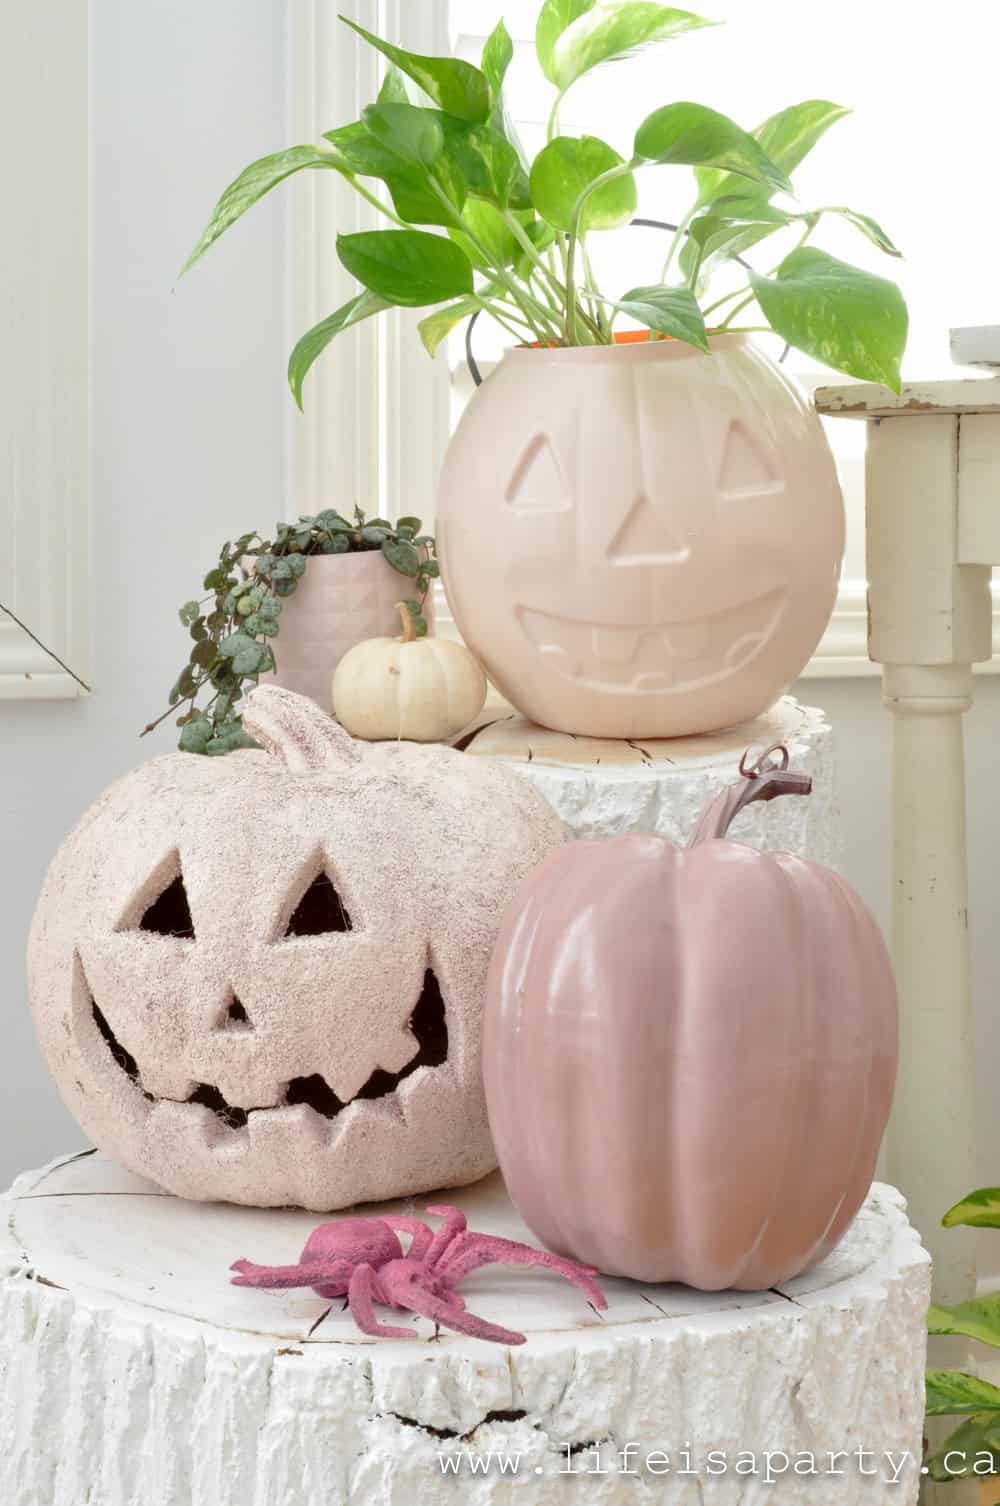
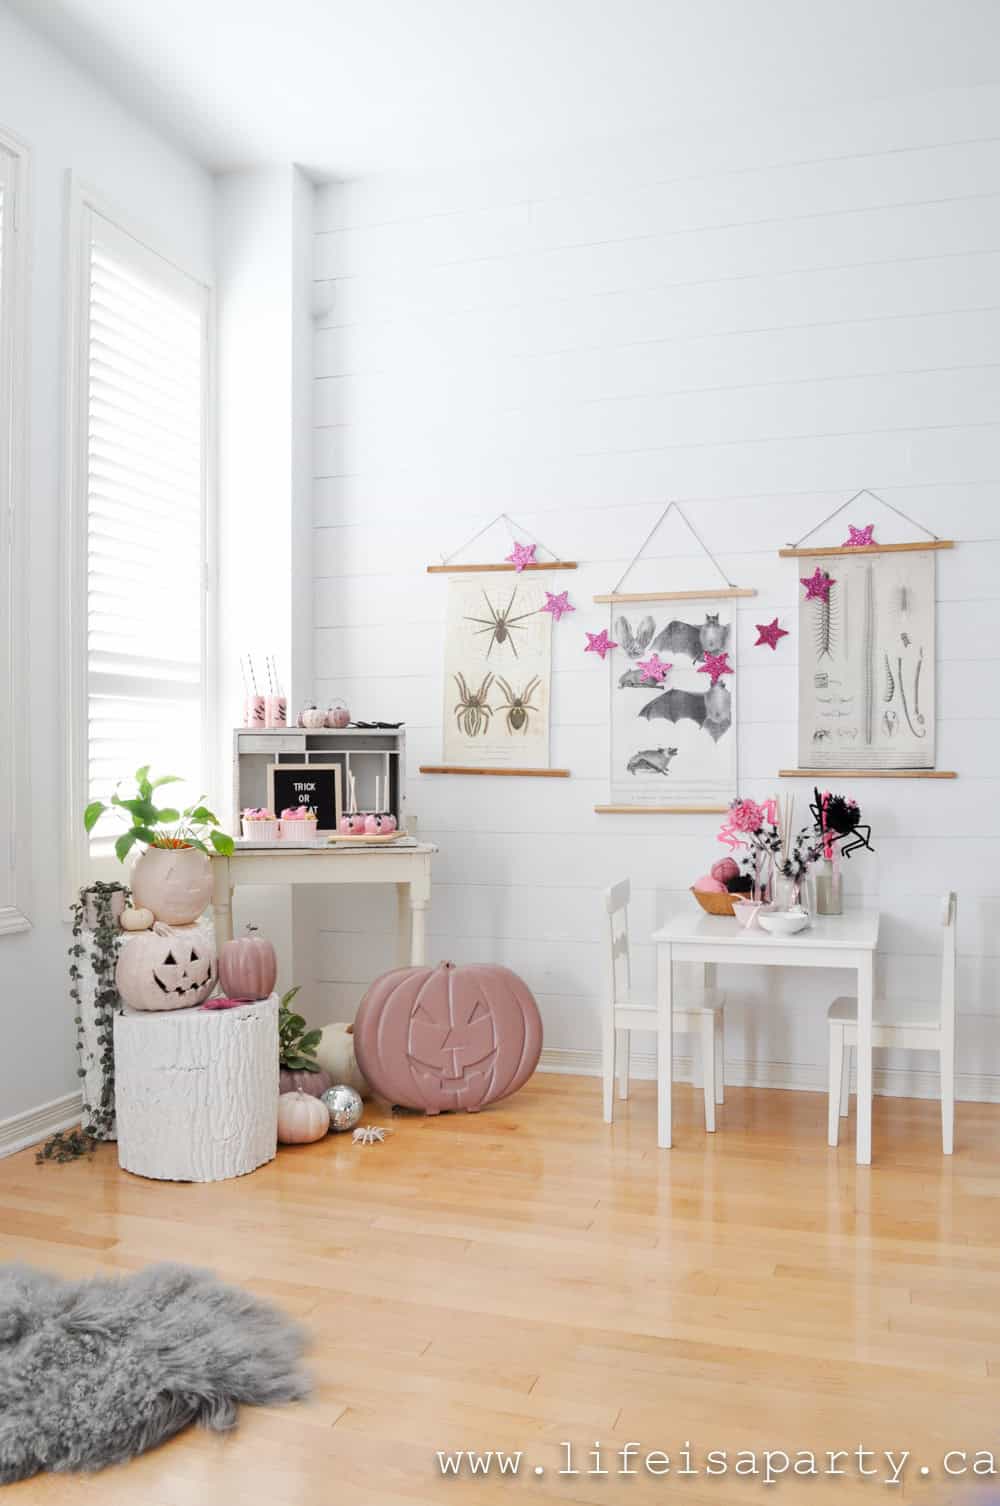
The pumpkins all started out in various shades of orange. I used a light pink and a dusty pink spray paint and turned each one into a pink decoration to make it match our playful color palette. Our fun decorations turned out so cute.

Another unique idea was to paint a few spiders pink too. Spray paint is the way to take your decor from old to a new whimsical Halloween collection.

pink jack-o-lantern

We found a pumpkin bucket and turned it into a plant holder for the party, after I spray painted it pink. The other one was a hollow craft pumpkin that the top was cut off of and was perfect as a plant holder too.

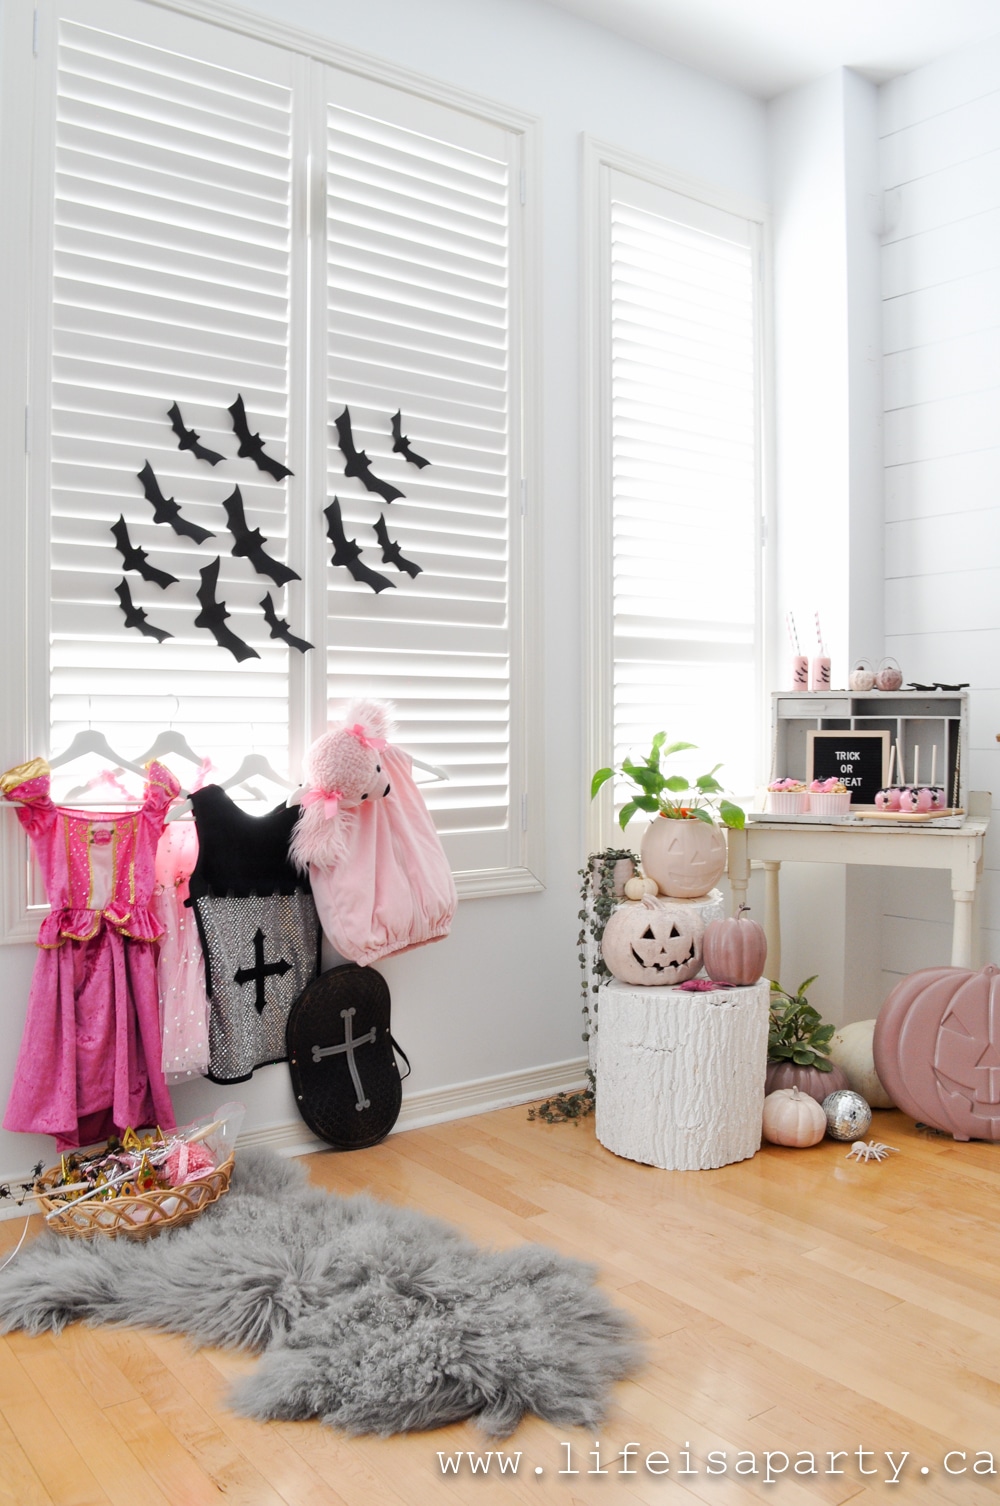
pink Halloween costumes

We added some fun bats to our dress up centre as decorations. These are cut out of black scrapbook paper on my cricut. You can use my pattern in Cricut Design Space here.  These would also be really great as pink bats, just use pink scrapbook paper instead. Once they were cut, I used simple tape on the back to attach them to the wall and they look so fun and festive.

Free Halloween Art

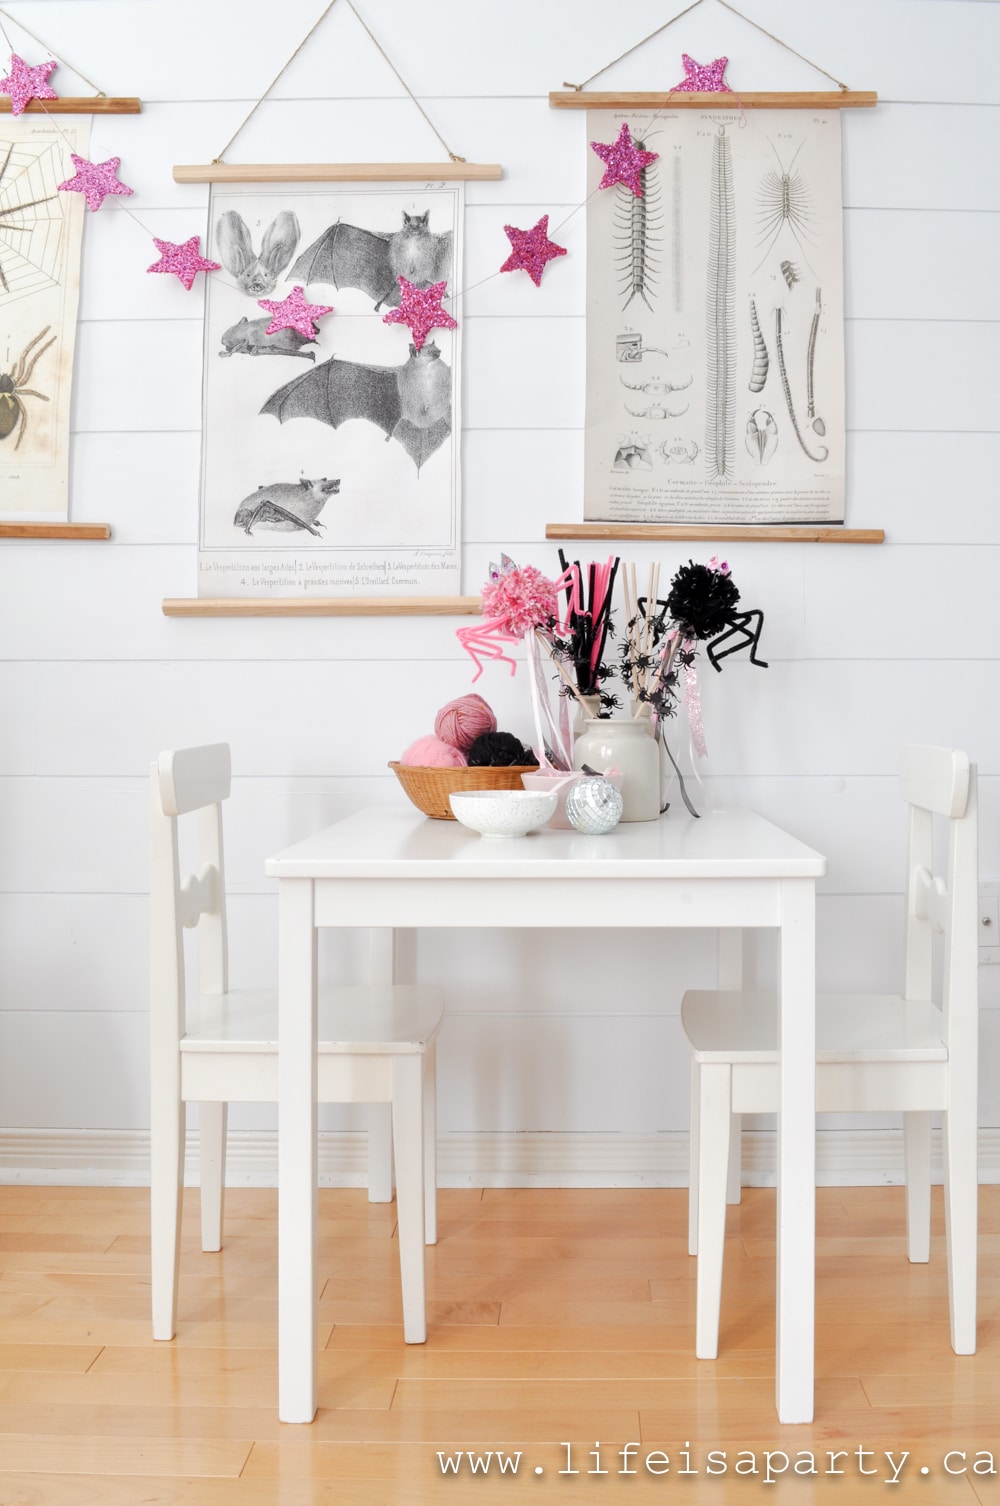
I also wanted to add some fun Halloween art to the party. These vintage botanical drawings are all available as a free digital download and are perfect as a Halloween print. I had them printed as colour engineers prints. I added a piece of wood to the top and bottom to hang them.  You can read exactly how to hang the engineer prints here.

pink halloween party

Find the spider art free download here.  Also, find the bat art free download here.  And, find the centipede art free download here.   We hung them together for a spooky effect, and as a final touch topped them with some a pink sparkly star garland; a silver star garland would be cute too. We love our vintage inspired are as Halloween decorations.

Halloween art work

DIY Halloween art
DIY Halloween art

Pink Halloween Food and Snacks

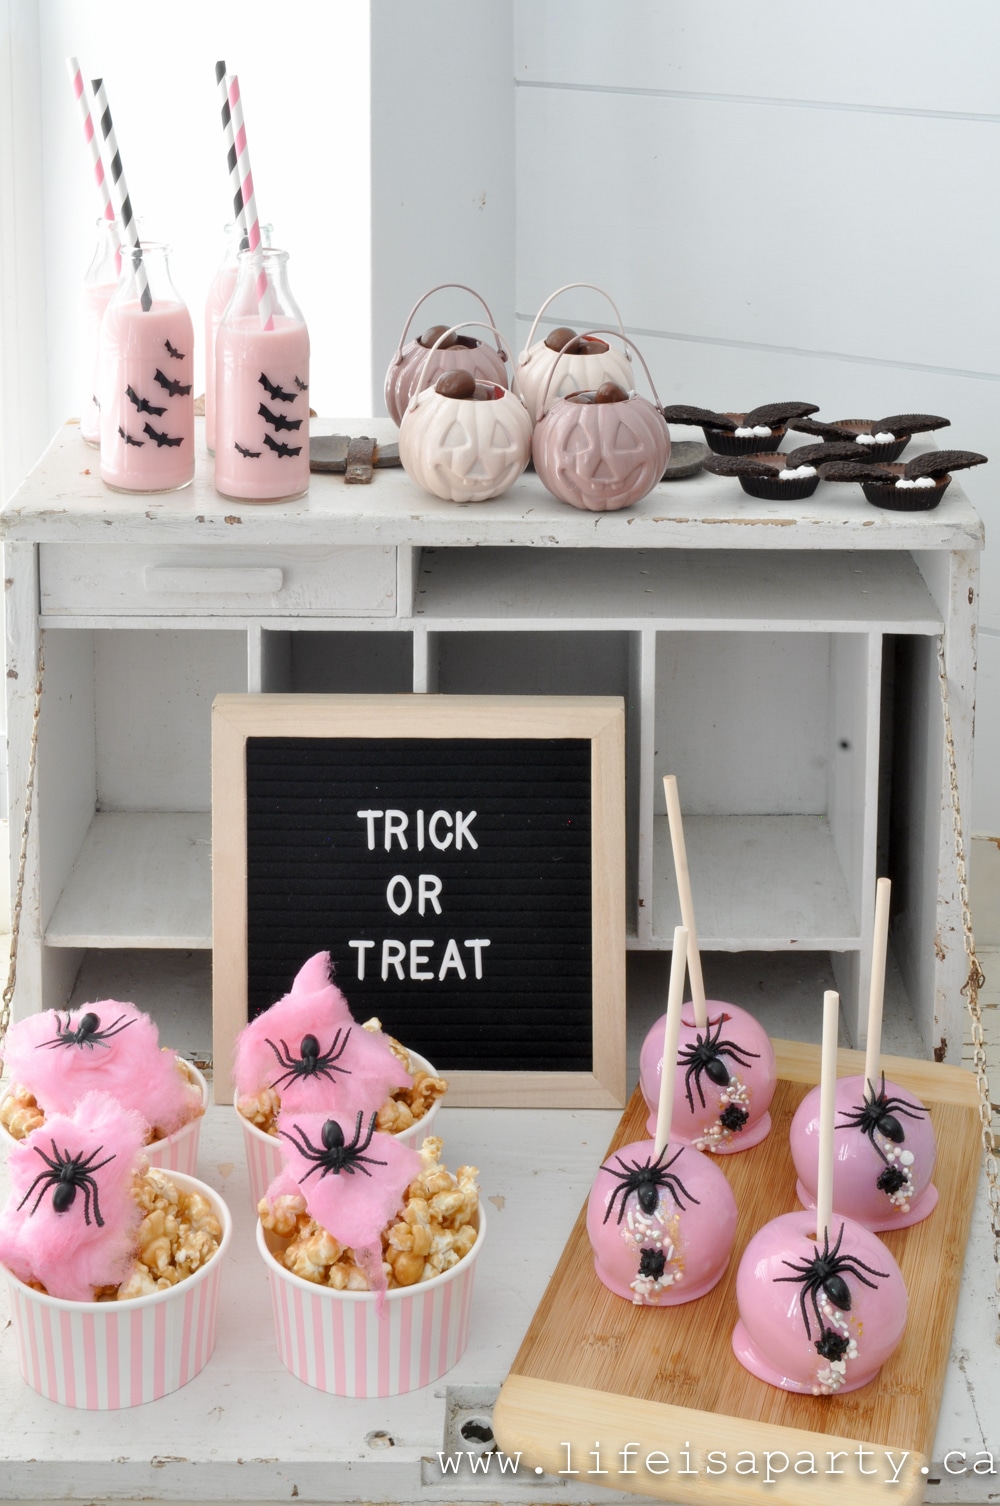
The pink Halloween food is my favourite part of the party -we're here for the snacks. 😉 It was so much fun coming up with delicious and adorable snacks to enjoy at the party. These are great for kids or any Halloween get together.

pink Halloween food snacks
pink Halloween party

Drinks

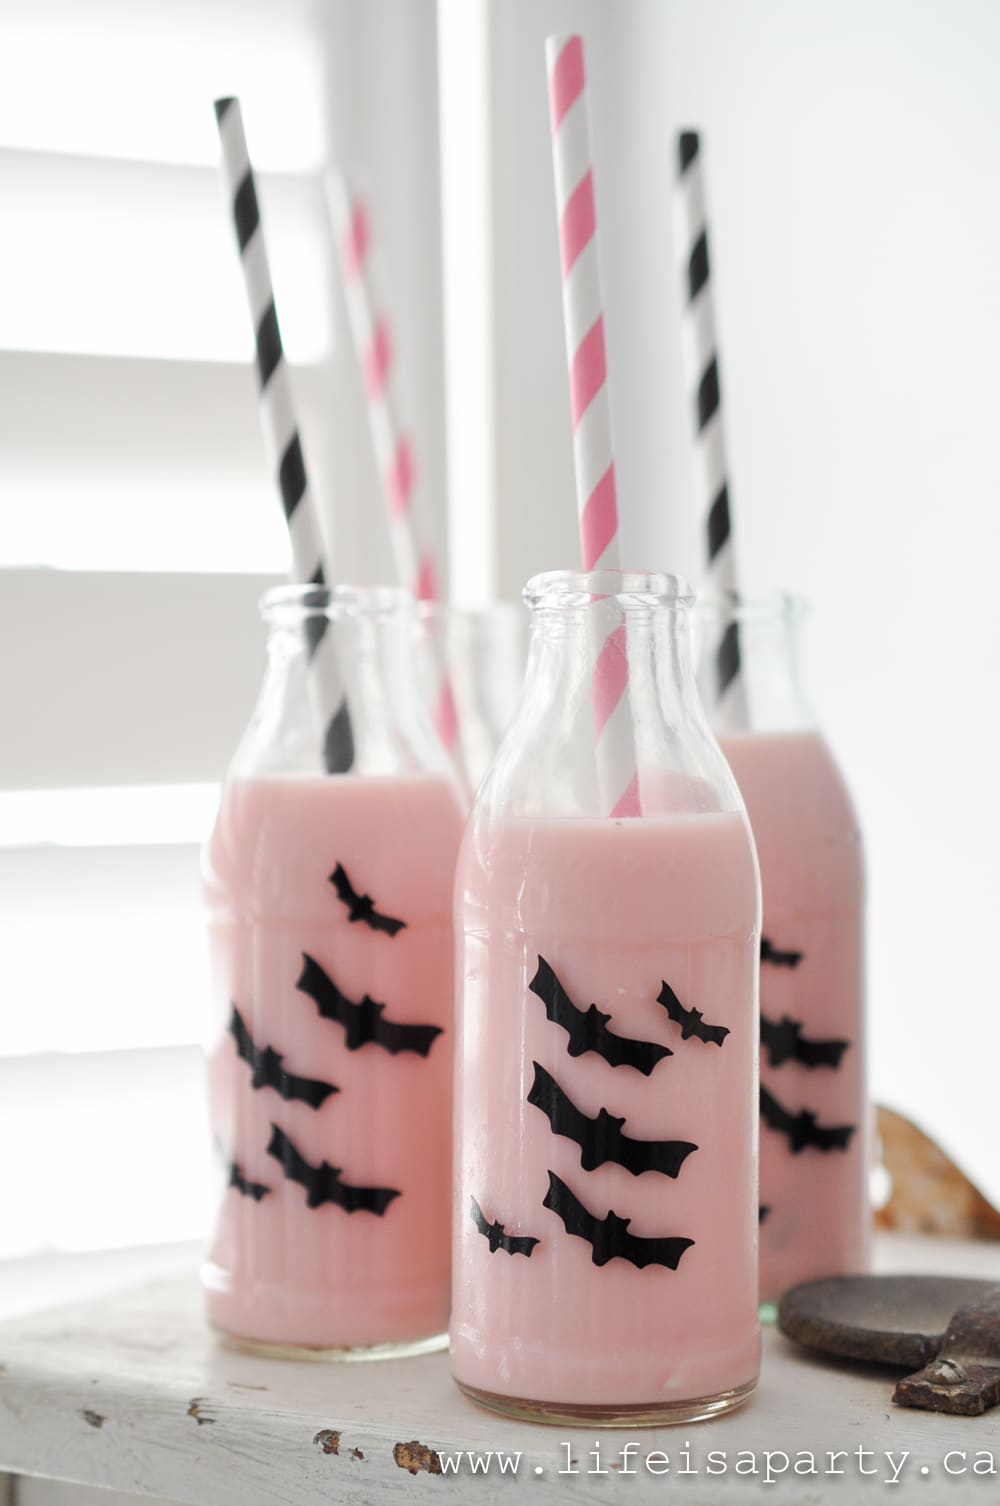
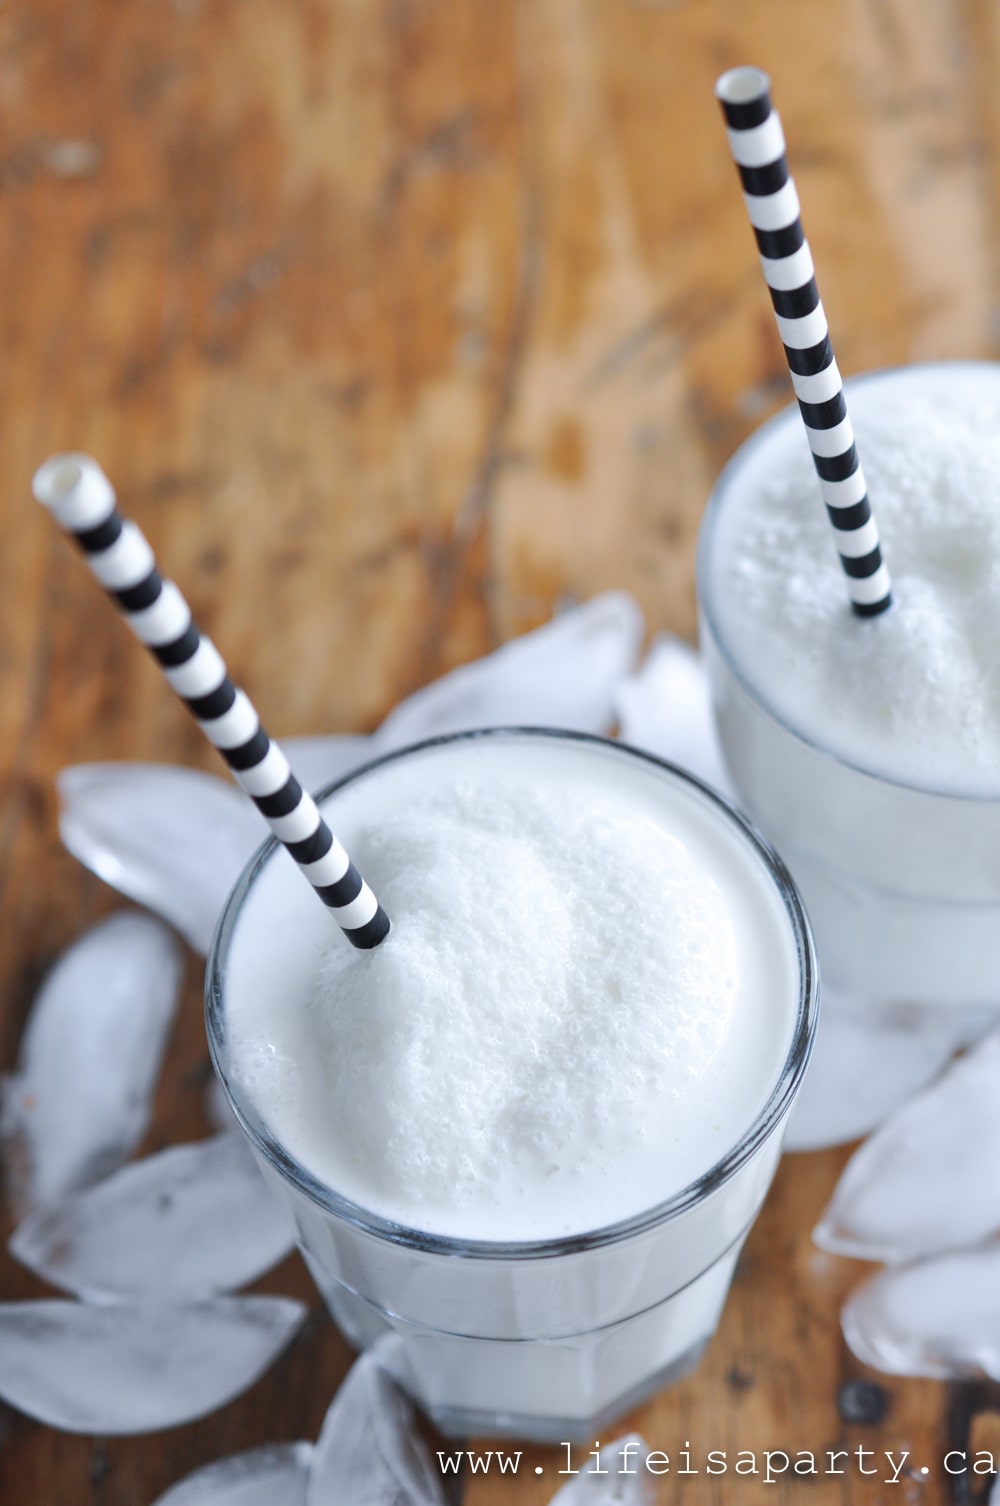
I used some thrifted glass bottles for our pink strawberry milk to match our pink decor. To make them extra Halloween-y I added some fun playful accents of little black vinyl bats. 

Halloween party drink

I used my Cricut to cut out some small adhesive vinyl bats to stick on the glass. They were so simple to make and they're so perfect for this party. Find my Cricut cut file here to make your own.  I added some fun black and pink striped straws for the perfect festive pink Halloween drinks.

pink Halloween food

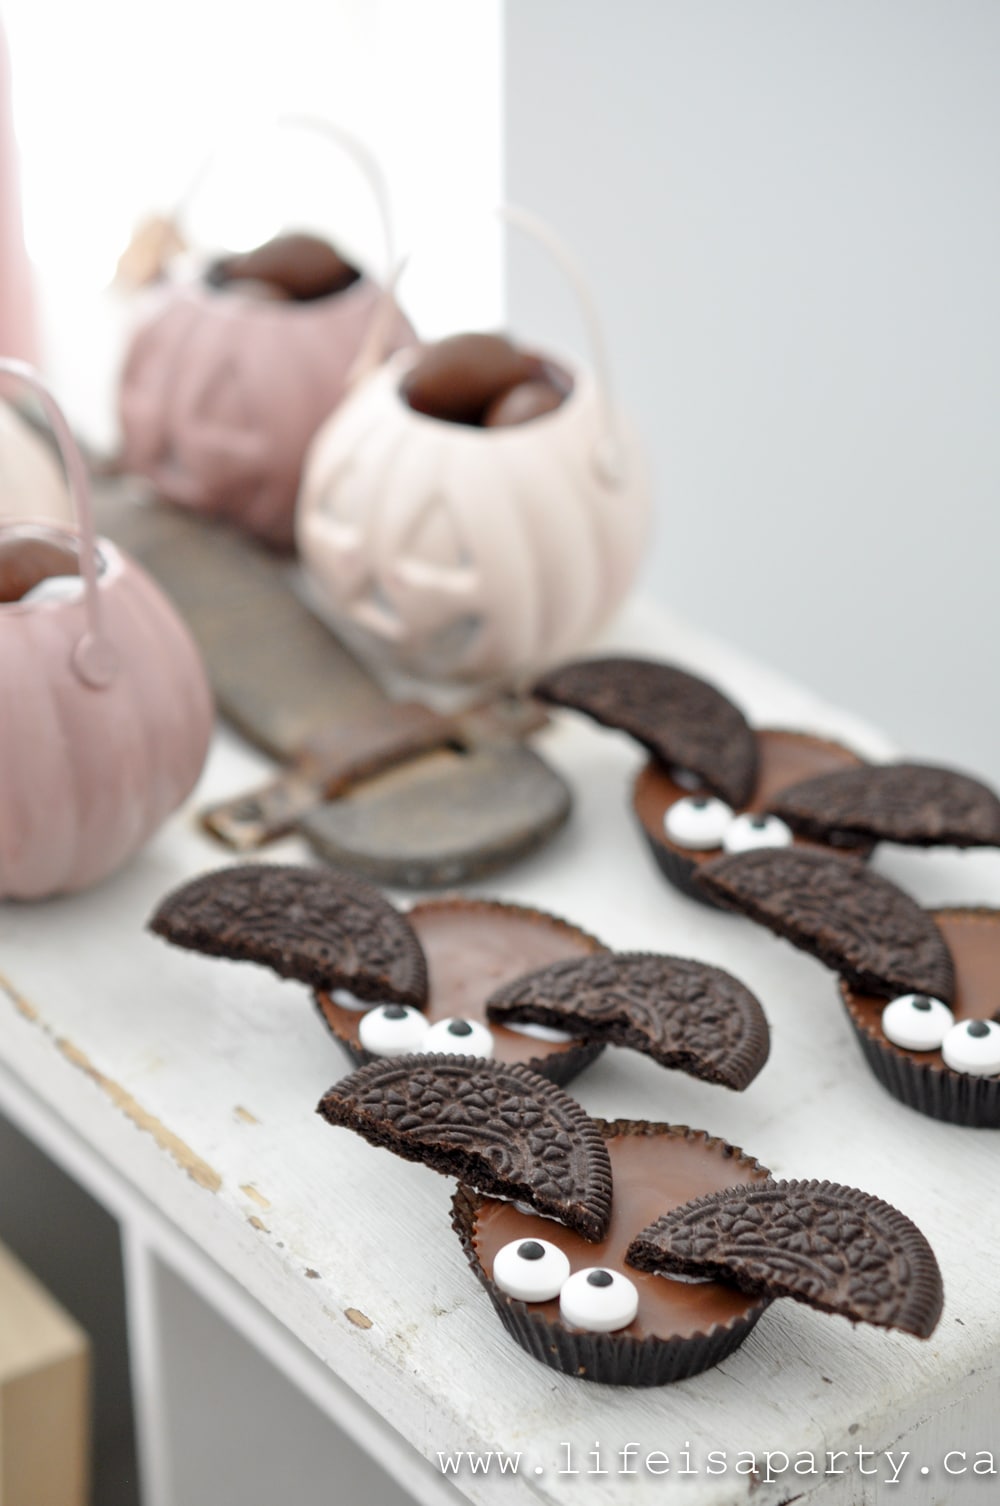
Peanut Butter Cup Bats

These little bat treats were so easy to put together and are the most adorable cookies. 

I used peanut butter cups as the base. Next, take a regular Oreo, and remove the filling. Cut the Oreo in half to make the bat wings. Attach the wings with a little icing, and use more icing to attach some candy eyes.

peanut butter cup bats

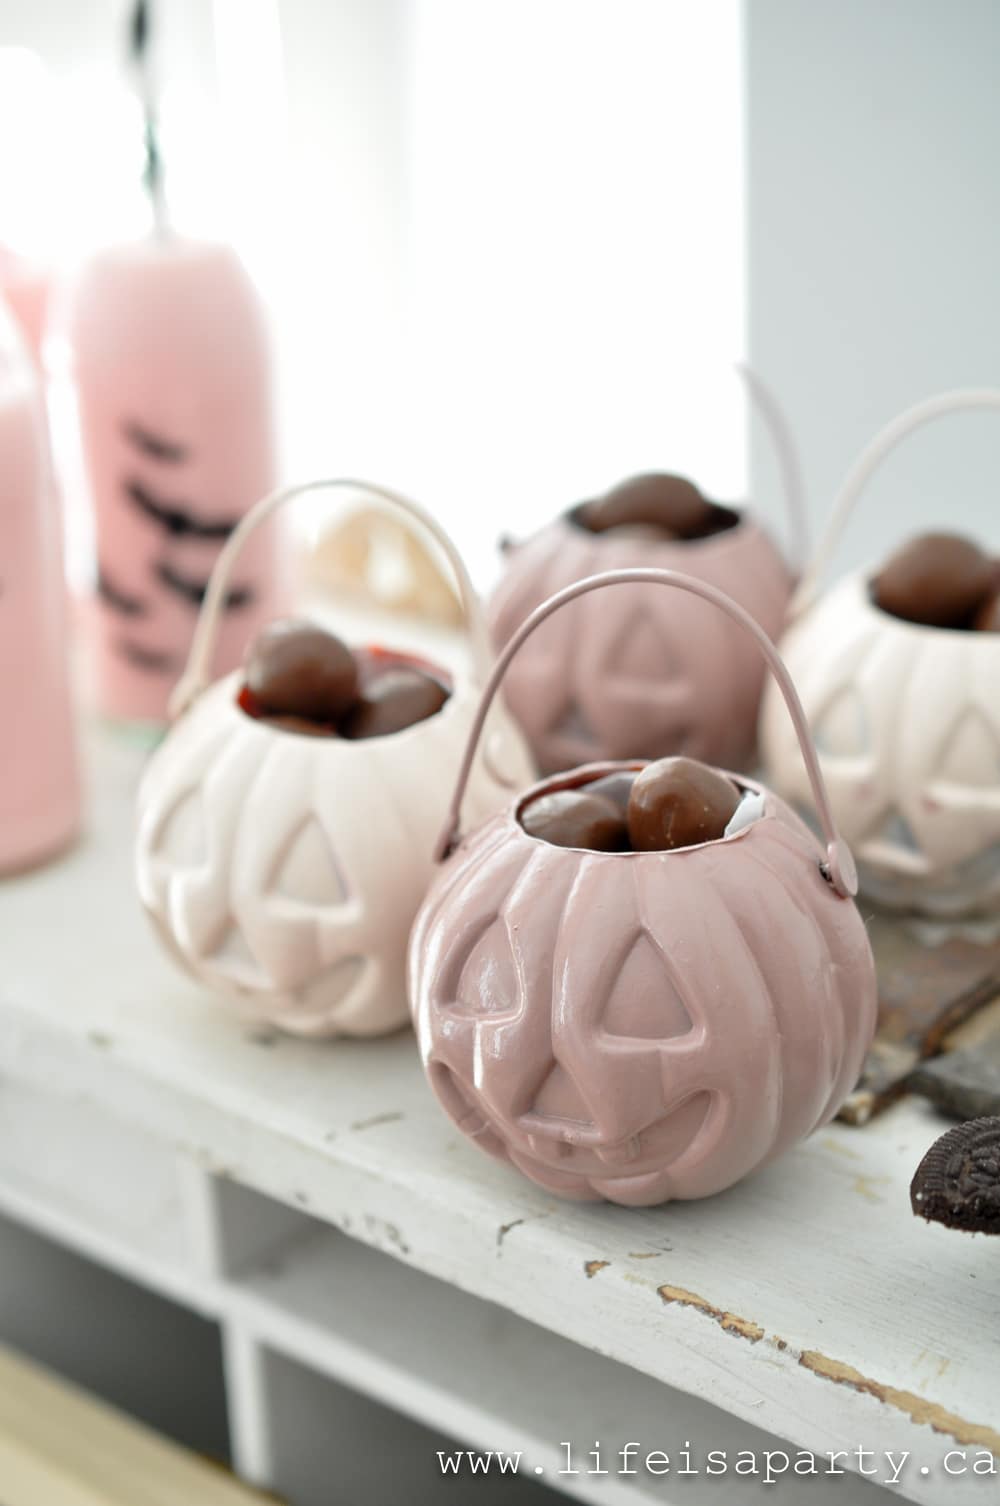
Mini Pumpkin Treats Containers

I used these cute little plastic mini pumpkins to hold some chocolate covered almonds. I gave the mini pumpkins a little makeover for our dessert table. 

Halloween party food

These were originally orange pumpkins, and I spray painted some light pink, and some a dusty rose. These pink pumpkins look so cute!  

One of the easiest ways to make sure they were food safe is to line the spray painted pumpkins with some parchment paper.

We filled them with one of our favorite treats, chocolate covered almonds.

Halloween party food ideas

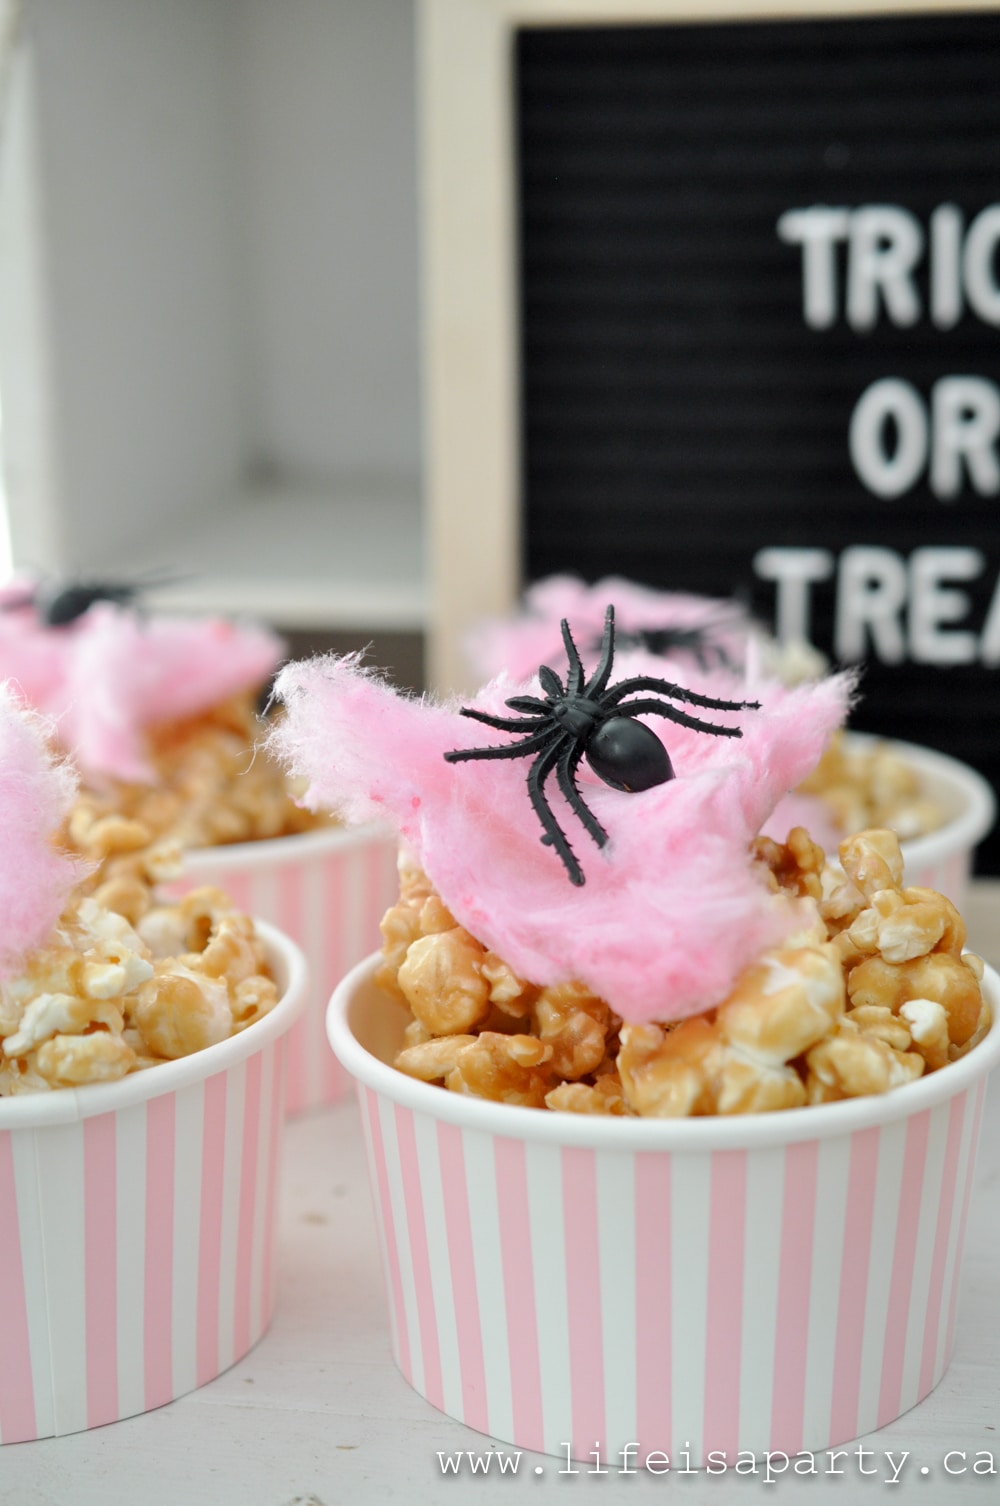
Caramel Corn with Pink Spider Webs

I made some homemade caramel corn for our party. It's a favourite at our house. I love nostalgic homemade Halloween treats. Find our homemade caramel corn recipe here, or pick up some premade. 

Halloween snacks

I served it in cute paper striped cups, and added a pink cotton candy "spider web", and a little plastic spider (just make sure no one eats the spiders).

Tip: Cotton candy doesn't do well in humidity, so be sure to add it right before serving.  

This is a really cute idea to use as cupcake toppers too.   

Pink Candy Apples

Another nostalgic homemade Halloween classic is candy apples. We made these ones pink to match our pink Halloween party theme. 

Get the full recipe to make the pink candy apples here. 

They are decorated with sprinkles and edible glitter, and they couldn't look more magical. I also used one plastic spider on each too, so I was sure to warn guests.

pink candy apples

These are traditional candy apples, like the red ones you might find at a carnival or fair. They're super crunchy, and glossy and beautiful. Wrap some up send them home as a party favor for guests.

pink candy apples
pink pumpkins

Spider Wand Making Centre

It's always fun to have a craft at a party for the mini ghosts and goblins to enjoy. I made a little craft table where kids of all ages could make their own spider wand. 

DIY Halloween art

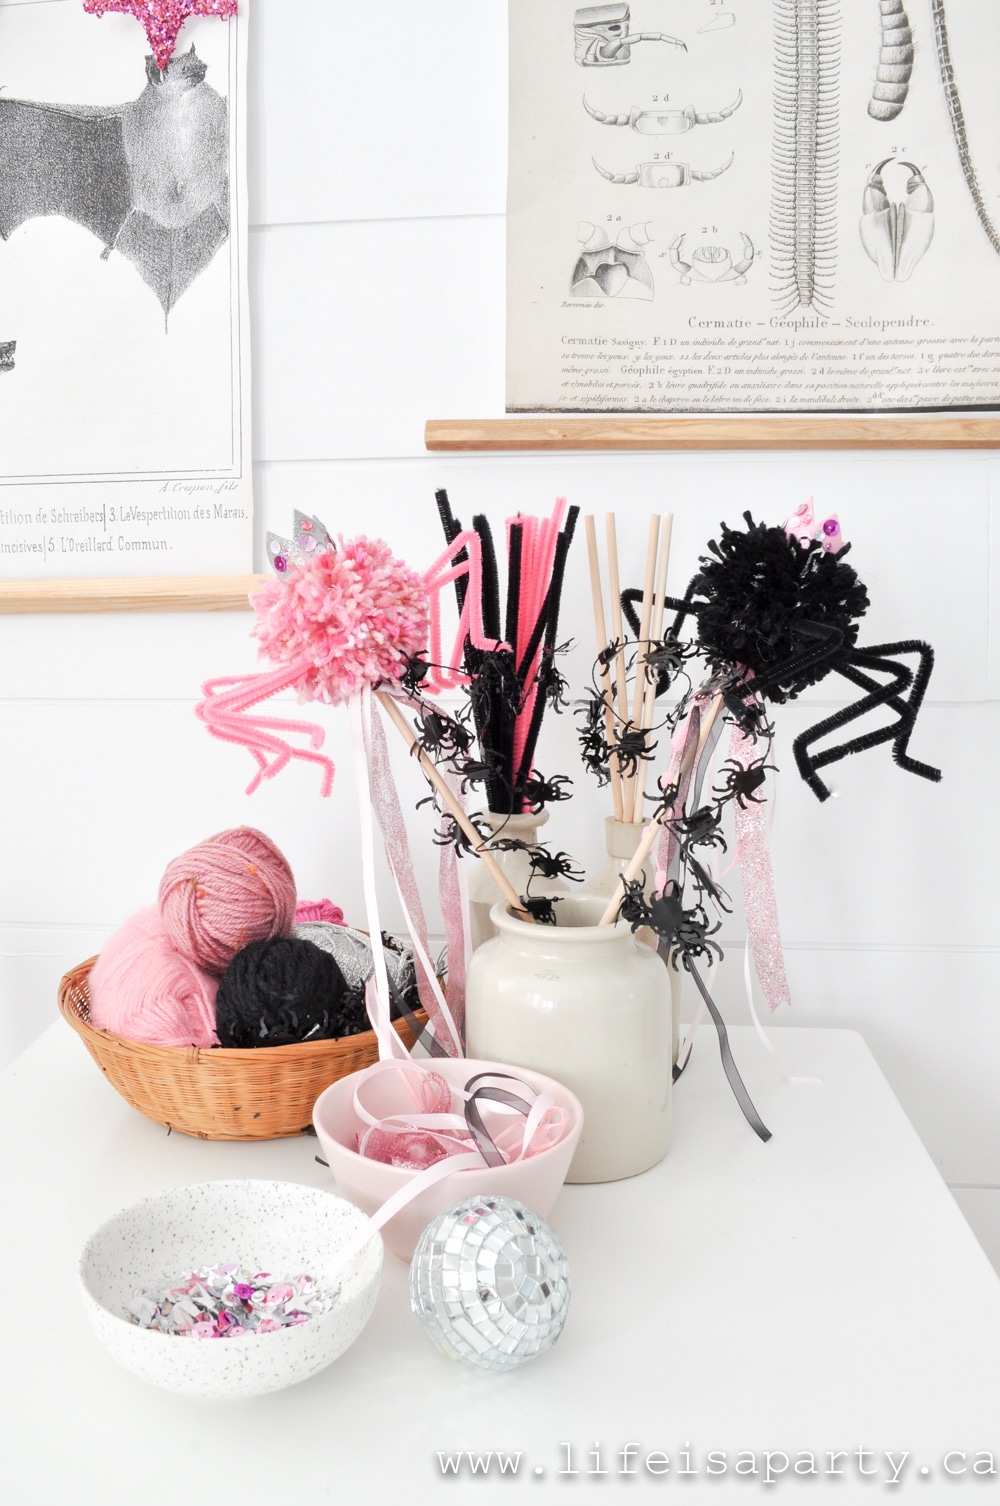
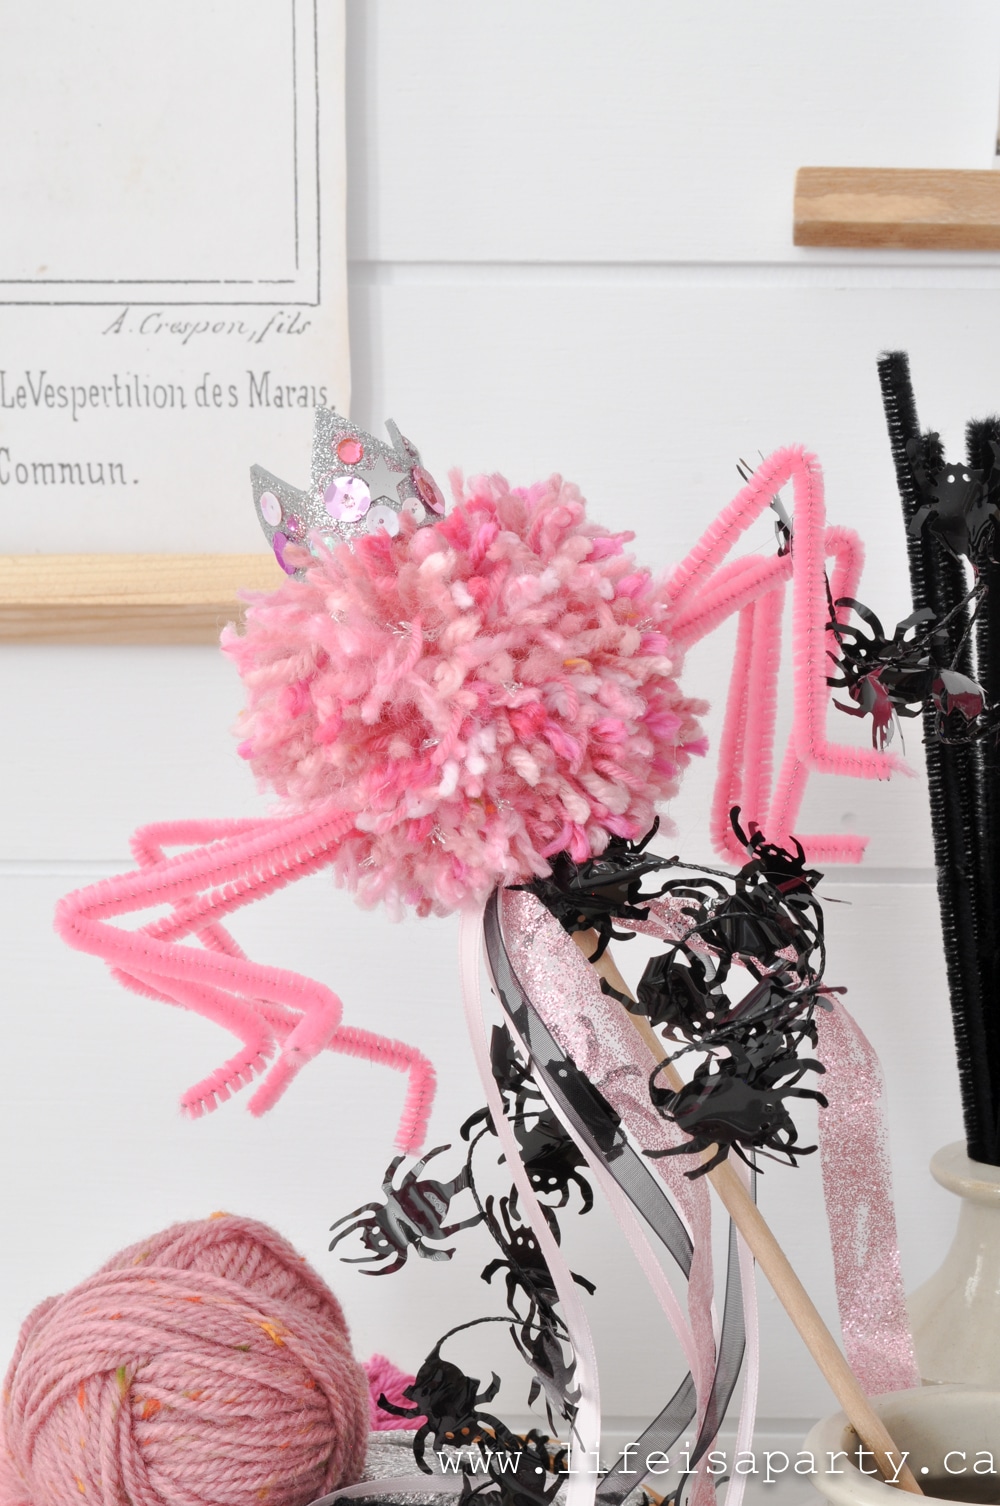
To make the spider wand, start by making a large Pom Pom out of yarn, or use a large pre-made one. Parents can help with a hot glue gun to add spider legs made from pipe cleaners, a small dowel to make it into a wand, and little crown. The crowns are made of foam craft, and decorated with different jewels and pink ornaments, and sequins. Little ones will enjoy adding all the sparkles and glitter to mini crowns with craft glue. Lastly, the kids can choose ribbons to tie around the wand as an easy way to make them even more magical.

spider wand
spider wand craft

Dress Up Centre

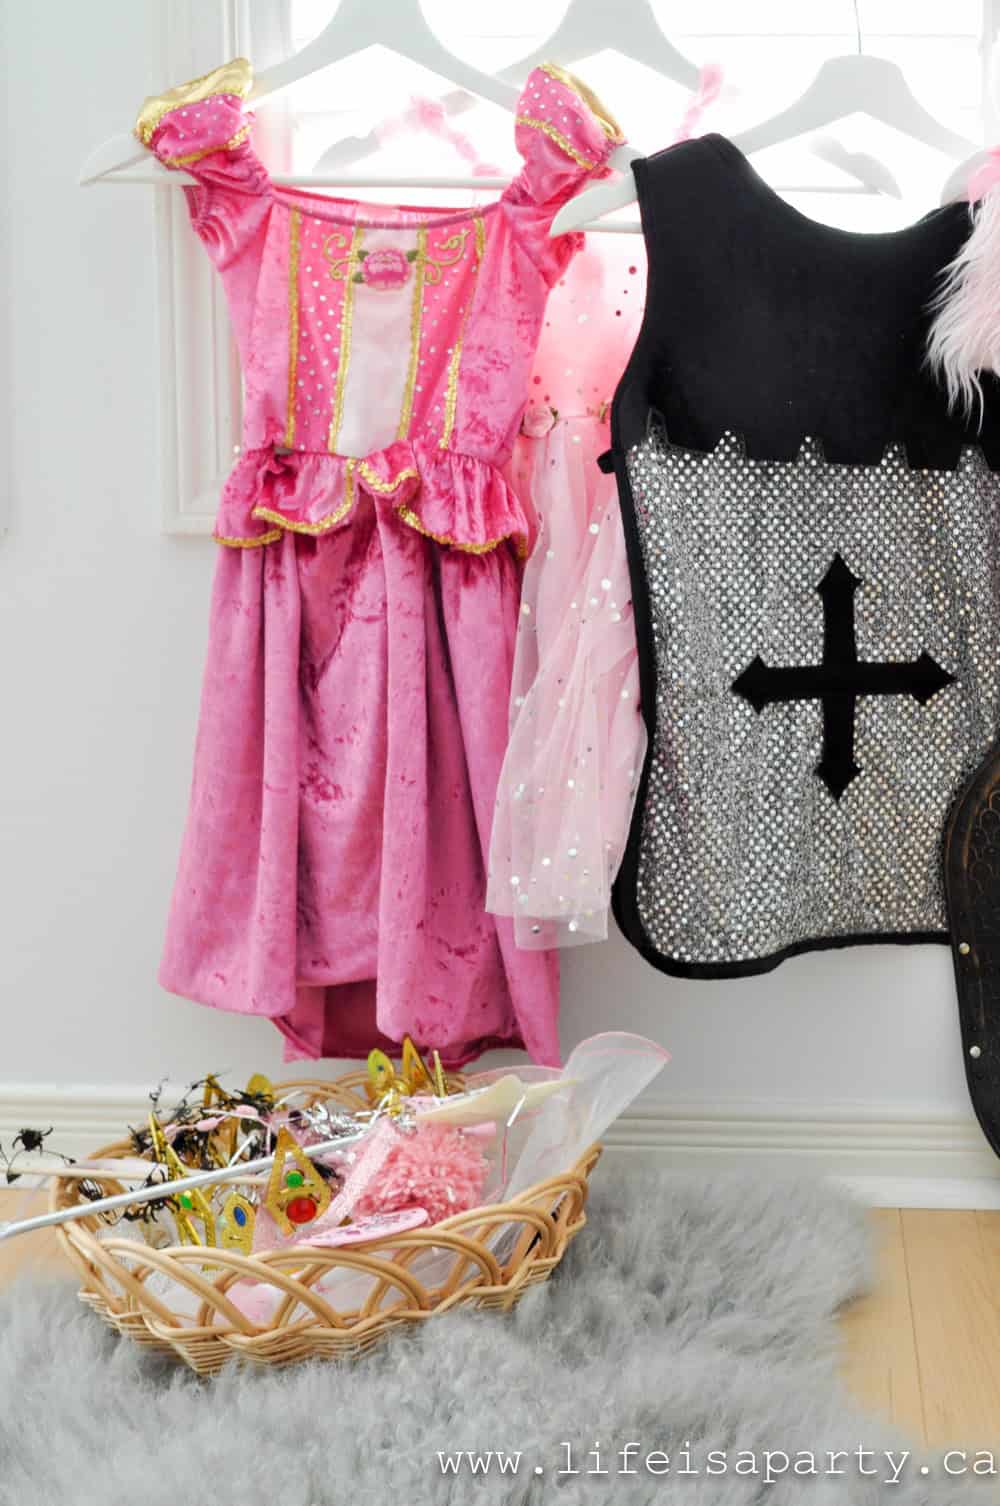
It wouldn't be pink Halloween without some pink Halloween costumes to dress up in. We found so many great options at our local thrift store. There were big costumes and little costumes for every age group, for boys and girls. I thought that it would be fun to have some options, including a fun basket full of great accessories for princesses, knights, a flying ghost or a puppy.

pink Halloween party
Halloween dress up

This pink Halloween party was so much fun and is the happiest place to be this Halloween! We had a great time dressing up, crafting, and snacking on all the treats. I hope it inspires you for some of your Halloween festivities. 

With a pretty pink Halloween party like this, life is really a party!

Frequently Asked Questions

Where did you get all the pink pumpkins?

We made them! We spray painted regular orange pumpkin decorations with different shades of pink spray paint, and it worked perfectly?

Where did you get the big posters printed at?

We used staples, but any office supply store or printers should be able to print large color engineer prints for you, and they're much cheaper tha color poster printing.

Can you make the pink Halloween snacks ahead of time?

Yes, some of them. Make your caramel corn and bat cookies days ahead and store in an airtight container. The candy apples are best made the day before or day of. And remember, don't add your candy floss spider web until right before serving, because any humidity causes it to dissolve.

If you tried any of the ideas from our Pink Halloween Party,  or any other ideas on my blog please let me know how it went in the comments below. Thanks for visiting today!

More Halloween Inspiration

  • Halloween smores board with Halloween cookies, marshmallows, chocolate and more!
    Halloween Smores
  • Summerween party table with themed food.
    Summerween Party Ideas: BBQ & Pool Party Food
  • Ghost themed foods on a snack board.
    Easy Halloween Ghost Themed Food Ideas
  • Harry Potter snacks and treats board.
    Harry Potter Inspired Snacks and Treat Ideas

Easy Apple Dumplings Recipe

Oct 3, 2020 · 6 Comments

apple dumplings

Easy Apple Dumplings Recipe: use pre-made frozen pastry to put this classic apple dumplings recipe together in no time. Quick and delicious.

apple dumplings
[feast_advanced_jump_to]

This easy apple dumplings recipe is an old family favourite around here, especially at this time of year in the fall when fresh Ontario apples are at their peak. If you're looking for something a bit different from regular old classic apple pie, and a whole lot easier this is the perfect recipe to enjoy this fall or for your Thanksgiving dinner this year.  

What Are Apple Dumplings?

Apple dumplings are a pastry dough wrapped apple or portion of apple, baked in a sweet sauce.  The taste is similar to apple pie, with similar ingredients, but the difference is the special sauce that the dumplings are baked in.  The recipe is thought to have originated around Pennsylvania in the US, and is popular among the Amish.  Some recipes use whole apples, with the core removed and stuffed with cinnamon and sugar.  They are sometimes baked without the sauce, and sometimes served with a caramel sauce. 

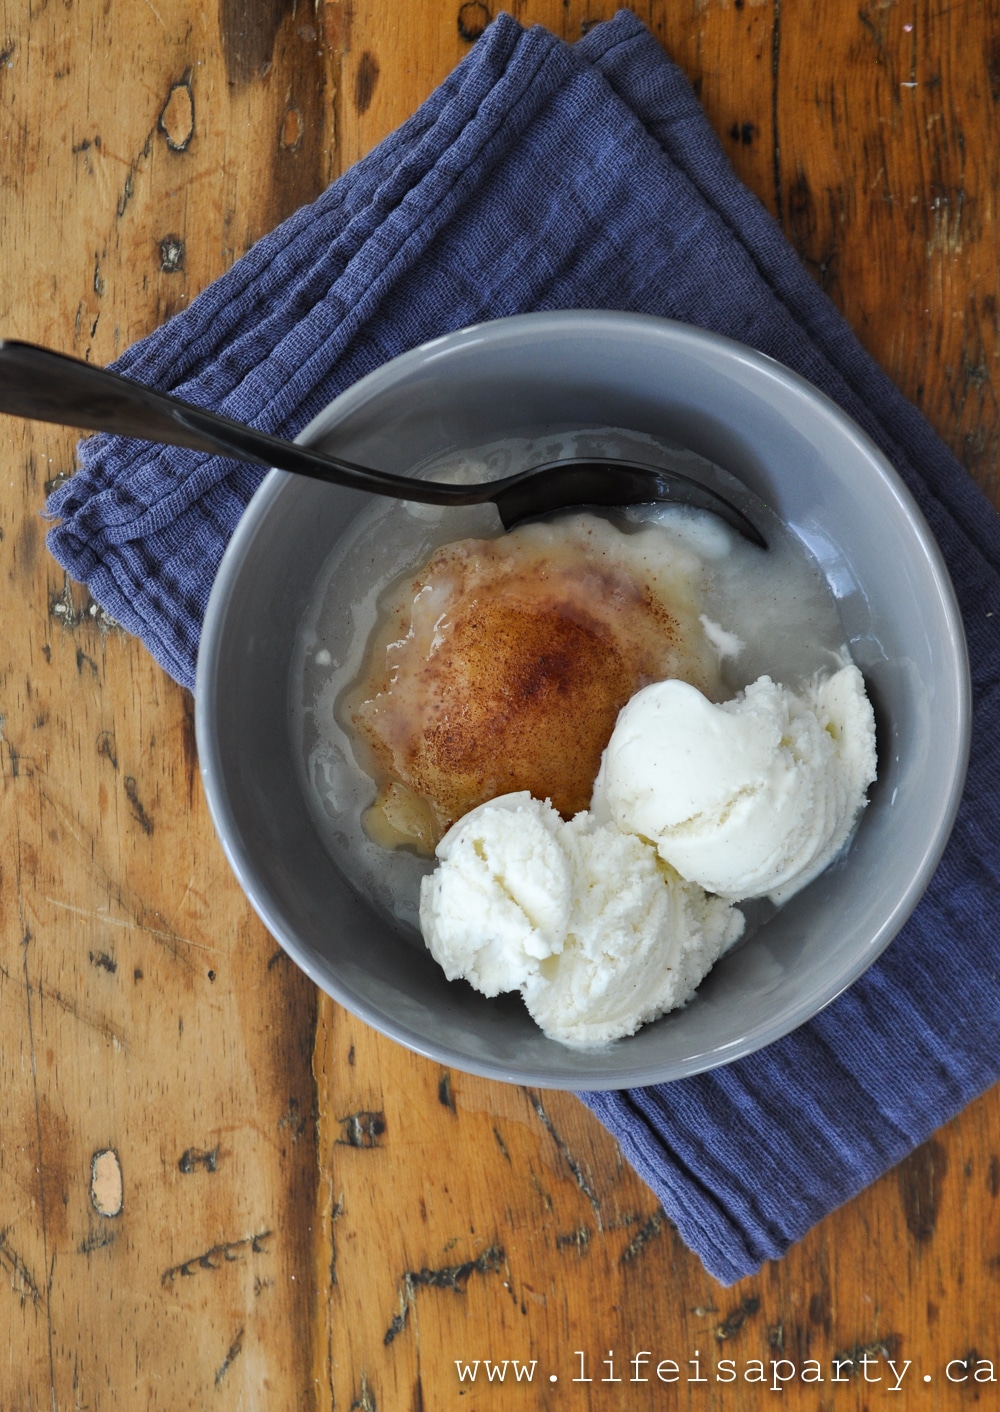
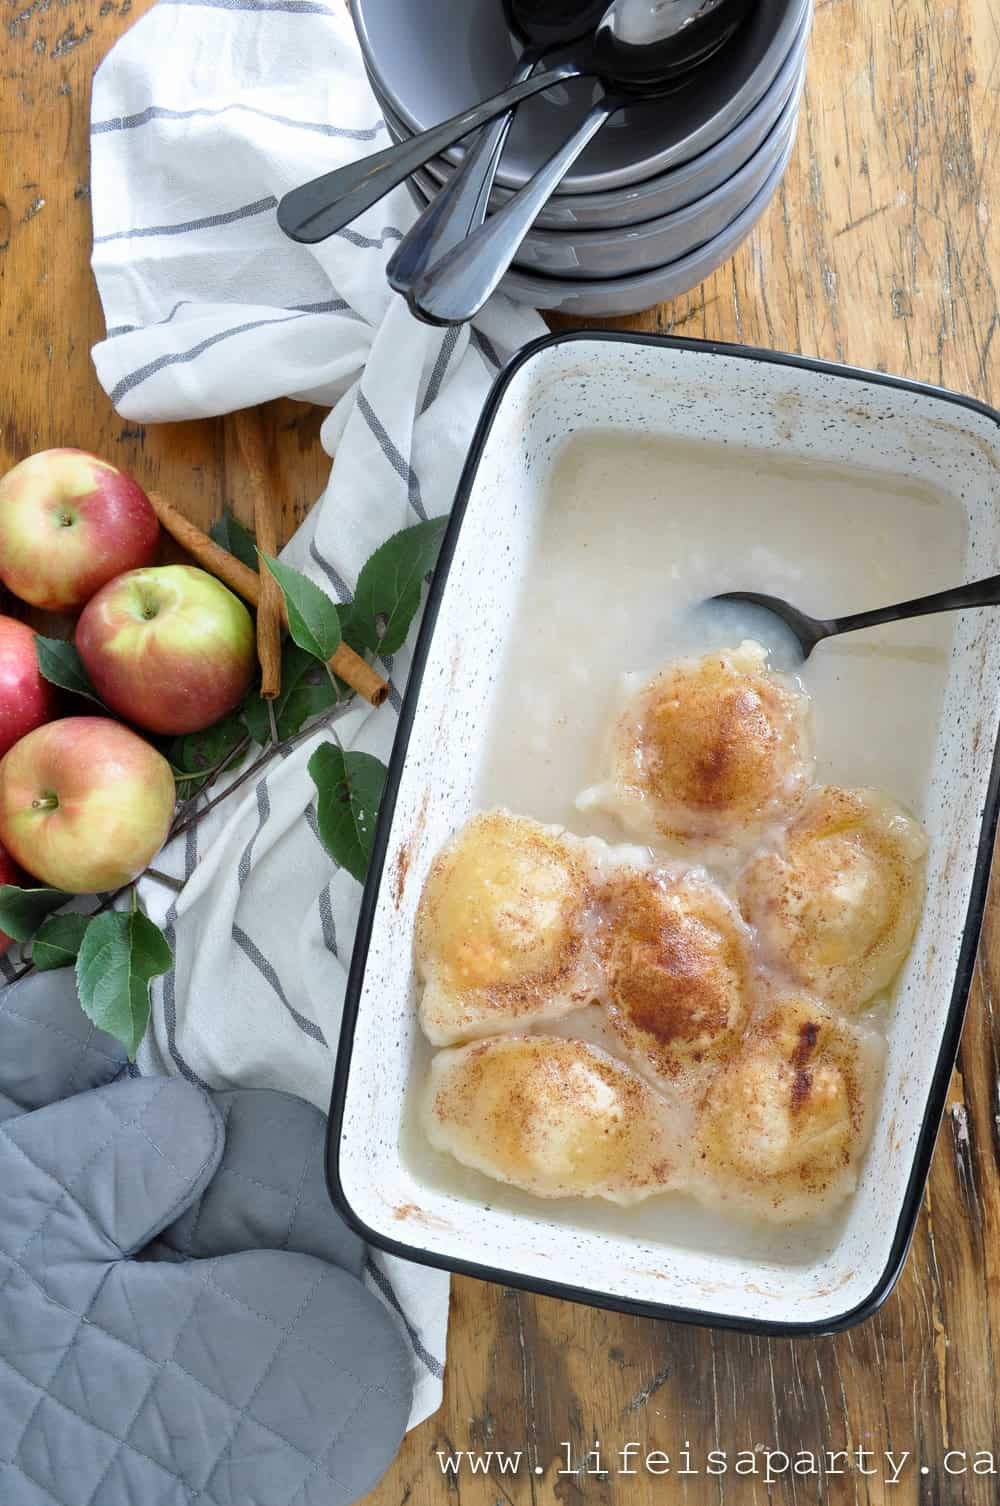
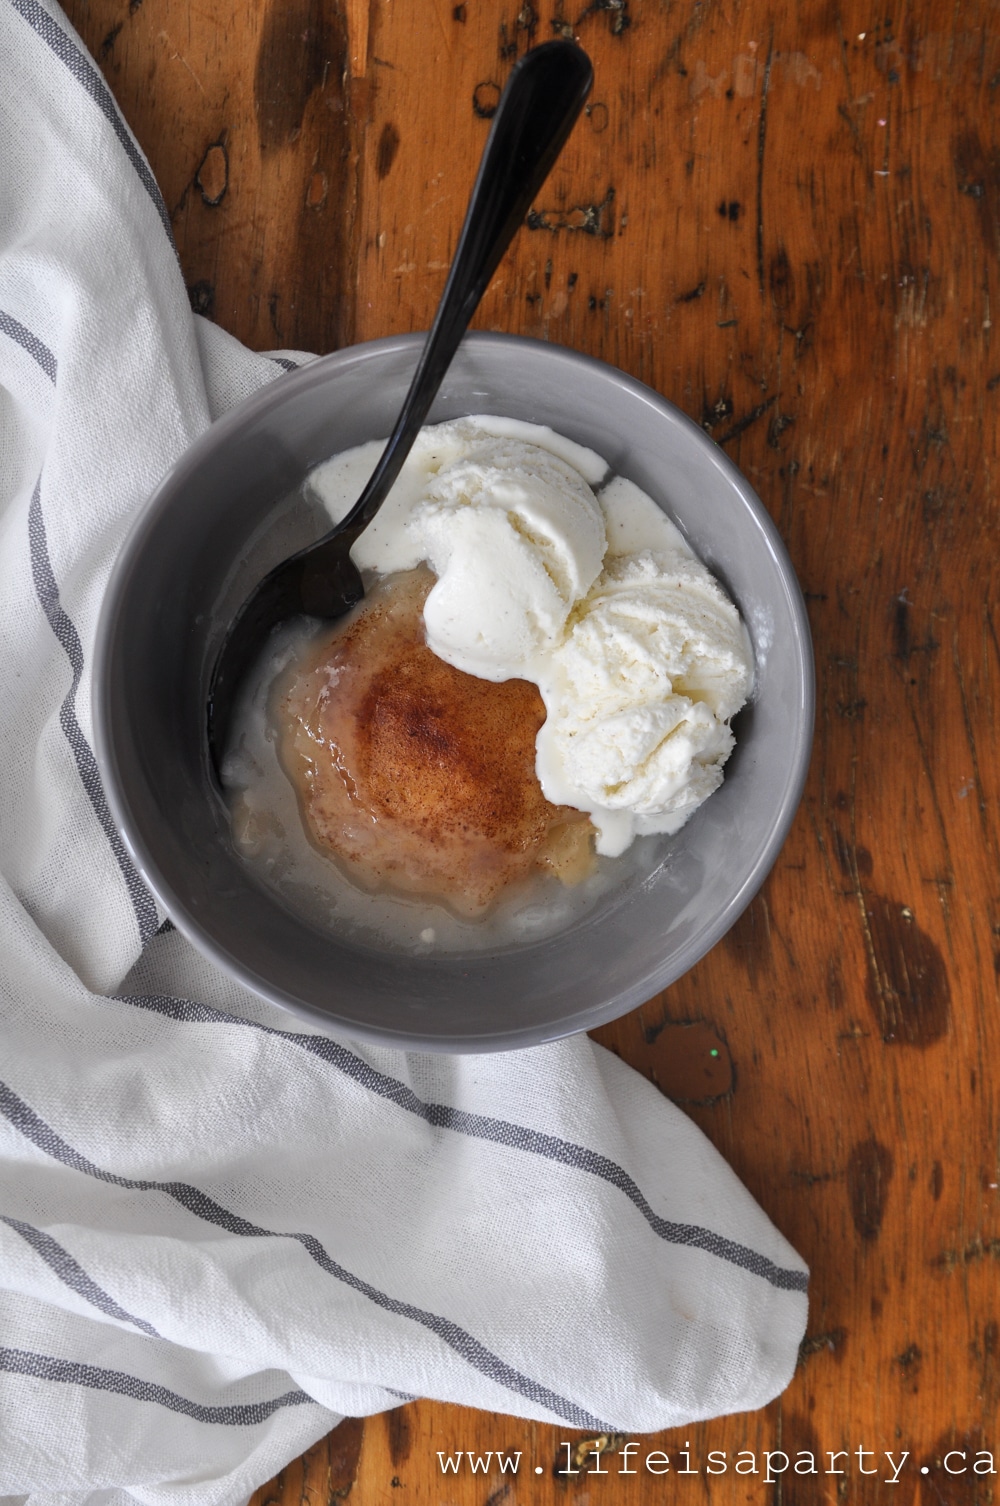
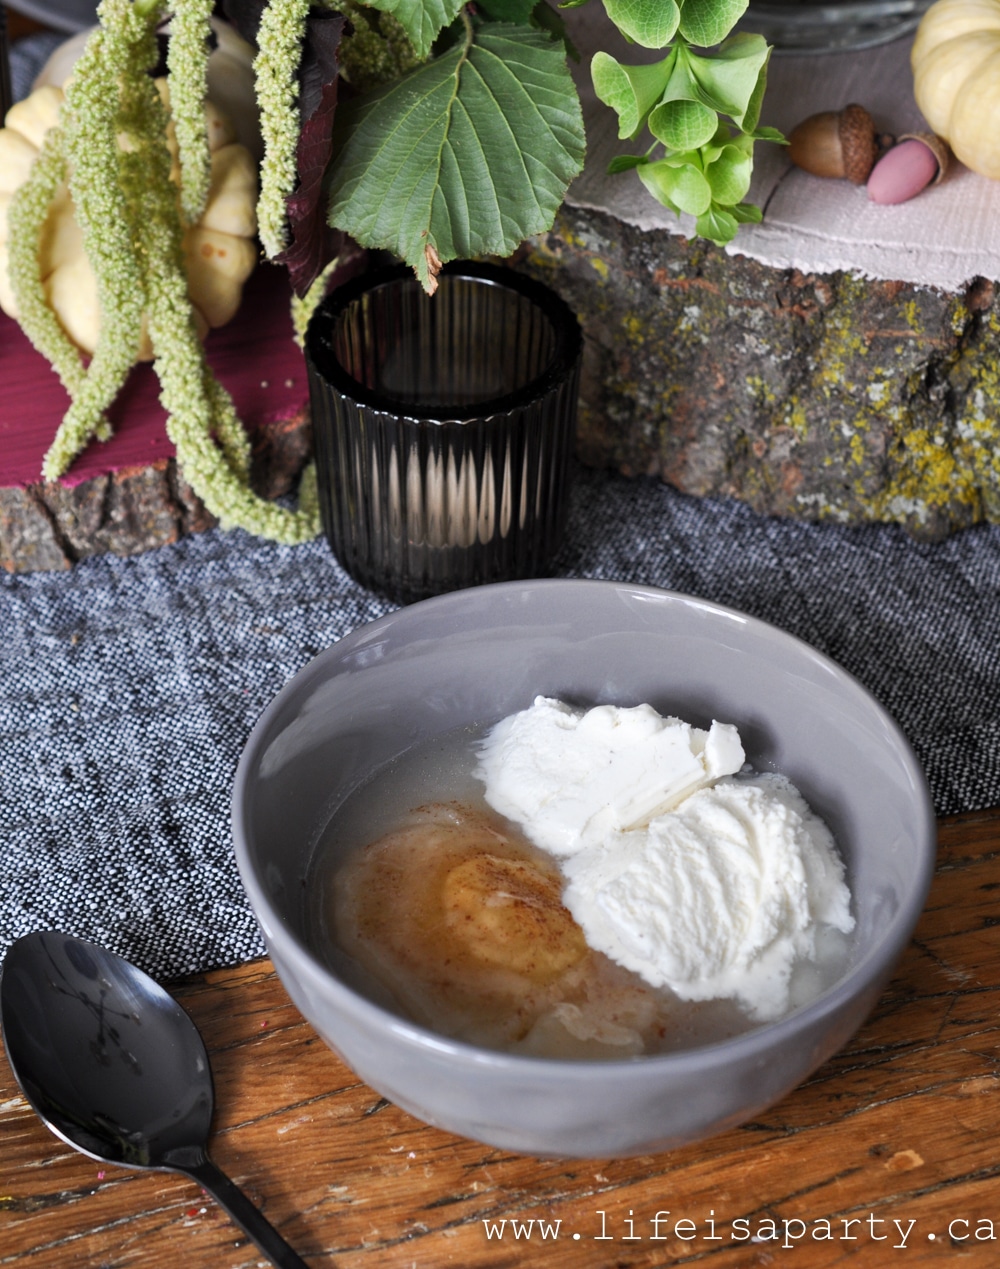
My family version uses quartered apples, wrapped in pastry.  The pastry wrapped apples are cooked in a sauce, which is very sweet and contrasts with the tart apples.  The top of the apple dumplings is sprinkled with apple pie spice and the pastry is baked until golden brown.  But because these bake right in the sauce, the rest of the dumpling is kind of doughy and soft, making a nice contrast of textures.  The apple is very tart, and the sauce is perfectly sweet.  I love these served warm with vanilla ice cream.  The ice cream melts into the sauce and you have one of the the most perfect sweet apple desserts.

how to make apple dumplings

Pie Pastry

This is an old family recipe, that my mom and my mom's mom used to make and is a real taste of home for me.  They always made homemade pie crust from scratch, but my version makes it really quick and easy.  Using frozen pastry makes this a quick and easy recipe to put together anytime. You can of course, make the pie pastry from scratch if  you prefer to.  

My mom and Grandma used to often use this recipe to use up pie crust.  If they were making a pie, they'd make a little extra and put a batch of these together with the extra dough.  You can freeze the dumplings at this stage too for another day.  My mom would sometimes make them up, little quarter pieces of apple wrapped in a blanket of pastry and tuck them in the freezer.  It felt like such an unexpected treat when she would pull them out, let them thaw on the counter and then bake them with the sauce for an after dinner treat.  

Store Bought Pastry

Some quick versions of this recipe like to use store bought crescent rolls as an easy replacement of the pastry.  The crescent roll dough is more bready, and not as flaky as a pie dough.  It's just as quick and easy to purchase store-bought pie dough as it is to buy the crescent dough, and I think it makes a more authentic apple dumpling, then the crescent roll apple dumplings.  Some People also like to use biscuit dough, or puff pastry, but I feel frozen pie crust is much closer to authentic old-fashioned apple dumplings.

Some people don't like a store bought pie pastry, finding it tough and not flaky compared to homemade pie pastry dough.  I think for this recipe, where the dumplings are cooked in the sauce, it really isn't very noticable.  I'd say save your homemade pastry efforts for apple pie, and save yourself the effort with this recipe, which turns out really great with the store bought pastry.

This easy recipe is made from simple ingredients, so other than picking up the frozen pastry, during apple season you probably have everything else on hand.This easy recipe is made from simple ingredients, so other than picking up the frozen pastry, during apple season you probably have everything else on hand. 

easy apple dumplings recipe

Apples

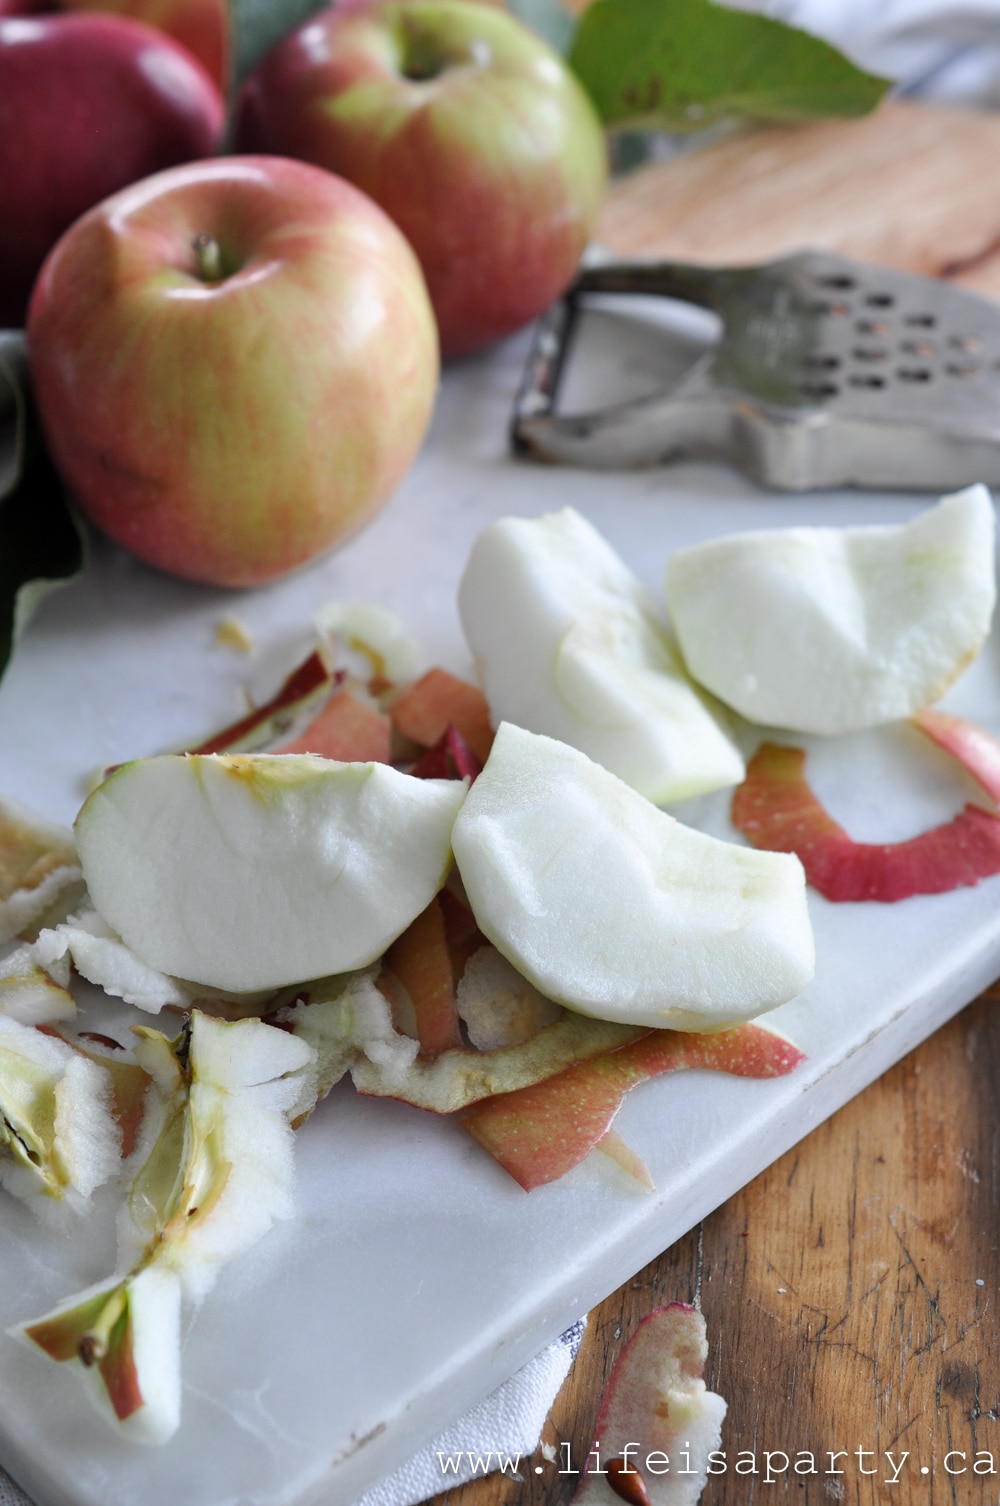
I usually make these apple dumplings with Macintosh apples.  They're a great baking apple, and the apple variety my mom and Grandma always favored for making apple pies, and apple crisp and all of their favorite apple desserts.  You can also use granny smith apples.  These are a more of a tart apple, but delicious in baking and favorite apples of many for apple pies, and dumplings.

apple dumplings
easy recipe for apple dumplings
what to do with all the apples you picked

These homemade apple dumplings are  best served warm, and I like to add a little scoop of vanilla ice cream. If you're making them ahead of time, just re-heat before serving -easy peasy.  These are such a delicious apple dessert.  In fact, I much prefer these over traditional apple pie.  Warm dumplings served with a scoop of ice cream are one of life's great pleasures.

These homemade apple dumplings are  best served warm, and I like to add a little scoop of vanilla ice cream. If you're making them ahead of time, just re-heat before serving -easy peasy.  These are such a delicious apple dessert.  In fact, I much prefer these over traditional apple pie.  Warm dumplings served with a scoop of ice cream are one of life's great pleasures.  They are so yummy and they're so easy to make they're sure to become a fall favourite of yours too.

Storing Leftovers

If you have any leftover apple dumplings store them in the fridge in an airtight container, or in the baking dish wrapped with plastic wrap.  Reheat to serve..

easy apple recipe

This is one of my favorite easy dessert recipes.  It's always a crowd pleaser at a dinner party.  Put it into the oven just before having dinner, and enjoy it hot afterwards for a delicious dessert.  If you love all things apple, this is sure to become one of your favorite recipes.  Next time you are looking for an apple dessert, give this fabulous recipe a try.

Recipe

apple dumplings

Easy Apple Dumplings Recipe

Pastry pascals of apples in a sweet sauce.
4.50 from 2 votes
Print Pin Rate
Course: Desserts
Cuisine: American
Prep Time: 10 minutes minutes
Cook Time: 45 minutes minutes
Total Time: 55 minutes minutes
Servings: 12
Calories: 273kcal
Author: Dannyelle Nicolle-Ramjist

Ingredients

  • 2 frozen pie shell defrosted -or make your own
  • 3 Macintosh Apples peeled and quartered to make 12 pieces
  • 2 cups white sugar
  • 6 tablespoon flour
  • 4 tablespoon butter
  • ¼ teaspoon salt
  • 6 cups boiling water
  • sprinkling of cinnamon and nutmeg

Instructions

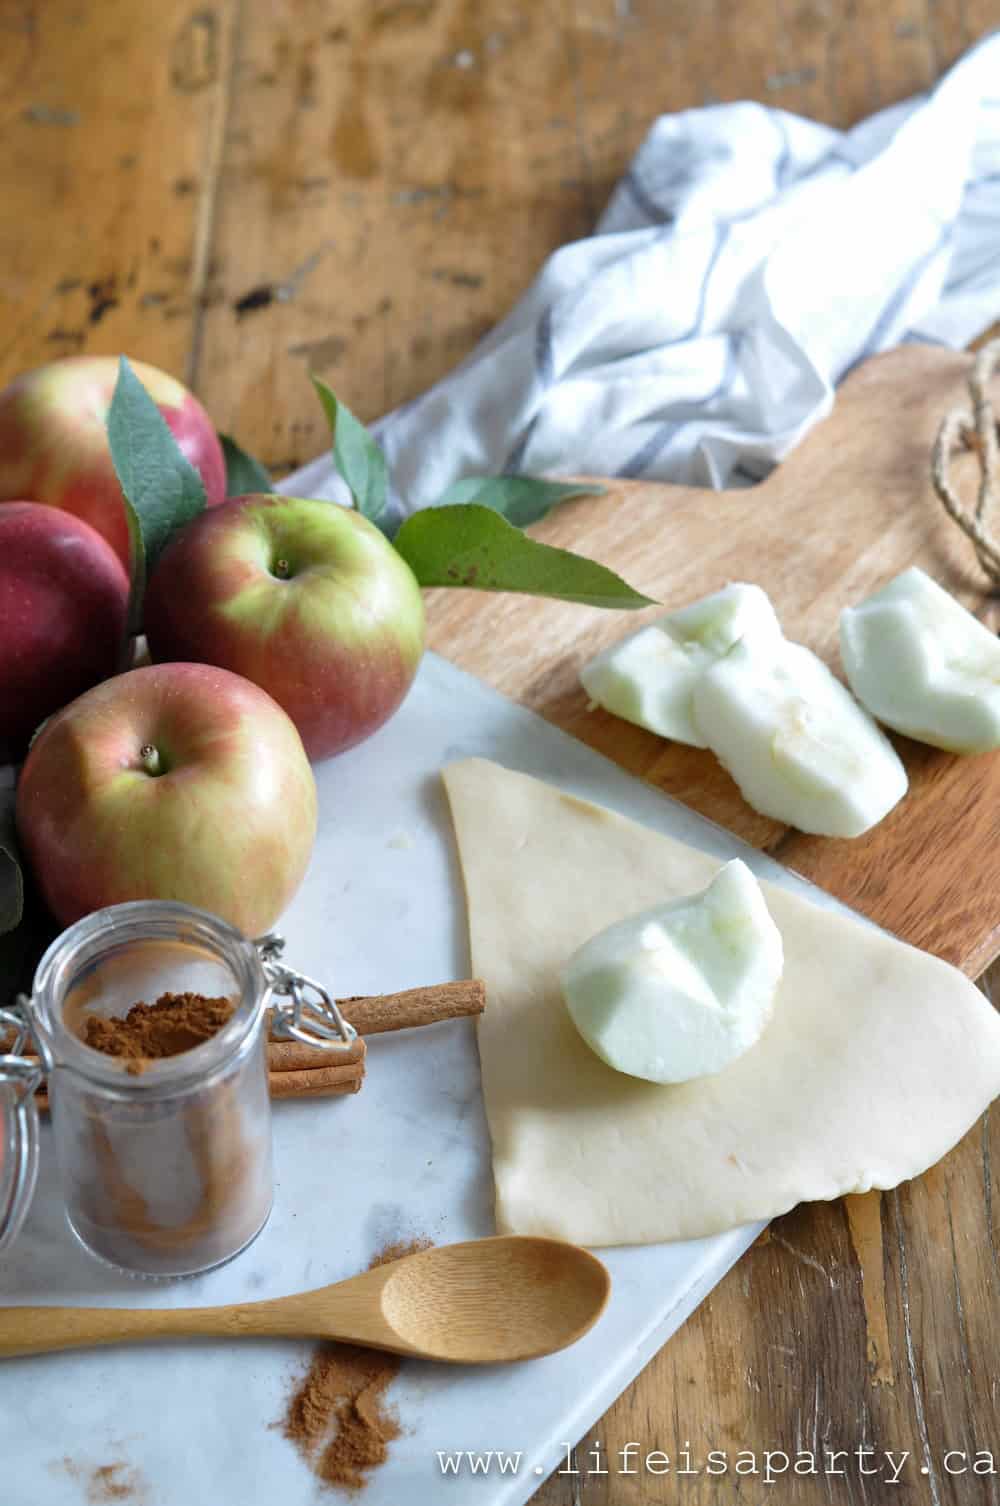
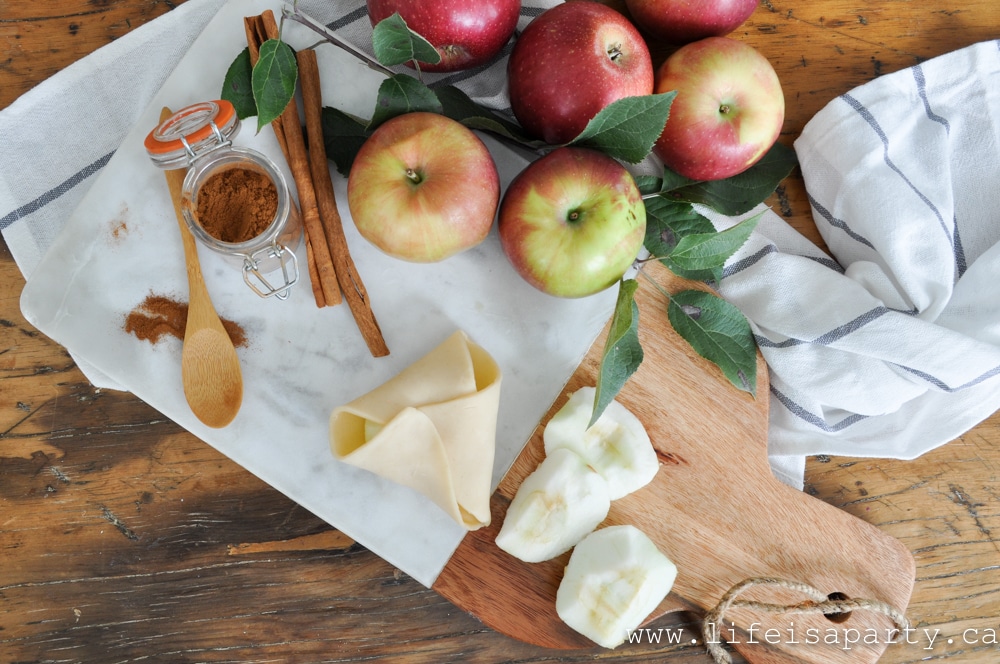
  • Peel the apples, remove the apple core, and cut each apple into quarters.
  • Cut the pie dough into wedges and wrap each of the 12 pieces of apple in pie dough, trying not to overlap the dough, but making sure the apple is completely covered.
  • Mix sugar, flour, and salt in a large casserole baking dish. Add butter. Slowly add boiling water, and whisk out any lumps of flour.
  • Float dumplings in the sauce, and sprinkle with cinnamon and freshly grated nutmeg over the top of the dumplings.
  • Bake at 350 for about 45 min until the dumplings are golden brown on top. Let cool slightly. Serve warm with vanilla ice cream or whip cream.

Nutrition

Serving: 1g | Calories: 273kcal | Carbohydrates: 55g | Protein: 2g | Fat: 6g | Saturated Fat: 3g | Polyunsaturated Fat: 3g | Cholesterol: 10mg | Sodium: 127mg | Fiber: 2g | Sugar: 43g
Tried this Recipe? Tag me Today!Mention @LifeisaParty or tag #lifeisaparty!

With this easy apple dumpling recipe, life really is a party, even on a rainy day. 😉

easy apple dessert idea

More Apple Recipe Inspiration

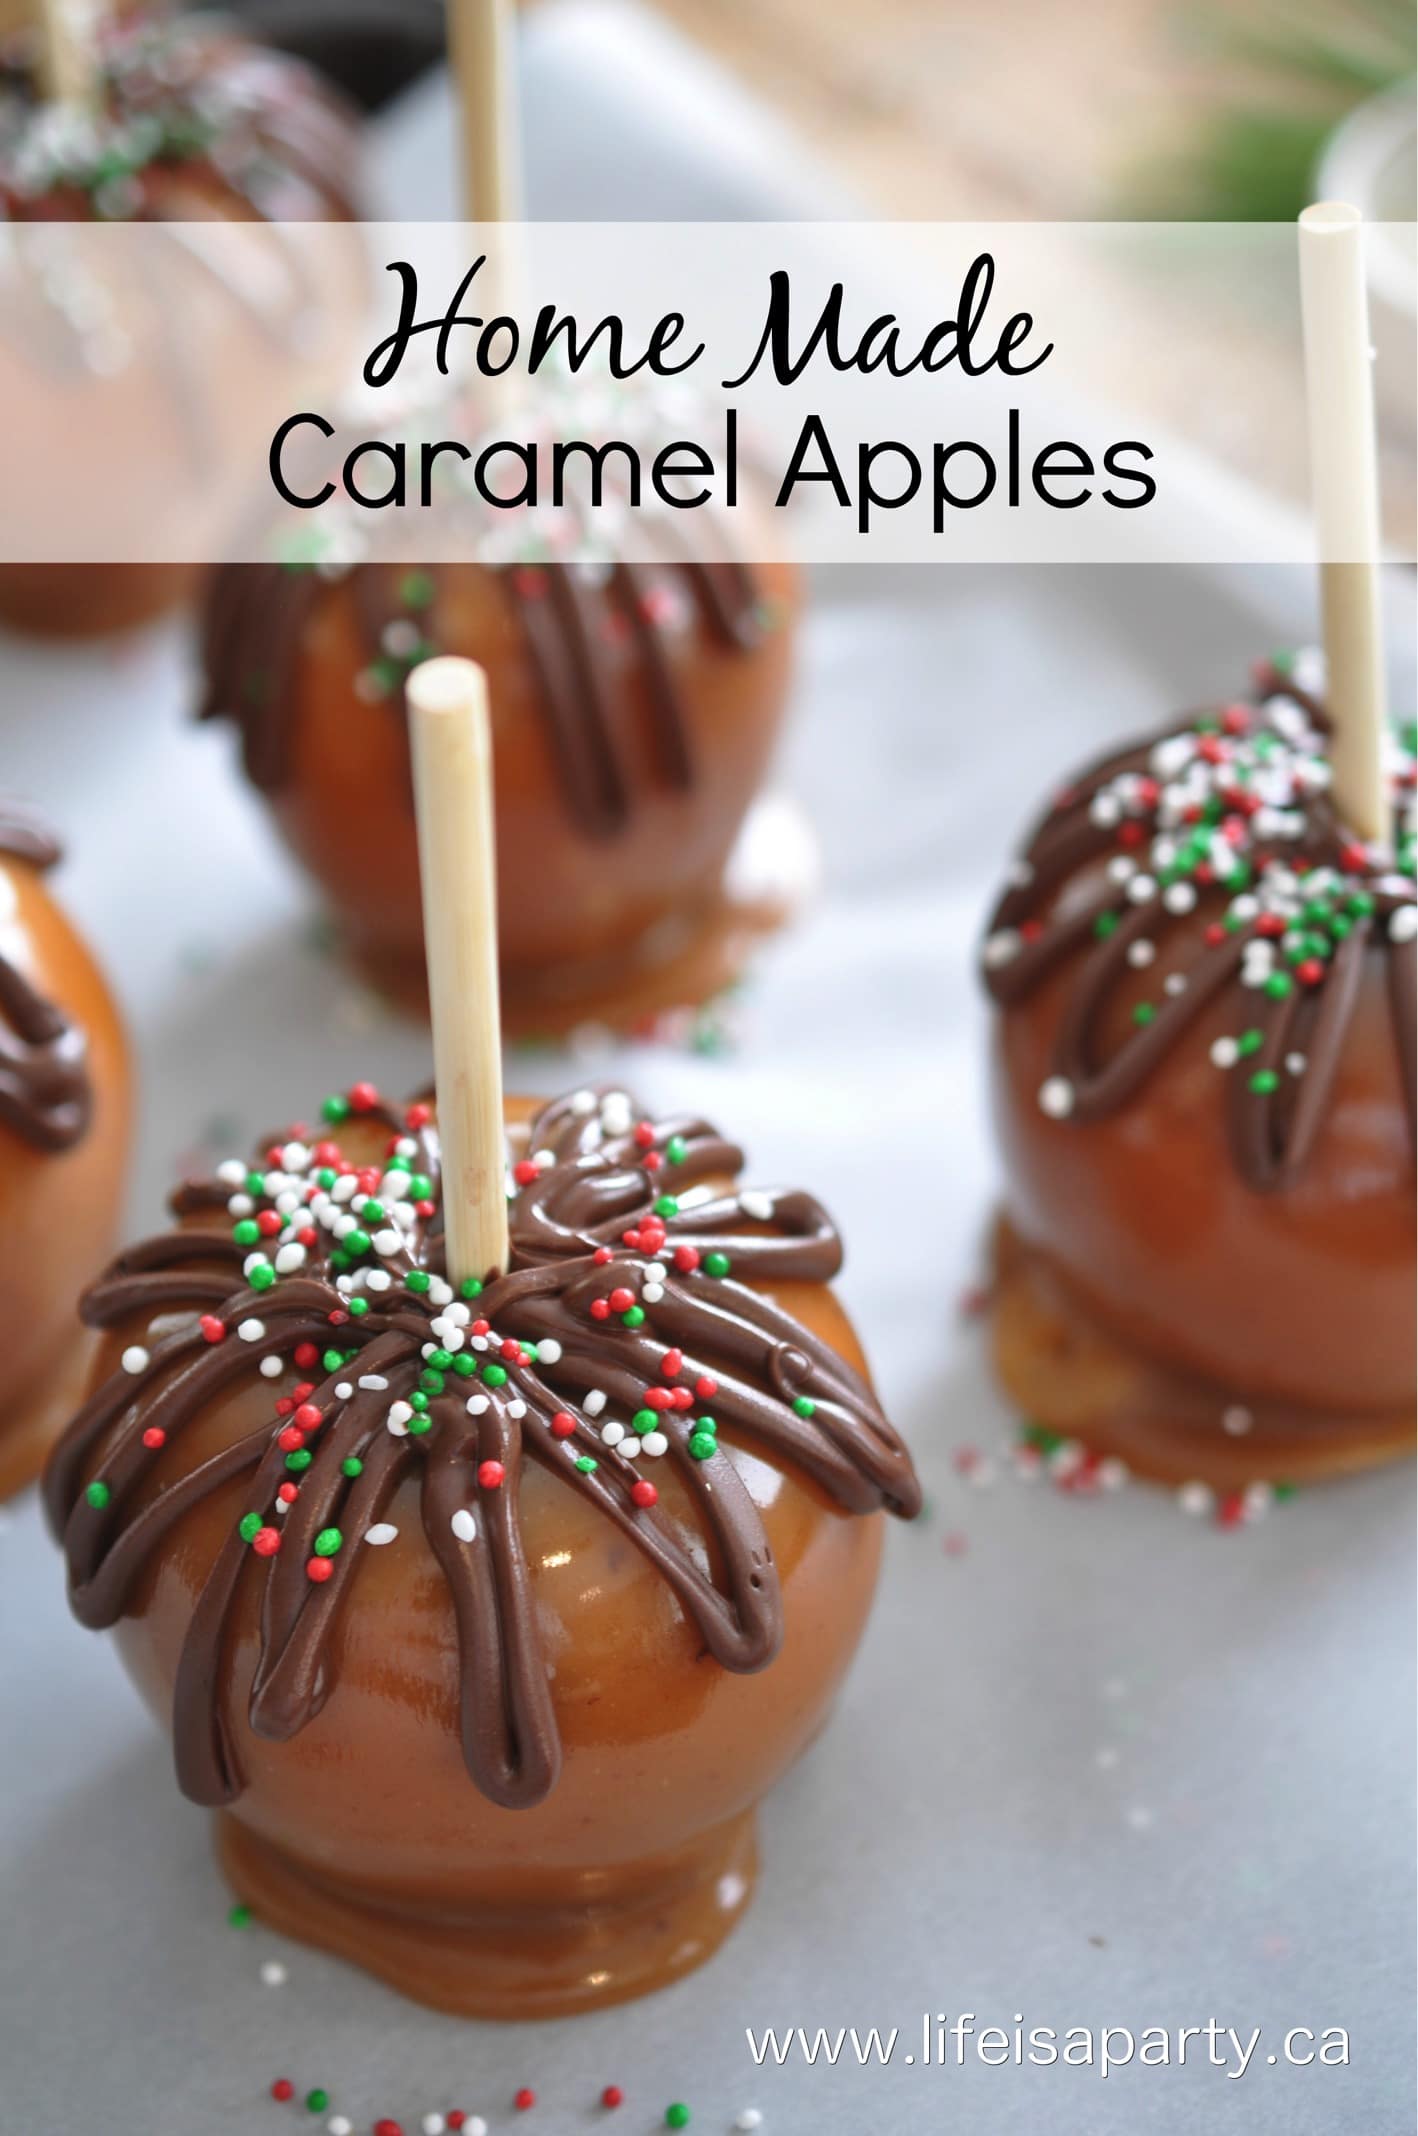
You might also like our Homemade Caramel Apples here.

Caramel Apple Recipe: Easy, homemade Caramel Apples, perfect for Christmas gift giving, or anytime of year. Add your favourite toppings.

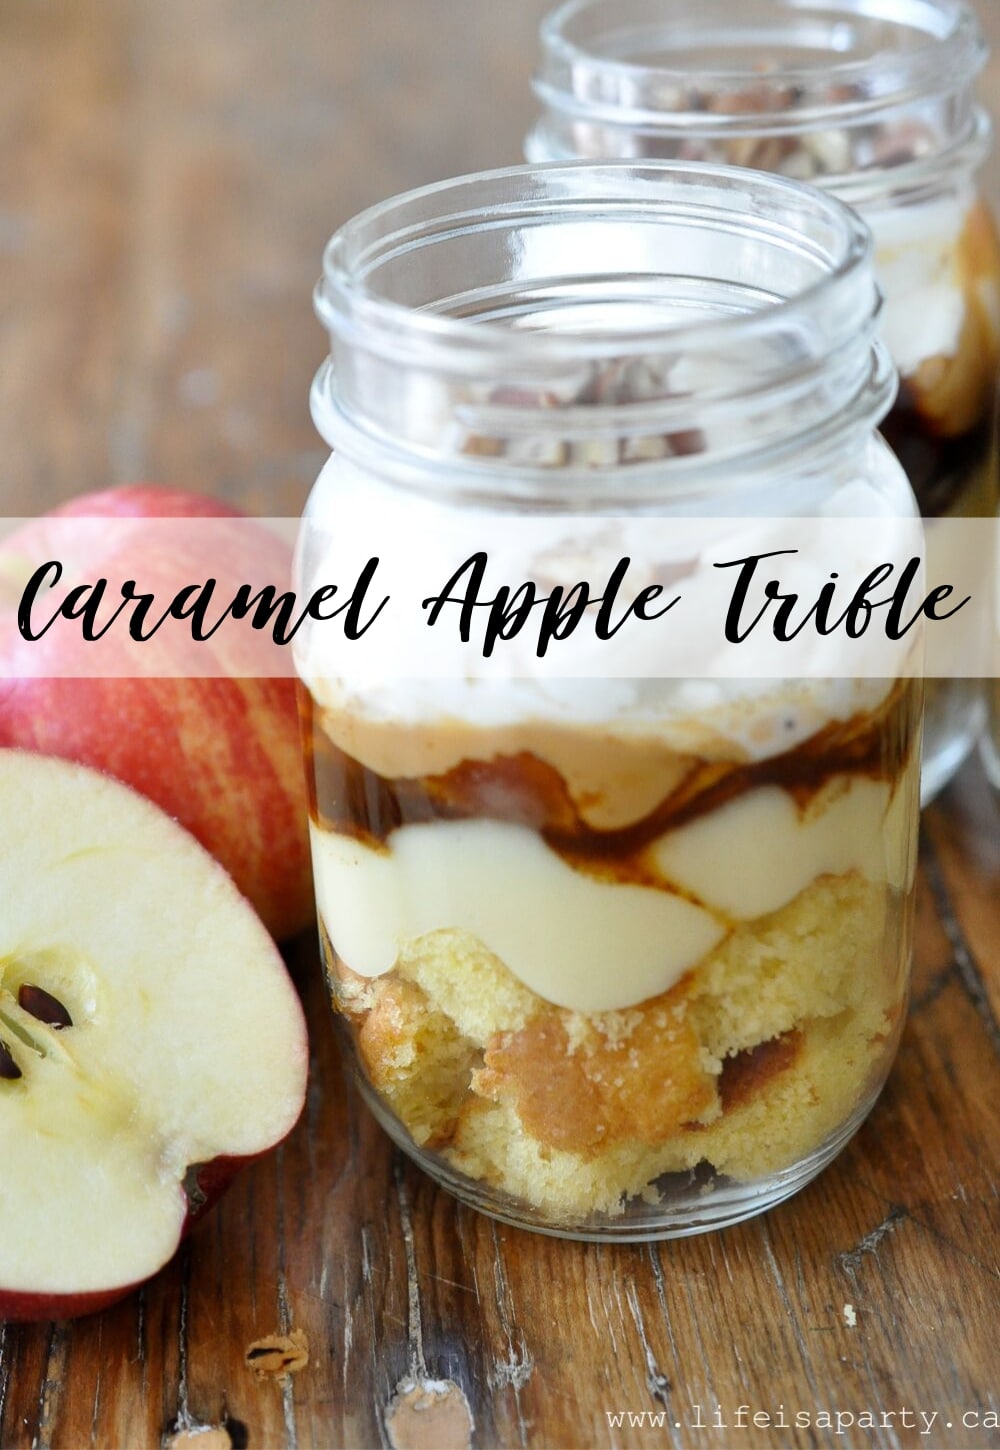
Also check out our Caramel Apple Trifle here.

Caramel Apple Trifle: layers of cake, caramel, cooked apples, custard, and whipped cream create the perfect fall dessert.

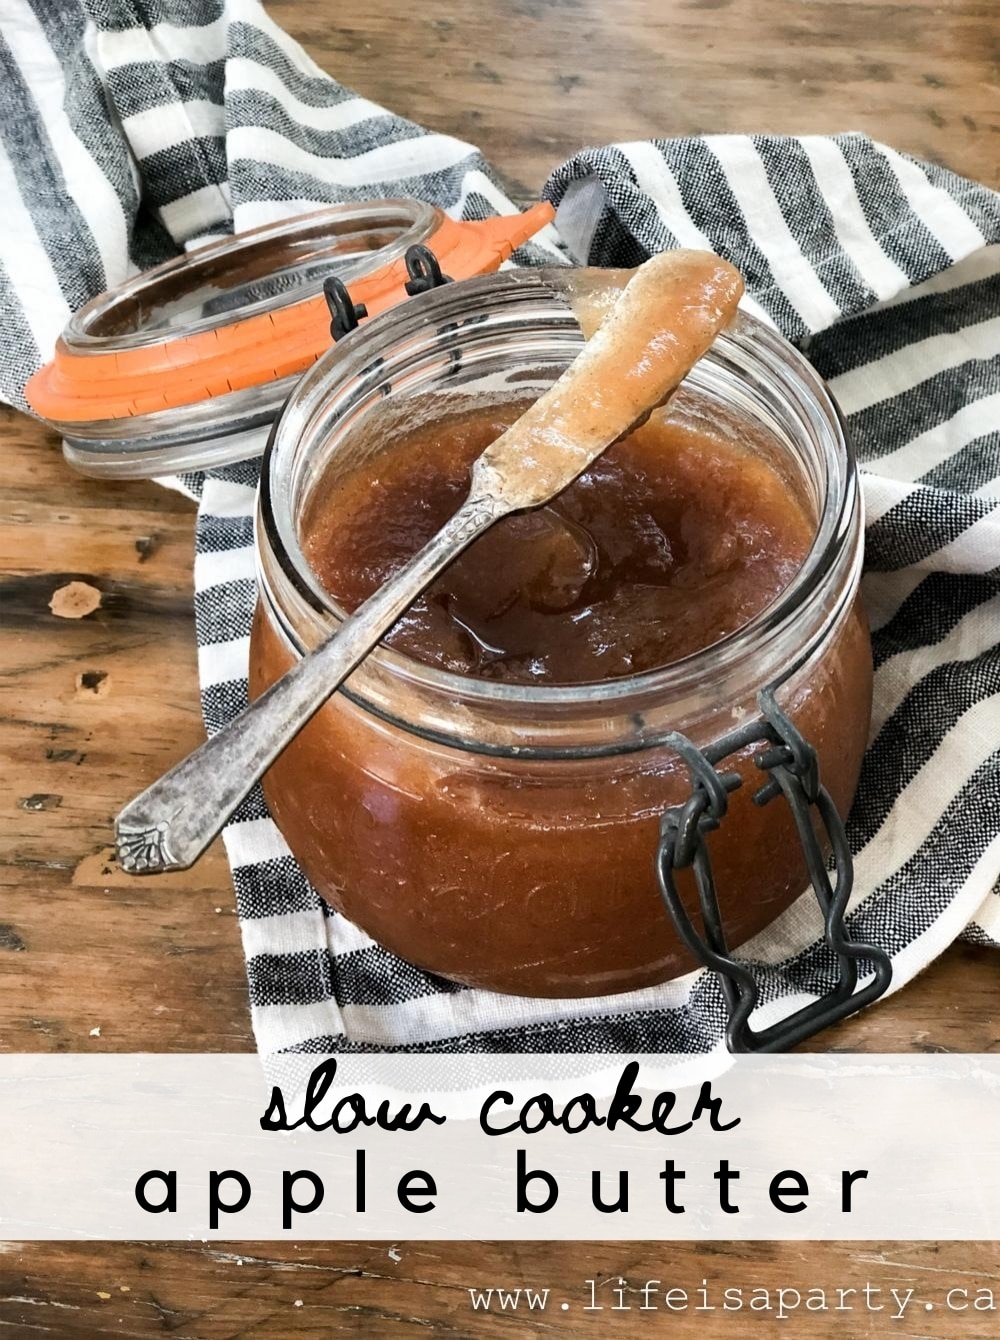
You might also enjoy our Slow Cooker Apple Butter here.

Slow Cooker Apple Butter: this easy recipe using the slow cooker to make delicious apple butter that is smooth, rich and delicious.

Thanksgiving Tablescape Ideas

Oct 2, 2020 · Leave a Comment

thanksgiving table ideas

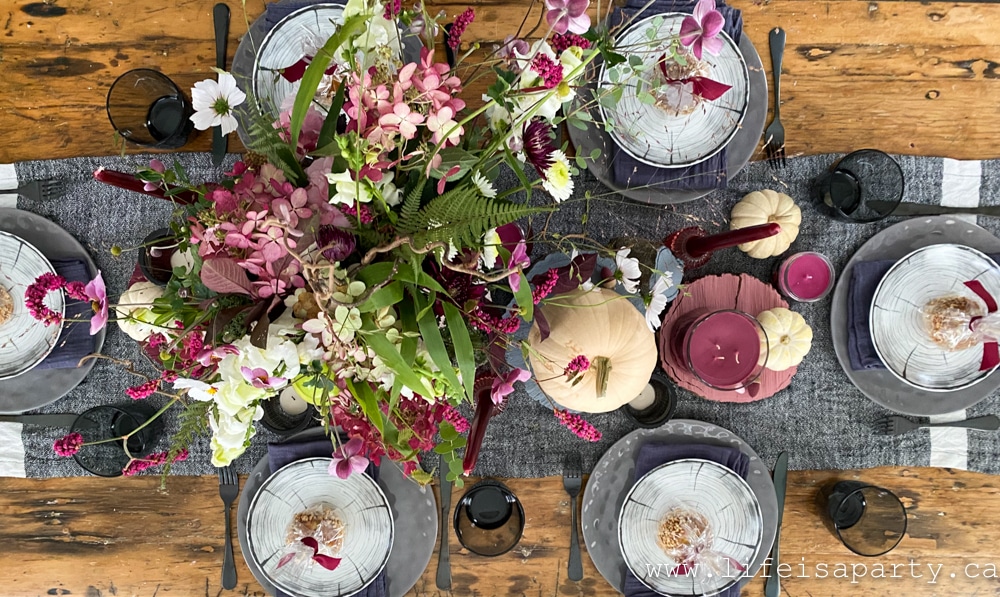
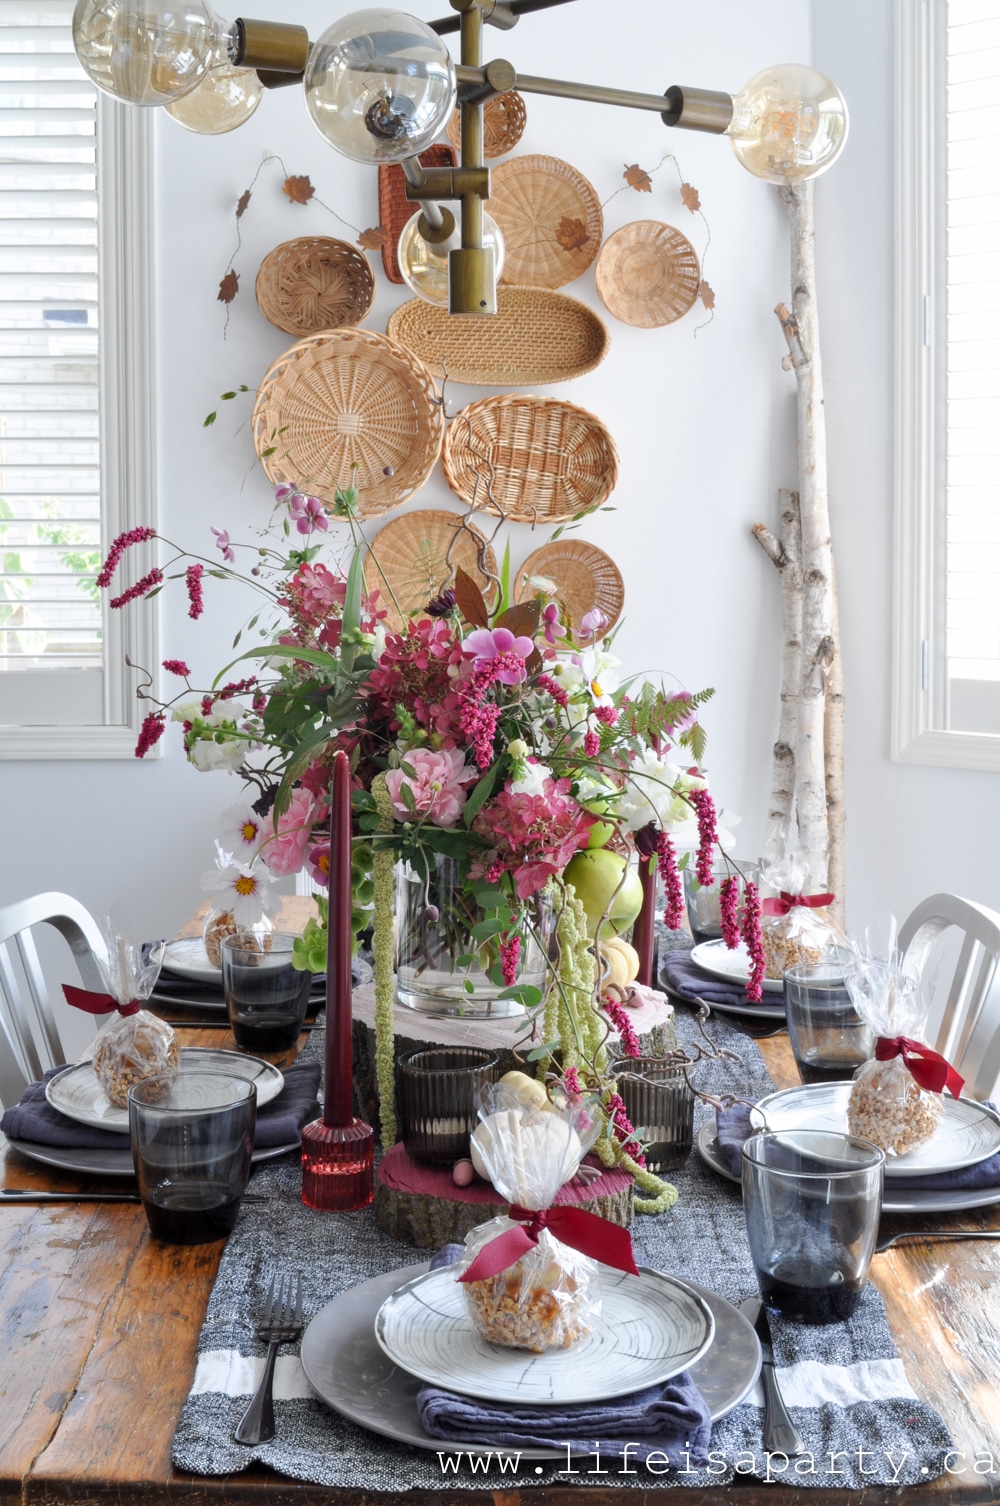
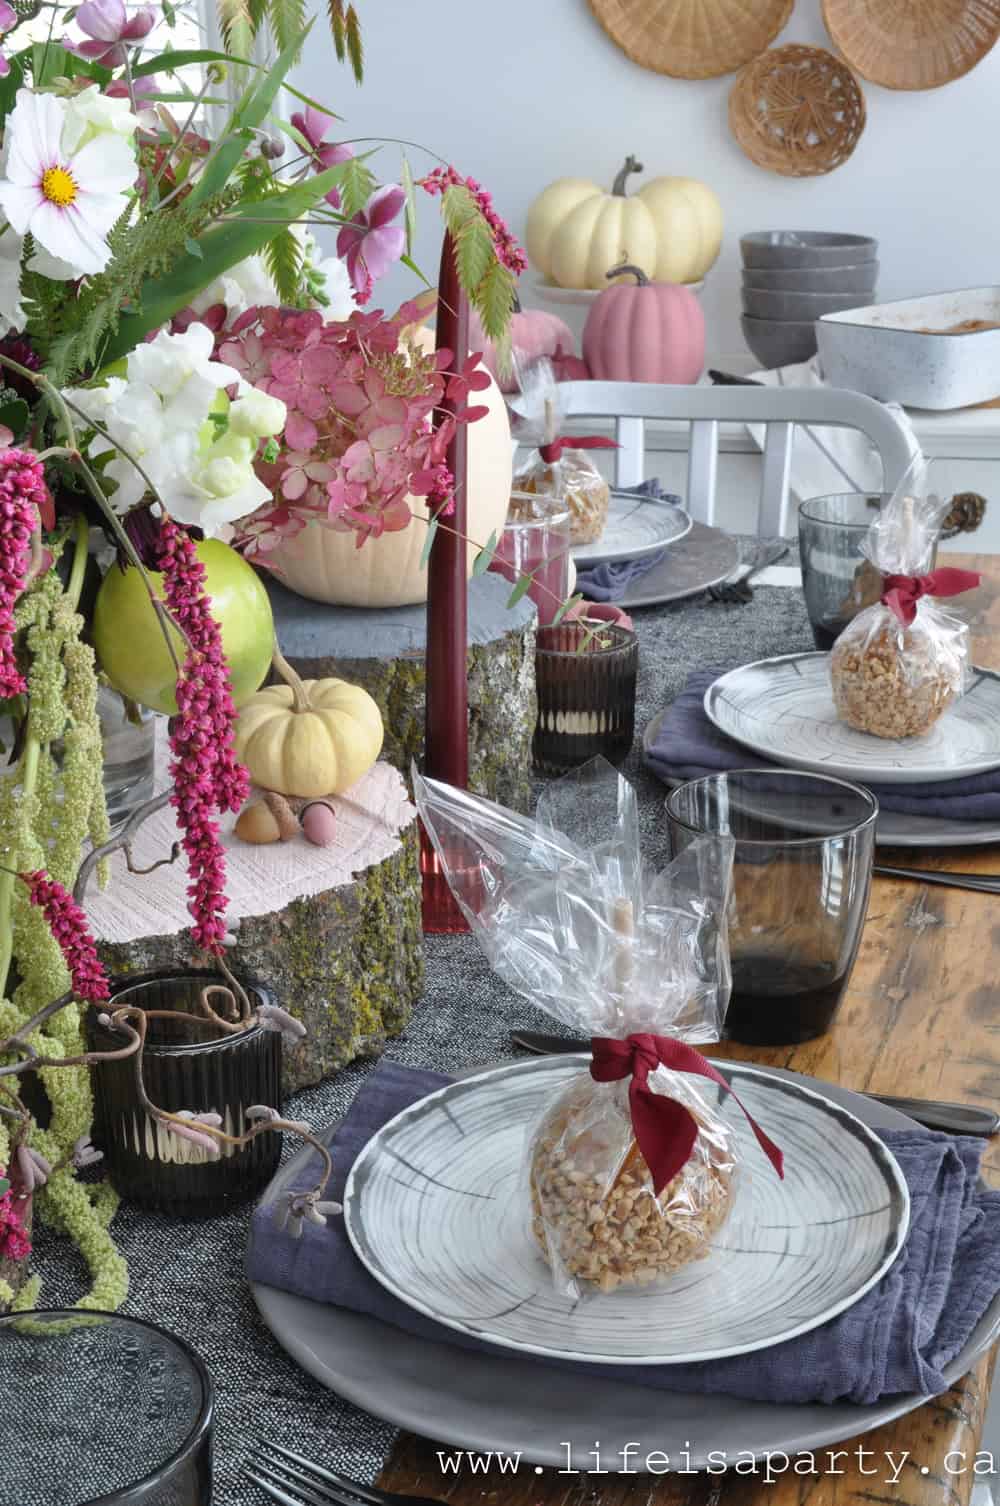
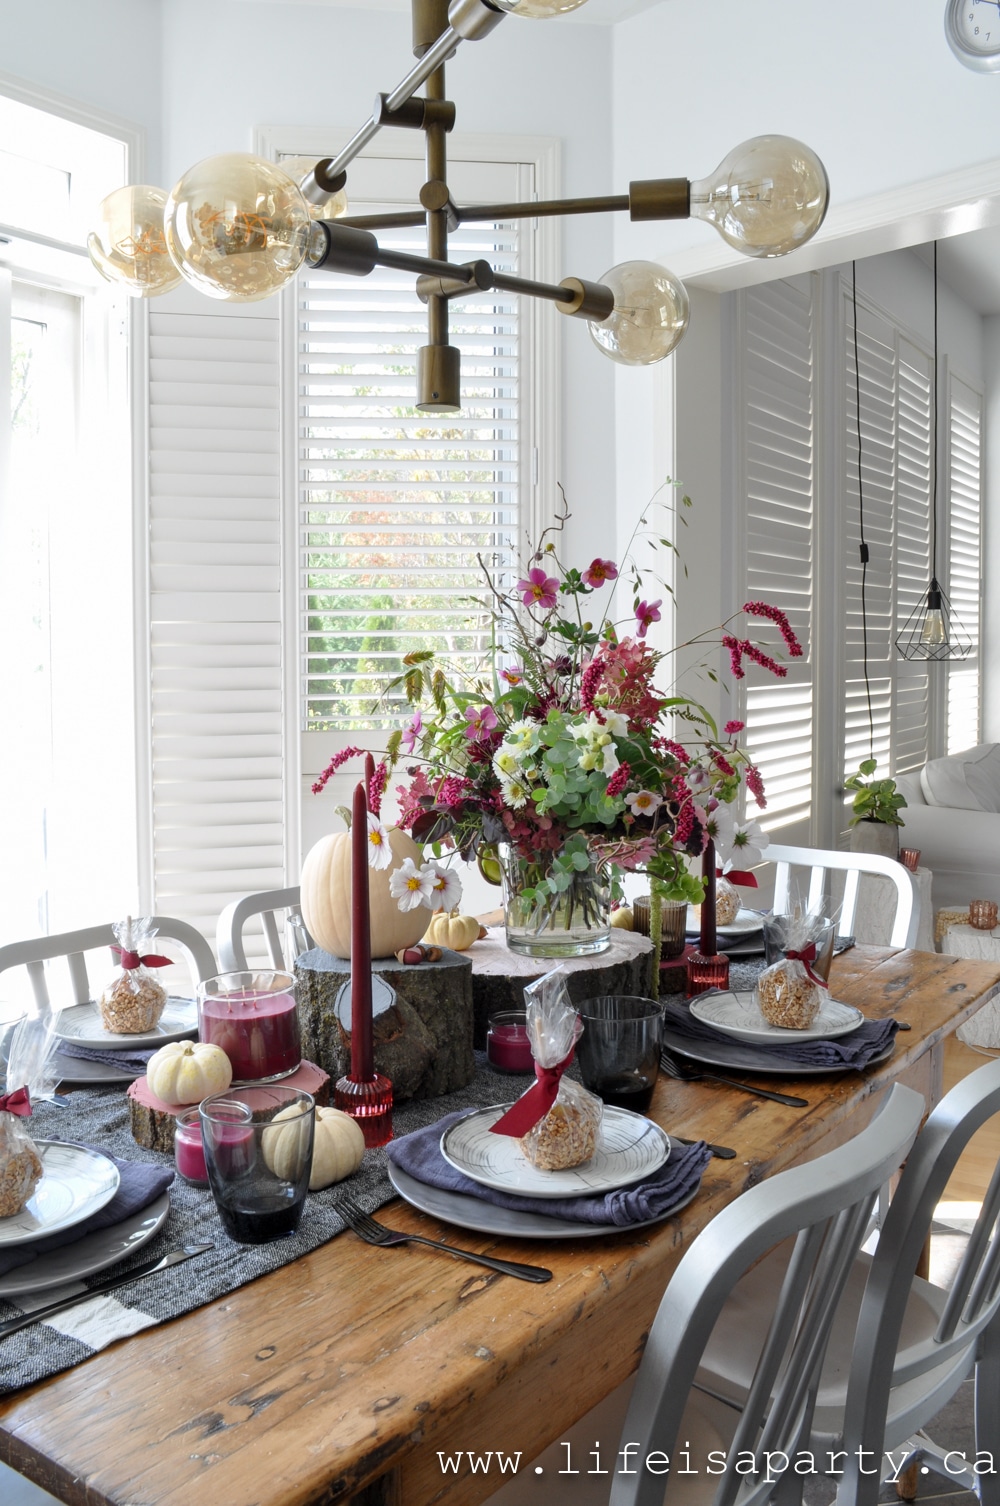
Thanksgiving Tablescape Ideas: grey, pink, and burgundy come together for a rustic Thanksgiving tablescape with candles, flowers, and favours.

thanksgiving table ideas
[feast_advanced_jump_to]

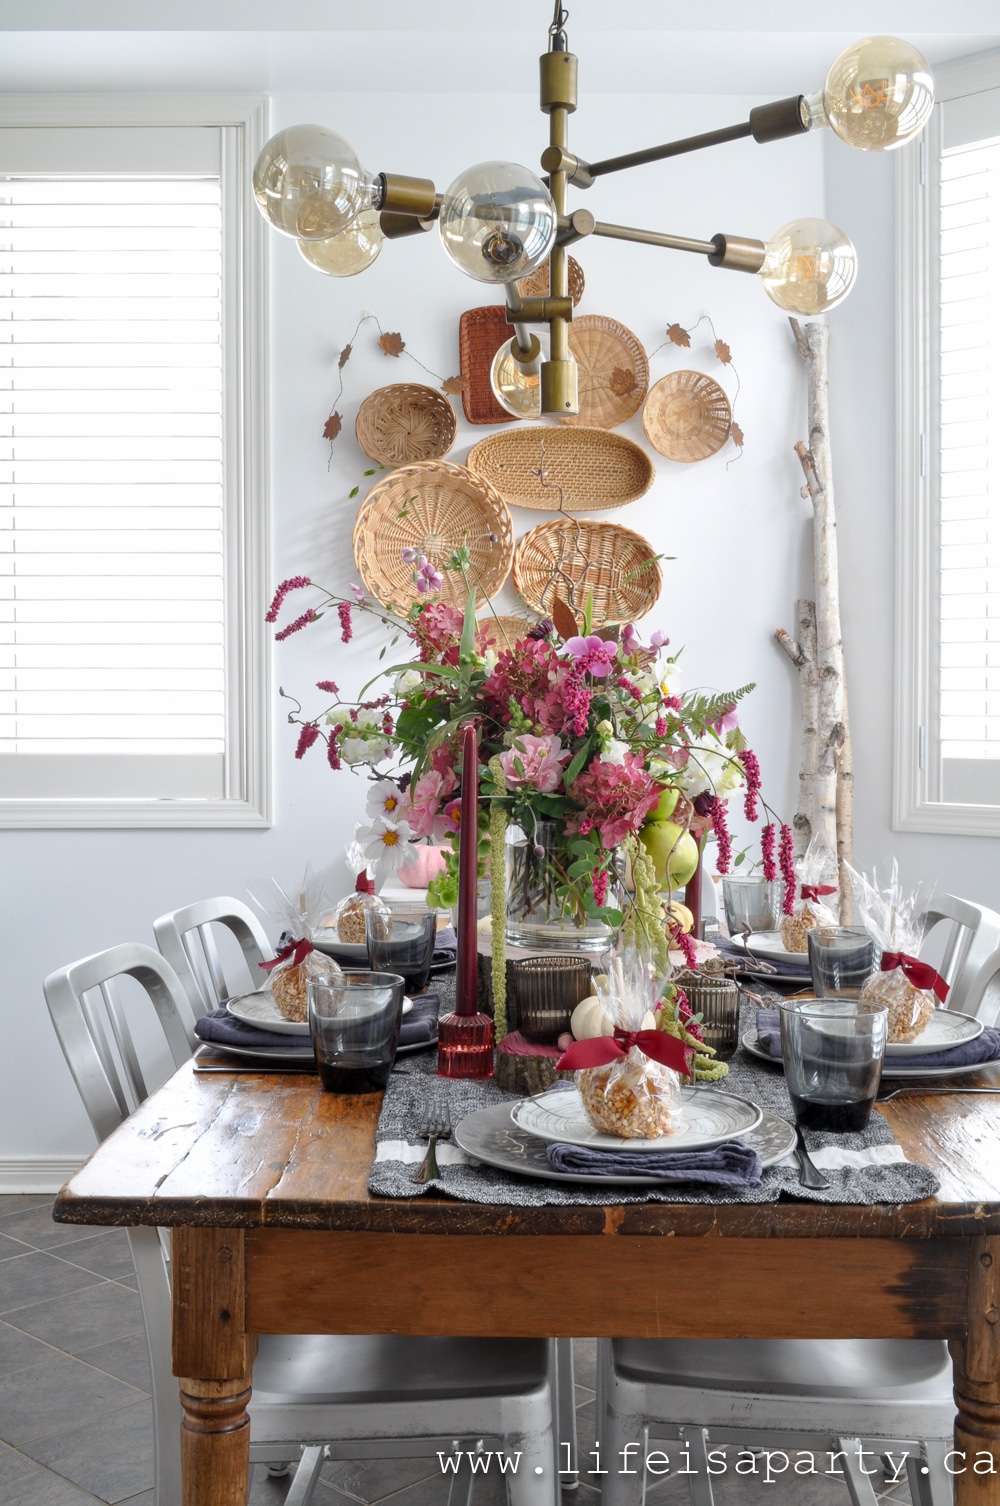
I'm so excited to share this beautiful tablescape with you.  I partnered with Giant Tiger to bring you all these Thanksgiving Tablescape Ideas.  Thanksgiving is just around the corner here in Canada and I hope this inspires you.

I continued my pink and burgundy fall decor -see more in my fall home tour here.  I've mixed in lots of grey for this table too.  If you're more of a traditional orange fan for fall, you could use orange accents and pumpkins instead.

thanksgiving tablescape ideas

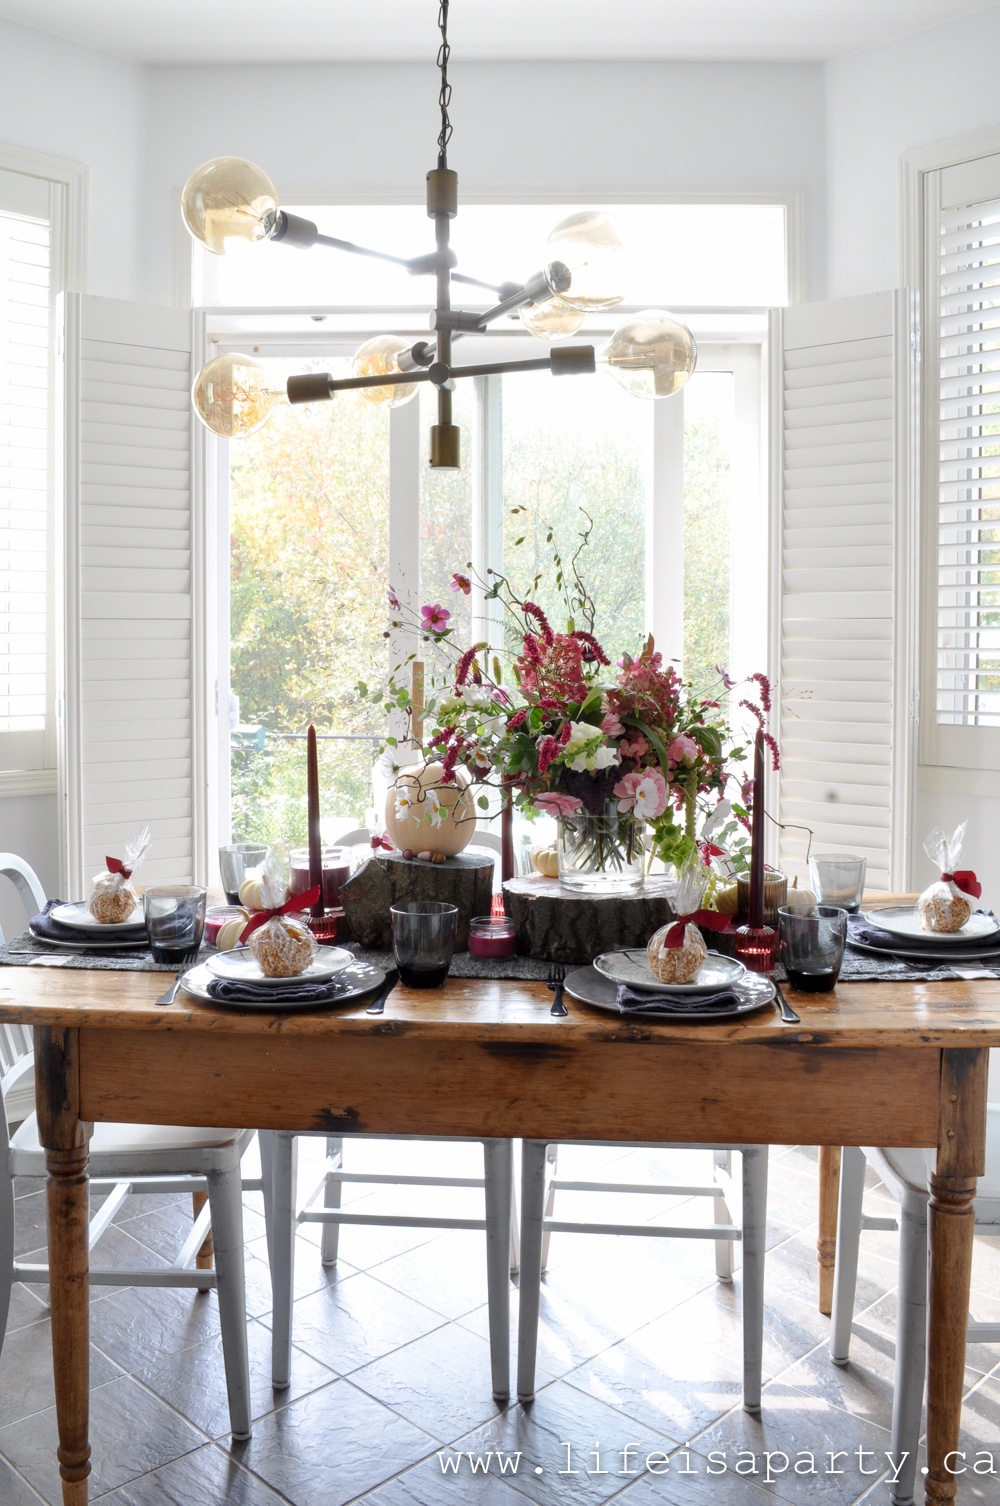
I set up in the kitchen since we're going to be a little smaller than usual this Thanksgiving.  This same tablescape would work great on a larger table too, depending on how you're celebrating this year.

The Place Settings

I started out with the place settings and my great Giant Tiger finds.  The H2K Sutton Dinnerware grey plates are found in store and I love the deep grey colour. 

pink fall decor I also added in the "Colour Your Home" wood side plates for a fun rustic touch -also available in store.  The grey tied in perfectly.

thanksgiving tablescape ideas

The beautiful black cutlery is also from Giant Tiger, and the perfect dark accent to the table.

how to set a Thanksgiving table

Fall Favour Idea

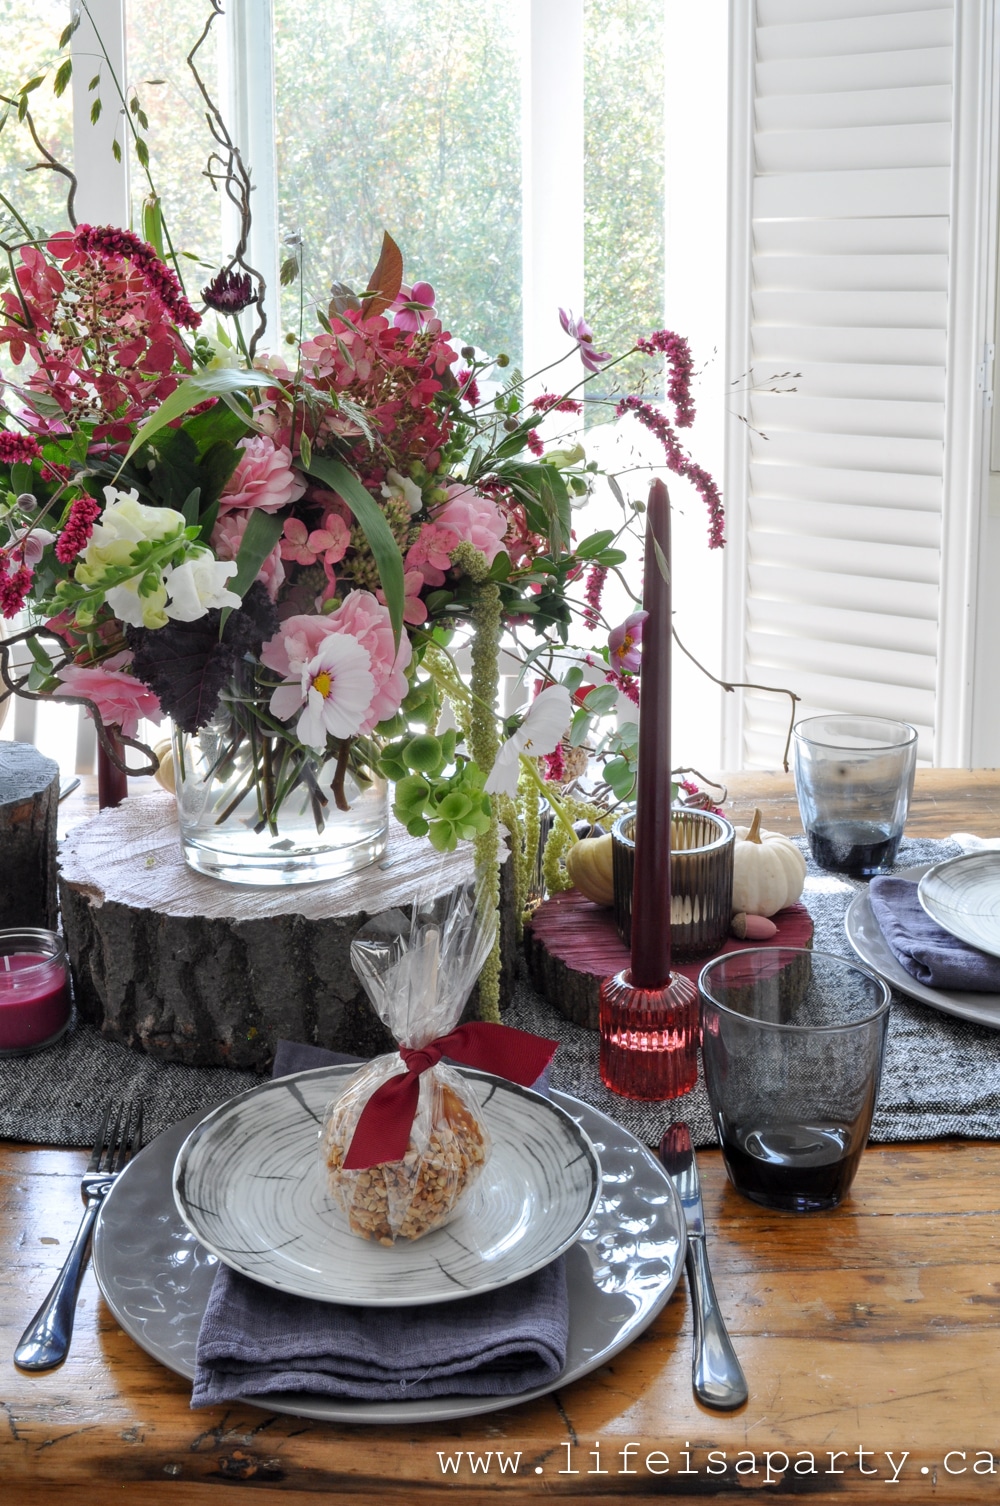
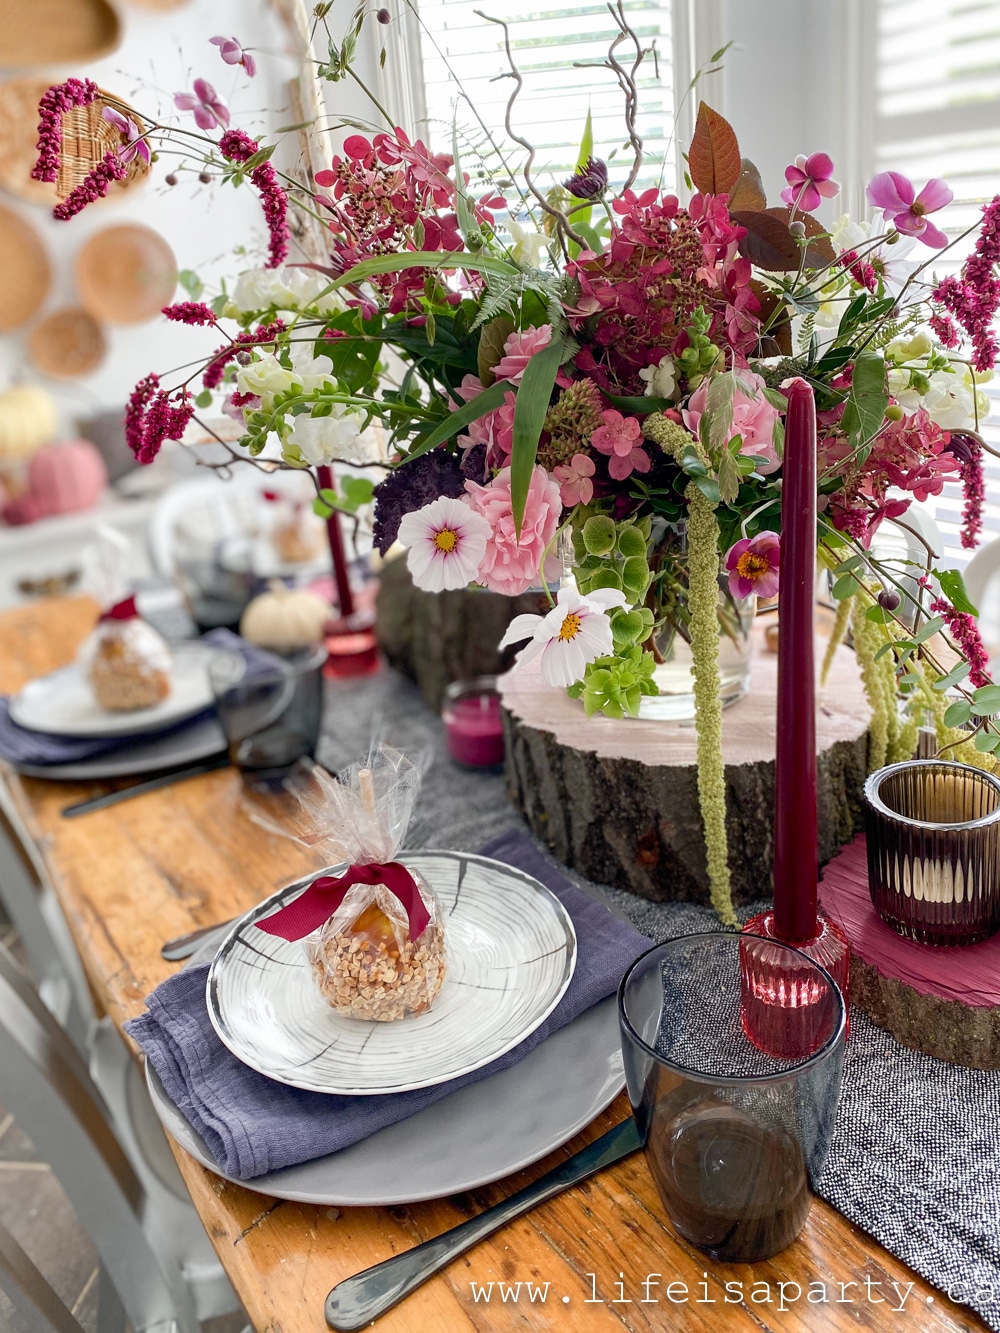
On the top of each plate I added a small favour for my guests.  I found some delicious caramel apples in store at Giant Tiger.  To make them extra special I removed them from their packaging and wrapped them in some cellophane and added a Burgundy ribbon to match our table.

Thanksgiving table
how to set a Thanksgiving tablescape

The Centrepiece

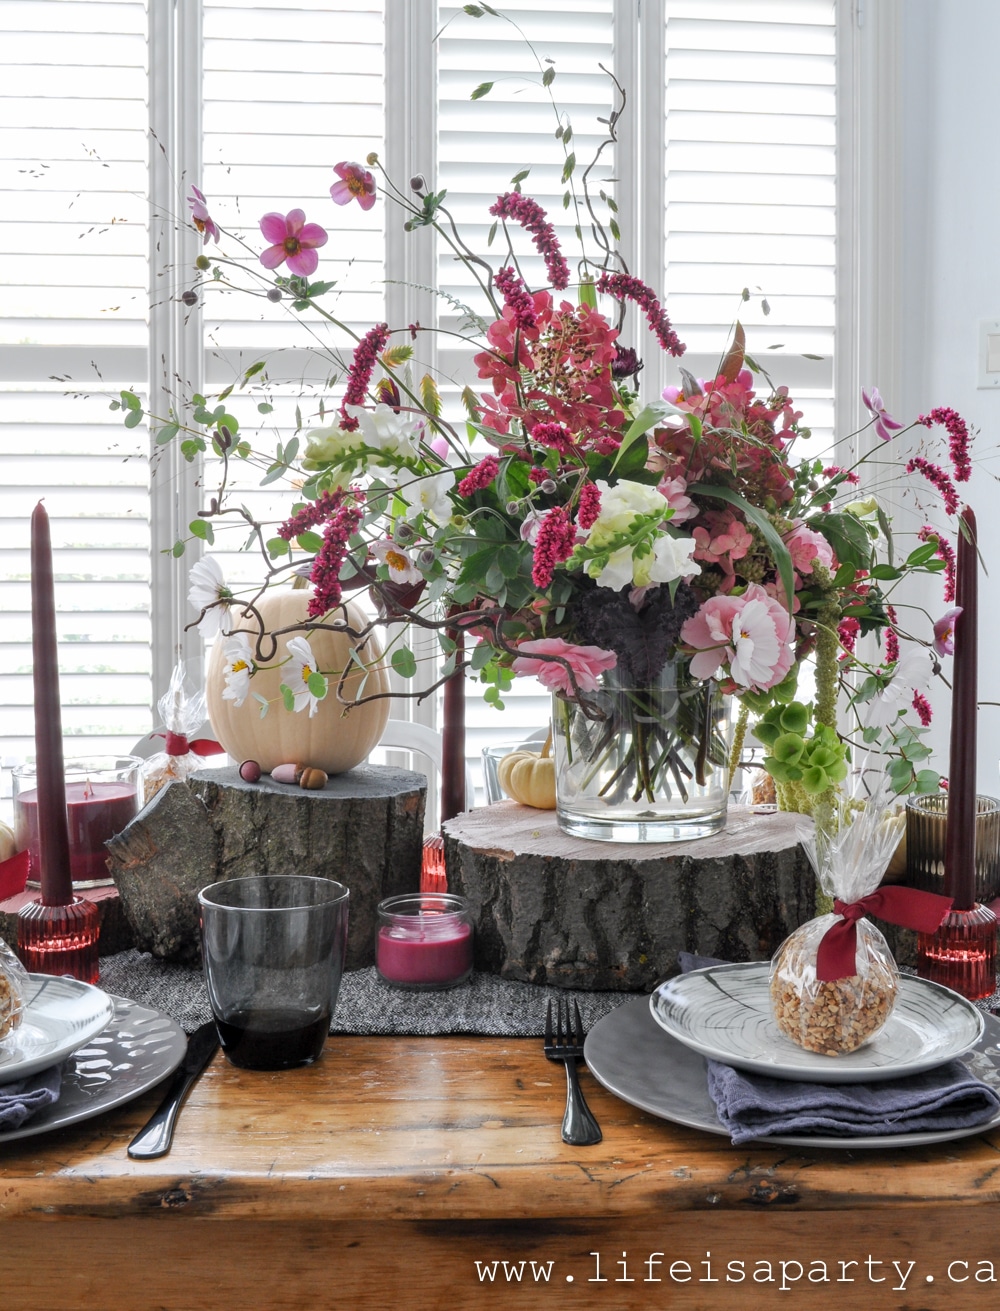
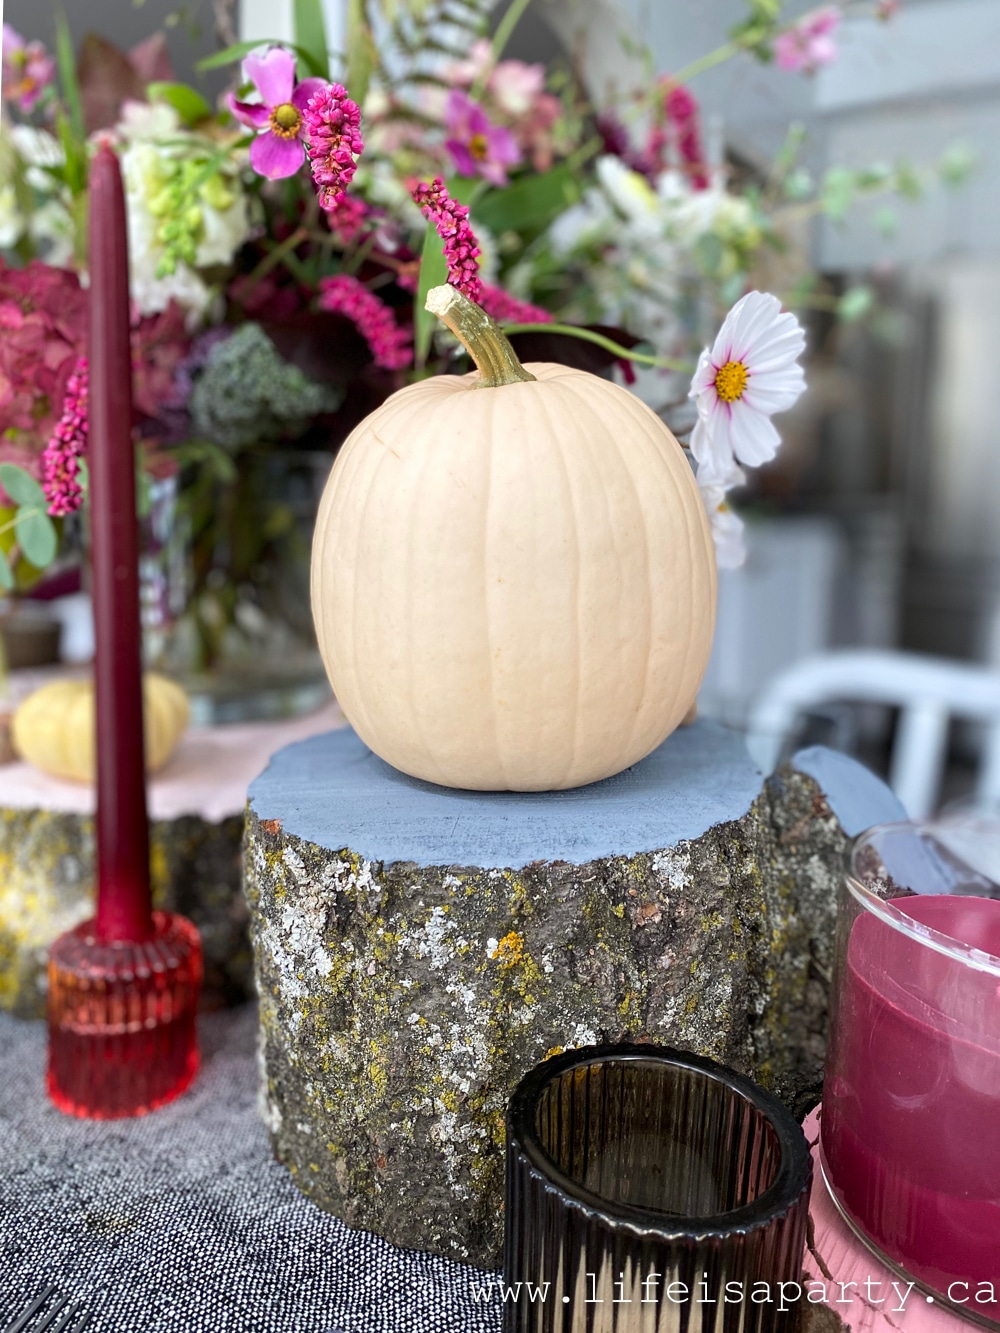
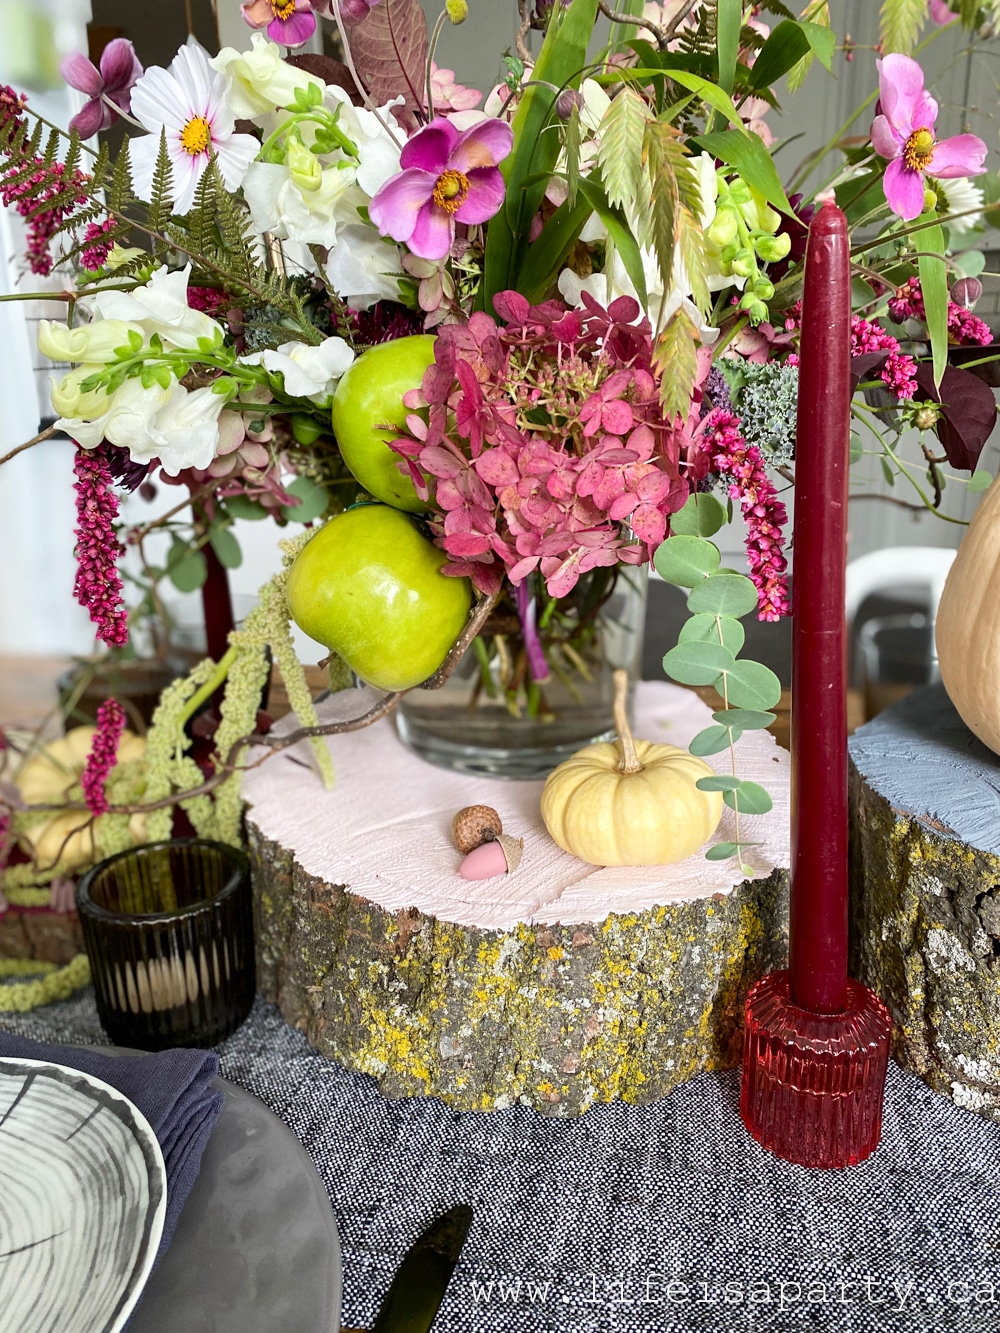
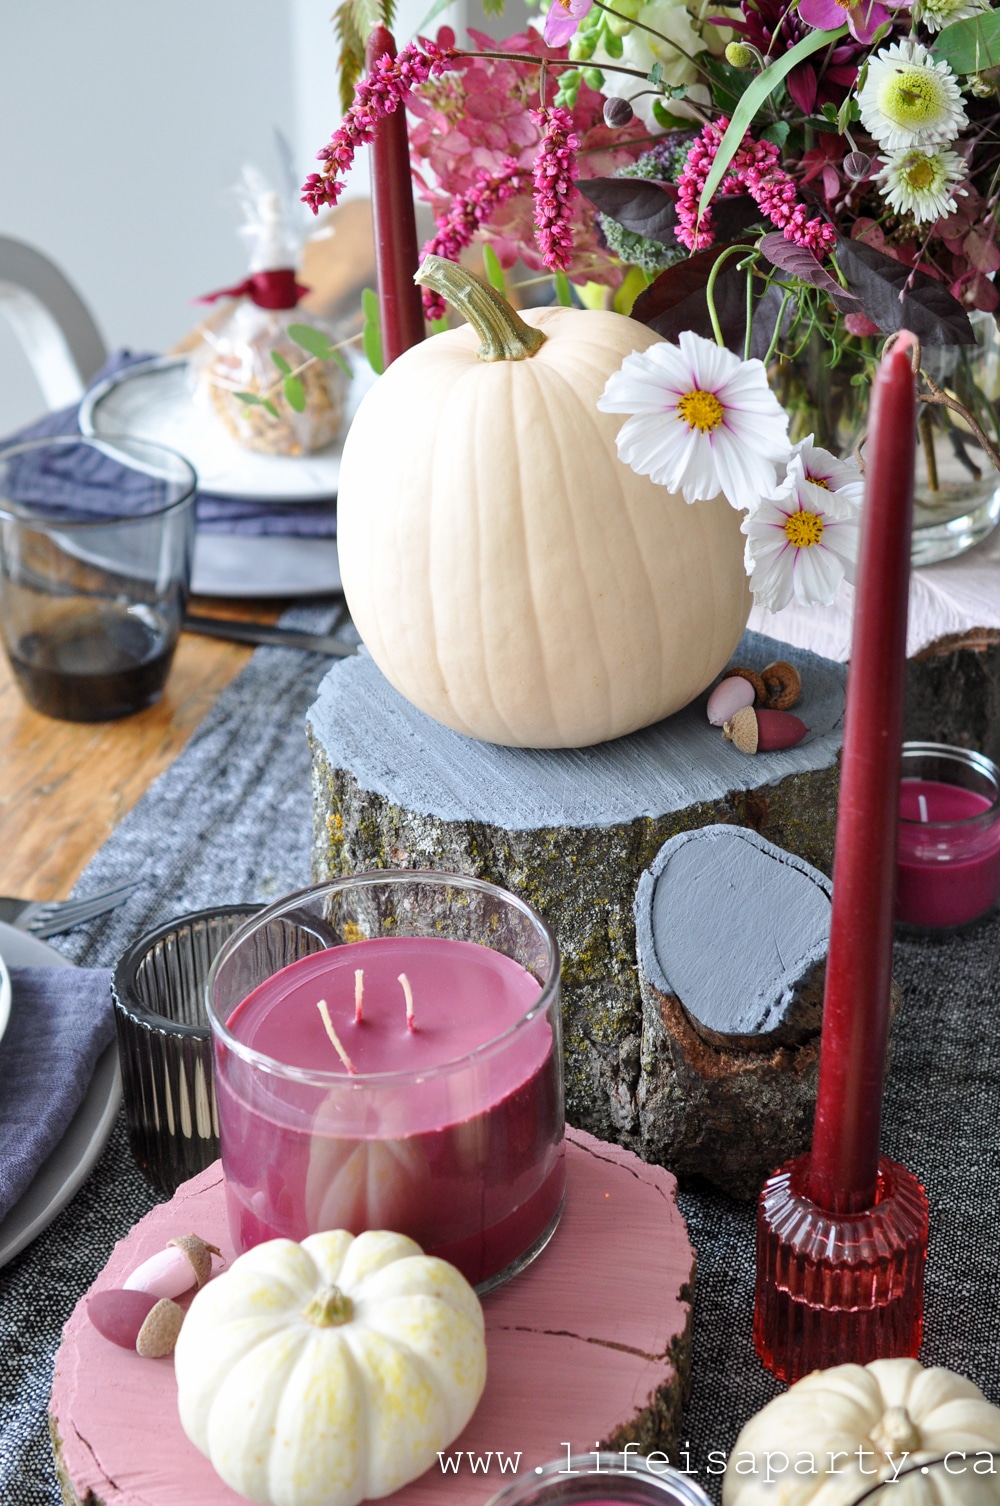
Inspired by the wood themed side plates, I add some more wood to the table.  I used some wood rounds, and painted the tops to match our table colours.

thanksgiving tablescape ideas

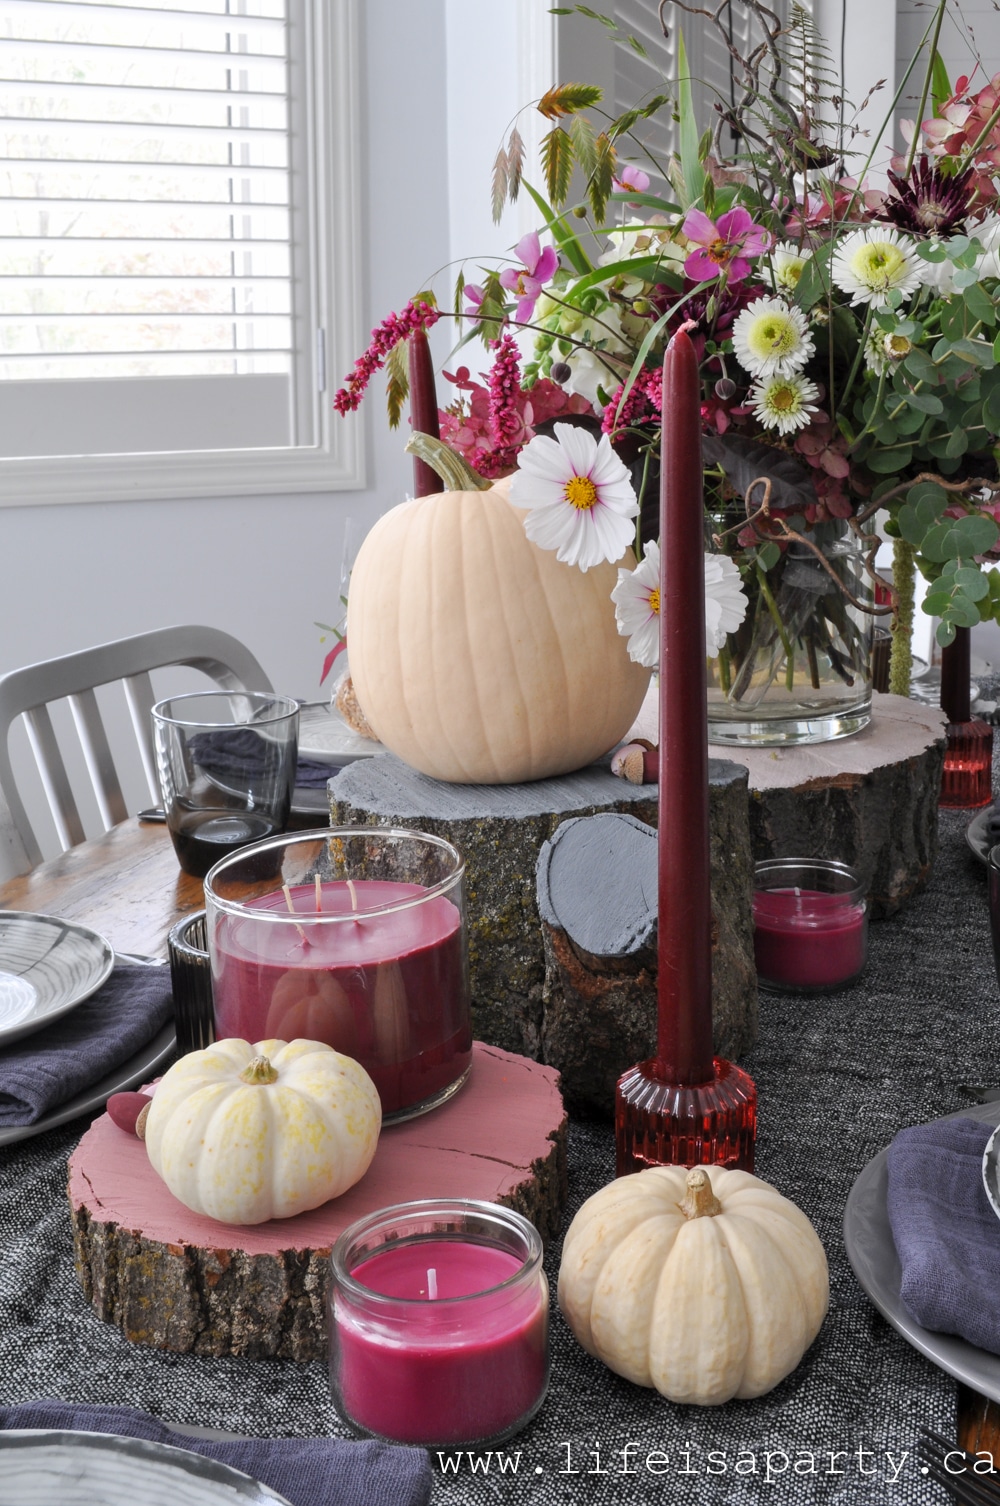
The wood pieces are arranged down the centre of the table alternating heights, and I used them as little pedestals for some pumpkins, candles, and flowers.

Thanksgiving centrepiece
Thanksgiving flowers

The white baby boo pumpkins are from Giant Tiger and I added one larger one from our garden.

how to set a Thanksgiving table

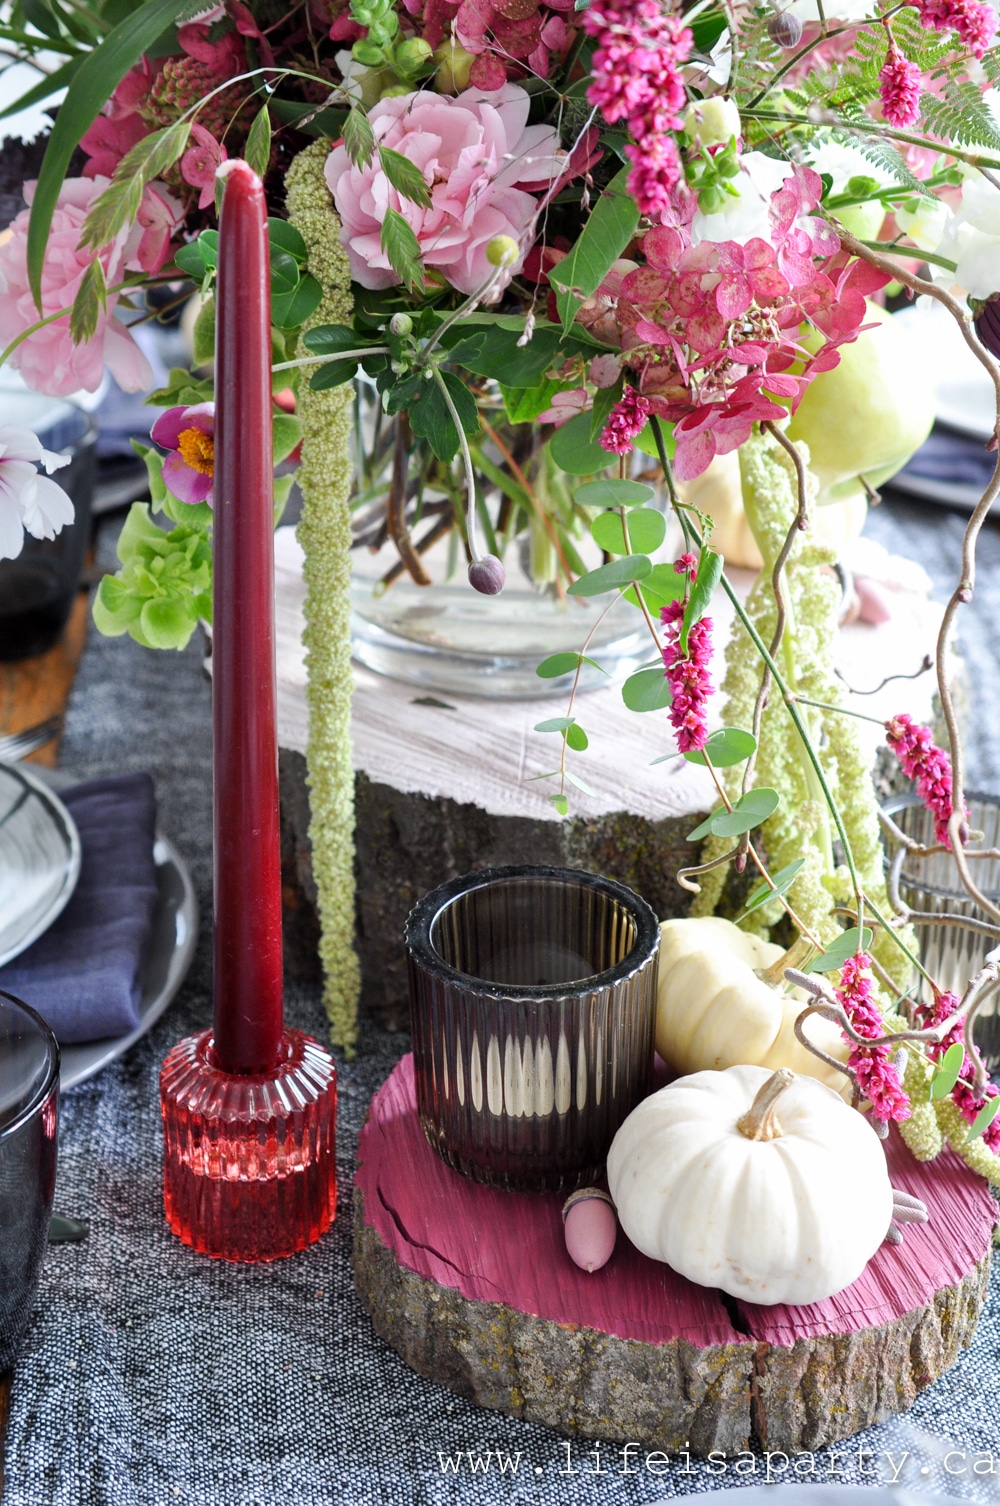
One of my favourite touches was lots of pretty candles.  The grey tea light holders, and Burgundy glass taper candle holders came as part of this set.  I love how the tamper candles add a little height to the table.

Thanksgiving tablescape ideas

I also added some pretty scented candled candles in cranberry -which seemed perfect for Thanksgiving and mixed berries.  You might have also spotted a few painted acorns for a fun fall touch.

pink and Burgundy fall table

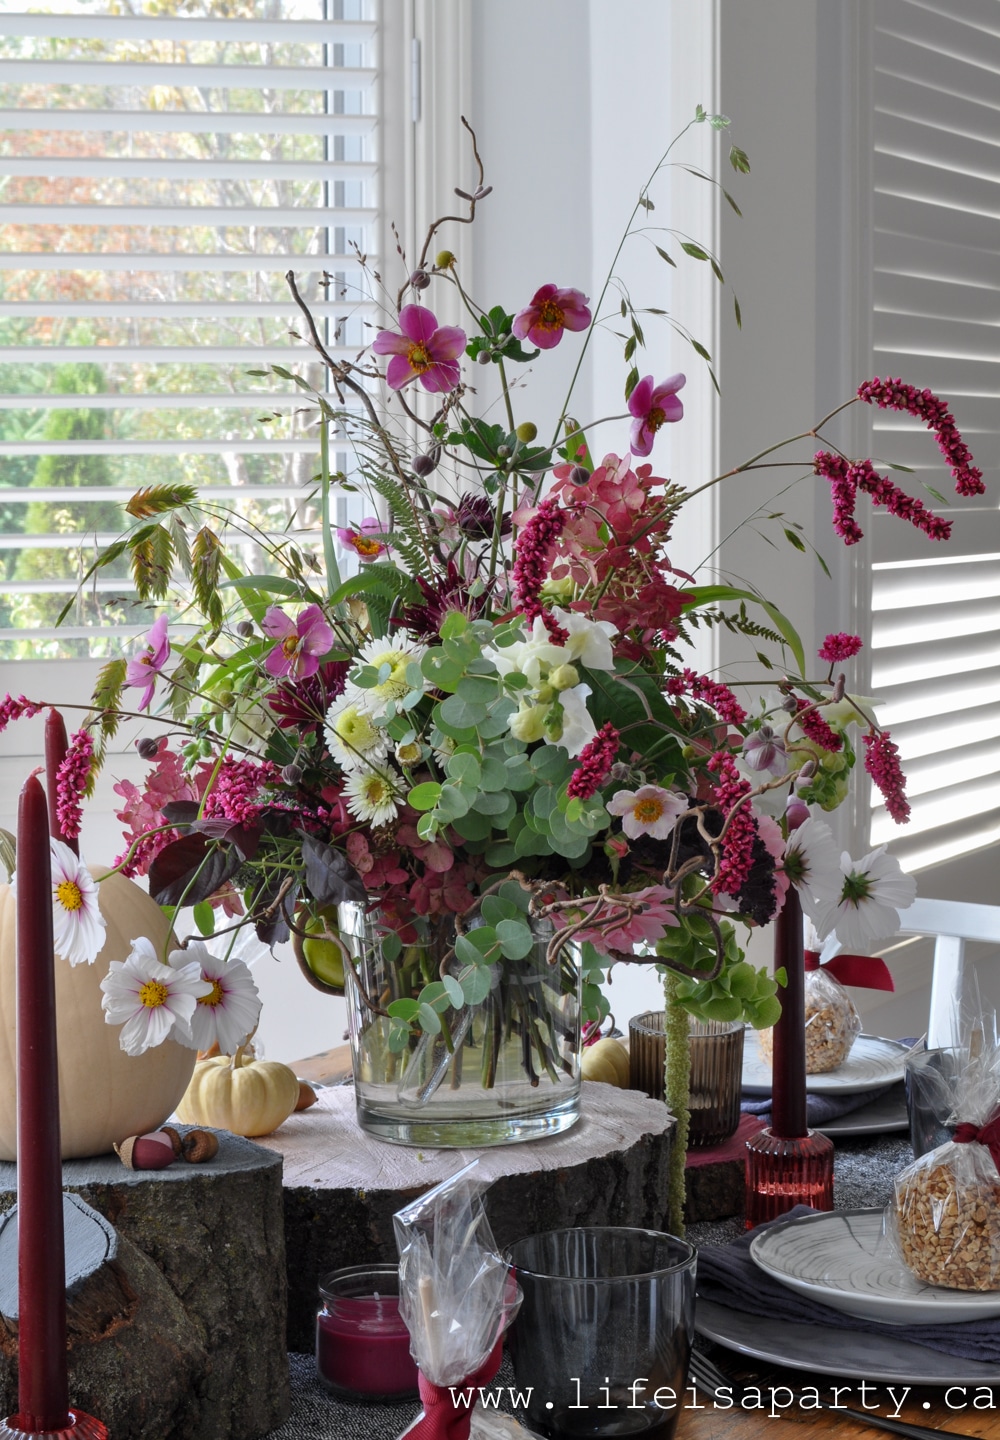
Lastly I added in the beautiful flowers.  They're a combination of flowers from my garden, my sister's garden, and my moms.  My sister used to be a florist, so I got her to put these together for me and they turned out amazing.  We went for an "S" design, with lots of whimsical grasses, and other wispy pieces, including curly willow branches.

fall table ideas
pink fall decor ideas

Dessert Apple Dumplings

For dessert I made one of our favourite old family recipes, with a time saving new twist.  

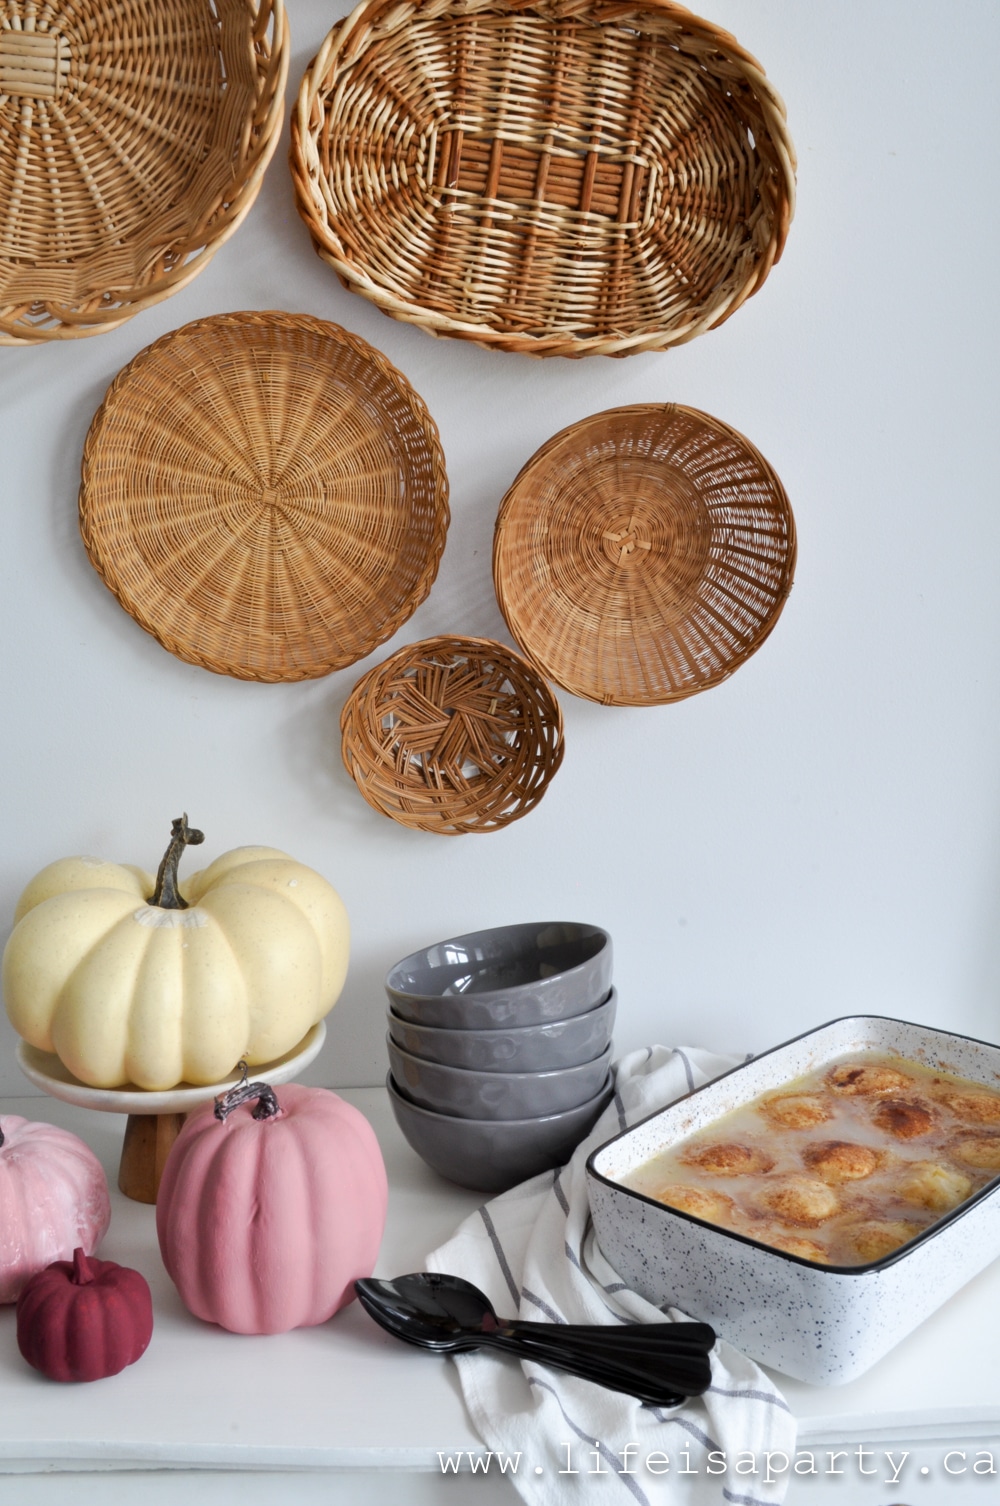
These apple dumplings were a stable at my house growing up, made by my mom, and my grandma.  I've turned them into a really quick and easy recipe.  If you're craving homemade pie for Thanksgiving, but looking for something a little simpler, than this is the perfect recipe and you can pick up everything you need at Giant Tiger.  Find the apple dumpling recipe here.

This Thanksgiving table was so fun to put together, and we're all set for a little family get together to celebrate.  I hope it inspires you too.

thanksgiving tablescape

With Thanksgiving Tablescape Ideas, life really is a party!

This post is sponsored by Giant Tiger. As always, all opinions are my own.  Thanks for supporting the brands that make Life is a Party possible.

More Inspiration

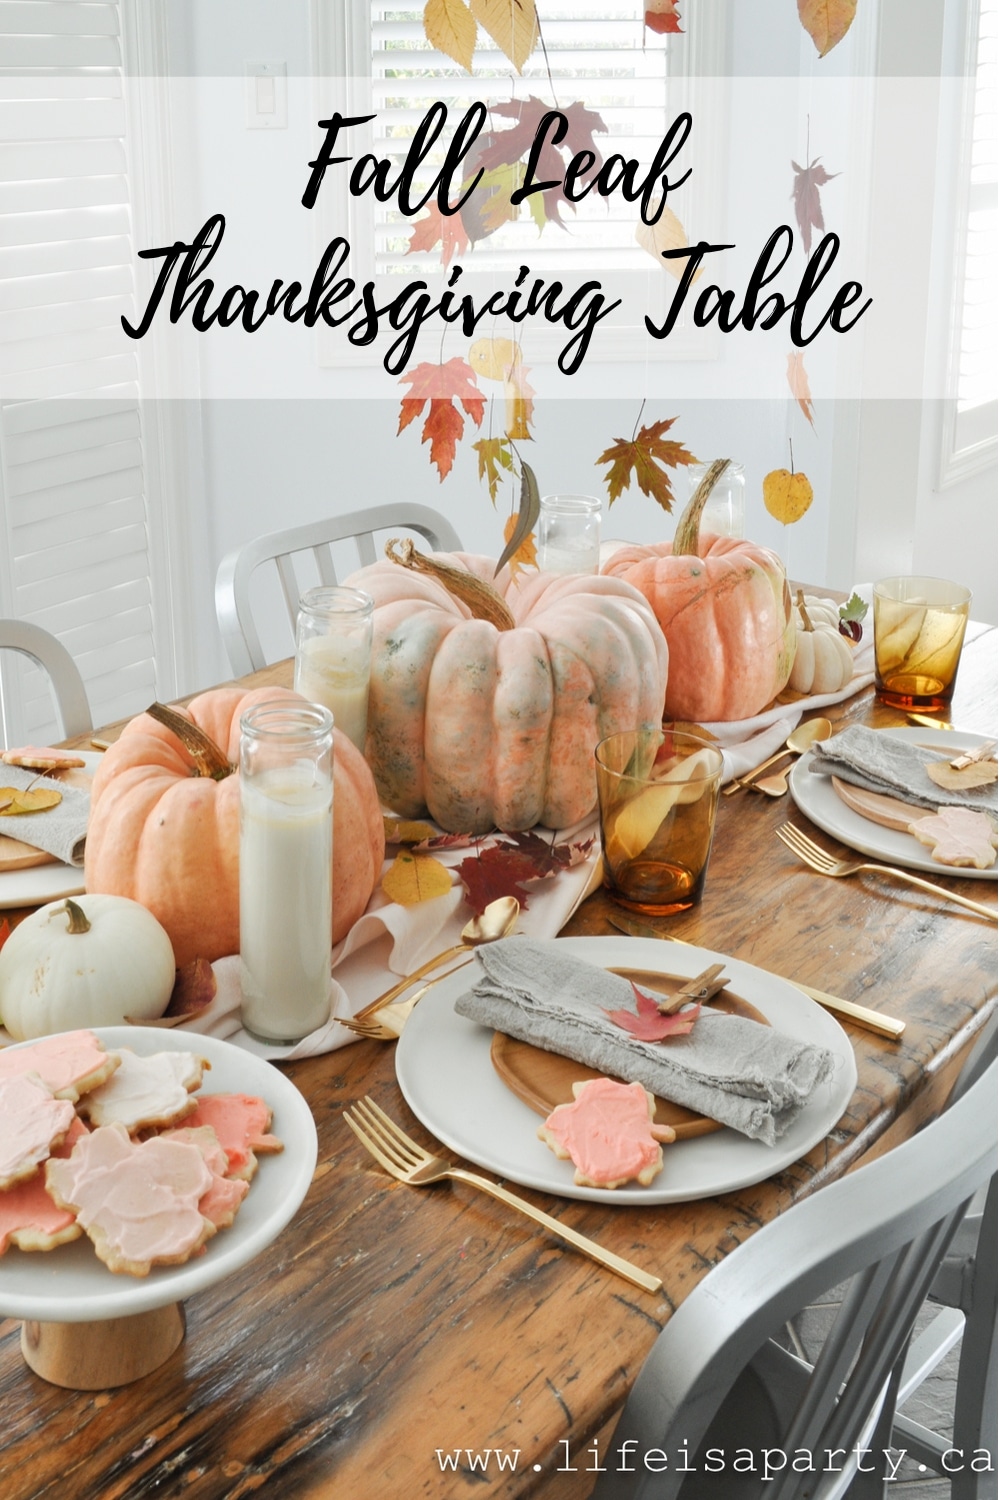
You might also like Fall Leaf Thanksgiving Table here.

Fall Leaf Thanksgiving Table: Hanging pressed fall leaves, and pink heirloom pumpkins, ombre leaf cookies, and cloths pin place cards make a beautiful table.

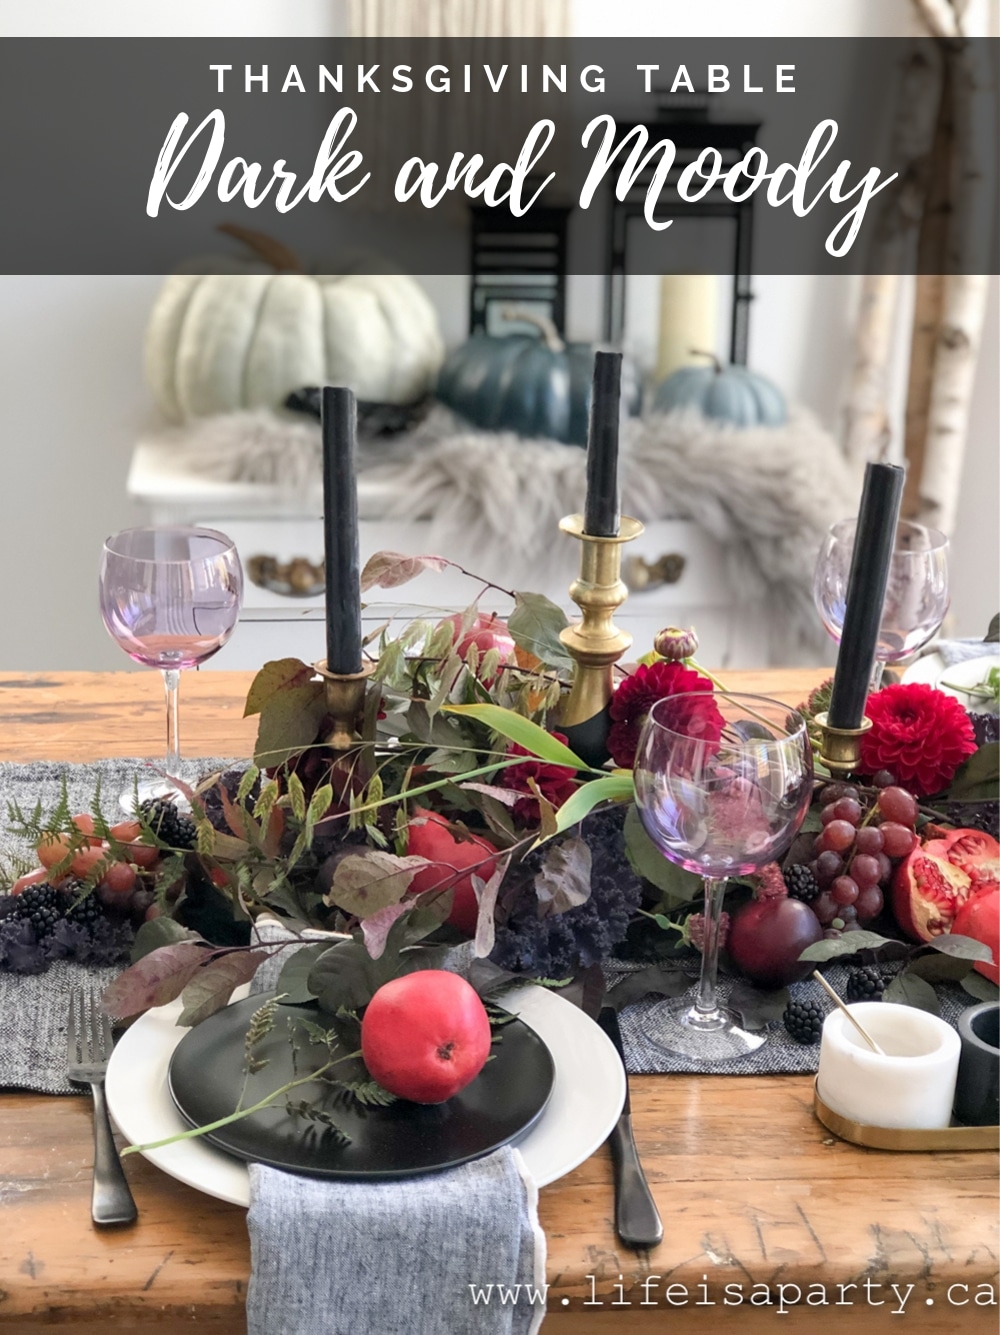
Also check out Dark and Moody Thanksgiving Table here.

Dark and Moody Thanksgiving Table: purple leaves, dark dahlias, and plums, red pears, apples, pomegranates, and blackberries create the perfect centrepiece.

You might also like Black and White Modern Farmhouse Thanksgiving Table here.

Fall Garden Ideas

Sep 30, 2020 · 11 Comments

fall garden ideas

Fall Garden Ideas: it's fall in the portager garden and we're harvesting our crops, planting mums and kales, and enjoying all the pumpkins.

fall garden ideas
[feast_advanced_jump_to]

It's time for fall garden ideas from the portager garden.  Harvesting veggies and pumpkins, enjoying the last flowers and adding pots of kale and mums are all on the agenda.  Along with enjoying some treats on long warm fall days in the garden.

This spring, while we were safe at home during the beginning of social distancing, we started a family project.  You can read all about how our family created a portager garden -which is a French term for a garden that combines veggies, herbs and flowers.  We built raised beds, hauled in soil, and pea gravel, created perineal garden beds and even put together a shed.  And then we planted seeds -lots of seeds.

And they grew, and grew, and grew.

So four months later here's how the new portager garden is looking.

Fall Portager Garden

The flowers, especially the cosmos are looking so beautiful.

Fall Portager Garden
cosmos
fall garden ideas

Harvesting

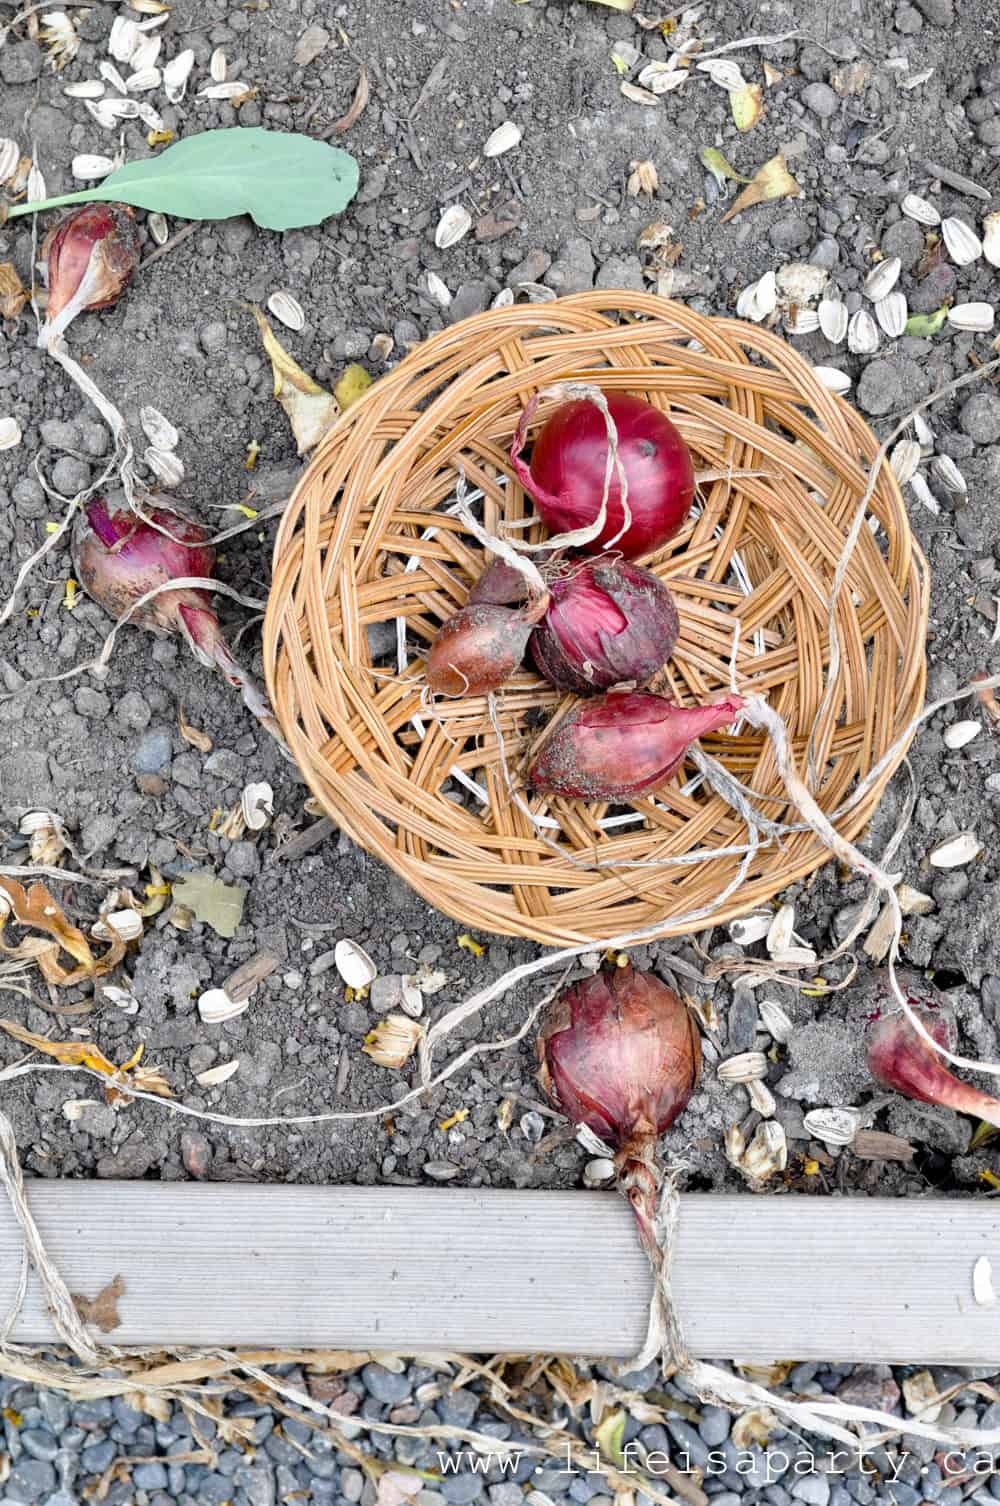
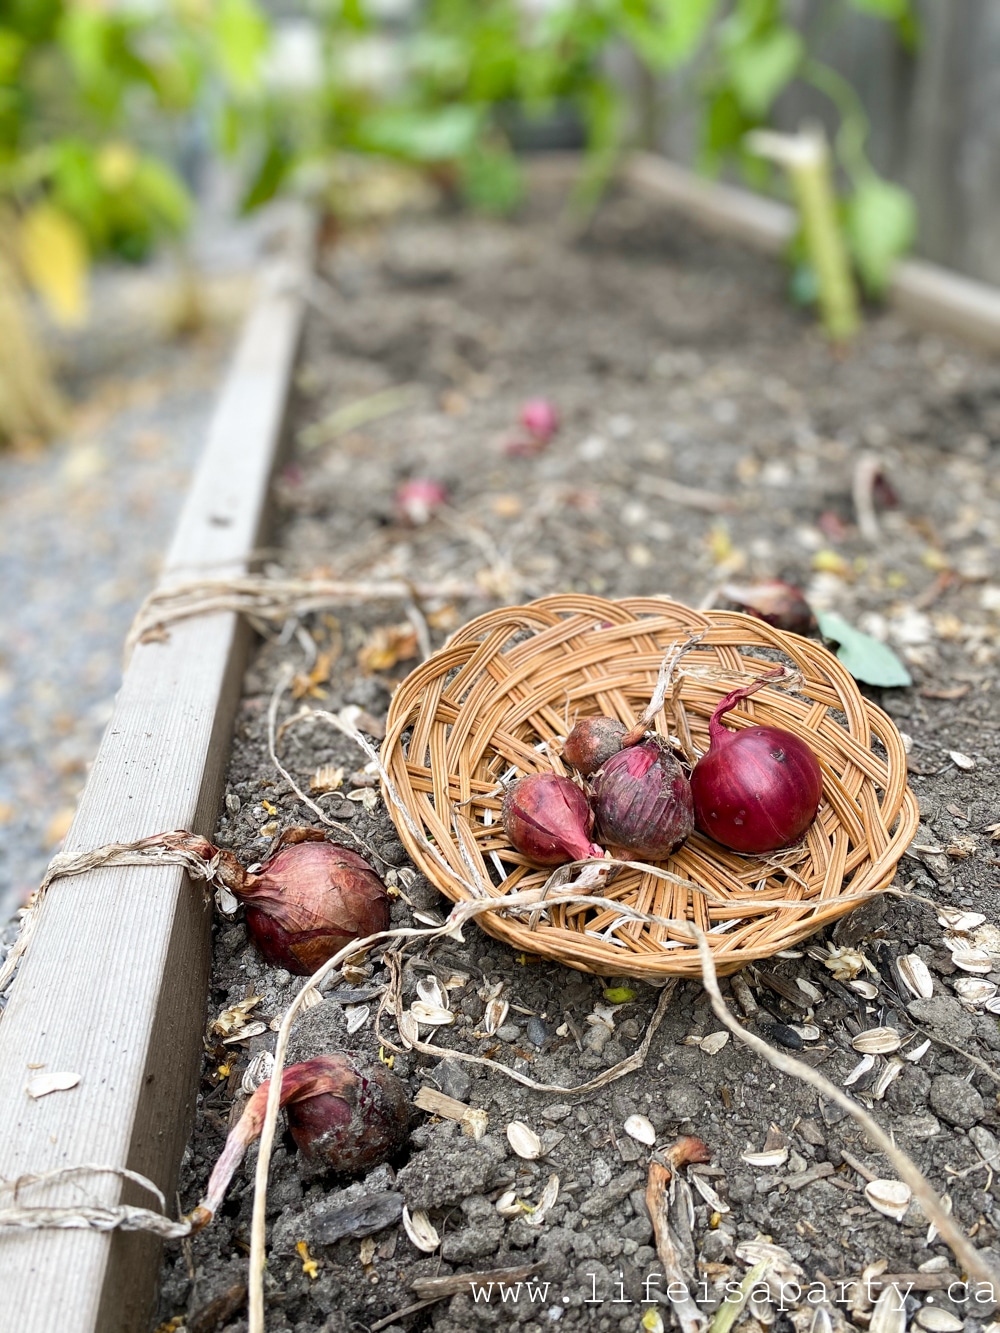
I almost forgot about the red onions we planted.

red onions
how to grow red onions

When I started doing a little fall tidying up of the beds I saw them.  They could have grown bigger, they were a little too shaded by all the other stuff that grew so well.

red onions
red onions
red onions

Next year we'll try and give them a spot with a little more light, and a little more room.

They're delicious though.  They look like little red jewels.

cedar she shed

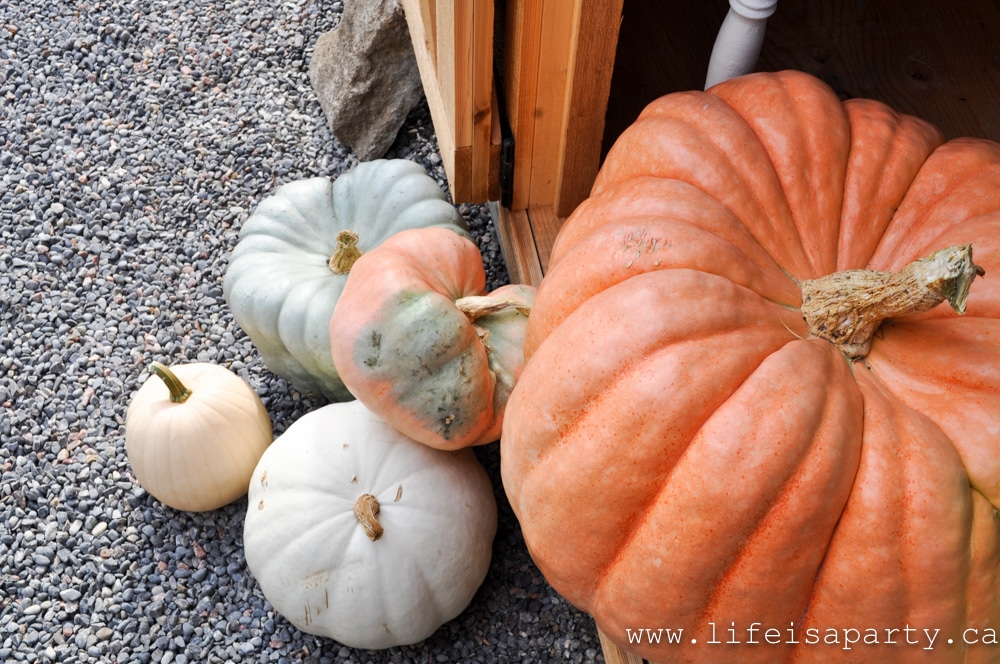
The Pumpkins

The pumpkins were my greatest garden joy this year.  As a blogger, I always need pumpkins before they're out in the stores.  I always end up hunting everywhere for them at the beginning of the season... or maybe even a little before the start of the season.  So a few years ago, after Halloween when it was time to get rid of all the pretty pumpkins, I decided to try and save some seeds so I could grow my own.

pumpkins

So I cut open all the pumpkins and spread out some seeds on parchment lined trays for them to dry.  After they dried, I stored them in some paper envelopes until spring.

Last year my attempts didn't yield much.  I planted too many seeds, and the vines didn't really mature.

heirloom pumpkins

This year while we were building the portager garden I started some seeds inside to give my vines a head start.  And when it was warm enough, I planted more directly in the garden.  They all grew.  So I ended up having to thin them, and pull out some to give them more room.  They did so well.  It was definitely a highlight of my day to go and check on them each morning and see how much they grew.  We had one giant one, that has to be my favourite.

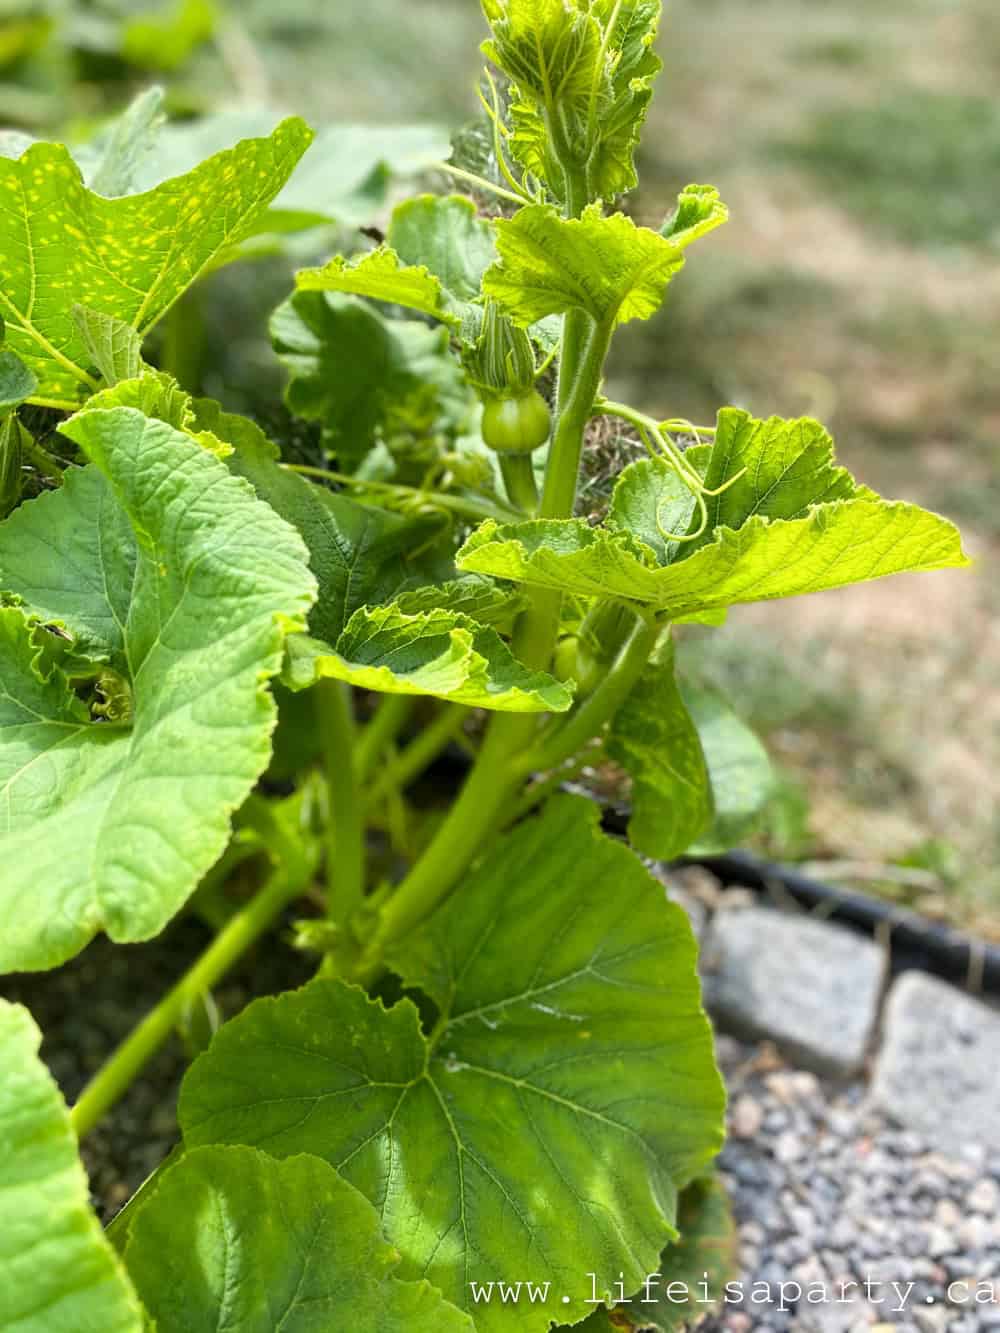
green pumpkin on the vine
pumpkin vines

We picked them all and they're my pride and joy!

fall garden shed

And since the temperatures have cooled off the pumpkins are growing even more.

pumpkin vines

Mums and Kale

I changed out some of my planters for fall and added some pretty mums and kale.

mum and kale planters

I've been decorating inside this year with pretty pinks and deep Burgundy colours -see my fall home tour here.

pink fall planters
fall planters

Outside I used the same colours and I love how they look all grouped together with my succulents that are still going strong, and some of our pumpkins.

fall garden mums

Fall In The Shed

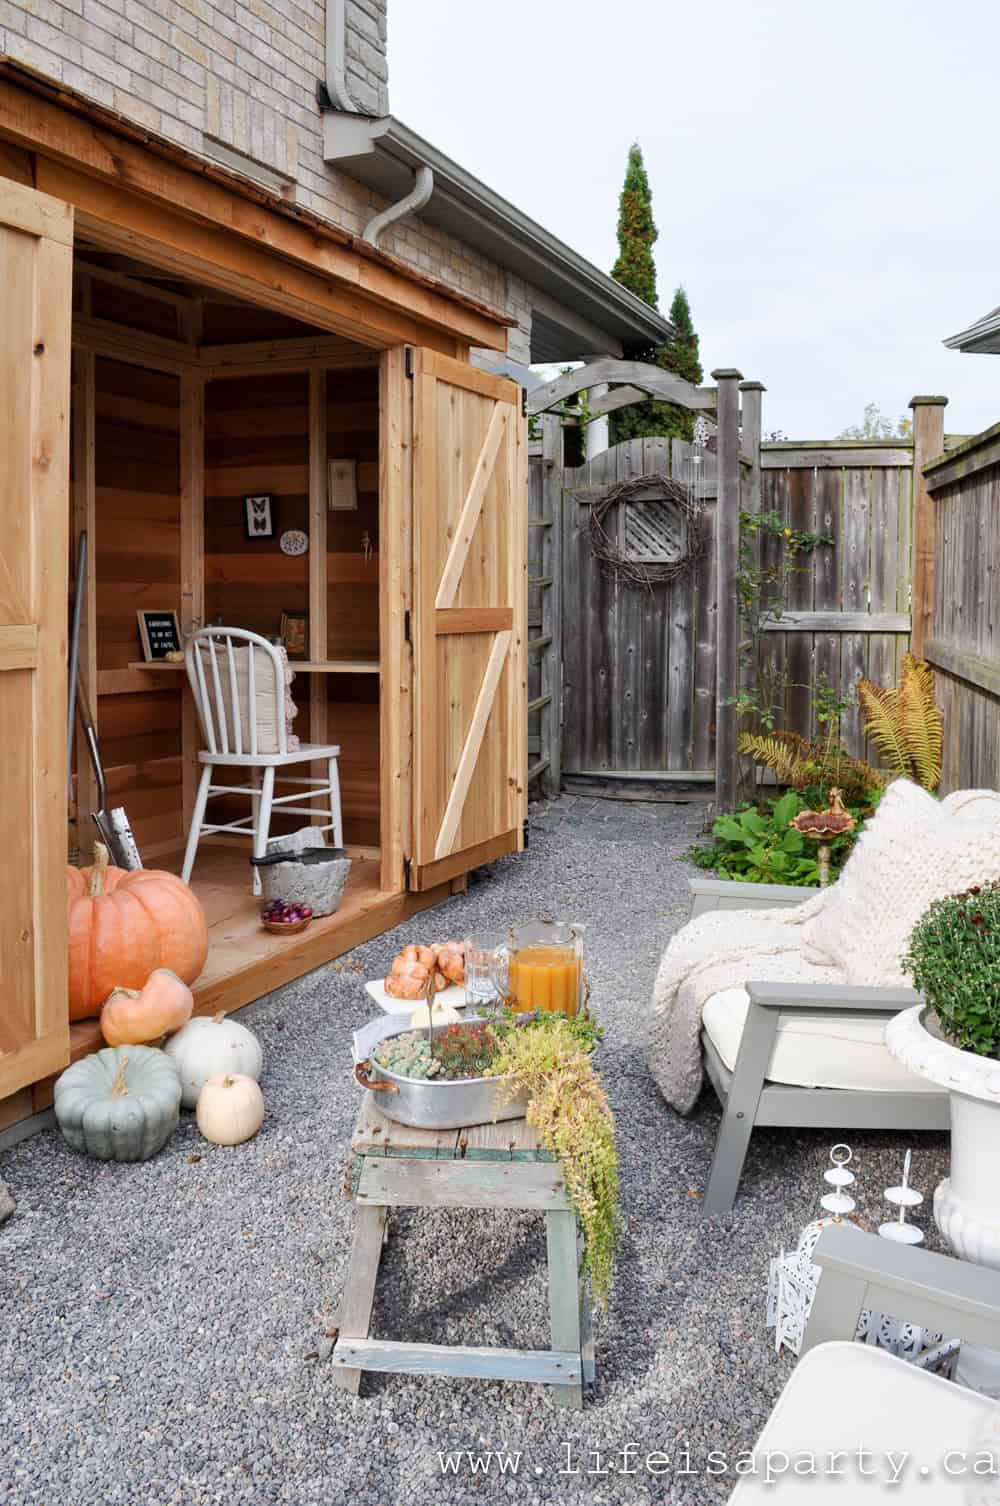
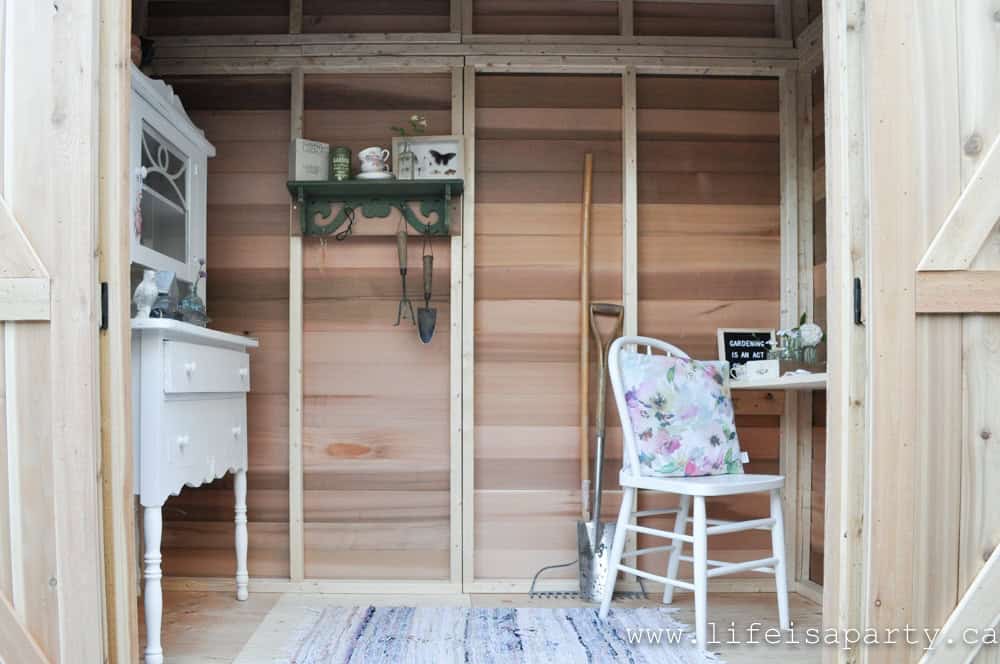
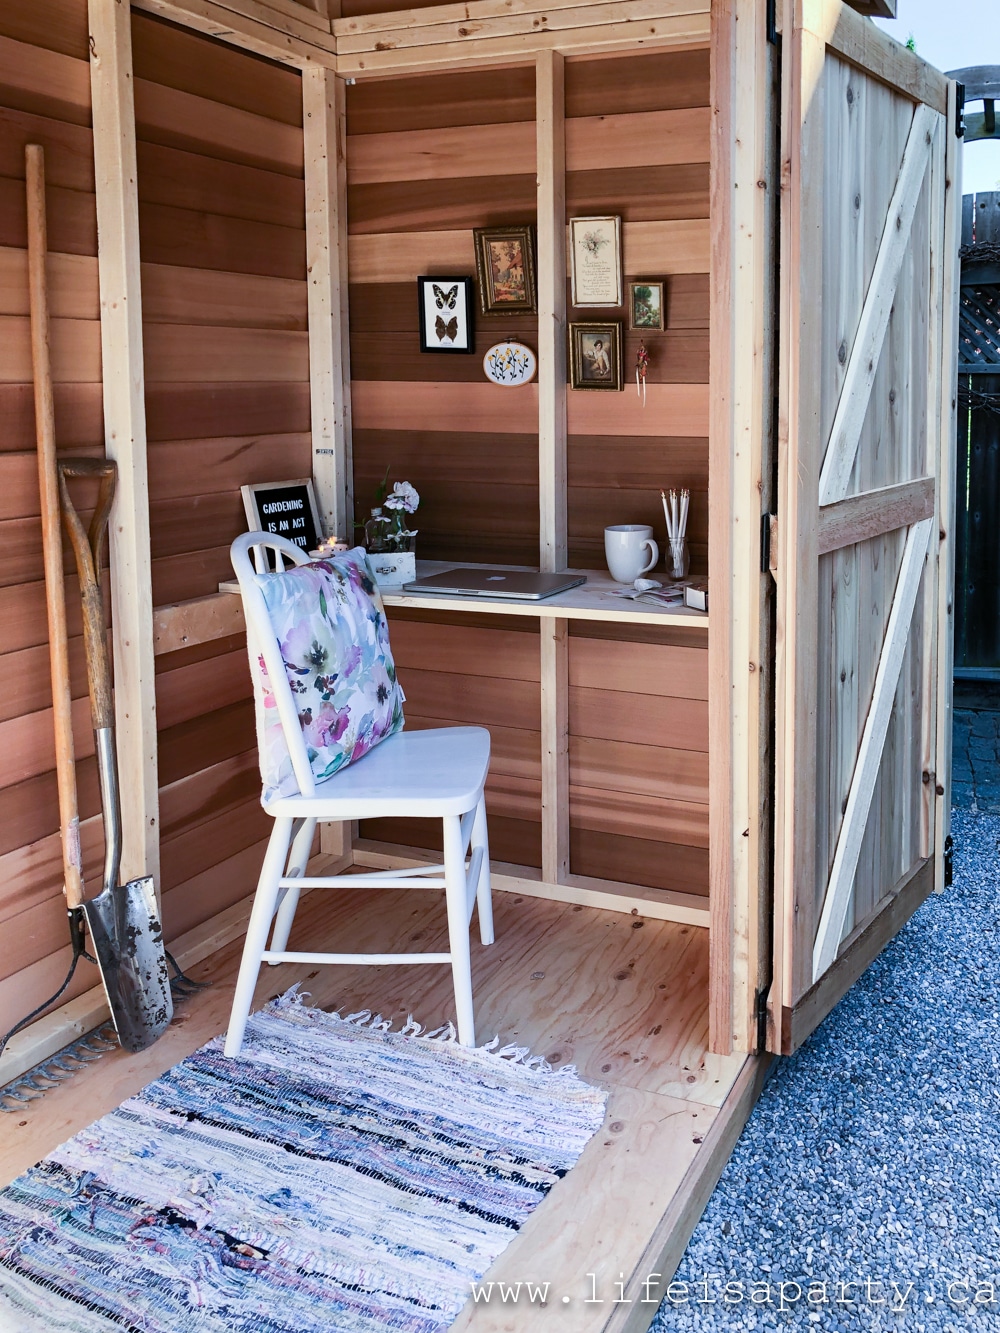
This little garden has become a favourite spot for us.  Our little shed has a desk and chair, the perfect spot for a little computer work.

she shed garden shed
garden shed

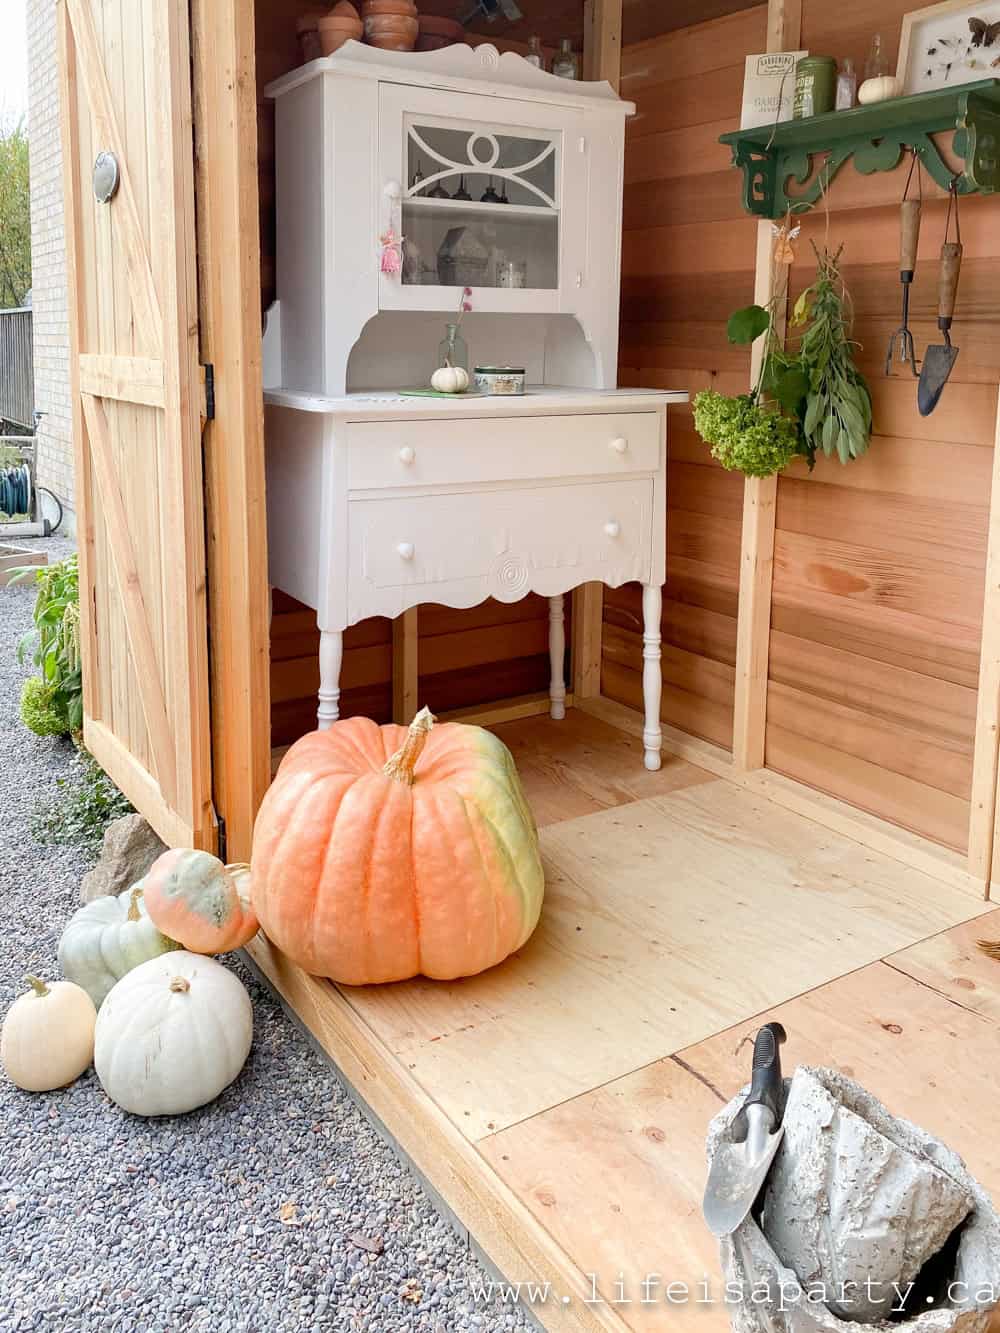
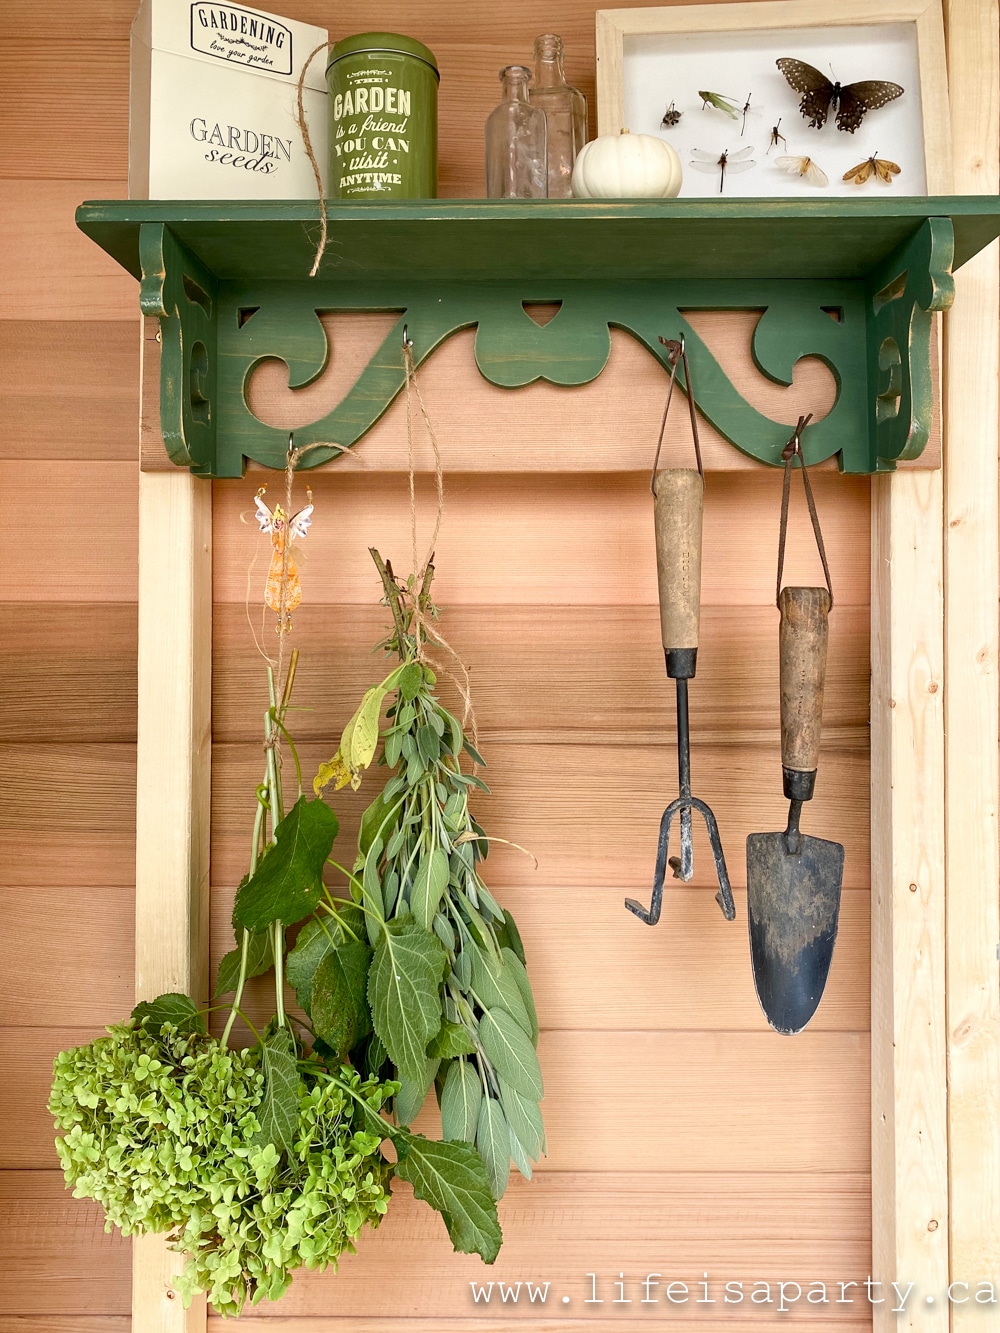
And over on the other side of the shed, I've got a few things drying.  There are some pretty hydrangeas and some sage.  I always dry some sage in the fall, and use it for my Thanksgiving and Christmas stuffing in the turkey.

fall garden shed she shed
white mini pumpkin
sage hanging to dry

Fall Treats In The Garden

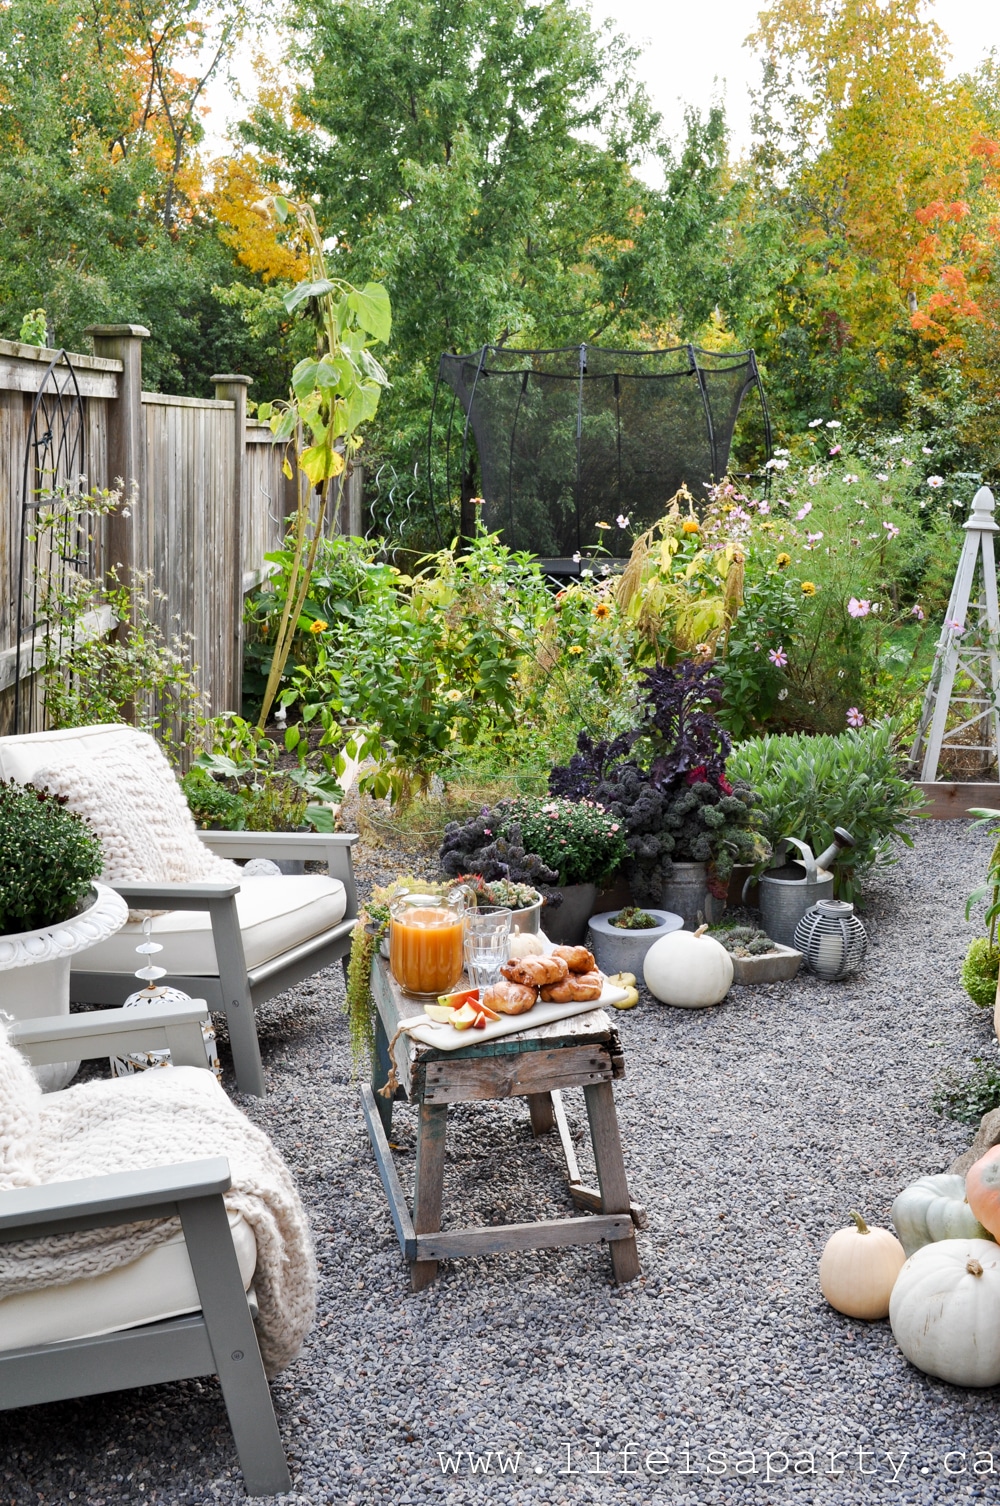
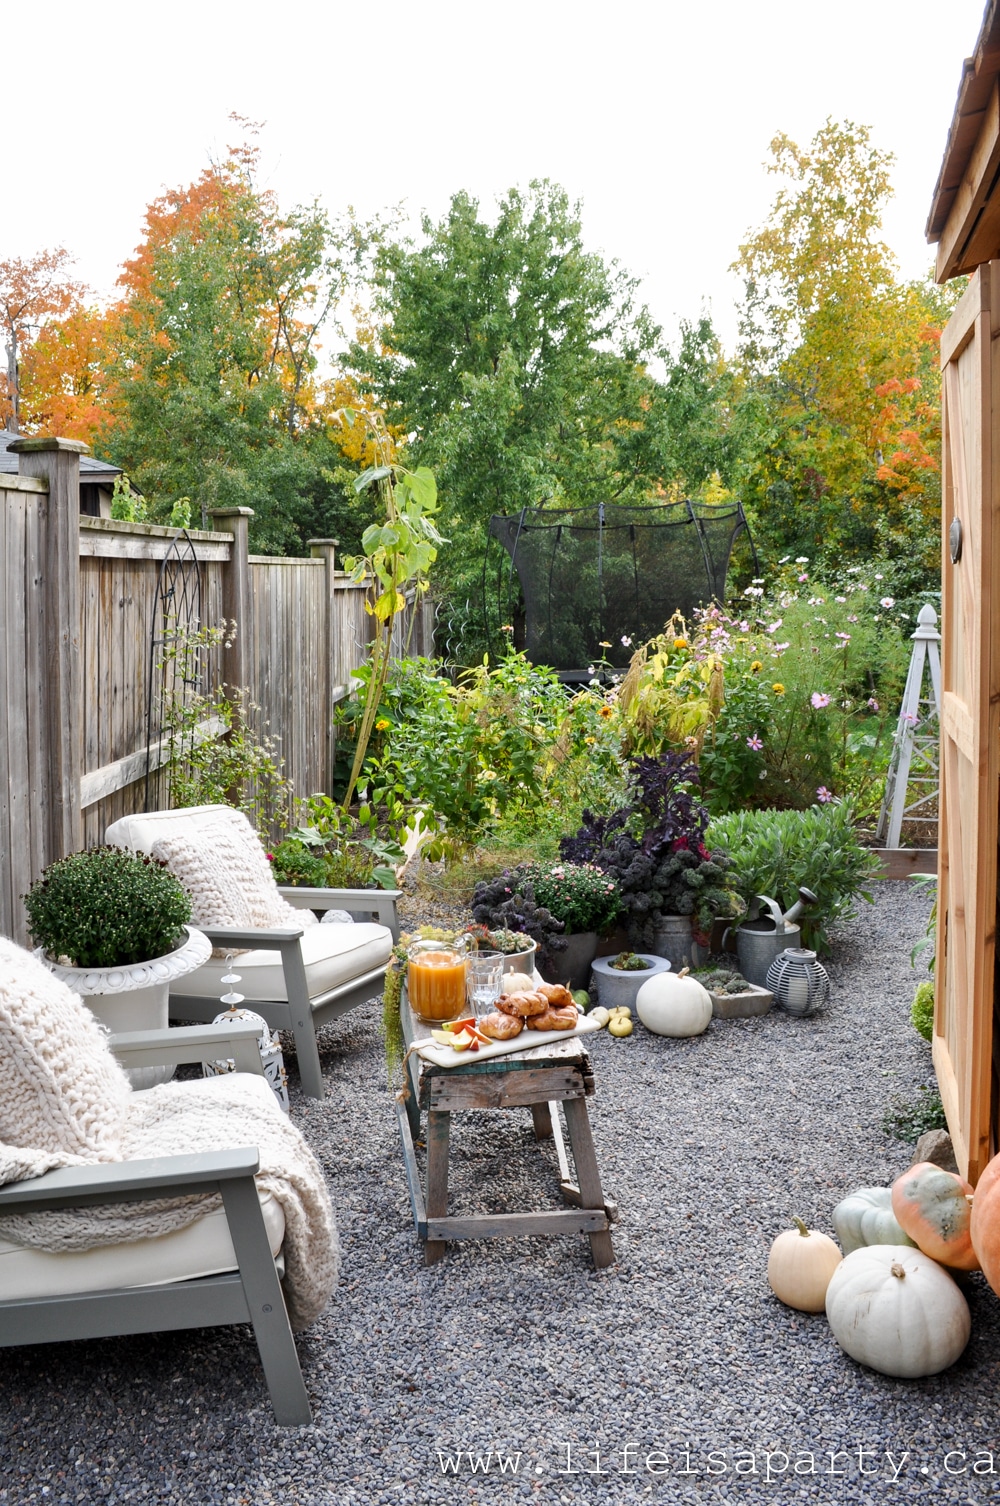
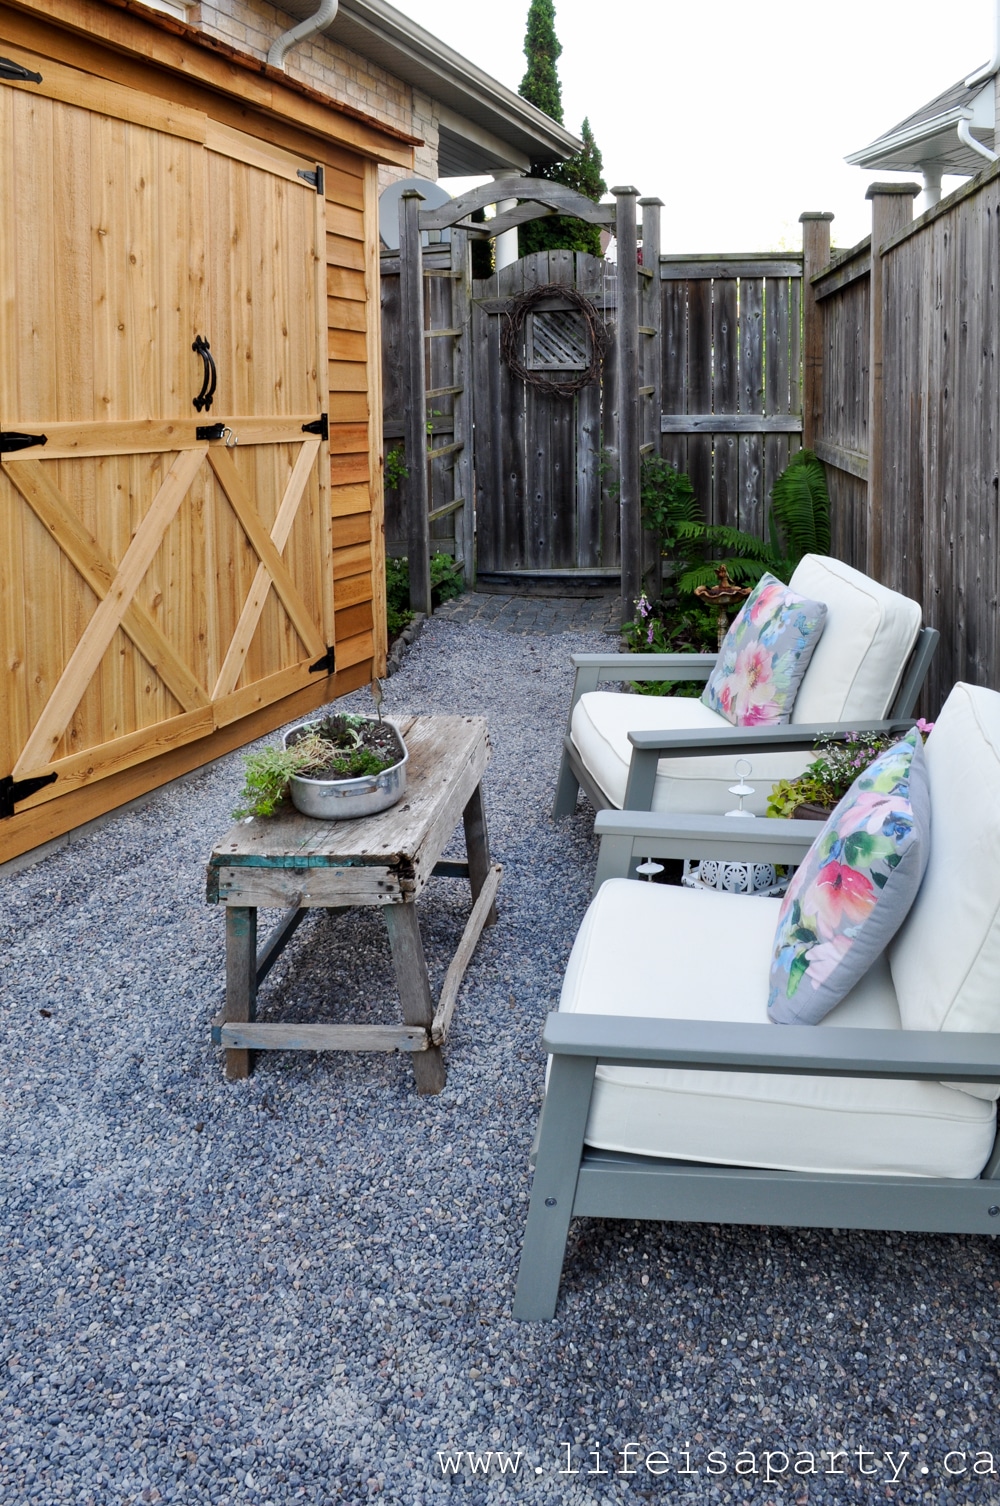
And the seating area is the perfect spot for two.

fall garden ideas

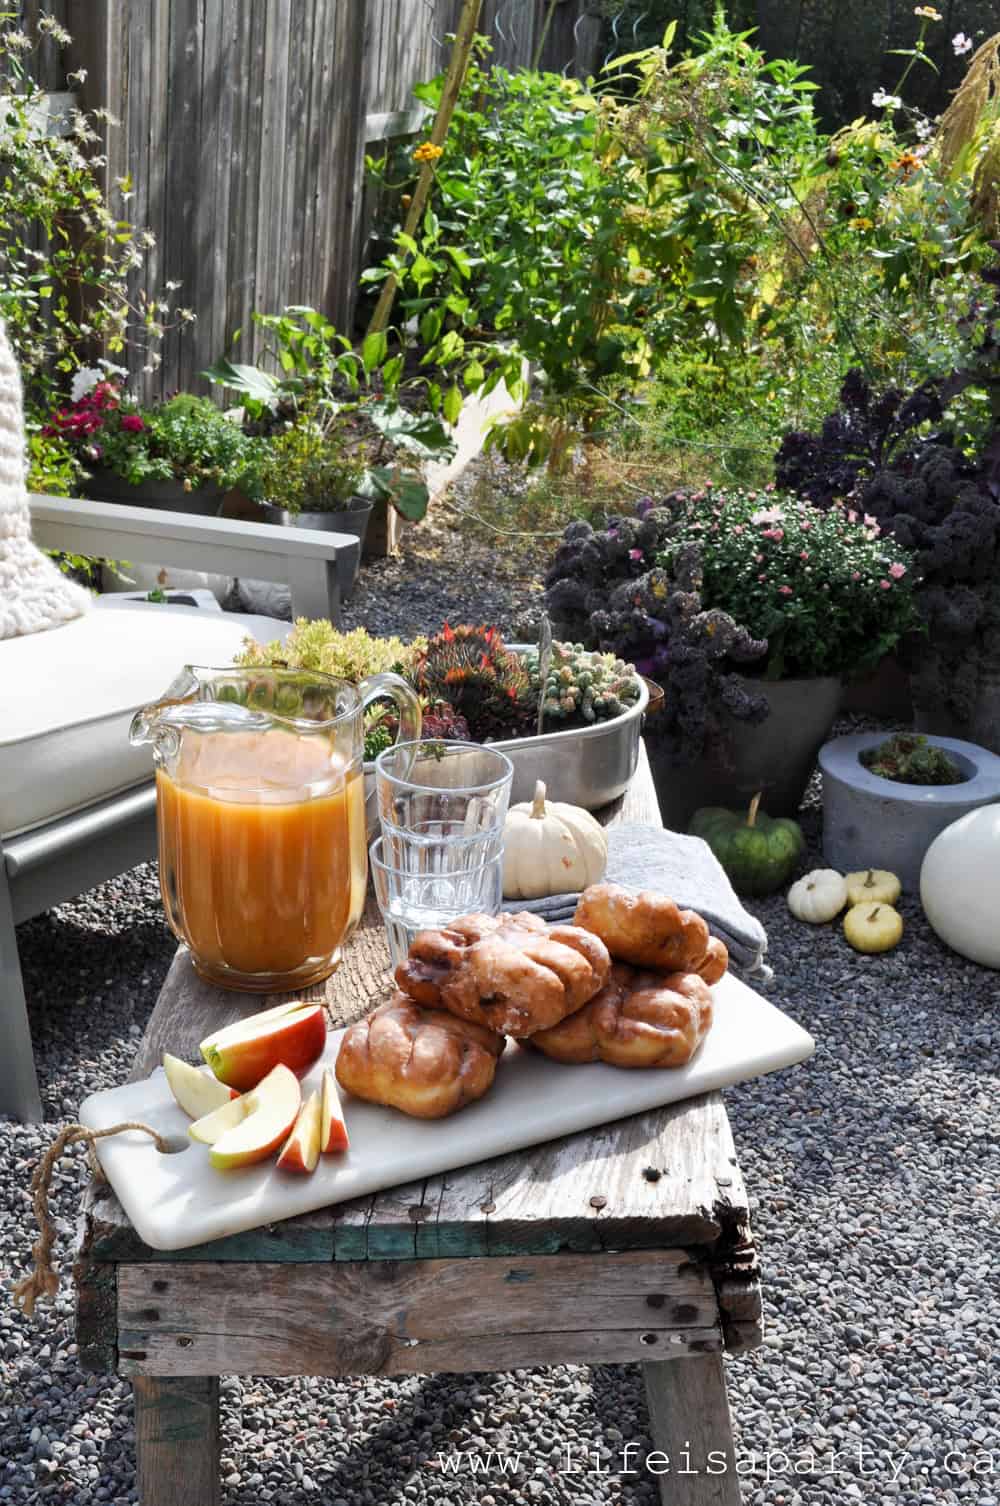
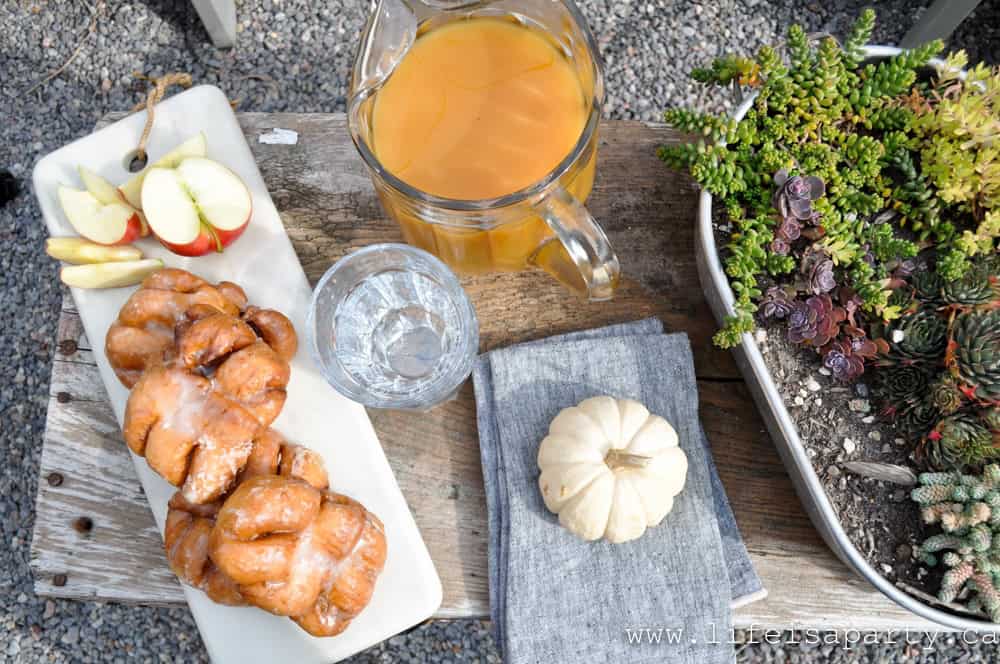
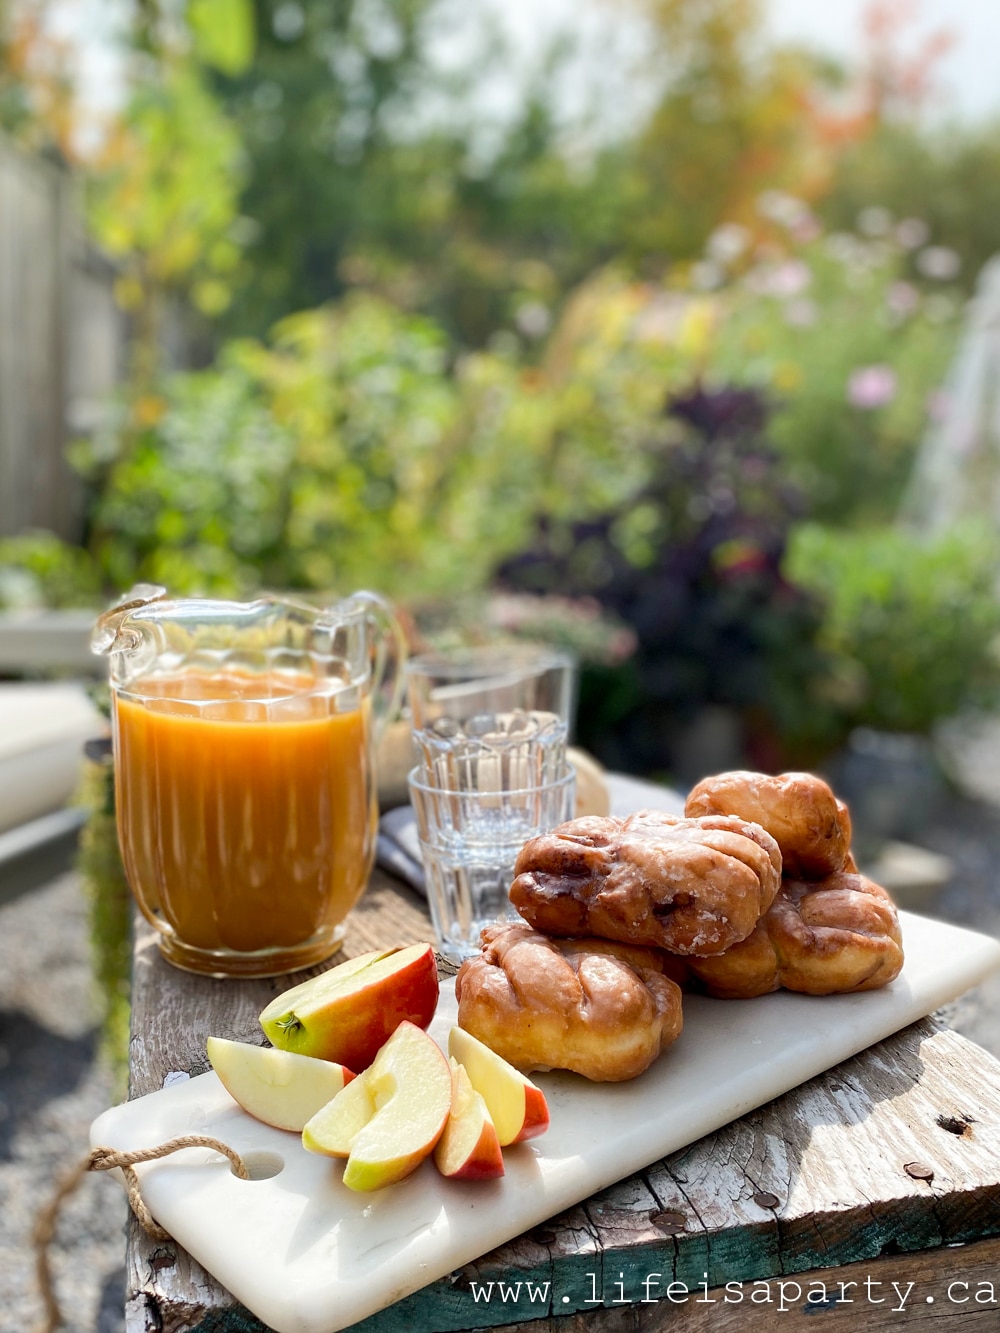
I put together some fall favourites to enjoy here.  We had apple fritters, and apple cider.

apple fritters and apple cider

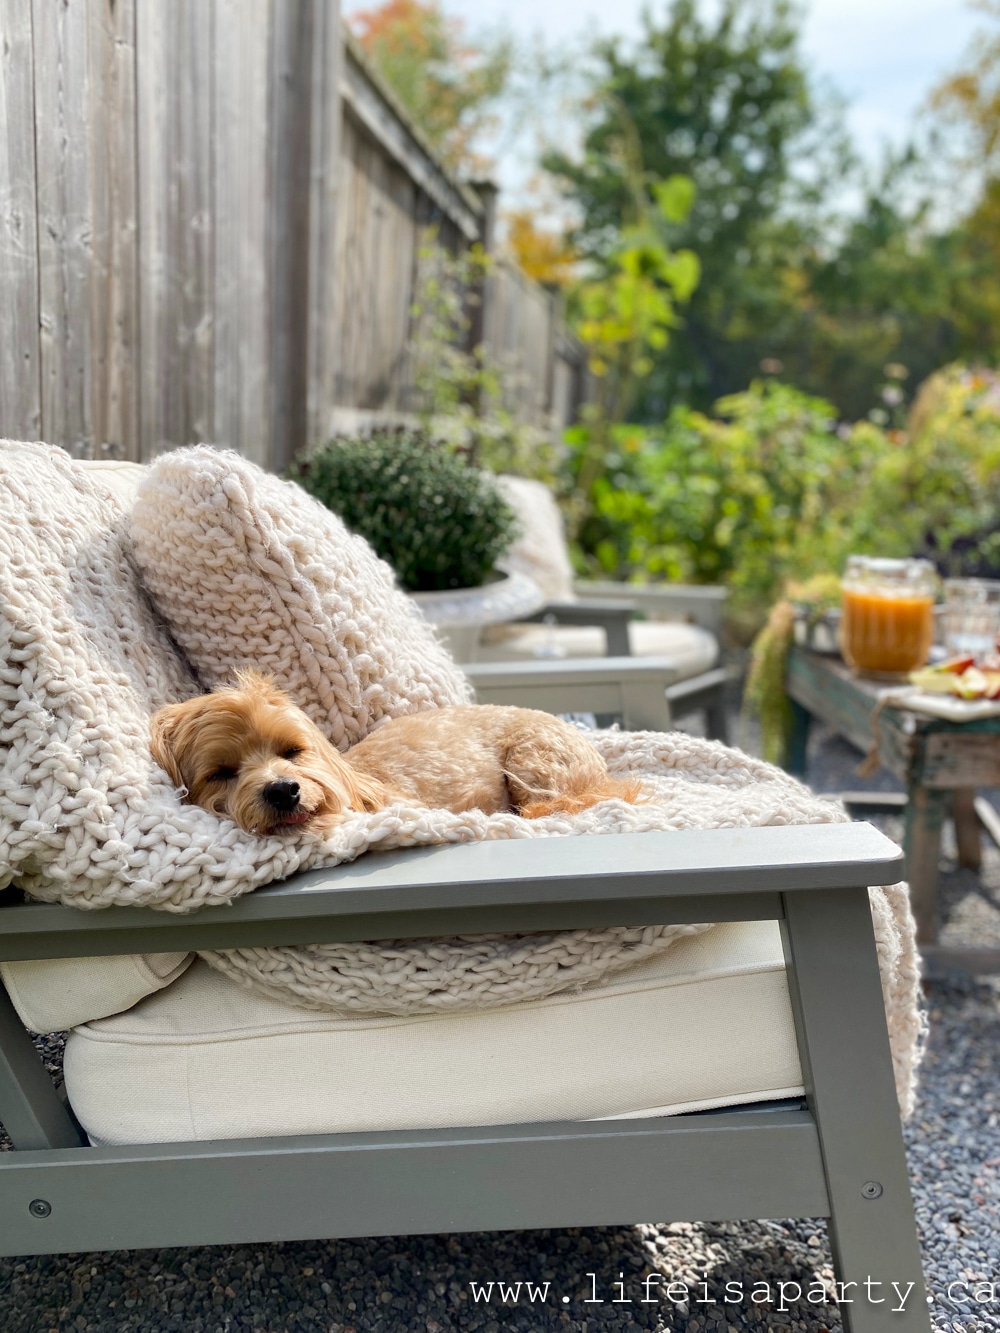
My helper here was sleeping on the job... while I took some photos.

fall in the garden

Soon it will be time to pack everything away for winter.  This little shed will be full of furniture staying nice and safe and dry during a snowy Canadian winter.  All the pants will get pulled out or cut back, and we'll have wait until spring to sit out here.  But until then, we'll enjoy the fruits of our labour in this cozy little spot.

apple fritters and apple cider

With all these fall garden ideas, life really is a party!

Boho Fall Decor Home Tour

Sep 24, 2020 · 3 Comments

boho fall decor

Boho Fall Decor Home Tour: lots of boho elements in this fall home tour like brass, wicker, dried florals, macrame and pink fall decor.

boho fall decor
[feast_advanced_jump_to]

Welcome to my boho fall decor home tour.  I'm so glad you're here.  

The Dining Room

This year I wanted to add a boho feel to my home for fall and I used lots of fun boho elements in the decor.  

white table with brass candle sticks

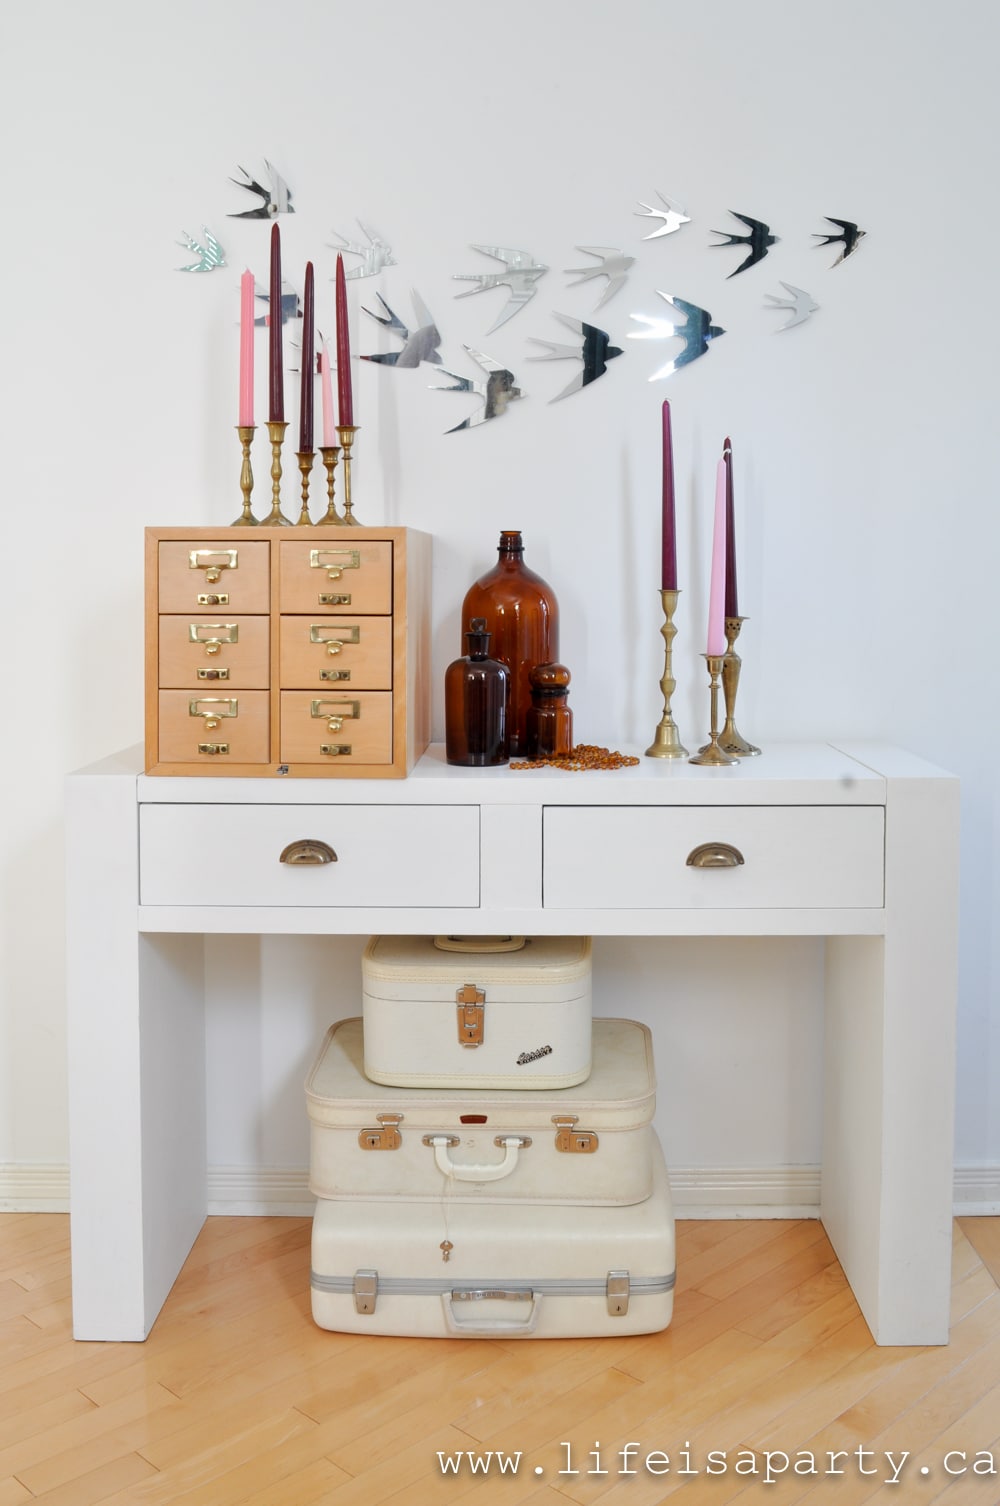
As soon as you come in my front door, there is a little console table and you can see the amber glass that's so perfect fall.  

pink fall decor

I also added lots of thrifted brass candle sticks.  And coloured taper candles are definitely making a return.  Look for them at thrift stores to add a little colour.  This year I used lots of pink fall decor, along with some deep Burgundy and the deep amber mustard yellow.  Not completely traditional, but I'm loving it so far.

boho fall decor home tour

On the dining room table I kept things pretty simple with a linen runner, and a trough of faux pumpkins.  

boho fall decor

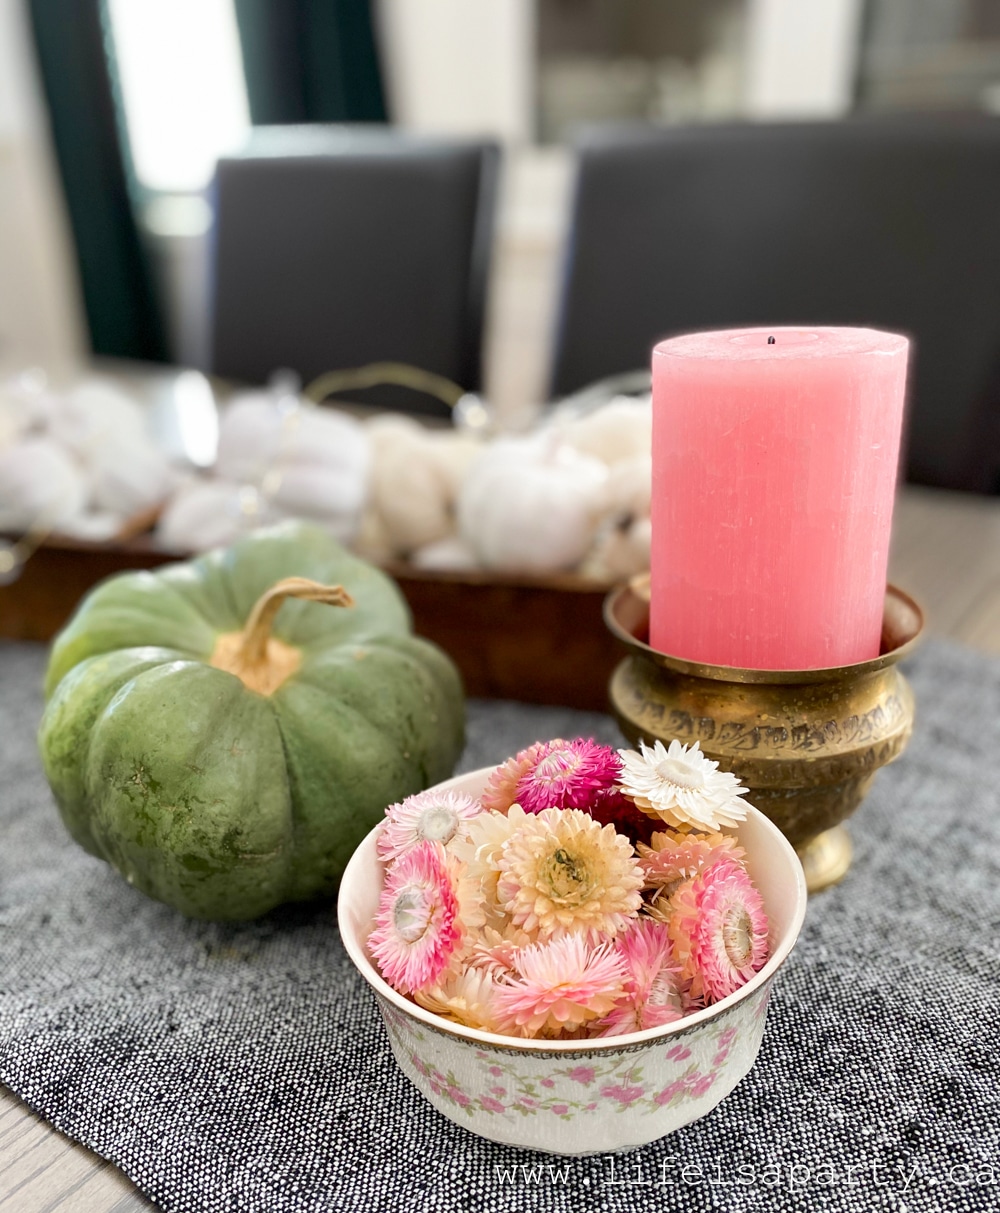
These are actually from the dollar store and I painted them in white and cream.  I also added a small bowl of dried straw flowers -more of those to come through the space.  And the pumpkins are two that I grew in my own garden this year.

fall decor ideas
green pumpkin

Bar Cart

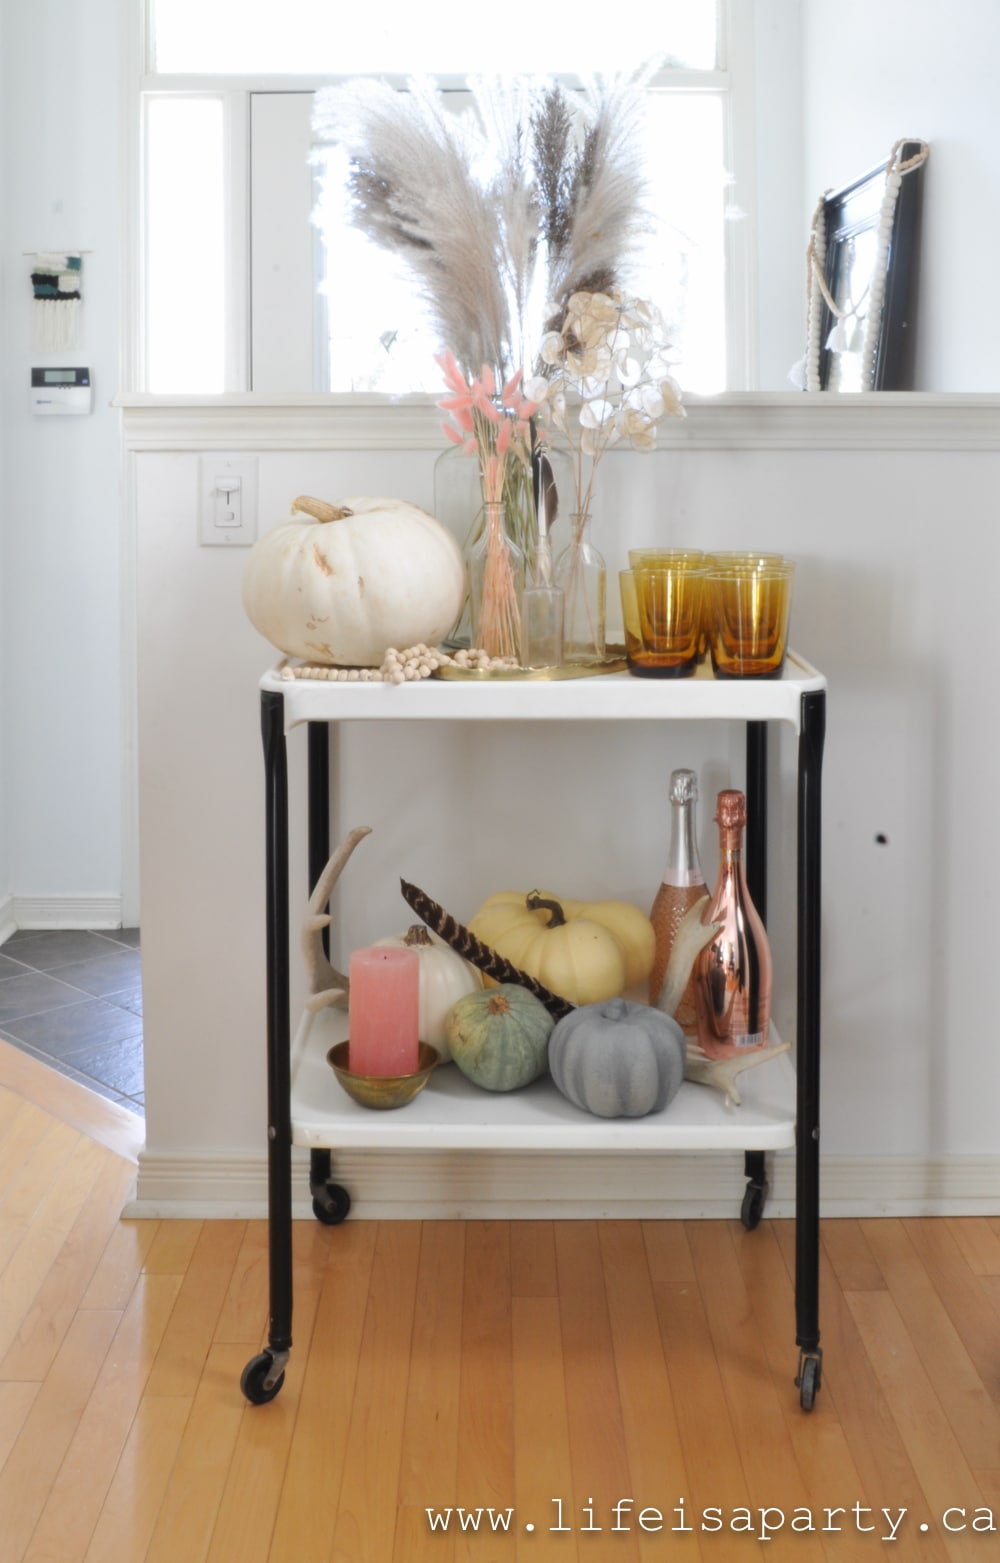
Over on the bar cart we're already for fall drinks.  

fall bar cart

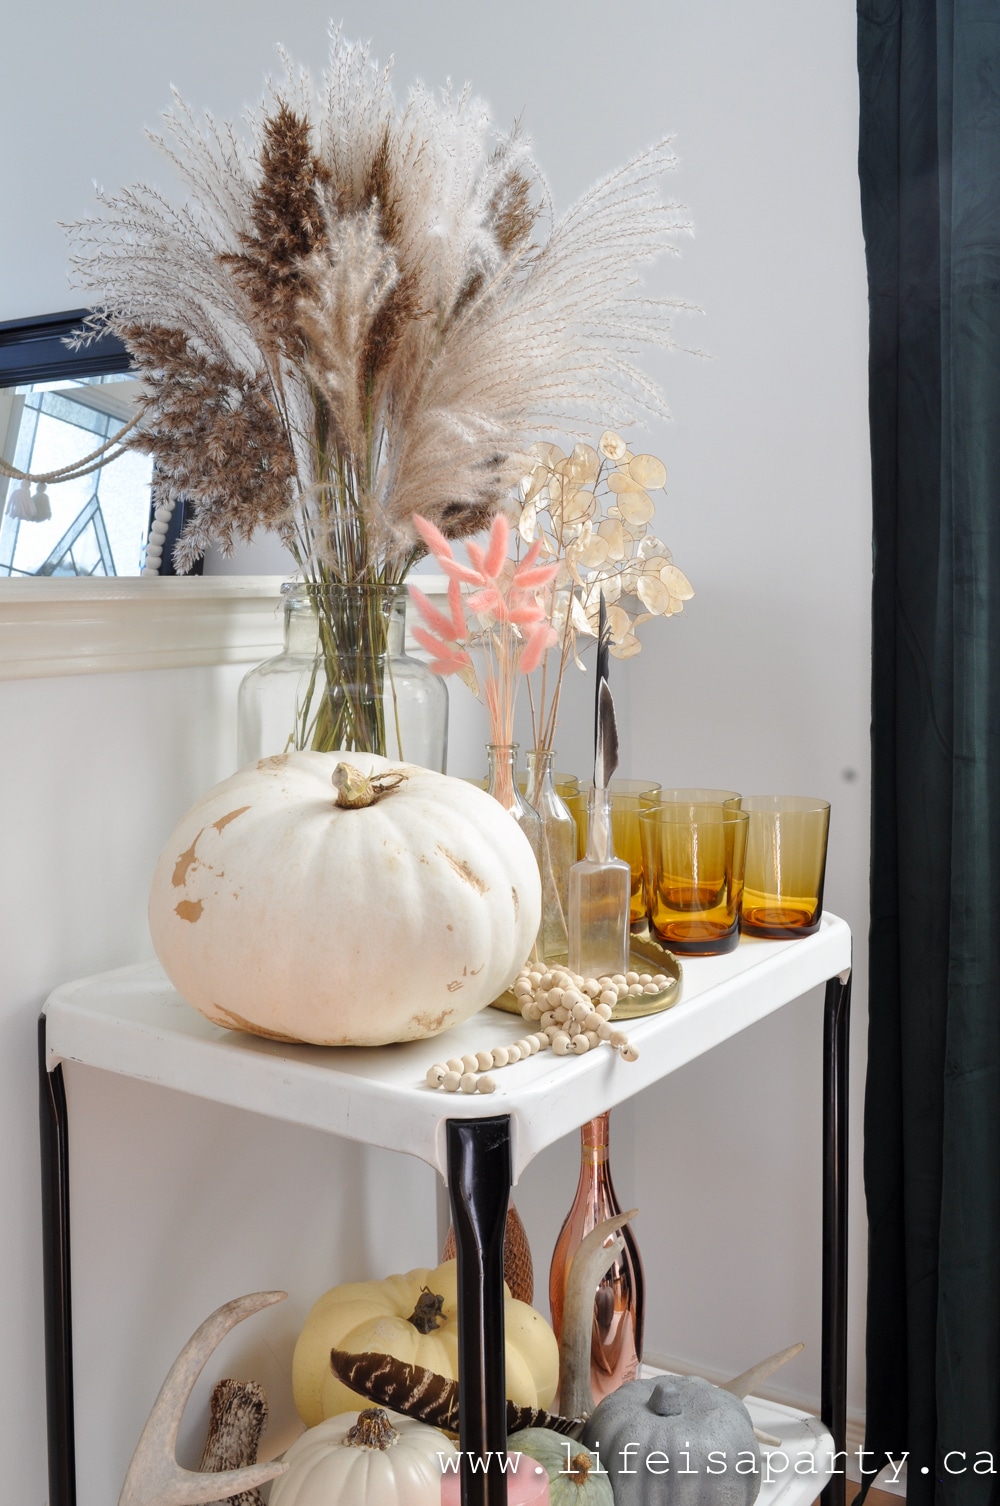
There's a beautiful white pumpkin from the garden and some dried florals.  

fall dried pampas grass

This fall I had so much fun with the dried flowers and grasses.  There's also some amber glasses perfect for fall, and lots more faux pumpkins along with some gorgeous deer antlers underneath.  One of the pumpkins on the bottom of the bar cart is a DIY Faux Concrete pumpkin -find a tutorial to make your own here.

fall dried flowers

Dried Flowers

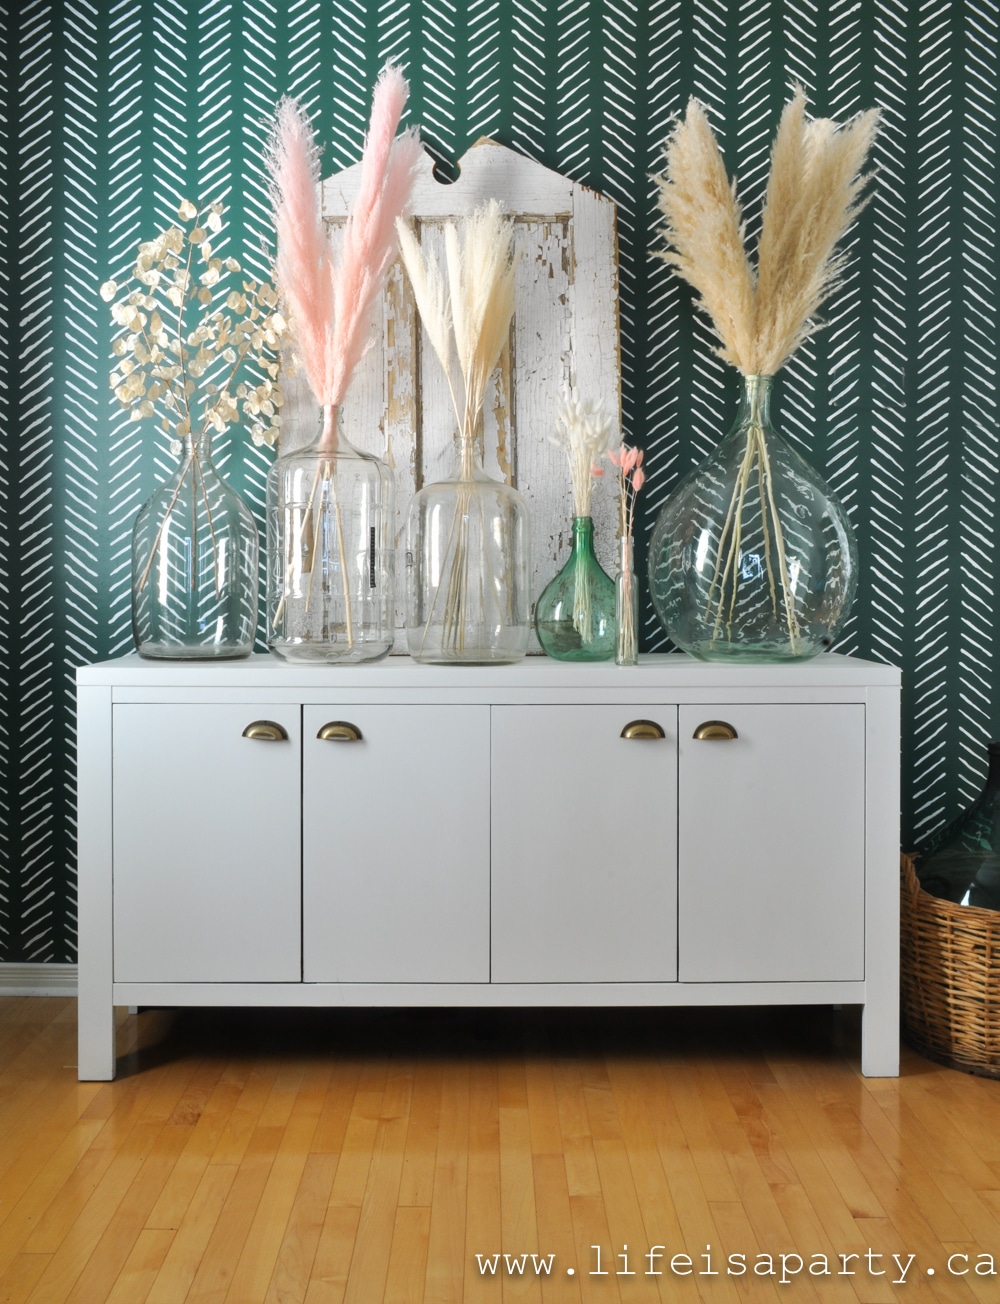
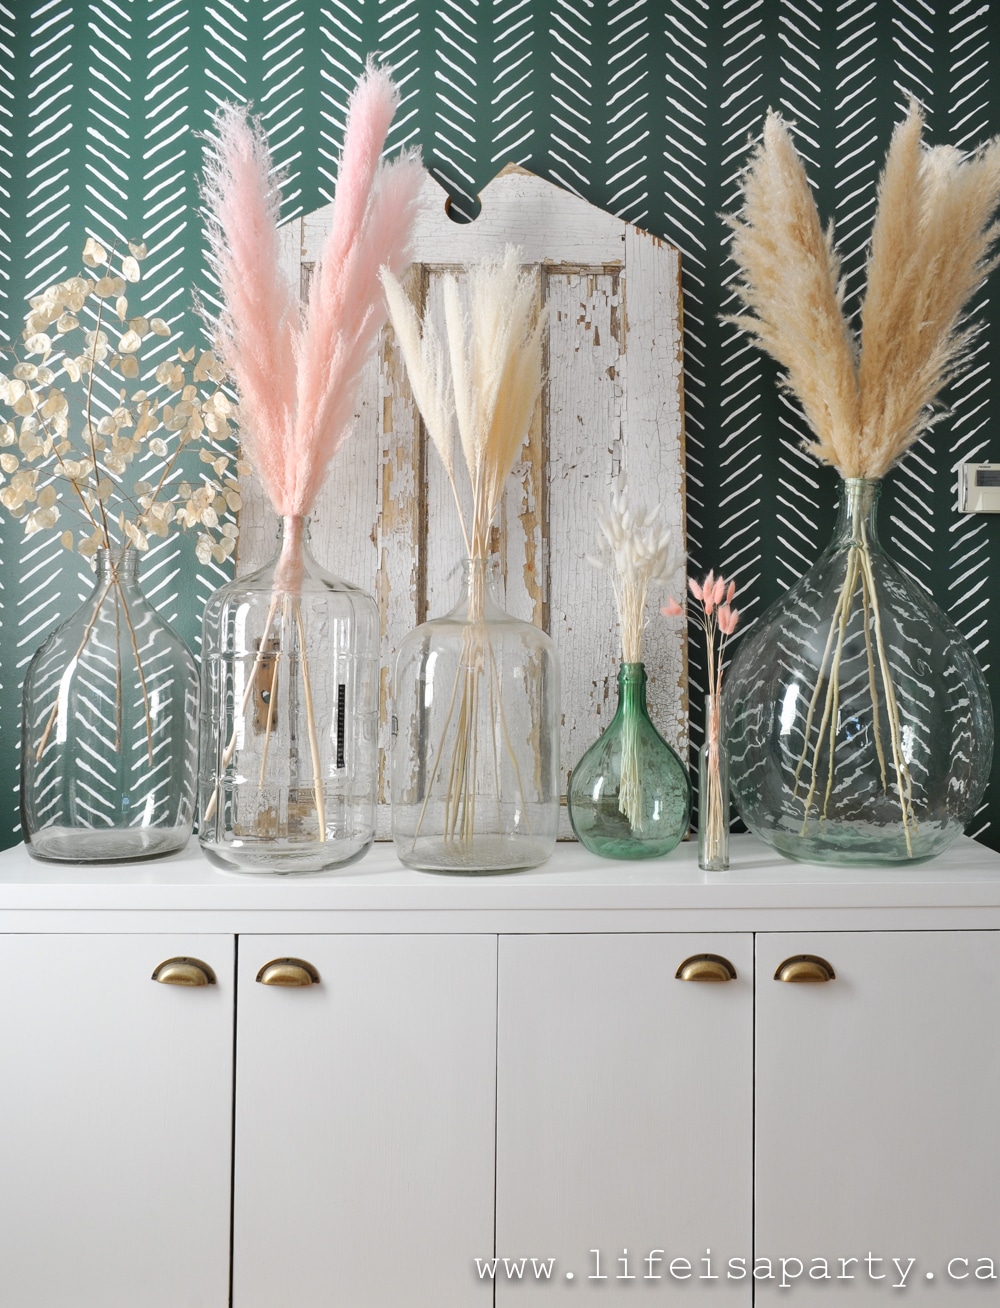
My favourite spot this fall has to be my dining room buffet filled with beautiful dried flowers.

boho fall decor

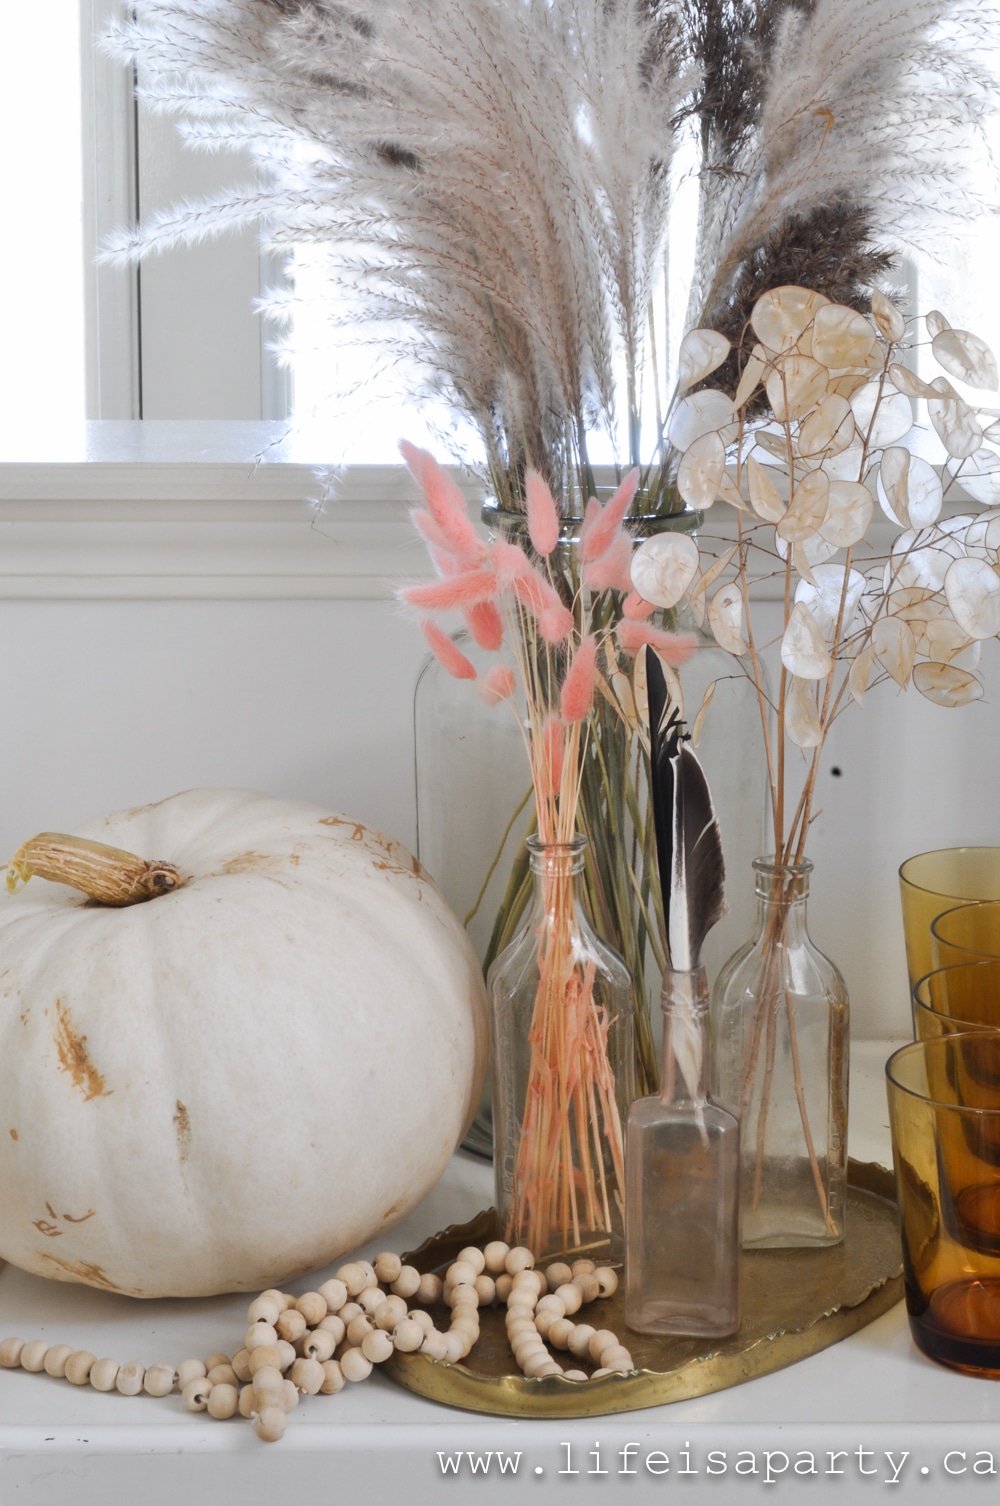
I partnered with Everything Frivolous, a Canadian etsy shop to add these beautiful ones.  The glass bottles, sometimes called car bouys or jardinars are all from thrift stores or found second hand on-line.  I've had so much fun adding things for every season.  I love the look of dried flowers and grasses that's so trendy right now, so this was the perfect spot to add a little collection.

boho home decor

The colours are subtle, which help make it not too much.  I used pink pampas grass, bleached dried maiden grass, white bunny tails, pink bunny tails, natural pampas grass.  There's also a little money plant from my mom's garden.

The Stairs

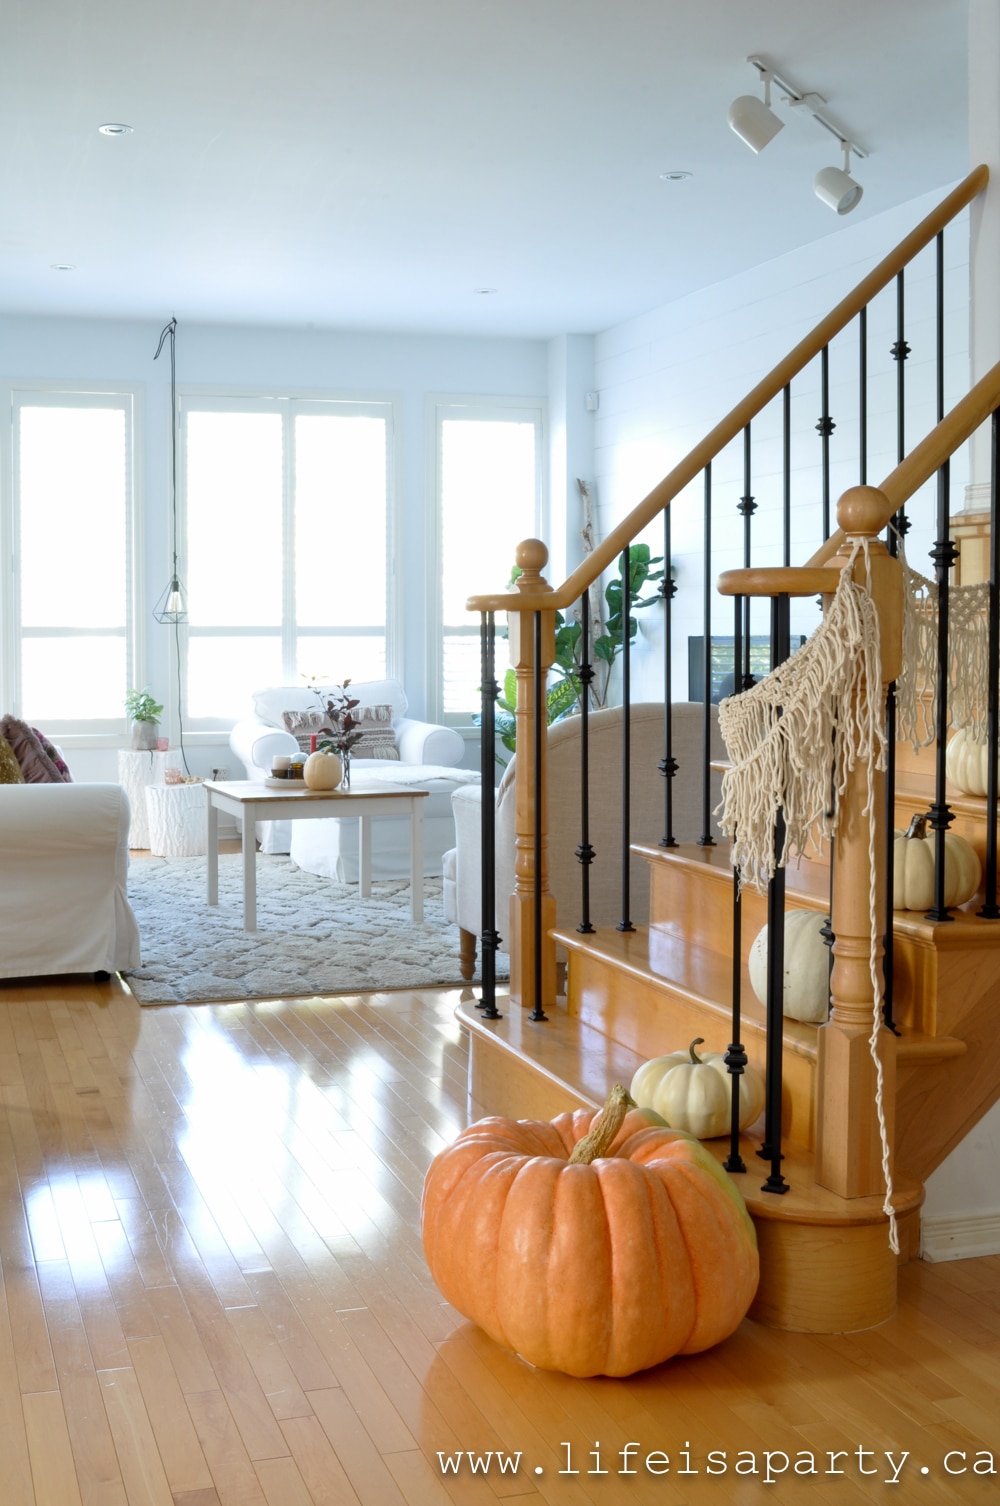
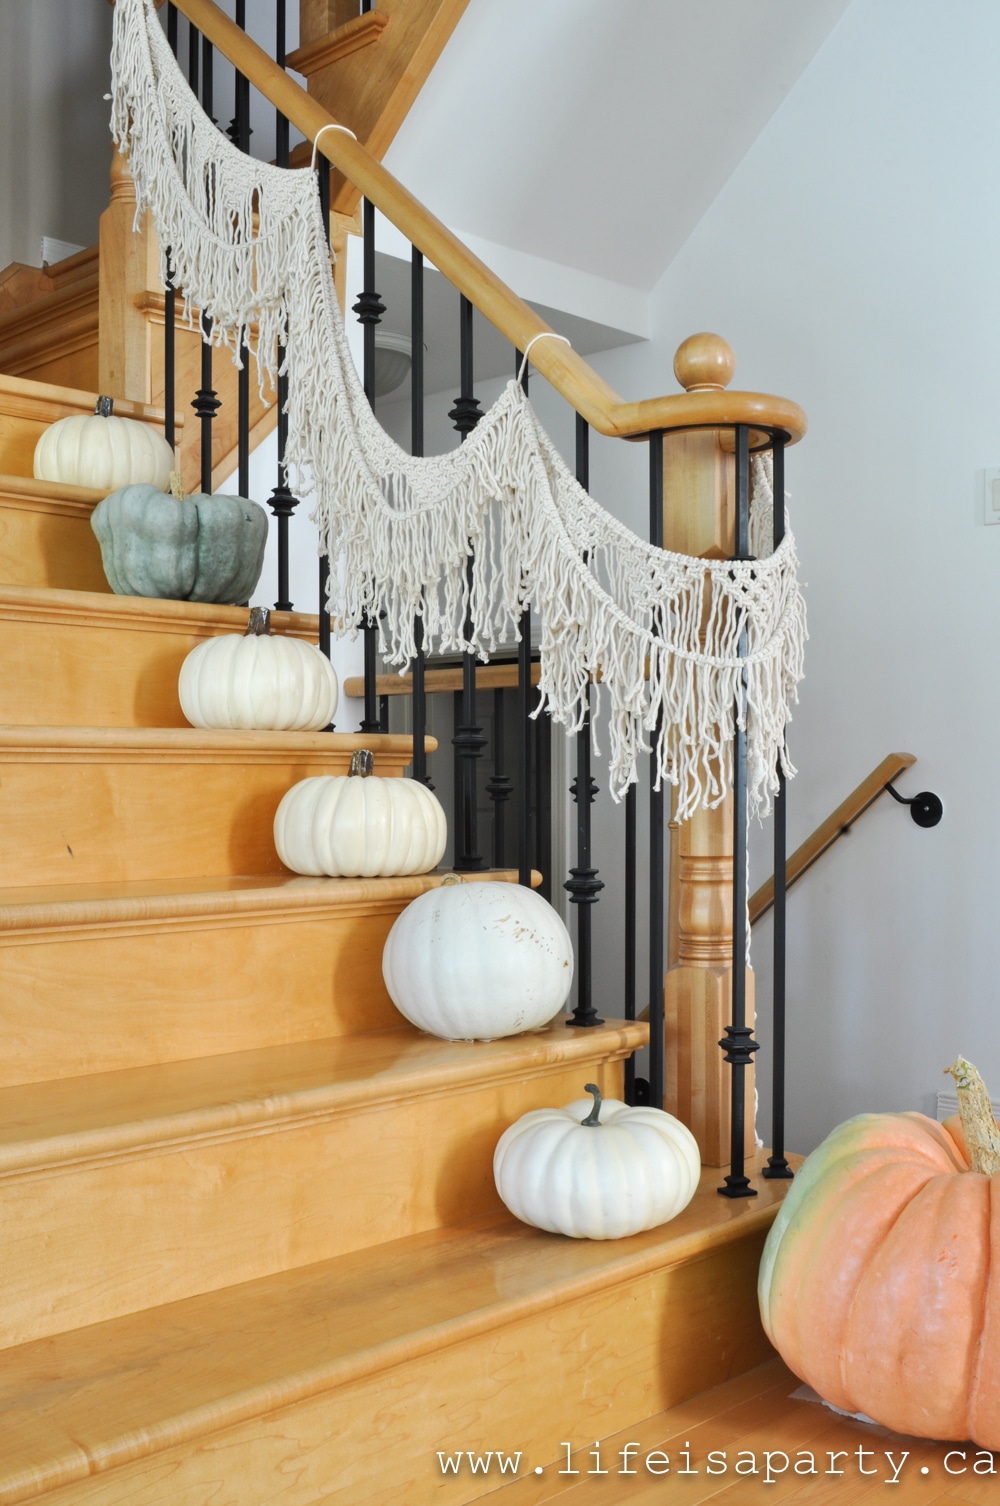
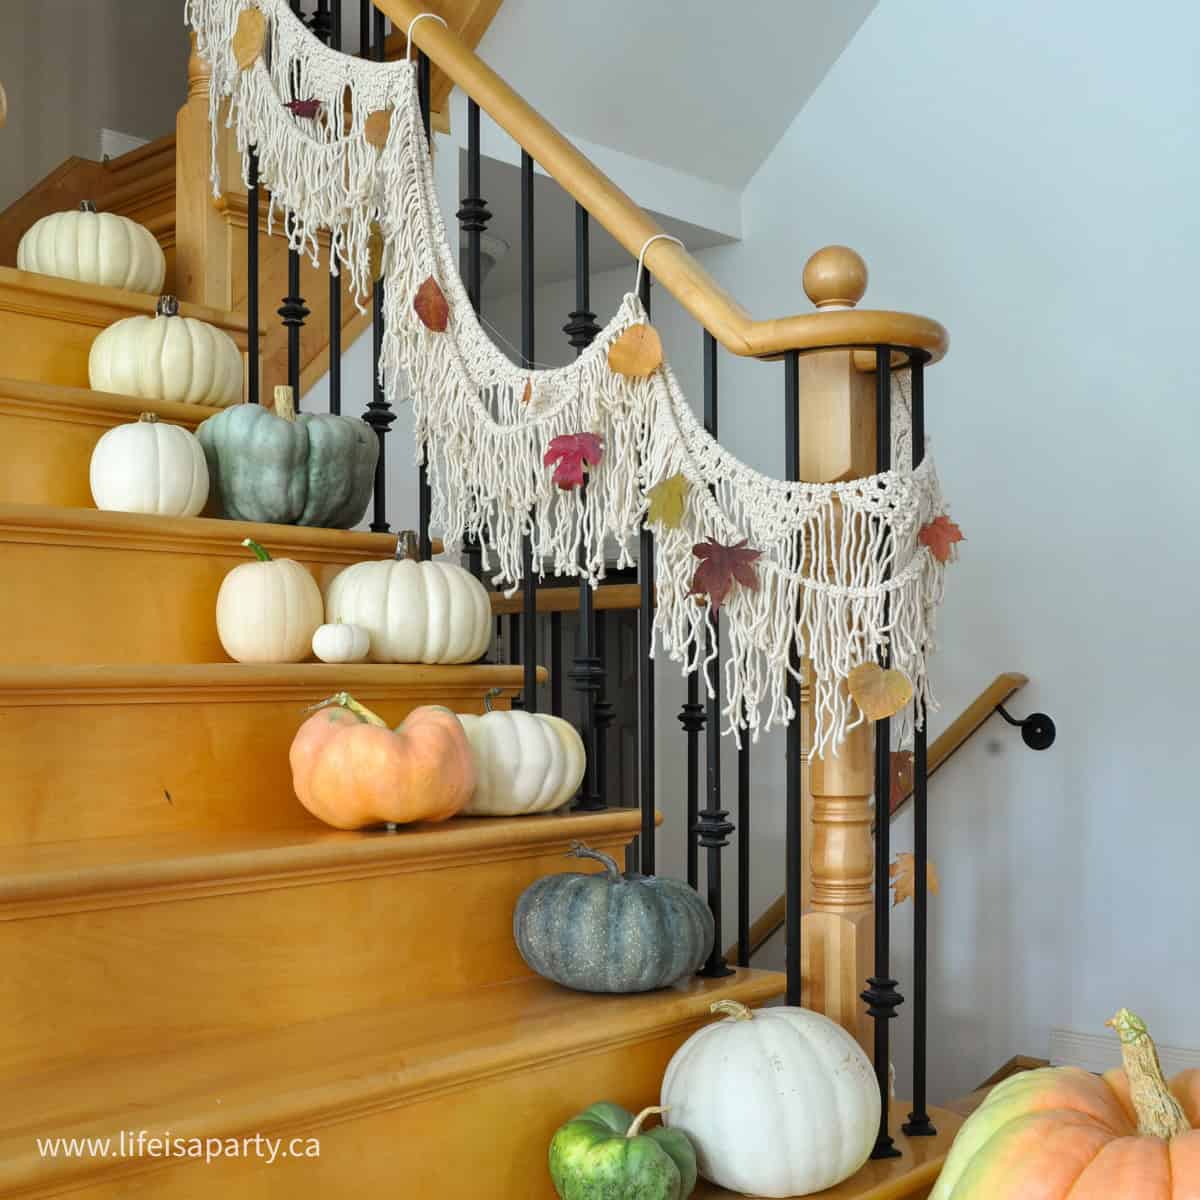
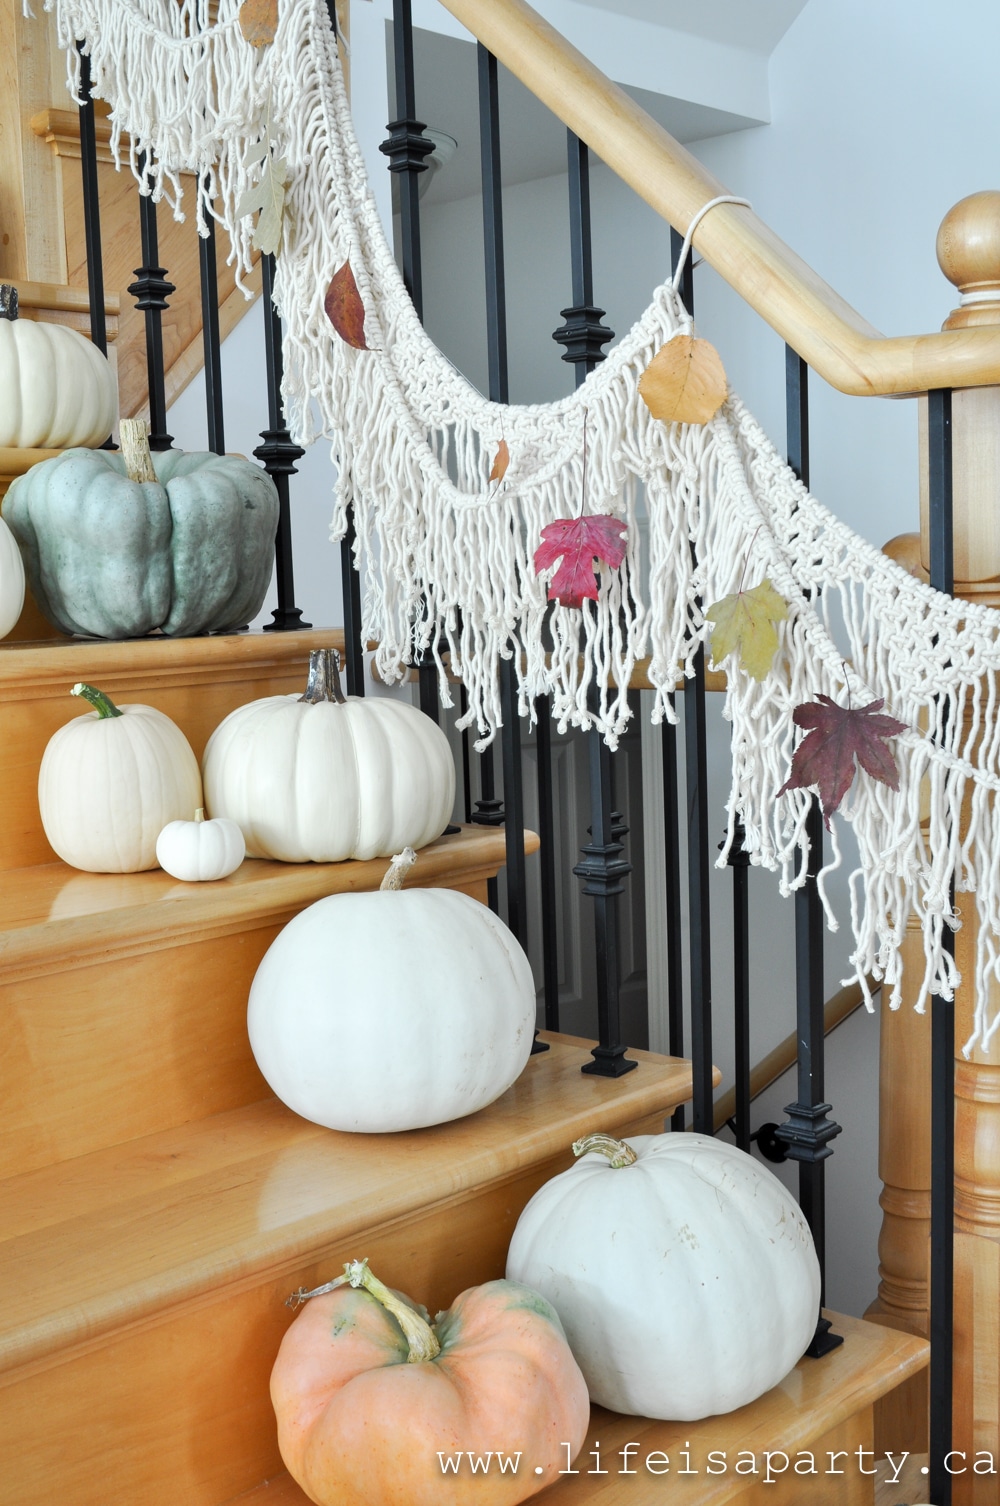
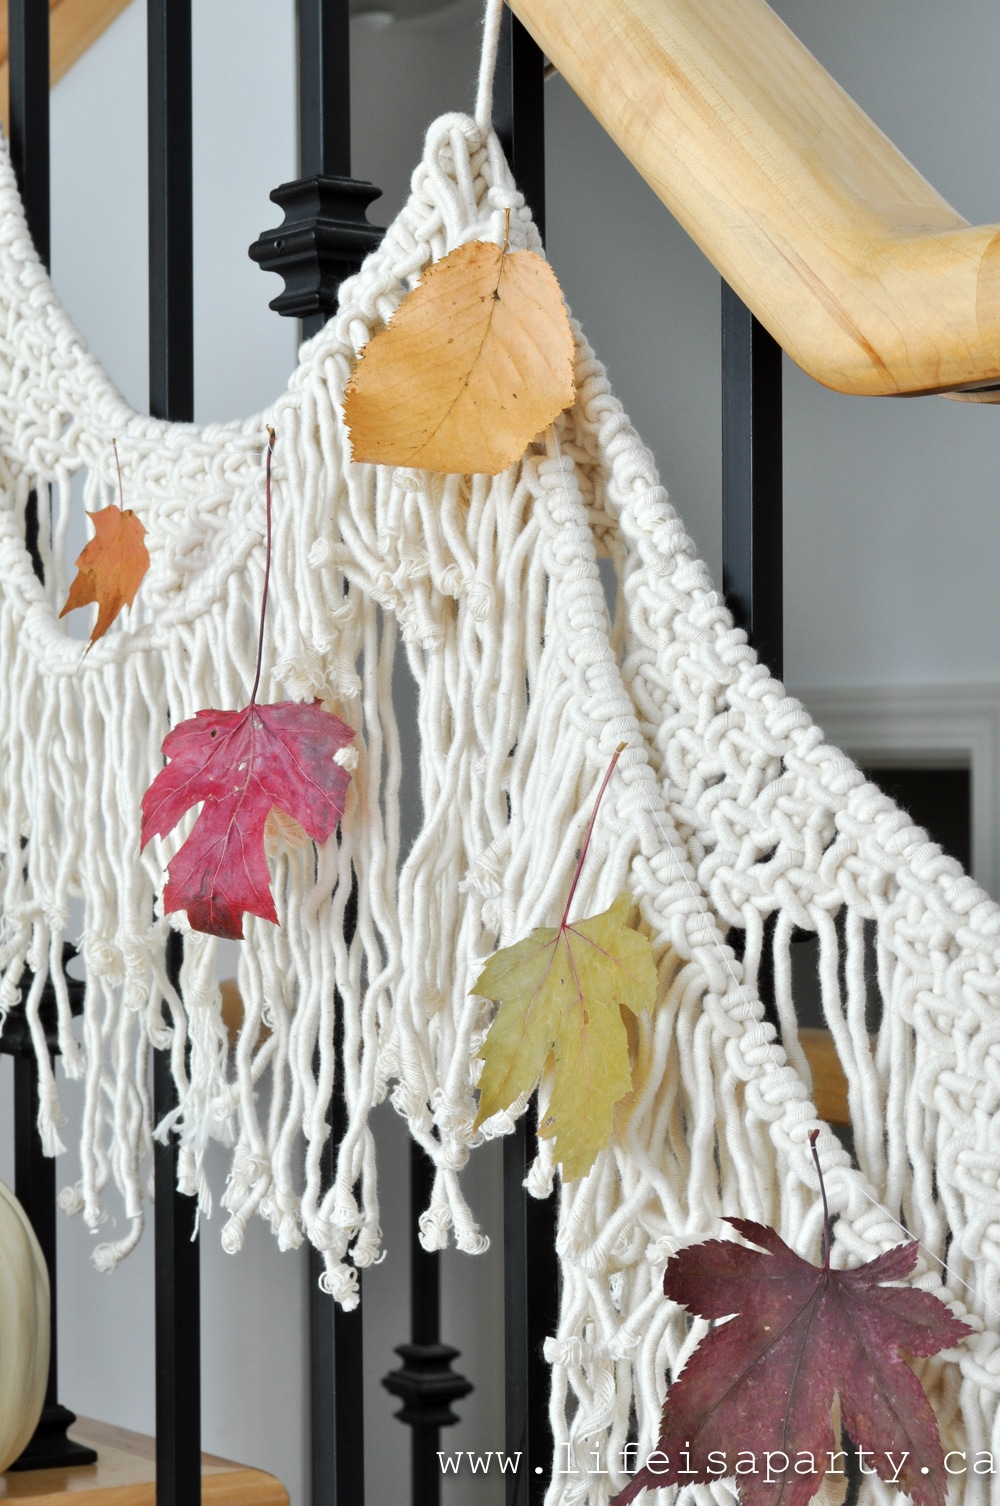
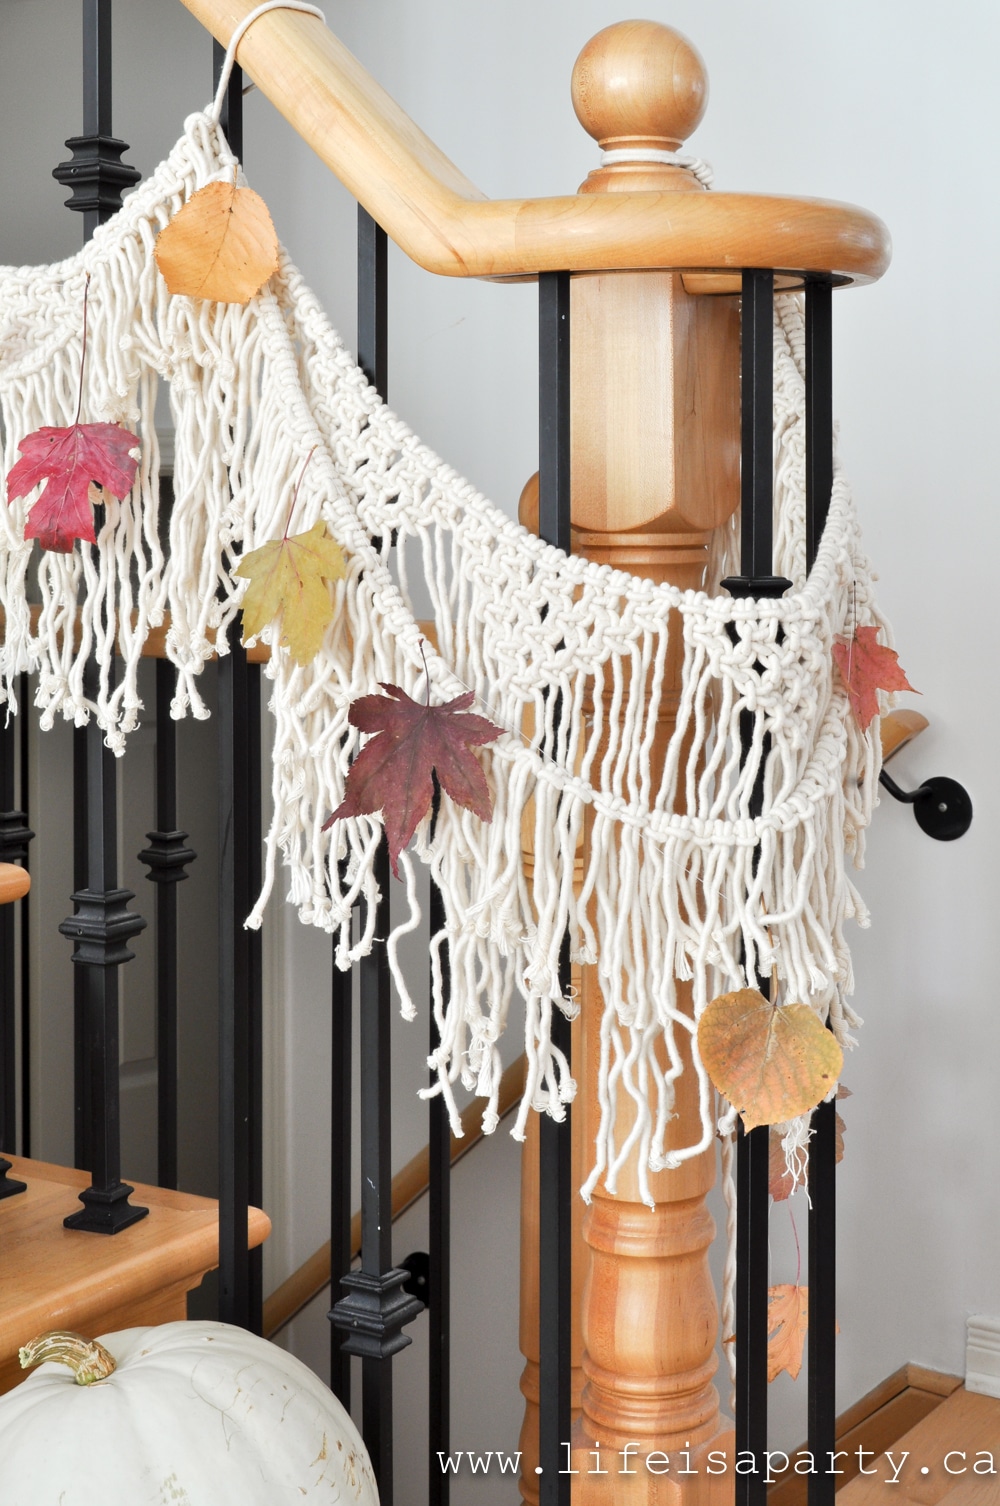
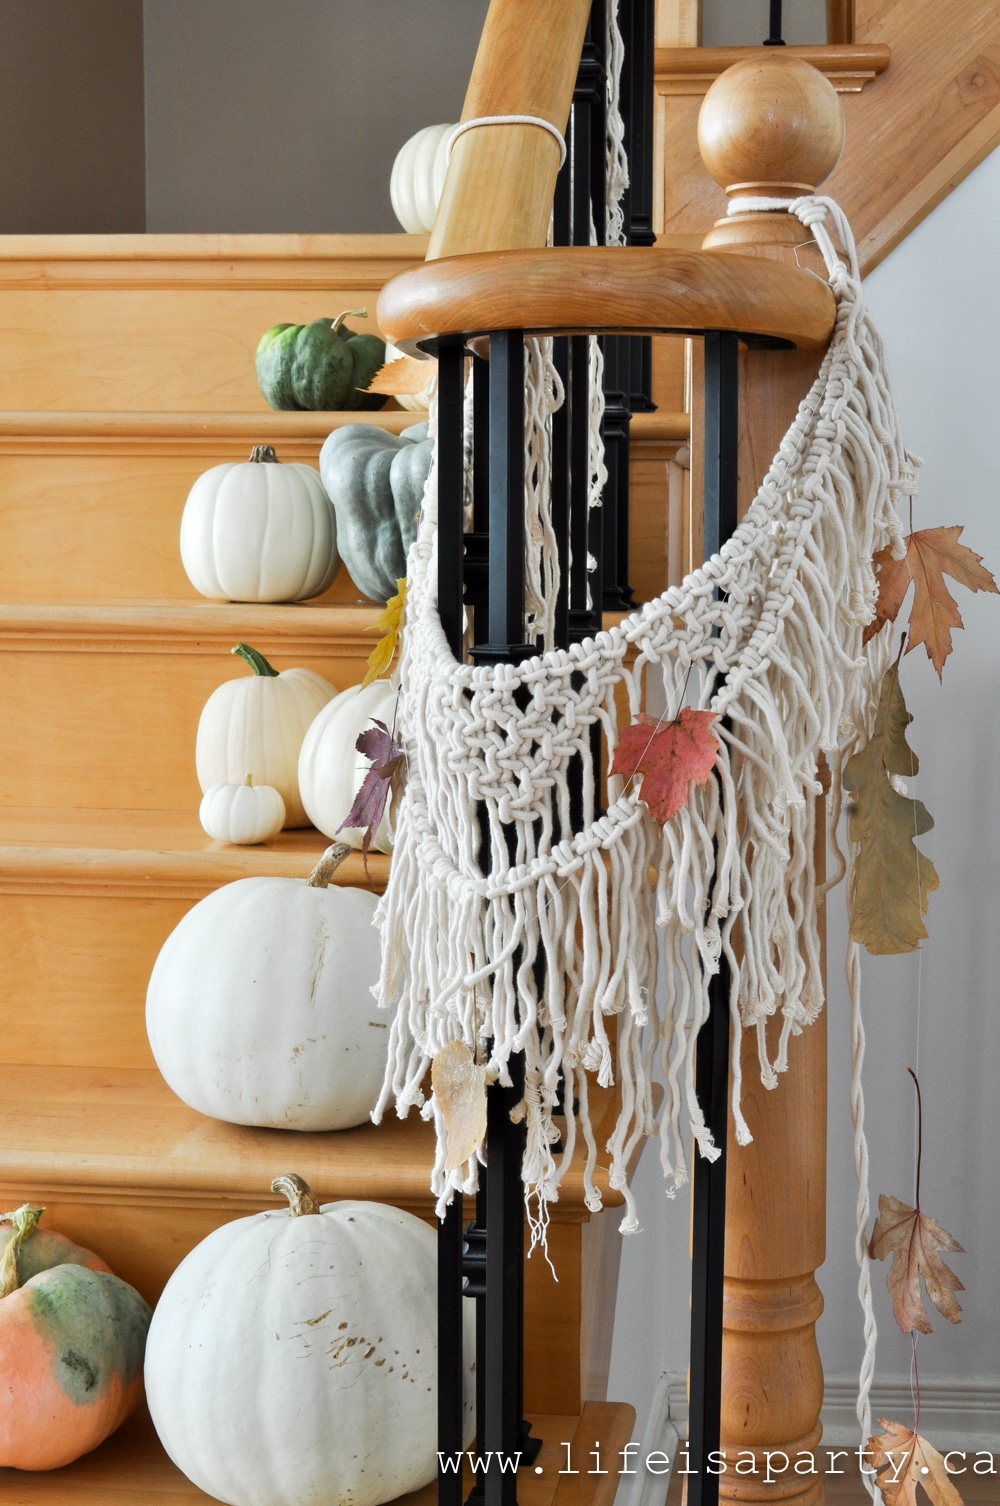
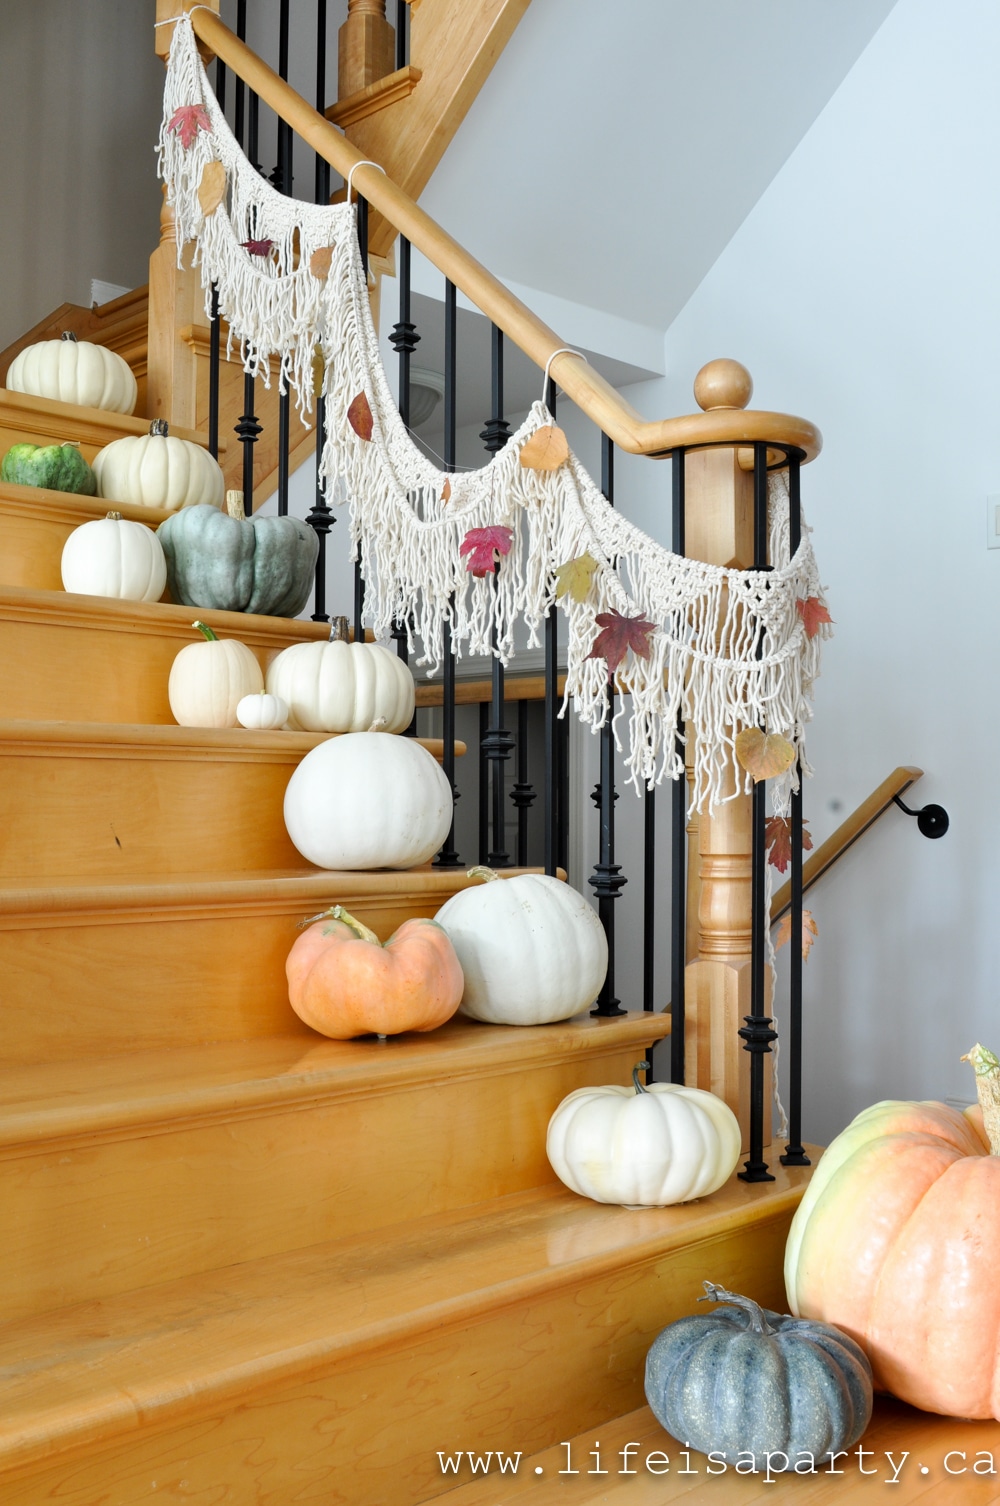
I've added a fun macrame garland to the stairs this fall.

fall home tour

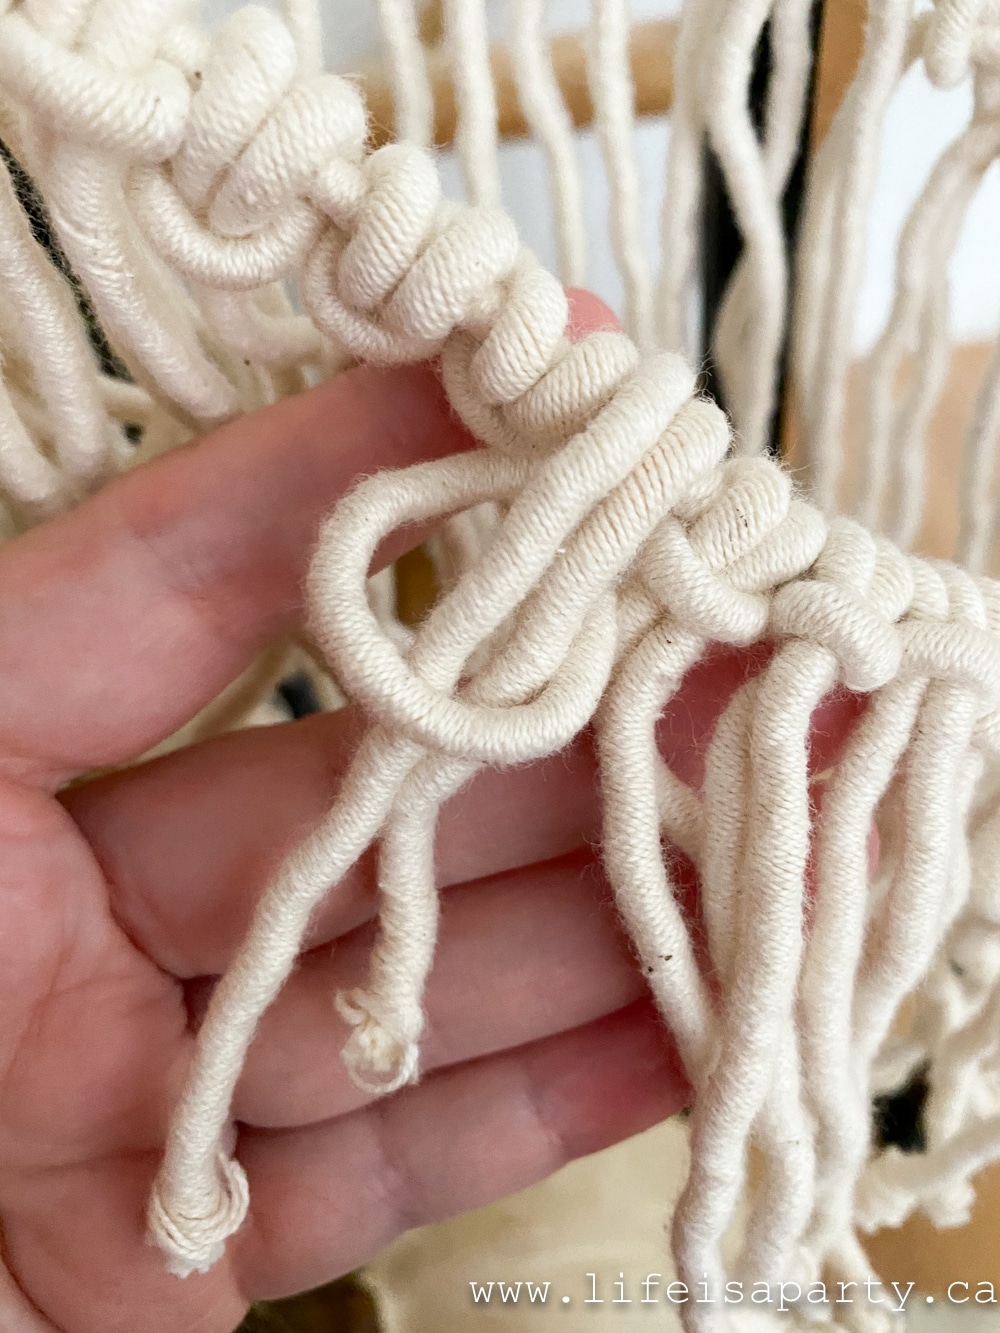
You can find a full tutorial on how to make the macrame garland here.  It only takes two knots to create this one.   I love it and I'm already thinking of how I can dress it up for Christmas too.  

macrame garland for stairs

For fall, it looks perfect with all the fun pumpkins.  The large one at the bottom is the giant one that grew in the garden this summer -kind of my pride and joy.  A little tip when using real pumpkins in your decor is to set them on top of something, I used some parchment paper under mine and to keep your eye on them.  They won't last forever in doors where it's warm, and you don't want to damage any surfaces like tables or hard wood floors if they begin to go bad.  The bottom is usually the first place they go.

Side Table

This little spot at the bottom of the stairs is a favourite on of mine to decorate.  

pink fall decor

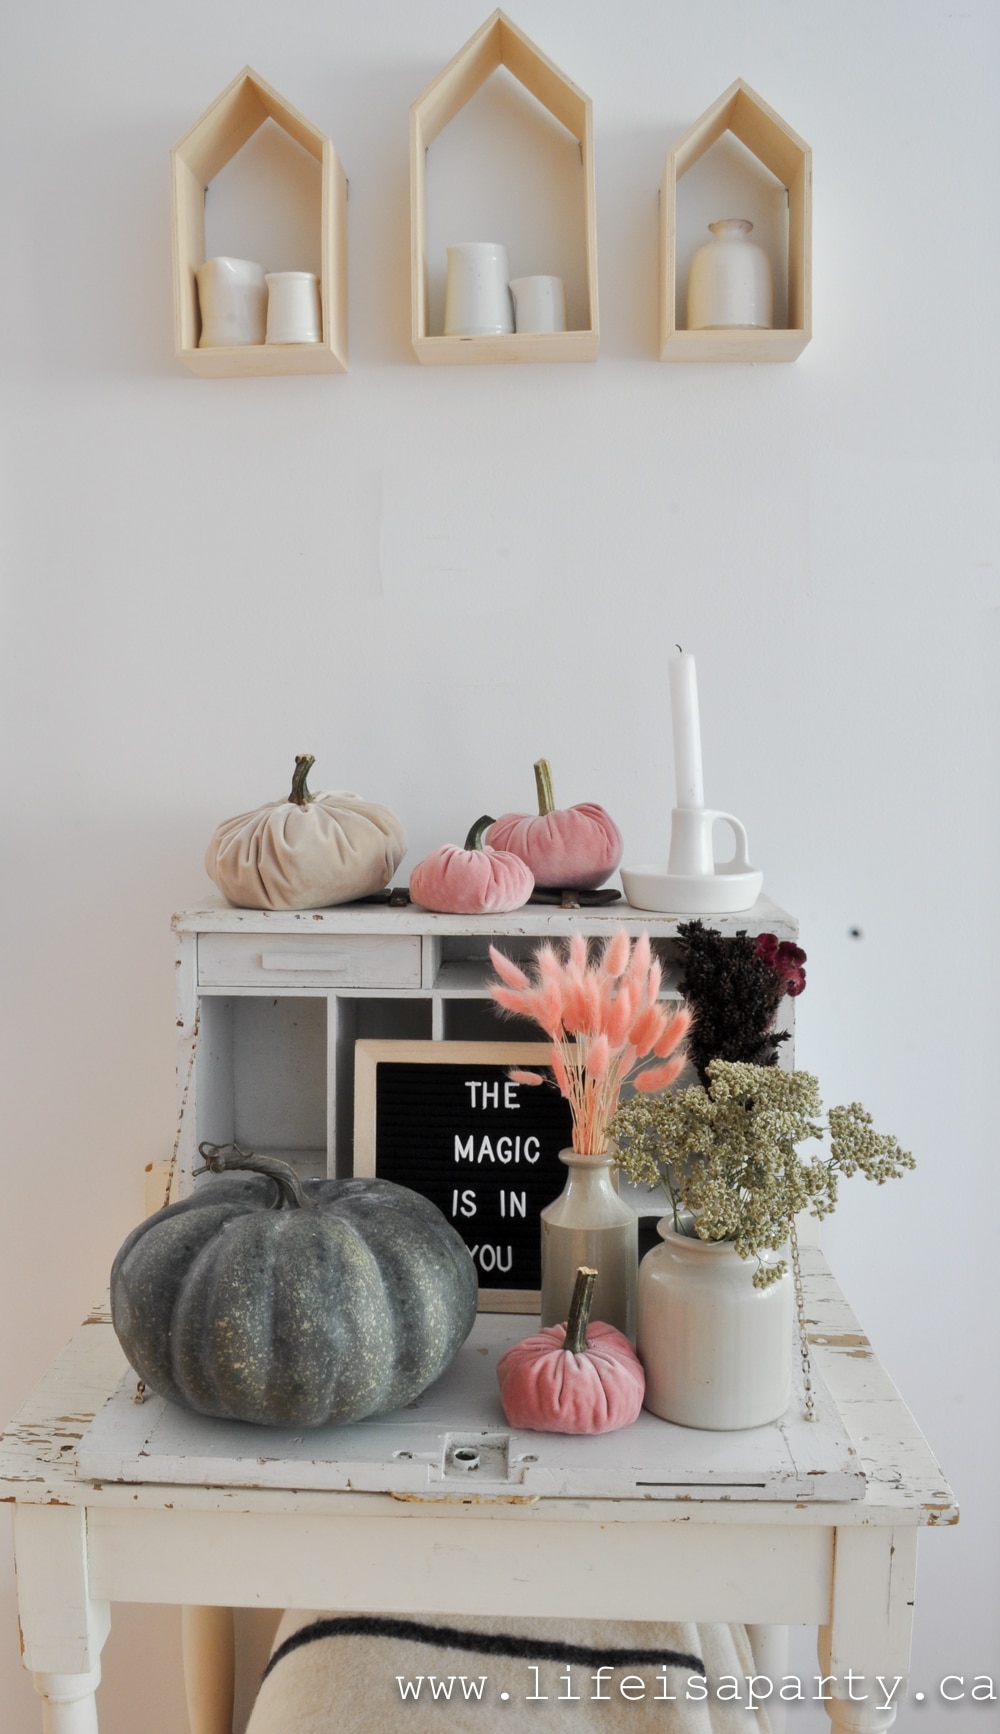
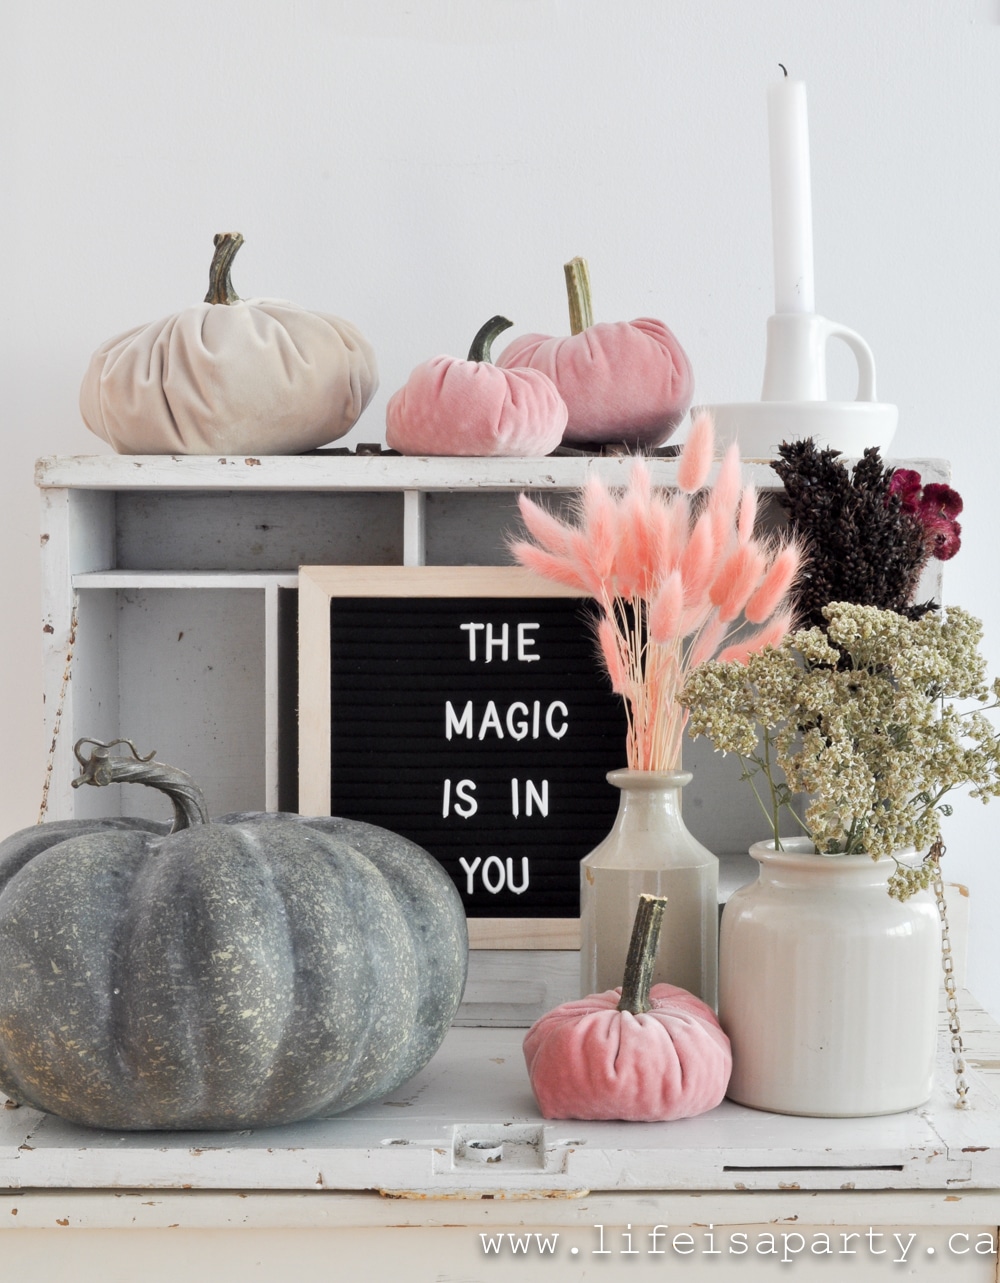
I used my DIY velvet pumpkins here.  They're actually made from an old velvet jacket.  And remember to save the stems from some of your pumpkins after this fall, because they are perfect for this craft.  

boho fall

I used a few more dried flowers here.  The pink bunny tails are a favourite.  The yarrow is some I dried from my garden.  The letter board is from the dollar store, and I love it.  The magic is in you.

Living Room

boho fall decor home tour

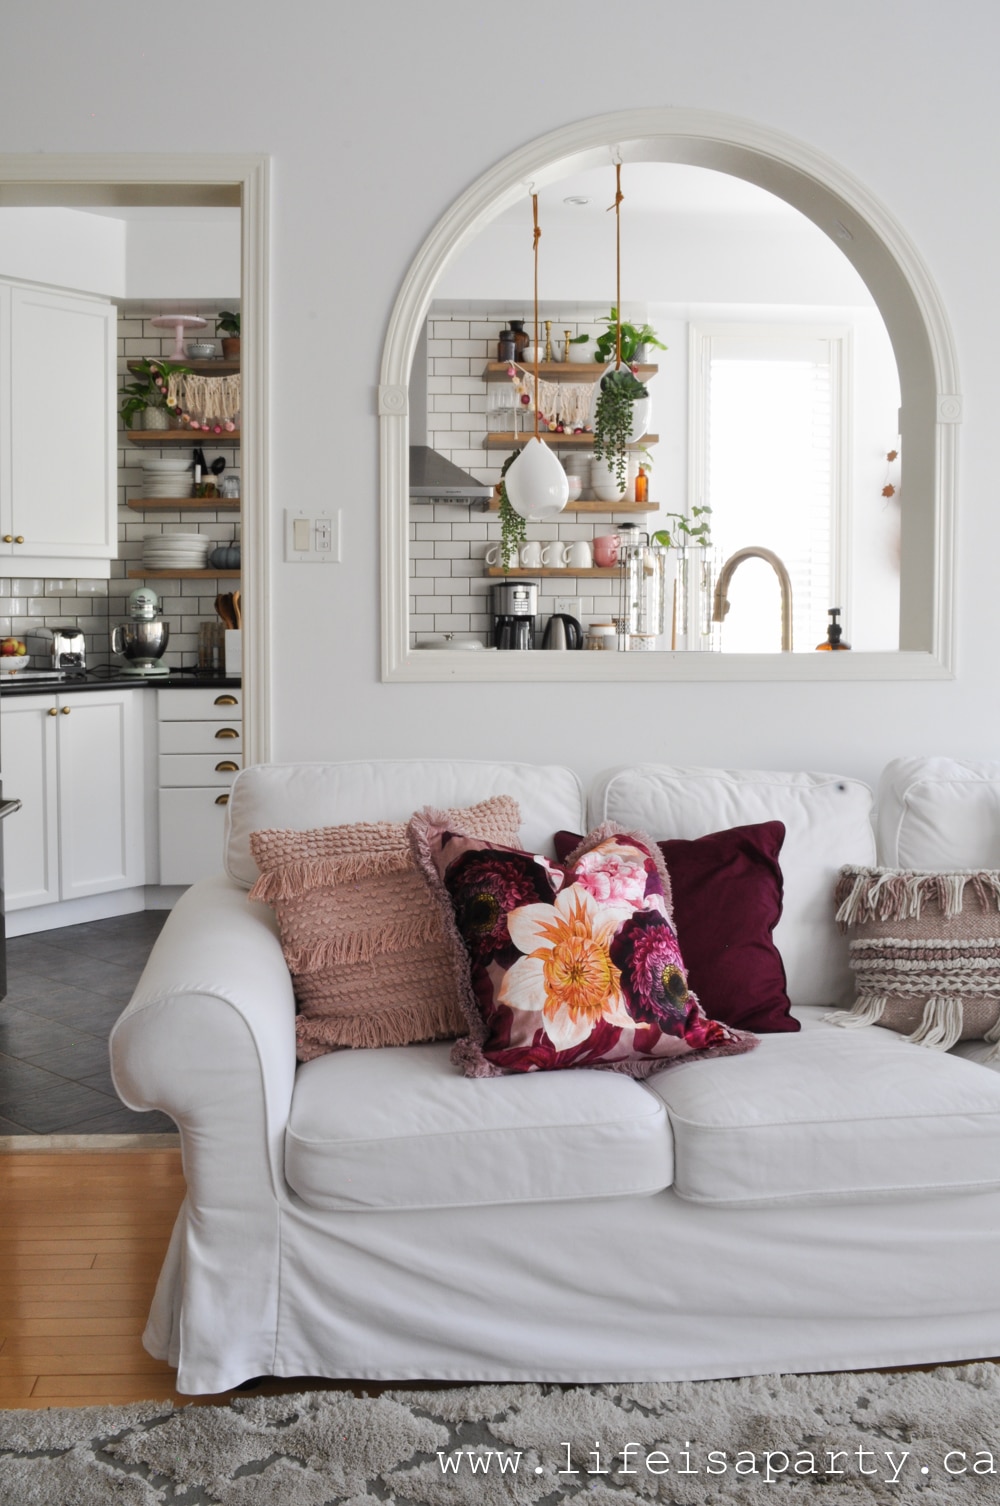
All of my fall decor this year was inspired by this beautiful velvet floral pillow -unfortunately it's sold out.  It inspired the colour scheme and the addition of all the florals.  

how to add some boho for fall

Mantel

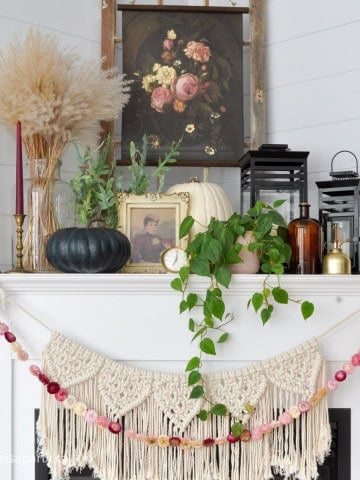
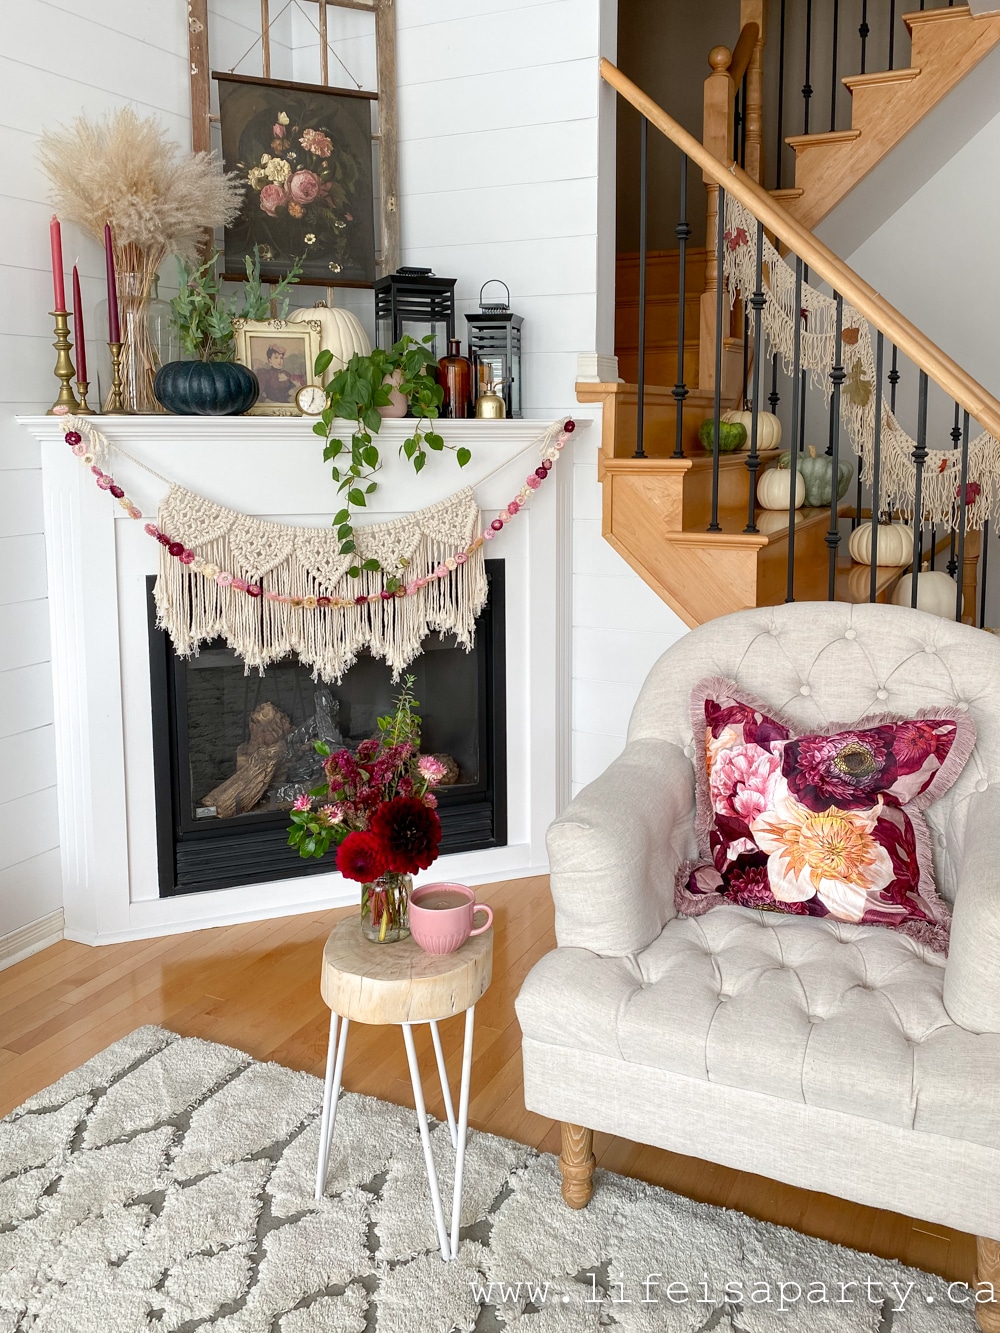
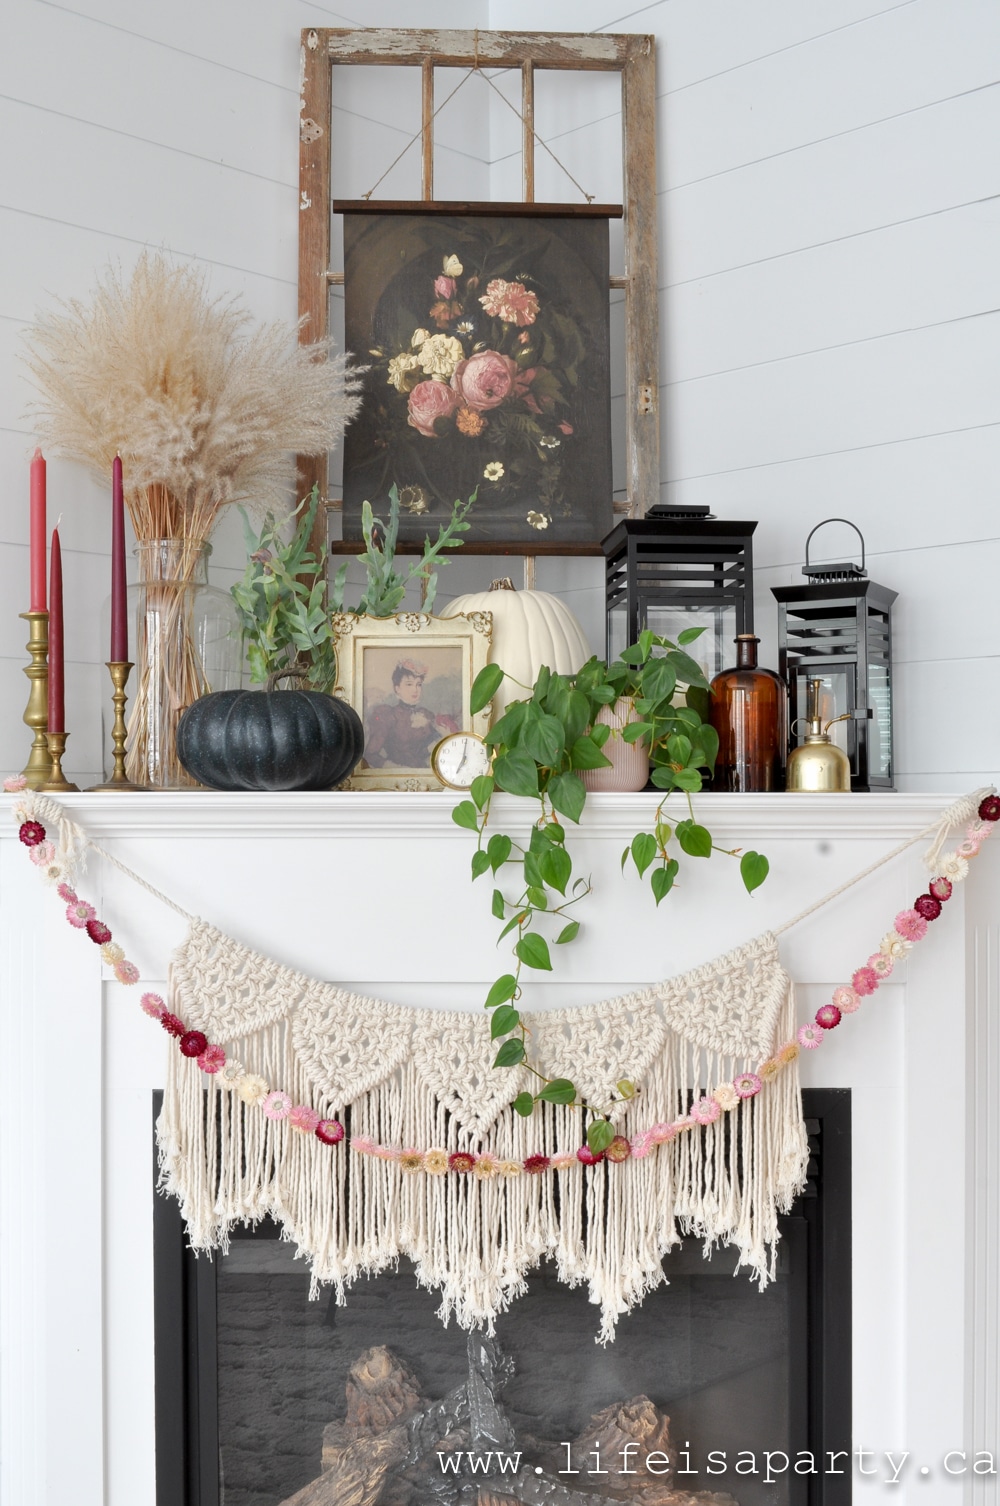
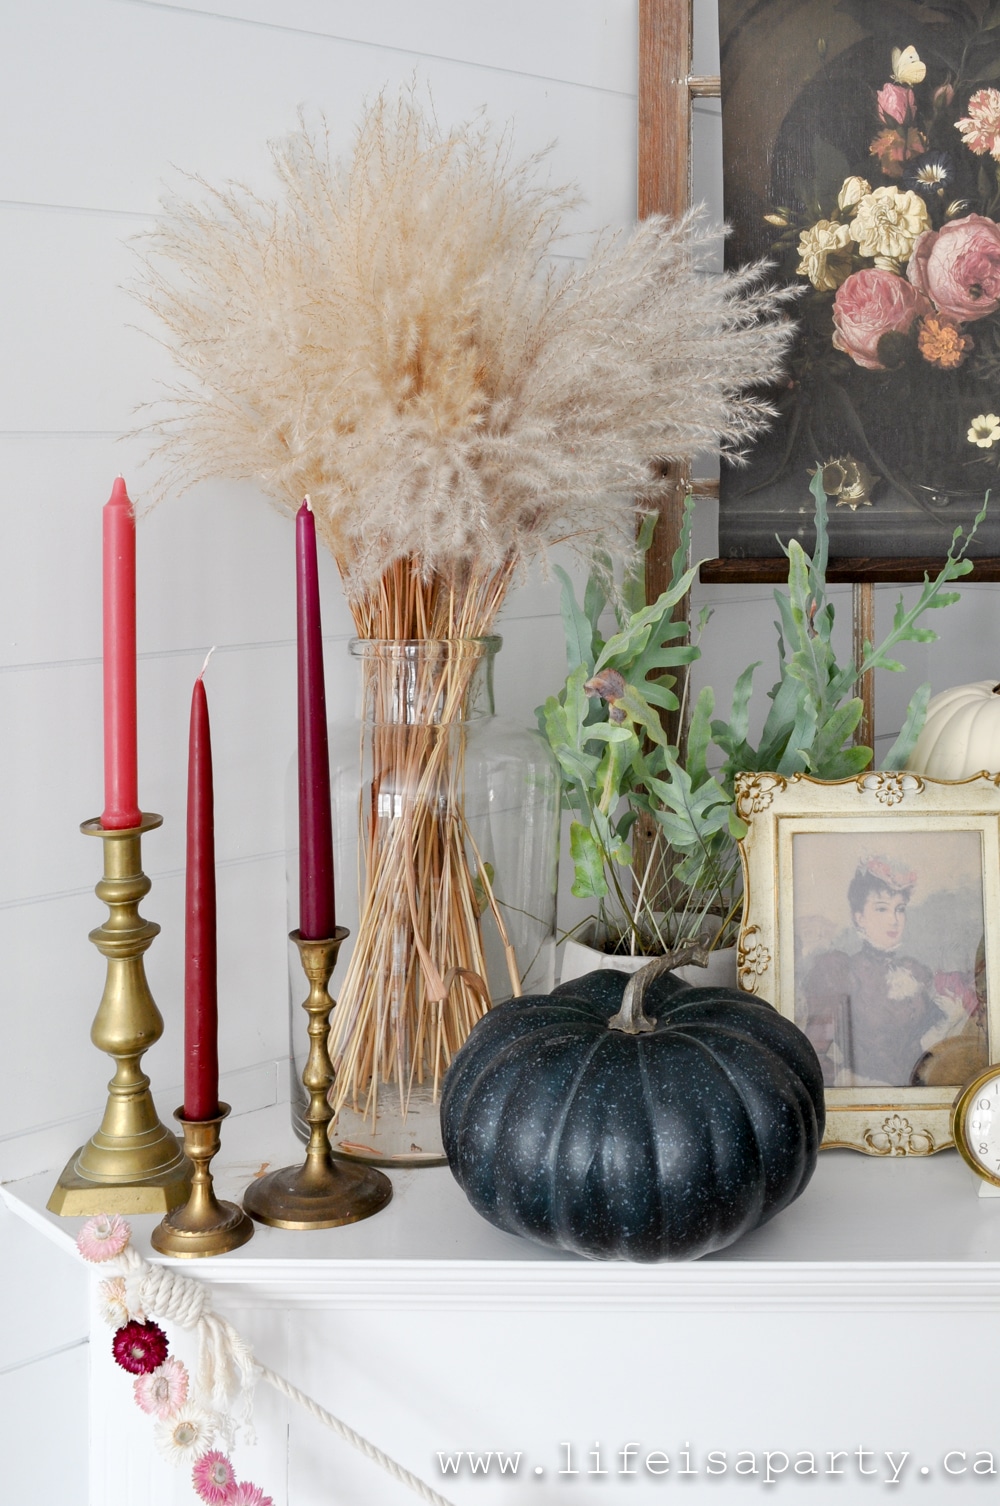
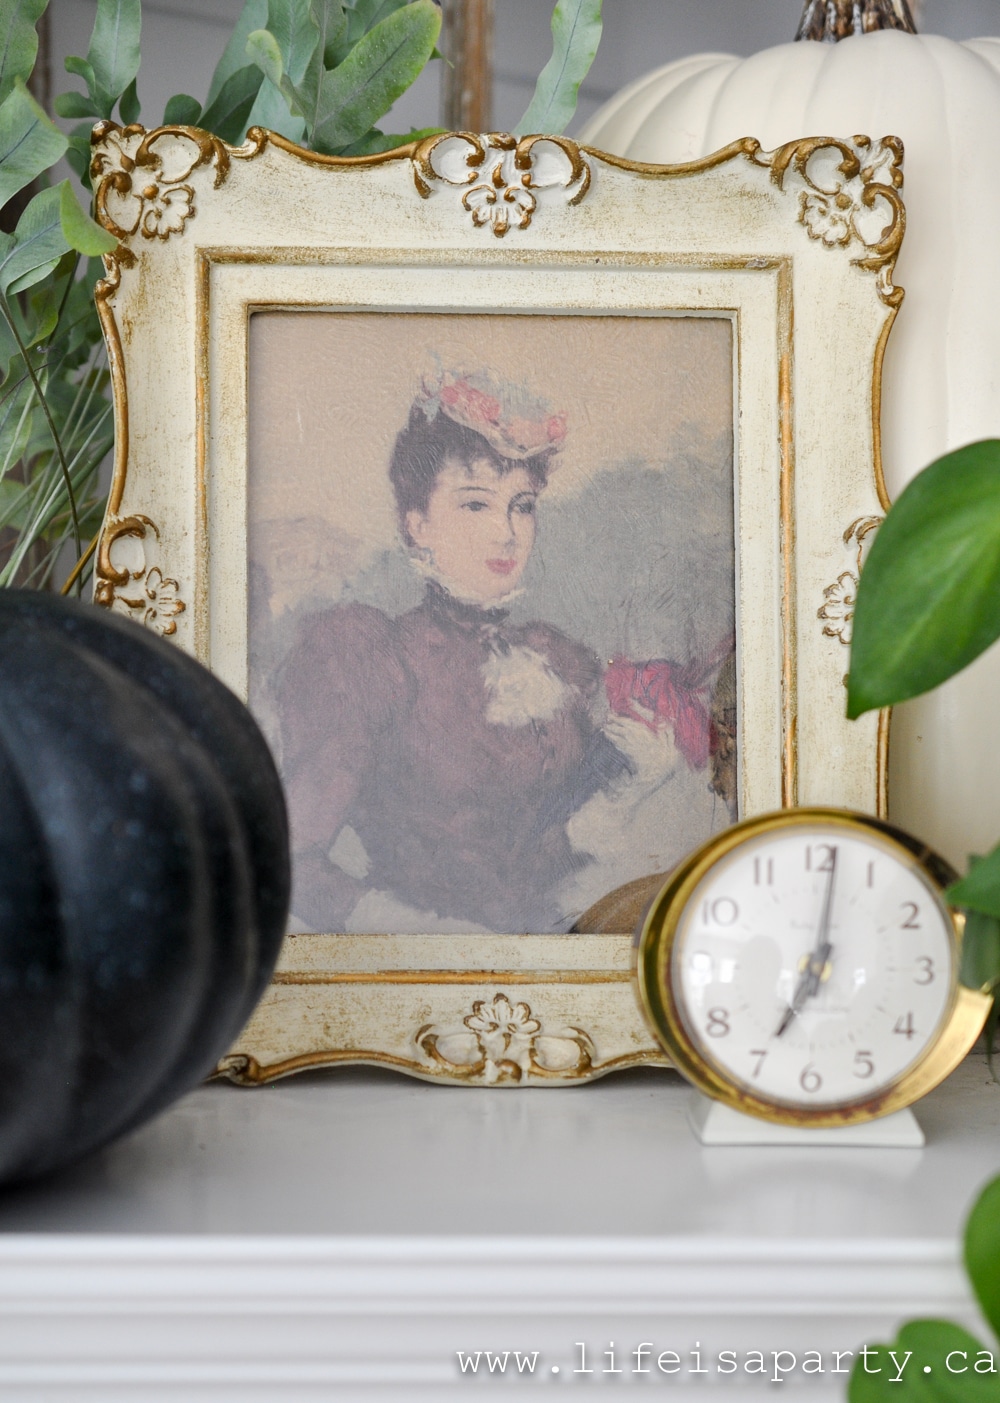
Over on the fireplace mantel I used a beautiful floral print inspired by the pillow.  You can read all the details here in this post on my boho fall mantel, including the link to the free art that was used to create a colour engineering print.

boho fall home decor
boho fall mantel

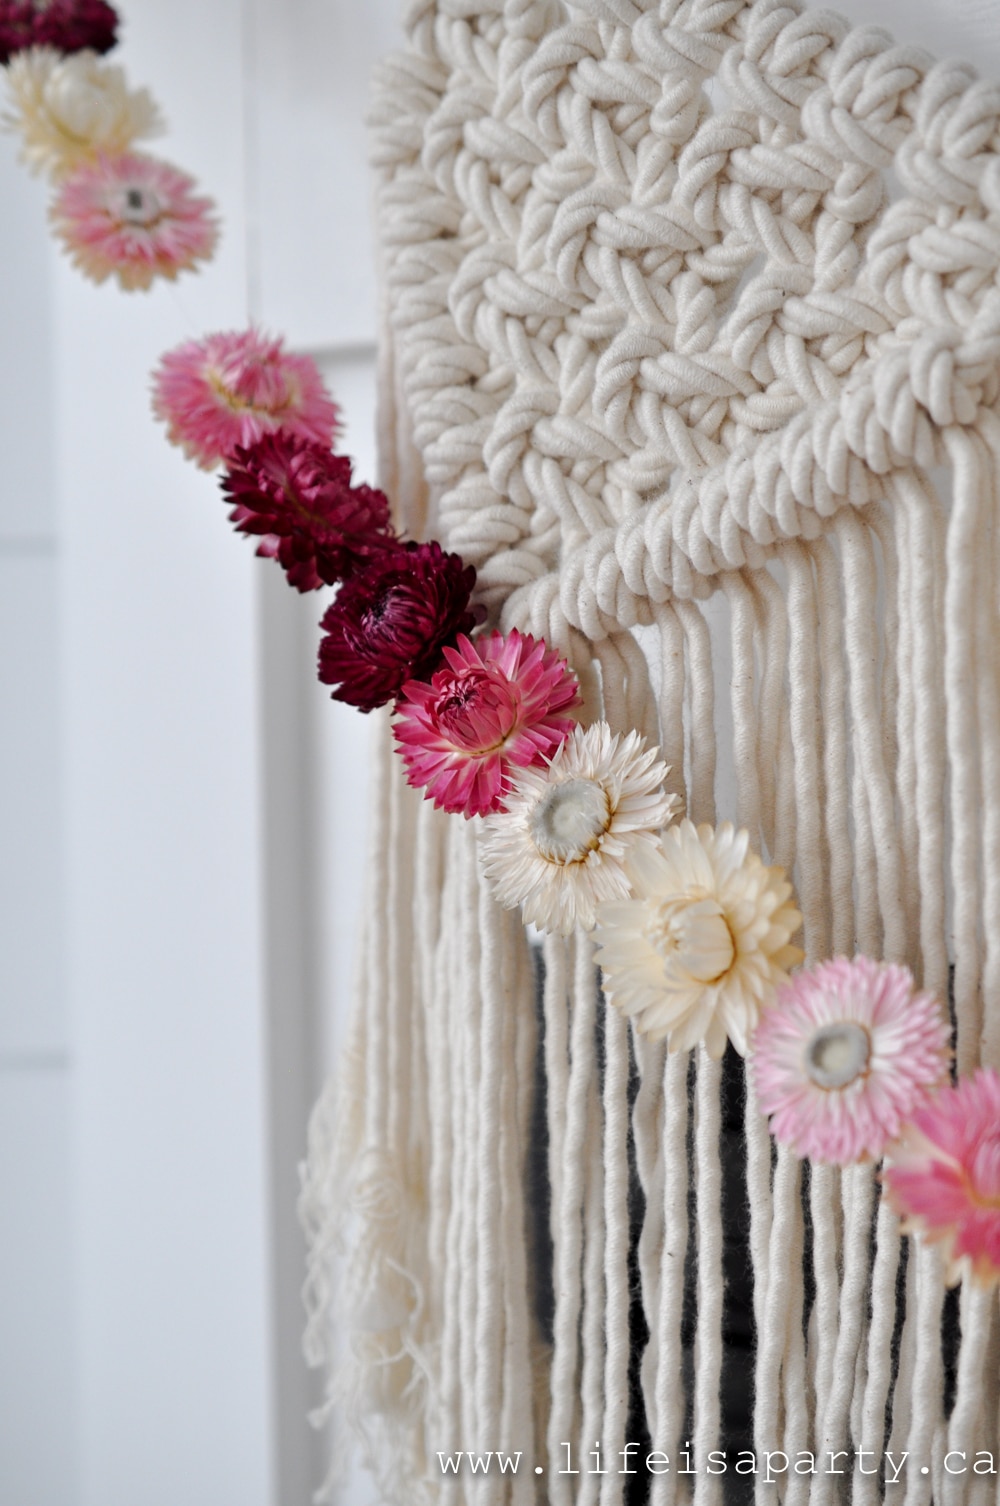
There's also more brass candle sticks and amber glass.  I've also layered a macrame garland with the beautiful straw flower garland.  I partnered with Country Mouse Boutique, a Canadian etsy shop.  To make the individual straw flowers into garland I used a needle and thread to string them together.  I love how it turned out.  The straw flowers feel perfect for fall.

pink decor for fall

Coffee Table

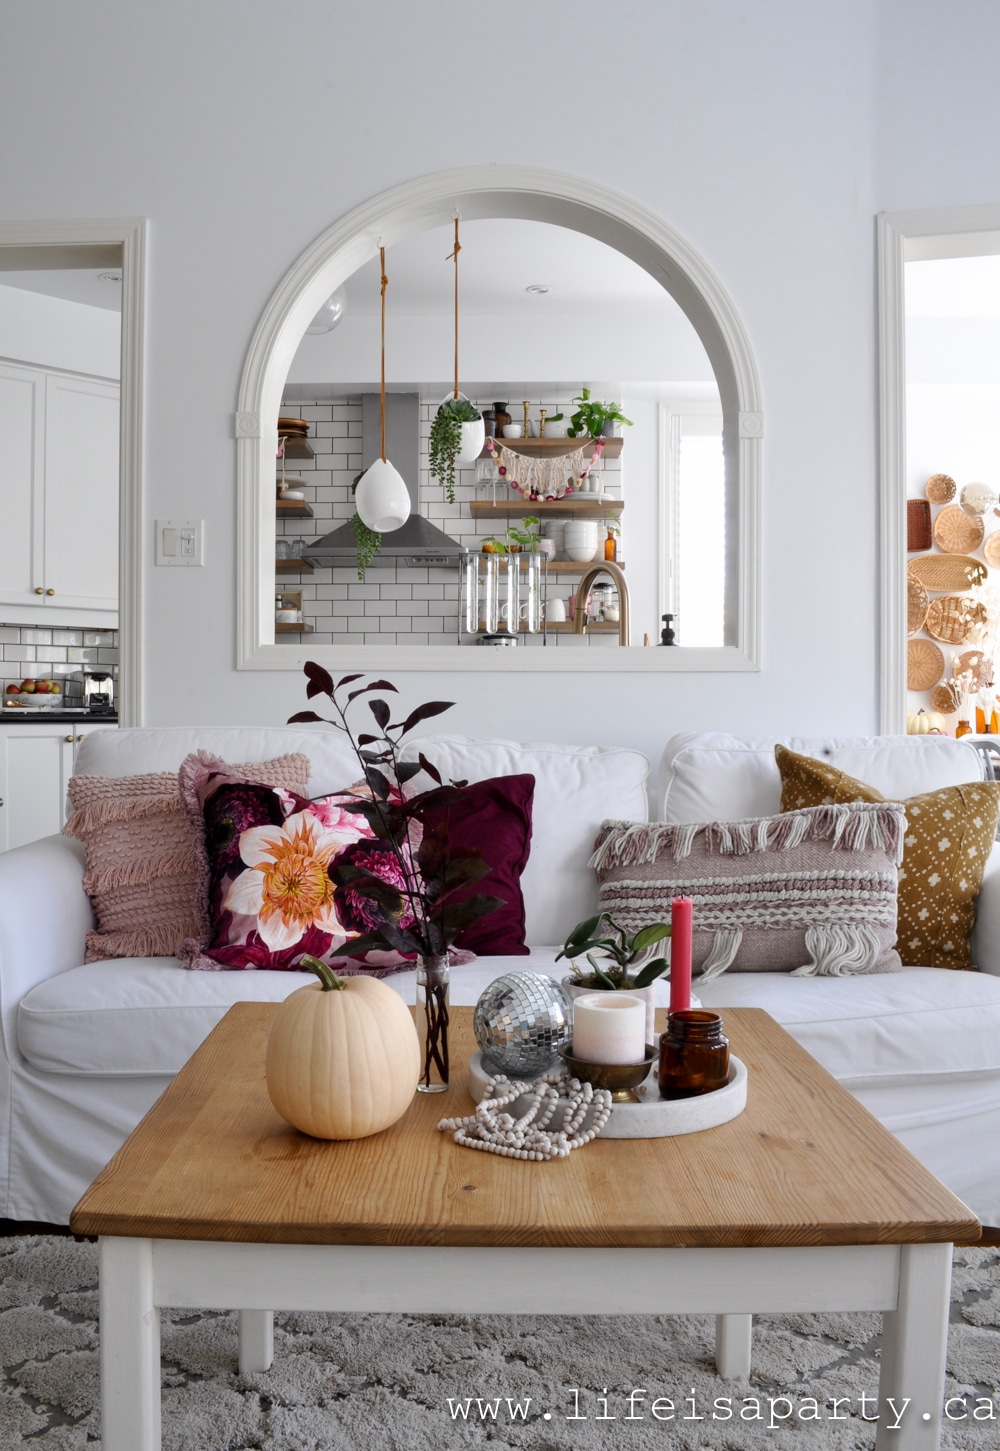
On the coffee table, I added another white pumpkin from the garden and some simple sand cherry leaves.  

pink fall decor

It's aways good to find a few pretty leaves outside and bring them in for fall.  The amber glass candle is actually an old yeast jar.  Remove the label and add a tea light.

boho fall

And in front of the window, some larger plants for the boho vibe.  

boho fall home tour

pink fall decorThis is my favourite spot for a cup of tea.

pink fall decor

The Kitchen

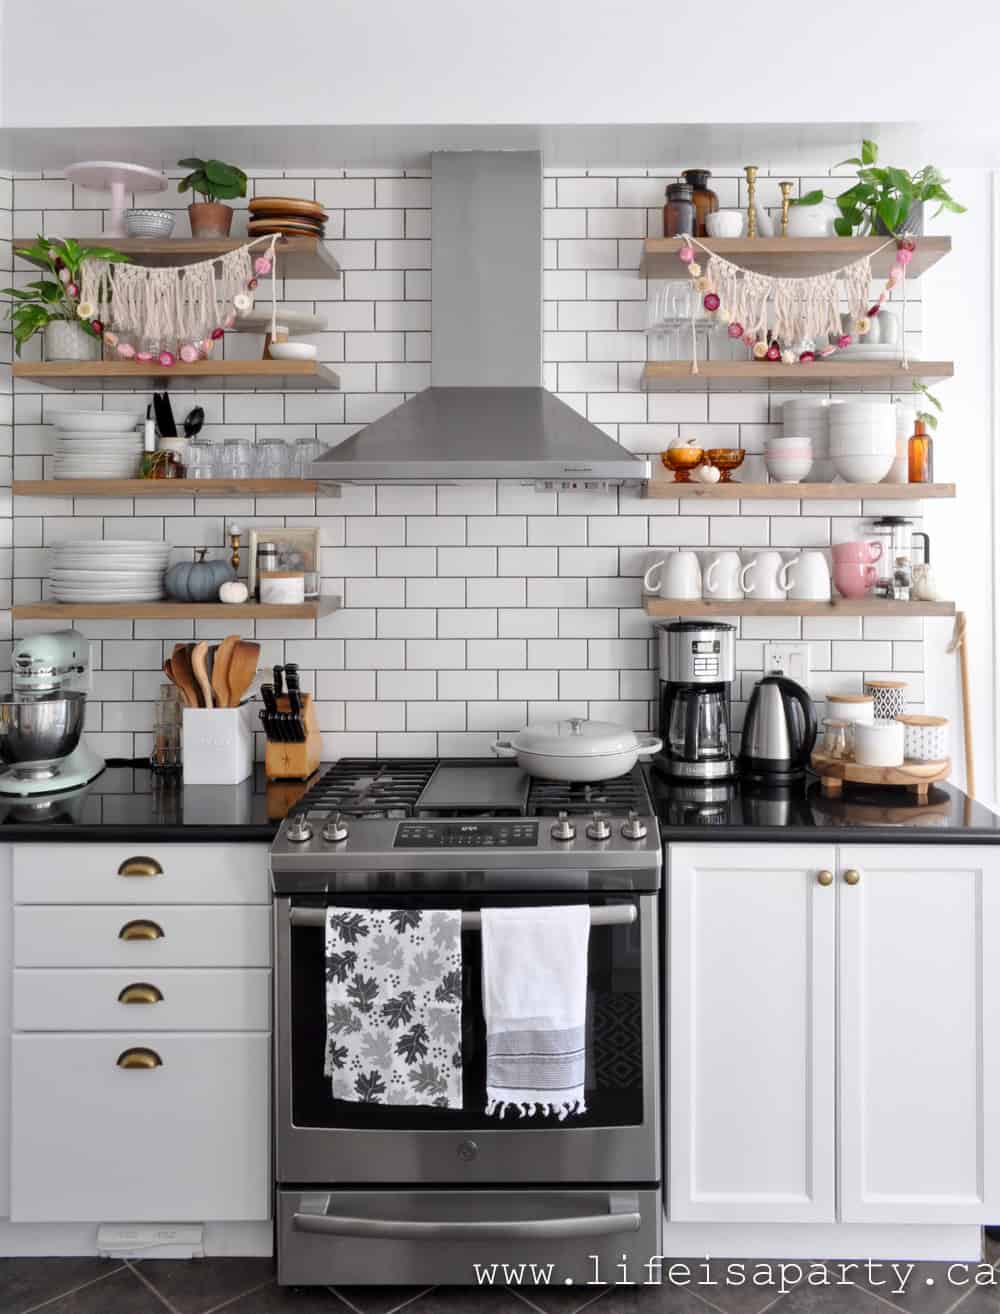
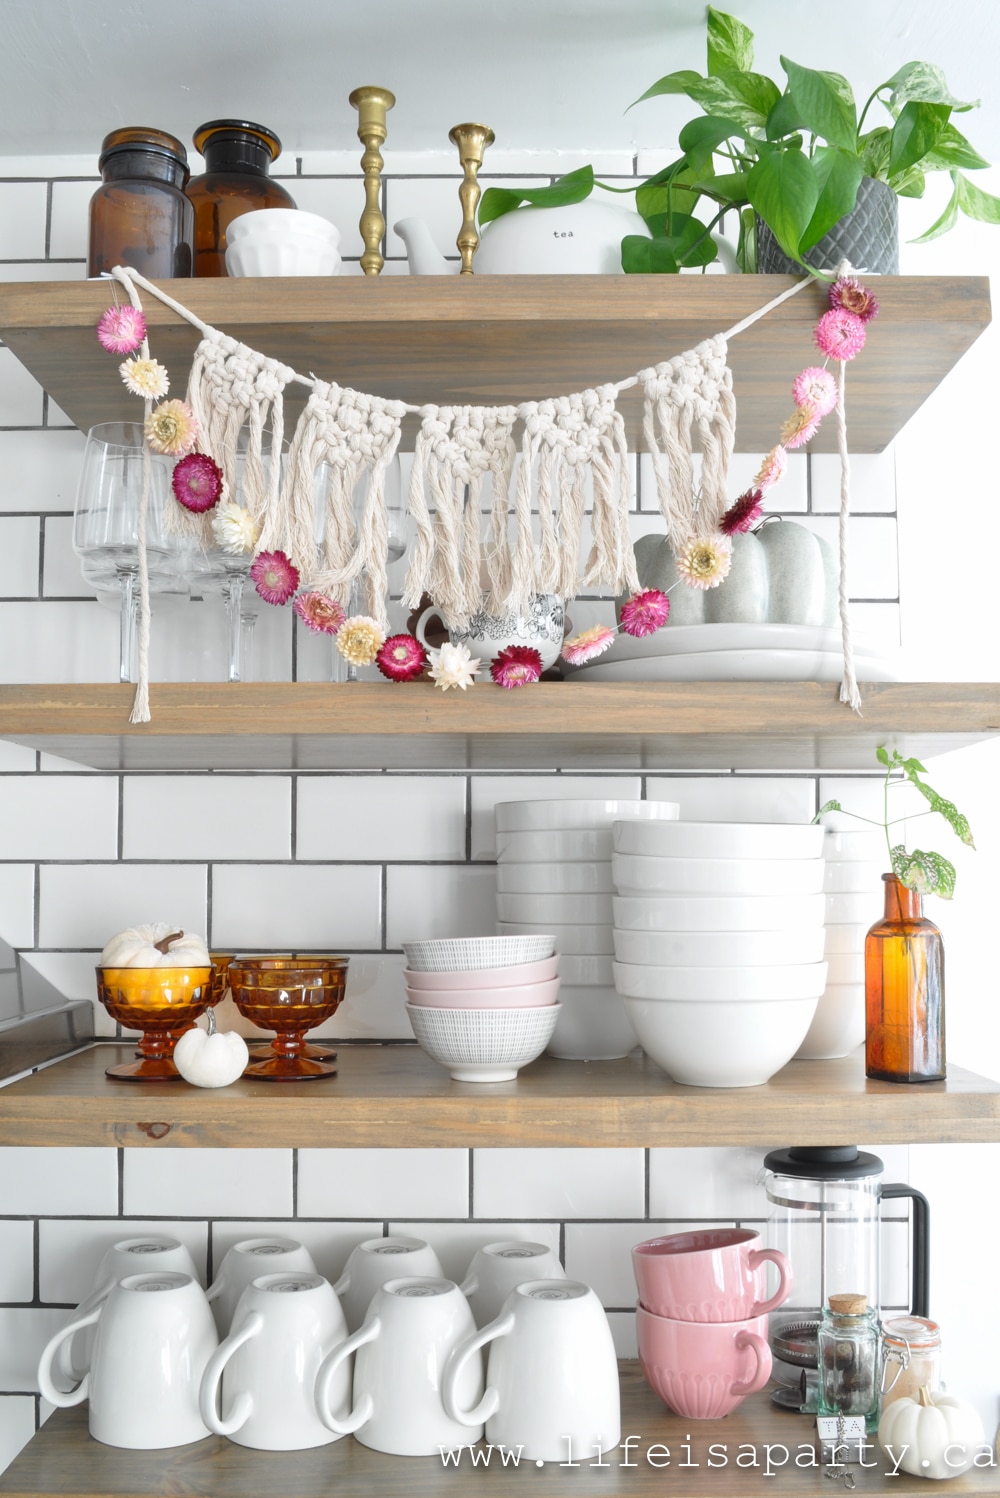
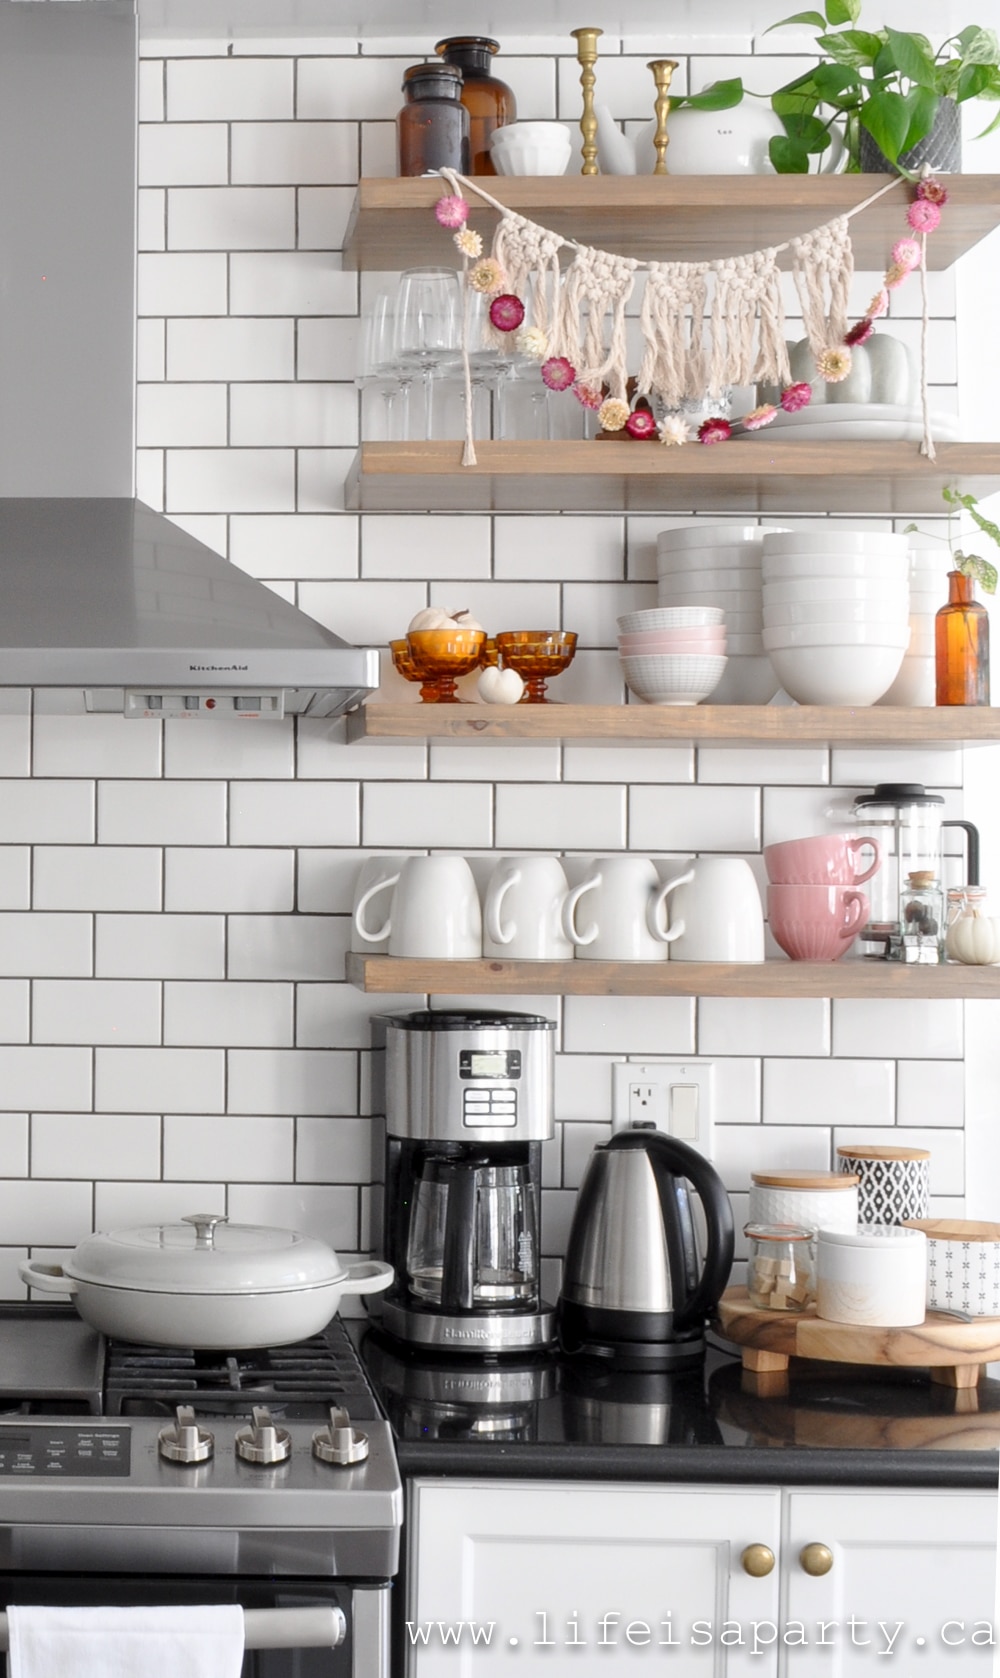
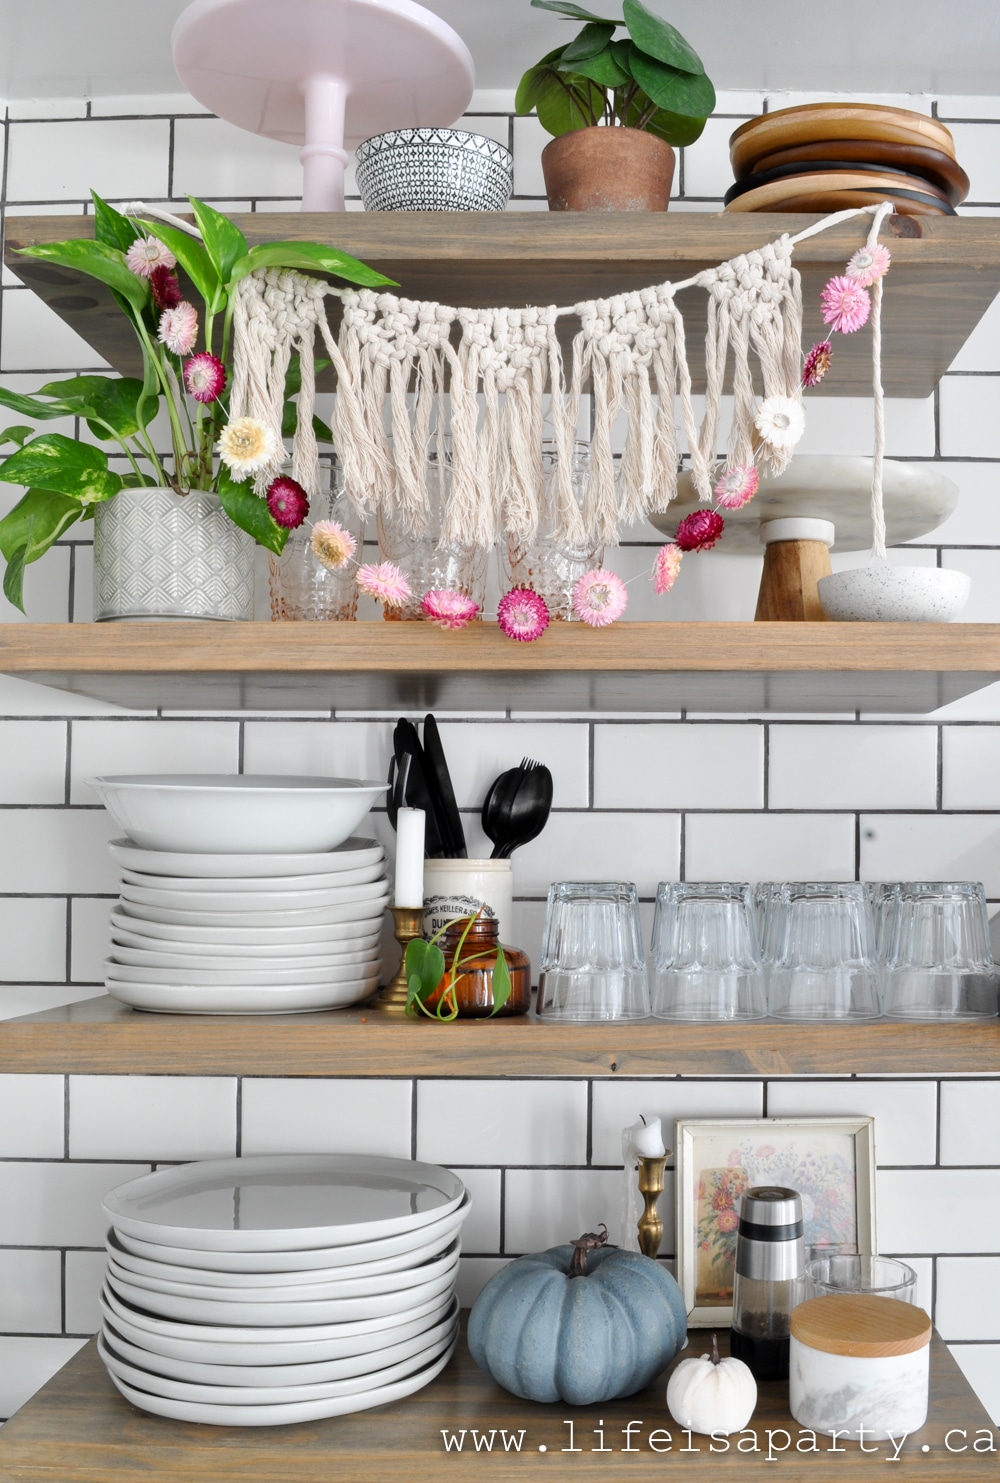
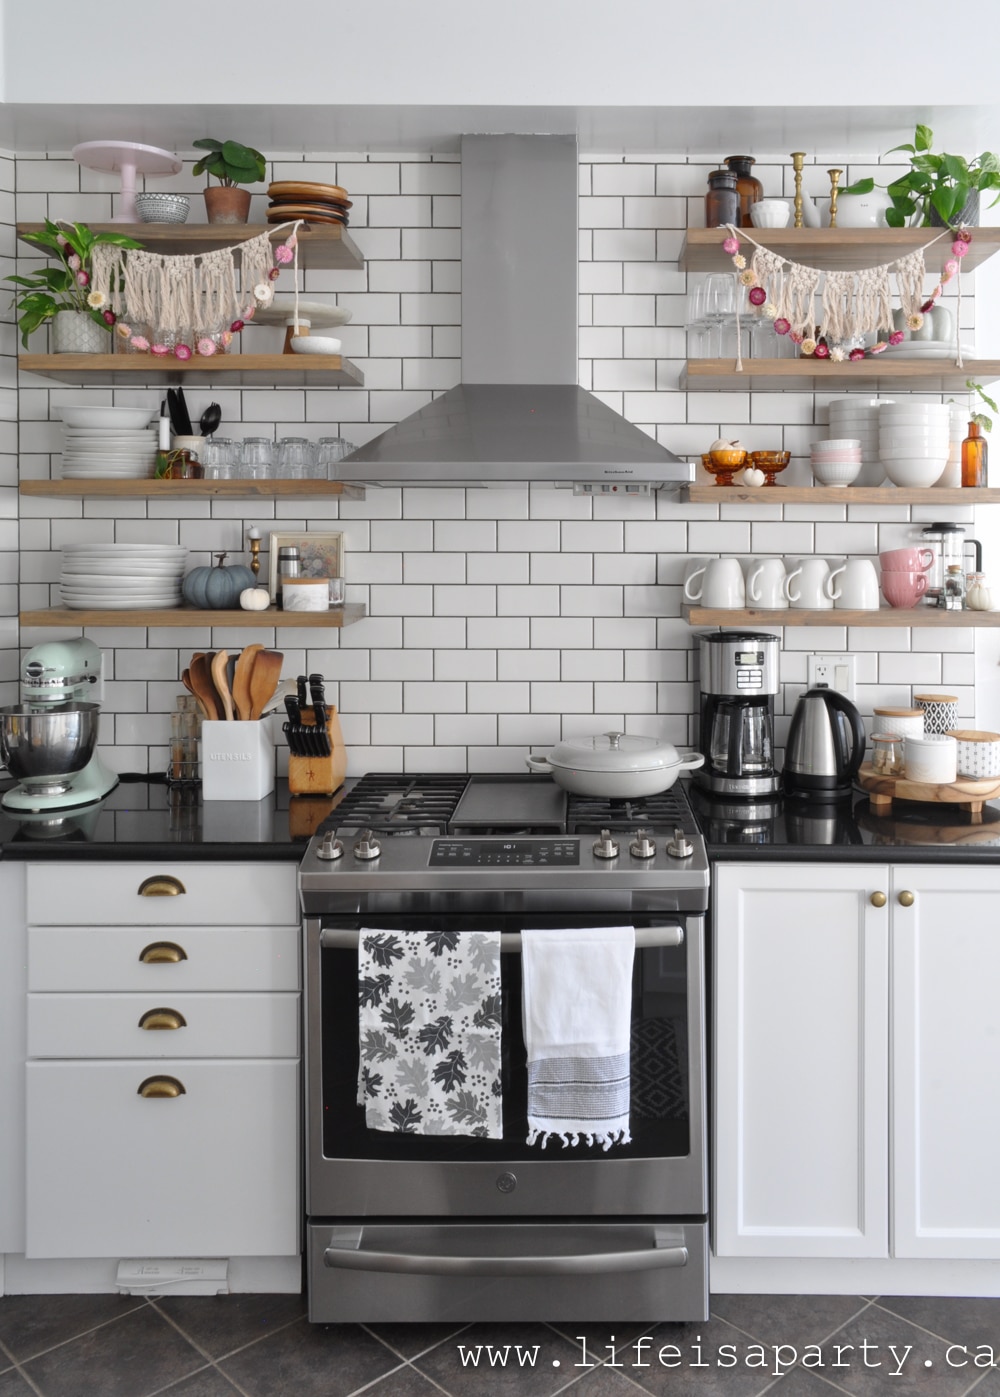
In the kitchen I had fun decorating my open shelves for fall.  

open kitchen shelves

I continued with pink, brass, and some amber glass.  The most exciting addition was more of the straw flower garland.  The flowers from Country Mouse Boutique fit my colour scheme for fall perfectly.  I layered them with the macrame bunting I made for summer for a boho vibe.

boho open shelves
fall shelfie

I love how the amber glass adds a feeling of fall.  I've got lots of cuttings in vintage amber glass bottles that are just about ready to plant.  

open kitchen shelves
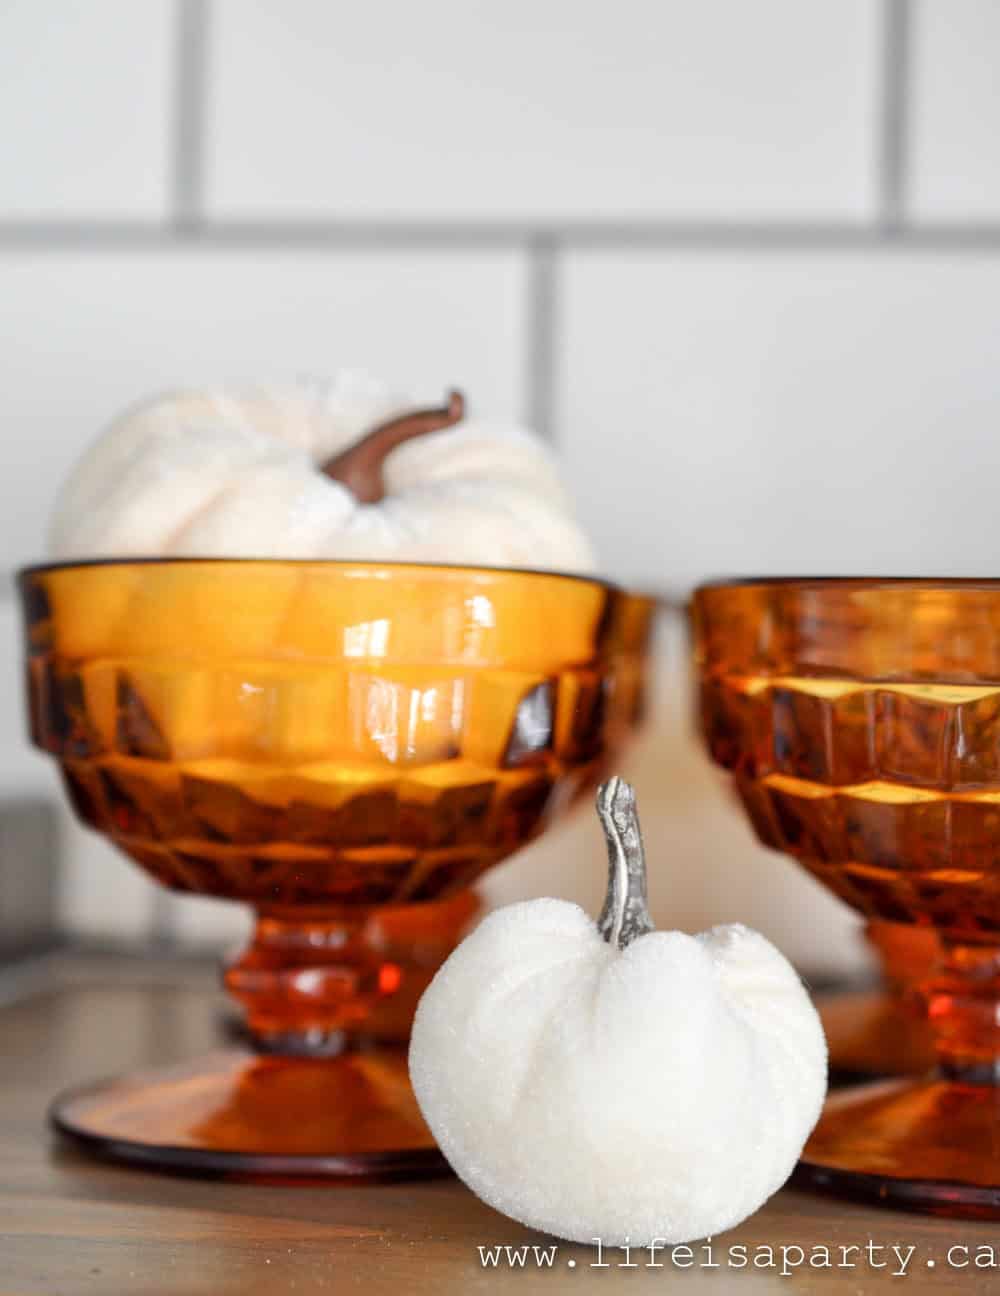
amber glass dessert bowls
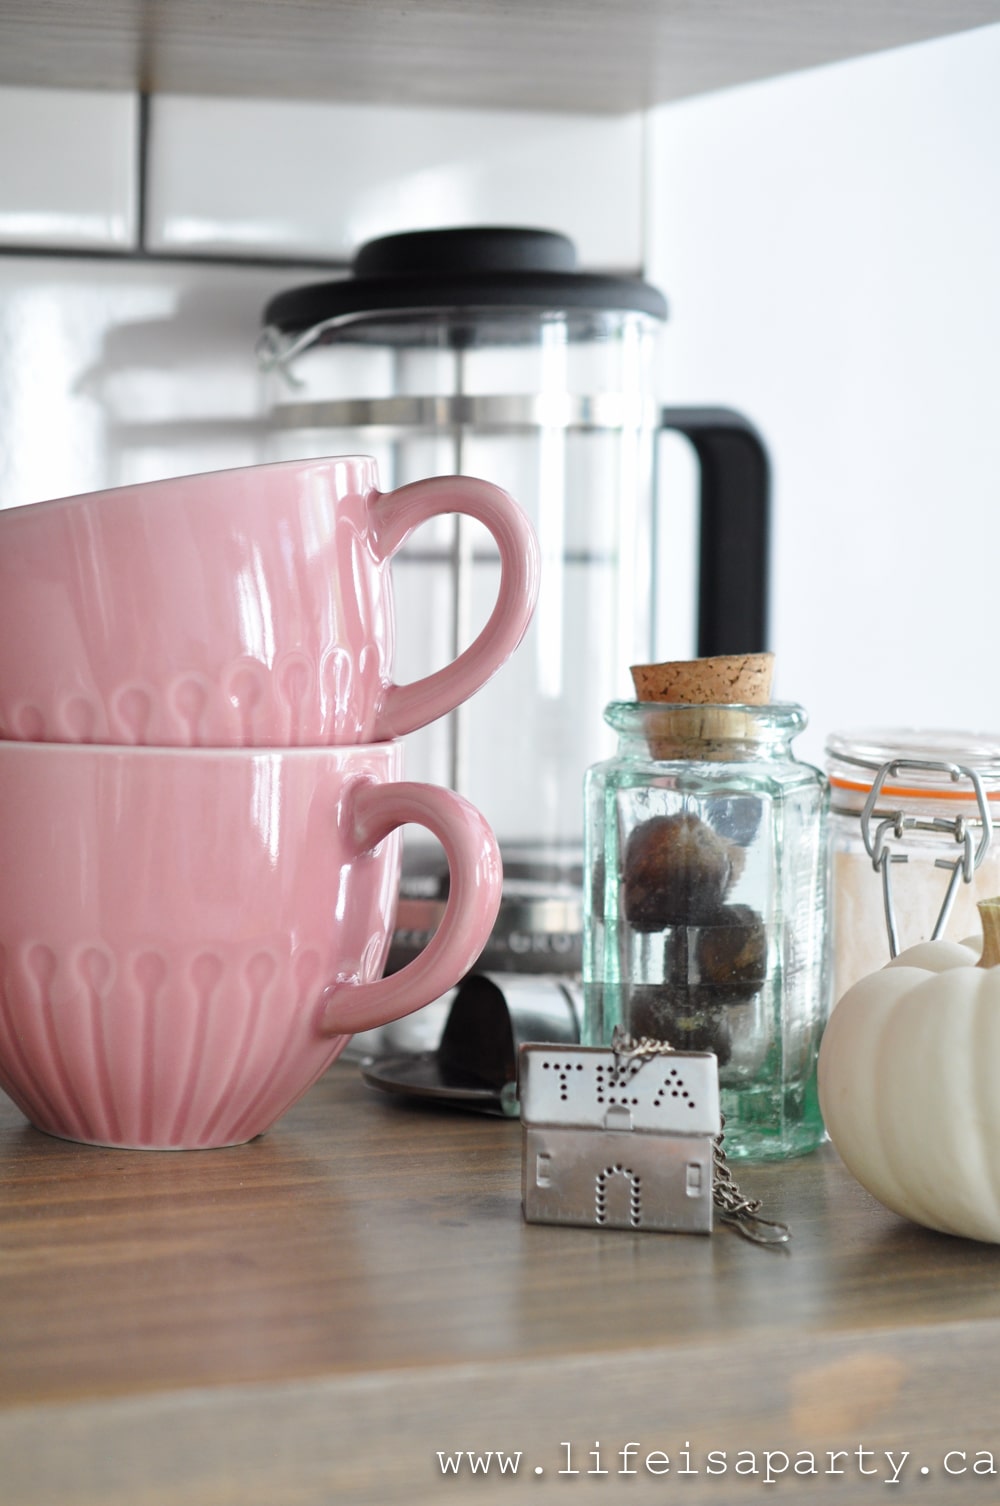
coffee station
open kitchen shelves

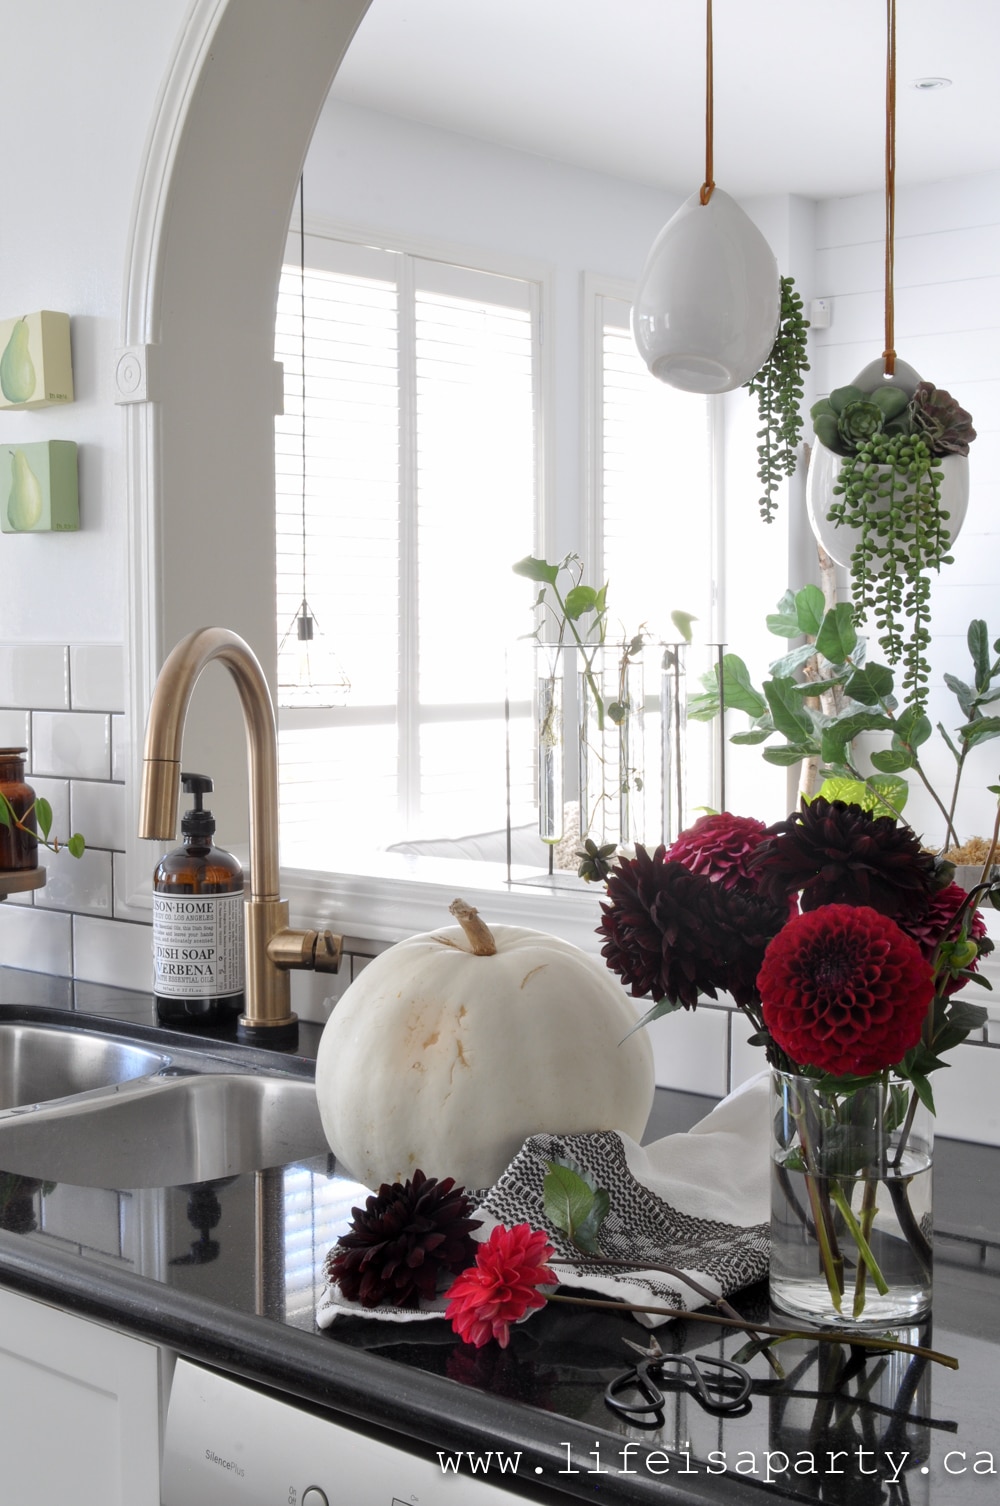
Over by the sink, some flower arranging.

fall home tour
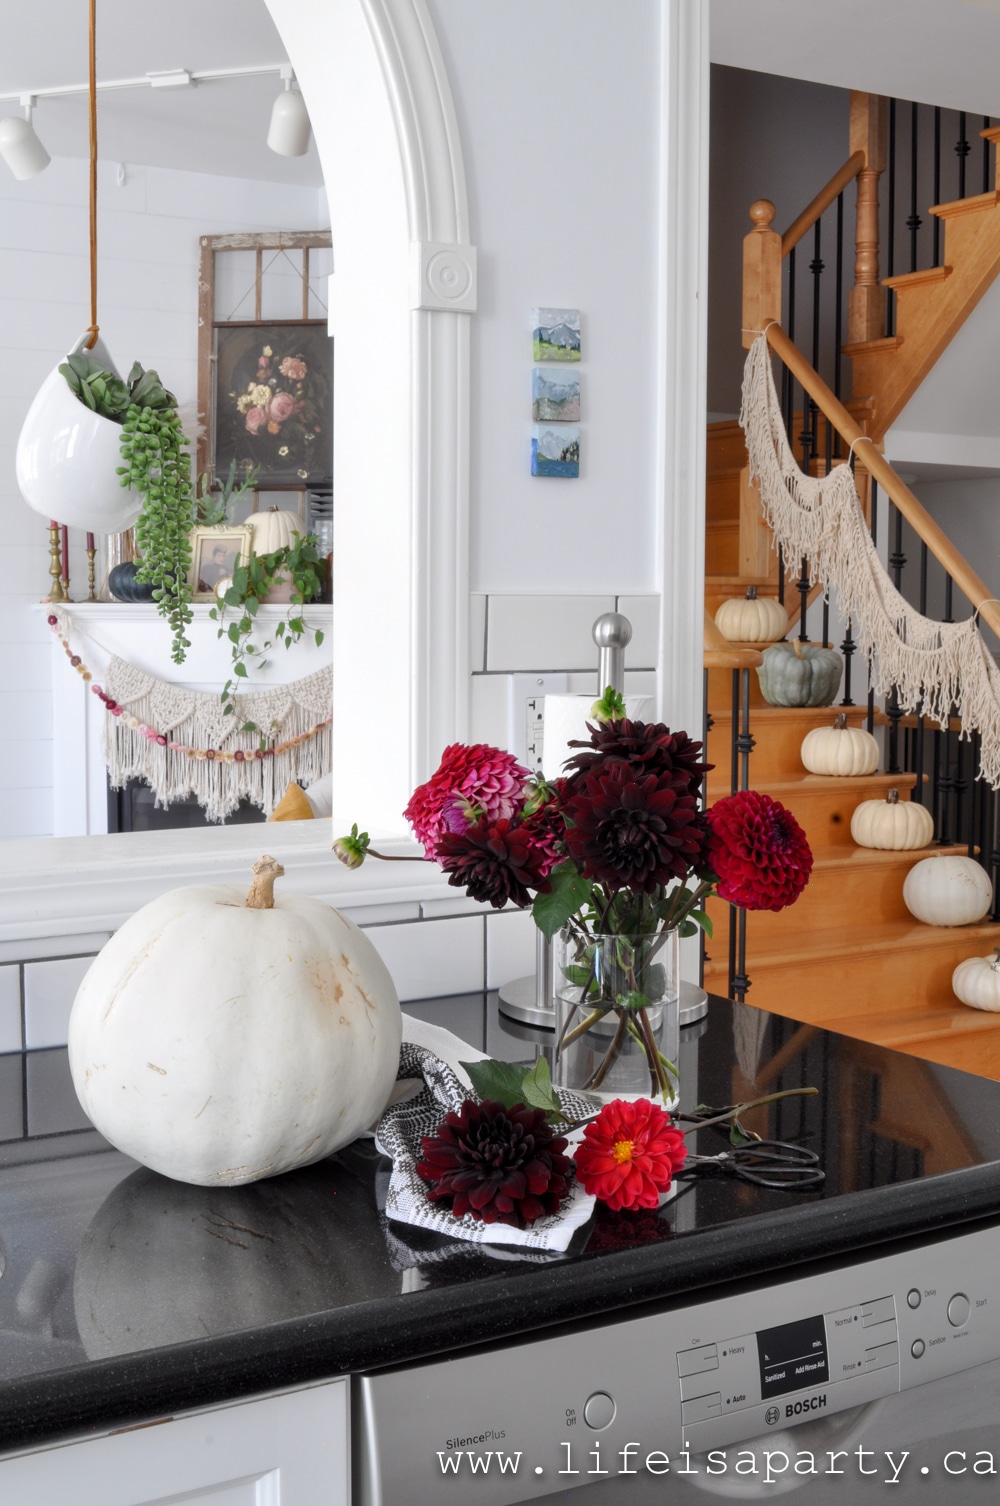
white pumpkins and dahlias

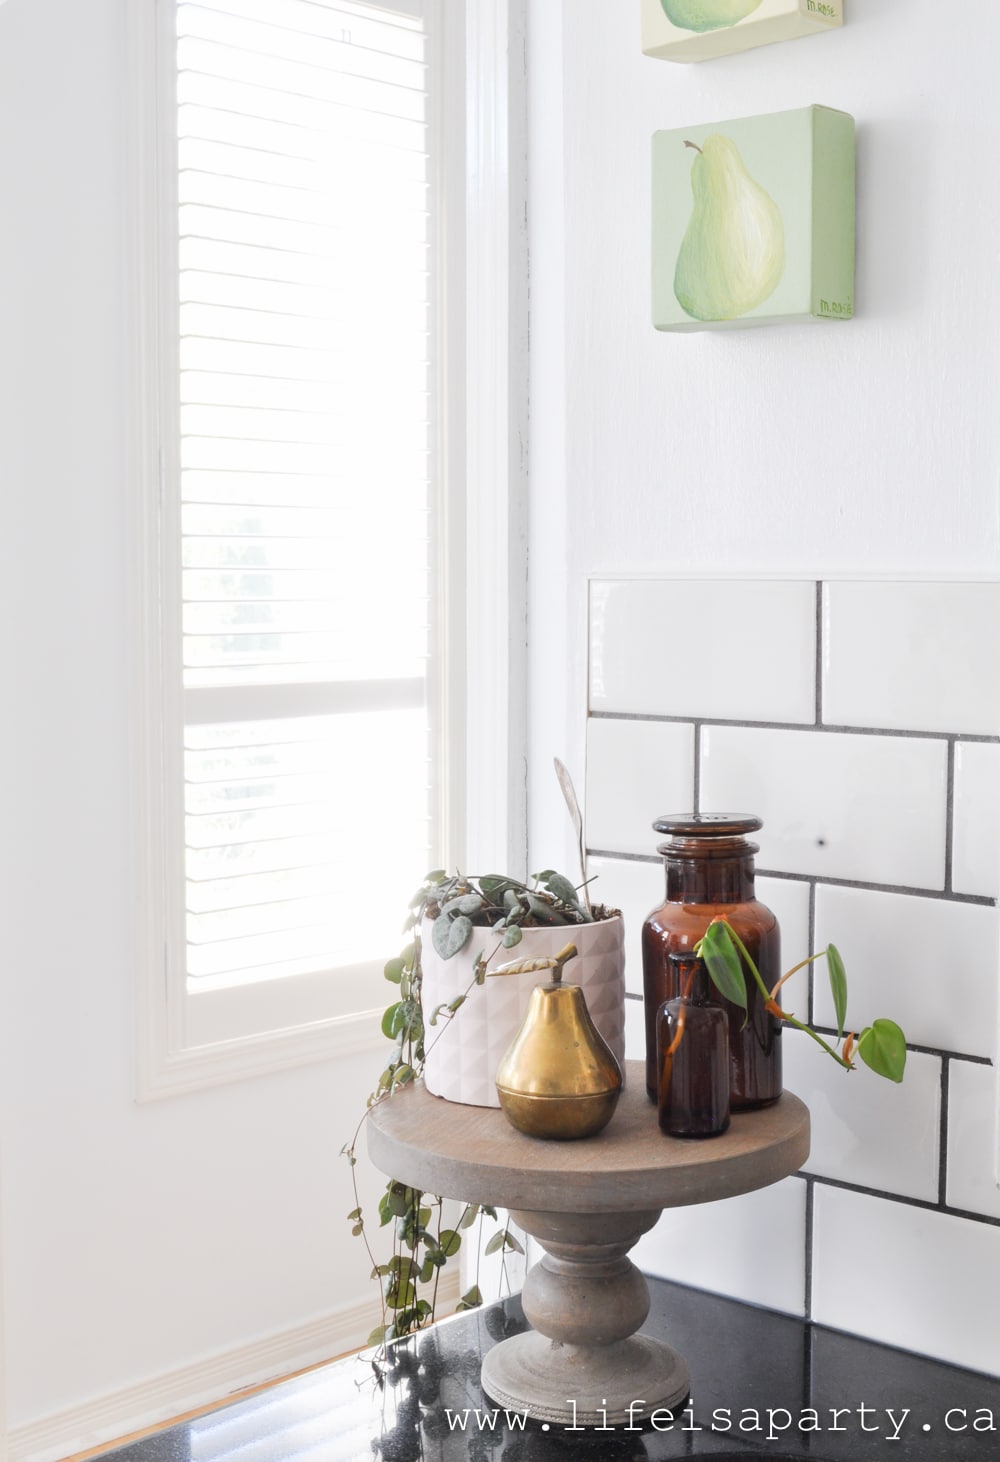
This little spot couldn't be cuter with some plants, more of the amber glass, and a vintage brass pear for fall.

boho fall decor

Eating Area

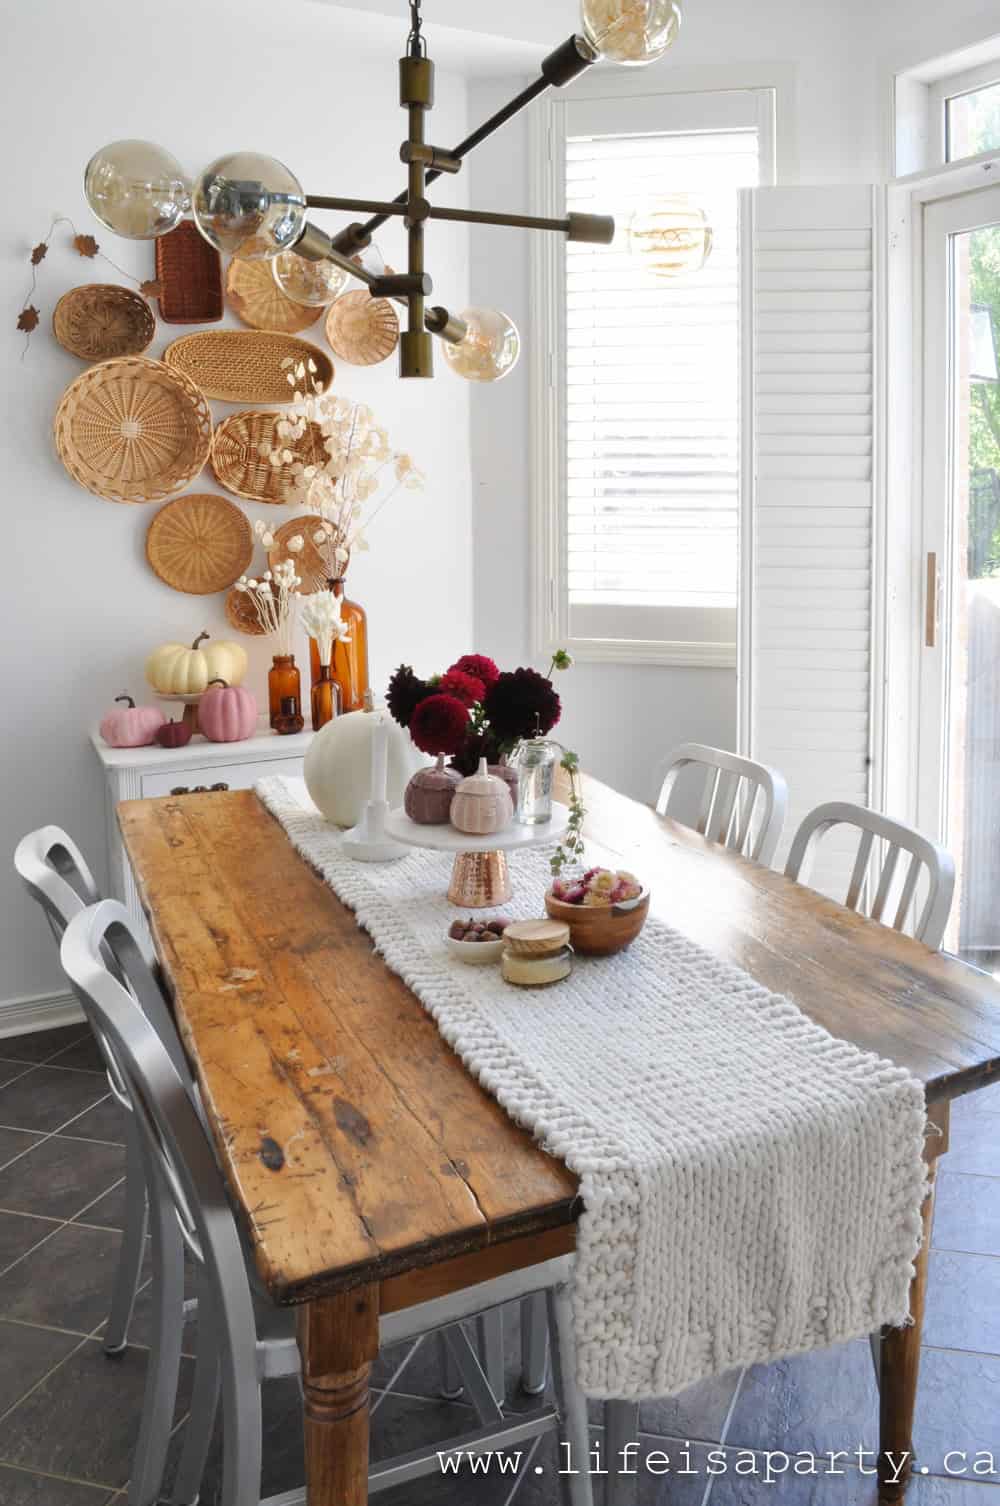
Over in the eating area, I added lots of fun pieces to the table for fall.  

pink fall decor
boho fall decor

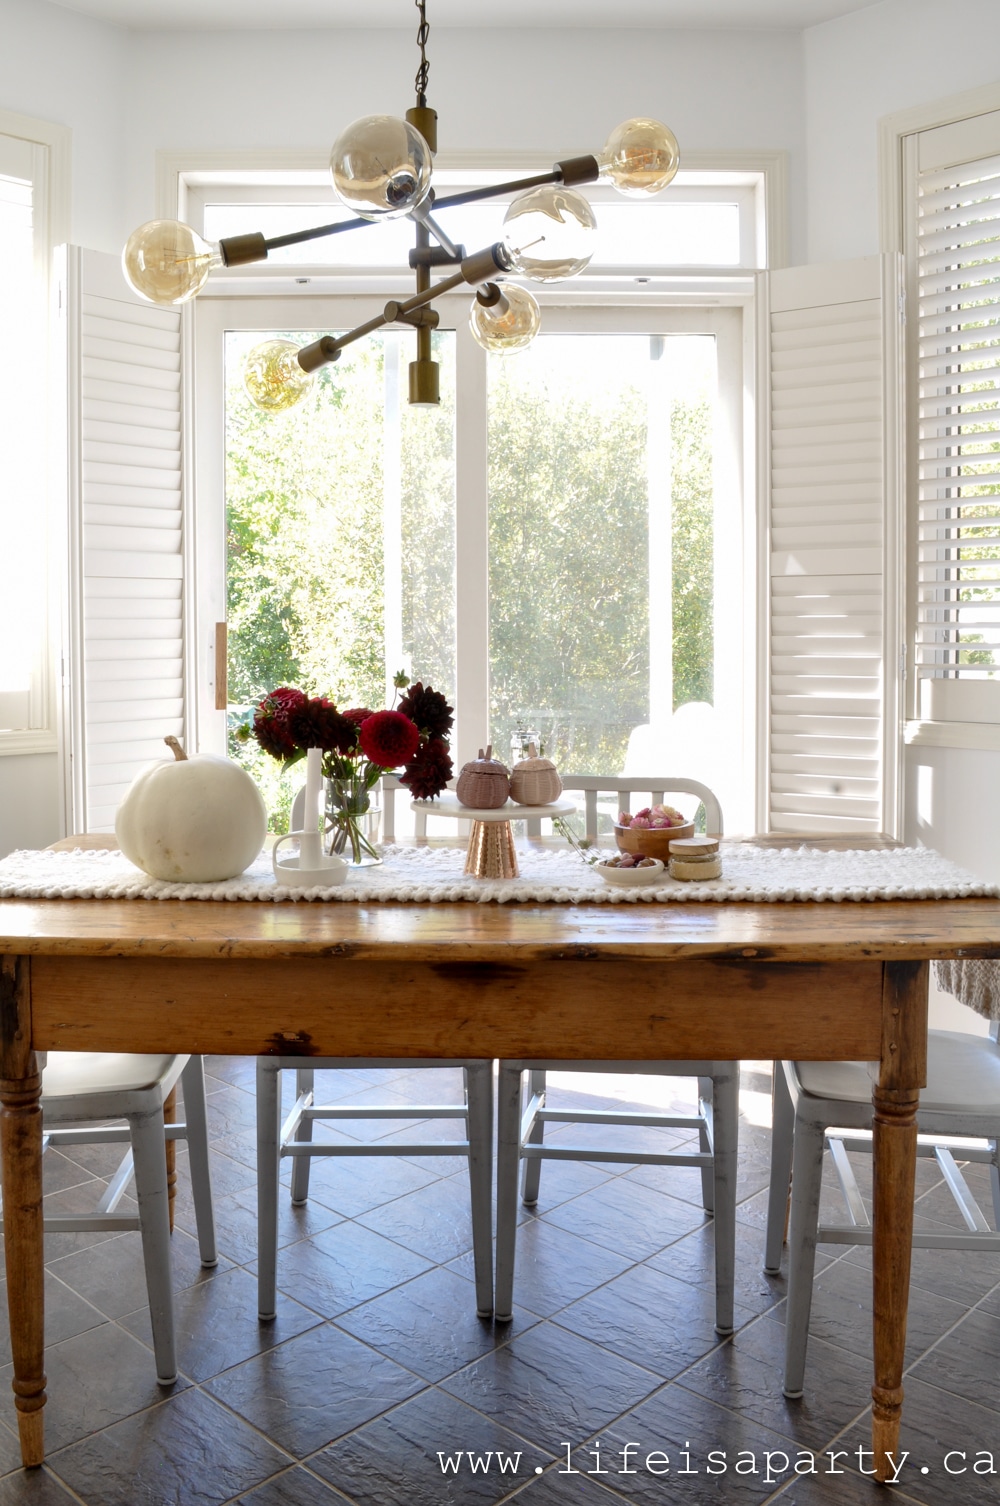
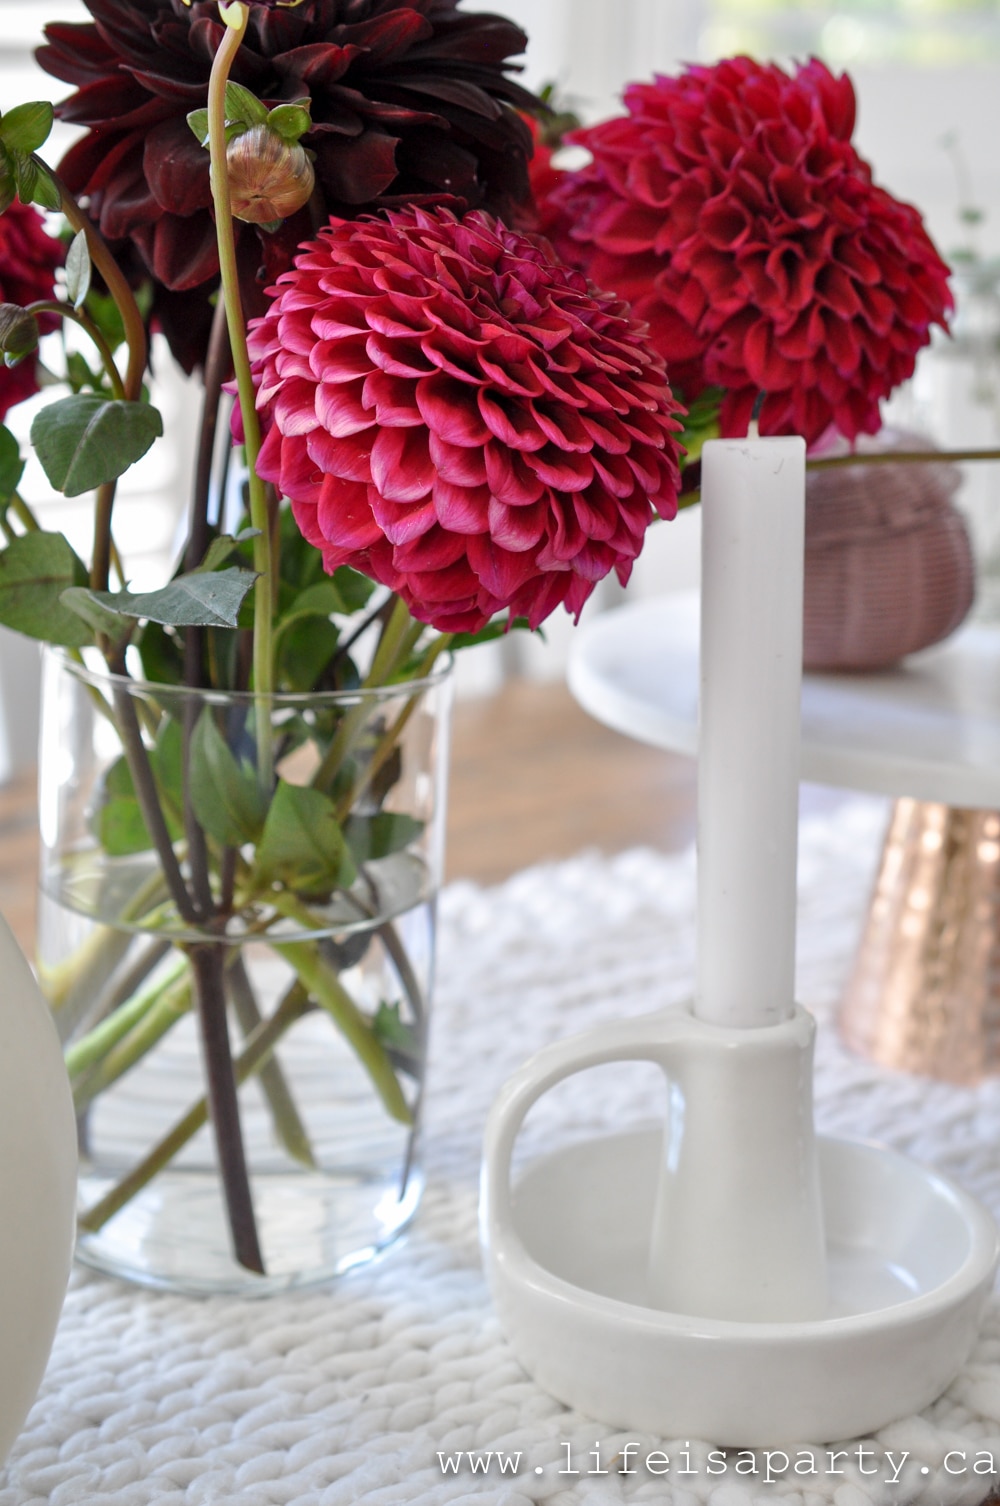
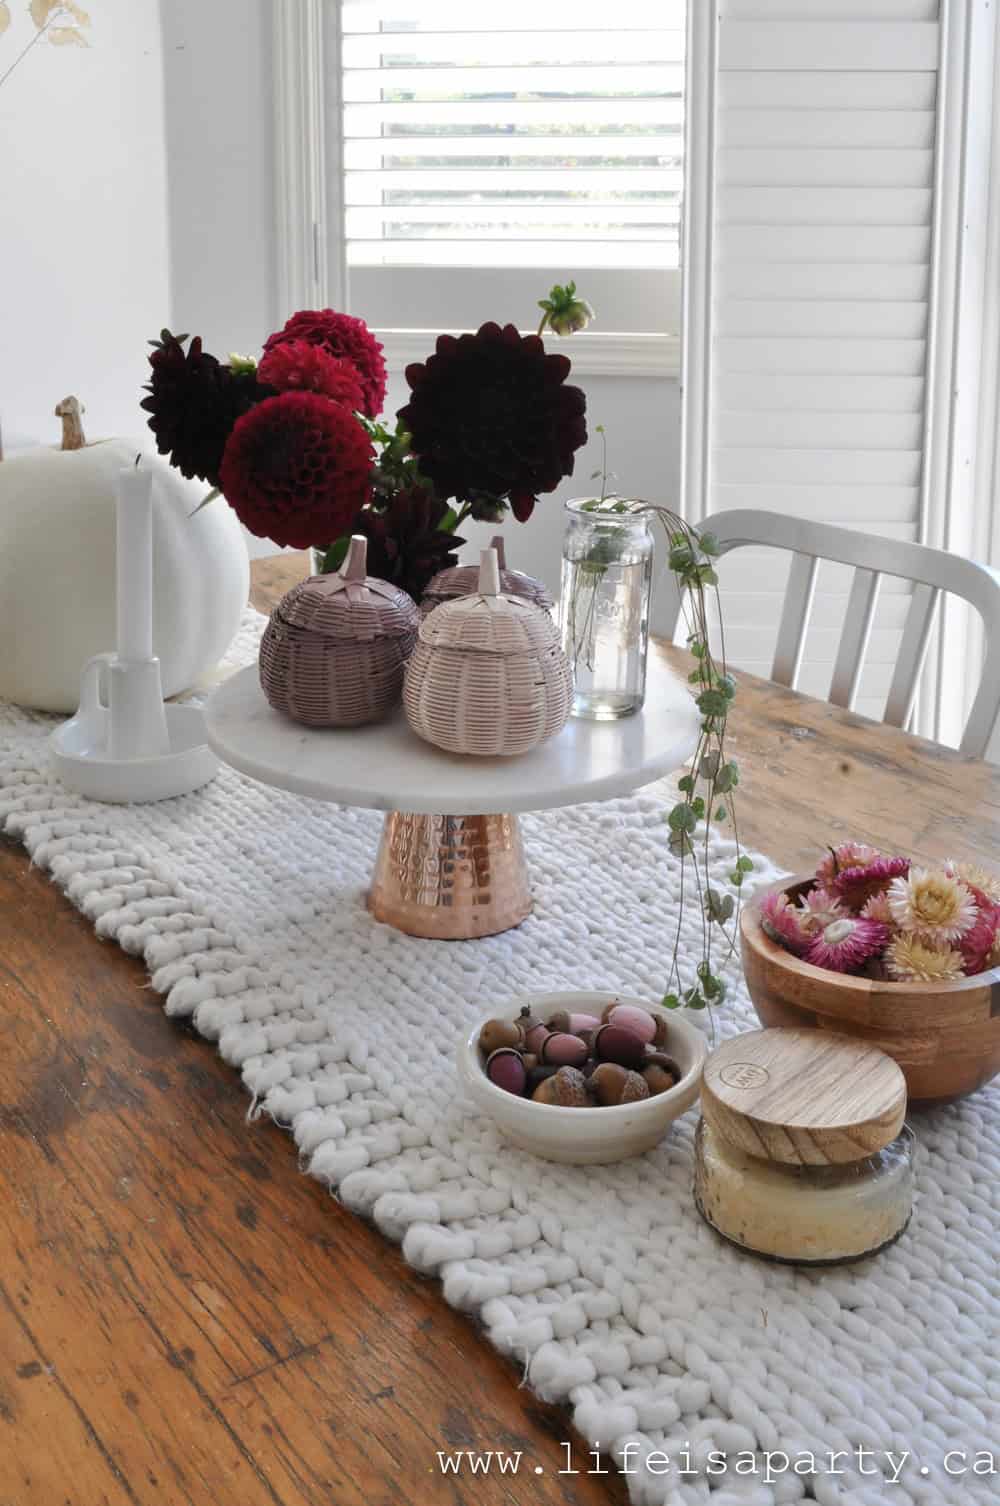
Everything is layered on a fun knit table runner I found last year.  It adds a little cozy for fall.  There's one more of the pumpkins I grew in the garden -are you getting how happy I am that some actually grew this year, lol.  There's also some beautiful daliahs.  

red dahlias

When I told my mom I was adding in some deep Burgundy to my decor this fall, she offered some of the dahlias from her garden.  Yes please.  

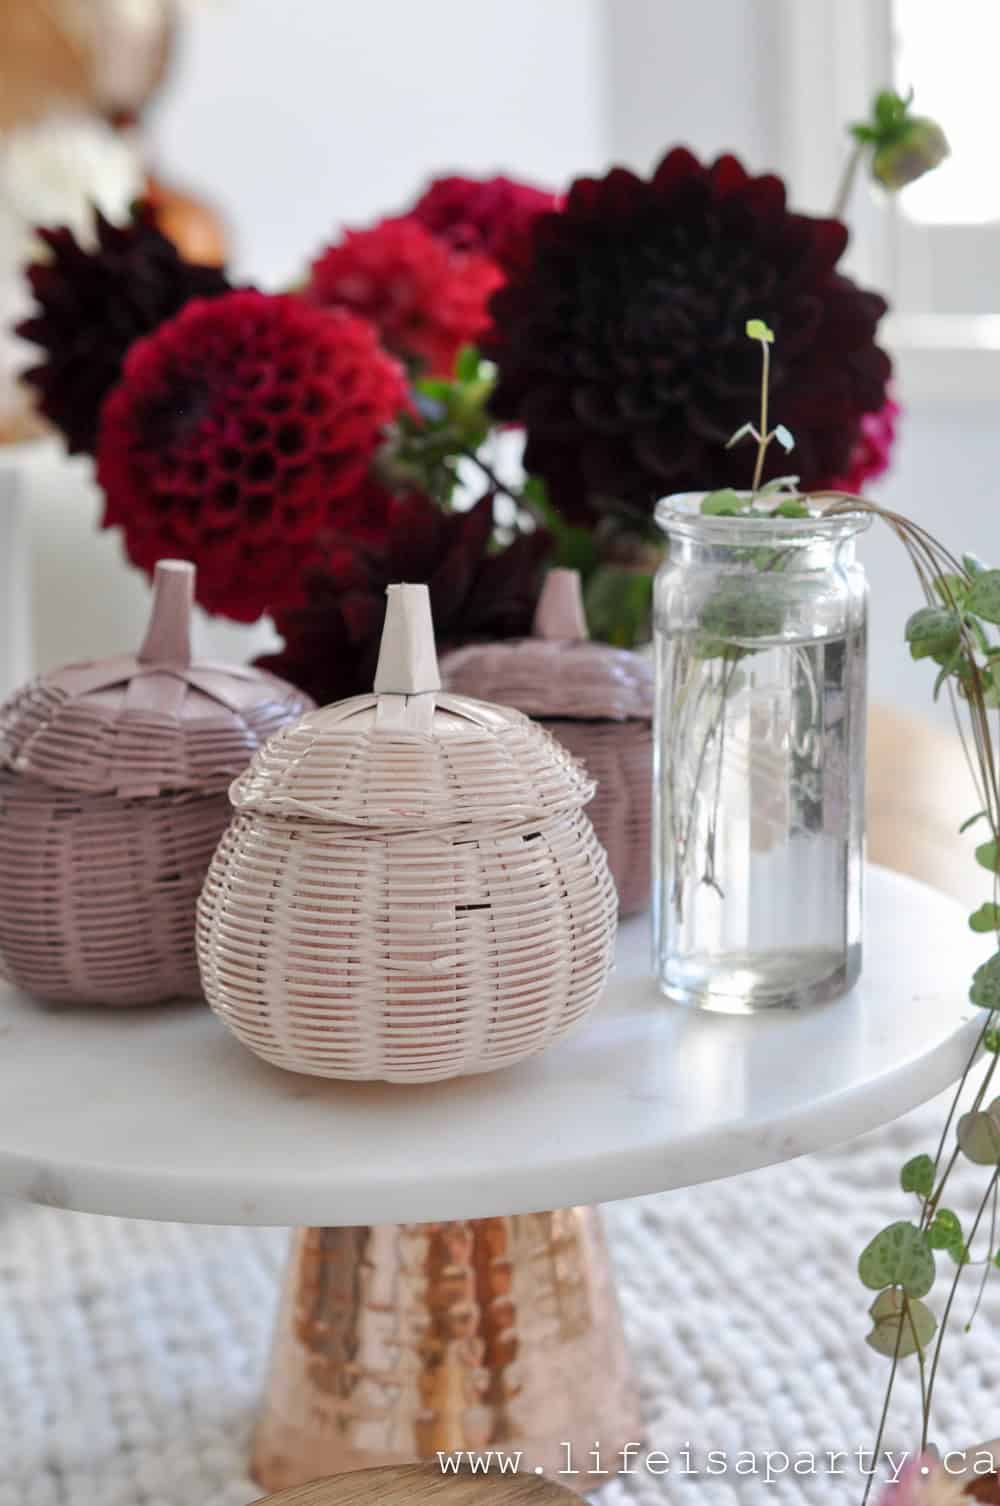
wicker pumpkins

I also love the little wicker pumpkins.  I've had these for years.  I used a whole bunch of them with candy in them one Thanksgiving for favours.  I had four from our family but they were orange and I haven't used orange in my fall decor for a long while.  This year when I spotted them in my fall bin, I thought they'd tie in really well with the wicker basket wall in the kitchen and decided to spray paint them.  I'm pretty much in love with them now.

pink fall decor
pink fall decor home tour

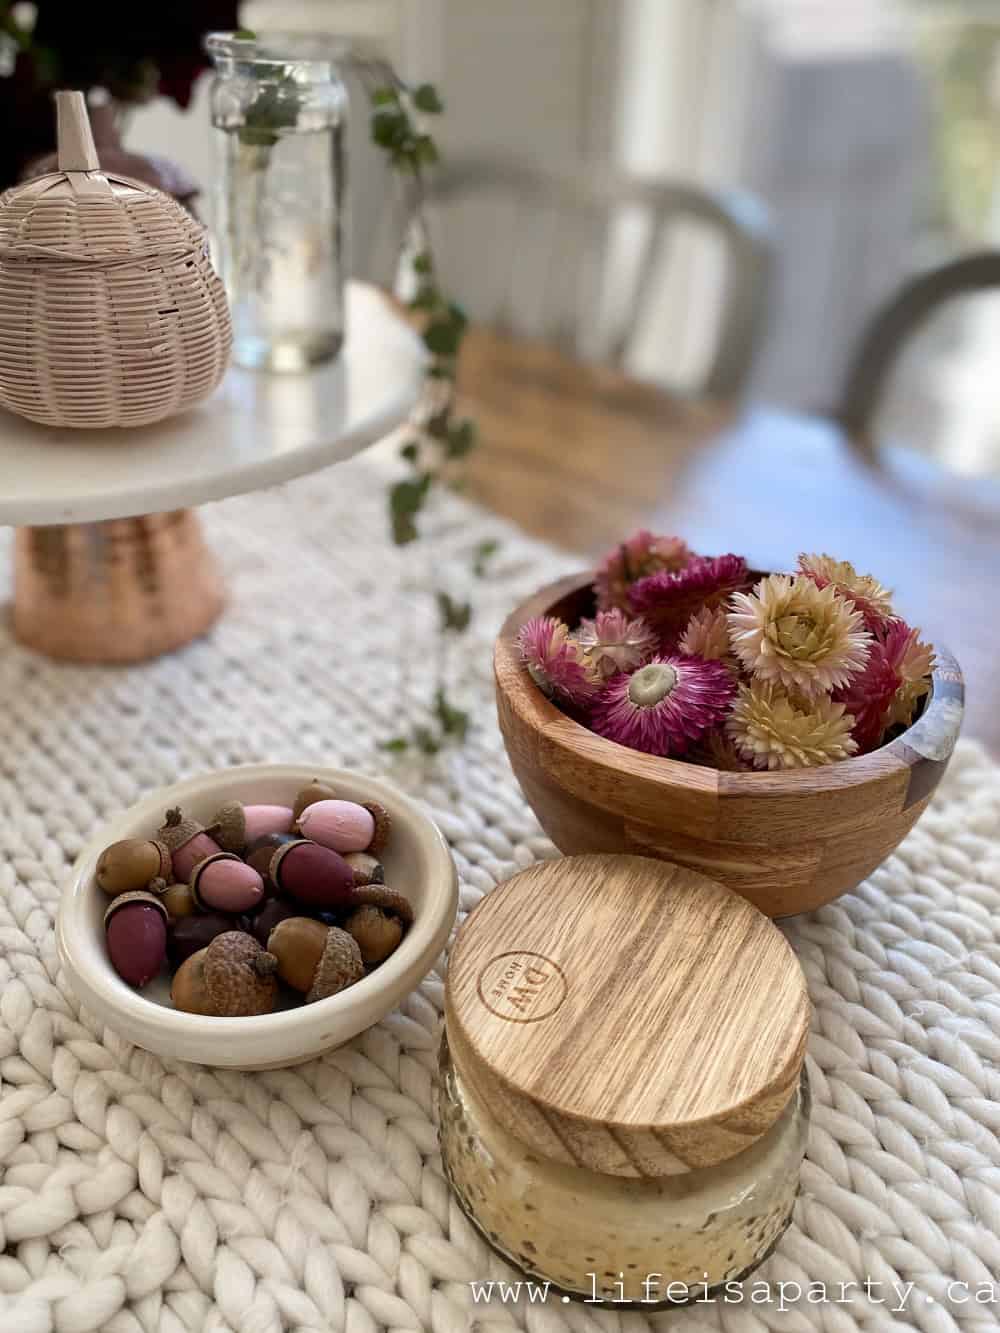
Also on the table a few more little treasures.  There's another little bowl of the straw flowers to be admired close up.  There's also a little piece of pottery that the girls and I made in a pottery class my sister gifted us a few Christmases ago.  And that little bowl are some dried horse chestnuts and acorns.  As acorns dry, the bottoms tend to shrink a little and the caps pop off.  I took that as an opportunity to paint just a few in my fall colours and then hot glue on the caps.  It's the tiniest little DIY, but so sweet.  I love making things for my home.  It really won't feel like a home tour around here without a few seasonal crafts.

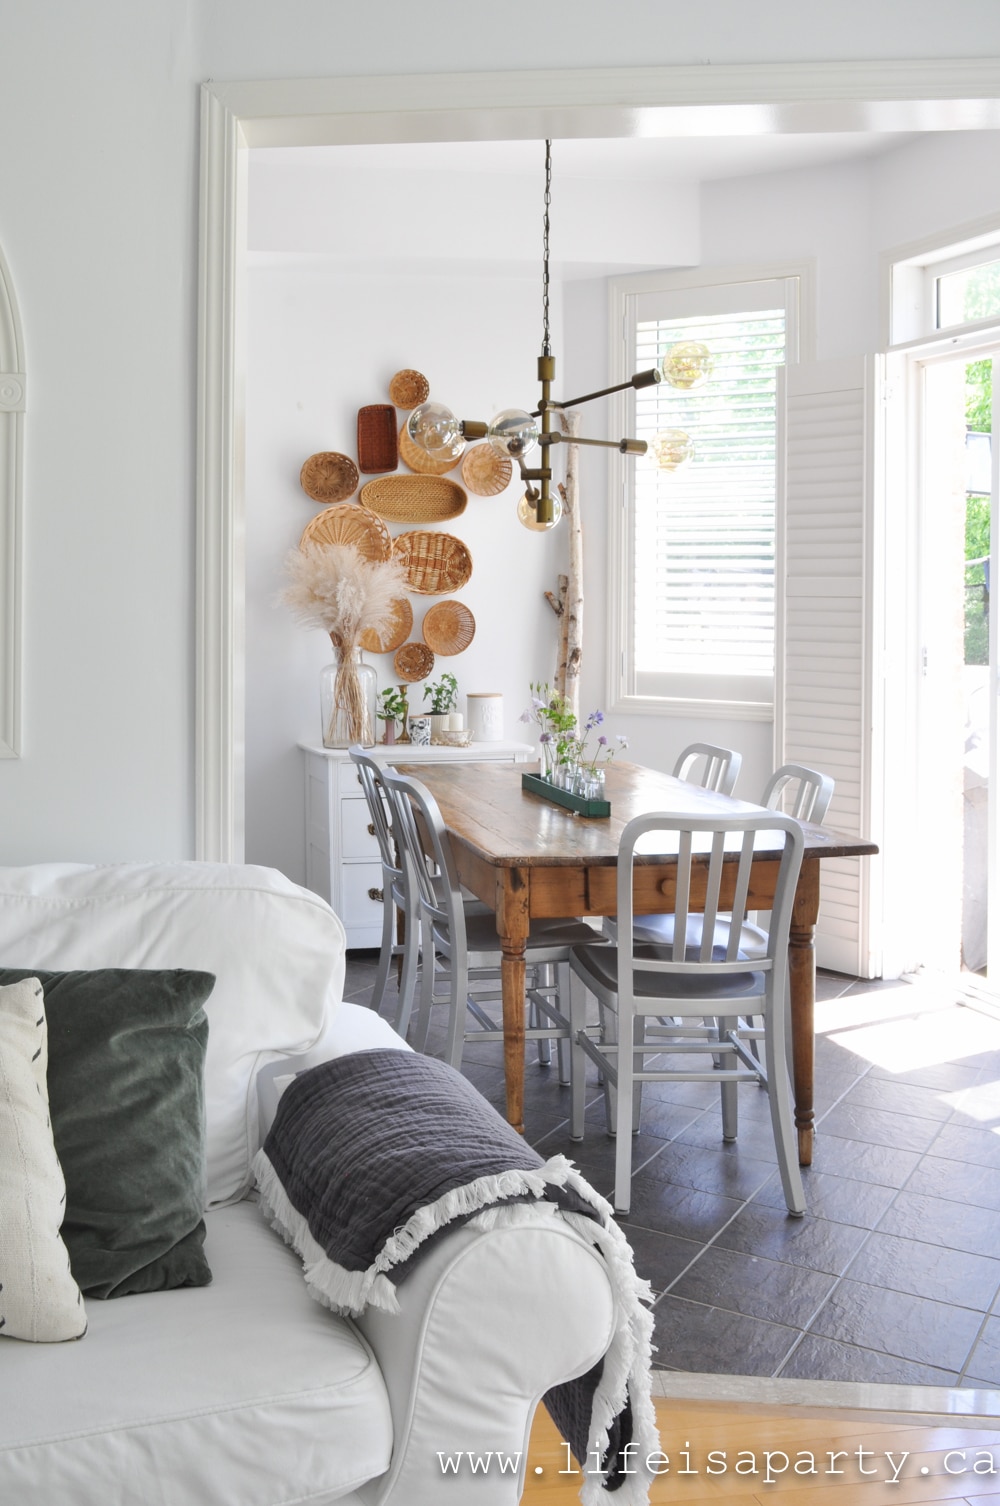
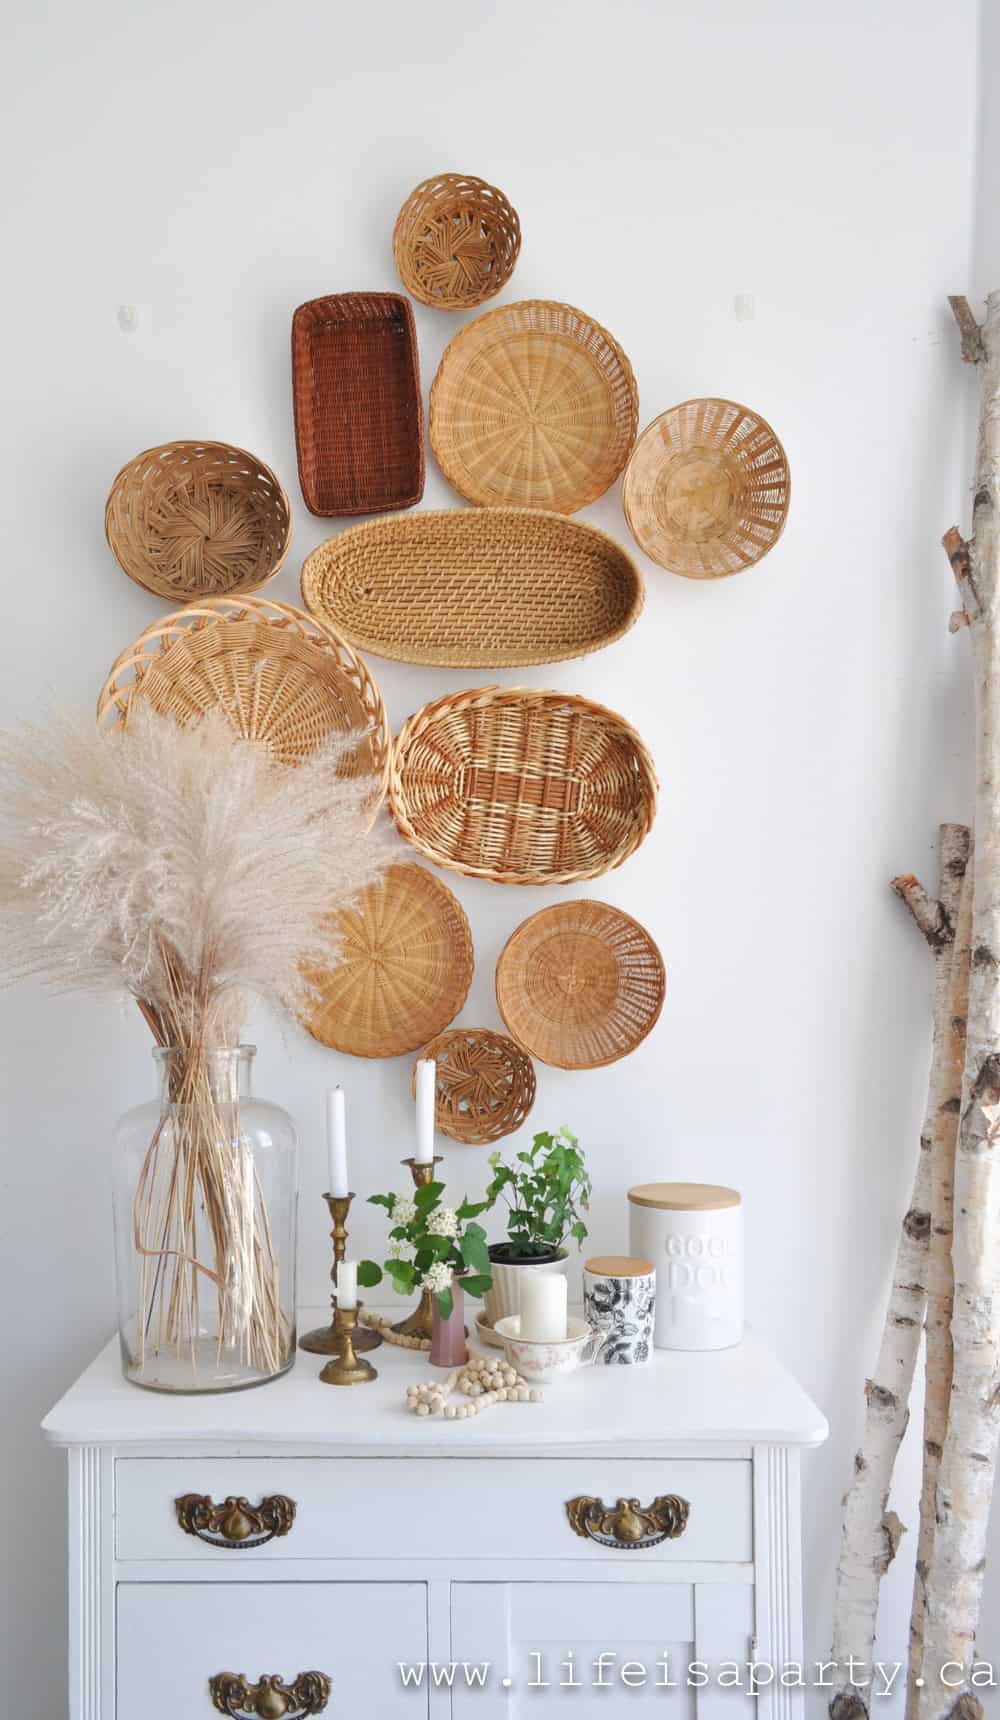
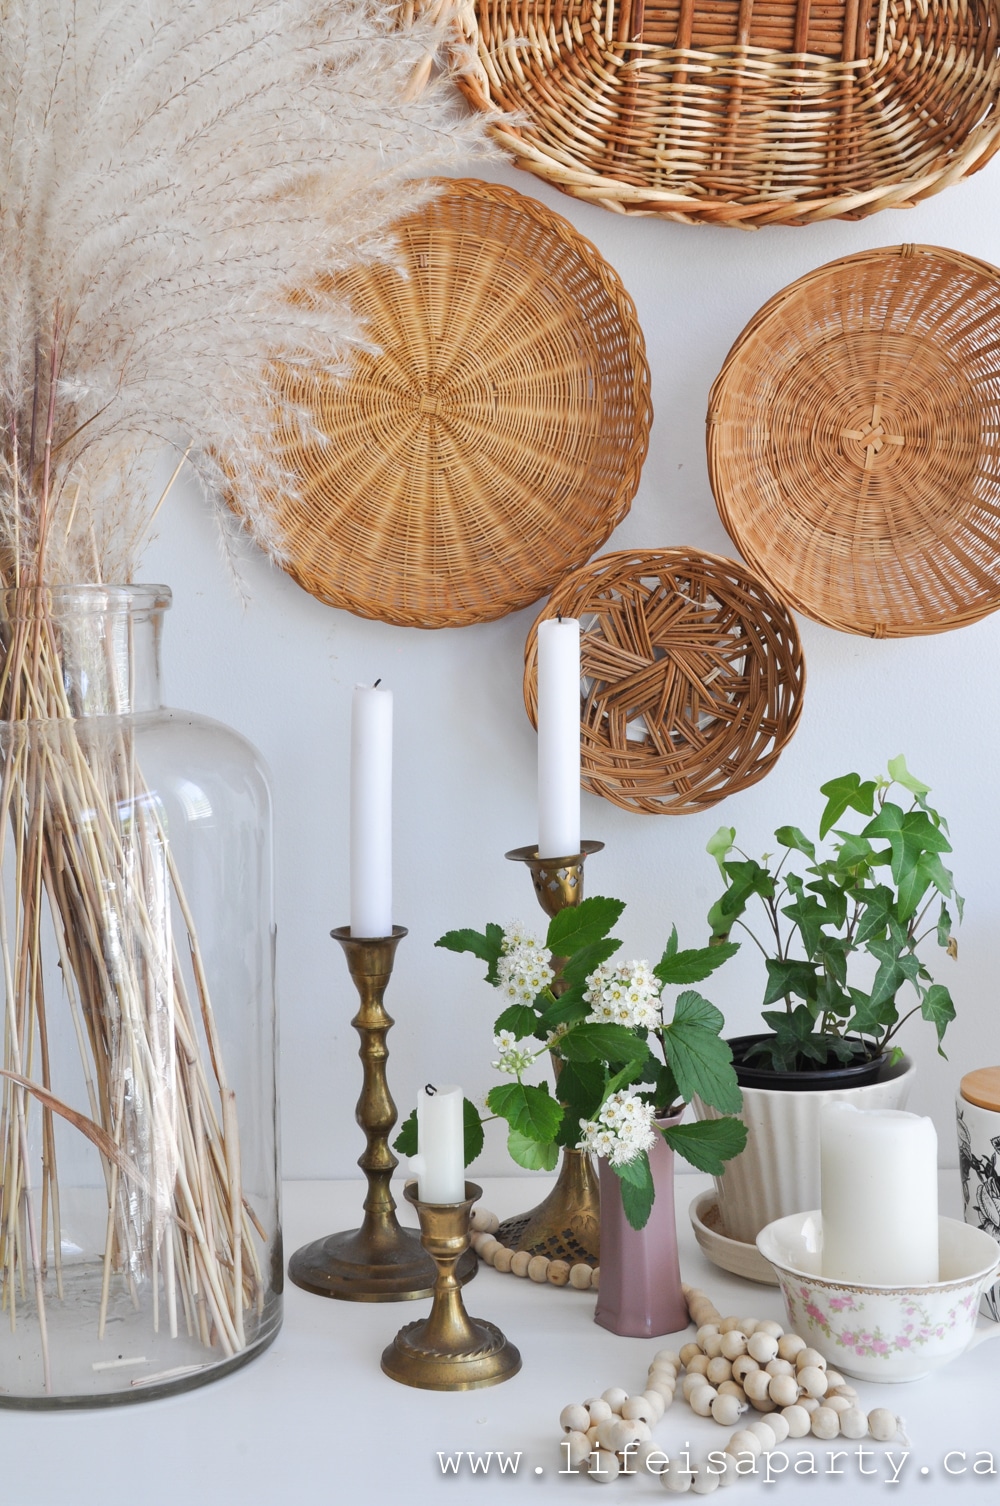
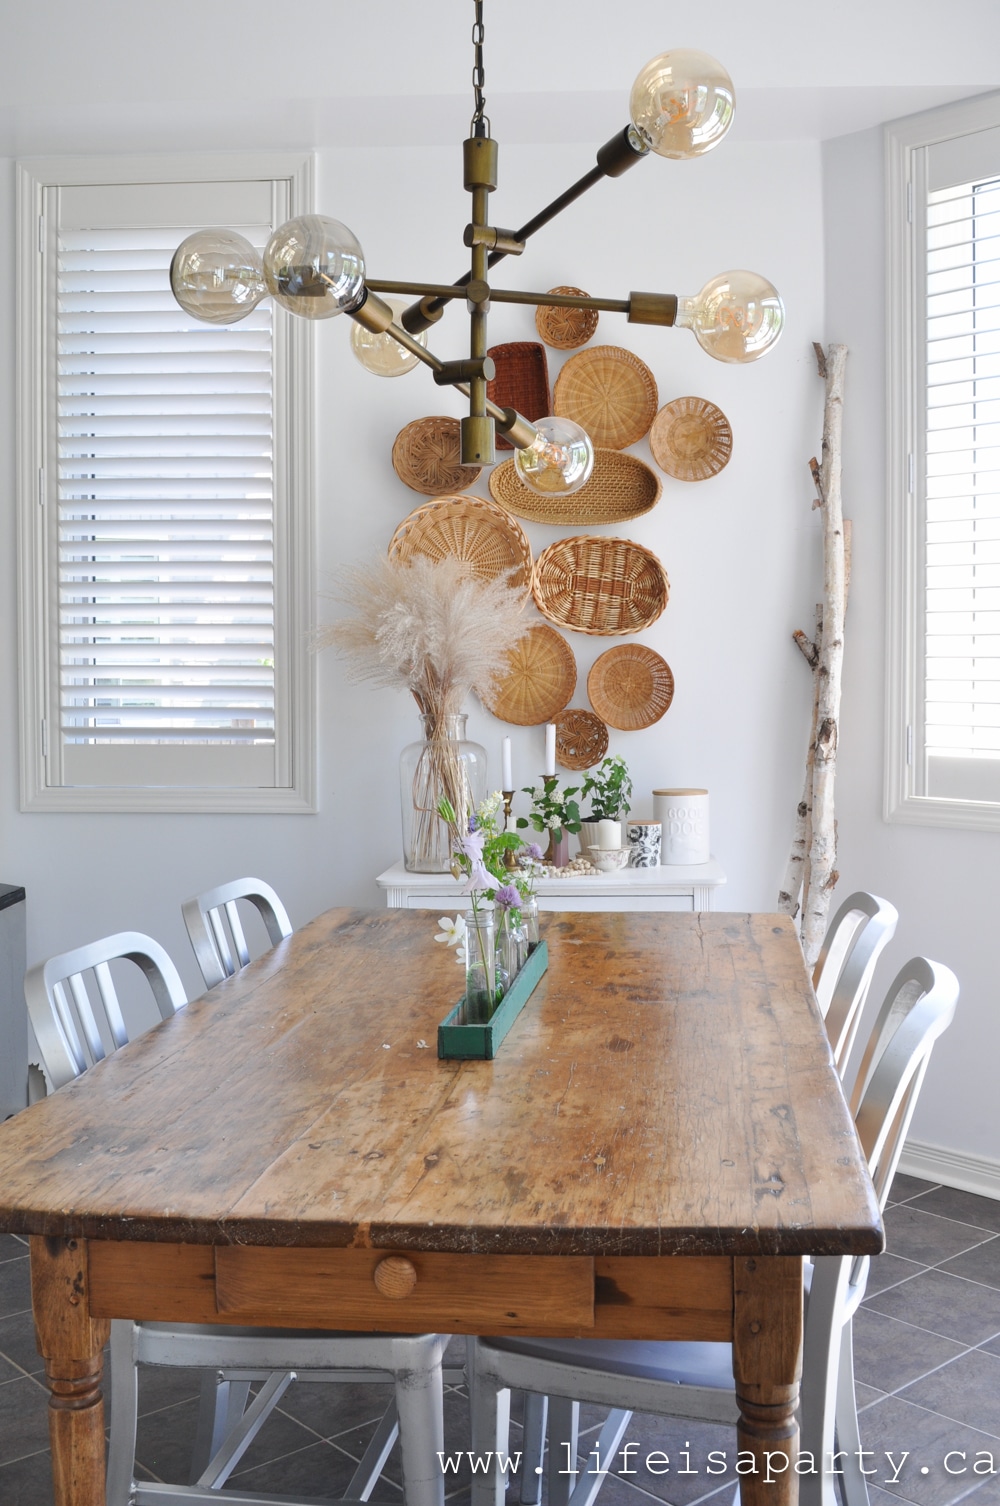
Basket Wall

boho fall decor

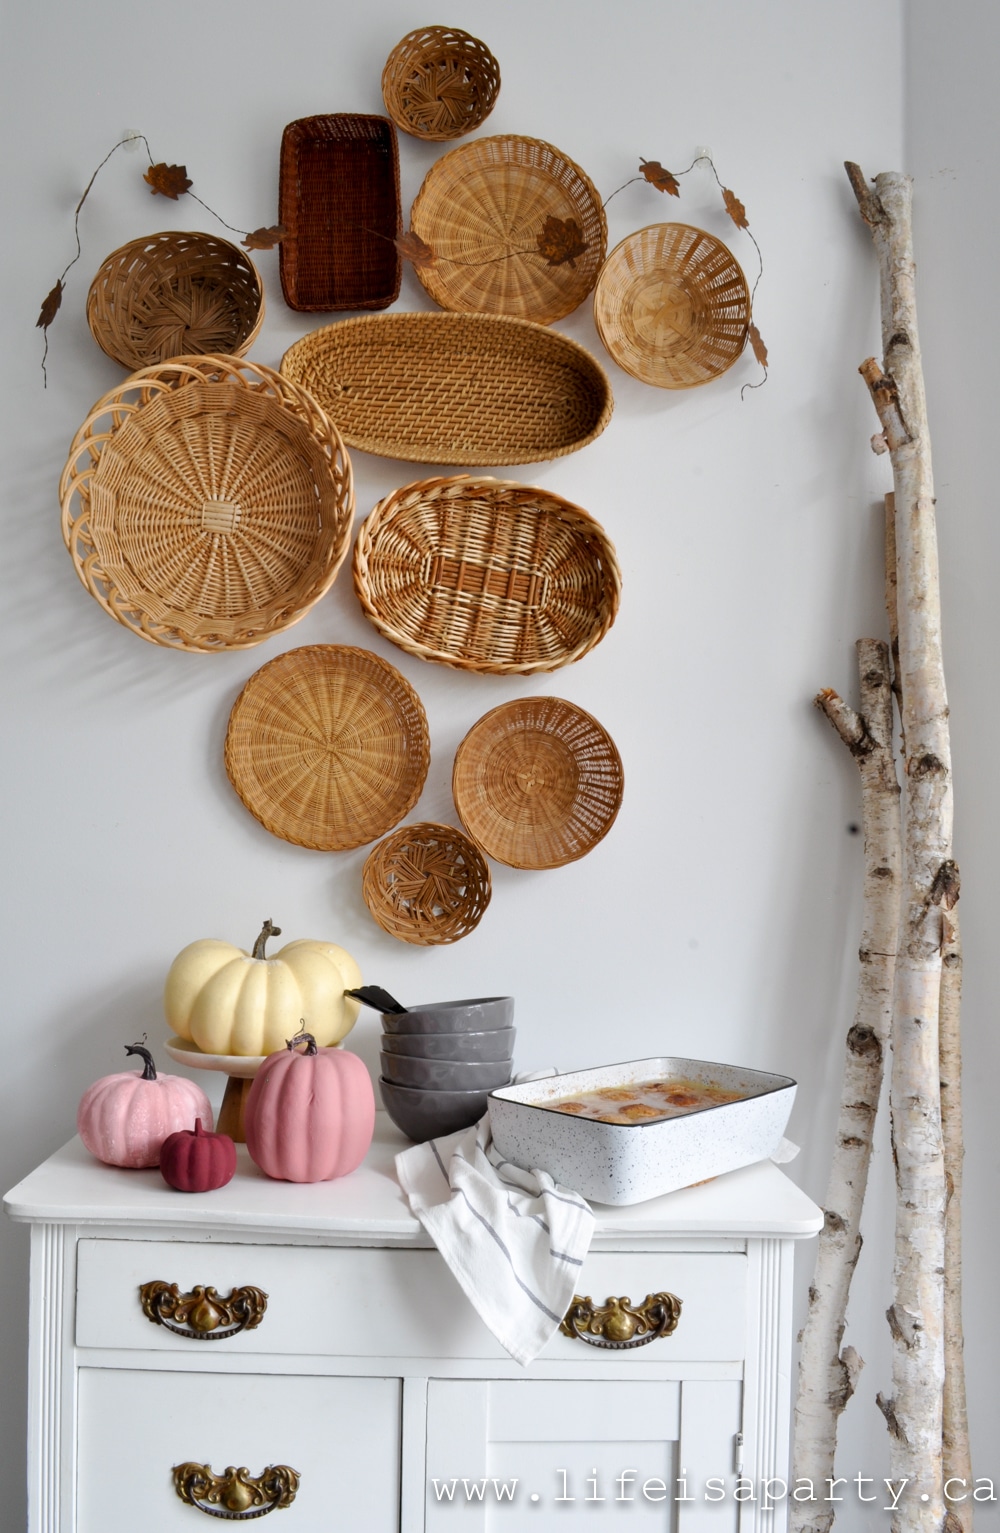
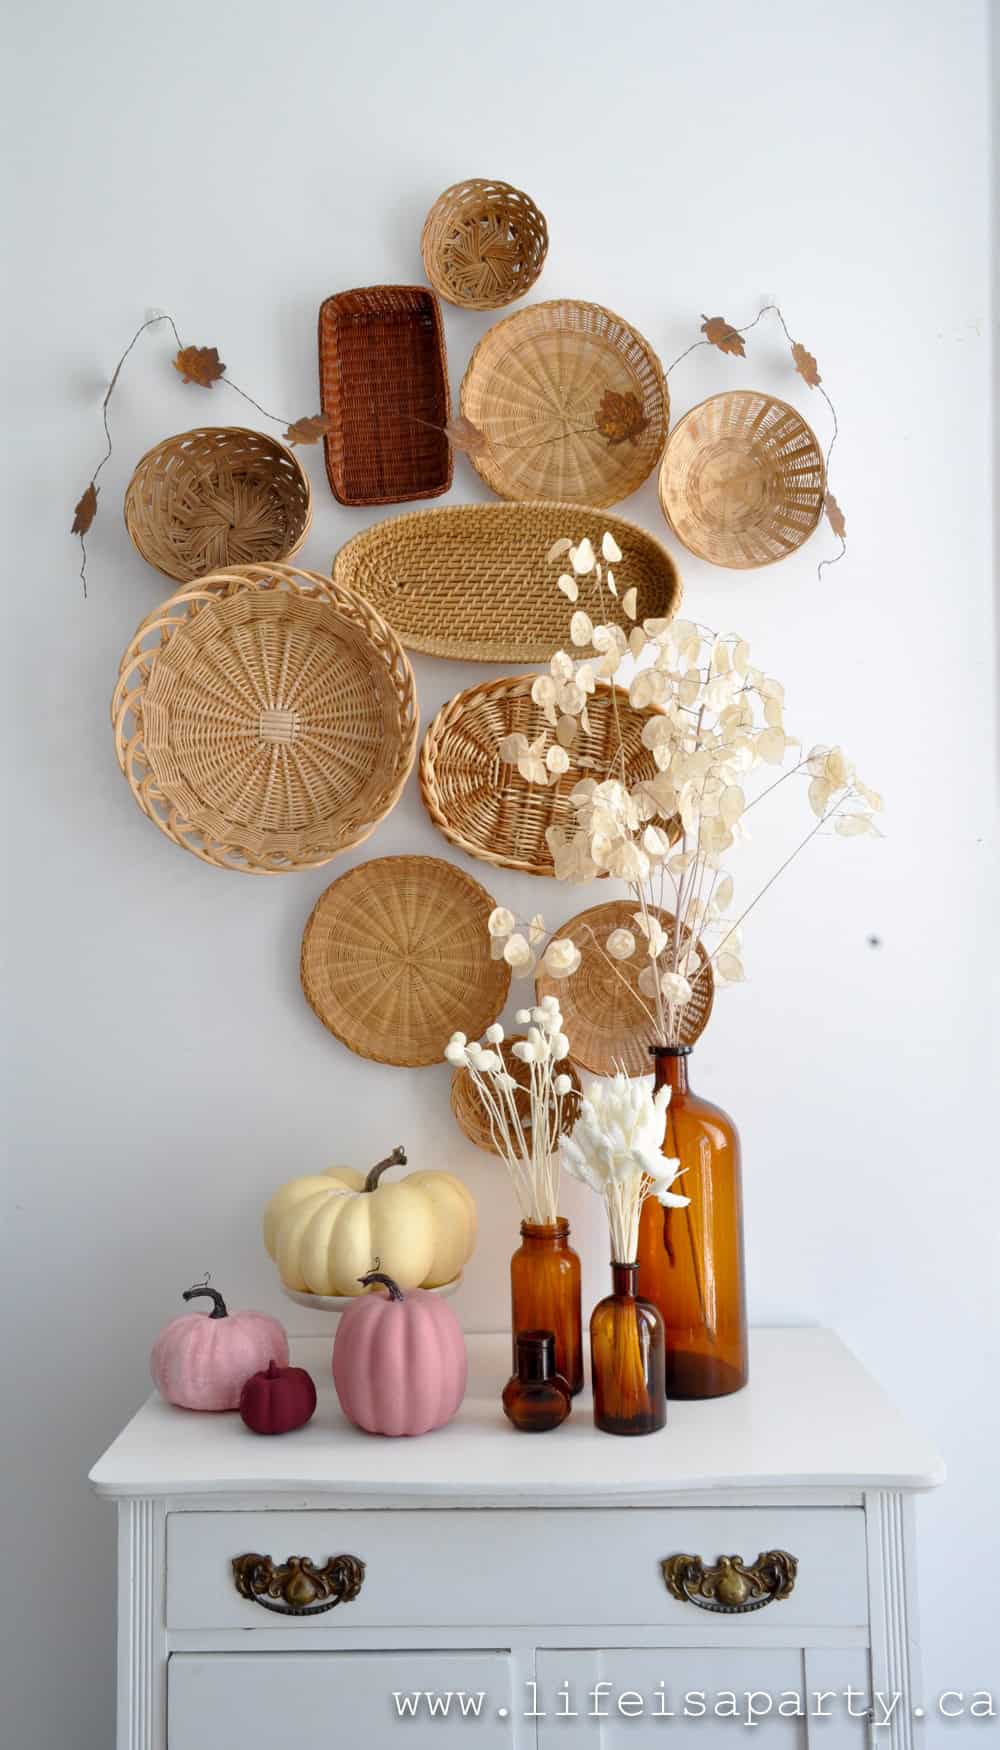
And also in this eating area is the basket wall.  I found thrift store baskets this summer and created this space.  The warm tones and texture felt perfect for fall. 

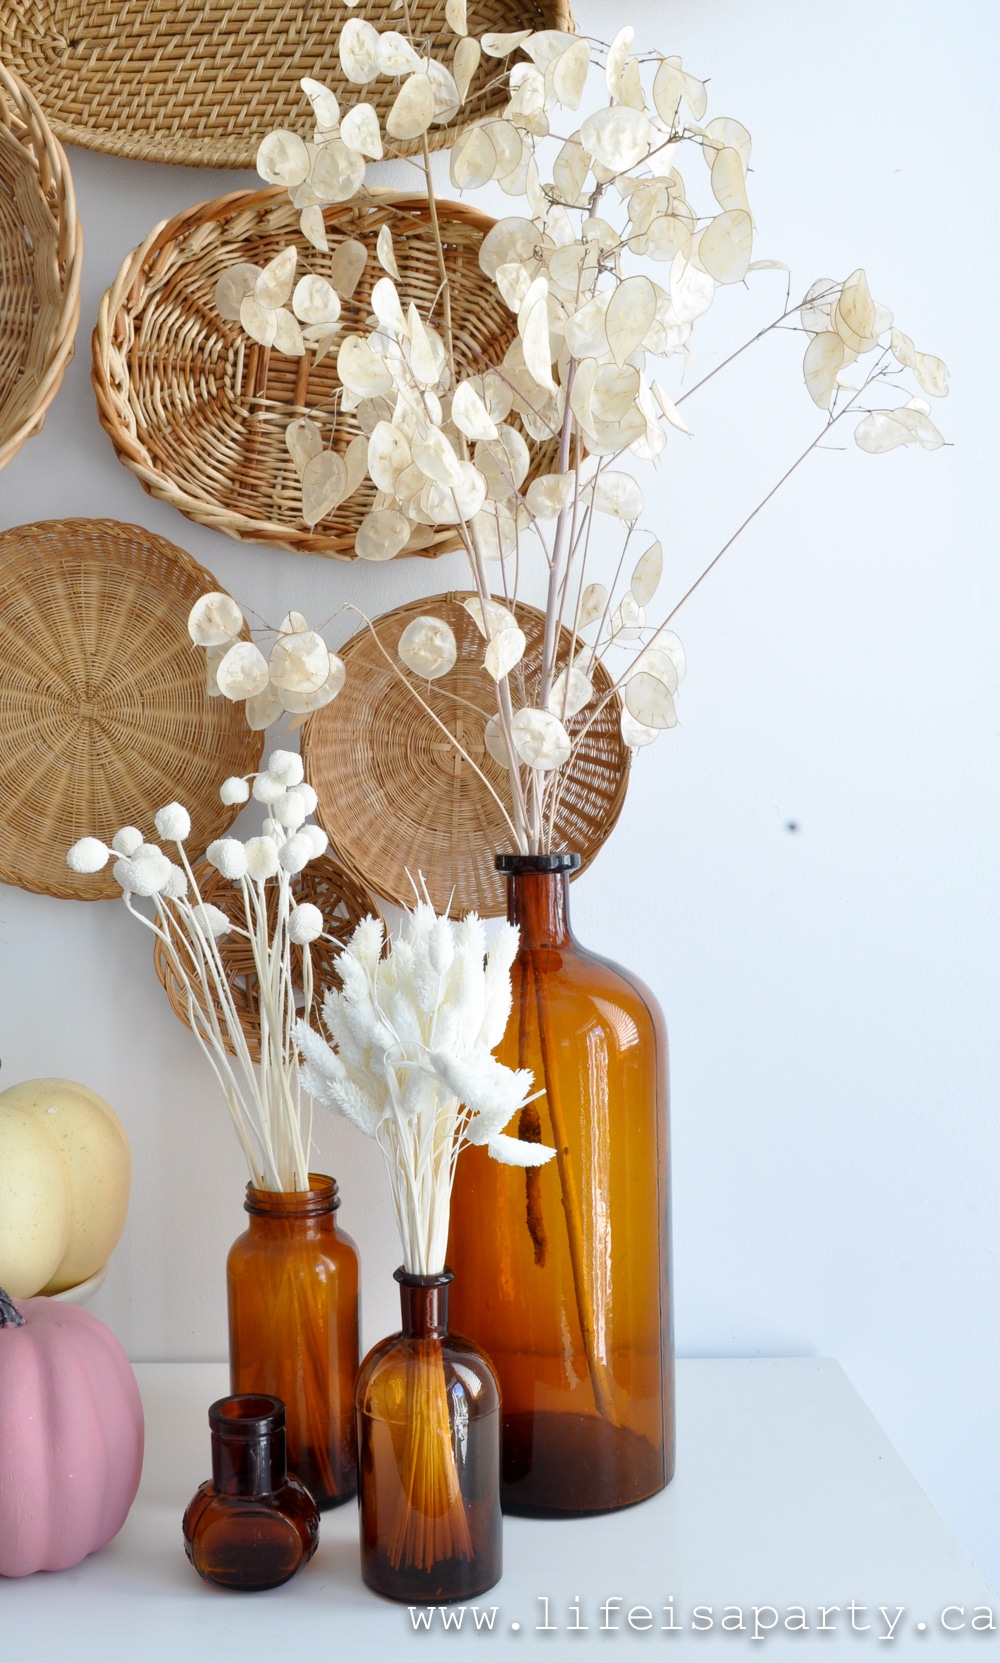
vintage amber glass bottles with dried flowers

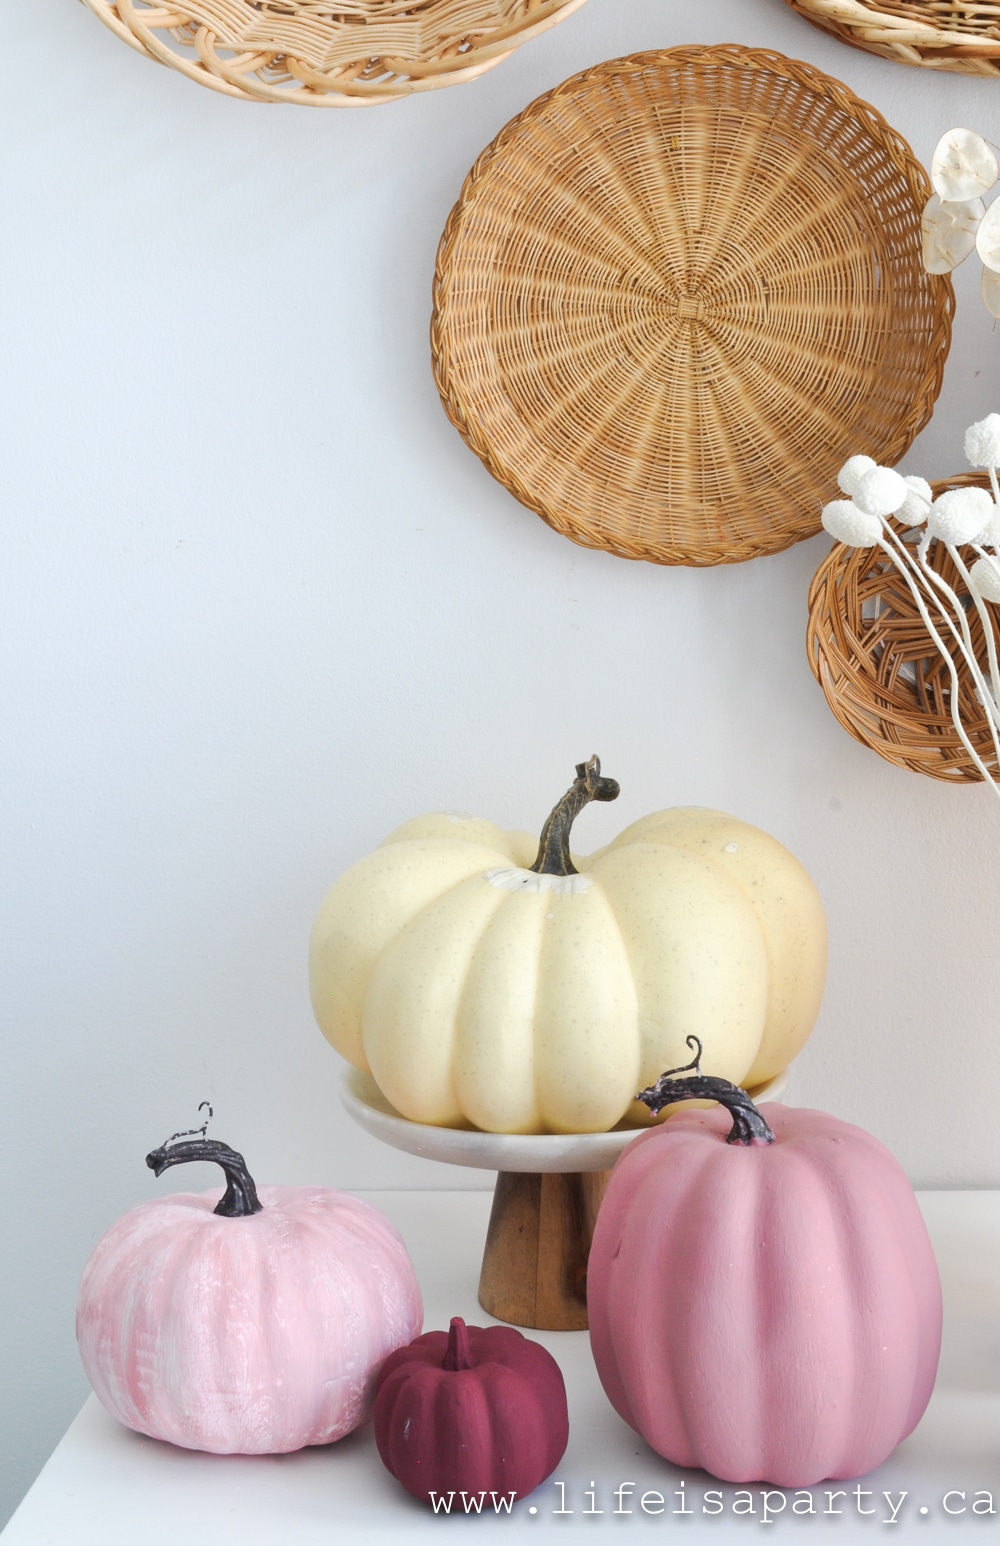
I also added some more amber glass, and some more dried florals.  There's also a collection of faux pumpkins that I painted with some craft paint to match my colour scheme this year.  Maybe another year I'll re-paint them again, but pink is perfect this year.

pink fall decor ideas

It's a lovely feeling to have the house all clean and ready to head into a new season.  I hope it offers you a little inspiration, especially if you love boho, and might want to give some pink fall decor a try this year too.  Wishing you the happiest of falls.

With a fall home tour, life really is a party.

Individual Charcuterie Boards

Sep 18, 2020 · Leave a Comment

How to make an individual charcuterie boards.

These individual charcuterie boards are perfect for entertaining, girl's night or date night. Check out all our ideas for cheeses, meats, fruits, sweets and more.

How to make an individual charcuterie boards.
[feast_advanced_jump_to]

Why We Love This Idea

  • There's no danger of picking up germs from sharing with a whole bunch of people.
  • This board is full of treats everyone will love eating!
  • They are perfectly portioned to try a bit of everything.
  • They look amazing and feel like an extra special way of serving guests.

These personal charcuterie boards are perfect for entertaining, a fun addition to any special occasions, or just for the perfect night in. They're a great way to avoid the germs of sharing a large charcuterie board.

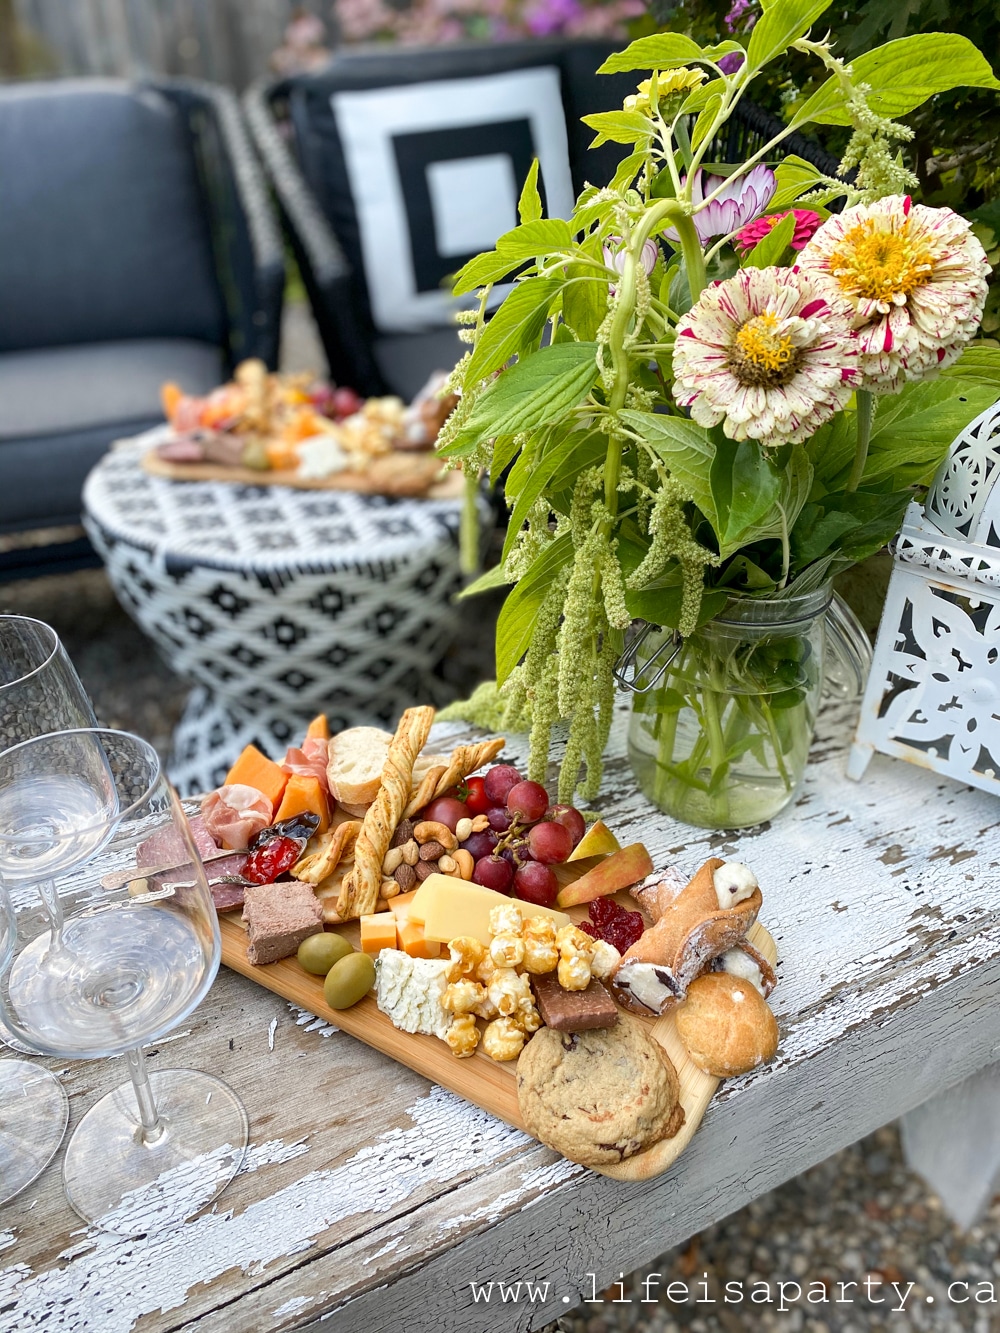
individual charcuterie boards

These boards are perfect for one person, -think girl dinner, or shared between a couple with a few glasses of wine.

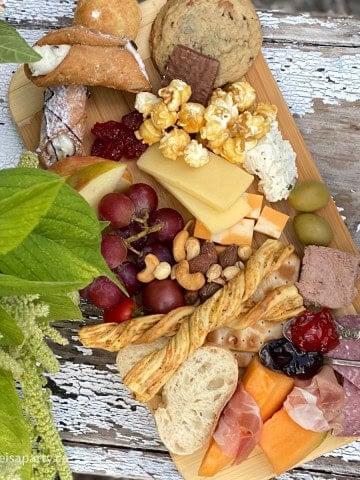
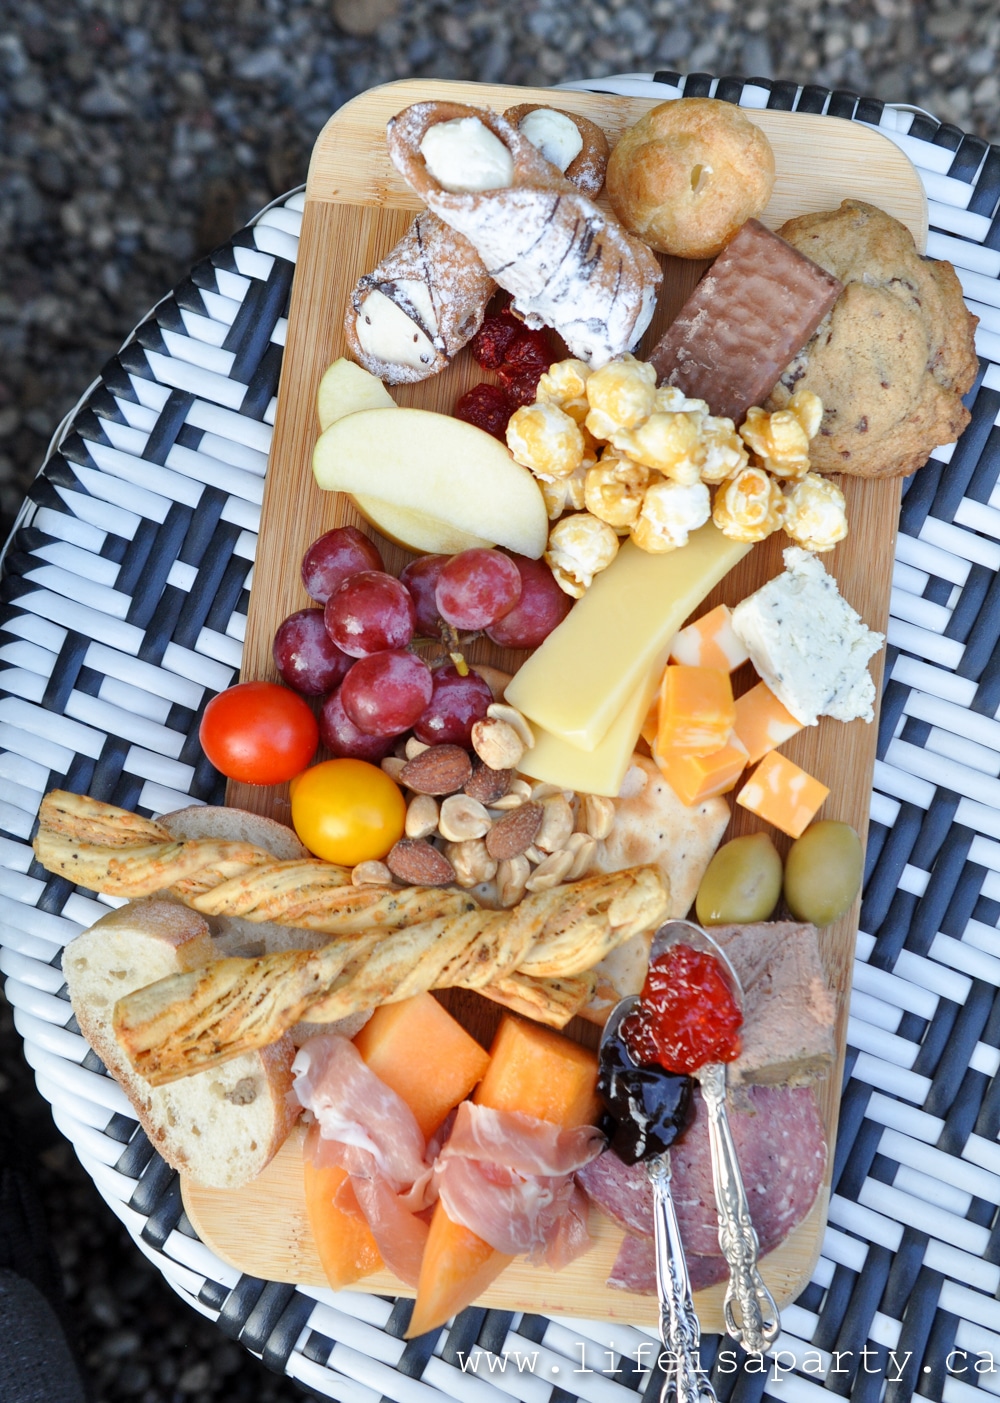
I wanted to include both some savoury and some sweets on my boards, so I made them about half and half. I did small groups about three of each element for the boards. It's nice to include different color variations, and different textures when you're choosing your elements.

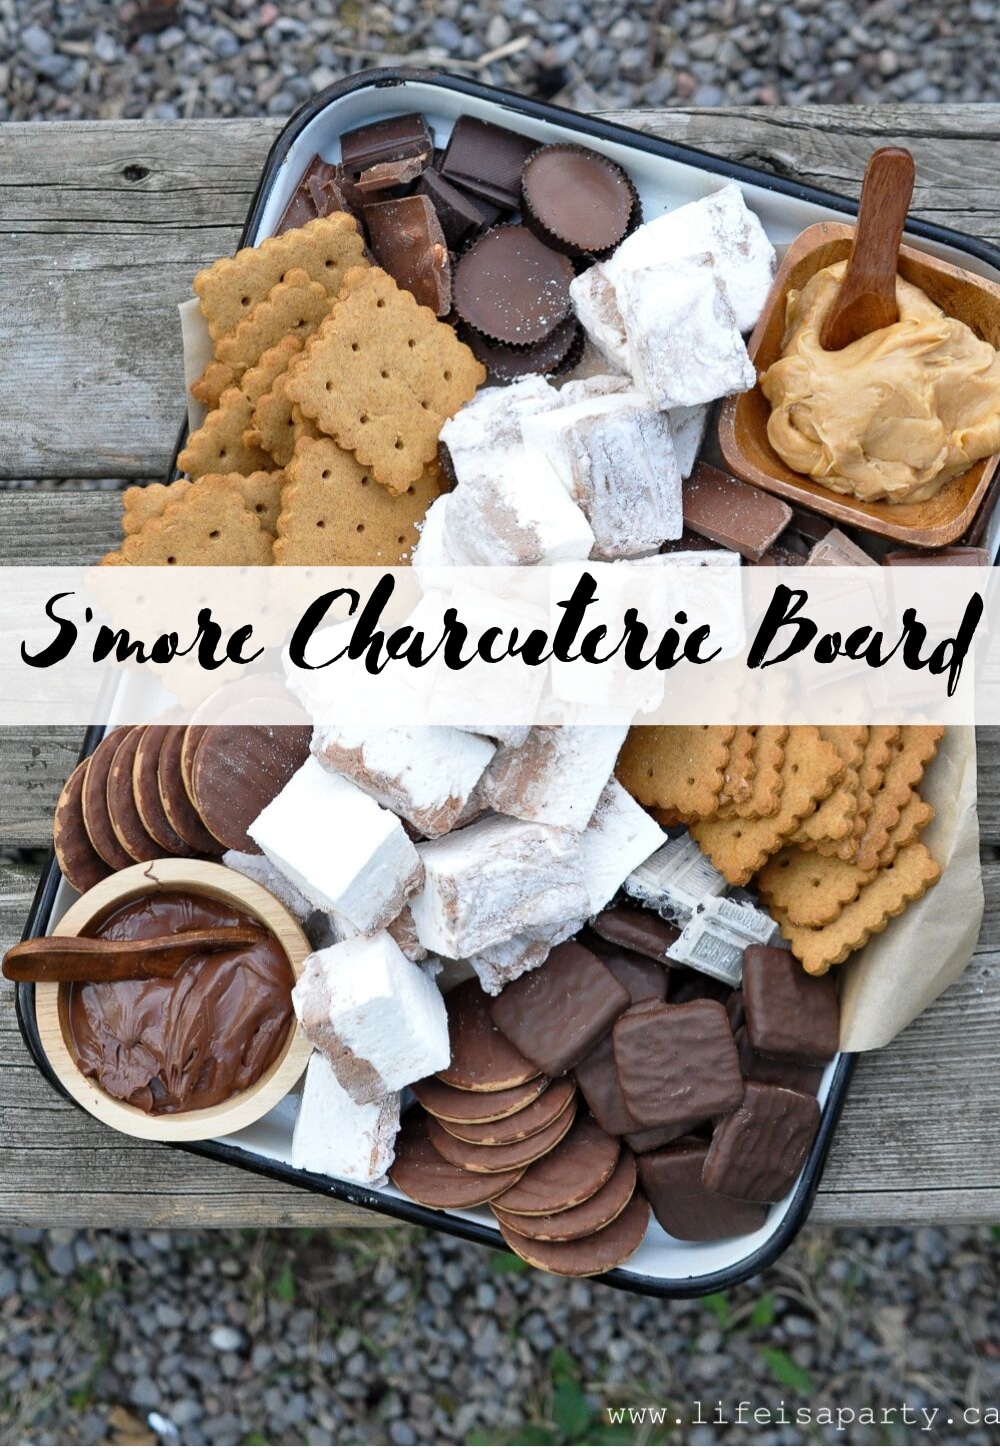
We love a charcuterie board around here. This chip charcuterie board was amazing! And this truffle popcorn would be a great additon too. And these sweet charcuterie boards like our chocolate charcuterie board, s'mores charcuterie board, or hot chocolate charcuteire boards are all favorites too.

Ingredients

Individual Charcuterie Board Ingredients

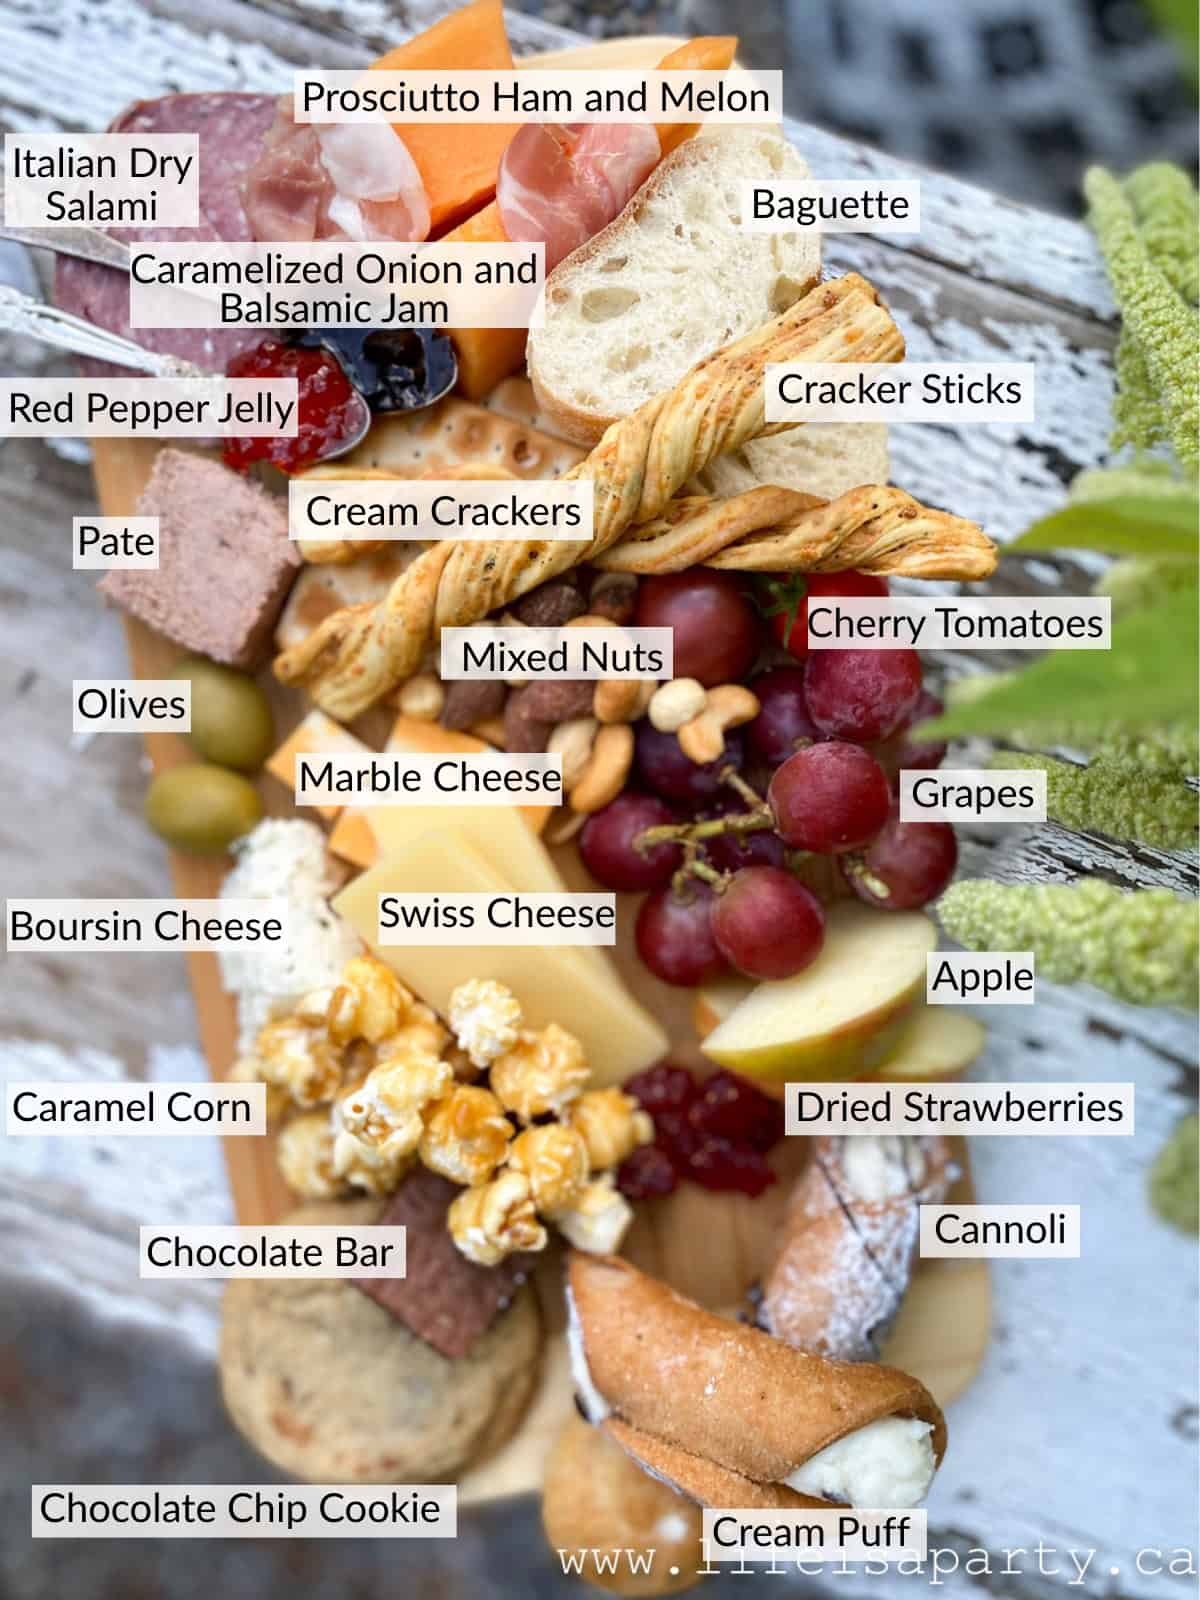
Cheese

  • Swiss Cheese
  • Marble Cheese
  • Boursin Cheese

For my board I wanted to pack all the greatness of a large board into this mini version. I added a variety of different types of cheese, all favorites of mine. You could choose your favorite cheeses for your own board.

It's always good to include some hard, soft, and semi-soft cheeses as options.

I used some Swiss cheese, cut in slices, some cubes of marble cheese, and a wedge of soft and creamy Boursin cheese. More good options include goat cheese, blue cheese, or sharp cheddar.

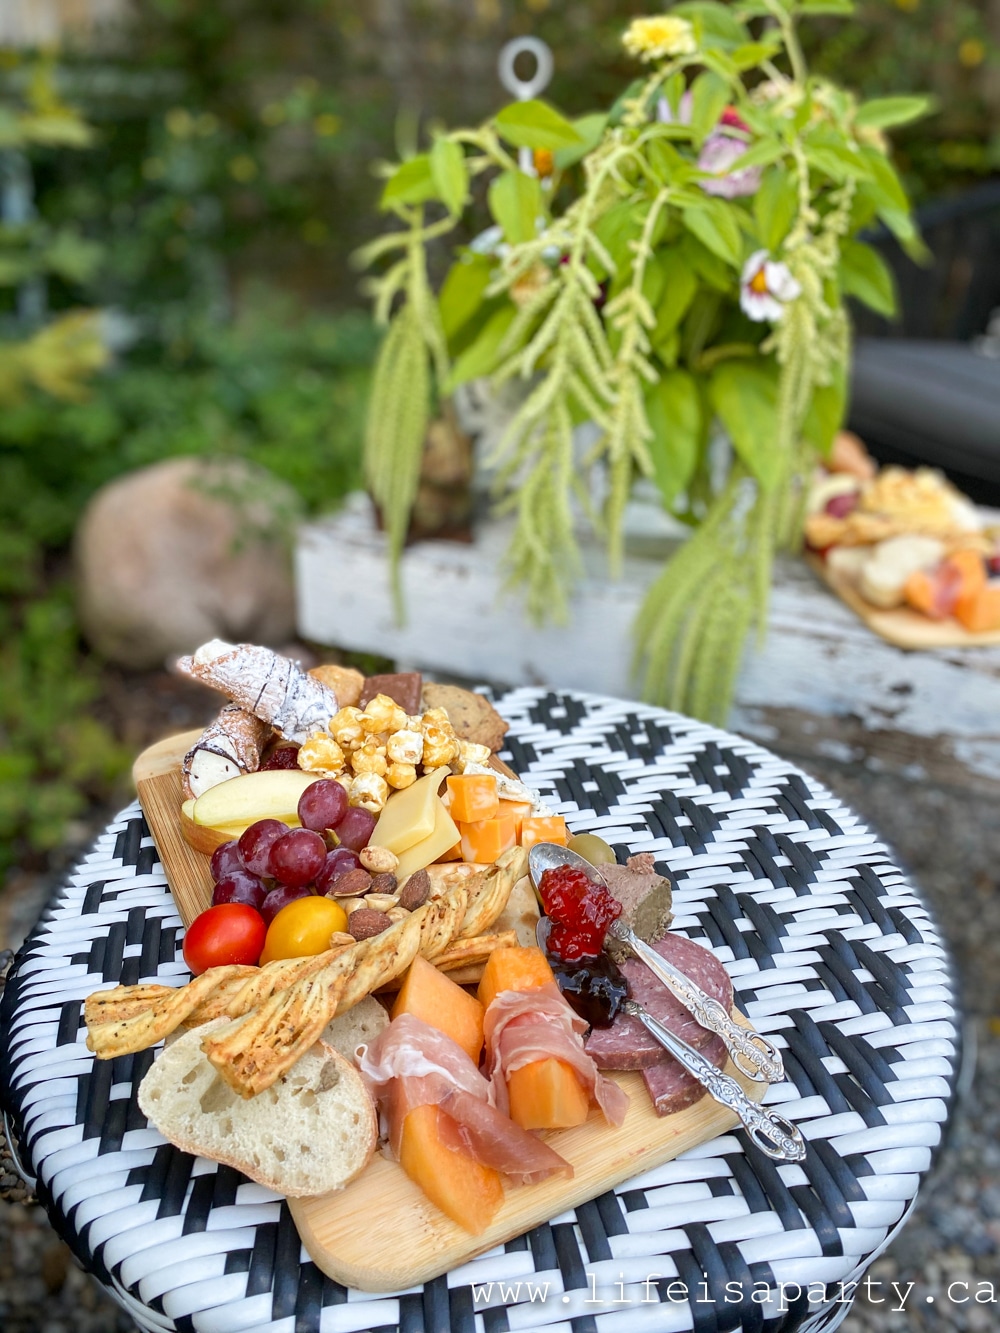
Individual charcuterie board with cheese, meats, and sweets.

Meat

  • prosciutto ham
  • Italian dry salami
  • pate

For the assortment of meats I served prosciutto ham wrapped around cantaloupe -a favourite of mine. I included a couple of slices of dry salami. Lastly I added a wedge of liver pate.

It's great to include a small variety of meats for your guests.

Bread/Crackers

  • baguette slices
  • cream crackers
  • cracker sticks

I wanted to include some bread to go with the pate, so I added a few slices of a baguette. As well I included a few of my favourite crackers to enjoy with the variety of cheeses.

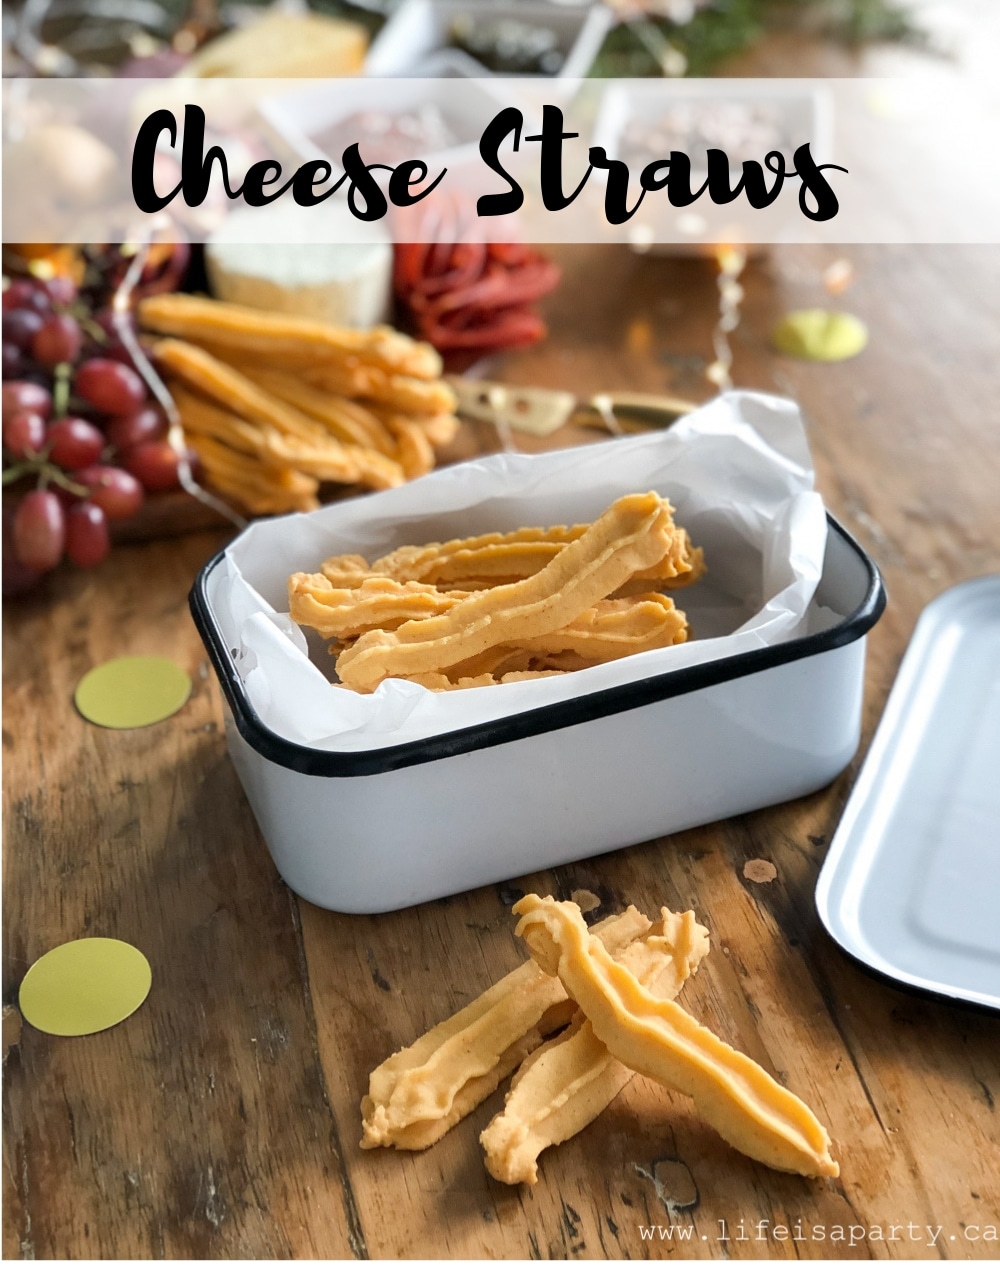
Want to try some homemade crackers? Our homemade flatbread crackers, or our cheese straws would be greate additions.

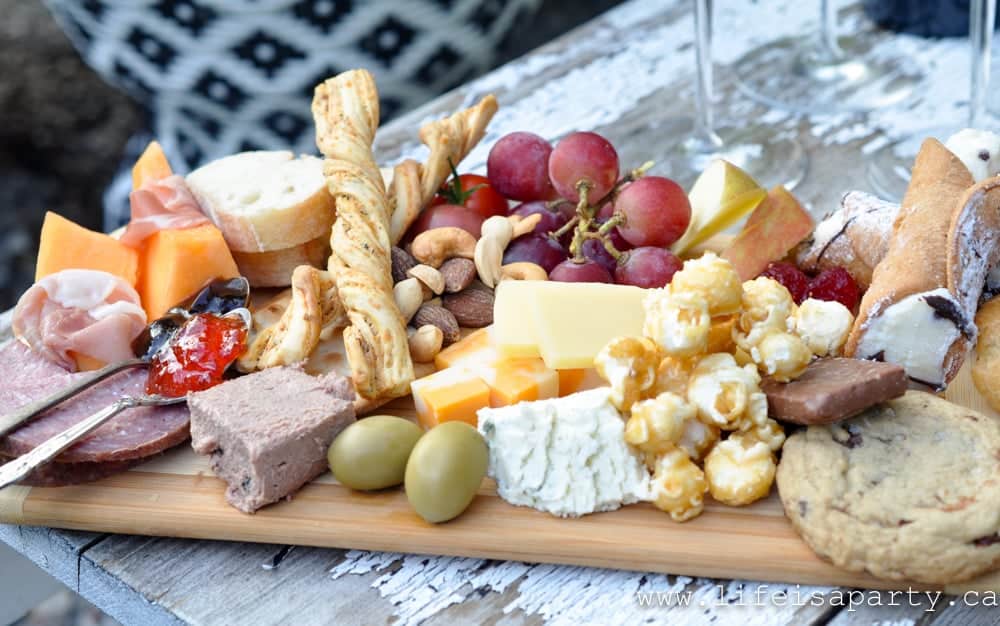
individual charcuterie boards

Fruit

  • cherry tomatoes
  • red grapes
  • honey crisp apple
  • dried strawberries

I included a few options of seasonal fruit on the boards, some grapes because they're such a classic with the cheese. I also added some apple slices, it's such a good accompaniment to cheese too, and honey crips are so sweet. As well I added a few cherry tomatoes. 

And finally on the sweet end of the board I added a few dried strawberries. If you've never tried these I highly recommend them. I found them at the bulk food store. They are sweet and chewy, and kind of taste like candy. Fresh fruit is great, but some dried is a good idea as well.

date night charcuterie board

Extras

  • mixed nuts
  • green olives
  • caramelized onion and balsamic jam
  • red pepper jelly

I wanted to add in a few extra special touches to really elevate these and take them from a good charcuterie board to a great one. 

A handful of mixed salted nuts added some crunch. I also included some olives, and favourite pickle would be great. 

My last addition was some caramelized onion and balsamic jam, and some red pepper jelly. Any favourite chutney or jam that you enjoy with jam would be great additions. 

I served these on some vintage tea spoons, and it was the perfect little amount and looked great on the board. You could also try very small bowls, or an ceramic asian spoon.

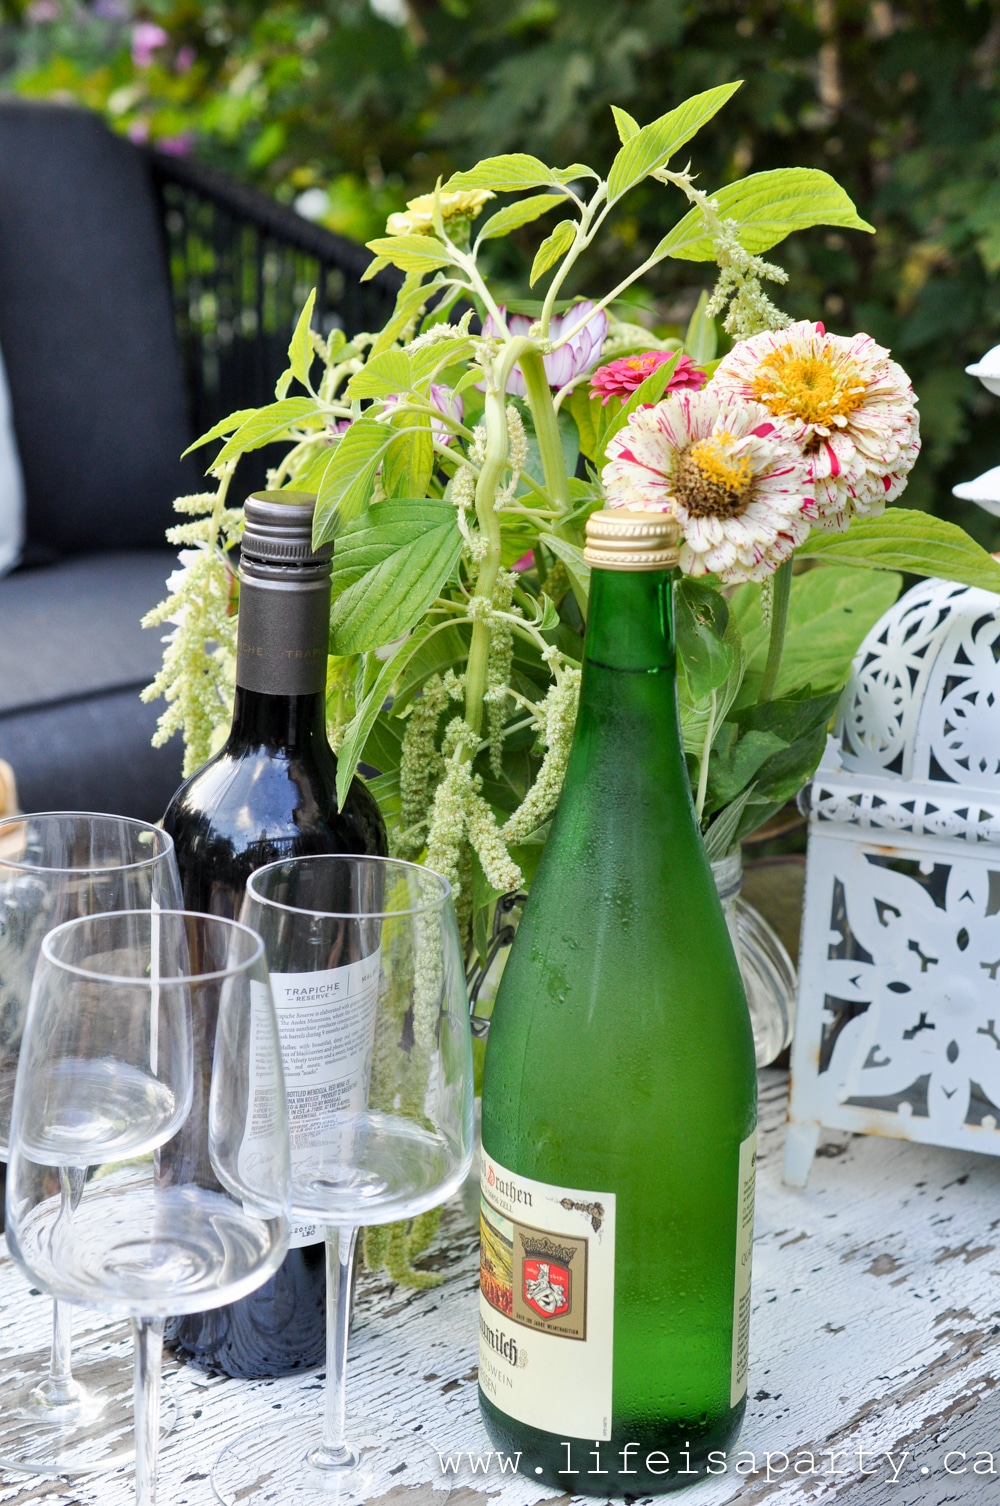
glass of wine

Sweets

  • cannoli
  • cream puff
  • chocolate chip and sea salt cookie
  • mini chocolate bar
  • caramel corn

If you were using these boards as the perfect appetizer for a dinner party, you might not want to include the sweets. For our get together we had our boards as an evening snack along with some wine, so the addition of sweets was the best part and the perfect sweet ending to a mini charcuterie platter. 

I kept things simple with almost all store bought treats. The mini cannoli are a bakery favourite. I also picked up some frozen mini cream puffs. We had some homemade chocolate chip cookies with a sprinkling of sea salt -so good! 

I thought our favourite chocolate bar would be fun addition for the chocolate lovers. These are coffee crisp thins. Lastly I added a little caramel corn, which I thought would a really fun addition.

how to make an individual charcuterie board

Customize For Any Dietary Restrictions

One of the beauties of individual charcuterie boards is that you can customize them for anyone. Have someone in your group with dietary restrictions? No problem just switch a few ingredients for them. 

You might exclude nuts for someone with an allergy. Have someone who can't have dairy, look for non-dairy cheese for them. Or use gluten-free crackers and sweets for someone else.

This is perfect to accommodate anyone you're entertaining, and not have them feel left out.

How To Make

Organize your small cutting board, or plate with the savory items at one end, and the sweet items at the other.

Make sure everything is bite sized and easy to eat. If you're serving these boards for couples, be sure to include two of each selection, so everyone can try everything.

Frequently Asked Questions

Do I have to include sweets?

No, these boards are great as an appetizer with savoury foods like meat, cheese, crackers, and fruit.

Can I make it gluten free?

Yes, use gluten-free crackers made with rice flour, almond flour, or buckwheat. Be sure to read the labels to confirm they are gluten-free.

Can I make this ahead of time for entertaining?

Yes. Prep your cheese, meats, and fruit ahead of time by cutting them and washing them. Just before guests arrive assemble your boards, and cover with plastic wrap until it's time to serve.

More Inspiration

  • Melted cheddar and apple savory s'more held in hand with hot honey drizzle.
    Savory S'mores: 4 Campfire Combos
  • Ladybug caprese bruschetta on a basil leaf with mozzarella, olive, and balsamic glaze spots.
    Ladybug Caprese Bruschetta
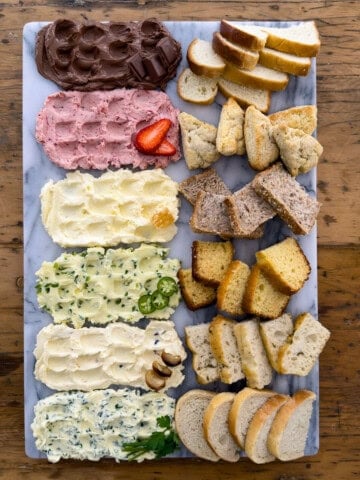
  • Overhead view of a compound butter board with six flavored compound butters in a row including chocolate, strawberry, whipped honey, jalapeño honey, roasted garlic, and garlic herb, each paired with its own bread on a marble board.
    The Ultimate Butter Board: 6 Flavored Butters and Bread Pairings
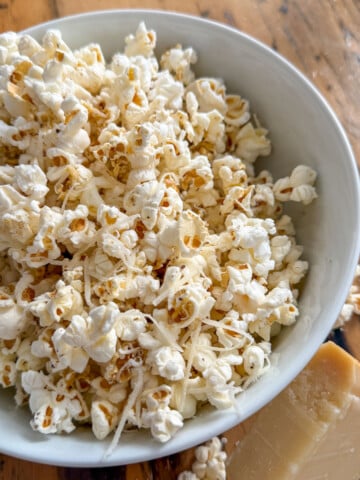
  • Truffle butter popcorn in a white bowl with a wedge of Parmesan cheese on a rustic wood surface.
    Truffle Popcorn

If you try this Individual Charcuterie Board or any other recipe on my blog please leave a star rating and let me know how it went in the comments below. Thanks for visiting today!

Recipe

How to make an individual charcuterie boards.

Individual Charcuterie Boards

The perfect serving for one of savoury and sweet treats.
5 from 1 vote
Print Pin Rate
Course: Appetizers
Cuisine: American
Prep Time: 10 minutes minutes
Total Time: 10 minutes minutes
Servings: 1
Calories: 3081kcal
Author: Dannyelle Nicolle-Ramjist

Ingredients

  • 1 oz Swiss cheese
  • 1 oz marble cheese
  • 1 oz Bousin cheese
  • 1 tablespoon pate
  • 2 slices of summer sausage
  • 1 slice prosciutto ham
  • 1 wedge of cantaloupe
  • 2 slices of baguette
  • 2 breadsticks
  • 2 crackers
  • 2 tablespoon mixed nuts
  • 2 olives
  • 1 teaspoon caramelized onion and balsamic jam
  • 1 teaspoon red pepper jelly
  • 3 cherry tomatoes
  • 5 grapes
  • 2 slices of honey crisp apple
  • 1 tablespoon dried strawberries
  • 2 mini cannolli
  • 1 mini cream puff
  • 1 chocolate chip and sea salt cookie
  • 1 mini chocolate bar
  • ¼ cup caramel corn

Instructions

  • Make sure items are cut into bite size servings and arrange them on individual boards, grouping savory at one end and sweet at the other. Use mini spoons to serve the jam and jelly.

Notes

Assemble boards right before guests arrive and cover with plastic wrap until it's time to serve.  

Nutrition

Serving: 1g | Calories: 3081kcal | Carbohydrates: 323g | Protein: 127g | Fat: 149g | Saturated Fat: 58g | Polyunsaturated Fat: 75g | Trans Fat: 1g | Cholesterol: 377mg | Sodium: 6309mg | Fiber: 23g | Sugar: 158g
Tried this Recipe? Tag me Today!Mention @LifeisaParty or tag #lifeisaparty!

Boho Fall Mantel Decor Ideas

Sep 16, 2020 · 3 Comments

boho fall mantel decor

Boho Fall Mantel Decor Ideas: boho styling for fall with dried grasses and flowers, brass candlesticks, house plants, and eclectic art.

boho fall mantel decor
[feast_advanced_jump_to]

This year in my fall decor I'm adding some darker colours on the mantel.  I love how it turned out and I'm excited to share my fall mantel decor ideas with you.

Colour Scheme

I ordered this pretty pink floral pillow for my living room weeks ago, and it was really the jumping off point for my decor this year.  It inspired lots of pink, and a little burgundy this year to go with it.  I also wanted to add in lots of dried flowers and other florals where I could.

boho fall mantel decor ideas

Inexpensive Art

This inspired the pretty painting print.  To make it I spent some searching for a floral from the Dutch masters that would work for me.  I landed on Maria van Oosterwyck's Still Life with Flowers, Insects and a Shell.  You can download and use it for free from London's Royal Collection Trust here.

fall mantel decor ideas

I had it printed as a 18 x 24 colour engineering print, for under $7.  Then I added some wood strips to the top and bottom to hang it.  You can read all about how I add the wood to the engineer prints here.

Boho Elements

Since it's fall I also used some pumpkins.  The grass is some that I found last year and dried and it looks great here.  I used a vintage glass jar to hold the grass, and then repeated the shape and texture in an amber glass jar.  The amber glass jar brings out the gold colour in the print too, and feels perfect for fall.

fall fireplace mantel ideas

The lanterns help tie in the black and candles are always cozy for fall.

how to decorate your mantel for fall

The brass candles with the Burgundy and pink add some more boho charm.  I've found it easy to find the coloured taper candles at thrift stores.  The live plants help create more of the boho feel on the mantel.

The lady picture was a thrift store find a few weeks ago.  The colours were perfect and she adds a fun element to the mix.

fall mantel

Bunting

I left up my macrame bunting, see how I made it here.  

dried straw flower garland

And I layered with some beautiful straw flowers.  The straw flowers are from the lovely etsy shop Country Mouse Boutique.  I used the mixed strawflowers in pinks and burgundy to create this flower garland.  To create it I used a needle and thread to string them together.  It turned out so beautiful, and the dried flowers perfect for fall.

dried straw flower garland

This eclectic mix feels so full and interesting and layered.  
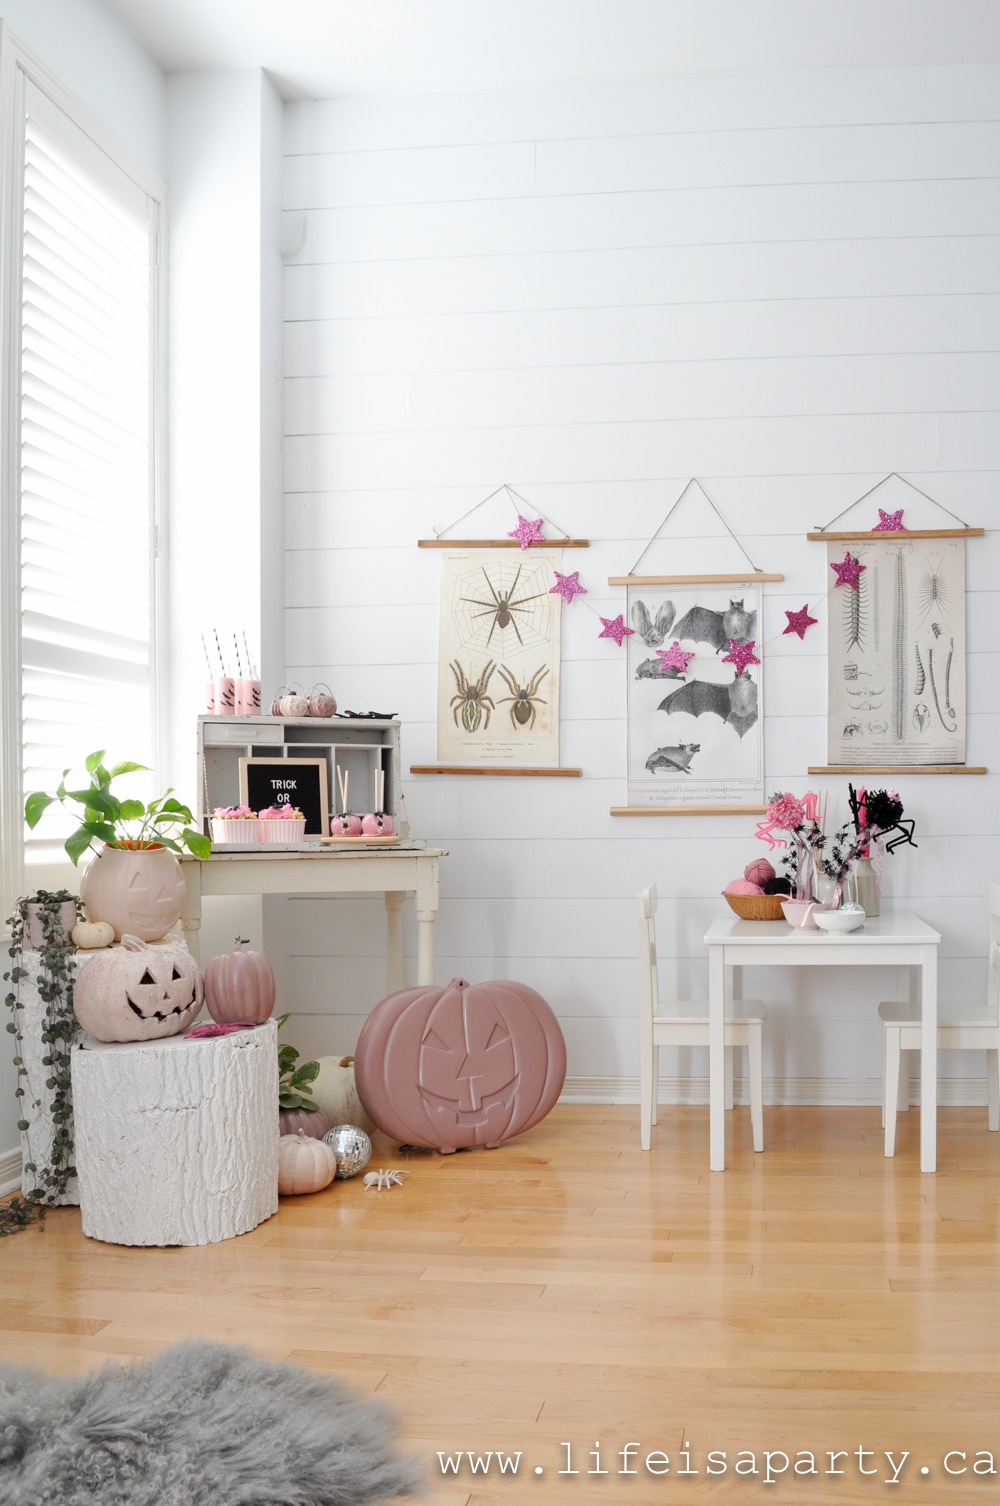
boho fall mantel
fall decor

With all these boho fall mantel decor ideas, life really is a party!

More Mantel Inspiration

  • Asymmetrical Christmas mantel
    Asymmetrical Christmas Mantel Ideas
  • Halloween Mantel
    Halloween Mantel Decor
  • Modern Boho fall mantel ideas.
    Modern Boho Fall Mantel Ideas
  • spring mantel ideas
    Spring Mantel Ideas

How To Throw A Garden Tea Party

Sep 14, 2020 · Leave a Comment

Garden tea party tablescape with white paper lanterns, vintage lace ribbon canopy, macrame table runner, pink depression glass teacups, gold candelabra, and fresh garden flower arrangements.

There's nothing more beautiful than a garden tea party. We hosted one in our backyard and it was magical. Check out our decor ideas, full tea party menu with recipe links, iced tea mocktails, flower crowns, and more.

summer garden tea party
[feast_advanced_jump_to]

Quick Look

  • 🎉 Party: Garden Tea Party
  • 🍽️ Menu: Full tea party menu with recipe links
  • 🎀 Decor: Ribbon used as streamers and flowers
  • 🫖 Drinks:Hot tea plus iced tea mocktails/cocktails
  • 🌸 Special Touch: Flower crowns for guests
  • 📋 Prep: Make-ahead tips so you can enjoy the party too

Why You'll Love This Garden Tea Party

  • Real party photos from a real backyard.
  • Gorgeous lace ribbon pergola decor sourced secondhand for next to nothing.
  • A full tea party menu with finger sandwiches, scones, and sweets.
  • Tea mocktails and cocktails your guests will love.
  • Flower crowns as a party detail guests will never forget.

There is something about a garden tea party that feels genuinely magical. For Paige's 16th birthday family celebration, we set a long table under our backyard pergola, draped vintage lace ribbons from the beams, tucked fresh flowers from the garden into every corner of the table, and served finger sandwiches, scones, and sweets with proper cups of tea. We sat outside long past dark, with candles flickering and fairy lights glowing overhead, and it was one of those evenings none of us wanted to end.

This garden tea party has everything you need to host your own: decor and tablescape ideas, a full menu with recipe links, drinks, flower crowns, and practical tips for hosting outdoors beautifully.

If you love tea parties, you might also enjoy our Little Women Vintage Tea Party, our Christmas Tea Party, and our Complete Tea Party Food Guide, which has all our favourite tea party recipes in one place.

Aerial view of white garden pergola with vintage lace ribbon canopy and hanging paper lanterns above a garden tea party table surrounded by lush grapevine and garden greenery.

What Is a Garden Tea Party?

A garden tea party is simply afternoon tea enjoyed outdoors. It takes all the classic elements of traditional afternoon tea, finger sandwiches, scones with jam and cream, little sweets and pastries, and moves them into a garden, patio, or backyard setting where the fresh air and natural surroundings make everything feel even more special.

You might hear the terms "afternoon tea" and "high tea" used interchangeably, but they are actually different things. Afternoon tea is the elegant, lighter spread served in the mid-afternoon with dainty sandwiches, scones, and sweets. High tea, despite the name, is a more substantial meal eaten in the early evening. For a garden tea party, afternoon tea is exactly what you are after.

Setting the Scene: Making Your Outdoor Space Feel Magical

The beautiful thing about a garden tea party is that the outdoor setting does a lot of the work for you. Whether you are hosting under a pergola draped in grapevines or setting up a simple table on a backyard deck, the key is creating an atmosphere that feels intentional and a little bit enchanted.

White backyard pergola with climbing pink roses, lace ribbon swags, and hanging paper lanterns framing a garden tea party setting at dusk.

For Paige's party, we were lucky to have our pergola as the natural anchor of the space. But the elements that really made it feel special were the ones we added: the draped lace ribbons, the hanging lanterns, the candlelight, and the fresh flowers everywhere. Those details transformed a backyard into a setting that felt genuinely magical.

If your outdoor space is more modest, lean into what you have and bring in the rest. A few potted blooms, a market bouquet, some draped fabric overhead, and soft lighting at dusk will do more than you think.

Garden Tea Party Decorations

White garden pergola beams draped with sweeping vintage lace ribbons and hanging white paper lanterns above a boho garden tea party table.
Out door party table under a pergola decorated with ribbon streamers and paper lanterns.

This is where the magic happens. For Paige's party we went for a romantic, boho aesthetic with lots of white, soft blush, and warm gold throughout.

Ribbon Streamers: The biggest impact came from the lace ribbons. My sister helped us drape vintage white and off-white lace ribbons all across the pergola beams, weaving them down toward the hanging paper lanterns in the centre. It created this dreamy draped canopy effect that looked like something out of a fairytale. Almost all of the ribbon was a lucky secondhand store find, and I love that it is completely reusable. Prepare to see those lace ribbons at future parties because they are too beautiful not to bring out again.

Lighting: The large white lanterns hanging from the pergola beams at different heights, are actually weather proof solar lanterns. They created the most extraordinary glow as the sun went down, combined with candles, and fairy lights. The candles were in thrift store brass candlesticks with a dipped paint effect (see how we made them here) and we also tucked some vintage glasses in as tea light holders throughout the table. The effect was honestly breathtaking.

Indoors: If you are hosting your garden tea party indoors, you can recreate this look by attaching ribbon to the ceiling or draping it from corner to corner across the room. It works just as beautifully inside.

If You Don't Have a Pergola: Tall outdoor lighting posts, the kind people use for festoon or string lights, work beautifully if you set them around the table and run ribbon or fabric between them. You can also look for an over the table rod stand, an adjustable metal arch frame that clamps right onto your table edges and creates an instant overhead structure you can hang lanterns and ribbon from. Both options are inexpensive, easy to find online or at big box stores, and endlessly reusable for outdoor entertaining.

Garden Tea Party Tablescape

We were going for a pretty boho vibe for the tablescape, and I love how it all came together. Our color scheme was lots of white and off-white with touches of soft pink and a little purple, which felt romantic and garden-fresh without being too formal.

ribbon party streamers
  • Table Runner: We laid a macrame runner down the centre of the table, which added the most beautiful texture against the concrete. A lace runner would work just as beautifully here too.
  • Lights: Then we added lots of candles and fairy lights to create that magical feel as the evening settled in. The candles were some brass thrift store finds with a dipped paint effect (see how I made them here) and we also tucked vintage glasses in as tea light holders throughout the table. As the sun went down the combination of candlelight and fairy lights was absolutely gorgeous.
  • Place Settings: For each place setting we used pretty vintage pink depression glass tea cups with beautiful gold cutlery and added a teaspoon for stirring tea. The vintage tea cups really added a special touch to the table. Since everything we served was finger food there were no forks necessary. The knife is just for spreading butter, jam, and cream on your scone.
  • Menu Cards: Paige made individual menu cards for each spot using Canva, printed onto cardstock and layered with the colors of the party. They are such a lovely personal touch at an elegant tea party and make a beautiful keepsake for guests to take home afterwards too.
sweet 16 summer soiree

Garden Tea Party Flowers and Flower Crowns

Garden tea party table with macrame runner, fresh garden flower arrangement in glass vase, brass candlesticks, and grapevine covered pergola overhead.

Table Arrangements: The fresh flowers were all from my mom and sister's garden and they looked absolutely stunning. There is something so special about using garden flowers for a party like this. They feel alive and generous in a way that grocery store bouquets sometimes don't, and the variety of blooms you get from a real garden is hard to replicate. We arranged them in simple glass vases.

If you don't have a garden to cut from, a farmers market bouquet or even a few bunches from the grocery store arranged loosely in small vintage vessels will look just as beautiful on the table. And wild flowers are a great addtion too, just be sure to harvest responsibly.

Young woman wearing a handmade garden tea party flower crown of white roses and fresh greenery, smiling in a blooming backyard garden.
Back view of a handmade garden tea party flower crown with white roses, greenery, and trailing lace ribbon, with colorful autumn garden foliage in background.

Flower Crowns: My sister Heather used to be a florist, and we called her in to make flower crowns for the girls. She asked each of them what they were wearing and tried to incorporate flowers in colors that would complement their outfits. The flower crowns were so fun and festive, and honestly I think we should use them instead of birthday hats at every celebration from now on. The girls loved them so much they all dried theirs afterwards as a keepsake of the evening.

Flower crowns are one of those party details that feel both whimsical and genuinely special. If you don't have a florist in the family, you can find tutorials online for simple DIY flower crowns, or many local florists will make them to order for a small gathering. They photograph beautifully and your guests will never forget them. For a special party like this one, they are a splurge that's totally worth it.

Garden Tea Party Menu

Garden tea party food table with tiered stands of finger sandwiches, chicken salad cups, avocado tostadas, floral lollipops, scones with jam and cream, raspberry tarts, and French pastries beside illuminated marquee TEA letters and fresh wildflower arrangement.

We had so much fun putting together the menu for this party. We did all our favourites for a traditional afternoon tea and then added a few extra special touches to make it feel a little more substantial since we were serving it as our evening meal. The great thing about a tea party menu is that almost everything can be made ahead of time, which means you actually get to enjoy the party instead of spending the whole evening in the kitchen.

Tea is traditionally served on tiered trays with sandwiches on the bottom layer, scones in the middle, and pastries and sweets on top. Since we were serving a larger group we used platters and cake plates and passed the different courses around the table, which worked out beautifully.

Savoury

The finger sandwiches are the heart of any tea party menu and our guests loved sampling all the different options. We made the fillings ahead of time and assembled the sandwiches right before the party, which made things so much easier on the day.

We also included a few different savory bites, like our goat's cheese tarts, and mini tostados. Any bite sized favorites are great to include. And I come from farmers who always have a pickle tray at the table, so we included some sweet gherkins, which are so nice with a sandwich.

  • Cucumber Sandwiches
  • Egg Salad Tea Sandwiches
  • Chicken Salad in Toast Cups
  • Caramelized Onion and Goat's Cheese Tarts
  • Mini Avocado and Grilled Shrimp Tostadas
  • Gherkin Pickles
Garden tea party food table with cucumber sandwiches on a tiered cake stand, chicken salad cups, avocado shrimp tostadas, floral lollipops, raspberry tarts, and assorted sweets on a white tablecloth with garden backdrop.

Scones

We are big fans of scones as part of any proper tea party spread. We made both plain and raisin scones the morning of the party so they were fresh and at their very best, and served them with the traditional toppings of butter, jam, and cream.

  • Easy Food Processor Scones
Garden tea party food table with a plate of fresh scones, illuminated marquee TEA letters, jars of jam, bowl of cream, and assorted pastries and macarons with a wildflower arrangement in the background.

Sweets

One of our favourite additions was the floral inspired lollipops. We flavoured them with raspberry and pressed dried edible flowers from the garden right into them. They were so pretty and such a fun conversation starter. We made some of the sweets the day before and some the morning of the party, and rounded things out with a beautiful assortment of pastries and macarons from our favourite local bakery. Picking up a few things from a good bakery is such a smart shortcut for a party like this.

  • Brown Butter Madeleines
  • Assorted macarons
  • Floral Raspberry Homemade Lollipops
  • Brown Butter Raspberry Tarts
  • Cookies and Assorted Pastries

Garden Tea Party Drinks

No garden tea party is complete without a proper cup of tea, even in warm weather. We offered a selection of traditional orange pekoe, Earl Grey, and a few herbal options so guests could choose their favourite. It is worth having a few different teapots available and keeping the kettle going throughout the party so there is always fresh hot tea ready.

If you need extra teapots or tea cups, secondhand stores are your best friend. Mixing and matching vintage pieces is part of the charm, and you can almost always find beautiful ones at the thrift store for a fraction of what you would pay at an antique shop.

It is said that tea tastes best when served in porcelain, and there really is something about a proper cup of tea brewed in a teapot and poured into a beautiful tea cup that you just cannot replicate with a mug and a tea bag. Set up a small tea station on the side with all the tea fixings, a selection of tea bags, honey, sugar, and milk, so it is easy to keep serving throughout the party without any fuss.

Iced Tea Mocktails and Cocktails

Since we were hosting in the evening we wanted to add something a little more festive to the drinks menu. My girls love the fancy iced tea drinks from Starbucks so we took some inspiration from their menu and came up with a passion tea lemonade and a peach white tea lemonade.

For the grownups we offered a shot of vodka to anyone who wanted to make it into a cocktail.

Garden tea party iced tea bar cart with pitchers of passion tea lemonade and peach white tea lemonade, silver ice bucket, purple wine glasses, and fresh garden flower arrangement in a sunny backyard setting.
Garden tea party iced tea mocktail station with pitchers of passion tea lemonade and peach white tea lemonade, fresh peach and lemon garnishes, printed recipe card, and large fresh garden flower arrangement.

Edible Flower Ice Cubes: The detail that really made these drinks special was the floral ice cubes. We froze edible flowers from the garden right into the ice, and it was one of the prettiest and simplest things we did all evening. Our guests noticed them immediately and loved every extra special detail like that. These iced tea drinks were the perfect welcome drink as guests arrived and set the tone for the whole party beautifully.

We set everything up on a bar cart in the garden with the pitchers of iced tea, a silver ice bucket, the edible flower ice cubes, fresh fruit for garnish, and a printed recipe card so guests could mix their own drinks. It looked gorgeous tucked into the garden and was so easy to manage throughout the evening.

Tips for Hosting a Garden Tea Party Outdoors

Hosting outside is so beautiful but there are a few practical things worth thinking through ahead of time so the day runs smoothly.

  • Keep food inside until just before serving. Insects and heat aren't great for prepared food. Bring the food out just before serving, and consider using mesh covers, if insects are a problem.
  • Set up in the shade. Direct afternoon sun on a tea party table is hard on both the food and your guests. Position your table in a shaded spot if you can, whether that is under a pergola, a tree, or under a large umbrella. Your guests will be much more comfortable and your food will hold up better too.
  • Embrace the evening. Tea parties are traditionally in the afternoon, but we hosted ours in the evening and it was great. One of our favourite things about this party was the way it transformed as the sun went down. The candles and fairy lights came alive in a way they simply cannot in the afternoon. If your schedule allows, starting your garden tea party in the evening and enjoying it after sunset is a beautiful way to enjoy the full magic of an outdoor gathering.
  • Have a backup plan. Weather outdoors can be unpredictable. Know ahead of time where you would move the party if the weather turns, even if it is just your living room or a covered porch. Having a plan means you will not be scrambling and your guests will barely notice the change. Or have a rain date in mind, and let guests know.
Garden tea party table glowing at night under lit paper lanterns with fairy lights along the macrame runner, gold candelabra with candles, and fresh flowers under a white pergola.

Make-Ahead Timeline

One of the best things about a tea party menu is how well it lends itself to getting ahead. Here is how we would break it down:

One to two weeks before

  • Order flower crowns from your florist so they have plenty of time to prepare
  • Design and print menu cards
  • Gather your teapots, tea cups, and serving pieces and make a note of anything you still need. Shop antique stores or thrift stores for extra pieces you need.
  • Iron linens and set them aside

A few days before

  • Make the lollipops if you are including them and store in a cool dry place
  • Make edible flower ice cubes and freeze

The day before

  • Make all sandwich fillings and refrigerate
  • Bake madeleines and tartlets and store in an airtight container
  • Prepare iced tea elements and refrigerate
  • Pick or buy flowers and arrange them indoors somewhere cool overnight
  • Gather all your supplies, platters, and decor pieces so the morning of the party is calm. Use sticky notes on platters to remind yourself what goes where.

The morning of

  • Bake scones fresh so they are at their very best
  • Assemble finger sandwiches and keep refrigerated right up until serving
  • Pick up any bakery items
  • Set up tables and decor outside
  • Set up the tea station and bar cart

One hour before guests arrive

  • Light candles
  • Boil the kettle and have the first pot of tea ready
  • Bring sandwich platters out of the refrigerator right before guests sit down
  • Put on your playlist and your flower crown and enjoy the party you planned

Tea Party Favors

It's always nice to send your guests home from a birthday party with a small party favor.  Our guests went home with:

  • take home pack of fresh scones
  • small jar of jam
  • box of speciality tea
  • homemade floral lollipops  
  • special tea mocktail supplies and the recipe cards to make them

We did one gift bag per family, which was perfect.  These were a big hit with everyone, and helped the good feelings of our magical evening together to keep going.

More Tea Party Inspiration

  • Tea party table set for an adult tea party.
    Tea Party Food: The Complete Guide to Sandwiches, Scones and Sweets
  • Green gingham tablecloth with vintage teacups, candelabra, tulips and daffodils set for a Little Women party.
    Little Women Party: A March Sisters Vintage Tea Party
  • Winter tea party with snowflake decor and menu.
    Winter Tea Party: Snowflake Theme Decor and Menu
  • Tea party table set for an adult tea party.
    How To Throw An Afternoon Tea Party For Adults

Frequently Asked Questions

What food do you serve at a garden tea party?

The classic garden tea party menu includes finger sandwiches, fresh scones with butter, jam, and cream, and an assortment of sweets and pastries. We have a full Tea Party Food Guide with everything you need including recipes for all our favourite finger sandwiches, scones, and sweets.

How far in advance can I make tea party sandwiches?

The fillings can be made a full day ahead and kept refrigerated. We recommend assembling the sandwiches the morning of the party and keeping them covered and chilled right up until serving so they stay fresh and the bread doesn't dry out.

Do I need a garden to host a garden tea party?

Not at all. A patio, a backyard deck, or even a grassy corner of your yard works beautifully. The magic comes from the atmosphere you create with flowers, soft lighting, and beautiful table styling rather than a formal garden. An over the table arch stand or festoon lighting posts can give you that gorgeous overhead effect without a pergola.

What do you wear to a garden tea party?

Garden tea parties call for something pretty and a little dressy without being overly formal. Floral dresses, linen sets, and soft pastel colors all work beautifully. A flower crown is always a wonderful addition and your guests will love having one to wear.

How many people should you invite to a garden tea party?

A garden tea party works beautifully at almost any size. A small intimate gathering of four to six feels special and relaxed. A larger party of ten to fourteen is very doable with a tea party menu since most of the food is made ahead. The finger food format means no last minute cooking and guests can help themselves easily.

What tea should I serve at a garden tea party?

We recommend offering a few different options so guests can choose their favourite. A classic orange pekoe or English breakfast tea is always a crowd pleaser, Earl Grey adds a lovely floral note that suits the garden setting beautifully, and having one or two herbal options means non-caffeinated guests are well taken care of. Set up a tea station with teapots, tea bags, honey, sugar, and milk so guests can help themselves throughout the party. Iced tea options are really great for hot outdoor weather too.

If you try anything from this garden tea party or any other ideas on my blog please let me know how it went in the comments below. Thanks for visiting today!

Book Themed Party

Sep 9, 2020 · 4 Comments

Book themed party with DIY decorations like book page wreath, mini book bunting, and book page table runner.

This Book Themed Party is full of cute touches. We made a book page wreath, DIY mini book garland, book page table runner, and used lots of fun vintage books and library inspired touches. If you love to read, you will love these fun ideas.

book themed party
[feast_advanced_jump_to]

Why We Love This Party

  • Because we love to read!
  • There's so many cute DIY ideas.
  • We included lots of vintage touches.
  • It's perfect for celebrating back to school, book club, or for anyone who loves to read.

This year for our traditional Back To School dinner I thought it would be fun to do a book themed party. This is perfect as a back to school party. You might also like our Back to School free printables, Back to School Snack Mix Recipe, and Back to School Themed Foods and Treats.

It would also be great for any book themed party, book club meeting, themed birthday party, book themed baby shower or wedding decor.

If you have younger children you could use children's books. These are great party ideas for anyone who loves a good book.

book themed party

I started out for this party by shopping my house and came up with lots of vintage treasures to incorporate. I also did some crafting with some old books to fit our party theme.

book themed table

Book Page Wreath

This fun book page wreath is one that I've had for awhile, but was perfect for our book theme. 

To make it you cut out a piece of poster board into a large circle or use a wreath form for a base. Next, use an old book from the thrift store to create some book page cones.  Secure the book paper cones together with hot glue, and then attach them to the wreath form. 

This wreath is perfect for any bookish theme party, or to use as fun decor afterwards. Using thrifted books is such an affordable way to decorate for a book themed party.

book party ideas

Mini Book Garland

I also made a mini book garland to hang over the table, like a book bunting.

book themed party

I made each book cover from cardstock. For ours we used some black, brown, and grey card stock, and then added in some book pages, cut from an old book. 

Once the mini books were made, used a clothespin to attach them to some baker's twine.

You could create these in any colors to match your color scheme. If you were having a cake an even smaller mini version of this would be a really great way to make a matching cute cake topper.

mini book garland
mini book garland party decorations

Book Page Table Runner

The book page table runner was the perfect way to decorate the table for our theme.

I love this as a fun alternative to your standard plastic tablecloth. If you were having a specific book as your theme, especially a picture book, you could use a second hand one. Or if you didn't want to damage the actual book, you could use color photocopies to make a table runner, or bunting. This would be really sweet for a child's birthday celebration.

book themed party

To create our table runner, I used more old books, and pulled out some pages. It looks great using an assortment of different sizes of books, and different ages so that some are ore white and some are more yellowed for variation. You could also look for some inexpensive books to use at the dollar store.

I laid out the pages on the table in a runner shape and secured the end pieces to each other with some hot glue, to create the hang over the edge of the table.

how to throw a book party

Vintage Books in Glass Cloches

Another fun idea for the table was to add some vintage books into some large glass cloches. They make a fun centrepiece for the table, and draw attention to the beautiful vintage books.

Find vintage books inexpensively at thrift stores or garage sales. And look for glass cloches there too, or at the craft store.

book themed party ideas
vintage books in cloche

Library Card Place Cards

I used some fun library cards as the place cards for the table. These were such a fun library detail to the table.

library card place card
book themed table

Vintage Accessories

I used some of my favourite vintage pieces for our book themed party that add lots of interest to the set up. Over on the side board I featured my vintage book card catalogue, picked up at an antique fair and a real favourite of mine. 

On top of the catalogue some antique reading glasses, some one must have left them there after using them for reading. 

I also included my old vintage typewriter, another antique fair find. It might be fun to type a message on it. For a book themed party maybe a list of your favourite books would be fun, and the detail oriented guest might notice, and guests could even type the name of their favourite book onto the bottom of the list and keep the list going.

Top Tip: Shop for vintage pieces at your local thrift store, antique shops, or on-line at places like Facebook Marketplace.

vintage library card catalogue
vintage typewriter
book party

Book Party Favor Ideas

It would also be fun to include some party favors for our book-themed party or book birthday party.

The obvious choose would be to give guests your favorite books.

For a birthday party you could include your child's favorite book, or choose an age appropriate classic.

Not sure what books your guests might like best and having a hard time choosing? A perfect option is to choose an assortment of kids books, or young adults books or adult books, depending on your guest's ages, and have let everyone look through the stack of books as they're leaving and choose one to take home with them.

Another easier option is to give each guest a gift card to a bookstore as a favor so they can pick their own. You might also add a book mark, or a bag of gummy worms with a note saying a gift for the bookworm.

More Back To School Inspiration

  • Back to school party ideas of table decorations, apple balloons, book garland, and smart cookies with glasses.
    20 Back To School Party Ideas
  • Back to School themed foods snacks and treats.
    Easy and Cute Back To School Themed Foods and Treats
  • Back to school snack mix trail mix recipe.
    Easy Back To School Snack Mix Recipe
  • Back to school free printables including bunting, pencil boxes, party hats and more all set up at a children's tablescape.
    Back To School Free Printables Pack

Frequently Asked Questions

Where did you find all your vintage touches?

Look for them at antique stores, or thrift stores, or even on-line at places like Facebook Marketplace.

Where were the library card placecards from?

I had these in my stash from Target dollar spot years ago. You could definitely look for a printable version on Etsy, or make your own in Canva.

What would you do for younger children?

For younger kids I would add in some kids books. Look for vintage little golden books at the thrift store and make a color photo copies of them to use for the table runner. I would also make a colorful bunting with vintage picture book photocopies.

If you try any of the ideas from this Book Themed Party or any other ideas on my blog please leave let me know how it went in the comments below. Thanks for visiting today!

Easy DIY Macrame Garland

Sep 9, 2020 · 10 Comments

DIY macrame garland

DIY Macrame Garland: make this beautiful macrame bunting using only two easy macrame knots. Beginner project with full tutorial.

DIY macrame garland
[feast_advanced_jump_to]

This DIY macramé garland may look complicated but it actually only requires two simple knots and is really simple to put together.  It's a perfect project even for a beginner. This beautiful macrame garland is the perfect way to add some texture and a boho vibe to your space.  

Use it as a home décor piece on your fireplace mantle, or layer it to add texture to a seasonal garland for Christmas or fall, or make a smaller version for your Christmas tree.  

These beautiful garlands also makes perfect party decor.  Use them as a fun project for as part of a backdrop or to decorate deck stair railings for a garden party.  The possibilities are endless, and this simple macrame garland is great for adding a touch of vintage charm to any space.

Deciding On Your Length

You can make this as long or short as you like.  Each of my sections has 6 triangles, and I did 3 sections.  You could make it longer by adding more sections, or adjusting how many triangles you make in each section.

DIY macrame garland

To begin with use one long cord the length of which will be the length of the garland when it's done.  This base string is the top anchor cord.

macrame garland tutorial

Cut 10 pieces of cord per triangle, about one arms length, from fingers to mid-chest.

Lark's Head Knot

To make the first triangle attach 10 cords to the anchor cord using the lark's head knot.  To make a lark's head knot fold the cord in half, put it behind the anchor cord, and pull the two ends through together and tighten.

lark's head knot

Square Knot

The first row of each triangle will be 5 square knots.  To make a square knot select the first 4 cords.  Cross the left cord across the rest.  It will look a little like a number four.  Tuck the crossed cover left cord behind the right most cord. Then take the end of the right most cord, and bring it through the hole you made with the first cord.  Then tighten the cords.

how to tie a macrame square knot

To create the second half of the square knot, do the same knot but starting with the right most cord.

macrame square knot

The triangles that make up the garland are all made of square knots.  There are five square knots in the first row.  In the second row, you drop the two first and last cords and tie another row of four square knots.  The third row you do the same thing, drop two more cords on each side, and tie a row of three square knots.  The same for the fourth row, and then on the last row, you tie just one square knot.

DIY macrame bunting

This will make up a triangle.  I did 6 triangles per section, and did three sections.

Swag Fringe

For each section I also did a swag in the front.  To make the swag attach a cord to the anchor cord, and swag the macrame cord down, to about the bottom of the 3rd and 4th triangle in the section, and then attach the swag to the anchor cord after the sixth triangle.  I did one swag for each of the three sections.

how to make a macrame garland

To create the fringe, cut shorter cords about 7 inches long each.  Tie the shorter cords onto the swag with a lark's head knots, side by side to fill the swag.  Since these fringe pieces are quite short, it's a great way to use up leftover cord pieces.

DIY fall garland

Stair Garland

I used my macrame swag on my stairs for fall, along with some pumpkins.  I wanted to create a layered effect so I also added some fall leaves.  The leaves were pressed and dried, and then I used a thread a tie them and layered them in front of the macrame swag.  This boho macrame garland also looks great at Christmas layered with greenery and lights.  I usually leave it up all by itself year round as a lovely way add texture and interest to the staircase.

I love the neutral color of the garland, but you could use colored macrame cord if you wanted to.  Macrame cord is available in lot of color options.  Another idea would be to dye the finished macrame garland, you could even try dip dying for an ombre effect.  You could also incorporate some wooden beads to the knots or to the fringe ends if you wanted to.

This project uses very basic macramé knots, and doesn't take tons of time with thicker cord.  The easy knots are quick to tie.  This is the perfect tv watching project.

fall stair garland

With this easy DIY macrame garland, life really is a party!

Slow Cooker Apple Butter

Sep 2, 2020 · 8 Comments

slow cooker apple butter

Slow Cooker Apple Butter: this easy recipe uses the slow cooker to make delicious apple butter that is smooth, rich and delicious.

slow cooker apple butter
[feast_advanced_jump_to]

Fall is nearly here, and it's apple season. My husband and daughters love apple anything, and this homemade apple butter has become a family favourite.  It's one of my favorite fall recipes.   

If you've been apple picking and have some extra apples, it's the perfect easy apple butter recipe to try.  We have an apple tree in our backyard, and it's a great way to use our homegrown apples.  Especially since we have quite a few with some blemishes, this is a great way to use them.  If you love flavor of apples and warm spices, this traditional apple butter recipe is a must try. 

how to make apple butter

This is a slow cooker apple butter recipe, so it's supper easy to make.  Just chop up your apples and add them and a few other simple ingredients to your slow cooker and forget about it for a few hours.  

What Type of Apples Are Best?

We love making our apple butter with macintosh apples.  They're a great cooking apple.  They have a soft flesh and break down easily with cooking.  They're perfect for apple butter.

Golden Delicious are also a great choice for apple butter.  They're a soft apple, not great for eating, but perfect for baking.  They do have a thick skin so be sure to peel them for this recipe.

Any soft fleshed variety of apples that breaks down with cooking is a great choice.  A more tart apple is fine, even if you like it sweet, you can just up the sugar to your taste.

There's really no bad apples.   Any kind will work, but some work especially well.

How To Use Apple Butter

This recipe is called apple butter, but there is no butter in it.  It's more like a jam-like consistency and taste.  Use this apple butter anywhere you would normally eat jam.  It's great on your morning toast.  We love it on homemade bread, or on hot biscuits, or a warm scone.  It's also great on a toasted English muffin.  You could even have it on ice cream. We had ours on our Easy Food Processor Scones -find the recipe here.  

homemade apple butter recipe
slow cooker apple butter

The best part of this crockpot apple butter recipe is how great your house smells afterward. If you have some apples around, this is a great and very easy recipe you're sure to enjoy.  It''s also a great way to use up leftover apples, maybe some that are a little past their prime. Softer apples are fin for this recipe.  And you can really use any kind of apple variety, if they're leftover and you'd like to use them up. 

Can I Double This Recipe?

This recipe uses only 5 apples, feel free to double or triple this recipe and make a big batch.  As long as it fits in your slow cooker, you can multiply the recipe and make a much larger batch.  This is especially good if you have too many fresh apples.  It's the perfect way to preserve them, and be able to enjoy them much longer.

Can I Make This Without An Immersion Blender?

We used the immersion blender to blend the sweet apple butter into a smooth spread.  After slow cooking, the apple mixture is soft, but still somewhat lumpy.  Using the immersion blender makes it perfectly smooth and silky.  

You can use a regular blender.  Take care with the hot mixture.  You may want to let the apple butter cool slightly before blending. 

slow cooker apple butter

How To Store Apple Butter

It keeps well in the fridge, like any jam.  Allow the finished apple butter to cool to room temperature, and place your slow-cooker apple butter in an airtight container.  This delicious spread will keep for weeks and weeks in the fridge, just like any jam.

apple butter recipe

Jars of apple butter make a great hostess gift.  Anyone would love to receive this great gift.  

Recipe

slow cooker apple butter

Slow Cooker Apple Butter

Sweet smooth apple butter with cinnamon and ground cloves.
4 from 1 vote
Print Pin Rate
Course: Recipes
Cuisine: American
Prep Time: 10 minutes minutes
Cook Time: 7 hours hours
Total Time: 7 hours hours 10 minutes minutes
Servings: 2 cups
Calories: 206kcal
Author: Dannyelle Nicolle-Ramjist

Ingredients

  • 5 apples - peeled cored and chopped
  • 1 ½ cups white sugar
  • 2 teaspoons ground cinnamon
  • ¼ teaspoon ground cloves
  • pinch of salt

Instructions

  • Add diced apples, sugar, cinnamon, cloves and salt to a slow cooker. Cover, and cook on high for 1 hour.
  • Reduce to low heat. Cook stirring occasionally, for 4-6 hours, or until thick and golden brown in colour.
  • Use a immersion blender in the slow cooker to blend the apple butter until it's smooth -taking care that the hot apple butter doesn't splash you. Store in a mason jar in the refrigerator.

Nutrition

Serving: 1g | Calories: 206kcal | Carbohydrates: 54g | Sodium: 18mg | Fiber: 3g | Sugar: 49g
Tried this Recipe? Tag me Today!Mention @LifeisaParty or tag #lifeisaparty!

With homemade apple butter, life really is a party!

More Fall Recipe Inspiration

You might also like our Apple Crisp in a Mason Jar here.

Also check out Caramel Apple Fondue here.

Caramel Apple Fondue: Easy and delicious caramel apple fondue recipe with lots of different toppings, and perfect for kids.

You might also enjoy our Caramel Apple Trifle here.

Caramel Apple Trifle: layers of cake, caramel, cooked apples, custard, and whipped cream create the perfect fall dessert.

Peach Themed Party Ideas

Aug 10, 2020 · Leave a Comment

Peach themed party ideas.

Peach Party: easy peach themed party DIY decor, delicious peach dessert and peach drink recipe.

Peach themed party ideas.
[feast_advanced_jump_to]

We put together the sweetest little peach party. This party is the perfect way to celebrate peach season with friends, with simple DIY party decor, and easy and delicious recipes that are so quick to put together.  This is one of my favorite themes because the colors are so pretty and the fresh fruit is so delicious.  These ideas would be perfect for any simple get together this time of year during peach season like birthday parties, a bridal shower, baby shower, or for a special first birthday party for your own princess peach.

I love the peach and pink colour scheme of this little get together. And if you love hosting parties as much as I do, then you probably love creating personalized party decorations to go with your theme too.  We have some quick and easy fun ideas for some cute party decor to take your celebration to the next level.

You're A Peach Invitation Card

A great way to set the theme for the party right away is with the  "You're a Peach" party invitation card. We used the Cricut Joy blank insert card to create this pretty card to use as an invitation to our little get together. It would also be a great birthday card too.

peach themed party invitation

It's so easy to create with the Cricut Joy. Use the blank insert mat to complete this project in just one cut! You can access our "You're A Peach" Card Design here.

Peach Themed Party Napkins

This idea is so much fun. You can personalize plain, inexpensive napkins to fit any party theme. We used our "You're A Peach" design to create custom napkins for our peach party with our Cricut Joy and the smart vinyl.  You can find our "You're A Peach" Sticker Design here.

DIY peach themed party decor

We used our vinyl sticker on napkins, but you could use them on almost anything for your party like cups, vases, votive candle holders, balloons or treat bags. The possibilities are endless to make your own gorgeous peach party decorations.  

Or make cloth napkins by cutting out iron-on vinyl and then applying it with your heat press to cloth napkins you can use again and again.

fuzzy peaches

DIY Acrylic Sign

My favourite of all the custom peach party decorations that we made was the DIY acrylic sign. I started out with a simple IKEA frame. This was a much cheaper option than the blank acrylic signs at the craft store. Then I used the smart vinyl in my Cricut Joy to cut it out.

peach themed party ideas

You can find our "Sips and Sweets" design here. 

I love how this turned out, and I'm sure I will use this technique to create lots of inexpensive acrylic signs for parties in the future. It would be so perfect for any desert or buffet table, or as table numbers. Lots of possibilities.

Peach Themed Party Set-Up

peach themed party

To set up the peach party dessert table I used our bar cart and added some peach and pink tassels, as well as some tissue paper tassels.  This simple decor made our party space come to life.  We used a combination of peach and pink colors for the color scheme of our peachy party.

peach party

We couldn't have a peach party without a big basket of full of fresh peaches, so I added some to the bottom of the cart in a vintage picnic basket.  These are such a fun and easy super cute party decorations for this theme.  What can beat the beauty of a peach?

peach themed party ideas

The flowers for our peach party theme are a combination of wild Queen Anne's lace, and some peach color gerbera daisies. I love how they turned out, and it was so pretty to combine the gerbera daisies for a real hit of peach color with the wild flowers.

peach party decorations

Did you spot our bowl of fuzzy peach candies -everyone's favourite around here, and so perfect for a peach theme.  Little bags of these would make such a fun and easy party favors to go with the theme of peaches.

peach party ideas

Donut Peach Shortcakes

how to throw a peach themed party

A few years ago I made some Donut Strawberry Shortcakes -see the recipe here. And they quickly became a family favourite. Since peaches are in season, I thought a peach version was a good idea.  They were so delicious and so easy to make.  They're the center of attention on our table, and look amazing for our party.

easy peach dessert

Here's how to you make them. Slice a honey cruller donut in half. Add some sweetened whipped cream, and some fresh peach slices. Add the top of the donut back on and enjoy! These are such a great idea because they're so easy and so delicious and the perfect addition for our peach theme.

peach shortcakes

Peach Punch

peach punch recipe

We made a really easy peach punch for our party too. To make the punch we poured: 

  • ⅓ of a glass of strawberry peach juice
  • ⅓ of a glass of peach nectar
  • ⅓ of a glass of sparkling water

This peach punch is so delicious. Want to make it alcoholic? Add some vodka for the adults.  If you were having a larger get together you could serve this punch in a punch bowl or large beverage server with fresh peach slices and ice, so guests could help themselves throughout the party.

This peach party was so much fun to put together, and our friends loved all the pretty details, and the delicious food was a big hit. We had a great time.  I love how simple and easy these party ideas were to make -from quick and easy recipes, to DIY party decor.  This is the perfect theme for a fun get together.  Keep it in mind for a baby shower theme, birthday girl, or bridal shower, or just for a great together with friends during peach season.  This dessert would be the perfect ending to a dinner party too.

peach party

With a cute peach themed party like this, life really is a party!

More Peach Inspiration

You might also like our Peach Sangria Recipe here.

Peach Sangria: The perfect peach sangria, sweet, fruity, easy to make and delicious. Made with fresh peaches and raspberries.

Also check out our Peach Almond Crumble Muffin recipe here.

Peach Almond Crumble Muffins: Delicious recipe, can be made with fresh or canned peaches, with the perfect crunchy sweet almond crumble on top.

You might also enjoy our Peach Cobbler in a Mason Jar recipe here.

DIY Concrete Outdoor Table

Aug 4, 2020 · 14 Comments

DIY Concrete Table in backyard with chairs and bench around it.

DIY Outdoor Concrete Table: make your own high-end outdoor patio table from cedar, and concrete for a fraction of the price of buying one.

DIY Concrete Table in backyard with chairs and bench around it.
[feast_advanced_jump_to]

I've always loved the look of concrete patio furniture, so when I was looking for a new outdoor table for my patio I had to look for a concrete one. This DIY outdoor concrete table is so beautiful, and sturdy. It turned out so great. And if you're an experienced DIYer you can make it yourself. It's perfect for all my summer entertaining needs, and I'm excited to share with you the process of how to make an outdoor concrete table for yourself.

how to make a concrete table

We partnered with my brother-in-law Shaun who has his own business called Benjamin Tileworks, and with Concrete Countertop Solutions to make my concrete table dreams come to life.

cement table

I was inspired by the beautiful tables from Restoration Hardware. They are gorgeous looking, but they do come with a very high price tag as well. I asked Shaun if he thought a DIY version was a possibility and he was up for the challenge. He did not disappoint. Our version turned out to be gorgeous too, and at a fraction of the total cost of the inspiration one.

how to make a concrete table

Materials:

  • 5 -4 x 4 x 8 cedar boards
  • 3 -2 x 4 x 8 cedar boards
  • LP adhesive
  • exterior wood glue
  • 12 -3 ⅛" structural GRK screws
  • 6 -5 ⅛" structural GRK screws
  • 2 -6" structural GRK screws
  • ⅝" fir exterior grade plywood
  • 80 grit sandpaper
  • 120 grit sandpaper
  • weathered oak wood stain
  • 4 EuroForm square edges
  • duct tape
  • Euroform Z Clips
  • #8 screws
  • Fiber Mesh Reinforcement
  • 5 bags White countertop mix
  • Z Terra-Tint in charcoal
  • Z Aqua-Thane M35 Sealer

How To Make The Wood Base

DIY outdoor concrete table

I would say that this isn't a beginner level project. To make this table base you will need some woodworking skills. Here's how we made wood base with all the measurements.

Our finished table is 84" long x 40" wide. The legs are 7" in from the top of the table.

The 4 legs are 26 ½" long cut at a 10 degree angle at the top and the bottom. 

The legs are all connected with an "I" shaped cross piece at the bottom. 

The shorter pieces connecting the legs are 24" long finished, cut at 28 ½ to allow for the joinery- a mortice and tenon joint, held with PL adhesive and 6" screws. The long base piece is 62 ⅜" finished, cut to 66" long with joinery.

how to make a patio table
diy outdoor table
concrete table tutorial

The angled cross pieces are 31 ½" finished, 33 ½" long with joinery. They have a mortice and tenon joint at the base and are screwed with one 5 ⅛" screws on each at the bottom, and two more on each at the top.

how to make a cedar base for a concrete outdoor table
DIY concrete table base

There are two 2 x 4 cedar boards that are 67 ⅜" long along the top, from leg to leg with a ⅜" lap joint with 3 times 3 ⅛" wood screws at each joint into two more 2 x 4 cedar boards that are 32 ¼" long.

building a cedar base for a concrete table
Wood glue
how to make a concrete table

The exposed screws are capped with ⅝" wood plugs, held with exterior wood glue.

Staining The Wood Base

Once the base was all put together it was sanded with 80 grit sandpaper to get rid of the mill marks, or rough edges, and then finished by hand with 120 grit sandpaper. Be sure to wipe it down with a clean rag or paper towel to remove any dust before staining. I stained it with 2 coats of Minwax's Weathered Oak. It's kind of dark gray finish, and tons down the red of the cedar.

DIY Concrete Table Top

Next we added a plywood top for the base for the concrete tabletop which is ⅝" fir exterior grade plywood measuring 38" x 82" with chamfer edges done with a router and screwed in to the base with 3 ⅛" screws.

how to make a concrete table

EuroForm Edges

To prepare the top for the concrete begin by cutting the EuroForm edges to form the edges of the table along the plywood base. These will create the sides of the mold. We cut them with a mitre saw at a 45 degree angle, and screwed them into the plywood with ⅝" screws. These cuts need to be very precise, so measure twice, this is a very important step.

Often when working concrete the concrete form is used, and then the finished concrete piece is flipped out and the top of the concrete becomes the bottom side of the table. With this method the entire mold is finished carefully, with silicon caulk in the edges to create a smooth edge. It would be difficult to use this method where the actual top of your concrete table is flipped with such a thick concrete slab that we need for a table this size. The EuroForm Edges are the perfect alternative to this method. We used them here to avoid having to flip the finished top piece. The edges make it possible to form the concrete right side up because they create a beautiful edge around the table, with none of the bottom piece of wood base showing on the finished table top.

concrete forms for table top
concrete table forms

Next we used some duct tape on the outside edge of the corners to help hold everything firmly when we made the concrete top.

Fiber Mesh Reinforcement

Then we cut the fiber mesh reinforcement to fit with at least a 1" space from the edge and without overlapping the mesh. This mesh will give the concrete patio table extra strength.

Next we attached the clips to the bottom of the mesh, spacing them evenly and no more than a foot apart, and then screwing the clips holding the mesh into the plywood wooden frame.

concrete table top construction
how to pour a concrete table top

Before pouring the concrete, be sure the the EuroForm edges are completely free of any dirt or debris the could end up in the concrete. We used a shop vac to remove small bits of debris. Anything left in the form will be embedded into your concrete and might show on the edges of the finished product.

Pouring The Concrete

We put our table in place before we poured the concrete so that we won't have to move the heavy table after it was made. We also took the time to level the table before pouring, since our patio was uneven.

mixing concrete for table top
pouring concrete table top

To mix the concrete follow the instructions on the package which say to add 3 quarts of cold water to the concrete mix along with two scoops of the terra-tint charcoal to each batch of white concrete. And then mix concrete thoroughly with a drill attachment for 3 minutes. When using the tint, you may find you have to just slightly increase the amount of water to achieve the right consistency in the wet concrete.

DIY concrete table

Take care to not pour your concrete on too hot or too cold of a day, and to not work in direct sunlight. Too hot conditions will cause the concrete mixture to set up too quickly, and not give you enough time to work with it. As well the manufacturer sometimes suggests using plastic to cover the poured concrete as it sets or to wet cure to help reduce the risk of concrete curl which sometimes happens when the top of the concrete surface and the bottom dry at different rates.

how to make an outdoor concrete table

Concrete Countertop Solutions has some excellent how-to videos on their website that are really helpful if you're a visual learner -with lots of tricks and techniques.

DIY concrete table

We used 5 bags of concrete to make our table top. Work the concrete into the mesh reinforcement and into the bottom of the mold and edges with a trowel. Finally use a straight edge along the top edges of the EuroForm edge to create a perfect level top. Then create a smooth surface on the top and finish with a trowel. If you have any air bubbles, use the trowel edge to poke them and then level smooth.

Removing The EuroForm Edges

After the concrete had set hard overnight we removed the EuroForm edges. The edges snap easily away from the table, leaving a beautifully finished edge and seamless look.

Finishing The Concrete

Additionally you can also sand down any rough area and polish the finished concrete table top and edge for an ultra smooth finish. We used a GFCI protected wet grinder to sand the top. We started with a 50 grit, followed by 200 grit for a smooth matte finish.

make your own outdoor patio table
sanding outdoor concrete table top

Sealing The Concrete

The last step after the concrete has completely dried and cured is to seal the table top with the Z Aqua-Thane M35 concrete Sealer to protect your concrete against staining and weather. Mix the two parts according to the package instructions and apply with a lint free sponge applicator. Apply a second coat 4-8 hours after the first. Keep in mind the temperature restrictions for application, especially when using this product outside in the summer.

DIY concrete table

This table turned out so great. I love it. And it would be a great addition to any outdoor space. Shaun did such a great job putting it all together.

DIY cement table

I'm looking forward to many gatherings with friends and family here over many, many years.

Protecting Your DIY Outdoor Concrete Table During The Winter

Since we live in Canada, and it will be very cold and snowy here in the winter we'll cover this DIY outdoor concrete table well with a tarp. It is very sturdy, and it should be fine being outdoors as long as it's covered during the winter. Concrete outdoor furniture is very study and a great choice for any weather conditions.

how to make a concrete table

It's also very heavy so it would be very difficult to move from the space, but there's no danger of it being blown in the wind.

More Ideas

You could use this same method to create a DIY concrete side table, or an outdoor coffee table. It could be a great idea to start with a smaller project that like this on your first time because there is a bit of a learning curve when it comes to working on concrete projects. A smaller version of our table would be a gorgeous concrete coffee table.

We created our table for outdoors, but it's so beautiful that it would make a unique design for a dining room table, kitchen, or work table.

Concrete Table tutorial
DIY concrete table tutorial

Here's to all the parties to come in this wonderful spot.

With a DIY Outdoor Concrete Table, life really is a party

More Inspiration

You might also like our DIY Concrete Side Tables here.

Also check out How To Refinish Your Veneer Table here.

You might also enjoy our Potager Garden Makeover here.

How To Make A Potager Garden: create a beautiful French kitchen garden with flowers, herbs, and vegetables in raised beds, and garden she shed.

This post is sponsored by Concrete Counter Solutions and Benjamin Tileworks.  As always, all opinions are my own.  Thanks so much for supporting the brands that make Life is a Party possible.

Easy Summer Pavlova with Cream and Fresh Berries

Jun 30, 2020 · 5 Comments

easy summer pavlova

Easy Pavlova Recipe: a favourite, easy to make, no-fail pavlova recipe. Make with summer berries, or any other favourite fruit.

easy summer pavlova
[feast_advanced_jump_to]

I love pavlova.  It's delicious, easy to make, and always a hit with guests.  The meringue is hard and crispy on the outside and marshmallowy and soft at it's centre.  It pairs perfectly with fresh tangy summer berries, and soft and creamy whipped cream.  This summer pavlova is an elegant dessert to serve to guests.  This is a no-fail recipe you will love.

easy no-fail pavlova recipe

Pavlova History

Pavlova is the perfect combination of crisp meringue and ooey-gooey marshmallow-y inside.  This combined with freshly whipped cream, and tart berries is the perfect combination.  Pavlova is named after the Russian ballerina Anna Pavlova.  It is thought to have originated in New Zealand or Australia in the 1920's while the ballerina was on tour there.  It's a very popular dish in New Zealand and Australia, often served during their summer months, including Christmas.  It's the perfect dessert for entertaining is often served during holidays.

Pavlova vs. Meringue

What is the difference between pavlova and meringue?  The difference is in the textures.  Both desserts are made from sweetened whipped egg whites, but meringue is usually crisp and dry all the way through.  Pavlova has a crisp exterior, but on the inside it has a marshmallow like soft chewy texture.

Troubleshooting Pavlova

There's a few things that go wrong when you're making a pavlova.  It can be a bit of a diva, but knowing what pitfalls to avoid can help.  So here are some tips and things to watch out for when your baking pavlova:

  • Even the tiniest bit of egg yolk in your egg whites will prevent them from whipping properly.  Make sure your bowl and whisk and clean and grease free to for the best whip.
  • Make sure you add your sugar to the egg white mixture slowly enough, this is so that the sugar can dissolve fully and not be gritty in the dessert.
  • You can also over whip your egg whites causing them to loss too much moisture and curdle, or causing the meringue to collapse after it's baked.
  • Don't make a pavlova on a really humid day.  The humidity can affect the meringue base and cause it to be too sticky and chewy and not dry out properly.
  • If your meringue isn't white, your oven may have been too hot.  Sugar can caramelize at high heats.  You may need to check your oven temperature with an oven thermometer.
  • Your meringue base can sometime crack after it's baked if it has cooled too quickly.  Some people like to leave it in the oven with the oven door open while it cools to prevent this problem.
  • Pavlova is best eaten as soon as it's put together.  You can make the base a day ahead and store in an airtight container, but you should assemble it hours before serving.
how to make pavlova
easy pavlova recipe

Assembling

It's best to put together the summer berry pavlova only a few hours before serving.  If you want to make this dessert ahead of time, you can store the meringue discs in an airtight container at room temperature.  Or if it's too large, just tightly wrap the cooled meringue on the baking tray with plastic wrap.  You can also whip the cream and store the fridge, so that the day of all you have to do is assemble the dessert.  After the pavlova is all assembled, be sure to store any leftovers in the refrigerator.

This summer berry pavlova dessert is always very well received.  It always looks like a real show stopper on your dinner table.  That combination of fresh summer berries, meringue base with it's marshmallow center, and fresh whipped cream is everyone's favorite special occasion dessert.  It's the perfect light ending to a big meal on a summer evening.  

summer dessert ideas

Berries

We used mixed berries for our pavlova.   Any kinds of berries work well.  For our pavlova cake we used strawberries, blackberries, raspberries, and blueberries.  You can use combination of berries or fresh fruit that you like.

Make It Mini

Mini pavlovas are a fun variation on this meringue-based dessert.  Make individual size mini pavlova bases about 3 inches circle, and serve one per guest.  You will need to reduce the baking time of smaller portions.

Recipe

easy summer pavlova

Easy Pavlova Recipe

Sweet crispy on the outside, marshmallowy on the inside pavlova with fresh fruit and cream.
4 from 1 vote
Print Pin Rate
Course: Desserts
Cuisine: British
Prep Time: 15 minutes minutes
Cook Time: 1 hour hour
Total Time: 1 hour hour 15 minutes minutes
Servings: 8
Calories: 345kcal
Author: Dannyelle Nicolle-Ramjist

Ingredients

  • 4 egg whites
  • 1 ¼ cups white sugar
  • 1 teaspoon vanilla extract
  • 1 teaspoon white vinegar
  • 2 teaspoons cornstarch
  • 1 pint heavy cream
  • 3 cups assorted berries of strawberries, raspberries, blueberries, blackberries

Instructions

  • Preheat oven temperature to 300 degrees F (150 degrees C).
  • Separate your eggs and place egg whites in the large bowl of a stand mixer with the whisk attachment. Beat egg whites until stiff peaks form but not dry.
  • Gradually add in the sugar, 1 tablespoon at a time, to your whisked egg whites, beating well after each addition. Beat until thick and glossy.
  • Add in vanilla extract, white vinegar and cornstarch.
    Spoon meringue mixture in a large circle on to a large baking sheet sprayed lined with parchment paper. Working from the center, spread mixture toward the outside edge, building edge slightly. This should leave a slight depression in the center.
  • Bake for 1 hour. Cool.
  • Whip cream until it's thick, add in 2 tablespoon of white sugar and 1 teaspoon vanilla. Fill the center of the meringue with sweetened whipped cream and add the summer berries on the top of the pavlova.

Nutrition

Serving: 1g | Calories: 345kcal | Carbohydrates: 36g | Protein: 4g | Fat: 22g | Saturated Fat: 14g | Polyunsaturated Fat: 6g | Trans Fat: 1g | Cholesterol: 67mg | Sodium: 44mg | Fiber: 1g | Sugar: 34g
Tried this Recipe? Tag me Today!Mention @LifeisaParty or tag #lifeisaparty!
fresh summer berry dessert

With this easy pavlova recipe, life really is a party!

More Recipe Inspiration

You might also like our Chocolate Pavlova Recipe here.

Individual Heart Shaped Chocolate Pavlova: Easy recipe, perfect light, sweet dessert.

Also check out our Donut Strawberry Shortcake here.

Donut Strawberry Shortcake -the easiest, best Strawberry Shortcake ever! You'll never go back to your old version after trying this one.

Also check out our Strawberry Cobbler here.

Canada Day BBQ Party and Free Printables

Jun 26, 2020 · Leave a Comment

Canada Day bbq party ideas, with make your own burger bar.

Canada Day Party BBQ ideas an easy backyard Make-Your-Own Burger Bar and Free Canada Day Party Printables to insprie your Canada Day celebrations.

Canada Day bbq party ideas, with make your own burger bar.
[feast_advanced_jump_to]

Why You'll Love This Party

  • The free Canada inspired printables look amazing and feel festive!
  • Who doesn't love a burger? Everyone can top theirs exactly how they want it.
  • The burger board of toppings makes everything feel extra special.

What better way could their be to celebrate Canada Day than a classic backyard BBQ with family and friends? The star of the party was our Make-Your-Own Burger Bar!  This is the perfect meal idea for a party, and one your guests will love.  We're also sharing ideas for decor, and free Canada Day printables to take your get together to the next level!

Looking for dessert ideas? Check out our Canada Day dessert table here, and you'll also love our easy to make Canada Day chocolate bark dessert idea, and our Butter Tart Recipe here.

build your own burger bar
Canada Day party ideas

I set everything up for our July 1st Canada Day barbecue in our backyard.  We started out with some fun Canada Day decorations.  Confession time, I'm not a huge fan of the colour red.  But I do love Canada, and you can't really have a Canada Day party without some red.  

In the name of patriotism I did include some, but also lots of black and white and I love how it turned out.

Canada Day Party

Canada Day Party Decorations

We added some cute pillows and they were the inspiration for the Free Canada Day printables we made for the party, that you can download below.  I love the black and white.  I set these up in our seating area, so guests could fix themselves a burger and enjoy it here for a relaxed afternoon.

Canada Day Party decorations

Under the pergola I set up our Burger Bar.  Above the table, in the midst of our hanging lanterns, I added some fun Canada Day string lights. They're the perfect festive touch for Canada Day weekend. If you can't find ones with maple leafs on them like I did, just combine red and white for a similar look.

Canada Day decorations

The Table

To decorate the table I started with an amazing throw blanket that I used as a tablecloth for a rustic vibe. A red and white gingham tablecloth would be a great option too.

how to throw a Canada Day party

On the table I added some succulents that in a pretty galvanized caddy.  I love that I'll be able to enjoy these plants all summer long.  And then I popped in a few Canadian flags.  You can't really have a Canada Day bbq without a Canadian flag, can you?

How to host a Canada Day party

I also added some maple tree branches, and fun letter board message.  Using a maple leaf branch instead of flowers is such a great option for Canada Day.

Canada party decor

On the front of the table we hung our free printable Canada Day banner.  Choose from "True North" and "Happy Canada Day" in black or red as a great way to add a patriotic touch.  These are available to subscribers below.

how to plan a Canada Day party

We used some new dish cloths as the perfect relaxed rustic outdoor napkins.  Holding our cutlery and tied with red and white ribbon they're looking festive and very practical for a backyard barbecue and messy burgers!

Canada party ideas

The Food

The star of this party is the Make-Your-Own Burger Bar.  It's perfect for any easy summer entertaining.  We started out with our burgers, in regular or brioche buns.  The Canada Day picks are the perfect touch -grab them below.  

Hot dogs would be a great option too, especially for kids. Veggie burgers as an easy veggie option.  

Canada Day party printables
Canada Party BBQ

Burger Toppings

The best part of this party was the burger bar board of toppings for guests to enjoy.  We including:

  • bacon
  • fried onions
  • fried mushrooms
  • Swiss cheese
  • havarti cheese
  • American cheese
  • lettuce
  • tomatoes
  • onion
  • dill pickles

Our guests customizing their own burgers with whatever they wanted.  The board was such a great way to offer all these fun choices.  It looked amazing, and it was also really easy for guests to help themselves.  

Don't skip the bacon, different cheese options, and fried onions and mushrooms.  These were everyone's favourites and make the whole experience a little more special and out of the ordinary.  Bacon really does make everything better!

burger bar condiments
burger board

And I used the a mason jar caddy to hold all the condiments for the burgers.  We had:

  • mustard
  • sweet relish
  • hamburger relish
  • ketchup
  • burger sauce
  • hot peppers

BBQ sauce would be a good option too.  The caddy worked so well for serving.  It was nice to keep the less attractive bottles off of the table for a special get together like this.  Everyone could see exactly what they wanted in the clear glass caddy and with our printable labels and it looked great. Afterwards, just screw the lid on and store in the fridge until your next bbq.

burger bar ideas
hamburger buffet
backyard bbq ideas

Along with burgers we offered some assorted potato chips for a really relaxed and easy menu.  I like this as any easy alternative to side dishes like potato salad, because you can serve them at room temperature don't have to worry about keeping them cold or spoiling.

Canada Day party food ideas

Drinks

I found some pop shoppe pop and thought the red and white striped bottles were perfect for our colour scheme.  We added on some paper straws and our festive Canada Day straw flags that you can download as part of our Free Canada Day collection of printables.  Just print them on your home printer, cut them out and glue them to the straws.  These cold drinks were perfect on a hot day.

Canada Day party drinks
Canada Day BBQ

Free Canada Day Printables

We'd love to offer you our free Canada Day party printables as a thank you gift for subscribing to our newsletter.

free Canada Day party printables

Join our mailing list, and receive instant access to our entire free printable library.  Sign up below.

More Canada Day Inspiration

  • Canada Day party ideas and dessert table.
    Canadian Themed Party Ideas
  • Canada Day chocolate bark.
    Quick and Easy Canada Day Chocolate Bark Recipe
  • Easy donut strawberry shortcake.
    Easy Donut Strawberry Shortcake
  • Beaver tail fried pastry.
    Homemade Canadian Fried Dough -Beaver Tails Recipe

If you tried any of these Canada Day BBQ Ideas or any other ideas on my blog please let me know how it went in the comments below. Thanks for visiting today!

Frequently Asked Questions

How do I get the free Canada Day printables?

Sign up above for access to the free printables. We'll send you an email with the password for our Free Resource Library immediately. Find the printables there, print, and enjoy!

What is a good veggie option for a Canada Day BBQ?

Substitue veggie burgers, and vegan cheese, and skip the bacon for a great veggie friendly option.

How To Make A Potager Garden

Jun 23, 2020 · 7 Comments

How to make a portager garden with raised beds.

How to make a potager garden and create a beautiful French kitchen garden with flowers, herbs, and vegetables in raised beds, and garden she-shed.

How to make a portager garden with raised beds.
[feast_advanced_jump_to]

I'm so excited to share exactly how we made over our under-used side yard to create this beautiful potager garden.  It's been a labour of love and created the most wonderful space.  

Before

We've had a pretty little veggie patch in our side yard ever since we first moved into this house about 13 years ago. But in the last few years my youngest daughter has taken an interest in gardening and growing cut flowers. And in the last few years I've been trying to grow a pumpkin patch -without too much success. So this year, with us all being home, it seemed like the perfect time to redo the small space in our side yard and expand our space to plant.

Vegetable Garden before and after remake.

The side yard had a few good features. Our yard is a pie shaped lot, and the side yard feels almost walled in my our house, and the privacy fence beside the neighbours house. This area also has the added advantage of full sun in many areas. We also had a really cute little arbour and gate with roses on it that we rarely enjoyed. The existing small vegetable plot had a really nice path made of cobblestone bricks we could re-use, and a cute focal point of a sundial. 

Other than that there were a few overgrown and largely ignored flower beds and that's it. The space is a bit of an awkward shape, and the grass was tricky to cut because of the veggie patch in the middle.

The Garden Makeover

I knew I wanted to add raised beds to the area for a mix of vegetables, herbs, and flowers. I also decided on pea gravel paths, a garden shed and a small seating area. With the corona virus this spring and all of us working and schooling from home, a family project seemed like a very good idea.

DIY portager garden with raised beds, gravel paths, herbs, veggies, and flowers.

Planning On Paper

We put a lot of planning into this project. The first thing I started with was measuring our side yard and transferring it to graph paper. We cut out different sizes of raised beds to experiment with fitting the most in and their placement and also a shed and a seating area. It really helped to plan it out on paper first, and think about what we would plant in each bed. We ended up increasing the size of the shed slightly, and adjusting the bed placement a fair bit during the planning stage.

Tip: if you're considering putting in a Portager garden, do a sun audit. Check where there is sun and shade in your space every hour for a full day and use it to plan where to plant what, and map out the best spots for things like beds, seating area, and shed placement.

 What Is A Potager Garden?

As I was searching on-line for pretty vegetable gardens to inspire me, I came across the name potager garden quite a few times. It's a French word for a kitchen garden and it has the added bonus of making a garden that isn't just a functional space to grow vegetables, but also beautiful. This type of garden usually includes a pretty mix of vegetables, flowers, and herbs growing. That sounded like exactly what I wanted to create. Here's some of the things that a potager garden design usually includes:

  • raised garden beds
  • flowers, vegetables, and herbs
  • paths
  • a focal point
  • the garden is usually enclosed by walls or fences
  • it's close to the kitchen
  • garden shed
  • beautiful and functional

I've tried to incorporate all those elements in my new potager garden and I just love the results.

Entering a portager garden through a garden gate on a pea gravel pathway.

Raised Beds

Many potager gardens use things like box hedges to define beds and or small stone walls. We went with cedar raised beds for most of ours, but did also include some perennial flower beds lined with cobblestones. The stones were some we had from the previous garden, and wanted to reuse.

Our first big project was building the raised beds. We're not the DIY couple, and to be honest we were a little nervous about attempting it ourselves. We decided to give it a go, after some consulting with my brother-in-law who's a contractor and borrowing some tools for the project.

Making a cedar raised garden bed by screwing together wood.

We did a fair bit of research on what materials to use, and how to construct them. There are lots of opinions on the subject. 

We ended up going with cedar. 

It's beautiful, it's long lasting, and works great for an edible garden because it's natural and untreated. The only drawback to cedar is it's the most costly.  They were fairly easy to make, and turned out great.

Placing cedar raised garden bed frames and shoveling dirt.
Filling DIY cedar raised garden beds with soil.
DIY raised garden beds and gravel paths with a sundial focal point in a portager garden.

Flowers, Vegetables and Herbs

One of the hallmarks of a potager garden is mixing your fresh vegetables with fruit, flowers and herbs to create not just a functional space, but a really beautiful ornamental vegetable garden space. We loved this idea! We've filled different beds with different items.

Herb Garden

We have one bed designated for herbs where we planted a mixture of perennial herbs we moved from our old garden and herbs we grew from seed. I'm looking forward to enjoying fresh herbs all summer, and drying some for winter use too at the end of our growing season. I love how plants like the chives have edible flowers to enjoy as well.

Plants growing in raised garden beds in a portager garden, with seating area and garden pots.
Galvanized steel pail filled with herbs in a portager garden.

Vegetables

We designated 4 out of our 7 raised beds for fruit and veggies to grow some of our own food. Two of them are growing pumpkins! As a blogger I love using lots of different varieties of pumpkins in the fall, and they're sometimes hard to find, and can end up being quite expensive. The year before last I tried saving some seeds from my favourites in the fall and planting them in the spring. We made a few mistakes last year, but learned lots of lessons. This year we're hoping for a great pumpkin patch with different white, green, grey, and blue pumpkins. We'll see how it goes.

Small plants in raised beds in a portager garden.

In the additional veggie beds we're growing tomatoes, onions, peppers, broccoli, asparagus, and rhubarb, with a few sunflowers along the back for fun. It's such a great way to combine more ornamental plants like the pumpkins and sunflowers with annual vegetables. And we even have some perennial fruits and vegetables in our potager kitchen garden with our rhubarb and asparagus, which come back and get better and better each year.

There are no set rules with a traditional potager garden, but we've grown our veggies in lines of plants or traditional rows. You use planting patterns if you want a more formal look. We've kept ours quite informal.

Fruit

We did not really have room for many fruit plants in our small space. Small fruit trees are often included in a French garden. Things like dwarf apple trees are gorgeous full of blossoms in early spring and producing apples in the fall. You won't want to include large trees because they'd block too much light. We do have a small apple tree at the end of our lawn and love it. Any fruit trees or berry bushes would make a great addition to a potager garden, and we're thinking of adding in some strawberries. These perennial plants come back year after year, so you need to think about where you want them to stay for a long time.

Planting small tomato plants in cedar raised beds.
Tomato plants in a DIY cedar raised garden bed, with stakes.

Flowers

We've also planted two beds with flowers for cutting. We included lots of old fashioned favourites with an English country garden feel. The flowers are grown from seed, and we are hoping to be able to create lots of beautiful flower bouquets later this summer. We sowed directly in soil in the spring, which is partly why our very first project of this garden makeover was to get the raised beds built and filled with soil so that the seeds could get started while we worked finishing the rest of the space.

how to create a French kitchen garden

Everything is up and starting to fill out now and we couldn't be happier with how it's all growing.

Paths

I love pea gravel.  I've used it over in my white garden to make a seating area, and knew I wanted to include it in this space too.  We've used it here to create paths between all the raised garden beds and a seating area too.  It's quite easy to lay.

Making pea gravel garden paths along raised garden beds for a portager garden.

We used landscape fabric underneath it, and layered it directly on top.  We didn't bother to remove the grass underneath, since we laid the pea gravel quite thickly and weren't worried about it growing up through.  So far it's been great.  We wheelbarrowed in 3 cubic yards of pea gravel and 3 cubic yards of topsoil for this project.

Laying pea gravel on top of landscaping fabric in a portager garden.

We also had some cobble stone pavers from the old garden and reused them as edging for the beds, and where the pea gravel and lawn meet.  They worked perfectly, and their uneven, mismatched shape adds character to the space and helps with that European feel.

DIY portager garden with raised beds, pea gravel paths, and garden planters.

Focal Point

An important thing that a potager garden always includes a focal point like decorative statues or a garden ornament. We recycled the one from our previous veggie garden. This brass sundial is one I've had for years and years. It's screwed into an old stump and perfect for the middle of raised beds.

Garden focal point of sundail on an old stump surounded by raised beds in a portager garden.

Enclosed By Walls or Fences

Potager gardens are usually enclosed spaces. This side yard small garden is bordered by the brick wall of our house, and the privacy fence, which isn't too far away from our neighbours brick walls. The walls make it feel enclosed like a little courtyard. And the pie shape adds character to the garden.

This space was very much unused in the past. We enjoyed the little veggie garden that was there, but the rest of the space was quite wasted. The new garden, sitting area and shed are a great use of the space.

Small portager garden postioned between house wall and fence.

Close To The Kitchen

Typically potager gardens are near to the kitchen to make picking flowers, herbs and veggies for cooking nice and easy. Our kitchen widow over looks the new beautiful kitchen garden, and it's just a few steps away from our back deck. If you're considering adding a potager garden to your space, choose a spot nice and near your house.

Portager garden with raised garden beds, gravel paths, and garden planters.

The Garden Shed

Probably the biggest addition to this space was the garden shed. We picked it out on-line and then had to wait on delays in shipping due to covid. It is a kit, and we were a little worried about putting it together ourselves.

Building a cedar shed kit.

But, it is basically just a series of screws and nails, time consuming but not difficult. Our daughters helped us and the four of us had it all assembled in a weekend. We love how it turned out. It's made of cedar and smells and looks beautiful. It's nice that it matches the cedar raised beds too. Over time the cedar wood will grey.

how to make a she shed

Our main goal with the garden shed was to give us some storage for garden furniture during Canada's harsh and snowy winter months. But during the other three seasons of the year, I thought it would be fun to set it up as a bit of an office she shed. It has actually given quite a lot of space for garden items in the winter, when strategically packed up.

Seating area outside of a garden shed in a portager garden.

Decorating the She Shed

We created a small desk on one side. It's basically a shelf that we can easily lift out when we need the space for storage in the winter.

small tiny she shedWe used a large piece of wood and a jig saw to cut out around the wall studs.  We screwed 2x4s to the wall to create a support for the desk and set it on top.

Desk inside a she-shed garden shed space.
Garden decor inside a garden shed.
Garden book and cup of tea inside a garden she-shed.
Vintage bottles with fresh flowers and candles in a garden she-shed.
Old drawer filled with vintage bottles with garden flowers, plus garden decor in a she-shed.

I've created a vintage feel to the space by using some antiques.  To create the gallery wall I used mostly thrift store finds of old art pieces.  They're held in place with sticky hooks.

Old china cabinet before it's makeover.
Old china cabinet painted white and storing garden supplies in a garden shed.

The cabinet is an old one with some previous damage I had in my basement.  I gave it a bit of a makeover with some white paint.  It will be perfect for storing seeds, garden tools, and flower pots.  On the shelf I added my collection of antique oil cans.  It seemed like the perfect addition for a tool shed.

Garden trowel, plant pots, and decorative bird garden statue on a cabinet in a garden shed.
Vintage cabinet painted white and filled with garden supplies in a garden shed.
Vintage oil can collection on a shelf in a cabinet.

The space is so cute and inviting.  My girls have already had a sleepover in it the first night.   I think it might be my favourite addition to the space.

Shelf in a garden shed with garden supplies and hanging hand tools.
Vintage tea cups on a shelf with some flowers in a garden shed.

The Seating Area

Potager gardens don't traditionally have a seating area, but this space is so sweet, and is the only spot in our yard that is shady in the early evening so I thought that a little seating area would be a great addition. To create the seating area I used more of the pea gravel that we used for the pathways and added some comfortable chairs and a rustic coffee table. It's made a beautiful vantage point to admire the garden.

Garden seating area with two chairs with floral cushions, and vintage coffee table.
Succulent garden in an old metal roasting pan planter.
Two white lanterns infront of a garden planter, beside a garden chair.

The seating area was also the perfect spot to add in a collection of eclectic pots filled with annuals for a little more colour.  All the pots are different but are unified by the colour grey.

One of the marks of a potager garden is beautiful additions like structures, pots, and bird baths.  I've positioned these near the seating area to be enjoyed.

Three grey garden planters with a decorative garden ball.
Group of garden pots in front of a raised garden herb bed.
Concrete garden planter with succlents growing in it.
Vintage garden water can with a solar garden lantern in front of a raised garden bed.

Perennial Beds

Unlike a plain vegetable garden, a potager garden often includes perennial flower beds too. Around the gate entrance there are roses on the arbor, and flower beds. The area here is mostly shady, so it was fun to fill it up with lots of types of plants that love shade.

This area especially has the freestyle flow of a cottage garden that I love, and is often a part of potager design, with its ground beds that contrast the raised beds. We've tried to place taller plants at the back, shorter plants at the front.

Although there's not much space, I've tried to squeeze in different plants that bloom through the whole season to create interest all summer.

Garden gate with pea gravel path and wood arbor.
Shady garden bed beside a gravel path with a bird bath.
Foxgloves growing in a shady garden bed.
Shady garden bed with coral bells.
Flowering coral bells in a shade garden bed.
DIY key garden wind chimes.

I also moved a clematis that was in the space, but in the wrong spot. Potager gardens consider garden design, colour, texture and placement of plant varieties. They also often take advantage of vertical space. 

We're looking forward to the climbing roses growing up and over the arbor, the clematis on the trellis, and some sweet peas climbing on the white garden trellis in the raised bed with flowers as vertical accents.

Tip: reuse any old plants you can, ask friends for pieces of their large perennials, and start plants from seed to save money on a large project like this.

Garden pots beside a fence along a pea gravel garden path.

Beautiful and Functional

Sometimes after completing a big project that's taken a real investment of time, money and energy you feel a little regret or disappointment.  

Not this time.  I love it.  

It's created a beautiful space for us to enjoy.  It seems like every morning I'm out there in my pjs with my coffee checking on what's grown, pulling a few weeds, and enjoying it.

Portager garden with raised garden beds, and an arrangement of garden pots.

The seating area is nice and shady around 5 pm and I have been dreaming of sitting there with a glass of wine with my husband before dinner.  It was too hot to christen it this weekend, but I'm sure that in the next little while I'll make my little dream become a reality.

Small garden seating area with pea gravel base, two chairs, and rustic coffee table.

The she shed is also the perfect spot to do a little work at the desk.  My girls have already been using it.  During covid especially, it's nice to have a little extra quiet spot to work.  When it cools off a little in the early fall, it will be the perfect spot to get work done.

Portager garden with raised beds, cedar shed, seating area, pea gravel paths and plants.

More Garden Inspiration

  • DIY garden ideas on a budget.
    DIY Garden Ideas On A Budget
  • DIY stamped spoon garden markers
    Stamped Spoon Garden Markers
  • Teacup garden with small succulent plants and tiny DIY clay fairy houses and mushrooms.
    Teacup Gardens
  • How to make a fairy garden in a teacup.
    Teacup Fairy Garden

Frequently Asked Questions

Was this project expensive?

The main expenses were the shed, gea gravel, soil, cedar, and chairs for the seating area. We did all the work ourselves. Most of the plants were from seed, or perennials I divided from other spots in my garden. We reused lots of items, like the focal point sundial, plants, and planters.

Do you like the pea gravel?

Yes, we love the pea gravel. It looks great -be sure it's pea gravel and not regular gravel for the best look. It sounds great as you walk on it. It's easy to maintain, with just an occasional rake. And it was really cost effective also.

Was the shed hard to put together?

No, it was quite easy to assemble, but it did take a long time. Even without much experience we just followed the directions it came with, and didn't have any trouble. I recommend buying a kit like this for a great look, and some cost savings.

If you make your own Portager Garden using any of our ideas, or use any of the other ideas on the blog let me know how it went in the comments below. Thanks for visiting today!

Summer Home Tour

Jun 17, 2020 · 6 Comments

summer home decor ideas

Boho Summer Home Tour: we've added in lots of plants, wicker baskets, candles, brass, fringe, and macrame for the perfect relaxed boho summer decor.

summer home decor ideas
[feast_advanced_jump_to]

I'm excited to share my summer home tour with you today. Things are kind of laid back and relaxed. I've been spending so much time in the garden, that I wanted to keep things kind of simple in here. I've added in some pretty pink for summer, and definitely a fun boho vibe.

summer entrance table with terrariums
Dining Room

So come in, and let's start at the front door. I've changed up my front console table a little with the addition of these fun bird mirrors. I bought these years and years ago, and they were here up until I redid the dining room -see the reveal here.  I wanted to change it up a little for summer and remembered that I still had them, so I decided to put them back up.  After all these years I still love them, and think they look great here.  Also I added some faux succulents and moss to these vintage jars to make some terrariums and I love them.

boho summer dining room ideas

Over on my little bar cart, I kept all the pretty plants from spring.  Instead of cocktails it will be plants here all summer!

plant cart
bar cart with plants
boho plants

I wanted to keep the dining room table pretty simple so I added my macrame runner for more of that boho feel, and a large centrepiece on the table.

summer dining room ideas

The wooden bowl is an antique find from years ago, and I filled it with moss and faux succulents for summer.

succulents in a wood bowl

My green accent is still going strong -you can read all about how we did it with a stencil here.

summer home tour

I loved the paper flowers that we made for spring so much, I kept them for spring.  They are all hand made from streamers and crepe paper, and were a labour of love.  You can find some details and links to tutorials we used here.

summer home tour

Living Room

Over into the living room it's light and bright for summer.

summer home tour ideas
easy summer decor ideas

The couch is ready for all the summer movie nights.

boho summer home tour

The boho look continues with a mix of pillows, and lots of fringe and tassels, plants, candles and brass.

easy summer decor ideas

Our mantel this summer is eclectic and fun for summer.  I worked on it first and it helped set the tone for the whole space.

summer mantel ideas
summer mantel decor ideas

You can read more specifics about our summer boho mantel here.

summer decor ideas

Kitchen

And now into the kitchen.

basket wall ideas

I've added a fun basket wall to the kitchen this summer.  I had fun when the thrift stores re-opened in my area finding all these pretty baskets.

boho basket wall

We used command hooks to put them up, so they'll be easy to change later.  I love all the warm texture they add to the space.

boho basket wall

On the cabinet I've add a few more boho inspired pieces -plants, brass, garden clippings, and candles are on repeat over here this summer.

boho basket wall ideas

And on the kitchen table things are simple and easy for summer.  This little antique tray is filled with small vintage glass bottles and all the pretty garden flowers.

summer home tour ideas
summer garden flowers
flowers in vintage bottles

Over on the shelves I've added lots of fun touches for summer.  It's a mix of vintage finds, touches of pink, plants, and some new macrame bunting.

kitchen open shelves

These shelves have become such a favourite to decorate.  See exactly how we made them from plumping supplies here.

how to style kitchen open shelves
boho open shelves

My biggest challenge will be to remember to water the plants on the highest shelves.

how to style open shelves

One of my favourites in summer is being able to clip flowers whenever I want from my garden.  And there are so many pretty flowers right now.

summer decor ideas
summer home tour
propagation station

I've made a little propagation station here too.  This is my first time trying to root plant cuttings in water so we'll see how it goes.

propagation station
propagation station

We're all ready for summer here.  My girls are finishing up their last days of on-line learning, we managed to book a few days away at a nearby beach in July to look forward to, and we're spending our days in the garden.  Things are starting to open up a little after all the Corona restrictions here, and we're so excited to get to have a small bubble of close friends to be with again.  Absence really does make the heart grow fonder.

boho summer decor

With a pretty summer home tour like this one, life really is a party!

Easy Coconut Milkshake Recipe

Jun 12, 2020 · 6 Comments

Easy 3 ingredient coconut milkshake recipe.

This easy coconut milkshake was inspired by our favourite Thai restaurant. It's made with just three simple ingredients -coconut milk, ice, and condensed milk. It's easy to make and so good!

Easy 3 ingredient coconut milkshake recipe.
[feast_advanced_jump_to]

Why You'll Love This Recipe

  • It's quick and easy to make.
  • There's only 3 ingredients.
  • It's just like a restaurant version, but way cheaper.
  • Make it as sweet as you like.

These coconut milkshakes are a real family favourite around here.  They're really simple to make with just three ingredients.  You'll love them.

You might also like our Homemade Iced Capp Recipe. Or if you love coconut too, you should also try our 3-ingredient Coconut Ice Cream, and Cashew Coconut Brittle.

We love to go out for Thai food.  It's a favourite of all of ours.  We love curry, we love the spring rolls, we love the cashew chicken.  But my girls and my husband especially love the milkshakes.  

Two Thai inspired coconut shakes with paper straws.

One day we were eating in the restaurant, instead of taking out like we often do, and we ordered coconut milkshakes.  Just beside us in the small restaurant at the little front bar the lady made our coconut milkshakes and I was very surprised at what she put in them...and what she didn't put in them.  Only three simple ingredients were used.  She added coconut milk, ice, and sweetened condensed milk to a blender.  That's it.  

Quick and easy coconut milkshake with just 3 ingredients.

So when we got home, we had to give them a try.  We didn't know the exact quantities of ingredients, so it took us a little experimenting to come up with our own recipe that was as good as theirs.  And we got it!

Ingredients

See the exact measurements in the recipe card below.

Coconut milkshake ingredients on a wood table.
  • Sweetened Condensed Milk: You can adjust the amount to your personal preference and sweet tooth.  It also adds a bit of a caramel note to the milkshake and adds to the creaminess, and thickness of the finished coconut milkshake.
  • Coconut Milk: We use regular full-fat coconut milk in our milkshakes.  The fat content helps create a wonderful creamy thick milkshake.  Make sure you give the can a bit of shake to mix it up before removing your can lid, so that the coconut cream is all mixed in.  This gives an amazing creamy texture to the milkshake.

Can I Substitute Light Coconut Milk?

We recommend using the full fat coconut milk for this recipe.  It helps add a rich texture and helps to create a very creamy coconut shake.  You can substitute a light canned coconut milk for a lighter version, it just won't have the thick texture that full fat coconut milk gives to this coconut shake recipe.

Pantry Ingredients

One of the things I love about this great recipe is that the ingredient list is all things you can have on hand.  Keep a can of coconut milk and a can of condensed milk in your pantry.  If you have ice cubes in your freezer, you can make this recipe that the whole family will love any time you want.  

No need for coconut ice cream, fresh coconut flesh, homemade coconut milk, frozen banana, or coconut extract like other complicated milkshake recipes.  

Just three simple ingredients that you usually have on hand, make this the best, easiest coconut shake recipe ever.

Instructions

Easy coconut milkshake ingredients of coconut milk, sweetened condensed milk, and ice cubes in a blender ready to be combined.

Step 1: To make the milkshake, combine all of the ingredients in a blender.

Coconut milkshake that's been fully combined in a blender.

Step 2: Add the lid and blend until completely combined.

Do I Need A Blender?

Yes. You will need a blender to make this recipe.  

One of the main ingredients is ice and the best way to turn it into a milkshake is to use a high-speed blender.  Any regular blender should work well.  Be sure to add the coconut milk and sweetened condensed milk to the blender jar first, and the ice on top for the best results.

Easy to make coconut milkshake made with just 3 ingredients.

Adult Cocktail Version

For a special adult version, try adding a shot of rum.  Yum.  Make it as above and leave a little room in your glass to stir in a shot of rum as a very yummy alcoholic version.  This is one of my favourite great options for a party.

More Options

Want to turn this into a yummy protein shake?  Just add your favorite protein powder in with the rest of the ingredients into your high speed blender.  Try vanilla protein powder for a vanilla coconut milkshake.  You could also make it into a coconut chocolate shake with chocolate protein powder, or cacao powder.  

Try other variations like a coconut mango milkshake or strawberry coconut milkshake or coconut banana shake with the addition of different fruits.

Expert Tip:

Is your milkshake coming out icy? You need to blend it longer to get rid of any tiny bits of ice.

Thai inspired easy coconut shake.

Frequently Asked Questions

Is this coconut shake vegan?

This recipe is not vegan because it uses sweetened condensed milk that is made from milk. You can substitute regular sugar instead of the sweated condensed milk to make a vegan version.

Are coconut milkshakes healthy?

This milkshake recipe uses sweetened condensed milk and full fat coconut milk which adds calories and sugar. You can lighten it up by using light coconut milk, although it won't be as creamy and a sugar substitute if you prefer.

Can I make this coconut milkshake sweeter?

If you prefer it sweeter, or less sweet, just adjust the amount of sweetened condensed milk that you add.

More Drink Inspiration

  • Homemade iced capps in glasses on a wood table.
    Tim Hortons Copycat Iced Capp Recipe
  • How to make a pumpkin spice milkshake.
    Pumpkin Spice Milkshake Recipe
  • Gingerbread milkshake with homemade gingerbread syrup.
    The Best Homemade Gingerbread Milkshake Recipe
  • Easy cotton candy drink for kids.
    Cotton Candy Drink Recipe

If you try this Coconut Milkshake Recipe or any other recipes on the my blog please leave me a rating and let me know how it went in the comments below. Thanks for visiting today.
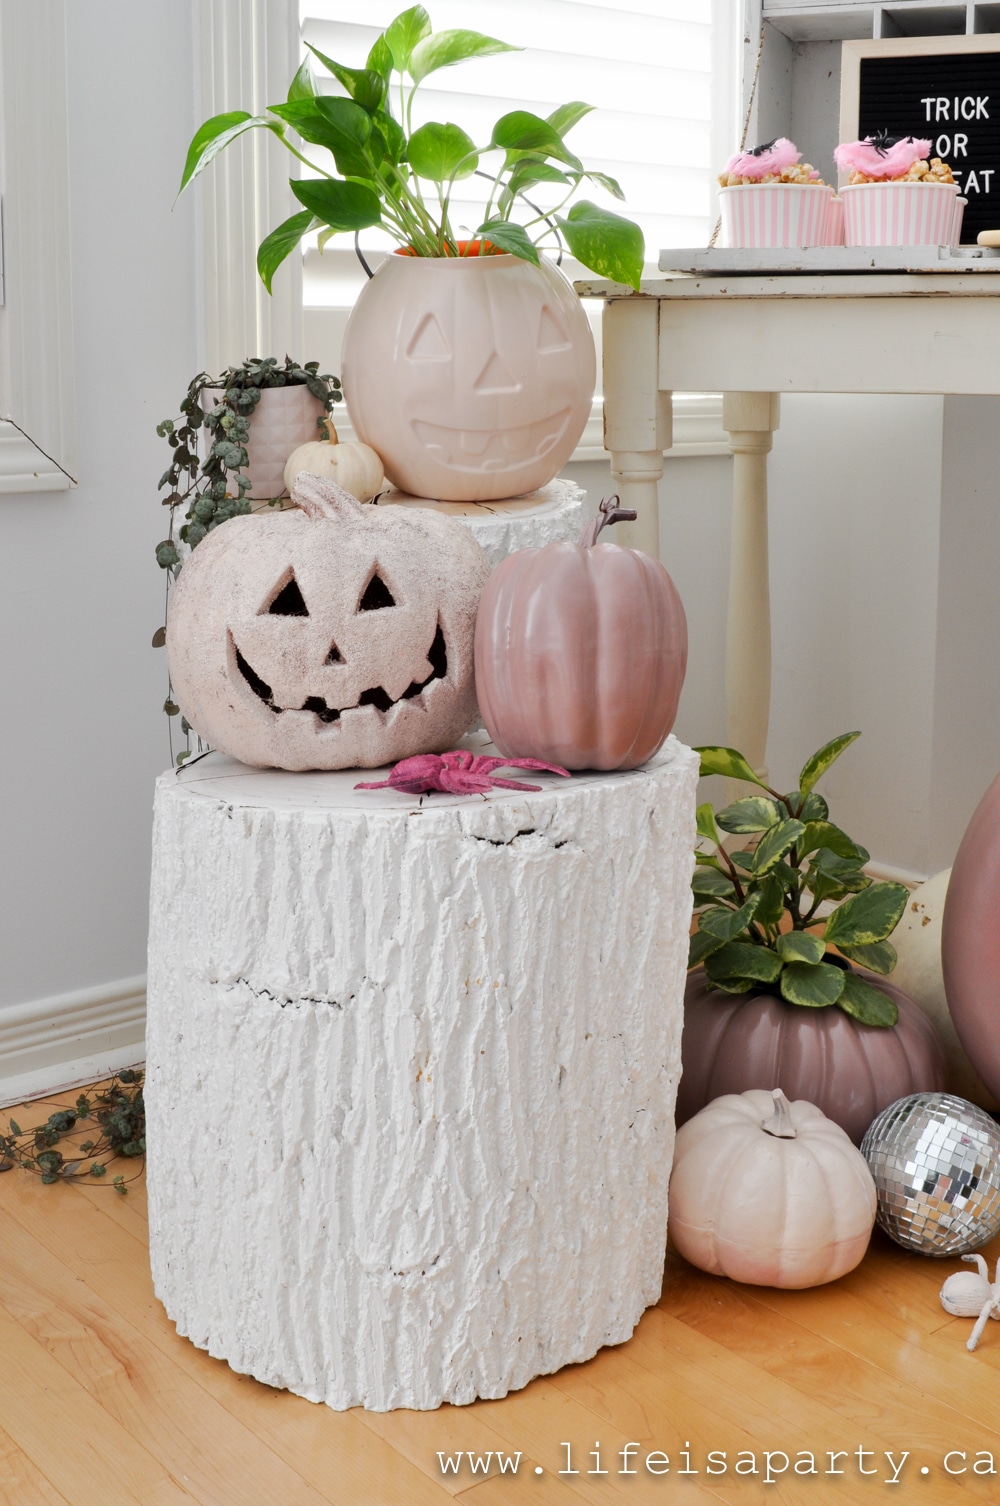
Recipe

Easy 3 ingredient coconut milkshake recipe.

Coconut Milkshake

Video

Easy 3 ingredient sweet, cold coconut milkshakes.
4.17 from 6 votes
Print Pin Rate
Course: Drinks
Cuisine: Asian
Cook Time: 5 minutes minutes
Total Time: 5 minutes minutes
Servings: 2
Calories: 468kcal
Author: Dannyelle Nicolle-Ramjist

Ingredients

  • 4 ½ cups ice cubes
  • 1 cup coconut milk
  • ½ cup sweetened condensed milk

Instructions

  • To make the milkshake, combine all of the ingredients in a blender and blend until completely smooth.

Notes

Be sure to shake and stir up the coconut milk.  The fat rises to the top in the can and needs to be remixed before using.
If your milkshake is icey, you need to blend it a little longer in the blender to break up those little pieces of ice.
Like your milkshakes on the sweeter side?  Just add some more sweetened condensed milk.

Nutrition

Serving: 1g | Calories: 468kcal | Carbohydrates: 45g | Protein: 8g | Fat: 31g | Saturated Fat: 26g | Polyunsaturated Fat: 3g | Cholesterol: 26mg | Sodium: 132mg | Sugar: 42g
Tried this Recipe? Tag me Today!Mention @LifeisaParty or tag #lifeisaparty!

Boho Summer Mantel Decor

Jun 2, 2020 · 3 Comments

summer boho mantle

Boho Summer Mantel Decor: this relaxed summer fireplace mantel incorporates elements like brass, plants, and macrame for the perfect vibe.

summer boho mantle
[feast_advanced_jump_to]

Our Boho Summer Mantel decor is adding just the right laid back, plant loving vibes we need.  The scene is set for the long, easy days of summer.

This summer mantel was really easy to put together, and I love how it turned out.

Boho Elements

To create the relaxed boho look I was going for I included some elements like brass, macrame, and lots of plants to give that bohemian feel to the space.

summer mantel decor

I've also added a little pink for summer.  And it feels perfect.

boho mantel decor

My fireplace is in the corner, so it's really deep and triangular shaped.  It's a little tricky to work with, so I always start with layering a piece along the back.  I used an old vintage window frame and added on a pretty pink wall hanging.  I layered my letter board in front with a few ideas of how I'd like to spend my summer....with sunshine, s'mores, gardening, sleeping in, ice cream, and beach days please.

summer mantel ideas

Next I layered in lots of house plants.  I love all the green.  One of the common elements of boho design is a very layered, and collected look, so we've achieved it here with lots of layers.

boho summer mantel

The lanterns add a little height, and ground everything with their black colour.

Lastly I layered in some little pieces for interest, including lots of brass.

teacup candle

A candle in a teacup seemed like the perfect eclectic addition for this look, as well as a pretty rock collected on a walk.

boho mantel ideas

All the brass is from the thrift store.  And the sweet little alarm clock is part of the collection I usually keep on my night stand.

The macrame bunting is one I made -read about it here, and seems to stay put from season to season because I love it so much.

how to style your mantel for summer

I love how relaxed and pretty this is, now let's hope I remember to water the plants. 😉

With pretty Boho Summer Mantel Decor, life really is a party!

More Inspiration

You might also like our Summer Home Tour here.

Boho summer home tour

Also check out our DIY Ribbon Wall Hanging here.

You might also enjoy our DIY Macrame Bunting here.

Summer Movie Night

May 26, 2020 · 6 Comments

summer movie night free printables

Summer Movie Night: use our free printable summer movie night ticket, popcorn banner, popcorn labels and cupcake picks to set up the perfect summer night.

summer movie night free printables
[feast_advanced_jump_to]

Long summer evenings with no school the next day -or these days when you can't go out or get together with friends a Summer Movie Night is a great idea.

We love a movie night anytime of year, but there is something special about long summer evenings.  This works for your living room, but would be really fun in your backyard with a projector for an outdoor summer movie night too.  Or set it up in your tent with your laptop, or a pillow fort in the basement where it's cooler on a hot day.

summer movie night

Free Printable Ticket

Start the movie night off with our free printable movie night ticket.  Just download it and print it on your home computer and then give it to your kids in the morning to help build a little anticipation.  

summer movie night free printable tickets

Not sure what movie to watch?  Check out our post of 20 Non-Cartoon Family Movies, that the grownups will love as much as the kids here.

Popcorn Buffet

What's a movie without popcorn?  We set up the best popcorn buffet, where everyone can help themselves to their favourite flavour.  

movie night popcorn buffet

Use our free printable popcorn banner to set the scene.

movie night snack table

We went with buttered popcorn, white cheddar popcorn, and caramel corn because that's what we love.  Add in our free printable popcorn labels, including some blanks in case you have another flavour.

movie night popcorn buffet
popcorn labels free printable

For drinks we served up some lemonade in our favourite re-useable bottles.

lemonade in reusable bottles

And because we love a cupcake around here, we served some mini ones with our adorable round cupcake picks.  summer movie night free printables

To make them just download, print and cut out with a large circle punch or scissors.  We hot glued them to some stir sticks here, but you can use them to decorate popcorn bowls, or add a small hole with a hole punch and tie them onto drinks.  Get creative.

summer movie night

This whole set up was really easy to put together.  All the treats are store bought, and we shopped the house for pillows and blankets and all the serving pieces for a really fun summer movie night.

summer movie night ideas

To access the free printables, subscribe to our free newsletter, and gain instant access to our entire free printable library including our Summer Movie Night ticket, popcorn banner, and popcorn labels, and cupcake picks.

More Inspiration

You might also like our S'mores Charcuterie Board here.

S'more Charcuterie Board: this s'more themed dessert board is perfect as a summer treat around a campfire, or for your camping themed party.

Also check out our Outdoor Movie Night here.

Outdoor Movie Night: Ideas for movies under the stars an outdoor movie night, with a popcorn buffet for snacks, and a red and white decorations.

You might also enjoy our Make Your Own Pizza Party here.

Stamped Spoon Garden Markers

May 12, 2020 · 5 Comments

DIY stamped spoon garden markers

How To Make Stamped Spoon Garden Markers: use metal stamps to engrave old spoons with plant and herb names, or funny or inspirational sayings.

DIY stamped spoon garden markers
[feast_advanced_jump_to]

I made some of these stamped spoon garden markers 10 years ago, and I've loved using them in my herb garden all these years.  I wanted to make some more, and thought you might like them too.

stamped spoon plant markers

Materials:

They're fun and pretty easy to make.  You need a couple special things to make them.  First off you need some old silver plated spoons.  It won't work with stainless steel, because they're too hard to stamp the letters into.  The silver is soft enough to create the letter impression.

how to stamp a spoon

You can sometimes find the odd one of these at a thrift store.  If it's tarnished then it should be silver plate, so look for tarnished ones.  If you can't find them there, I have picked them up at antique fairs or shops in the past or around $1-2 each.

And secondly you need a set of metal stamps.  These aren't as hard to find as they used to be.  If you're in Canada mine are from Lee Valley, but you can get them at the craft store or on-line easily.

  • old silver teaspoons
  • metal stamp set (3 mm size)
  • hammer
  • rubber mallet
  • scrap piece of wood
  • permanent marker

herb plant markers

How To Make Stamped Spoon Garden Markers:

1.Start by flattening out your old silver plate spoon.

I learned the hard way that if you use a regular metal hammer on the front of the spoon you will damage the silver plate, leaving marks and scratching it.  You can use a rubber mallet.  I found the rubber mallet was more difficult to use though.  So my compromise was to use a regular hammer on the back, and just the rubber mallet on the front.  You can also use a board to cover it and protect it.

how to flatten a spoon

This is a noisy job.

Start with the back of the spoon, and lay it on a scrap piece of wood.  You'll want to do this job on a really solid surface like the ground.  Hammer the bowl of the spoon until it's flat using the regular hammer on the back and a rubber mallet on the front.  It if bothers your hand to hold the spoon while you hammer it cover the handle with another piece of scrap wood and hold it.

2.  Once your spoon is flat you can stamp your letters on to it.

You will likely need to strike the letter more than once with your hammer to make a clear impression.  Make sure you hold the stamp nice and steady so that it doesn't move in between  and mess up the impression.  I hammered each letter about 3 times.  It all depends on how hard the spoon is and how strong you are.

I didn't worry too much about spacing, but if you want your words really straight you can put some tape on the spoon to line up the stamps.

3.  Lastly go over the letter imprints with a black permanent marker and wipe it off.  Black will be left in the indents and help the words show up better on the metal.

rooting for you spoon plant marker

I originally made these with herb names and used them in my herb garden.  You could also stamp them with vegetable or flower names.

antique spoon plant markers

This time I  got a little more creative with my sayings.  I'll add them to some pots and planters.  I love the inspirational ones, and also the punny ones.

diy plant signs

I'm about to start a garden makeover.  We're redoing our veggie garden, adding raised beds, and a garden shed and pea gravel paths.  I can't wait to put these in my new herb area, and in some pots in the seating area.  Little details like these always make a garden special.

diy spoon plant markers

These make really great gifts too.

diy plant markers

With stamped spoon garden markers, life really is a party.

More Inspiration

You might also like our Cement Garden Markers here.

DIY Garden Markers: these cement garden markers are long wearing and beautiful, perfect for marking any plants or herbs in your garden.
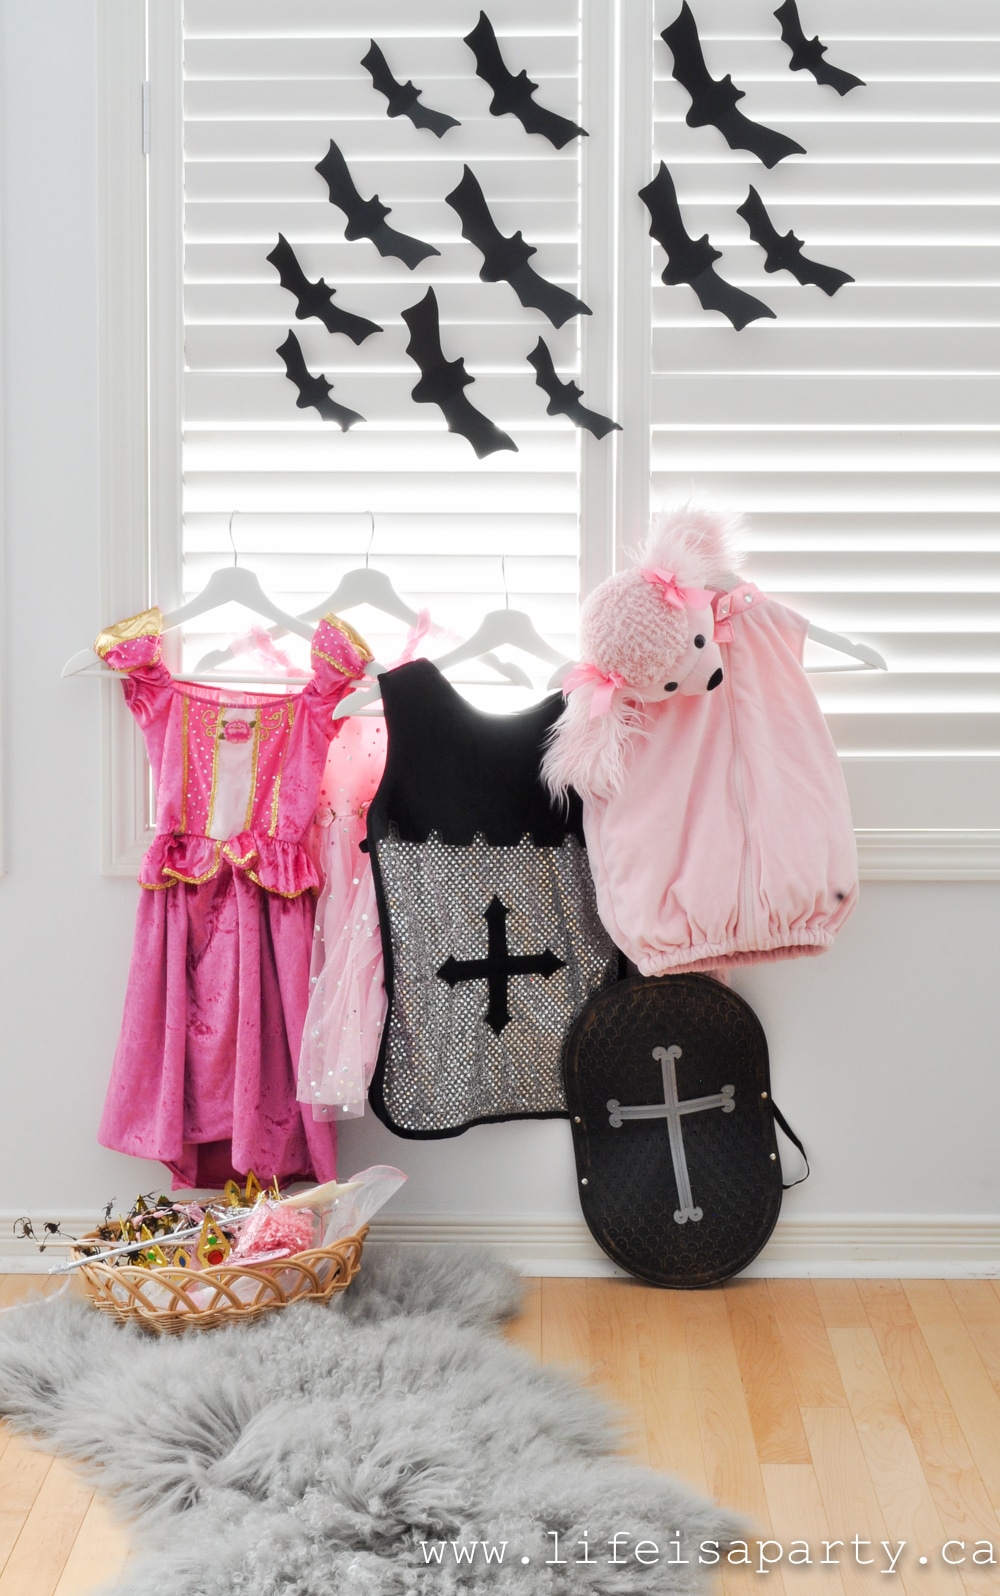
Also check out our Teacup Fairy Garden here.

What To Watch If You Miss Downton Abbey

Apr 2, 2020 · 7 Comments

Show similar to Downton Abbey

If You Like Downton Abbey Watch These: 23 suggestions for great historical drama tv shows or mini series for any fan of Downton Abbey to enjoy.

Show similar to Downton Abbey
[feast_advanced_jump_to]

If you like Downton Abbey, watch any of these historical dramas.  I've put to together and updated list, so be sure to scroll to the bottom to see the newer suggests and all 23 suggestions for things to watch if you liked Downton Abbey.

We had a good long run, we loved them, watched them struggle and succeed, they found love and lost it, were framed, set free, involved in coverups, and scandal, they lived and died and married and divorced, and did it all in beautiful costumes!  And all of this we watched.  And now they're gone, after 6 wonderful seasons together.

We miss Downton Abbey, and  we've got a Sunday night tv hole in our hearts to fill.

If You Like Downton Abbey Watch These:

I love a good historical drama, so I've come up with a little list of shows to watch if you like Downton Abbey.  I think you might like these historical dramas;  some are earlier, some are later, some are old, some are new, some are good, and some are really good.  I've watched all of these over the years and enjoyed them, and I hope you'll like some too.

Selfridge

1.  Mr. Selfridge

This series begins in London in 1910 and is the story of Mr. Selfridge, an American business man who runs an amazing department store, revolutionizing shopping and turning it into a leisure activity.  The series is full of drama, scandal, and romance and is based on a true story.
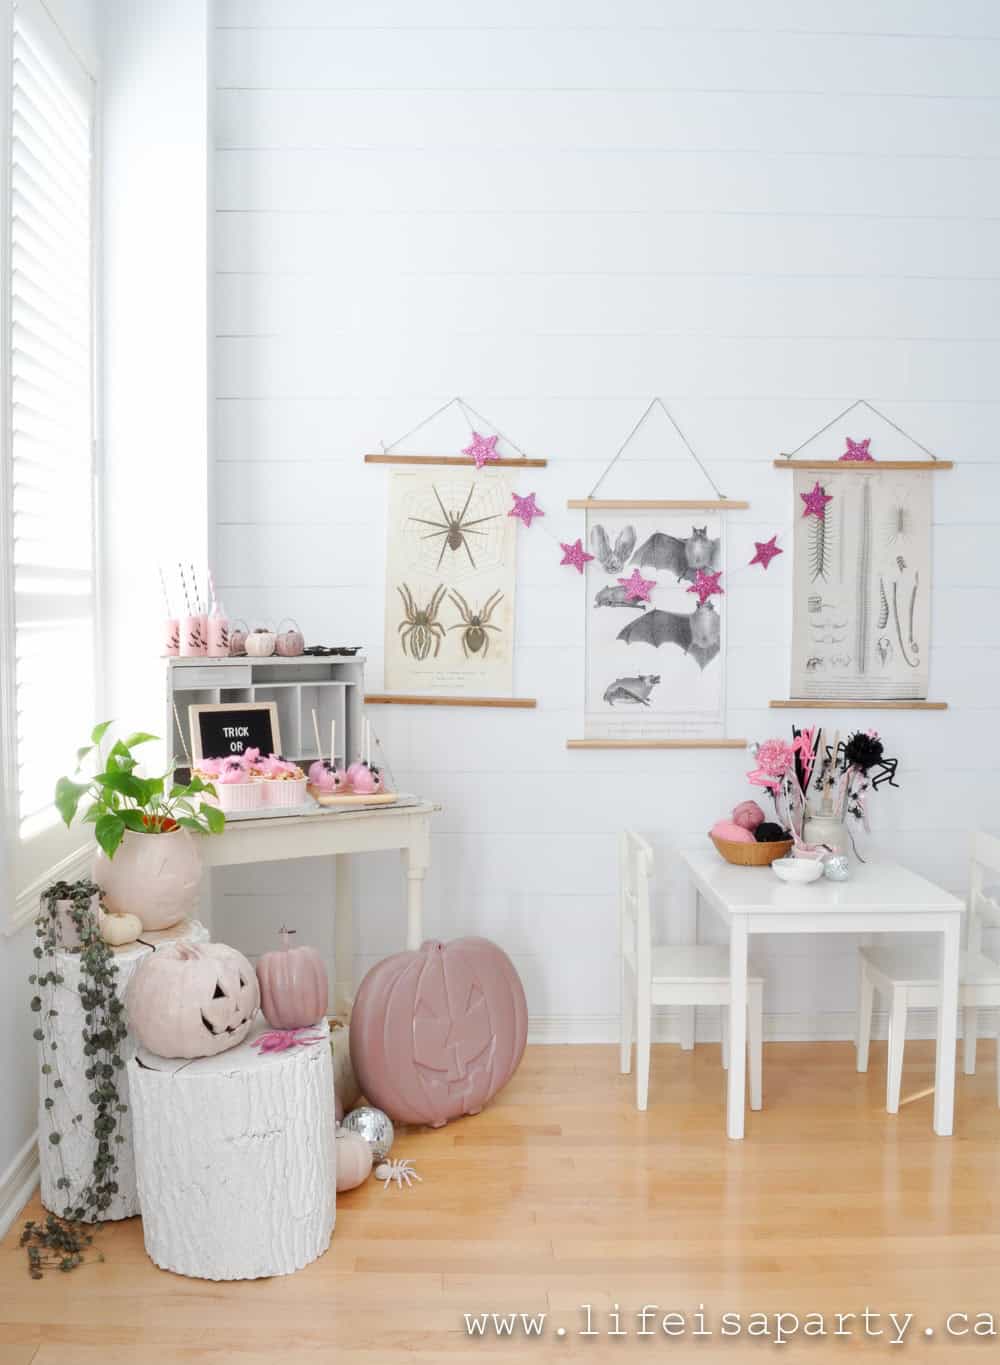
The Paradise

2.  The Paradise

Very similar to Mr. Selfridge this is a fictional story of a department store and the lives of the employees.  Set in the late 1800's in London.  I didn't like this one quite as much as Mr. Selfridge, found it a little slower paced, but it is a nice historical drama filled with great costumes and stories of forbidden love.

Call The Midwife

3. Call the Midwife

You probably know this one already, but if by chance you don't, you should.  It's the story of midwives and nuns in the poor part of London in the 1950's.  The stories are heart wrenching, so you might need some kleenex, along with your popcorn.  It's so good, the stories explore the best and the worst of the time, the tough choices people had to make, or when they didn't have enough choices.  It will make you feel grateful to live today, but also a little nostalgic for a time and place when babies were delivered by girls who wore capes and arrived on bicycles.  One of my very favourite shows.

Mad Men

4.  Mad Men

Ok, I had to throw this one in here….not much like Downton, but I find it so interesting to think that Mad Men and Call the Midwife are happening about the same time, since the experiences of the people are so different.  England vs. New York, rich vs. poor.  I have to say I really enjoyed this series, you seem to love it or hate though.  It did take me quite a few episodes to get into it, but once I was, I was hooked and spent many a Sunday night with Don Draper.

The Indian Doctor

5.  The Indian Doctor

Set in 1950's rural England, this is the story of Prim, the Indian doctor and how he tried to fit in to and serve a small Cornish town.  Season 2 was the best.  Kind of slow paced at times, but a nice story, and if you like the 50's and 60's time period, you might like this one.

Indian summers

6.  Indian Summers

This one is set in the 1930's in India, during the last days of Colonial rule.  You get to see the strange life built by the British as they interacted with the Indians they ruled over, in the midst of the heat, and racism of the day.  A good series, I hope they make another season.  I really liked the costumes and the beautiful setting.  Lots of romance -often in the form of forbidden love, and scandal mixed in to keep it interesting.

A Place To Call Home

7.  A Place To Call Home

This series is set just after WW2 in the late 1940's, this time in Australia -I really am loving Austrian TV these days.  It's the story of a nurse who's Jewish, and a widow, and how she comes home to Australia to start a new life. She gets involved with a rich family -Lord's of the village in an earlier era, but doesn't exactly fit in.  It's not my very favourite historical drama, but there are some great twists and turns, and those great Aussie accents to enjoy!

Outlander

8.  Outlander

This is another great British series.  It's originally set in 1945 in England, just after the war.  Claire, a combat nurse, has reunited with her husband a doctor, after they both served separately in the war.  During the first episode, Claire accidentally time travels back to 1743.  The show is full of drama, romance and nail biting action as Claire tries to work out how to get back to her own time -but in the process develops a life for herself in the past.  Keep in mind this series should be rated R for sex, and quite disturbing violence, so it's not for everyone.  The series is based on novels, and there's more to come.  There has been one seasons so far, and season two starts in April.

If You Like Downton Abbey Watch These: 23 suggestions for great historial drama tv shows or mini series for any fan of Downton Abbey to enjoy.I

9.  Poldark

I love this one, and can't wait for season two.  The story is set in Cornwall, England, in the 18th century.  Poldark has just returned from fighting in the American Revolution.  His father is dead and estate is in a shambles.  The story is about how he rebuilds his life.  It's full of romance and drama, and pretty dresses and the social issues of the day.  I really liked it.  It's based on a novel series.  I'm not much of a reader…like I say, I read the movie, or in this case the show.  Looking forward to season two.  If this list was in order of preference this one would be very near the top.

The White Queen plus 22 others show to watch if you liked Downton Abbey

10.  The Whtie Queen

We're going back to the War of the Roses for this one.  This is a tv mini series, from the BBC, and also based on a series of novels.  It's set in 15th century England and tells of the struggle for the throne, featuring the lives of three different women.  My sweet husband found and borrowed this series from the library for me to ease the pain of our 9 hour each way drive during our recent vacation.  I really enjoyed it.  It's full of drama, romance, beautiful costumes, strong women and even a little magic.

The Tudors

11.  The Tudors

This is an older series (2007), and follows the reign of King Henry the VIII in the 1500's.  It's another BBC production.  The customs, and lifestyle are fascinating.  The drama, romance, sex, religion, scheming, and murder make this a series that will have you hooked.  If you like this very early time period, this is a great series.

If You Like Downton Abbey Watch These: 23 suggestions for great historial drama tv shows or mini series for any fan of Downton Abbey to enjoy.I

12.  Cranford and Return to Cranford

Set in 1840's England, it's the story of a group of ladies who live in Cranford and their comings and goings.  It's older (2007) and not fast paced but I include it because of Judi Dench, and the BBC, and a time when life was all about marrying someone with the right income, and wearing a pretty bonnet.  Certainly a nice way to spend a few evenings with a cup of tea.

If You Like Downton Abbey Watch These: 23 suggestions for great historial drama tv shows or mini series for any fan of Downton Abbey to enjoy.I

13.  Berkley Square

The story of several London nannies in 1902 who live and work in Berekley Square.  There's the usual servant verses upper class employers drama, especially since the nannies spend more time with the upper class children than the parents do.  This show also highlights the struggles of working class girls without many choices at the time, and how they struggle along with love, romance, and relationships.  It's an older show, made in 1998, and only one season unfortunately, but a good one, and it will have you thinking of Marry Poppins as you see the nannies in their dark coats and little hats.

15 Shows To Watch If You're Missing Downton Abbey -list of great historical drama television shows you'll love if you loved Downton Abbey.

14.  Upstairs Downstairs

There was a version of this show in the 1970's, but it was recently remade in 2010-2012.  Unfortunately they only made two new seasons, but I quite liked it.  In keeping with the popularity of Downton Abbey it's the story of the the rich upstairs and the servants downstairs in a London townhouse in 1936.  This story has all the usual drama of love, forbidden romance, and secrets, but has an added layer of political drama since it's set on the verge of WWII.

UPDATE

Updated:  A few new additions since I originally wrote this post.  These new historical fictions are great, and I'm pretty sure you'll love them too.

15. Victoria

Victoria

Victoria depicts the reign of Queen Victoria.  It begins with her coming to the throne, and  falling in love with Albert.  There are 3 seasons so far depicting Queen Victoria's life up to the birth of her 6th.  More to come.  Sure to give you a better appreciation for all things victorian.

16.  The Durrels

The Durrels

This is another British historical drama, but is also quite funny.  It's sweet and charming and easy to watch.  The Durrels are a British family of mother, 3 sons and 1 daughter who decided to move to the Greek island of Corfu.  The show takes place between 1935-39 and follows their adventures with love, life, animals, being foreigners, having no money, and life on Curfu.  I loved it and was sad when it ended.
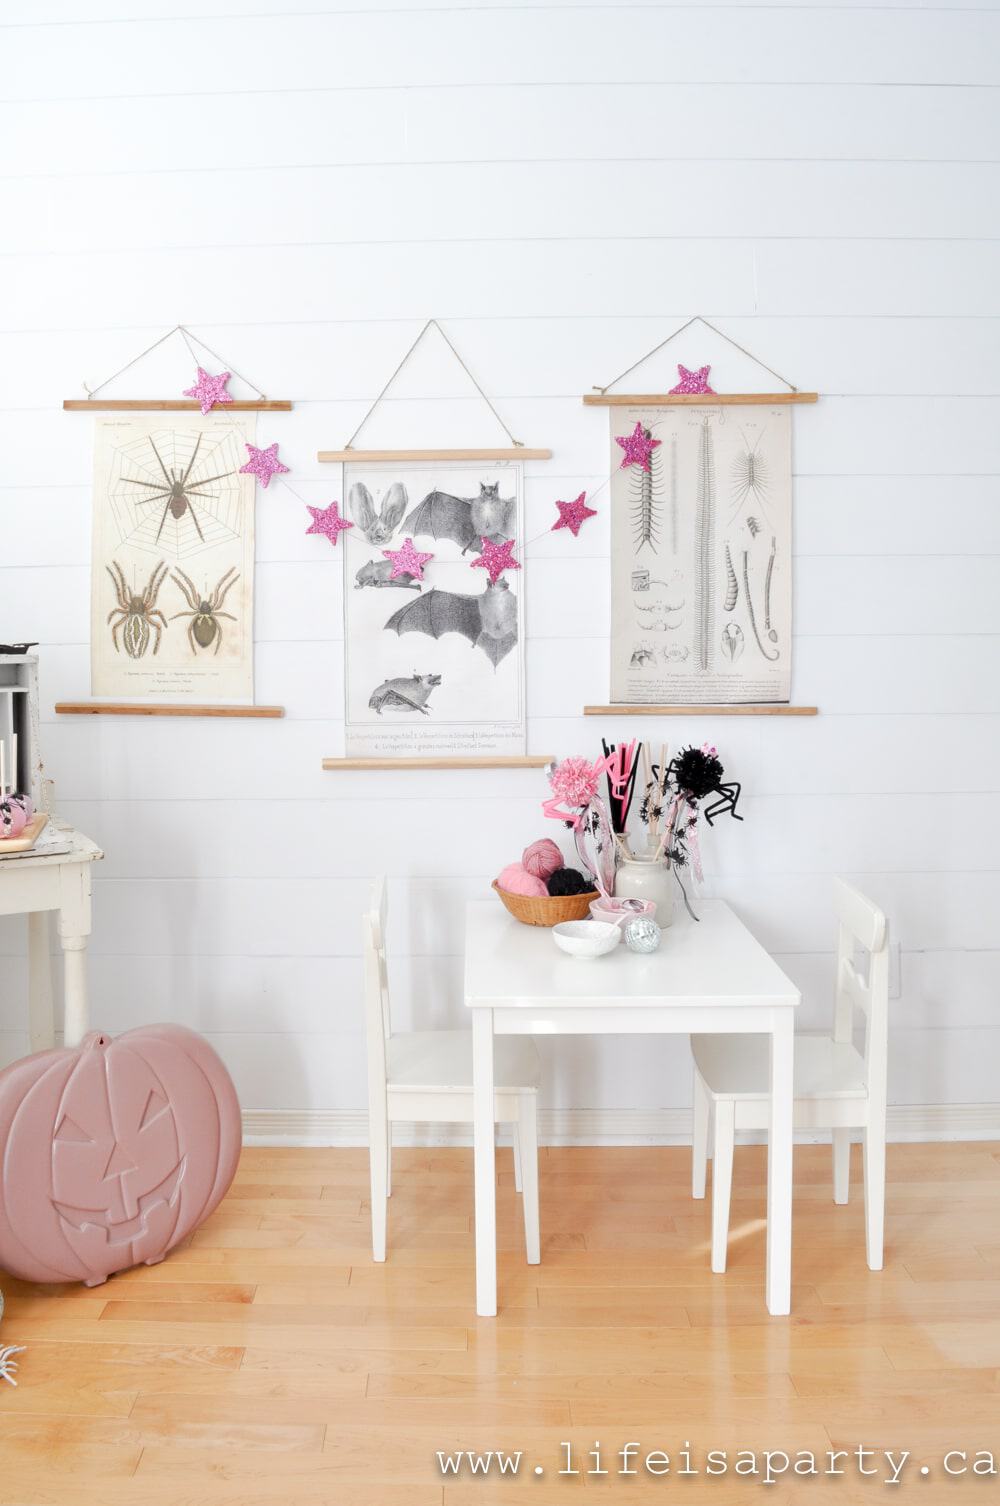
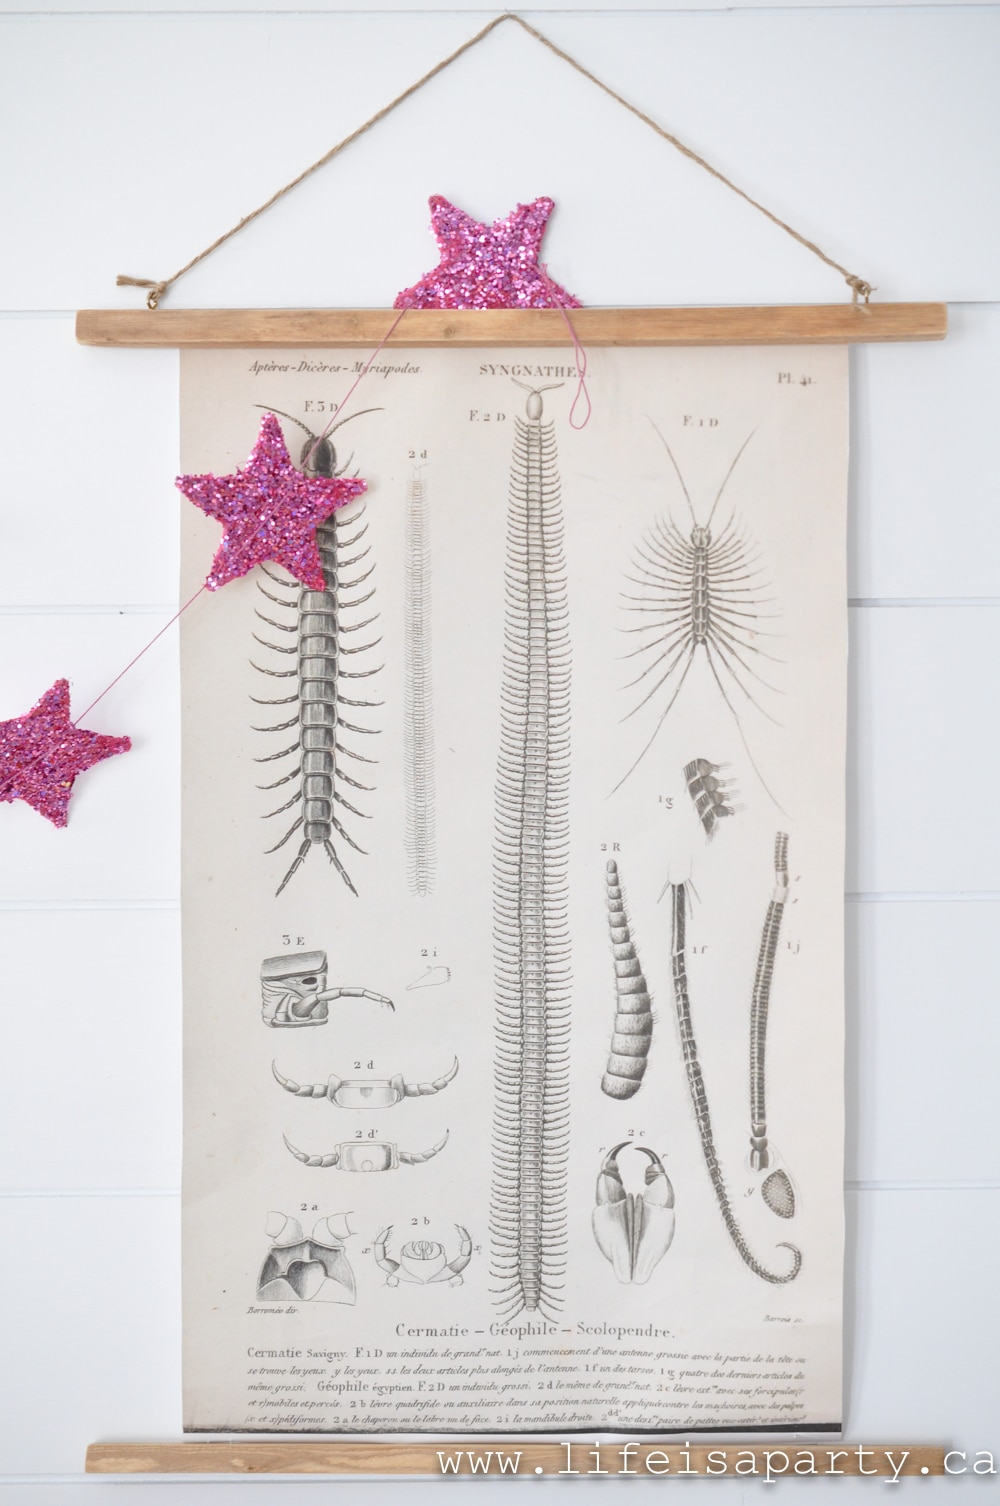
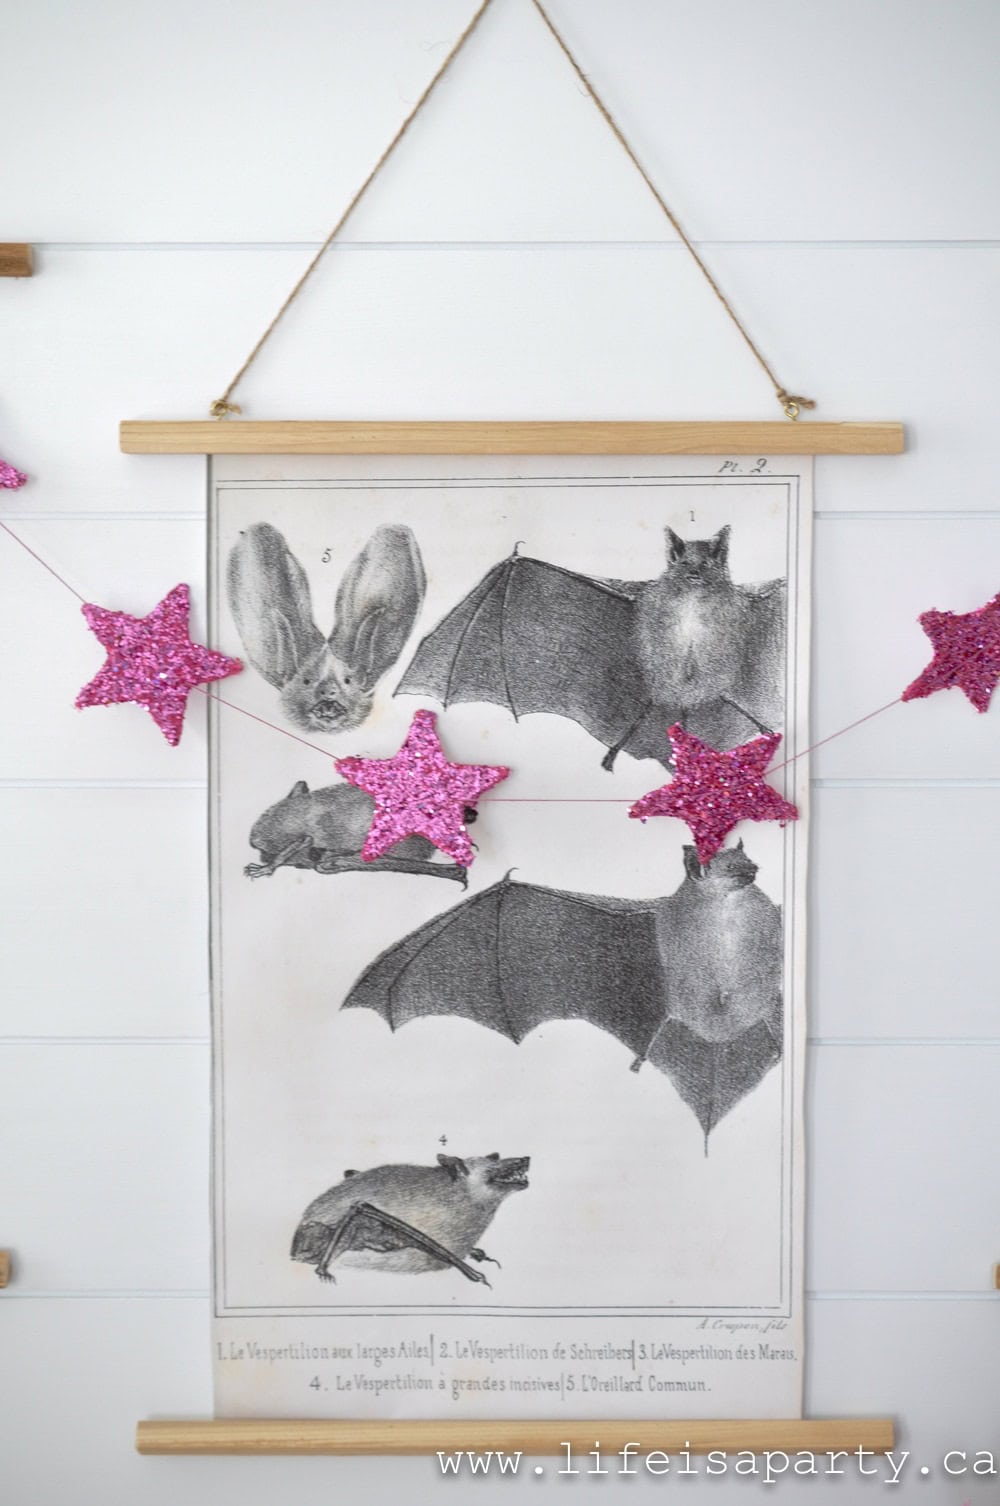
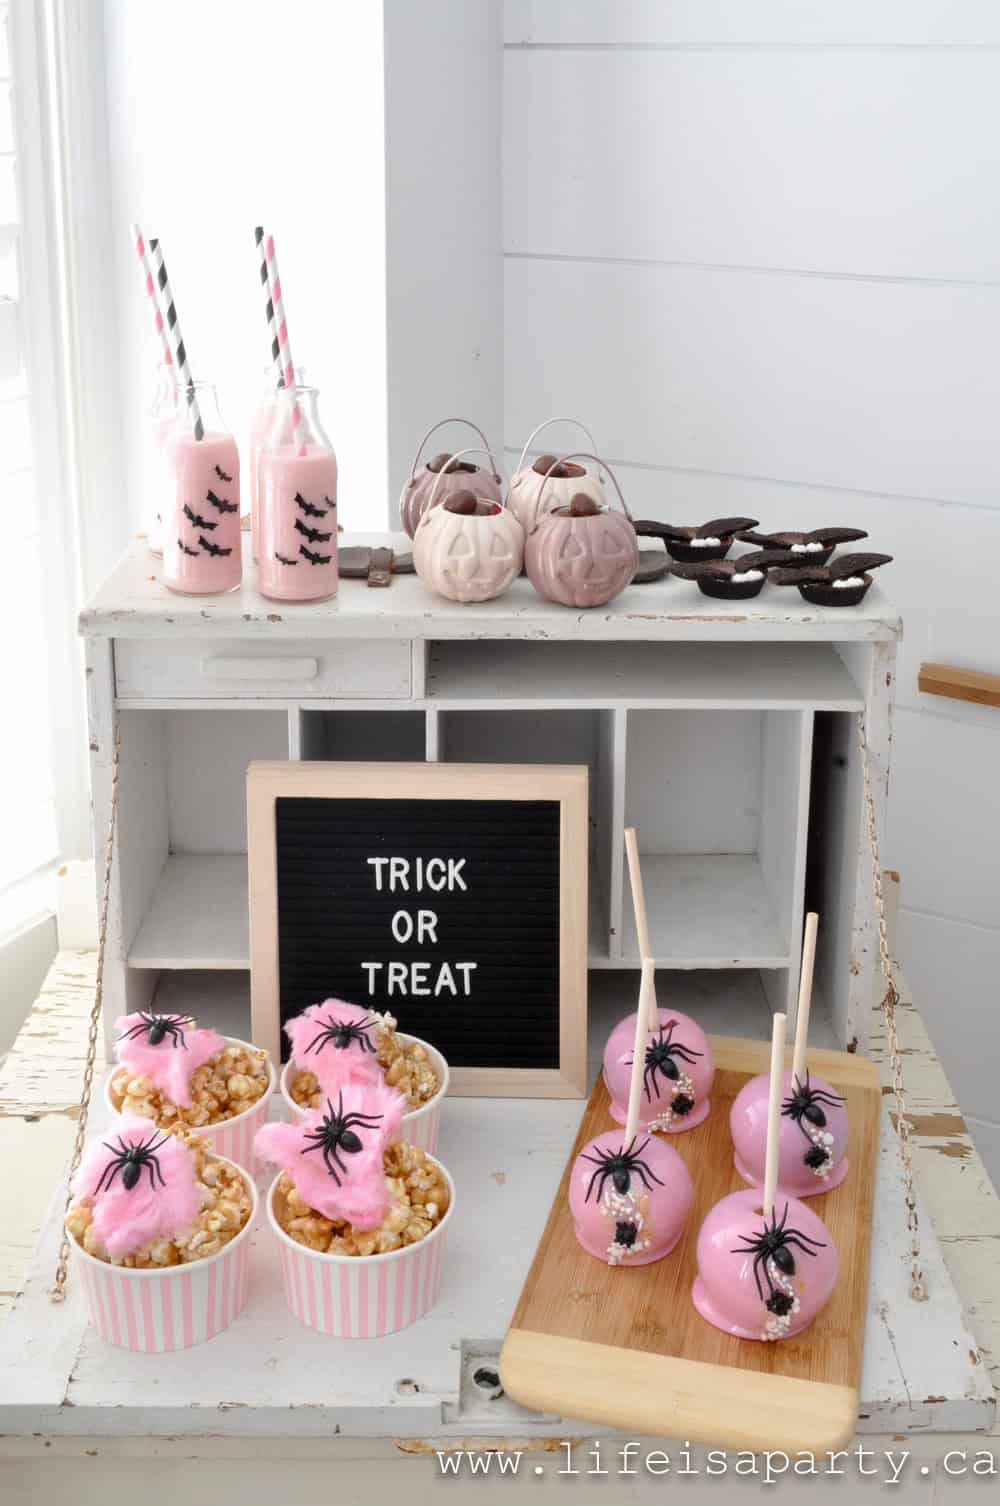
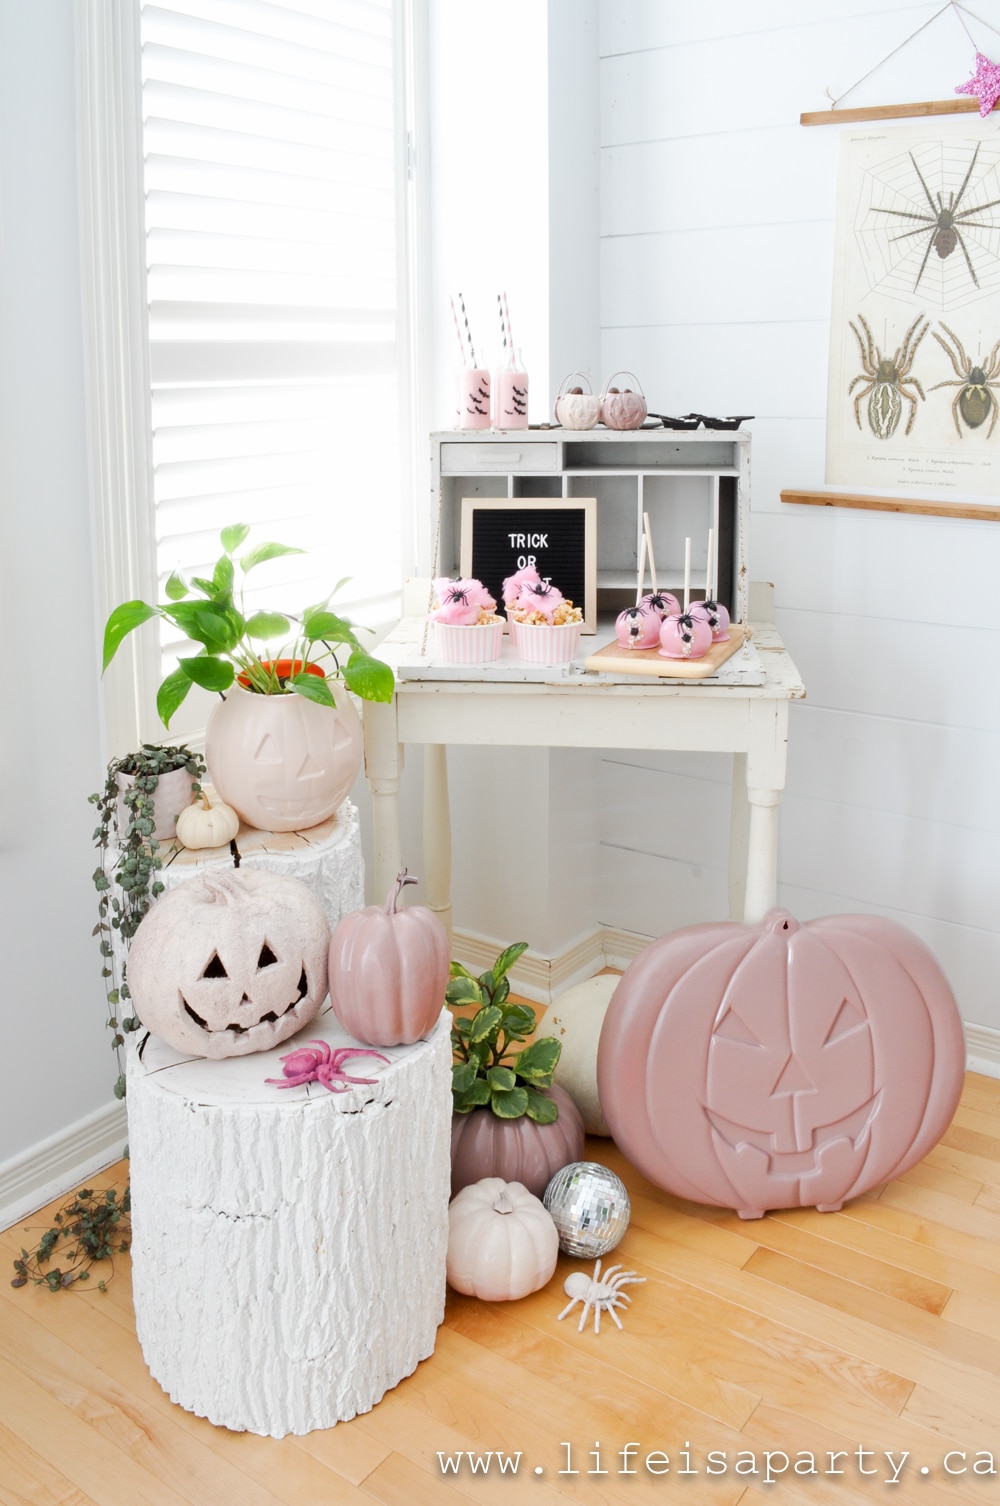
17.  The English Game

The English Game

Created by Julian Fellowes who also created Downton Abbey, this new Netflix mini series is the story of the rise of football (soccer) and how it progressed from a gentleman's game to everyones favourite regardless of class.  Stories of struggle in love, life, and finances for the rich and the poor of that time.  Hopefully there are more seasons to come.

18.  Peaky Blinders

Peaky Blinders

This series is set in Birmingham England and follows the Shelby family in the time period between the world wars.  It's the violent, dramatic, emotional, funny, inspiring, tragic story of a ganster family and their rise to power.  It's so good.  I'm looking forward to the last season coming soon.  

19. The Crown

If You Like Downton Abbey Watch These: 23 suggestions for great historial drama tv shows or mini series for any fan of Downton Abbey to enjoy.I

The Crown is much more recent history but so good.  It follows the reign of Queen Elizabeth II.  We meet a young Elizabeth and follow the story of her marriage, her father's death, and her coronation.  There are 3 seasons so far, and season 4 takes on events that many of us remember well.

20. Anne With An E

Anne With An E

It might be because I'm a Canadian, but this one based on the classic Anne of Green Gables is very good.  Some feel it takes too many liberties with the original, weaving in more up to date issues, but I like that it's a bit more edgy, and even has a little darkness in it.  Great one to watch with the family.  Sadly it was recently cancelled so only 3 seasons to enjoy.

21. Gentleman Jack

If You Like Downton Abbey Watch These: 23 suggestions for great historial drama tv shows or mini series for any fan of Downton Abbey to enjoy.I

Gentleman Jack is based on the real diary entries of Anne Lister and her struggle to save her ancestral home in 1832 England as a lesbian in a very different time than ours.  We watch her relationship and business struggles in a time when her lifestyle choices had to be written about in code in order to protect her from potential harm.  One season so far, and more to come.

22. Black Sails

If You Like Downton Abbey Watch These: 23 suggestions for great historial drama tv shows or mini series for any fan of Downton Abbey to enjoy.I

This one is a pirate show, full of pirating and running form the law, violence, love stories, betrayal, sex, high ideals, and humour.  There are 4 seasons to bing watch, while drinking rum and talking like a pirate. ;). I loved the ending of the story too.  Created as a prequel to Treasure Island.

23. Downton Abbey Movie

Downton Abbey Movie

And last but not least, if you like Downton Abbey watch the Downton Abby movie, you'll love it.  It's got all our old favourite characters, and the next story in the lives of each of them.  It's like having a catch up with old friends.  And it's ending certainly leaves room for another movie.... we'll see. 😉

There's so many ways to watch television now that any of these should be pretty easy to find, between Netflix, AppleTV,  Amazon TV... or even your local library for some of the older ones.  These are nearly all television shows or mini series, but I could write another whole list of movies.  

If you like Downton Abbey watch any of these historical dramas.  Enjoy, bing away, and please let me know in the comments below if there's any I've missed that you love.

With a perfect historical drama tv show to enjoy, life really is a party!

You might also like our post on 20 Non-Cartoon Family Movies -That Parents Will Actually Enjoy Too.

Also check out Top 10 Family Christmas Movies.

You might also like Movies Under The Stars.

Easy Food Processor Scones

Apr 1, 2020 · 8 Comments

Easy food processor scones on a plate with jam.

These Food Processor Scones are easy and quick to make. They're flaky and delicious and perfect for a tea party, breakfast, or snack. We love their crusty outside and soft tender inside.

Scone on a plate with jam and cup of tea.
[feast_advanced_jump_to]

These easy food processor scones are an old favourite of mine.  They are my go-to scone recipe.  I've made them so many times, so I'm very confident in telling you they're easy and they're delicious.  If you're a fan of scones you will love how simple these are to make, and how delicious they are.

Many, many years ago I lived in England for 18 months.  During that time I discovered scones.  I went for many "cream teas" which is a pot of tea, served with fresh scones, butter, jam, and clotted cream.

Clotted cream is a little hard to come by where I live, but these scones are delicious served with butter and jam, and you can substitute whipped cream if you want to make your own cream tea at home.  

These are absolutely perfect to serve at an afternoon tea party for adults, a Fall Tea Party, or a Christmas Tea Party during the holidays. Make them the morning of your tea party for the best taste.  A good scone is kind of crusty on the outside and nice and soft in the middle.  

These aren't just for afternoon tea.  I love these buttery scones for breakfast too.  And they're a go to recipe for Mother's Day.

Ingredients

See the recipe below for exact measurements.

Food processor scone ingredients.
  • Cold Butter: You want to use cold butter to make these scones, not softened butter. The cold butter creates air pockets in the mixture and when they cook they melt and create the flakey texture we love.
  • Heavy Cream: The heavy cream adds richness to the scone with it's higher fat content, and also contributes to its flaky texture.
  • Cream and Sugar Topping: We like to top these scones with a little cream and sugar sprinkled over the top just before baking. The sugar adds a lovely little sweet crust to the top of the scone, and the cream helps the scone brown on top.

Variations: Scone Add-Ins

I sometimes like to add raisins to this base scone recipe.  You can not add your favorite mix-ins to the dough while it's in the food processor, because the blade would chop any add-ins into tiny pieces.  

If you want to add anything to the dough, you'll have to take the dough out of the food process, and as your last step before shaping the scones, you can add in anything you like.  Place the dough and the add-ins in a large bowl and use a wooden spoon to combine.  I add ½ cup of raisins.

You can also try adding other ingredients to this basic scone recipe like dried currants for currant scones.  You might also like to try adding cranberries, fresh blueberries, chocolate chips, or white chocolate chips.

Scone on a plate with jam, and a cup of tea.
Easy food processor scones with jam and butter.

Food Processor 

Scones are traditionally made by hand, but making them in your food processor is a real time saver.  When using your food processor for baking there is always the danger of overmixing.  Overmixing scones means they will come out tough and chewy, instead of the tender crumbly texture we're going for.  

To avoid this problem just be sure to only run the food processor until the dough comes together, and then stop once the dough forms, before overworking it.

You can also make this recipe by hand if you prefer, but the food processor method is much quicker.  If you're making these by hand you can use a pastry cutter to cut in the butter, and then mix the dough together and work with a spoon and your hands.

How To Make This Recipe

Dry ingredients of scone recipe in a food processor.
  1. Step 1: Combine the flour, sugar, baking powder, and salt in a food processor.
Cold butter cut into small pieces and added to dry ingredients in a food processor to make scones.
  1. Step 2: Add in the cold butter cut into small pieces and blend until the mixture looks like coarse crumbs.
Egg and cream mixed in a small bowl ready to add to food processor scones.
  1. Step 3: In a small bowl beat the egg and stir in the heavy cream.
Scones fully combined in a food processor.
  1. Step 4: Add to the flour mixture in the food processor and pulse until it's completely combined and comes together to form a dough ball. Be careful not to over mix.
Scone dough is ready when it holds together when squeezed in your hand.
  1. Step 5: Dough is ready when it holds together when squeezed in your hand.
Scone dough formed into a large bowl, ready to roll out.
  1. Step 6: Turn dough out onto a lightly floured work surface and form into a ball.
Scone dough divided in half and flattened into a disk.
  1. Step 7: Cut the ball in half. Form each half into a flat disk about ¾ inch thick.
Scone dough formed into a disk and cut into 6 wedges.
  1. Step 8: Cut each disk into 6 equal wedges. Brush the top of each scone with more heavy cream and sprinkle with some sugar.
Fresh baked scones cooling on a rack.
  1. Step 9: Bake at 425 F degree oven on a large baking sheet in the middle of the oven for about 10 minutes, or until the tips of the wedges start to turn golden brown. Let cool on a wire rack.

Tip: Shaping The Scones

I really prefer cutting the scone dough into wedges instead of using a round cookie cutter.  If you use a cookie cutter, you will have to re-roll the leftover dough, and this can lead to overworked tough scones.  By cutting the wedges you avoid having to overwork the dough and make more tender scones.

Storage

These scones are best eaten fresh the day they are made.  When they're fresh they have a perfect crust on the outside, and are soft in the middle.  You can store any leftovers in an airtight container at room temperature, but like most baked goods they lose the outer crust when they're not freshly baked.

You can freeze the dough and bake it fresh when needed.  To do this prepare the scones and put on a baking tray and put the baking tray uncovered in the freezer.  Once the scones are frozen individually you can store them in an airtight container in the freezer for several months.  To bake them remove one, let it defrost on a baking sheet and then bake according to the recipe.

Scones served with jam and a cup of tea.

Frequently Asked Questions

Can I make the scones ahead of time?

These scones are best eaten the day they are made. You can store them for up to 3 days. When they are fresh they have a crusty outside and tender inside. You lose the crust after a day, but they're still delicious.

Can I freeze scones?

Yes, freeze the dough before baking and bake them fresh whenever you want them. Or freeze the baked scones.

Why is my scone dough crumbly?

Depending on the humidity and weather when and where you're baking the dough might be a little crumbly. If this happens add a few more tablespoons of cream to the food processor until the dough comes together nicely.

More Recipes You Might Like

  • Easy blueberry scones piled in white enamel tray with butter on the side.
    Starbucks Copycat Blueberry Scones But Better
  • Old fashioned bear claw pastries with almonds on a cake plate.
    Old Fashioned Almond Bear Claw Pastries Recipe
  • Oatmeal chocolate chip muffin recipe.
    Easy Oatmeal Chocolate Chip Muffins
  • Easy and moist sweet cornbread pieces stacked together and spread with butter.
    The Best Sweet Cake-Like Cornbread Recipe

If you try this Food Processor Scones Recipe or any other recipe on my blog please leave a star rating and let me know how it went in the comments below. Thanks for visiting today!

Recipe

Easy food processor scones on a plate with jam.

Easy Food Processor Scones

Video

Tender and sweet scones, easy to make in your food processor.
4.80 from 5 votes
Print Pin Rate
Course: Breakfast
Cuisine: British
Prep Time: 10 minutes minutes
Cook Time: 10 minutes minutes
Total Time: 20 minutes minutes
Servings: 12
Calories: 189kcal
Author: Dannyelle Nicolle-Ramjist

Ingredients

  • 2 cups flour
  • ⅓ cup sugar
  • 1 tablespoon baking powder
  • ½ teaspoon salt
  • ⅓ cup cold butter
  • 1 egg
  • ½ cup heavy cream
  • plus 1 tablespoon more cream and 2 teaspoon sugar for the top

Instructions

  • Combine the flour, sugar, baking powder, and salt in a food processor.
  • Add in the cold butter cut into small pieces and blend until the mixture looks like coarse crumbs.
  • In a small bowl beat the egg and stir in the heavy cream.
  • Add the cream and egg mixture to the flour mixture in the food processor and pulse until it's completely combined and comes together to form a dough ball. Be careful not to over mix.
  • Dough is ready when it holds together when squeezed in your hand.
  • Turn dough out onto a lightly floured work surface and form into a ball.
  • Cut the ball in half. Form each half into a flat disk about ¾ inch thick.
  • Cut each disk into 6 equal wedges. Brush the top of each scone with more heavy cream and sprinkle with some sugar.
  • Bake at 425 F degree oven on a large baking sheet in the middle of the oven for about 8-10 minutes, or until the tips of the wedges start to turn golden brown. Let cool on a wire rack.

Notes

Feel free to add raisins after you remove the dough from the food processor to make raisins scones.
These are best eaten the day they're made.  Store leftovers in an airtight container at room temperature.

Nutrition

Serving: 1g | Calories: 189kcal | Carbohydrates: 23g | Protein: 3g | Fat: 10g | Saturated Fat: 6g | Polyunsaturated Fat: 3g | Cholesterol: 42mg | Sodium: 268mg | Fiber: 1g | Sugar: 7g
Tried this Recipe? Tag me Today!Mention @LifeisaParty or tag #lifeisaparty!

Spring Home Tour

Mar 18, 2020 · 7 Comments

spring decorating ideas home tour

Spring Home Tour: pretty pastel rainbow colours, butterflies, mushrooms, and crepe paper flowers create the most beautiful spring home tour.

spring decorating ideas home tour
[feast_advanced_jump_to]

Welcome!  Sharing home tours are my favourite kind of posts to share.  It was so much fun putting a spring touch on my home this year.  I hope this spring home tour makes you feel inspired to add a few spring touches too.

The Dining Room

Spring Dining Room inspiration

Console Table

Our home opens up to our dining room.  There is a little white console table right beside the front door.  I added a fun lamb print for spring.  

Spring Decor

Also, I added lots of faux mushrooms for spring and used them in all different ways.  You find a tutorial for how I made these mushrooms out of air dry clay here.  

DIY faux mushroom terrariums

I used my large antique glass jars to make little terrariums with a little moss and the mushrooms.

DIY Terrariums with faux mushrooms

I love how simple they are and how they turned out.

DIY terrarium with faux mushrooms and moss

Plant Cart

spring plant cart

I usually have this vintage cart set up as a bar cart, but I changed it up for spring into a plant cart. 

Spring Home Tour: pretty pastel rainbow colours, butterflies, mushrooms, and crepe paper flowers create the most beautiful spring home tour.

There's a combination of real and faux plants, so hopefully I can keep the real ones alive.

Spring plant cart

I repeated one of the antique glass jars here too with some twinkle lights in it.

I added a few eggs, and the lamb for a real spring feel.

Spring Home Tour: pretty pastel rainbow colours, butterflies, mushrooms, and crepe paper flowers create the most beautiful spring home tour.

Dining Room Table

Spring Home Tour: pretty pastel rainbow colours, butterflies, mushrooms, and crepe paper flowers create the most beautiful spring home tour.

I kept things really simple on the dining room table with just one big bowl of faux mushrooms.

Spring Dining Room Decor
DIY Faux mushrooms made of clay
DIY faux mushrooms
Spring Home Tour: pretty pastel rainbow colours, butterflies, mushrooms, and crepe paper flowers create the most beautiful spring home tour.

Spring Flowering Branches

We recently created this green feature wall, you can read all about how we did it here.

Spring Home Tour: pretty pastel rainbow colours, butterflies, mushrooms, and crepe paper flowers create the most beautiful spring home tour.

For spring I wanted to add spring flowering branches to our vintage glass bottles.  But it's still quite early for spring branches here in Toronto, so I made these faux ones out of paper.

DIY crepe paper flowering branches spring flowers in vintage jars
crepe paper flowers

The flowering branches are made from tissue and streamers glued to real branches.  They were really fun to make.

DIY faux flowers crepe paper

I made the forsythia branch out of yellow crepe paper.  

DIY crepe paper flowers forsythia branch

These cherry blossoms are made from Kleenex and I used the Happy Happy Nesters tutorial.  They turned out so great.

DIY paper flowers tissue Kleenex cherry blossoms

DIY crepe paper spring flowers The magnolia flowers are a favourite of mine.  I had to adjust them a little since I couldn't find crepe paper and had to use streamers to make them.  I was inspired by the Craftberry Bush tutorial, and the Happy Happy Nester tutorial.

DIY crepe paper magnolia flowers

Lastly I created these Japanese quince flowering branches out of pink streamers.  

DIY crepe paper flowers Japanese quince pink

I really love how all the crepe paper flowers turned out.  They look so great with these old bottles against our green feature wall, and they'll last all spring.

DIY flower branches for spring crepe paper flowers

On the other side of the white buffet, I used my letter board and light board.  I actually added these to this spot in January thinking of new beginnings.  It seem more than appropriate to leave them for spring, especially as Easter turns our thoughts to resurrection, and spring re-births and new beginnings.

DIY crepe paper flowers spring branches

The Living Room

Spring Home Tour: pretty pastel rainbow colours, butterflies, mushrooms, and crepe paper flowers create the most beautiful spring home tour.

Inbetween the living room and the dining room I have this little white table and little house shelves filled with white pottery.

spring decor neutral

On the table is my DIY Spring Letter Board Bunny -see how I made it.

neutral spring decor
easter decor
lily of the valley and a candle

In the living room I'm already enjoying these brighter and longer days that spring is bringing.

spring home tour decor ideas
spring home tour
Spring Home Tour: pretty pastel rainbow colours, butterflies, mushrooms, and crepe paper flowers create the most beautiful spring home tour.

On the coffee table I used more mushrooms, including some that are made of paper mache.  I created the base from tinfoil, did the paper mache  with old book pages.  They look really cute for spring on some log pieces and with some moss.

faux mushrooms on a log with moss
diy faux mushrooms with moss

There's also a few of my air dry clay mushrooms.  The have a wire base sticking out of the bottom.  To add them to the logs I just drilled some small holes and stuck them in which worked really well.

dit faux mushrooms on a log with moss centrepiece
Spring Home Tour: pretty pastel rainbow colours, butterflies, mushrooms, and crepe paper flowers create the most beautiful spring home tour.

Over on the other side of the room things are pretty simple, but feel bright and springy with some large faux plants.

spring home tour

The Fireplace

spring fireplace mantel

For the mantel I did this fun rainbow of paper butterflies.  You can read all about how I made them here on this Spring Mantel post.

The macrame banner is an easy DIY -find out how I made it here.  And layered on top I used my sewing machine to stitch together more of the paper butterflies into a cute banner for spring.

spring mantel pastel colours and butterflies

On the mantel there's more of the mushrooms and moss.

diy faux mushrooms
Spring Home Tour: pretty pastel rainbow colours, butterflies, mushrooms, and crepe paper flowers create the most beautiful spring home tour.

The Kitchen

spring kitchen home tour

I wanted to repeat the crepe paper flowers in the kitchen.  Here I used a vintage tray and some vintage bottles and added them to the kitchen table.  To make the daffodils I used the Design Sponge tutorial.  I experimented a little to come up with the crepe paper Lilly of the valley, and crocus.  Maybe I'll experiment a little more this spring and see if I can create some more.

spring centre piece
spring easter centre piece
spring centre piece with diy crepe paper flowers

Above my little sideboard I added some DIY Engineer Print Art -just like I did in this tutorial.  It's so fun to change this art seasonally, especially for under $10.

Spring Home Tour: pretty pastel rainbow colours, butterflies, mushrooms, and crepe paper flowers create the most beautiful spring home tour.

See how to make the DIY Miniature Sheep here.

rabbit art and plants

Now over to the open shelves in the kitchen.

kitchen open floating shelves

Rainbow Shelves

kitchen open shelves rainbow decor for spring

I love these rainbow shelves.  In fact this idea was the first thing I did, and the spring board for adding the rainbow butterflies, and using pretty pastels  throughout my main floor this year for spring.  

Pastels are really traditional for spring, but it's been a few years since I've used them.  I love how happy and cheerful they feel. See our Green Spring Home Tour here, and our Black and White Spring Home Tour here.  

spring kitchen shelves

The shelves were really simple to put together, I just did one colour for each shelf using pink, yellow, green, and blue, and shopping my house for what I could find in those colours.

rainbow shelves
spring shelf decor ideas

I shopped my house for pretty much everything I used in this whole tour this year.  The rainbow butterfly garland is made out of the watercolored book page butterflies sewn together on the sewing machine in repeating rainbow order.  I love the touch of whimsy they bring.

blue spring decor
rainbow shelves decor
open kitchen shelves rainbow

Over on the other side of the kitchen I'm playing with some tulips and there's a cup of tea and some cinnamon raisin biscuits waiting for me when I finish.

Spring Home Tour: pretty pastel rainbow colours, butterflies, mushrooms, and crepe paper flowers create the most beautiful spring home tour.
spring tulips in vintage bottles
tulips in vintage bottles

One more cute spot I used the air dry clay little mushrooms in a tea cup with some moss.  It's the perfect spring touch beside the sink.

Spring Home Tour: pretty pastel rainbow colours, butterflies, mushrooms, and crepe paper flowers create the most beautiful spring home tour.

With the house all decorated for spring, I'm ready for warmer days and sunshine.

Spring Home Tour: pretty pastel rainbow colours, butterflies, mushrooms, and crepe paper flowers create the most beautiful spring home tour.

Butterfly Spring Mantel

Mar 11, 2020 · 4 Comments

butterfly spring mantel

Butterfly Spring Mantel: DIY pastel clay mushrooms, and watercolour rainbow butterflies made from old book pages make a magical spring mantel.

butterfly spring mantel
[feast_advanced_jump_to]

This spring mantel is full of rainbows and butterflies and mushrooms... there's everything but fairies and they might show up any minute!  This butterfly spring mantel was so fun to put together, and full of easy crafts and DIYs.  This is the perfect little project for a maker this spring.

DIY Mushrooms

The starting place for this mantel was the fun pastel coloured mushrooms.  I made them from air dry clay and painted them.  There is a full tutorial on how to make them in this Spring Mushroom Wreath post, where I used them as well.

Once they were dry, I drilled small holes in the wood pieces and stuck them in.  This worked really well.  Then I added some moss to the wood stumps as well.  

There are also a few other mushrooms tucked in, including some paper mache ones that I made a few years ago.  I used a tin foil base for them and then paper maced them with old book pages.  

A Rainbow of Butterflies

I also made a rainbow of butterflies for the mantel.  My cricut worked great to cut out some water colour paper -find my cut file here.  I made three sizes of butterflies.  Then I cut some out of old book pages.

I used watercolours in different shades of pink, yellow, green, and blue (to match my kitchen shelves that you'll see on my spring home tour next week).  Be sure to paint them on both sides so that the book pages don't curl up.

Once the butterflies were dry I hung them on the blackboard with simple tape rolls.  I tried to fold their wings up a little to give them a little dimension.  

I love how they turned out.  This project cost me next to nothing because I had all the materials already and I'm so pleased with it.

Macrame and Butterfly Bunting

I thought it would be fun to bring the butterfly themed down to the front of the mantel too, so I layered a little butterfly garland on top of the macrame bunting.  See how I made the macrame here.  

To make the butterfly garland I used more of the watercolored butterflies and sewed them on my sewing machine.

This spring butterfly mantel feels so perfect for spring, and I really did have fun crafting all the elements for it one weekend.

You might also like this Spring Mantel post here.

Spring Mantel: How to use layers, repeated colours and materials, and different heights to create a beautiful boho spring mantel with lots of plants.

Also check out our Butterfly Spring Wreath here.

BookPage Butterfly Spring Wreath: this simple and inexpensive DIY wreath is made by cutting your own butterflies out of old books.

Mushroom Spring Wreath

Mar 4, 2020 · 5 Comments

DIY mushroom wreath

Mushroom Spring Wreath: DIY mushrooms made from air dry clay and painted pastel colours for spring on a moss covered wreath.

DIY mushroom wreath
[feast_advanced_jump_to]

The days are getting brighter here, and spring is on its way.  This Mushroom wreath is the perfect way to celebrate the arrival of warmer days.

Materials:

  • air dry clay
  • acrylic paint
  • wire
  • foam wreath form
  • moss
  • hot glue
  • ribbon

How To Make A Clay Mushroom:

Air dry clay mushrooms

1. The first step to putting the wreath together is to make the mushrooms. I used some air dry clay to make mine. It was an open package that had been open a long time and was a little on the dry side, so I just submerged it in a little water, and worked it in my hands until it was pliable again.

Air dry clay DIY mushrooms

2. Cut a small piece of wire to form the base of the mushroom.

wire and wire cutters

3. Working on a piece of parchment paper, or wax paper, wrap a small piece of clay around a piece of wire, rolling it on a flat surface or in your hands to form the long cylindrical shapes of mushroom stems. You want the wire on your own clay mushrooms stem to extend past the top so that it can poke into the mushroom cap, and extend past the bottom, so that it can be poked into the wreath.

how to make clay mushrooms

4. Then make the mushroom cap shape for the top using your fingers to smooth it and form a dome. Dip your fingers in a little bit of water and smooth out any small marks to create a smooth finish. Real mushrooms come in endless varieties of shapes. Some have tall pointy caps, some have a flat circular shape, and everything in between. Use a google image search to look at pictures a real mushroom as inspiration for the mushroom top shape and mushroom stalks. I also liked doing a variety of sizes, from quite tiny ones to larger ones.

diy air dry clay mushrooms

5. If you want to, add some gills to the bottom of the mushroom top using another piece of wire to make indents.

Air dry clay diy mushrooms

6. Attach the top of the mushroom cap onto the mushroom stem, taking care that the wire at the top of the stem doesn't poke through the mushroom dome. If the top is loose after it dries, add some glue to reattach it.

Use a block of floral styrofoam to poke the stems of the mushroom clay sculptures into so that they can dry overnight.

7. Once the mushrooms are dry, use craft paints to paint them. We used different colors of pastels for spring, and added tiny white dots with white paint to resemble the polka dots on red caps.

I liked the matte finish of the paint, but if you wanted to add a little shine, you could give them a coat of mod podge with a paint brush.

painting clay mushrooms

Moss Wreath

8. To create the wreath, start with a styrofoam wreath form from the craft store, and a couple bags of preserved moss.

how to make a moss covered wreath

Use a hot glue gun to attach the moss to the wreath. Feel free to leave the back plain, if it won't show when it's hung.

how to make a moss covered spring wreath

how to make a mushroom spring wreath9. Once the clay mushrooms have had enough drying time, poke the wire that's coming out of the bottom of the stem of the mushrooms into the moss covered styrofoam wreath to attach them. Feel free to add a little hot glue to the wire if you're worried about them wobbling.

diy air dry clay mushrooms10. Tie a ribbon around the top to hang the wreath.

how to make a spring moss wreathI love how the mushrooms turned out and the spot of whimsy they add to the wreath. One of the best parts about this easy craft is that you can be really creative with all the different mushrooms, making each on a unique size, shape and color.

DIY Mushroom Spring Wreath

For Indoor Use

Keep in mind that the clay mushrooms not waterproof -if you were hanging the wreath in an exposed outdoor space, polymer clay mushrooms might be a better choice than the air dry clay ones. You could make them in the same way, but using polymer clay and baking them. Or add a layer of mod podge, or spray sealer to help protect them. The polymer clay version would also be a fun addition to a fairy garden, or poked into a real plant.

More Variations:

You could also add a string of battery powered fairy lights to your wreath as a great way to add a touch of whimsy.

I've also used these mushrooms as decor. Drill a small hole in a piece of wood, and slot the wire into the hole to make a mushroom growing out of a piece of wood. Or put some floral foam into a bowl, teacup, or vessel and cover in moss and tuck some of the clay mushrooms into that.

Christmas Wreath

To make this wreath for Christmas, I painted the mushrooms in some deeper shades. Red would be great if you like traditional colors for Christmas. I then added some faux snow to the mushrooms and glitter for a snowy effect.

Christmas Ornaments

You could also make mushroom Christmas ornaments. Just make the wire shorter so that it's not poking out of the bottom of stem, and add an eye pin to the top for hanging. Once they're dry, add in some white spots with the end of a paint brush. You might also want to add glitter or glue some faux snow on top of your own clay mushroom ornaments. You can also add a ribbon to the top of your Christmas mushrooms to add them to your Christmas tree.

Mushroom Spring Wreath

With a new Mushroom Spring Wreath, life really is a party!

DIY Spring Wreath

More Inspiration

  • DIY pussy willow wreath.
    How To Make A Pussy Willow Spring Wreath
  • DIY butterfly wreath with book page butterflies and moss wreath.
    BookPage Butterfly Spring Wreath
  • Finished DIY pinecone wreath with white spray paint and ribbon for fall or Christmas décor.
    How To Make A Pinecone Wreath
  • DIY Crescent Moon Wreath with homemade grapevine base, and decorations.
    DIY Cresent Moon Wreath

St. Patrick's Day Table

Mar 2, 2020 · 3 Comments

St. Patrick's Day tablescape with vintage Irish figurines, shamrock plants, green glassware, and vintage postcards on rustic table with linen runner.

This St. Patrick's Day tablescape brings together vintage charm and budget-friendly finds for a table that's perfect for entertaining guests. Mix thrifted treasures with modern touches, add shamrocks and lots of green, and you've got a festive St. Patrick's Day table that guests will love.

St. Patrick's Day table

Quick Look

  • ☘️ Project: St. Patrick's Day Tablescape
  • ⏲️ Time to Style: 45 minutes
  • 👪 Serves: 6-8 guests
  • ⭐️ Difficulty: Easy
  • 💭 Top Tip: Start with your vintage pieces first, then fill in with budget finds from thrift stores and dollar stores!

Why You'll Love This St. Patrick's Day Tablescape

  • Budget friendly. Most pieces are thrifted or items you already own. Total cost for this table was under $50.
  • Mix of vintage and modern. Combines timeless treasures with fresh touches for a collected, personal look.
  • Easy to style. No complicated centerpiece or fussy place settings. Just beautiful layers.
  • Reusable for spring. The green plants and neutral linen transition perfectly to spring entertaining after St. Patrick's Day.
  • Conversation starters. Vintage postcards and music box figurines give guests something to talk about.
  • Stress-free entertaining. Set the table the day before and you're ready to welcome guests.
[feast_advanced_jump_to]

I've been setting tables for parties and celebrations for over 15 years as a celebrant, and one thing I've learned is that the best tablescapes tell a story. This St. Patrick's Day tablescape started with two adorable Irish music box figurines I found at the thrift store. They set the tone for the whole table, and everything else fell into place from there.

What I love about creating a St. Patrick's Day table is that you don't need to spend a fortune or have matching sets of everything. In fact, the mix of vintage finds, thrifted treasures, and modern pieces creates that collected, personal look that makes guests feel welcome. The shamrock plants will last long after the holiday, and the vintage postcards become little keepsakes your guests can take home.

Let me show you how to create a beautiful St. Patrick's Day table that's both festive and budget friendly.

You might also like our St.Patrick's Day free printables. And if you're setting a beautiful table like this, you will need a delicous Irish themed dinner to serve at it. Check out our Steak, Guinness, and Mushroom Pie recipe, or our Irish Ploughman's Lunch.

St. Patrick's Day table decorations

St. Patrick's Day Tablescape Inspiration

  • Color: The color palette for this table is simple: lots of green with touches of gold. The green comes from plants, glassware, and napkins. The gold accents (flatware and figurines) remind me of that pot of gold at the end of the rainbow, which feels perfect for St. Patrick's Day.
  • Vintage: I wanted this to feel vintage inspired but not dated. That meant mixing old treasures (the music box figurines, vintage postcards, antique books) with fresh, modern elements (the plants, rustic pottery plates, simple linen runner).
Vintage touches for St. Patrick's Day

How to Create This St. Patrick's Day Table Setting

Step 1: Start with Your Foundation

I used a scrap piece of linen as a table runner. Irish linen is such a classic choice for St. Patrick's Day, and I love the frayed edges and crumpled, casual look. You could also use placemats, a full tablecloth, or even leave your table bare if it's beautiful wood.

The foundation sets the tone for everything else, so choose something that matches the mood you're going for. Since I wanted this to feel relaxed and collected (not formal), the casual linen runner was perfect.

Vintage Irish inspired music box figurines

Step 2: Create Your Centerpiece

  • Figurines: The star of this St. Patrick's Day tablescape has to be the Irish couple figurines that are music boxes. I found them at the thrift store for $8 total. They're not in perfect condition, but they look great on the dining room table and play the sweetest Irish tune. These figurines set the whole direction for the table. If you can't find vintage figurines, look for anything with Irish or St. Patrick's Day charm. Antique shops, estate sales, and online marketplaces are good places to search.
  • Real Shamrocks and Plants: I added shamrock plants around the figurines. Real shamrocks are a nice alternative to cut flowers because they last much longer (if you have a green thumb). We'll all be looking for that lucky four-leaf clover! Four-leaf clovers are considered lucky in Irish folklore because most shamrocks have three leaves. Finding a four-leaf clover is rare, so that's why it's thought to be lucky. The shamrocks, ivy, and small succulent create a lush, green feeling without blocking sight lines across the table.
  • Vintage Books for Height: To add different heights and visual interest to the centerpiece, I used vintage green books stacked at varying levels. The books are perfect for creating layers in your centerpiece. Stack them in different heights throughout the arrangement to give dimension and draw the eye around the table. The green color ties into the St. Patrick's Day theme while adding that collected, vintage look.
  • Vintage Cabbage Sugar Bowl: I planted the succulent in a vintage cabbage sugar bowl (another thrift find for just $3) and stacked it on top of the books. Since there was no matching creamer for the sugar bowl, it didn't cost much. This felt like a fun nod to corned beef and cabbage, a traditional St. Patrick's Day dish.

The layers of plants, vintage books, and vintage pieces create visual interest and give the centerpiece personality without being fussy or complicated. Keep your centerpiece low enough that guests can see each other across the table - conversation flows so much better when people aren't straining to talk around tall arrangements.

succulent in a vintage cabbage sugar pot for St. Patricks Day
Shamrock for St. Patrick's Day
St. Patrick's Day Table: a mix of vintage and modern touches with lots of green for the perfect St. Patrick's Day table decorations.
Ivy and a vintage St. Patrick's Day card

Step 3: Layer Your Place Settings

St. Patrick's Day tablescape with vintage Irish figurines, shamrock plants, green glassware, and rustic linen runner.

At each place setting, I used:

  • Rustic Pottery Plates: (these work year-round) and are the perfect base to our placesetting.
  • Gold flatware: The gold reminds me of the pot of gold.
  • Green Glassware: They key to layering is colors and textures, these glasses add both.
  • Green Napkins: We used more green here, and tied them in a loose knot for a casual look.
  • Vintage St. Patrick's Day Postcards: I found the vintage St. Patrick's Day postcards at my favorite antique shop. These used to be common to send for specific holidays back when phone calls and texts weren't possible. They have beautiful graphics of pots of gold, leprechaun hats, Irish flags, and four-leaf clovers. They're perfect conversation starters and double as little favors guests can take home. I added one postcard to each plate and sprinkled the rest around the table. Can't find them at the antique store? Use these free printable Vintage St. Patrick's Day Postcards printed on to cardstock and cut out to add to your own table.
Vintage St. Patrick's Day card at a place setting
St. Patrick's Day Table: a mix of vintage and modern touches with lots of green for the perfect St. Patrick's Day table decorations.

Style a St. Patrick's Day Side Table or Sideboard

St. Patrick's Day art

Don't stop at just the dining table! A sideboard or side table is the perfect place to add more festive touches and create a cohesive look throughout your entertaining space.

  • DIY Shamrock Garland: This garland is so easy to make and costs almost nothing. I folded brown paper (kraft paper works great) like you would to make paper dolls, drew a shamrock shape on it making sure it connected edge to edge, then cut them out. The shamrocks stay connected and create a charming garland you can hang anywhere. It took about 10 minutes to make and adds such a sweet handmade touch.
  • "I Feel Lucky" DIY Art: I created simple St. Patrick's Day art using an inexpensive dollar store canvas. You can find the full tutorial for this DIY "I Feel Lucky" St. Patrick's Day art here. It's a quick project that adds personality to your display and can be used year after year.
  • DIY Miniature Sheep: Our little sweet miniature sheep are another DIY -find the turorial to make your own here, brings Irish countryside charm to the table. They're sweet, whimsical, and surprisingly simple to make. They look perfect grouped together or as part of your centerpiece.

The combination of the shamrock garland, DIY art, and little sheep creates a collected display that ties the whole room together. It shows guests you put thought into the celebration without spending a fortune or hours decorating.

DIY shamrock banner
"I Feel Lucky" DIY St. Patrick's Day art

Budget Breakdown: St. Patrick's Day Table Decor

Let me be honest about what this table and sideboard decor actually cost:

Table:

  • Music box figurines: $8 (thrift store)
  • Vintage postcards: $12 for a set of 8 (antique shop)
  • Shamrock plants: $4 each x 3 = $12 (grocery store)
  • Vintage cabbage sugar bowl: $3 (thrift store)
  • Green napkins: Already owned
  • Linen runner: Fabric scrap from another project
  • Plates, flatware, glassware: Already owned
  • Ivy plant: Already owned
  • Vintage books: Already owned
  • Small succulent: Already owned

Sideboard Decor:

  • Brown paper for garland: upcycled grocery bag
  • Canvas for art: $3 (dollar store)
  • Supplies for sheep: $5 (craft supplies on hand)

Total new purchases: $44

Everything else was either thrifted, already owned, or made from supplies I had on hand. That's the beauty of creating a vintage-inspired tablescape. It's all about working with what you have and finding creative ways to display it.

St. Patrick's Day Table: a mix of vintage and modern touches with lots of green for the perfect St. Patrick's Day table decorations.

Styling Tips

After 15 years of planning celebrations, here's what I've learned about creating tablescapes that actually work for entertaining:

  • Keep centerpieces low. Guests need to see each other across the table for conversation to flow. Nothing kills party energy faster than everyone feeling isolated.
  • Set the table the day before. One less thing to worry about when guests arrive. Just add any fresh elements (like water glasses) right before everyone sits down.
  • Think about traffic flow. Make sure people can get to their seats easily. Leave space behind chairs.
  • Use what you have first. Look through your cabinets before buying anything new. Green glassware, white plates, gold accents - most people already own pieces that work.
  • Shop thrift stores seasonally. I found these St. Patrick's Day postcards in February when antique shops were putting out spring inventory. Shop a month before the holiday for best selection.
  • Make it personal. The best tablescapes include pieces with stories. That's what makes guests feel welcome and gives them something to talk about.
  • Extend your theme beyond the table. A sideboard or side table styled with coordinating decor creates a cohesive look throughout the room. Simple DIY projects like the shamrock garland and sheep add personality without requiring perfect crafting skills. Guests notice when the whole space feels intentional.

Where to Find Vintage St. Patrick's Day Decor

Based on my experience hunting for party decor:

  • Thrift Stores: Check weekly in late January through early March. Items get picked over quickly, so frequent visits pay off. This is the cheapest place to find treasures, but sometimes take persistance.
  • Antique Shops: Often have vintage postcards, figurines, and Irish collectibles. Look for them around St. Patrick's Day, but also be willing to shop out of season if you find something you love. And make sure you grab it when you see it. If you leave it, it might be gone when you come back for it.
  • Estate Sales: Great for finding complete sets of green glassware or vintage linens. Check online for listings in your area.
  • Online marketplaces: Etsy, eBay, and Facebook Marketplace work well for specific items. Search "vintage St. Patrick's Day" or "Irish collectibles."
  • Dollar stores: Perfect for supplementing vintage finds with budget napkins, or simple serving pieces.
  • Grocery Store: Look for potted shamrocks and other plants at a great price.

How to Transition This Table to Spring

One of the things I love about this St. Patrick's Day tablescape is how easily it transitions to general spring entertaining:

  • Swap the vintage postcards for botanical prints or seed packets
  • Keep the shamrocks and add tulips or daffodils
  • Use the same green glasses and plates
  • Add pastel napkins instead of solid green
St. Patrick's Day Table: a mix of vintage and modern touches with lots of green for the perfect St. Patrick's Day table decorations.

Frequently Asked Questions

What colors should I use for a St. Patrick's Day tablescape?

Green is the signature color for St. Patrick's Day, but you don't have to use only green. This table mixes green with gold accents and neutral tones (linen, wood, cream plates). Other popular combinations are green and white, or green and silver. Choose what works with your existing dishes and the mood you want.

Can I create a St. Patrick's Day table on a budget?

Absolutely! This entire table cost $44 for new items. Start with pieces you already own (white plates, glassware, napkins), then add a few budget finds. Thrift stores, dollar stores, and your own garden (for greenery) are your best friends. Focus your money on one or two statement pieces like the figurines.

What should I use for a St. Patrick's Day centerpiece?

Shamrock plants are my favorite because they're authentic, affordable ($3-5 each), and last long after the holiday. Other options: white flowers with green accents, moss elements, gold candlesticks, vintage Irish figurines, or DIY topiaries. Keep it low enough that guests can see each other across the table.

Where can I find vintage St. Patrick's Day items?

Check thrift stores weekly starting in late January. Antique shops often carry vintage postcards and Irish collectibles. Estate sales are great for glassware and linens. Online: Etsy, eBay, and Facebook Marketplace.

How do I make my St. Patrick's Day table look elegant instead of kitschy?

Mix vintage pieces with modern elements, stick to a simple color palette (this table uses green, gold, and neutral tones), and avoid plastic decorations. Use real plants instead of fake shamrocks, choose quality linens, and layer textures (pottery, glass, metal). The mix of old and new creates a collected look that feels sophisticated.

More St. Patrick's Day Ideas

  • A rainbow grilled cheese sandwich cut in half on a cutting board.
    Rainbow Grilled Cheese Recipe
  • Bailey's French toast on a plate with maple syrup and Baileys whipped cream.
    Easy Baileys French Toast Recipe
  • How to make rainbow pop tarts.
    Rainbow Pop Tart Recipe
  • St. Patrick's Day free printables set.
    St. Patrick's Day Free Printables

If you use any of our St. Patrick's Day Tablescape ideas please let us know in the comments below. Thanks for visiting Life is a Party today!

Spring Letter Board Bunny

Feb 26, 2020 · 6 Comments

spring letter board ideas

Spring Letter Board Bunny: If you're looking for spring letter board ideas you'll love this. Non-permanent bunny ears and a tail are perfect for spring.

spring letter board ideas
[feast_advanced_jump_to]

I love adding little touches for spring.  If you're looking for spring letter board ideas, this one  is so simple and easy to make. I think you could just about add bunny ears and a fluffy tail to anything for spring and it would be adorable.  

some bunny loves you spring letter board

Materials:

  • small letter board and letters
  • white yarn
  • brown Kraft paper
  • white chalk
  • tape

spring letter board

How To Make A Spring Letter Board Bunny

1. Start by cutting out two bunny ears from your brown Kraft paper.  

2. Use the white chalk -or pink would be cute too, to add some colour to the middle of the ears.

spring letter board

3. Fold the ears slightly at the base to give them a little more dimension and tape them on to the board, hiding the tape at the back.

4. Make a pom pom out of yarn, and tape it to the side of the board for a bunny tail.

Easter letter board ideas

5. Add a cute spring saying to the letter board.  I used "Some bunny loves you."

spring letter board with bunny ears and tail

This project is so cute and easy.  It only takes a few minutes to do, but it adds a really sweet touch for spring or Easter.  We didn't use hot glue for this project so that it isn't permanent.   After Easter just remove the taped on ears and tail, with no damage to your letter board.

Some bunny loves you letter board for Easter

With spring letter board ideas like this one, life really is a party!

More Inspiration

You might also like our Nail Polish Marbled Easter Eggs here.

Nail Polished Marbled Easter Eggs: easy water marbling with nail polish is the perfect modern touch to your Easter eggs.

Also check out our Spring Home Tour here.Spring Home Tour: pretty pastel rainbow colours, butterflies, mushrooms, and crepe paper flowers create the most beautiful spring home tour.

You might also enjoy our How To Make Cement Easter Eggs post here.

Hot Chocolate Valentine with Free Printable

Feb 10, 2020 · 4 Comments

hot chocolate valentine and free printable

Hot Chocolate Valentine: use our free printable valentine card and hot chocolate label to create beautiful classroom Valentines.

hot chocolate valentine and free printable
[feast_advanced_jump_to]

Sharing Valentine's is such a fun tradition, and this hot chocolate valentine is a wonderful way to share a treat with someone special.  We've turned hot chocolate into "Love Potion" and included the cutest "Valentine We've Got Chemistry" card with it.  Last post I shared my amazing Love Potion Hot Chocolate station.  If you loved the idea but would like to do it on a slightly smaller scale, then this version is perfect for you.  

These would be a really fun sweet treat to use as a classroom valentine treat, or to make a gift for your kids and maybe include in a Valentine's Day love basket.  These test tube hot chocolates are like a simple version of hot chocolate bombs.  We did a little play on words to make them like they're love potion.  To make it even cuter we instructed the recipients to mix the hot cocoa powder with hot H2O instead of just saying hot water.  We've included a printable label for the test tube, as well as a printable gift tags Valentine cards to go with it.

Free Valentine Printable Card

Use our free printables to create these fun Valentines.  During these cold February days of winter, a hot chocolate treat is perfect to warm anyone up.  These chemistry inspired ones could not be any cuter. The cards are in our Free Printable Resource Library, subscribe below for instant access.

free Valentine printable card

Test Tubes

We used glass test tubes for ours and I found them at the craft store.  They came with corks on the end and worked really well.  If you're making these for kids to use in classroom Valentine exchange, you might want to look for test tubes that are made from plastic.  Also look for ones with a screw cap to make them even more secure. These are easy and inexpensive to find online.  

Hot Chocolate

Each test tube holds enough hot cocoa mix to make one cup of hot cocoa when mixed with hot milk or water.  You can use your favourite store bought hot chocolate mix, or even make your own from simple ingredients.  Find our hot chocolate mix recipe here.

Marshmallows and Sprinkles

We used mini marshmallows for our hot chocolate Valentines in a test tube.  For ours we did a combination of white mini marshmallows and pink for Valentine's Day.  We found the pink as part of the Tutti Frutti mix.  Another great option would be to use dehydrated marshmallows.  

We also added some really cute Valentine's Day sprinkles.  Look for hearts, X and O's or just regular sprinkles in red, white, and pink.  Another option might be to include some mini white chocolate chips or milk chocolate chips at the top of the test tube as well.

Materials:

  • free Valentine printable card and  love potion label
  • test tubes
  • hot chocolate mix
  • Valentine's Day sprinkles
  • mini marshmallows

How To Make Hot Chocolate Valentines:

1. Subscribe to Life is a Party below to access our free Valentine printable cards and labels below.  

Print them at home or an office supply store, then cut them out and glue the love potion label onto the test tube.  We glued ours on using a simple glue stick.  Another option is to print them onto sticker paper, and then skip the gluing step.

We used glass test tubes, but if you were making these to hand out as classroom Valentines for kids then plastic test tubes would be a safer option.

Love Potion Hot Chocolate Valentine with free Valentine printable card

2. Then, fill up your test tube with hot chocolate mix, some Valentine's day sprinkles and some mini marshmallows.  Do this in layers to create a cute effect.  Use one serving of hot chocolate mix power per test tube.

Love Potion Hot Chocolate Valentine: Sweet Hot Chocolate Love Potion in a Test Tube with a Free Printable label and We've Got Chemistry Valentine card.

3. Tie on the Valentine card, "Valentine We've Got Chemistry" with a little ribbon -and giggle at how clever it is.  Then, give it to someone extra special.

test tube hot chocolate valentine idea

This is a fun gift idea for anyone and something the whole family would enjoy receiving.  These are very similar to hot cocoa bombs, but so much easier to make.  These hot chocolate treats are  especially perfect for anyone with a sweet tooth.  They're there the perfect way to say Happy Valentine's Day to someone special.

With a hot chocolate Valentine that's this cute, life really is a party!

Access Our Free Printable Valentine Cards

Access our free printable library for the "Valentine We've Got Chemistry" card and "Love Potion #9" label by subscribing to Life is a Party below.

More Valentine Inspiration

You might also enjoy our Valentine's Day Pizza Party here.

Valentine's Day Pizza Party -DIY decorations, heart shaped pizza, mocktails, and a dessert pizza recipe make this the perfect family celebration.

Also check out How To Make 3D Origami Hearts here.  These make perfect Valentine's Day decor, or a special heart to give someone special this Valentine's Day.

The Ultimate Board Game Night With Candyland Inspired Snacks

Feb 7, 2020 · Leave a Comment

Board game night party with candyland dessert table and decor.

Board Game Night: enjoy a board game night with free printable invitation and banner, and ideas for a Candyland themed Dessert Table.

Board game night party with candyland dessert table and decor.
[feast_advanced_jump_to]

This Board Game Night is sure to be loads of fun!  We've got free printable invitations, a printable banner and the best snack table ever.  It's the perfect way to get through these long winter months.  We've set it up board game night for the whole family.   It would also be great for a birthday a party, or just a get together with friends for your next party.

The Games

I picked up some great games at the thrift store for our board game night.  We had some classics and some family favourites -including Candyland which inspired our snacks!

The thrift store is the perfect place to pick up fun board games at a fraction of the price of a new board game.  And when you've had enough of them, or your kids have outgrown them, be sure to donate for the next family to enjoy.

Game Stations

If you have larger groups for game night, it's a good idea to set up different game stations, and rotate through different games, since some games require smaller groups.  Set up your coffee table, into a station, your dining table, and possibly set up some folding tables and chairs to make more stations.  Just keep in mind that some are a quick game and others take longer.  Strategy games like settlers of catan for example, might take all night to play. There's so many different games to choose from.  

We went with what we thought were the best games.  Old board games are fun and nostalgic for many.  You can also include dice games, and card games if you want to.  

A word of caution:  remember that some people will be there more for the social aspect of the evening, while others take their games very seriously.  The main objective of a successful game night is for everyone to have a good time.  Make room for people to opt out of a round or two games and socialize too.  It could be a nice thing to have a puzzle set somewhere for those who don't love competitive games.  We want everyone to have a great time.

Minute To Win It Style Games

Minute To Win It style party games have become very popular too.  You might consider having at least some of this style of games for your game night too.  These are great for larger groups, or as family games where younger and older kids can all join in with grown ups and even grandparents.  You might consider adding even a few of these fun to your next awesome game night party.

Large Group Games

Another great idea is to play some larger group games all together.  This is fun to bring large groups together.  For these types of games you can break larger groups into teams and have team members work together, or have some people play while others watch.  Think of old game shows for inspiration, or the kind of funny games you can go watch on a cruise ship for inspiration.  

Prizes

We love the idea of playing games just for fun, but you can also have prices if you wish.  You may have to work out a way to keep track of points and wins if you're doing lots of different games.  You might want to create some old school ribbons or trophies.  Look for these at the dollar store and then customize them.  Or a great prize is always a small gift card.  Everyone loves coffee, ice cream, or fast food gift cards and can always use them.  You could even have your guest list contribute to a grand prize for the evening with everyone chipping in $5 to a pool that goes to the winner.

Most people will be happy though just to get together, enjoy some fun games, great food and socialize for the evening.

One Big Game

One more great option is to just play one long game all evening as a group.  You don't have to worry about stations, rotations, or setting up a scoring system if you're all just playing one big game like monopoly or settlers all evening.  If you do go this route, make sure it's a game that is long enough to last a few hours.

Board Game Night Invitations

free printable board game night ticket

Use our free printable game night invitations.  We made them look like a ticket for the night, and included a blank spot where you can add details of the time and place for your party.  Perfect for inviting friends over.  They'd also be great for a family game night.  Fill in the place as your living room, add a meet up time, like 7 pm and slip them under your kids bedroom doors, or in their lunch box for a fun way to invite family members.

Access our free printable library by subscribing to Life is a Party below.  You'll have instant access to all our free printables.

Board Game Night Banner

family board game night party

We also created a new printable Board Game Night banner.  The colors and font were inspired by classic board games.  One of my favorite family game night ideas to make things extra special with a few easy decorations like this one. Just subscribe below, then download and print on card stock for a the perfect board game night decor.

board game party decor

I also used a few game board pieces to create some simple decorations at the side.  The letters are from Scrabble and you could use them to spell out any fun saying for game night.

Candyland Dessert Table

Game night is a lot of fun and lots of people will say that playing the games themselves are their favorite parts of the night, but for me it's always going to be in competition with the snacks!

board game party dessert table

The star of this party is the Candyland dessert table.  We were inspired by the our favorite board game itself, and all the places pictured in this fun game are represented with candy!  This is the perfect game night snack idea!

candy land themed party snacks

We wanted to make the board game come to life so we included:

  • Peppermint Pass
  • Cupcake Commons
  • Ice Cream Slopes
  • Gummy Hills
  • Gingerbread House Mansion
  • Licorice Lagoon
  • Chocolate Mountain
  • Lollipop Woods
  • Candy Castle

I picked up most of the candy at the dollar store and a few things at the bulk store.  It was a lot of fun putting it all together.

My girls helped be bake some of the items too.  Making the Candy Castle was the most fun.

candy land party

Here's how we brought it all together. We started out with setting up the classic board game on top of the board's box in the centre of the table.  We wanted to give the game a little height as the centerpiece.  Then we arranged all the candy and sweets near where it was pictured on the board.  This works best as a large table grazing board, so be sure to set it up where you have enough space to add all the different elements around it.  We wanted it to look like the board game was coming to life, and all the candy was overflowing from the picture onto the table.  It really created a cool effect.

There a few different versions of this board game available, where the pictures are slightly different so keep that in mind when your choosing your Candyland game.

Candy land dessert table

Peppermint Pass

For peppermint pass we just used some peppermint candies.

Cupcakes Commons

Cupcakes Commons was made up of mini and regular sized cupcakes made from a cake mix and decorated with vanilla and chocolate icing, candy and sprinkles.  Having the two different flavors and two different sizes helps add interest.  Instead of baking these, you could also just pick them up at the grocery store.

candy land cupcakes

Ice Cream Slopes

For Ice Cream Slopes I debated using ice cream, but was worried about it melting so we used some mini marshmallow ice cream cones, and then some chocolate dipped cones, and sugar cones filled with cotton candy.  It looked great, and you could also offer some real ice cream scoops to guests while guests are helping themselves to the dessert board.

candy land ice cream slopes

Gummy Hills

Next was Gummy Hills.  The smell of all these gummy treats was amazing!

candy land party snacks

We used an assortment of gummy treats, but my favourite were the tiny mini gummy bears we found at the bulk store.  There was also fuzzy peaches, Swedish berries, lifesaver gummies, and some gummy hearts.

Gingerbread House Mansion

For Gingerbread House Mansion we used some mini gingerbread houses we had from Christmas and a gingerbread men kit.  Instead of decorating them for Christmas though, we used bright coloured candies to make them fit our candyland theme.

candy land party snacks

Since we were making the large Candy Castle we didn't want a large gingerbread house too, so these mini gingerbread houses worked out perfectly.
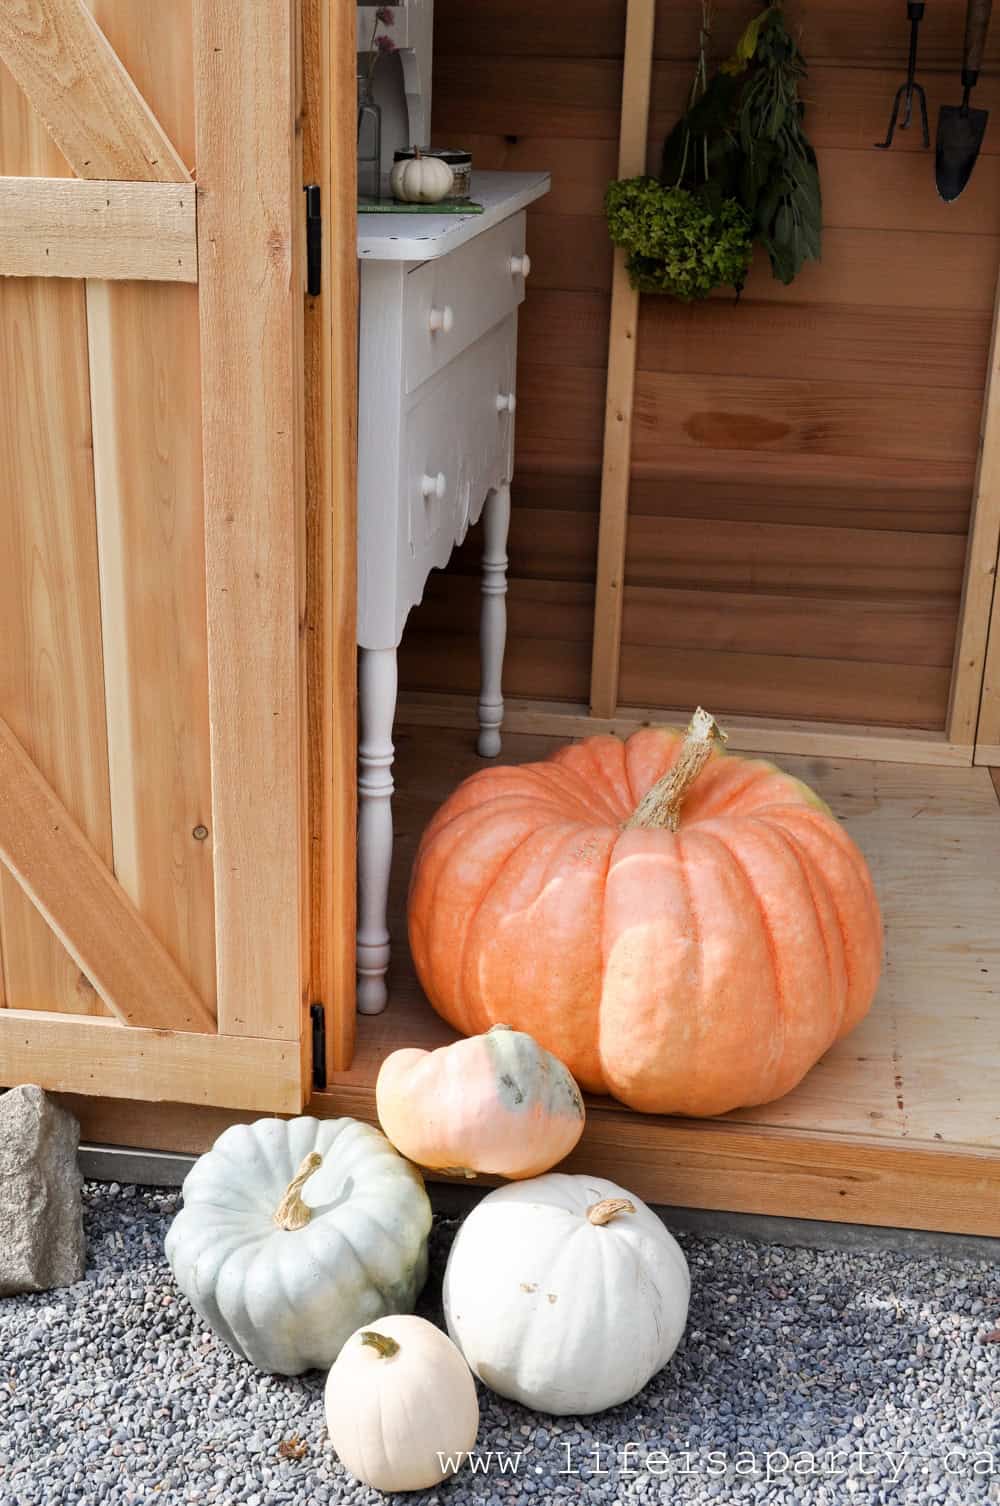
Candy land party dessert table

Licorice Lagoon

Next up was Licorice Lagoon.  We're not huge licorice fans so I just got a couple different red ones.  We used the traditional long red licorice pieces, and then the shorter red ones as well.  If you or your guests like black licorice, that would be great to include here too.

Chocolate Mountain

chocolate mountain chocolate dessert board

Chocolate Mountain was a lot of fun to put together, and we might have gone slightly overboard, but hey, who doesn't love a mountain of chocolate?  To create our mountain I wanted to create a bit of height in the middle so I started with a stack of brownies which were easy to make from a mix.

chocolate charcuterie

Then I added all kinds of our favourite chocolate treats like

  • chocolate covered pretzels
  • mini peanut butter cups
  • chocolate covered almonds
  • Hershey bars
  • Skor bars
  • Coffee Crisp bars
  • Kit Kat bars
  • chocolate cookies
  • Ferrero Rocher chocolates

Look for small quantities of these at the bulk food store.  It's more fun to have lots of small options, rather than more of just a few different things.  Buying at the bulk store is a great way to get a little of everything.

board game night snacks

Lollipop Woods

Next was the Lollipop Woods where I used an assortment of lollipops, included one giant one for fun.

lollipops

Candy Castle

Lastly we made our Candy Castle.  It was so much fun to put together and the star of the show!

candy castle made from Rice Krispies

Rice Krispie Base

We started out with two batches of Rice Krispie squares in two 9x12 baking dishes.  I cut up the squares using one batch to make the front of the castle and one to make the back part.

We used thick icing to put everything together.  I did find that over time the rice krispies started to lose their shape a little.  I put the castle together the day before the photo shoot and had to take it apart and lay it flat overnight and then reassemble it the day of the shoot.  So I would suggest making it the day of the party.  It will hold up fine for hours and hours, but maybe not overnight.

Candy Decorations

We made the front door out of a Hershey's bar decorated with sprinkles and candy, and the front path is wafer cookies and gum balls.  We were inspired by the illustrations on the board game.

candy land's candy castle made from Rice Krispies and candy

The castle turrets are all made of different ice cream cones and candy decorated with icing.

candy land candy castle made from Rice Krispies and candy

Birthday Party Idea

The Candy Castle was the star of the Candyland Dessert Table and so much fun!  Everyone loved it.  If you were doing a Candyland dessert table as part of a birthday party, another great option would be to make a candy castle birthday cake.  Start with a cake base, and add candy and ice cream turrets and decorations just we like we did with our rice krispie castle.  

After everyone admired the rice krispie castle, we used a knife to slice pieces of the rice krispies into squares for serving.  

Goodie Bags

The candyland dessert table was everyone's favorite part of the evening and it was so fun to make a great game like this come to life!  It was also a lot of food, and a lot of sugar, but perfect for big groups.  It might also be a great idea to have some empty goodie bags, so guests can help themselves to the candy to take home with them.  If you were having a smaller group for your game night, you could make a smaller version of this board, with less options, but follow the same idea of making the board come to life.

candy land themed party candy castleSalty Snacks

A few salty snacks would be a great idea too.  Feel free to add bowls of chips, nuts, popcorn or items like these to the table so that snackers can help themselves as they play.  You might want to add in a change for players to revisit the dessert table and refill glasses between their rounds of games.

candy land themed party

This party was so great to put together, and would be so much fun with friends, family, or extended family for a special night.

We set up our dessert table in the kitchen, and then played the games in the living room, which worked out perfectly.
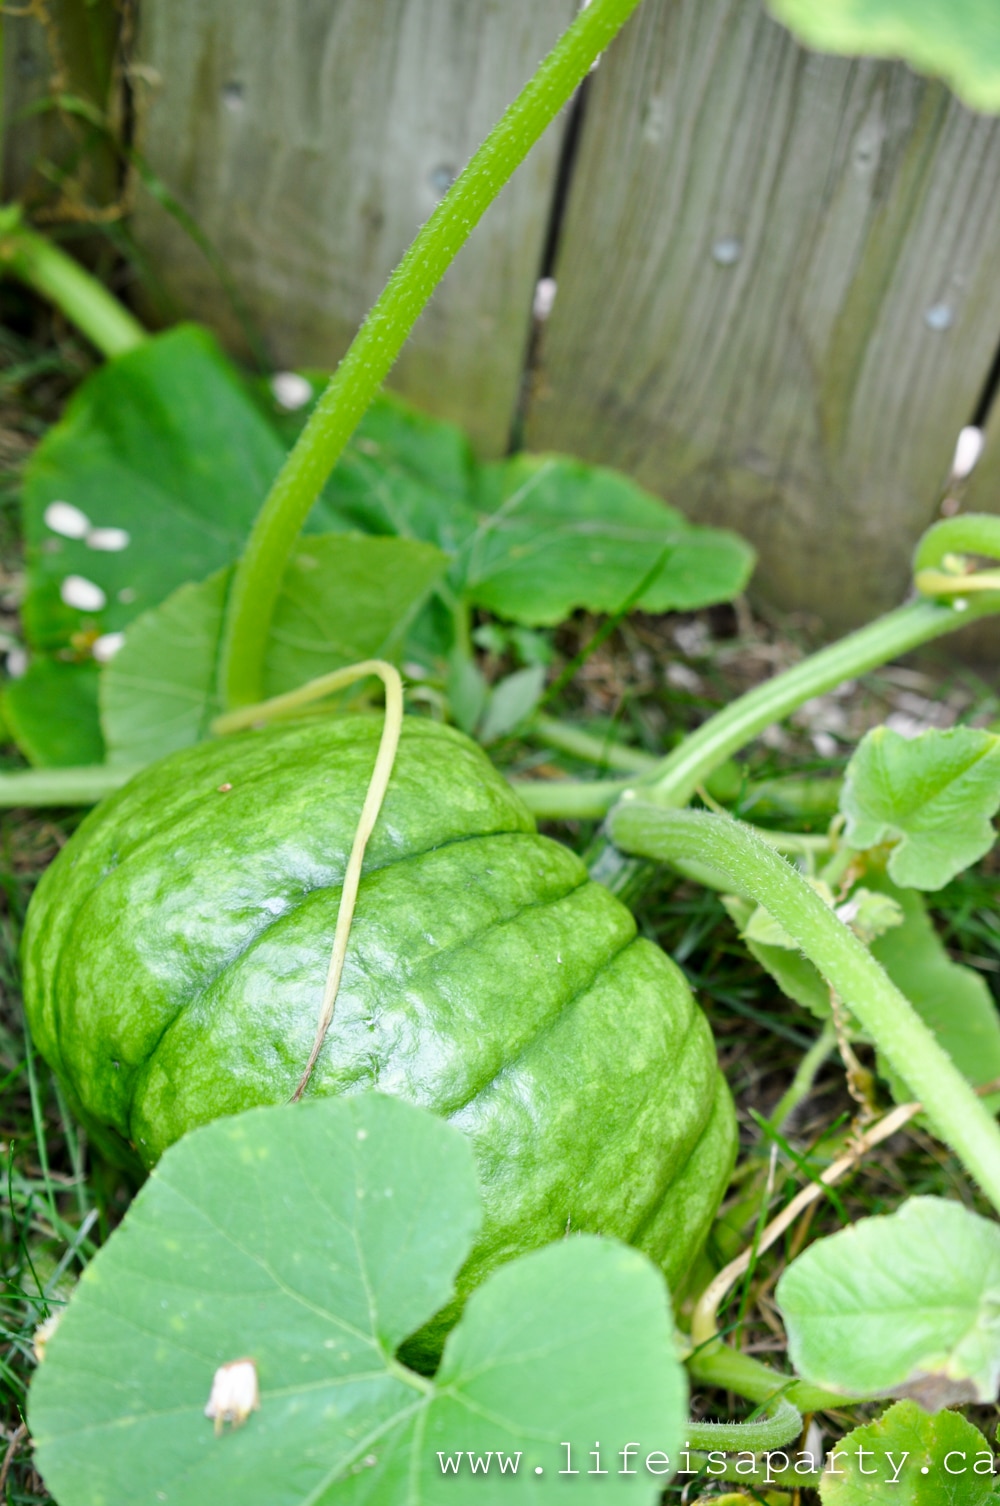
candy land themed dessert table

Subscribe to Life is a Party and gain instant access to our free printable library including the Board Game Night banner and ticket invitation.  Subscribe Below.

Game night is the perfect excuse to get out your favorite games and invite some friends over for a night of good games and great snacks.  A classic game night is so much fun, quite easy to put together, and such a perfect way to spend quality time together. 

With a special Board Game Night to enjoy, life really is a party!

More Inspiration

You might also enjoy Backyard Pizza Party here.

Backyard Pizza Party: A gas outdoor pizza oven and a pizza charcuterie board for nibbling and to make-your-own-pizza is perfect for summer entertaining.

Also check out our Make Your Own Pillow Fort post here.

Pillow Fort -make a magical pillow fort with fairy lights and starry decorations, and even star themed snacks. Perfect for family fun or date night.

You might also enjoy our Pasta Bar Party here.

Easy Bread Machine Jelly Donuts

Jan 30, 2020 · Leave a Comment

Mini jelly donuts easy recipe.

Bread Machine Jelly Donuts: mini heart shaped jelly donuts, with an easy to make bread machine dough. Perfect for Valentine's Day dessert, or anytime.

Mini jelly donuts easy recipe.
[feast_advanced_jump_to]

These Jelly Donuts are the perfect Valentine's Day treat….or any other occasion treat…maybe just the perfect treat in general. If you've never made homemade donuts before, this is the recipe for you, because the hard part is all done in the bread machine. These bread machine donuts are really easy to make.

And trust me, no one will ever know, they'll be too busy saying things like "you made donuts…you are amazing, the donuts are amazing, you and the donuts are amazing."

You might also like our Honey Cruller Donut Recipe and our Fair Funnel Cakes Recipe.

bread machine donut dough

I've made donuts a few times -like these Homemade Honey Crullers, the kind of tricky part is deep frying them. But these weren't even made in a deep fryer, I just used a little pot of oil on the stove and oil thermometer. When you taste them, you will think it was worth the trouble. Trust me.

bread machine donuts cut into heart shapes for a Valentine's Day dessert

Easy Bread Maker Donuts

So start out with your trusty old bread maker machine. Set it to the dough cycle setting and let it do all the hard work. All you have to do is layer the ingredients into the bread pan. Once your basic dough is finished you remove it from the machine, roll out your dough and cut out with a donut cutter, let the dough rise and fry. This is the easiest way to make donuts.

heart shaped mini jelly donuts for Valentine's Day
heart shaped mini donut dough for Valentine's Day dessert

Hearts for Valentine's Day

I thought it would be fun to make these into mini hearts for Valentine's day. And, it was. They were so, so cute. You could of course form these into regular round donut holes, or larger donuts.

mini heart shaped jelly donut in a bowl of sugar

Special Jelly Donut Filling Tip

I did try once before to make jelly donuts and I had a little trouble getting the jelly inside. This time I was prepared and picked up a #230 tip for my icing bag. It's long and thin, and perfect for poking into the donut and squeezing in the jam. Using this special tip is the easy way to fill jelly donuts.

If you're going to make these I highly recommend picking this little guy up first. I've tried in the past with a ziplock bag, and a regular icing tip on an icing bag, but it's too hard to get the jam pushed all the way inside the donut. This special tip worked perfectly.
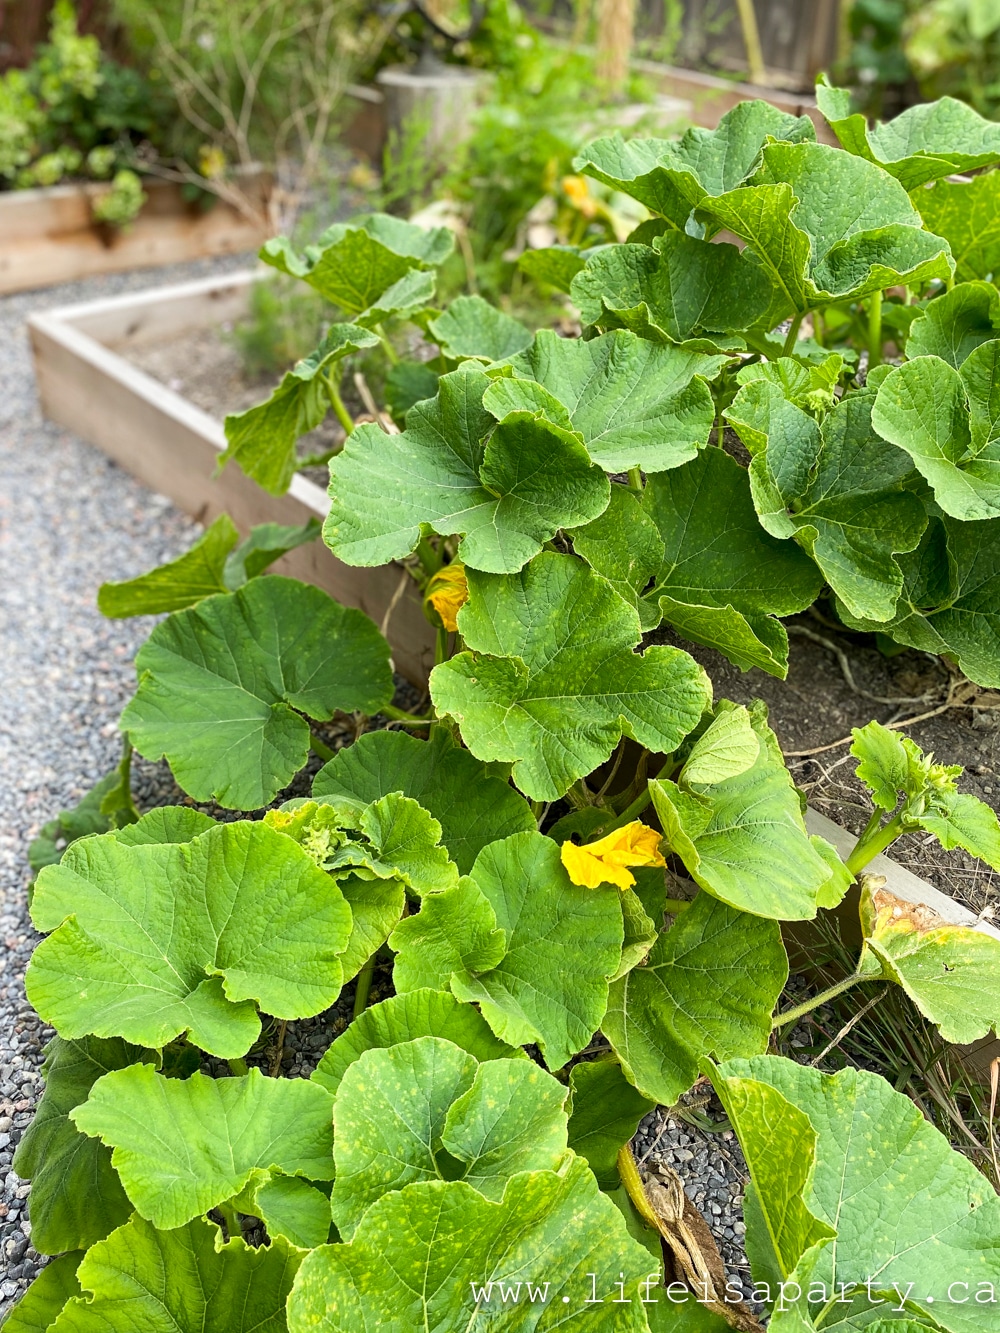
Filling and Topping Options

We filled our donuts with raspberry jam, which is a favourite around here. You could use jam or jelly of any flavour to fill yours. You could also choose to fill them with lemon curd, or another options is nutella, or even pastry cream.

We choose to roll our donuts in regular white caster sugar. You could also choose cinnamon sugar, or powdered sugar to roll the donuts in. You could also choose to make this recipe into regular glazed donuts and not fill them. For regular donuts our favorite toppings would be to make a glazed donut with a powdered sugar glaze, or even chocolate glaze, made with cocoa powder.

heart shaped mini donuts getting filled with raspberry jam

These, like any donuts, are best eaten as soon as you make them.

Bread Machine Jelly Donuts

Make the Dough Ahead

You can however, make the dough ahead of time. I saved half my dough, wrapped in plastic wrap in the fridge overnight, and it still worked great the next day. 

So, if you were thinking of making these for your sweetheart for breakfast, you could make the dough the night before, then bring the dough out of the fridge and let it come to room temperature, roll it out and let it rise and fry them in the morning. And then your sweetheart will love you even more.

Recipe

Mini jelly donuts easy recipe.

Jelly Donuts

Mini donuts filled jelly and covered in powdered sugar.
5 from 1 vote
Print Pin Rate
Course: Desserts
Cuisine: American
Prep Time: 30 minutes minutes
Cook Time: 20 minutes minutes
Additional Time: 2 hours hours
Total Time: 2 hours hours 50 minutes minutes
Servings: 60
Calories: 29kcal
Author: Dannyelle Nicolle-Ramjist

Ingredients

  • ¾ cup lukewarm milk
  • 2 tablespoons warm water
  • 1 egg beaten
  • 3 tablespoons butter
  • ¼ cup white sugar
  • ½ teaspoon salt
  • 2 ½ cups all-purpose flour
  • 2 ¼ teaspoons 1 pkg. active dry yeast
  • oil for frying
  • white sugar to roll the fried donuts in
  • jam for filling -I used raspberry you can use your favourite kind

Instructions

  • When making dough in a bread maker, the order the dough ingredients are added in is important. Add ingredients to the bread machine pan layer by layer, and do not mix. For the first layer in the bread maker, add milk, water, and beaten egg. Next add the butter, sugar and salt. Finally add the flour, and the yeast as the last ingredient. Select dough setting on the bread maker, and press start to begin making the dough.
  • When the dough is finished, roll the soft dough out on a lightly floured surface with a rolling pin, to about a ½ inch thick. Use a small heart to cut out donuts, to create donut holes. Lay donuts on a greased baking sheet, or parchment paper, or waxed paper, and cover with plastic wrap and allow to rise around 30-40 minutes.
  • Fry donuts in hot oil, when the oil temperature is 350 degrees, until golden brown, then flip over with a slotted spoon or tongs, and cook the other side. (If the outside is too brown and the middle isn't cooked, your oil is too hot -you will have to watch the temp as you go, and adjust as needed, or use a deep fryer.). Each side will only take 2-3 minutes for small donuts, the cooking time maybe longer for larger donuts.
  • Roll the hot donuts in white sugar to coat them. You could also choose to roll donuts in cinnamon sugar, or powdered sugar as another option. To fill the donuts with jelly, wait until they are cool, then use a piping bag with a #230 tip to pipe a jam of your choosing into the middle. Best eaten the same day -which frankly isn't really a problem.

Nutrition

Calories: 29kcal | Carbohydrates: 5g | Protein: 1g | Fat: 1g | Saturated Fat: 0.4g | Polyunsaturated Fat: 0.1g | Monounsaturated Fat: 0.2g | Trans Fat: 0.02g | Cholesterol: 4mg | Sodium: 25mg | Potassium: 8mg | Fiber: 0.2g | Sugar: 1g | Vitamin A: 21IU | Calcium: 1mg | Iron: 0.3mg
Tried this Recipe? Tag me Today!Mention @LifeisaParty or tag #lifeisaparty!
Bread Machine Mini Jelly Donuts with raspberry jam

With homemade heart shaped jelly donuts, life really is a party!

More Donut Inspiration

You might also like our Honey Cruller Donuts here.

Also checkout our Nutella Mini Donuts here.  

You might also enjoy our Mini Brownie Donuts here.

Mini Brownie Donuts: the perfect little mini donut made from a brownie mix, with the perfect homemade glaze -super easy.

Vintage New Years Cards Free Printables

Dec 17, 2019 · 5 Comments

Vintage New Year's Eve Cards free printable

Vintage New Years Cards: enjoy these eight free printable vintage New Years cards -just download and print. Post marked 1911 -1917.

Vintage New Year's Eve Cards free printable
[feast_advanced_jump_to]

I want to wish you a Happy New Year.  It's almost hard to believe that we're about to be celebrating New Year's.  

These days New Year's Eve is the big celebration.  When I was a kid though, we didn't really celebrate New Year's Eve at all, we had a big dinner with extended family on New Year's Day.  Celebrations sometimes change a little over time.  Today I hardly get any Christmas cards anymore.  I'm sure I've never received a Happy New Years card.  I guess that about 100 years ago, it was common to send a New Year's greeting postcard like these ones.  These are all post marked after Christmas, 1911-1917.

Vintage New Years Cards: enjoy these eight free printable vintage New Years cards -just download and print. Post marked 1911 -1917.

I was lucky to find them at my local antique market this past week, and thought they'd be really fun to share for this New Years blog hop.  I made mine into a really simple banner to display them.

Vintage New Years Cards: enjoy these eight free printable vintage New Years cards -just download and print. Post marked 1911 -1917.

New Years Banner

To create your banner just download the Free New Year's cards from our Free Printable Library.  To gain instant access sign up for free to be a subscriber below.

Vintage New Years Cards: enjoy these eight free printable vintage New Years cards -just download and print. Post marked 1911 -1917.

Use mini clothes pins to attach them to some pretty ribbon, I used some gold twine.

Hang up your New Years banner and enjoy.

Vintage New Years Cards: enjoy these eight free printable vintage New Years cards -just download and print. Post marked 1911 -1917.

More Ideas On How To Use The Vintage New Years Cards Printables

Vintage New Years Cards: enjoy these eight free printable vintage New Years cards -just download and print. Post marked 1911 -1917.

I think these cards could be really fun at each place setting for a New Year's Eve table as well.  Or as invitations to a party.  The possibilities are pretty much endless.

Vintage New Years Cards: enjoy these eight free printable vintage New Years cards -just download and print. Post marked 1911 -1917.

More NYE Inspiration

Want access to these free printable plus lots more?  Subscribe to Life is a Party below and receive access to our entire Free Printable Library instantly as our thank you.

You might also enjoy our New Years Eve Table post here.

Also check out our Blackberry Sparkler recipe here.

Blackberry Sparklers: fresh blackberries are pureed for this drink, make it with alcoholic, or without for a non alcoholic version -perfect for ringing in the New Year.

Caramelized Onion and Goat Cheese Tarts

Dec 10, 2019 · 4 Comments

Caramelized Onion and Goat Cheese Tarts

Caramelized Onion and Goat Cheese Tarts: an easy and delicious appetizer for entertaining.

Caramelized Onion and Goat Cheese Tarts
[feast_advanced_jump_to]

These caramelized onion and goat cheese tarts are so delicious.  They're fancy, but quite easy to make since they use frozen puff pastry as the base.  They're the perfect appetizer to impress.  The flaky puff pastry and sticky sweet caramelized onions go perfectly with the creamy tangy goat cheese in these little tarts.  These are sure to be your new favorite holiday appetizer.

Caramelized Onion and Goats Cheese Tarts: an easy and delicious appetizer for entertaining.

These are a crowd pleaser and always go quickly at a party.  They'll make a great addition to your appetizer selection.  They can be served hot or room temperature.  I know we'll be making some and serving them this Christmas, or anytime.  They're great as an alternative to the traditional cheese board, when you want an all in one bite, that's easy to serve.

Caramelized Onion and Goats Cheese Tarts: an easy and delicious appetizer for entertaining.

Pastry

We've made these Caramelized Onion and Goat Cheese Tarts with puff pastry, but you can make them with regular pie pastry too and they're delicious.  The frozen puff pastry though is a great short cut, and equally delicious.

Caramelized Onion and Goats Cheese Tarts: an easy and delicious appetizer for entertaining.

These appetizers are perfect for the holidays, and your guests are sure to love them.  They're the perfect little bites.  Any goat cheese fan is sure to adore these.  We love the pairing of the textures of creamy goat cheese, sweet onions, and the flaky puff pastry crust.  

More Options

To add a little more to these you do have the option of adding a light drizzle of honey right before serving, or topping them after their baked with a little fig jam, or even a little balsamic glaze over the top of the caramelized onion and goat cheese tart.

Recipe

Caramelized Onion and Goat Cheese Tarts

Caramelized Onion and Goats Cheese Tarts

Flaky pastry and sweet caramelized onion with goats cheese.
4.50 from 6 votes
Print Pin Rate
Course: Appetizers
Cuisine: American
Cook Time: 30 minutes minutes
Total Time: 30 minutes minutes
Servings: 16 Tarts
Author: Dannyelle Nicolle-Ramjist

Ingredients

  • 3 onions sliced
  • 1 tablespoon olive oil
  • 2 tablespoon brown sugar
  • ¾ cup wine
  • salt and pepper to taste
  • 1 sheet of frozen puff pastry dough thawed
  • ⅓ cup goats cheese

Instructions

  • Preheat oven to 350 degrees. Line a baking pan with parchment paper and set aside.
  • Heat the olive oil in a large skillet and saute the onion slices over low heat until softened. Add the brown sugar and cook 5 minutes more. Next add the wine and some salt and black pepper to taste, and continue simmering the onions on low stirring regularly for about 5 minutes more, until the onions are sticky and caramelized.
  • Roll out the puff pastry sheet on a lightly floured surface and cut the sheet into 16 equal squares. Use a knife to score small squares inside each piece, without cutting through the pastry to create a ¼ inch border. Separate the pieces and transfer squares onto a parchment lined baking tray and cook for 10 minutes.
  • Remove the pastry from the oven and use the back of a spoon to push down the centre of the pastry. Then fill each one with caramelised onion and about 1 teaspoon of goats cheese on top. Return them to the oven for another 10 minutes, until the pastry is golden brown. Serve hot or room temperature.
Tried this Recipe? Tag me Today!Mention @LifeisaParty or tag #lifeisaparty!
Caramelized Onion and Goats Cheese Tarts: an easy and delicious appetizer for entertaining.

With Caramelized Onion and Goat Cheese Tarts, life really is a party!

More Great Recipe Inspiration

You might also like our recipe for Stuffed Mushrooms.

Also check out our Homemade Flatbread Crackers here.

You might also enjoy our Cheese Straws recipe here.

Cheese Straws Recipe: spicy and savoury cheese shortbread straws, perfect for gift giving or as part of a charcuterie board.

Rustic Christmas Table

Dec 9, 2019 · Leave a Comment

Rustic Christmas Table Decor: wood pieces make a rustic centrepiece with pinecones, candles, and faux snow for a little Christmas magic.

Rustic Christmas Table Decor: wood pieces make a rustic centrepiece with pinecones, candles, and faux snow for a little Christmas magic.

Rustic Christmas Table Decor: wood pieces make a rustic centrepiece with pinecones, candles, and faux snow for a little Christmas magic.

Christmas dinner is a special meal, and I love to set a special table to enjoy it at.  I love our rustic Christmas table decor this year.  Wood logs, pinecones, and faux snow bring the beauty of the outdoors in.  It's the perfect spot for Christmas dinner with the family.   In our family we have Christmas breakfast with my husband's family and Christmas dinner with some of mine.  We're so lucky to have lots of family near by.
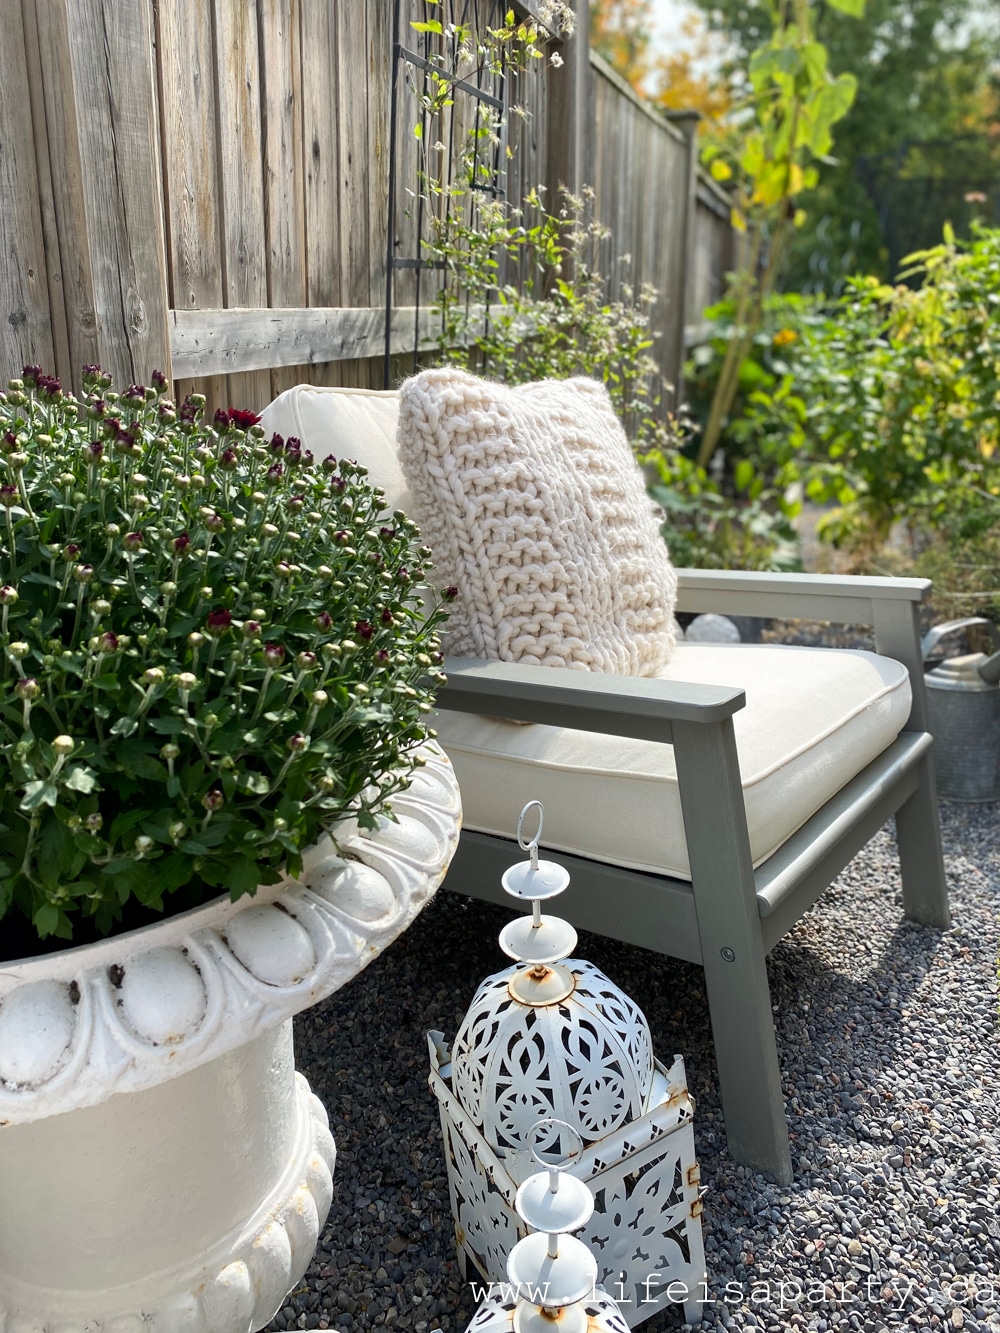
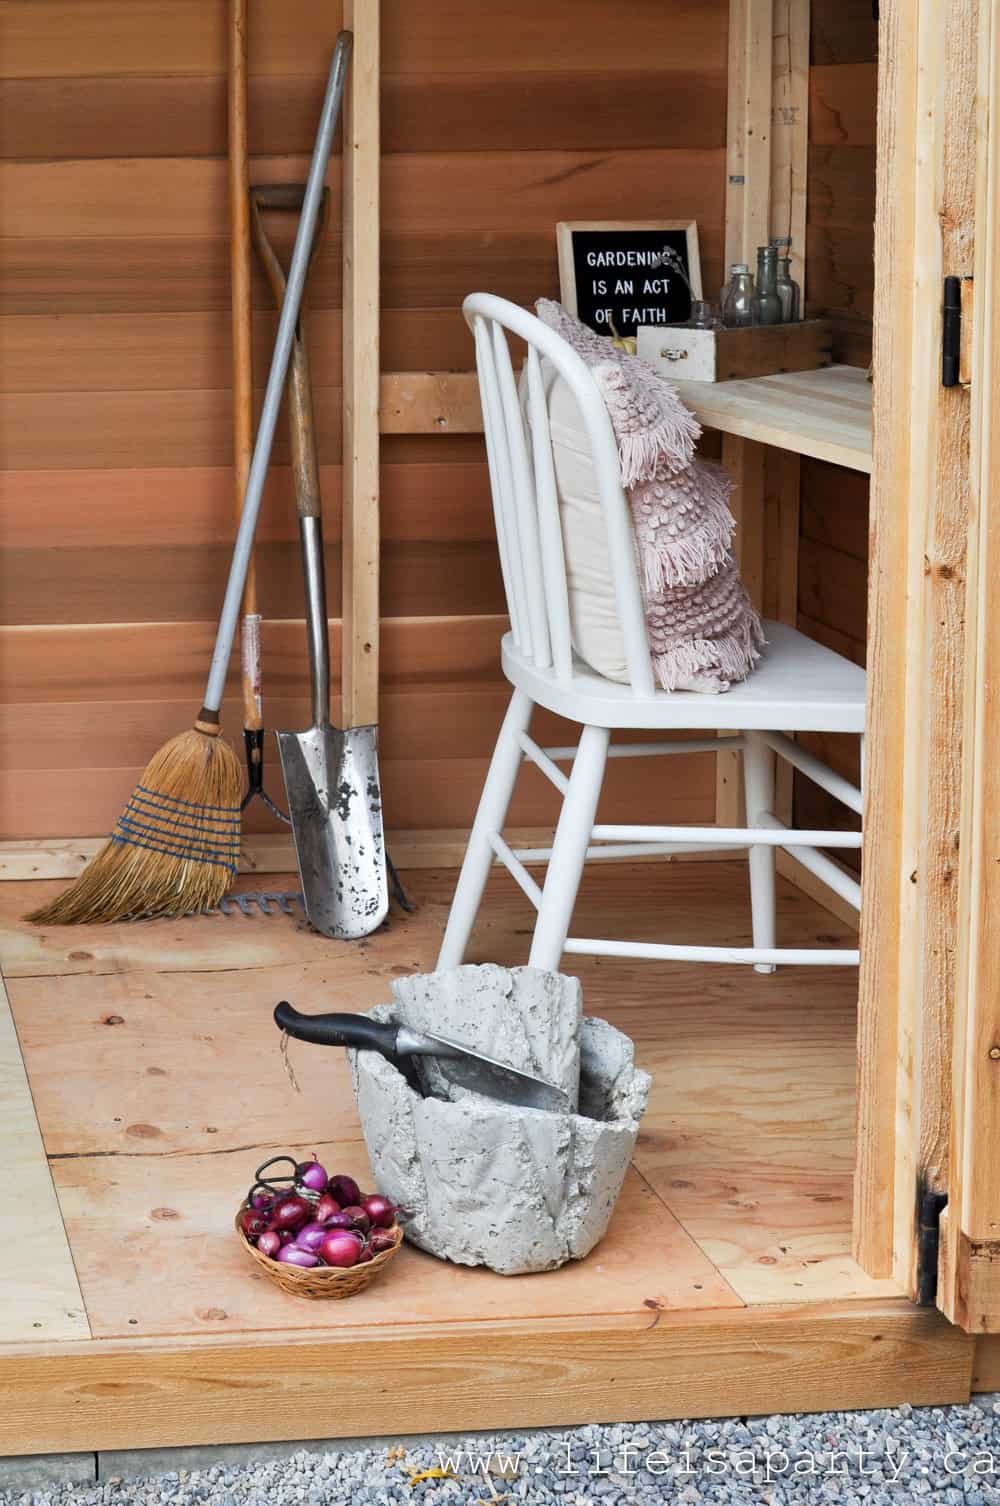
Rustic Christmas Table

This year's rustic Christmas tablescape is really bringing the outdoors in.  There are  a few special pieces that helped me bring it all together.
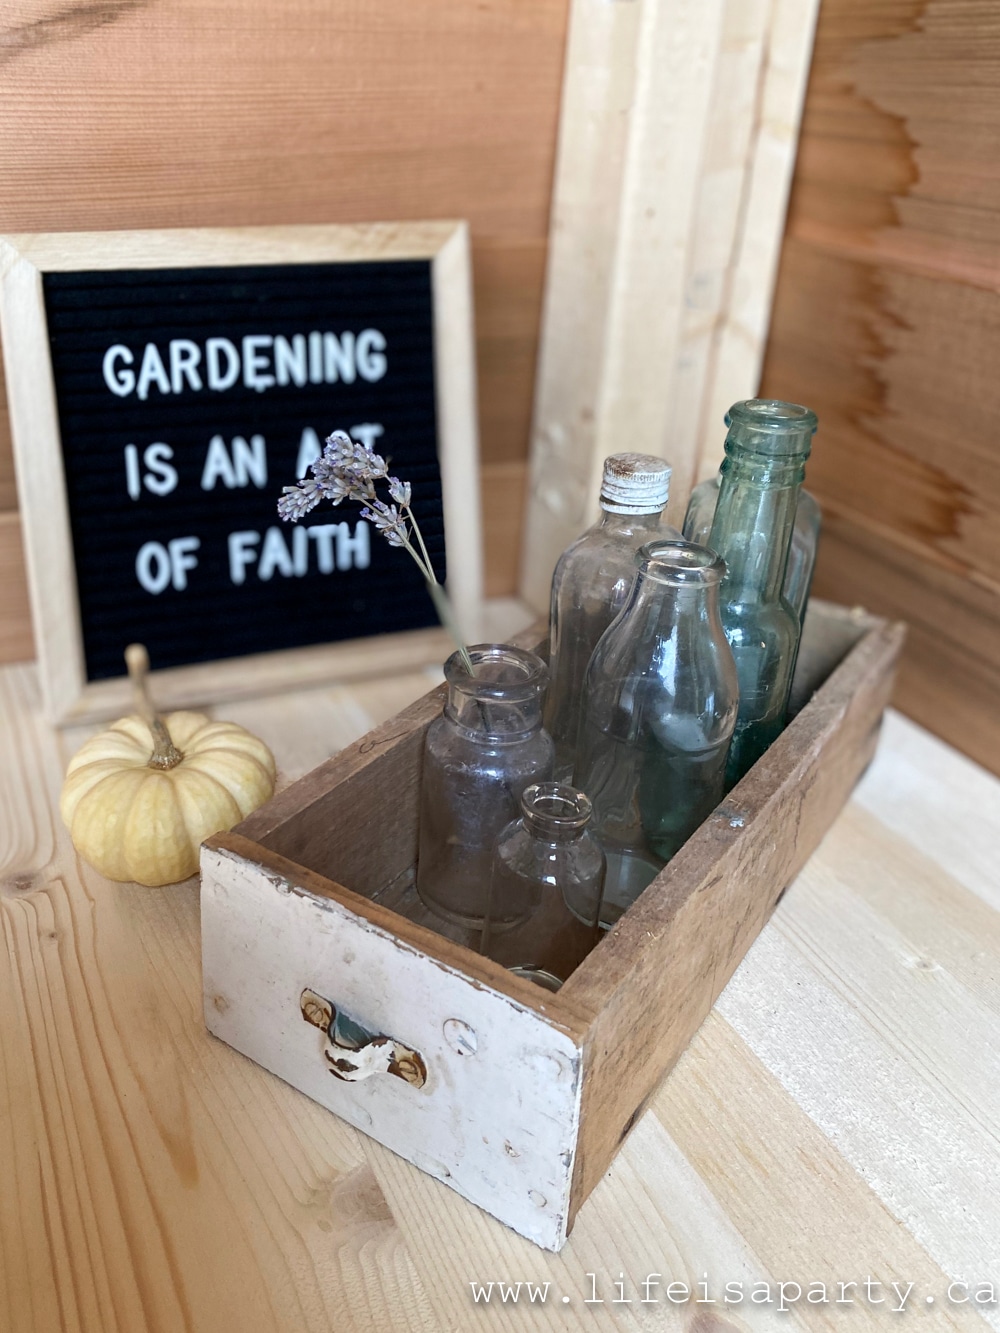
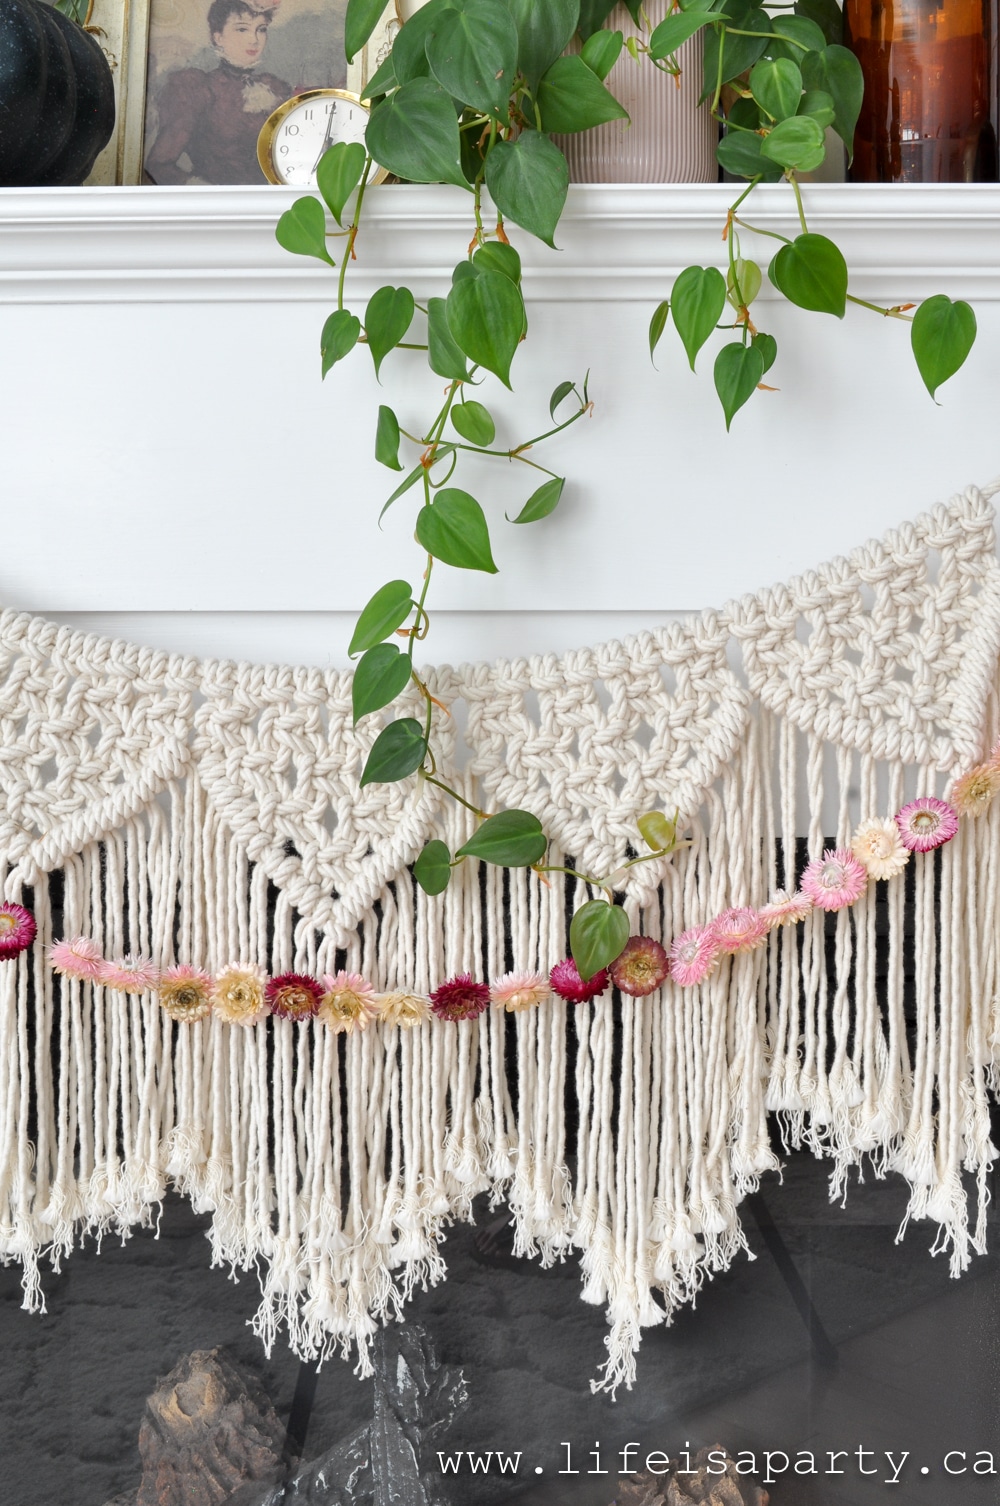
Rustic Christmas Table decor

Gauze Cotton Napkins

I'm excited to be partnering again with Natures Sweet Creations.  The beautiful napkins are made of organic cotton double gauze in the colour charcoal.
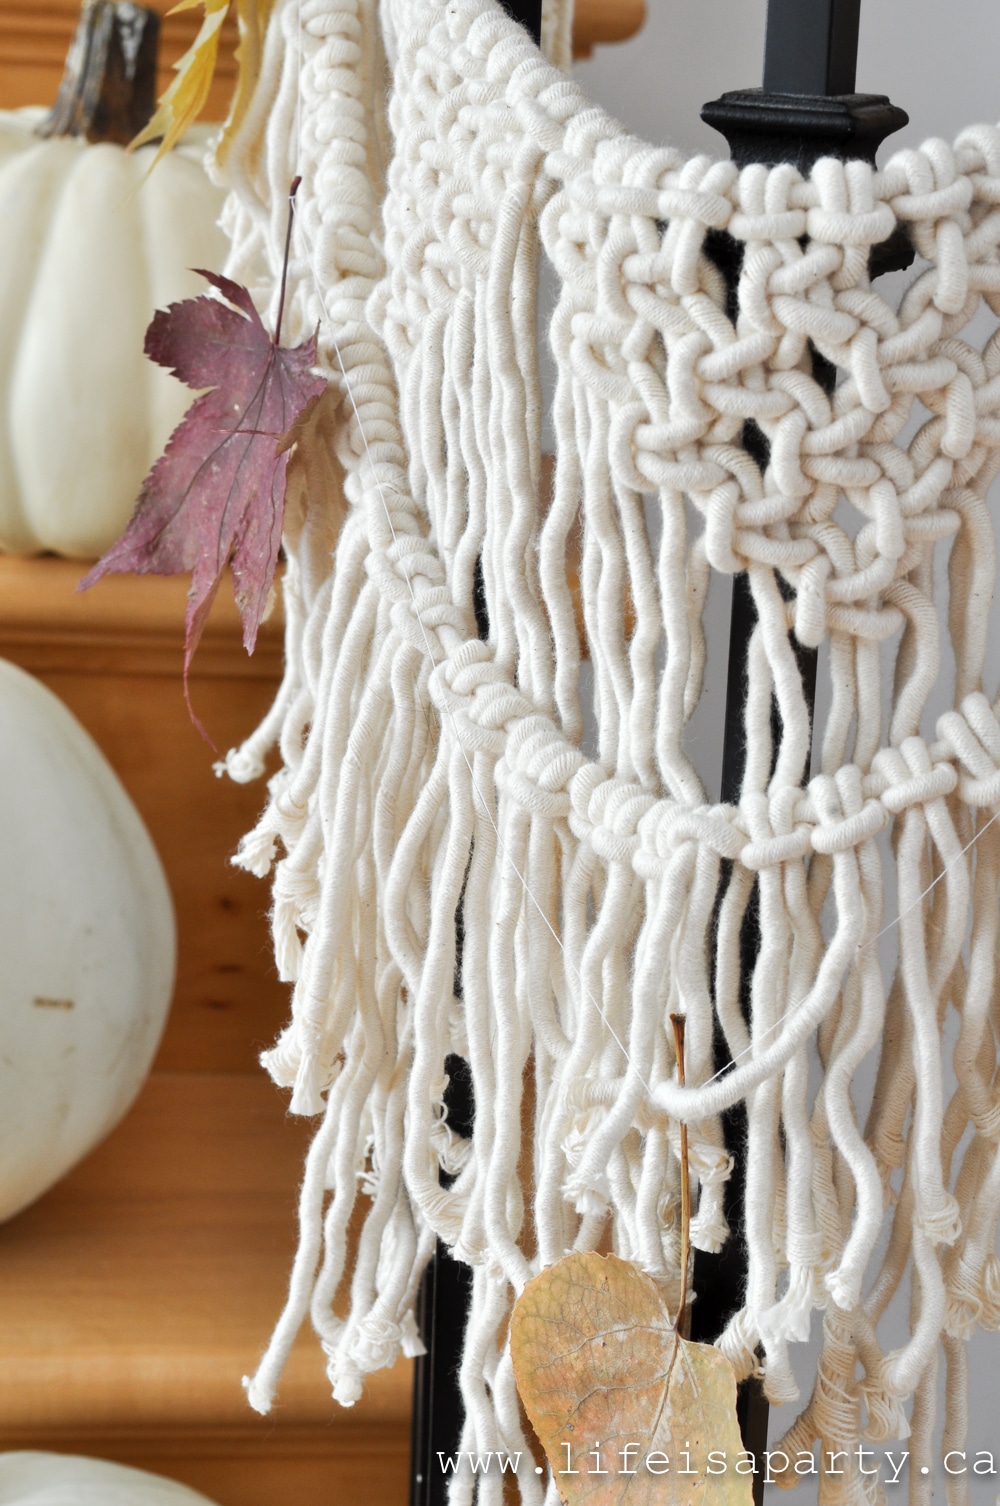
Woodland Christmas table centrepiece

I love the feel of them, and their natural and un-ironed look.

Woodland Christmas table

Placesettings

The other treasures I used as part of the rustic Christmas table decor this year are the vintage brass Christmas tree napkin rings.  I was lucky to find a set of 10 at the thrift store.

I used my new everyday dishes -love their irregular, rustic shape.  And for the glasses, I thought these tree ones were perfect for this table, and the little bit of grey in them ties in well with the napkins.

I also used my gold cutlery to tie in with the napkin rings.

Rustic Christmas Table decor ideas

Rustic Christmas Table Decor Wood Centre Piece

For the centre of the table I layered a knit runner with some wood stump pieces.

wood stump table centre piece

I was lucky enough to get some help with this from an arborist who let me pick out some pieces from his wood pile and cut them to length for me.  On some of the smaller pieces, I painted the tops green to match my new dining room feature wall -read about how we did it here.

snowy Woodland Christmas table

I mixed different heights of wood pieces to create interest, and also added in some birch candles.  I love the forest feel.

pinecone and birch candle centre piece

On top of the wood pieces I added a combination of moss and faux snow, with some sparkly stars thrown in for a little holiday magic.

Rustic Christmas centre piece

There's also lots of pinecones, and a little fresh pine, along with some decorative mushrooms, and more candles.

Rustic Christmas Table

I can't wait for Christmas dinner at this pretty table.  And don't worry, I know there's no room for the food.  😉  I usually serve up dinner on the kitchen table, and guests help themselves buffet style.

Christmas tablescape ideas

If you wanted to do something like this and have room for the serving dishes, you could of course make the centre piece a little smaller.

Christmas woodland inspired tablescape
how to set the table for Christmas dinner

With a rustic Christmas table all ready for the big day, life really is a party!

You might also like our Thrift Store Christmas Table and Thrift Store Tips here.

Thrift Store Christmas Table and Thrift Store Tips: beautiful Christmas table put together with thrift store finds, and 9 tips for thrifting.

Also check out our Merry and Bright Christmas Table here.

Merry and Bright Christmas Party Set: these party printables include menus, place cards, straw flags, conversations starters, cupcake picks, and a banner.

You might also enjoy our Rustic Snowy Table here.

Christmas Living Room

Dec 8, 2019 · Leave a Comment

Pastel Christmas Living Room: Inspired by Anthropologie, with bottle brush Christmas trees, mercury glass, vintage ornaments, macrame, and pastel colours.

Pastel Christmas Living Room: Inspired by Anthropologie, with bottle brush Christmas trees, mercury glass, vintage ornaments, macrame, and pastel colours.

Pastel Christmas Living Room: Inspired by Anthropologie, with bottle brush Christmas trees, mercury glass, vintage ornaments, macrame, and pastel colours.
[feast_advanced_jump_to]

Our pastel Christmas living room is feeling so cozy and fun for Christmas.  It's always a favourite spot over Christmas for movie watching, gathering with friends, and opening presents on Christmas morning.  Our comfy leather sectional has lots of seating so it's perfect.

Pastel Christmas Living Room

This year I've added a little colour with pretty pastels and I love it.  Lots of white and neutrals too, but some touches of pink, turquoise, and green too.  I was inspired by the Anthropologie look I've seen so much this Christmas.  Things like colourful bottle brush trees, mercury glass, macrame, pompoms, pampas grass, and pastel colours.  I hope you like it too.

Pastel Christmas Fireplace Mantel

Pastel Christmas mantle anthro inspired

I started off with the mantel, which I shared in more detail here.  The colourful pastel felt ball garland inspired the colours used.

Pastel Christmas mantel ideas

I used lots of pretty trees, including some older mercury glass ones that I hadn't used in years.

 Anthropologie inspired colourful pastel Christmas decor
Colourful Pastel Christmas family room decor

Christmas Coffee Table

On our toy box coffee table, I included our antique wood dough bowl full of some of my favourite vintage ornaments.

vintage Christmas ornaments in a wood bowl

A lot of the ornaments are ones that I've collected at thrift stores over the years, and real favourites of mine.

Anthropologie colourful pastel Christmas decor

I also included some more trees, and a new collection of mercury glass candle holders.

Anthropologie bottle brush Christmas trees

On the couch I used a combination of cozy white pillows, and added in a few pink and turquoise to add some colour.

Colourful Pastel Christmas family Room Inspired by Anthropologie

Pastel Glitter House Christmas Tree

On the tree this year I decided to use my collection of glitter houses.  Years ago one Christmas I made this whole collection and some for my family and friends too.  It was long before I owned a Cricut machine, and they were all cut out on my kitchen table with an exacto knife and out of cereal boxes I saved for months.  You can read all about how I made them here.  

Christmas tree with miniature glitter houses
Christmas glitter houses

On the tree I also added a homemade garland of pompoms, and some more vintage ornaments.

Glitter house Christmas tree

The tree turned out really cute and I love that it's a bit different.

Christmas Family Room

Over on the other side of the room, is a favourite chair, with more trees on the side table.

Christmas family room ideas

And behind this chair, against the back wall at the bottom of the stairs is another cute little vignette.

Colourful Pastel Christmas decor

The art piece is one of the colour engineer prints that I made a hanger for -you find the tutorial on how to make it here.

DIY Christmas art
Colourful Pastel Christmas Family Room

This is a collection of some of my favourite vintage pieces, and more trees to tie it in with the rest of the decor down here this year.

 Anthropologie inspired bottle brush Christmas trees

The living room is feeling so cozy and fun, and all ready for Christmas.

Colourful Pastel  Christmas Family Room
 Anthropologie inspired Christmas decorations

With a colourful Christmas Living Room, life really is a party!

You might also like our Thrift Store Christmas Table here.

Thrift Store Christmas Table and Thrift Store Tips: beautiful Christmas table put together with thrift store finds, and 9 tips for thrifting.

Also check out our Merry and Bright Christmas Party here.

Merry and Bright Christmas Party Set: these party printables include menus, place cards, straw flags, conversations starters, cupcake picks, and a banner.

You might also enjoy our Ho Ho Ho Hot Chocolate Bar here.

Ho Ho Ho Hot Chocolate Bar: set up the perfect Christmas hot chocolate bar with our printable package that includes labels, poster, bunting, and more.

Cozy Christmas Bedroom Tour

Dec 7, 2019 · Leave a Comment

Christmas bedroom decor ideas.

Cozy Christmas Bedroom: Linen and chunky knits, Christmas tree, candles, and a Christmas gallery wall help create a cozy space for Christmas.

Christmas bedroom decor ideas.
[feast_advanced_jump_to]

This Christmas I wanted our master bedroom to feel extra cozy. So I kept the word cozy in mind as I planned our bedroom Christmas decor this year. I'm imagining snuggling up here with a book, or a Christmas movie during the holiday season. We're taking two weeks off together over Christmas and I cannot wait. 

Cozy Christmas Bedroom

The color palette this Christmas season is white and cream, with some natural elements like fresh pine. It's perfect for creating a cozy, calm feel this time of year. I'm not a big fan of traditional colors for Christmas. I don't like bright reds. For me a neutral space like this is the perfect relaxing festive feel, like a snowy winter wonderland.

Cozy Christmas Bedroom Christmas tree

A Tree In The Bedroom

I loved having a tree in our bedroom for Christmas last year, so I put this one up again this year. It hasn't got any decorations on it, just the pretty white lights and some yarn I used as a garland. I love how the yarn adds to the cozy, snuggly feel in the room. An undecorated tree with no Christmas decorations on it, and just lights in an easy way to add the holiday spirit to the room. The Christmas lights are perfect at night, with all the other lights out.

Cozy Christmas Bedroom

The Bed

On our bed I added in some cozy chunky knit accent pillows, some sheep ones too and our favourite chunky knit throw blanket at the end of the bed. The color scheme here is whites and creams, with our regular white bedding, and feels very winter wonderland. Our linen duvet cover and pillow covers have such a cozy texture. The knit and sheepskin throw pillows help with all the festive spirit and hygge vibes on a cold night. No need for Christmas bedding, when neutrals work so well year round.

The tv is on the opposite wall -let the relaxing begin! What's better than a cheesy Hallmark movie to enjoy snuggled up in bed, by the light of the Christmas tree?

Bedside Tables

On the bedside tables I added my DIY Fair Isle Sweater Candle Lanterns that I made last Christmas -you can find the tutorial here. They're so cute with some faux snow in them for a festive touch. They look great all winter long, and the candle light is always nice. And behind you can see a pretty cream knit stocking waiting for Santa to fill it Christmas Eve.

Cozy Christmas BedroomBedroom Chair

And on that same side of the room our chair is looking cozy too, with extra pillows, a cozy throw, and a sheepskin rug, a faux fur rug would work great here too. And the presents are starting to pile up too! This is the perfect place to read a good book.

Cozy Christmas Bedroom decor

Above the chair, I added in one of the art pieces from our Etsy shop -you can find it here. The sentiment is perfect for this space. It's layered with some homemade star garland, cut out of old books for texture, its the perfect holiday decor. It's layered with a pretty pompom garland in cream and wood, reminding us that neutral bedrooms can still look festive.

how to decorate your bedroom for Christmas

Christmas Gallery Wall

Over on the other side of the room our gallery wall art got a little festive love too.

Christmas gallery wall

I changed out a few of the really summer-y pieces of art -you can see what it normally looks like here.  I just printed a few pieces from one of my favourite free photography sites unsplash. And then I hung a little more diy garland. The snowy art is a great addition all winter long, and can be easy swapped back out in the summer months.

Christmas garland
christmas gallery wall

On The Dresser

On the dresser there are more candles, and a fresh branch from one of the pine trees that grows in the forest behind our house.  Fresh evergreen garland always makes a mess, but having some in a vase like this with fresh water doesn't shed nearly as much. It's a great way to add that fresh real tree scent.

Christmas pine in a vase

Over on the other side of the dresser I made some fun little winter snow-globe-ish displays in these glass apothecary jars.

diy Christmas snow globes

I added some faux snow, a few little ceramic houses, fairy lights, and a white miniature Christmas tree. Bottle brush trees are a favorite of mine, and this is a great idea to display them. Also on the dresser are a few birch sticks, because I love to include natural elements as part of my Christmas ornaments, and also some pretty gold string lights, that look so pretty at night.

how to decorate your bedroom for Christmas

Bedside Table

We've worked our way around the room and we're back to the bedside table on the other side. This vintage alarm clock collection is one of my favourites and looks great any season.

Christmas bedside table

I'm looking forward to some relaxing days and nights over the holidays here in this perfect spot.

Cozy Christmas Bedroom

And many, many cups of tea in my new Santa mugs, along with Christmas cookies, candy canes, and chocolates snuggled up here with my bed tray, and my favourite people, and doggy.

Christmas snack tray

With these cozy Christmas bedroom decorations, life really is a party! Merry Christmas.

More Christmas Inspiration

You. might also like our Cozy Christmas Family Room here.

Also check out our Christmas Home Tour here.

You might also enjoy Little Girl's Christmas Bedroom here.

  • « Go to Previous Page
  • Page 1
  • Interim pages omitted …
  • Page 4
  • Page 5
  • Page 6
  • Page 7
  • Page 8
  • Interim pages omitted …
  • Page 21
  • Go to Next Page »

Primary Sidebar

Welcome!

Life is a Party is all about helping you celebrate everyday with great food, entertaining and party inspiration, and seasonal crafts and home decor inspired by the holidays.

More About Dannyelle

Trending Recipes

  • Mac and cheese with panko breadcrumb topping.
    Best Homemade Mac and Cheese with Panko Breadcrumb Topping
  • Homemade iced capps in glasses on a wood table.
    Tim Hortons Copycat Iced Capp Recipe
  • Dirt Pudding no cream cheese in glasses with candy rocks, and fresh mint that looks like a little plant.
    Easy Dirt Pudding Recipe without Cream Cheese
  • Easy 3 ingredient coconut milkshake recipe.
    Easy Coconut Milkshake Recipe
  • Easy food processor scones on a plate with jam.
    Easy Food Processor Scones
  • Fluffy small batch pancakes for two ready to serve on a plate with syrup.
    Easy Small Batch Pancakes For Two Recipe

Fall Ideas

  • Pumpkin shaped dinner roll recipe, with a herb stem.
    Pumpkin Shaped Dinner Rolls
  • Fall breakfast board
    Fall Breakfast Charcuterie Board
  • Halloween witch decorations
    Witch Halloween Decor
  • fall home decor
    Fall Decorating Ideas -Home Tour
  • Homemade pink candy apples on a cutting board.
    How To Make Pink Candy Apples
  • Pink Halloween party and decorations with pink treats snack table.
    Pink Halloween Party

Entertaining Ideas

  • Adult mermaid party table set on the beach with cake and shells.
    Adult Mermaid Party Ideas: A Beach Picnic Goodbye to Summer
  • Overhead view of tomato party table with pizza and appetizers.
    The Ultimate Tomato Party: A Tomato Girl Summer Garden Gathering
  • Camp themed party table with green gingham tablecloth, wildflowers, and Welcome to Camp banner.
    The Ultimate Camp Themed Party for Adults
  • Garden party table set under white pergola with vintage floral tablecloth, pink peony centerpiece in wooden tool caddy, white wicker chairs, and climbing white roses in background.
    Garden Themed Party
  • Complete mimosa bar setup on white console table with vintage silver ice bucket, labeled colorful juice bottles, small glass garnish bowls, and ribbon-tied champagne flutes on white lace tablecloth with flower wall backdrop.
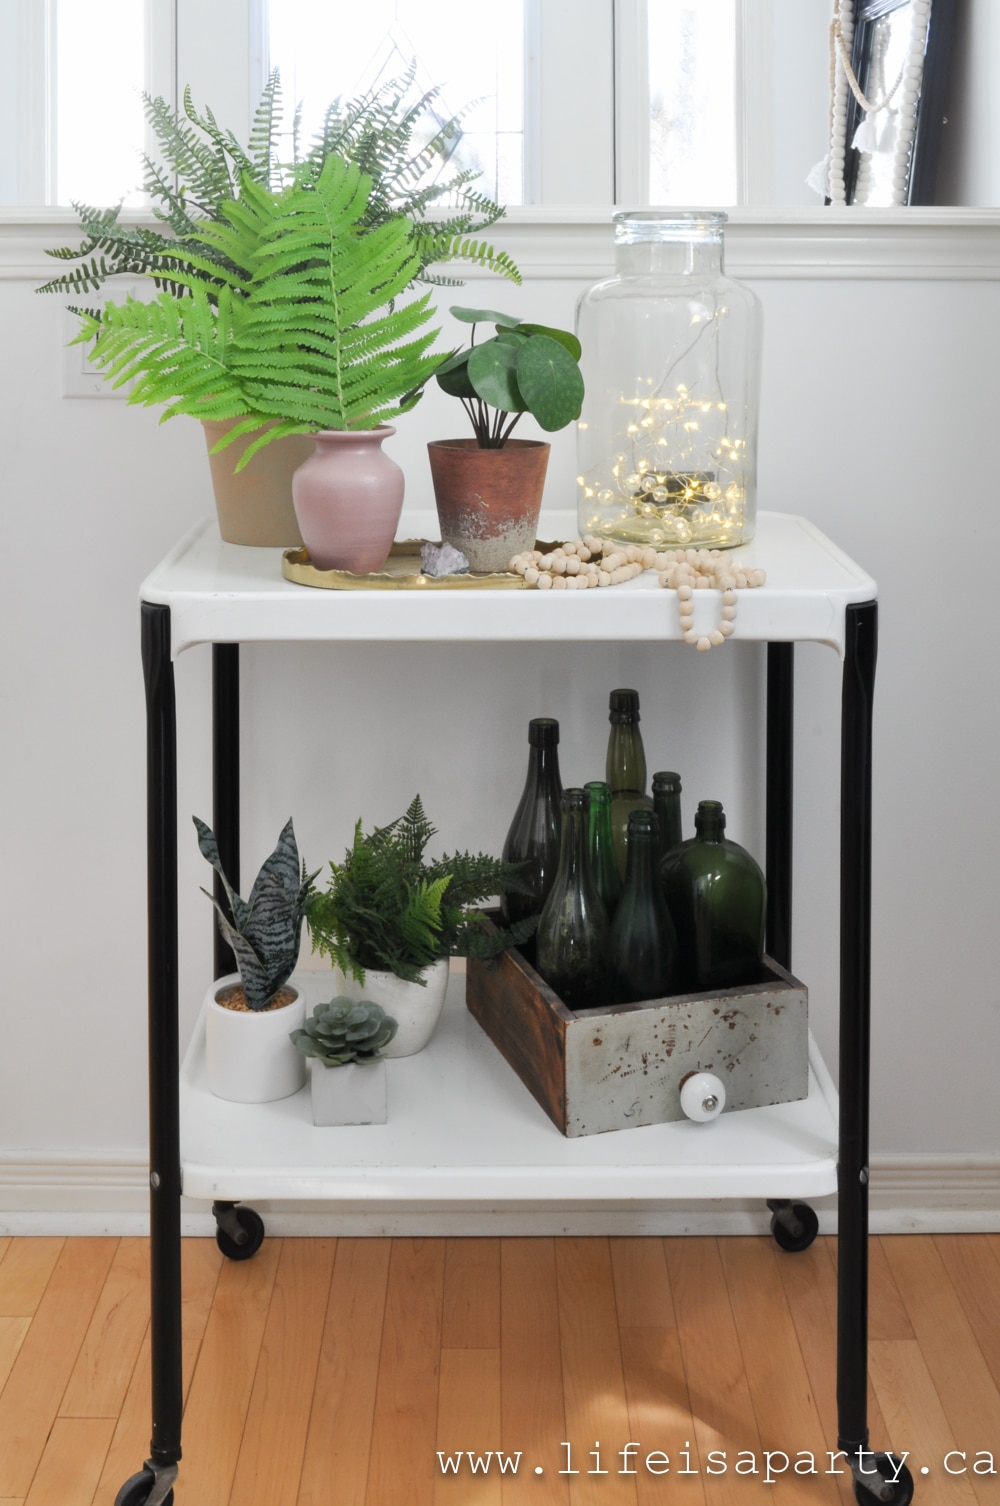
    How to Set Up a Beautiful Mimosa Bar
  • Breakfast for dinner party table styled like a bed with star quilt tablecloth, gingham pillows, and cloud installation above.
    Breakfast for Dinner Party: Brinner Under the Stars
  • Recipe Index
  • Parties & Entertaining
  • Fall
  • Subscribe
  • Free Resource Library

Footer

back to top

as seen in:

Better Homes and Garden Logo
American Farmhouse Style logo.
Apartment Therapy logo.

About

  • Privacy Policy
  • About

Subscribe
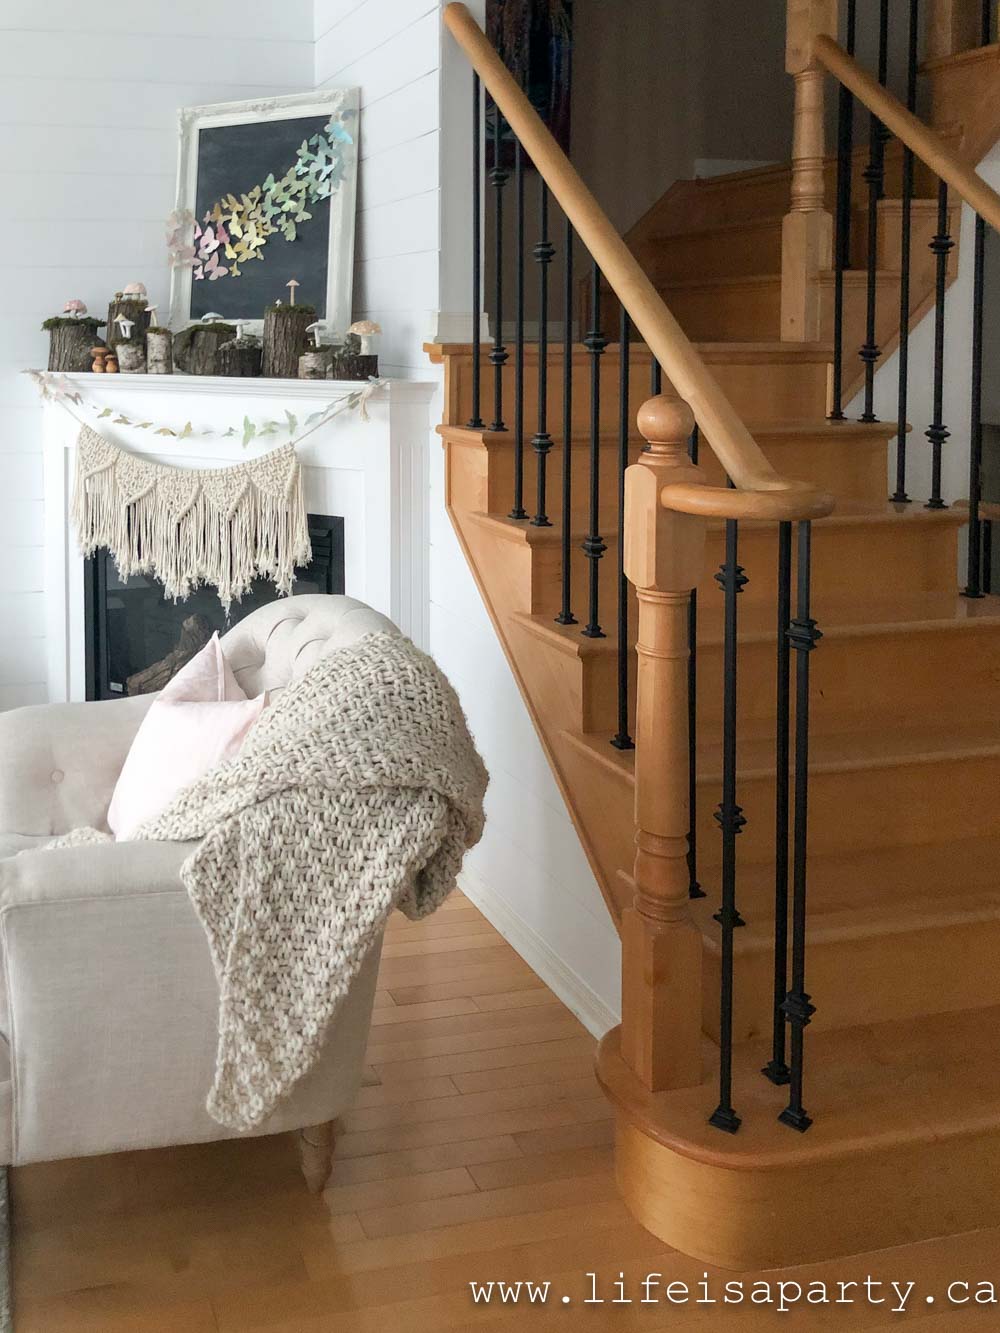
  • Sign Up! for emails and updates

Contact

  • Contact

As an Amazon Associate I earn from qualifying purchases.
Copyright © 2025 Life is a Party
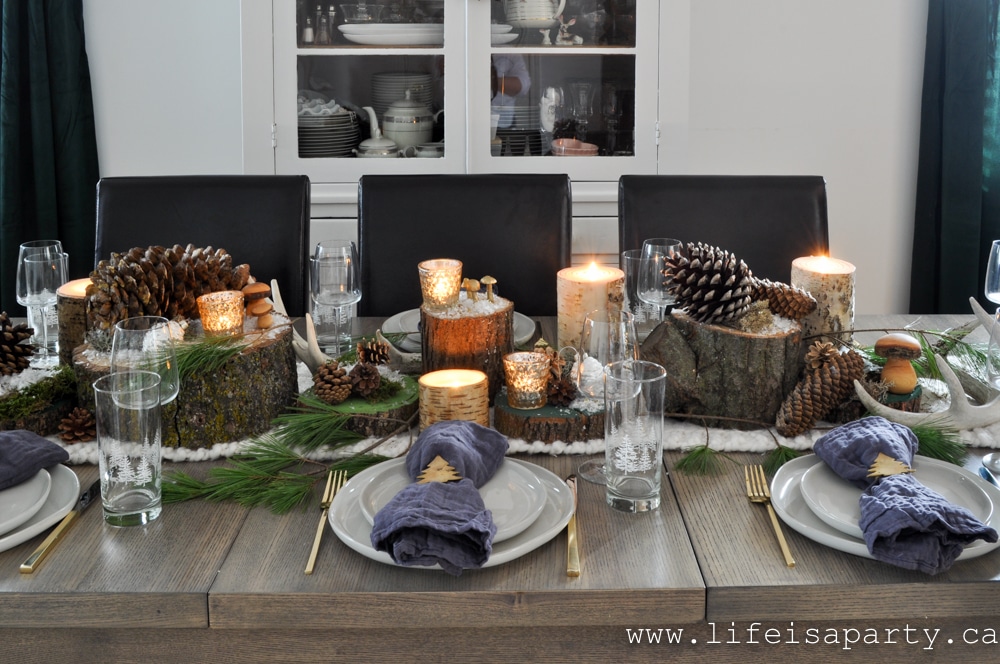
Share
Pin
Post
Share
Pin
Post

Rate This Recipe

Your vote:


A rating is required
A name is required
An email is required