• Skip to primary navigation
  • Skip to main content
  • Skip to primary sidebar
Life is a Party
  • Recipe Index
  • Parties & Entertaining
  • Fall
  • Subscribe
  • Free Resource Library
menu icon
go to homepage
  • Recipe Index
  • Parties & Entertaining
  • Fall
  • Subscribe
  • Free Resource Library
subscribe
search icon
Homepage link
  • Recipe Index
  • Parties & Entertaining
  • Fall
  • Subscribe
  • Free Resource Library
×
Home

Tiana's Beignet Recipe from The Princess and The Frog

Tiana's Beignet Recipe from The Princess and The Frog

Jul 15, 2021 · Leave a Comment

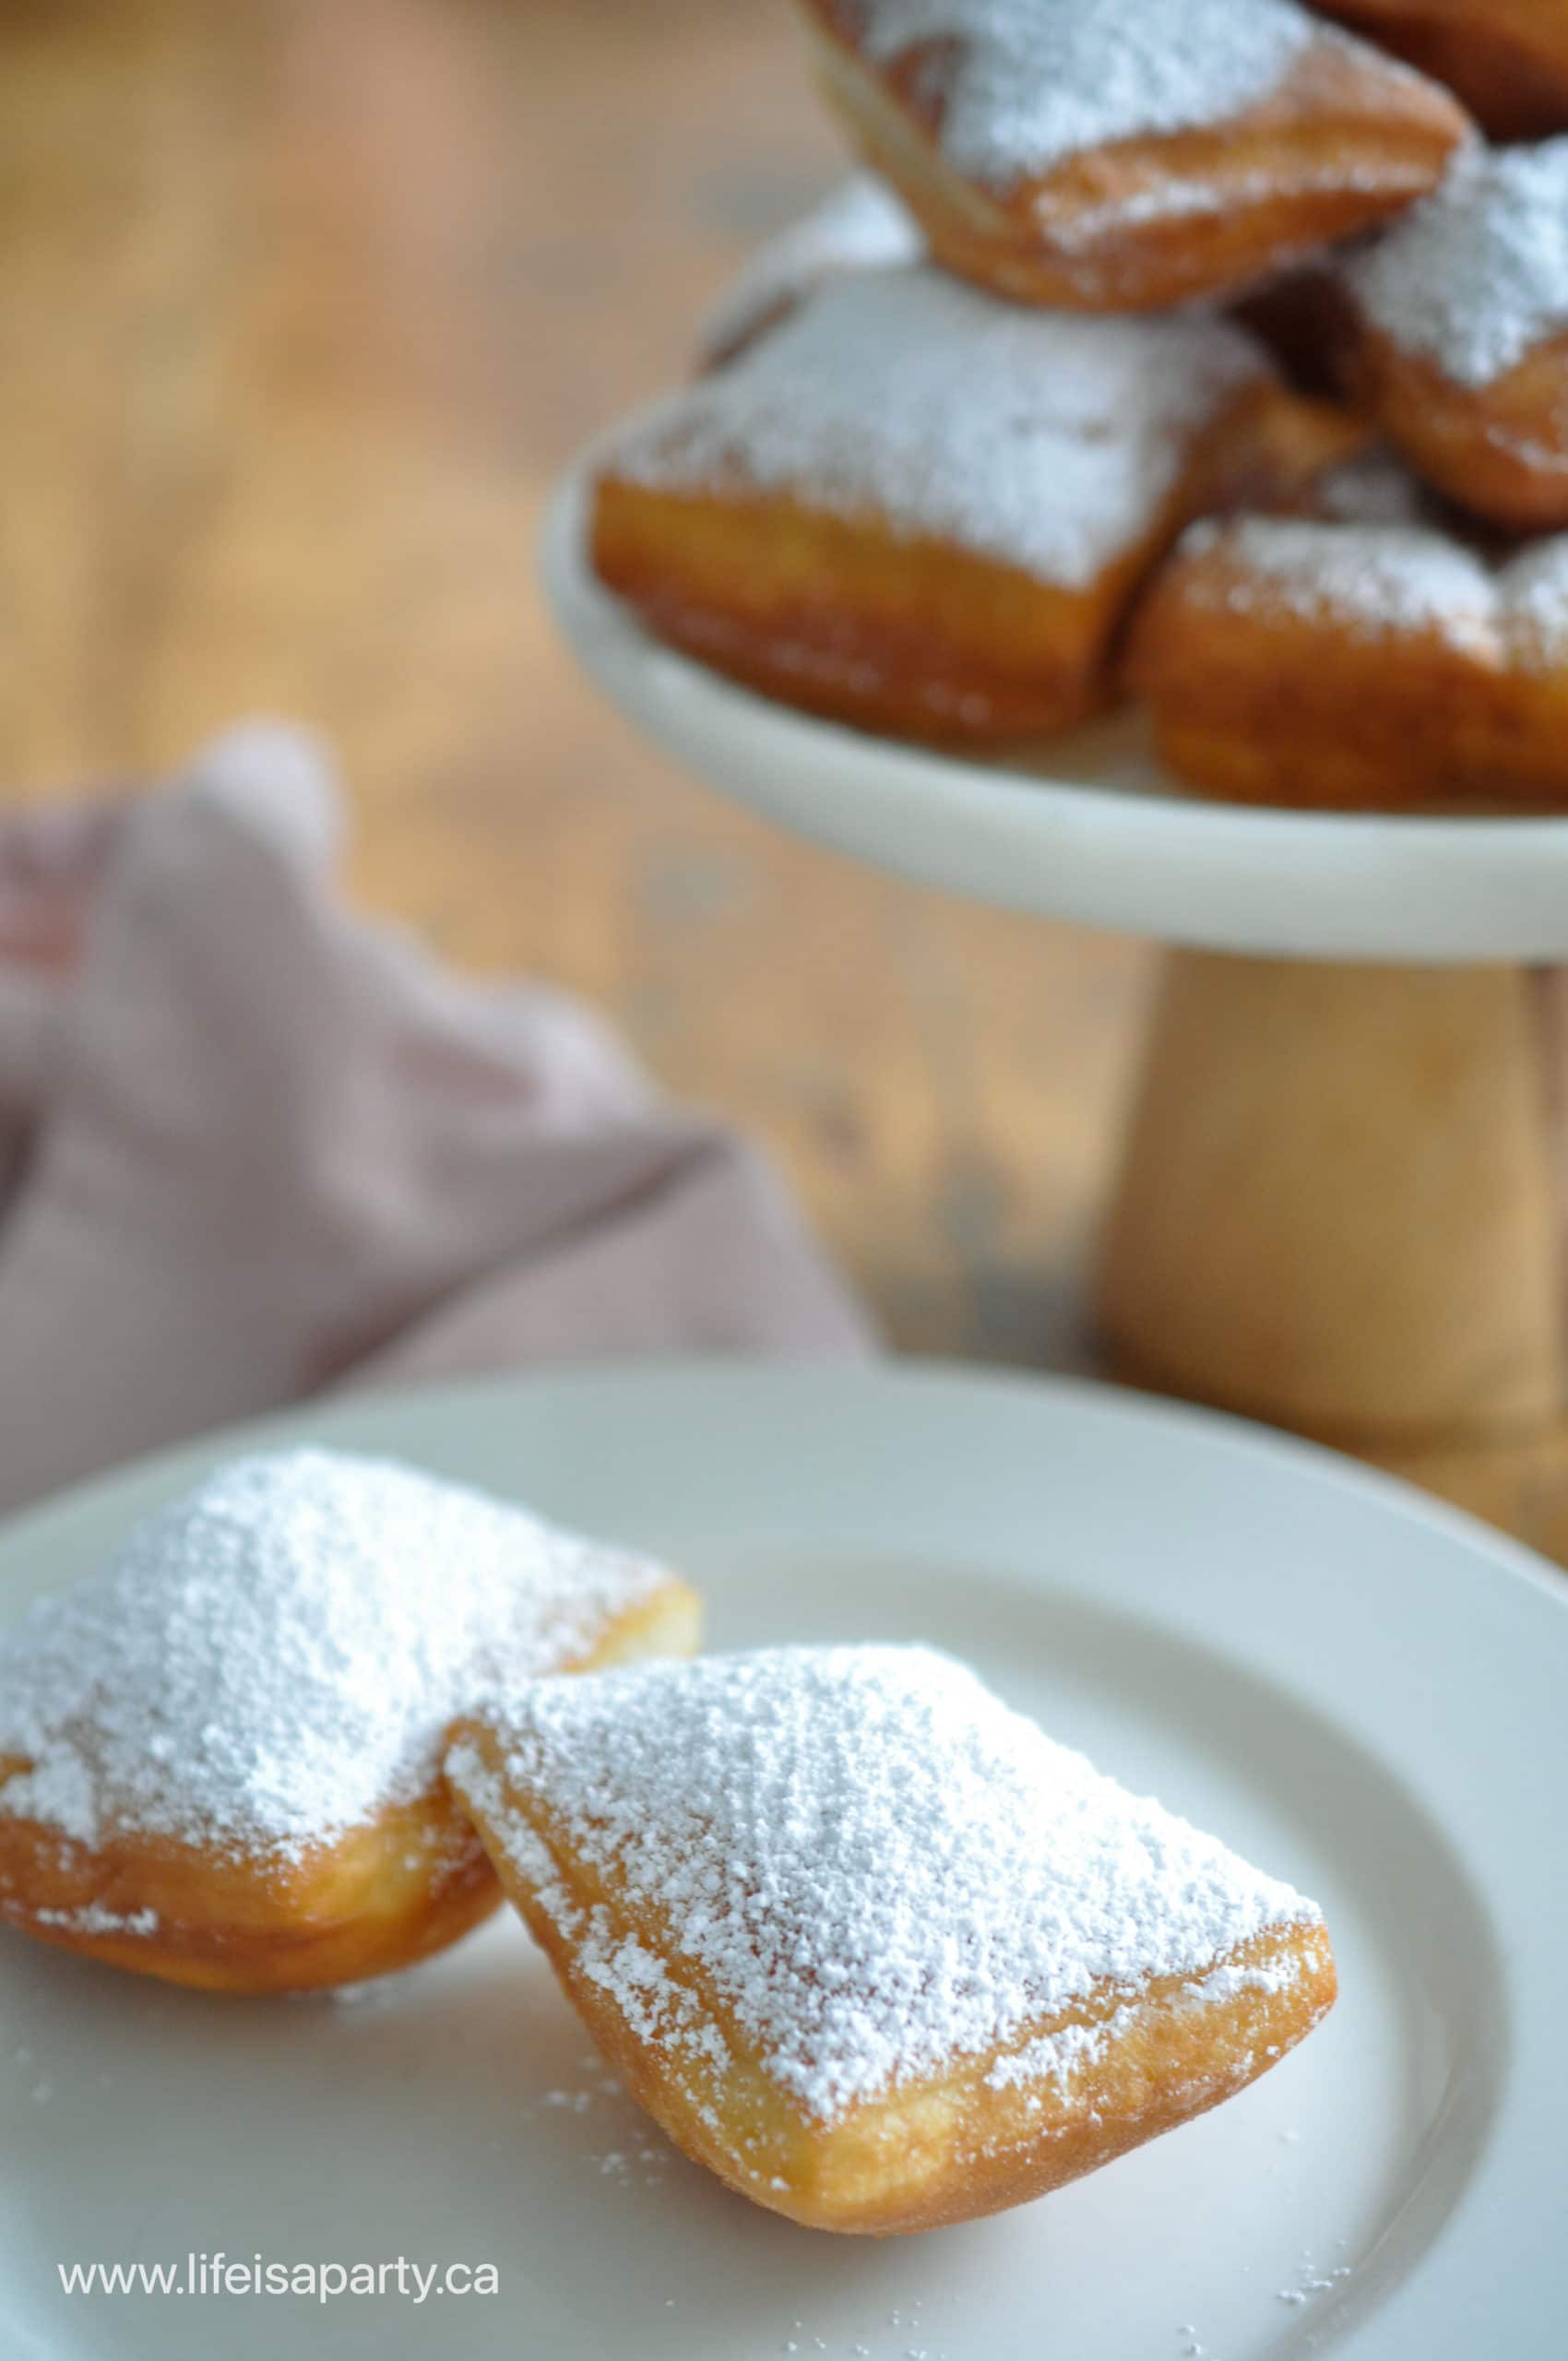
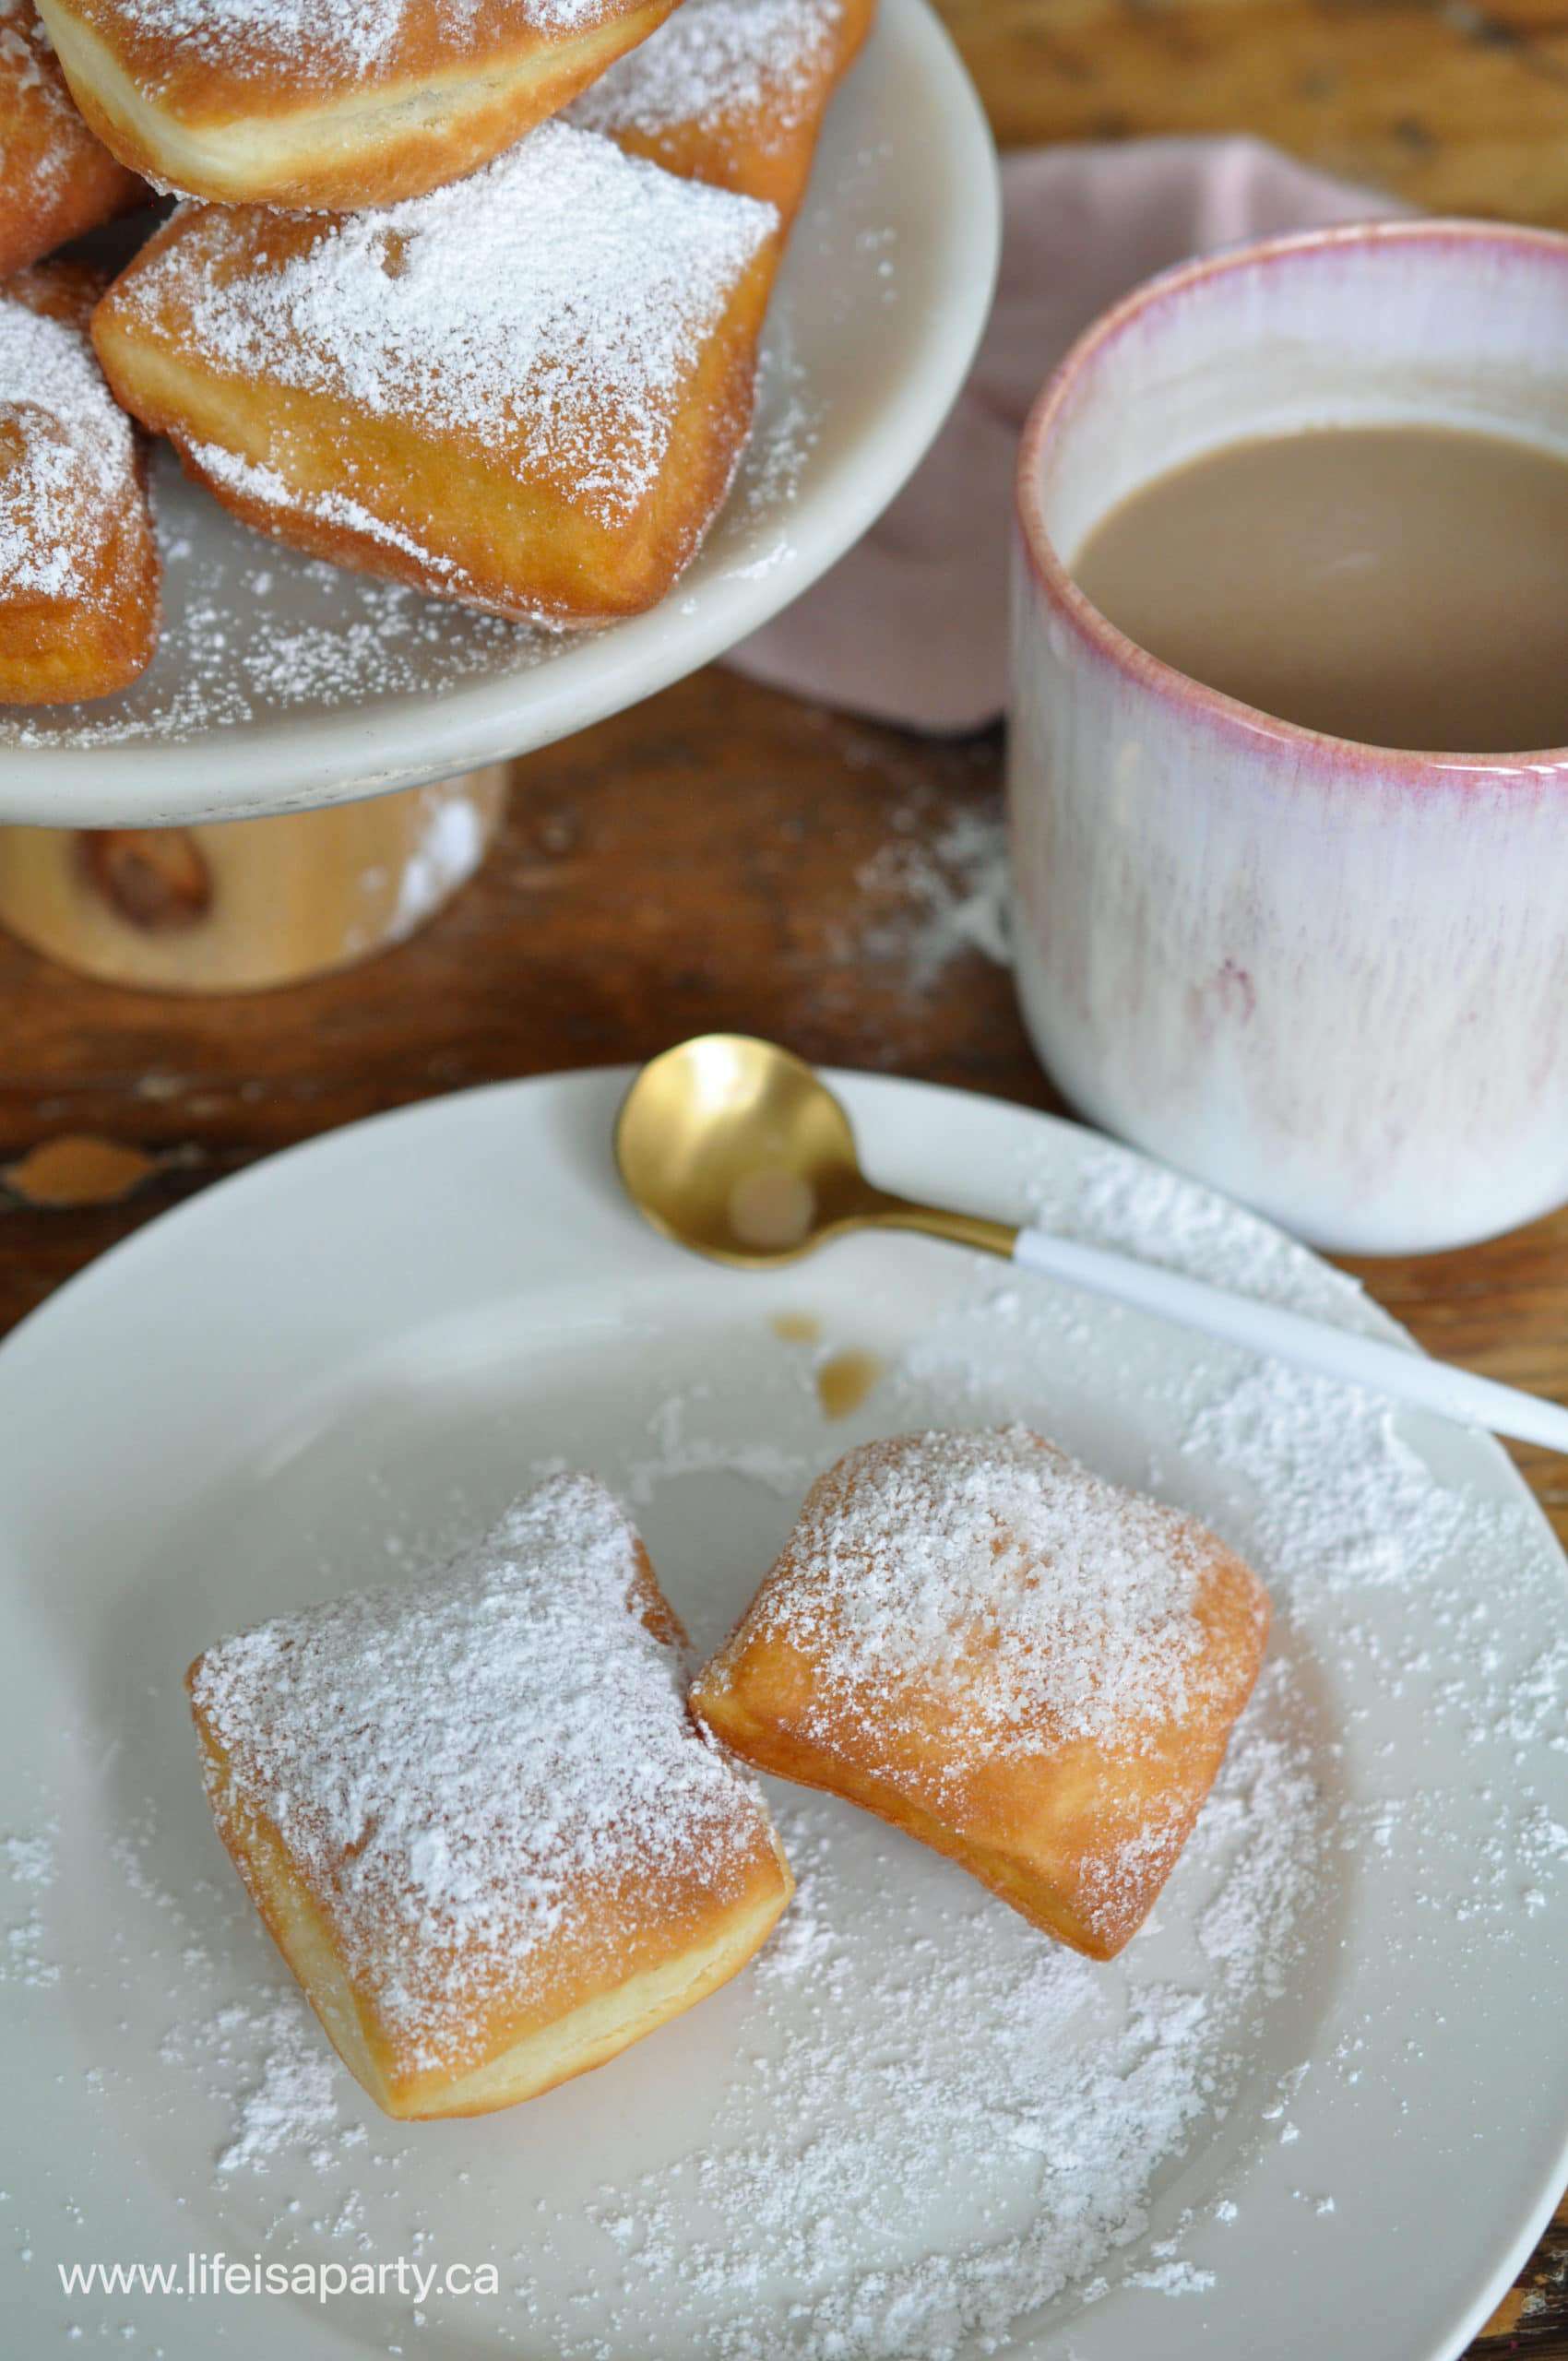
Tiana's beignets from The Princess and the Frog covered in powdered sugar on a cake plate.

Make Tiana's beignets from The Princess and the Frog using a stand mixer or bread machine for easy, foolproof dough. These golden, fluffy New Orleans donuts are covered in powdered sugar and taste just like the famous ones from Disney.

Princess Tiana's homemde beignets on a cake plate.

Quick Look

  • 📖Tiana's Beignets from The Princess and the Frog
  • ⏱️ Time: 20 minutes prep, 20 minutes cook, 4 hours rising (4 hours 40 minutes total)
  • 🍽️ Servings: 24 beignets
  • 👩‍🍳 Difficulty: Easy -bread machine does all the work for you!
  • 🍞 Method: Bread machine or stand mixer for foolproof dough
  • 💡 Top Tip: Make the dough once and refrigerate for up to a week. Fry fresh beignets whenever you want them!

Why You'll Love This Recipe

  • Bread machine option makes it foolproof. The bread maker does all the kneading work for you. Set it and walk away while the dough rises perfectly.
  • Make the dough once, fry fresh all week. Refrigerate your dough for up to a week and fry fresh beignets whenever you want them.
  • Perfect for entertaining. These are ideal for a Disney movie night, birthday party, or special brunch. Make a big batch and watch them disappear.
  • Simple ingredients you already have. No specialty ingredients needed. Everything is probably already in your pantry.
[feast_advanced_jump_to]

We couldn't put together a The Princess and The Frog themed dinner and movie night without making some beignets! They're so good, and pretty easy to put together. We made our dough in the bread maker, so it did all the hard work for us. You can also make the dough in a stand mixer, or by hand if you prefer.

Love homemade donuts? You might also like our Homemade Honey Cruller Donut Recipe, Easy Bread Machine Jelly Donuts, and Easy Sour Cream Donut Hole Recipe. Or try our Fair Funnel Cakes Recipe.
easy bread machine beignets

What Makes Tiana's Beignets Special

We first tried beignets at Walt Disney World and loved them! If you're a Disney fan or annual passholders, you have to try them there too. But with our traditional recipe, you can also enjoy them at home.

Beignets are the official doughnut of Louisiana. They were originally brought to New Orleans by French settlers and none are more famous than the ones from Café du Monde in New Orleans Square. In the movie, Tiana is dreaming of opening her own restaurant, Tiana's Place, and serving her famous beignets. They're one of Tiana's specialties.

These are traditionally served covered in powdered sugar, and that's how we served ours. But if you're not opposed to breaking with tradition, try dipping these in a little jam or Nutella for a fun addition.

Princess Tiana's beignet recipe from the Princess and the Frog movie.
Princess and the Frog themed party food and ideas.

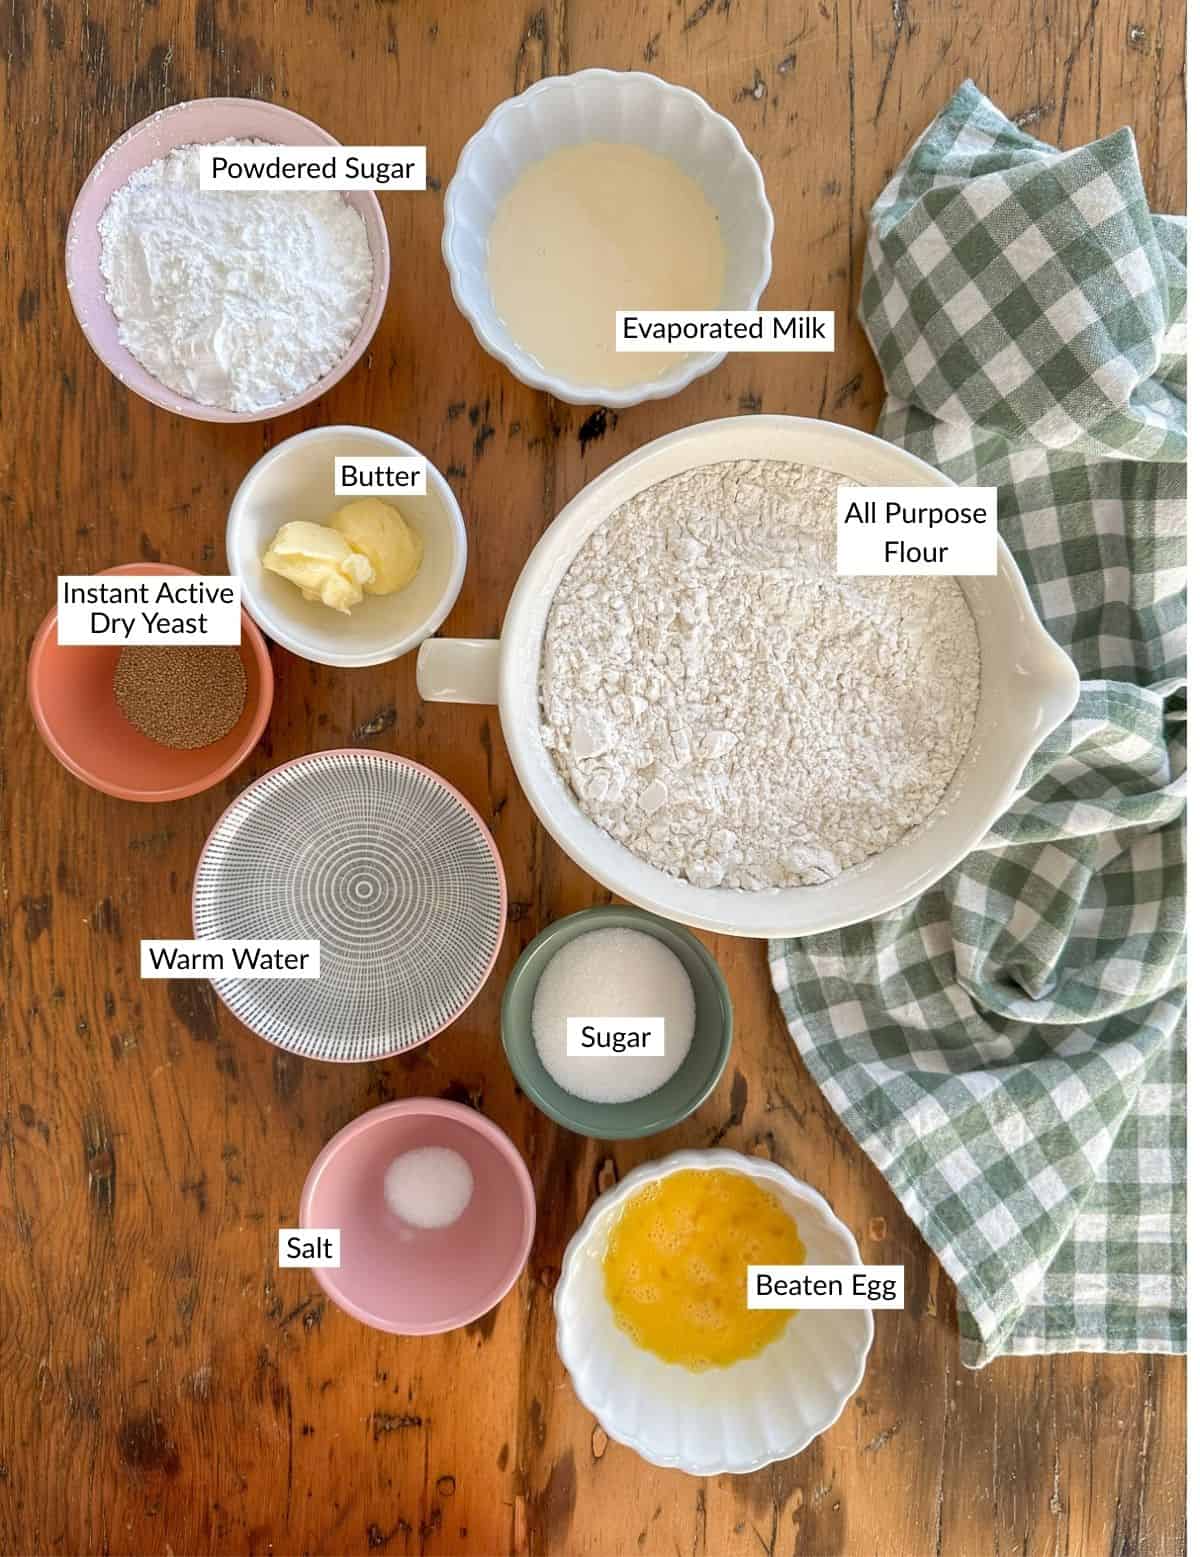
Ingredients

Full recipe card below with measurements and instructions.

  • Sugar: Feeds the yeast and adds a touch of sweetness to balance the powdered sugar topping.
  • Evaporated milk: Adds richness and helps create a tender texture.
  • Active dry yeast: Gives the beignets their light, airy inside.
  • Butter: Adds flavor and helps keep them moist.

Equipment

  • Deep fryer: These are relatively inexpensive and make frying so much easier. The built-in thermometer regulates the heat automatically for perfect, consistent results every time. If you're using a regular pot instead, you'll need a cooking thermometer to monitor the oil temperature and keep it as steady as possible for even cooking.
  • Bread machine: Makes the dough foolproof with no hands-on kneading. You can find them inexpensively at the thrift store often. If you don't have one, a stand mixer with dough hook works great too.
  • Pizza cutter: This little trick is the easiest way to cut clean, even squares. Much faster than a knife!

How To Make Beignets
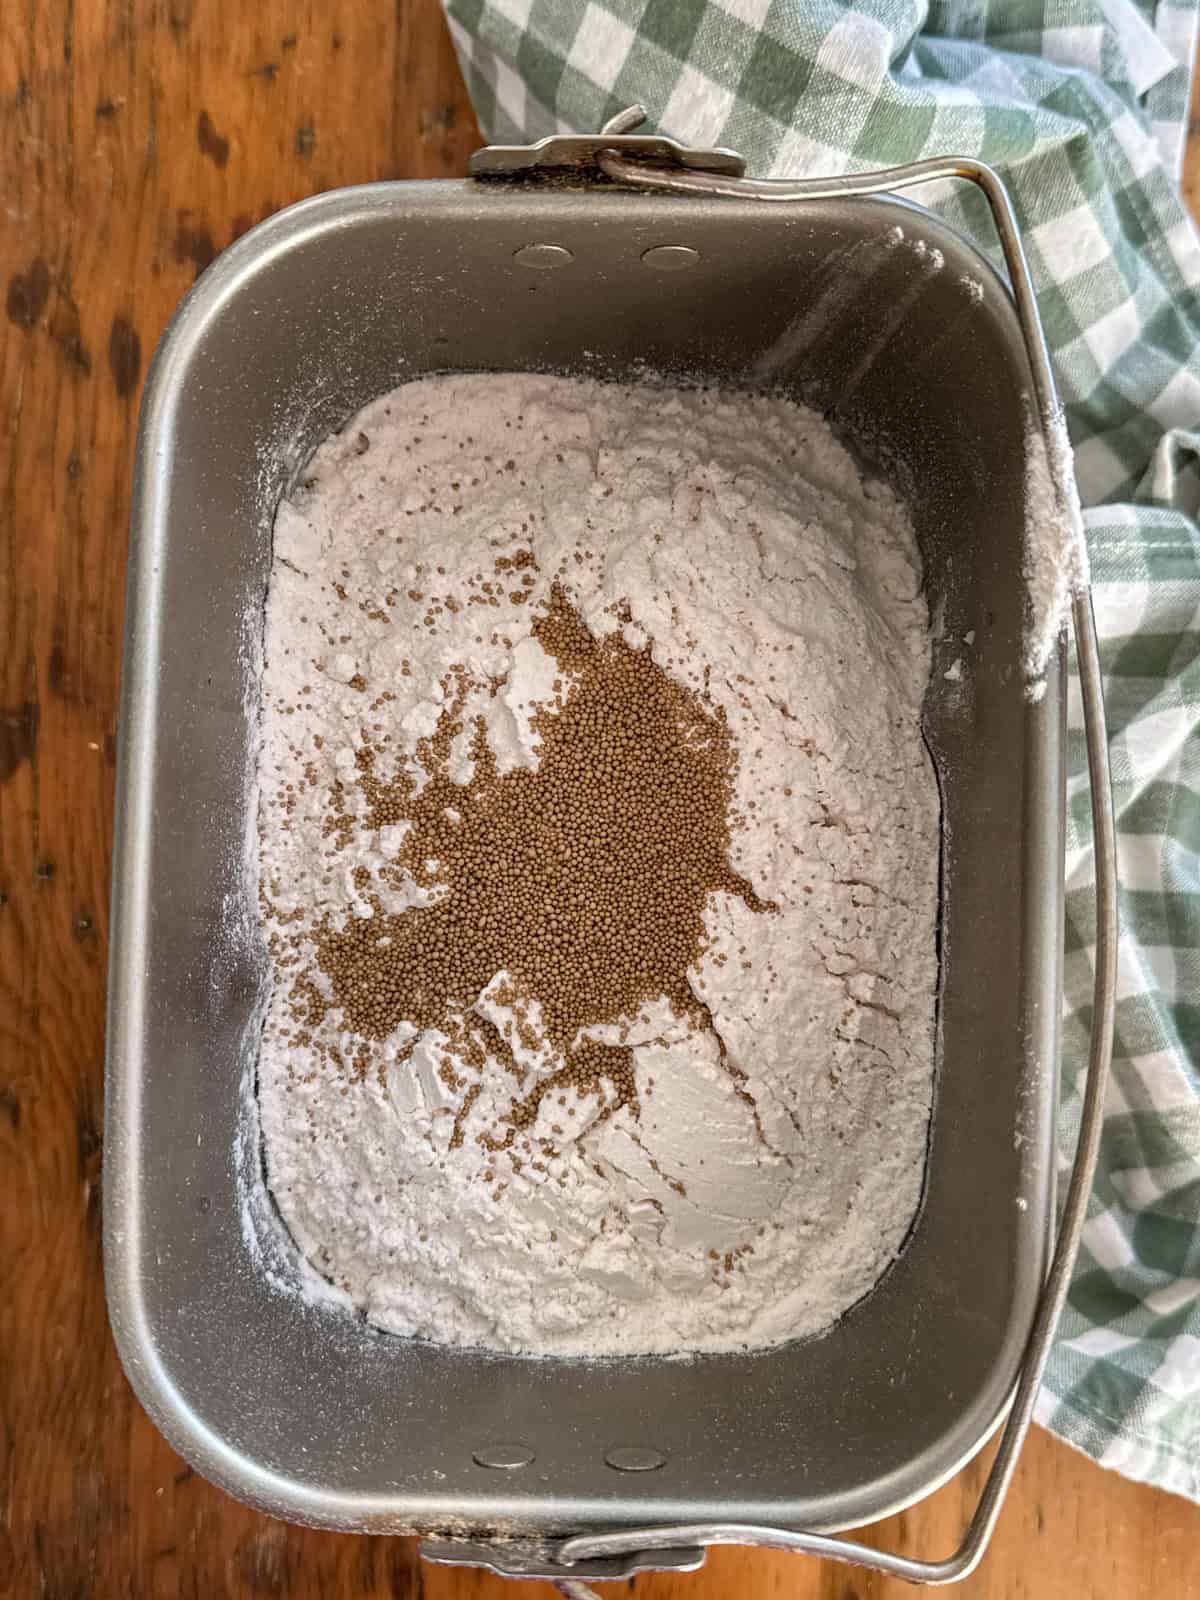
  1. Step 1: Layer water, sugar, salt, egg, butter and evaporated milk without stirring. Add flour, then yeast on top. Set to dough cycle and start. When done, place dough in oiled bowl, cover, and refrigerate 3 to 4 hours.
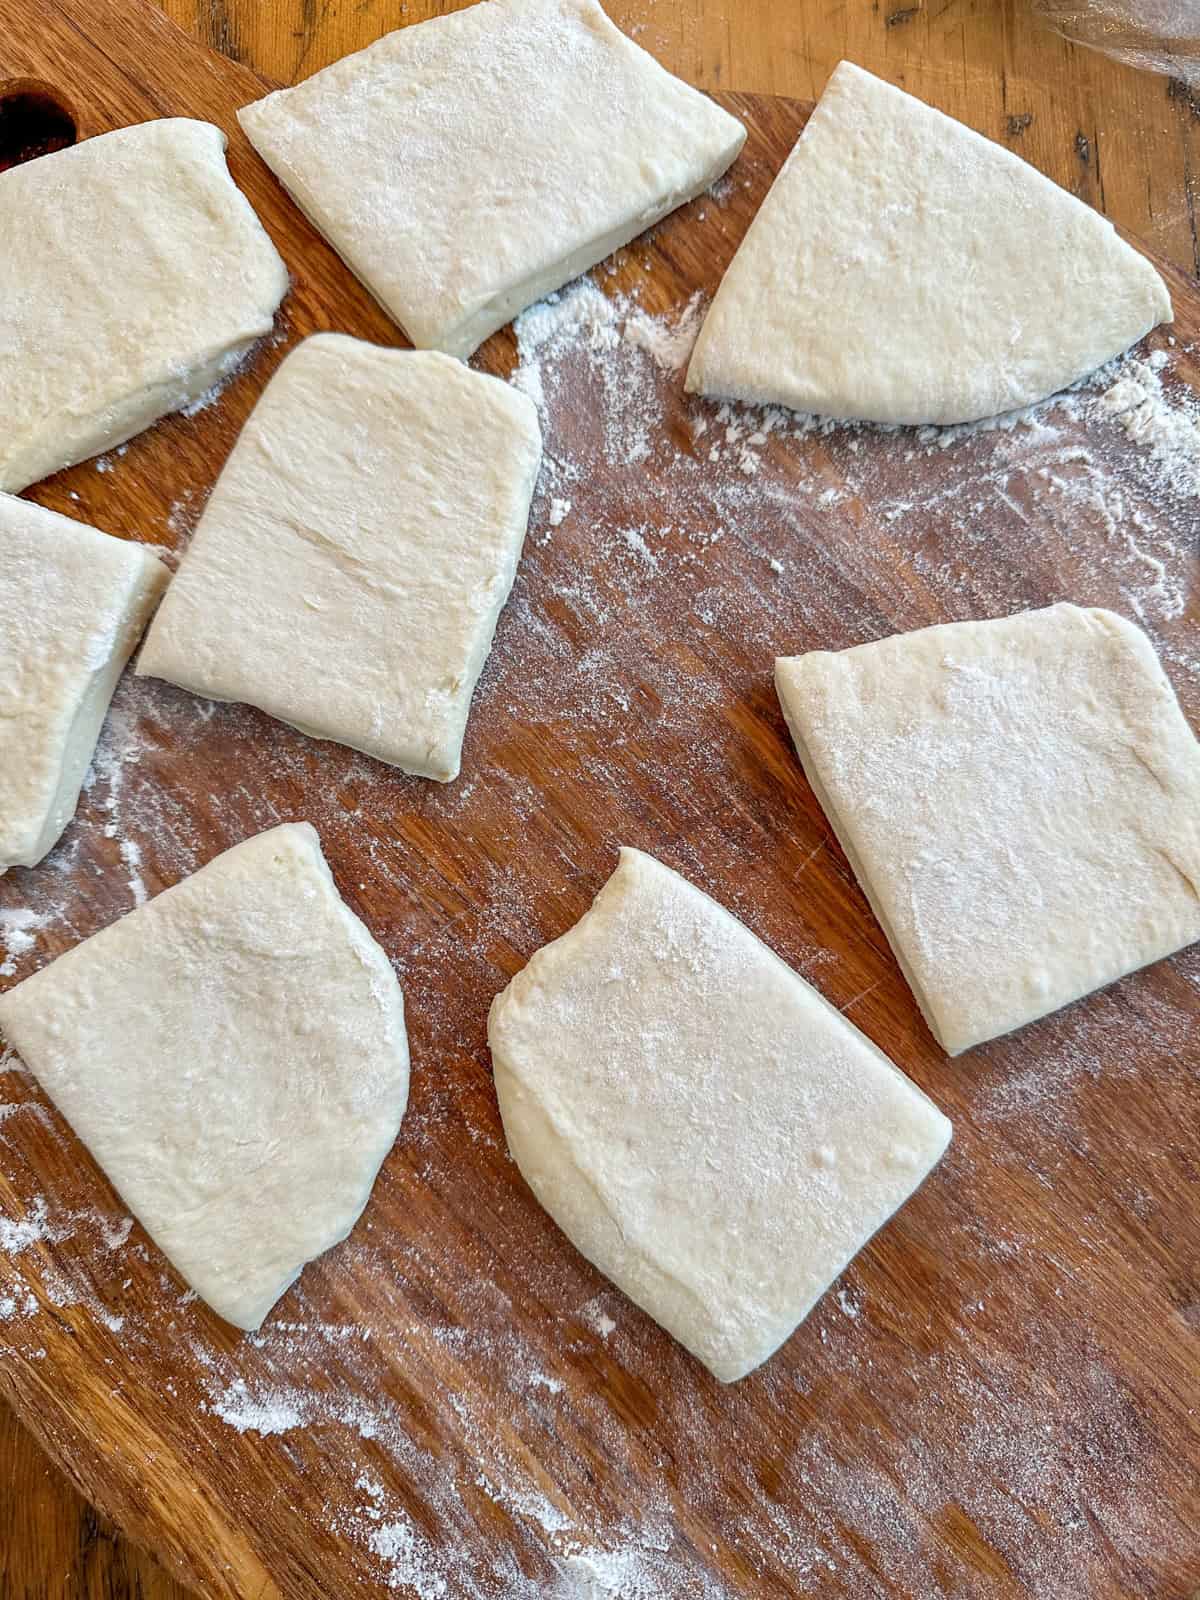
  1. Step 2: Roll chilled dough on floured surface to ½ inch thickness. Cut into 3 inch squares with pizza cutter.
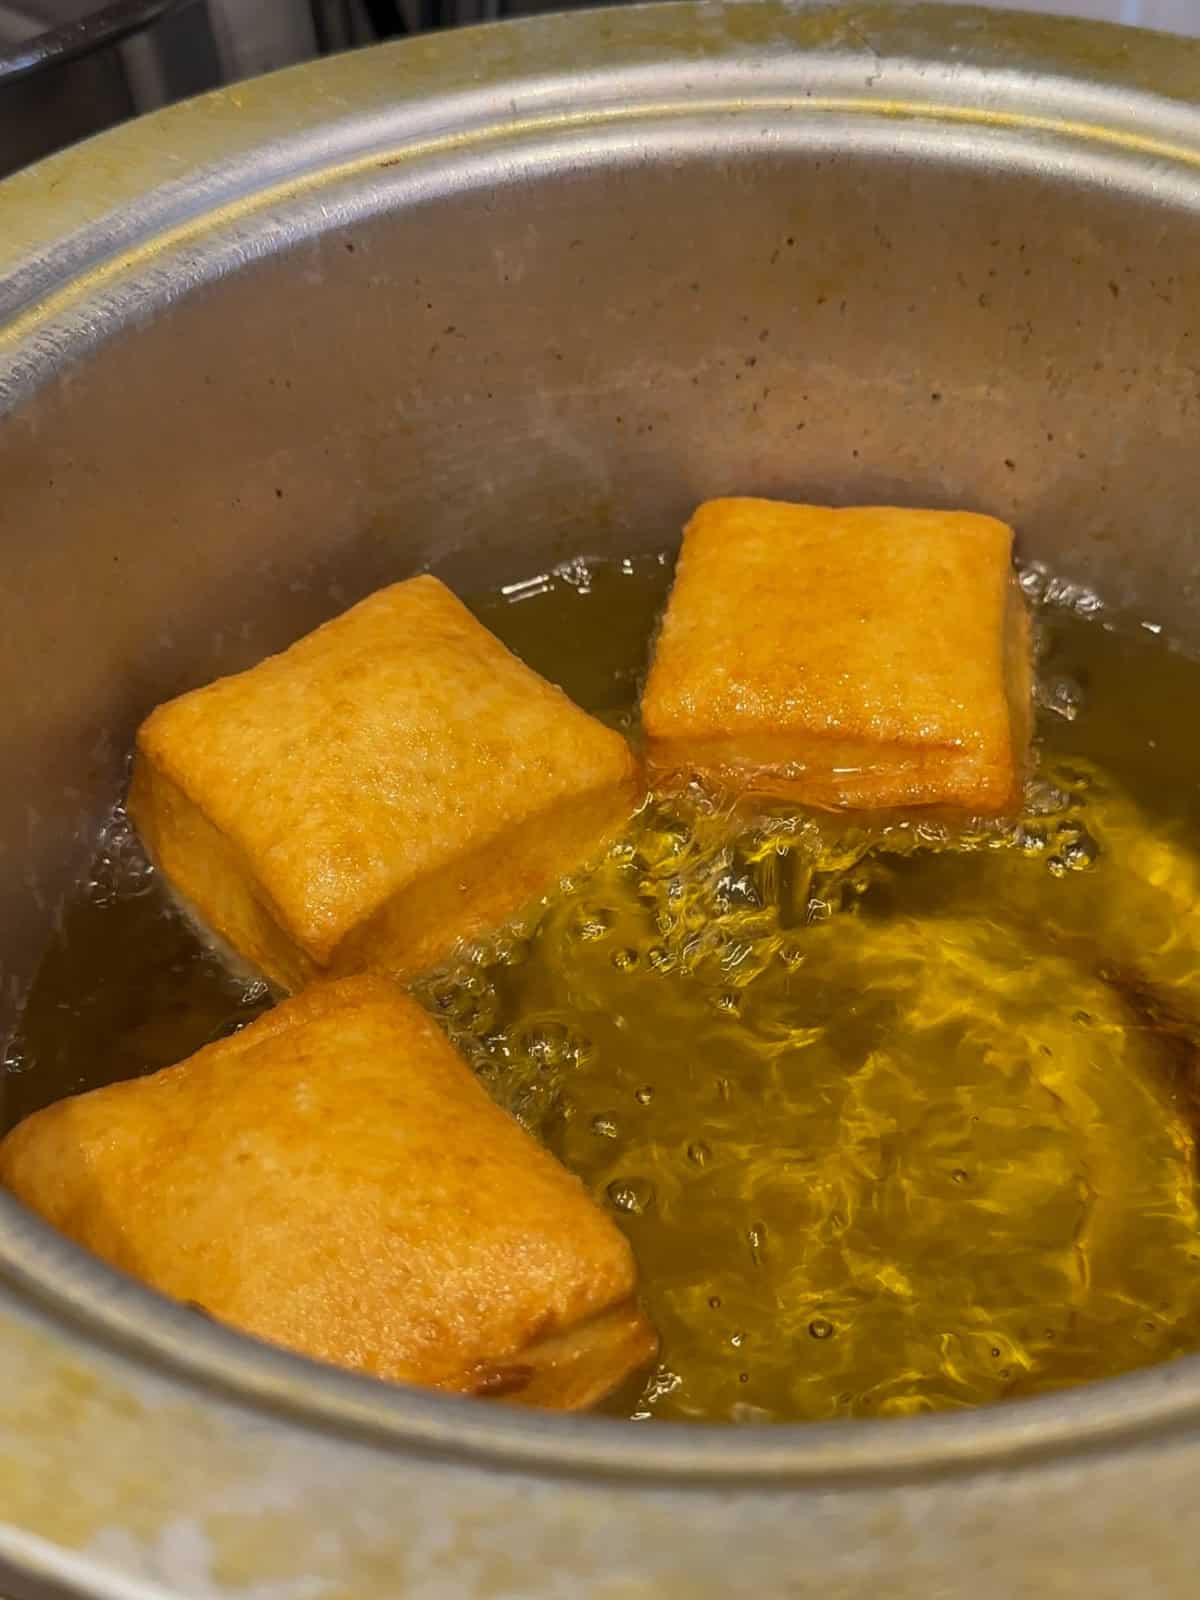
  1. Step 3: Heat oil to 365 degrees F in deep fryer or large pot. Fry beignets in small batches for 2 to 3 minutes per side until golden brown. Flip with tongs.
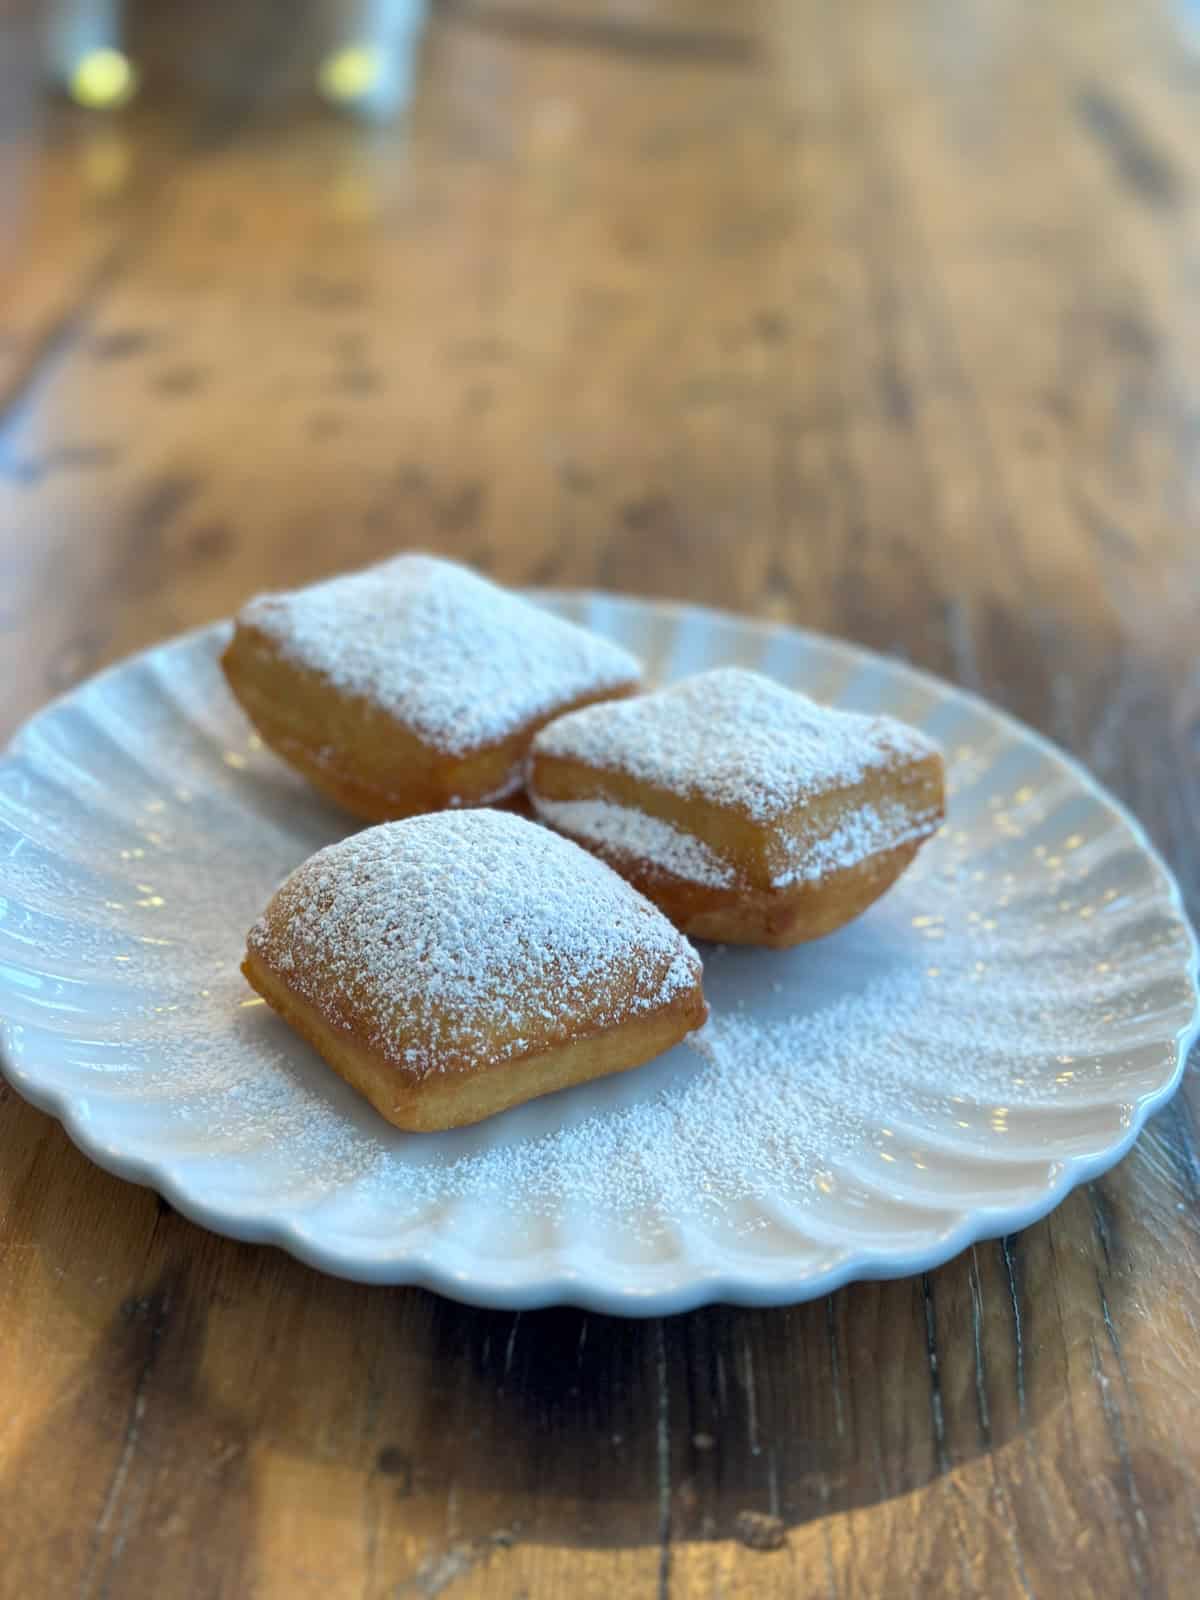
  1. Step 4: Drain the fried donuts on paper towels or a wire rack. Dust generously with powdered sugar while warm. Serve immediately.
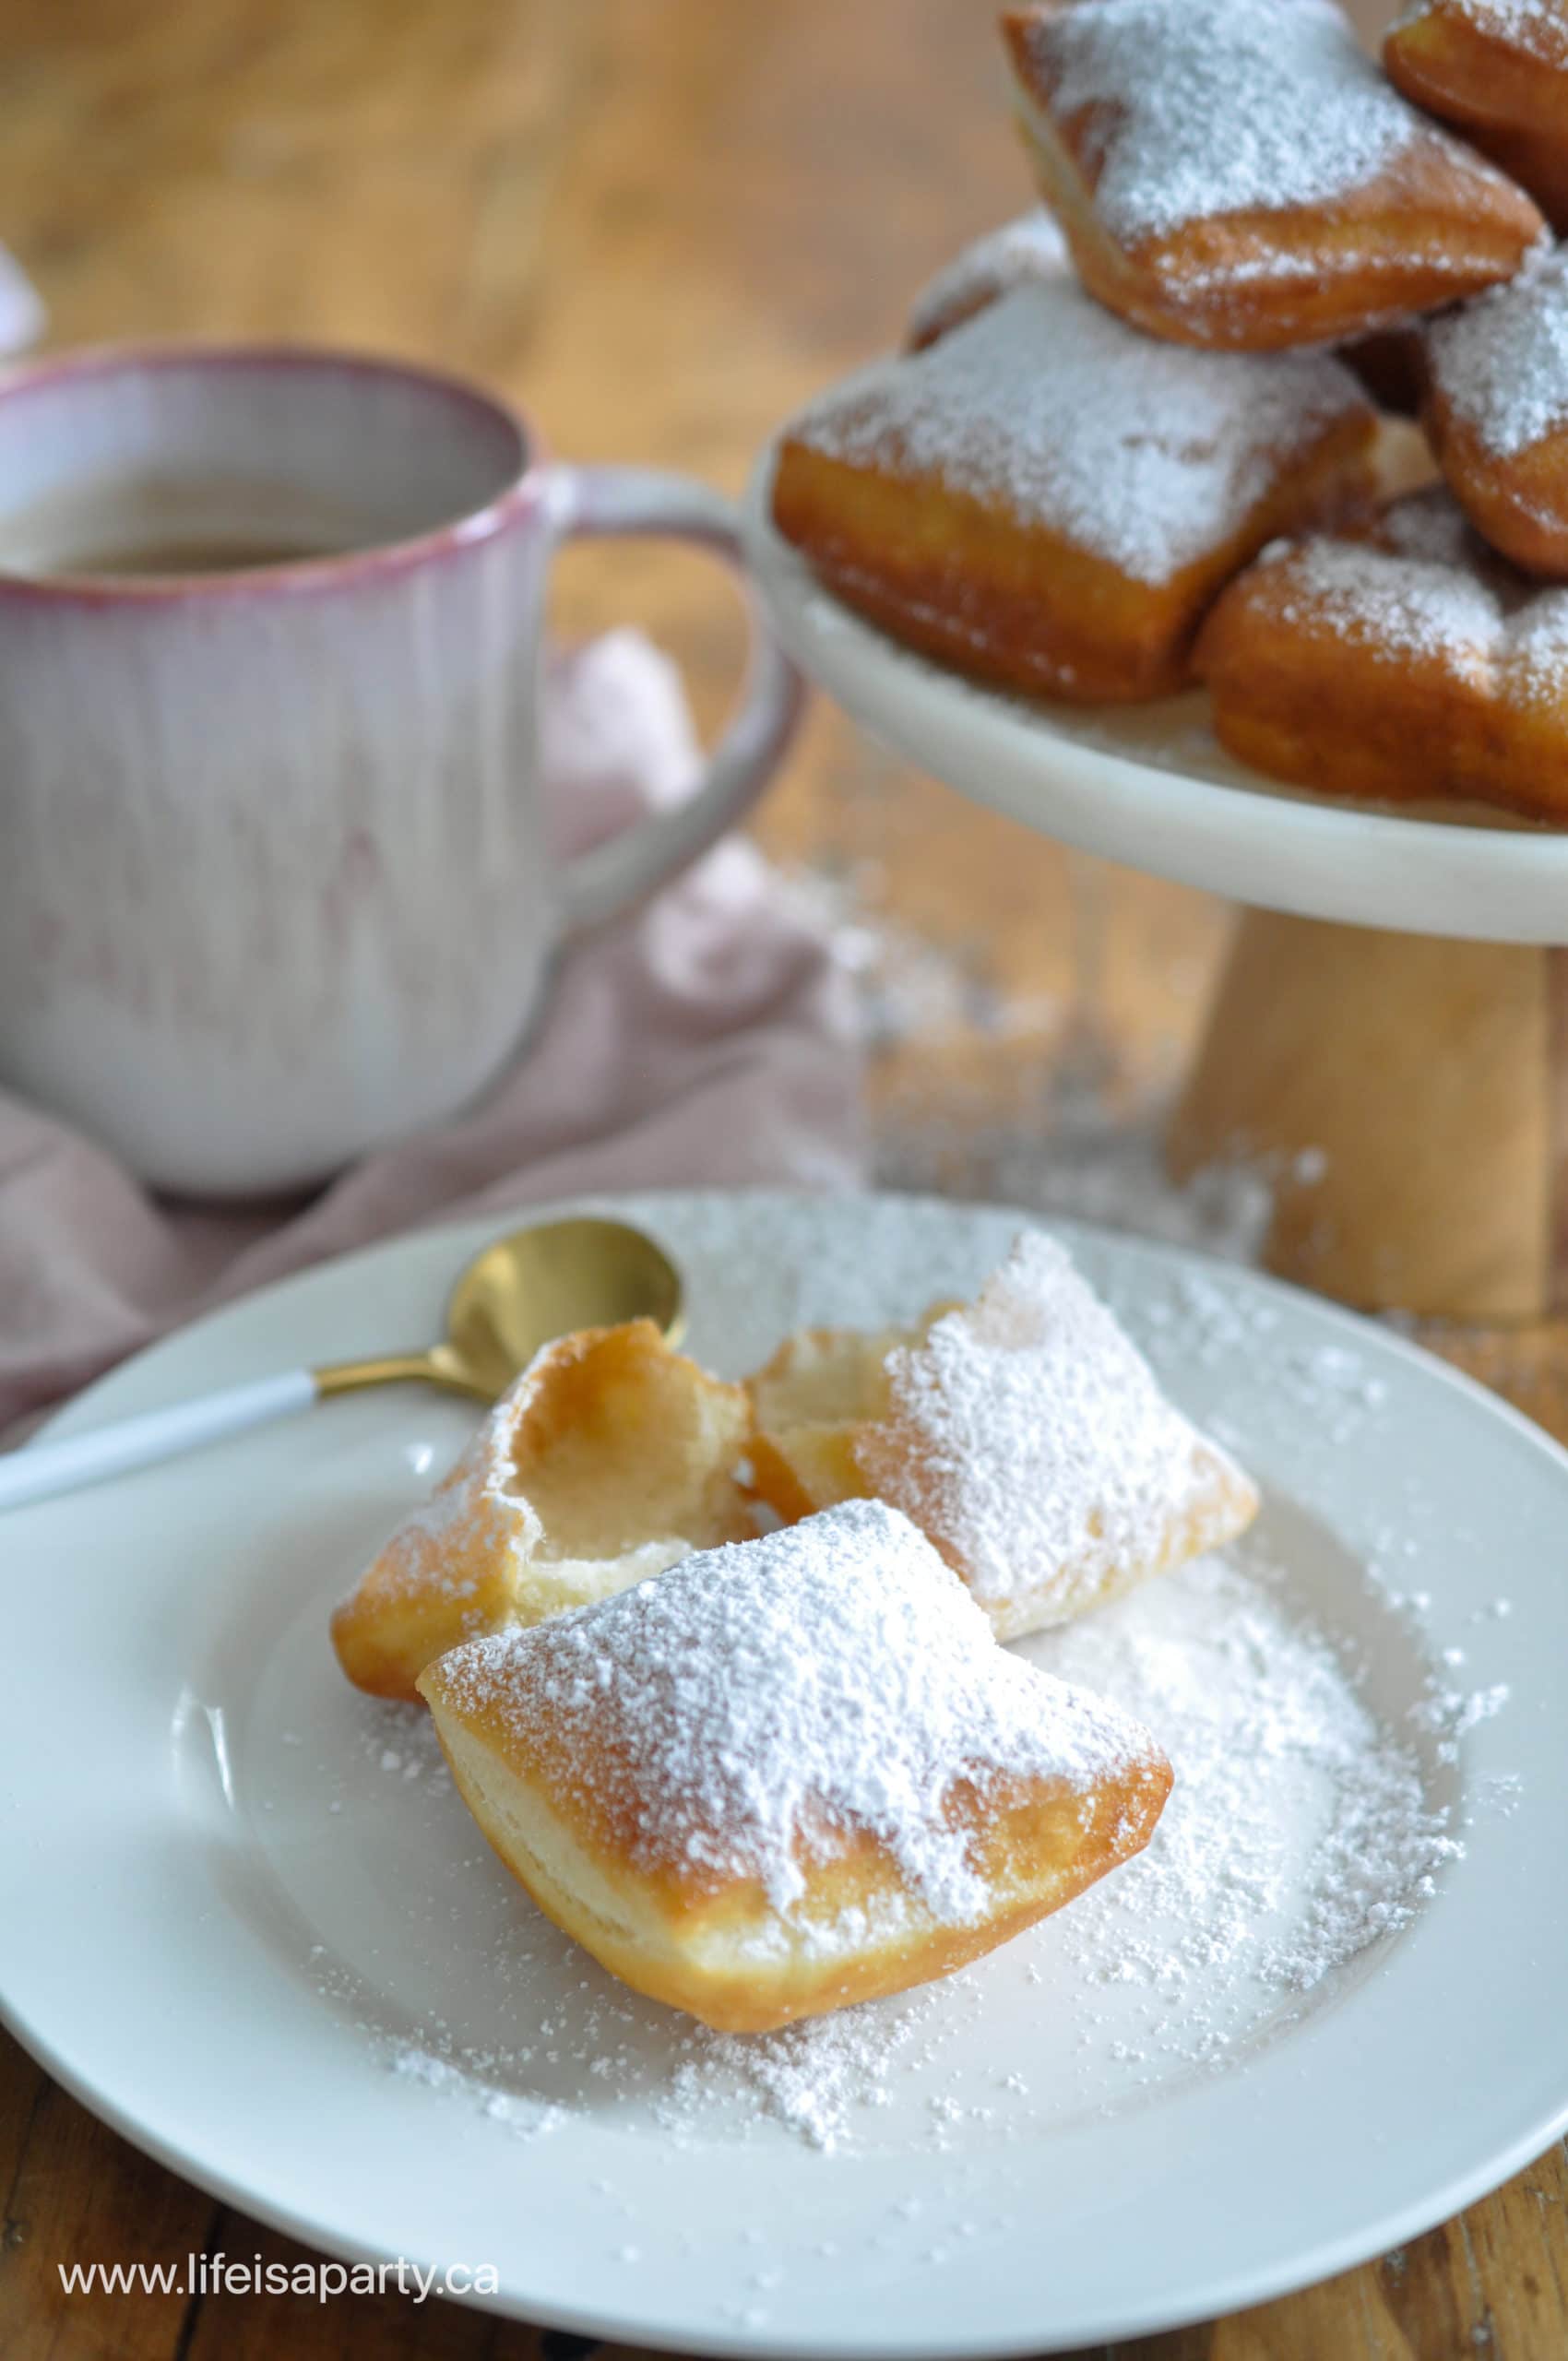
how to make Princess Tiana's beignets

Storage

Beignets are best eaten as soon as they are fried. If you don't need a full batch, wrap the extra dough in plastic wrap and store in the fridge for up to a week. Fry the donuts fresh anytime you want them.

Tips for Perfect Beignets

  • Watch your oil temperature closely. Keep it at 365 degrees F. Too hot and they'll brown before cooking through. Too cool and they'll absorb too much oil and taste greasy.
  • Don't skip the chilling time. Cold dough is much easier to roll and cut cleanly. It also fries up better.
  • Work in small batches. Fry only 4 to 5 beignets at a time. Overcrowding drops the oil temperature and makes them cook unevenly.
  • Dust them while hot. The powdered sugar sticks better to warm beignets. Be generous! There should be a mountain of sugar on each one.
  • Use a thermometer. Guessing oil temperature leads to inconsistent results. A simple cooking thermometer is worth it.
  • Save extra dough for later. Keep any unfired dough in the fridge for up to a week. Fry fresh beignets whenever you want them.

Topping and Dipping Ideas:

  • Classic powdered sugar (traditional)
  • Drizzle with honey (like Tiana does in the movie!)
  • Serve with strawberry jam or raspberry preserves
  • Dip in chocolate sauce or Nutella
  • Dust with cinnamon sugar instead of powdered sugar
  • Serve with fresh berries on the side
easy beignet recipe

Troubleshooting

  • My beignets didn't puff up: Your oil wasn't hot enough. Make sure it reaches 365 degrees F before adding the dough. Use a thermometer to check.
  • They're too greasy: The oil temperature was too low. They absorbed oil instead of frying quickly. Increase the heat and wait for it to reach the right temperature before adding more.
  • The dough is too sticky to roll: Add flour to your work surface, not to the dough. Dust your rolling pin and the counter generously. Cold dough from the fridge is easier to work with than room temperature dough.
  • They're browning too fast: Your oil is too hot. Lower the heat and let it cool down to 365 degrees F. Test with a small piece of dough first.
  • They're dense and heavy: You may have added too much flour during rolling. The dough should be soft and slightly sticky. Also make sure your yeast was fresh and active.

Frequently Asked Questions

What's the difference between a beignet and a donut?

Beignets are square shaped French pastries that puff up when fried and are topped only with powdered sugar. Donuts are typically round with a hole, have various toppings, and can be cake style or yeast raised. Beignets have a lighter, airier texture.

Can I make these without a bread machine or stand mixer?

Yes! Mix the ingredients with a wooden spoon until combined, then knead by hand on a floured surface for about 10 minutes until the dough is smooth and elastic.

What oil should I use for frying?

Vegetable oil or peanut oil both work well. Choose an oil with a high smoke point. You'll need enough to fill your pot 2 to 3 inches deep.

Can I make the dough the night before?

Absolutely! In fact, chilled dough is easier to work with. Make it the night before and let it chill overnight in the fridge. It will keep for up to a week.

Why are they called Tiana's beignets?

In Disney's The Princess and the Frog, Princess Tiana makes beignets throughout the movie. They're her specialty and part of her dream to open her own restaurant. These beignets are inspired by the ones she makes in the film.

Can I make these ahead for a party?

Make the dough up to a week ahead and keep it refrigerated. Fry them fresh right before your party starts. They're best served warm and fresh, so don't fry them too far in advance.

More Donut Recipe Inspiration

  • Tiana's beignets from The Princess and the Frog covered in powdered sugar on a cake plate.
    Tiana's Beignet Recipe from The Princess and The Frog
  • Mini jelly donuts easy recipe.
    Easy Bread Machine Jelly Donuts
  • Bread machine donut holes with Nutella.
    Bread Machine Mini Nutella Filled Donut Recipe
  • Homemade honey cruller donuts on a serving board.
    Homemade Honey Cruller Donuts

If you make Tiana's Beignets or any thing else from the blog please leave a comment and rating below. Thanks for visiting Life is a Party today!

Recipe

Tiana's beignets from The Princess and the Frog covered in powdered sugar on a cake plate.

Tiana's Beignets Recipe from The Princess and The Frog

Video

Sweet and fluffy, powdered sugar covered homemade donuts.
4.39 from 13 votes
Print Pin Rate
Course: Desserts
Cuisine: American
Prep Time: 20 minutes minutes
Cook Time: 20 minutes minutes
Additional Time: 4 hours hours
Total Time: 4 hours hours 40 minutes minutes
Servings: 24
Calories: 123kcal
Author: Dannyelle Nicolle-Ramjist

Ingredients

  • 1 cup warm water
  • ¼ cup sugar
  • ½ teaspoon salt
  • 1 egg beaten
  • 2 tablespoon butter
  • ½ cup evaporated milk
  • 4 cups all purpose flour
  • 3 teaspoon instant active dry yeast
  • oil for frying
  • 1 cup powdered sugar

Instructions

  • In a bread machine, layer in the water, sugar, salt, egg, butter and evaporated milk in order and without stirring. Next layer in the 4 cups of the flour, and lastly the yeast. Set your bread maker to the dough setting and push start.
    If you're making the dough in a stand mixer, attach the dough hook and add the water, sugar, salt, egg, butter, evaporated milk, flour and yeast in the large bowl of the mixer and combine until smooth.
    Place the finished dough in a well oiled bowl and cover tightly with plastic wrap. Place in the fridge for 3-4 hours to chill.
    1 cup warm water, ¼ cup sugar, ½ tsp salt, 1 egg, 2 tbsp butter, ½ cup evaporated milk, 4 cups all purpose flour, 3 tsp instant active dry yeast
  • To form the donuts, roll the dough on a floured work surface to around a ½ inch thickness. Use a knife or pizza cutter to cut out 3 inch dough squares.
  • Heat several inches of vegetable oil in a deep fryer to 364 degrees F. Fry several beignets at a time in the hot oil until they are golden brown on each side, using tongs or a slotted spoon to flip them over.
    oil for frying
  • Drain the fried beignets on paper towels or a wire rack, and then coat them in powdered sugar. Serve fresh, best eaten on the day they're made.
    1 cup powdered sugar

Notes

Storage: Keep unfired dough refrigerated for up to one week. Fry fresh beignets as needed.
Oil Temperature: Use a thermometer to maintain 365 degrees F. Too hot and they'll brown before cooking through. Too cool and they'll absorb oil and taste greasy.
Don't Overcrowd: Fry only 4 to 5 beignets at a time. Overcrowding drops the oil temperature and makes them cook unevenly.
Best Fresh: These are best served warm and fresh. They start to get soggy as they sit.
Powdered Sugar: Dust them generously while they're still warm so the sugar sticks better.

Nutrition

Serving: 1g | Calories: 123kcal | Carbohydrates: 24g | Protein: 3g | Fat: 2g | Saturated Fat: 1g | Polyunsaturated Fat: 0.2g | Monounsaturated Fat: 0.5g | Trans Fat: 0.04g | Cholesterol: 11mg | Sodium: 65mg | Potassium: 45mg | Fiber: 1g | Sugar: 8g | Vitamin A: 52IU | Vitamin C: 0.1mg | Calcium: 19mg | Iron: 1mg
Tried this Recipe? Tag me Today!Mention @LifeisaParty or tag #lifeisaparty!

Swamp Water Punch

Jul 14, 2021 · 1 Comment

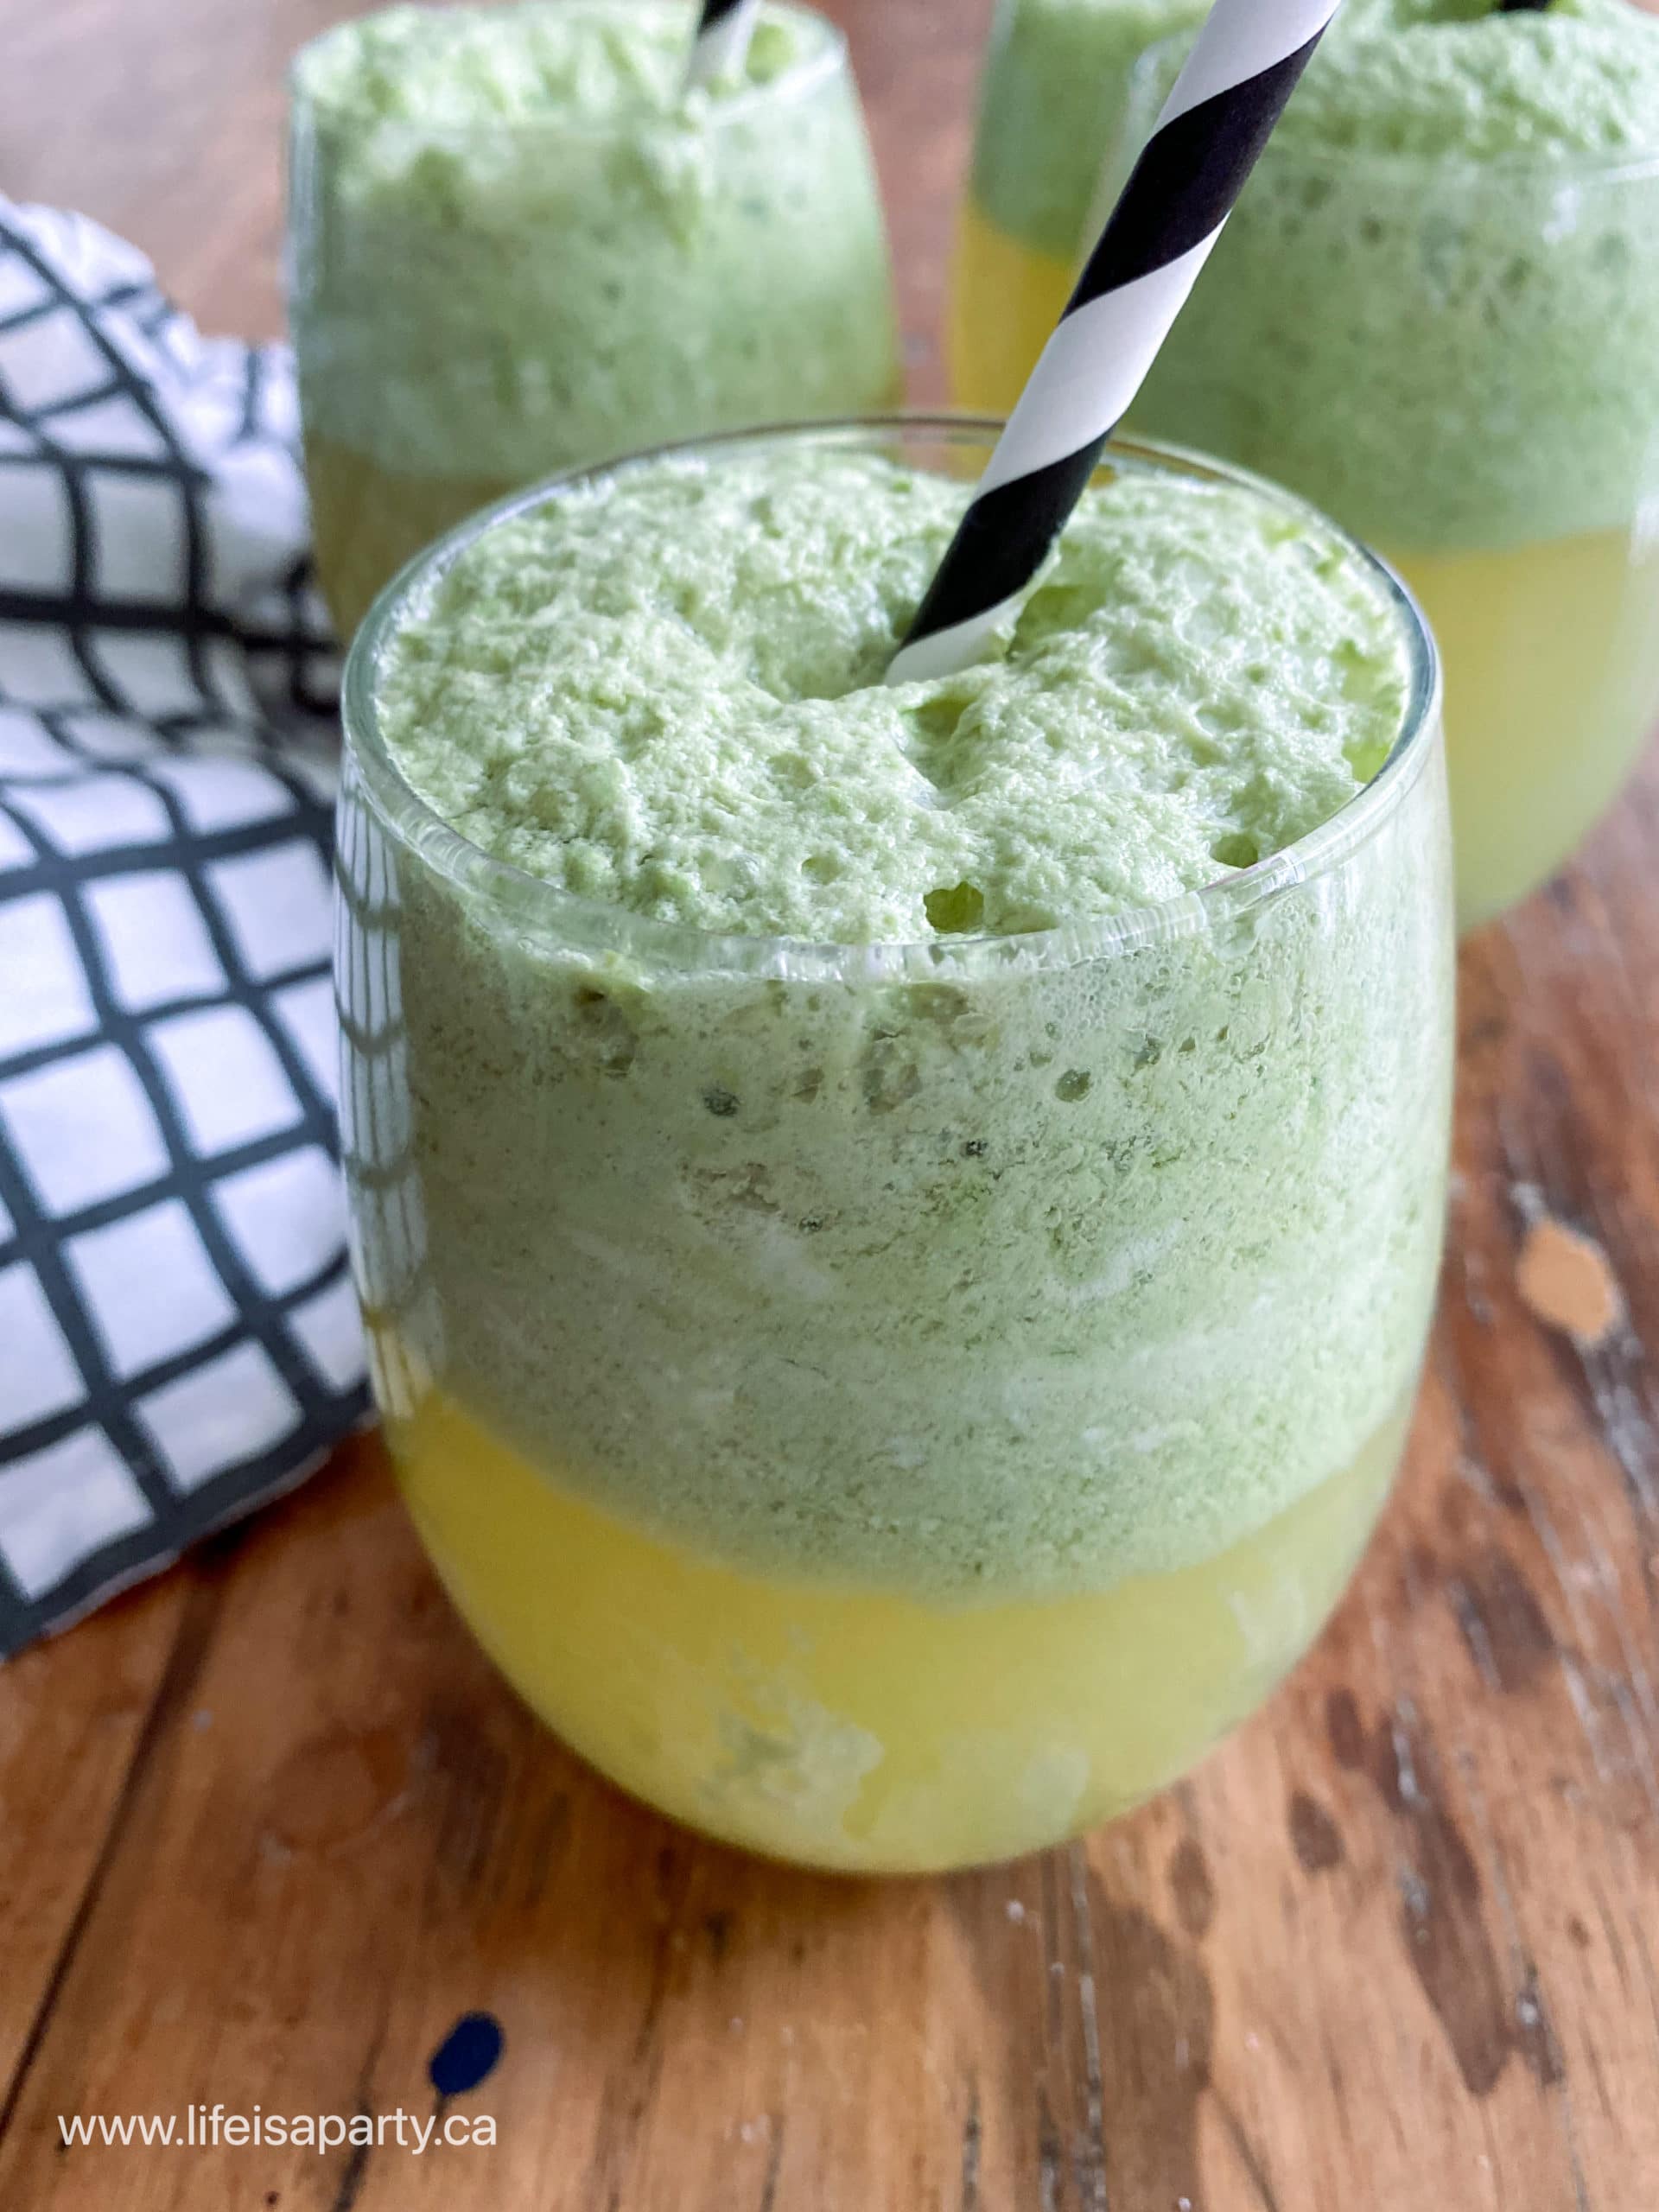
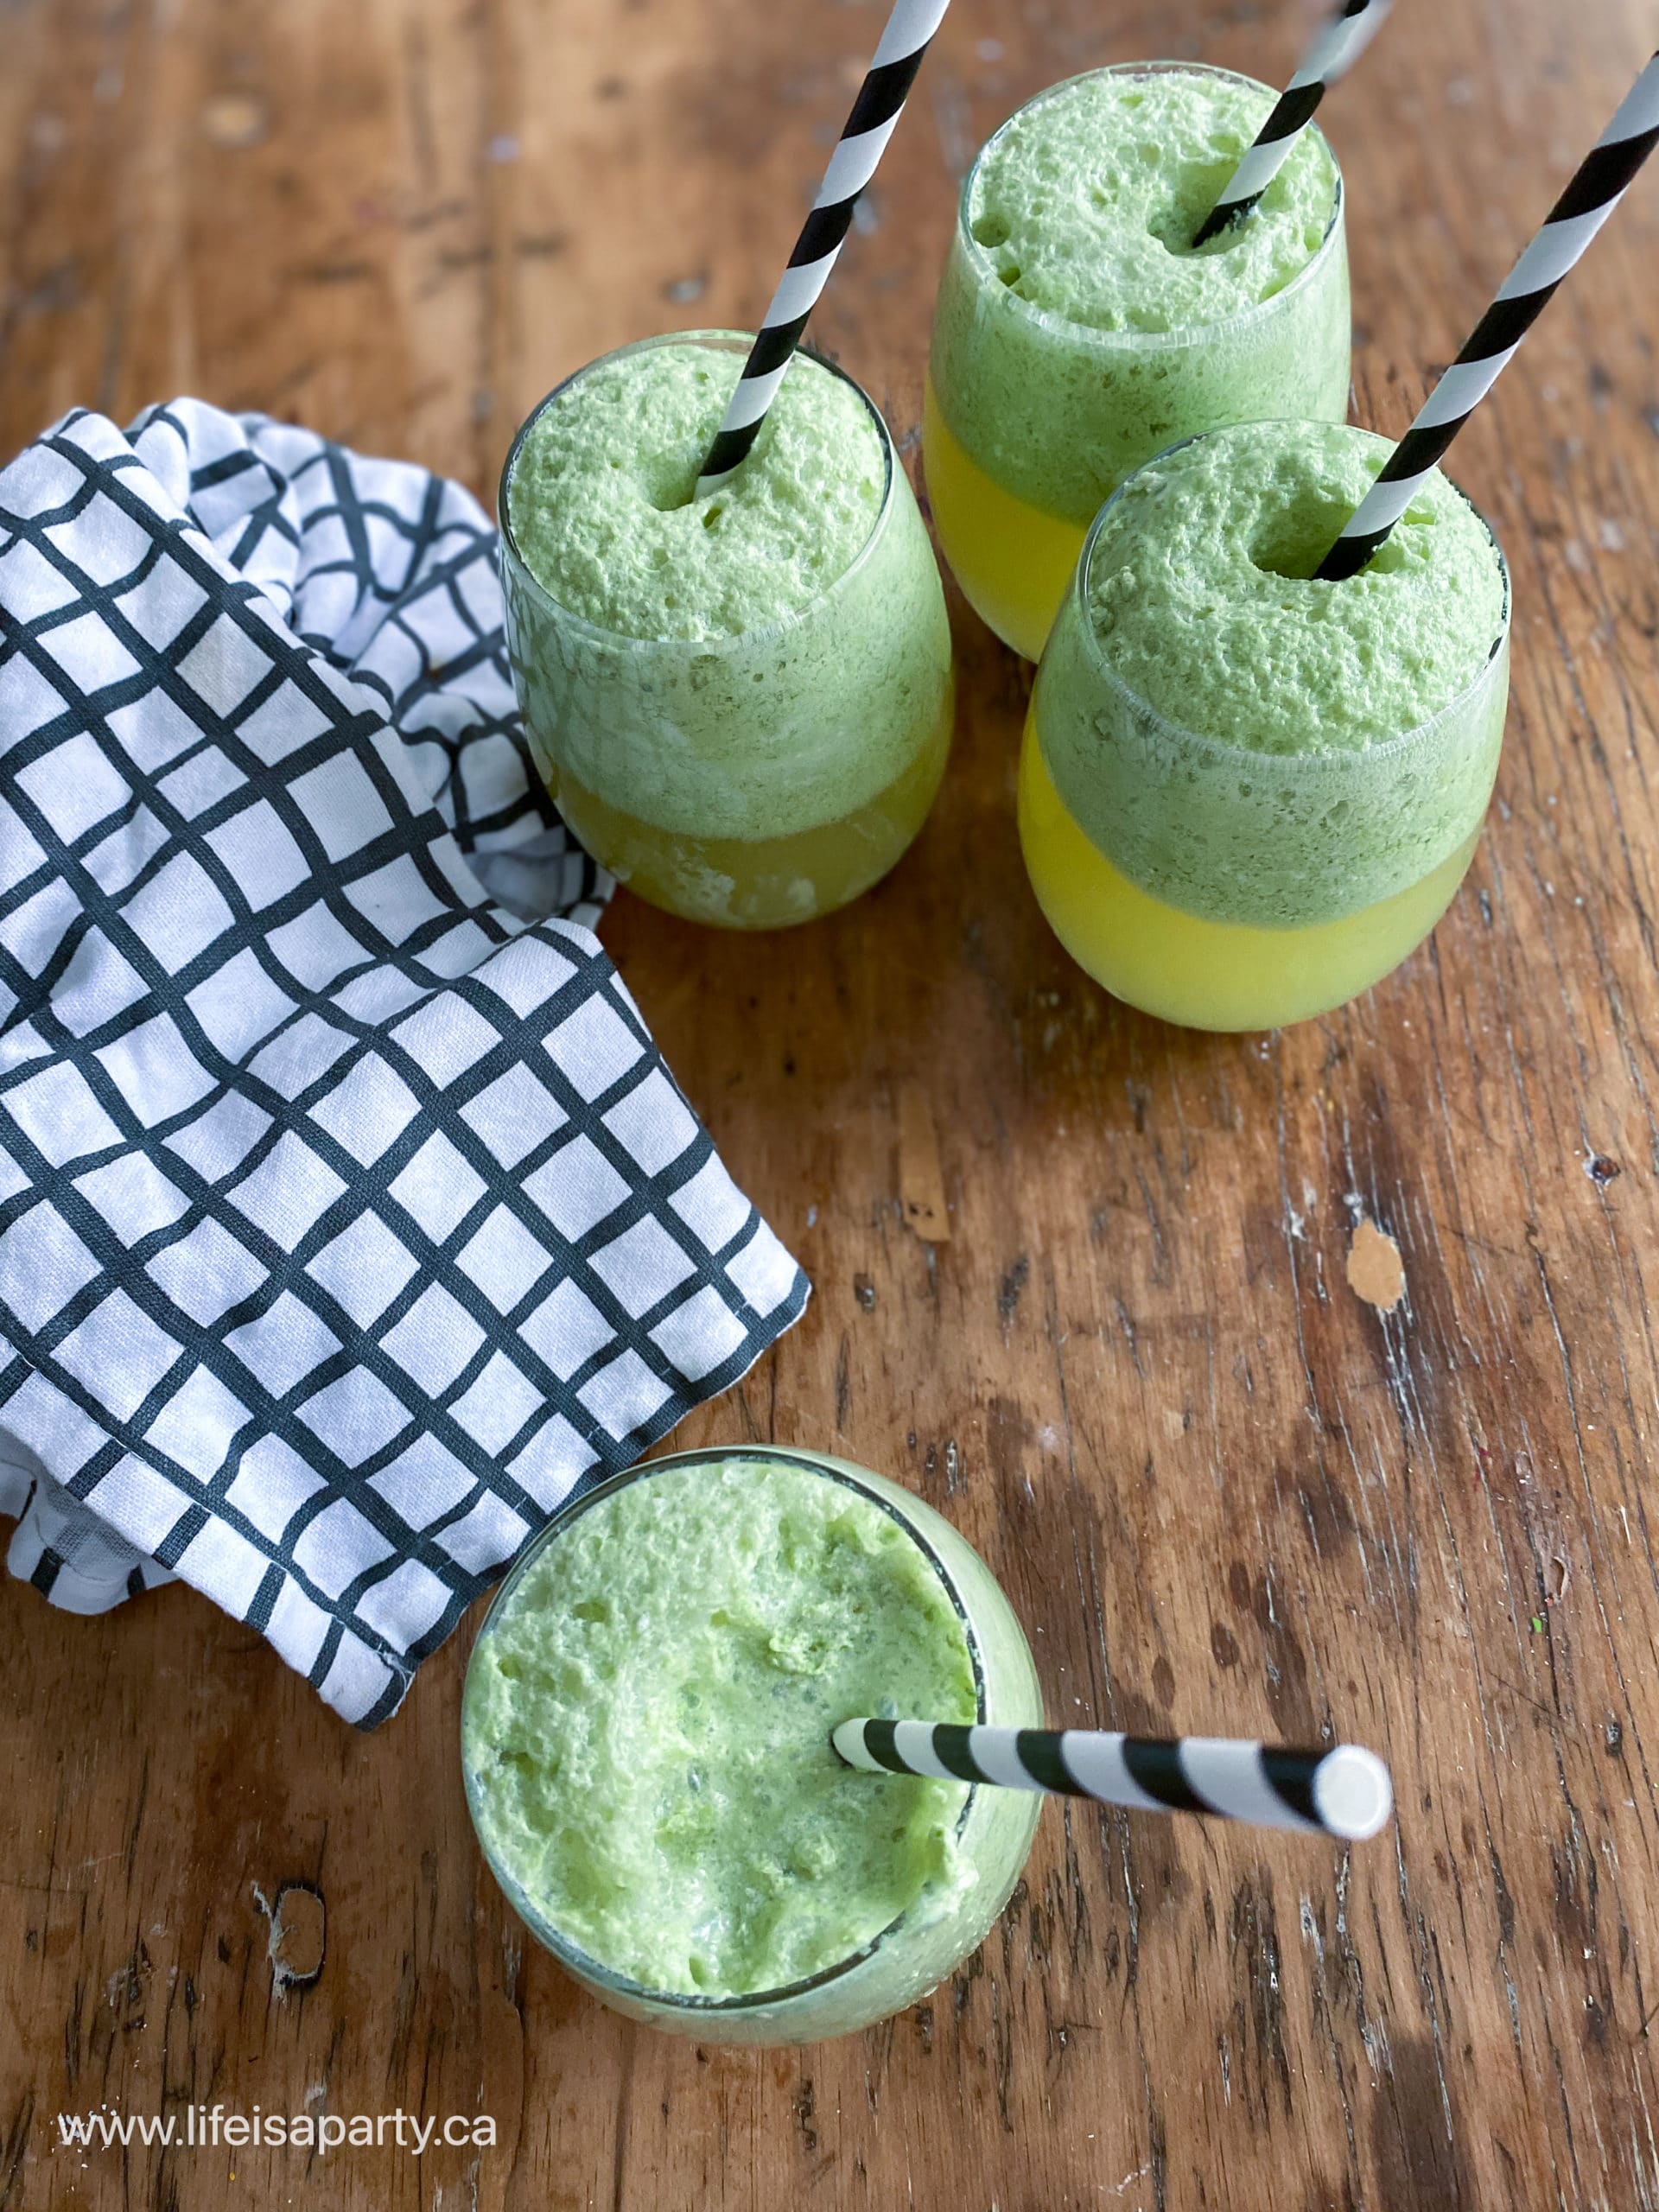
Easy green and foamy wamp water punch in a glass.

This Swamp Water Punch is made with limeade, ginger ale, pineapple juice, and lime ice cream or sherbet. It makes a creamy and fizzy sweet swampy punch that the kids will love.

Easy green and foamy wamp water punch in a glass.
[feast_advanced_jump_to]

Why We Love This Recipe

  • It really tastes great.
  • The ice cream adds a foamy cold creaminess that's really good.
  • It really looks green and swampy! It's the perfect balence of gross and delicous.

When we decided on The Princess and the Frog dinner and movie night for our first Disney Princess dinner and movie night, we knew swamp water punch would be the perfect addition.  Much of the Princess and the Frog takes places in the swamp lands of Louisiana.  The scenery is beautiful with fireflies, water lilies, mossy trees, and cat tails... along with green swampy water.  This was the inspiration for our drinks.

This would be a great addition to any swamp themed party or for Halloween.

Swamp water green punch for a Princess and the Frog themed party.

Ingredients

See the recipe card below for ingredient measurements.

We wanted our swamp water drink to be the perfect disgusting swamp-green color and foamy so we added ice cream and pop for that fizzy, creamy swamp effect. It's also so yummy, and kids love it. It's one of my favorite easy recipes for a party

  • Limeade: The limeade helps create the green color, the pop adds the fizz and reacts well with the ice cream or sherbet to make the foam effect.
  • Pineapple Juice: helps add sweetness and flavour.
  • Ice cream or Sherbet: adds that swampy foam texture on the top and adds great taste too.
Swamp water green and fizzy punch in a glass with a straw.

Variations

  • Ice Cream/Sherbet: I had trouble finding lime sherbet where I live, but I did find lime ice cream at Baskin Robbins, which worked great and was delicious. If you can find lime sherbet, it would work great too. If you can't find either of these, you could substitute vanilla ice cream with some green food coloring as an alternative, or just add the ice cream plain but it won't create as green of a foamy layer on top.
  • Orange Juice: Some people like to use orange juice and make it an orange juice punch, including the orange juice pulp for more of the swampy effect. We liked the taste of the pineapple juice better, but orange juice is an option if you prefer.
  • Ice Cubes and Gummi Worms: try adding some to everyone's glass as a fun swampy garnish. Freeze the gummy worms on their own, or add them to the ice cube trays when you're making the ice cubes so that they're frozen into the ice cubes. Gummi bugs, frogs or spiders are a great option as a garnish too.

Using Dry Ice

You might even want to add some dry ice for a foggy effect. This would be especially fun for a Halloween party. To create this effect you will want to serve the punch bowl. Use two plastic punch bowls, one smaller than the other. Put the swamp water punch in the smaller bowl with a ladle for guests to help themselves. The small bowl will sit inside of the larger bowl. In the larger bowl add your dry ice. This will prevent your guests from accidentally having any dry ice in their swamp juice glass.

Do not add dry ice to the punch served in individual glasses as it it can be hazardous.

Be sure to use a clean rubber glove to handle the ice as it can harm your skin if in direct contact. To activate the ice for the party, just pour a little warm water on top.

Four glasses of green and foamy swamp drink punch.

How To Make This Recipe

1. This punch is really simple and quick to make. Just combine the limeade, gingerale, and pineapple juice in a glass.

2. Top with a scoop of ice cream or sherbet just before serving. Serve it with a straw for stirring in the ice cream or sherbet as it melts, and sipping.

Serving

We made our punch in individual glasses for our party, which worked great, and helped them stay fizzy. 

For a larger group, you could also make a large punch bowl of the swamp water punch instead, and guests could help themselves, or make it in a large pitcher.

Expert Tip: Don't make your swamp water punch too far in advance of serving it, because the pop will lose it's fizz and the ice cream or sherbet will melt completely.

Swamp water punch in a glass with a label.

Frequently Asked Questions

What if I can't find lime ice cream or sherbet?

You can substitute a different green colored ice cream or sherbet. I would not use mint chip because the flavors won't go will together. You could use vanilla ice cream and use food coloring to make it green.

Can I make this drink ahead of time?

You can prep this drink by mixing the juices in a glass or punch bowl ahead of time, but add the pop and the ice cream or sherbet right before serving so that the drink stays fizzy and the ice cream or sherbet isn't completely melted.

More Drink Recipe Inspiration

  • Easy cotton candy drink for kids.
    Cotton Candy Drink Recipe
  • Easy 3 ingredient coconut milkshake recipe.
    Easy Coconut Milkshake Recipe
  • Homemade iced capps in glasses on a wood table.
    Tim Hortons Copycat Iced Capp Recipe
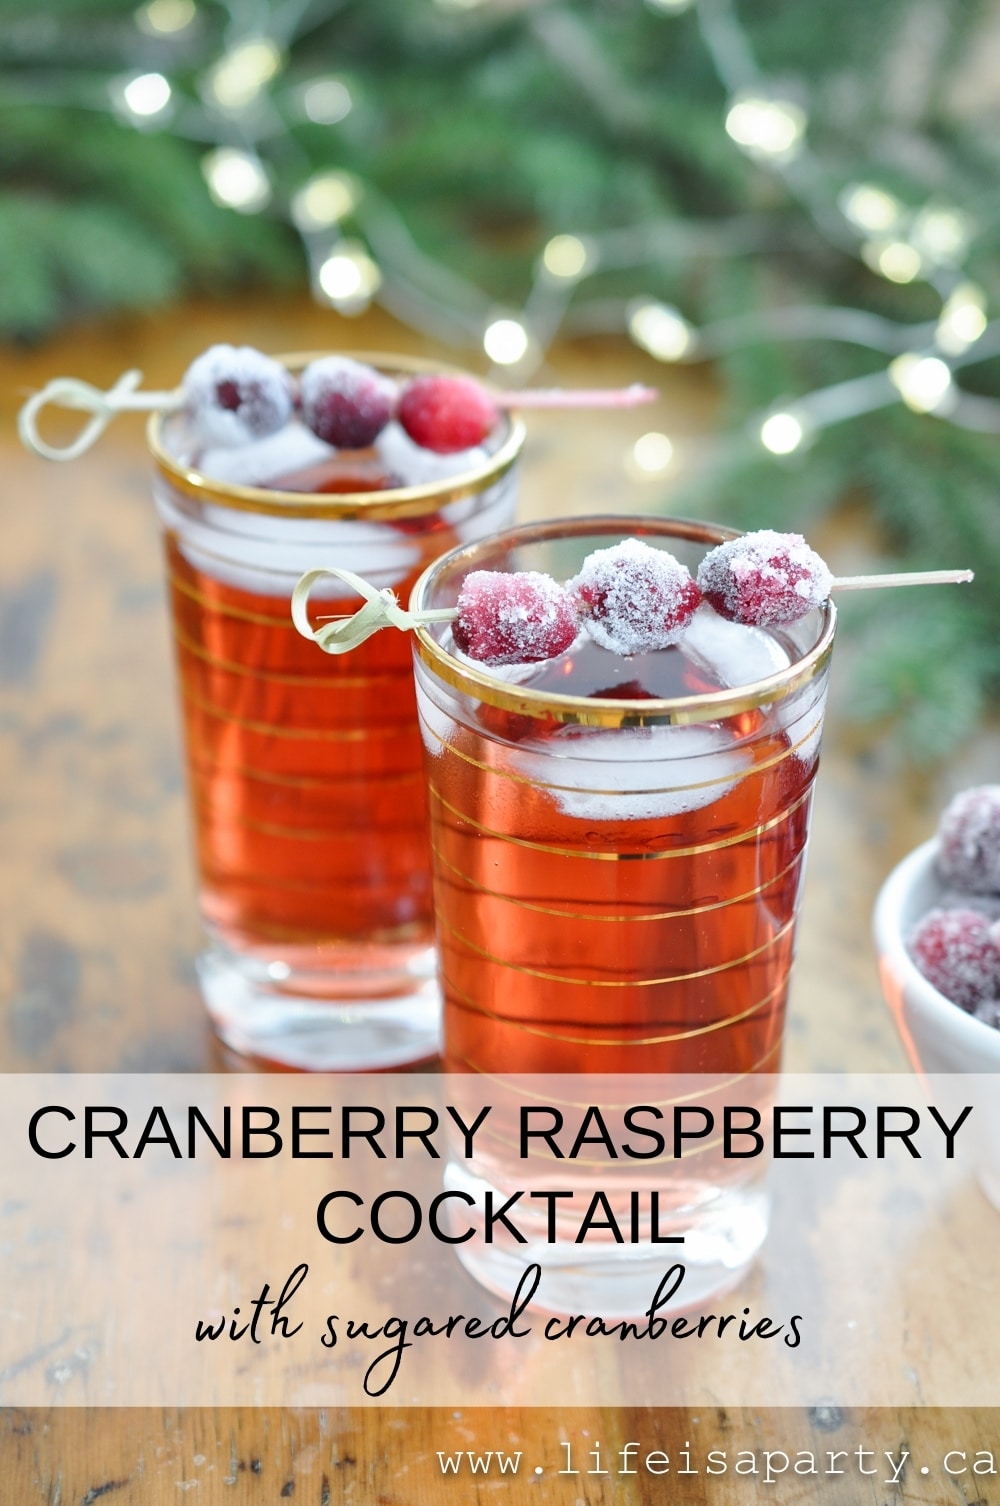
  • cranberry raspberry cocktail
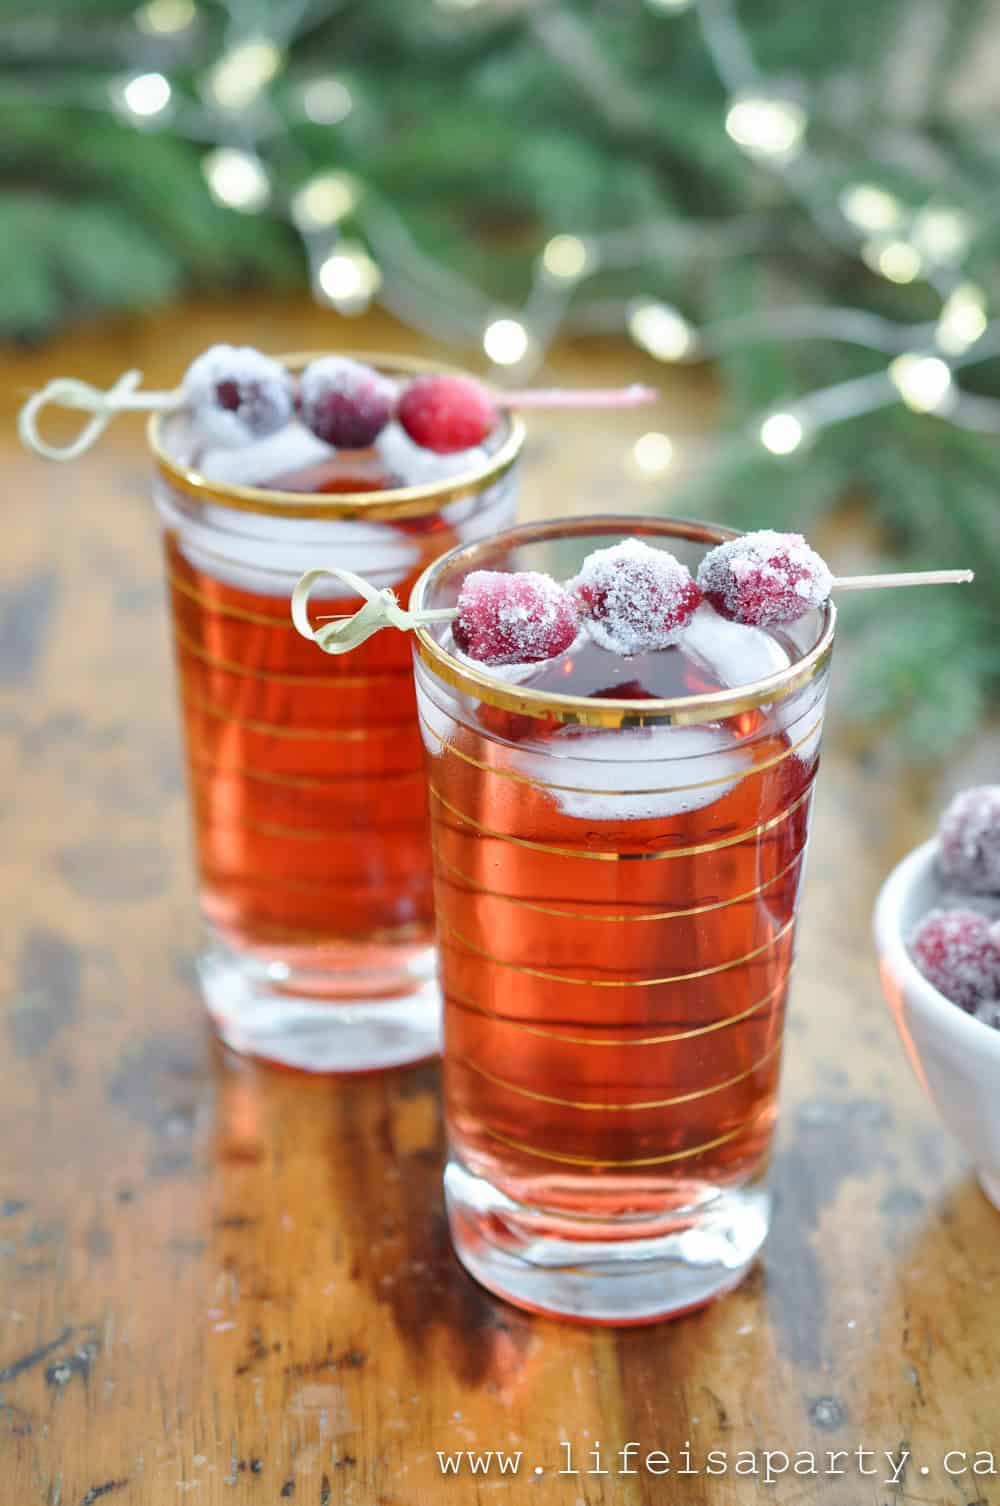
    Cranberry Raspberry Cocktail

If you try this Swamp Water Punch Recipe or any other recipe on my blog please leave a star rating and let me know how it went in the comments below. Thanks for visiting today!

Recipe

Easy green and foamy wamp water punch in a glass.

Swamp Water Punch

Easy green and foamy sweet drink.
4.34 from 6 votes
Print Pin Rate
Course: Drinks
Cuisine: American
Prep Time: 2 minutes minutes
Total Time: 2 minutes minutes
Servings: 1
Calories: 603kcal
Author: Dannyelle Nicolle-Ramjist

Ingredients

  • 1 cup limeade
  • ½ cup gingerale
  • ¼ cup pineapple juice
  • 1 large scoop lime ice cream or lime sherbet

Instructions

  • In a glass combine the limeade, gingerale, and pineapple juice. Top with a scopp of lime ice cream, or sherbet. Enjoy!

Notes

Punch Bowl -8 x this recipe and serve in a large punch bowl for a party.
Tip: Don't make this punch too far in advance of serving it, or the pop will lose it's fizz and the  ice cream or sherbet will melt.

Nutrition

Serving: 1g | Calories: 603kcal | Carbohydrates: 114g | Protein: 6g | Fat: 16g | Saturated Fat: 10g | Polyunsaturated Fat: 5g | Cholesterol: 59mg | Sodium: 158mg | Fiber: 4g | Sugar: 97g
Tried this Recipe? Tag me Today!Mention @LifeisaParty or tag #lifeisaparty!

Tiana's Chicken, Sausage, and Shrimp Gumbo Recipe

Jul 13, 2021 · 1 Comment

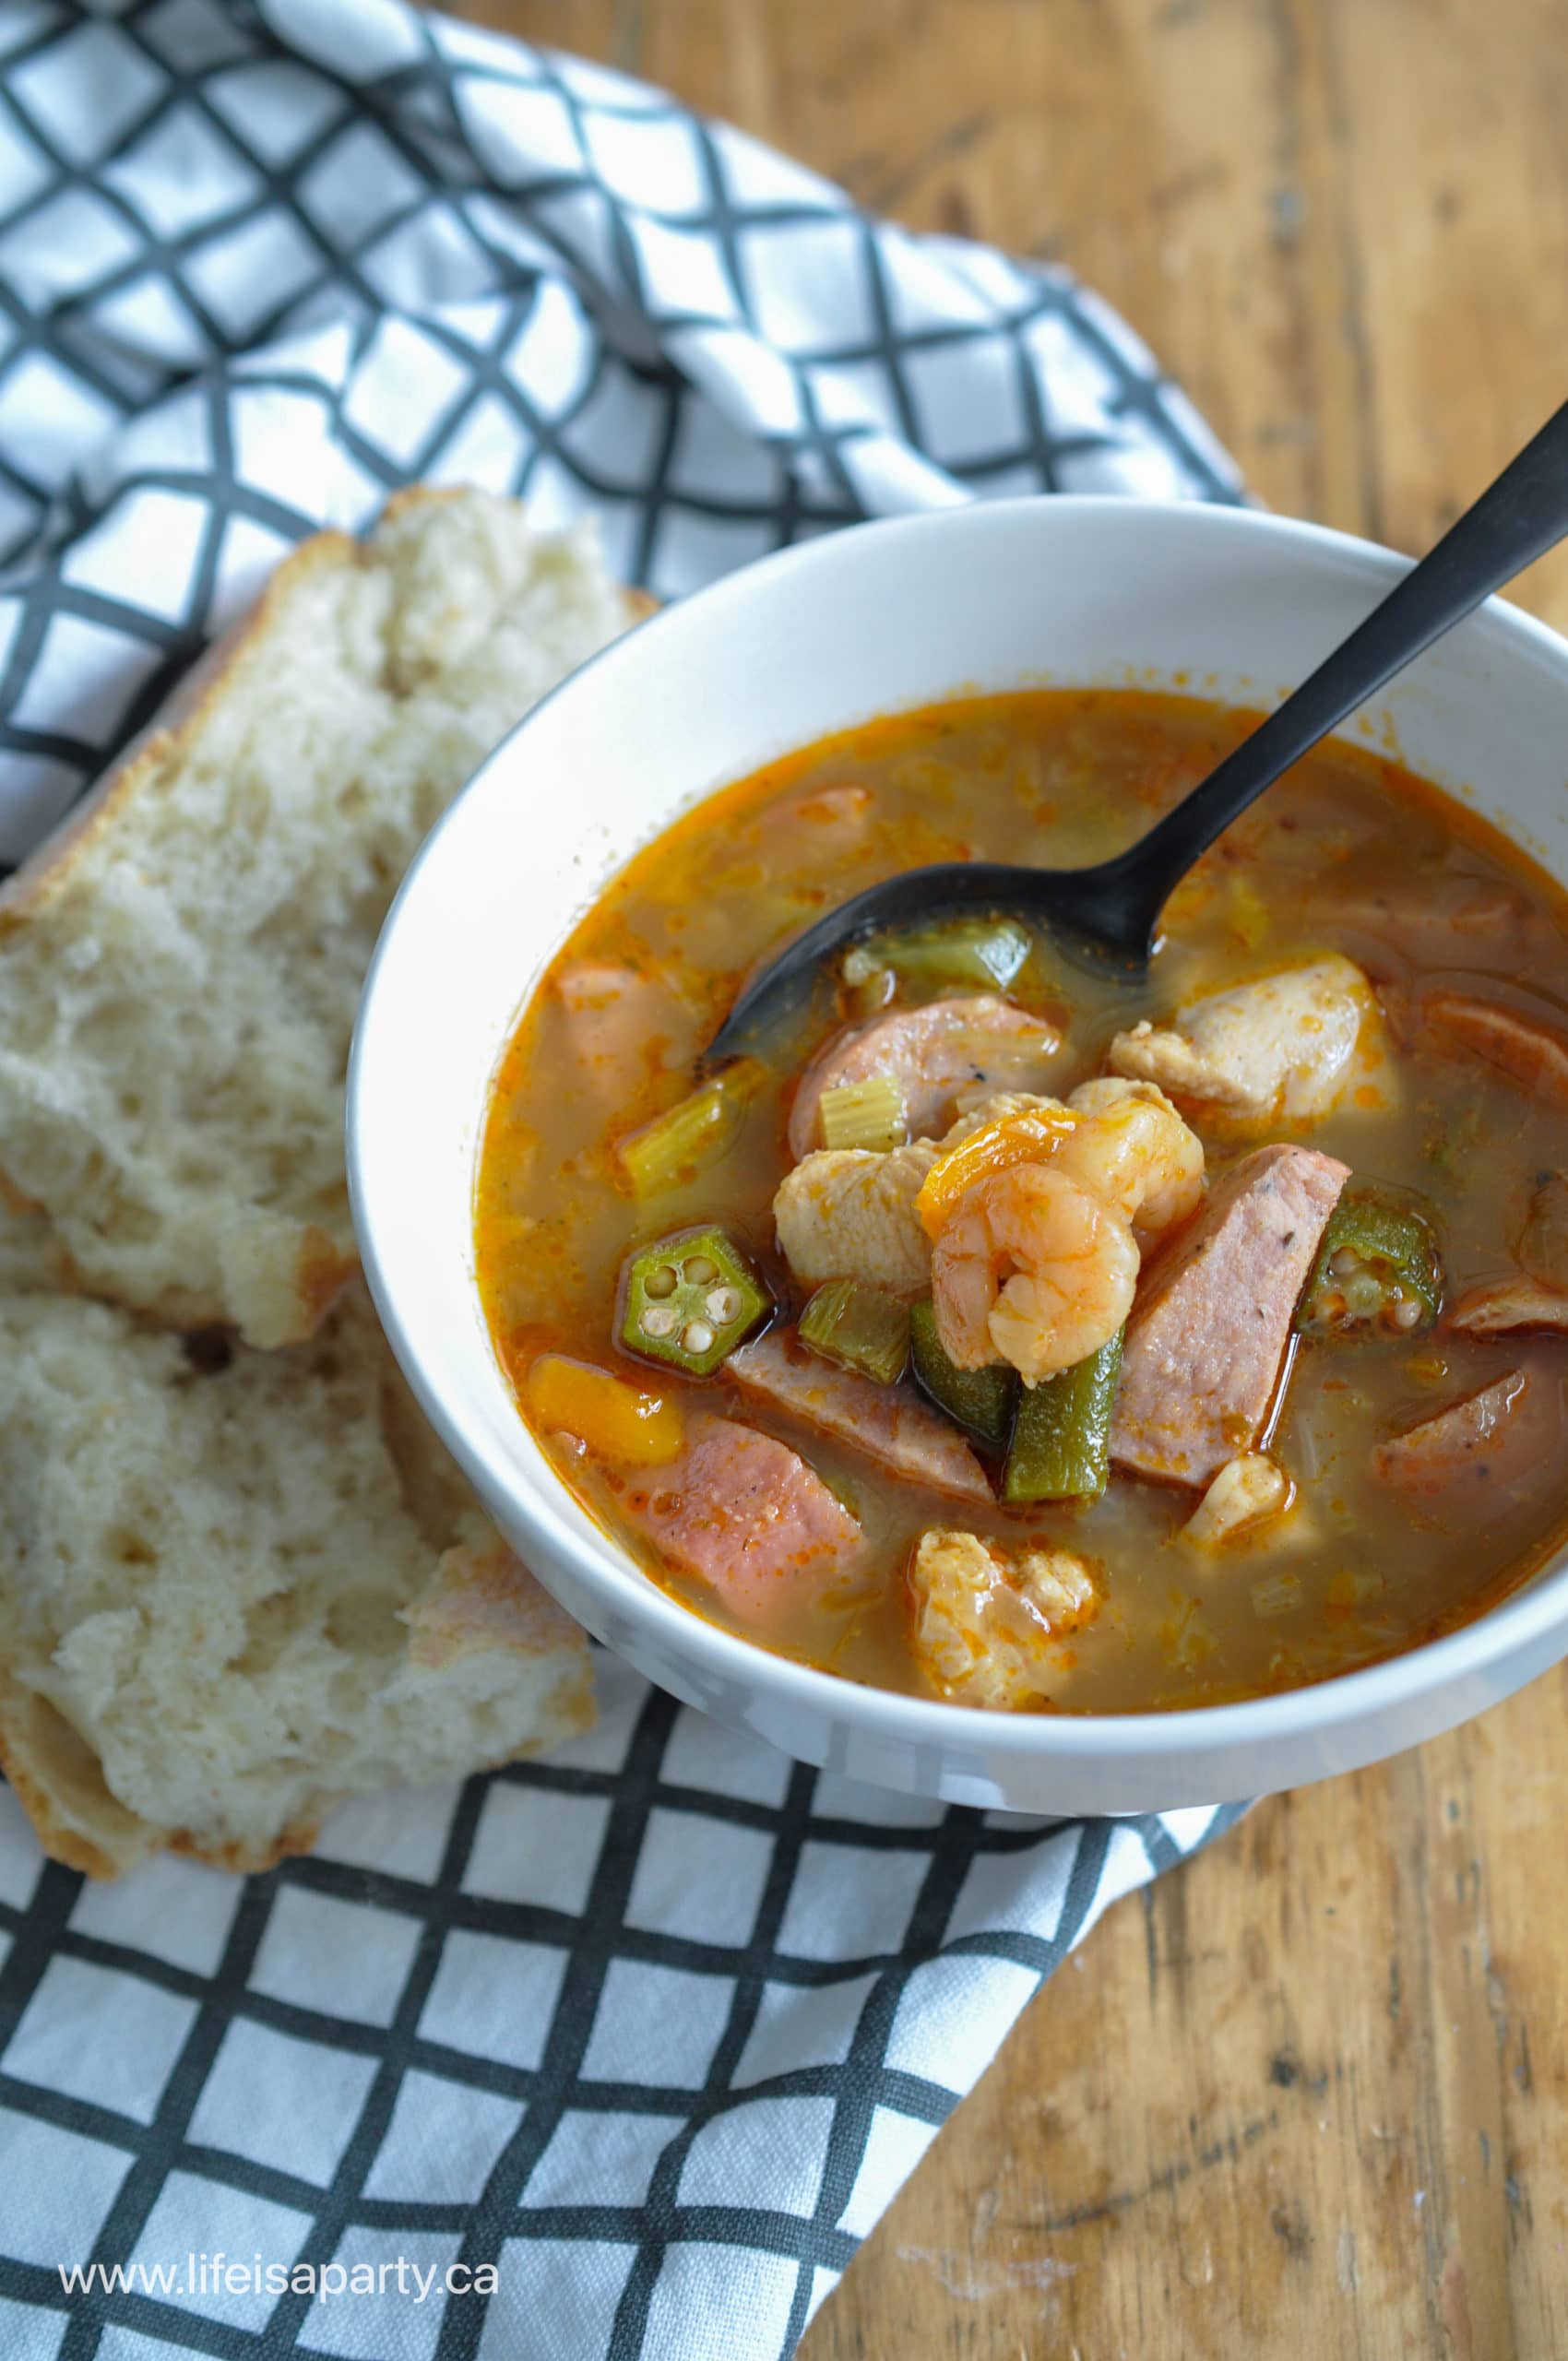
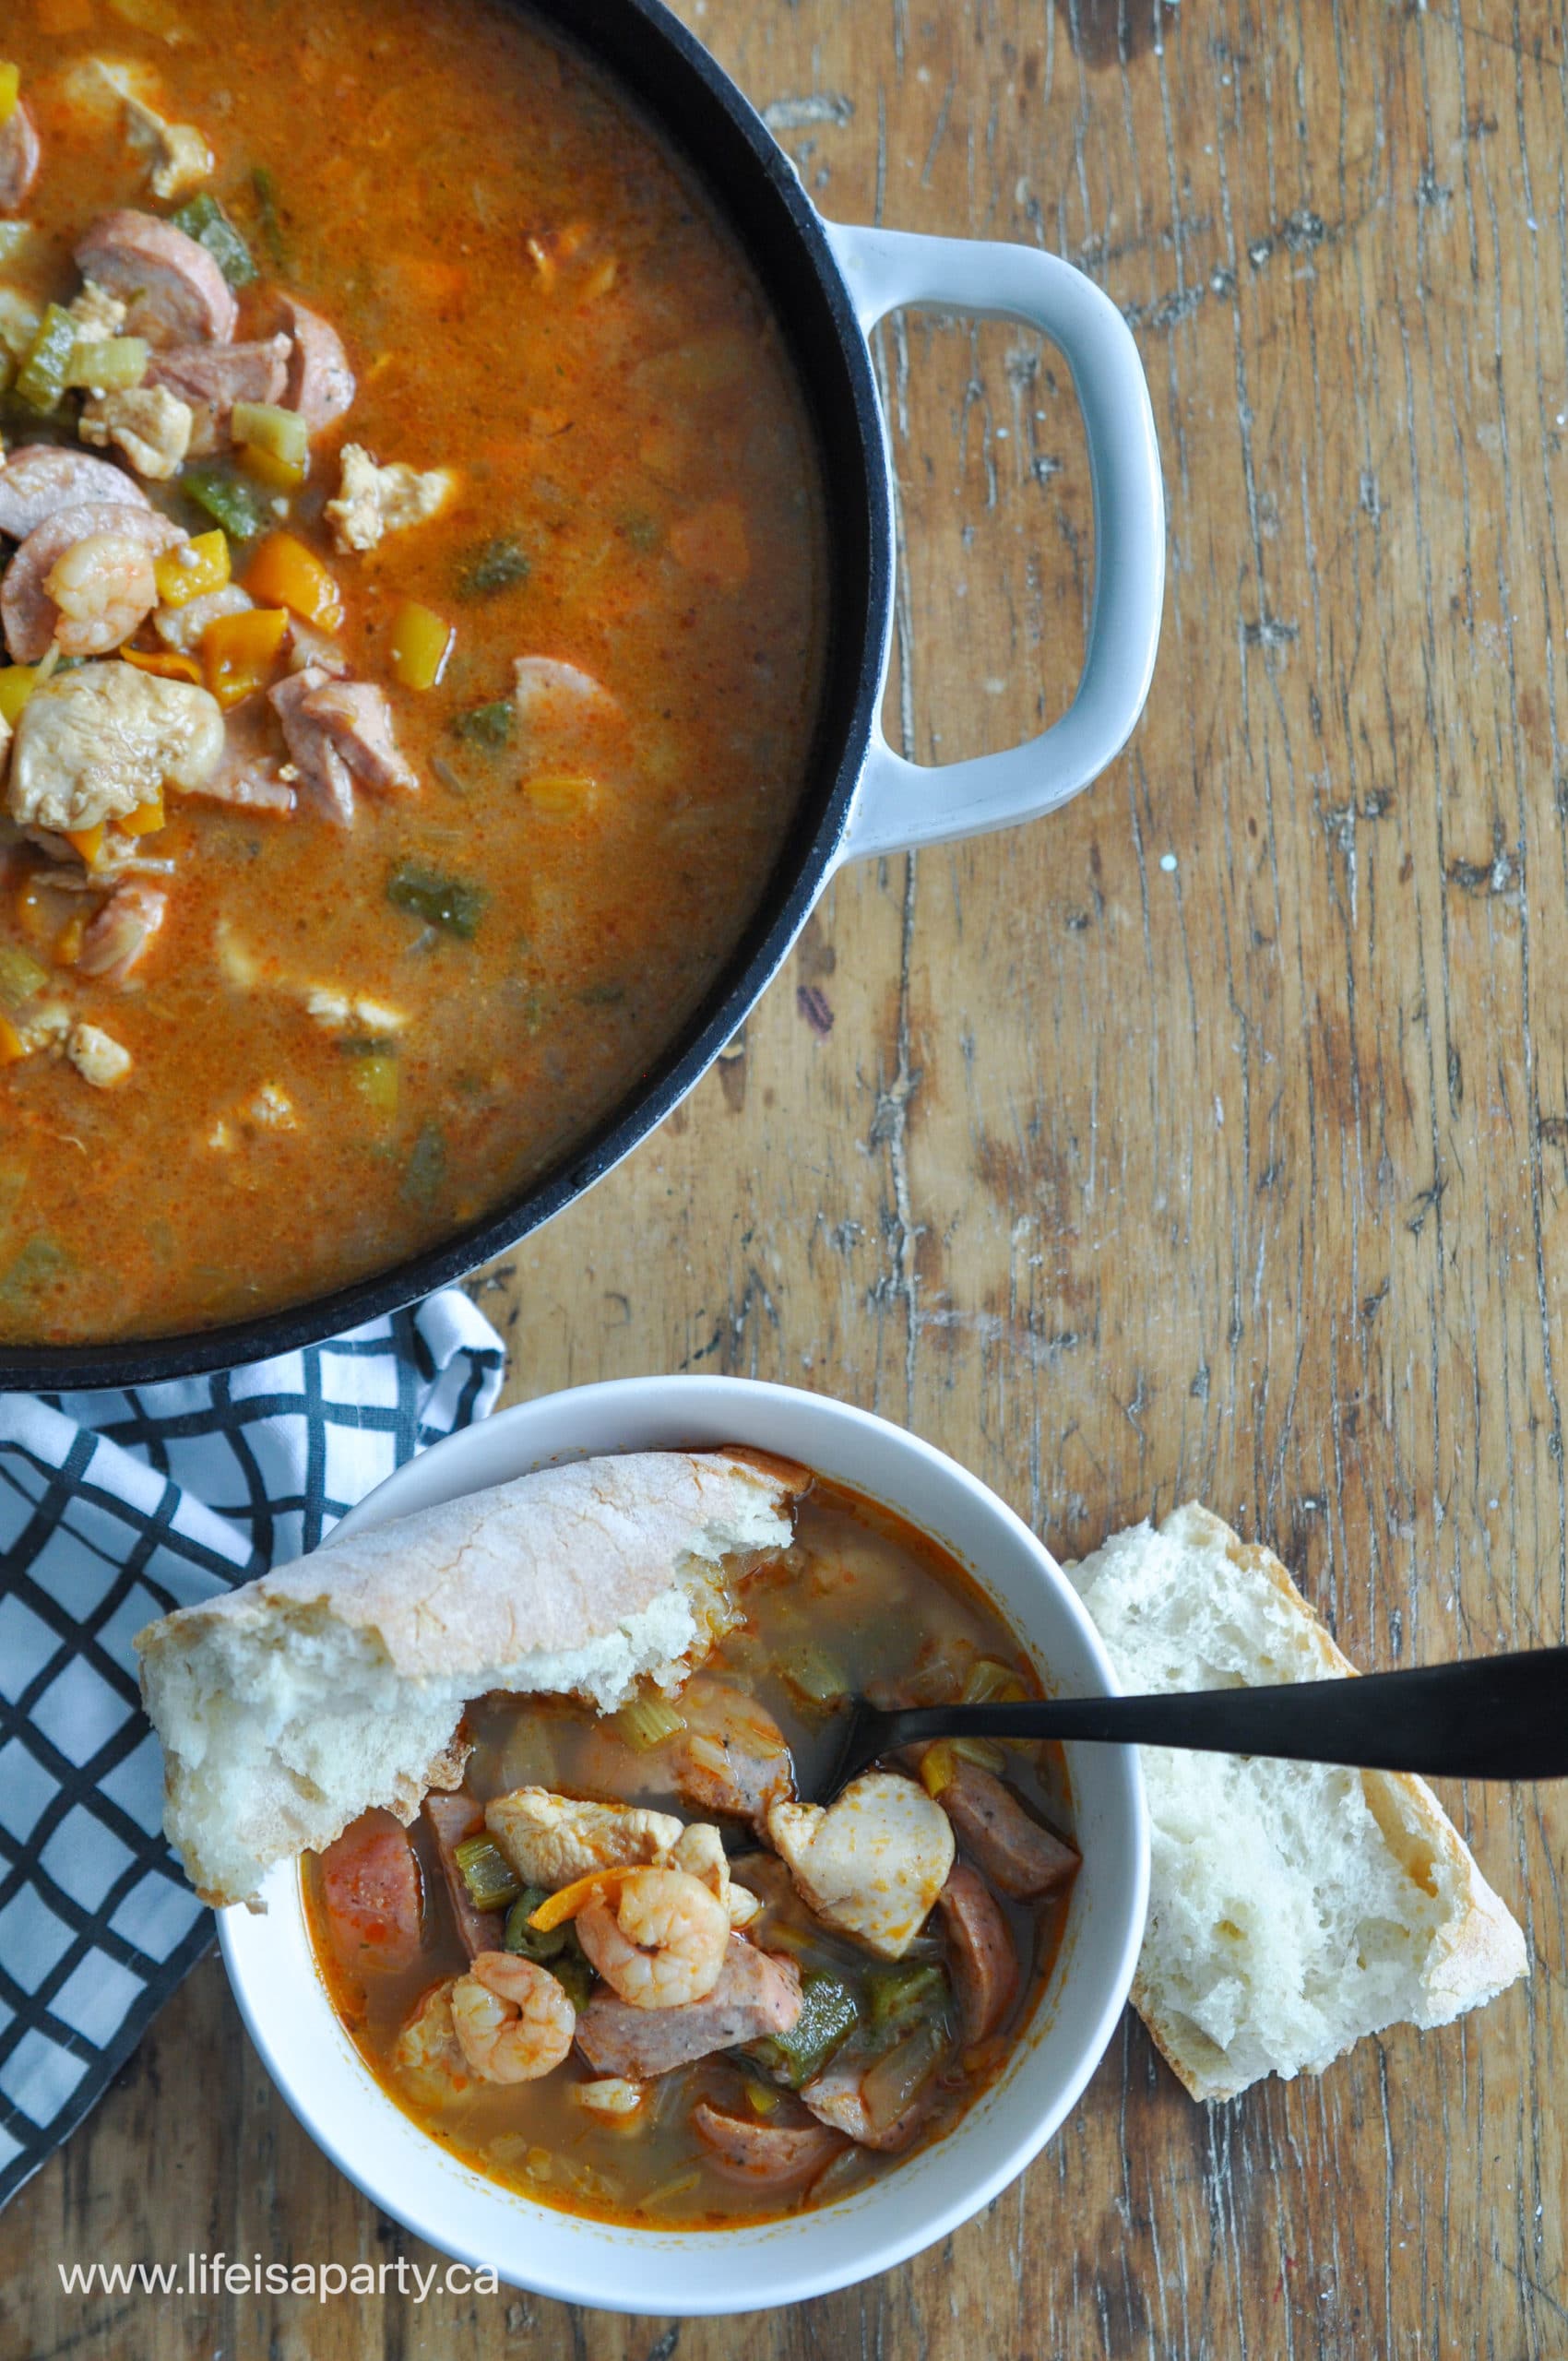
Chicken sausage and shrimp gumbo in a cast-iron pot.

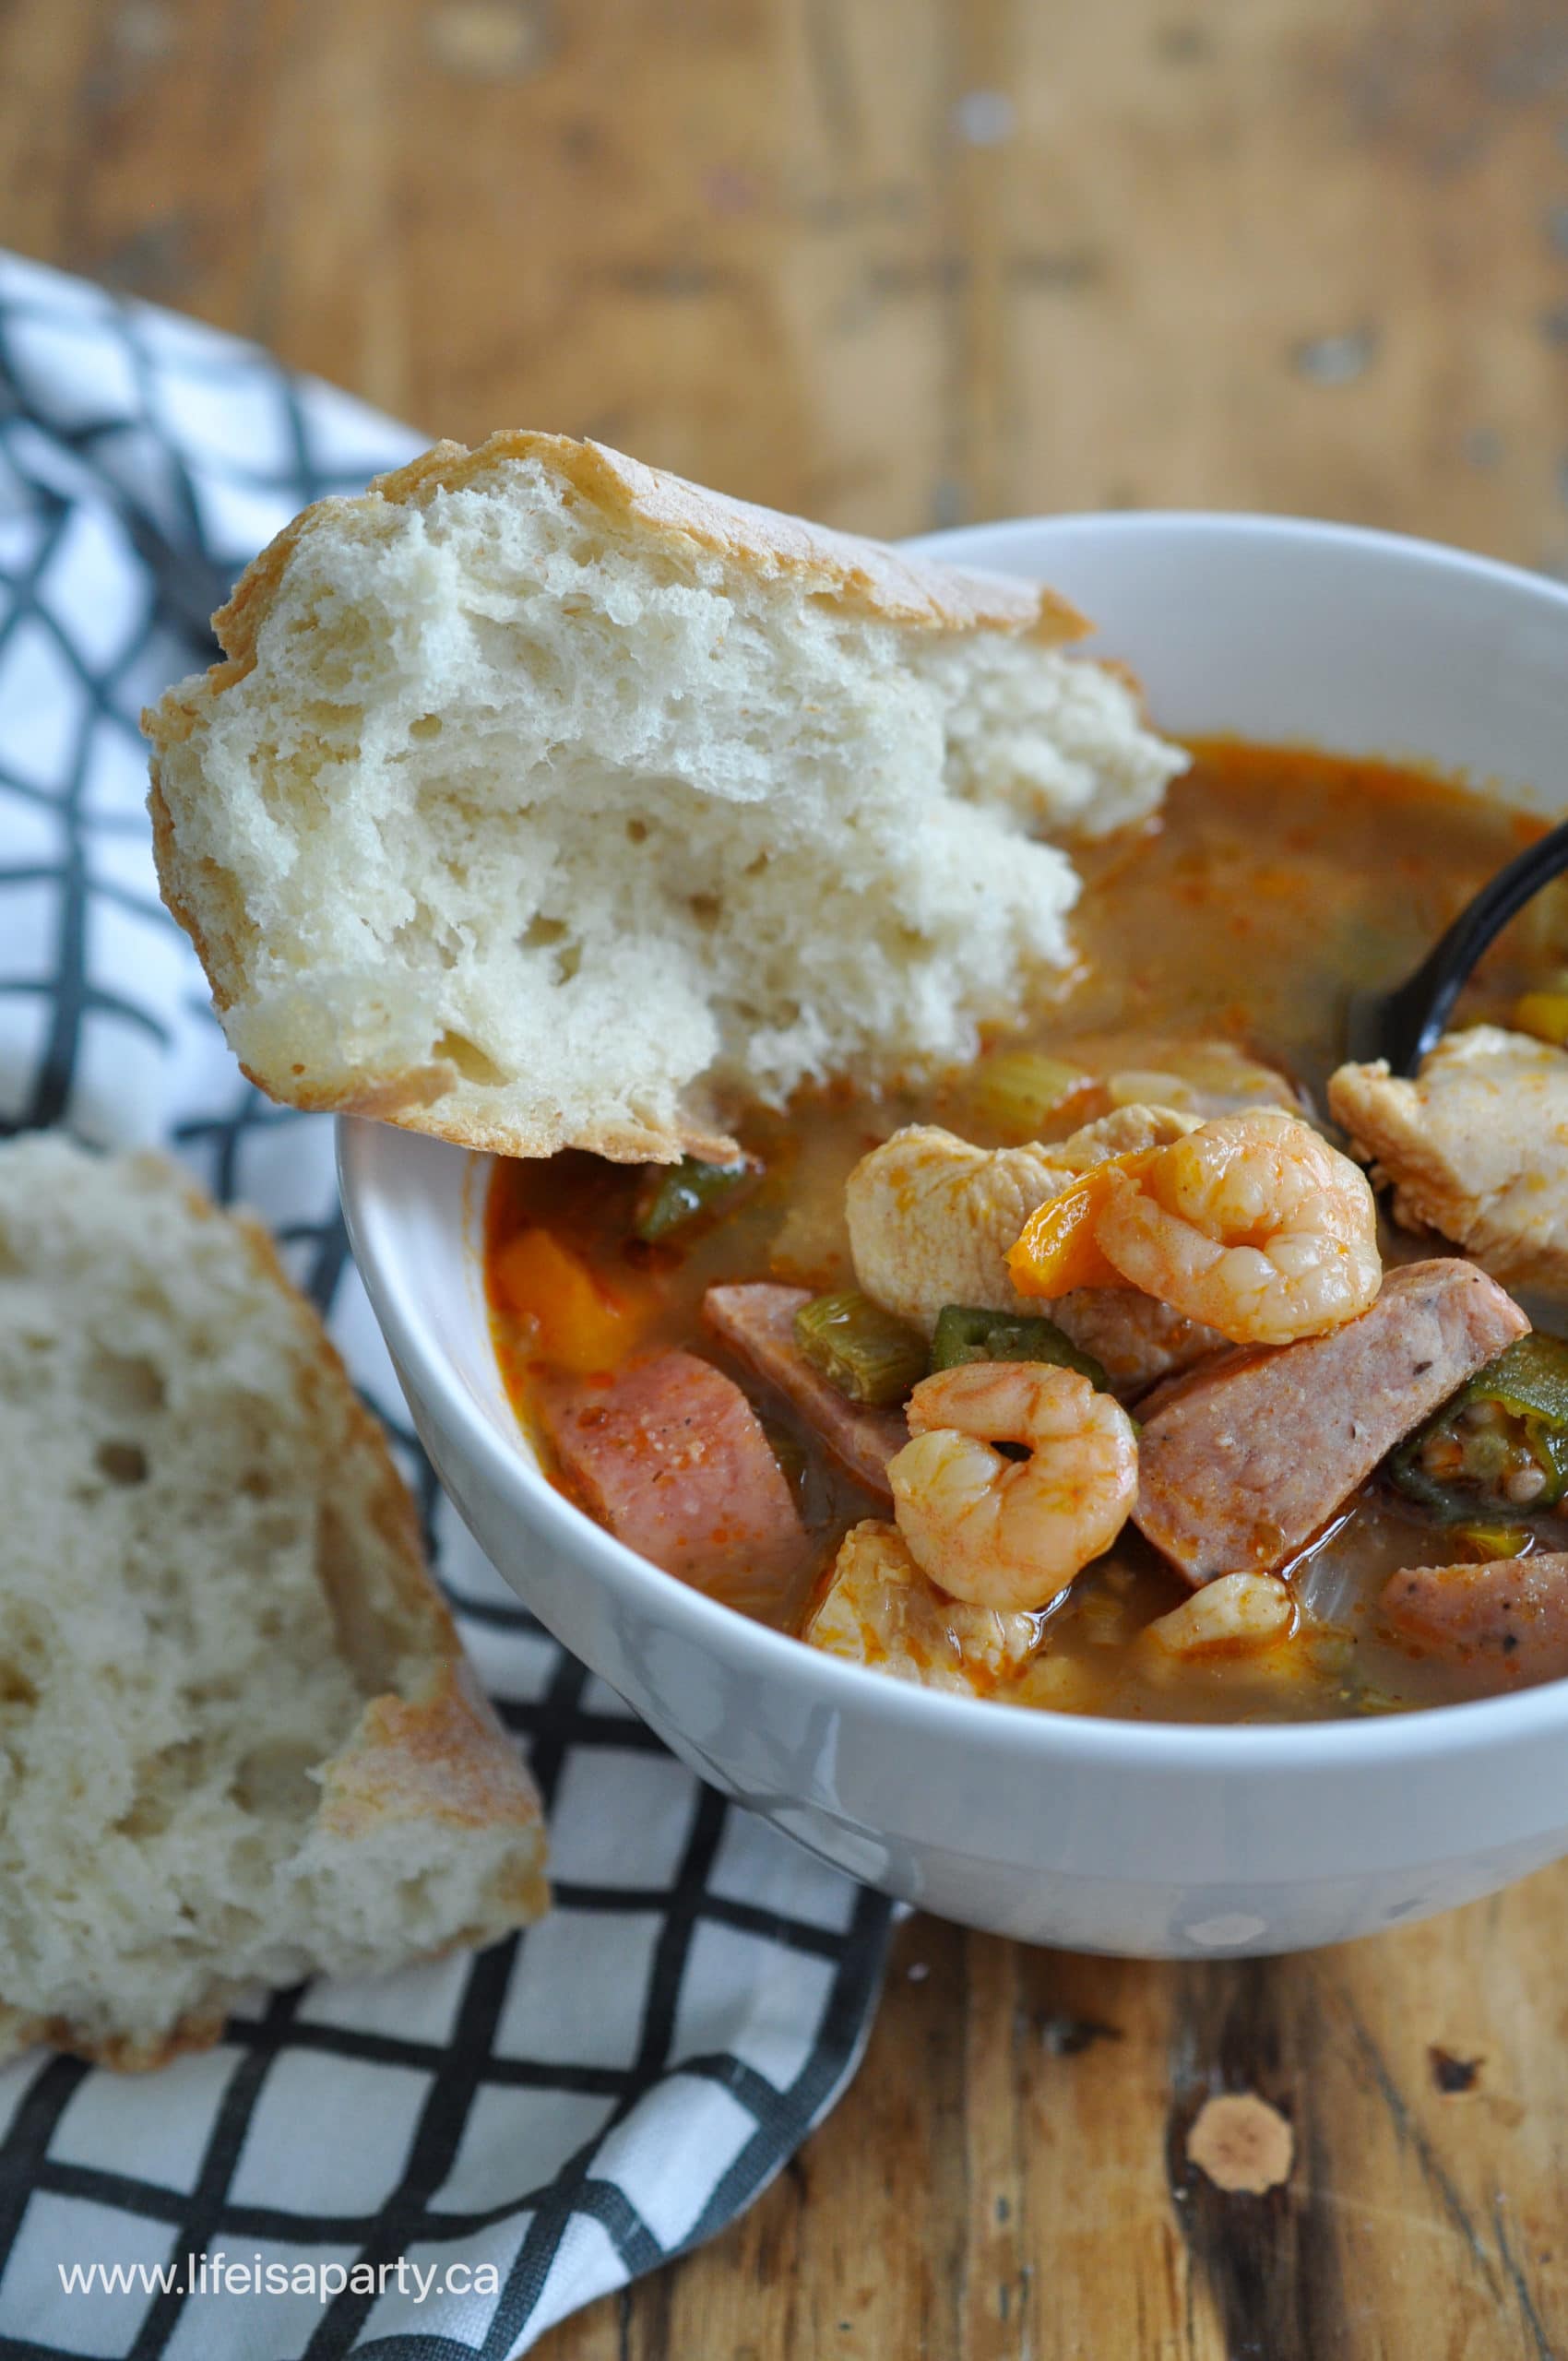
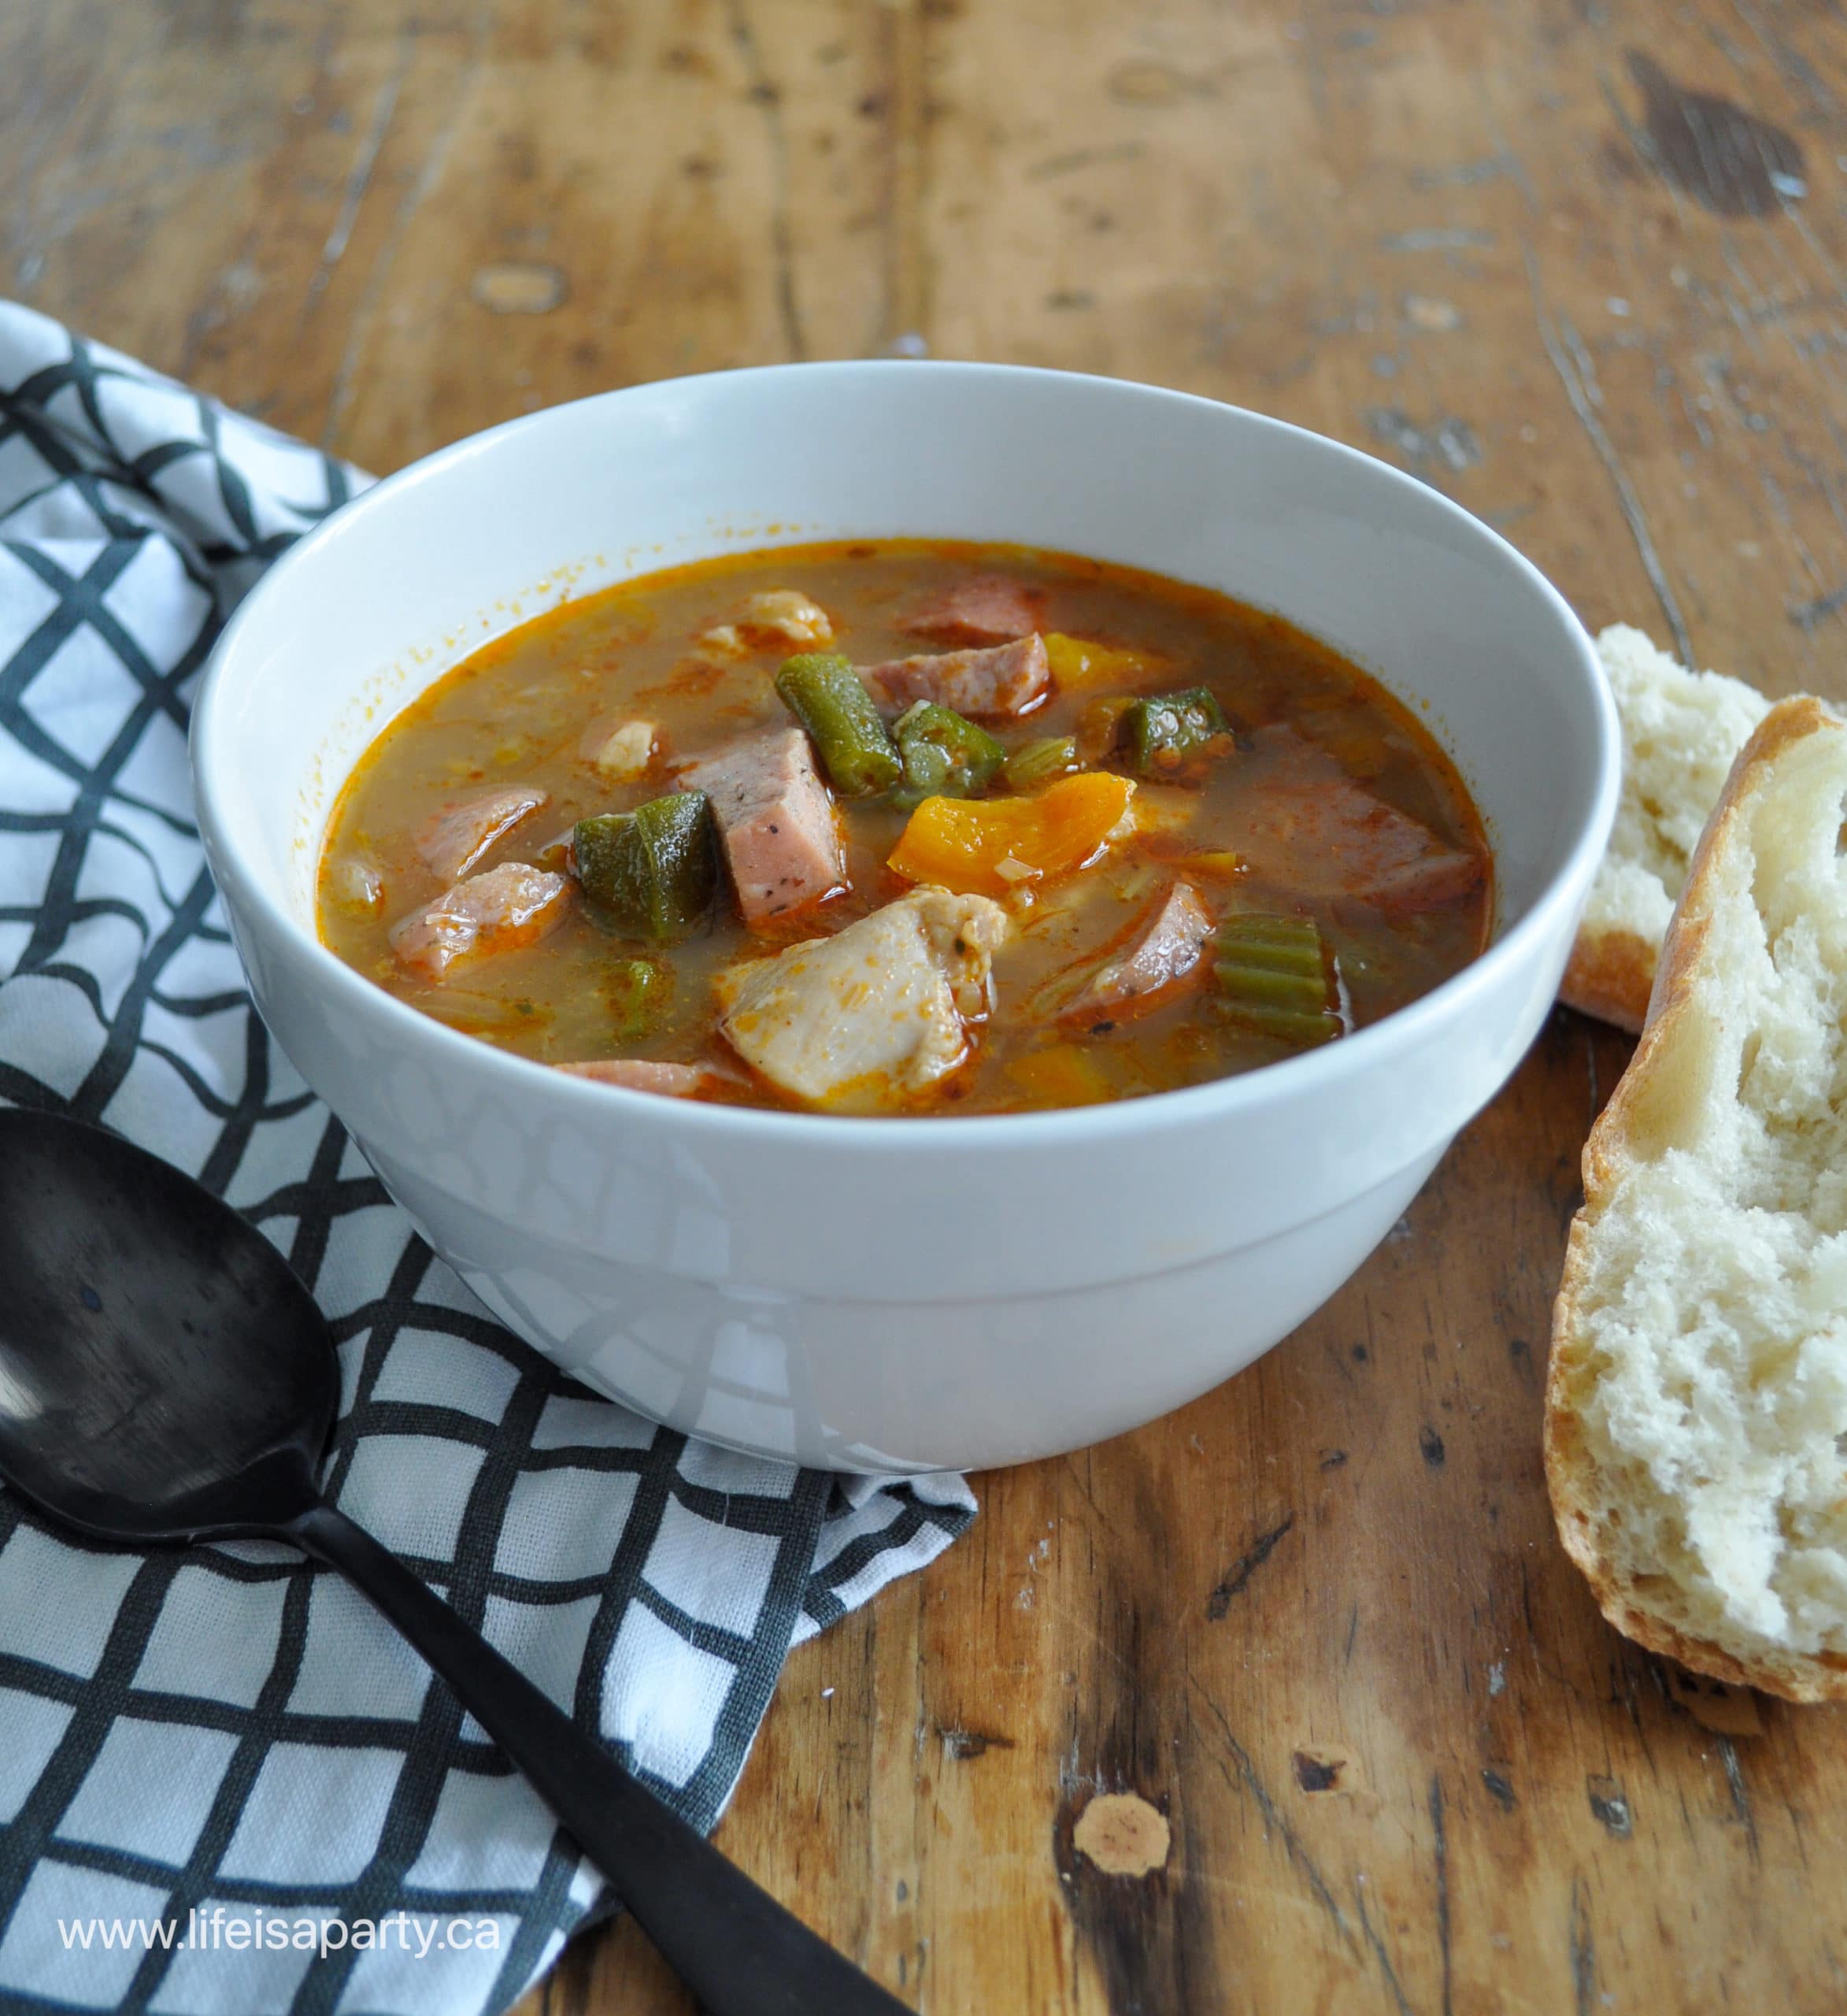
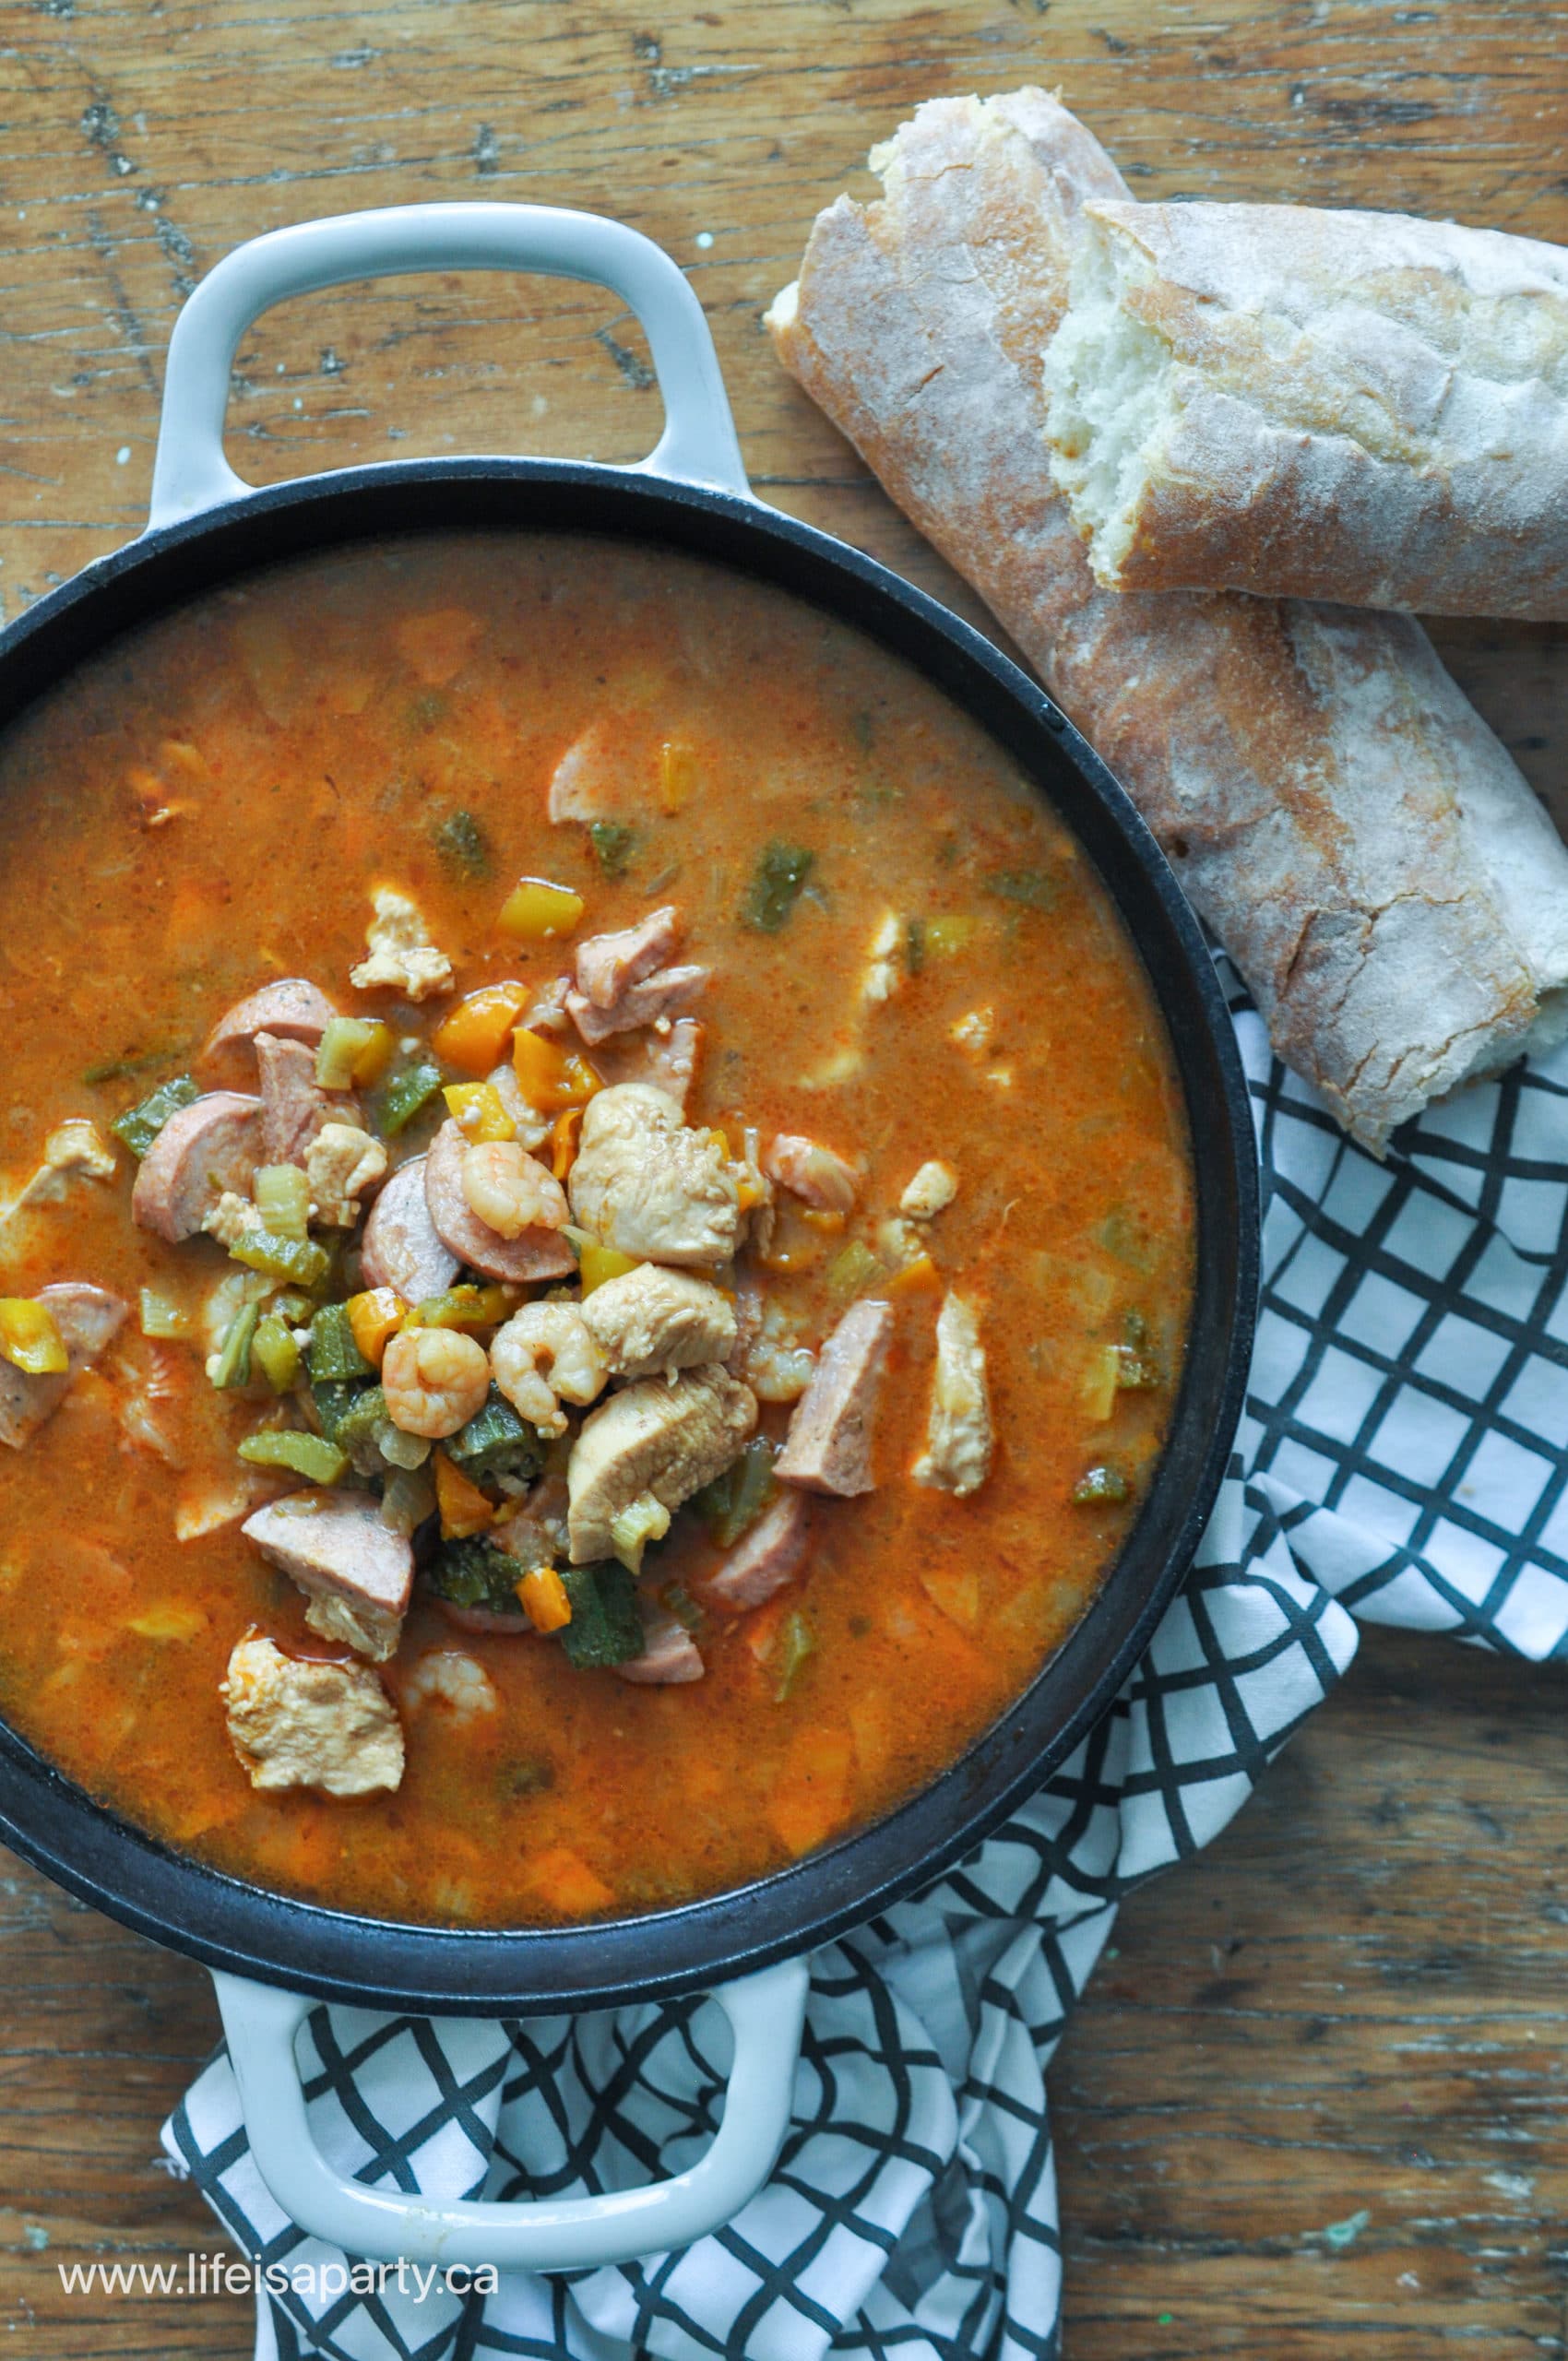
Chicken Sausage and Shrimp Gumbo Recipe: inspired by Disney Princess Tiana in The Princess and The Frog this gumbo is easy and delicious.

Chicken sausage and shrimp gumbo in a cast-iron pot.
[feast_advanced_jump_to]

Tiana's Gumbo From The Princess and The Frog

We were inspired by Tiana from The Princess and The Frog to make chicken sausage and shrimp gumbo! It's so delicious and a great taste of New Orleans.  This one was pretty quick and easy to bring together and so delicious.  All the spices make it full of flavour, rich and delicious.

Love chicken recipes? You might also like our Butter Chicken Pizza Recipe, or Honey Garlic Chicken Wings. Or need a side dish, try our Zucchini Pancakes.

We had our gumbo as part of a special Disney Princess Dinner and Movie Night.  We were inspired by the animated movie, and wanted to make our own swamp gumbo. You can read all about our The Princess and the Frog party here.  We had so much fun making the food from the film, and enjoying it together as we watched the movie.  We were transported to Tiana's palace in the Disneyland resort, or maybe to the New Orleans square.  

how to make the gumbo from The Princess and The Frog Movie

But this gumbo isn't just for movie night.  We love this hearty stew, and we can't wait to make it again and again.

easy chicken sausage shrimp gumbo

Where Does Gumbo Come From?

Gumbo has its origins in southern Louisiana.  Rooted in the cooking of black people enslaved from Africa, and based on a West African word for okra, the soup traditionally has okra pods in it as a thickening agent.  Loved by the Cajuns and Creole, they both make it slightly differently, and season it slightly differently.  Along with okra it often includes chicken, cajun style andouille sausage, seafood, and creole seasoning.  It's one of the beloved foods of the bayou regions.

easy gumbo recipe

Finding The Ingredients

We had trouble finding spicy or mild andouille sausage and substituted it with kielbasa sausage, which was delicious. So don't let not being able to find authentic andouille stop you from trying this dish.  The sliced okra was easy to find in the freezer section of the grocery store.  And the cajun spice was readily available in the spice section.  

chicken sausage shrimp gumbo

Making The Roux

The hardest part about making gumbo is making a roux.  A roux is a mixture of butter and flour that you cook at the beginning of the gumbo.  The roux is the thickening agent in the soup, and really important to the dish.  Things can go wrong if the roux is undercooked. You're looking for a nice dark roux, that will add nuttiness and richness to the soup, and not leave a floury taste.  But, it's easy to take a dark brown color roux too far and burn it.  You will want to take it to the colour of milk chocolate or a dark amber-brown.  Once you get the roux made, the rest is pretty easy to put together.

Princess Tiana's gumbo

What To Serve The Gumbo With

This soup is a thick mixture, but not as thick as a stew.  It's often paired with rice, and crusty French baguette.  The bread is perfect for soaking up the rich spicy cajun gumbo broth.  Make simple white rice as well and serve the soup over it for the perfect combination.

How Spicy Is It?

New Orleans food is traditionally full of spice.  There is a richness and layers of flavour that the combination of spices give to this dish.  If you don't love hot food, you might want to cut back on the cayenne pepper in the dish.  Also if you're serving this dish to kids as part of a movie night, you also might want to use less cayenne pepper.  Serving the gumbo with rice or bread helps mellow the dish a little too. We didn't add tabasco sauce to ours, like Tiana did in the film, but if you like it hotter, feel free to add some in to yours.  Adding your own hot sauce at the end is a good way to go.  Make one large pot of not too spicy gumbo, and allow the spice lovers to add their own to their own bowl of gumbo.

Recipe

Chicken sausage and shrimp gumbo in a cast-iron pot.

Chicken, Sausage, and Shrimp Gumbo Recipe

New Orleans inspired chicken, sausage and shrimp gumbo with okra and peppers.
5 from 1 vote
Print Pin Rate
Course: Main
Cuisine: American
Prep Time: 15 minutes minutes
Cook Time: 20 minutes minutes
Total Time: 35 minutes minutes
Servings: 8 Servings
Calories: 562kcal
Author: Dannyelle Nicolle-Ramjist

Ingredients

  • ¼ cup butter
  • 4 tablespoon all purpose flour
  • 1 large onion
  • 1 red pepper
  • 1 yellow pepper
  • 2 stalks of celery
  • 2 cloves garlic minced
  • 1 teaspoon cayenne pepper or less for a less spicy version
  • 1 teaspoon ground mustard
  • 1 ½ teaspoon paprika
  • 1 teaspoon garlic powder
  • 1 teaspoon cajun seasoning
  • 1 teaspoon salt
  • ½ teaspoon black pepper
  • 3 large boneless skinless chicken breast
  • 500 grams smoked andouille sausage or substitute kielbasa sausage
  • 4 cups chicken broth
  • 1 bayleaf
  • 1 cup frozen okra
  • 250 grams peeled deveined shrimp

Instructions

  • Begin by chopping the onion, peppers, and celery. Set aside. Cut the sausage into slices, and then in half again. Cut the chicken into bite size chicken pieces.
  • To make the roux, melt the butter in a large dutch oven or cooking pot over a medium-high heat. Whisk in the flour, and continue whisking as it cooks to prevent it from burning. Cook for about 4 minutes, until the roux turns a golden brown, similar to milk chocolate, and smells nutty.
  • Stir the chopped onions, peppers, and celery into the roux, and cook until the vegetables begin to soften and onions become transparent
  • Next add the minced garlic, cayenne pepper, ground mustard, paprika, garlic powder, cajun seasoning, salt and pepper. Cook for a minute and continue stirring.
  • The next step is to add in the chopped chicken, and stir occasionally until the chicken is browned.
  • Next add the sausage, chicken broth, and bay leaf to the pot. Scrape up any browned bits from the bottom of the pan. Bring the soup to a boil, and cook about 10 minutes over medium heat.
  • Lastly add the shrimp and okra to the creole gumbo. Bring back to the boil and cook until the shrimp turns pink and is fully cooked. Serve with rice and french bread.

Nutrition

Serving: 1g | Calories: 562kcal | Carbohydrates: 13g | Protein: 37g | Fat: 40g | Saturated Fat: 15g | Polyunsaturated Fat: 21g | Trans Fat: 1g | Cholesterol: 194mg | Sodium: 2278mg | Fiber: 2g | Sugar: 4g
Tried this Recipe? Tag me Today!Mention @LifeisaParty or tag #lifeisaparty!

The Princess and The Frog Party -Dinner and A Movie

Jul 12, 2021 · 3 Comments

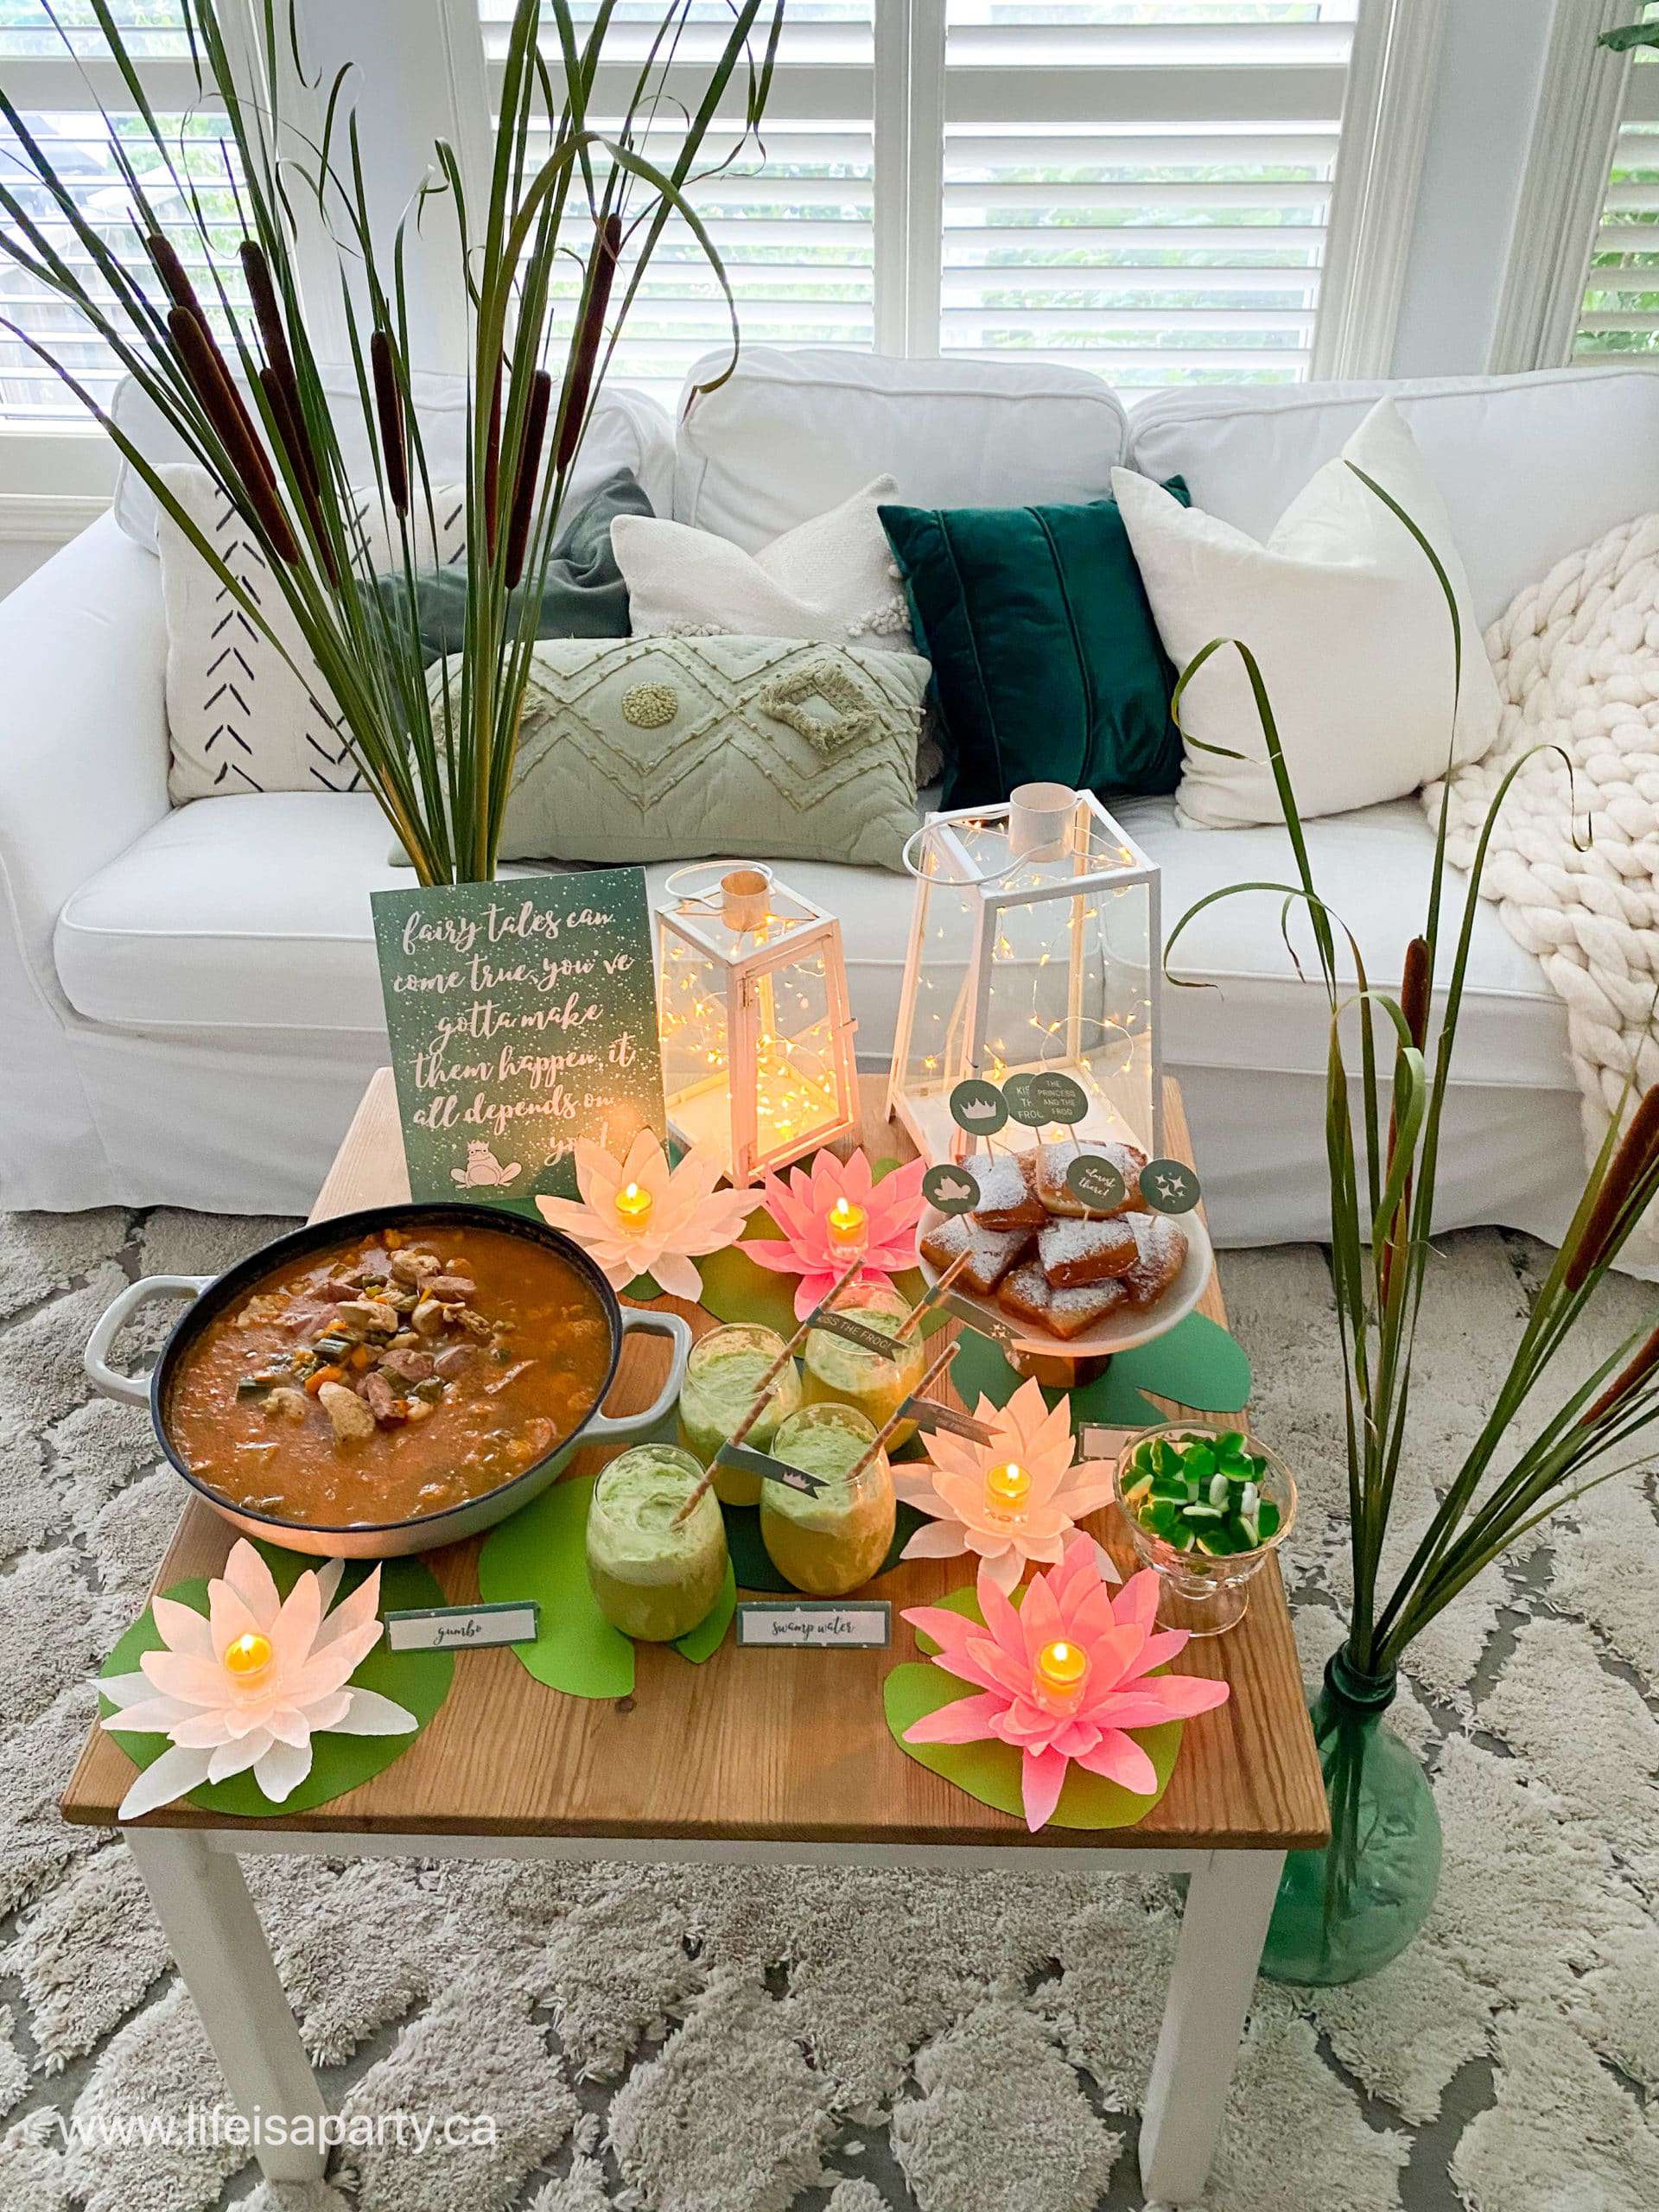
The Princess and the Frog party food table set up with food from the mvoie and DIY decor.

The Princess and the Frog Party -Dinner and Movie: all the party ideas, decor, recipes and printables for a themed family movie night or party.

The Princess and the Frog Party
[feast_advanced_jump_to]

I'm very excited to be starting a new series here on the blog. I love a good movie night, and my favourite kind is a dinner and a movie. These food and film pairings are always so much fun. This summer I'm going to be sharing a series of Disney princess movie nights with a themed dinner menu to go with it inspired by the film. It should be a lot of fun. We had a fun family night for ours but these ideas would also be great for a Princess and the Frog birthday party too. Any little girl would love this themed party inspired by Tiana possibly our very favorite movie princess.

Our first movie is The Princess and The Frog. It's such a great movie and we had some really fun Princess and the Frog party ideas. I think I had only seen the movie once before working on this party. When my own princess girls were little they were really sensitive about scary movies and the voodoo in this movie was too much for them. So something to keep in mind if you have really sensitive kids or party guests too. I really enjoyed rewatching The Princess and The Frog and putting this party together wasn't too much hard work. The music and scenery were great, and it was an amazing film to pair with food, because food is so much a part of the movie.

The Princess and The Frog themed party with themed food and decorations.

The main character Disney's princess Tiana dreams of opening a restaurant, and there's plenty of scenes that revolve around amazing New Orleans cooking. So for our menu for the night, we chose to make gumbo, and beignets -which both figure prominently in the movie. And just for fun we also added in some "swamp water" punch.

  • Chicken, Sausage, and Shrimp Gumbo
  • Rice
  • Princess Tiana's Beignets
  • Swamp Water Punch
Princess and the Frog themed party table with food and swamp decorations.

The Princess and The Frog Party Decor

For each film, I'm excited to set up a small coffee tablescape, so we can eat together casually in the living room while we watch the movie. If you were using these ideas for a larger birthday party, you could set up in a different area. For the Princess and The Frog theme, I was inspired by pictures of different scenes of the movie, and decided to go with a swampy mostly green color scheme. I wanted to create a beautiful swampy feel to the table, based on the scenes of them in the swamp together. 

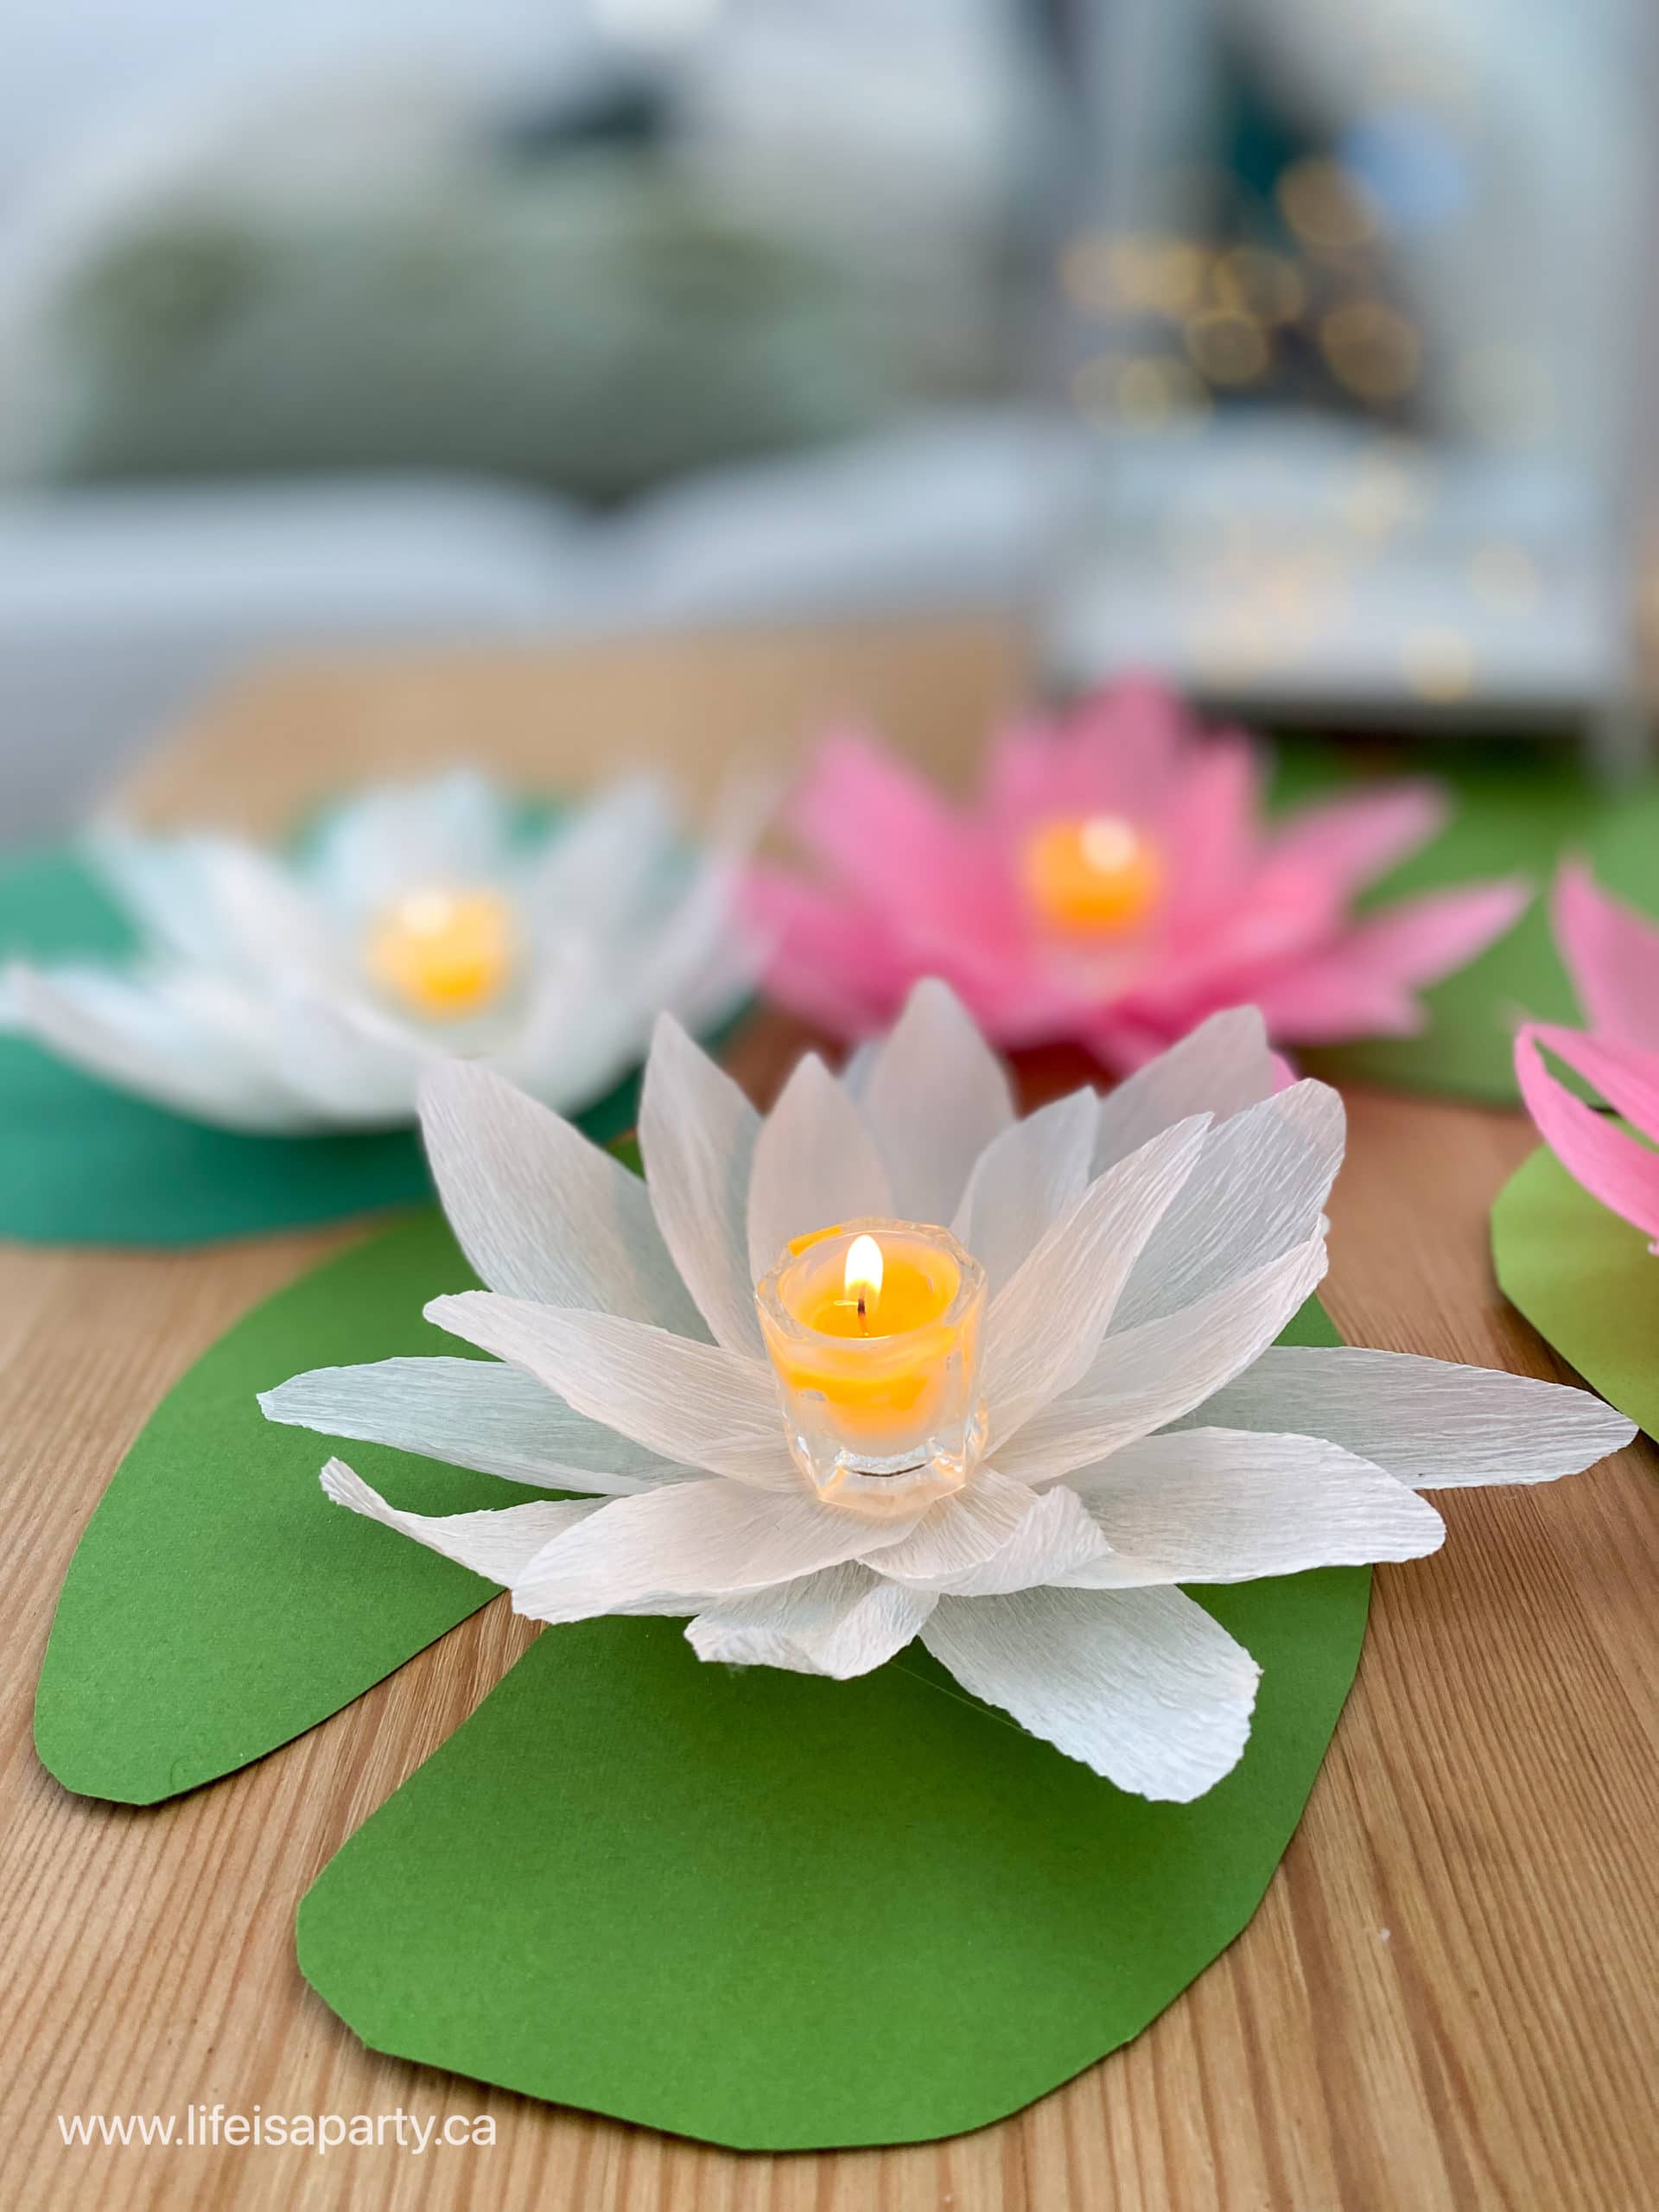
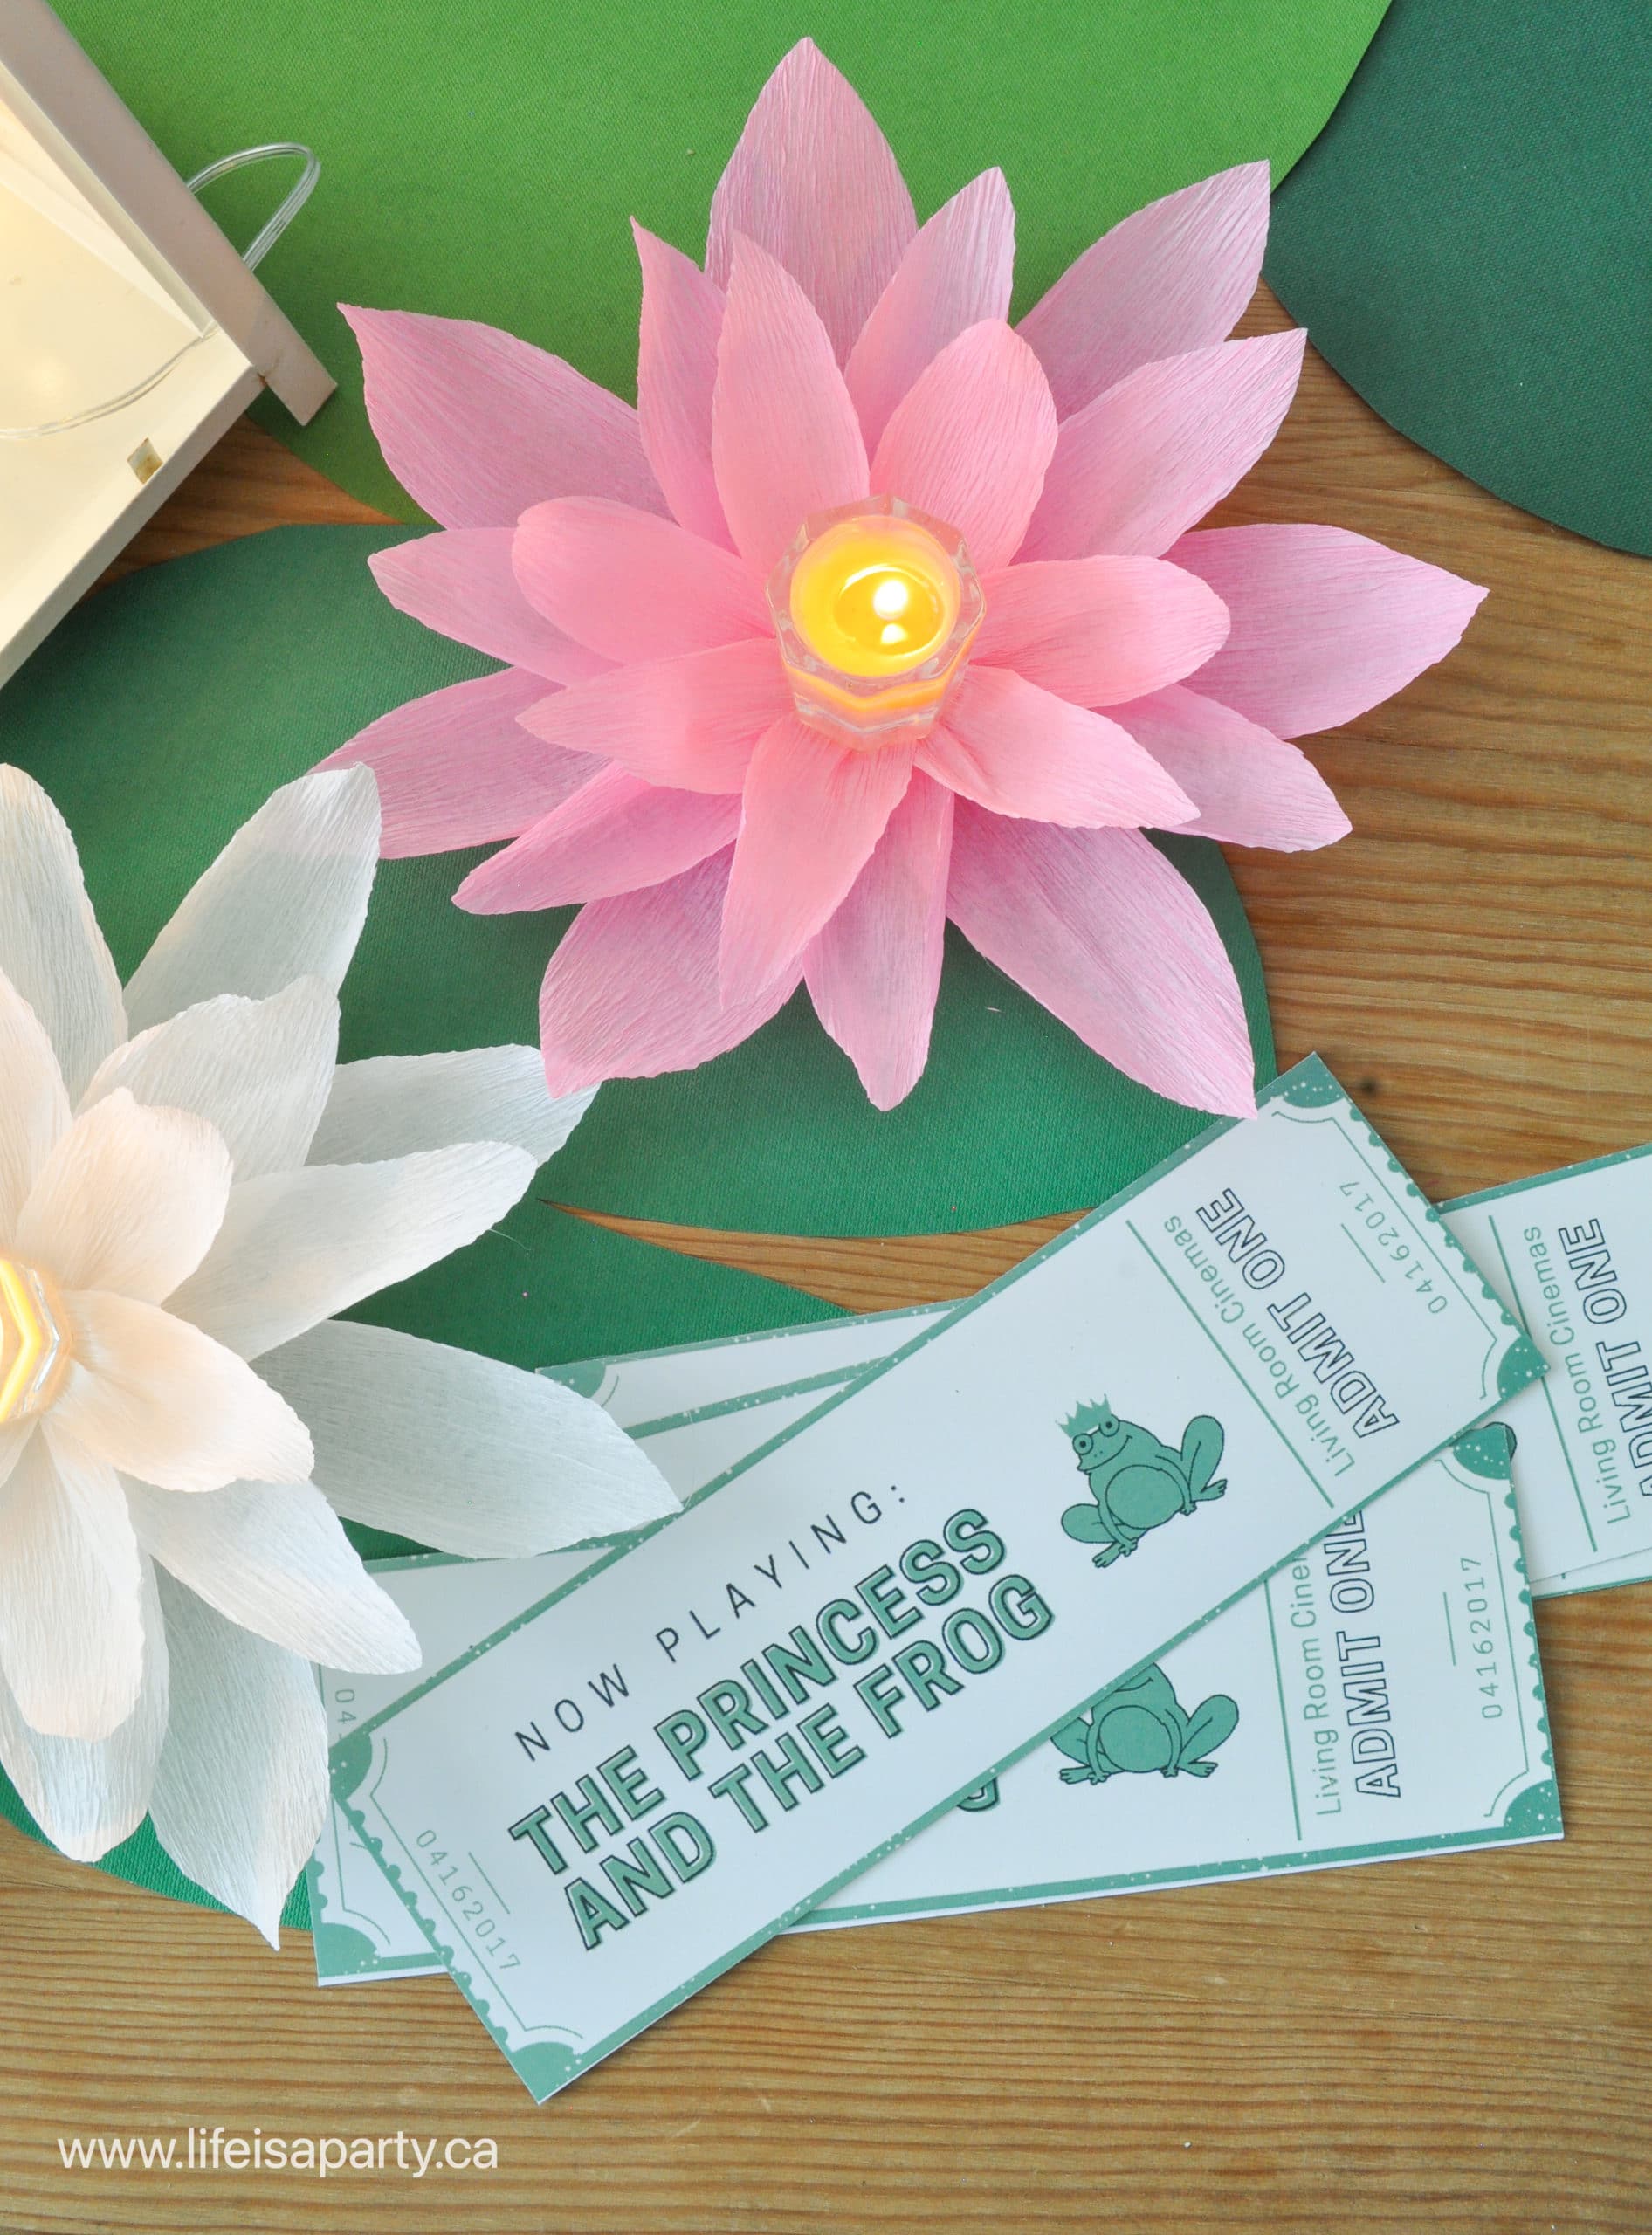
We started with making some simple and beautiful crepe paper water lilies.   Find the full tutorial to make your own water lilies here. I made some in white and some in pink and used some yellow tea lights as the centres of the flowers. They were easy to make and so pretty, and a big hit. If you had younger guests, you could also use a battery powered candle with no real flame from your local craft store.  They'd be a fun kid's craft to do as part of the party too.

The Princess and the Frog party decorations of twinkle lights and DIY water lilies.

In addition to the water lilies, I made some paper lily pads in different shades of green card stock that were perfect for the table and partly inspired by Tiana's magical flowing dress. I arranged them almost like a table runner. They were the perfect centerpiece for our adorable party.

princess and the frog diy decor decorations
Princess Tiana party ideas for food and decorations.

I also went to a swampy area near my home and cut some cat tails.  These were such a fun and easy addition.  In the movie, one of the characters is a Cajun firefly named Ray, between him, his large family and the stars at night there is lots of sparkle and twinkle in the movie.  I used some simple fairy lights in some lanterns to add the same kind of feel to our little swamp inspired table.

The Princess and The Frog Free Party Printables

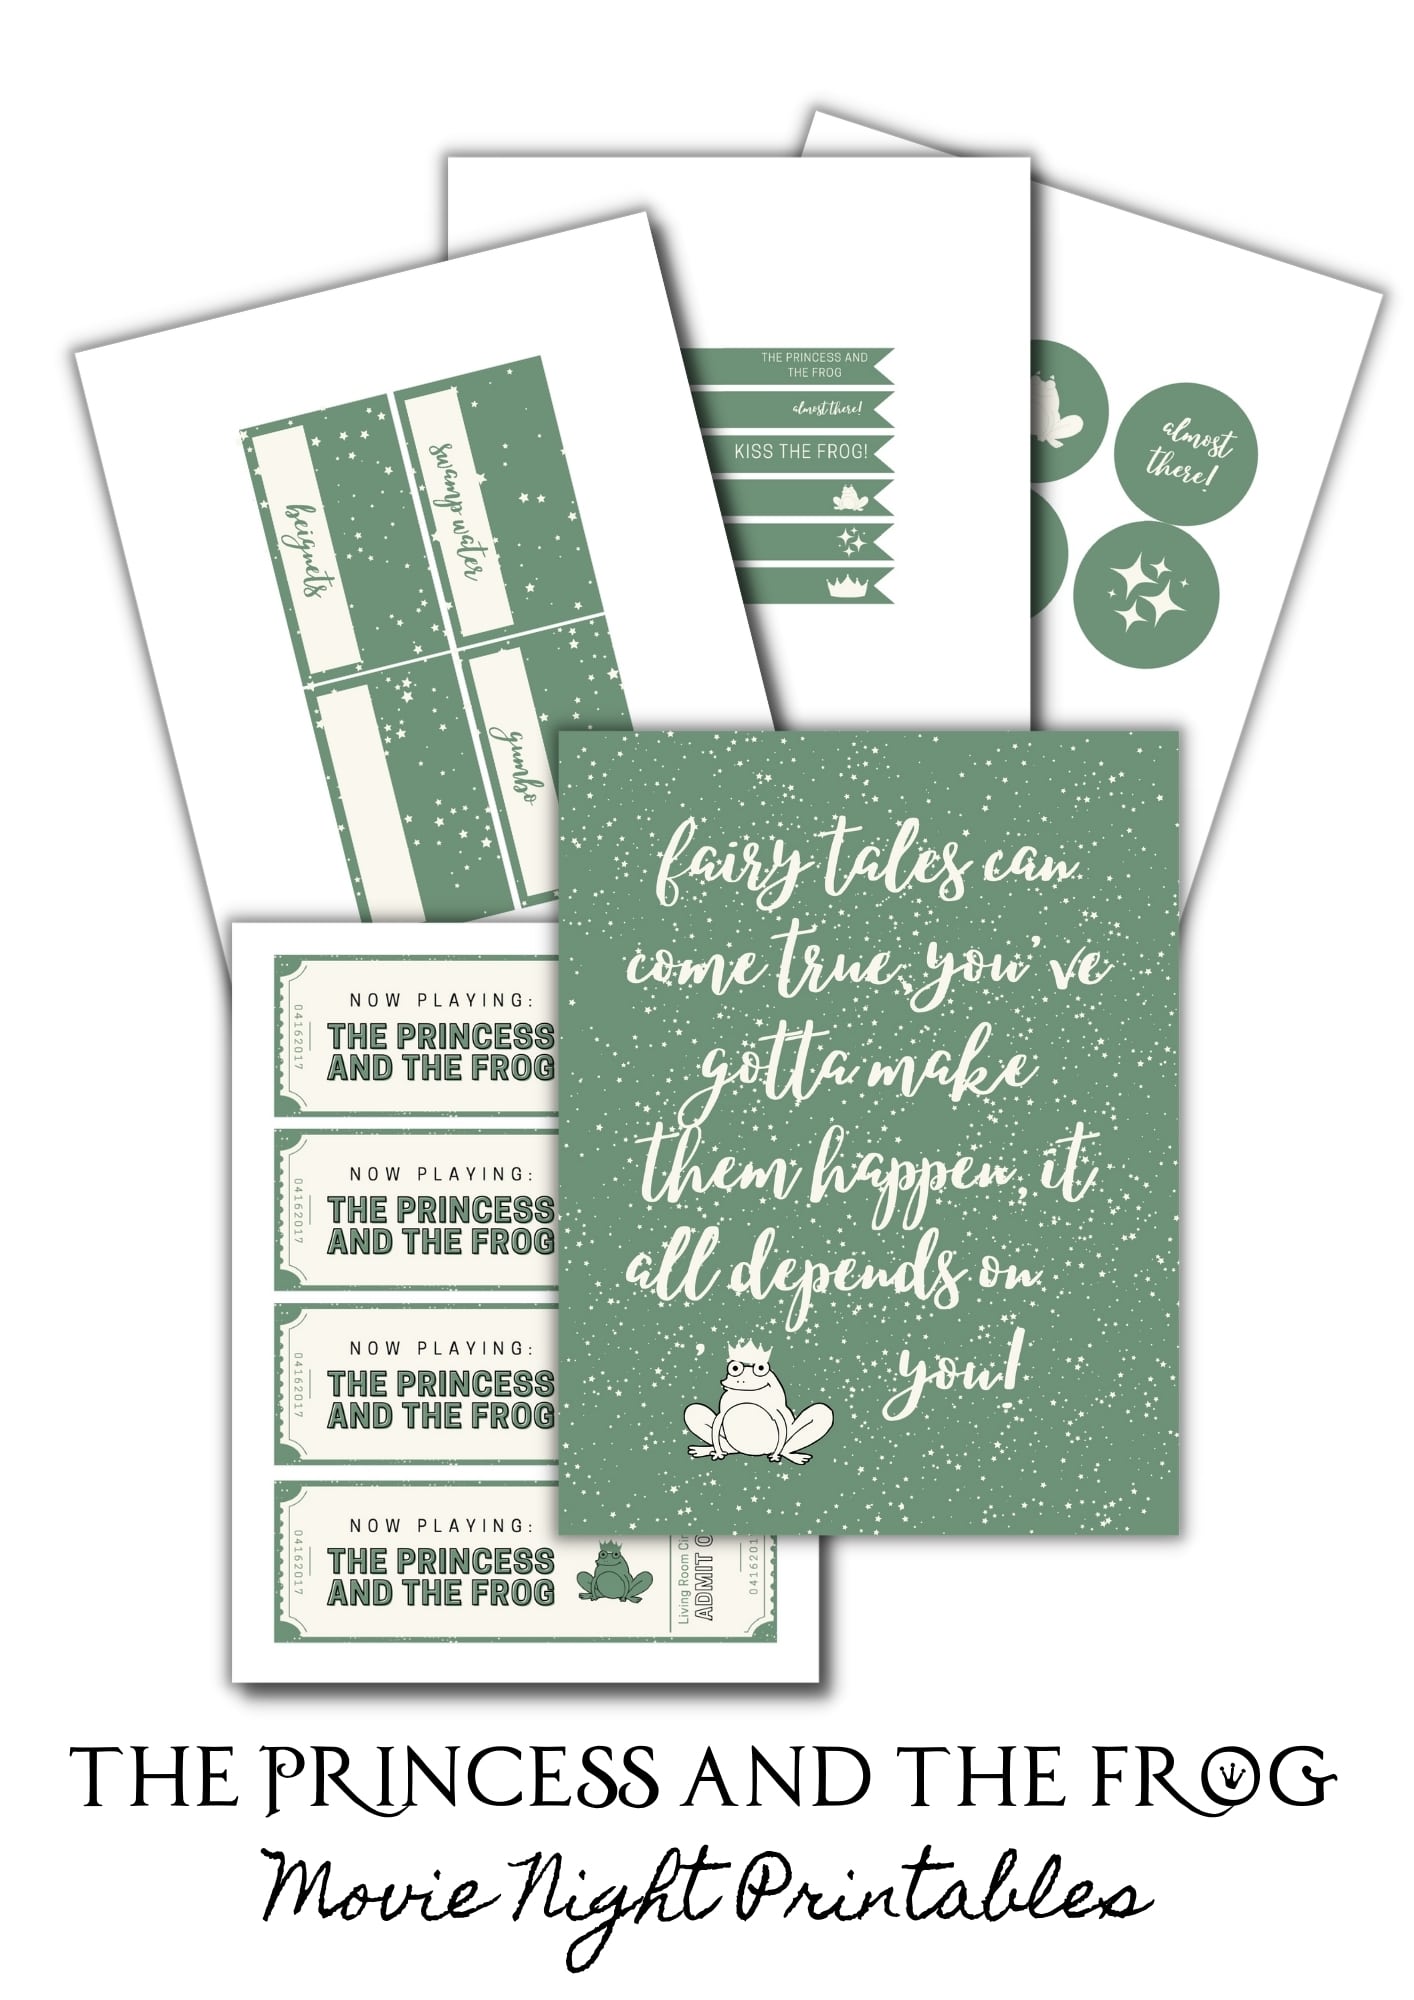
We also created some beautiful party printables for our movie night princess party or the birthday party theme. Whether you're planning a family movie night together, or a larger The Princess and The Frog party these printables are the perfect finishing touch.  They are the perfect Princess and the Frog invitation.

Princess and the Frog party table with themed food and swamp inspired party decorations.

We started out with a movie night ticket. Purchase the printables and print on your home computer or at your local office supply store or print shop. The tickets are such a fun way to make your own Princess and the Frog party invitations to invite your kids, or little princess friends and help everyone get excited about a special night at a Princess Tiana party.

The princess and the frog printable movie ticket invitation and swamp water punch.

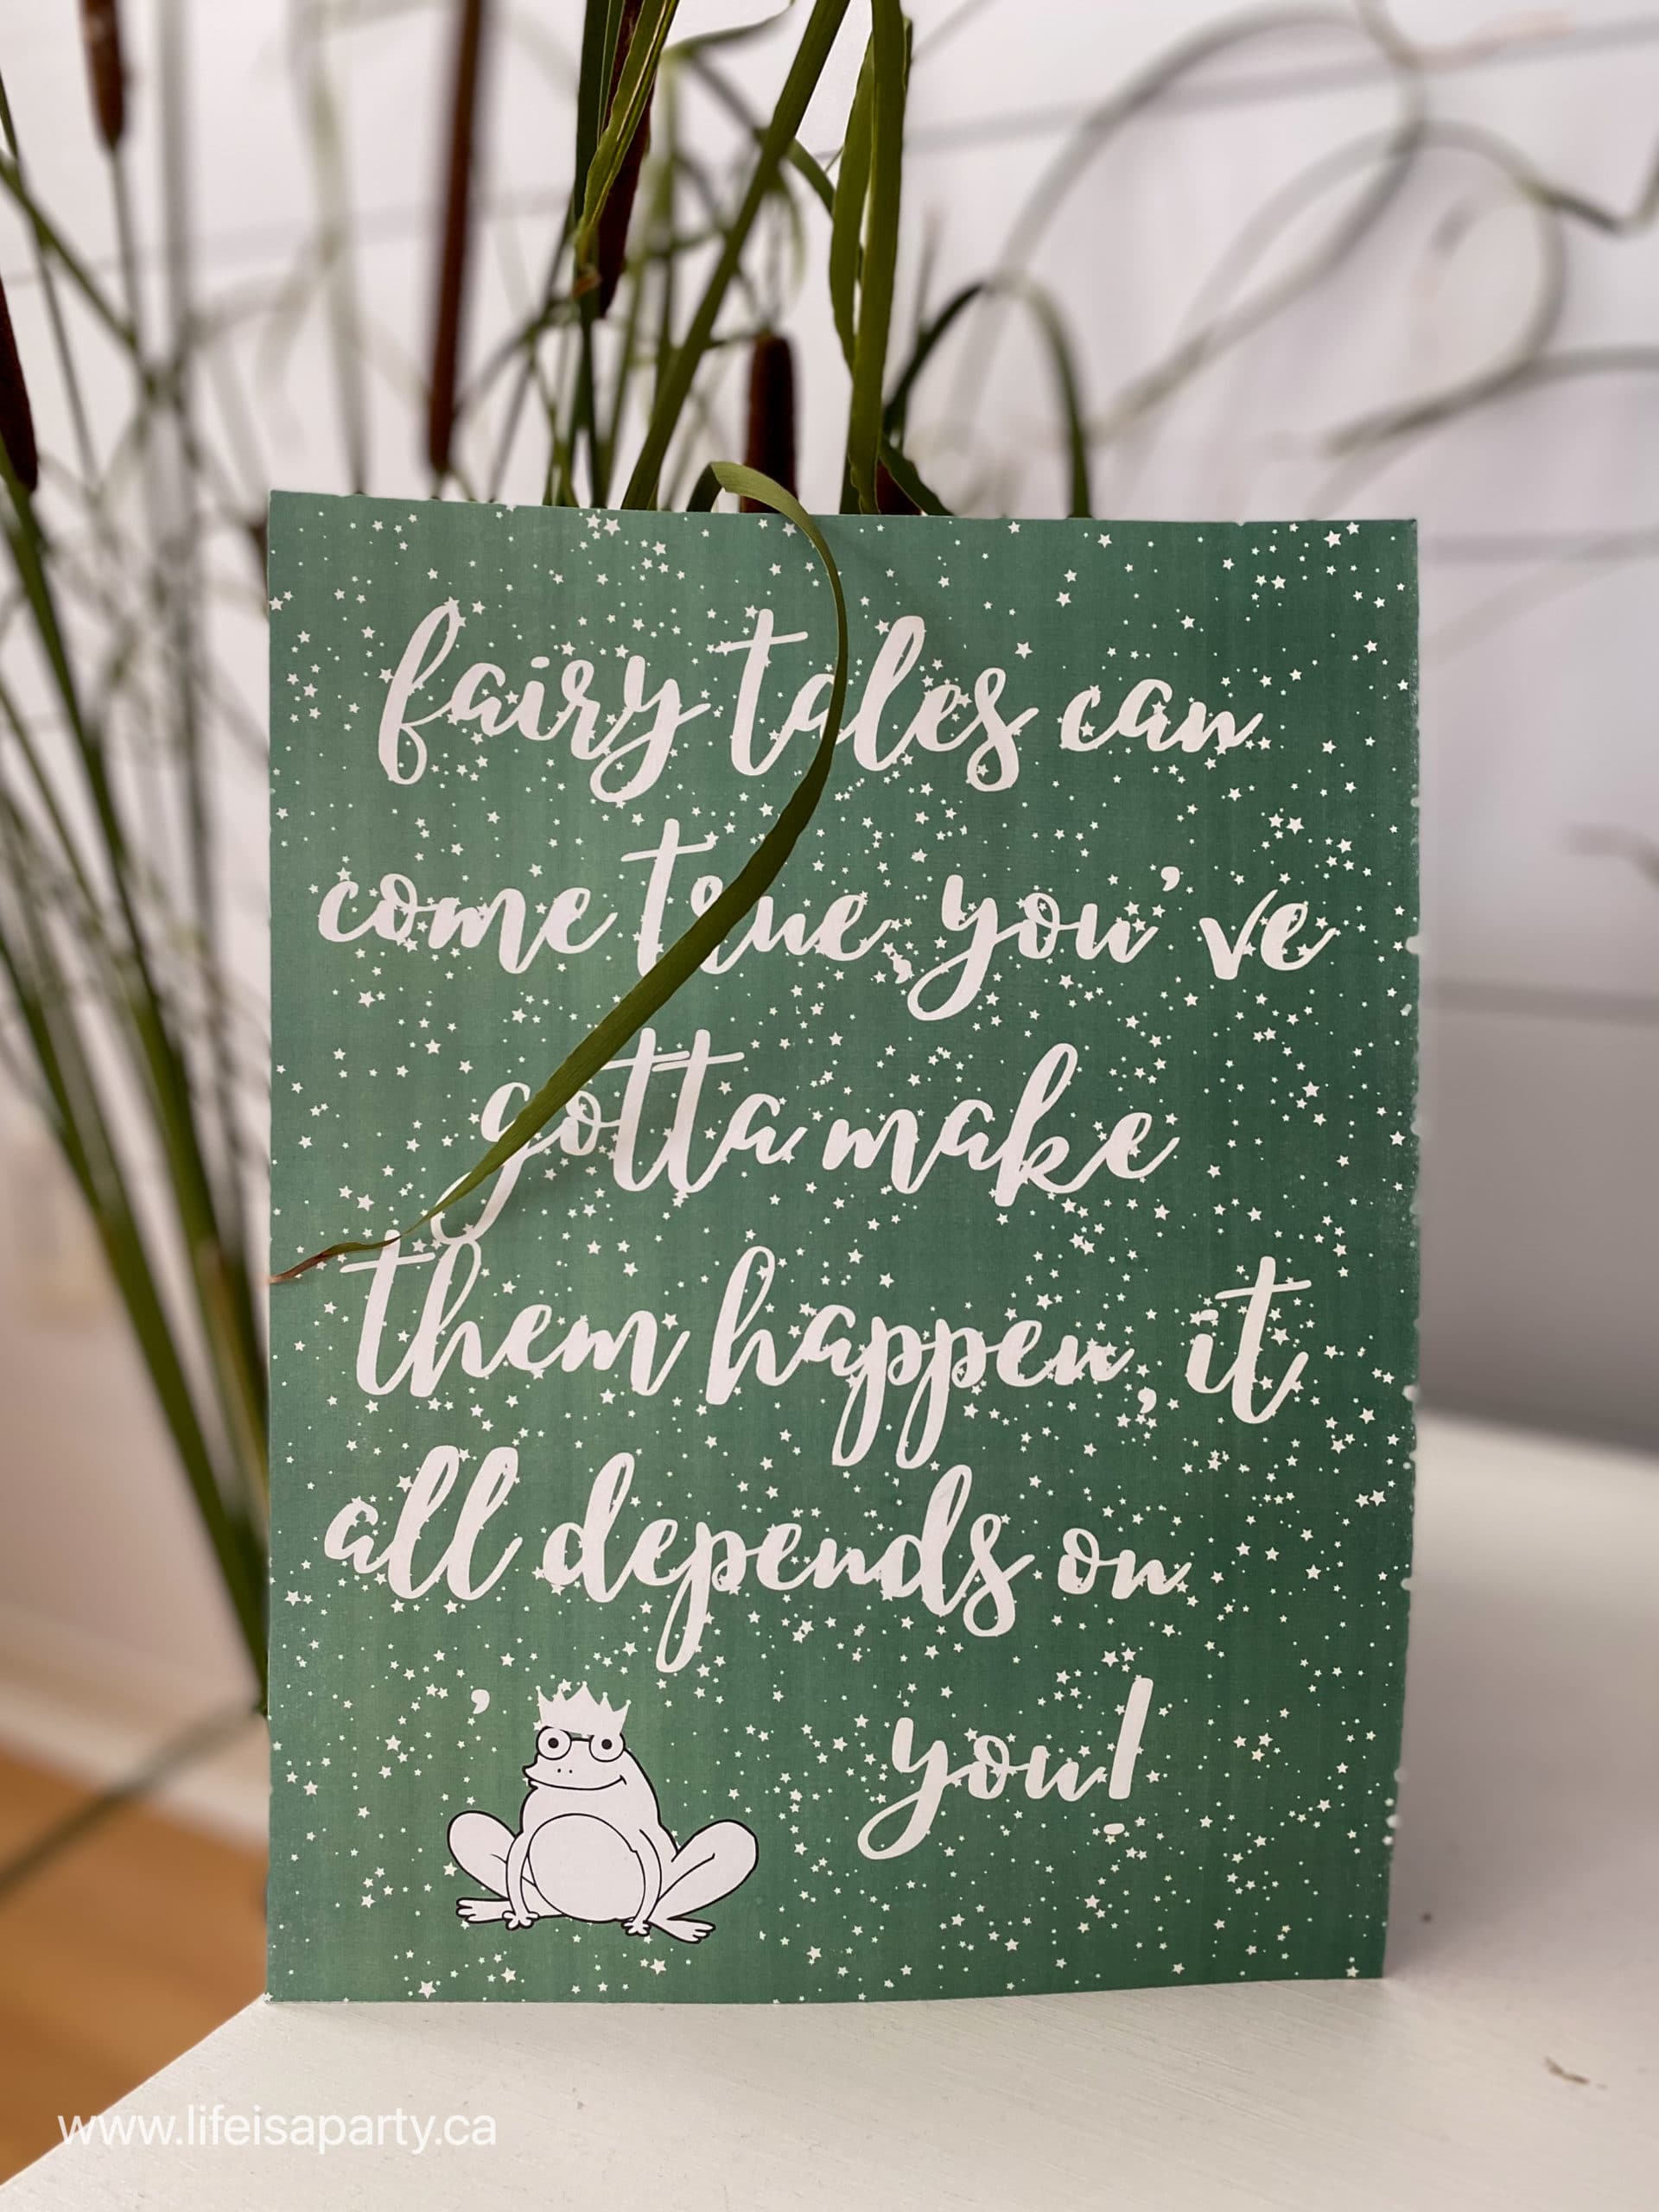
We printed this cute The Princess and The Frog movie quote poster on card stock and used it on our table. You could also frame it or hang it up, or tape it to your front door to greet guests.

the princess and the frog party printables

The printables also include themed straw flags to dress up your straws, as well as food labels that fit our menu, plus blank ones you could use with any food options you included, or as place cards in a tablescape. Lastly we made some cupcake toppers that you can print, cut, and then glue to a tooth pick and use in green frosting cupcakes, or frog cupcakes, or any other food. We used them in our homemade beignets here.

The princess and the frog printable movie ticket invitation.

Subsribe below for instant access to our Free Resource Library where you can find our Princess and the Frog movie night printables and more!

The Princess and The Frog Themed Food Ideas

Gumbo

Since this series is all about dinner as well as the movie, let's get to the food. The Princess and Frog begins with Tiana's early memories of making her favorite dish gumbo with her father, we also see her make swamp gumbo for her friends in the swamp, and then help Mama Odie get the seasoning just right. 

The Princess and the Frog gumbo.

So we knew we had to make gumbo!  We made gumbo with chicken, sausage, and shrimp gumbo, you can find the recipe here.  It was so good.  We served it with white rice and French baguette, and it was a great meal.  It was so well seasoned and flavourful.  It was a little spicy.  If I was making it for younger kids who weren't big fans of spices, I would definitely reduce the cayenne pepper and cajun spice.

The Princess and the Frog gumbo.
The Princess and the Frog Party food ideas and DIY decorations.

Swamp Water

I thought it would be fun to make a swamp water inspired punch for the our movie night. It was such a yummy and fun addition! We used limeade, pineapple juice, gingerale and lime ice cream for the perfect green, and frothy swamp water.  Find our easy swamp water punch recipe here.  These drinks are a great addition to your favourite kid's recipes.

The Princess and the Frog swamp water punch.
The Princess and the Frog themed party with decoration and themed food table.

Princess and The Frog Beignetts

We definitely could not do The Princess and The Frog and not serve beignets. They are the perfect treat to go with this movie, since like the gumbo, they make a few different appearances in the film, and they are quintessentially Cajun, and remind me of Tiana's place.

Tiana's Beignets on a cake plate with DIY paper  water lily decorations.

The last time I had beignets was probably Mickey Beignets at the River Side Disney Resort in Disney World, quite a few years ago. We love them, and try to have them anytime we're lucky enough to stay at Disney World. But you don't have to go to Disney World -or New Orleans, to get them! You and your little chef can make them at home. Our easy bread machine recipe is so easy to make and so delicious. And if you don't have a bread machine you can make them in a stand mixer or by hand. They're definitely a favourite.  Find our recipe for Tiana's Famous Beignets here.

How to throw a magical Princess and the Frog Tiana party with DIY decorations, printables and themed food ideas.

Gummy Frogs

One final small touch, that was easy and fun was to serve some gummy frogs. They were the perfect little candy treat to fit our theme, and I picked them up at the bulk store. They would also be cute party favors, tied in a cellophane goodie bags with curly ribbon.

The Princess and the Frog themed food ideas green gummy frogs.

We had so much fun having a The Princess and The Frog themed dinner and movie night. I hope some of these easy ideas and recipes inspire you to enjoy a The Princess and The Frog themed dinner and movie night too. And don't forget I'll be sharing more Disney Princess Dinner and Movie ideas all summer, along with a special package at the end that you can purchase with all 6 Disney Princess Movie Nights, that includes all the recipes and all the printables in one place -so stay tuned for that!

These fun ideas would also be great for wishing anyone a happy birthday, or even for a romantic Disney date, where you enjoy cooking the food together as a couple and then watch the movie together. Just my kind of party date.

With a Princess and the Frog movie night, life really is a party!

Summer Garden Party

Jun 21, 2021 · 4 Comments

summer garden party

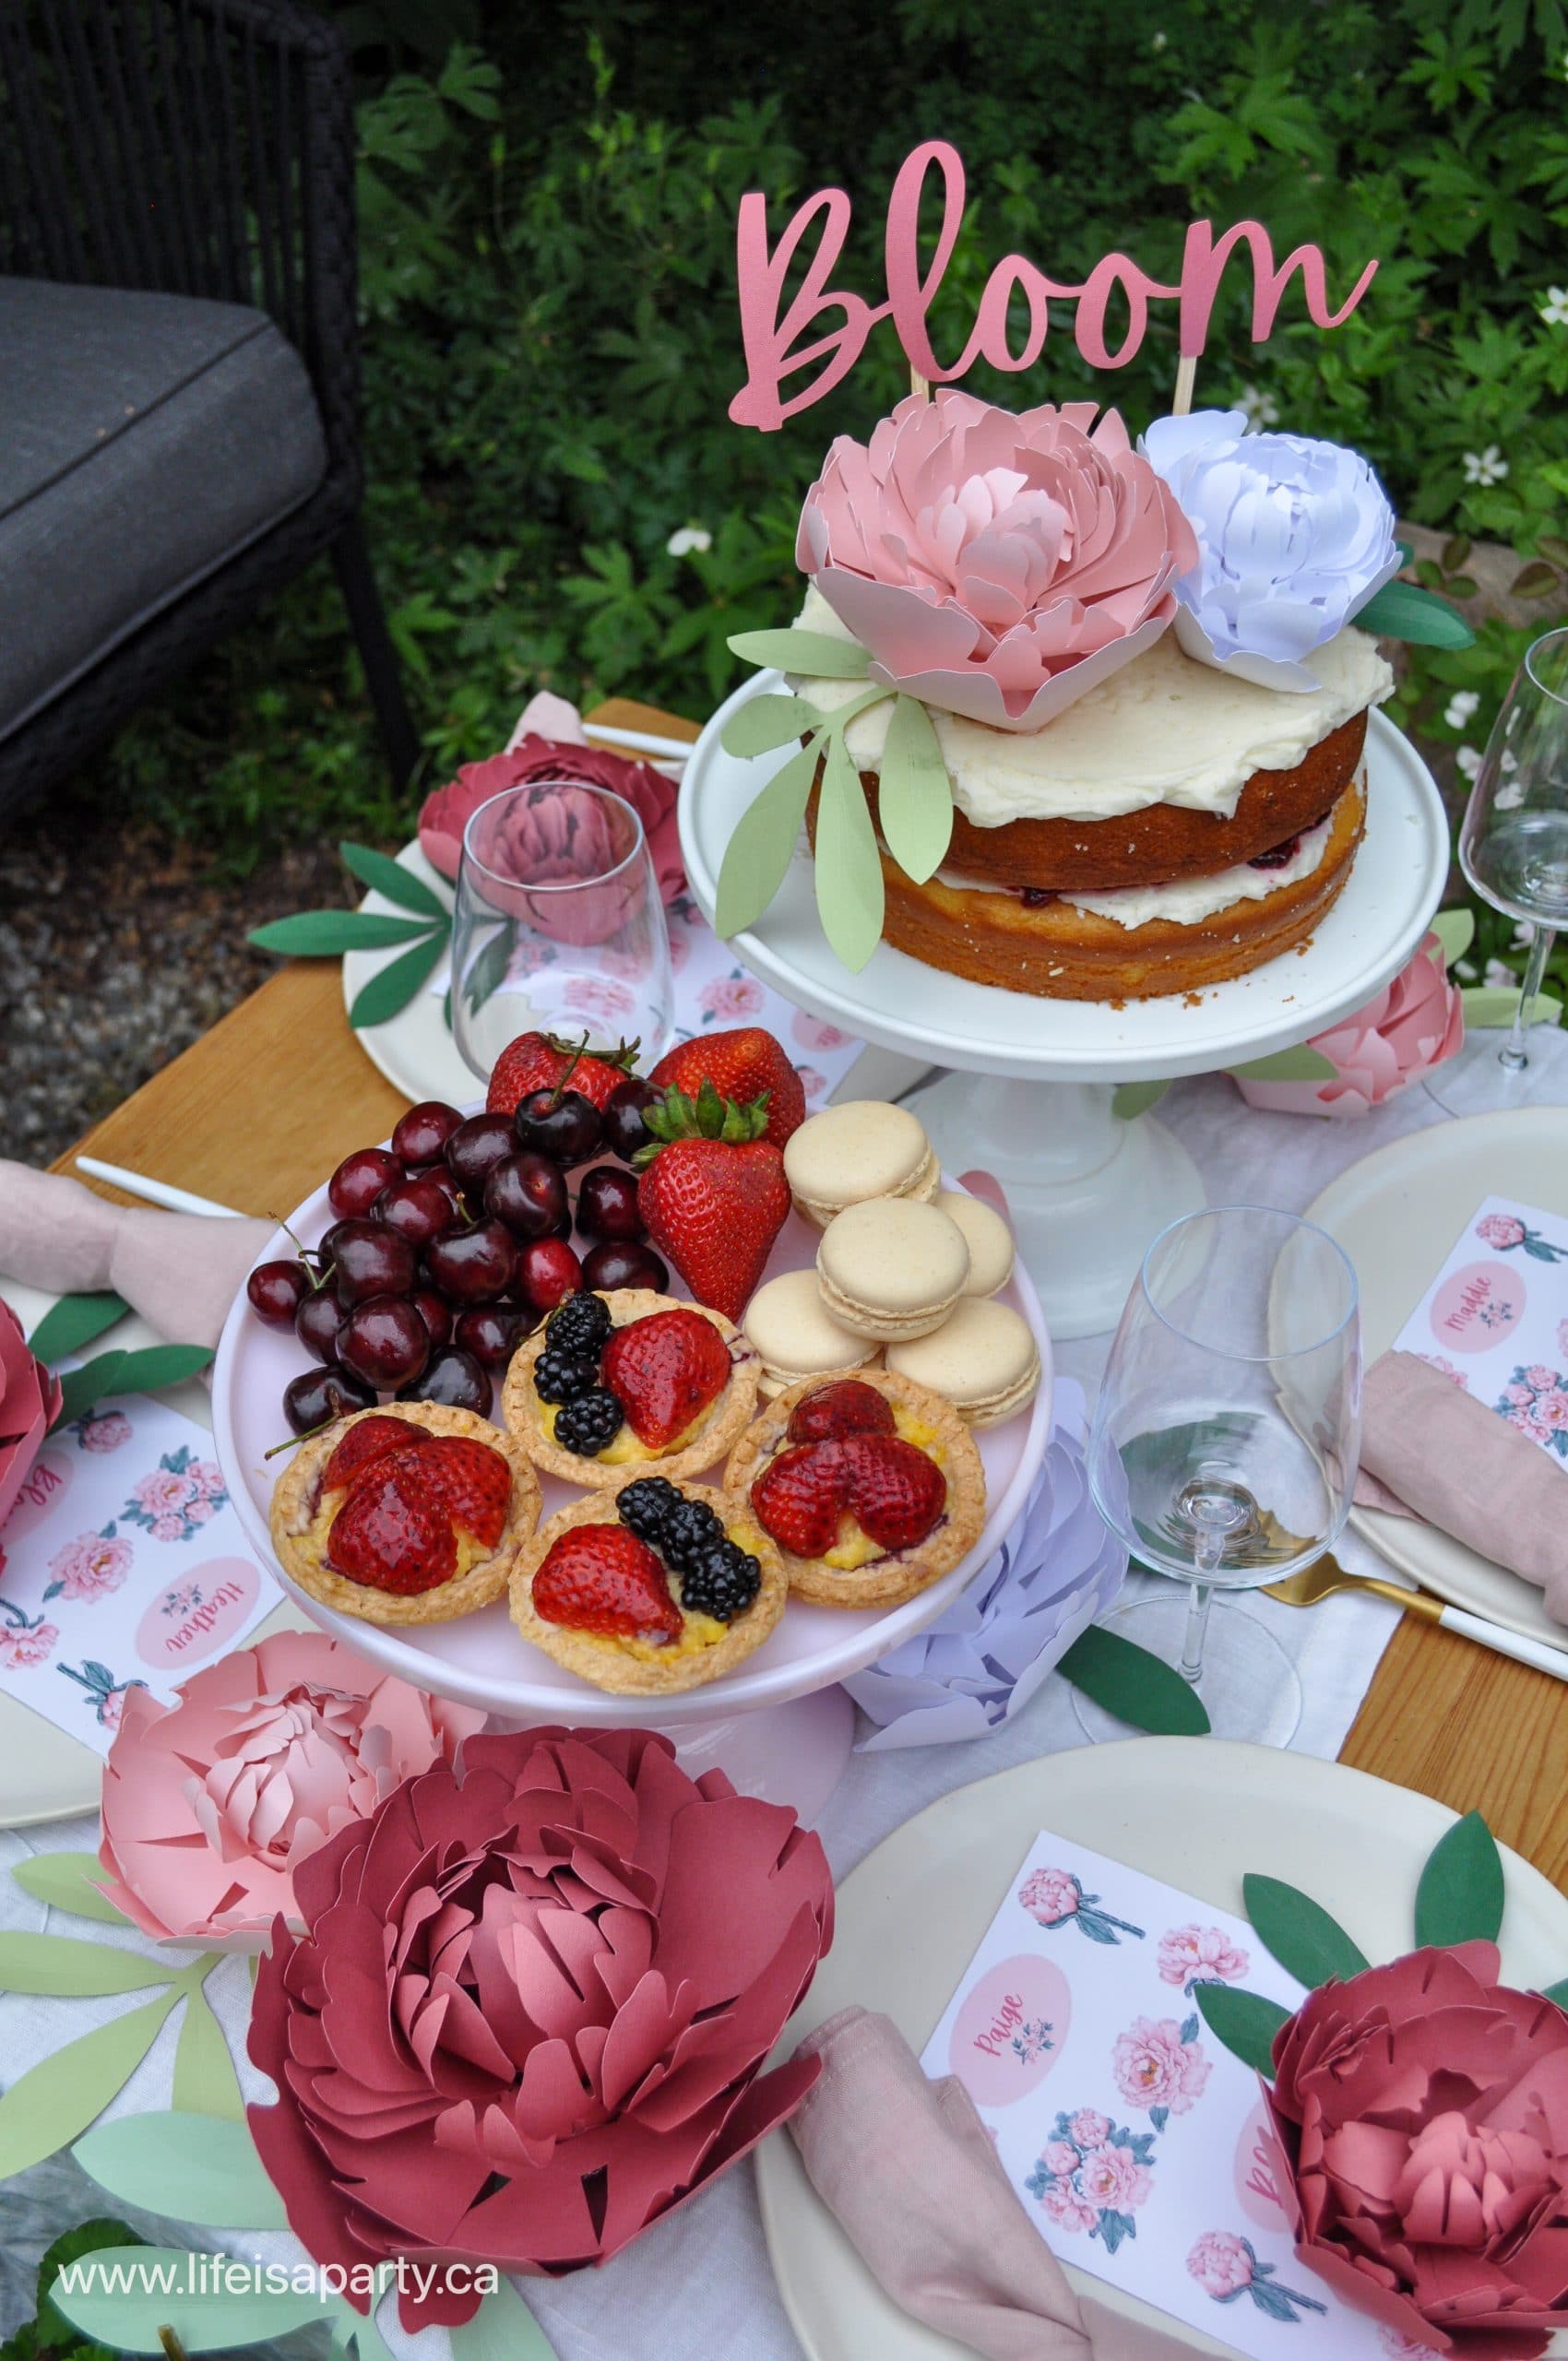
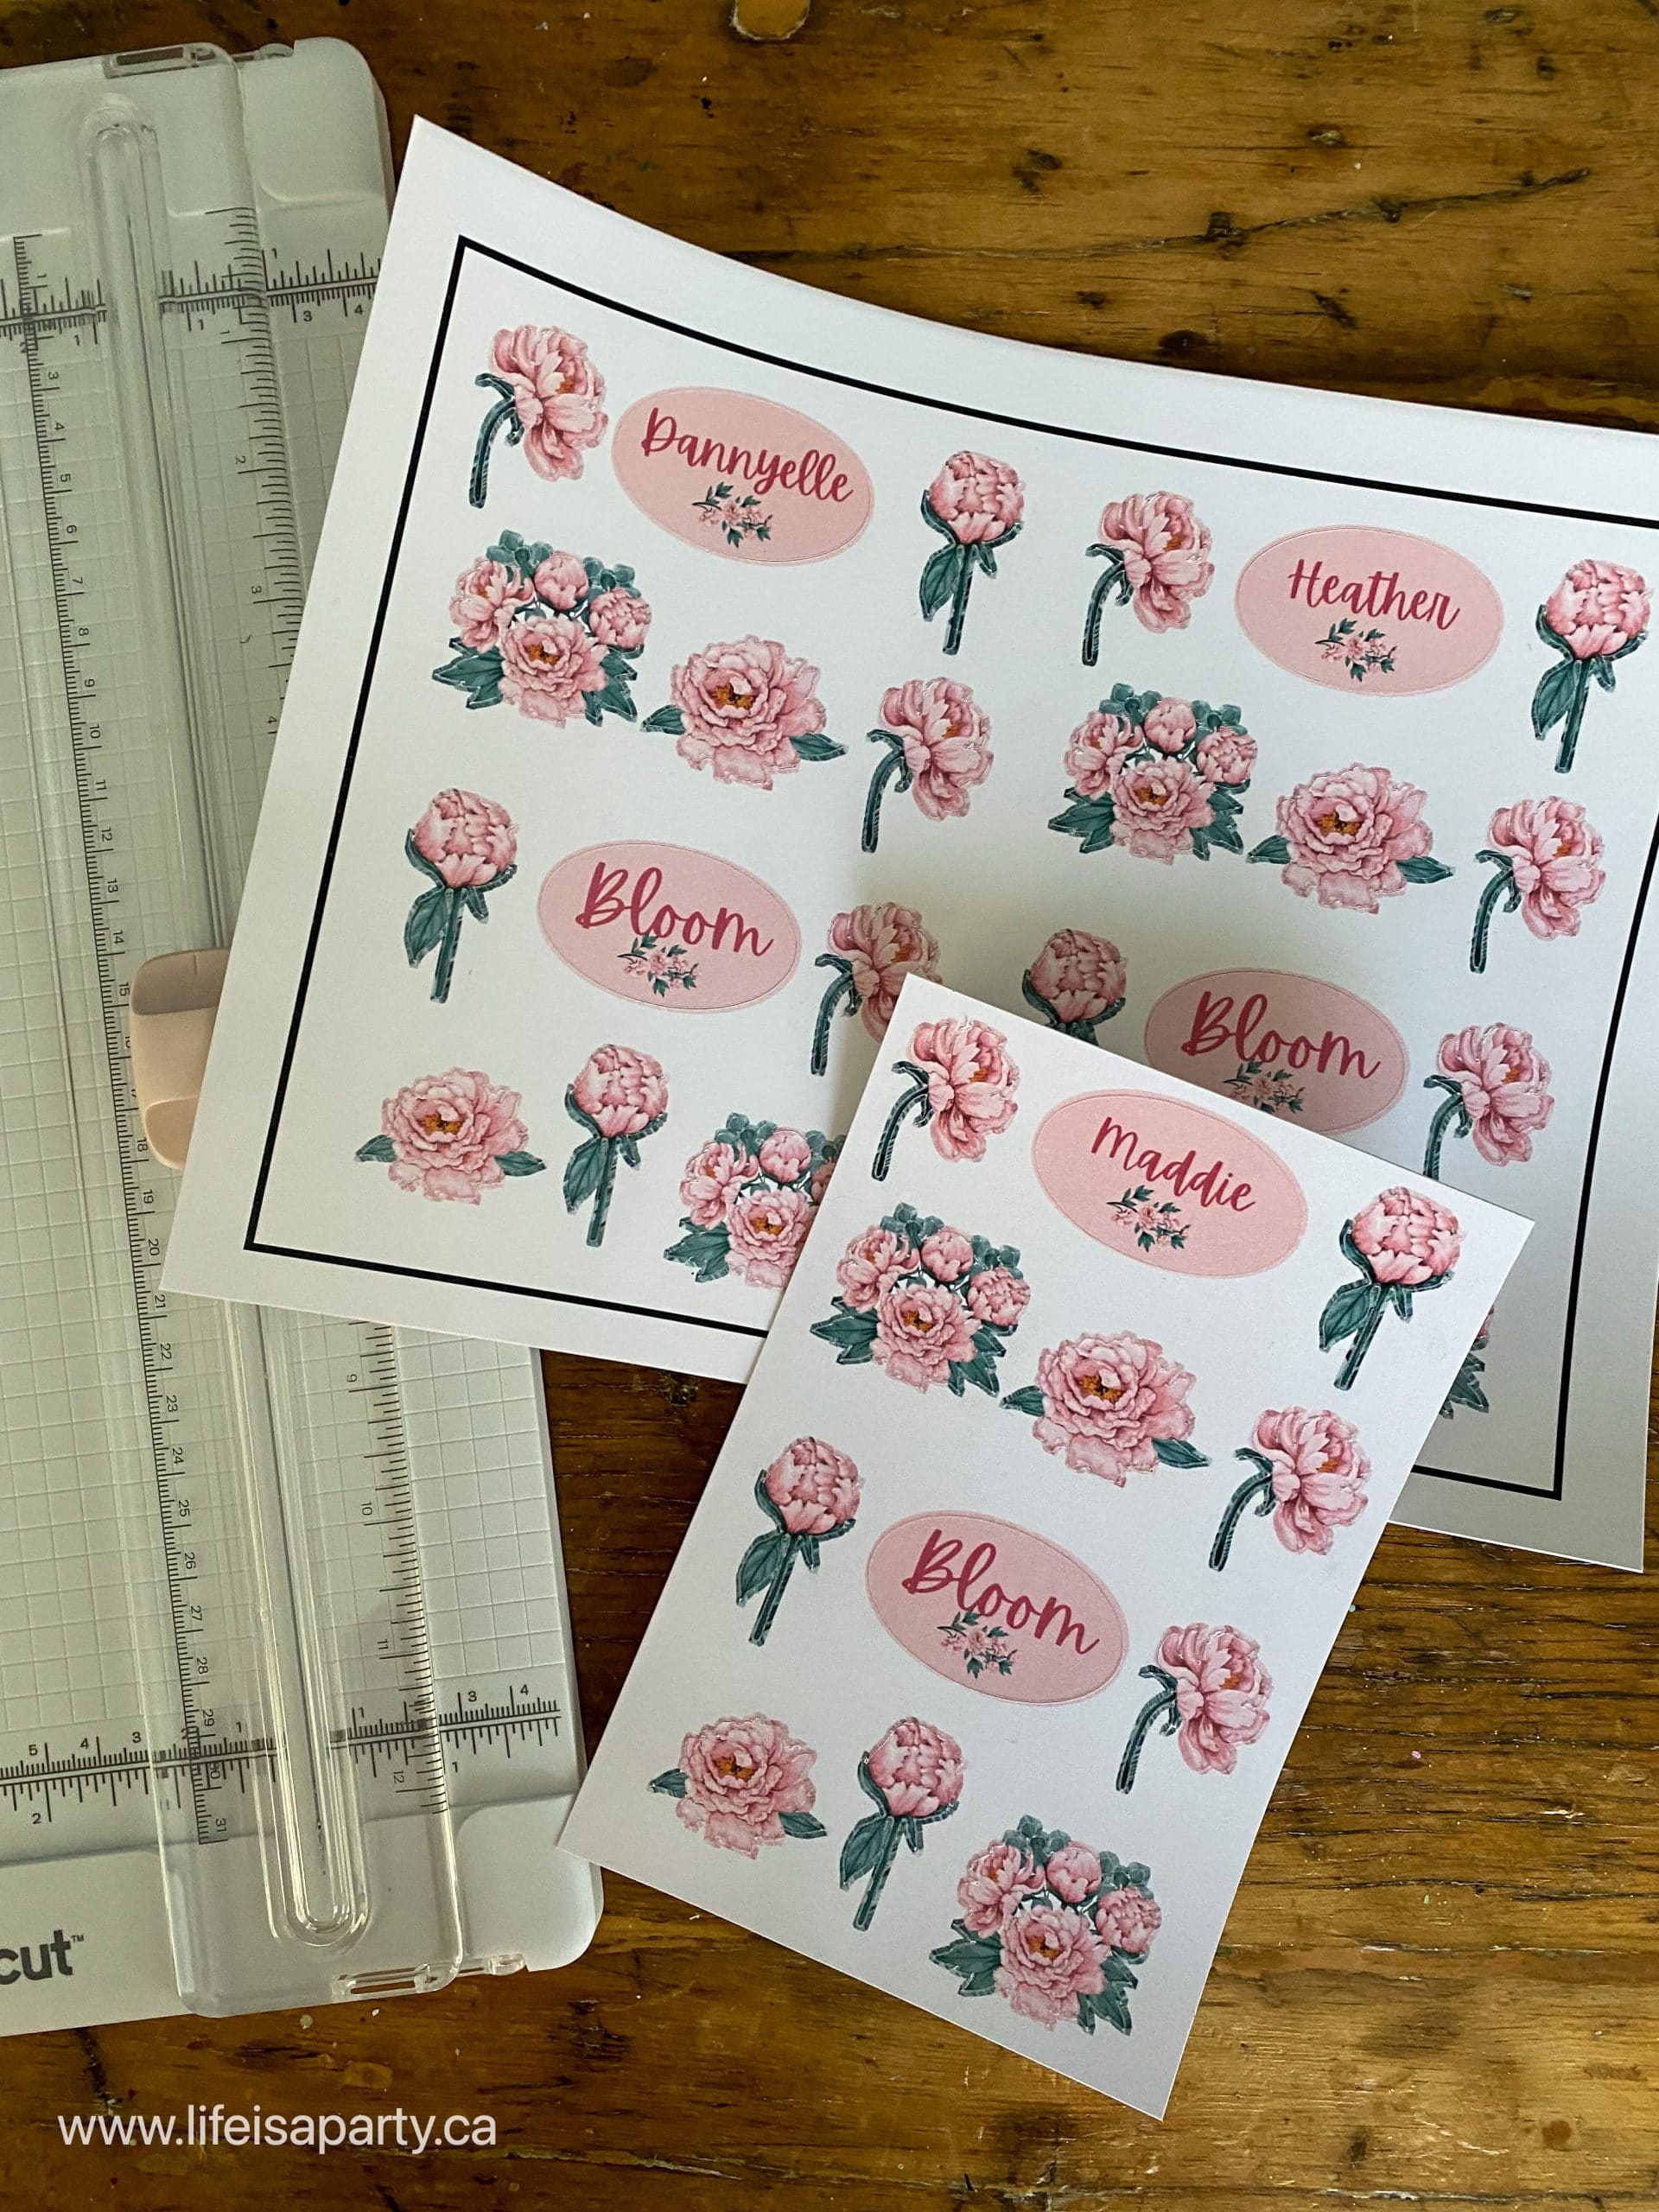
Garden Party: Easy DIY Cricut garden party decor, with custom stickers, paper flower peonies, and a DIY cake topper.

summer garden party
[feast_advanced_jump_to]

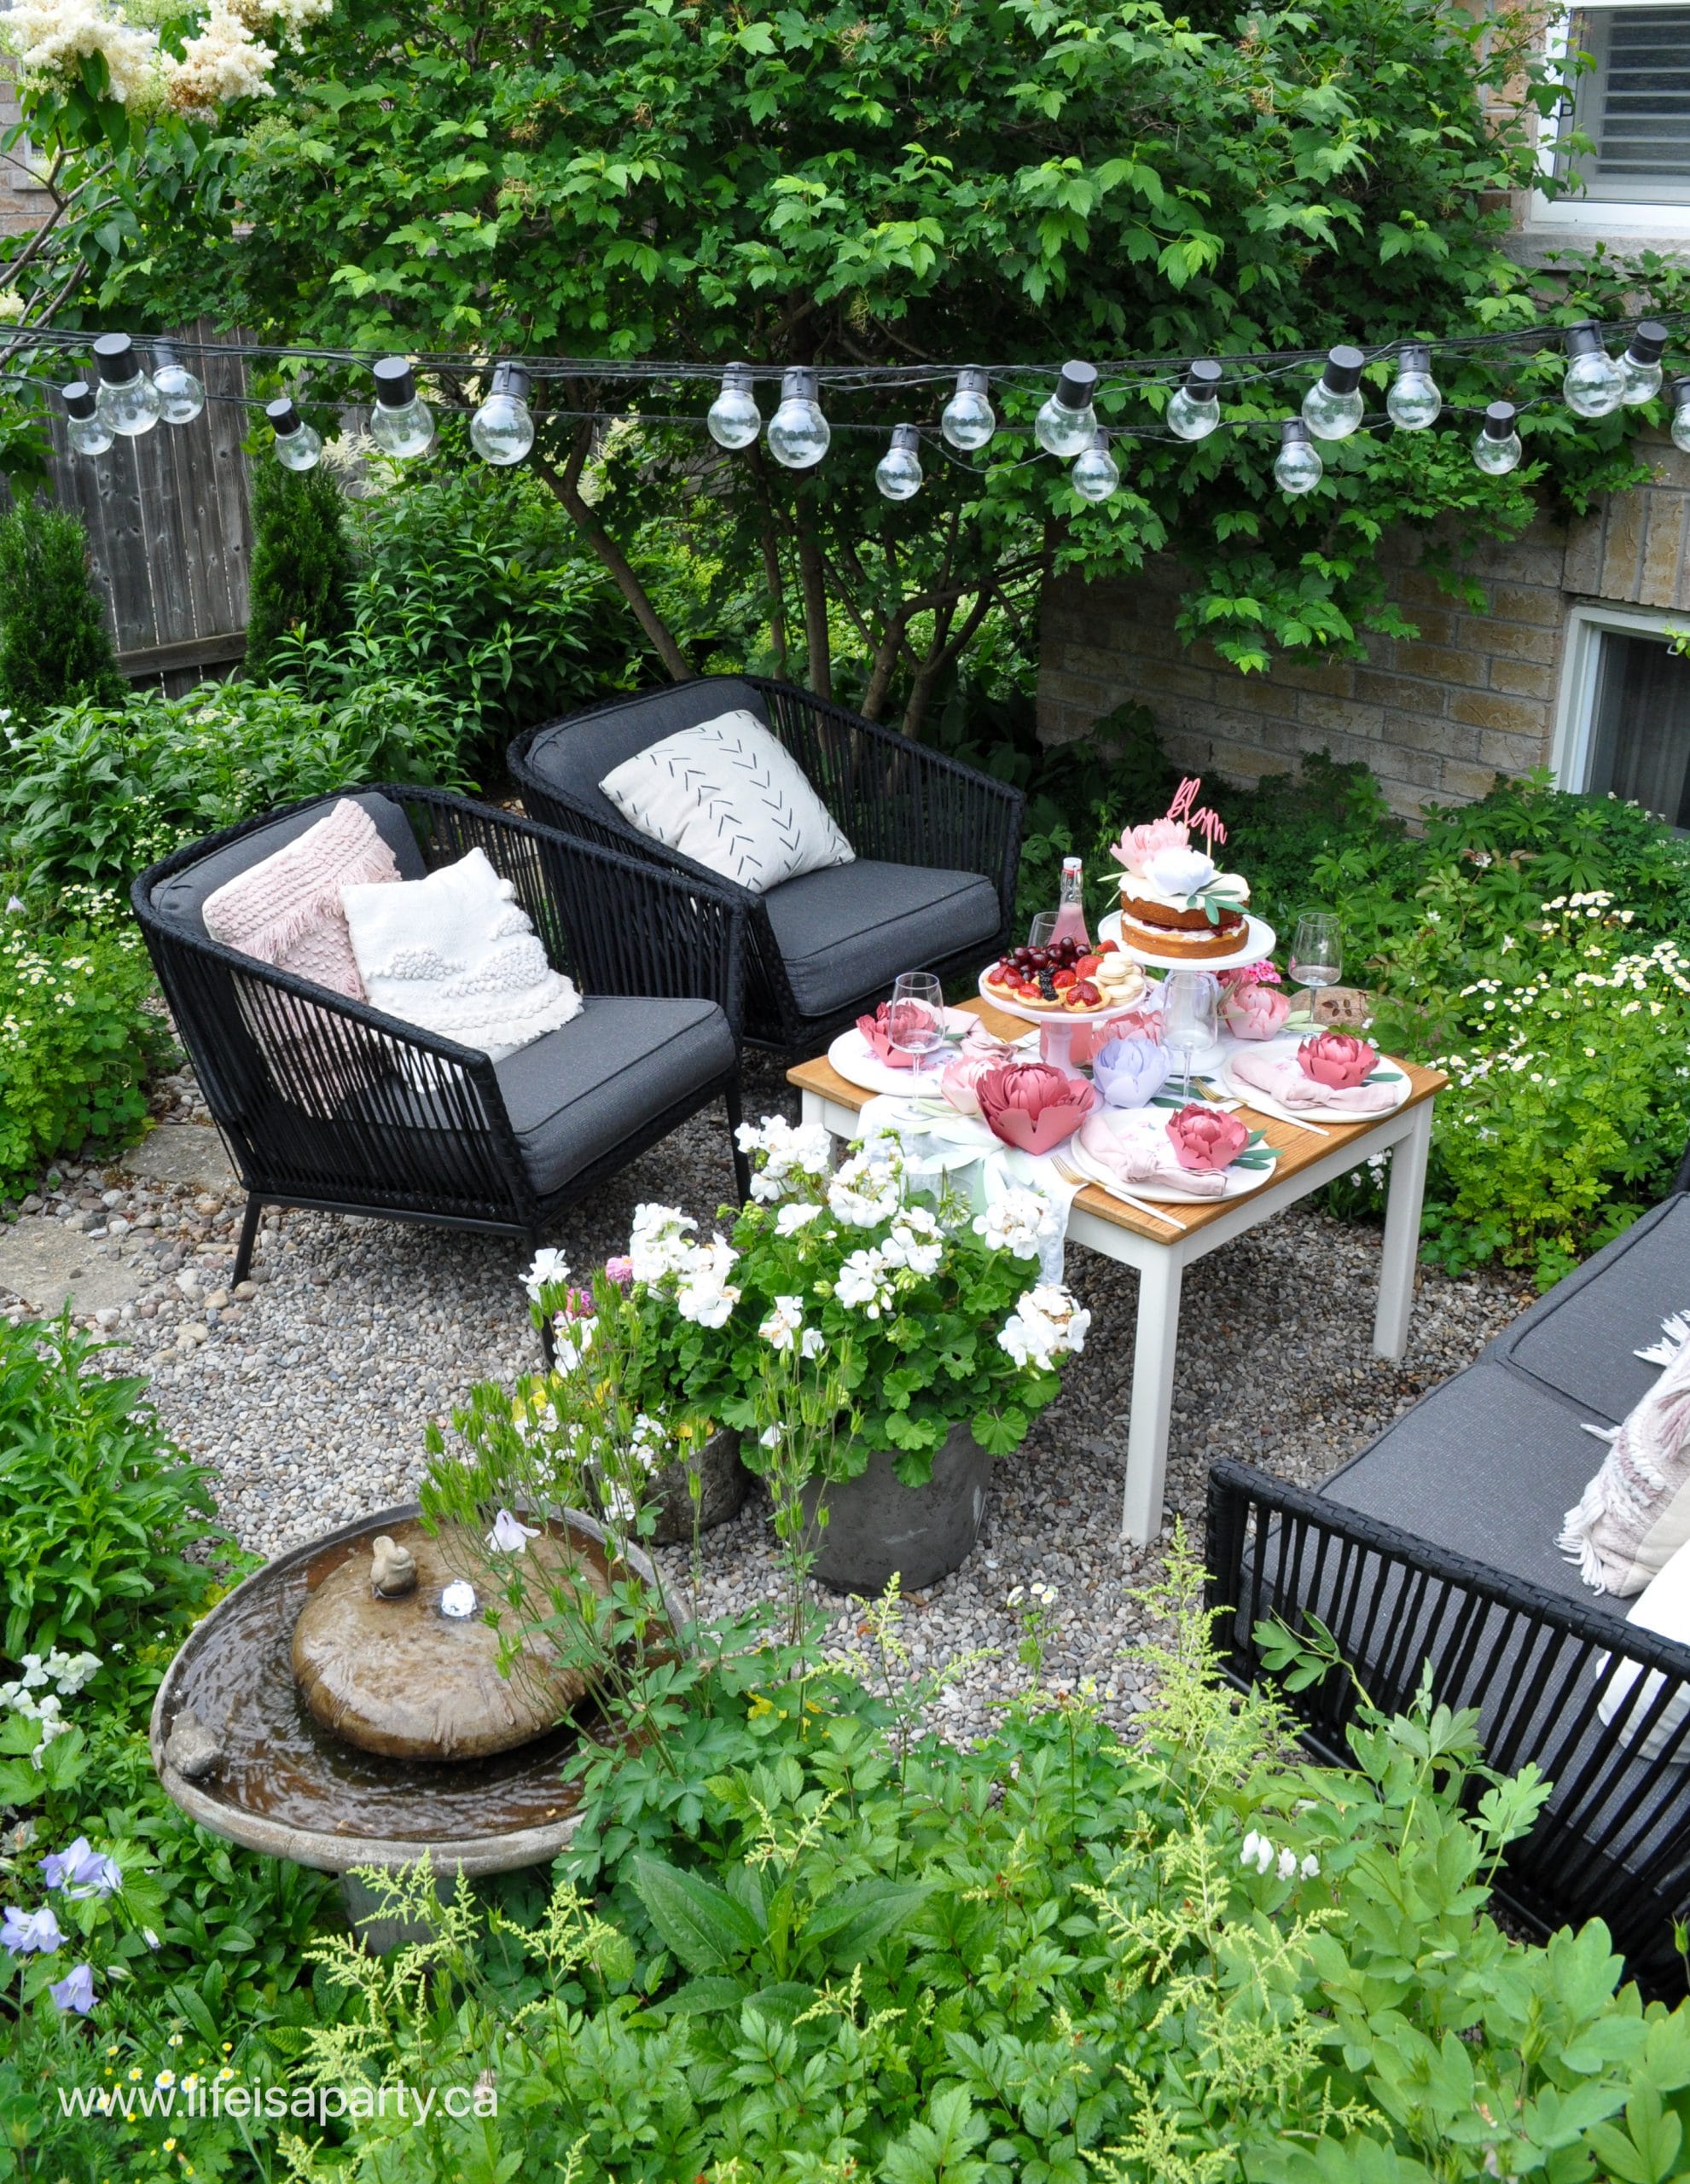
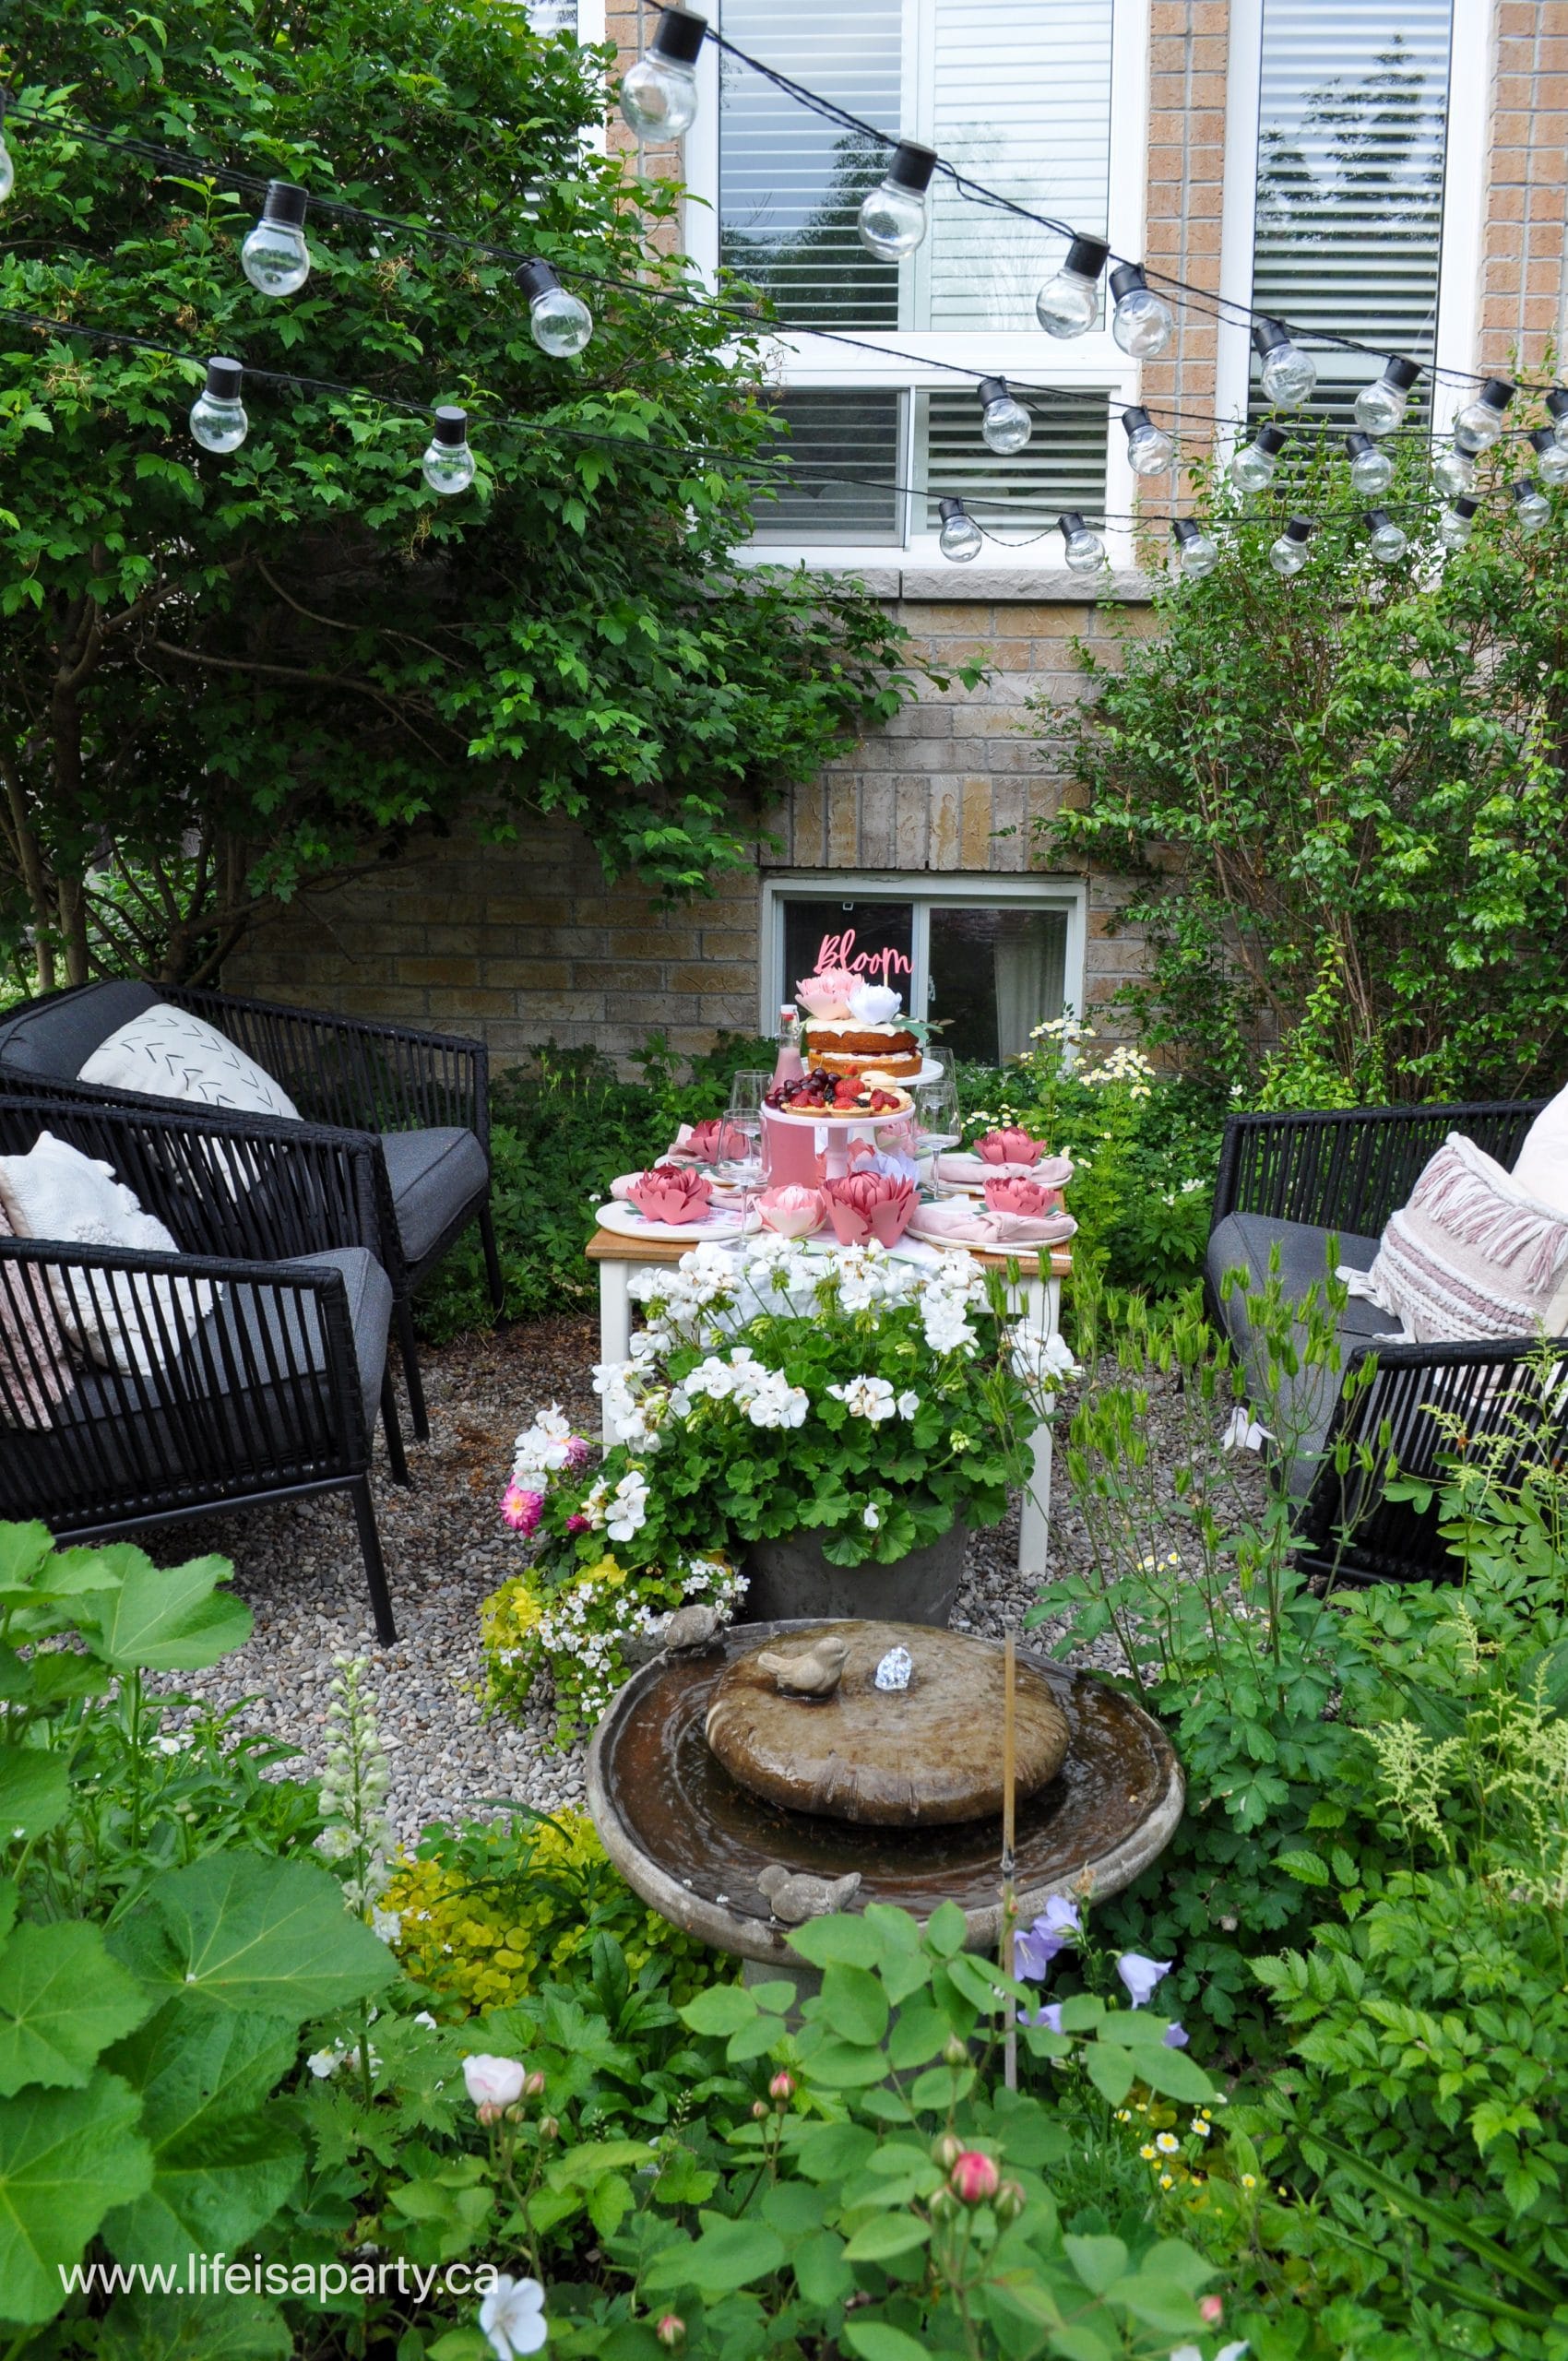
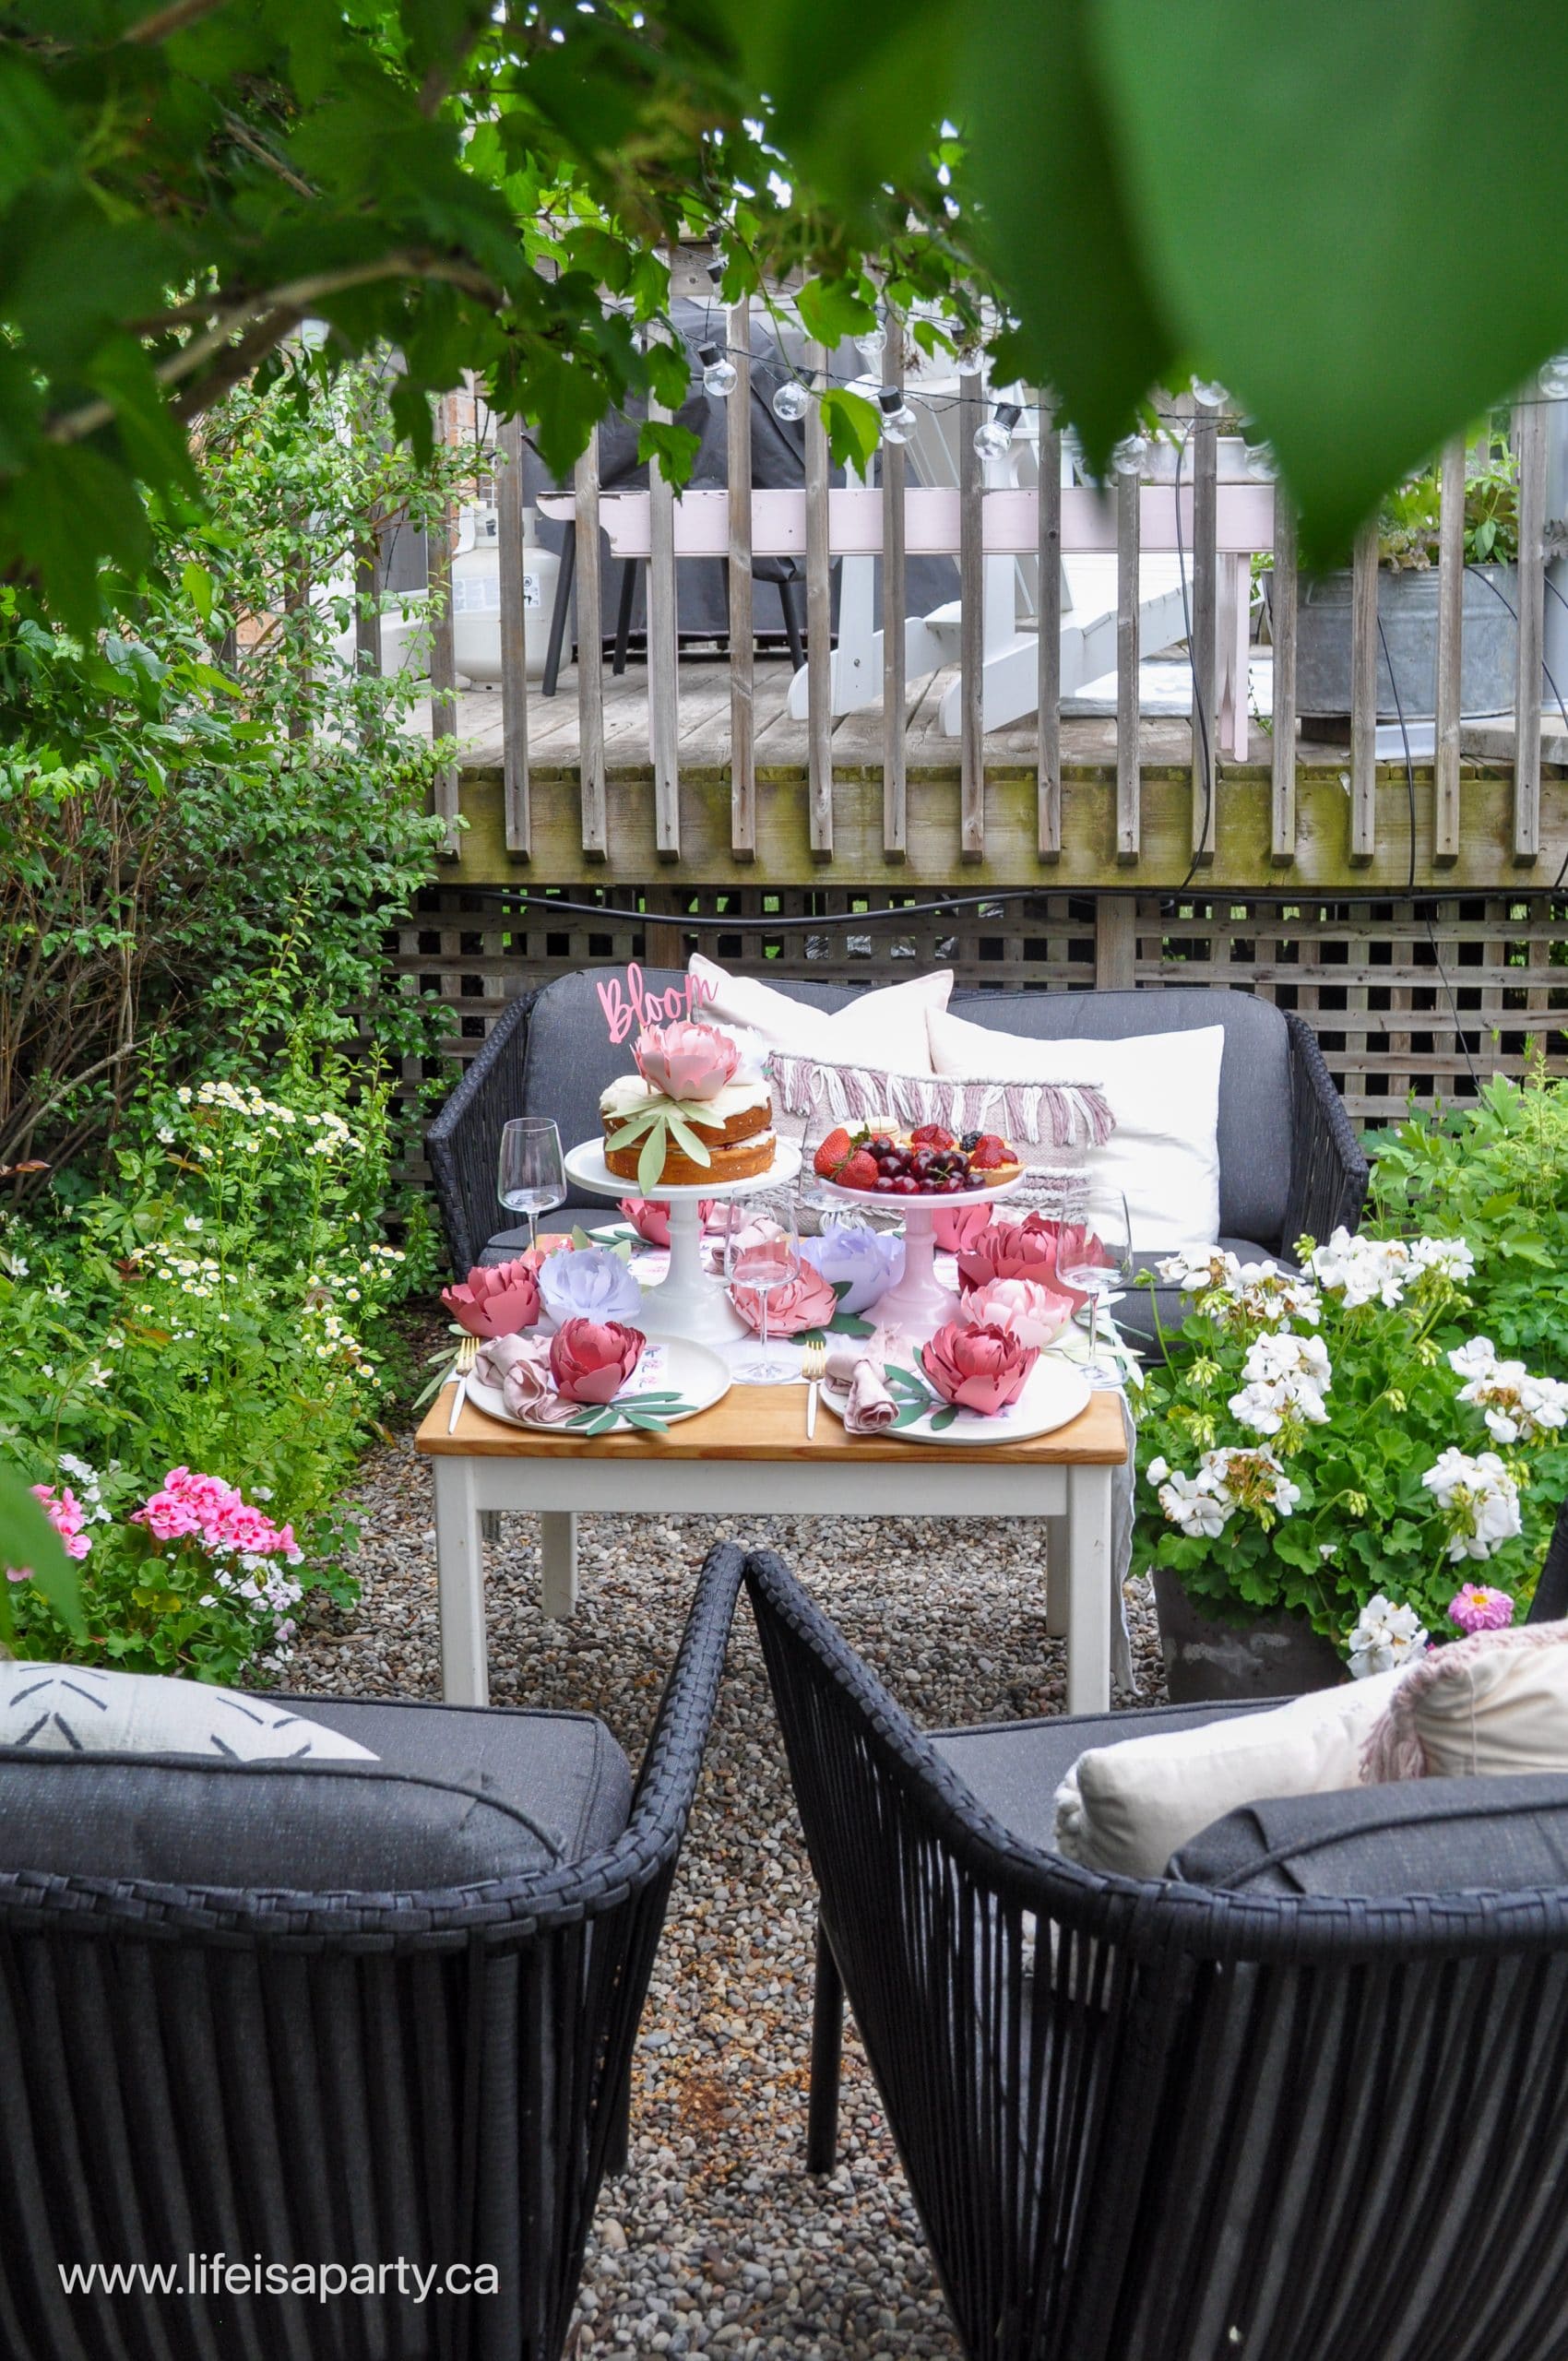
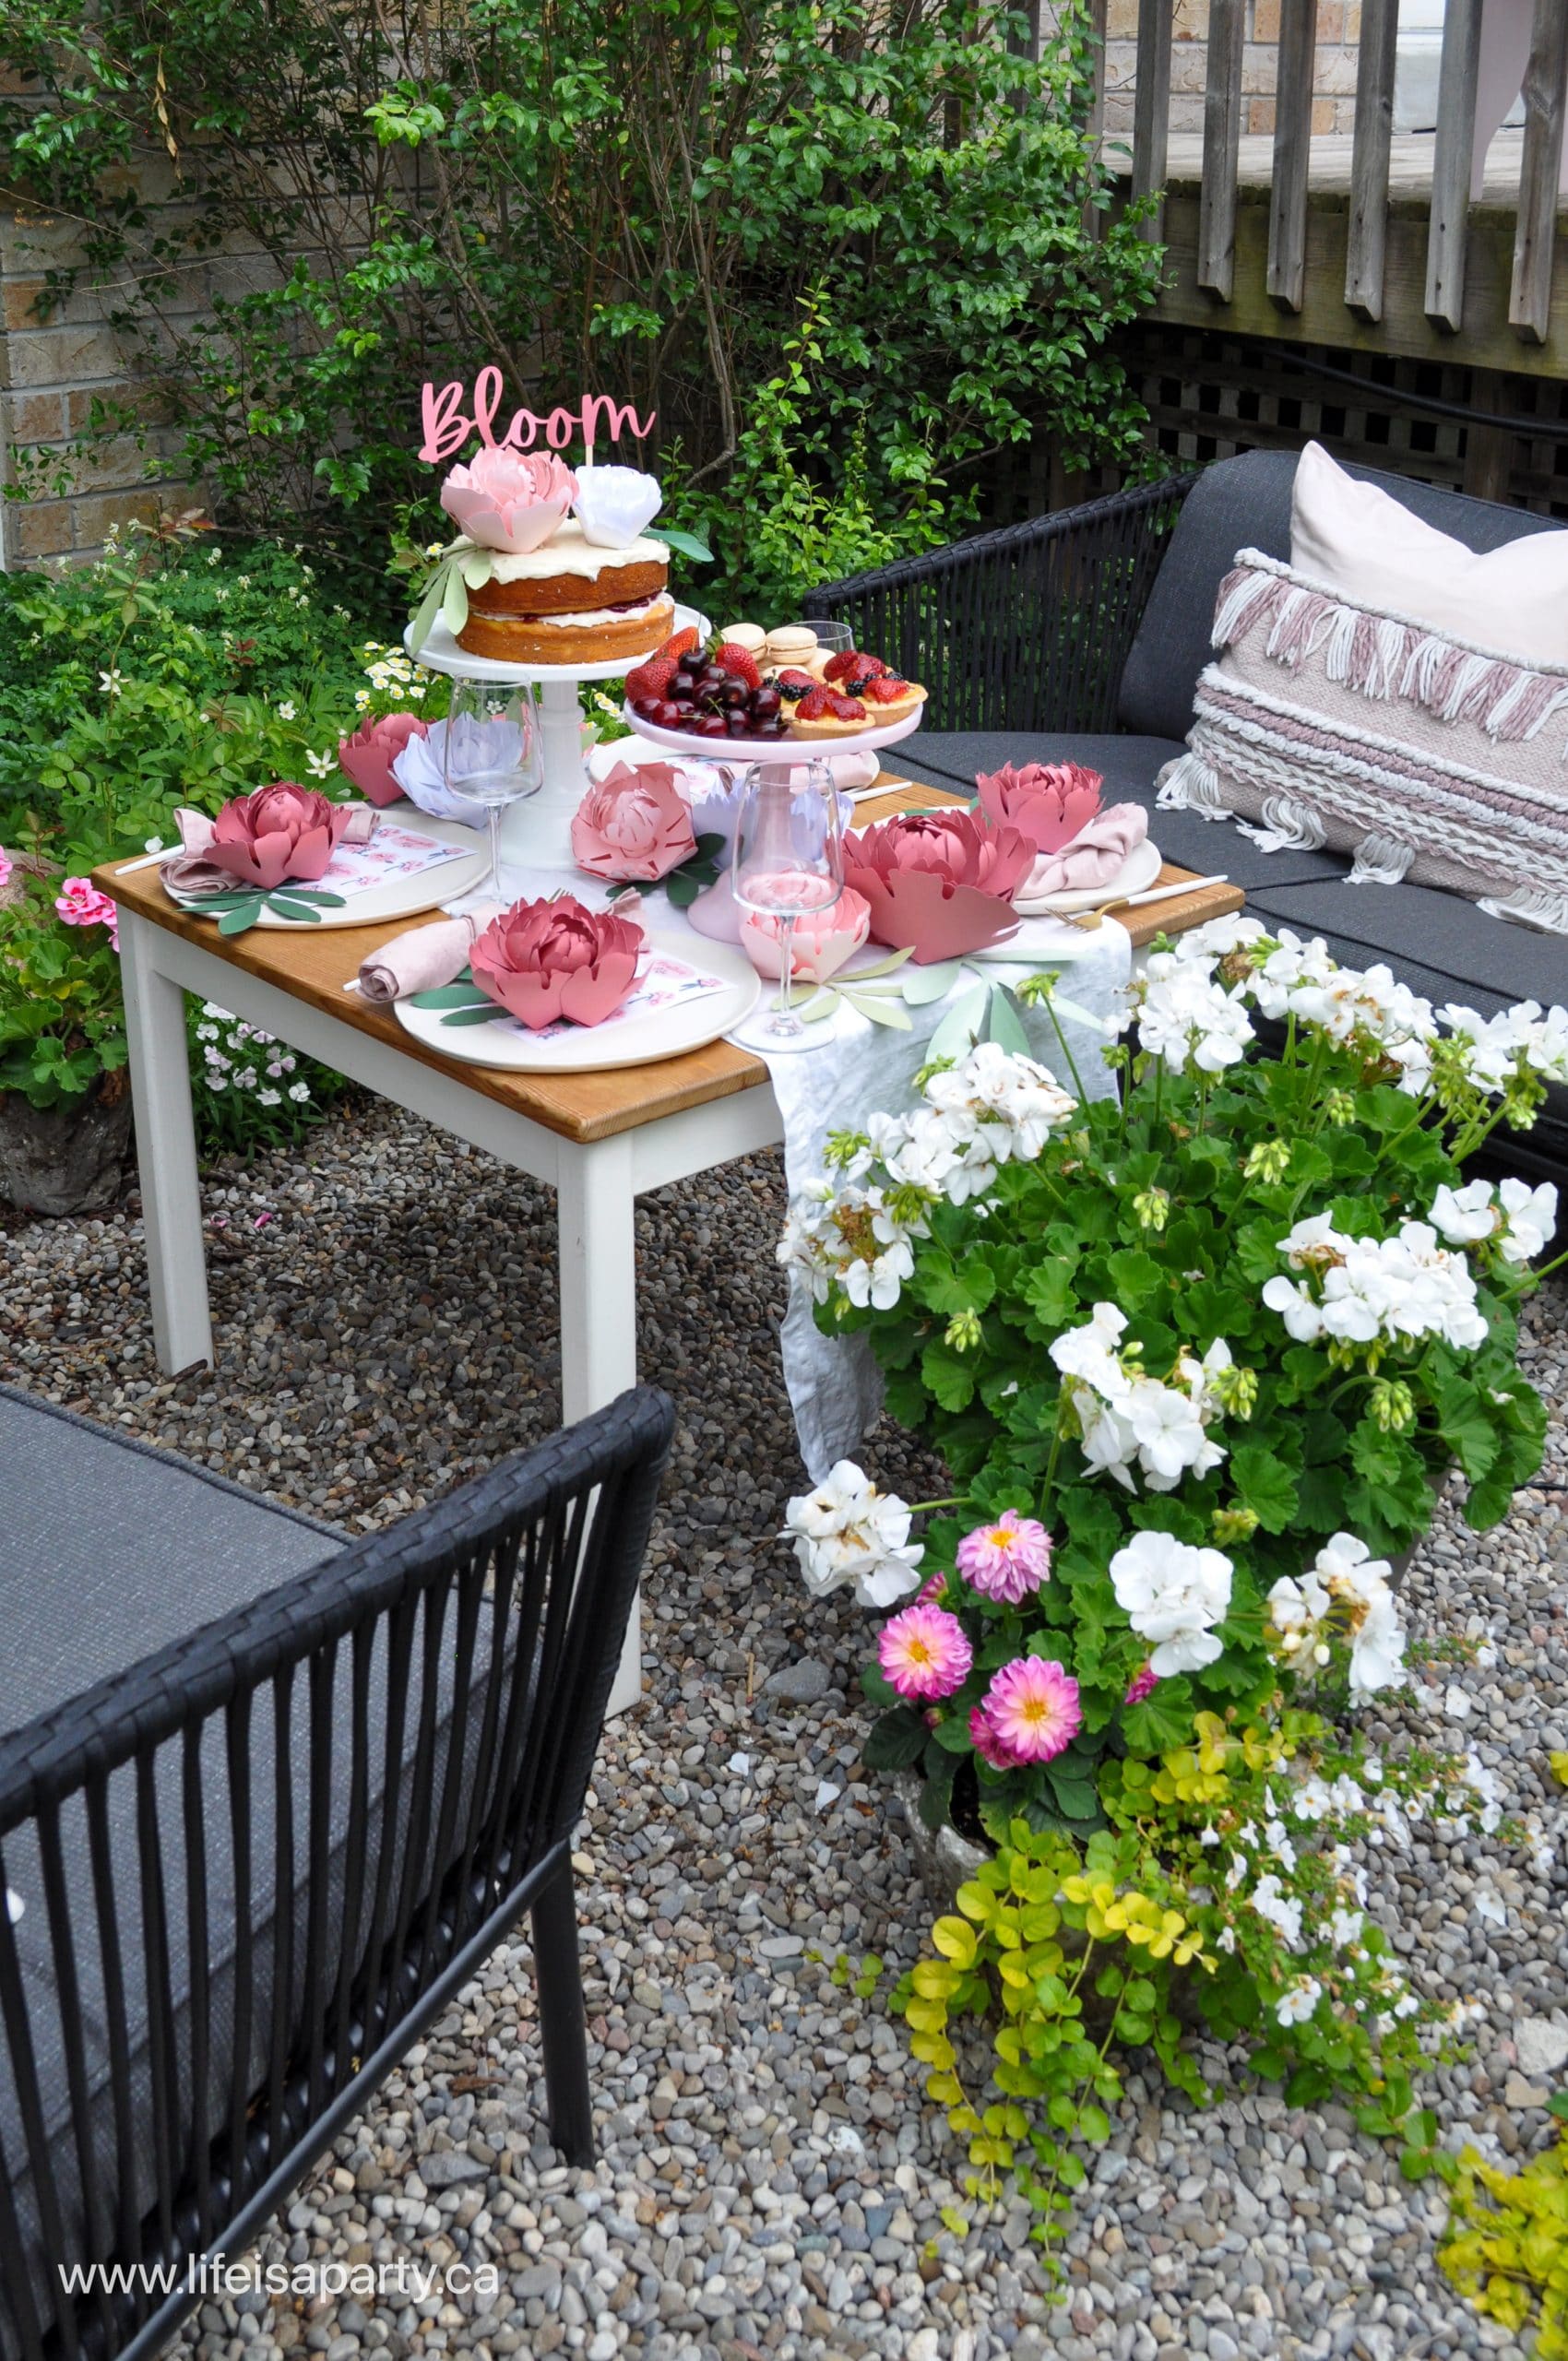
Summer days are perfect for enjoying with friends in the garden.  I love entertaining in my garden when the weather is warm, and the flowers are blooming.  There's no nicer backdrop for spending time with friends enjoying great food.  I used my Cricut to create some beautiful garden party decorations, including paper peonies to decorate the table, a gorgeous paper cake topper, and custom made stickers. 

pink garden party tablescape

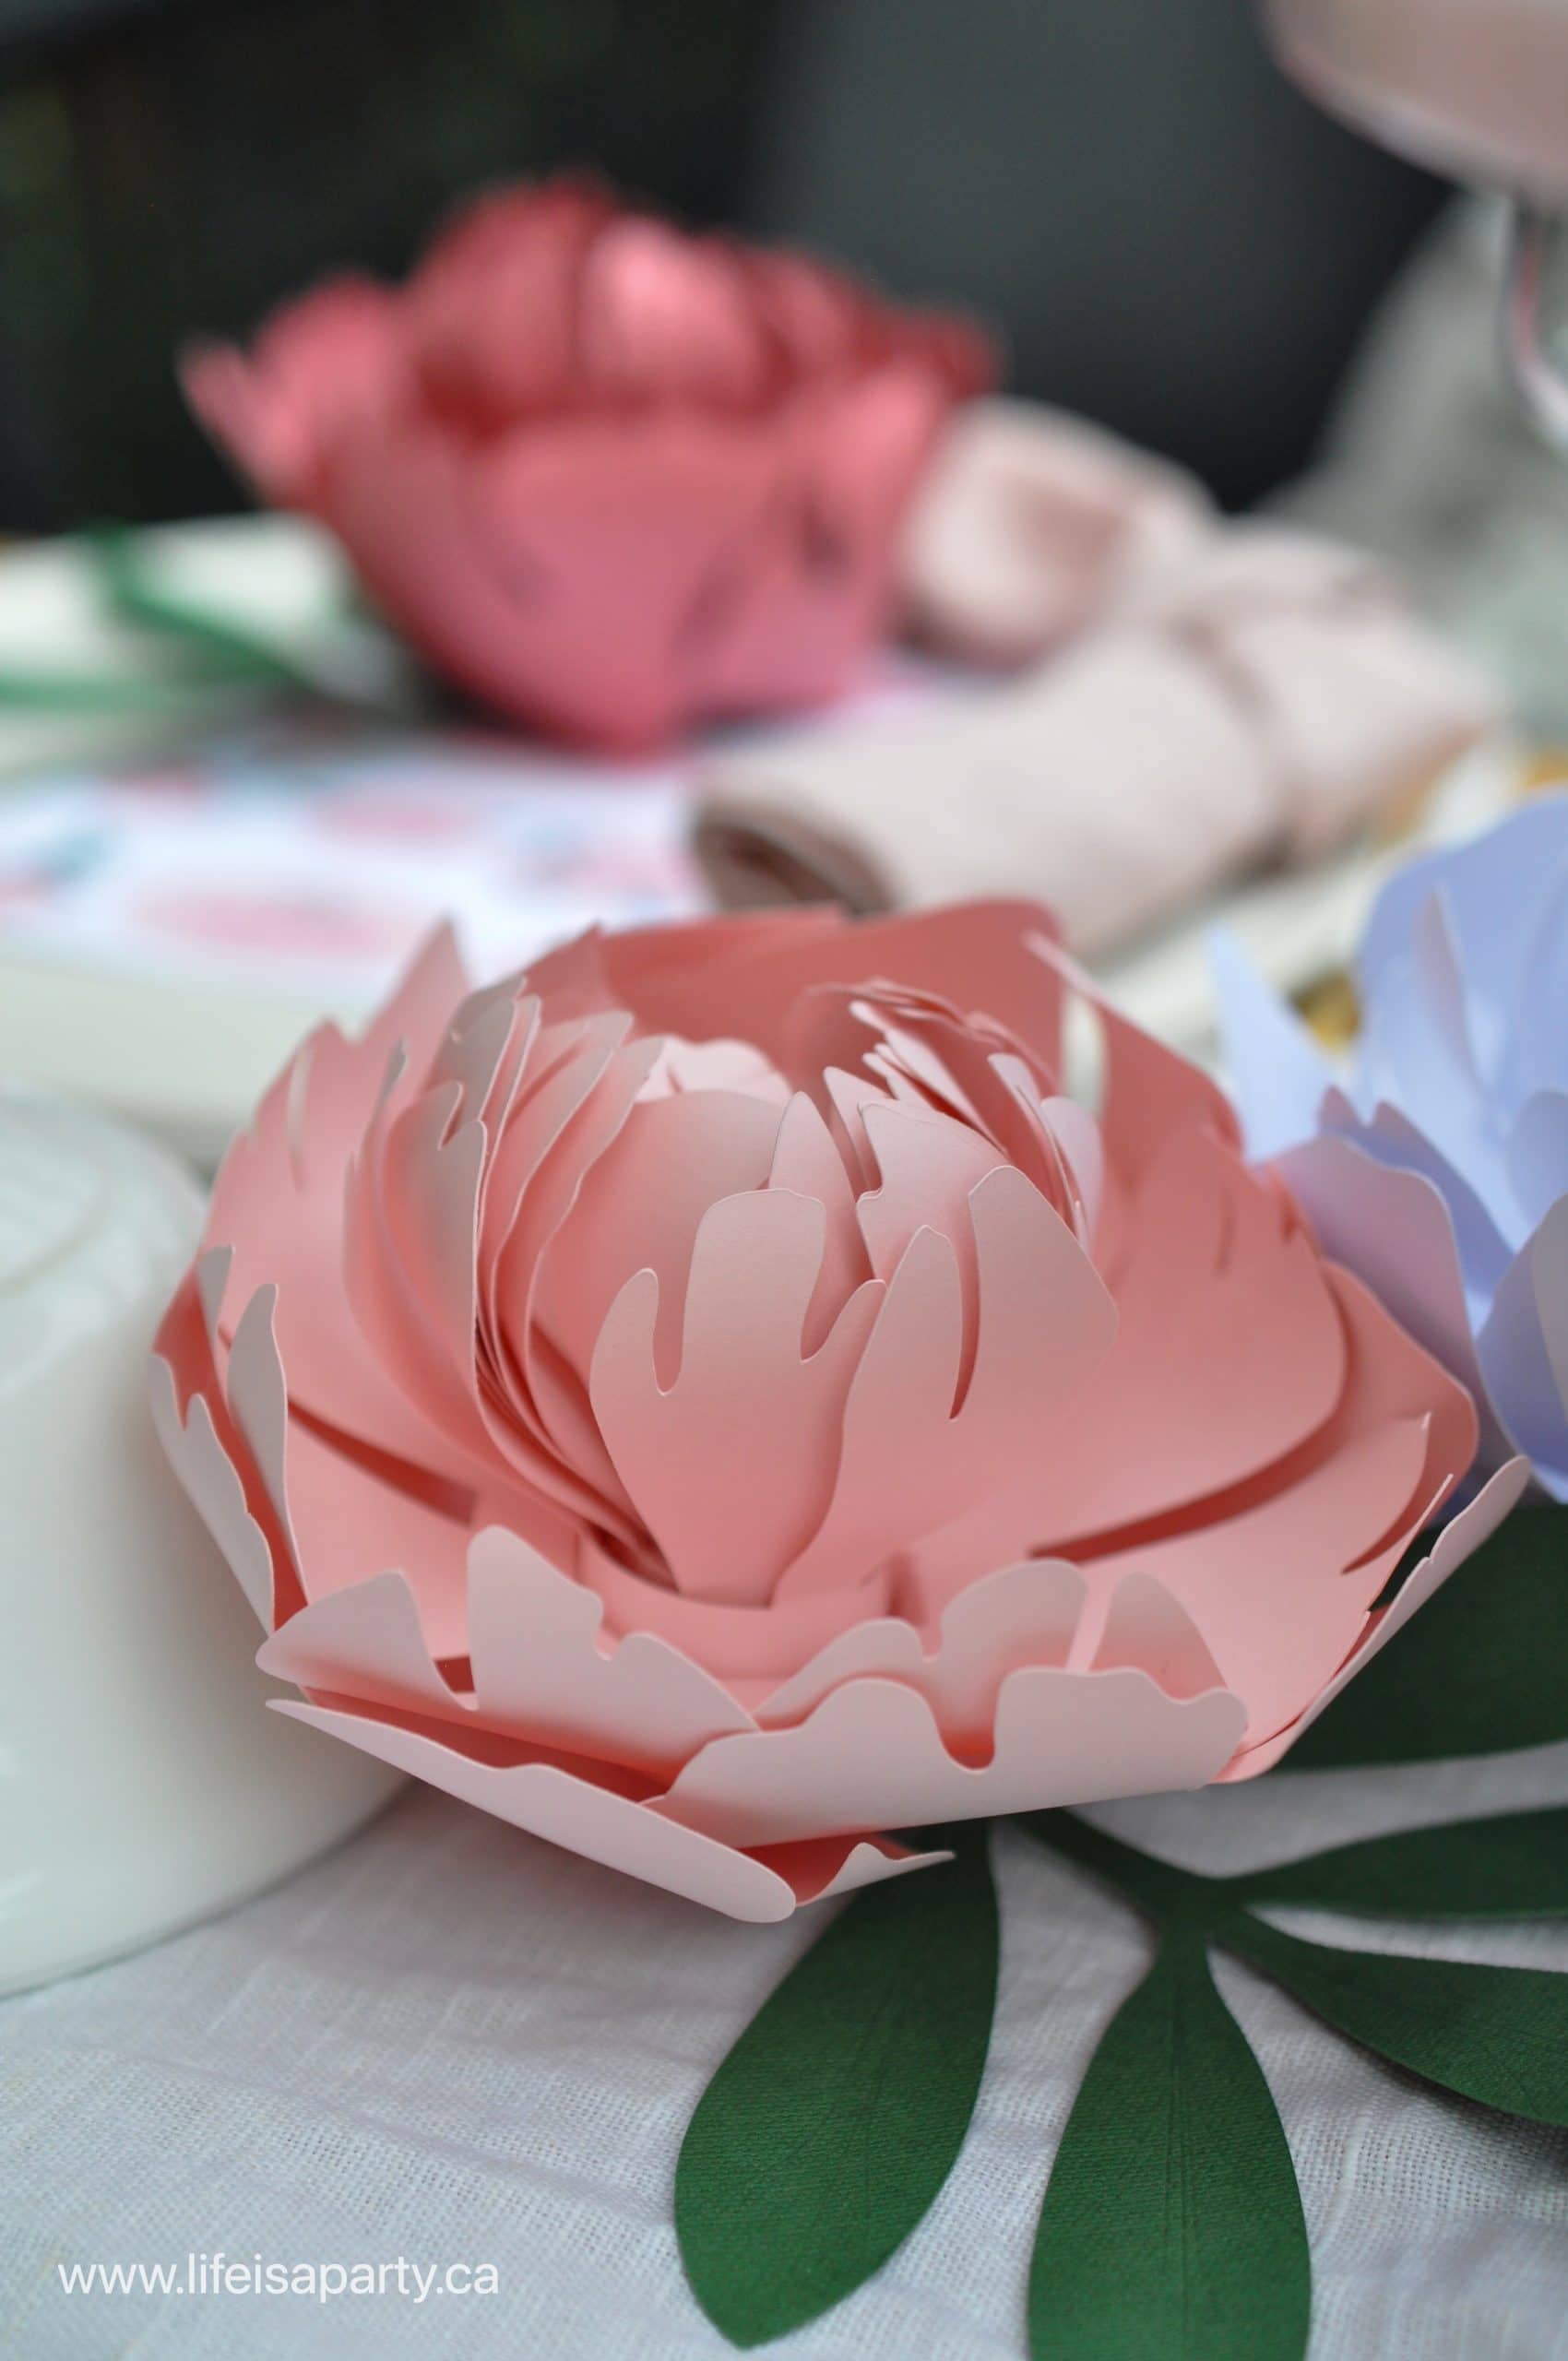
I had a lot of fun creating this beautiful get together with a few fun Circut projects.  The paper peonies were one of my favourite additions to this garden party.  Even if you don't have peonies growing in your garden, you can enjoy the paper version.  

DIY garden party

Garden Party Table

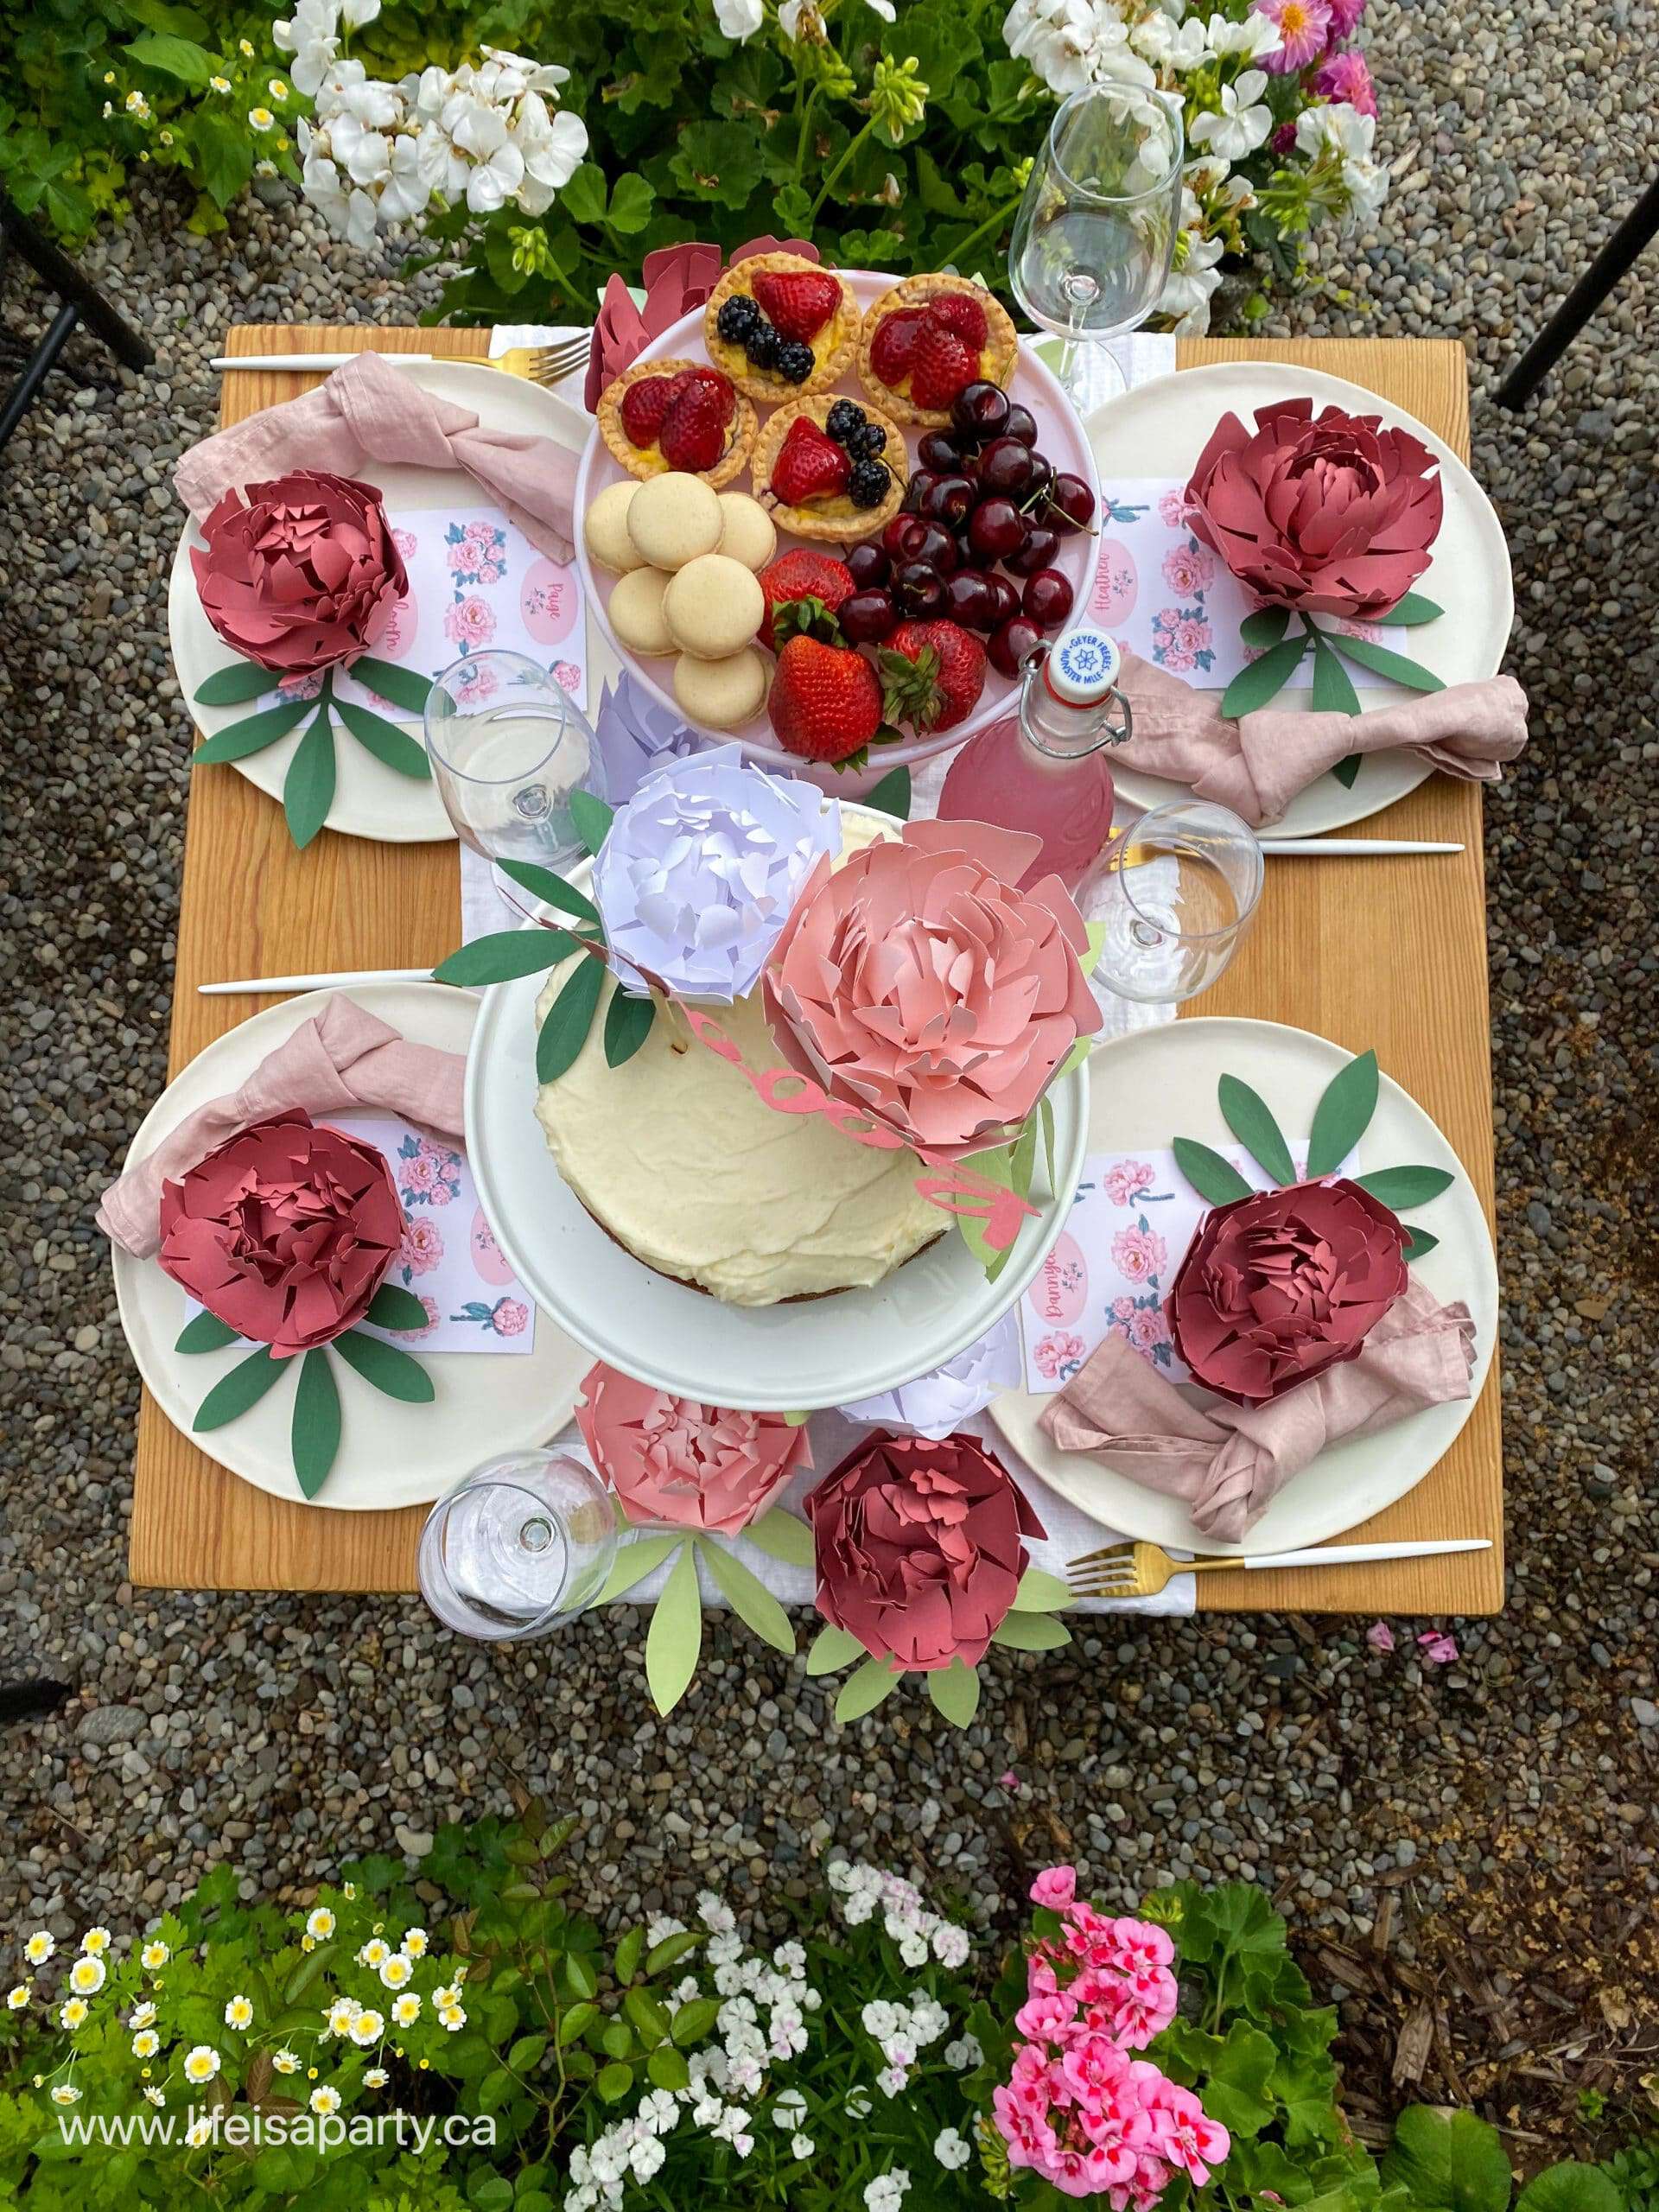
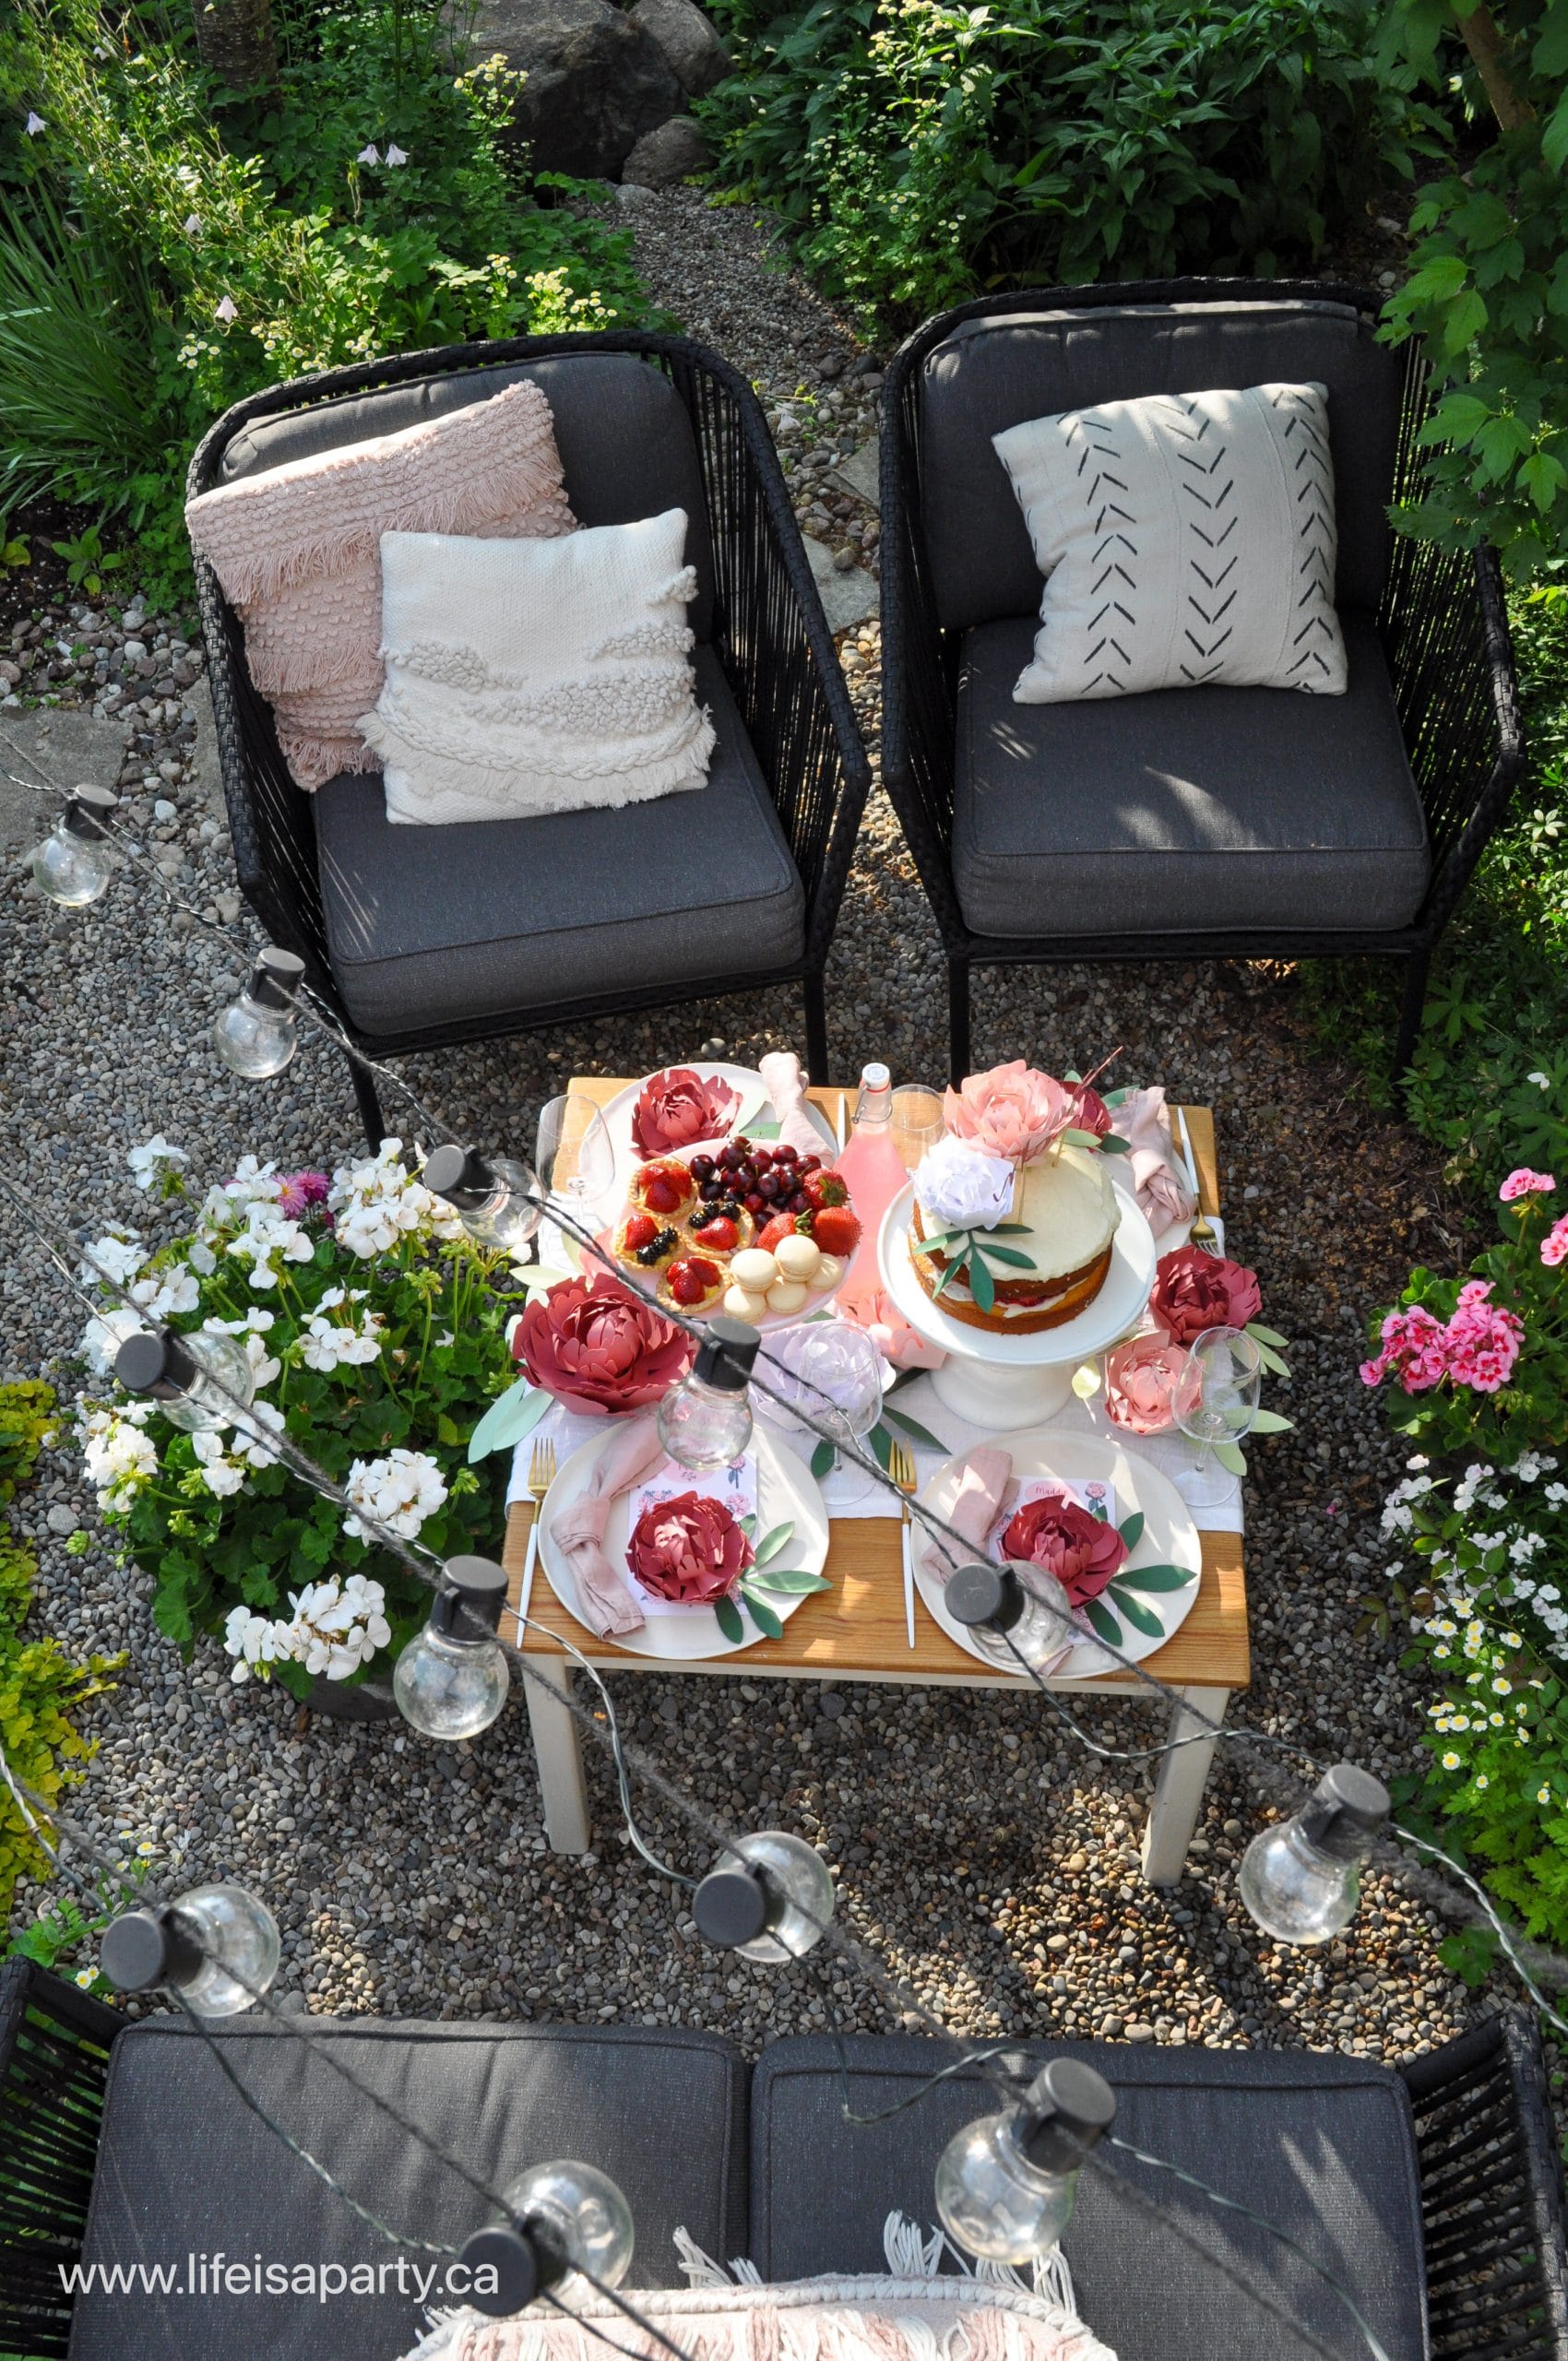
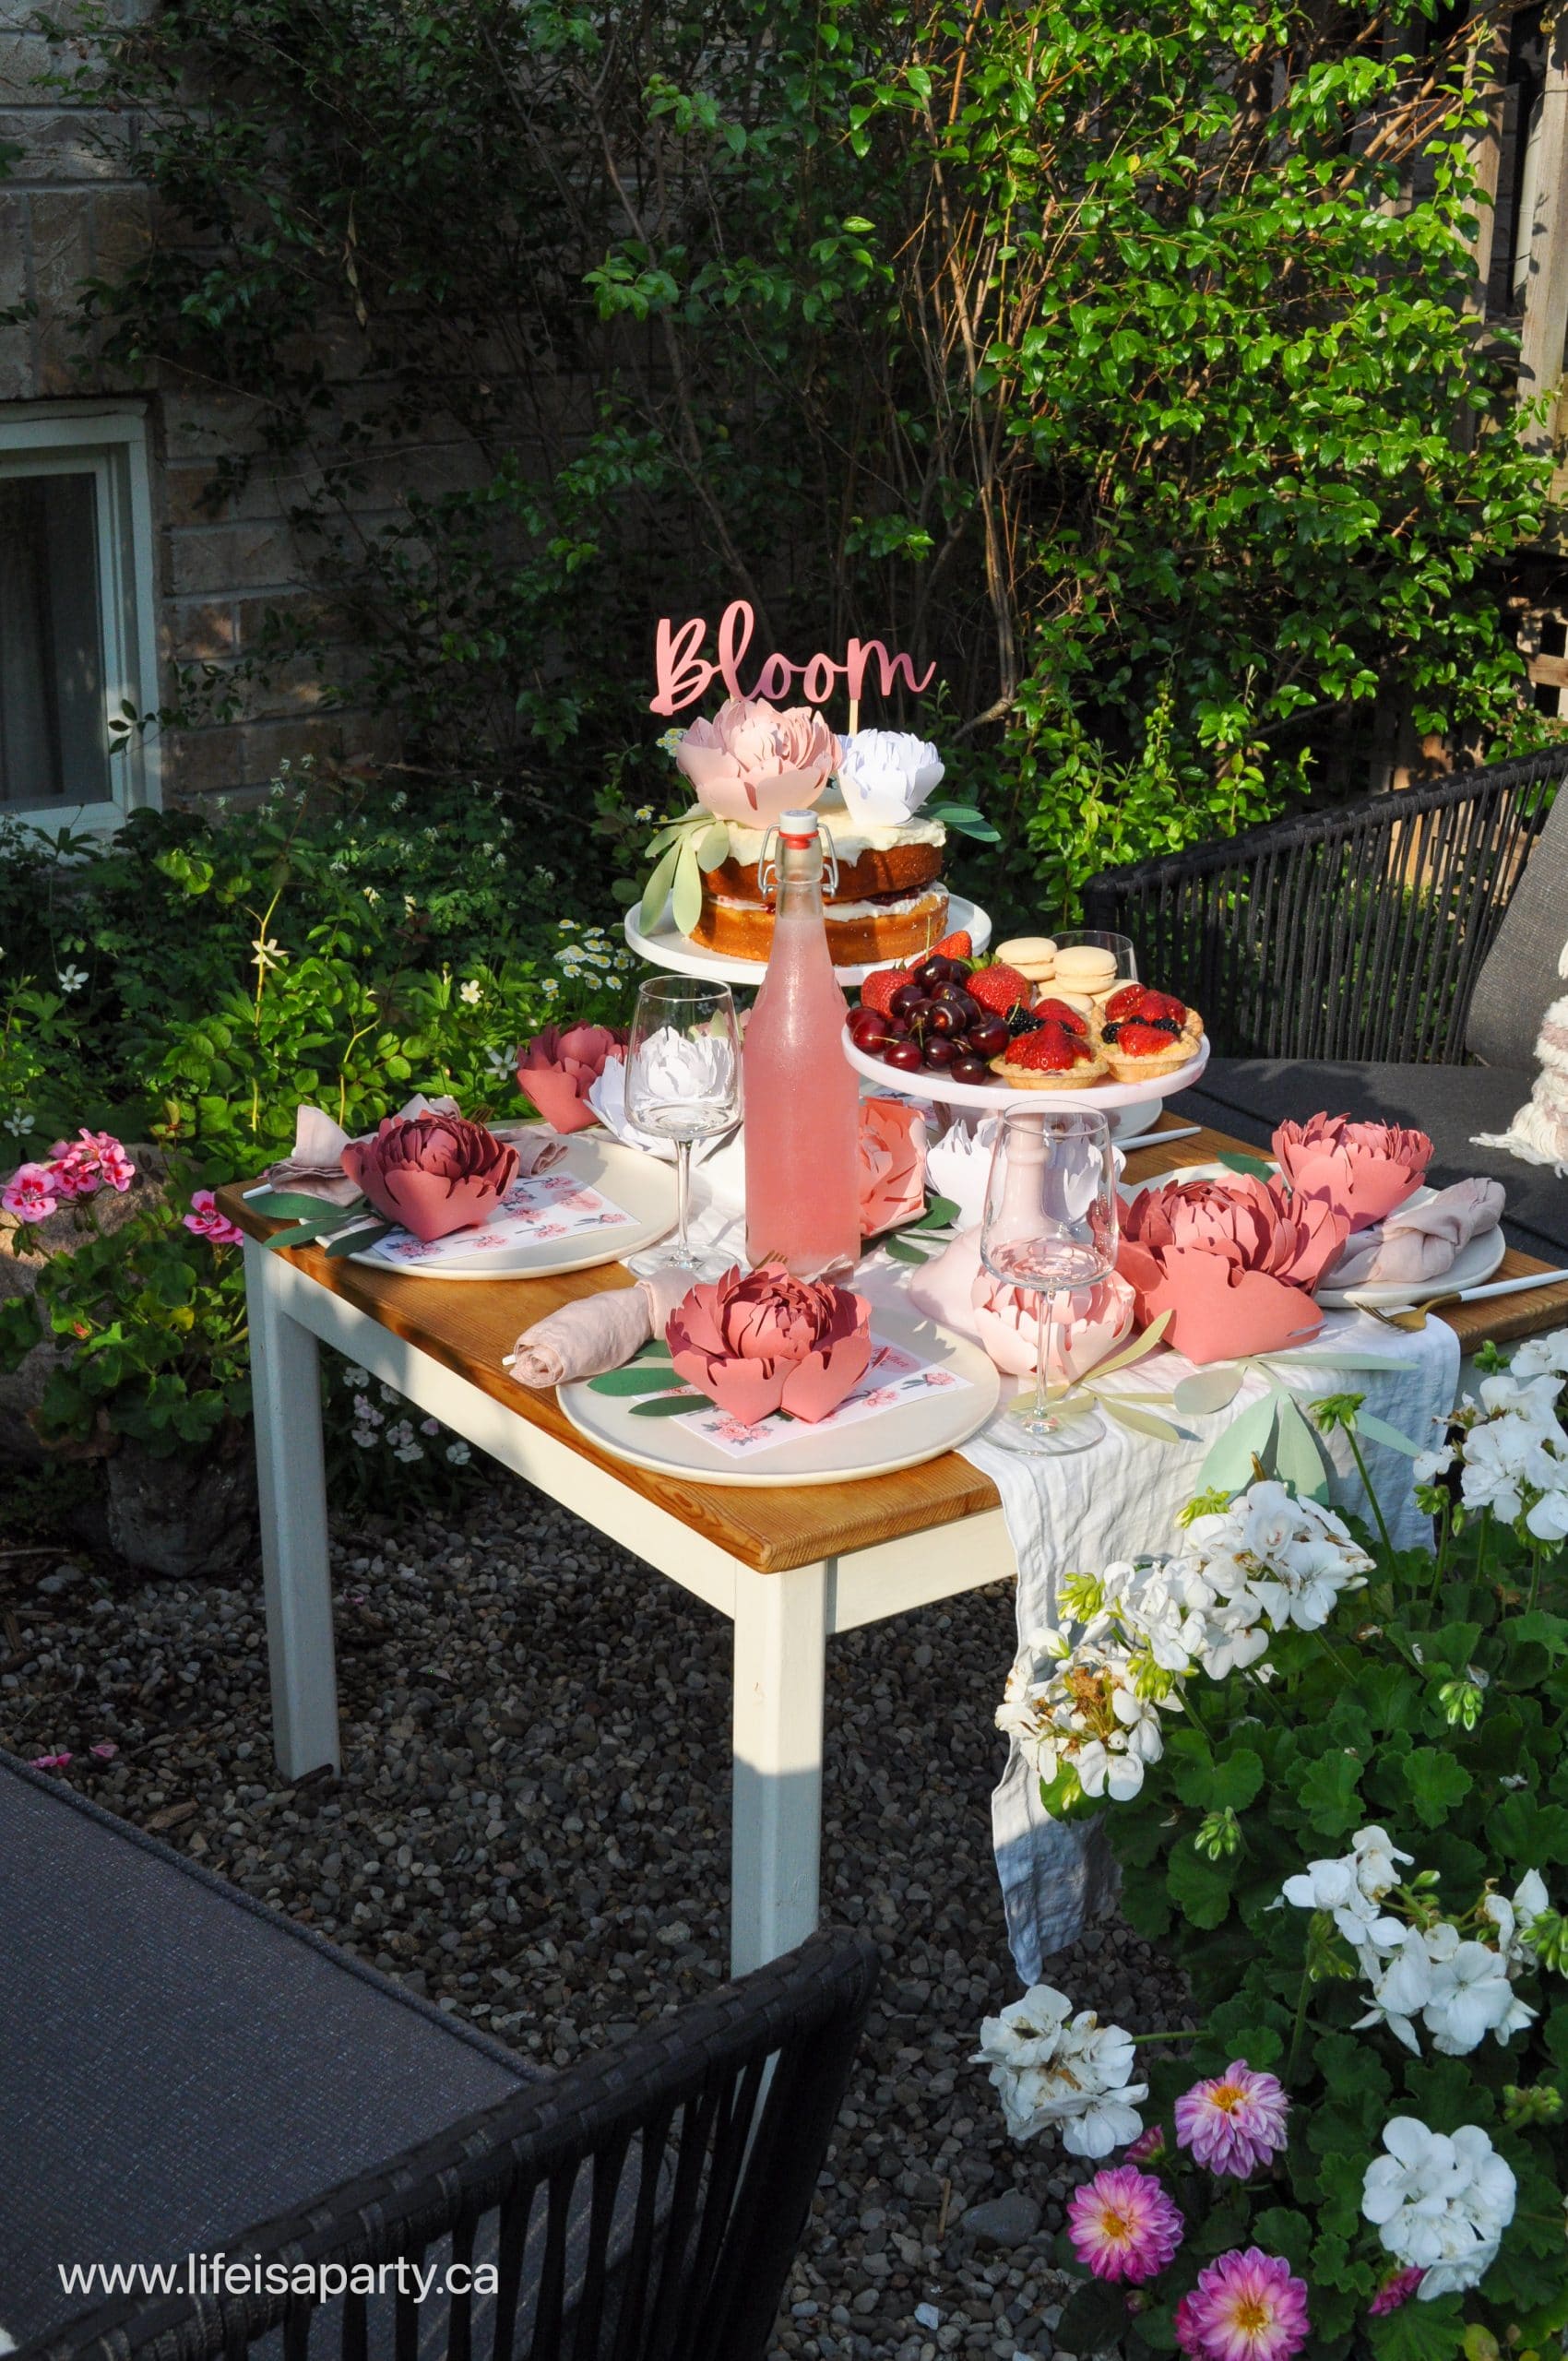
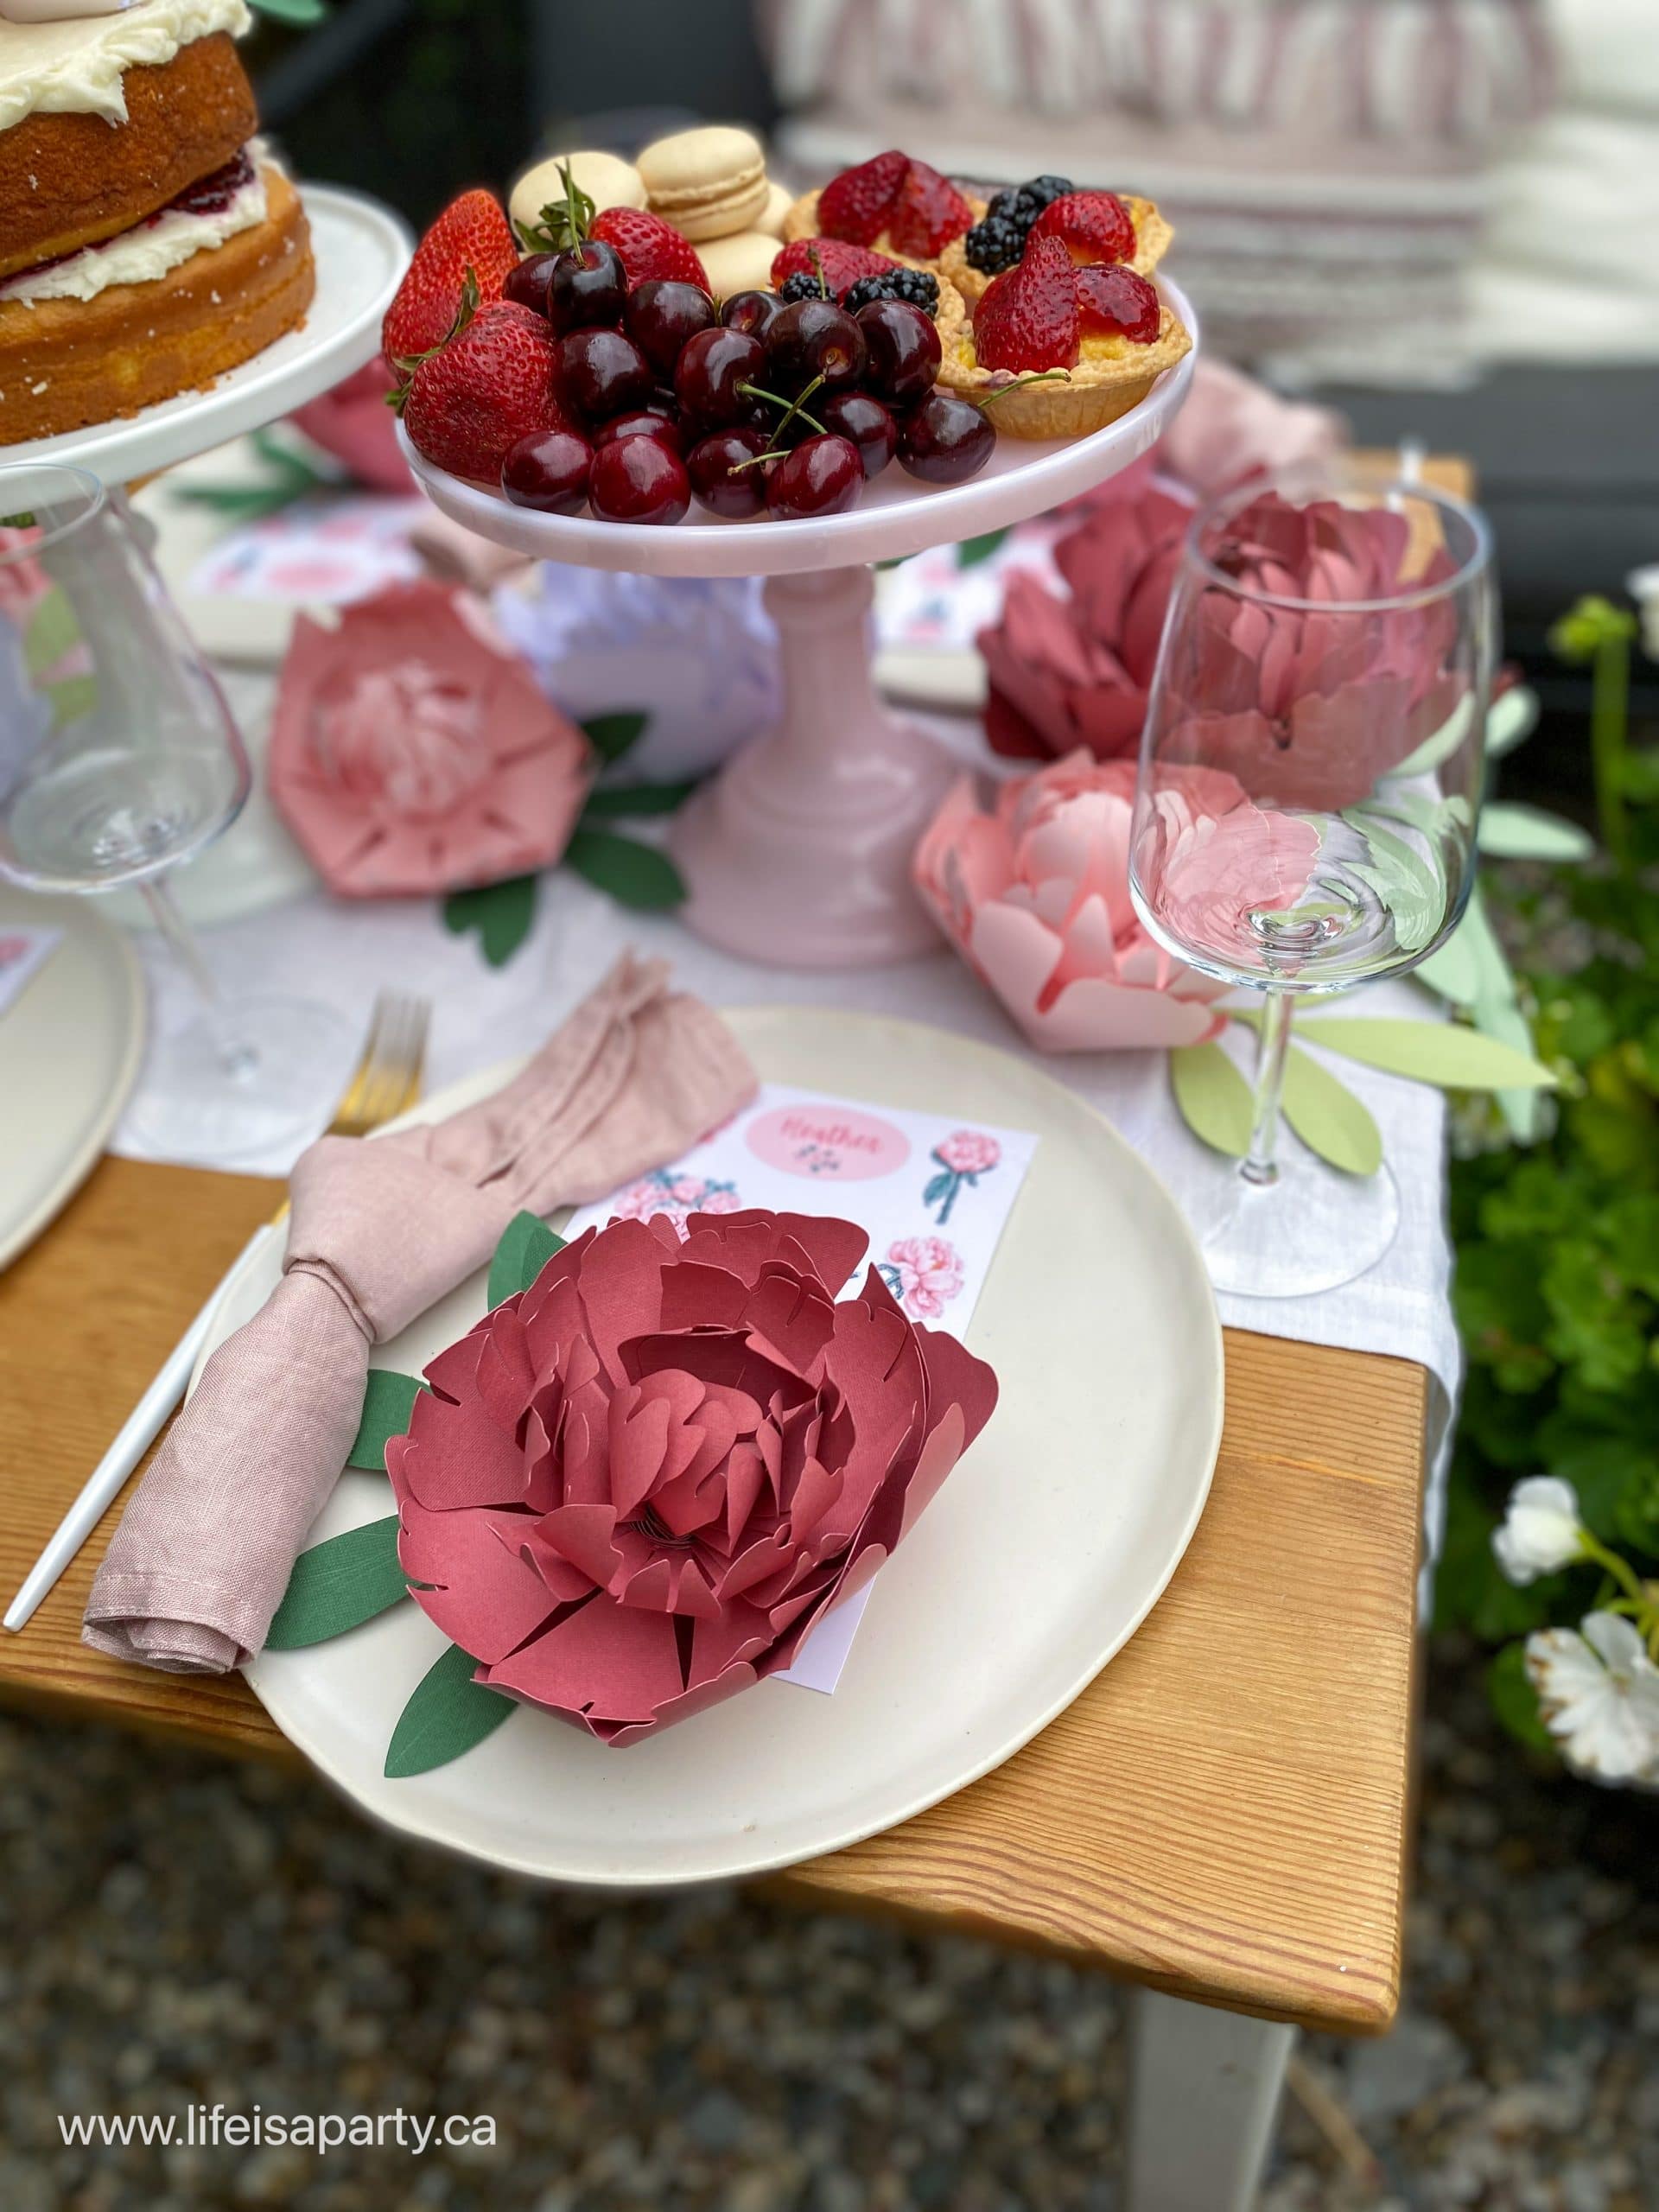
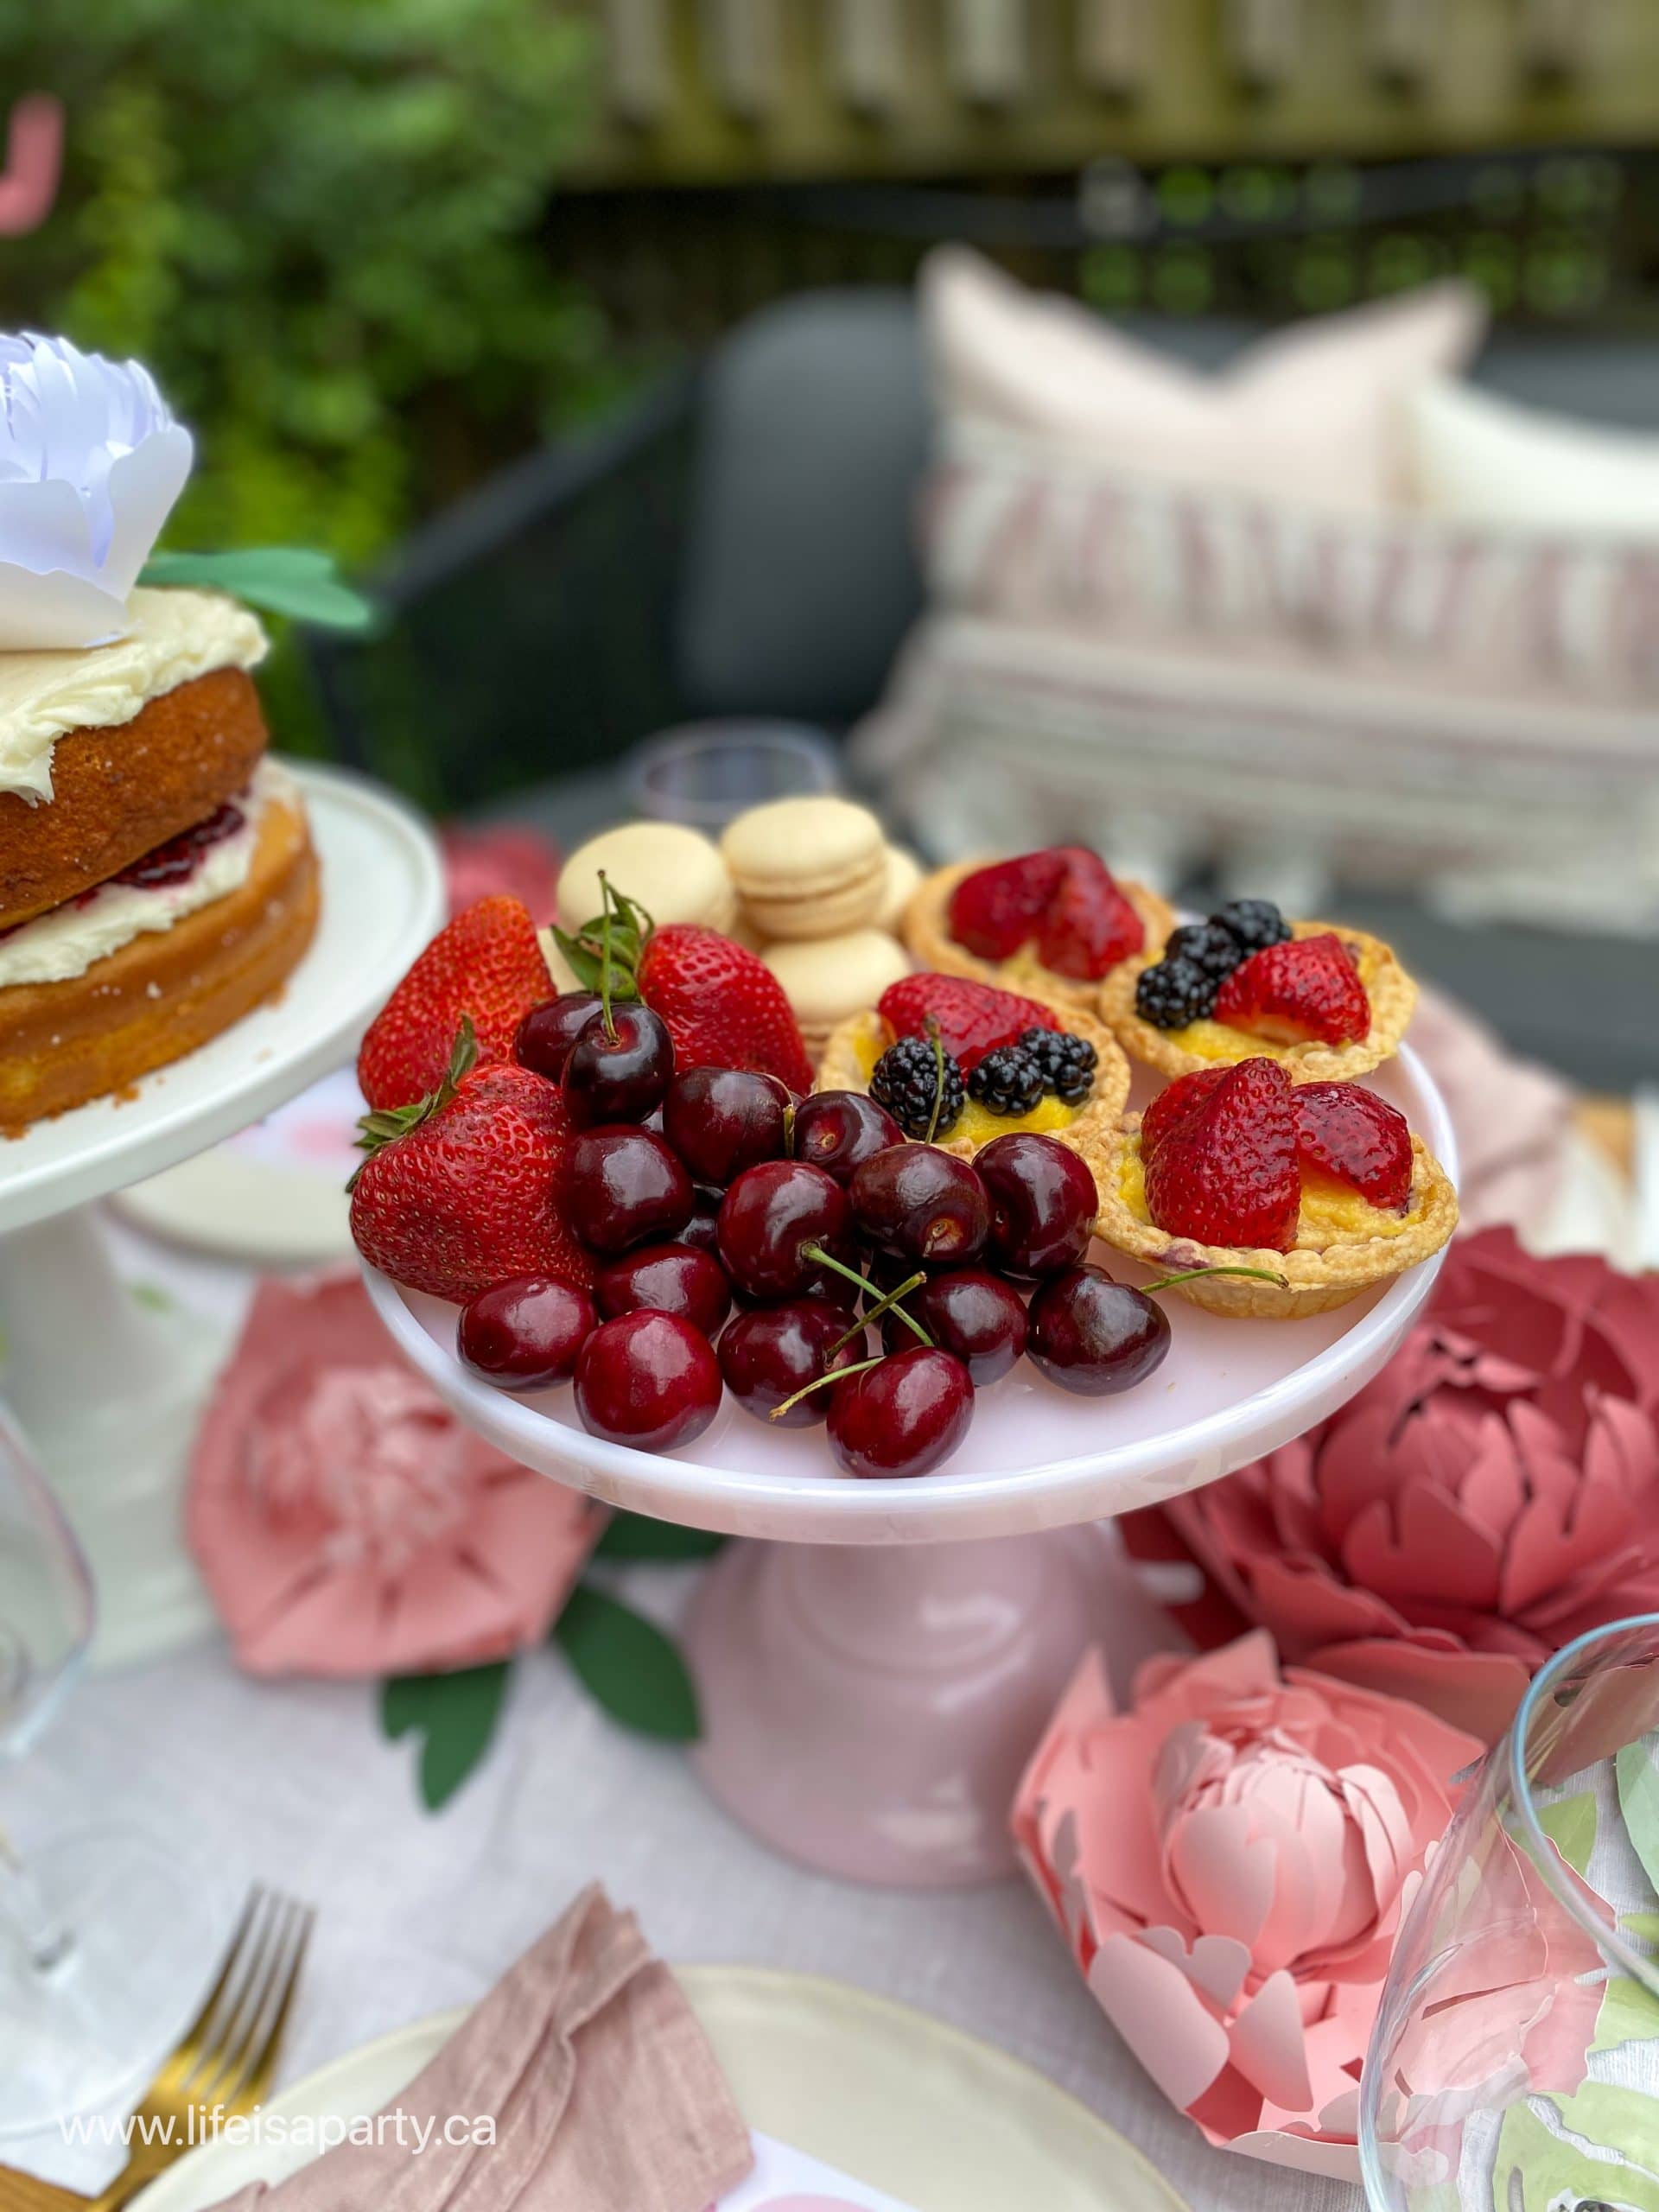
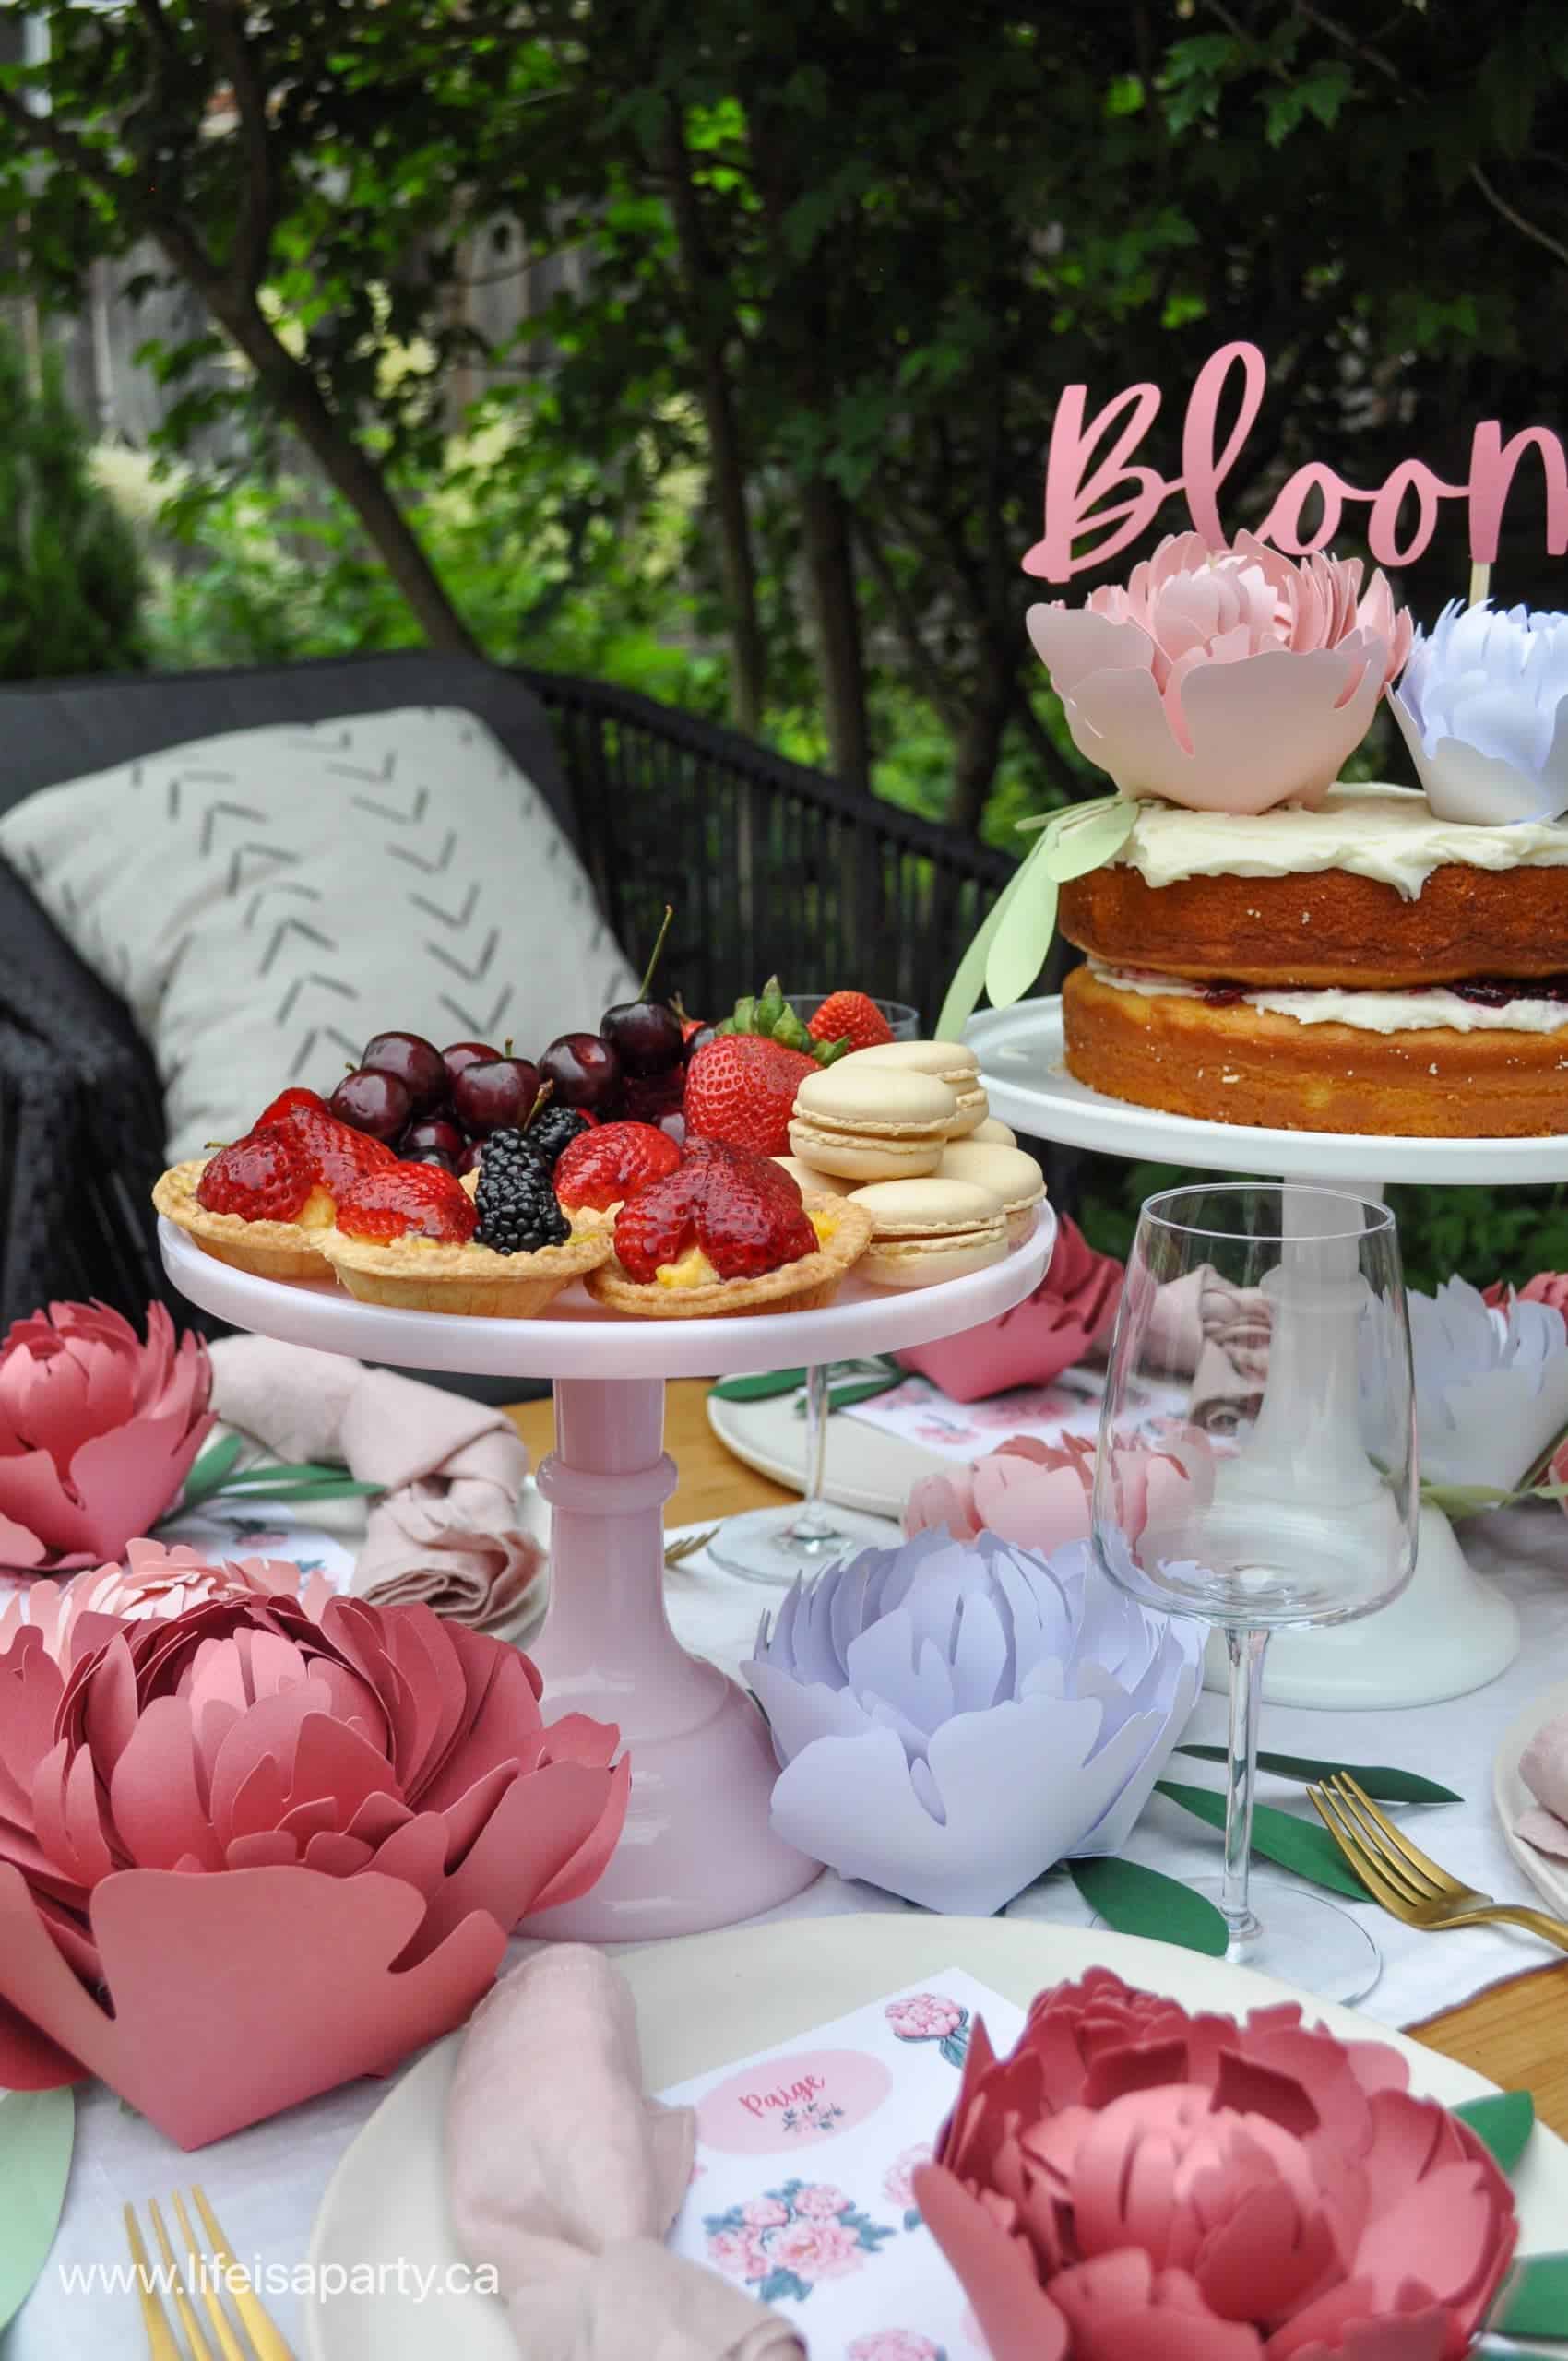
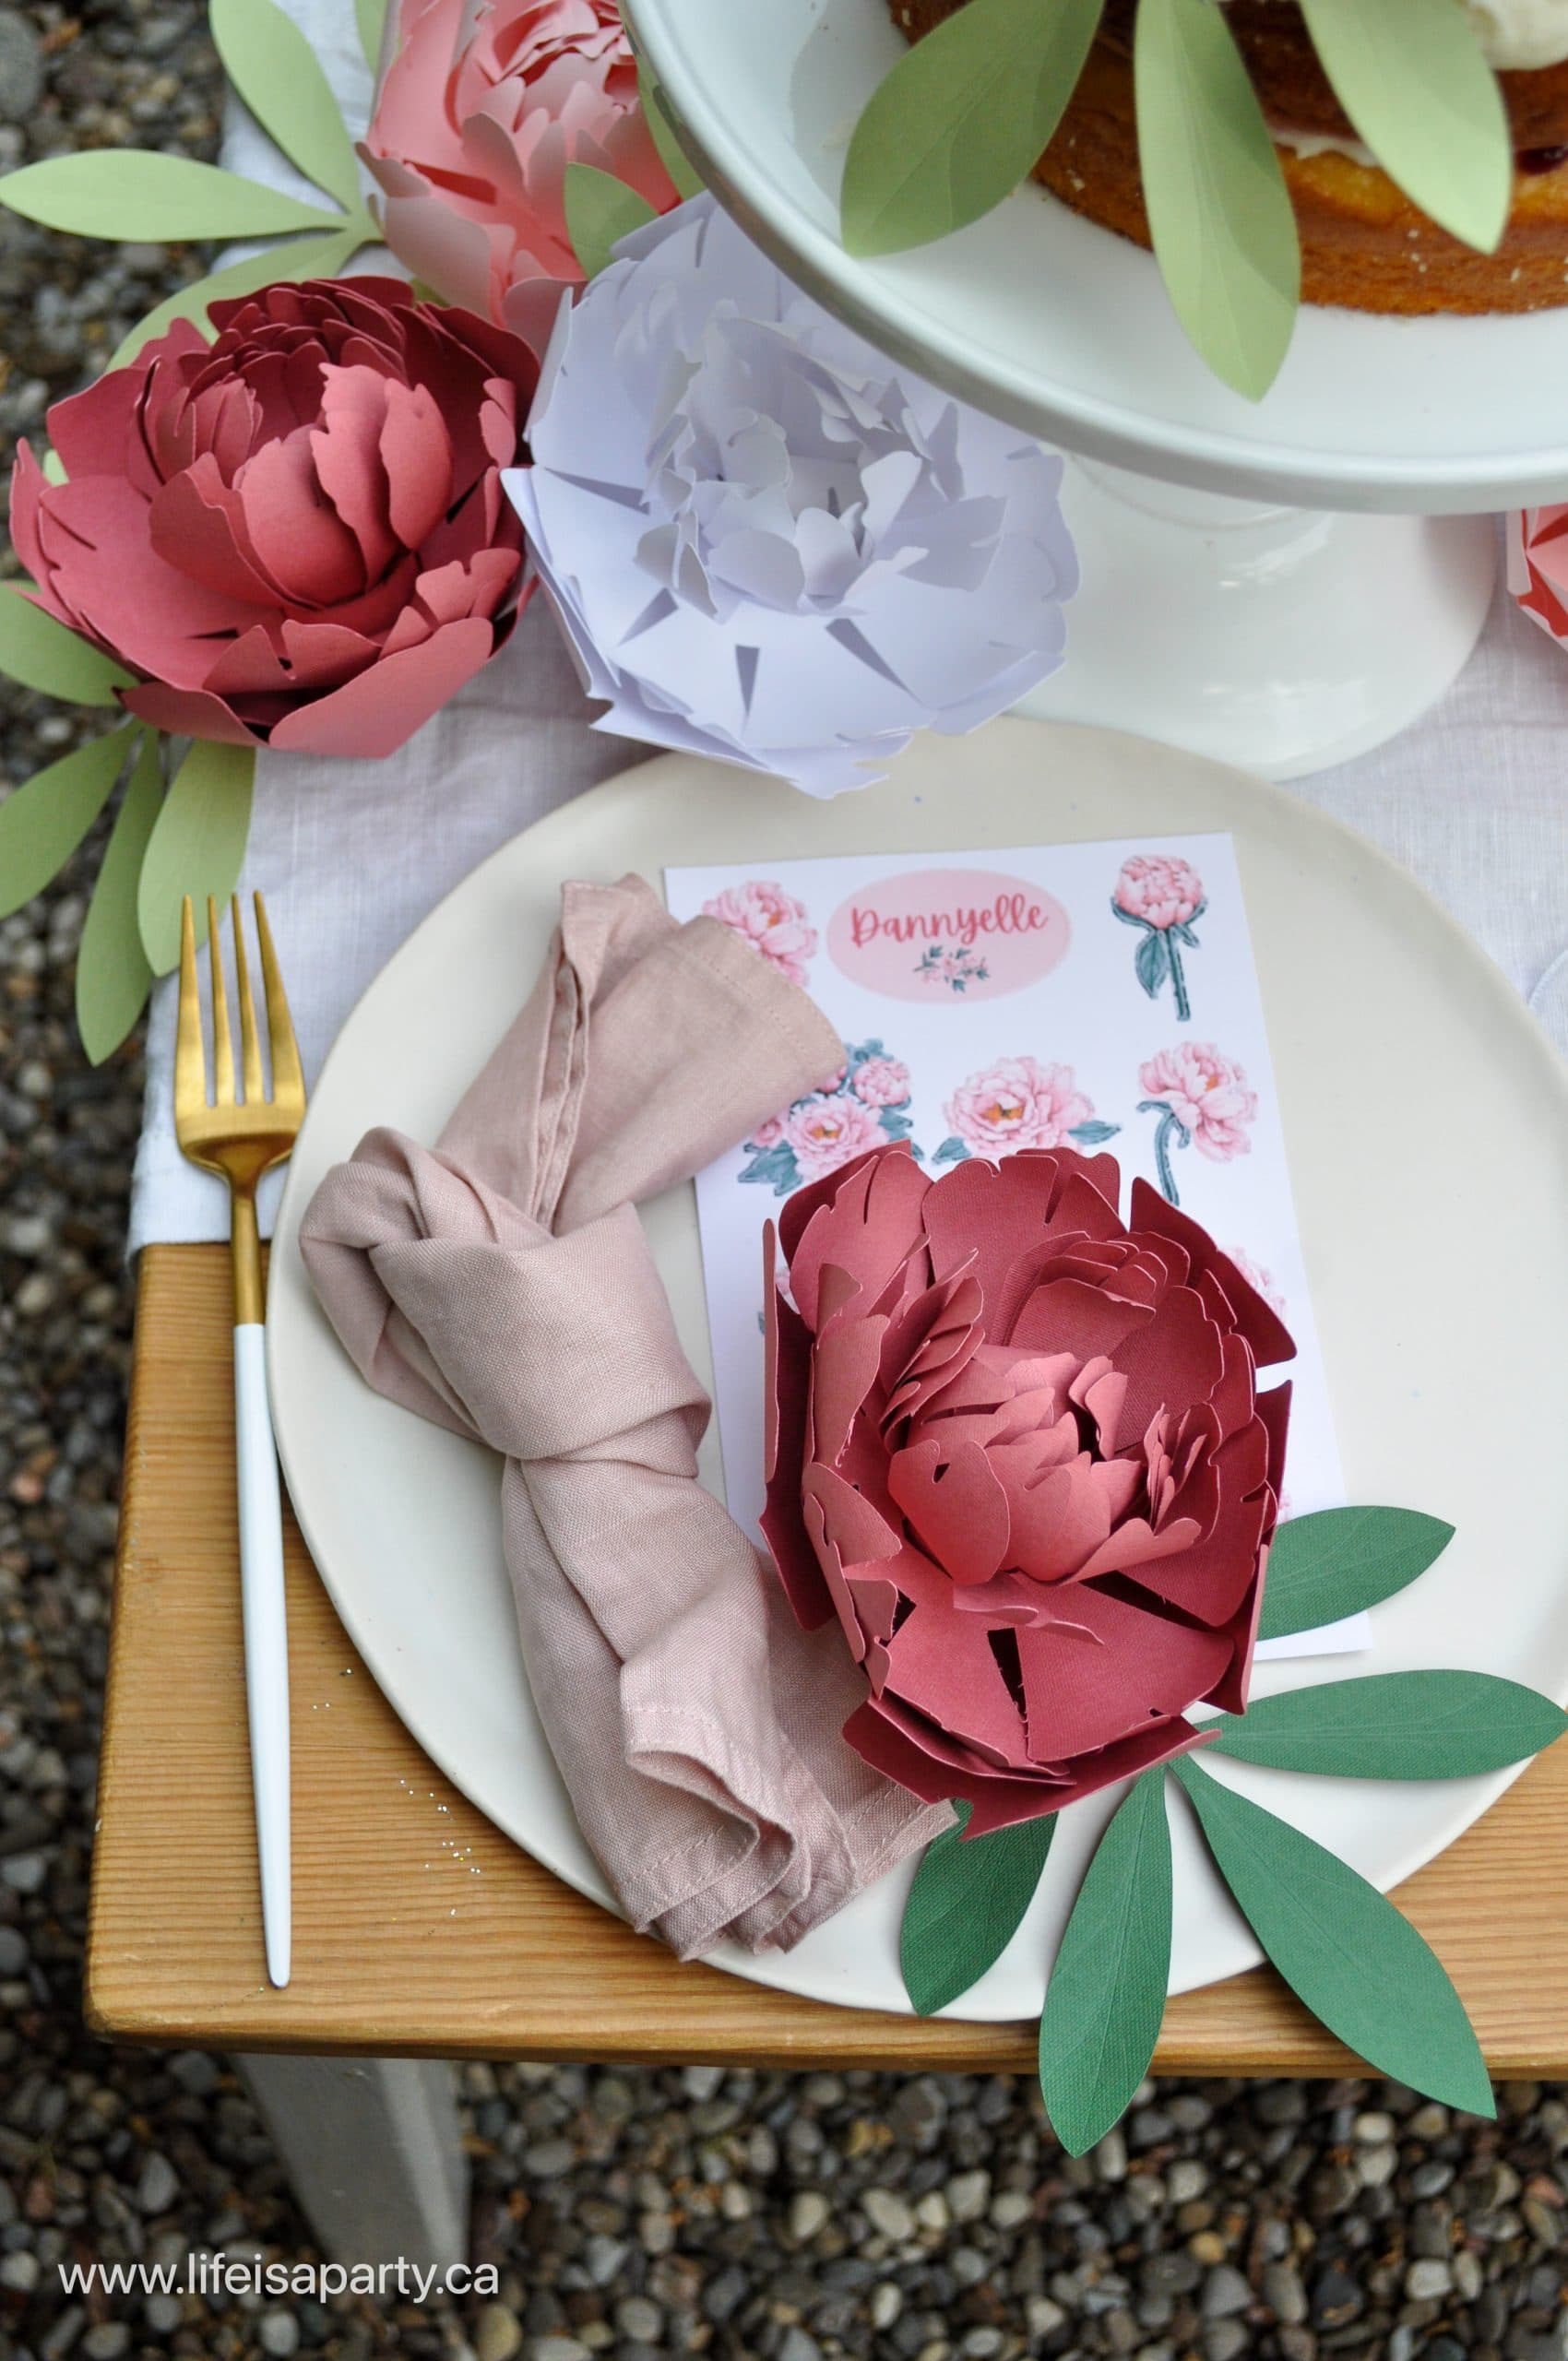
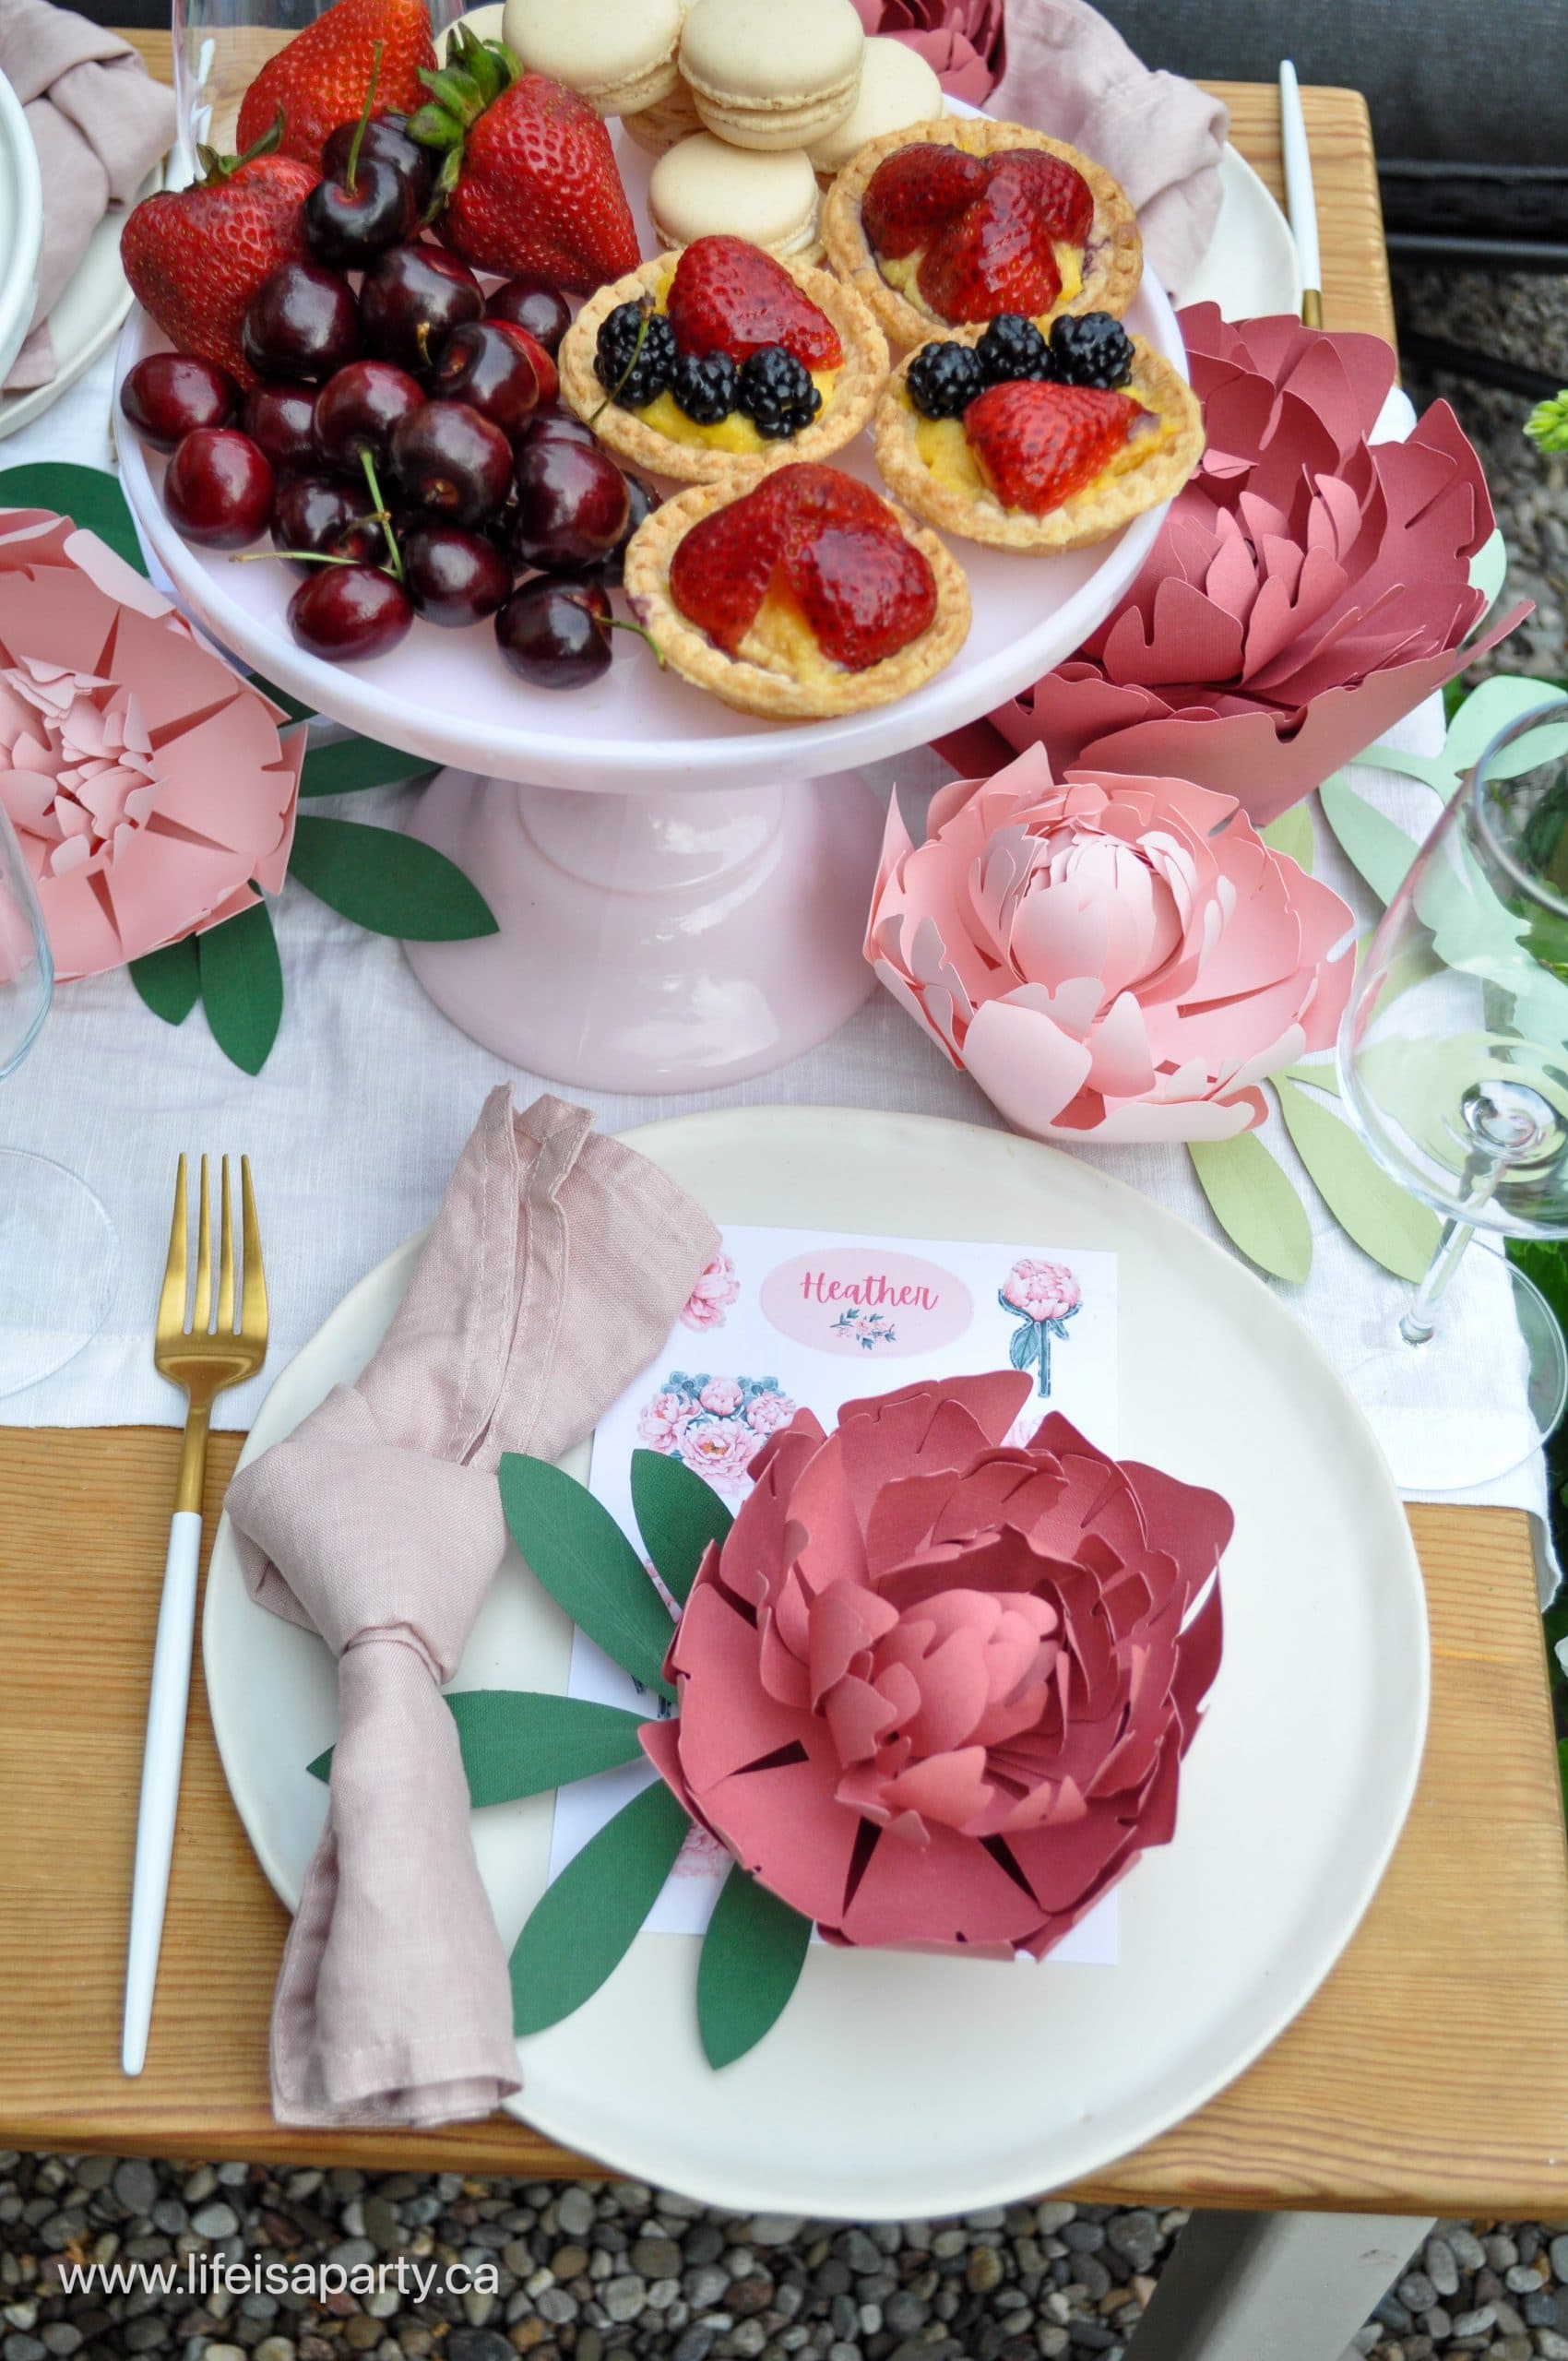
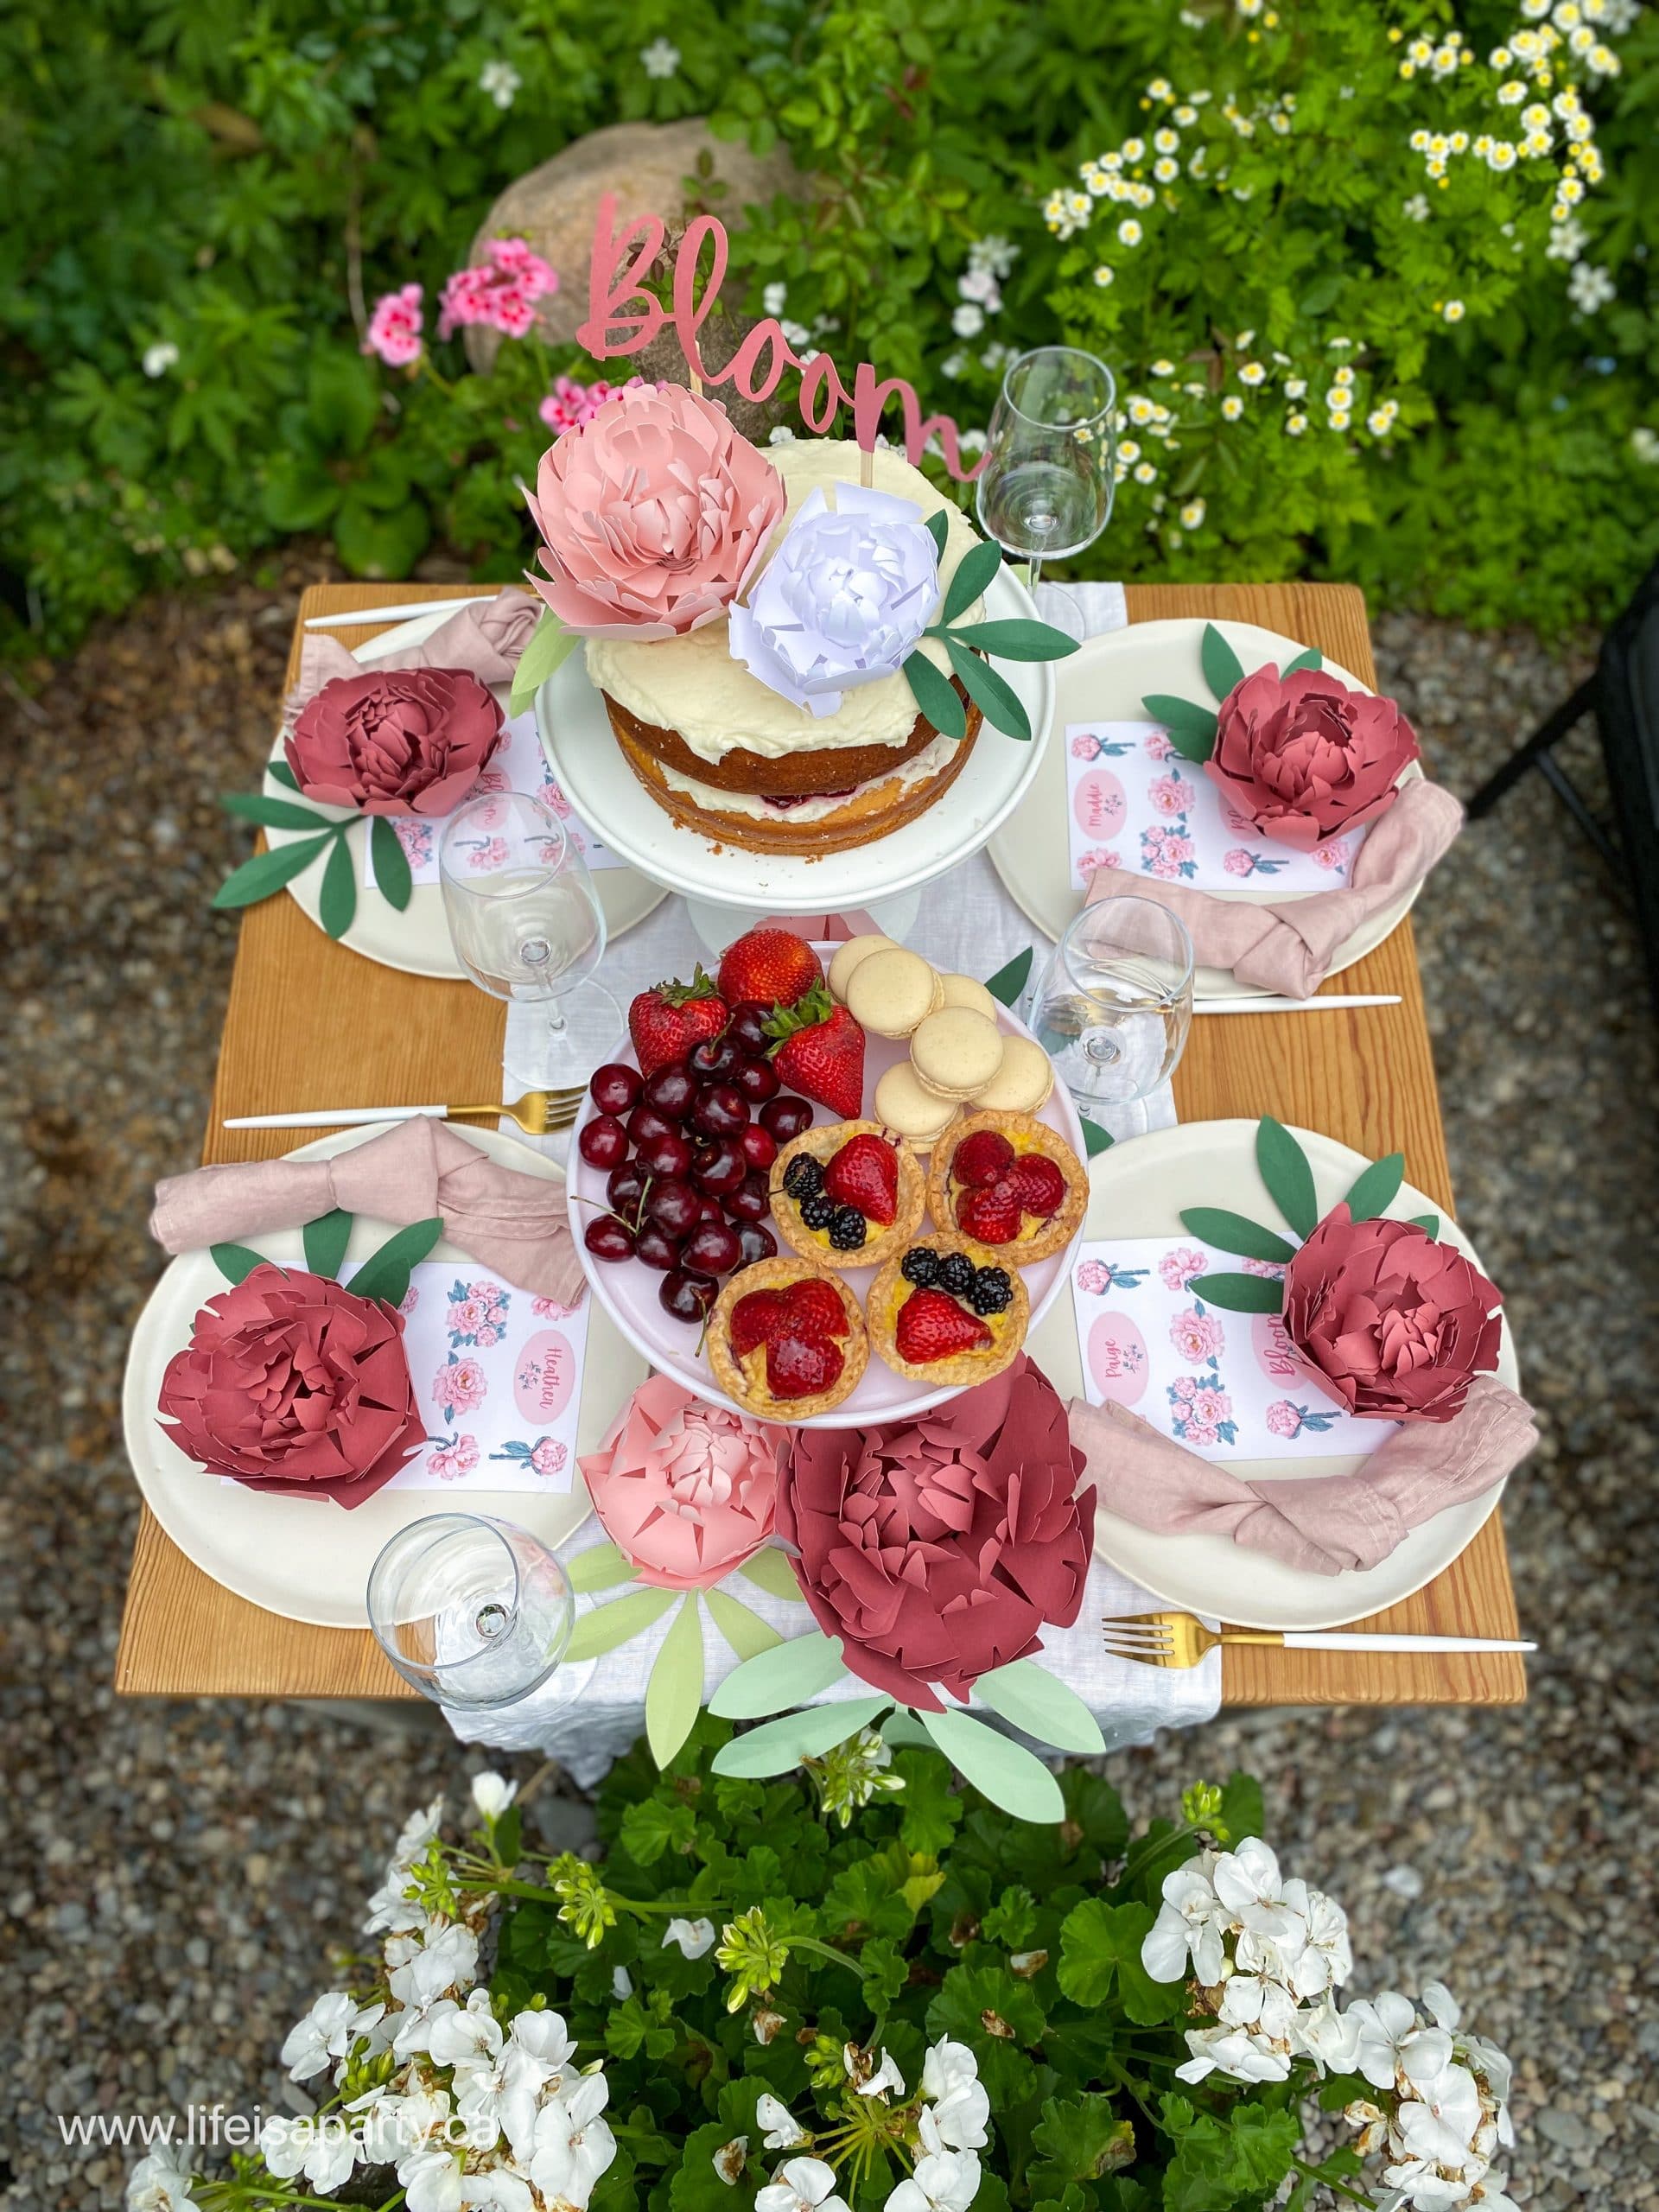
I started with a white linen table runner, and then used white plates, and my favourite white and gold cutlery.  I added pink linen napkins to each place setting and simple glass wine glasses.  To decorate the table, we created a centrepiece of paper flowers, and beautiful sweet treats on milk glass cake plates.  On each placesetting I added the custom stickers, which acted as a place card for the guests.  I also layered another paper peonies, to bring the whole table together.

how to throw a garden party
pink garden party
Cricut paper flowers

I love the way this tablescape turned out.  The soft pink, and deeper rose look great together, and repeating the colours with the flowers, the stickers, the napkins, and the pillows on the chairs pulls the look together.  I also love using the actual party food as part of the centrepiece.  It looks beautiful and guests can help themselves throughout the party.  My final tip for creating a beautiful, full looking tablescape is use a smaller table and add lots of elements to create interest and fullness.

garden party ideas
garden party food ideas
what to serve at a garden party
garden party food ideas

Garden Setting

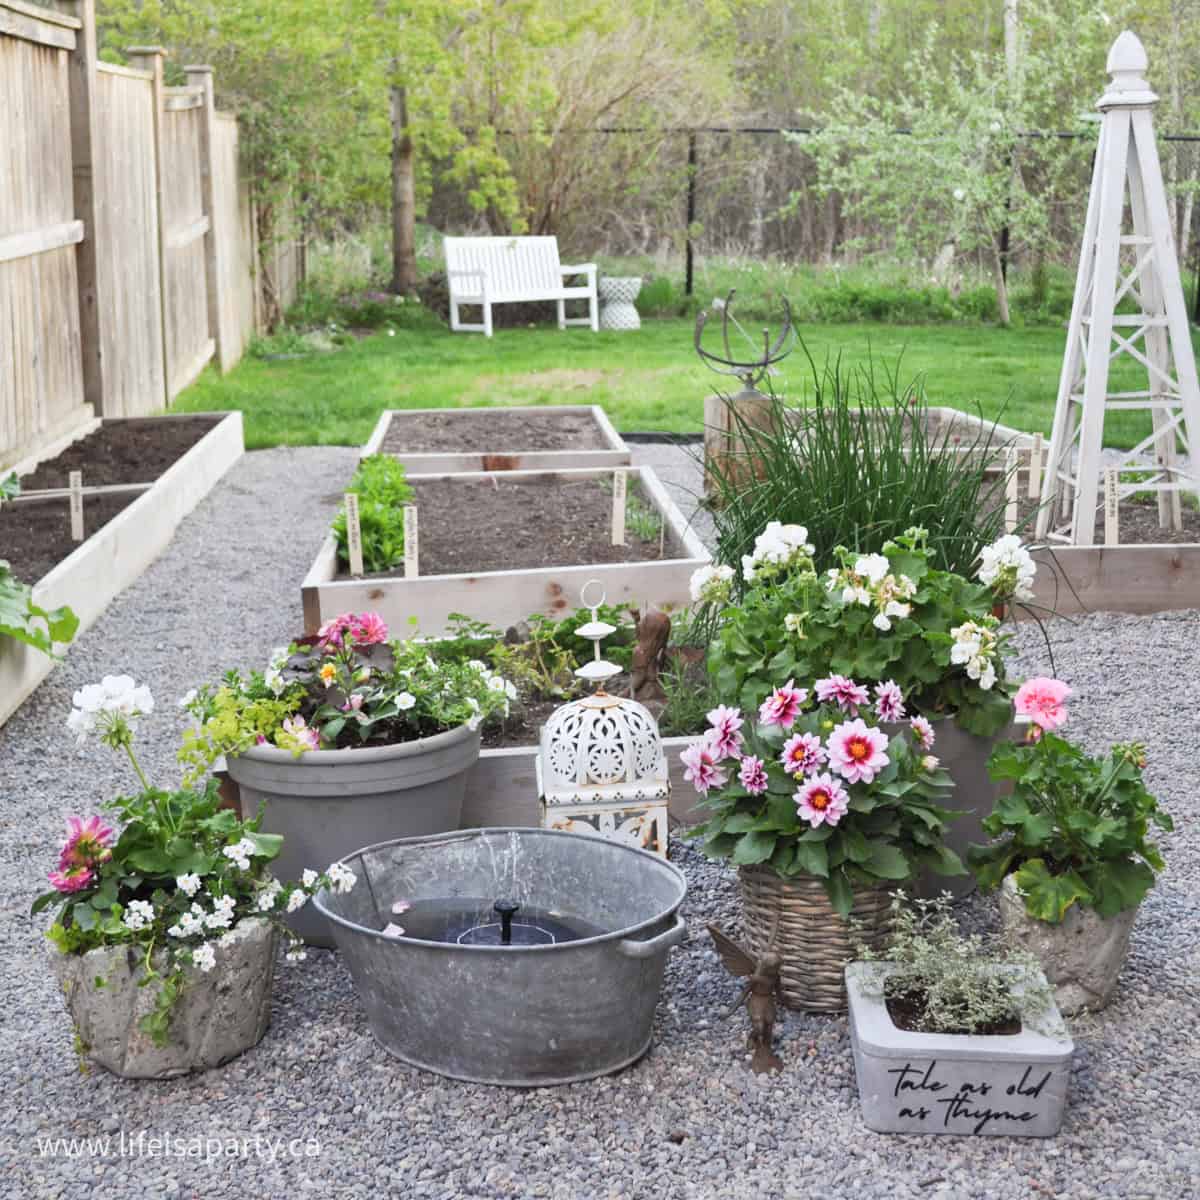
We set up our party in our white garden.  It's a favourite spot full of white perennial flowers.  We have a love seat and two matching chairs here on a pea gravel patio.  It's a beautiful and comfortable spot perfect for a leisurely afternoon.  I used a coffee table to create an intimate relaxed table, and added some indoor pillows to the space to match our party colours.  Next to this seating area is a fountain, which creates a beautiful ambience.

how to throw a summer garden party
pink picnic

DIY Garden Party Decorations

3D Paper Peony Materials:

  • Card Stock in Pink, White, Rose, and Green
  • Cricut Maker
  • Scoring Wheel Tip for Cricut
  • 3D Paper Peony Flower Cut File in Cricut Design Space
Cricut paper dahlia flowers

How To Make 3D Paper Peonies

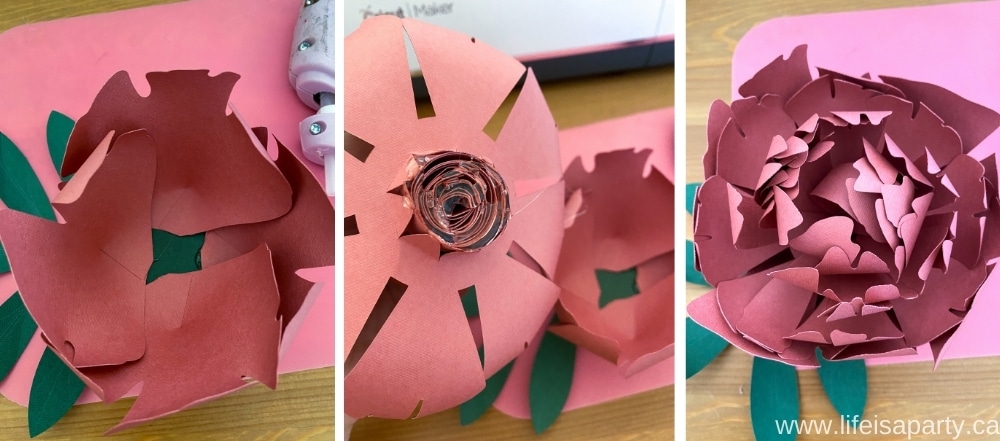
I used the  3D Paper Peony Flower Cut File in Cricut Design Space.  To make the peonies, open the file in Cricut Design Space, and follow the prompts to make it.  Start with the green card stock and the score wheel to cut out the leaves.  Next cut the flower pieces in pink, rose, or white card stock.  

how to make paper dahlia flowers

Once all the pieces are cut out and weeded, use a pencil to curl the edges of the flower petals.  Next, hot glue the large petals together where the slit on the bottom is to create 3d petals.  Next hot glue the four outer petals to the green leaves.  To create the inner flower, connect the long sections of petals together, using the slit in the paper to connect them end to end.  Next roll up the long petals.  Insert the rolled petals into the centre of the round petal piece, and attach with hot glue.  Lastly, glue this section into the centre of the other four petals glued to the green leaves.  Make some final adjustments to the petals to finish.

pink summer picnic

To create smaller versions of the paper flower peonies, choose to customize the 3D peony flower pattern in Cricut Design Space.  Click select all, and use the arrow in the corner to shrink all the pattern pieces together.  Next follow the same procedure as above to create your smaller peonies.

flower cake topper

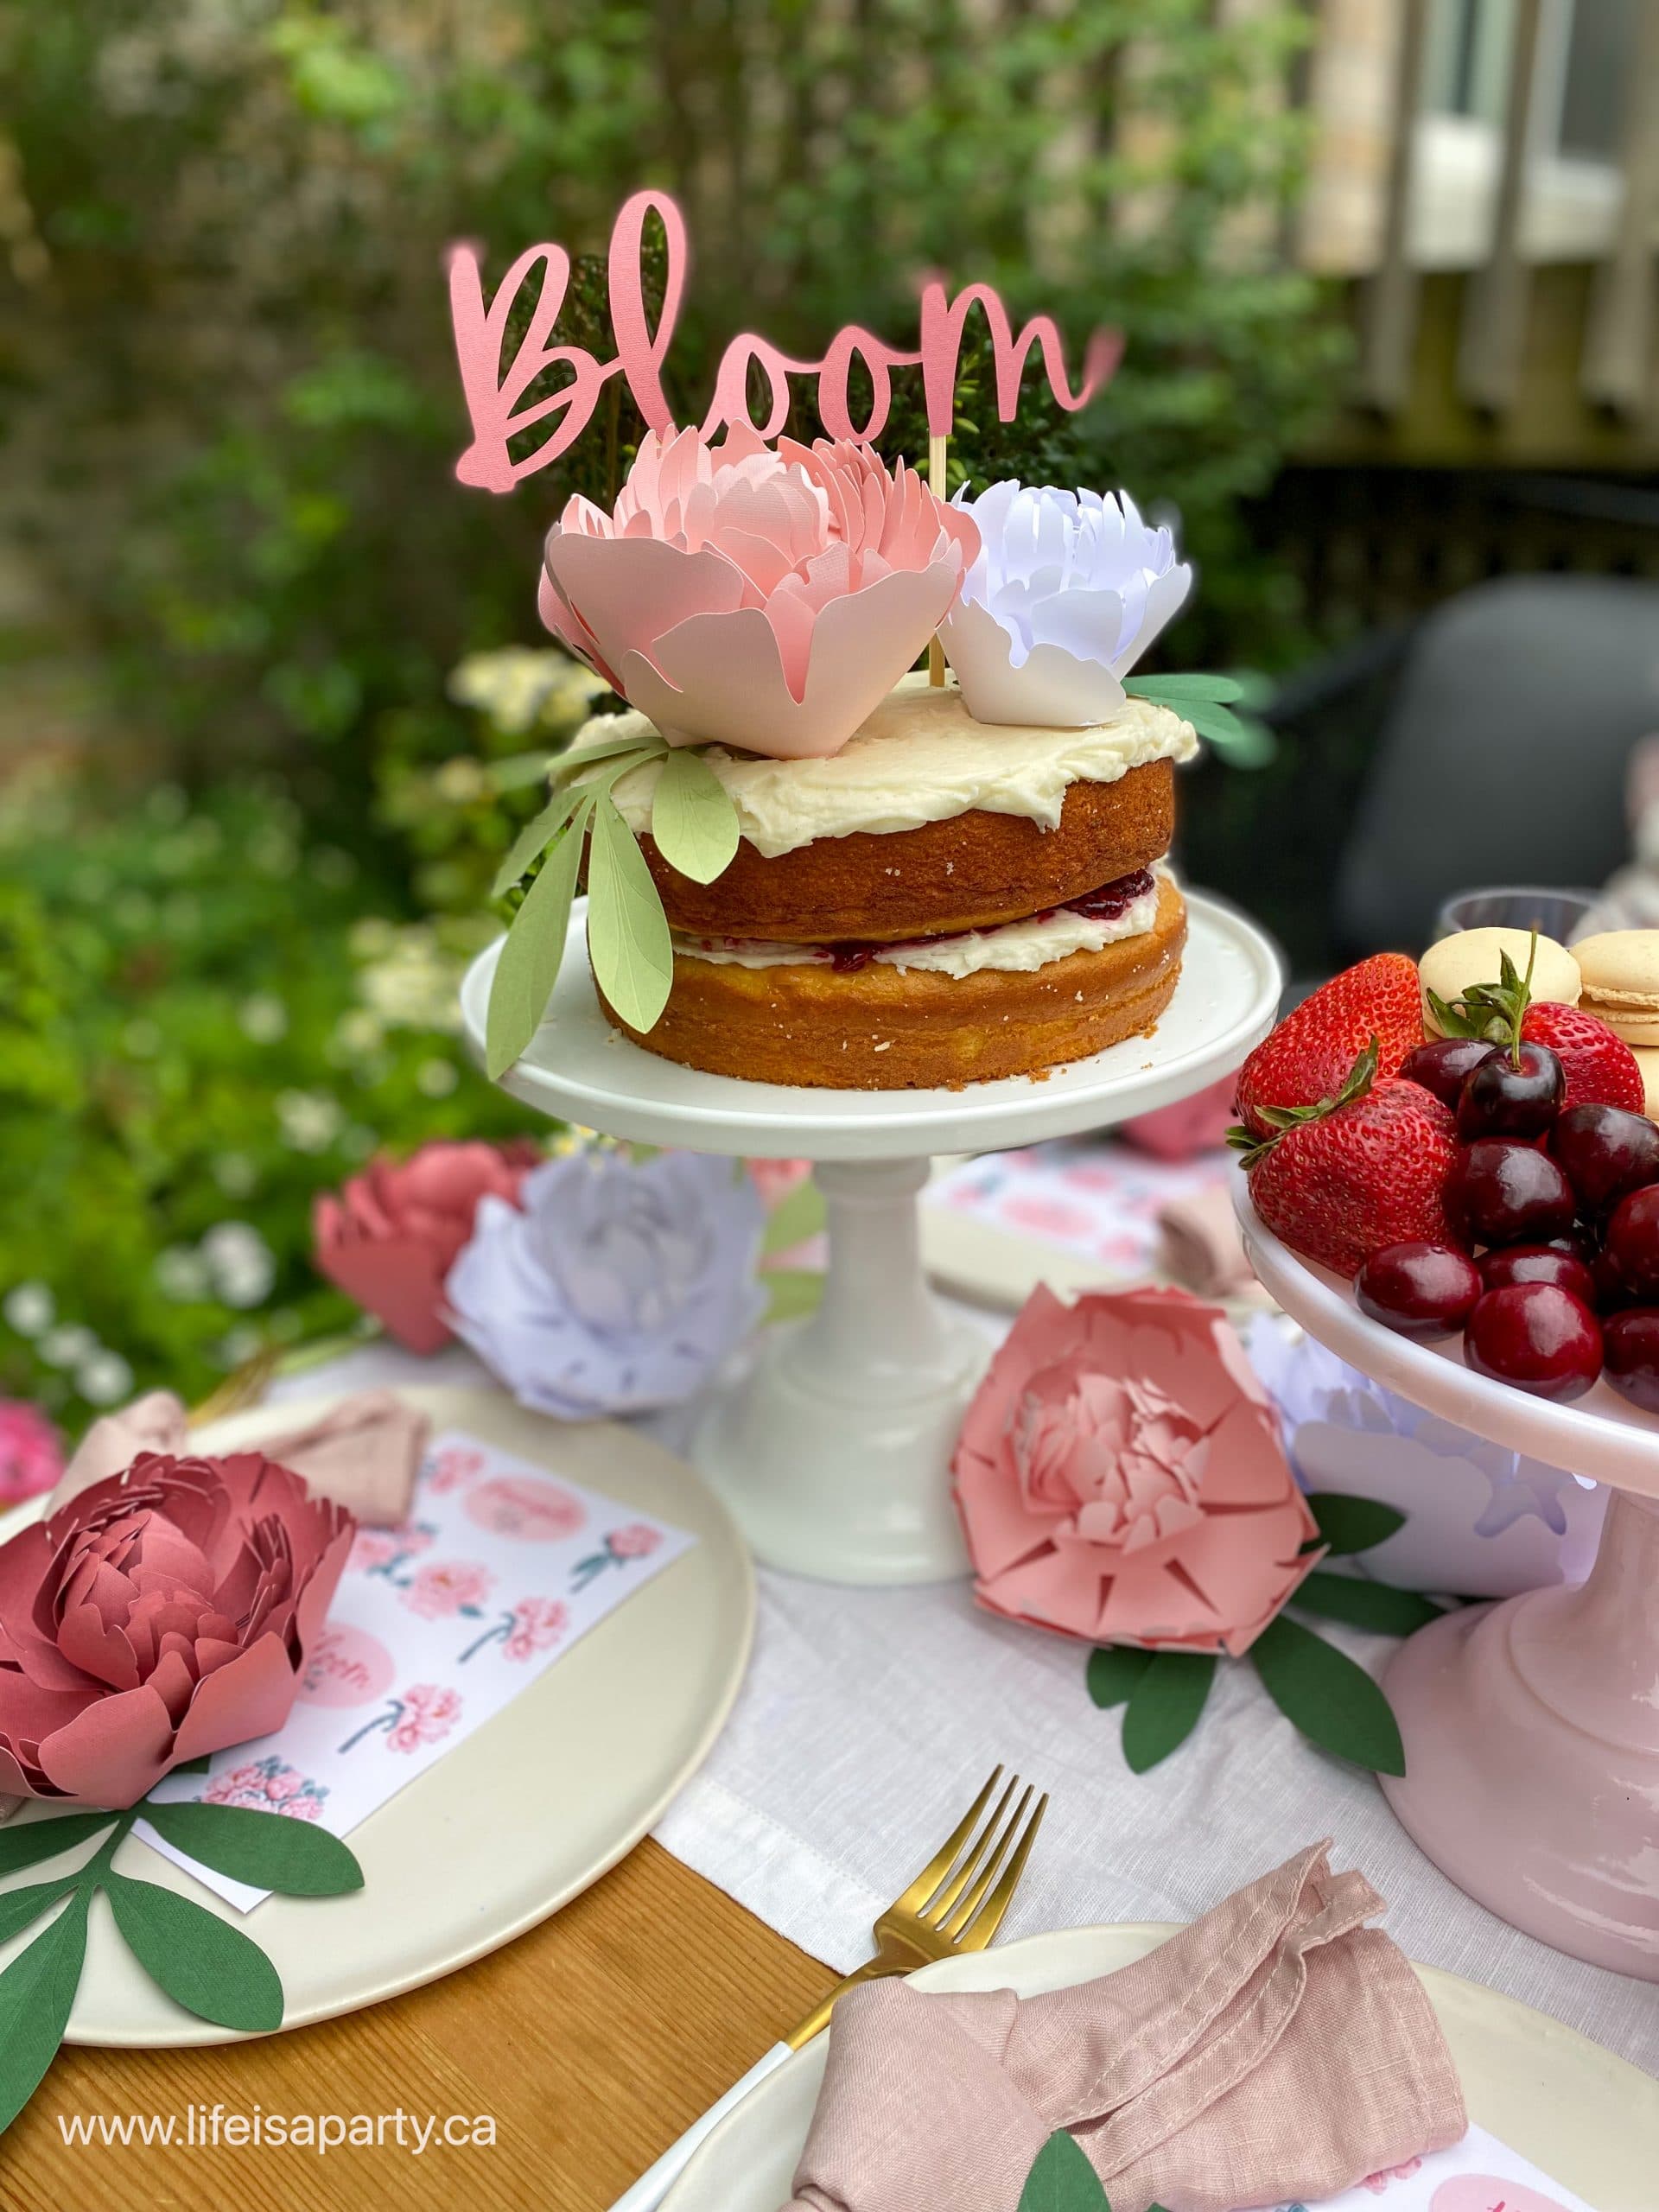
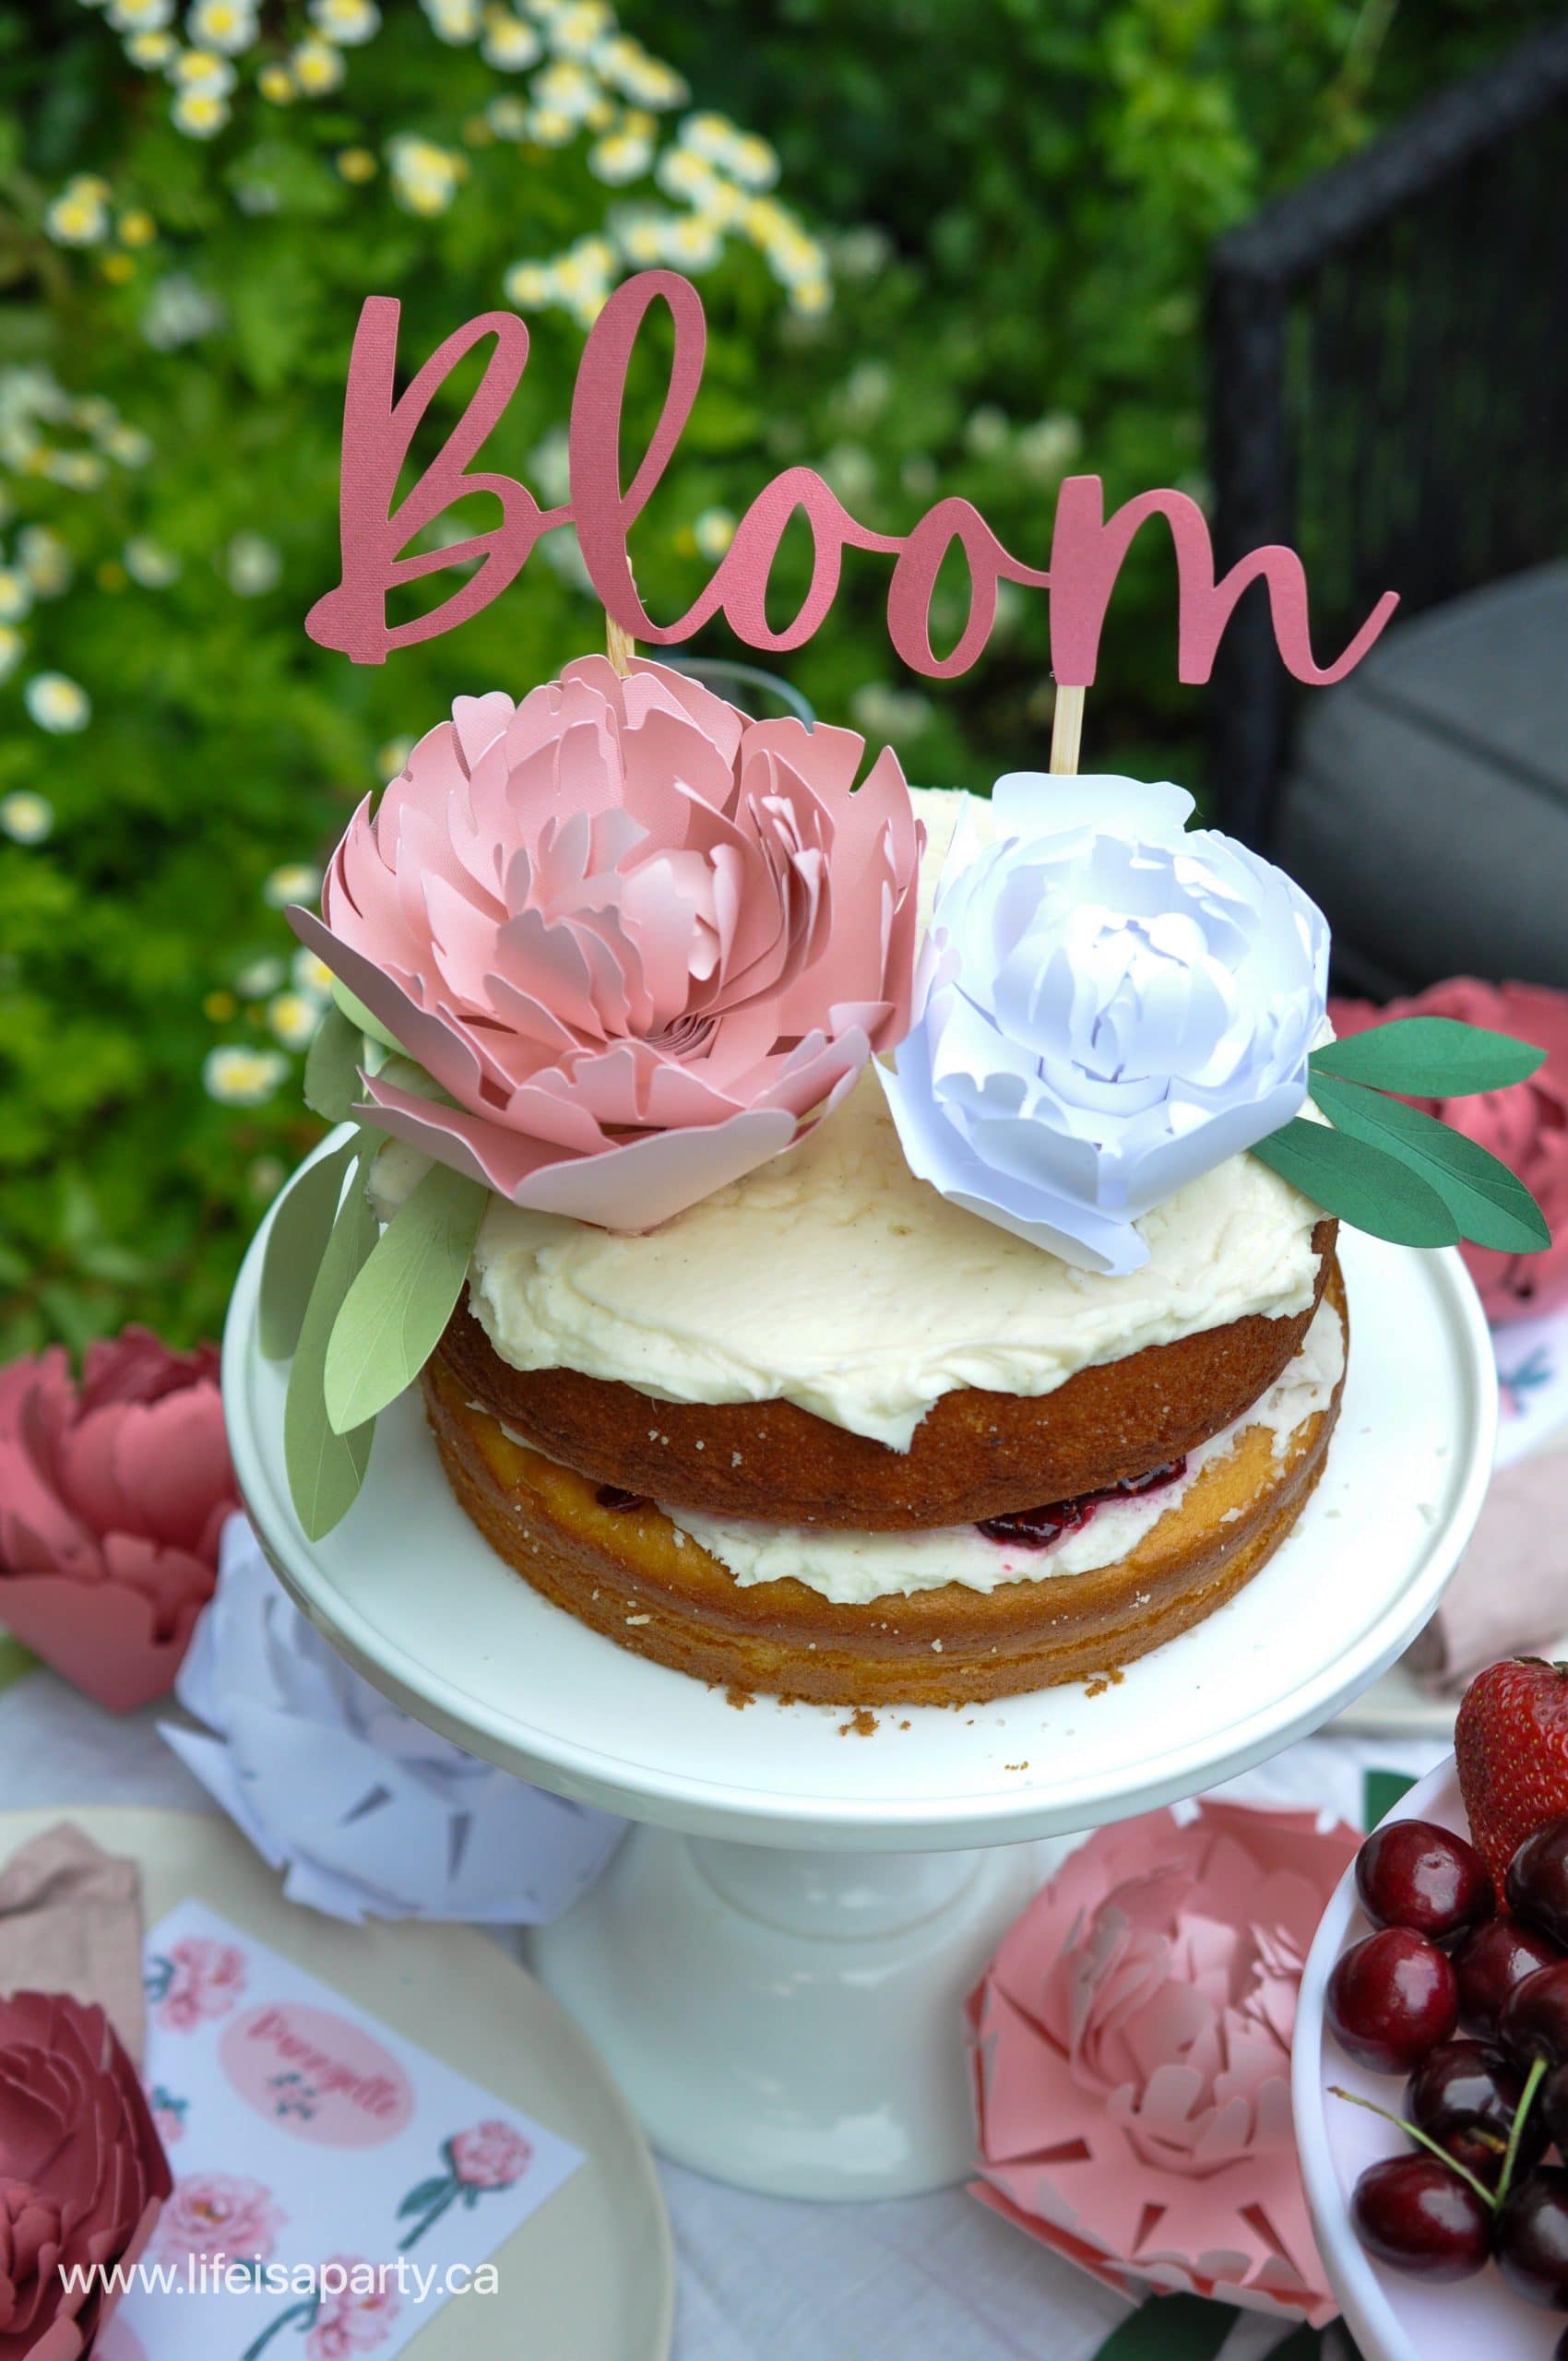
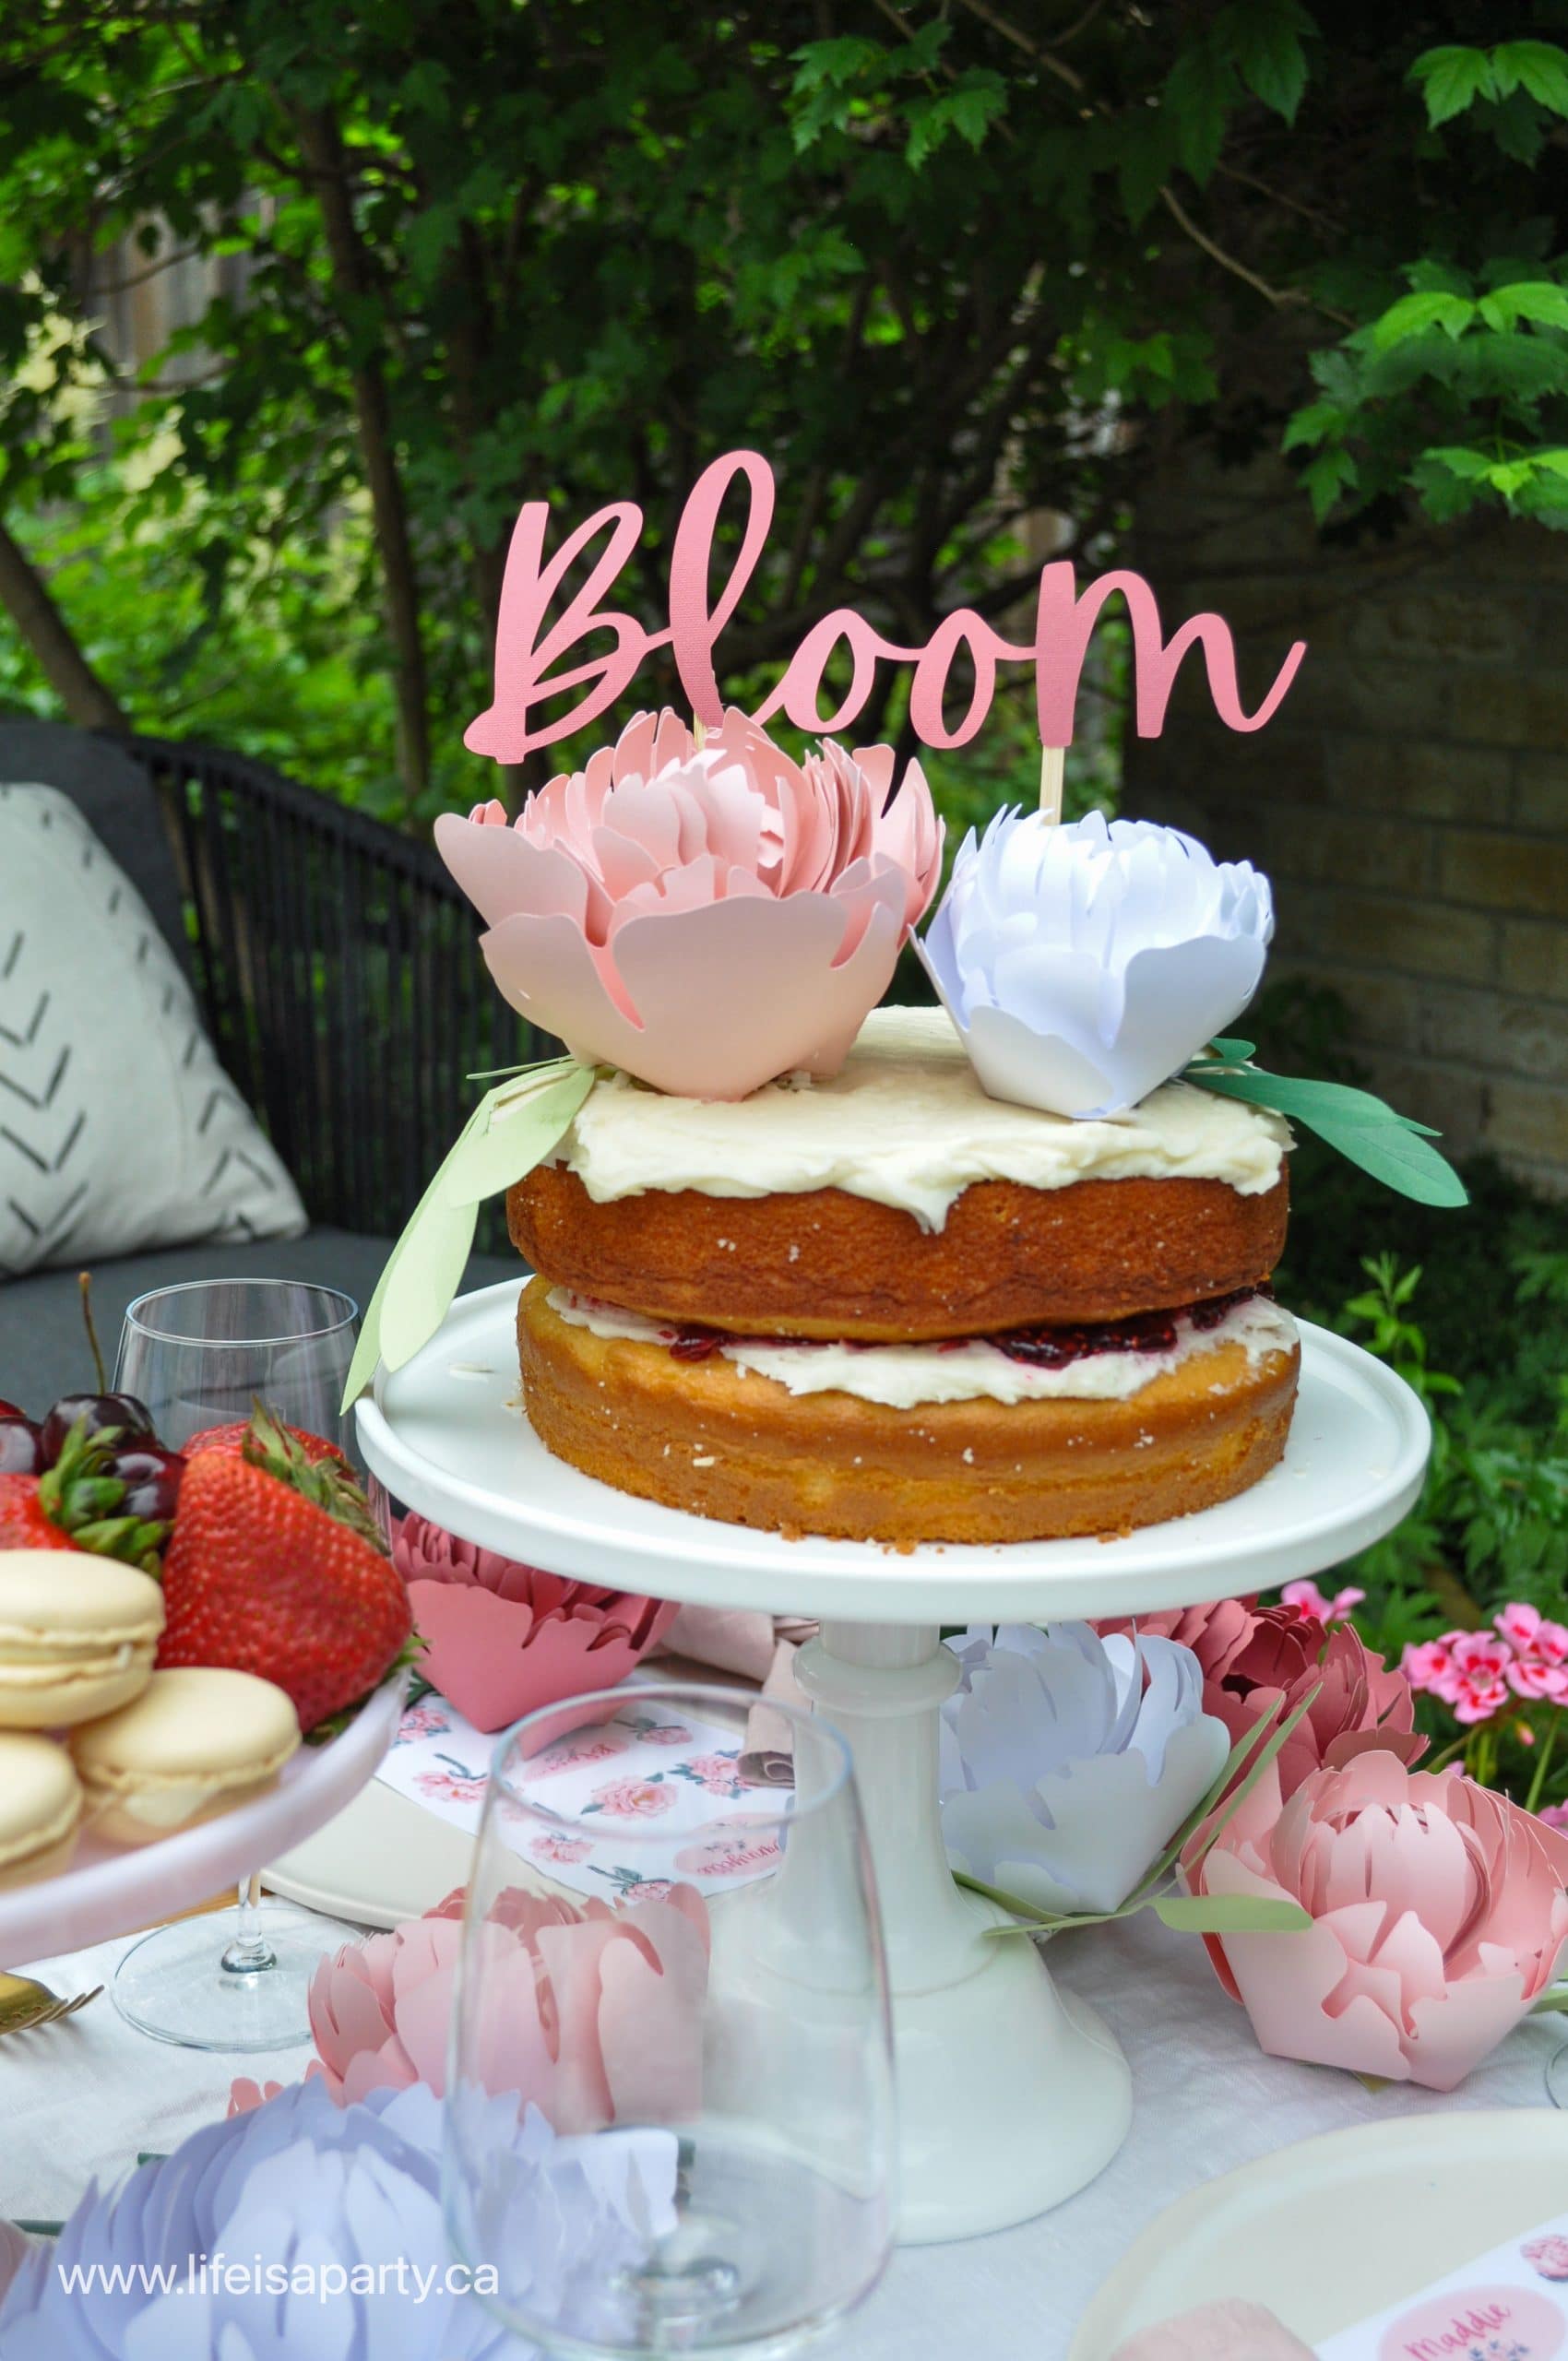
Bloom Cake Topper

To decorate the cake for the garden party, I made a really easy and beautiful cake topper.  Life is a Party subscribers can find the free file in our Free Resource Library.  If you are not yet a subscriber, subscribe below for free instant access. 

To make it, download the Bloom Cake Topper file, then upload it to your canvas in Cricut Design Space.  I used rose card stock to cut out the word.  Next I used hot glue to attach some wood skewers to insert the word into the cake.  As well as the Bloom cake topper, I added two paper peonies to the cake as well.

DIY Cricut cake topper
bloom cake topper

Custom Stickers

I used the print and cut feature of my Cricut machine to create custom stickers as a favour for my garden party.

Download the free Sticker png file from our Subscribers Free Resource Library.  Not a subscriber yet?  Sign up below for free.  

Cricut custom stickers
pink picnic
Cricut custom stickers
pink summer garden party

Garden Party Food Ideas

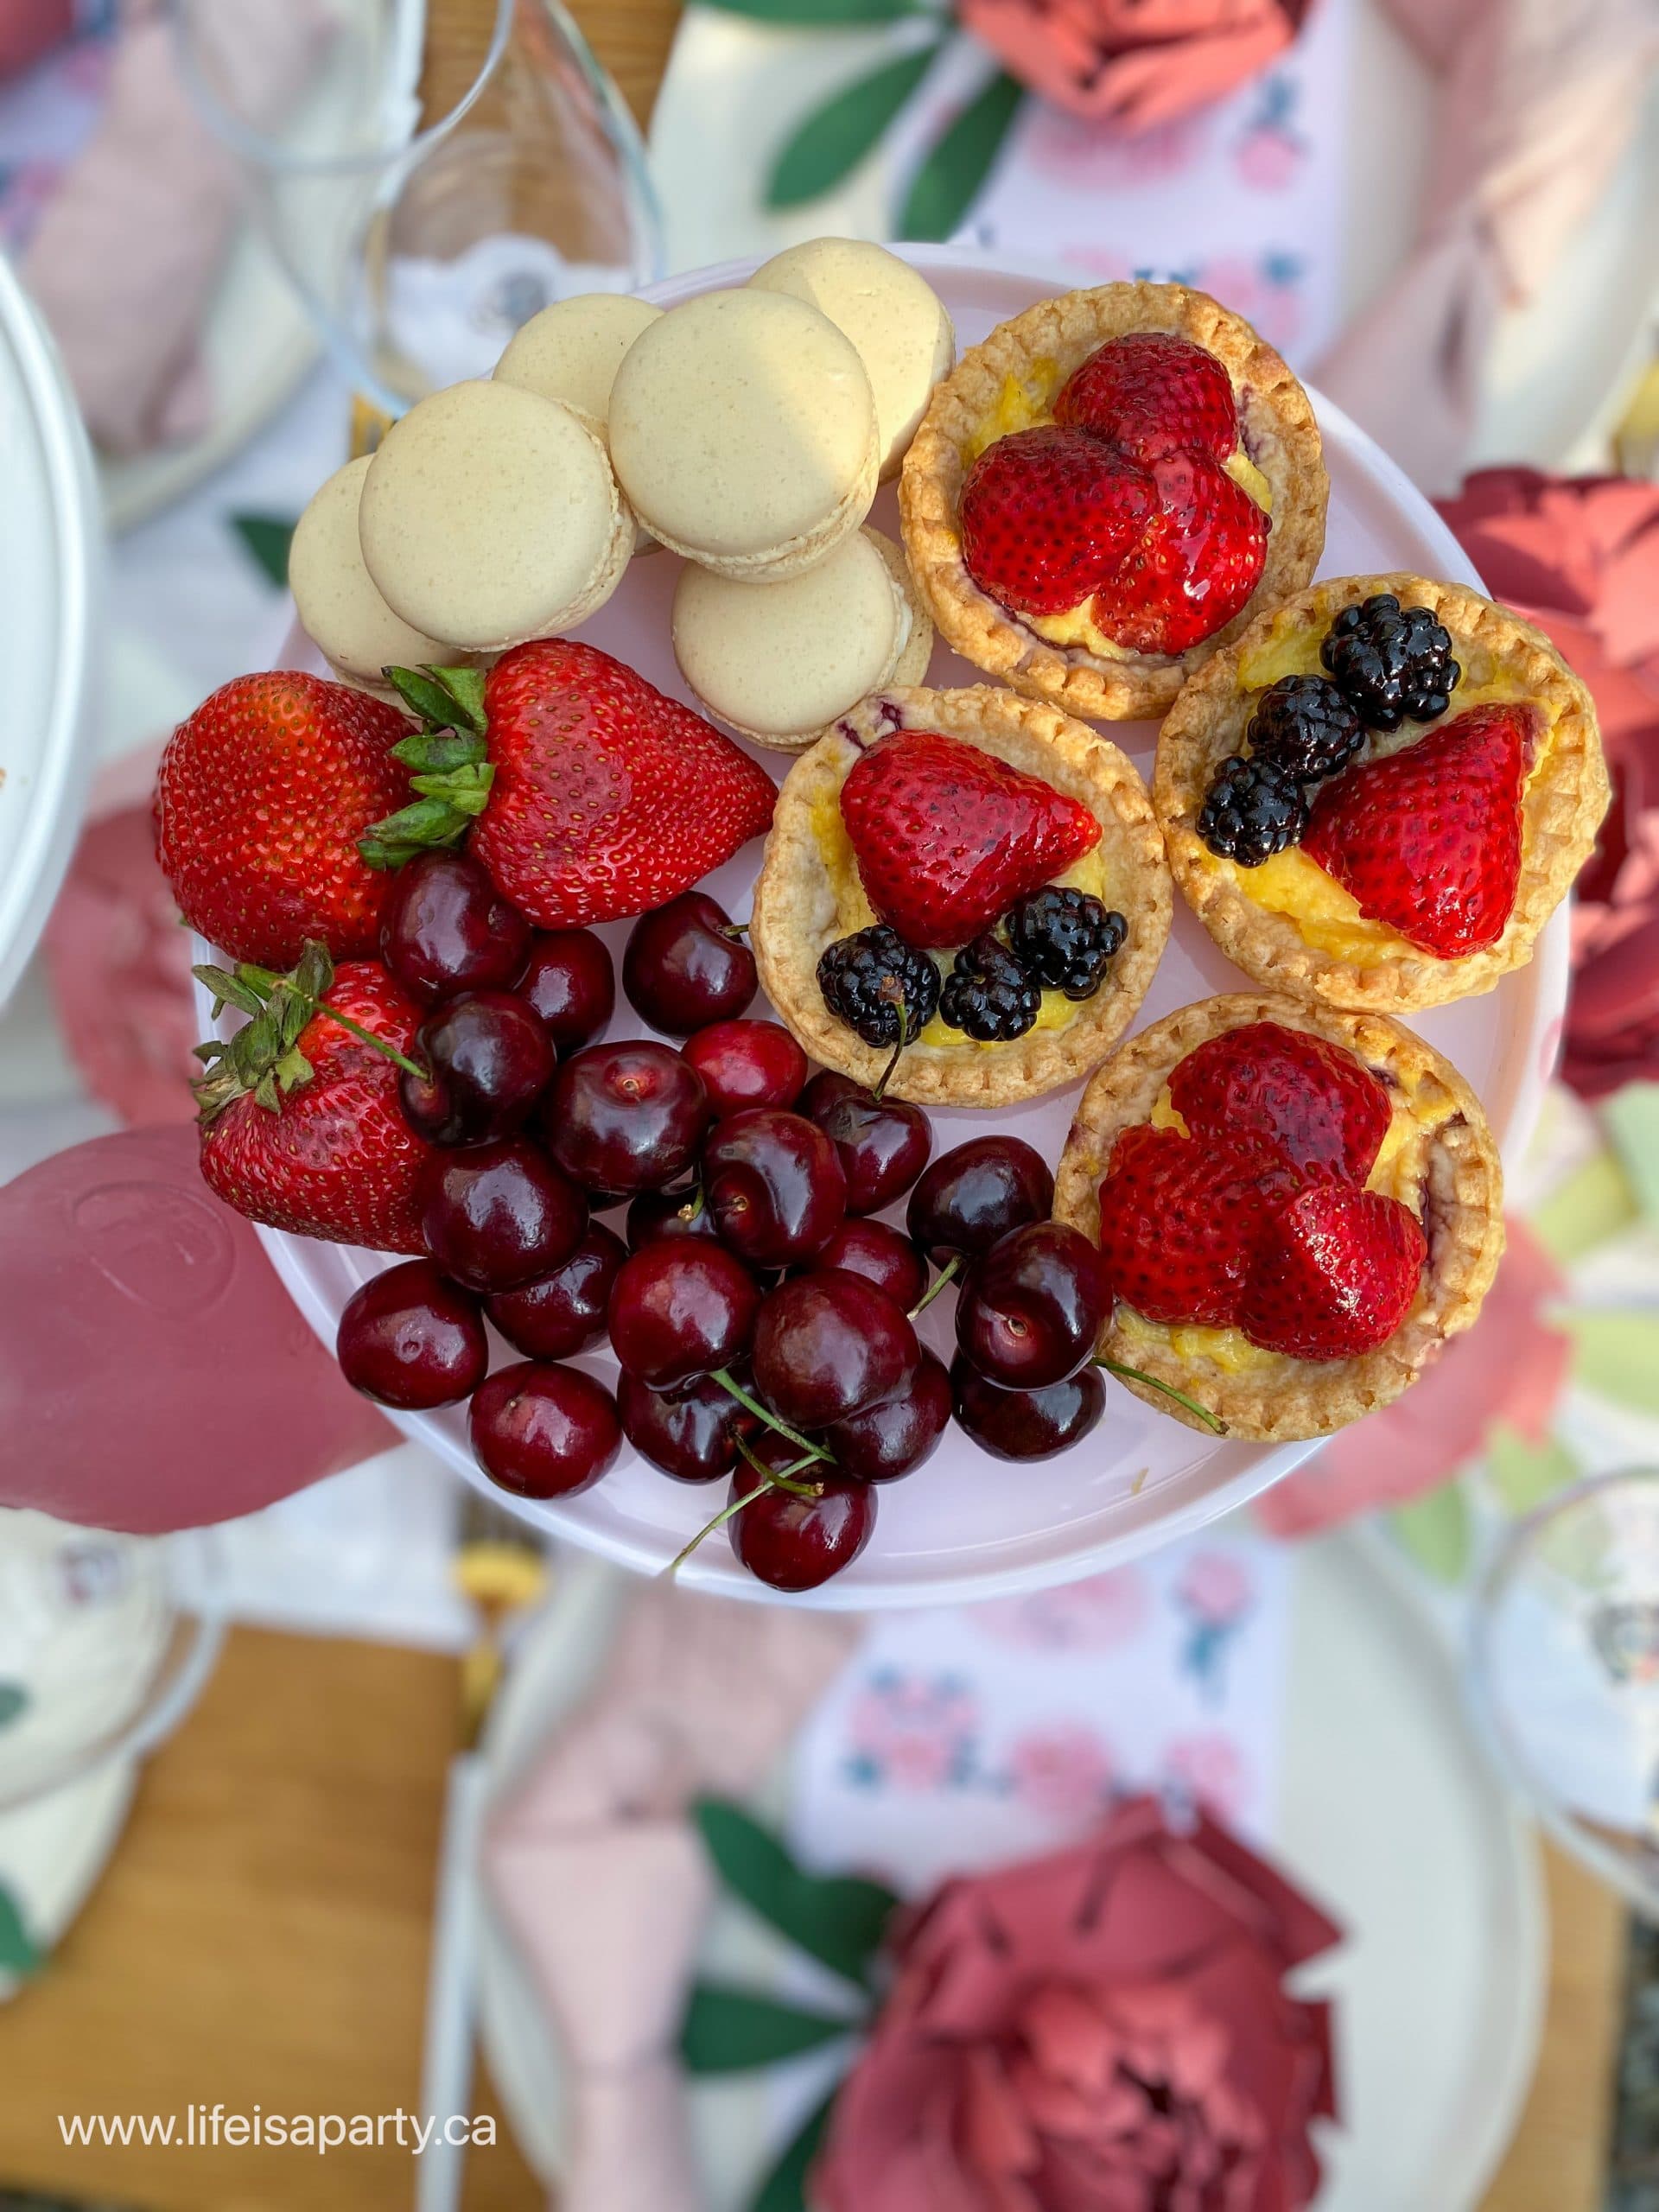
We kept our garden party menu sweet and simple.  The cake was a simple vanilla cake with vanilla buttercream, and raspberry jam.  Made from a mix, and easy to put together, it was perfect for our garden party.  Along with our cake we served some beautiful fresh strawberries, and cherries.  As well we added in some vanilla macarons picked up at the bakery.  Lastly we made some simple custard tarts with fresh berries on top.  We also offered a choice of pink lemonade or rosé wine as the perfect accompaniment for all our sweet treats.

This party was so fun to put together, and to enjoy the garden.  This is my favourite kind of summer entertaining -a beautiful settings, great food, and custom DIY decor.  With a garden party like this to enjoy, life really is a party!

This post is sponsored by Cricut.  This post contains affiliate links.  As always, all opinions are my own.  Thanks for supporting the brands that make Life is a Party possible.

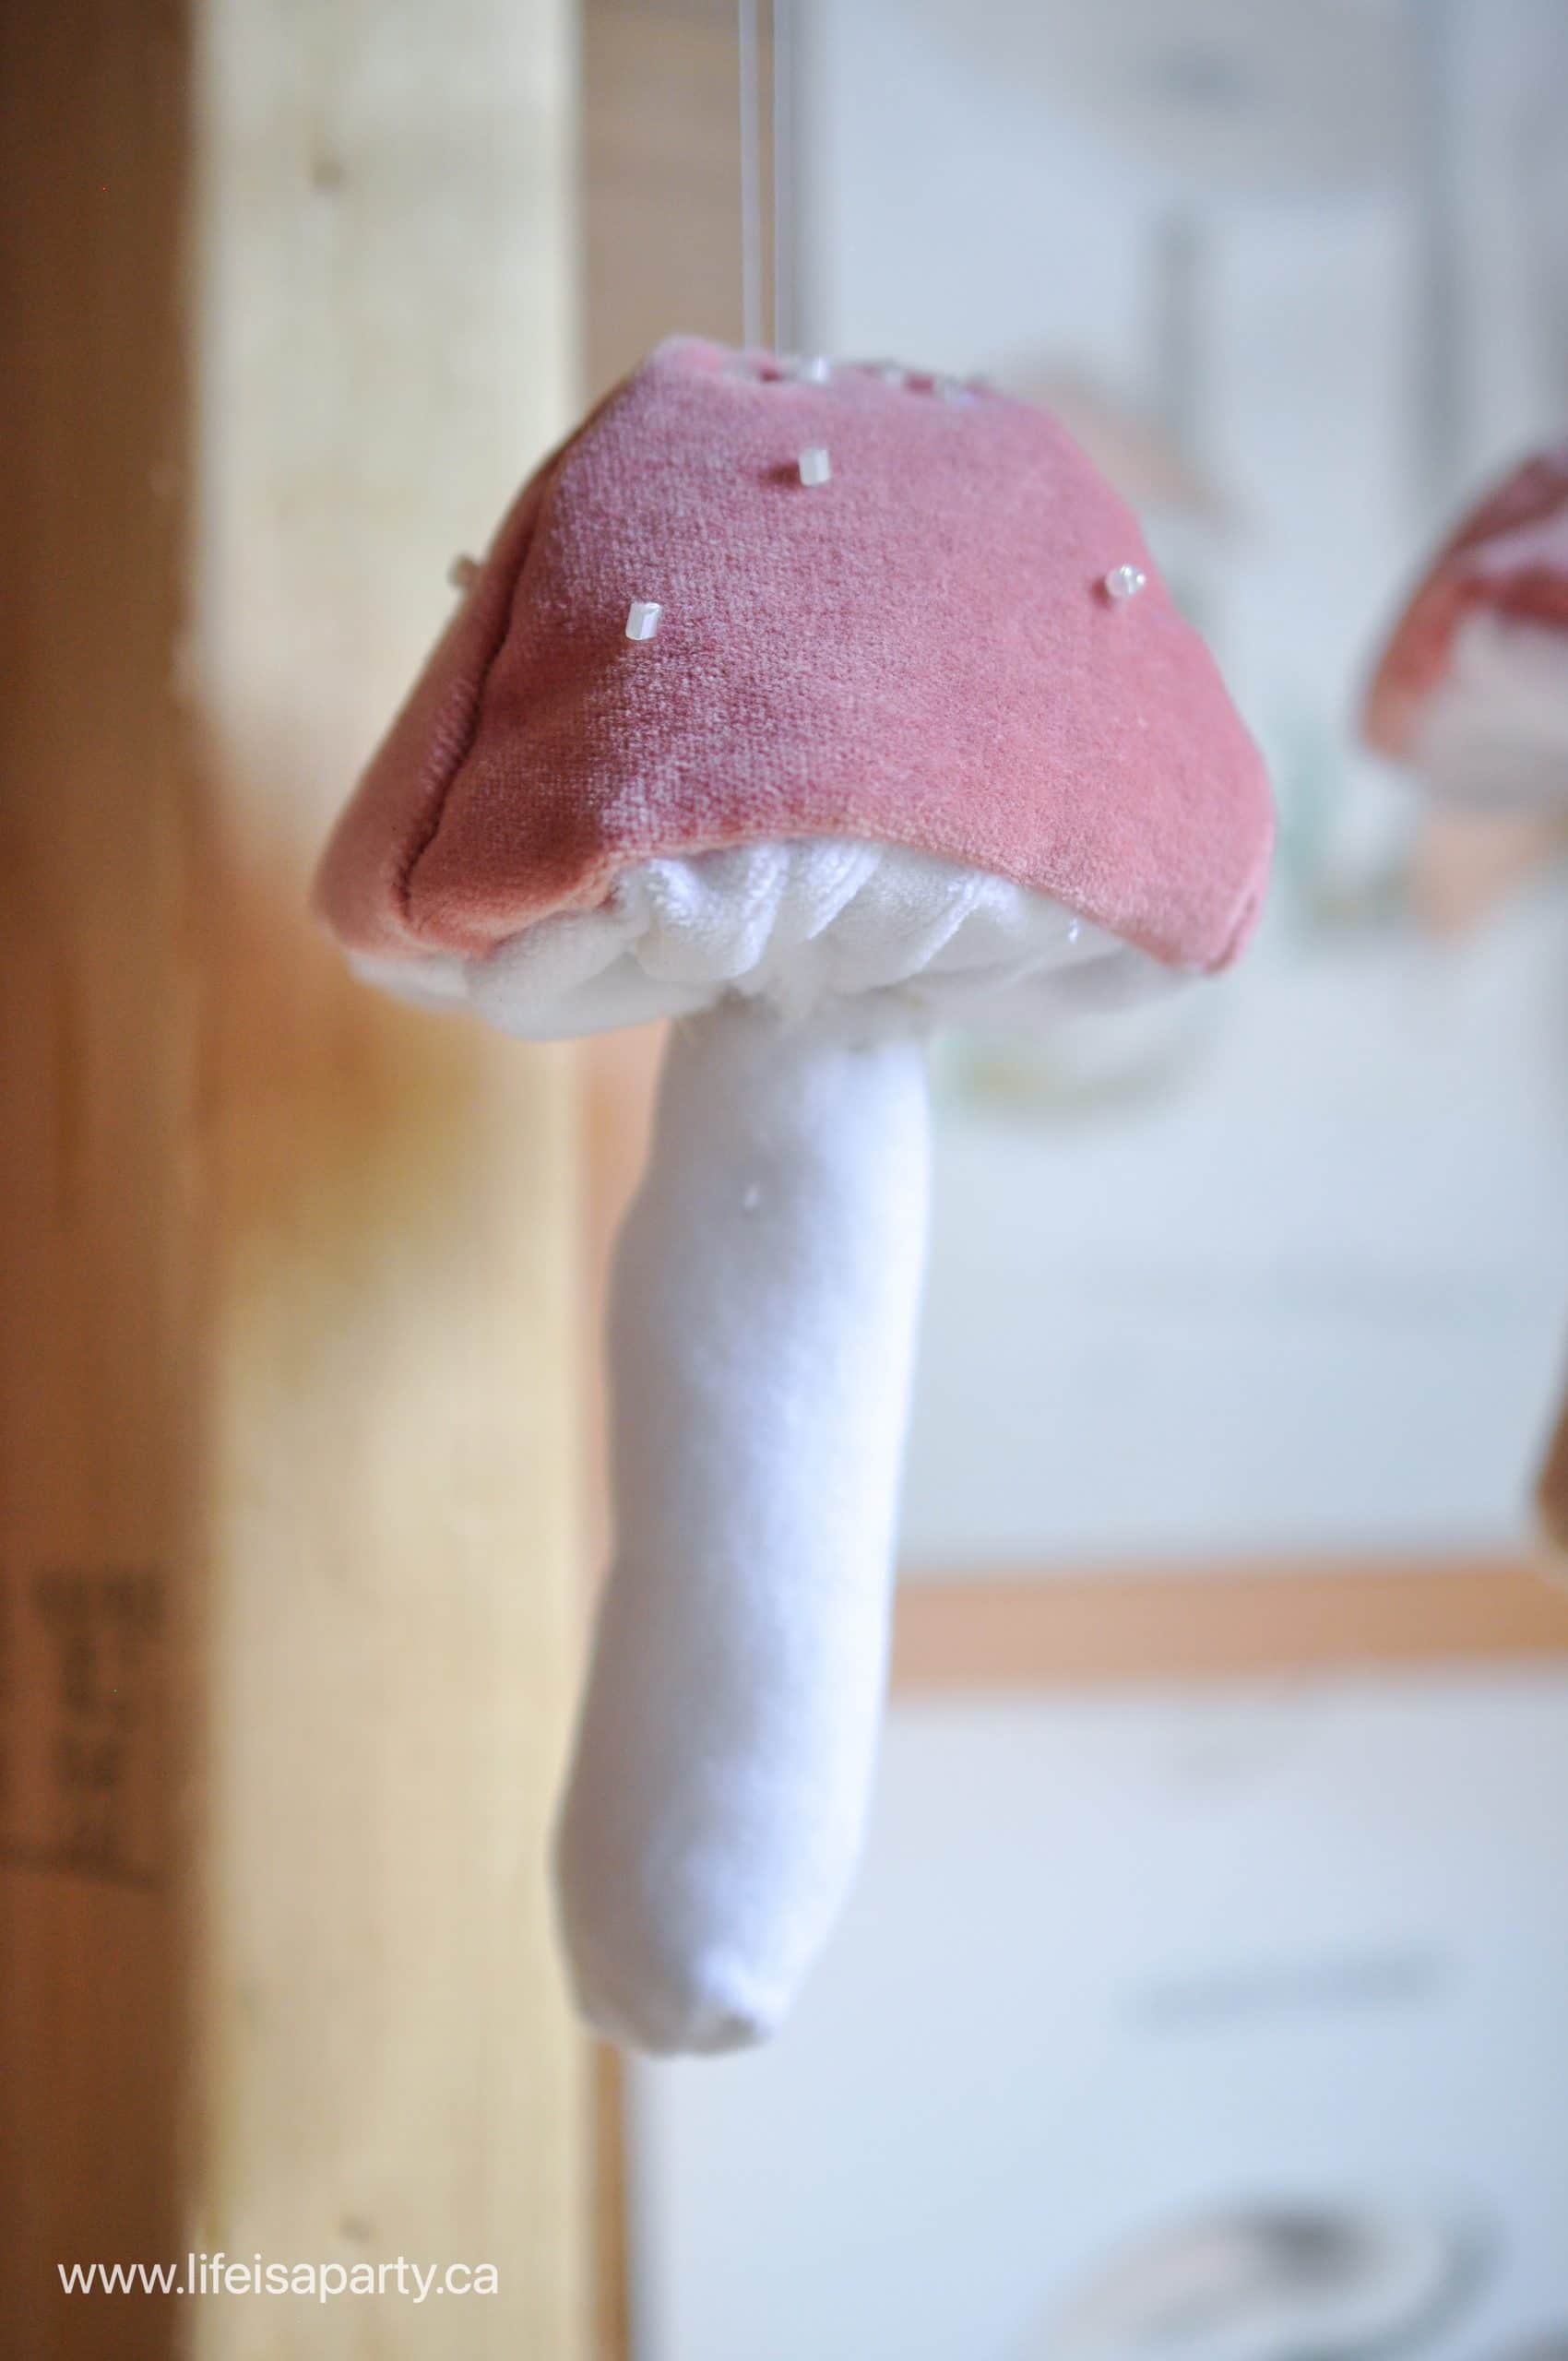
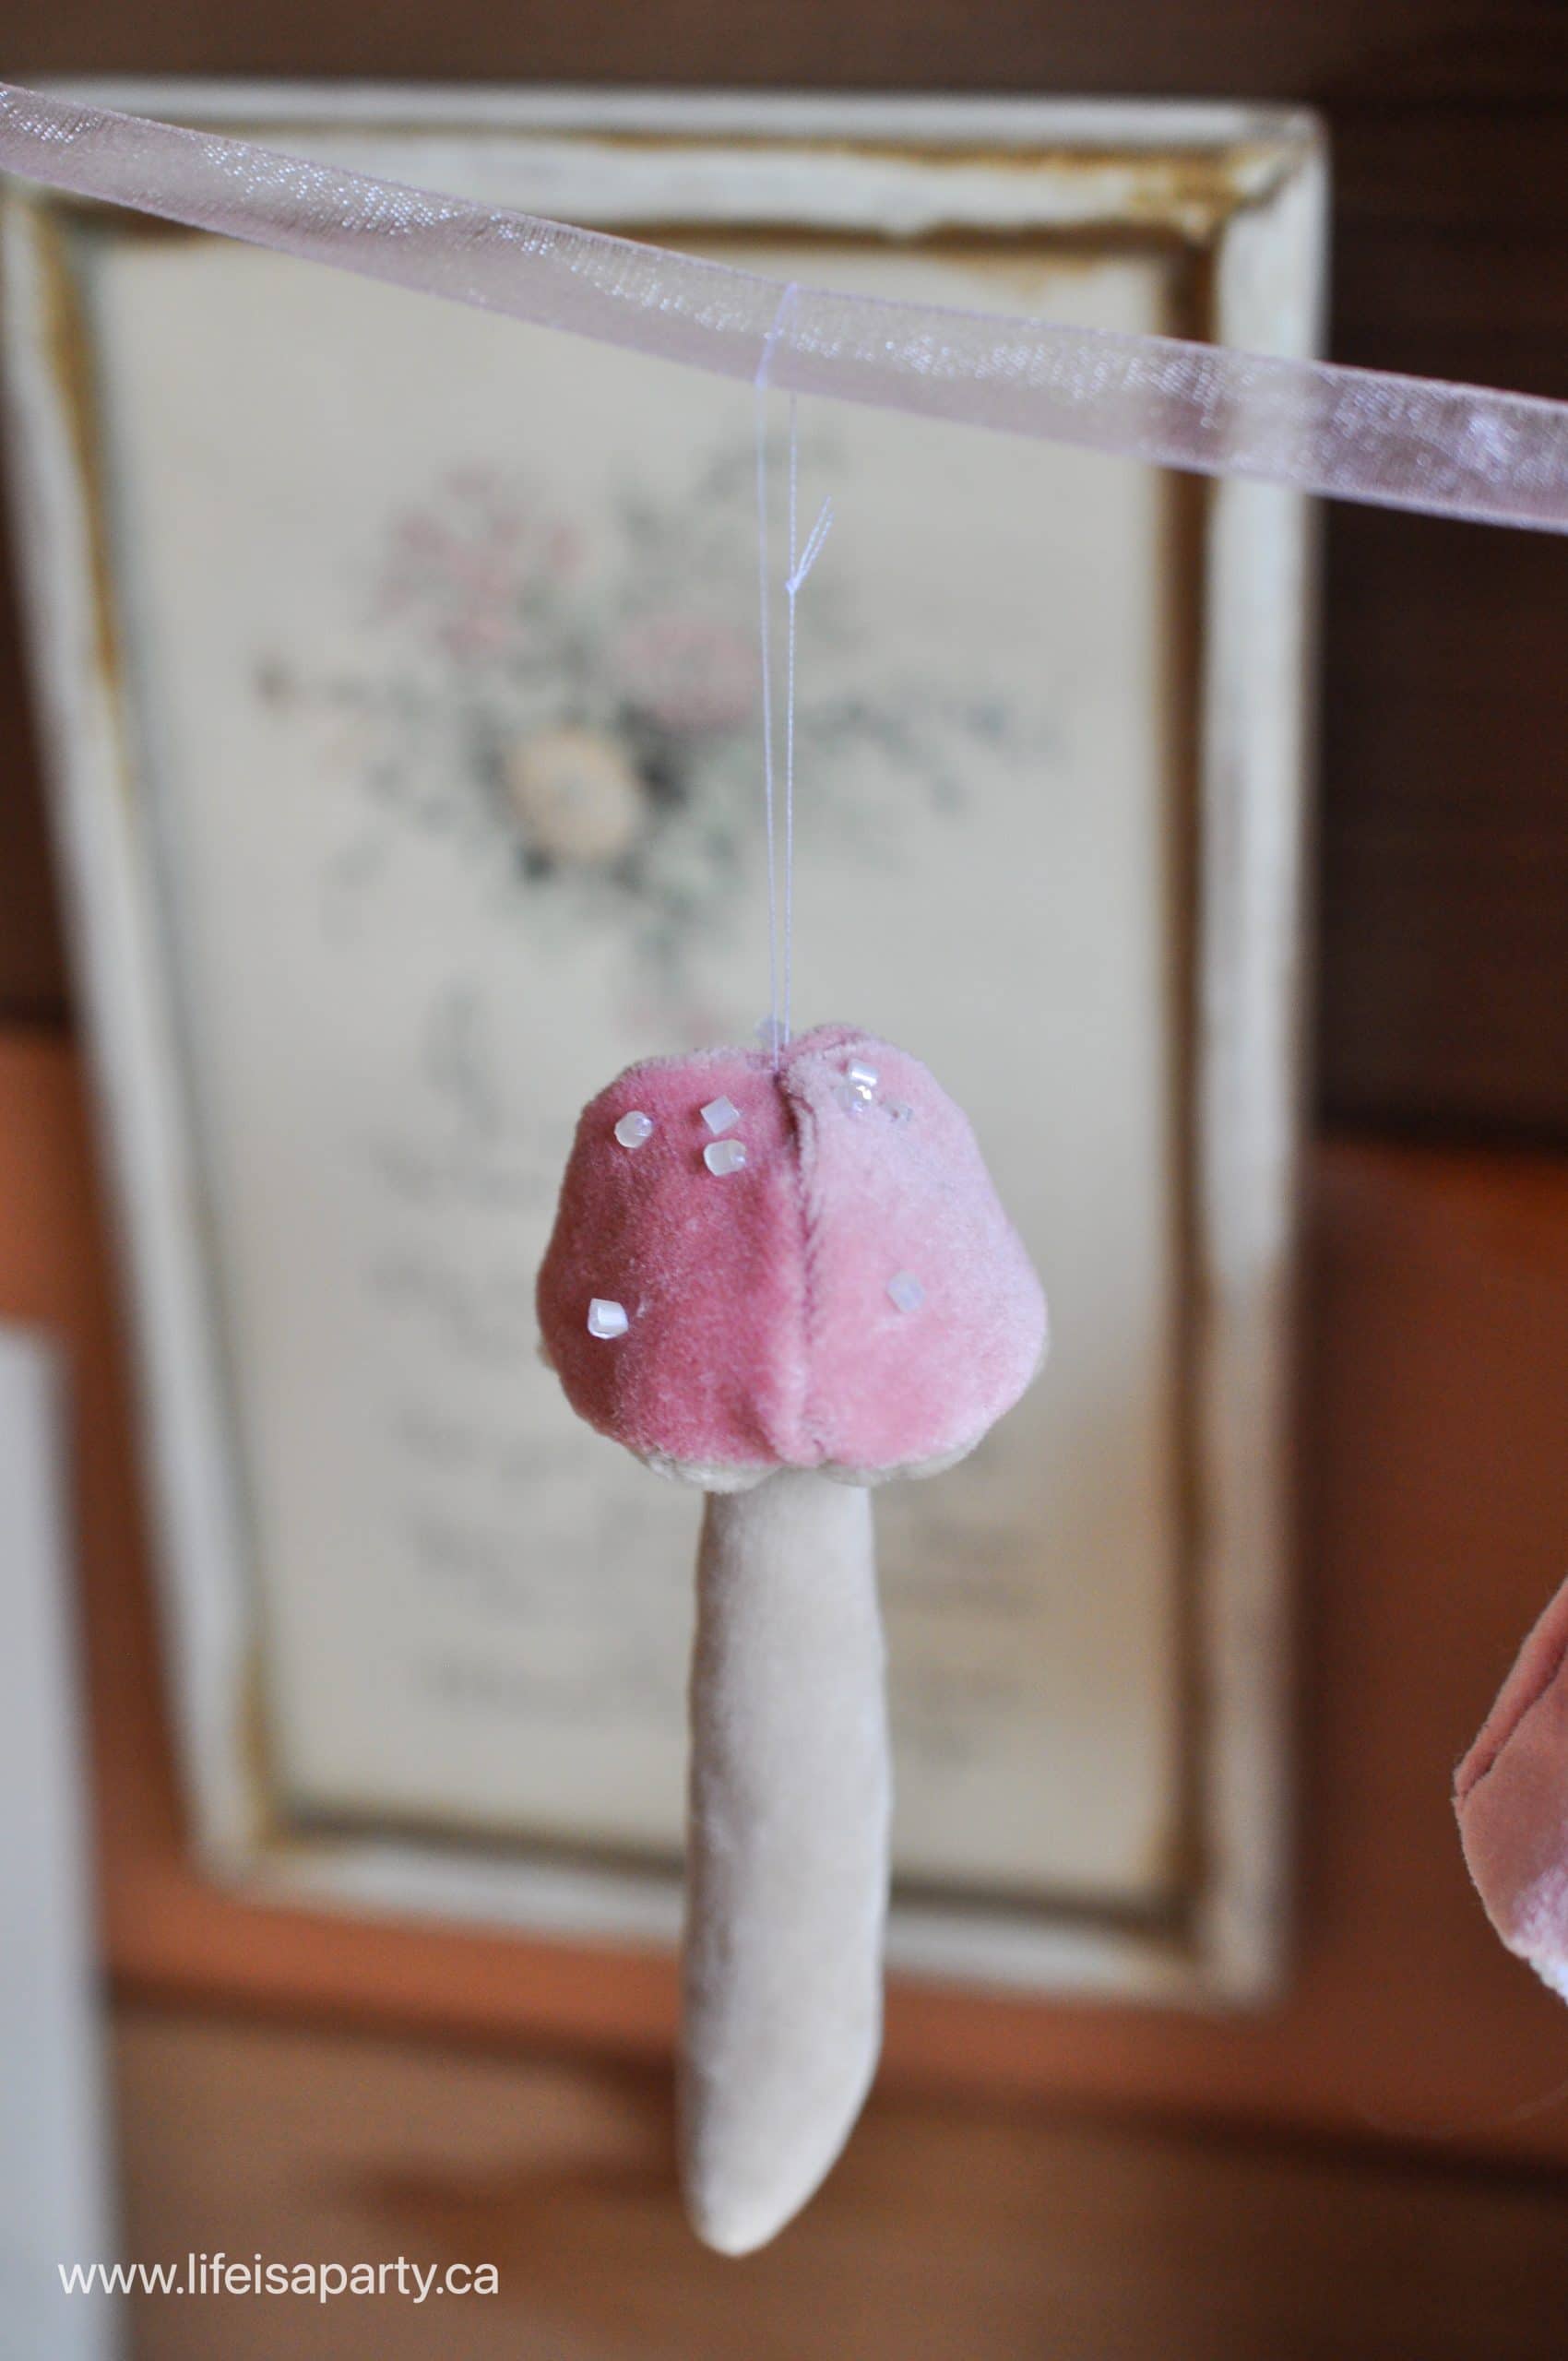
DIY Velvet Mushroom Craft

Jun 15, 2021 · 4 Comments

DIY velvet mushroom craft in pink and white.

DIY Velvet Mushroom Craft: make your own Anthropologie inspired velvet mushrooms perfect as decor, or as an ornament.

DIY velvet mushroom craft
[feast_advanced_jump_to]

This DIY Velvet Mushroom craft is a fun, and quick sewing project.  I was inspired by the Antropologie ones that were available this past Christmas.  My version is quick project, and really fun to make. These DIY fabric mushrooms are beautiful as a Christmas tree ornament, but also pretty anytime of year. 

You might also like our Toy Felt Cookies, or How To Make A PInecone Wreath.

Velvet Mushrooms

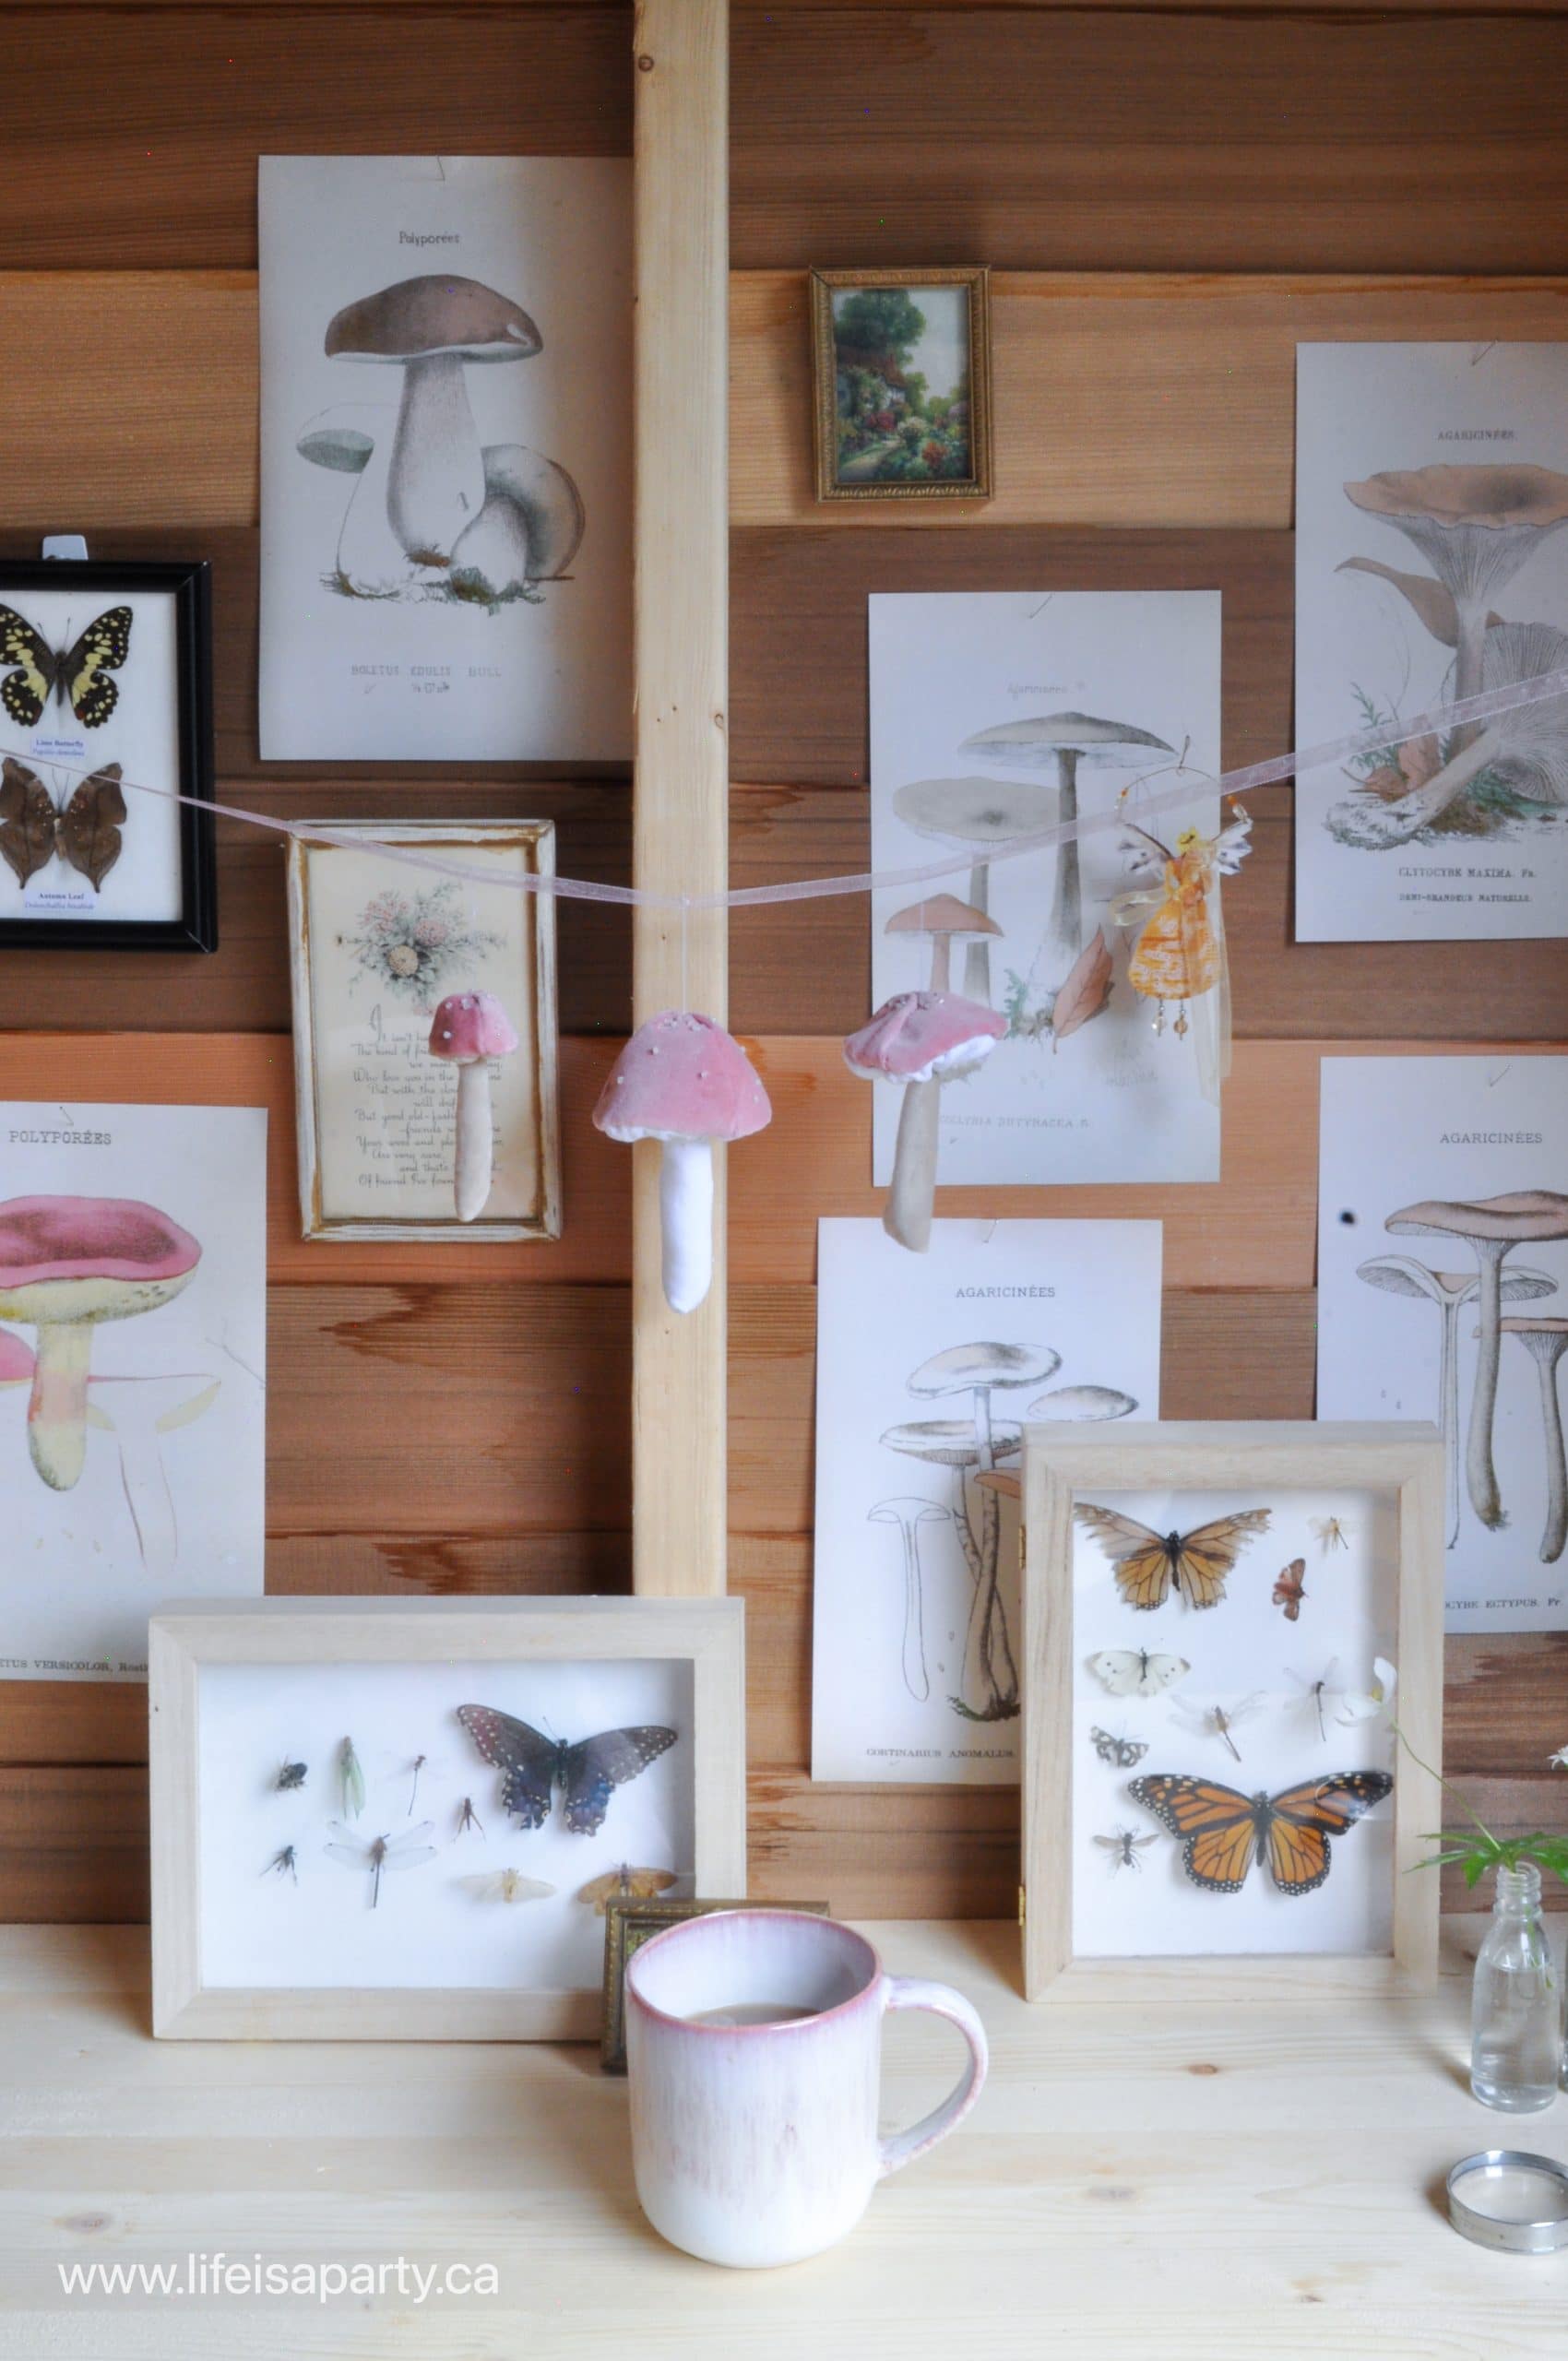
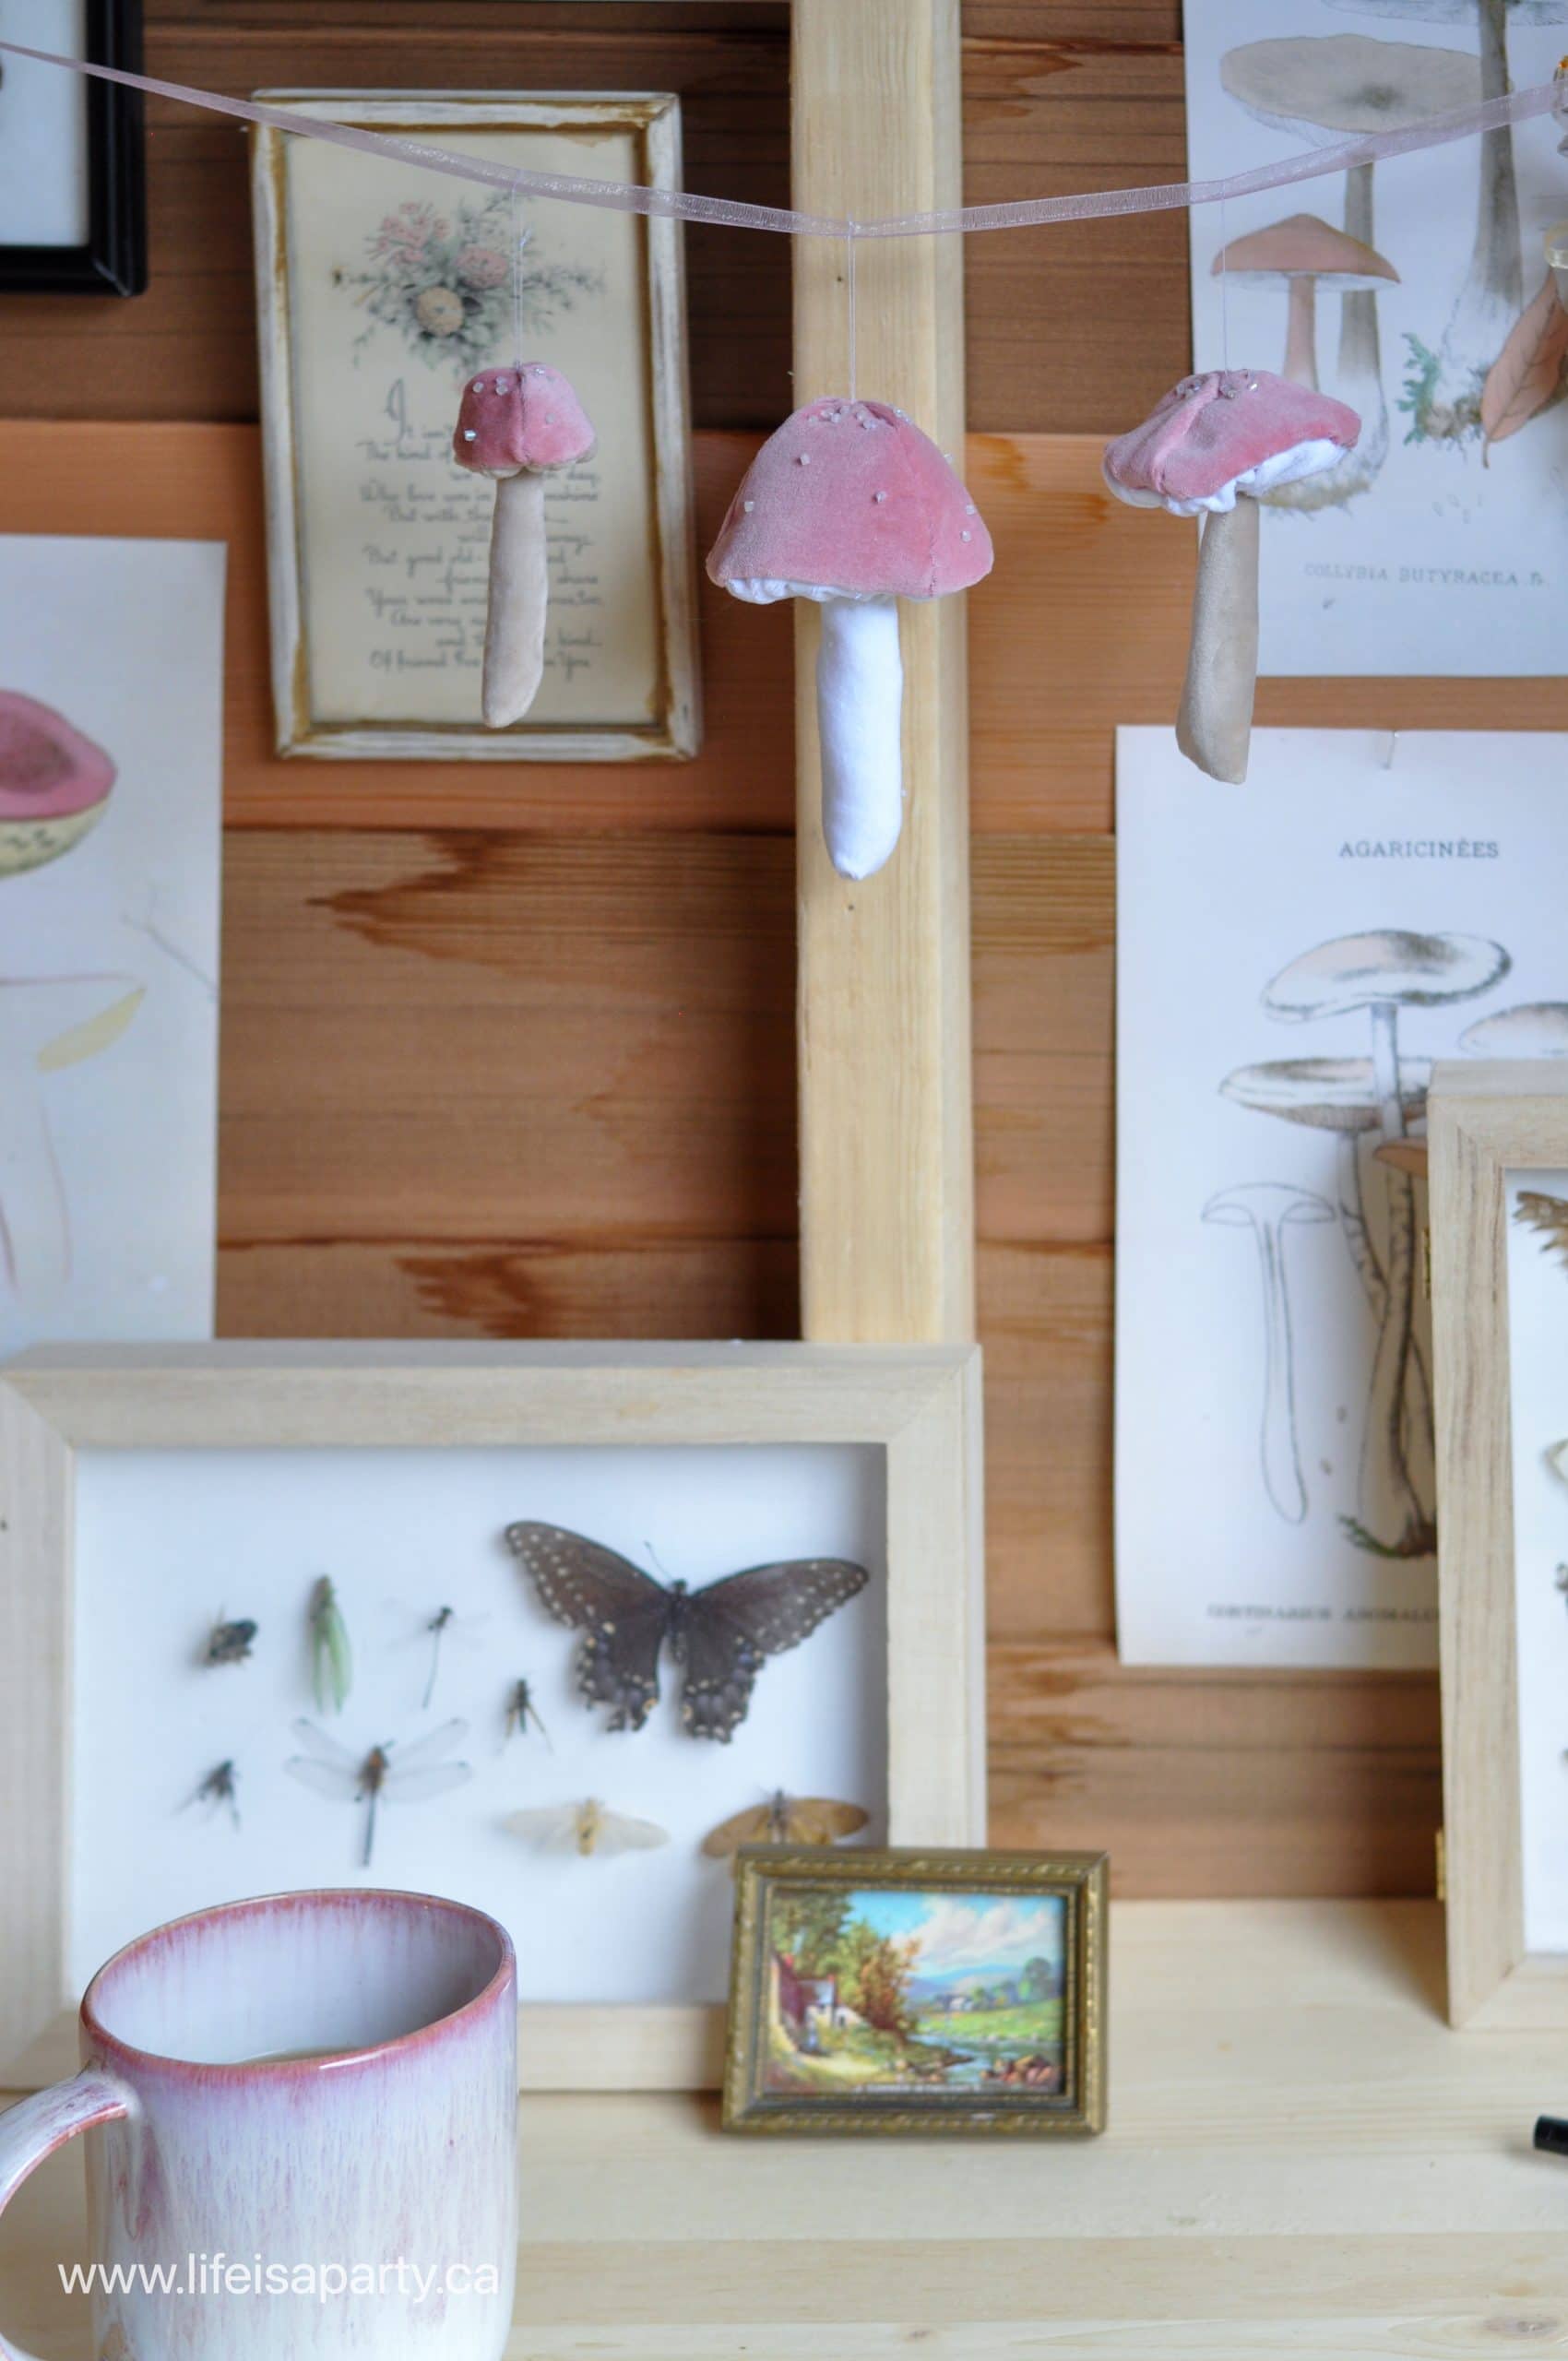
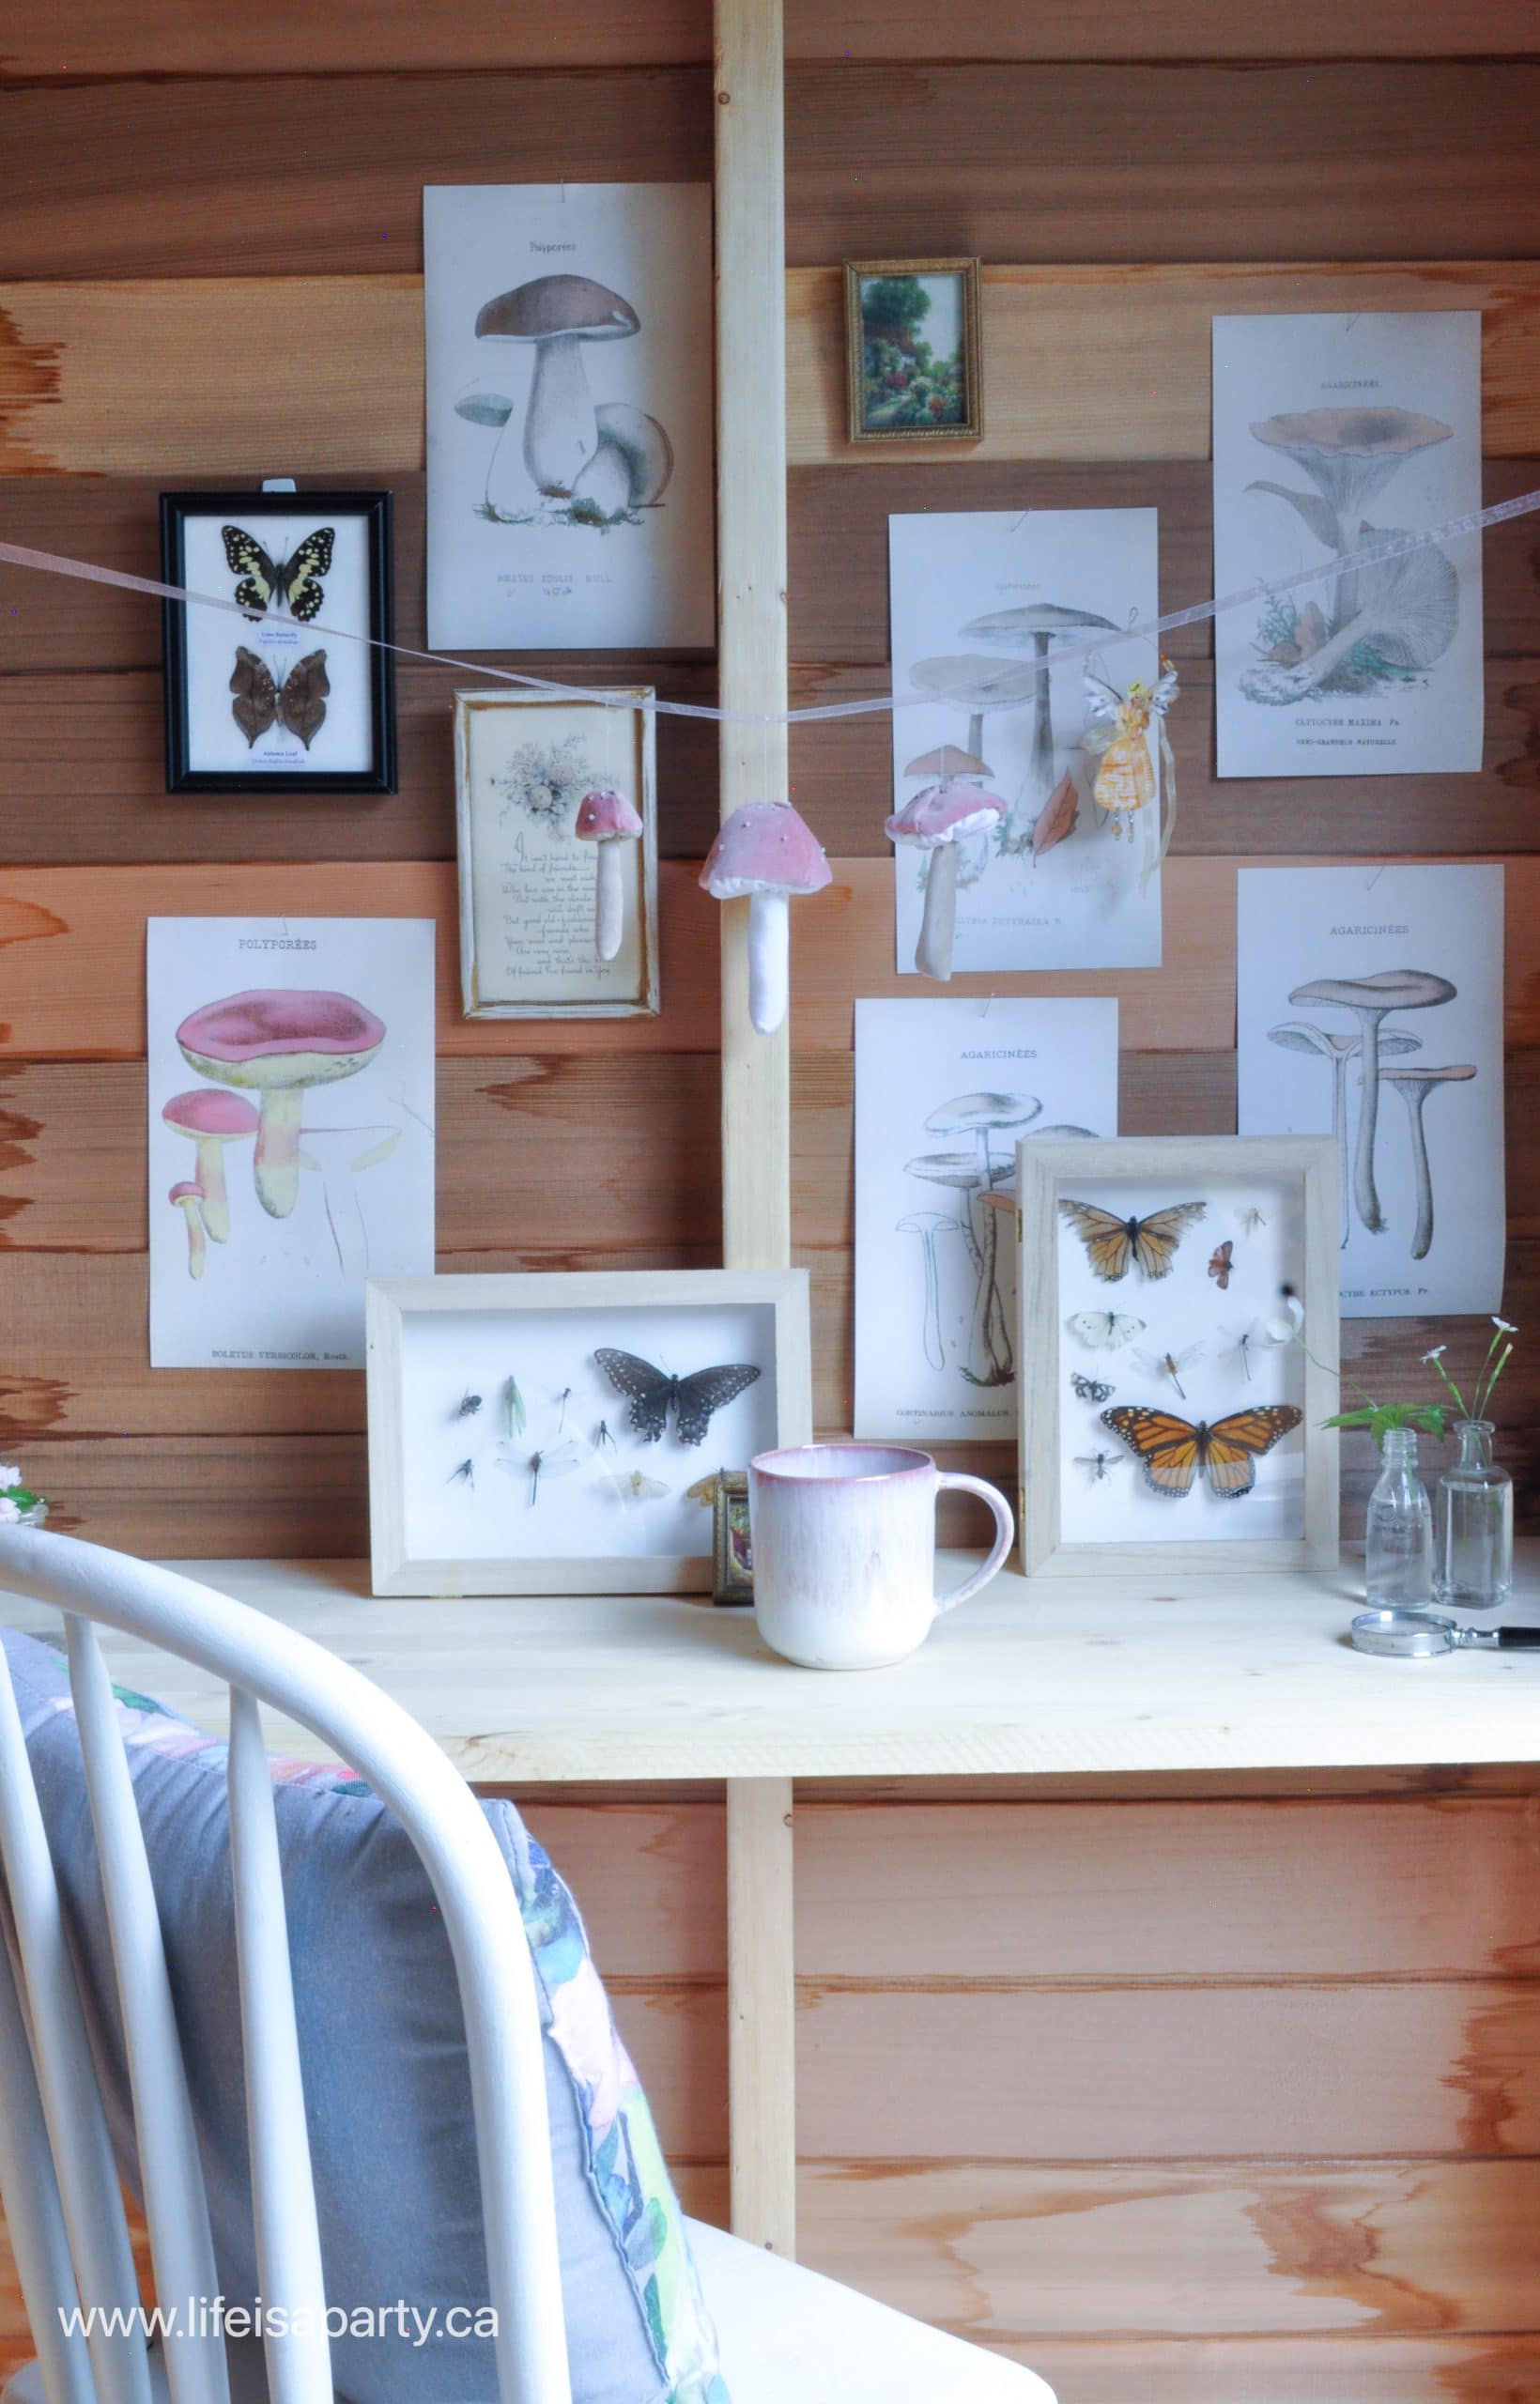
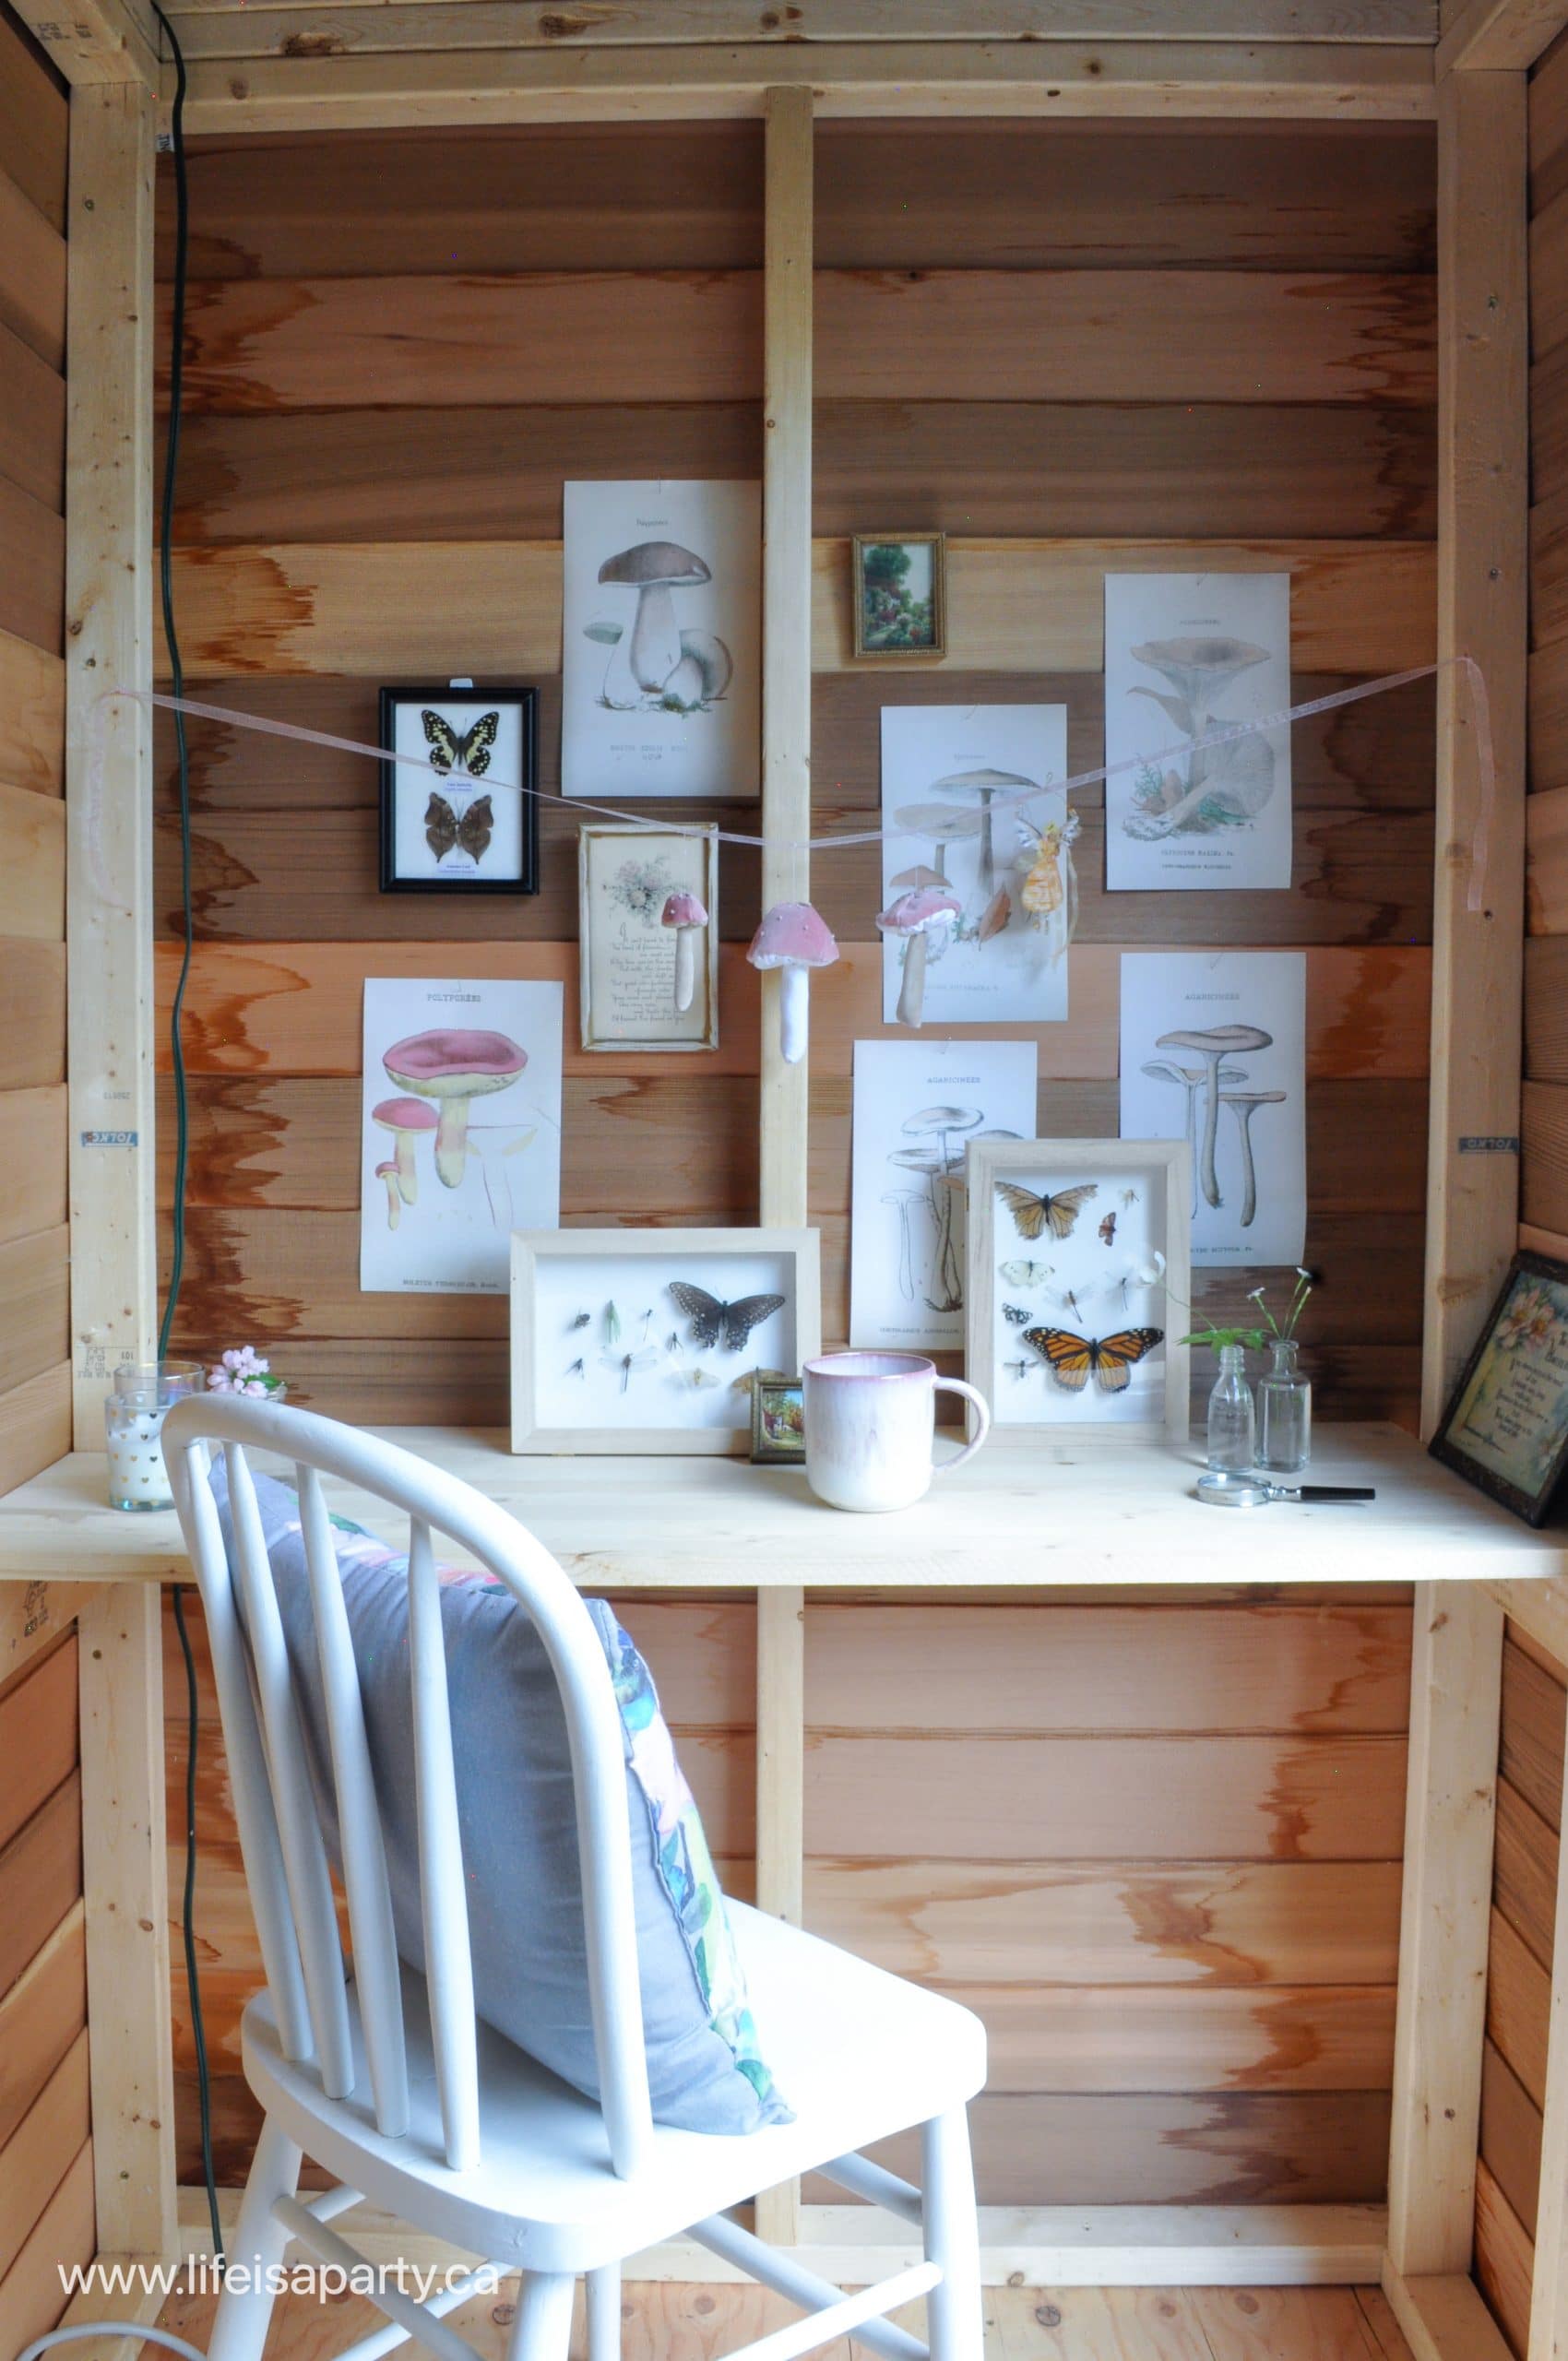
I made three of these sweet velvet mushrooms and used them to create a velvet mushroom garland that I hung in my tool shed.  There's lots of fun ways you could use them.  I thought that they'd be really sweet in the tool shed with some beautiful vintage mushroom botanical prints.  It feels like the perfect spot to do a little computer work, or garden planning.

They'd also be gorgeous in the fall season as part of your fall decor.  I've made mine pink, but you could create them in a variety of colors.  They add a touch of whimsy to any season. Of course they're perfect for Christmas too.  You might want to make the top of the your mushroom cap in the traditional red fabric for Christmas.  My Christmas decor has had lots of pink the last few years, so these are perfect.  That's one of the great things about making your own, you can choose any color to match your own decor.

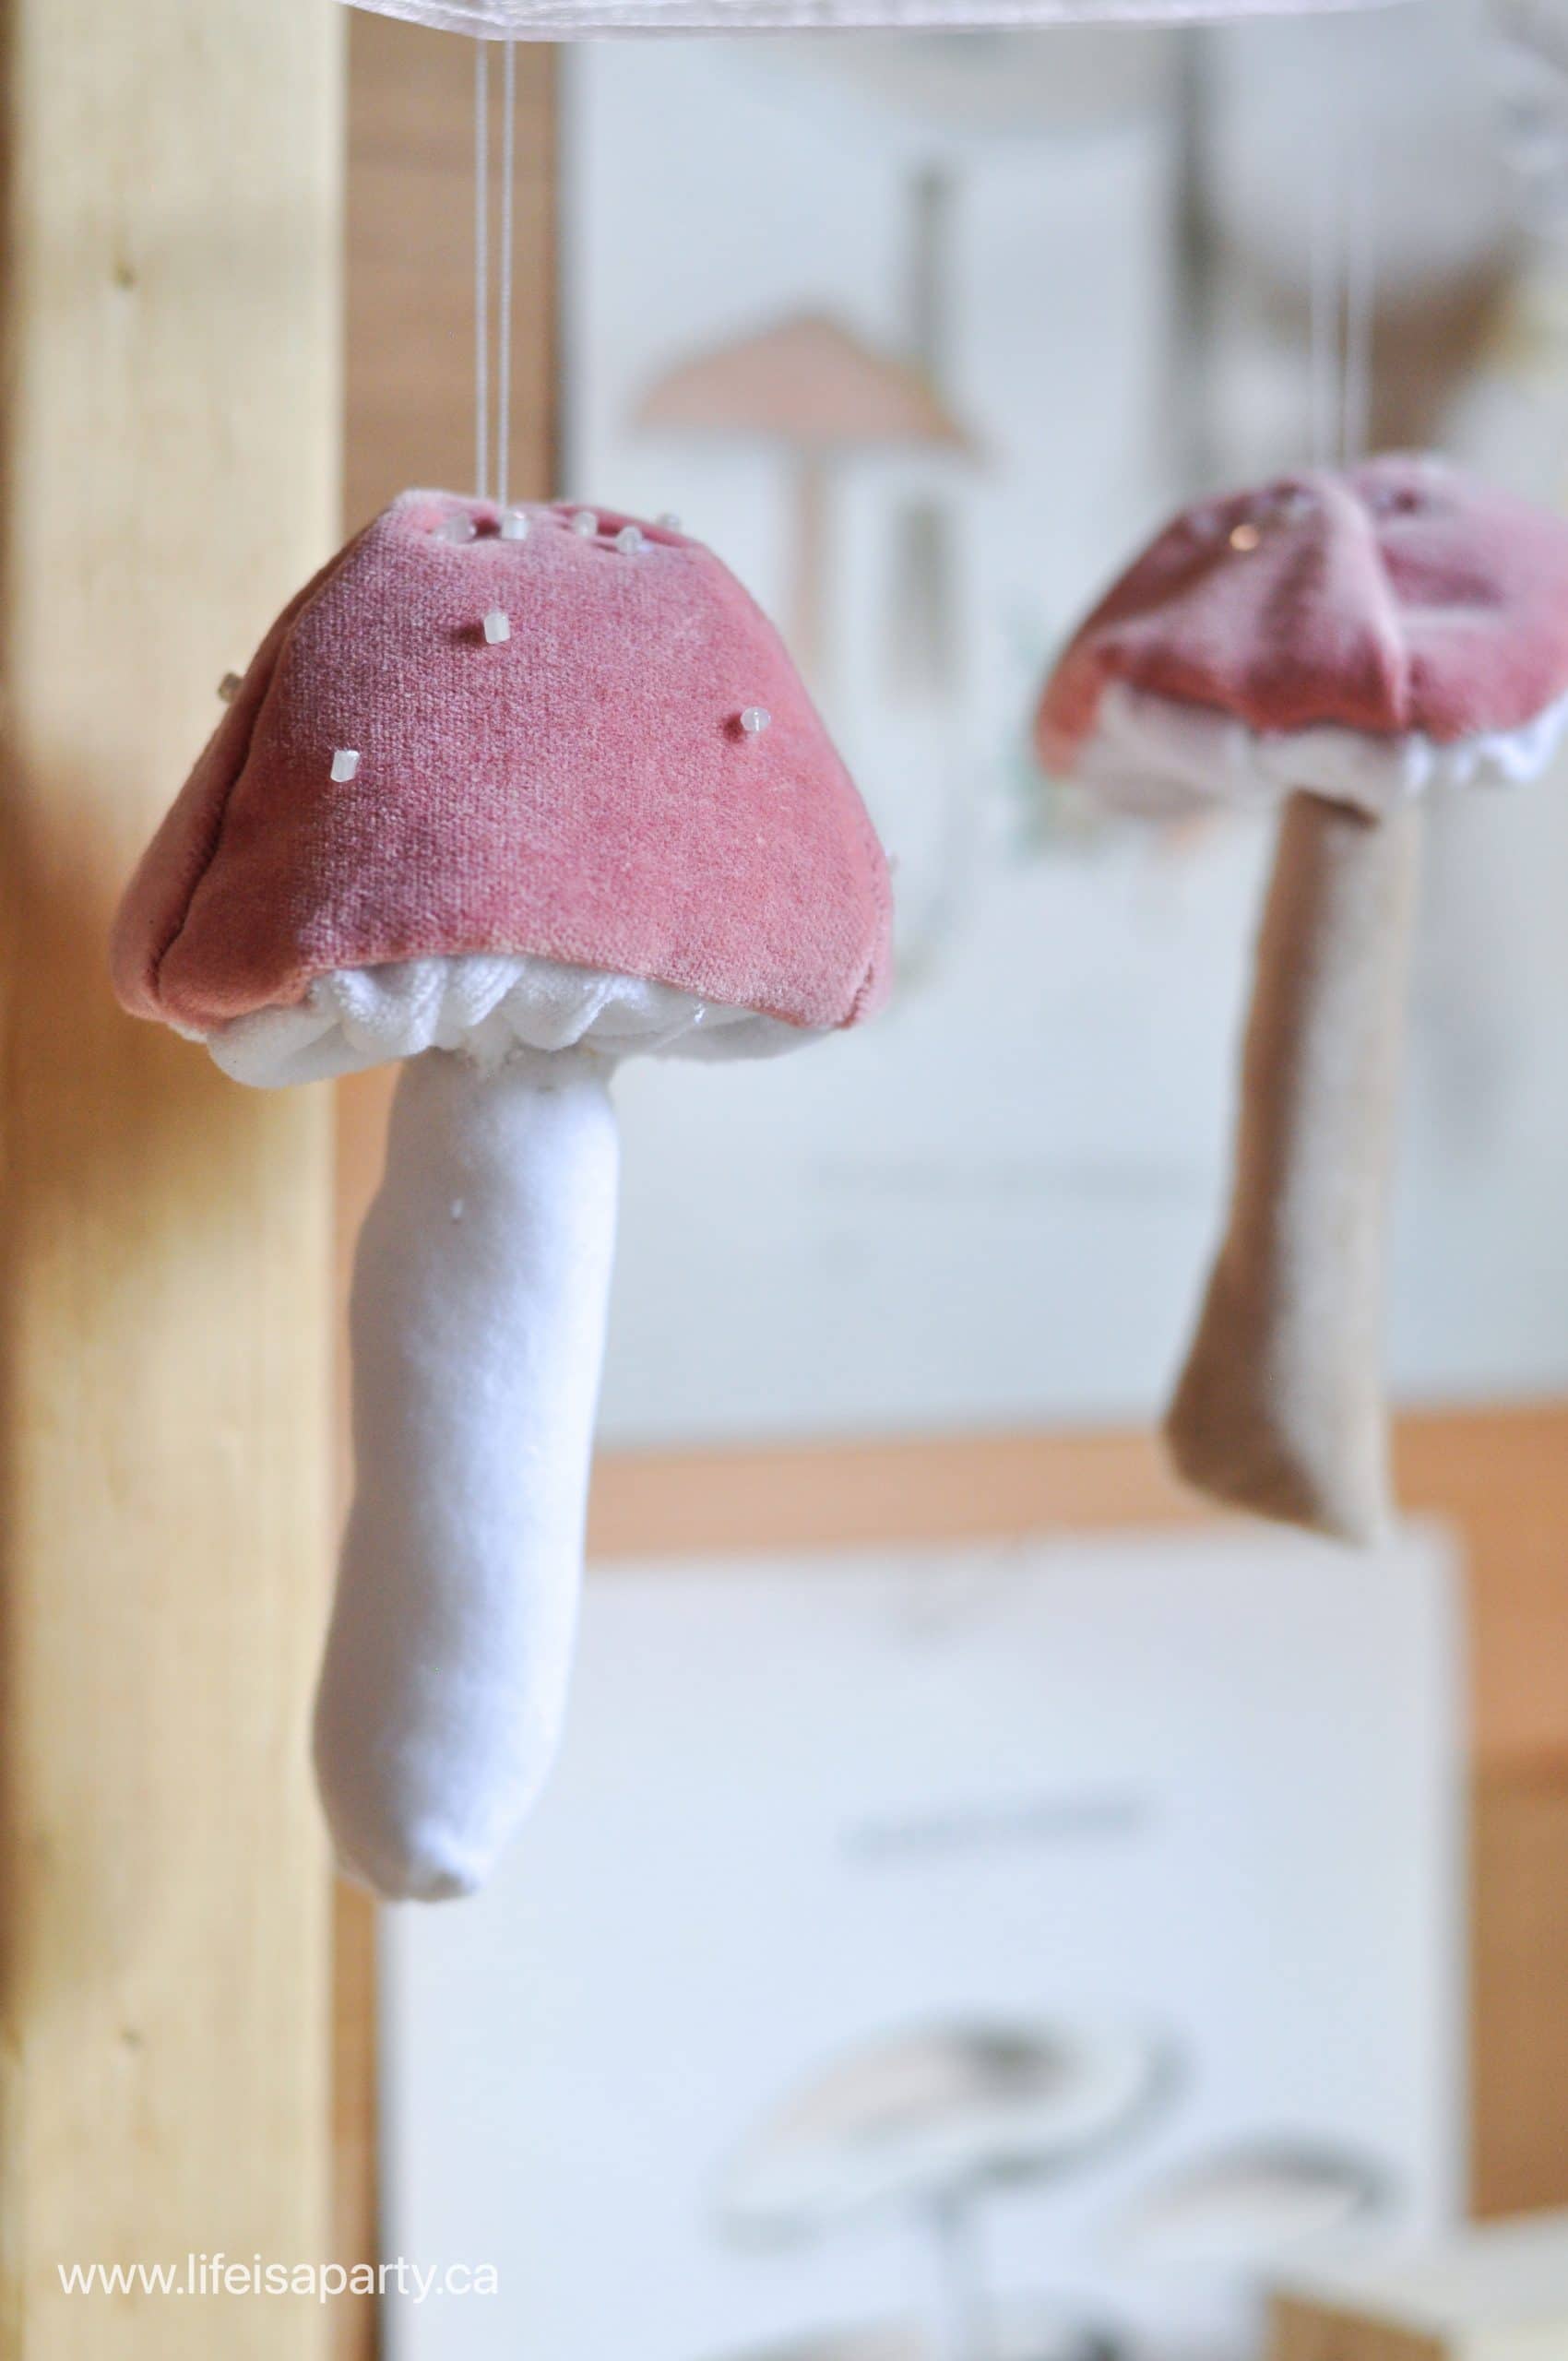
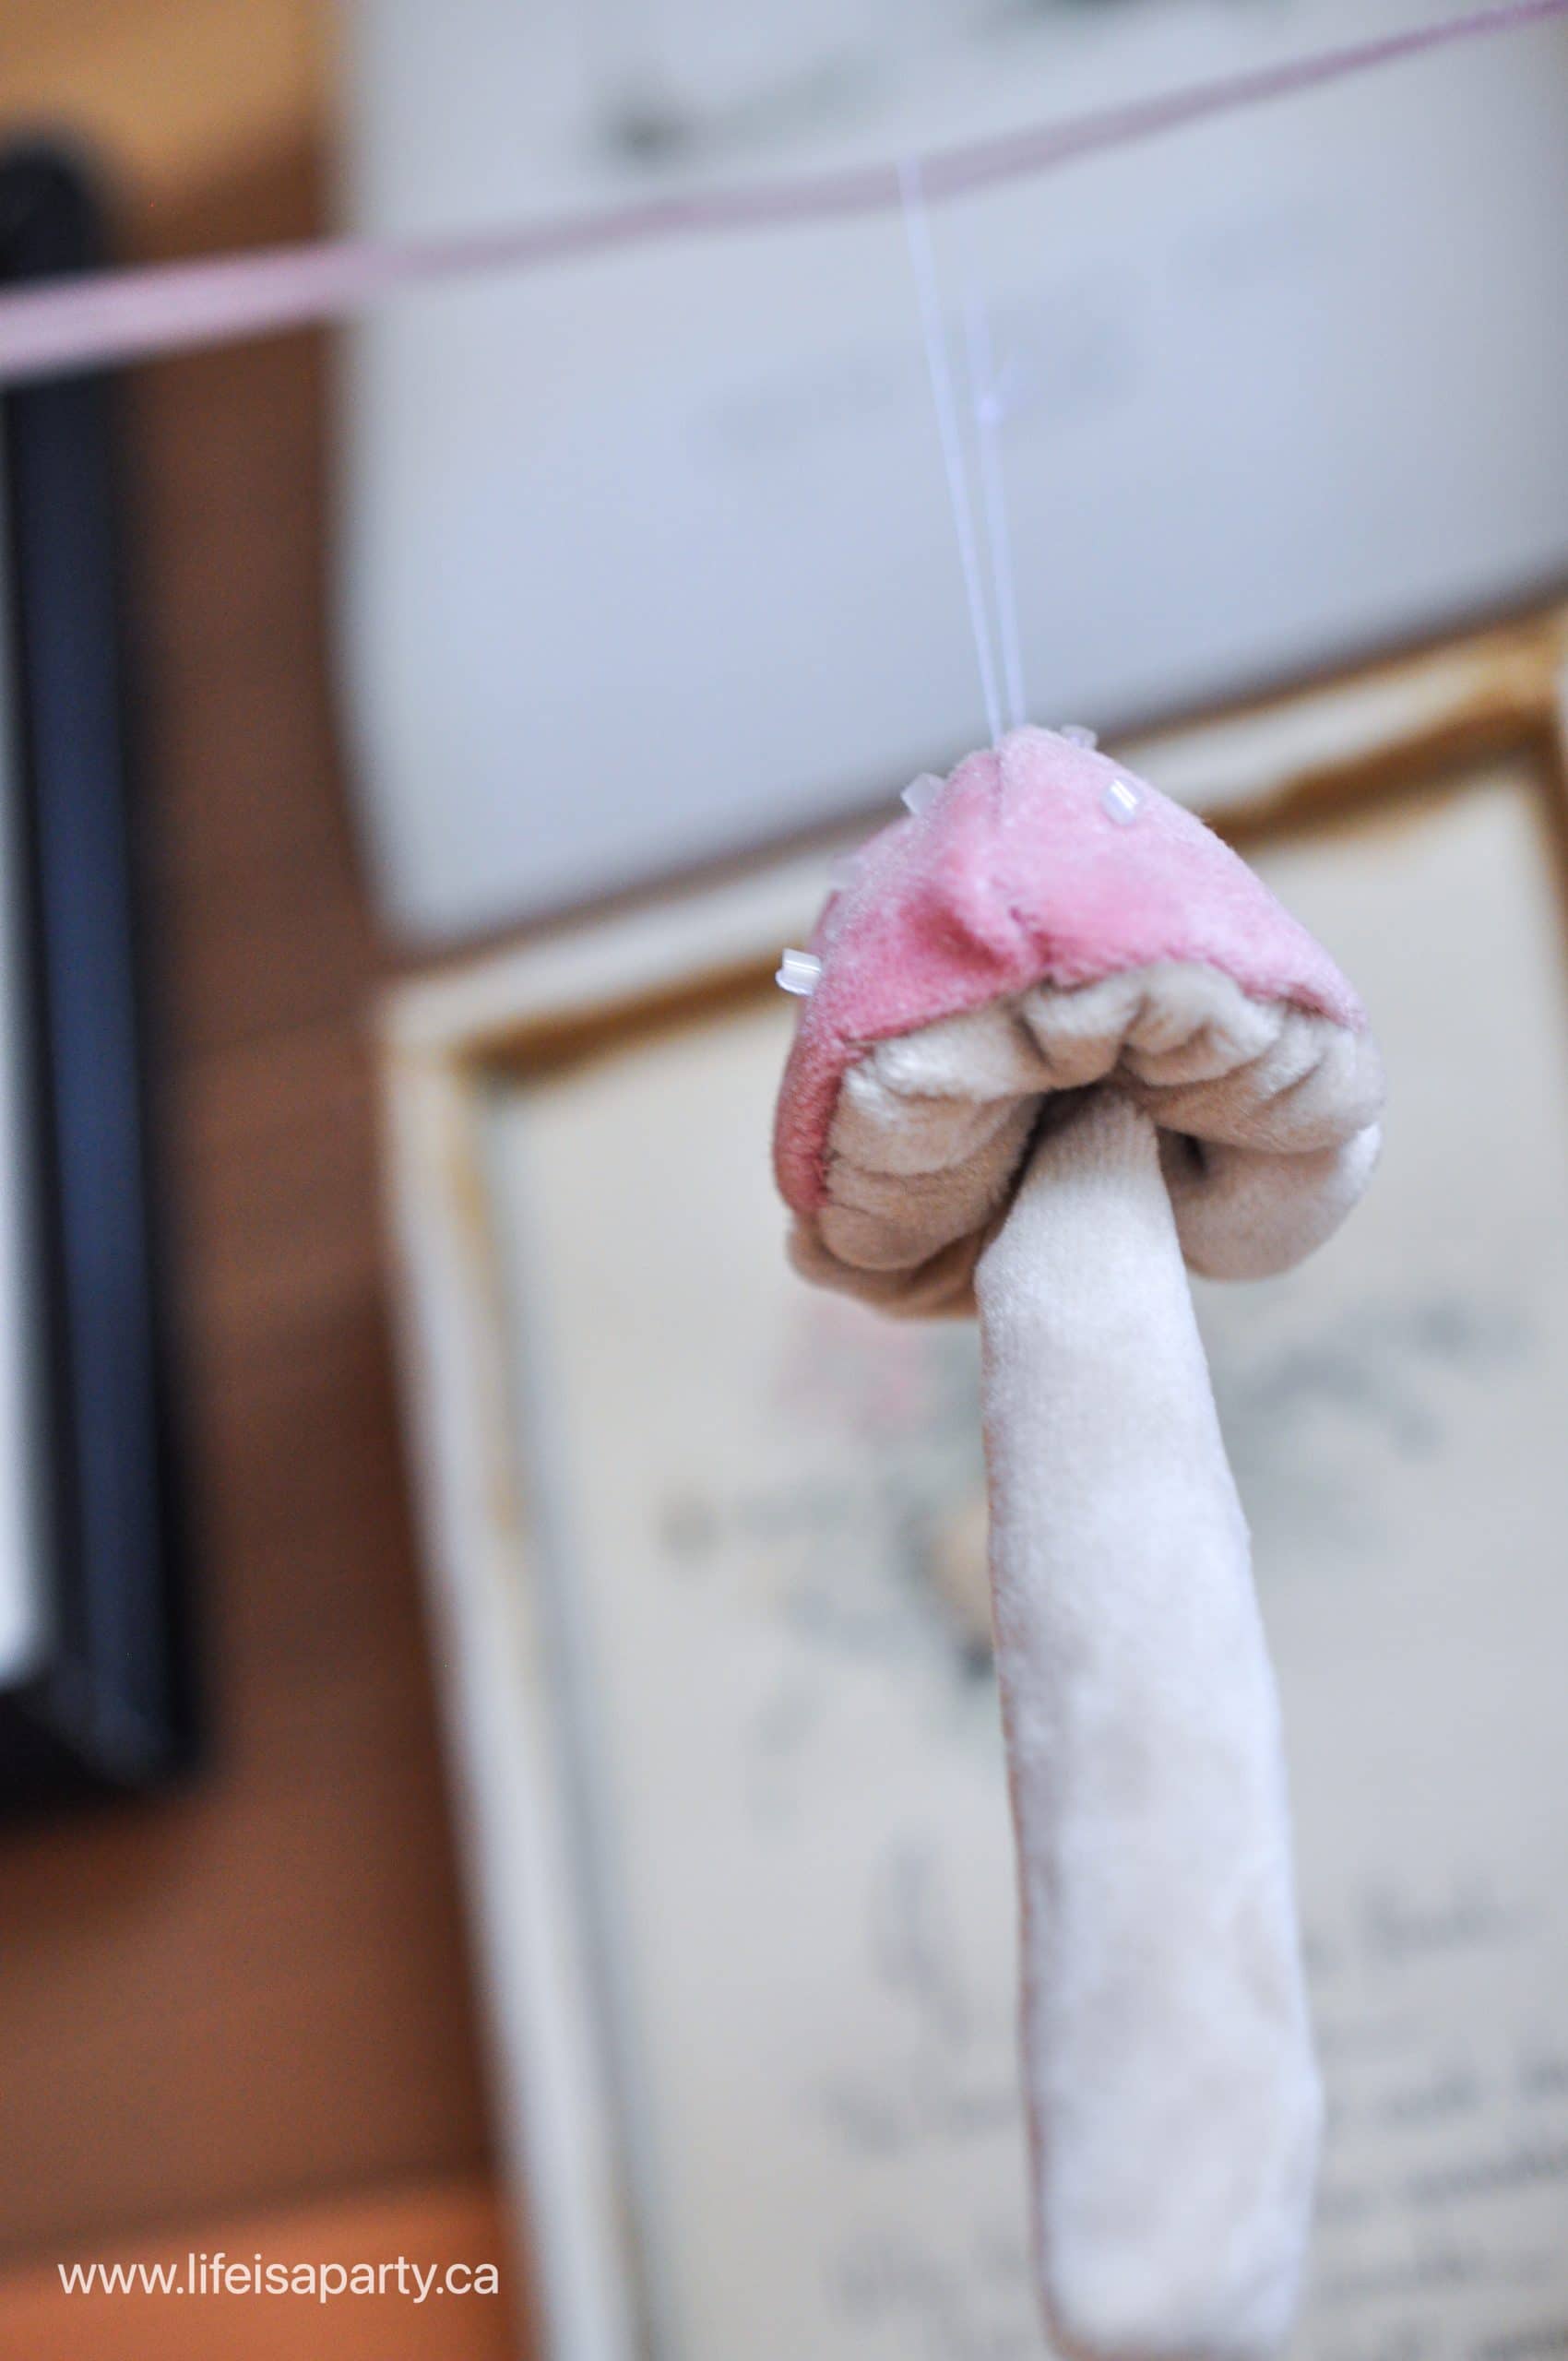
I used some pink, white, and beige velvet to create these mushrooms.  You could make them with velvet fabric in any colors.  I went looking in my craft stash for these colors.  The pink was actually upcycled from an old velvet blazer, which is a great tip.  If you're out thrifting, keep an eye out for old velvet that you could reuse.  

DIY Velvet Mushroom Materials:

  • mushroom cap pattern (free for subscribers in our Free Printable Library -subscribe below for access)
  • pink velvet
  • beige velvet
  • white velvet
  • white thread
  • needle
  • stuffing
  • beads
  • chopstick

How To Make A Velvet Mushroom

This soft velvet mushroom requires a little hand sewing.  It's nothing complicated, and the sewing is easy enough for a beginner.  It is a little bit fiddly, because the pattern pieces are quite small, but it is not complicated.  The step-by-step tutorial with photos should make it a great project for any one at a moderate sewing skill level.  It uses simple supplies, and you can make your own unique design by changing the colors, or beads.

Sewing The Mushroom Cap

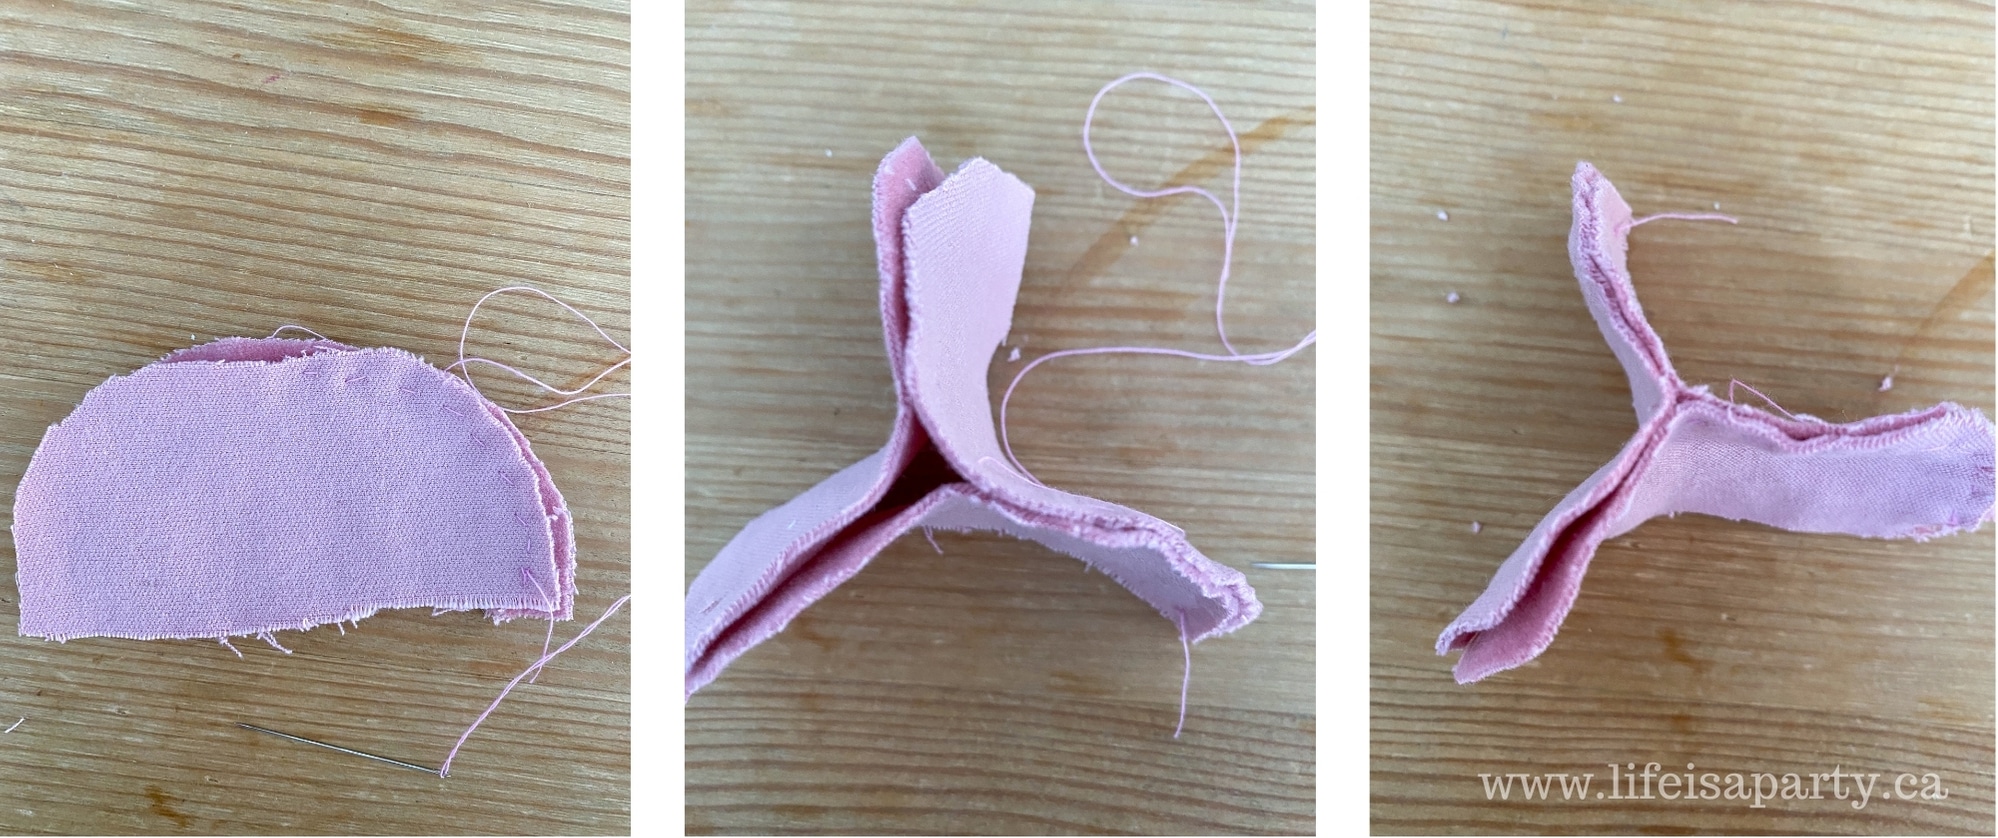
Our mushroom top is made out of three different pieces.  This helps create the curved dome.  Cut three matching pieces of pink velvet to create the mushroom cap, using the pattern.  Sew the three pieces together.  Start with two matching pieces, back to back, with the velvet facing inward and sew halfway, stopping in the very middle.  Next fold the top piece in half and add in the third piece, also with the velvet facing in.  Continue sewing the top piece onto the third piece to finish the semi circle.  Next sew the other two pieces together to finish the mushroom cap.  

How to sew a mushroom cap for a DIY velvet mushroom.

To get the free mushroom cap pattern, subscribe here and gain instant access to it in our Free Printable Library.

Adding Mushroom Spots

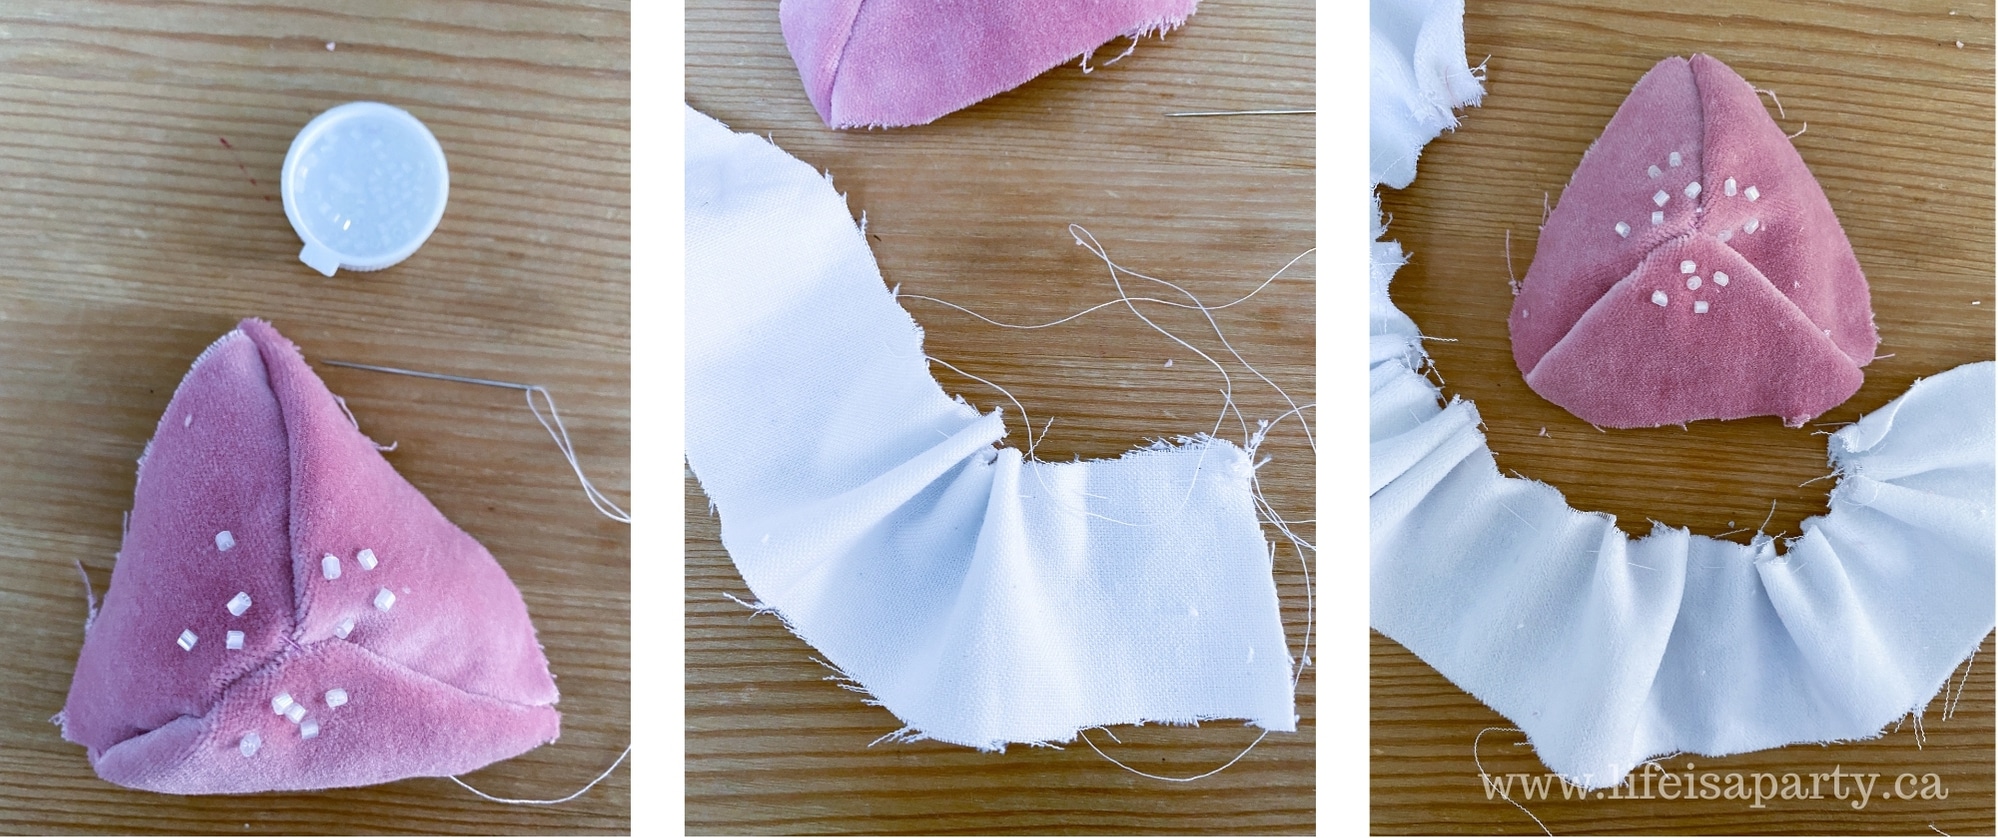
Next, sew some small beads on to the top of the mushroom cap.  We used small white glass seed beads for our small dots.  You could use different sized or colors depending on the look you're after.  Even sequins would work well.  Or leave the beads off all together.  Another option is to use embroidery floss and embroidery small french knots on the top of your mushroom cap for the mushrooms spots.  Or choose to leave the mushrooms spots off altogether.

Making The Mushroom Gills

To make the inside gills of the mushroom, cut a strip of white velvet that's about 1 ½ inches wide.  Sew a long running stitch on one side of the velvet strip, and slightly gather the material all the way along.  Measure the gathered fabric around the outside of the mushroom cap to get the perfect length, and then cut it to length, and tie off the running stitch.  

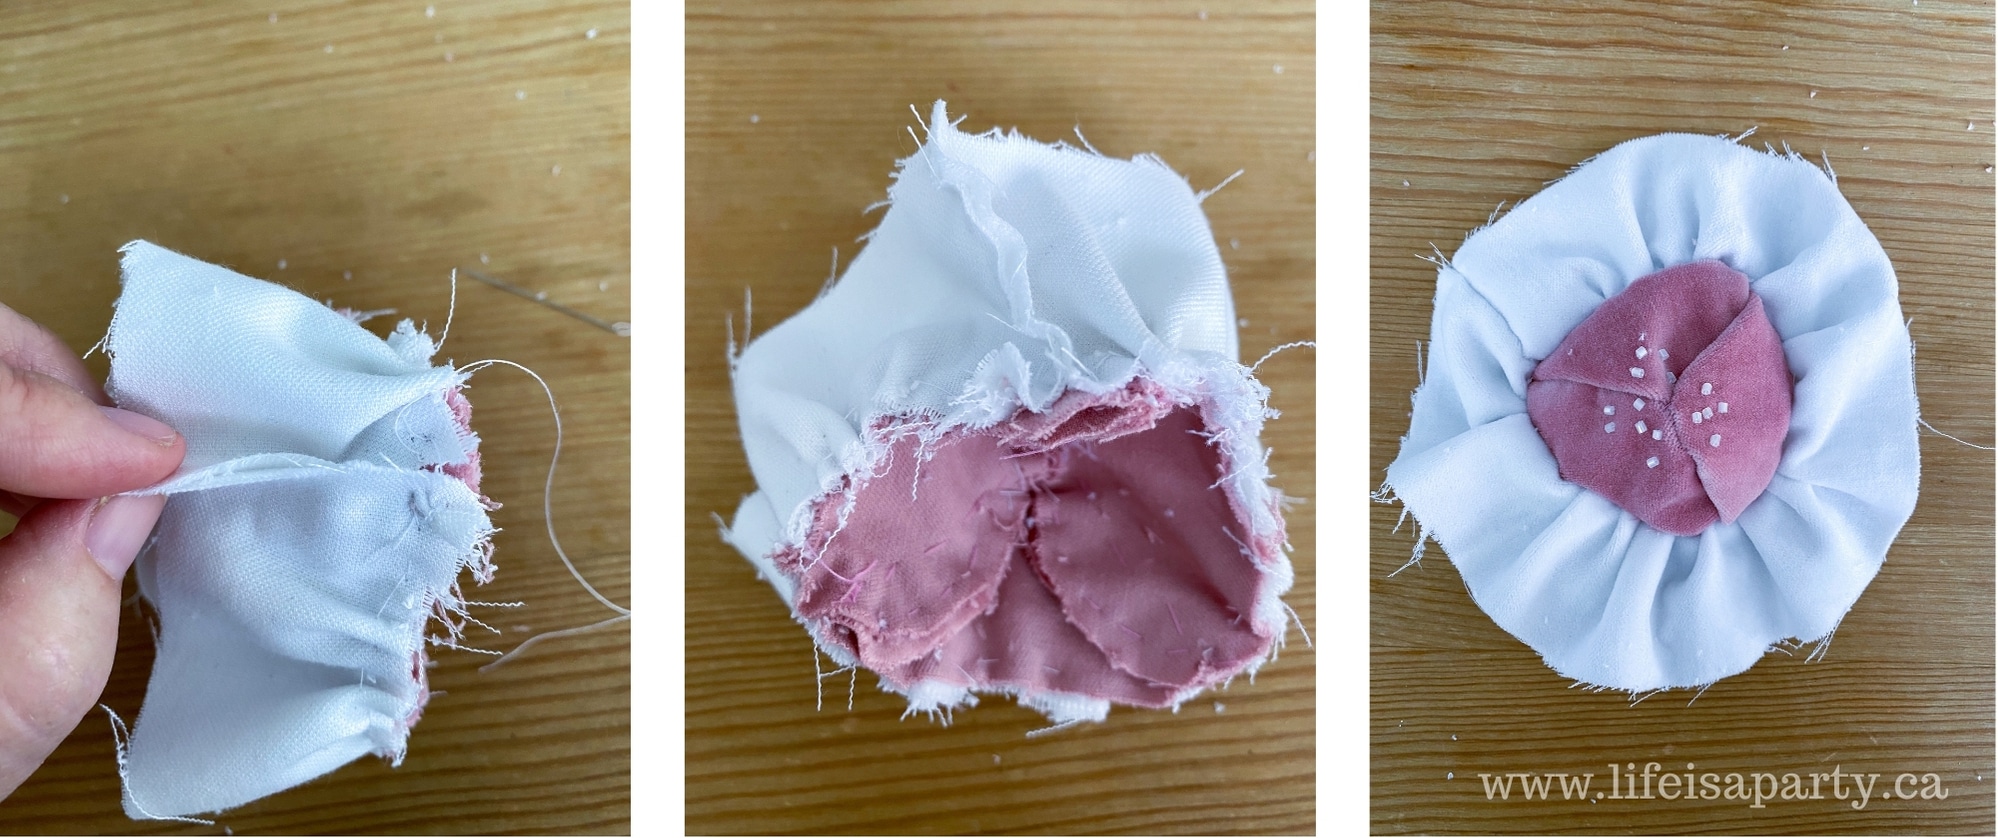
Sew the strip for the mushroom gills to the mushroom cap outer edge, with the good sides of the velvet facing each other.  Finish it by sewing the side seam together.

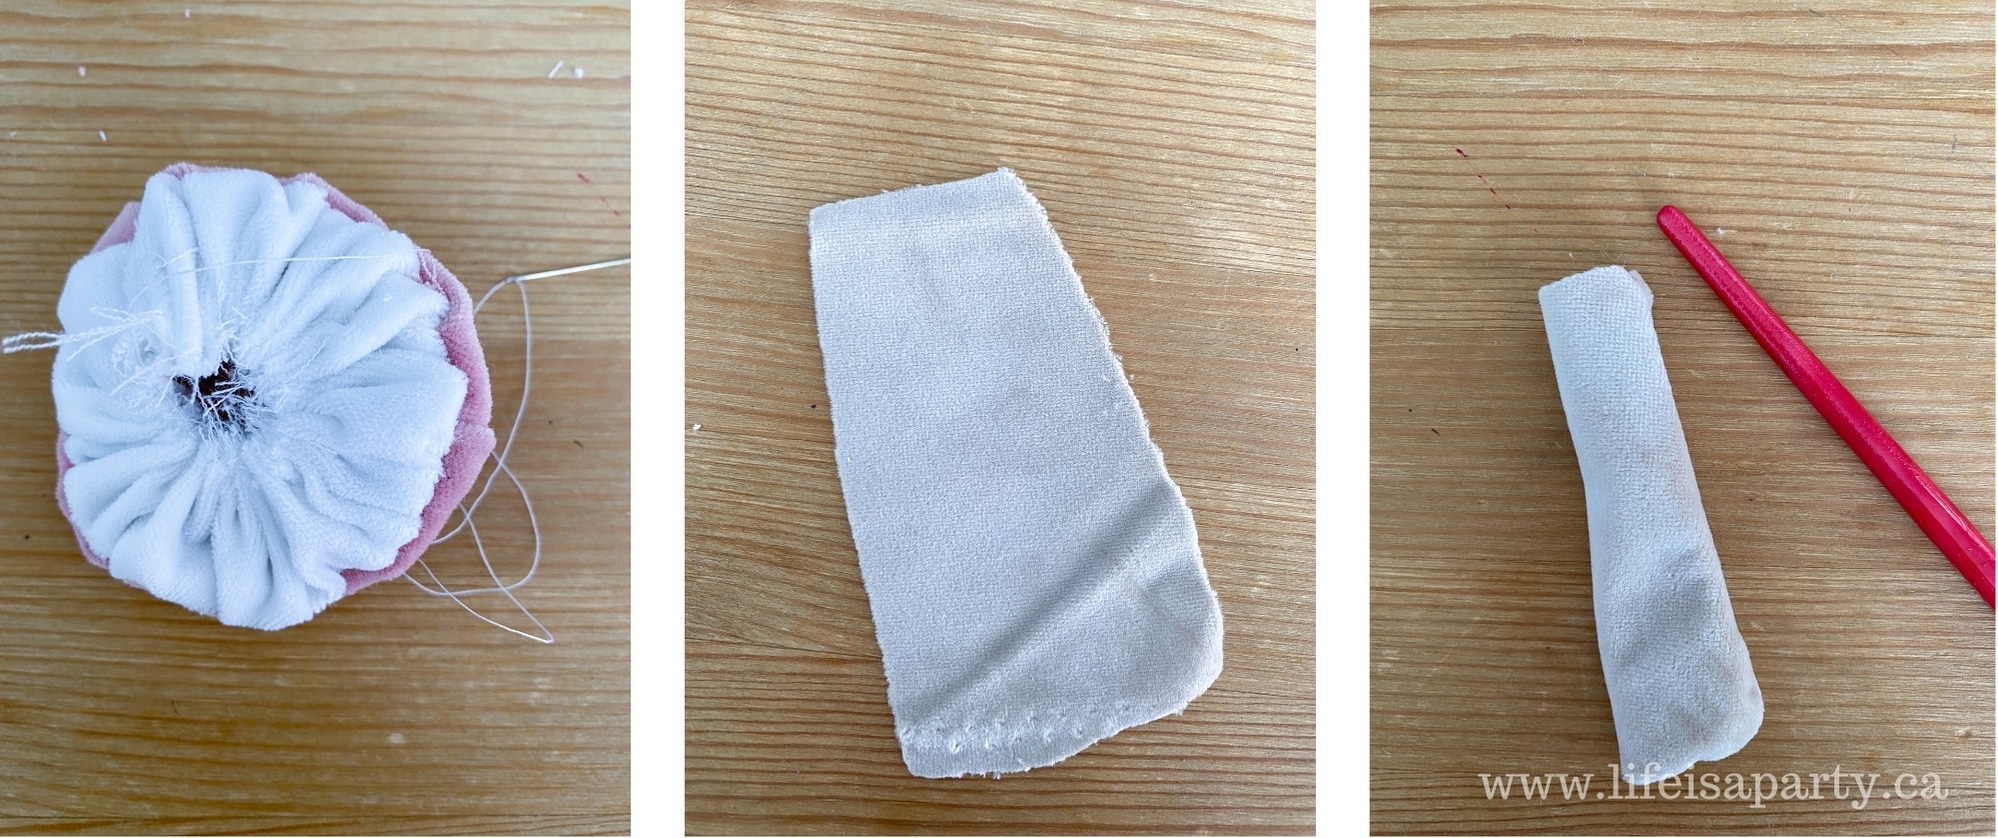
Trim the excess fabric of the gill piece slightly, if necessary, so that the length is enough to nearly meet in the middle.  Then stitch a running gathering stitch along the other white velvet edge, and gather it tightly to create the mushroom gills.  Finish it by tying it off tightly, and trimming and loose threads.

This step is the most fidley.  It requires a bit of adjusting as you go.  It really creates a beautiful effect.

Making The Stem

To create the mushroom stems, cut a small piece of beige velvet into a rectangle shape.  We're going to fold it along one side to create the stem tube shape.  Stitch it together with the velvet sides facing in.  Use a chopstick to help turn it right-side out.  Stuff it with stuffing.  Finally sew the unfinished bottom of the stem to the bottom of the mushroom cap.

Recipe

DIY velvet mushroom craft in pink and white.

DIY Velvet Mushroom

No ratings yet
Print Pin Rate
Cook Time: 1 hour hour
Total Time: 1 hour hour
Author: Dannyelle Nicolle-Ramjist

Equipment

  • Needle
  • chopstick

Materials

  • mushroom cap pattern free for subscribers in our Free Printable Library -subscribe below for access
  • pink velvet
  • beige velvet
  • white velvet
  • white thread
  • stuffing
  • beads

Instructions

  • Cut three matching pieces of pink velvet to create the mushroom cap, using the pattern. Sew the three pieces together. Start with two matching pieces, back to back, with the velvet facing inward and sew halfway, stopping in the very middle. Next fold the top piece in half and add in the third piece, also with the velvet facing in. Continue sewing the top piece onto the third piece to finish the semi circle. Next sew the other two pieces together to finish the mushroom cap.
  • Next, sew some small beads on to the top of the mushroom cap.
  • To make the inside gills of the mushroom, cut a strip of white velvet that's about 1 ½ inches wide. Sew a long running stitch on one side of the velvet strip, and slightly gather the material all the way along. Measure the gathered fabric around the outside of the mushroom cap to get the perfect length, and then cut it to length, and tie off the running stitch. Sew the strip for the mushroom gills to the mushroom cap, with the good sides of the velvet facing each other. Finish it by sewing the side seam together. Trim the gill piece slightly, if necessary, so that the length is enough to nearly meet in the middle. Then stitch a running stitch along the other white velvet edge, and gather it tightly to create the mushroom gills. Finish it by tying it off tightly, and trimming and loose threads.
  • To create the mushroom stems, cut a small piece of beige velvet into a rectangle shape. We're going to fold it along one side to create the stem tube shape. Stitch it together with the velvet sides facing in. Use a chopstick to help turn it right-side out. Stuff it with stuffing. Sew the end of the stem to the bottom of the mushroom cap.

Mushroom Art and Botanical Decor

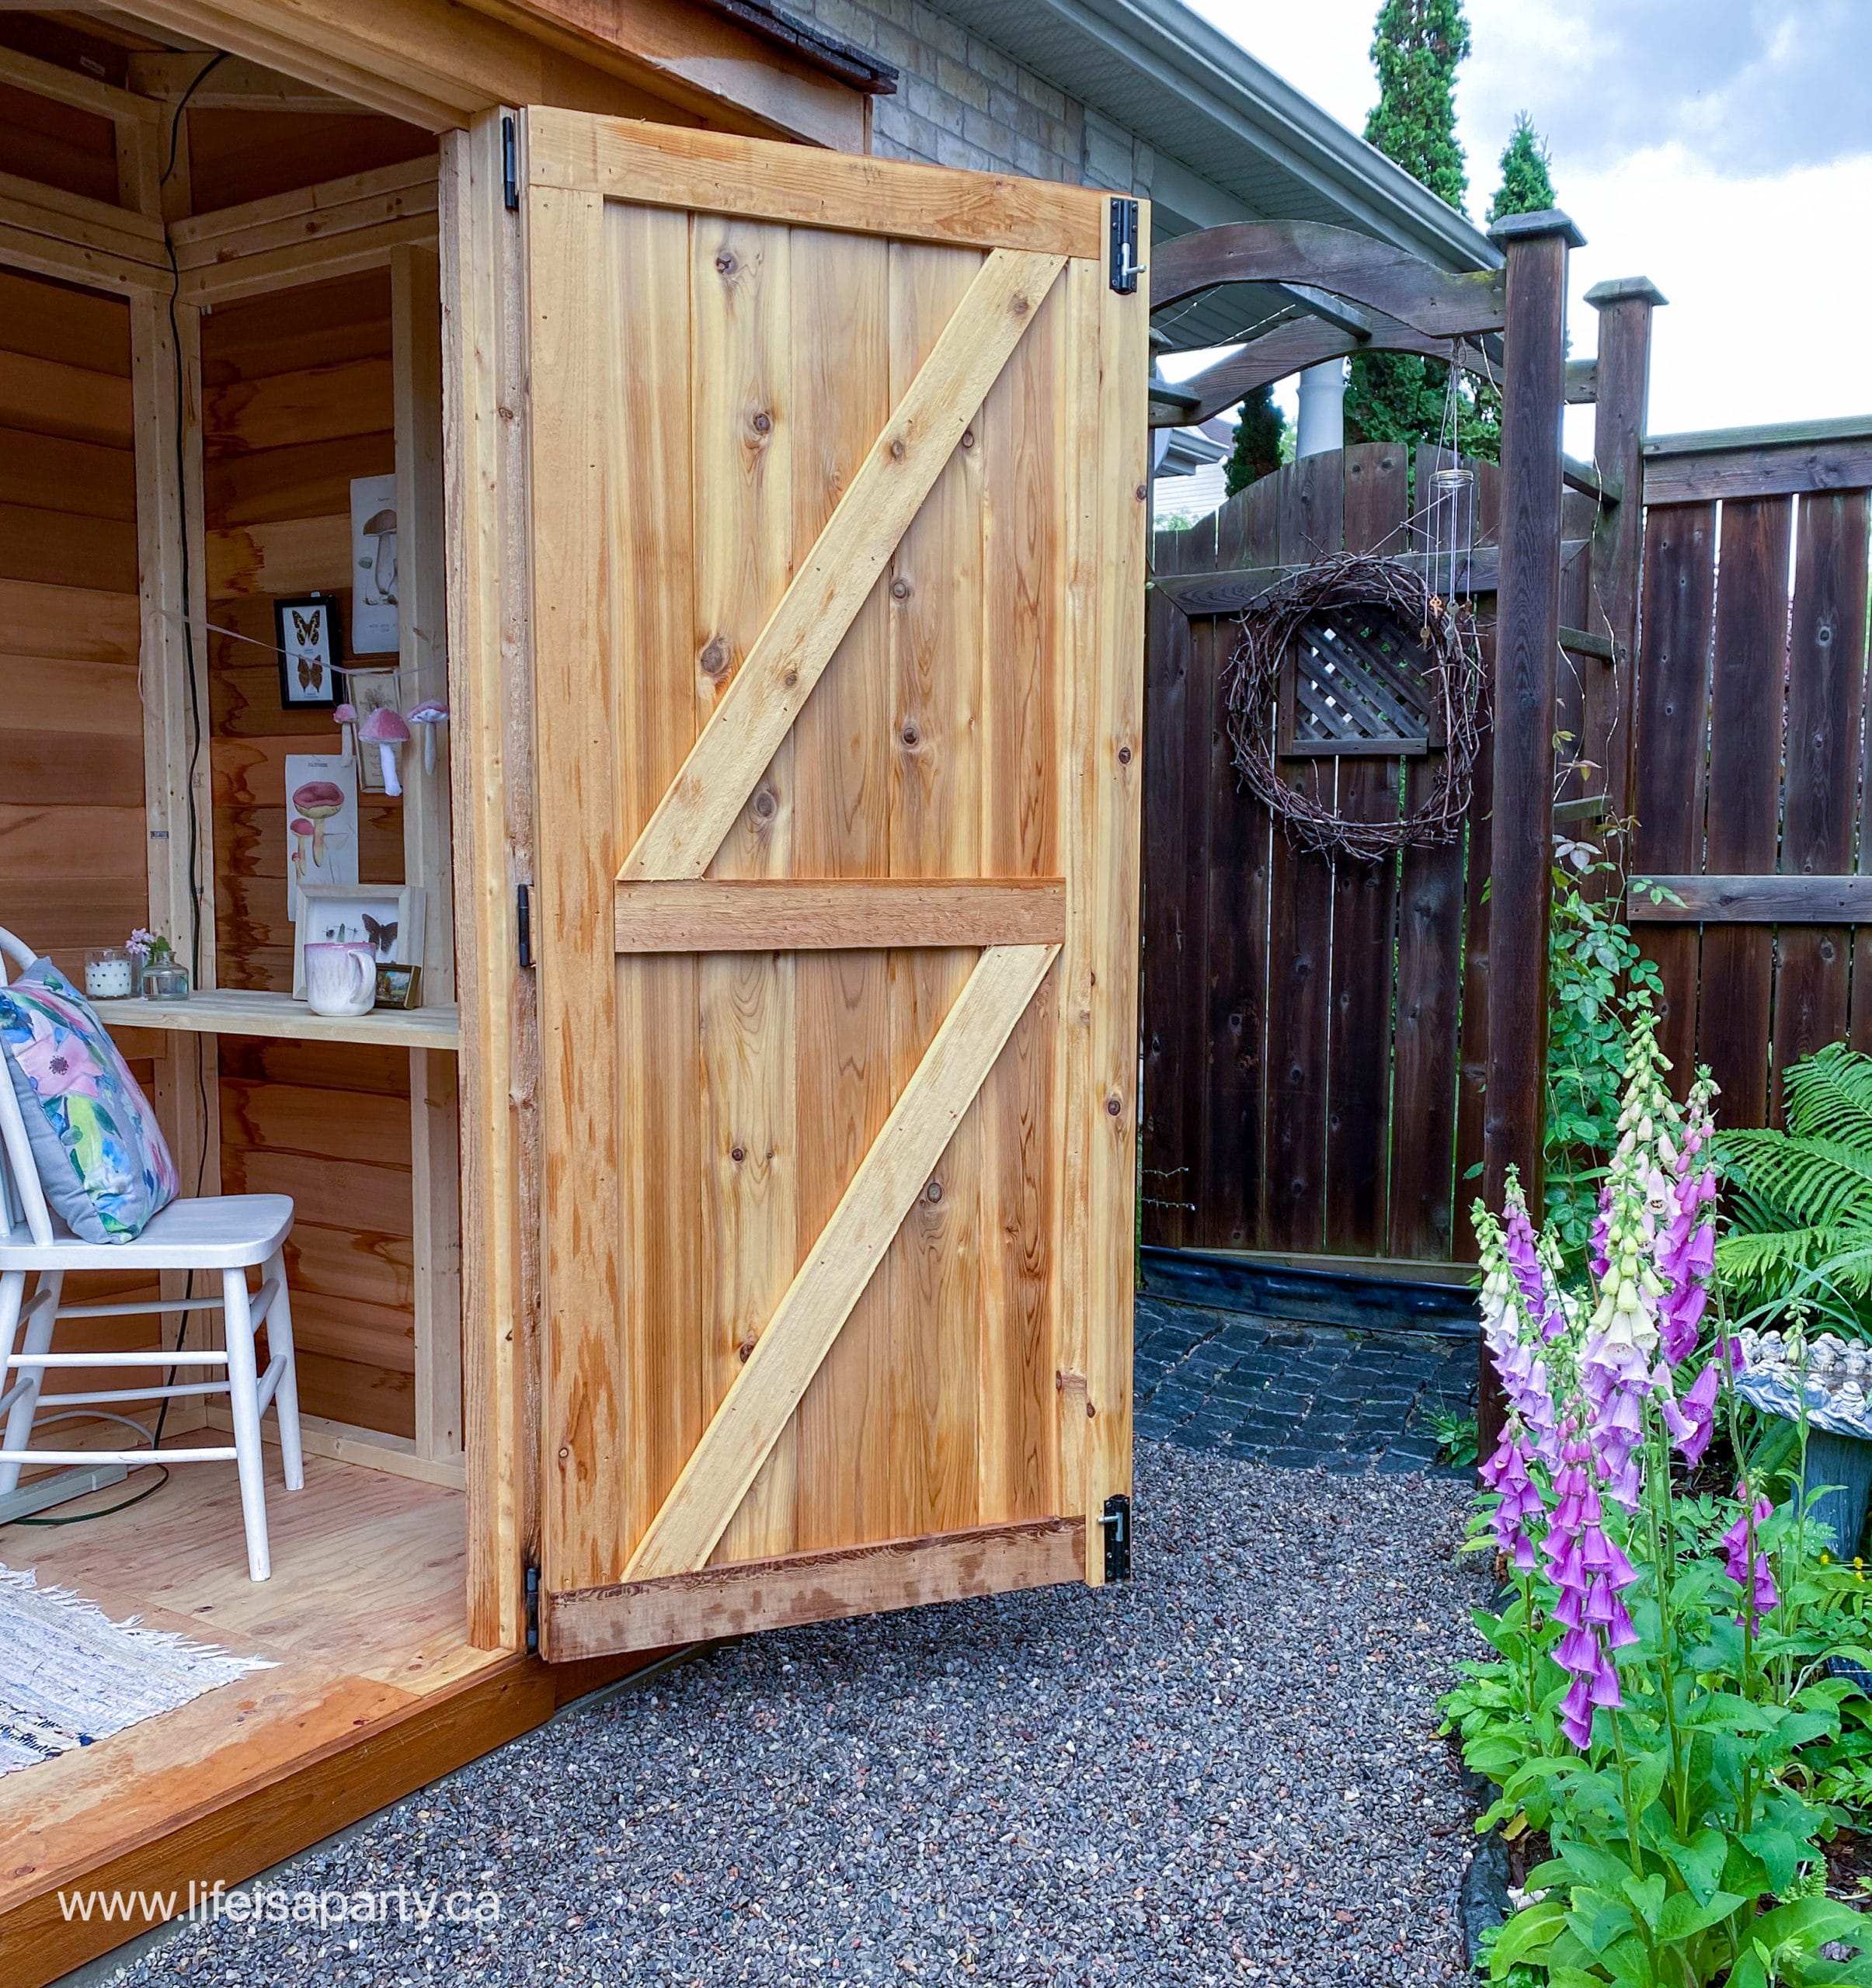
These little mushrooms turned out so cute.  They're perfect for my little tool shed.  I was able to find some free printables for some vintage botanical drawings of mushrooms here. I printed them and pinned them up for the perfect backdrop for my DIY velvet mushrooms.  You can read all about how we created this garden and built the little garden shed here.

This is one of my favourite little spots.  Perfect for a little computer work.

These would be adorable in a kids room or nursery, or just as part of any botanical themed decor.  The Anthropolgie version that helped inspire this craft were used as Christmas decorations, which would be beautiful too.  

More Mushroom Craft Inspiration

  • Pink crescent moon shaped Christmas wreath.
    DIY Moon Shaped Christmas Wreath
  • DIY velvet acorn
    How To Make DIY Velvet Acorns
  • DIY mushroom wreath
    Mushroom Spring Wreath
  • wine cork mushroom Christmas ornament
    Mushroom Christmas Ornament

Summer Decorating Ideas Home Tour

Jun 7, 2021 · 5 Comments

summer home tour

Summer Decorating Ideas Summer Home Tour: how to decorate for summer with lighter colours and fabrics, flowers and plants.

summer home tour

Home tours are always a favourite to share and this time around I've got lots of summer decorating ideas.  I added lots of pretty green plants -real and faux, beautiful dried flowers and garden flowers, lots of wicker baskets ready for picnics, and touches of pink for an airy, easy style this summer.   

As this summer kicks off we're still in a lockdown here in Ontario, but we're full of hope that as summer rolls on, and more and more people are able to be vaccinated, we'll hopefully soon be able to return to normal.  In the meantime, we're spending more time than ever at home, so it's nice to add some summer touches for us to enjoy.  

Simplified Decor For Summer

I wanted to simplify things a little for summer, with us spending so much time outside in the garden.  It's nice for inside to feel easy, and airy, and bright.   I removed doormats, and edited decor a little.  We also lightened up the colours with lots of white, cream, and touches of pink. Despite my desire to simplify things though, I just can't get away from layering decor to make things feel interesting, and collected.  It's my style. So even an edited version of things around here are still quite layered, and full -but a little less and more restrained than other seasons.

Summer Decorating Ideas Summer Home Tour: how to decorate for summer with lighter colours and fabrics, flowers and plants.

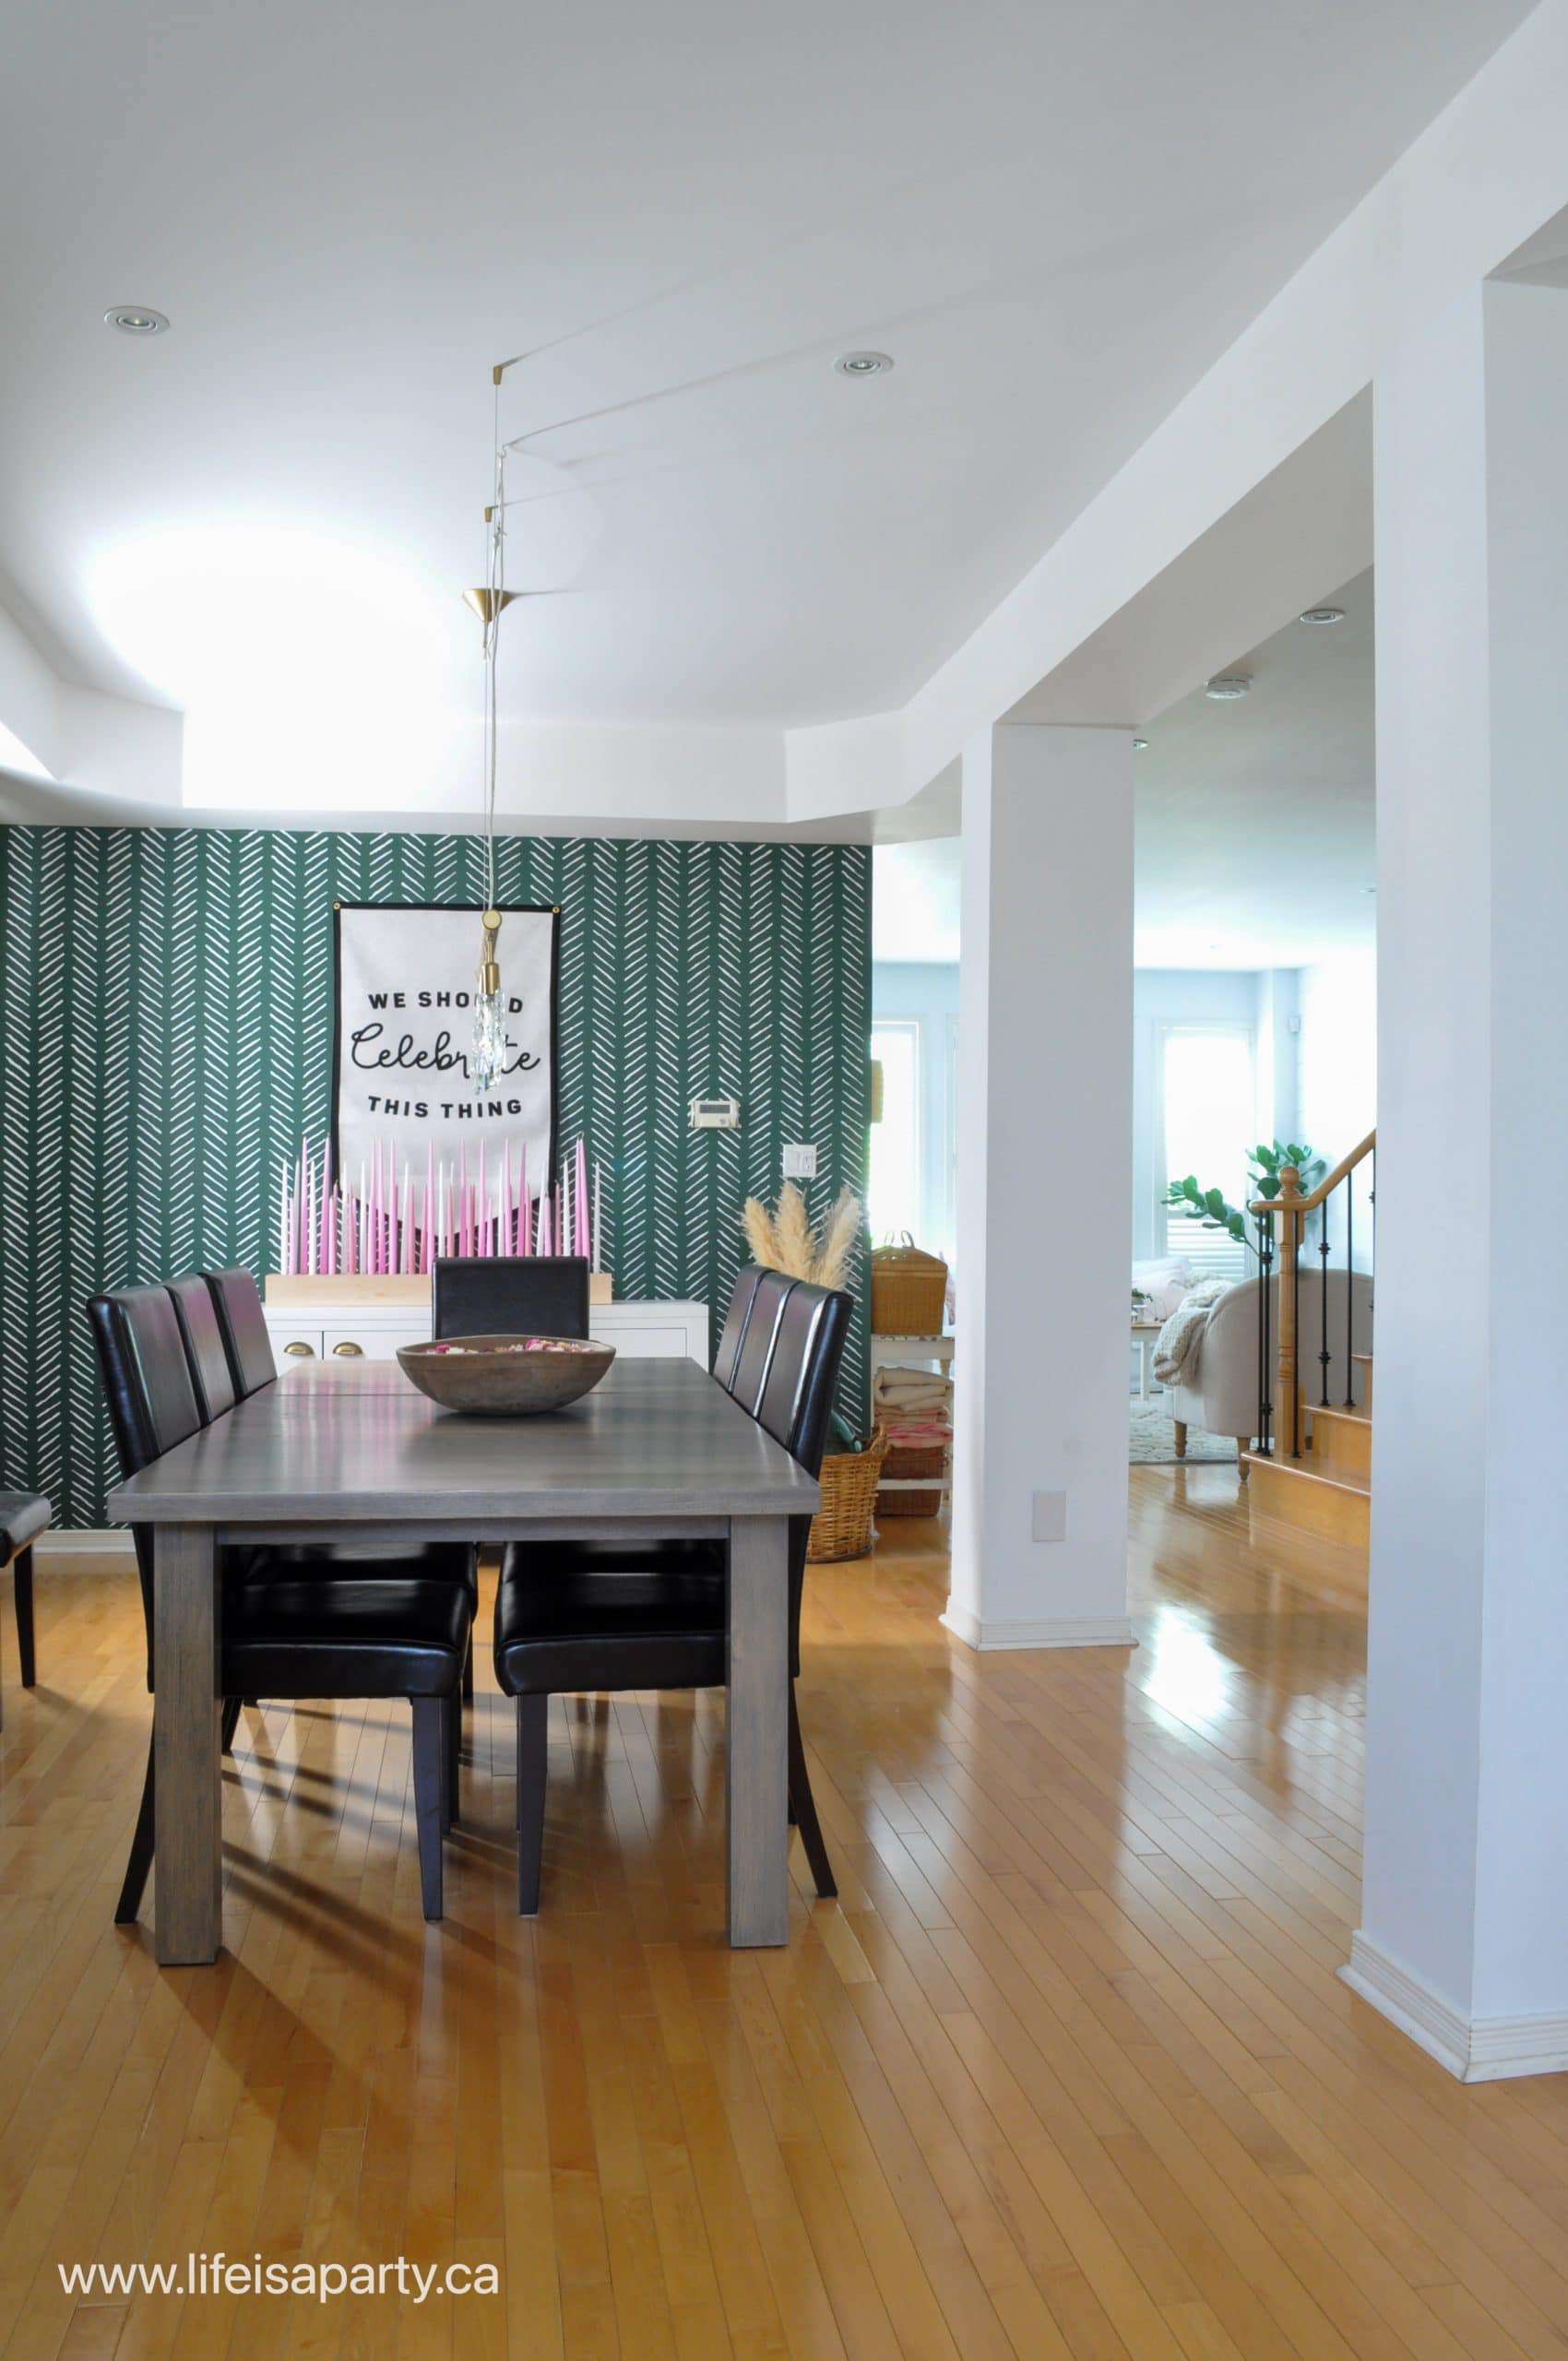
Summer Decorating Ideas in the Dining Room

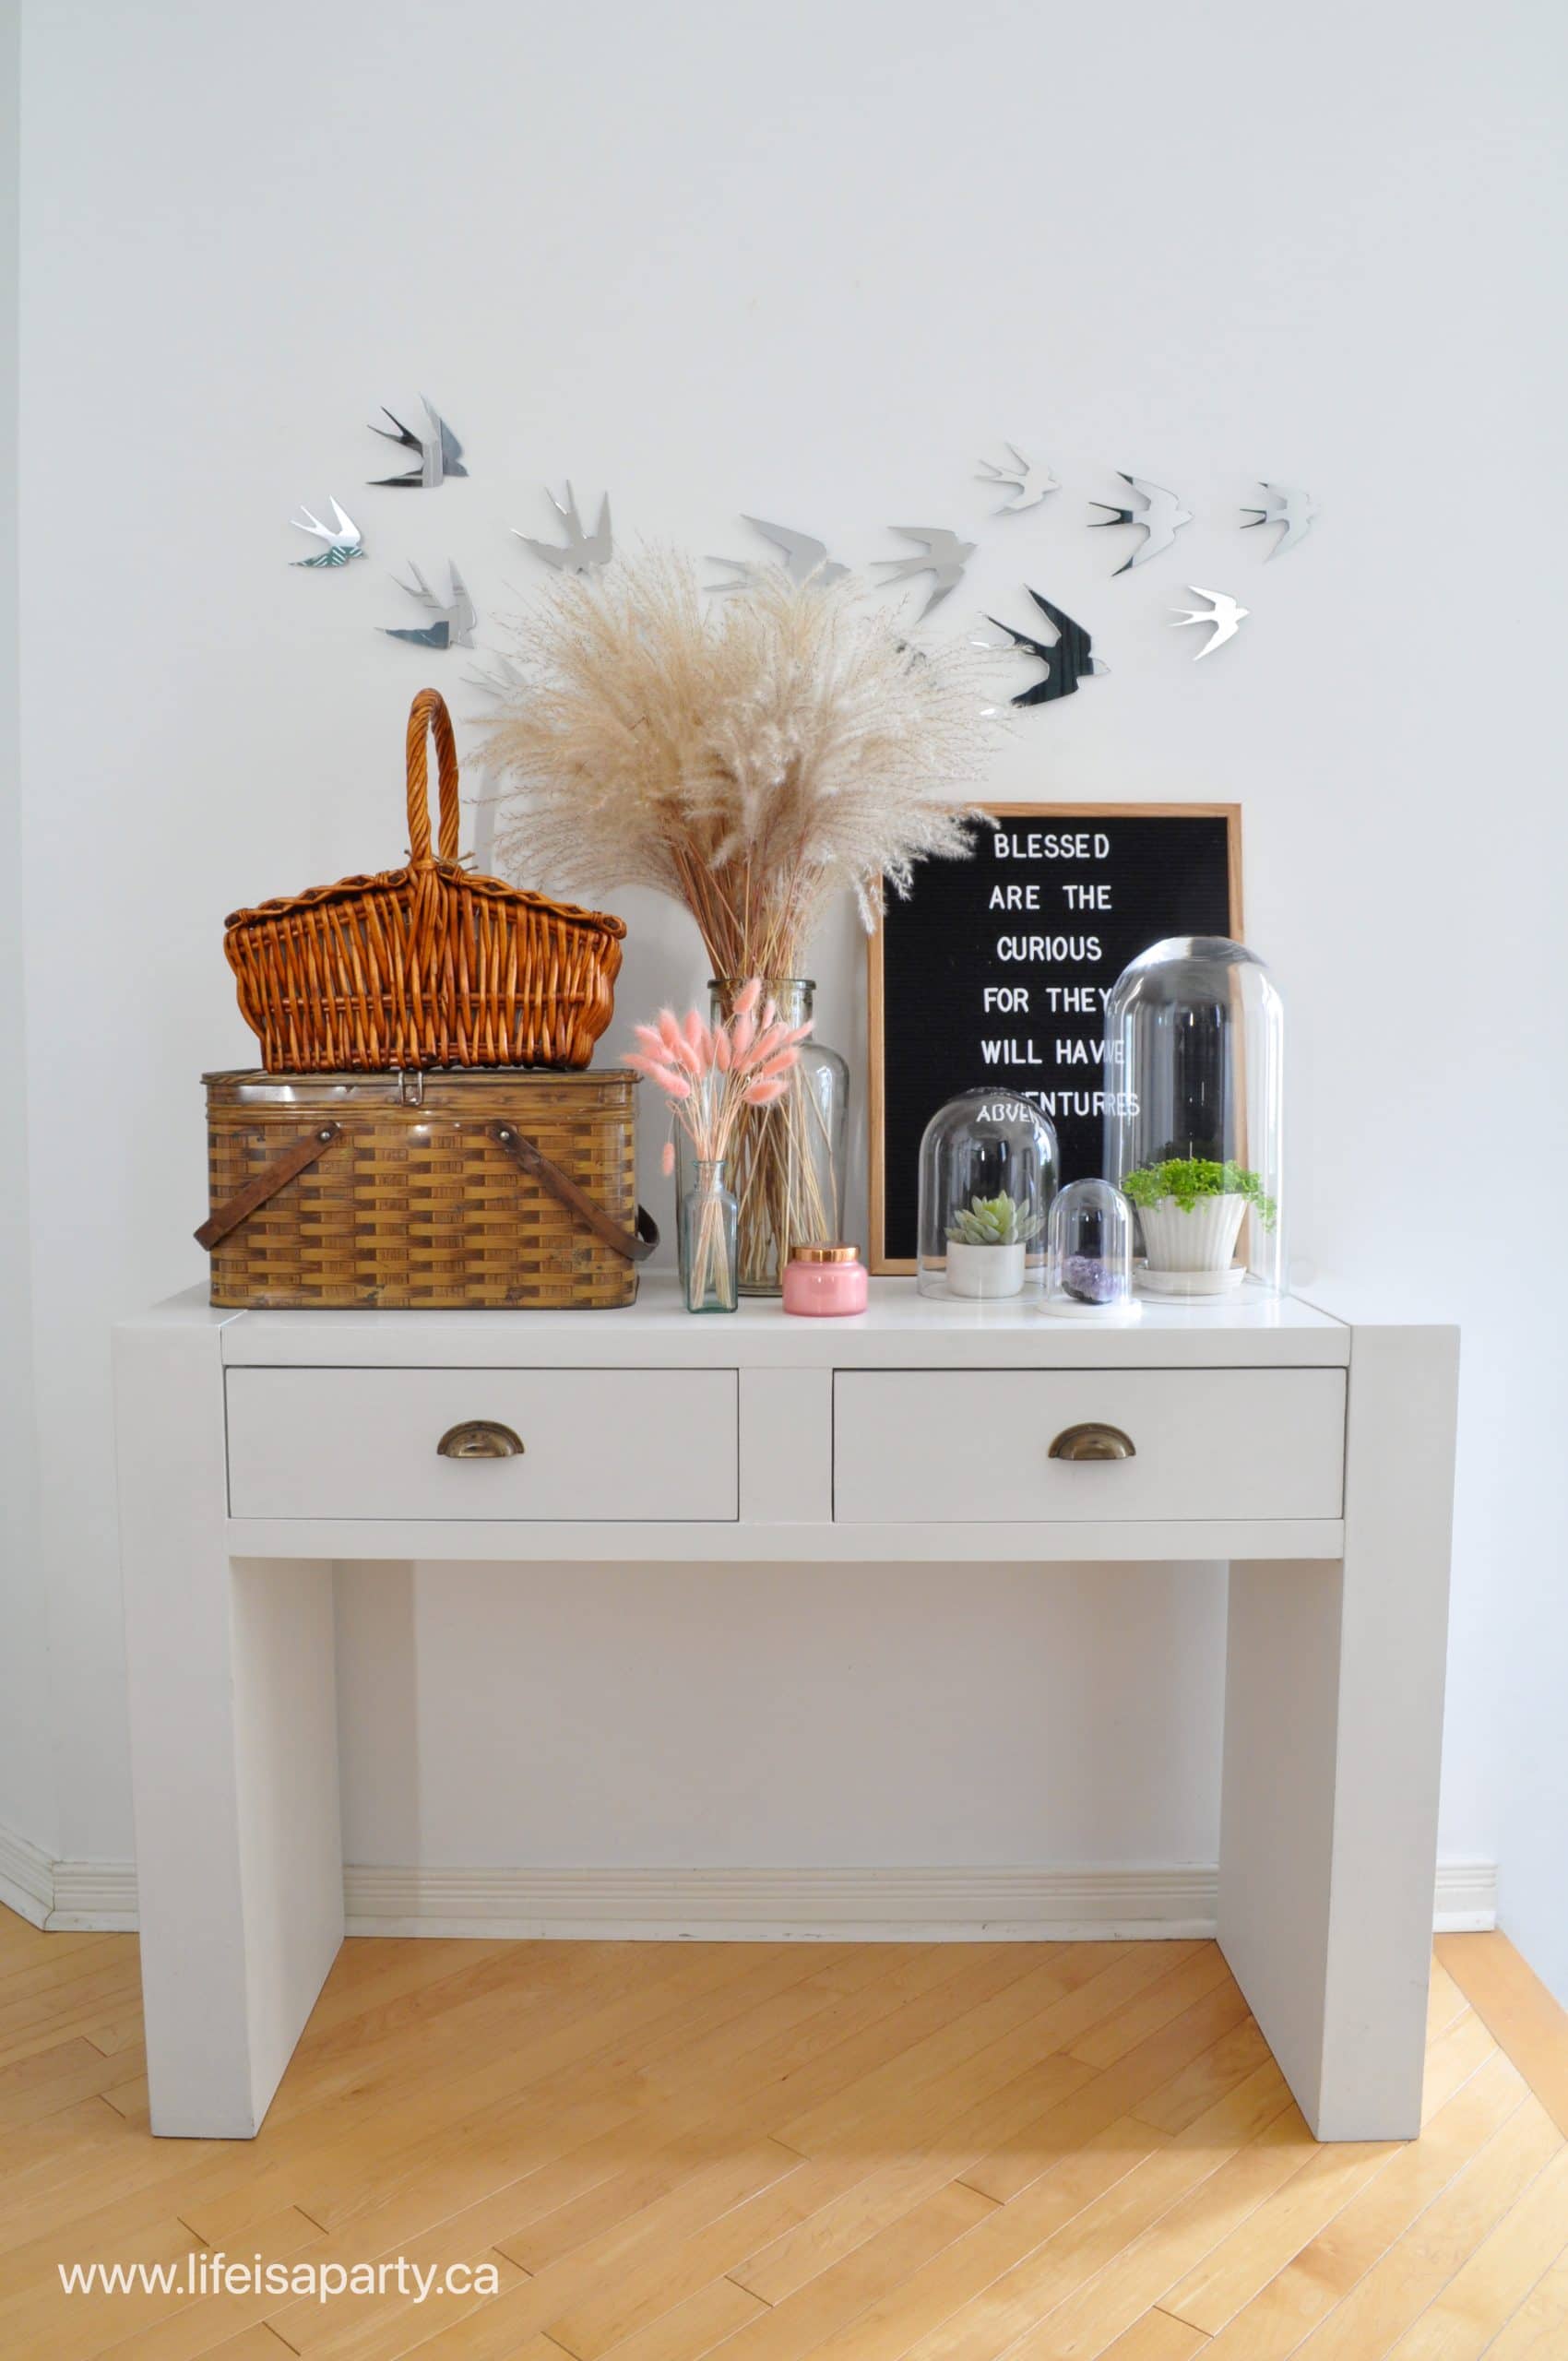
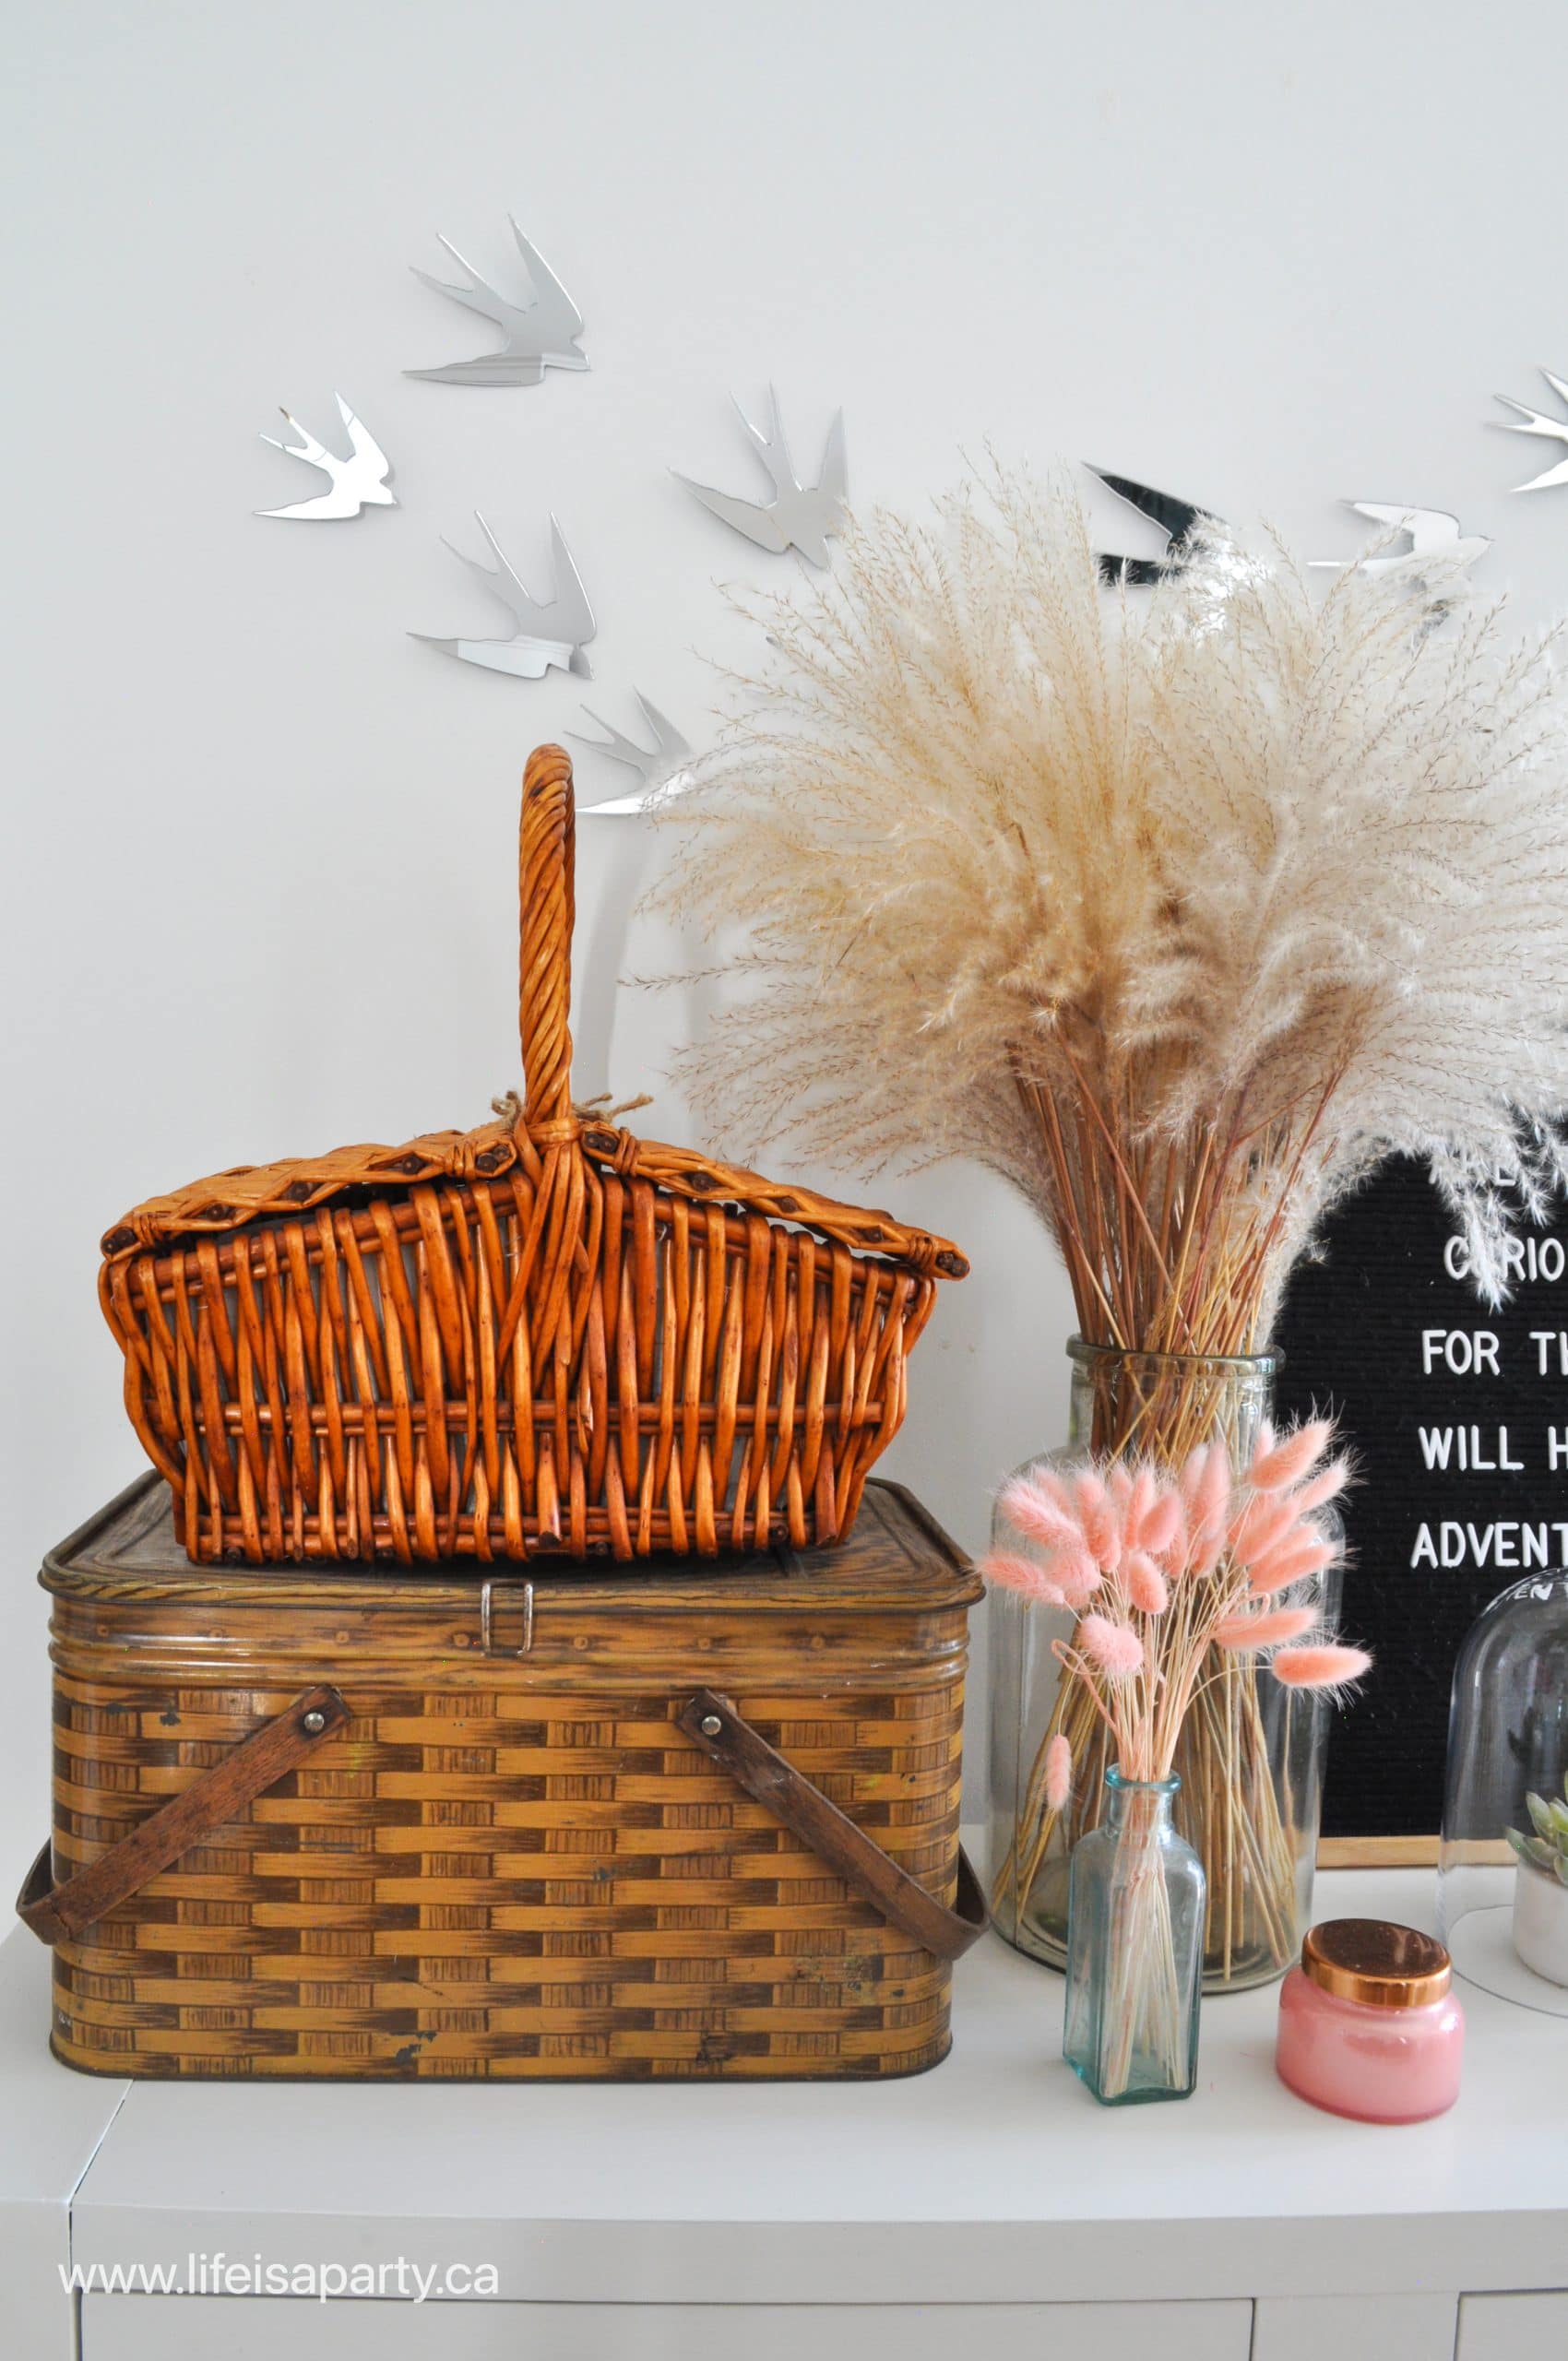
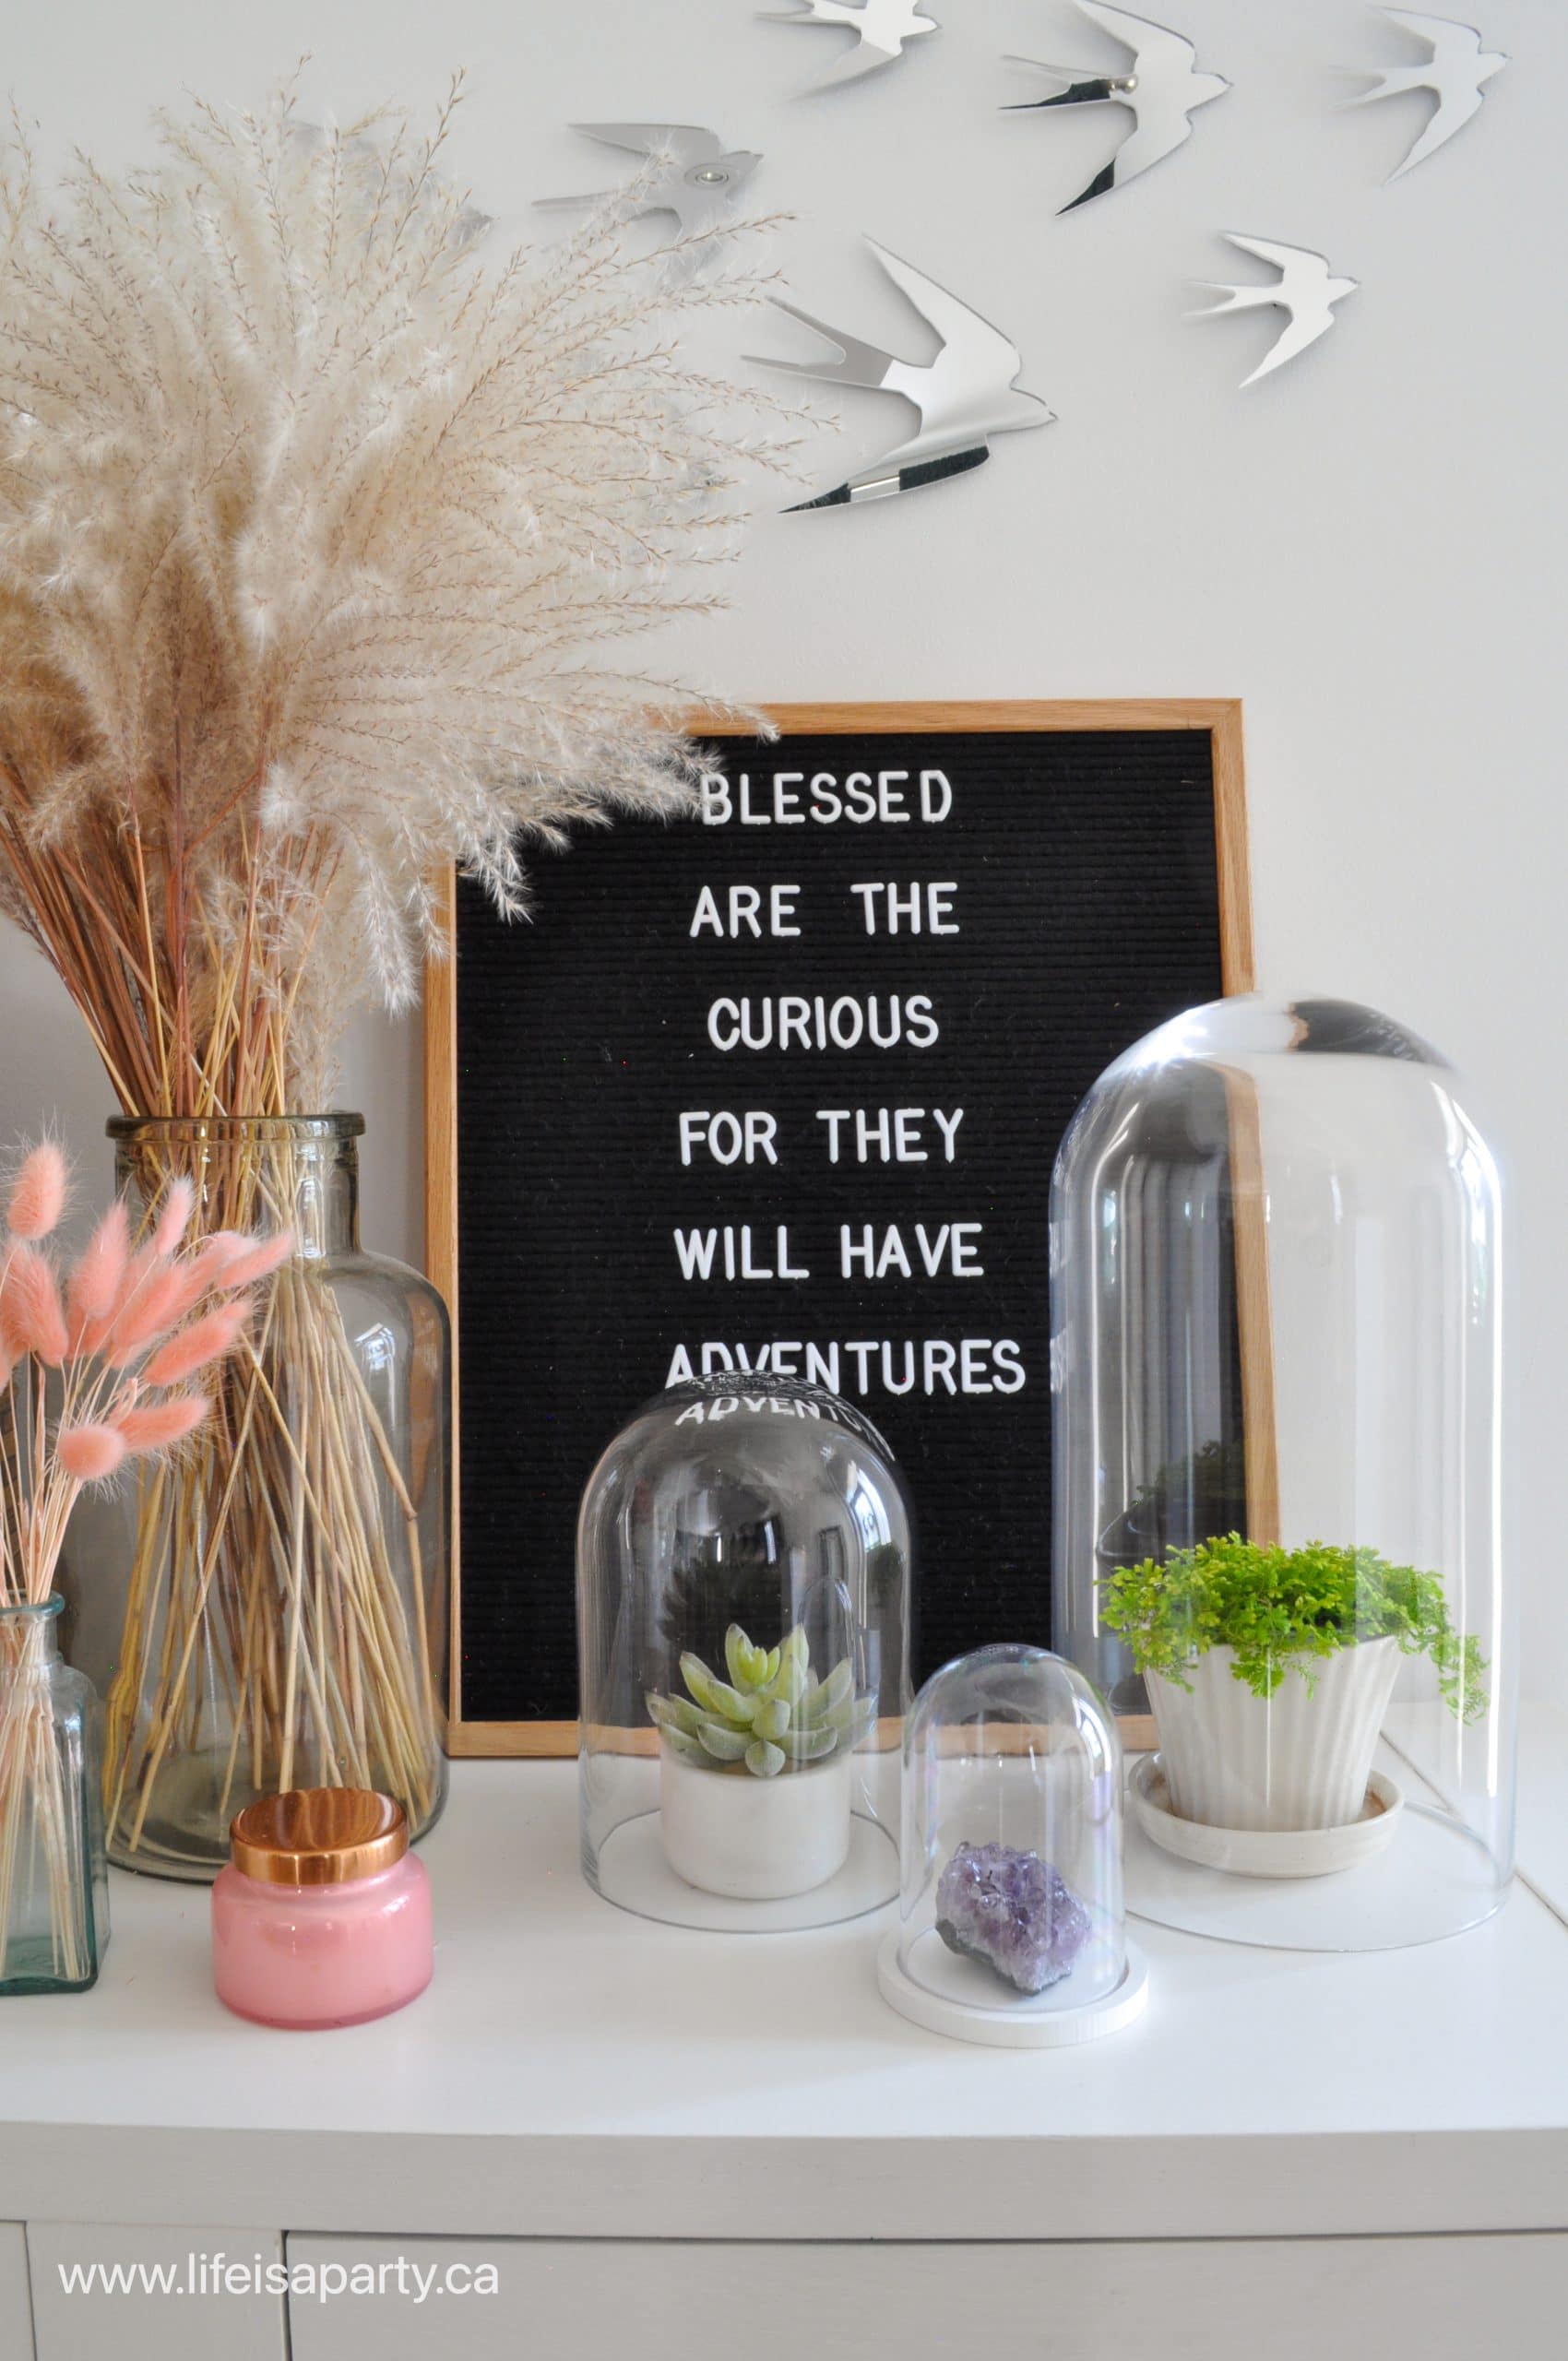
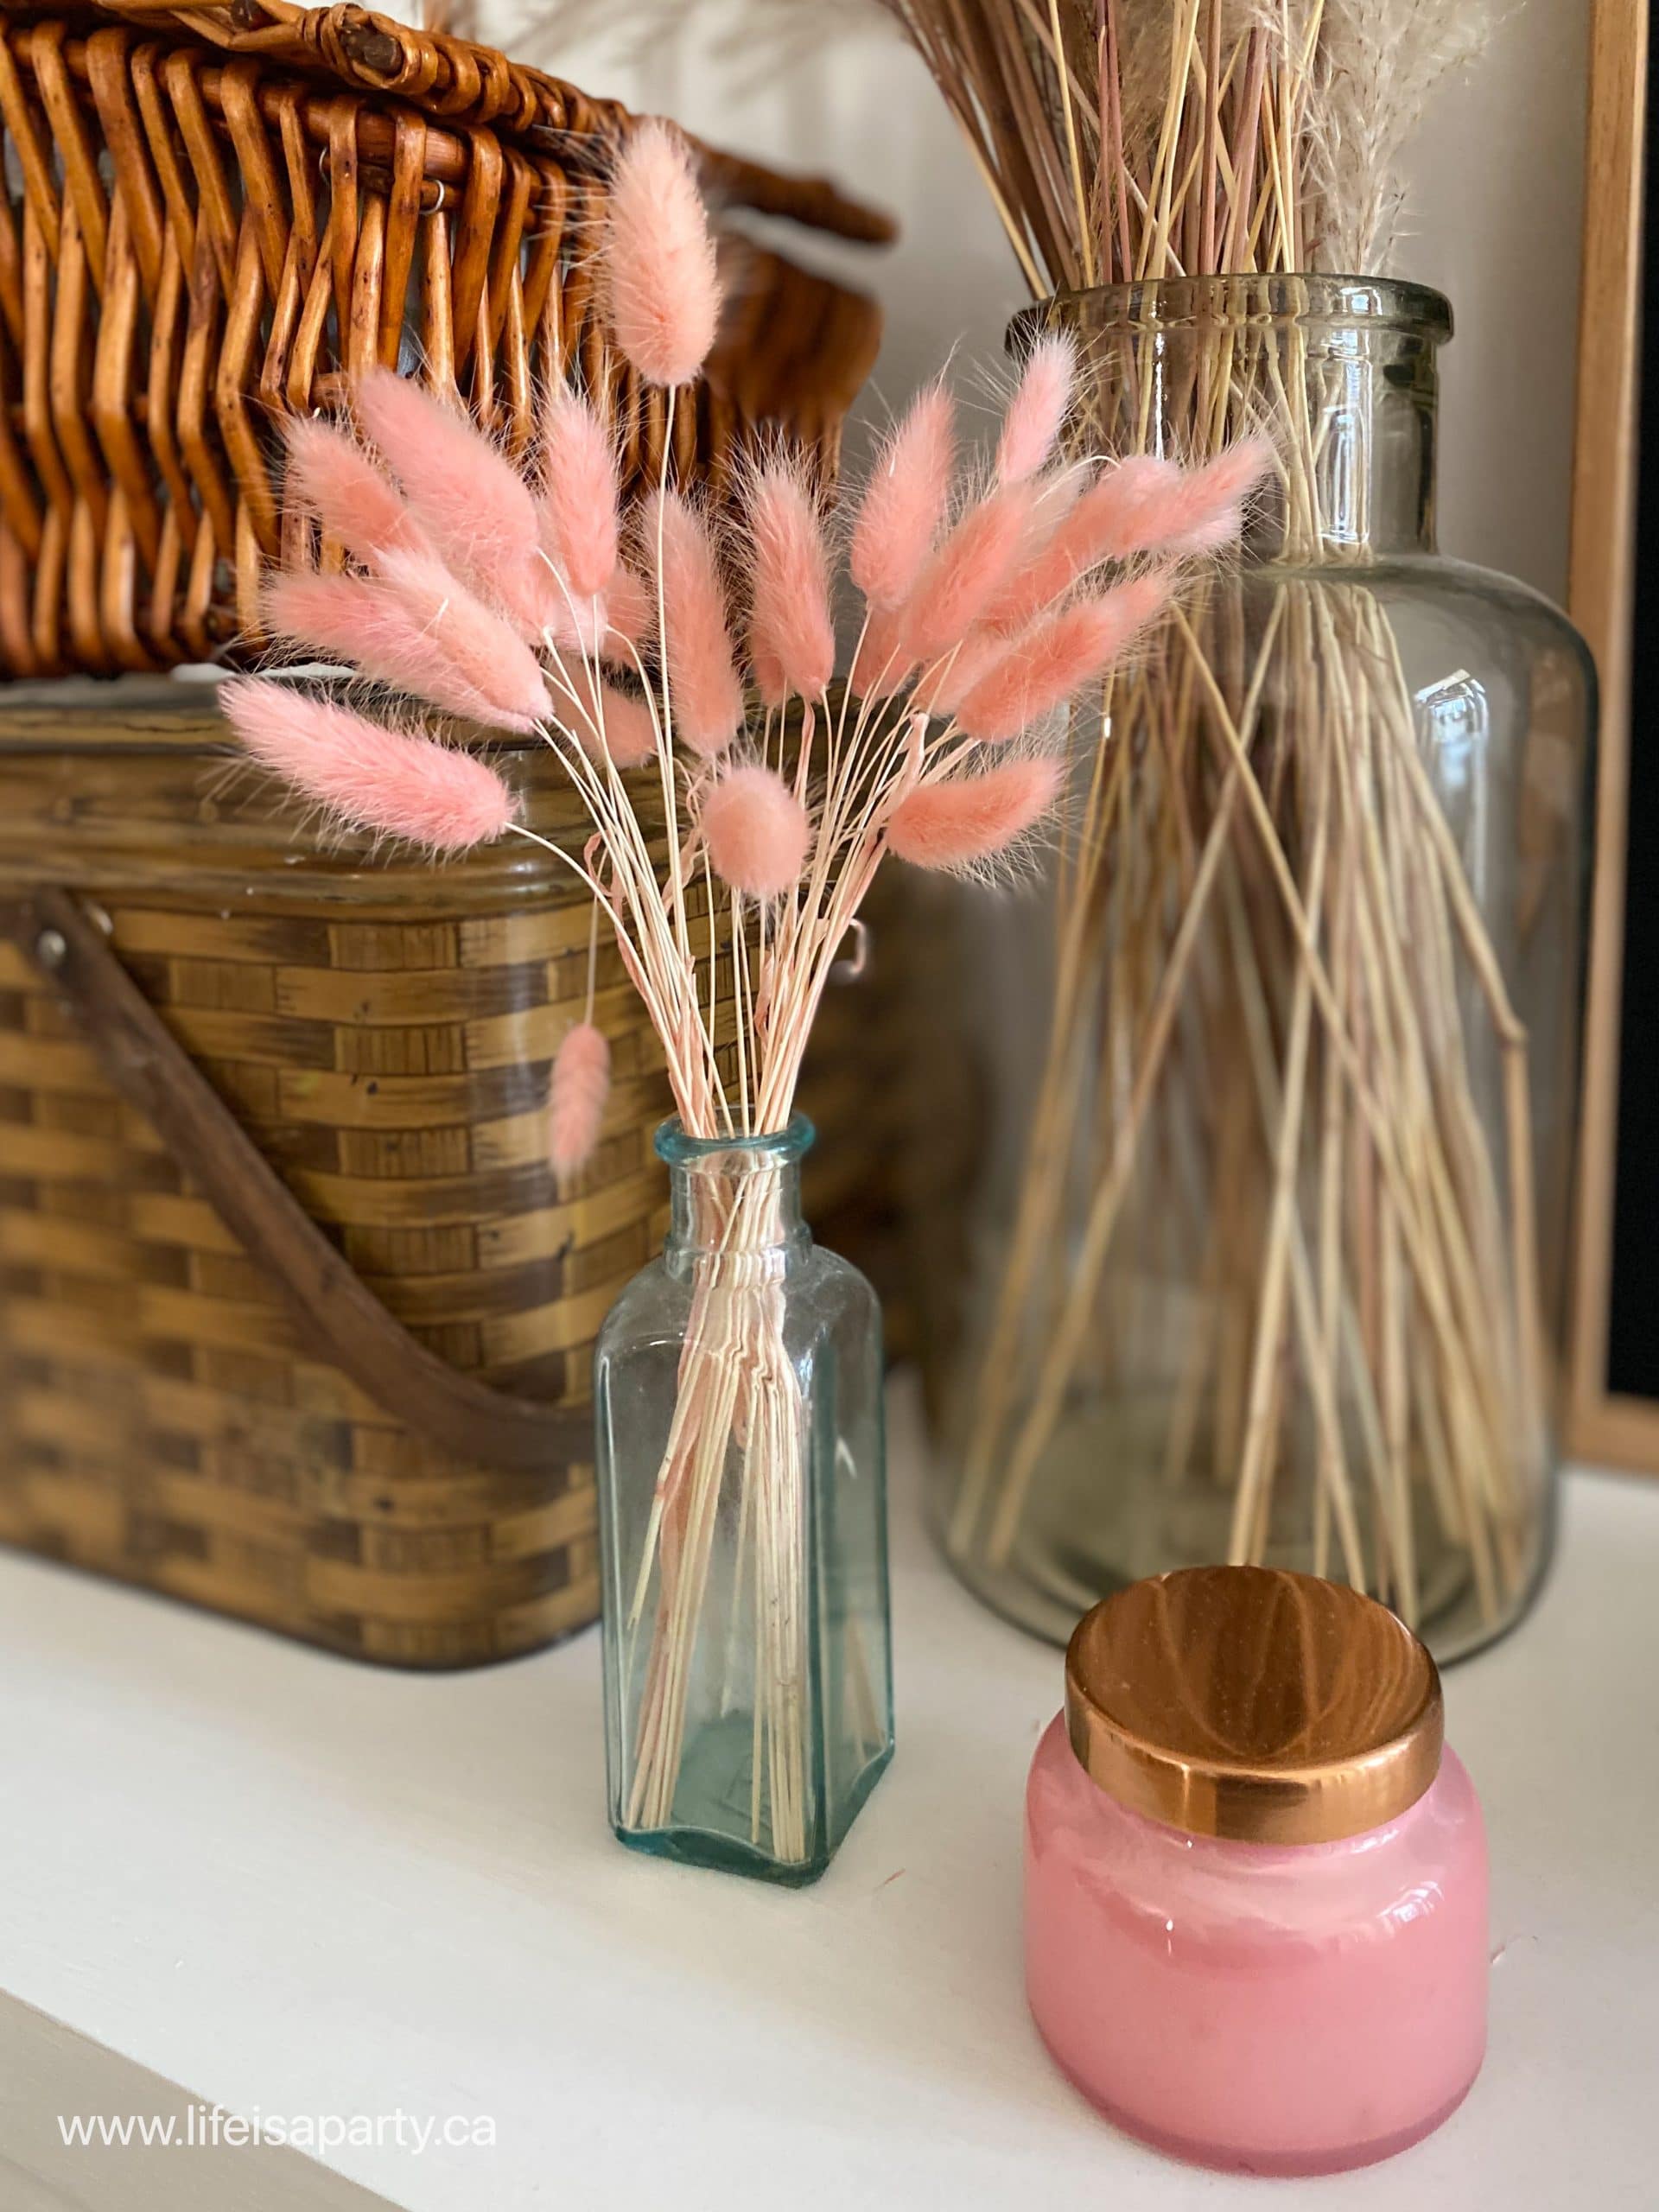
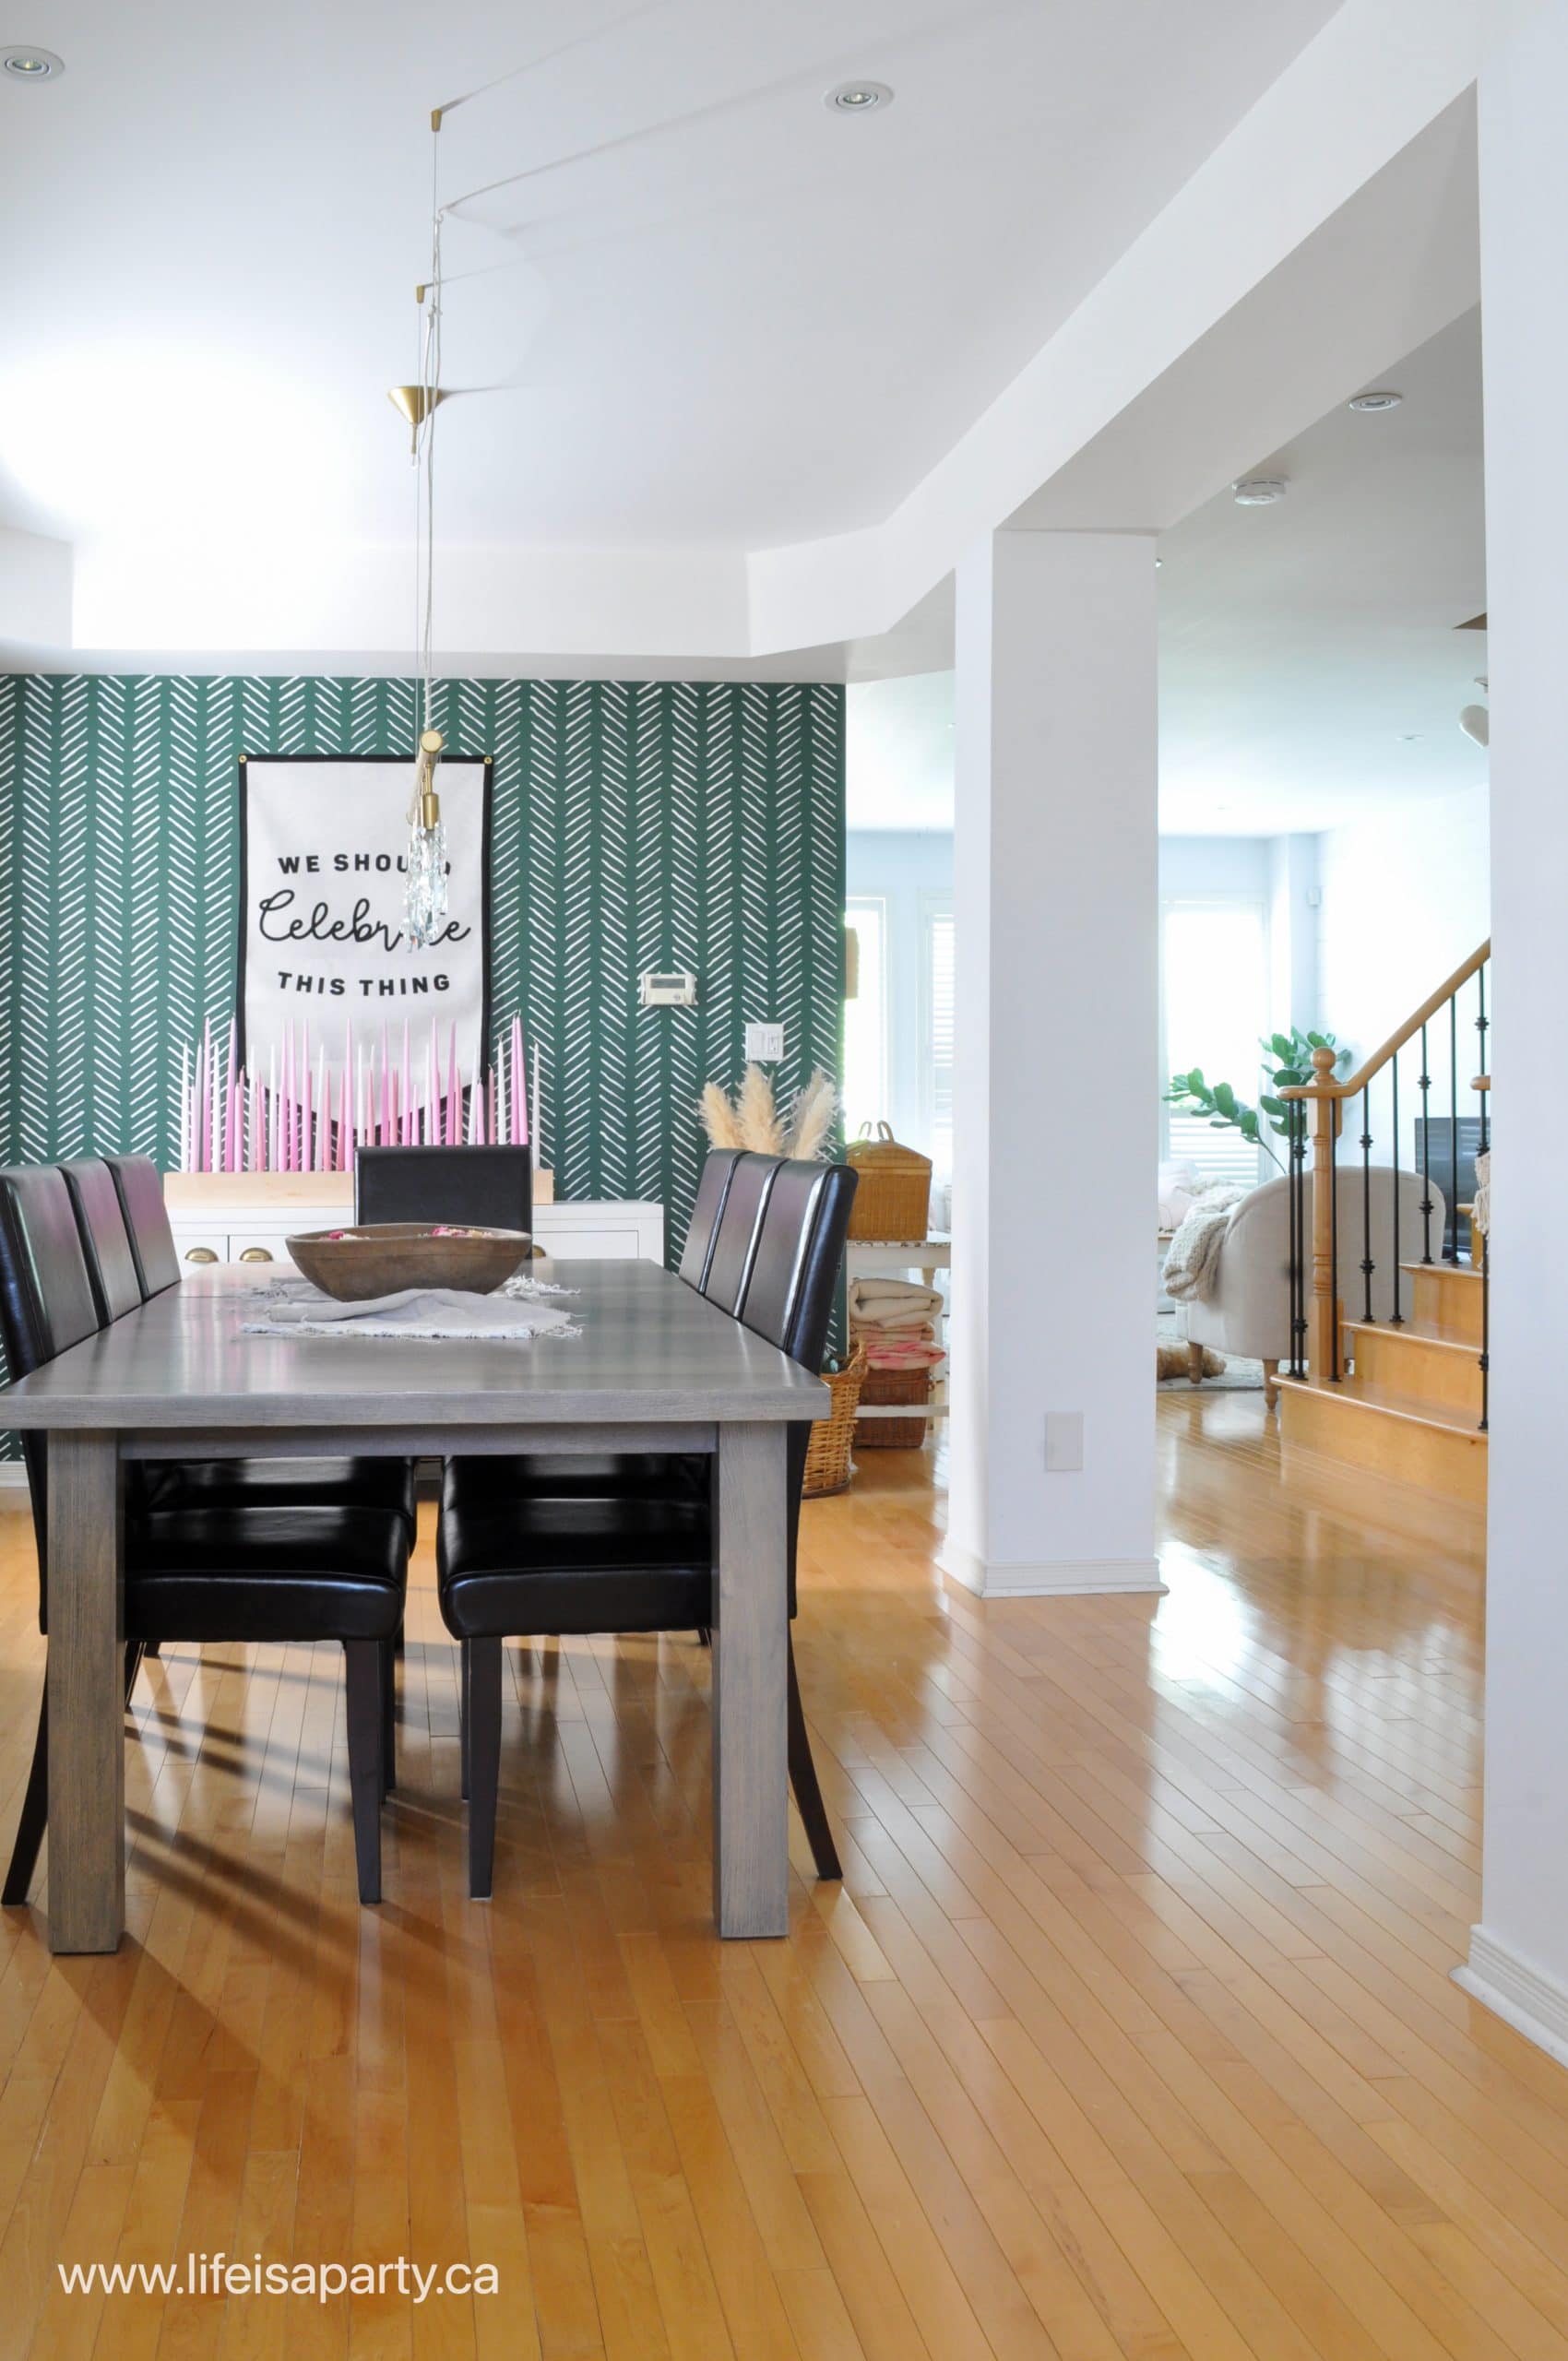
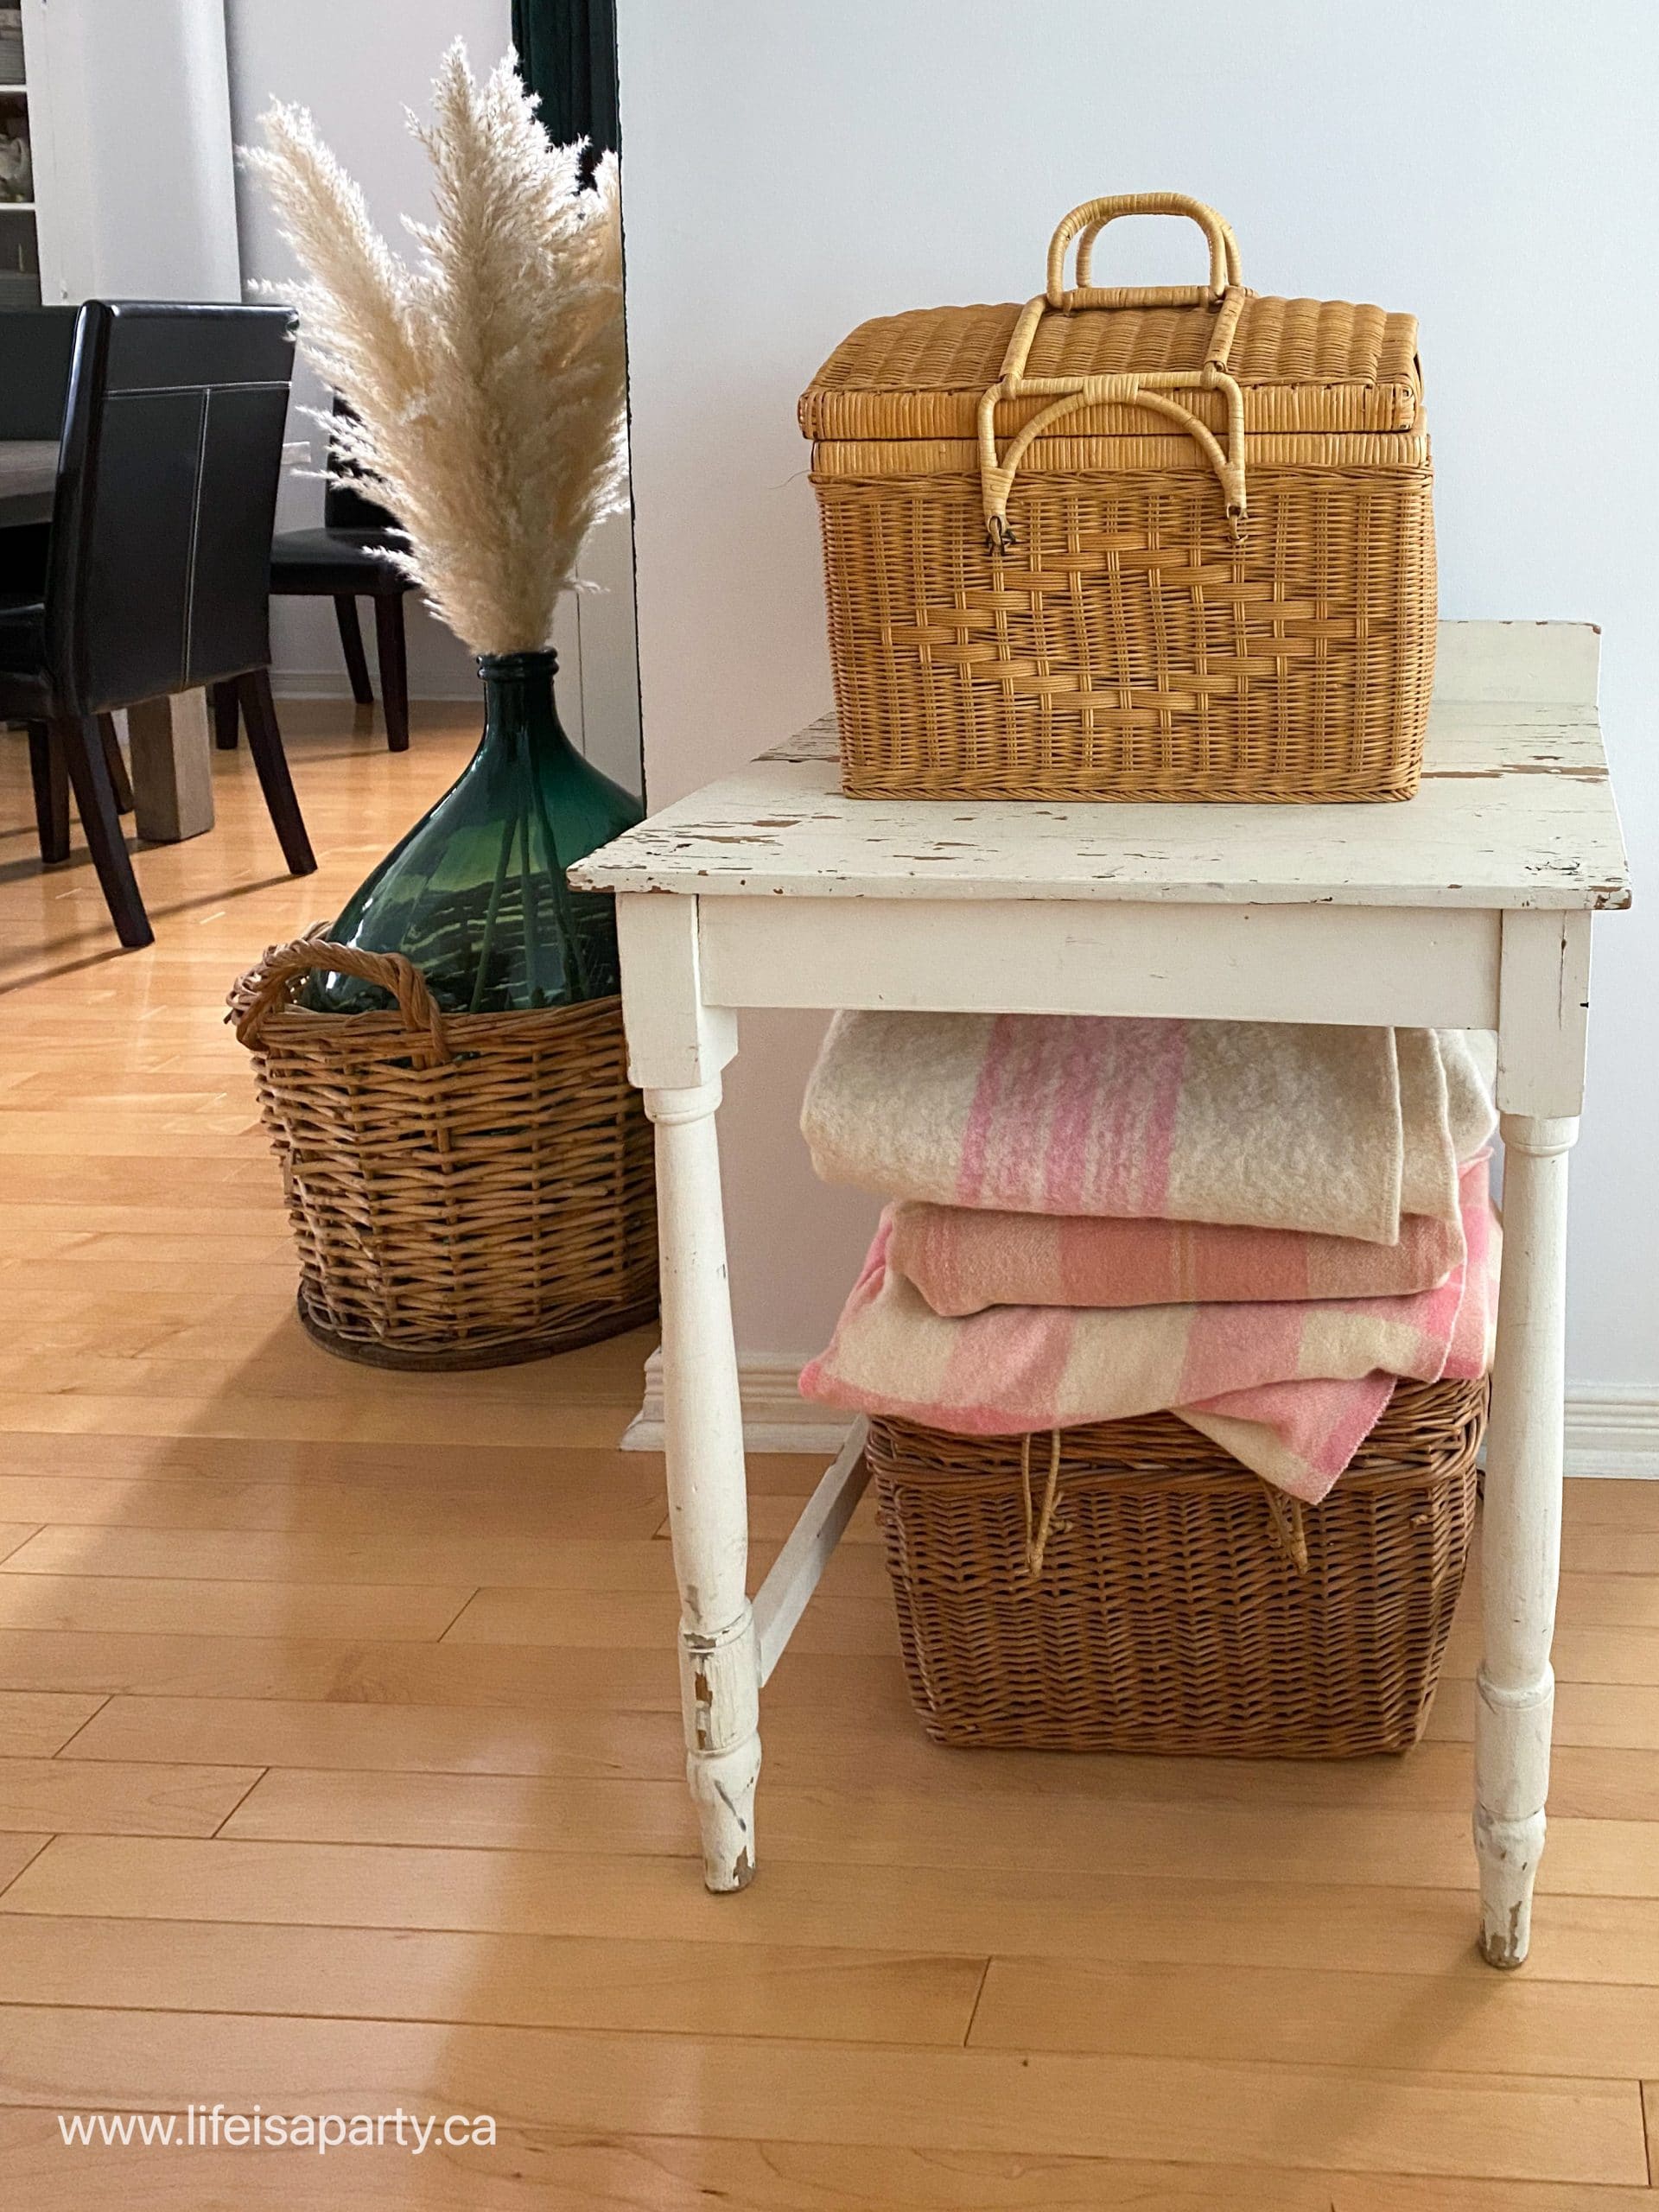
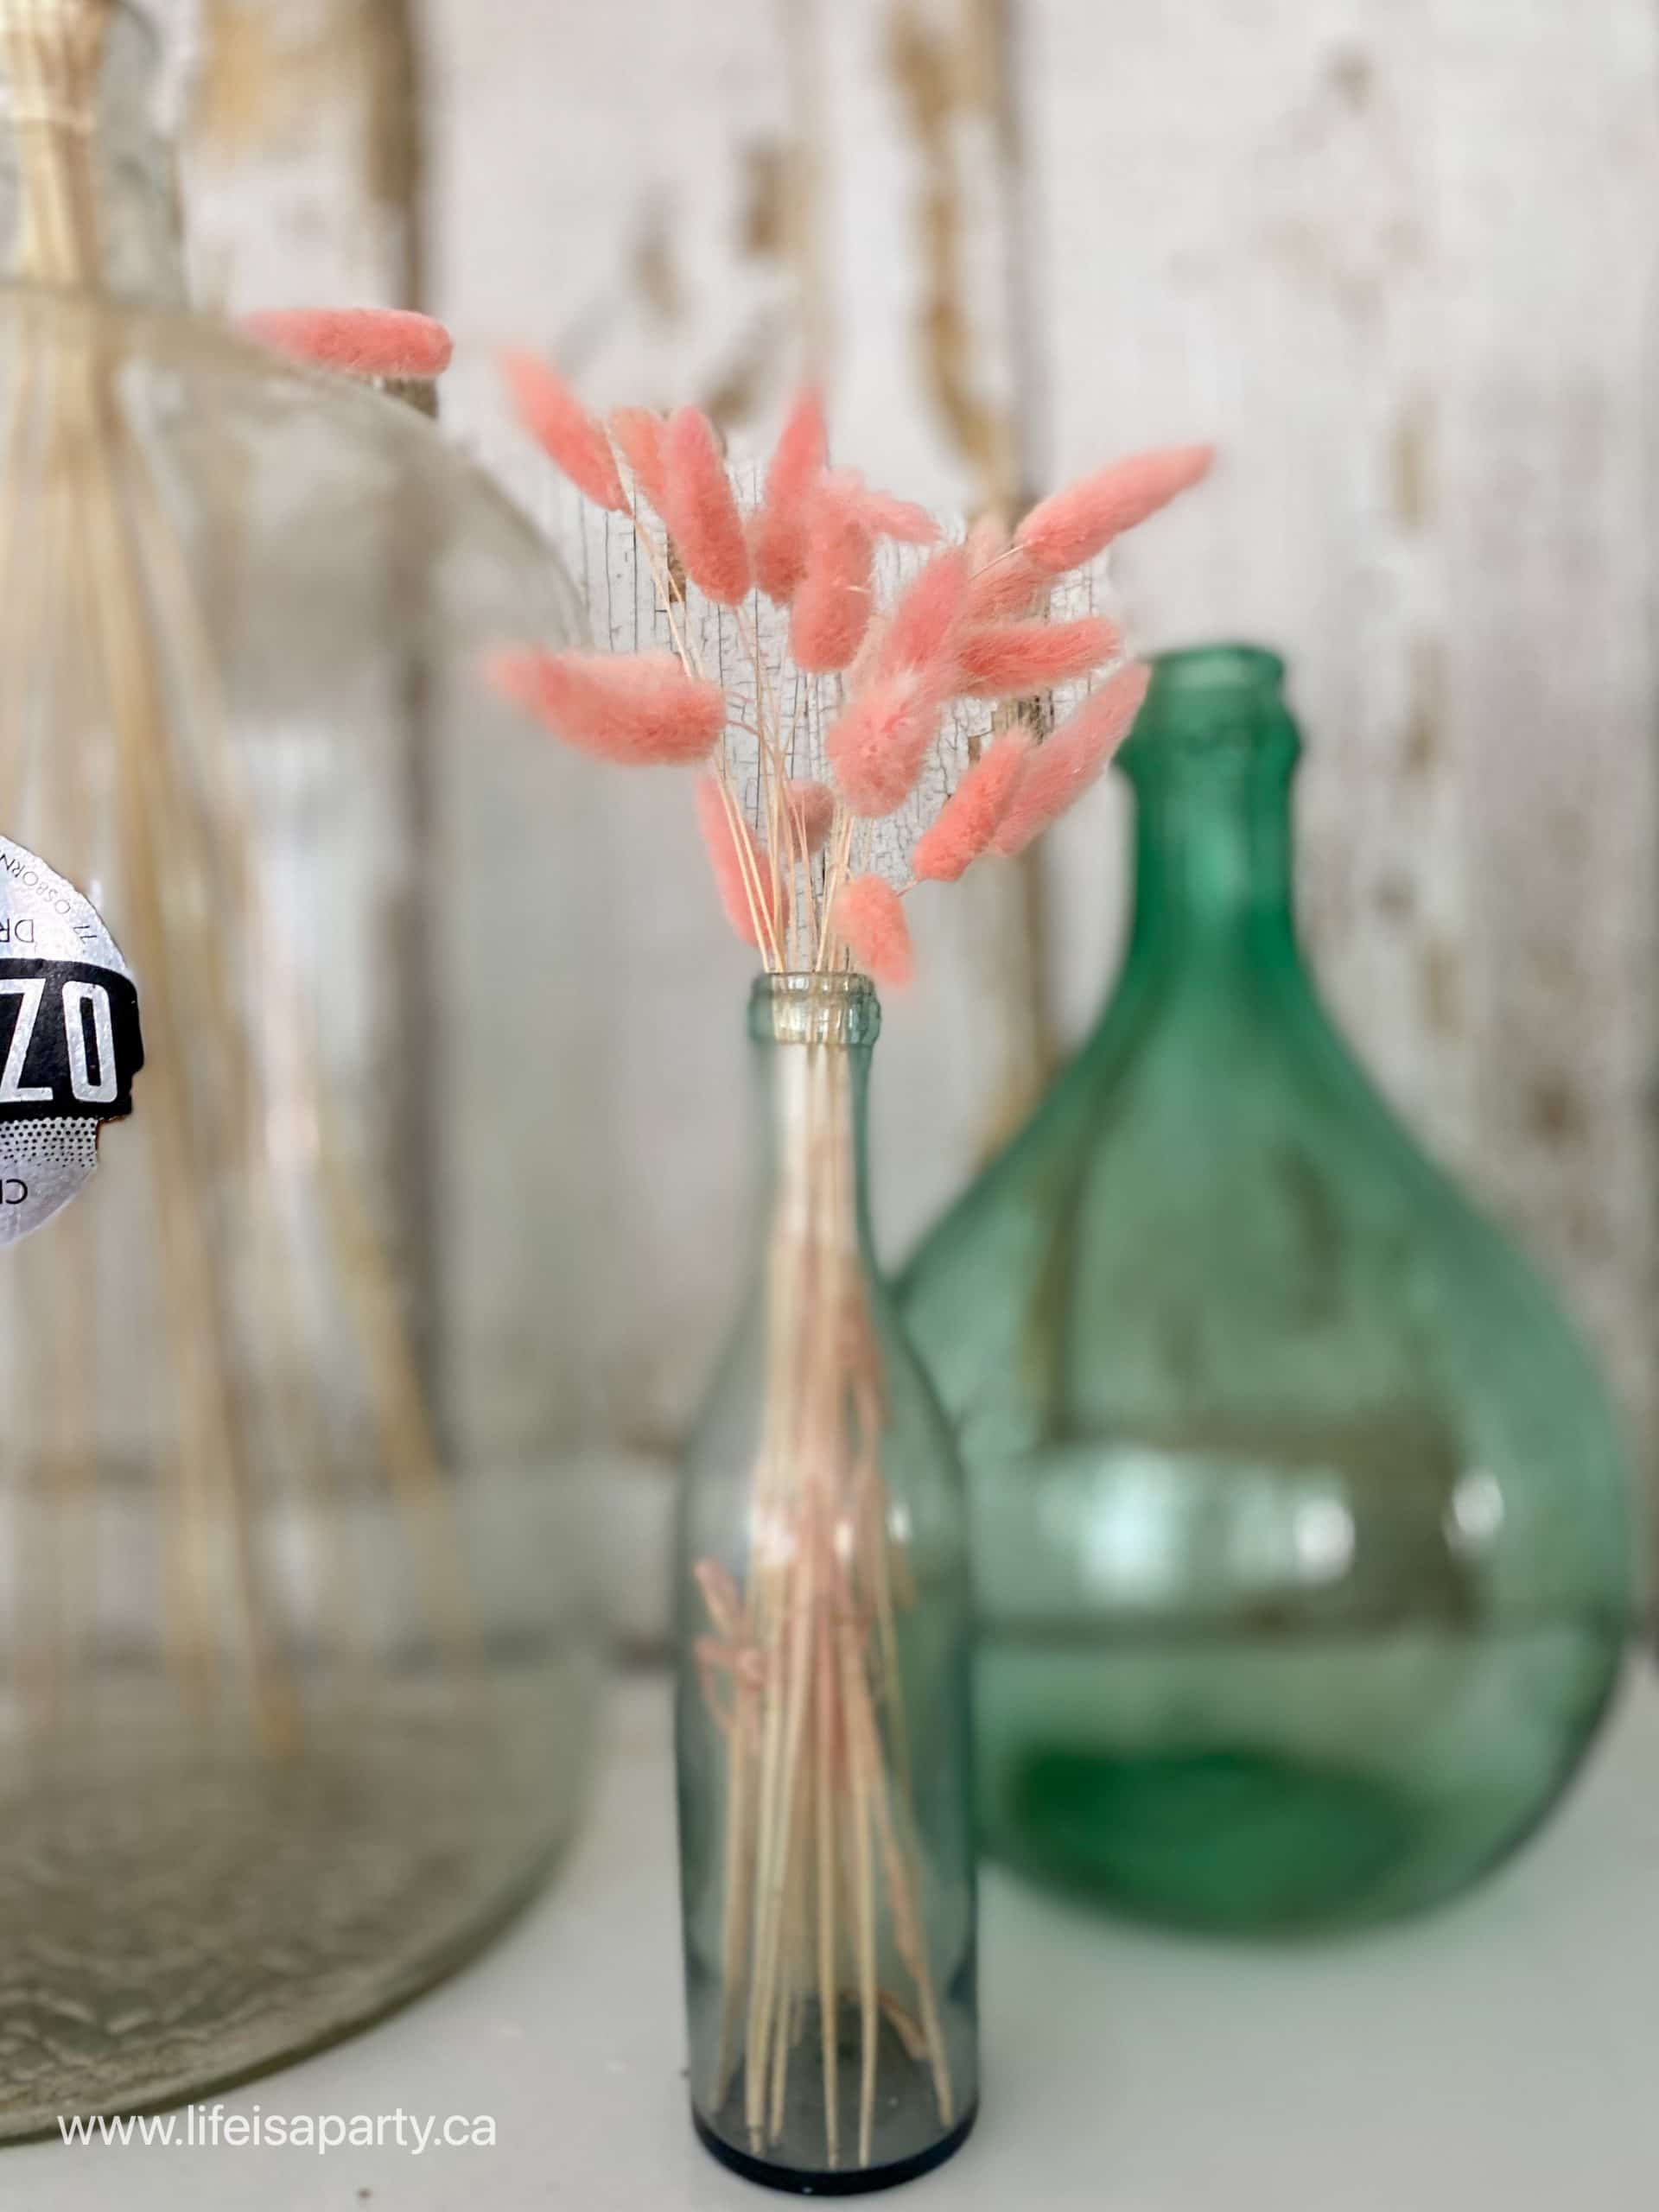
In the dining room, the first room when you enter our house, there's a little console table beside the door.  We've got some picnic baskets all ready for the season, and adding warmth to the whole space with the rattan, and faux rattan.  I'm also using some dried and garden flowers this season, including some dried grasses.  I think the pink bunny tails are my favourite.  

summer decorating ideas
decorating with vintage picnic baskets

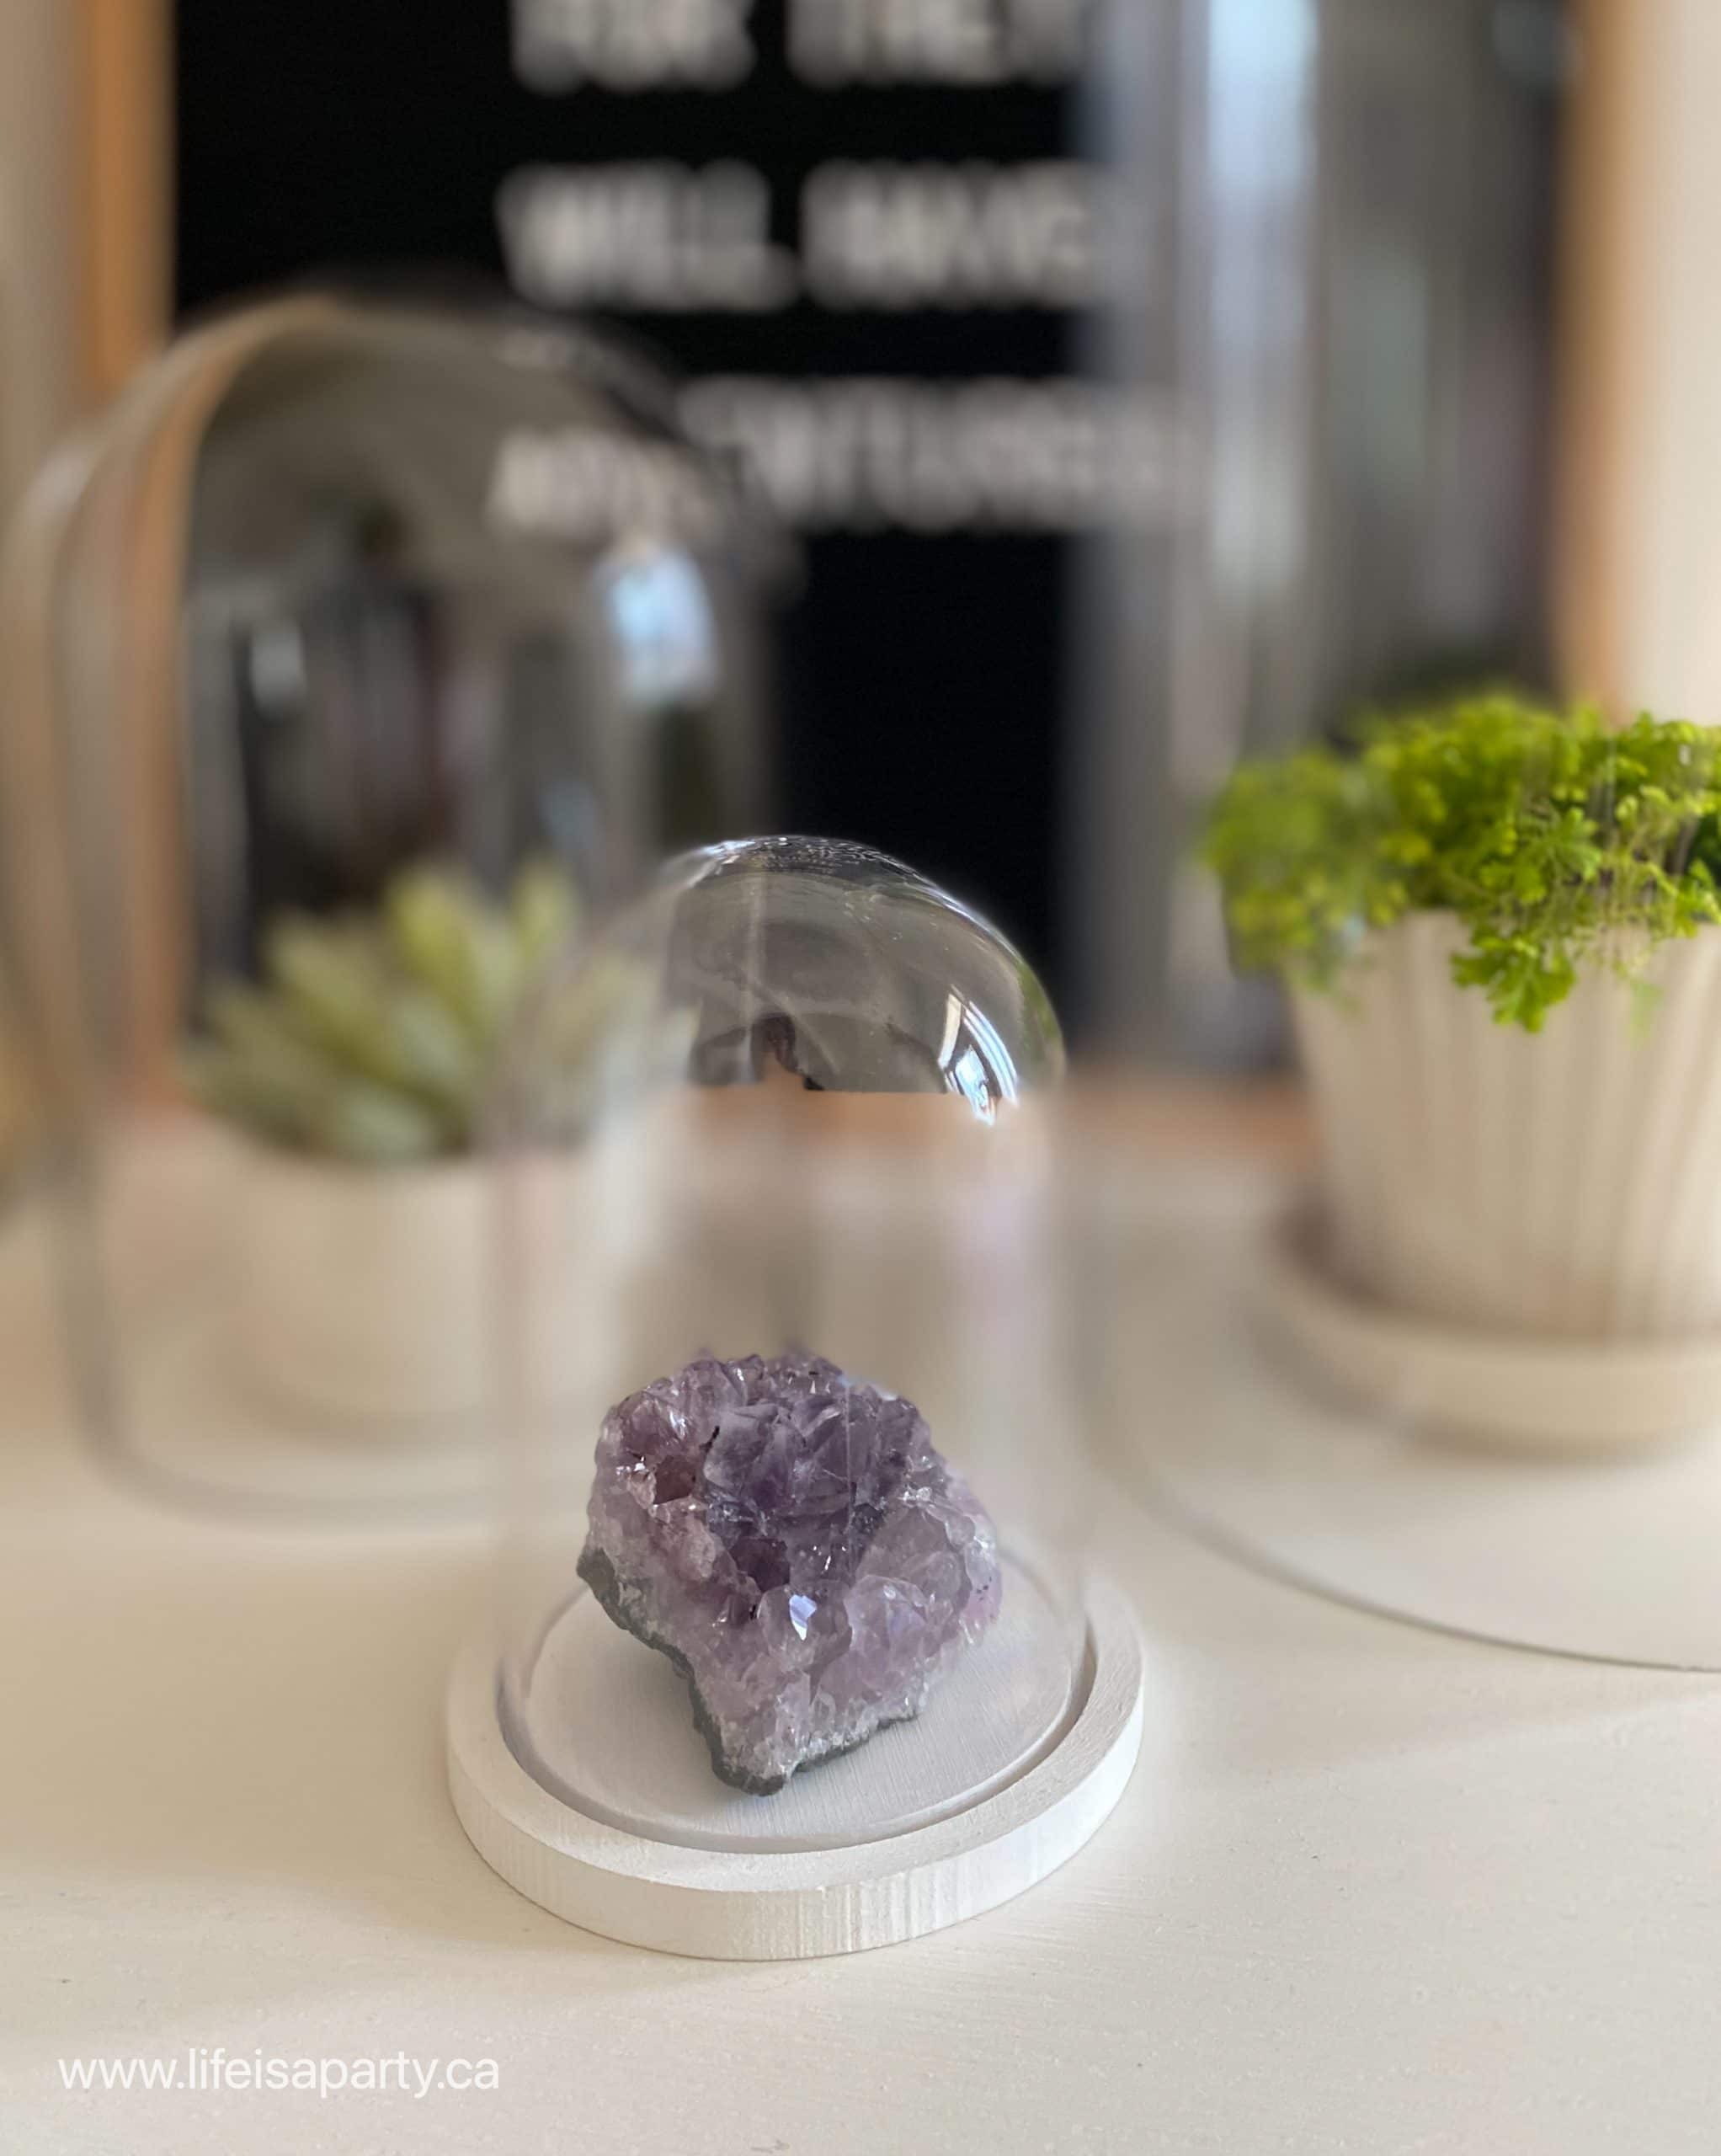
I used a few glass cloches here, to accent a few plants and the prettiest purple rock.  And on the letter board, "blessed are the curious for they will have adventures".  It's the perfect summer inspiration we need to go out adventuring, and find even more treasures to display.

summer letter board ideas
pink bunny tail grass
summer decorating ideas

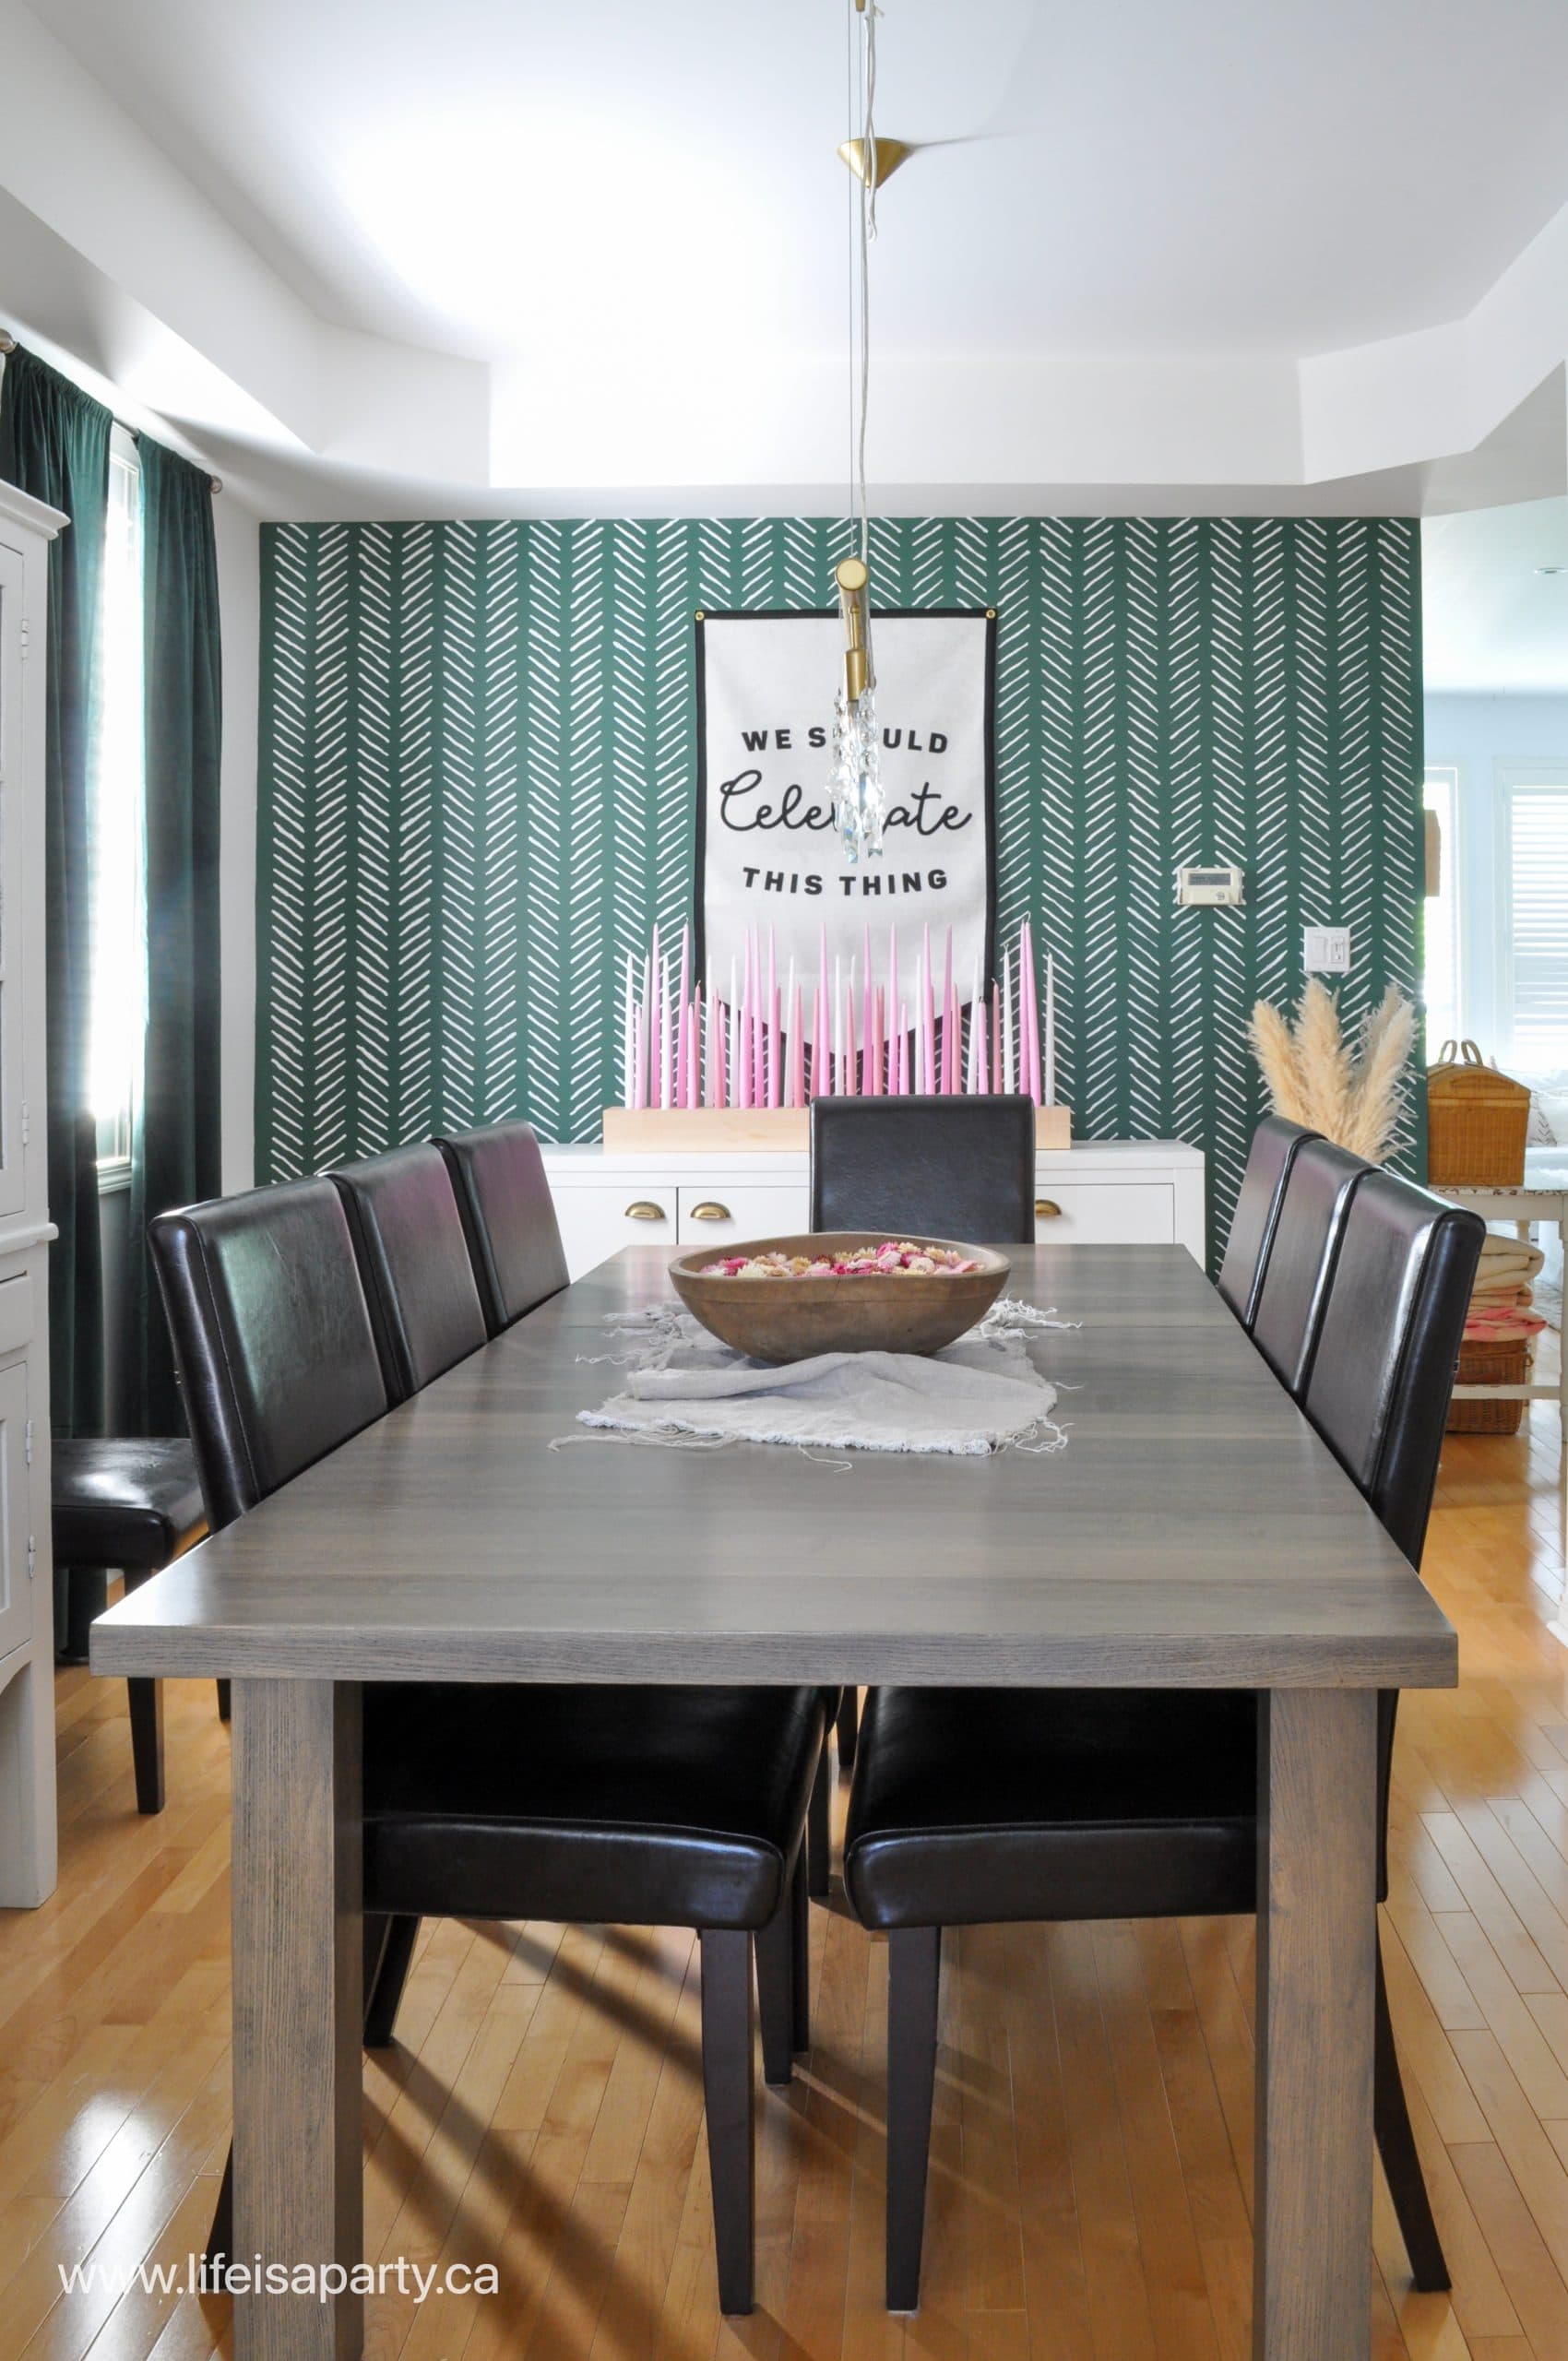
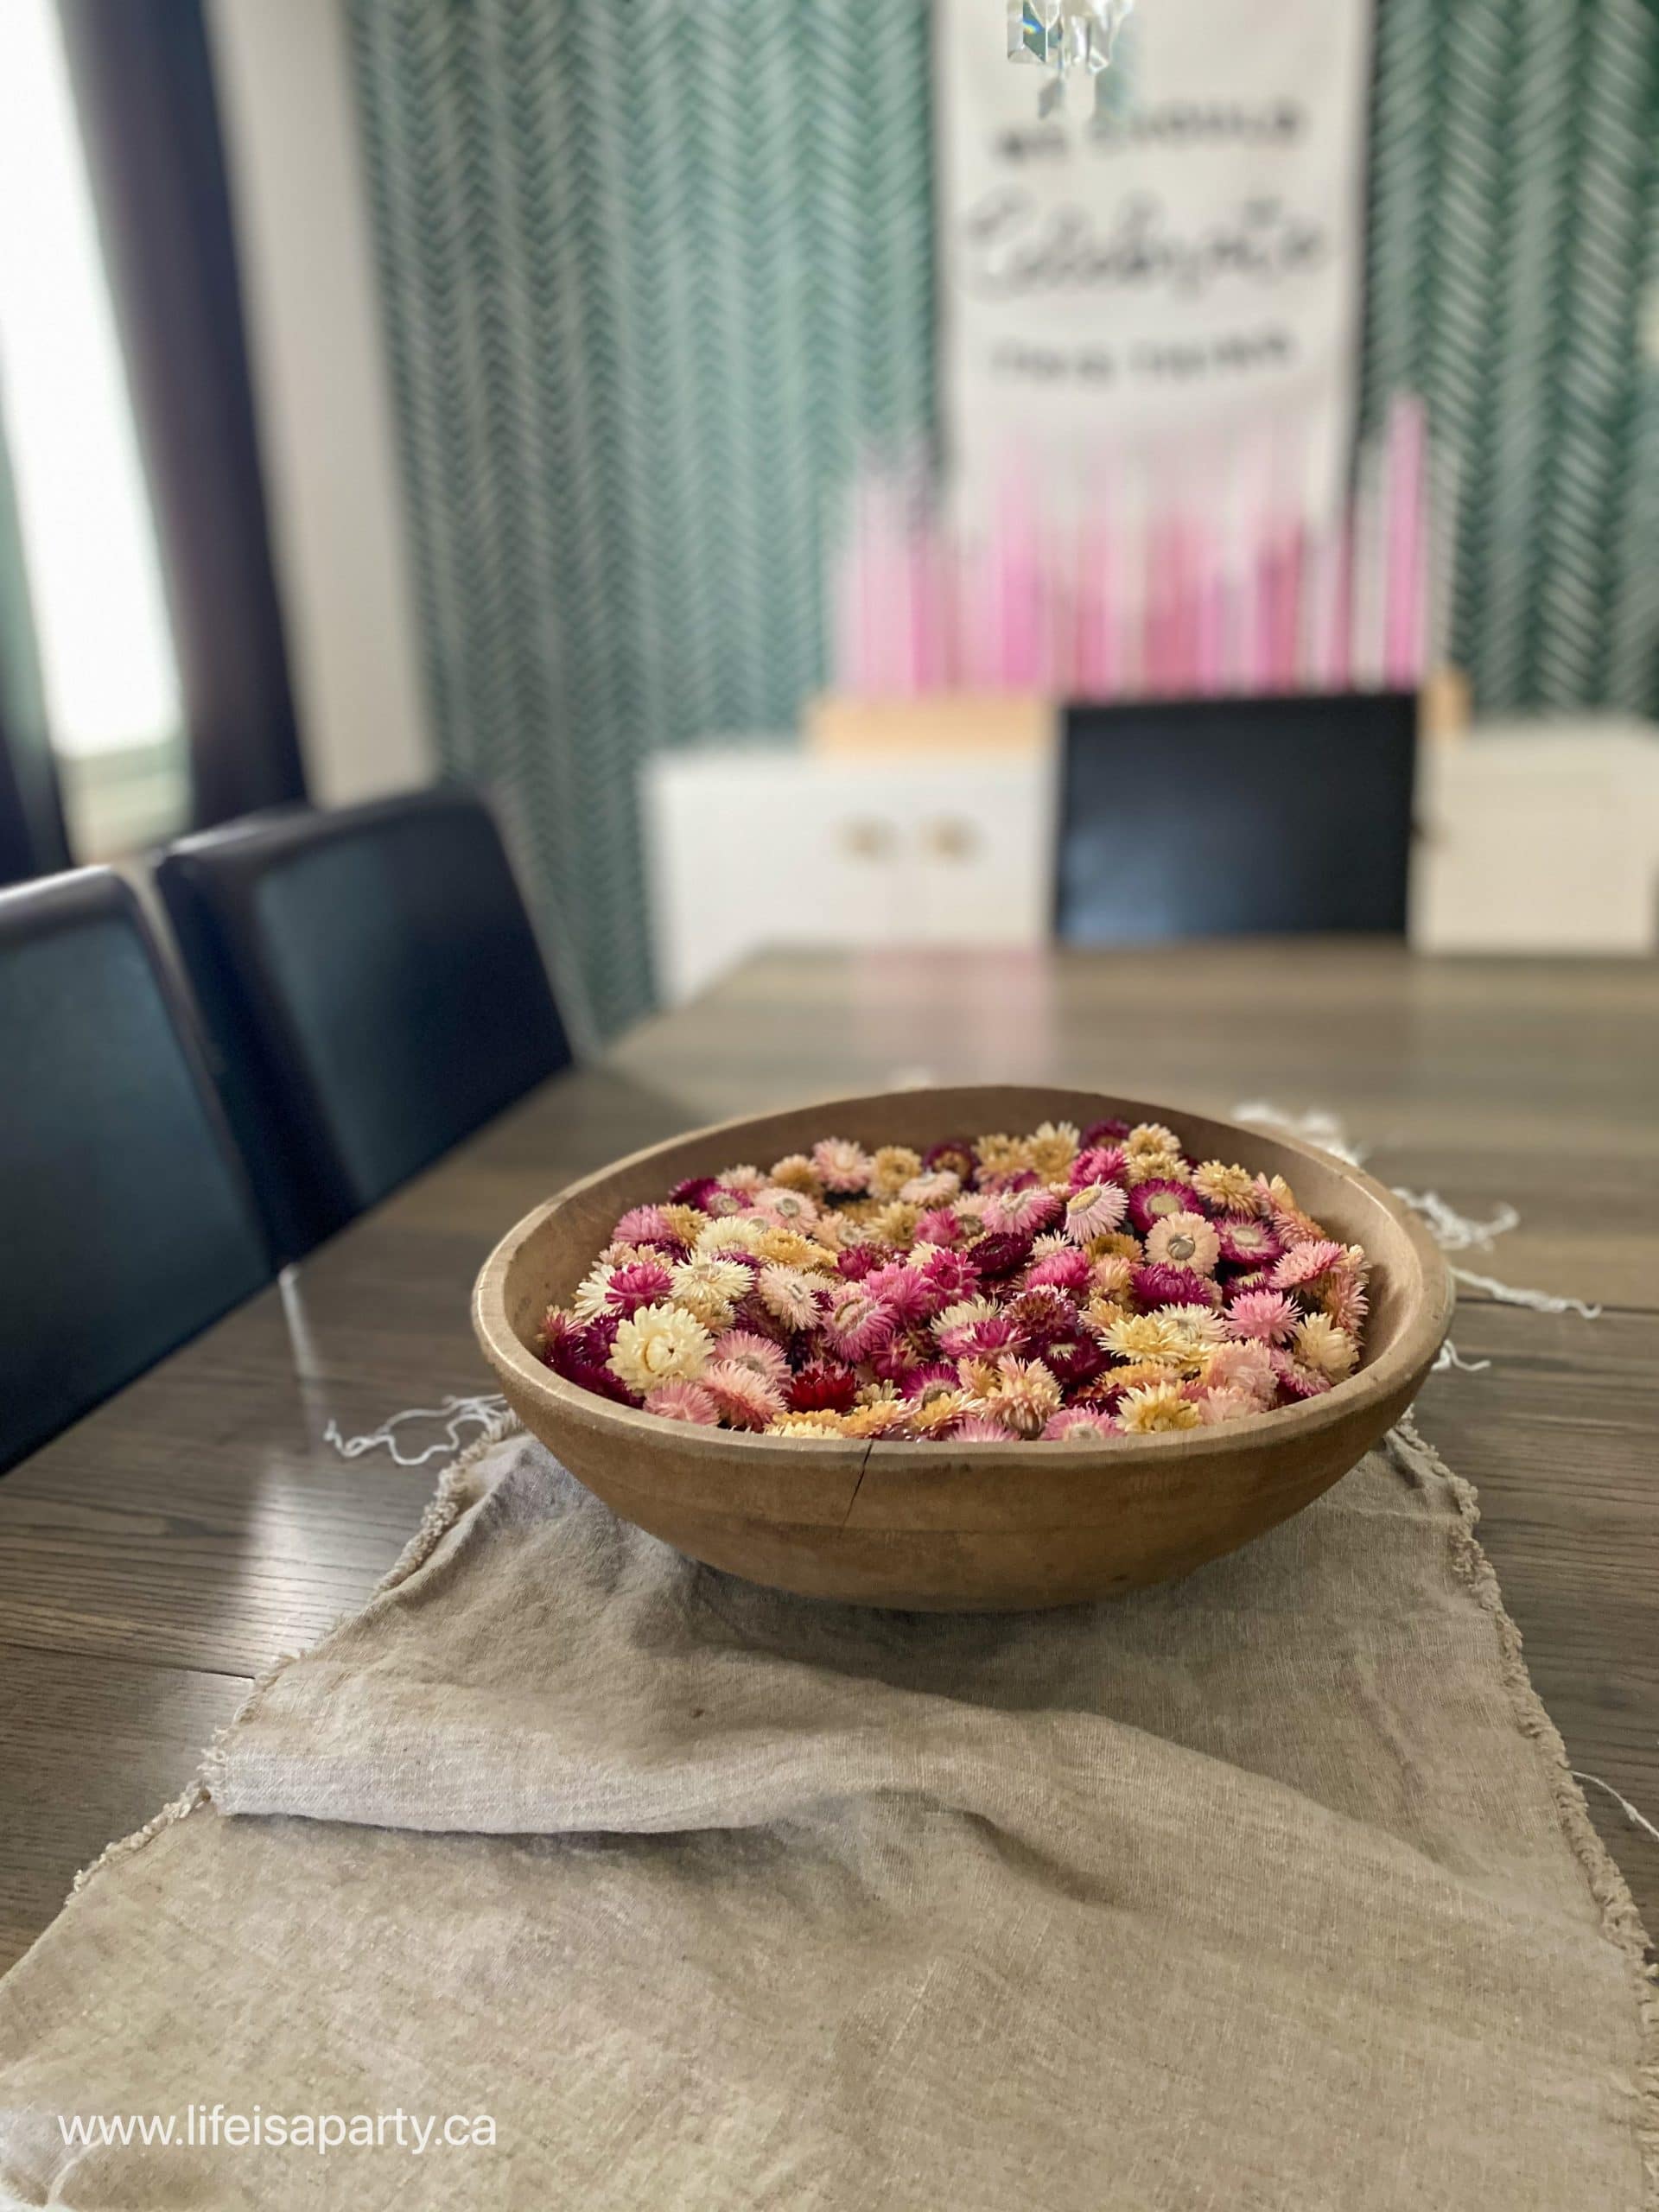
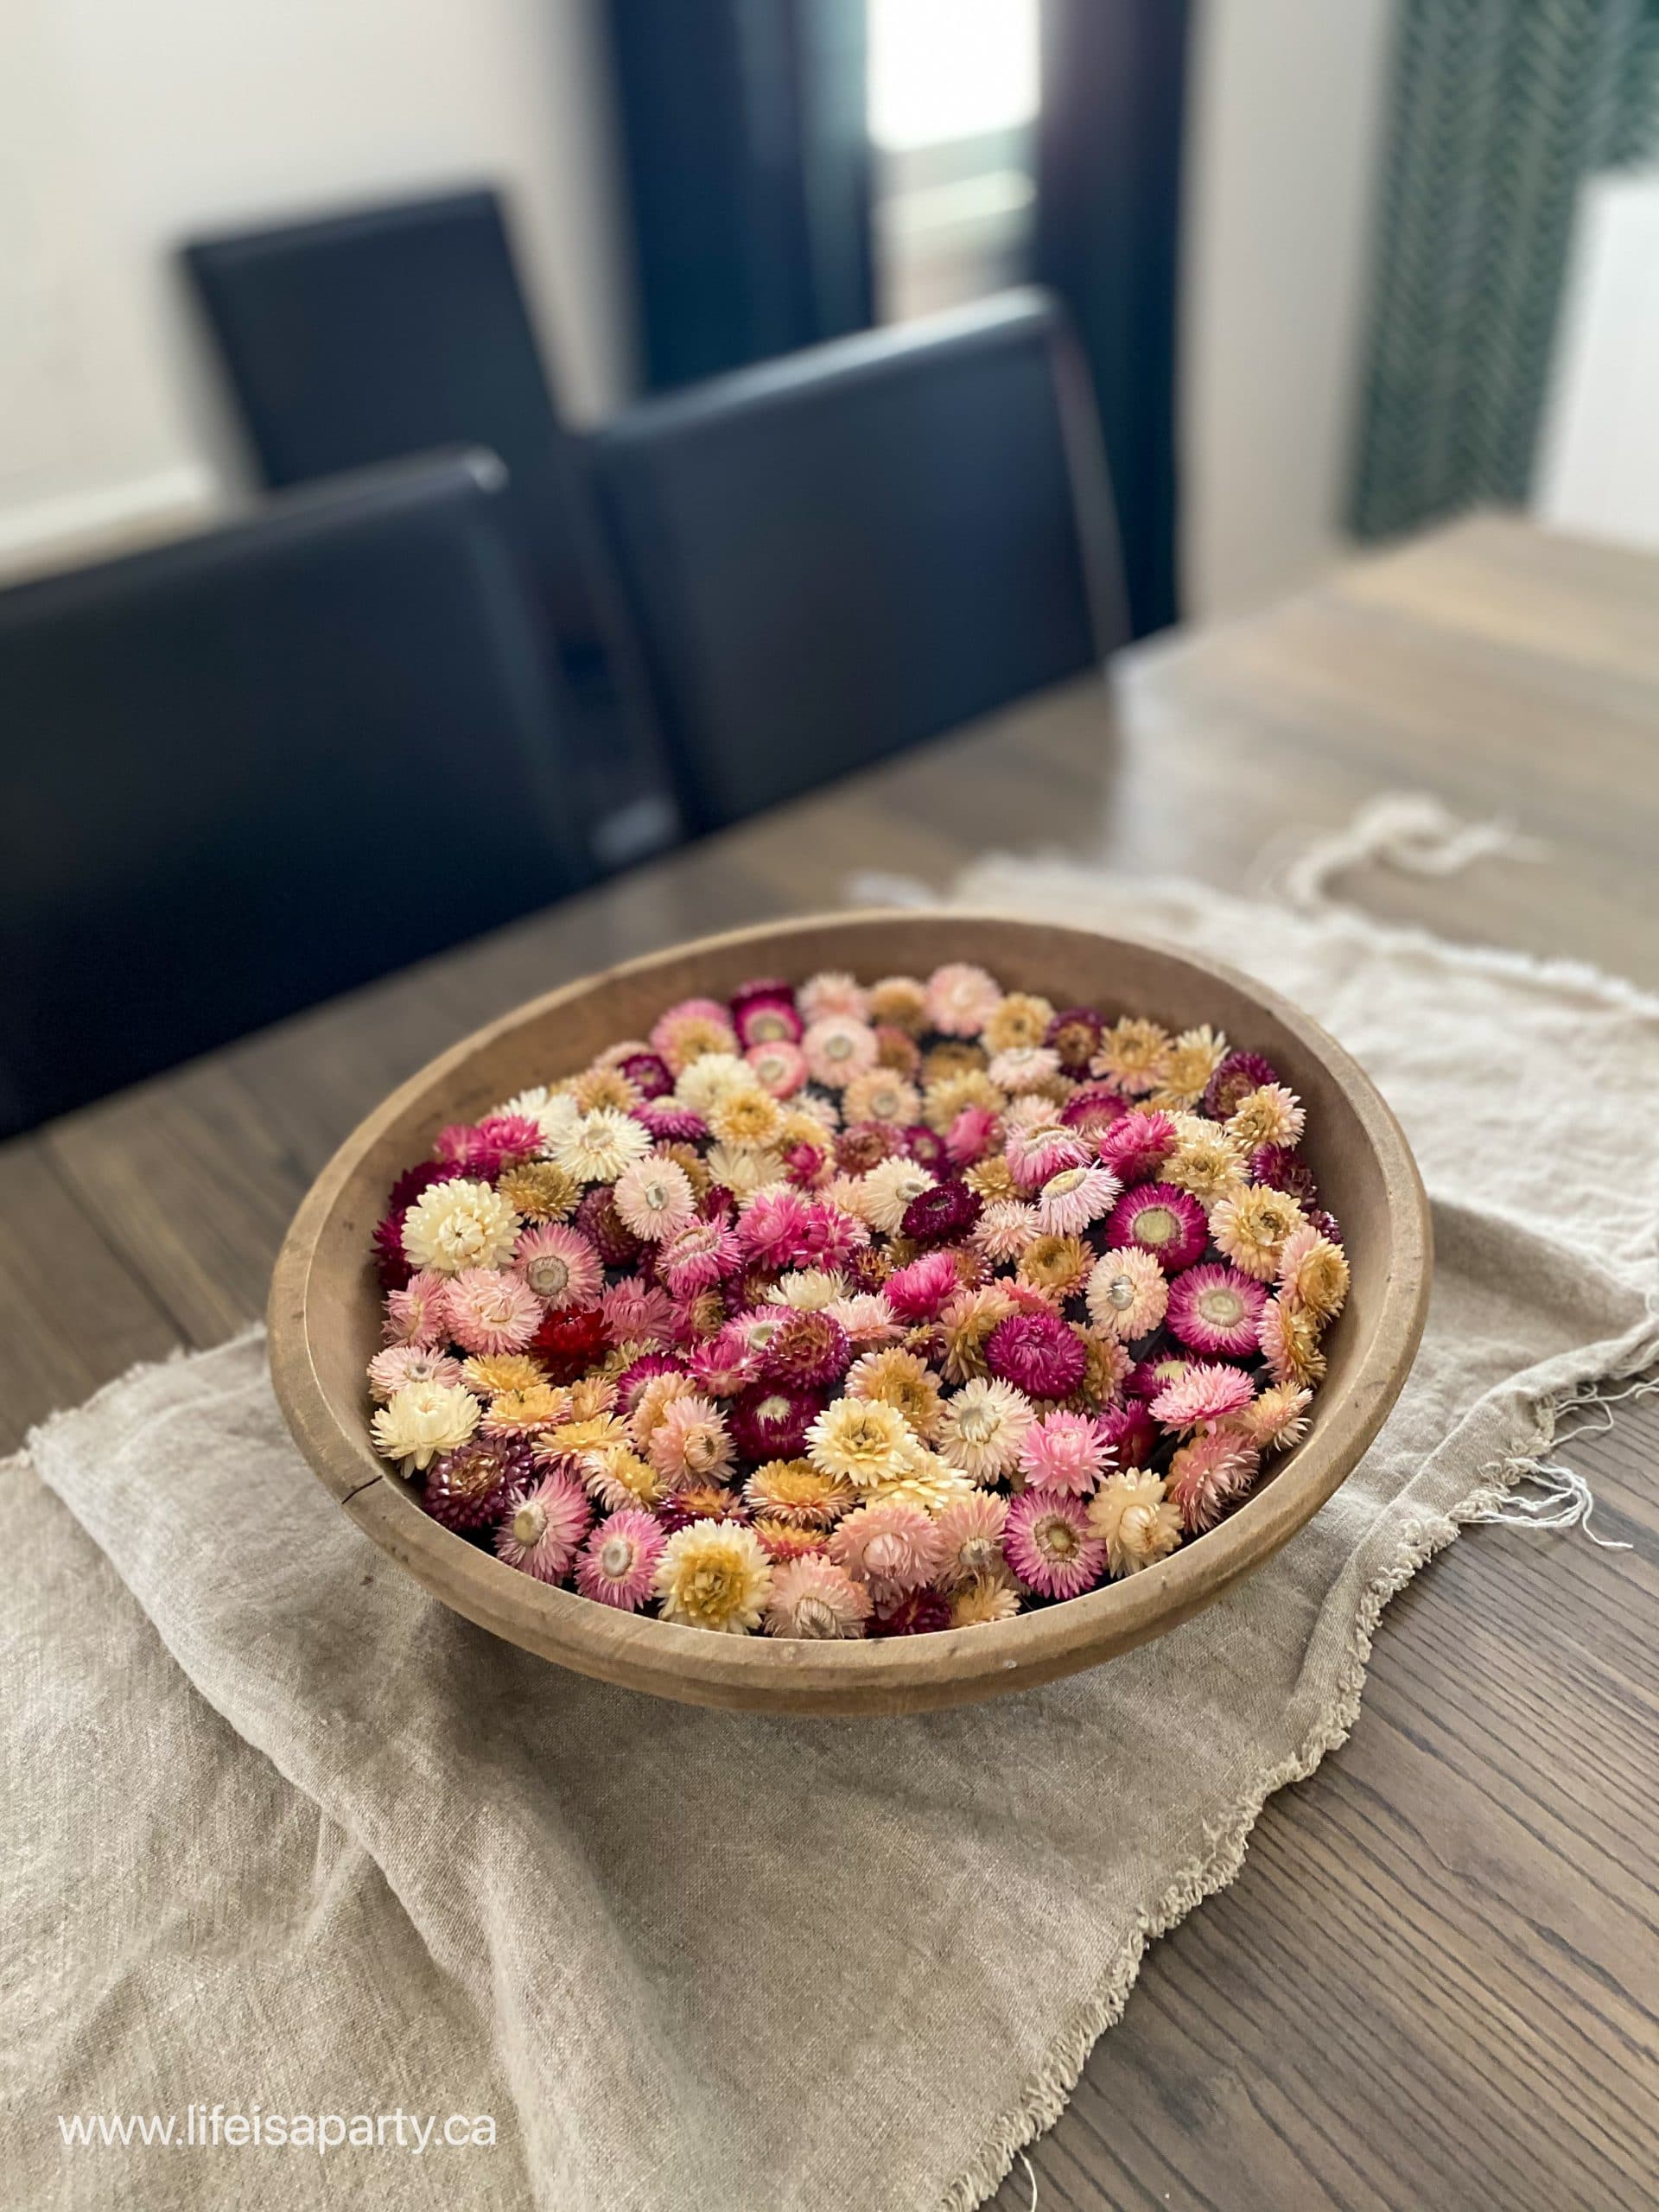
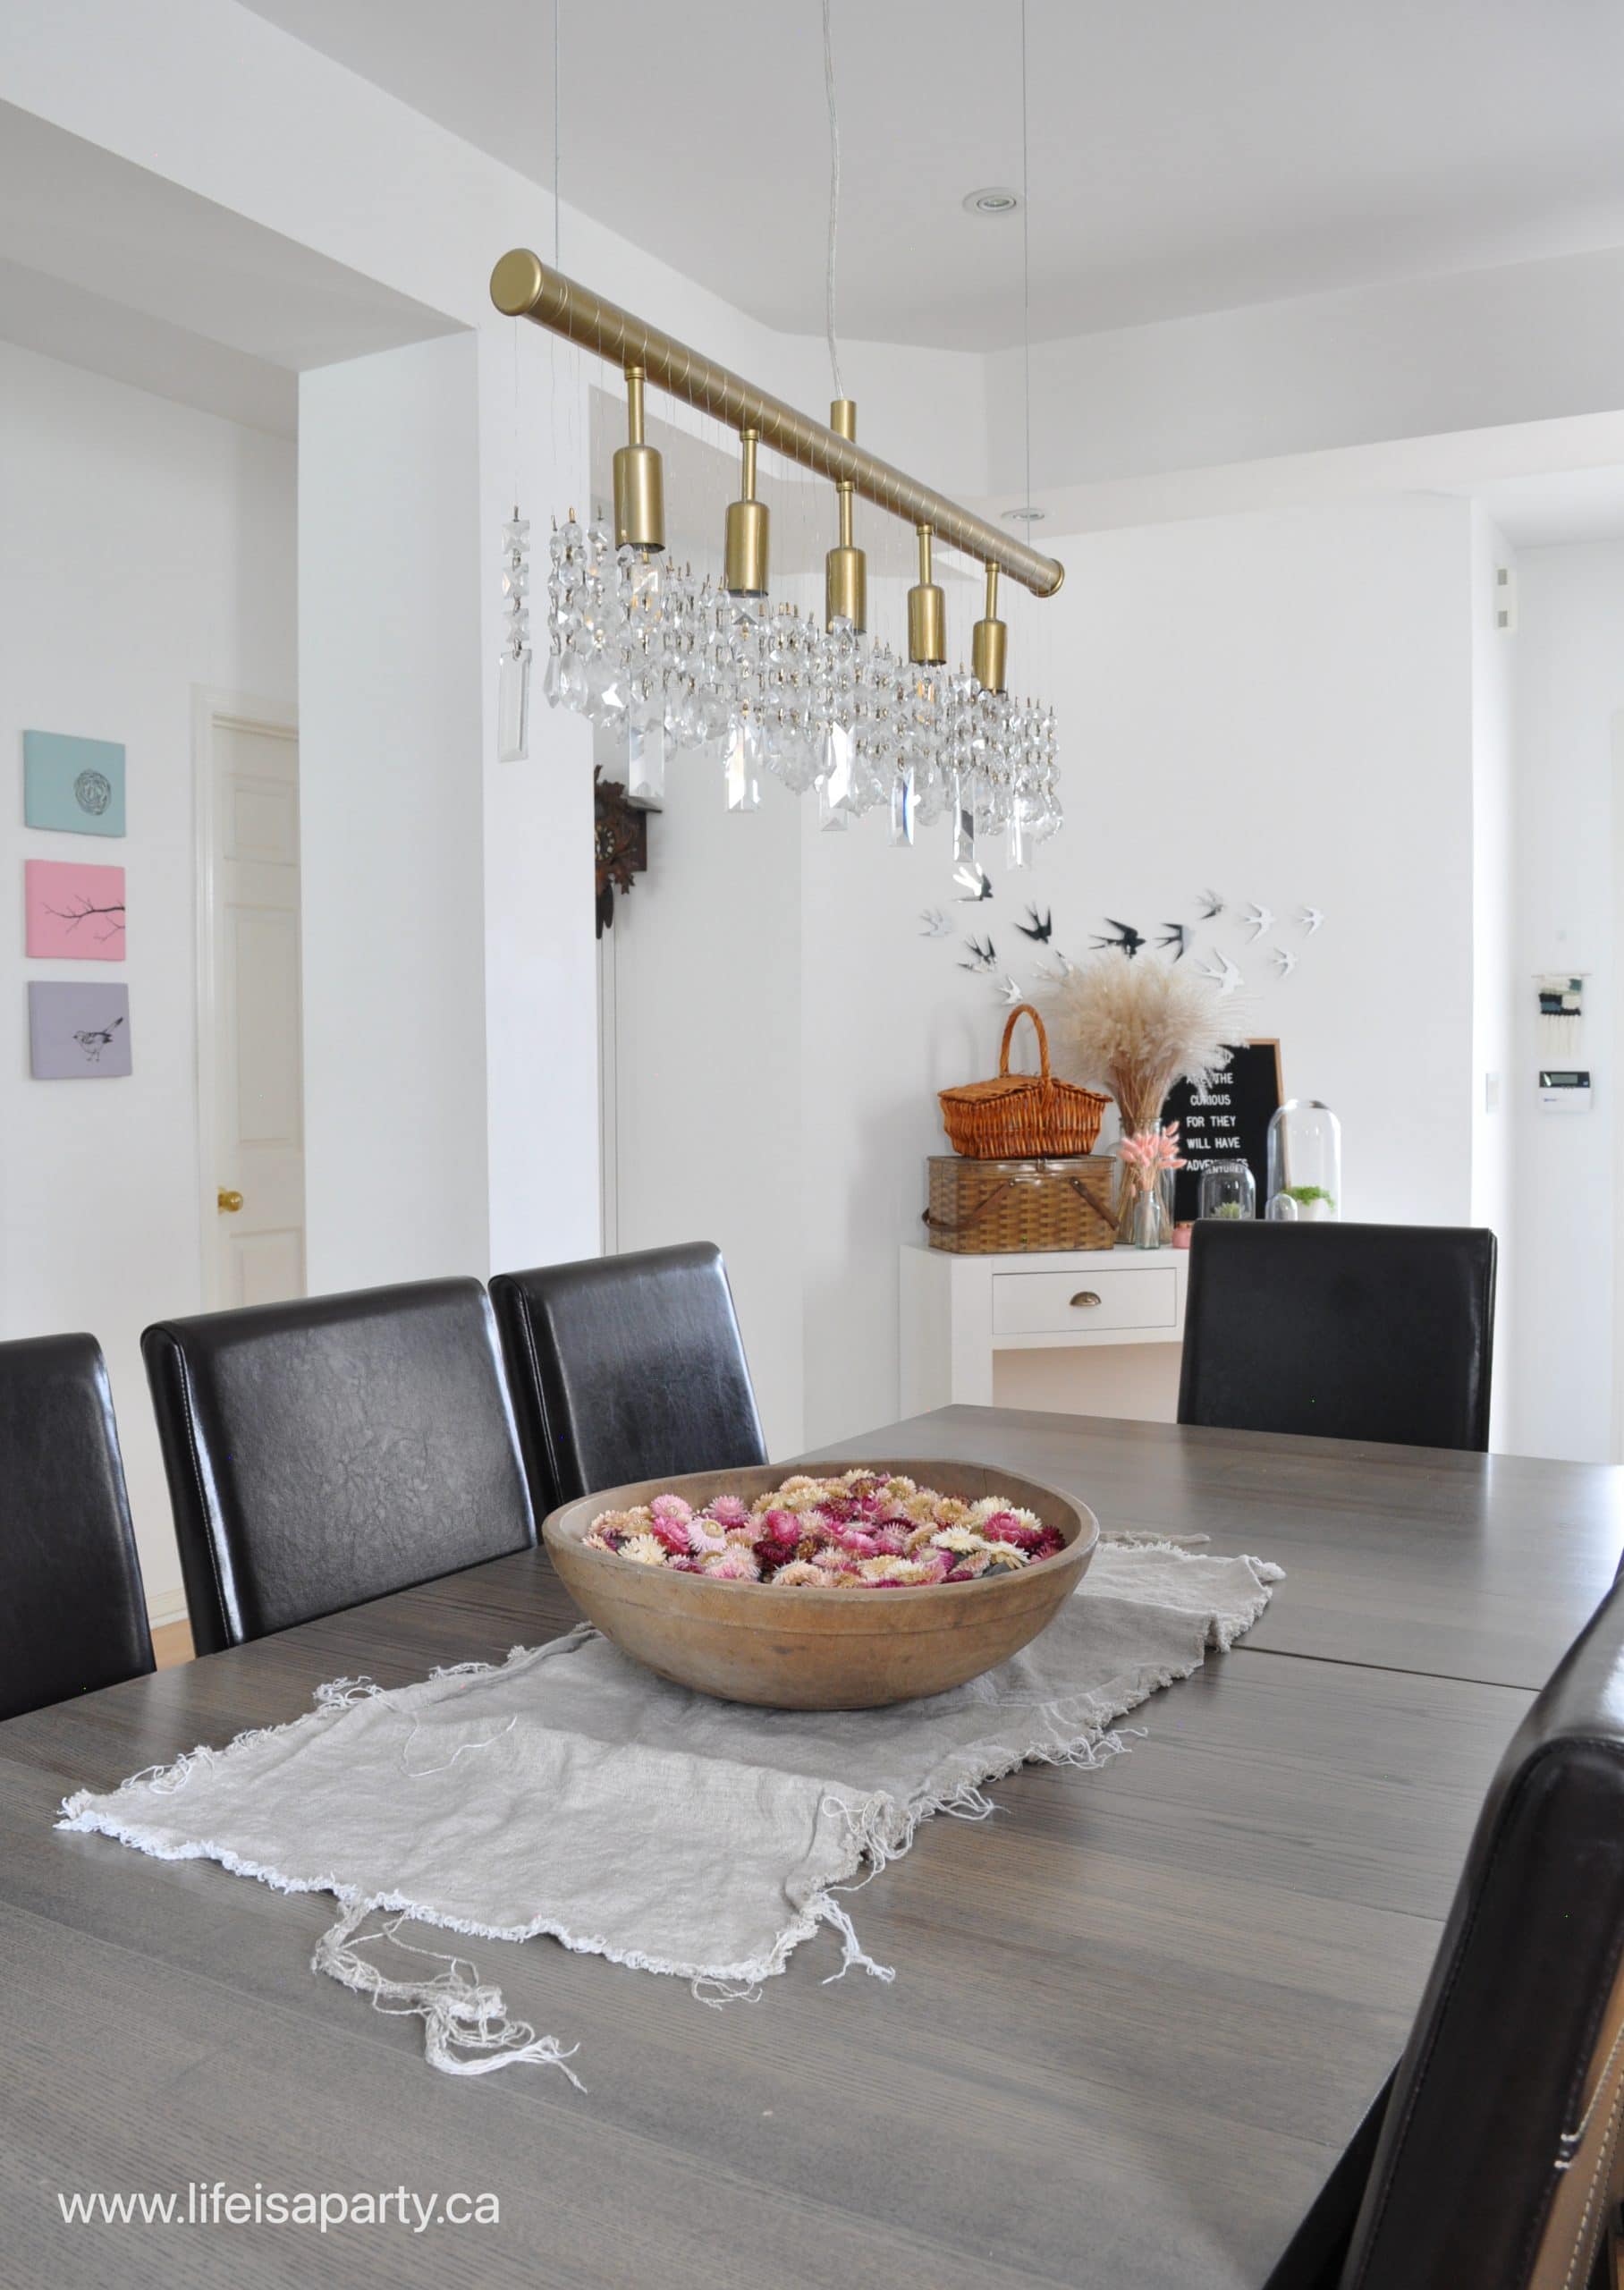
Into the dining room, and I've kept the dining room table really simple.  I used a vintage wooden bowl and filled it with dried straw flowers.  Summer is the season of flowers and this is a lovely way to include them.  I'm growing some straw flowers in the garden this year for the first time, so we'll see if I am able to add to this collection.

summer home tour
dried straw flowers in a wooden bowl
summer decor ideas

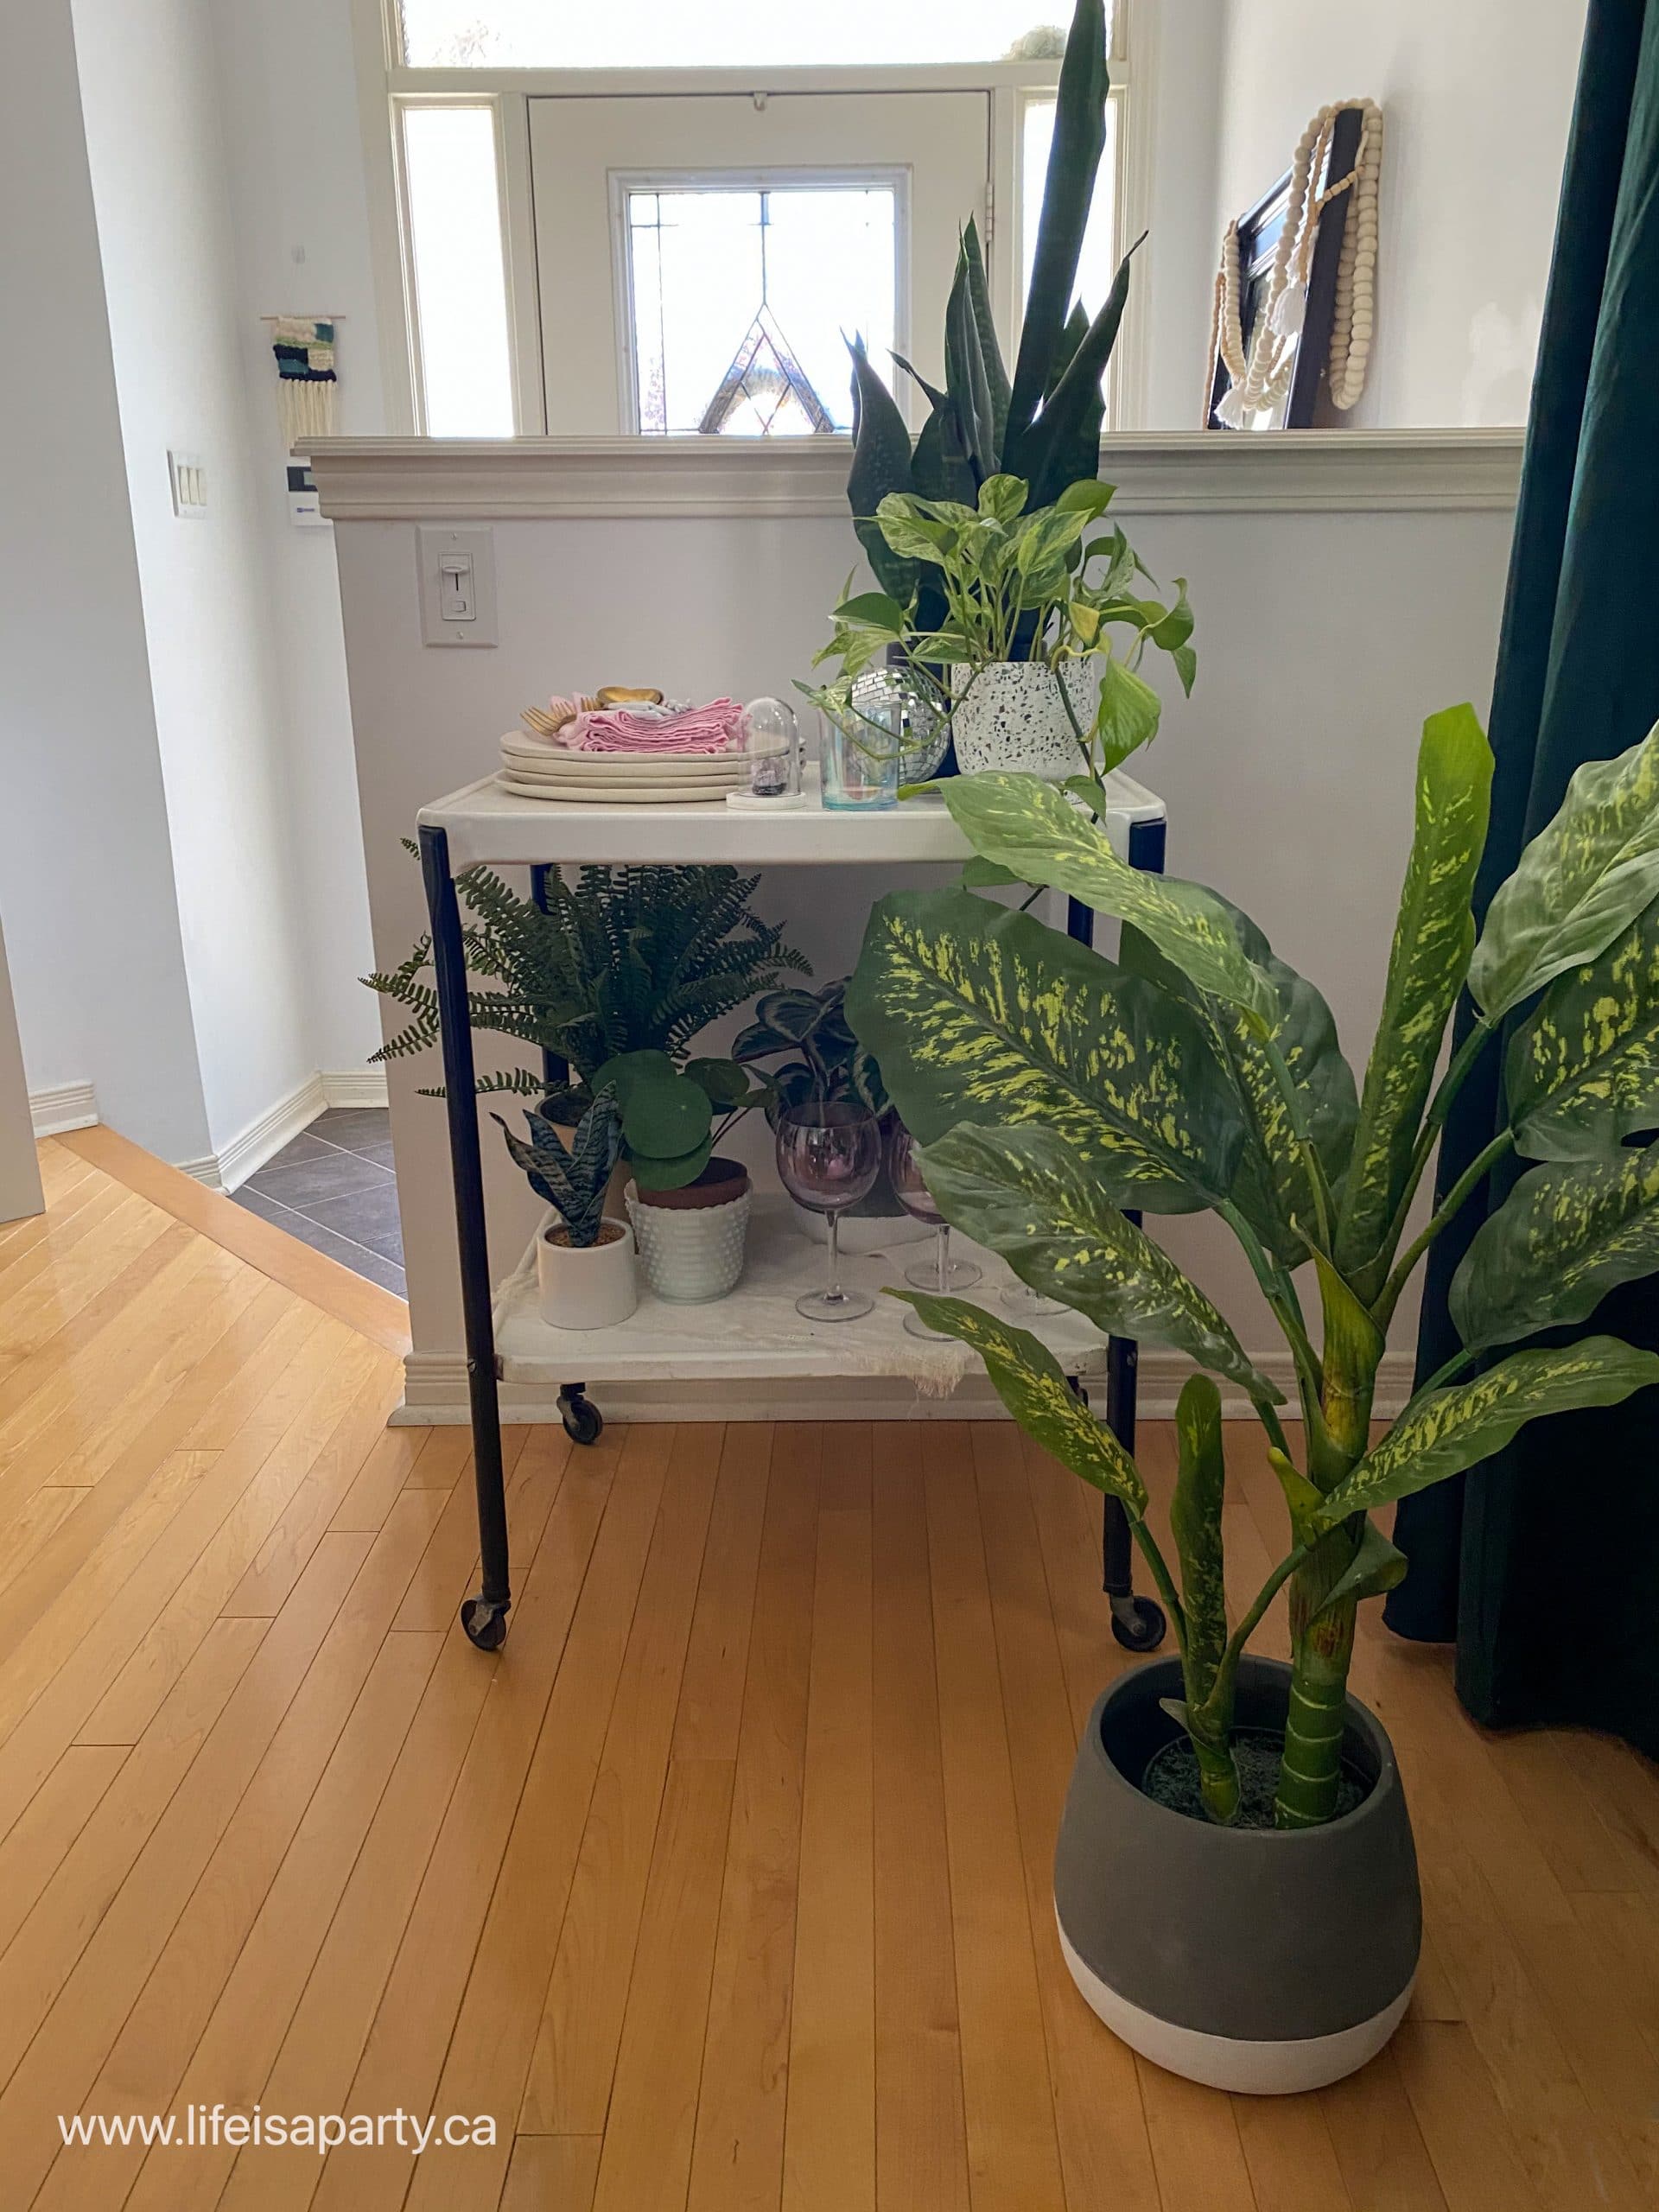
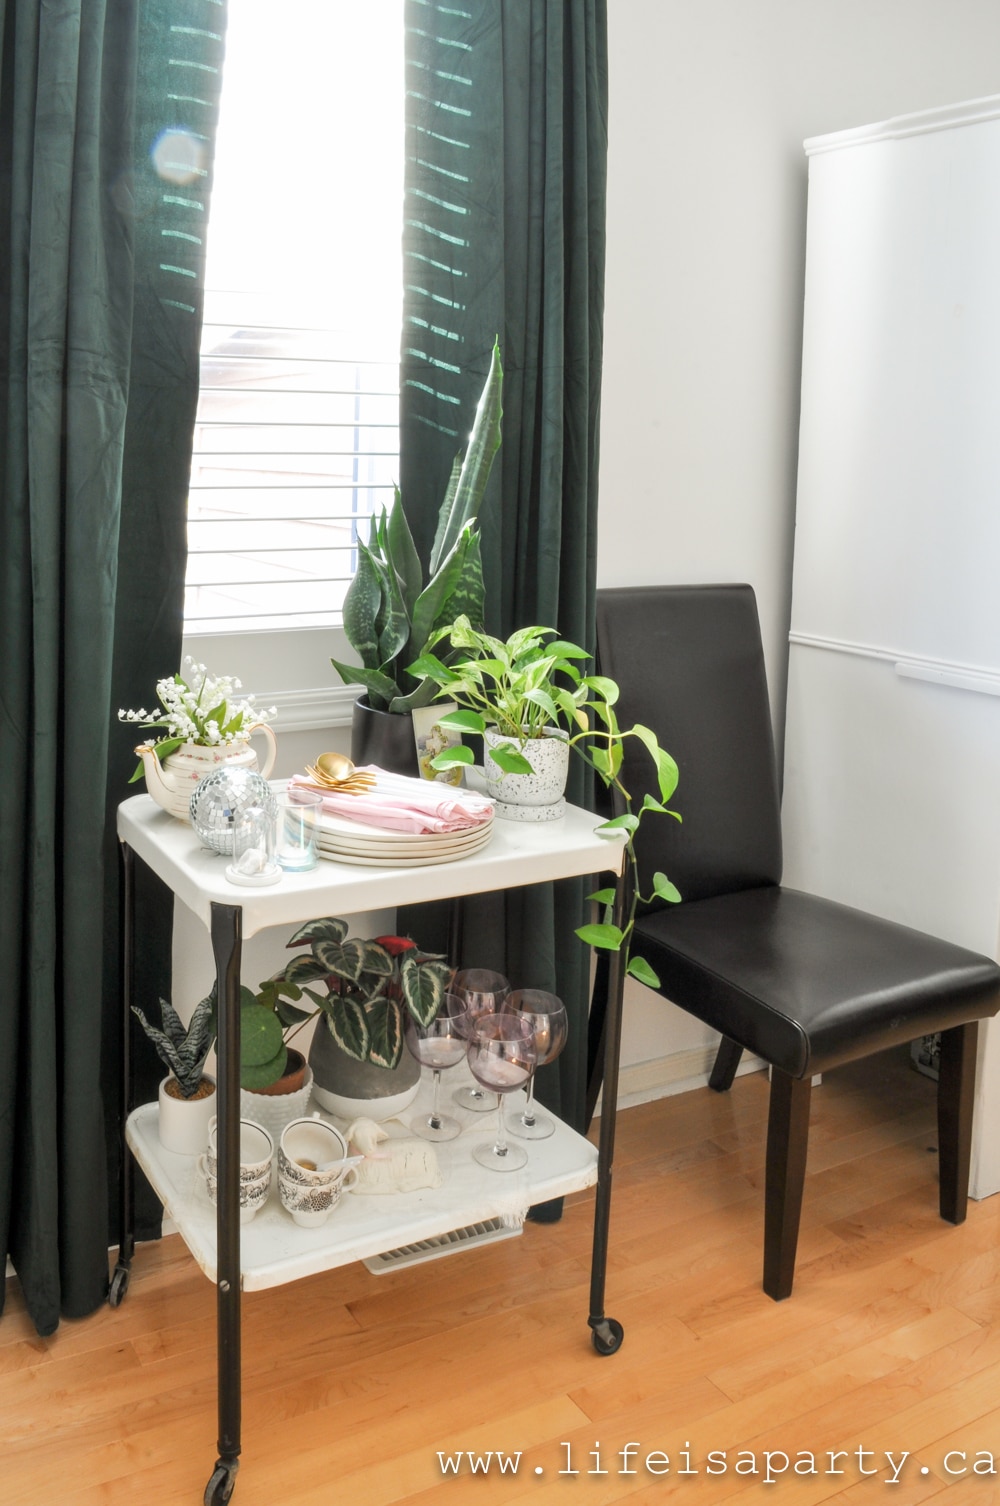
On my little bar cart in the corner, it's looking more like a plant stand -and I love it.  These handmade pottery plates and my favourite cutlery are ready for summer dinners.

plant cart
summer decorating ideas
summer bar cart
how to decorate for summer
summer decorating ideas

Over on the other side of the room, we're ready to celebrate.  The beautiful handmade banner is a new addition.  The candle holder is one my sister and brother-in-law made for Christmas and it looks amazing here filled with pink candles.  What are we celebrating?  Summer of course.  That's reason enough to celebrate.

how to decorate for summer
DIY wood candle holder

This room is feeling perfect for summer and ready to make life a party!

how to decorate your house for summer
summer home tour

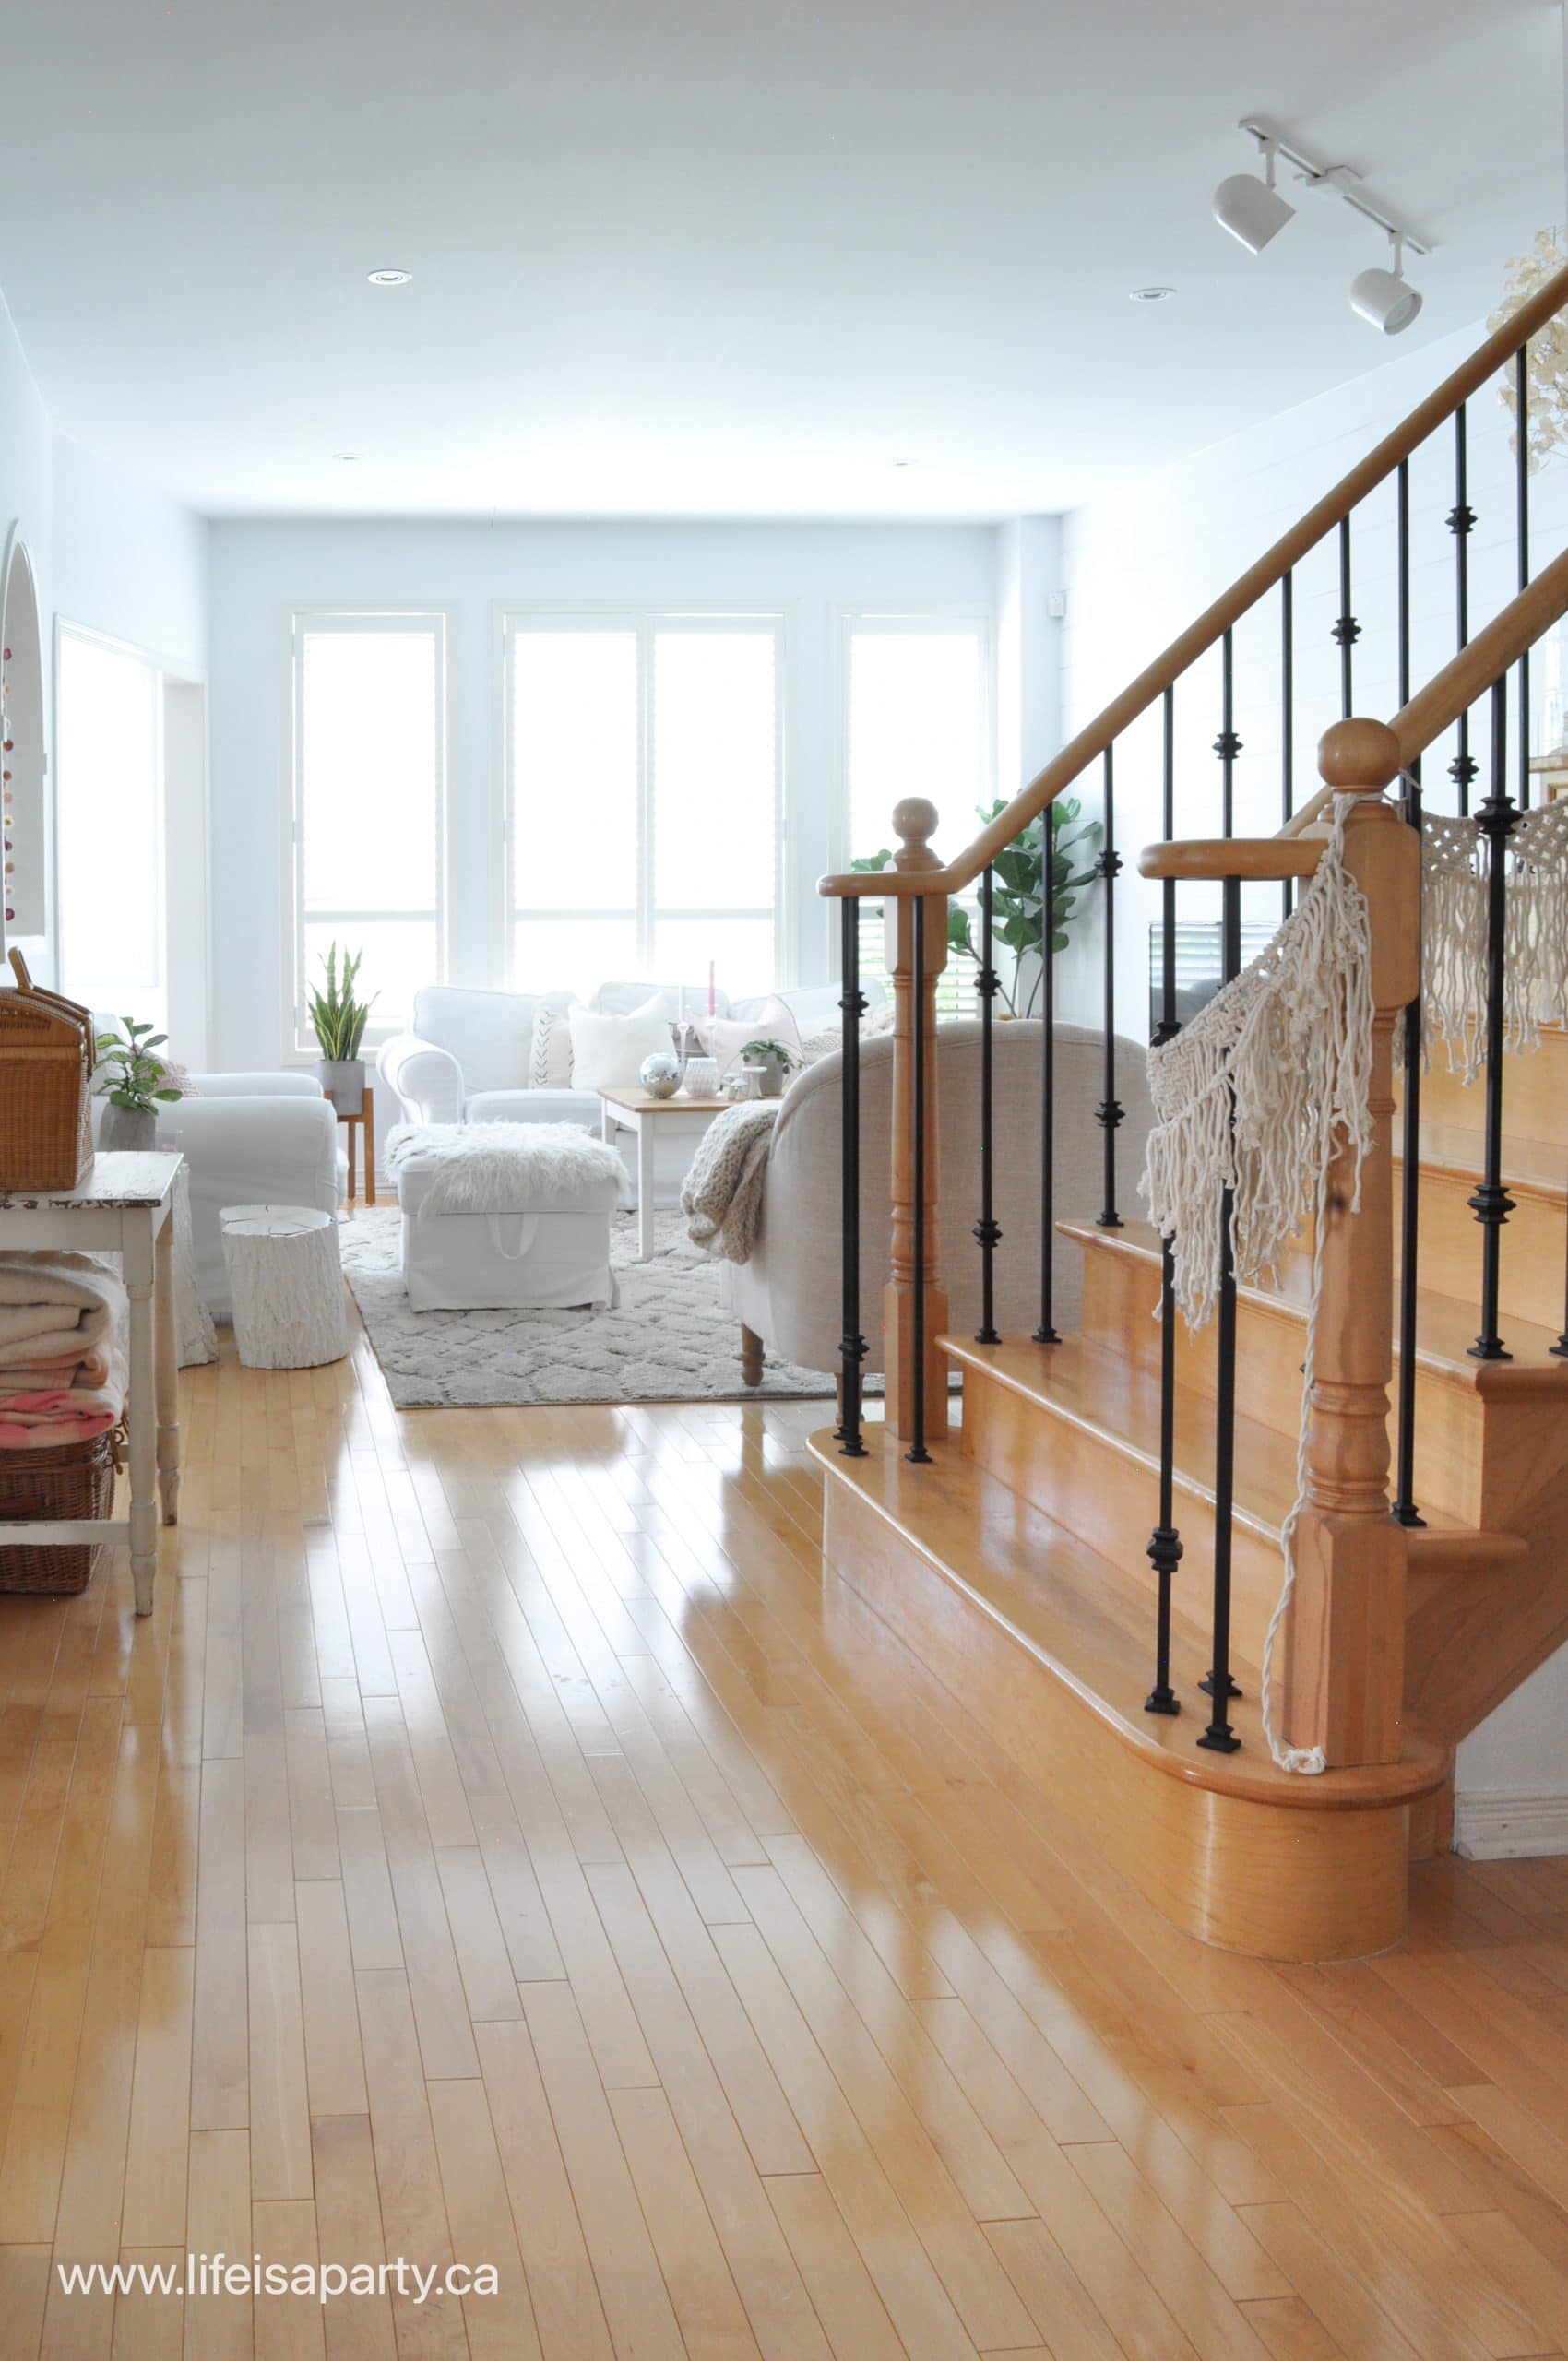
The Living Room

boho summer home tour

There's another basket, and some vintage wool blankets ready for any summer picnic in this little spot between the dining room and living room.

what to do with vintage baskets
summer fireplace mantel ideas

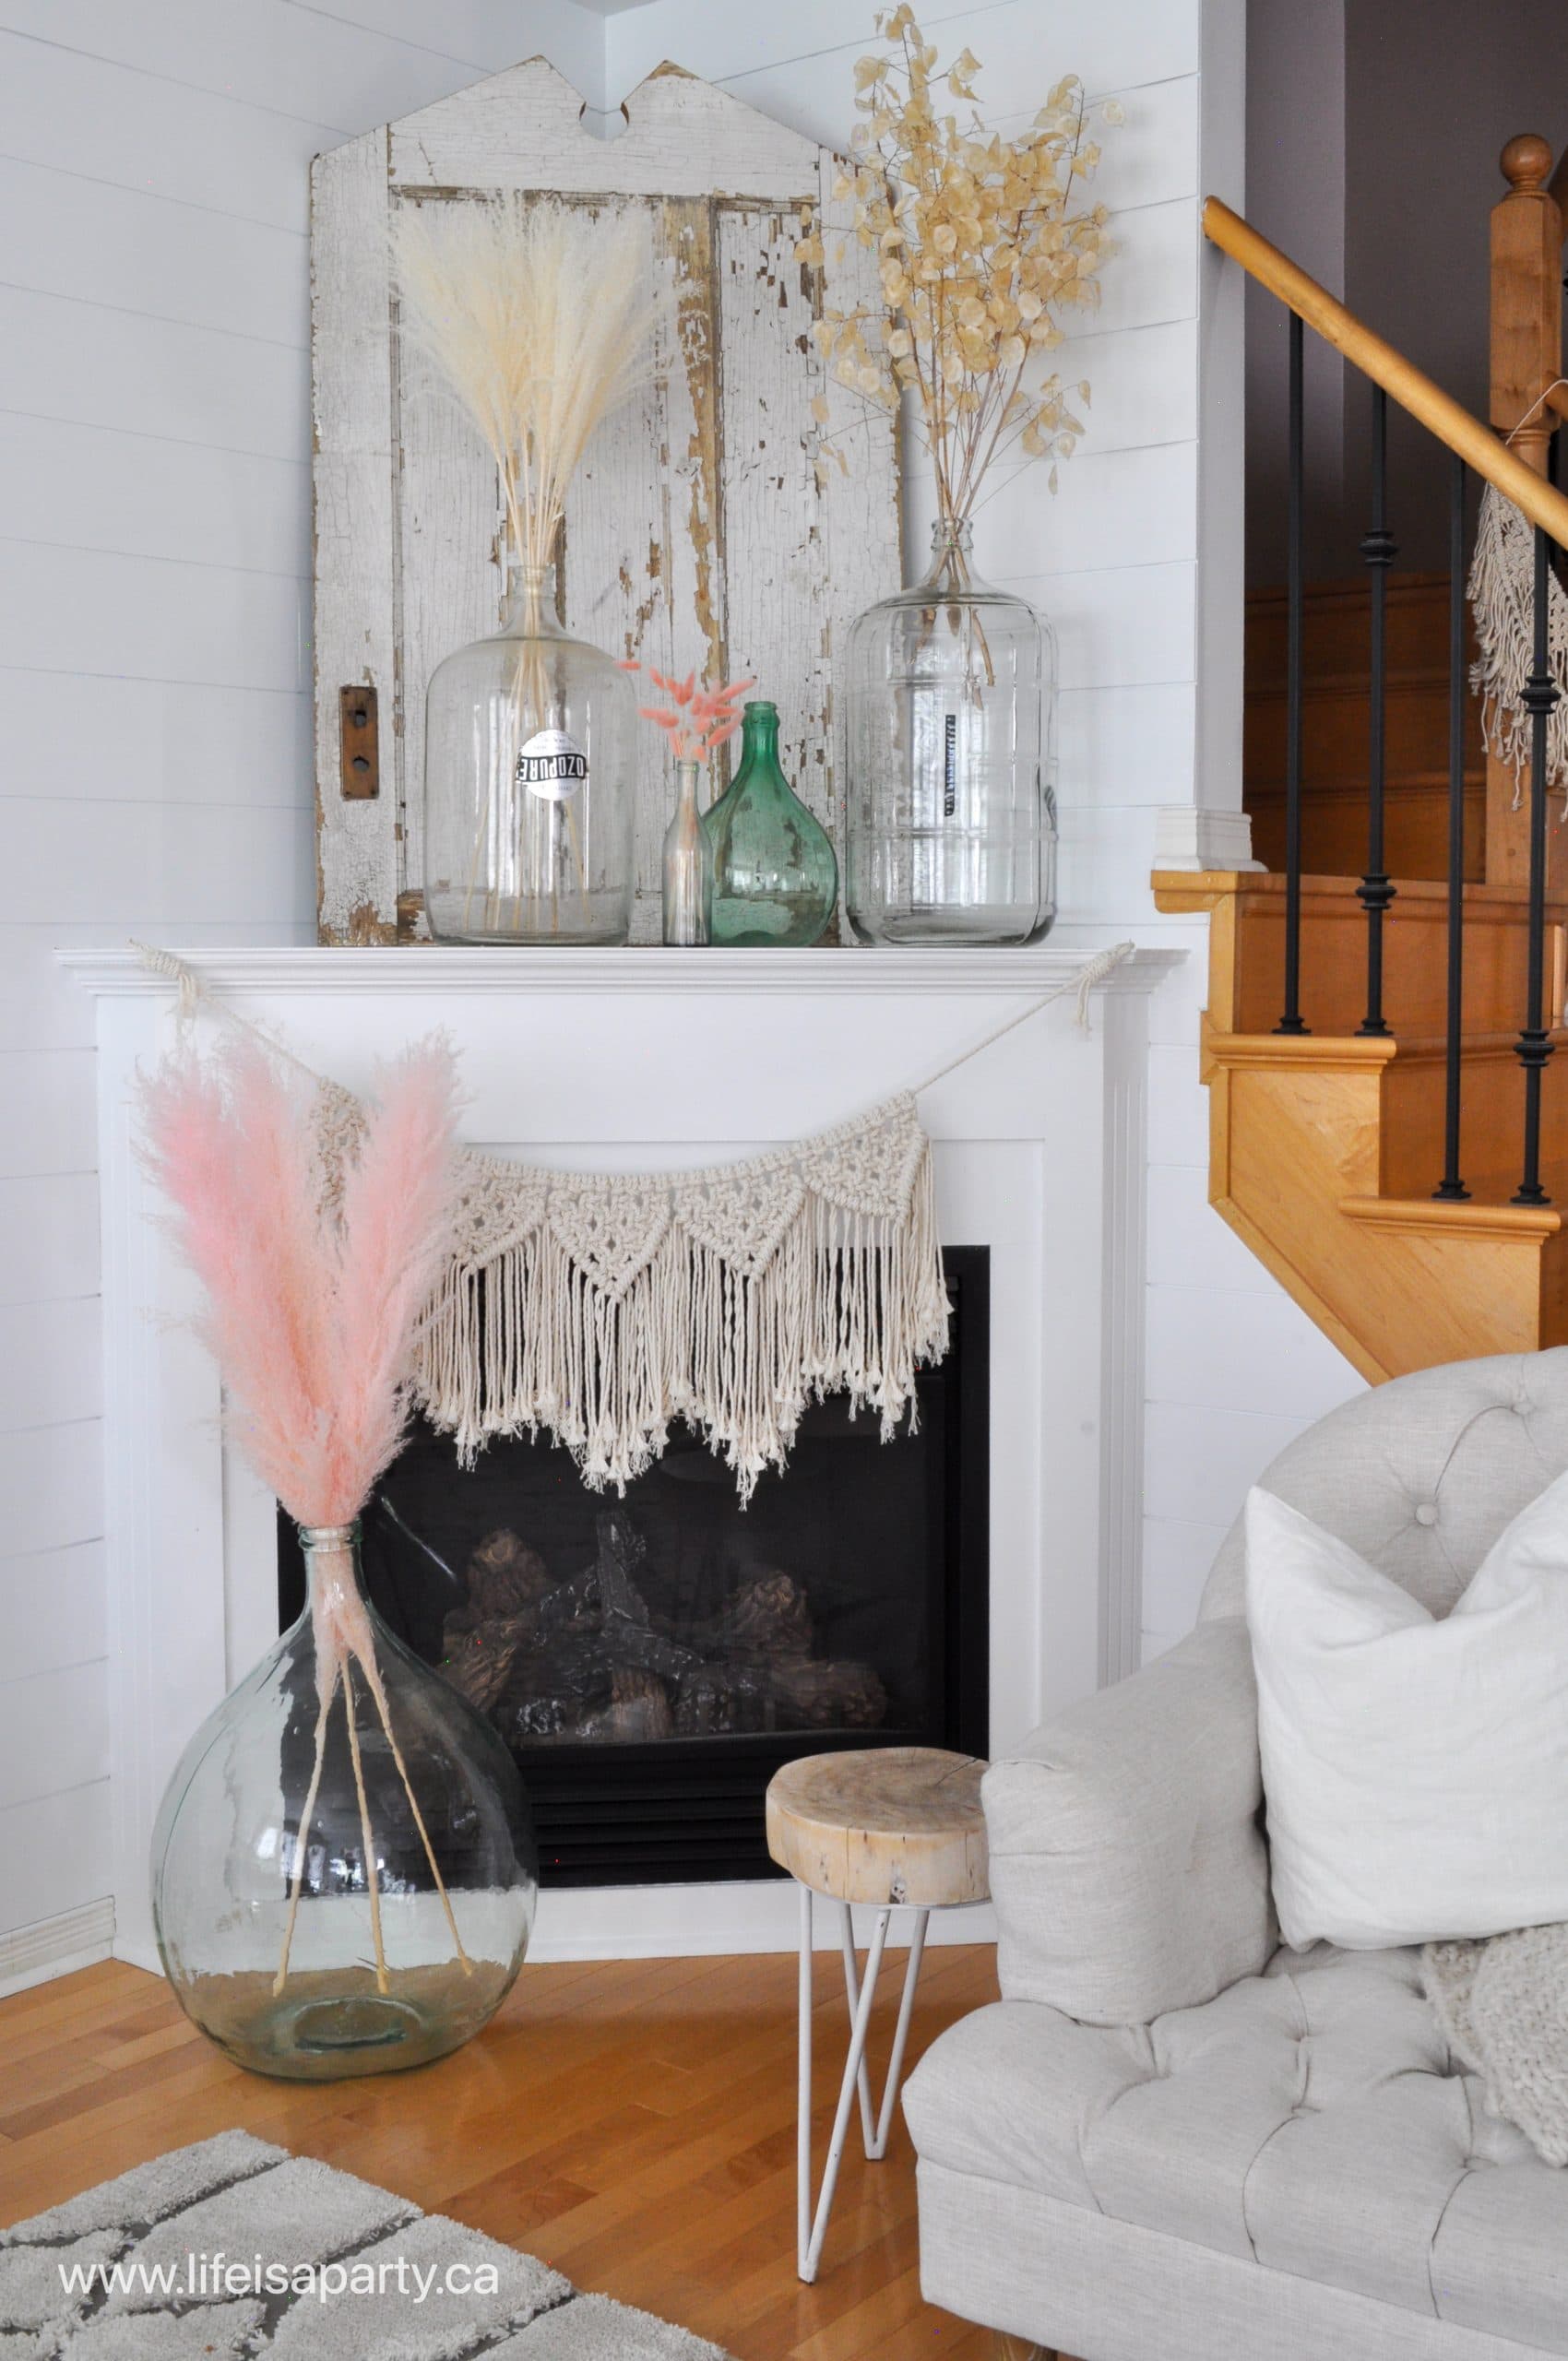
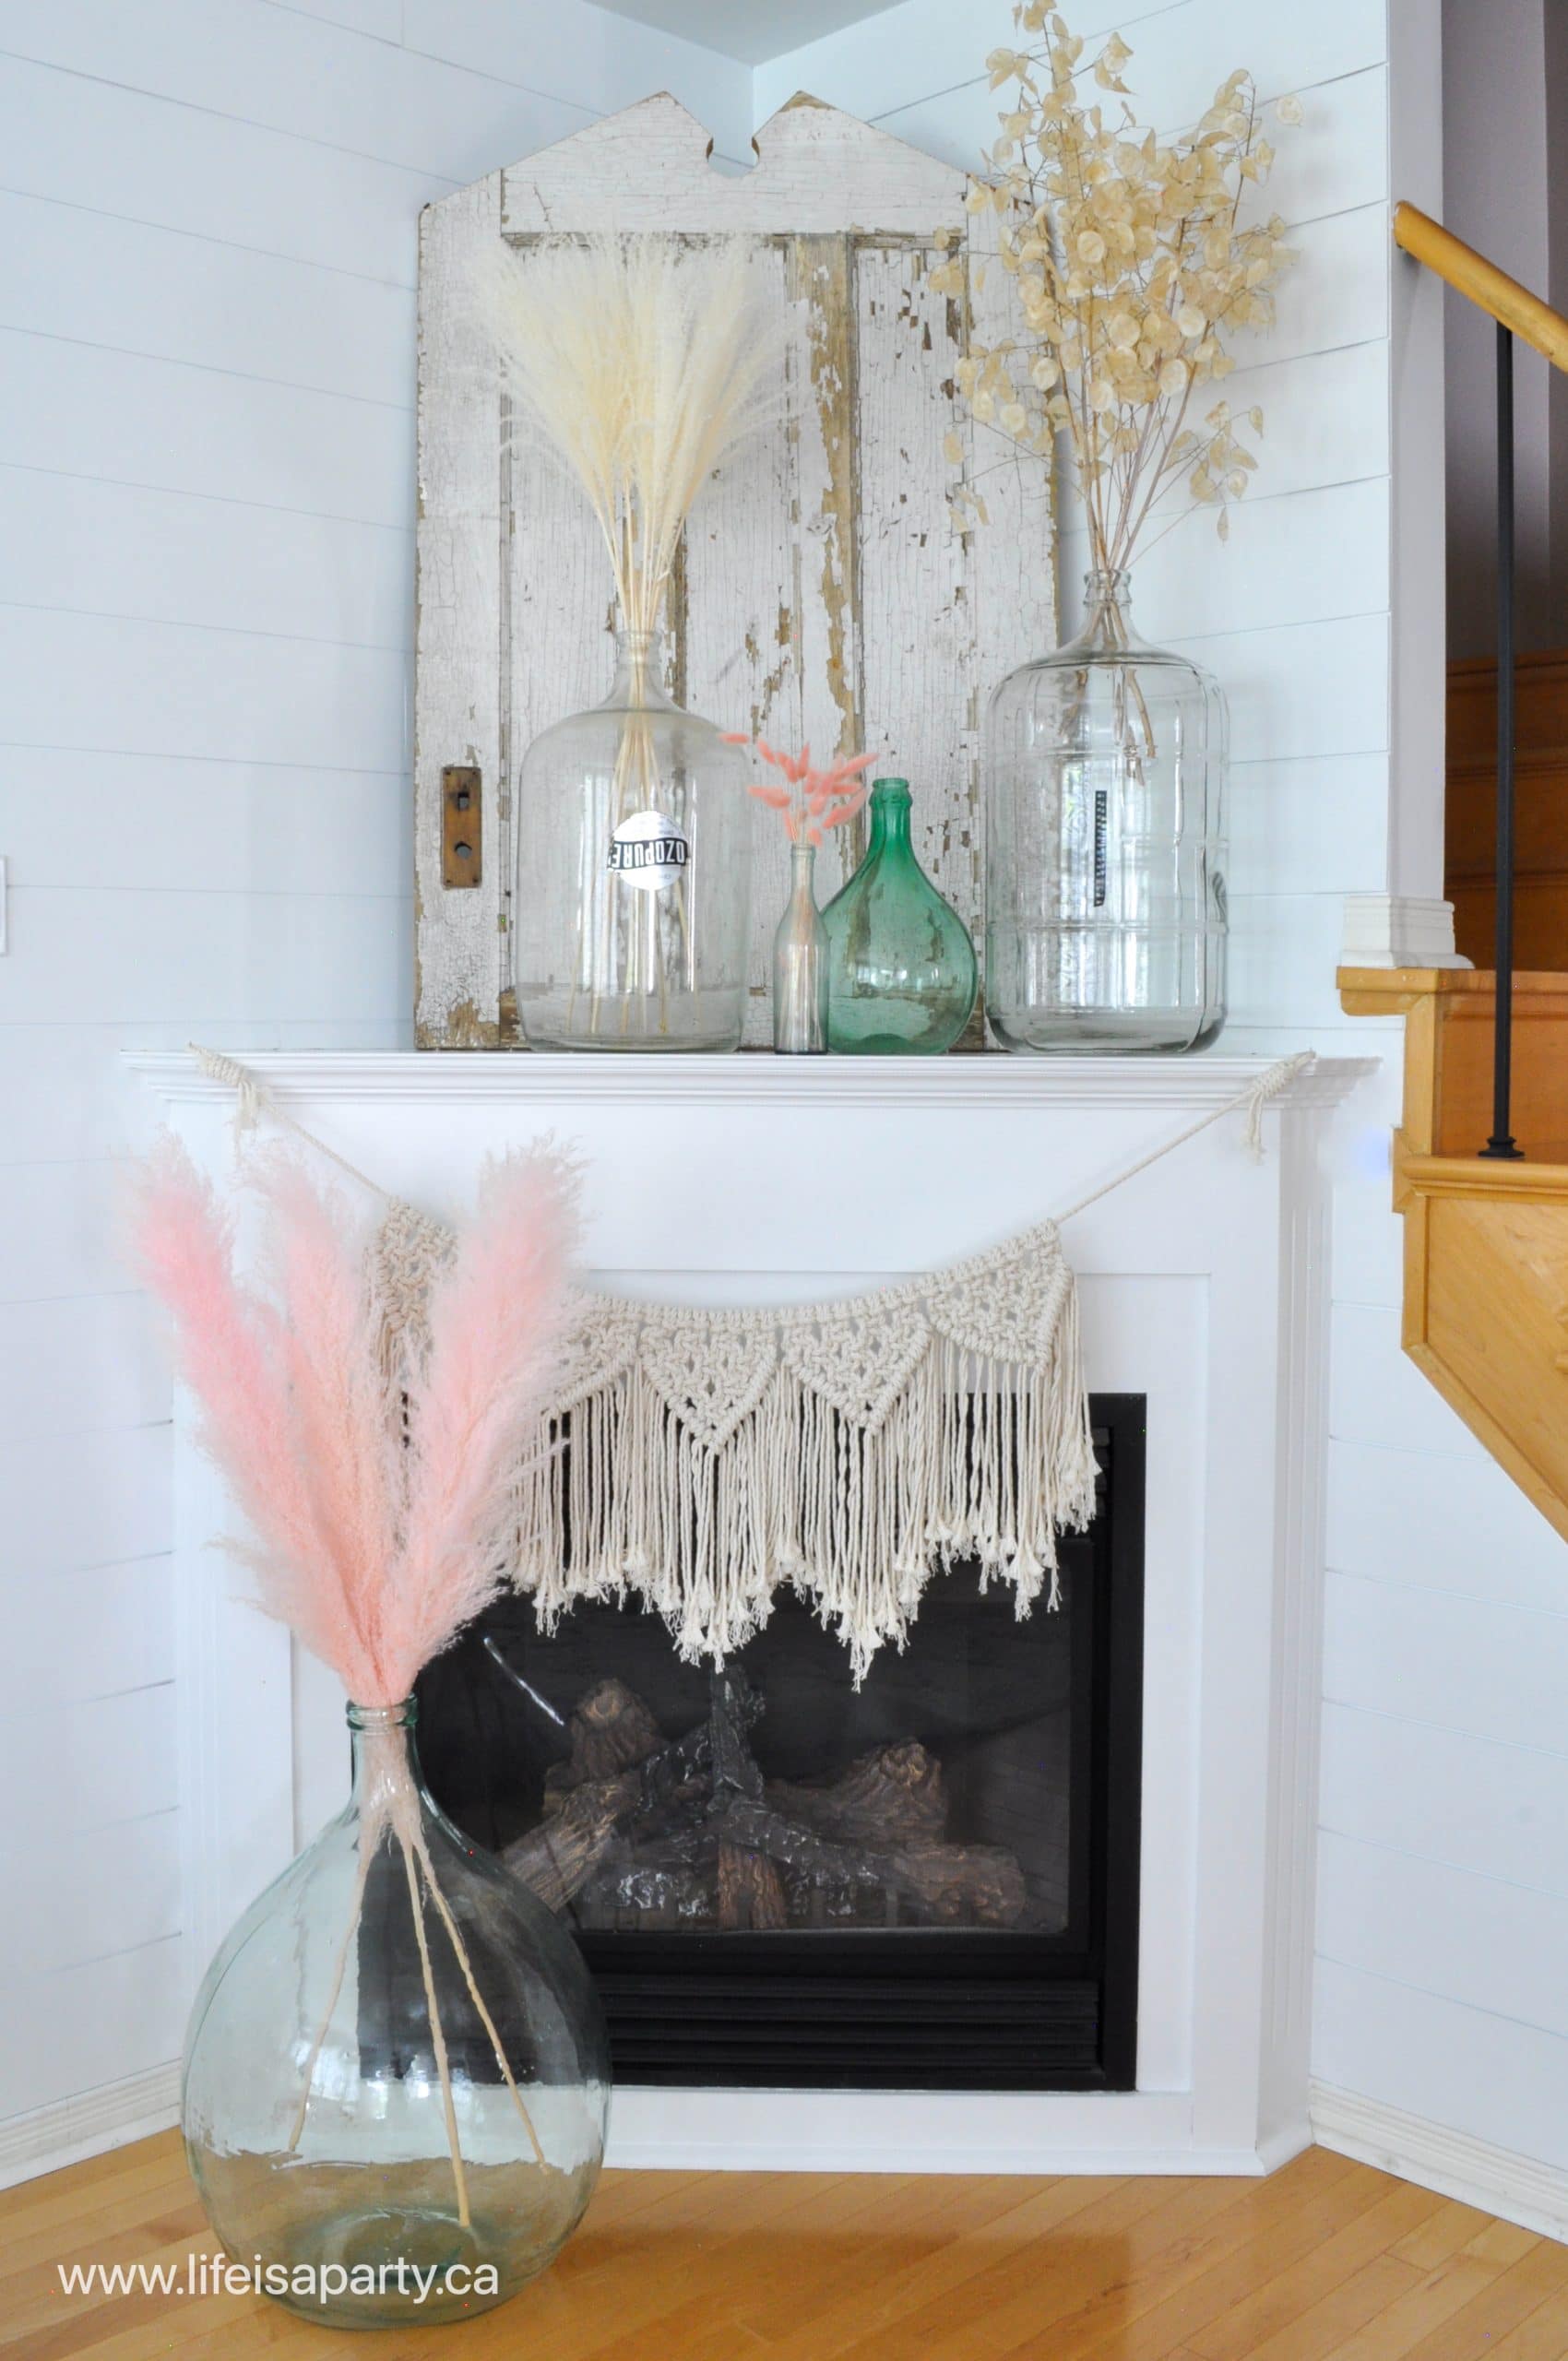
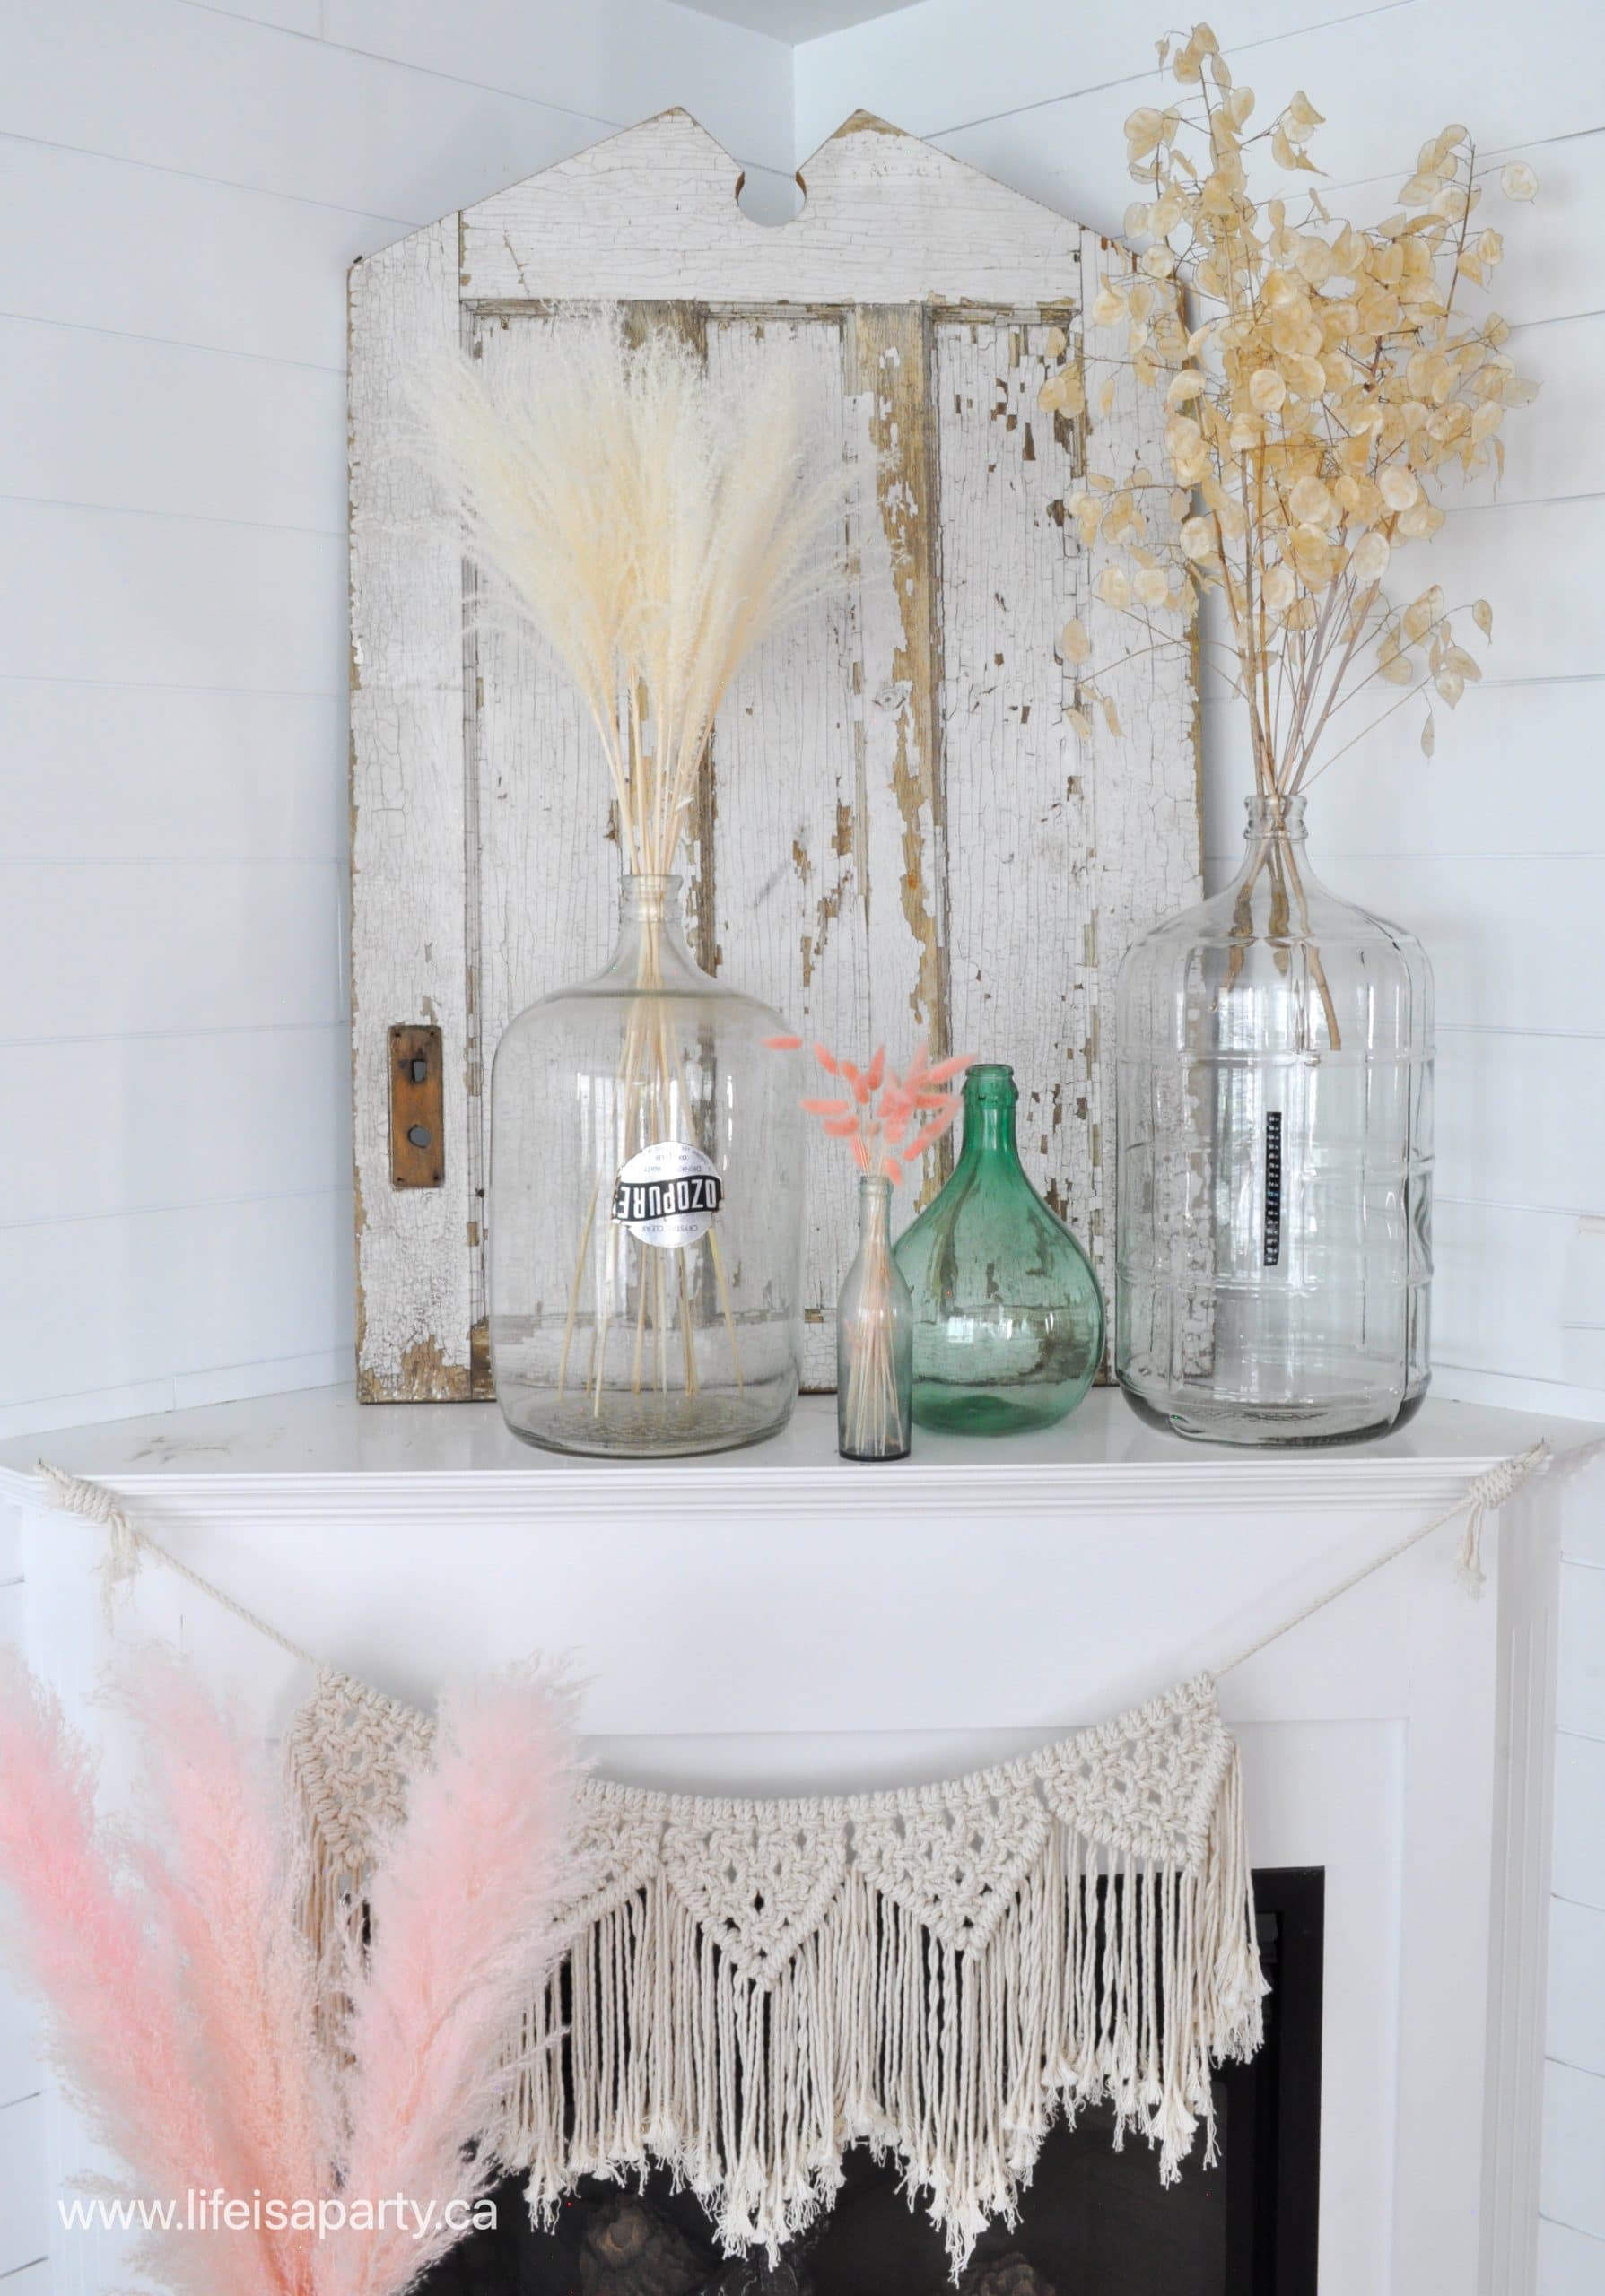
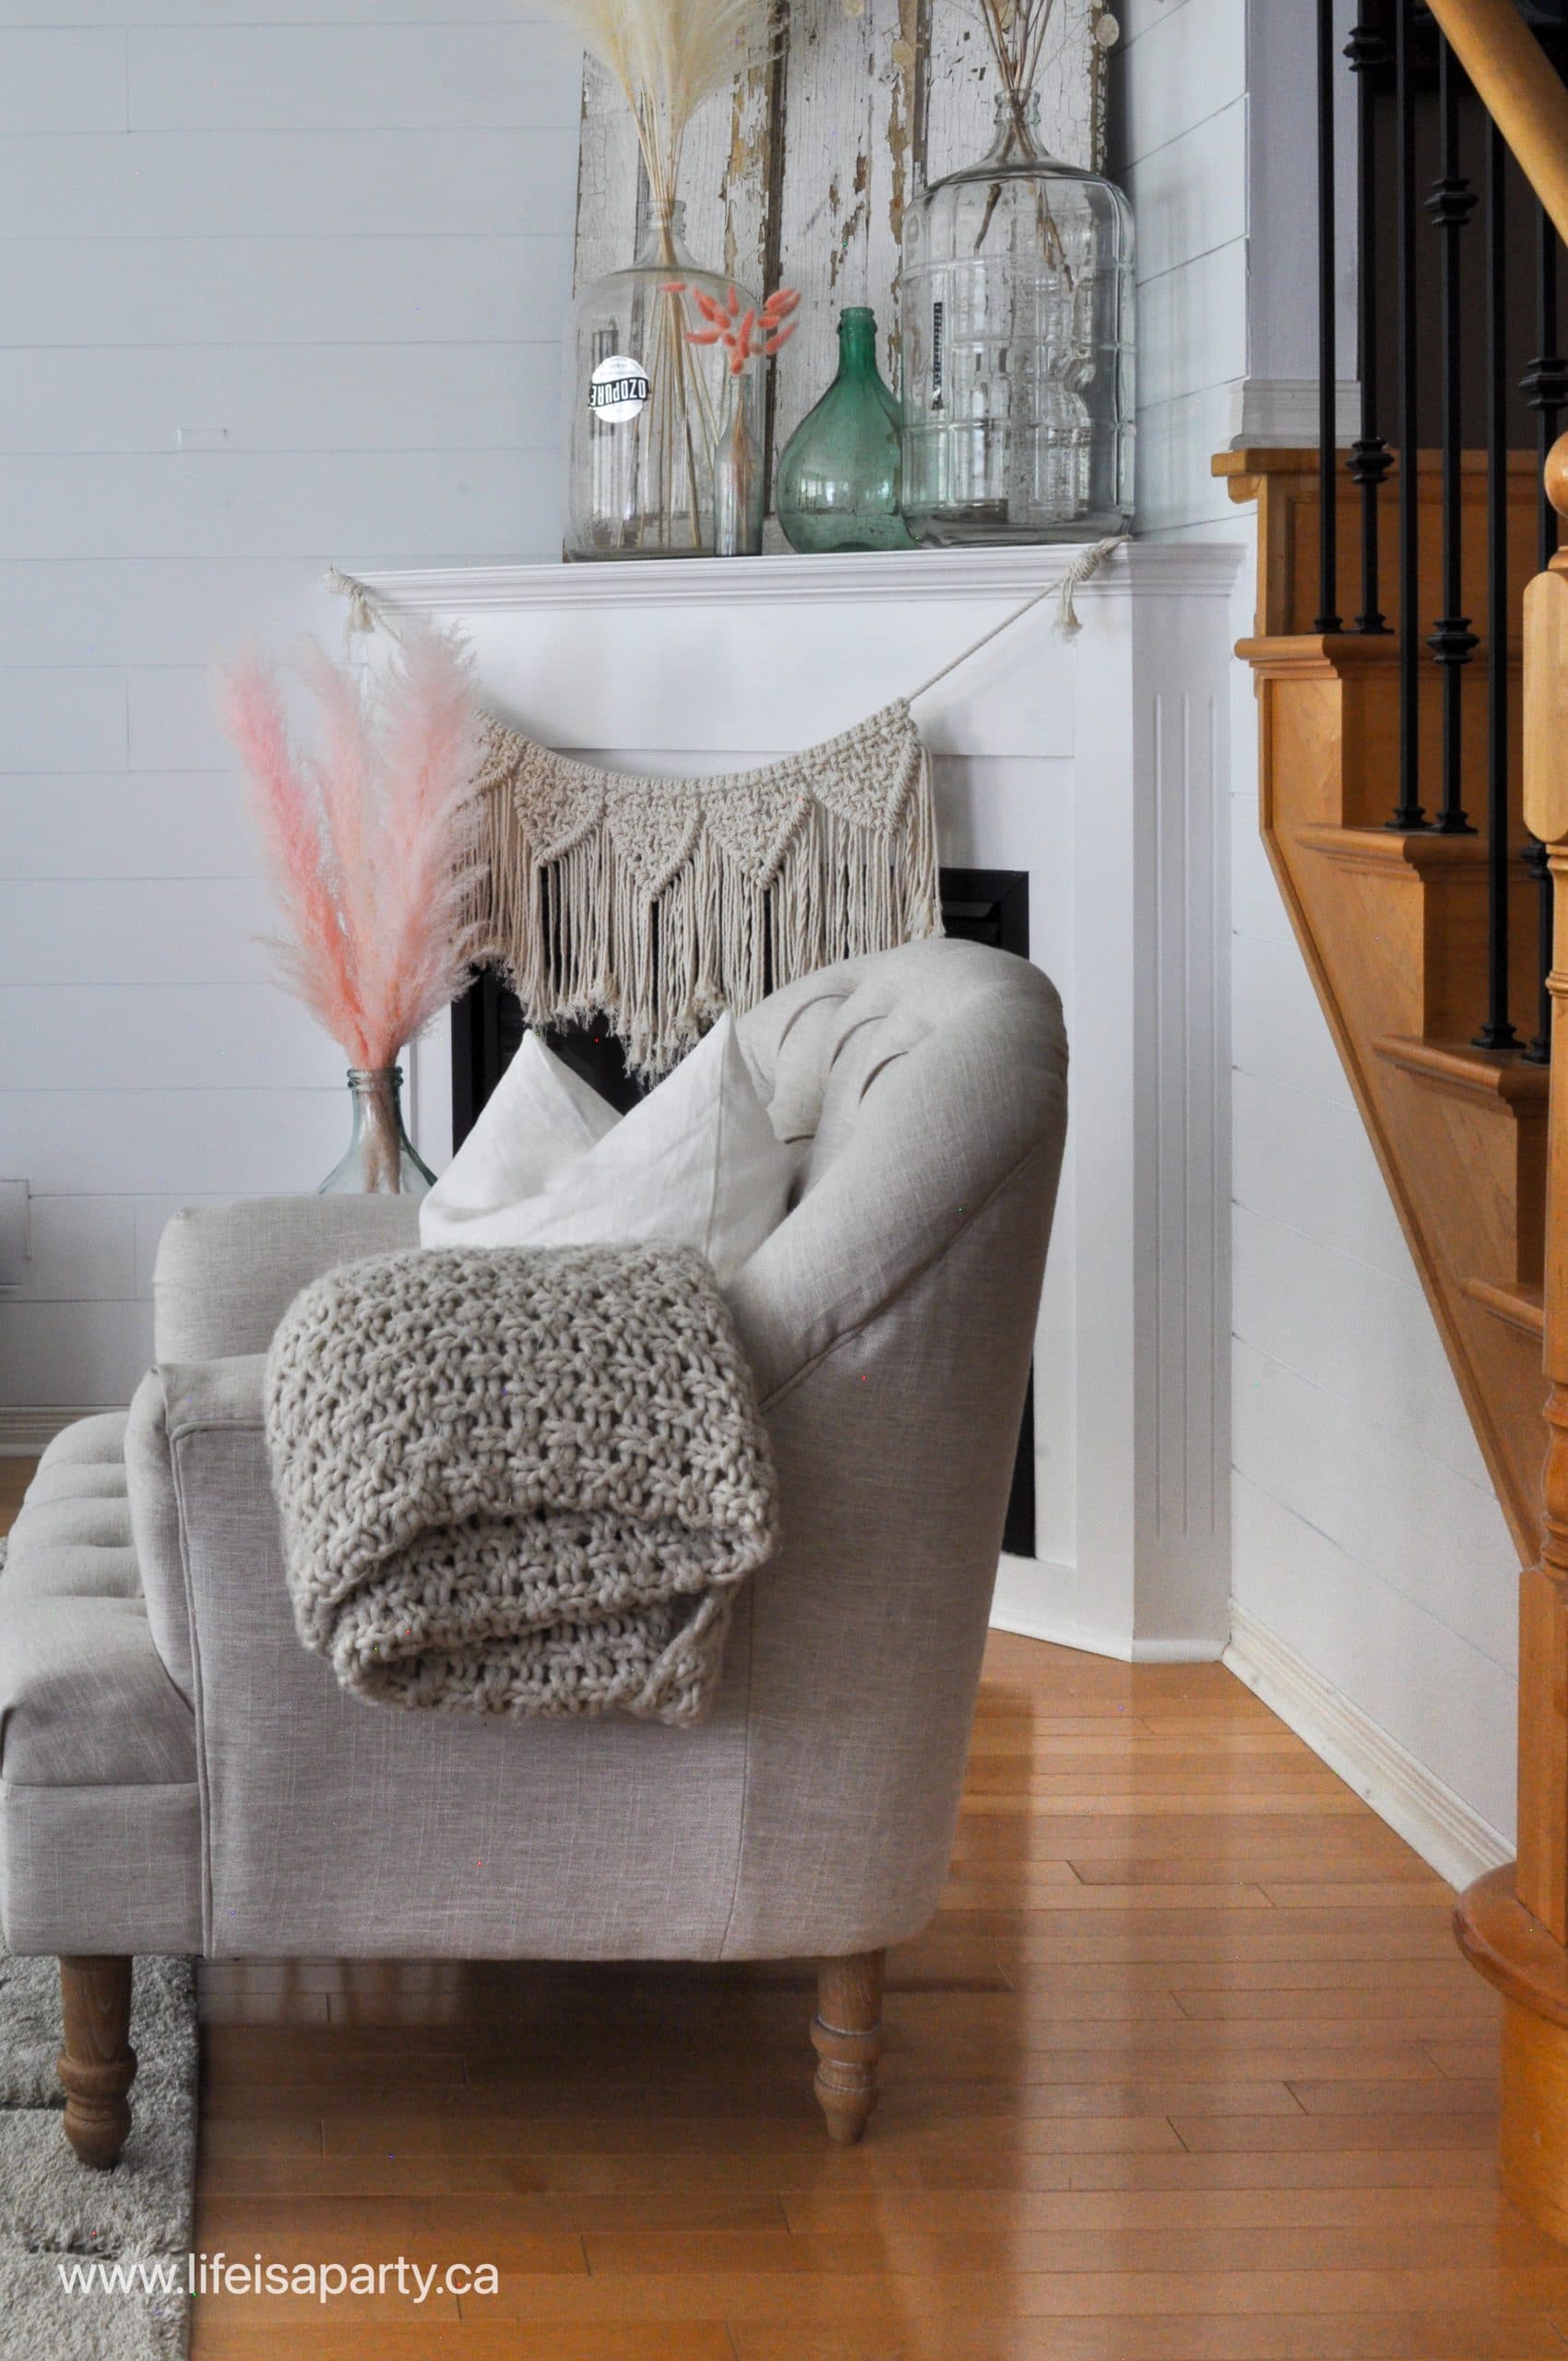
On the fireplace mantel, I've kept things easy by repeating more dried grasses in these beautiful vintage water bottles and demi johns.  Everything feels bright and airy and perfect for summer.

summer home tour
how to decorate your home for summer
pink bunny tail grass

Lighter Fabrics and Colours for Summer

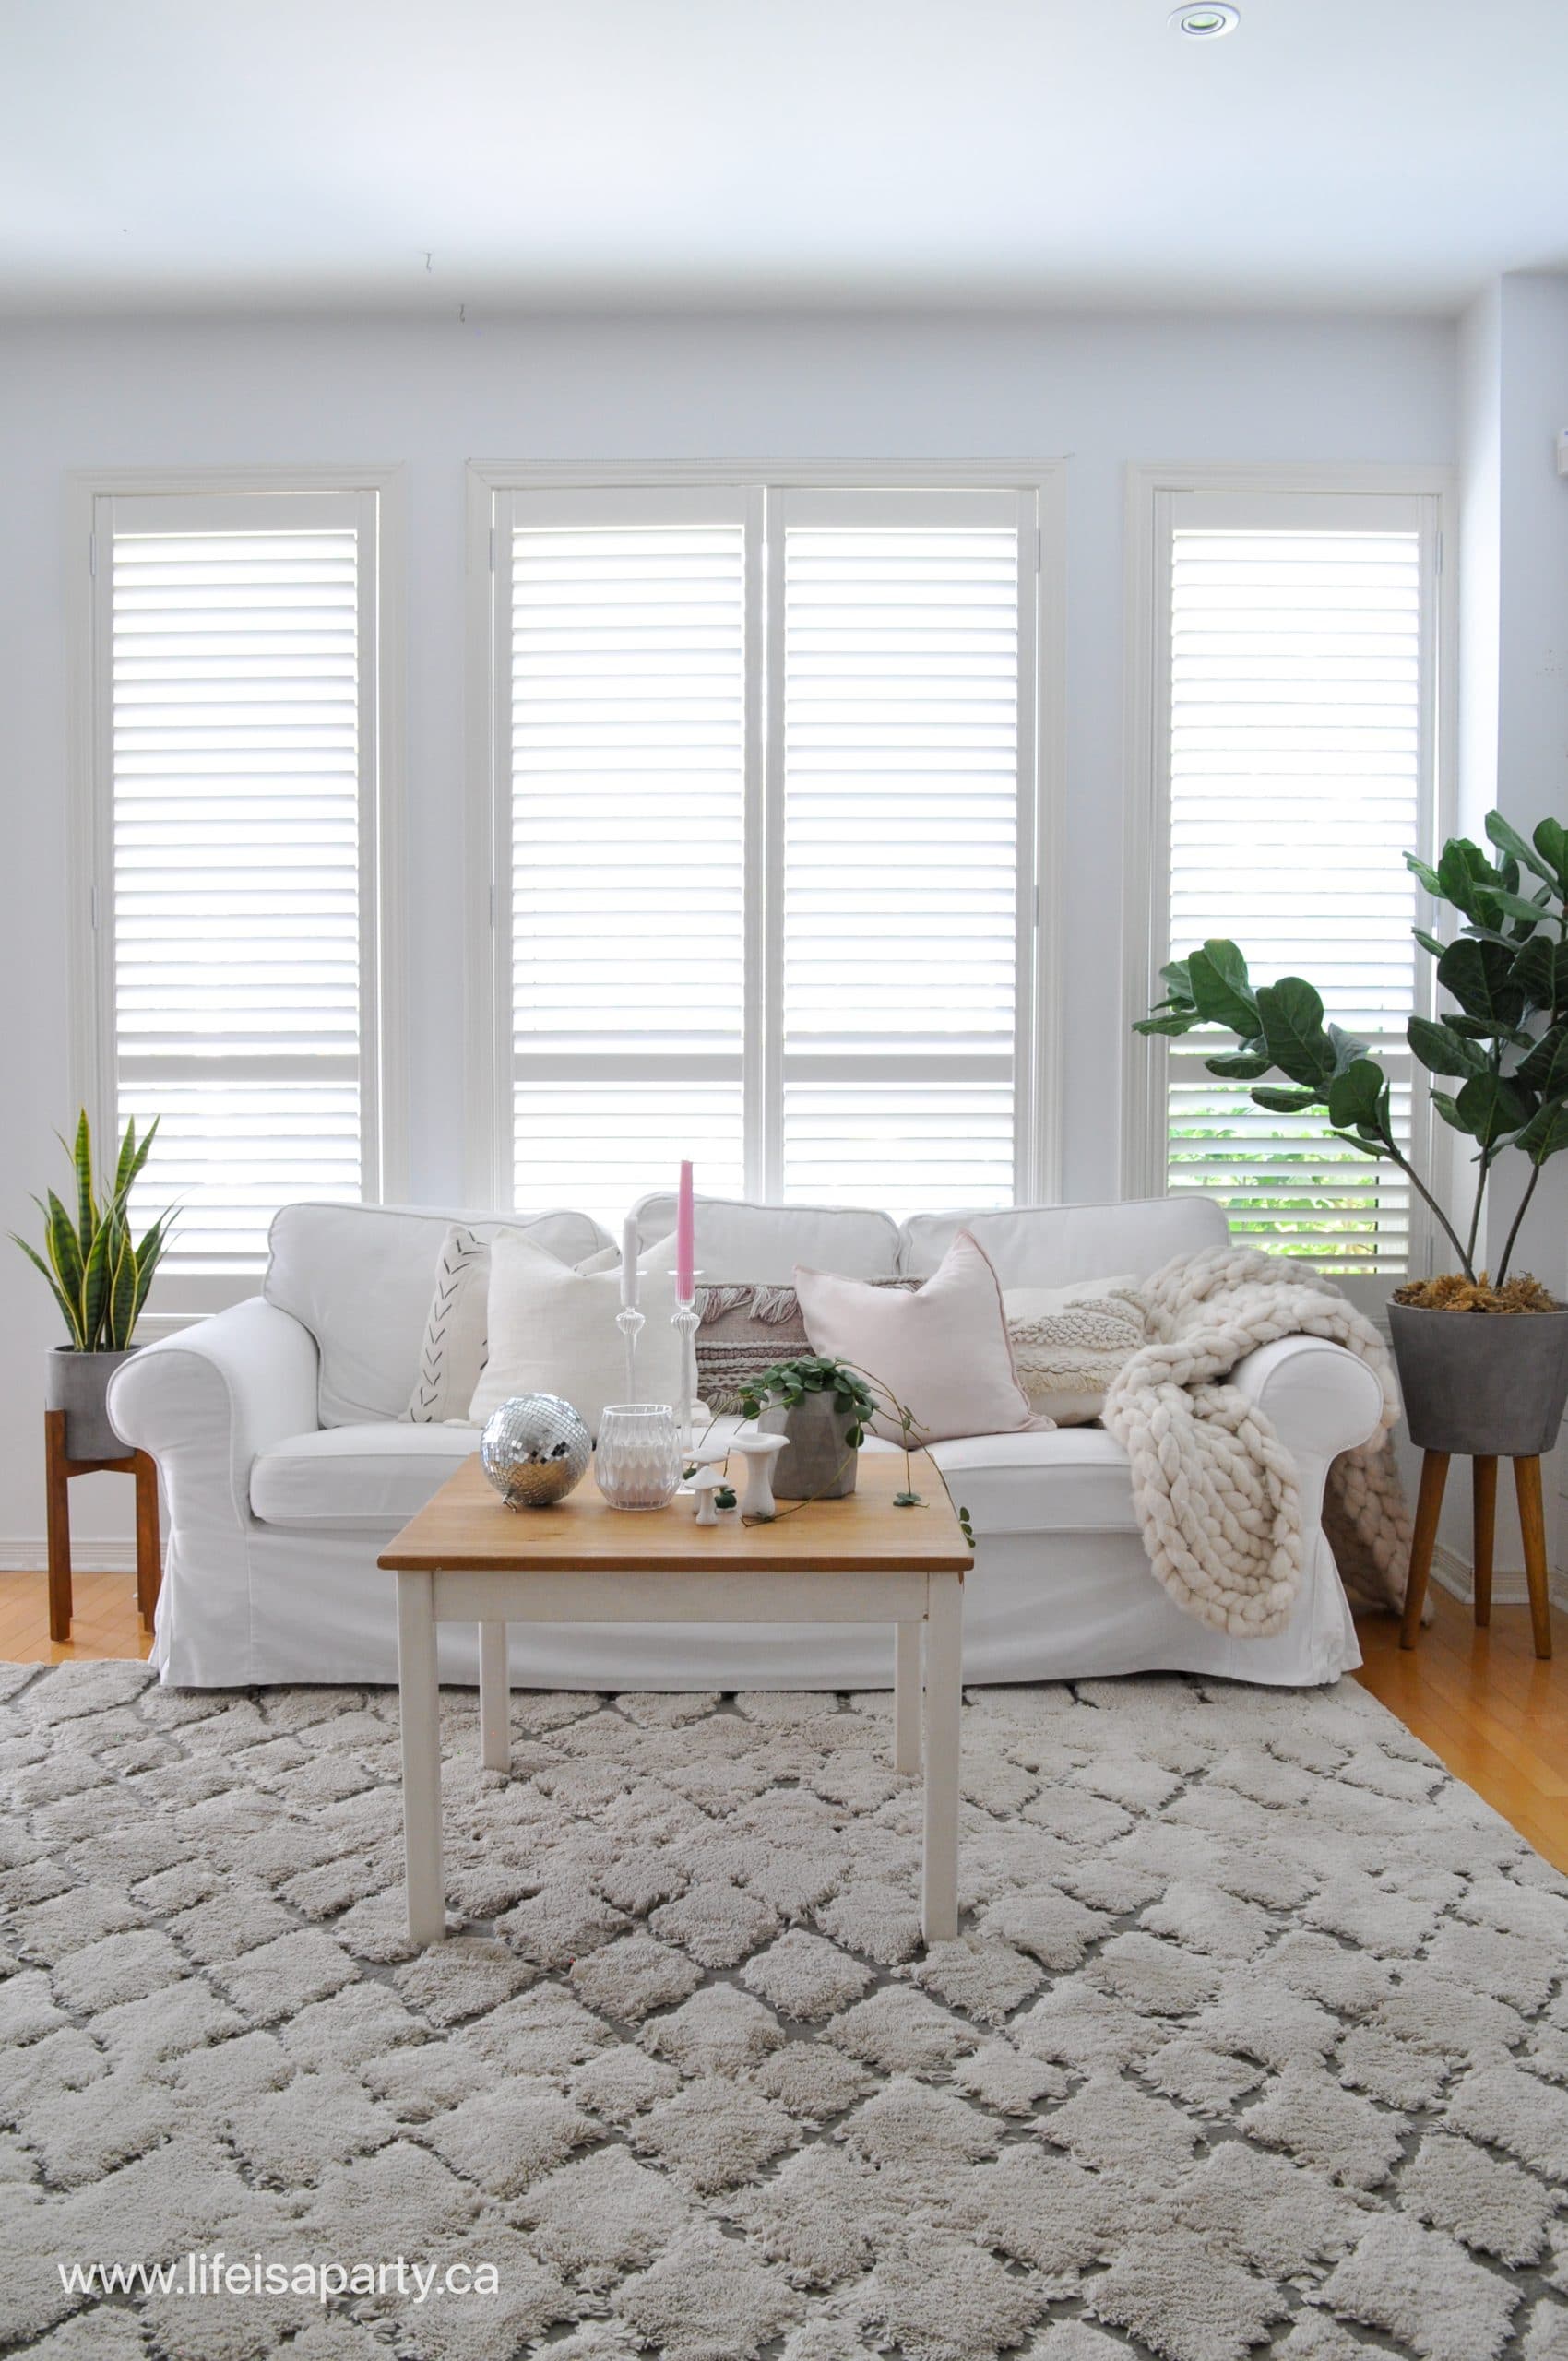
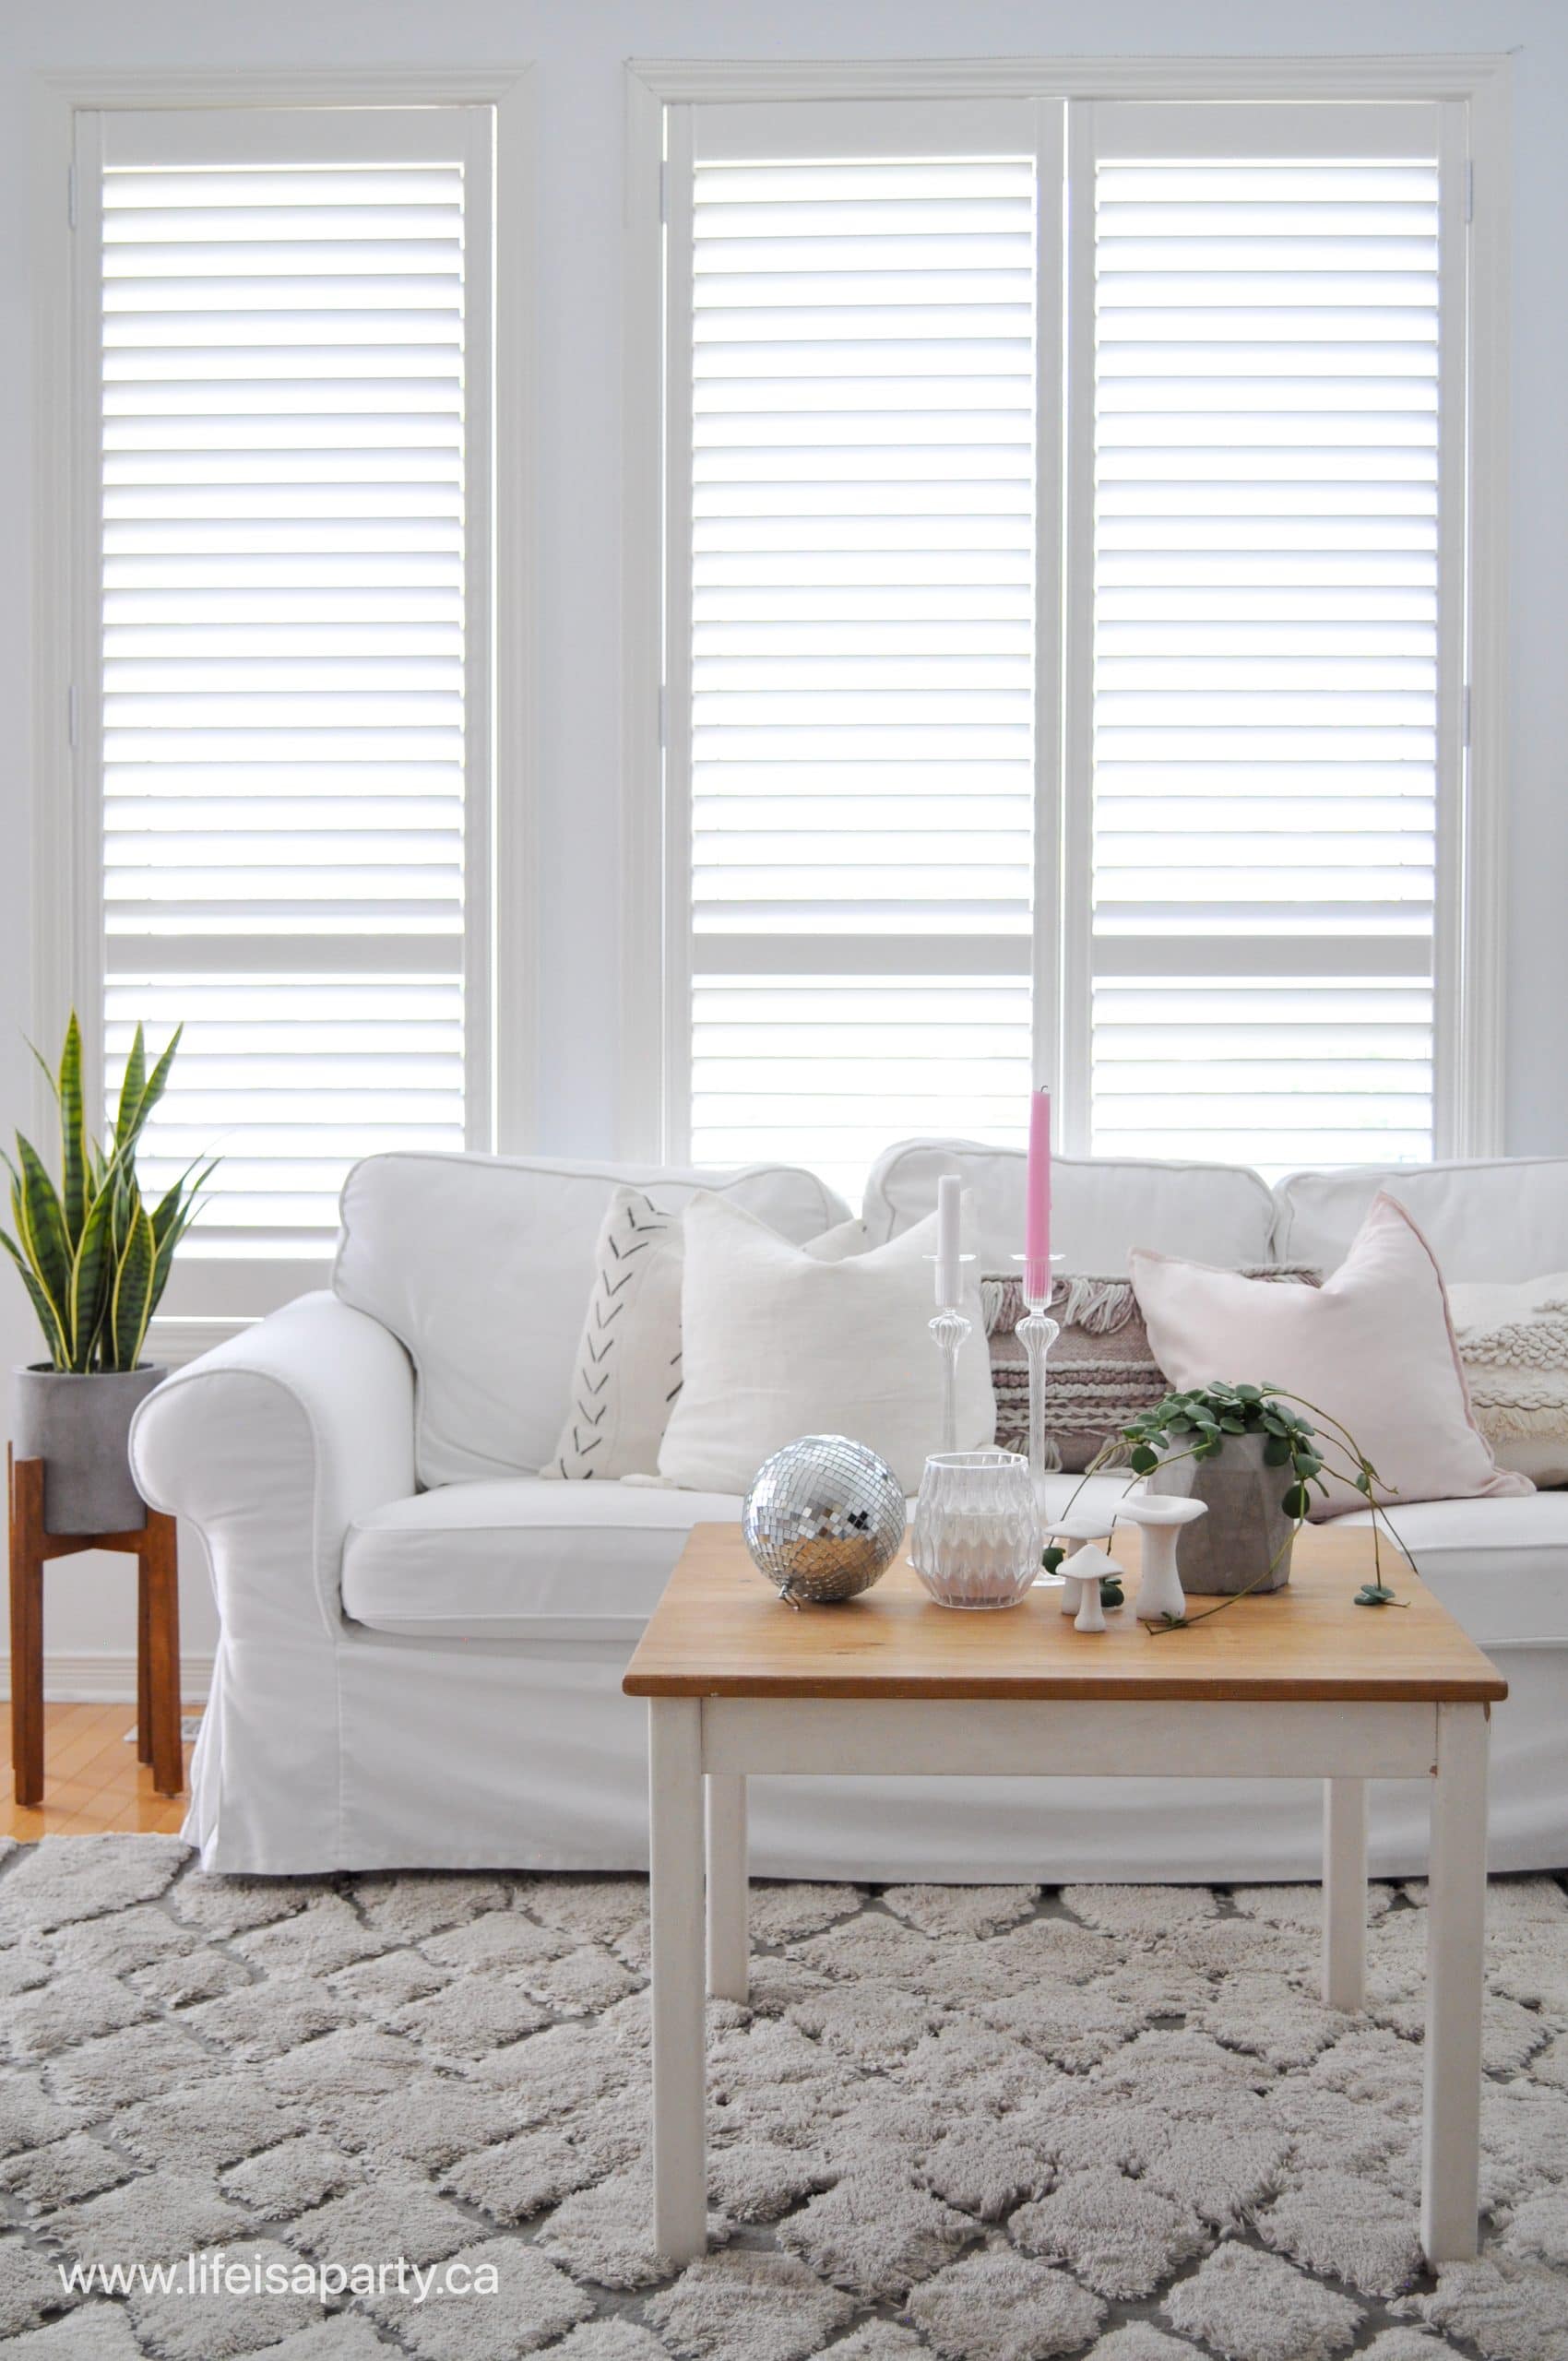
On the couch, I've added some cushions in light colours of white and cream, with touches of pink.  The linen cushions feel so perfect for summer.  And lots of green plants are perfect for summer.

summer home tour
summer decorating ideas

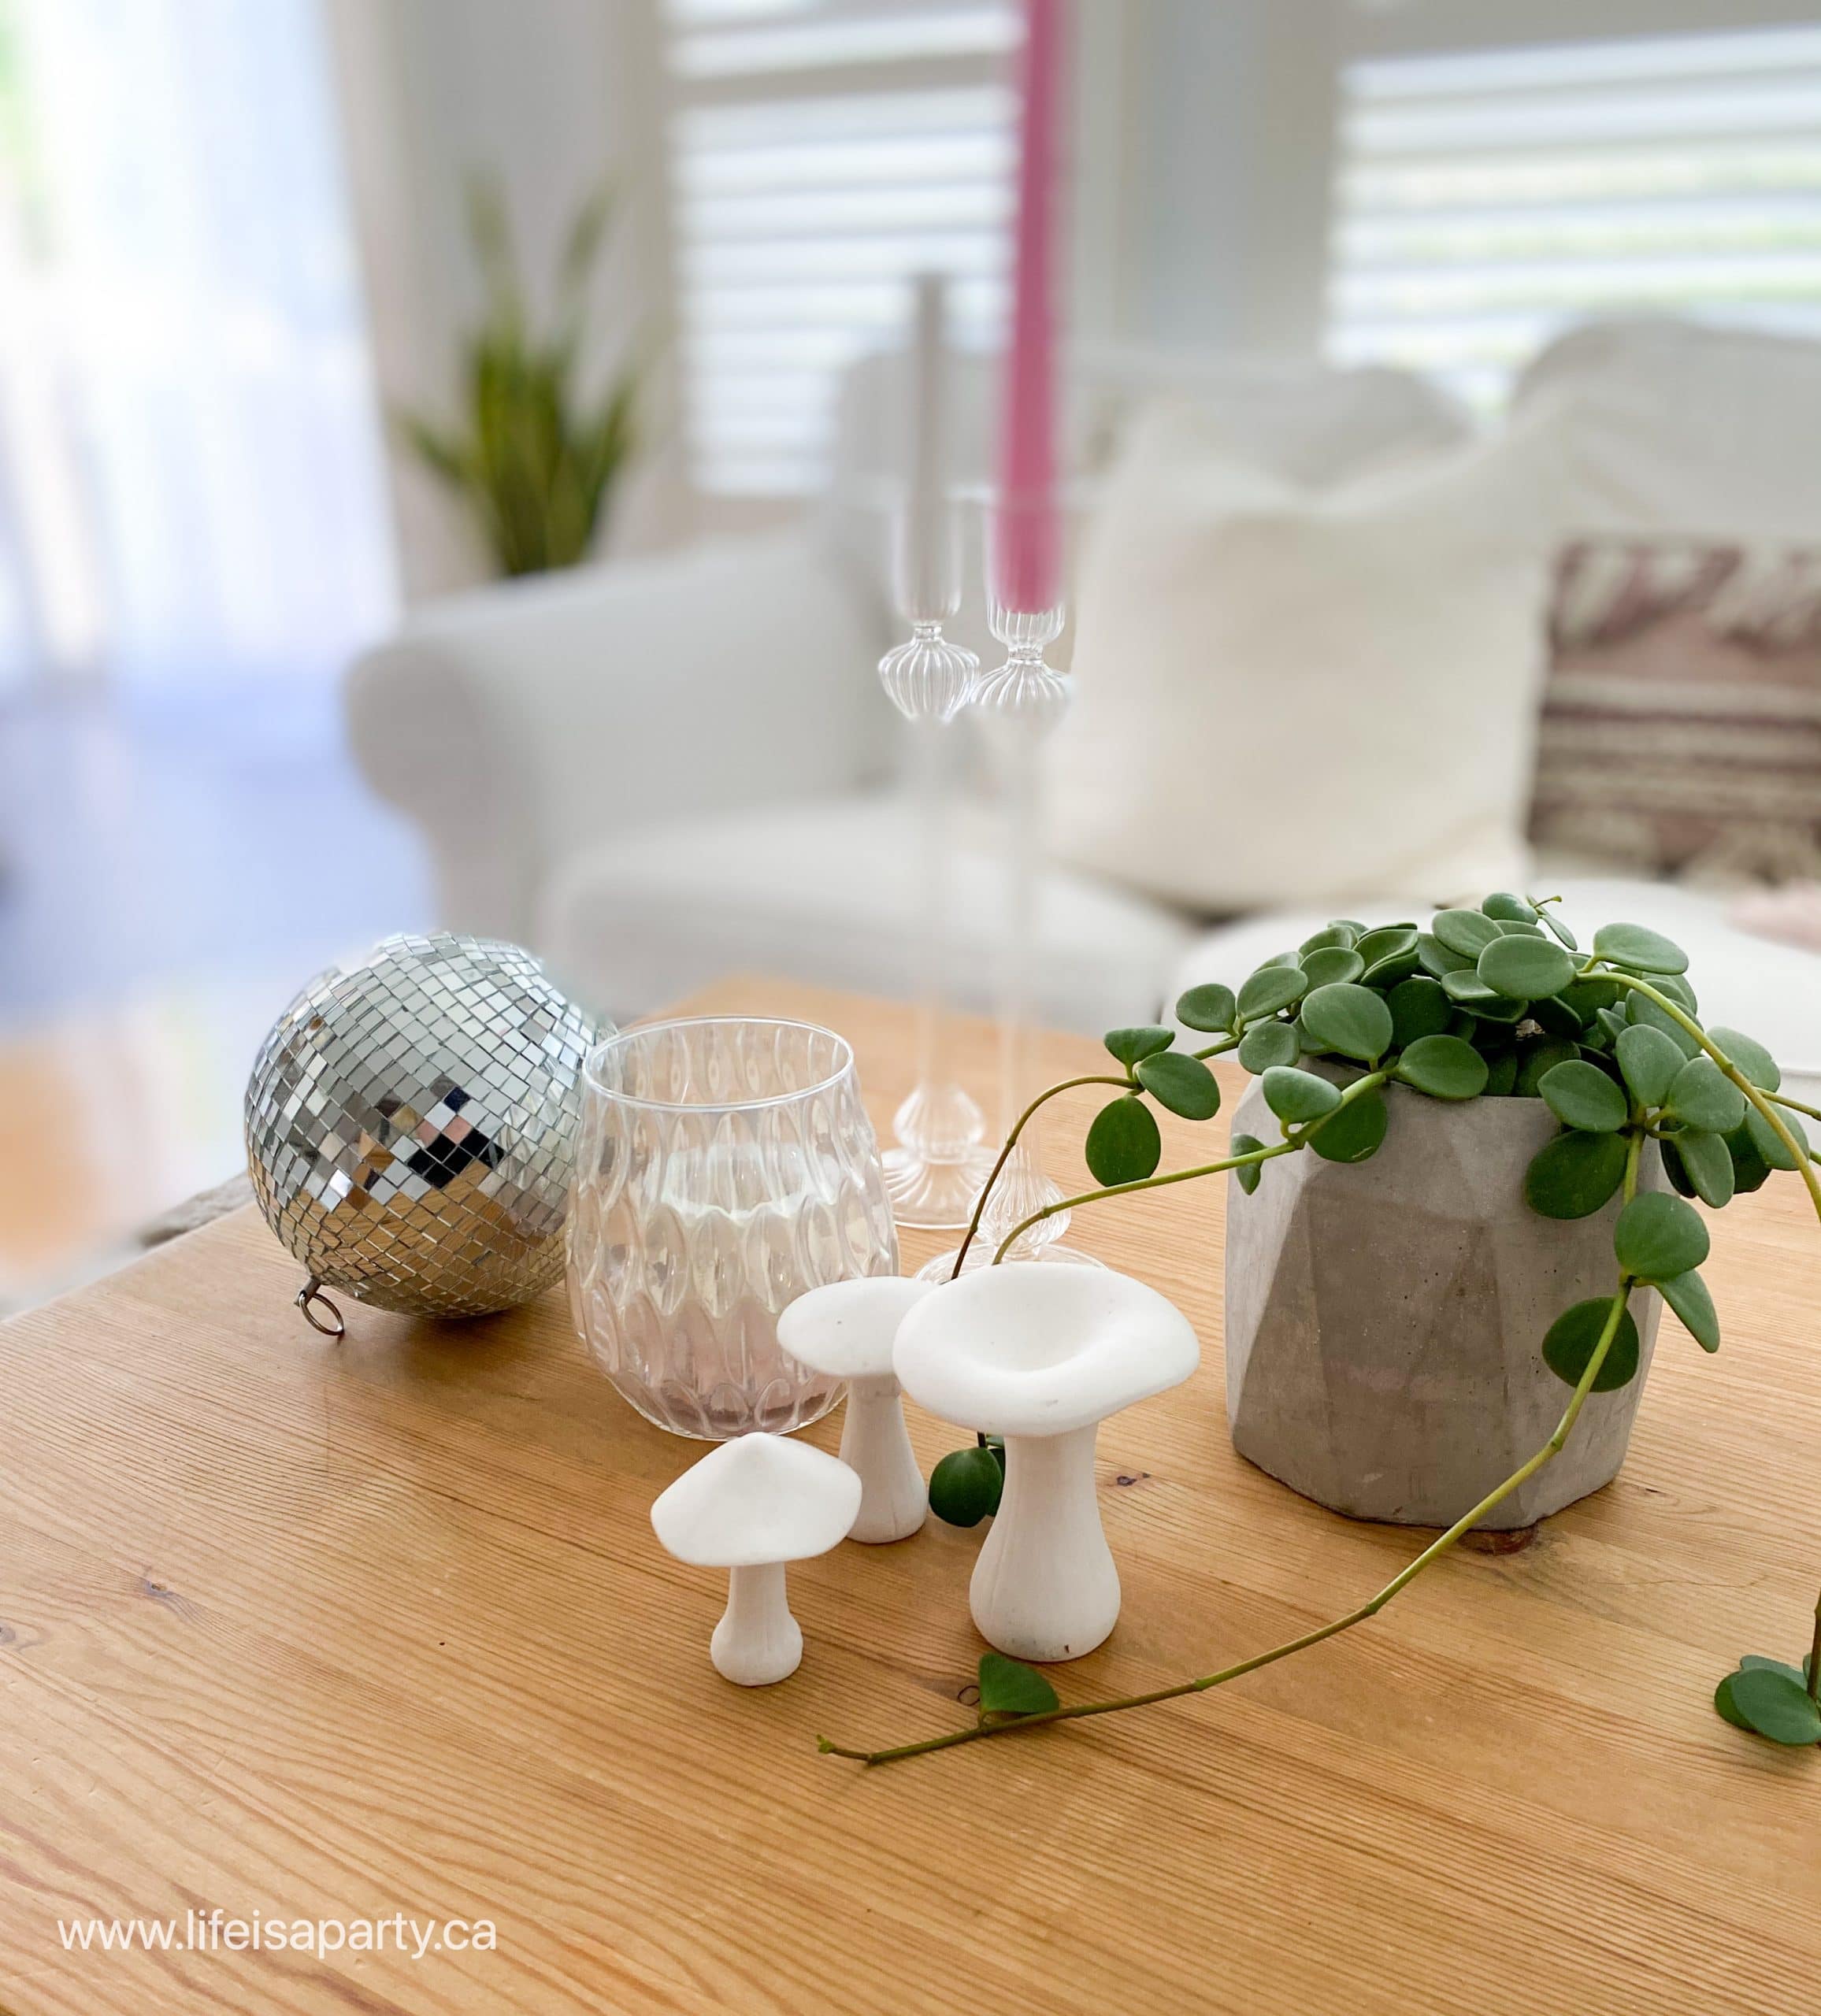
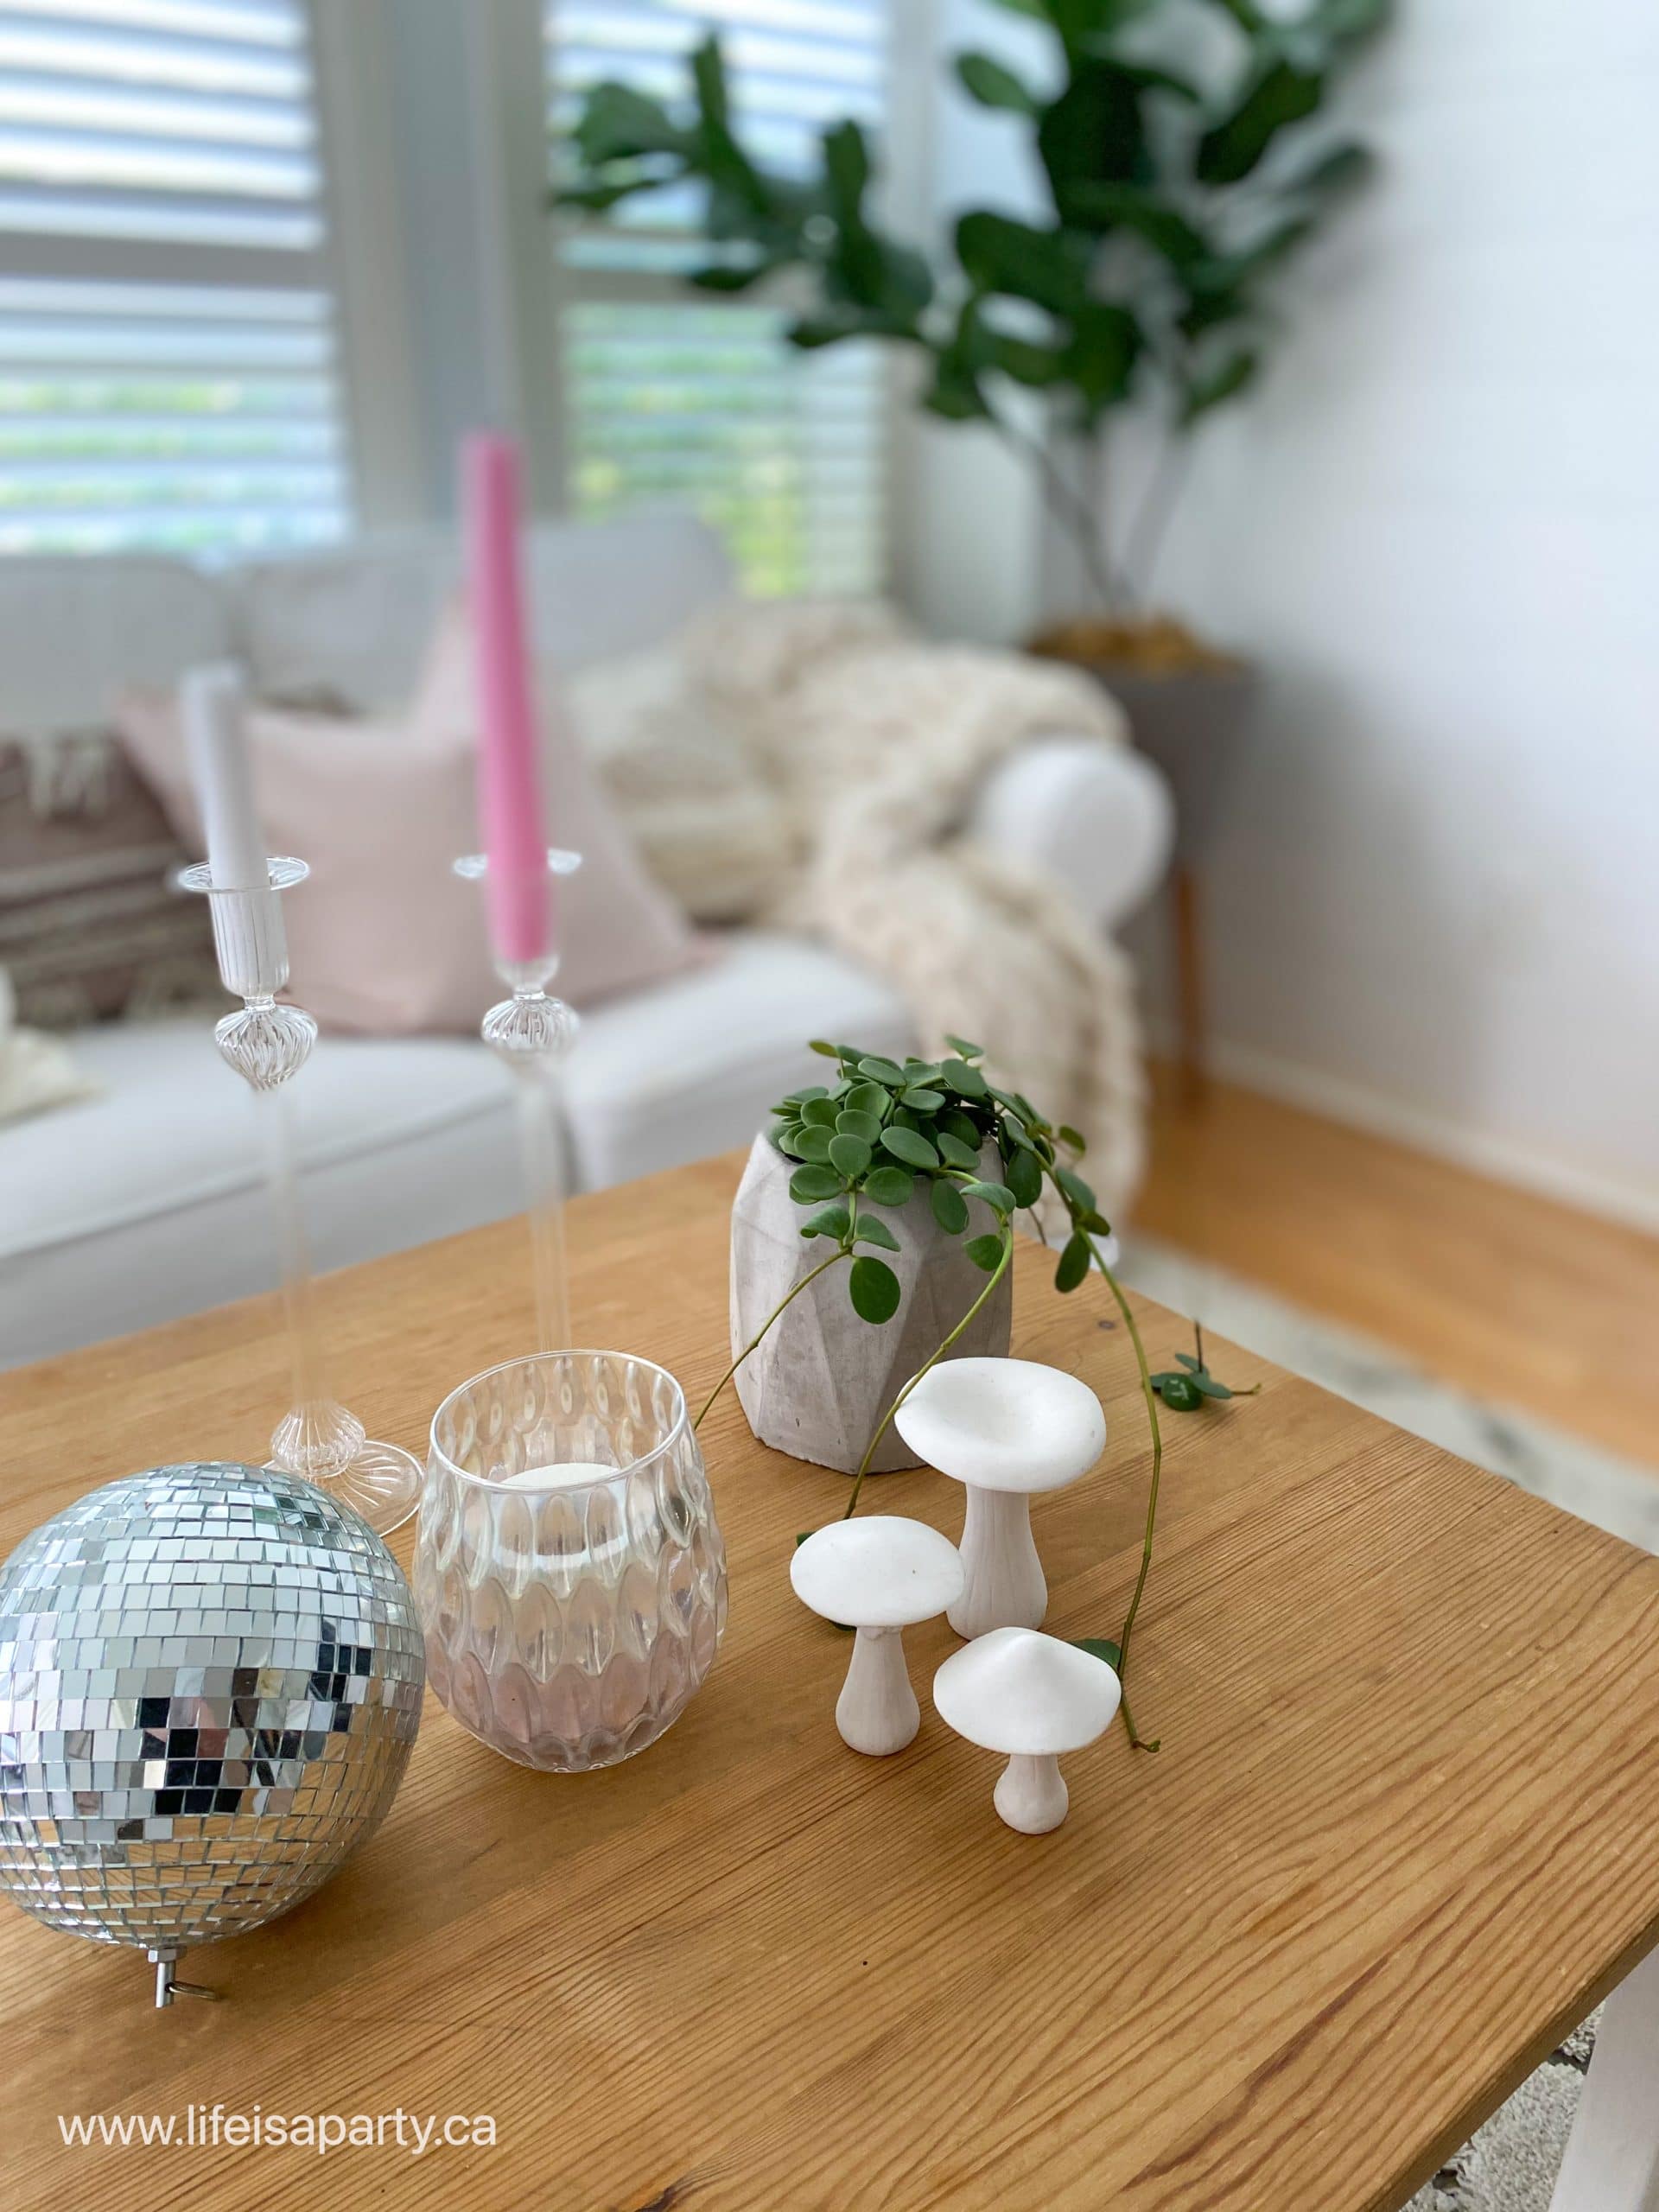
On the coffee table, I've kept the airy and bright feeling with clear glass candle holders, and these pretty white porcelain mushrooms -reminding me to go on some adventures in the woods this summer.

summer coffee table display
how to decorate your coffee table for summer

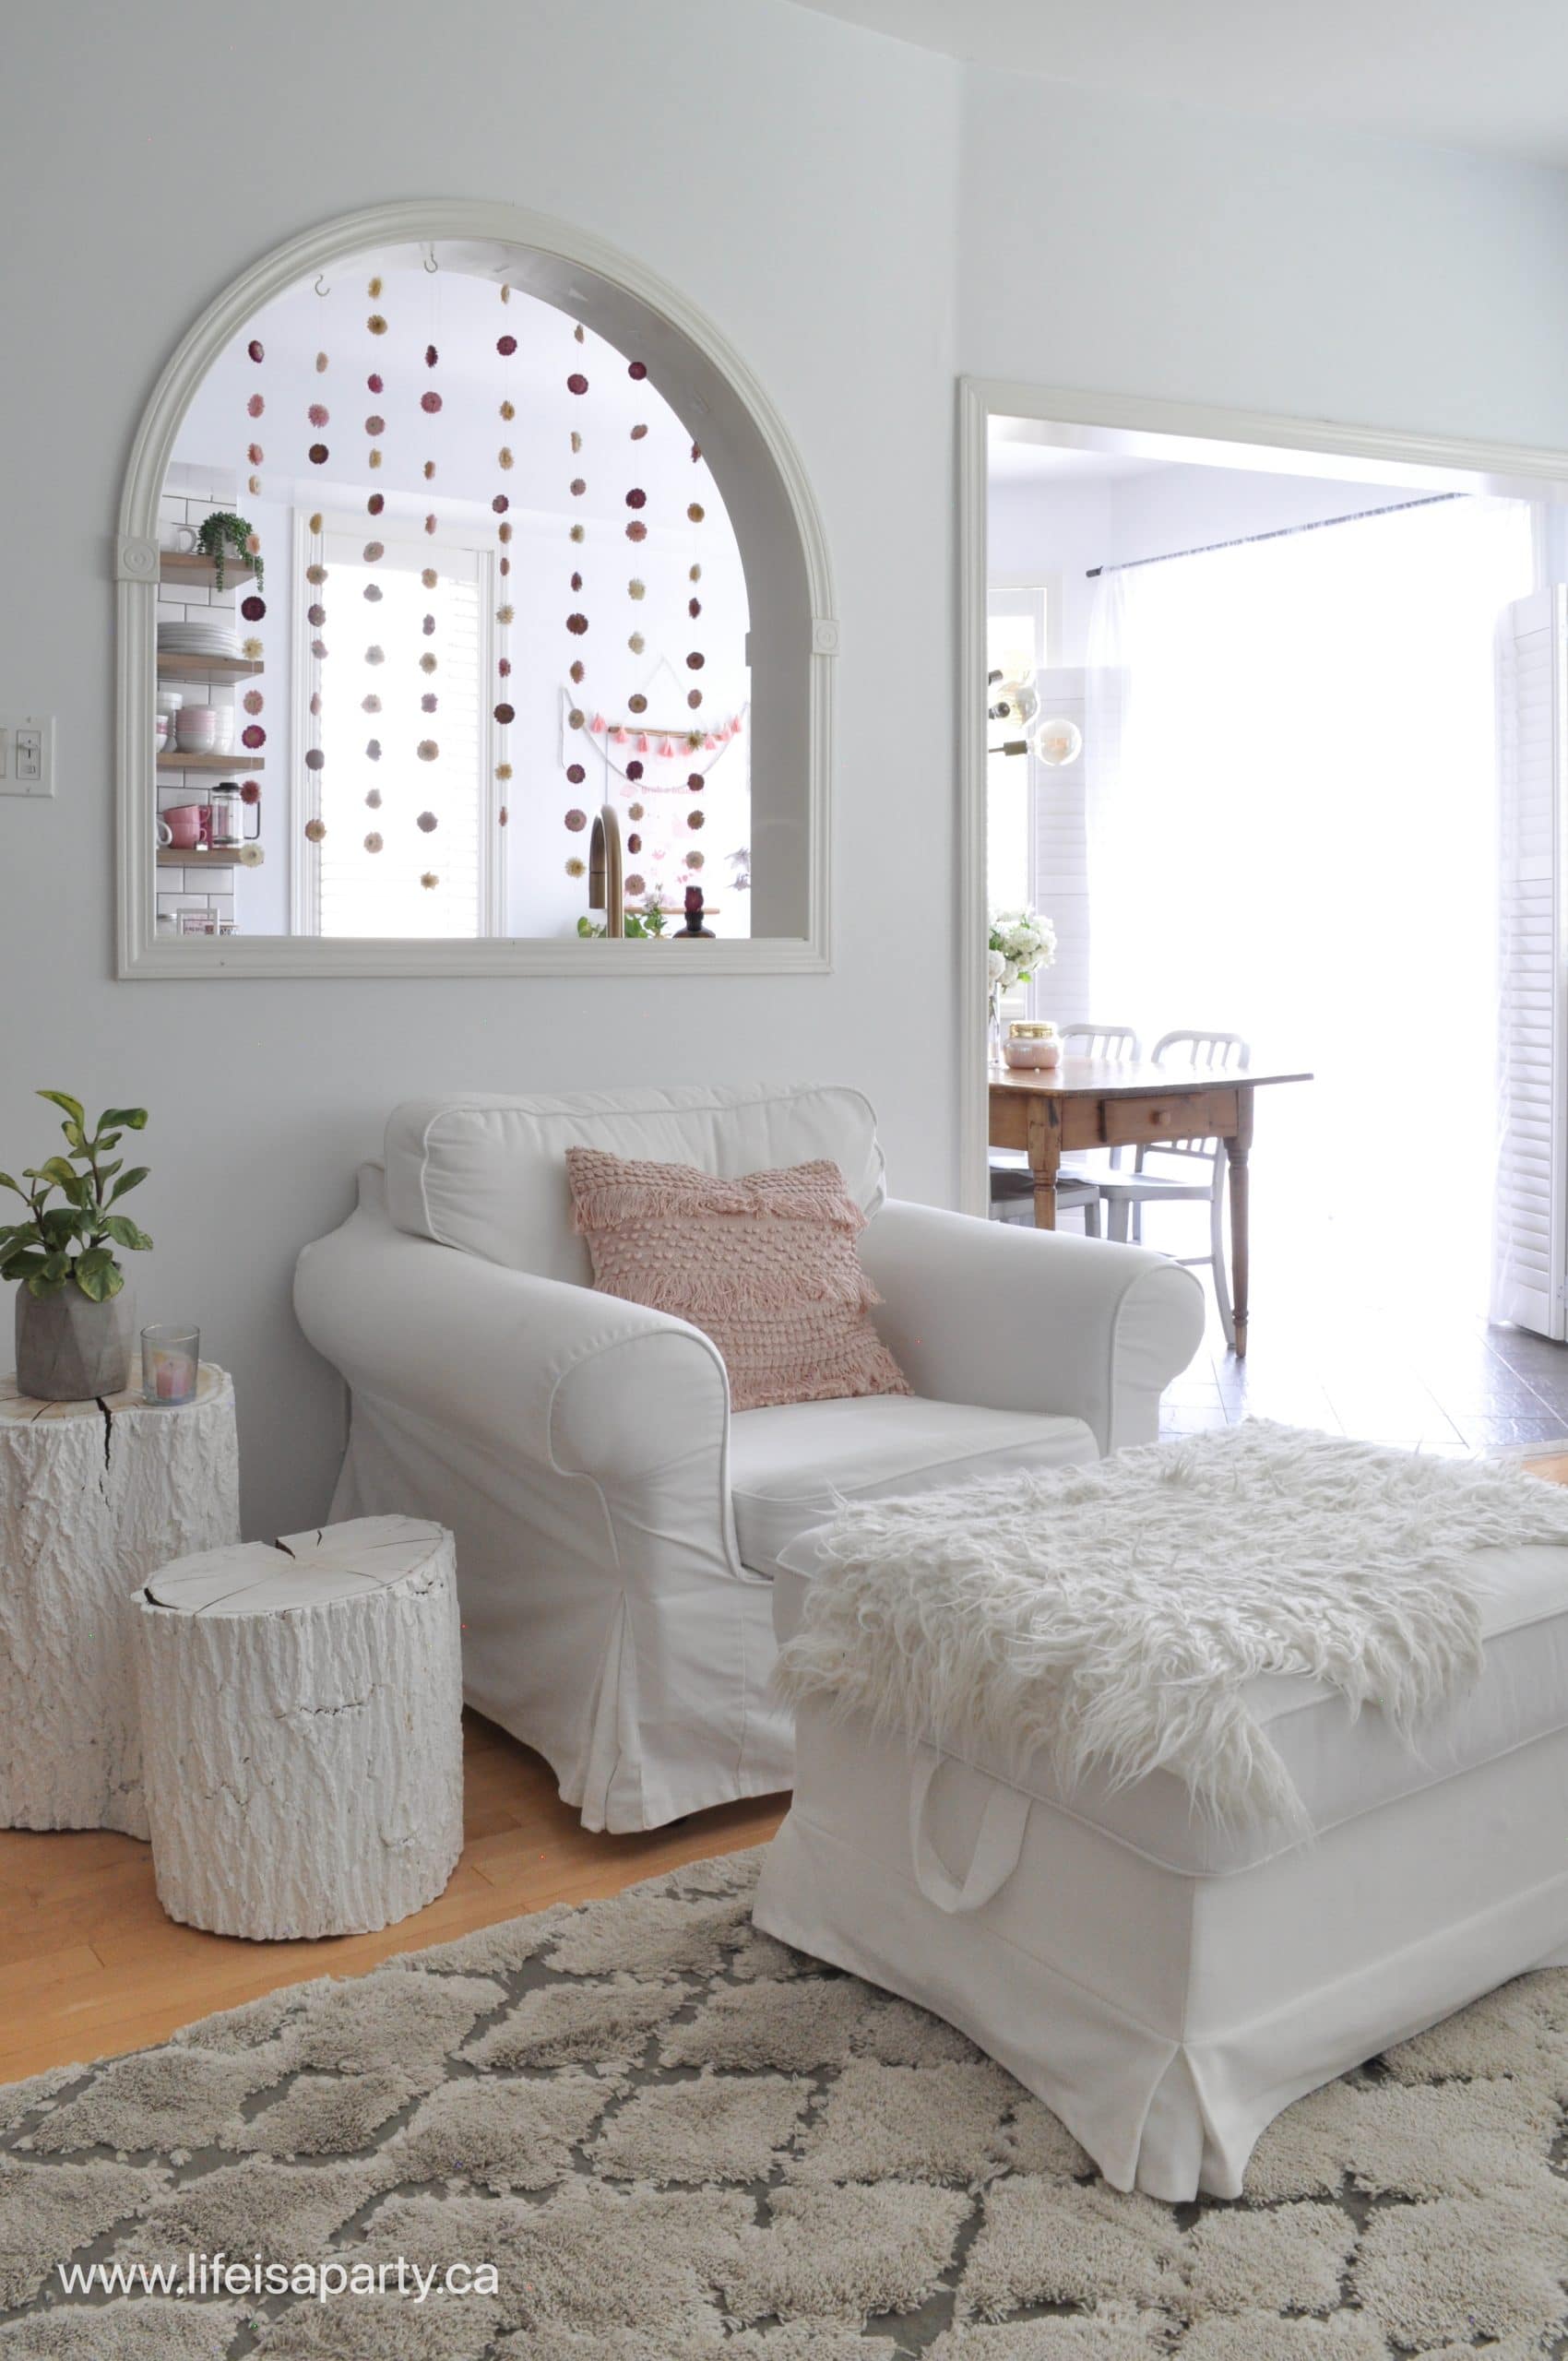
And over on the other side, there's more of the same, light and airy white and pink.

summer decorating ideas

Add Flowers and Plants

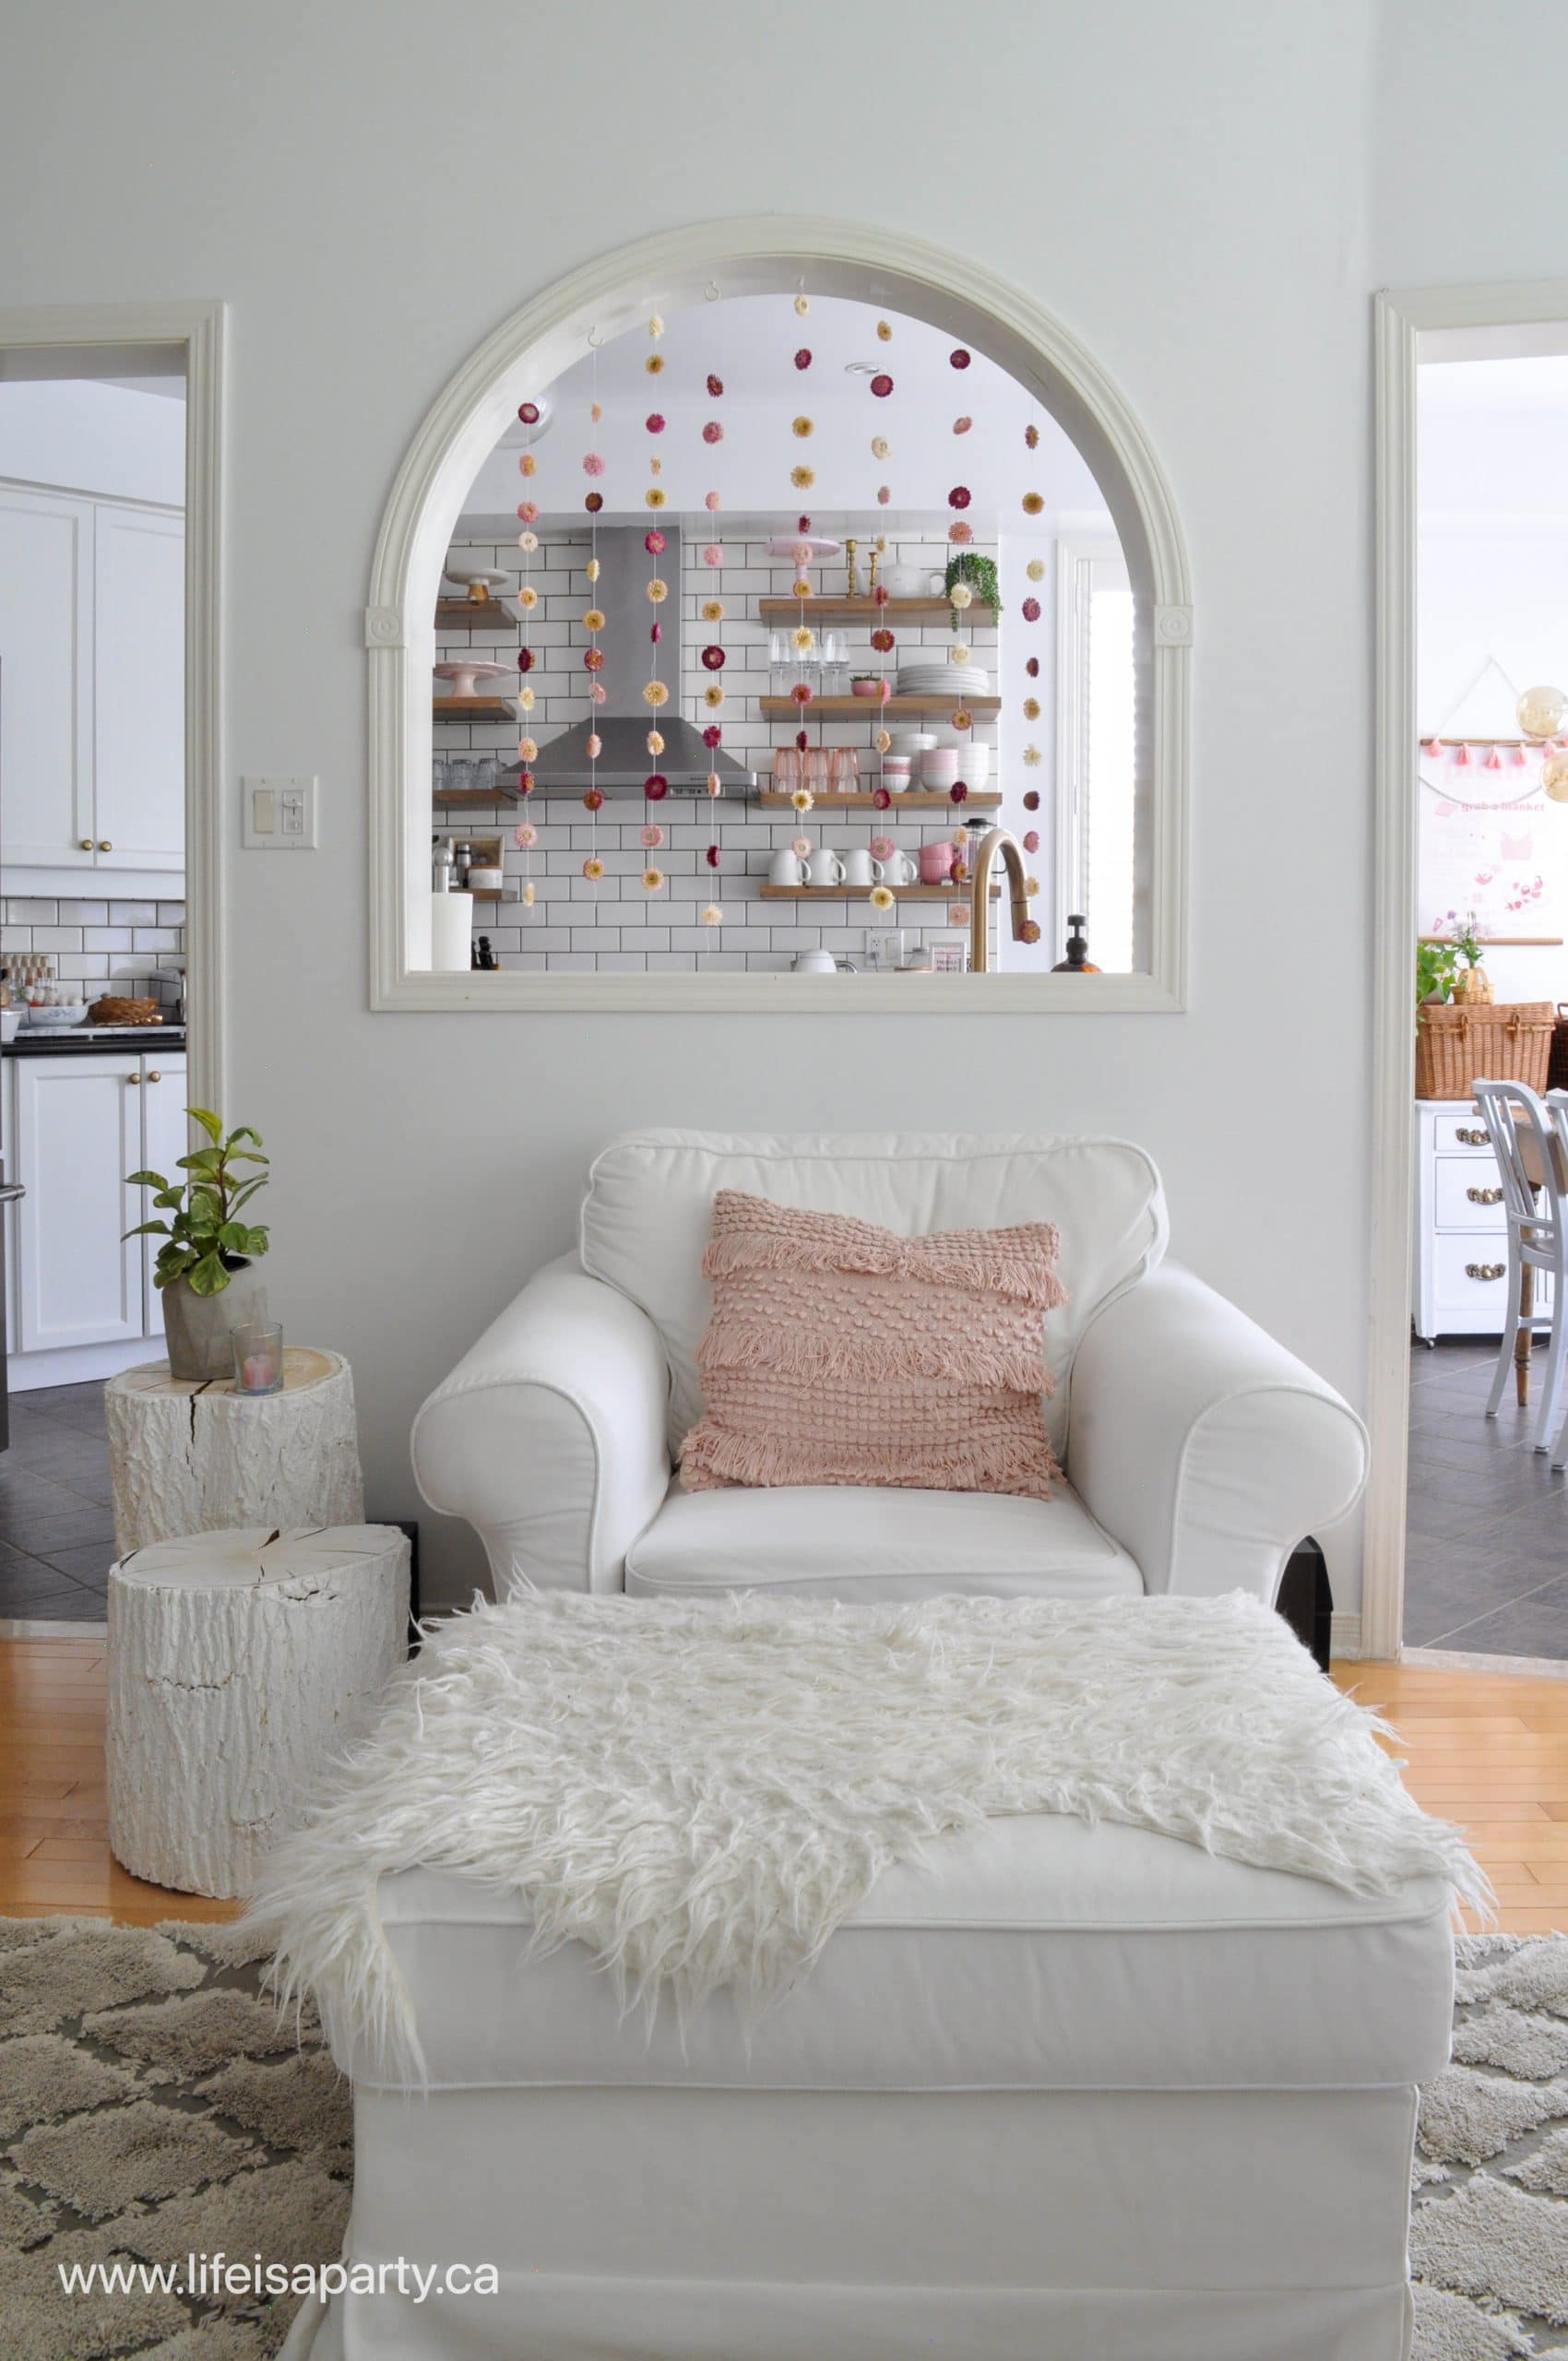
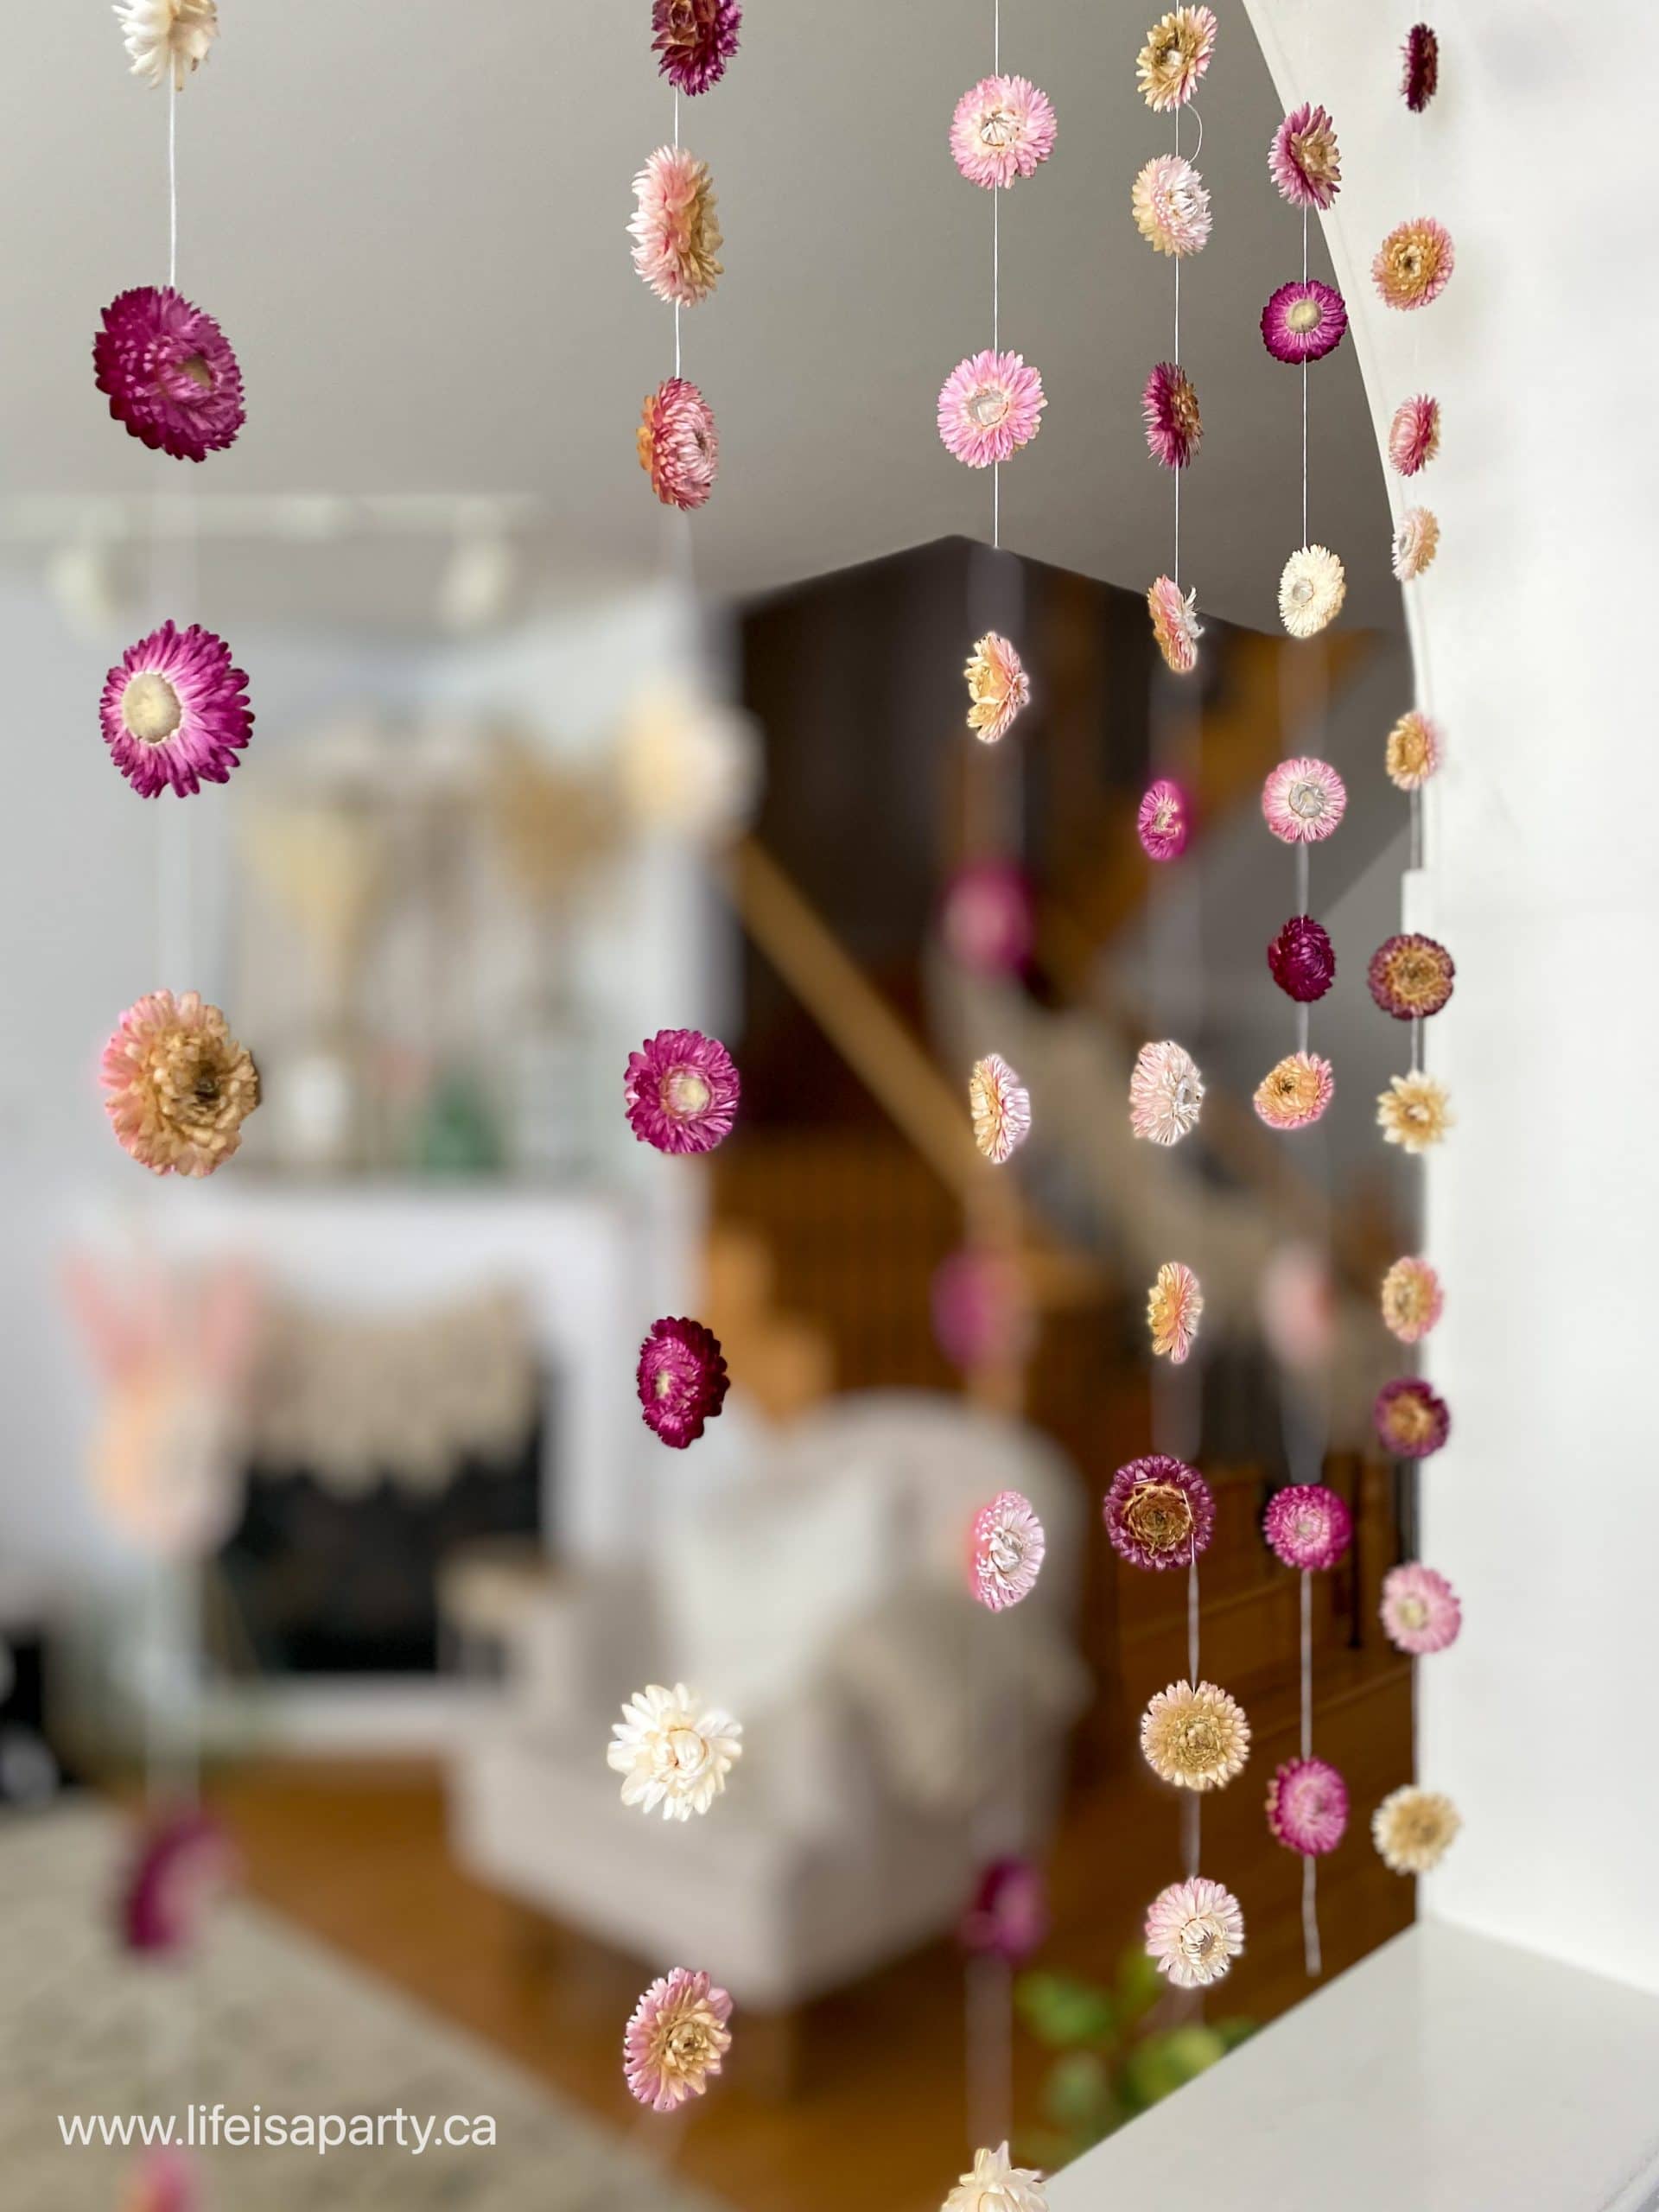
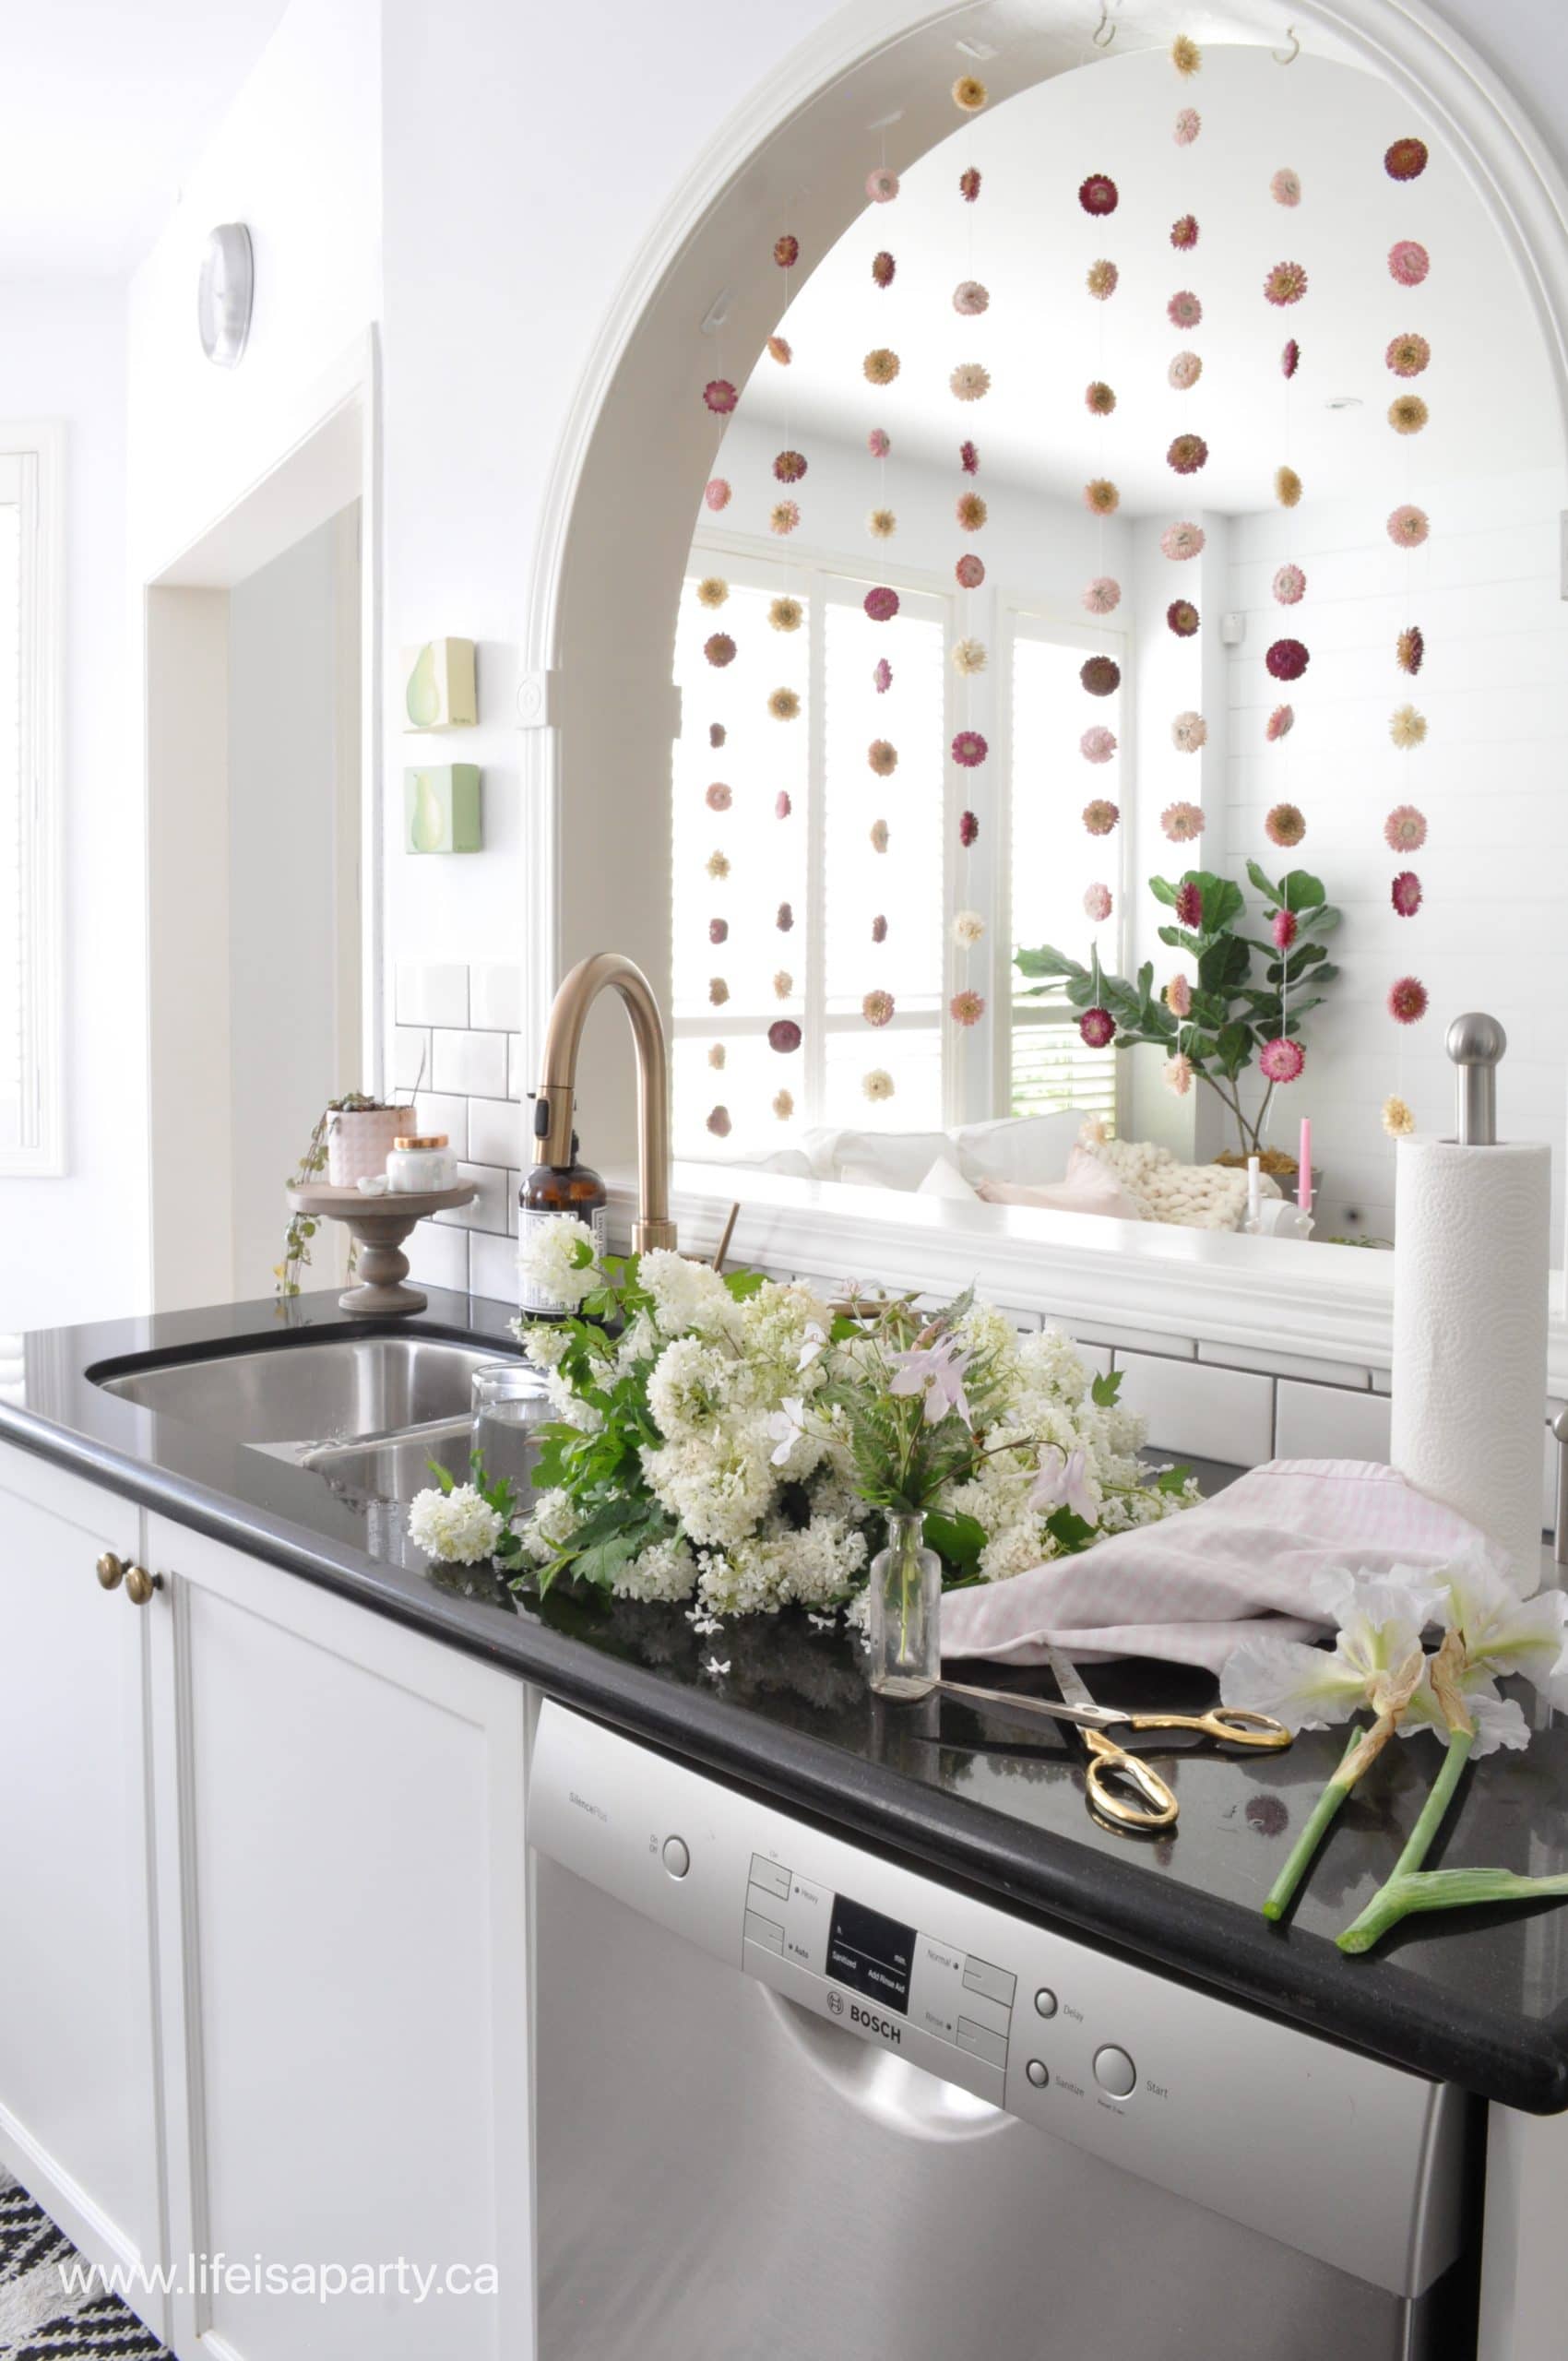
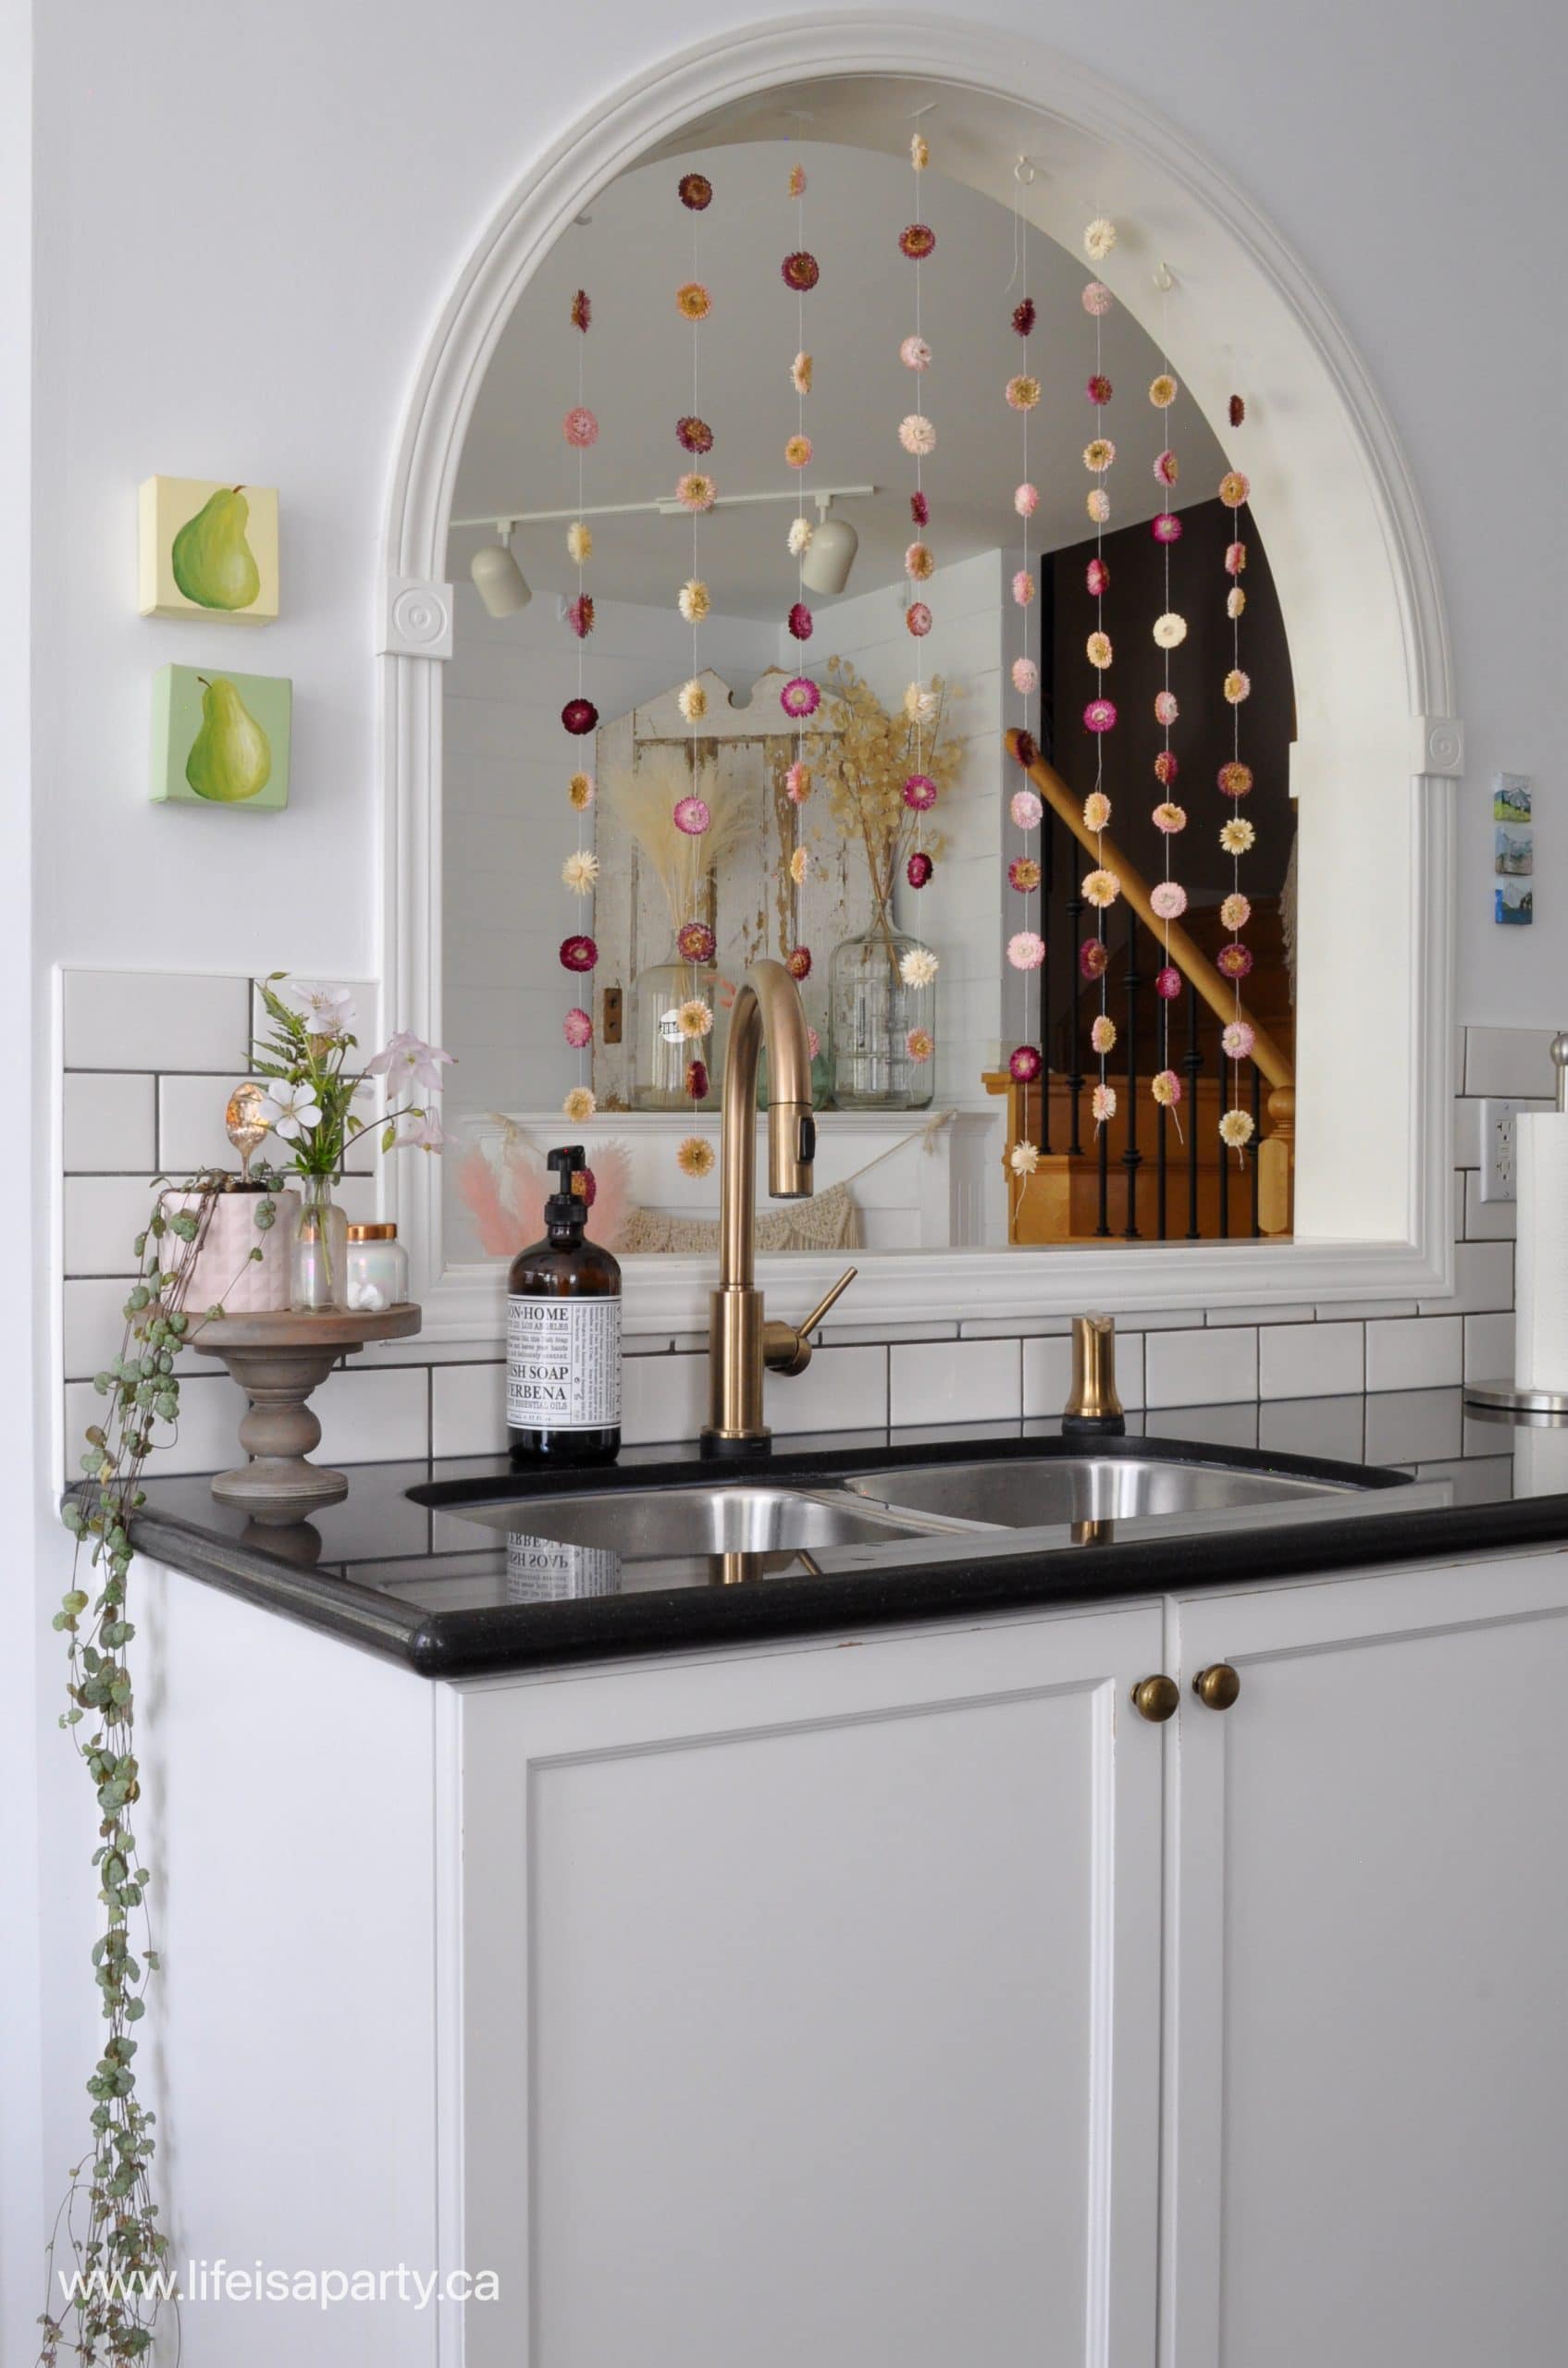
My favourite detail of my summer decor is this curtain of flowers.  I used more beautiful pink dried straw flowers and threaded them onto white thread.  I hung them in the pass through for the perfect summer flower addition.

how to decorate your house for summer
dried flower curtain

The Kitchen

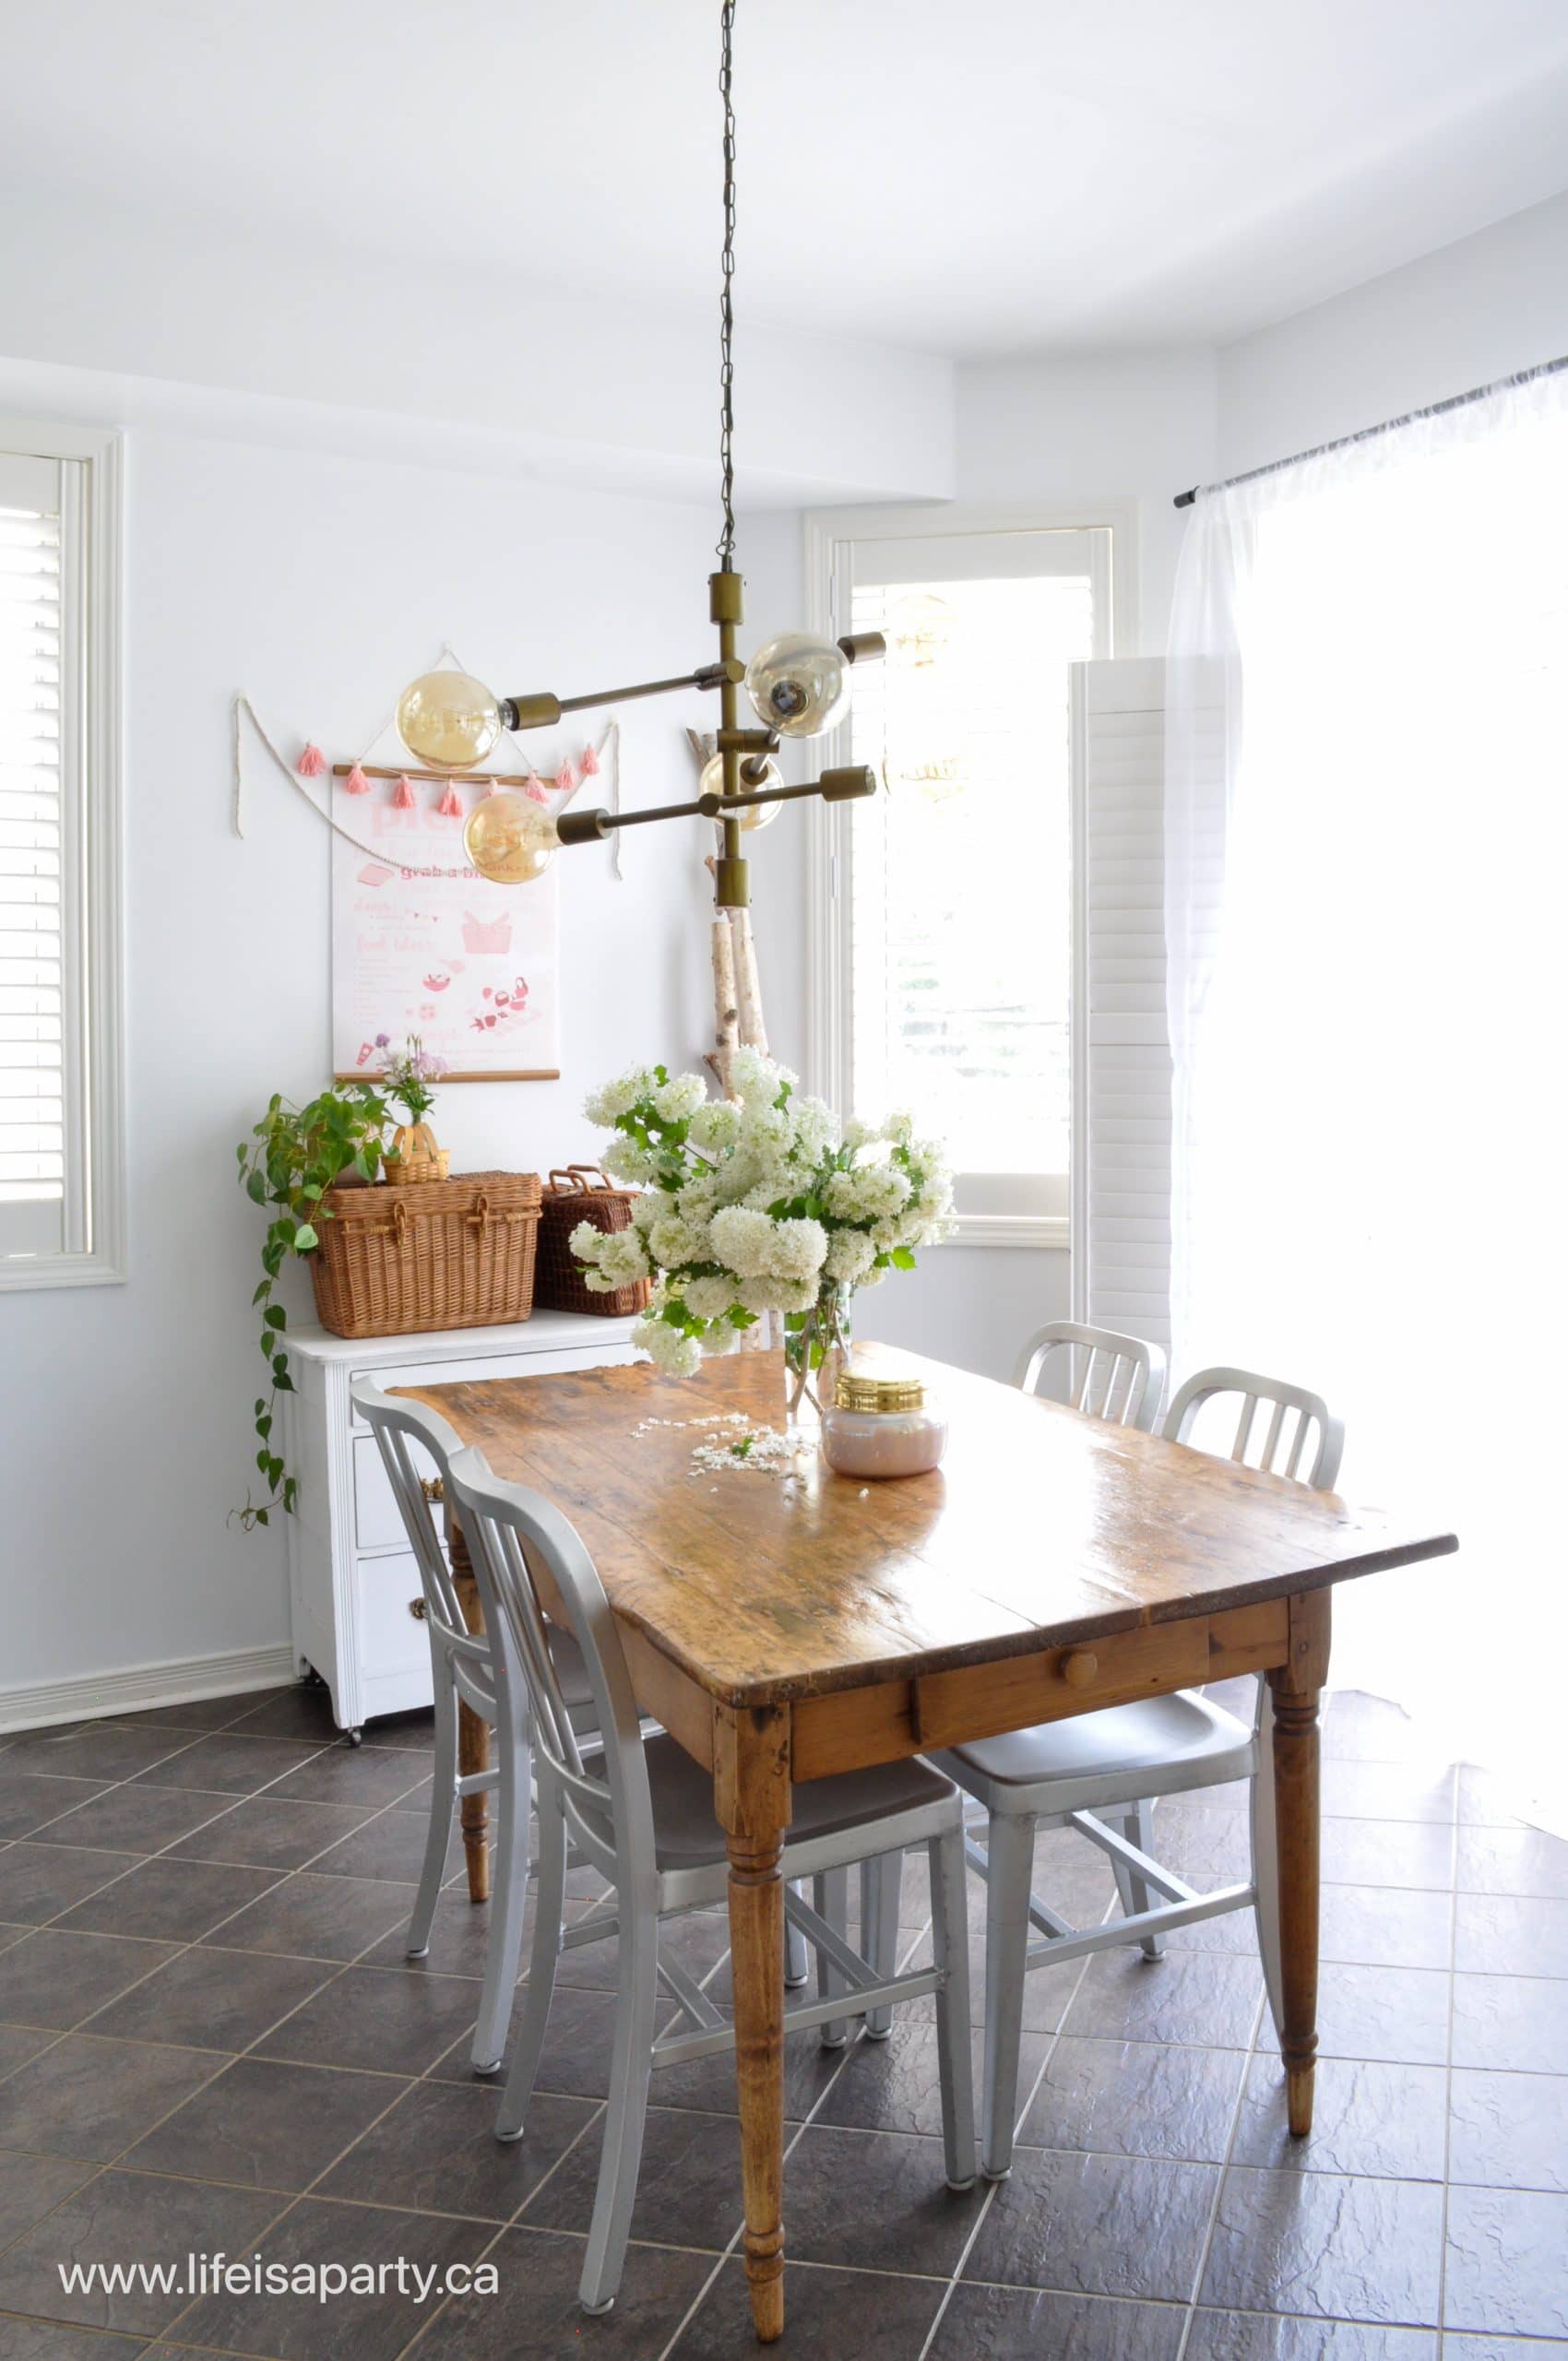
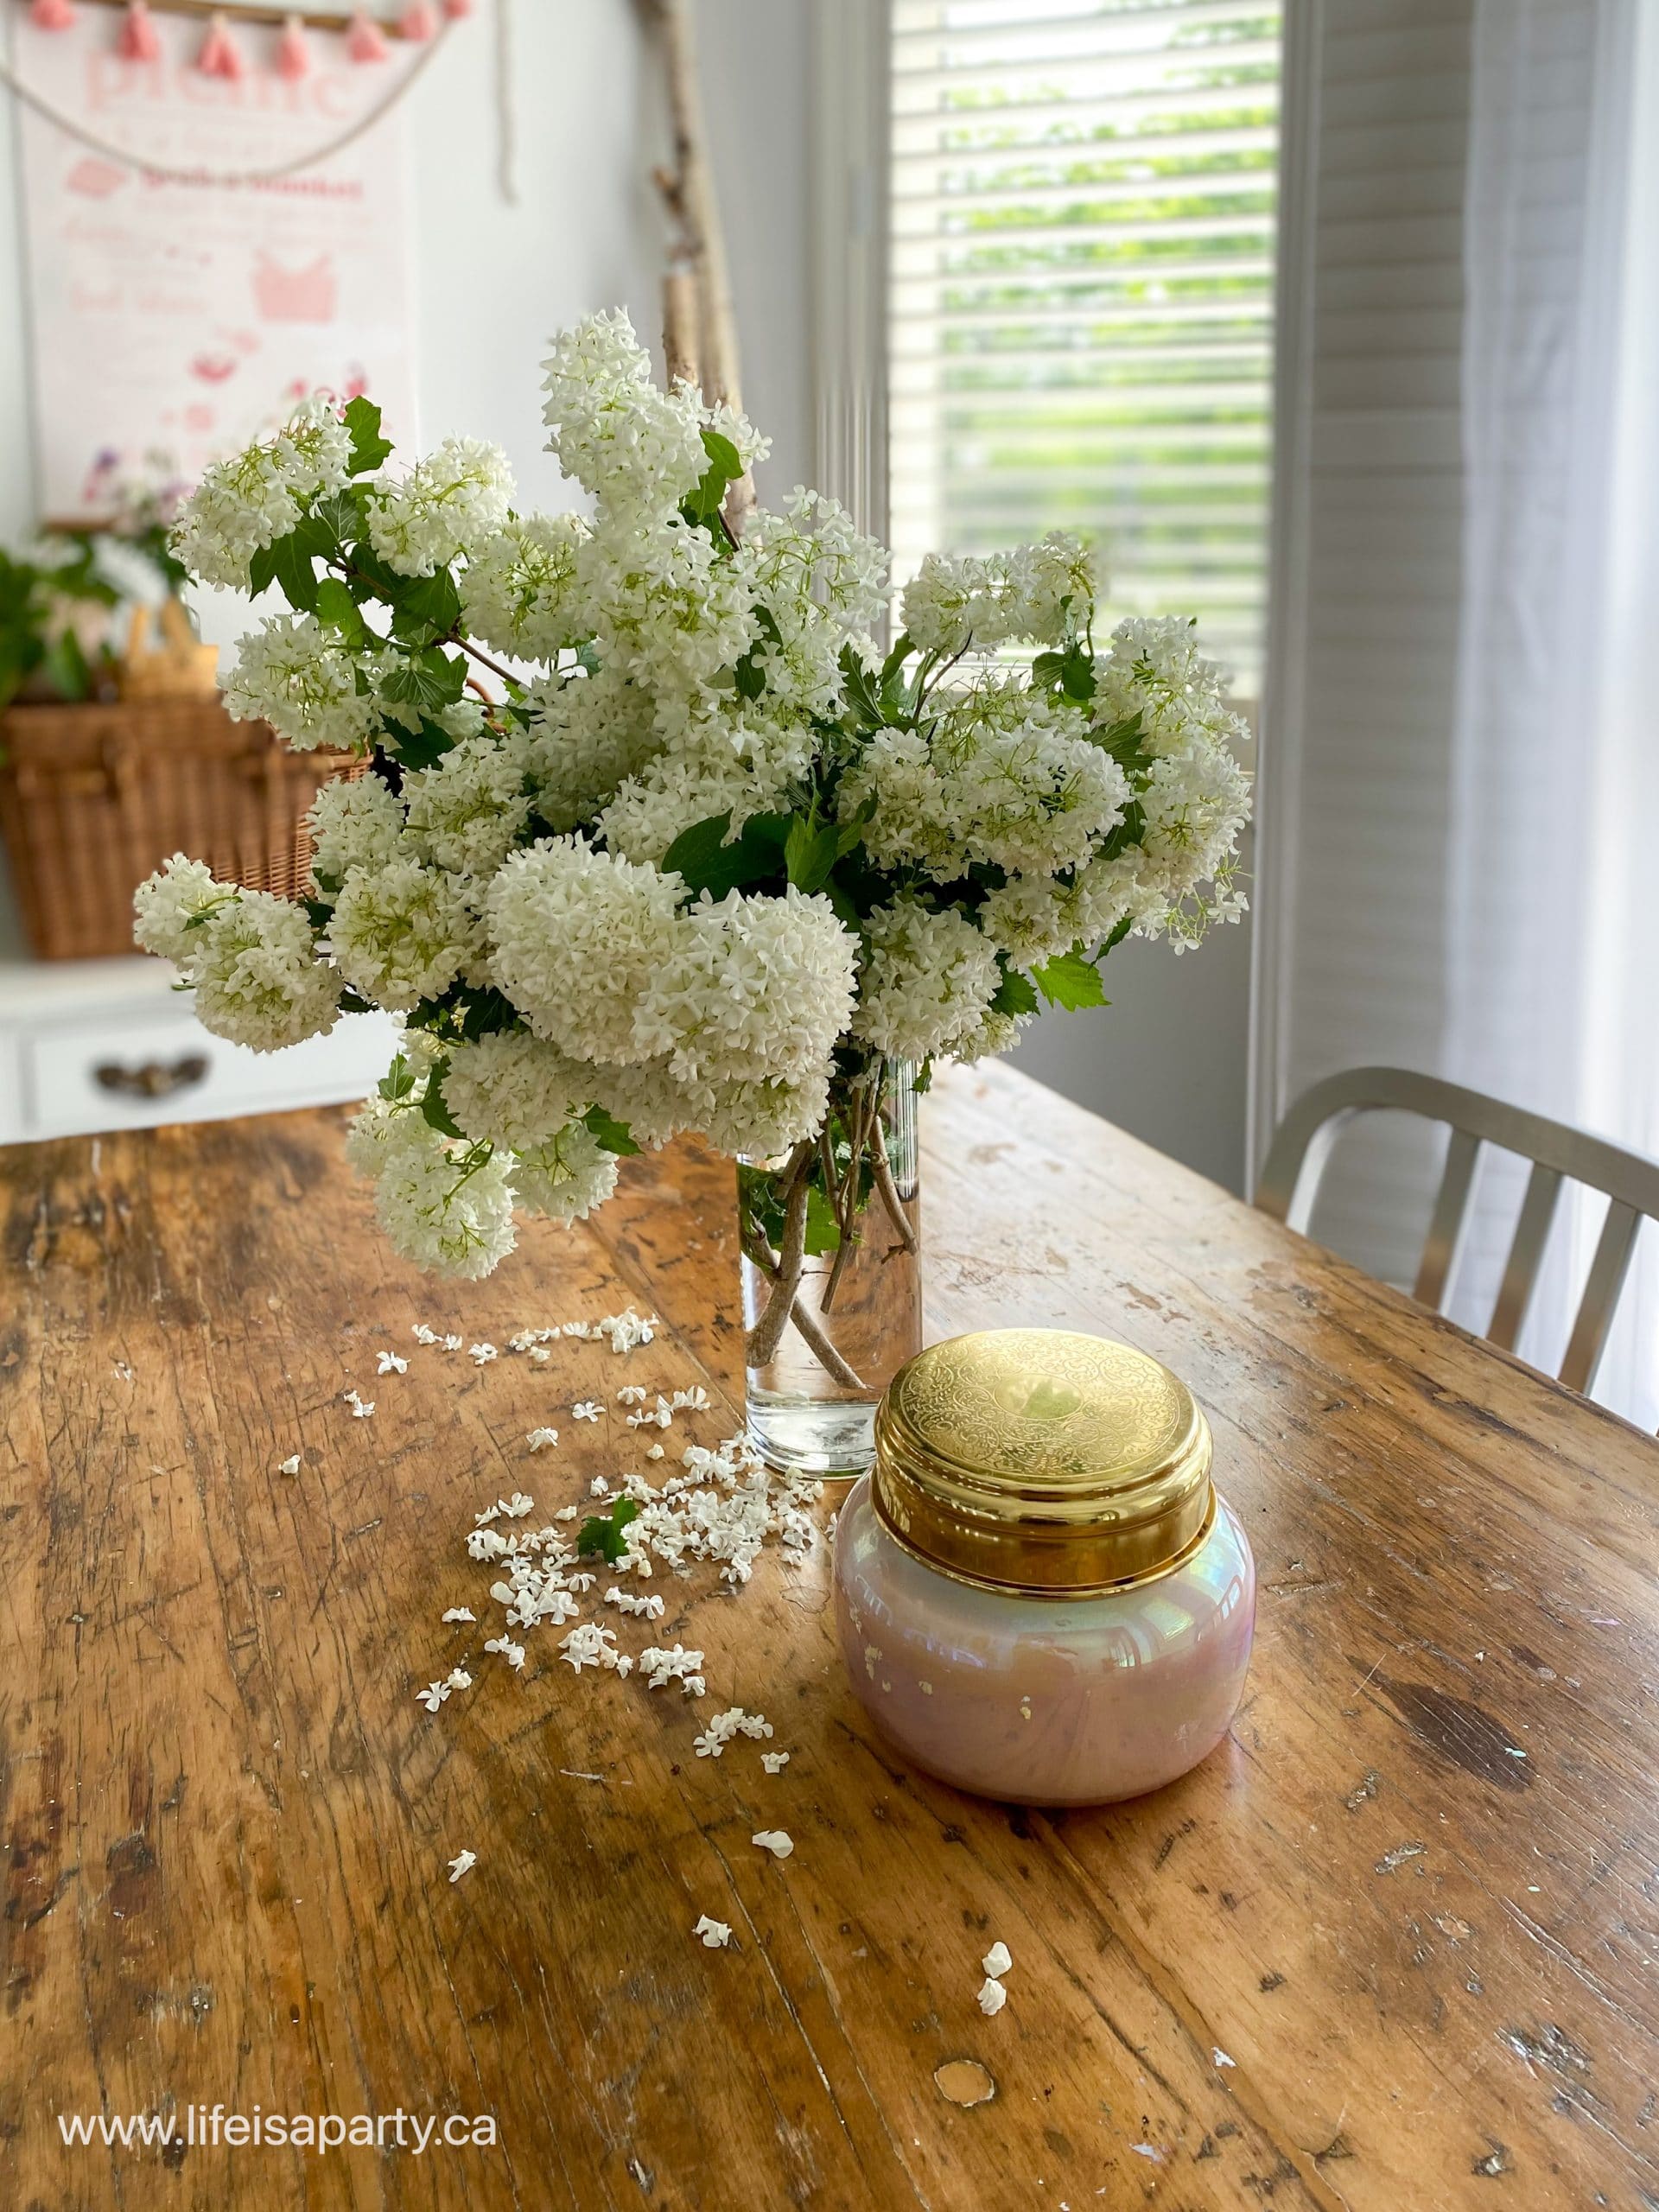
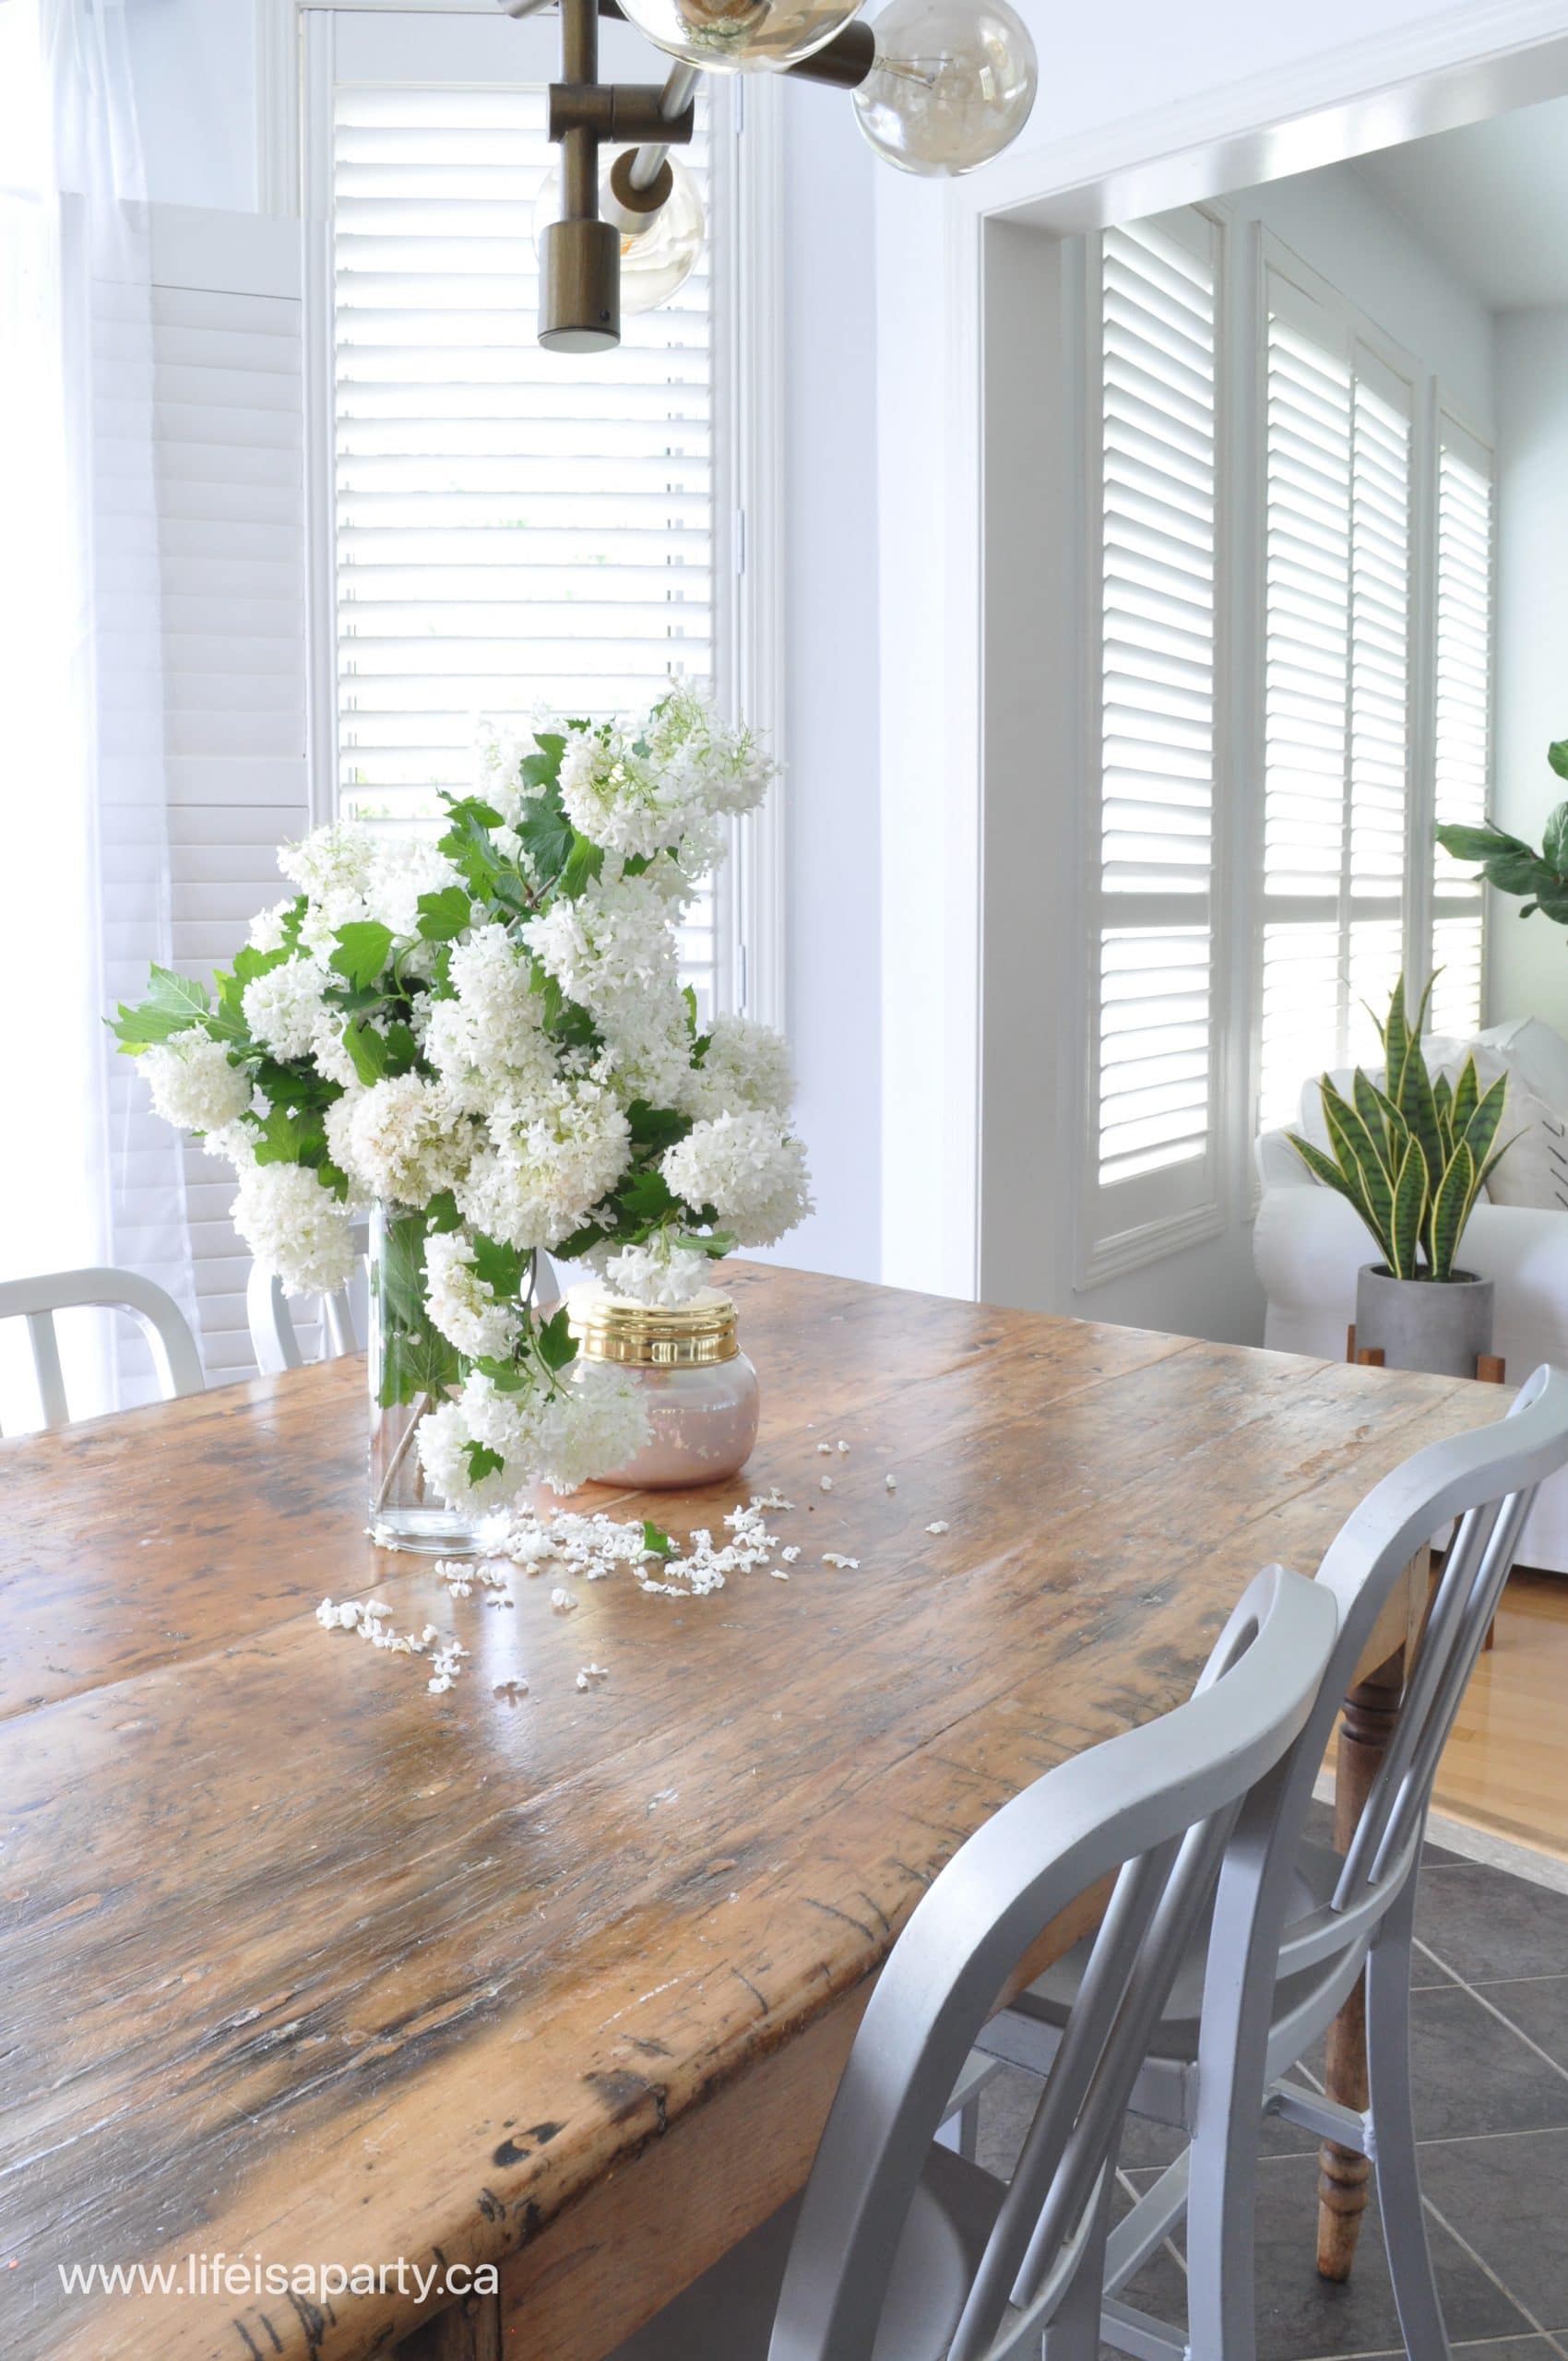
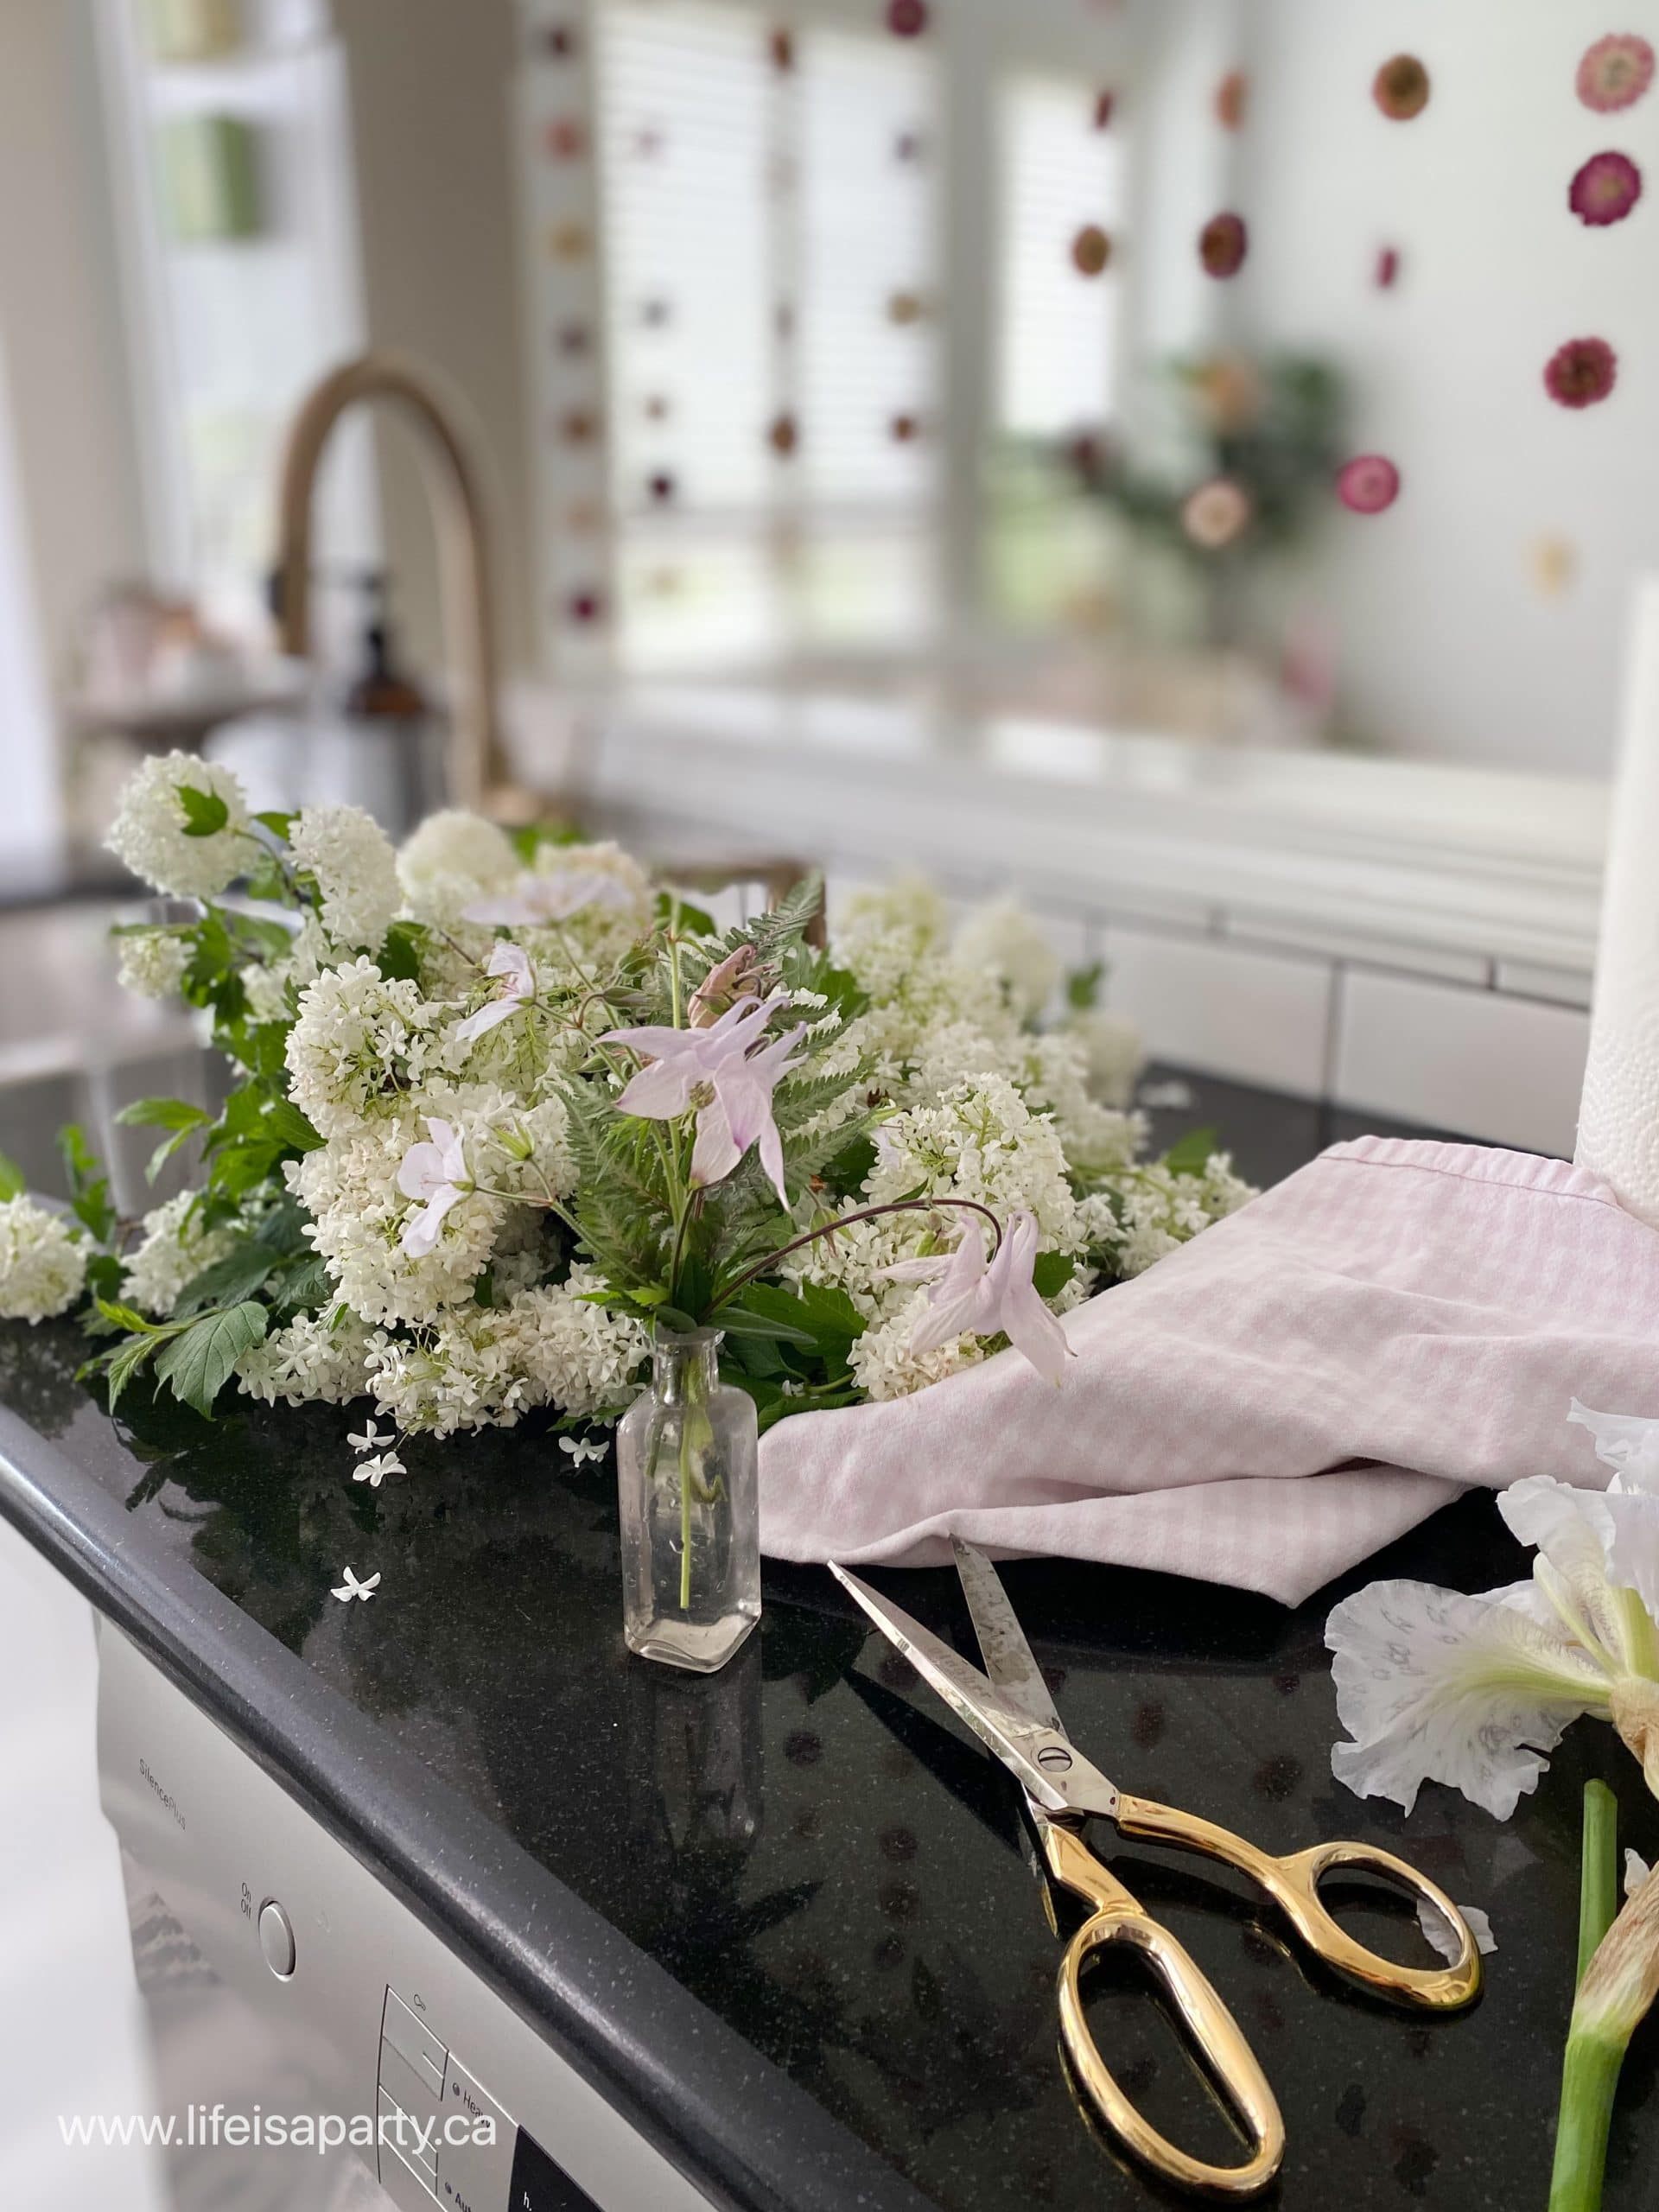
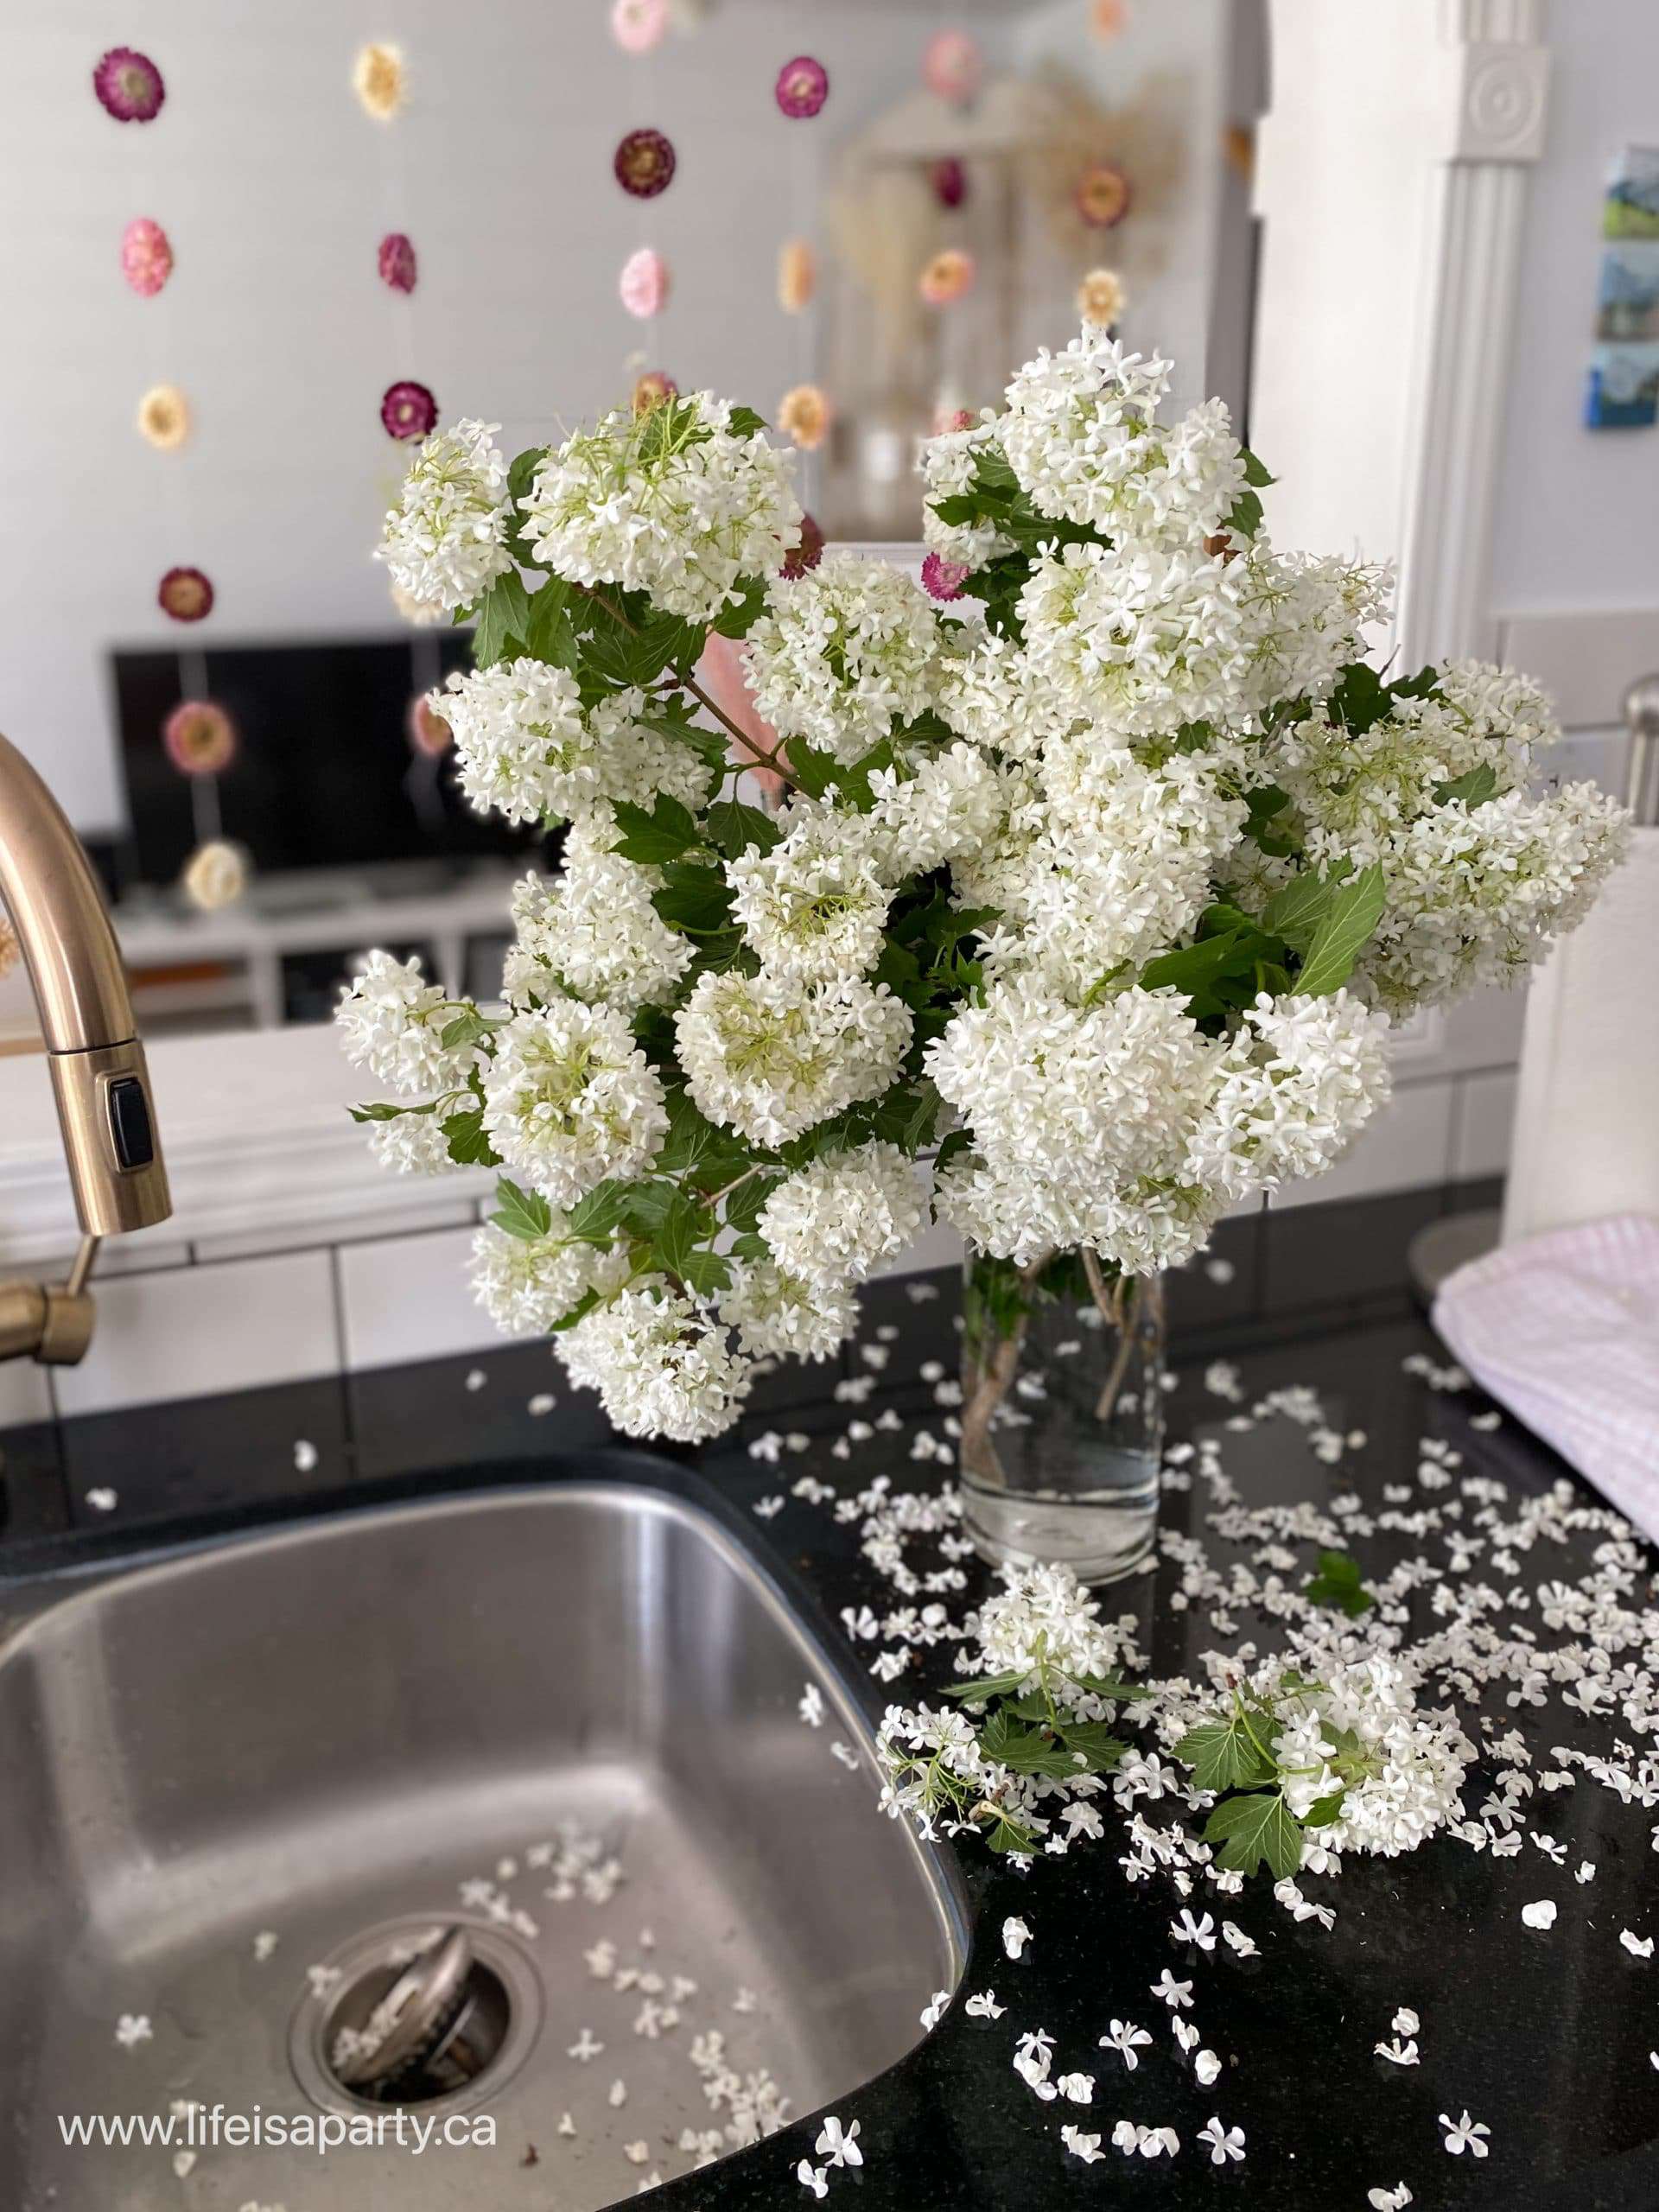
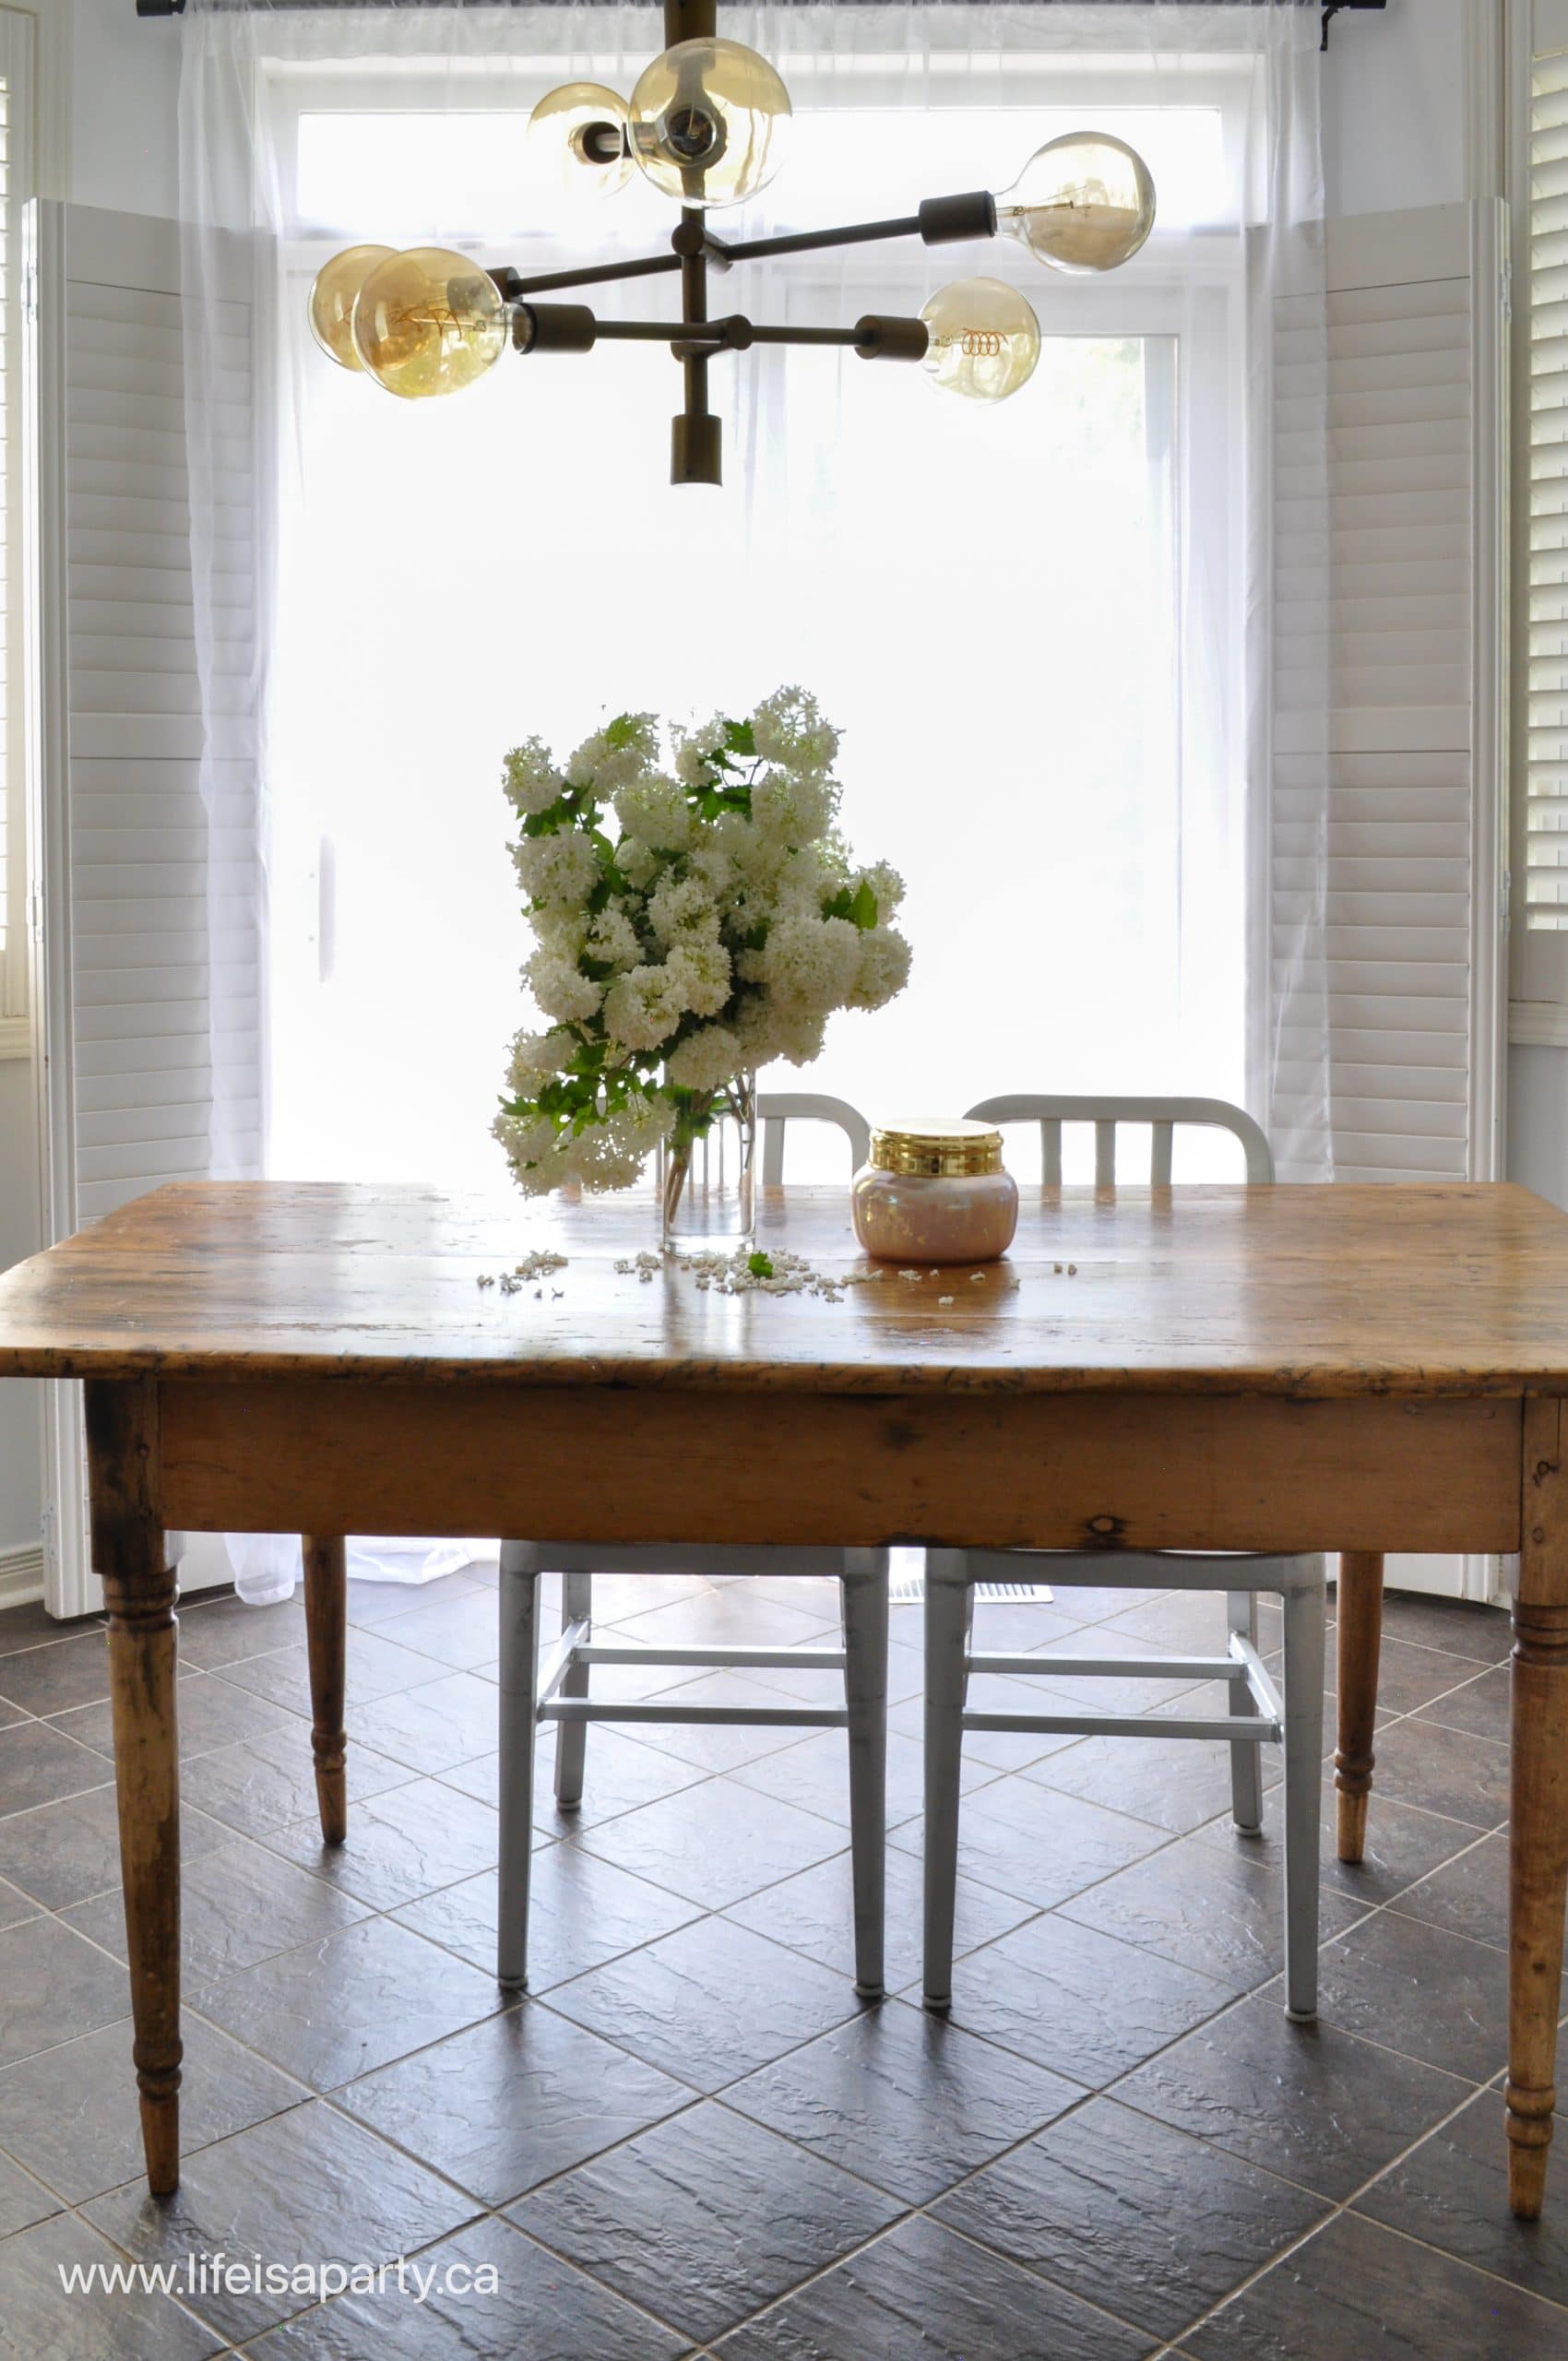
Into the kitchen, more touches of pink, flowers from the garden, and plants are the perfect simple summer decor.  These snowball tree branches on the table are such a favourite of mine.  They remind me of growing up, because we always had a large snowball tree, and my mom would always bring some in and put them on the table when they bloomed.  They're  a little messy, but it's the most beautiful mess.  It's snowing tiny, perfect white flowers.

easy summer decor
snowball tree branches in a vase
summer flowers on a table

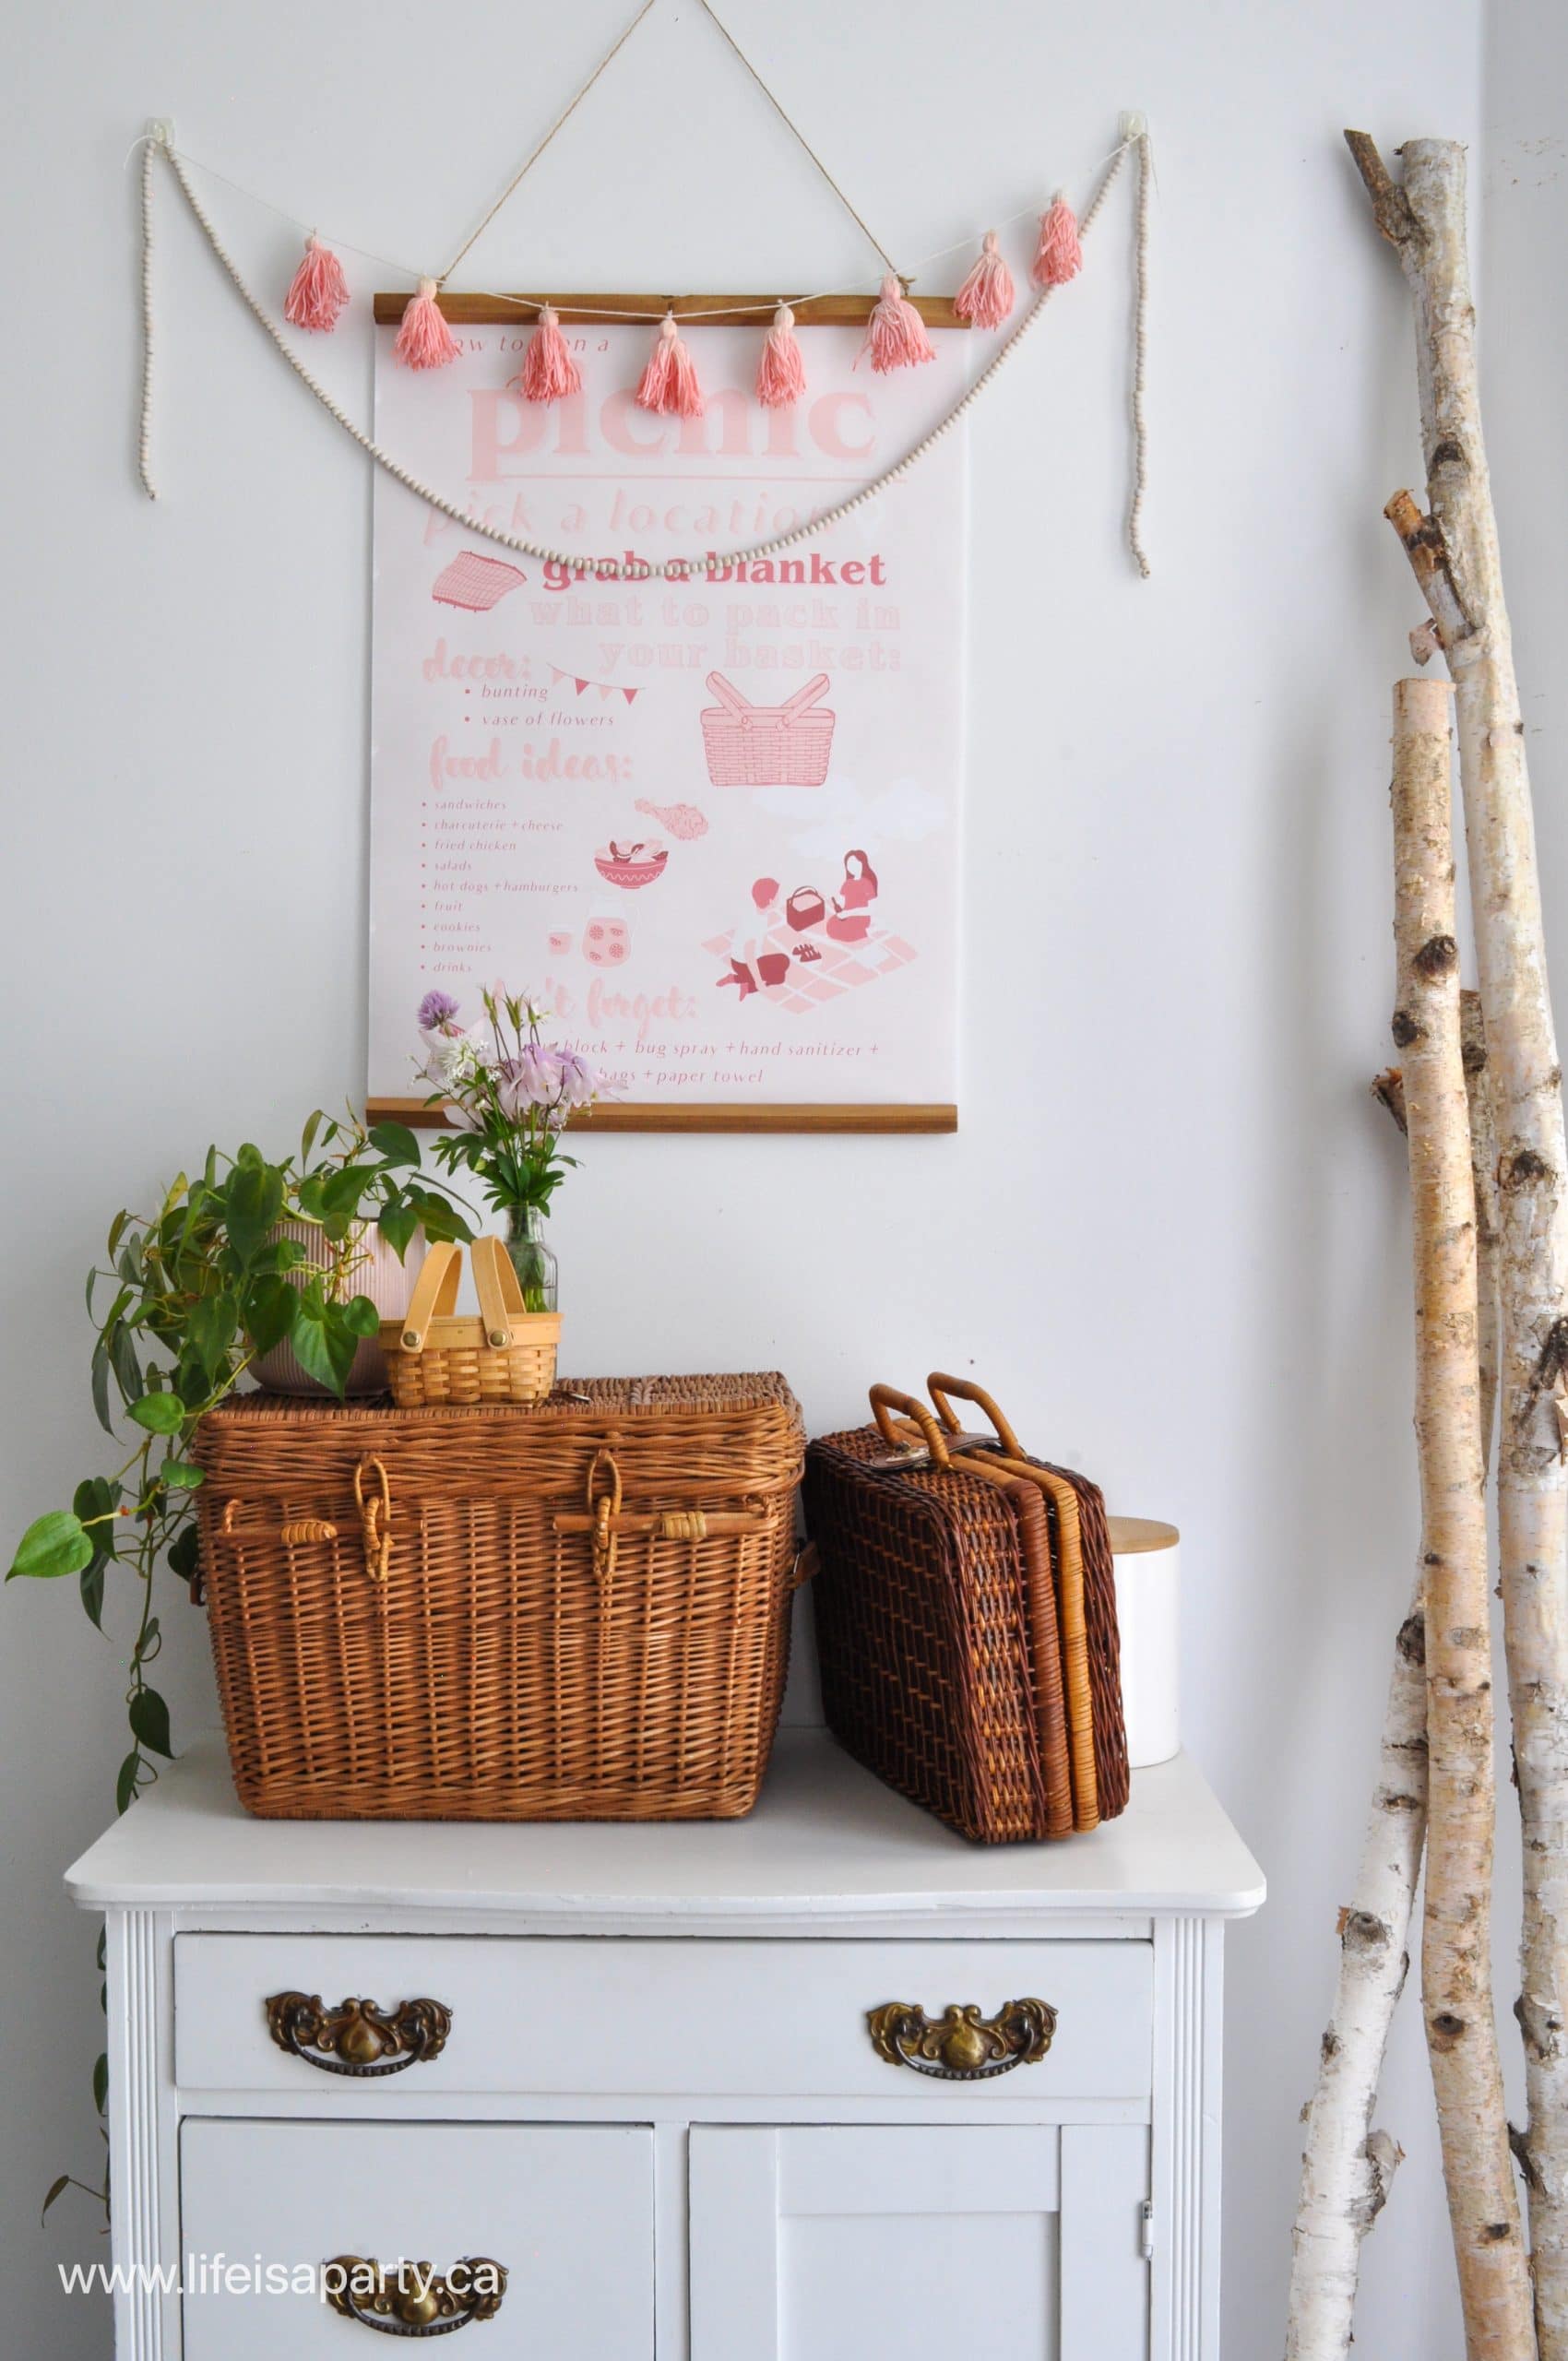
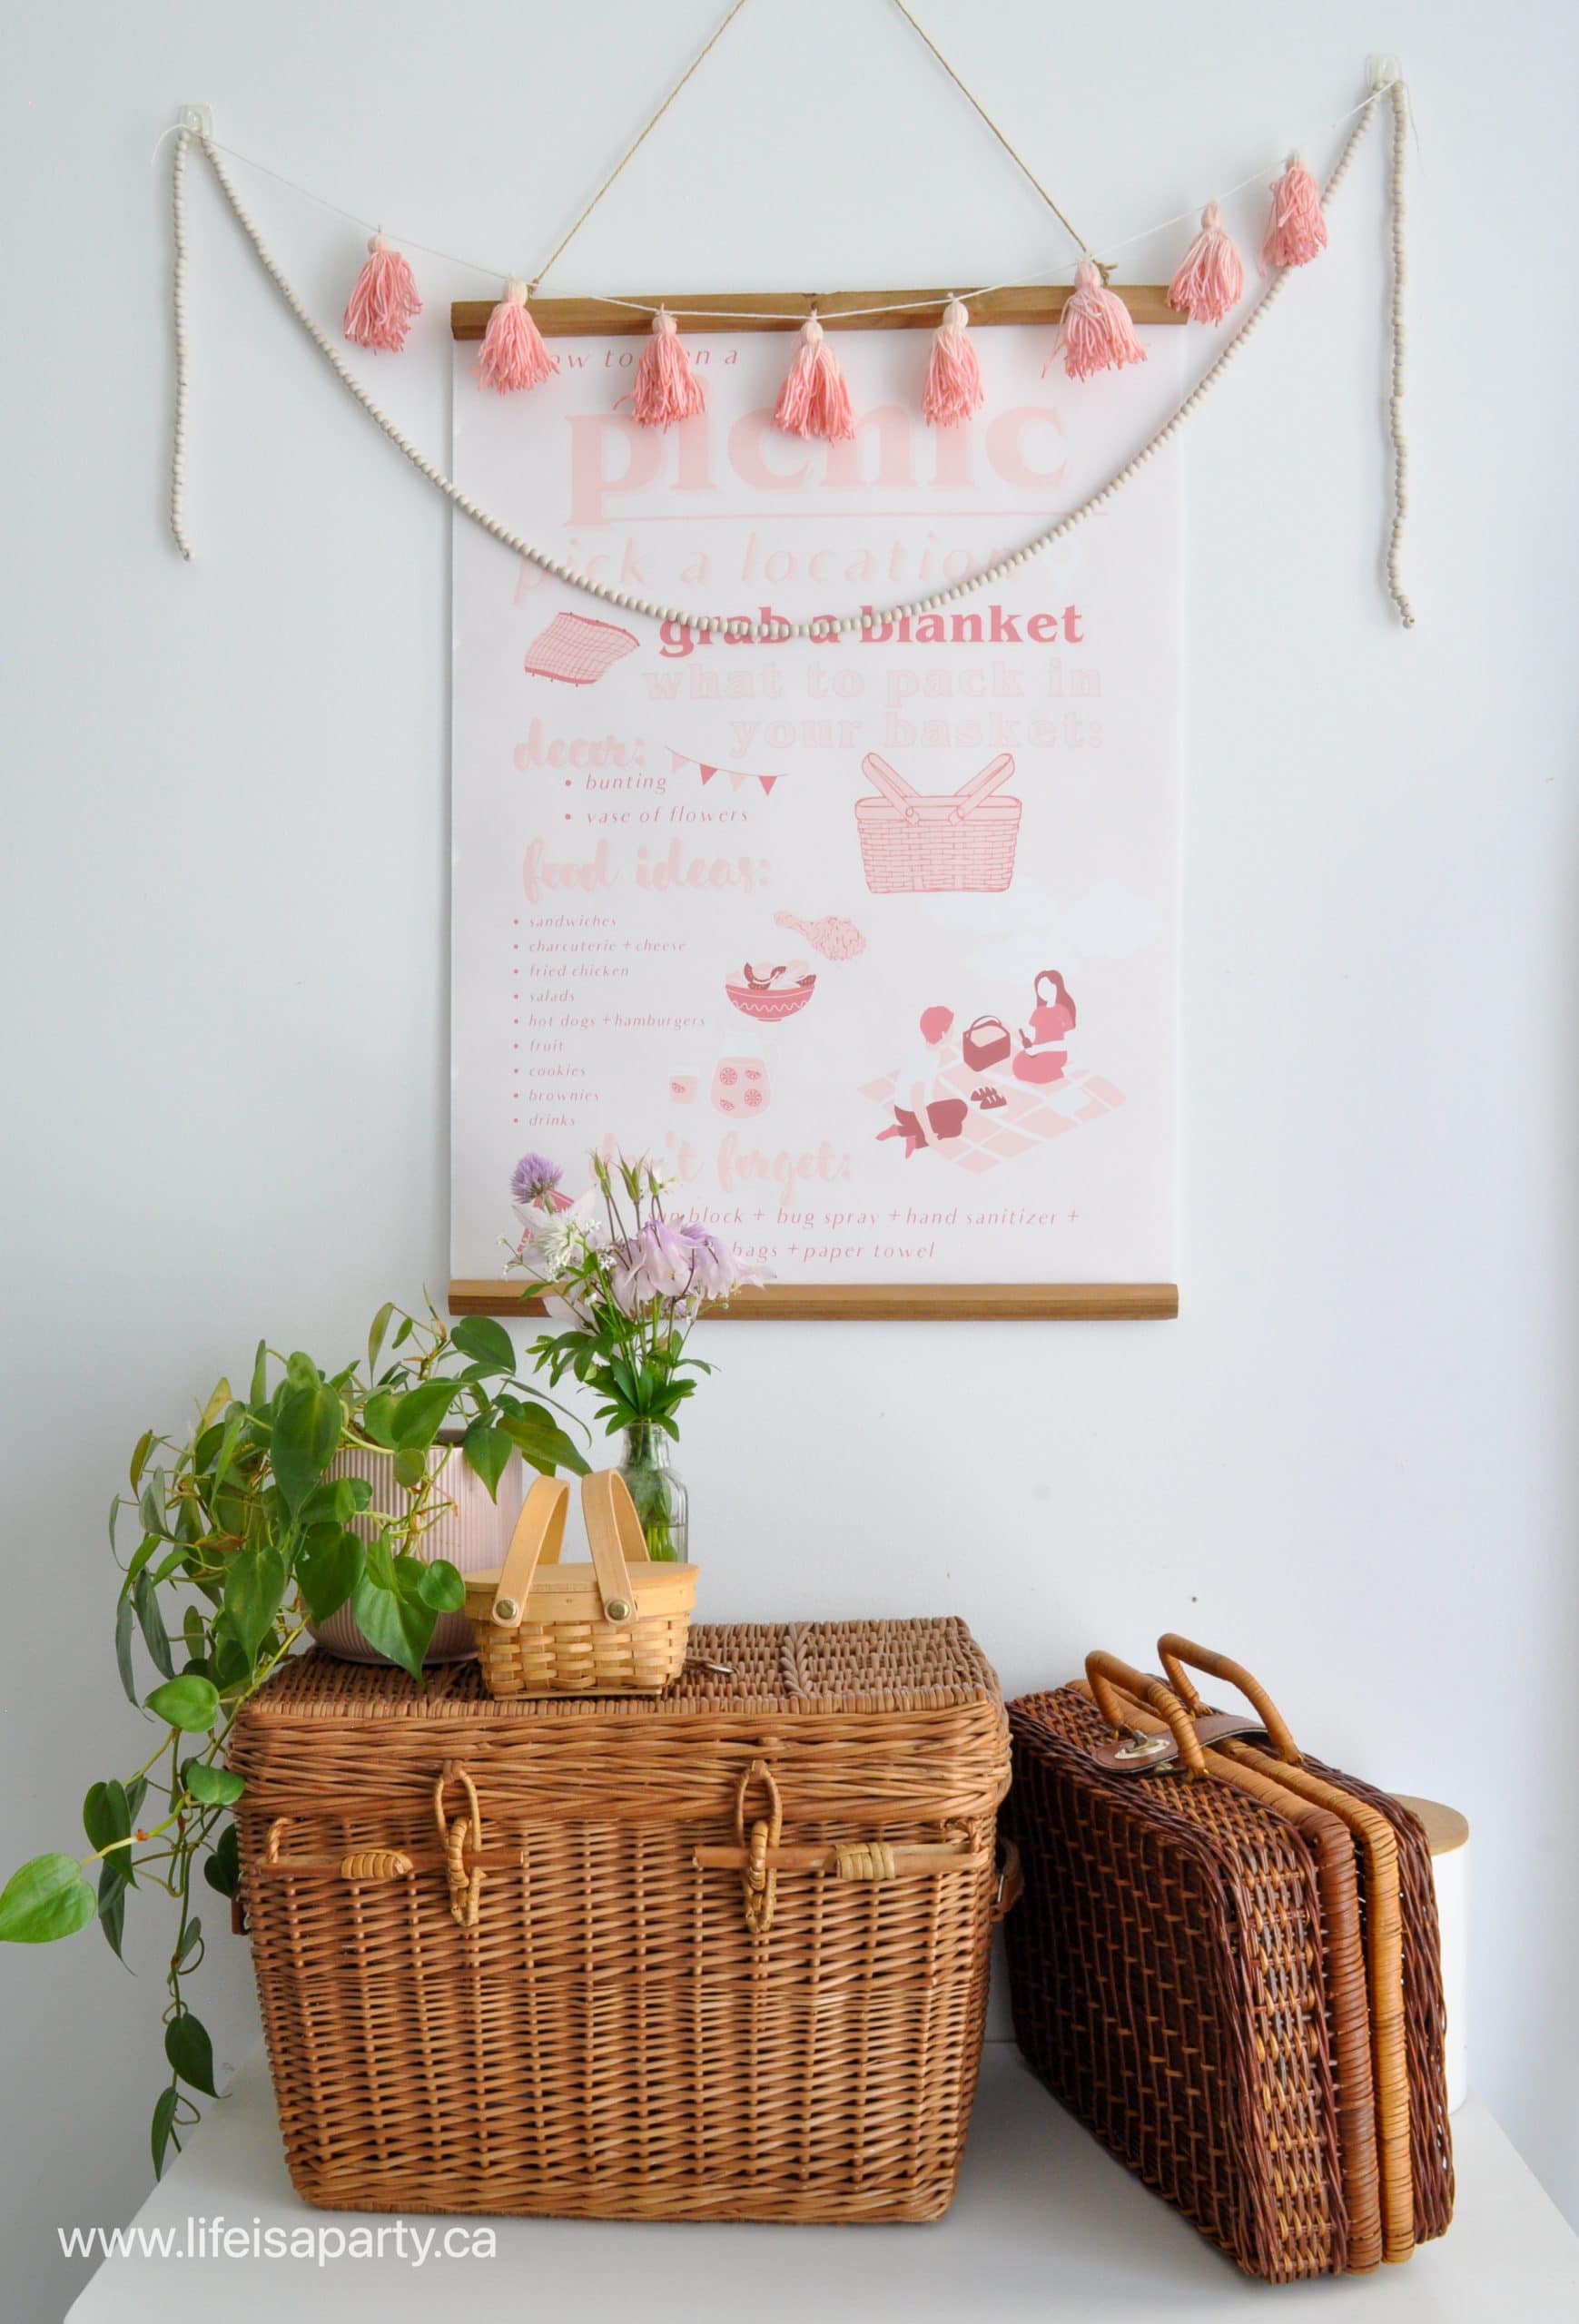
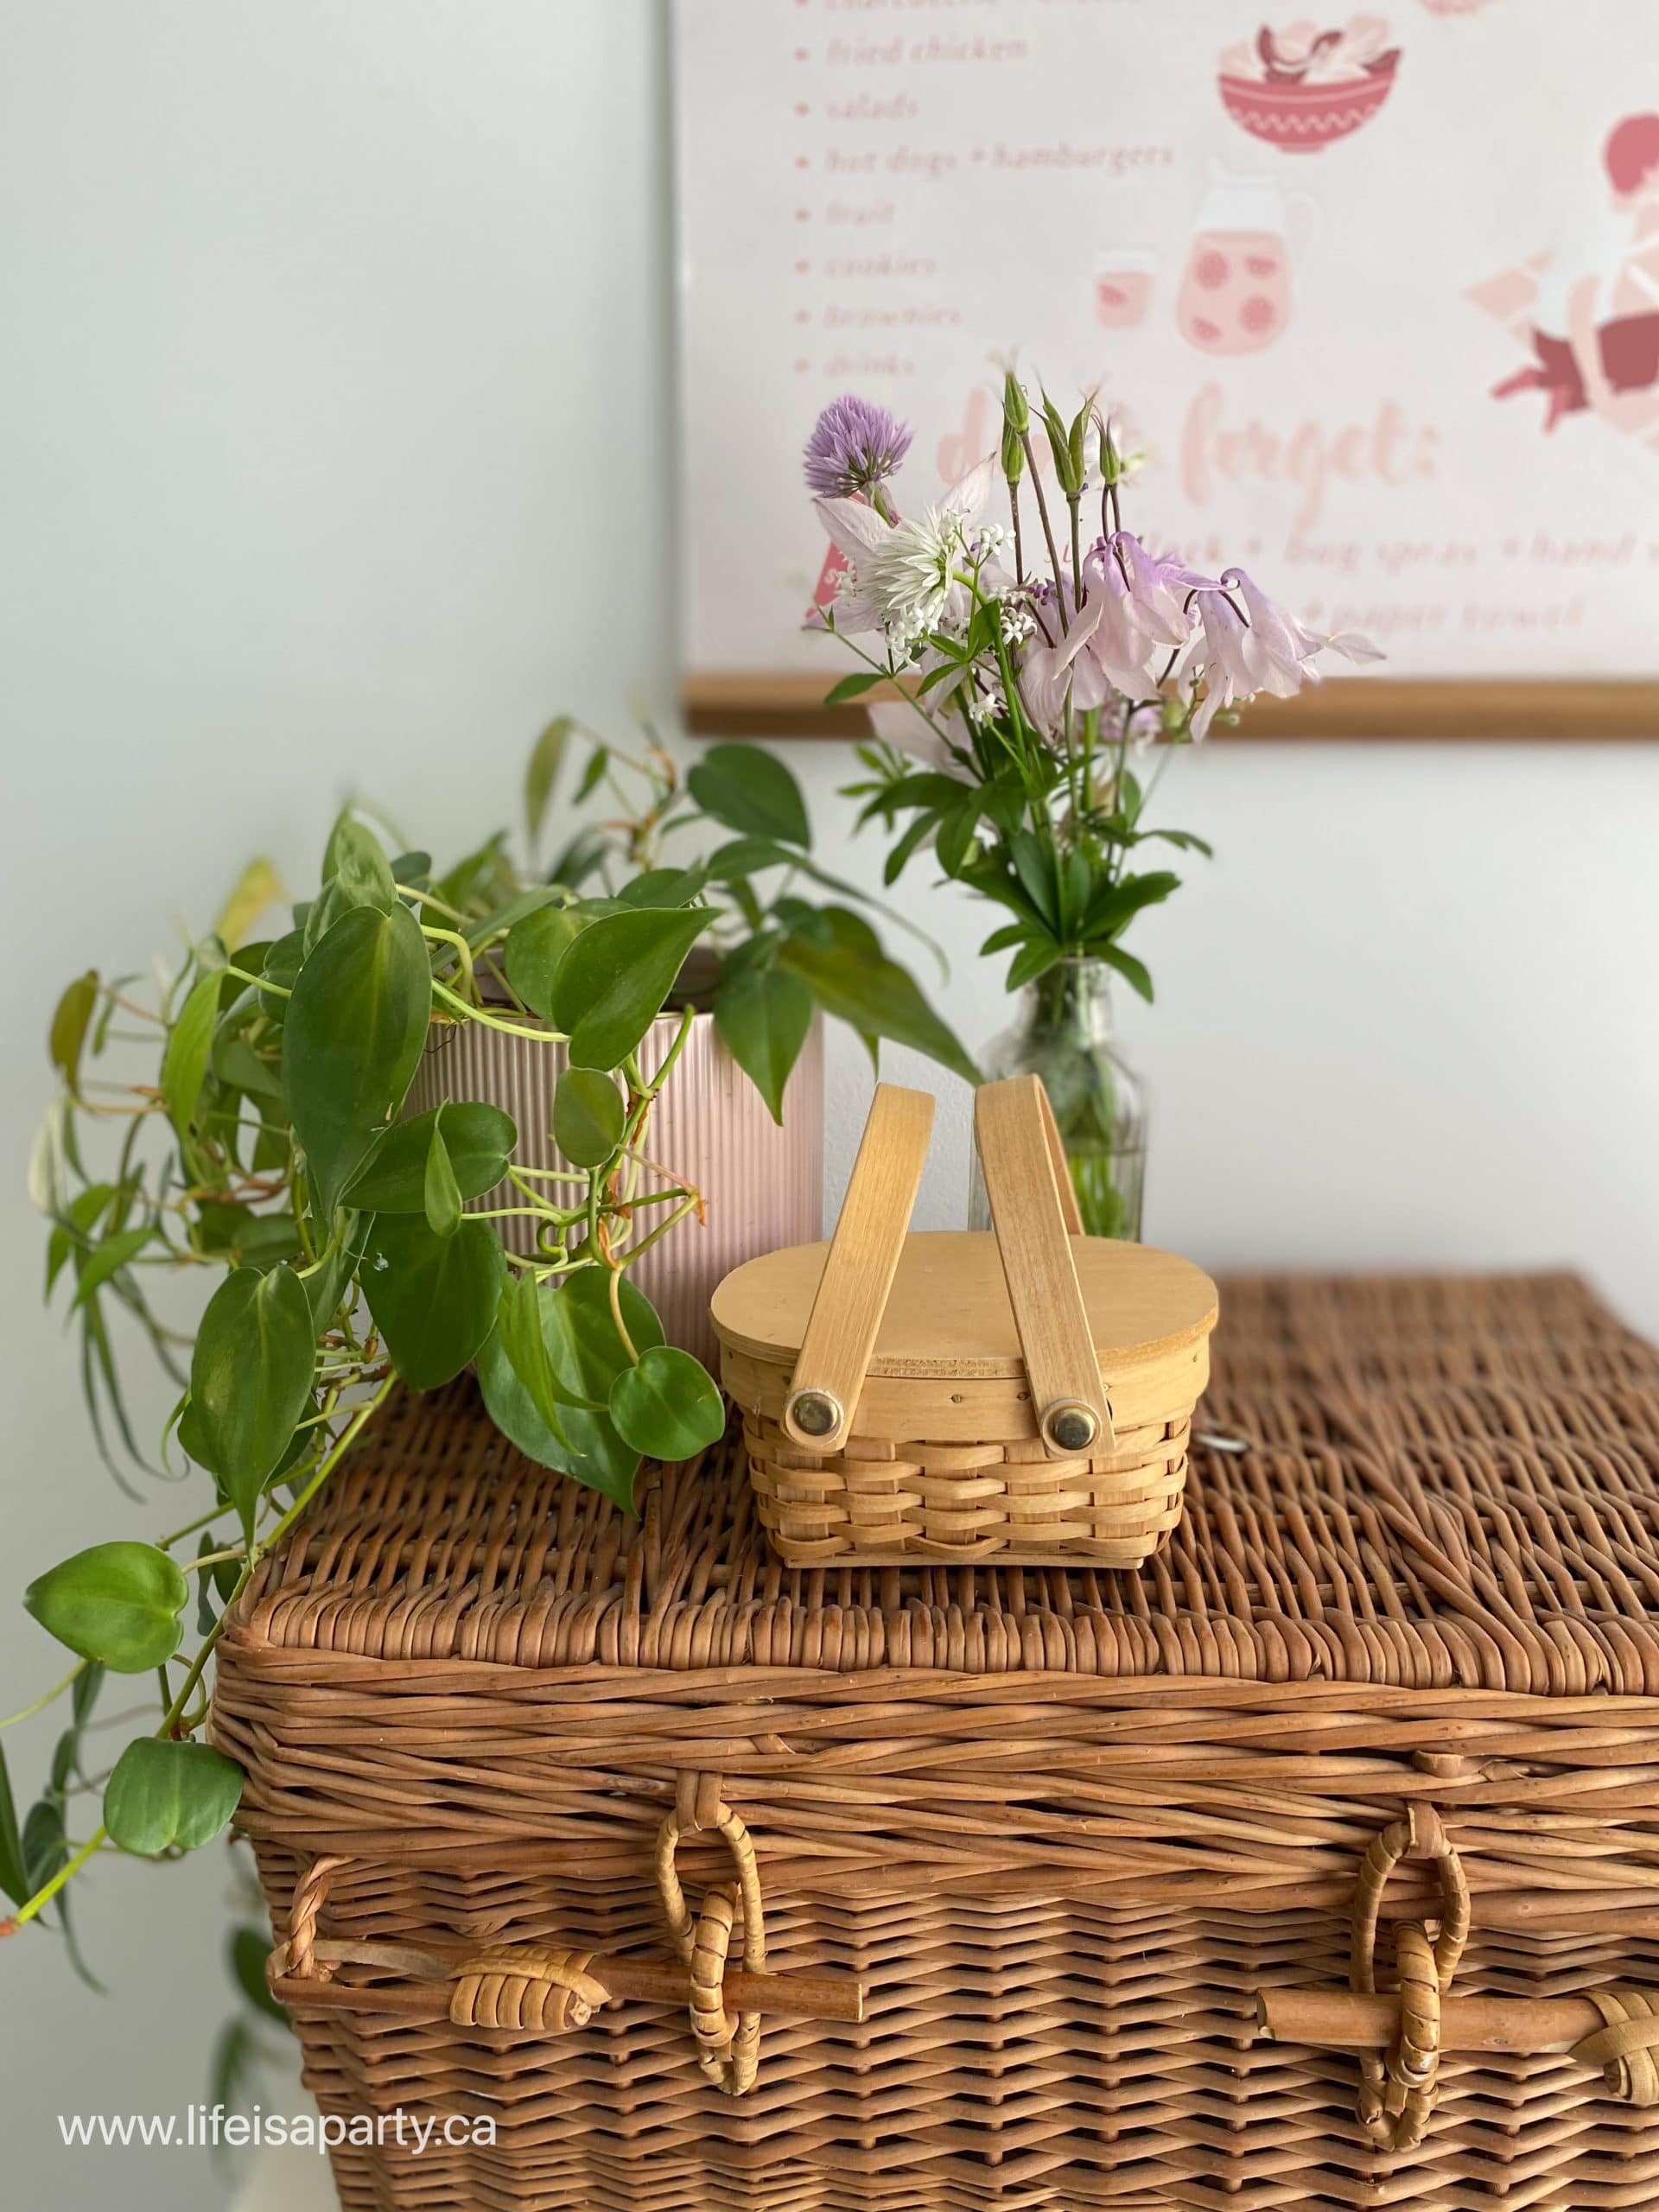
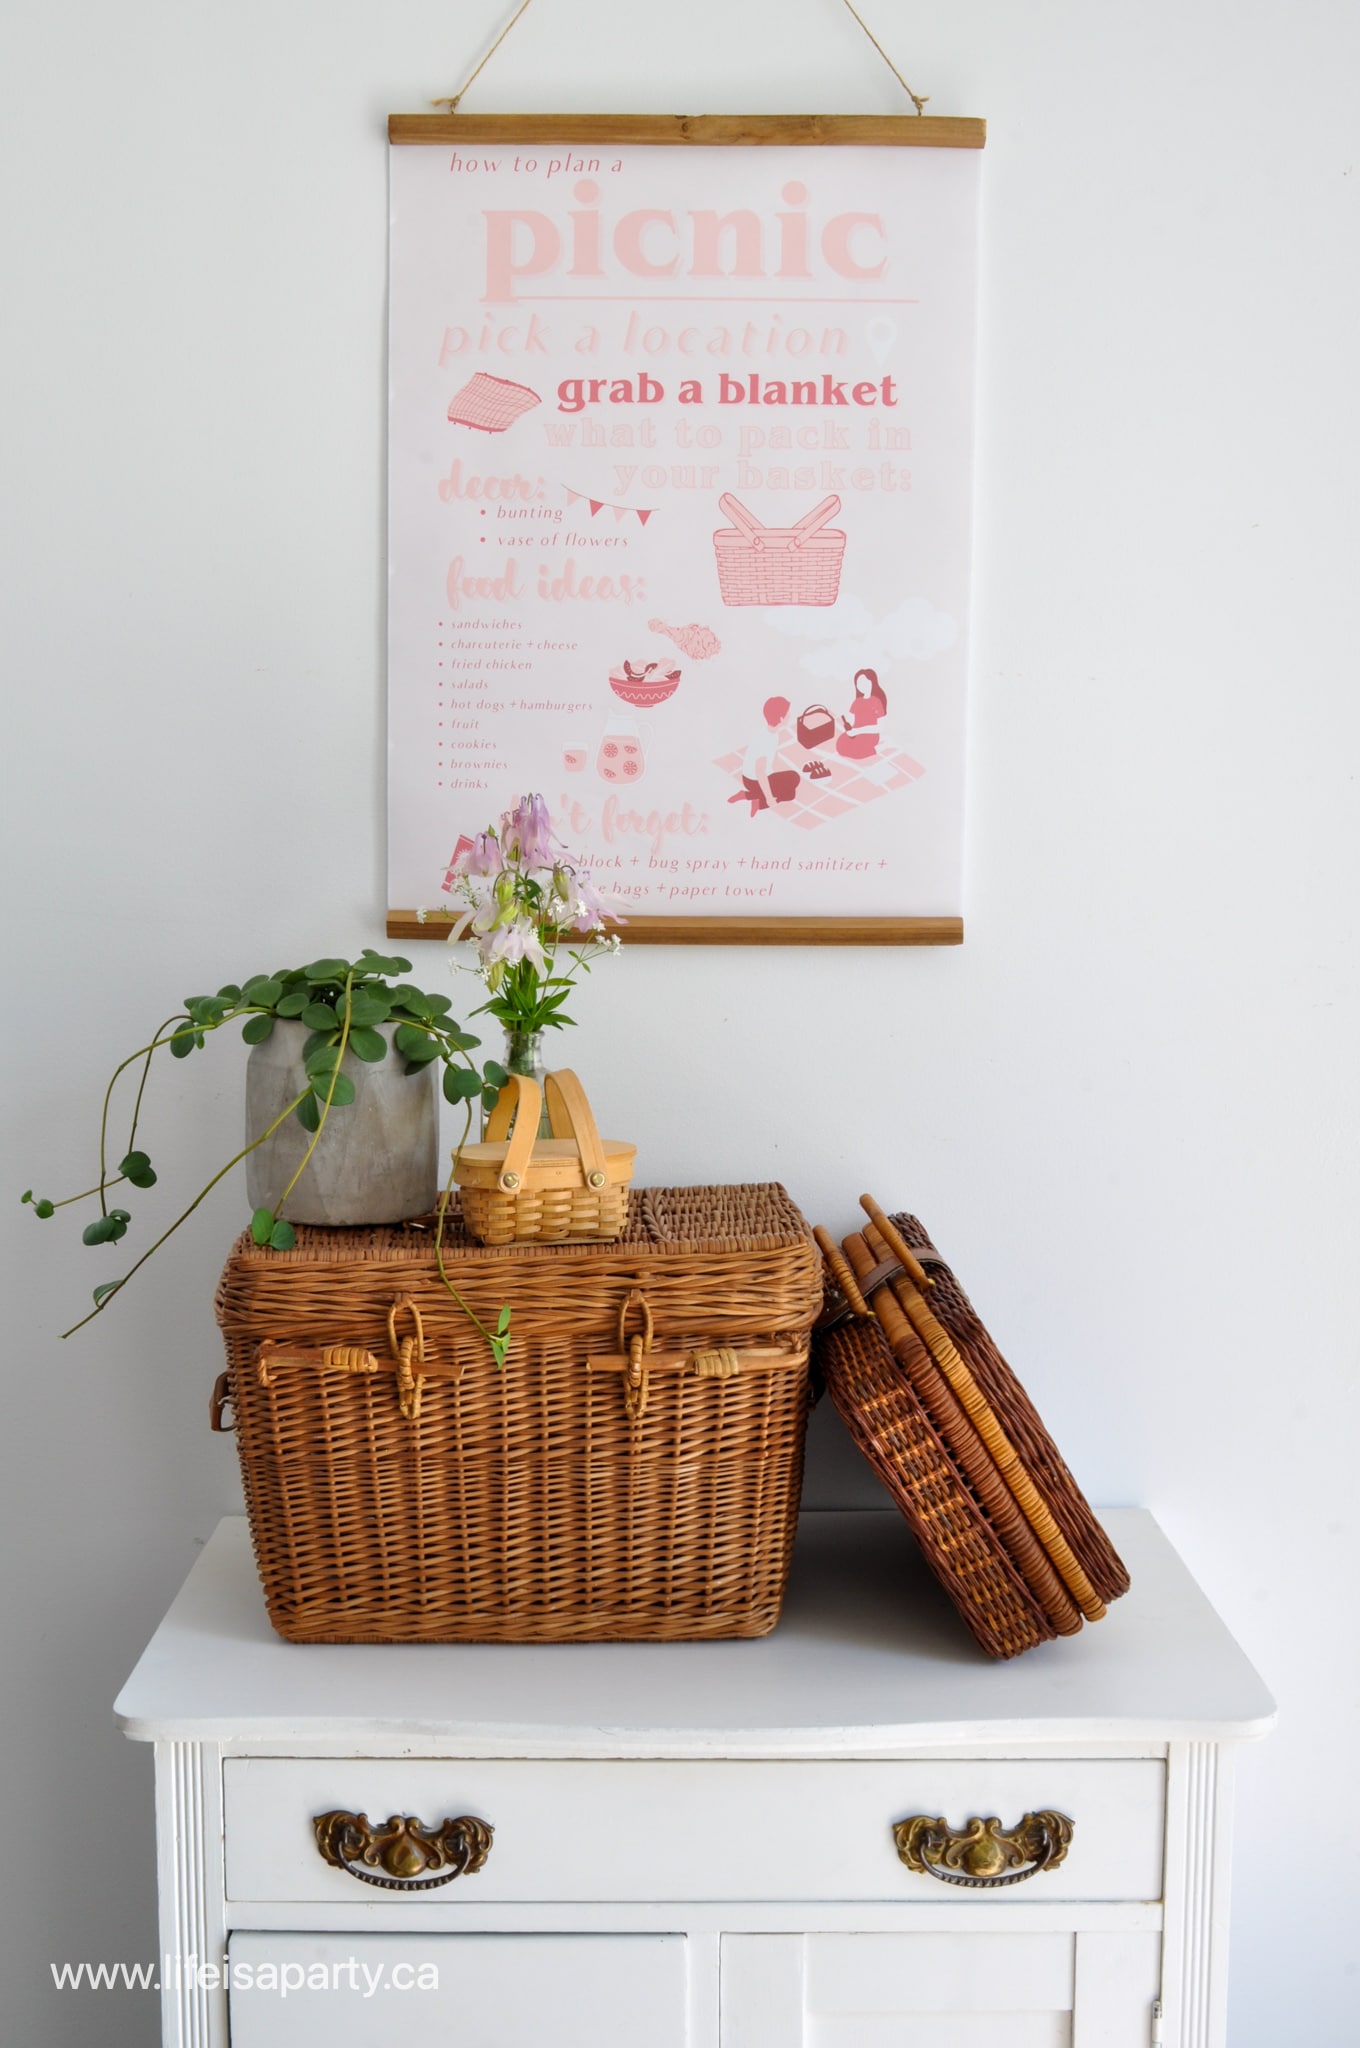
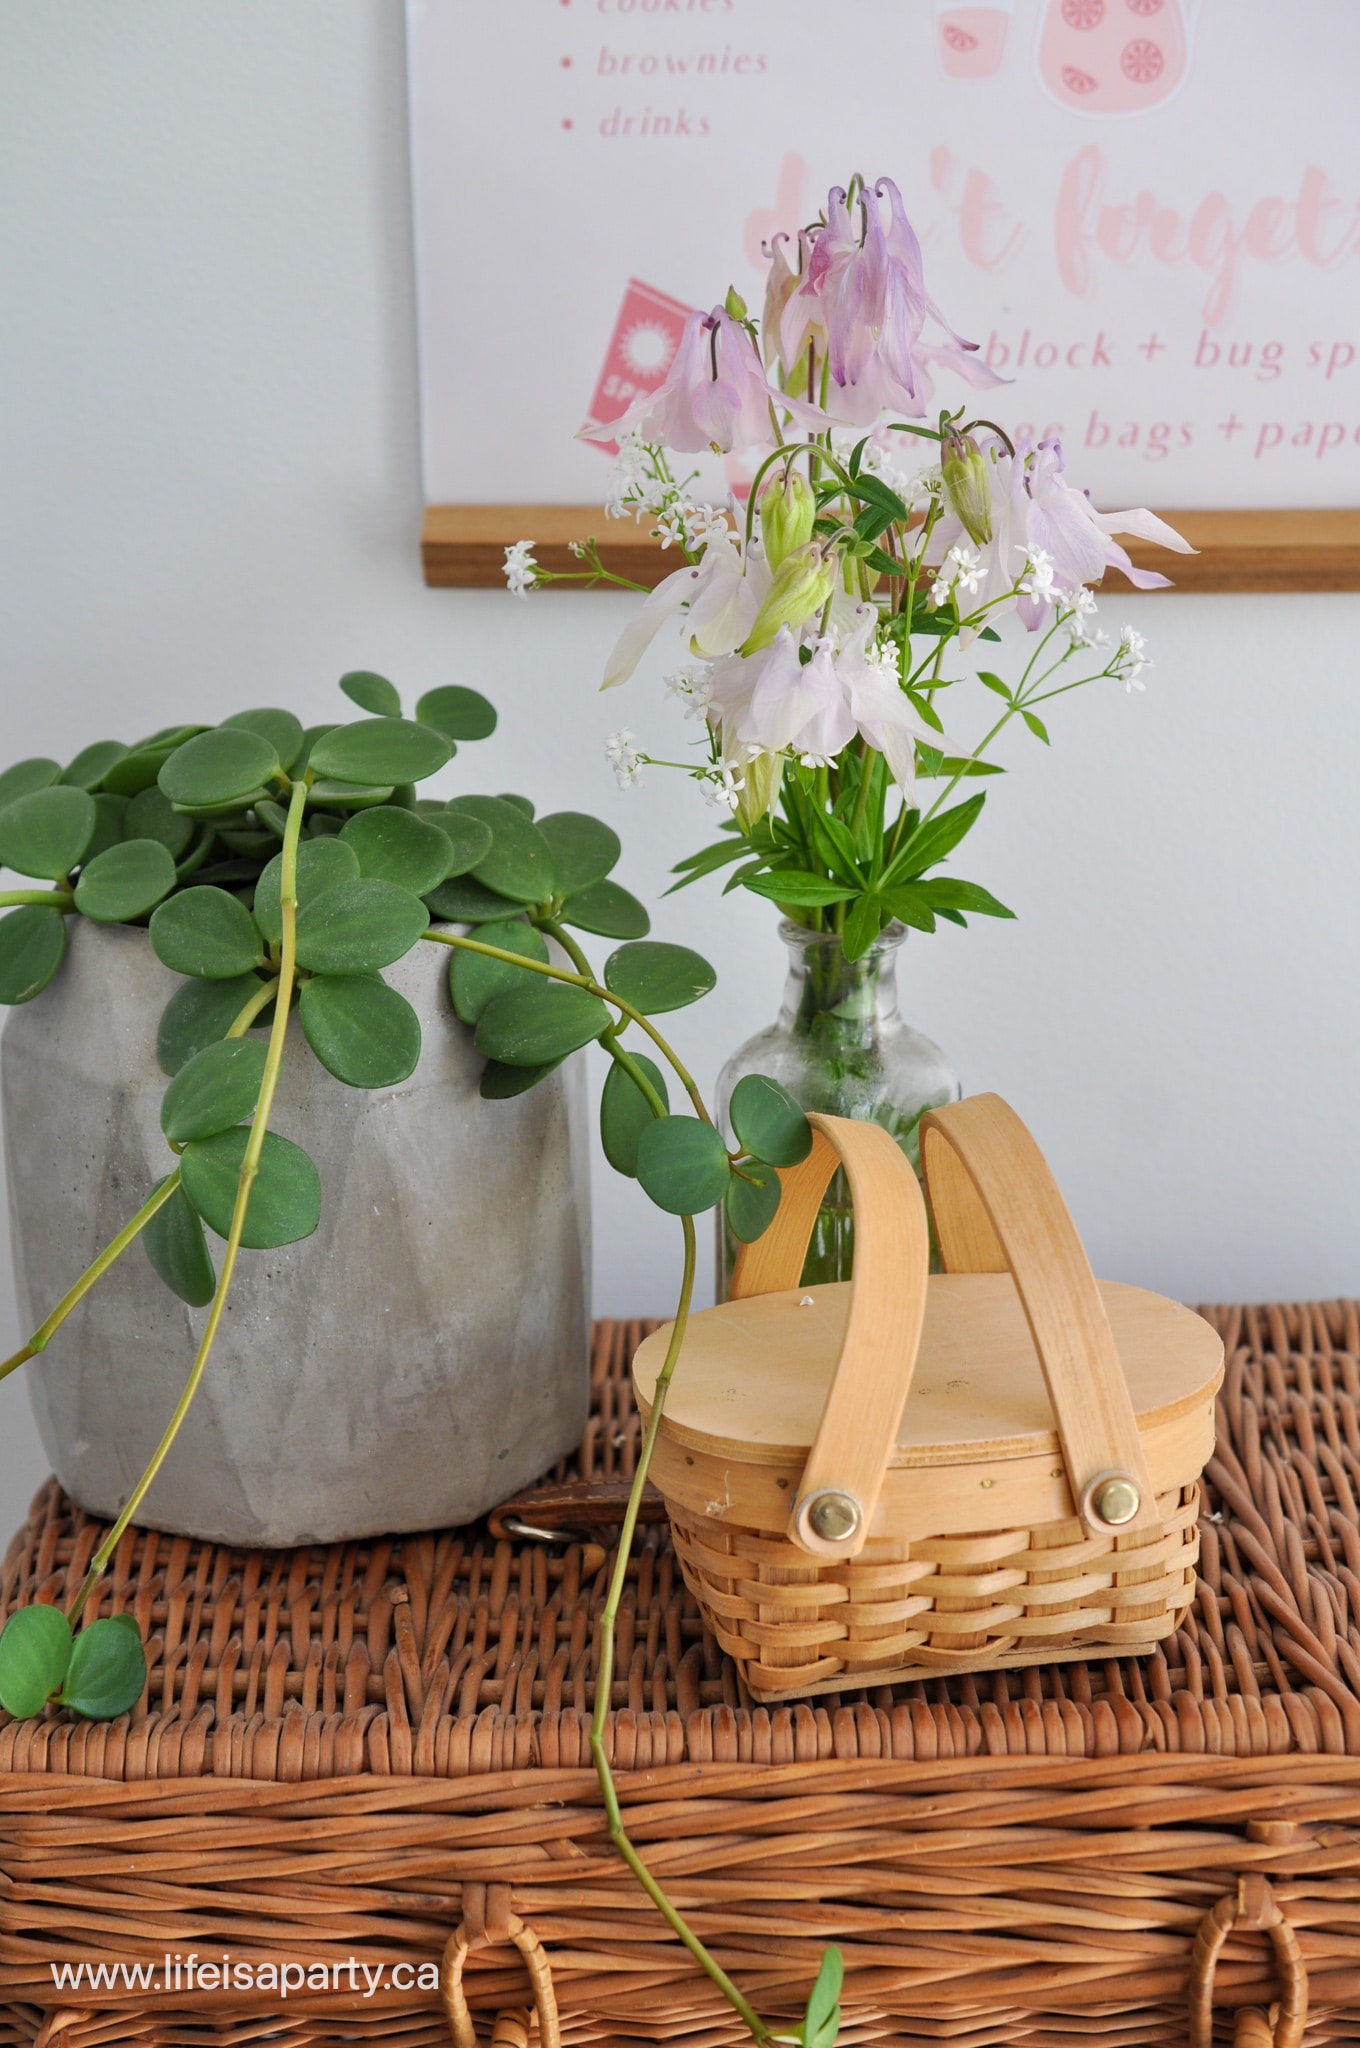
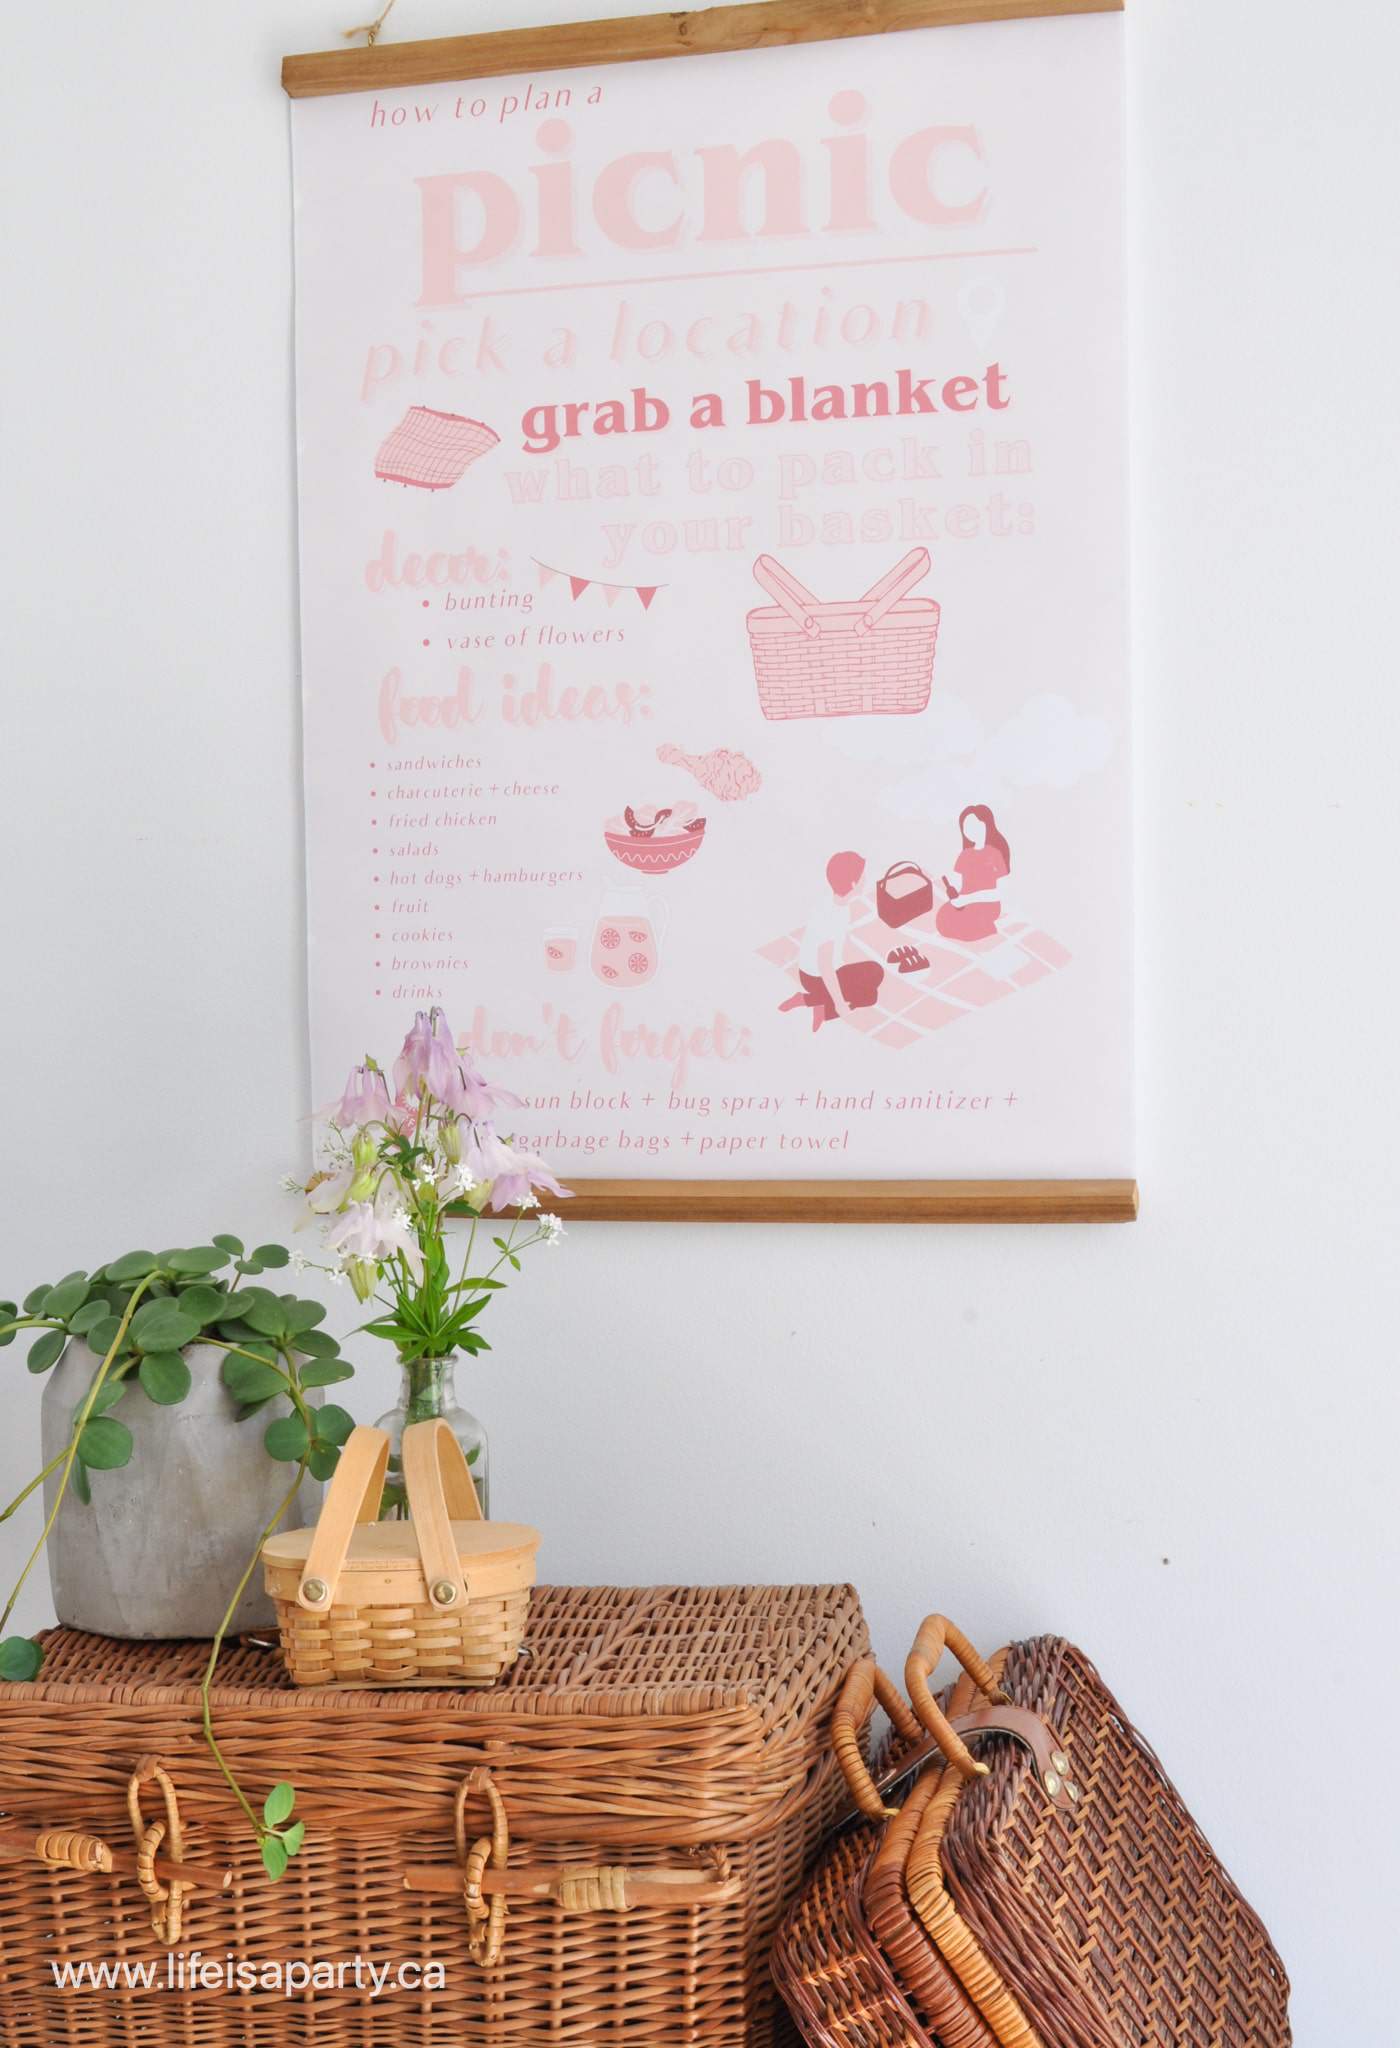
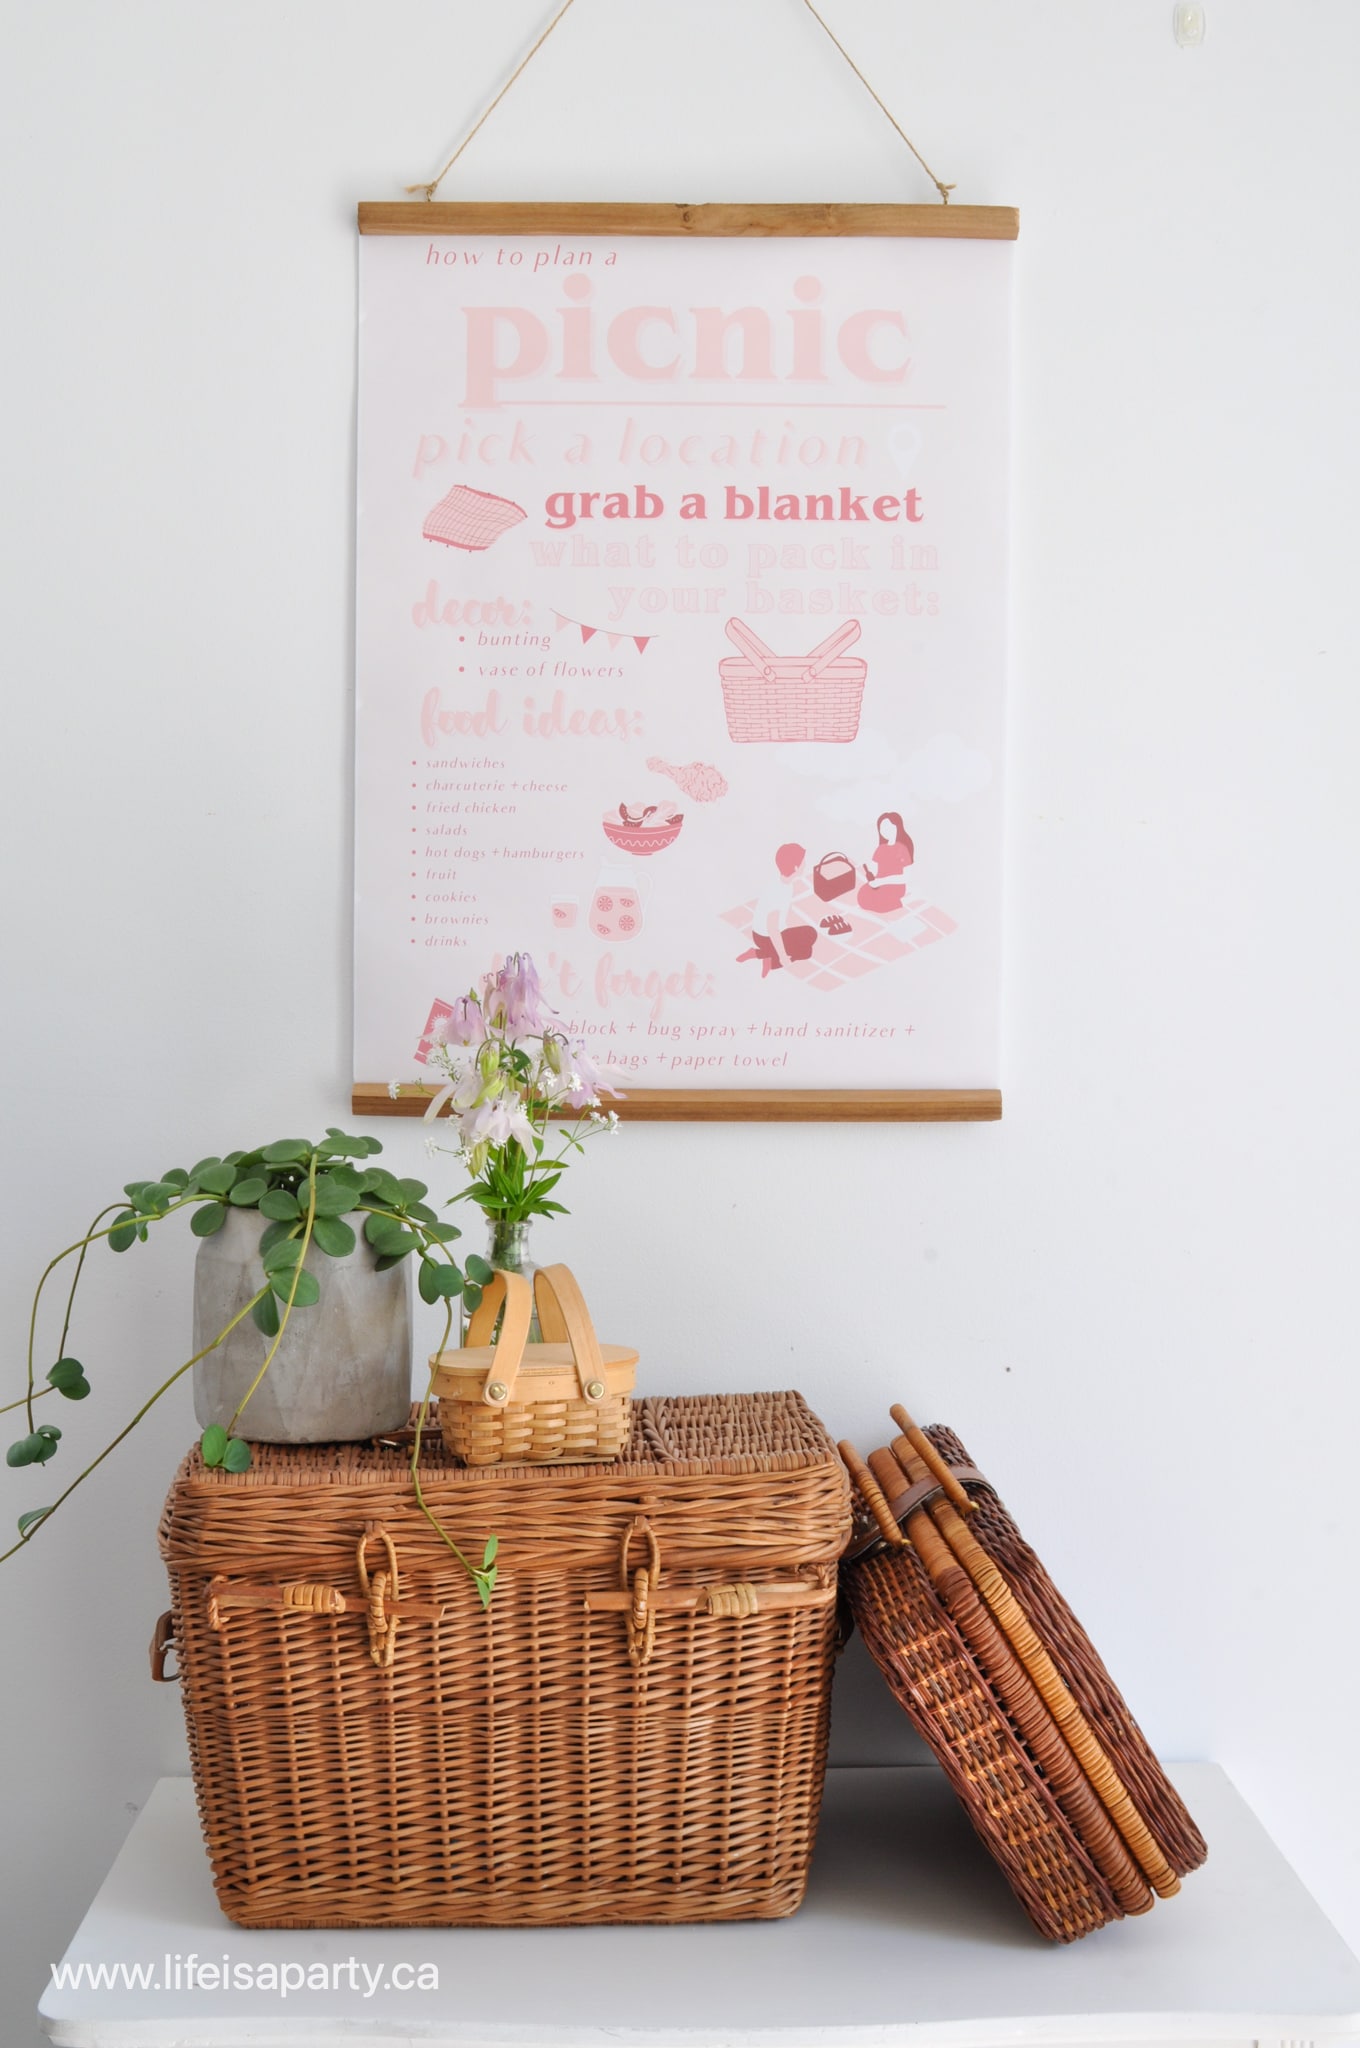
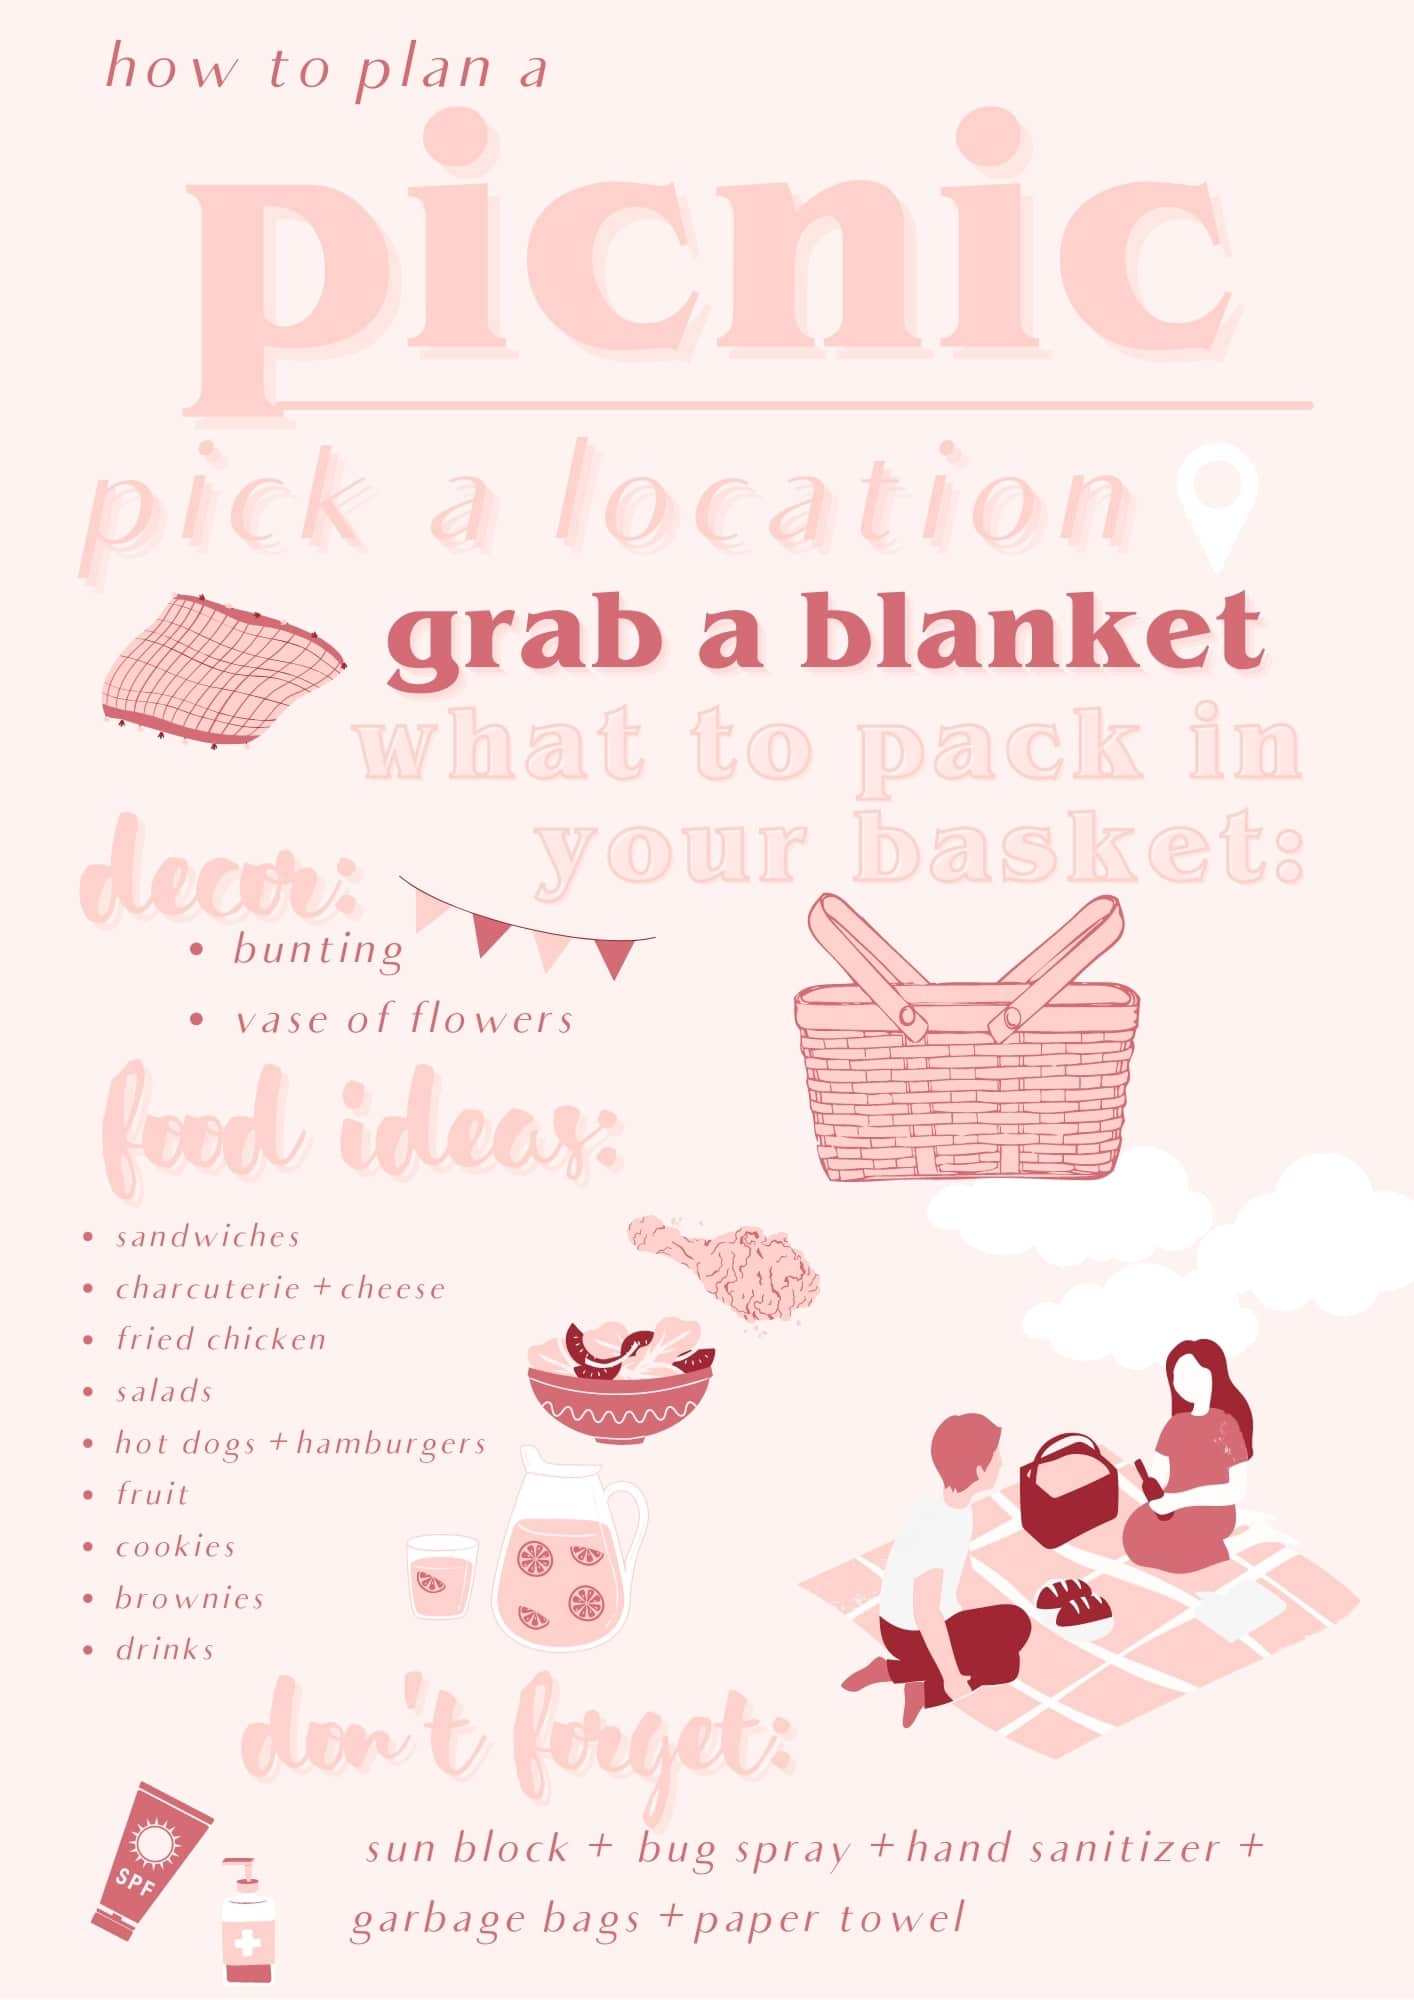
On the back wall, I've hung this beautiful picnic poster.  My daughter designed it for me as a infographic for a recent post on what to pack for a picnic.  I loved it so much I made it available as a free printable here.  To display it, I printed it as an inexpensive colour engineer print, and it's perfect for summer.  I styled it with a few more wicker picnic baskets, and garden flowers.  See how I made the pink dip dyed tassels here.

summer art work
free summer picnic art
summer decor ideas

Over on the other side of the room, a spot for some garden flower arranging.  

how to decorate your house for summer
summer home tour
summer decor ideas
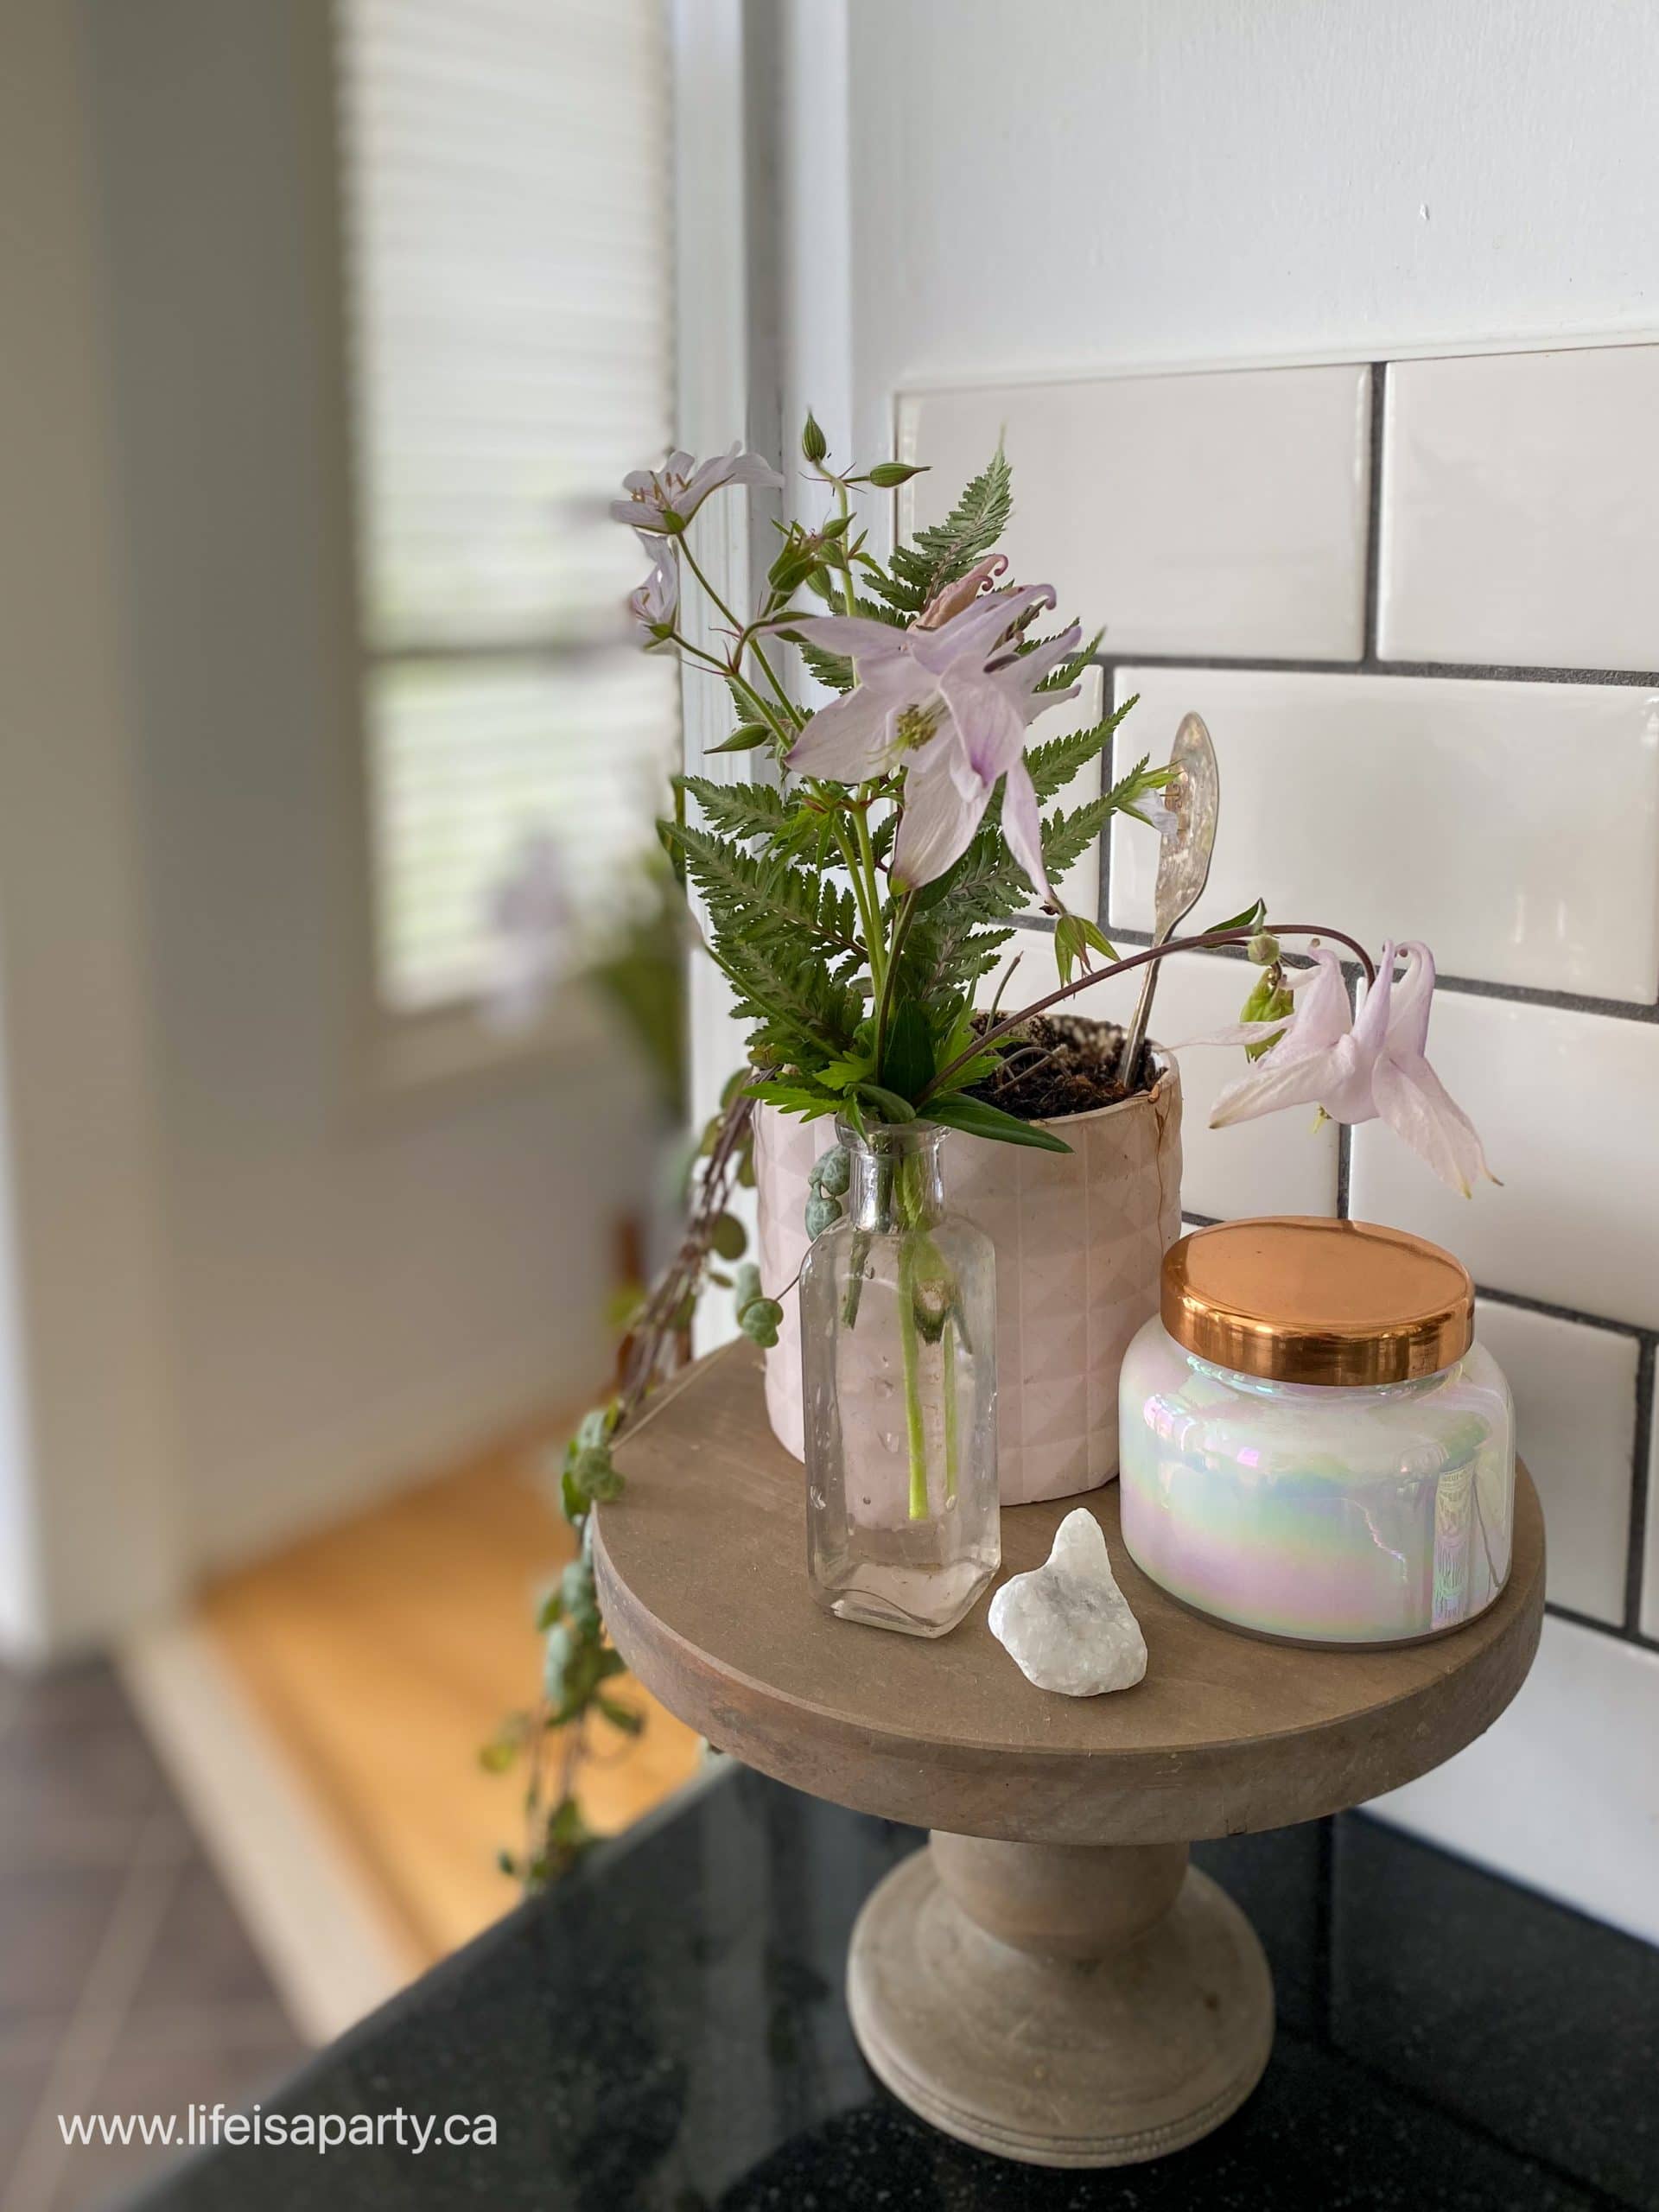
garden flowers in a vintage glass bottle
summer decorating ideas
summer home tour

Kitchen Open Shelves

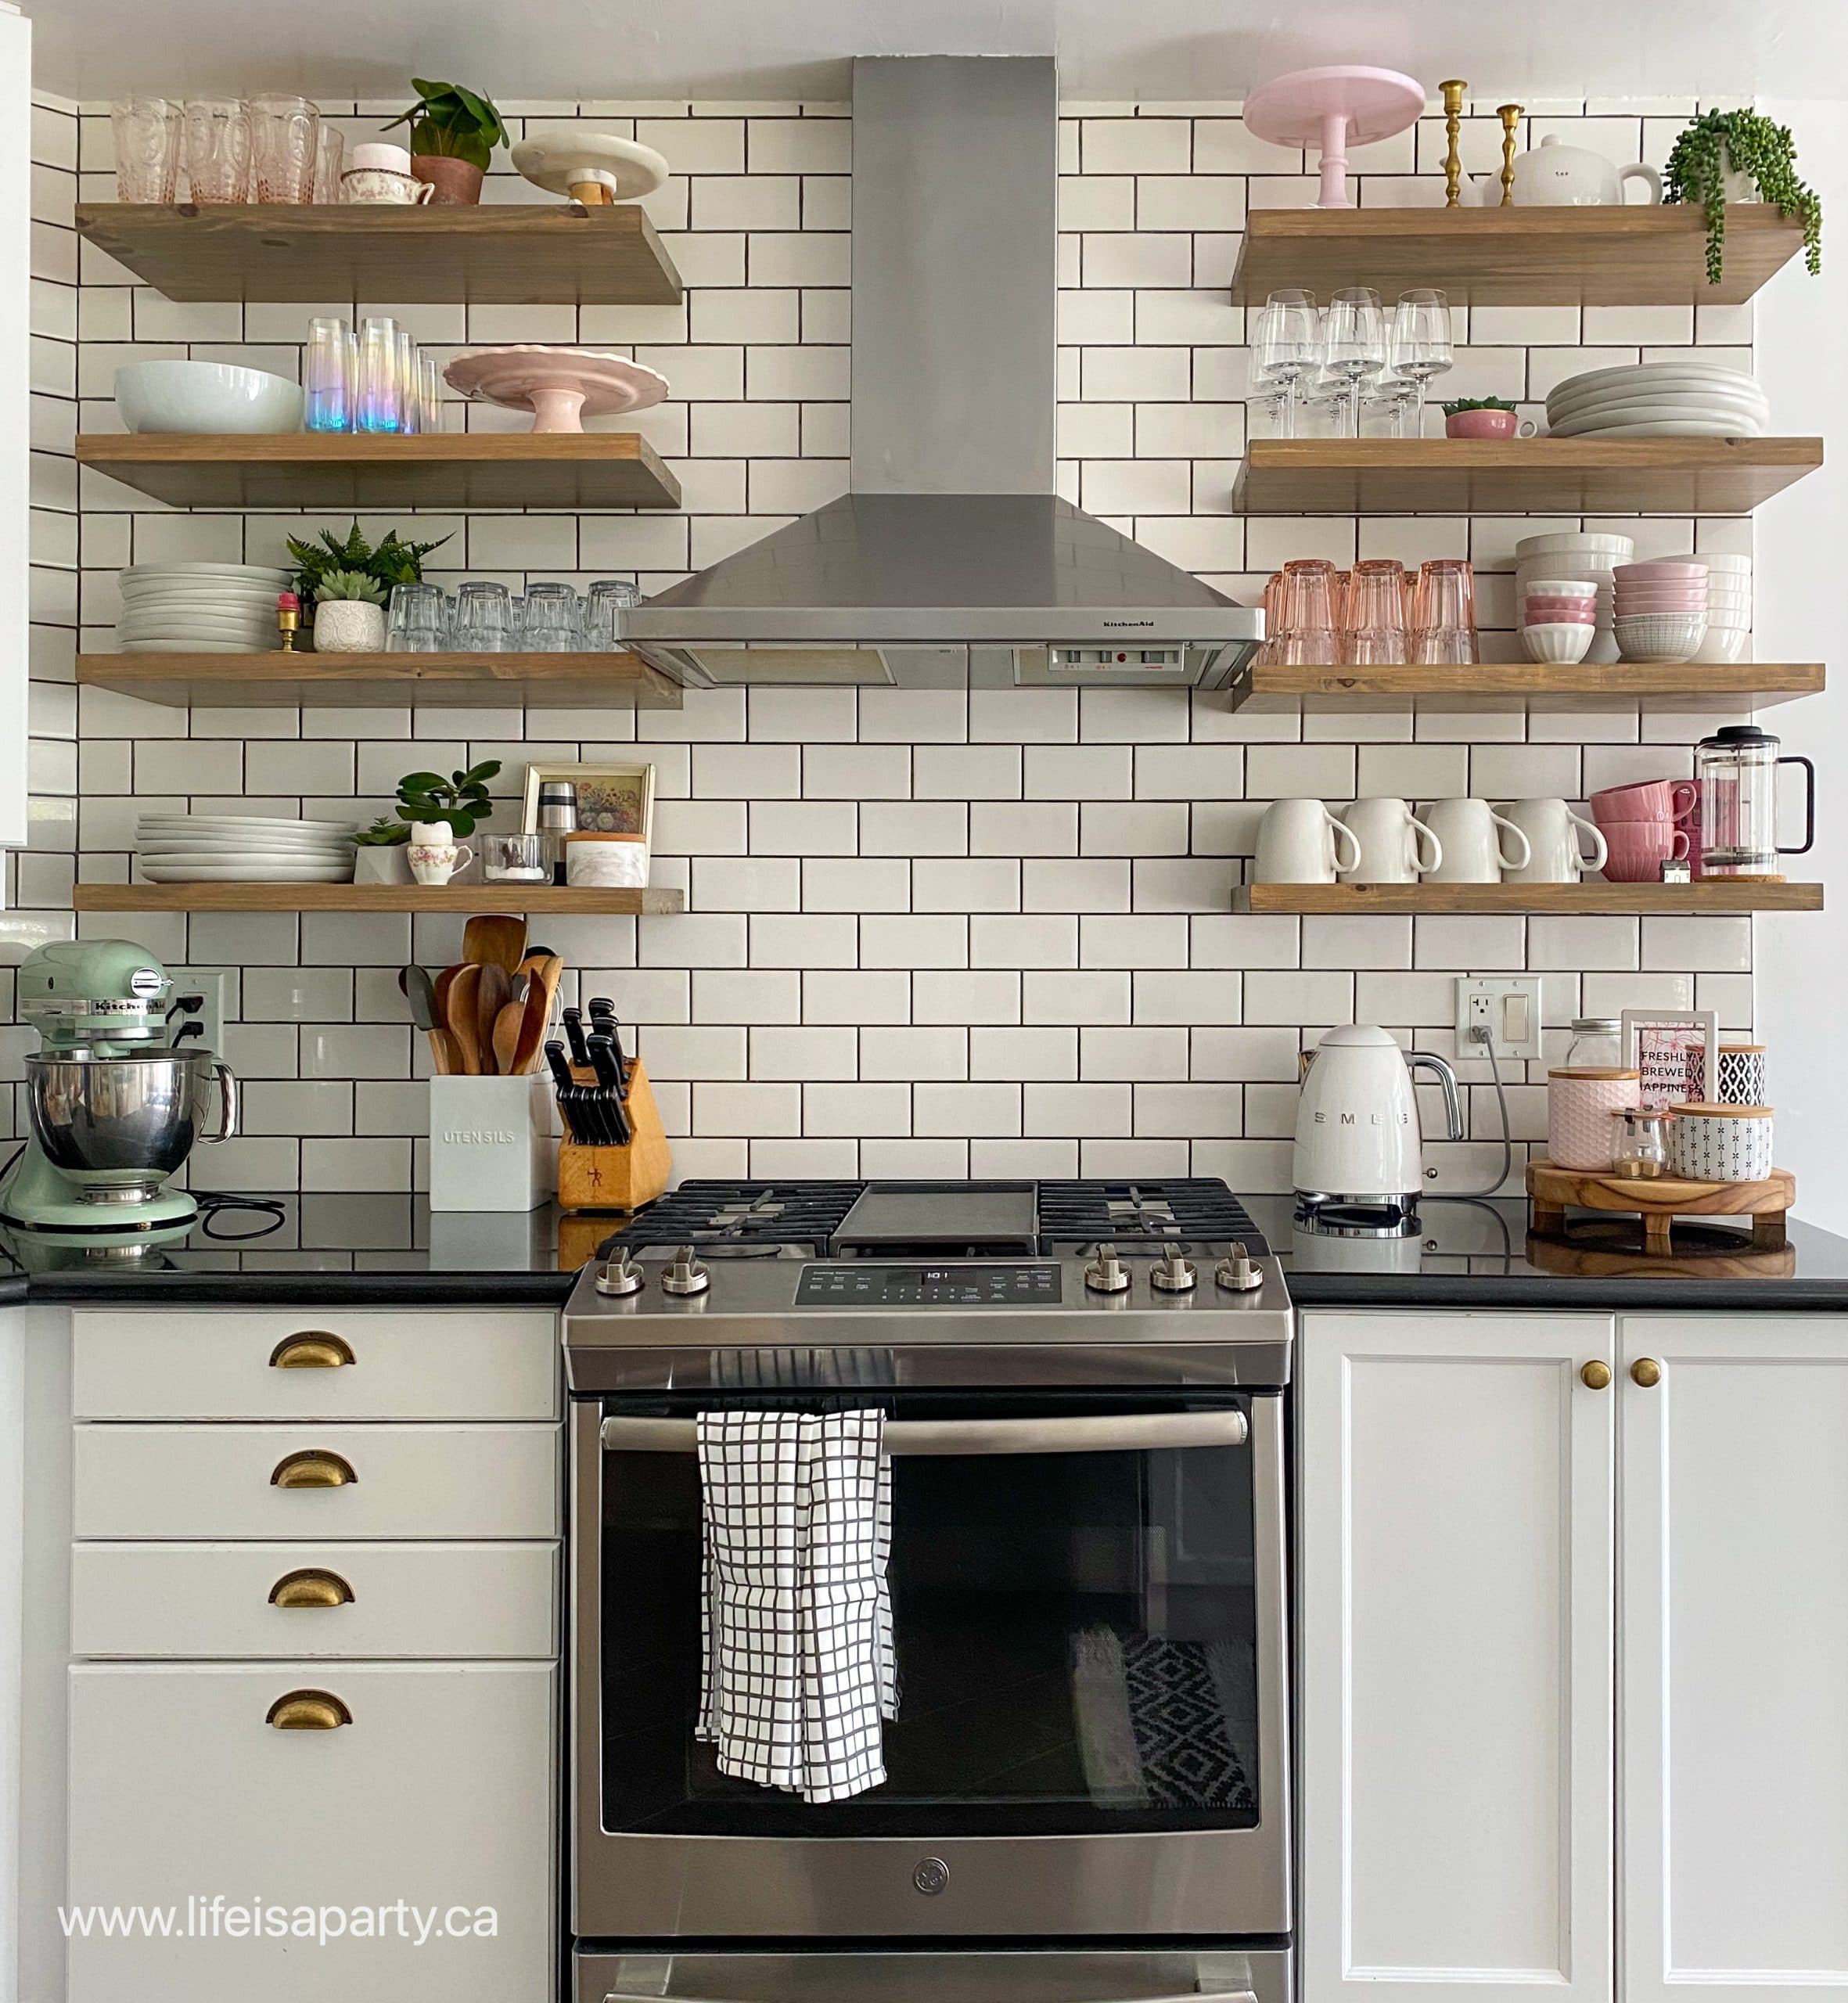
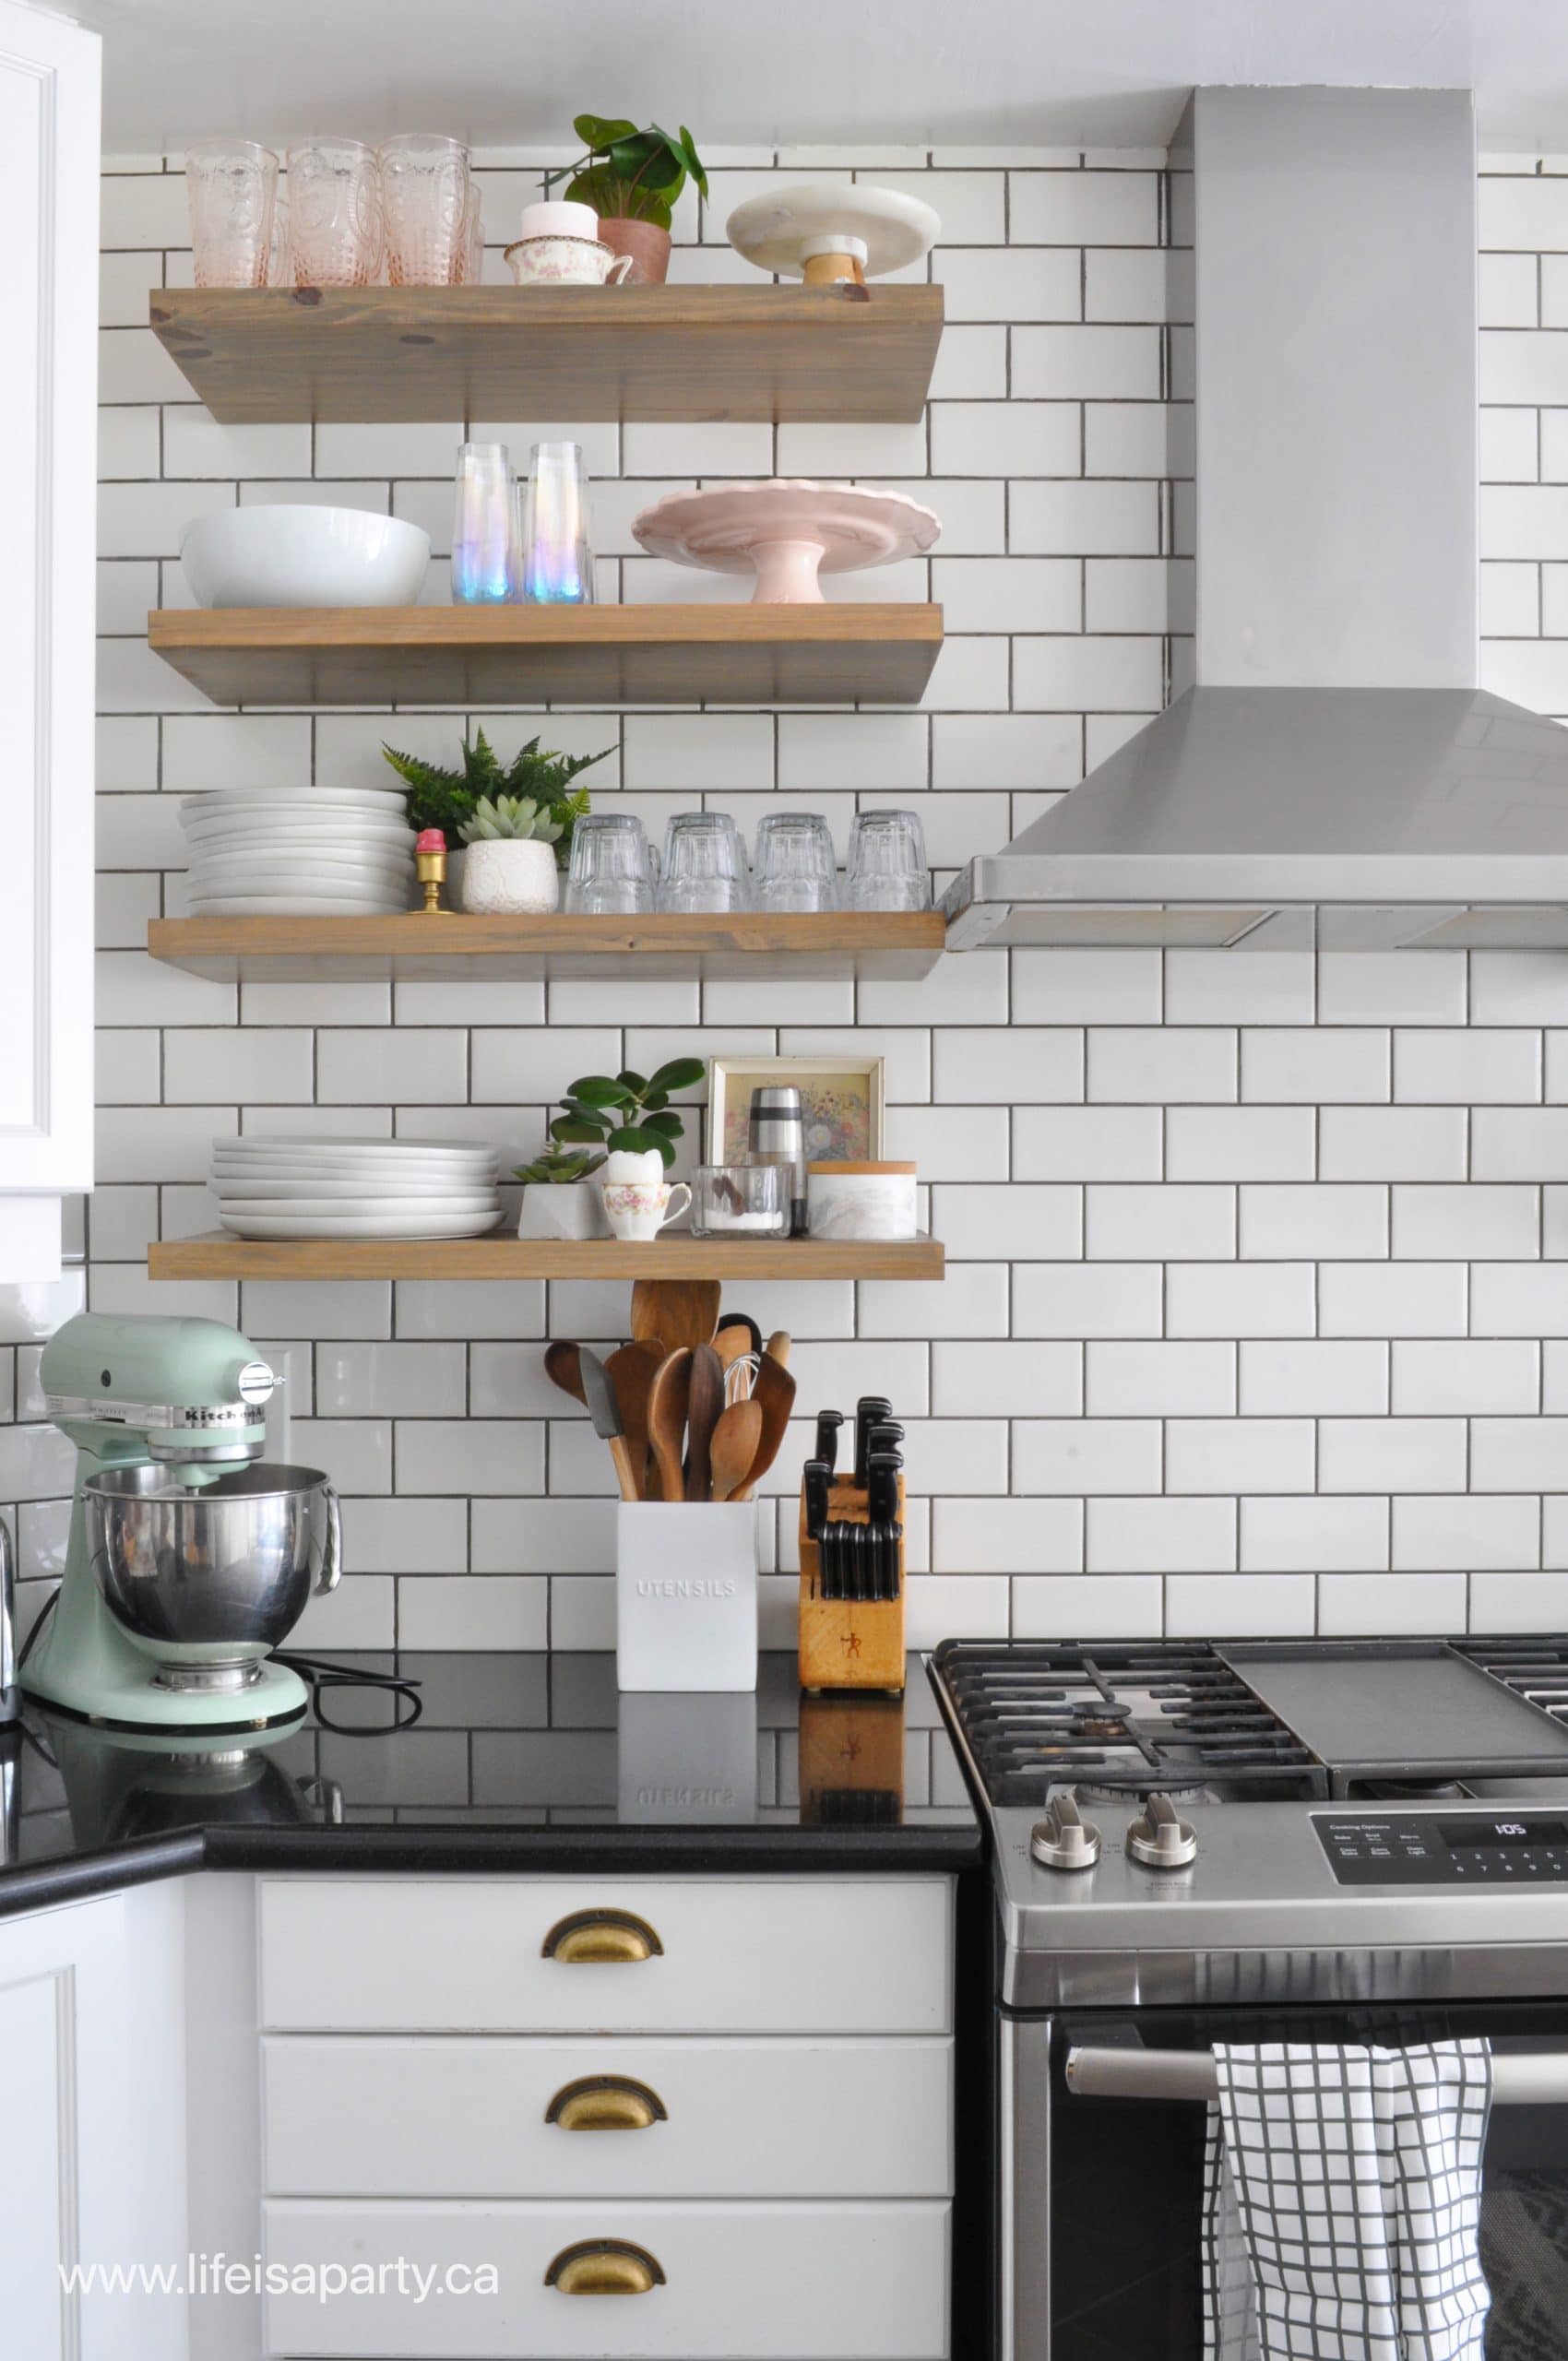
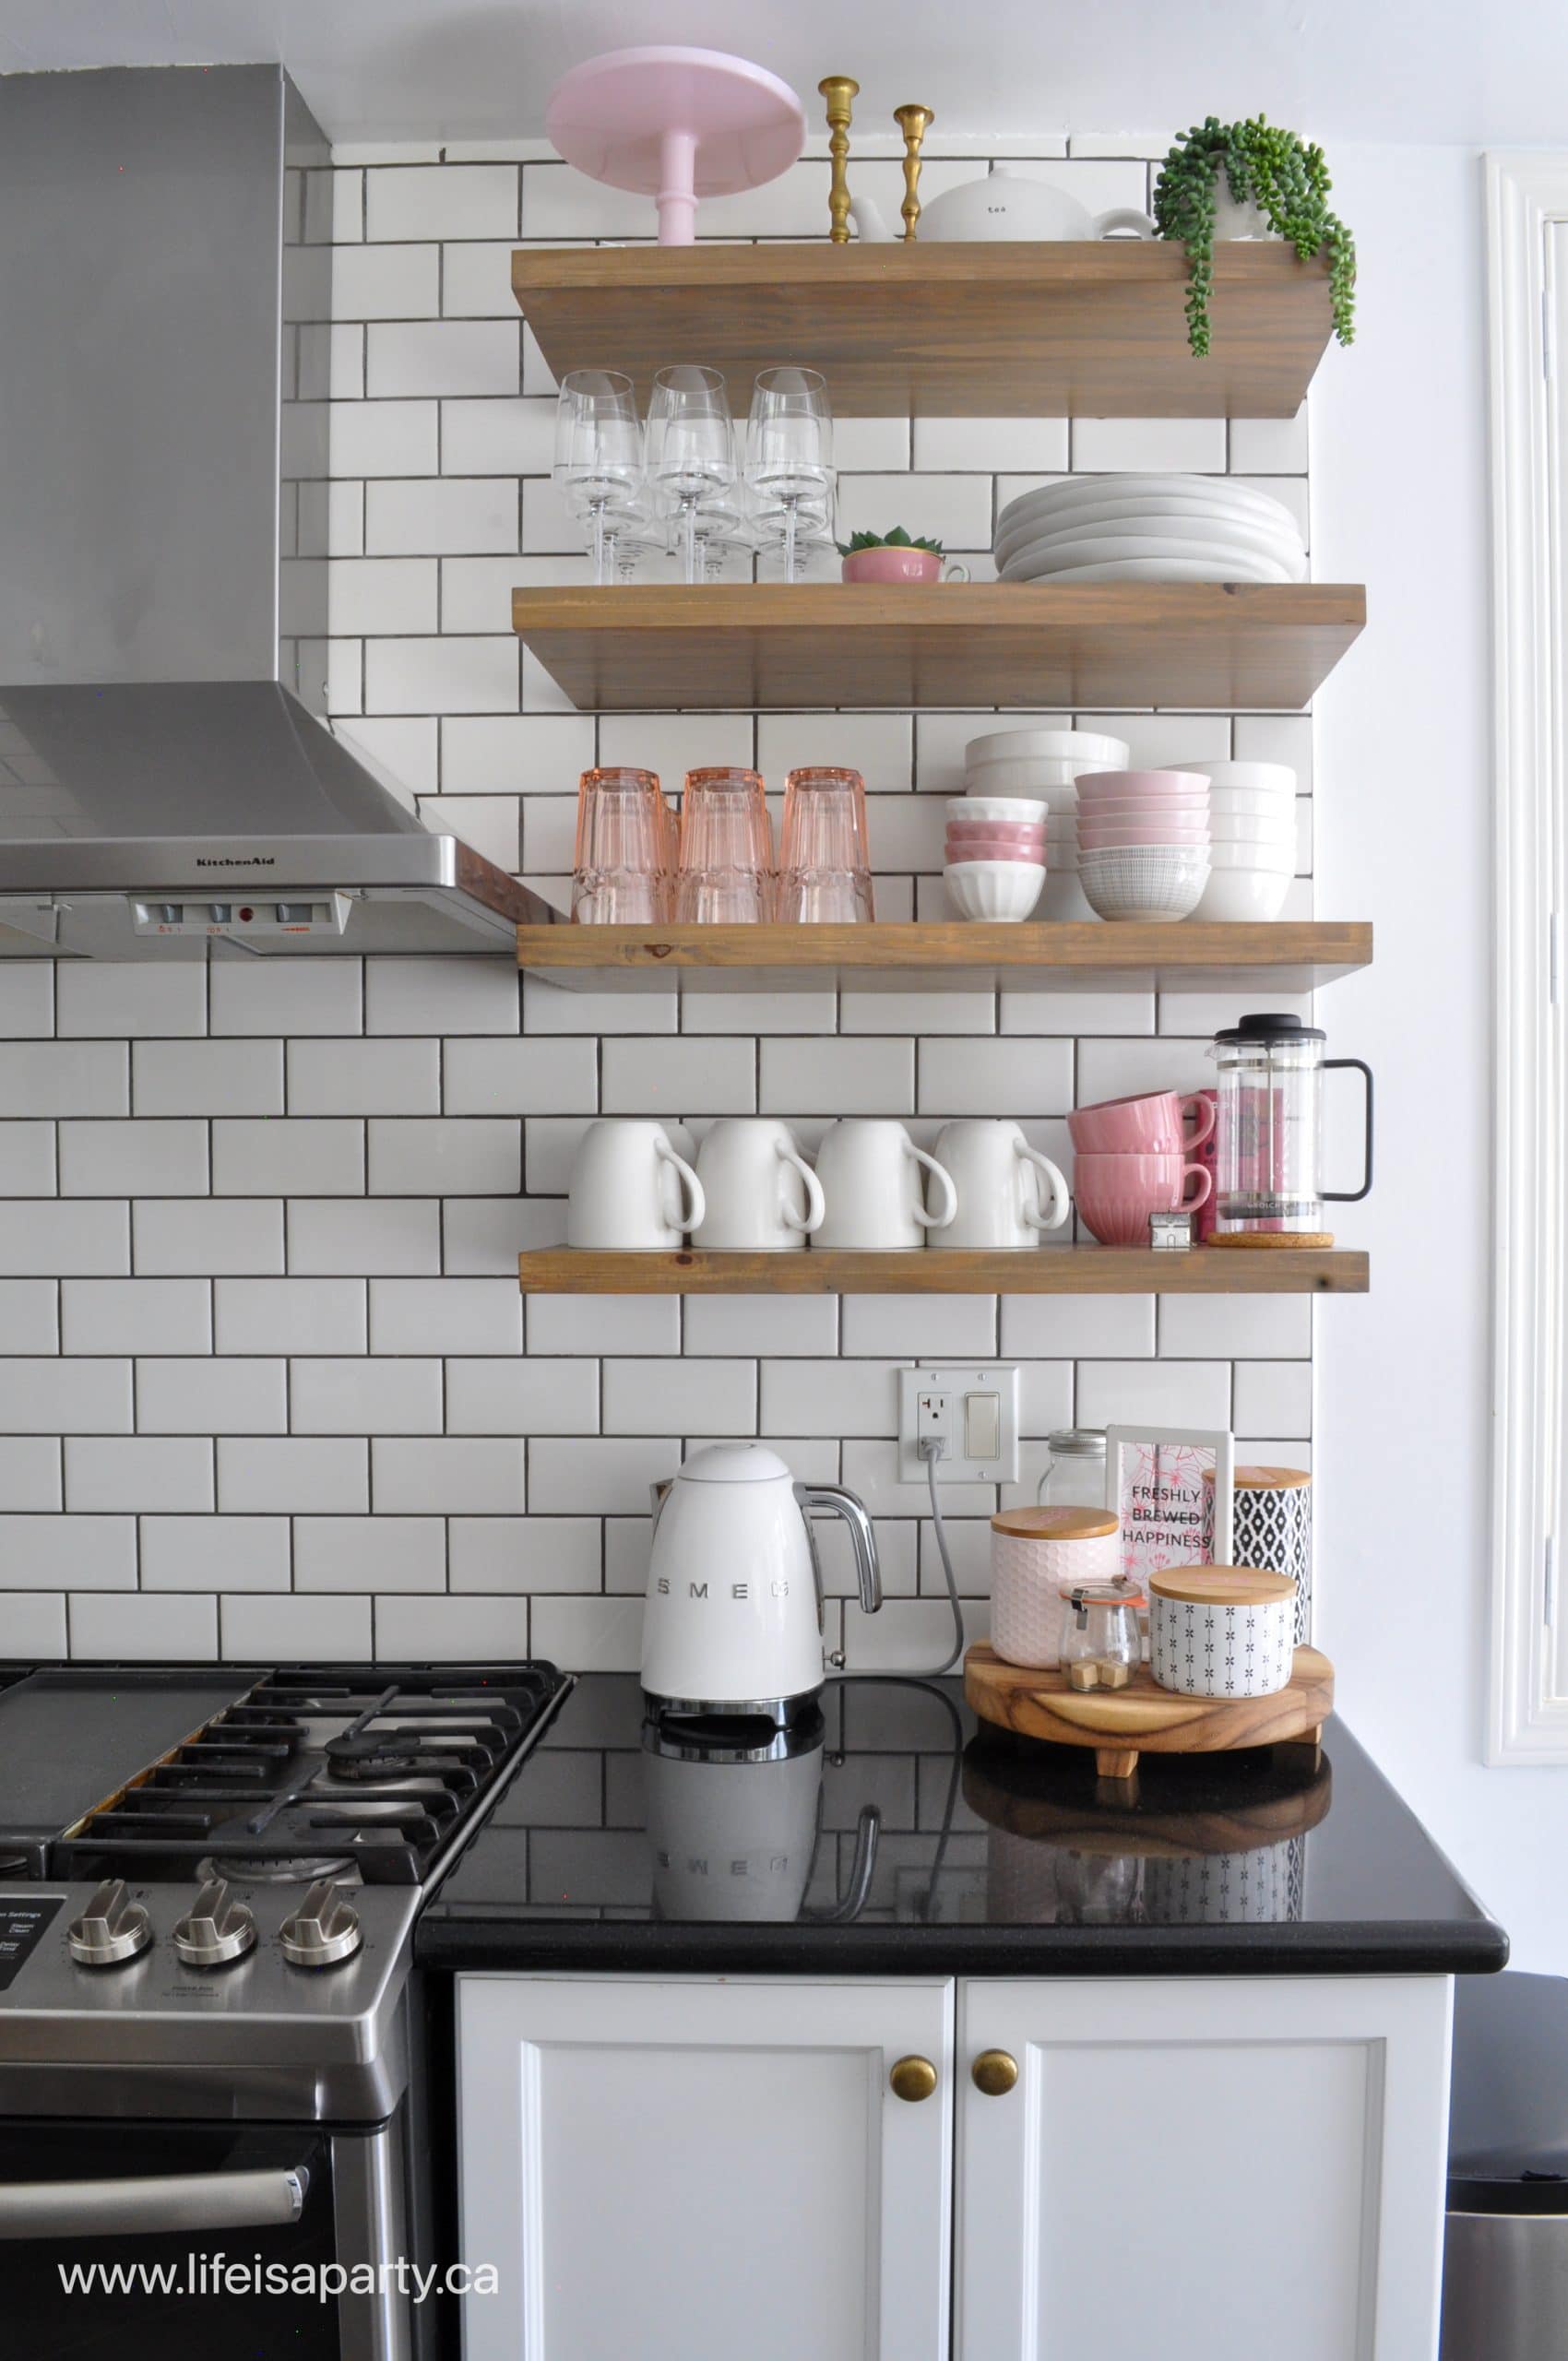
And lastly, our open shelves.  We re-did this area and made these DIY open shelves a few years ago -see how here,  and they're always a favourite of mine to decorate. I haven't changed them much this summer.  Most of the pink was there already and it's just so pretty that it needed to stay. 😉

open kitchen shelves
how to decorate your home for summer
open kitchen shelves

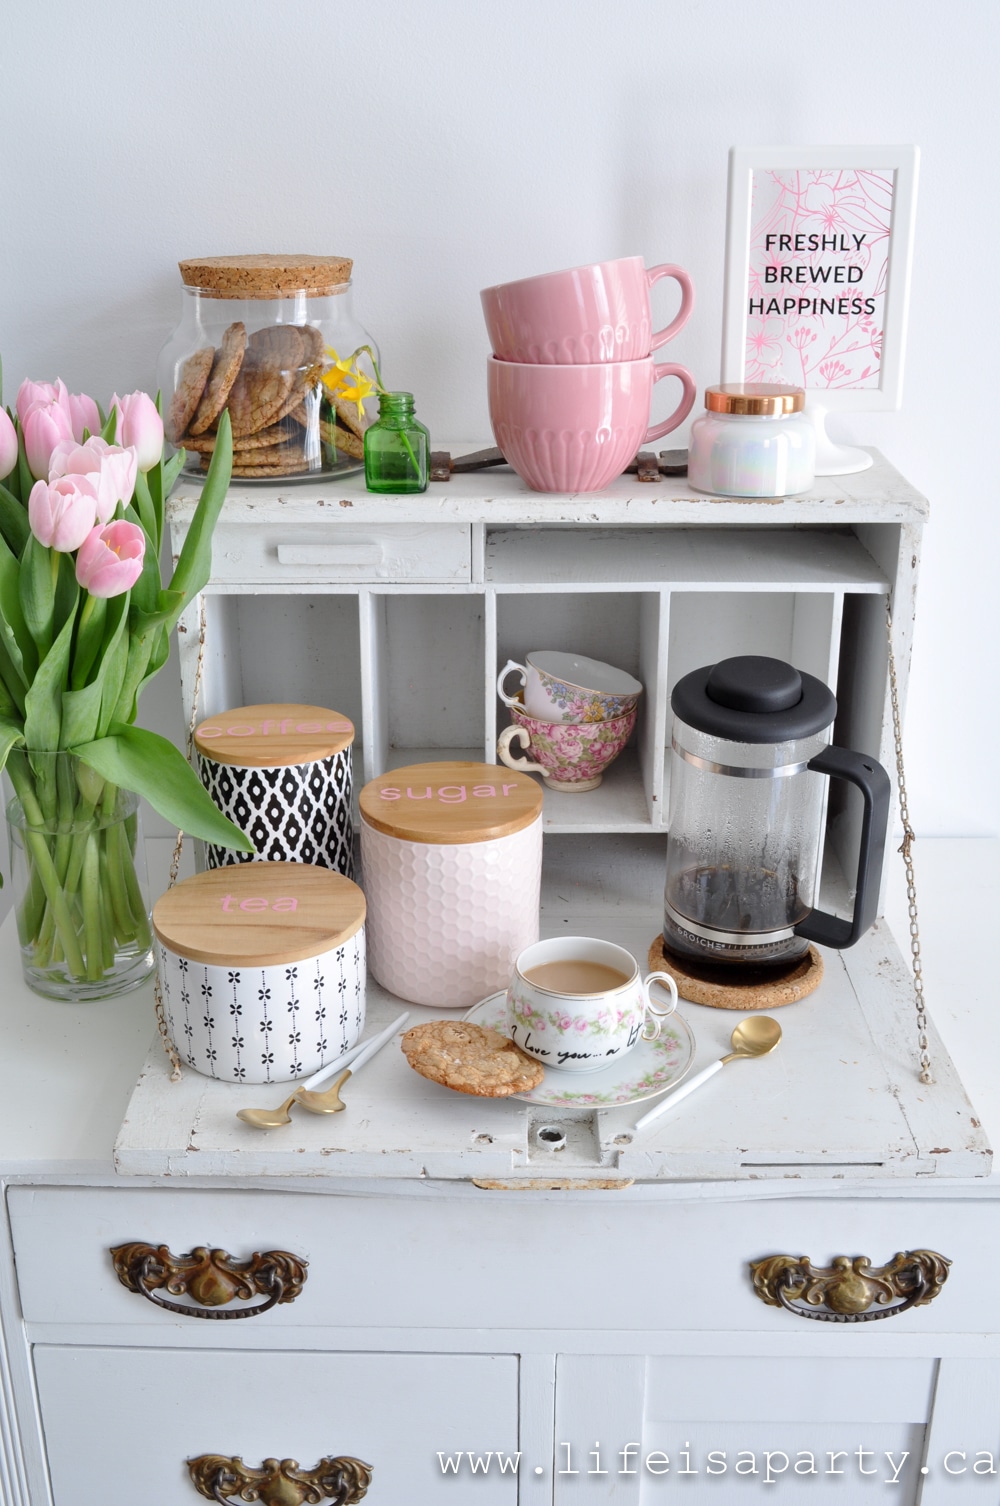
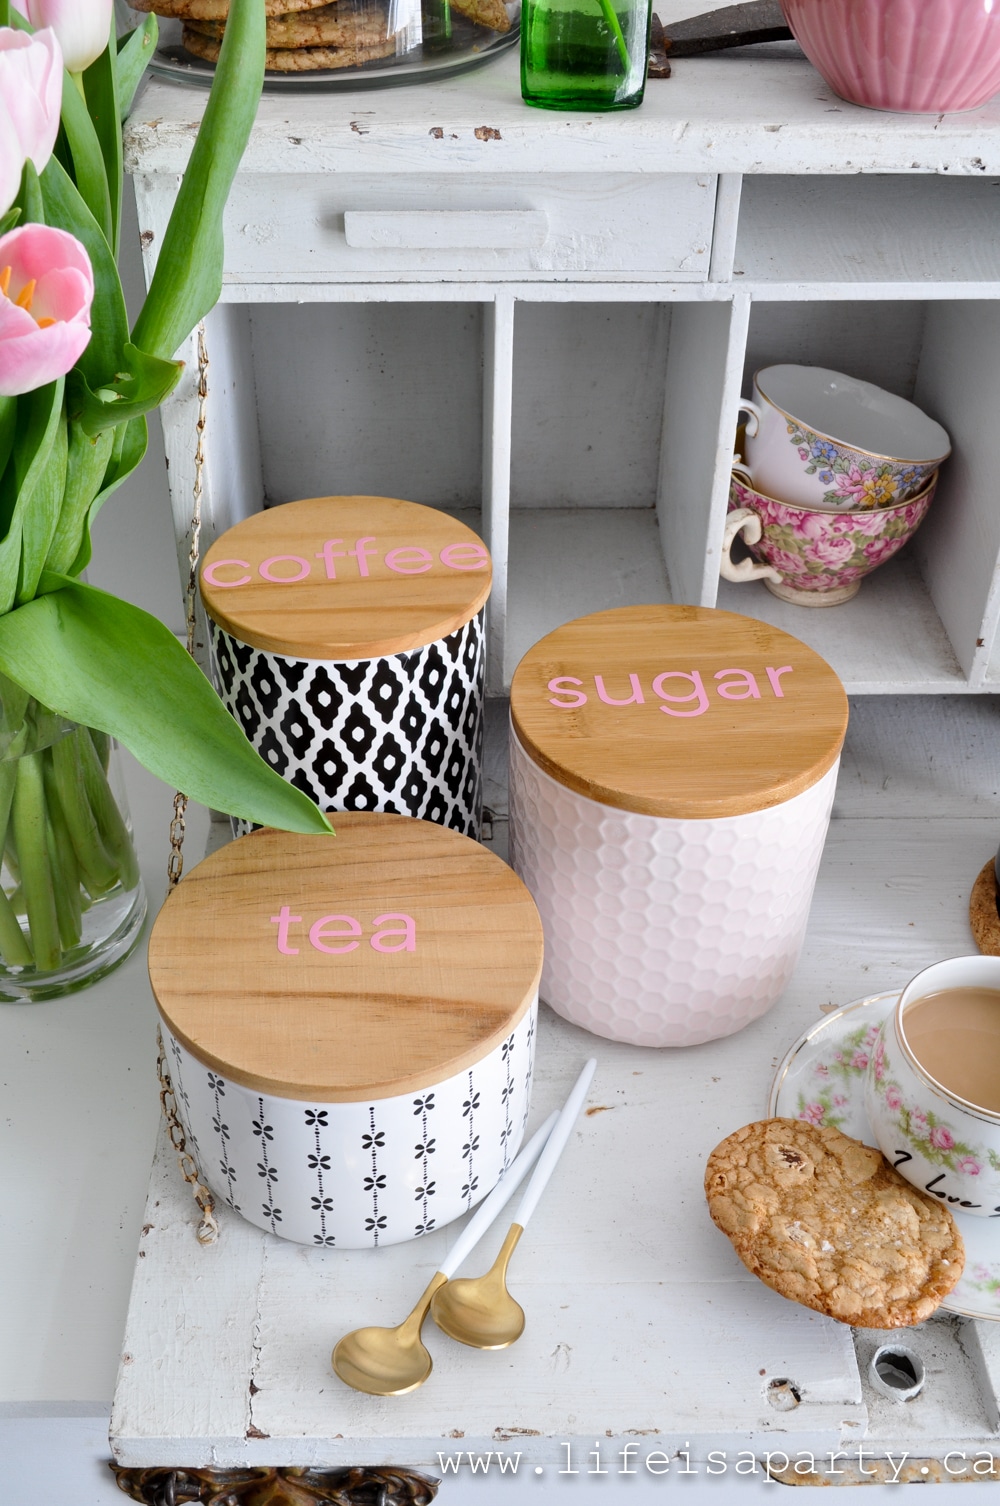
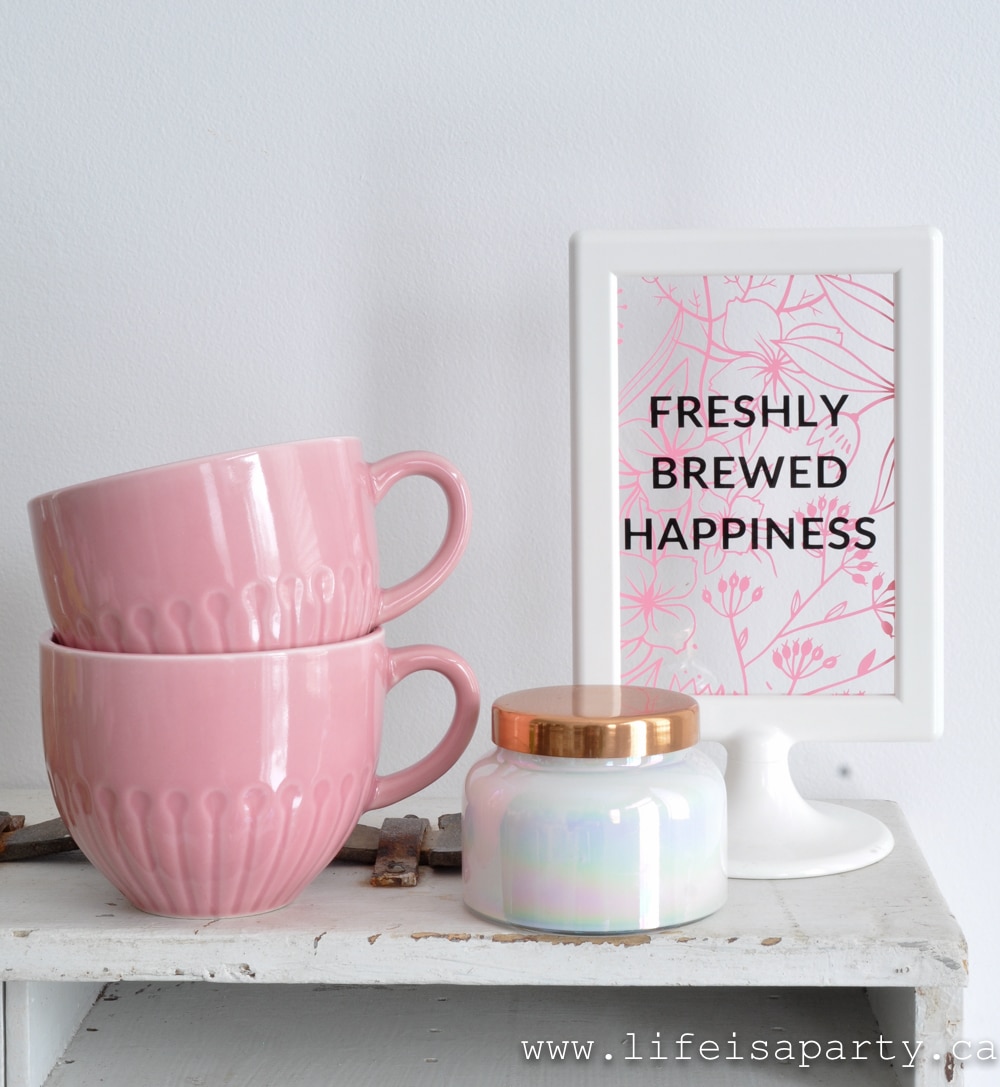
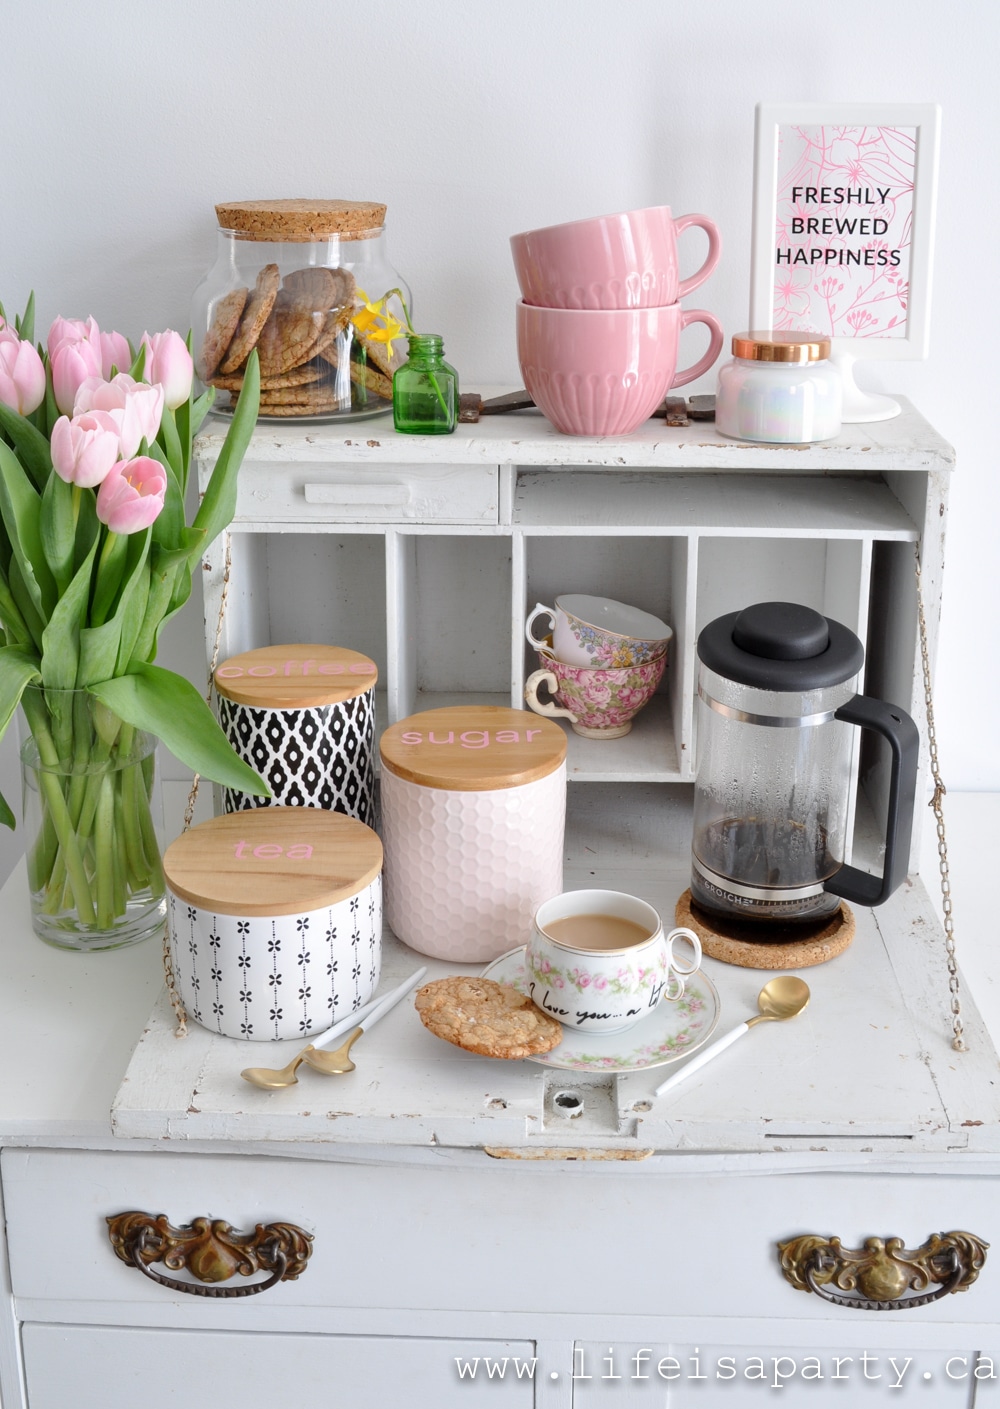
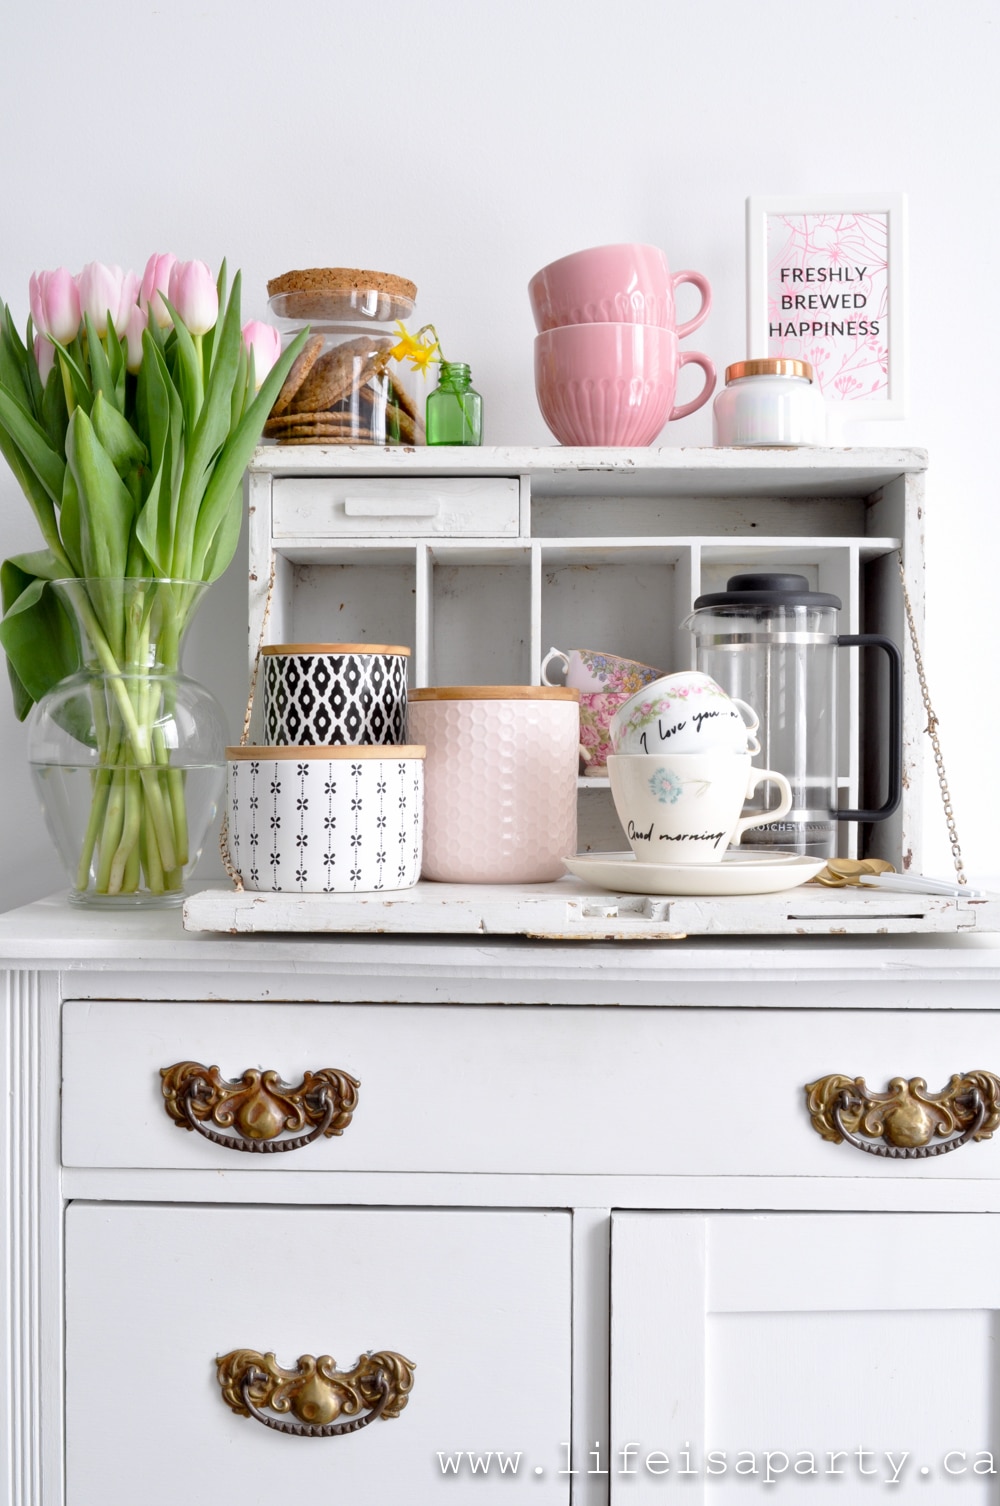
The one new addition this area is my new white kettle, which I love, and the the coffee station.  Read all about how I put together the coffee station here, including the DIY labels and "Freshly Brewed Happiness" sign.

summer home tour

I really like how airy and bright, and simple this decor is,  It feels perfect for summer when we'll be spending more and more time outside enjoying the garden.  With all these summer decorating ideas, life really is a party.

Free Picnic Art Printable

May 25, 2021 · 2 Comments

picnic graphic free printable

Free Picnic Art Printable: pink picnic art, perfect for your summer decor. Download and print as an 8 ½ x 11 or large 18 x 24 size.

picnic graphic free printable

Nothing says summer like picnics and this free printable picnic art is the perfect summer update to your decor.  It's always fun to add a few special summer touches to your home.  Printable art pieces are one of the easiest and most inexpensive ways to change your decor seasonally.  

free summer printables

Colour Engineer Prints

I love getting large colour engineer prints at my local office supply store, because it's the most cost effective way to change art pieces in your home.  You can download the art for free from our subscribers' library, by subscribing to Life is a Party below.  Then just upload the file to your office print shop as a colour engineer print.  

Hanging Options

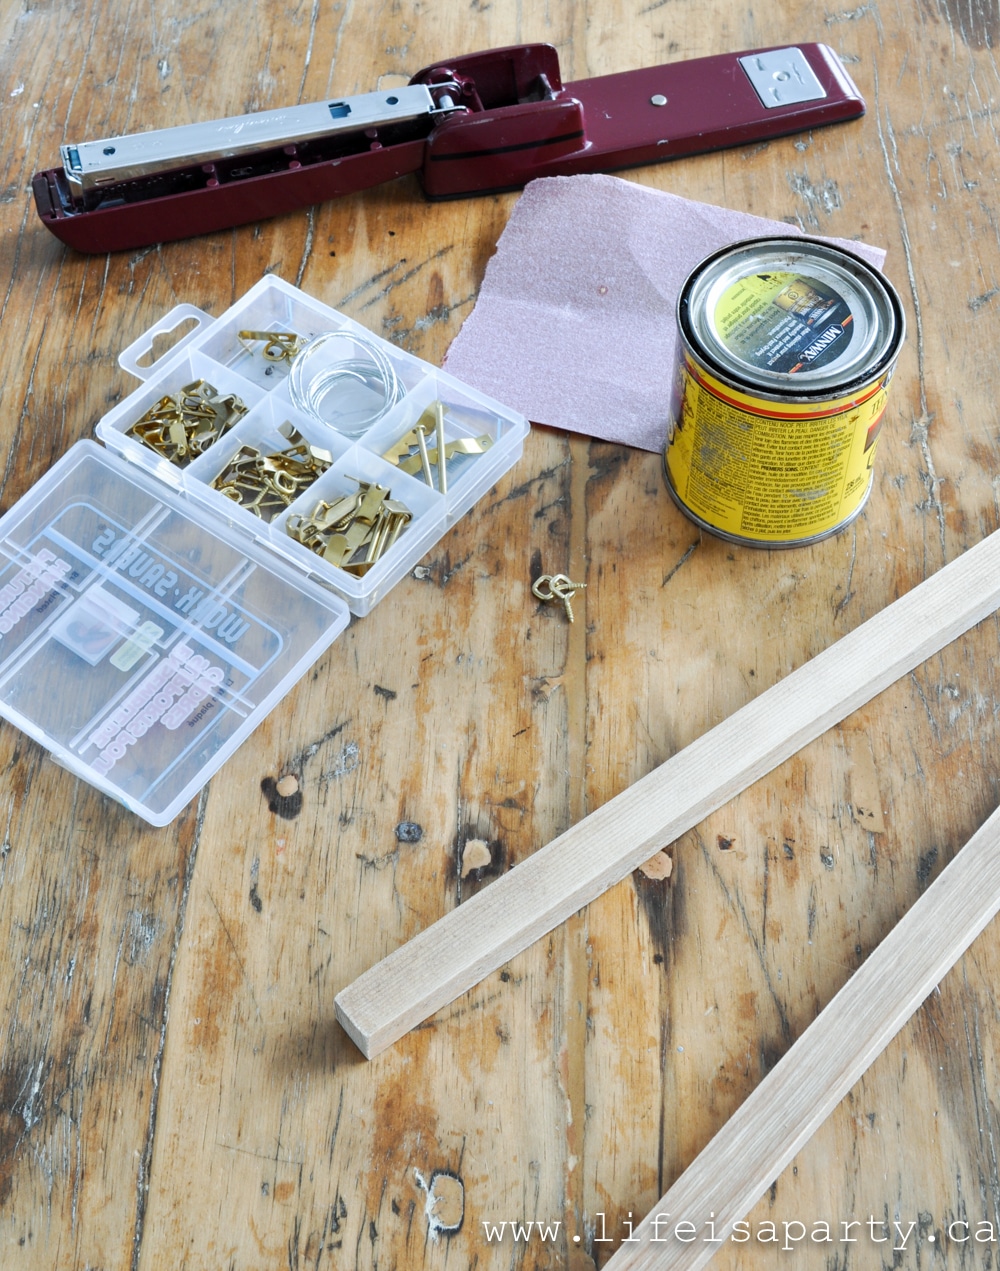
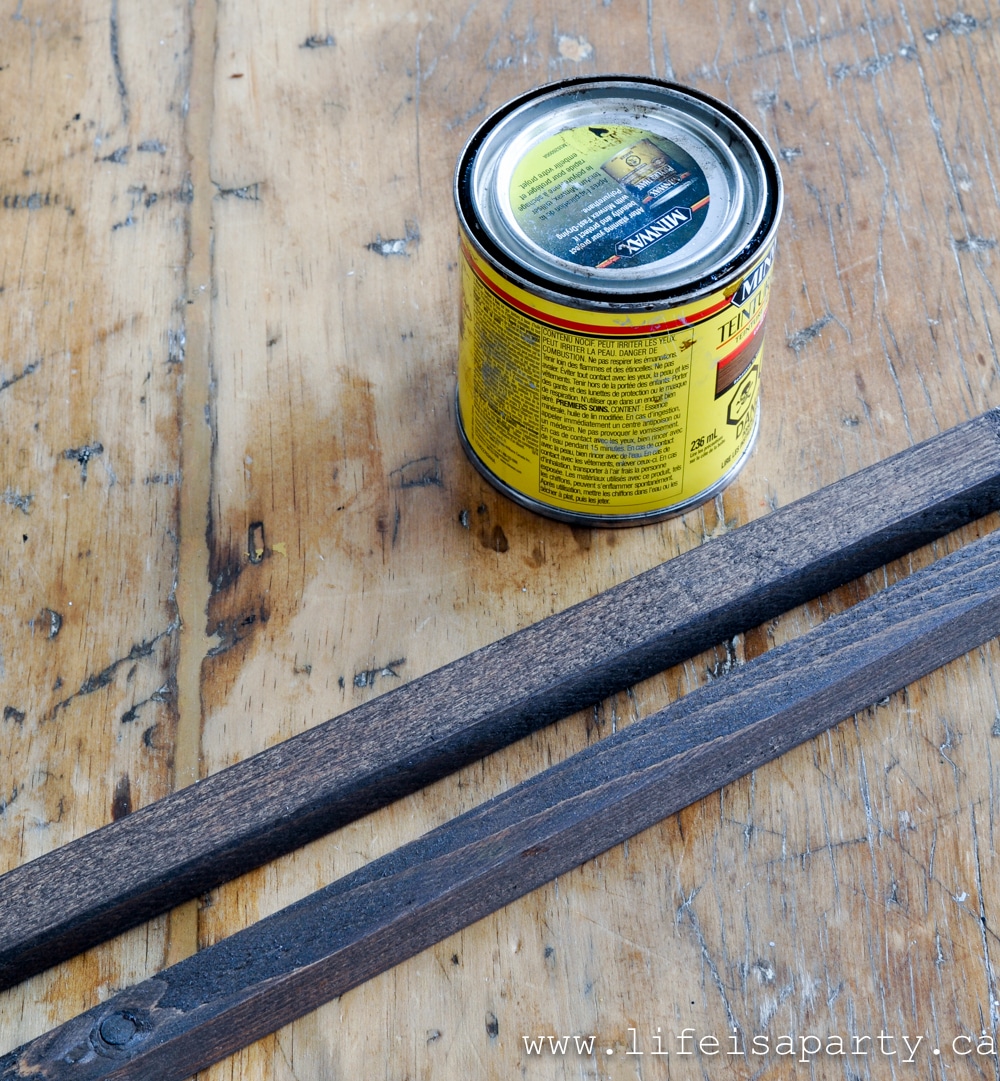
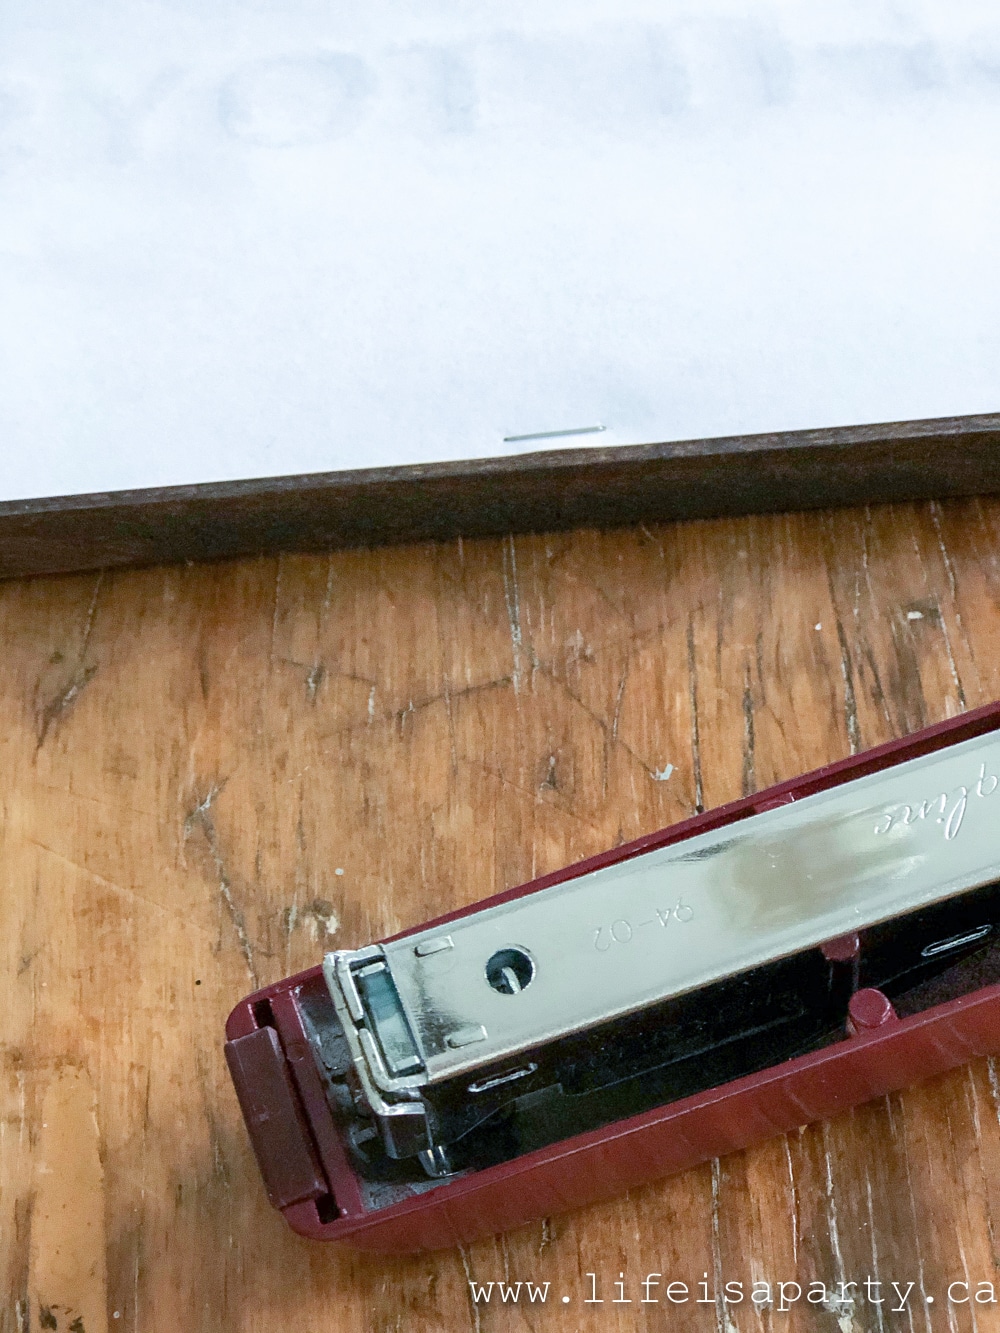
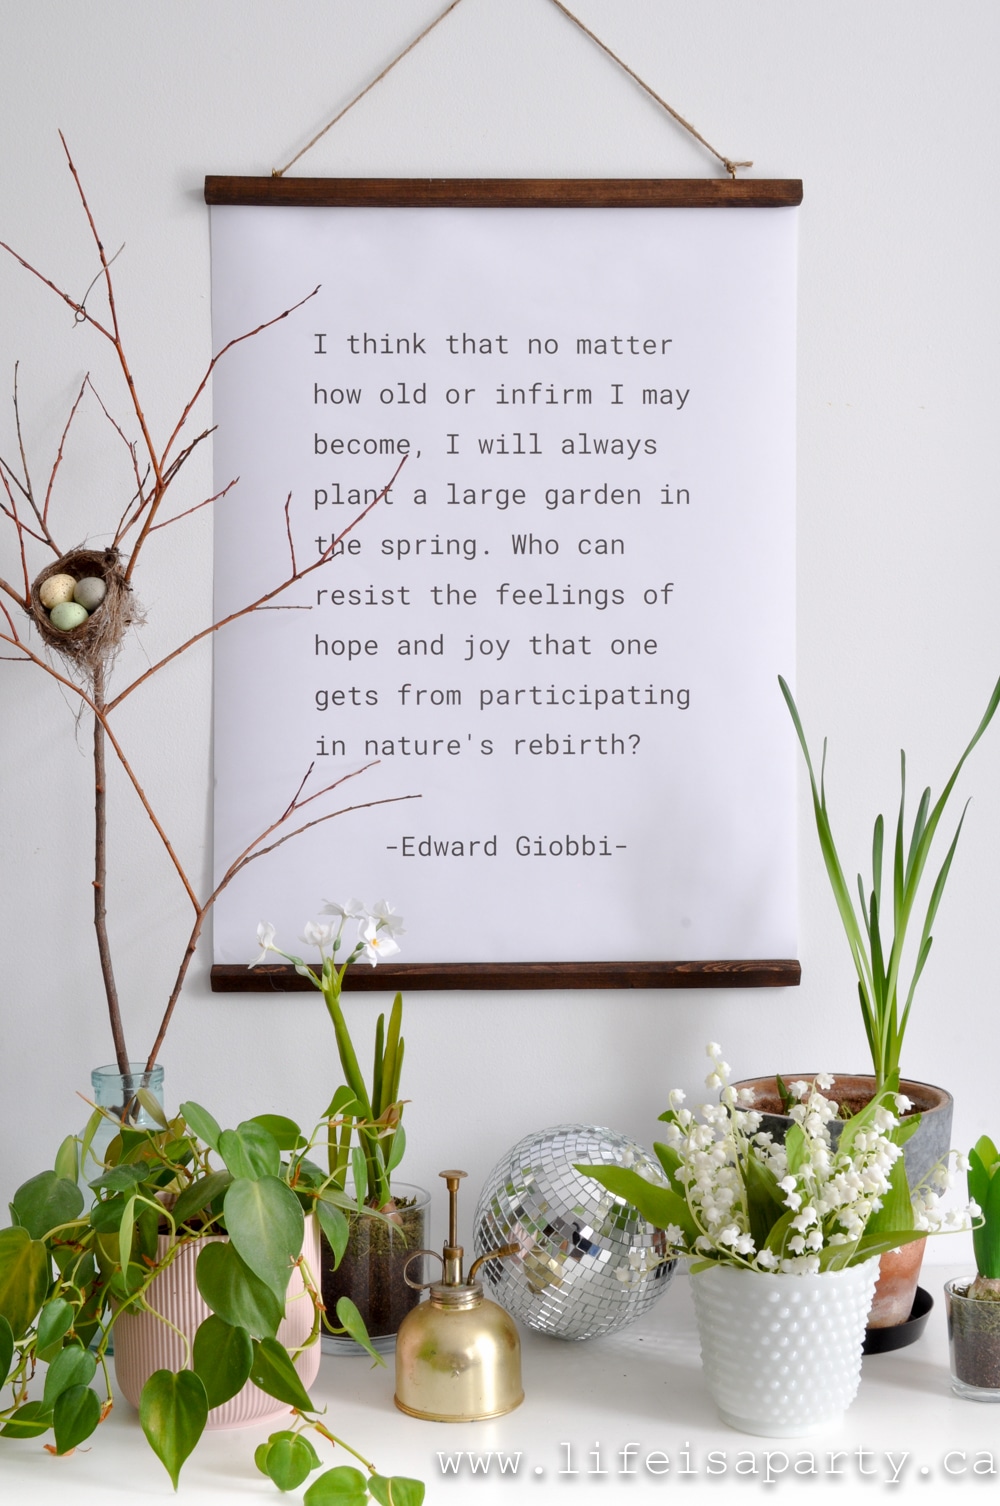
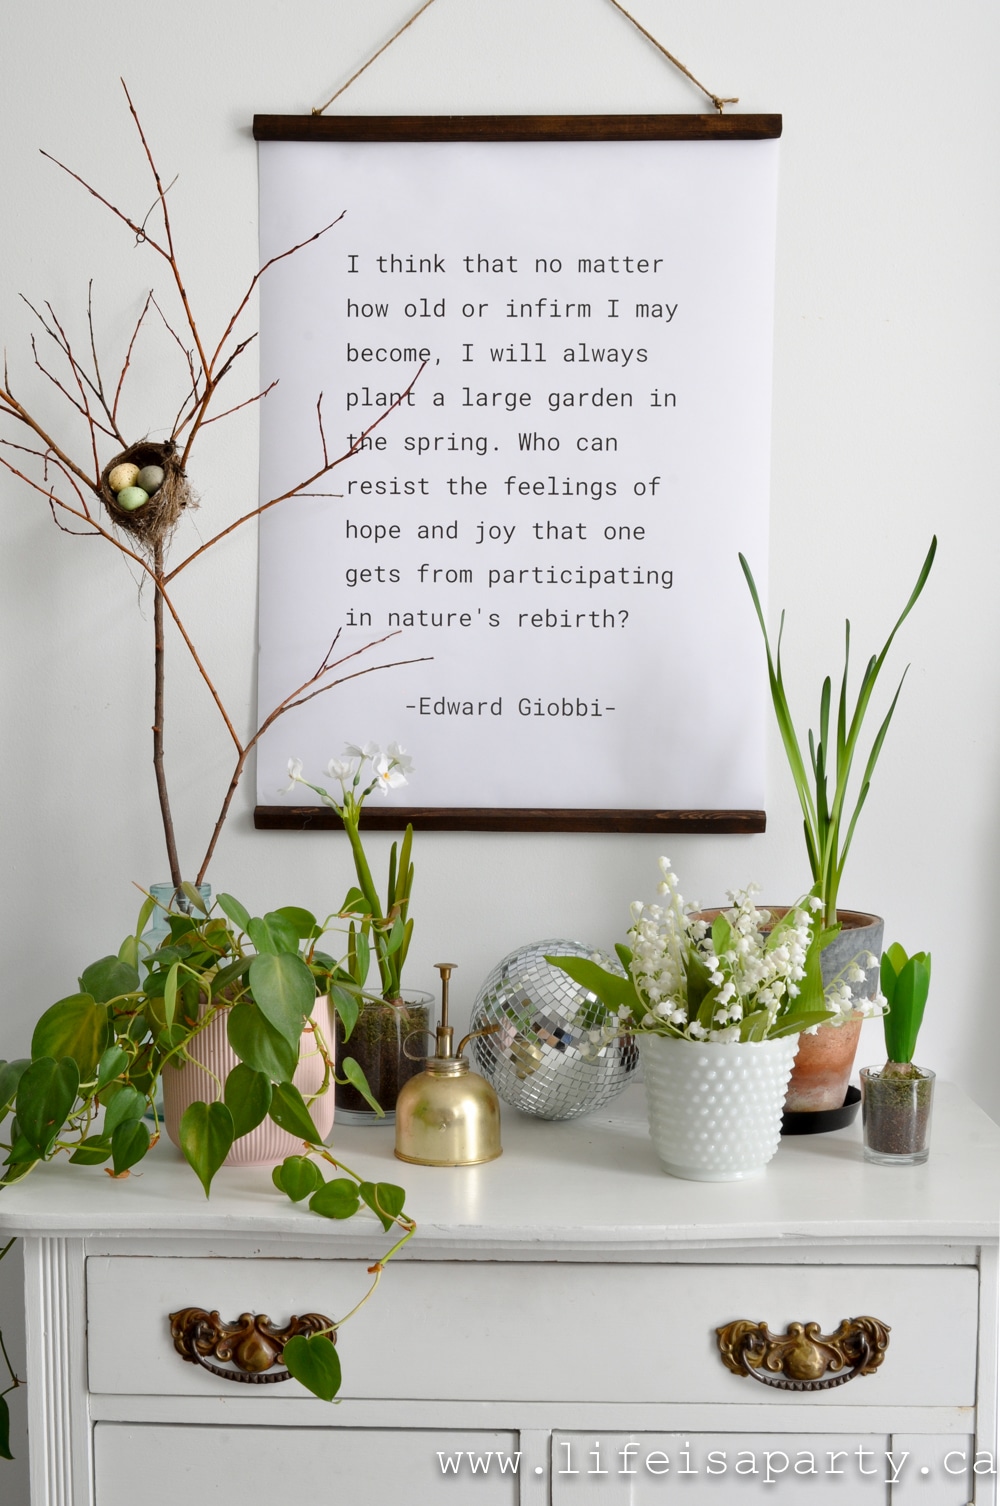
To display the art, you can use a large frame.  Or for a more inexpensive option, use simple wood strips stapled to the top and bottom.  

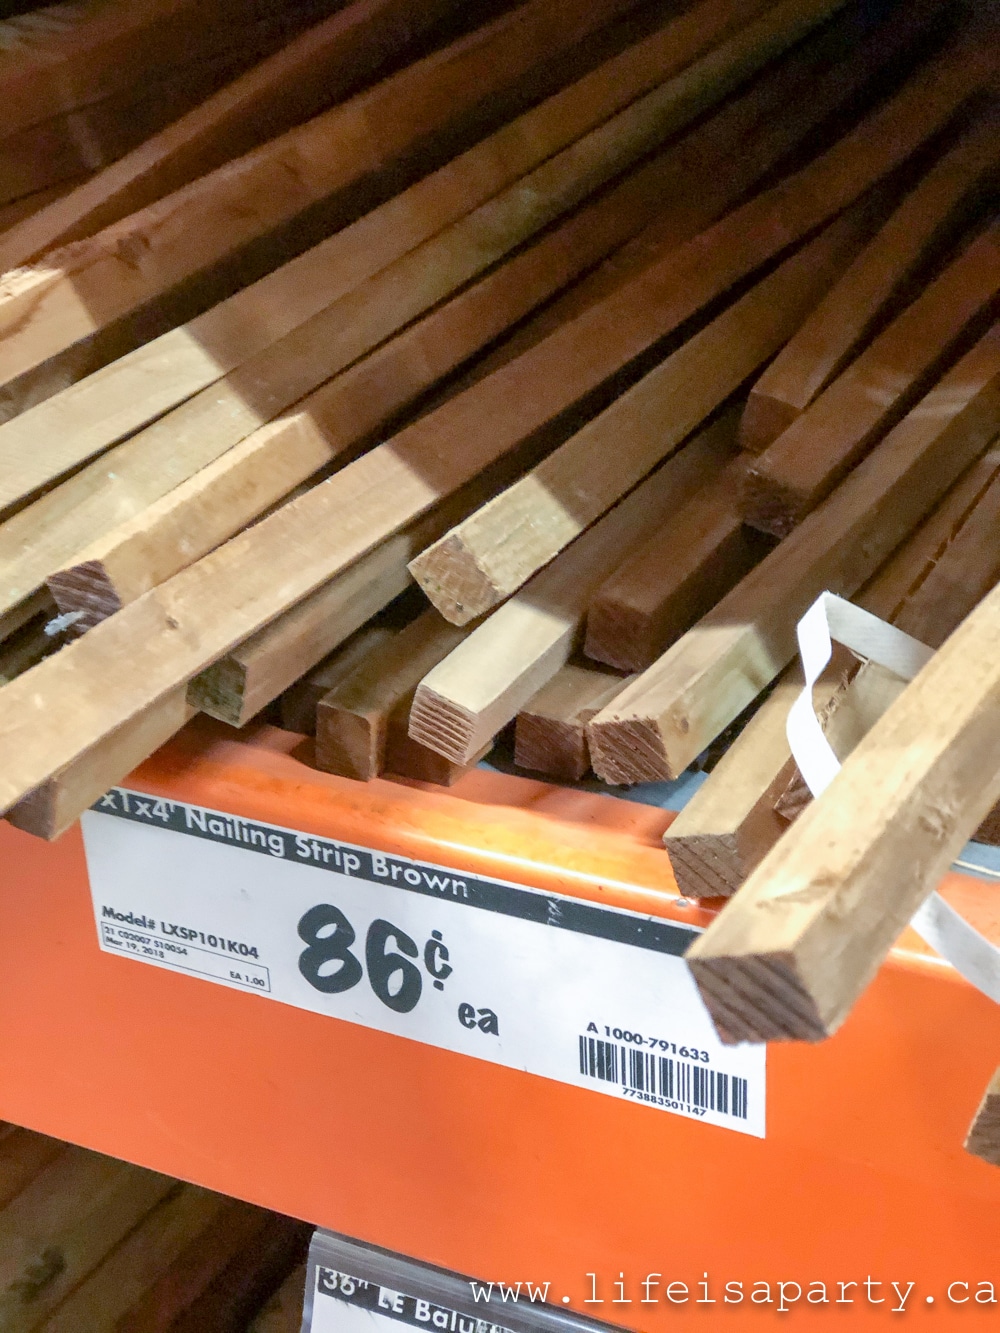
I picked up the wood at a home improvement store.  Look for "wood nailers", they're really inexpensive.  You can have them cut to size at the store, or use a simple saw to do it yourself at home.  Add a stain to the wood, or leave it plain.  To hang the art, use a regular stapler to add the wood pieces to the top and bottom at the back of the poster.  Next add eye hooks to the top, and use twine or string.

how to hang a poster

I first shared this picnic image as a part of my What To Bring On A Picnic post -see it here and all my tips on what to pack for a picnic.  It was a fun infographic that my daughter designed to go with the post.  But it's so cute that I thought it would be a great printable.  Then I had the idea to make a poster size version and I love how it turned out.  It's the perfect addition to my summer decor, and a great reminder that it's picnic season and we should enjoy it with lots of fun picnics this summer.

You can also print this poster a smaller 8 ½ x 11 size, both are available for download in the subscribers' free library.  Subscribe below for instant access.

More Summer Printables

You might also like our Free Movie Night Printables here.

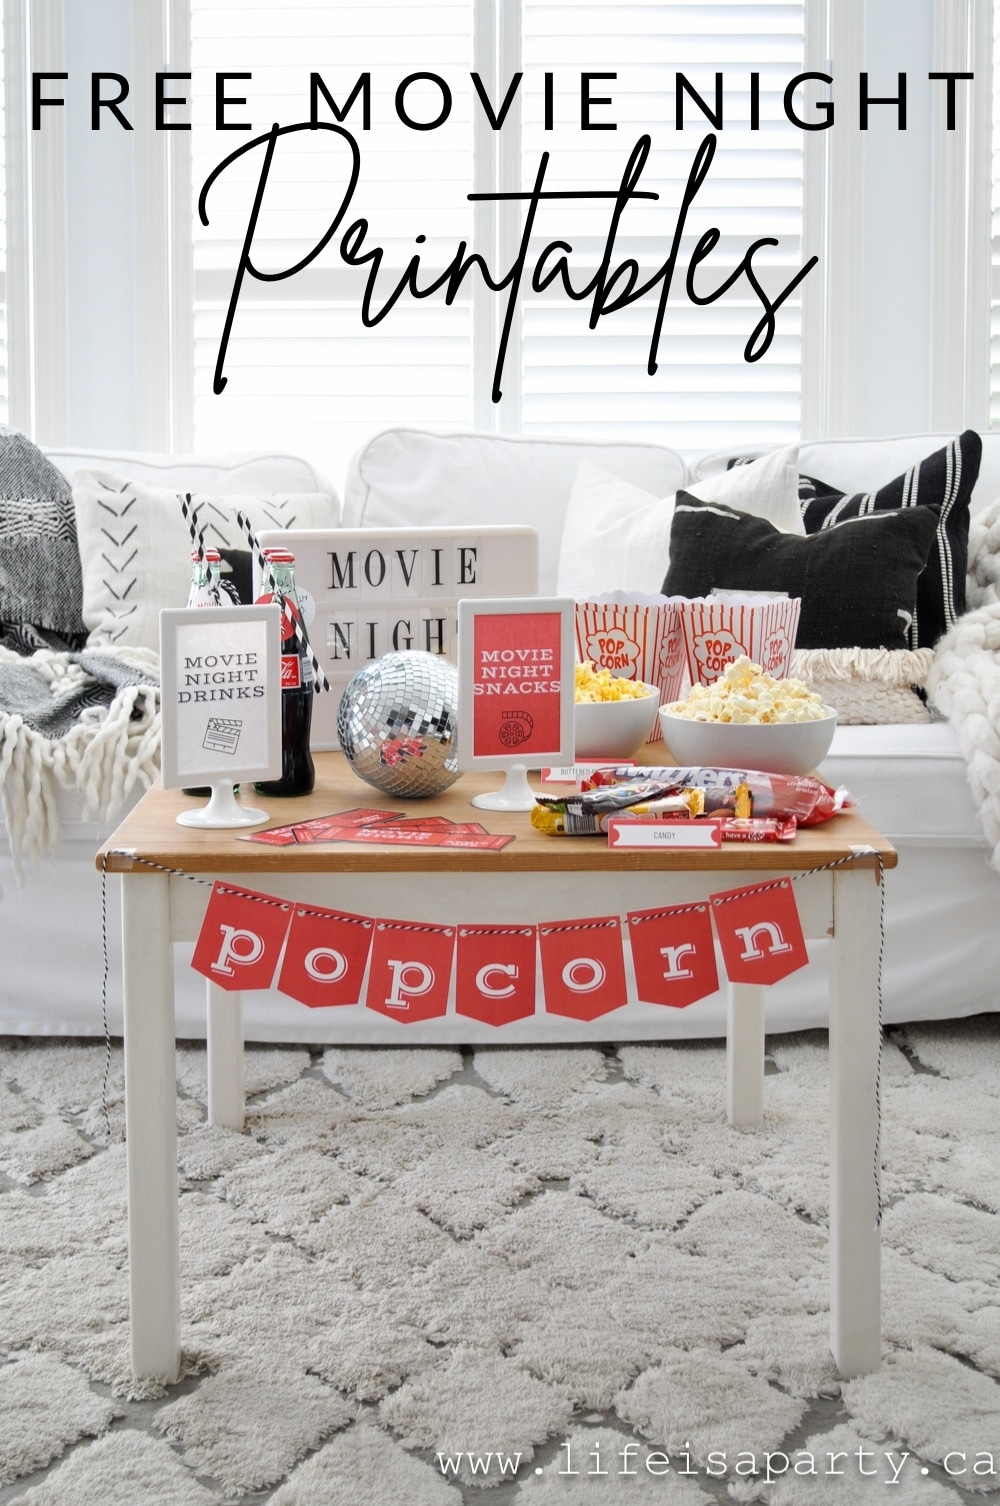
Free Movie Night Printables: free movie night ticket, popcorn banner, movie night snack and drinks signs, food labels, and cupcake pics.

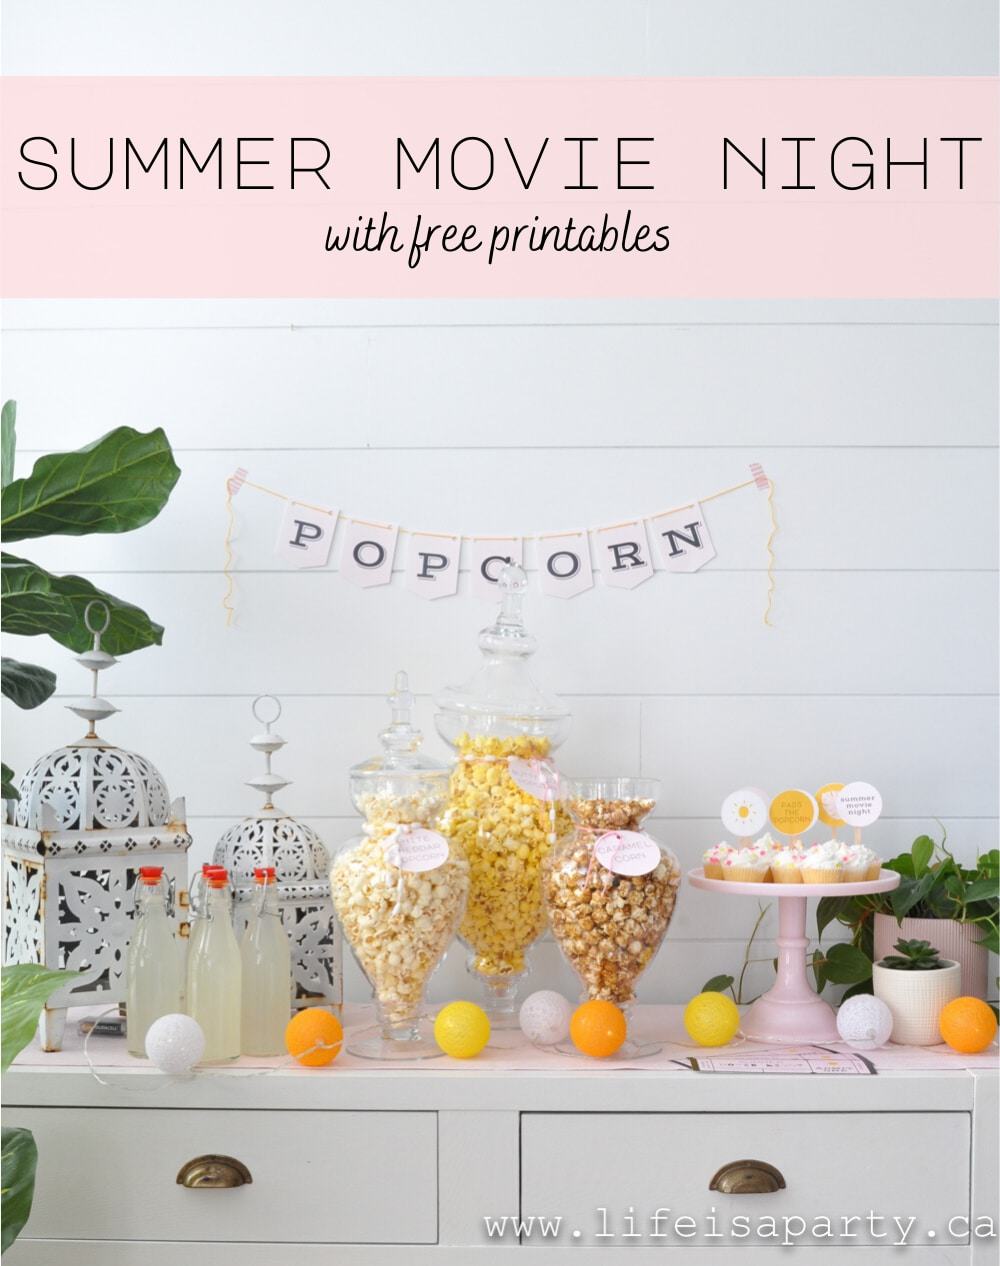
Also check out our  Free Summer Movie Night Printables here.

Summer Movie Night: use our free printable summer movie night ticket, popcorn banner, popcorn labels and cupcake picks to set up the perfect summer night.

DIY Garden Ideas On A Budget

May 21, 2021 · 2 Comments

DIY garden ideas on a budget.

DIY Garden Ideas On A Budget -decorate your outdoor spaces on a budget with these easy and inexpensive project ideas using your Cricut.

DIY garden ideas on a budget.
[feast_advanced_jump_to]

Outdoor Spaces On A Budget

The weather outside is beautiful, and it's time to get into the garden.  Today I'm sharing three DIY garden ideas on a budget to add a little life to your outdoor space without breaking the bank.  These simple ideas are easy to make with your Cricut Maker, and add so much personalization to your garden space.  I'll show you how to create easy garden art for your space, how to make personalized garden markers, and how to decorate your garden pots with fun says, all using your Cricut Maker.  Don't have your own Cricut machine?  In my area they're available for use at the local library in the makerspace, so that might be a great option for you as well.

How To Make Garden Art

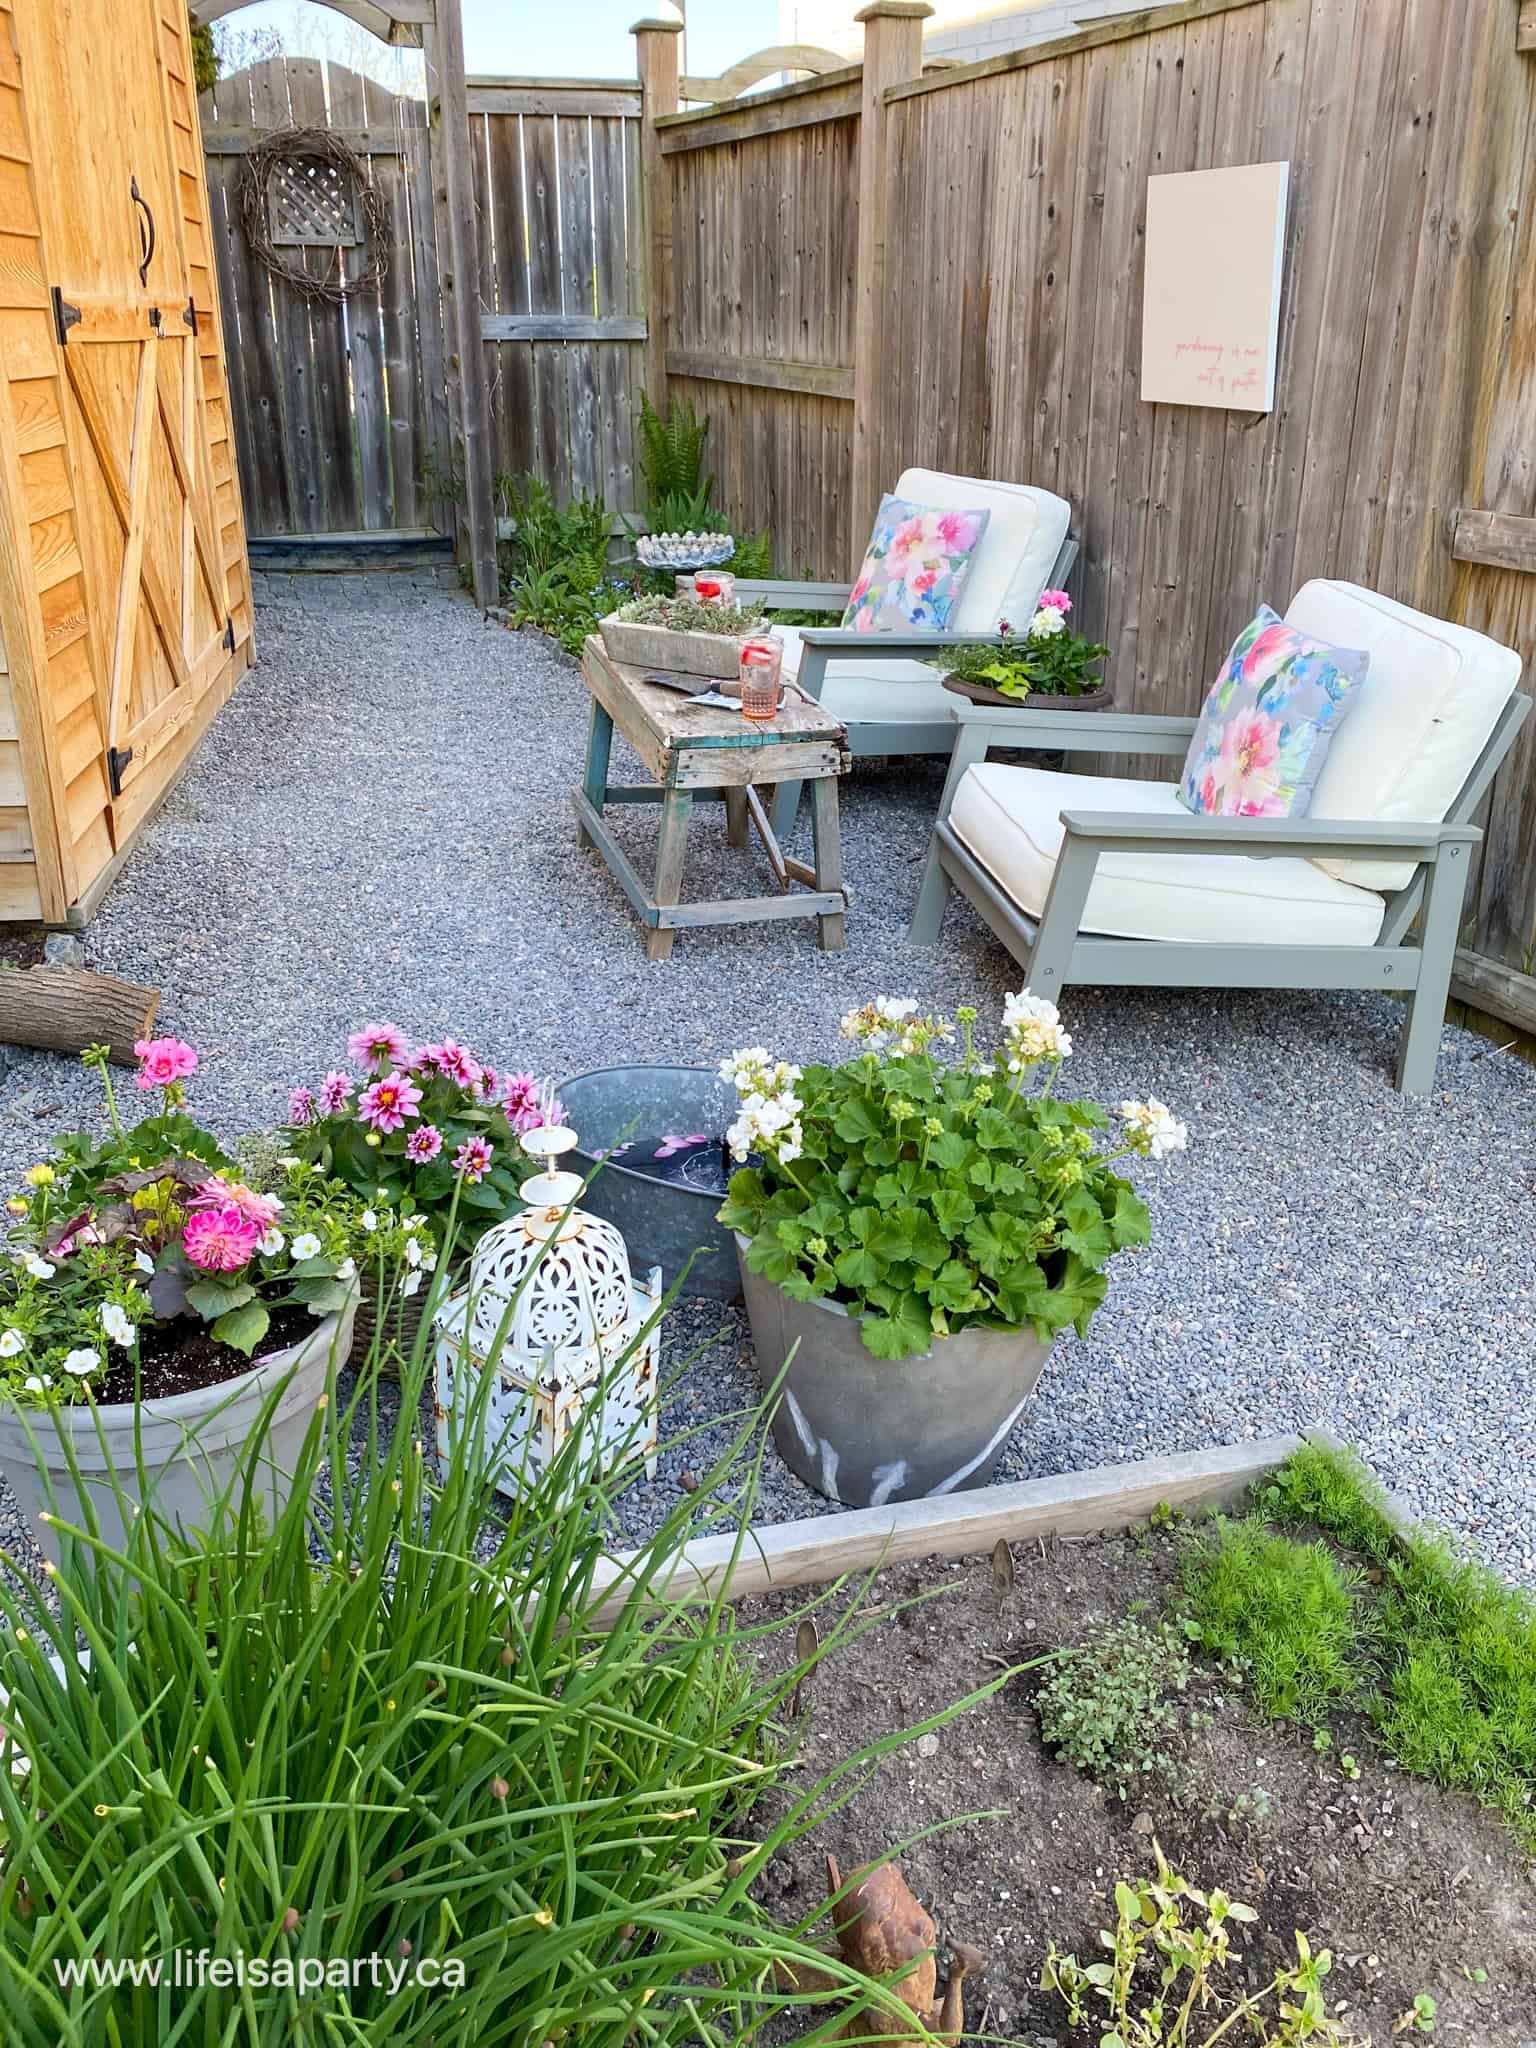
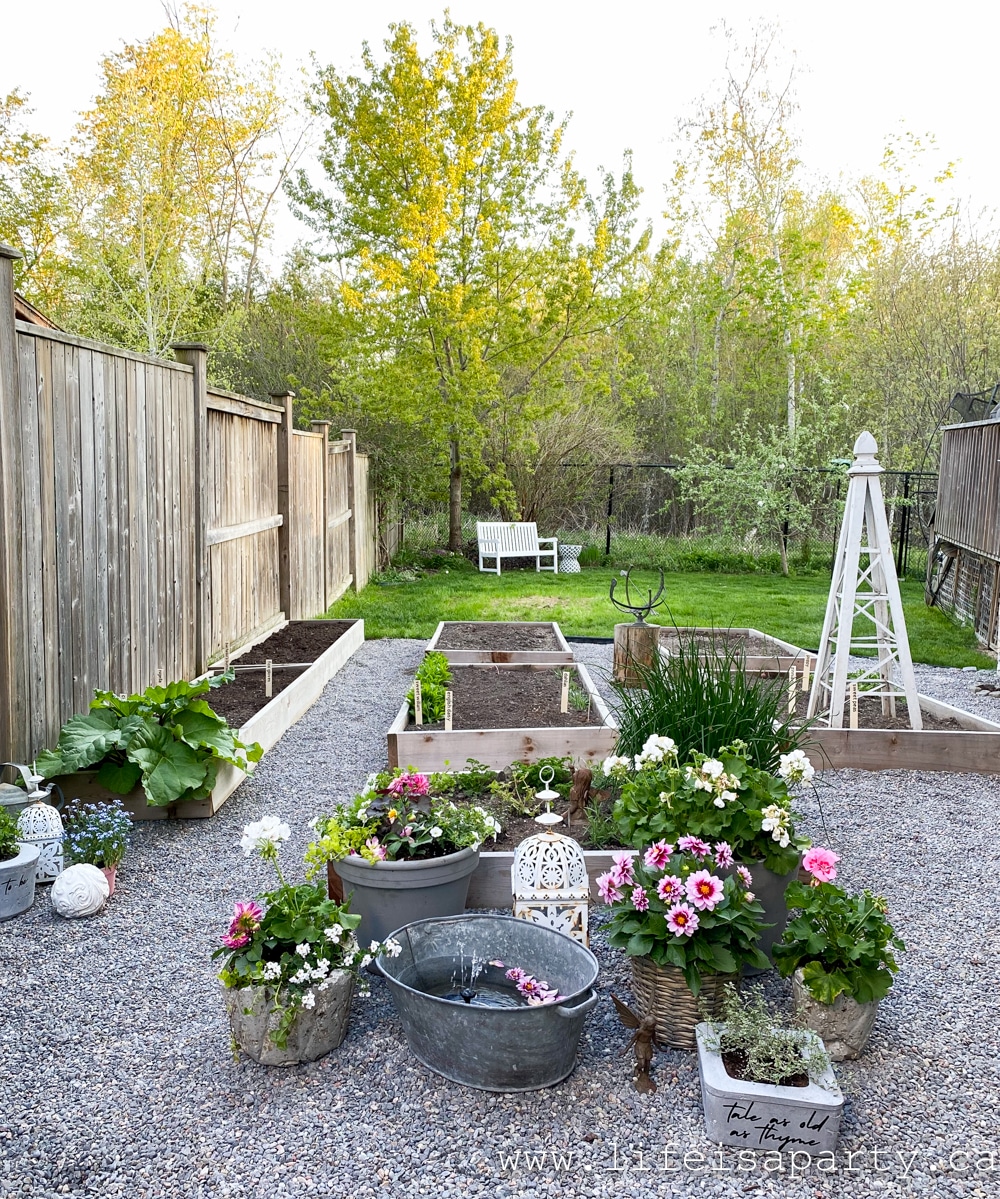
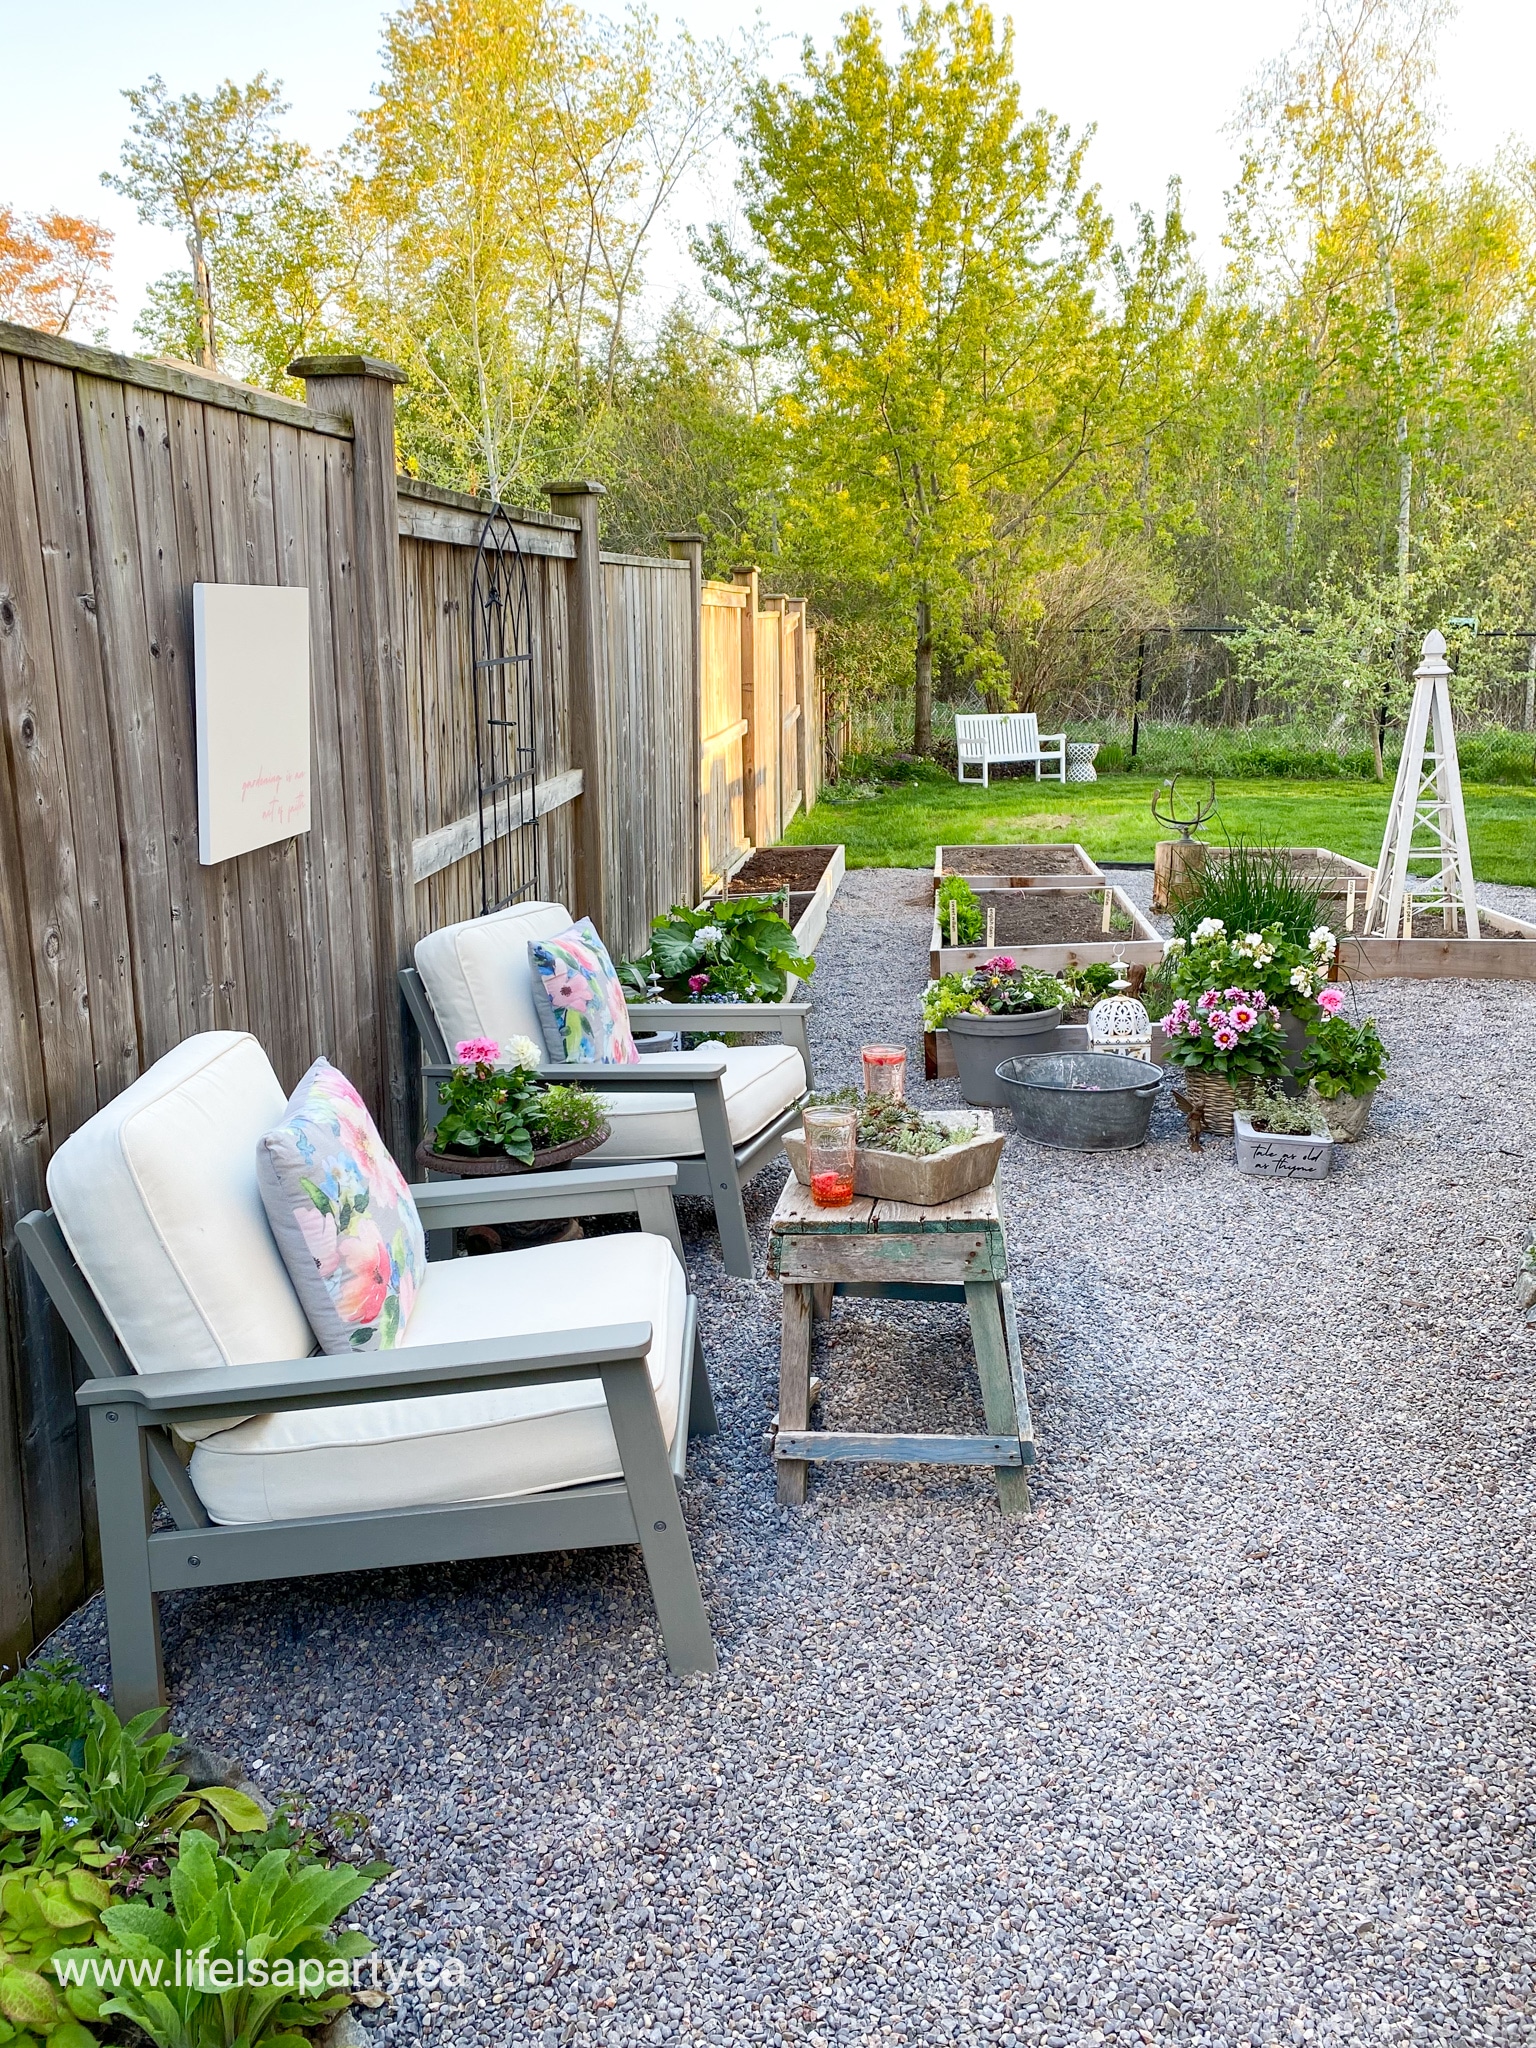
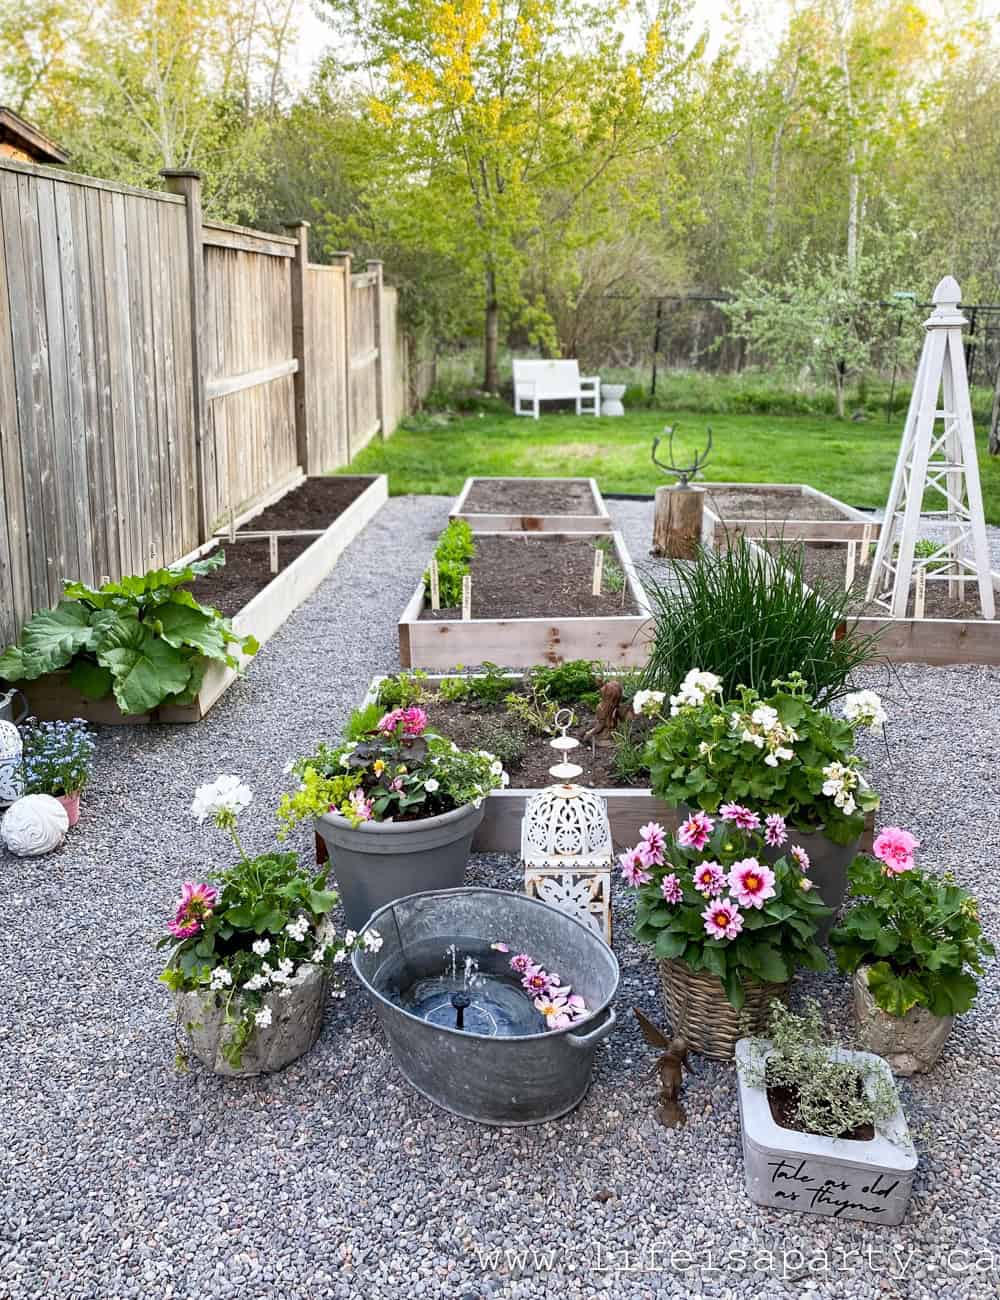
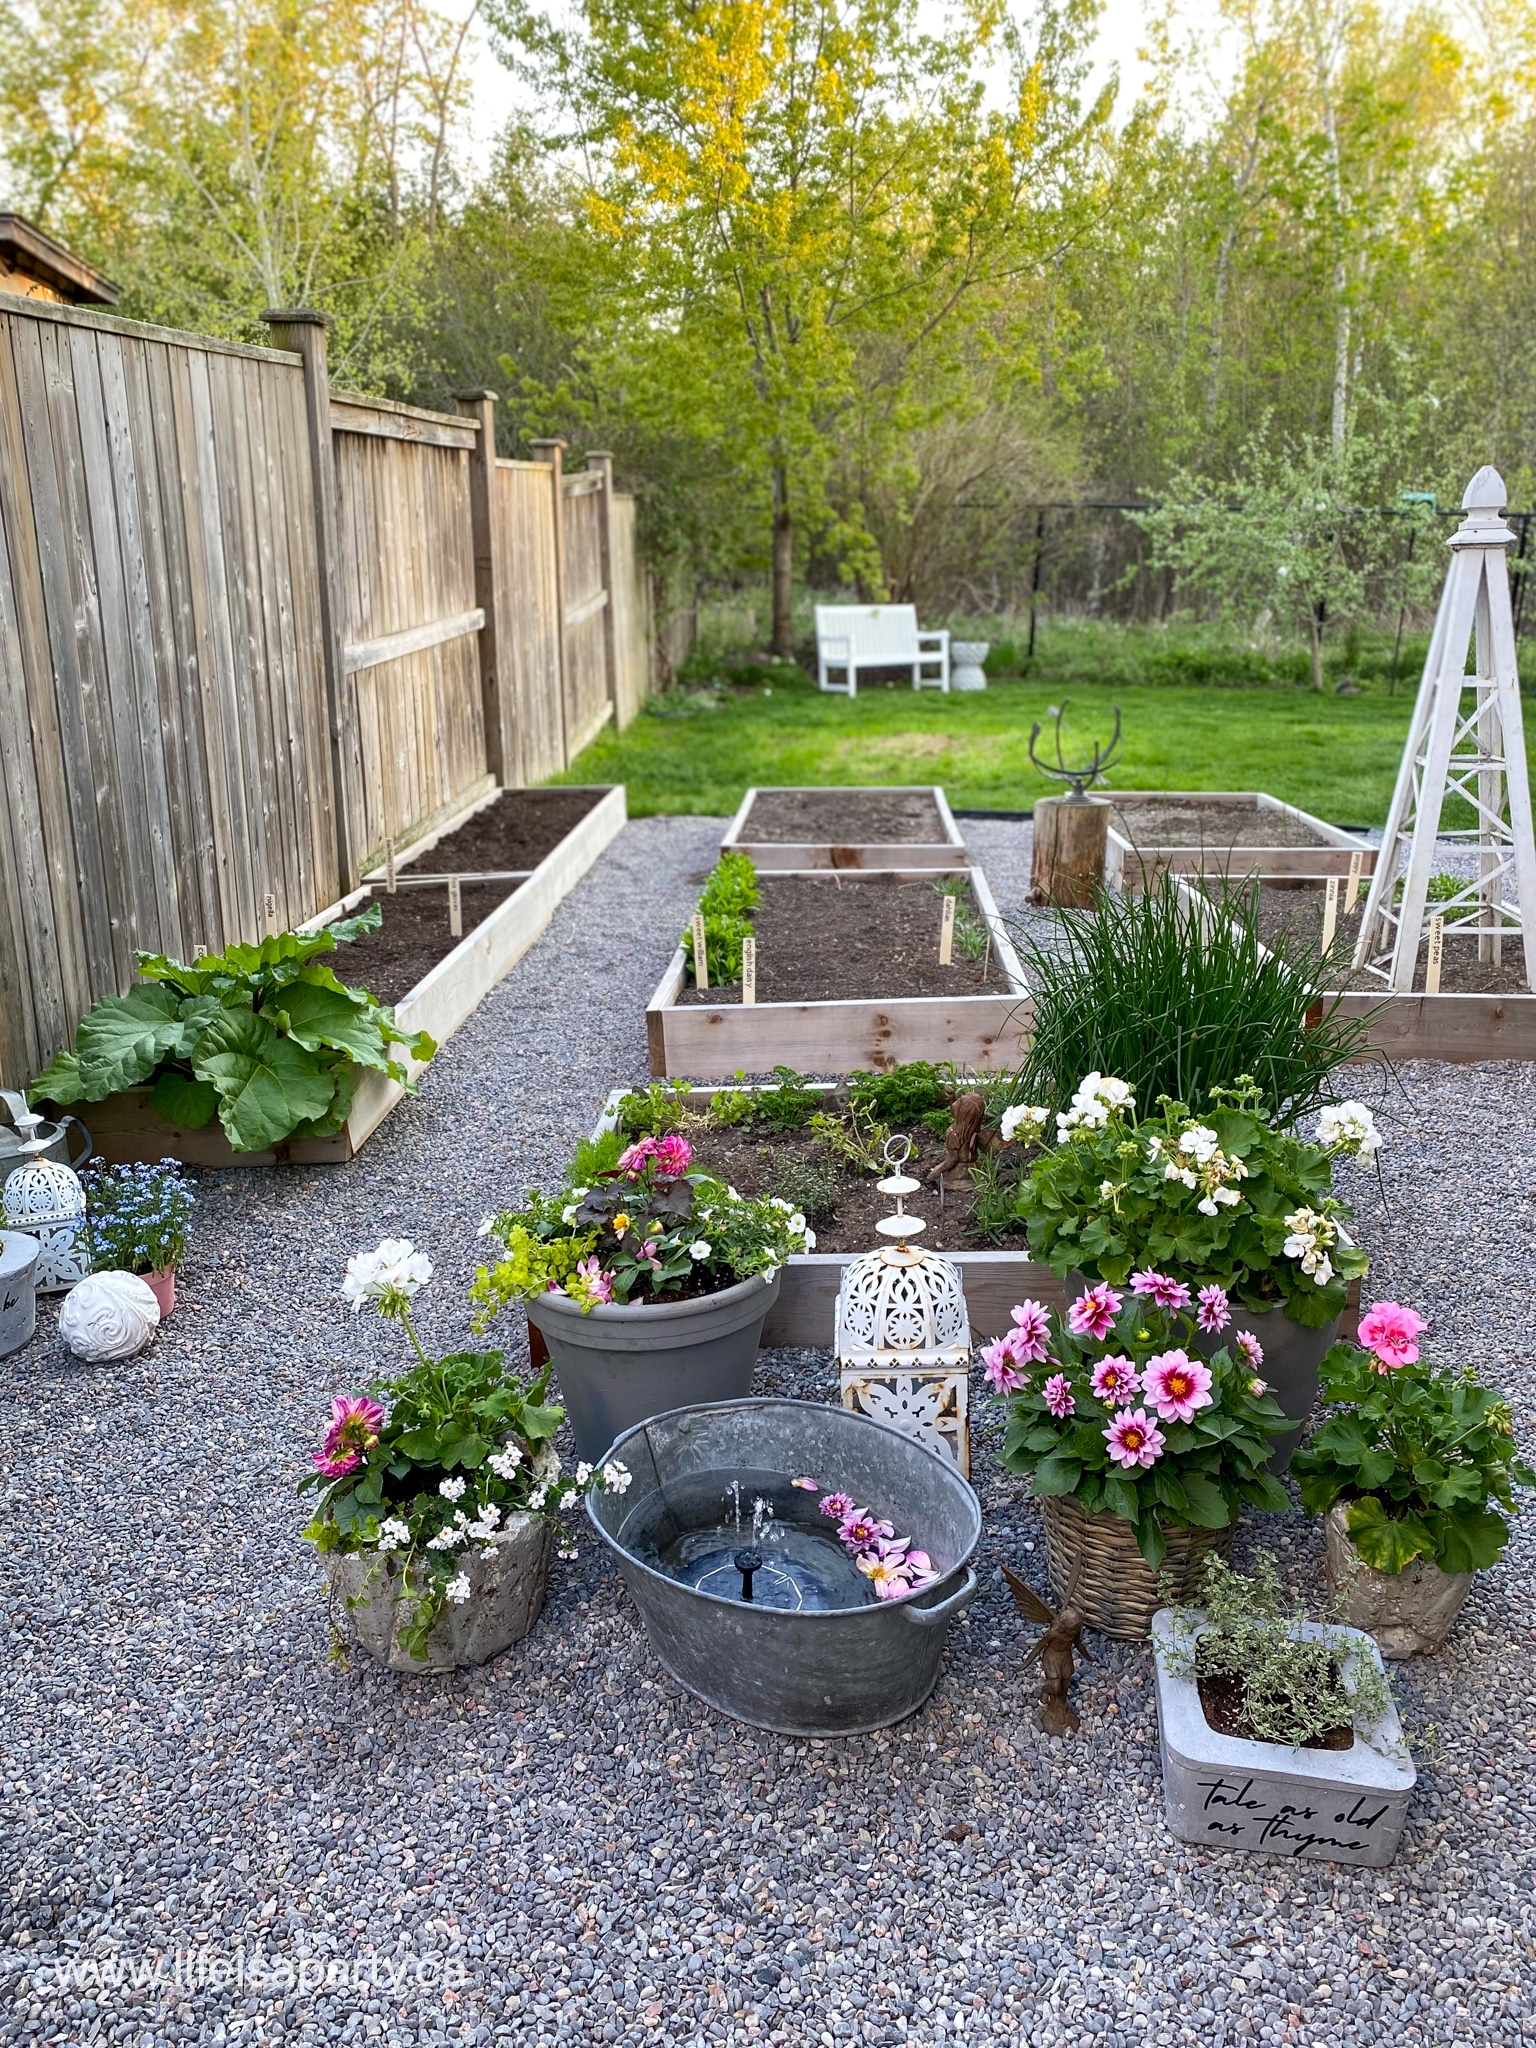
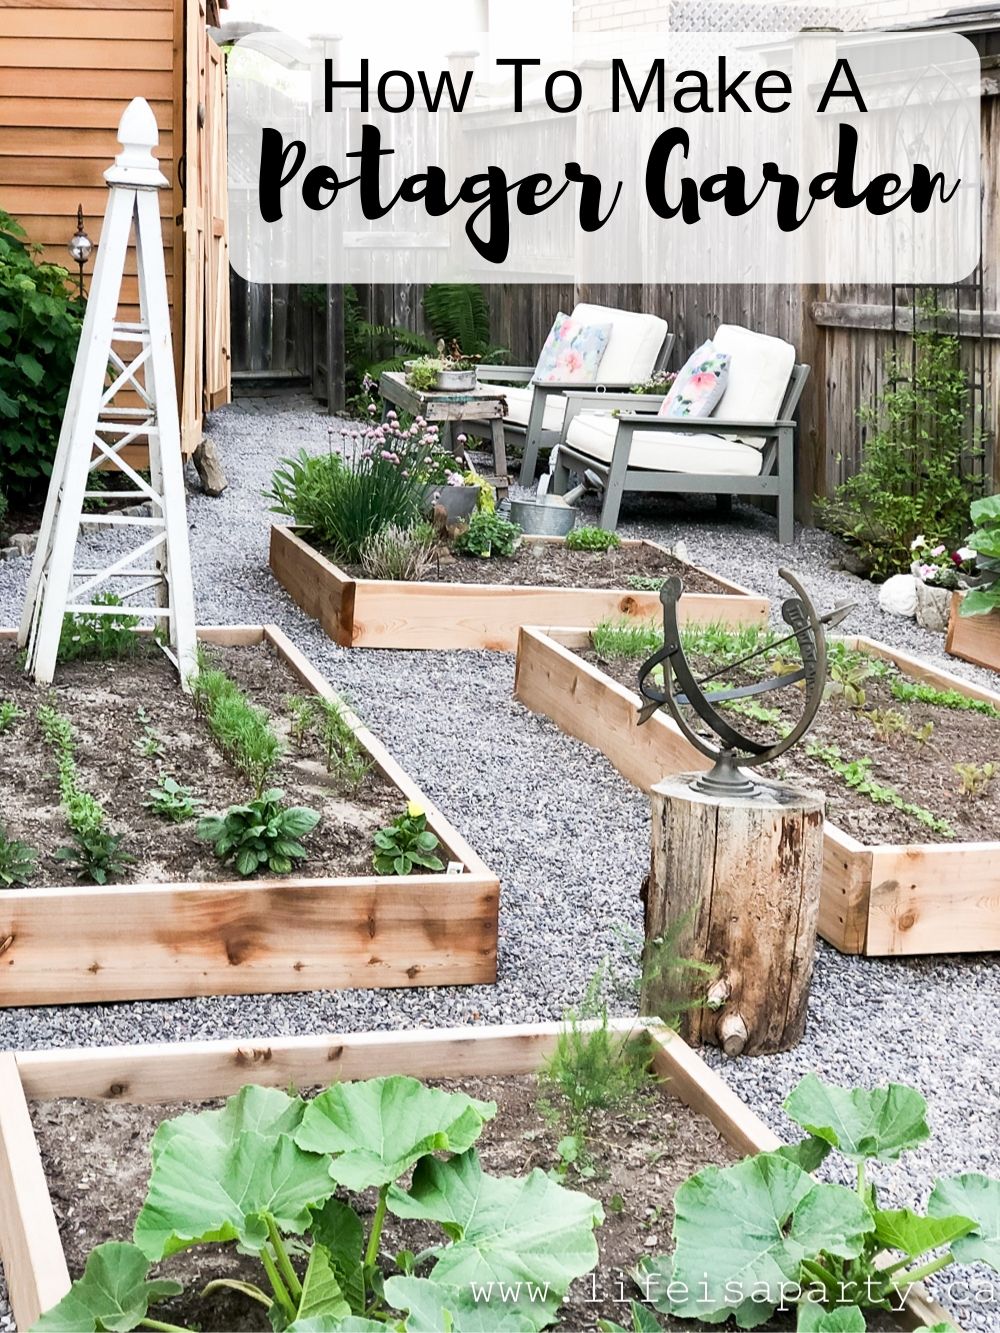
We worked on this area of our garden last spring, and took it from a somewhat boring and mostly unused side yard to a beautiful portager garden that we love to spend time in.  Read all about the progress of making this garden here. When I was creating this space, I knew I wanted to include a little seating area so that we could really enjoy the herbs, veggies, and flowers growing here. 

garden spaces on a budget

Why Add Outdoor Art?

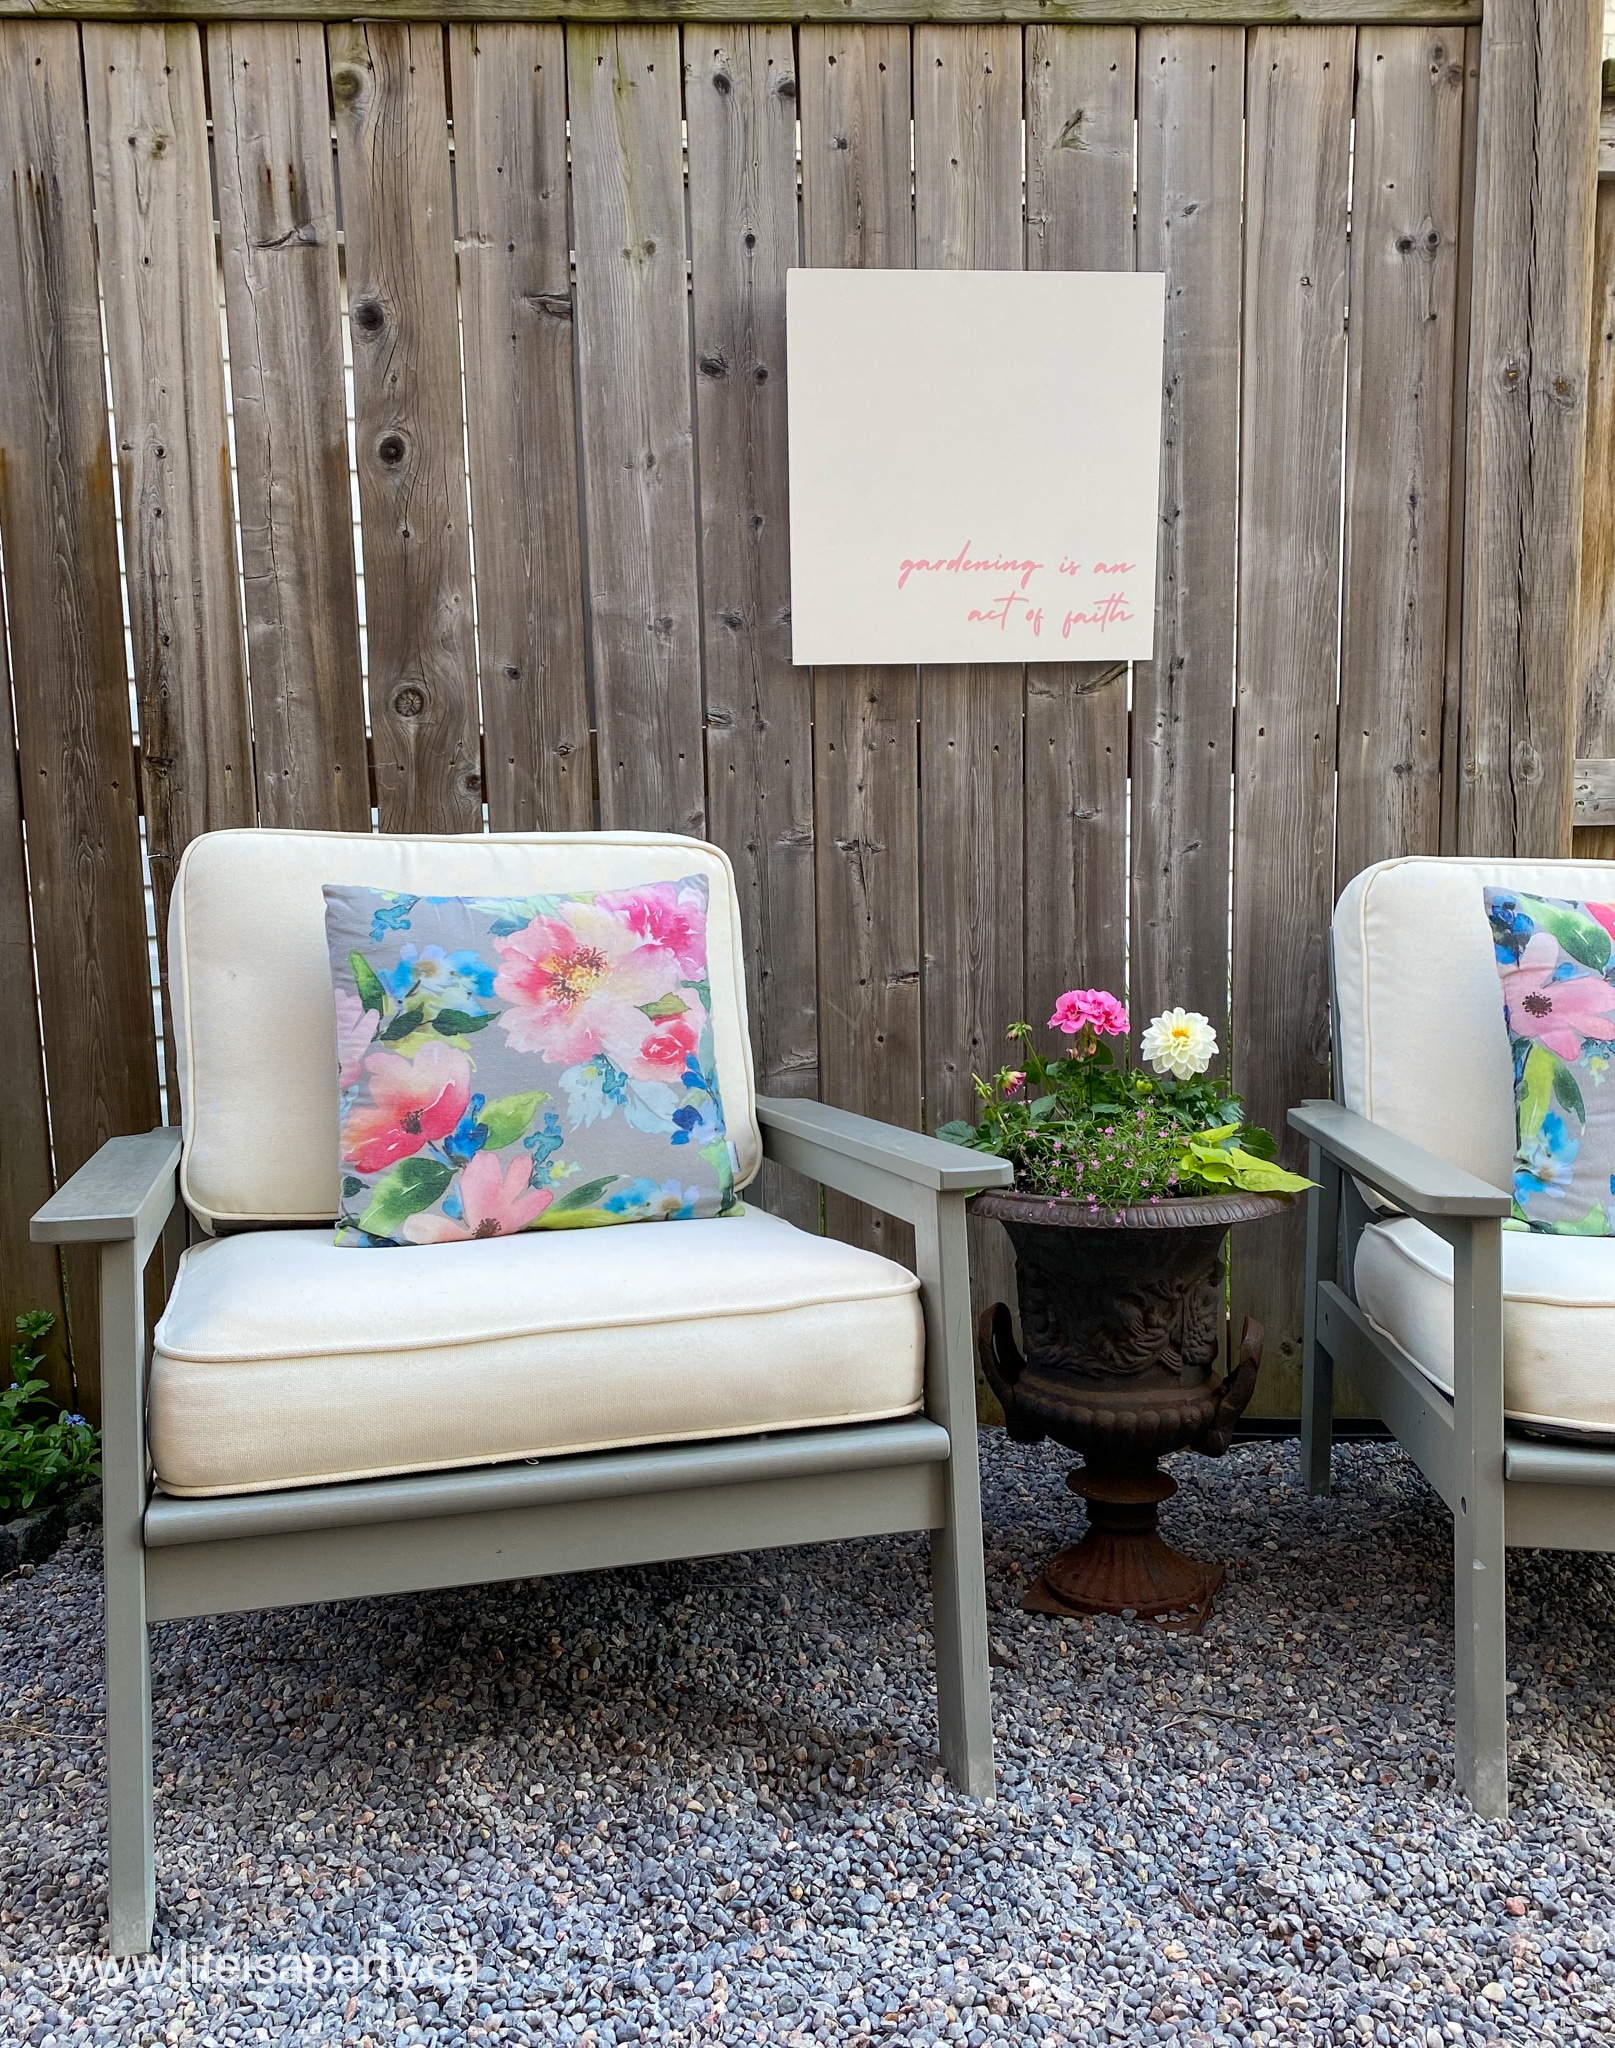
This little spot with the garden furniture has become a favourite for a cup of tea in the morning or a glass of wine in the evening.  I wanted to add an outdoor art piece that could stand up to the weather all summer, and add a little more personality to this outdoor seating area.  This is a great idea, if like me, you're dealing with a large privacy fence with wood boards as your background.  The great part about a fence like this is that it adds walls to your outdoor room, and how do we treat walls indoors?  We decorate them with art.  So why not add outdoor art to the garden area too?  It's a fun way to add a little interest to a boring fence without spending a lot of money.  This would also be a great addition to large exterior walls that you wanted to add some interest to with DIY garden decorations.

cricut garden art
outdoor spaces on a budget

Prepping The Board

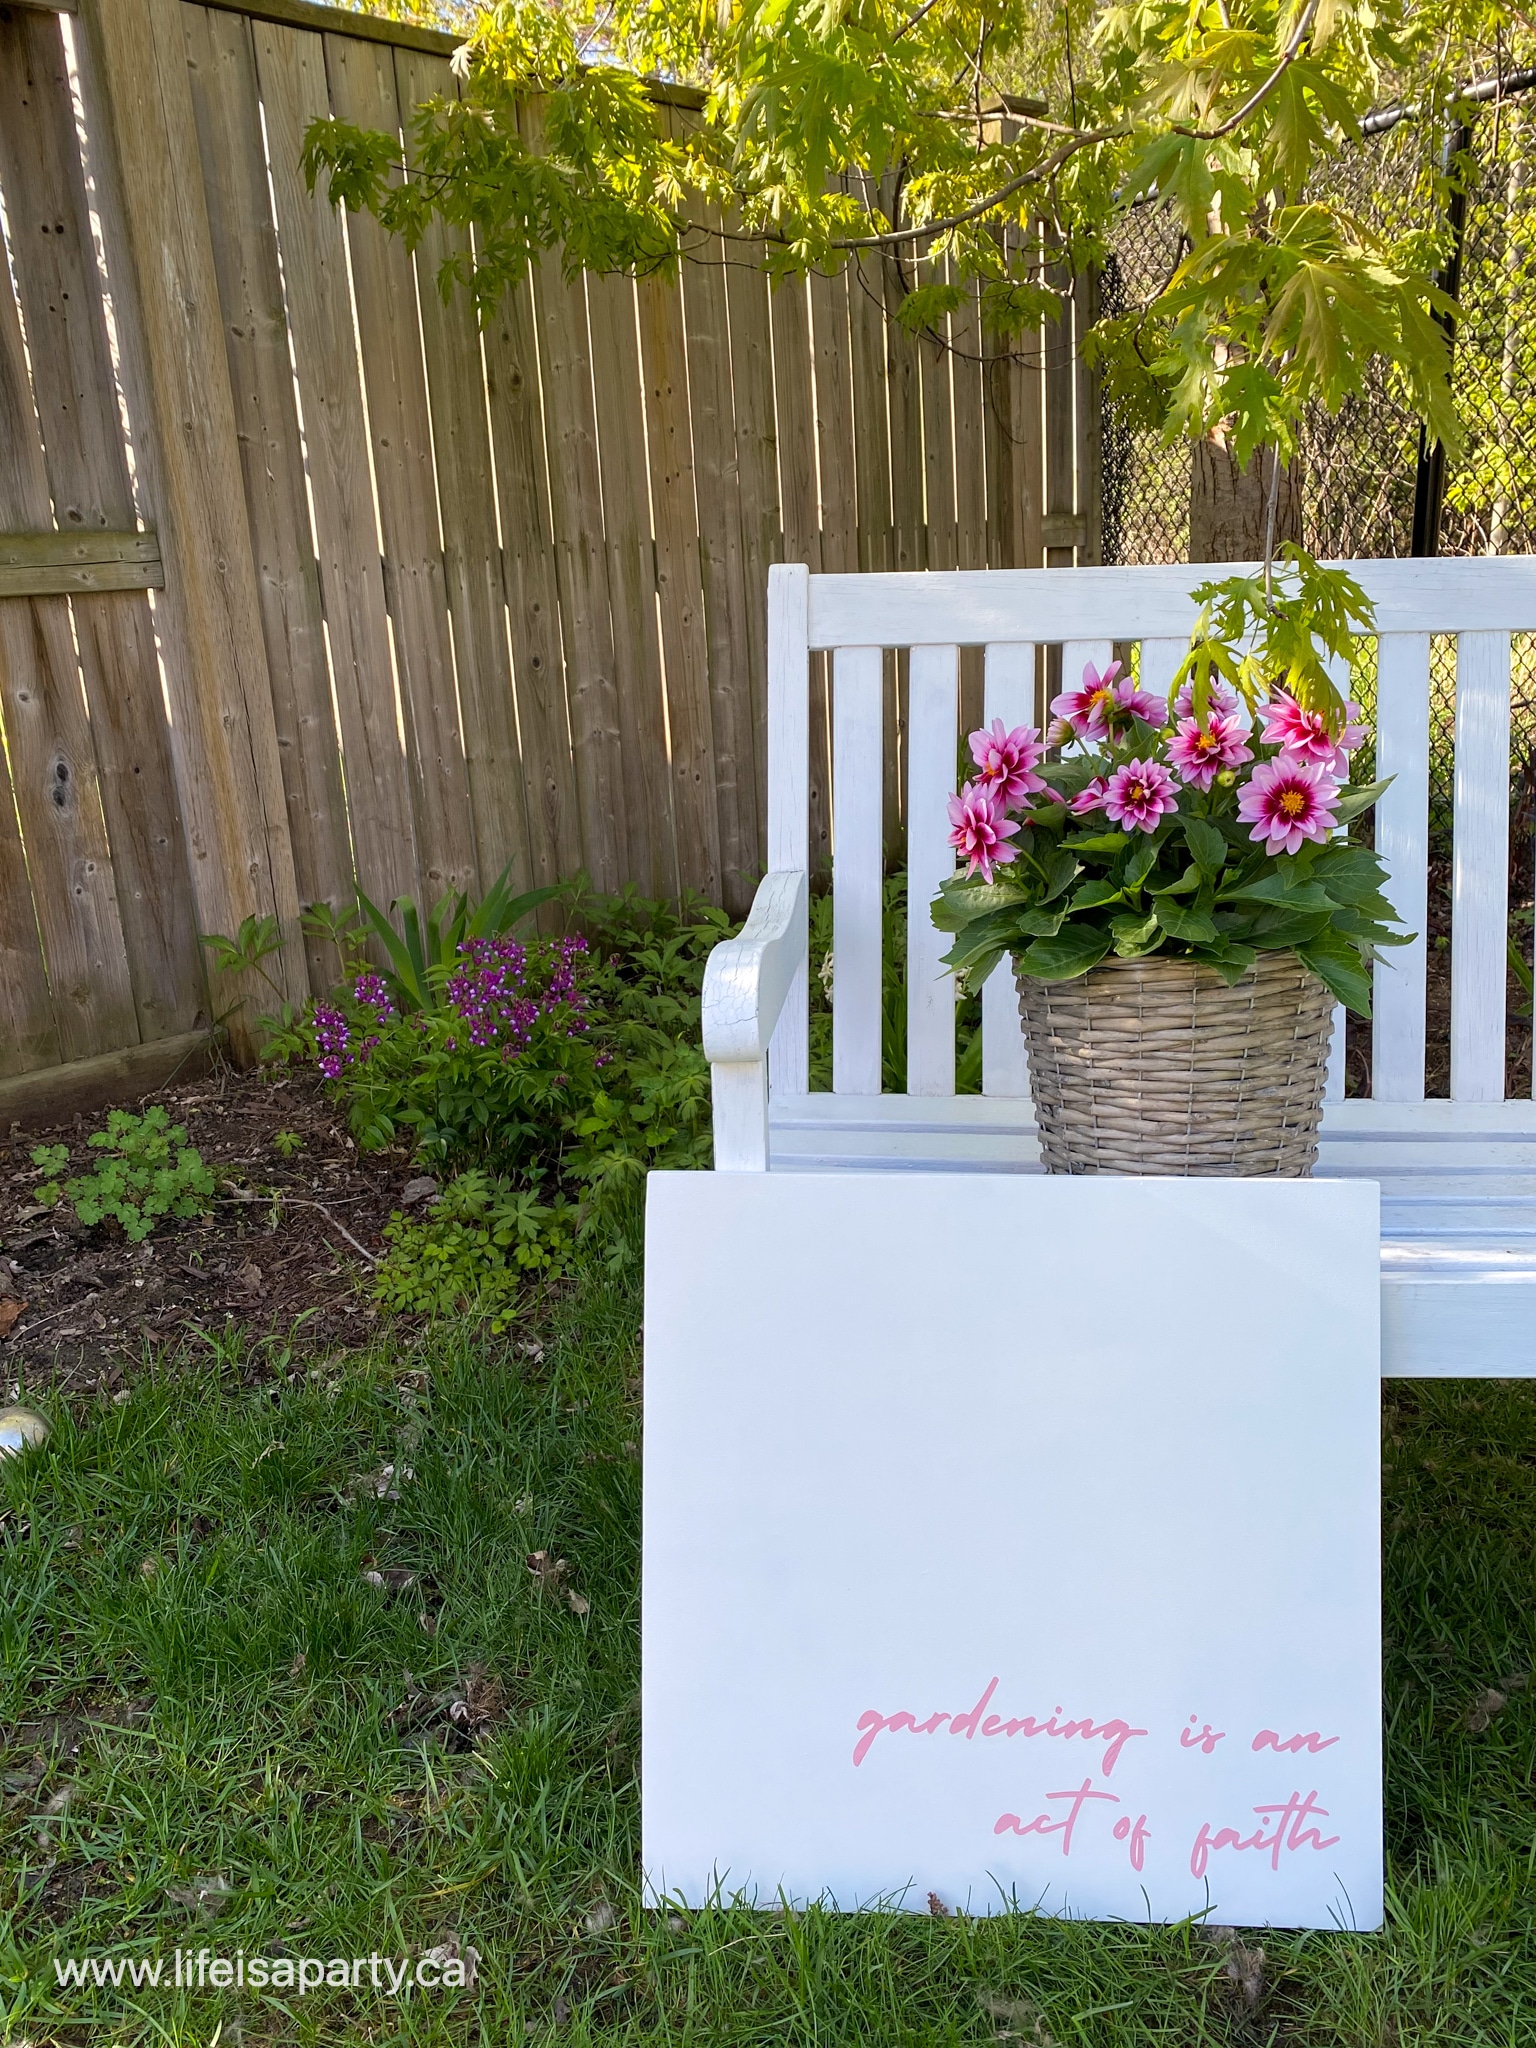
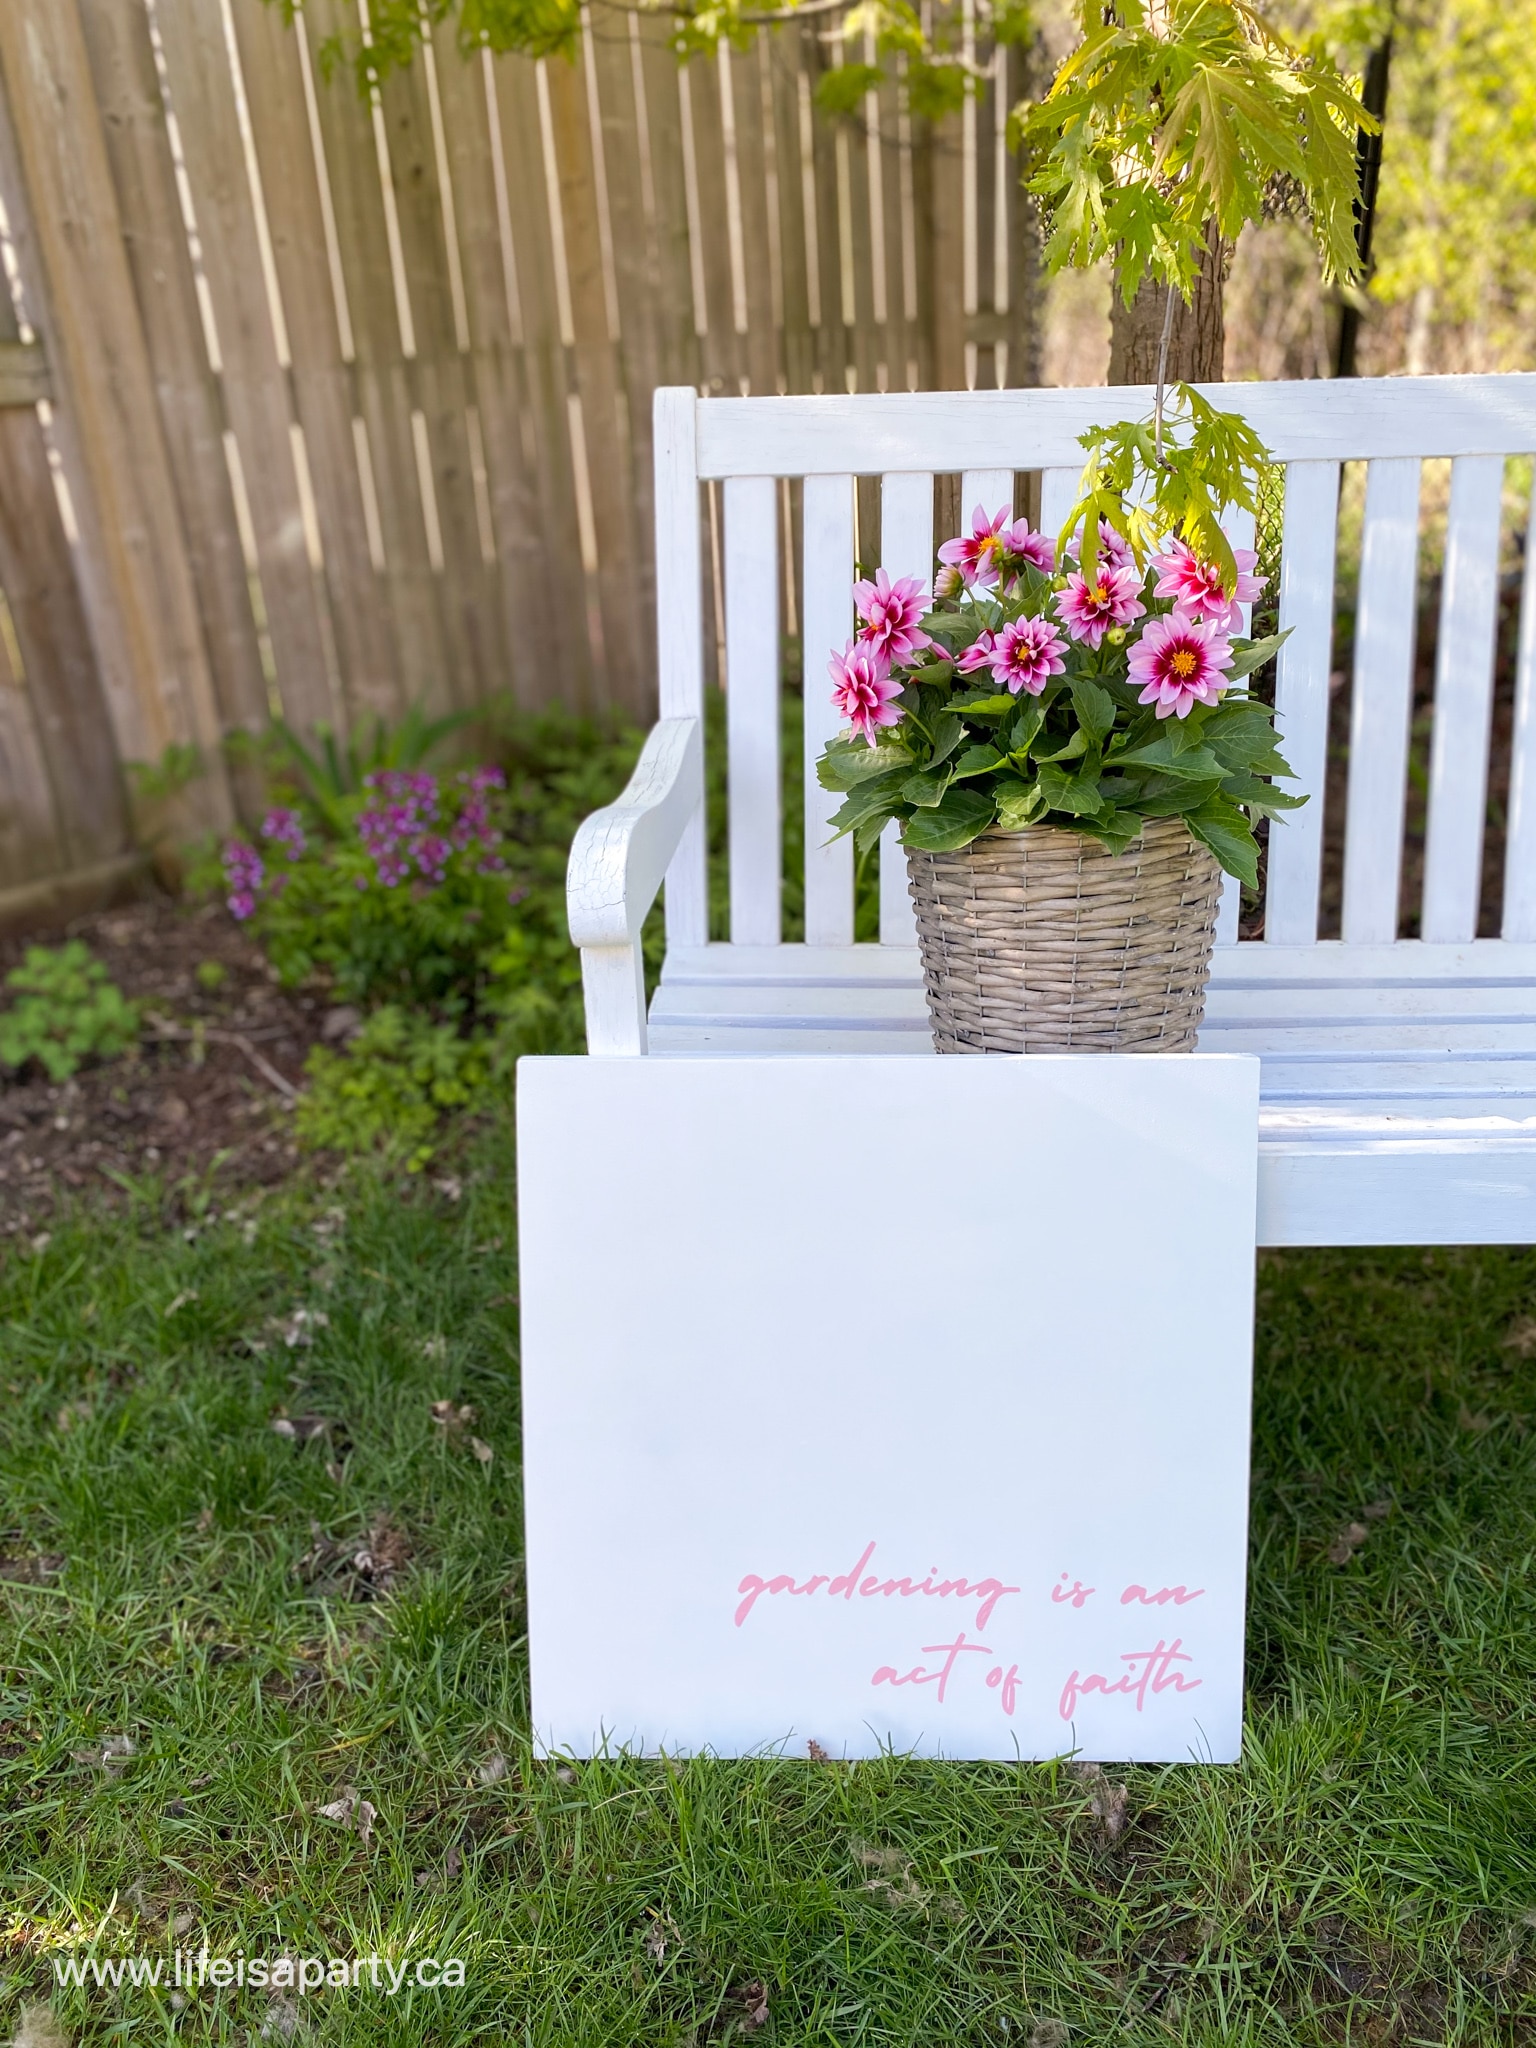
We started out with some leftover MDF.  We cut it to an 18" x 18" square size.  You could use any wood you had on hand, like a board cut to size or a piece of plywood.  You could even use old wooden pallets, by removing the pieces and nailing several together to make a large rectangle.  Another inexpensive option is to look for an old wood sign at a thrift store and give it a makeover with a fresh coat of paint.

Next we painted it with some outdoor paint, to make it last longer outside.  You want to find some outdoor paint for this project that's made for outdoor use.  It will help the wood last longer in your outdoor area.  We went with simple white paint to add some brightness.  But you could choose a more vibrant color if you prefer to create a brilliant focal point.

For hanging, we screwed in two screws about ⅓ of the way from the top of the board, and strung some wire between them.

how to make outdoor projects with your cricut machine

Free Cricut Cut File for Garden Art

You can find my cut file for this sweet garden art here for free.  I didn't want my art to look too country or dated, so I chose a font I thought was more up to date, and also set it in the corner for a more modern look.  

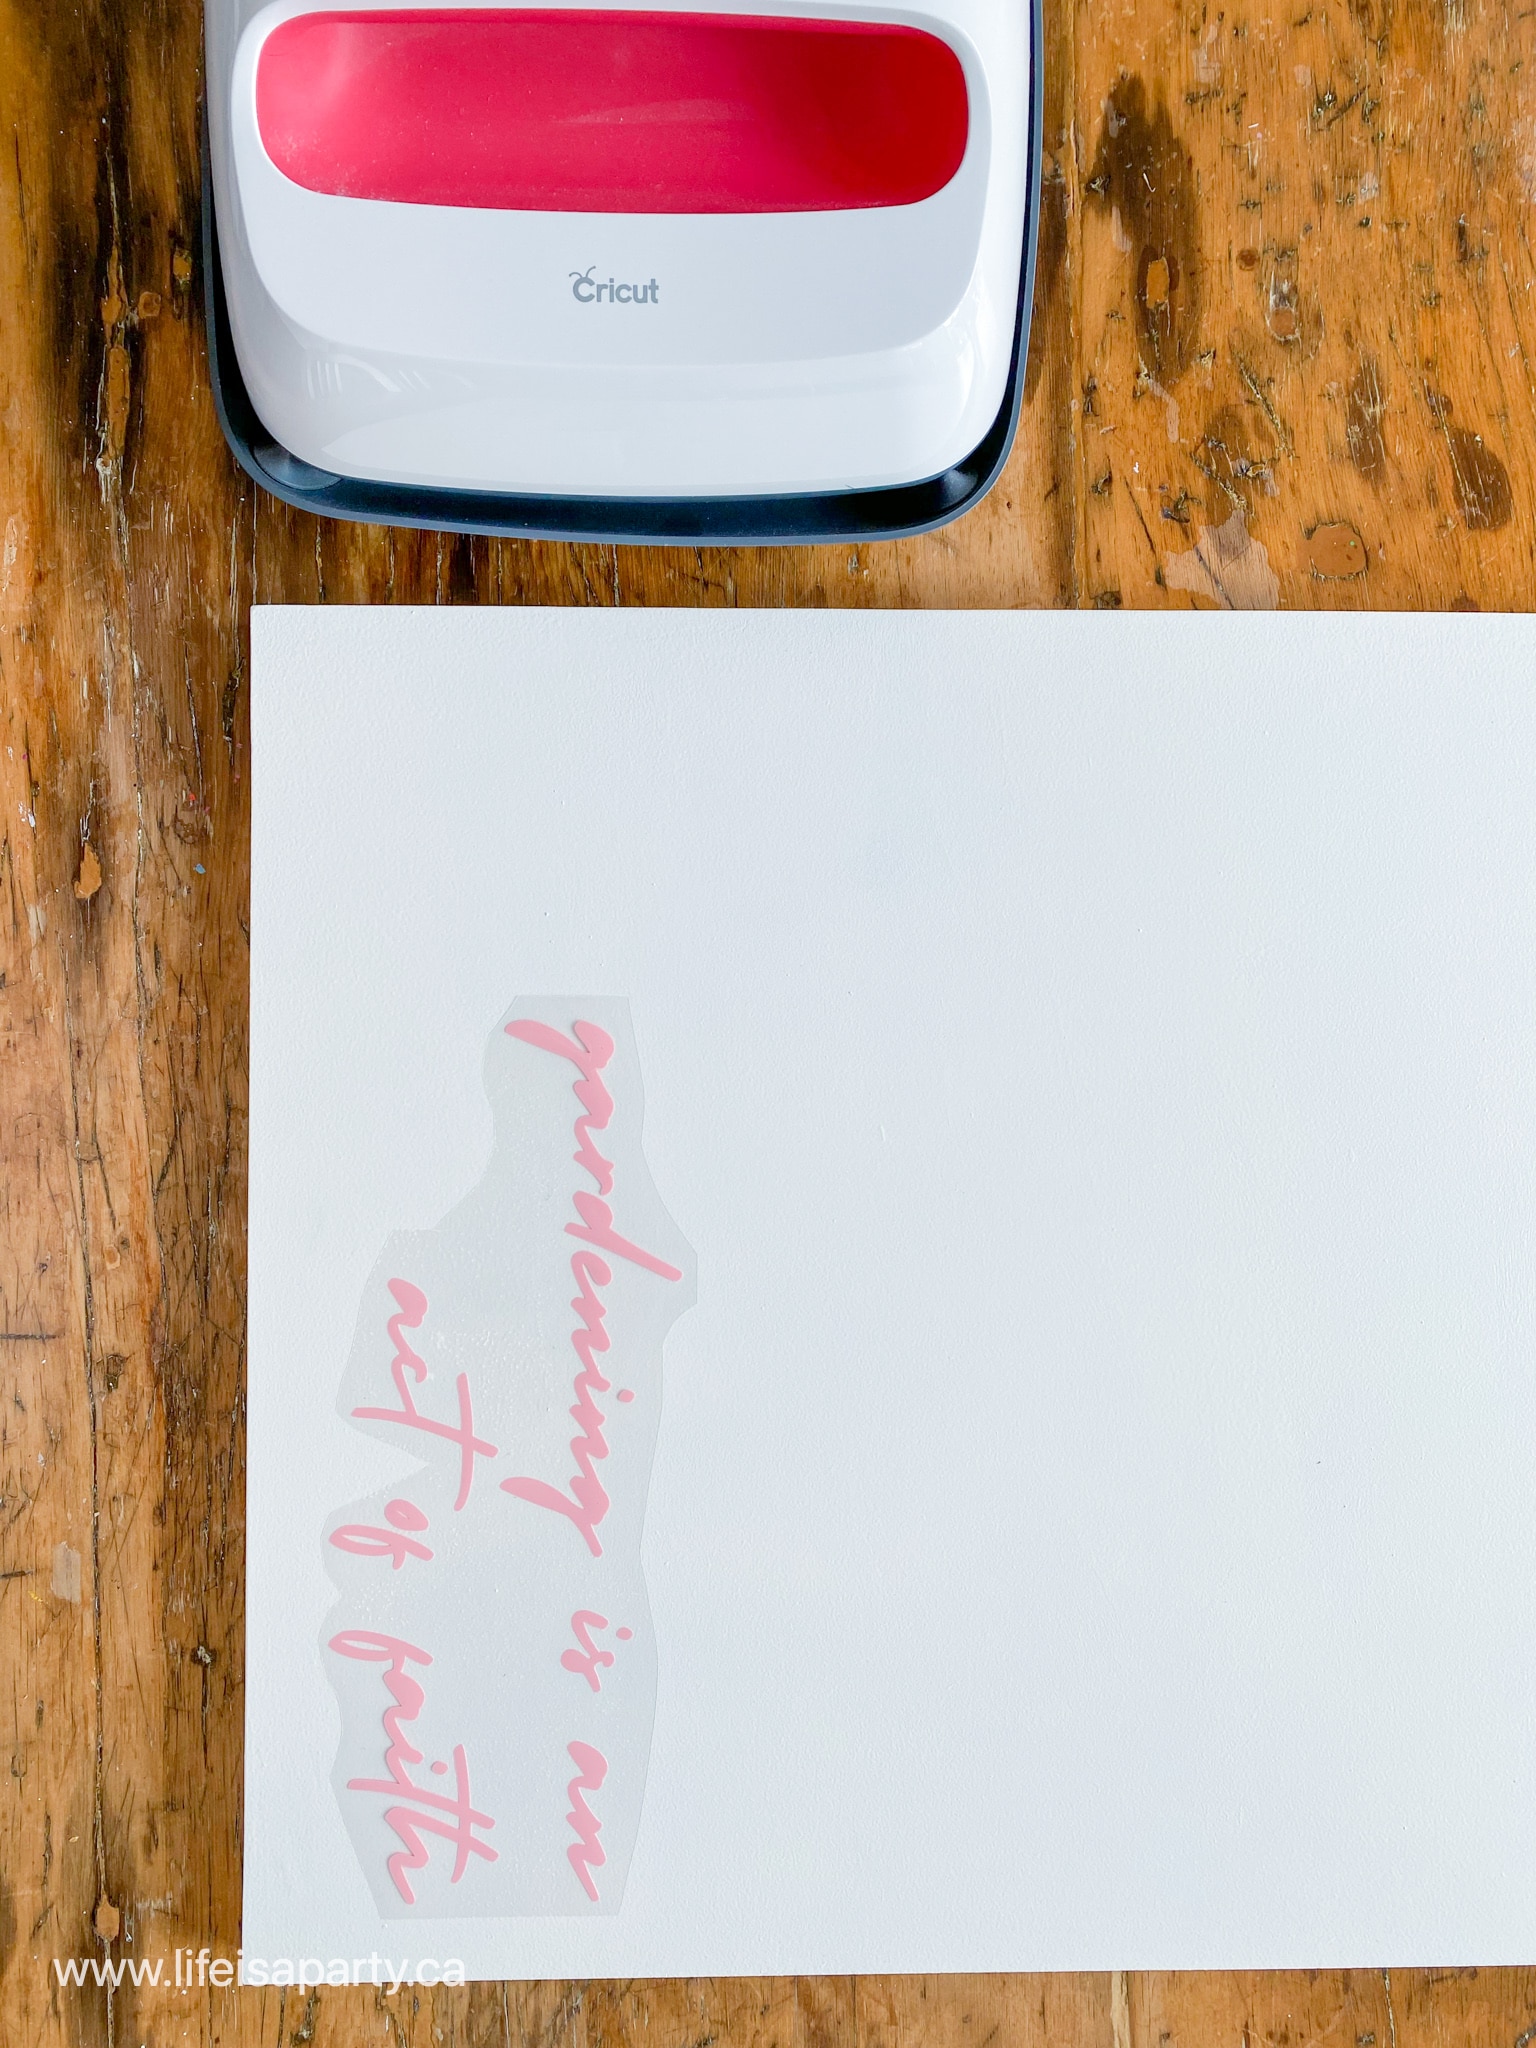
We used Iron-on Vinyl for this project.  You could also use the Premium Vinyl, or the Outdoor Vinyl if you prefer.  That's one of the great things about the Cricut, there are lots of material options that work on multiple surfaces. 

cricut maker outdoor project ideas

Remember when you're working with the Iron-on Vinyl to mirror your text before cutting out.  Once the words are cut and weeded, refer to the Cricut heat guide to determine the settings for ironing on your Vinyl.

Once the piece is cool to the touch, remove the backing and enjoy your finished piece.  The place where I hung my art is quite sheltered, but if the spot was more exposed I might add a clear polycyclic top coat to help protect it against the elements.  I'll leave this artwork outside during the growing season, but store it indoors during the winter so that it will be protected from the elements.

I love how this simple DIY project turned out.  It's one of the easiest ways to add a personal touch to this wonderful place and favorite spot.

DIY budget garden art

DIY Budget Garden Markers

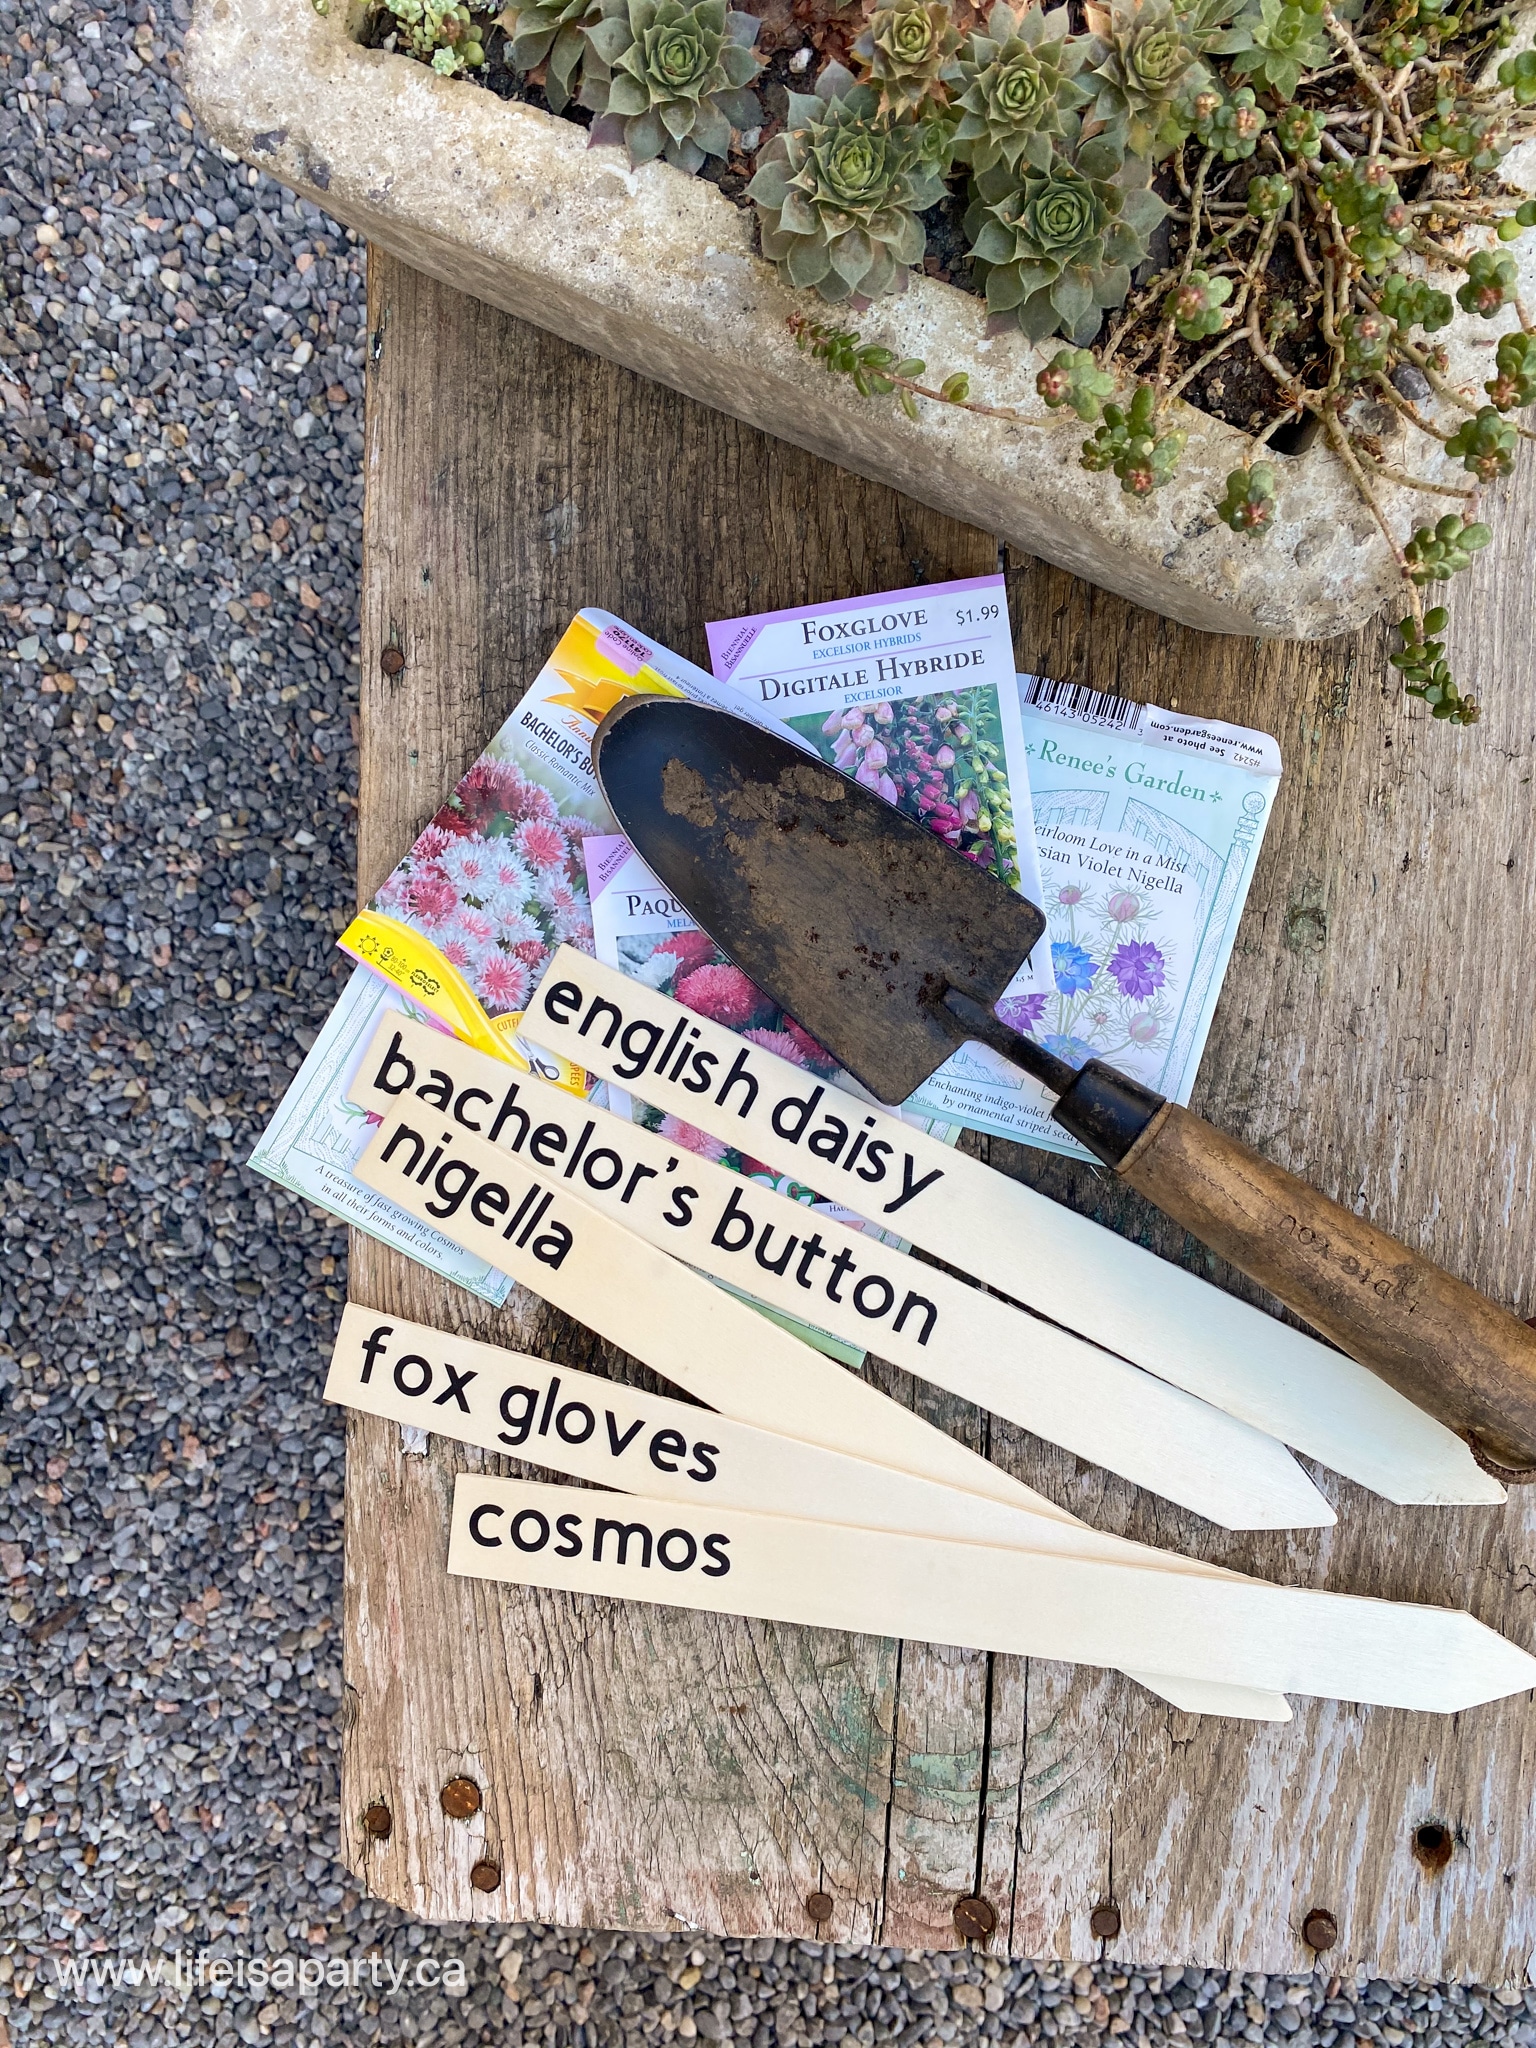
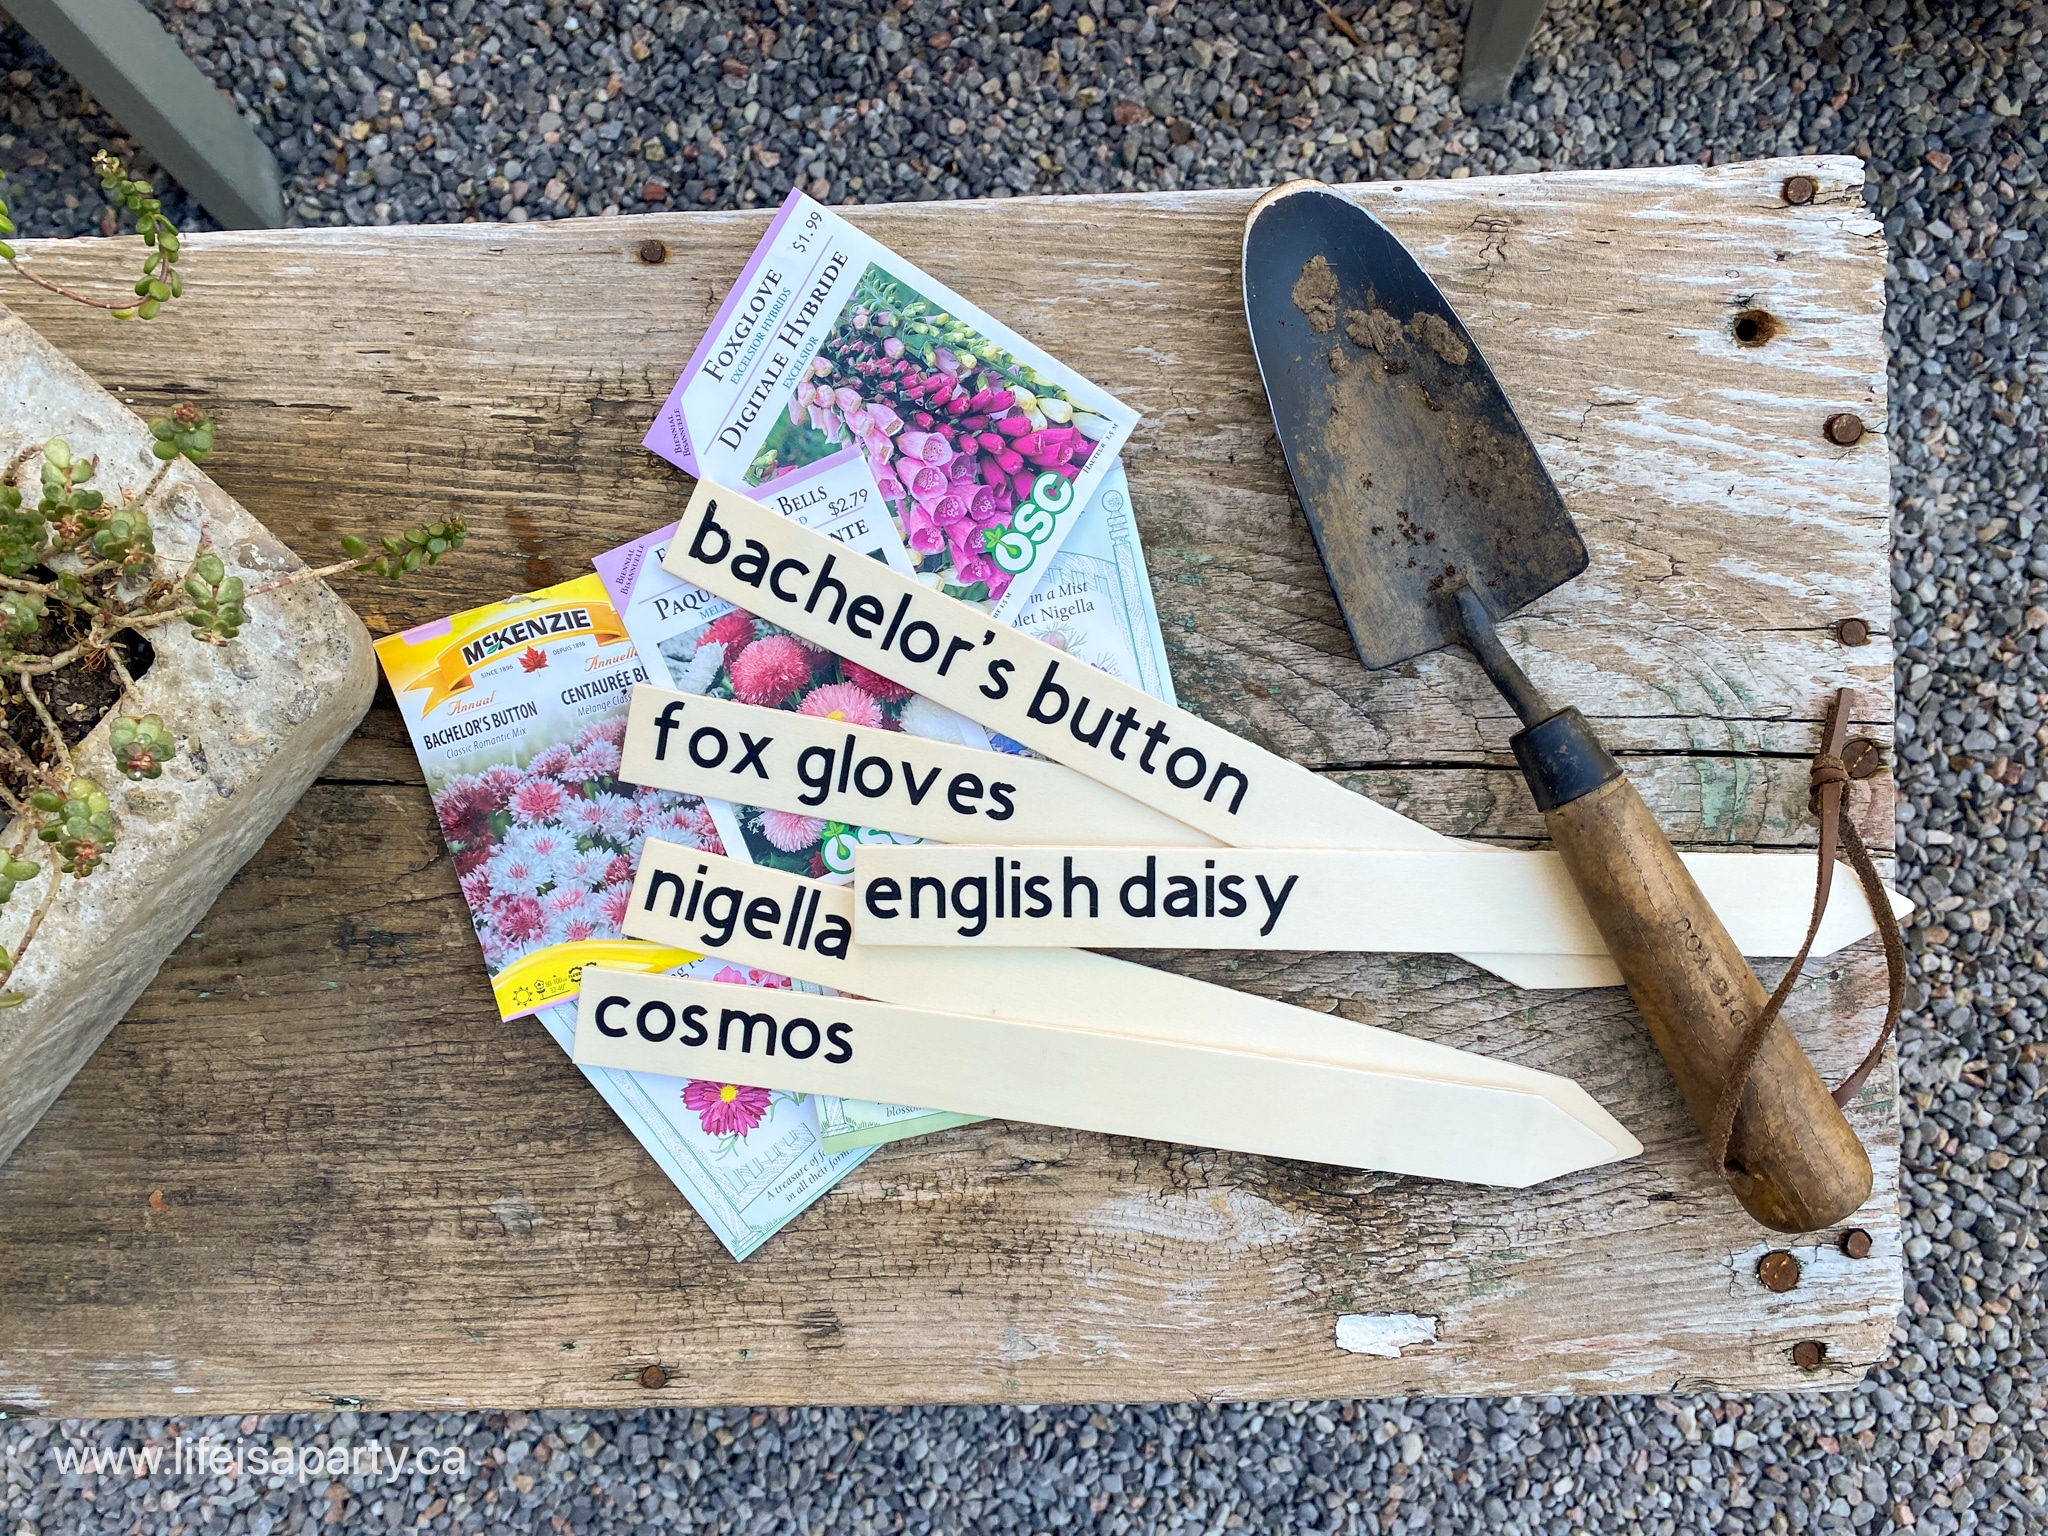
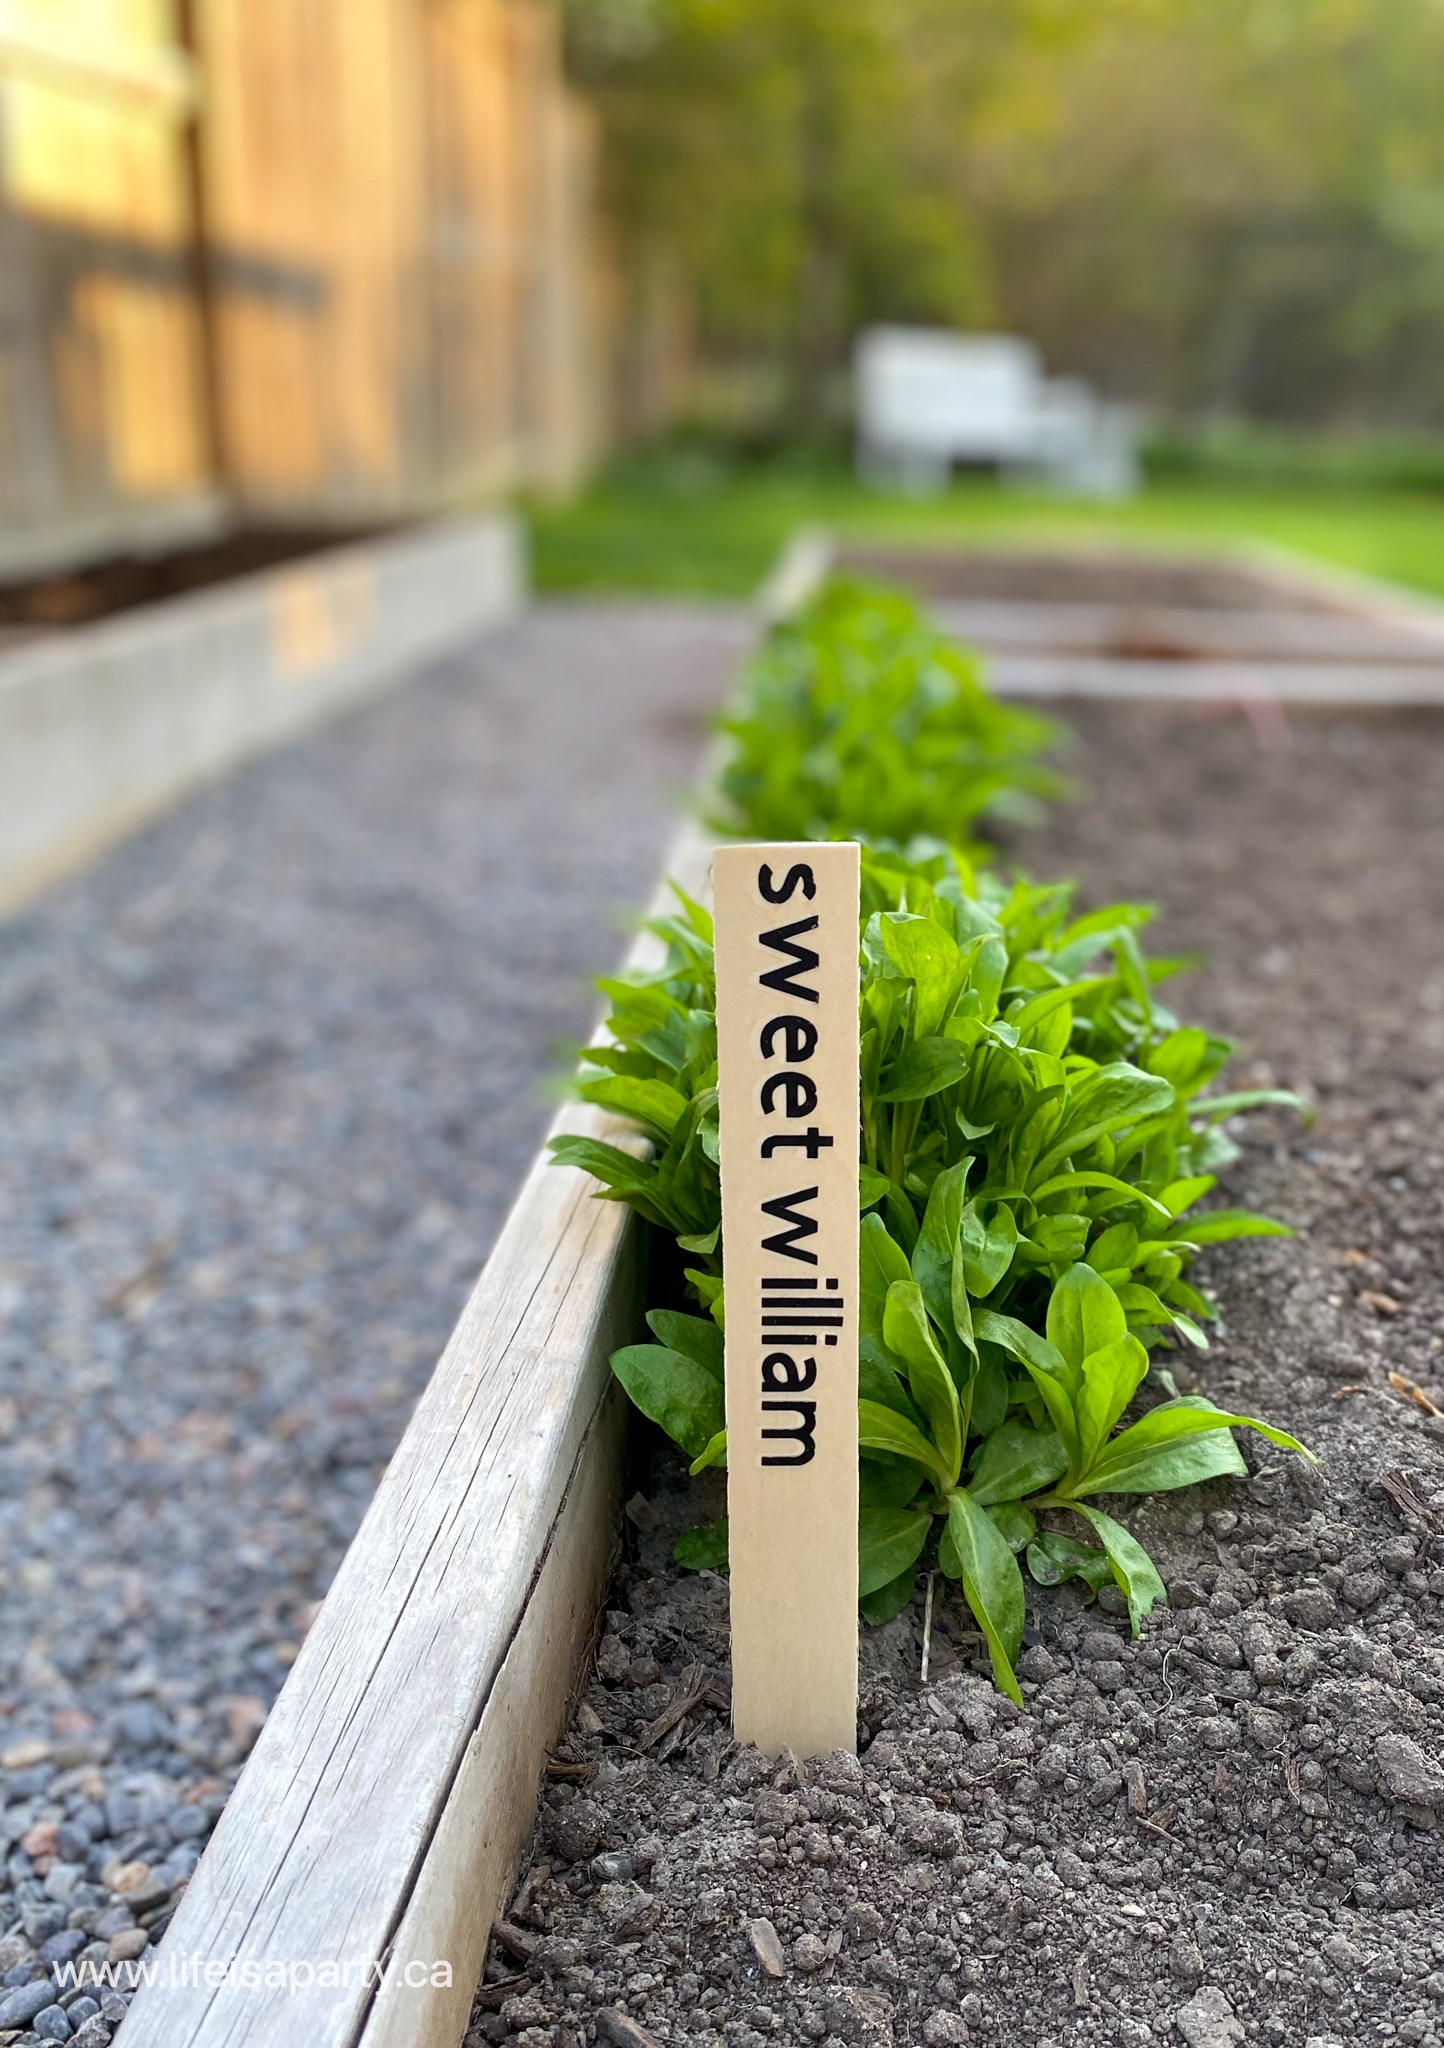
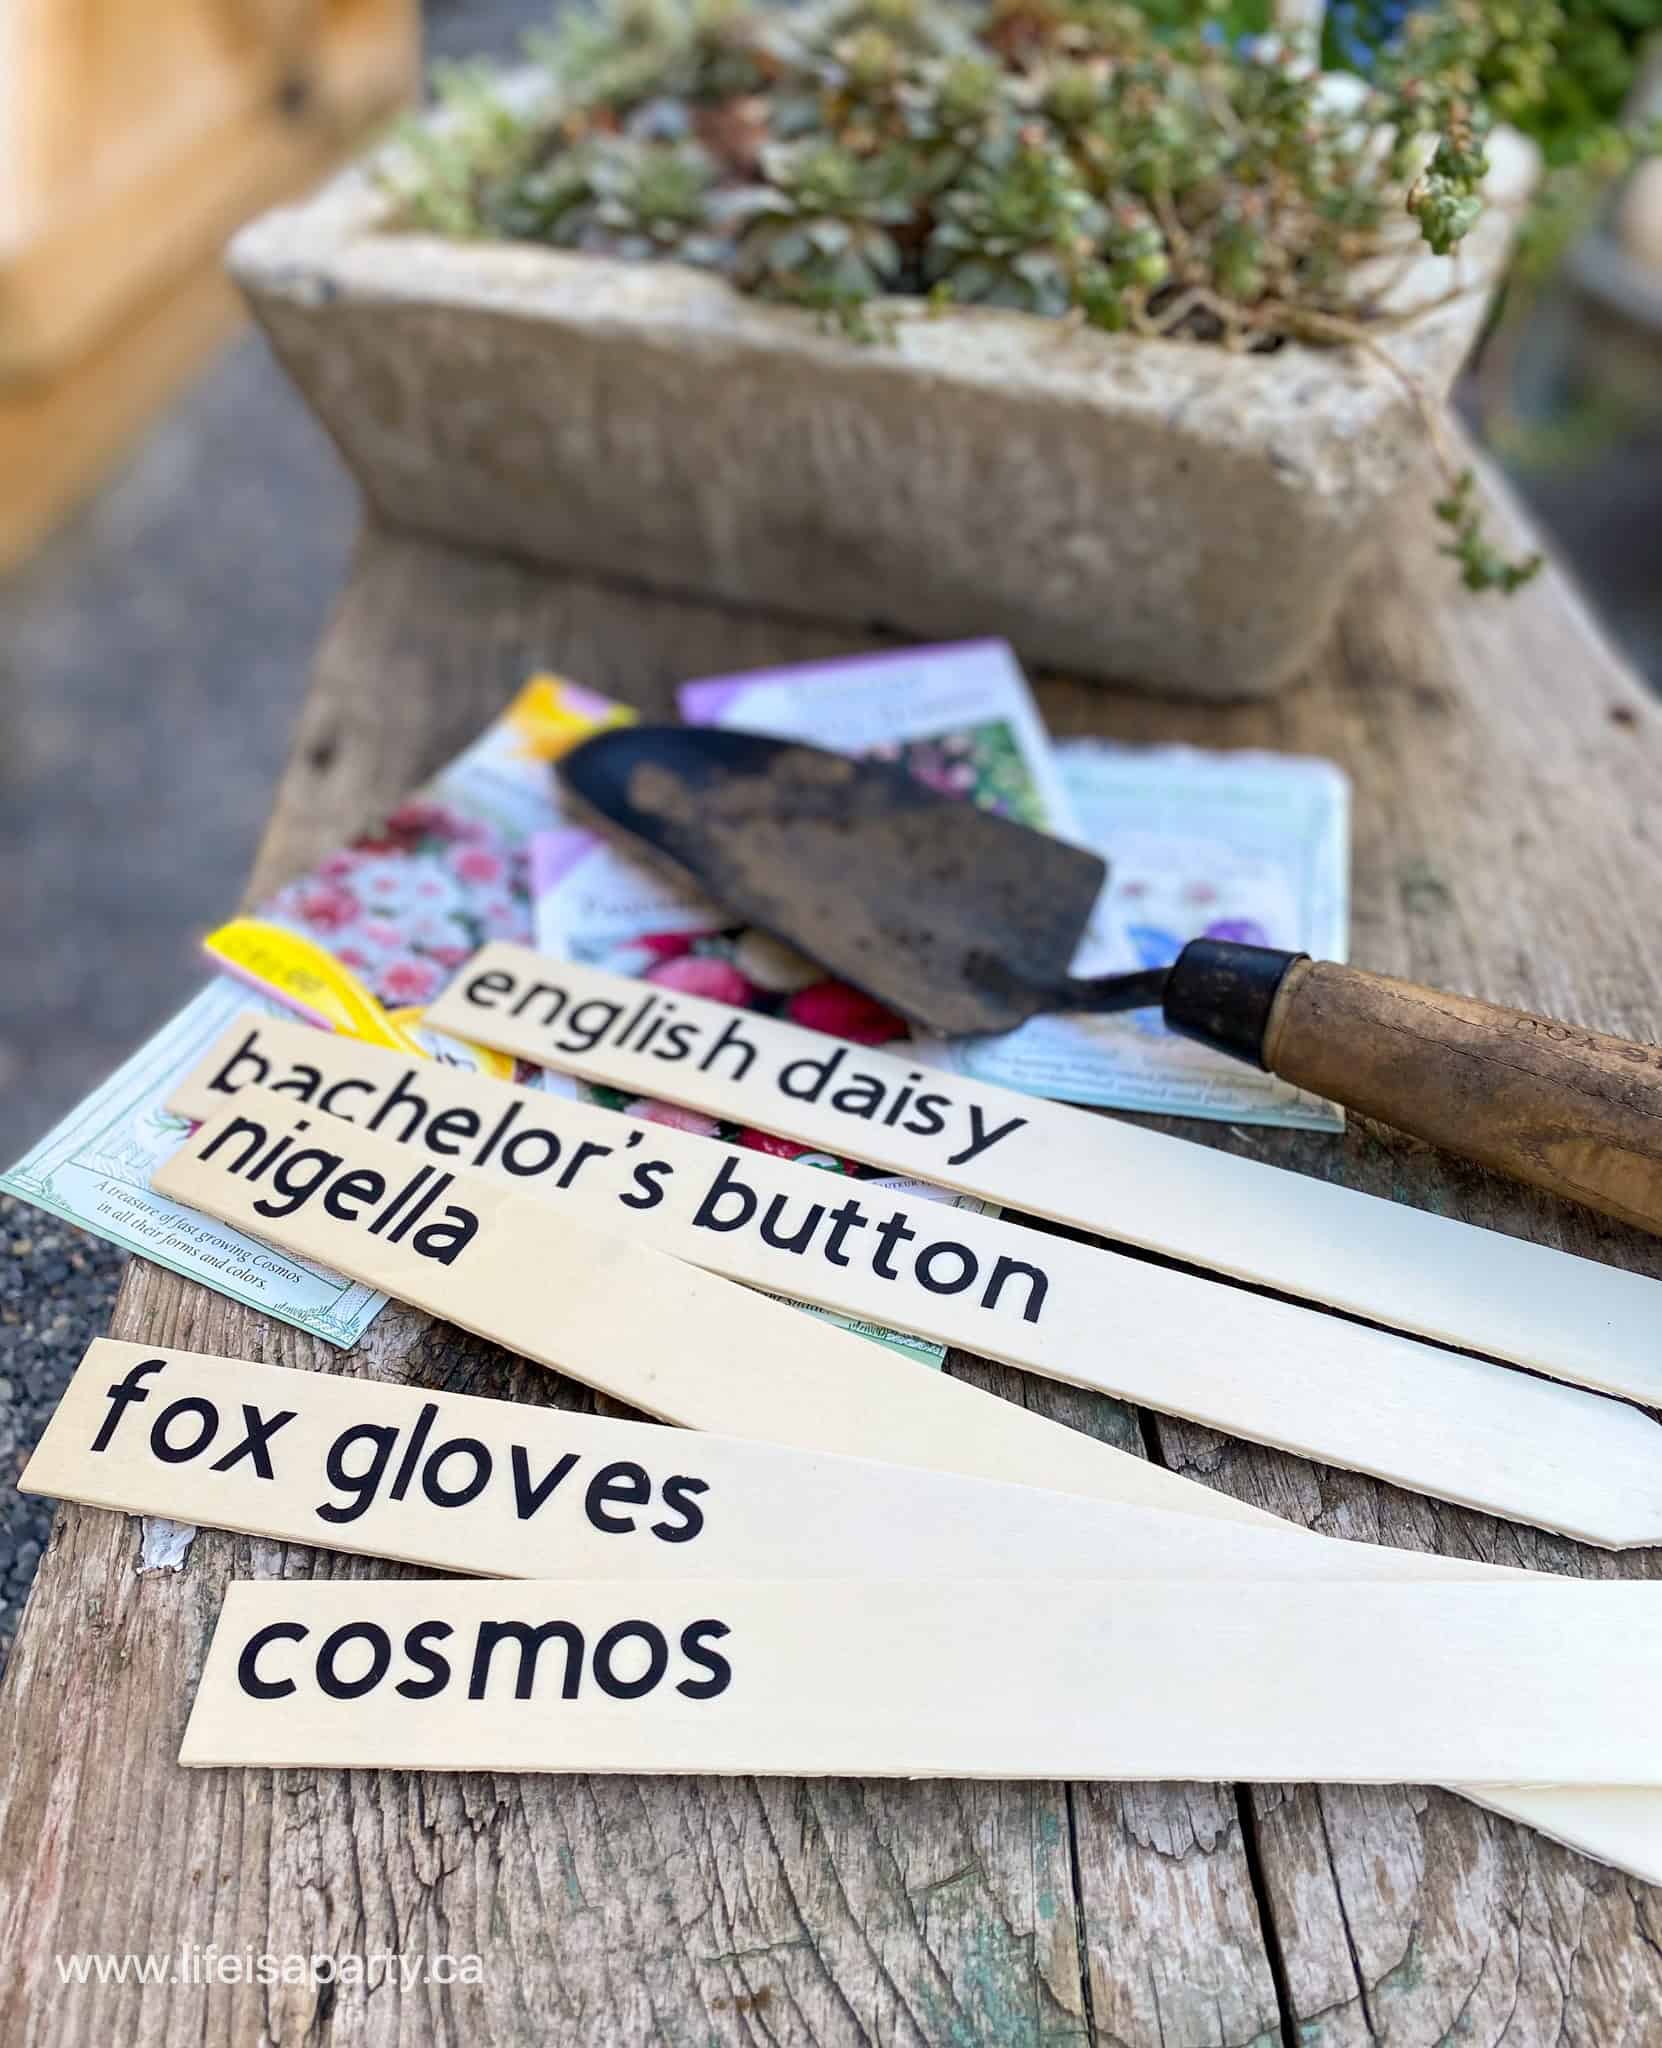
The next project I worked on for our DIY garden ideas on a budget, were these easy garden markers.  They'd be great for veggies, herbs, or flower beds or use them in plant pots.  We used them in our cut flower garden bed section.  The seeds are all in and now we're just waiting for them to pop up.  Here's how we made the DIY garden markers.

DIY garden markers

Materials:

  • wood garden markers
  • Premium Vinyl, permanent, black
  • Cricut Maker
  • label cut file here
  • Cricut Weeder
  • Easy Press
  • Easy Press Mat

How To Make Cricut Garden Markers

Garden Markers

I picked up some blank wood garden markers at the dollar store -making this a really budget friendly project.  I chose to leave my garden markers as unfinished wood, but you could give the a lick of paint with some outdoor paint first if you wanted to.  If you couldn't find any wood garden markers, old paint sticks would work really well for the garden project too.

Labels

I used Cricut Design Space to create the text for the garden markers using the font Cricut sans, font size 50, to fit my markers.  Once you have all the plant names added to your file, you're ready to cut them out -grab my free cut file with the names here and edit it with your own plant names.  Remember with Iron-on Vinyl to place it shiny side down on the cutting mat, and mirror the text before cutting.  

cricut garden markers

Once the labels are all cut out, cut them into individual words, and weed them using the weeding tool.  

Applying The Labels

To iron them onto the wood garden markers, follow the guidelines in the Cricut heat guide.  The times vary based on your material, and also which easy press, and mat you're using.  I preheated the wood for 5 seconds, then pressed the Vinyl for 40 seconds at 300 degrees F.  Once the piece is cool enough to handle, remove the backing.  It's also a great idea to add a sealer to these wood garden markers to help protect the wood from the elements and help them last longer.

budget garden markers
outdoor budget projects

I love how these garden markers turned out, and I think I might buy another pack of them to add even more labels around my garden and in some flower pots.  They're really simple and easy to read from a distance and they look really professional.  I also love that they were very inexpensive to make.

cricut garden markers

Personalized Garden Pots

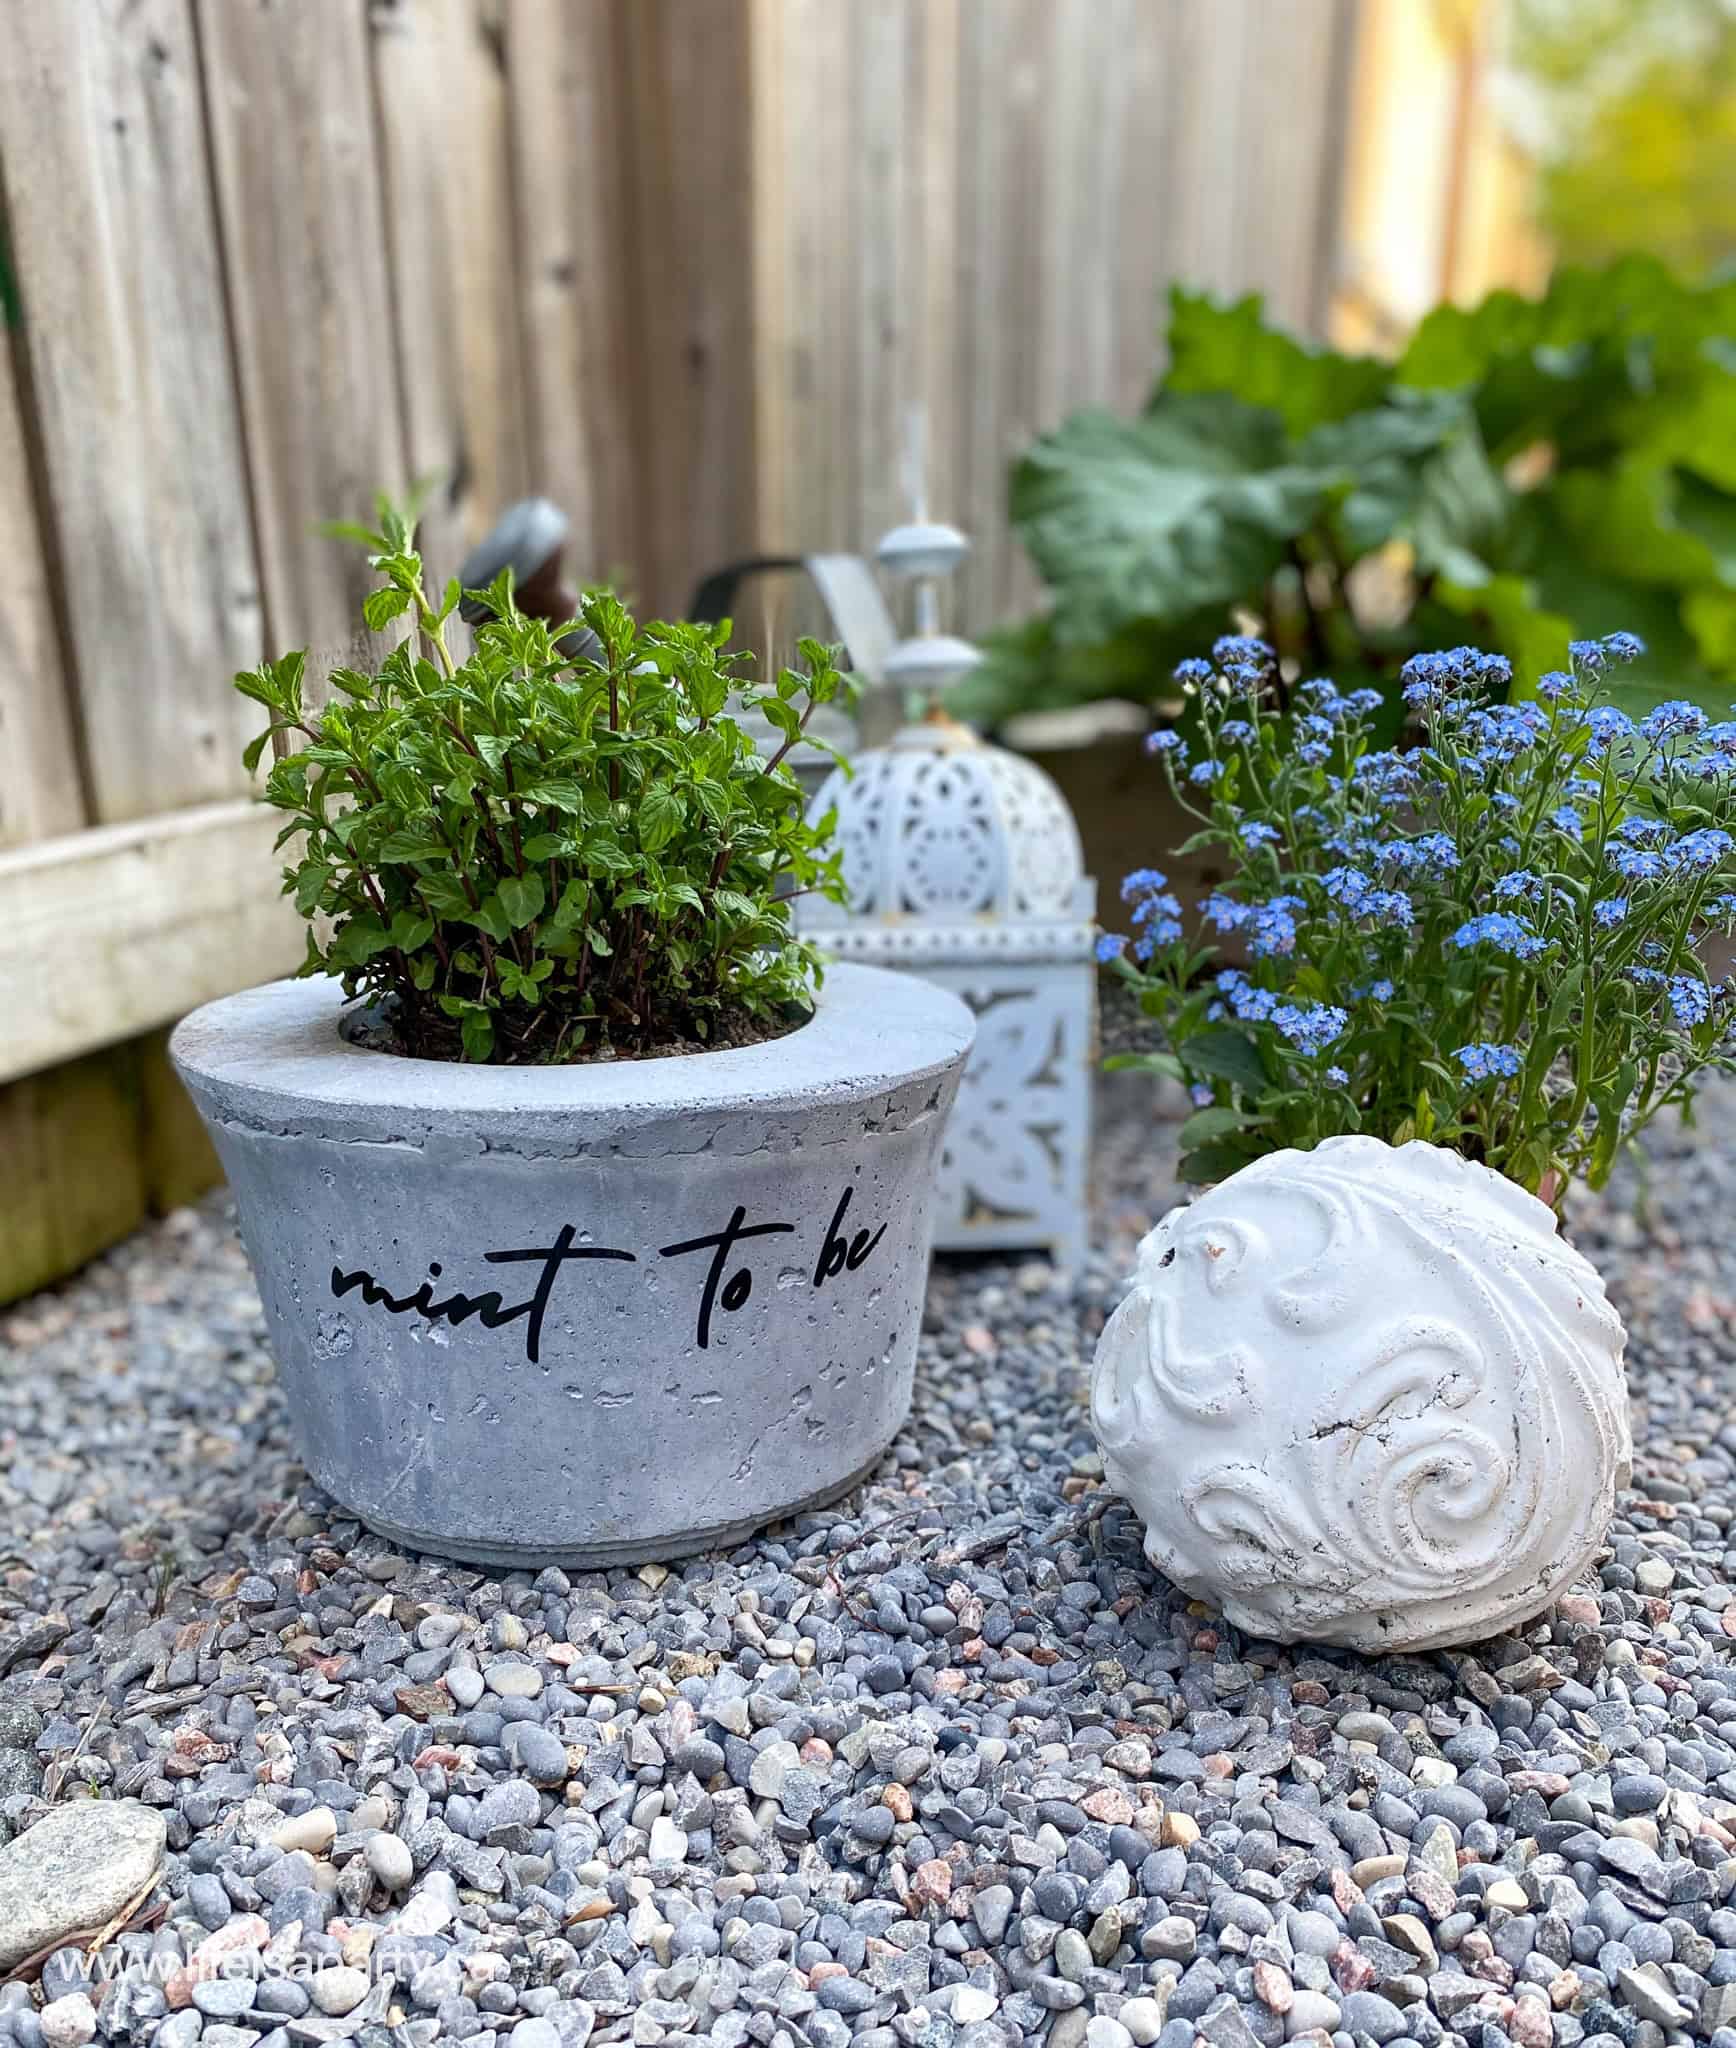
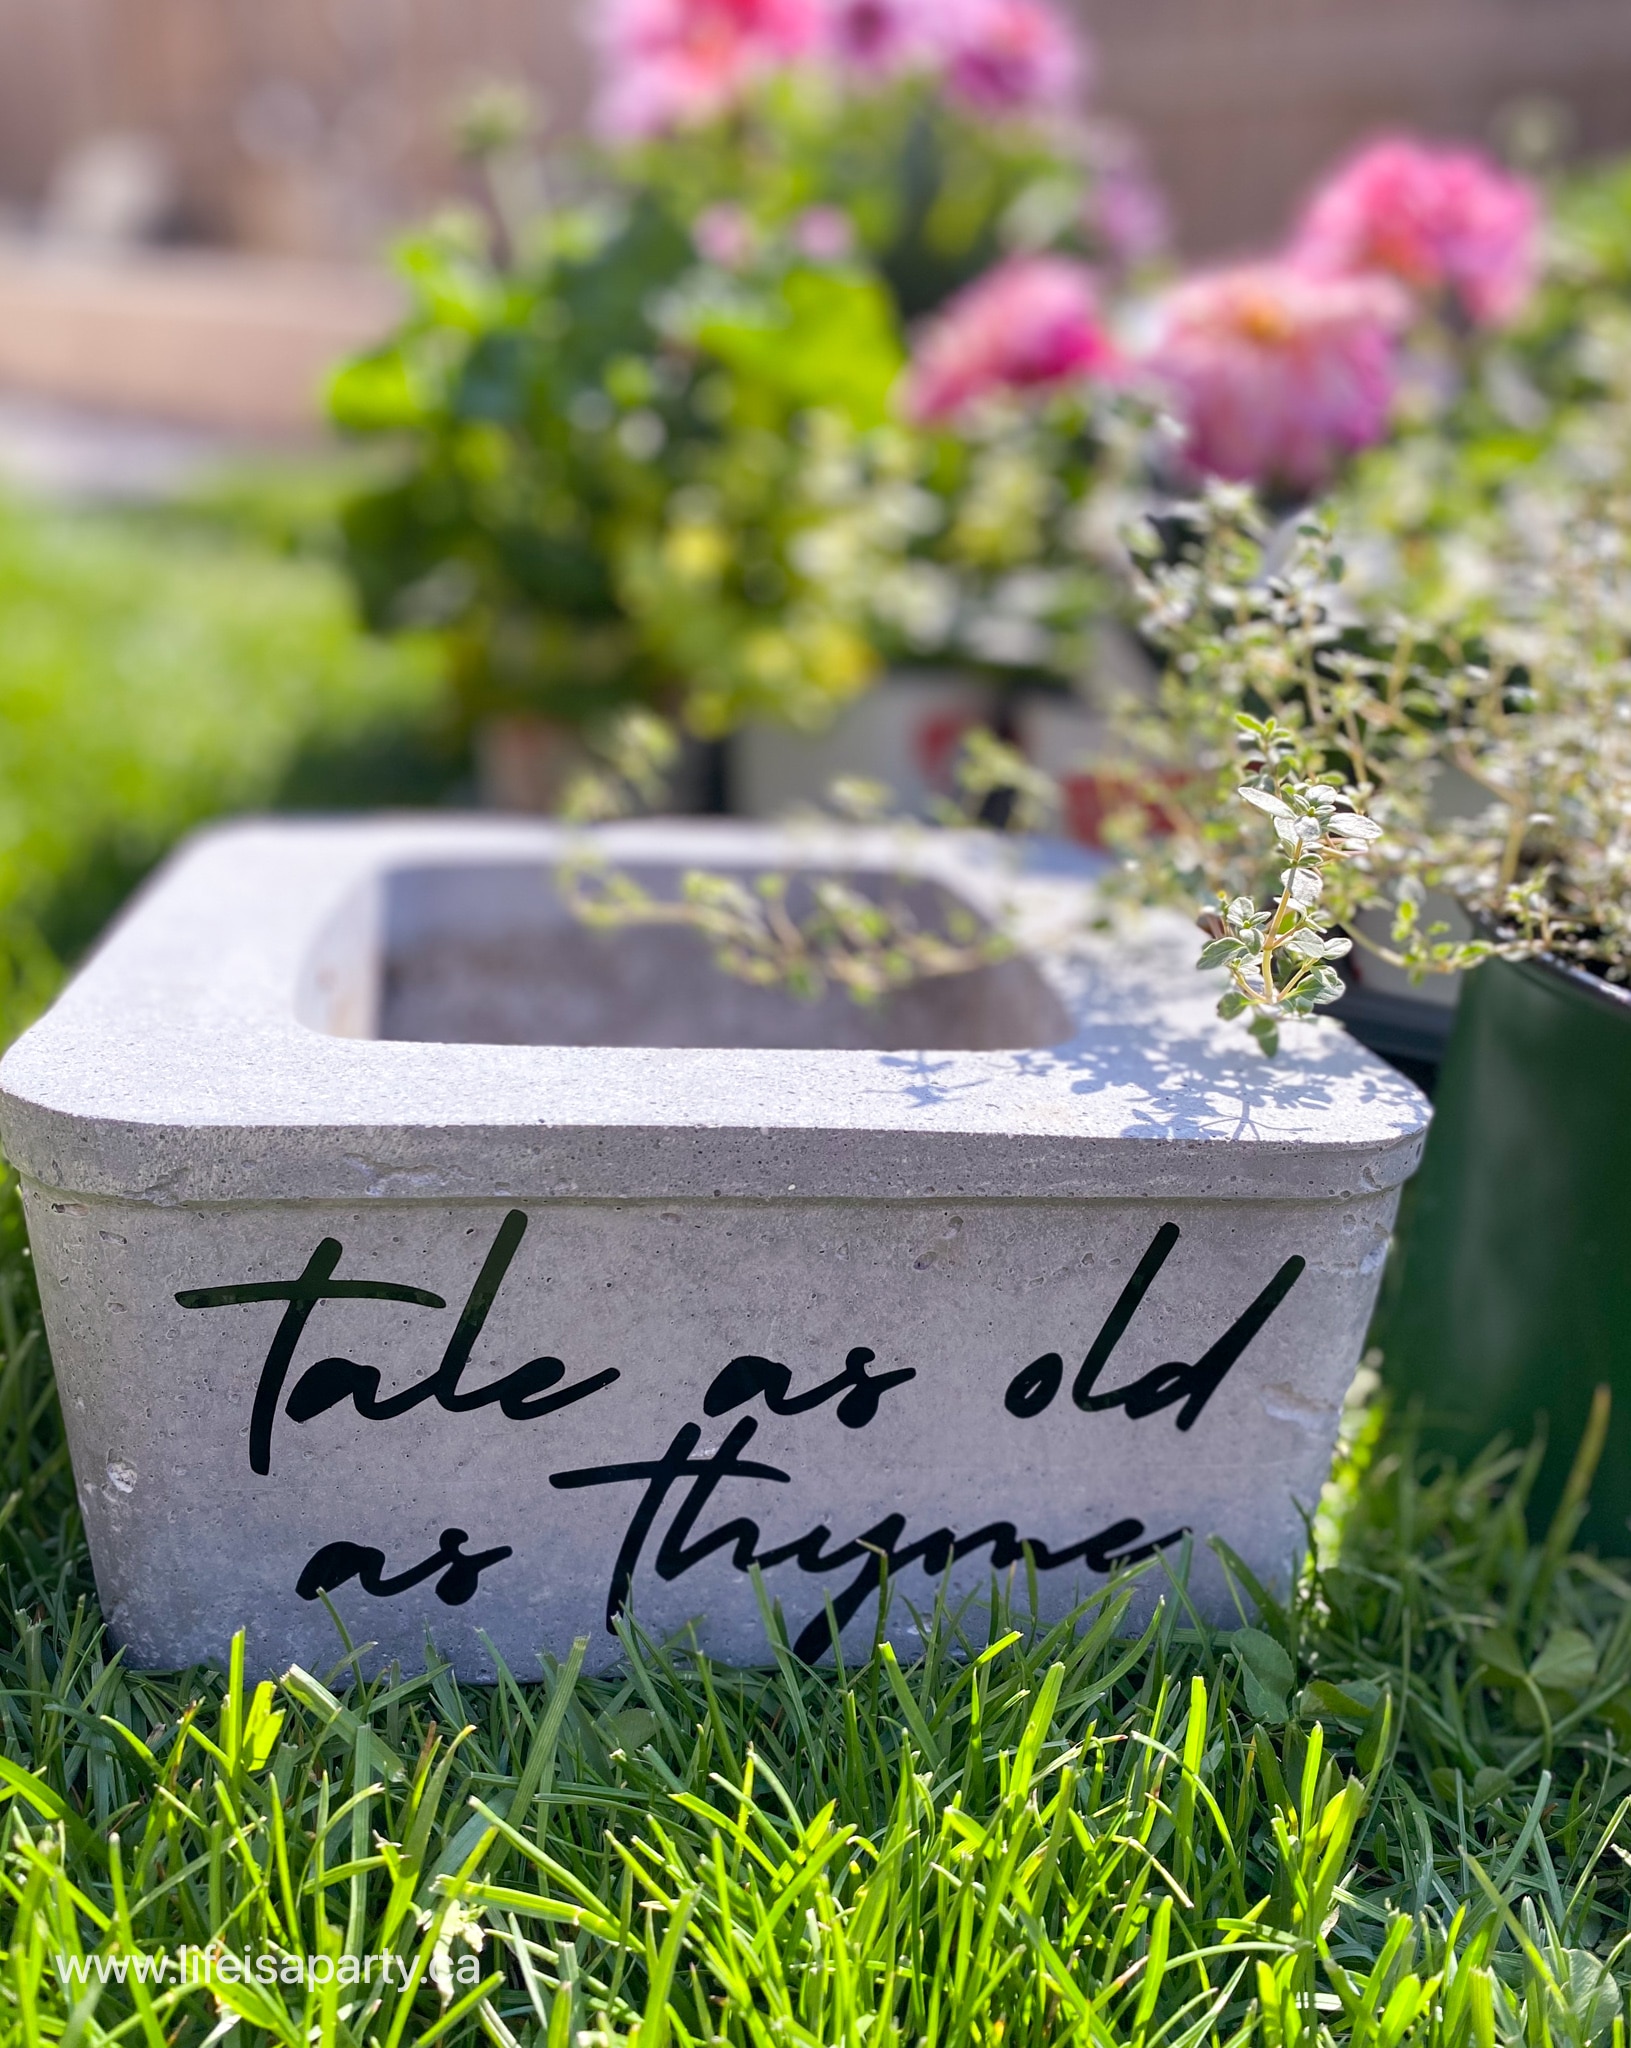
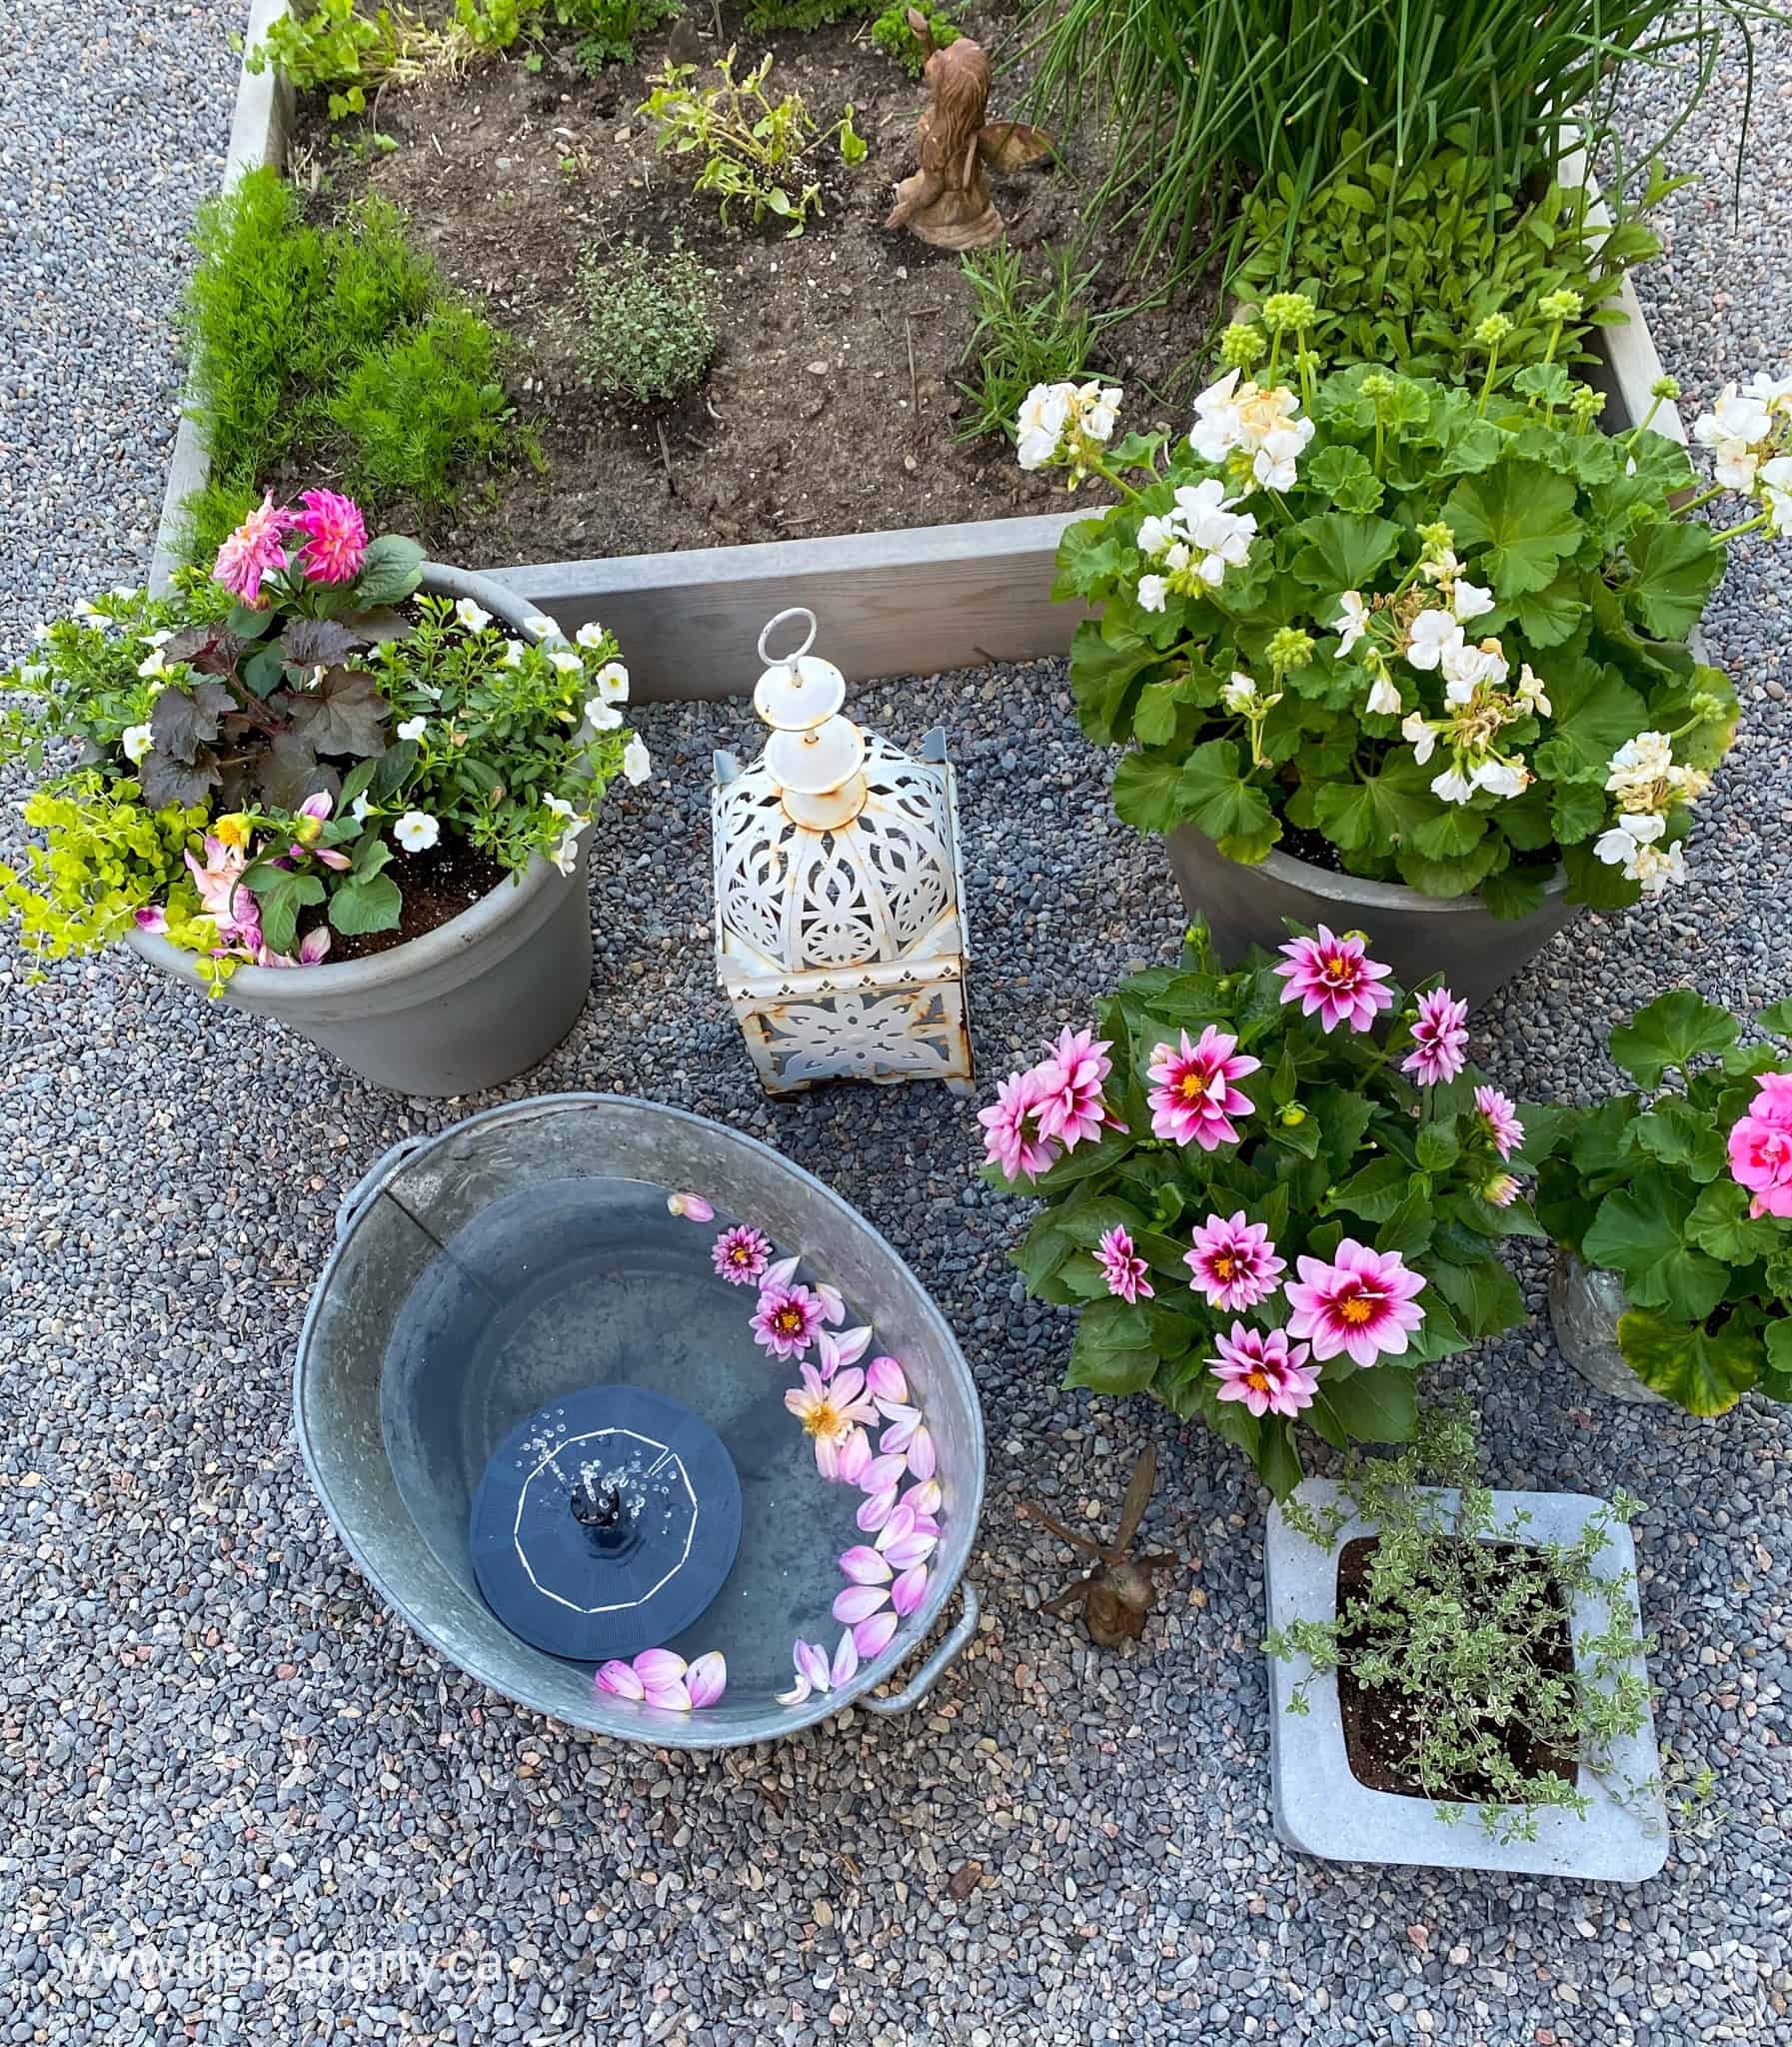
I love adding pots of flowers and herbs to my garden space.  It's so budget friendly to grow your own herbs to use in cooking too.  I thought it would be fun to add a little more whimsy to the herb pots with these fun says.  

cricut garden pots

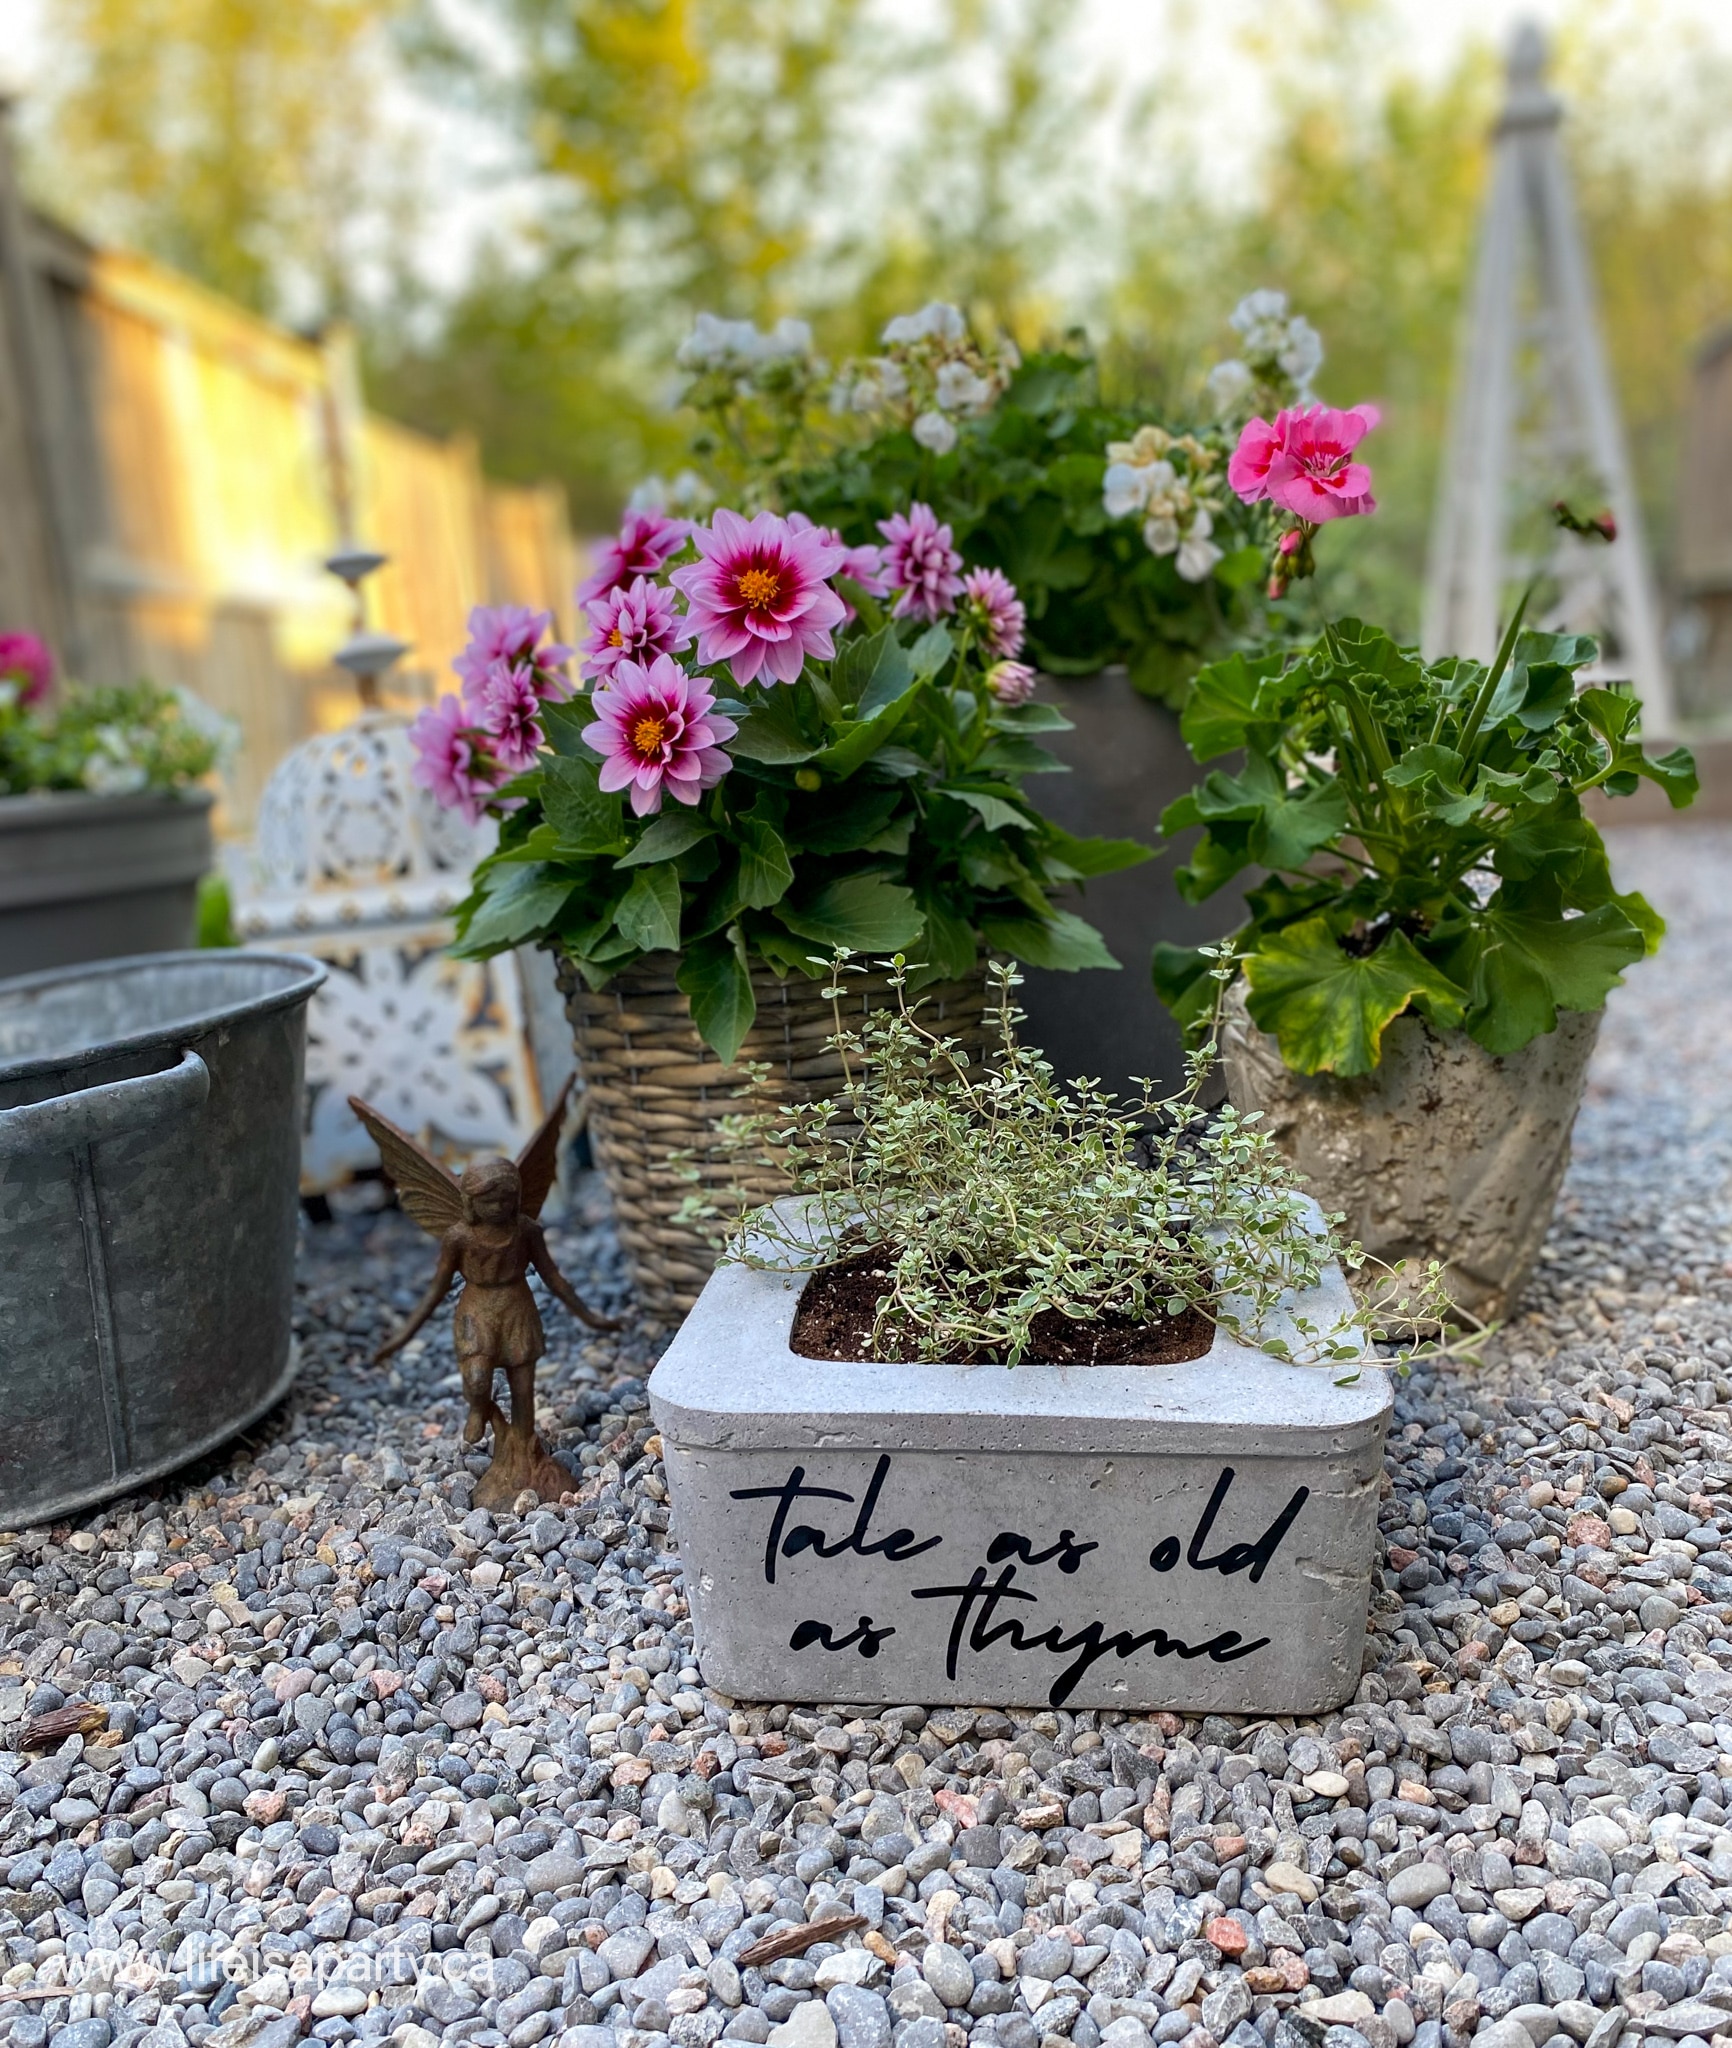
We actually made these simple concrete pots ourselves with some leftover concrete from this DIY Outdoor Concrete Table project.  We had a little left over concrete mixed up, and instead of wasting it we found a few old containers -like a bin some nails came in, an old food container, and used them as moulds for these pots.  You could also use these fun sayings on some terracotta pots in different sizes.  

tale as old as thyme garden pot DIY

Free Herb Pot Cricut Cut File

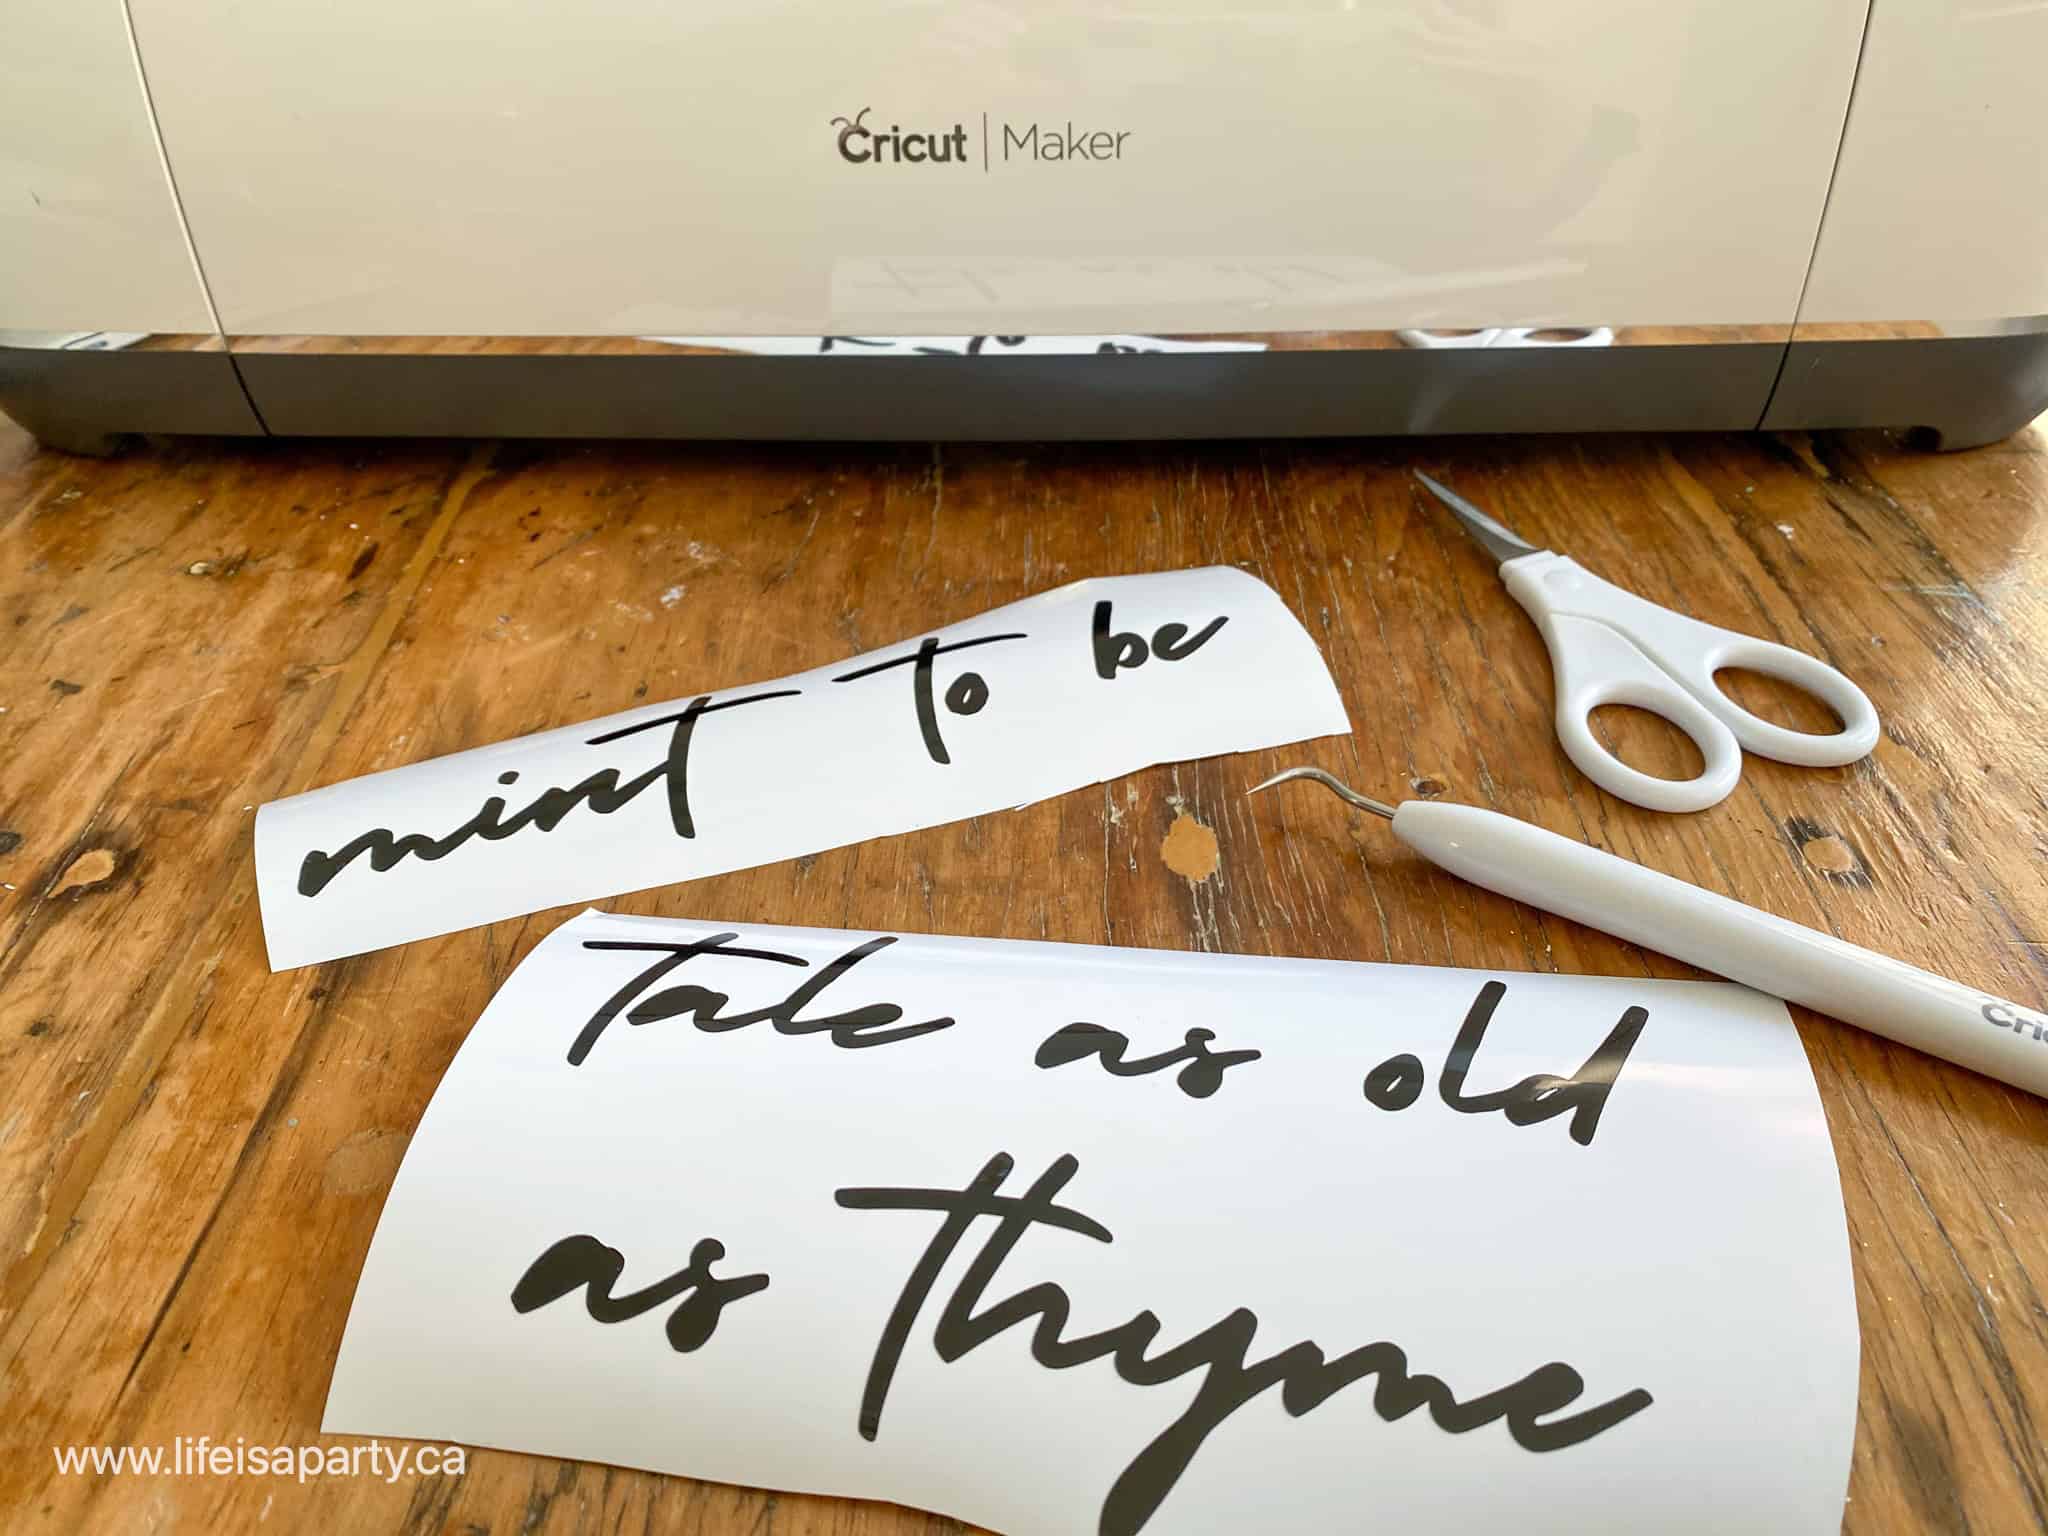
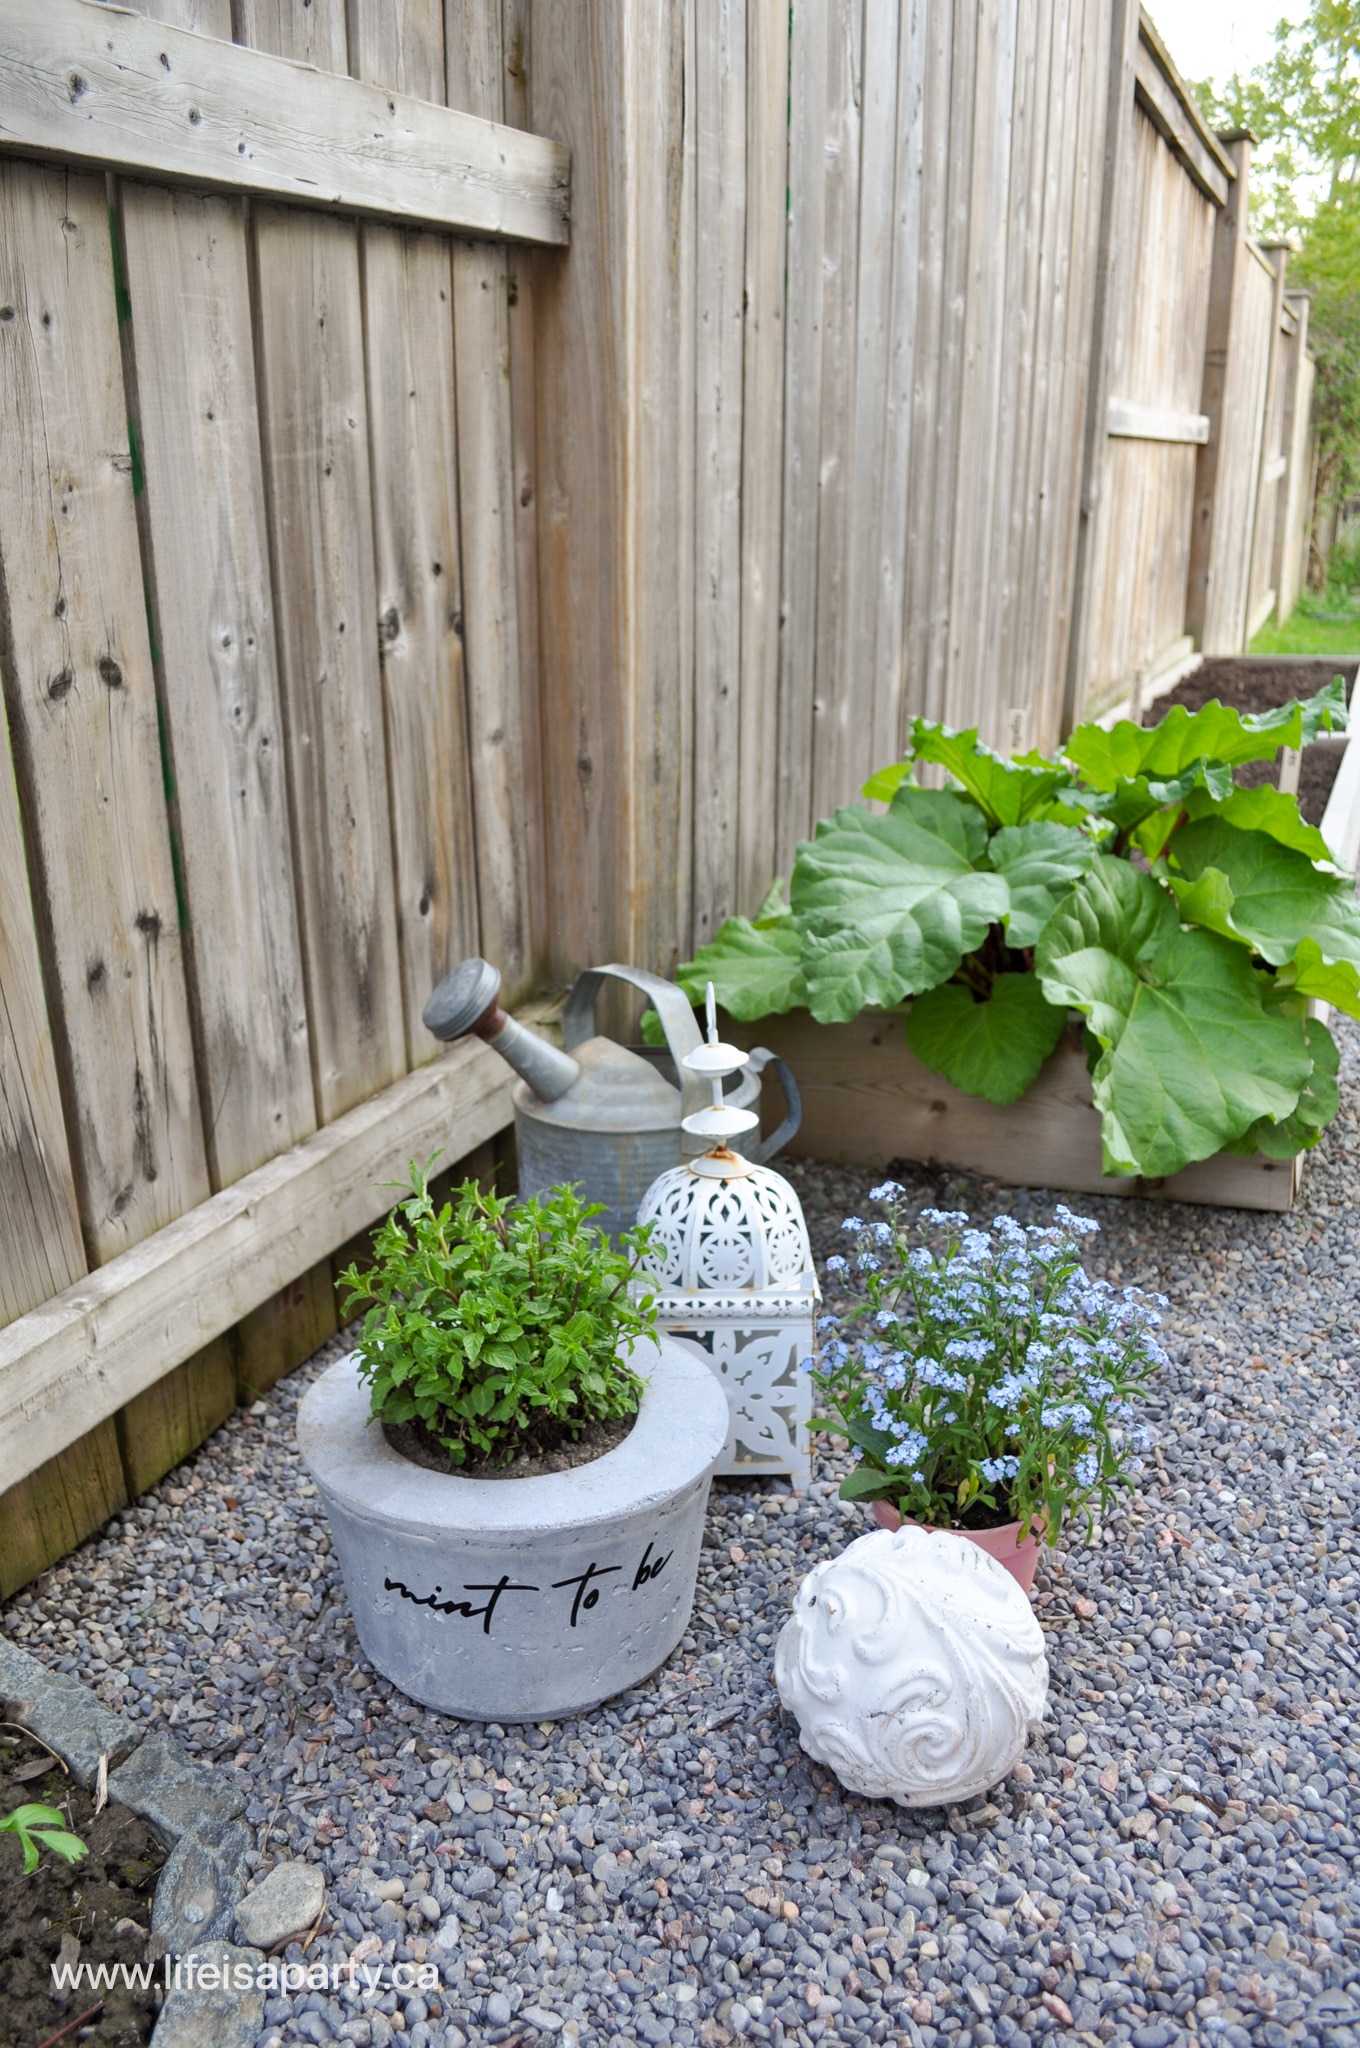
To personalize them I created the "mint to be" and the "tale as old as thyme" labels in Cricut Design space -click here of the free herb pot Cricut cut file. 

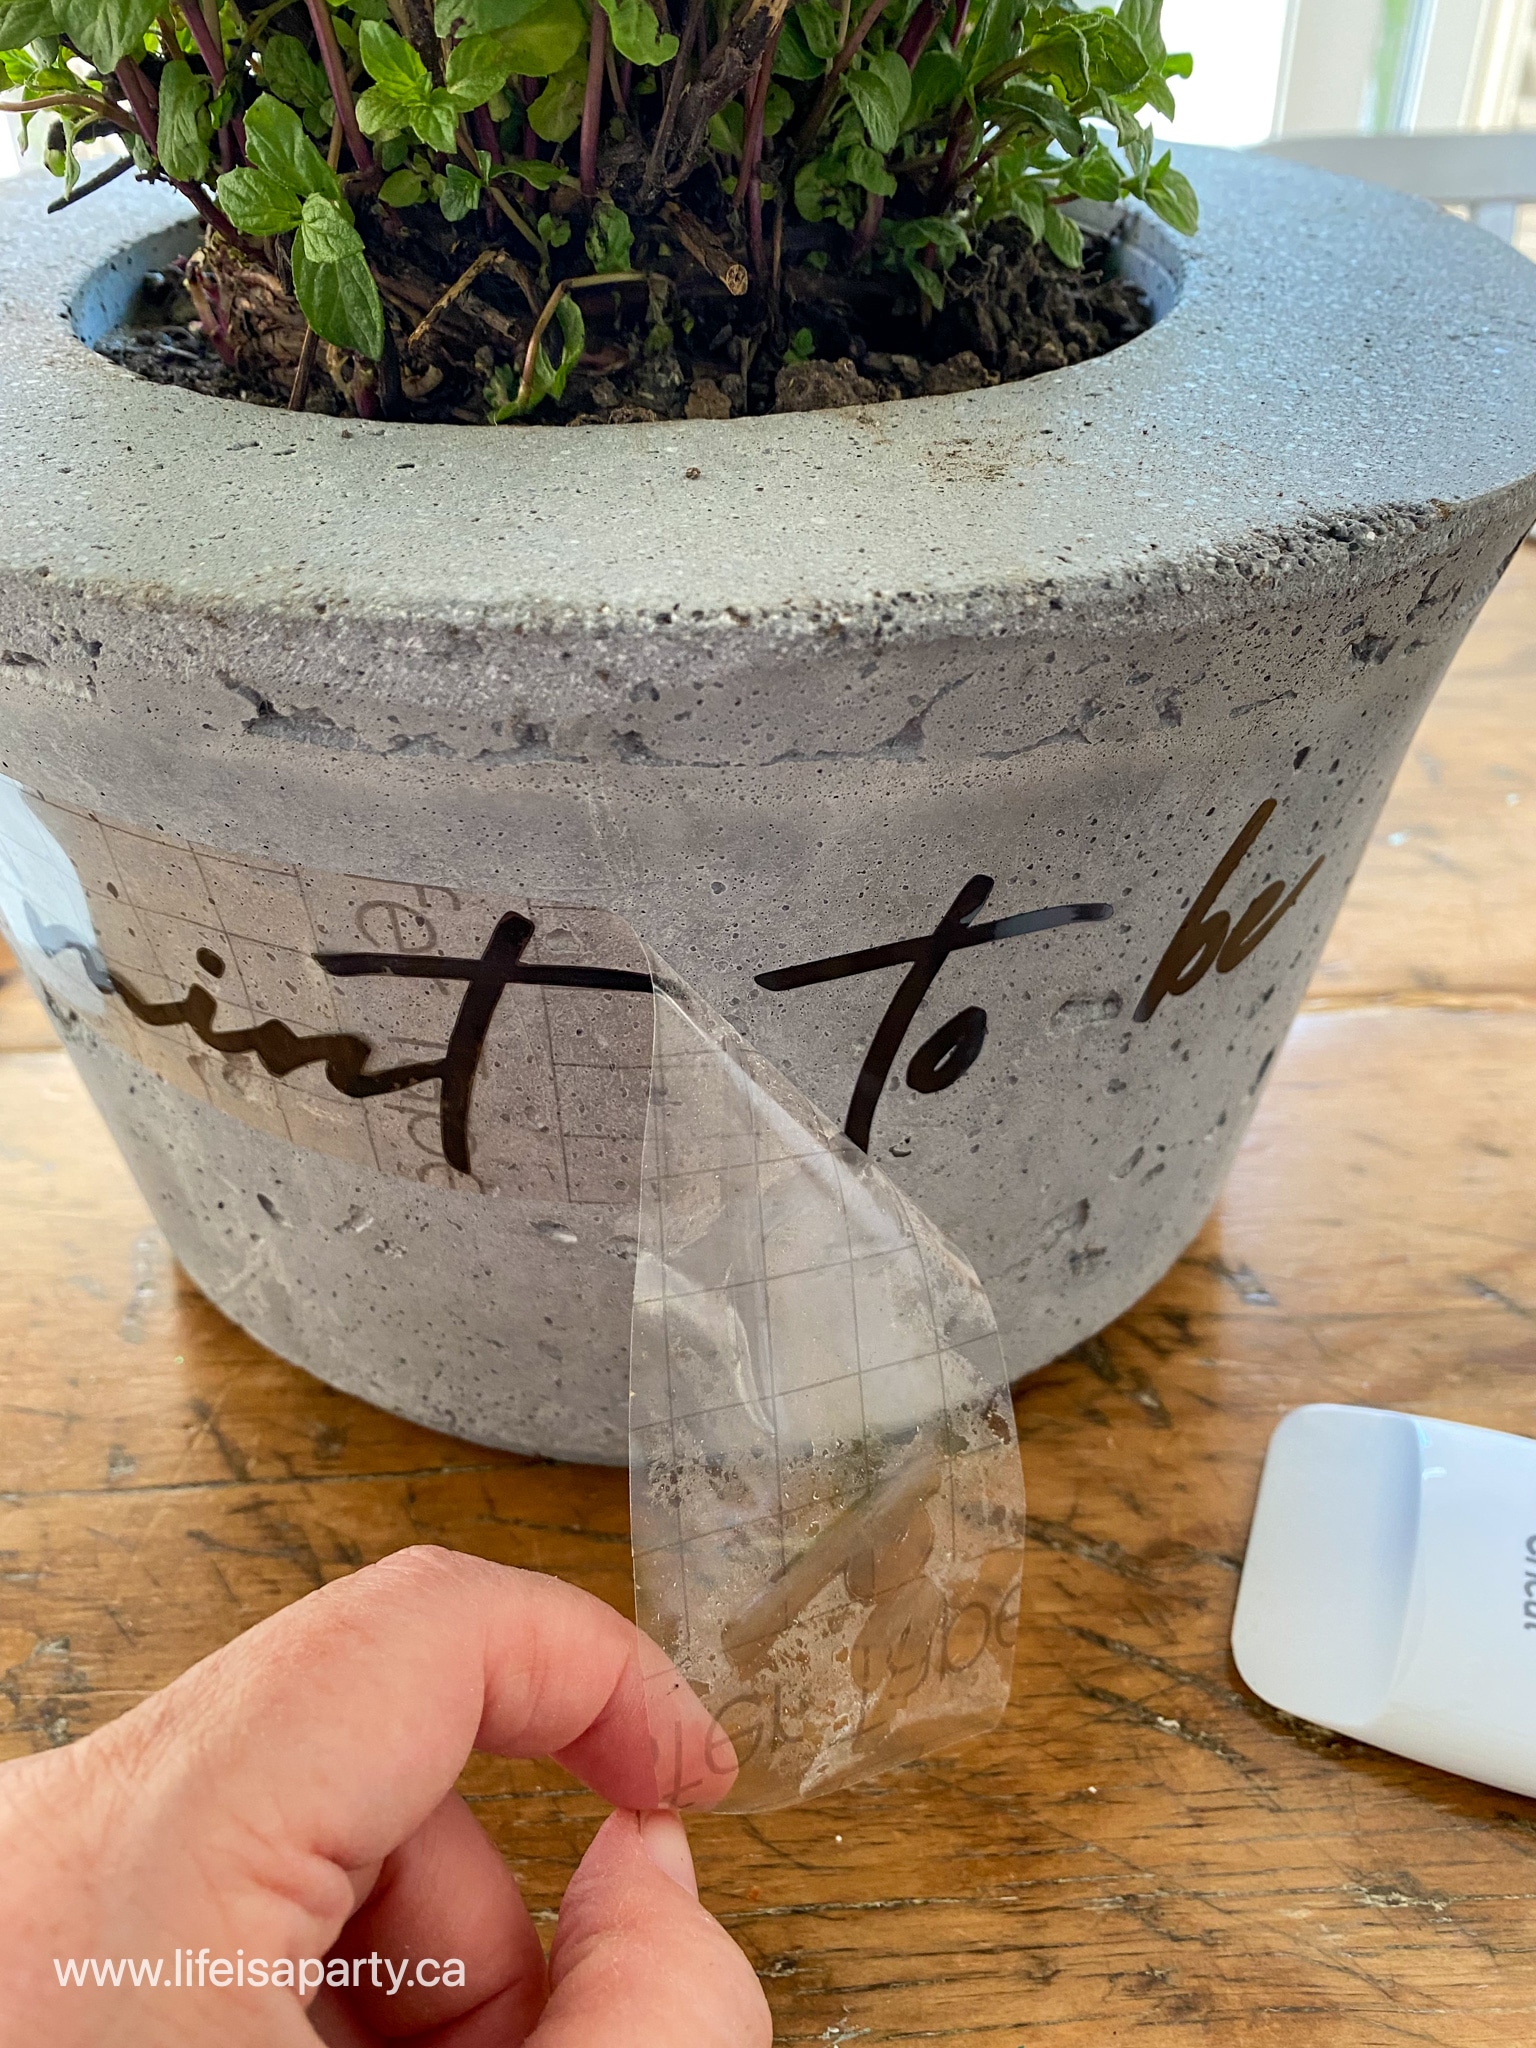
For this project I used Premium Vinyl, since it would be too difficult to use the easy press for a curved surface..

DIY whimsical garden pots

After cutting out the sayings and weeding them using the cricut tools, use transfer tape to apply the Vinyl to the garden pot.

plant pot makeover

Choosing Your Pots

These will apply well to any smooth surface.  They look great on the concrete, but would also work well on terra cotta, or painted terra cotta pots.  This is a really easy way to reuse old items and give them a little new life.

cricut plant pot ideas

These little pots are a great way to add a fun bit of whimsy to a small garden.

outdoor spaces on a budget
add personality to your outdoor space

Last year I had some issues with my mint in my main herb bed.  It's a pretty aggressive little plant and wanted to take over.  I knew this, and had purposely planted it in the garden still inside its plastic pot to try and contain it.  But it grew out the bottom drainage holes and managed to spread into my vegetable garden. This time we're not taking any chances.  Hopefully growing it in a concrete pot with no drainage holes is the perfect way to keep it contained.

garden DIY on a budget

These three creative ideas on a budget, were really fun to make, and an inexpensive way to add some personality to the garden.  I love how I can use my Cricut Maker to add personalization and character to my garden decor ideas in a wonderful way but on a budget.  I hope they've inspired you to get creative with your own garden décor and they some of these budget garden ideas in your space.

With these easy DIY garden projects on a budget, life really is a party!

This post is sponsored by Cricut.  As always, all opinions are my own.  Thanks for supporting the brands that make Life is a Party possible.

More Garden Inspiration

You might also like our How To Make A Portager Garden post here.

How To Make A Potager Garden: create a beautiful French kitchen garden with flowers, herbs, and vegetables in raised beds, and garden she shed.

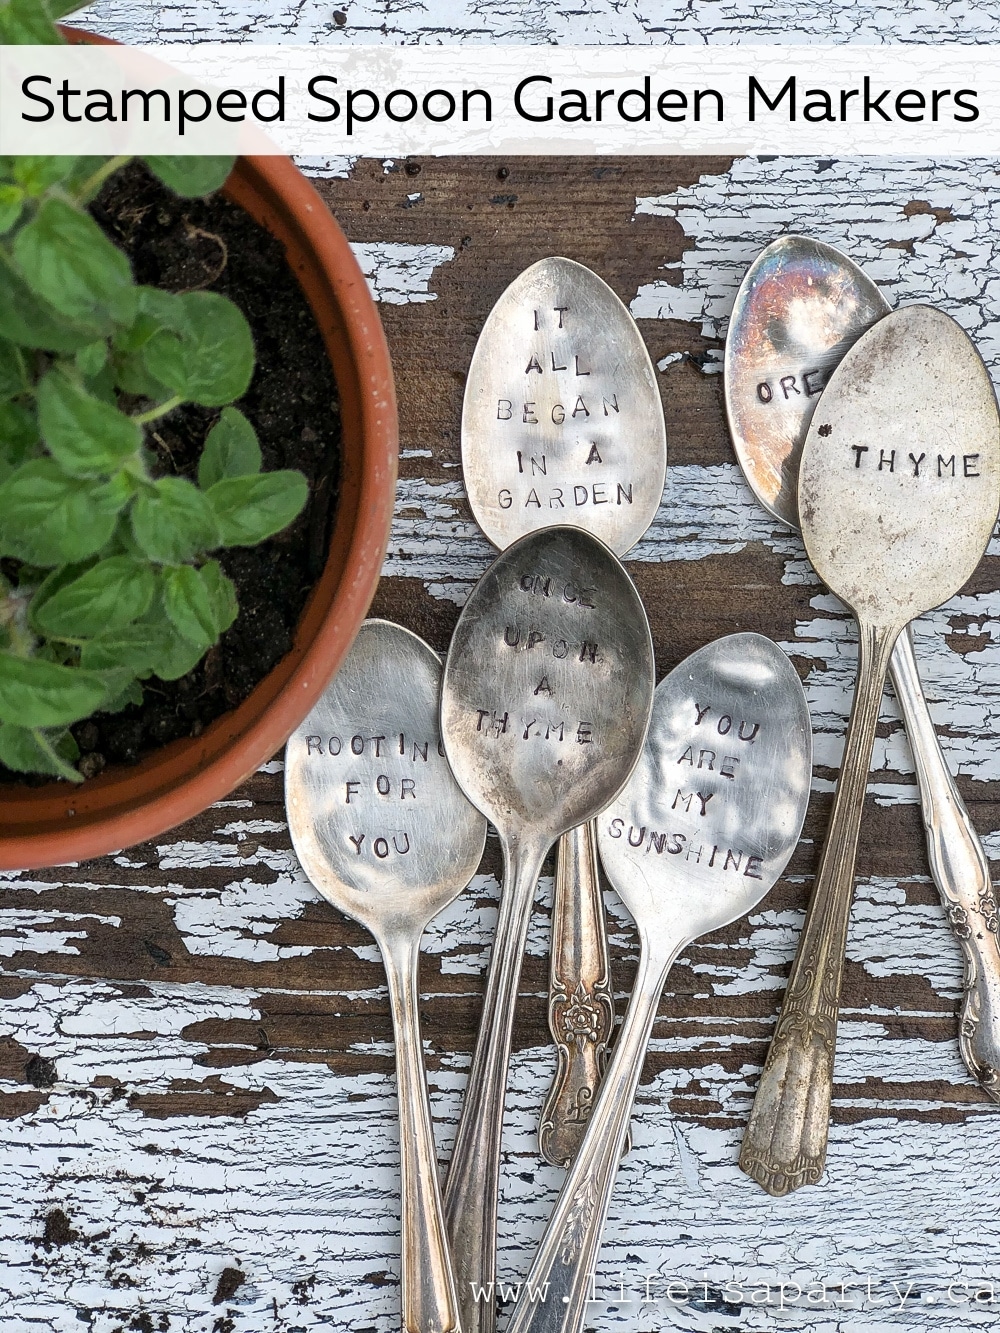
Also check out our DIY Stamped Spoon Garden Markers here.

You might also like our Cement Garden Markers here. Also check out our Teacup Fairy Garden here. You might also enjoy our Black and White Garden here.

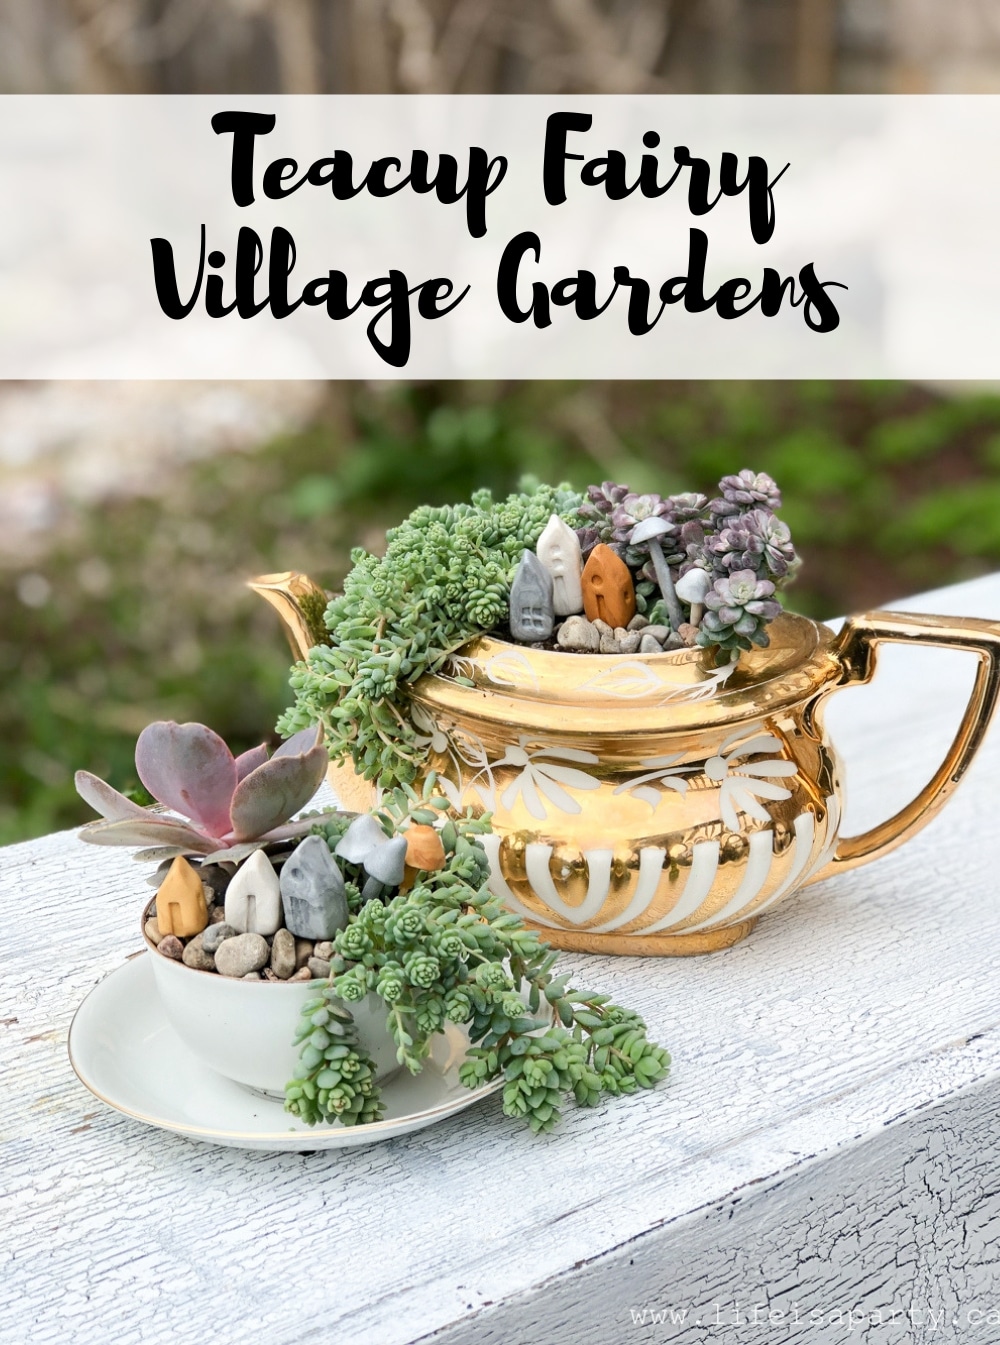
You might also enjoy Teacup Fairy Village Gardens here.

Teacup Fairy Village Gardens -use teacups and teapots to create these whimsical miniature fairy gardens with polymer clay houses and mushrooms.

Free Movie Night Printables

May 19, 2021 · 3 Comments

Free movie night printables including a free ticket, popcorn banner, food labels, and signs.

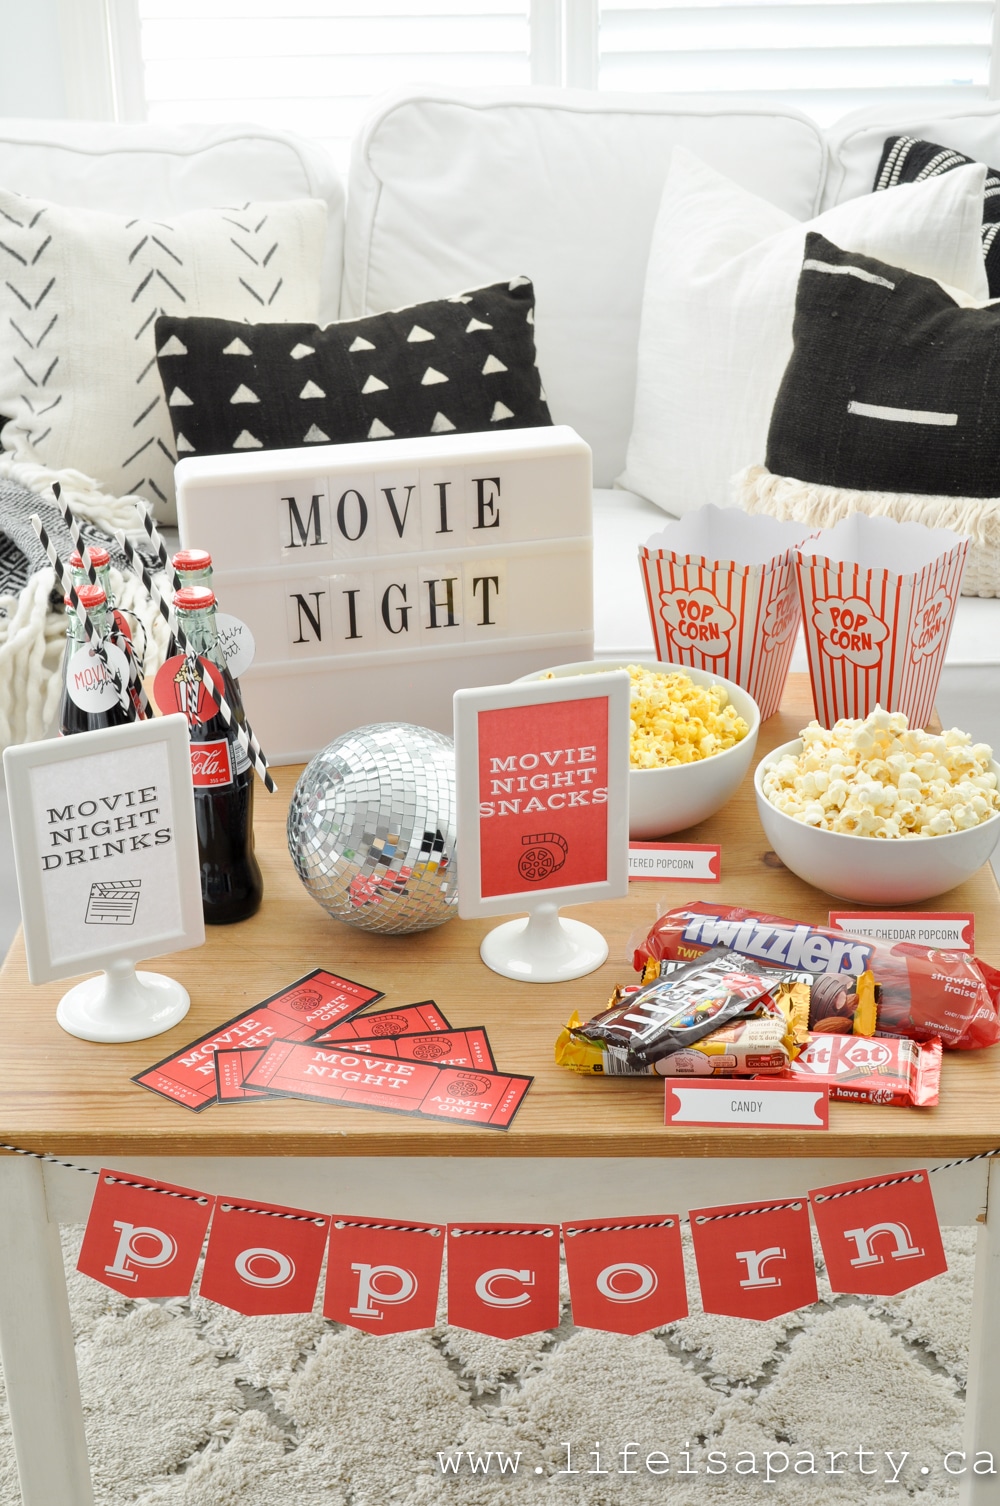
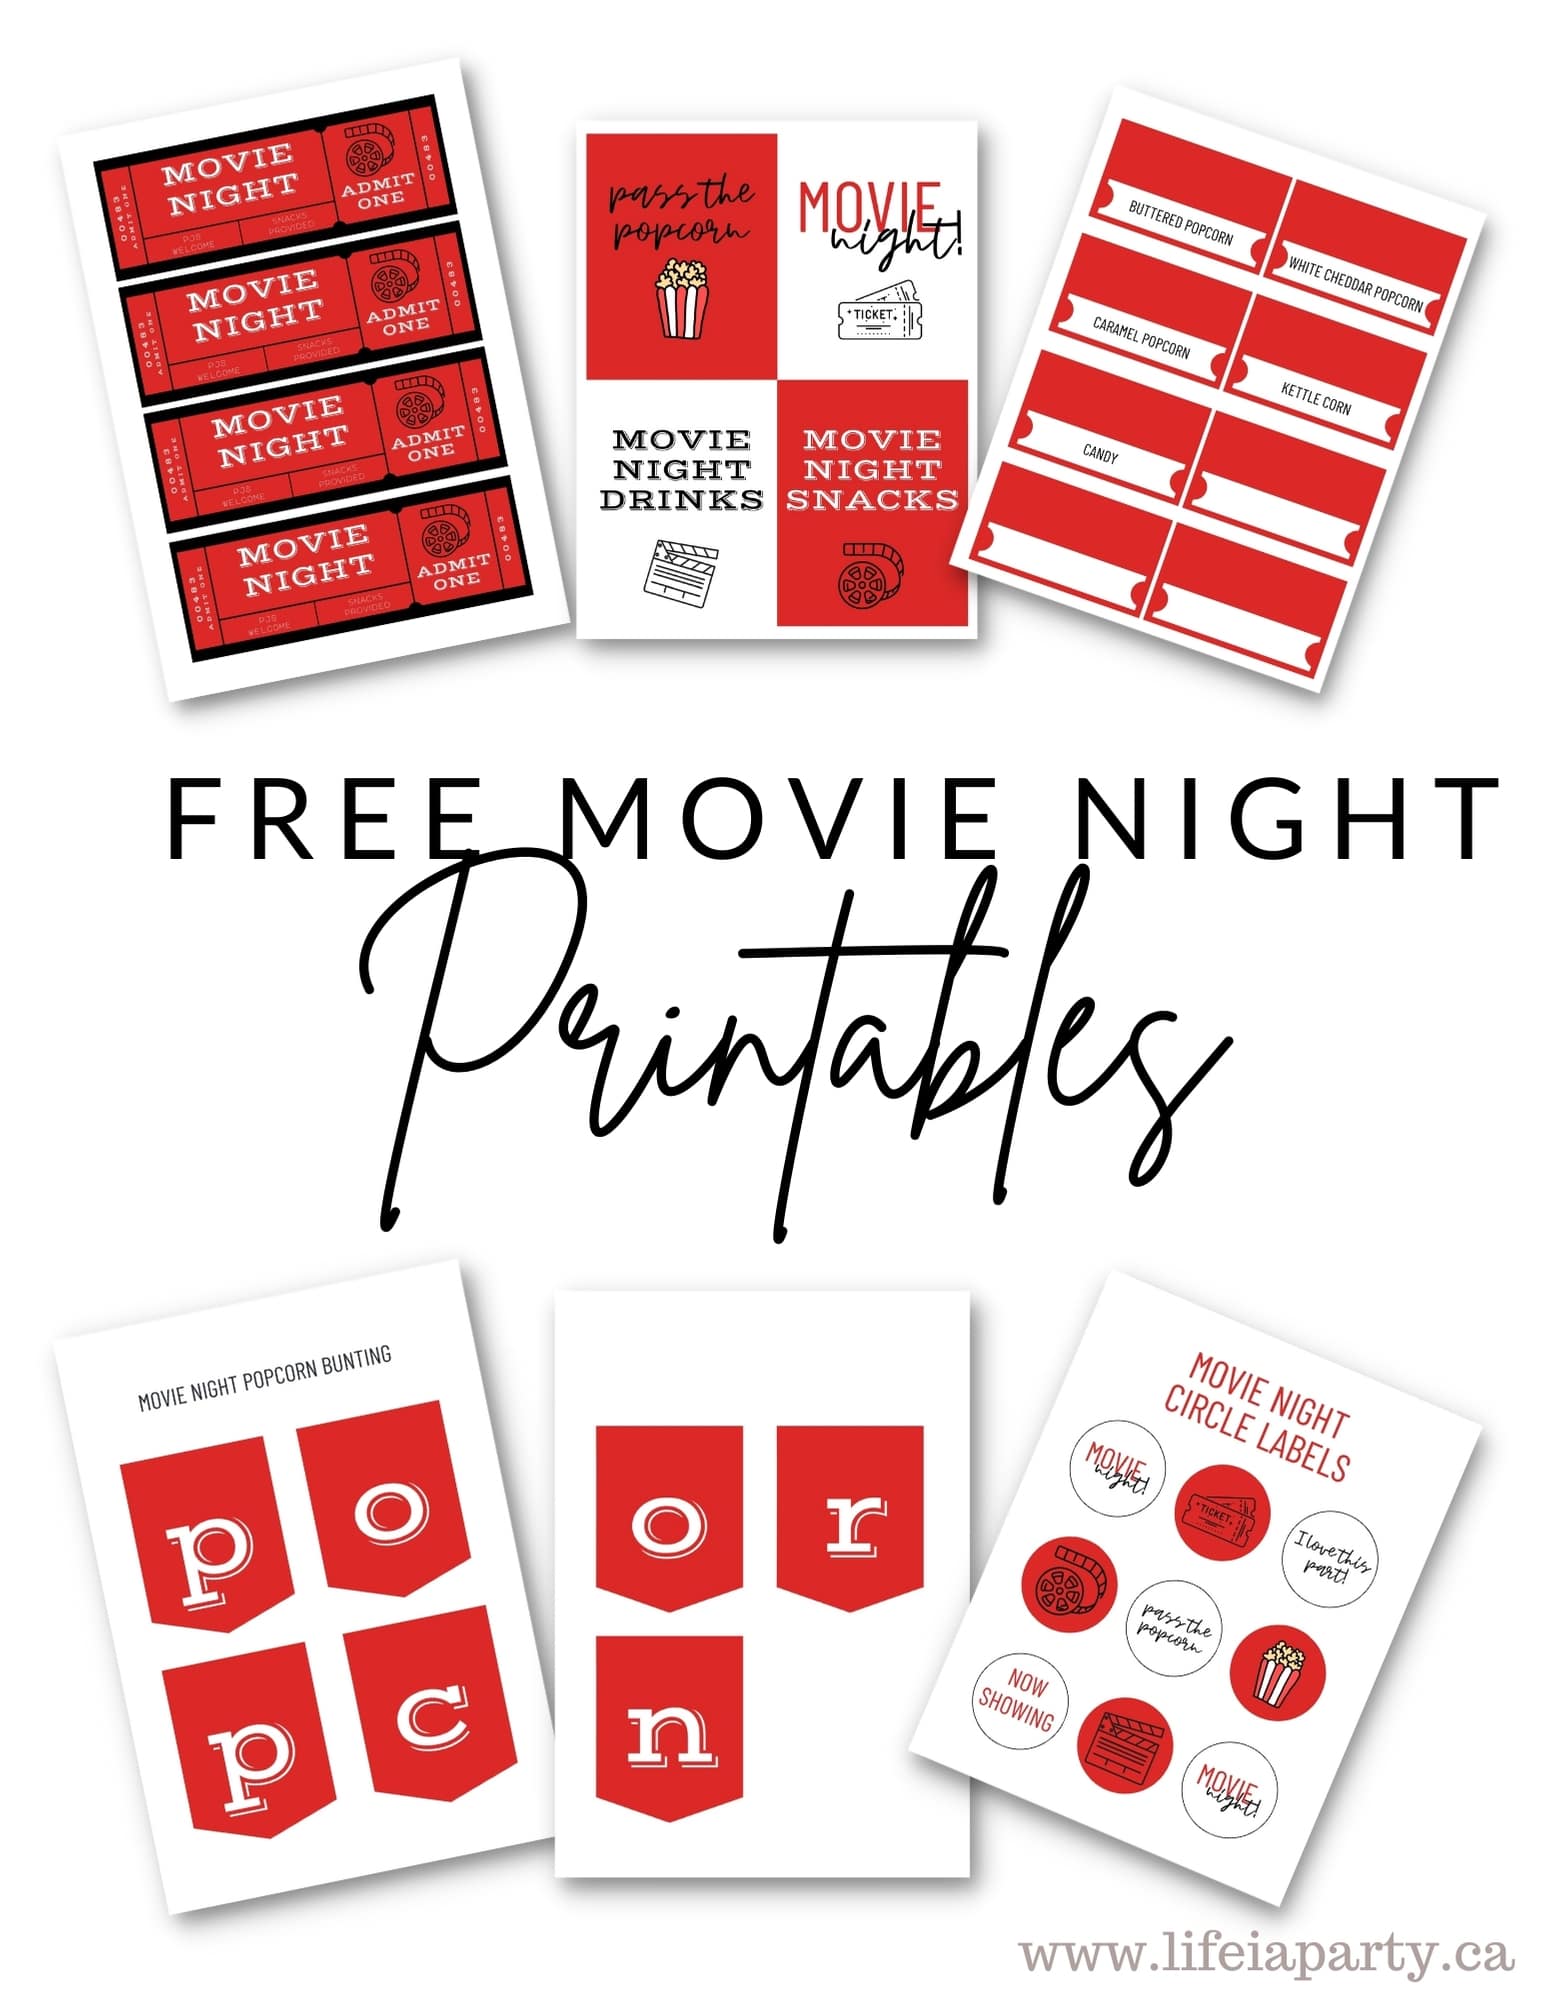
Free Movie Night Printables: free movie night ticket, popcorn banner, movie night snack and drinks signs, food labels, and cupcake pics.

Free movie night printables including a free ticket, popcorn banner, food labels, and signs.
[feast_advanced_jump_to]

There's nothing more fun than a movie night! Whether it's celebrating family time with a family movie night for the whole gang, a special date night, or a party you'll love our free movie night printables. We've thought of all the details to make your at home movie night extra special with a free printables including a movie ticket, and lots of fun labels and decorations.

Love movie nights as much as we do? You might also like our Halloween movie night ideas and free printables, Valentine's Day free movie night printables, and Christmas movie night free printables.

how to plan a movie night

Free Movie Night Ticket

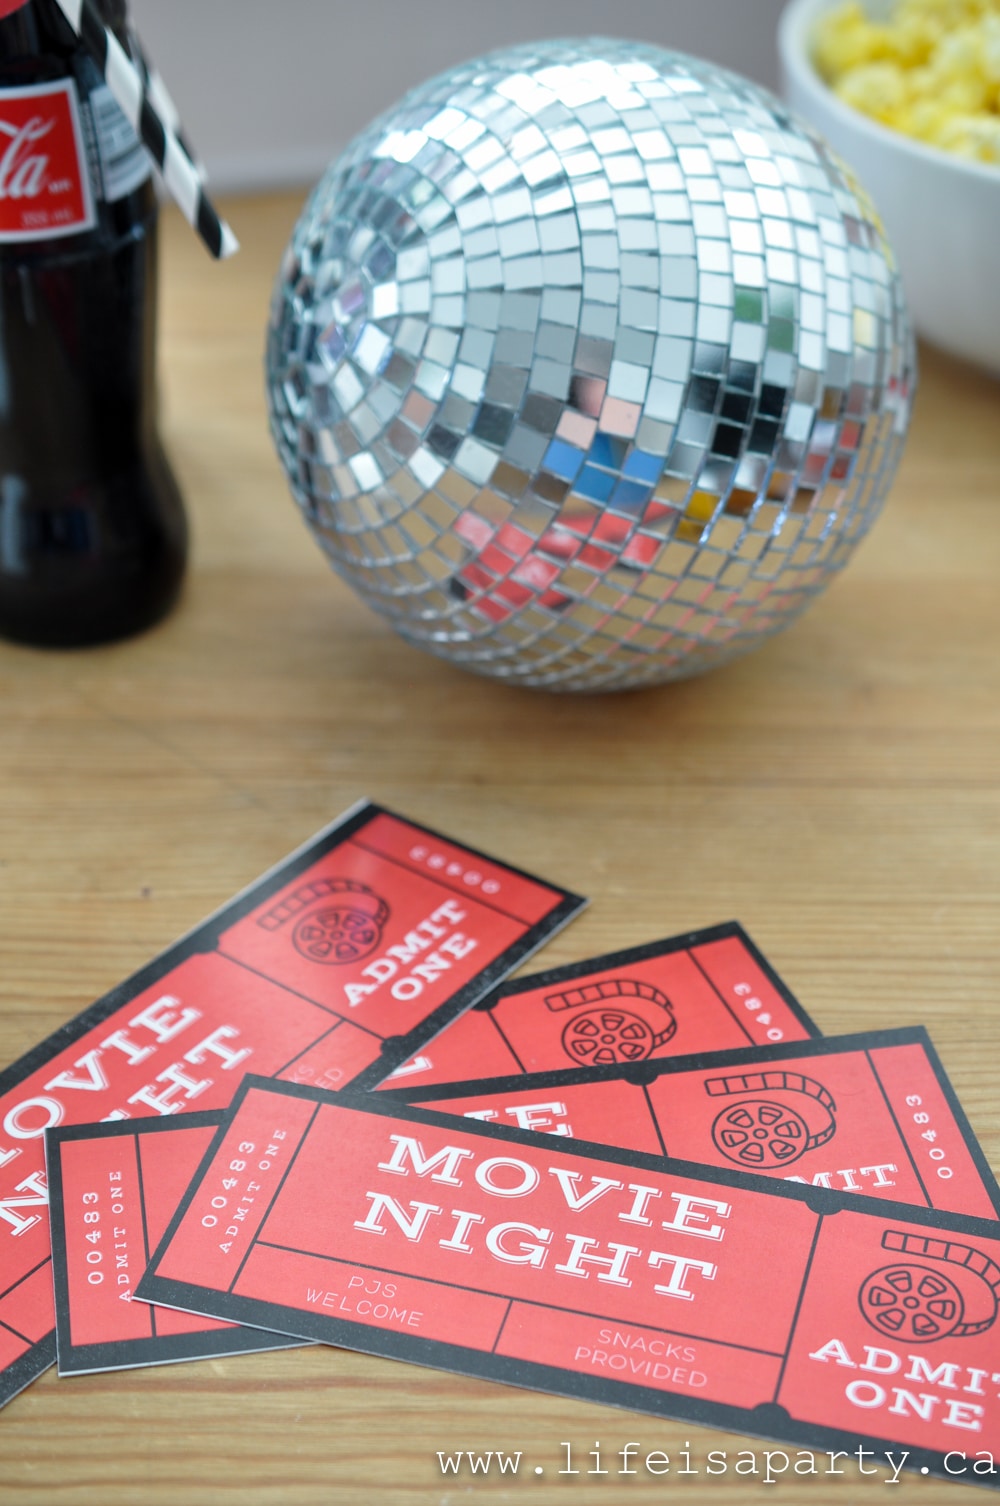
Build anticipation for the fun night be delivering your guests our fun free printable movie tickets for movie night as a free invitation. Print these from your home computer onto card stock, or print them at your favourite print shop. Then cut the out, ready to deliver. 

If it's family movie night, how about slipping one under your kids bedroom doors, or presenting them at breakfast to family members to help build anticipation with the family movie night tickets. If it's for date night, leave one on your partners pillow, or slip it in their work bag to discover before friday night. And for a party, how much fun would it be to deliver to guests at their homes, or slip into their mailbox?

free printable movie ticket

Another great idea is to use the back of the movie ticket to add a personal message, and perhaps the time or the name of the film, whether it's a new release movie or one of your old favorite movies. These would also be great as a invite to a movie marathon night.

Coffee Table Snacks

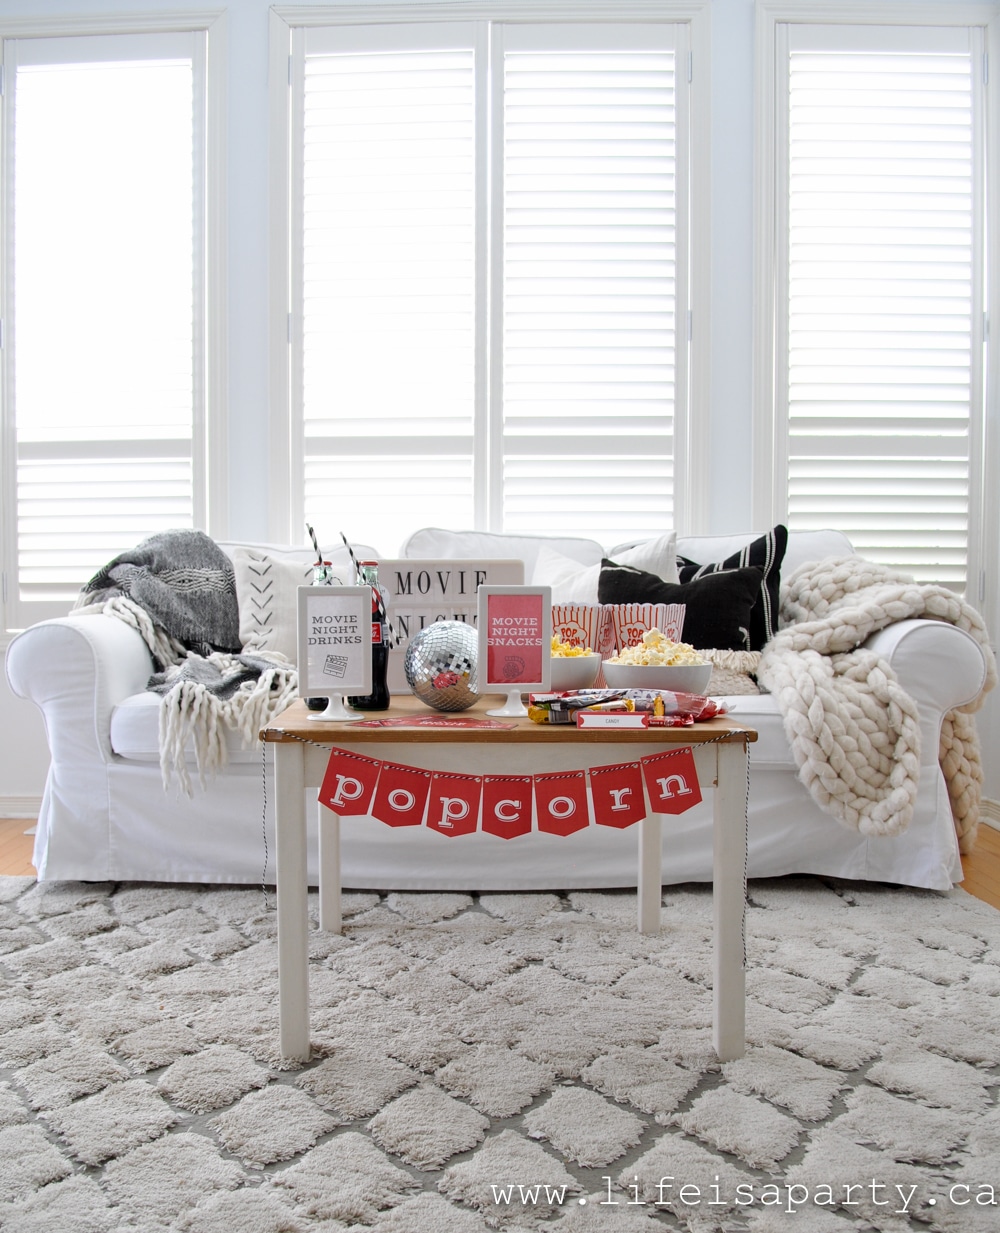
There's nothing better for movie night then a big comfy couch full of soft pillows, and cozy blankets to curl up in. Gather in your family room in front of the tv, or make things extra special with a movie projector.

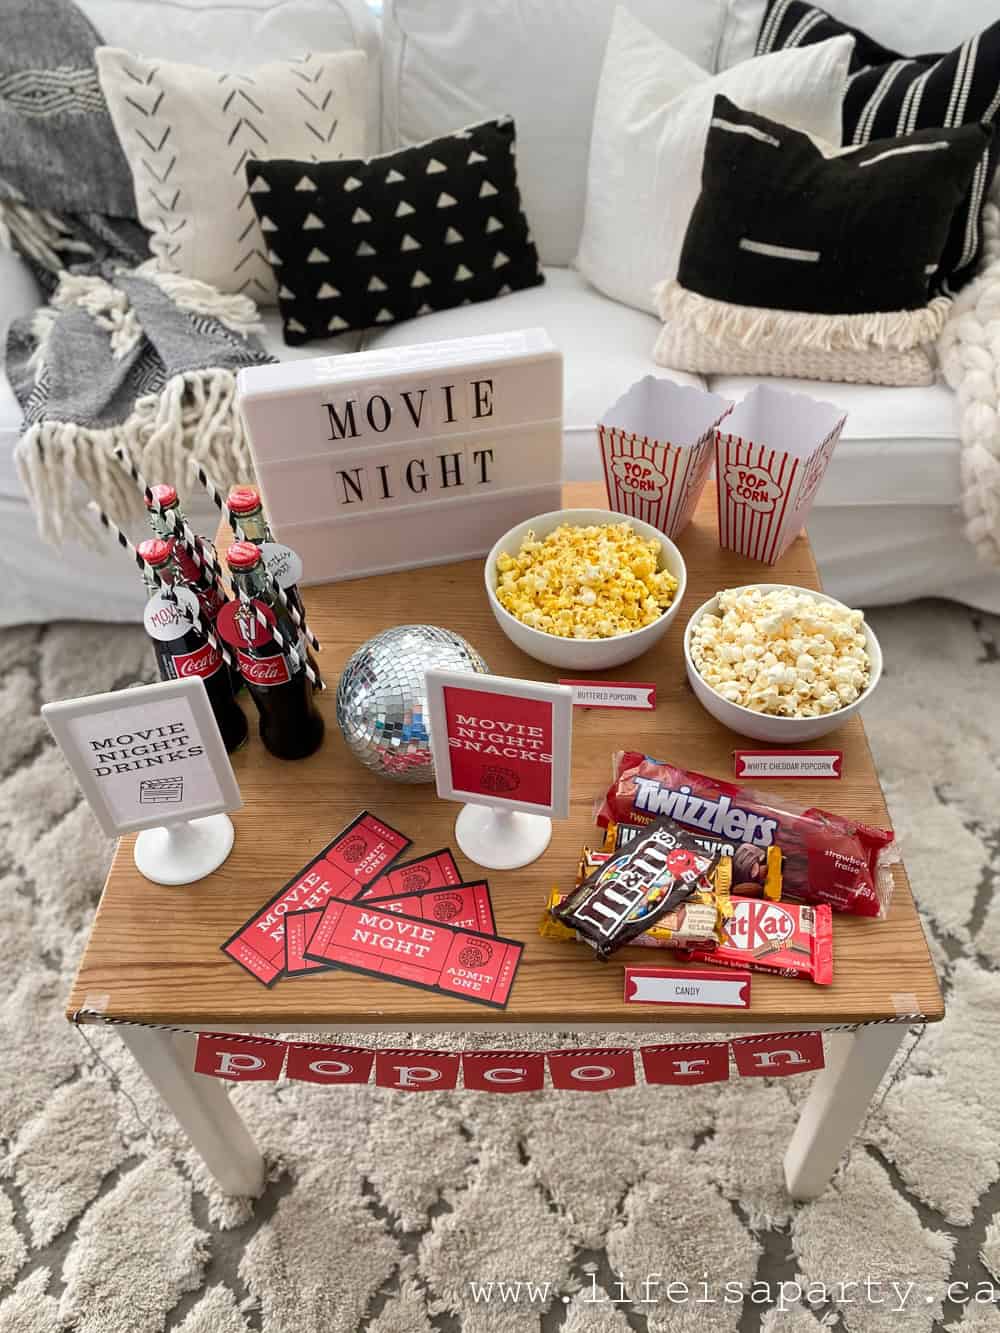
Keep snacks near at hand for the entire family to enjoy by setting up treats on the coffee table as the perfect way to snack while you watch.

movie night at home ideas

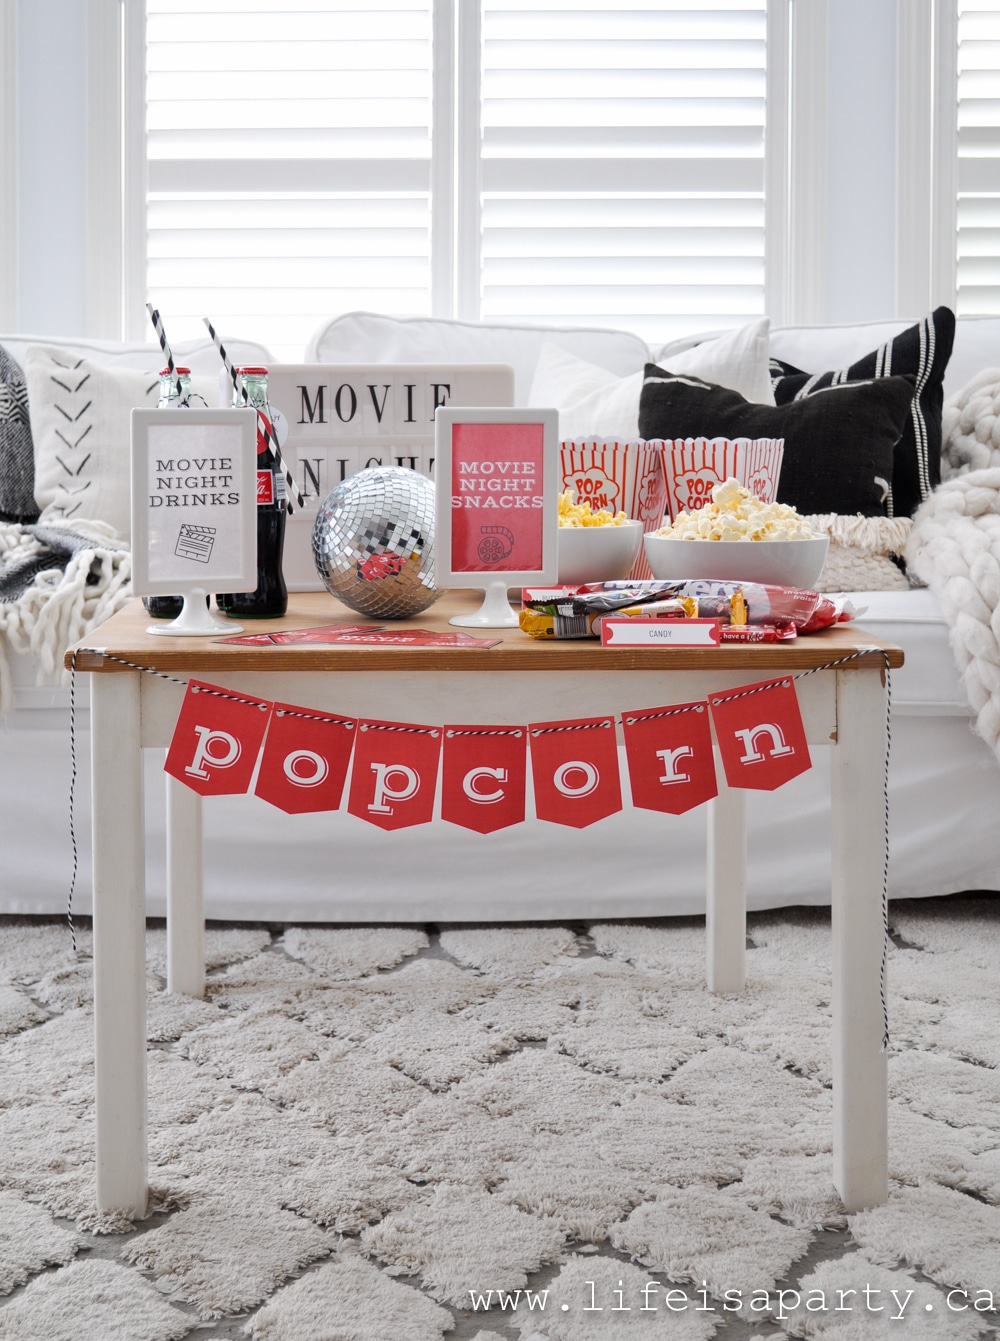
We used a light box with the words "Movie Night". More cool ideas include adding the name of the movie you're watching to a light box or a letterboard. As another fun piece of decor we added a disco ball as a fun way to add a little sparkle. You might even want to hang a few movie posters from different movies in the room as decor.

family movie night ideas

Drinks

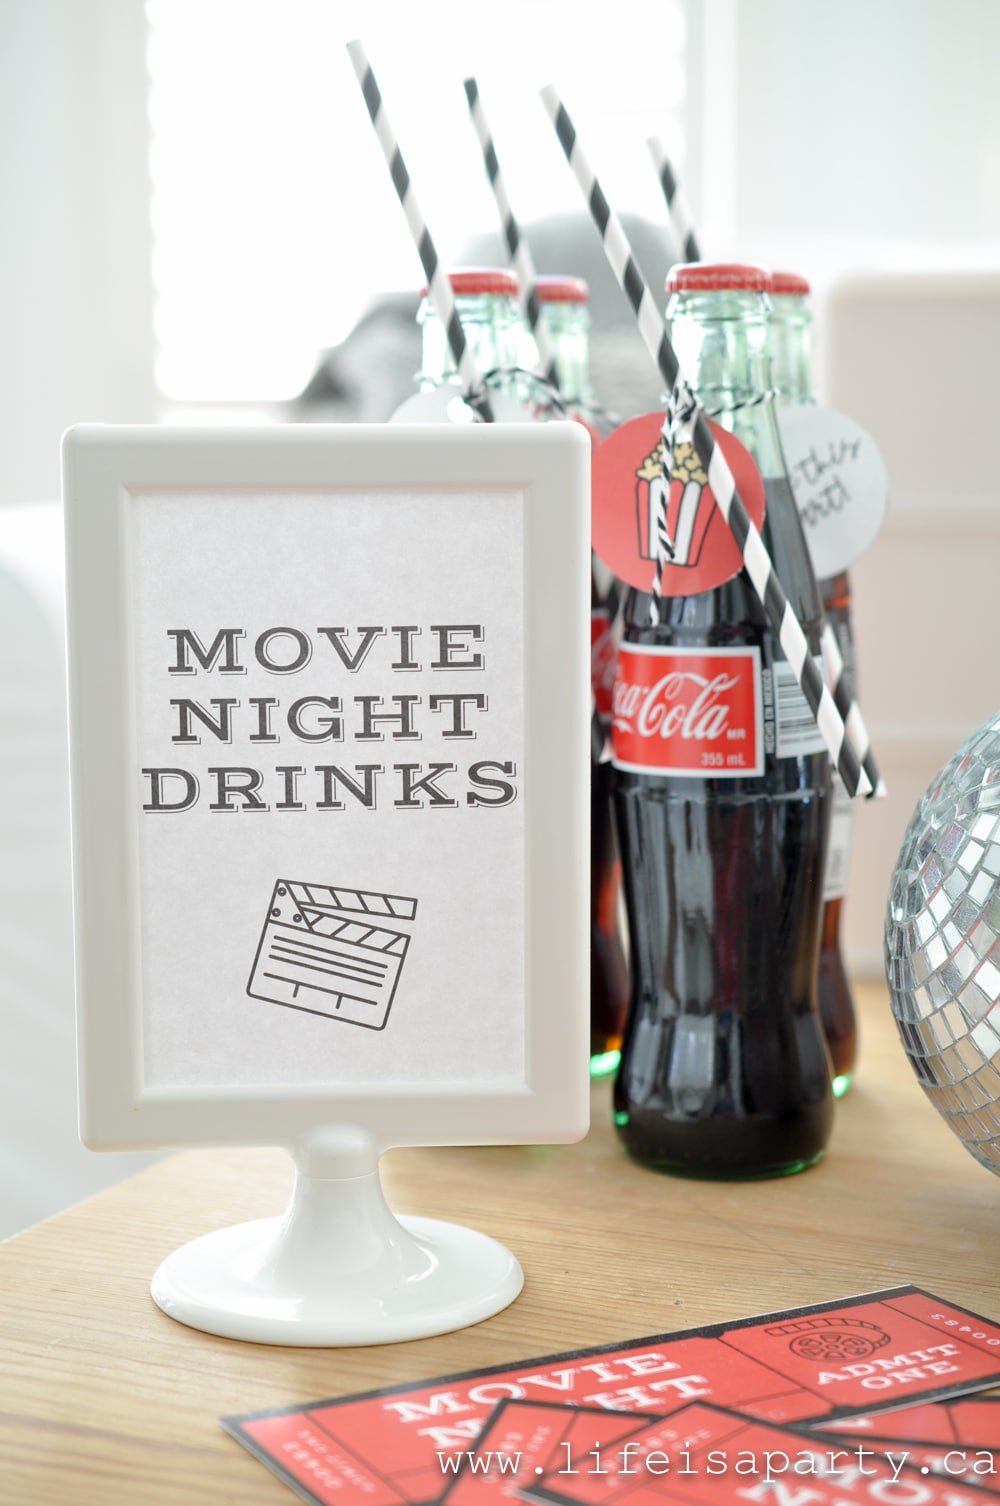
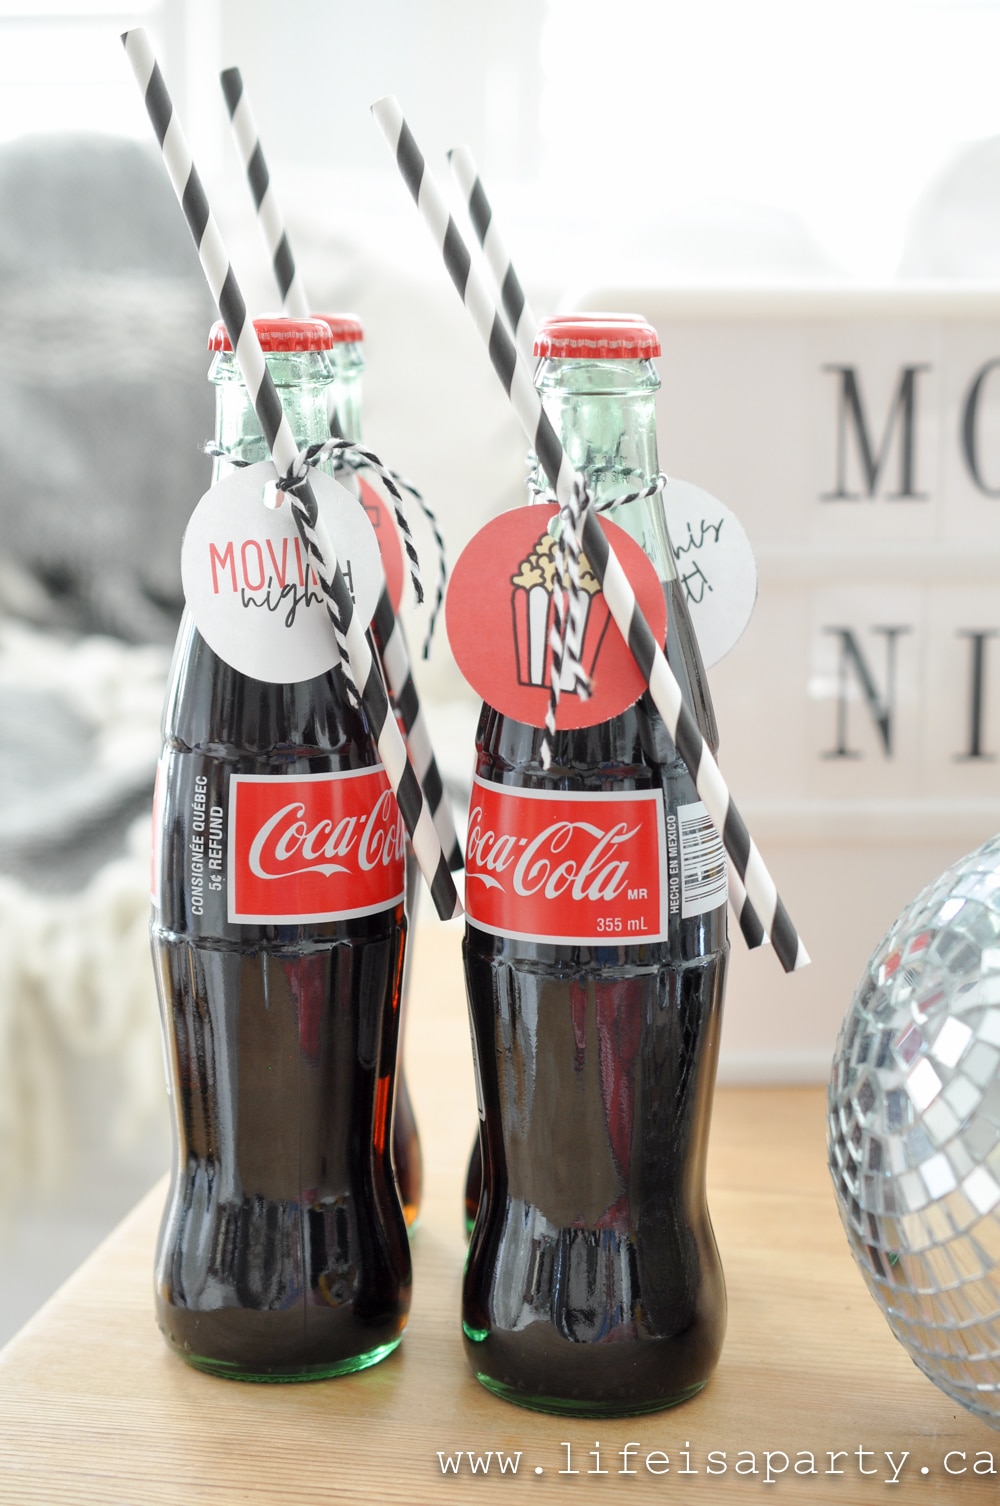
We used small standing frames for our movie night drinks sign, which worked perfectly. For drinks we're serving up classic coke, with some themed printable circle labels attached with a straw. These circle labels work great as cupcake pics, glued to a toothpick, or to attached to the front of small paper bags for popcorn, or a popcorn box, or other treats. They'd also be great as party favor tags for a party.

free printable movie night sign
movie night ideas

Snacks

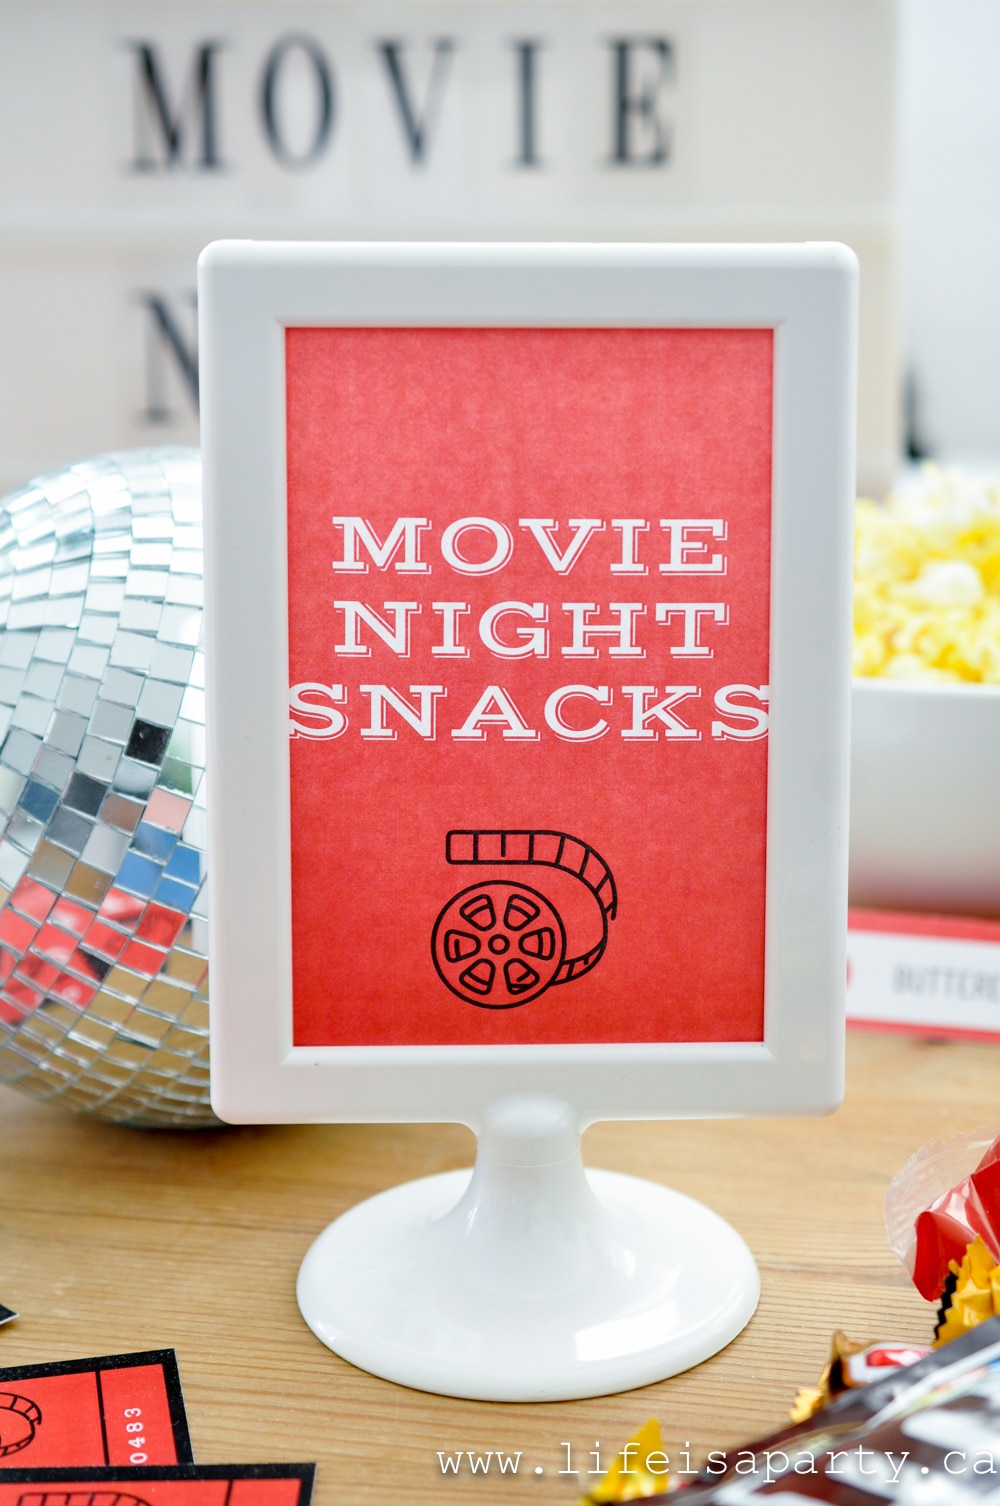
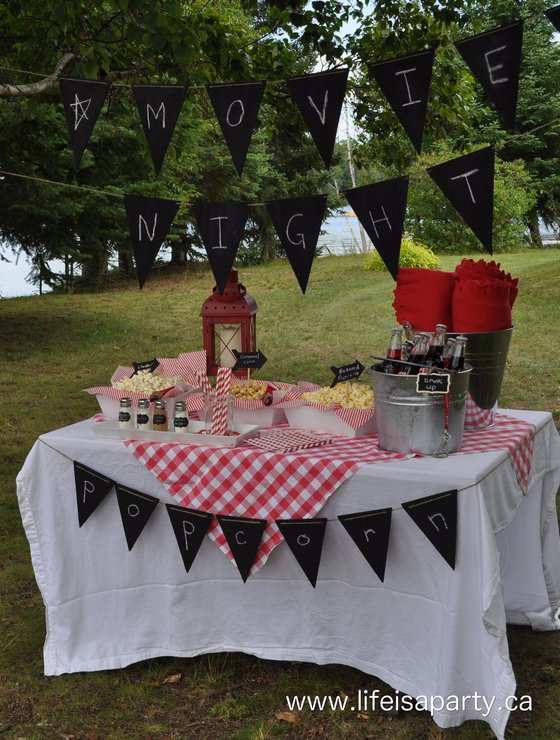
Our printable popcorn banner looks great across the front of the table to mark a family movie night concession stand, or hung up on a wall above a treat table, or to mark the food tent area. We also used a movie night snacks sign to match the drinks sign. I kept things simple with just snacks, but you could also include an easy dinner as part of your snack table with something like take out pizza or hot dogs.

movie night printables
movie night snacks sign free printable

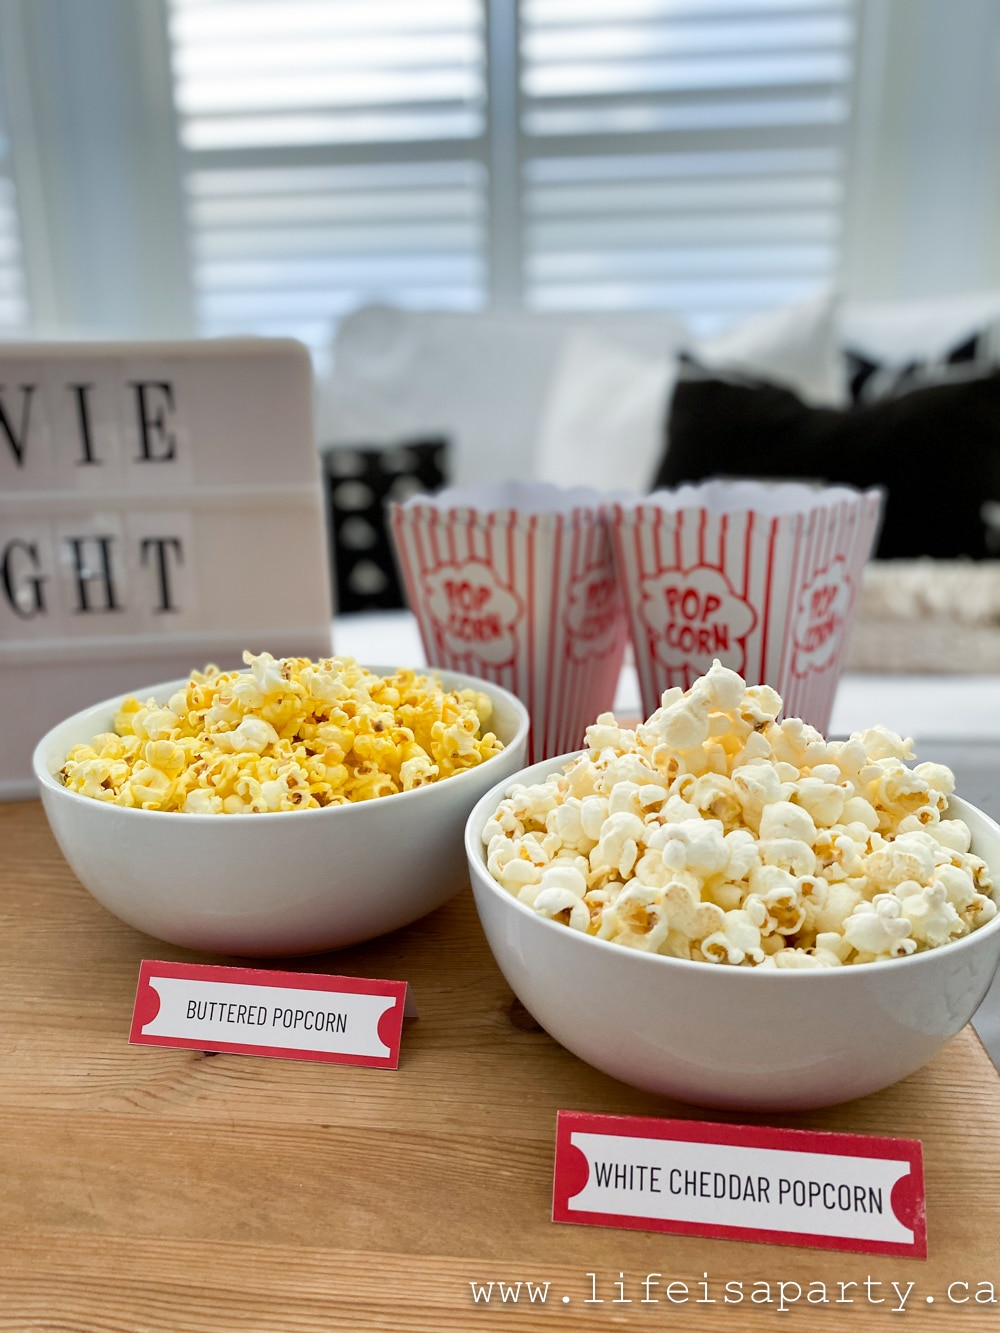
We love popcorn as a movie night treat, and added a few of our favourite kinds in large bowls to create a really easy popcorn bar. The popcorn boxes are from the dollar store and a great way for everyone to help themselves, or even mix the different kinds. 

The food labels are also part of the family movie night printables set, so that everyone knows what kind of popcorn you're serving. There are also blank labels that you can write on for any other food items. Make your own labels for more sweet treats, or a even a movie themed dessert table.

free printable food labels for movie night party

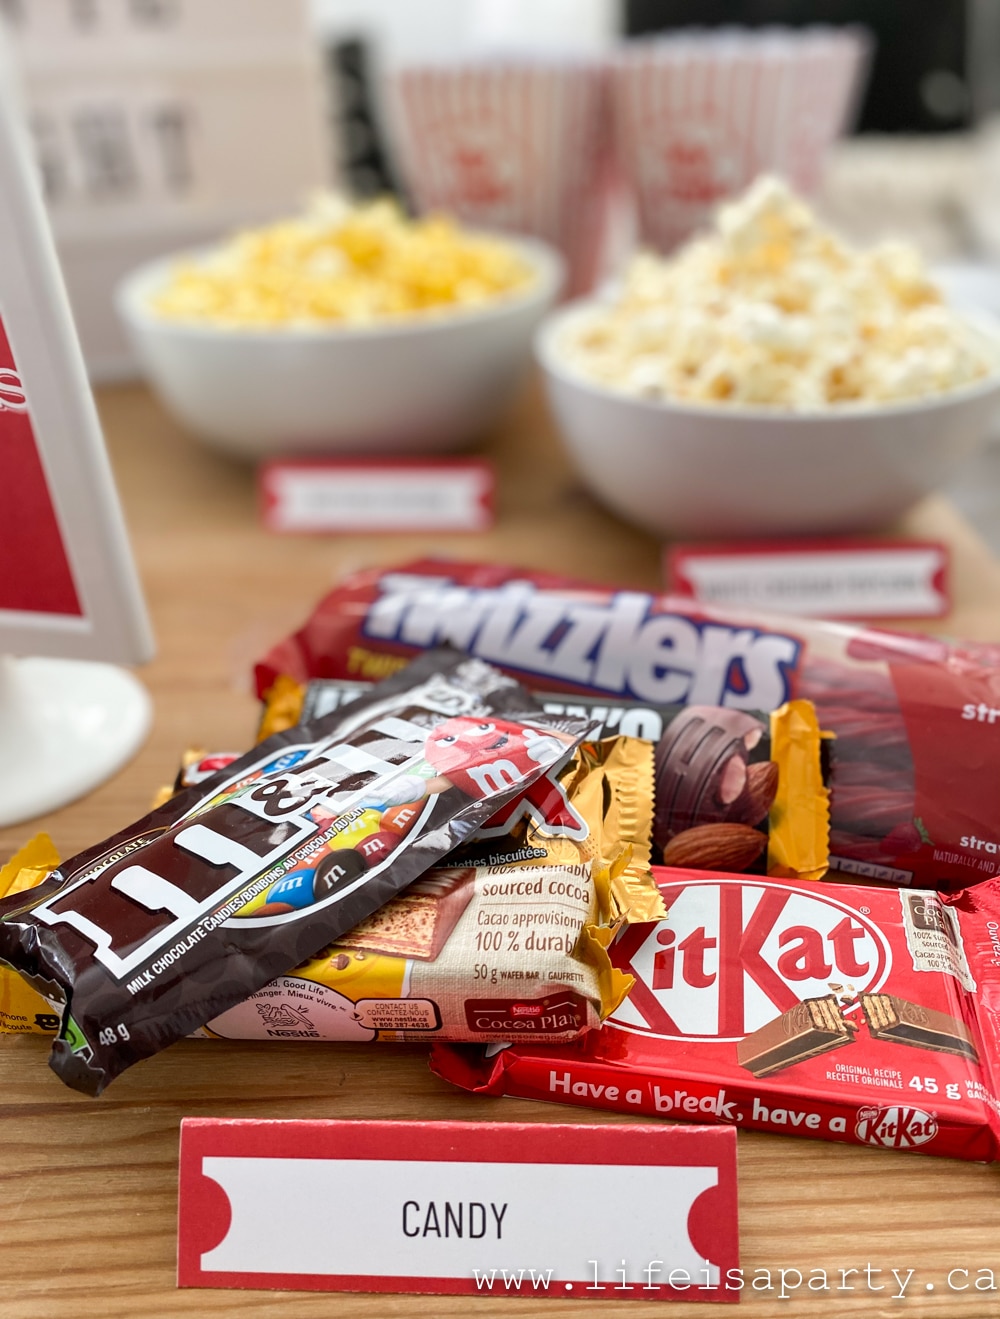
It wouldn't be a movie night without candy for every one who loves a sweet treat. We've got another food label for our candy selection, including classic liquorice and some of our favourite chocolate bars or junior mints. Include whatever your favorites are at the movie theater candy section.

If you're on a budget for your free family movie night, make your own popcorn at home and pick up candy at the dollar store, or serve small Halloween size treats to reduce extra cost.

free movie night printables

All that's left to do is pick out a movie everyone can agree on -sometimes the hardest part, and enjoy!

To download all our free movie night printables, including the movie night ticket, popcorn banner, drink and snack signs, food labels, and circle labels subscribe below and you'll have instant access to printable pdf file as well as our entire free printable library as way of saying thanks for subscribing.

Make A Fun Movie Night Kit For A Friend

Another fun idea to use our free movie night printables would be to create a movie theme gift basket with them. Put together a family movie night party starter kit for friends to enjoy some quality time. Include everything you need for them to create their own movie party at home. Print the cute printables and include them, along with popcorn bowls, drinks, popcorn, and candy. You might even include a list of your favourite family movies for extra fun.

 With free movie night printables to enjoy, life really is a party!

Get The Free Printables Here

Free movie night printable collection.

More Movie Night Inspiration

You might also like our Top Family Movies.

Non Cartoon Family Movies: Best non cartoon family movies that parents will actually enjoy too for family movie night or anytime.

Also check out our Outdoor Movie Night post here.

You might also enjoy Summer Movie Night here.

Summer Movie Night: use our free printable summer movie night ticket, popcorn banner, popcorn labels and cupcake picks to set up the perfect summer night.

What To Bring On A Picnic

May 14, 2021 · Leave a Comment

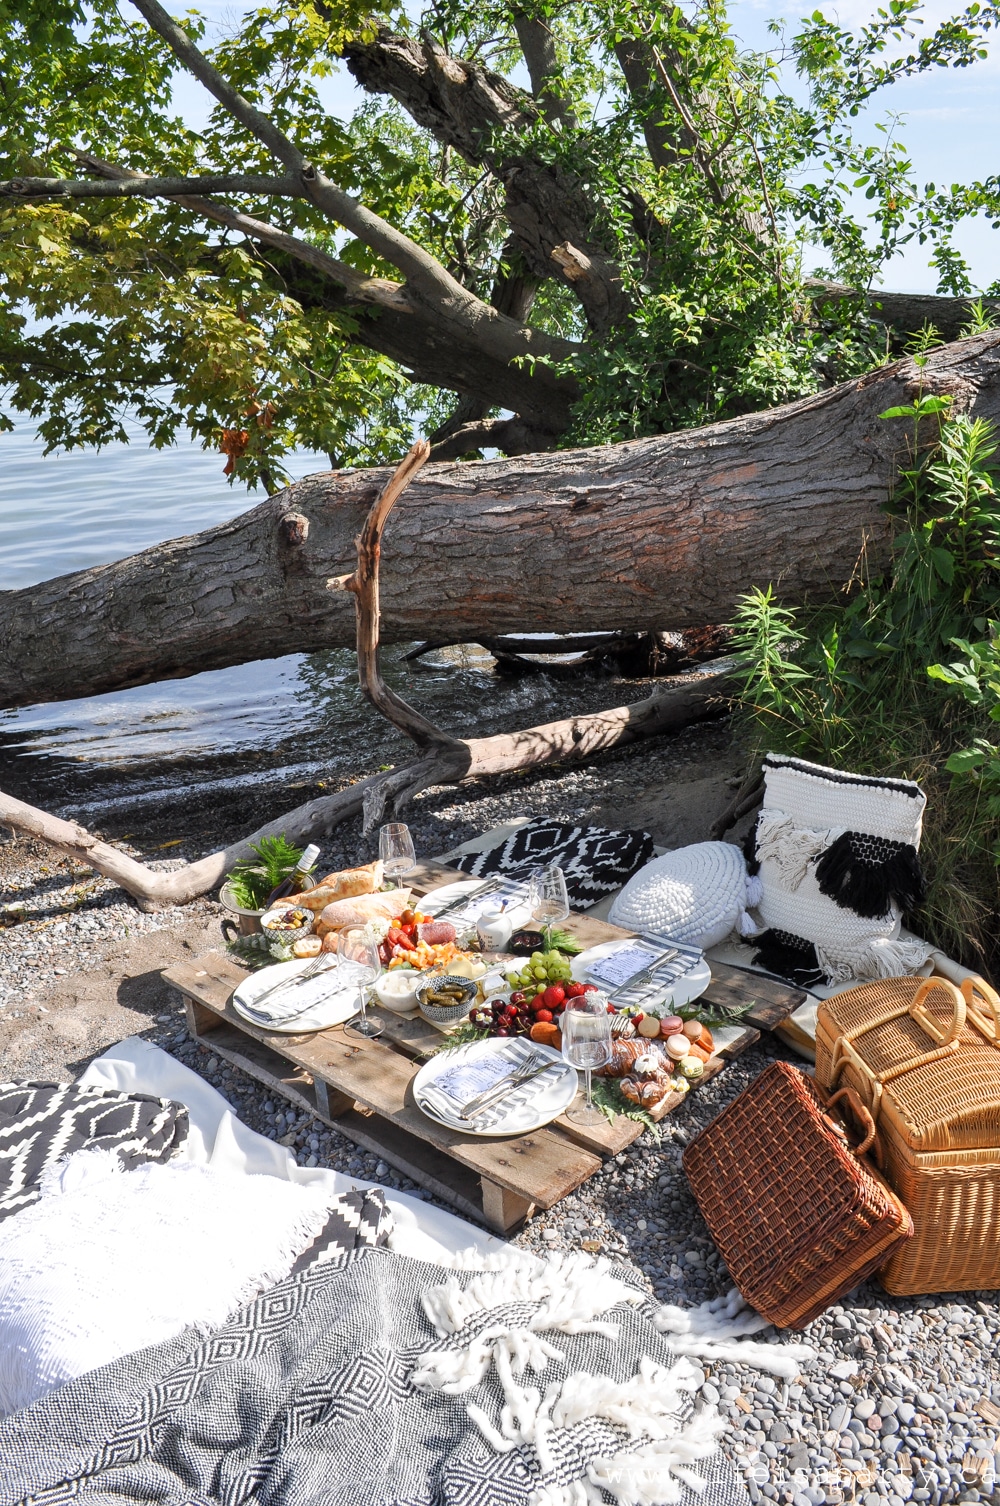
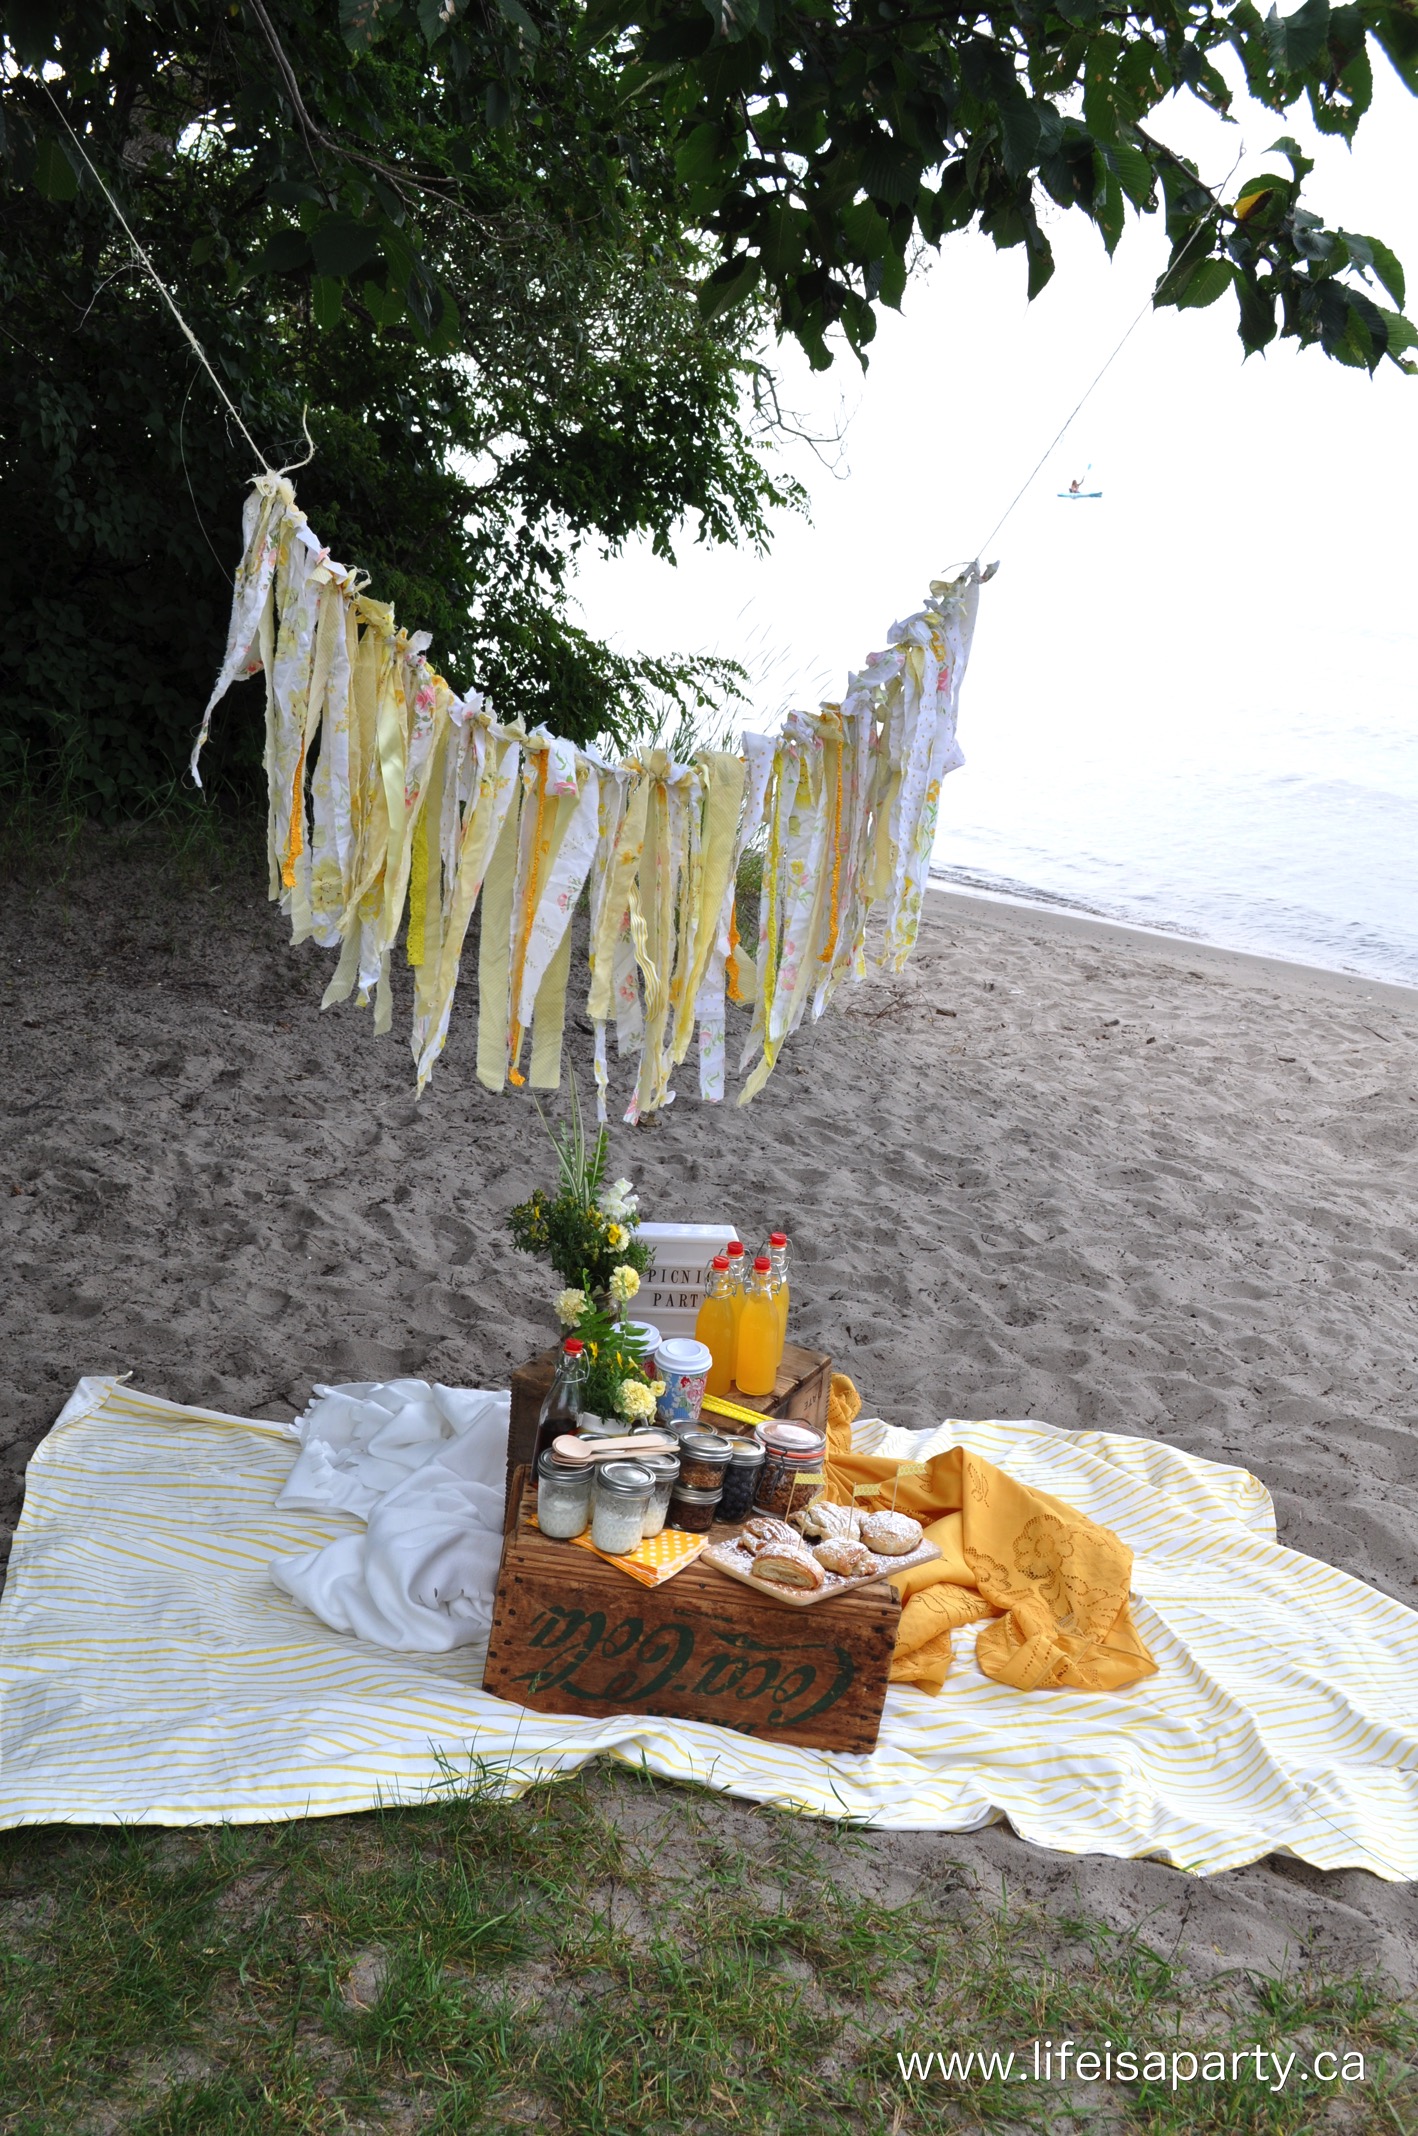
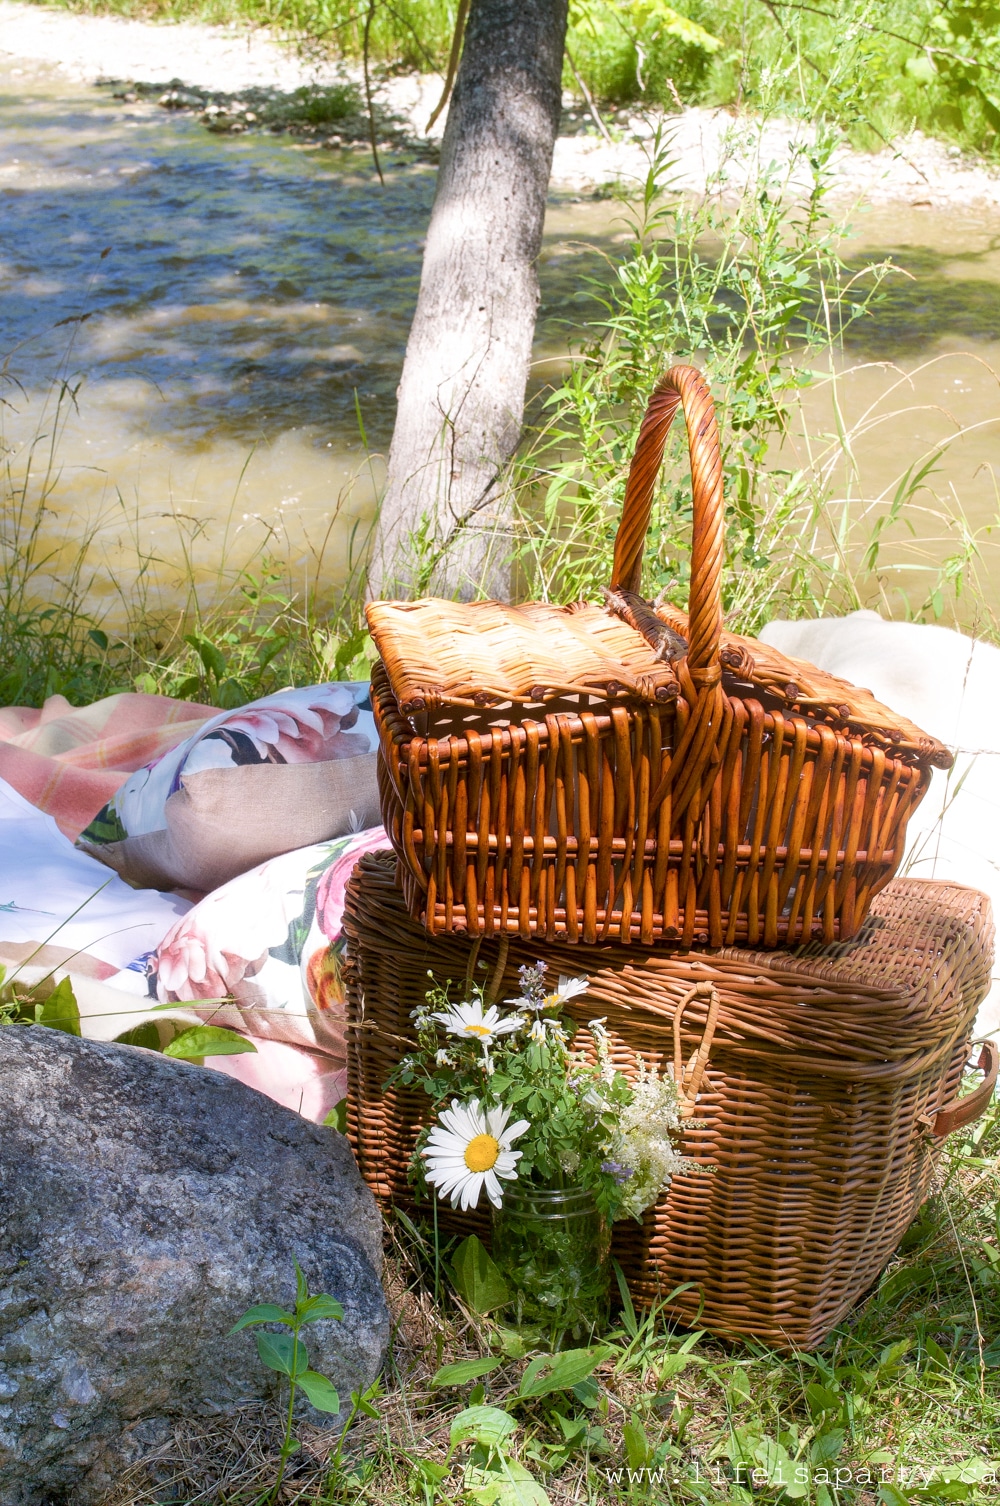
A wicker picnic basket sitting on a picnic blanket with cushions.

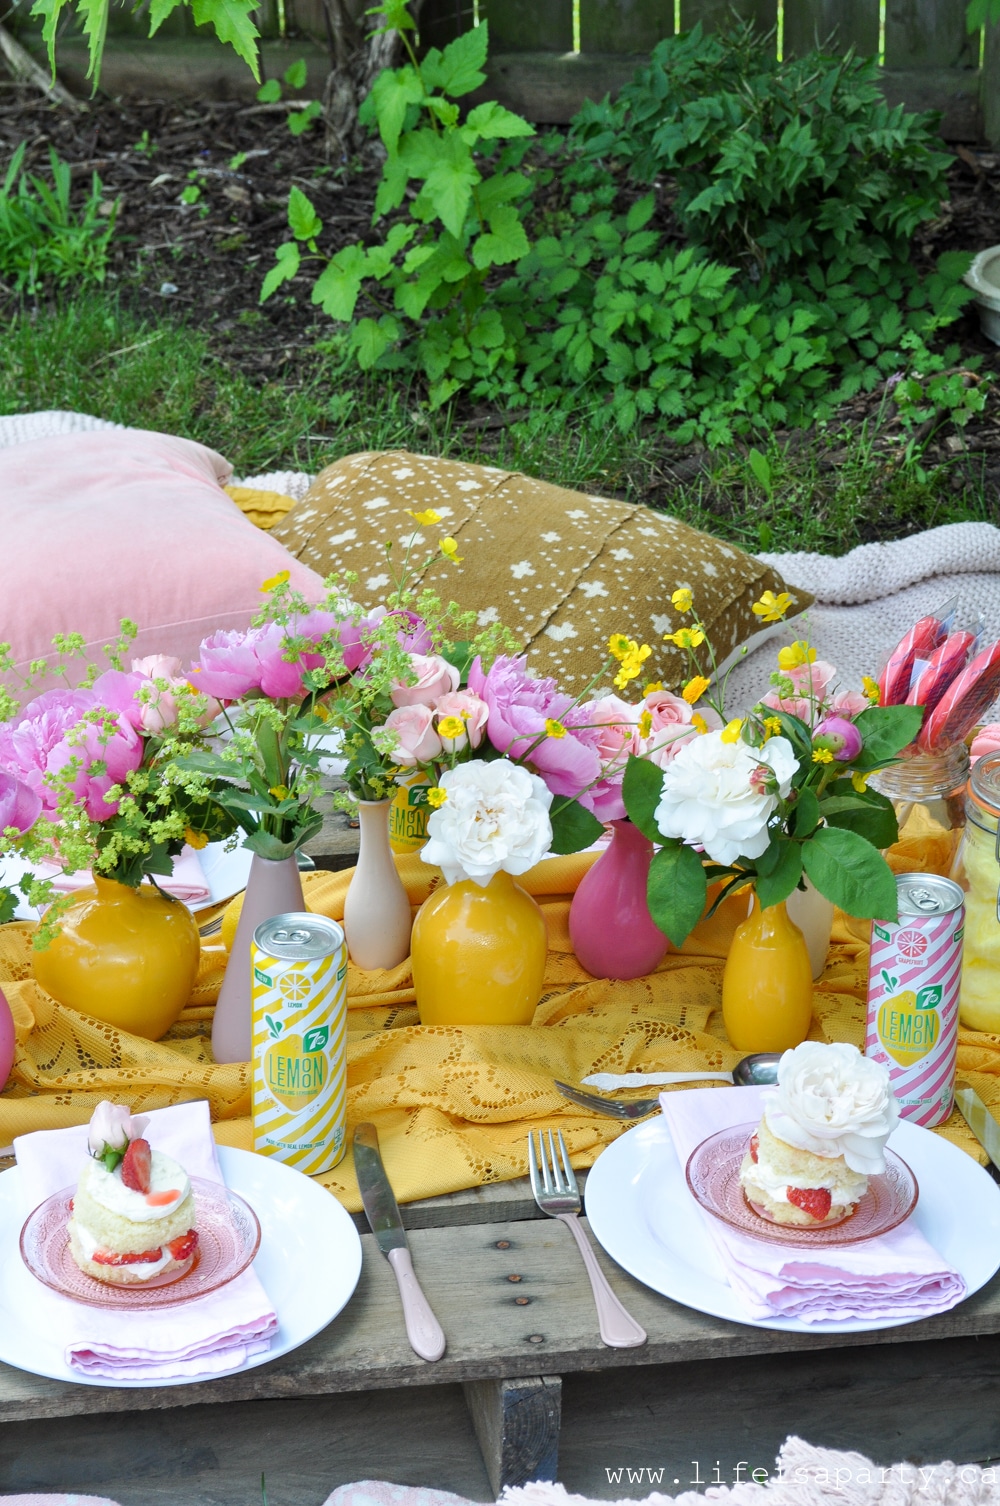
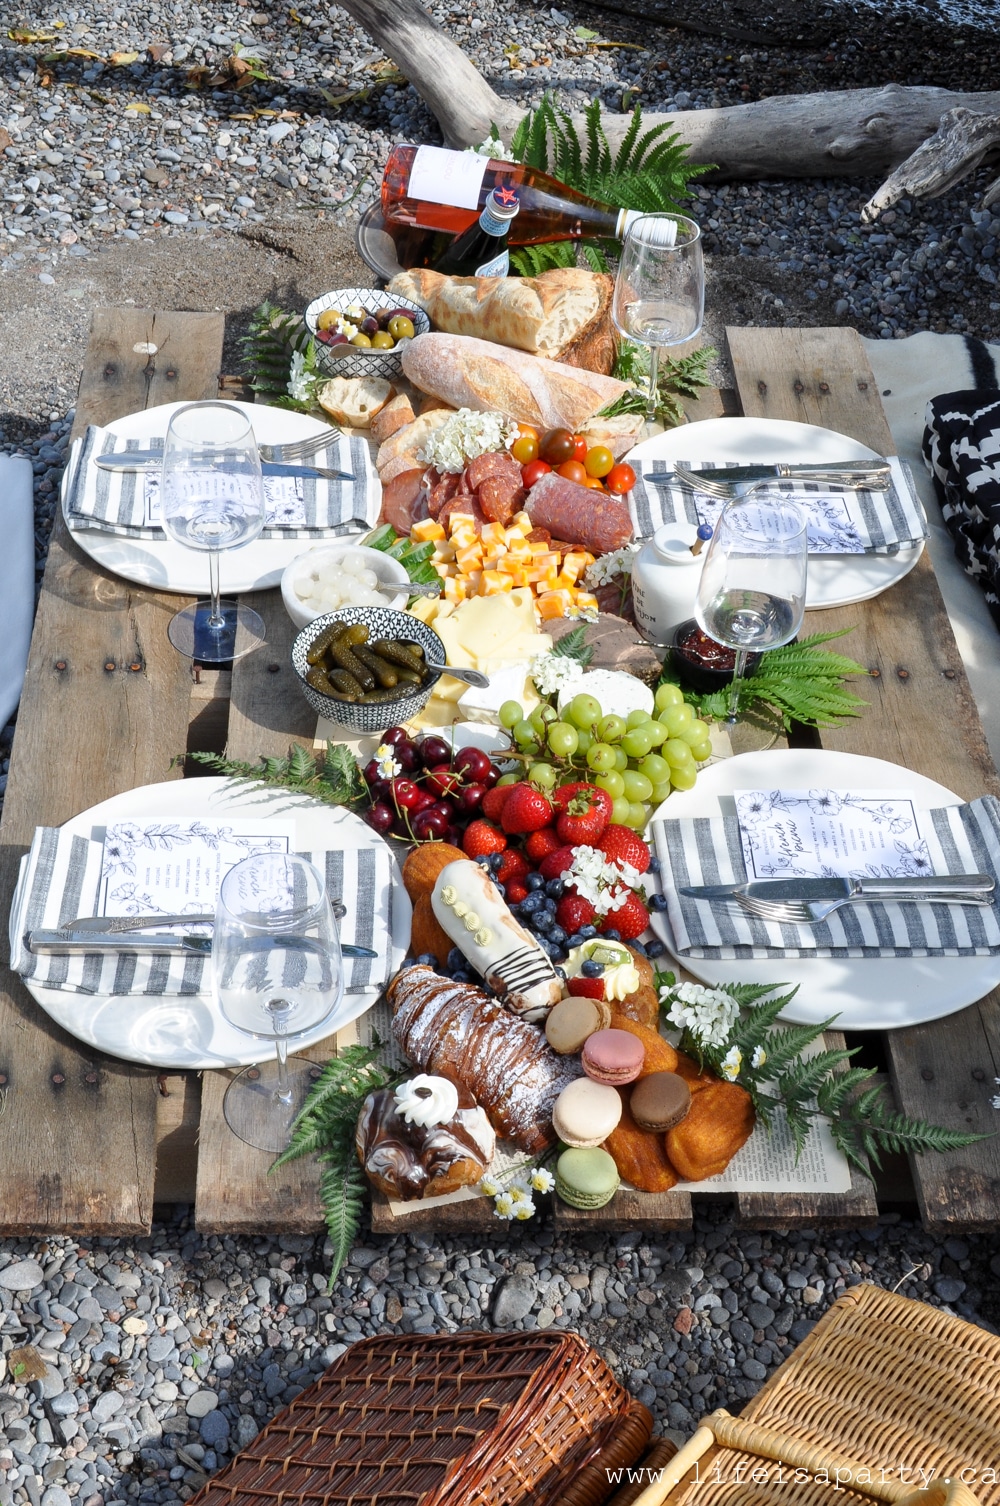
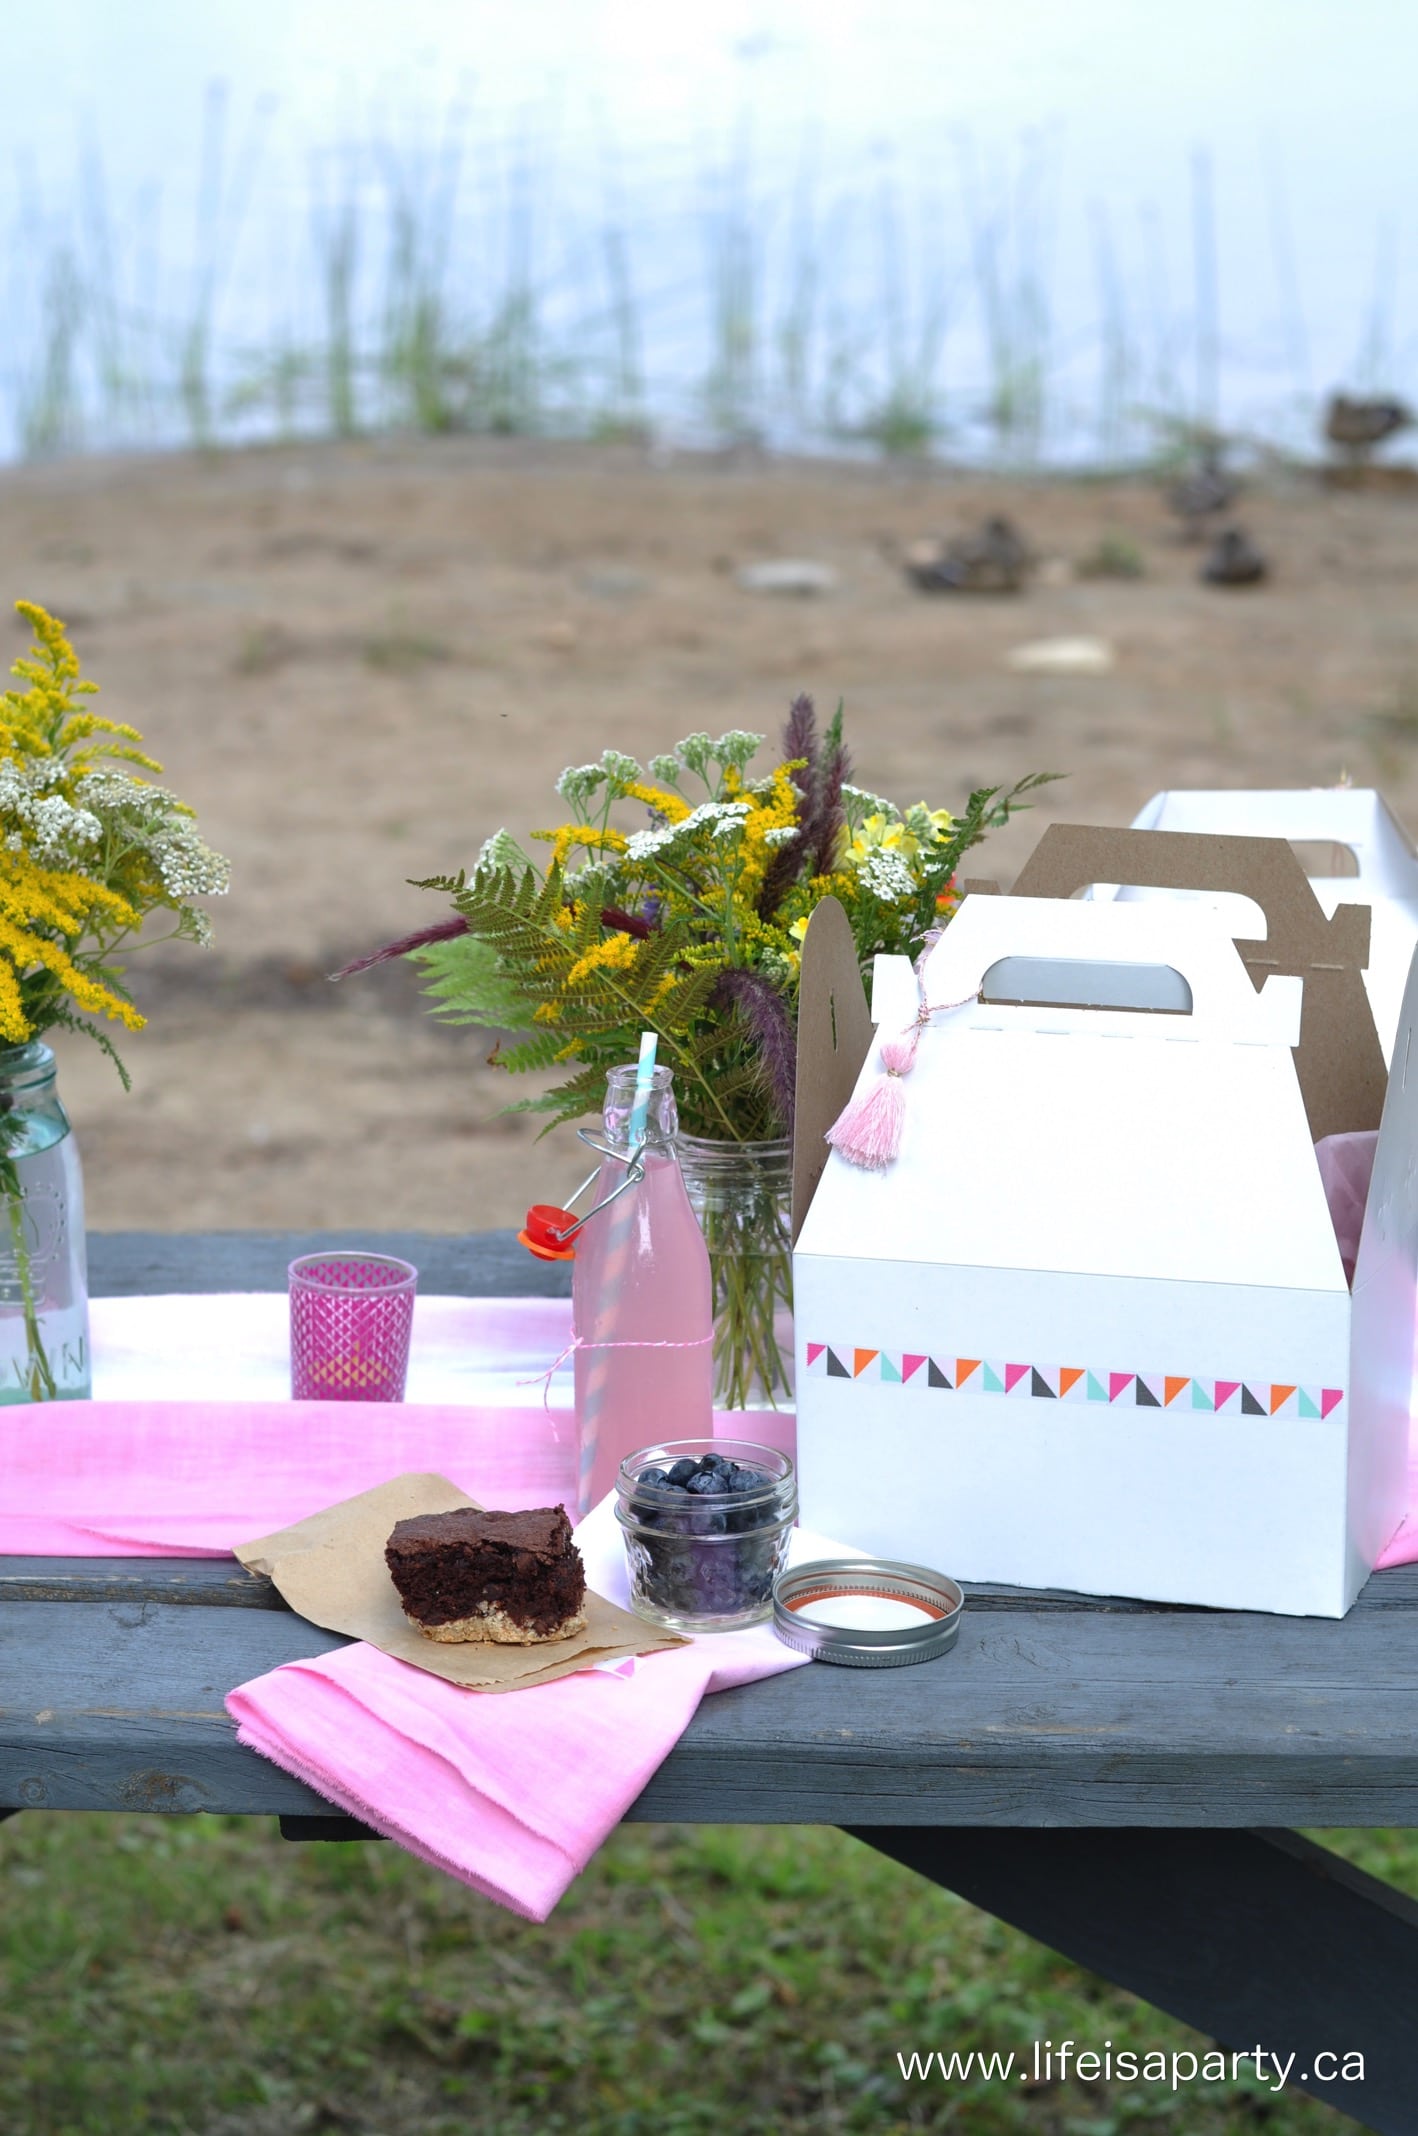
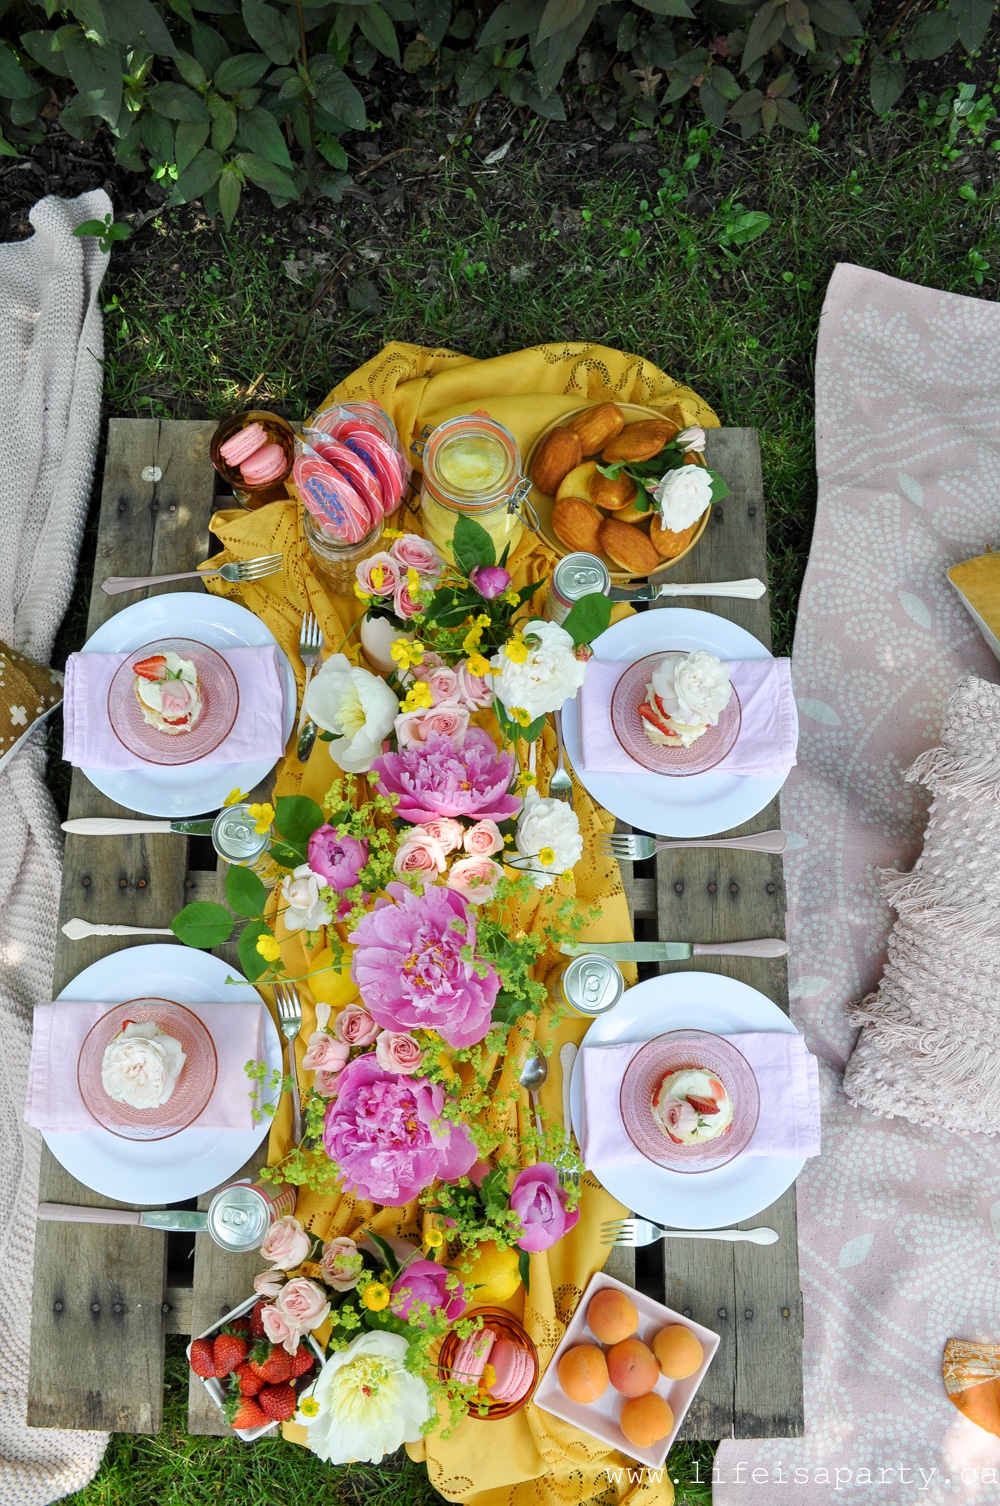
What To Bring On A Picnic: everything to pack, including lots of ideas for picnic food, activities and decor for the perfect picnic.

A wicker picnic basket sitting on a picnic blanket with cushions.
[feast_advanced_jump_to]

Picnics are such a fun activity, but it can be hard to know what to bring on a picnic, or where to start when you're planning a picnic.  We've broken down exactly what you'll need to think about to create the perfect picnic.

Picnics are such a great way to entertain and get together with friends.  So often we worry that our homes aren't big enough, not decorated how we want them to be, or we're overwhelmed with getting our space tidy enough for company.  Picnics are the perfect solution to all these problems and if you have any of these worries, picnics are the best way to entertain in good weather.  Rain and picnics don't go together, so the first picnic essential is  a sunny day.  Be sure to check the weather forecast when your planning any outdoor picnics.

Picnic Infographic Free Printable

Picnics are such a favourite of ours.  We put together this beautiful picnic infographic.  Use as art in your home, or as a handy picnic checklist.  Grab it as a free printable.  It's in our Free Resource Library.  To access it subscribe below for instant access.

picnic info graphic

Where To Picnic

The most popular setting for a picnic location is a favourite local park.  A picnic spot near water is always a good choice too.  Many parks have picnic tables which can be a nice option.  Some parks even have bbq's that you can use for picnicking.  If there's no picnic table don't worry, a picnic blanket on the ground is a great choice too for enjoying the great outdoors.

how to host a picnicIn some areas, if you have a big group of people for a large picnic, you may need to book a space in advance, but for small groups that's usually not necessary.  You might also want to consider that in most public parks you can't drink alcohol.  This can make your own backyard a great location too.  If you have a backyard patio and table it makes things really easy to set up a beautiful backyard picnic.

picnic ideas

Start With A Blanket

Even if you're lucky enough to be somewhere with a picnic table, a blanket for the seats and a table cloth for the table are always a good idea.  You might also consider clips to hold the tablecloth in place, especially if it's a little windy.

If you're picnicking on the ground you might want a special picnic blanket that's waterproof on the back.  Whatever blanket you use you might want to add a table cloth layered over top, or even some cushions to make things more comfortable and add to the decor.  Faux fur rugs work great too.

what to pack for a picnic

We've also used an old pallet as a makeshift picnic table a few times.  These are often easy to find near the garbage pile for retail stores.

how to plan a picnic
what to bring on a picnic

Decor Ideas

The beauty of nature is the best decor of all, but it can be fun to add a few more pieces to really make the occasion feel extra special and festive.  Think of adding some bunting to a tree overhead, or some balloons for a birthday.  Another fun touch is always a vase of flowers.  If you're picnicking on the ground sometimes a wood crate that you can use to carry supplies can be used as a little table in the middle of your picnic blanket and be the perfect spot for flowers and drinks so they don't get knocked over.  These special touches are perfect for making your picnic feel like a special occasion. Get more eco-friendly party ideas here.

ideas for a picnic

What To Pack Your Picnic In

Cooler

One of the first rules of picnicking is to keep cold foods cold.  We don't want anyone getting sick from spoiled food.  So if you're going to be in a hot car before hand, or not eating right away be sure to pack the food so it can stay cold with ice packs or in a cooler or cooler bag.  Especially for picnic favourites like chicken salad, egg salad, or potato salad made with mayonnaise you will want to be especially careful to keep these perishable foods nice and cold.  A cute bucket filled with ice is perfect for keeping drinks cold and looking cute.  Likewise if you're serving something hot -like a cup of tea or coffee which is always so welcome at the lake after a dip in cool water, pack it in a thermos to stay hot.

how to keep your drinks cold on a picnic

Picnic Basket

Vintage wicker baskets are a favourite of mine.  They look so great, and can often be found really inexpensively at thrift or antique stores.  They add a really authentic feel to any picnic.  They're not always the most practical though.  Perfect if you are driving to a location and don't have to carry things very far.

what to bring on a picnic

Wood Crates

I also mentioned above that wooden crates can make great carry alls for picnics and can then be used as a little table as well.

how to pack a picnic
picnic food ideas

Knapsack

If you do have to carry items any distance to your picnic site you might consider a knapsack, or picnic knapsack for it's ease.  As well, if you're carrying things you might consider choosing a light and leak-proof container for your food containers and foregoing things like extra decorations, and cushions that would be too much to carry.  Tote bags are good options too.

Of course no matter what you pack your picnic in, you'll want to put heavier items on the bottom, like drinks, and containers, and more delicate things on top so they don't get squished or crumble, like breads or desserts.  Also, make sure liquids are well sealed.

Other Extras

You might also like to consider bringing some bug spray and sunblock, sun hats, and sunglasses.  Another fun addition might be some outdoor games and sports equipment such as croquet, or bocce ball, or a soccer ball. Board games, or a pack of cards can be fun to bring along too.  You might like to fly a kite, or swim if there's water nearby.  Most picnics are improved with some music in the background so you might want to bring a portable bluetooth speaker.  And don't forget a great book or magazine to enjoy for a lazy afternoon.  You might also want to pack a small first aid kit, just in case you need it.

What To Bring On A Picnic To Eat

When you're choosing your picnic menu, you'll want to consider items that travel well, and can be served at room temperature or cold.  The classic picnic foods listed below all fit that criteria.

If you love you to cook, you can make all your picnic foods ahead of time and pack them up.  Another option is always to make some items, and pick up some items already make, like sweets from the bakery, or salads from the deli section of your grocery store.  Take out is always another great option.  And if you're choosing hot foods, or things that are a little harder to transport, then picking them up from a restaurant might be a great option.

Sandwiches

Simple sandwiches are the most traditional picnic fare.  They're delicious and so portable.  They simply travel so well that they're ideal for picnicking.  Any kind of sandwich is a great choice for a picnic, so choose your favourite and bring it along, or bring the fixings for a sandwich and let everyone serve themselves at the picnic.

picnic food ideas

Charcuterie and Cheese Board

Charcuterie and cheese boards are also really great for picnicking.  Bring a few different cured meats and at least two or three cheese choices.  Add in crackers, baguette, and then some extras like veggies and dip, or fruit.  You might also like some pate, or some nuts and nice jams or chutneys.  The sky is the limit here.  Charcuterie and cheese boards have become some popular lately that it's easy to find great additions at the grocery store.  Remember to pack a cutting board and sharp knife for this option as well.

what to eat at a picnic
picnic charcuterie

Fried Chicken

This is a picnic classic.  Pick it up at the your favourite take out place the night before and serve it cold with salads for a really delicious and easy picnic option.  Another great option is a rotisserie chicken, you can pick it up at the grocery store and serve it hot or cold.

how to pack food for a picnic

Salads

Always popular at a picnic as great mix with any of the options listed above.  You might consider potato salad, bean salad, pasta salad, green salad, or a fruit salad.  The more the merrier.  Just remember that these will need to be kept cold in a cooler.

what to eat on a picnic

Hot Dogs and Hamburgers

If you have access to a bbq or have a portable bbq these are always a crowd pleaser.  Kids and adults alike love them.  Remember to bring great buns and all your favourite condiments.

what to bring on a picnic
picnic food ideas

Fresh Fruit

Since picnics usually take place in the summer when fruit is in season and fresh and sweet, any fruit can be a great addition to a picnic.  A bag of summer cherries, a fresh juicy peach, or a slice of watermelon are just a few great options.

what fruit to bring on a picnic
what to bring on a picnic

Sweets

One thing to consider when planning a dessert for a picnic is what will travel well.  Any kind of cookie or brownie is usually a great choice for a picnic.

how to pack a picnic

We love these easy one bowl brownies -see the recipe here.

brownies for a picnic

These homemade chocolate chip cookies made with shortening are also a favourite and the perfect sweet treats for a picnic.

cookies for a picnic

Anything that you can bring in a mason jar makes them perfect for a picnic and easy to travel with.  You might like our cupcakes in a jar -recipe here.

how to pack cupcakes for a picnic

We also have a great recipe for Black Forest cake in a jar here, just remember to keep it in a cooler.

picnic dessert ideas

Drinks

Soft drinks and juices are a great choice.  Bringing individual bottles and cans make them easy to serve.  Always make sure to have some water bottles available too.  If you're picnicking somewhere where you're allowed alcohol then a bottle of wine is a great option.  Or you might enjoy bottles of beer or coolers.  And don't forget to pack a bottle opener.

what to bring on a picnic

Serving Ware

A picnic can be elevated by using real china plates, cutlery, glasses and cloth napkins.  There's something about using real dishes in the outdoors that feels extra fancy and special and you're sure to get bonus points from your friends for bringing them.  Just pack them carefully and remember to think about how you'll bring them home dirty and include a plastic bag to tuck them into.

how to throw a picnic party

To makes things easier and less breakable though, consider using plastic.  They make such beautiful plastic dishes, plastic utensils, and glasses now.

There's also always the option of paper plates and disposable.  There are more and more environmentally friendly options now too in disposable dishes so look out for biodegradable options.

I also like using take out containers sometimes, things like paper boxes, or a Chinese takeaway box can be really fun.

what to bring on a picnic

Whatever dishes you choose to use remember that this is a chance to add lots of style and flair to your next picnic.  Choose a colour scheme and mood for your picnic and choose things that coordinate for a really pulled together look.

how to host a picnic

It's sometimes fun to make individual picnic boxes for everyone, kind of like their own little packed lunch.  You can use small cardboard gable boxes for this or individual paper shopping bags, or small picnic baskets from the thrift store would be a great reusable option too.

what to bring on a picnic

Each person will need a plate, cutlery, and napkins, and cup if you're not using canned or bottled picnic drinks.  You might also like to add some salt and pepper, or any condiments that go with your menu.

Don't Forget To Bring Some Clean Up Items

Don't forget some hand sanitizer, and wet wipes or baby wipes for cleanup.  A roll of paper towels is sometimes helpful too.  You might also need some plastic wrap or ziplock bags for leftover food. You might also need some bags for garbage and recycling, so be sure to pack some plastic bags or trash bags for cleanup.  Leave nothing behind.

Don't Over Think It

Don't over think what bring on a picnic.  A picnic can be as simple as some takeout on a blanket at your favourite outdoor spot.  It's fun to bring all the extras and make it really beautiful, but don't let it stress you out.  Being with people you enjoy, eating yummy food outside in nature is all you really need on your picnic essentials list.

More Picnic Inspiration

French inspired lakeside picnic with real dishes, and a table full of food incluidng charcuterie, cheese, bread, fruit, and sweets.
Midsummer Night's Dream Picnic: An individual boxed picnic to enjoy Shakespeare in the park, whimsical flower masks, and perfect boho picnic decor.
Swedish Inspired Midsummer Picnic:  Enjoy drinks, smorgasbord, and dessert all inspired by a traditional Swedish Midsummer menu.  Easy to create at home, and so delicious!
British Picnic: our romantic English inspired British picnic food menu includes tea sandwiches, home-made scotch eggs, scones and cream, shortbread, empire cookies, custard creams, vintage decor and lots and lots of tea.
Yellow Breakfast Picnic: breakfast picnic with yellow decor and links to all the recipes including homemade croissants and a yogurt parfait bar!
Easy Summer Picnic: with an easy summer picinc menu, and some cute individual serving ideas this picnic is summery and fun!
Pretty Picnic Lunch: Individual picnic boxes, wild flowers, tissue paper tassels, and a delicious menu make this the perfect picnic lunch.
Summer Backyard Picnic -beautiful table setting ideas with lily of the valley placecards, and mason jar flower arrangements and an easy, no fuss menu.
Fall Picnic: Homemade scotch eggs, veggies and dip, fresh honey crisp apples, apple cider, and butter tarts make the perfect fall picinc.

How To Host A Tea Party

Apr 28, 2021 · 1 Comment

Tea party set up under an outside pergola, with place settings and flowers.

How To Host A Tea Party: ideas on what to serve at a tea party, including some recipes, and tips about hosting.

Tea party set up under an outside pergola, with place settings and flowers.
[feast_advanced_jump_to]

Today I'm sharing tips on how to host a tea party at home. Tea parties are one of my favourite get togethers. They're full of delicious foods, lots of tea, and usually are a delightful way to spend an afternoon with good friends.

You might also like our Christmas Tea Party, Winter Tea Party, and Bridgerton Party Game.

What Is A Tea Party

Tea parties originated in England and were often referred to as high tea or afternoon tea. This light meal of tea and sweet and savoury snacks began as a way to bridge the gap between lunch and dinner, which was served later in the evening, as late as 8pm. Afternoon tea is traditionally served between 2 and 4 pm in the late afternoon, and is an elegant affair.

Today a full tea party usually includes tea, scones, savoury tea sandwiches, and sweets.

What To Serve At A Tea Party

Tea

  • Black Tea
  • Green Tea
  • Herbal Tea
  • Iced Tea

What is a tea party without tea? It's always great to start with a black tea. Look for a traditional Orange Pekoe, English breakfast, or Earl Grey. These teas are classics and always well received. 

what tea to serve at a tea party

It's also nice to offer guests some other options, including herbal and decaf tea options. You might pick up an assorted box of tea bags and let guests choose their favourite from an assortment of teas.

In very formal tea party settings you would be served a pot of loose leaf tea, with an additional pot of hot water to add as needed, and usually a strainer for the loose tea.. In less formal settings a regular tea pot and tea bag will do fine, or you might even let guests steep their own cup by cup. Don't have a teapot. A thrift store is place to find an old one, and traditional tea cups too. You will also include milk, and a sugar bowl. Sometimes lemon and honey are also offered as an accompaniment to tea.

Another nice option for warmer weather, especially if you're outside in the garden is some ice tea options.

ice tea for a tea party

Scones

  • Plain Scones with Butter, Jam, and Cream
  • Flavoured Scones

Traditionally an afternoon tea menu will always include scones served with butter, clotted cream, and jam. Clotted cream is rather hard to find outside of England. You can find it sometimes in speciality stores. If not, try serving with whipped cream. Whipped cream is not quite as authentic, but certainly very delicious.

If you are serving only tea and scones this is called a cream tea. For a full afternoon tea you would serve scones, as well as other savoury and sweet options.

The most common jam to serve at high tea is strawberry, but any berry flavour is a great choice. You might also try some lemon curd, a great option for the lemon lover, and usually available with the jams at the grocery store. 

The scones are best if fresh baked.  Plain scones or raisin scones are traditional, but you can experiment with all kinds of flavours.  My favourite easy scone recipe is our Easy Food Processor Scones -click here for the recipe.  You don't have to make your own though, you can pick them up at a bakery if that's easier for you.

tea party menu ideasYou might also like these chocolate scones for the chocolate lover -recipe here.

Crumpets

Along the lines of a scone course, sometimes you will be served a crumpet at a tea party. It's toasted with butter and usually served with honey or jam. 

Savoury Tea Party Food Ideas

Tea Sandwiches

  • Tea Sandwiches -Cucumber, Tuna, Egg Salad, Chicken Salad, Ham and Cheese, Salmon
  • For Children -Peanut Butter and Jam, Cream Cheese and Jam

For an afternoon tea there is a course of savoury snacks served at a tea party, which includes a variety of options. The most classic of which would be tea sandwiches. These come in all kinds of varieties, but are usually dainty and small snacks. They often have the crusts removed and are cut into very small manageable pieces. Sometimes they are open faced as well. Try cutting each variety into a different shape -some square, some triangle, some rectangle for variety. 

tea sandwiches

Small buns or mini croissants or toast cups are also an option for small sandwiches. These can be a great addition to add some interest to the selection. 

what tea sandwiches to serve at a tea party

Cucumber Sandwiches are a tea party classic.  You might also like egg salad tea sandwiches, tuna, or chicken salad toast cups.  Another popular choice would be ham and cheese, or salmon.  

egg salad tea sandwiches

You might also like our Easy Turkey and Cranberry Mayo sandwiches recipe here.  They're perfect for a tea party.

Also try our Chicken Salad cups recipe here.  It's a favourite and guaranteed to impress your guests.  Make the chicken salad ahead of time and store in the fridge until ready to serve.  The toasts cups can be made a day ahead and stored in an airtight container as well.

Check out our complete tea party food guide for more ideas.

chicken salad tea sandwiches

How To Keep Them Moist

Most tea sandwiches are best served the day they are prepared, but they will keep a few hours so that you don't have to do everything last minute. Just be sure to store the sandwiches in an airtight container so that the bread doesn't dry out. Buttering the bread will help ensure that the fillings don't make the bread soggy. 

how to make tea sandwiches

Don't feel like you have to overboard on sandwiches. Even two kinds will create a nice afternoon tea, when served with scones and sweets as well. And remember that for afternoon tea you could usually count on 4 individual portions of sandwiches per person.

Ideas for Children

For kids, peanut butter and jam are a great choice. You might try using a cookie cutter to cut the sandwiches in pretty shapes like flowers or hearts. Another sweet option is cream cheese and jam. 

More Savoury Food Tea Party Options

  • Cheese and Crackers
  • Veggies and Dip
  • Quiche
  • Salad
  • Soup
  • Sausage Rolls 
  • Scotch Eggs

Although finger sandwiches are the most traditional option for a tea party there are other savoury options. Think small bites like cheese and crackers or veggies and dip, or even quiche, salad, or soup. Sometimes you might find the addition of some British favourites like sausage rolls, or scotch eggs. If you want to make your tea more of a hardy meal these can be great additions. Feel free to adapt your menu to suit your needs. There's no real rules, and you're free to make your tea party as traditional or untraditional as you want.

how to host a tea party at home

Sweets

Everyone's favourite part of the tea party has to be the sweets! And there is usually quite a few delicious options at a traditional tea party. I like to include something for everyone, so I often think about having something kind of plain and vanilla, something for the lemon lovers, something with berries, and something for the chocolate lovers. These are just a general guideline. You don't have to have that many options, and if you and your guest prefer one thing or dislike another go with that. If everyone is a chocolate lover, how about a chocolate themed tea party? 

  • A Vanilla or Plain Sweet
  • Lemon
  • Something Berry
  • A Chocolate Sweet
how to host a tea party

Keep It Small and Dainty

Like the sandwiches the sweets are usually small and dainty too. Often things are served in individual servings like tarts, mini cakes, and squares or cookies. You could also include a larger cake and serve slices, like a traditional Victoria sponge cake, but individual servings are dainty and easy for guests to help themselves.

what to do at a tea party

Trifle

Another sweet that's sometimes included at tea time is trifle, because it's so characteristically British -and delicious. For a tea party, these are usually served as a single serving, in a small bowl or glass. Traditional trifle is a great addition or for something different, try a chocolate trifle -find my recipe here.

chocolate trifle

Cookies

Because shortbread is such a classic British cookie -or biscuit as they'd say it's often included at a tea party.  These are easy to bake and can be made with so many different flavours.  Another favourite for a tea party are these jam jam cookies -see your recipe here.

what to serve at a tea party

Try our classic shortbread favourite here.

Sugar cookies are a great addition too -find our favourite sugar recipe here.

what to serve at a tea party

Pastries

Rather than a pie, small tarts are best for a tea party.  You might like our Brown Butter and Raspberry Tarts -find the recipe here.

how to host a tea party

Fancy peitete fours are often served at a tea party.  These treats might be best picked up at the bakery.  Or for a homemade version, cupcakes are always a great addition.

how to host a tea party

Although British, a tea party is a great time to serve fancy French pastries.  Although not as traditional any macarons, eclairs, cream puffs, Madelines, or other fancy French pastry treats are another great addition.  Try our homemade Pecan Madeline recipe here.

what to serve at a tea party

The Setting

A tea party is often served in the dining room, but how do you host a tea party if you don't have a dining room? A living room, or kitchen table is a great choice too. In fact you don't even have to be seated at a table for this meal. 

A garden is a great setting for a tea party as well, if you the weather is nice. And a tea party picnic -like the one we put together here is a fun idea too.  Find our Tea Party Picnic here.

tea party picnic

We've even hosted a tea party at a camp site -check it out here.  

tea party picnic ideas

If you don't have formal dining room don't worry.

how to host a tea party

Tea Party Decor Ideas

When you're considering how to host a tea party, you must think about the tea party decor. A tea party is a great excuse to get a little fancy with things like a table cloth, real cloth napkins, vintage tea cups, and teaspoons. But again, if you prefer more informal you can make it whatever you want it to be. 

Vintage teacups and pots are an easy item to find at your local thrift store. If you don't have a matching tea set, don't worry. The teacups don't need to match, so it's a fun item to pick them up as you see them.

how to set the table for a tea party

Most if not all of the foods at your tea party will be finger foods so there's usually no need for much cutlery. Guests may need a tea spoon for their tea, and knife to spread butter, jam, and cream on their scones.

Set each spot at thee table setting with a plate, or side plate and a tea cup.

Flowers

A centre piece of flowers on the table is always a nice addition. There isn't too much need for much else on the table, since the food and the tea are the stars of the show.

tea party tablescape

Three Tiered Tray

If you do love the old traditional feel, afternoon tea is traditionally served on a three tiered tray. The bottom layer is savoury and sandwiches, the middle layer is scones, and the top layer is sweets. In fancy hotels when tea is served is this way there's usually one or two people's servings per tray, and they each get one of each item. At home you can use this method also, or serve everything on platers or a cake stand so guests can help themselves. I usually find guests can eat a surprising number of those little tea sandwiches. 😉

Make Ahead

One of the great things about a tea party is that it's all usually made ahead and served all at once. So beyond making more hot tea as necessary, the host can enjoy the party too. 

You can make many of the tea sandwich fillings and sweets the day before your party -or pick them up at the store. And, you can set the table the day before as well. 

The morning of the tea party, make your tea sandwiches and wrap them tightly, and add flowers to the table.

how to host a tea party at home

After you're dressed and ready for the party, put out all the food on trays, and wrap with plastic wrap until the guests arrive. Right before your guests arrive, also fill your kettle and boil it. Have teapots ready with tea bags. When guests sit down to eat, serve everyone a cup of tea. 

Make sure you have milk (milk is served with tea rather than cream) and sugar on the table for guest to help themselves. You might also include lemon wedges and honey as another option for guest to add to their tea. 

what to make for a tea party

As the tea party continues check that the tea stays hot and make fresh pots of tea as necessary.

Party Favours

Party favours are never necessary but always a nice addition to any party. A great party favour for a tea party would be a vintage tea cup to take home. Another nice option would be a box of your favourite tea, perhaps with a few homemade cookies with it. Any small item that goes with our theme of a tea party would be a lovely take home gift. These are especially nice if you're tea party is for a baby shower or a birthday celebration.

tea party ideas

With all these ideas on how to host a tea party at home, life really is a party!

More Inspiration On How To Host A Tea Party

  • Adult mermaid party table set on the beach with cake and shells.
    Adult Mermaid Party Ideas: A Beach Picnic Goodbye to Summer
  • Overhead view of tomato party table with pizza and appetizers.
    The Ultimate Tomato Party: A Tomato Girl Summer Garden Gathering
  • Stack of Oreo marshmallows with cookies and cream coating next to whole Oreo cookies.
    Oreo Marshmallows
  • Stack of chocolate marshmallows dusted with cocoa coating.
    Chocolate Marshmallows

Home Coffee Station Ideas

Apr 26, 2021 · Leave a Comment

at home coffee station

Home Coffee Station Ideas: set up a special spot at home for everything you need to make the perfect coffee -or tea!

at home coffee station
[feast_advanced_jump_to]

Today we're sharing home coffee station ideas.  There's nothing nicer than having a DIY coffee bar at home, complete with everything you need to make the perfect cup of tea or coffee.  We partnered with Cricut to create this space with some beautiful Cricut coffee station DIY decor including a Cricut coffee bar sign, customized canisters, and customized vintage tea cups.

coffee station ideas

What is a coffee station?

A coffee station is a spot to hold everything you need for coffee time.  With everything all in one place it's easy to access anytime you want it.  No looking for supplies in cupboards or drawers, it's all in one easy to find spot, where you can get it quickly and easily.  It's perfect for any coffee lover.  It provides easy access to all the coffee essentials in one dedicated space.  You might want to also include items for tea, if you're also a tea drinker.

We love a designated coffee station in the kitchen.  Choose a small space in part of your kitchen for all your coffee supplies like a counter space, on your open shelving, or even on a bar cart or small table.  Set up your perfect spot somewhere that you can plug in your small appliances like your coffee machine, kettle, or coffee beans grinder.

This idea is also perfect for entertaining. Guests can easily help themselves to a coffee with all the fixings. It's amazing if you're thinking of hosting a DIY coffee shop at home party like we did.

What should you include in a coffee station?

  • ground coffee
  • sugar
  • tea
  • cups
  • coffee press
  • spoons
  • cookies

For our coffee station we started with the most basic supplies.  We added some canisters of freshly ground coffee, tea bags, and sugar.  These are the items we use everyday so we wanted them close at hand.  You might consider also including flavoured coffees, different sugars (white, brown, raw), honey, decaf coffee, or different teas.  It's totally up to you and what you use everyday, or what you think guests might enjoy.

how to make canister labels with your cricut

Labeling Your Canisters

We made custom labels for our different canisters to make finding all our coffee-making essentials really easy and convenient.  The canisters are mismatched to add some interest design style to the space.  I used Cricut premium vinyl to cut out the words for my labels with the Cricut Maker.  After weeding the words, I used Cricut transfer tape to apply them to the bamboo container lids.  Be sure to hand wash for best results.

Get the cut file for the canister project in our Free Resource Library.  Sign up below for instant access.

coffee and tea bar
how to make canister labels with your cricut
cricut canister labels

Coffee Maker, Espresso Machine, or French Press?

Every coffee drinker will likely give you a different answer to this question.  Some people love the convenience of a coffee maker as part of their coffee station, especially the single serve options that take the little coffee pods and are great for brewing a single cup of coffee.  There's no question these are really convenient.  Other's crave a more genuine coffee shop feeling with their own espresso machine, where they can froth milk, and make lots of different options.  These machines come in all different options, some even grind fresh coffee grounds for each cup.  These are such a great coffee station option if you have the space and want to take your at-home coffee to the next level and turn your own kitchen into your favorite coffee shop.  

DIY coffee station ideas

For a small kitchen at home coffee station though, I love the simplicity and the great taste of using a french press coffee pot, or pour-over coffee maker.  With these options, you'll also need a kettle near by to boil the water.  These options are both real favorites of many coffee lovers.  I will always remember having French press coffee in Paris in our hotel every morning.  They would bring a pot to the table, along with a pot of steamed milk.  That's where I fell in love with a cafe au lait, and I've been enjoying them every since for my morning coffee.  At home we usually just heat up the milk in the microwave and use a mini frother.

cricut mugs

Whatever way you like your coffee, be sure to include it in your home coffee bar set up.

Can I have tea at my coffee bar too?

You can have anything you want at your coffee bar!  So if you love tea, why not include it too.  I have a canister of tea here.  I'm not a huge fan of flavoured tea, but if you love it, be sure to add some of it to your own coffee station -or should we say hot drinks station?  Some people like to include hot chocolate as well.

how to make an at home coffee station

I love tea and had to include it here.  We usually start the day with coffee and then switch over to tea, but honestly I love both!  

Freshly Brewed Happiness Sign

It's always fun to include a few fun decor pieces in your kitchen coffee bar set up like this, and since I was including tea and coffee at my station I thought this "Freshly Brewed Happiness" sign was perfect for both.  This little project was really easy to make on my Cricut machine and such a cute addition to the space as a fun focal point.  

coffee sign ideas

Materials:

  • acrylic picture frame
  • pink premium vinyl
  • black premium vinyl
  • transfer tape
  • Freshly Brewed Happiness cut file
  • Cricut Maker
  • Cricut mat

You can access the free pattern to make these on your Cricut in our Free Resource Library.  Subscribers receive free instant access.  Sign up below.

How To Make The Freshly Brewed Happiness Sign

1. To make this little sign I used a small tabletop frame from Ikea.  It comes with clear acrylic, so it's works perfect to create a see-through piece with the vinyl stuck to it.  Use removable vinyl if you want to be able to reuse it.

2. Use this cut file to make this project.  Follow the instructions in Design space to cut out the pink (or whichever colour you prefer) floral backdrop.  Then cut out the lettering in black.

cricut acrylic sign ideas

3. Carefully weed the cut vinyl pieces to remove the vinyl around the pattern or words.  

4. Use transfer tape, and stick it on top of your finished vinyl, then transfer first the floral backdrop, then the lettering over top, onto the acrylic piece of the picture frame.

coffee themed craft ideas
coffee station sign

Cups

It's fun to include a variety of different cups and coffee mugs to choose from.  I love vintage items, so I thought it would be fun to include some vintage tea cups, and give them a modern makeover for our DIY coffee station.  

how to use your vintage teacups
how to make a coffee station
DIY Cricut Mug/Tea Cup

I've noticed lots of pretty mugs lately that have a little bit of text on them that looks handwritten.  I thought it would be fun to give some antique cups from the thrift store a makeover using my Cricut.  We used a couple of sweet phrases for my cups including "I love you.... a lot." and "Good morning", you can find my free cut file to make these our Free Resource Library.  Subscribe below for instant access, then upload into Cricut Design Space to use.

I cut these out with black premium vinyl and used transfer tape to add them to my vintage cups.  One little tip:  it can be tricky to make the writing look straight since you're adding it to a curved surface.  Cut the phrases into individual words so that you can line them up on the cups more easily.  Be sure to hand-wash these cups afterwards for the best results.

how to add cricut vinyl to a mug

I love these little cups and how they have been modernized by these sweet phrases.  This would also be really cute on regular coffee cups, if you wanted something larger than vintage teacups.  Also be sure to include all your regular favorite mugs.  Another fun idea is to change up the mugs seasonally to fit different holidays or occasions.

cricut mug ideas

Cream or Milk

We love a little milk in our coffee and tea around here, but needed to keep it in the fridge.  Some people like a flavoured creamer, or there's lots of non-dairy options too like oat milk, or almond milk.  We keep ours in our large fridge, but a great addition to a coffee station that many people enjoy is a small bar fridge to keep these options close at hand.  This is especially great if your coffee station isn't in the kitchen.  If you have a little coffee nook set up in your home office, dining room, or your living room.

mini diffidai in a green bottle

More Coffee Station Ideas

It's always fun to include some fresh flowers, and a candle.  But you also might like to add something sweet.  We made some fresh chocolate chip cookies and added them in a canister.  Biscotti would be a great addition too.  Really any cookie, wouldn't go amiss.

coffee bar ideas

You might also like other coffee accessories like some flavoured syrups.  These are so popular at coffee shops and lots of people really enjoy them in their coffees at home too.  You can buy the bottles of flavoured syrups at home stores, or on-line, and get the pumps to make them really easy to use.  I'm personally not a big fan of them, so I didn't include them here, but add it to your at-home coffee station if it's something you enjoy.

Some people also love a little sprinkle of cocoa or cinnamon on their coffee drinks.  If you love that too, be sure to include a little container with a shaker lid to make topping of your drink easy.  There's plenty of ways to make your coffee feel extra special.

coffee bar ideas

All these DIY projects are an easy way to create a great spot to make your morning coffee -or afternoon coffee, or evening coffee!  With all these at home coffee station ideas, life really is a party!

This post is sponsored by Cricut.  As always, all opinions are my own.  Thanks for supporting the brands that make Life is a Party possible.

More Inspiration

You might also like our Keto Ice Cap Recipe here.

Keto Ice Cappacino Recipe -you don't have to miss out on your favourite summer coffee treat, this keto friendly recipe is easy and delicious.

Also check out our Coconut Hot Chocolate Recipe here.

Hot Chocolate with Coconut Milk: it's easy to make and so delicious, perfect for anyone with dietary restrictions, or vegatarian.

You might also enjoy our White Hot Chocolate Buffet here.

Mushroom Swiss Burger Recipe

Apr 23, 2021 · Leave a Comment

mushroom Swiss sliders

Mushroom Swiss Burger Recipe: these homemade sliders are easy to make and a real crowd pleaser, the perfect combination of flavours.

mushroom Swiss sliders
[feast_advanced_jump_to]

Try our Mushroom Swiss Burger Recipe.  We love these mushroom Swiss sliders, because they're something a little different then your everyday burger.  They are perfect for a party, and guests always love them.  The juicy burger is covered in delicious sauteed mushrooms and onions, plus melted swiss cheese.  These little sliders deliver tons of flavor in every bite.  They're a burger dream come true.  You will love this homemade mushroom swiss burger easy recipe made with simple ingredients.

Slider Size

My favourite way to make these is as mushroom Swiss sliders.  They're a perfect few bites.  Why is everything mini size just so much yummier?  Enjoy a few mini burgers, or opt for the regular size.  Either way they're burger perfection.

Perfect For A Party

We love these for a party.  Unlike your average burger where everyone has their own preference of toppings, these guys come with the perfect combo of mouthwatering mushrooms, melty swiss cheese, and sauce so there's no need to worry about having to fuss with the ketchup, mustard, or relish.  Leave the traditional condiments aside for these homemade mushroom swiss burgers.  Not having to worry about everyone dressing their own burger makes this mouthwatering mushroom swiss burger recipe absolutely perfect for passing at a party.  The whole family will love them.  Add a cute cocktail stick to hold them all together and serve with mini containers of potatoes chips, french fries, or sweet potato fries for the perfect combo.  

mushroom Swiss burger recipe

Easy To Make

We've kept these burgers really easy to make.  You'll get all the benefit of a homemade juicy beef patty, in terms of taste and freshness, but none of the hassle.  We're using a package of onion soup mix for all our spices and burger seasoning, and it's the simple short cut that makes these homemade burger patties so simple to make.

Make Ahead

If you're making them for a party make the hamburger patties up ahead of time and keep in the fridge until you're ready to cook them.

Choosing Your Beef

You can use lean ground beef, extra lean, or medium ground beef in this recipe, whatever your preferred ground beef is.  Keep in mind that fat adds flavour.  We choose a medium for ours and they made really delicious and moist homemade burgers.

Forming Your Patties

Making homemade burger patties results in great tasting burgers.  They're fresh and delicious, and you will definitely notice a difference from store-bought frozen ones.  They are worth the little bit more extra effort.  Keep in mind when you're forming them that they will shrink slightly when they cook, especially if you use a ground beef with a higher fat content like medium.  Make them a little larger than your hamburger buns for the best results, and don't make them too thick, or they'll end up looking more like meat balls rather than burger patties once they're cooked.

Mushroom Topping

This easy mushroom topping takes these little sliders to the next level.  There's nothing complicated here to worry about, just tons of flavour!  

We love the classic and inexpensive white button mushrooms for this recipe, but you can always experiment with different kinds of mushrooms here.  Use your favourite, or try a combination of white mushrooms, cremini mushrooms, and portobello mushrooms.  You can't really go wrong with fried mushrooms!

We love added some caramelized sweet onions to our mushroom mixture too.  The sweet yellow onion adds some sweetness and so much flavor, and are a great addition.  

how to make a mushroom Swiss burger

HP Sauce

There's nothing like a great condiment to take a dish to the next level.  Every great burger needs a little sauce to elevate it.  We landed on classic HP sauce.  It's so great used here to add a little tang.  It's such a rich sauce that a little goes a long way.  This sauce always reminds me of my childhood, since it was a favourite of my dad's growing up.  There's a reason it's a classic it adds so much to these burgers.

Other Sauce Options

Looking for some other sauce options to add to the top of the burgers?  Mayo is a great choice too.  It adds some creaminess and would be a delicious choice.  Even better would be a garlic mayo or garlic aioli.  And if you wanted to add some spice, a spicy mayo would work well here too.

Another great option would be your favourite bbq sauce.  Add smoke or sweetness to the burger with your favourite bbq sauce.

mushroom Swiss burger recipe

The Bun

We opted for brioche buns for our burgers and they're the perfect choice.  They're soft and slightly sweet, and work really well for this recipe.  Look for the slider size at the grocery store.

If you want to you could toast the brioche buns as well.  Spread each side with a little butter and place on the grill for few minutes, or in a frying pan until just toasted golden brown and serve hot.

Cooking

A grilled burger is always a better burger.  It adds that smoky charred taste that we love when we think about burgers.  And if it's the right time of year, cooking the burgers on bbq will differently be a great choice for these.  For the mushroom and onion topping, you can cook it ahead of time in a frying pan inside, use a side burner on your bbq if you have one, or use your frying pan on the grill.  Whichever you prefer.

But if you don't have access to a bbq, feel free to cook these in a large skillet indoors on your stove.  They will still be delicious.

mushroom Swiss sliders

These really are the perfect burger, if you're a fan of mushrooms and nutty swiss cheese.  We love these gourmet burgers for entertaining.  Be prepared for them to disappear fast.

Recipe

mushroom Swiss sliders

Mushroom Swiss Burger Recipe

Slider burgers topped with sautéed mushrooms and onions and topped with Swiss cheese.
No ratings yet
Print Pin Rate
Course: Main
Cuisine: American
Prep Time: 15 minutes minutes
Cook Time: 15 minutes minutes
Total Time: 30 minutes minutes
Servings: 8 Sliders
Calories: 357kcal
Author: Dannyelle Nicolle-Ramjist

Ingredients

  • 1 lb ground beef
  • 1 pkg onion soup mix
  • 1 egg
  • brioche mini buns
  • 8 oz mushrooms sliced
  • 1 onion sliced
  • 1 tablespoon butter
  • 1 teaspoon Worcestershire sauce
  • ½ teaspoon salt
  • ¼ teaspoon pepper
  • 8 slices Swiss cheese
  • 3 tablespoon HP steak sauce

Instructions

  • Combine ground beef, onion soup mix, and egg in a large mixing bowl, and combine. Form into about 8 mini slider patties.
  • Melt butter in a large frying pan and add the butter, sliced mushrooms, sliced onion, Worcestershire sauce, salt, and pepper. Cook over a medium heat, until the onions are translucent and the mushrooms are cooked.
  • Grill the slider patties on the bbq or cook in a large frying pan over medium heat. Once fully cooked, add a slice of swiss cheese to each burger patty so it can melt.
  • To assemble the mushroom Swiss sliders, cut open a brioche bun, add the burger, top with sautéed mushrooms and onions, and add about a teaspoon of HP steak sauce or to taste. Enjoy

Notes

Not a fan of HP sauce? Try using bbq sauce or mayo instead.

Nutrition

Serving: 1g | Calories: 357kcal | Carbohydrates: 12g | Protein: 26g | Fat: 23g | Saturated Fat: 11g | Polyunsaturated Fat: 9g | Trans Fat: 1g | Cholesterol: 116mg | Sodium: 521mg | Fiber: 1g | Sugar: 3g
Tried this Recipe? Tag me Today!Mention @LifeisaParty or tag #lifeisaparty!

With these delicious Mushroom Swiss sliders, life really is a party!

More Burger Inspiration

You might also like our Burger Bar here.

Canada Day bbq with make your own burger bar set up.

Also check out our St. Patrick's Day Burgers here.

You might also enjoy our Heart Shaped Burger with Homemade Buns here.

Heart Shaped Burgers: recipes to make heart shaped hamburger patties and heart shaped burger buns in your bread machine or by hand.

Free Printable Easter Jokes

Apr 1, 2021 · Leave a Comment

free printable Easter jokes

Easter Jokes: bring a smile with clean, kid-friendly jokes. Free printable perfect for egg stuffers, lunch box notes, and more.

free printable Easter jokes
[feast_advanced_jump_to]

What holiday couldn't use a good joke? You'll love our free printable Easter Jokes to add a little laugher to your Easter holiday.  These are one of our favorite things for having some Easter fun. Get the free printable jokes pdf at the bottom of this post.  

Easter jokes

Use As Non-Candy Egg Stuffers

You might be looking for an alternative to candy for your Easter egg hunts this year, or even with candy these funny Easter jokes are so much fun. Tuck them in with your jelly beans, a chocolate bunny, or chocolate eggs for a very happy Easter. Print and cut out our 12 jokes, fold them up and add them your Easter eggs to up the fun factor on your next Easter egg hunt.  Any little girl or boy would love them.

Easter jokes

Easter Joke Lunch Box Notes

These free printable Easter jokes also make perfect Easter lunch box jokes. Add your own personal message to the back of your favorite Easter joke, and send a smile in your child's lunchbox. These fun Easter jokes are sure to add a bit of fun and a good laugh to the lunch table, and are the best way to add a silly joke to your child's lunch time. School days just got better -and funnier.

free printable Easter jokes

Other Ideas

These printable silly Easter jokes will add a little fun to any Easter celebration. One idea is to use them as gift tags for your Easter basket or attached to Easter candy or other treats for the whole family. The first thing is to print on cardstock, and cut with a paper cutter. Then punch a hole, and attach with ribbon.  Tie these onto an Easter bunny or a package of Easter eggs, or even a coffee gift card for a perfect small gift for neighbours, Sunday school teachers, teachers, or coaches.  

Easter jokes

You might also like to use them as an addition to your Easter table. Place one at each place setting and have fun cracking each other up during Easter brunch or Easter dinner. Share these Dad jokes with your Dad this Easter, or anyone else in your family that loves good Easter puns. Any smarty pants will love them.  

Easter jokes

The possibilities of how to use these sweet printable jokes are endless, so use your imagination and have fun with them!

How To Get Your Free Printable Easter Jokes

These and many other free printables are available to subscribers in our Free Printable Library. As soon as you subscribe below you'll receive instant free access to the free printable jokes as a thank you from us for subscribing. Or purchase the Easter jokes here. These are for personal use only.

Whether you're using these free printable Easter joke cards as the perfect way to fill your Easter eggs, or tucked in a school lunch box for your little honey bunny, or as a great way to spread some laughter around your Easter dinner table.

With free Easter jokes to help you have a great time and be a real funny bunny, life really is a party!

More Easter Inspiration

You might also like our Bunny Bait Easter Trail Mix Recipe and Printable here.

Also check out Easter Table Ideas here.

Easter Table Ideas: bunny plates and chairs made from dollar store bunny ears and tails add some whimsy to this pastel & iridescent table.

You might also enjoy Free Vintage Easter Printables here.

Free Vintage Easter Printables: these antique Easter postcards are available as a free download, to print and enjoy for decor, and crafting.

Pink Outer Space Themed Party

Mar 26, 2021 · Leave a Comment

space themed party star moon

Pink Space Themed Party: "I love you to the moon and back" themed star and space party with pink, and iridescent celestial accents.

space themed party star moon
[feast_advanced_jump_to]

If you're looking for a fun way to celebrate a little astronaut, then this pink space theme party is perfect.  This would be an out of this world idea for celebrating a kids' birthday party or even a baby shower or engagement party.  We used used the "I love you to the moon and back" to set the stage for space party decor and food.  If you were celebrating a two year olds birthday change out "to" for "two"!  This would also be so sweet as a first birthday party theme too.  Our party was aged at teen girls and they loved it.  You might have to make a few adjustments to younger guests.

Pink

I worked with Cricut to create all the party decor for this beautiful space themed party.  I love stars, so I used lots of them in the decor.  And, just to put my own spin on the space theme, it's a pink space themed party!  We created the "I love you to the moon and back" banner, star table scatter, cupcake pics, customized juice bottles, and stardust party favors all using our Cricut Maker machine.  It was fun to DIY so many of our outer space party supplies, and create them in our own custom colour scheme.

The colour scheme for the party was pink, iridescent, white and gold.  I had so much fun adding all the pretty pink details.  It's perfect for a pink lover!  It was so fun to take a theme that can be very masculine and little boy oriented and give it a girly pink makeover.  I love this theme for any mini astronauts, whether boys or girls.  With the right decor, this theme is one of the prettiest parties ever.

space themed party ideas

The Space Themed Backdrop

I started out with the fun "I love you to the moon and back" banner, which I created on my Cricut Maker.  It set the stage for the whole theme.  You can find the cut file here.  I cut it with gold glitter cardstock, and hung it with some thread.  Just use clear tape on the back to attach the letters to thread.

pink space party

Along with the pretty banner, I also added in some star balloons from the party store.  The balloons are in our themed colours pink, white, gold and iridescent.  This made the perfect backdrop for our food table.

boho pink space party

Instead of flowers for this party, I added in some pampas grass for a fun boho touch.  The grasses are in some vintage demi John bottles.  This is such a great option when you can't do fresh flowers.

boho pink space themed party

The Pink Space Party Themed Food Table

love you to the moon and back party

It's always nice to have some space-themed food snacks and treats.  I made some food tent labels for the food on using my Cricut so everyone would know exactly what everything was.  The food tent labels are so easy to make on the Cricut Maker, because it writes, scores, and cuts the cards all at once.  You can find my cut file here to create your own, and modify the food names right inside Cricut Design Space.

star themed cupcakes

Galaxy Chocolate Bark

space galaxy chocolate bark

The galaxy chocolate bark is so easy to make and one of my favorite ideas.  Just melt some white chocolate and pink chocolate. Pour it out onto a baking tray lined with parchment paper, and while the chocolate is still melted run a knife through it to create the marble effect.  Next, add sprinkles, including star sprinkles.  My favourite addition was to finish it off with some edible glitter.  I used iridescent and gold glitter to finish off our galaxy chocolate bark.  Once it's set, break it into pieces and enjoy.  This was such a yummy treat to enjoy at the party, but it would also make a great favor in a goody bag.  Just add some to a cello bag and tie with pretty ribbon for gift giving at the end of the party.

pink galaxy space chocolate bark

Lemonade

To serve the pink lemonade, I used some upcycled juice bottles and gave them a little Cricut makeover.  This was one of my favourite projects for the party.

cricut party decor ideas

I used iridescent removable vinyl to create the stars -find the cut file here.  Cut out a sheet of the removable vinyl on the Cricut Maker. To add the stars for the party just peel them off the vinyl backing and stick them to the outside of the bottles, and then you can remove them after the party.  I love the iridescent vinyl, and it adds such a fun space-y effect.  Because this is removable vinyl, you could add them to any glassware, and just remove them afterwards.  Although, they're so pretty, you might not want to remove them.  It's the perfect way to add outer space décor to the party, using what you already have.

cricut party decorations

We also used some iridescent straws to match.  I cut out some small stars from glitter cardstock and used a little hot glue to attach them to the straws. They matched our our of this world space-themed birthday party perfectly.

how to make party decorations with your cricut

Star Sugar Cookies

I used my favourite sugar cookie recipe -the one my Grandma used to make and cut them out in star shapes with star cookie cutter for our space themed party.  We also made a few moons as well.

star sugar cookies

To create the marble effect I used a really simple and fun icing technique.  Make a really runny icing with icing sugar, milk, and a little vanilla.  Remove about a ¼ cup and use pink food colouring to make it dark pink.  To create the marble effect, add a few spoons of pink to the white icing and use a knife to marble it, then dip in the cookie. Let set before serving.  This fun idea is really quick to make and creates such a cool effect.  I love how the stars turned out, but you could also use this method to make solar system cookies in fun shapes, with different planets and moon rocks.  

If your party guests are old enough, cookie decorating is always a fun at a kid's birthday party.  Set up a little table in the party venue for cookie decorating with the marble effect, or with piping bags and sprinkles and let guests make their our yummy treats.

marbled star sugar cookies
pink star space sugar cookies

Popcorn

Popcorn is always a fun addition to a party.  I used some pretty iridescent paper cups to create single servings, perfect for a get together.

popcorn in a iridescent cup
star themed party

Cupcakes

space themed party

We had simple vanilla cupcakes and created beautiful cupcake toppers using the Cricut.  I cut out glitter cardstock in iridescent, pink, and gold, and also metallic gold cardstock.  Some of the stars from this cut file I used on the cupcakes, along with a gold moon.  After cutting them out, I used hot glue to attach them to wood stir sticks.  They were a really fun addition to plain cupcakes and a great way to turn them into themed snacks.  

I love using cupcakes for  any special occasion.  They're a great alternative to a themed birthday cake.  Cupcakes are so much easier to serve, since you don't need to cut them, or supply forks, and they're usually much more inexpensive.  They're perfect for little kids, or adults.  I made my own, but you could also pick them up at the grocery store, and then add the cupcakes pics as the easy way to match the theme.

cricut party decorations

To decorate the food table I used some star table scatter that I also made on the Cricut.  Using this star cut file, I added some of the stars to the table and used some as the cupcake toppers.

star cupcake pics
space themed star cupcakes

The Star Tablescape

star themed tablescape
pink boho space star themed party

I thought it would be fun to do a coffee table boho picnic tablescape for this party.  This would work for kids or adults.  I started out with the table and used lots of comfy sheepskins and pillows around it for seating in our party room.  I used some white tulle as a table covering.  It reminded me of the Milky Way and added that cool dreamy feel to the table.  You can find it at the fabric store for a great price, and you don't need to sew the edges, so it's a fun option for a table.

star themed table

We had some cute star plates that were perfect for the theme.  The iridescent champagne flutes worked great for this table too.  If you had younger party guests you could look for a plastic option.

space themed party table
space themed tablescape

I made the placards, using the same Cricut cut file here, that I used for the food labels.

how to make place cards with a cricut

You can edit the names in Cricut Design Space for your own party.  I really love how easy these were to create, since the Cricut can write, score, and cut them out all at once.

space themed party
pink space themed party

I also used more of the star table scatter here that I made from the glitter cardstock.  As a centerpiece on the table I used a collection of pretty iridescent candles that worked perfectly for them, and some star mini string lights.  I thought the disco mirrored ball was a fun space-y addition too.

star themed party ideas
star themed table

Star Dust

Another favourite project for this party were the little star dust bottles.  They were a cute addition to the table and made a great party favors for guests to take home or add to a goodie bag.

DIY stardust glitter bottles

Recipe

Small glass bottle filled wth glitter and labeled stardust.

Star Dust Bottles

No ratings yet
Print Pin Rate
Cook Time: 15 minutes minutes
Total Time: 15 minutes minutes
Author: Dannyelle Nicolle-Ramjist

Equipment

  • Cricut Maker
  • Cricut Cutting Mat

Materials

  • cardstock
  • mini glass bottles
  • pink ribbon
  • star charm
  • iridescent glitter
  • glue optional

Instructions

  • Start by creating the star dust labels using this cut file in Cricut design space.
  • Add your card stock to the cutting mat, and load the mat into the Cricut. Select medium card stock as your material, and add the fine marker to the first clamp, as prompted in Cricut Design Space, then hit cut. Once the tag is all finished being written and cut out, remove the cutting mat from the Cricut machine.
  • To remove the tag from the cutting mat, gently bend the cutting mat slightly,and peel the card stock from it.
  • Fill each glass bottle with iridescent glitter. As an option, you might want to glue the lid onto the bottles after the glitter is added to avoid any messes.
  • Use the pink ribbon to tie on the star dust label, and a small star charm.
stardust bottles
star and moon themed party

This party was so much fun to create, and couldn't be cuter!  We made so many great projects for the party with the Cricut.  It was a great way to customize and co-ordinate all our party details.

Star and Moon Cricut Cut File -here

Place Cards and Food Labels Cut File -here

Stardust Labels -here

Love You To The Moon And Back Banner -here

With a pink space themed party like this one, life really is a party!

This post is sponsored by Cricut.  As always, all opinions are my own.  Thanks for supporting the brands that make Life is a Party possible.

Free Vintage Easter Printables

Mar 24, 2021 · 4 Comments

vintage Easter card free printables

Free Vintage Easter Printables: these antique Easter postcards are available as a free download, to print and enjoy for decor, and crafting.

vintage Easter card free printables
[feast_advanced_jump_to]

These vintage images are so pretty.  The vintage Easter designs have the cutest graphics of Easter bunnies, Easter banners, colorful eggs, a hatching chick, and Easter eggs in an Easter basket.  The soft pastel colors of the vintage Easter images are perfect for spring.  These vintage Easter cards would be beautiful as part of your home decor for Easter and spring. free vintage Easter graphics

free printable Easter postcards

The History of Vintage Easter Postcards

I found these vintage cards at a little antique shop near my house. Unfortunately it has recently closed, but it had boxes and boxes of old antique postcards. Some were from travel, but there were also lots from different holidays. 

In the days before long distance phone calls were common, when there was no email, or you not could send a text, people sent these little postcards for holidays and occasions.  It was really common practise to send a greeting like this on special holidays.  Families often lived a great distance from each other, and travel was more expensive, took much longer, and was quite uncomfortable.  These little seasonal greetings were a great way to share with family that you were thinking of them on a special occasion and family celebrations like Easter weekend and send them some Easter blessings.  Postcards were more common than cards.  They were cheaper to send then a bulky Easter greeting card and envelope, and quick to write because of the small sizes of the writing space.  Vintage postcards were often saved for their pretty vintage pictures, and put on display for the season as Easter decor.   free printable Easter graphics Several of these postcards have a postmark on the back, one dates to 1907, one was mailed in 1908, and another in 1914.  It's incredible to think that they are over 100 years old.  I would assume that they're all from around the same time period.    Since these images are all over 100 years old, they're free from copyright.

free antique Easter printables

Dating The Vintage Cards

Several of these Easter cards have a postmark on the back.  One of them dates to 1907, one was mailed in 1908, and another in 1914.  It's incredible to think that they are over 100 years old.  I would assume that they're all from around the same time period.  Since this Easter art is all over 100 years old, these Easter prints are free from copyright, and are now public domain images.  Feel free to use these free images however you wish.

How To Use Them

There so many fun ways to use these.  Send one as an Easter card with Easter greetings, or use them in Easter craft projects.  The images make adorable gift tags.  Use these printable cards attached to a Easter gift, with the recipient's name written on the back.  These free vintage Easter cards would also make adorable place cards for your Easter party.  These are also beautiful as Easter decorations.  Use mini clothespins to clip them to a ribbon and make a printable banner with them for your dining or living room.  

These would also be great to use in scrapbooking or in junk journals.  These happy Easter images of Easter hares, and Easter eggs are the perfect addition to your Easter crafts.  Another fun Easter craft would be to use cut out the individual images and mod podge them onto Easter eggs.  These are great for all kinds of Easter crafting, because you're not cutting up or ruining the originals.  You can download the free image, and print them on your home printer on card stock or paper and use them in so many different ways.  That's one of the things I love about using digital images.

Subscribe For Free Printable Easter Cards

Since we all can't be so lucky as to find the antique ones, I thought it would be fun to share them as a printable.  You can download them for free from our Free Resource Library.  For instant access to the Free Resource Library, subscribe to Life is a Party below.  As a subscriber you'll be sent the access code as a thank you for subscribing, instantly, right to your inbox.

free vintage Easter printables I used the vintage Easter postcards as part of my Easter decor this year. They are a very pretty addition, displayed with some other Easter favourites. I love the vintage look and the cottagecore vibes.  What's also great about these vintage Easter postcards is how easy they are to store, since they're small and flat.  I can bring them out to decorate for one of my favorite holidays, year after year.   Last year I used them as a banner, and this year I did something a bit different with them.  They add a vintage feel to whatever you place them with.

free antique Easter graphics

With these beautiful free vintage printable Easter printables, life really is a party!

More Free Easter Printables

You might also like our Easter Bunny Bait, with printable label here.

 Also check out our Pastel Easter Table here.

Easter Table Ideas: bunny plates and chairs made from dollar store bunny ears and tails add some whimsy to this pastel & iridescent table. You might also enjoy DIY Bunny Treat Bag here.

Make your own bunny shaped treat bag sewing project for Easter.

Easter Table Ideas

Mar 22, 2021 · Leave a Comment

Easter table ideas

Easter Table Ideas: bunny plates and chairs made from dollar store bunny ears and tails add some whimsy to this pastel & iridescent table.

Easter table ideas

I had so much fun putting together this pastel Easter table full of fun Easter table ideas.  It's really easy to create, and so pretty.  It defiantly feels like spring with our bunny plates, and chairs.  The pops of iridescence and mirrored disco balls make it feel fun and modern too.

Easter table ideas

Easter Bunny Ears and Tails

For this table, I started out with these fun Easter bunny ears and tails from the dollar store.  They are the kind you buy for children, and really inexpensive.  To create my tablescape, I added the ears to some white dinner plates, to turn each one into little bunny plates.

pastel Easter table

The ears also come with little bunny tails, and I added them to the chairs.

Easter table ideas

This was so easy to do and couldn't be cuter.  These are sure to elicit smiles from kids and adults alike and perfect for any Easter or spring celebration, or family dinner.

how to set an Easter table

Place Settings

Since I was using plain white plates to create our bunnies, I want to add little more colour with the other pieces of the place settings.  

Easter table ideas

The iridescent accents for the whole table were inspired by the iridescent champagne flutes.  Not just for champagne, they'd be great for sparkling water, or fizzy lemonade too.  I also added some pretty purple wine glasses, because the purple worked so well for our pastel table.

Easter table ideas
Easter tablescape ideas

I used some simple pink napkins and added all the cutlery to one side, on the napkin for a casual feel.

how to set an Easter table

Easter Table Decor Ideas

I decided not to use any table cloth or runner on this table because I liked the contrast of the white plates and bunny ears against the dark wood.  I did create something like a runner out of some beautiful decor pieces.  

Easter table ideas

The colour scheme for the table was pastels and iridescent pieces.  I added a vase of fresh tulips, which always feel like spring.  

Easter table

There are also several iridescent pieces, including some glass Easter eggs, and several candle holders.

pastel Easter table

I also included a large mirrored ball for a little sparkle.  The mirrored balls inspired the mirrored ball Easter eggs that I found at the dollar store.  

mirrored Easter eggs disco ball

They're so pretty in their pastel colours.  I used some like pink bowls to hold them, and added a few to the table.

easy bunny cupcakes

Easter Treats

Easter Eggs In Vintage Teacups

It's always fun to include some treats on a table.  I found a few vintage teacups in pastel colours at the thrift store.  I added some mini eggs, which add some pretty pastel to the table as well.

Easter eggs
Easter eggs in a teacup

Bunny Cupcakes

I also made some adorable and easy bunny cupcakes.  I made simple vanilla cupcakes from a mix and iced them with some vanilla icing.  

bunny cupcakes Easter dessert

To turn the cupcake into bunnies, I made some ears from iridescent card stock.  These were really simple to make with some scissors.  I just eyeballed them.  Be sure to make them a little longer than you want them to be, with a slightly pointed end on them, which makes it really easy to add them to the cupcakes.

bunny cupcakes

Bunny Sugar Cookies

I made my favourite sugar cookies -using my Grandma's recipe here.  To ice them I used a marble icing technique.  

Easter sugar cookies

It's really simple to do, and quite quick too.  To make them, create a really runny icing with icing sugar, milk, and vanilla.  Remove a small amount from he icing and dye it pink.  Place the white icing in a shallow bowl, and add dollops of pink.  Use a knife to marble it together. Then dip the bunny cookie into the icing, and let the excess icing drip off.  Rest the iced cookies on some parchment paper, and after they set a few minutes, run a knife around the outside to remove and dripping icing.  Let them set completely before serving.

Easter sugar cookies
pastel Easter table

This pretty pastel Easter table was really fun to put together and feels perfect for any spring or Easter celebration.  

With these great Easter table ideas to create a beautiful tablescape, life really is a party!

More Inspiration

You might also like our spring garden inspired Easter Tablescape here.

Easter Tablescape

Also check out our Black and White Easter Table here.

You might also enjoy our Green, Black, and White Easter Table here.

Green, Black and White Easter Table: 8 different place settings to give you lots of inspiration for setting an extra special Easter Table.

Spring Decorating Ideas Home Tour

Mar 17, 2021 · 21 Comments

spring home decor ideas

Spring Decorating Ideas Home Tour: lots of plants, and touches of pastel, boho macrame and iridescent touches for spring.

spring home decor ideas
[feast_advanced_jump_to]

Today I'm sharing lots of spring decorating ideas for our spring home tour.  I've added lots of pretty pastel touches, some iridescent pieces, and lots of boho and plants for spring.  Bunnies and Easter eggs help make it feel like spring.

Adding Spring Touches

It's hard to believe that it's been a year since the world turned upside down.  I remember back then, we were wondering if a spring home tour was appropriate with everything that was going on -you can see last years spring home tour here. In the end we decided that there was nothing more appropriate than making our homes, where we would all be spending considerable more time, a place we love to be.  

A year into this situation though, I confess that I was feeling a little down and struggling to come up with some spring decor ideas and the energy to decorate a few weeks ago.  I pushed on though, and I'm so glad I did.  Once it was all tied up and the boxes put away, along with the clock change, and the weather improving here, it's felt like a bit of a breath of fresh air.  The colours and light, and plants have put a spring in all of our steps and I'm so glad I added some spring touches to my decor for my family to enjoy.  

Entry Way

Let's start in the entry way.  This table is always a favourite spot to decorate for each season.  This spring I've added lots of plants to help it feel like spring. The glass domes help make each plant feel special -including the little African violet in an eggshell planter, see how I made it here.  I've also added in a few pretty rocks in some different spots - the pastel colours seem perfect for spring.  The grasses and the mirrored pieces add some boho charm.

spring decorating ideas
spring is magic
spring home tour
Easter decorating ideas
boho spring decor ideas
mirrored Easter eggs

The Dining Room

In the dining room, I've kept the dining room table simple with this gorgeous candleholder.  My sister made it for me as a Christmas gift, and I love it.  For spring I've used all pink and white candles and it's the perfect striking piece.

boho spring decor home tour
DIY large wood candle holder
large candle holder wood DIY pink candles

In front of the window my little vintage bar cart is decked out with lots of plants for spring, and a few favourite pieces ready to set the table.

spring decorating ideas
spring home tour
how to decorate for spring
black and white teacups
spring bar cart

And at the other end of the dining room, our buffet has a collection of old glass containers sometimes called carboys or demijohns.  I filled them with some dried grasses.  I especially love the pink bunny tails for spring.

spring decorating ideas
pampas grass in a demijohn
pink pampas grass
how to decorate for spring

Spring Decorating Ideas In The Living Room

Into the living room, and there's more touches of pastels, plants, and iridescent to tie everything together.  One of my favourite ways to make decor look coherent is to repeat some elements through all the rooms on my main floor.  It helps tie things together, and feels pulled together.

At the bottom of the stairs between the living room and dining room I have room for a little vintage table.  I've kept it quite neutral with a few pretty spring touches. You can see how I made the macrame stair garland here.

spring home tour
neutral spring decor
spring decorating ideas

Into the living room, it's feel light and bring and ready for spring. I recently switched the couch and chair around and it's a been a nice change.  The coffee table decor actually inspired my whole spring look.  

how to decorate for spring

I had the whole main floor in a mess, switching things around for spring, and piles of decor everywhere.  I ended up with a rather pretty collection on the coffee table, of things I put together unintentionally there and loved.  It's my favourite spot.  I love the combination of the plant, the black lanterns to ground everything and help the pink and iridescent not read as too sweet.  The disco ball adds some sparkle, and the iridescent and the glass with the pink pieces feel so perfect for spring.

boho spring decor ideas
boho spring decor
spring decorating ideas
spring home tour

Fireplace Mantel

Over on the fireplace, I added more plants, and spring touches.

boho spring and Easter decor
spring mantel ideas

You can see how I made the macrame bunting here.  I also made some butterfly bunting out of some old book pages, and watercoloured a few of them green for spring.  I also picked up some craft eggs at the dollar store and painted them with iridescent paint.  The vintage trophies worked well as egg cups for these larger eggs -a fun spring decorating idea.

boho spring mantel ideas
boho spring decor ideas

Over on the other side of the room, there's a few spring touches too.  You might remember that I found this beautiful old tree branch out in the woods when I was getting Christmas greens.  It's covered in lichen I hung it up here at Christmas with some pretty ornaments hanging from it.  It was so pretty I didn't want to take it down.  For Valentine's Day I added some hanging hearts.  I'm still in love with it this spring, so I decided to add some hanging Easter eggs.  You can see how I made the gold leaf Easter eggs here.  I also made some iridescent eggs.  I used craft eggs from the dollar store and added some iridescent paint.  They're a really lovely addition.

spring and Easter decorating ideas
Easter egg tree
spring home tour

The Eating Area

spring table ideas

On the table I saved some of my favourites.  The glass iridescent eggs were a recent Homesense find, along with the large candle.  The mirrored Easter eggs are from the dollar store, and look sweet in a little pink bowl.  The mushrooms are an old favourite and no longer available, they're a favourite for spring.

Easter table ideas
how to decorate for spring
spring decorating ideas
mirrored Easter eggs
decorative mushrooms

Behind the table, on our little cabinet are a few more pretty spring additions.  The spring art work is available as a free download here.  The birds nest is a real one I found years ago on a walk.  There's more of the iridescent eggs I painted too.

spring free art printable
spring vignette

The Kitchen

The open shelves in the kitchen are always a favourite spot of mine to decorate.  The iridescent stemless champagne flutes were the first iridescent piece I found around Christmas.  I thought they were so fun and added a few iridescent touches to my Christmas decor to match with them.  This spring they worked so well with the pastels that I bought a few more pieces.  They're so rainbow-y and remind me of my childhood in the 90's, they can't help but make you smile.

On the shelves I've added more butterfly bunting like the one on the fireplace. There's also lots of plants, and touches of pastels, bunnies and eggs for spring.

kitchen open shelves
spring bunting
how to add spring touches to your open shelves
spring coffee station
open kitchen shelves decorated for spring
open kitchen shelves

Over on the other side of the kitchen, there's the my favourite Easter treat, hot cross buns.  And beside the sink, on the little wood pedestal there are some more sweet bunnies.  These look vintage but they were a HobbyLobby find a few years ago -back when we could still cross border shop.  There's also a sweet little real quails egg.  I found them in the egg section at my local grocery store and blew some out.  This one got a coat of iridescent paint and it's such a sweet little addition.  I always get caught up in the details.  The iridescent tea light holder is a find from dollar tree, and I've used a few of them here and there.

Easter egg tree
spring decorating ideas
Easter egg tree branch

And that's the tour for this spring.  I hope it's given you lots of spring decorating ideas.  Things like fresh green plants, and pretty pastels always make it feel like spring, and the iridescent touches are a nice fun addition.  

With the house all decorated for spring, life really is a party!

Spring Mantel Ideas

Mar 10, 2021 · 7 Comments

spring mantel ideas

Spring Mantel Ideas: inspired by spring picnics this mantel is decorated with vintage picnic baskets, and picnic art.

spring mantel ideas
[feast_advanced_jump_to]

Perhaps because we've all been home so long, or perhaps because it's spring and I can't wait for warmer weather to enjoy the outdoors, this mantel was inspired by the idea of a picnic.  I hope it fills you with lots of spring mantel ideas.

A Picnic Inspired Mantel

I love picnics.  What's not to love? Delicious food, beautiful outdoor setting, and great friends, who doesn't love a picnic? Well it's not quite picnic weather here, but it will be coming soon.  And we can always start with a little inspiration indoors like this.  I thought this was a fun idea for a mantel, and something a little bit different.

picnic inspired mantel

Story telling in decorating is always a great starting point, so I'm definitely thinking of picnic days with this decor.  I was inspired by my picnic basket collection.  These picnic baskets get used often when I'm styling picnics for the blog -check out all our past picnic posts here.  I recently made over my storage area, and where they had been scattered around in any spot I could find for them in the past, in the makeover they were all grouped together.  They looked so great, I thought they should be on display somewhere.

spring mantel ideas

Vintage Picnic Baskets

Since I have a corner fireplace, I always have to use something like a backdrop for the large mantel.  I usually use a mirror, or piece of art, but I thought it would be fun to stack up the baskets as a backdrop.  They're beautiful and full of texture.  That was my picnic inspired mantel starting point.

vintage picnic baskets

Picnic Art

I thought it would be fun to include some images of picnics.  There is actually so much picnic inspired art.  I found a few beautiful ones on-line.

Monet's Luncheon on the Grass is a beautiful one, and now public domain so you can download and print it.  The beautiful greens are so pretty for spring too.

how to decorate your mantel for spring

I also found this vintage black and white print called "A Picnic In The Park" from 1942.  Their outfits and the setting is so charming.  It looks great in a black and white frame.  I loved looking at picnic art some much, that I will definitely be on the look for it in the future, especially at antique stores, and the thrift store.

how to decorate a mantel for spring

More Picnic Inspired Decor

I actually fussed with this simple mantel for days, trying different versions of it.  The picnic baskets and the texture they bring, are probably my favourite part.  I also added in a vintage carboy in a wicker basket as well.

spring mantel ideas

It made me think of homemade wine at a European picnic.  I also added in some plants for the feeling of spring.  All the plants are in grey containers to help tie them together.

spring mantel
how to decorate your mantel for spring

Which Version Do You Like Best?

I tried layering the pictures, but they seemed like too much that way.

spring decorating ideas

I added a green wine bottle to tie in with the wine at the picnic in the Monet painting.

green mantel decor

Then, I tried a lighter bottle thinking there was too much green And, I thought the vintage trophy was a nice nod to picnic games of the past.  I even switched out the plants, thinking the vine was pretty, but the crocus felt more like spring.

spring mantel decor ideas

I'm not sure if I've landed on the final version yet, but I love the idea of a picnic inspired mantel to help me usher in picnic season.  Part of decorating should always be playing, and giving ourselves permission to try different things. Which version do you like?

Mini Chocolate Brownie Trifles

Mar 9, 2021 · 9 Comments

Individual chocolate brownie trifle in a glass with gold spoons.

These mini chocolate trifles are the easiest dessert you will make all year. Layers of fudgy brownie pieces, creamy chocolate pudding, fresh whipped cream, and crunchy toffee bar bits are all assembled in individual glasses so there is zero messy scooping and every single person gets a gorgeous portion.

Individual chocolate brownie trifle in a glass with gold spoons.

A Quick Look At This Recipe

  • 📋 Recipe: Mini Chocolate Trifles
  • ⏲️ Ready In: 20 min.
  • 👪 Servings: 4 individual trifles
  • 🔪 Difficulty: Easy
  • 💭 Top Tip: Spread each layer all the way to the edge of the glass so those beautiful stripes show from the outside.

Why You'll Love This Brownie Trifle Recipe

  • Individual servings mean no messy cutting or scooping and everyone gets their own perfectly portioned dessert.
  • Ready in 20 minutes with simple assembly and a few store-bought shortcuts.
  • Those gorgeous layers in clear glasses look absolutely stunning with almost no effort.
  • They taste even better after chilling a few hours or overnight, making them a perfect make-ahead dessert for entertaining.
  • Endlessly customizable, you can swap the candy bar, change the pudding flavor, or add your own toppings.
[feast_advanced_jump_to]

These individual brownie trifle cups are always a crowd pleaser and so easy to pull together. They are the perfect dessert for any chocolate lover. The best part? Making these in individual servings means no messy cutting or scooping at all. Everyone gets their own perfectly portioned dessert that looks like it came straight from a bakery. Plus they do not need to set the way a large trifle does, so you can make them ahead or serve them right away.

If you love chocolate desserts you might also enjoy our Easy Dirt Pudding Recipe - another no-stress crowd pleaser made with simple ingredients. You might also love our Individual Mini Trifle Cups, Caramel Apple Trifle,  Black Forest Trifle, our our Easter Trifle with Cadbury Mini Eggs.

Easy chocolate trifle made with store bought ingredients for chocolate lovers.

What Is a Chocolate Trifle?

A trifle is a classic English dessert built from layers of cake, custard, whipped cream, and often fruit or jelly. It is traditionally assembled in one large glass bowl so the layers are beautifully visible from the sides.

This version swaps sponge cake for rich fudgy brownies, uses chocolate pudding in place of custard, and is made in individual glasses instead of one large dish. You get all the drama of a classic trifle with none of the serving chaos.

Ingredients

Labeled ingredients for mini chocolate brownie trifles including two-bite brownies, Jello instant chocolate pudding, Skor bars, whipping cream, milk, sugar, and vanilla arranged on a wood table.

Find a full list of ingredients with measurements in the recipe card below.

  • Brownies: Two-bite brownies are a great store bought easy option or use your favorite homemade brownies cut into bite-sized pieces. Our One Bowl Brownie Recipe would be perfect.
  • Pudding: We used instant pudding made with milk, but you could also use already preprated chocolate pudding, or homemade chocolate pudding.
  • Whipped Cream: We used a few shortcuts for this recipe, but the whipped cream isn't one of them. We love homemade whipped cream. It only takes a few minutes to make and tastes so much better than a substitution like cool whip, but you can use whatever you prefer.
  • Toffee chocolate bars: Skor bars are the Canadian go-to and they are perfect here. In the US use Heath candy bars. Any hard toffee bar covered in chocolate works well, or substitute your favorite chocolate bar.
chocolate brownie trifle

What Glasses to Use

Any clear glass or jar in the 8 to 12 oz range works beautifully for individual trifles. Straight-sided glasses are ideal because you can see every layer from the outside. Mason jars, short juice glasses, or small dessert glasses all work well. The key is using a clear glass, as you want those gorgeous chocolate and cream stripes to show.

Variations

  • Peanut Butter Cup: Love peanut butter cups? Substitute them for the chocolate bars and add a peanut butter touch. You could also add some real chopped peanuts as well for a little crunch.
  • Turtle Chocolate Trifle: If you're a lover of turtles chocolates, substitute them in for the chocolate bar pieces. Also add some caramel sauce and/or chocolate sauce as an extra layer, or add a layer of butterscotch pudding too, and some chopped pecans.
  • Chocolate Covered Strawberry: Love chocolate covered strawberries? Omit the chocolate bar pieces and substitute layers fresh cut strawberries.
  • Black Forest Trifle: If you love Black Forest cake, add a layer of cherry pie filling to your chocolate trifle and substitute chocolate curls and chocolate shavings for the chocolate bar pieces. You could even use chocolate cake instead of the fudgy brownie bites.
  • For The Holidays: Add colorful red, green, and white sprinkles for Christmas, star sprinkles and sparklers for New Years, heart sprinkles for Valentine's Day.
  • Gluten Free: Substitute gluten-free brownies for the brownie chunks. Use a gluten-free box of brownie mix to make the brownies. The pudding, skor bar, and whipped cream are all gluten-free.
  • Mini Egg: Mini egg lovers you will adore this Easter trifle with mini eggs version.

How to Make Mini Chocolate Trifles: Step by Step

Mini chocolate brownie trifle ingredients on a marble board with chopped Skor bar pieces, quartered brownie bites, chocolate pudding in a pink striped bowl, and a glass cup with the first brownie layer added.
  1. Step 1: Build the first brownie layer. Set out 4 individual glasses or small jars. Slice 1½ to 2 two-bite brownies into quarters for each glass and press them into an even layer on the bottom. Spreading them all the way to the edge of the glass creates those picture-perfect visible stripes.
Chocolate pudding layer added over brownie pieces in a clear glass for mini chocolate brownie trifles.
  1. Step 2: Add the chocolate pudding layer. Prepare the instant pudding according to the package directions. Spoon about ¼ cup of pudding over the brownie layer in each glass.
Homemade whipped cream spread over the chocolate pudding layer in a clear glass for mini chocolate brownie trifles.
  1. Step 3: Add the whipped cream layer. Whip the cream with the sugar and vanilla until soft peaks form. Spoon about ¼ cup over the pudding layer in each glass.
Chopped Skor bar pieces sprinkled over the whipped cream layer in a clear glass mini chocolate brownie trifle.
  1. Step 4: Add the toffee bar layer. Chop the toffee bars into small pieces and sprinkle a generous layer over the whipped cream in each glass.
Completed individual brownie trifle with layered chocolate and cream.
  1. Step 5: Repeat and chill. Repeat all four layers in each glass - brownies, pudding, whipped cream, and toffee bar pieces. Cover and refrigerate for at least a few hours before serving. Hold the final toffee bar topping and add it just before serving to keep it perfectly crunchy.

Expert Tip

Make the layers visible: If you want those picture-perfect layers, spread each layer all the way to the edge of your glass so people can see the stripes from the outside.

Make-Ahead

  • Make them the night before: Perfect for party prep - they taste even better after sitting overnight.
  • Add final candy topping just before serving: This keeps the candy crunchy if you're making them more than a few hours ahead

Storage

  • Store the individual trifles covered (plastic wrap works great) in the refrigerator for 1-2 days. After that, the brownies can start to get too soft and the whipped cream may start to deflate.
  • Can You Freeze Them? I don't recommend freezing these trifles. The whipped cream doesn't freeze well and will become watery when thawed. The pudding texture also changes after freezing.
chocolate brownie trifle

Frequently Asked Questions

Can I make one large brownie trifle instead of individual servings?

Absolutely! Double the recipe and layer everything in a large trifle bowl or glass serving dish. A large trifle will need 4 to 6 hours of chilling time, or overnight.

What size glasses should I use for individual trifles?

I use 8-12 ounce glasses or small mason jars. You want something tall enough to show off the layers but not so big that it's too large of a portion. Anything from a juice glass to a small dessert cup works great.

Can I use Cool Whip instead of homemade whipped cream?

Yes, Cool Whip works as a substitute. Homemade whipped cream only takes a few minutes and the flavor difference is noticeable, but Cool Whip is a perfectly fine shortcut.

How far in advance can I make these brownie trifles?

You can make them up to 24 hours in advance and store them wraped in plastic wrap in the fridge. The flavors meld and improve after sitting for a little while.

My pudding seems too thin. What should I do?

Make sure you're using instant pudding mix (not cook-and-serve) and let it sit for the full 5 minutes after mixing. It should thicken to a spreadable consistency. If it's still thin, pop it in the fridge for 10-15 minutes.

More Chocolate Desserts

  • milk chocolate fondue
    Easy Milk Chocolate Fondue Recipe
  • Chocolate charcuterie dessert board.
    Chocolate Charcuterie Board
  • Easy hot chocolate charcuterie board filled with hot chocolate mix, whipped cream, chocolate, marshmallows, and cookies.
    Hot Chocolate Charcuterie Board
  • Chocolate pavlova recipe.
    Easy Chocolate Pavlova Recipe

If you try these Brownie Mini Chocolate Trifles or any other recipe on my blog please leave a star rating and let me know how it went in the comments below. Thanks for visiting today!

Recipe

Individual chocolate brownie trifle in a glass with gold spoons.

Mini Chocolate Trifles

Video

Layers of fudgy brownies, chocolate pudding, fresh whipped cream, and crunchy toffee bar pieces in individual glasses. No messy scooping, just perfect portions every time.
5 from 1 vote
Print Pin Rate
Course: Desserts
Cuisine: American
Prep Time: 20 minutes minutes
Total Time: 20 minutes minutes
Servings: 4
Calories: 168478kcal
Author: Dannyelle Nicolle-Ramjist

Ingredients

  • 280 g package two-bite brownies
  • 113 g package instant chocolate Jello pudding
  • 2 cups milk
  • 191 g package Skor minis chocolate bars
  • 473 mL whipping cream
  • 2 tablespoon sugar
  • 1 teaspoon vanilla

Instructions

  • Use 4 individual glasses, or small jars to make individual chocolate trifles, or double this recipe for one large trifle in a large bowl or trifle dish. To begin with, slice 1 ½ or 2 of the two-bite brownies into quarters, and create a brownie layer on the bottom of each of the four glasses with the brownie pieces.
    280 g package two-bite brownies
  • Prepare the chocolate pudding according to the package directions, and add about ¼ cup of pudding on top of the brownies in each glass, as the pudding layer in the trifle.
    113 g package instant chocolate Jello pudding, 2 cups milk
  • Whip the cream with sugar and vanilla, and use a big spoon to add about ¼ cup as the fourth layer.
    473 mL whipping cream, 2 tbsp sugar, 1 tsp vanilla
  • Chop the chocolate bars, and sprinkle over the top, as the final layer.
    191 g package Skor minis chocolate bars
  • Repeat all the layers again in each glass, starting with the brownies, then the pudding, the whipped cream, and finishing with the Skor bar pieces on top of the trifle. Once the whole thing is put together, chill in the fridge for a few hours before serving.

Notes

  • For one large trifle: Double all ingredients and layer in a large trifle bowl or glass serving dish. Allow 4 to 6 hours chilling time or overnight.
  • Make it your own: Swap pudding flavors, use different chocolate bars, or add a drizzle of chocolate or caramel sauce between layers.
  • Storage: Store covered in the refrigerator for up to 2 days. Best enjoyed within 24 hours for the best texture.
  • Gluten free: Use gluten-free brownies. All other ingredients are naturally gluten free.

Nutrition

Serving: 1g | Calories: 168478kcal | Carbohydrates: 30374g | Protein: 1787g | Fat: 4438g | Saturated Fat: 995g | Polyunsaturated Fat: 294g | Monounsaturated Fat: 2142g | Trans Fat: 0.01g | Cholesterol: 150mg | Sodium: 143087mg | Potassium: 7039mg | Fiber: 103g | Sugar: 19574g | Vitamin A: 1965IU | Vitamin C: 1mg | Calcium: 589mg | Iron: 1044mg
Tried this Recipe? Tag me Today!Mention @LifeisaParty or tag #lifeisaparty!

Easter Tablescape

Mar 8, 2021 · Leave a Comment

Easter spring table

Easter Tablescape: a DIY moss table runner, spring bulbs, eggs, nests, blues, greens and purples create the perfect woodland spring table.

Easter spring table
[feast_advanced_jump_to]

This Easter tablescape is perfect for celebrating spring.  It's the prettiest table I've set in a long time, and just love all the blues, greens and purple flowers.  There's nothing like bulbs blooming to bring the smell and feeling of spring!  This table is perfect for your Easter celebrations this year, and sure to impress your guests.  We partnered with Giant Tiger to put it all together.

Easter Tablescape

The Place Settings

I fell in love with these pretty striped dinnerware when I saw them.  The blue stripes reminded me of vintage Cornish ware.  And the colour made me think of beautiful blue birds eggs in nests -could there be a more spring like image?  So they were my jumping off point for the entire Easter tablescape.  

Easter Table Ideas

I thought it would be fun to do an entire table in shades of blue, green, and purple, so I stuck to that end of the colour wheel.  The table's rich colours are so full of life, and feels especially perfect for spring.  

Easter Tablescape Ideas

On top of each plate, I added a little nest and some faux eggs, to make my original vision come to life.  I used some green glasses, pretty gold cutlery, and dark linen napkins to complete the place settings.

nest decoaration
Easter table inspiration

The Easter Tablescape Centrepiece

What could be more spring like than spring bulbs?  I found the pretty flowering bulbs in-store at Giant Tiger.  There's a combination of tulips, crocus, hyacinths, grape hyacinths, and primroses. I also added in an ivy and some ferns.  Giant Tiger has a great selection of live plants, and their prices can't be beat.

how to set a table for Easter
Easter Table Ideas
blue green and purple spring table

Moss Table Runner

I decided to make a table runner of moss down the centre of the table.  To create it I started by adding a layer of plastic cellophane to the table, just to protect it from the damp moss.  My sister is a florist and gave me the tip of soaking the moss from the craft store in a sink of water before working with it.  You can work with the dry moss, but it tends to crumble and break easily and isn't very flexible. After dipping the moss in water, and gently squeezing the water out, it's really flexible and easy to work with.  I pieced the moss I had together to form the table runner, and then made holes to set the plant pots in.  

moss table runner

To tie the look all together, I removed the wrappers from the plant pots and then topped each one with more moss.  The brown and green pots worked well with my moss.  Don't forget that you can plant the bulbs outside afterwards, and enjoy them next spring coming up in your garden.

green blue and purple Easter table

I love the rustic woodland look of the moss and all the live plants.  To elevate the look, I added some beautiful gold candleholders from Giant Tiger.  The candle holders help add a little sparkle to the table, and tie in really well with the gold cutlery.  

spring Easter table ideas
how to set an Easter table
Easter table ideas

Last week I made the eggshell planters our of real eggshells and some grape hyacinth bulbs.  You can find the whole tutorial to make the eggshell planters here.  They were a really fun touch to this table.  I also added in some birds eggs here and there, and some white mushrooms that worked so well with our spring woodland look.

eggshell planter

An Easter Dessert Table

On the little side table I set up dessert.  It's great to have it available and not have to worry about setting it up after dinner, and it looks great as additional decor.  To match our table I added some more spring bulbs and plants.  I was lucky enough to find a real nest and it's such a cute addition.  

Easter dessert table
chocolate trifle

Everyone loves chocolate and candy at Easter.  We picked up lots of delicious Easter treats, and goodies at Giant Tiger.  They're perfect for your Easter egg hunt, or added to dessert like we did here.  I used some glass vases to serve them in, and they're not only delicious, but add to the decor as well.  

Easter dessert table ideas

The beautiful mirrored tray is also from Giant Tiger.  It's holding the Chocolate Trifles, we'll be sharing the recipe for these tomorrow.  They're perfect for Easter, since everyone loves chocolate, you can make them ahead, and they're really easy to put together.  Find the easy no-bake recipe for the Chocolate Trifle here.

chocolate trifle
chocolate trifle

Beautiful Backdrop

I've been thinking about adding some soft billowy curtains to soften the shutters on the back door for a while.  I picked up these pretty sheer curtains and this adjustable curtain rod at Giant Tiger.  I love the idea of opening the patio doors on spring days and seeing the curtains on a sunny spring day.

how to set a spring Easter table

With a beautiful Easter Tablescape like this to celebrate with, life really is a party!

blue green purple spring Easter table

More Inspiration

You might also enjoy our Green, Black, and White Easter Table Ideas here.

Also check out our Easter Finger Foods Brunch here.

Easter Finger Foods Brunch: the perfect, no fuss Easter brunch menu with breakfast finger foods and Easter table decor ideas.

You might also like our Black and White Easter Table here.

This post is sponsored by Giant Tiger.  As always, all opinions are my own.  Thanks for supporting the brands that help make Life is a Party possible.

Easy DIY Eggshell Planters

Mar 3, 2021 · 4 Comments

DIY eggshell planter with spring bulbs arranged in a ceramic egg holder.

Use regular eggs to create your own mini eggshell planters. They're perfect for spring decor, or as an Easter decoration.

DIY eggshell planter with spring bulbs arranged in a ceramic egg holder.
[feast_advanced_jump_to]

Why We Love This Project

  • Is there anything more perfect for spring or Easter than eggs and spring bulbs? They're so cute!
  • This project is inexpensive since we upcycled our egg shells.
  • When you're done you can plant the bulbs in your garden for next year and compost the eggshells.
Mini African violet in an eggshell planter.

Spring is one of my very favourite seasons.  Living in Toronto, the winters can seem long, and they're pretty cold and snowy, so spring is always so welcome when it finally arrives.  And even if the weather is still cold outside, we can make spring come a little early with a few spring projects inside.

You might also like our Easter Bunny Breakfast, How To Make a Light Bulb Flower Vase, How To Make Rainbow Baby's Breath, or How To Make Fake Plants Look Real.

Mini spring bulbs planted in quail eggs inside a vintage silver basket.

Spring bulbs are such a great way to welcome the new season.  I thought it would be fun to use some real eggs as little bulb planters.  

Materials:

  • Regular Eggs -save your eggshells. Try to crack them about ⅔ up from the bottom if you can. Just rinse them out with some warm water and let them dry.
  • Quails Eggs -I found these at the grocery store in the egg section, they may have been a special Easter product. You can also look for them on-line in your local area. They're sometimes avaiable at farm stores, or farmer's markets.
  • Spring Bulbs -we used spring bulbs in most of our eggshell planters. Keep in mind that they need to be small enough to fit into the eggshells so look for things like grape hyacinths, mini daffodils, or crocus bulbs.
  • Mini African Violets -we also used a mini African violet. These come in lots of pretty colors. Look for one in blub, with lots of buds so you can enjoy it for longer.
  • Garden Soil -all purpose garden soil is fine for this project.

Variation:

These would also be really beautiful made with brown hens eggs, or if you were lucky enough to find some blue hens eggs.

You could also dye the eggs to create your own soft blue eggs.  Any pastel colour would be beautiful for this project.  Pinks, and greens and blues and yellows would all be lovely.  I like the simplicity of the white too.

I was lucky enough to find fresh quail's eggs at my local supermarket and they were such a fun way to add some variation to this project. Just remember that the quail's eggs are really tiny, and you will need very small bulbs to fit inside. We used the grape hyacinth bulbs for the quail's eggs.

We used bulbs and plants in our eggshells, but you can also try using cut flowers and use them as eggshell vases.  They look so pretty for spring.  This would be a great option for the quail eggs especially because they're so small.  Just be sure to look for tiny flowers for them, like baby's breath or other flowers often used as filler in bouquets.

How To Make An Eggshell Planter

1. To begin with, use the back of a table knife to crack the egg ⅔ from the large end of the egg. Then use your fingers to remove the top, and empty the yolks into a bowl. If the opening isn't large enough, you can use your fingers to break off a little more of the shell to widen the hole and make it large enough for the bulb.

2. Rinse the egg shells with some water to clean to them off.

How to crack an egg to use as an eggshell planter.
Eggshells that are washed in an egg container to be used as eggshell planters.

Removing A Date Stamp

3. Some of the eggs we used had some date stamps on the eggs in pink ink.  We used some nail polish remover on a cotton ball to remove it.  It didn't come off completely, but lightened enough to not be noticeable.

Removing pink date stamps from eggshells with nailpolish remover.

4. Next, remove the grape hyacinths from the pots and slowly and carefully knock off as much dirt as you can, and use your fingers to untangle the roots and gently pull them apart.

For the African violet for planting, remove it from the pot. Use your fingers to gently remove enough soil from the roots so that it's small enough to fit into the empty eggshells.

We found one grape hyacinth bulb was about the perfect size for a chicken egg planter.

Spring bulbs with green tops and roots with the dirt removed.

For the African violet, we had to remove a lot of the soil around it to fit it inside, so be sure to look for quite small ones.

Removing excess dirt from a mini African violet plant.

5. Now you're ready to plant the plants in the eggshell pots. Add a little of the soil that you removed from the pots earlier into the bottom of the eggshell. Add the plant into the egg planter, working carefully to make sure the roots are all tucked in.

Fill in any spaces around the plant with more soil. For the grape hyacinth bulb you can use something small like a very small spoon, pencil or wooden skewer to help push the soil in around the bulb.

Planting grape hyacinth bulbs inside of an eggshell.
Planting a spring bulb inside an eggshell planter.
Planting a spring bulb inside an eggshell.

Watering Your Plants

Water your bulbs occasionally, or use a spray bottle to mist the bulbs.

Displaying Your Eggshell Planters

Display your eggshell planters in an egg carton or egg cups.  They're the perfect addition to your spring decor for a natural look.

Mini grape hyacinth bulb planted in an eggshell, inside of a vintage glass egg holder.

Replanting Your Bulbs

After the grape hyacinths bloom, you can save the bulbs and plant them in your own garden and they will flower again in your garden the following spring. Be sure to compost the eggshell and soil.

Spring bulbs planted in an eggshell planter, and in a quail eggshell.

This is a fun project for the whole family to enjoy making together.  It's great to do anytime in the spring, as an Easter display or as part of your earth day projects.

With these easy DIY eggshell planters, life really is a party!

how make an eggshell planter Easter centrepiece

More Spring DIY Craft Inspiration

  • DIY pussy willow wreath.
    How To Make A Pussy Willow Spring Wreath
  • DIY cement Easter eggs.
    How To Make Cement Easter Eggs
  • How to make sequin Easter eggs.
    Sequin Easter Eggs
  • DIY velvet mushroom craft in pink and white.
    DIY Velvet Mushroom Craft

Frequently Asked Questions

Where did you find the quail eggs?

They were in my grocery store egg department around Easter time. You can also find them sometimes at Farm shops, or Farmer's Markets. Look on-line to see if they're available in your area.

What bulbs are small enough for the quail's eggs?

We used grape hyacinths in the quail eggs. Look for a pot of them with many bulbs and choose the very smallest ones for the quail eggs.

How long do these last?

The bulbs should flower for about a week. If you're making it for a party or get together ahead of time, be sure to choose bulbs that aren't fully open. And remember to water or mist them occasionally.

If you try making these Eggshell Planters or any other ideas on my blog please let me know how it went in the comments below. Thanks for visiting today!

Recipe

DIY eggshell planter with spring bulbs arranged in a ceramic egg holder.

Eggshell Planter

Make a planter for spring bulbs or miniature plants out of eggshells.
5 from 1 vote
Print Pin Rate
Cook Time: 15 minutes minutes
Total Time: 15 minutes minutes
Servings: 6 Eggshell Planters
Author: Dannyelle Nicolle-Ramjist

Materials

  • 6 eggs
  • 5 grape hyacinth bulbs
  • 1 miniature African violet
  • egg carton or egg cups
  • Optional: quail eggs and nail polish remover

Instructions

  • To begin with, use the back of table knife to crack the egg ⅔ from the large end of the egg. Then use your fingers to remove the top, and empty the yolks into a bowl. If the opening isn't large enough, you can use your fingers to break off a little more of the shell to widen the hole and make it large enough for the bulb.
  • Rinse the egg shells with some water to clean to them off.
  • If your eggs have a date stamp on the shell, use some nail polish on a cotton ball to remove it.
  • Next, remove the grape hyacinths from the pots and slowly and carefully knock off as much dirt as you can, and use your fingers to untangle the roots and gently pull them apart. For the African violet for planting, remove it from the pot. Use your fingers to gently remove enough soil from the roots so that it's small enough to fit into the empty eggshells.
  • Now you're ready to plant the plants in the eggshell pots. Add a little of the soil that you removed from the pots earlier into the bottom of the eggshell. Add the plant into the egg planter, working carefully to make sure the roots are all tucked in. Fill in any spaces around the plant with more soil. For the grape hyacinth bulb you can use something small like a very small spoon, pencil or wooden skewer to help push the soil in around the bulb.

Video

Mini spring bulbs planted in real quail eggs, inside of a silver basket.

Notes

Remove the date stamp on white eggs with some nail polish remover.
Look for quail eggs in the egg section at the grocery store around Easter time.  Or look at farm shops, or farmers' markets.
Use the smallest grape hyacinth bulbs you can find for the quail eggs.
Remember to water or mist your planted bulbs.
Once the bulbs are done blooming, replant them in your flower beds for next year and compost the eggshells and soil.

Free Spring Printable Art

Feb 24, 2021 · 3 Comments

free spring art printable

Free Spring Printable Art: decorate for spring with this inspiring free printable available in large 18 x 24 inch or letter size.

free spring art printable
[feast_advanced_jump_to]

It's always fun to add a few special touches for spring, like this free spring printable art.  Spring is always a season of renewed hope and rebirth, especially for a gardener.  This great quote is a perfect reminder of the joy that spring brings.

This quote is a favourite of mine.  I found it a few years ago and shared it on a letter board.  I liked it so much, that I thought it might be nice to make a more permanent version, and turn it into an art piece.

Inexpensive Engineer Prints

I love getting art printed on as large engineer prints at my local office store.  It's really inexpensive and easy to do, and has so much impact.  I just uploaded the file the to the office store on-line and picked it up in a few hours when it was printed.

I think that now matter how old or infirm I become quote

Simple DIY Wood Art Hangers

You can display this large piece in a frame.  Or add some wood strips to the bottom for hanging like I did.  I picked up the wood pieces at a home reno store.  They're called "nailing strips" and in the lumber section.  They're less than a dollar each.  Have them cut at the store, usually for free for just two small cuts, or use a little hand saw at home to cut them to length.

I used some stain I had on hand for this one, then screwed in two simple small eye hooks, and attached some twine for hanging.

To attach the paper to the frame, just line it up and use a regular stapler to attach it to wood from the back.  

I love using this method.  When I ever I feel like changing it up, I get something new printed, and remove the staples, and reuse the wood strip pieces on a new piece of art.  I have a collection of the prints rolled up with an elastic, so I can reuse them as well.

Free Spring Printable Art In Letter Size

I also made this free spring art available in a smaller letter size version.  It's perfect for a clipboard or a frame.  It will add a little touch of spring and hope to any spot.

It doesn't feel too much like spring here yet.  There's still snow on the ground.  Decorating this one little spot has been such a nice little boost to my mood.  I can't wait to add more touches of spring here, and coax it to come!  

Free Printable Library

If you would like to download this free printable art, just subscribe to our newsletter, and we'll give you instant access to our entire free printable library, including these free spring art prints in the large 18 x 24 inch size, or the smaller letter size.  Subscribe below for instant access.


With a beautiful free printable for spring like this, life really is a party!

Heart Shaped Hamburgers

Jan 27, 2021 · 1 Comment

Heart shaped hamburger on a plate with fries.

Heart Shaped Hamburgers are the perfect way to spread the love! Makes these heart shaped hamburger patties and heart shaped burger buns in your bread machine or by hand.

Heart shaped hamburger on a plate with fries.

Why We Love This Recipe

  • Everyone loves a hamburger so it's perfect for celebrating -with kids, family, girlfriends or a significant other.
  • Nothing says love like heart shaped food.
  • Burgers and these heart shaped buns are easy to make and look and taste fantastic.
[feast_advanced_jump_to]

What could be more fun and delicious for Valentine's Day, than heart shaped burgers?  Yesterday I shared our fun at-home Valentine's Day dinner -with our heart shaped hamburgers, homemade fires, and milk shakes.  It was pretty much the perfect Valentine's Day dinner.  

Check out all the details for our Valentine's Day At-Home dinner, 20 At Home Valentine's Day Ideas, and our Valentine Breakfast Board. You might also like our Pumpkin Shaped Dinner Rolls for fall.

Today I want to share the recipe for the easy heart shaped hamburger buns.  We made our homemade heart shaped hamburger buns in our bread maker (but you can also make them without) and heart shaped hamburger patties for a delicious Valentine's Day.  

Heart shaped hamburger bun and pattie with homemade fries.

Use Your Bread Machine Or Make By Hand

These buns are really easy to make in a bread machine -just add the ingredients and set to the dough setting.  Come back in 2 hours and your dough is ready to form into hearts.  These are super simple and pretty much foolproof.  But you can also make them by hand if you don't have a bread maker, and they're still pretty easy to put together.

They do take a little while to make, whether by hand or in the bread machine.  So make sure you give yourself enough time.  Maybe start the process in the morning if you can.  They take about 3 hours to complete, plus cooling.  And they smell amazing as you're baking them.

Homemade heart shaped buns on a cooling rack.

If you'd like to make the heart shaped burger buns without a bread machine then follow the instructions in the recipe below.

How To Make Heart Shaped Hamburgers

1. If you are using a bread machine, layer all the ingredients into the bread maker. Starting with the butter, then warm water, sugar, 1 egg and salt. Next in the flour and lastly add the yeast. It's important to add the ingredients in order. And do not mix. Set your bread maker to the "dough" setting.

Freshly made hamburger bun dough in a bread machine.

If you are making your dough by hand, in a large bowl, dissolve the yeast in 1 cup of warm water. Let sit for about 10 minutes, until the mixture is foamy. Add in the butter, sugar, 1 egg, salt, and flour. Mix by hand or in a stand mixer until the dough comes together. If using a stand mixer with a dough hook, continue until the dough is smooth and elastic. If mixing by hand, turn the dough out onto a floured surface and knead until the dough is smooth and elastic. Place the dough in a large bowl, sprayed with oil, turning once to coat the top and cover with plastic wrap. Place it in a warm place to rise until it's doubled in size, about 1.5 hours.

2. When your dough is finished, turn it out onto a floured surface and knead to remove any air bubbles. Then divide your dough into 4 oz. pieces, it make 7 buns.

Shape each piece of dough into a ball, then make into a tear drop shape or chicken drumstick shape with your hands. Cut a slit in the larger side, and turn the cut sides down to the parchment to form your heart shape. Flatten slightly with the palm of your hand.

Collage of four step by step pictures showing how to shape hamburger buns into a heart shape, starting with a tear drop shape, cuting a slit in the top, and rounding those two top pieces to form the top of a heart.

Place the heart shaped buns on a parchment lined baking sheet and cover them with a clean tea towel to rise. They should double in size. It takes about 30 minutes.

Heart shaped hamburger bun dough raising on a baking sheet partly covered with a tea towel.

3. Preheat your oven to 350 degrees.

Mix the remaining egg with 2 tablespoons of warm water, and whisk together. Brush the buns with the egg mixture before baking.

4. Cook for 20 minutes or until the hamburger buns are golden brown and sound hollow inside when taped on the bottom. Cool before slicing.

5. To make the hamburger patties combine the ground beef with packages of onion soup mix.  Form into 7 heart shaped patties about the same size or slightly larger than the heart shaped burger buns.  The patties will shrink slightly as they cook.  

Raw heart shaped hamburger patties in a frying pan, with heart shaped hamburger buns in the background.

6. Cook the hamburger patties in a frying pan over medium heat, flipping halfway through. Add cheese slices for cheeseburgers.

7. Cut the cooled buns in half and top with your heart shaped burger and toppings of your choice.

Heart shaped hamburger buns and hamburger patties on a plate with french fries.

Serving Suggestion

We served our heart shaped burgers with fresh cut fries and vanilla milkshakes.  You can see our whole Valentine's Day party set up here, including our beautiful Valentine's Day table.

Storage

These hamburger buns are best eaten the day they are made. Store any extra heart shaped hamburger buns at room temperature in a sealed container. Store any leftover hamburger patties in the refrigerator.

Frequently Asked Questions

Why are my burger patties so small?

Depending on how much fat is in your ground beef, the patties will shrink quite a lot as they cook. Be sure to make them slightly larger than you want your finished patties to be.

Can I use something to shape the burger pattie?

Yes, feel free to use a cookie cutter to help shape your heart shaped hamburger pattie.

What if I don't have time to make these from scratch?

Make a simple version by using a heart shaped cookie cutter to cut a regular store-bought hamburger bun into a heart shape. For the pattie, use a frozen hamburger pattie and cut it with the heart shaped cookie cutter after it's cooked.

More Valentine's Day Recipes

  • Peanut butter and jam thumbprint cookies on a cooling rack with a jar of jam.
    Peanut Butter Thumbprint Cookies
  • milk chocolate fondue
    Easy Milk Chocolate Fondue Recipe
  • Mini jelly donuts easy recipe.
    Easy Bread Machine Jelly Donuts
  • Chocolate pavlova recipe.
    Easy Chocolate Pavlova Recipe

If you tried this Heart Shaped Hamburger Recipe or any other recipe on my blog please leave a star rating and let me know how it went in the comments below. Thanks for visiting today!

Recipe

Heart shaped hamburger on a plate with fries.

Heart Shaped Hamburger

Video

Tender, slightly sweet homemade hamburger buns with beef patties.
5 from 1 vote
Print Pin Rate
Course: Main
Cuisine: American
Prep Time: 2 hours hours 30 minutes minutes
Cook Time: 20 minutes minutes
Total Time: 2 hours hours 50 minutes minutes
Servings: 7
Calories: 283kcal
Author: Dannyelle Nicolle-Ramjist

Ingredients

  • 2 tablespoons softened butter
  • 1 cup warm water
  • 2 ½ tablespoons sugar
  • 1 egg
  • 1 teaspoon salt
  • 3 cups bread flour
  • 2 teaspoons instant yeast
  • 1 egg
  • 2 tablespoons water
  • 2 lbs ground beef
  • 2 packages dry onion soup mix

Instructions

  • For the Bread Maker: Add the butter, 1 cup of warm water, sugar, 1 egg and salt to the bread maker. Next in the flour, and lastly, add the yeast. It's important to add the ingredients in order, and not stir the ingredients together. Set your bread maker to the "dough" setting.
  • To Make the Dough by Hand: In a large bowl, dissolve the yeast in 1 cup of warm water. Let sit for about 10 minutes, until the mixture is foamy. Add in the butter, sugar, 1 egg, salt, and flour. Mix by hand or in a stand mixer until the dough comes together. If using a stand mixer with a dough hook, continue until the dough is smooth and elastic. If mixing by hand, turn the dough out onto a floured surface and knead until the dough is smooth and elastic. Place the dough in a large bowl, sprayed with oil, turning once to coat the top and cover with plastic wrap. Place it in a warm place to rise until it's doubled in size, about 1.5 hours.
  • When your dough is finished, place it onto a floured surface and knead to remove the air.
  • Divide your dough into 4 oz. peices, it make 7 buns.
  • Shape each piece of dough into a ball, then make it into a teardrop shape or chicken drumstick shape with your hands. Cut a slight in the larger side, and turn the cut sides down to the parchment to form your heart shape. Flatten slightly with the palm of your hand.
  • Place the heart shaped buns on a parchment lined baking sheet and cover with a clean tea towel to rise. They should double in size. It takes about 30 minutes.
  • Preheat your oven to 350 degrees.
  • Mix the remaining egg with 2 tablespoons of warm water, and whisk together. Brush the buns with the egg mixture before baking.
  • Cook for 20 minutes or until the hamburger buns are golden brown and sound hollow inside when taped on the bottom. Cool before slicing.
  • To make the hamburger patties combine the ground beef with packages of onion soup mix.  Form into 7 heart shaped patties about the same size or slightly larger than the heart shaped burger buns.  The patties will shrink slightly as they cook.  Cook the hamburger patties in a frying pan over medium heat, flipping halfway through until desired doneness. Add cheese slices for cheeseburgers.
  • To assemble the heart shaped hamburgers, cut the cooled buns in half and top with your heart shaped burger and toppings of your choice.

Notes

Make these heart shaped hamburger buns by hand or in your bread machine.  
Optional: top the heart shaped hamburgers with cheese, lettuce, tomato, pickles, onion, mustard, relish, and ketchup.  Serve with fries.

Nutrition

Serving: 1g | Calories: 283kcal | Carbohydrates: 48g | Protein: 9g | Fat: 6g | Saturated Fat: 3g | Polyunsaturated Fat: 2g | Cholesterol: 62mg | Sodium: 352mg | Fiber: 2g | Sugar: 5g
Tried this Recipe? Tag me Today!Mention @LifeisaParty or tag #lifeisaparty!

At Home Valentine's Day Ideas

Jan 26, 2021 · Leave a Comment

At home Valentine's Day dinner table setting with heart-shaped plates and romantic decor

Staying home for Valentine's Day doesn't mean sacrificing romance, fun, or that special celebration feeling. Whether you're looking for cozy date night ideas, family activities, or ways to celebrate with friends, these at-home Valentine's Day ideas will help you create a memorable celebration without ever leaving your house.

At home Valentine's Day dinner.

Quick Look

  • 💕 Occasion: Valentine's Day at home for couples, families, kids, friends, or solo
  • 🎉 What You'll Find: 20 tested celebration ideas from romantic dinners to family activities
  • 👥 Works For: Couples, families with kids, single parents, grandparents, friend groups
  • ⭐ Difficulty: Mix of quick easy ideas and more involved celebrations
  • 💡 Top Tip: Most ideas are budget-friendly and use things you already have at home

Why You'll Love These Ideas

  • No expensive reservations or crowded restaurants. Celebrate on your own terms without the pressure of going out.
  • Works for everyone. These ideas adapt beautifully for couples, families with kids, friend groups, or single parents.
  • Budget-friendly options. Most activities use ingredients and supplies you already have at home.
  • Creates real memories. The best celebrations aren't about spending money, they're about meaningful moments with people you love.
  • Flexible and adaptable. Make them as simple or elaborate as you want, and customize them to fit your style.
[feast_advanced_jump_to]

20 At-Home Valentine's Day Ideas

Whether you're avoiding crowded restaurants, watching your budget, or just prefer celebrating in your pajamas, these ideas make Valentine's Day special on your terms.

As a trained celebrant with over 15 years of party planning experience, I've used these celebrations to create memories with my own family and partner. From pillow fort movie nights with my kids to quiet fondue dinners after bedtime, these are the activities that have filled our home with love and laughter over the years.

Take what works for you, adapt them to fit your family, your budget, and your time, and make them your own.

1. Have a Valentine's Tea Party

A Valentine's tea party works for almost any group. Set out your prettiest teacups, make finger sandwiches and scones, and create a beautiful tablescape.

Perfect for: Girlfriends, mothers and daughters, couples, families with grandparents

Why it works: The formality of tea makes even a casual afternoon feel special and elegant.

Make it happen: Check out our complete Valentine's Day Tea Party for menu ideas, decor inspiration, and setup tips.

Valentine's Day tea party table.

2. Plan a French-Inspired Dinner Night

Travel to Paris without leaving your living room with a French-themed dinner.

What to serve:

  • Crusty baguette with butter
  • French onion soup
  • Coq au vin or another French main
  • Cheese and charcuterie board with wine

Why it works: A theme makes the evening feel like an event and gives you a reason to try new recipes.

Make it happen: Our Valentine's Day in Paris French Themed Dinner Party has the complete menu, tablescape ideas, and atmosphere tips.

French themed tablescape.

3. Throw a Valentine's Fiesta

Head south of the border for a colorful, flavorful celebration that feels playful instead of formal.

What to serve:

  • Tacos, enchiladas, or fajitas
  • Margaritas or festive mocktails
  • Bright decorations and papel picado

Perfect for: Families who want something fun, couples who love bold flavors

Make it happen: Our Valentine's Day Fiesta includes games, menu ideas, and decorating tips.

red and pink fiesta decor.

4. Set Up a Movie Night with Special Treats

Turn a regular movie night into something Valentine special with themed snacks and a little extra effort.

What makes it special:

  • Free printable movie tickets as invitations
  • Snack bar with popcorn varieties and Valentine candy
  • Cozy viewing area with blankets and pillows

Perfect for: Date night with romantic comedies or family night with love story movies.

Make it happen: Our Valentine's Day Movie Night has free printables, snack ideas, and movie recommendations.

Complete Valentine's Day movie night setup with printables and festive decor.

5. Create an At-Home Spa Experience

Transform your bathroom into a relaxing spa for couples or a fun spa party for kids.

What to include:

  • Candles and soft music
  • Face masks and bath bombs
  • Fluffy towels and robes
  • DIY scrubs or treatments

Why it works: Everyone loves being pampered, and it feels luxurious without spending a fortune.

Make it happen: Check out our Valentine's Day At Home Spa for treatment ideas and atmosphere tips.

6. Make Heart-Shaped Burgers, Fries, and Milkshakes

Elevated junk food is sometimes the best celebration food, and homemade burgers beat takeout every time.

What to make:

  • Heart-shaped burger patties
  • Crispy homemade fries
  • Thick milkshakes

Why it works: Kids get excited about the heart shapes, and it's a playful option for couples who don't take themselves too seriously.

Make it happen: Our Heart Shaped Burgers post shows you exactly how to shape them plus our favorite toppings and sides.

At home Valentine's Day dinner for two with heart shaped hamburgers, fries, and milkshakes.

7. Cook a Special Valentine's Breakfast

Start Valentine's Day with a beautiful breakfast that sets a loving tone for the whole day.

What to serve:

  • Breakfast board with heart-shaped waffles, fresh fruit, and pastries
  • Heart-shaped pancakes and hard boiled eggs
  • Pink hot chocolate

Perfect for: Families celebrating together, couples starting the day special, treating yourself

Make it happen: Check out our Valentine Breakfast Board for styling ideas and our Valentine's Day Breakfast Ideas for more menu options.

Valentine breakfast board with heart waffles, eggs, bacon, sausage, berries, and lattes for two.

8. Have a Pizza Party

Pizza is universally loved, easy to customize, and feels like a celebration without being fussy.

What makes it special:

  • Heart-shaped pizza dough
  • Topping bar so everyone builds their perfect pie
  • Caesar salad and garlic bread on the side

Perfect for: Family dinners, casual couple's night, any group with picky eaters

Make it happen: Our Valentine's Day Pizza Party includes dough recipes, topping ideas, and presentation tips.

Valentine's Day pizza party with heart shaped pizza, and "you stole a pizza my heart" party banner.

9. Set Up a Love Potion Hot Chocolate Bar

A hot chocolate bar is pure magic for kids and surprisingly fun for adults too.

What to include:

  • Test tubes filled with toppings (marshmallows, sprinkles, chocolate chips, crushed cookies, candy)
  • Hot chocolate in pretty mugs
  • Fun labels for each topping

Why it works: The presentation makes it special, and it's an activity that doubles as dessert.

Make it happen: Our Valentine's Day Love Potion Hot Chocolate Bar shows you the complete setup with labeling ideas.

Love potion Valentine's Day hot chocolate buffet.

10. Plan a Fondue Night

Fondue is one of the most romantic dinner options because it's interactive, indulgent, and meant to be lingered over.

What to serve:

  • Cheese fondue with bread, vegetables, and apples for dipping
  • Chocolate fondue with strawberries for dessert

Why it works: The intimacy of sharing food from the same pot makes it perfect for couples, but it's also a fun fancy family dinner.

Make it happen: Our Fondue Date Night includes both recipes, a shopping list, and timing tips.

Date night fondue with cheese fondue and dippers at a coffee table.
Chocolate fondue and platter of dippers on coffee table.

11. Bake Something Sweet

The process of creating something sweet together is often more meaningful than the finished treat.

What to bake:

  • Heart-shaped Peanut Butter and Jam Cookies
  • Chocolate Brownie Trifle
  • Chocolate Pavlova
  • Easy Donut Strawberry Shortcake

Why it works: Your house smells amazing, you spend quality time together, and you have delicious results to enjoy.

Make it happen: Try our Peanut Butter Thumbprint Cookies with heart centers, Chocolate Brownie Trifle, Chocolate Pavlova, or Donut Strawberry Shortcakes.

Filling peanut butter thumbprint cookies with raspberry jam.
Heart shaped chocolate pavlova with strawberries and gold leaf.
Donut strawberry shortcake.

12. Create a Valentine's Scavenger Hunt

A scavenger hunt adds adventure and surprise to your celebration at any age.

How it works:

  • Hide clues around the house that lead from one spot to the next
  • Each clue reveals the location of the next
  • Final destination has a small gift, love note, or special treat

Winter twist: If you have snow, try a frozen heart hunt. Freeze water with red food coloring in heart molds, then hide them around your snowy yard for kids to discover like a winter treasure hunt.

Perfect for: Kids who love treasure hunts, couples when clues include memories and inside jokes

Make it happen: Our Valentine's Day Scavenger Hunt shows you how to create frozen hearts for an outdoor winter hunt, and you can adapt the concept for an indoor clue-based version.

13. Build a Pillow Fort

Never underestimate the power of a good pillow fort for making everything feel more special.

What to do:

  • String up blankets between furniture
  • Pile in pillows and cushions
  • Add fairy lights or flashlights for ambiance
  • Watch movies inside, read stories, or just enjoy the coziness

Why it works: There's something about being tucked away in a fort that makes everything feel more intimate and fun.

Make it happen: Check out our Pillow Fort guide for building tips and activity ideas.

DIY pillow fort in living room with white blankets, throw pillows, and star decorations.

14. Have a Fireside Picnic

Spread a blanket or pull the coffee table up in front of your fireplace and bring the romance of an outdoor picnic inside.

What to include:

  • Picnic basket with finger foods
  • Cheese, crackers, fruit
  • Wine or sparkling juice
  • Your favorite take out

Why it works: The change of scenery from your usual dining spot makes it feel special, and the fireplace adds natural warmth and romance.

Make it happen: Our Valentine's Day Romantic Night In includes ideas for creating this cozy atmosphere.

Valentine's Day romantic night-in.

15. Make a S'mores Board

Take the classic campfire treat to the next level whether you have a backyard fire pit or just your fireplace.

What to include:

  • Graham crackers in different flavors
  • Variety of chocolates (milk, dark, peanut butter cups, caramel)
  • Regular and flavored marshmallows
  • Fun add-ins and toppings

Why it works: It's interactive, delicious, and brings out the kid in everyone while looking beautiful.

Make it happen: Our S'more Charcuterie Board shows you how to style it with topping ideas you might not have thought of.

S'mores charcuterie board with graham crackers, marshmallows and chocolate for summer entertaining.

16. Have a Wine and Cheese Tasting

Create your own tasting experience at home without the expense of going out.

What to include:

  • Three or four different wines
  • Variety of cheeses to pair with each
  • Crackers, fruit, nuts, and accompaniments
  • Tasting notes to discuss what you like

Why it works: It feels sophisticated without being pretentious, and you can take your time savoring everything at your coffee table.

Make it happen: Learn how to make the perfect cheese board and exactly what to include.

Wine and cheese tasting board on wooden table with various cheeses, crackers, salami, olives, fresh fruit, and small vases with flowers.

17. Plan a Game Night or Work on a Puzzle with a Chip Charcuterie Board

Sometimes the best way to connect is through play and casual snacking.

What to do:

  • Set out board games, card games, or a challenging puzzle
  • Create a chip charcuterie board loaded with different chips, popcorn, and dips
  • Spend the evening playing together or working on the puzzle

Why it works: The casual snacking keeps everyone at the table longer, and friendly competition or teamwork brings you closer.

Make it happen: Our Board Game Night has ideas for making it special, and our Chip Charcuterie Snack Board shows you how to make casual snacks look impressive.

Chip charcuterie board with different chips, and salty snacks.

18. Have a Bridgerton Viewing Party

With the new season arriving around Valentine's Day, this is the perfect time for a Regency-era celebration.

What to include:

  • Bridgerton inspired cocktail and snacks
  • Romantic period drama on screen
  • Regency aesthetic and decor
  • Play our Bridgerton bingo as you view and give the winner a prize!

Perfect for: Friend groups, couples who love the show, solo indulgent evenings

Make it happen: Our Bridgerton Themed Viewing Party has menu ideas, decor inspiration, and ways to embrace the Regency theme.

Bridgerton themed party table with lace tablecloth, flowers, candles, cake,and teacup charcuterie.

19. Get Crafty Together

Whether you're spending Valentine's day with kids, girl friends or your partner, making something with your hands gives you beautiful results to display or gift while spending quality time together.

What to make:

  • 3D origami hearts from book pages
  • Fuzzy yarn-wrapped hearts
  • Paper heart garland
  • Custom Valentine cards with a Cricut

Why it works: The process of creating together is meditative and fun, and you end up with handmade decorations or gifts.

Make it happen: Check out our tutorials for 3D Origami Hearts, Yarn Hearts, Book Page Heart Garland, and Cricut Valentine Card.

Table with balls of yarn in white and pink and a grouping of yarn hearts.

20. Plan Your Future Together

One of the most romantic things you can do is dream together about what's ahead.

What to plan:

  • A summer garden you want to plant
  • Your next travel destination
  • A home renovation or decorating project
  • Goals and dreams for the year ahead

Why it works: Planning your future together reinforces that you're a team working toward shared happiness. It's intimate, forward-thinking, and reminds you why you're celebrating love in the first place.

How to do it: Curl up with a glass of wine, open your laptops or get out magazines, or seed catalogues, and just start dreaming and talking together.

Garden

Setting the Scene

The activities matter, but so does the atmosphere you create. You don't need to buy elaborate decorations to make your home feel special for Valentine's Day. Simple touches make the biggest difference.

Start with lighting. Dim the overhead lights and use candles, string lights, or Mason Jar Oil Lamps for a soft, romantic glow. If you want something really special, try a Fresh Flower Chandelier hanging over your dining table for a stunning focal point.

Music sets the mood. Create a playlist ahead of time so you're not fumbling with your phone during dinner. Pick what fits your celebration: jazz for sophisticated evenings, love songs for romance, or upbeat music for family fun.

Keep decor simple and intentional. A few scattered rose petals, a vase of fresh flowers, cloth napkins instead of paper, or heart-shaped items mixed into your regular table setting go a long way. The goal is to signal that this is a special occasion without making your home unrecognizable. For more decorating inspiration, check out our Neutral Valentine's Day Decor Ideas for a home tour and DIY projects.

How to make mason jar oil lamps.
DIY fresh flower chandelier.

Valentine's Day Is For Everyone

Valentine's Day isn't just for couples, it's for love! Celebrating with your whole family is a wonderful way to make memories together. Most of these ideas work beautifully whether you're a family celebrating with kids, a single parent creating special moments, inviting the grandparents over, or a couples enjoying time on your own or after putting the kids to bed.

Tips for Making Your At-Home Valentine's Day Memorable

After years of planning celebrations, here's what actually makes them memorable.

  • Plan ahead but stay flexible. Decide on your activity a few days before so you can shop and prep, but don't overschedule the day. The best celebrations have breathing room.
  • Involve everyone in planning. Let kids pick the movie or help choose pizza toppings. Ask your partner what sounds good to them. People are more invested when they have input.
  • Capture a few photos. You don't need a full photo shoot, but take a few pictures of your setup, your decorated space, or everyone together. You'll be glad you did when you look back.
  • Mix homemade with shortcuts. Make the one thing you really enjoy making from scratch, and buy the rest. Nobody cares if the dessert came from a bakery if you put love into the meal.
  • Create a tradition. Pick one thing you do every year. Maybe it's heart-shaped pancakes for breakfast, or watching a specific movie, or making the same recipe. Traditions create continuity and something to look forward to.

The point isn't perfection. It's showing up for the people you love and creating a moment that feels special and makes memories.

Frequently Asked Questions

What are good at-home Valentine's Day ideas for couples?

For couples, fondue night, wine and cheese tasting, a French-themed dinner, fireside picnic, or spa evening all create intimate, romantic experiences. Movie night with special treats or planning your future together also make meaningful date nights without leaving home.

What can families do for Valentine's Day at home?

Families love pizza parties, hot chocolate bars, movie nights, baking cookies together, building pillow forts, making s'mores, and Valentine's scavenger hunts. Tea parties work wonderfully when grandparents join, and craft projects keep kids engaged while creating decorations or gifts.

How can I make Valentine's Day special without spending a lot?

Focus on experiences rather than purchases. Cook a special meal with ingredients you have, build a fort from household items, have a game night, or do crafts with paper and supplies on hand. Setting the mood with candles and music costs nothing but makes everything feel special.

What food should I make for Valentine's Day at home?

Popular options include heart-shaped burgers, Valentine breakfast boards, fondue for dinner, pizza for families, and themed dinners like French or Mexican. For dessert, try peanut butter thumbprint cookies or homemade treats.

Can you celebrate Valentine's Day at home with friends?

Absolutely! Tea parties, Bridgerton viewing parties, wine tastings, game nights, and craft sessions all work beautifully for friend gatherings. These Galentine's style celebrations are perfect for showing appreciation for the friendships in your life.

What are romantic at-home date night ideas for Valentine's Day?

The most romantic at-home ideas include fondue by candlelight, wine and cheese tasting, fireside picnics, couples spa evenings, cooking a French dinner together, or planning your future over wine. The key is creating uninterrupted time to focus on each other.

More Valentine's Day Ideas

  • Close up of pink heart-shaped strawberry marshmallows dusted with coating.
    Homemade Strawberry Marshmallows with Freeze Dried Strawberries
  • Valentine breakfast board with heart-shaped waffles, heart-shaped eggs, bacon, sausage, fresh berries, and toppings on marble platter.
    Valentine Breakfast Board
  • Valentine's Day movie night free printables including tickets, banners, snack labels, and decorations.
    Valentine's Day Movie Night With Free Printables
  • Cricut Valentine's Day card free SVG
    Cricut Valentine Card

Celebrating Valentine's Day at home gives you the freedom to create exactly the experience you want. Whether that's an elegant tea party, a cozy pillow fort movie marathon, or an intimate fondue dinner, the most important thing is spending quality time with the people you love. Pick the idea that sounds most fun to you, add your own personal touches, and make it a celebration worth remembering.

If you use any of our At Home Valentine's Day Ideas or any other ideas from the blog, please let us know in the comments below, and thanks for visiting Life is a Party today!

Winter Ice Skating Party Ideas

Jan 13, 2021 · Leave a Comment

Ice skating party ideas with decorations and food.

This Ice Skating Party on our own little homemade ice skating rink was so much fun with simple Nordic inspired decor, and skating snacks of hot chocolate and cookies.

Ice skating party ideas with decorations and food.
[feast_advanced_jump_to]

Why We Love This Party

  • Getting outdoors is a great way to beat the winter blues.
  • Making an outdoor skating rink is the ultimate backyard fun.
  • Simple Nordic styling takes this party to the next level.
  • Hot chocolate and cookies are the perfect sweet treat.

In these cold January days, what could be more perfect than an ice skating party on a homemade backyard ice skating rink?  We have been working on a little ice skating rink that is a loop in the forest behind our house.  

You might also like our Woodland Forest Party Food Ideas, Easy Winter Snowman Themed Party, Nutcracker Tea Party, or our Hot Chocolate Charcuterie Board.

Hot chocolate on a outdoor bench with deer antler and lantern.

Making Our Homemade Ice Rink

The rink idea started one day when I was looking out our window, and noticed ice forming in the forest behind our house.  It's always been a little bit swampy back there.  It's a low area of the forest, and I have to admit I've always judged it a little bit harshly, wishing we had a more usable spot directly behind us.  In the summer it's full of mosquitoes and beautiful to look at from a distance but never a spot the kids could even play in when they were little.  

Looking out at the ice forming though I had a fun idea.  

What if I could make it into a little skating path for them?  

So my daughter, Maddie and I, headed out and used some pruning shears to cut some brush back, and move some branches where the ice was starting to form already, to see what this little spot could become.  Since it was naturally wet, and there was already a base of ice forming, we didn't build this like a traditional backyard ice rink where you set up wood sides, add a plastic liner, and flood it.  

White ice skates at a outdoor ice skating rink.

Clearing, Flooding, and Maintaining

We just cleared things out a little, and flooded the already forming ice a few times with our garden hose.  

We had some cracks and holes and did a little on-line research, patching here and there with hot water and snow as needed.  It doesn't seem to get consistently really cold here, just outside of Toronto where we live anymore.  I swear it was colder when I was a kid.  So we've had some freezing and melting to deal with off and on.  

A few days ago we even made a little homemade Zamboni to fix our skating ruts in our outdoor ice rink.  It's been a really great project for us all to work together on and so much fun to skate on. We've had so much ice time.  It's become an after school favourite.

Skates

Since it's a backyard and there's no skate rentals, I asked a few of my kid's friends what size they were and made a little note on my phone.  The next few times I was at a thrift store I kept an eye out and was able to get a few extra pairs of ice skates really inexpensively.  

It's a great idea to get them sharpened at a local rink and have them ready.  Next time party guests don't have their own skates, you'll be all set.

After our ice was looking good we invited some freinds over for a skating party.

Game Ideas

  • Freeze Skate: Just like freeze tag, someone is it and tags others until everyone is frozen.
  • Tag: Just like regular tag, someone is it and chases others on skates to tag them it.
  • Obstacle Course: Set up an obstacle course with pylons, hockey sticks, etc. and make a route where skaters have to skate around, under or over obstacles.
  • Limbo: Use a hockey stick held by people on either side, and see if competitors can skate under it by arching backwards.
  • Races: Make a start and finish line and see who's the fastest!

Everyone enjoyed skating around to their favourite music.  We created a personalized skating playlist and used a mini portable speaker to play it.  My girls also loved playing freeze skate with music.  When the music stops everyone has to freeze! If you're caught moving, you're out.  

Cream colored mittons on a sheepskin ourside.

This project has reminded me that everything and everyone has their strengths and weaknesses.  It's this swampy, forgotten little spot's moment to shine and bring us so much joy.  A seemingly worthless un-usable area that's been turned into a favourite, delightful, and surprising blessing.  A great reminder that there is a season for everyone and everything to shine.

Outdoor ice skating rink with food and decorations set up for a party.
Two teenage girls outside skating on an outdoor rink.

Decorations

I kept the decor really simple and Nordic inspired. I added a little white bunting to the dogwood bushes in front of our little bench.  

  • Bunting: To make the bunting I used an old white tablecloth and cut it into triangles and hot glued them onto some twine.  It was really easy to make and is so pretty in the forest.  I think bunting can turn just about any activity into a special occasion, and it made our spot into a winter wonderland extravaganza.  
  • Lights and/or lanterns for nighttime
  • Nordic Decor: We used an old garden bench as a spot to put your skates on, or take a little rest from skating.  On top of the bench, I layered a sheepskin and a pretty vintage wool blanket.  This made the perfect spot to put our skates on.  An old stump adds an extra surface for some of our treats. And the wicker basket and deer antler add more rustic Nordic charm to the scene.
  • Firepit: A firepit would be a great spot to warm up, you could even use it to roast marshmallows and hot dogs. A s'mores charcuterie tray would be a great addition too.
Outdoor ice skating rink with white bunting decor and bench set up with snacks.
DIY white bunting hung in red dogwood branches.
Outdoor ice skating party with teenage girl in pink coat putting on her skates.

Skating Snacks

I thought it would be fun to bring out a few sweet treats to enjoy while we skated that fit with our skating party theme.  First I made a thermos of hot chocolate, complete with some whipped cream on top, and marshmallows. For a larger group, this hot chocolate charcuterie board would be a great addition too.

Some enamelware mugs were perfect for serving since they won't break. Take-out cups would be good too. 

Outdoor skaing rink with hot chocolate and a wicker picnic basket on a tree stump.
Outdoor ice rink with bench holding skates sheepskin, black and white blanket, hot chocolate and cookies.
Two teenage girls drinking hot chocoalte at an outdoor ice skating party.

Is there any better way to warm up cold fingers after skating for a while than sipping on a cup of steaming hot cocoa?  

To keep my thermos extra warm and cozy, I made the simplest thermos cozy.  I used a sleeve from an old felted wool sweater that fit the thermos perfectly.  

Wood bench and wood stump at a outdoor ice skating rink, holding a blanket, thermos, hot chocolate, wicker basket, cookies, and lanterns.

And we also included some beautiful snowflake sugar cookies, that my friend made us for Christmas. They were perfect to go with our snow and ice theme. Lastly, a few Toblerone shortbread cookies -a real family favourite, get the recipe here.  Hot chocolate and cookies seem like the perfect sweet treat for skating.

Our party was just for fun, but this would be a really fun birthday party idea for a winter birthday.  You could make a birthday cake in the shape of an ice skate for the birthday child.

Bench at outdoor skating rink holding a sheepskin, thermos, cookies, and a wicker basket.
Black and white enamel tray holding chocoalte chip shortbread and snowflake sugar cookies.
Outdoor skaing rink with wood bench holding sheepskin, skates, lanterns, and snacks.
Two teenage girls putting on skating at an outdoor skating rink.

With a fun little ice skating party to enjoy, life really is a party!

Frequently Asked Questions

What if you don't have skates?

Look for skates in different sizes at the thrift store, used sports equipment store, garage sales, or on-line resale groups. Keep some extras on hand. Be sure to get the blades sharpened.

What do you wear to an ice skating party?

Even outdoors, you can really work up a sweat ice skating, so you are might find your most comfortable in some warm socks, and a track suit or leggings with a sweater. Do wear mittens to keep your hands warm. If you're a beginner, you might want to wear snow pants which are waterproof so that you don't get wet on the ice if you fall. You should wear a helmet for safety as well. You will want a coat and outdoor wear for sitting around the fire.

More Winter Inspiration

  • Snowman themed dinner with decor and menu ideas.
    Easy Winter Snowman Themed Party Dinner
  • Snow ice cream simple recipe.
    Snow Ice Cream
  • Snowman donuts.
    How To Make Easy Donut Snowmen
  • Easy hot chocolate charcuterie board filled with hot chocolate mix, whipped cream, chocolate, marshmallows, and cookies.
    Hot Chocolate Charcuterie Board

 If you try anything from our Winter Ice Skating Party Ideas, or any other ideas on the blog please let me know how it went in the comments below. Thanks for visiting today!

How To Make Easy Beef Burrito Bowls

Jan 8, 2021 · Leave a Comment

how to make burrito bowls

How To Make Easy Beef Burrito Bowls: combine seasoned beef, Pico de Gallo, rice, lettuce and all the toppings for this easy and delicious recipe.

how to make burrito bowls
[feast_advanced_jump_to]

If you've ever wondered how to make beef burrito bowls at home, we have a great and easy to make recipe to share with you.  These delicious and healthy burrito bowls are customizable to fit everyone's tastes, making this a recipe the whole family will love.

beef burrito bowls

These burrito bowls have become a family favourite at our house.  My the best thing about this spicy mexican favourite is that everyone can make them exactly how they like them, and customize them for their personal preferences with their favorite burrito toppings.  Don't like salsa, leave it out, adore avocados, put some extra in.  Everyone always loves burrito bowl night, and if you love Mexican food, you will too.  And these steak burrito bowls are the perfect idea for a party or get together too where everyone can add their own favorite toppings and ingredients.

how to make burrito bowls at home

This is also a great make head for meal prep.  If you're looking for a great dish for busy weeknights this is an easy weeknight dinner.  My favorite part of making this is the great leftovers.  Make lunch the easy way, and use the leftovers for an easy lunch the next day.   I love easy meals like this one, where you can prepare different components and then change up each one you put together.

how to make burrito bowls

How To Make Burrito Bowls with Ground Beef, Chicken, or Tofu

If steak isn't your favourite feel free to substitute with a different protein that you prefer.  Use ground beef for more of a traditional taco meat filling makes  delicious ground beef burrito bowls.  Chicken is also a great option for a chicken burrito bowl, or try using ground turkey as another option.  If you prefer tofu, substitute it for the beef.  Try using the steak seasoning with any other protein to create whichever option you prefer for your own bowl.

burrito bowls recipe
how to make a burrito bowl at home

Customize Them For Preferences Or Dietary Restrictions

These burrito bowls are so great for entertaining.  They're really easy to make and guests always love that they can customize them to exactly what they want.  If you're feeding a crowd that includes some dietary restrictions, this burrito bowl bar is so perfect. It's easy to make them vegetarian, dairy free, or gluten free depending on your needs.  Make this a low carb dish by substituting cauliflower rice in the place of regular rice.

what's in a burrito bowl?
how to make a burrito bowl

This easy beef burrito bowl recipe uses simple ingredients that need minimal prep and deliver so much flavor.  It's a great way to enjoy more fresh veggies in a really delicious and easy easy way full of everyone's absolute favorite flavors of Mexican food.  You can combine the ingredients in so many different ways, that everyone will love these.

Recipe

how to make burrito bowls

Beef Burrito Bowls

Make your own burrito bowl with all your favourite ingredients and toppings.
No ratings yet
Print Pin Rate
Course: Main
Cuisine: Tex-Mex
Prep Time: 15 minutes minutes
Cook Time: 15 minutes minutes
Total Time: 30 minutes minutes
Servings: 8
Calories: 1652kcal
Author: Dannyelle Nicolle-Ramjist

Ingredients

Steak Seasoning

  • 1 teaspoon chilli powder
  • 1 teaspoon salt
  • ½ teaspoon ground black pepper
  • ½ teaspoon onion powder
  • ½ teaspoon garlic powder
  • ½ teaspoon paprika
  • ½ teaspoon cumin
  • ¼ teaspoon dry oregano

Steak

  • 4 steaks about 1 ½ lbs total
  • 2 tablespoon oil
  • 1 small onion sliced

Pico de Gallo

  • 2 tomatoes cubed
  • ½ large onion diced
  • ¼ cup lime juice
  • ¼ cup chopped cilantro
  • ¼ teaspoon salt

Burrito Bowls

  • 8 servings cooked white rice or brown rice
  • 2 cups shredded lettuce
  • 2 cups black beans or kidney beans
  • 2 cups corn
  • ¼ cup hot pickled peppers
  • ¼ cup black sliced olive
  • ¼ cup sliced spring onions
  • ¼ cup fresh cilantro
  • 2 sliced avocado
  • 2 cups salsa
  • 2 cups sour cream
  • hot sauce optional
  • 8 lime wedges
  • 4 cups tortilla chips

Instructions

  • To make the steak seasoning, combine all the ingredients together in a small bowl.
  • For the steak, slice the steak into ¼ inch strips. Heat 2 tablespoon of oil in a large skillet. Combine steak strips, steak seasoning, and onion and cook for about 5 minutes over medium-high heat, or until rare to well done, depending on your personal preference.
  • Next, to make the pico de gallo, combine all the ingredients together in a small bowl.
  • Now to assemble a burrito bowl combine warm cooked rice, cooked beef mixture and shredded lettuce along with any of the other ingredients and enjoy.

Nutrition

Serving: 1g | Calories: 1652kcal | Carbohydrates: 105g | Protein: 107g | Fat: 91g | Saturated Fat: 33g | Polyunsaturated Fat: 45g | Trans Fat: 1g | Cholesterol: 364mg | Sodium: 1186mg | Fiber: 16g | Sugar: 10g
Tried this Recipe? Tag me Today!Mention @LifeisaParty or tag #lifeisaparty!

With these easy beef burrito bowls, life really is a party!

More Recipe Inspiration

You might also like our Butter Chicken Pizza Recipe here.

Butter Chicken Pizza: use frozen naan bread and jarred butter chicken sauce from the grocery store, for this quick and easy butter chicken pizza recipe.

Also check out Mom's Easy Lasagna Recipe here.

Easy Lasagna with cottage cheese: this is a great make-ahead, and it freezes well. Easy to put together, and sure to be a family favourite.

You might also enjoy Tortellini and Italian Sausage Soup Recipe here.

Tortellini and Italian Sausage Soup: this hearty soup is a real crowd pleaser with tender pasta, loads of veggies, and delicious Italian sausage.

Honey Garlic Chicken Wing Recipe

Dec 18, 2020 · 2 Comments

Homemade honey garlic chicken wings.

These homemade Honey Garlic Chicken Wings are perfectly sweet, sticky, and delicious. They're also very inexpensive to make at home, and they only have 6 ingredients so they're an easy recipe too. They're perfect for entertaining, or make to go with pizza or as an appetizer.

Homemade honey garlic chicken wings.
[feast_advanced_jump_to]

A Quick Look At This Recipe

  • 📋 Recipe: Honey Garlic Chicken Wings
  • ⏲️ Ready In:  35-40 min.
  • 👪 Servings: 4
  • 🔪 Difficulty: Easy
  • 💭 Top Tip: Make these on your stove top -no deep fryer or air fryer necessary!

Why We Love This Recipe

  • They only have 6 ingredients.
  • They're way cheaper than take-out.
  • They're sweet, sticky, and delicious.
  • They're made on the stove top, so no need to for an air fryer or deep fryer.

If you're looking for an easy from scratch recipe for honey garlic chicken wings, you will love these.  

Love chicken recipes? You might also like our Butter Chicken Pizza Recipe, Tiana's Chicken, Sausage, and Shrimp Gumbo Recipe, or Easy Chicken Salad Toast Cups.

This honey garlic chicken wing recipe is an old favourite.  I have great memories of my dad making it for dinner for our whole family as a kid.  He used to use an electric frying pan...is that even still a thing?  And I remember the chicken wings being sweet and sticky and delicious.  

honey garlic chicken wing recipe

I don't think my dad has made these since way back when, but I have made them lots.  

They're pretty much delicious anytime really.  And is it even game day without wings?  These are my favorite party wings.  Everyone always loves them, including kids, because they are not spicy.  For those of us who are not big fans of buffalo sauce or cayenne pepper or hot wings, this honey garlic chicken wings recipe is perfect.  These are such a favorite appetizer.  And the best part is they're made from scratch with homemade wing sauce and easy to put together.  

Just be prepared to have sticky fingers after eating them. 🙂

Inexpensive

One of my favorite things about this honey garlic chicken wings recipe is that the sauce is made from scratch.  It's so much cheaper than buying prepared sauce jars all the time.  Also it's made with really simple sauce ingredients that you probably already have on hand in your pantry.  These juicy wings get their sweetness from a combination of honey and sugar.  These wings are very inexpensive to make.  

Easy

The other ingredients are some garlic cloves, soy sauce, and onion, plus some water.  That's all, just seven simple ingredients, including the wings.  And with just a few ingredients it means that they don't take long to put together either.  They're an easy, put it all in one pan, and let it cook recipe. Just give it an occasional stir, that's it!

Ingredients:

Easy homemade honey garlic chicken wing recipe ingredients in small bowls on a table.

See the recipe card below for exact measurements and steps.

  • Wings: For the cheapest option, look for whole chicken wings at the grocery store and cut them into wing pieces with a sharp knife.  Cut the wing into three pieces and discard the wing tip or save to use in chicken stock, leaving you with the wingette and the meatiest part which is the drumette.  You can also purchase the wings already cut into the two pieces.  This recipe is for 2 pounds of chicken wings.  Depending on the size of the wing, there are usually about 4-8 wing pieces per pound.  If you need more than 2 pounds you can double this recipe.
  • Soy Sauce: We used a dark soy sauce for the batch of delicious chicken wings we took the final photos of, but regular soy sauce for the step by step photos.  The regular soy sauce are a little bit lighter in colour, more of a dark golden brown.  Either way is super yummy.  You can also use a low sodium soy sauce for this recipe if you prefer.

Equipment

Unlike many other wings recipe you don't need a deep fryer or an air fryer. This is an easy stove top homemade chicken wings recipe that you can make in a large skillet or frying pan.  Because these wings are made in a frying pan, they're not crispy like fried wings, they're soft and sticky, unctuous and sweet.  If you're looking for a crispy chicken wing recipe this is not it.

How To Make Honey Garlic Chicken Wings

Step 1. If you have whole chicken wings, cut them into pieces and discard the wing tips.

Step 2. In a large frying pan with a lid, combine the honey, soy sauce, water, sugar, onion and garlic and stir to combine. Add the chicken pieces in and stir to coat.

Honey garlic chicken wing sauce ingredients in a large skillet.
Honey garlic chicken wing ingredients in a large skillet, before cooking.

Step 3. Cook on medium heat with the lid on for 20 minutes, stiring occasionally, and giving the wings a change to cook on both sides. Remove the lid and cook another 10-15 minutes, stirring occasionally until the remaining sauce is thickened. It will continue to thicken more as it cools.

Cooking stove top honey garlic chicken wings in a large frying pan.
Cooking stove top honey garlic chicken wings in a frying pan with sauce.

Chicken wings are fully cooked when the internal temperature of the meat hits 165F.  When using an instant-read thermometer be sure the tip is inserted into the meatiest part of the wing and not touching any bone for an accurate read.

Store any leftovers in an airtight container in the fridge and reheat to serve.

Expert Tip: When you are making these remember that the sticky honey garlic sauce will continue to thicken more as it cools a bit, so remove it from the heat a little before it gets to the exact consistency you want.  

honey garlic chicken wings

Frequently Asked Questions

Can I make these honey garlic chicken wings ahead of time?

These wings are best eaten fresh. You can prep all your ingredients ahead of time, but cook them right before serving.

Can I double this honey garlic chicken wing recipe?

Yes feel free to double this recipe if you need more wings.

Can I use frozen chicken wings for this honey garlic chicken wing recipe?

Yes, you can use frozen chicken wings in this recipe, just fully defrost before cooking them.

More Appetizer Recipes

  • Melted cheddar and apple savory s'more held in hand with hot honey drizzle.
    Savory S'mores: 4 Campfire Combos
  • Ladybug caprese bruschetta on a basil leaf with mozzarella, olive, and balsamic glaze spots.
    Ladybug Caprese Bruschetta
  • Overhead view of a compound butter board with six flavored compound butters in a row including chocolate, strawberry, whipped honey, jalapeño honey, roasted garlic, and garlic herb, each paired with its own bread on a marble board.
    The Ultimate Butter Board: 6 Flavored Butters and Bread Pairings
  • Truffle butter popcorn in a white bowl with a wedge of Parmesan cheese on a rustic wood surface.
    Truffle Popcorn

If you try this Honey Garlic Chicken Wing Recipe or any other recipe on my blog please leave a star rating and let me know how it went in the comments below. Thanks for visiting today!

Recipe

Honey garlic chicken wing recipe.

Honey Garlic Chicken Wing Recipe

Video

Sweet, sticky, and juicy homemade chicken wings.
4.75 from 4 votes
Print Pin Rate
Course: Appetizers
Cuisine: American
Prep Time: 5 minutes minutes
Cook Time: 35 minutes minutes
Total Time: 40 minutes minutes
Servings: 2 Pounds
Calories: 219kcal
Author: Dannyelle Nicolle-Ramjist

Ingredients

  • 2 lbs chicken wings
  • ¼ cup honey
  • ¼ cup soy sauce
  • 1 cup water
  • 4 tablespoon sugar
  • ½ onion diced
  • 3 cloves garlic minced

Instructions

  • If you have whole chicken wings, cut them into pieces and discard the wing tips.
  • In a large frying pan with a lid, combine the honey, soy sauce, water, sugar, onion and garlic and stir to combine. Add the chicken pieces in and stir to coat.
  • Cook on medium heat with the lid on for 20 minutes, stiring occassionally and giving the wings a chance to cook on both sides. Remove the lid and cook another 10-15 minutes, stirring occasionally until the remaining sauce is thickened. It will continue to thicken more as it cools.

Notes

Chicken wings are fully cooked when the internal temperature of the meat hits 165F. When using an instant-read thermometer  be sure the tip is inserted into the meatiest part of the wing and not touching any bone for an accurate read.
Store any leftovers in an airtight container in the fridge and reheat to serve.
When you are making these remember that the sticky honey garlic sauce will continue to thicken more as it cools a bit, so remove it from the heat a little before it gets to the exact consistency you want.

Nutrition

Serving: 1g | Calories: 219kcal | Carbohydrates: 14g | Protein: 10g | Fat: 14g | Saturated Fat: 5g | Polyunsaturated Fat: 8g | Cholesterol: 46mg | Sodium: 444mg | Sugar: 8g
Tried this Recipe? Tag me Today!Mention @LifeisaParty or tag #lifeisaparty!

New Year's Eve At Home

Dec 17, 2020 · Leave a Comment

New Year's Eve party table filled with appetizers.

New Year's Eve At Home: have an appetizer party on New Years with family, friends, kids, or adults. Everyone cooks and scores each other.

[feast_advanced_jump_to]

It's almost New Year's Eve and this year we're celebrating at home.  In fact we've had a version of this party for the last couple of years and it's especially perfect for this year.  We are celebrating with a New Year's Eve appetizer competition! 

What's better than enjoying all our favourite appetizers on New Year's Eve?  And we're not talking about frozen ones from the supermarket either... we've taken it up a notch and turned it into a fun family competition!

A Little Friendly Competition

Our kids are teenagers and like cooking so they've enjoyed joining the fun, but if you had younger kids who needed more help you could point them towards a no-cook option, or form teams with an adult.  Last year my sister and brother-in-law joined us and took the competition up a notch!

New Year's Eve Decor

I set up the kitchen table for our tasting and scoring.  I created this easy and beautiful New Year's Eve centre piece with lots of mirrored disco balls.  These have been collected over the years, but they were mostly from the dollar store.  I layered the disco balls on a simple runner and added in some gold mercy glass tea light holders for a little more sparkle.

New Year's Eve at home party
New Year's Eve decor

I designed a beautiful printable set for this party that you can obtain for instant download by subscribing to the blog below.  It includes a fun "Happy New Year" banner with the year as well. Subscribe below, then check your inbox for the password to the Free Resource Library - if you don't see it check your spam folder.

New Year's Eve Printables

I picked up some balloons for a fun touch too.  I also did a collection of clocks.  I picked up some at thrift stores, and the alarm clocks are mostly from antique stores.  

New Year's Eve decor

The printable set also includes some straw flags you can add to your paper straws for a festive touch.

New Year's Eve decor

It won't be New Year's Eve without some bubbly!

New Year's Eve at home

The set includes printable labels for all your appetizers, score cards, and fun picks you can use for any of the food to dress it up.

New Year's Eve party ideas

Choosing The Appetizers

We encouraged everyone to think of their very favourite restaurant appetizer -or for us who love cruising we were channeling our favourite cruise formal dining room appetizers.  We all did our own research, and found recipes.  Some of our crew went with tried and true favourites, and some brave ones tried new recipes.  Our guests brought their ingredients with them.  Around 5 or so we all got in the kitchen together, put some tunes on, poured some fancy drinks and got cooking together.

New Year's Eve appetizer party

Everyone set up their appetizer on the table and used one of our appetizer place cards from the printable set to label their dish.  Each place card had a number on it so it was easy to keep track of scoring.

New Year's Eve appetizer
New Year's Eve at home party

When it was time to taste test everyone helped themselves, scoring as they went.

New Year's Eve at home party
what to do at home for New Year's Eve

For our appetizers we choose this portabella mushroom and feta pizza -find the recipe here.  

New Year's Eve at home party

We also made stuffed mushrooms -find the recipe here.

New Year's Eve at home party

Another dish we made was caramelized onion and goat's cheese tarts.  Find our recipe here.

New Year's Eve appetizer

We also made homemade honey garlic chicken wings, find the recipe here.

New Year's Eve at home party
New Year's Eve appetizer party

Scoring The Appetizers

When it was time for scoring and dinner, we used these printable score cards to give everyone's appetizer a score out of 5.  Afterward we tallied up the scores for a winner.  

You might want to include a prize for the winner.  Something like a gift card, or a bottle of  something special would be fun.  We went for bragging rights.

appetizer competition

More Ideas

Depending on the number of people at your party, you might want to supplement the meal.  Last year we had 6 main appetizers and that was perfect for a fun dinner.  If you had less, you might want to also add in a charcuterie and cheese board for additional nibbling, or to enjoy while you're cooking together. 

how to host an appetizer competition

You could also do a dessert round at midnight for a fun addition, where everyone makes a small version of their favourite sweet as well, and you all taste and score this course as well.  You could even ask everyone to add a drink pairing to all the appetizers, alcoholic or non-alcoholic.  And depending on your group, you could dress up in fancy attire, or have a pj party.  It's such a fun party idea that you can adjust depending on the group of family, friends, kids or adults.  

During our evening between cooking and nibbling we also had a movie marathon going on.  Pick a series, a theme, or a favourite actor and watch them all that night. One year we did Jane Austen movies, last year it was the God Father, we also had Star Wars, Lord of the Rings, Indiana Jones, and Narnia in the running.  A game board tournament might be a fun option as well.

With a fun New Year's Eve at home like this one, life really is a party!

Purchase the New Year's Eve Printable Party Set here for instant download and print on your home printer or office store and enjoy.

More Recipe Ideas

Want more appetizer recipe ideas?

Check out our Individual Charcuterie Snack Boards here.

Individual Charcuterie Boards: perfect for entertaining or for date night, full of ideas for cheeses, meats, fruits, sweets and more.

You might also like our Homemade Cheese Straws here.

Cheese Straws Recipe: spicy and savoury cheese shortbread straws, perfect for gift giving or as part of a charcuterie board.

Also check out our Slow Cocker Spinach and Artichoke Dip here.

Slow Cooker Spinach and Artichoke Dip: Perfect for easy entertaining, just add everything to the slow cooker and forget about it!

You might also like our Cranberry Raspberry Cocktail here.

Cranberry Raspberry Cocktail: made with cranberry raspberry juice, ginger ale and vodka, add easy sugared cranberries as the perfect garnish.

Cranberry Raspberry Cocktail

Dec 16, 2020 · 2 Comments

cranberry raspberry cocktail

Cranberry Raspberry Cocktail: made with cranberry raspberry juice, ginger ale and vodka, add easy sugared cranberries as the perfect garnish.

cranberry raspberry cocktail
[feast_advanced_jump_to]

This Cranberry Raspberry Cocktail with sugared cranberries is the perfect easy, festive cocktail to enjoy at Christmas.  Make a non-alcoholic version for non-drinkers or kids, and add some vodka for the adults.  The sugared cranberries take this drink to the next level, and they're quite easy to make.  We love having a signature drink for a get together and these are sure to be a hit with all your guests.

Options

I love a sweet fizzy drink, especially at Christmas and there's nothing more festive than cranberries during the holidays. And I love the combination of cranberries and raspberries, since cranberry juice can have a slight bitterness at times, and the raspberries really add a little sweetness.  If you prefer though, you can also make this drink with just cranberry juice and ginger ale, or try any of the other cranberry juice combinations like cranberry apple juice, or cranberry strawberry juice/

Look for cranberry raspberry flavor cocktail or juice at the grocery store.  The cocktail will have sugar added and be sweeter than the pure juice.  You can use whichever you prefer.

We like ginger ale in this drink because it adds sweetness and flavor.  If you like a stronger ginger flavor you could also try using ginger beer instead.  If you prefer though, you could use club soda or soda water for a less sweet drink, or if using the cranberry raspberry cocktail drink which is a little sweeter than the juice.

cranberry raspberry cocktail recipe

Drink Garnish

The sugared cranberries are very easy to make and they're the perfect combination of sweet and tart.  They're a wonderful garnish for this festive cocktails.  A cinnamon stick makes a great stir stick for this drink during the holidays and adds natural flavors as well.

If you're serving this as part of your summer cocktails, you might substitute the sugared cranberries for fresh raspberries and a fresh lime slice in the drink or on a skewer as garnish.

how to make sugared cranberries

Keep these simple ingredients on hand during the festive season and enjoy this easy cocktail all holiday season long.

cranberry raspberry cocktail

Non-Alcohol Version

If you prefer a non-alcoholic version of this drink, simply leave out the vodka and enjoy.

cranberry raspberry cocktail with vodka

Recipe

cranberry raspberry cocktail

Cranberry Raspberry Cocktail and Sugared Cranberries

Make this sweet festive drink with alcohol or without, and the perfect tasty garnish of sugared crandberries.
5 from 1 vote
Print Pin Rate
Course: Drinks
Cuisine: American
Prep Time: 5 minutes minutes
Cook Time: 5 minutes minutes
Additional Time: 8 hours hours
Total Time: 8 hours hours 10 minutes minutes
Servings: 1
Calories: 706kcal
Author: Dannyelle Nicolle-Ramjist

Ingredients

  • ⅓ cup cranberry raspberry juice or cocktail
  • ⅓ cup ginger ale
  • 1 oz. vodka
  • ice cubes
  • ½ cup sugar -divided
  • ¼ cup water
  • ½ cranberries

Instructions

  • To make the sugared cranberries, combine ¼ cup of sugar with a ¼ cup of water in a small saucepan. Heat and stir until sugar is fully dissolved, and water has come to a simmer.
  • Remove from the heat and add the fresh cranberries and stir. Let the cranberries sit in the sugar water for an hour and up to 8 hours.
  • Drain the cranberries, and let them sit for 5 minutes, then roll the sticky cranberries in ¼ cup sugar to coat them completely. Leave them spread out on a plate to dry slightly and set.
  • To make the drink, fill a highball glass ⅓ full with cranberry raspberry juice or cocktail. Next, fill the glass another ⅓ with ginger ale. Lastly add 1 oz of vodka and ice to fill the glass.
  • Skewer three sugared cranberries and add to the glass as a garnish.

Nutrition

Serving: 1g | Calories: 706kcal | Carbohydrates: 132g | Protein: 1g | Sodium: 18mg | Fiber: 2g | Sugar: 127g
Tried this Recipe? Tag me Today!Mention @LifeisaParty or tag #lifeisaparty!
cranberry raspberry vodka cocktail with sugared cranberries

With a Cranberry Raspberry Cocktail to enjoy, life really is a party!

More Drink Inspiration

You might also like our Homemade Gingerbread Latte here.

Homemade Gingerbread Latte: Copycat gingerbread latte Starbucks recipe with an easy homemade gingerbread coffee syrup recipe.

Also check out Easy Blackberry Sparklers Mocktail recipe here.

Blackberry Sparklers: fresh blackberries are pureed for this cocktail, make it with alcoholic, or without for a non alcoholic mocktail version.

You might also enjoy our DIY Hot Chocolate Mix here.

DIY hot chocolate mix gift idea

Cozy Christmas Living Room

Dec 15, 2020 · Leave a Comment

cozy Christmas living room

Cozy Christmas Living Room: this cozy living room gets a forest feel for Christmas along with lots of boho touches and hygge vibes.

cozy Christmas living room
[feast_advanced_jump_to]

This year in our basement I wanted to create a cozy Christmas living room space for us to enjoy the fireplace, movie watching, and present opening.  We always spend Christmas morning here, so that makes it extra special for us.

boho cozy Christmas living room

Our large leather sectional is the perfect comfy spot for snuggling up with all the pillows and throw blankets.  This year I've add an assortment of black and white along with some green pillows and throws -which feels so perfect for Christmas.  The back wall has birch bark wall paper, so this year I went with a bit of a forest theme for decorating.  There are trees, trees, and more trees down here.  It feels like a cozy little spot in the woods.

cozy Christmas living room

Boho Christmas Tree

The Christmas tree is dressed in black and white with a few additions of pretty gold.  It definitely has a boho feel this year.  I love these pretty DIY macrame ornaments.  There's a full tutorial to make them here, but instead of little sticks there ones are on mini gold hoops -and they double as napkin rings. 😉

mini macrame Christmas ornament

The pretty boho inspired ornaments are a fun DIY.  I followed a great tutorial from Jennifer Rizzo and I love how they turned out.

boho Christmas ornament

And the rest of the tree is combination of pretty pine cones to go with our forest feel, muted gold balls, black balls, and these easy DIY Wooden Ball Ornaments.  It's all finished off with some black herringbone ribbon and a simple gold paper star.

boho Christmas tree

The Fireplace Mantel

Over on the fireplace, I used a fun combination of mini Christmas trees and birch trees.  There's also a collection of brass candlesticks.  The candlesticks are all thrift store finds, and they have a fun DIY dipped paint effect -see the tutorial here.

boho Christmas mantel

On the mantel I did a layered collection of faux pine, mini lights, yarn, Pom Pom trim, and this metal "Merry Christmas" banner -which was silver, but got a little makeover with some gold spray paint. 😉

cozy Christmas living room

One of my favourite details in the living room this Christmas are these fun snow globe-ish scenes.  I used a few vintage glass large bottles and added some faux snow and bottle brush trees.  These are so easy to put together and couldn't be cuter.

cozy Christmas living room

And on the other shelves over the tv I've added more trees and candlesticks along with a favourite simple Christmas village in white and gold.

And it wouldn't be Christmas without a disco ball thrown in for good measure. 😉

cozy Christmas mantel

Over on the other side of the room I've continued the forest feel.

cozy Christmas living room

More Inspired Forest Touches

My little bar cart that usually lives in my dining room, is moved here for Christmas and I love it holding all the little forest trees.

forest Christmas decor
woodland Christmas

There's quite a collection of faux trees here, and my favourite is probably another little scene in another vintage large glass bottle.  I also added lots of fun pinecones.

woodland Christmas decor

And lastly over on the coffee table, there's another pretty little Christmas tree.

cozy Christmas living room

And I have a little glass terrarium here with more bottle brush trees.  Along with a real antler we found out on a snowy walk in the forest behind our house a few years ago.

cozy Christmas living room

I also included a vintage green typewriter, with the beginnings of the nice list on it, along with some spectacles... could they belong to Santa himself?

cozy Christmas living room ideas

It's a cozy little spot to enjoy all season long, full of hygge vibes and boho touches, perfect for snuggles.

With a cozy Christmas living room like this to enjoy, life really is a party!

More Inspiration

You might also like our Boho Christmas Decor here.

You might also like our Boho Christmas Reading Tent here.

Boho Christmas Reading Tent: See how to make an inexpensive reading tent fort for kids with birch poles and an old table cloth.

Also check out our Green Christmas Home Tour here.

Christmas Home Tour: Rustic Scandinavian Christmas Home Tour, with bit of modern boho.

Christmas Tea Party

Dec 14, 2020 · 1 Comment

Christmas tea party with table decor, menu, and recipes.

This Christmas Tea Party has a British inspired Christmas tea party menu, with items like mincemeat tarts, sausage rolls and fruit cake, along with the tradtional high tea fare of tea sandwiches, scones, and sweets. There's also ideas for Christmas tea party themed decorations, and Christmas crackers.

Christmas tea party with table decor, menu, and recipes.
[feast_advanced_jump_to]

Why We Love This Party

  • We love tea parties anytime of year, but a Christmas themed tea party is extra special.
  • The menu is a combination of traditional tea party food and Christmas items that's so good!
  • The food and decor were so beautiful and festive.

This Christmas Tea Party was so much fun to put together, and the perfect fun festive party to celebrate the holiday season. Many years ago when I was 18, I lived in England for a year. It was then that I developed a love for traditional afternoon tea, and learned all about the traditional tea party fare. 

Check out all our tips for hosting an afternoon tea party here. And tea parties aren't just for littel girls -check out our adult afternoon tea party Christmas is the perfect occasion for hosting a tea party like this or a Nutcracker Tea Party, but tea parties are great for just about any holiday. Check out our Winter Tea Party, Valentine's Tea Party, and our Fall Tea Party.

I had so much fun putting together a British inspired menu for our Christmas tea party. I used lots of ideas from our complete tea party food guide.

I can't think of a better way to celebrate Christmas time, then with a festive British themed tea party. If you are planning to host your own tea party, I hope it gives you lots of inspiration.

Christmas Tea Party

The Table

I decorated the table with some beautiful Christmas trees down the centre on a knit table runner. I added some twinkle lights and pretty candles. All the Christmas decorations looked so beautiful.

Christmas Tea Party
Christmas High Tea

At each place setting I started off with some pretty vintage tea cups. See all our tips for setting the table here.

These were the first thing I found for the tea party and they set the tone for the whole party. They're from the thrift shop which is the perfect place to find tea cups for an afternoon tea party. They certainly add an authentic British tradition feel. They would also be sweet party favors for guests to take home to remember a special afternoon.

This would also be the perfect occasion to use special Christmas china if you had some.

Christmas tea party ideas
Christmas tea party

I mixed my vintage tea cups with plain white plates, and pretty gold cutlery to match their gold trim. At each place setting I included a Christmas cracker -another very British addition to the table. 

I gave these Christmas crackers a makeover with some pink paper, and new ribbons and embellishments to tie them into our party perfectly. 

I also included these pretty iridescent champagne flutes. A glass of champagne or sparkling wine makes a wonderful addition to a tea party -inspired by the fancy high tea menus at the hotels downtown, and is the perfect way to raise festive spirits on special occasions with a little holiday cheer. 

And if you have little ones at your tea party, some sparking juice makes a great additon too.

how to have a Christmas tea party

Christmas Tea Party Decor

In addition to our pretty table, I thought it would be fun to add a few simple tea party inspired decorations. 

On our little mini Christmas tree, I used an old children's toy metal tea set as decorations on the tree. The tea pot made the perfect tree topper, and the cups and saucers make adorable ornaments. I love including little details like this to make a holiday party extra special.

 tea party Christmas tree
tea party Christmas tree
tea cup Christmas tree

On the side cabinet I added in some light up marquee letters to spell out "tea".

Christmas tea party ideas

Christmas Tea Party Menu

Traditionally a full afternoon tea is served late afternoon and has a savoury course to begin with, mostly comprised of finger sandwiches, and savoury snacks, followed by scones with cream and jam, and then small sweet treats and desserts.

The Tea

It won't be a tea party without tea. In an English tea room it would be loose leaf tea made in a teapot and served in a teacup. Many tea drinkers swear the a cup of tea tastes better drunk from a china tea cup. If you don't have a tea pot, look for one at a thrift store. These days you can us a tea bag to make the tea.

Look for a black tea like earl grey, or English breakfast. But you can also include other options for guests like different flavors of herbal tea, or green tea. Be sure to have milk, not cream for the tea, and sugar cubes -so you can say "one lump or two?"
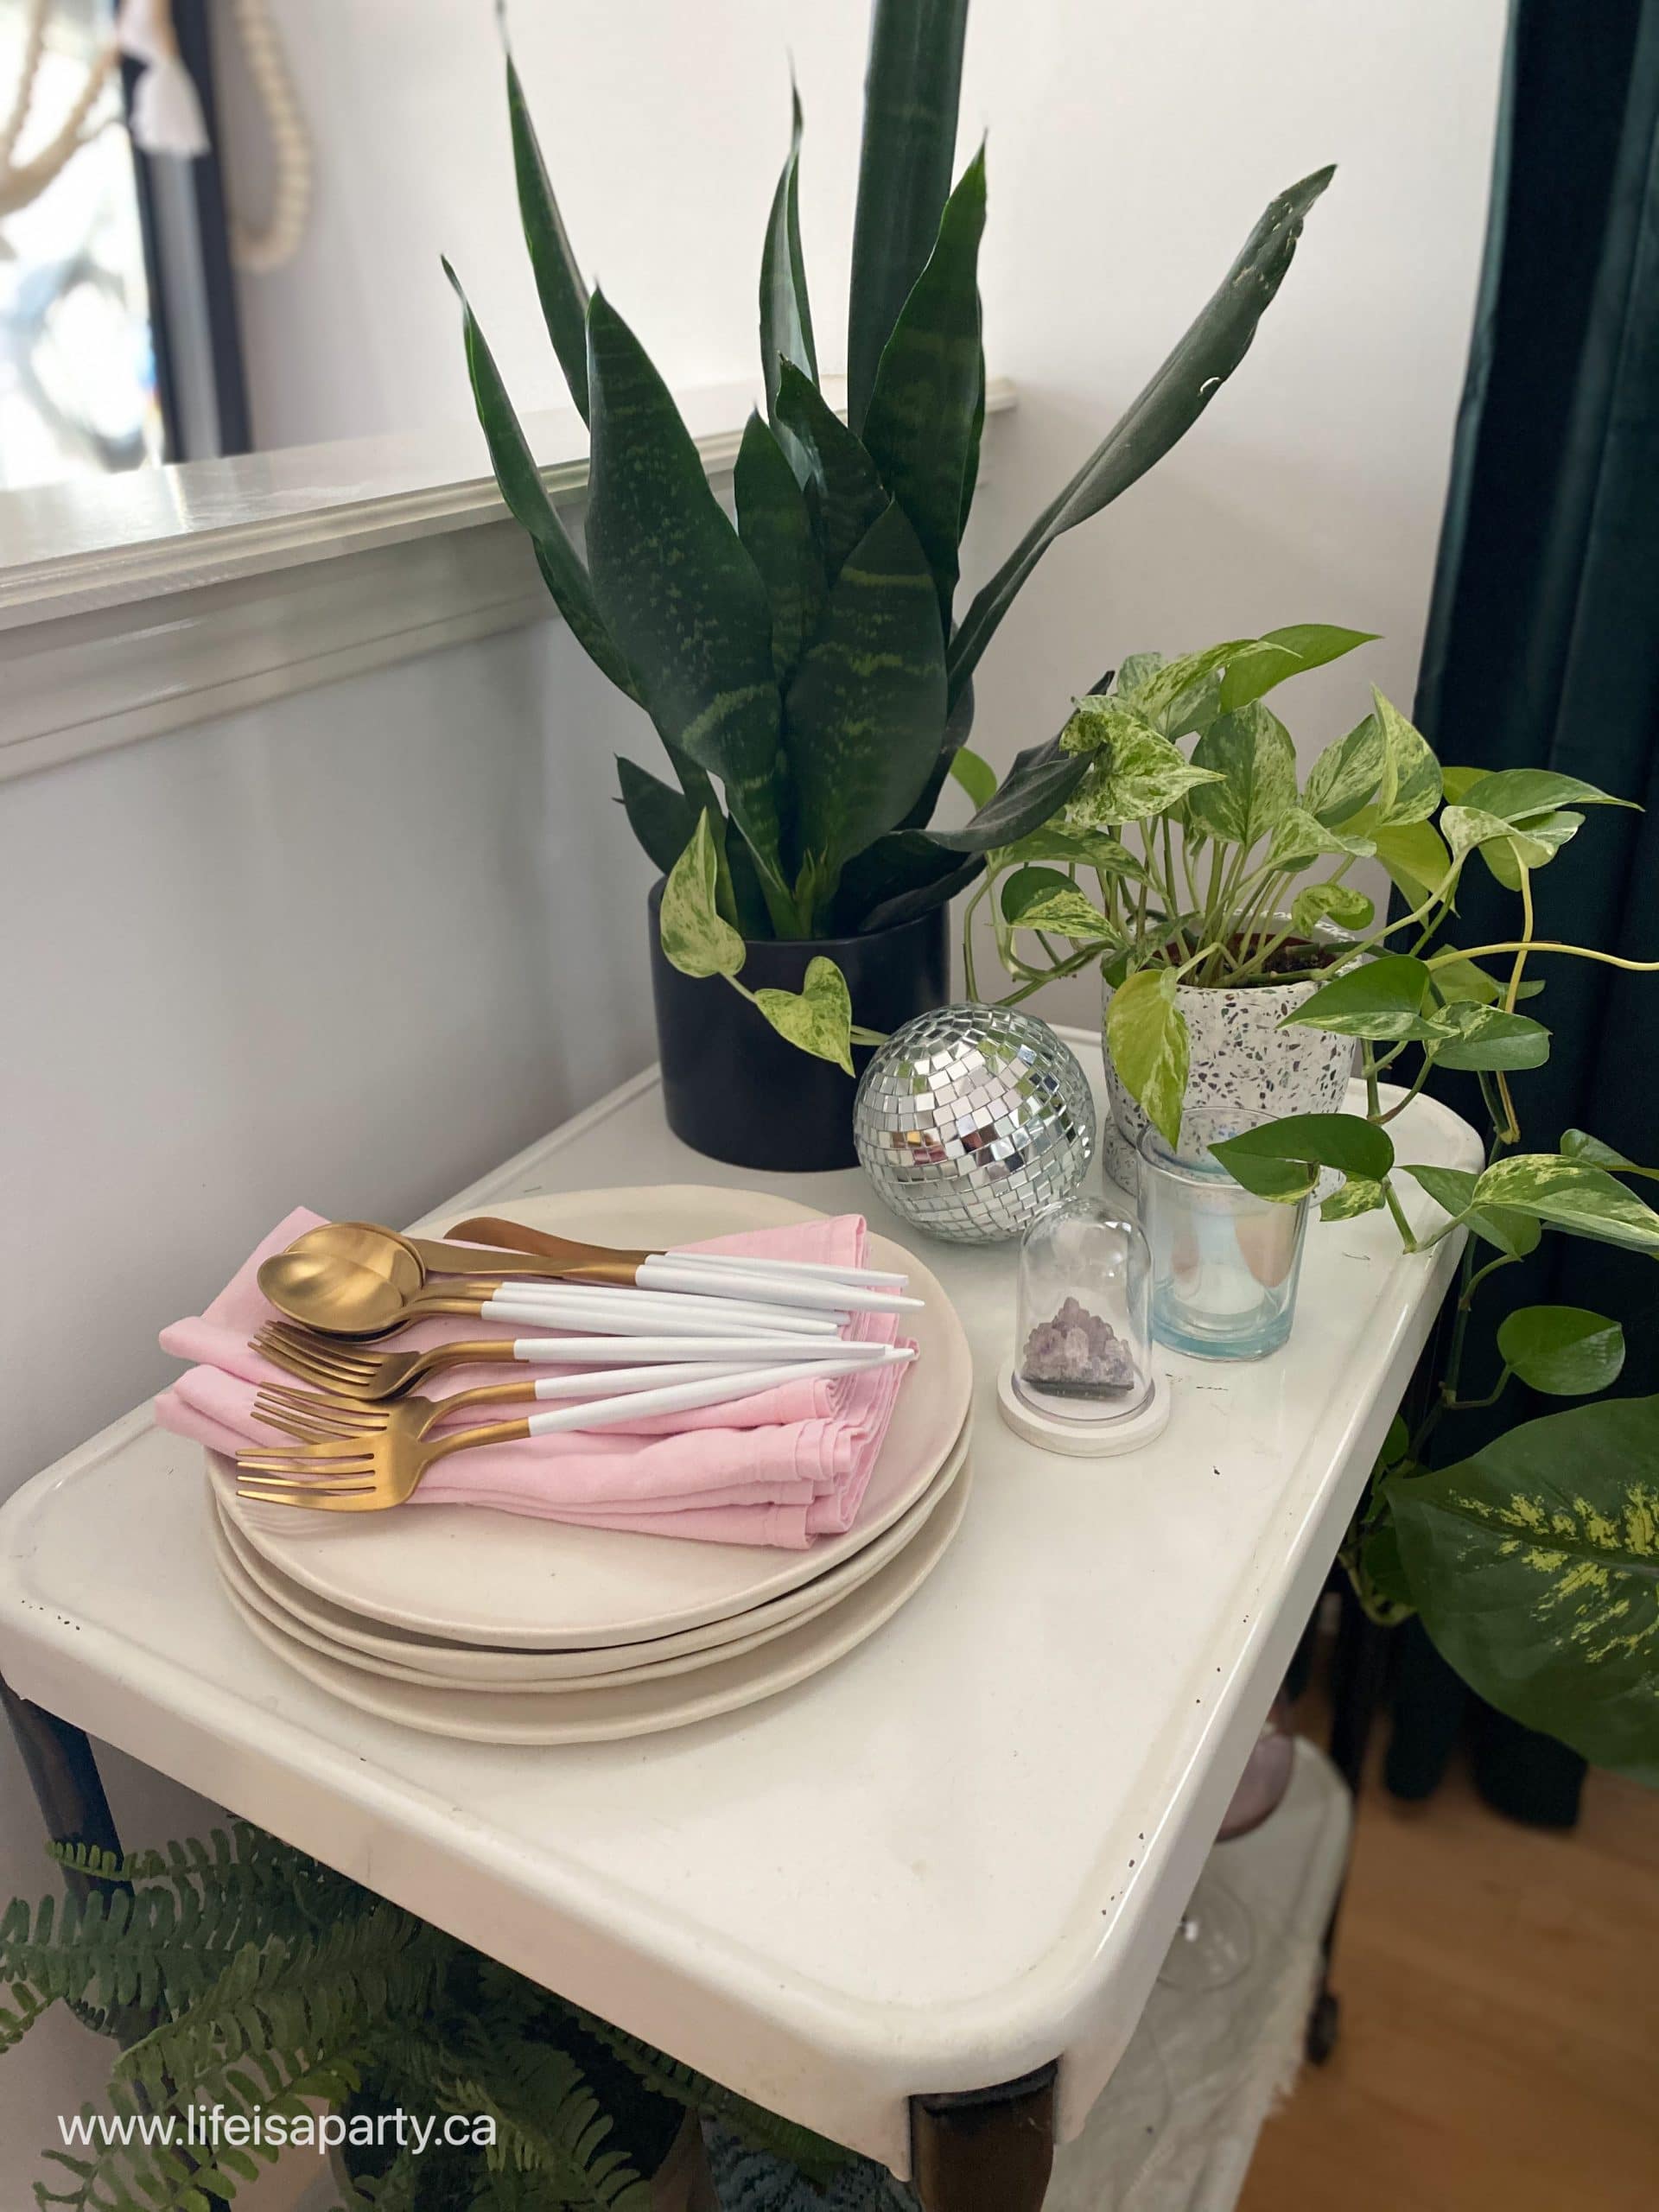
If you have children at your tea party, hot chocolate is a good idea. Make it feel extra special by serving it from a teapot for them. This is sure to be a big hit, especially if you add a dollop of whipped cream and some marshmallows.

Christmas tea party menu

Savoury

  • Egg Salad on Mini Croissants: making these on mini croissants makes them the perfect size for tea.
Christmas tea party menu ideas
  • Turkey Sandwiches with Cranberry Mayo: These flavors are perfect for a Christmas celebration. They're easy to make and really delicious.
  • Cream Cheese and Cucumber Sandwiches: This classic tea party sandwich is always a crowd favorite.
  • Sausage Rolls: The sausage rolls are another very traditional British savory treat. These are from my local bakery, and cut into small pieces were perfect for our Christmas afternoon tea.
Christmas tea party menu
  • Mini Yorkshire Puddings with Roast Beef and Horseradish Cream: To make the Mini Yorkshire puddings with roast beef and horseradish cream, I picked up some frozen Yorkshire puddings at the grocery store, and baked them according to the package instructions. I aded some roast beef deli meat, some lettuce, and horseradish cream. I thought these were a nice nod to a traditional Christmas roast, but in holiday tea party form, and a great addition to our menu.
what to serve at a Christmas tea party
how to host a Christmas tea party

Sweets

  • Scones with Jam and Cream: This food processor scone recipe is my quick and easy favorite. Make them the morning off so they're nice and fresh, or pick some up at the bakery.  In England, it's traditional to have scones with jam and clotted cream.  It's very difficult to find clotted cream here, and very expensive so I've substituted some whipped cream.  It's not the same as clotted cream, but it's quite delicious.  This time of year you might try using a jam with some traditional Christmas season flavors like cranberry. Lemon curd is another great option.
scones with cream and jam
scones with jam and cream
  • Christmas Fruit Cake: Old fashioned fruit cake is such a traditional British treat around the holidays. These days many aren't fans of it, but if you enjoy it Christmas cakes are the perfect holiday addition to your tea party menu.  Not a fan? Try a tradional chocolate Yule log instead.
Christmas cake
  • Mincemeat Tarts: Another traditional British treat at Christmas is mince pies. I picked up some mincemeat tarts at the bakery. Add an assortment of any of your favourite Christmas cookies, like sugar cookies, shortbread, or gingerbread.
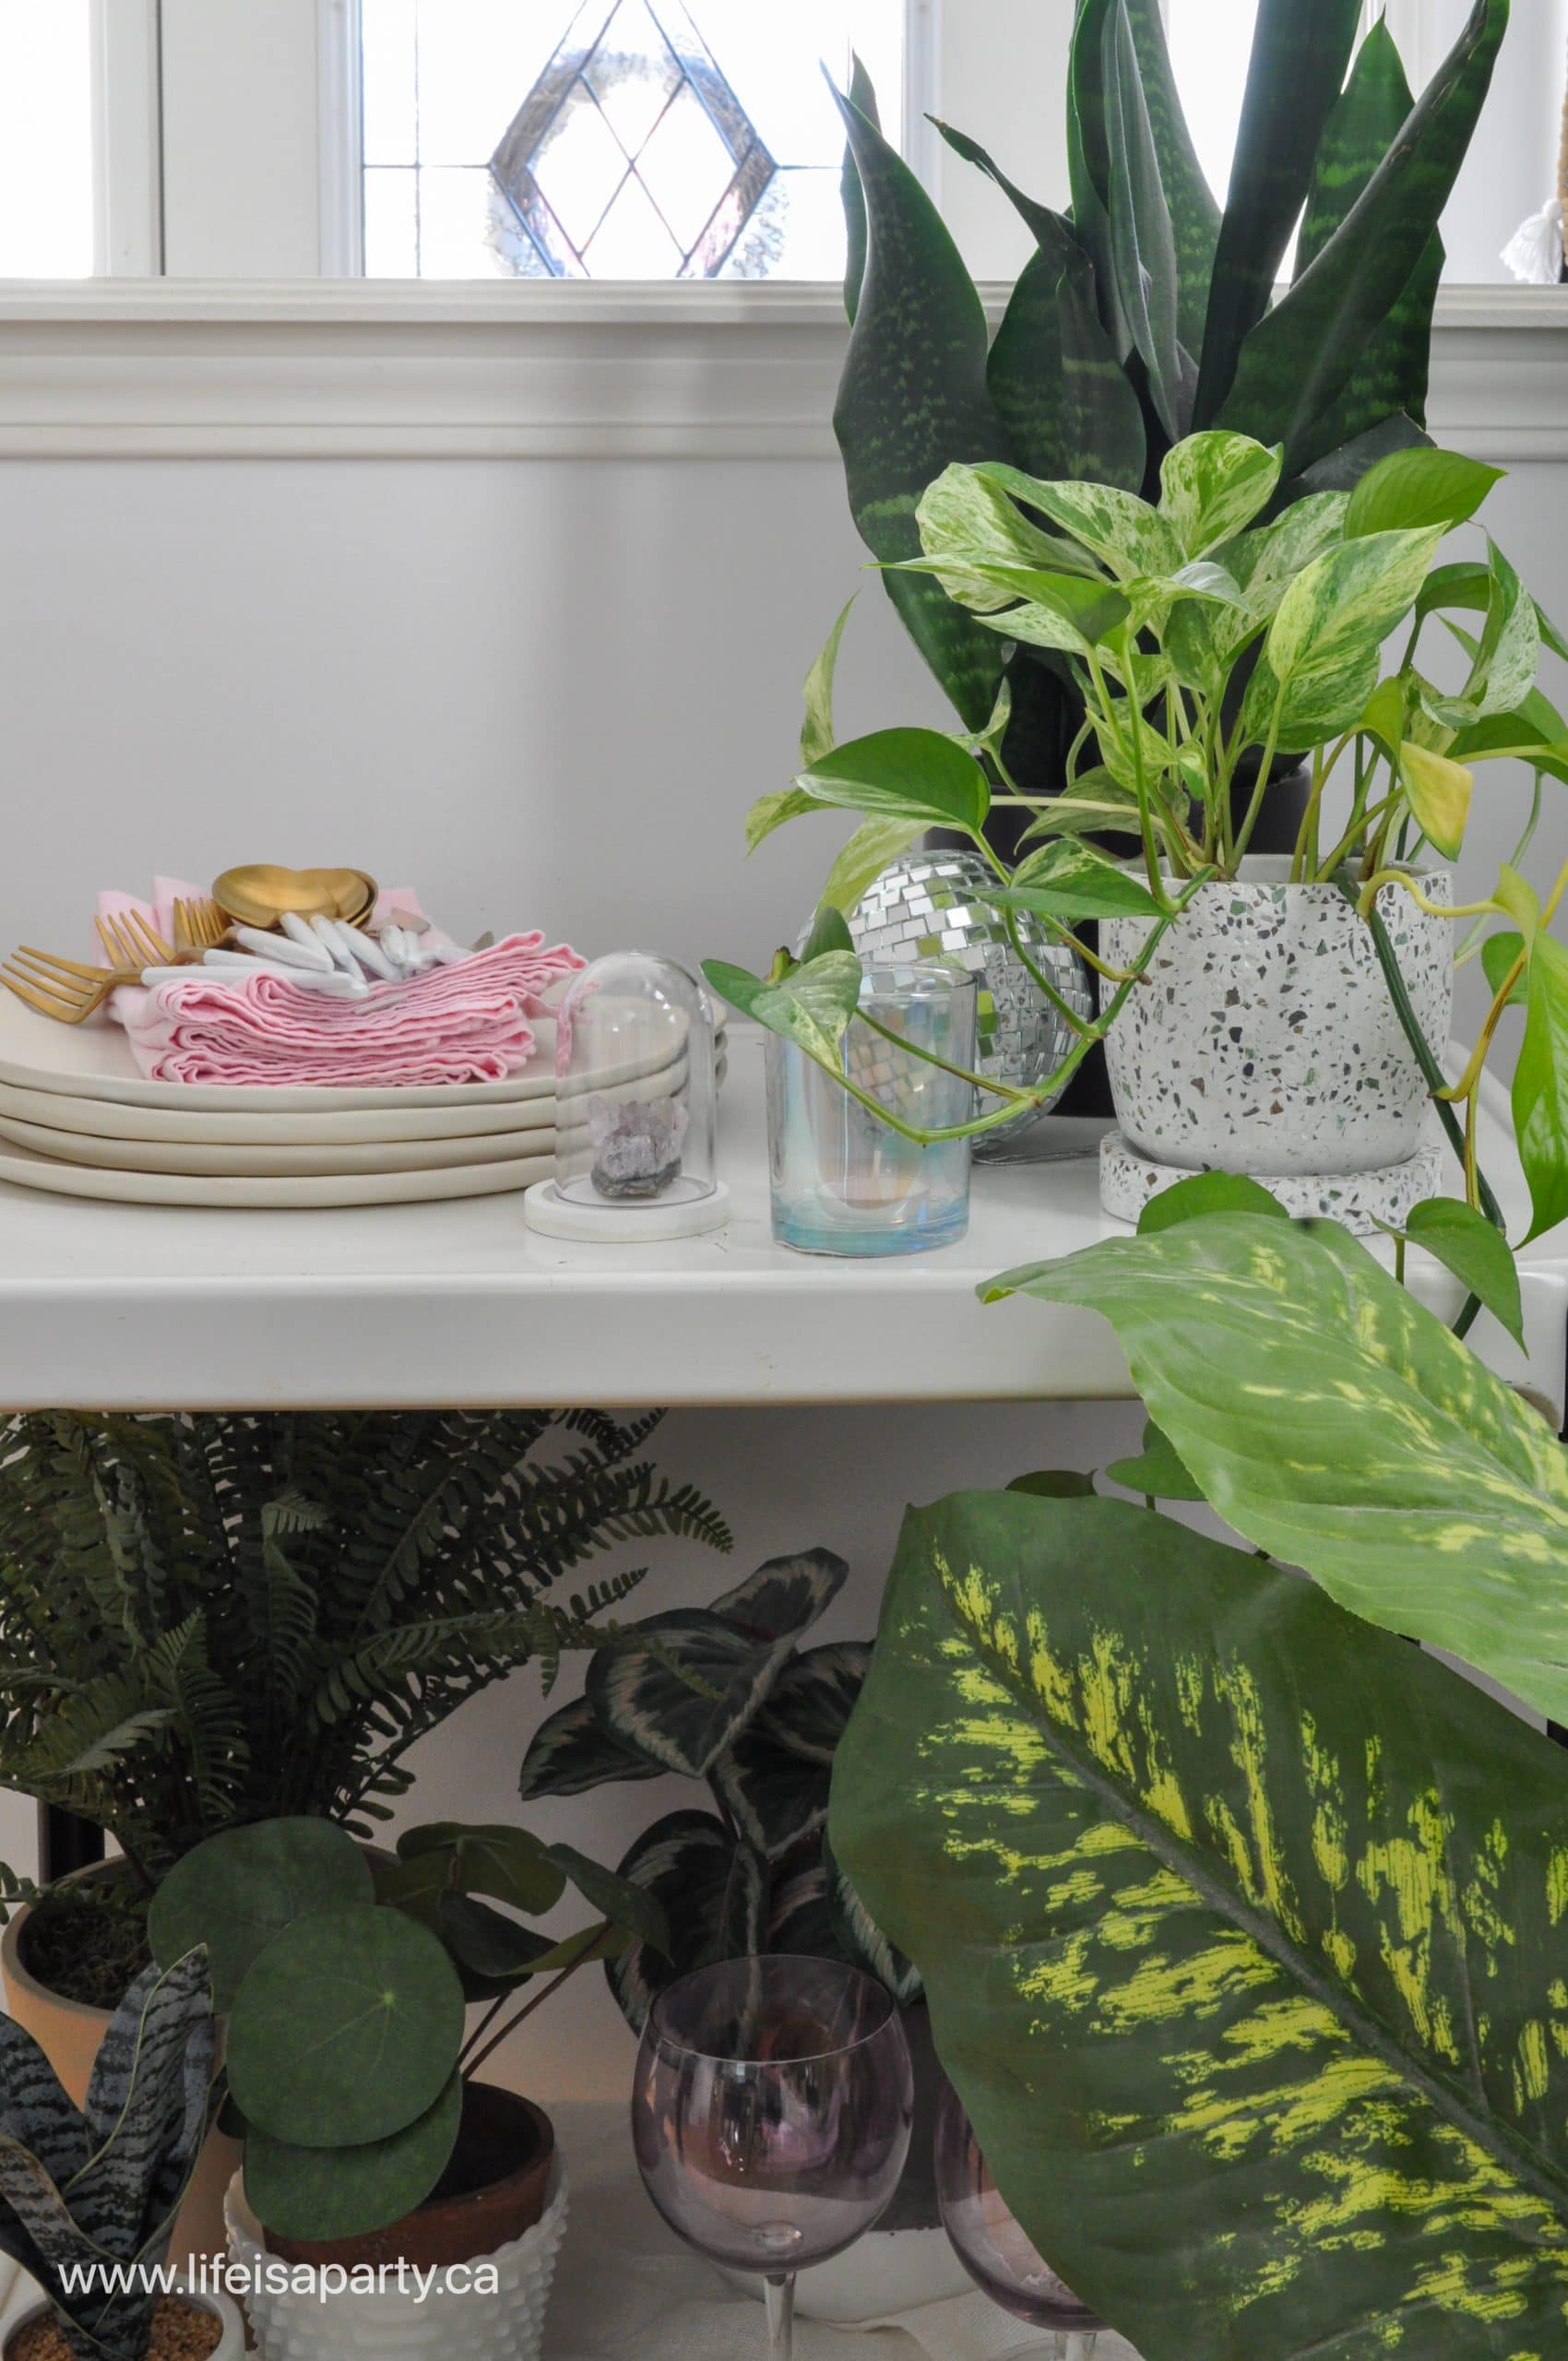
Christmas tea party
  • Assorted Christmas Cookies: We included an assortment of our favorite Chrsitmas cookies. Shortbread is a traditional tea party cookies and these chocolate chip shortbread cookies are a great additon.
Christmas tea party sweets
  • Mini Cupcakes: These mini cupcakes are the perfect little bite and these were so beautiful too, picked up from my favorite cupcake shop.
Christmas tea party menu
  • Mini Raspberry Trifles: The trifles are an easy addition. We made them with simple store bought ingredients, so they're very quick to put together. They look so festive decorated with a holly leaf, just remember holly isn't edible, or use a faux leaf. Get the easy recipe for the mini individual trifle here.
mini trifles
mini trifles

This tea party was so much fun, especially with our English inspired menu and fun pink color scheme. We had such a good time, enjoying good food, and close friends. It's the perfect way to celebrate this Christmas time.

This was a great way to celebrate the holidays, but it would also be a very fun baby shower, or birthday celebration with good friends over the holidays.

With a Christmas tea party like this one to enjoy, life really is a party. Merry Christmas!

Frequently Asked Questions

Can I make the food ahead of time?

Yes. Make the sandwich fillings and desserts the day before the party. On the morning of put your sandwiches together and bake your scones. Make sure to store all the food in air tight containers before serving so that it doesn't dry out.

Any ideas for including kids?

Kids will love the little sandwiches and sweets. You might include some peanut butter and jam or plain ham and cheese. Cut them out with Christmas cookie cutter shapes like a star to make them more festive. Instead of tea, offer kids hot chocolate. And instead of champagne or sparking wine, offer kids sparking juice.

How did you make the Christmas crackers?

I used store-bought Christmas crackers and covered them with pink paper to fit our theme, then embellished them with ribbon and tinsel.

 If you try any of the ideas from this Christmas Tea Party or any other ideas on the blog please let me know how it went in the comments below. Thanks for visiting today!

More Christmas Party Inspiration

  • Elf on the shelf arrival letter and breakfast.
    Elf on the Shelf Arrival Letter + Welcome Breakfast Ideas (2026)
  • Ice skating party ideas with decorations and food.
    Winter Ice Skating Party Ideas
  • Christmas tea party with table decor, menu, and recipes.
    Christmas Tea Party
  • Christmas baking party with free printables.
    Christmas Cookie Party

Pink Christmas Decor Home Tour

Dec 11, 2020 · 8 Comments

pink Christmas decorations and home tour

Pink Christmas Decor Home Tour: a boho rustic Scandinavian style home gets touches of pink and vintage for Christmas this year.

pink Christmas decorations and home tour
[feast_advanced_jump_to]

Our Christmas Home Tour is always one of my favourite posts of the year.  This year, with the year that it's been I've added a little colour to my usual neutrals. A little pink Christmas decor is exactly what we need this year to add a little cheer.  It's such a funny year.  Usually I'm prepping for Christmas guests but there won't be any this year.  I'm still decorating though, just for us.  To make our house feel a little cozier and special this time of year.

Front Porch

I decorated our front porch with some fresh seasonal greens.  It was fun to head to the woods and find some treasures to bring home.

rustic Scandinavian style Christmas front porch

I love to decorate around the door with some collected grape vine.  The grapevine is  held it in place with some 3M hooks.  I've also added in some pine branches and lights.

modern farmhouse front porch

A few birch logs and lanterns lend a cozy touch.

Scandinavian style Christmas front porch

I love how my outdoor Christmas arrangement turned out this year.  We added some fresh cedar, fir, and pine.  It's  topped off with some branches of curly willow, from my mom's garden, and some stars and pinecones.

Rustic Christmas outdoor urn

This wreath got a wintery makeover -see the summer version and how I made the clay mushrooms here.  I've re-painted the mushrooms with some pretty pink -a sign of things to come inside.  And then I topped it off with some pretty iridescent snow.

mushroom Christmas wreath

The Dining Room

Inside the front door we have a little console table.  This vintage card catalogue is a favourite, along with the paper trees.  The candlesticks are thrift store finds, along with the pink candles.

pink boho Christmas decor
Christmas letter board

In the dining room I've added a few more Christmas touches.

rustic boho Christmas decor
pink Christmas decor

I've added some more of the paper trees on the dining room table, and more of the brass candlesticks.

pink Christmas decor ideas

One of my favourites this time of year is this old wood dough bowl, filled with vintage ornaments and some lights.  This year especially, it seems like a few vintage and traditional touches are the perfect way to make us all feel comforted by a little nostalgic Christmas.

vintage Christmas ornaments
pink Christmas decor ideas

Over on the buffet, my vintage bottles, demijohns, and carboys are looking beautiful all dressed up for Christmas. I've added a few fresh greens and I couldn't resist using these beautiful dried grasses from Everything Frivolous again.

boho Christmas decor ideas
pink Christmas decor ideas
boho Christmas decor
rustic boho Christmas decor
pink bunny tails
boho Christmas decor
pink pampas grass

Over on the other side of the room I've got a pretty little Charlie Brown pine tree in a demijohn basket.  There's also a vintage cardholder filled with antique Christmas postcards I picked up at my favourite antique market.  And lastly in our trio of trees is the black iron one with a few precious vintage ornaments.

vintage Christmas decor
vintage Christmas decor ideas
vintage antique Christmas cards

The Stairs

Our dining room leads past the stairs and into the living room.  This year on the stairs I started with this DIY macrame garland -see how I made it here.  It's layered with a faux fir garland, some pink velvet ribbon, and some twinkle lights.  Lastly I added this DIY star garland -see how I made this one here. 

Christmas stair garland boho

At the bottom of the stairs, this is a favourite little spot.  The little animals are part of an advent calendar and another forest friend joins them each day leading up to the big event.  The little house shelves are a dollar store find, and I've filled them with a little collection of vintage creamers.  For Christmas I've added in some bottle brush trees and a strand of iridescent sequences.  When I decided to add a little pink this year, these old wool pink blankets seemed like the perfect cozy addition.

neutral Christmas decor
wood Christmas trees
wood Christmas decor
vintage alarm clock and wood Christmas trees
vintage creamers and bottle brush trees
wood Christmas trees

The Living Room

Over in the living room, this year's tree is a stunner.  I like a one that's not too full, cut down in the forest.  I've dug out all my vintage ornaments this year, and the tree is looking so beautiful.  The vintage topper is the perfect cherry on top.  And I've also added some iridescent clear glass and white ornaments, and a few paper ones to tie in with my paper trees in the dining room.  Lastly I finished it off with some white satin ribbon, and some thin pink velvet ribbon.  It's simple and perfect.

pink Christmas tree
Christmas tree with pink decor
Christmas tree with vintage ornaments
vintage pink Christmas ornament
rustic Scandinavian Christmas decor
rustic Scandinavian style Christmas decor

Over on the other side of the room the couch is dressed up with some cozy pillows and a throw blanket all ready for Christmas movie watching.

pink Christmas decor

On the coffee table added an eclectic collection of trees, candles, retro looking deer, and a disco ball for good measure.  It's all very cozy at night with the candles lit.

bottle brush Christmas trees
pink Christmas decor ideas

The living room leads into the kitchen and this pass through is always a favourite spot to decorate.  This year I found the beautiful branch out on a forest walk and brought it home thinking of this special spot. I've tied it up with a little thread and decorated it with some more vintage ornaments, and some tinsel.

branch with Christmas ornaments
vintage Christmas ornaments

The Fireplace

Over on the fireplace, I've tried to repeat lots of elements.  There's more macrame garland and faux fir garland, layered with more of the tree branch and more DIY star garland.  I've also added more pretty trees, and more vintage brass found thrifting.  I've also included this fun art work.  You can buy this print in our etsy shop here.  I had it printed at my local office store, and I love it here.  It's from the old cartoon Rudolph the Red Nosed Reindeer.  Remember the one about the Yukon Cornelious, Hermy, the Abominable Snow Man, and the Island of misfit toys?  It reminds us that there really is a place for all the misfits and that we all have a unique gift to share with the world.

Christmas fireplace mantel

The Eating Area

And lastly over in the kitchen, the table is looking so pretty.  I've added some more iridescent touches for Christmas.  I love the contrast of the cool iridescent glass with the warm and cozy knit runner.  

pink Christmas decor ideas
glass Christmas trees
iridescent Christmas decor
pink Christmas decor ideas

Over on the little side cupboard more trees.  There is also this fun poster.  I added a bit of a gingerbread house theme in the kitchen all inspired by this fun poster.  It's also a print you can purchase in our etsy shop, and I it's been printed as an inexpensive colour engineer print at the office supply store.  The little tree is another real one, and decorated with mini lights and more of the DIY star garland.

pink Christmas decor
pink Christmas decor ideas

This tiny little village is also a DIY, see how I made it here.

DIY miniature Christmas village

These adorable little plates are a new find, I love the little scene of skiers, skaters, and dog walkers.

pink Christmas decor
bottle brush Christmas trees
miniature real Christmas tree mini

The Kitchen

Over on the other side of the kitchen, this is the view back into the living room.

kitchen Christmas decor

I love adding little Christmas touches like this one.

DIY clay miniature houses
kitchen Christmas decorating ideas

And I love how my kitchen shelves look this Christmas.  I found the pretty iridescent stars in the party decoration section.  And there's more gingerbread.  We made the little houses from a kit, but didn't use the candies, and just added white icing.  The gingerbread tea towel is another favourite touch.

open shelves decorated for Christmas
kitchen open shelves Christmas
Christmas letter board ideas

The Santa mugs were a fun addition last year.  The iridescent champagne flutes are so pretty on the shelf, and will be perfect for enjoying some sparking wine during the holidays.

kitchen shelves decorated for Christmas
pink kitchen Christmas decor
pink Christmas decor ideas
pink Christmas decor
pink Christmas kitchen decor

This year the little bit of pink, iridescence, and vintage are making it feel so warm, and happy, and cozy.  Just what we needed.  I hope you're filling your home with cozy and happy decor this year too, while we're all home for Christmas.  

With a pink Christmas decor Home Tour to enjoy, life really is a party!

Christmas Dessert Board

Dec 8, 2020 · 1 Comment

Christmas dessert board

Christmas Dessert Board: use store bought treats to create this Christmas sweet treat snack board with lots of touches of pink.

Christmas dessert board
[feast_advanced_jump_to]

Dessert boards, sweet snack boards, and charcuterie are so popular and fun I thought it would be fun to put together a Christmas dessert board for the holidays. All our treats for this board are store-bought treats from the grocery store, so it's really quick and easy to put together.  But if you're a baker, homemade cookies would be wonderful. Or do a combination of homemade treats, and store-bought cookies. This a great way to serve sweet treats this holiday season. Everyone can help themselves and enjoy. Add one to your dessert table for a large gathering.

A traditional charcuterie board is full of cured meats, and now a days they tend to include not just meat, but a variety of cheeses and crackers and all the fixings to go with them. Our Christmas charcuterie board has a sweet twist, instead of the traditional meat board, it's full of desserts. And although technically not a charcuterie board anymore, because there are no cured meats involved, in recent years everyone is using this term to refer to anything served together on a big cutting board or tray, they're sometimes called grazing boards. An epic dessert charcuterie board is an easy dessert, or a great alternative to the regular cookie platter, or traditional old dessert platter.

This year we're celebrating a pink Christmas, so I added a few easy pink touches to the board too. You could do them in pink or in the more traditional red for Christmas.

Christmas dessert sweet snack board

Christmas Dessert Board

  • "H" Belgium chocolate initials
  • "O" Belgium chocolate initials
  • mini marshmallows
  • regular marshmallows
  • pink marshmallows
  • candy canes
  • Little Debbies Christmas tree cakes
  • caramel corn
  • chocolate fingers
  • Strawberry Santa hats
  • jam shortbread cookies
  • shortbread fingers
  • Santa hat Oreos
  • "Chicken Bone" candies
  • chocolate coins
  • gingerbread cookies
  • Twix Santa chocolate bars
  • chocolate dipped wafers
Christmas dessert sweet charcuterie board

Getting Started

To create this big board start with a large tray or wooden board as your base. Then create small groupings of all the different treats, directly on the board or in small bowls.

We started by adding a layer of different mixed marshmallows to the centre of the large board. We wanted a pink and white color scheme for our board so I only used the pink ones from the mixed mini marshmallows, and then added in some regular white mini marshmallows too. On top of the marshmallows we arranged the chocolate initials to say "Ho Ho Ho" in the center of the board.  You often see this at Christmas as a stocking stuffer, but they were a really fun focal point for our board. We used milk chocolate, but look for them in dark chocolate if you prefer. And how cute would XO be for Valentine's day?

how to make a Christmas sweet board
Christmas sweet charcuterie board

Layering On The Treats

Next arrange the rest of the treats around the outside of the board, alternating different sizes, different shapes, and different colors. You will want to include a variety of textures and different tastes too, like peppermint, chocolate, vanilla, caramel, and gingerbread -or all your favourite holiday flavors. Be sure to include your favorite Christmas cookies too.

Christmas dessert snack board
Christmas sweet treat board

Pink Christmas Tree Cakes

  • Little Debbies Christmas tree cakes
  • pink chocolate
how to make a Christmas dessert board

As a fun way to add a pink detail to the Little Debbie cakes, melt some chocolate in the microwave, and snip off the corner of a ziplock bag to use as a piping bag. Pipe small dots of pink chocolate onto the cakes.

Santa Hat Oreos

  • white chocolate dipped oreos
  • pink chocolate
  • white chocolate
  • white sprinkles
Santa hat chocolate dipped Oreos

Take your oreos to the next level, with cute Santa hats added to them. To make the Santa hat Oreo cookies, just melt some pink chocolate in the microwave. Place the melted pink chocolate in a ziplock bag and snip off the corner to make a piping bag. Use the pink chocolate to make a triangle Santa hat on the top of the cookie. Let the pink chocolate harden. Next do the same with the white chocolate and use it to make a pompom top and fur trim on the bottom of the hat. While the white chocolate is still wet and before it hardens, dip it in the white sprinkles.

Strawberry Santa Hats

  • white powdered donuts
  • fresh strawberries
  • mini marshmallows
strawberry Santa hats

A little bit of fresh fruit is a great addition to your holiday dessert charcuterie board, and these strawberry Santa hats couldn't be any cuter. To make them, trim the bottom off of a strawberry and balance it on top of a donut. To make the pompom, trim the end off of a mini marshmallow to make it sticky and stick it to the top of the strawberry. These are so much fun, and sure to be a hit with the kids.

Chocolate Dipped Wafers

  • wafer cookies
  • pink chocolate
  • sprinkles
chocolate dipped wafer cookies

Melt some pink chocolate in the microwave and dip the end of the wafer cookie in it.  Put it on parchment paper to set, and while the chocolate is still wet add some sprinkles.

Christmas dessert charcuterie board

This board is really quick to put together since it's made of store-bought items, with just a few simple additions with chocolate and sprinkles. It's an easy way to serve sweets at a party. Sure to be the highlight of your next holiday get together.

With a perfect Christmas dessert board like this, life really is a party!

More Inspiration

Be sure to check out our Hot Chocolate Dessert Board here.

You might also like our Coal Rice Krispie Cookies here.

Coal Rice Krispie Cookies: This recipe and printable gift tag is the perfect treat for anyone who is on Santa's naughty list this year.

Also check out Chocolate Charcuterie Board here.

Chocolate Charcuterie Snack Board: perfect for the chocolate lover, tips on building your board, and ingredient suggestions.

You might also enjoy S'more Charcuterie Board here.

S'more Charcuterie Board: this s'more themed dessert board is perfect as a summer treat around a campfire, or for your camping themed party.

Christmas Cookie Party

Dec 7, 2020 · Leave a Comment

Christmas baking party with free printables.

This Christmas Cookie Party is full of ideas and free printables for a baking party, a Christmas cookie exchange, or a gingerbread house decorating party. Including free printble gingerbread house gift boxes, Christmas tags, recipe card, party decor poster, pennants, straw flags and more.

Christmas baking party with free printables.
[feast_advanced_jump_to]

Why We Love This Party

  • We love Chrismtas cookies, baking, and gingerbread!
  • Whether it's a baking party, cookie exchange, cookie decorating, or gingerbread house decorating party these printables are perfect!
  • Holiday traditions are worth celebrating.

One of my favourite holiday treats is Christmas cookies.  They're not your run of the mill everyday cookie, they're somehow just a little bit more special and a little bit more yummy.  Whether it's shortbread, or gingerbread houses, or sugar cookies...the list could go on and on -they're all so good!  My family joined in for this fun Christmas cookie baking party and it was so much fun.  I want to share all the details with you today and the free printables too.  
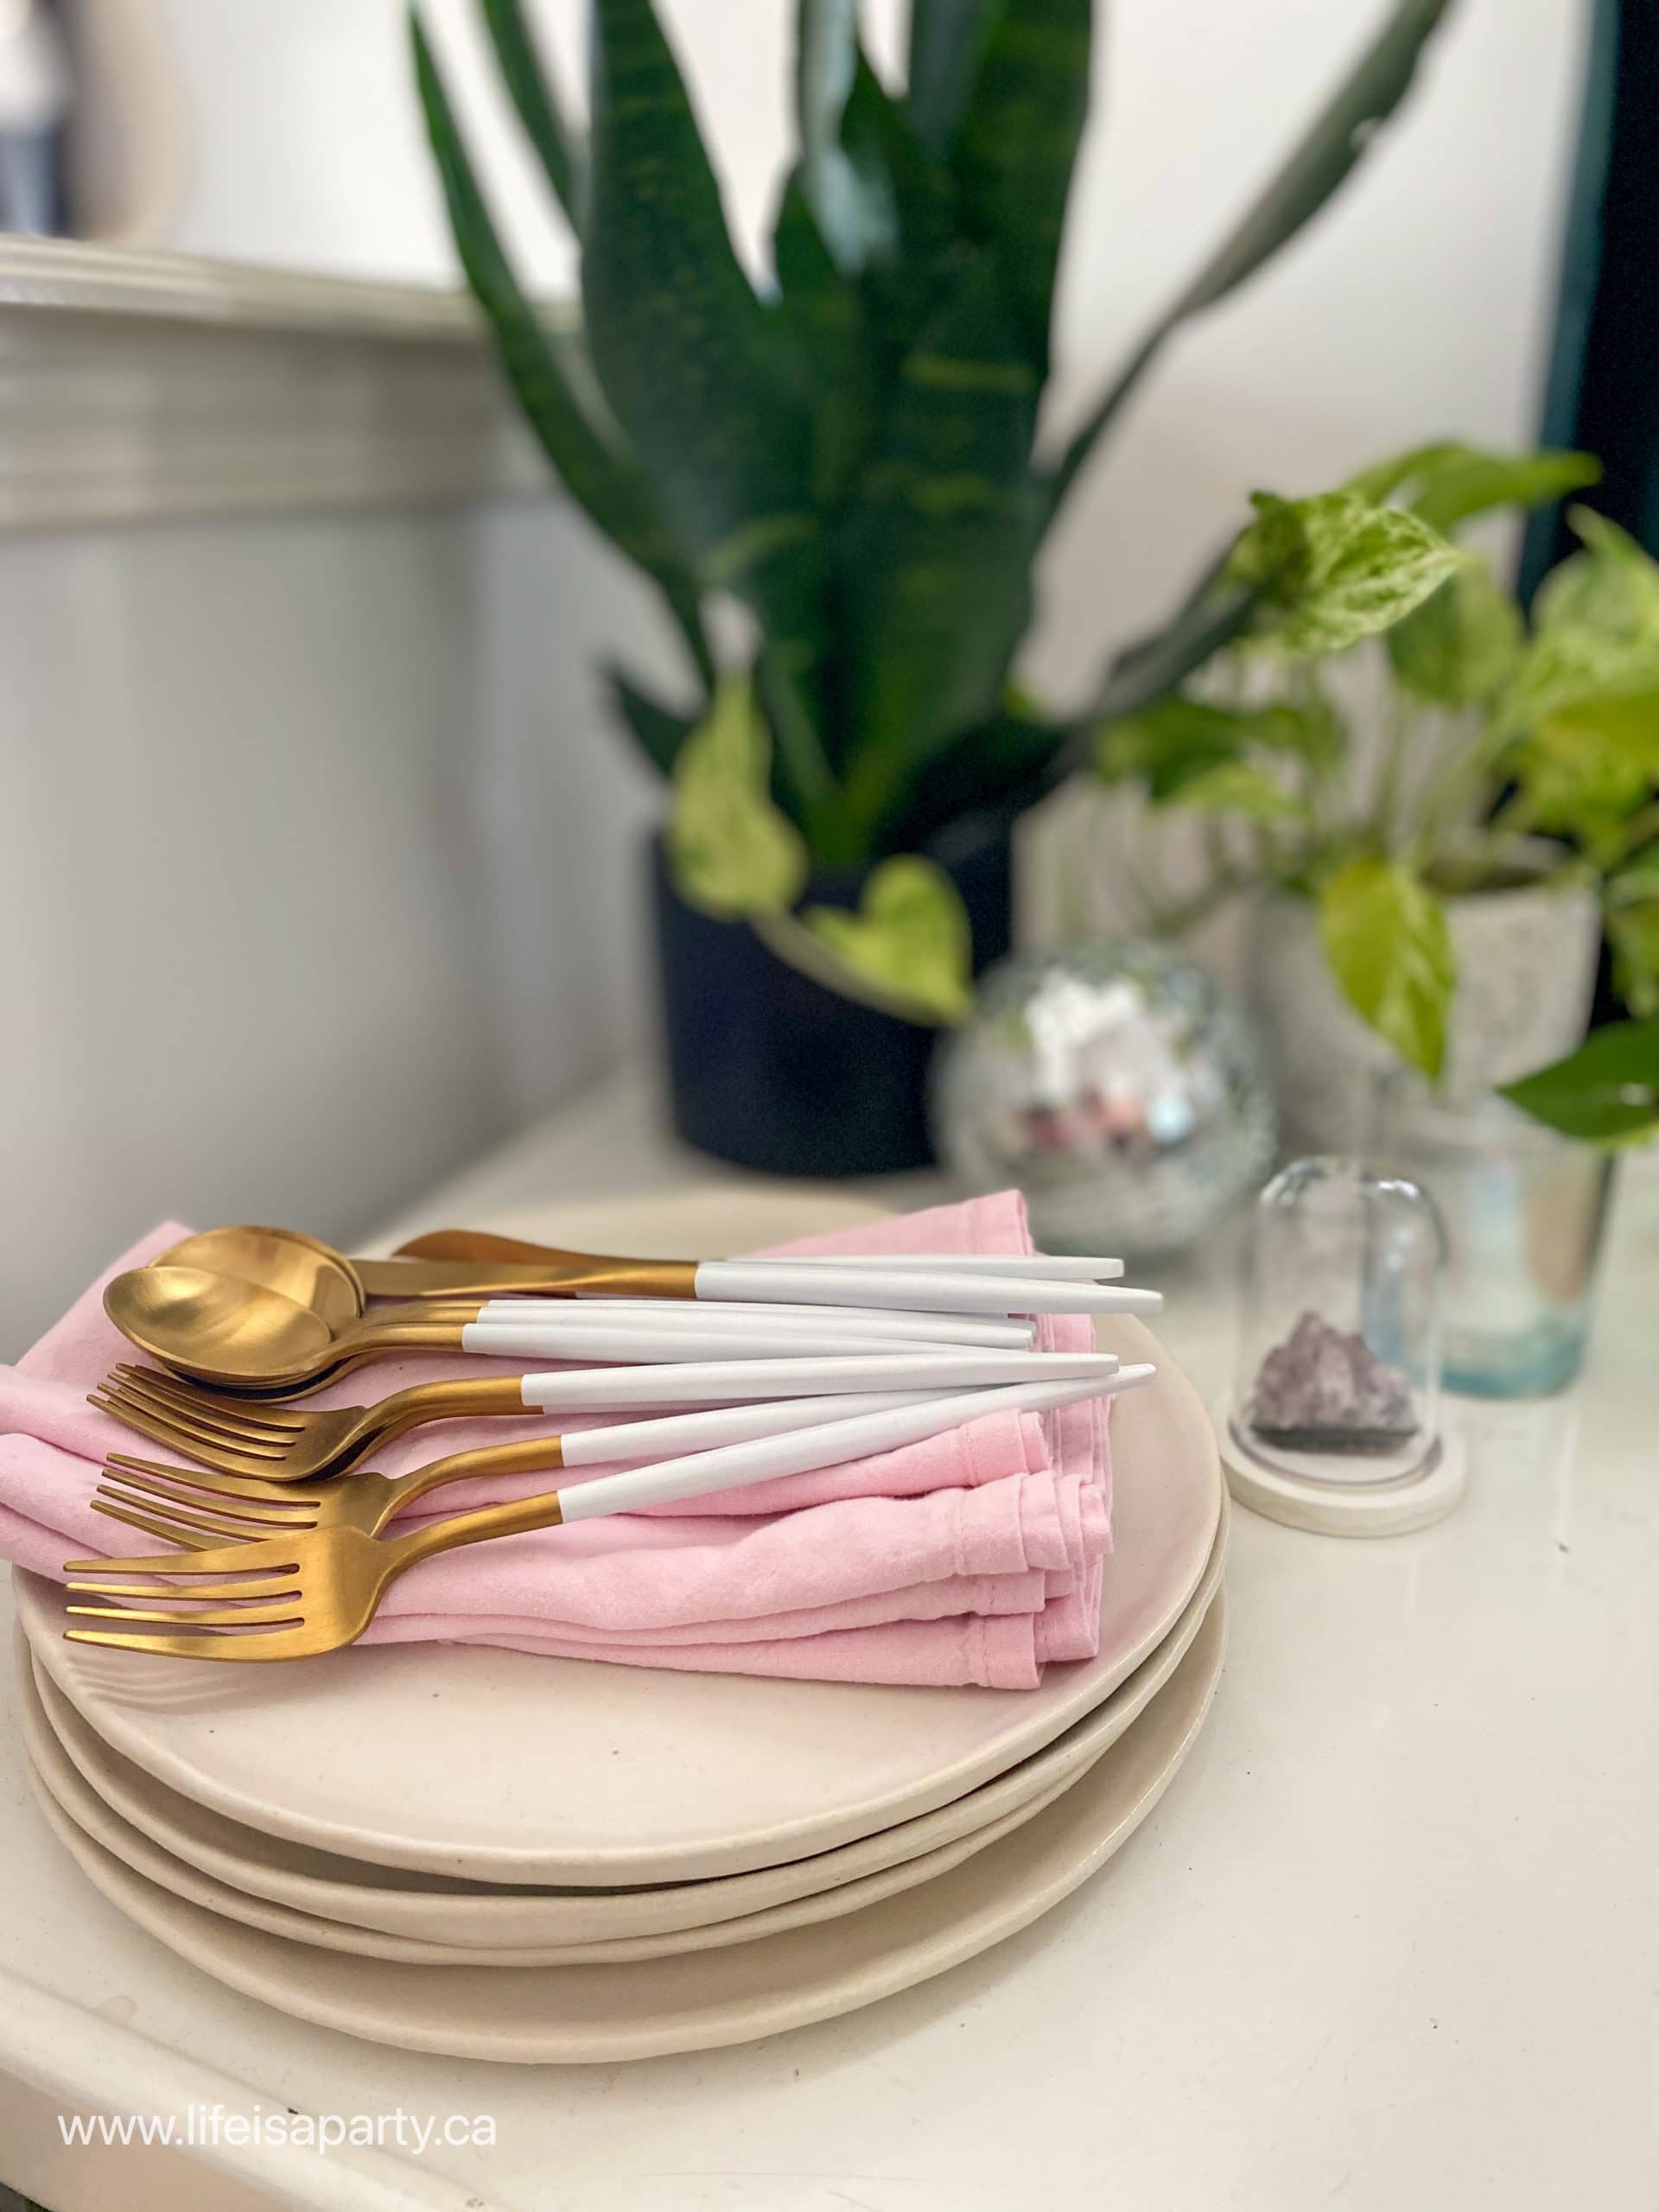
This party would also be totally perfect for a gingerbread house making party, or a Christmas cookie exchange too, or for baking cookies for Santa Claus with your kids or as a Christmas cookie decorating party too.

You might also like our Nutcracker Tea Party, Christmas Tea Party, or Christmas Fondue Party.

Christmas cookie decorating

Christmas Cookie Tradition

I come from a long line of Christmas cookie bakers.  Christmas cookies are one of my favorite holiday traditions.  

When I was a kid it felt like my Grandma made a million different kinds.  And there were special Christmas cookies, that only made an appearance once a year.  I can remember my Grandma taking weeks to choose the recipes, and seeing magazines and recipes spread out on the dining room table.  Then she had to assemble all the ingredients.   And then there was the actual baking, which went on and one for days and days and days.  Every time you visited her before Christmas, there was a new Christmas cookie to sample.  

My mom too used to bake so much when we were little.  I remember her making cut out shortbread, and decorating little reindeer, Santas, and bells with sugar sprinkles, cherries, and nuts.  I don't remember much sampling of my Mom's cookies though.  Everything seemed to get packaged up and Tupperware and saved until Christmas.
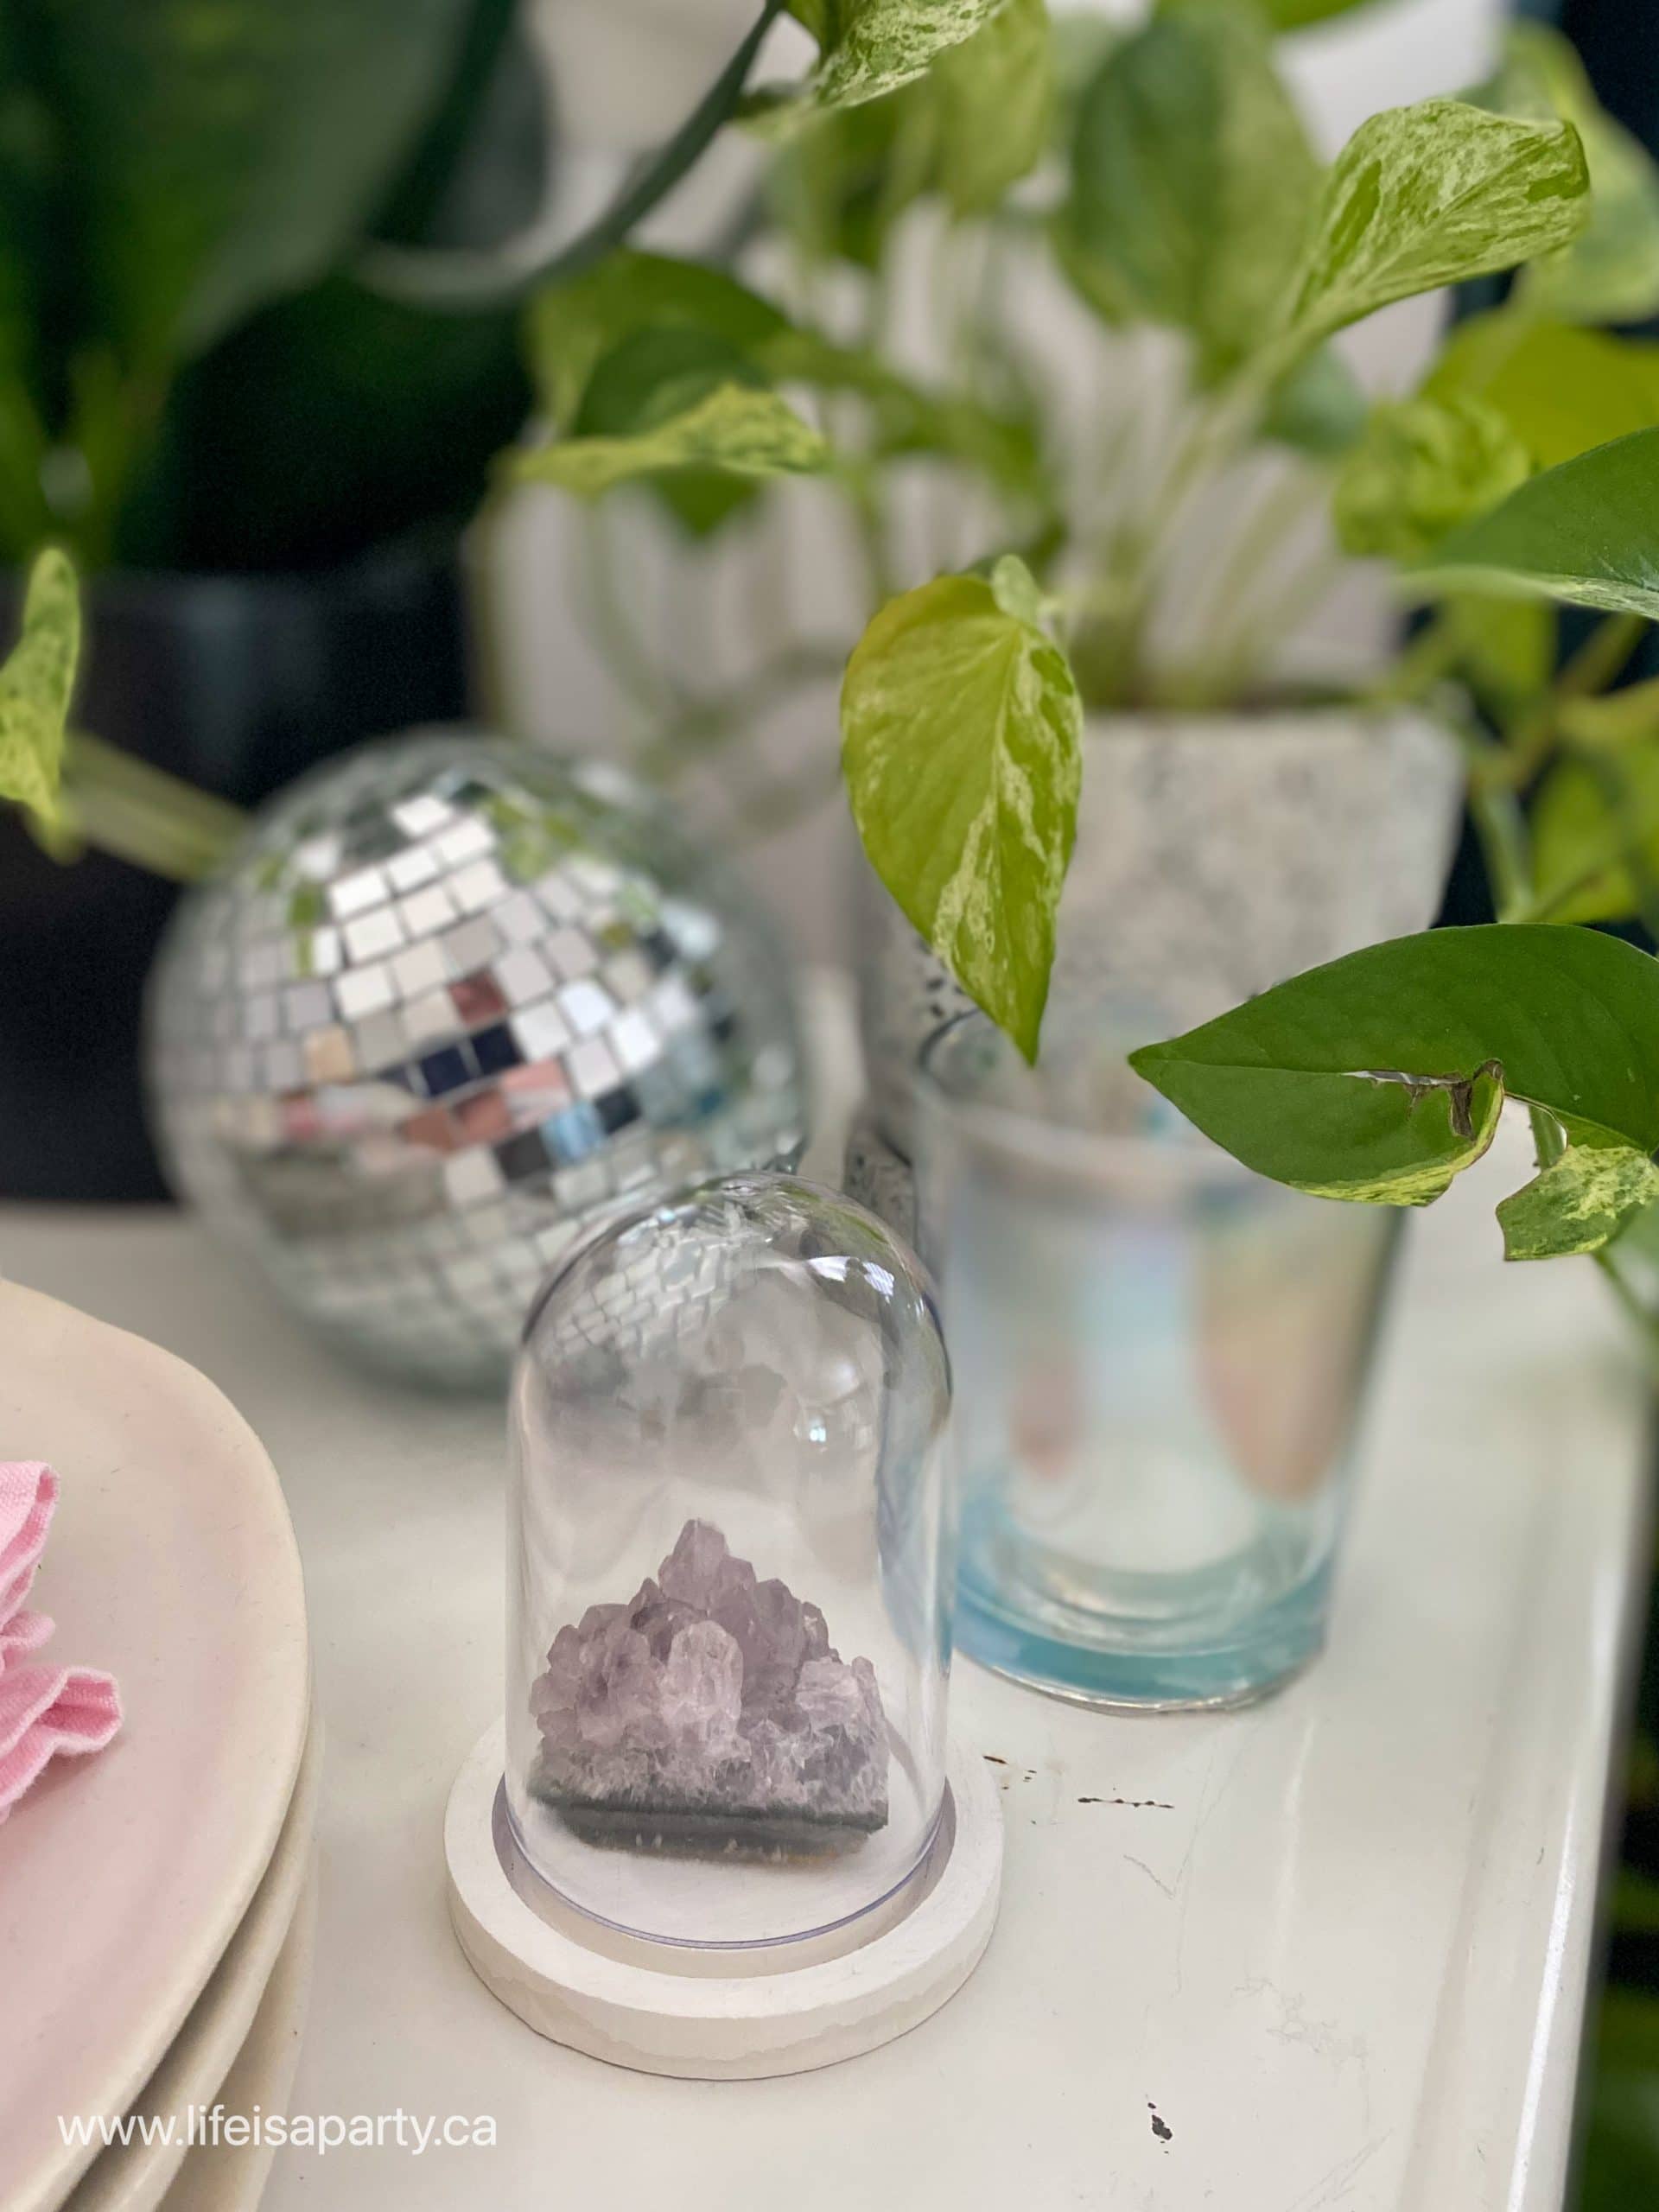
Christmas cookie decorating

Since Christmas cookies hold such special memories for me, I thought it would be fun to turn our Christmas cookie baking into a party this year.  

It would be perfect to create a sense of occasion for your family, or to invite Grandma over for, or some friends.  I mean who doesn't love a good cookie party, right?!  It's the perfect way to get into the holiday spirit.  Put on the Christmas music, and let's get baking!  

Christmas gingerbread house making party

Christmas Cookie Party Decorations

This collection of free printables is my very favourite I think.  No need to pick up decorations with your party supplies, use our free printable set and print them at home on your printer, or at an office supply store.  Subscribe at the bottom of this post for instant access to our Free Resource Library, where you'll find these free printables and more.

Use them for your cookie exchanges, cookie decorating party, gingerbread house party, or family baking this year.  

The "Home Sweet Home" poster couldn't be cuter, and is such a favorite. I'll be enjoying it the whole holiday season, and leaving it up as Christmas decor long after the baking party.

milk and cookies

Christmas Baking Party Food Ideas

Since cookie baking, decorating, and sampling is hard work, I wanted to include a little snack station for our party.  What could be a better fit than milk and cookies?  

I used some upcycled juice bottles as our milk bottles, and added our North Pole Milk and Cookies Co. label, just using a glue stick.  It worked great and washes right off after the party.  I love the vintage feel of the milk served in these bottles.

Other great options would be to have some coffee and tea available, which again is the perfect combo with a freshly baked cookie.  Kids would love some hot cocoa.  Set up a hot chocolate bar with some different hot chocolate add-ins like mini marshmallows, and whip cream for everyone to help themselves during the Christmas party.

  • Milk
  • Chocolate Milk
  • Tea
  • Coffee
  • Hot Chocolate
  • Hot Chocolate Toppings (mini marshmallows, whipped cream)
  • Christmas Cookies
milk and cookies

The little straw flags for the milk come in the baking party set too and such a fun detail to add to paper straws.

Pennant Decoration

Christmas baking party

We also designed this cute little flag pennant.  Just print, cut, and add to a wooden dowel with some hot glue.  We added some pretty pink ribbon.  These would be really adorable tucked into a stocking too.  

I love the soft colors of this printable collection and they paired perfect with our groupings of mini Christmas trees in pinks, and neutrals.  We carried the trees over to the dining table too for an easy centerpiece for the party.

Christmas cookie baking party

Baking Banner

We made another fun option for the party decor with this "Baking Spirits Bright" banner.  Just print, cut,  and string onto some yarn or ribbon.  We layered ours with a homemade pom pom garland for a fun stouch.  Pom poms always make me think of a Santa hat this time of year.

Gingerbread House Treat Boxes

printable gingerbread house treat boxes

Since treats are for sharing, especially this time of year, we designed this adorable Gingerbread House Treat Box.  

You can print it at home on 2 sheets of card stock and then cut, fold, and glue it together all ready for gifting.  This is such a festive way to share any Christmas cookies or other holiday treats with others.  These make it easy to share the perfect Christmas cookies with neighbours, co-workers, teaches, coaches, friends, and family.  These little gingerbread treat boxes are such an easy way to elevate a homemade gift.

These would also make great party favors for any holiday parties.  Give them out at the end of the party as a fun take home gift.  For a birthday party you could even fill them with cookie decorating supplies, like fun sprinkles and cookie cutters, and don't forget the holiday treats like candy canes.

printable gingerbread house treat boxes

To close the top of the box, use a hole punch to create a hole and thread some pretty ribbon through.

printable gingerbread house treat boxes

Gift Tags

We used the round labels in the printable set as gift tags.  Just print and use a large circle punch to cut them out, and small hole punch to add a hole at the top for ribbon.  These are perfect for gift giving this holiday season.  

These small round printables also work great as cupcake toppers. Print them, punch with a large circle punch, and then hot glue a toothpick to the back.  Add them to cupcakes for the perfect coordinated holiday cupcakes.

baking Christmas gift tags
Christmas baking party
Christmas cookie baking party

DIY Christmas Aprons

DIY Christmas aprons

We thought it would be fun to make some Christmas aprons for our little family party.  I used aprons from the craft store and our Cricut machine to cut out iron on vinyl to make them.

we whisk you a merry Christmas DIY Apron

We made "We whisk you a Merry Christmas" and "Baking Spirits Bright" aprons.  The aprons are also available in children's sizes at the craft store.  How perfect would kid size aprons be for a little baking cookies for Santa family party with your kids.  

Fun little details like this are the things that magical memories are made of.  Get the image as part of this printable pack, and then use your Cricut to personalize aprons like we did, or tea towels, pot holders, or oven mitts.

These would also be a great addition to a cookie decorating birthday parties.  You could make one for each of the guests, as a beautiful take home gift, and even personalize it more with each child's name.

DIY Christmas aprons

And if you have any bakers on your Christmas gift, these make a wonderful personalized Christmas gift too.  Imagine making a baking themed gift basket with all the necessary supplies for baking and a beautiful personalized apron.  Perfect for spreading some Christmas holiday cheer this year!

Recipe Cards

Christmas cookie baking party

I thought it would be nice to also include a printable recipe card for the party.  These would be especially great as part of a cookie exchange party so that you could include the recipe with all of the different cookies.

printable Christmas recipe card

These printable recipe cards would also be great addition to any Christmas treats you're gifting this year so that the recipient could make them again.  Or if you're having a cookie decorating party, you could include the sugar cookie recipe -find my favorite sugar cookie recipe here, or your favorite gingerbread recipe.
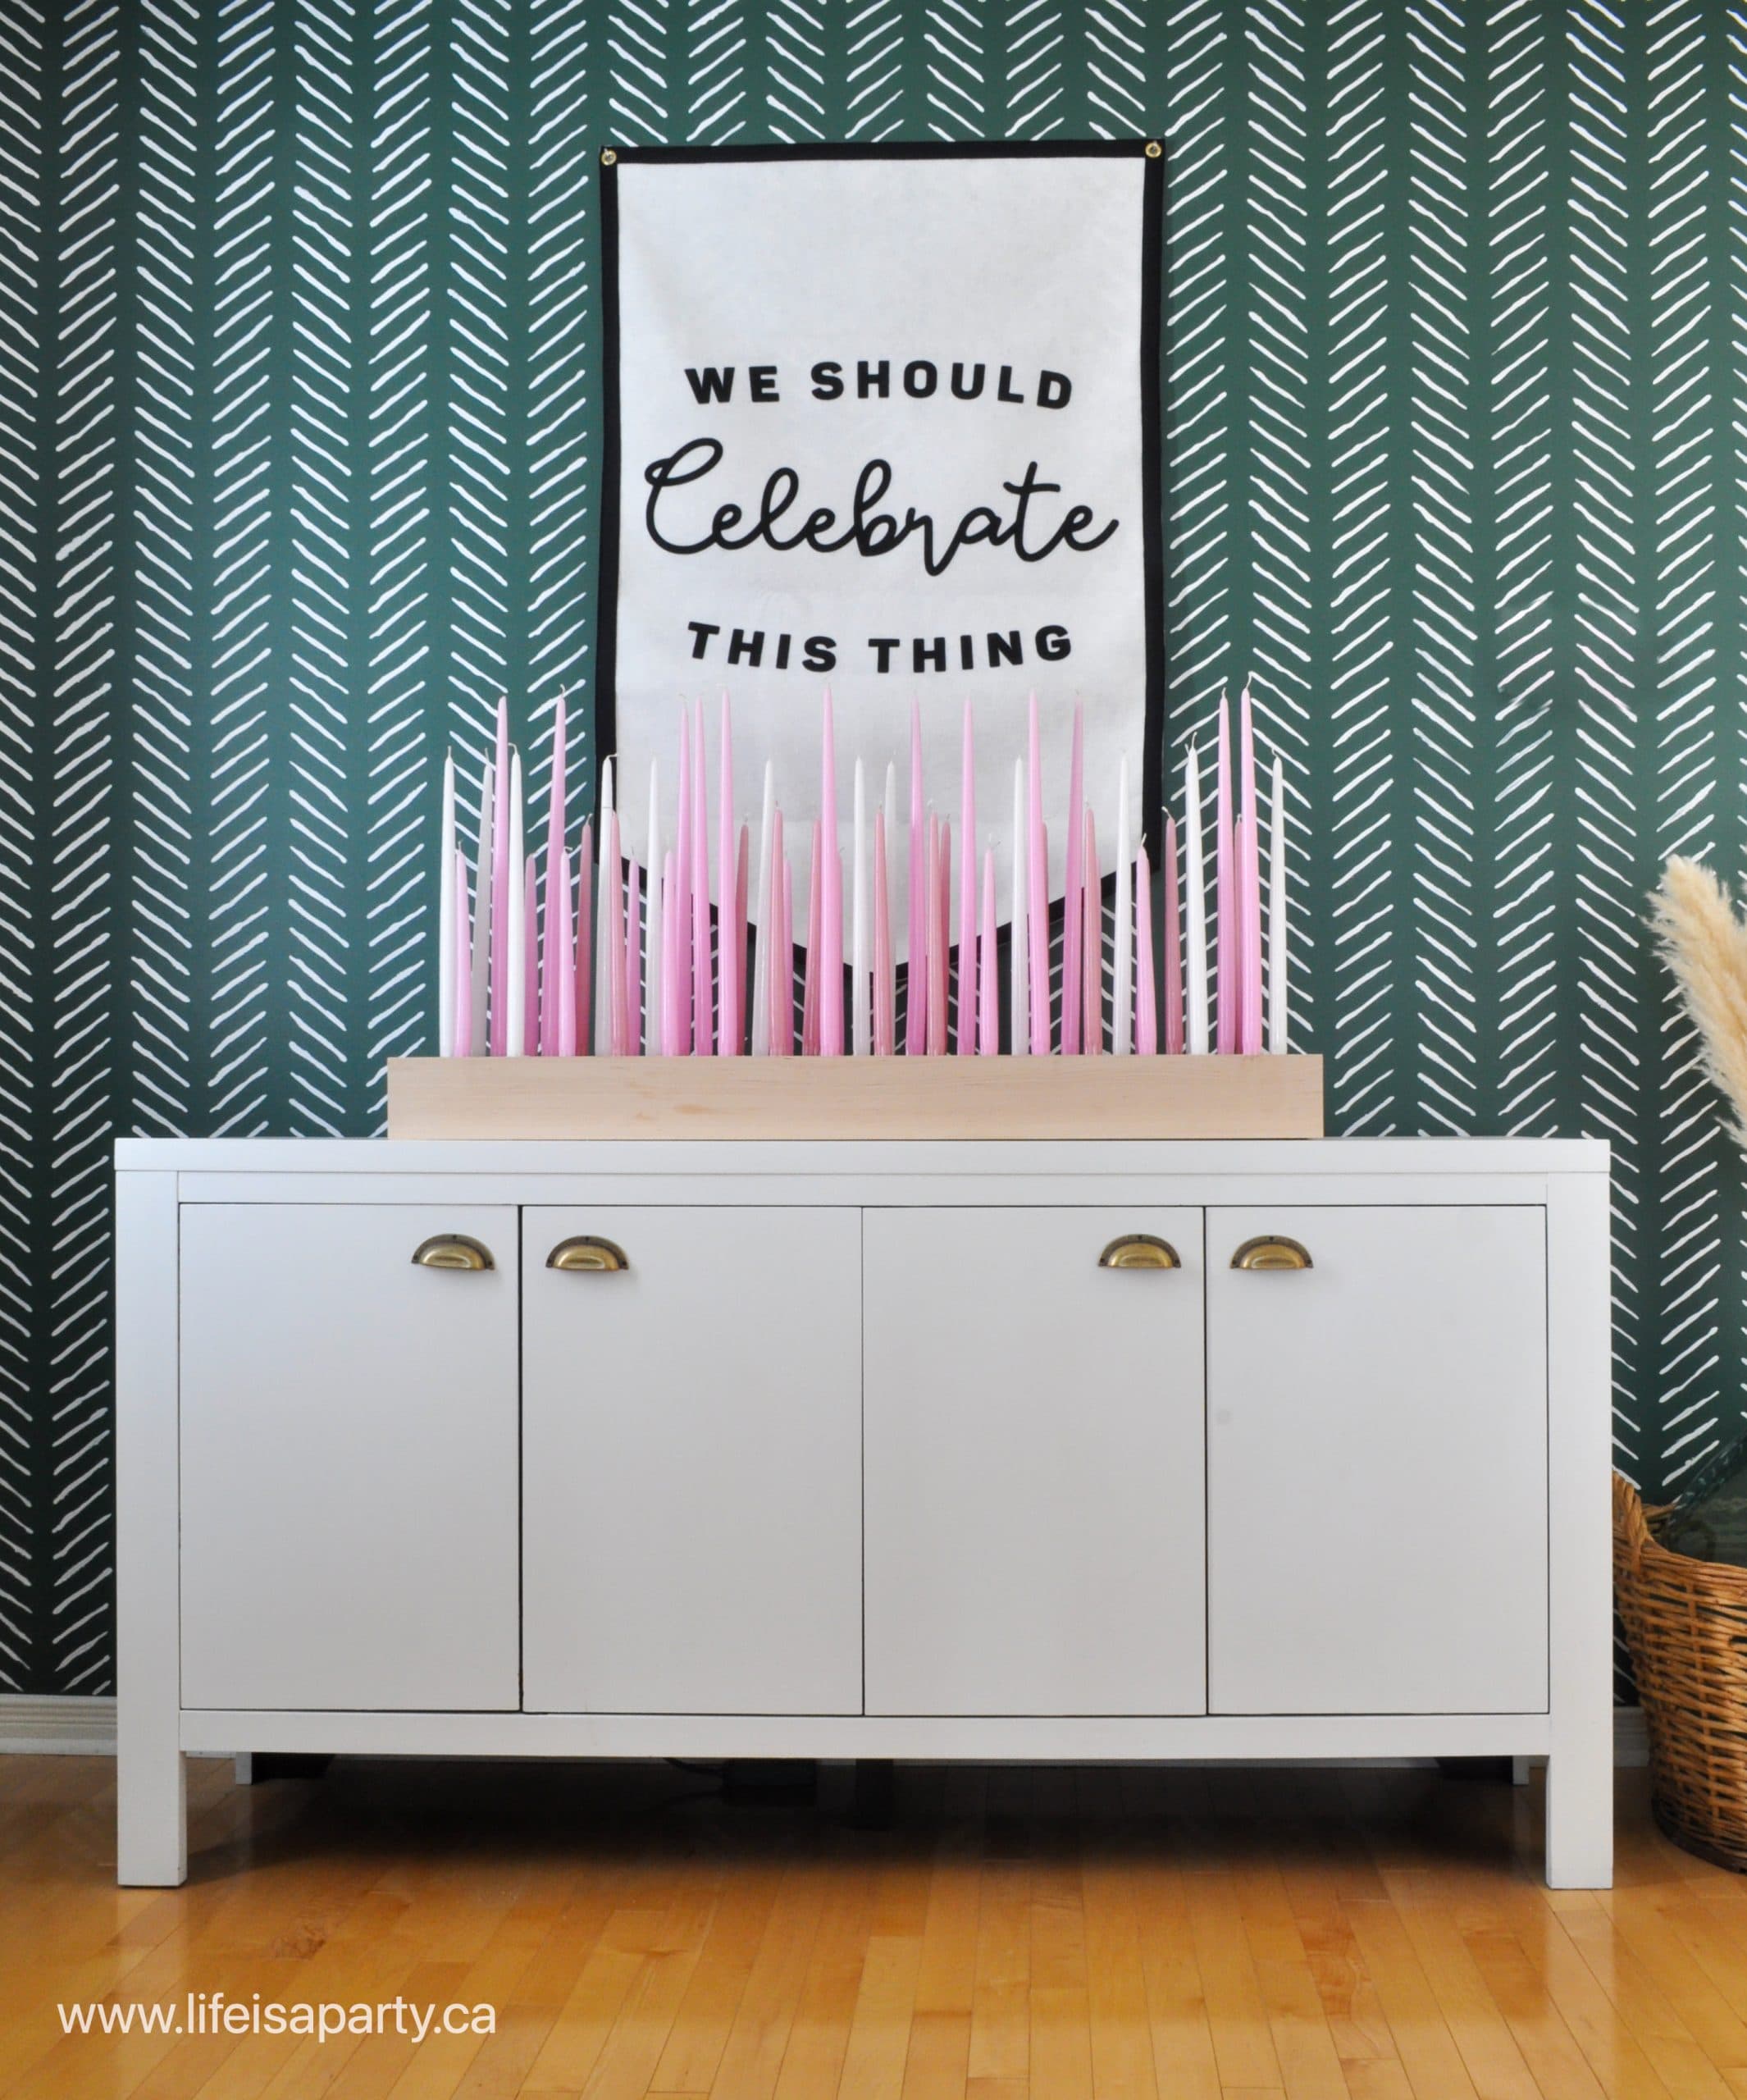
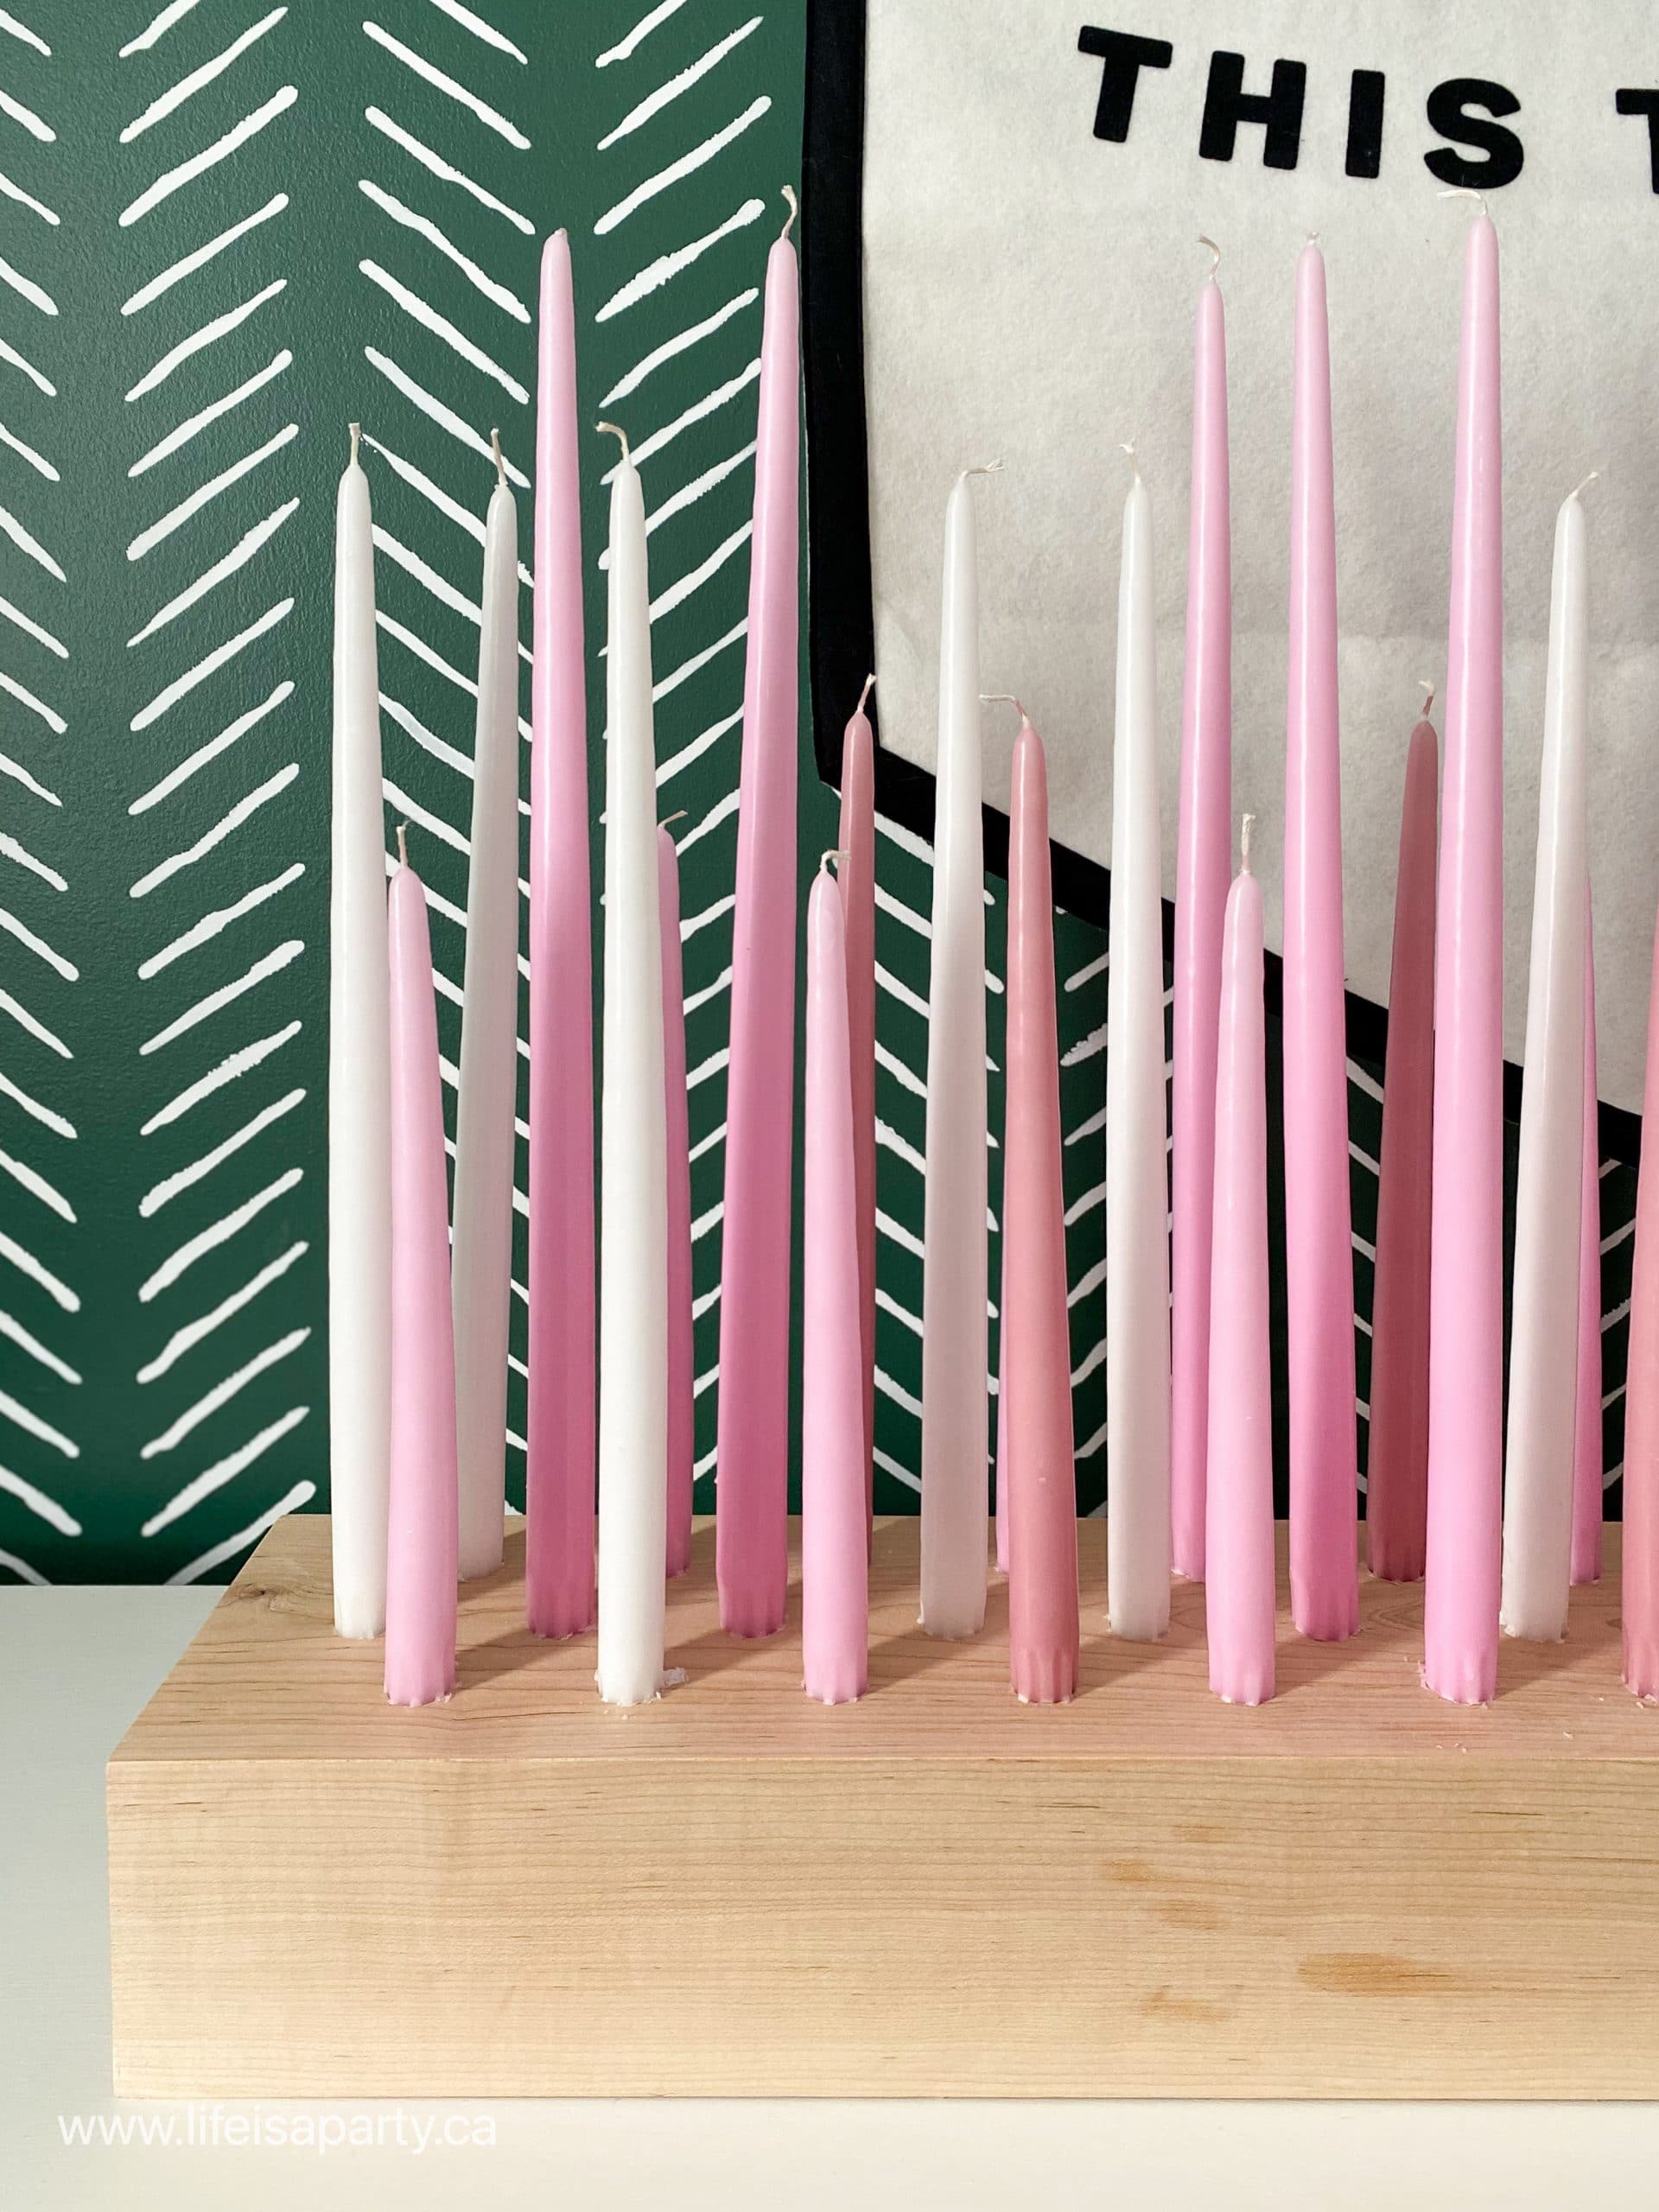
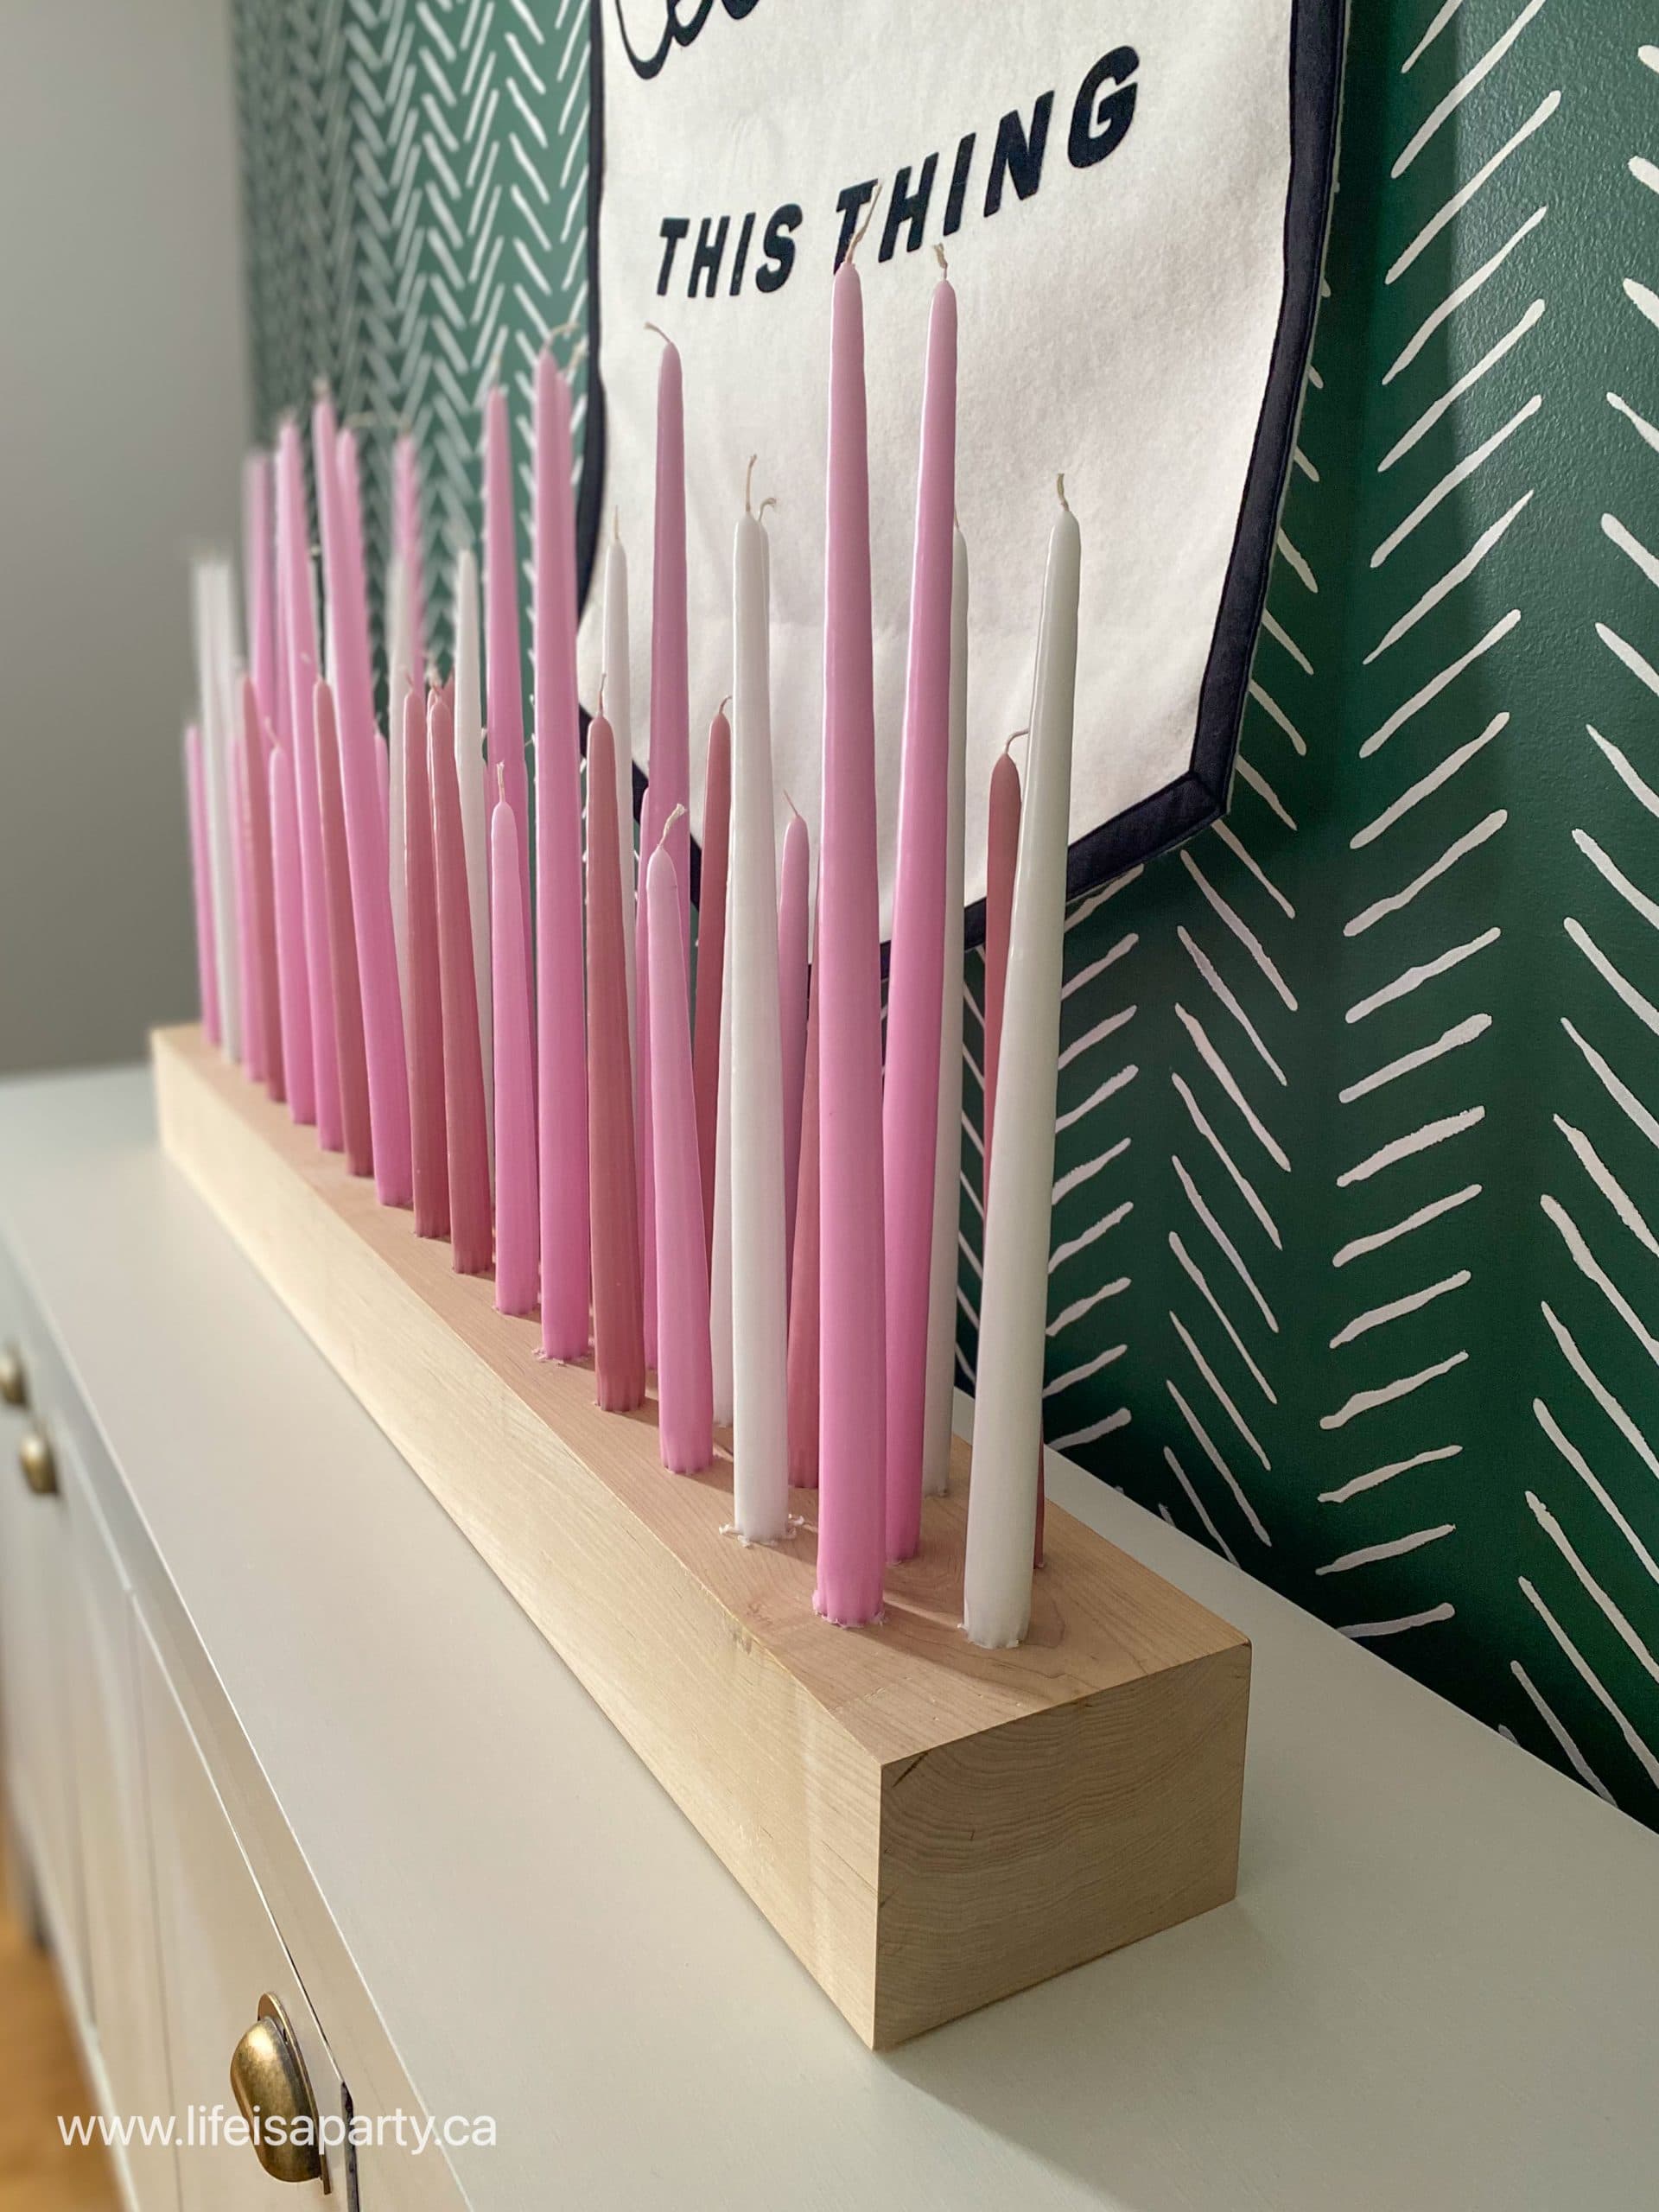
Christmas baking party

Stations

Even for a small party, setting up different stations always work well.  Make sure you have enough space to create different areas for groups to work.  This was great for our cookie baking party.  

For a cookie exchange, you might have all the cookies layed out with labels and guests work their way through the stations collecting and trying the different cookies.  

If you're having a cookie decorating party, you might have just the cookie decorating station, but with more options and different kinds of cookies to decorate.  

For a gingerbread decorating party, you could set up chairs around the table and have different decorations and candies in the middle, or individual containers for each guests.  

There's so many different great ways to have a Christmas cookie party, and they're all full of fun activities that young kids, older kids, and adults will all love.

Cookie Baking Station

We had a cookie dough station where we were cutting out cookies with cookie cutters in a variety of shapes for the holidays and getting them ready to bake in the oven.  As one tray was finishing we were putting a new one in the oven.  We made the cookie dough the day before and this allowed us to bake the cookies the day of the party, so they were nice and fresh.

how to have a baking party
baking cookies for Santa

Cookie Packing Station

We also had our cookie packing station where we packed up our cooled cookies into cello bags, and our gingerbread house treat boxes.  Be sure to cool your holiday cookies on wire racks before packing them up.  We used the small gift tags and they looked so great on our cello tags, and are were perfect for gift giving.

cookies for Santa baking party

These are our favourite Toblerone shortbread cookies find the recipe here -but this time we replaced the Toblerone with chocolate chips. 😉

Christmas cookie exchange party
Christmas cookie party

Cookie Decorating Station

And lastly we had a cookie decorating station -everyone's favourite. 

Christmas cookie baking party
how to have a Christmas cookie baking party

It's such a fun idea to include at least special cookie recipe that is rolled out and be decorated.  I put out different sprinkles into little containers and small bowls so that we could add them to our iced cookies.  We also had some royal icing in some pastry bags for piping.  Everyone had a great time decorating cookies together.

 We had gingerbread cookies -get our recipe here cut into gingerbread men and other shapes.  Sugar cookies -get our sugar cookie recipe, are a great option too, especially if you want different types of cookies.  You could also add to some gel food coloring to your cookie icing to create some different colors of icing for the decorated cookies.

You could even have a little friendly competition at this station and see who's the best cookie decorator.

Christmas cookie baking party
Christmas baking party

We had such a fun time baking and decorating together.  It really got us all into the Christmas spirit.  This is such a fun party to have around the holidays, whether it's a family baking party like we had, a fun cookie exchange, a gingerbread house making party, or Christmas cookie decorating party.  

I hope you love our printable party set and that it helps you create the best Christmas cookie party ever.  Happy party planning!

Free Printables

You can get the Free Printables from our Free Resource Library. Sign up below for instant access. Check your email for the password, and then look in the Christmas section of the Free Resource Library to find them.

These free printables are for personal use only. Please do not share them with anyone.

Christmas baking party printables

With a Christmas cookie baking party to enjoy, life really is a party!

Frequently Asked Questions

How can I print these if I don't have a color printer?

Get them printed at your local office supply store, or at your local library.

Can I use these printables for items I sell?
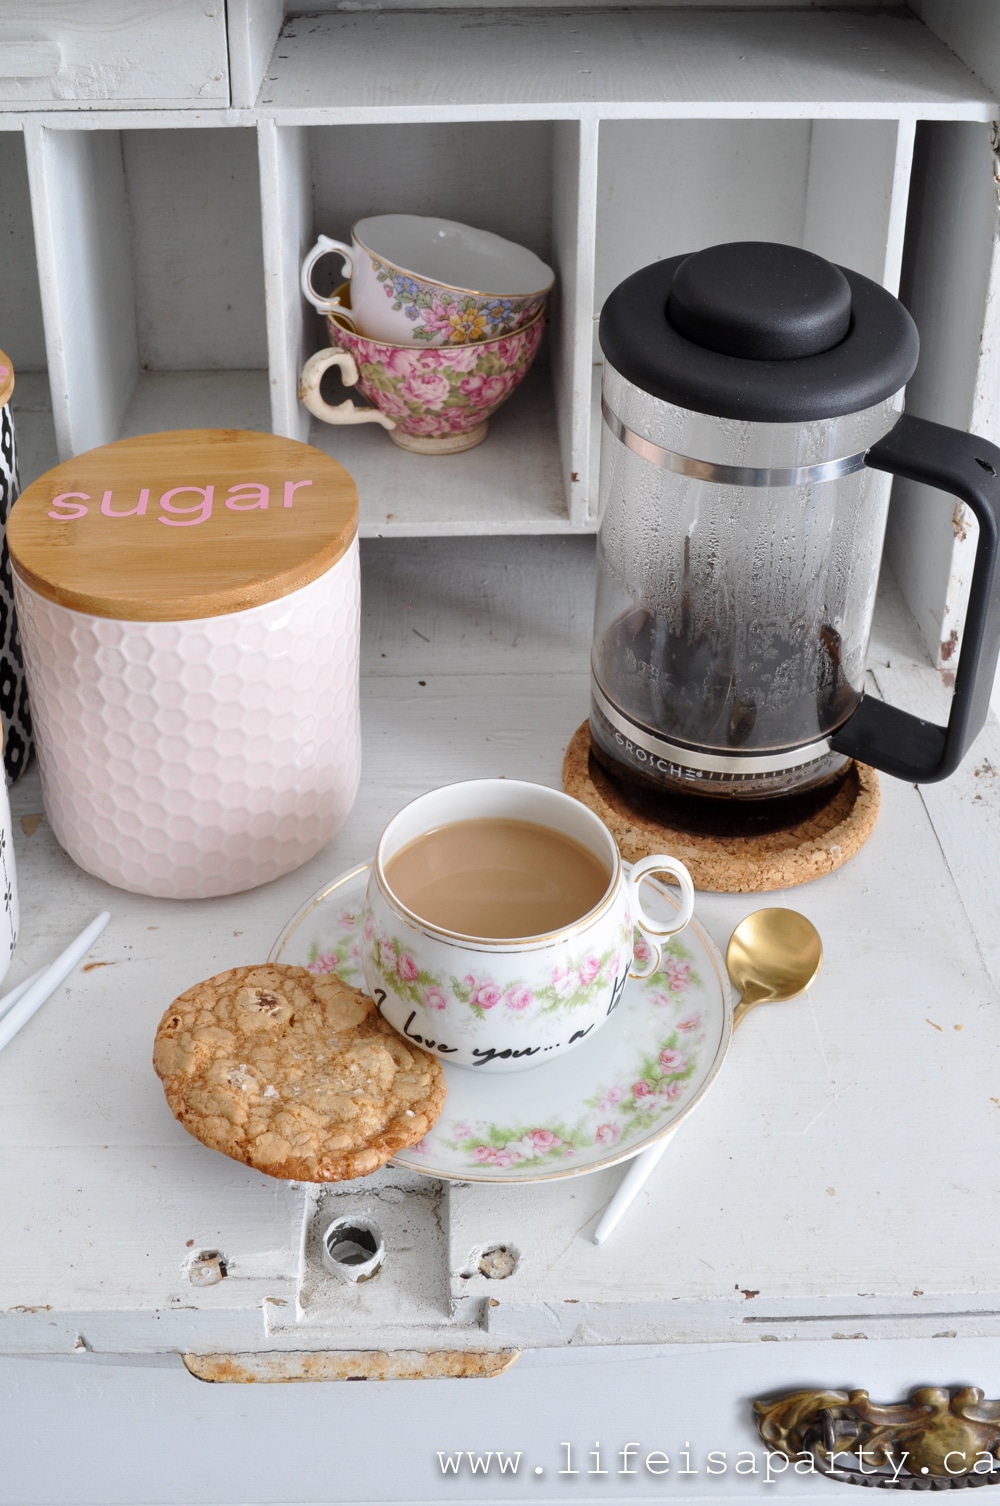
No, these are for personal use only. You may not use them for items that you are selling.
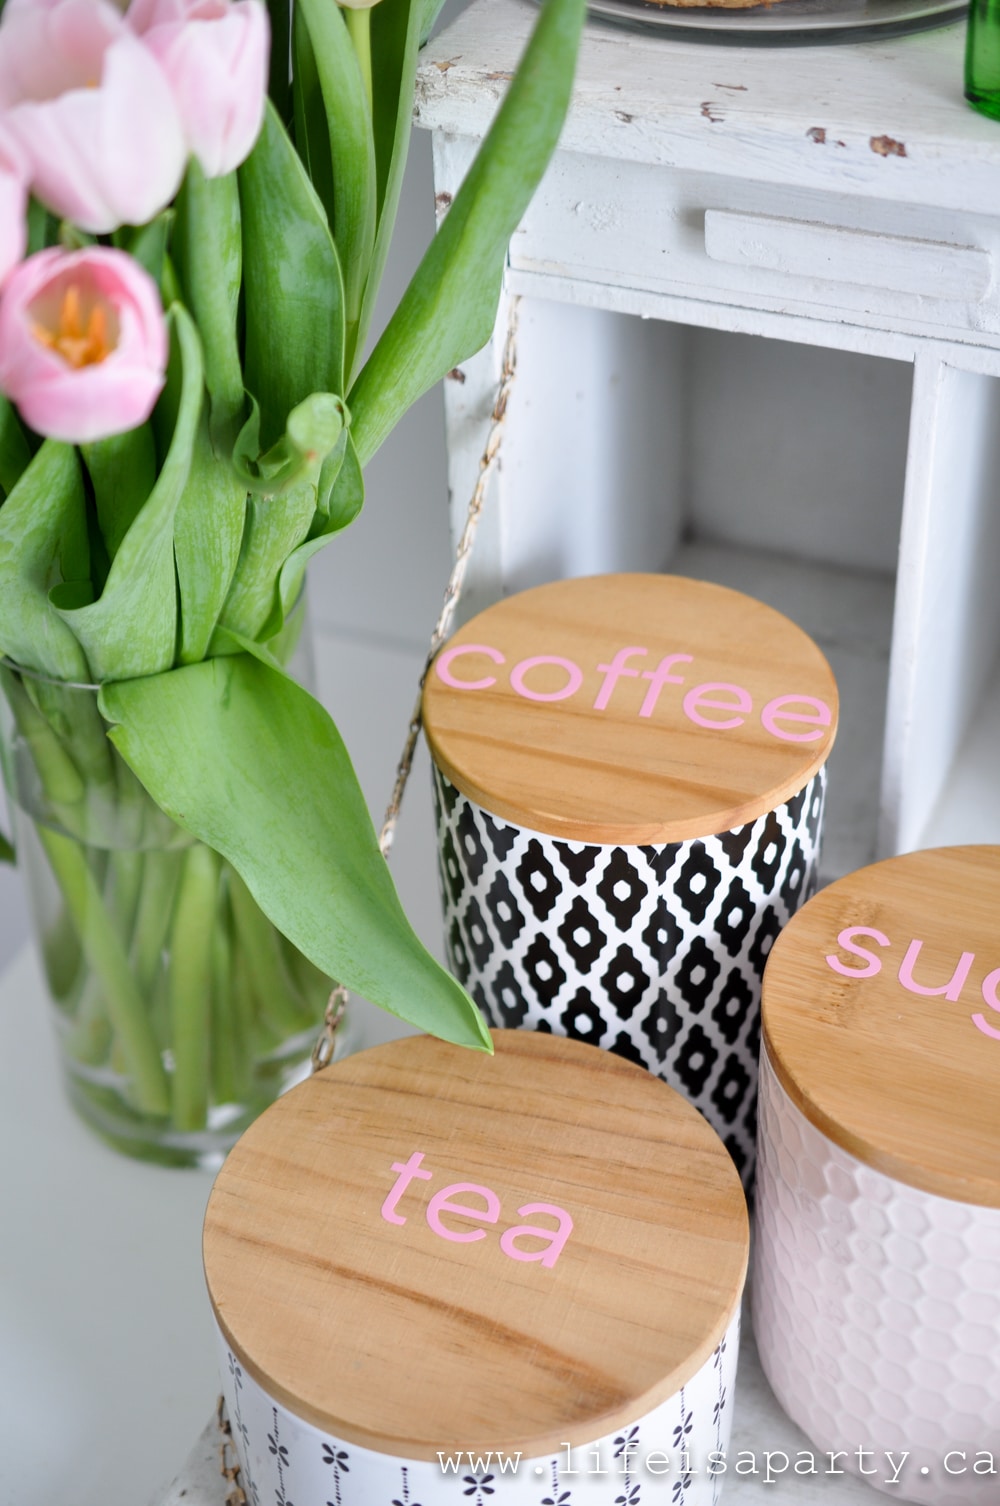
 If you use any ideas or the free printables from our Christmas Baking Party or any other ideas on my blog please let me know how it went in the comments below. Thanks for visiting today!

More Christmas Inspiration

  • Harry Potter Christmas party with food from the first book, set up by the fireplace and Christmas tree.
    Harry Potter Christmas Party Ideas
  • DIY Harry Potter Christmas tree with homemade ornaments, 7 Horcruxes, and motorized Santa tree topper in cozy living room.
    Harry Potter Christmas Tree Ideas + DIY Ornaments
  • Homemade pink and white coconut ice recipe, cut into squares on parchment paper.
    Coconut Ice Recipe (Pink & White Coconut Candy)
  • Elf on the shelf posed inside a free printable taco.
    Elf on the Shelf Free Printables (2026) - 32+ Easy Ideas

Easy Overnight French Toast Casserole

Dec 4, 2020 · 2 Comments

Easy overnight French toast casserole recipe.

Easy Overnight French Toast Casserole: make the night before and bake in the morning. Serve with custard sauce for breakfast or brunch.

Easy overnight French toast casserole recipe.
[feast_advanced_jump_to]

This French toast casserole is great because you make it the night before and let is soak in all the eggy goodness overnight in the fridge. In the morning you just have to bake the easy French toast bake and enjoy. I've partnered with Giant Tiger for this post. Yesterday I shared our Santa Themed Christmas Breakfast, and today I'm sharing the delicious recipe for the Easy Overnight French Toast Casserole. I picked up all the ingredients for this great recipe at Giant Tiger in their great grocery section, including the fresh bread. 

You might also like our Eggnog Bread Pudding Recipe, and Small Batch Pancakes For Two Recipe.

French toast recipe

I've been making it for years. It's become a tradition that we have it every year on Christmas morning. Everyone looks forward to it, and my mother-in-law always asks to have the leftovers. It's really the perfect easy breakfast casserole for any special occasions or holiday morning, like Easter morning, Mother's day brunch, or Sunday mornings for brunch.

easy overnight French toast casserole

Serving Suggestions

I usually serve the French Toast Casserole with warm custard sauce.  It's the perfect breakfast with whipped cream too, and you might want a little drizzle of maple syrup too, although it's already quite sweet.  Fresh berries, like strawberries, or fresh blueberries, or any fresh fruit on the side would be a great addition to this delicious breakfast.

overnight French toast casserole

Make Ahead

This baked french toast casserole recipe is also a favourite for company. I love that you can make it ahead of time, and just put it in the oven the next morning. It's one less thing to worry about on a morning of entertaining, and gives you a head start. It is always a hit with guests. In fact, who won't want to wake up to this any weekend mornings. This make ahead breakfast is an easy recipe, so it's not too difficult to put together the night before and enjoy any busy morning you want a hearty breakfast.

After putting it all together the night before, just cover with plastic wrap and let it sit in the fridge overnight, ready to bake in the morning. It's a such a great option when your entertaining because all you have to do is pop it in the oven, and you can spend time with guests instead of having to flip pancakes or fry regular French toast just before serving.

Christmas breakfast ideas

The Bread

We love the French toast casserole made with raisin egg bread. If you're a fan of raisins give this version a try. You can use regular bread, French bread, challah bread, or a buttery brioche bread if you prefer it without raisins. Giant Tiger also carries a chocolate brioche loaf that I'm sure would be amazing for the chocolate lover. Or sprinkle some chocolate chips between the layers.

Tip

One tip, make sure the bread is soaked with the egg evenly at the top. You might need to press it down a little just before baking. It's nice to have the casserole a little crisp on the top, but you don't want it completely dried out. You can break the bread into 1-inch cubes to avoid this and stir the bread cubes in the custard mixture to avoid this. If you do this the cubed bread makes it look more like a bread pudding, but I think it looks more like individual pieces of French toast with the whole slices.

Christmas breakfast ideas

If there are any leftovers of the overnight brioche french toast casserole, they reheat really easily in the microwave the next day.

Recipe

Easy overnight French toast casserole recipe.

Overnight French Toast Casserole

The perfect make ahead sweet and delicious French toast casserole.
4 from 2 votes
Print Pin Rate
Course: Breakfast
Cuisine: American
Prep Time: 15 minutes minutes
Cook Time: 45 minutes minutes
Additional Time: 2 minutes minutes
Total Time: 1 hour hour 2 minutes minutes
Servings: 8
Calories: 288kcal
Author: Dannyelle Nicolle-Ramjist

Ingredients

  • ¼ cup butter
  • ¾ cup firmly packed light brown sugar
  • 1 loaf of sliced raisin bread or brioche bread
  • 8 large eggs
  • 1 cup milk
  • 1 tablespoon vanilla extract
  • ½ teaspoon cinnamon
  • ¼ teaspoon ground ginger
  • Pinch salt
  • Optional: maple syrup whipped cream, or custard sauce to serve with it

Instructions

  • Melt the butter and combine with the brown sugar. Use the mixture to coat the bottom of a large baking dish.
  • Arrange the sliced bread on top of the butter and brown sugar mixture.
  • In a large mixing bowl combine the eggs, milk, vanilla, cinnamon, ginger, and salt. Beat until fully combined. Pour the egg and milk mixture over the bread in the prepared baking dish. Try to make sure the tops of the bread are soaked as well, you may have to use a spoon to help, and lightly push own the tops of the bread. Cover and leave in the fridge overnight or at least 3 hours.
  • To bake the cassarole, remove from the fridge and let it come to room temperature. Before baking, for best results make sure the egg mixture is soaked into the top of the casserole and that the pieces of bread are not dry on the top. Bake casserole at 350 degrees for 30-45 minutes or until the egg is set and the top is golden brown.
  • Serve hot or warm with maple syrup, and whipped cream or custard sauce. Store leftovers in an airtight container in the fridge.

Nutrition

Serving: 1g | Calories: 288kcal | Carbohydrates: 31g | Protein: 9g | Fat: 14g | Saturated Fat: 7g | Polyunsaturated Fat: 6g | Cholesterol: 226mg | Sodium: 287mg | Fiber: 1g | Sugar: 23g
Tried this Recipe? Tag me Today!Mention @LifeisaParty or tag #lifeisaparty!
easy overnight French toast casserole recipe

With this easy French toast casserole recipe, life really is a party!

This post is sponsored by Giant Tiger.  As always, all opinions are my own.  Thanks for supporting the brands that make life is a party possible.

More Ideas

You might also like our Christmas Breakfast Board here.

Christmas breakfast charcuterie board

Also be sure to check out our Jelly Donut Pancakes recipe here.

Jelly Donut Pancakes: Your two favourite treats combined! Cut into a delicious pancake with a surprise inside -your favourite jam!

You might also enjoy Pumpkin Waffles recipe here.

Homemade Pumpkin Waffles -easy recipe for pumpkin waffles, perfect morning treat, and easy to freeze extras for a quick weekday breakfast later.

Santa Themed Christmas Breakfast Ideas

Dec 3, 2020 · Leave a Comment

Santa themed Christmas breakfast

Santa Themed Christmas Breakfast Ideas: a beautiful pink tablescape, with stockings hanging on the chairs, a menu, and matching pjs.

Santa themed Christmas breakfast
[feast_advanced_jump_to]

I thought it would be fun to share some Santa themed Christmas breakfast ideas.  This breakfast would be great on Christmas morning, or as part of your elf on the shelf celebrations, or a sleepover, or just any weekend leading up to Christmas.  We partnered with Giant Tiger to put the whole celebration together, and found so many cute items at great prices that you'll love.  I love entertaining for breakfast or brunch.  It's so much easier than a big Christmas dinner, and a great way to get together with family or friends over the Christmas holiday.  I hope these Christmas brunch recipes and ideas inspire you.  
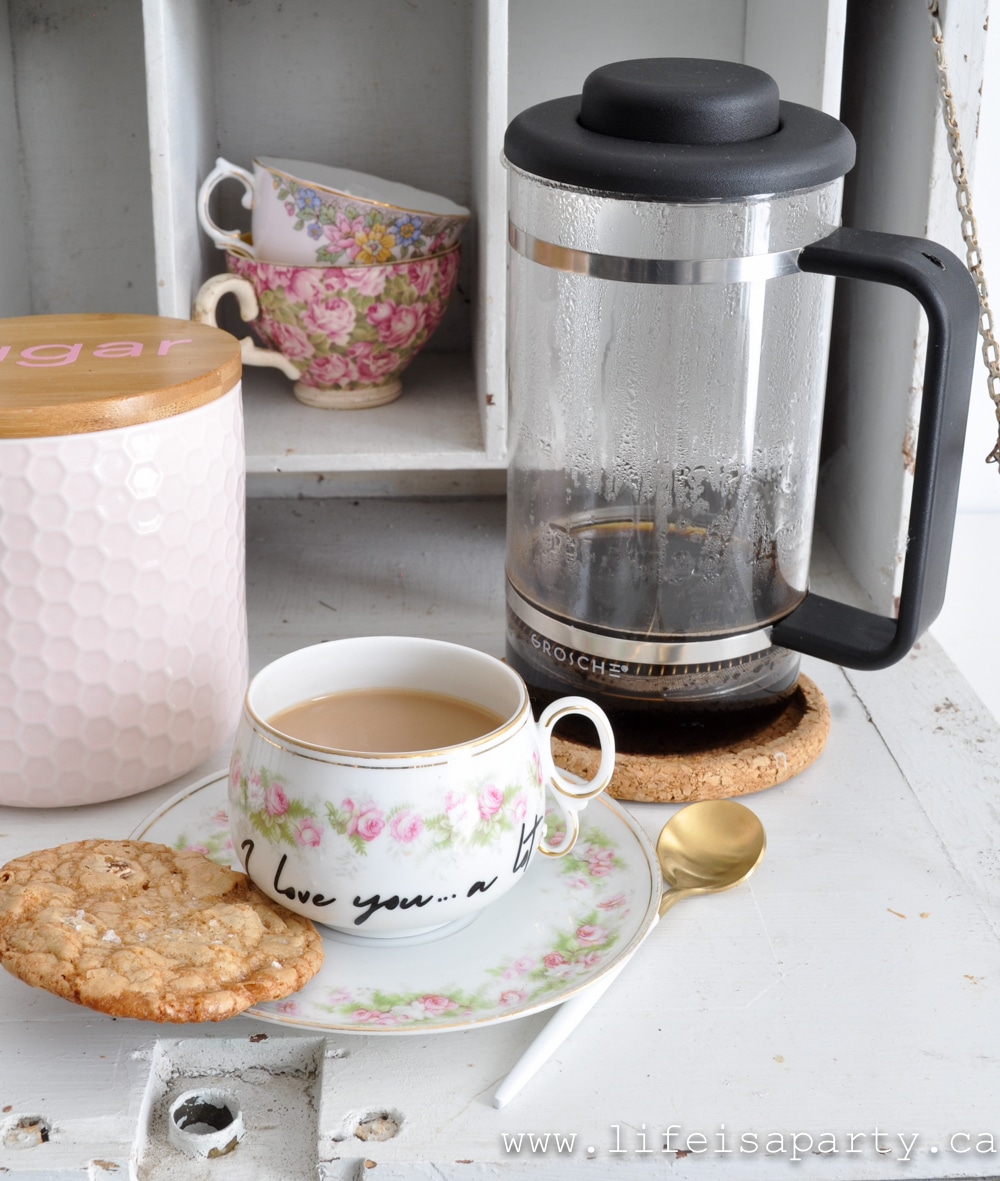
Christmas breakfast ideas

Coordinating Pyjamas For Everyone

For our Santa breakfast we invited our closest friends and got new Christmas pyjamas for everyone to wear.  It was so much fun.

Christmas pyjama party

This would be a great idea for family Christmas pyjamas or for cousins too.  Our pre-teen and teen girls loved the new snuggly pjs and there were so many options that I could find something a little different for everyone, but have them still all coordinated.  

coordinating Christmas pyjamas

This year I'm going with a pink Christmas and I found so many cute options.  Everyone was looking cozy and cute for breakfast.

Santa breakfast at home

The Table

I had so much fun setting the table.  This year I'm going with a little pink for Christmas, so I wanted to incorporate that, and I wanted to have a Santa theme.

Christmas breakfast table ideas

I used this snuggly soft scarf as the perfect table runner.  It was the perfect size, and can be used as a cozy scarf afterward.  This is such a fun idea for any Christmas or winter entertaining.

Christmas breakfastmini potted Christmas trees in brown paperI also used a gingerbread house mini village kit.  Instead of using the colourful candy, we used just the white icing to create the perfect look for our table.  I grouped the houses on some cake stands covered in sugar to look like white sparkly snow.

mini gingerbread houses with white icing

One of my favourite additions to the centerpiece of the table are the little trees.  These are live trees that are perfect mini Christmas trees.  We added some lights and they feel perfectly Christmasy.
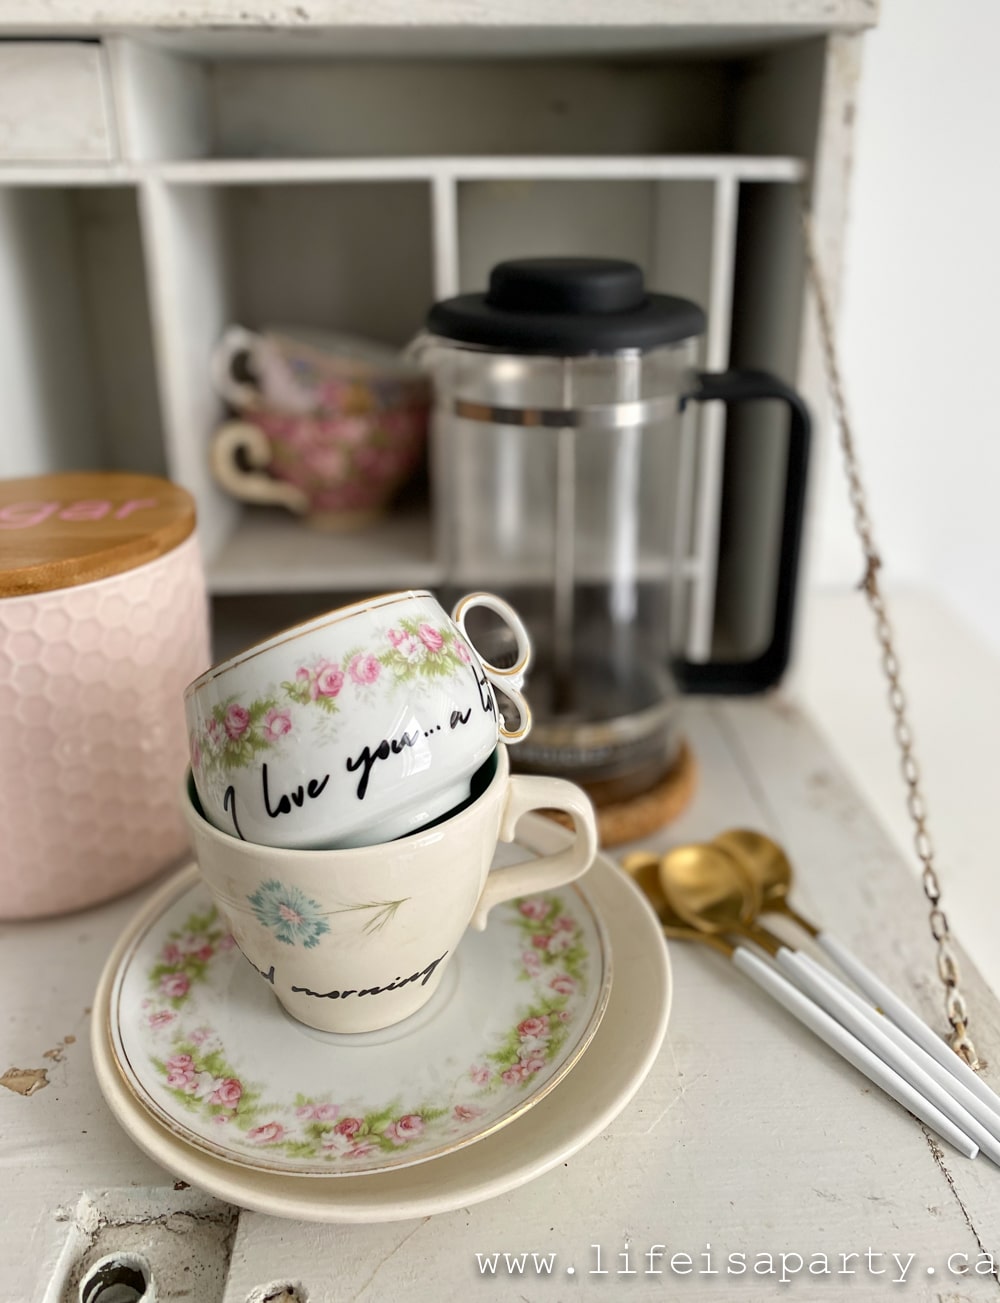
Santa themed Christmas breakfast

Place Settings

For the place settings we used some plain white dishes, and pretty gold cutlery. 

Christmas morning breakfast

On each plate I did a few special treats.  I loved this pretty iridescent Christmas ornaments, and they're shatter proof so they work will on a table.  I found these adorable Santa chocolate lollipops and added a pink velvet ribbon to tie into our pink theme.  Lastly I picked up some candy canes, the perfect Christmas treat.
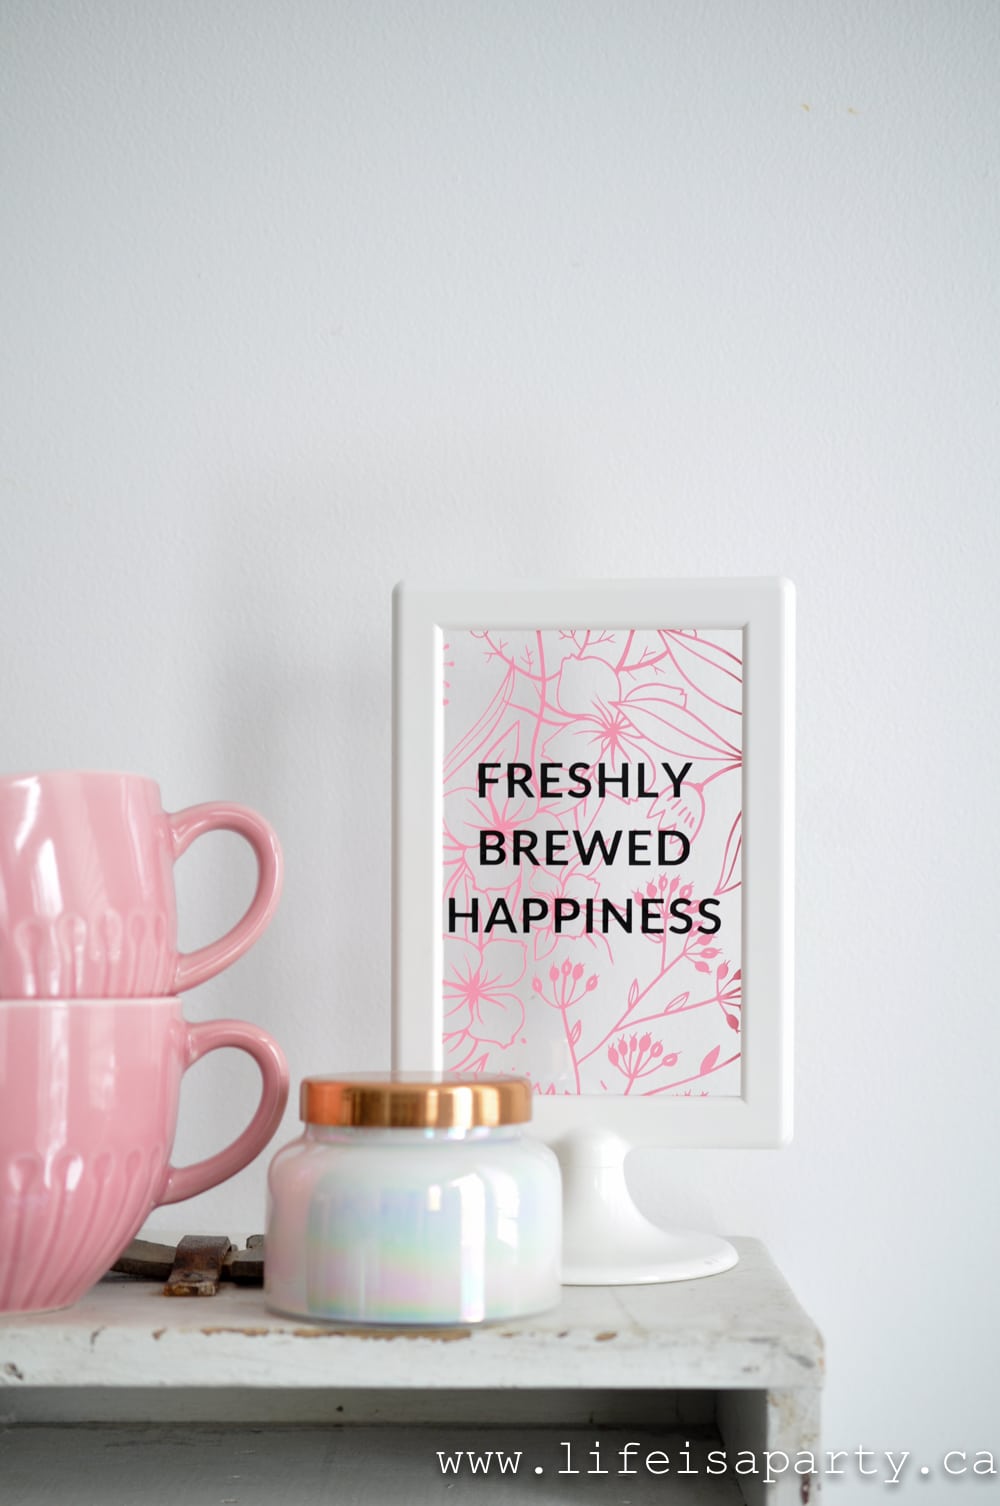
Sanat themed breakfast ideas

Hot Chocolate

I thought that it would fun to setup a really simple hot chocolate bar for the girls on the size.  I used hot chocolate mix, regular marshmallows, and mini marshmallows, including some pink ones.  This is perfect for kids on a holiday morning.  

hot chocolate station
simple hot chocolate bar station

This mini tree is so fun, and decorated with my DIY Star Garland -see how I made it here.  And since our theme was Santa I couldn't resist this retro looking fun little Santa toy.  He plays music and climbs up and down the ladder and he's so cute. I also used some Santa mugs I had over here and tied on some pretty pink bows to fit our theme.

Santa toy that climbs ladder

Stockings

I thought it would be fun to include some stockings for the girls, and I attached them to the back of the chairs.  This would be really sweet on Christmas morning too.  These are actually slipper socks, and they worked perfectly and matched our colour scheme.  Just tuck the mate into each stocking and everyone gets a pair of slipper socks too!  Such a fun idea for a Christmas brunch.
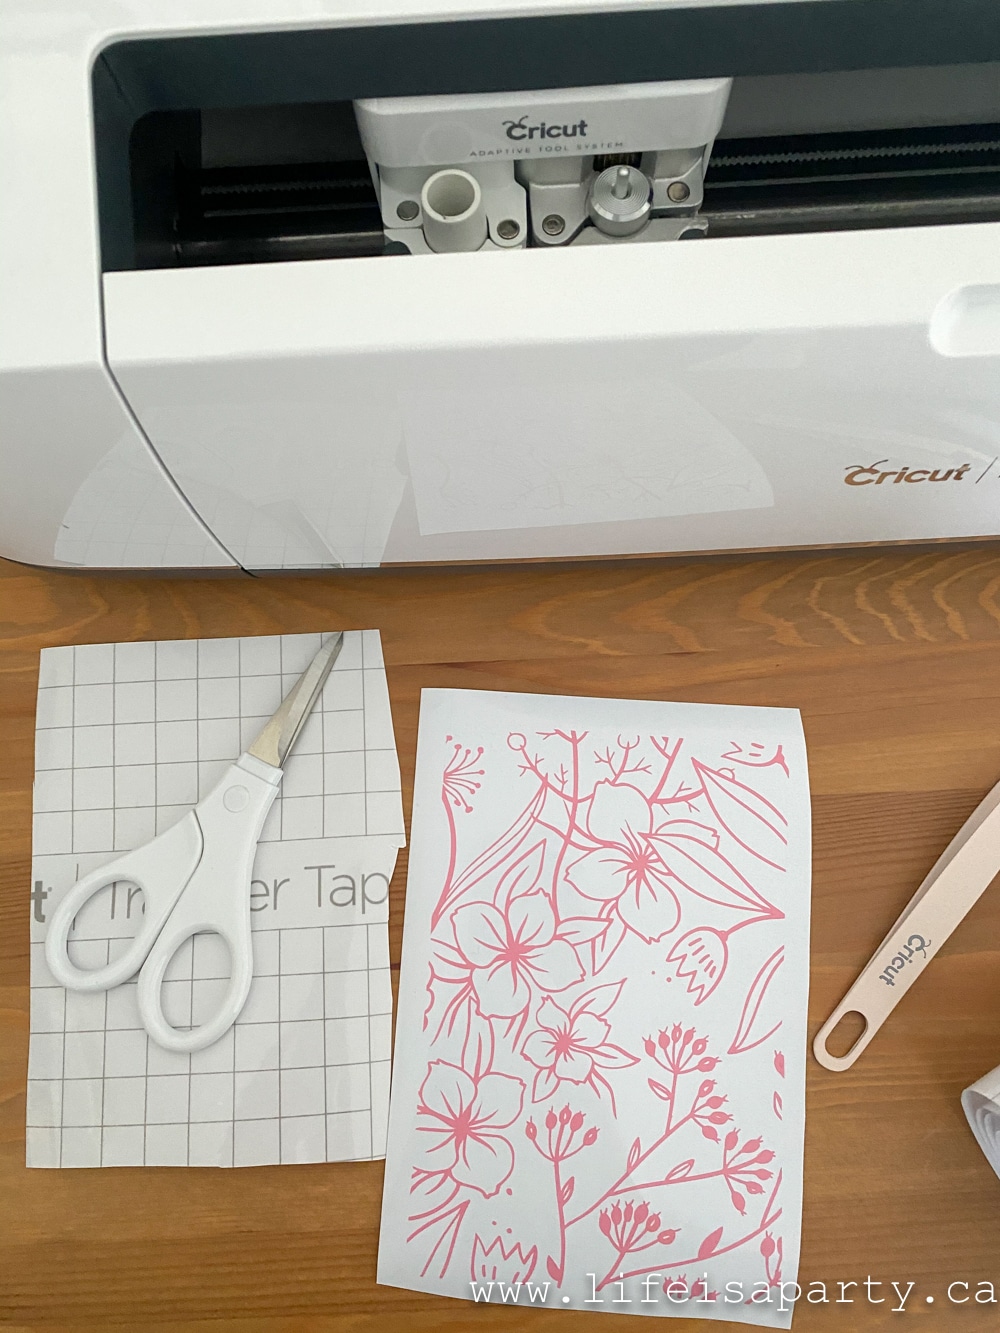
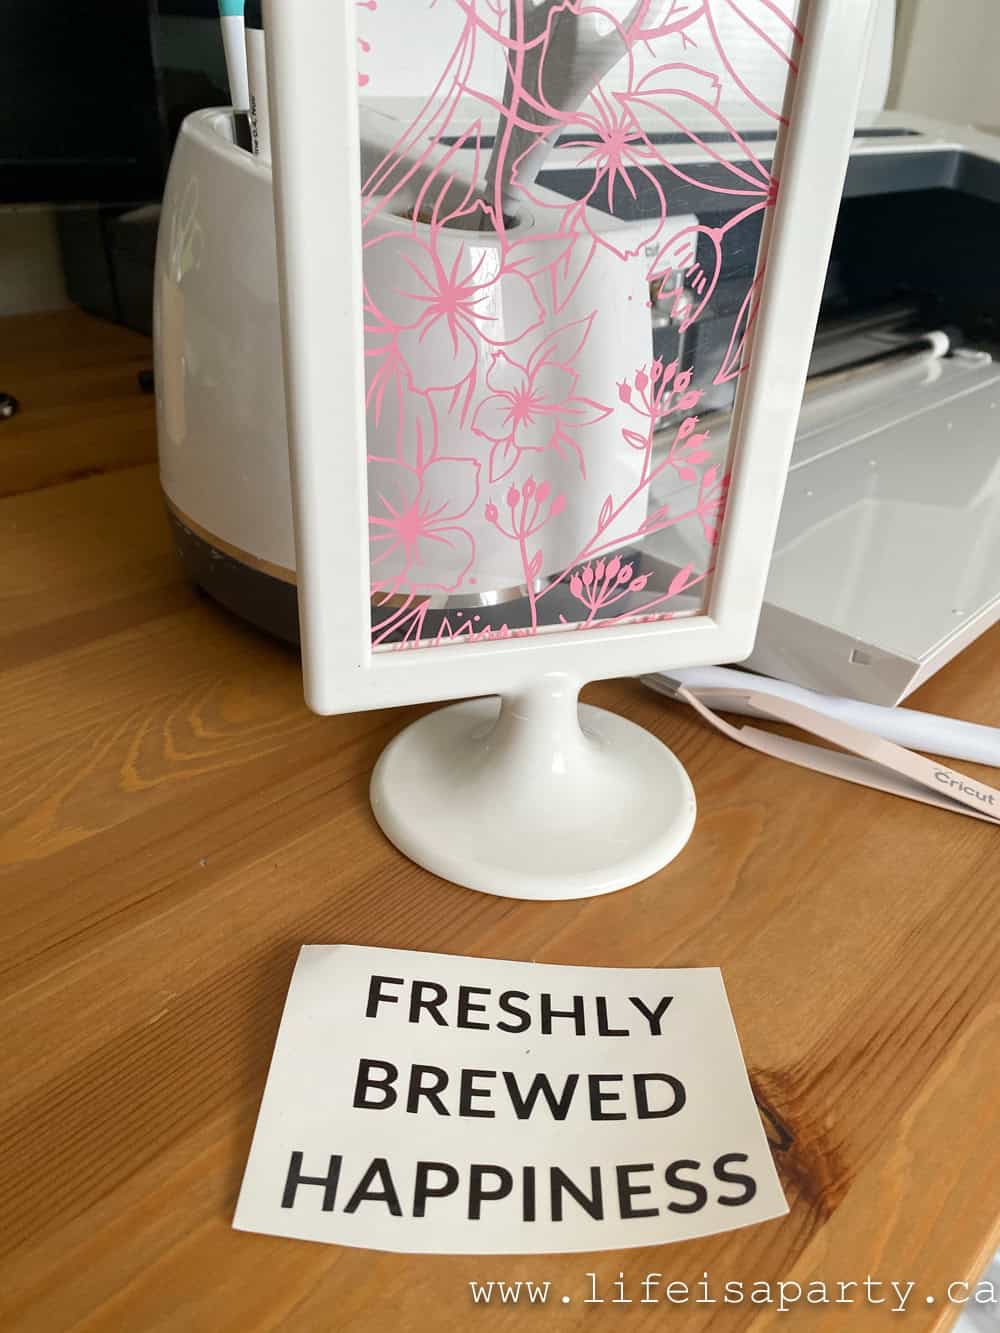
pink christmas stockings

These sock stockings reminded me of when I was a little girl.  Way back then, we used to use real socks as a stocking on Christmas Eve.  We used to hang up one of our dads work socks because they were bigger than our little socks and Santa could leave us more candy and treats in them.

Christmas stockings hanging on the back of a chair

I attached the stockings to the chairs with some ribbon and added another iridescent Christmas ornament and these beautiful rustic wood stars. If it's your tradition to have breakfast before you open gifts on Christmas morning, then starting with the stockings at the breakfast table is a great idea.
stocking stuffer ideas

I stuffed the stockings with items perfect for my pre-teen and teen aged girls.  For them I looked for special Christmas candy and treats, hair accessories, hair products, makeup, bath products, and jewelry.  Fun toys and Christmas candy would be perfect for younger kids. 

Santa Christmas Breakfast Menu Ideas

  • French Toast Casserole
  • Bacon
  • Sausage
  • Mini Quiche 
  • Clementine Oranges
  • Christmas Treat Board

We kept our menu for this delicious breakfast really simple, which meant it was easy and quick to prepare and perfect for entertaining around this busy time of year.  

Sweet

We always have a French toast casserole on Christmas morning.  This French toast recipe is a really family favorite.  It's great because it's one of those easy recipes that you can make ahead.  You can find the recipe for the Easy Overnight French Toast Casserole here.  Any kind of breakfast casseroles are one of the best Christmas brunch ideas, because you can make them ahead of time and just pop them in the oven the next morning.  I love including a make-ahead breakfast casserole for any breakfast or brunch menu.  Our French toast casserole is almost a bread pudding recipe.  We love serving it with a custard sauce, and some maple syrup.  There's no better way to start the day.

Other sweet options for Christmas brunch are a cinnamon rolls, pancakes, gingerbread waffles, coffee cake or breakfast pastries.  They are all great brunch options.

French toast casserole
Christmas breakfast menu ideas

Savoy

Along with the French toast we served some bacon and sausages.  I also picked up some mini delicious quiche in the freezer section and they were the perfect easy addition.  It's always nice to have some breakfast meats and a egg dishes for savory breakfast fans.  This was a really easy way to add them in, and a great brunch idea.  I find that kids love small finger food size options. 

Christmas breakfast menu ideas

Fresh Fruit

I always think of oranges when I think of Santa, so we had to include a bowl of them.  When I was little we always got an orange in the toe of our stocking, but it was more of a hold over of a happy memory of my moms.  I remember her telling us that when she was growing up it was still quite a big deal and expense to get oranges in the winter since they certainly don't grow around here in Canada.  It always made me think of Laura Ingalls in Little House on the Prairie and the story of them getting oranges, pennies , and candy Christmas morning and how excited they were.  While oranges aren't a luxury item anymore, they're still the perfect addition to a Christmas breakfast.  They're a great healthy snack to include.  Any of your favorite fruits would be a great addition to this holiday menu, including a fruit salad.

Santa themed Christmas breakfast

Santa Dessert Board

I thought it would be fun to put together a Christmas treat board for our get together.  This is a Santa themed sweet charcuterie board, and it was a great hit at our brunch.  

Christmas treat board snack board dessert board

My favourite part were the Belgium chocolate letters.  These are usually a stocking stuffer, but I thought it would be fun and delicious to spell out a "ho ho ho".  We included lots of Christmas cookies too, as the perfect sweet ending to our holiday brunch.

We used fresh strawberries, powdered donuts, and a mini marshmallow to make the cutest Santa hat treats.  And there were also lots of other treats.  You can read all about the "Ho Ho Ho Santa Themed Sweet Board" here.

Christmas treat board

Santa hat treatsWe had such a fun morning together with our friends.  I think this will become a new holiday tradition for us.  Our Christmas brunch menu was easy to put together with some great delicious recipes that everyone loved.  

Christmas breakfast ideas

I hope our Christmas brunch ideas give you some holiday inspiration.  With a Santa themed Christmas breakfast to enjoy, life really is a party!

This post is sponsored by Giant Tiger.  As always, all opinion are my own.  Thanks for supporting the brands that make Life is a Party possible.

More Christmas Party Inspiration

You might also like our Christmas Nutcracker Tea Party here.

Also check out our Christmas Fondue Party here.

You might also enjoy our Christmas Woodland Party here.

Woodland Christmas Party: This red and green woodland animal printable party package includes kids activity placemats and everything else for your party.

Holiday Mantel

Dec 2, 2020 · 1 Comment

Christmas mantel

Holiday Mantel: DIY macrame garland, layered with asymmetrical garland, and DIY star garland. Plus lots of trees, and brass pieces.

Christmas mantel
[feast_advanced_jump_to]

I'm excited to share my holiday mantel with you today and give you a few fun ideas.  This year it's a little bit eclectic, a little bit boho, and a little bit pink.  

holiday mantel ideas

Garland and Stockings

I started out knowing I'd like to incorporate an asymmetrically look to the garland.  This year for the first time I used a faux garland, and I have to say that as much as I love then look and smell of real greens, the faux ones are so much easier.  I certainly don't miss the sheading needles.

holiday mantel

I wanted a layered effect so I used my favourite macrame garland, it's an easy DIY project read all about how I made this macrame garland here.  On top the macrame I used the faux greens, and doubled up the left side to make it a little thicker there.  On top of that I used a branch.  This is one I found in the woods one day.  It was so pretty and moss covered that I brought it home and it in a few spots.  

asymmetrical garland

The stockings are looped over the branch, ready for Santa and adding lots of texture and interest. And lastly one more layer of garland with this sweet little star garland.  It's a fun DIY project made from polymer clay, see the whole DIY star garland tutorial here.  The stars are painted with a little iridescent paint, and the gold wire adds a little sparkle.

star garland

Trees and Brass

Up on the mantel I've done a little forest of small trees.  I didn't worry about matching so there's a mix of bottle brush trees, glass, ceramic, glitter and tinsel.  The eclectic look of them all grouped together is so much fun.  I stuck with mostly neutrals, but there's a little pink and and a green to match the rest of my holiday decor this year.

holiday mantel with bottle brush trees
iridescent and glass trees

I also adding in a few brass pieces.  The candles sticks are some from the thrift store, along with some thrifted candles in our pink and colours.  And over on the other side there's another brass accent.  I found this little brass deer this summer while we were staying a cottage that has the best thrift stores near by.  I think they usually come in a pair, but I was happy to find even one and I'll certainly have my eyes out for another when thrifting.

brass candlestick holders
brass deer

Art Work

The black lanterns help to ground everything and tie in the black lettering on the poster.  The poster is inspired by the old 1950's Christmas cartoon classic Rudolph the Red Nosed Reindeer.  This oldie is a favourite of mine because of the beautiful message that there is a place for everyone, even the misfits.  The poster is available for download in our shop here.  I had it printed as a black and white engineer print at the local office store.  Find the tutorial to add the inexpensive wood top and bottom here.

holiday mantel ideas

This mantel is a little taste of what's to come with my Christmas home tour next week -I can't wait to share with you.

holiday mantel

With a holiday mantel like this one, life really is a party!

Free Printable Pink Christmas Gift Tag

Nov 25, 2020 · 2 Comments

free printable Merry Merry Merry Christmas gift tags

Free Printable Pink Christmas Gift Tags: these pretty in pink "merry merry merry" gift tags are available as a free pdf download.
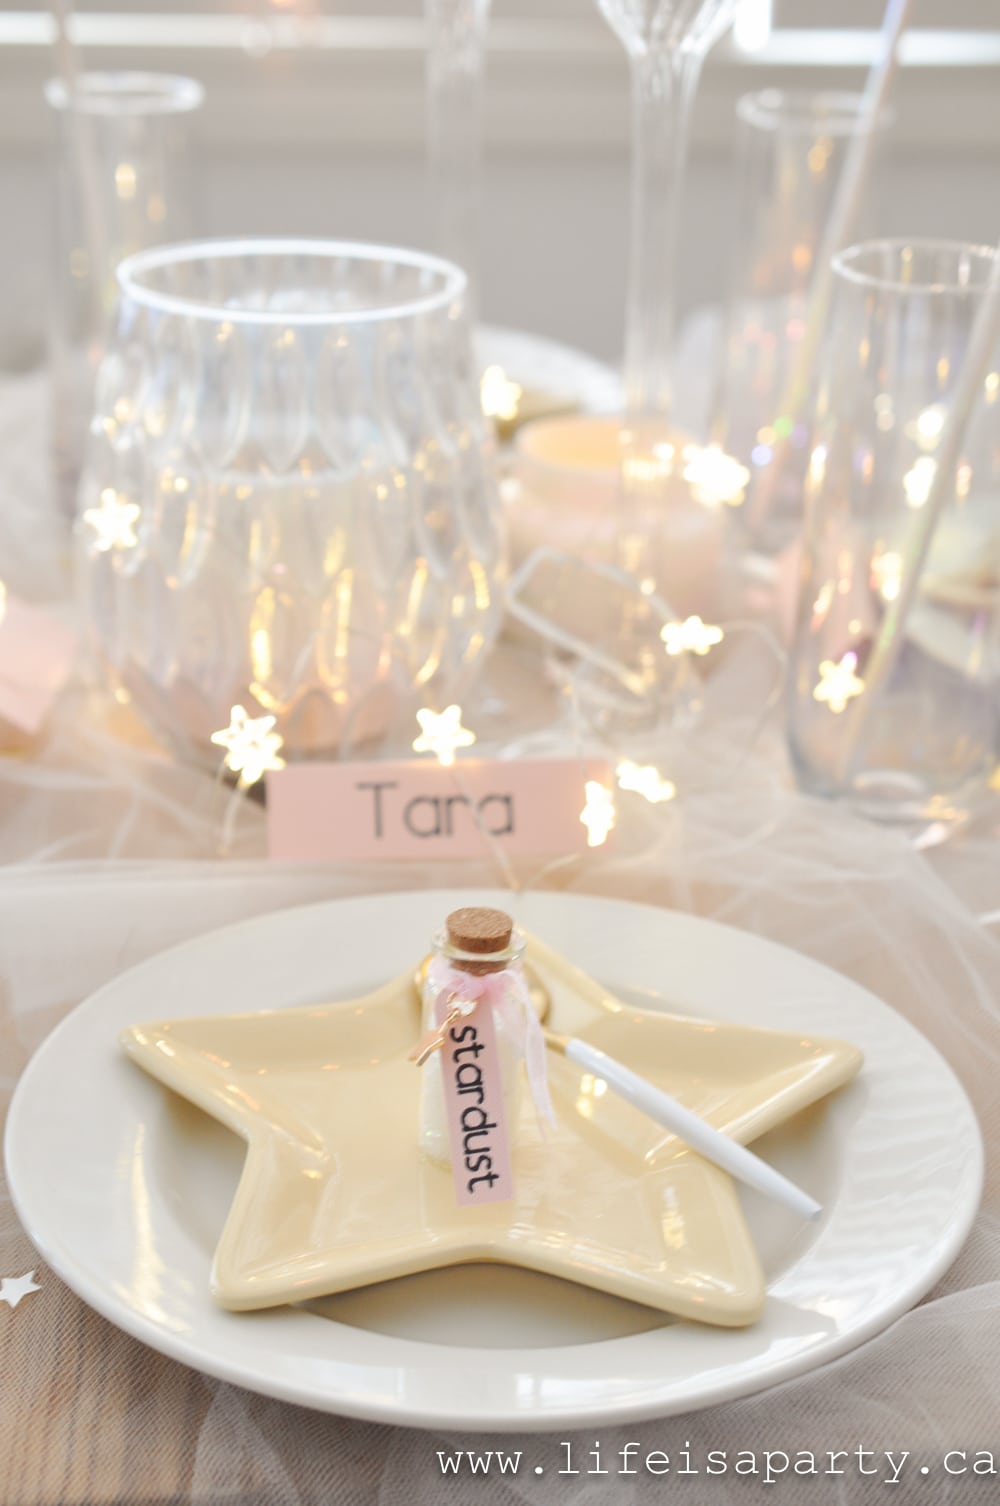
free printable Merry Merry Merry Christmas gift tags
[feast_advanced_jump_to]

Tis the season for  Christmas gift giving and I've been working away on my Christmas shopping!  I'm all set to wrap Christmas presents with these free printable pink Christmas gift tags.  I hope you love them as much as I do.  There perfect for your holiday gifts, and they will look so cute under your Christmas tree this holiday season.
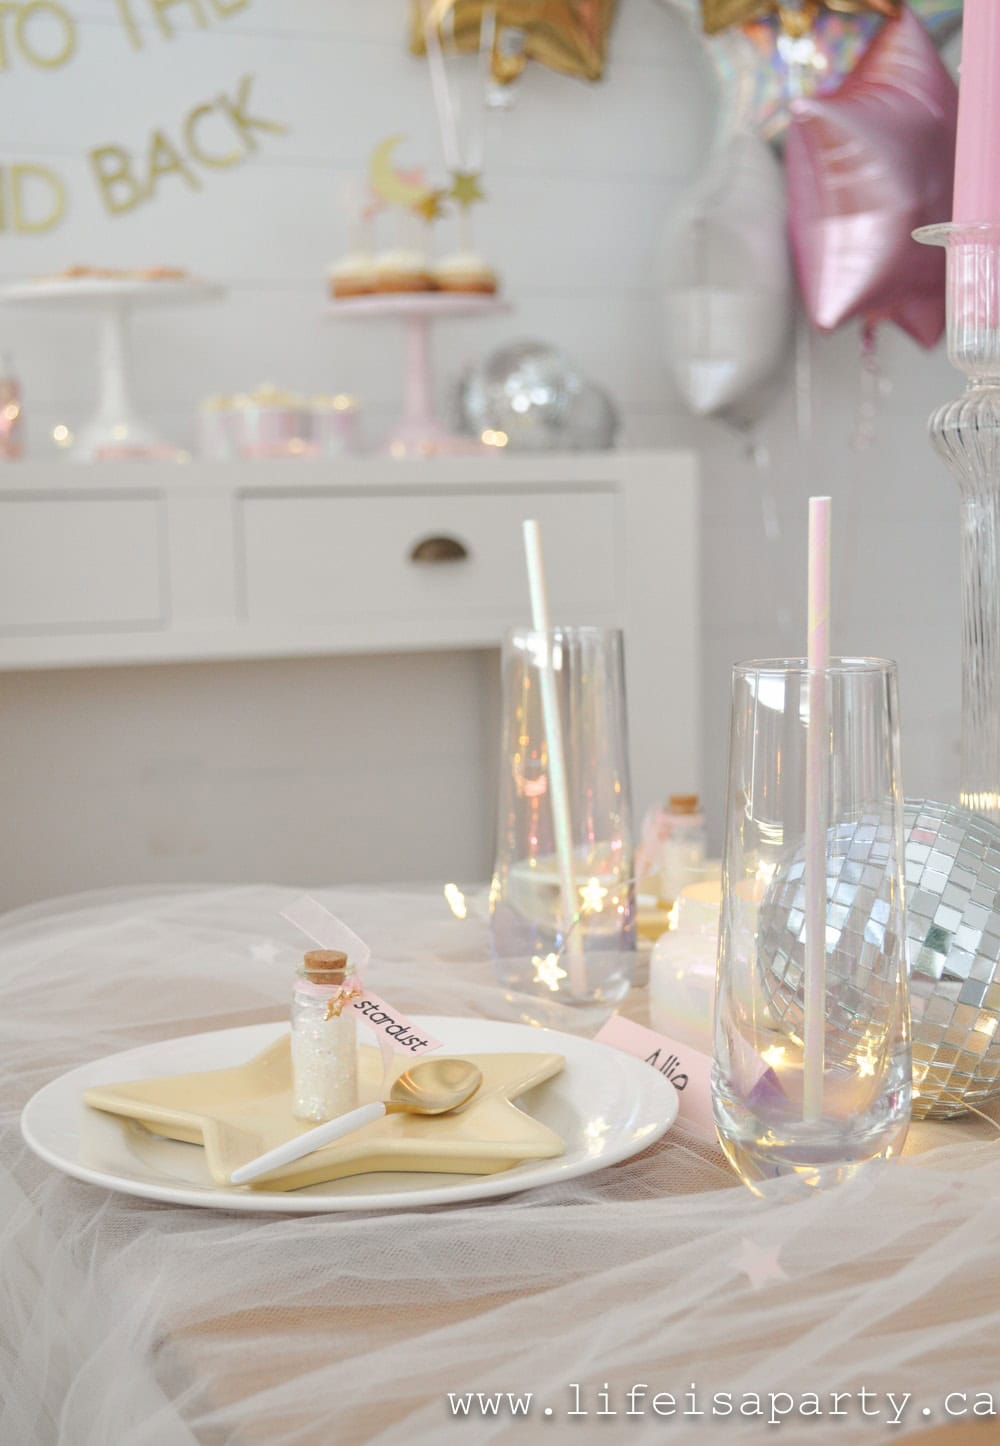
free Christmas gift tags

I'm loving adding a little pink to my decor and colour scheme this Christmas.  It's adding a little fun and whimsy, and helping create a merry Christmas around here.  

free Christmas gift tags

These ombre "merry merry merry" gift tags will add a pop of colour and joy to to all your gifts this year.  And cute gift tags are such a great way to dress up a gift bag or package.
pink Christmas gift tags

Get Your Free Printable Gift Tags

You can download the free pdf as a thank you gift for subscribing to our newsletter below.  We'll give you instant access to our Free Resource Library, where you can download all kind so free printables.

We printed our free gift tags on white cardstock using our home computer and color printer.  If you don't have a color printer, you can easily get these printed at your local office supply store.
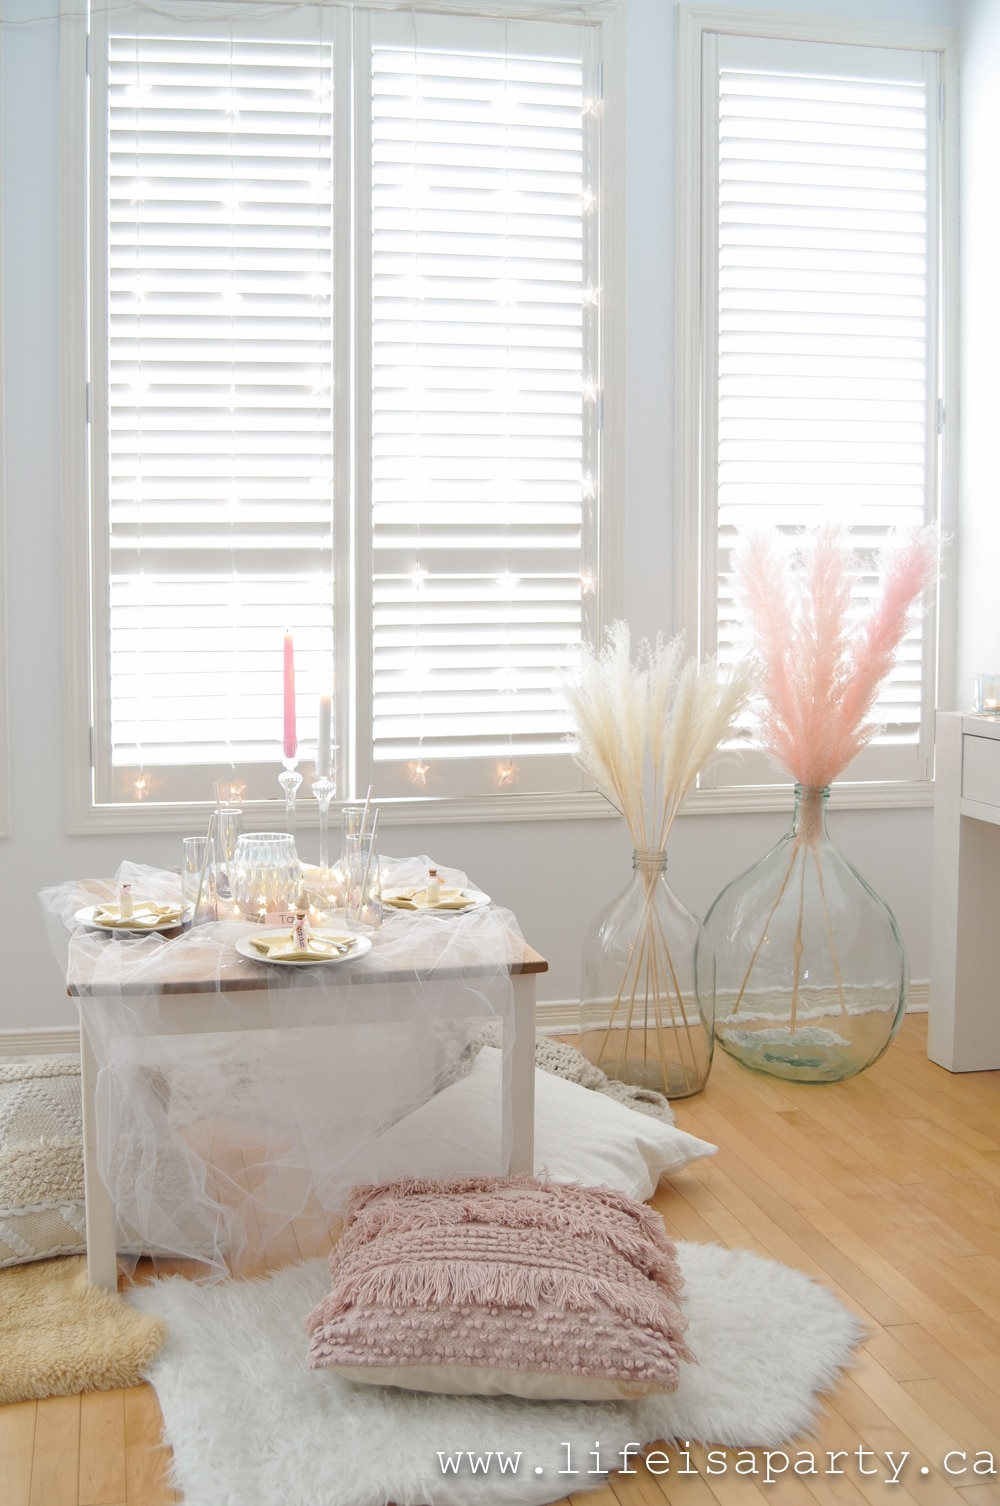
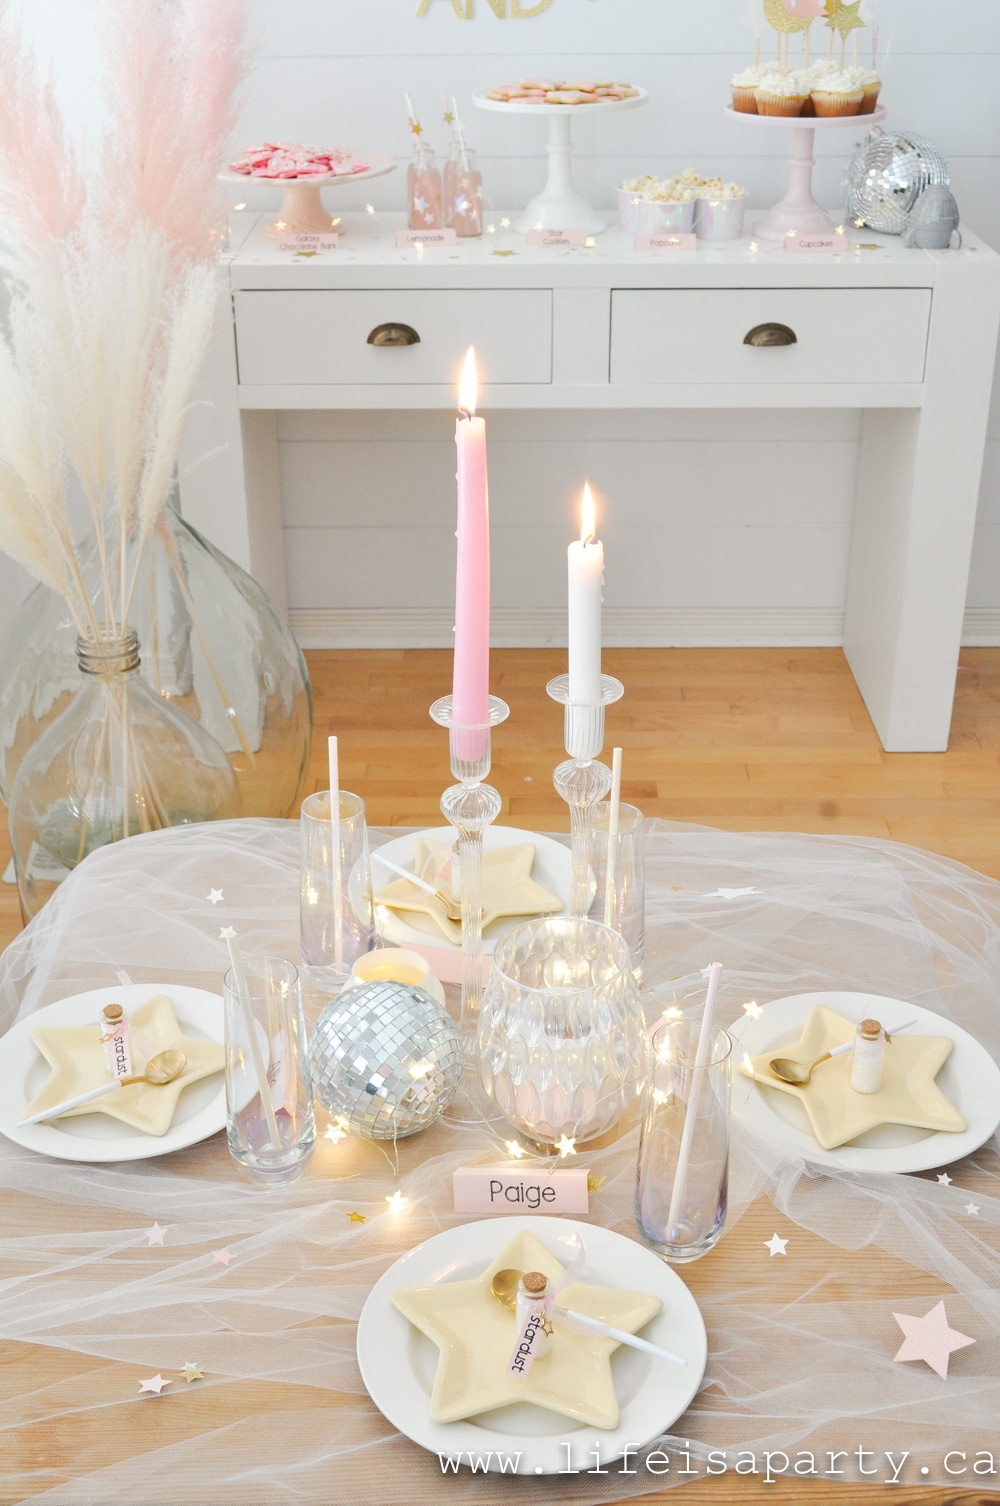
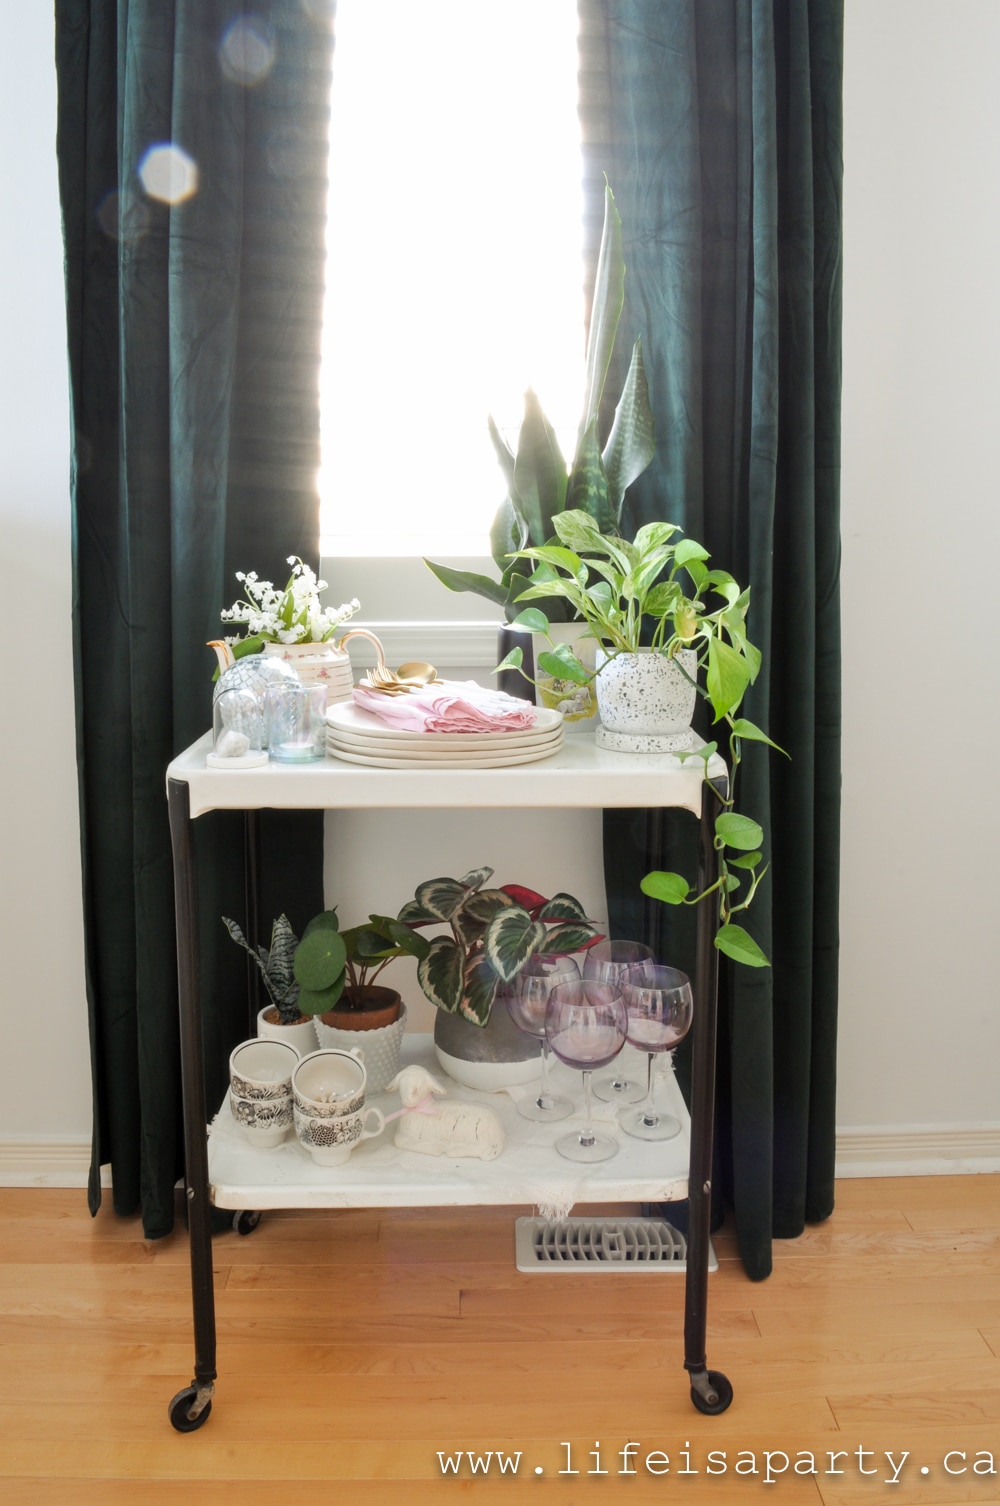
How To Make Simple Gift Wrap Extra Special

This year I'm using simple brown Kraft paper and adding the fun with pink yarn, pretty ribbon, iridescent tinsel, jingle bells, pink candy canes, and these adorable pink gift tags.  Plain white wrapping paper would be a great choice too.  And a little fresh greenery with our printable tags would be the perfect way to dress up a hostess gift and spread a little cheer this time of year.
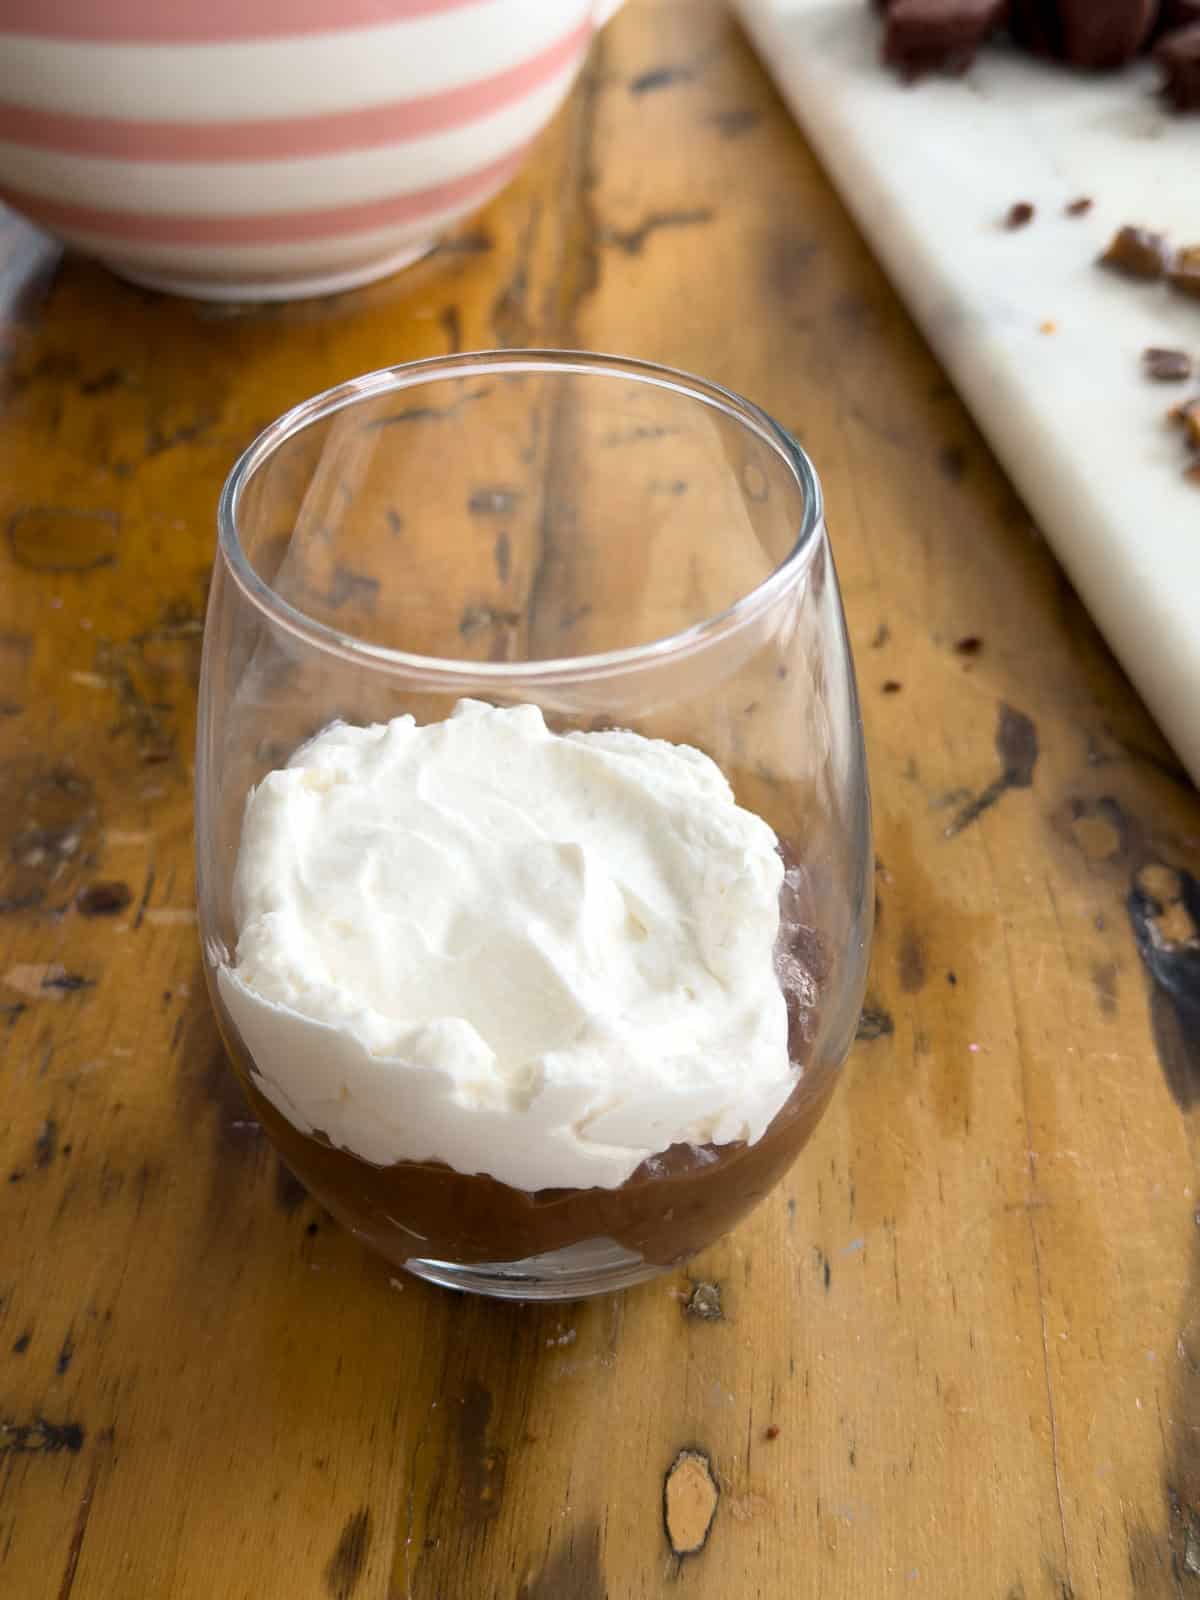
free gift tags for Christmas

After we printed our free printable holiday tags on card stock, and then we used a paper cutter to cut them out nice and straight.  Next I used a small hole punch and some gold cord for adding them to gifts you could also use string, or ribbon.  Another great option would be to print these on sticker paper and use your Cricut print then cut feature to cut them out the easy way.  They're so simple and so pretty.

pink Christmas gift tags

With these adorable free Christmas printables to dress up our Christmas gifts and send season's greetings this year, life really is a party!

More Inspiration

You might also like our Christmas Gift Wrapping Party here.

Christmas Gift Wrapping Party: DIY personalized party decorations, dessert table, party drinks and DIY gift tags and gift wrapping ideas.

Also check out our Printable Christmas Gift Tags here.

You might also enjoy DIY Wood Grain Faux Bois Wrapping Paper here.

  • « Go to Previous Page
  • Page 1
  • Interim pages omitted …
  • Page 3
  • Page 4
  • Page 5
  • Page 6
  • Page 7
  • Interim pages omitted …
  • Page 21
  • Go to Next Page »

Primary Sidebar

Welcome!

Life is a Party is all about helping you celebrate everyday with great food, entertaining and party inspiration, and seasonal crafts and home decor inspired by the holidays.

More About Dannyelle

Trending Recipes

  • Mac and cheese with panko breadcrumb topping.
    Best Homemade Mac and Cheese with Panko Breadcrumb Topping
  • Homemade iced capps in glasses on a wood table.
    Tim Hortons Copycat Iced Capp Recipe
  • Dirt Pudding no cream cheese in glasses with candy rocks, and fresh mint that looks like a little plant.
    Easy Dirt Pudding Recipe without Cream Cheese
  • Easy 3 ingredient coconut milkshake recipe.
    Easy Coconut Milkshake Recipe
  • Easy food processor scones on a plate with jam.
    Easy Food Processor Scones
  • Fluffy small batch pancakes for two ready to serve on a plate with syrup.
    Easy Small Batch Pancakes For Two Recipe

Fall Ideas

  • Pumpkin shaped dinner roll recipe, with a herb stem.
    Pumpkin Shaped Dinner Rolls
  • Fall breakfast board
    Fall Breakfast Charcuterie Board
  • Halloween witch decorations
    Witch Halloween Decor
  • fall home decor
    Fall Decorating Ideas -Home Tour
  • Modern Boho fall mantel ideas.
    Modern Boho Fall Mantel Ideas
  • Homemade pink candy apples on a cutting board.
    How To Make Pink Candy Apples

Entertaining Ideas

  • Camp themed party table with green gingham tablecloth, wildflowers, and Welcome to Camp banner.
    The Ultimate Camp Themed Party for Adults
  • Garden party table set under white pergola with vintage floral tablecloth, pink peony centerpiece in wooden tool caddy, white wicker chairs, and climbing white roses in background.
    Garden Themed Party
  • Complete mimosa bar setup on white console table with vintage silver ice bucket, labeled colorful juice bottles, small glass garnish bowls, and ribbon-tied champagne flutes on white lace tablecloth with flower wall backdrop.
    How to Set Up a Beautiful Mimosa Bar
  • Breakfast for dinner party table styled like a bed with star quilt tablecloth, gingham pillows, and cloud installation above.
    Breakfast for Dinner Party: Brinner Under the Stars
  • Tea party table set for an adult tea party.
    Tea Party Food: The Complete Guide to Sandwiches, Scones and Sweets
  • Green gingham tablecloth with vintage teacups, candelabra, tulips and daffodils set for a Little Women party.
    Little Women Party: A March Sisters Vintage Tea Party
  • Recipe Index
  • Parties & Entertaining
  • Fall
  • Subscribe
  • Free Resource Library

Footer

back to top

as seen in:

Better Homes and Garden Logo
American Farmhouse Style logo.
Apartment Therapy logo.

About

  • Privacy Policy
  • About

Subscribe

  • Sign Up! for emails and updates

Contact

  • Contact

As an Amazon Associate I earn from qualifying purchases.

Copyright © 2025 Life is a Party

Share
Pin
Post
Share
Pin
Post

Rate This Recipe

Your vote:


A rating is required
A name is required
An email is required