• Skip to primary navigation
  • Skip to main content
  • Skip to primary sidebar
Life is a Party
  • Recipe Index
  • Parties & Entertaining
  • Fall
  • Subscribe
  • Free Resource Library
menu icon
go to homepage
  • Recipe Index
  • Parties & Entertaining
  • Fall
  • Subscribe
  • Free Resource Library
subscribe
search icon
Homepage link
  • Recipe Index
  • Parties & Entertaining
  • Fall
  • Subscribe
  • Free Resource Library
×
Home

Vintage Milk Glass Collection

Vintage Milk Glass Collection

Apr 14, 2018 · 11 Comments

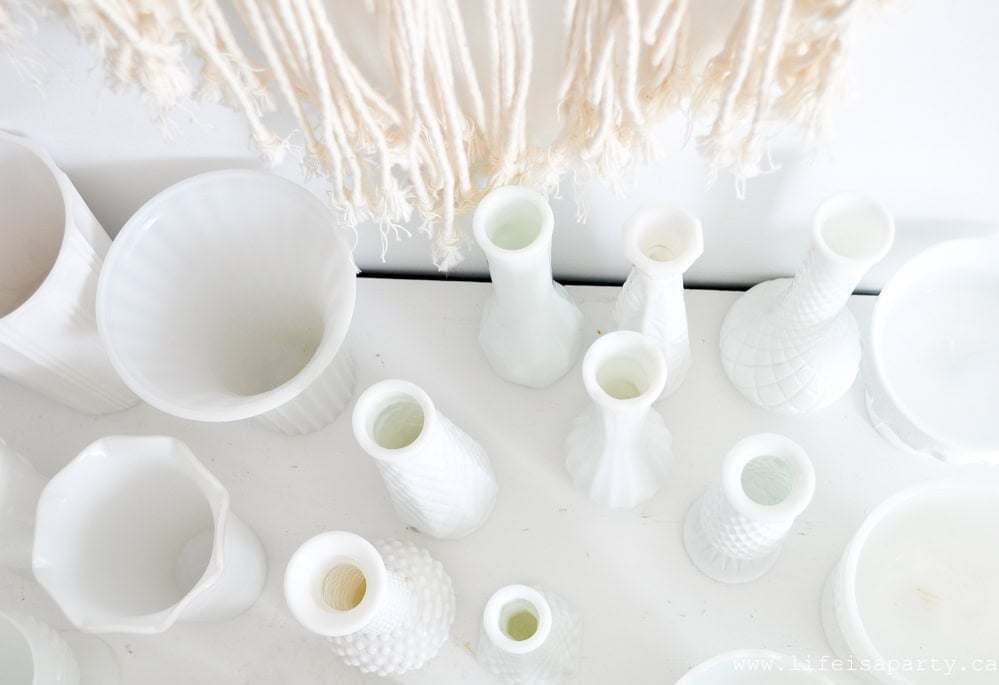
Milk glass collection.

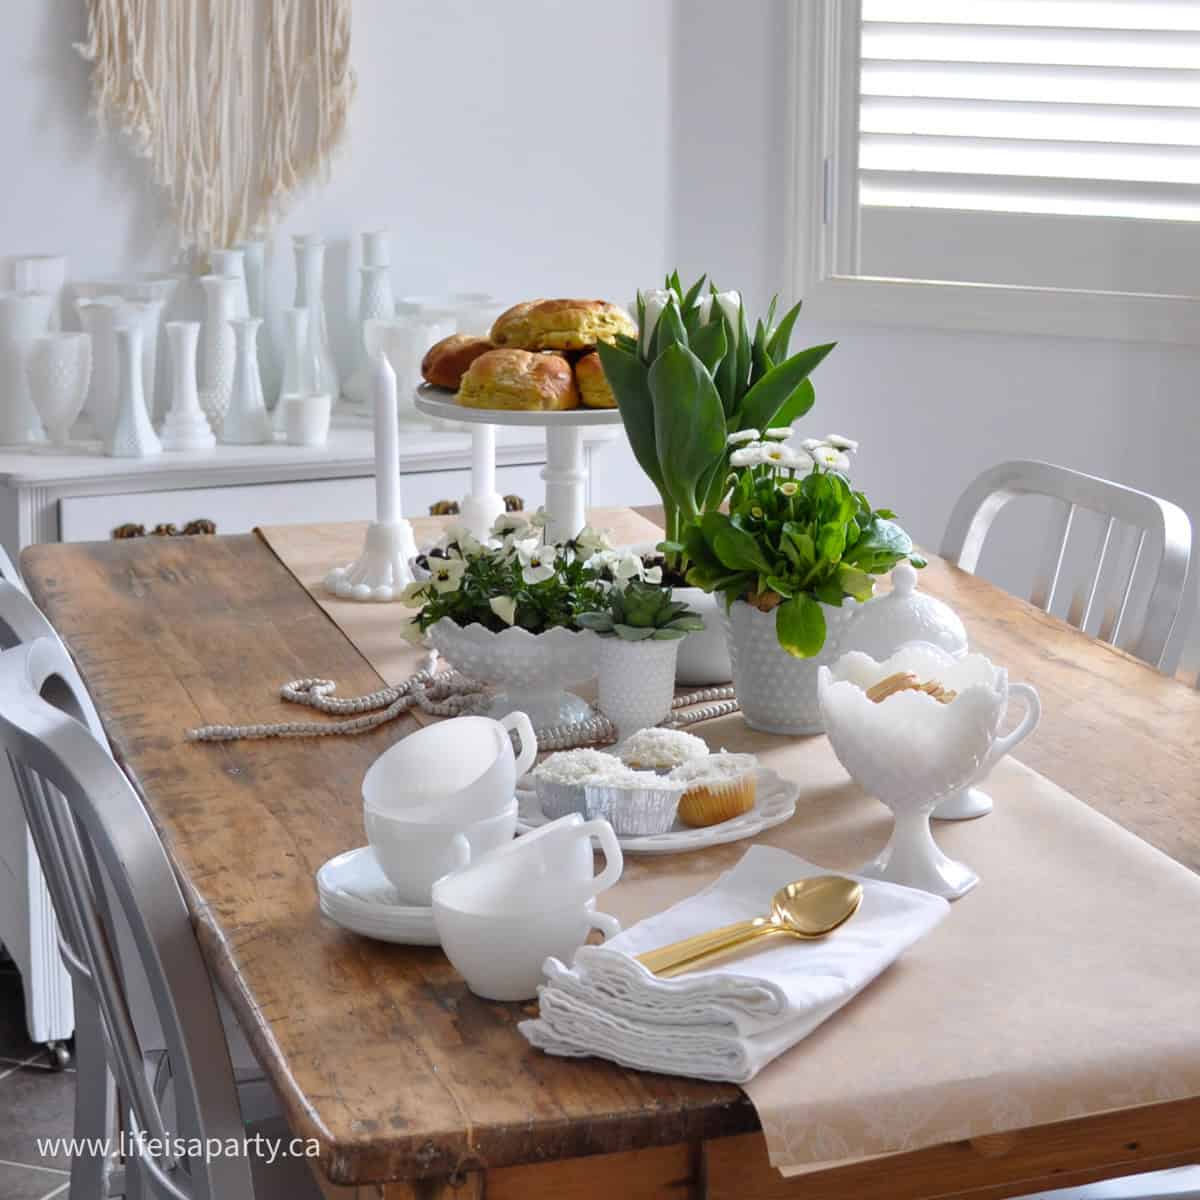
Milk Glass Collection: Vintage milk glass collected from thrift stores, garage sales, and antique shops used for a spring tea party.
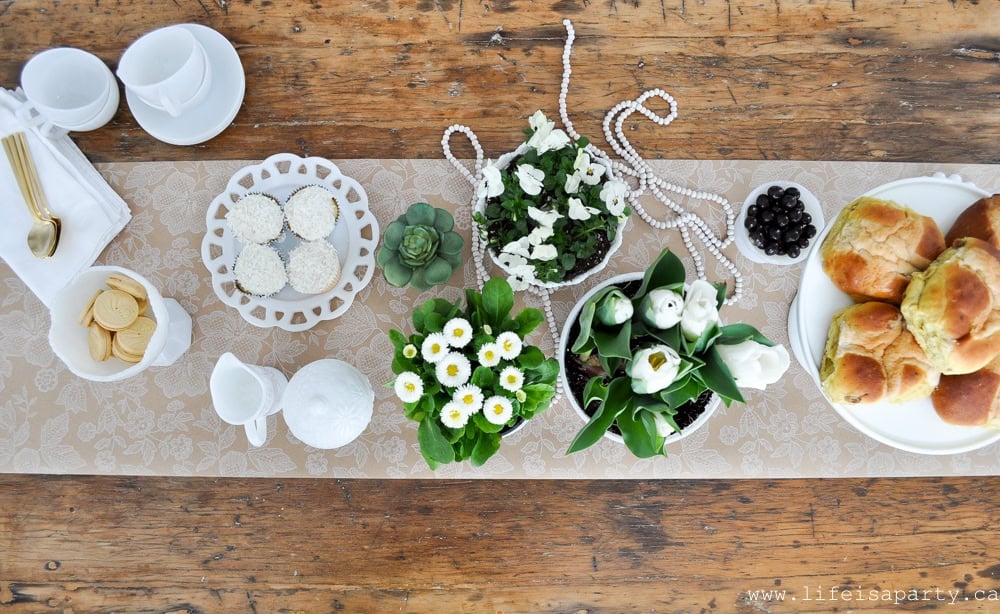
Milk glass collection.

Where To Find Milk Glass

I've been collecting milk glass for years.  If you've been around here for awhile you'll know that I'm very frugal. I usually only buy it at thrift stores and garage sales, but occasionally I splurge for a piece at an antique store.
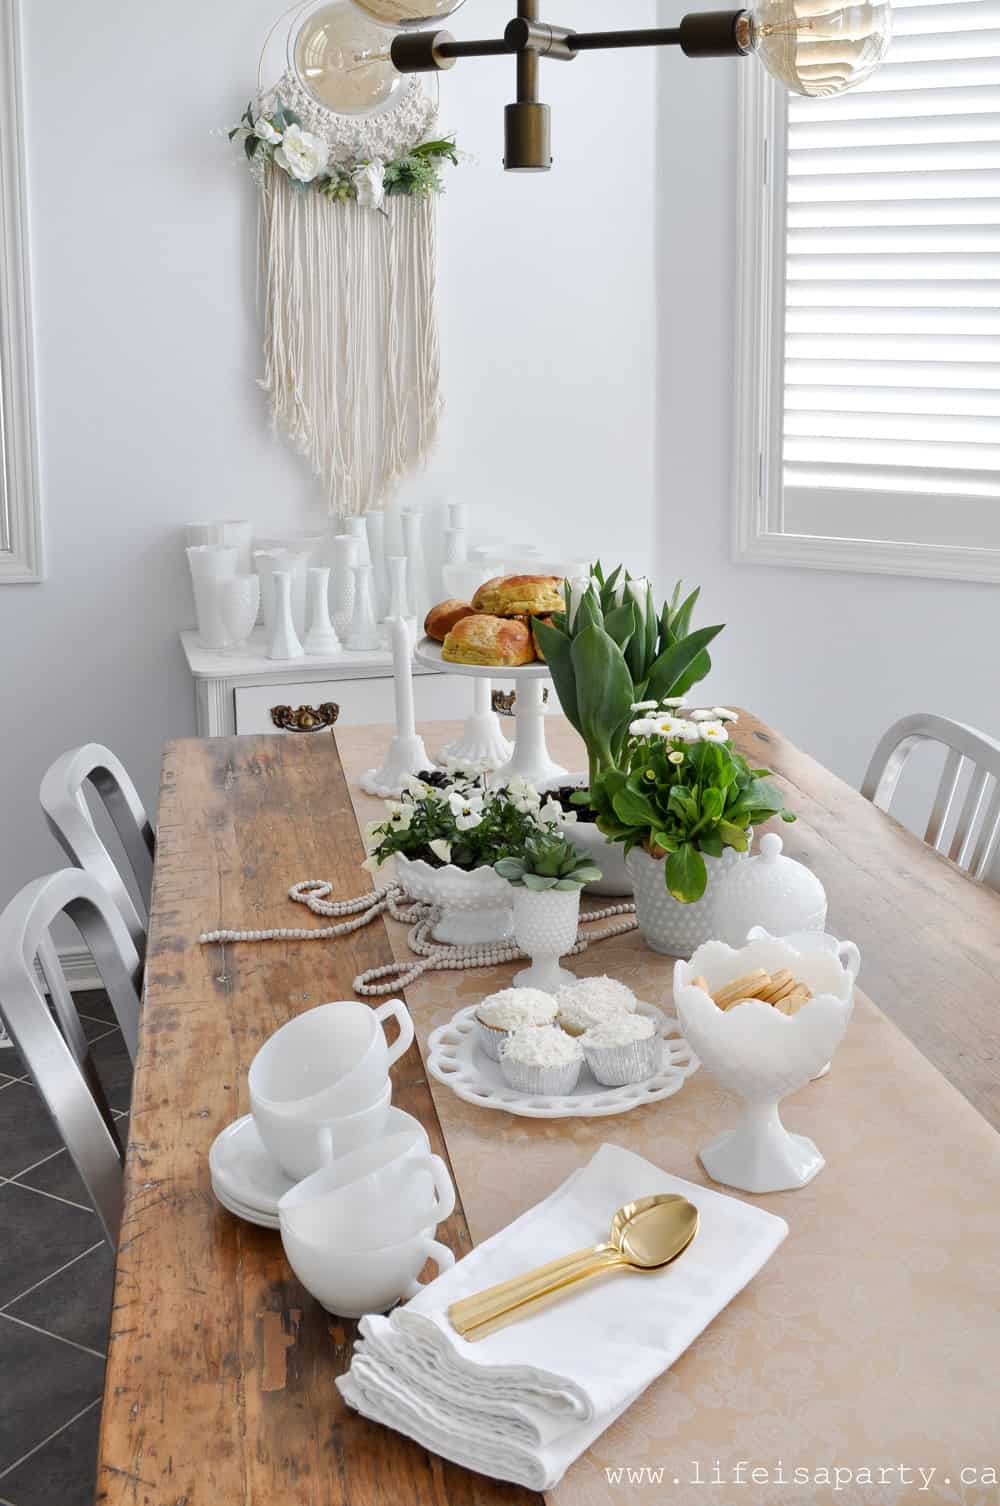
How to use your milk glass collection.

Why Not Use It?

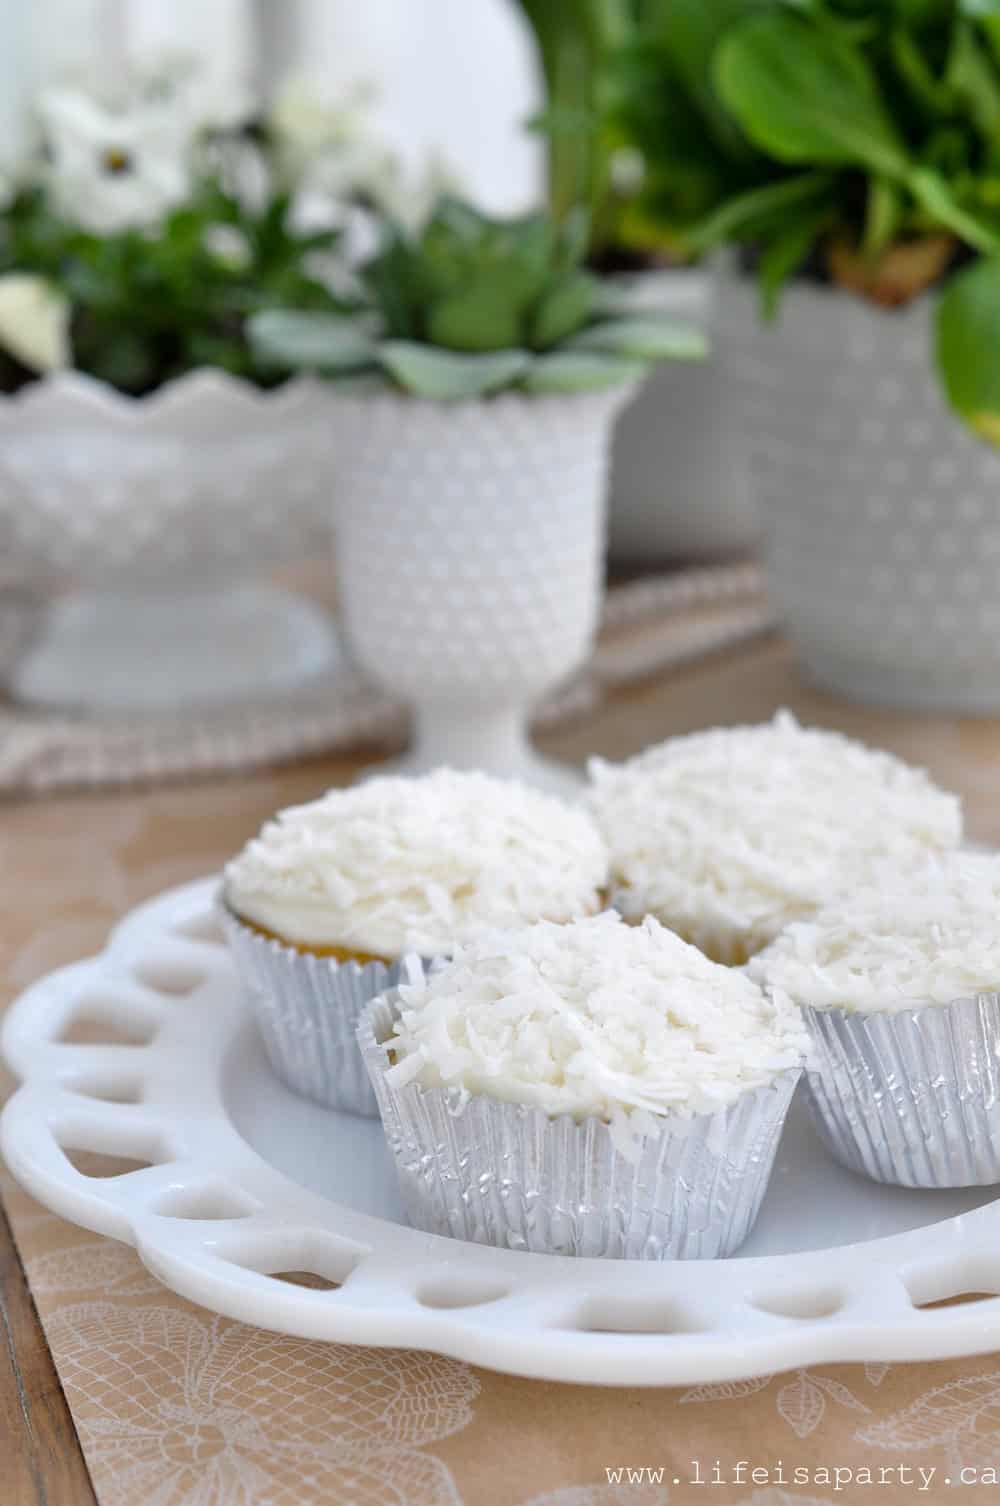
I have the table set up for a little spring tea party.  It was all inspired by the idea of planting some pretty white spring blooms in some of my milk glass containers.
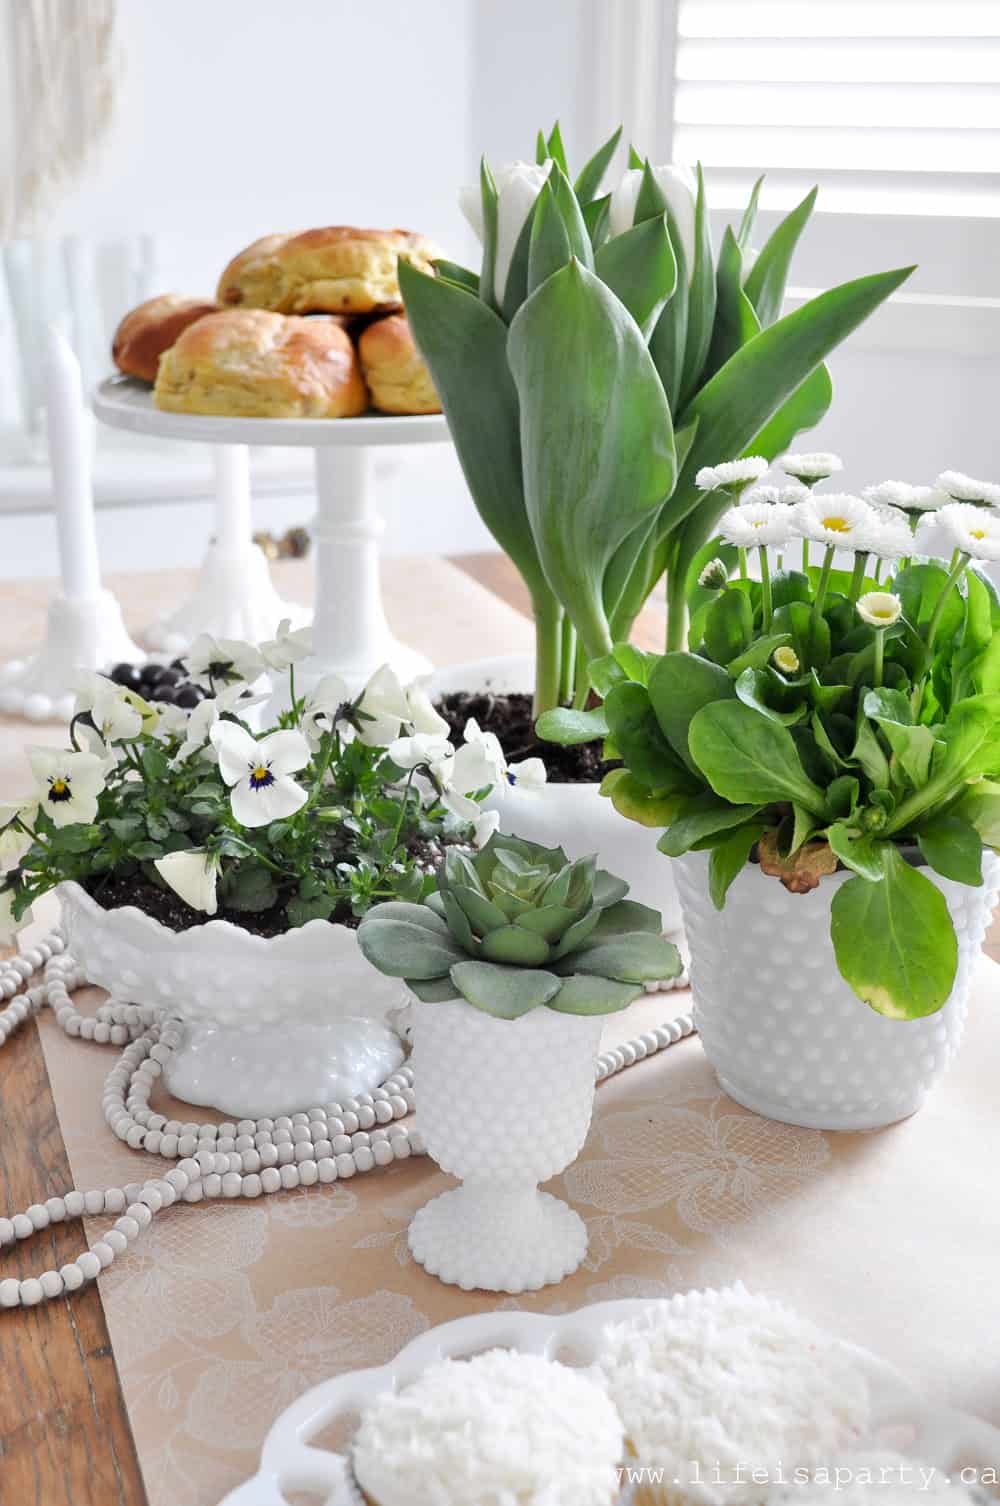
How to display your milk glass collection.

I picked up some white tulips, english daisies, and little pansies at my favourite local nursery.  The succulent is actually a faux one.

Don't worry about using your vintage milk glass collection.  It's quite sturdy stuff.  And it's very easy to clean, since it's like glass.  If you plants stain your milk glass collection at all, just clean it with some house hold cleaner.
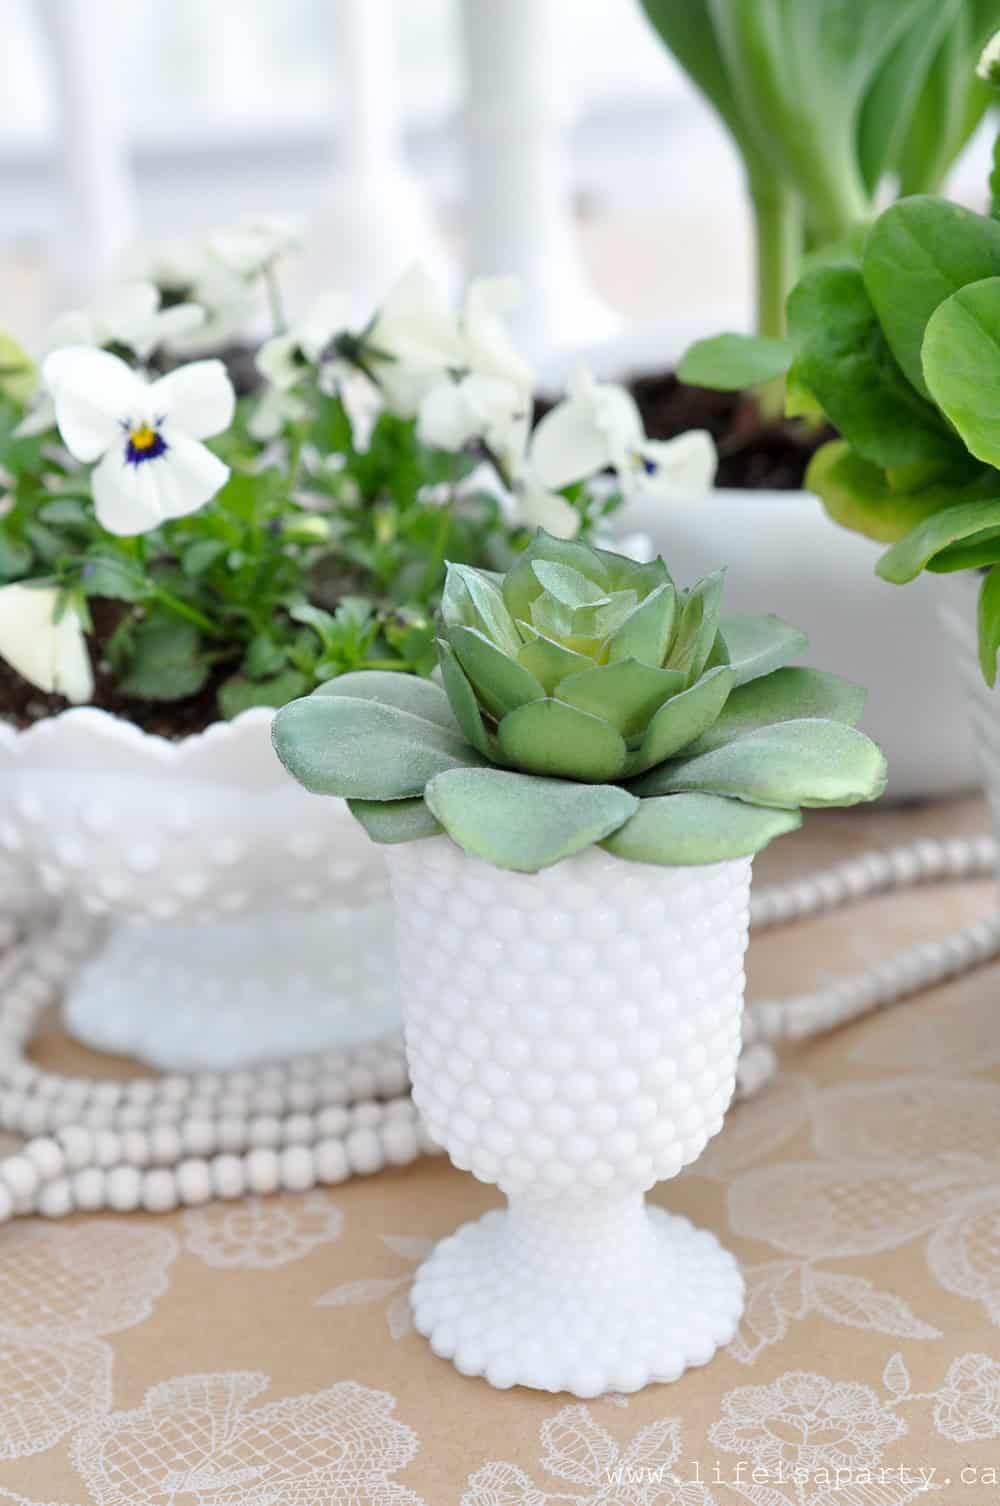
Milk glass planters.

The runner for this table is actually a piece of wrapping paper, and I love the way it looks with all the white milk glass.
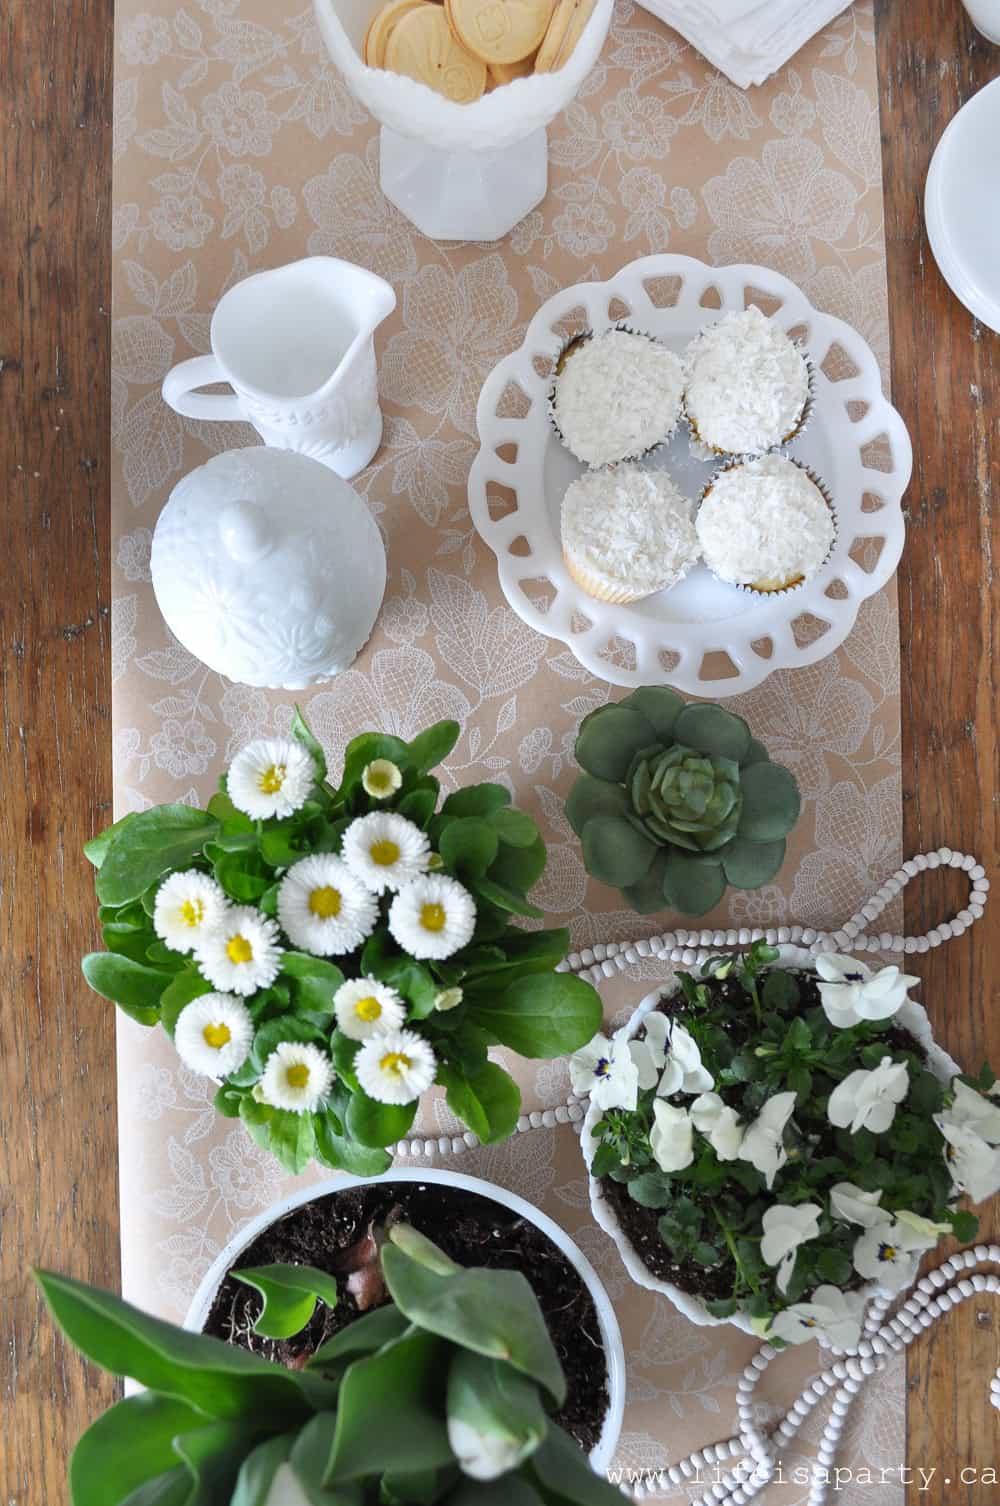
Ideas for using your milk glass collection.

What's Your Favourite Pattern?

There are so many pretty patterns of milk glass, but a favourite of mine is the hobnail.
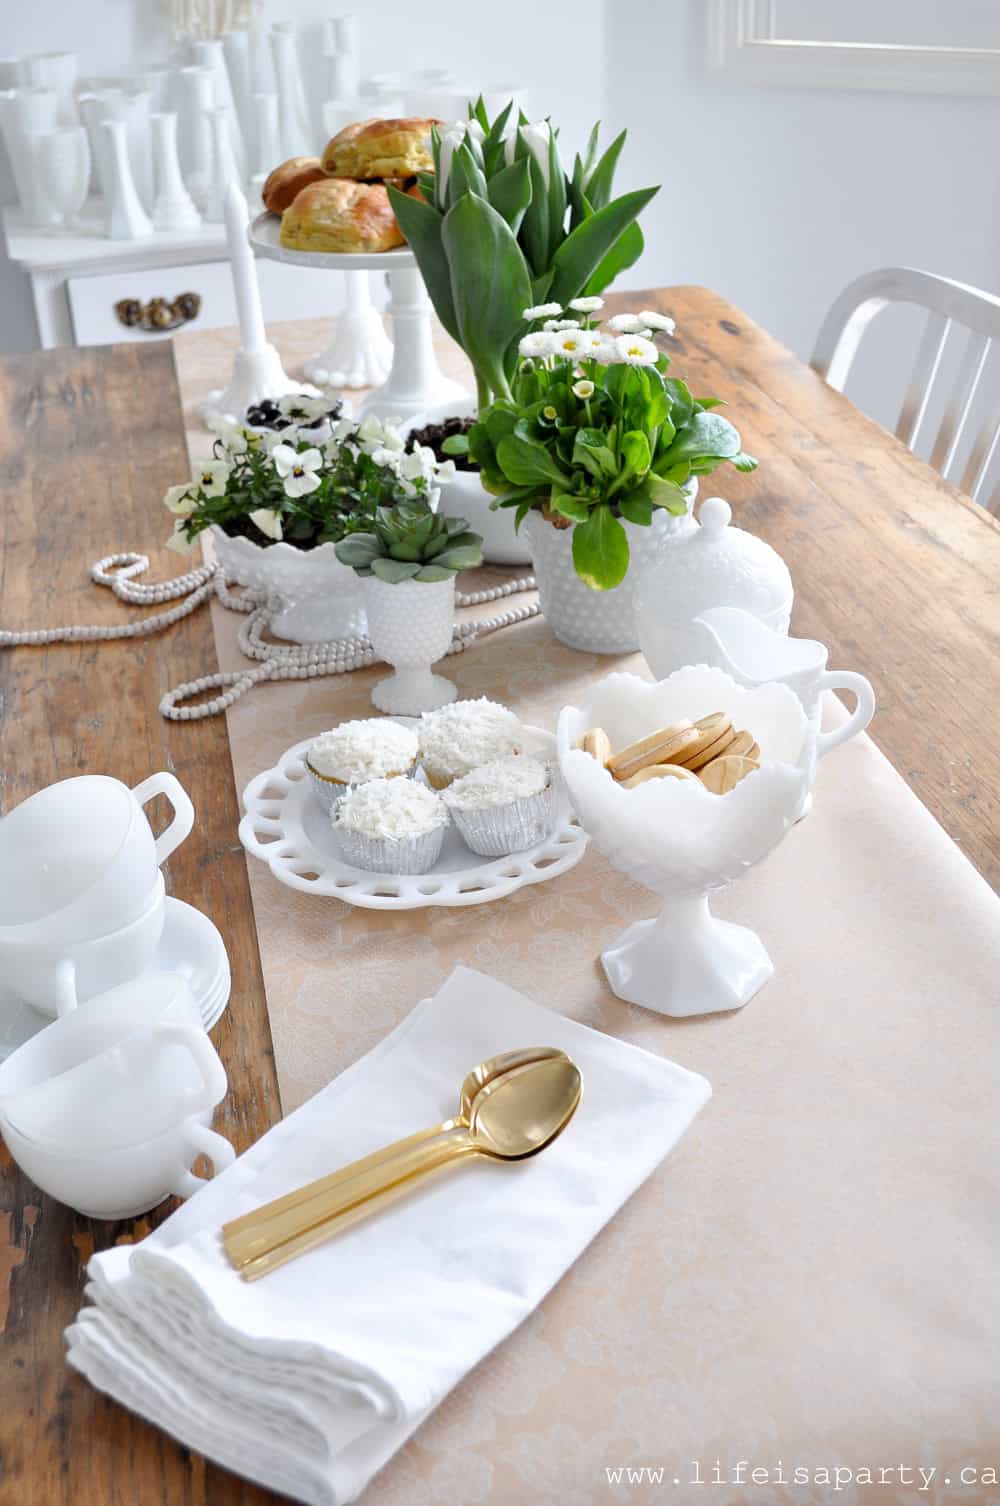
Milk glass collection.


Still Quite Inexpensive

Most of my pieces have been under $5 finds and I love hunting for them.  Although I feel like I have so much now, that I usually don't buy it unless I really love it.
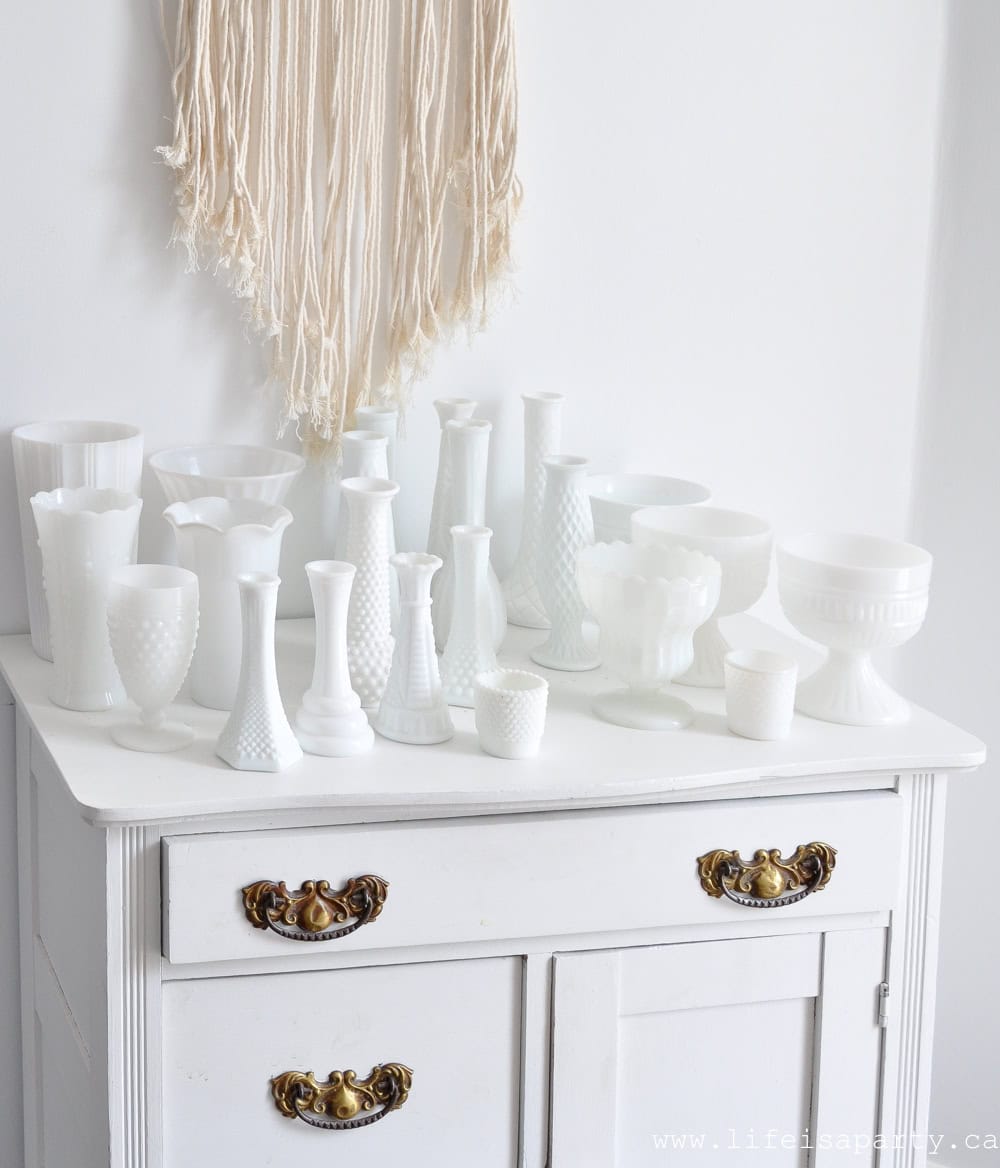
Milk glass collection.
Milk glass vase collection.


The bud vases are probably the very easiest to find.  These were a real go-to for florist in the 50's and 60's, which means there's lots of it around today still.

I find that milk glass is great for entertaining too.
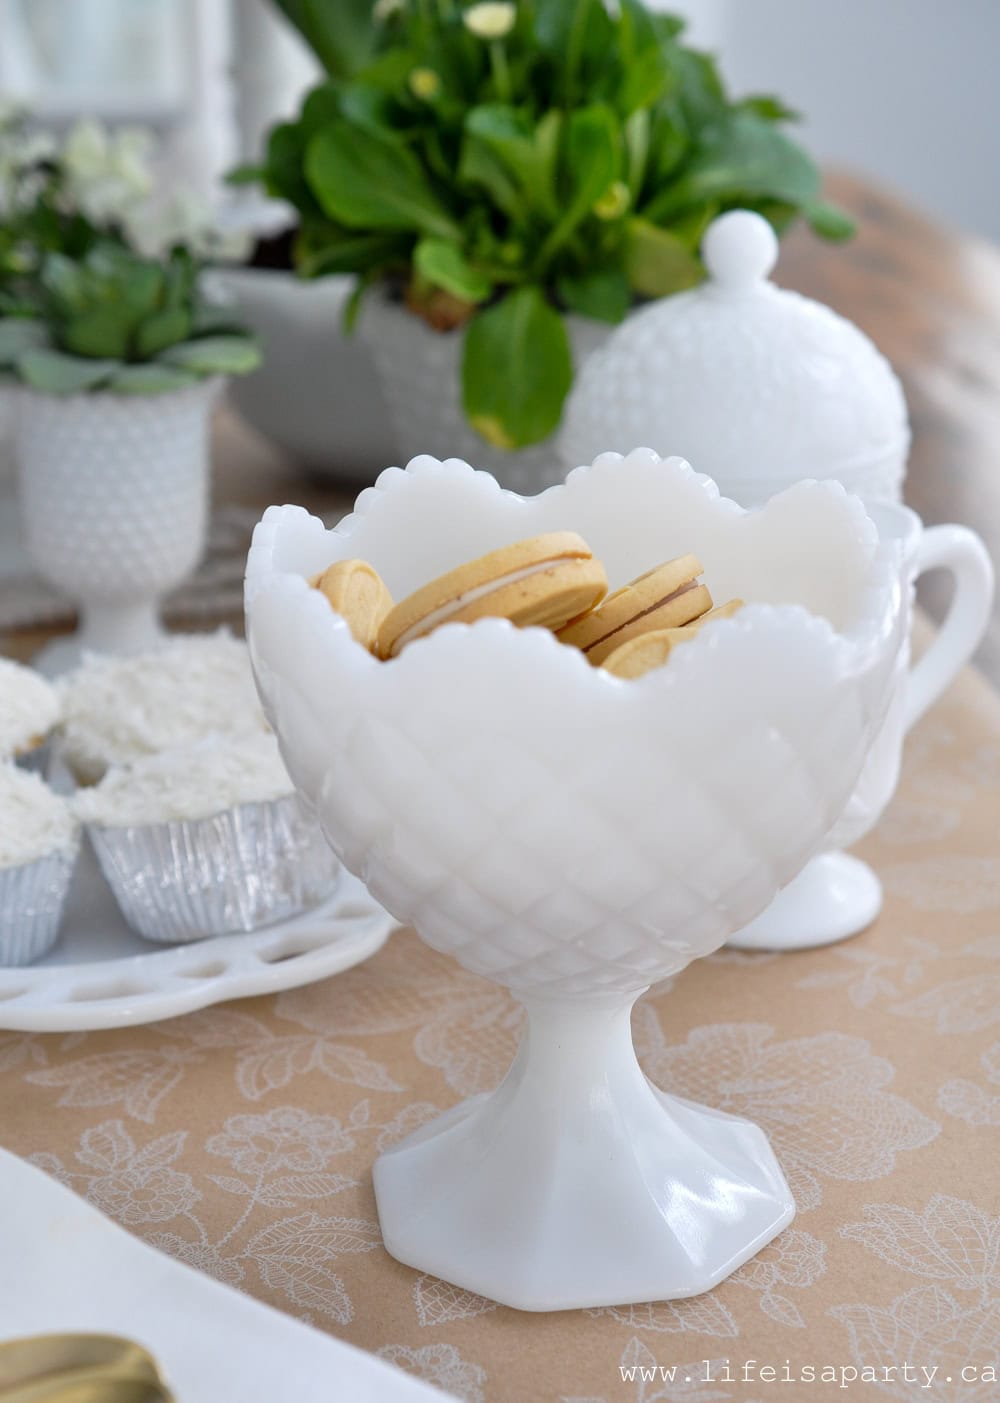
How to use your milk glass collection.
Milk glass platter.


I think my favourite pieces are these footed vases/candy bowls.

There's lots more pieces available than vases though, like this little serving plate.

Mix In Reproduction Pieces

My footed cake stand is actually a reproduction, although there are vintage ones out there too.
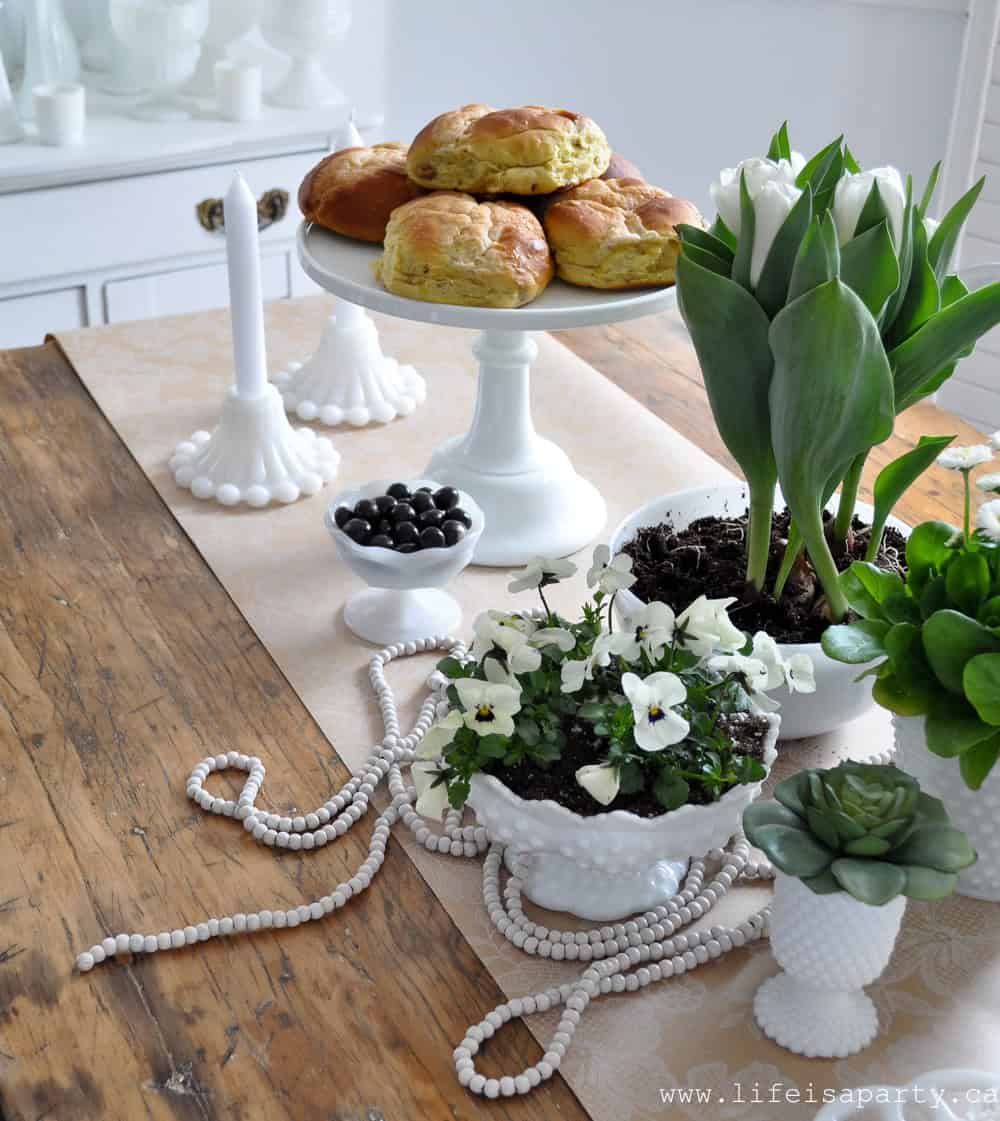
Ideas for displaying your milk glass collection.


The pretty tea cups are delicate and perfect for a tea party and another real favourite set of mine.
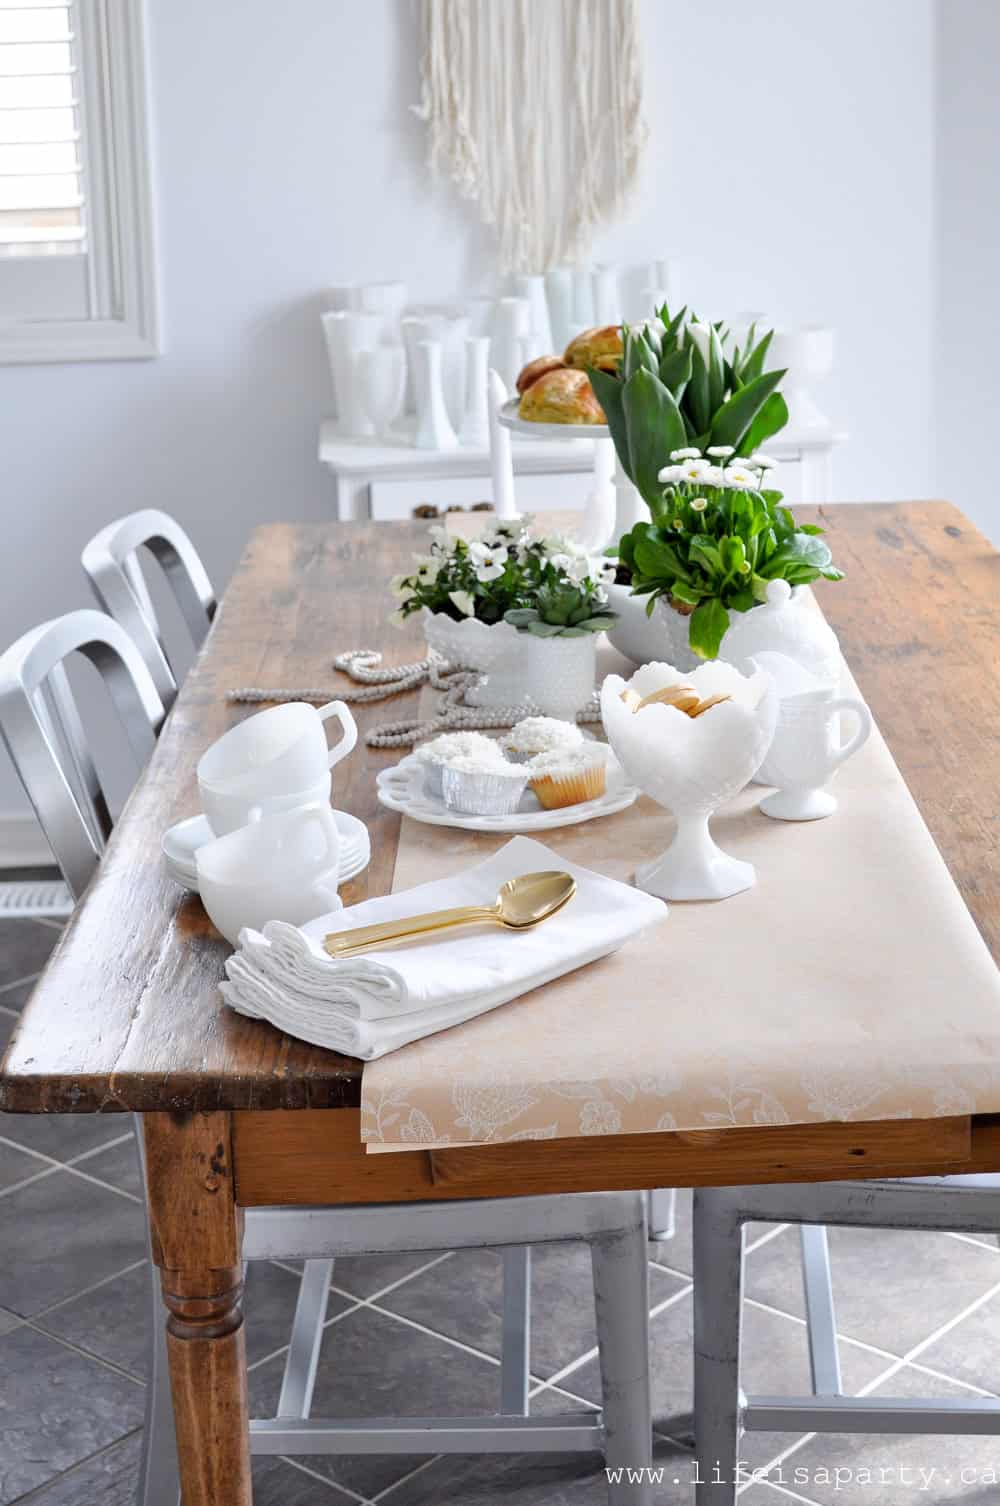
How to use your milk glass collection.


With a pretty milk glass collection, life really is a party!

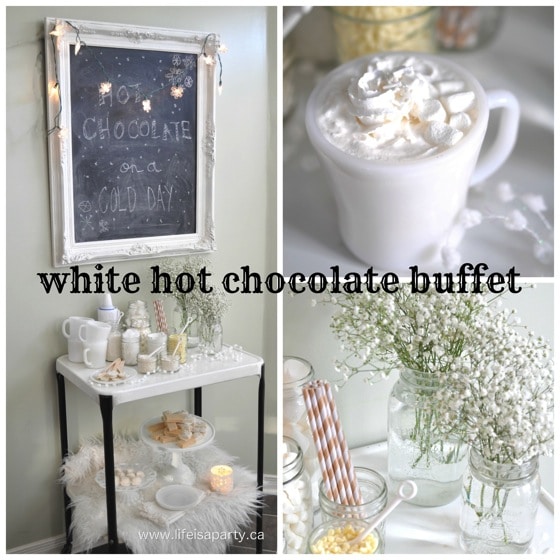
You might also like our White Hot Chocolate Buffet here.
Modern Boho Bathroom Refresh

Apr 7, 2018 · 4 Comments

Easy modern boho bathroom update.

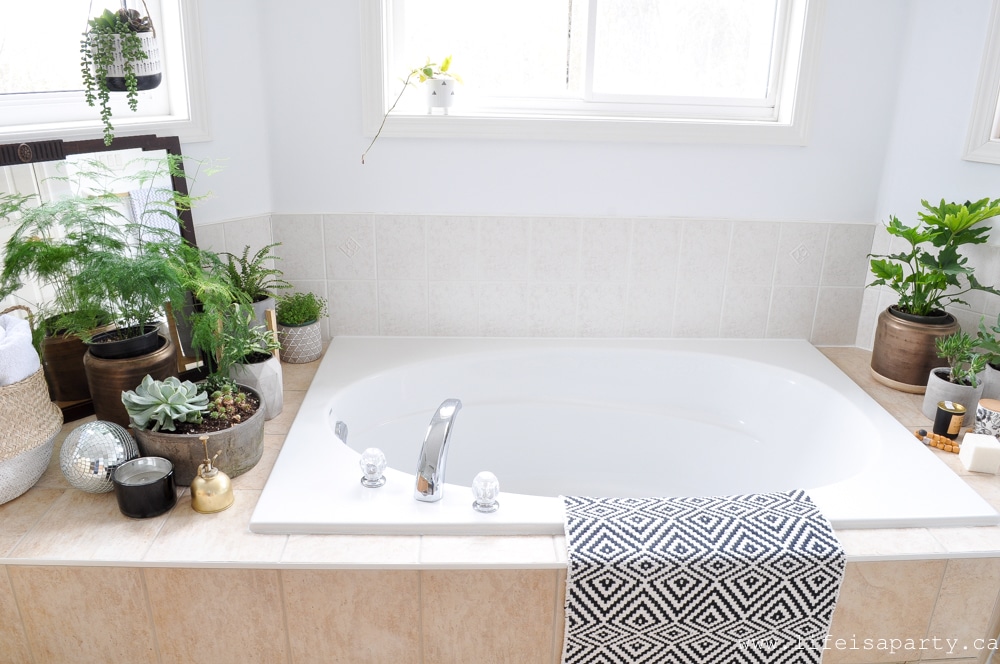
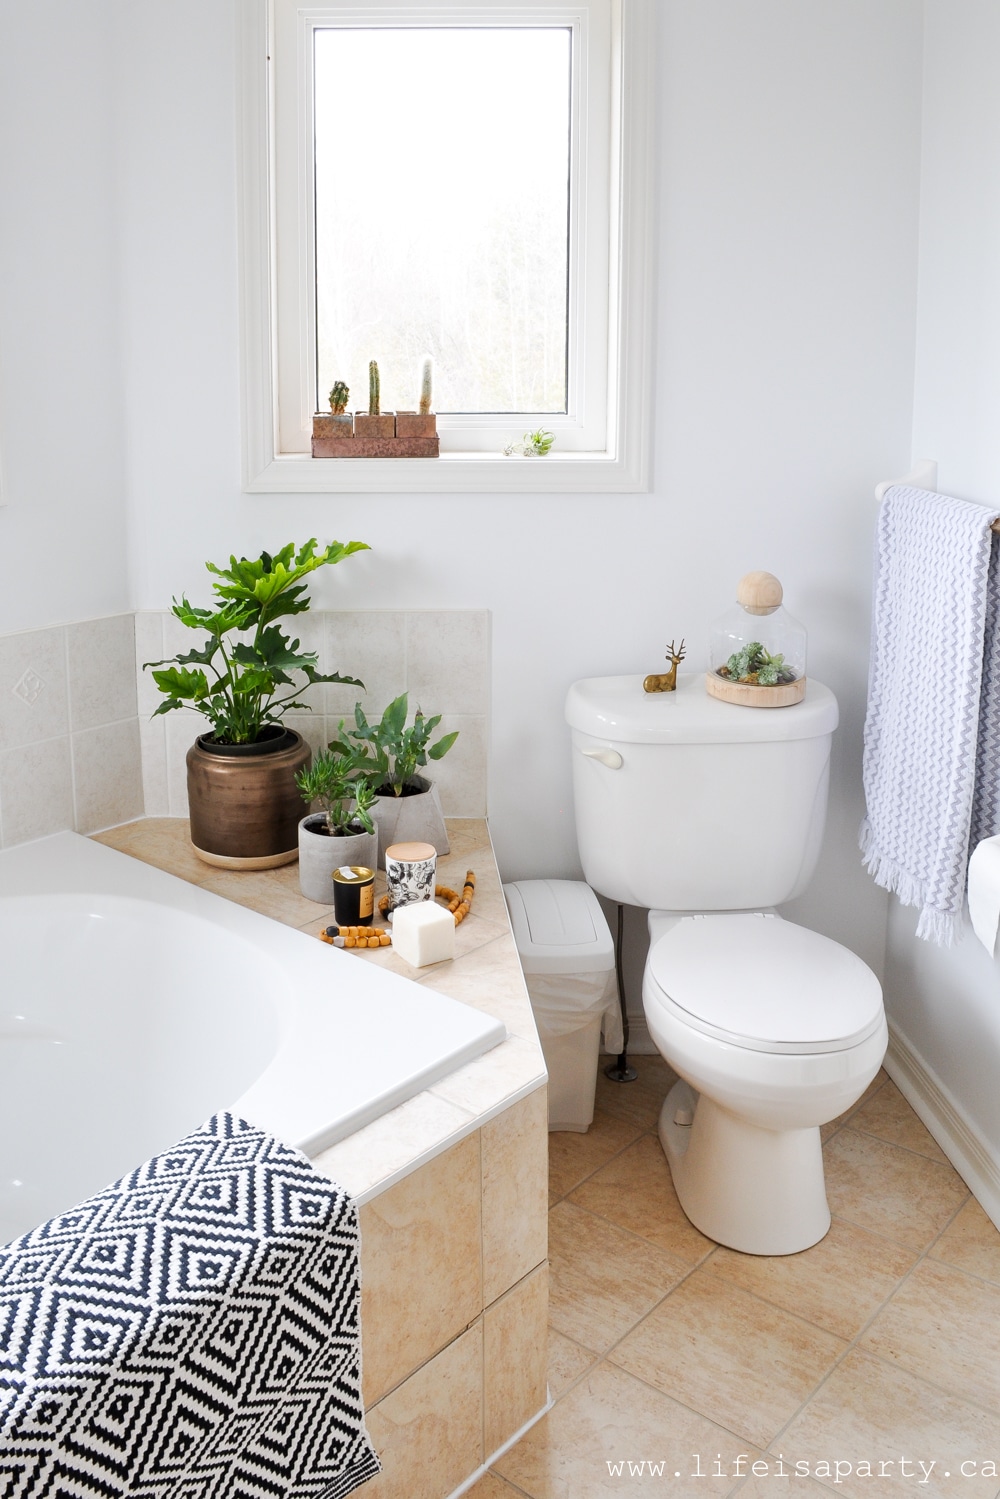
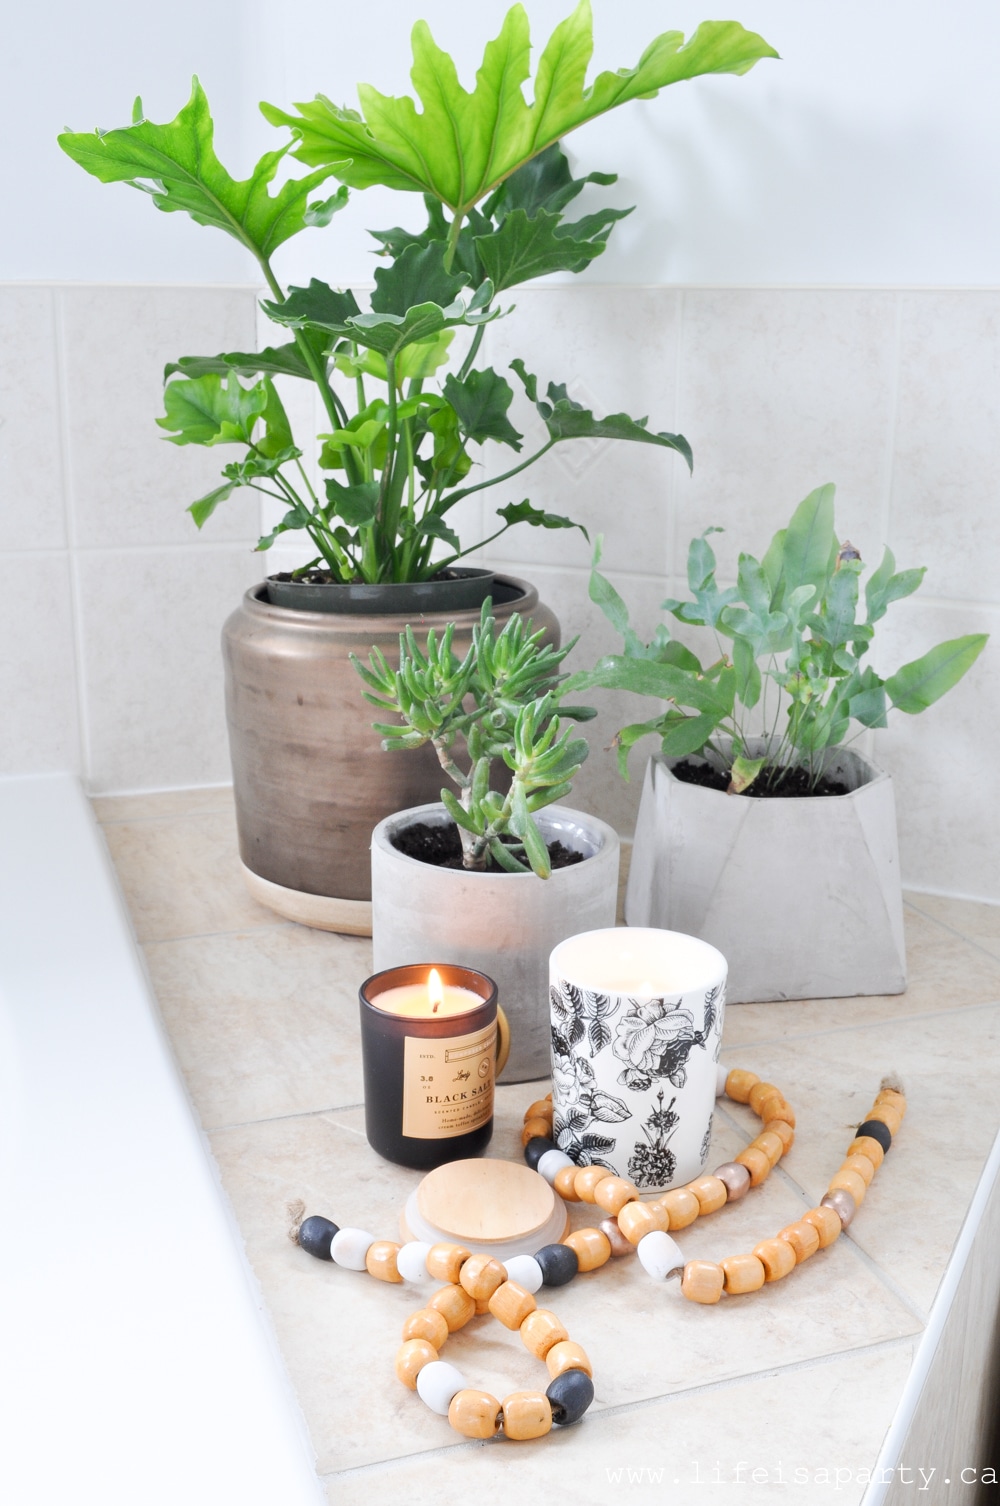
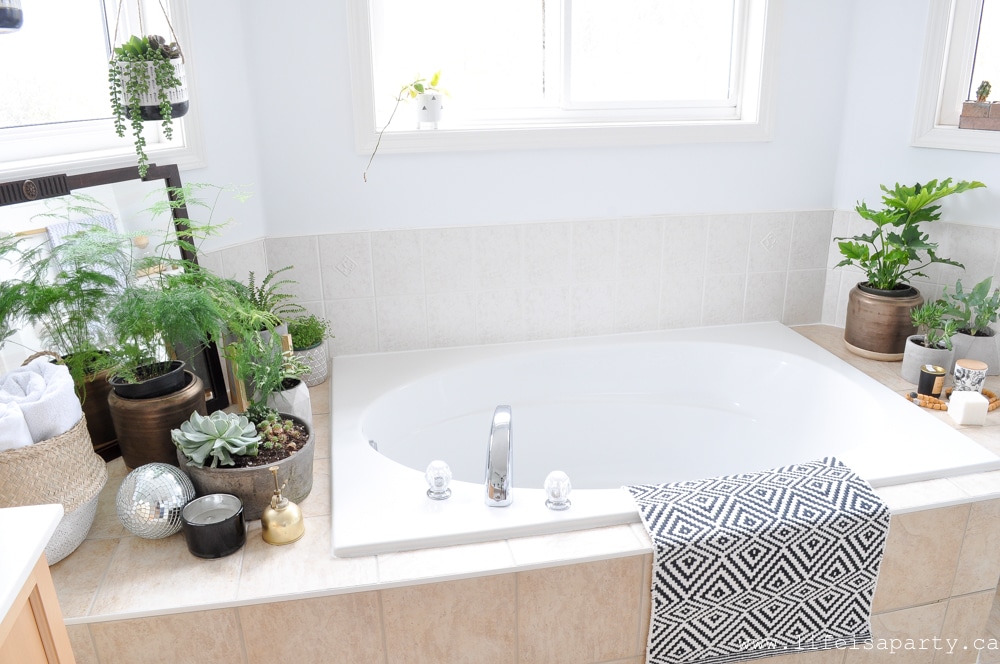
Modern Boho Bathroom Refresh -fresh white paint, a DIY tub tray, beads, candles, and lots and lots of plants turned this bathroom from boring to boho in just a few days.

Easy modern boho bathroom update.
[feast_advanced_jump_to]
Modern Boho Bathroom Refresh -fresh white paint, a DIY tub tray, beads, candles, and lots and lots of plants turned this bathroom from boring to boho in just a few days.


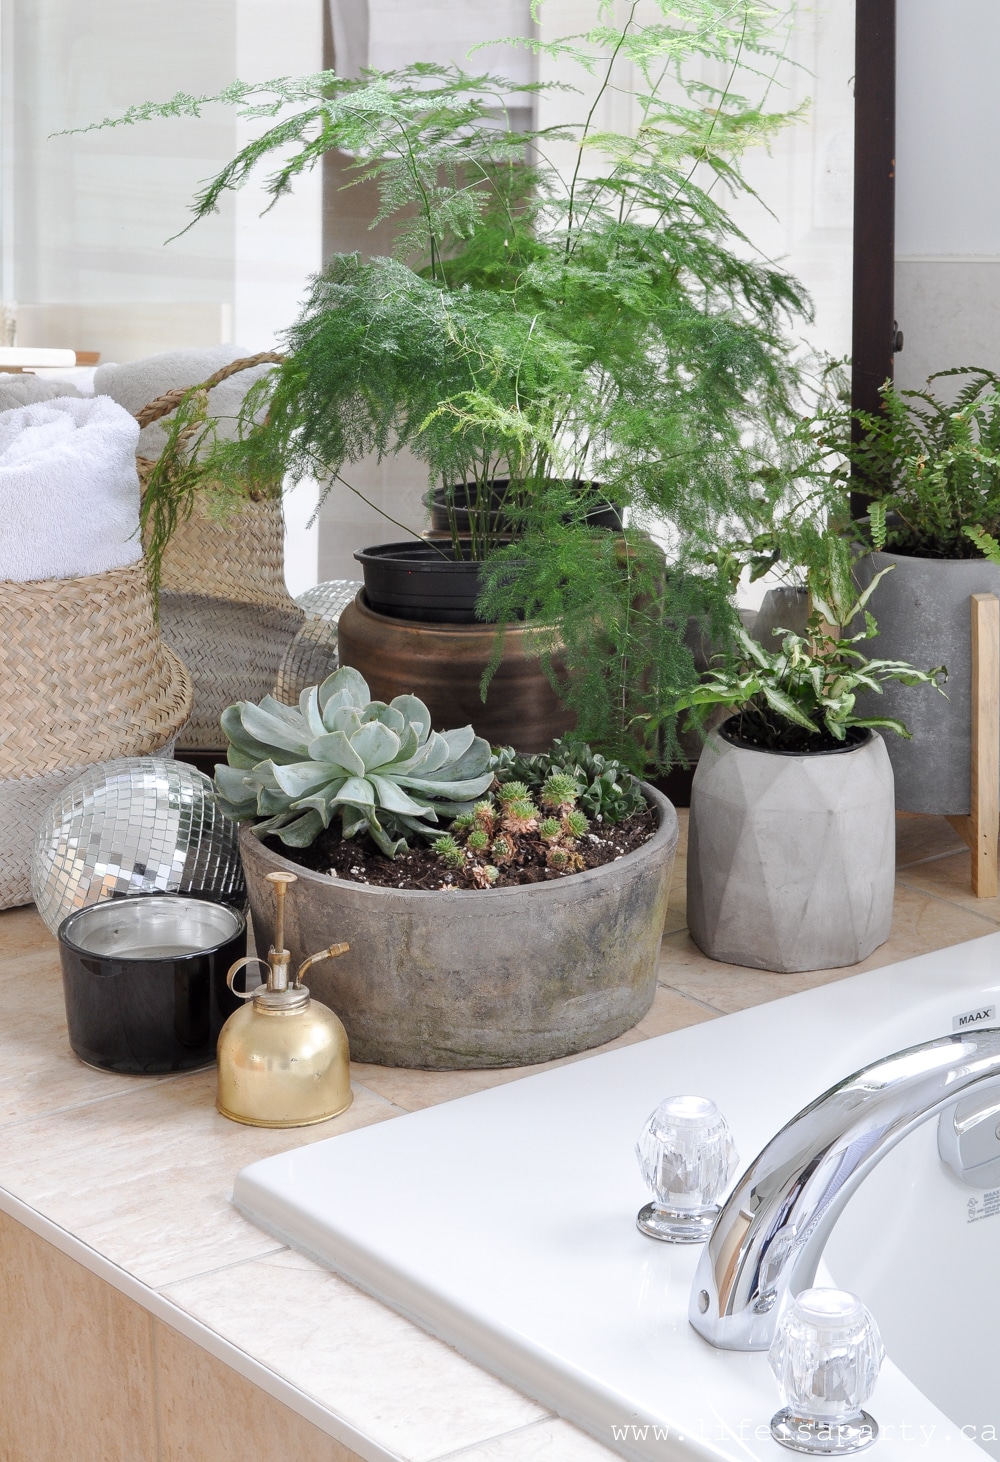
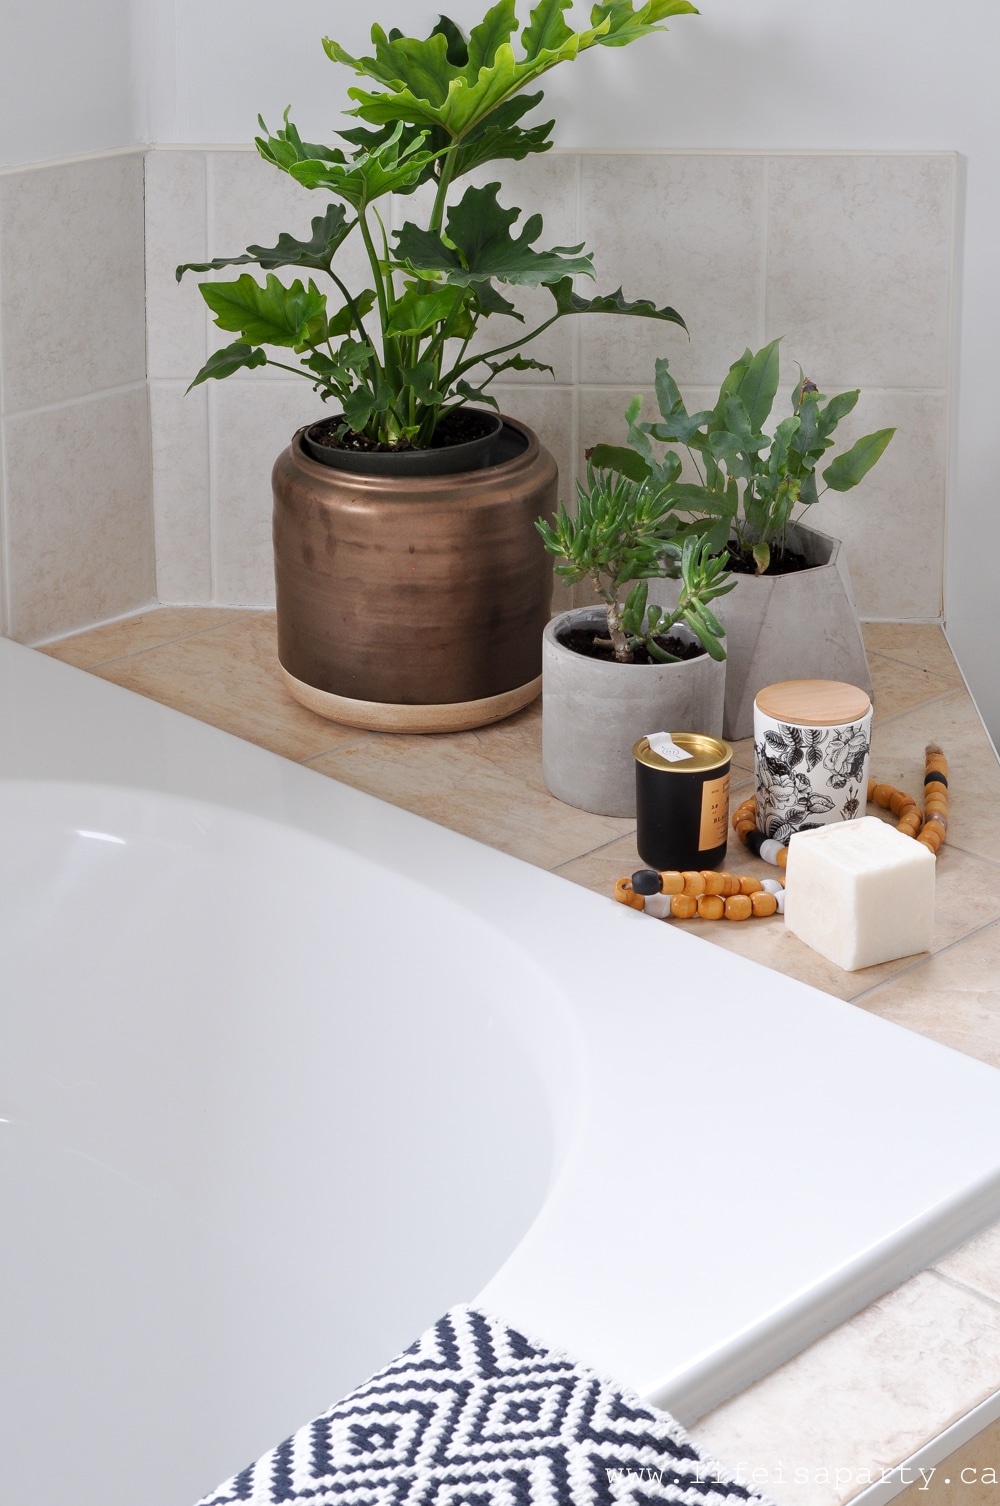
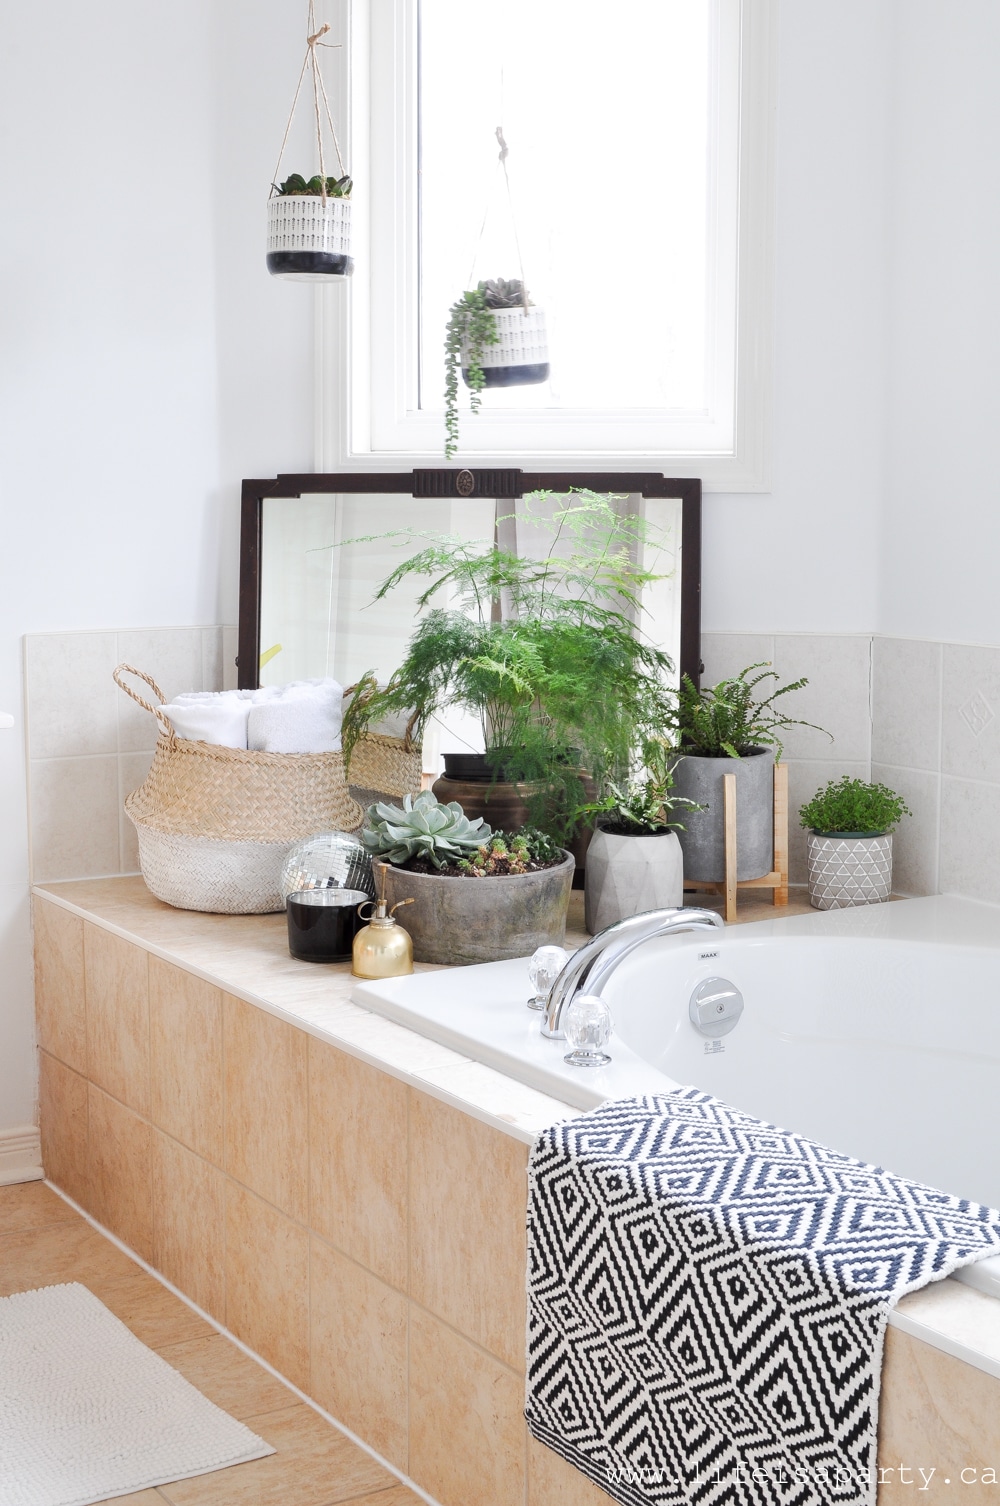
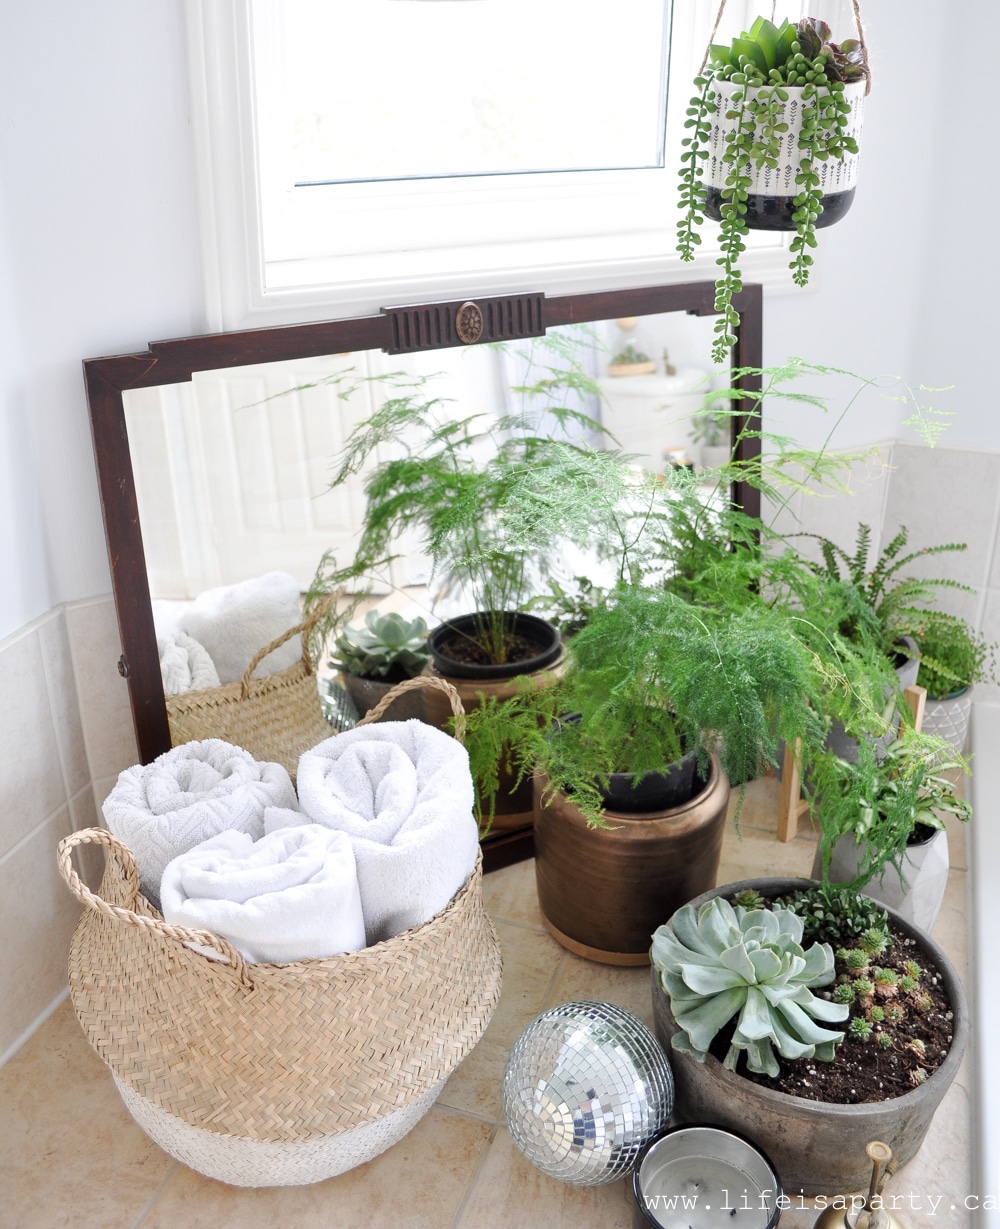
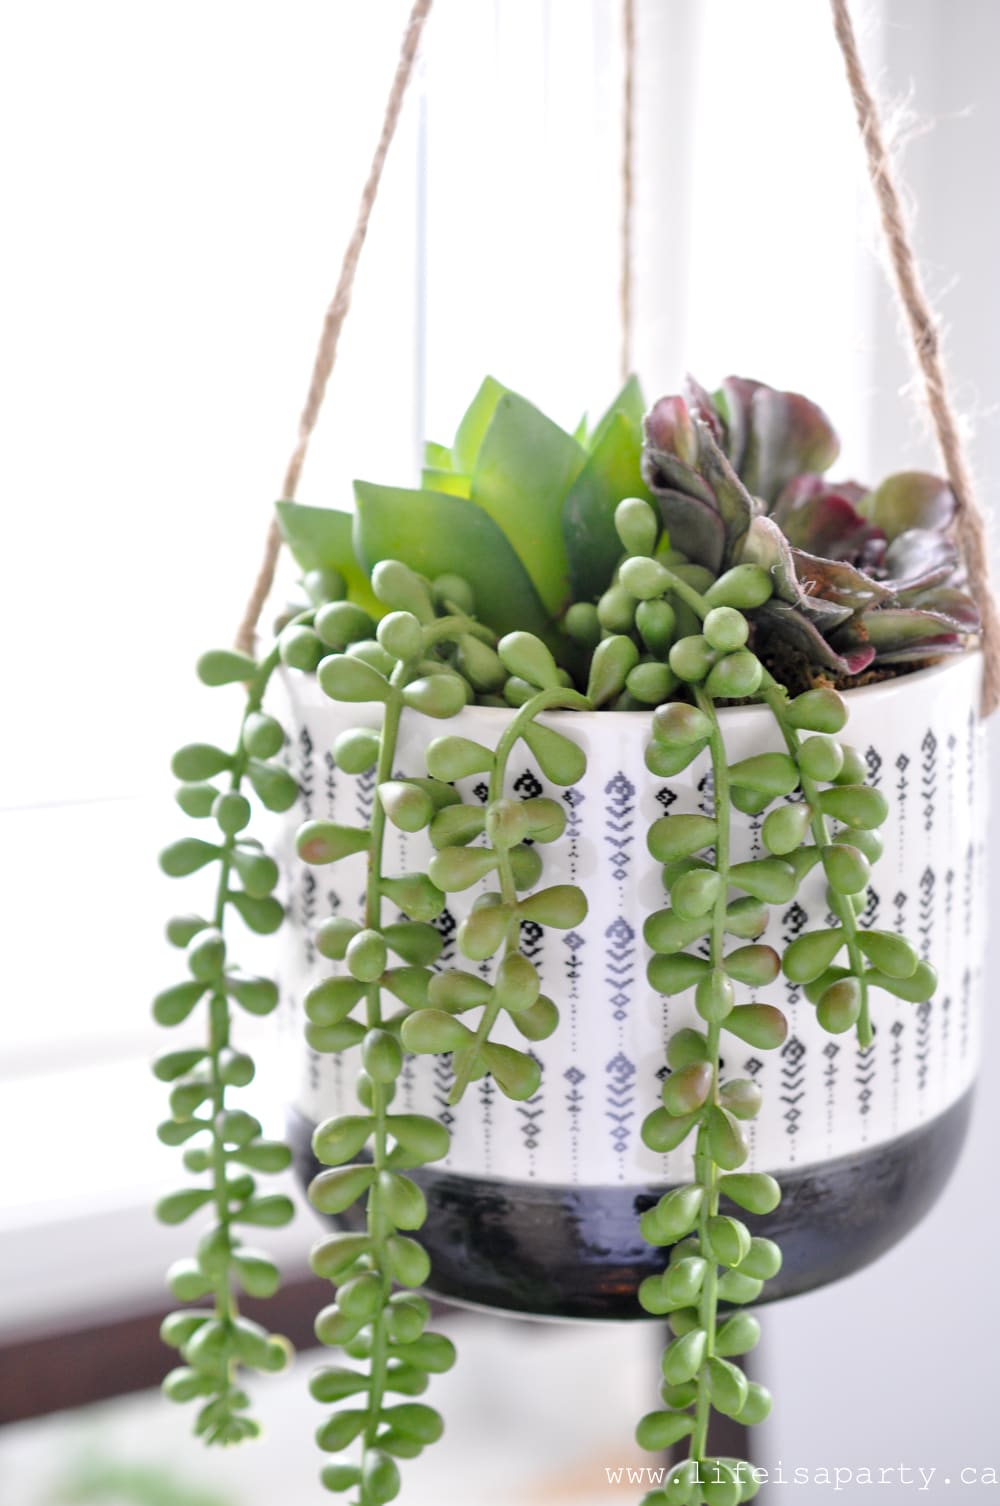
I'm so excited to share my Modern Boho Bathroom Refresh. As spring approaches, it seemed time for a spring clean and a bit of a refresh. Inspired by one of my favourite instagramers, Dee Campling's bathroom, I wanted to add in lots of plants and a few boho touches like the antique mirror, belly basket, hanging pots, and new rug.

It was a pretty quick refresh. I shopped a little ahead of time for some of the new plants and pots.  The rest came together over the long weekend.  

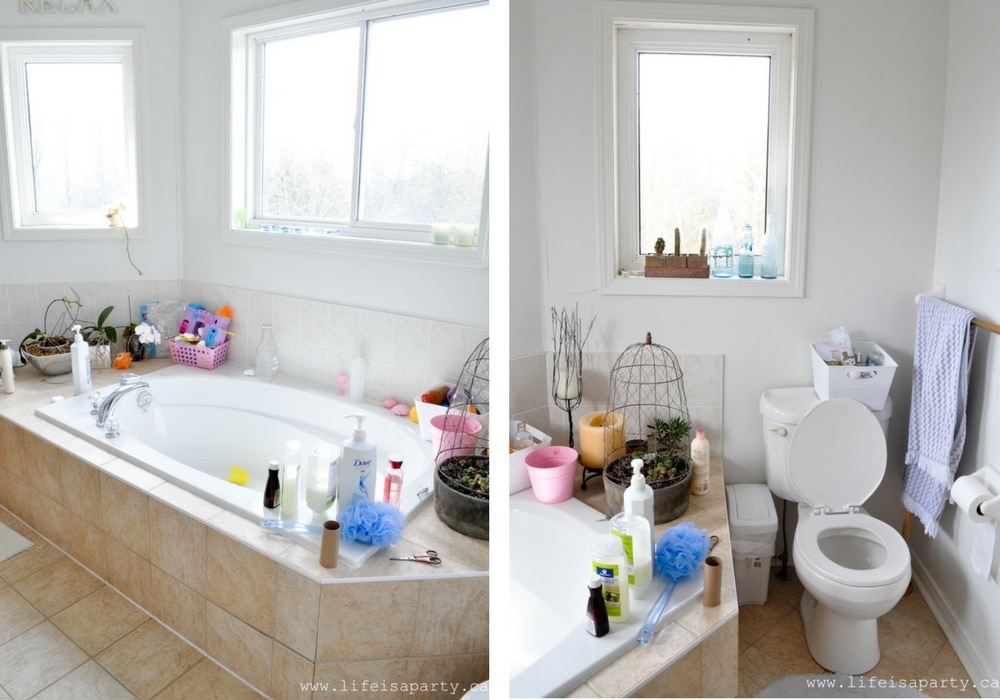
Here are a few before pics. A typical boring beige bathroom, full of kids toys, and bath products and tired decor.

The Before

Modern Boho Bathroom Refresh -fresh white paint, a DIY tub tray, beads, candles, and lots and lots of plants turned this bathroom from boring to boho in just a few days.

It's a room rarely seen my anyone and largely ignored. But as house plants become more and more popular these days, I knew it was the perfect spot to try my hand at becoming a plant lady. The windows make it a bright, sunny spot. We have a forest behind us, so no neighbours to worry about out these windows, and no need for curtains. The area around the soaker tub is the perfect spot for plants.

Modern Boho Bathroom Refresh -fresh white paint, a DIY tub tray, beads, candles, and lots and lots of plants turned this bathroom from boring to boho in just a few days.

The Refresh

Our house is about 12 years old, and the house has settled. So before I painted I needed to patch the cracks in the wall and paint the room. We used my very favourite JoJo Whitewash by Para Paints. I love how fresh and clean it turned out.

Modern Boho Bathroom Refresh -fresh white paint, a DIY tub tray, beads, candles, and lots and lots of plants turned this bathroom from boring to boho in just a few days.

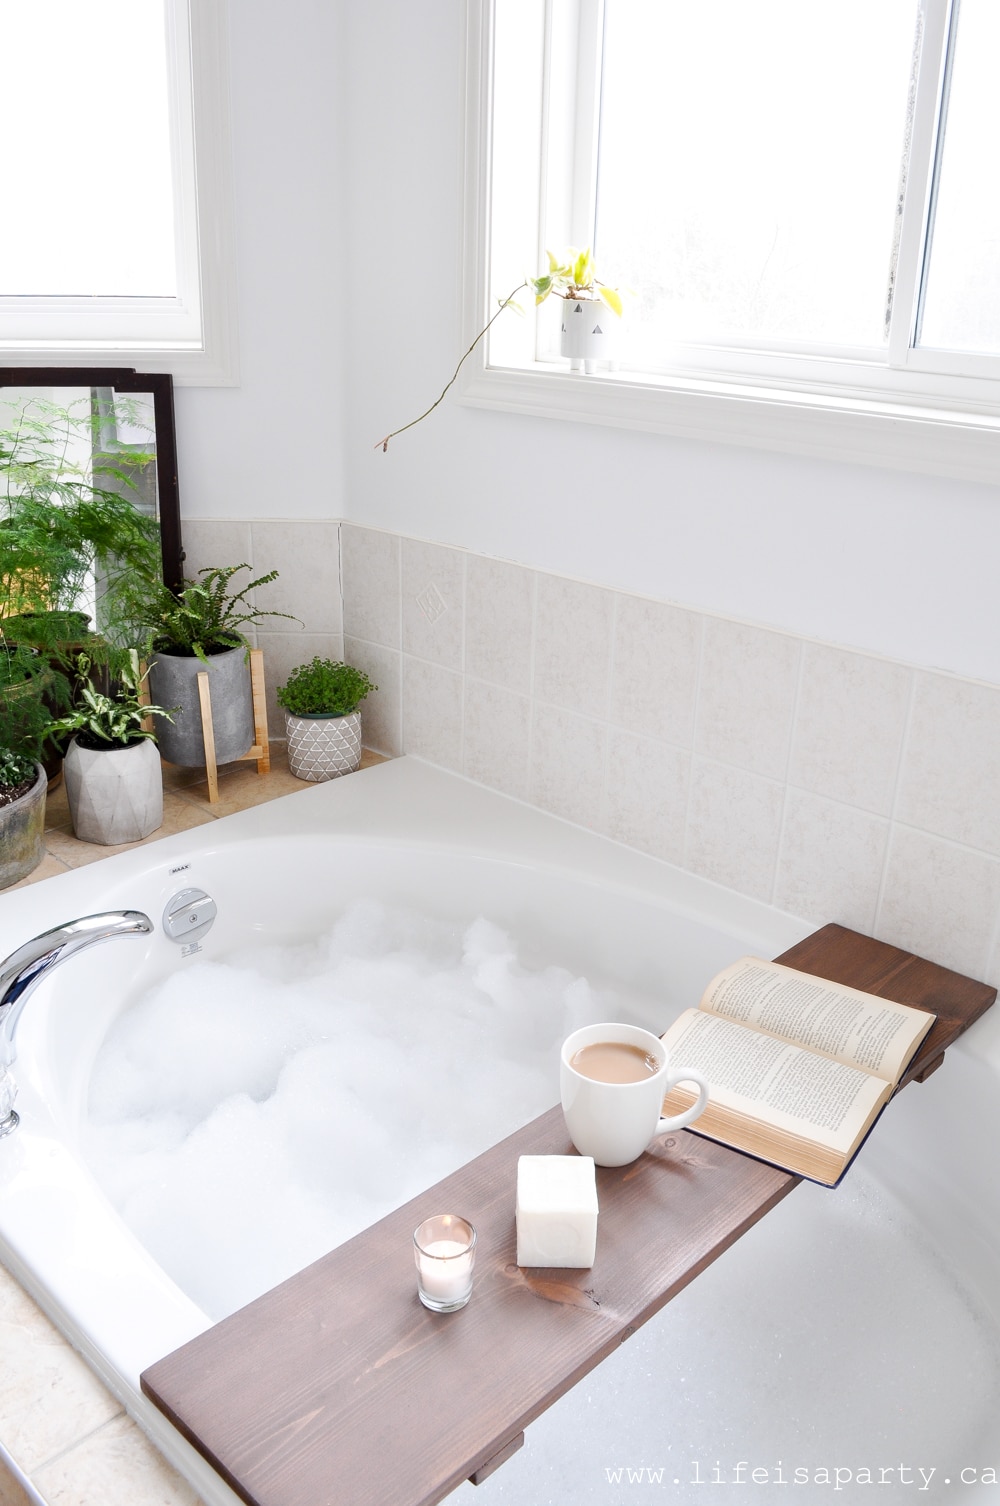
It took me two days to paint the room, Friday and Saturday. Saturday night I picked up the materials for my DIY Tub Tray, such an easy and inexpensive project.  I'll be sharing a tutorial for it soon.

Modern Boho Bathroom Refresh -fresh white paint, a DIY tub tray, beads, candles, and lots and lots of plants turned this bathroom from boring to boho in just a few days.

Sunday was Easter so no work on the room, but my mom who really and truly is a plant lady, visited and brought me some plants.

Modern Boho Bathroom Refresh -fresh white paint, a DIY tub tray, beads, candles, and lots and lots of plants turned this bathroom from boring to boho in just a few days.

Easter Monday I worked on the finishing details, and repotted the plants into some beautiful pots.

Modern Boho Bathroom Refresh -fresh white paint, a DIY tub tray, beads, candles, and lots and lots of plants turned this bathroom from boring to boho in just a few days.

I also did a couple of hanging pots.

Modern Boho Bathroom Refresh -fresh white paint, a DIY tub tray, beads, candles, and lots and lots of plants turned this bathroom from boring to boho in just a few days.

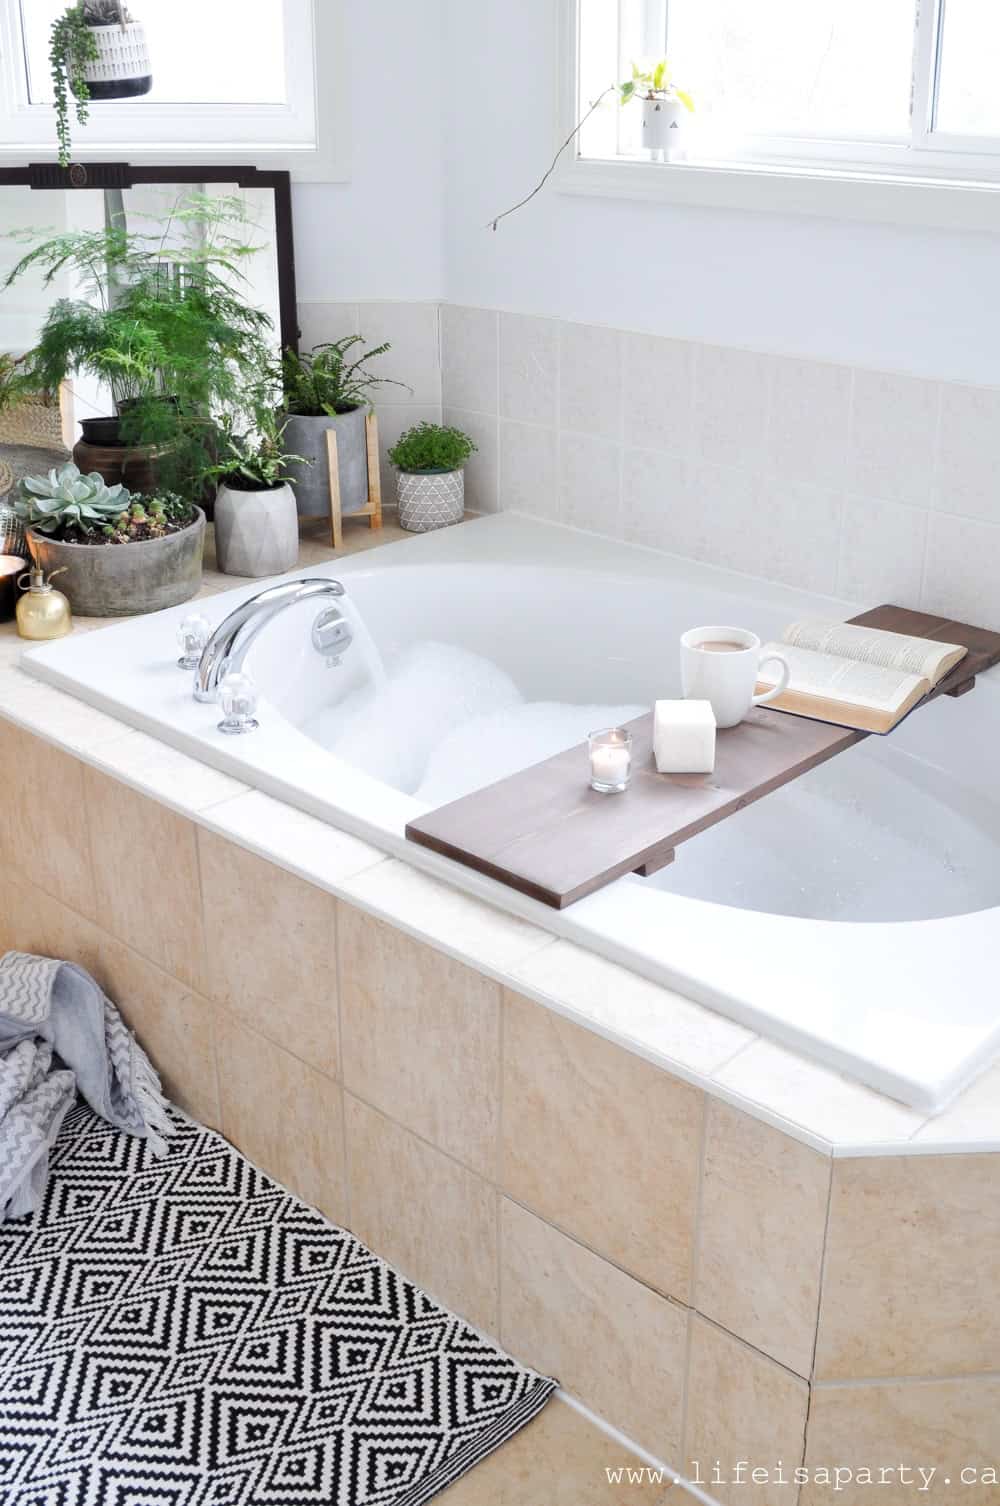
And I was able to put together my tub tray.

Modern Boho Bathroom Refresh -fresh white paint, a DIY tub tray, beads, candles, and lots and lots of plants turned this bathroom from boring to boho in just a few days.

Also, I gave the room a proper spring clean too.  So it really was a pretty quick refresh.

Modern Boho Bathroom Refresh -fresh white paint, a DIY tub tray, beads, candles, and lots and lots of plants turned this bathroom from boring to boho in just a few days.

I love the room now, and I'm reminded again what a difference a fresh coat of paint and some new styling can make.

Modern Boho Bathroom Refresh -fresh white paint, a DIY tub tray, beads, candles, and lots and lots of plants turned this bathroom from boring to boho in just a few days.

When we first moved in I just loved the big soaker tub, and the amazing windows in this room, but their charm had worn off, and the bath had been mostly filled with toys and used by kids for years.

Modern Boho Bathroom Refresh -fresh white paint, a DIY tub tray, beads, candles, and lots and lots of plants turned this bathroom from boring to boho in just a few days.

The refresh has made me fall in love with this room again. And I count myself lucky -especially from a spot in a hot bath with the candles lit. 😉

Modern Boho Bathroom Refresh -fresh white paint, a DIY tub tray, beads, candles, and lots and lots of plants turned this bathroom from boring to boho in just a few days.

I hope you're reminded, like this refresh did for me, that with a little attention, a few days, and small budget you really can fall in love with your home again. As I begin the bigger makeover of my master bedroom that this bathroom is attached to for the One Room Challenge, I'm feeling encouraged and energized about loving that room again too.

Modern Boho Bathroom Refresh -fresh white paint, a DIY tub tray, beads, candles, and lots and lots of plants turned this bathroom from boring to boho in just a few days.

With a newly refreshed Modern Boho Bathroom for spring, life really is a party!

Master Bedroom Makeover -Spring One Room Challenge 2018

Apr 4, 2018 · 38 Comments

Modern Boho Master Bedroom Makeover: modern neutral boho bedroom makeover with lots of texture, a mix of modern and traditional, some DIY touches, gallery wall, and lots of plants.

It's that time of year again, time to take on one room of my home and make it over in six weeks, with weekly updates here.   I'm excited to be a guest participant again in the Spring One Room Challenge.  This time I'm taking on my Master Bedroom makeover and transforming it into a Modern Boho Master Bedroom.  You might remember last time we did our Kitchen, and I love it so much now -see the reveal post here.  The time before that we did our living room and eating area -see the reveal here.  And the first time we did the ORC we did our dining room -see the reveal here.
Modern Boho Master Bedroom Makeover: modern neutral boho bedroom makeover with lots of texture, a mix of modern and traditional, some DIY touches, gallery wall, and lots of plants.

The Before

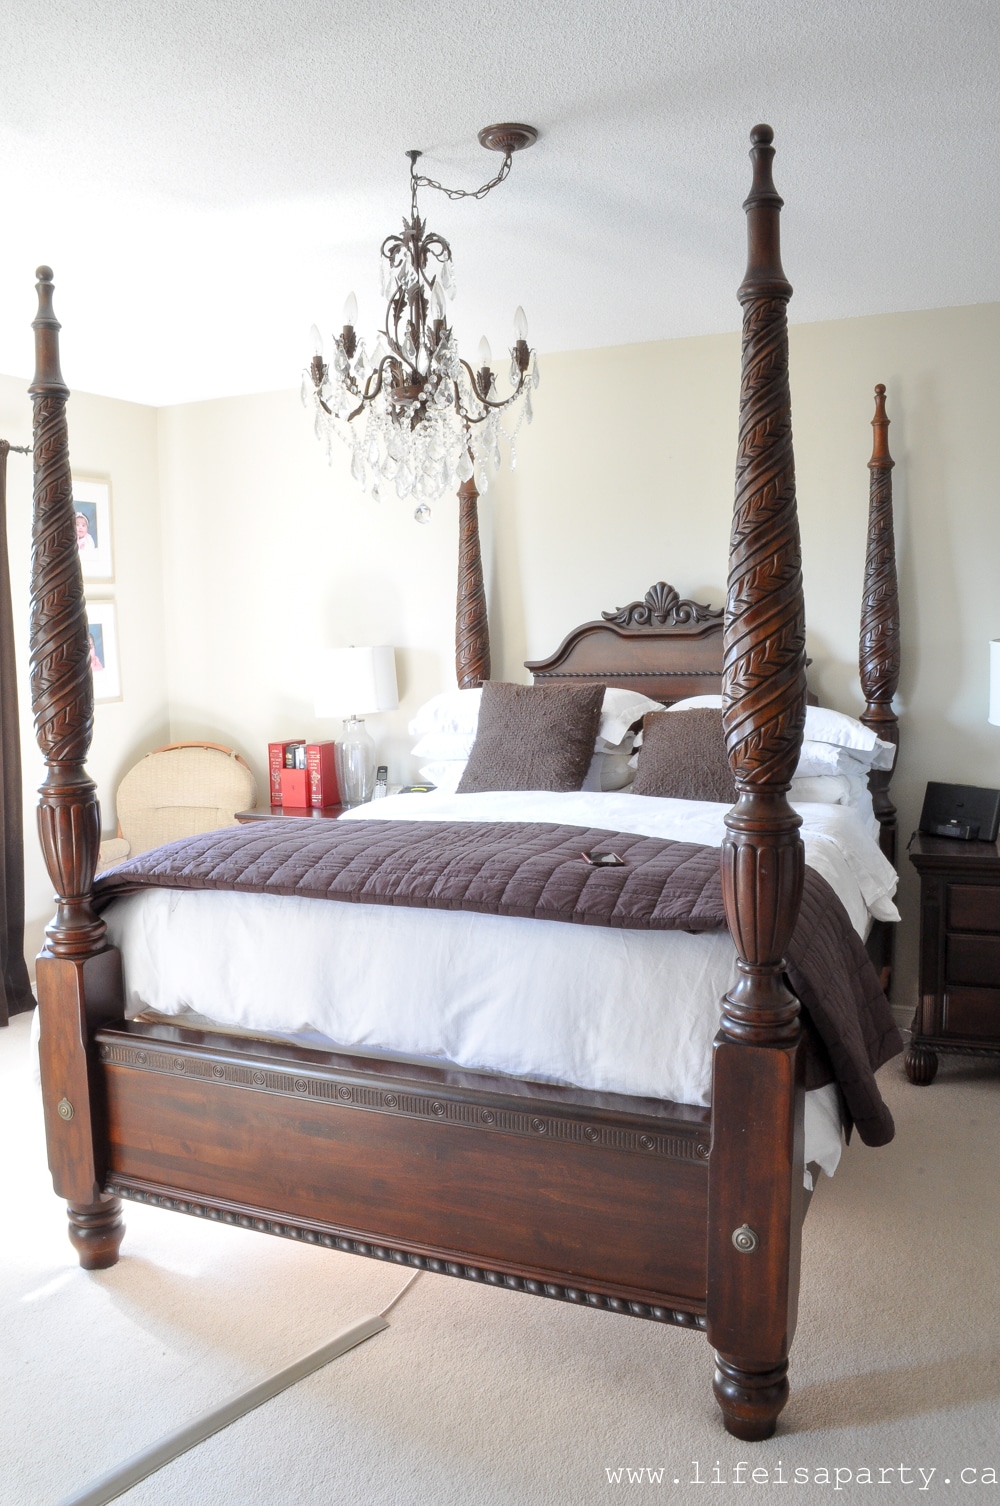
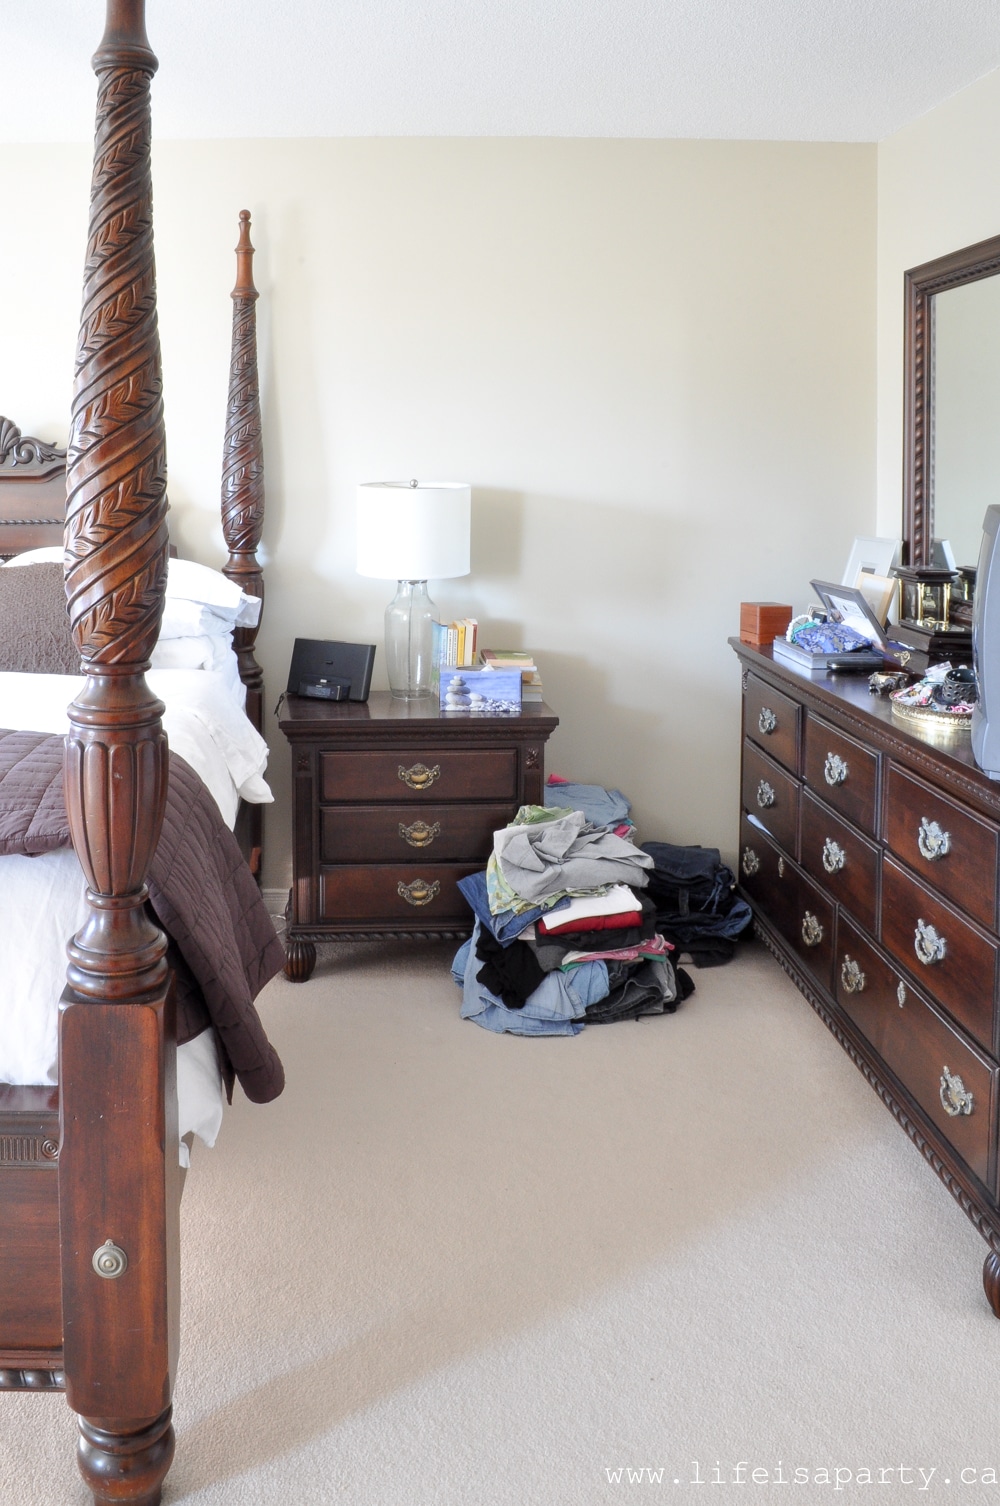
We bought our house about 12 years ago now, and at the time we painted our bedroom a nice warm beige.  Our bedroom furniture was one of our first married couple purchases 17 years ago.  My husband LOVES it.  It's a little traditional for my taste, but was part of a compromise at the time -I got to pick the living room furniture and he got to pick the bedroom furniture.

Modern Boho Master Bedroom Makeover: modern neutral boho bedroom makeover with lots of texture, a mix of modern and traditional, some DIY touches, gallery wall, and lots of plants.

His love for it hasn't faded, so it has to stay.  I did convince him to let me replace the bedside tables for something more modern -although we'll really miss the storage.

Modern Boho Master Bedroom Makeover: modern neutral boho bedroom makeover with lots of texture, a mix of modern and traditional, some DIY touches, gallery wall, and lots of plants.

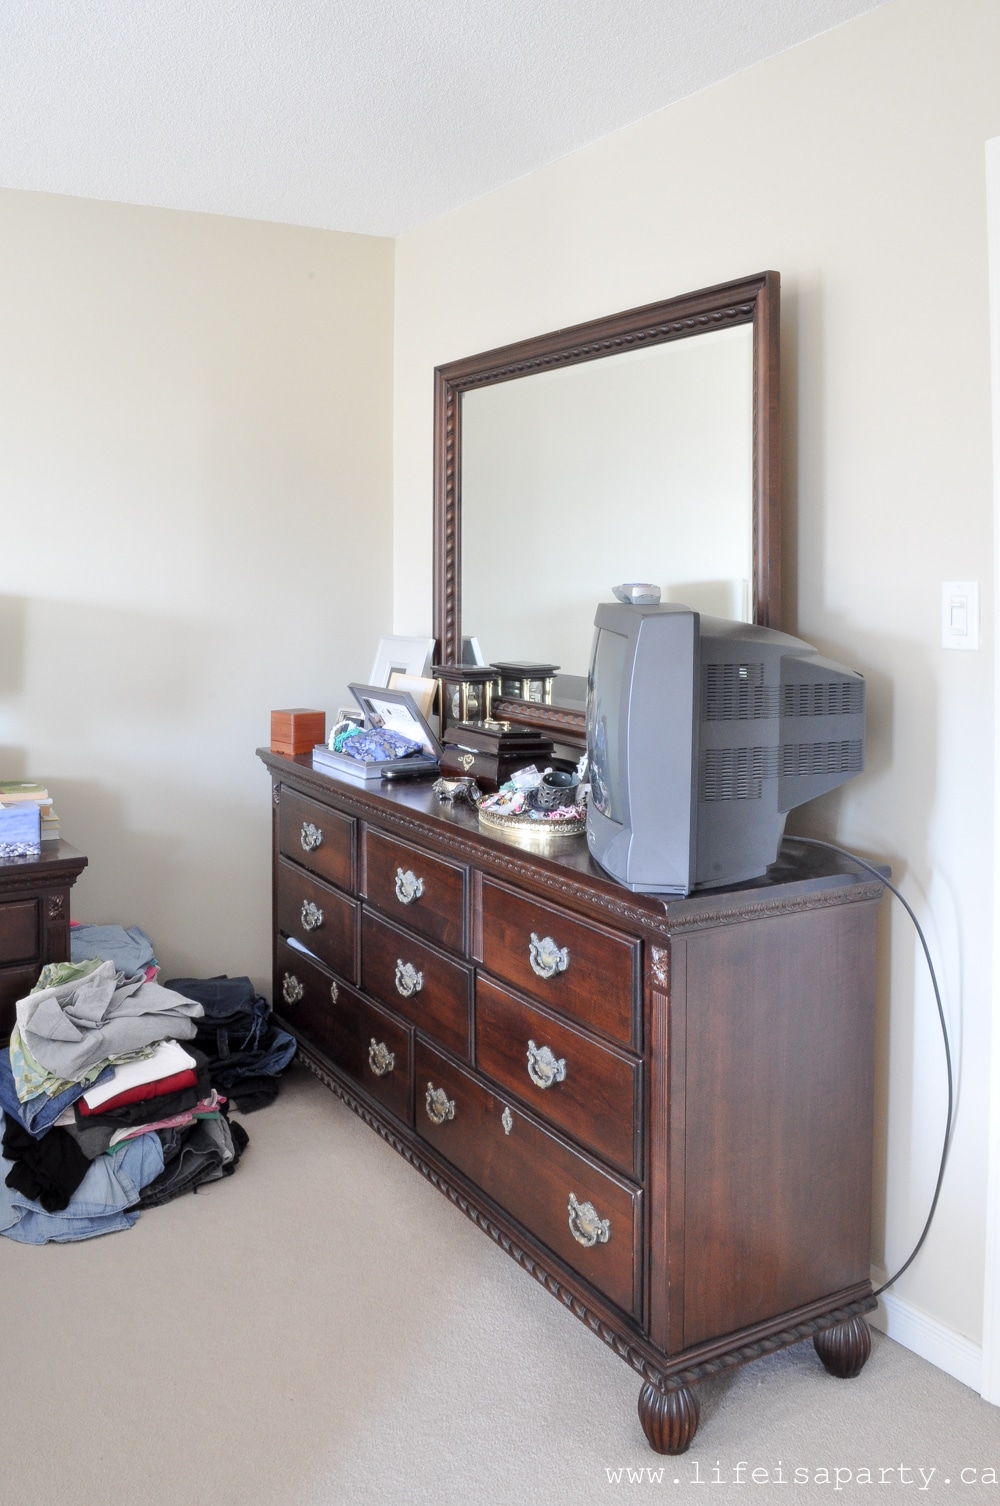
Speaking of storage...all those clothes on the floor are mine.  There's a mix of seasons and sizes.  It's definitely past due time for a purge and to get organized so that will be part of my makeover agenda this time as well.

Modern Boho Master Bedroom Makeover: modern neutral boho bedroom makeover with lots of texture, a mix of modern and traditional, some DIY touches, gallery wall, and lots of plants.

We'll get rid of this old tv too. It was great when my girls were little and they'd crawl in bed with me in the early morning, or someone was sick. But now a days everyone watches tv on their laptops so there's no need for it.

Modern Boho Master Bedroom Makeover: modern neutral boho bedroom makeover with lots of texture, a mix of modern and traditional, some DIY touches, gallery wall, and lots of plants.

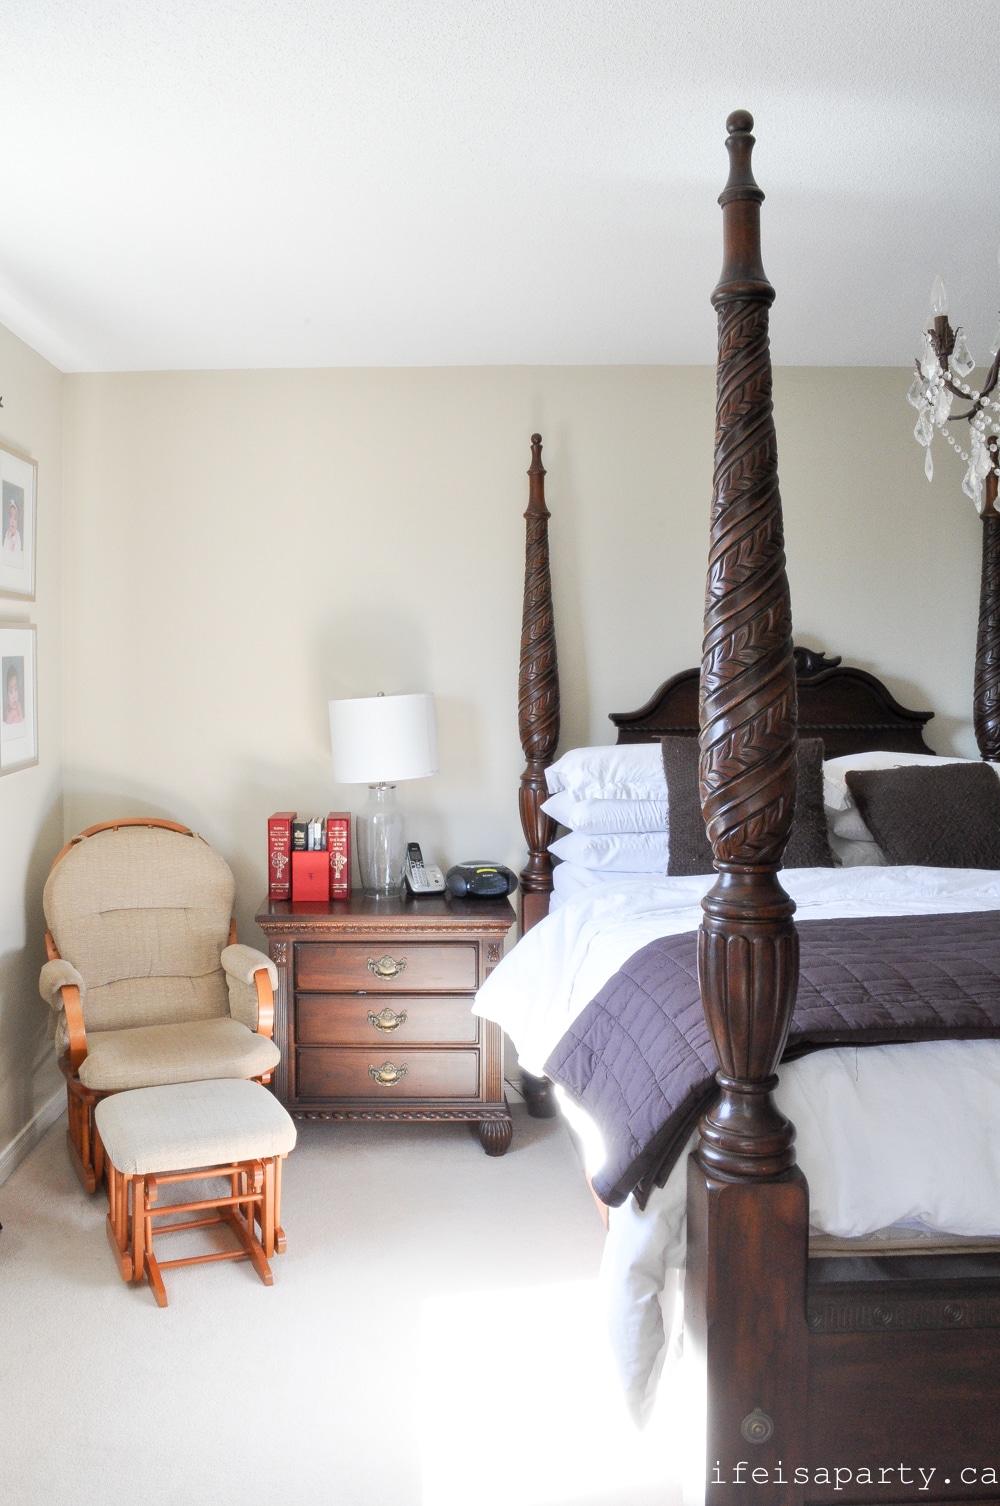
Over here on the other side, I'm hoping to add some nice large plants by the window. And the chair will be replaced too and relocated to the slanting wall at the end of the bed, I think.  The gliding rocker was nice for a nursing momma years and years ago, but it's sure lacking in style.

Modern Boho Master Bedroom Makeover: modern neutral boho bedroom makeover with lots of texture, a mix of modern and traditional, some DIY touches, gallery wall, and lots of plants.


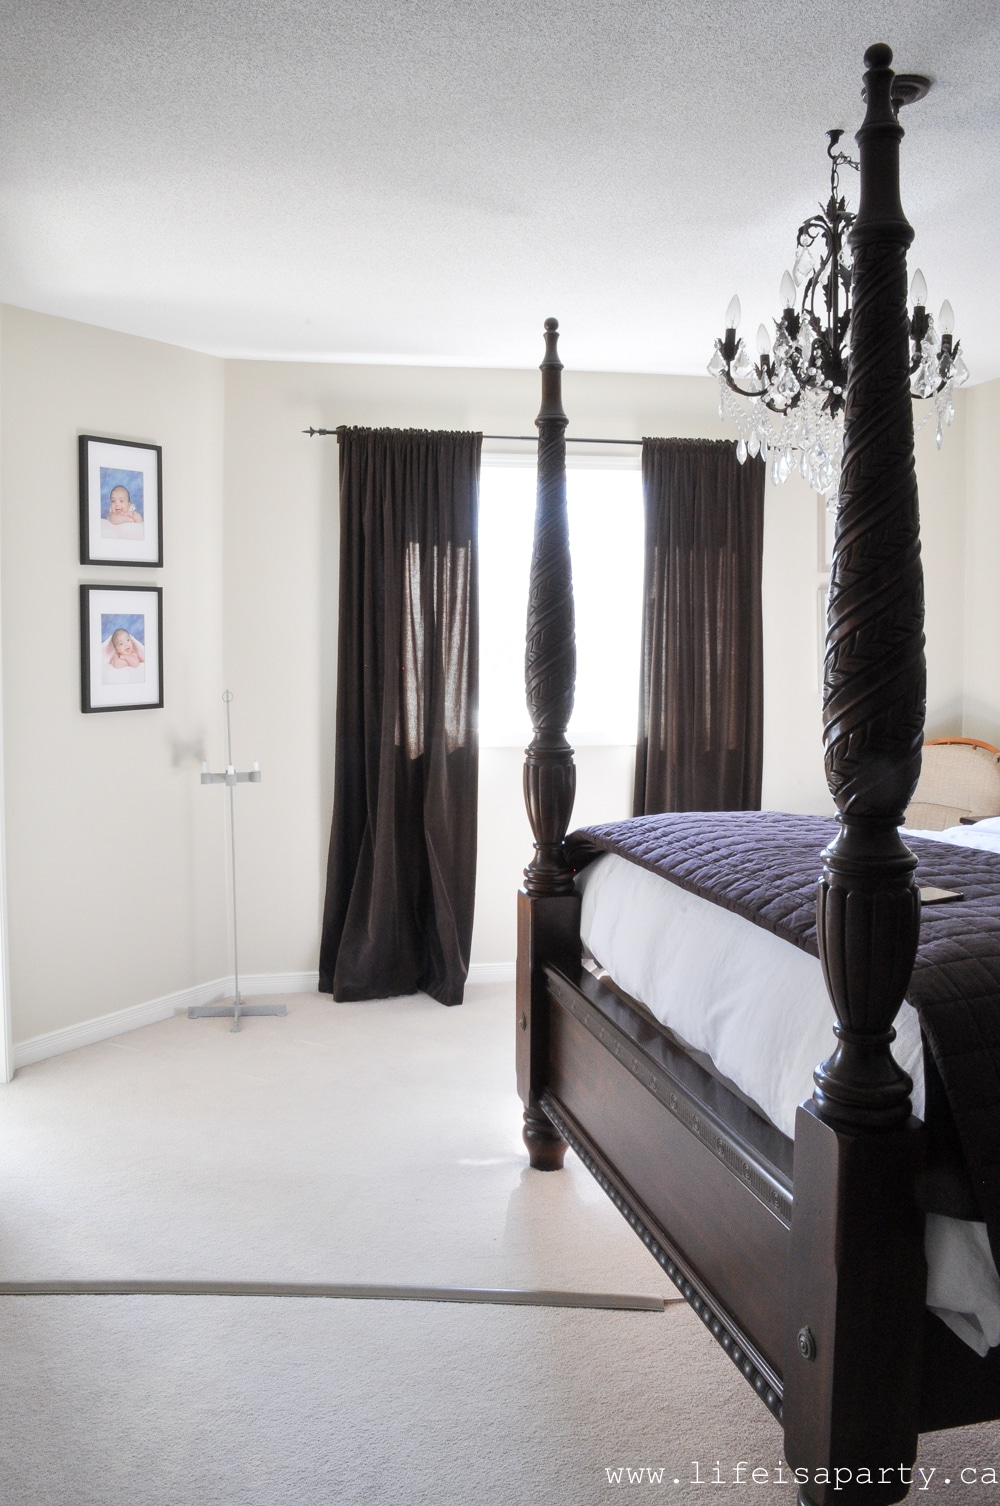
I'm also hoping to do some fun art work in the room and a gallery wall on one of the walls.

The room will be painted a nice crisp white, and the light carpet and white bedding and new white curtains should add an airy feel.

The Inspiration

Modern Boho Master Bedroom Makeover: modern neutral boho bedroom makeover with lots of texture, a mix of modern and traditional, some DIY touches, gallery wall, and lots of plants.

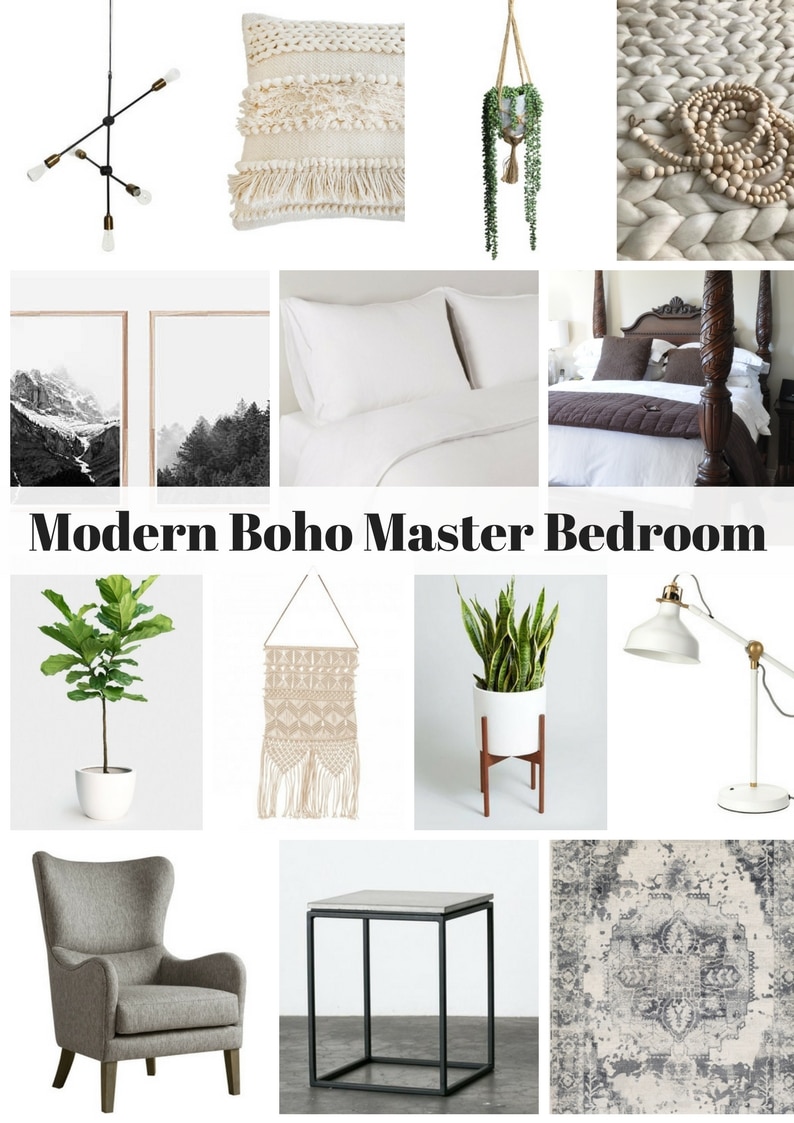
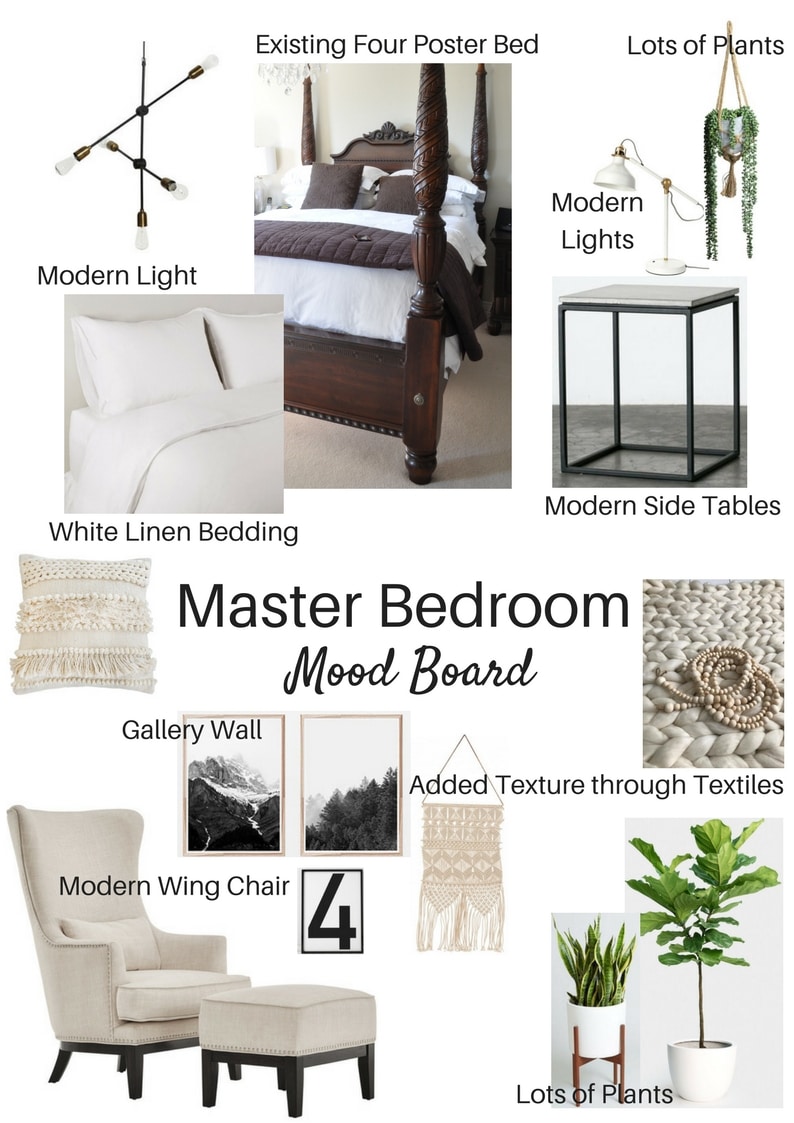
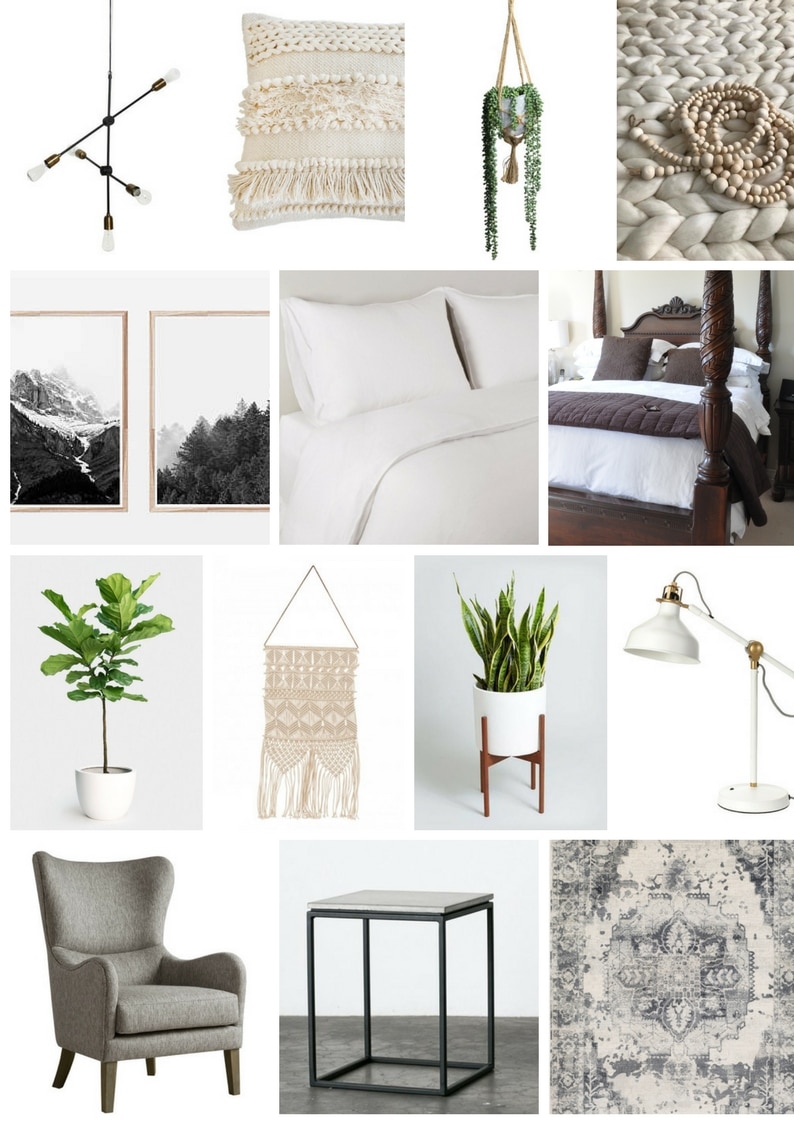
Here's my mood board, to give you an idea where I'm headed.

I'm continuing with the Scandinavian feel that I've been using on the main floor.  This room though will showcase the traditional bed juxtaposed to modern pieces.  It won't be quite so minimalist.   I'm hoping for a Modern Boho Master Bedroom feel to the room, with lots of black and white.  I hope it will have a collected European vibe when I'm all done.

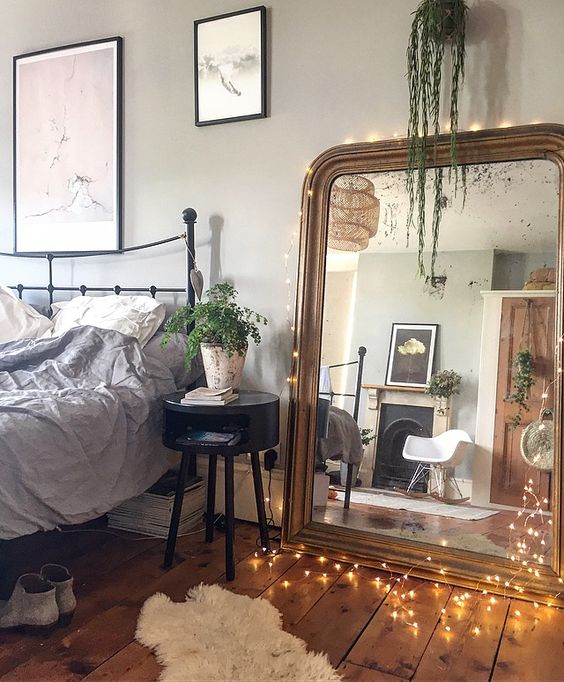
It's definitely challenging to work around an old piece, especially when it's the centre piece of the room.  Maybe some of you can relate, and have to work around existing furniture too?  I'm hoping that by contrasting the traditional bed with really modern pieces that the bed will feel show cased in the room.  I'm taking some inspiration from one of my favourite instagramers here -Dee Camping.

Modern Boho Master Bedroom Makeover: modern neutral boho bedroom makeover with lots of texture, a mix of modern and traditional, some DIY touches, gallery wall, and lots of plants.

Her room is very different from mine, but I'm inspired by the real mix of old and new, all the plants, and the simplicity of the room.  I'm missing the old floor boards, and the qusint English setting, but I shall do my best.  Think I can get there?

The Bedroom Makeover Plan

So here are my plans:

  • paint the room white
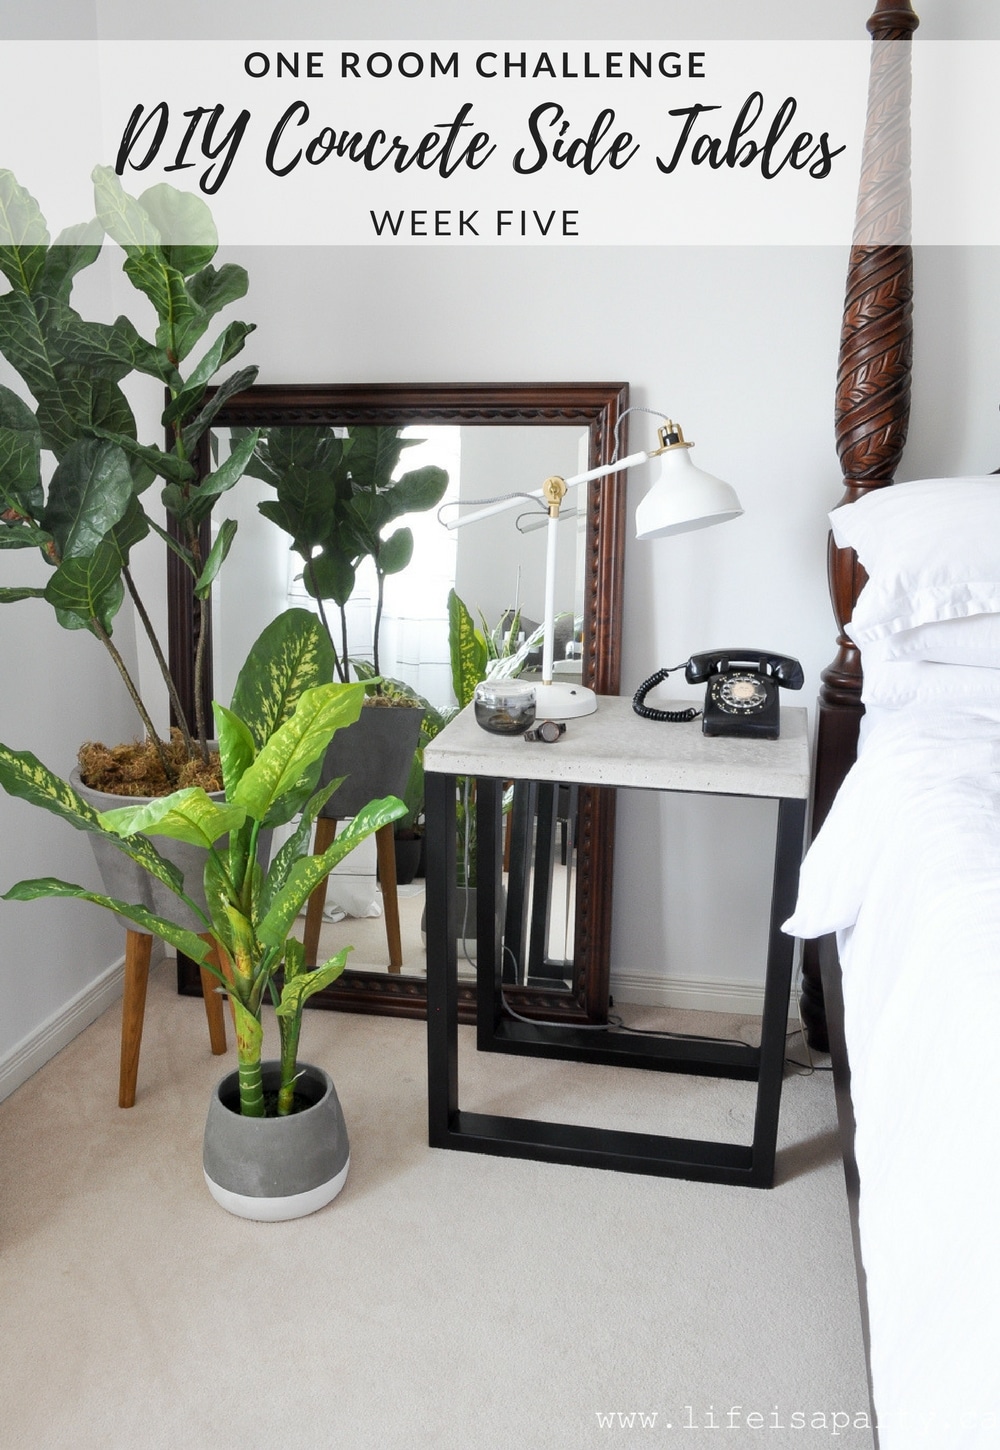
  • DIY some concrete side tables
  • create a gallery wall
  • add a new chair
  • add lots of plants
  • get my clothes organized and purged
  • add some new accessories
  • replace the tradtional light for something more modern
Modern Boho Master Bedroom Makeover: modern neutral boho bedroom makeover with lots of texture, a mix of modern and traditional, some DIY touches, gallery wall, and lots of plants.

If you'd like to see more of my inspiration, check out my Modern Boho Bedroom Pinterest board.

I'm so excited to get started and fall in love with this room again.  Is your bedroom kind of a neglected space too?  Hopefully a few new pieces can really make it feel special again.  Be sure to follow along with all the amazing One Room Challenge makeovers.  Last time there were over 200 guests participants and tons of inspiration!  Be sure to check out the other rooms here.

With a new Modern Boho Master Bedroom Makeover, life really is a party!

Want to see how it all came together now that it's finished? You can check out all the One Room Challenge weekly updates here:

The Before and The Plan / Gentle Purging and Decluttering Clothes /  DIY Concrete Side Tables / Modern Boho Master Bedroom Reval

I really could not have brought this room together without some amazing sponsors. A special thanks to

Home Depot, Wayfair, HomeSense, Afloral, Amara, Para, Minted, Bobbie Made, Benjamin Tileworks, and Auto Artwork Shop.  All opinions are my own, as always.  Thanks for supporting the brands that make Life is a Party possible.

Modern Boho Bedroom: Black and white, woven wall hangings, a modern gallery wall, lots of plants, boho string lights, and tons of textured pillows give this room its European Modern Bohemian vibe.

Faux Concrete Finish Bunnies

Mar 27, 2018 · 4 Comments

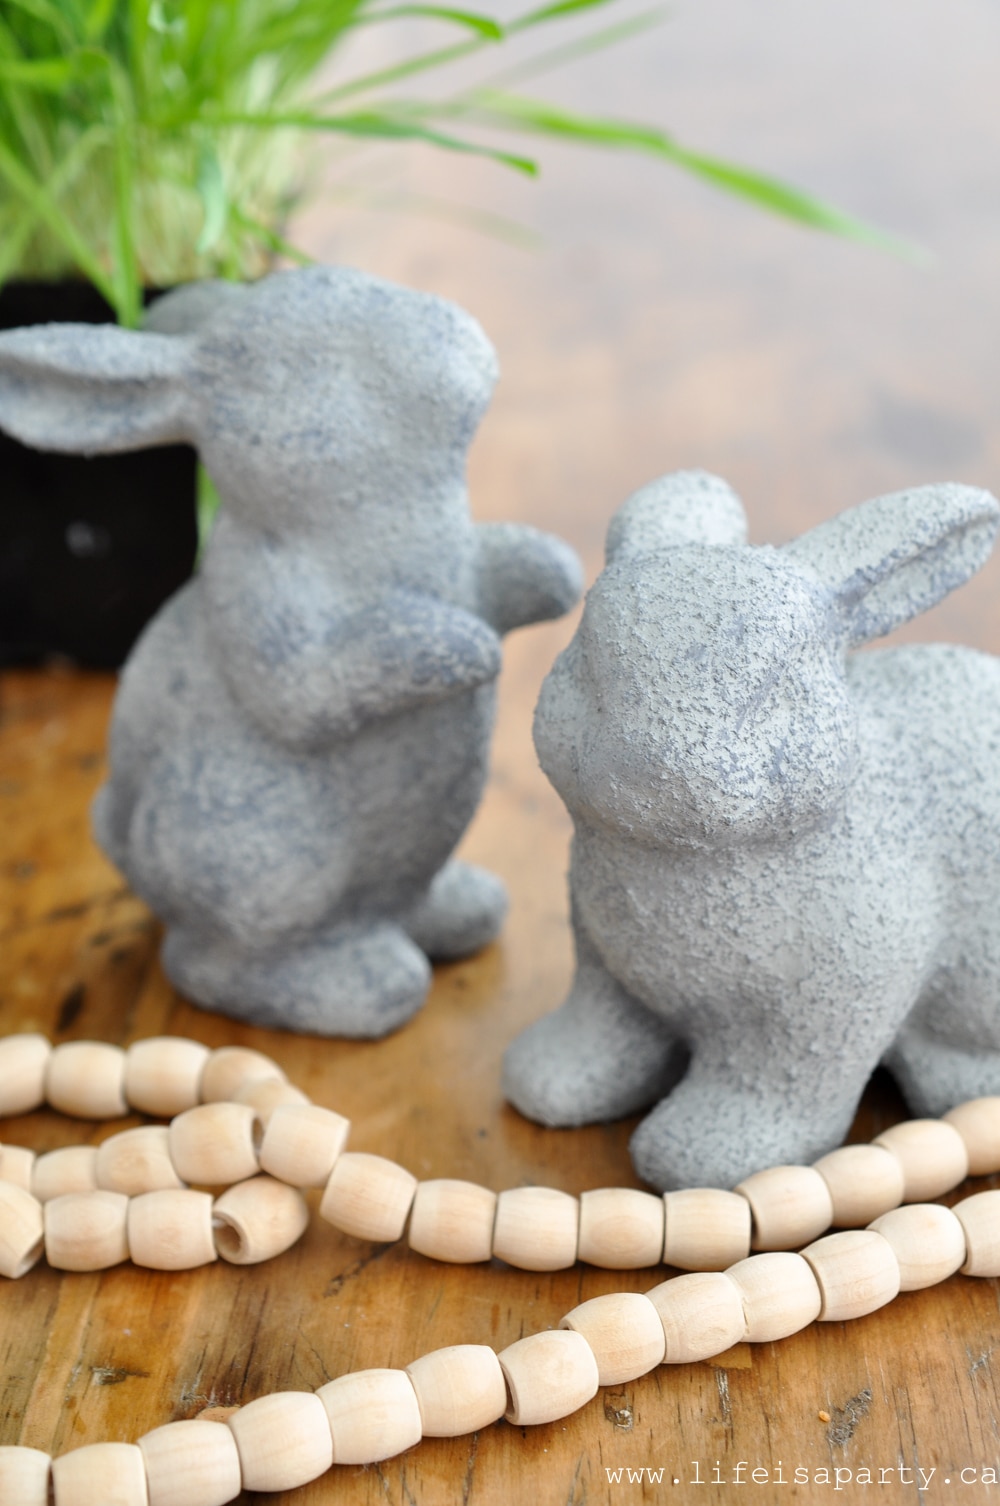
How to paint your ceramic bunnies to look like concrete.

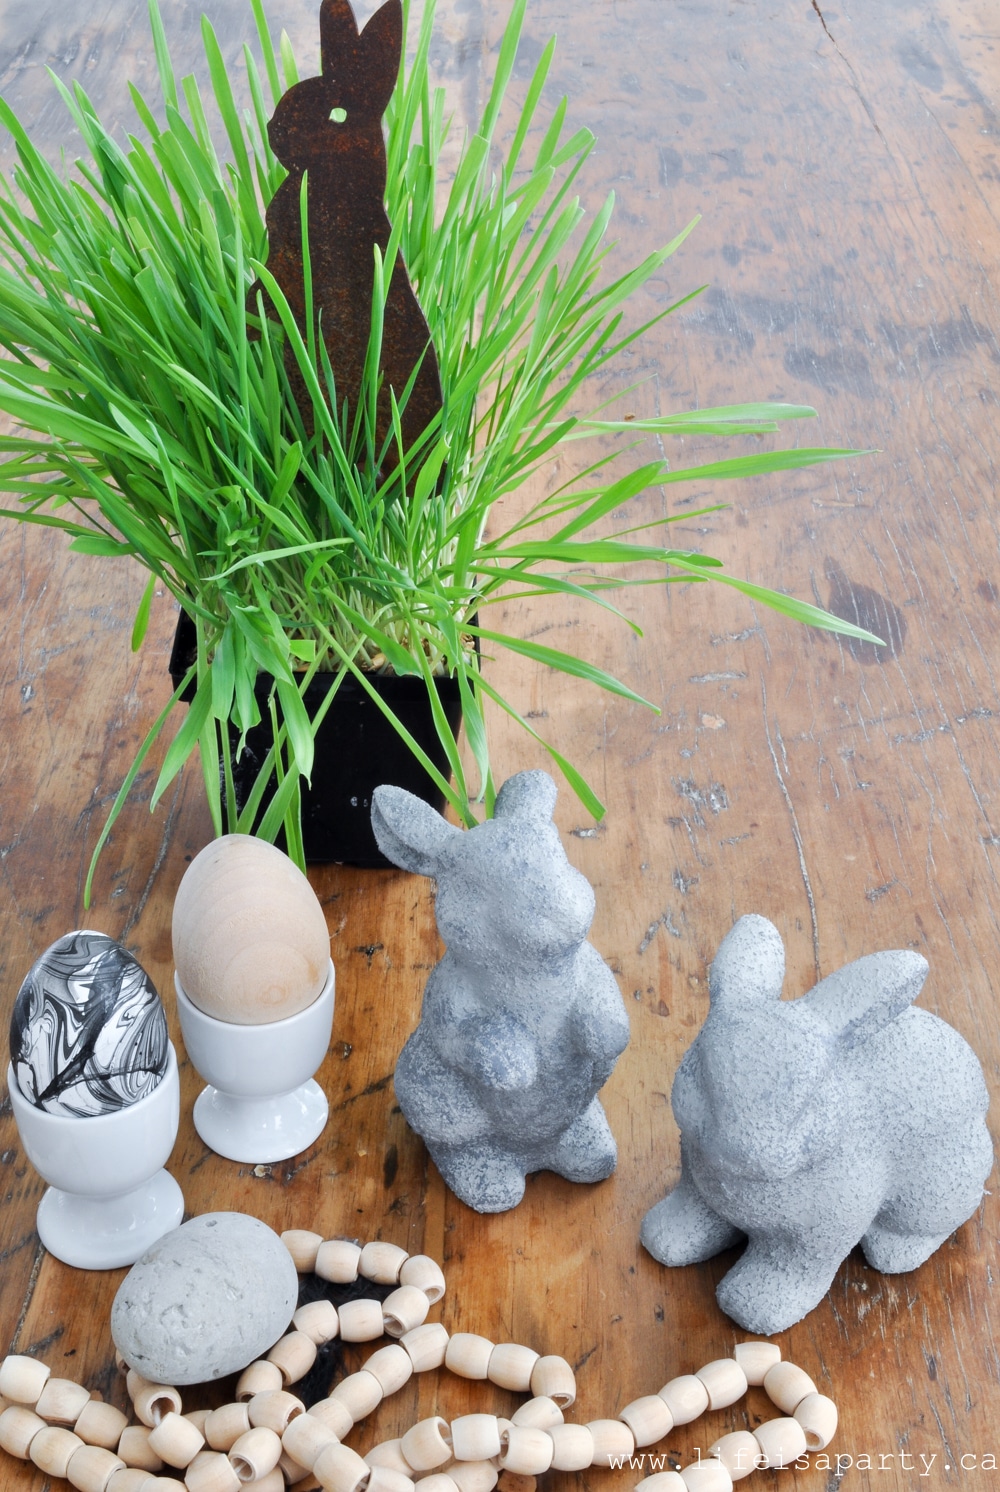
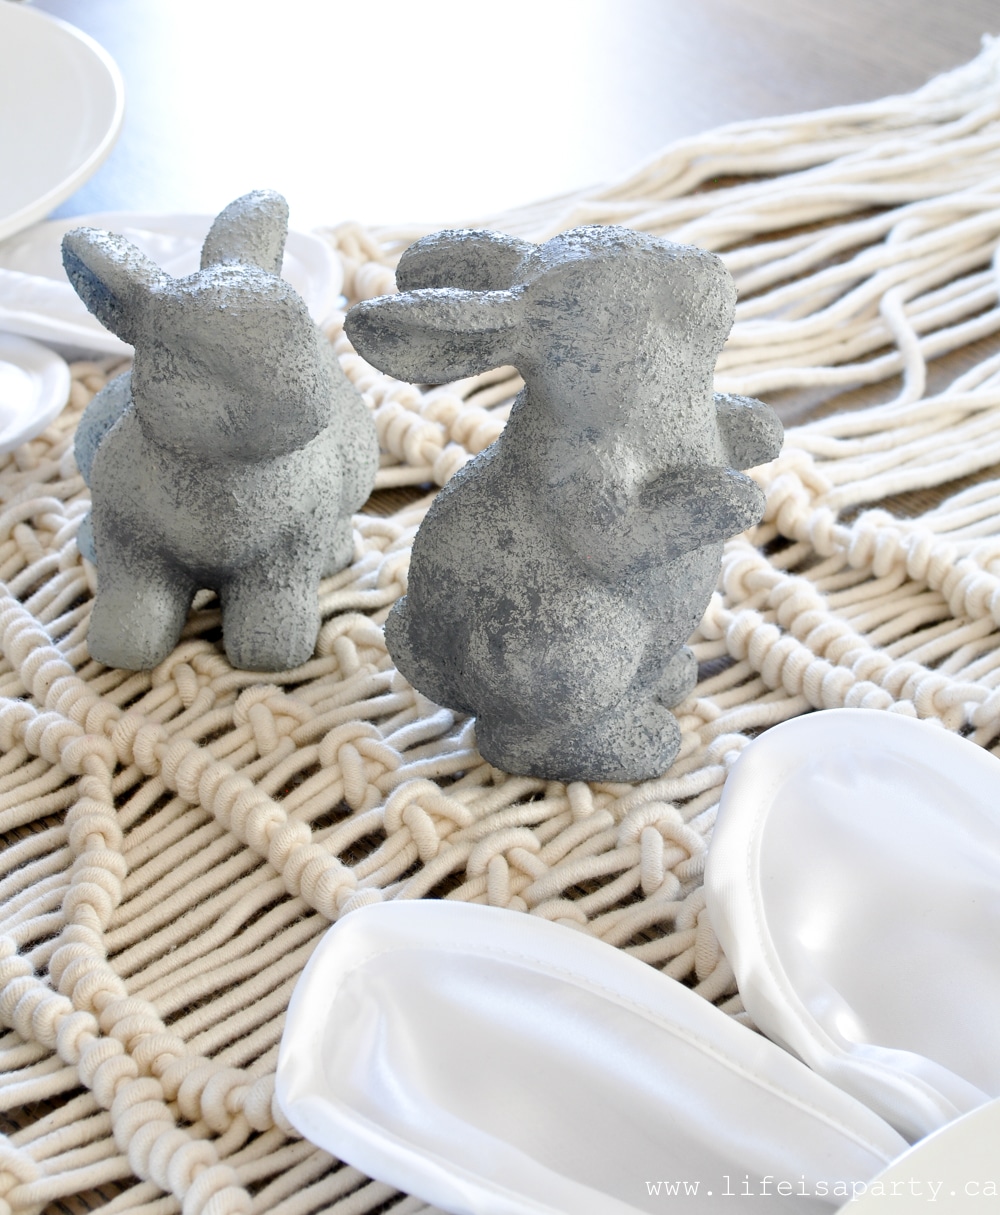
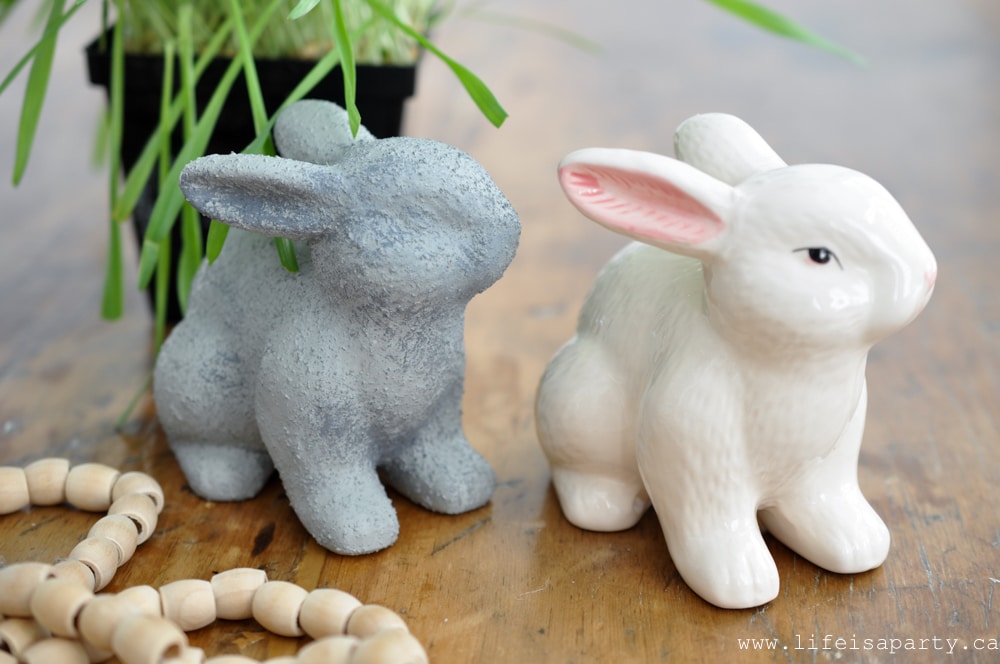
Faux Concrete Finish Bunnies: These dollar store bunnies get a concrete look easy makeover and now look like expensive garden concrete bunnies.

How to paint your ceramic bunnies to look like concrete.
[feast_advanced_jump_to]

This idea is so simple, inexpensive, and looksreat so it's ticking all the boxes.  I used inexpensive dollar store ceramic bunnies and gave them a makeover with cement look paint.  These faux concrete finish bunnies couldn't be cuter.

Faux Concrete Finish Bunnies

I love the look of cement these bunnies have now. They look like pretty garden ornaments for a fraction of the price.

faux concrete finish paint

Materials:

  • dollar store ceramic bunnies -or anything else
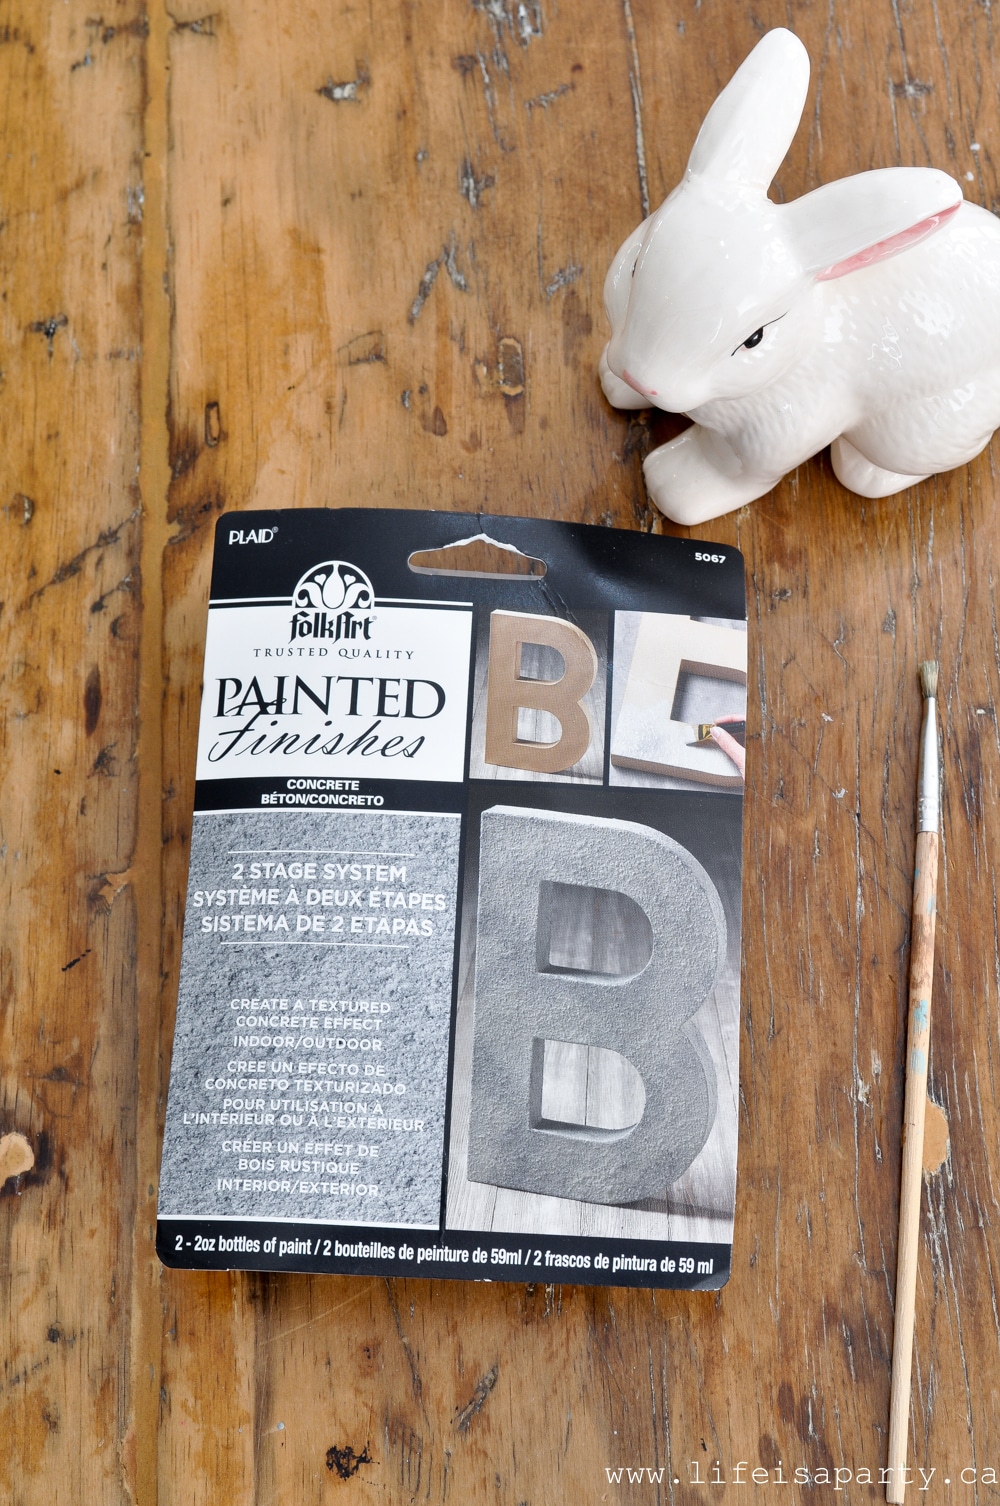
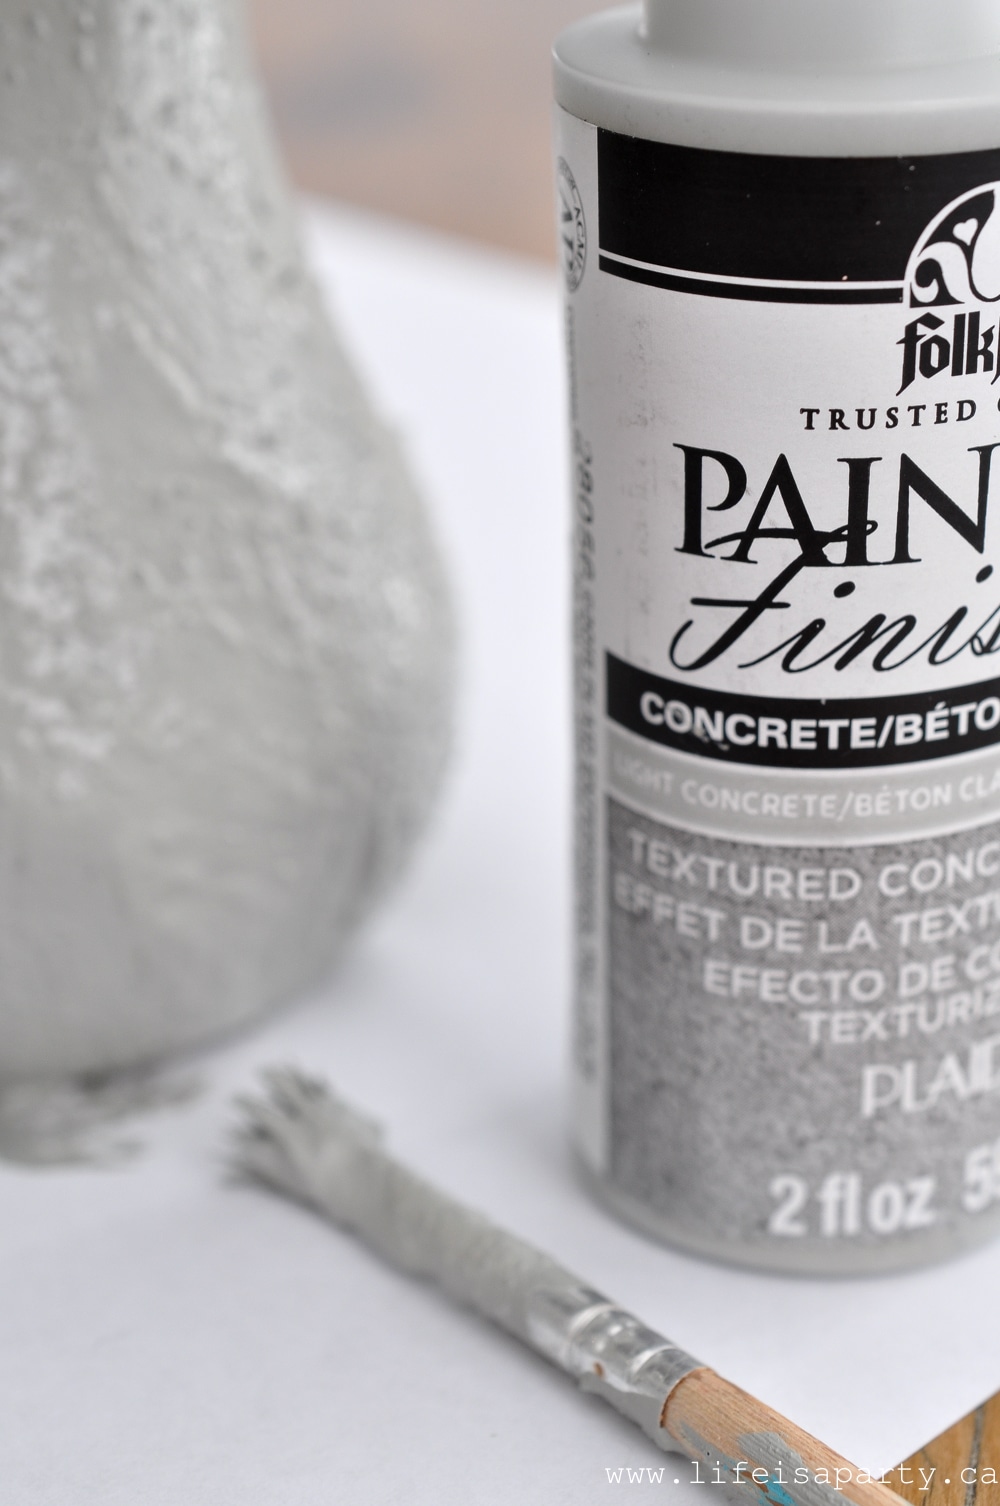
  • Folk Art Painted Finishes Concrete Two Stage System

Concrete Look Paint effect
How To Create A Faux Concrete Finish:

faux Concrete paint finish

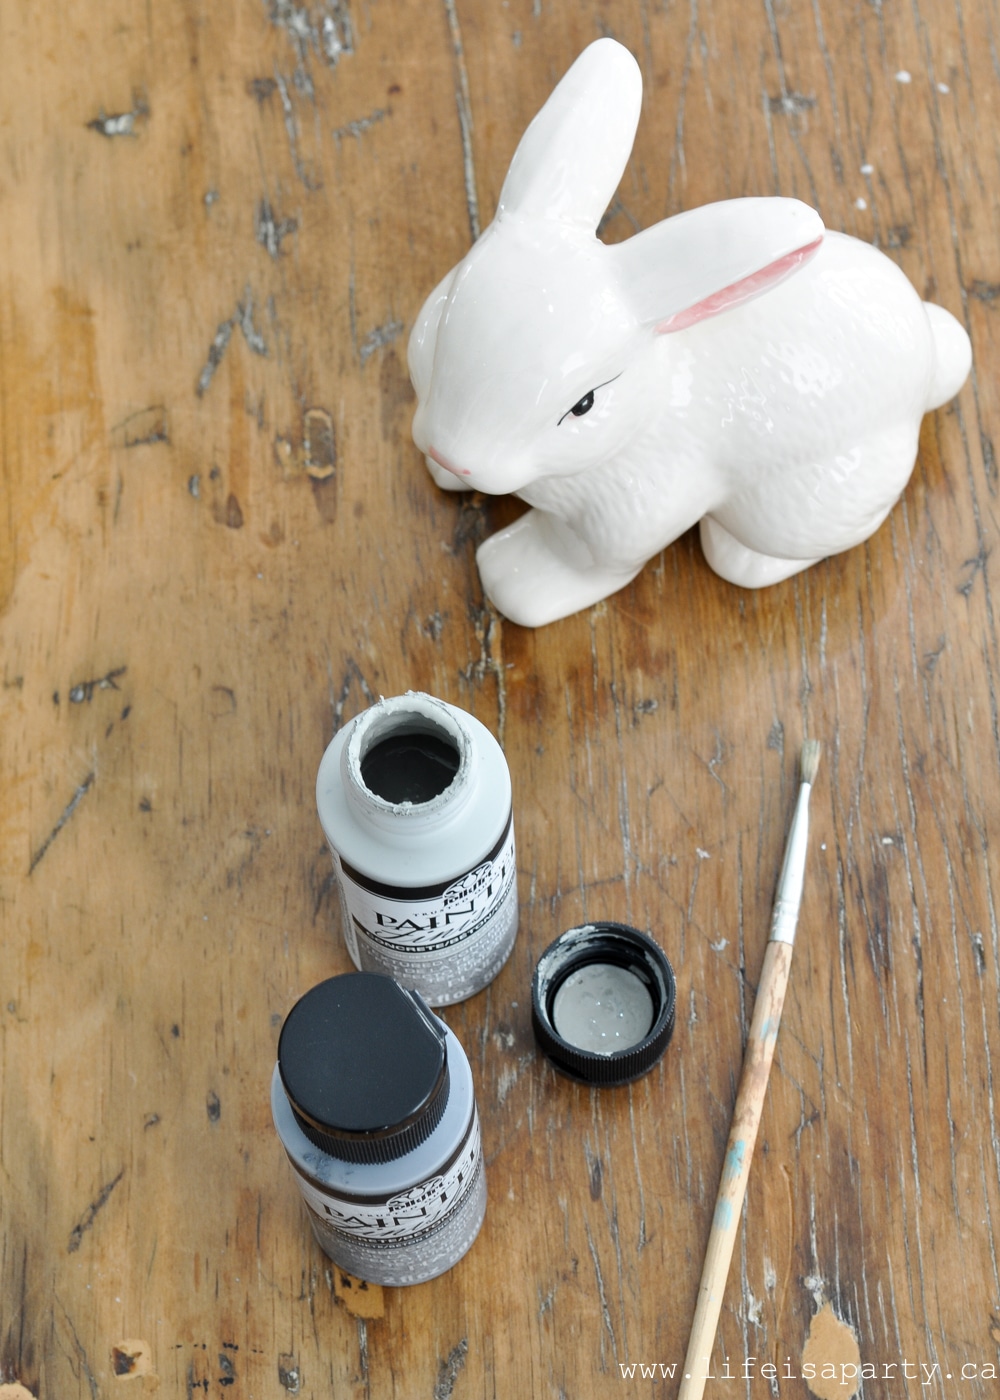
I saw this Folkart Painted Finishes Concrete set on-line and ordered it to give it a try. I really like how it turned out.

faux cement paint finish

The paint is quite thick, and kind of gritty. It's applied it in a kind of dapping way. There are two coats of the lighter base colour and then I added some of the darker colour in a few areas.

Concrete paint


I liked how these turned out so much that I started painting some other dollar store ceramics. I also had a ceramic mushroom that I thought could do with a makeover too. The possibilities are endless. I just might me giving everything a concrete makeover. 😉

With faux concrete bunnies, life really is a party!

More Easter Inspiration

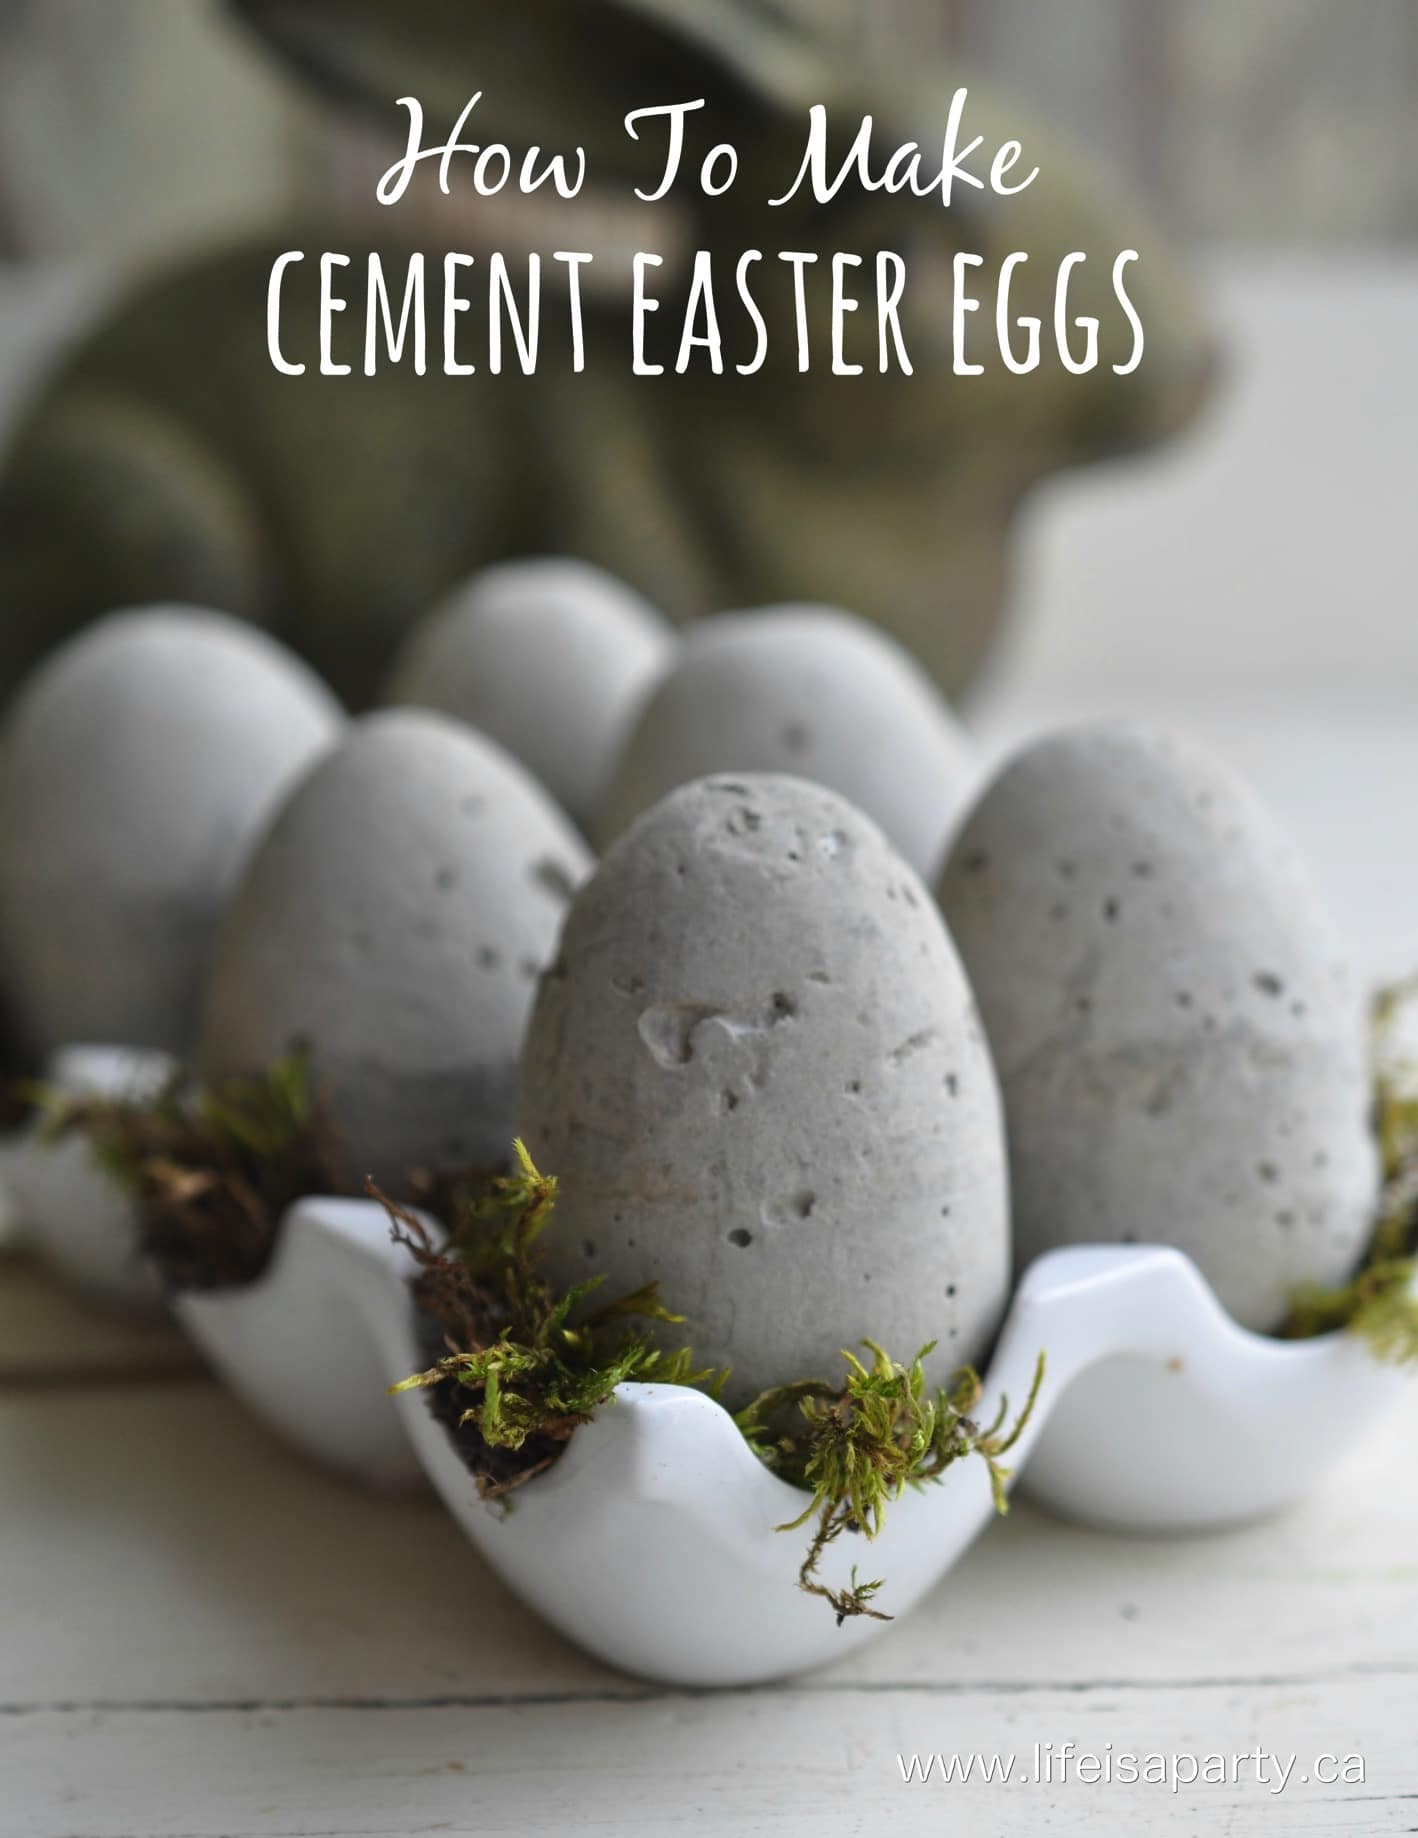
You might also like How To Make Cement Easter Eggs here.

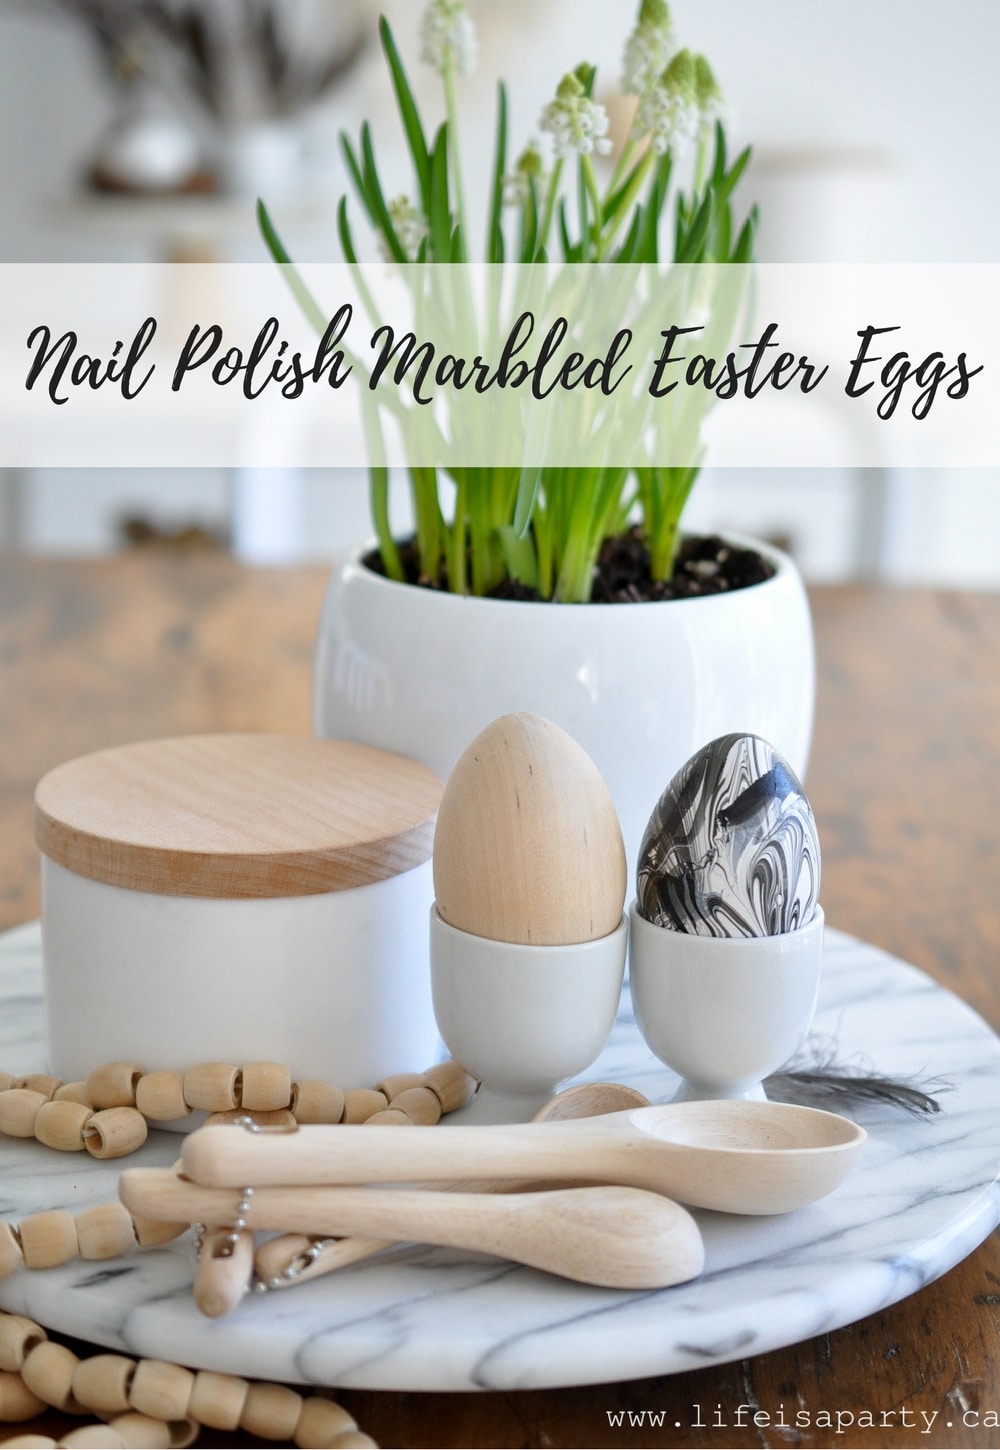
Also check our our Nail Polish Marbled Easter Eggs here.

Nail Polished Marbled Easter Eggs: easy water marbling with nail polish is the perfect modern touch to your Easter eggs.
You might also enjoy our Black and White Easter Table here.

Nail Polish Marbled Easter Eggs

Mar 22, 2018 · Leave a Comment

How to marble paint Easter eggs with nail polish.

Nail Polish Marbled Easter Eggs: easy water marbling with nail polish is the perfect modern touch to your eggs, use any colours.

How to marble paint Easter eggs with nail polish.
[feast_advanced_jump_to]

This year for Easter a made these DIY nil polish marbled Easter eggs and they turned out so great.  The nail polish creates such a cool effect, and you probably already have some in your beauty stash that you can use for this project.  Once you get the hang of it, it's really easy to do and a lot of fun.

I loved trying my hand at water marbling with nail polish for these Valentine's Day Hearts. For Easter this year I knew I wanted to use black and white and thought these marbled eggs were the perfect addition.  If you're looking for fun Easter projects to try this year, this is one of the best ways to decorate Easter eggs.

how to make Marbled Easter Eggs

Kid Friendly

These are really simple to make and fun craft to make with the kids.  It is a little bit messy,  You definitely need gloves for everyone, and probably to cover you table.  But other than the mess, it's very kid friendly and they'll loving seeing the cool effect.  Don't be surprised if they start thinking of other things they want to do this marble paint effect on.  Any teen girls probably have lots of fun colors of nail polish to contribute to the crafting too.

Nail Polish Marbling

There are several different ways to marble Easter eggs.  You can use whipped cream, shaving cream, food coloring, or dye to create your marble effect.   I really like the nail polish method.  Nail polish comes in so many great colors, and has a great sheen that looks great on the matte eggs.  It also creates a beautiful marble look, with many stripes of color and distinct patterns that's hard to achieve with the other methods.

Choosing Colors

I really love how these turned out in black and white.  You could make them in any colors like a  bright and colorful combination, or in traditional Easter pastels.  When your buying new nail polish for this craft feel free to pick up the really inexpensive nail polish from the dollar store.  The only thing that matters when you're choosing the nail polish is that you like the colors.  We used just black and white, but if you're using different colors you can use several together to create a more colourful almost tie dye effect if you wish.  Try different color combinations to create an Easter decoration look you love.

Eggs

For this paint effect we choose to use white plastic craft eggs.  Look for them at the dollar store or the craft store.  I like them because they're inexpensive and have a matte finish on them that takes paint very well.   Because they're plastic, you can reuse them year after year.  Since nail polish isn't edible, I won't use this method on real hard-boiled eggs.  I won't use real blown out eggs for this craft either.  Because the nail polish floats on top of the water and you dip the eggs to create the marbled look, the eggs have to go in the water.  Blown eggs have holes in them, and they would fill up with the water and be hard to work with for this craft.

black and white Nail Polish Easter Eggs

Recipe

How to marble paint Easter eggs with nail polish.

Nail Polish Marbled Easter Eggs

No ratings yet
Print Pin Rate
Cook Time: 15 minutes minutes
Total Time: 15 minutes minutes
Author: Dannyelle Nicolle-Ramjist

Materials

  • plastic craft Easter eggs
  • disposable container large enough for the eggs to dunk completely into
  • disposable gloves
  • nail polish
  • toothpick or wooden skewer
  • old newspaper to cover the table

Instructions

  • To make the eggs, fill your container with water.
  • Add a few drops of nail polish onto the water's surface (since it's oil based it will not mix with the water, but float on the surface of it). Next, add your second color of nail polish to the water.
  • Use a toothpick to swirl the colours of the nail polish together and create the marbled effect.
  • Dip the eggs in and then let them dry. If the whole surface isn't marbled after the first dip, once the eggs dry, you may dip the other side again.

Nail Polish Easter Eggs

Tips:

Be sure to wear the disposable rubber gloves and cover your table, and line your bowl, or use a disposable one.  Nail polish is messy and hard to get off, so it's much easier to protect the surfaces where you don't want it.

Work Quickly.  The nail polish will start to dry as soon as it hits the surface of the water, and it will become more and more difficult to work with.  The faster you can mix your colors together to create the swirled effect, the better.  It's better to work in small patches, dip on side, let the egg dry and redip the other side.

This craft is very forgiving.  The swirls tend to look really great on the egg, even if they didn't look so great in the water.  Remember as well, that you can redo a section, so don't be concerned about covering the whole egg in one go.

?The craft eggs that I bought had little cardboard pieces to use for drying the eggs on.  If you don't have these you can use an empty egg carton, just try not to let the painted part rest on the cardboard or it may stick once it dries.

how to water Marble with nail polish

YouTube Video

Sometimes projects like these are easier to see than explain, so here's a short video of how to make them.

Youtube video

These nail polish marbled eggs will be a great addition to your Easter decor this year.  I think this is my new favorite way to decorate Easter eggs.  This fun method makes a beautiful egg.  These would look great in Easter baskets, or hanging on a branch.  This is a great craft that's so much fun to make.

black and white Easter eggs

If you're used to doing traditional egg dyeing, why not give this simple Easter egg marbling technique a try.  Younger kids will love it, and it's a great way to spend time with friends or family this Easter.  It's a good idea to help get the teenagers involved as well.  And the best part is how great the finished eggs look, and that you'll be able to enjoy them year after year.

With Nail Polish Marbled Easter Eggs, life really is a party!

More Easter Inspiration

Also check out our Black and White Easter Table here.

You might also our Black and White Easter home tour post here.
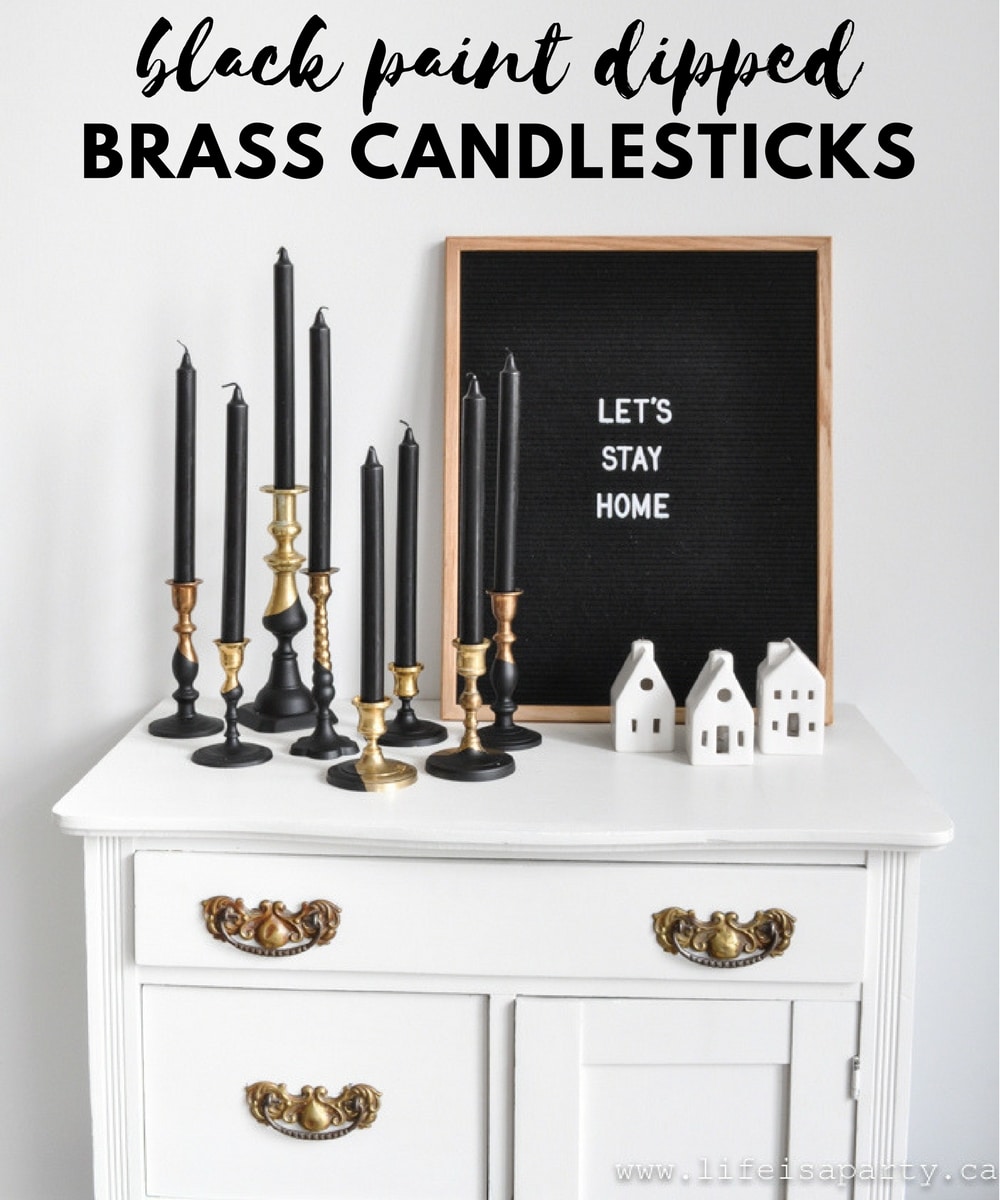
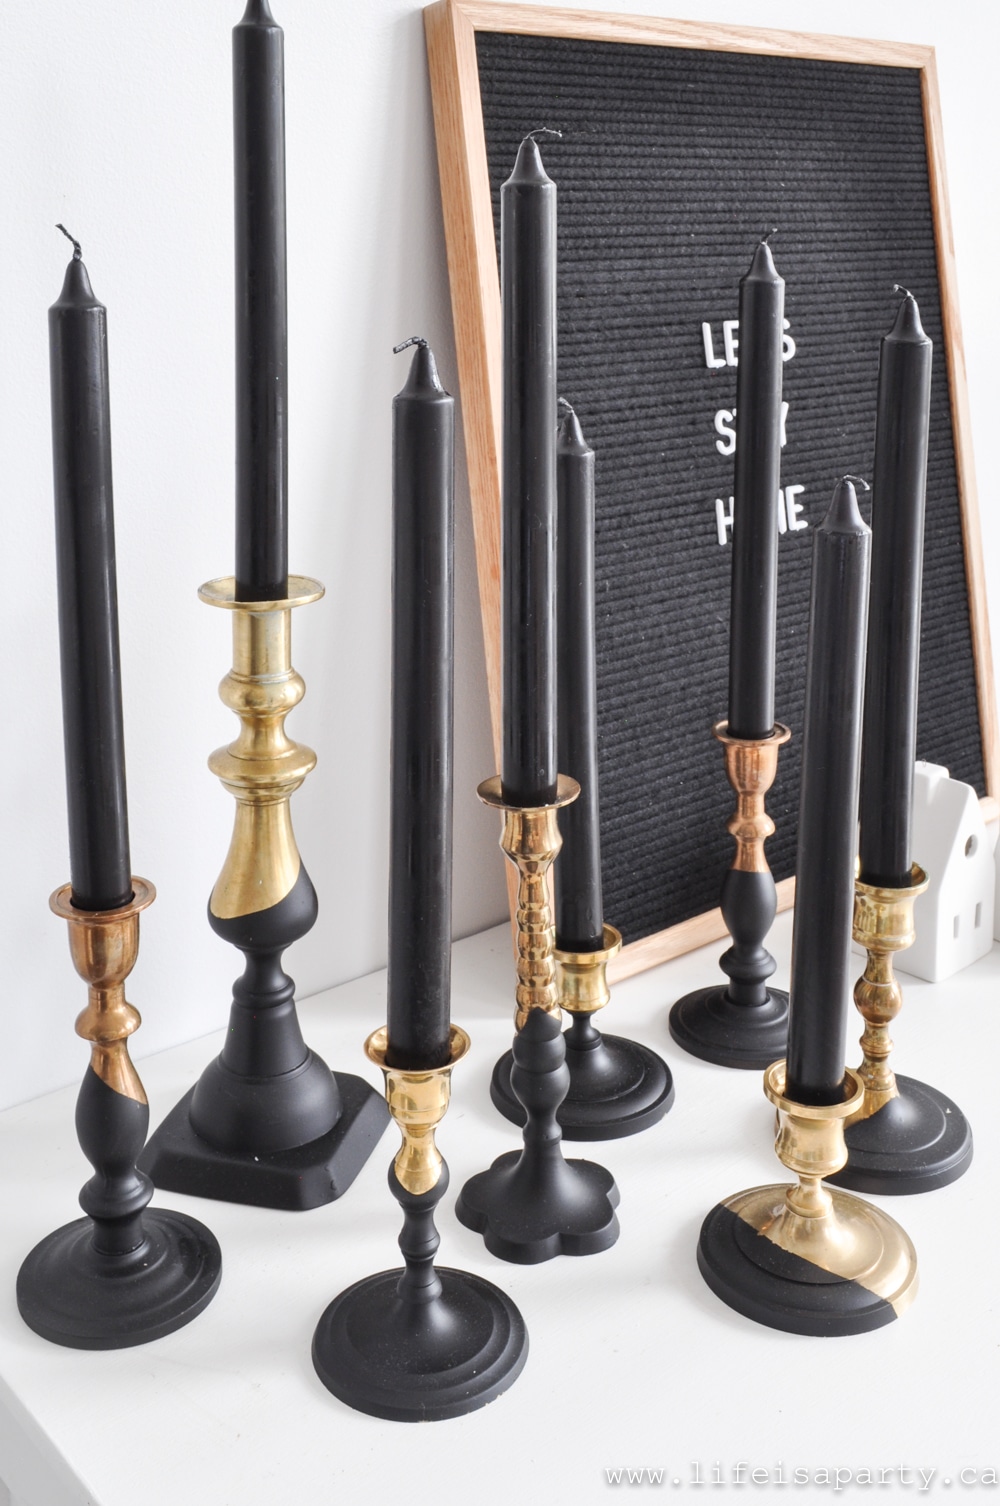
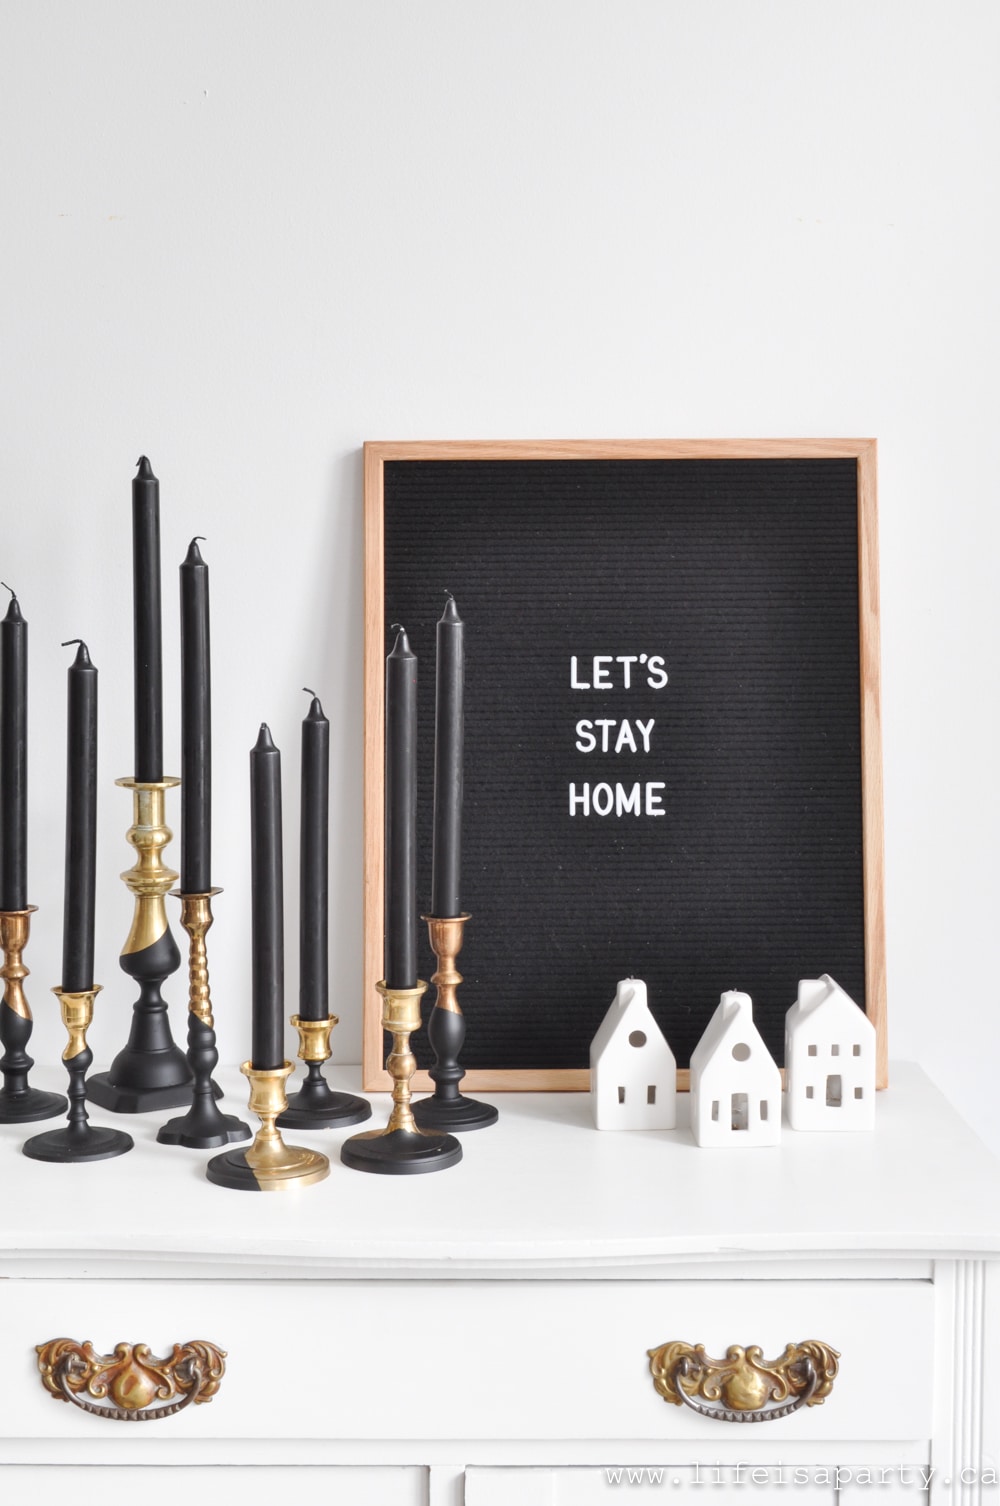
Also check out our DIY Black Paint Dipped Brass Candlesticks here.
Black and White Easter Table

Mar 7, 2018 · 2 Comments

Black and white Easter table decor and ideas.

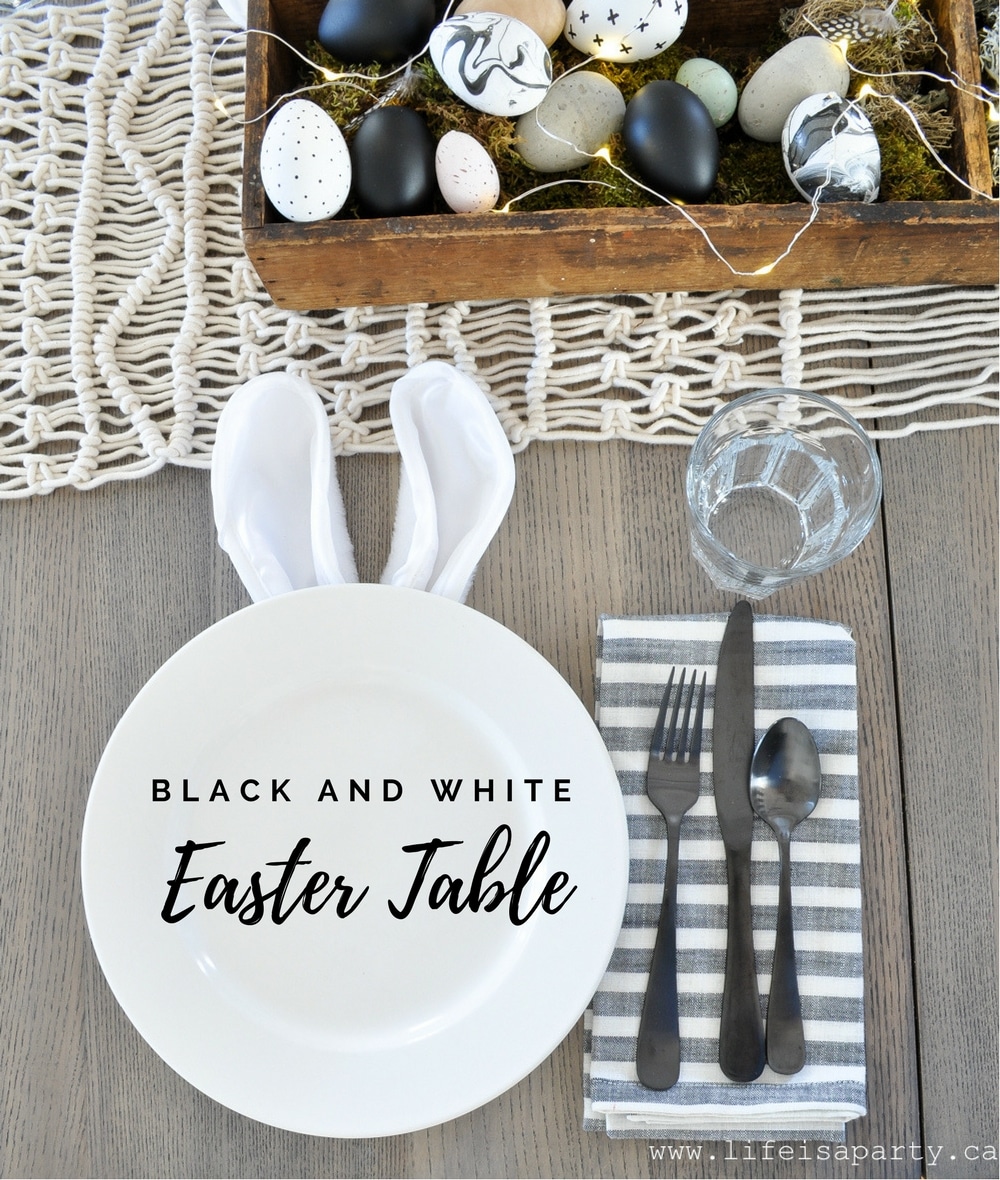
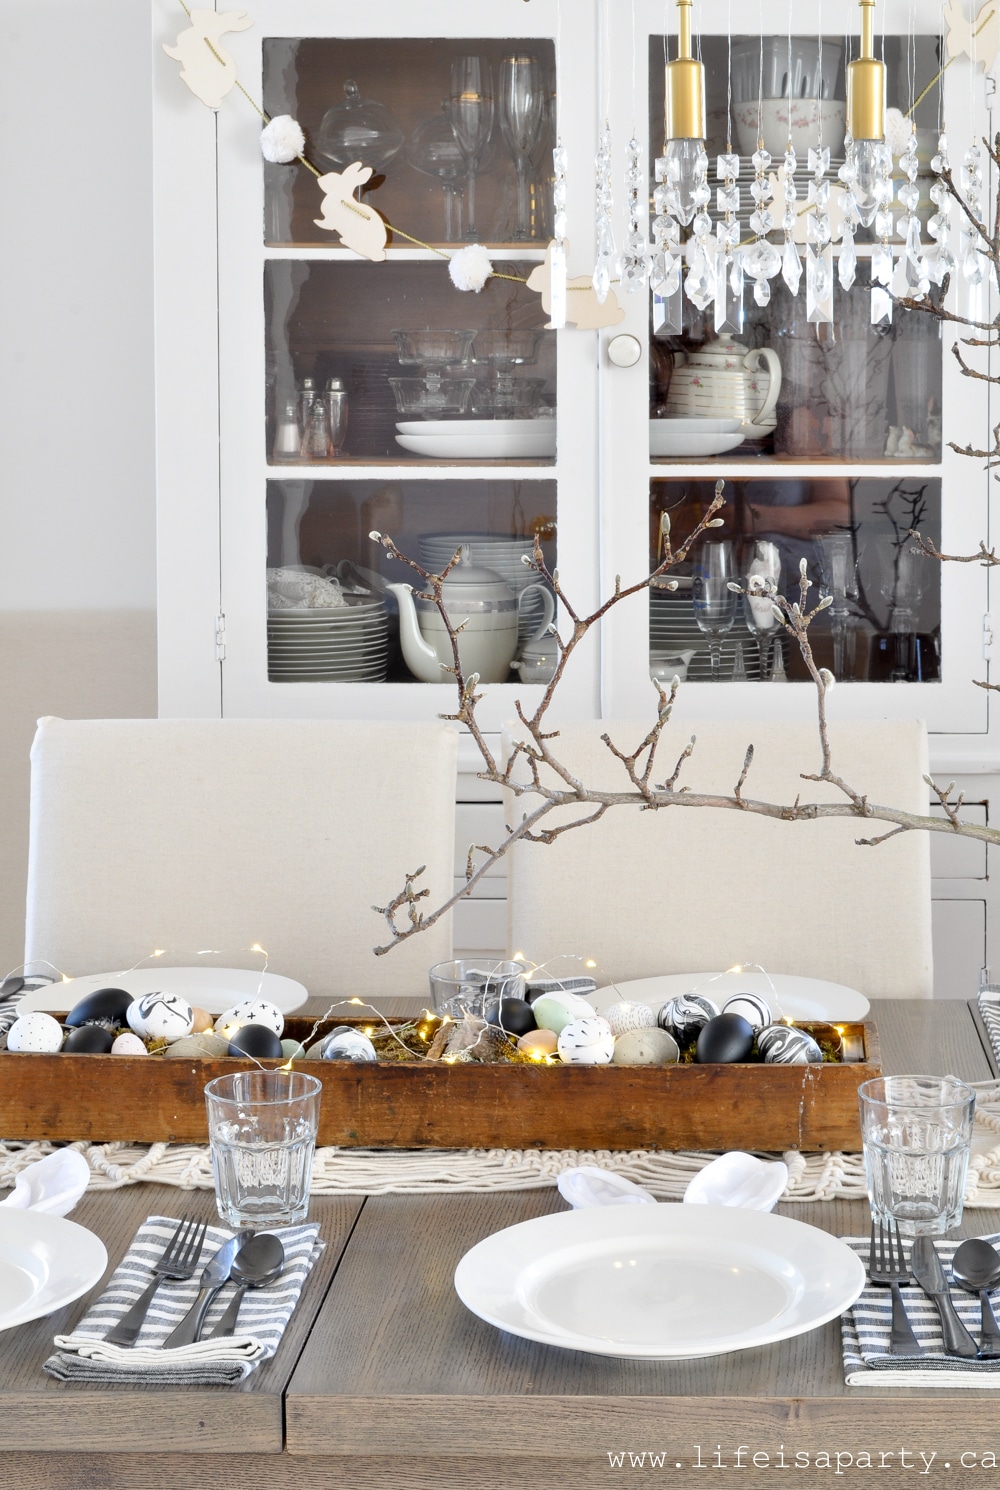
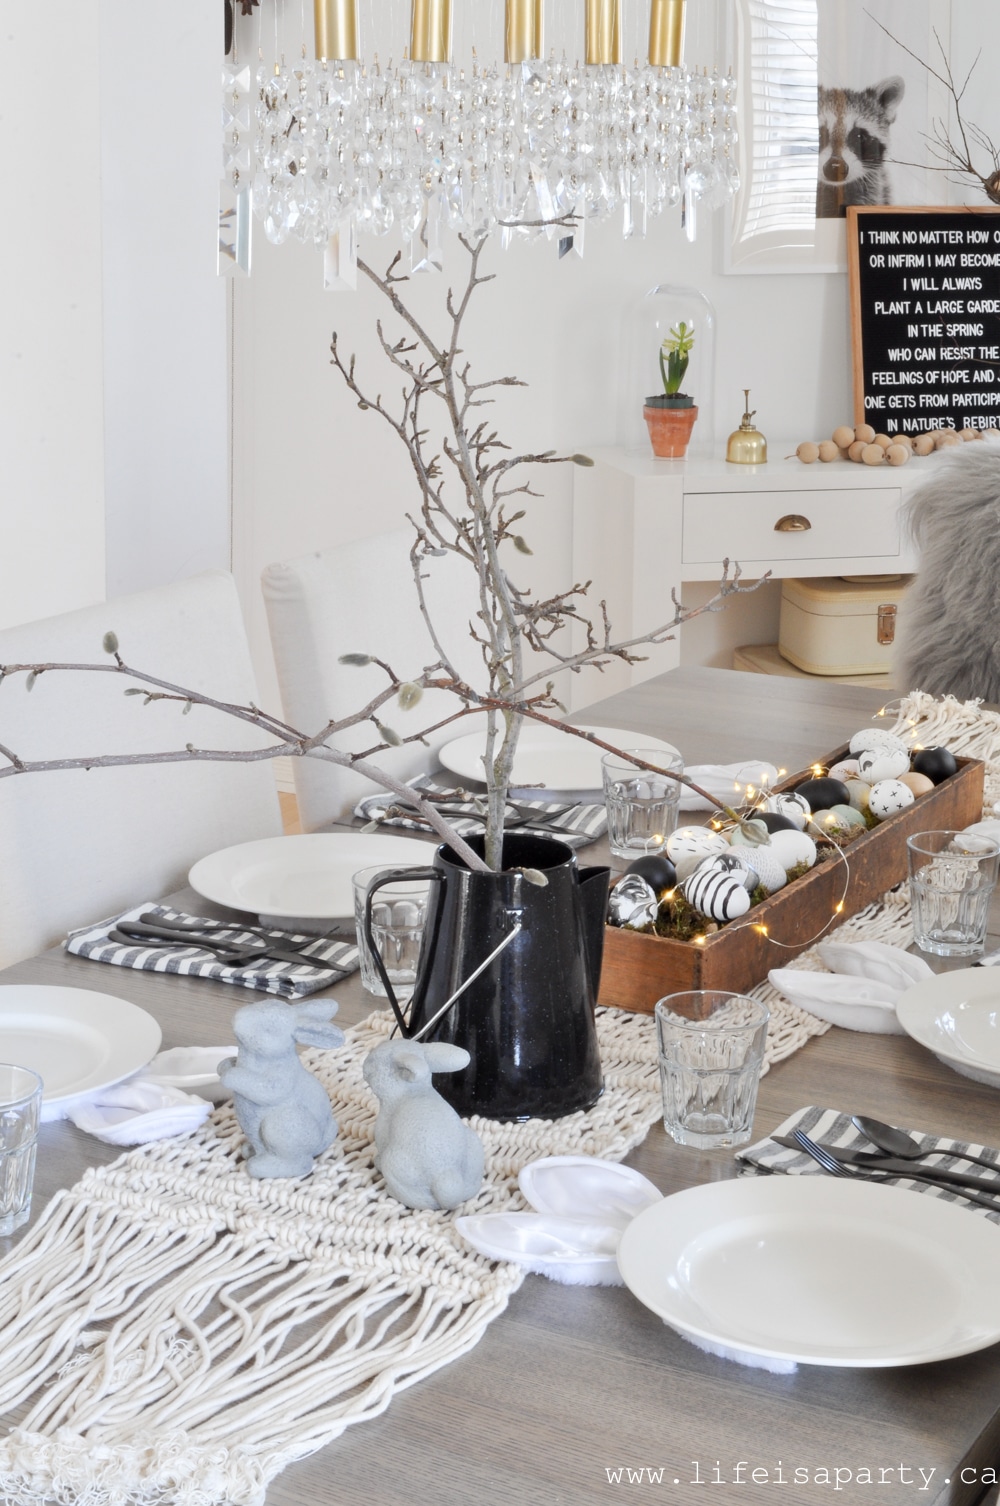
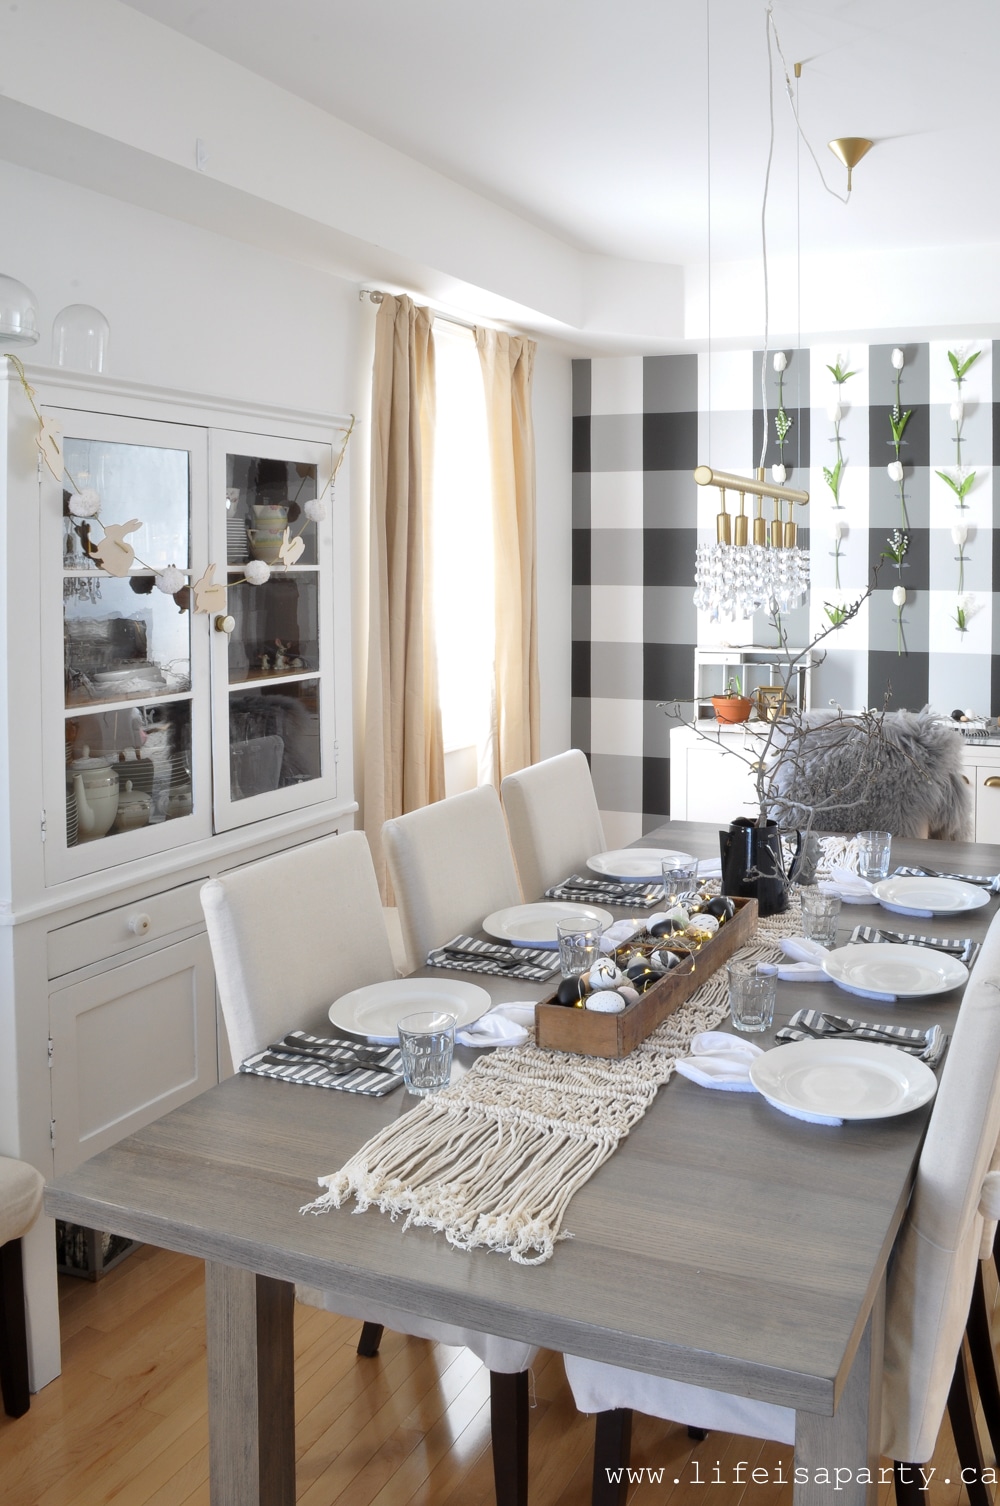
Black and White Easter Table: black and white Easter eggs, bunnies ears and tails, and forced spring branches create the perfect modern Easter tablescape.

Black and white Easter table decor and ideas.

Non-Traditional Black and White Easter

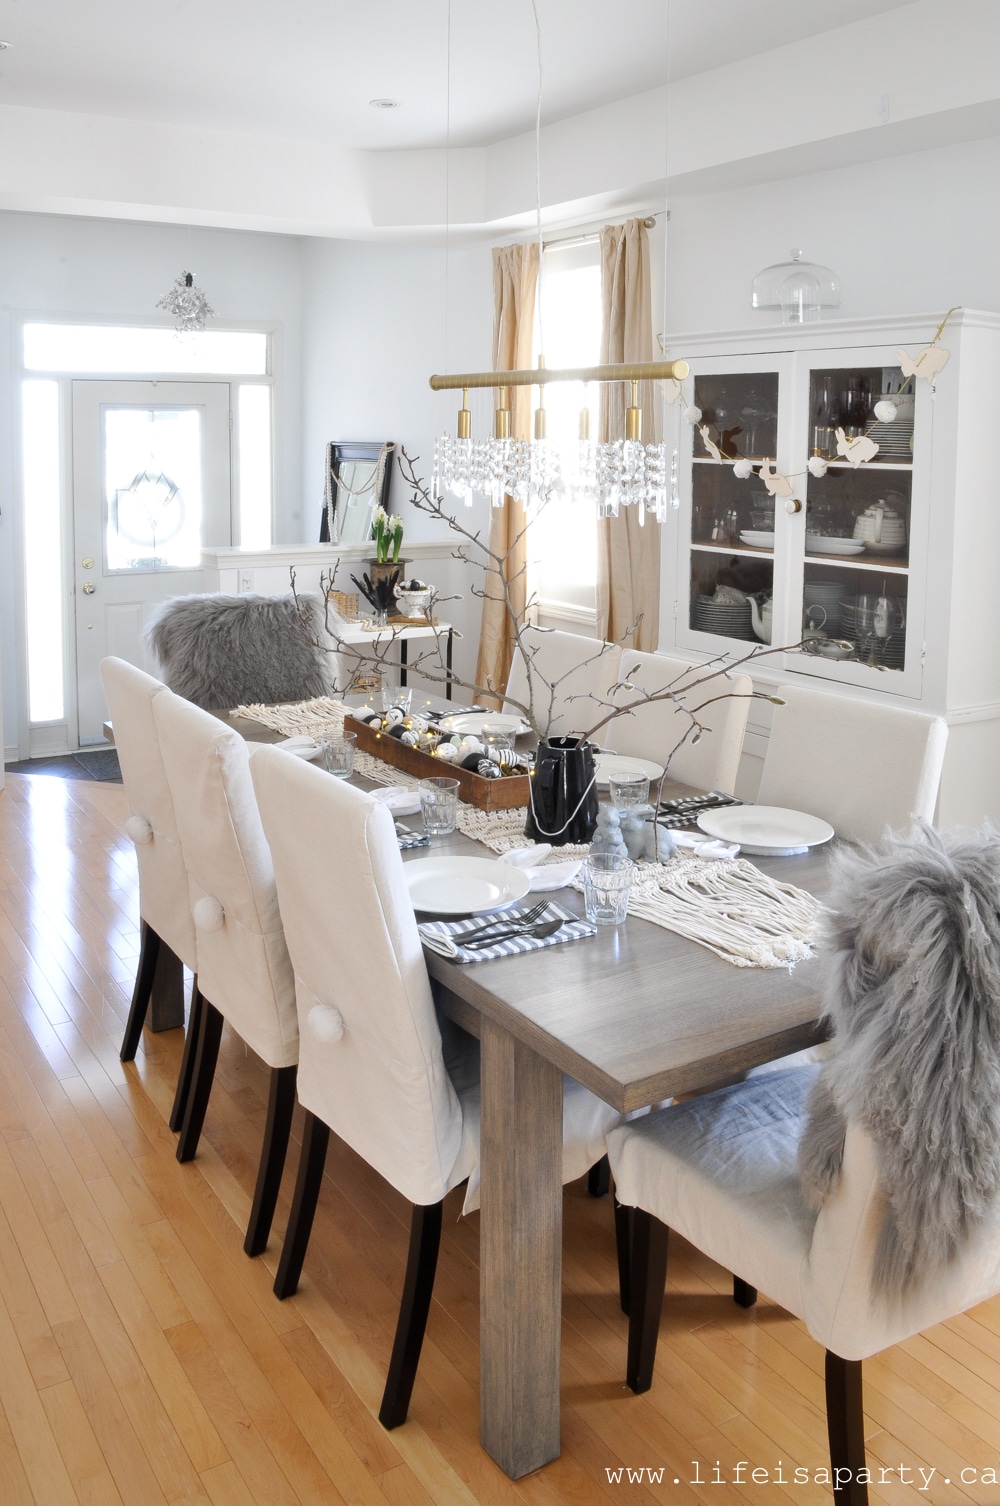
This black and white Easter table is pretty perfect.  At first I wasn't sure about straying from the traditional pastel Easter palette, but I really love how it turned it.  I you're looking for something a little different for your Easter decorations this year, than this might be for you as well.  Black and white is one of the latest trends, and I love how it looks for our Easter table.

Bunny Ears and Tails

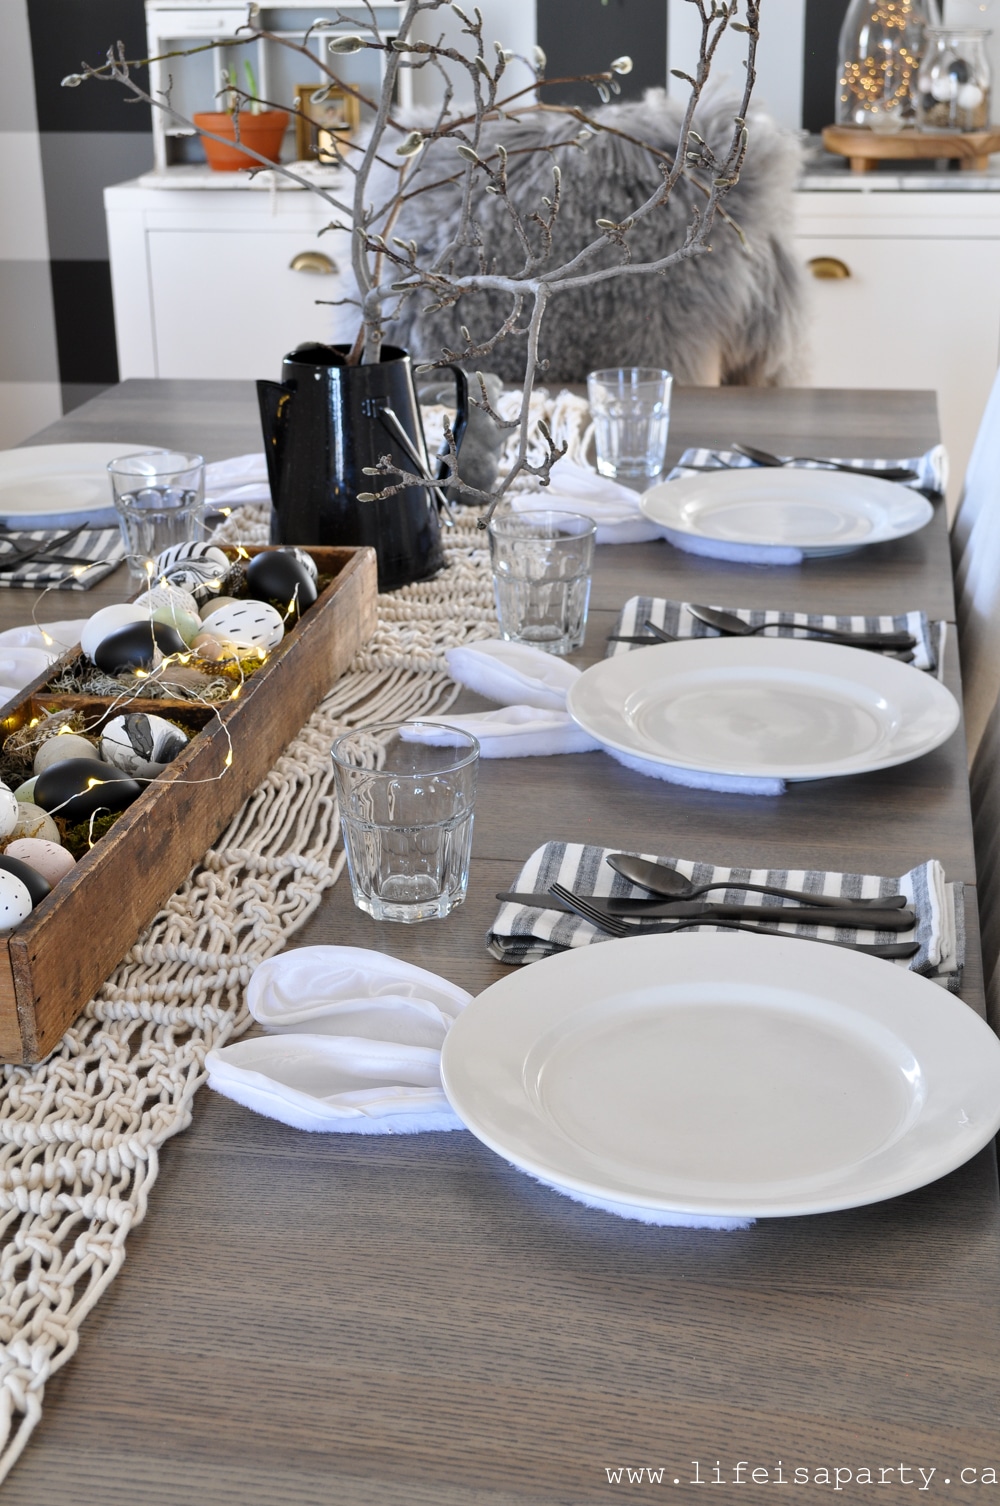
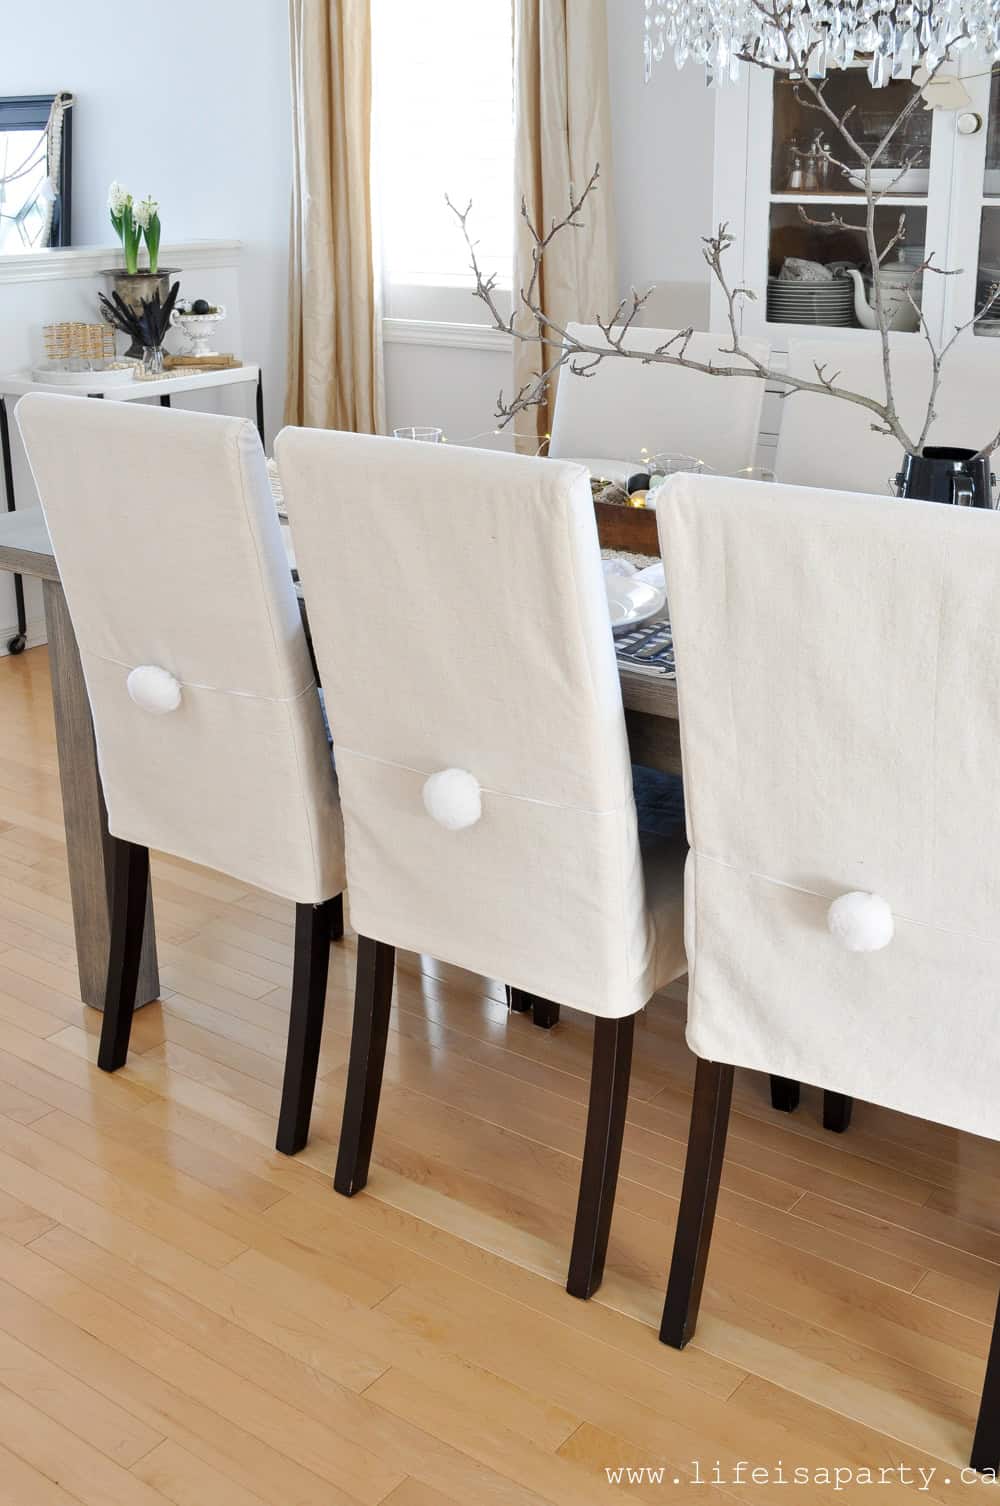
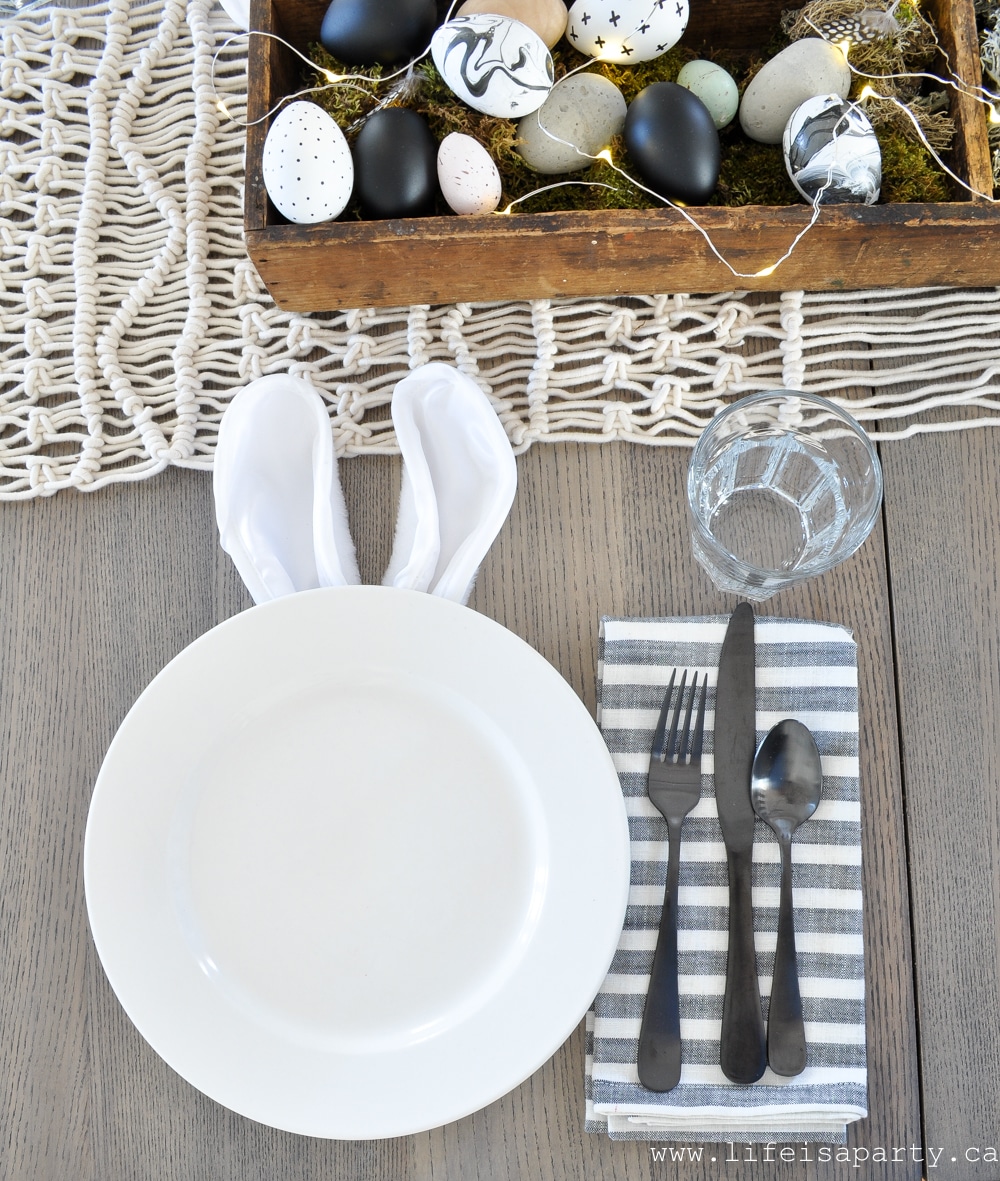
It all started with these adorable bunny ears and tails.  I picked up the little sets at the dollar store.  I used all white, but if you were doing pastels for Easter then you could grab some with pink inside the ears, or more colourful ones.

This was so simple, and it's truly one of my favourite ideas ever.  All I did was wrap the ears around the dinner plates, and slide the tails (they're on an elastic piece already) over the chairs.  The plates look like the cutest bunny head.  And the chairs are so cute with their little Easter bunny tails attached.

Is this not the cutest ever?

Simple and Monochromatic

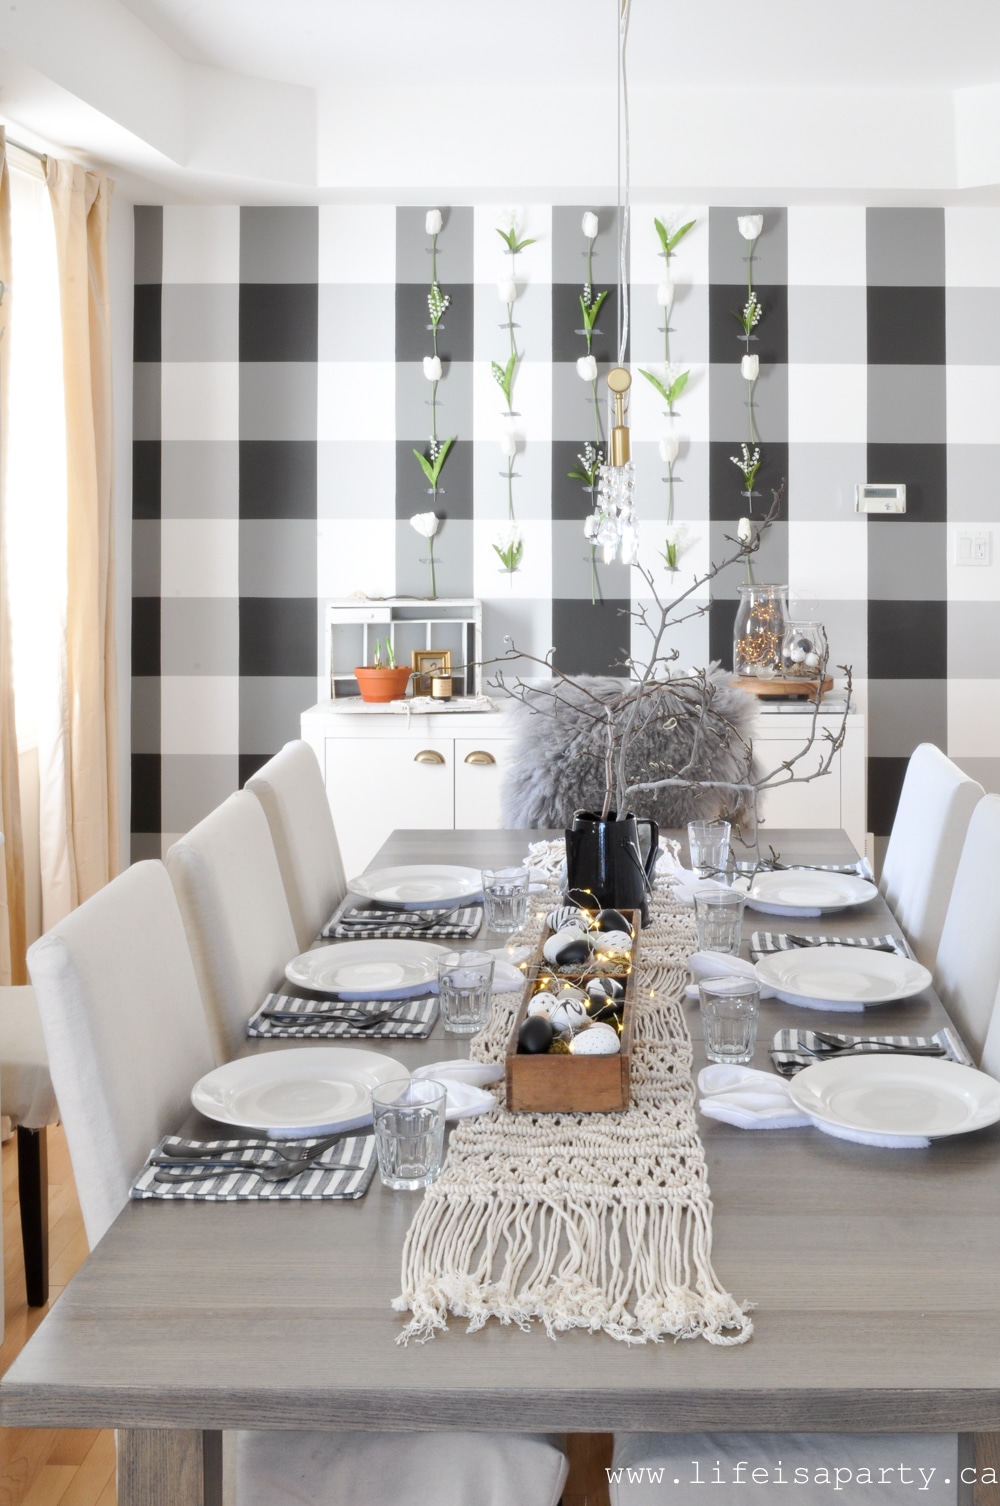
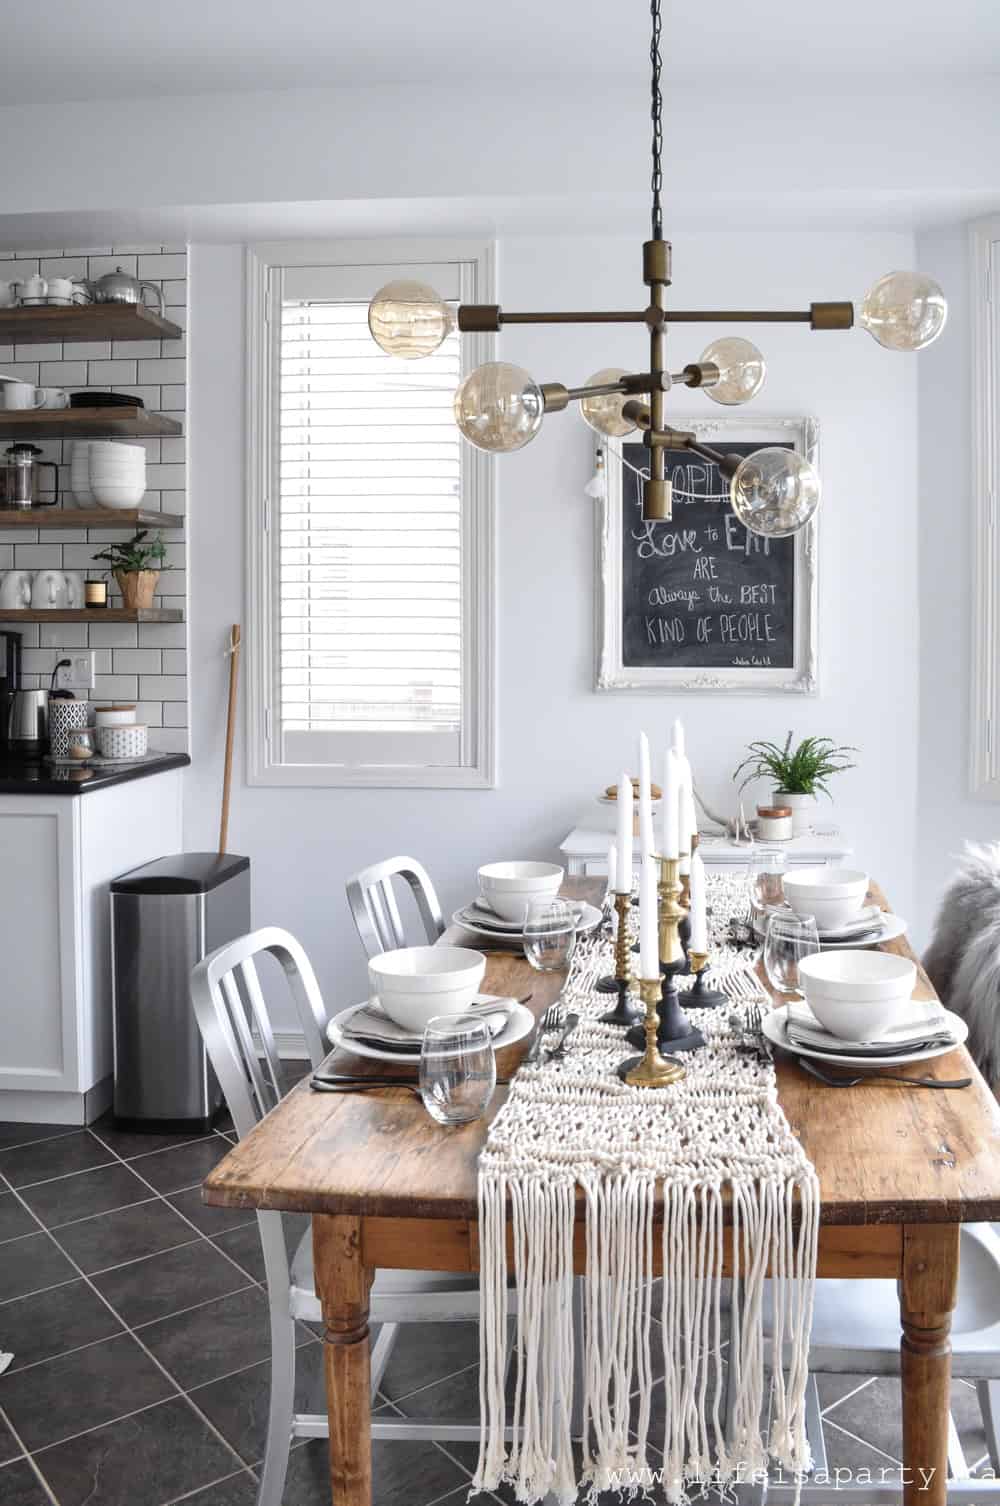
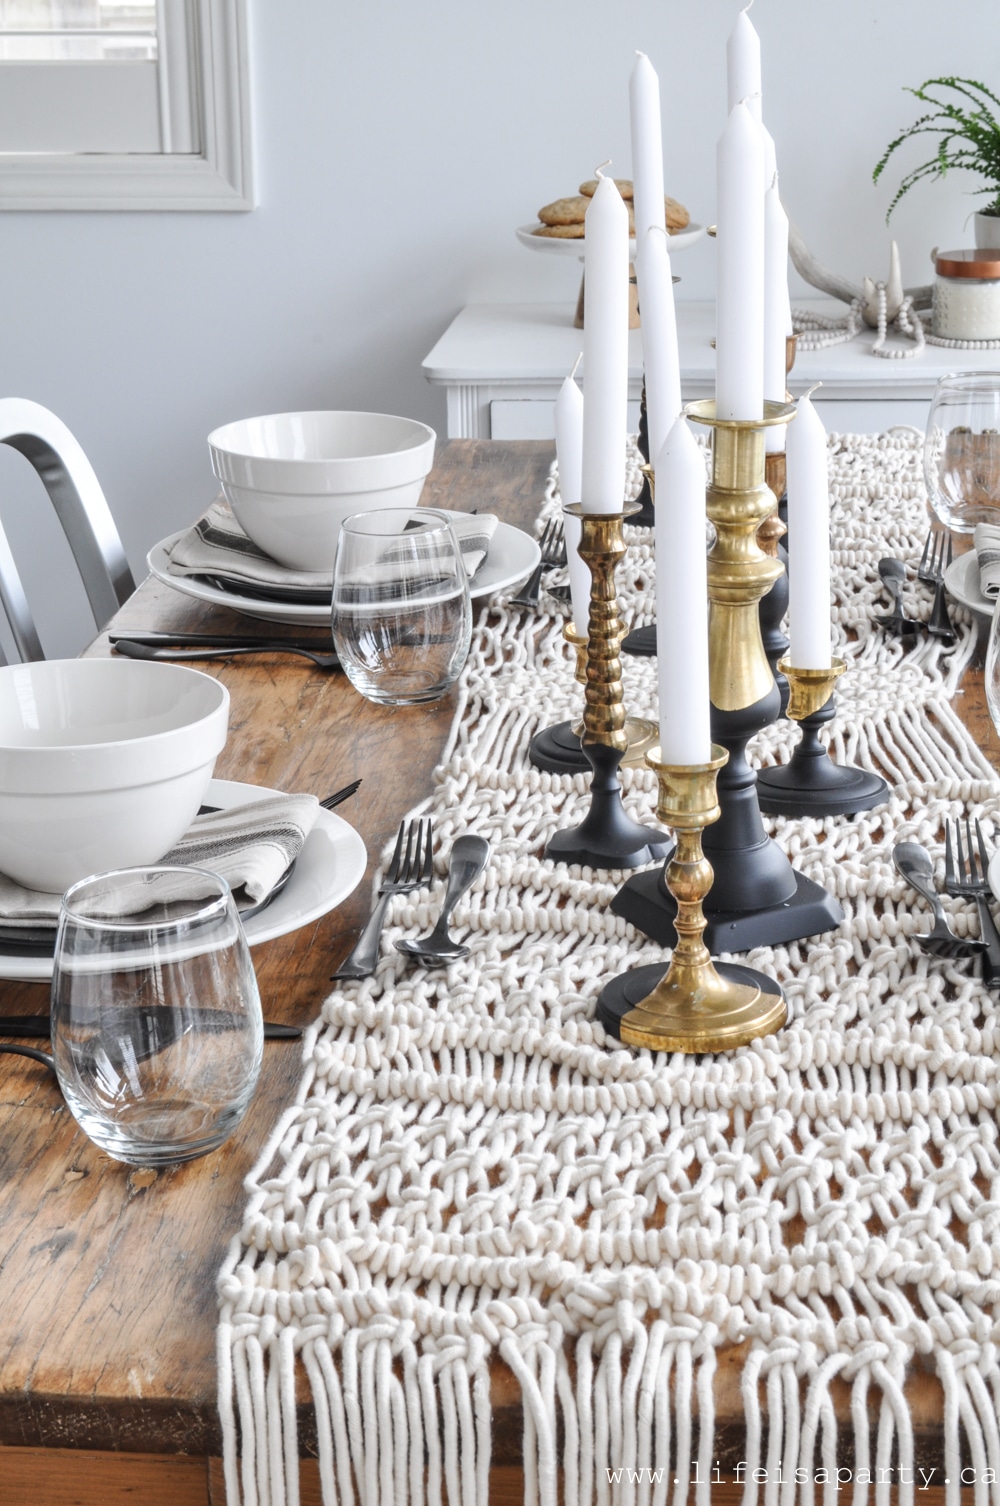
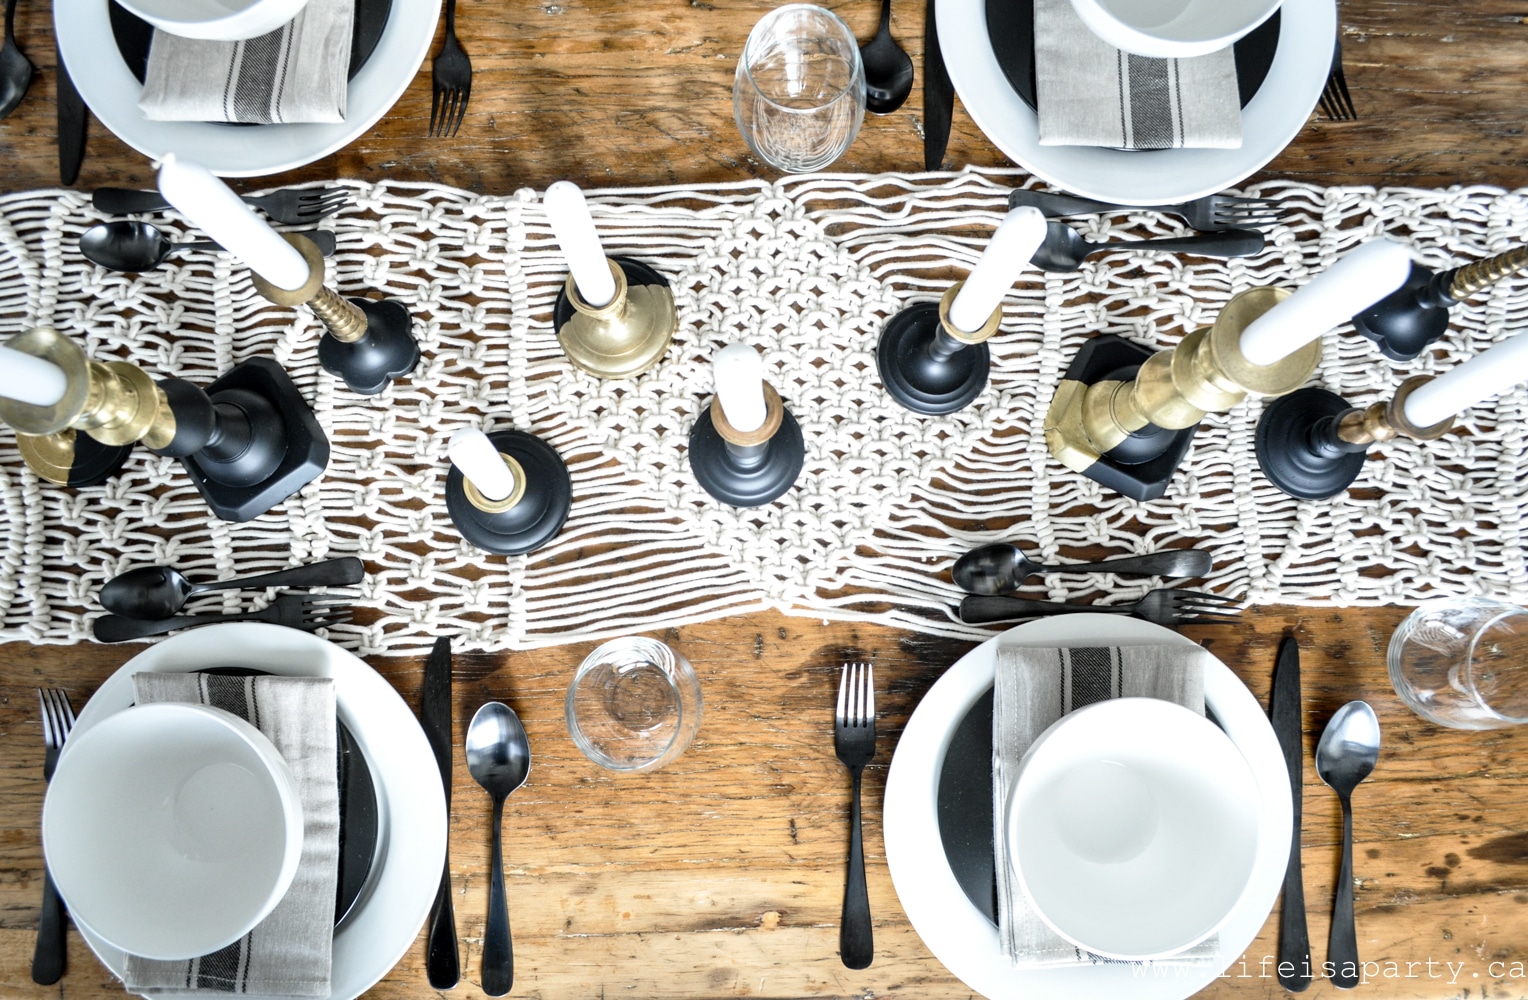
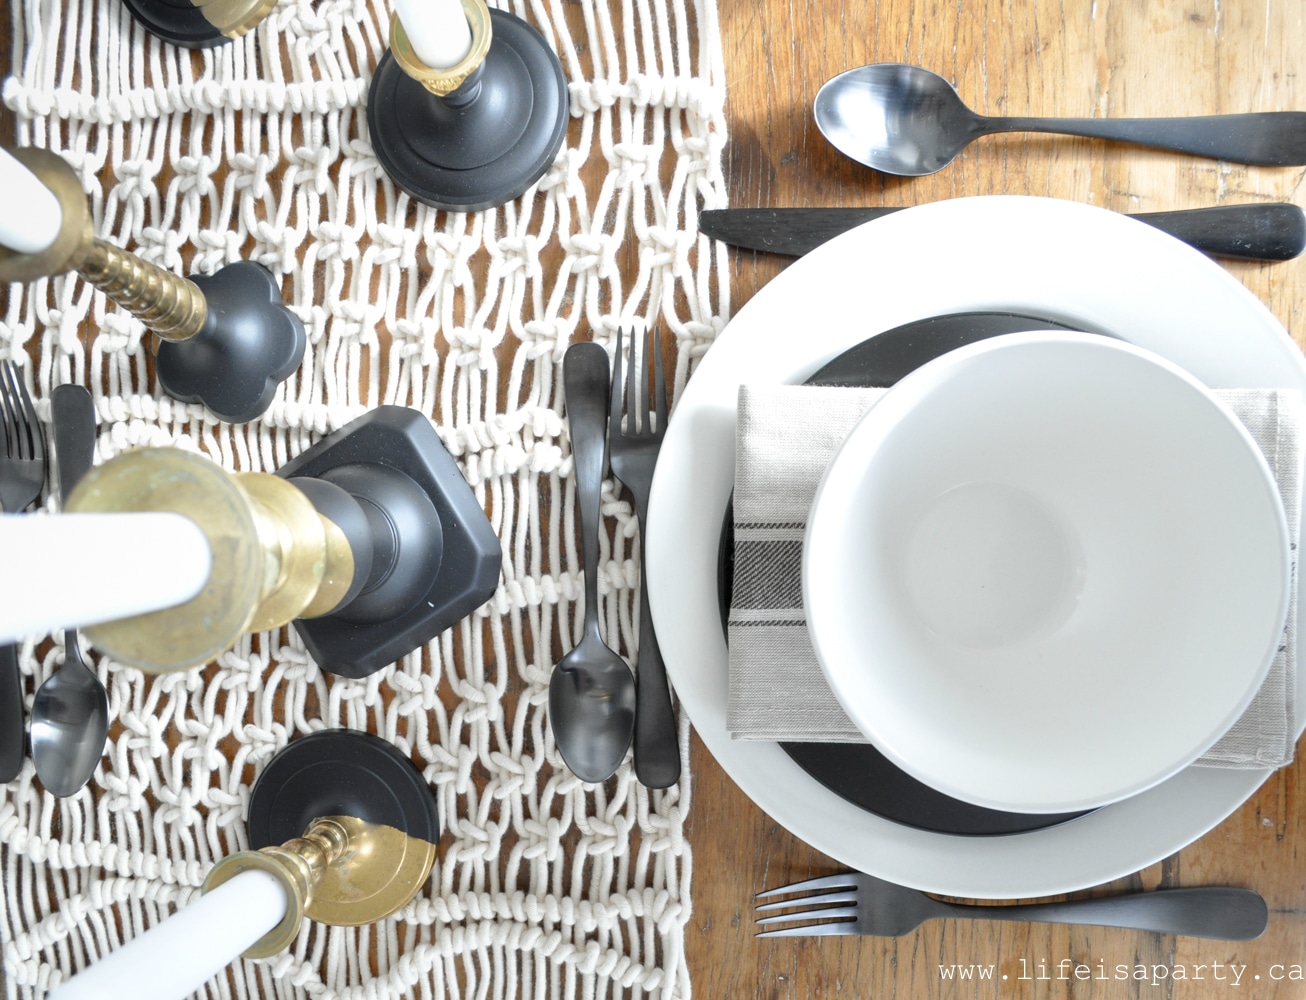
For the rest of the table, I kept it pretty simple. I used my DIY macrame table runner down the centre.  It's always good when you're going with a really simple colour palette or a monochromatic one to remember to add texture for interest.  This runner adds lots of great texture.

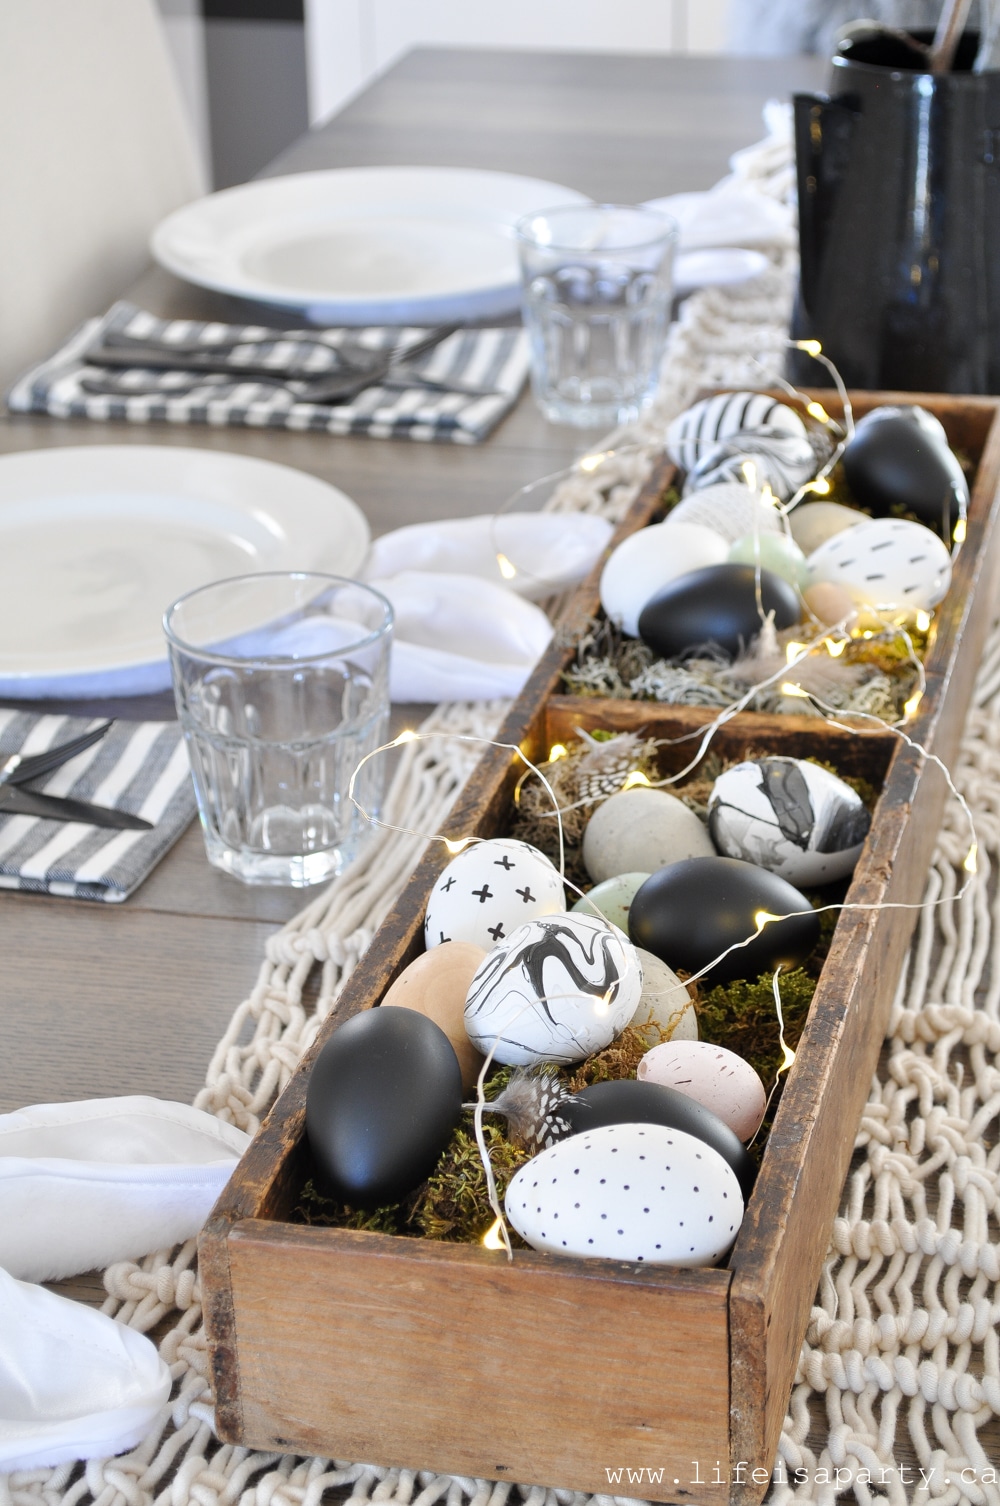
Easter Egg Centerpiece

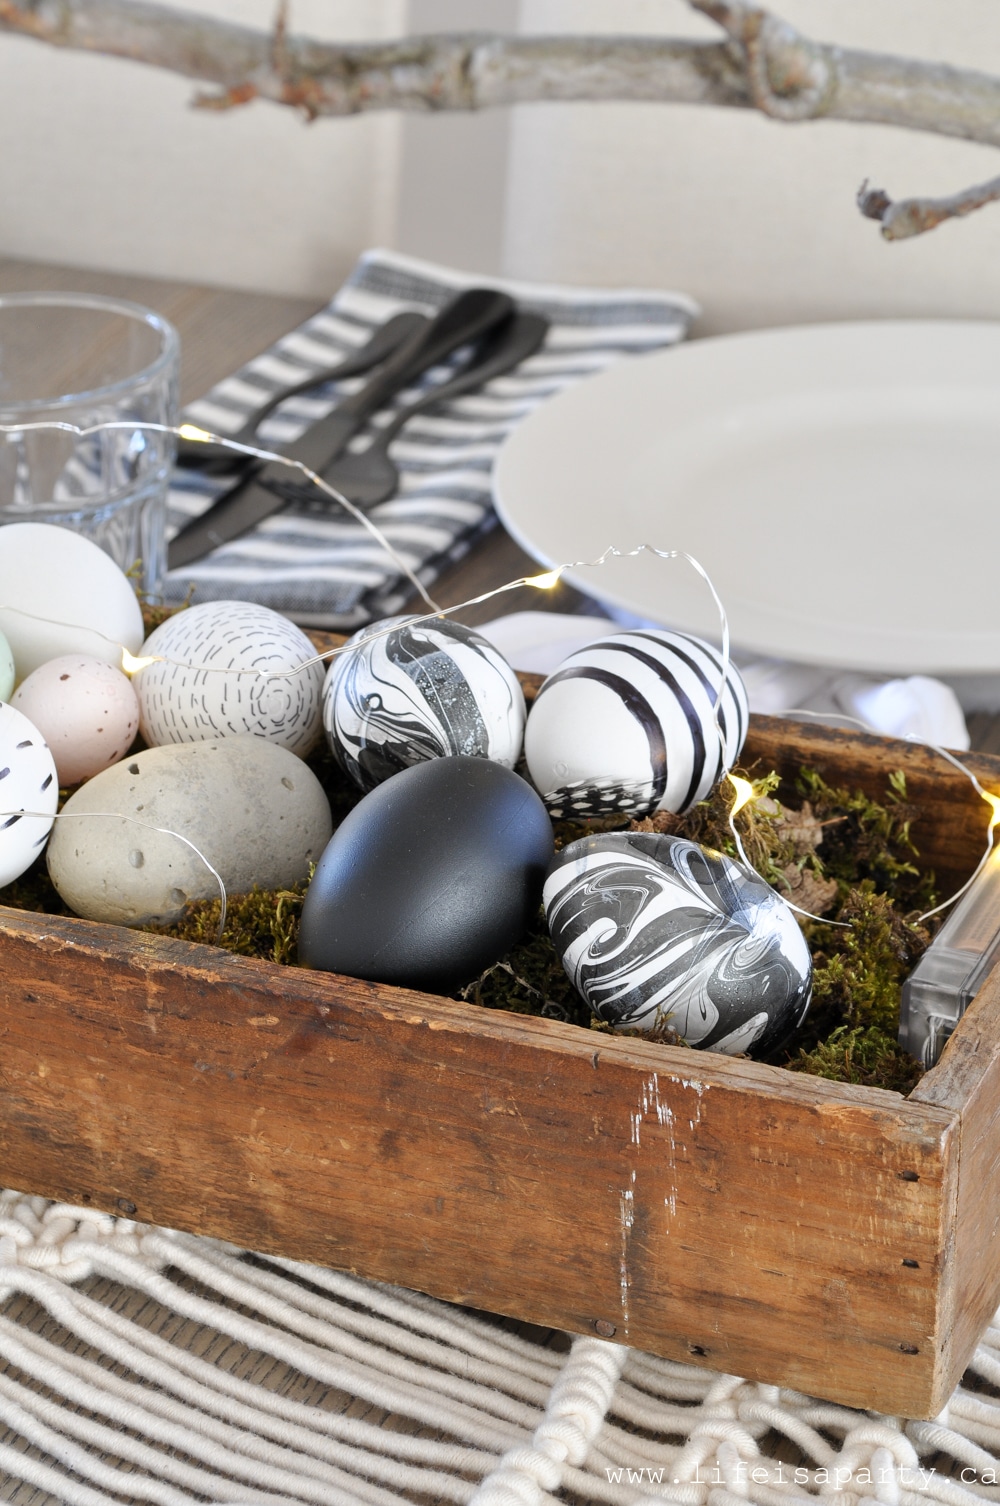
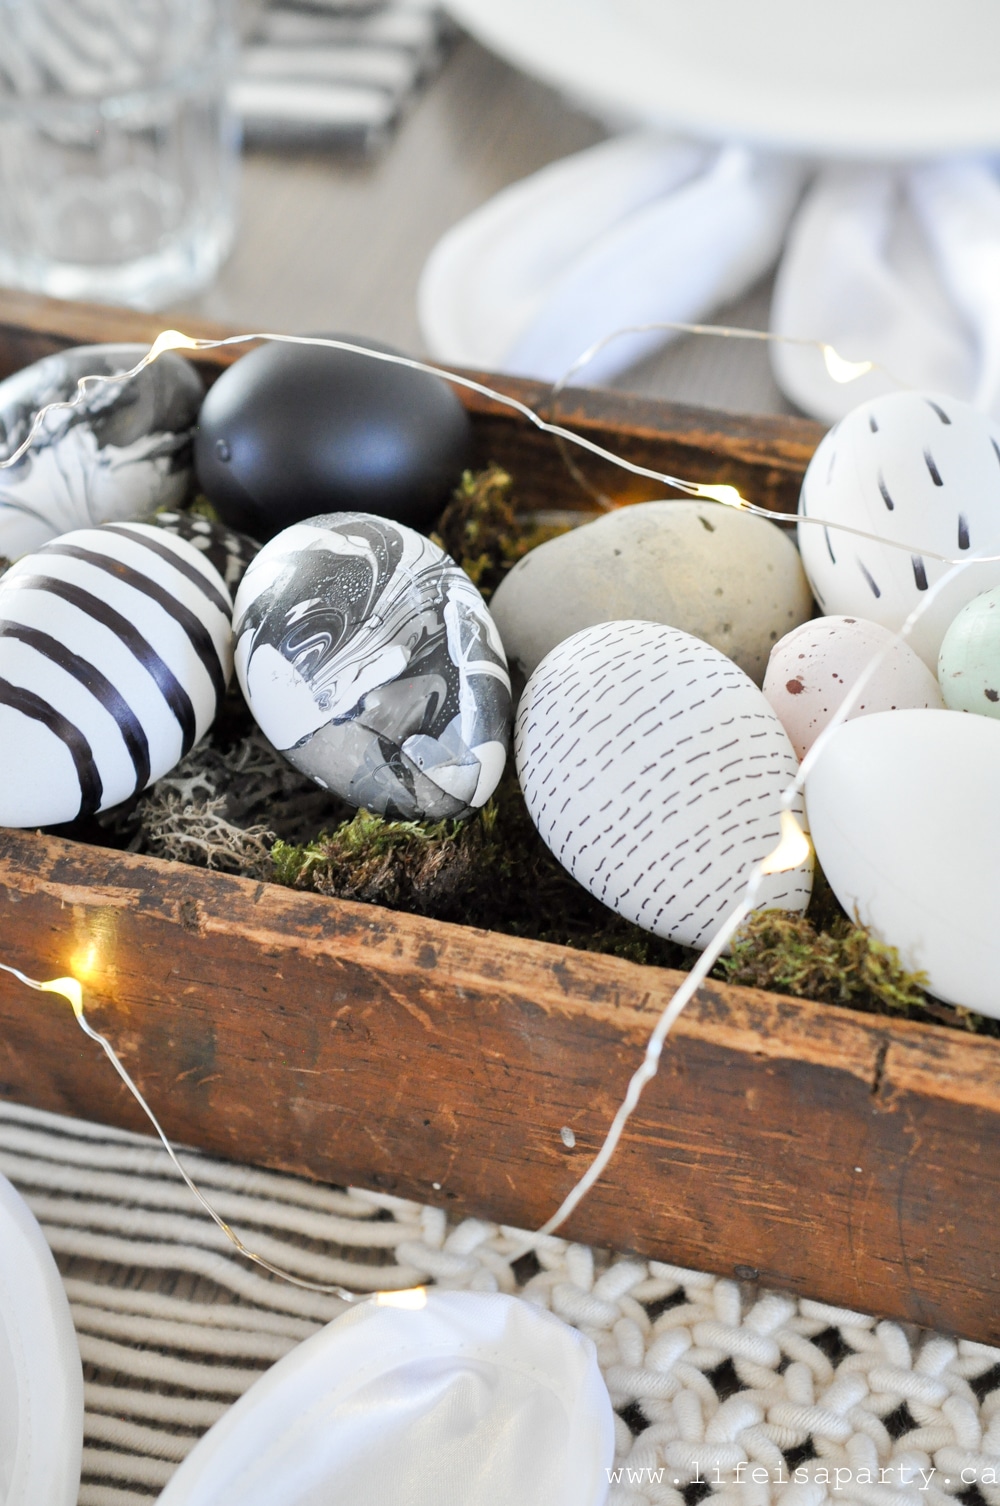
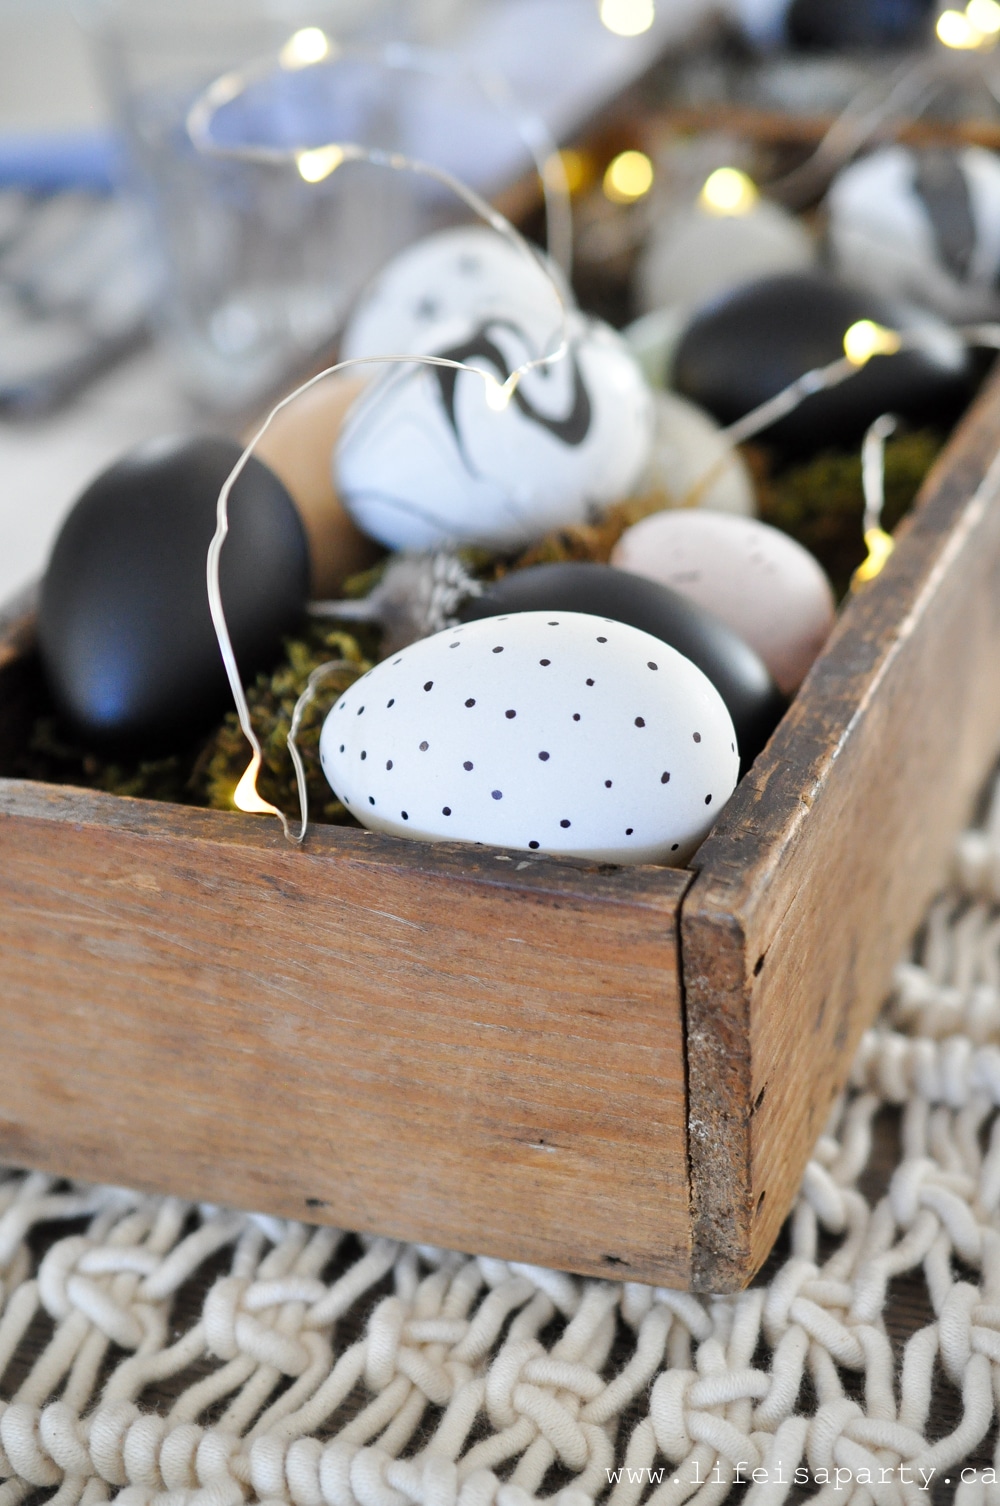
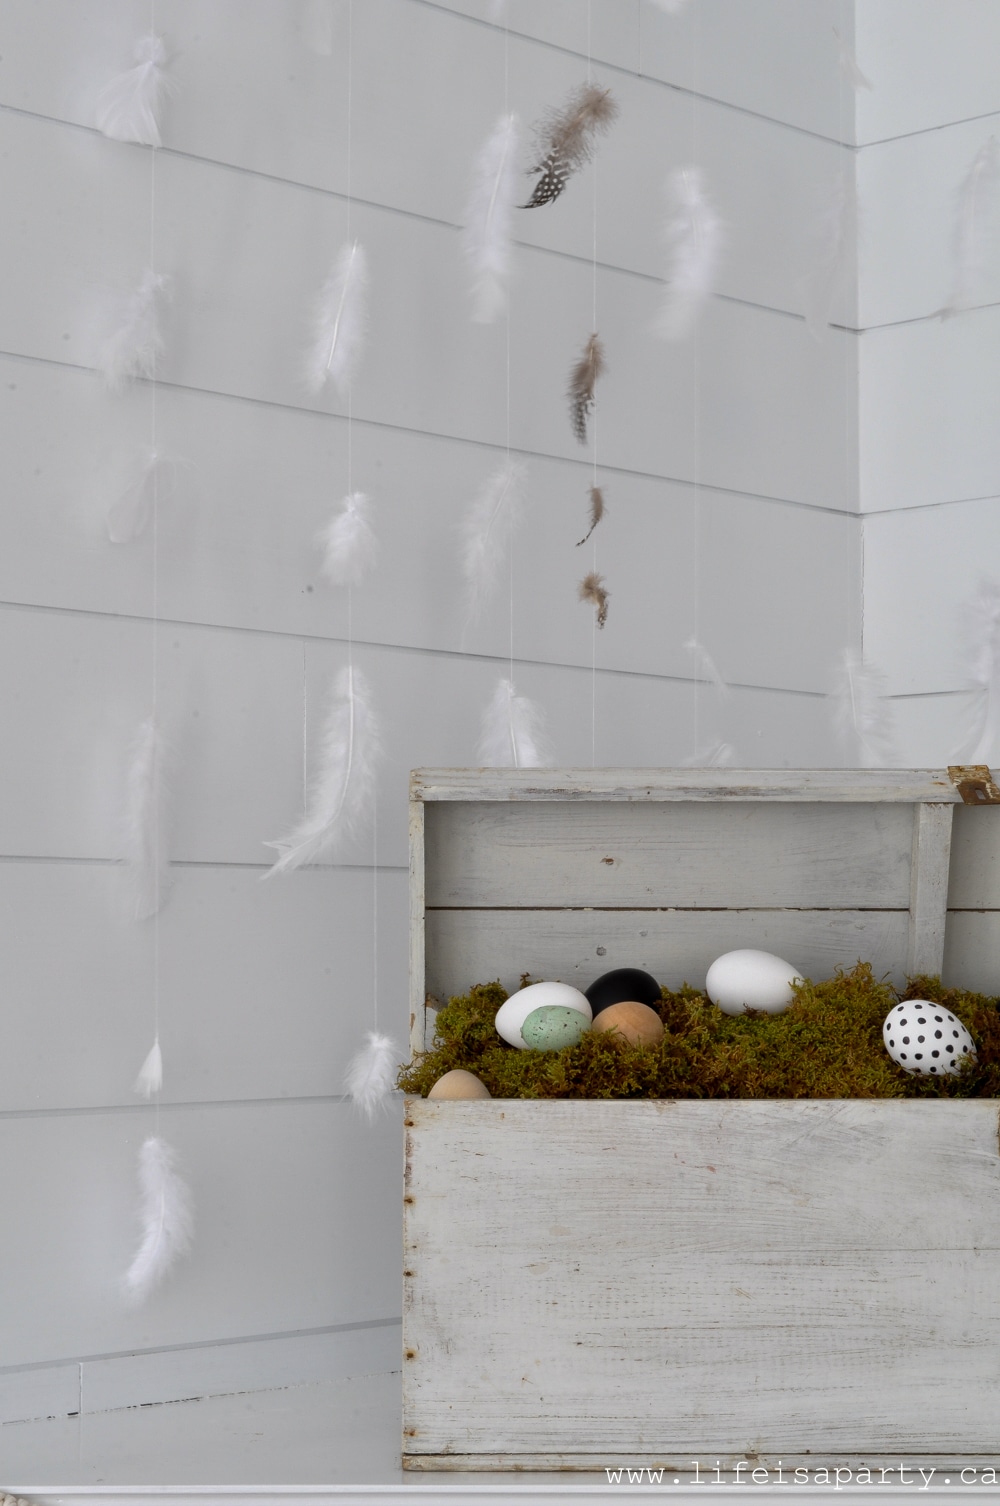
For an Easter centerpiece I did a mix of Easter eggs in an antique wooden box.    The box is one I found at an antique store and I love how the long narrow box, echos the long table.  The rich and rustic wood tone also helps add a little warmth to our black and white color scheme. The box was filled with moss first.  I used mainly green moss, but there's also a few pieces of grey moss.  Then I layered in an assortment of Easter eggs, and just a few feathers. I love how fun details like a few feathers add to the depth and interest in a display like this one.

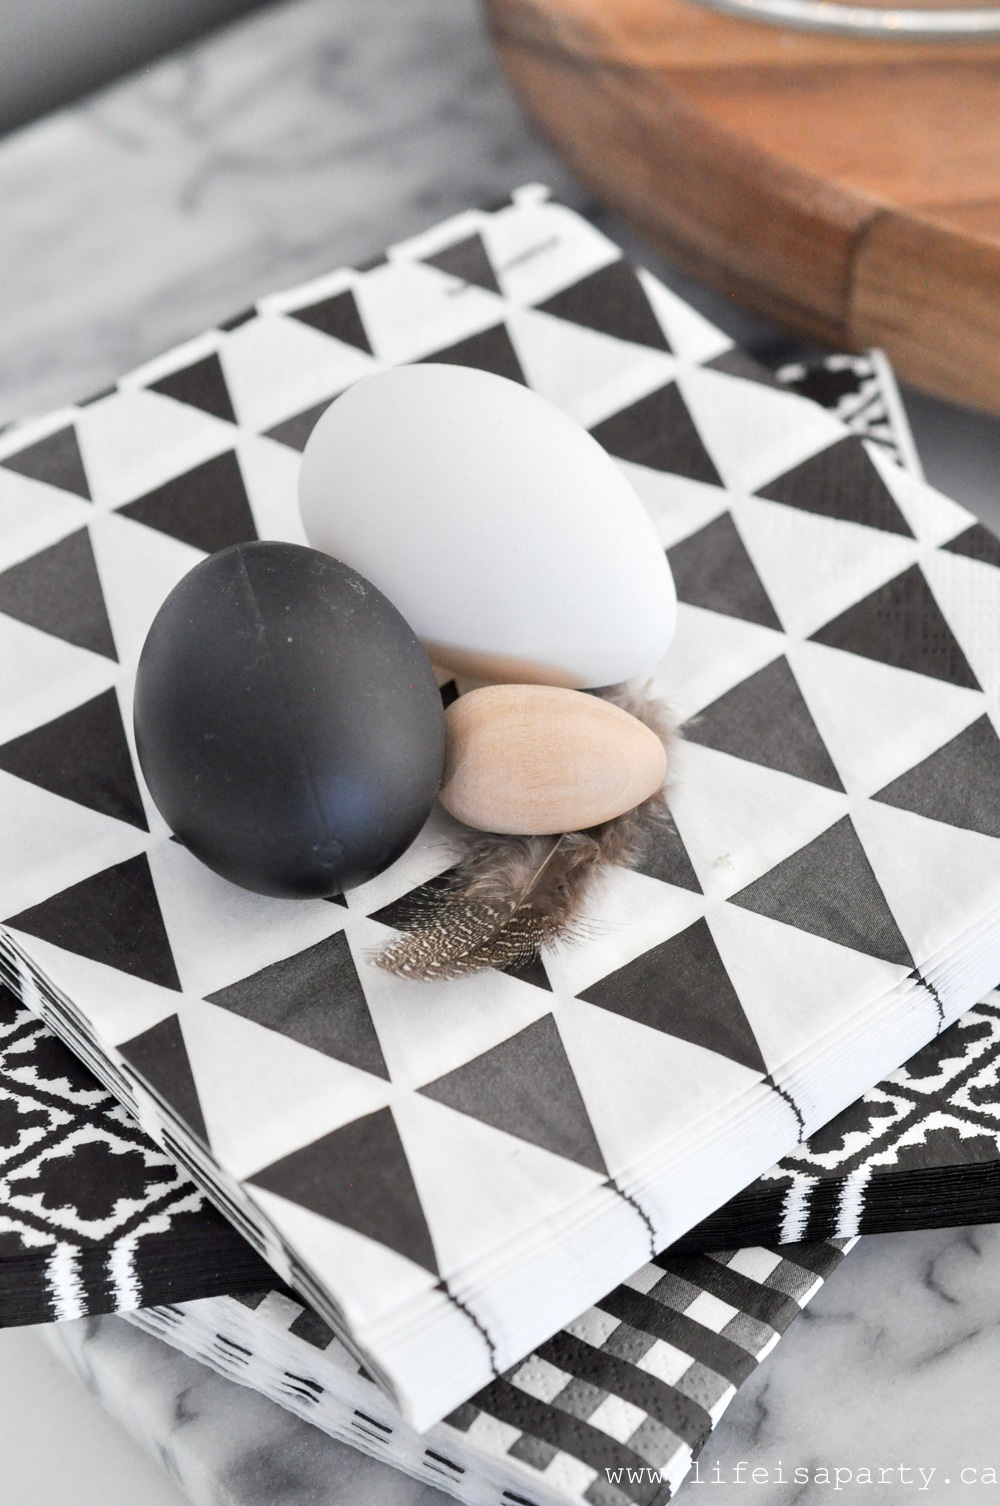
The white eggs, and some of my DIY Cement Easter eggs -check out the tutorial for them here, were the first ones I added to the display.  I also spray painted some of the white craft eggs with a matte black.  For a few of them I added some pattern to plain the white craft eggs with a simple sharpie marker.

My favourites are the black and white marble eggs.

Check here to see a tutorial of how I made the Black and White Marble Easter Eggs, including a video. They're so simple and are made from black and white nail polish.  There are some natural wood eggs, as a couple pastel eggs as well.  I also added a string of fairy lights for a little added sparkle.  I used this as a centerpiece for the table but these eggs would make beautiful black and white easter decor anywhere in your home.

Spring Branches

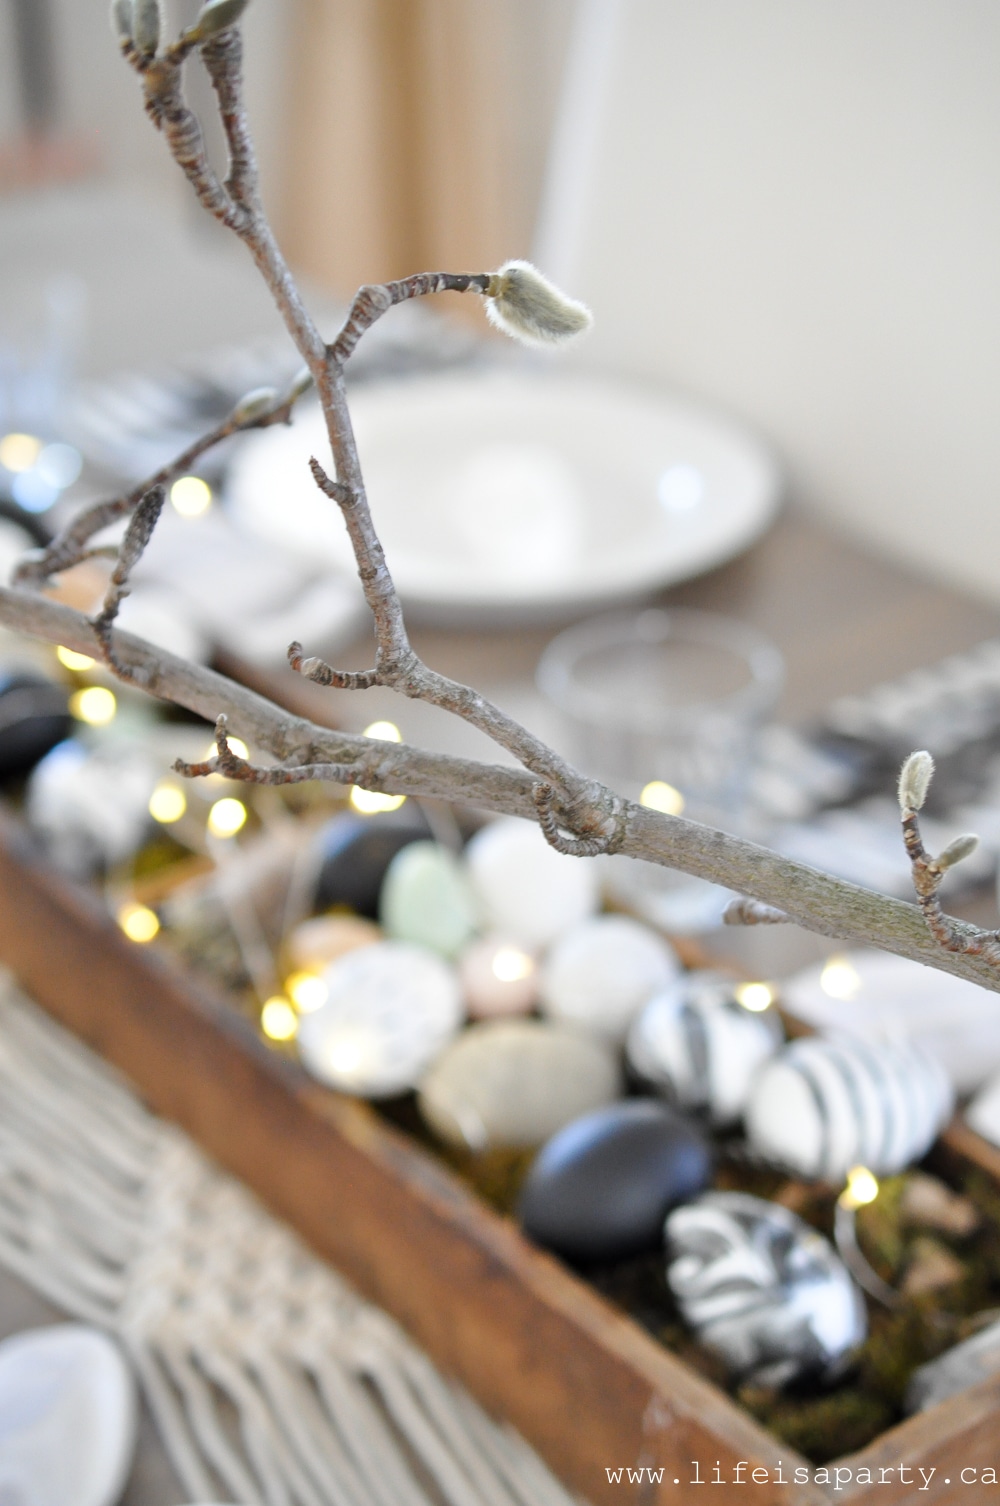
Instead of flowers I used a some spring branches.  This is actually magnolia and I'm hoping it will be blooming by Easter.

They take about 4 weeks in the house to force, so you might want to pick some now too. 😉  Or ask your florist if they have any ready to open.  In the between time while I wait for them to bloom, I love the rustic feel they give, and their fuzzy buds.  I put them in a old vintage black enamelware coffee pot I found at the thrift store.  And, I'll be trying really hard to check the water every few days.

Another fun DIY on the table, are these cement looking bunny rabbits -click here for the tutorial.  They're actually inexpensive ceramic bunnies from the dollar store who got a makeover to look like cement.  They would also be really cute on your porch as Easter door decor.  

Place Settings

For the actual place settings, I kept things really simple.  I used my everyday white dishes, and everyday water glasses.  The black and white striped napkins add a little pattern to the setting.  Buffalo check napkins would be a great choice too.  The black cutlery is like the jewelry of the table and adds a little modern sophistication to my quirky Easter table.

I love how the black and white decor in the dining room turned out and how simple it is.  Don't forget to grab your bunny ears and tails at the dollar store while you can still find enough matching sets for your whole table, or order them online so you have them in time..

With a black and white Easter table, life really is a party!

More Easter Inspiration

Love this black and white Easter tablescape?  Check out my spring home tour for even more ideas.

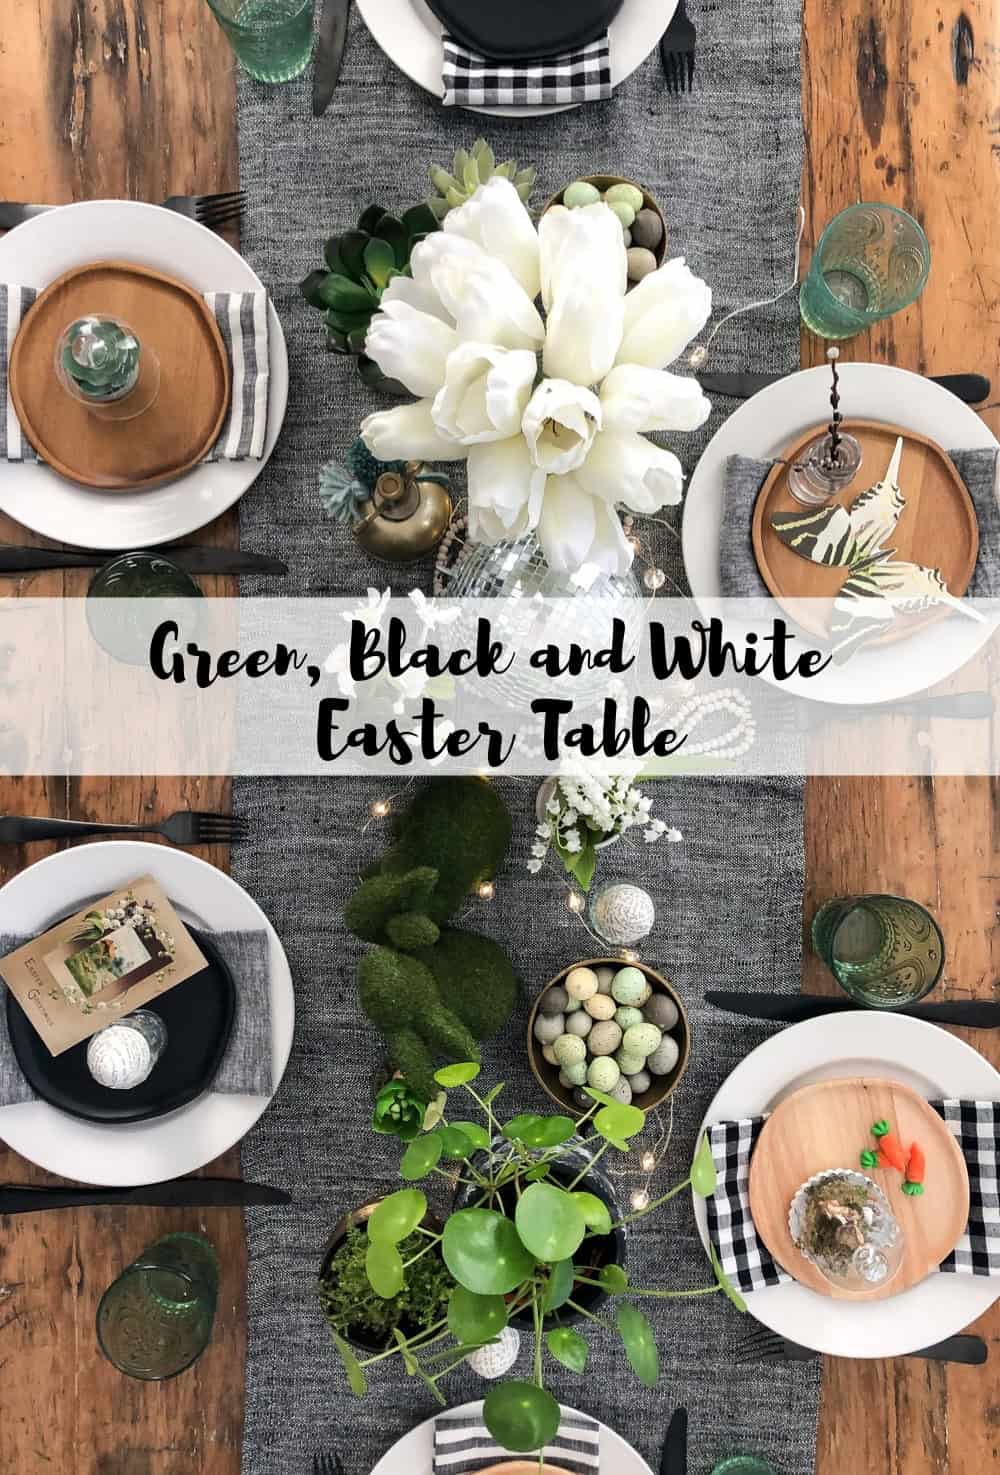
Also you might like to check out these Green, Black, and White Easter Table Ideas here.
Green, Black and White Easter Table: 8 different place settings to give you lots of inspiration for setting an extra special Easter Table.

Spring Farmhouse Decorating Home Tour

Mar 5, 2018 · 42 Comments

Black and white spring decor.

Spring Farmhouse Decorating Home Tour: Black and white spring home tour with some pops of pastels and rustic farmhouse style.

Black and white spring decor.
[feast_advanced_jump_to]
Black and white spring home tour

Temperatures were spring like last week for a few days, and I even managed to get out and collect some pussy willows and a sweet little abandoned nest from last year.  I'm so excited to have my house looking a little spring like too, and share with you.  This year I stuck with my black and white base and added a few little hits of pastels.  I love how it turned out.  The black and white feels kind of crisp and fresh and with lots of fresh greens (and even some faux greens and flowers) it's very spring-y too.

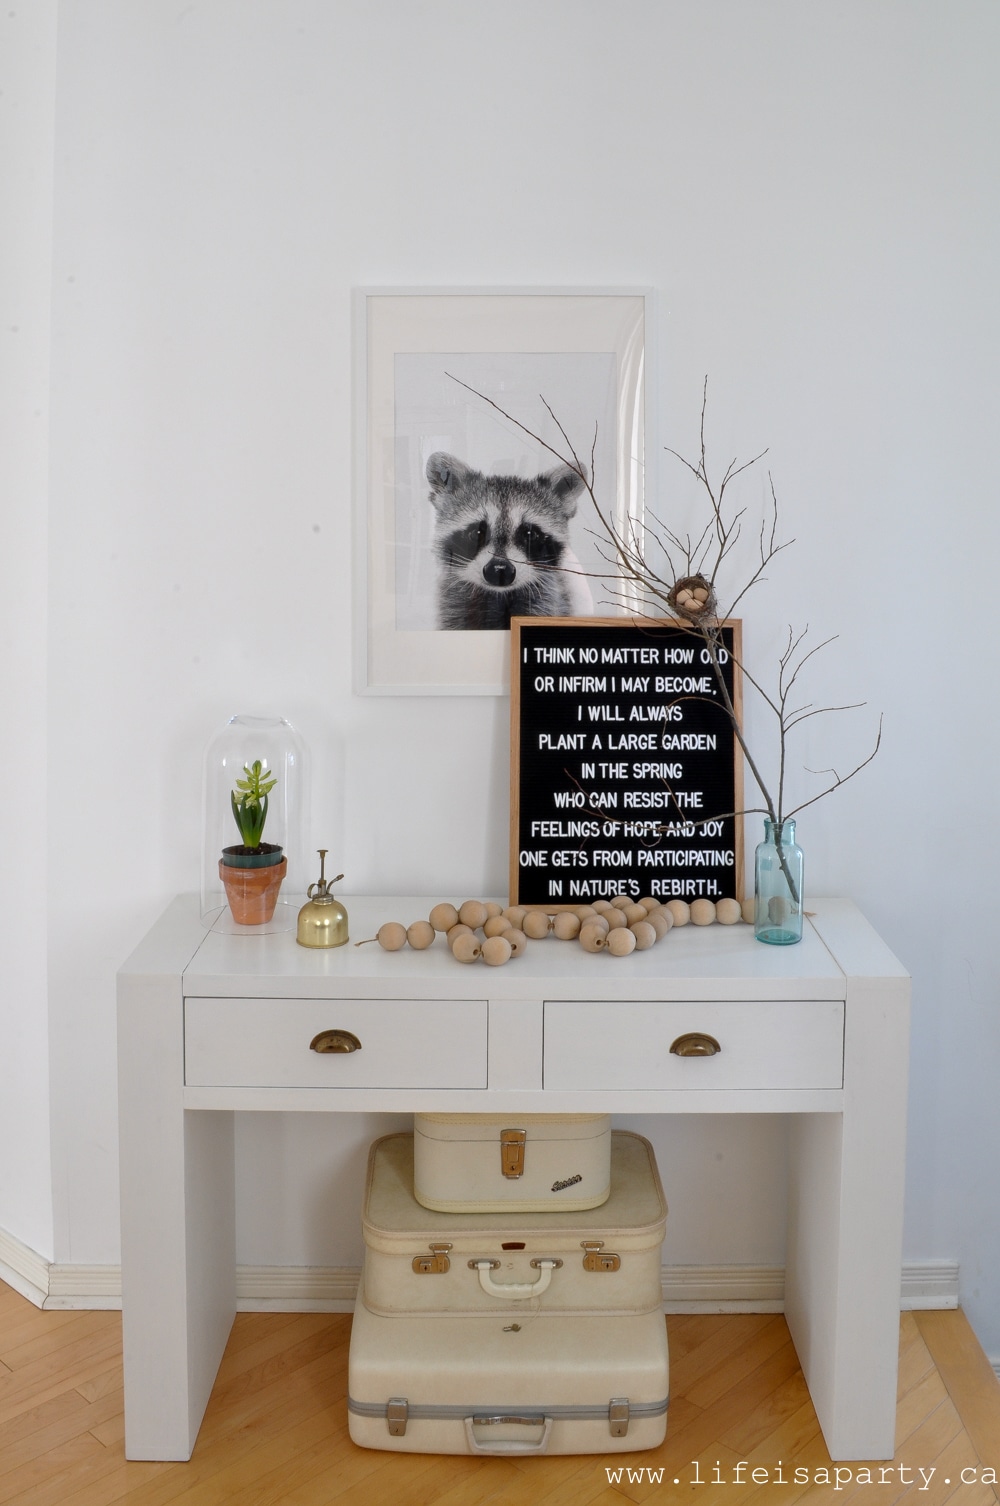
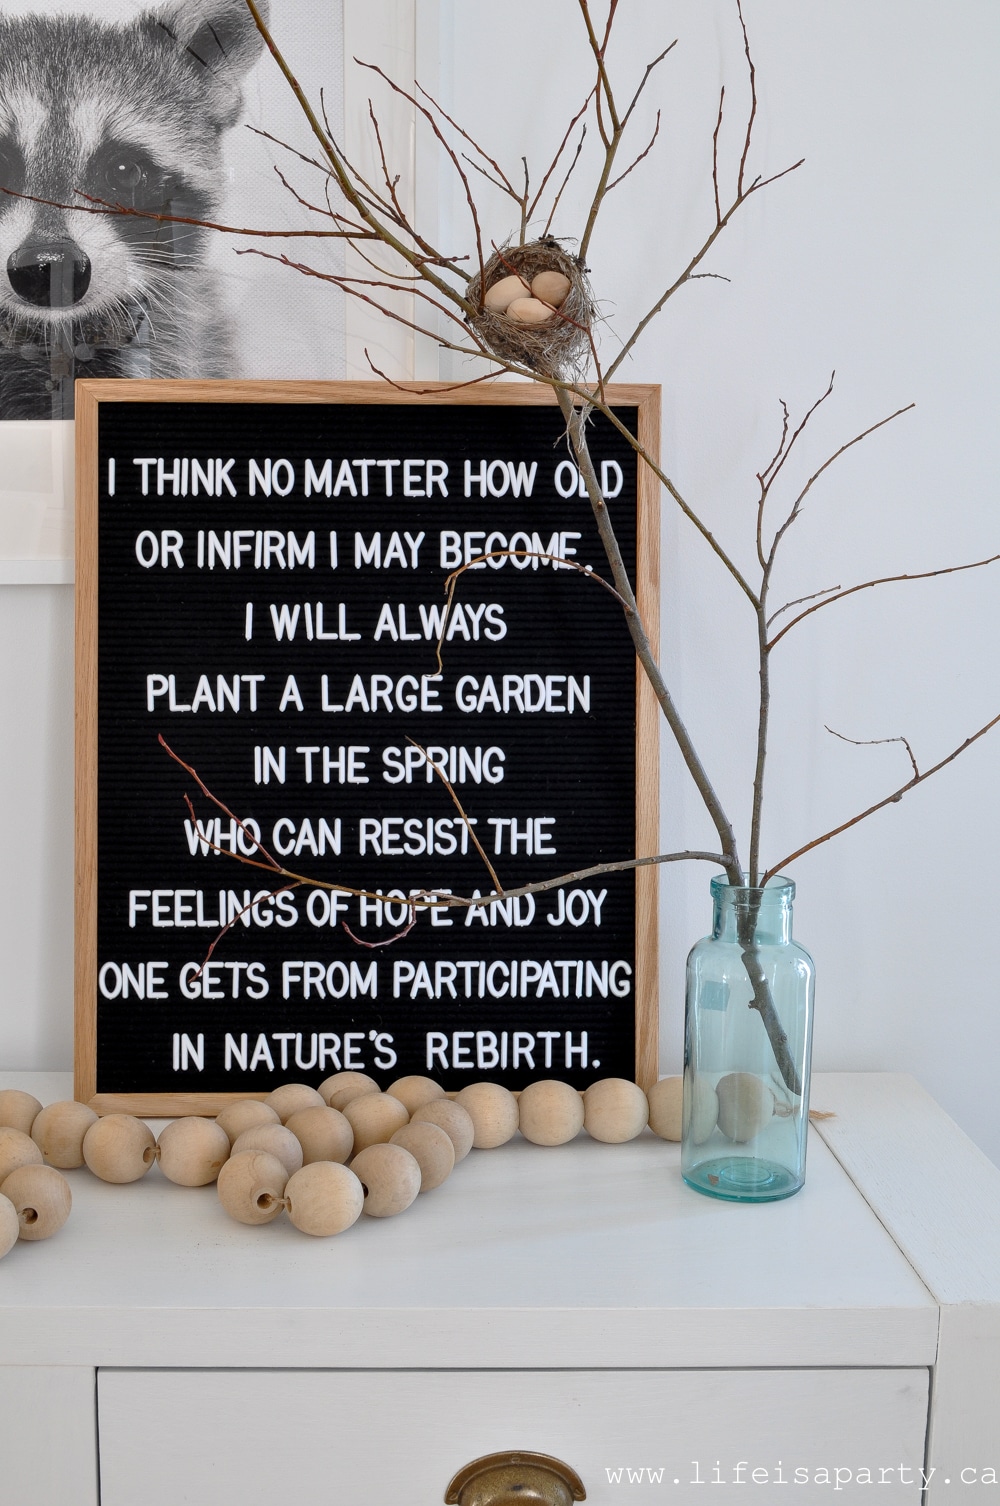
spring letter board

When I was a child I really didn't see the point of gardening, and thought it was such a waste of time.  But as I get older, I just can't wait for spring and to see what's coming up in the garden.  I don't have quite as much time as I'd like to keep my garden perfectly weeded, but I do love to see what's blooming and growing.  And there truly is nothing quite like vegetables right out of the garden.

Spring farmhouse decorating

Spring Farmhouse Decorating in the Dining Room

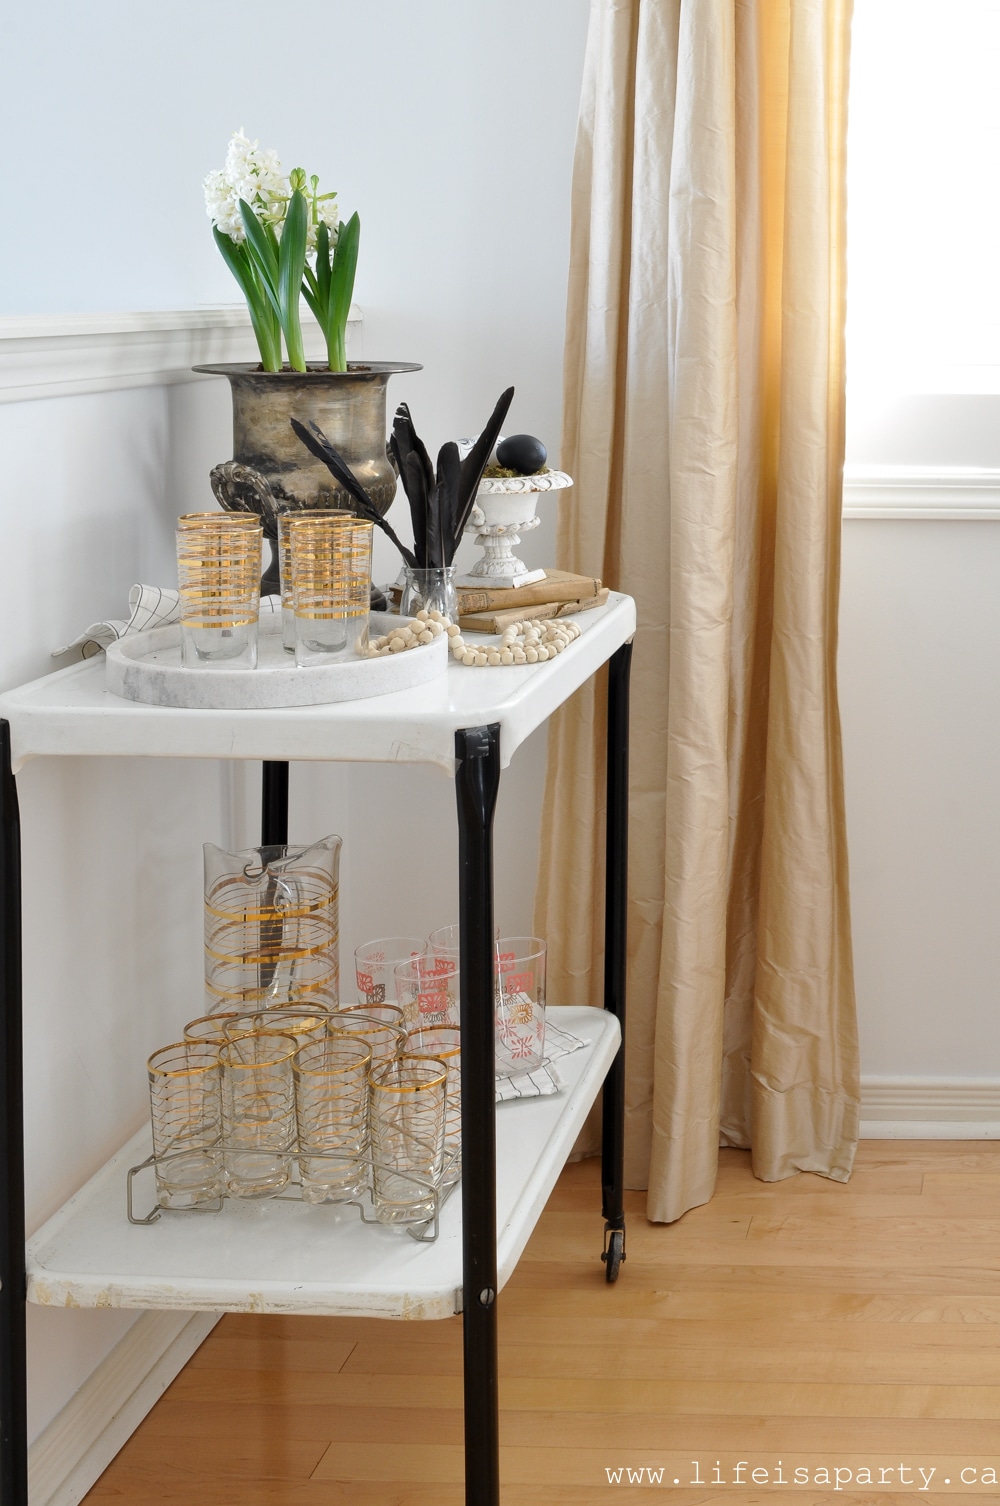
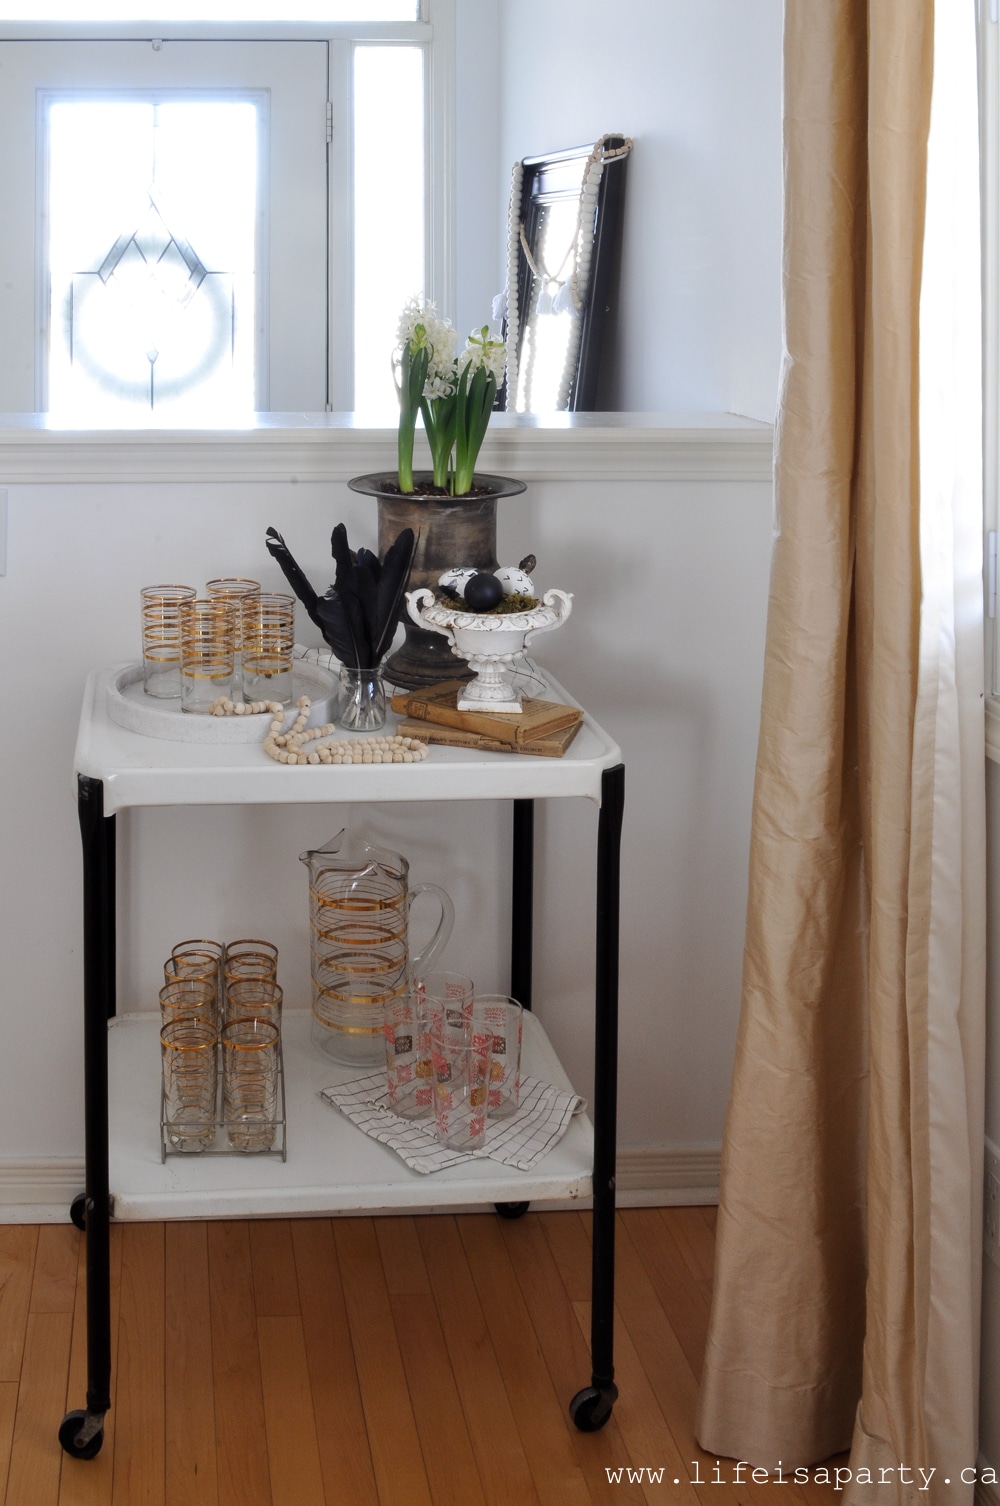
My little console table and bar cart are just inside the door in the dining room, so we'll start our home tour there.
spring bar cart

I tried to keep things quite black and white, so I made some black and white Easter eggs this year.

Spring farmhouse decorating home tour

The table is set the for Easter, and I'm sharing all the details of the Black and White Easter Table here.
black and white Spring farmhouse decorating

I wasn't 100% sure about a black and white Easter table, but I LOVE how it turned out.

Favourite detail ...has to be the bunny ears and tails.  More details on Wednesday, but seriously, how cute!  😉

modern farmhouse Spring Home Tour

And this simple centrepiece full of my DIY'd black and white Easter eggs.  I'll be sharing a video on the nail polish marbled eggs soon.  The others are simple black matte spray paint, and drawn on with a black sharpie.  You can find the tutorial for the cement Easter eggs here.
black and white modern farmhouse spring home tour

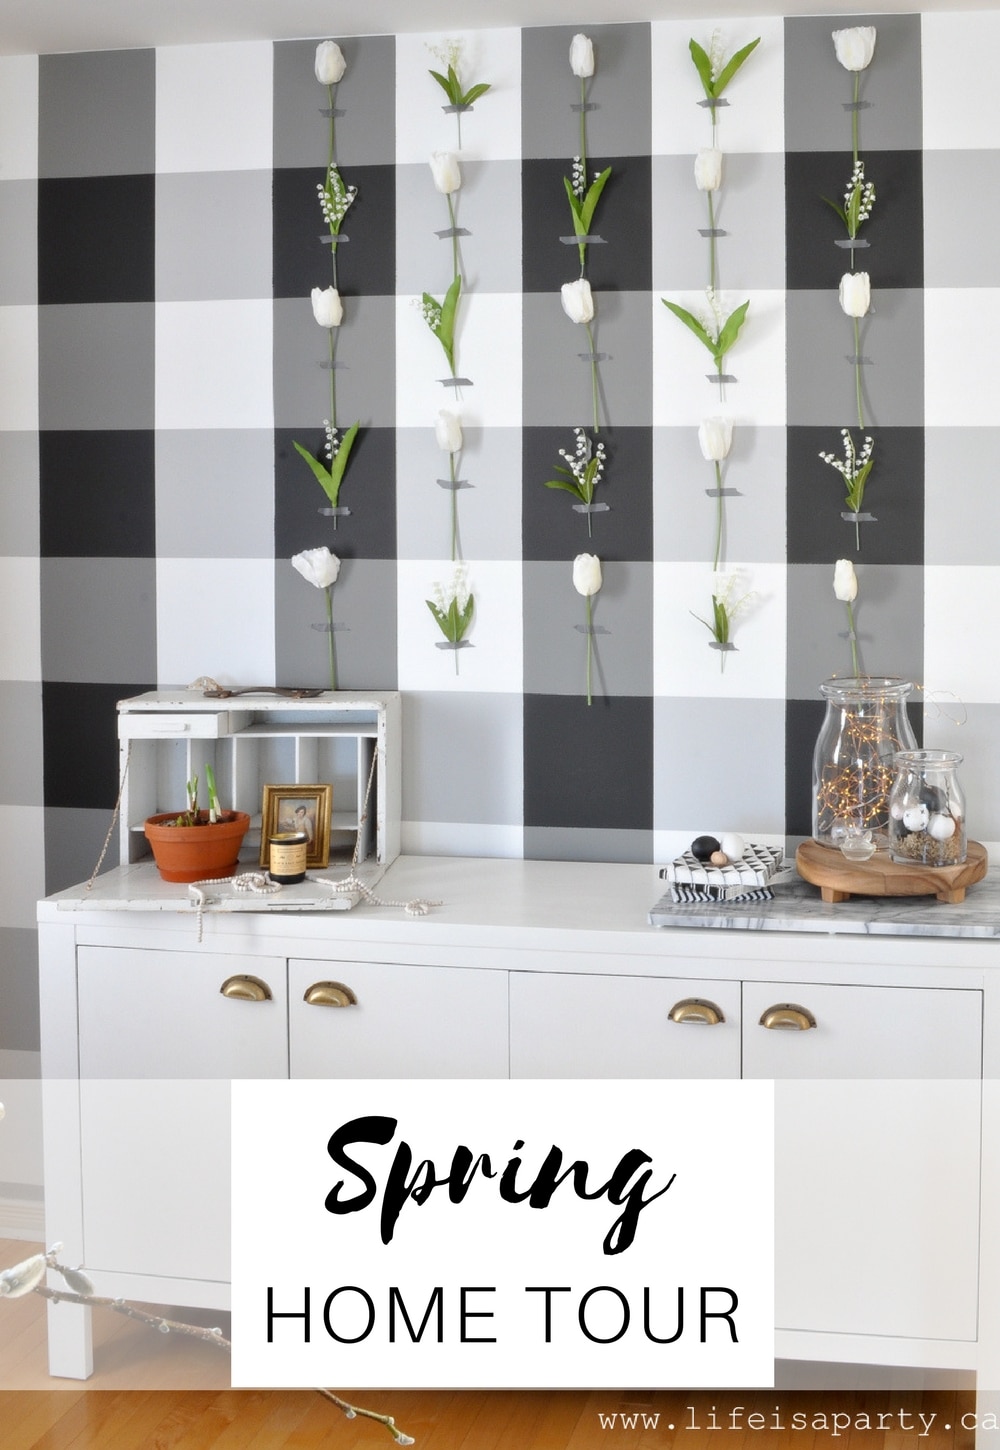
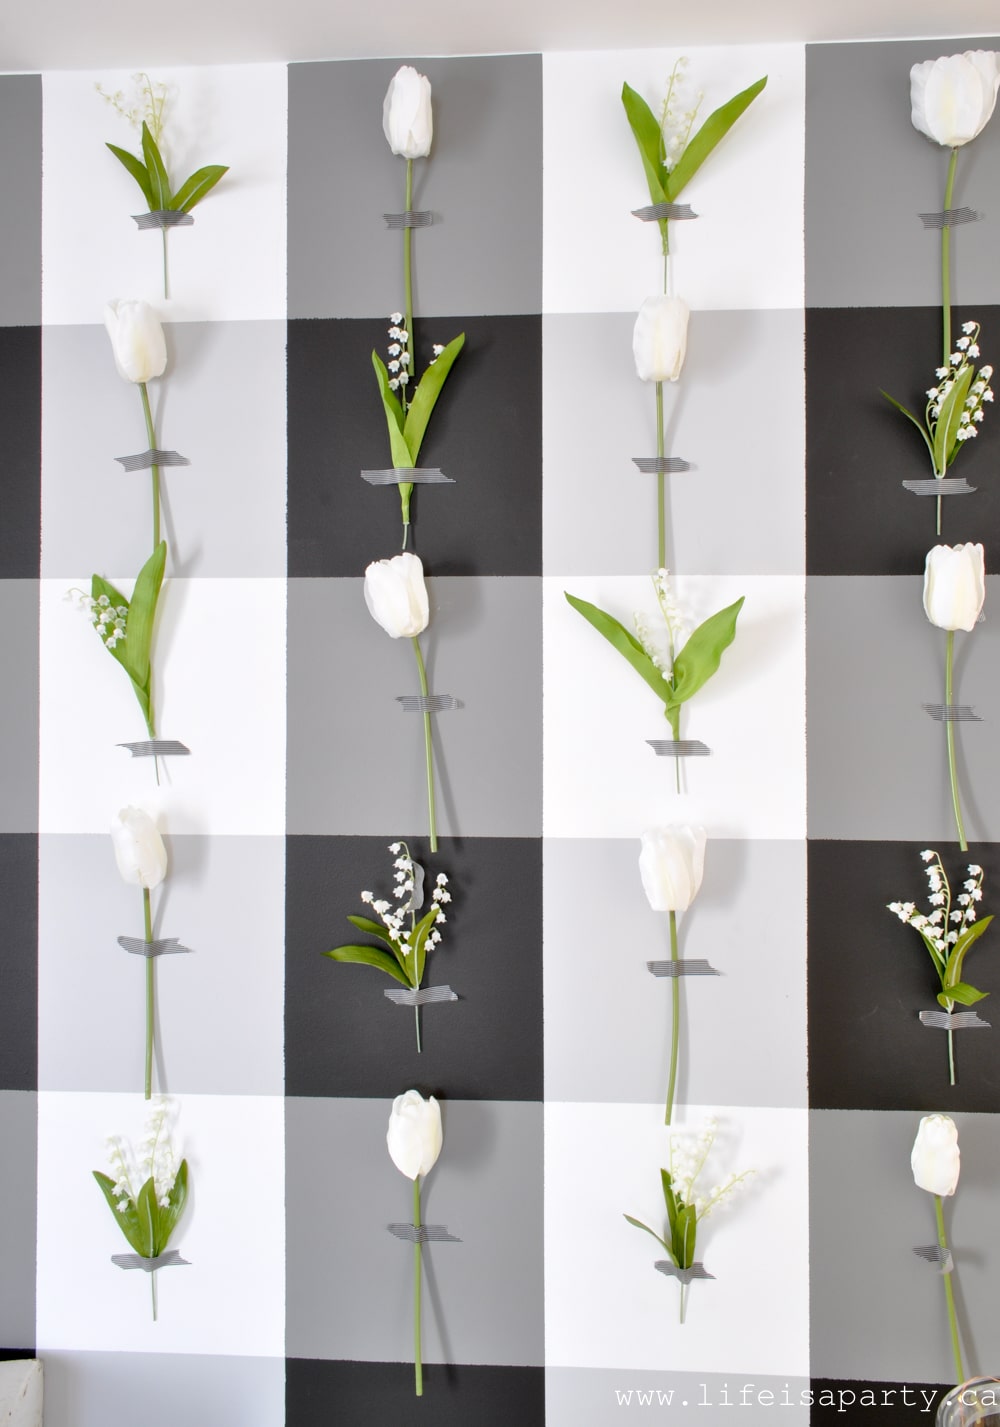
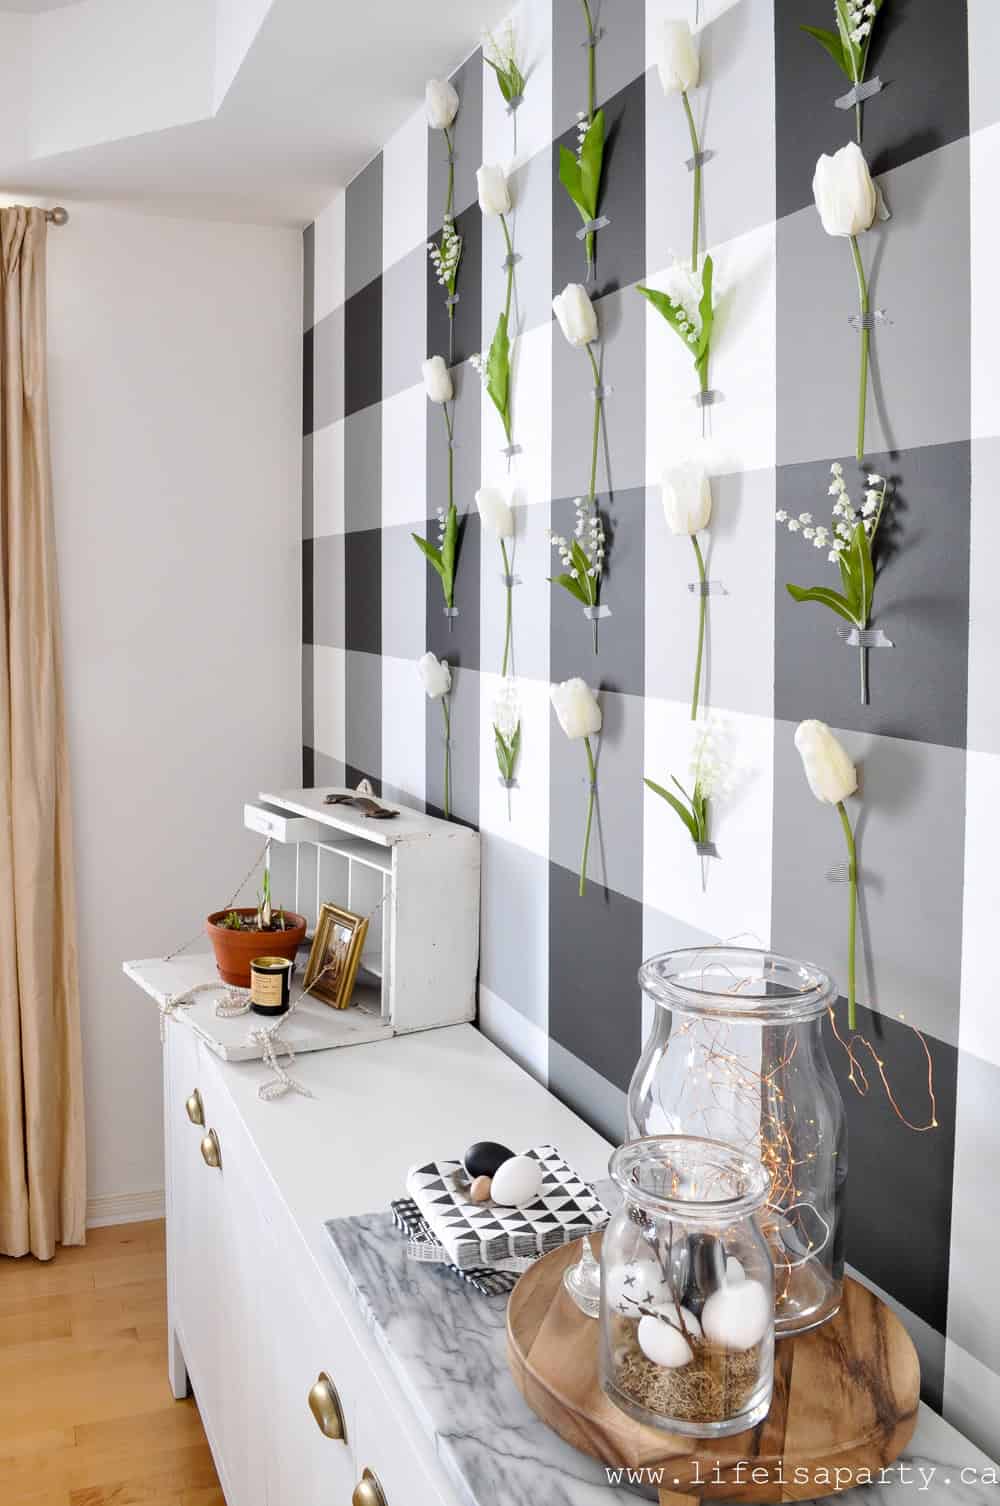
Black and White Buffalo Check Wall

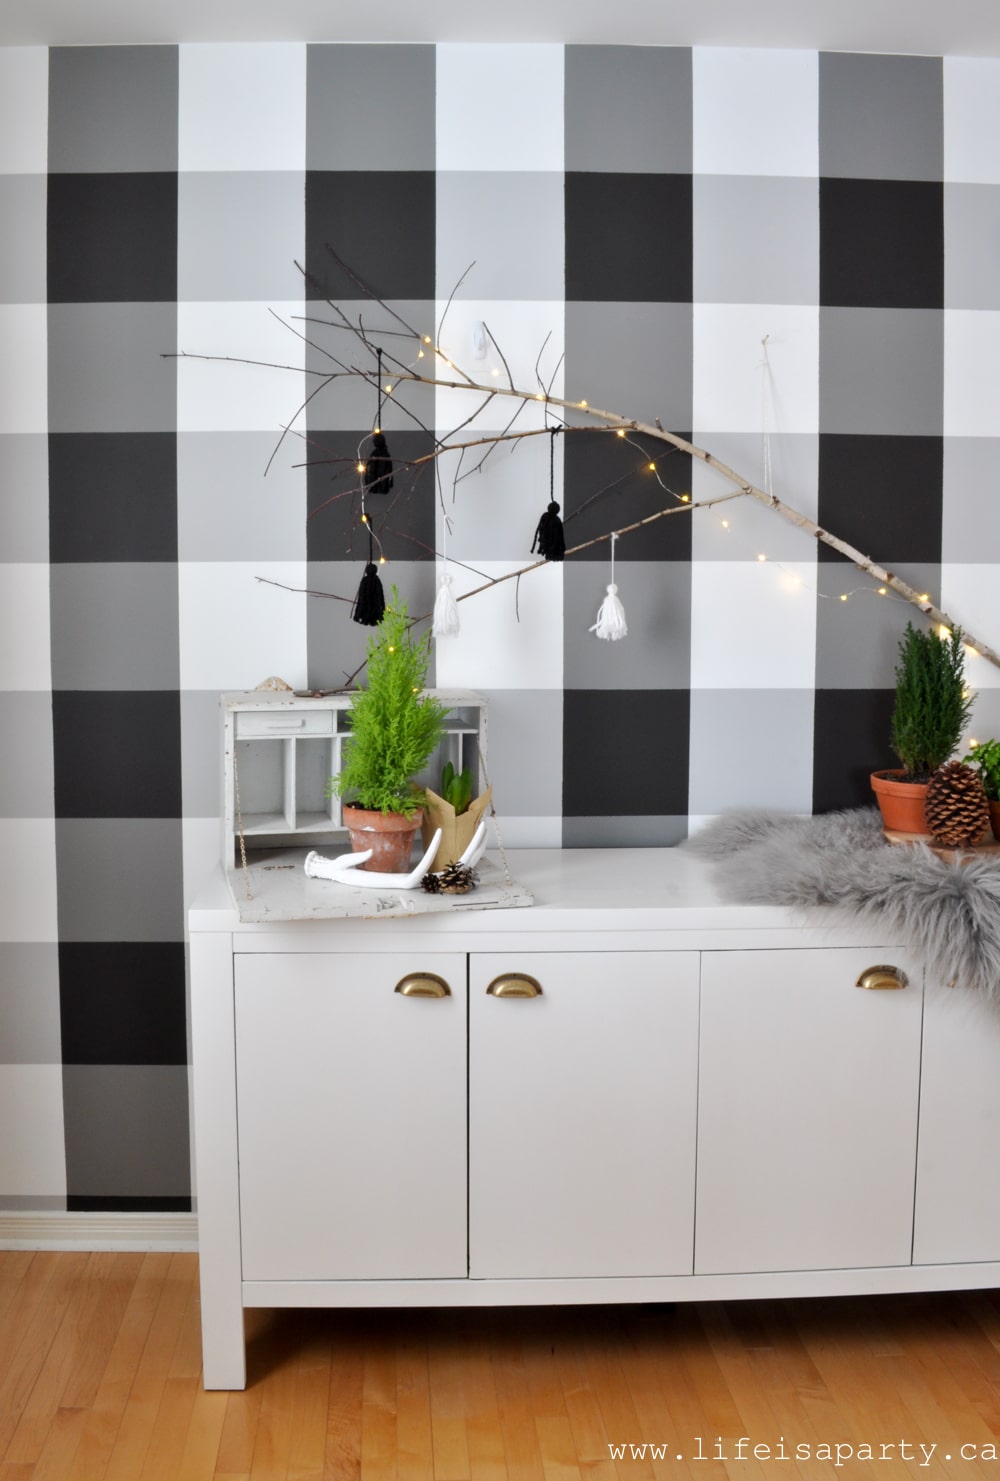
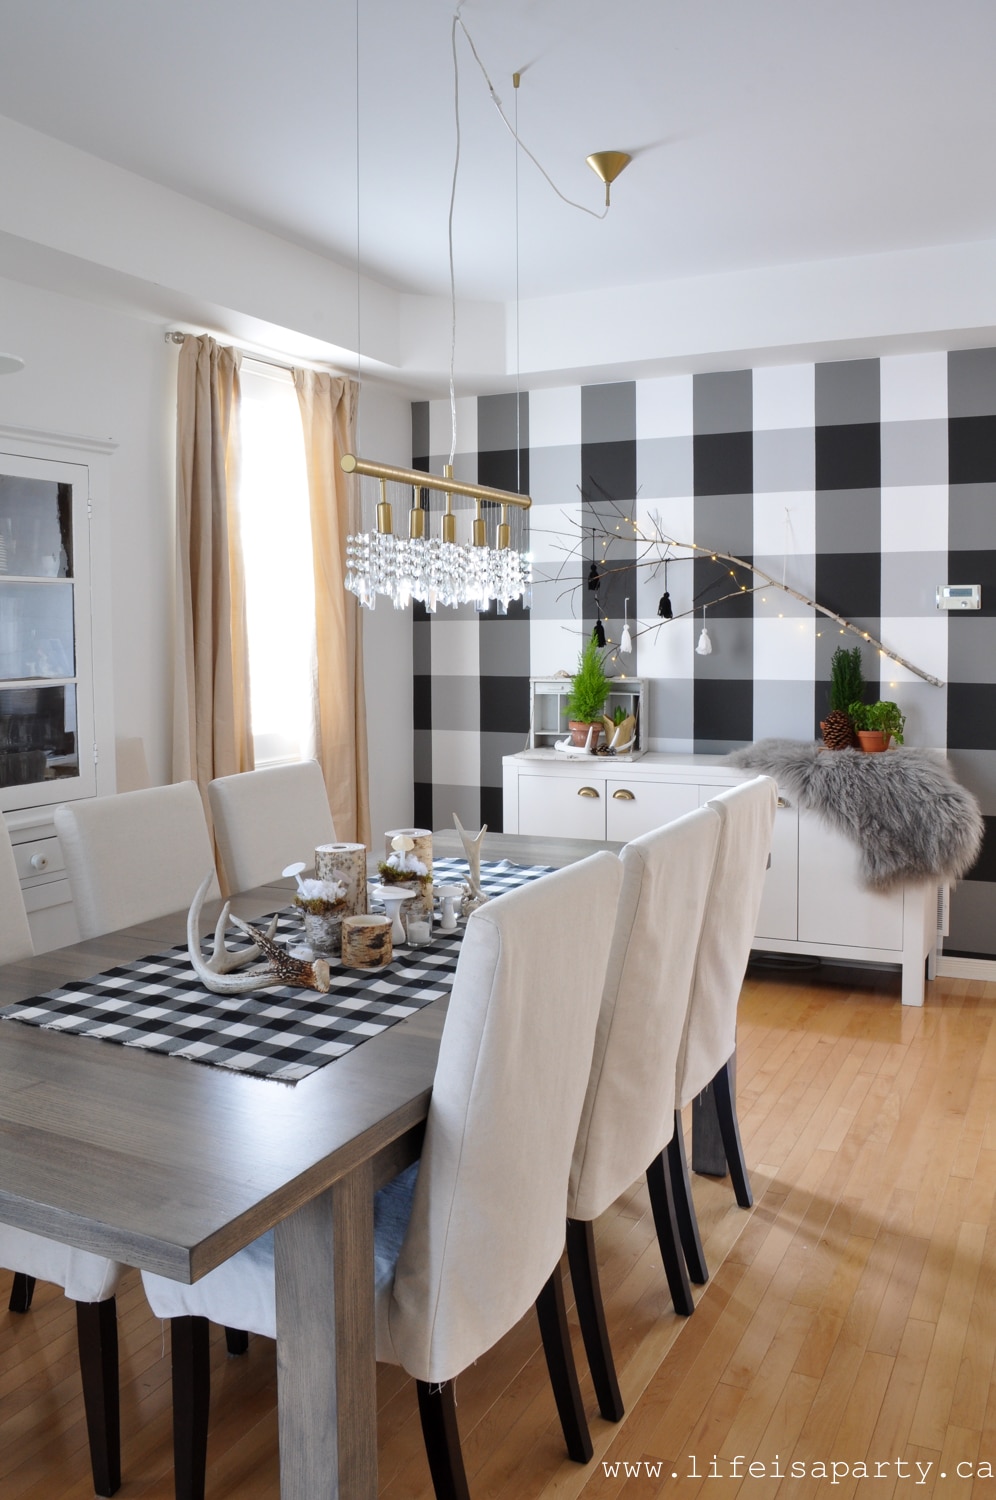
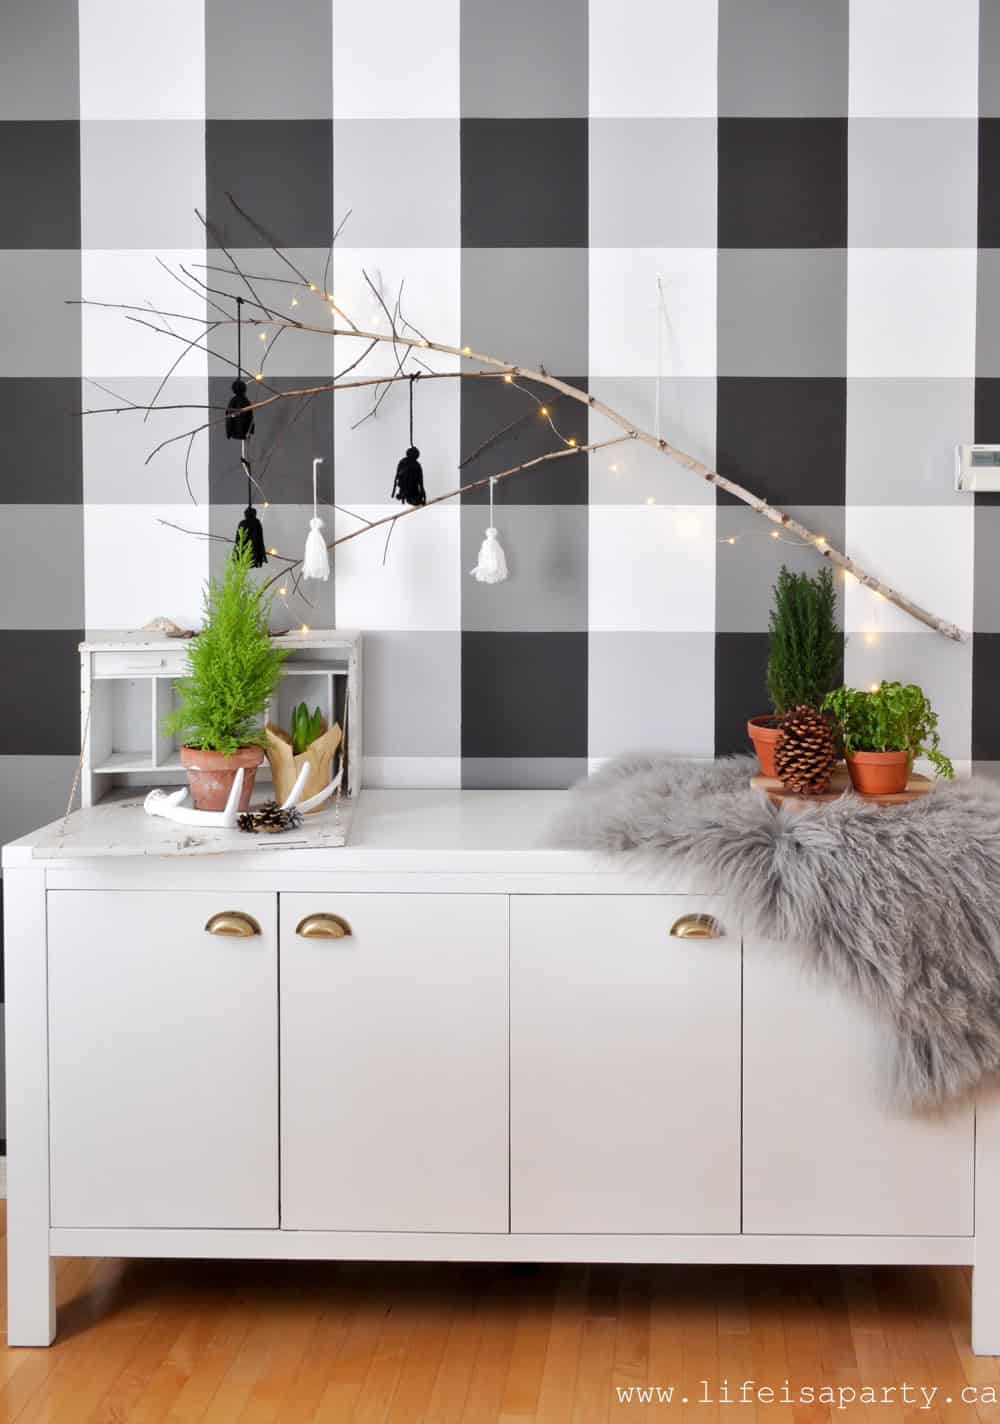
My black and white buffalo check wall got a fun update for spring too.  See the tutorial on how I painted the Black and White Buffalo Check Feature Wall it here.

spring farmhouse decorating

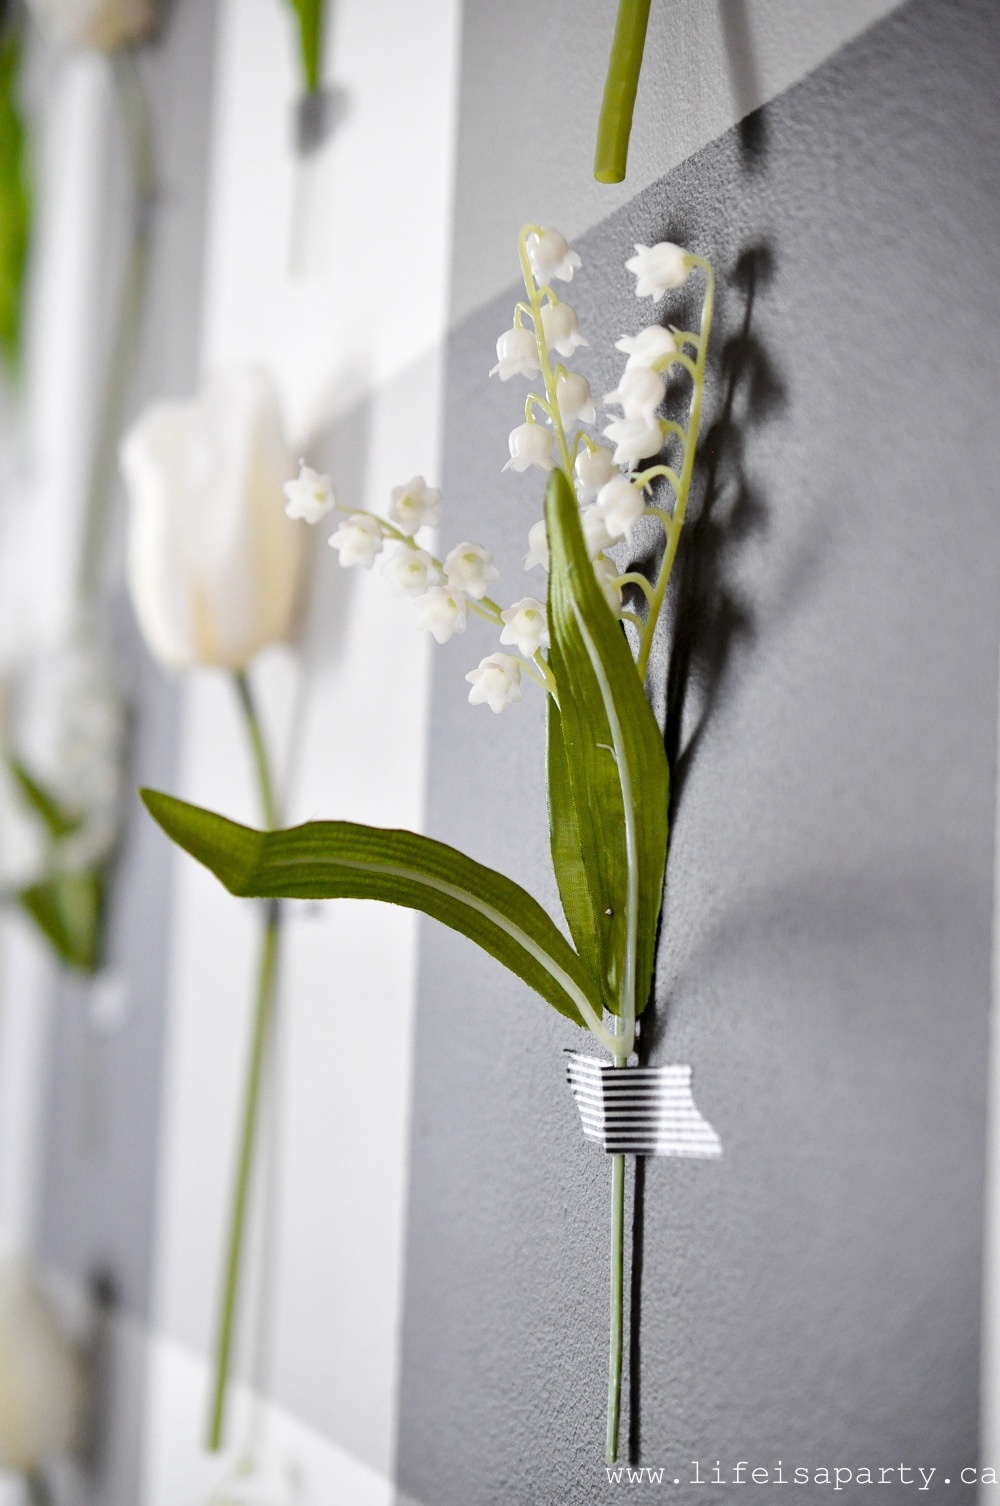
I used simple faux flowers -just lily-of-the-valley and white tulips to create some 3-D wall art.

black and white accent feature wall

It was really simple to do and adds so much drama to the space.

spring decor ideas

The flowers are held in place with a simple straight pin, and then there's a little washi tape making them look taped to the wall.

I did start out with just washi tape, then added clear cello tape underneath for more strength, but they kept falling down.  My sister had the great idea to use pins, and it worked perfectly

black and white spring decor
Black and white spring home tour

And a few more black and white touches.

Now from the dining room into the living room.

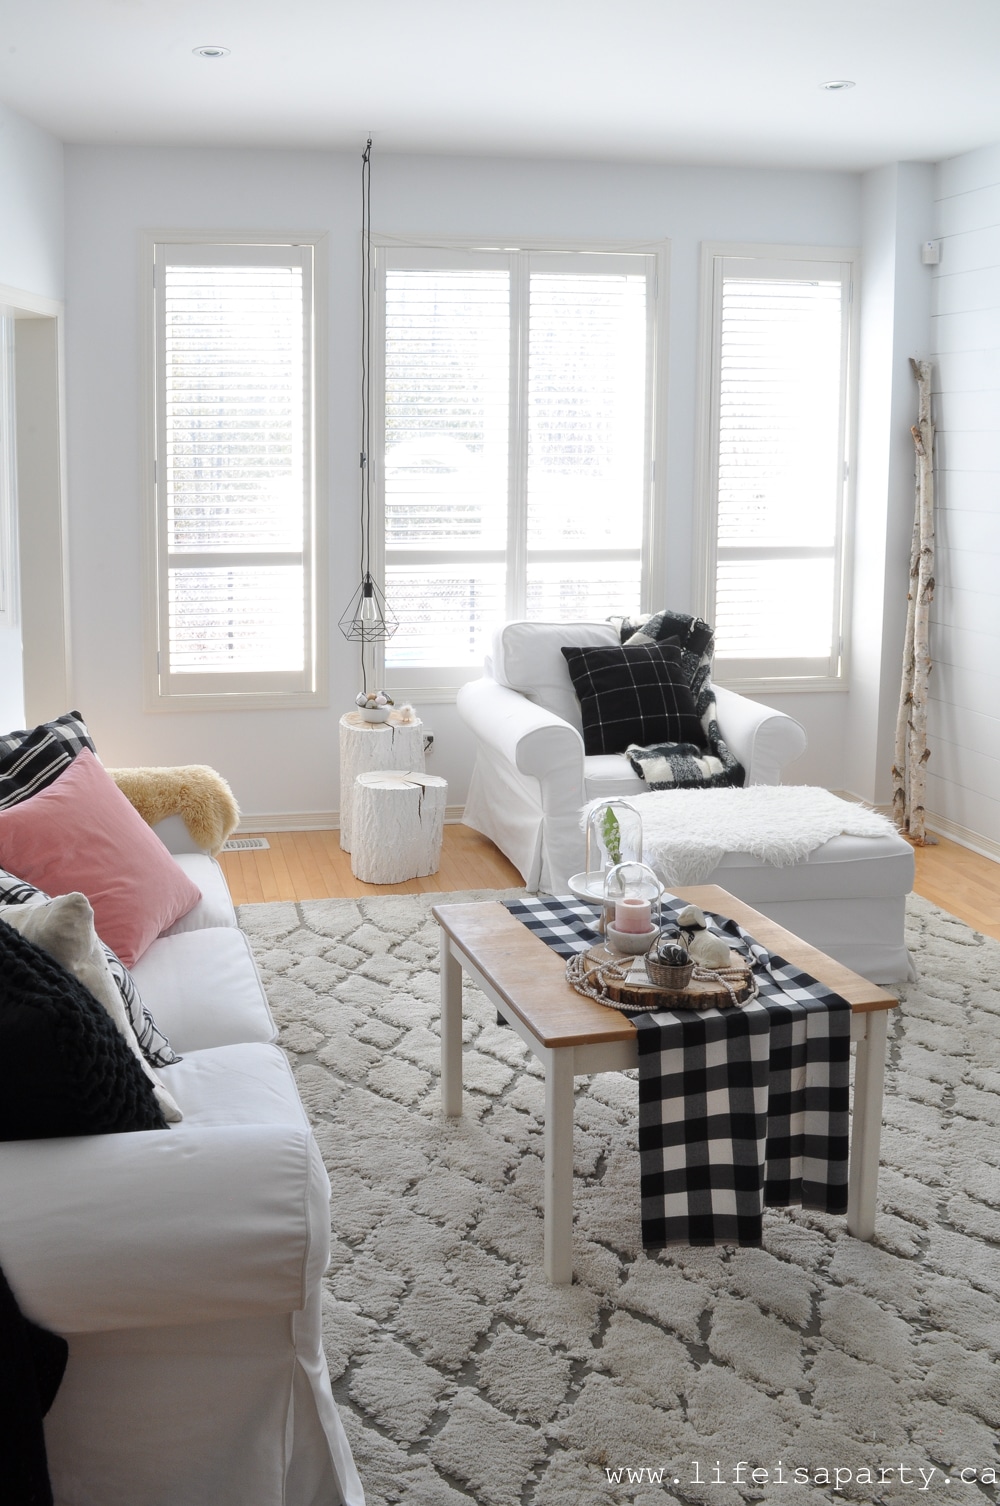
The Living Room

Black and white spring decor

I've carried the black and white check into here as well, but there's a few little pastel pops of colour too.

Spring Farmhouse Decorating on The Mantel

spring mantel ideas

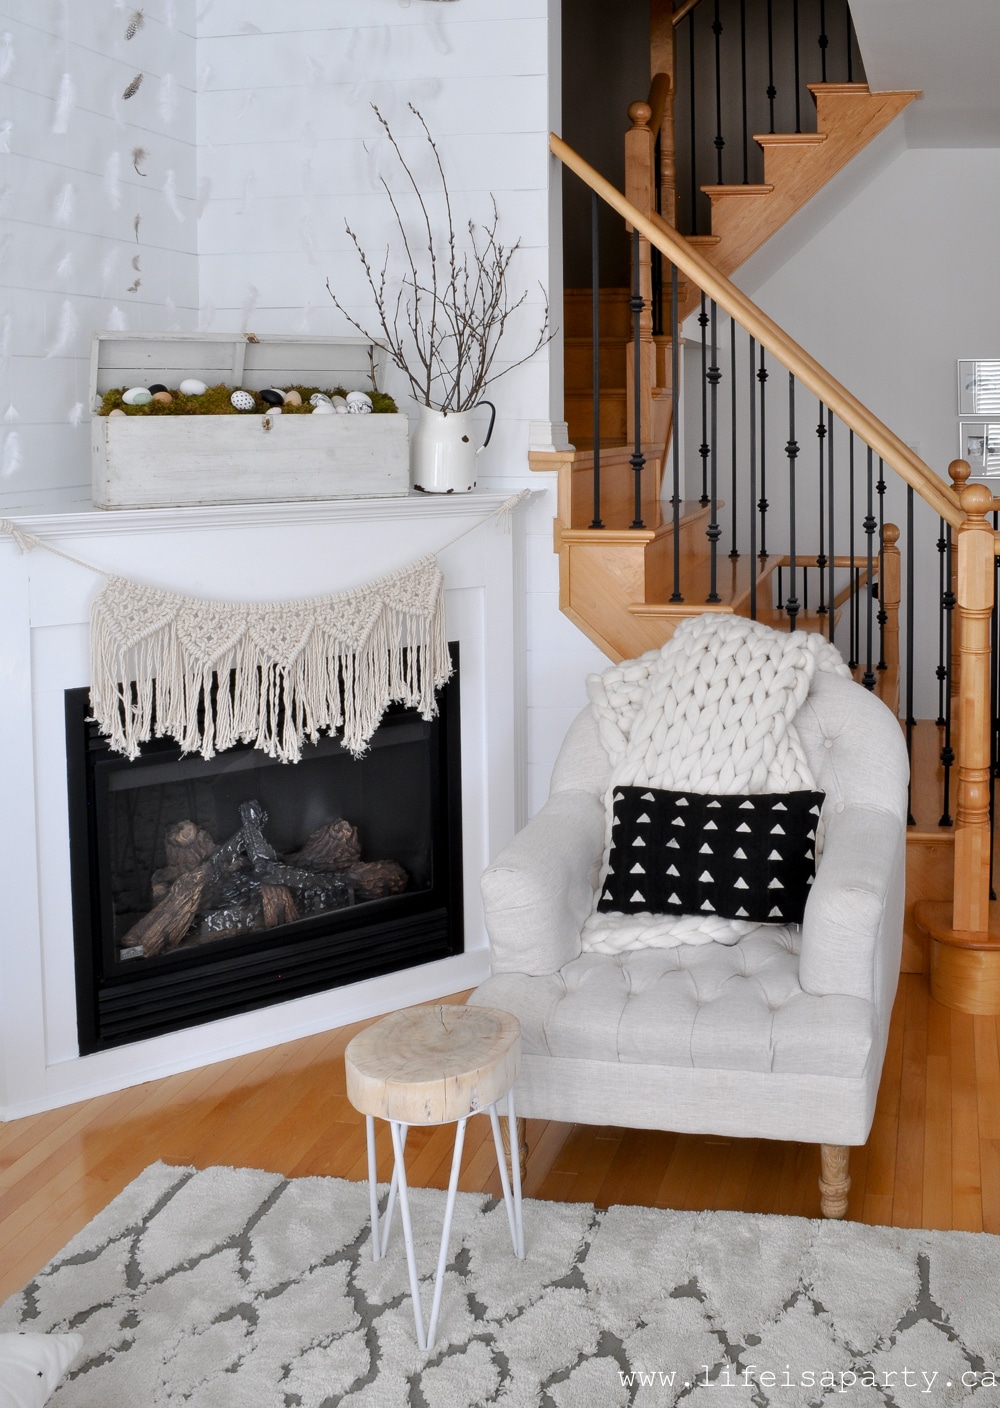
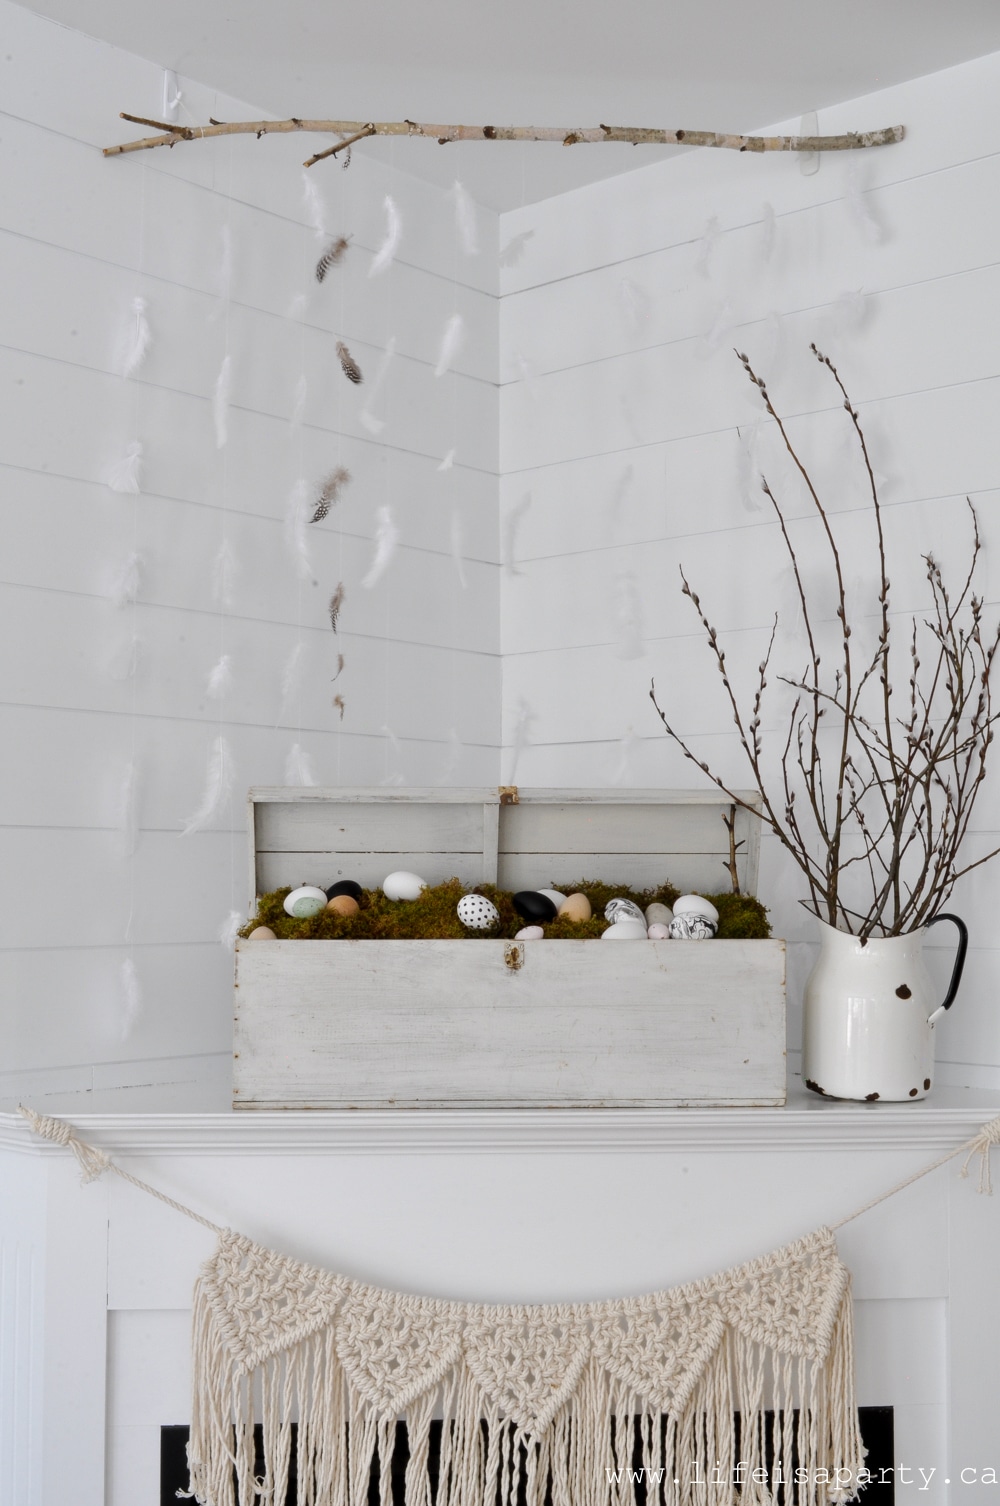
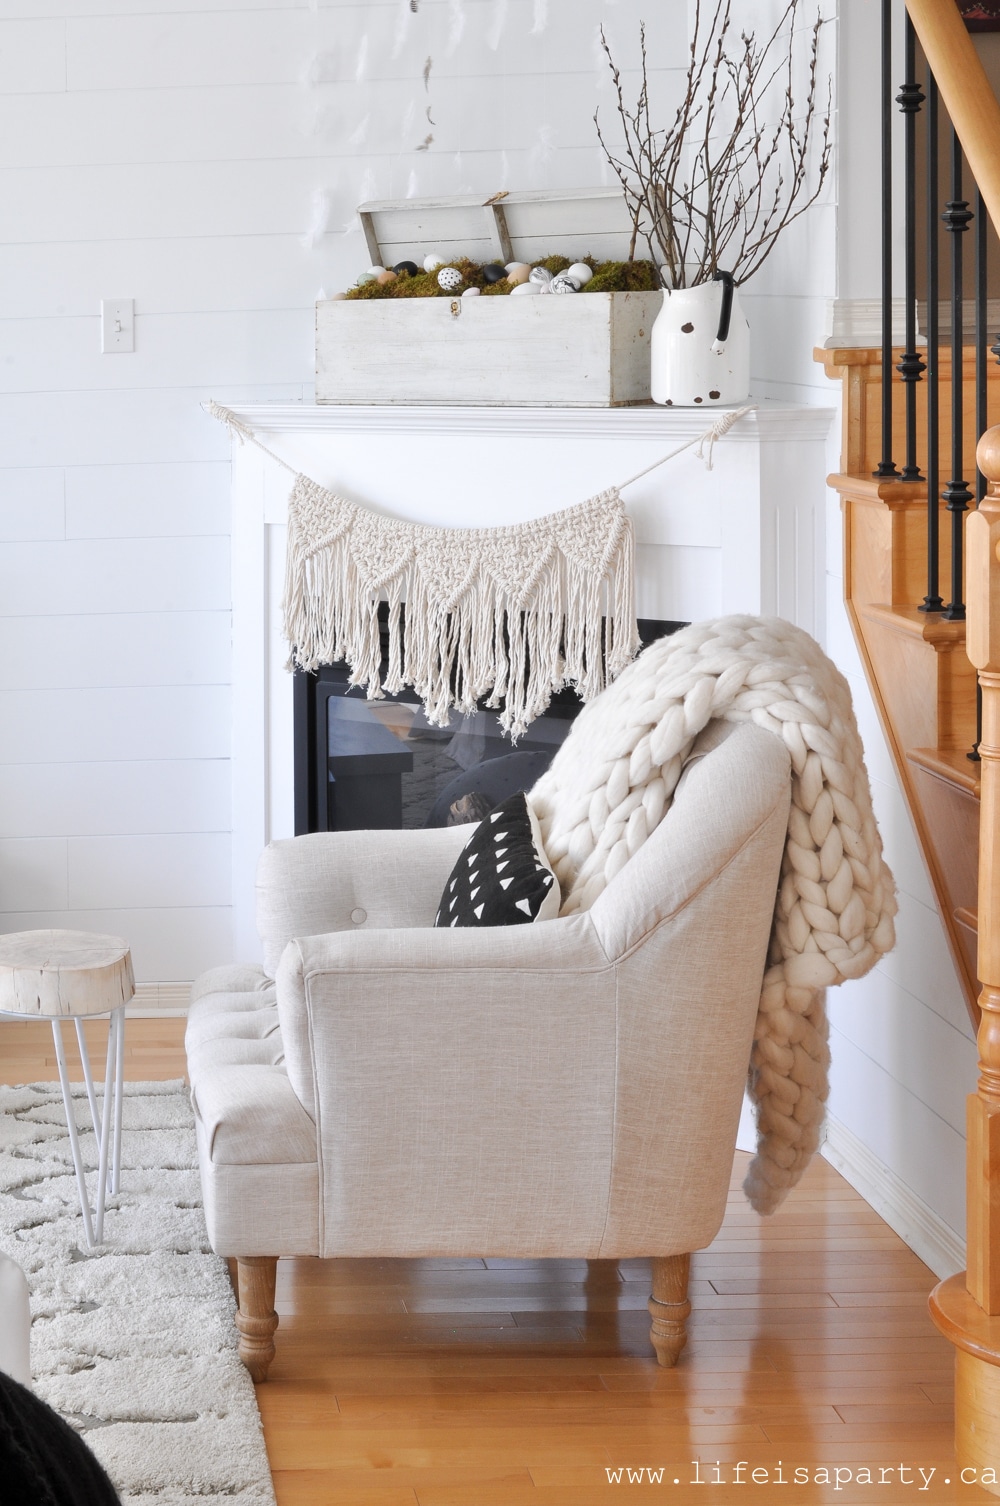
I started out with the fireplace mantel.  It's quite simple, but I really like how it turned out.

spring mantel

I started out by adding the feathers.  They're strung on simple thread, and hung from a branch.  They make a perfect spring backdrop.

Spring mantel

I love the simplicity of it.

farmhouse spring mantel

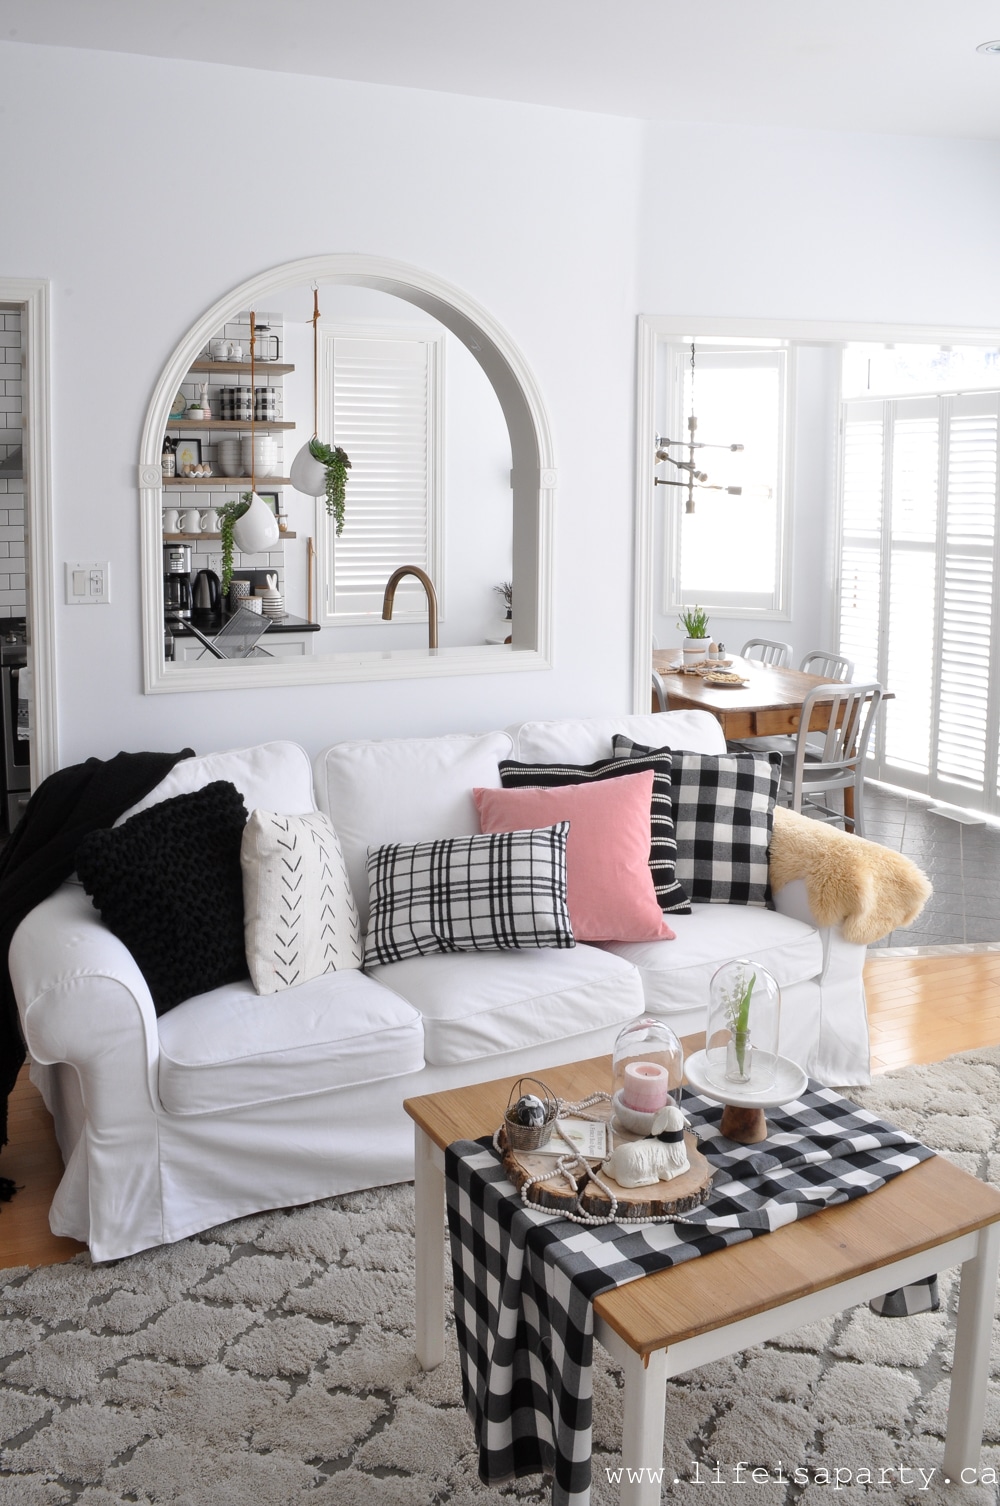
On the couch, more black and white, and that little pop of pink.

Black and white spring home tour

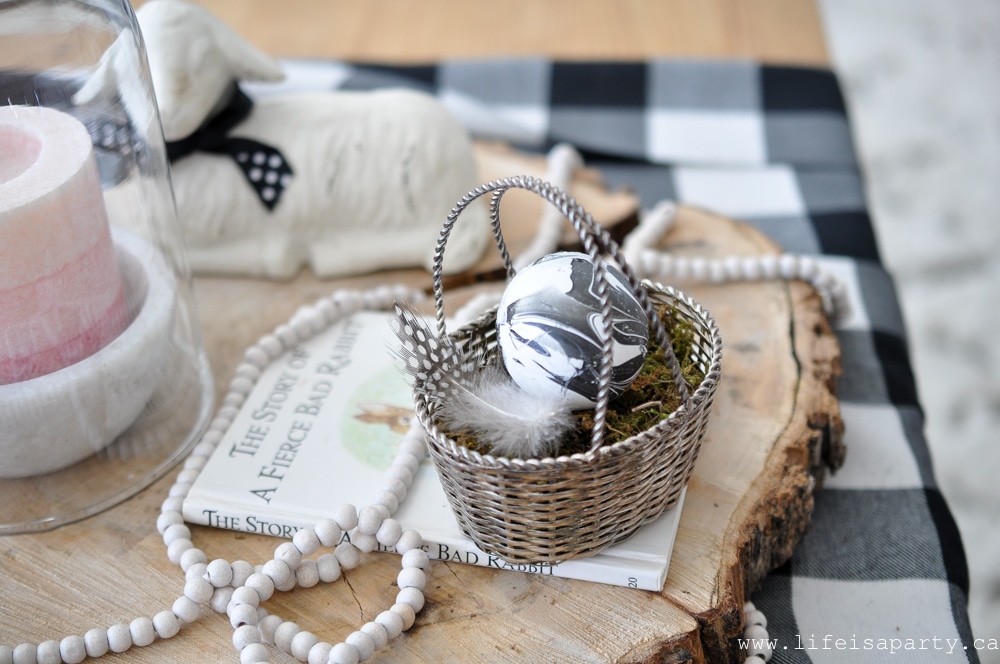
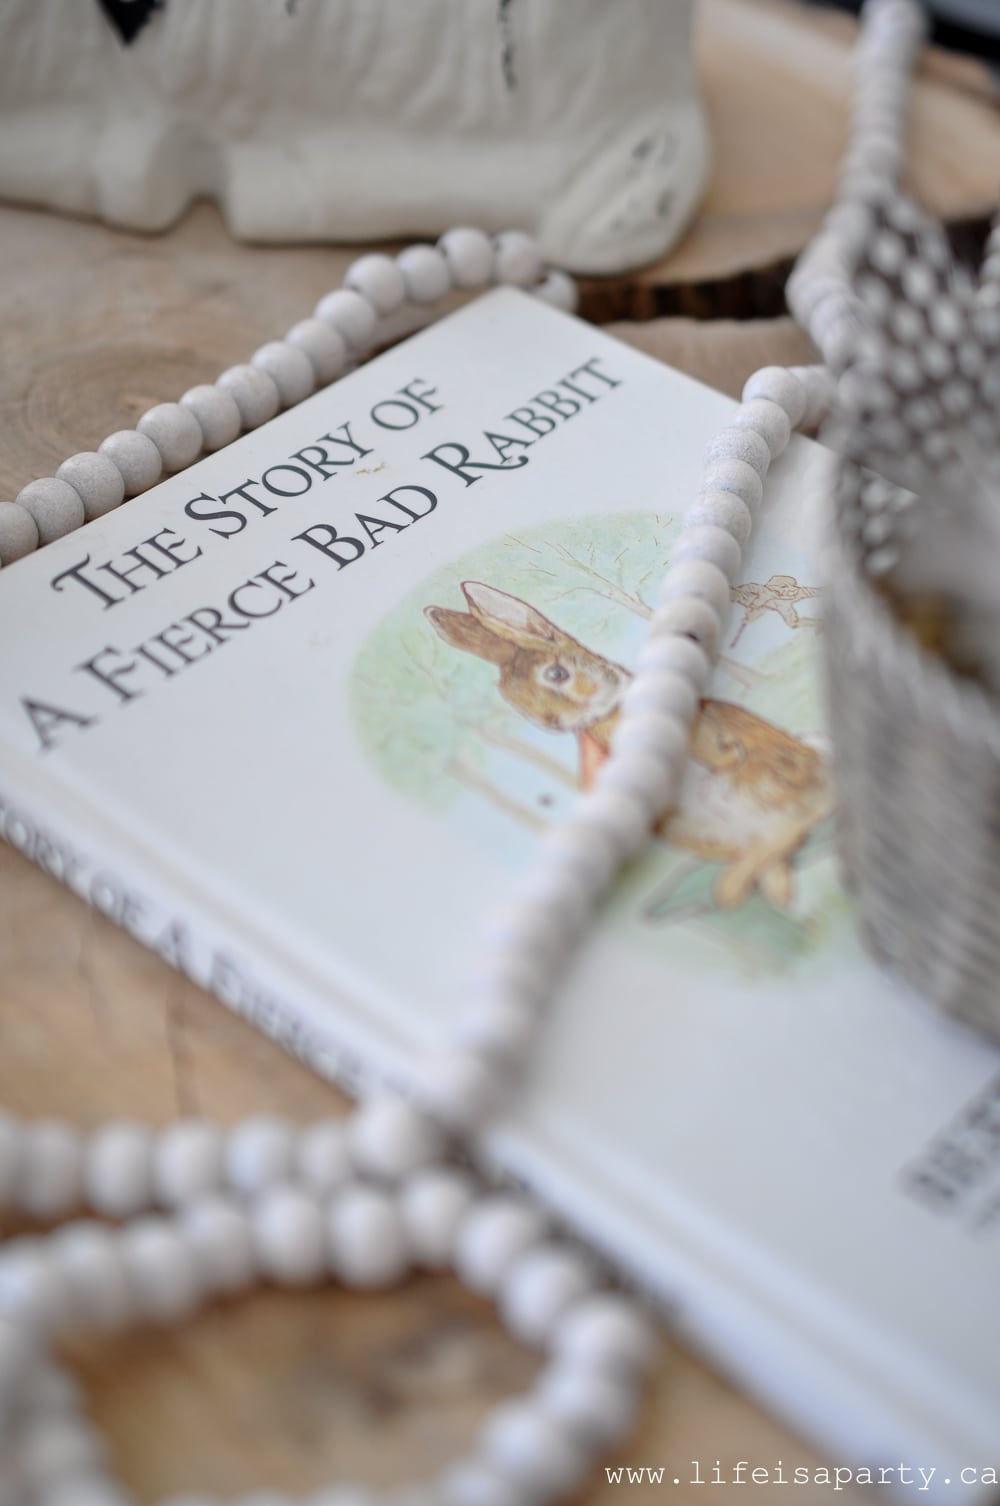
The coffee table is a collection of pretty little things.

small Easter Basket
Easter decor

I love creating fun little groupings like this.  And the one little lily-of-the-valley, helps tie back to the feature wall in the dining room.

Black and white spring decor

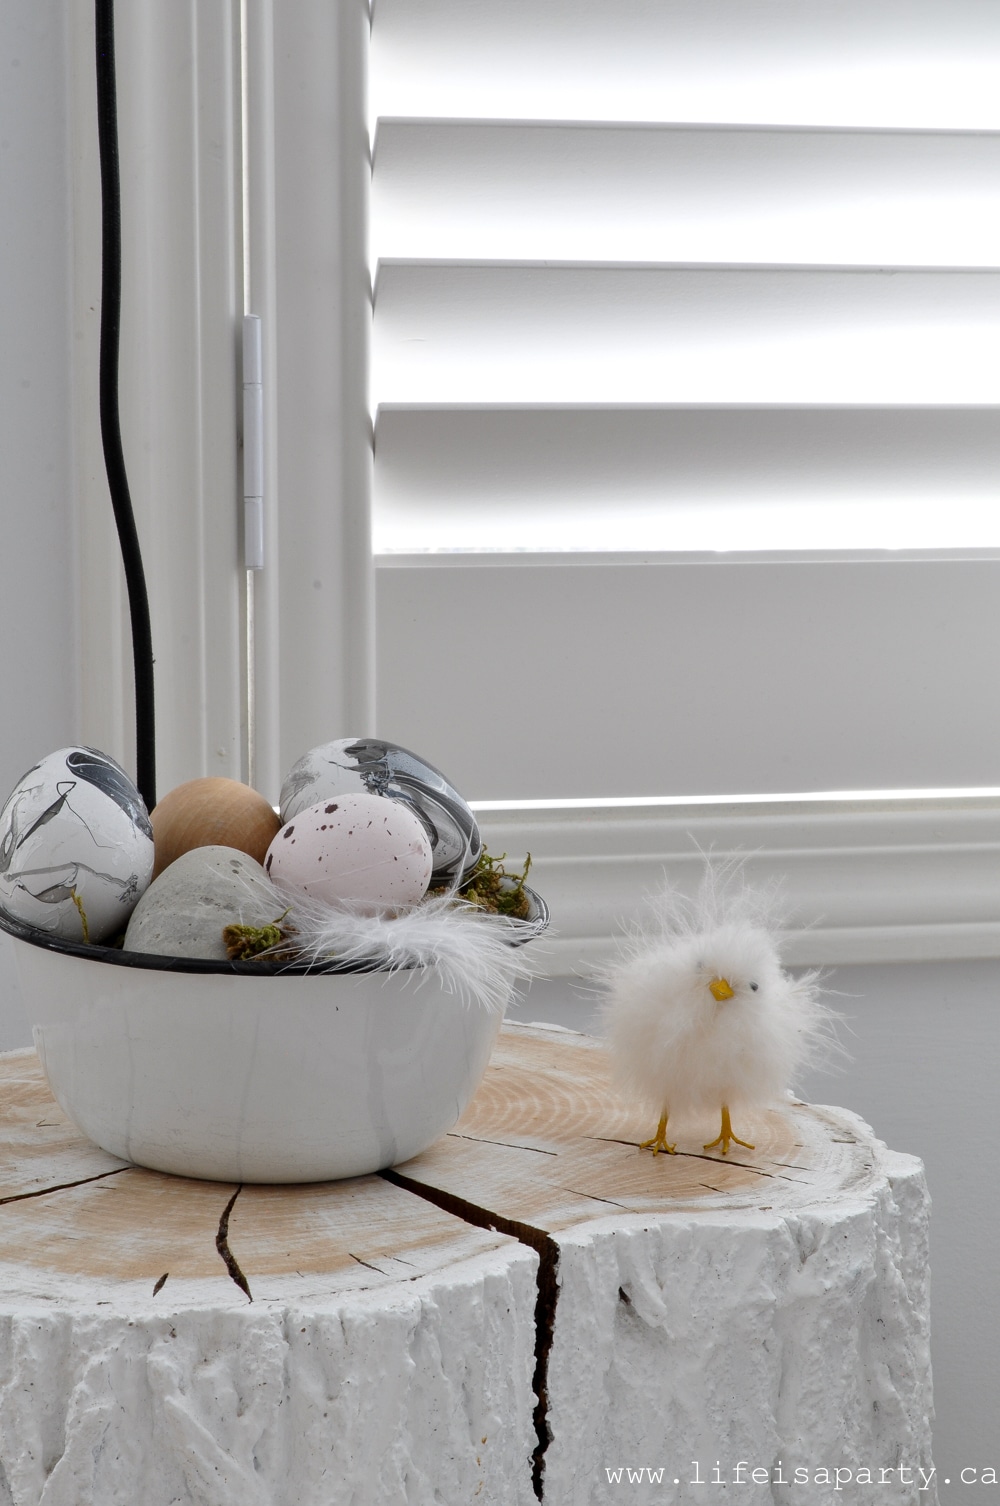
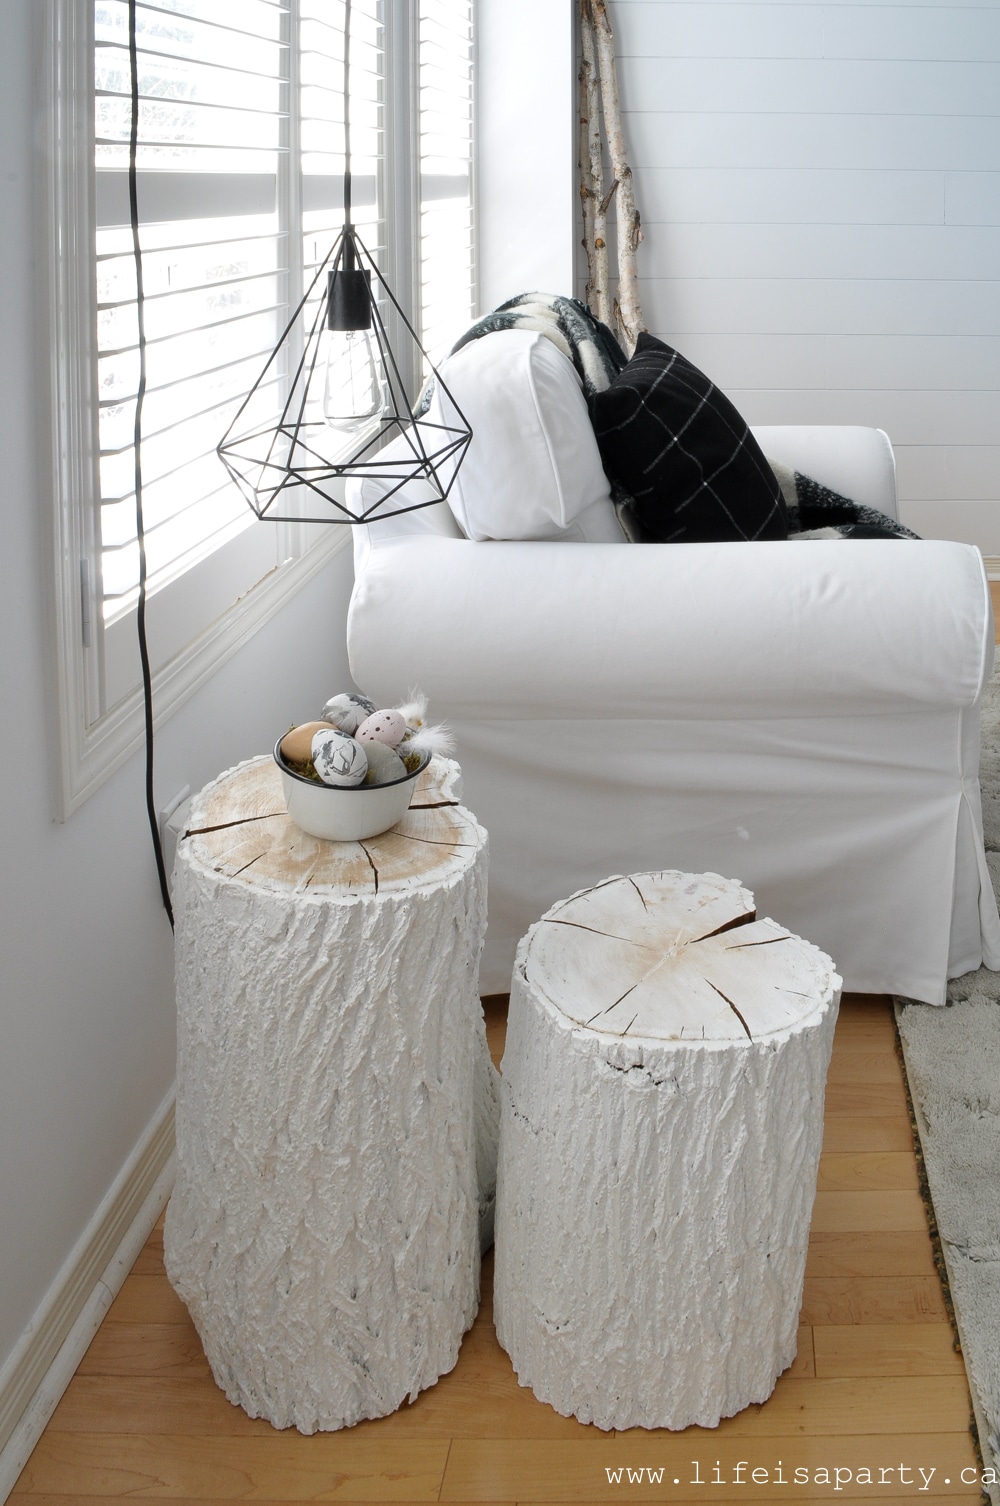
Over on the side table stumps I couldn't resist this little chick who looks like he's just hatched from one the eggs.

black and white living room
farmhouse easter decor

And from the living room, it's into the kitchen.

The Kitchen

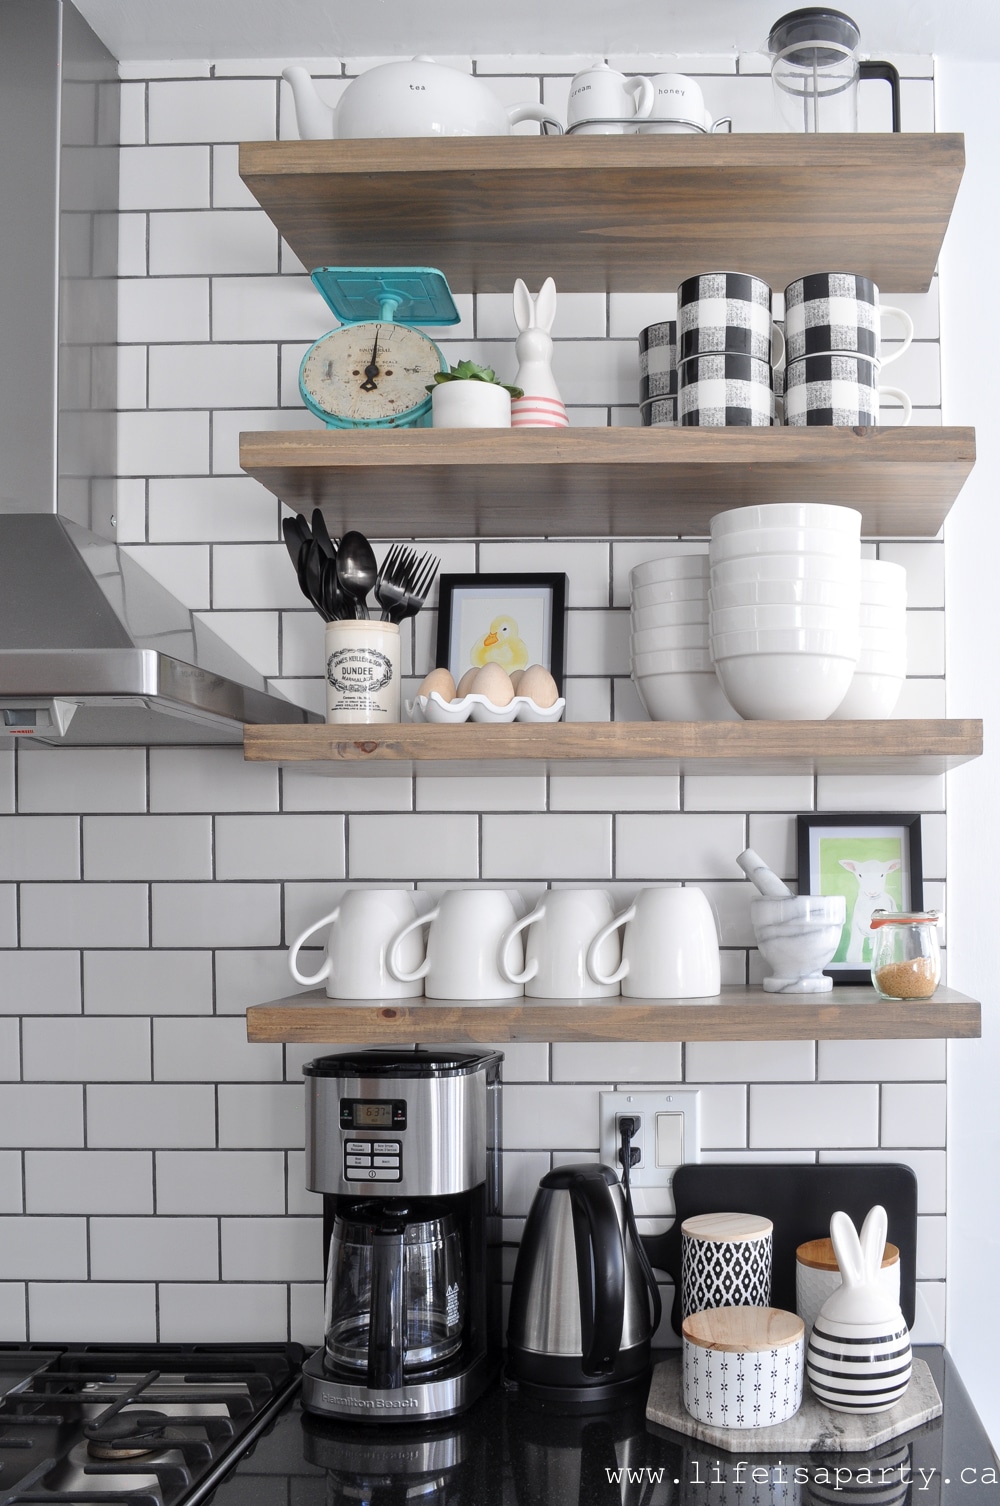
kitchen open shelves

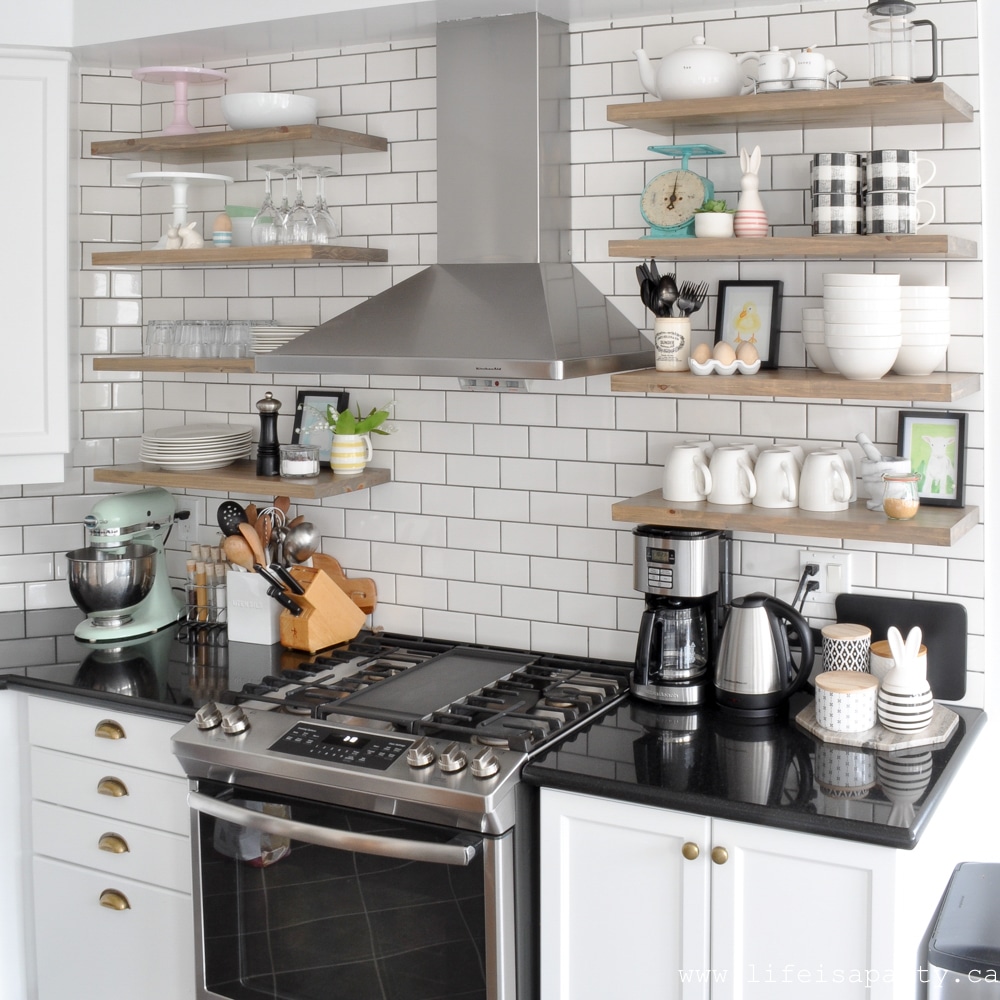
We updated our kitchen in the fall for the One Room Challenge, and what a difference it has made.  An unexpected pleasure has been decorating the open shelves for each season.

black and white kitchen with open shelving

They got a few Easter updates with some pretty pastels.

Easter shelf

It all started with this perfect little black and white striped container rom HomeSense that I added to our coffee station.

spring shelfie

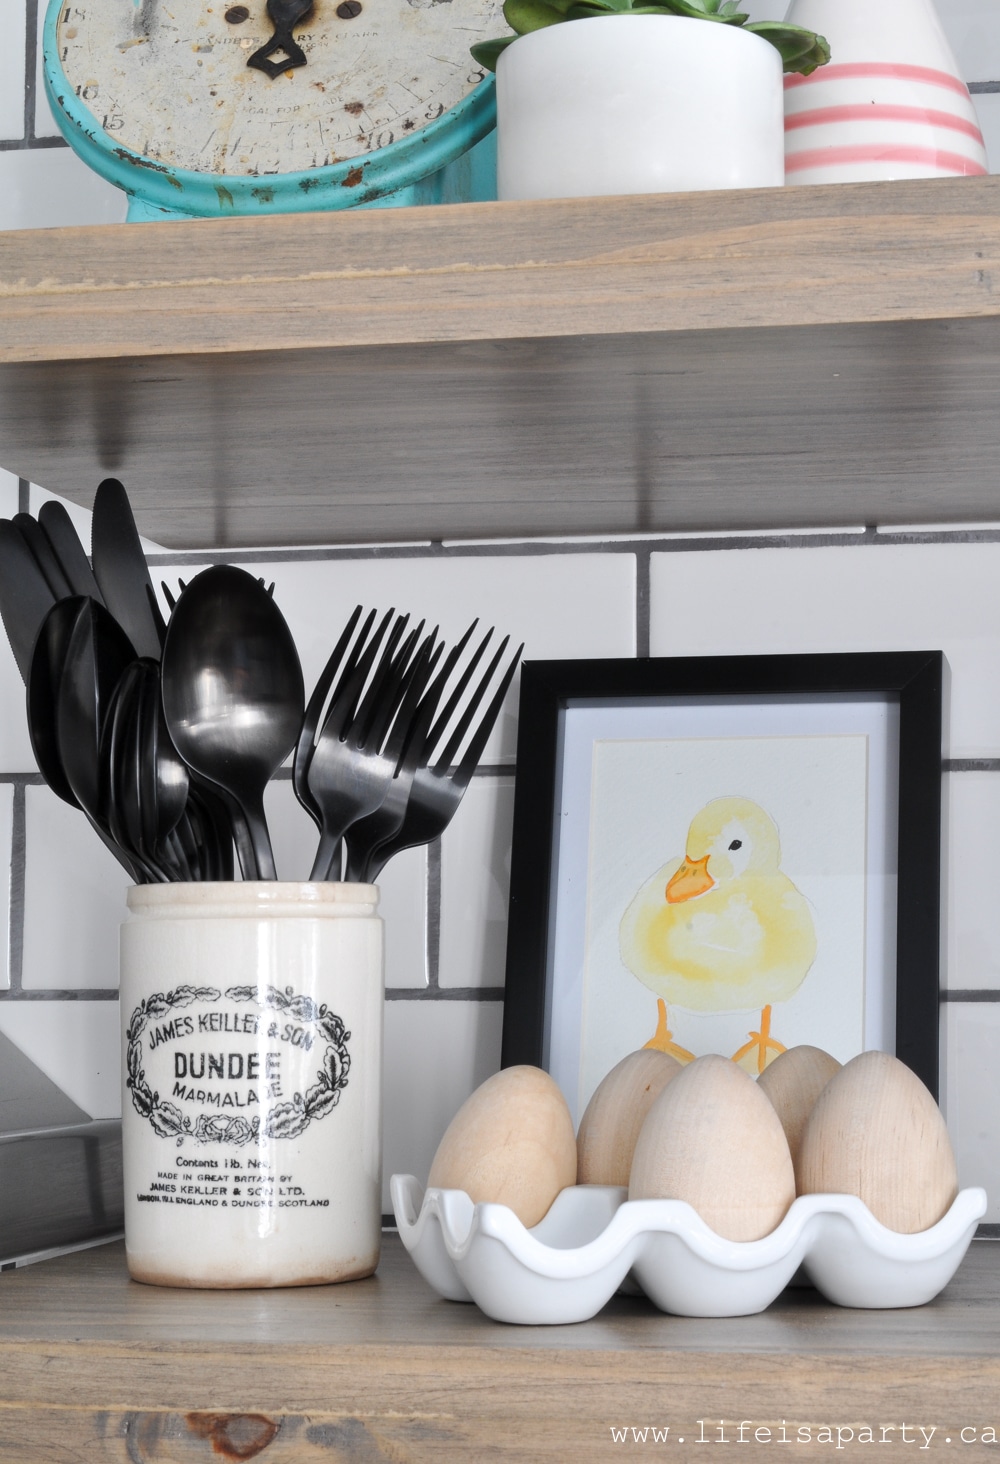
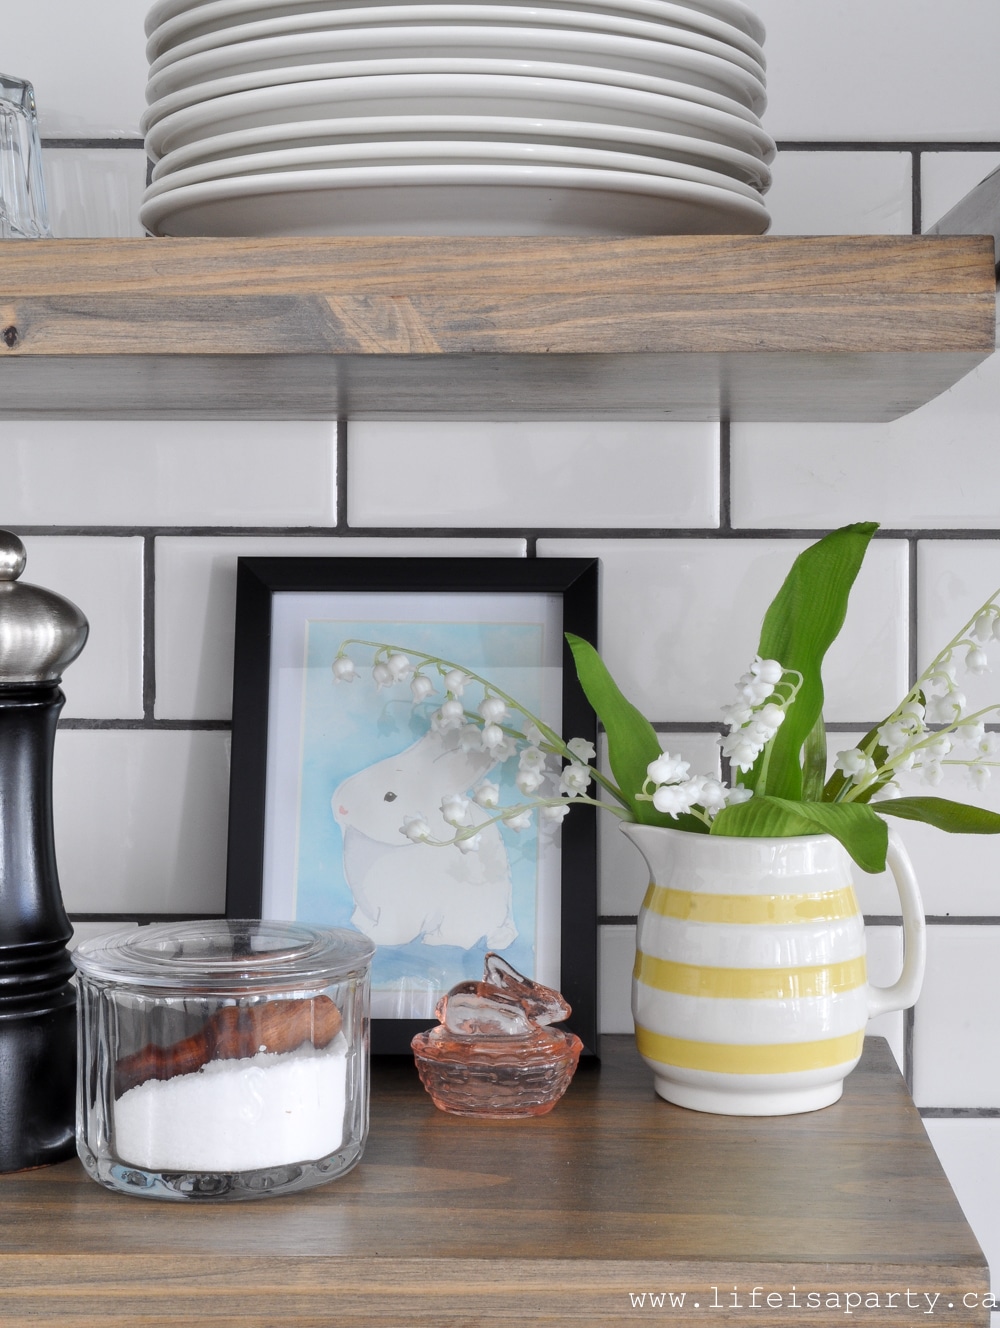
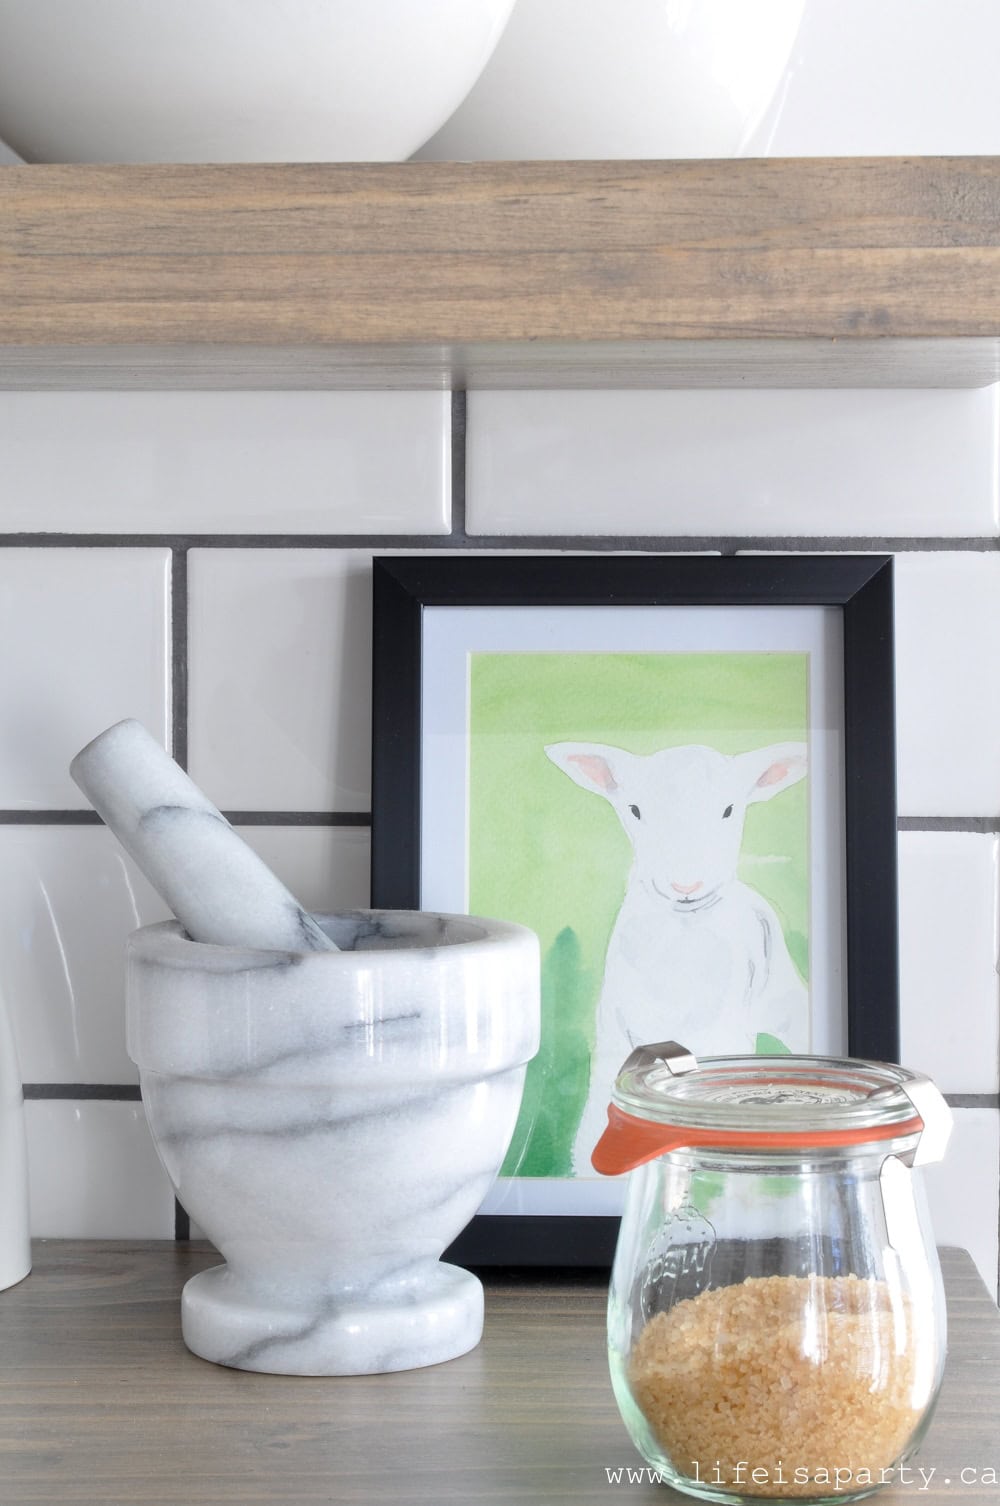
And then I remembered these cute little spring watercolour cards that I bought years ago.  They were in silver frames so I switched them to black and think they look so sweet on the shelves.

spring kitchen open shelves
spring lamb watercolour art

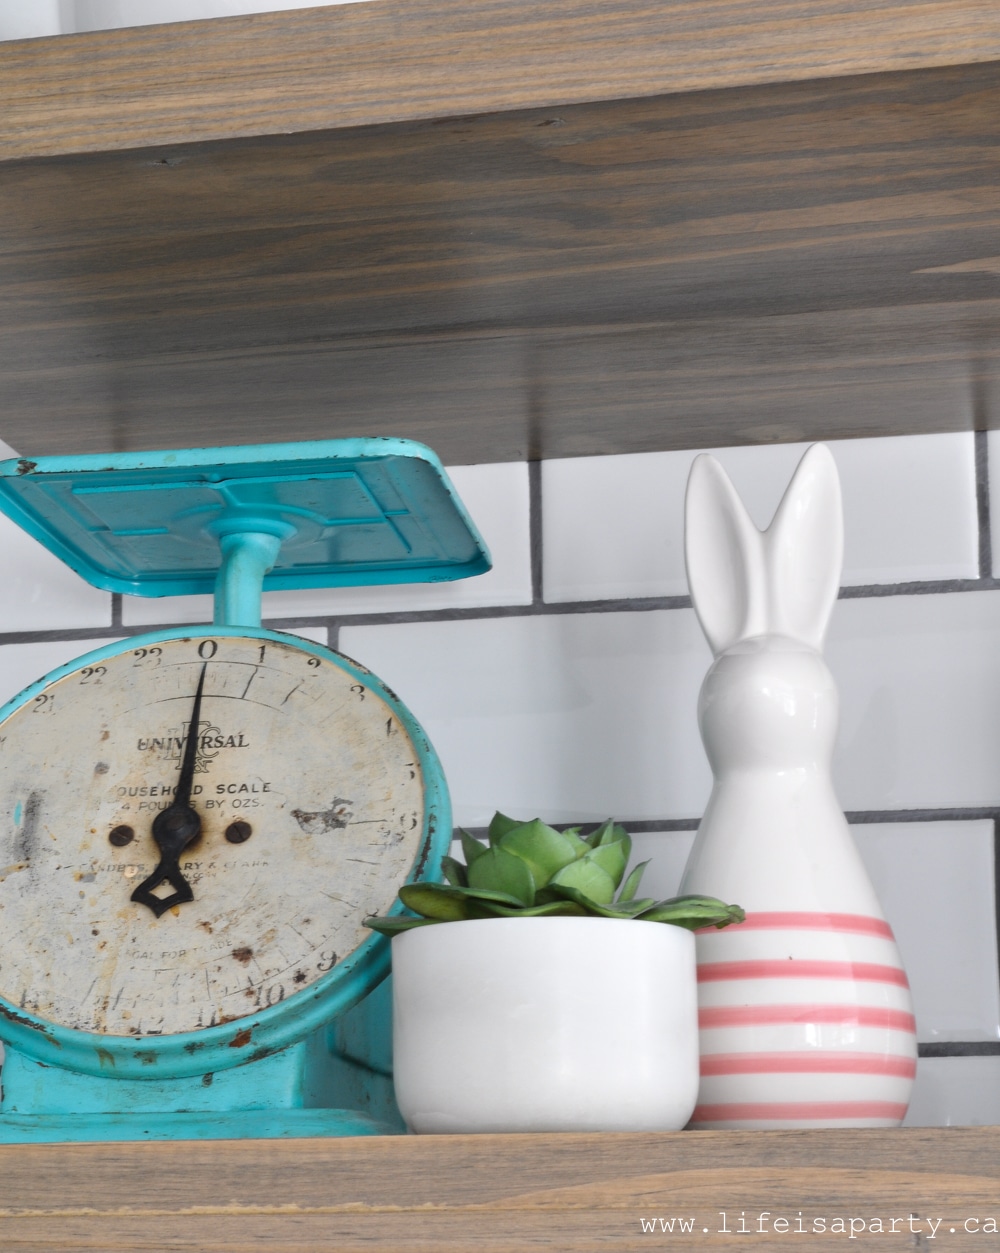
And then I found one more cute little striped bunny at HomeSense.

spring shelves

Such simple little additions, and so perfectly spring!

Spring Home Tour

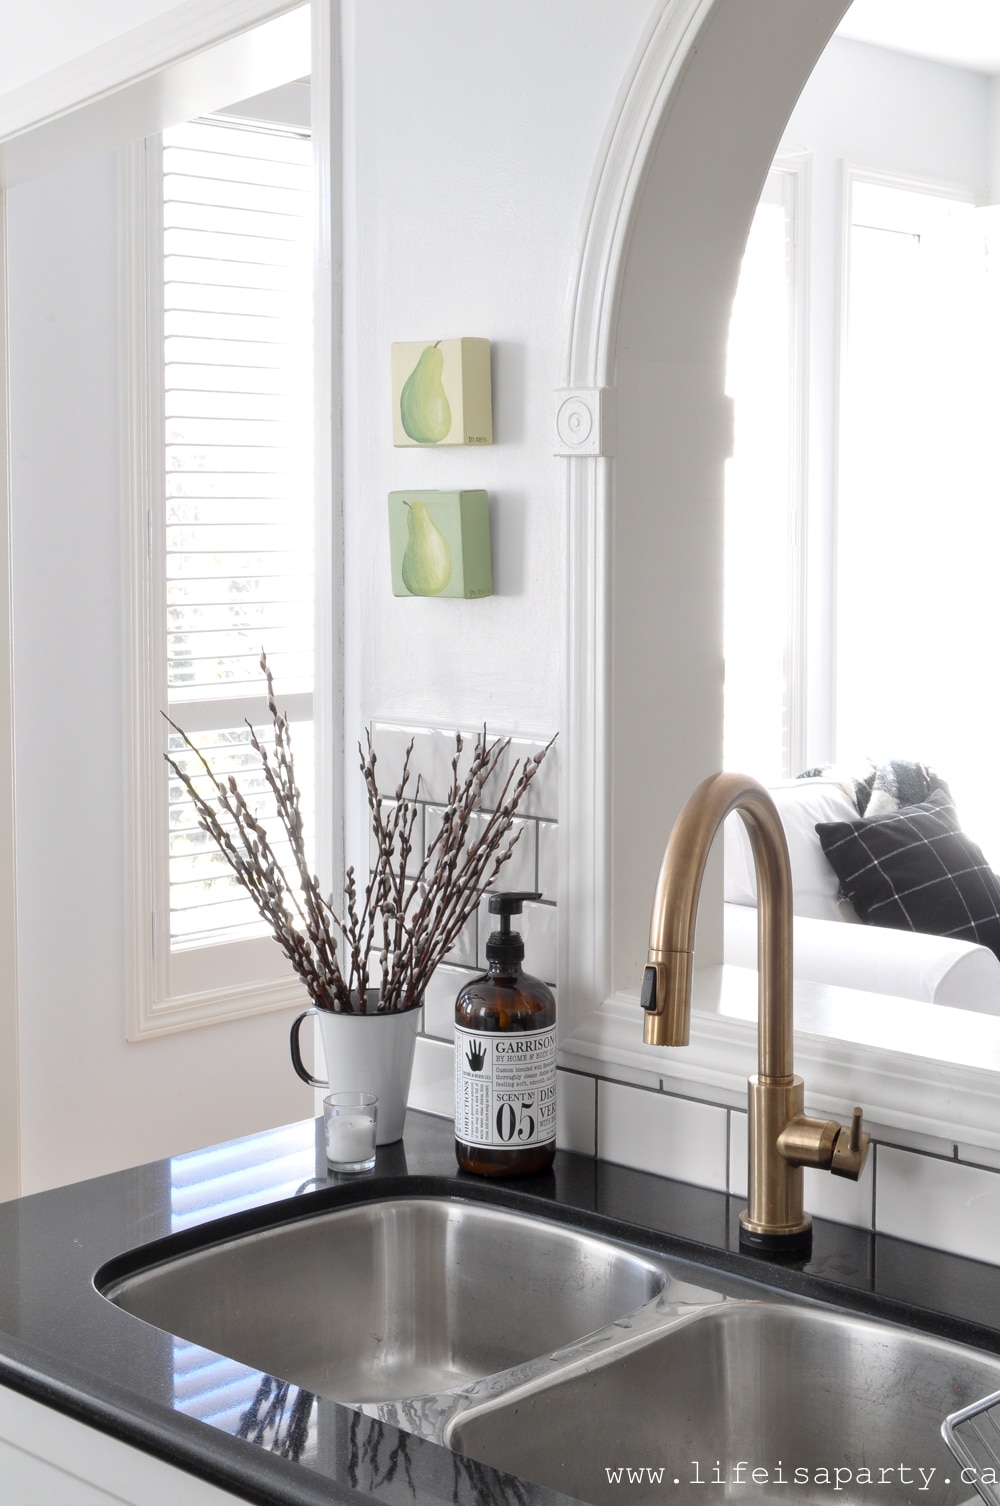
Over by the sink I added some more pussy willows.

Spring Home Tour

Over on the other side of the room there are a few spring touches too.

Spring Farmhouse Decorating in the Eating Area

spring farmhouse decorating

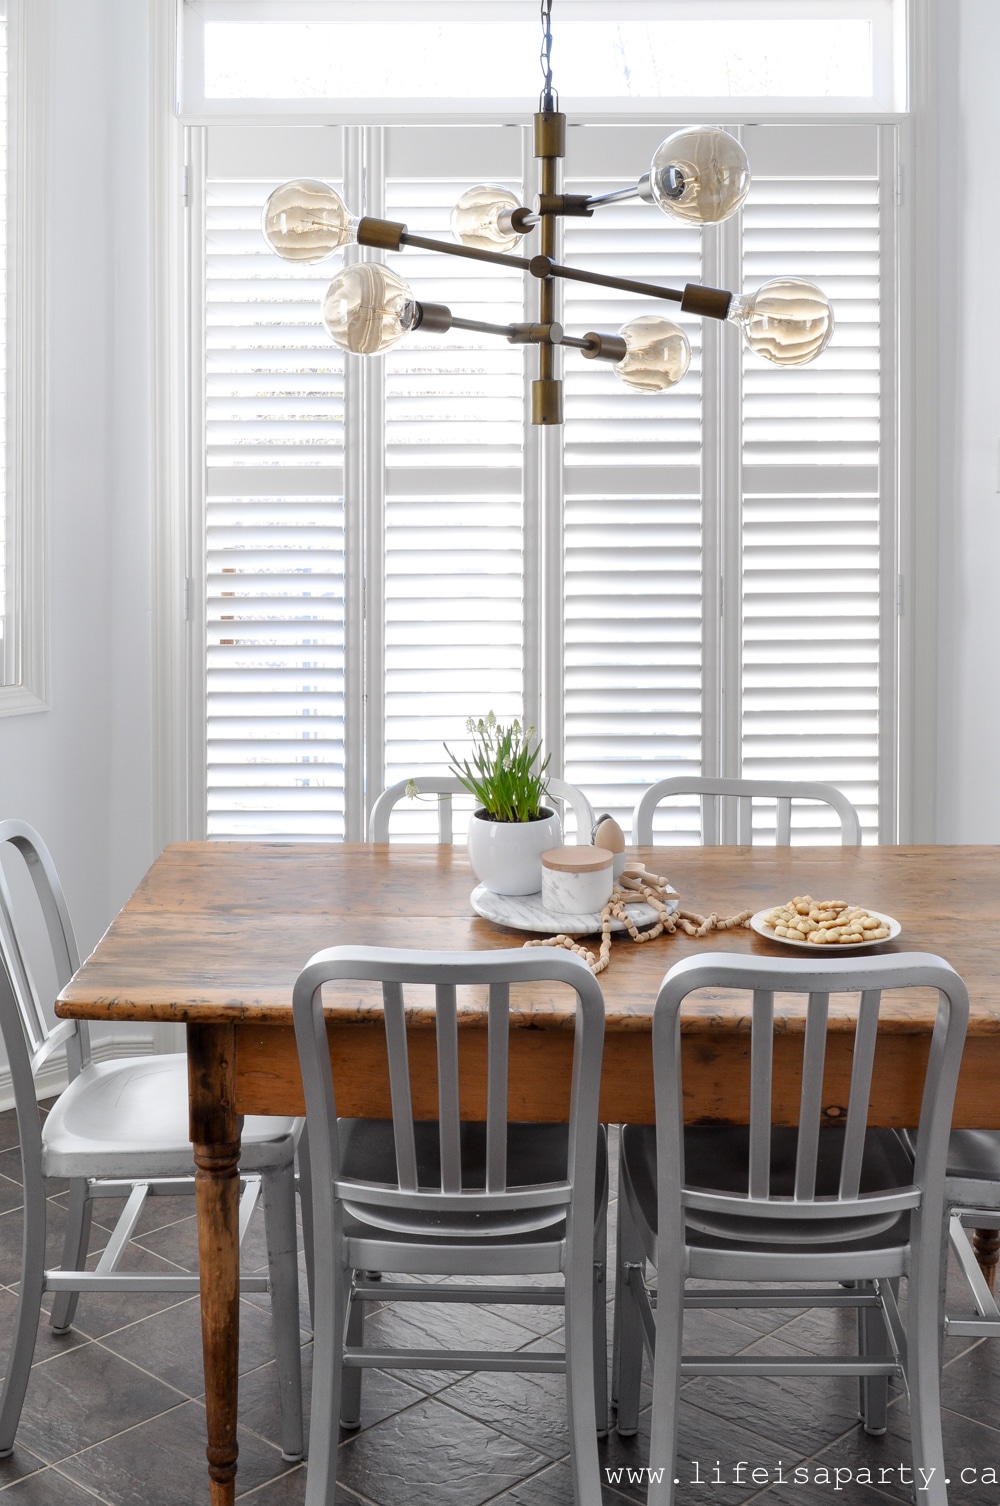
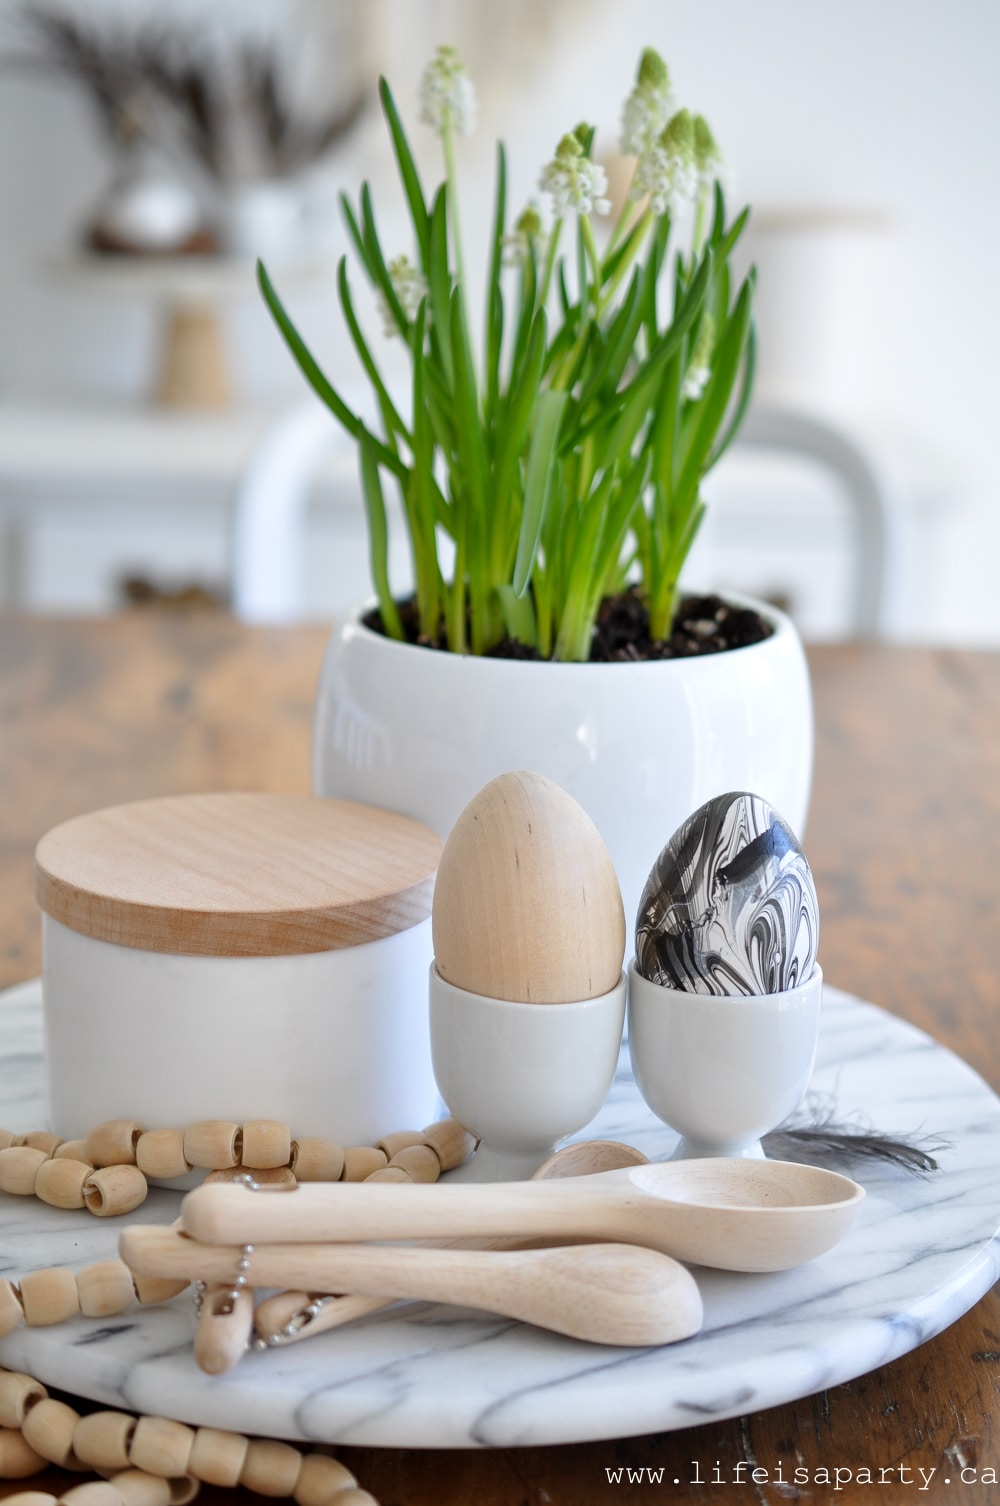
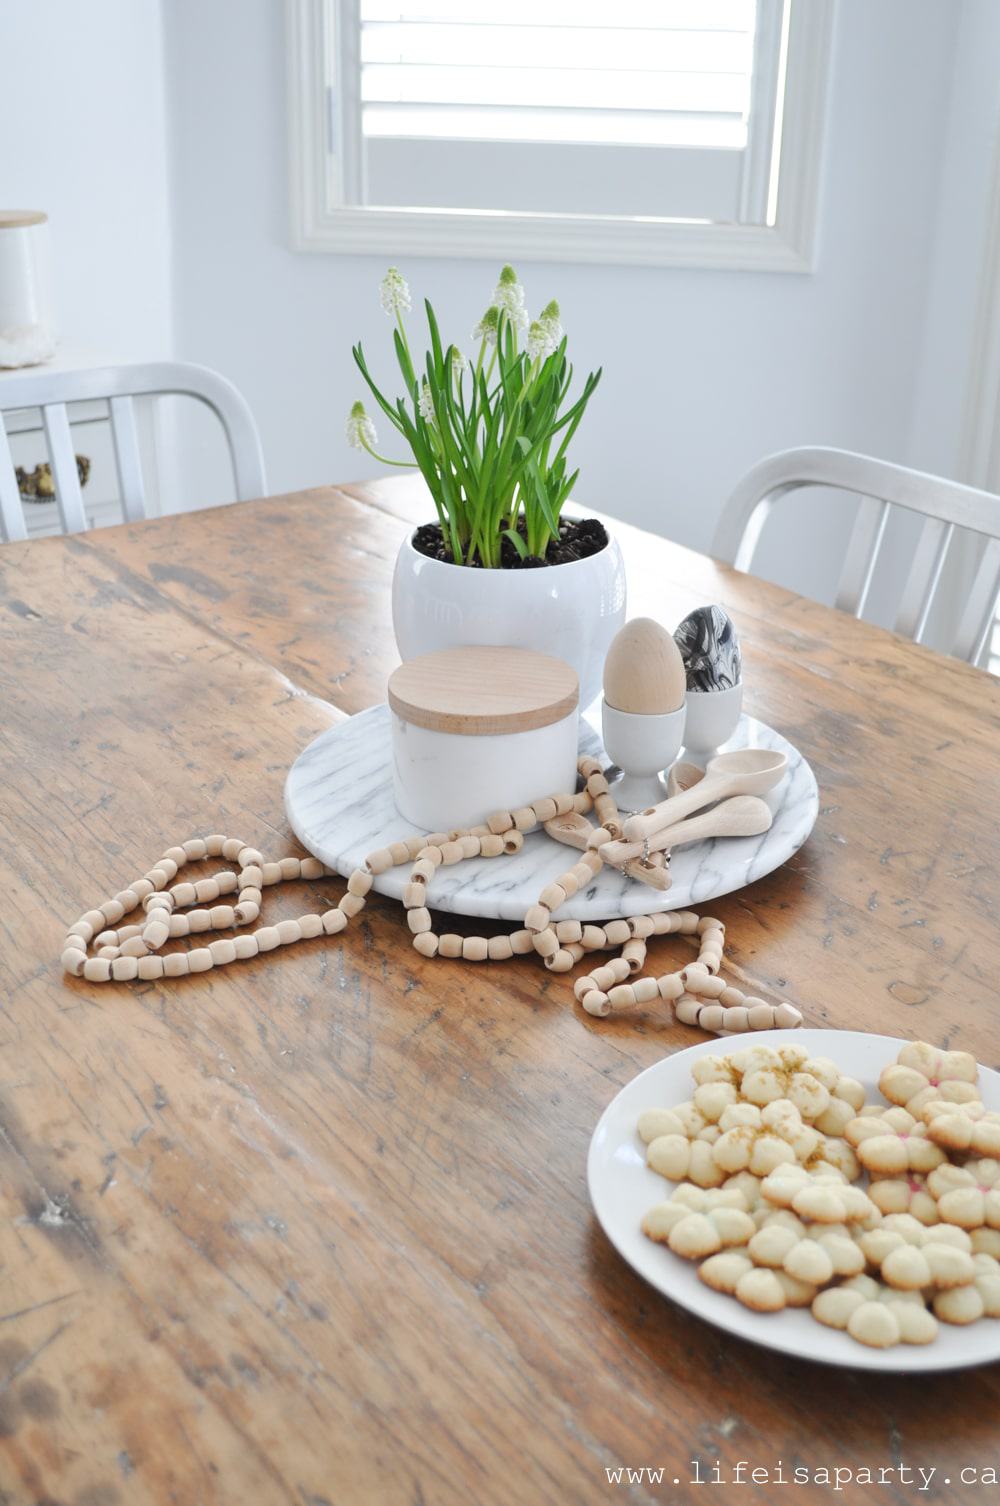
The table is looking so sweet.

Black and white spring decorating

And some spring cookies too!

Black and white spring decor

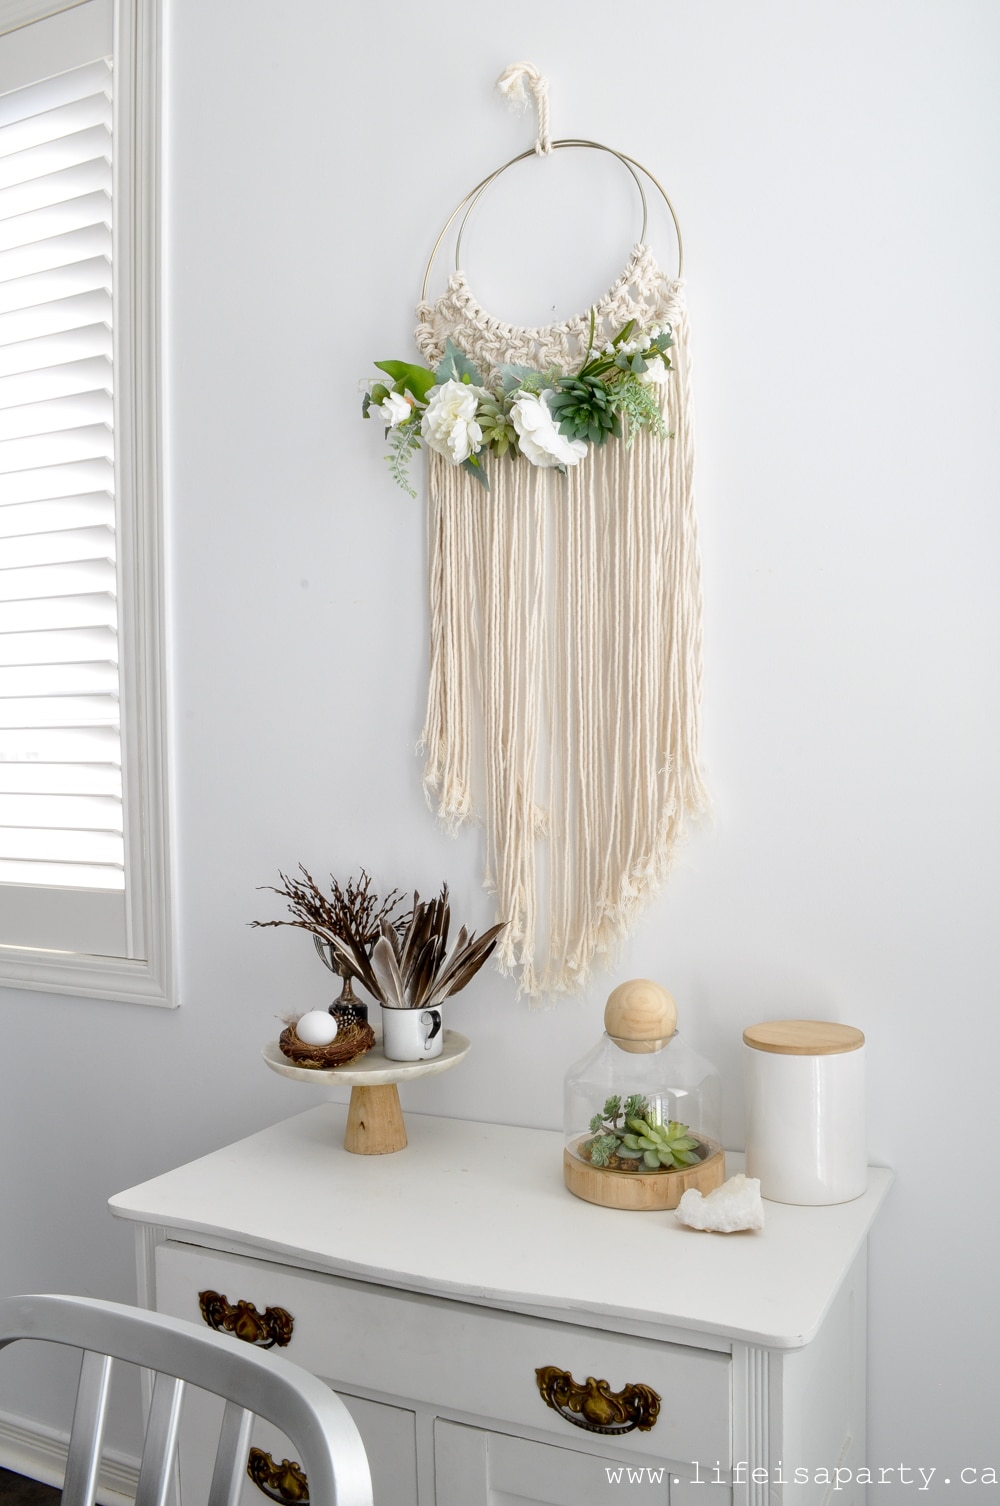
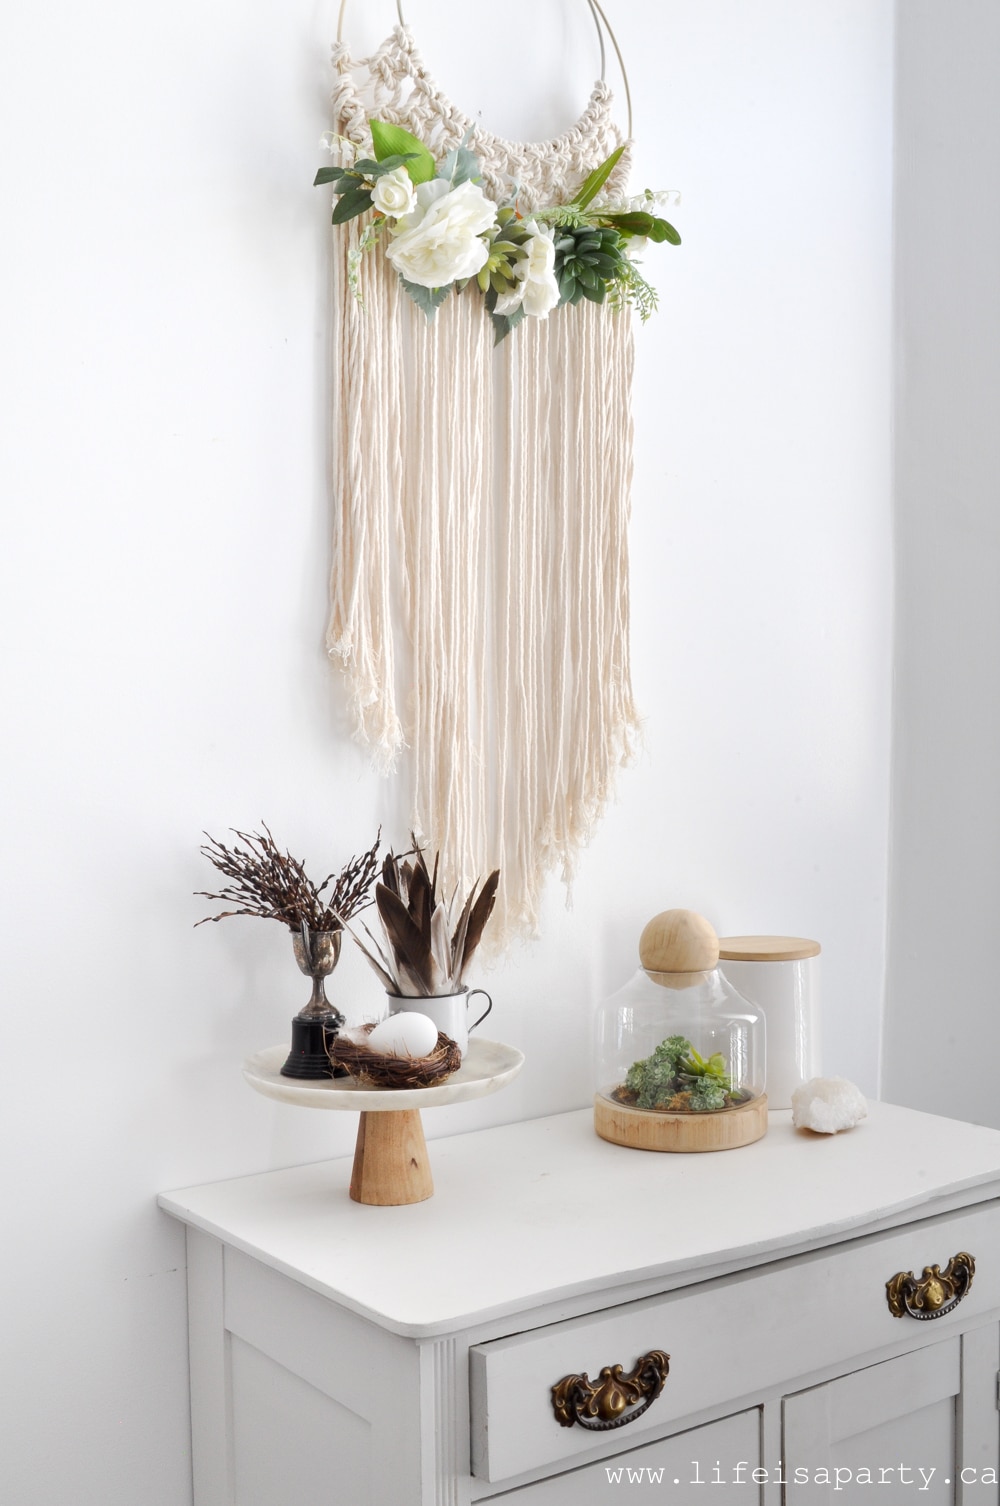
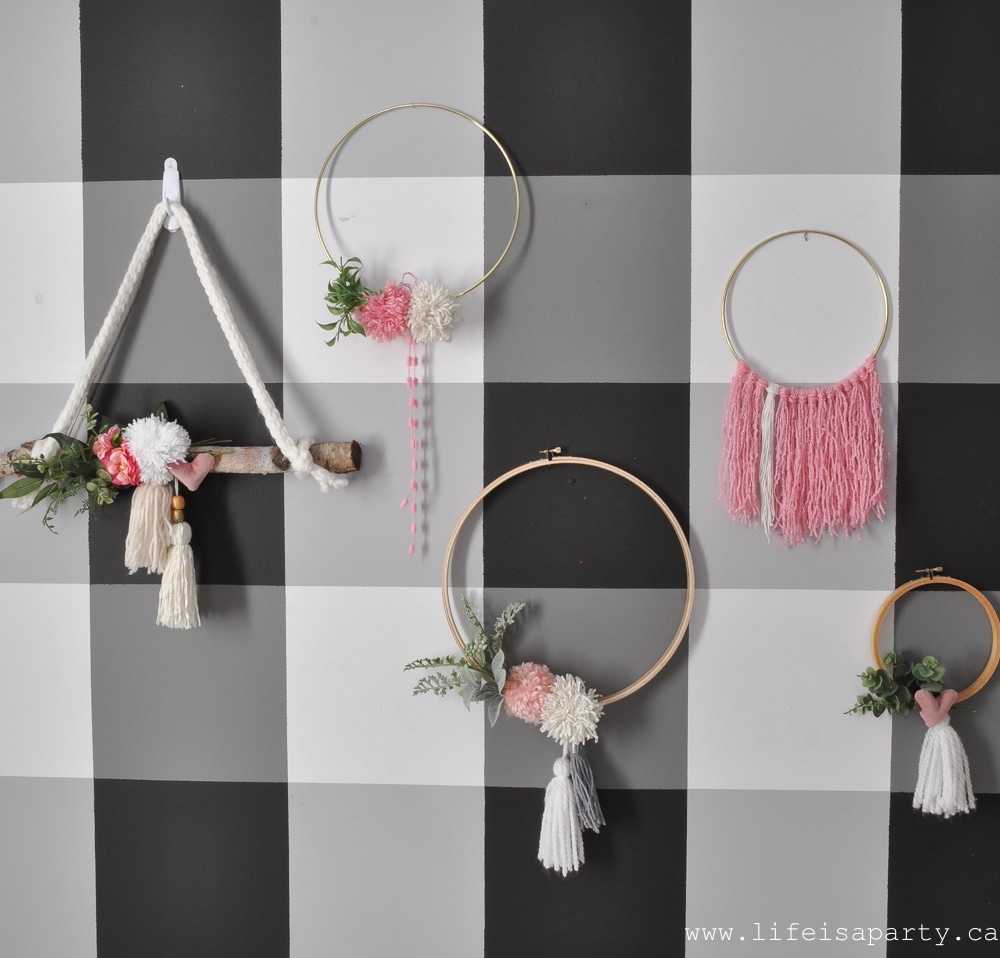
And on the wall, an update to my macrame wall hanging -see how I made it here.

macrame spring wreath

I added in a few florals and some faux succulents for spring.

macrame spring wreath

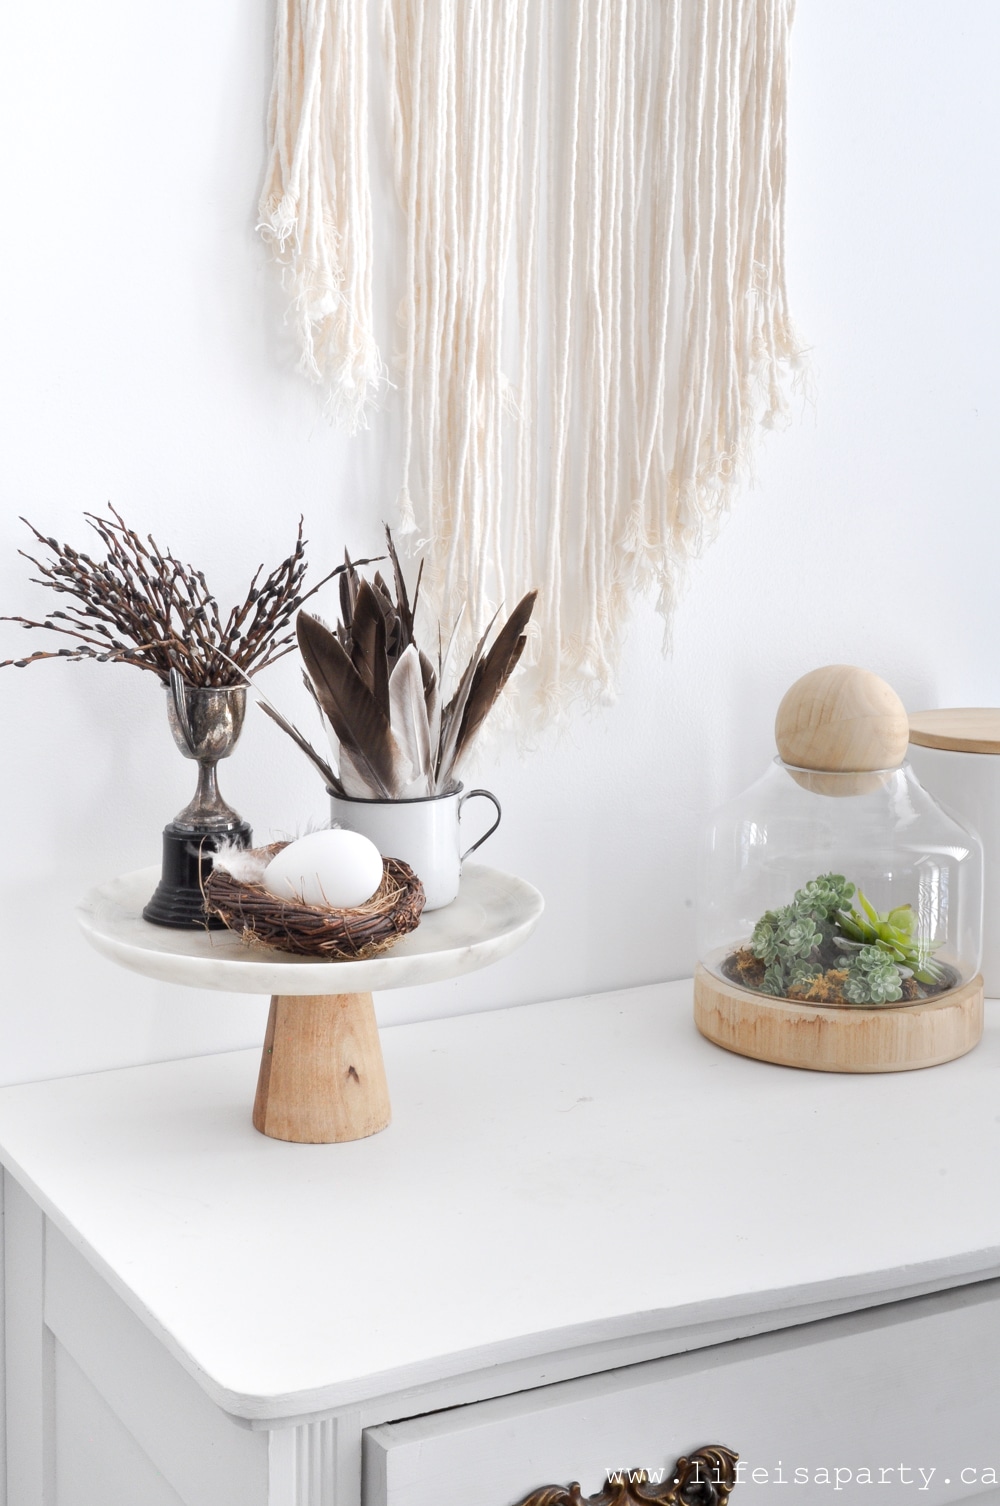
Underneath, another little spring vignette.  My favourite is the little silver trophy cup filled with pussy willows.

Spring farmhouse decorating

Thanks for joining me.

Black and white spring home tour


With spring farmhouse decorating, life really is a party!

Cruising With Your Anxious Child

Feb 24, 2018 · Leave a Comment

Cruising With Your Anxious Child: lots of kids struggle with anxiety, here's 6 tips to help them deal with their anxiety on a cruise ship and help you enjoy your vacation.

Cruising With Your Anxious Child: lots of kids struggle with anxiety, here's 6 tips to help them deal with their anxiety on a cruise ship and help you enjoy your vacation.

We've just returned from a family cruise vacation on board Royal Caribbean's beautiful Anthem of the Seas and I wanted to share some tips for cruising with your anxious child.  We've been on quite a few cruises with our kids over the years.  I feel like I've learned a few things that might be helpful to some other parents traveling with their anxious child.

1.  Prepare them for what to expect -but try not to worry them.

It's always a fine line with anxious children.  You want to prepare them well, but not give them so much information that they're worried.

We find that rehearsal is a great technique for helping your anxious child know what to expect.  Online you will be able to find photos and videos of the ship.  You could see what a room will look like, see sample schedules for the day, learn about the kids clubs and what they have to offer, and even see the dining room menus.  Depending on what your child is anxious about these could be really helpful.  Anxiety is often driven by fear and by feeling out of control so knowing what to expect can really help.

The Apple Doesn't Fall To Far From the Tree

I found over the years that an anxious child often has an anxious parent -often undiagnosed.  So, although giving info on what to expect can help prepare them, we want to be careful not to give them anything to worry about.  We also want to be really careful that they don't pick up on anything we're worried about.  Are you concerned with your luggage getting lost, missing the cruise ship, or getting sick on vacation. The list could go on and on.  Try really hard to keep those worries to yourself.  You don't want to give them something to fixate on.

Often things that seem harmless to an adult, like the emphasis on hand washing to keep everyone from spreading germs and getting sick (be prepared to see hand sanitizer everywhere, and sinks you must use on your way into the buffet) could really cause the worry wheels to start turning for a child who struggles with anxiety.  As their parent, you know better than anyone what their triggers are.  Be prepared to reassure and redirect attention when needed.

Cruising With Your Anxious Child: lots of kids struggle with anxiety, here's 6 tips to help them deal with their anxiety on a cruise ship and help you enjoy your vacation.

2.  Remember there's no vacation from anxiety for you or for your anxious child.

It's your vacation, and you're looking forward to relaxing with no work while someone else cooks and cleans for you.  The good news is you don't have to make dinner.  The bad news is you're not on holiday from parenting an anxious child.  In fact, their anxiety is likely to be worse than at home since breaking routine, and dealing with new things is often a trigger for anxious kids.

Don't forget to keep doing all the things that help at home.  As much as possible keep to a routine.  I know you're on vacation but it might really help your child to not mess with bedtime, bedtime routine, meal times and familiar foods as much as possible.

Cruising With Your Anxious Child: lots of kids struggle with anxiety, here's 6 tips to help them deal with their anxiety on a cruise ship and help you enjoy your vacation.

3.  Keep them as physically comfortable as possible.

There's a lot of physical environmental changes on a cruise ship.  There's the sensation of being on a boat -so remember to bring some motion sickness medicine with you and make sure it's the children's chewable kind.  I'll never forget trying to make my nauseous anxious child swallow a pill for the first time -disaster.

Another thing that might seem little but for some kids is a BIG deal is the comfort of their clothing.  We've found that buying second hand clothes for a spring break trip works really well.  Where we live there aren't really summer weather clothes in the stores yet, and over the winter your child will most likely grow out of their summer clothes from last year.  Second hand clothes are generally softer and more broken in than brand new clothes and I've found my anxious child likes that so much better.

Cruising With Your Anxious Child: lots of kids struggle with anxiety, here's 6 tips to help them deal with their anxiety on a cruise ship and help you enjoy your vacation.Formal Wear

Also there is the formal wear.  Not every kid likes to get dressed up, and often formal clothes are a lot less comfortable.  Here are my tips.  Try to find things that are dressy but still comfortable, made of soft fabric.

For Girls

For girls that might mean dresses made of t-shirt material, avoiding something like tulle or crinoline, and sparkles or sequins because they're often scratchy and uncomfortable.  I've found soft velour, or cotton jumpsuits are helpful since some girls find dresses in general uncomfortable -or adding leggings under a dress.  I'm also really careful about the formal footwear.  I try to find something that's a little more dressy, but my main priority is comfort since I don't want to have a fight about it after she's had them on 10 minutes and never wants to wear them again.

For Boys

For boys, perhaps a tie is just too restricting, and so is a jacket.  A collared polo shirt might be a good compromise, or a jacket made with a stretchy material.

Also keep in mind that there are no formal wear police.  The most dressed up people are usually first time cruisers.  Over many cruises I can say that there are people in gowns and tuxedos all the way to jeans and EVERYthing in between.  People are especially gracious of children, so I really won't worry about it if it's a big deal to your child.  Another option also is to eat in a more casual setting like the buffet on the formal night and not worry about it, or even feed the kids there and then send them to the kids club and go to the dining room without them that night.

Cruising With Your Anxious Child: lots of kids struggle with anxiety, here's 6 tips to help them deal with their anxiety on a cruise ship and help you enjoy your vacation.New Foods

Some kids also really have issues with new foods.  The cruise staff is AMAZING and they will truly bend over backwards to try and accommodate you.  There is a children's menu even in the main dining room.  Feel free to order from the kids menu or the adults menu for your child.  Also feel free to make requests like no sauce or something on the side, or to change the sides.  When my girls were little and ordering off of the kids menu, I'd always request an extra plate of cooked vegetables for them, since everything came with fries.  I'd also sometimes order from the adult menu, roast turkey for example, and then split the adult meal between them.

I think the waiters would do basically anything within reason that you requested.  If your child didn't like their dinner they'd be happy to bring something else for  them to try.  Also, if you had to deal with any special dietary restrictions you just let them know and they can accommodate you.  

Up at the buffet there is a huge variety of options, and I'm sure you could find something suitable for anyone.  If you're worried about the food in port, return to the ship for lunches, and carry some suitable drinks and snacks from the ship with you.  We always used to bring some ziplock bags with us just for that purpose when the kids were little.

Cruising With Your Anxious Child: lots of kids struggle with anxiety, here's 6 tips to help them deal with their anxiety on a cruise ship and help you enjoy your vacation.

Your Anxious Child Isn't Trying To Be Difficult

Remember too that your child isn't trying to be difficult or ruin your vacation.  They wish they had a vacation from anxiety too, but it just doesn't work that way.  Congratulations for making the decision to vacation with them even though there may be some challenges.  I remember long ago determining in my own mind that I refused to let anxiety rule our family.  At some point you have to decide that even though it will be hard, you will not let anxiety be the reason your family misses out.  Sometimes your own determination to not give into it and give up and just stay home will inspire your child that they don't have to be held captive to it either.

Having said that I also try to remember to always be kind and have mercy towards my child.  It can be difficult when they're having a meltdown, but try to remember they don't want to be having the meltdown either.  My anger tends to only ever escalate the problem.  I have to try to stay calm and de-escalate the situation when I can.  Comforting them, downplaying, distracting and helping them refocus are all good strategies, and ones you've probably used a hundred times on land and they'll help at sea too.

Cruising With Your Anxious Child: lots of kids struggle with anxiety, here's 6 tips to help them deal with their anxiety on a cruise ship and help you enjoy your vacation.

4. Try to create some alone time and space for them.

Our last cruise was 12 nights.  That's a long time for an introvert to be in one room with their family 24/7.  Near the end of the trip we invested in the internet package.  I think it really helped for my daughter to FaceTime some of her friends at home and have a little break from us.  One night she didn't join us in the dining room for dinner, and many times during the day she found a quiet spot to read, watch tv, or draw on her own.

Provide Some Things To Do On Their Own

I have always made sure to bring enough things to help to create their own little space.  When they were very little we brought their portable DVD player and headphones, cards, and colouring all to the dining room.  That way, when they'd mentally had enough, they could literally just watch the movie while the rest of us enjoyed our dinner.  We also always brought with us from home life jackets, water shoes, and beach toys for our beach days.  It was worth it to us to carry it because we knew our kids would be happier and more comfortable on the beach and then we in turn would be too.  Make them as comfortable as possible and then you get to be as comfortable as possible too. 😉

Small Spaces

Just all being together in one tiny room for that long can be a lot for your anxious child.  On our last cruise we were on the bed for the kids was a double for them to share.  In the past we've always had separate pullman bunks for them above our bed.  This one was a pull out couch trundle-bed.  At first we thought it was way better and more spacious for them.  But then the fighting started.  Our first idea was separate duvets which helped but didn't entirely solve it.  Next I had one change direction in the bed so they weren't "breathing" on each other.  Near the very end of the cruise we realized that the trundle could be left on the floor to create two heights and essentially two twin beds.  This was the best solution.

Cruising With Your Anxious Child: lots of kids struggle with anxiety, here's 6 tips to help them deal with their anxiety on a cruise ship and help you enjoy your vacation.5.  Feel free to ask for accommodations.

The staff really want to help  you to have a great vacation.  The staff for the children's programs are all trained children's workers and generally happy to help your anxious child feel better.  The first day of the cruise the children's space is open for tours and you can go in and talk to the workers about any concerns.  We've been on cruises where my older daughter was allowed to join in with the younger group to be with her sister.

Pagers

Also, there are pagers you can use that they supply so that if your child wants you, you can be reached.  As the kids get older there is an option to allow them to sign themselves out from the program and leave at any time , which might help your older child feel a little less trapped.  For my kids I usually made it a rule that they had to go to the kids program a few nights to give it a try and then after that it was their choice if they wanted to go.  Telling your child they only have to go for one night might help with anxiety about not wanting to try it out.  More often than not once they were there and playing they wanted to stay.

Be Sure To Ask For What You Need

One other time, after a very long day of travelling and flying into the port we had just boarded the ship and it was time for the muster drill, where they bring you to your gathering place in case of an evacuation and count you and instruct you in case of emergency.  It's mandatory to go, and I took my very tired, and somewhat cranky 5 year old as required.

Out in the sun, and the wind, and with the noise of the alarms she went into full meltdown.  I was literally afraid she was going to kick someone as she flailed around on the ground. The older people around me where very sweet and kind about it, but I was embarrassed.  I wish I'd known that I could have just told a crew member and excused us.  Lesson learned.  Feel free to tell someone that your child struggles with anxiety and ask for what you need, they're generally more than happy to accommodate.

Cruising With Your Anxious Child: lots of kids struggle with anxiety, here's 6 tips to help them deal with their anxiety on a cruise ship and help you enjoy your vacation.6. Try to Relax and Enjoy

After all I've said it might make it sound like it's not worth it, but I promise it is.  I've grouped together all I've learned and therefore lots of mistakes I've made after 7 cruises with my kids.  I haven't told you all the fun it is, and all the amazing memories we've made.  I also think that I've helped my anxious child to know that even though anxiety can be a challenge we're not going to be captive to it, or let it keep us from having amazing experiences in life!  You are helping them to learn now how they're going to deal with this challenge the rest of their lives.  And since it's often coming from one parent, you get to take all you've learned about dealing with your own anxiety in the best possible way and model it for them.

You Only Take Your First Cruise Once

One of the reasons we've done so many cruises is because a familiar vacation helps an anxious child feel less anxious.  They know what to expect after that first one, and that calms them down -ALOT.  My advice, start young, and make travel a normal part of their lives if you can.

We love that all the Royal Caribbean ships are very similar.  Although they'll  have some differences they have a lot in common including the general ship layout and the names of things. This really helps.  Even in the children's club after their first cruise your kids will know the names of the games and activities, since they're common to all the ships.  Also each night you will get a schedule of the next days activities in the kids club so they know exactly what to expect when they go, and can even pick and choose what ones they want to go for.

Cruising With Your Anxious Child: lots of kids struggle with anxiety, here's 6 tips to help them deal with their anxiety on a cruise ship and help you enjoy your vacation.

There was a time in my life that I thought to myself "why are we taking the same vacation over and over"?  But then I shifted my thinking a little.  It's the vacation that works for us.  The kids are happy and familiar and even looking forward to it because they know what to expect.  Even if we've been to the same Caribbean islands lots of times, there's always a different beach or restaurant to try.  I started focusing more on who I was with.  I started enjoying family and friends and letting that be the part of the trip I looked forward to the most.

Changing Cruise Locations For A Change

Next year, after 7 Caribbean cruises with the kids, we are planning on visiting Europe.  We hope to spend a week maybe in France, but we'll end with a cruise.  It will be really different from a Caribbean vacation, and I'm sure a little challenging for my anxious child.  At least she'll be looking forward to the familiar Royal Caribbean ship at the end.  And I know that will help.

With these tips in mind, even when your cruising with some one who struggles with anxiety, life is really a party!

Disclaimer: I received some perks from Royal Caribbean in exchange for this post.  As always, all opinions are my own.  Thanks so much for the supporting the brands that make Life is a Party possible.

Marbled Hearts

Feb 8, 2018 · Leave a Comment

How to nail polish marble.

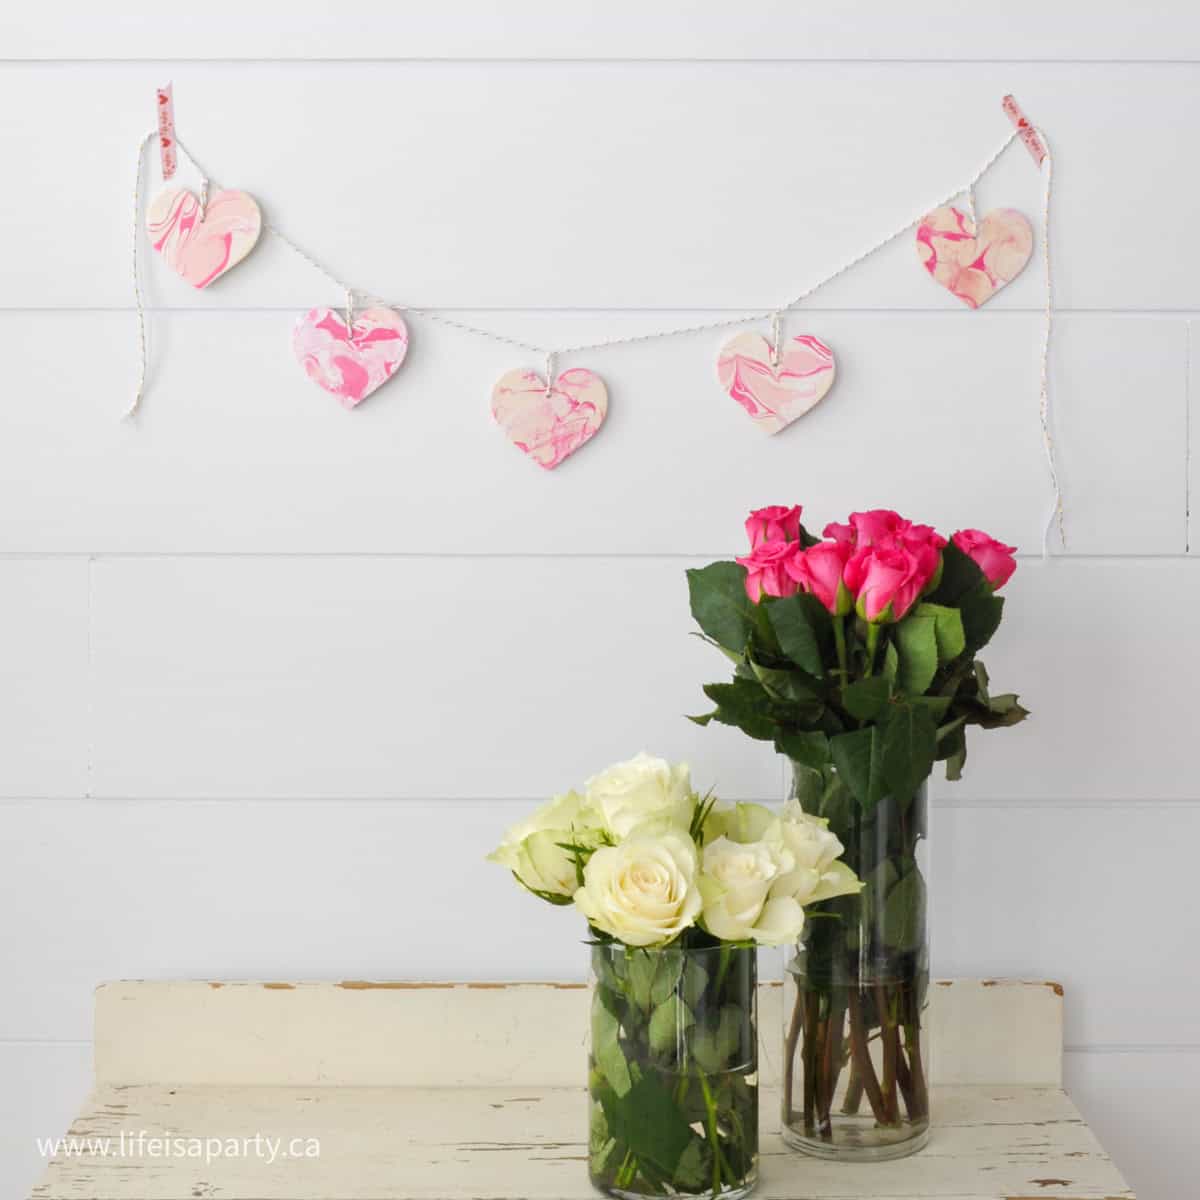
Nail Polish Marble Hearts Valentine's Day Craft: use nail polish to water marble wooden hearts for Valentine's Day in any colour combination you like!

How to nail polish marble.
[feast_advanced_jump_to]

These nail polish marble hearts are the perfect touch for Valentine's Day.  They're so fun to make, that once you start you're going to want to marble everything -at least I did!

I was inspired by the water marbled pumpkins I saw this fall and wanted to do a version with pink and white for Valentine's Day.

Marbled Hearts Valentine's Day Craft

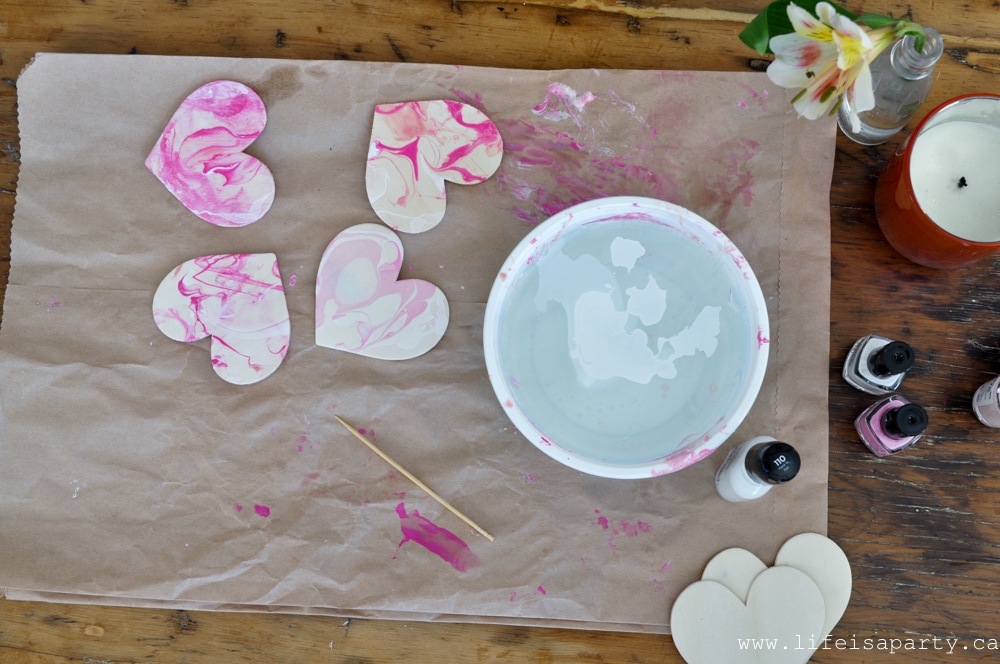
At first I thought that styrofoam 3D craft hearts would be perfect, but after a little research I discovered that styrofoam and nail polish don't mix.  So I found some simple wooden hearts at the craft store and they were perfect!

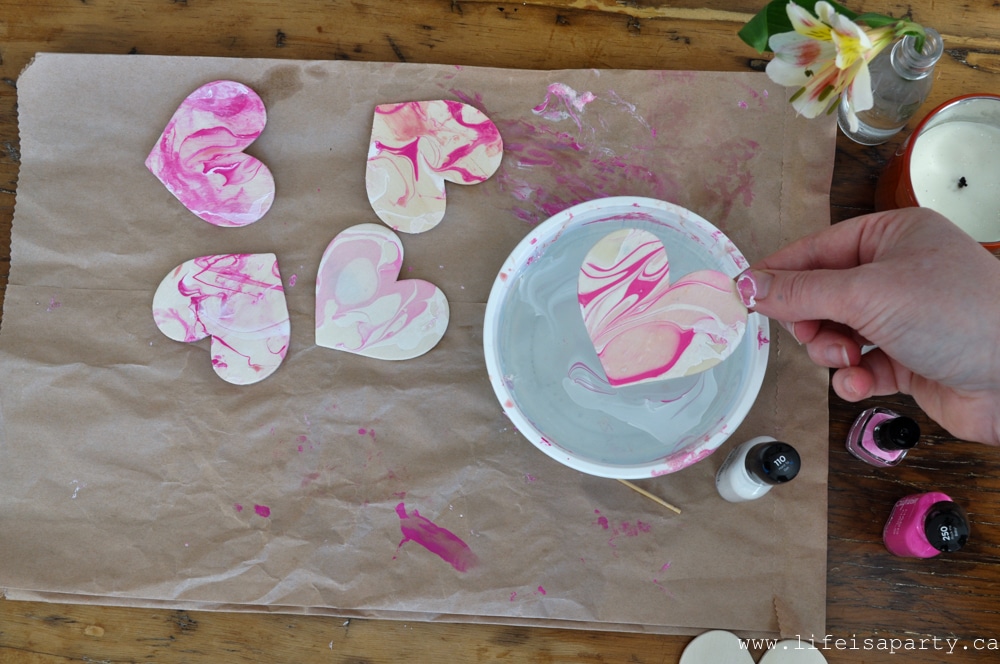
For this water marble technique, you float some nail polish on the surface of some water and dip the object in to paint it.  It really is addictive!

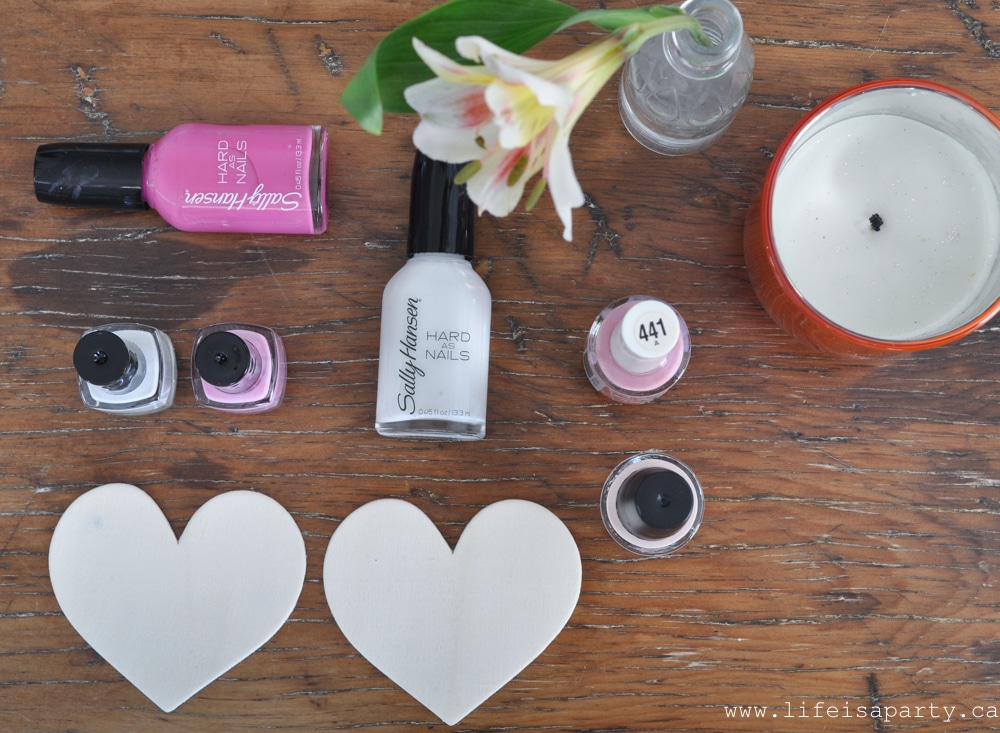
Nail Polish Marble Materials:

  • wooden craft hearts
  • nail polish
  • a small disposable container to hold the water
  • drill
  • twine

nail polish marble heartsHow to Water Marble:

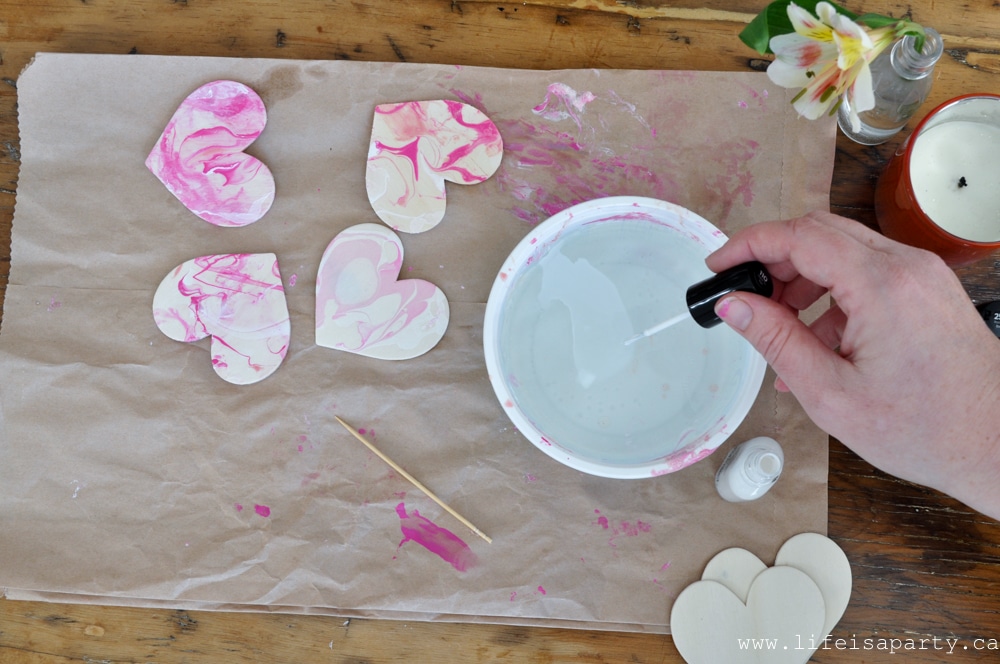
Start by finding a disposable container large enough to freely dip the hearts.  Fill it with luke warm water.

how to nail polish marble with water

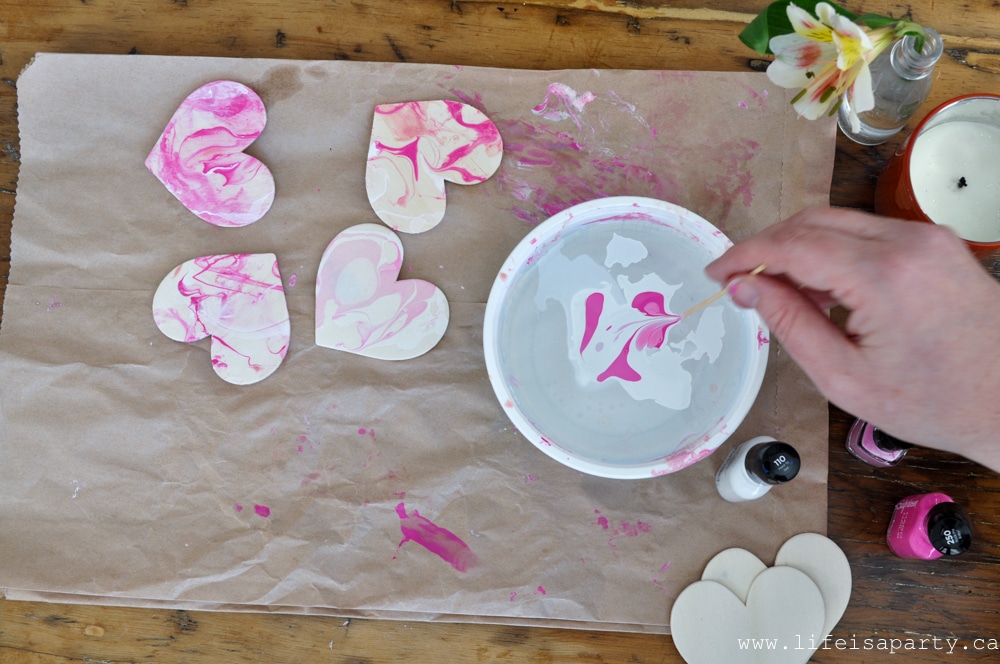
Drop spots of nail polish onto the surface of the water.  We used white, light pink, and a little hot pink.

how to water marble with nail polish

Take care to use a nail polish that IS NOT quick dry, since it will dry too quickly and not work well.  There was a little trial and error for us.  Our first attempt didn't work very well.  I think we took too long working with our nail polish at first and it began to dry and got all clumped up.  Be sure to work as quickly as you can for the best results.

nail polish water marbling

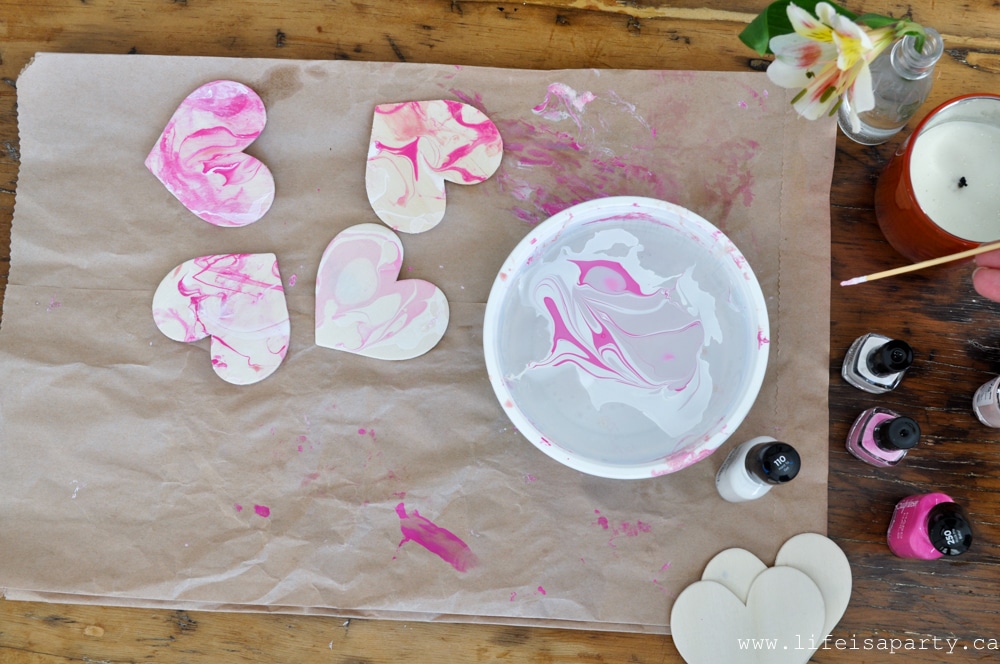
Once you have your nail polish on the surface of the water, use a tooth pick to swirl it around and create your marble pattern.

nail polish marble hearts

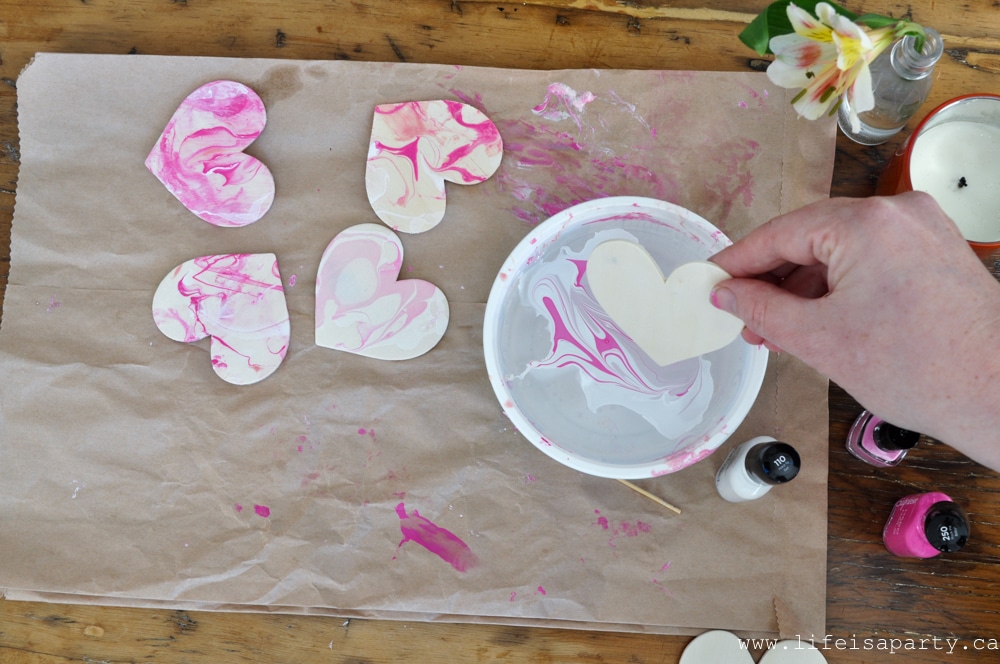
Dip your hearts carefully into the paint and through it.

how to nail polish marble

The nail polish that was floating on the surface of the water will transfer to the wooden heart.

nail polish and water marbling

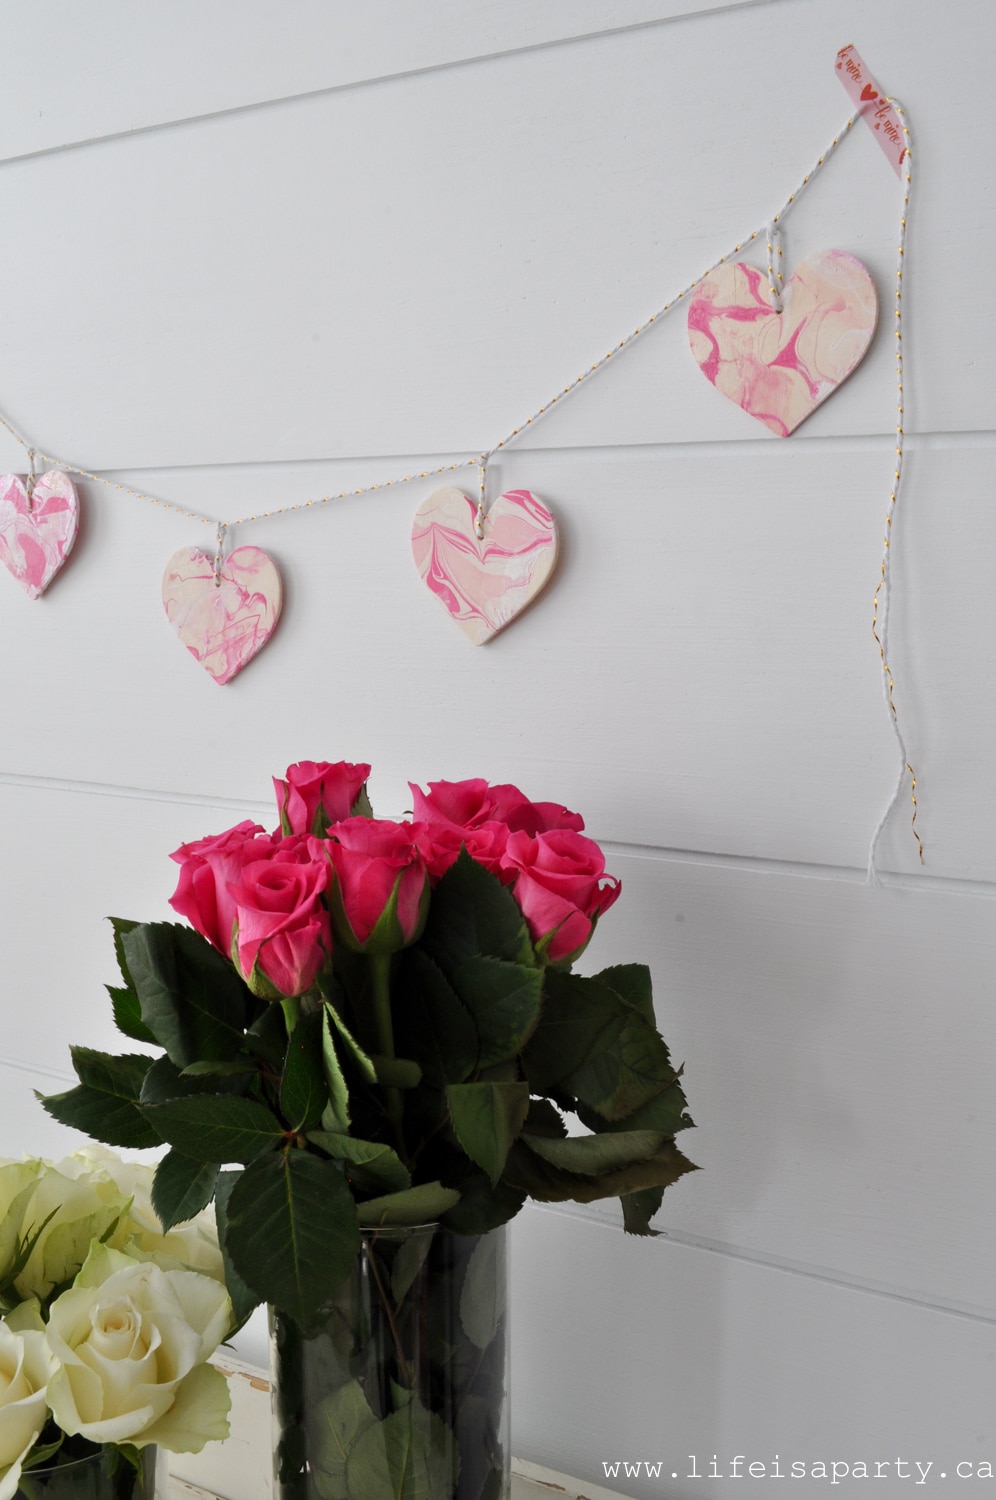
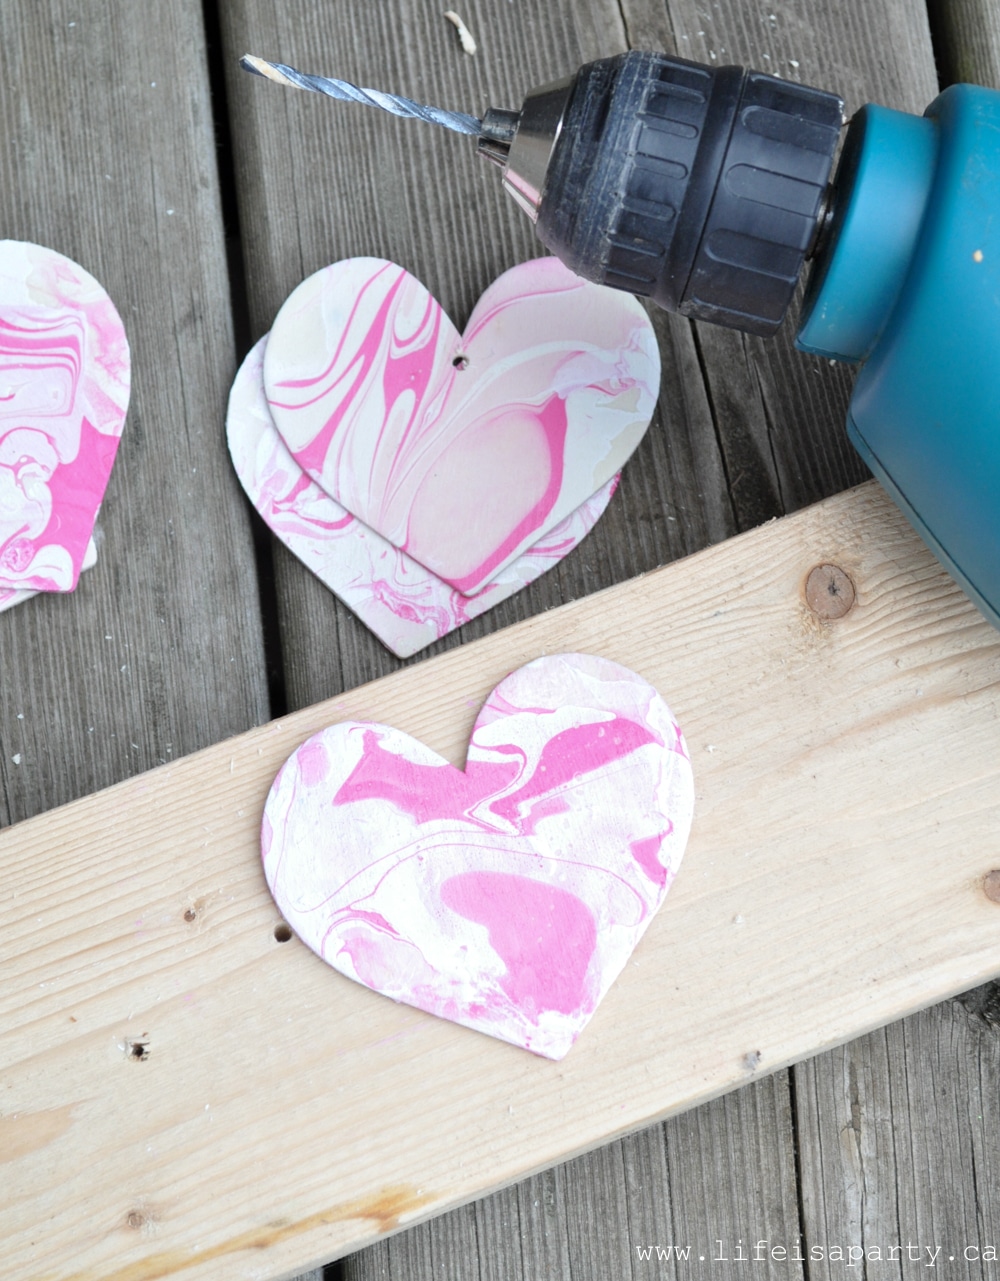
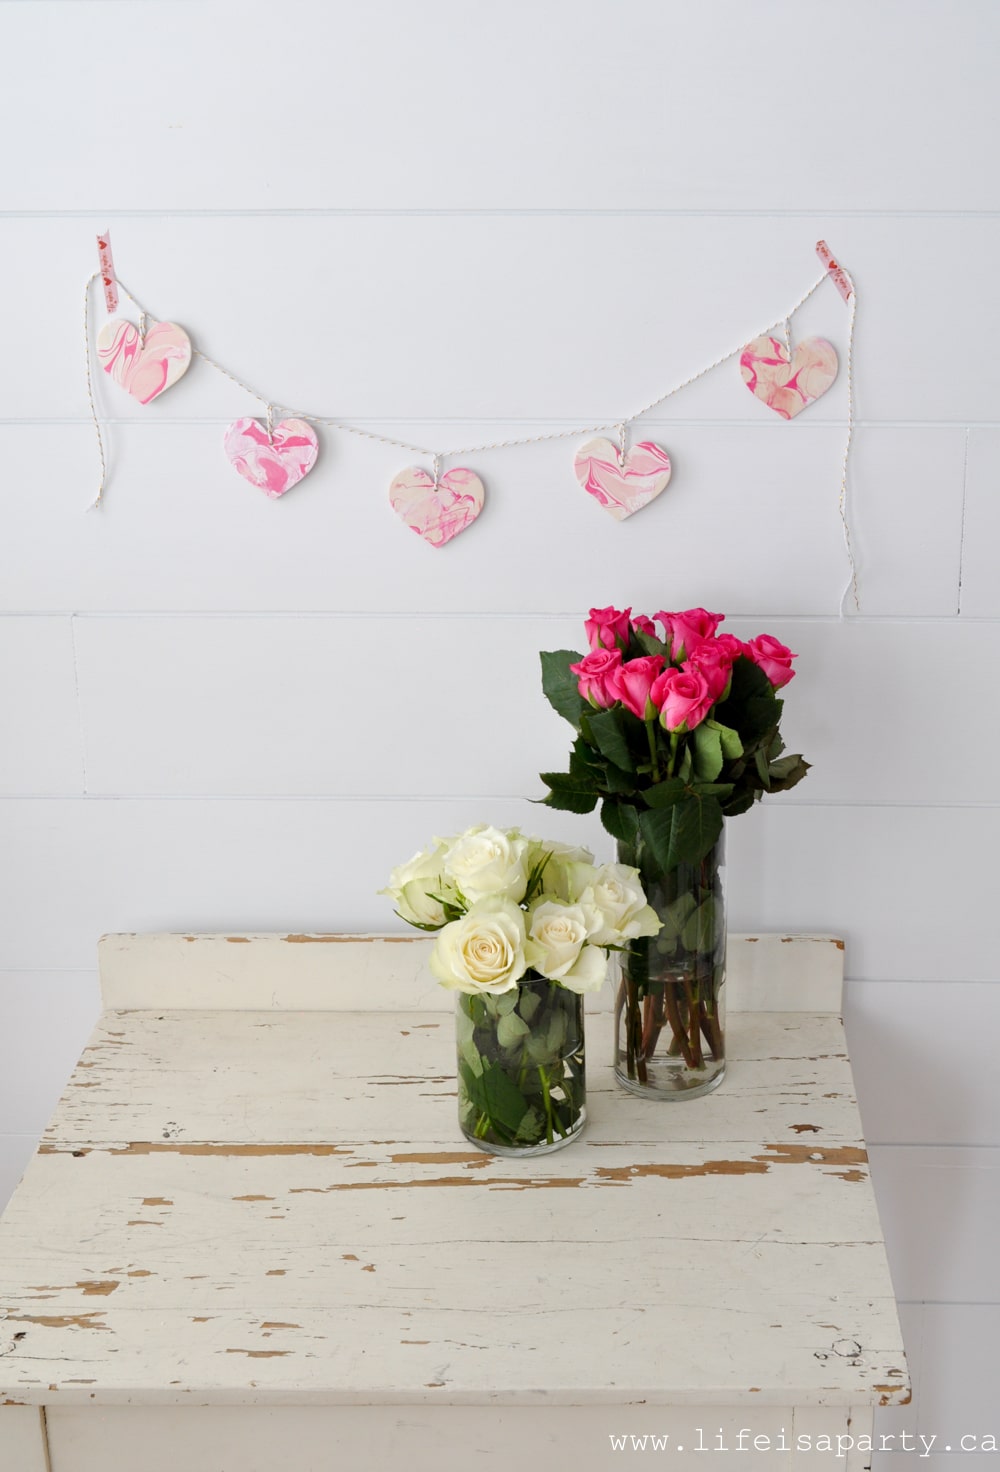
Let the nail polish fully dry.  Drill a small hole in the top of each heart, and then string the hearts onto twine and tie each one to create a garland.

how to create a marble effect with nail polish and water

I really loved doing this craft -see me in action and catch my enthusiasm over on my Instagram stories in the highlights.

pink nail polish marble

These little hearts are the perfect addition to your Valentine's Day decor.  You could make them in any colours to match your decor.  Next I might try some black and white ones.

Marbled Hearts Valentine's Day Craft

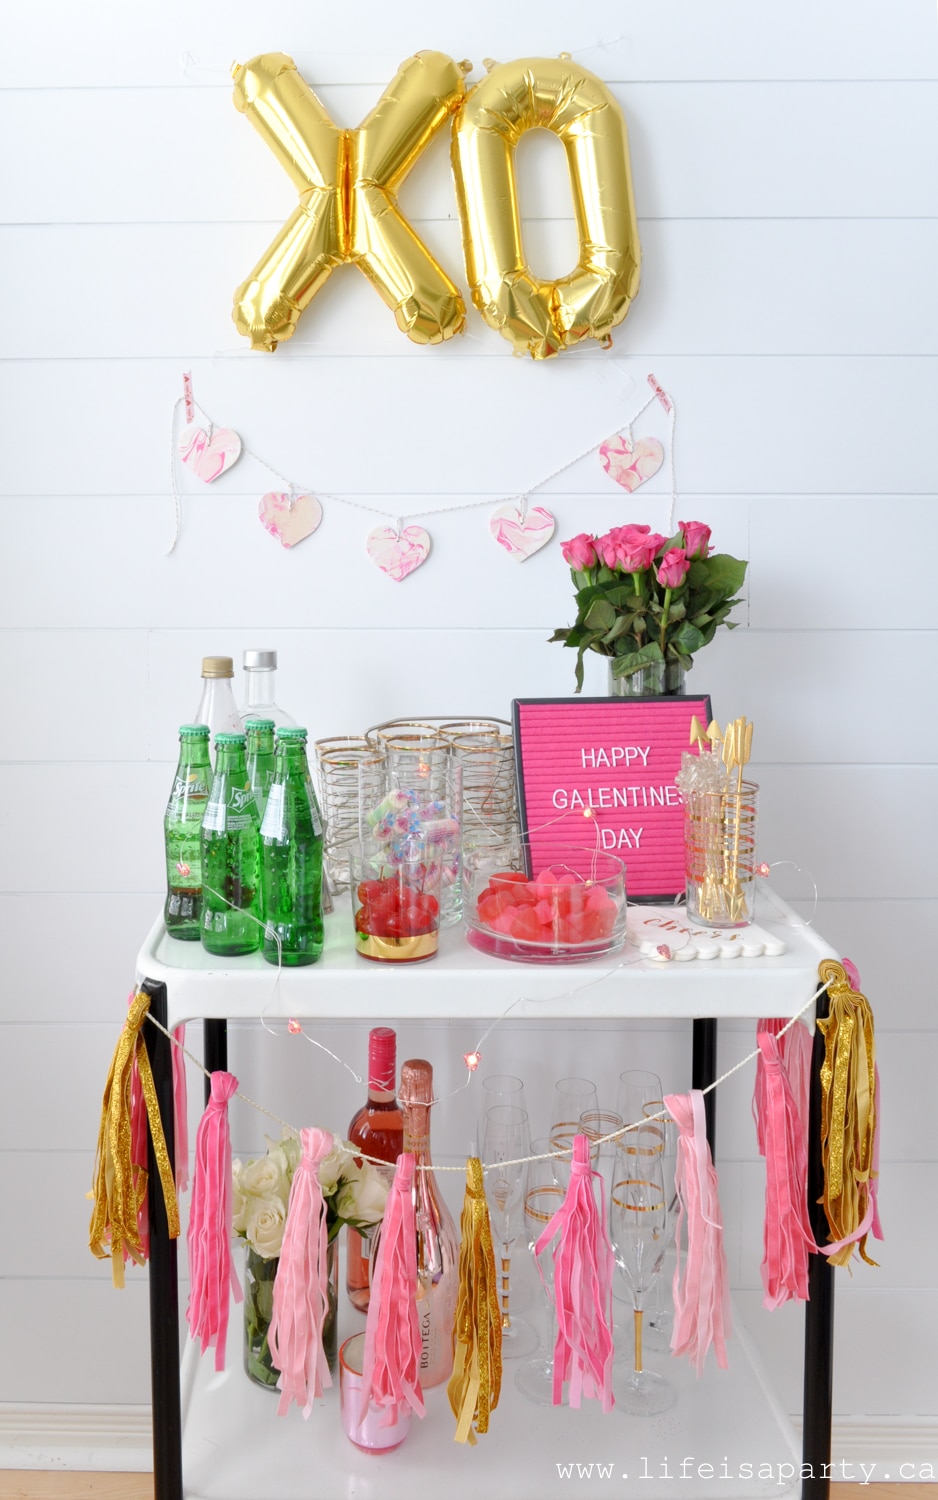
I used my marbled heart garland on my Galentine's Day Bar Cart -read more about it here.
diy Valentine's Day Craft

With Nail Polish Marble Hearts for Valentine's Day, life really is a party!

More Inspiration

You might also like our 3D Origami Hearts here.

3d origami hearts

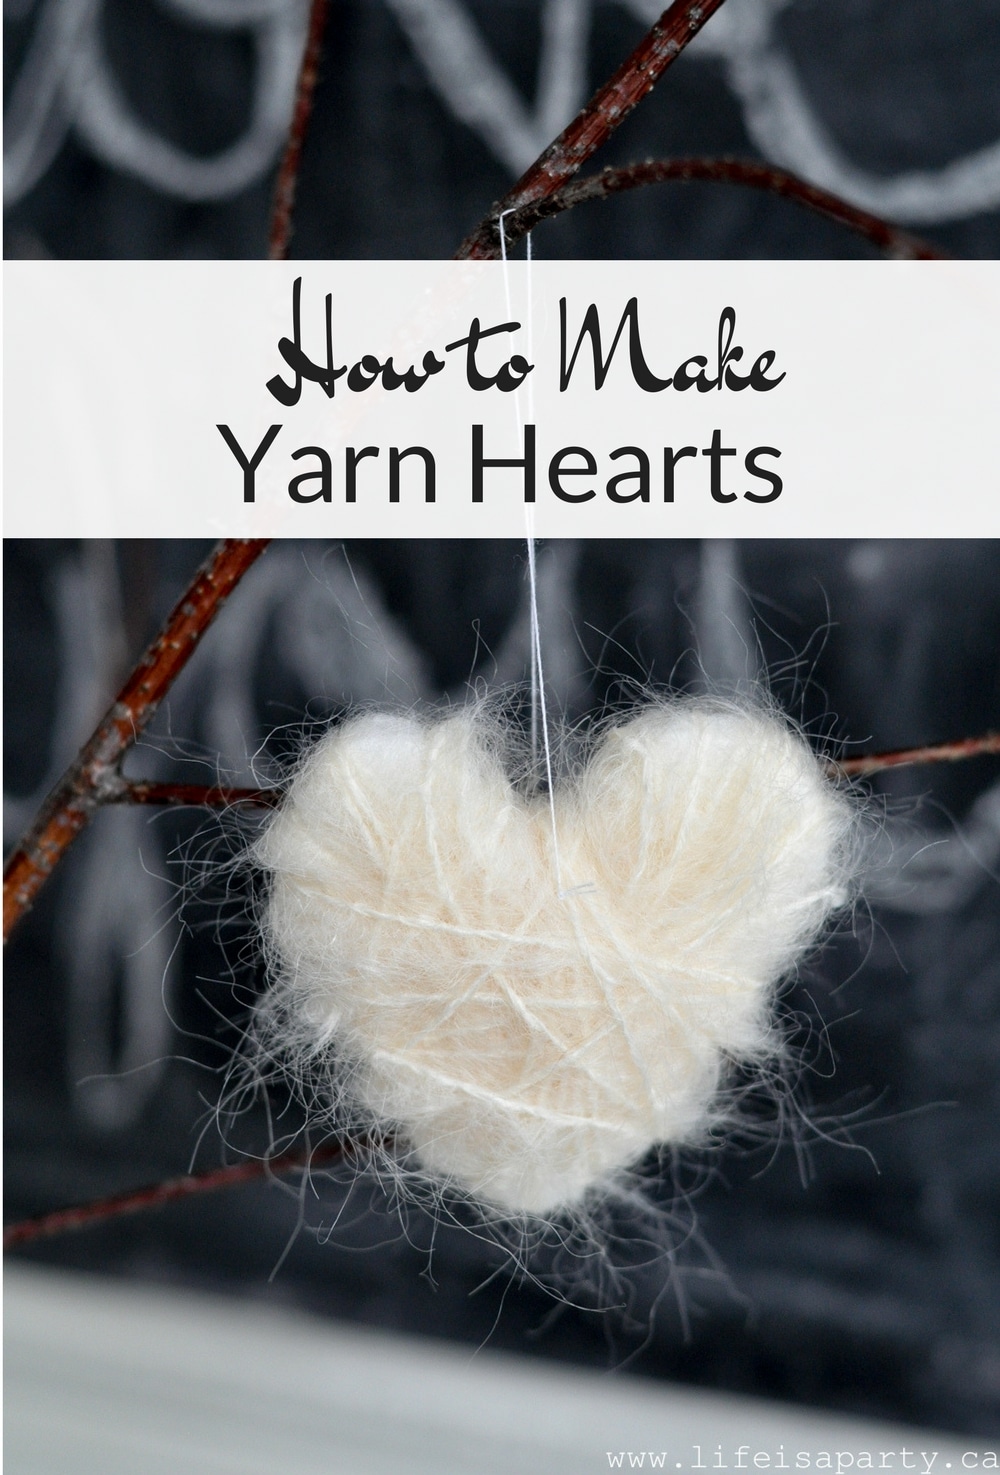
Also check out our Yarn Hearts here.

You might also enjoy our Valentine's Day Wreath Ideas here.

Dirty Shirley Temple Cocktail Recipe

Feb 6, 2018 · Leave a Comment

Dirty Shirley cocktail recipe.

Galentine's Day Cocktail and Bar Cart -invite your girlfriends over and celebrate with a pretty Valentine's Day Bar Cart and Galentine's Day Drink.  A Dirty Shirley is the grown up alcoholic version of your favourite girlhood drink!

Dirty Shirley cocktail recipe.
[feast_advanced_jump_to]

t's almost time for Galentine's Day and that calls for a fun cocktail and a cute bar cart to celebrate love with your girlfriends!  We made a grown-up version of our childhood favourite Shirley Temples.  It's the perfect Valentine's Day drink.   These Dirty Shirleys have all the sweetness and fun of your girlhood memories, with the addition of a shot of vodka to make them an adult cocktail.  They feel festive and fun for a special occasion and perfect for a girl friend get together for Valentine's Day.  But they're also been called the drink of the summer.  We think they're pretty perfect for any time of year.  This is a sweet drink, with just a few ingredients, that you can easily find in any grocery store and an easy recipe making them such a favorite.

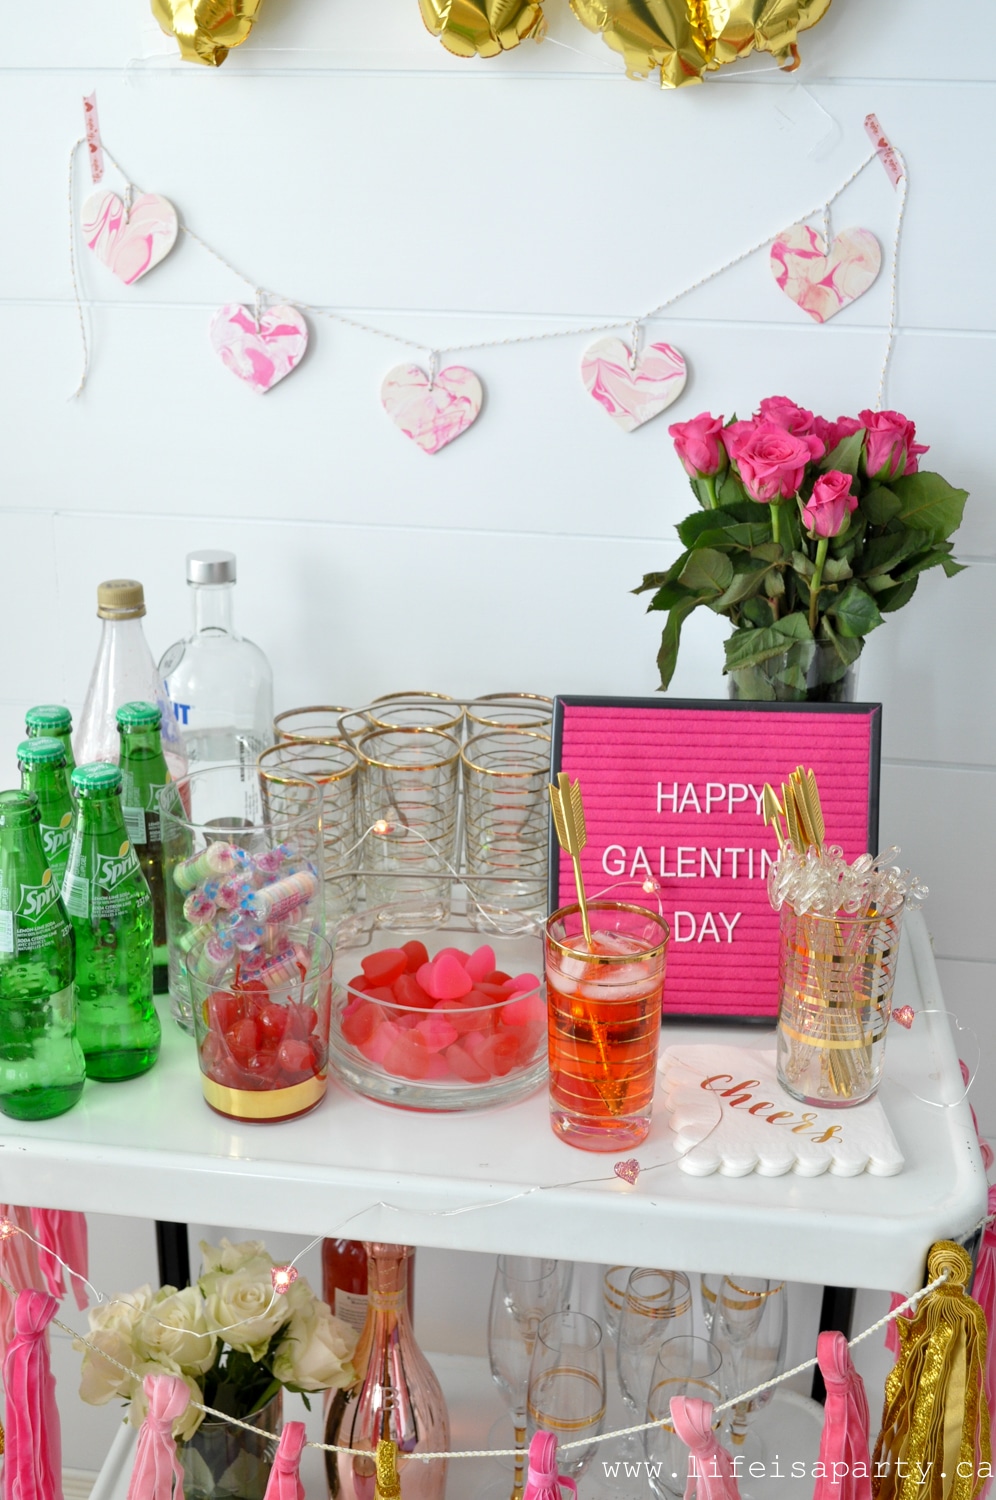
Galentine's Bar Cart all set up for drinksGalentine's Day Bar Cart
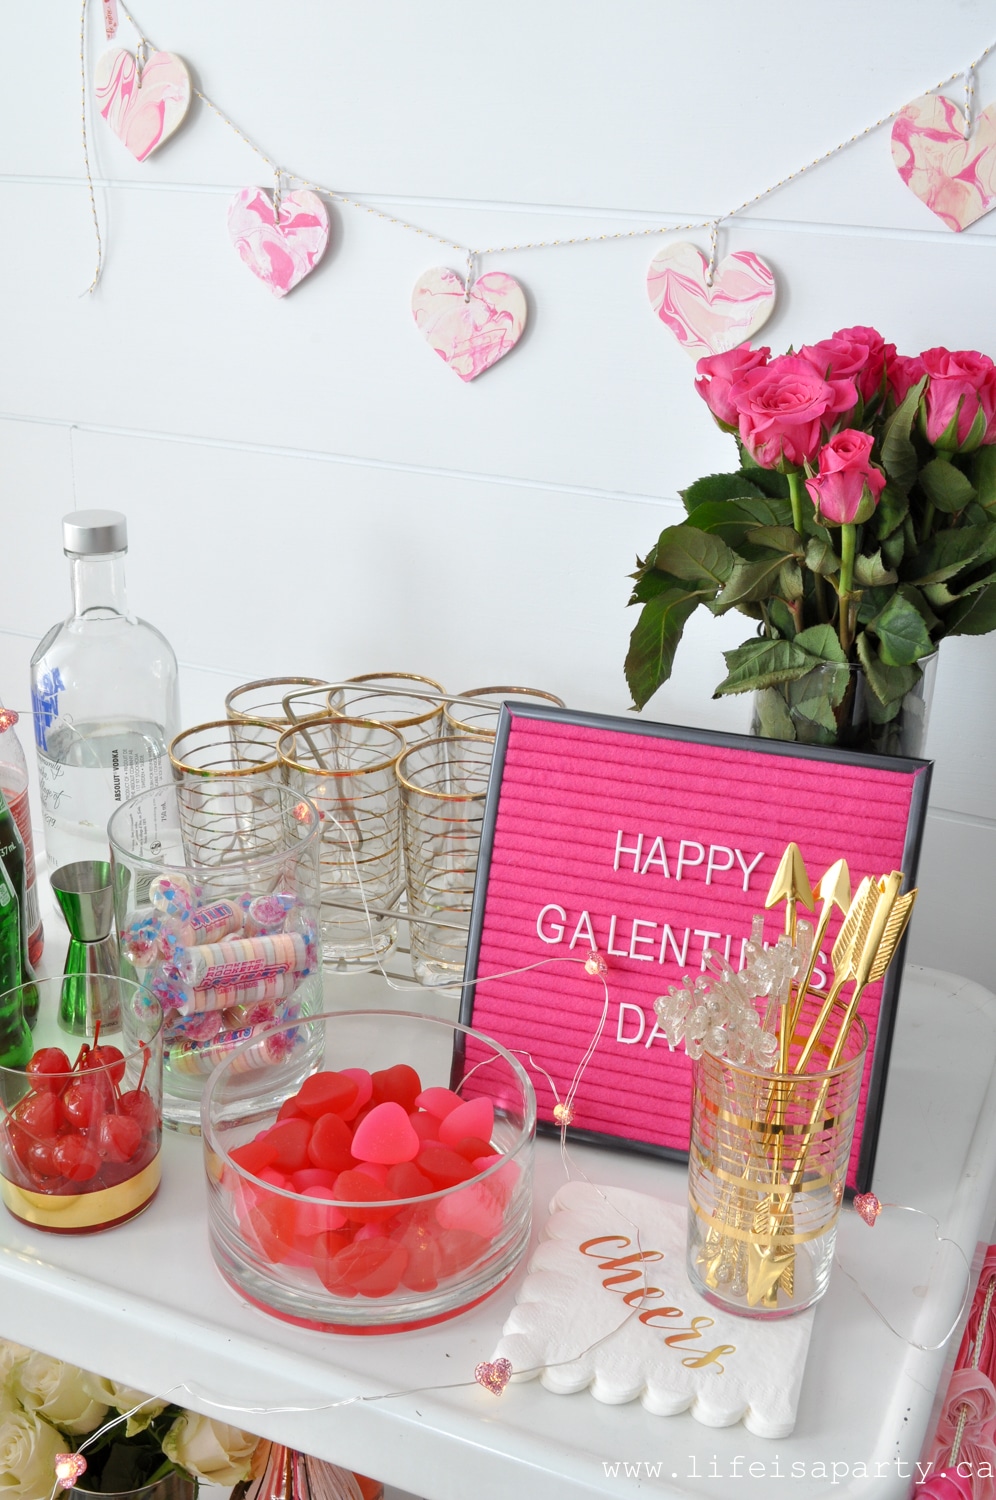
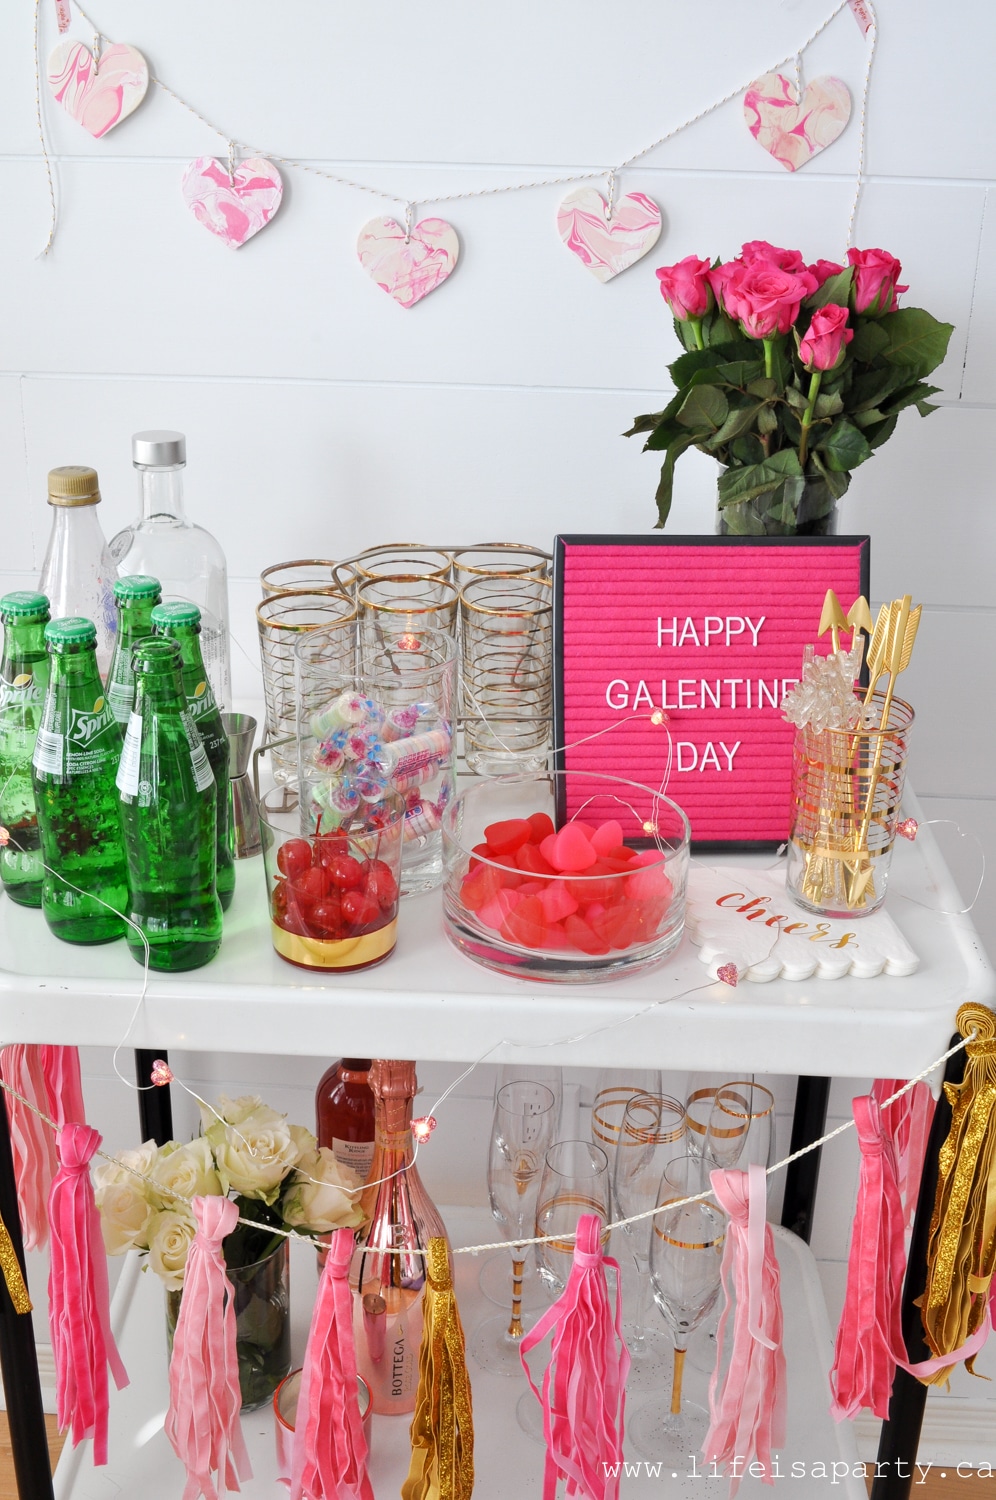
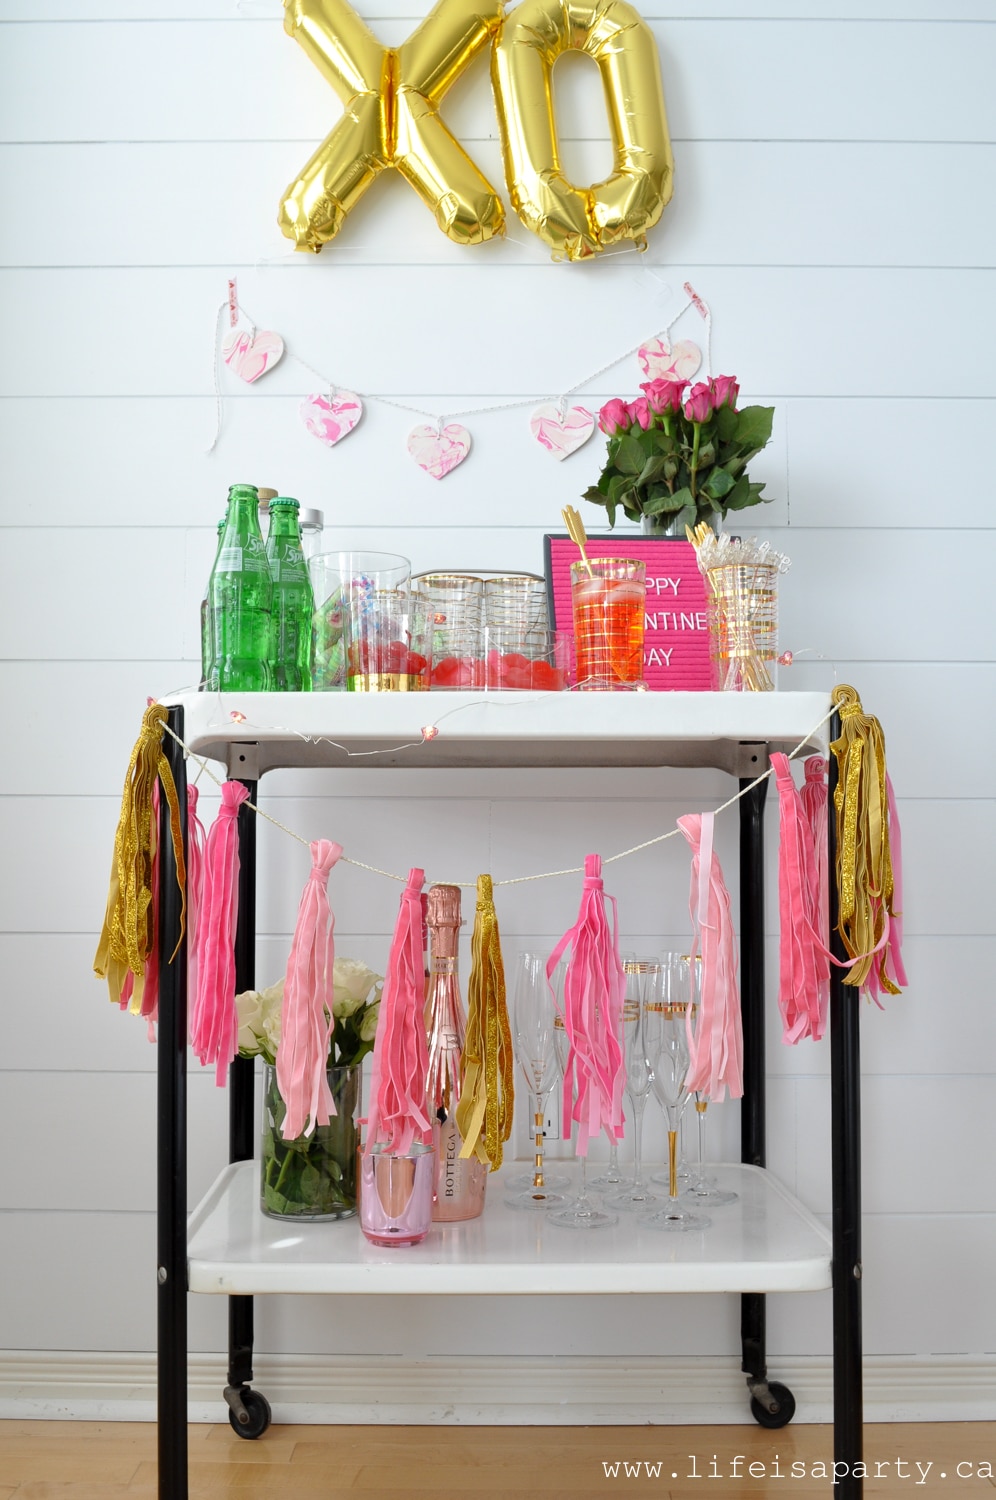
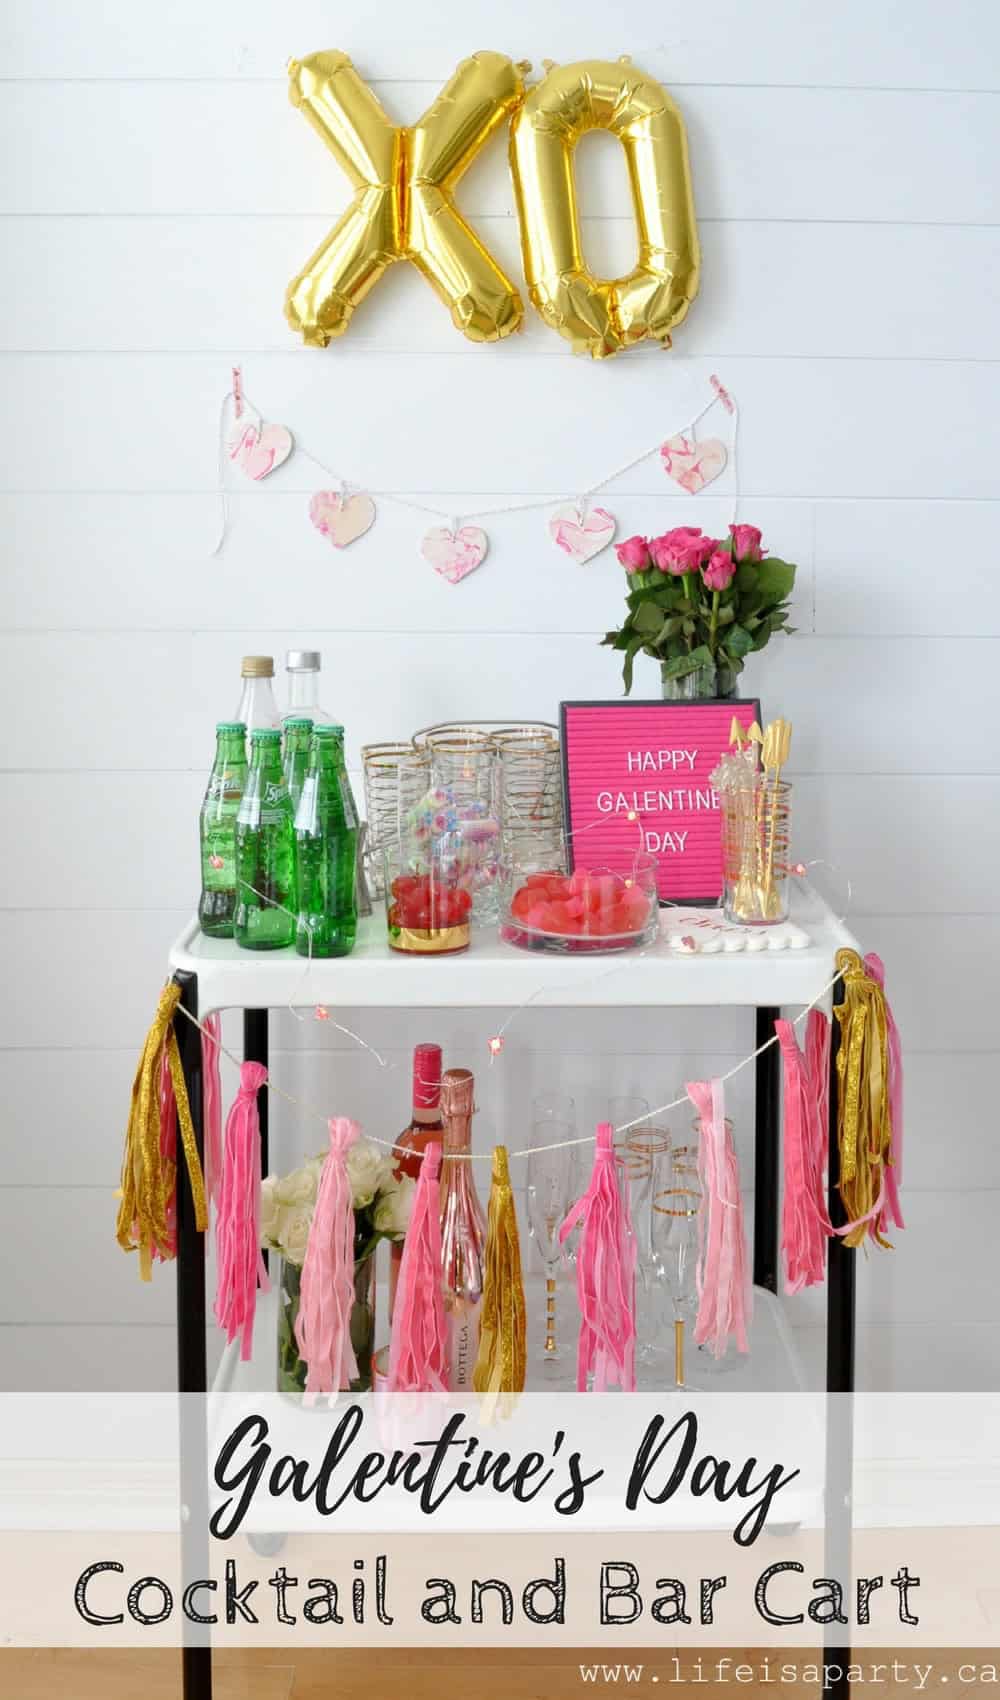
I used my bar cart and decorated it for Valentine's Day.  Every Galentine's Day needs pretty flowers, some candy, and some great girly drinks -check, check, check.

Happy Galentine's Day Cocktail and Bar Cart

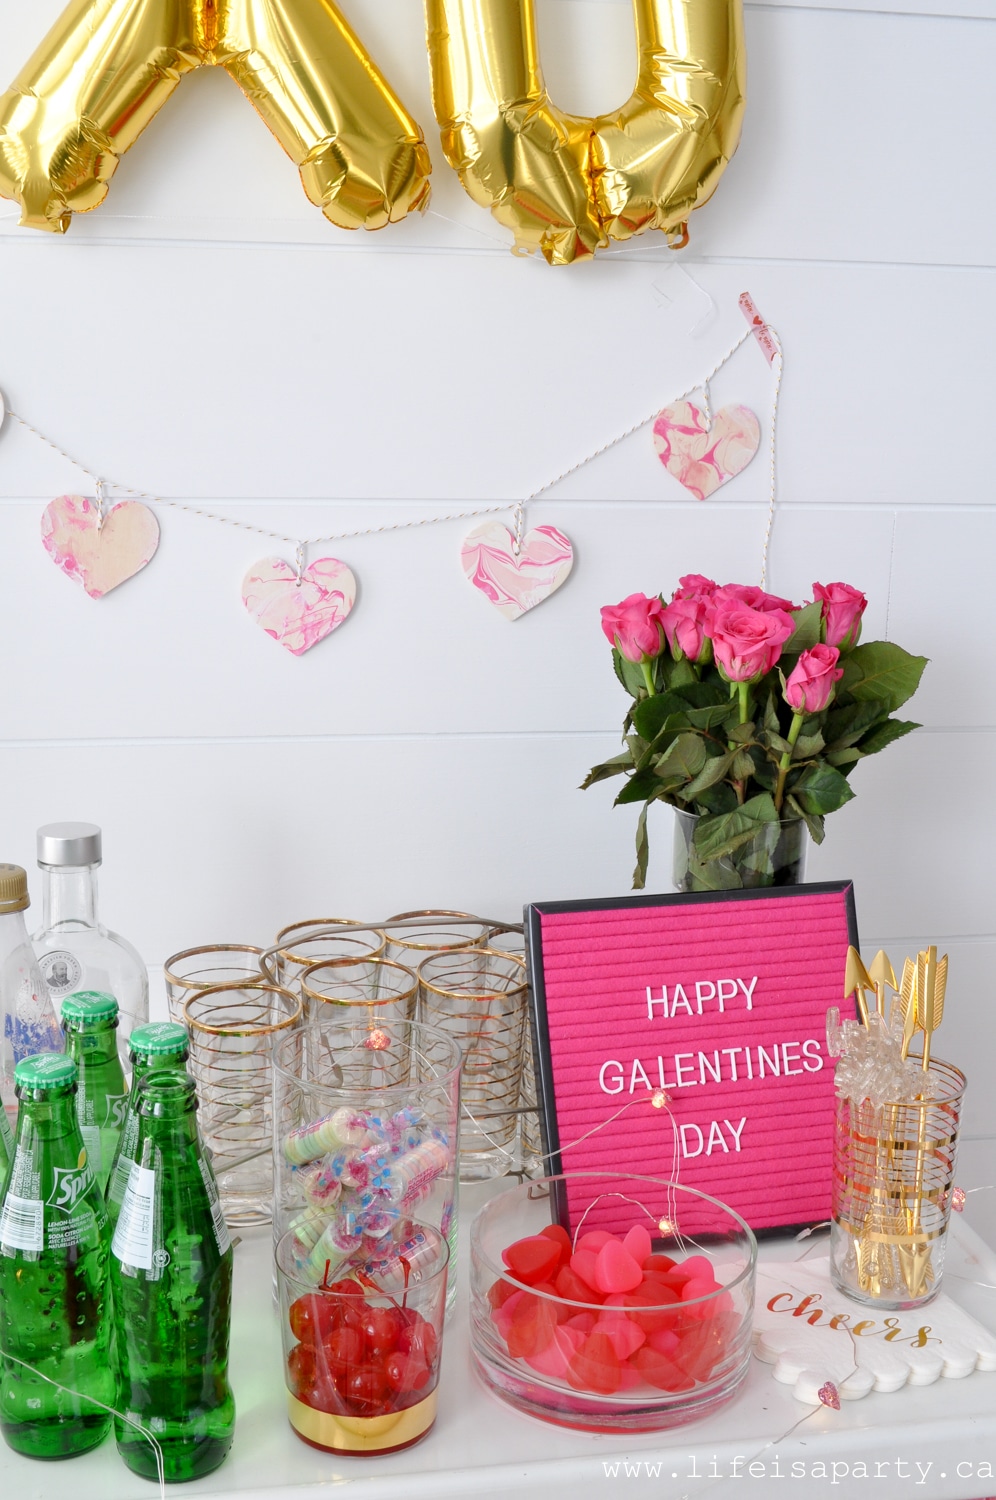
The heart garland is a DIY marble -see how I made it here.

Bar Cart decorated in pink ready for Galentine's Day

On the wall above I used a sweet X and O balloon.  We could all use a little kiss and hug, right?  Pick them up at the party store. They're filled with air and hung on string so they're really convenient since you don't need helium.

Galentine's Day XO balloons, heart garland and pink roses

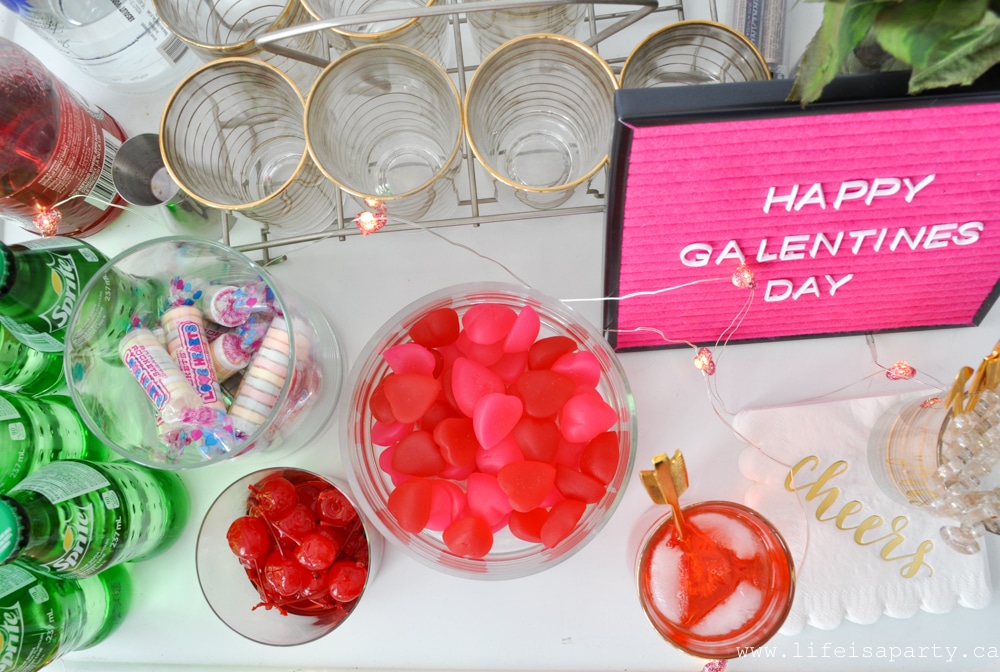
On top of the bar everything is set up for the signature cocktail of the night -our Dirty Shirleys.  We're all set for happy hour.  

The Dirty Shirley

The original classic Shirley Temple mocktail is named after the child star.  There are various stories of its origin.  Most agree that it was a child friendly option with a sweet taste that the famous child actress could enjoy while others had an adult beverage.  There are different versions of the drink.  Some use ginger ale, other lemon-lime soda, still others prefer club soda and lemon juice.  They all contain grenadine syrup and maraschino cherries.  Some suggest the adults around here were perhaps drinking old fashions which come with a cherry, when the bartender added extra cherries to the Shirley Temple as well.  Some recipes also include splash of orange juice.

Galentine's Day Bar Cart
The Dirty Shirley drink is very similar to the innocent childhood drink.  The adult version of this classic mocktail has the same simple ingredients with the addition of vodka.  If you're looking for fun and nostalgic drinks for a party, the boozy Shirley Temple is the perfect choice.  The addition of alcohol to this old favorite, turns it into a grown-up cocktail everyone loves.

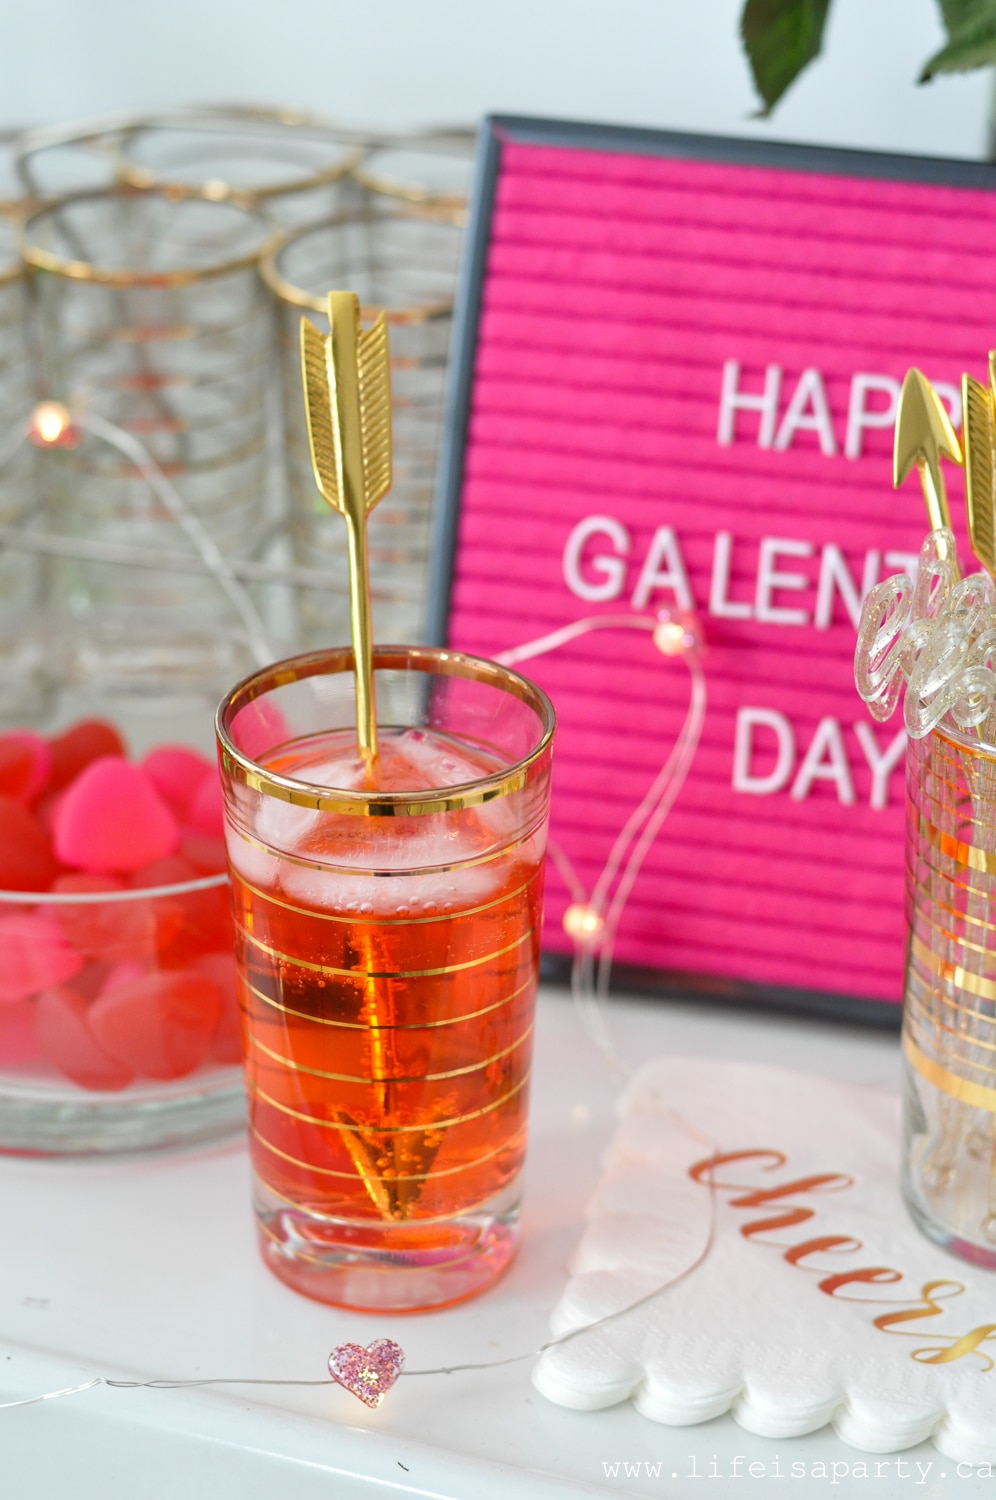
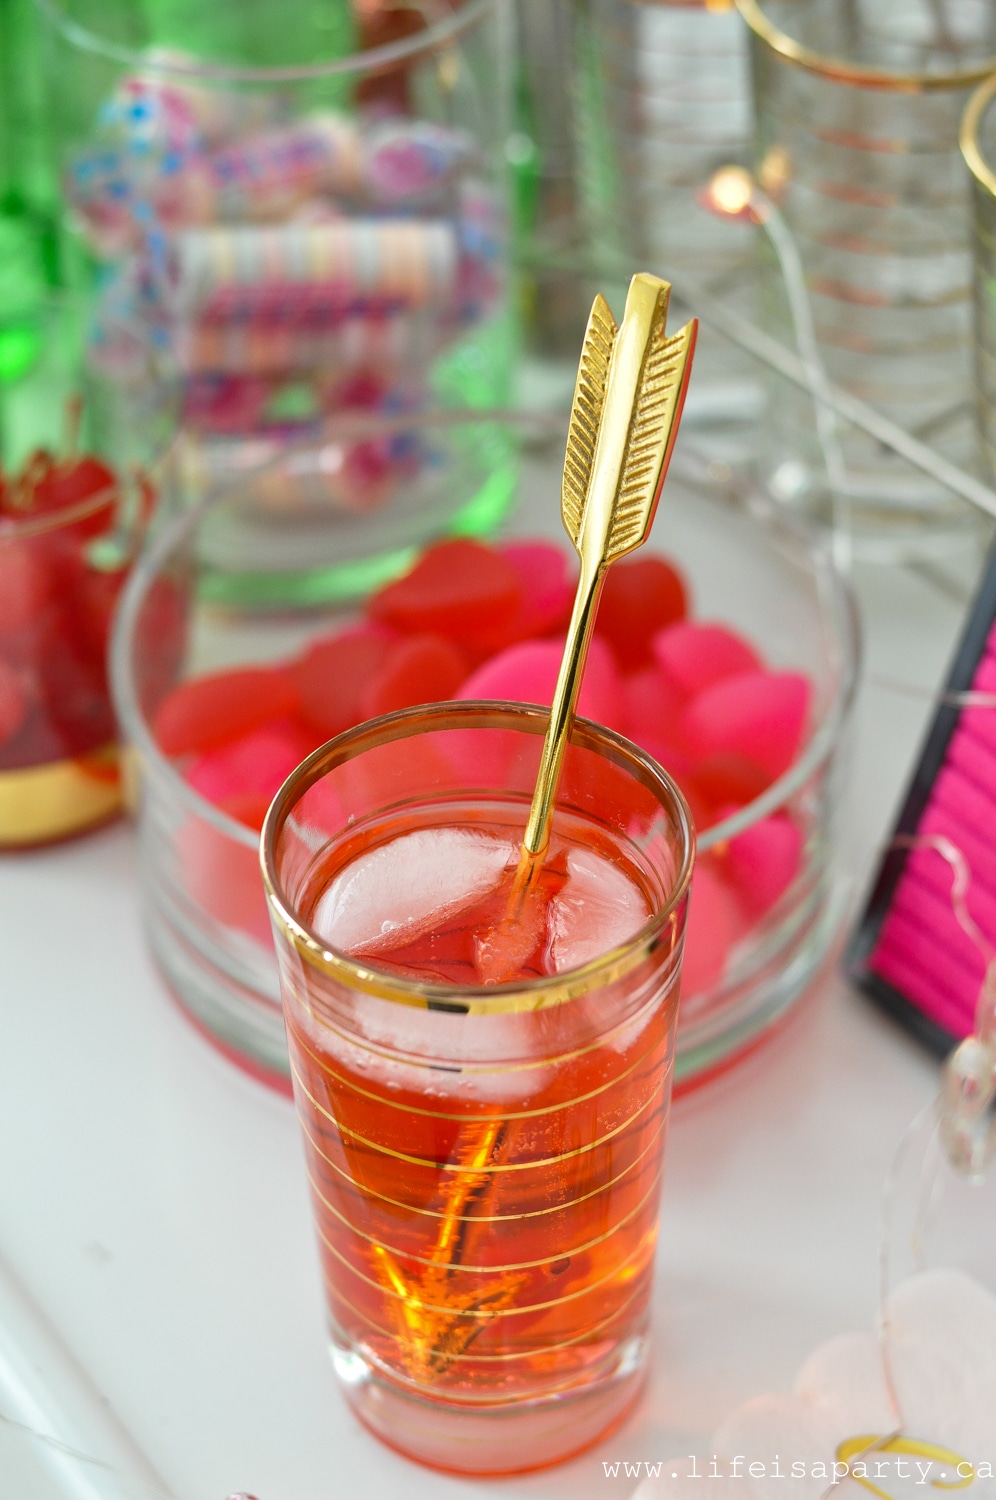
Galentine's Day drink -a Dirty Shirley

Cocktail Variations

You can make your dirty Shirley cocktail with ginger ale but we prefer lemon-lime soda like Sprite lemon lime soda or 7-up.  It's better for color and for taste, in our option.  If you don't want want that familiar childhood sweetness, you could substitute with club soda and add a little fresh lime juice or lemon juice as well.  

Adjusting The Sweetness

The dirty Shirley Temple cocktail is on the sweet side.  The grenadine will still give the cocktail some sweetness, even if you opt for club soda.  You can make it less sweet if you prefer by adjusting the amount of grenadine.  For a less sweet version add only a splash of grenadine.  Or if you love a sweet cocktail add up to an ounce of grenadine.

Dirty Shirley Galentine's Day drink

Garnish

These are best served over ice in a highball glass with traditional Shirley Temple garnishes of a maraschino cherry -look for the cocktail variety with stems, and lime wedges.

Vodka Options

We prefer these with plain vodka, but you can try flavored vodka for a twist.  Cherry vodka is a fun addition.

This is a very easy cocktail to make with just a few ingredients.  If you're making the adult version of a Shirley Temple for a crowd, you can easily make a large pitcher.

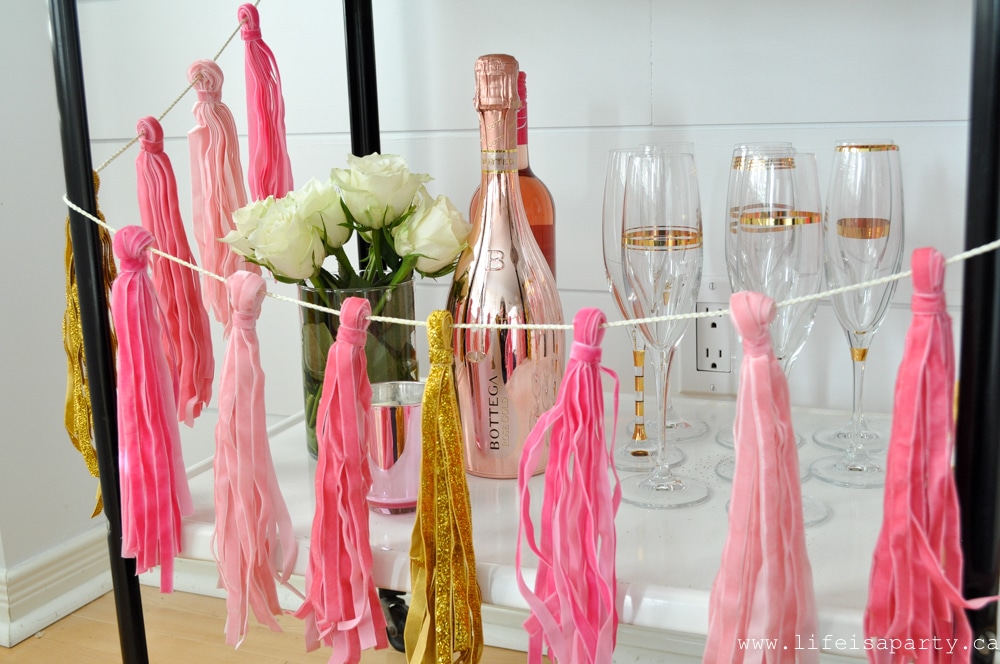
On the bottom shelf of the bar cart a few more fun options for the night, some rose, and some sparkling wine -because a girl loves choices.

Galentine's Day Cocktail and Bar Cart -invite your girlfriends over and celebrate with a pretty Valentine's Day Bar Cart and Galentine's Day Drink.  A Dirty Shirley is the grown up alcoholic version of your favourite girlhood drink!
pink tassel garland on a Valentine's Day bar cart

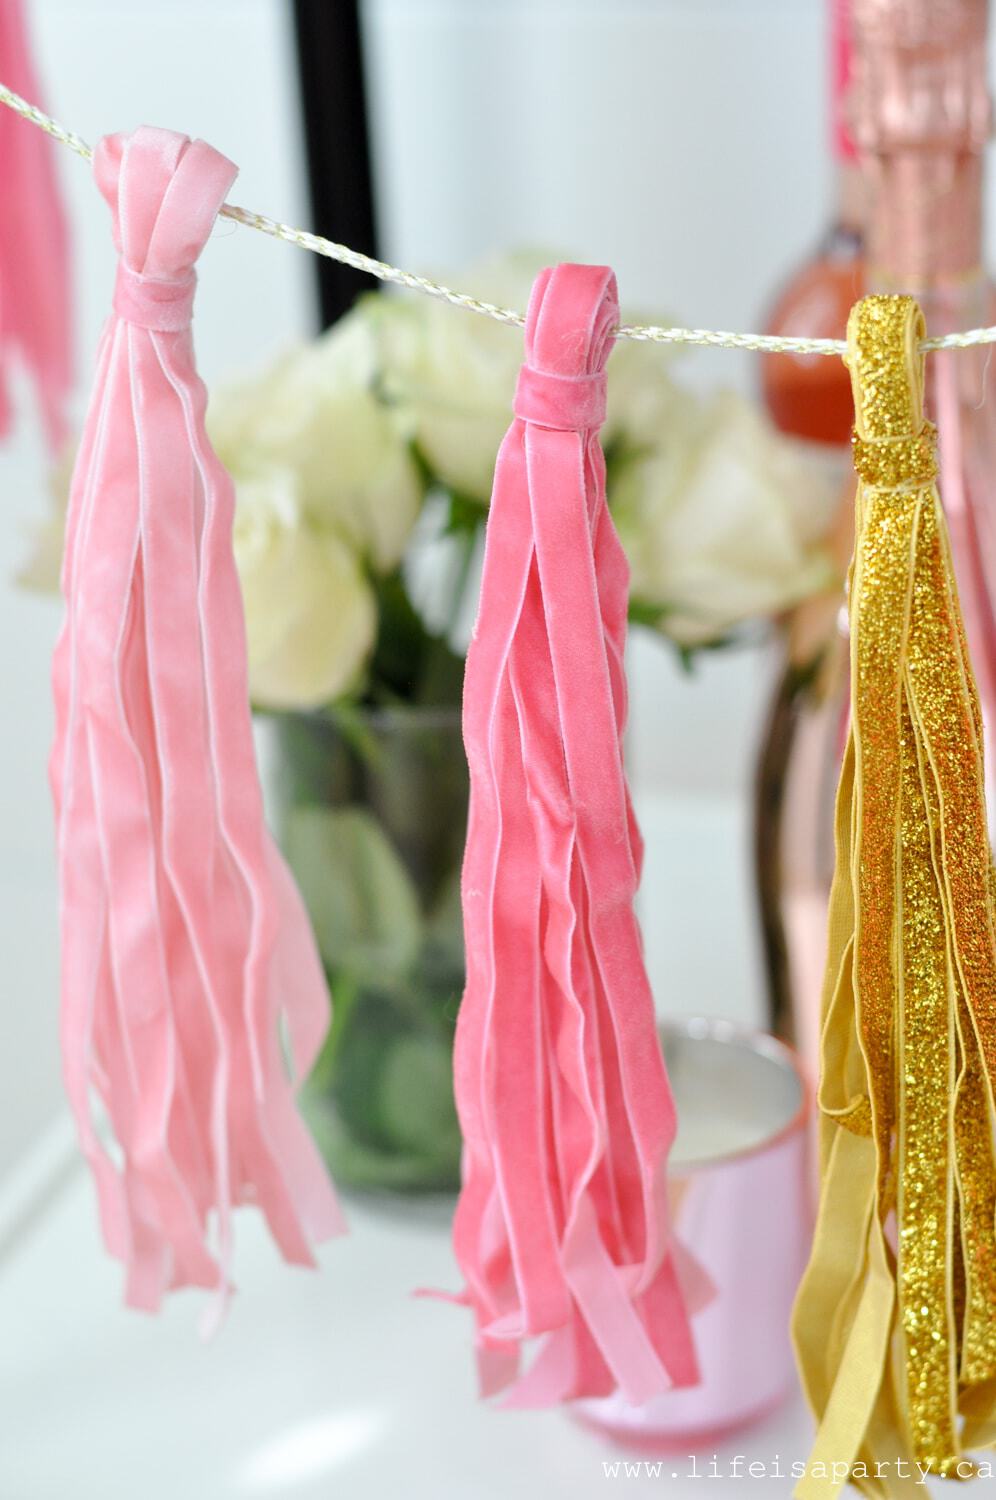
And how pretty is this velvet ribbon tassel garland?  With the perfect bit of sparkle.

Galentine's Day pink tassel garland
Galentine's Day Cocktail and Bar Cart -invite your girlfriends over and celebrate with a pretty Valentine's Day Bar Cart and Galentine's Day Drink.  A Dirty Shirley is the grown up alcoholic version of your favourite girlhood drink!
I hope you get a chance to celebrate this year with all your girl friends.  And I hopefully this fun bar cart and our grown-up Shirley Temples the Dirty Shirley, has given you a few new ideas for Galentine's Day drinks.

Recipe

Dirty Shirley cocktail recipe.

Dirty Shirleys -Grown-up Shirley Temples

Sweet and fruity, easy to make cocktail.
No ratings yet
Print Pin Rate
Course: Drinks
Cuisine: American
Prep Time: 5 minutes minutes
Total Time: 5 minutes minutes
Servings: 1 cocktail
Calories: 413kcal
Author: Dannyelle Nicolle-Ramjist

Ingredients

  • ½ - 1 oz. grenadine
  • 1 oz. vodka
  • 2 cups Sprite lemon lime soda
  • 4 ice cubs
  • 1 maraschino cherry

Instructions

  • Fill your glass with ice.
  • Add grenadine, using ½ to 1 oz depending on how sweet you like it.
  • Add 1 oz. vodka.
  • Top up your glass with sprite.
  • Garnish with a cherry and enjoy!

Nutrition

Serving: 1g | Calories: 413kcal | Carbohydrates: 88g | Protein: 1g | Sodium: 79mg | Sugar: 85g
Tried this Recipe? Tag me Today!Mention @LifeisaParty or tag #lifeisaparty!

With a Galentine's Day Cocktail and Bar Cart, life really is a party!

More Valentine's Day Ideas

You might also enjoy our Valentine's Day Pizza Party here.

Valentine's Day Pizza Party -DIY decorations, heart shaped pizza, mocktails, and a dessert pizza recipe make this the perfect family celebration.

Also check our Valentine's Day At Home Spa here.

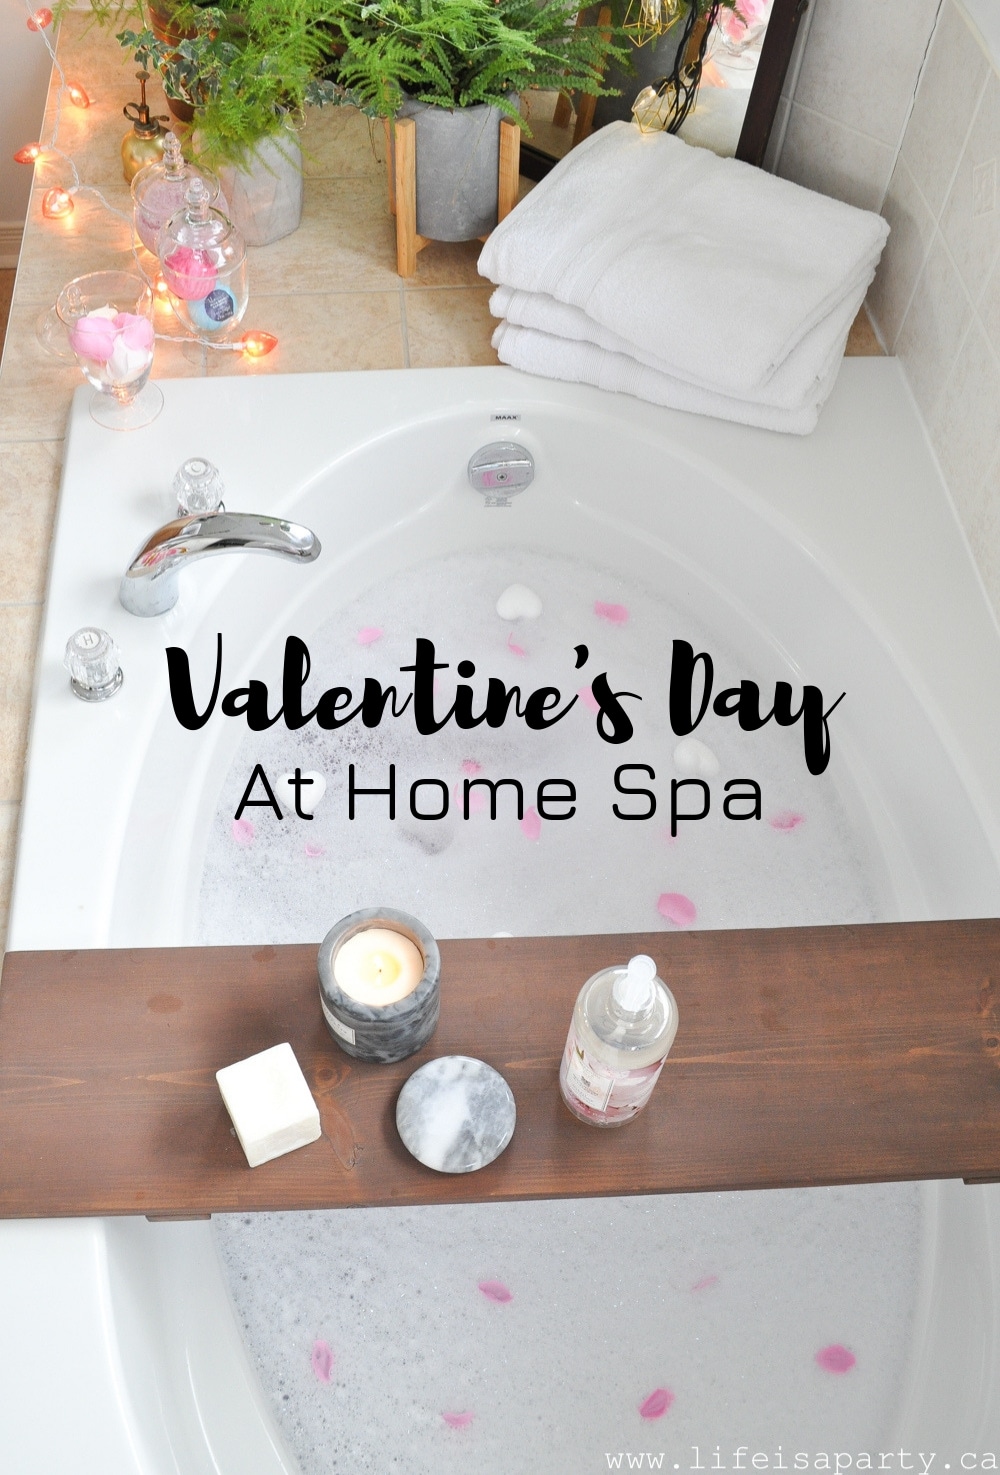
Valentine's Day At Home Spa: surprise your tween or teen daughters with face masks, manicures, fancy refreshments, candles, and a bubble bath.

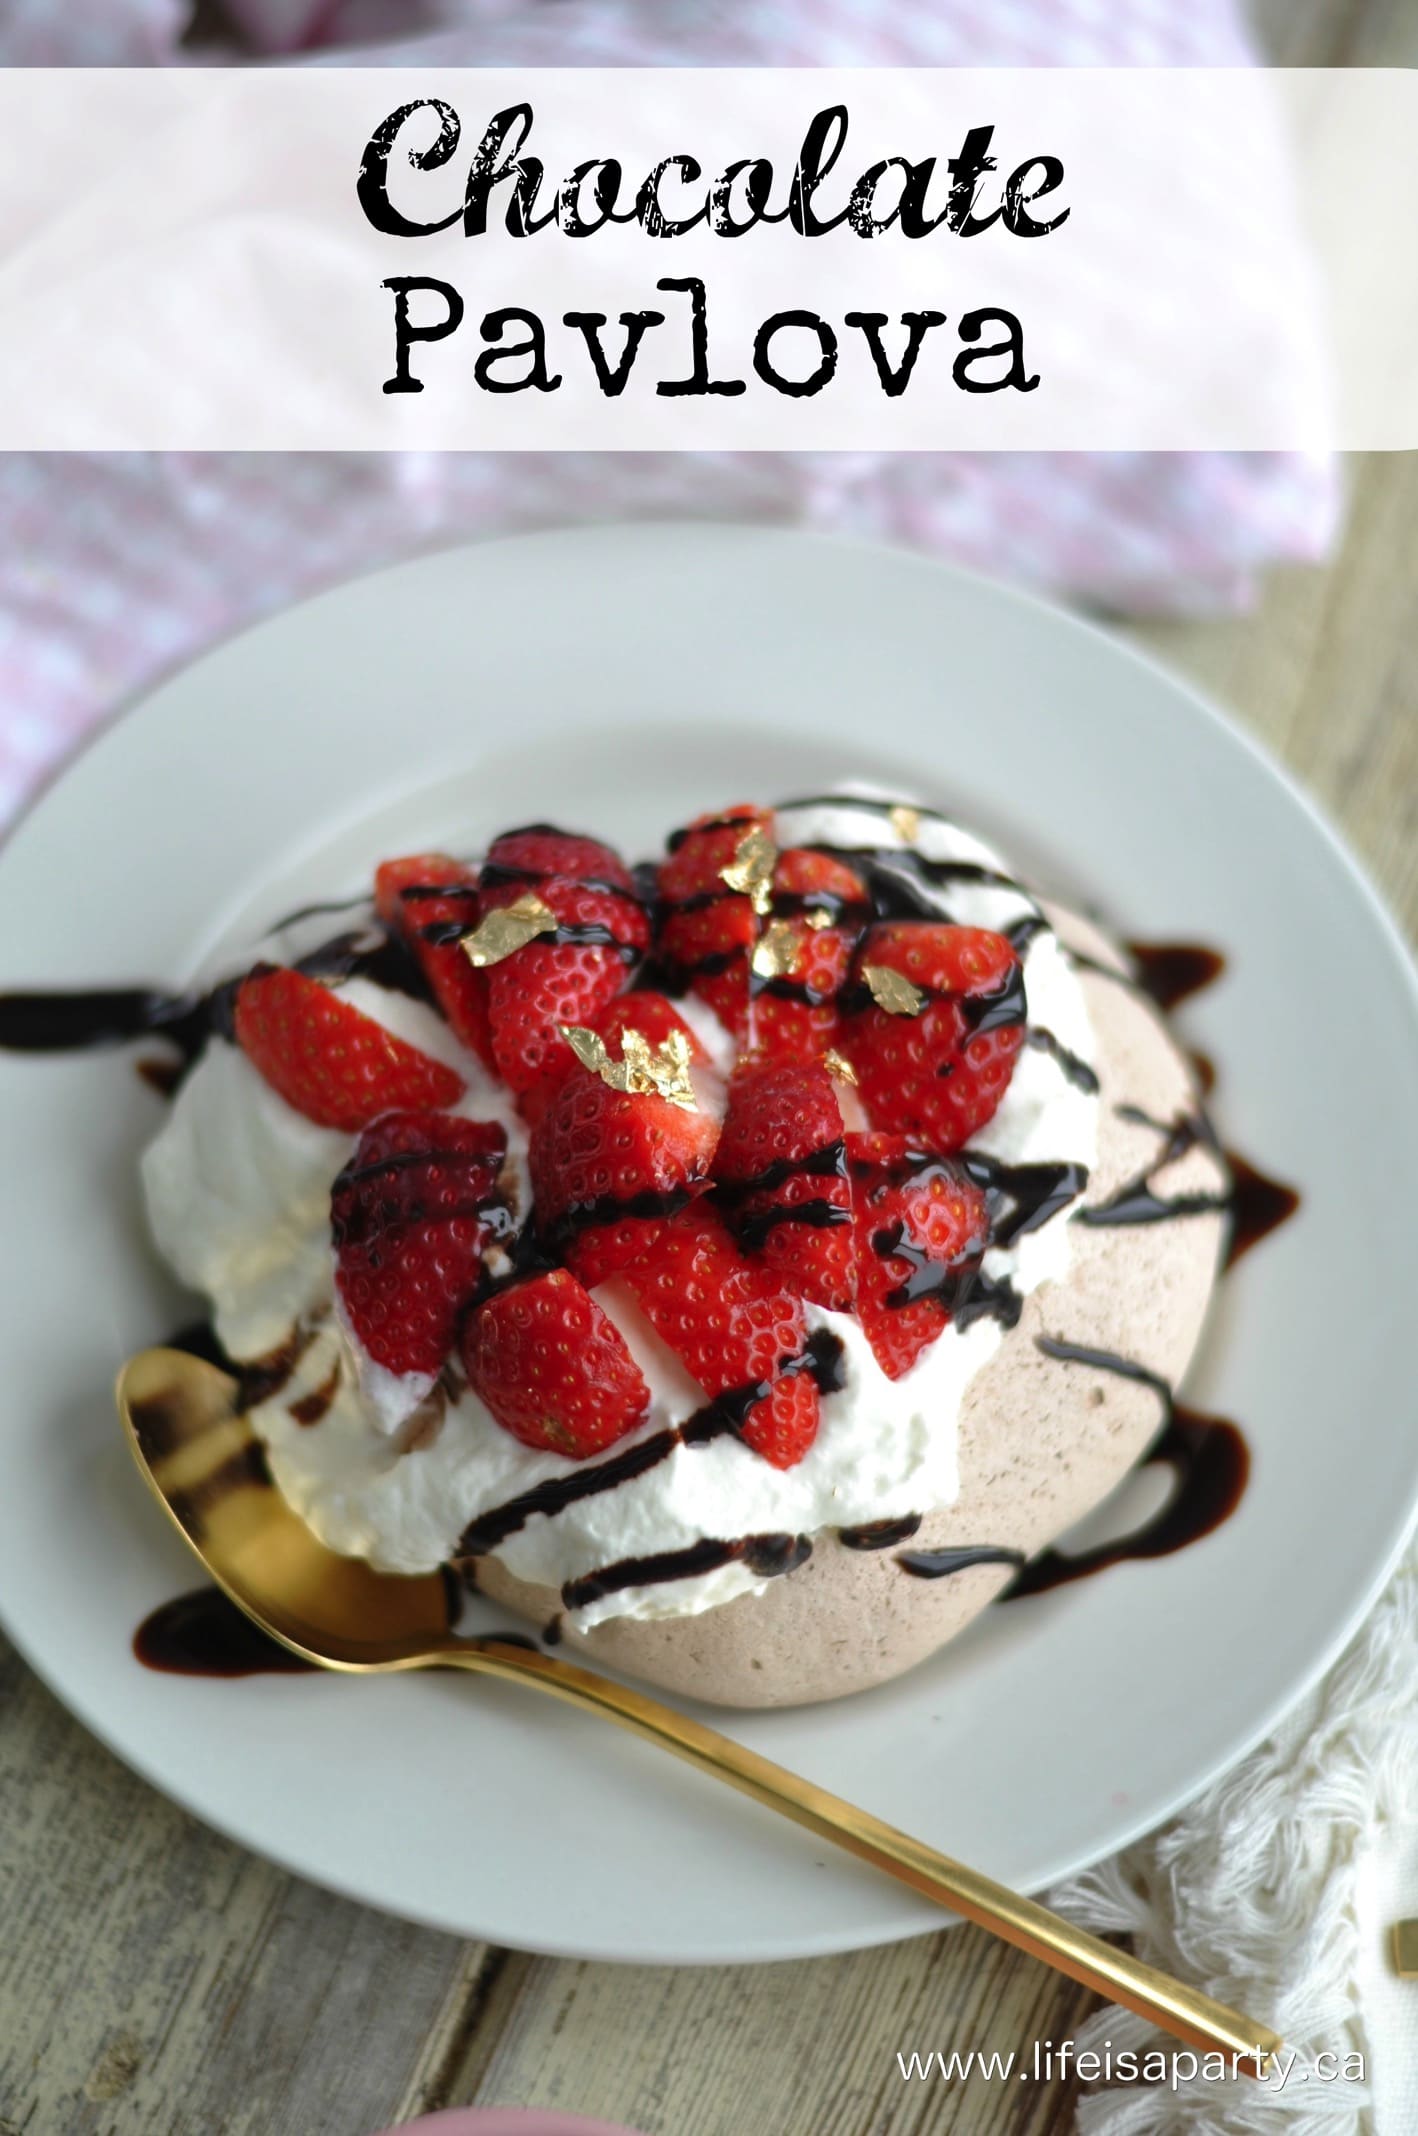
You might also enjoy our Heart Shaped Chocolate Pavlova recipe here.

Individual Heart Shaped Chocolate Pavlova: Easy recipe, perfect light, sweet dessert.

Neutral Valentine's Day Decor Ideas: Home Tour and DIY

Feb 1, 2018 · 41 Comments

Neutral Valentine's Day decor ideas for modern farmhouse home with soft pink accents and DIY projects.

Transform your home with simple neutral Valentine's Day decor that feels romantic without the traditional red and pink overload. This full home tour shows you how to create a soft, sophisticated Valentine's aesthetic using whites, creams, natural wood, and just a touch of blush pink in every room of your house.

Neutral Valentne's Day home decor ideas.
[feast_advanced_jump_to]

Quick Look

🎨 Style: Neutral farmhouse with soft pink accents
💰 Budget: Under $50 using DIY projects and thrift finds
🏠 Rooms Decorated: 7 areas (dining room, living room, couch, coffee table, mantel, kitchen, table)
💭 Top Tip: Shop your house first and add just a few new Valentine touches to your existing neutral decor for a cohesive look!

Why You'll Love This Neutral Valentine Decor

  • Works with your existing decor. No need to completely redecorate or clash with your everyday neutral palette.
  • Budget friendly approach. Most items are DIY projects or thrifted finds that cost pennies.
  • Soft and romantic. Create a cozy atmosphere without bright colors screaming Valentine's Day.
  • Modern farmhouse style. Perfect if you love neutral tones, natural textures, and vintage pieces.

I love Valentine's Day, but I'm not a fan of the traditional bright reds and hot pinks that take over stores every February. Instead, I prefer a softer, more sophisticated approach using neutral Valentine's Day decor with just a touch of blush pink here and there. It really doesn't take much to make your home feel romantic and festive for Valentine's Day when you focus on texture, lighting, and simple heart shaped accents in neutral tones.

This year, I decorated our entire home for Valentine's Day while staying true to our neutral farmhouse aesthetic. I'm sharing a full home tour with all the details on how I styled seven different areas, plus budget tips, DIY project links, and styling principles you can use in your own home.

If you love this approach, you might also enjoy our Valentine's Day Tea Party, Valentine's Day Movie Night, Valentine Breakfast Board, 20 At Home Valentine's Day Ideas, or DIY Valentine's Day Wreaths.

Neutral Valentine's Day Decor in the dining room

Choosing Your Neutral Valentine Color Palette

The key to beautiful neutral Valentine's Day decor is understanding which colors create that romantic feeling without relying on traditional Valentine reds and pinks.

Base Colors (Use Lots):

  • White and cream for a soft, clean foundation
  • Natural wood tones for warmth and texture
  • Beige, taupe, and gray for subtle depth

Accent Color (Use Sparingly):

  • Soft blush pink as your only pop of color
  • Keeps the Valentine theme without overwhelming your space

Why Neutrals Feel Romantic: Neutral colors create a calm, cozy atmosphere that actually feels more romantic than bright, loud colors. They're sophisticated and timeless, and they won't clash with your existing home decor. Plus, you can layer in texture through wood, woven materials, knits, and vintage pieces, which adds visual interest without adding color chaos.

My Formula: For every room, I use 80% neutral elements I already own, 15% new neutral Valentine pieces (like wooden hearts or white ceramic bowls), and just 5% soft pink accents. This keeps everything cohesive while still feeling festive for Valentine's Day.

Neutral Valentines Decor in the Dining Room

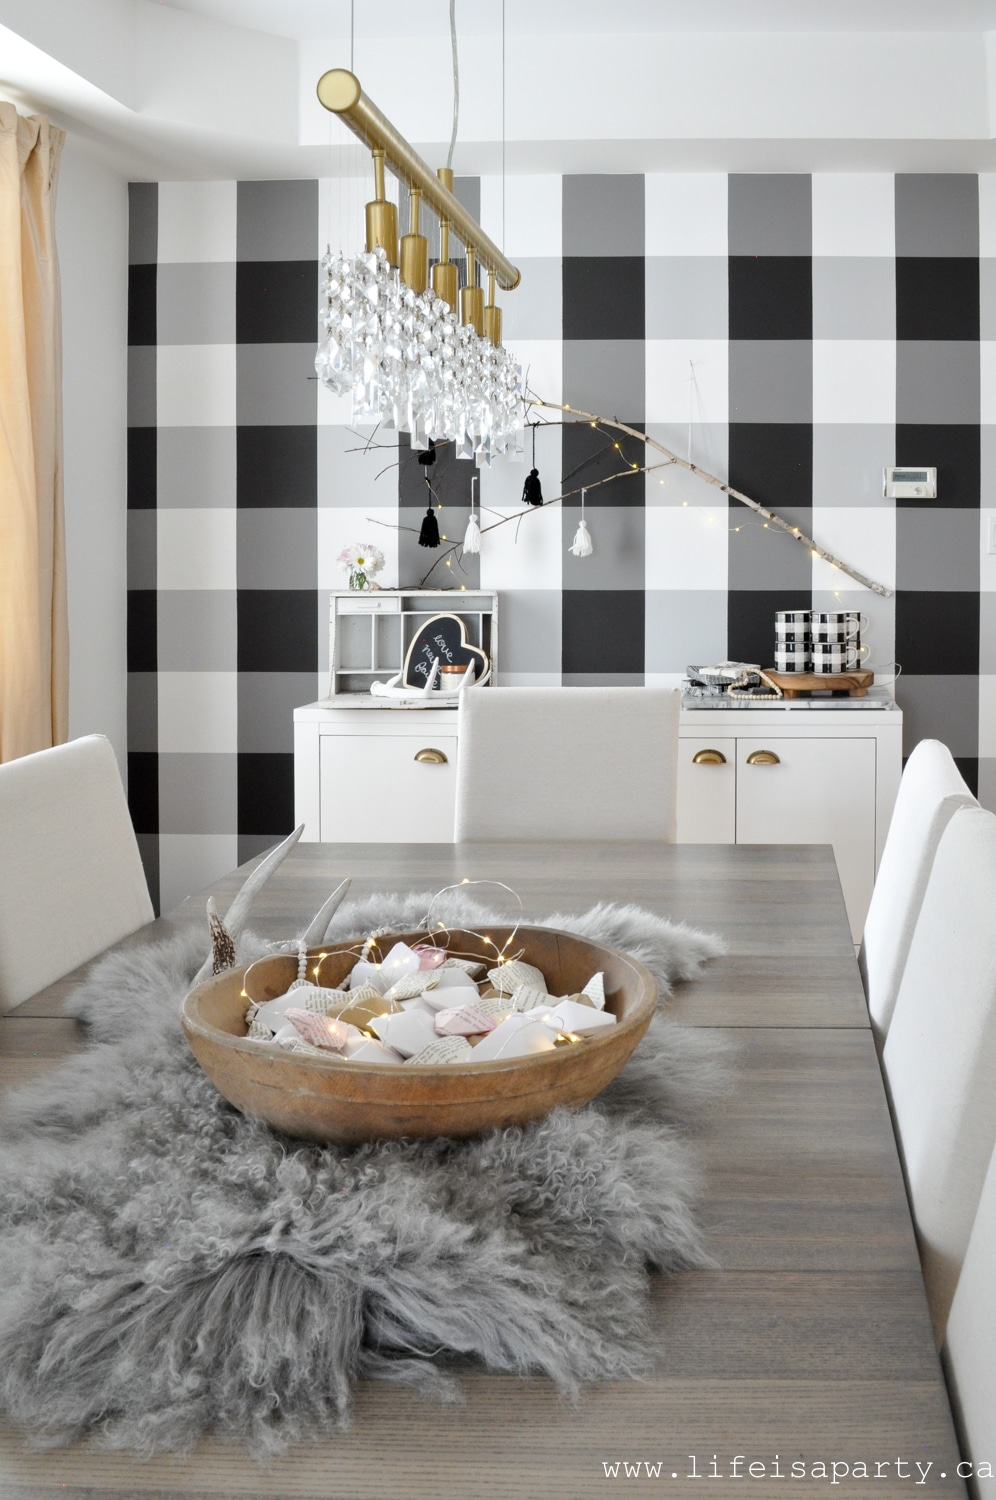
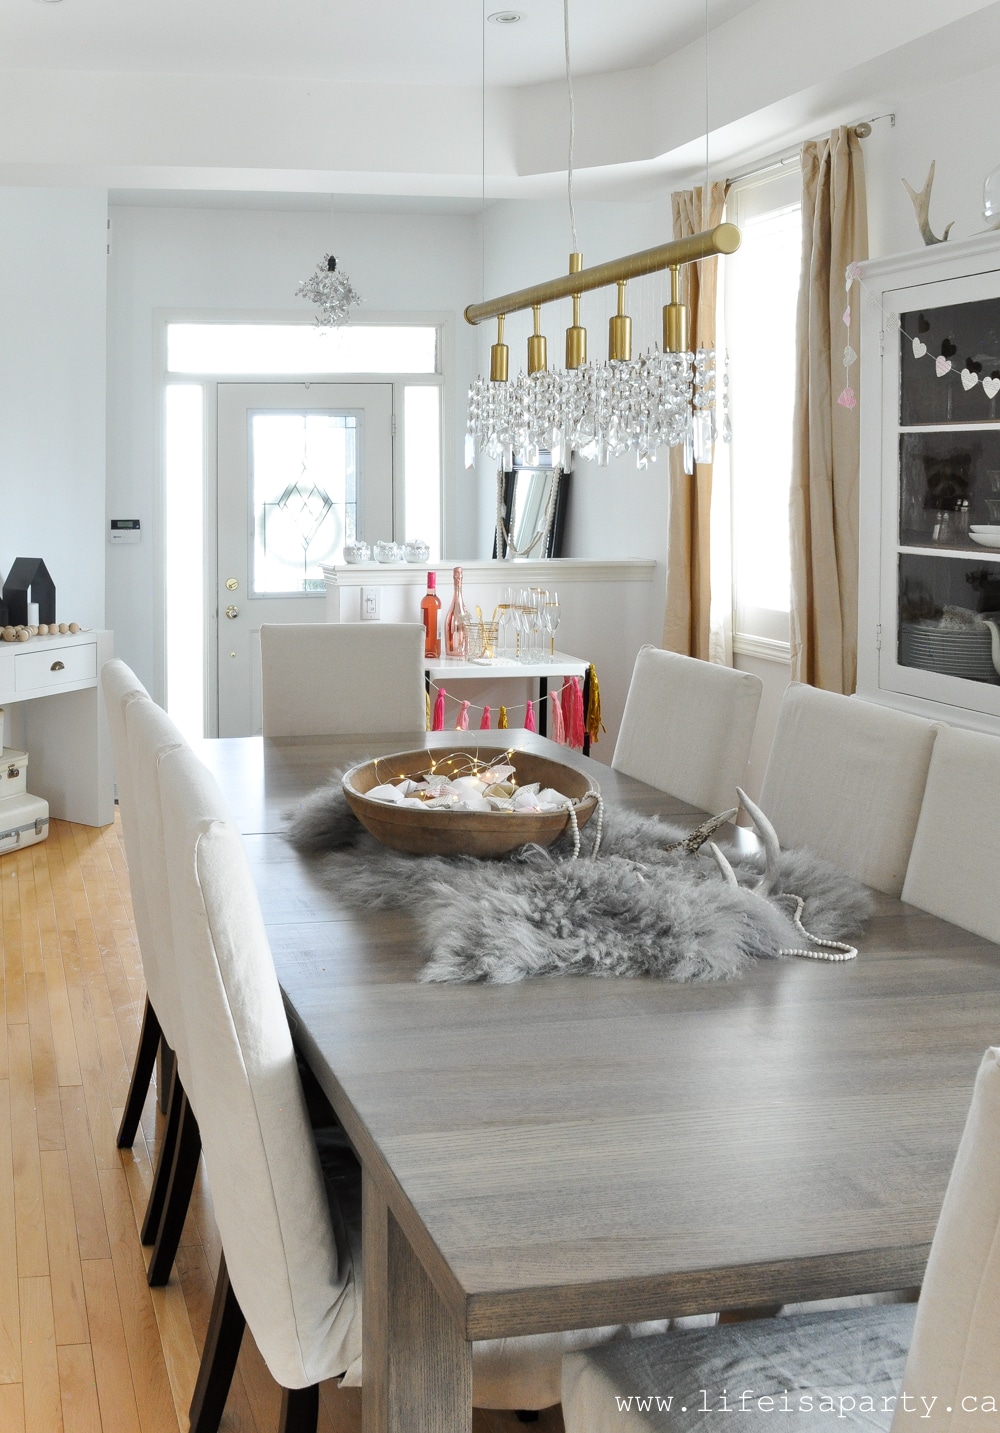
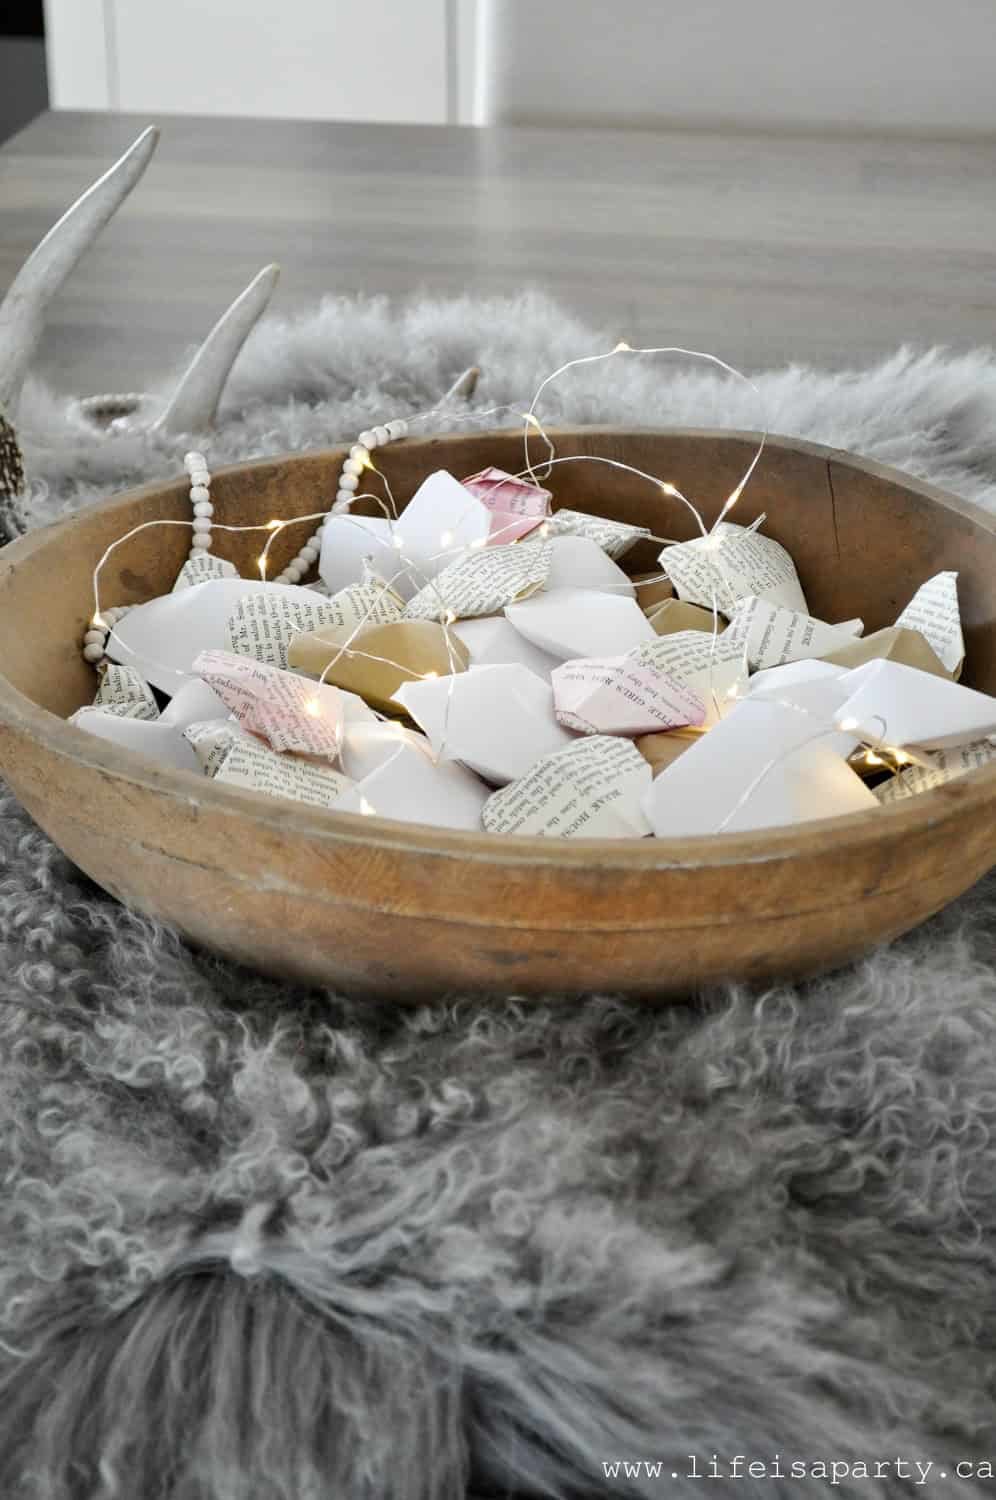
In the dining room, I couldn't help but use my old favourite wooden bowl full of origami hearts on the dining table. These hearts are so easy to make - you can watch my 3D origami heart video of the instructions here. This is such a great way to turn your regular decor into Valentine's Day decor and add some different textures. I've made them out of different kinds of papers and in different sizes, we even added some pink hearts by watercolouring some book pages. I've got the bowl on a beautiful grey sheepskin and love the cozy hygge feeling it creates. It's one of my favorite Valentine's Day decorations and a great addition to your modern farmhouse decor for the Valentine's Day.

Styling Tip for This Space:
I focused on texture over color here. The sheepskin adds softness, the wood bowl adds warmth, and the paper hearts add a handmade, Valentine touch. This is a perfect example of how you don't need to add pink everywhere - the neutral colors feel romantic all on their own when you layer different textures.

Neutral Valentine's Day Decor -a home tour with simple, neutral, and soft pink decorations for a pretty Valentine's Day Farmhouse inspired feel.
neutral Valentine's Day centre piece

The Living Room

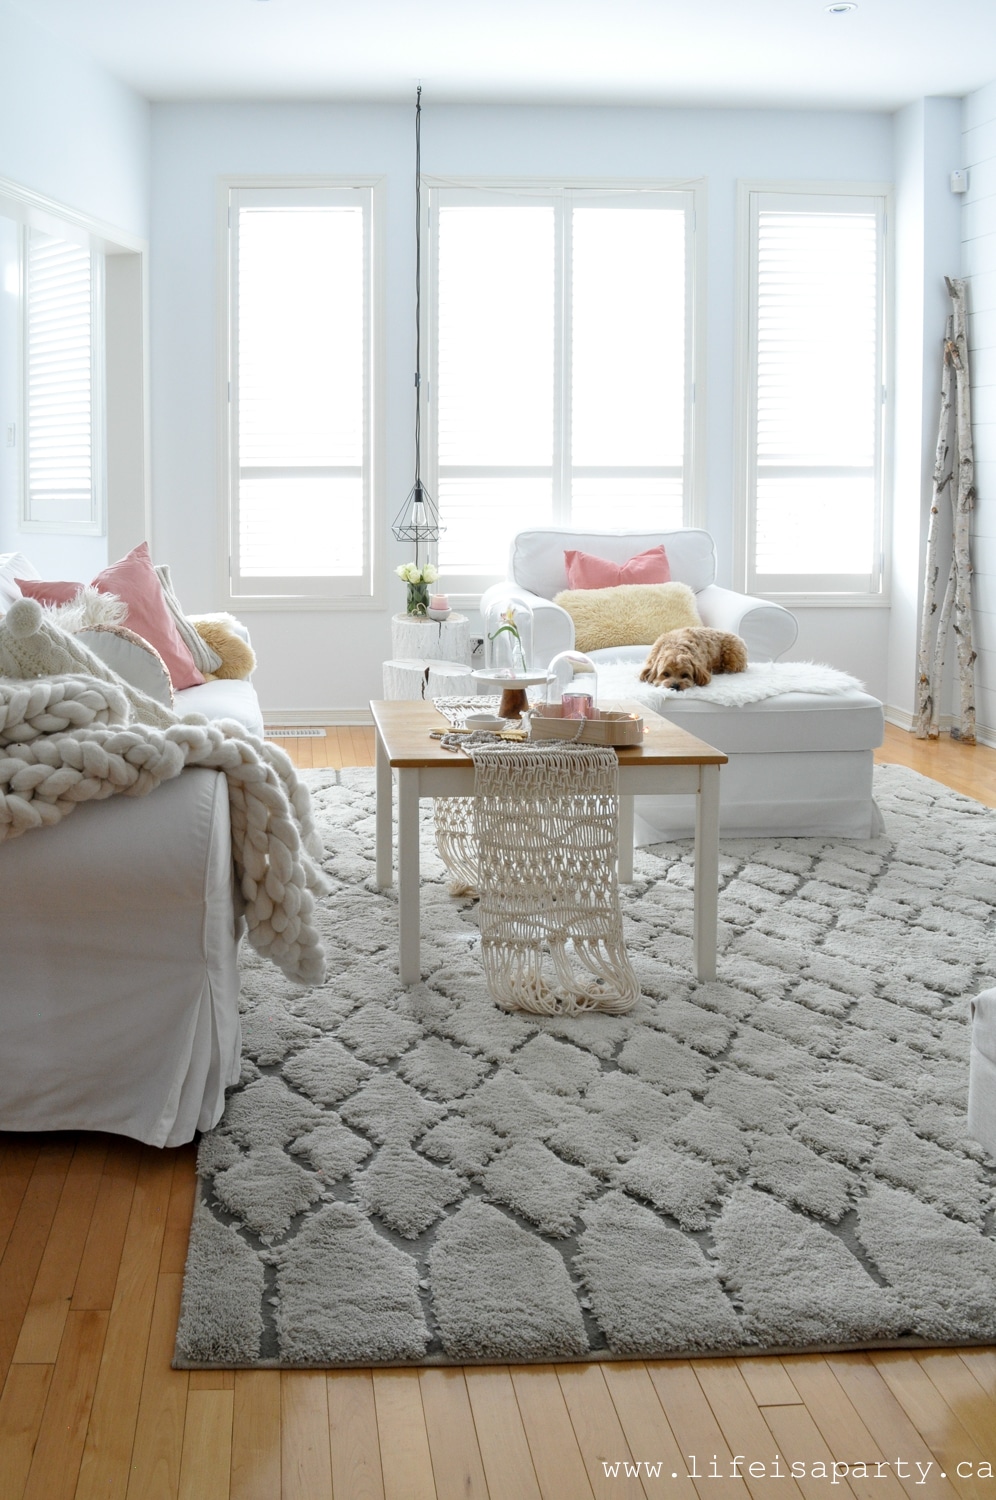
And over in the living room, I've added a little bit of pink. Although I love my white and cozy neutrals, I just can't resist at least a little light pink this time of year to help create a romantic atmosphere. I'm not a big fan of traditional reds, but soft pink goes so well with our neutral theme. You could of course keep it completely neutral too if you prefer.

cozy neutral valentines day decor in the living room

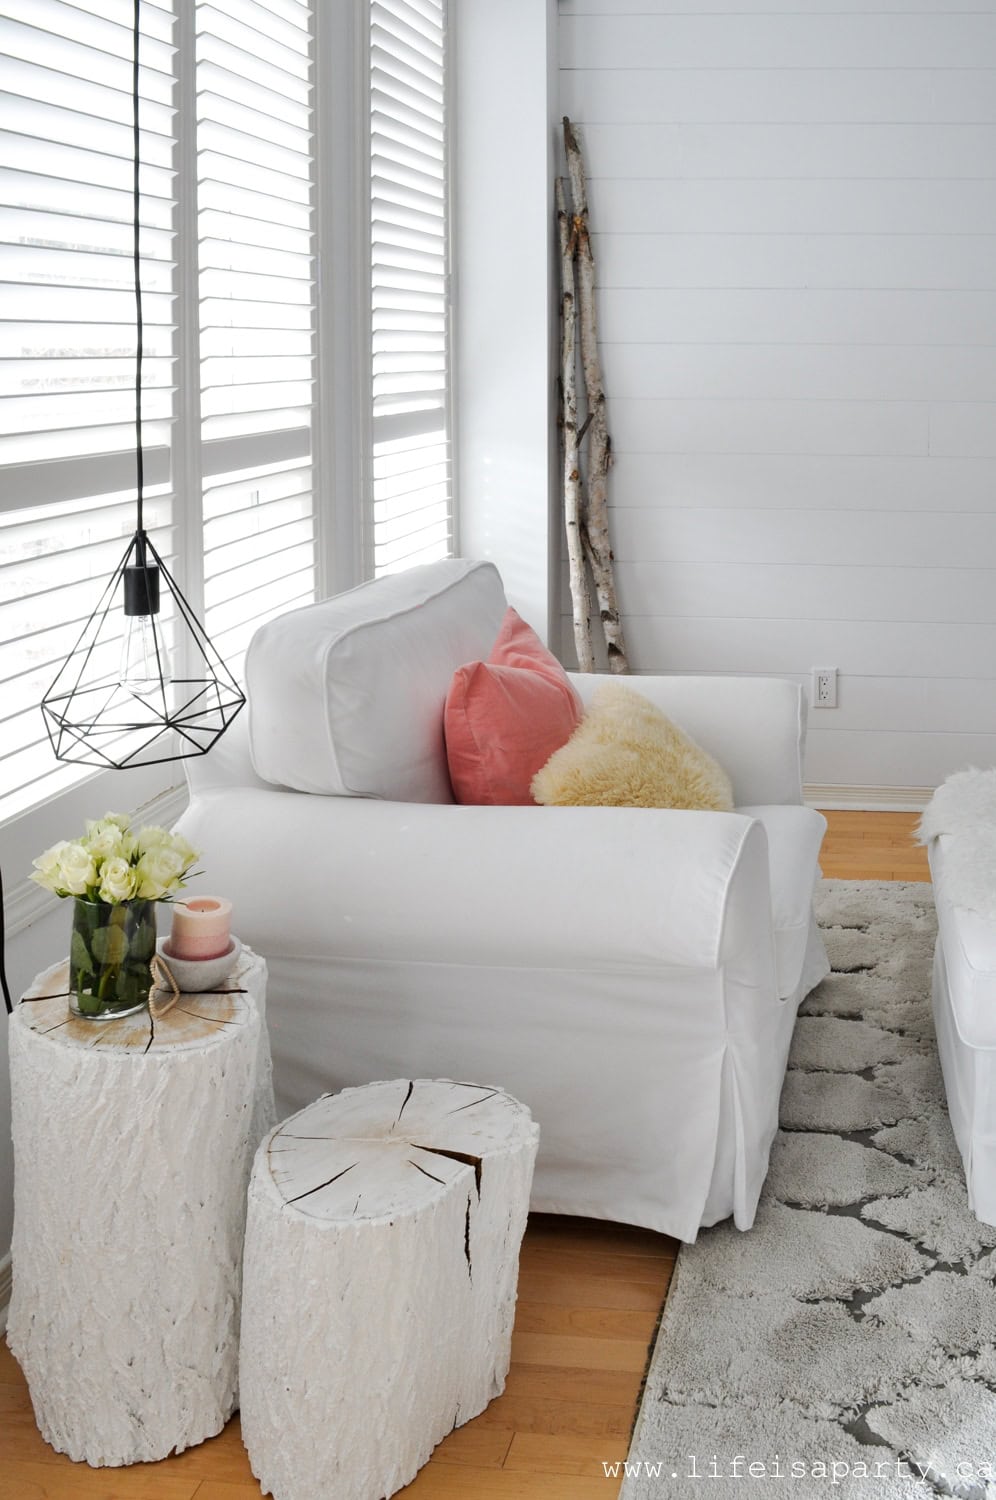
This chair is a favourite of mine - often my desk by day and my cozy tv spot at night. It's made even more inviting with some pillows.

Valentine's Day Decor


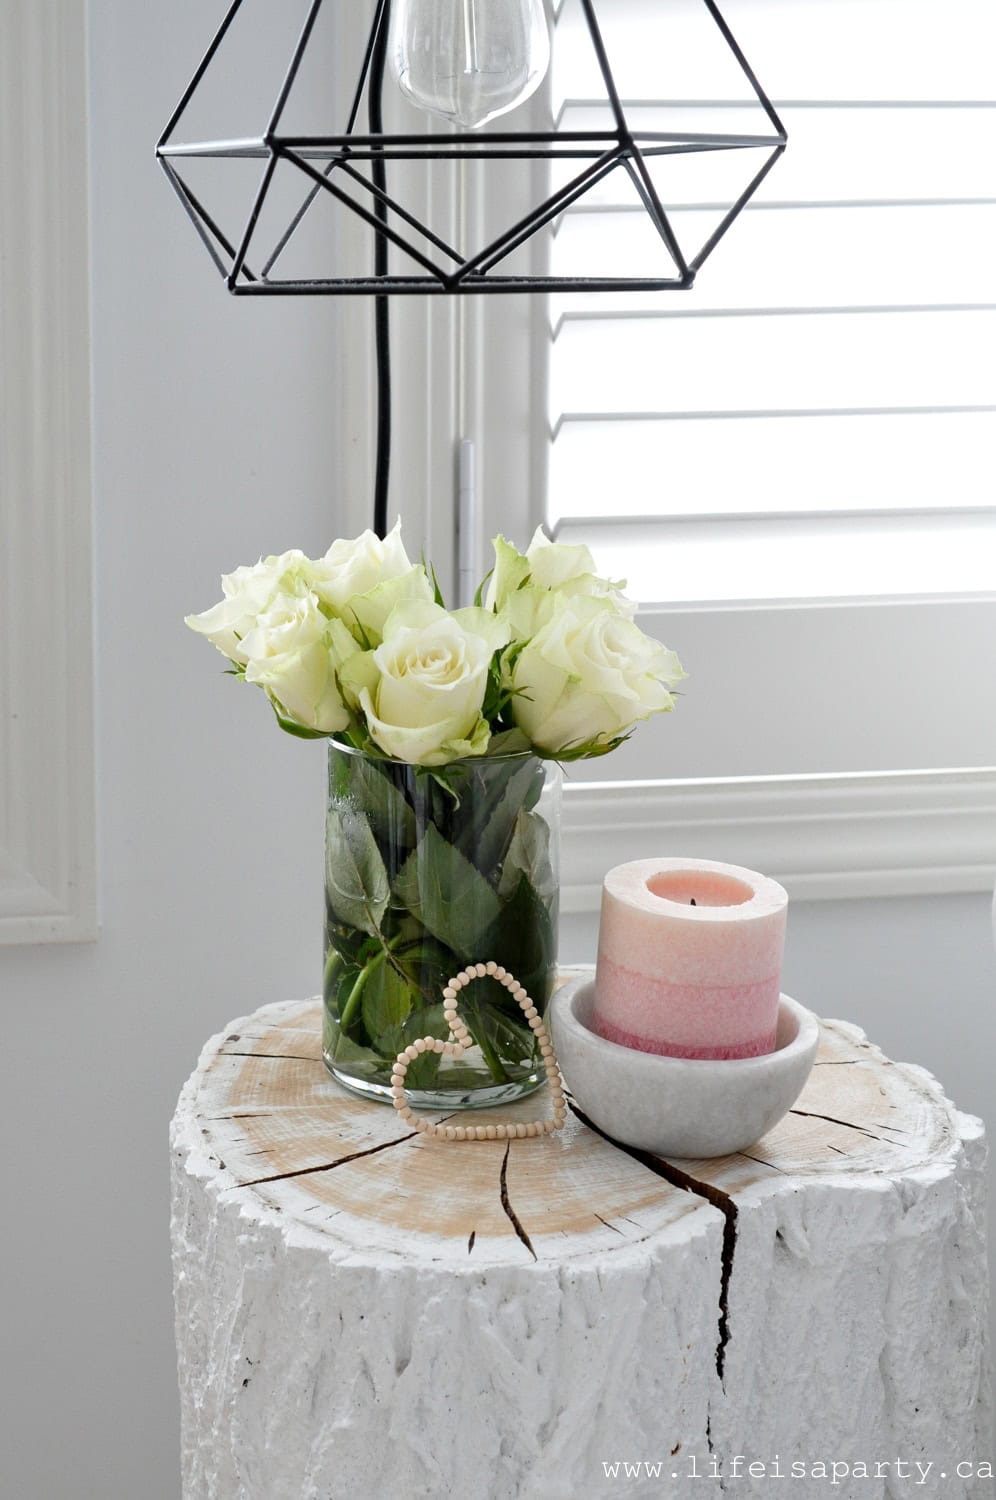
And nothing says Valentine's Day like some pretty roses - these ones are just from the grocery store, a little treat to myself. The simple heart is one of the easiest DIY Valentine's Day decor ideas. We just strung some little wooden beads on to some wire and shaped into a little heart. I love different ways like this to add a little seasonal touch to living spaces.

Valentine's Day Decor -a home tour with simple, neutral, and soft pink decorations for a pretty Valentine's Day Farmhouse inspired feel.

Styling Tip for This Space:
Fresh flowers are an easy and affordable way to add a Valentine touch. A $5 bouquet from the grocery store goes a long way. The beaded wire heart cost about $2 to make and can be used year after year.

Cozy Couch

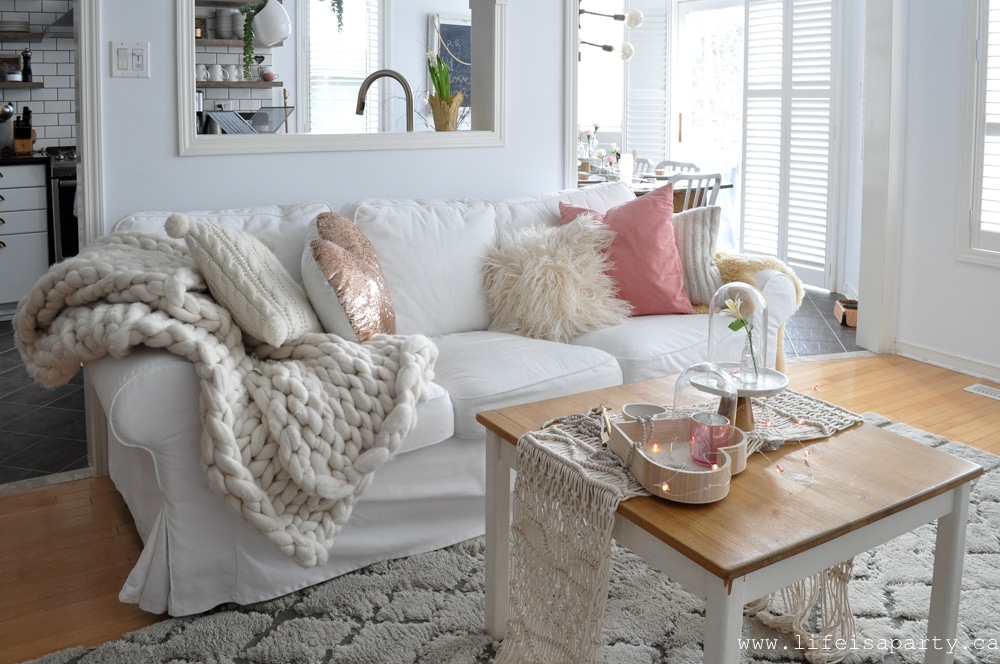
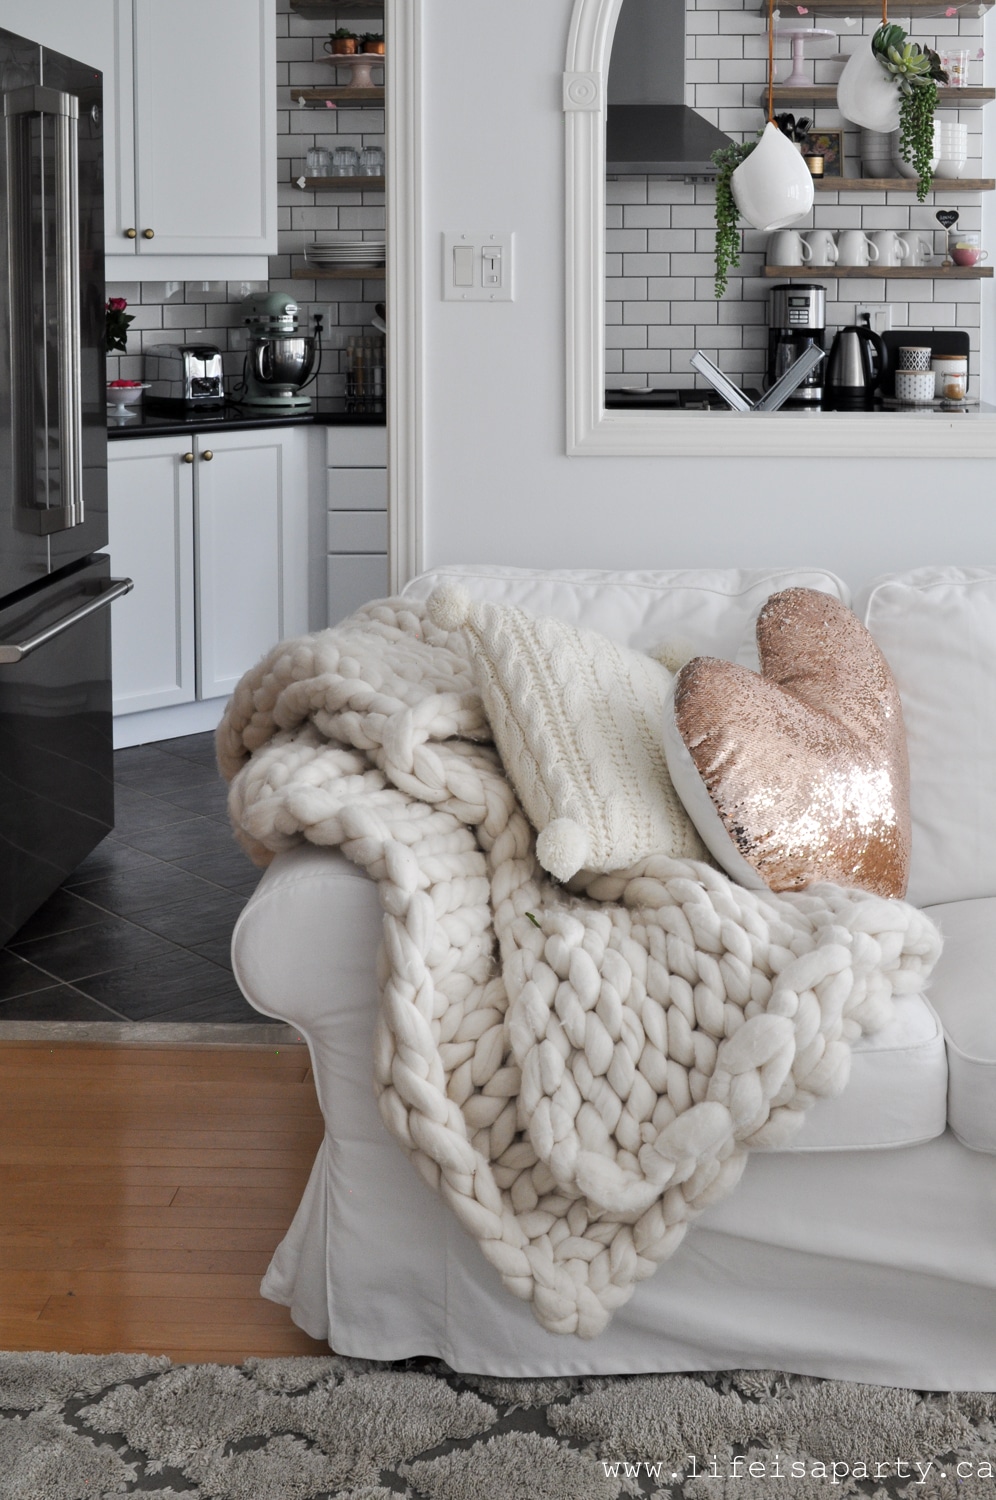
Over on the couch, more pretty pillows. But I didn't start from scratch, I kept all my cozy knit and fur winter decor pillows and just added in a pretty peachy pink velvet one and this amazing rose gold sequin heart shape pillow. Even the couch has received a touch a love, and it's the perfect inviting atmosphere to curl up and enjoy an old romance movie.

Neutral Valentine's Day Decor -a home tour with simple, neutral, and soft pink decorations for a pretty Valentine's Day Farmhouse inspired feel.

cozy couch.

Styling Tip for This Space:
Don't put away all your winter pillows! The cozy textures (knits, faux fur) work beautifully with Valentine decor. I only added two new pillows - one with a pop of color and one with a heart shape - and suddenly the whole couch feels festive. This saves money and keeps your space from looking too themed.

Coffee Table

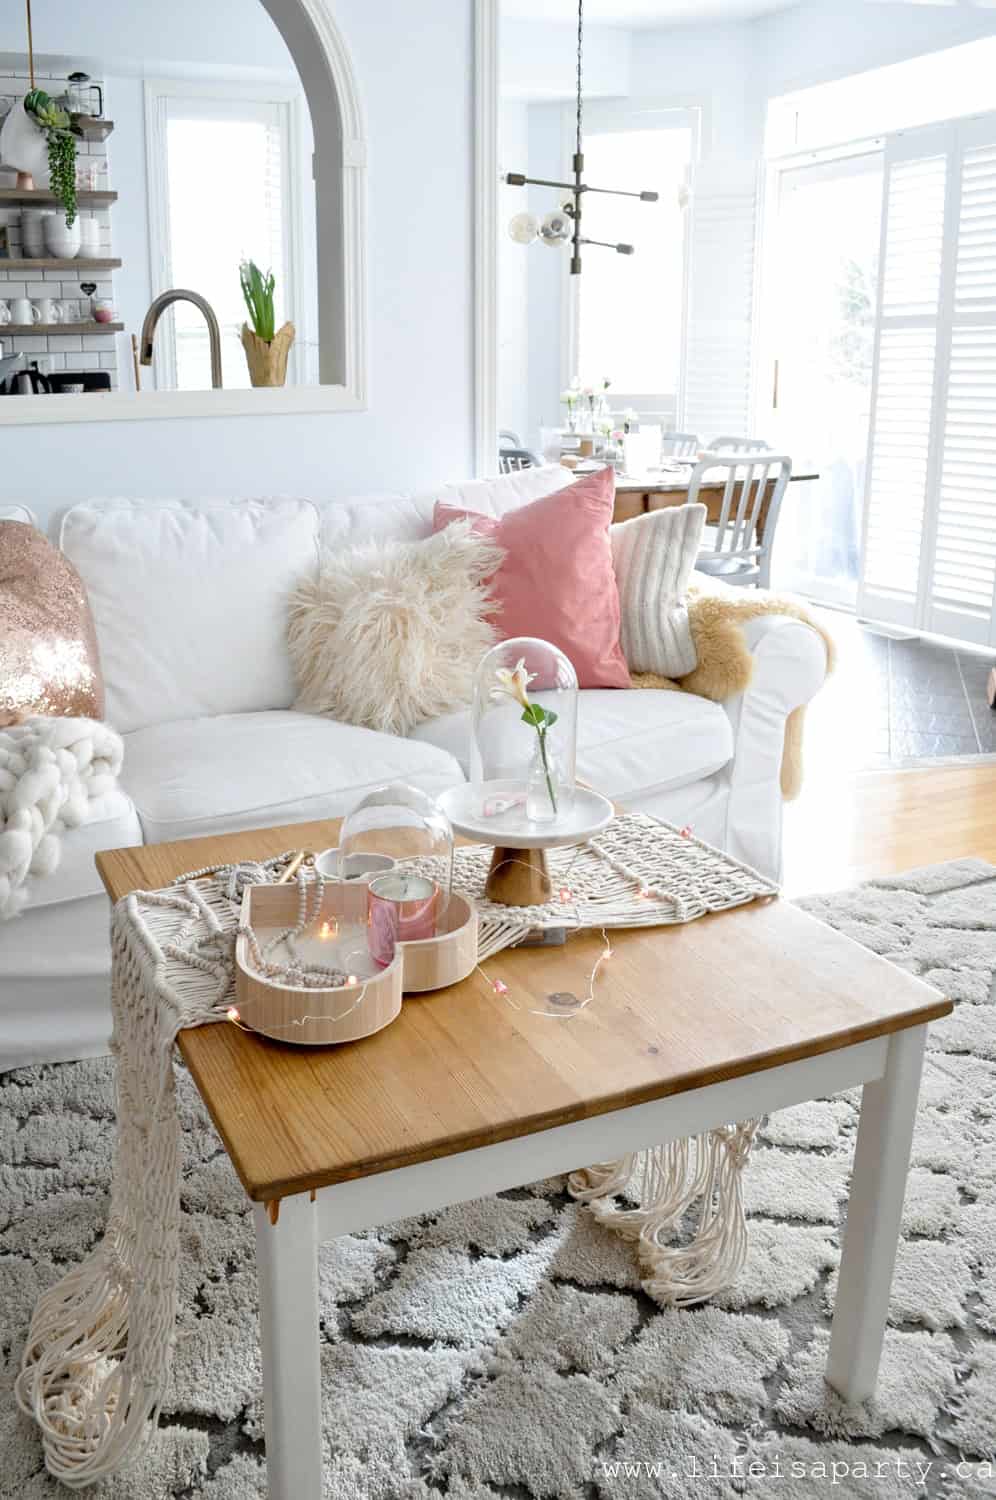
The coffee table is like a tiny stage to dress up for the special occasion. It's full of tiny treasures and beautiful things.

coffee table.

The pretty little wooden heart tray is such a great piece in neutral tones.  And the sweet heart twinkle lights add a touch of romance at night.

heart bowl and gold arrow
glass cloche with flower

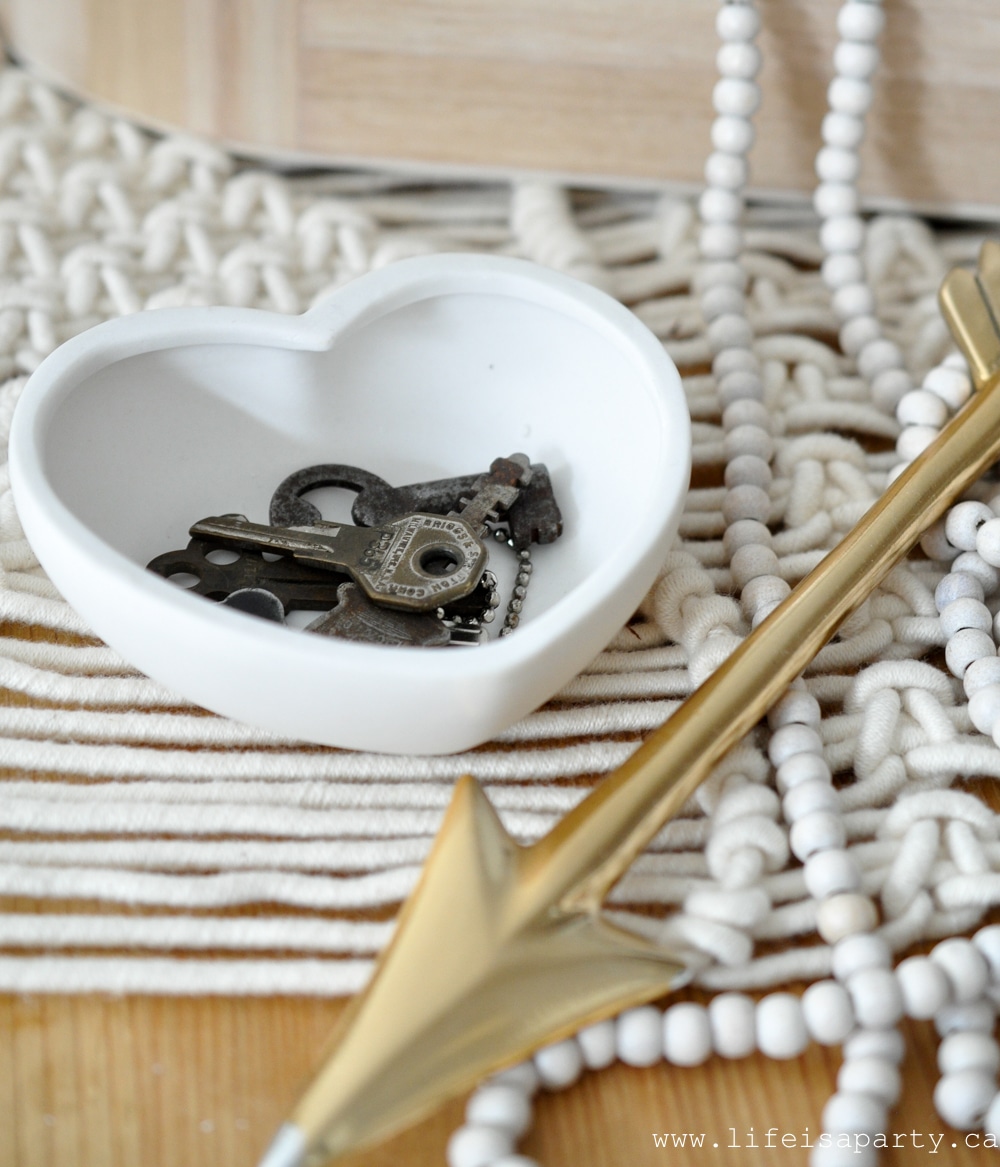
This little matte white ceramic heart bowl holds a collection of old keys. I've only been to an auction a few times, but this random collection of old keys was part of group of things gathered up together with the item I was actually bidding on. Sometimes you discover treasure in the most unlikely and surprising places. Perfect for Valentine's Day, maybe one is the key to my heart?  I love adding old keys and locks as part of my decor items for Valentine's day, and it's an easy way to add interest with some vintage pieces too.
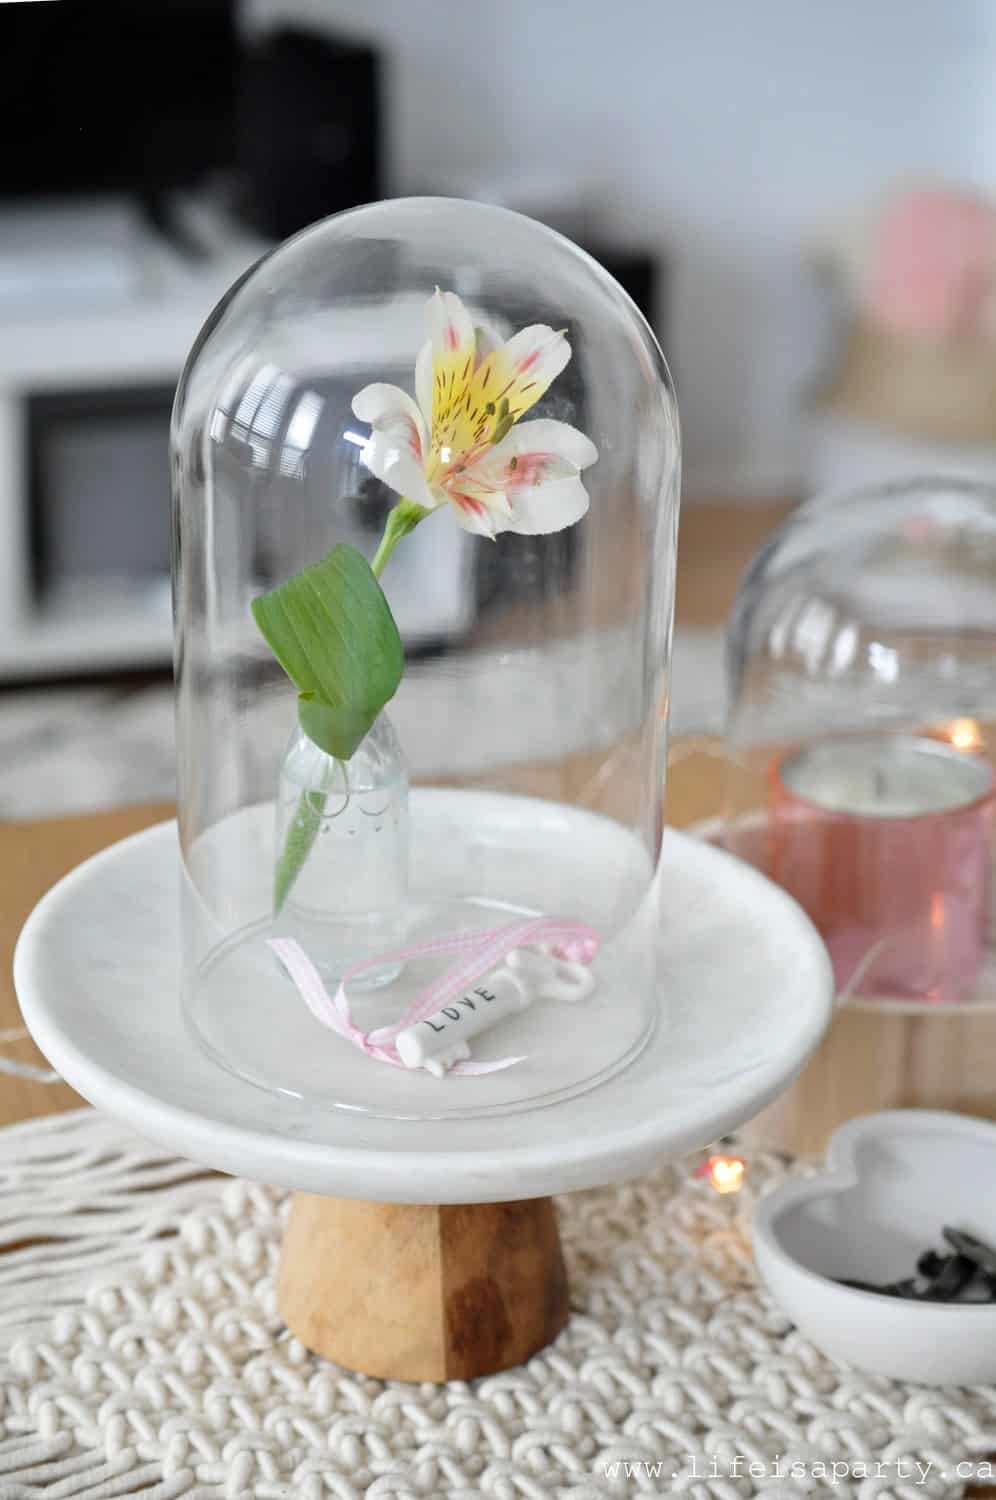
How pretty  are the glass cloches?  I used them here to display more simple beautiful things -a flower and a pretty candle.  Cloches are such a great addition to your home decor.

Styling Tip for This Space:
Coffee tables are perfect for vignettes - small groupings of 3-5 items with varying heights. I used the wooden tray as a base, added the twinkle lights for sparkle, and the cloches to add height and draw the eye up. The vintage keys add personality and tell a story. This formula works for any holiday: base + light source + height + personal touch.

Neutral Valentines Decor Mantel

Neutral Valentine's Day Decor Mantel

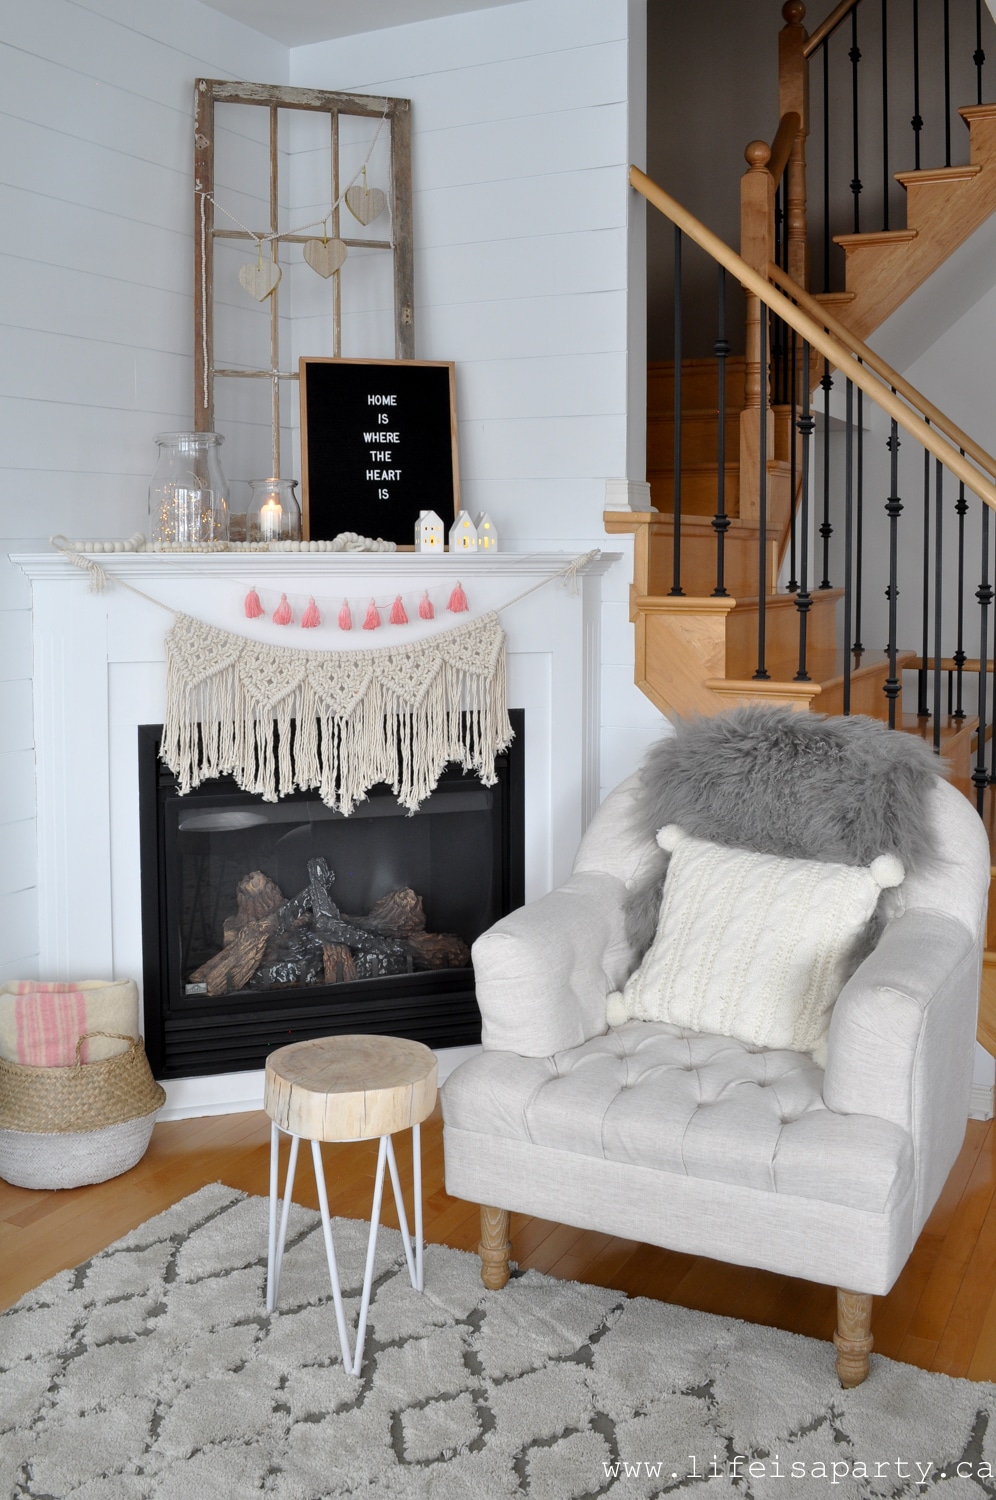
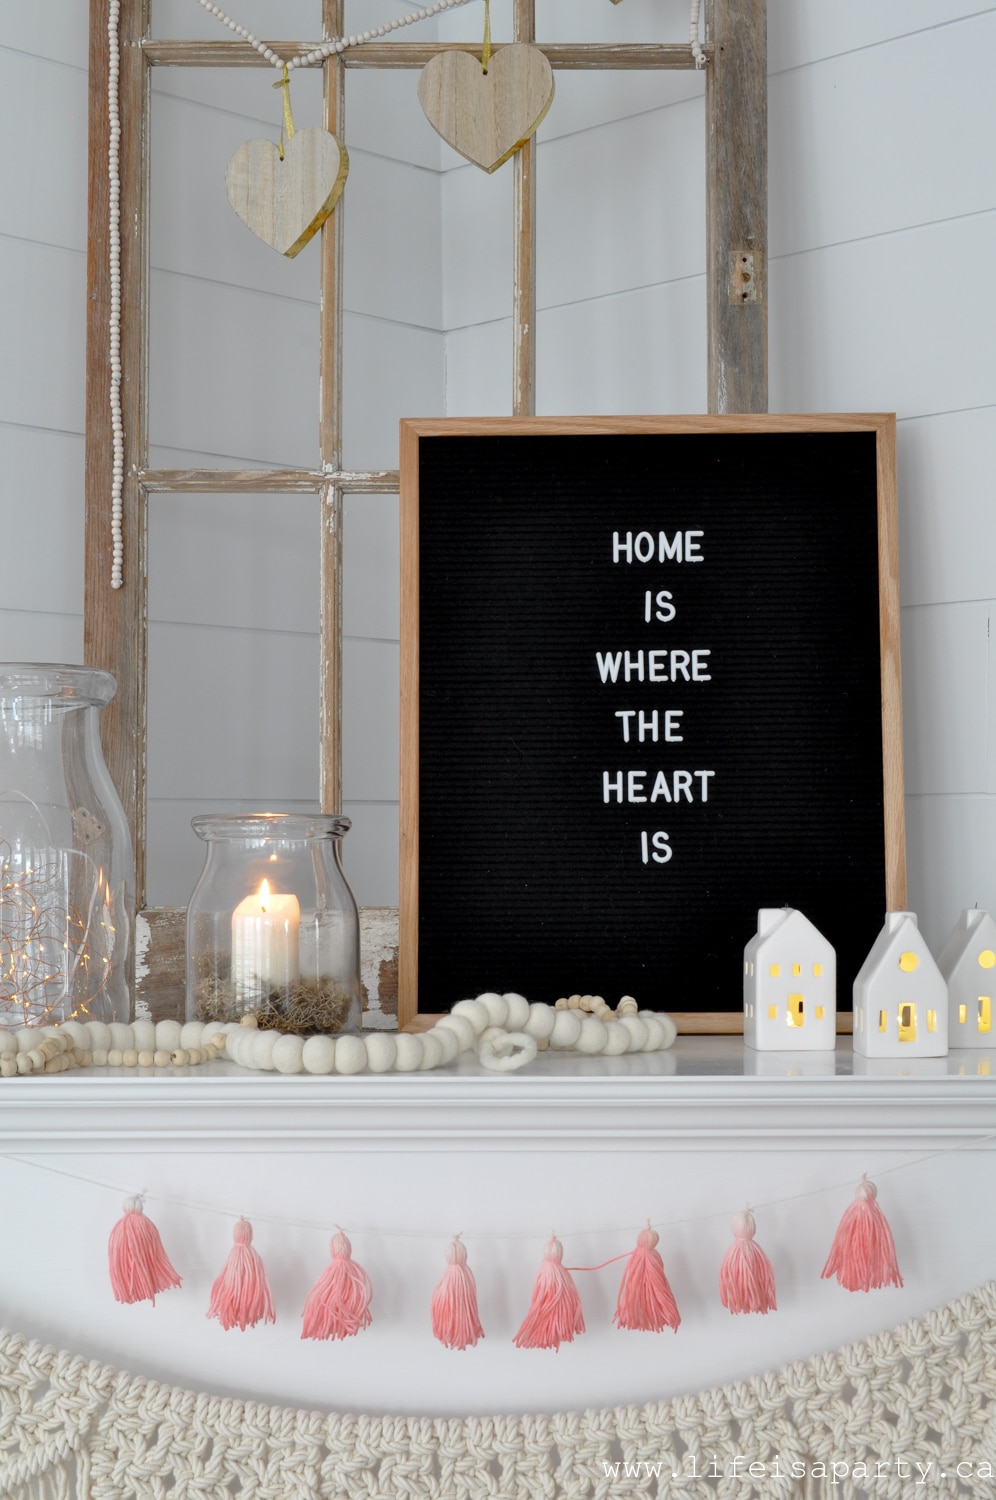
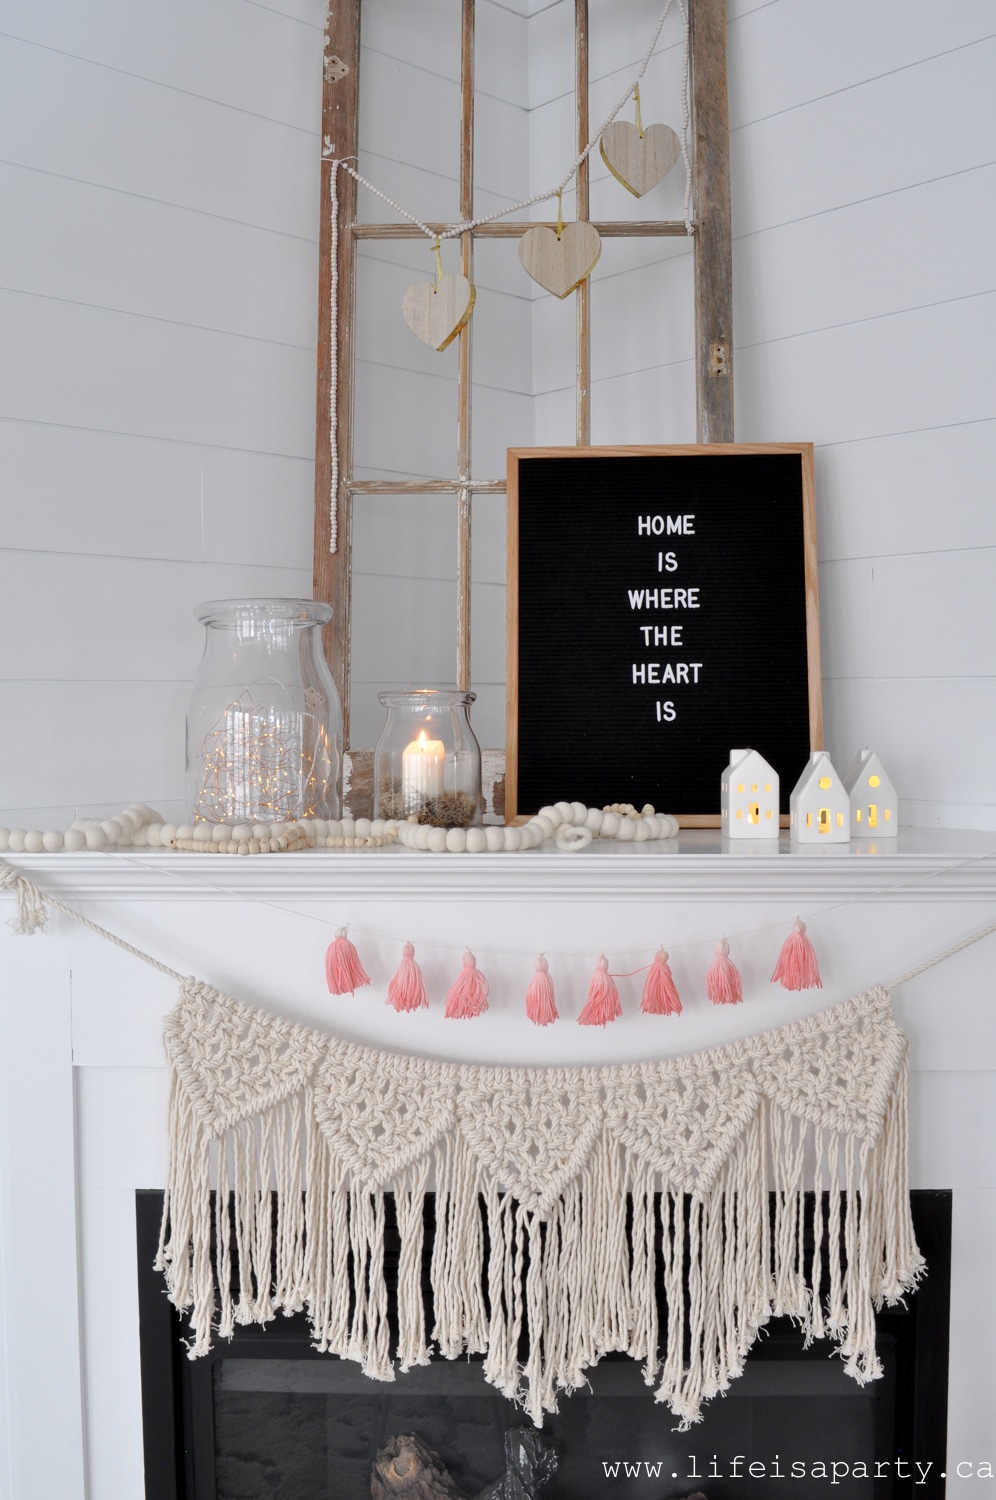
On the other side of the room, the fireplace has a few Valentine's Day touches with a neutral Valentine's Day mantel.  I loved my cozy hygge vibe so much -did you see my tips for hygge living this winter here? All I did was add in some wooden hearts, and bring back the little light up houses from my Christmas decorations last year.  After all "home is where the heart is".

home is where the heart is mantel

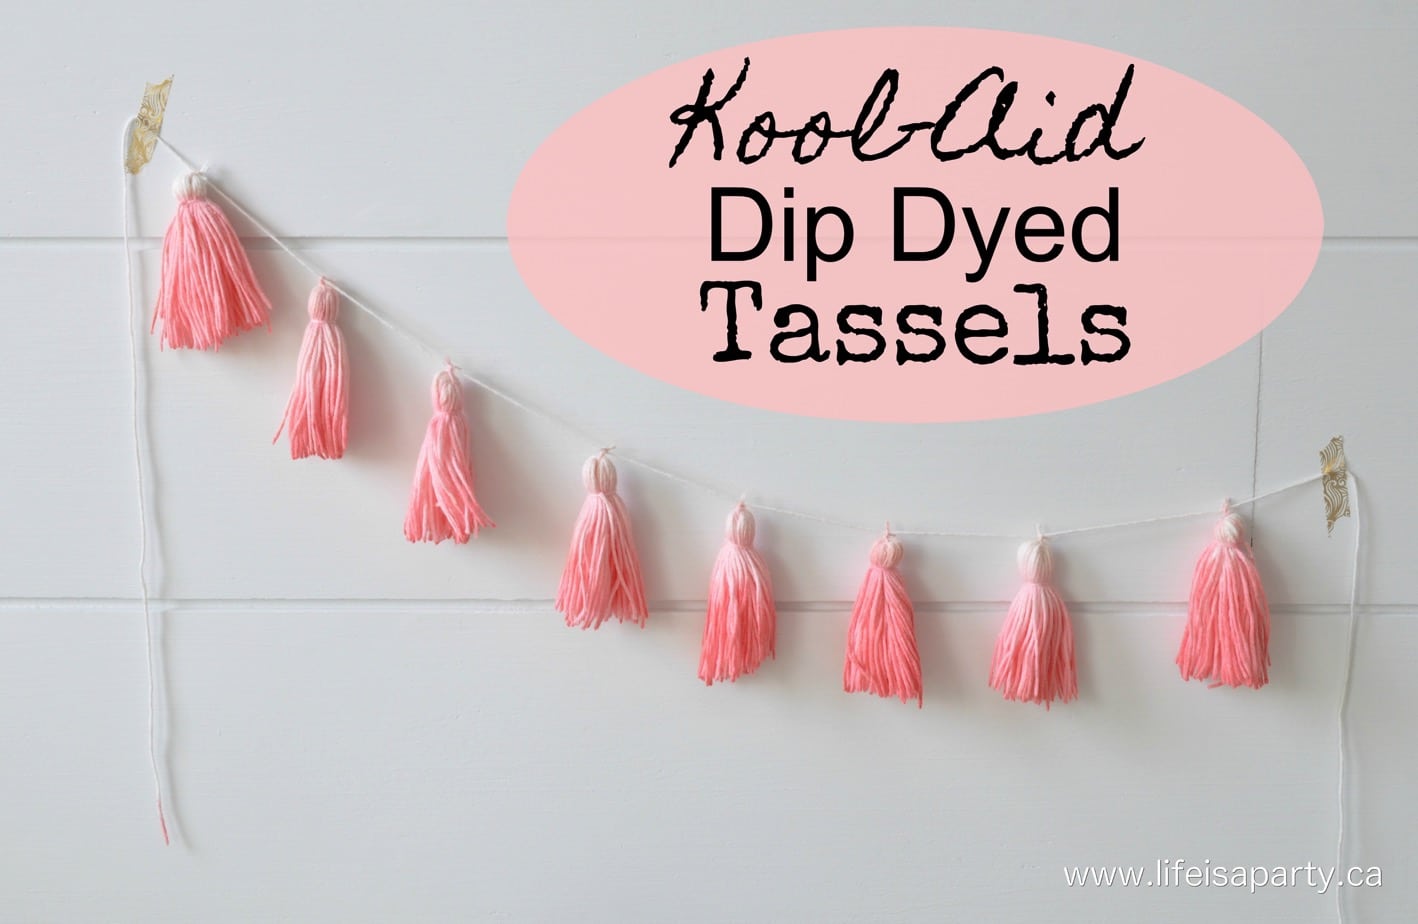
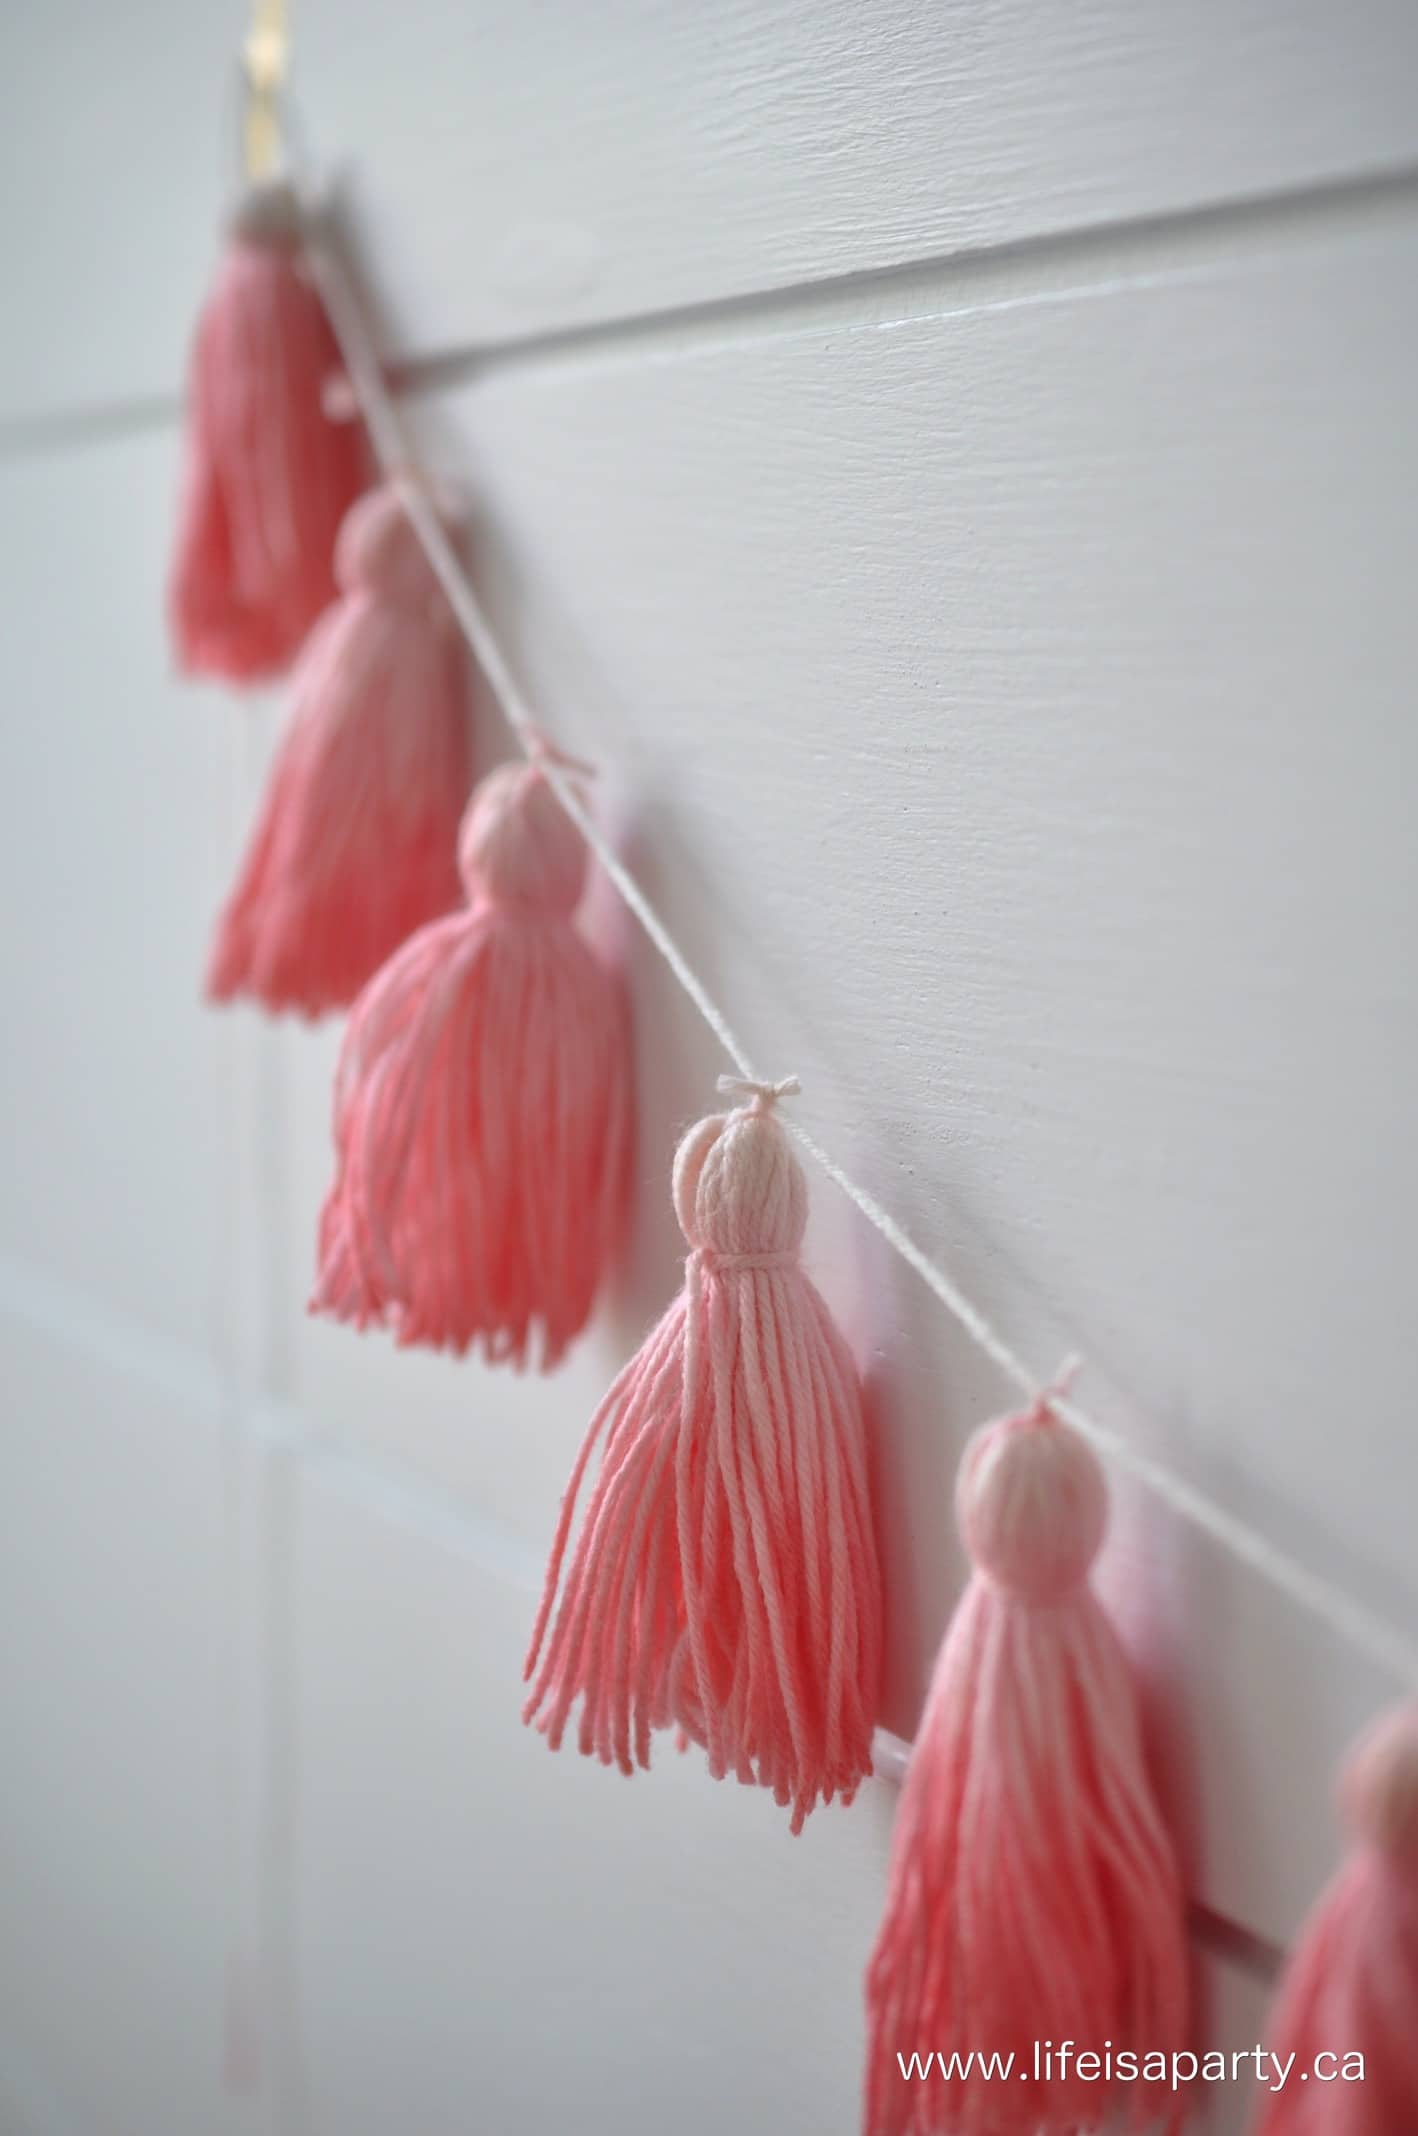
If you're interested in the macramé bunting or the tassels they're both DIY projects.  The tassel are made from simple cotton string and dip dyed in koolaid -see how I did it here and the macrame bunting is here.  Pieces like this are great things to add texture and interest to neutral spaces.

home is where the heart is letter board

Styling Tip for This Space:
Mantels are all about varying heights and layers. I kept my winter light-up houses and just added wooden hearts. The macrame and tassels add texture and movement. The key is to create visual interest without overcrowding - leave some breathing room between elements.

The Kitchen

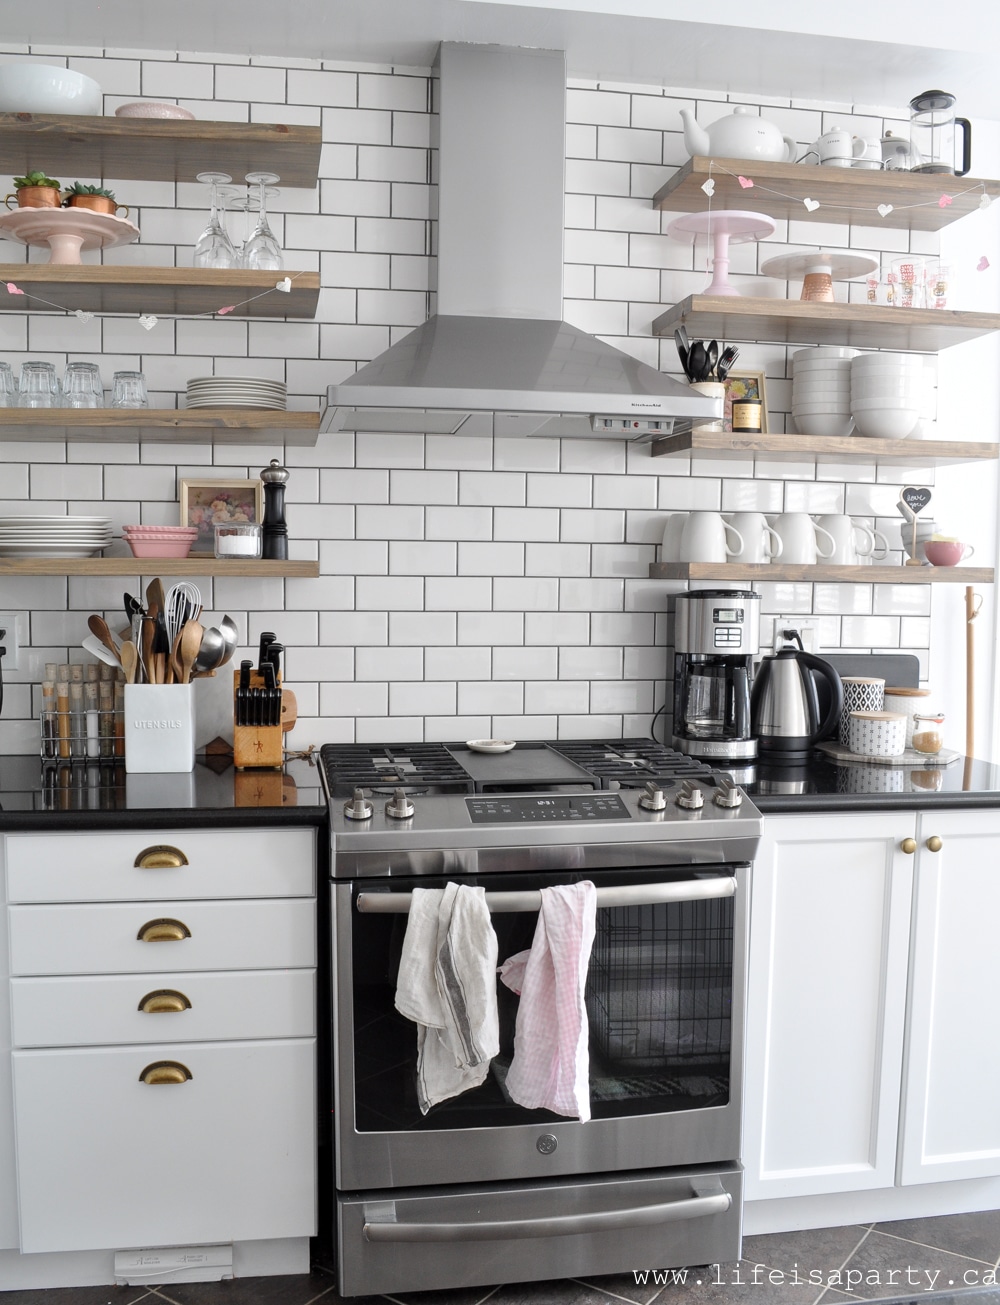
I also wanted to add a few touches of Valentine's Day to the kitchen.  

kitchen open shelves decorate for valentines day

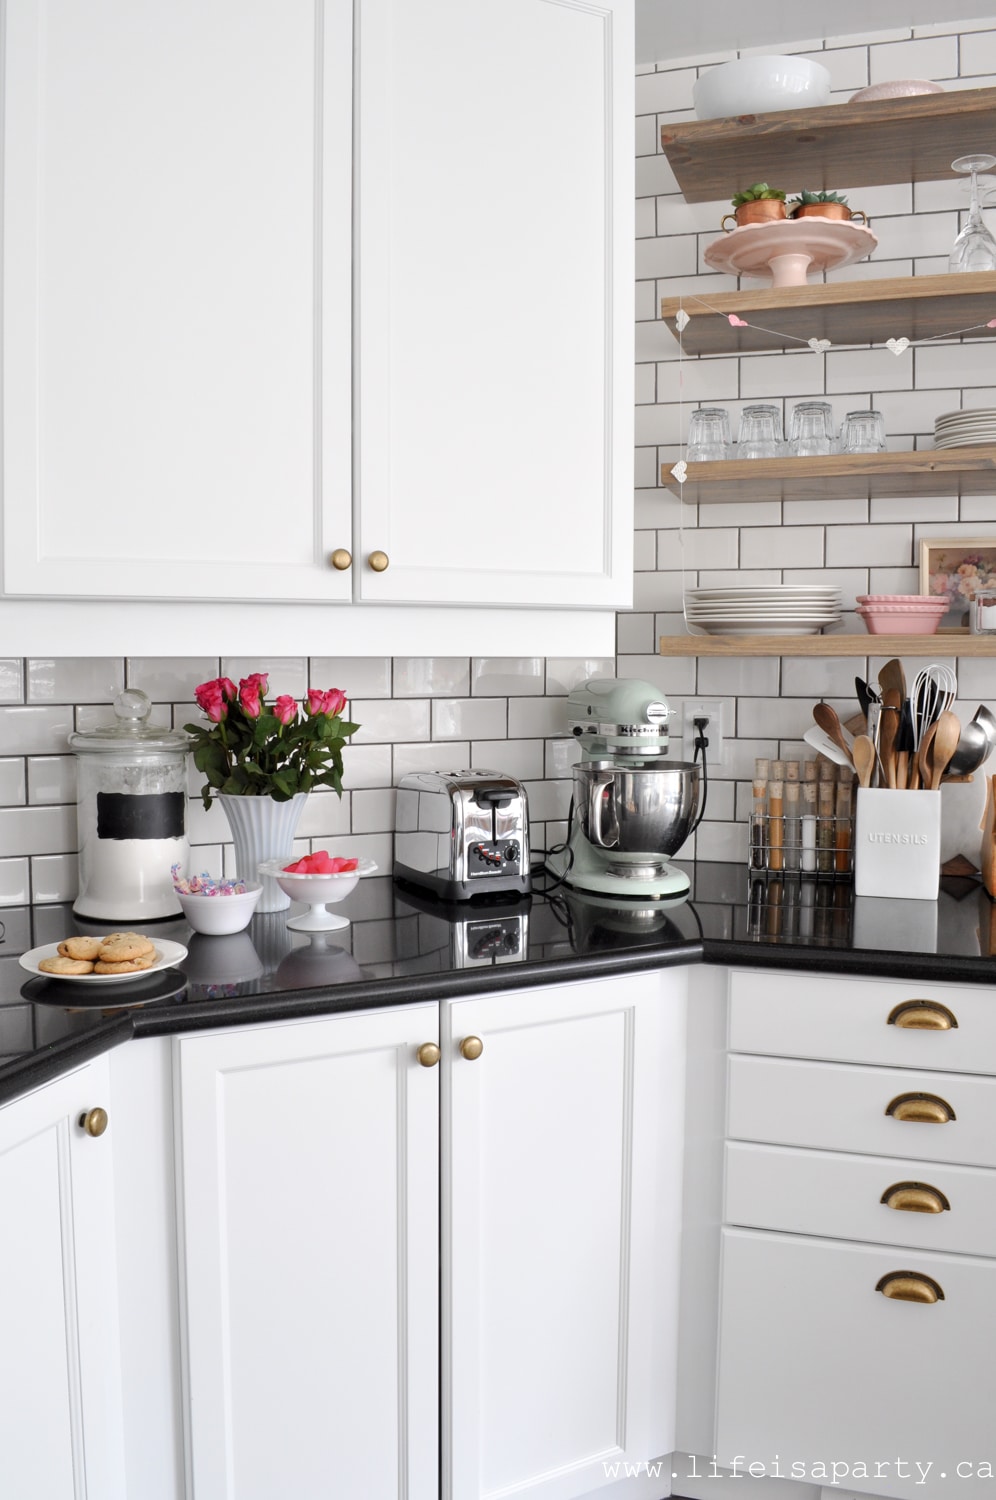
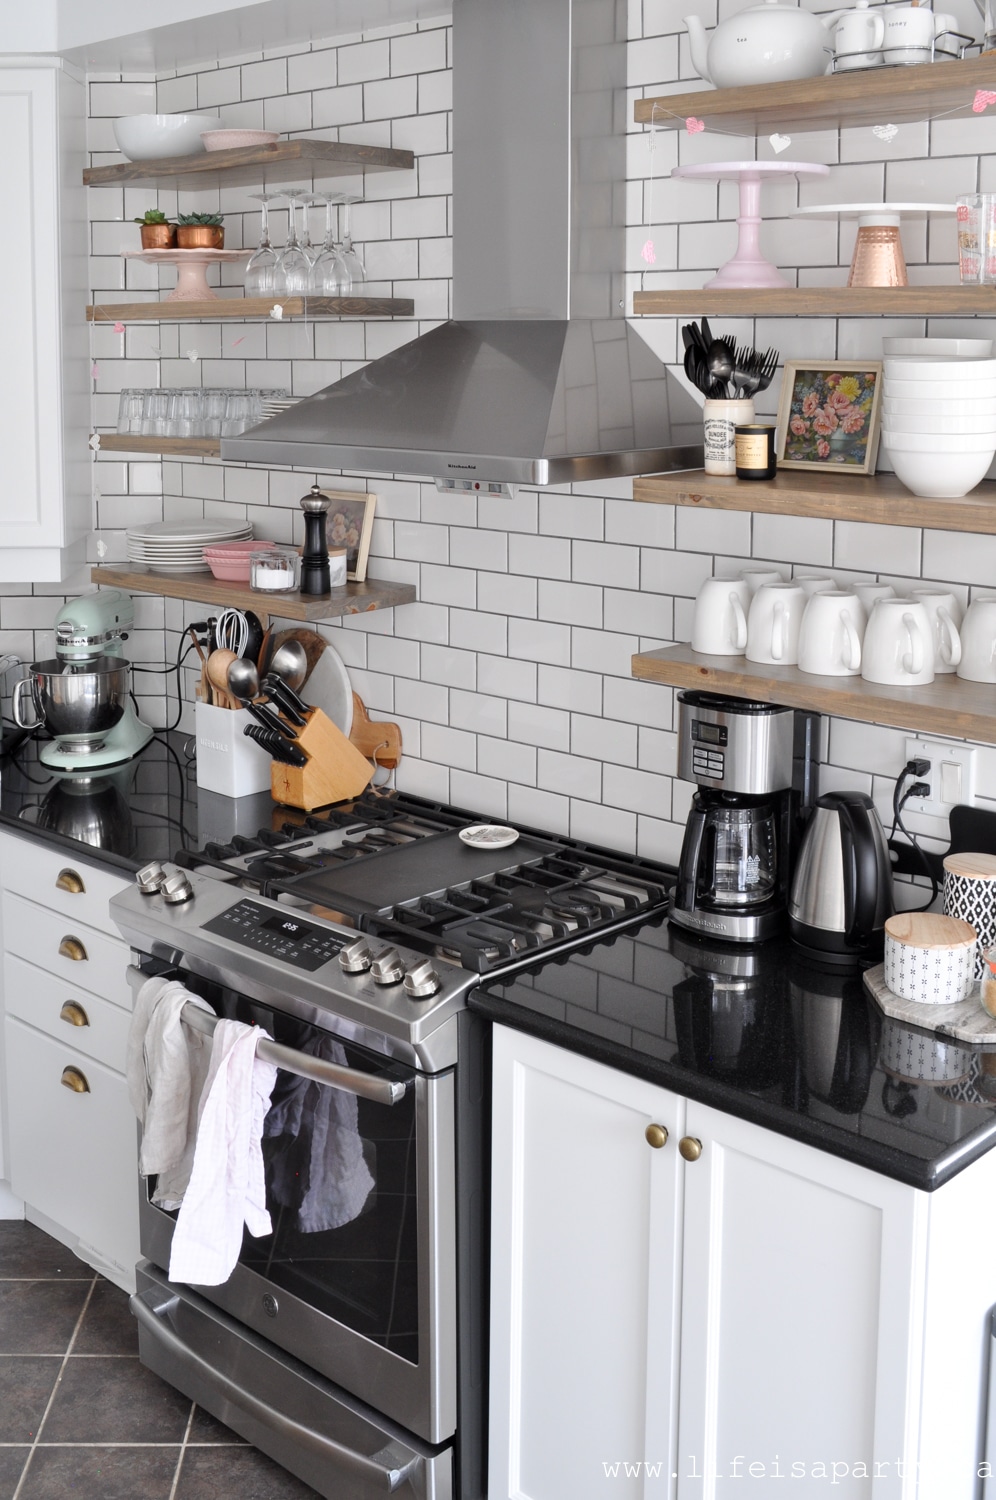
By shopping around my house I found a few pink pieces that I already had tucked away other places and added them to my open shelving and coffee bar area.

simple neutral Valentine's Day decor in the kitchen

It really doesn't take much to make it feel like a little love has been sprinkled around and add some fun holiday touches.

Valentine's Day Decor on kitchen open shelves

I love all the little pops of pink so much, I will be tempted to leave them out for a long while.  The heart garland is made is another easy DIY project.  I made it from old book pages cut into hearts, some painted with watercolor, and stitched on the sewing machine into a garland.  Find the heart garland tutorial here..

open shelves decorated for valentines day
Neutral Valentine's Day Decor -a home tour with simple, neutral, and soft pink decorations for a pretty Valentine's Day Farmhouse inspired feel.

This is my first time adding a little Valentine's Day decor to the kitchen since the makeover for the One Room Challenge in the fall.  It's so much fun to decorate now.  See the big reveal, including some before pictures of the kitchen here.

Styling Tip for This Space:
Open shelves are perfect for seasonal decorating because you can easily swap out a few pieces. I literally just moved some pink items from other rooms (shopping my house!), added the DIY heart garland, and suddenly the whole kitchen feels festive. The trick is to style in odd numbers (groups of 3 or 5) and vary the heights.

Valentine's Day Table

And what a great backdrop the kitchen is now for a pretty Valentine's day party tablescape.

Neutral Valentine's Day tablescape

I love the idea of a little cozy kitchen party for just us four -my husband and two little girls, and me.

simple neutral Valentine's Day table

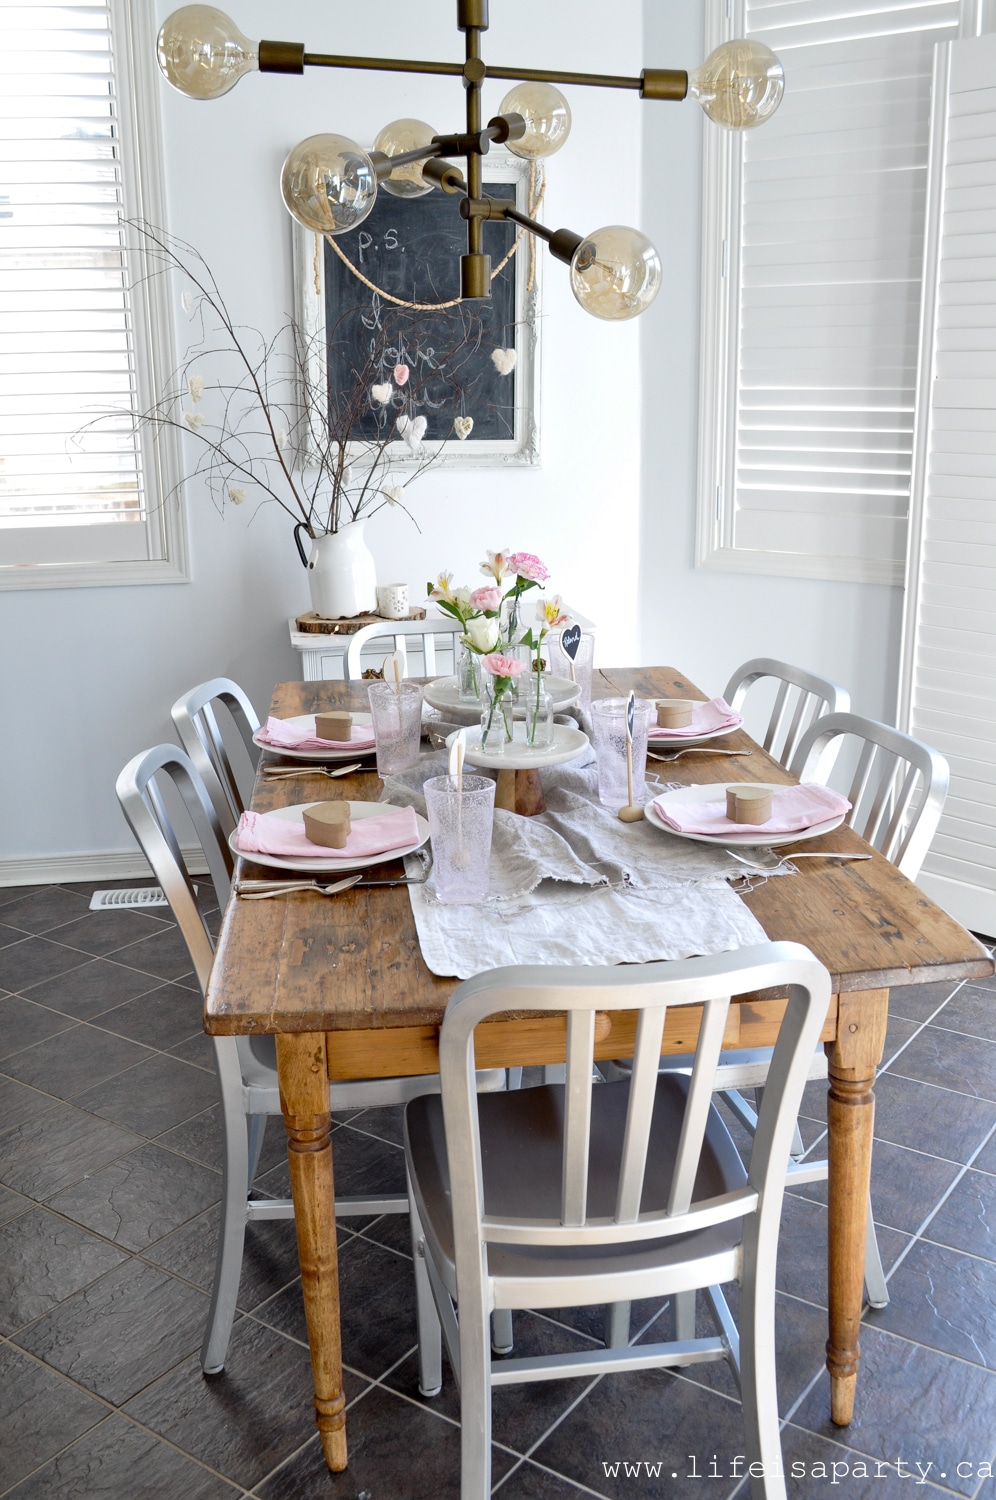
The pretty neutral Valentine's Day tables setting has lots of favourites collected from all different places, most of which I've had for years.

neutral valentines day tablescape

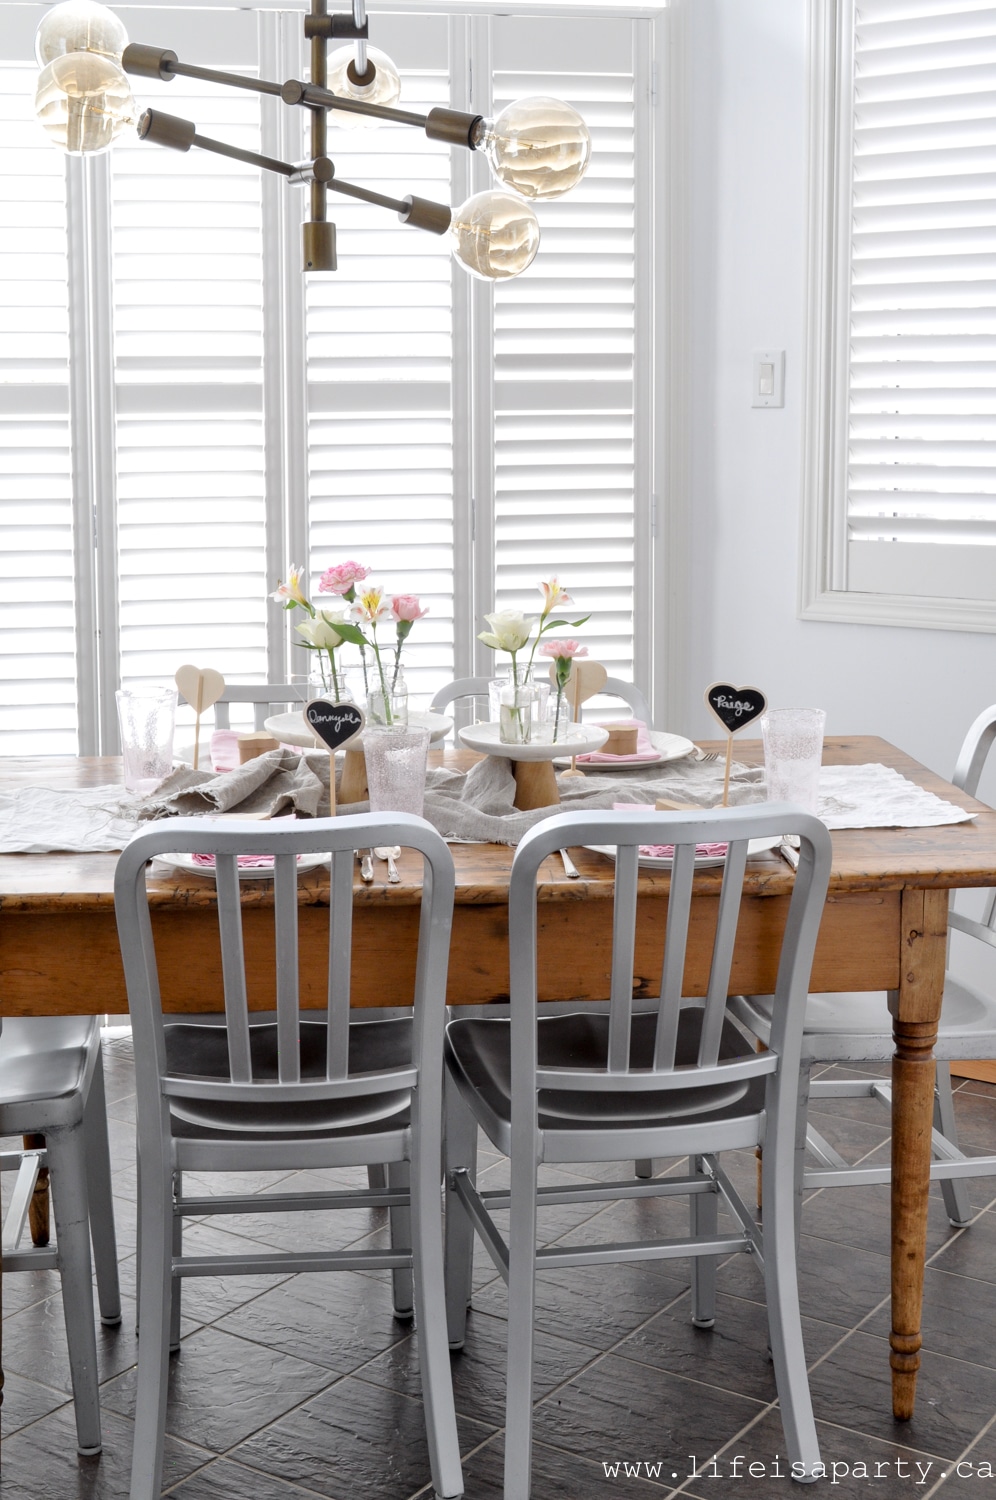
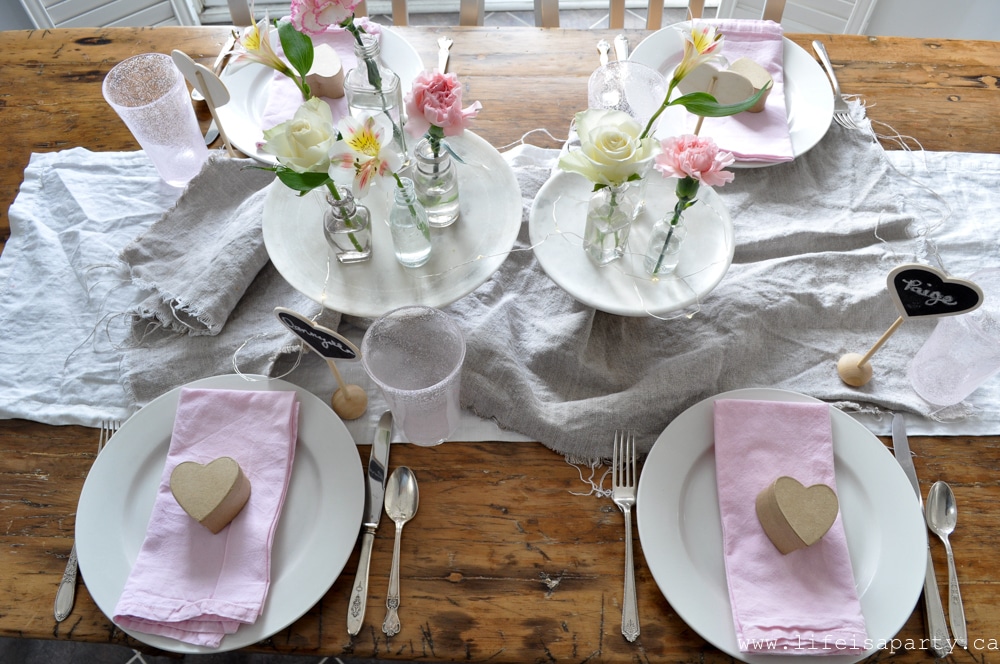
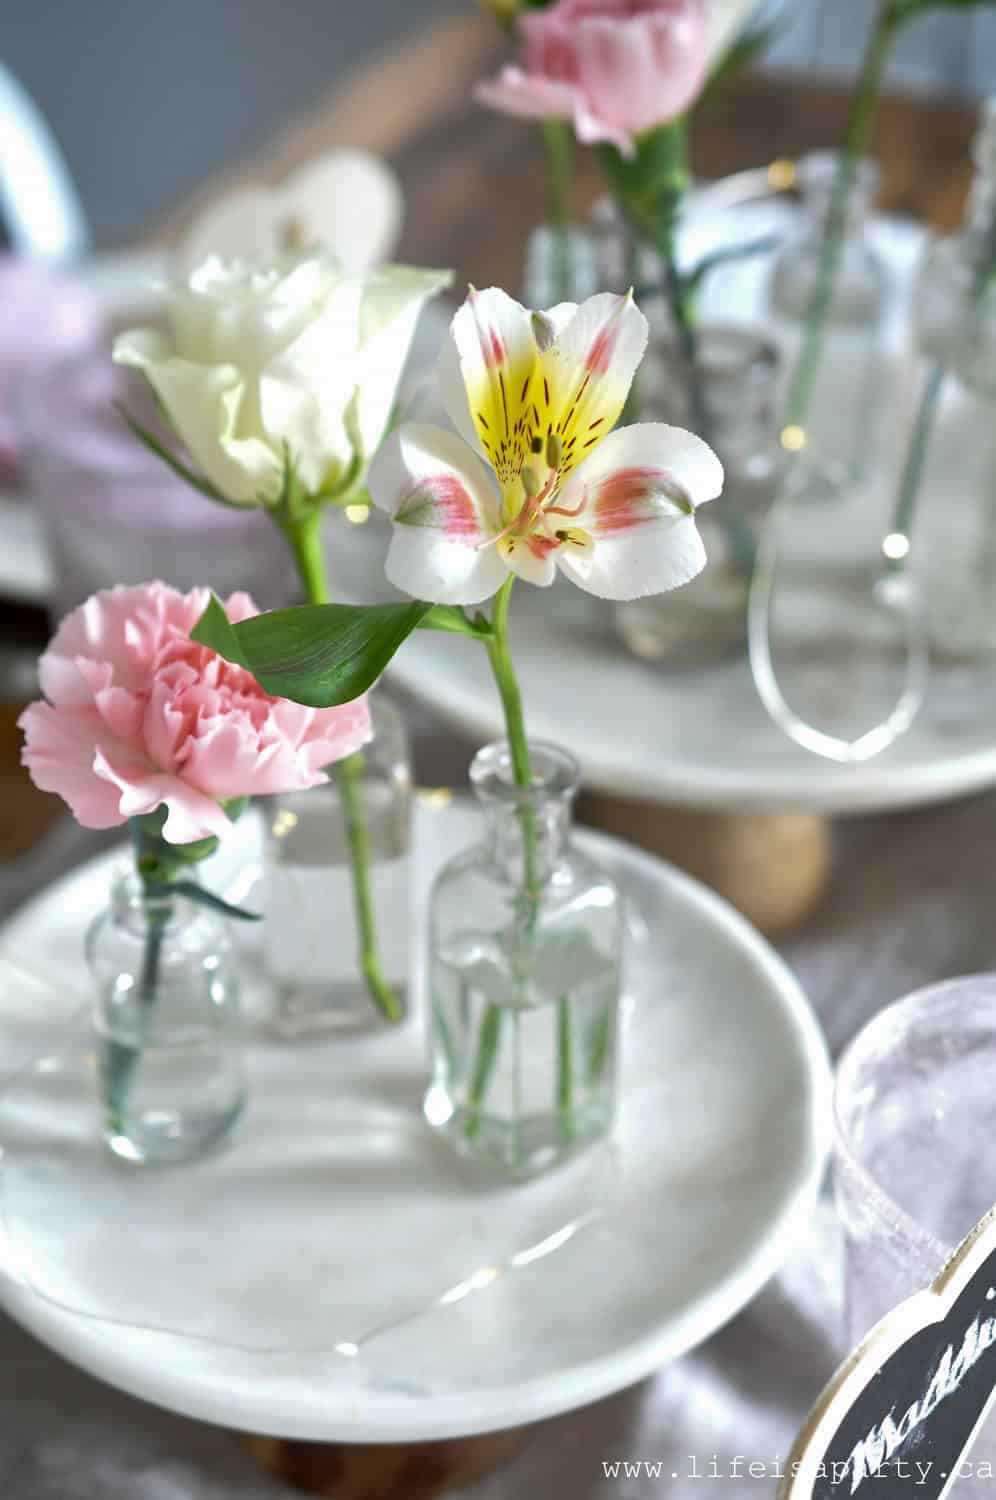
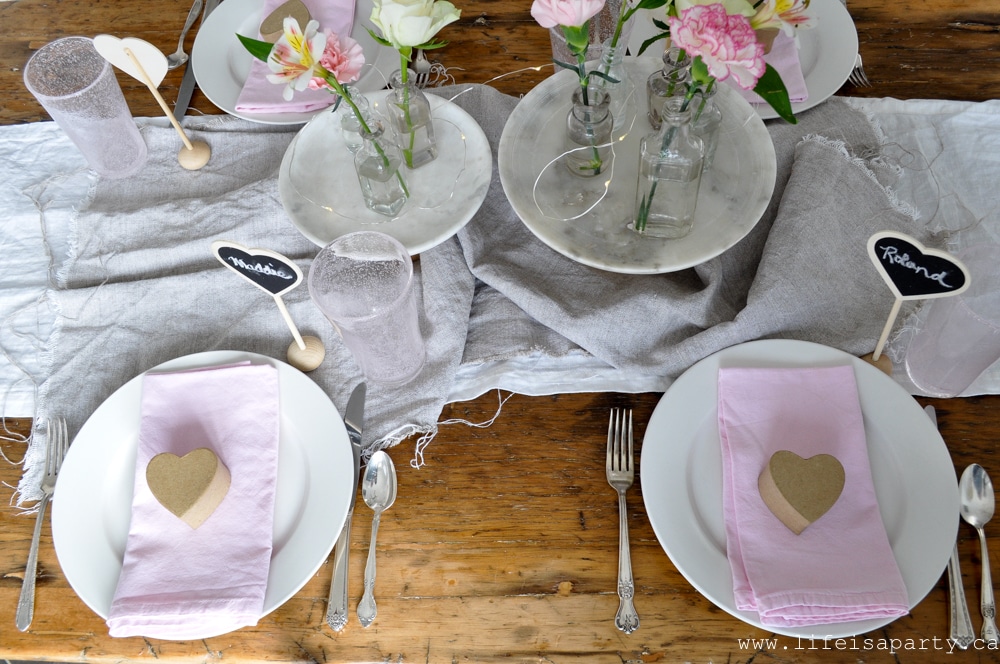
I used some linen for a table runner and layered on some marble cake stands and twinkle lights.  On top of the cake stands I used some little vintage bottles and a few pretty flowers for a simple and so pretty centerpiece.

flowers in vintage bottles

I love this simple and neutral Valentine's Day decor on the table setting.  Sometimes keeping it simple really is the very best idea.

neutral Valentine's Day Decor table ideas
conversation hearts in a heart box
conversation hearts in a brown heart box

The little heart chalkboard place cards are a dollar tree find.  And the little paper heart boxes have a sweet treat inside.
Kiss Me indeed!

This is the first time adding a little Valentine's Day decor to the kitchen since the makeover for the One Room Challenge in the fall.  It's so much fun to decorate now.

The cutlery on this table is old mismatched silverware from my antique and thrift stores.  There vintage cutlery adds a romantic ambiance with it's beautiful old tarnished silver.  Who knows how many special dinners with loved ones its been used for over the years?

Styling Tip for This Space:
For tablescapes, layering is key. I started with a linen runner, added the marble cake stands for height (they're functional too!), then topped with vintage bottles and flowers. The twinkle lights tucked underneath add that romantic glow at night. The thrifted silverware cost about $1 per piece and adds so much more character than matching sets. Total cost for this whole table: under $20!

Eating Area

Neutral Valentine's Day Decor -a home tour with simple, neutral, and soft pink decorations for a pretty Valentine's Day Farmhouse inspired feel.

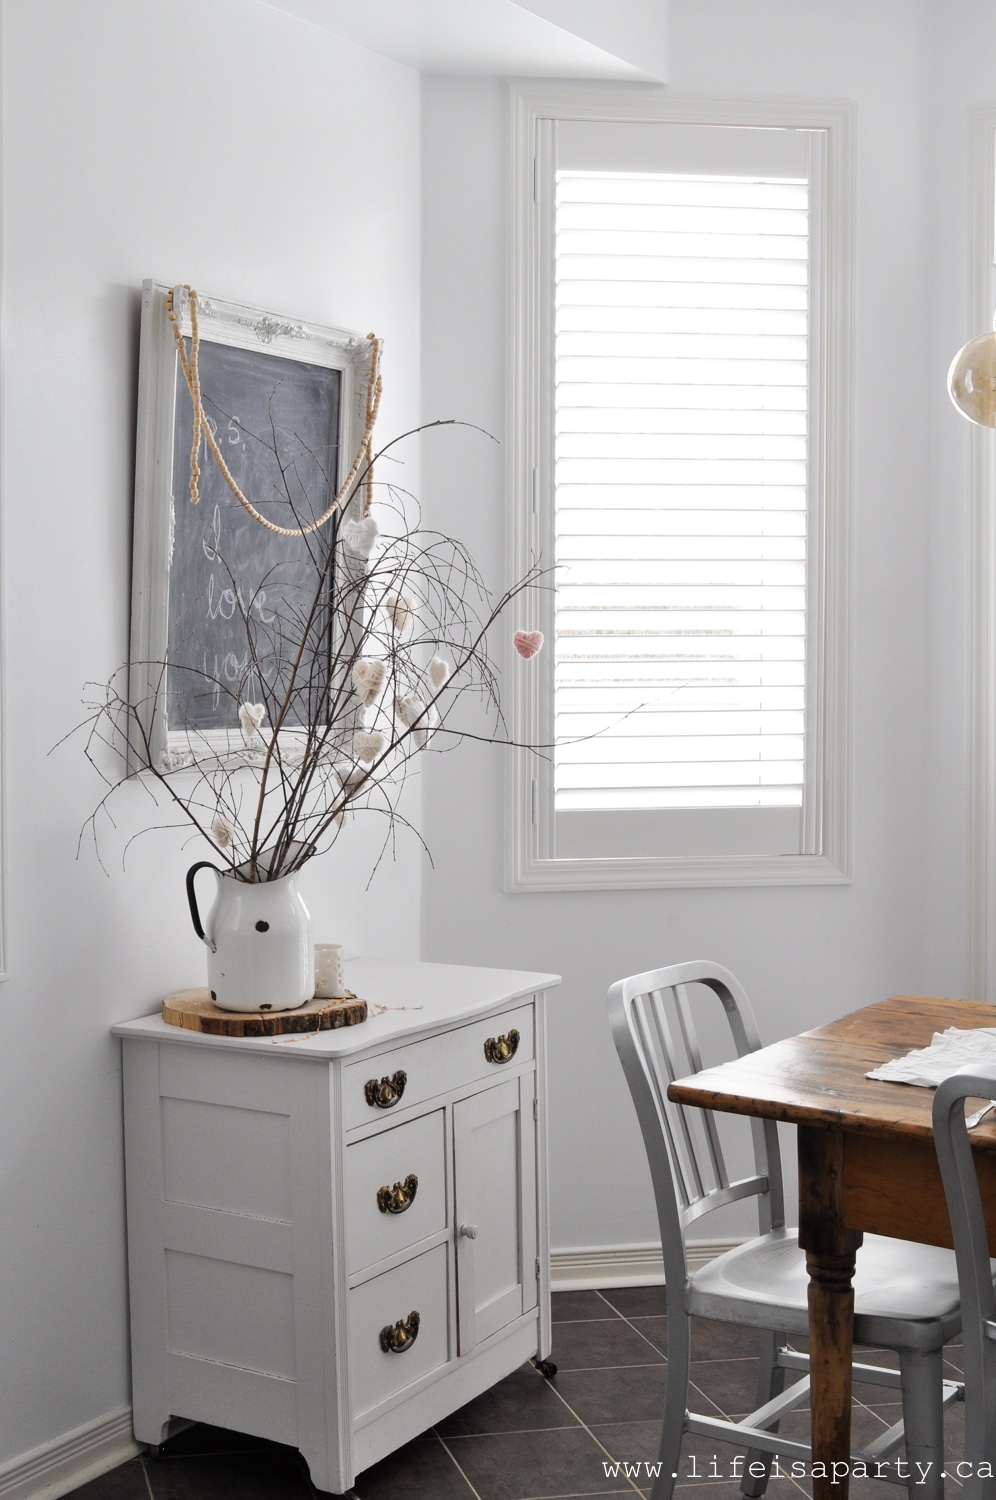
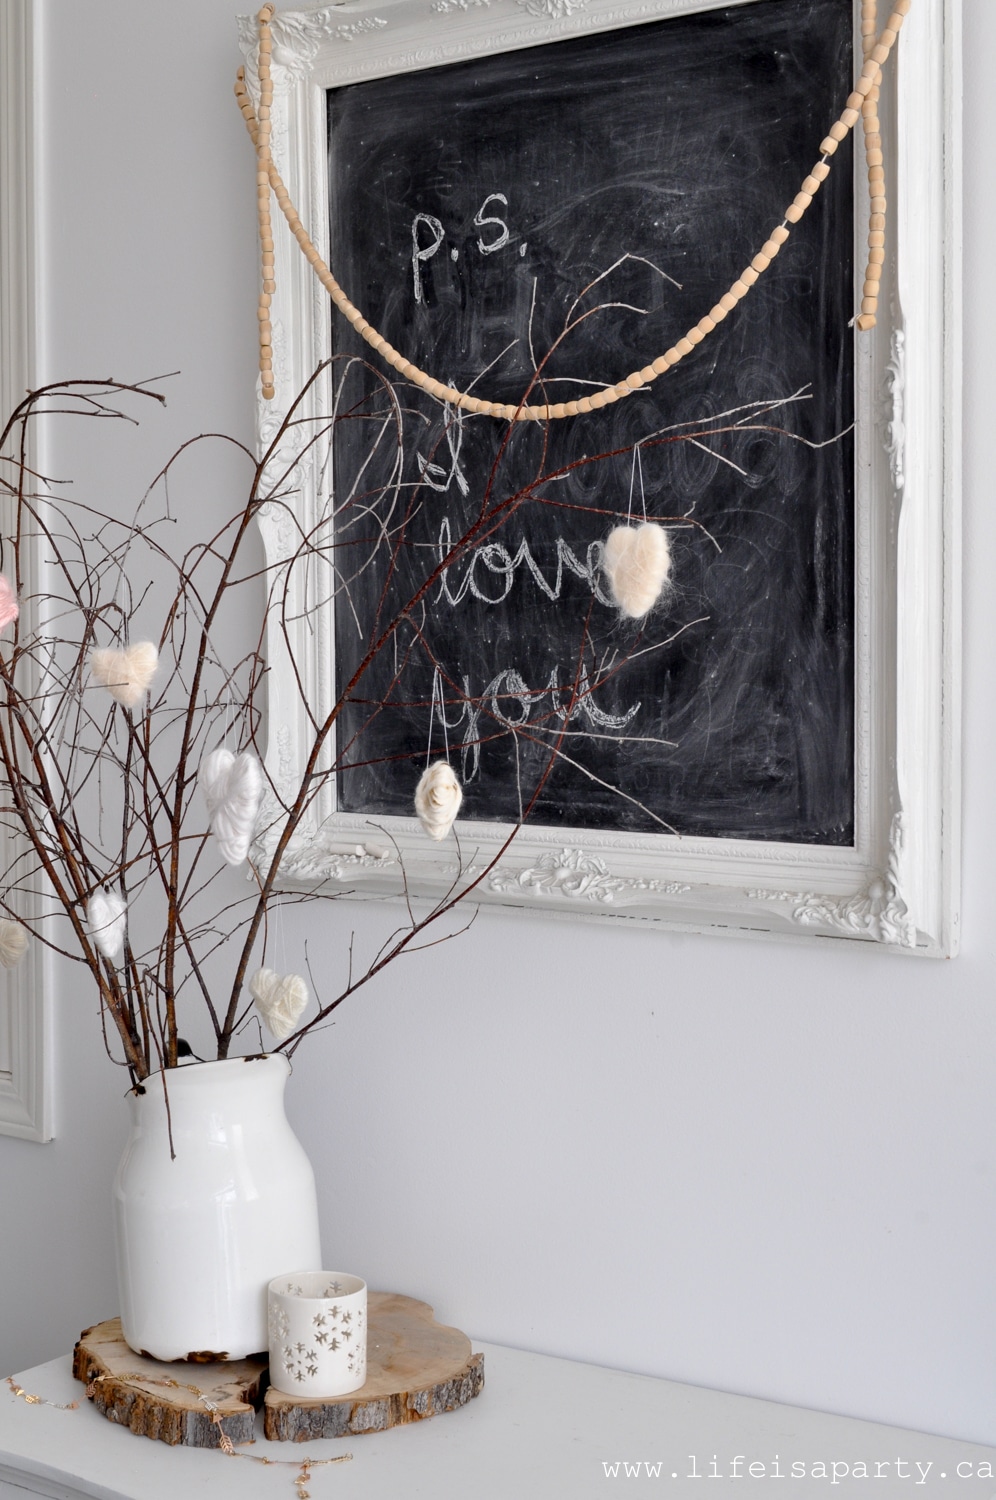
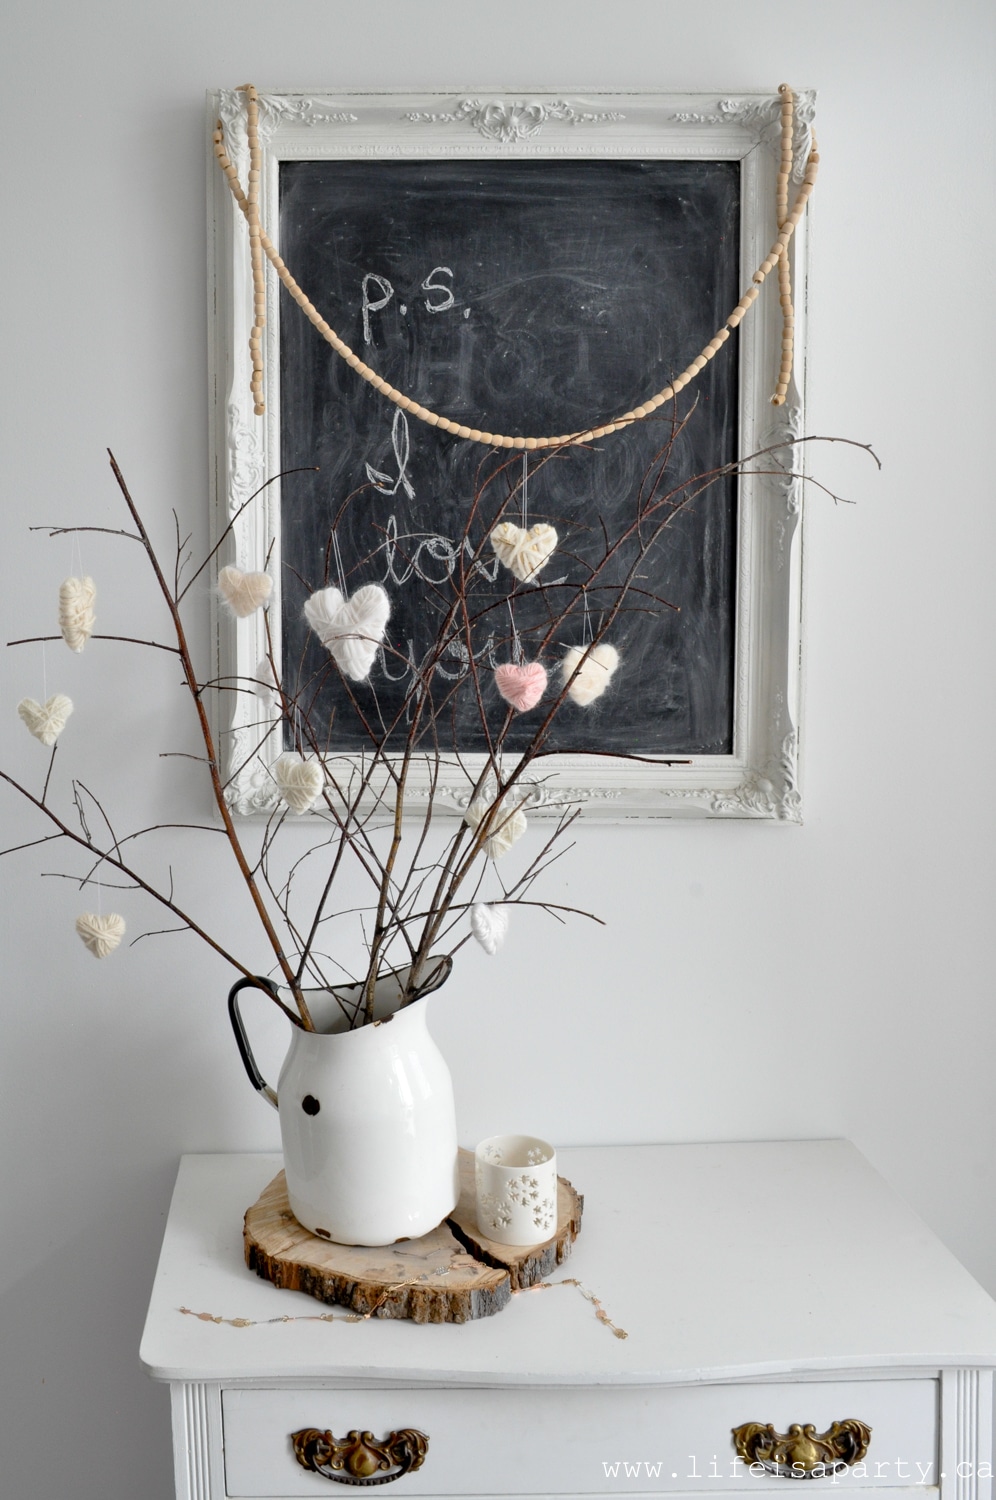
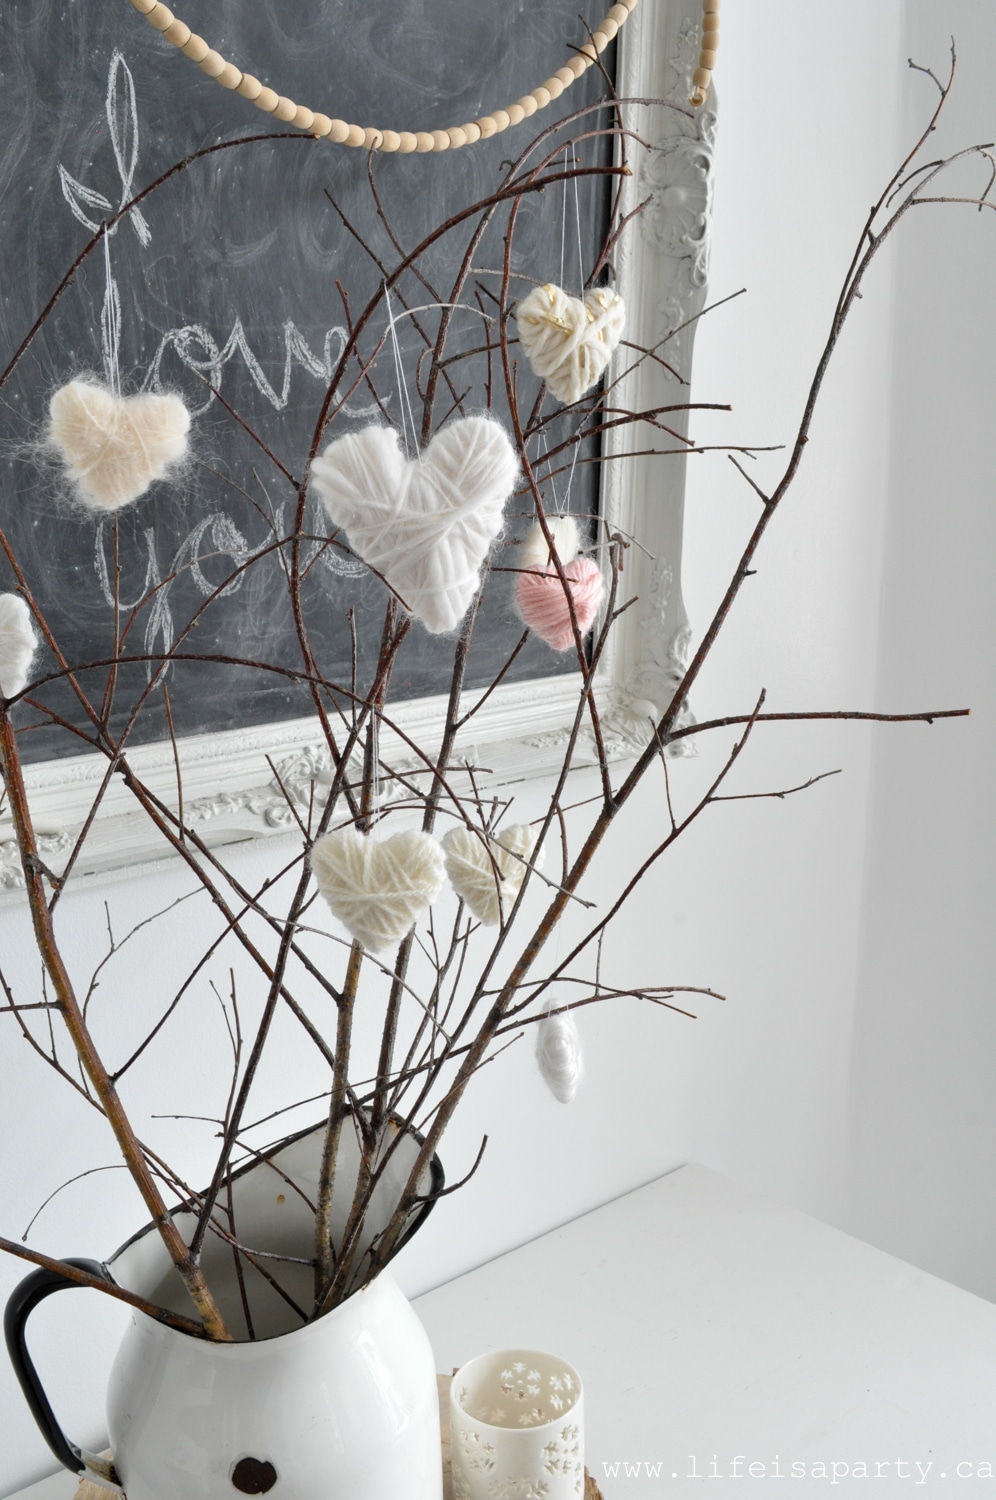
And on my little cabinet in the dining area, one more pretty and special Valentine's addition.  P.S. I love you, and the prettiest little touch of love with our DIY yarn hearts.

ps I love you art

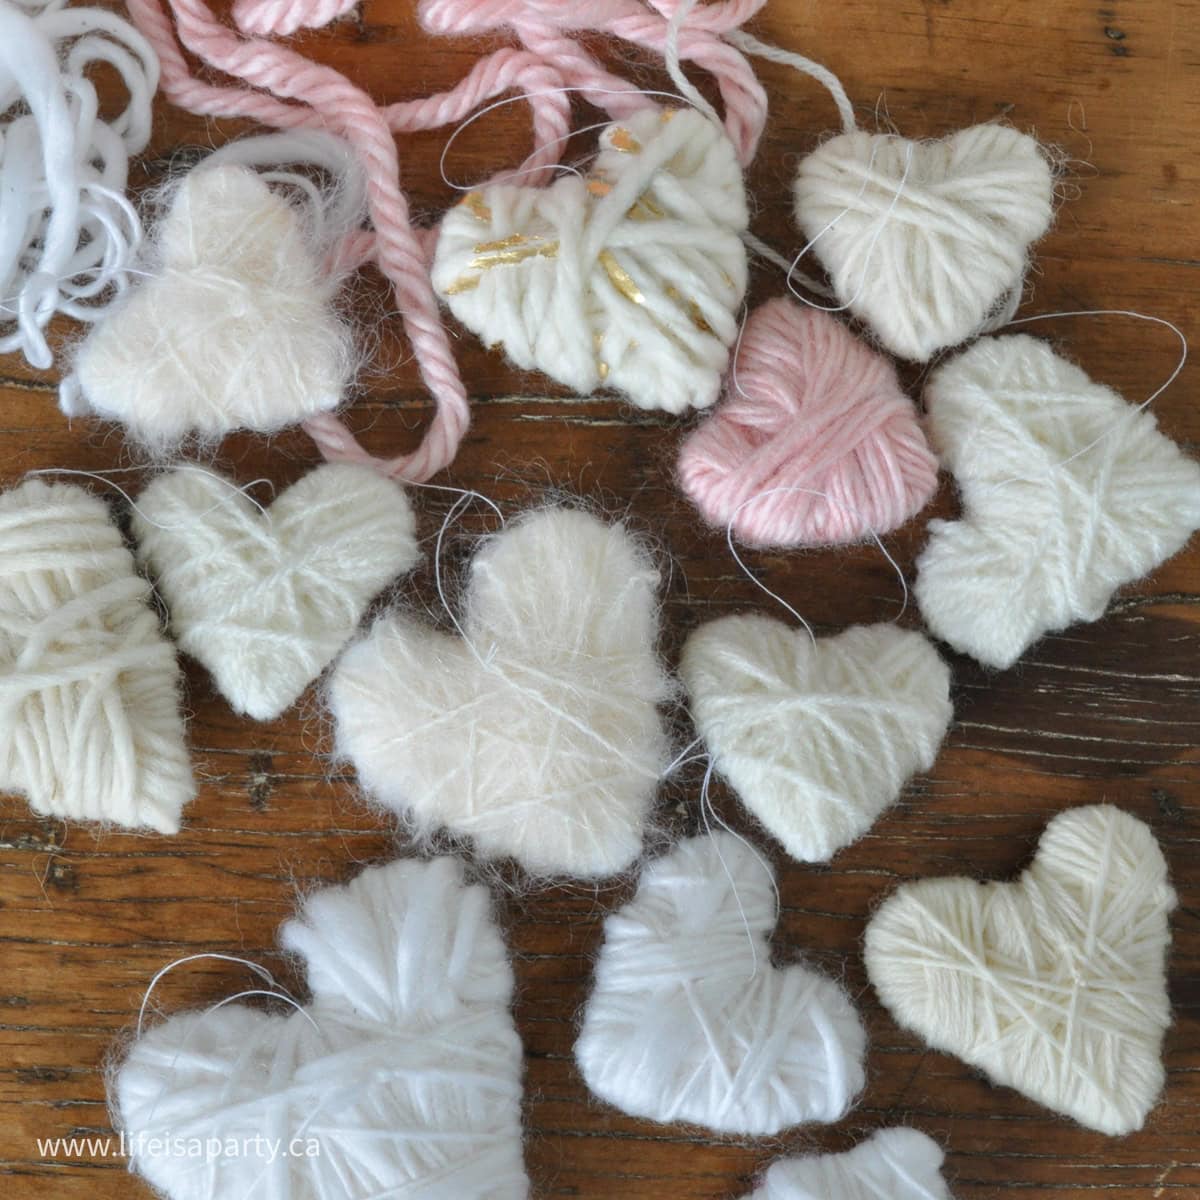
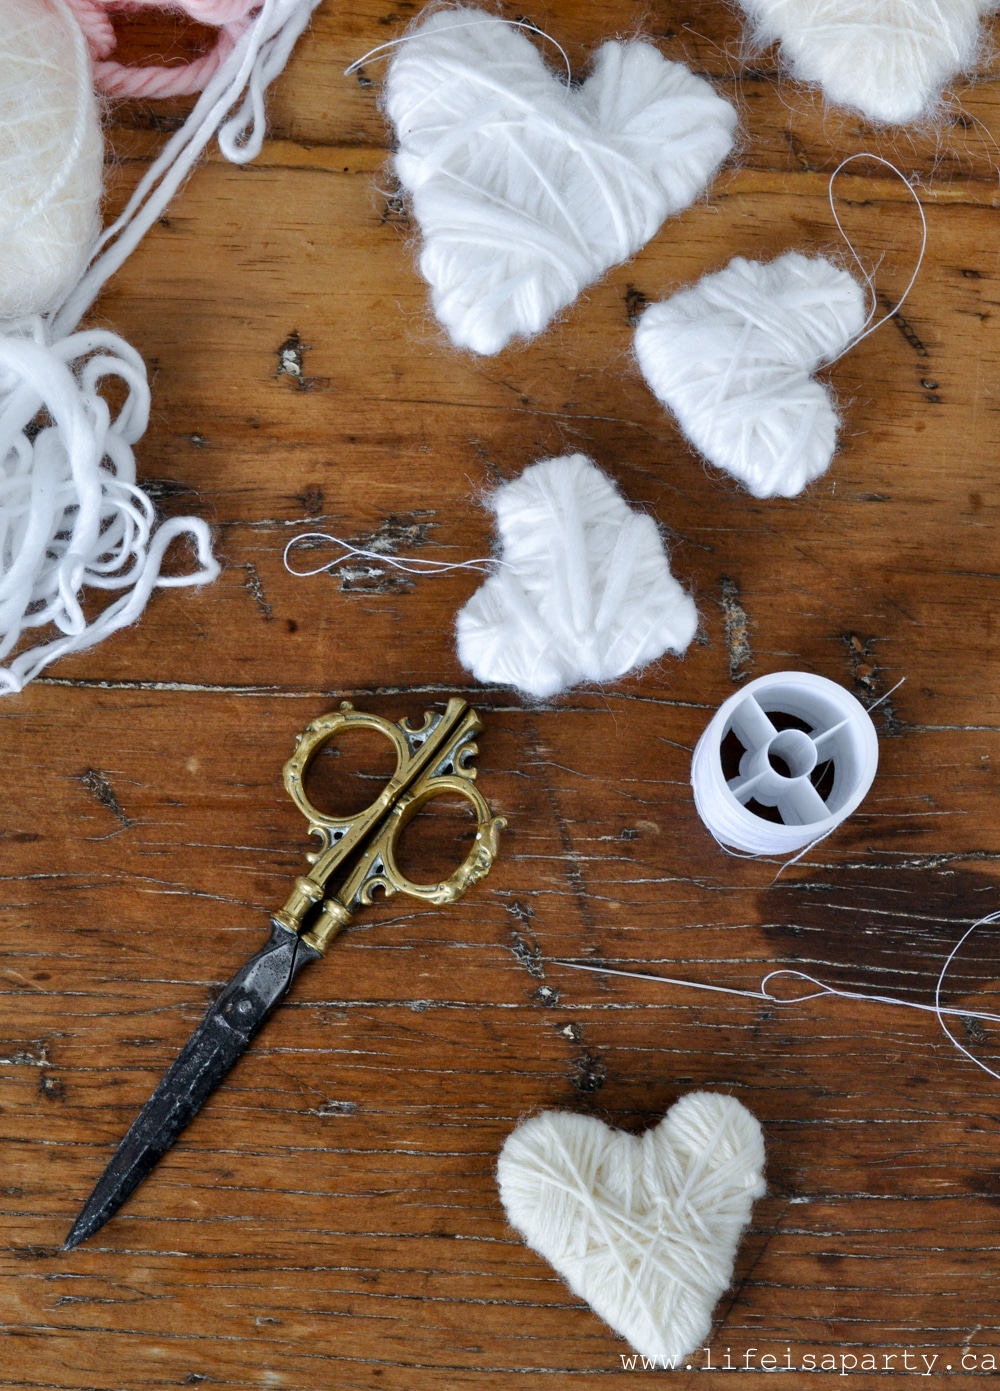
There's a tutorial on how to make the yarn hearts here.  They're so simple to make and entirely up cycled made from styrofoam meat trays and thrifted yarn.  Perfect for kids too.  Handmade crafts always help add a personal touch to your decor.

yarn hearts

Styling Tip for This Space:
Small cabinets and side tables are perfect spots for meaningful Valentine touches. I kept this display super simple with just the P.S. I love you art and a few DIY yarn hearts. Sometimes the smallest vignettes make the biggest impact because they feel intentional and curated rather than overdone.

Budget Breakdown for Neutral Valentine's Day Decor

One of my favorite things about neutral Valentine's Day decor is how budget friendly it can be! Here's an honest breakdown of what I spent:

What I Already Had (Cost: $0):

  • All white dishes, bowls, and serving pieces
  • Winter pillows (knit, fur, neutral colors)
  • Wooden bowls and trays
  • Sheepskin
  • Milk glass vases and cake stands
  • Linen table runner
  • Most furniture and decor

What I Made (DIY Projects - Cost: ~$15 total):

  • 3D origami hearts ($0 - used old book pages)
  • Yarn hearts ($3 - thrifted yarn and styrofoam)
  • Book page heart garland ($0 - old book pages and thread)
  • Beaded wire hearts ($2 - wire and wooden beads)
  • Kool-aid dyed tassels ($5 - string and kool-aid)
  • Macrame bunting ($5 - cotton string)

What I Bought New (Cost: ~$45):

  • Fresh roses from grocery store ($10)
  • Rose gold sequin heart pillow ($20)
  • Peachy pink velvet pillow ($12)
  • Heart chalkboard placecards from Dollar Tree ($1)

What I Thrifted (Cost: ~$10):

  • Vintage bottles ($2 each x 3 = $6)
  • Vintage silverware ($4 for the set)

Total Spent: Approximately $50 for the entire home

Most of this can be reused year after year, so my Valentine's Day decorating cost will be even less next year!

Neutral Valentine Styling Tips (My Framework)

After decorating with neutral Valentine's Day decor for years, I've developed a simple framework that works every time:

1. Start With What You Already Have Before you buy anything, walk through your house and gather neutral items that could work for Valentine's Day. Look for white or cream dishes and bowls, wooden trays and candlesticks, vintage bottles or vases, neutral textiles like linen and sheepskin, and any existing heart shaped items.

2. Add Texture, Not Color The secret to beautiful neutral spaces that don't feel cold is layering different textures to make it cozy. Mix soft elements like sheepskin, knit, and velvet with hard materials like wood, marble, and ceramic. Add woven pieces like baskets, macrame, and linen, plus shiny accents like glass, twinkle lights, and sequins.

3. Use the 3-5 Rule For each space, add 3-5 Valentine specific items. That's it! More feels cluttered. For example, on the coffee table I used a wooden heart tray, twinkle lights, and cloches (3 items). On the couch, just 2 new pillows. On the mantel, wooden hearts and a letter board message (2 items). Sometimes less is more.

4. Let Lighting Create Romance Neutral colors look amazing in soft lighting. Tuck twinkle lights into vignettes, add candles on every surface (white or cream), and turn on lamps instead of overhead lights at night for that romantic glow.

5. Mix Old and New Combine vintage finds with new pieces for character and depth. I paired thrifted silverware with Dollar Tree placecards, antique bottles with grocery store roses, and vintage keys with new wooden hearts.

6. Keep Wood Tones Varied Don't match your woods! I love mixing light, medium, and dark wood tones in the same space. It adds depth and keeps things from looking too matchy-matchy.

7. One Pop of Pink Per Space Choose just ONE pink element per area. In the living room, it's roses. On the couch, a pink velvet pillow. In the dining room, watercolored hearts. This keeps pink from taking over while still nodding to Valentine's Day.

Neutral Valentine Decor Shopping Guide

You don't need to spend a fortune to create beautiful neutral Valentine's Day decor! Here are my favorite places to shop:

  • Dollar Tree ($1-3 per item): Wooden hearts and signs, white and cream candles, heart shaped dishes and bowls, chalkboard placecards, and paper decorations.
  • Thrift Stores ($1-10 per item): Vintage bottles and vases, ironstone and milk glass dishes, old silverware, wooden bowls and trays, vintage books for crafts, and pink dishes tucked away.
  • Antique Shops ($5-25 per item): Unique vintage finds, old keys and locks, vintage Valentine cards, antique bottles, and grain sack fabric.
  • Grocery Store (Under $10): Fresh flowers (especially roses), seasonal blooms, and potted plants.
  • Target (Under $25 per item): Neutral throw pillows, heart shaped serving pieces, white and cream decor, wooden accents, and linen textiles.
  • Etsy (Varies): Handmade heart garlands, custom wooden signs, grain sack pillows, vintage fabrics, and unique one-of-a-kind pieces.
  • Your Own Home (FREE!): This is where I start! Look for items you can repurpose like white dishes from your everyday collection, winter textiles that work for Valentine's, wooden pieces from other seasons, neutral pillows you already own, and candles and vases.
  • Canadian Shopping Tip: I'm in Canada, so I shop at Dollarama, HomeSense, and local thrift stores like Value Village. The principles are the same - look for neutral pieces at bargain prices!

Frequently Asked Questions

What colors are considered neutral for Valentine's Day?

Neutral Valentine's Day colors include white, cream, beige, taupe, gray, and natural wood tones. Soft blush pink is also acceptable as a neutral accent color. The key is avoiding bright reds and hot pinks in favor of softer, more muted tones that blend with your existing home decor.

How can I make neutral Valentine decor feel romantic?

Make neutral Valentine's Day decor feel romantic by focusing on texture, lighting, and vintage elements. Layer soft textiles like sheepskin and knits, add twinkle lights or candles for a warm glow, and incorporate heart shaped accents in natural materials like wood. The combination of soft lighting and varied textures creates a cozy, romantic atmosphere without needing bright colors.

Do I need to buy all new Valentine decorations?

No! Start by shopping your own house for neutral items you already own. Look for white dishes, wooden bowls, neutral pillows, and vintage finds. Then add just 3-5 new Valentine specific items per room, like wooden hearts, heart shaped pillows, or fresh flowers. This approach costs under $50 for your entire home and works with your existing decor.

What's the best room to start with for Valentine decorating?

Start with the room you use most! For many people that's the kitchen or living room. These spaces benefit most from seasonal decorating because you see them every day. Begin with one surface like a coffee table or mantel, style it with 3-5 items, then move to the next space once you're happy with the first.

Can I mix Valentine decor with my winter decor?

Absolutely! Neutral Valentine's Day decor works beautifully with winter decor. Keep your cozy winter textiles like knit pillows, sheepskin, and neutral throws, then simply add a few heart shaped accents and maybe one pop of blush pink. The combination creates a cozy, romantic vibe that bridges winter and Valentine's Day perfectly.

How much should I spend on Valentine's Day decorations?

You can decorate your entire home for Valentine's Day for under $50 if you focus on neutral decor! The key is DIY projects (under $15 total), thrifted finds ($10-15), a few Dollar Tree items ($5-10), and shopping your own house (free). Invest in items you can reuse year after year like wooden hearts, neutral pillows, and vintage pieces.Y

What are the best DIY projects for neutral Valentine decor?

The easiest DIY projects for neutral Valentine's Day decor include 3D origami hearts made from old book pages, yarn hearts wrapped around styrofoam, book page heart garlands stitched together, and beaded wire hearts. All of these cost under $5 and can be completed in under an hour. They add a handmade, personal touch to your neutral spaces.

How do I style a Valentine's Day table with neutral colours?

Start with a neutral base like a linen table runner, then layer in height with cake stands or candlesticks. Add fresh flowers in vintage bottles, tuck in twinkle lights for sparkle, and use thrifted silverware for character. Keep the color palette to whites, creams, and wood tones with just one or two blush pink accents. Finish with heart shaped placecards or small treats at each setting.

I hope you've enjoyed this neutral Valentine's Day decor house tour and that you're feeling inspired to add a few touches to celebrate love at your house too.

More Valentine's Day Inspiration

  • Close up of pink heart-shaped strawberry marshmallows dusted with coating.
    Homemade Strawberry Marshmallows with Freeze Dried Strawberries
  • Valentine breakfast board with heart-shaped waffles, heart-shaped eggs, bacon, sausage, fresh berries, and toppings on marble platter.
    Valentine Breakfast Board
  • Peanut butter and jam thumbprint cookies on a cooling rack with a jar of jam.
    Peanut Butter Thumbprint Cookies
  • Valentine's Day movie night free printables including tickets, banners, snack labels, and decorations.
    Valentine's Day Movie Night With Free Printables

If you try any of these neutral Valentine's Day decor ideas or DIY projects, please let me know how it went in the comments below. Thanks for visiting today!

How To Make Yarn Wrapped Hearts

Jan 30, 2018 · 3 Comments

How to make yarn hearts.

These DIY Yarn Hearts are the perfect easy Valentine's Day Craft. We used recycled styrofoam meat trays and yarn and to create these fuzzy 3D hearts for Valentine's Day. They look great as part of your Valentine's Day decor gathered in a bowl, or hanging on some branches.

How to make yarn hearts.
[feast_advanced_jump_to]

Why We Love These Yarn Hearts:

  • We used upcyled materials with the styrofoam meat trays, and thrift store yarn.
  • They're easy, and a great craft for kids.
  • They're not messy.
  • They're inexpensive to make.
  • The yarn hearts look great and are beautiful decor for Valentine's Day.


We used them for our neutral Valentine's day decor, but you can make them in any color. Hang them from branches, display them in a bowl, or string them as a garland. They also look great with our easy 3D origami hearts and our book page heart garland.

yarn hearts

How To Use These Yarn Hearts

I used my hearts as ornaments on a few sticks, but they'd  also be great as bowl filler, or strung on some twine as a pretty garland.

diy yarn hearts

I love these yarn hearts as a Valentine's Day craft, but they'd be really pretty anytime of year in a baby nursery, or as part of a winter wedding or wedding shower too.  You could make them neutral like mine, or use any colour of yarn to fit your home or party decor.  I love how versatile these DIY yarn hearts are.

Easy Kids or Adult Valentine's Craft Idea

The materials and method are so easy, they'd be a great Valentine's Day craft to do with kids or adults

Materials:

yarn hearts
  • Heart Base Material

I used recycled styrofoam meat trays as the base for my hearts. This worked really well.  The white color was perfect for making them with white yarn, just in case any of the background color peeked through.  The foam was also a great thickness to make the hearts a little thicker.  It was also nice and stiff to give a good solid base for wrapping.  The foam is also very easy to cut with regular scissors.

  • Yarn

I wanted my hearts to look really cozy and fluffy and to be made with lots of different kinds of yarn.  

I have had great luck finding inexpensive yarn at the thrift store.  Look for it in the craft material section.  This is the perfect way to get lots of variation in your yarns.  The yarn is often sold bundled together.  If you end up with a ball of yarn you don't like in your bundle or one that doesn't work color wise, you can just donate it right back.  I've found this is usually still cheaper than purchasing it all new at the craft store, and the small quantities you usually find at the thrift store are perfect for this craft.  

It's also a great way to use up little bits of leftover yarn in your craft stash, especially if you're a knitter.   I think mixing the type of yarn adds interest.  

Colors

I love making these yarn hearts in neutral colors, but you can make them in any color scheme.  Make them to match your home decor in a favourite color.  

Material Variations:

These would also be beautiful in rainbow colors.  

We made ours for Valentine's Day so we mixed in the tiniest bit of pink with our neutrals.  

doy Valentine's Day decor

You could also do these all in pink or red, or a combination of pink and red.

If you don't have a styrofoam meat tray to upcycle, you can use any stiff material like a piece of cardboard as your base.  

how to make yarn hearts

Instructions:

1. Start my cutting out a heart shape from your styrofoam tray. I used styrofoam trays that I saved and washed from purchasing meat.

You can mark out your heart first to find a shape and size you're happy with. If you want all your hearts to be the same size, create a pattern or use a heart template for all of them. I kind of like that all my free hand hearts are slightly different shapes and sizes.

2. Once you have your heart cut out, start winding the yarn around it, holding the end of the yarn to start, and securing it as you wind around it tightly with more yarn. You can also use a small piece of tape on the end of the piece of yarn to hold it in place, if you prefer.

Materials for making DIY yarn hearts, including styrofoam tray, scissors, yarn, pencil, and thread.

3. Begin by wrapping the yarn the yarn around the foam, until the whole thing is covered. Wrap randonly or start with the top of one side of the heart, and use the yarn that you've wrapped to hold the next piece in place.

4. Next, wrap the other top side of the heart.

5. Then wrap the bottom section of one side.

6. Next wrap the bottom section of the other side. You may need to add a few layers to the very tip to make sure it's completely covered.

How to wrap a heart with yarn.

7. Finishing wrapping the top of the heart each side.

8. Lastly, wrap the yarn around randomly a few times to create a more random pattern on top.

9. To finish, tie the end of the yarn in to one of the other pieces tightly to keep the yarn from unraveling and cut off the end.

Wrapping hearts with pink yarn.

The cute yarn hearts will naturally be thicker in the center of the heart, making it kind of 3D.

10. If you want to hang your yarn heart, you can add a thread for hanging. Just cut a piece of thread, and thread it onto a needle. Use the needle, and push it through the top fo the heart. Tie the thread together, and snip off any extra thread, and it's ready for hanging.

Adding a thread to yarn heart so that you can hang it.
heart craft

Hangable Hearts

how to make yarn hearts

Expert Tip: I prefer to use a thread to hang it because it isn't noticeable and kind of disappears, rather than a long piece of twine or yarn.

Fequently Asked Questions:

Can I use something other than the sytrofoam for the base?

Yes, you can use some foam board, or thick cardbard as a base material instead.

What if the base is showing through?

If you're heart base is showing through, just wrap more yarn around until it's covered completely.

Is this a good craft for kids?

This is a great craft for kids to do because it's easy, not messy, and they can choose their own colors.

  • Cricut Valentine's Day card free SVG
    Cricut Valentine Card
  • hot chocolate valentine and free printable
    Hot Chocolate Valentine with Free Printable
  • DIY Valentine's Day wreaths
    DIY Valentine's Day Wreaths
  • How to nail polish marble.
    Marbled Hearts

If you tried this DIY Yarn Hearts Craft or any other craft on my blog please leave a star rating and let me know how it went in the comments below. Thanks for visiting today!

Recipe

How to make yarn hearts.

How To Make Yarn Wrapped Hearts

5 from 2 votes
Print Pin Rate
Cook Time: 20 minutes minutes
Total Time: 20 minutes minutes
Author: Dannyelle Nicolle-Ramjist

Equipment

  • scissors
  • Needle

Materials

  • styrofoam tray
  • yarn
  • thread

Instructions

  • Start my cutting out a heart shape from your styrofoam tray. I used styrofoam trays that I saved and washed from purchasing meat. You can mark out your heart first to find a shape and size you're happy with. If you want all your hearts to be the same size, create a pattern or use a heart template for all of them. I kind of like that all my free hand hearts are slightly different shapes and sizes.
  • Once you have your heart cut out, start winding the yarn around it, holding end of the yarn to start, and securing it as you wind around it tightly with more yarn. You can also use a small piece of tape on the end of the piece of yarn to hold it in place, if you prefer.
  • Begin by wrapping the yarn the yarn around the foam, until the whole thing is covered. Wrap randonly or start with the top of one side of the heart, and use the yarn that you've wrapped to hold the next piece in place.
  • Next, wrap the other top side of the heart.
  • Then wrap the bottom section of one side.
  • Next wrap the bottom section of the other side. You may need to add a few layers to the very tip to make sure it's completely covered.
  • Finishing wrapping the top of the heart each side.
  • Lastly, wrap the yarn around randomly a few times to create a more random pattern on top.
  • To finish, tie the end of the yarn in to one of the other pieces tightly to keep the yarn from unraveling and cut off the end.
  • If you want to hang your yarn heart, you can add a thread for hanging. Just cut a piece of thread, and thread it onto a needle. Use the needle, and push it through the top fo the heart. Tie the thread together, and snip off any extra thread, and it's ready for hanging.

Video

Notes

If you don't have a styrofoam meat tray to upcycle, you can use any stiff material like a piece of cardboard as your base.  
The cute yarn hearts will naturally be thicker in the center of the heart, making it kind of 3D.
I prefer to use a thread to hang it because it isn't noticeable and kind of disappears, rather than a long piece of twine or yarn.
 

Hygge Living Room

Jan 16, 2018 · Leave a Comment

The art of hygge.

The Art of Hygge -enjoying life's little pleasures, being fully present, getting cozy, and embracing the seasons into your home.

The art of hygge.
[feast_advanced_jump_to]


I first heard about Hygge a few years ago, and loved the idea immediately. Hygge comes from a Danish word. Pronounced Hue-gah, it's sometimes defined as the Danish art of enjoying life, and life's simple pleasures.

The Art of Hygge -How to add the Danish concept of hygge: enjoying life's little pleasures, being fully present, getting cozy, and embracing the seasons into your home.

What Does Hygge Mean?

I've heard it called the art of cozy. It's become a popular decorating term. But it's even more than pretty candles and twinkle lights (although those can be part of it), it's a feeling, a way of life even. I think it's about being wholly present, and really living where you are. It's about taking time to enjoy the pleasures of life in order to see the beauty in everyday and escape what can be the drudgery of everyday.

Hygge is not just a winter concept.

Although you hear about it more in the winter because the idea of cozy is so appealing then, it's really more of a year round outlook. The Danish do face long, grey winter days -and I as a Canadian can relate. And although you will hear lots about cozying up with sheep skins and candles, and hot chocolate, it's also about getting outside and enjoying the snow and cold and grey too. There's a certain acceptance that Hygge embraces -we live in the snow so let's live in the snow. Let's snowshoe, and ski, and embrace all that winter has to offer. And then let's return to our warm houses and get warm and cozy, and be with friends and family and enjoy life. Have you heard the expression before "there's no such think as too cold to go outside, there's only not being dressed for the weather."? Layer on the cold weather woolies and get outside, and enjoy it. Then come in for a drink by the fire, and a laugh, and cozy night together.

Perhaps it's because Danish weather and Canadian winters have a little in common. Perhaps it's because in my own personal life I've been trying to learn over the last few years how to be more present. I've been trying to show up for my own life more and more. I've been trying to live and not just survive. Perhaps it's for those reasons that the whole idea of Hygge seems so right to me. It's fashionable and lovely, but it's a whole lot more than just a few steps and a few things to buy. Having said that though, our homes are a window into our hearts. And the environment we create can serve to create an environment in our own hearts. There is something to be said for making a cozy home to create a cozy life. So here are some of the ways I've tried to embrace a Hygge Living Room, that might inspire you.

The Art of Hygge -How to add the Danish concept of hygge: enjoying life's little pleasures, being fully present, getting cozy, and embracing the seasons into your home.

Add Lots of Cozy Materials

You can create a sense of warmth and softness and coziness by using sheep skins (real or faux), lot of comfy knits, and warm snuggly blankets. Add softness to a space by including lots of soft things. It's especially nice in these winter days to have lots of layers of warmth to curl up in.

The Art of Hygge -How to add the Danish concept of hygge: enjoying life's little pleasures, being fully present, getting cozy, and embracing the seasons into your home.

Keep It Neutral

One of the beauties of Scandinavian design is the neutral palette. Whites, greys, and creams are all I've used in this space. Keep it interesting and not boring by adding lots of textures. There's the cozy textures of our pillows, blankets, and sheep skins, but also the macrame adds to that feeling. Baskets, and patterned rugs add interest. Other materials also keep it interesting like wood, paper, and metals.

The Art of Hygge -How to add the Danish concept of hygge: enjoying life's little pleasures, being fully present, getting cozy, and embracing the seasons into your home.

Add in Lots of Nature

We're not only embracing getting out into the environment we live in, but bringing the outdoors in. Include natural elements like birch poles, and pinecones this time of year. There's also nothing more scandi than antlers. Plants help create that feeling too.

The Art of Hygge -How to add the Danish concept of hygge: enjoying life's little pleasures, being fully present, getting cozy, and embracing the seasons into your home.

Include some Plants

Plants add green and create a sense of life. Especially this time of year after Christmas when the house can feel bare, and it's still frozen and snow outside, indoor plants help create a sense of health and add some much needed green to the space. Plants also help with texture -think about the leaves, smooth, feathery, picky, fine, large.

The Art of Hygge -How to add the Danish concept of hygge: enjoying life's little pleasures, being fully present, getting cozy, and embracing the seasons into your home.

Add some Light

This time of year when the days are short, and the night is long, it can feel so grey and dark and gloomy.  Even in the day time it seems like some days the sun is hiding.  Add some light to your dull space with lots of pretty candles and twinkle lights.  Candles and twinkle lights aren't just for Christmas, and they have a way of instantly making you feel cozy.

The Art of Hygge -How to add the Danish concept of hygge: enjoying life's little pleasures, being fully present, getting cozy, and embracing the seasons into your home.

Embrace Hearty Seasonal Comfort Food

Winter calls for the foods of the season -warm and hearty stews and soups, oatmeal, fresh bread, and pasta.  Rediscover the joy of good seasonal food.  It's part of embracing where you live.  It's old fashioned because it works.  And while you're at it, don't forget warm and soothing drinks like the perfect cup of tea, a beautifully brewed cup of coffee, or a mug of hot chocolate with a marshmallow.  Embrace seasonal food and rediscover the joy of cooking, hosting, and eating.

The Art of Hygge -How to add the Danish concept of hygge: enjoying life's little pleasures, being fully present, getting cozy, and embracing the seasons into your home.

Rediscover An Indoor Hobby this Winter Too

It might be as simple as watching movies, or reading.  It might be knitting, or doing a puzzle, or a crossword.  How about building computers, or hand lettering? The sky really is the limit here.  But it is about really enjoying it, setting time aside for it, and doing that lazy just for fun thing just for the fun of it.  Relax with your whole heart.  Marathon watch Netflix like a pro, and then do something else -work, sleep, see friends and family, ski, walk the dog.  Show up for it all, even your hobby, and really enjoy it -all the pleasure none of the guilt.  It's winter, time for some relaxing indoor fun too.

The Art of Hygge -How to add the Danish concept of hygge: enjoying life's little pleasures, being fully present, getting cozy, and embracing the seasons into your home.

Reconect with Friends and Family

Part of the art of Hygge is to enjoy the company of family and friends.  Life is richer when it's shared.  Make time to see family and friends over the winter.  It's the perfect time to host a get together -think of a sledding party at a local hill and warming up at your house over a big pot of chilli.  These things have a way of never actually happening unless they're on the calendar so be intentional about really connecting with family and friends.

The Art of Hygge -How to add the Danish concept of hygge: enjoying life's little pleasures, being fully present, getting cozy, and embracing the seasons into your home.

With the art of Hygge, life really is a party!

How are you adding the art of Hygge to your life?

How To Paint a Buffalo Plaid Check Feature Wall

Jan 11, 2018 · Leave a Comment

How to paint a buffalo check plaid wall.

How To Paint Buffalo Plaid Walls -easy weekend DIY to add drama to any space by painting buffalo check plaid on a feature wall.

How to paint a buffalo check plaid wall.
[feast_advanced_jump_to]

I love my dining room and thought it would be fun to add a plaid painted feature wall to create a little drama.  I love that this Buffalo Check wall is done with paint, and only took a weekend to create.  It adds so much to the room and was a great weekend DIY project.  Changing your home decor with a little paint is such a fast, economical way to create a big impact.

Choosing The Colours

How To Make Plaid Painted Walls

About a year ago, I redecorated my dining room and changed all the dark furniture and beige walls to white -read about the big dining room makeover reveal with a before and after here.  What a huge difference it made.  I painted the room in Para Paints JoJo Whitewash.  I have loved the clean white that's made the room feel so bright and airy.

When I decided it was time to add a little more drama to the room, I knew I still wanted to keep the room neutral.  I have loved being able to mix and match any colour for any season.  I've also fallen in love with this seasons hottest trend -Buffalo Check!

How To Paint Buffalo Check walls

I feel like the black and white plaid painted wall in buffalo check are so fresh feeling.  It adds lots of interest and texture but is still neutral and goes with everything.  If you're a fan of buffalo check, it a really great way to add some big impact to a space.

When it came time to choose the greys and black paint to go with JoJo Whitewash.  In the paint store, I used a fan deck to complete my choice.  Para makes it's easy by putting difference shades that go together on the same paint sample.  I went with 410B, 410D, and 410G. We kept the white JoJo Whitewash as our base color.

Materials:

  •  PF17 JoJo Whitewash Para Paint
  •  410B Titanium Para Paint
  •  410D Grey Tote Para Paint
  •  410G Raven Wood Para Paint
  • Painters Tape
  • Laser Level
  • Pencil
  • small roller and tray
  • paint brush
How To Paint a Buffalo Check feature wall

How To Make Plaid Painted Walls in Buffalo Check

Square Size

1. Start out your plaid painted walls by deciding on the size of your squares -I went with 10 inches because I wanted them to be large and have a large impact.  My walls were already painted with Para paint PF17 JoJo Whitewash, but if yours are not, you'll need to start by painting the walls in the white paint as a base coat.

Marking It Out

2.  To mark out your buffalo check pattern, use a laser level to make a straight lines 10 inches down from the top of the wall, and used painters tape to mark it out.  This will give you a full square at the top of the wall.  Remember to put your first piece of tape on the outside of the first line, and then measure down from the top of the tape another 10 inches.  Also, remember to push your tape down firmly to help prevent the paint from bleeding underneath.

We used a laser level to place our tape lines.  This makes the job so much easier than a regular level would be.  We didn't need to mark out a pencil line for ours, which was great because then we didn't need to worry at all about them showing through the paint, or erasing them afterward.

3.  Mark the second line with painters tape, taking care to place it on the inside of the stripe.  When it comes time to paint you will only paint every other stripe with gray paint, so the tape must be on the outside of each alternating stripe to insure that the strips are even afterwards.  It will look uneven to begin with, and you might find it helpful to mark the stripe that is not being painted with an "X" of tape so you don't get confused.

How To Paint a Buffalo Check feature wall

4.  Next, you will mark out the vertical lines every 10 inches.  I used a pencil to mark these, and then taped them after the horizontal stripes were painted.  Start by finding the centre of the entire wall vertically with a tape measure, and then measure 5 inches out on each side to centre your first square.  Use the laser level to create a straight line down and mark them on the wall in very light pencil every 10 inches apart.

Let's Get Painting

5.  To paint your first stripe, choose your lightest color of grey, Para paint 410B Titanium, stir it well and apply 2 coats of paint with a small foam roller, or small paint brush.  Letting it dry several hours in between coats.  Remove the painters tape from the horizontal lines.

Waiting In-between

6.  I waited over night to let the first stripes dry before beginning the vertical stripes.  Begin by adding painters tape to the vertical lines that you've already marked out with pencil, taking care to place the tape on the outsides of the stripes again so that they are even when the tape's removed.  Use painter's tape to mark the stripes you are not painting with an "X" again so you don't get confused.

How to make plaid painted walls


Because the spots where the two stripes intersect will be painted black, for the next step you can just paint the other squares to cut down on the thickness of the paint in those inserting squares.  These stripes (squares) were painted with 410D Grey Tote -two coats.

how to paint buffalo check painted plaid walls

7.  Let the Grey Tote dry for several hours or over night but do not remove the painters tape.  Add tape to the intersecting squares, again on the outside to create the 10 inch squares.  Paint these intersecting squares with  the final color, 410G Raven Wood.  After two coats remove each piece of painters tape, and reveal the buffalo plaid design.

How To Paint Buffalo Check

As a final step once all the tape is removed, you may have to do a few touch-ups in any spots where your tape wasn't pushed down firmly enough. Remember though it doesn't have to be perfect.  Tiny imperfections won't be noticeable once the whole thing is done and your furniture is back in place and the room is put back together.

Top Tips For Plaid Painted Walls:

Taping

A few little tips I'd suggest -be sure to push down your tape firmly so that the paint doesn't bleed underneath.  If you do have a tiny bleed, you can always touch it up with an art brush after the wall is all finished.

Laser Level

Also be sure to use a laser level.  If you don't have one, see if you can borrow one from someone for this job.  The laser level makes marking out the lines SO much easier than it would have been with a regular level.  This is definitely the easiest way to mark out the straight lines of tape.

Helping Hands

And, if you can get a friend to help you it goes so much quicker with two people to mark out the lines.  One person can set up the level each time and the other can place each strip of tape, or hold a long straight edge on the wall for marking out the pencil lines.

Marking Your Squares

It really is a good idea to mark the squares you're not painting with a small piece of tape or two to make an "x".  It's tricky to keep track of what you're doing, especially after staring at this for hours, so use the little tape trick to keep it simple.  You really want to paint in the right place.  

Timing and Touch Ups

One other consideration -when you're taping over the fresh paint you want the fresh paint to be dry enough so that it won't be damaged by a strip of painter tape.  But you also don't want to leave the strips of tape on so long that it damages the layer beneath it.  So it's a calculated risk.  Be sure to use actual painters tape and not masking tape to mark out your buffalo plaid pattern. Remember also that you can always do small touch ups if the tape strips do damage the paint underneath at all.

How to paint plaid painted walls with buffalo check

I didn't want to add art that would compete with my new buffalo check feature wall so I decided on a pretty birch branch with lights and yarn tassels. A large mirror would be a great choice too.

How To Make Plaid Painted Walls -add some drama to any space by painting buffalo check plaid on a feature wall, easy weekend DIY project.


One of the things I love about this wall treatment is that it's not permanent.  It will be easy to paint over whenever we're ready for a change.  I am excited about decorating with lots of buffalo check for the holiday season -see our buffalo check black and white Christmas decor here.

How To Paint Buffalo Check walls

With a Black and White Buffalo Check Plaid Painted Wall Treatment, life really is a party!

More Inspiration

You might also love our Green Feature Wall post.

Green Feature Wall: the perfect shade of green paint, and the hand drawn chevron stencil create the an amazing feature wall.

Also check out Black and White Boho Office Makeover here.

Black and White Boho Office Makeover: whimsical wallpaper, a wood bead chandelier, art, drapes, and lots of plants give this office the perfect boho vibe.

You might also like Rustic Scandinavian Makeover Reveal.

Rustic Black and White Christmas Table

Dec 18, 2017 · 2 Comments

Rustic Black and White Christmas Table -wood chargers, a chocolate birch bark yule log cake, and handmade clay mushrooms make this woodsy table special.


Preparations for Christmas are well underway, and today I wanted to share my Rustic Black and White Christmas Table to hopefully inspire you as you finish up your holiday to-do list this week.

Rustic Black and White Christmas Table


Black and White This years Black and White Rustic theme for the table was inspired by the new buffalo check accent wall in the dining room.  I tried not to go over board with the buffalo check, but it is a big element of this pretty table.

Rustic Black and White Christmas Table decorations

I started out with the table runner.  It's actually just a piece of fabric, with rustic frayed edges.  Then I decided to use my wood round chargers.  Mine were made for me from an old log several years ago by my sweet brother-in-law.  You could pick up something similar at the craft store.PL

Black and White buffalo check Christmas

Place Settings

I used my everyday white dishes, and then added some striped Hearth and Hand napkins.  The black cutlery  looks great on the chargers.

buffalo check Christmas

I decided on the place settings quite early on, but wasn't sure what to do for a centrepiece.  Flowers, or an evergreen garland with candles would have both been really pretty too.

Rustic Black and White Christmas Table

Birch Yule Log

I decided to try making a yule log, and it became the centrepiece of the table.

Rustic Black and White Christmas decor

I was inspired by this chocolate birch bark -and added it to a vanilla yule log.  My daughter Maddie and I made this yule log -but without the chocolate.  And then we added these meringue mushrooms.

birch Yule log
birch Yule log
birch Yule log


I used a cutting board to serve the yule log on, and because I wanted it to be the star of the show I elevated it and added some greenery.

The little meringue mushrooms got a sprinkling of cocoa, and the whole cake got some powdered sugar "snow".

birch Yule log
More Mushrooms

The mushrooms on the cake inspired the rest of the table centrepiece. I used some mushrooms that I had used for a spring table -see them here.  They're made from air dry clay, and they got a little snow added to them for Christmas.

Black and White Christmas Table decor


The birch bark on the yule log, inspired me to use birch bark candles.

buffalo check Christmas Table
Christmas mushroom decor

I love the woodsy feel this table has, it makes me want to go for a lovely snowy walk in the forest.

Black and White buffalo check Christmas Table
Black and White Christmas decor


With my Rustic Black and White Christmas table all set and ready for Christmas dinner, life really is a party!

More Inspiration

You might also like our Merry and Bright Christmas Party here.

Also check out our Rustic Snowy Christmas Table here.

Rustic Snowy Chrismtas Tablescape: with faux snow, fresh greens, and winter berries and personalized DIY snow globe place cards.

You might also enjoy our Holly Jolly Woodland Kids Christmas Table here.

Neutral Christmas Decor Family Room

Dec 16, 2017 · Leave a Comment

Cozy Christmas Family Room: All decorated with neutral Christmas decor using whites, creams, and lots of different textures for interest.

Cozy Christmas Family Room: All decorated with neutral Christmas decor using whites, creams, and lots of different textures for interest.
Cozy Christmas Family Room


I'm excited to share my basement family room with you all cozied up for Christmas with lots of neutral Christmas decor. I've added lots of white, cream, and different textures and it's so cozy now all I want to do is snuggle up with my doggie and a cup of tea.

Neutral Christmas Decor Tree

This year I started out decorating the tree with lots of white, including some white fluffy yarn and lots of white ornaments, with some gold and silver.

neutral Christmas decor ideas

Next I tucked in these amazing branches.  They remind me of antlers, and I thought they were pretty tucked into the tree.

neutral Christmas tree
neutral Christmas decor

And then I wrapped the gifts in some pretty simple paper, and added some cute embellishments, like this little bead tassel.

neutral Christmas gift wrappingNeutral Christmas Mantel

I kept the fireplace mantel quite simple.  Aren't these little houses sweet?  They're a fun DIY made from some scraps of wood and copper pipe.

neutral cozy Christmas mantel

I've layered in lots of natural elements, like pinecones, antlers, and a small pine tree.

neutral Christmas decor ideasCoffee Table

Next over on our toy chest coffee table, I've layered lots of simple pretty elements.  I love the look of the macrame  table runner it adds so much texture.

Cozy neutral Christmas decor ideas

I also added a fun little flocked tree in a pretty basket.  The basket got a little makeover to fit our natural Christmas decor them.  I painted the bottom of the basket white, and love how it turned out.

how to decorate for Christmas with neutrals

The simple candle holders are another easy DIY, just some logs with a drilled out hole for a candle, and some gold, silver, and copper leaf on the bottom.

Cozy Christmas Family RoomChristmas Vignette

Over behind the little chair, I set up a cute little Christmas vignette.

Cozy Christmas Family Room

This little table was a roadside rescue, and using the tray as a backdrop was inspired by my friend Laurie at Vinyet Etc.  -check out her home tour for lots of inspiration.

neural Christmas decor

This little basket got a few pom poms added and another little tree tucked inside.  The little birch star is made a from some sticks I found on a walk one day. I tied the together with a little wire and twine.

neutral Christmas decor Toy Room

Over on the other side of the room, is my girls little play room area.  As they get bigger they don't use it quite as much as they used to, but adding some simple decorations made them want to play back there more.

Cozy Christmas Family Room

This is the first time we've added any real Christmas to the play area, and it was partly inspired by the little puppet theatre makeover.

Christmas decor in the toy room

The puppet theatre used to be painted pink and purple but they painted it over with black paint so they can use chalk to decorate it for any play they're creating.  I added some snowflakes, and garland for a wintery feel.  And we sewed some new curtains to fit our black and white look.

toy room Christmas decorating
Cozy neutral Christmas Family Room

The little table and chairs are holding a few Christmas trees and some more pretty wood bead garland.  I actually picked up an old beaded car seat cover at a garage sale a year or so ago. I've used the beads for all sorts of fun little projects.

We're all set to to watch movies, read, and play down here this Christmas.

Cozy neutral Christmas Family Room
white Christmas decor


All I need now is a mug of hot chocolate. 😉

With a cozy family room with lots of neural Christmas decor to enjoy, life really is a party!

More Inspiration

You might also like Green Christmas Decor Home Tour here.

Christmas Home Tour: Rustic Scandinavian Christmas Home Tour, with bit of modern boho.

Also check out Scandinavian Christmas Decor Ideas Home Tour 2018 -Part I here.

Christmas Home Tour 2018 -Black and White Scandinavian design with a little boho. Lots of natural elements, cozy texture and Christmas twinkle lights.

You might also enjoy Scandinavian Christmas Decor Home Tour 2018 -Part II.

Scandinavian Christmas Decor Home Tour 2018 -Part II: Rustic Scandi design, lots of white and natural elements with some vintage Xmas pieces.

Nutcracker Tea Party

Dec 14, 2017 · Leave a Comment

How to throw a nutcracker themed tea party with food and decor ideas.

Visit the land of sweets for this Nutcracker themed tea party. It's the perfect party for anyone who loves the classic Christmas ballet. We've got ideas for themed food and decorations.

How to throw a nutcracker themed tea party with food and decor ideas.
[feast_advanced_jump_to]

Why We Love This Party

  • We love the Nutcraker and it's the perfect theme for a Christmas tea party.
  • There's many fun details like ballerinas, mice, and nutcrackers to inspire our themed decorations and food ideas.
  • A tea party always feels special, but all our nutcracker details take this one to the next level.
  • It's perfect for celebrating with little ballerinas.

A Nutcracker Tea Party...what little girl's Christmas dreams are made of! This weekend I had a little Nutcracker Tea Party for my girls, my best friend, and her two little girls. It was pink and pretty, and full of treats -just as a Nutcracker Tea Party should be. 😉 We attended the broadcast of a live version at our local movie theater, it would also be great after seeing a live version or watching Disney's the Nutcracker movie at home, or the Barbie version for very little ones.

We love a good tea party. Be sure to check out all our tips for hosting a tea party for adults here. You might also like our Christmas themed tea party, Winter Tea Party, or Christmas Cookie Decorating Party, and our complete tea party food guide.

How to throw a nutcracker tea party with a table set with nutcracker inspired decorations and food.

I had so much fun putting this together, and I'm so excited to share it with you. 

My friend Heather takes her girls every holiday season to see the Nutcracker at the movie theatre. They get dressed up and watch the Nutcracker being performed in Russia or London all from the comfort of the local movie theatre, for the price of a movie theatre ticket, and with the added bonus of popcorn! If you're interested check out if it's available at a local movie theater near you.

This year we joined them, and I suggested a little nutcracker party to go with it.

Nutcracker theme party table and food ideas.

I really loved creating it, and might have even gone a tiny bit overboard...but what can I say, you know we love a theme around here, and a nutcracker theme is really perfect for a holiday party.

The Nutcracker Themed Party Decorations

Let me start with the table all set for party guests. We set up the cozy little party in the kitchen. I actually did a Christmas Nutcracker themed Bedroom for my daughter years ago, and I still had all the things tucked in a box with other Christmas decorations in the basement. That set the colour scheme for the party -pink and aqua, and I mixed in lots of gold and silver with it.

  • pink tulle 
  • pink, aqua, gold and silver Christmas trees
  • twinkle lights
  • candles
  • hand painted nutcrackers
  • stuffed mice
  • bowls of candy
Nutcracker tea party ideas.

I picked up some pink tulle at the fabric store and used it as a table runner.  It seemed the perfect way to dress the table for a ballet themed party, and reminded me of the ballerinas beautiful pink tutus.

Then I layered on all sorts of little Christmas trees in pastel colors like pink, aqua, gold, and silver. I also used some candles for sparkle, and a string of gold lights. 

This table was all about more pretty things to look at, not minimalist in the least. There's also a garland of sparkly stars in there, and then a bunch of pretty nutcrackers and a little army of stuffed mice.

Hand painted nutcrackers and stuffed mice decorations for a nutcracker themed party.

The nutcrackers were a paint your own set, so we just painted them in pink and aqua which worked perfectly with our pink and aqua color palette. My daughter made these ones years ago, and I couldn't help but smile when I saw the little faces she had painted on them when she was little.

This would be a really fun craft to do at the party as well, if you were looking for a party activity, everyone could paint their own nutcracker.

Hand painted nutcracker decoration for a nutcracker themed tea party.

The mice are from Ikea, and they made the perfect little mouse king army.

Stuffed mouse toy used as decoratio for a nutcracker tea party.

Nutcracker Place Settings

I set the table with some pretty snowflake plates, the perfect nutcracker napkins and some fun little Christmas crackers. The Nutcracker is such a popular Christmas party theme that it's easy to find party supplies like themed napkins.

Nutcracker themed place setting at the table.

At each place setting I used some pretty pink tea cups for our tea and found the cutest little nutcracker chocolates as well. The chocolates would also be great party favors too.

  • snowflake plates
  • Nutcracker napkins
  • Christmas crackers
  • pink teacups
  • Nutcracker chocolates
How to throw a Nutcracker themed tea party.

The Food

Tea Sandwiches

We started out with some traditional tea party fare -little tea sandwiches and some veggies and dip (in a vain attempt to not just fill the children with sweets).

Tea party food ideas and finger tea sandwiches.

I made my usual tea sandwiches -egg salad on mini croissants, chicken salad in toast cups -see my recipe here, and cucumber sandwiches.

  • egg salad tea sandwiches on mini croissants
  • chicken salad toast cups
  • cucumber sandwiches
  • pickles
  • nuts
Nutcracker tea party tea sandwiches.

Since it was the nutcracker, I thought some nuts were in order, and offered some pistachios in one of my milk glass containers.

Nutcracker Tea Party: Visit the land of sweets -ideas for a Nutcracker Ballet Themed Tea Party with themed food and pink and aqua decorations.The Sweets

I also had some snowflake chocolate covered pretzels, and some snowflake gummy candies in pretty milk glass containers.

Nutcracker themed food of snowflake chocolate covered pretzels.
Nutcracker theme party food ideas, snowflake gummies.

I wanted the food to follow our theme somewhat, so this is where I really had some fun.

  • chocolate covered "snowflake" pretzels
  • snowflake gummy candies
  • sugarplum pastries
  • snowflake sugar cookies
  • chocolate dipped pink wafer cookies
  • mouse king chocolates
  • marshmallow sugarplum fairy wands
Nutcracker tea party food ideas of snowflake sugar cookies, and sugar plum tarts.

Sugarplum Pastries

I wanted to have something "sugar plum" inspired by the sugar plum fairy, and I came up with the idea of sugar plum pastries. I had hoped to use some plum jam with puff pastry, but unfortunately I couldn't find any. 

So I looked for some jarred plums and discovered that prunes are dried plums. I bought a jar of stewed prunes and cooked them down with some sugar into a jam. 

Then I used it as the filling for these little sugar-plum pastries, and sprinkled them with coarse sugar. They were pretty yummy.

Snowflake sugar cookies decorated with pink and aqua colored icing.

My girls made and decorated some delicious snowflake sugar cookies.

I also made some easy chocolate dipped wafer cookies with strawberry wafer cookies dipped in pink chocolate with some snowflake sprinkles.

Nutcracker Tea Party: Visit the land of sweets -ideas for a Nutcracker Ballet Themed Tea Party with themed food and pink and aqua decorations.

Mouse King Chocolates

For the mouse king we made the most adorable mice chocolates.

Nutcracker themed food chocolate mice.

We dipped a maraschino cherry with a stem into chocolate and let it set, then added a Hershey kiss, and two little ears made from sliced almonds. There were quite easy to make and so, so cute!

Marshmallow Sugar Plum Fairy Wands

We made some homemade marshmallows too, and used them a couple different ways for the party. I cut some of the white ones into snowflakes and used a candy stick and some edible glitter to turn them into sugarplum fairy wands.

Nutcracker Tea Party: Visit the land of sweets -ideas for a Nutcracker Ballet Themed Tea Party with themed food and pink and aqua decorations.

Nutcracker themed foods marshmallow fairy wand.

These marshmallow wands are so fun, and perfect for stirring hot chocolate. There were lots of desserts and sweets on the table, but there was also a little dessert table at the side.

The Dessert Table

Nutcracker themed dessert table at a tea party.

I made the back drop for the little dessert table by hanging some paper stars and paper decorations. 

Beneath that was the pretty snowflake ballerinas. I used this tutorial to make them and strung them onto some tassel garland to hang them up.

Nutcracker themed party decorations paper snowflake ballerinas.

Under the ballerinas I hung a little "Dream" banner that I made on my cricut out of gold glitter card stock. Since the nutcracker is all part of Clara's dream, it seemed like the large nutcracker was perfect. If you had a nutcracker collection this would be a great place to include them as decor.

Nutcracker themed party decorations DIY paper snowflake ballerinas.

I added more Christmas trees to this spot and in the larger one is a group of mice, including the mouse King himself, in his little felt crown.

Nutcracker themed party decorations mouse king.

This little area was full of more sweet treats.

Nutcracker themed party dessert table.

Ballerina Marshmallow Pops

I used more of the homemade marshmallows to make some ballerina marshmallow pops. I dipped the homemade marshmallows into some pink chocolate and added some sprinkles. The ballerinas tutu is a small cupcake liner.

Nutcracker themed food ideas marshmallow ballerinas with cupcake liner paper tutus.

Ballerina Cupcakes

I also made some ballerina cupcakes.

Nutcracker themed party foods ballerina cupcakes.

We made simple vanilla cupcakes and then added gold sprinkles and the sweetest ballerina cupcake cake toppers.

Ballerina cupcakes with paper glitter cupcake pics with tulle tutus.

We uploaded a ballerina silhouette and used the Cricut machine to cut them out. Then I hot glued a little tulle on for the skirt, and attached them to a toothpick to make the cupcake cake topper. These would be a great alternative to a birthday cake if you were celebrating a birthday party with a Nutcracker themed party.

Nutcracker themed party decor ballerina jewellery box filled with candy.

One more fun detail was using a little ballerina jewelry box to serve some candies. I wound her up and she danced as we ate sweets.

Nutcracker themed tea party food.

Sugar Cookie Houses

One the sweet table there was also a little group of sugar cookie houses that my girls made.

Sugar cookie house decorated in aqua and pink.

I'm not really a big gingerbread fan, so I love the idea of sugar cookie houses as an alternative, and they couldn't be cuter in their pink and aqua.

Nutcracker themed tea party dessert table and dining table.

Making Christmas Memories

This little party truly was like a visit to the land of sweets right out of the four realms, and so much fun. I loved seeing the girls faces when they all saw it. And they were so adorable all dressed up in their fancy Christmas dresses discussing the ballet and enjoying their treats -making special Christmas memories, and happy holidays. This really is a great theme for any holiday get together.

Nutcracker themed party table and dessest table.

I had such a fun time planning this party it may have to become a yearly tradition!

Nutcracker themed tea party.

Frequently Asked Questions

Can you prep the food ahead of time?

Yes you can make most of the food ahead of time. We prepped all the sweets, made the sandwich fillings, and set the table the day before the party. On the morning of the party I made the sandwiches and put them in airtight containers in the refrigerator until serving time.

Did you serve the kids tea?

Instead of tea we served hot chocolate for the kids. Make it extra special with pink hot chocolate made with white chocolate, milk, and a little pink food coloring.

Where were the Nutcrakers from?

Look for the unfinished wood nutcrackers that you can paint yourself in craft stores, or the dollar store around the holidays.

More Christmas Entertaining Inspiration

  • Elf on the shelf arrival letter and breakfast.
    Elf on the Shelf Arrival Letter + Welcome Breakfast Ideas (2026)
  • Ice skating party ideas with decorations and food.
    Winter Ice Skating Party Ideas
  • Christmas tea party with table decor, menu, and recipes.
    Christmas Tea Party
  • Christmas baking party with free printables.
    Christmas Cookie Party

If you try this Nutcracker Tea Party or any other ideas on my blog please let me know how it went in the comments below. Thanks for visiting today!

New Year's Eve

Dec 12, 2017 · 9 Comments

New Year's Eve tablescape with mirrored disco ball centrepiece.

New Year's Eve Table Decorations: Be inspired by a disco ball center piece, candles, and a collection of clocks. This elegant table is full of wow factor!

New Year's Eve table decor and party decor.
[feast_advanced_jump_to]

Today I'm sharing New Year's Eve Table Decorations.

New Year's Eve Table decorations

New Year's Eve Table Decorations

For my celebration, I've put together a beautiful New Year's Eve tablescape. Since it's New Years I added lots of glam -with mirrors, gold, silver, and candle light. One of my very favourite ways to ring in the New Year is at an elegant dinner party. Dress up, cook, order take-out, or ask everyone to bring a dish and avoid the crowds with a beautiful celebration in your own home. And if you're at the kids stage of life, put them to bed -and your friends kids in the spare room, and still enjoy your night.

New Year's Eve Table decorations

Mirrored Ball Disco Centre Piece

My table started with the mirrored disco balls down the centre. I collected large and small and medium sized mirrored balls.  Lots are from dollar stores, some are from the Christmas decoration section of other stores.  Basically you can't have too many, the more the merrier and the more size variation the better.  These weren't expensive, most packages were just a few dollars and they have so much impact!

New Year's Eve decorations

I used a silver table runner under the mirrored balls, and then added in some candles, and some giant gold confetti. I also had a few strands of mirrored garland that I wove in.

New Year's Eve Table ideas

For the rest of the table, I used more silver and gold.

New Year's Eve party ideasPlace Settings

The chargers are silver coloured metal, and then I used my white everyday dishes.  The gold cutlery is perfect for a little New Year's Eve drama, especially with the incredible glasses.

how to throw an elegant New Years party

I love these gorgeous  champagne flutes and tumblers.  Here I mixed and matched them, but they each come with 8 in a set, and every glass has a slightly different gold design on them.  You could assign one design per person, and not worry about anyone mixing up their glasses all night

New Year's Eve Table

The table sparkles from all the mirrors, glass, gold and silver.

New Year's tablescape

It's always nice to have something special at each persons place setting, so everyone has a delicious homemade vanilla cupcake, complete with gold sprinkles waiting for them!

New Year's Eve decor ideasNew Years Eve Decor

Over on the buffet, I wanted to add some New Year's Eve inspired decor too.

New Year's Eve party ideas

The balloons help set the New Year's feel, and they were just picked up at the dollar store.  The number balloons are filled with air and then tied up on a string so they're super convenient for a party -love them!

how to decorate for New Year's Eve

And under the numbers, a collection of clocks.  These are from around my house and a few from the thrift store -and they really are the perfect little New Year's Eve decor.

New Year's Eve ideas

On the other side, candles for the perfect New Year's Eve glow.  I've shared these before - see how I made the paint dipped brass candlestick holders here.

New Year's Eve decorations

I had so much fun setting up this festive, and sparkly table for New Year's Eve.

New Year's Eve dinner party ideas

All that's left to do now, is pop the champagne and get celebrating!

New Year's Eve party at home

I wish the you and yours the very, very best for 2018.  With beautiful New Year's Eve table decorations like this for celebrating, life really is a party!

More New Year's Eve Inspiration

You might also like our New Year's Free Printable Vintage Postcards here.

Vintage New Years Cards: enjoy these eight free printable vintage New Years cards -just download and print. Post marked 1911 -1917.

Also check out our New Year's Eve Party Decor here.

Eggnog Bread Pudding

Dec 8, 2017 · 14 Comments

Eggnog bread pudding in a baking dish, ready to be served.

This Eggnog Bread Pudding is the ultimate holiday dessert. You'll love this rich brioche bread soaked in creamy eggnog custard, baked until golden, and topped with whipped cream or custard sauce. It's the perfect Christmas treat for eggnog lovers and a great way to use up leftover eggnog. Plus, you can make it ahead of time, making it great for busy holiday entertaining.

Eggnog bread pudding in a baking dish, ready to be served.
[feast_advanced_jump_to]

Why You'll Love This Recipe

  • It's quick and easy to make -one bowl and 10 minutes prep.
  • We love this holiday twist to an old classic that makes it extra special.
  • It's delicious and creamy, and perfect for any eggnog lover.
  • You can make it ahead of time, and keep in the fridge until you're ready to bake it.

This was delicious! Easy to make and everyone loved it. Better than traditional bread pudding. -Judy, Via Pinterest

This Eggnog Bread Pudding is the perfect festive treat. Easy, delicious comfort food, with a Christmas twist that makes it extra special.

I first had a traditional bread pudding ages ago when I was in my early twenties and living in England for school. It is a classic English dessert. It's so warm and comforting and truly easy to make. It was often made to use up stale bread. This eggnog version is lovely for the holiday season.

The rich buttery flavour of the brioche bread makes the pudding extra special. And the best part of this recipe is that using eggnog as one of the main ingredients cuts down on the ingredients and makes this recipe super quick and easy, but also so, so delicious.

You might also like our Pumpkin Bread Pudding, Easy Bailey's French Toast, or Caramel Apple Trifle.

I love this easy eggnog bread pudding. It's easy enough for any day you'd like to add a little holiday cheer to with simple grocery store ingredients, but special enough to be welcome at any party or special get together this Christmas. This is my favorite way to use up any leftover eggnog or bread during the holidays.

Eggnog Bread Pudding Ingredients

Eggnog bread pudding ingredients on a wood table.

Full list of ingredients in the recipe card below.

  • Brioche Bread: We used brioche bread for our eggnog bread pudding because it adds a wonderful richness to the dessert. You could also use egg bread.
  • Eggnog: In place of regular cream or milk this recipe uses eggnog, which adds wonderful flavor to the dish.
  • Cinnamon and Nutmeg: These traditional eggnog spices add warmth and a holiday taste to the meal. We've used fresh grated nutmeg which is full of flavour, but regular ground nutmeg is fine in this dish also.

Substitutions

  • Brioche Bread: If you don't have brioche or egg bread for this dish you and substitute a French loaf or even regular white bread or try raisin bread. The brioche adds a richness to the dish, but it's also delicious made with regular bread.
  • Gluten Free: If you are on a gluten free diet you can substitute gluten free bread for the bread in this recipe.

Variations

  • Raisin Bread or Raisins: I also like to make this dish with raisin bread egg bread. A regular raisin cinnamon bread would be a great choice also. You can also add in ½-1 cup of raisins separately. Be sure to soak the dried raisins in some warm water for a few minutes to plump them up, then drain them before adding to the bread cubes.
  • Pecans: If you'd like to add a little crunch to the dish, you can add ½-1 cup pecans with or without the raisins. Just chop and add to the bread cubes.
  • Dried Cranberries: To make this festive dish even more festive you can try adding in ½ cup of dry cranberries to the bread cube mixture.

Instructions

Eggnog bread pudding ingredients, including cubed pieces of brioche bread, eggs, and eggnog.

Step 1: To make the eggnog bread pudding, first cut your brioche into one inch cubes.

Making eggnog custard for eggnog bread pudding in a bowl, with nutmeg and cinnamon.

Step 2: In a large mixing bowl combine eggnog, eggs, melted butter, sugar, cinnamon and nutmeg. (Make sure your butter isn't too hot, you don't want to cook the eggs at all.) Stir the egg mixture well.

Brioche bread cubes in eggnog custard to make an eggnog bread pudding.

Step 3: Add the all the bread cubes into the eggnog mixture in the large bowl, and stir to combine. Optional: add some raisins (or use cinnamon raisin bread) or add pecans, or both to the mixture. Let it sit 10 minutes or a couple of hours so the bread can absorb most of the liquid.

Eggnog bread pudding baked in a square dish with a golden top and icing sugar sprinkled on top.

Step 4: Spray a 9 x 9 baking dish with non-stick spray, and add in the soaked bread mixture to the prepared baking dish. Bake in a 350 F degree preheated oven 40-45 minutes, until set and golden brown on top. Serve hot, warm, or cold sprinkled with a little icing sugar. Serve with whipped cream, custard sauce, or ice cream.

Christmas dessert eggnog bread pudding with whipped cream topping.

What To Serve It With

  • Whipped Cream: I served the Eggnog Bread Pudding with whipped cream as a holiday dessert. To make it mix heavy cream with vanilla extract, and sugar, you could even add a splash of rum to make it more festive. We served the eggnog warm, but not piping hot. You can serve it hot, warm, or cold. 
  • Ice Cream: It is also really delicious with a scoop of vanilla ice cream also, or a classic English custard sauce, or even eggnog custard, vanilla sauce, rum sauce, or caramel sauce. You could also dust it with a little powdered sugar before serving.
  • Sauces: You could also add a little drizzle of caramel sauce or whiskey sauce with your eggnog bread pudding. And for the chocolate lovers, a drizzle of chocolate sauce over the top is delicious too.
Eggnog bread pudding scooped out of a glass baking dish.


Make Ahead and Storage

You can make this dish ahead of time, which makes it perfect for holiday entertaining. Prepare the dish, but do not bake it, up to a day ahead of time and store the unbaked bread pudding in the refrigerator. Just before your guests arrive, bake the eggnog bread pudding and serve warm.

Store any leftovers in an airtight container or in the casserole dish wrapped in plastic wrap in the refrigerator. Serve at room temperature, or reheat in the microwave.

Top Tip: Use this recipe to use up any leftover eggnog during the holiday season.

If you're a fan of eggnog, this dessert is perfect for Christmas Eve, Christmas, or New Year's Day. And if you need to bring a dish to a holiday party, make it this one. With Eggnog Bread Pudding, life is really a party!

Frequently Asked Questions

Do I have to use stale bread for eggnog bread pudding?

Bread pudding is often made with stale bread. It's a great way to use up stale bread. But you can also make it with fresh bread.

Can I make eggnog bread pudding gluten free?

Yes, just substitute gluten free bread for the brioche or regular bread in this recipe.

Can I make eggnog bread pudding ahead of time?

Yes. Prepare the dish, but do not bake it. Store in the refrigerator up to a day ahead, and bake just before serving.

How do I reheat eggnog bread pudding?

The quickest and easiest way to reheat your eggnog bread pudding, without drying it out, is in the microwave.

Serving of eggnog bread pudding with whipped cream on a plate.

More Dessert Recipe Inspiration

  • Moist banana snack cake with fluffy vanilla frosting on a plate.
    Easy Banana Snack Cake
  • Tiana's beignets from The Princess and the Frog covered in powdered sugar on a cake plate.
    Tiana's Beignet Recipe from The Princess and The Frog
  • Individual chocolate brownie trifle in a glass with gold spoons.
    Mini Chocolate Brownie Trifles
  • Homemade honey cruller donuts on a serving board.
    Homemade Honey Cruller Donuts

If you try this Eggnog Bread Pudding Recipe or any other recipe on my blog please leave a star rating and let me know how it went in the comments below. Thanks for visiting today!

Recipe

Eggnog bread pudding in a baking dish, ready to be served.

Eggnog Bread Pudding

Traditional bread pudding gets a holiday makeover with eggnog.
5 from 1 vote
Print Pin Rate
Course: Desserts
Cuisine: British
Prep Time: 10 minutes minutes
Cook Time: 45 minutes minutes
Total Time: 55 minutes minutes
Servings: 6 servings
Calories: 556kcal
Author: Dannyelle Nicolle-Ramjist

Ingredients

  • 1 loaf brioche bread
  • 3 cups eggnog
  • 4 eggs
  • ¼ cup melted butter
  • ¼ cup sugar
  • ½ teaspoon cinnamon
  • ¼ teaspoon nutmeg
  • Non-stick Baking Spray
  • 2 teaspoon Icing Sugar for dusting over the top
  • ½ - 1 cup Optional: raisins, pecans, or both

Instructions

  • First cut your brioche into one inch cubes.
  • In a large mixing bowl combine eggnog, eggs, melted butter, sugar, cinnamon and nutmeg. (Make sure your butter isn't too hot, you don't want to cook the eggs at all.) Stir the egg mixture well.
  • Add the all the bread cubes into the eggnog mixture in the large bowl, and stir to combine. Optional: add some raisins (or use cinnamon raisin bread) or add pecans, or both to the mixture. Let it sit 10 minutes or a couple of hours so the bread can absorb most of the liquid.
  • Spray a 9 x 9 baking dish with non-stick spray, and add in the soaked bread mixture to the prepared baking dish.
  • Bake in a 350 F degree preheated oven 40-45 minutes, until set and golden brown on top.
  • Serve hot, warm, or cold, sprinkled with a little icing sugar and accompanied by whipped cream, custard sauce, or ice cream.

Notes

Use this recipe to use up any leftover eggnog.
Feel free to add in raisins, pecans, or dried cranberries.
Serve with whipped cream, custard sauce, or ice cream.
Store this dish in an airtight container in the refrigerator.
Reheat leftovers in the microwave.

Nutrition

Serving: 1g | Calories: 556kcal | Carbohydrates: 67g | Protein: 15g | Fat: 26g | Saturated Fat: 15g | Polyunsaturated Fat: 9g | Trans Fat: 1g | Cholesterol: 292mg | Sodium: 390mg | Fiber: 1g | Sugar: 46g
Tried this Recipe? Tag me Today!Mention @LifeisaParty or tag #lifeisaparty!

How To Make A Christmas Fairy Garden

Dec 6, 2017 · 12 Comments

How to make a Christmas fairy garden.

How To Make A Christmas Fairy Garden: step-by-step guide to create an indoor Christmas Fairy Garden with real plants.

How to make a Christmas fairy garden.
[feast_advanced_jump_to]


I love fairy gardens, and always thought it would be fun to make a Christmas fairy garden.  This sweet little fairy home is all decked out for the holidays, complete with real plants.  Today I'm sharing how to make a Christmas Fairy Miniature Garden.

How To Make A Christmas Fairy Garden

I've made lots of fairy gardens in the past -little container gardens for the summer.  Check out some of my other fairy gardens here. So this year I thought it would be really great to make an indoor winter version for the holiday season.

I love the little cypress trees that you see this time of year, and they really are the perfect fairy Christmas tree.

Materials:

  • container
  • soil
  • cypress tree
  • lemon cypress tree
  • frosty fern
  • white sand
  • faux snow
  • fairy house
  • garden arch
  • stepping stones
  • white rocks
  • miniature axe
  • miniature presents
  • twinkle lights

How To Make a Christmas Fairy Garden

fairy garden container

I started with a great container. This one is made from old lath, and made a perfect Christmas fairy garden. Since I'm using it indoors, I was sure to line it with a plastic bag first to ensure that the water didn't damage my table when I water it. Remember though when you're looking after a garden like this though that there is no drainage, so don't over water it.

winter fairy garden plants
Winter Fairy Garden Plants

Next I filled the container with soil and added in my plants.  I chose a cypress tree, a lemon cypress tree, and a frosty fern.  I thought the cypress trees looked like little fairy size Christmas trees, and the frosty fern looked like a frost covered fern in the forest of the North pole.  Definitely try to choose plants that look winter-y.

white sand to create a snowy fairy garden


Once the plants were in, I covered the soil in white sand.  I didn't really want to use deep artificial snow, since I didn't think it would be that good for the plants.  The sand was the perfect solution.  I did also sprinkle a little fake snow over top of the sand, but this way I only needed a little.  It made the perfect snow globe effect.

How To Make A Fairy Garden house
DIY Miniature Fairy House

how to make a fairy house out of a birdhouse

Next it was time for the fun part -adding the fairy details. I started out with the house. I've made several fairy houses in the past, with a mini wooden bird house for the base.

To make the bird house into a fairy house, I cut off the bird perch, and created a little fairy door. I usually use a piece of a paint stick, but for this one I used a little birch bark.  The house was painted white, with a birch bark door, and roof.

For the roof I created shingles with birch bark rectangles and used hot glue to attach them.  I gave the roof a coat of mod podge to help protect it too.  The chimney is made out of some very thin wood from the craft store that I just cut with scissors and hot glued into place.  

I love my little cotton batten smoke.  Can't you just picture the Christmas fairies snuggled up inside beside the fire?  I also added a tiny little wreath to the window made from a Christmas ornament.

winter Christmas fairy garden ideas
Christmas Fairy Garden Accessories

Once the house was in, I created a little garden scene around it.

fairy garden house with birch bark shingles
fairy garden arch with twinkle lights


I used a little garden arch and added some real greens to it with a little wire. Once the greens were on I added some little fairy lights, and then wound the rest of the light string around the plants. You could use faux greens instead of real, if you didn't want them to dry out.

I used some little fairy stepping stones to create a path to the front door. You could also use buttons as stepping stones to make a cute path too.  And then one of my great ideas was to create a fairy sized wood pile.  I used a little axe and some twigs cut with garden clippers to make the perfect little fairy wood pile, to get them through a cold winter.

fairy garden axe and wood pile

Over on the other side of the house, I added in a little fence and some presents.

The pinecones are perfectly fairy sized.  They're real cones from a cedar bush that I collected in my yard.

fairy garden presents
indoor winter fairy garden

This garden really is so sweet, and a nice little twist on the traditional Christmas village. I'm sure the fairies will love it. 😉

With a Christmas Fairy Garden, life really is a party!

More Christmas Craft Inspiration

You might also like our Teacup Fairy Garden here.

Also check out our How To Make A Fairy Garden House here.

You might also enjoy our Fairy Garden Birthday Party here.

Black and White Christmas Decor Home Tour

Dec 4, 2017 · 21 Comments

Black and white Christmas home decor ideas.

Black and White Christmas Decor Home Tour -Rustic Scandinavian Black and White Christmas decor with fresh greens and natural elements.

Black and white Christmas home decor ideas.
[feast_advanced_jump_to]

I'm so excited to be sharing my black and white Christmas decor home tour with you.

The Front Porch

Christmas front porch decor ideas

Let's start outside, at the front door. There's a collection of foraged greens and stumps to welcome guests. Inspired by a rustic winter wonderland, and farmhouse style, I used some vintage containers for the fresh greens. Cutting fresh pine, cedar, and fur branches from the forest behind our house is one of the inexpensive ways to add festive look. And outside, the greens will last all season long in the cold.

Christmas front porch

I wanted a cozy feel too, so I used my pom pom garland and yarn wrapped twigs -see how I made them here. I even added some faux snow to my lanterns with candles with a snowy look.

Christmas front porch decor ideas
how to decorate your front door for Christmas
Christmas outdoor decor

Now, come on inside where it's warmer, and have a look at our black and white color scheme for this holiday season.

Christmas Home Tour

This big mirror is in our entrance way and its reflection offers a glimpse of what's inside.

Black and White Christmas Decor in the Dining Room

Black and White Christmas decor ideas

This year in the dining room, I decided to add a little drama and turn white walls into a buffalo check feature wall.  You can find a full tutorial on how to paint a buffalo check feature wall here.  

Black and White buffalo check Christmas

I love the buffalo check wall, and it really wasn't too hard to create either.

Rustic Scandinavian Christmas decor

Just inside the door is this little console table, and I've added my vintage white tool box full of real tiny trees. I love how simple it is. And of course, my racoon is looking pretty at-home in this little forest! This time of year I love adding lots of fresh greens to my home. It's the easiest holiday decor to add to your own home, and feels instantly like the holidays.

Scandinavian Christmas decor

Christmas Bar Cart
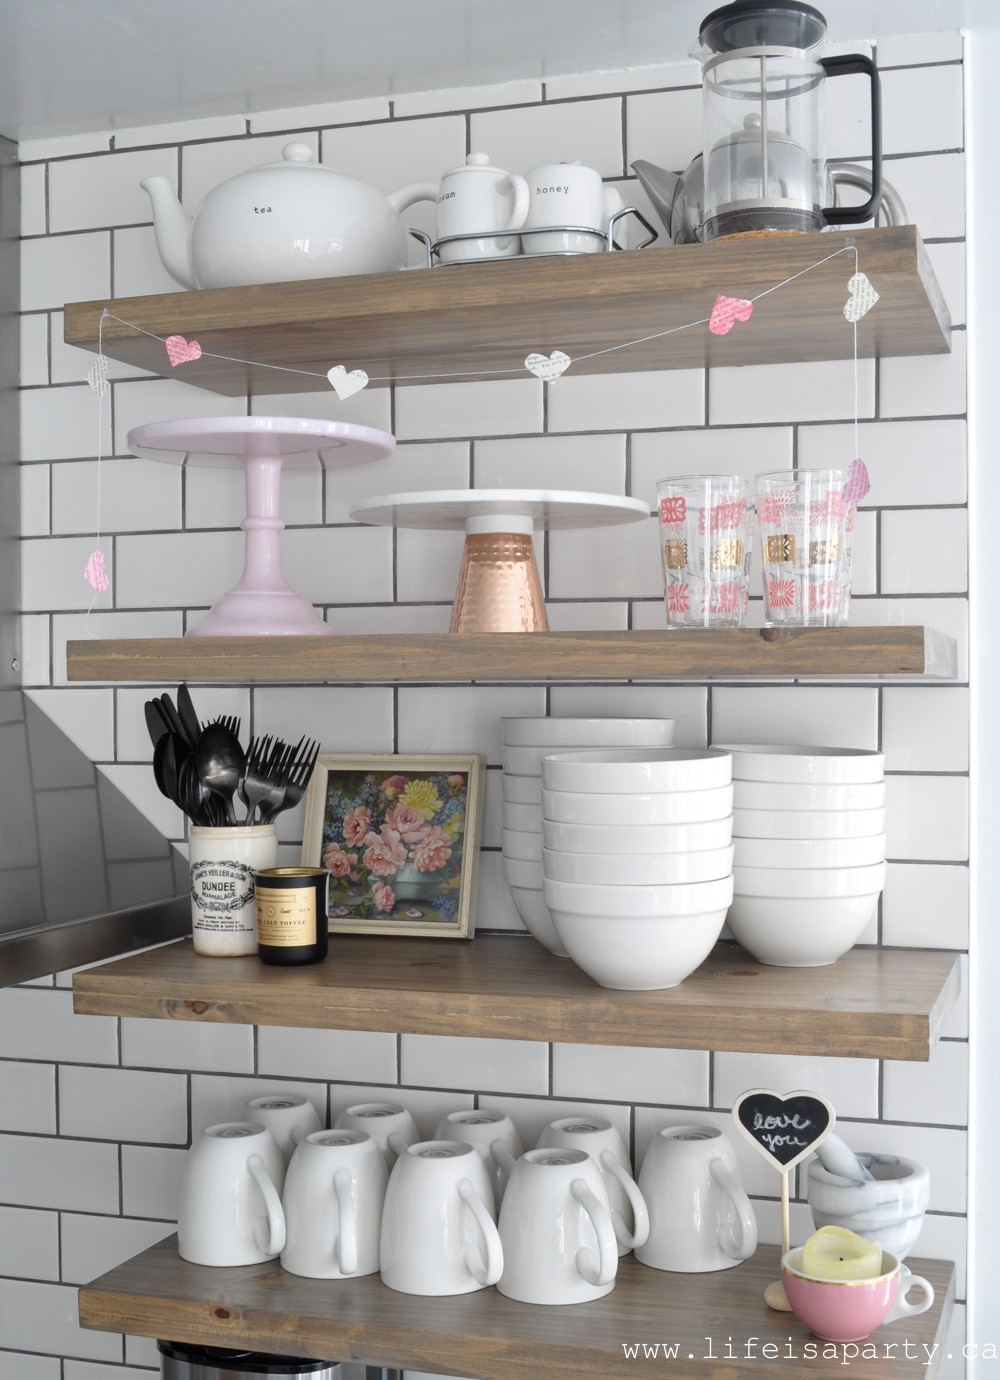
And over on my little bar cart, another pretty real green tree. This one is nestled into my vintage silver ice bucket. There are lots of vintage treasures on the bar cart.

Christmas bar cart


I love collecting at antique fairs, and stores, and thrift shops. The trophy is a recent acquisition, and it couldn't be cuter holding a bottle brush tree. Sometimes the easiest way to add a Christmas feel to your space is to pop a little bottle brush tree or some ornaments amongst your regular decor.

Christmas bar cart

Dining Table

I had fun decorating the dining table with some brass candlesticks I've collected.

Black and White Christmas decor

They've had a bit of a makeover -see how I made the DIY paint dipped brass candle stick holders here. I love the addition of the black and white colors for a modern feel.

Black and White Christmas buffalo check decor

The table runner is just a piece of buffalo check fabric, I didn't even finish the edges because I kind of liked the rustic feel, and think it will only look better as the edges fray more.

Check out how I dressed up the table as a black and white Christmas tablescape here.

Black and White Christmas Home Tour

Especially around Christmas, I love the idea of bringing the outdoors in and a woodland theme. This year I added in a pretty birch branch to my feature wall with a few pretty Christmas lights from the dollar store and some homemade black and white tassels.

Black and White Christmas decor ideasA Forest of Christmas Trees

My favourite part just might be the little forest of Christmas trees.

Black and White Christmas trees

I cut one papa tree, one mamma tree, and one baby tree.  The vintage galvanized tubs are hiding the tree stands.  I love their rustic charm.

Black and White Christmas tree

I've decorated them in black and white Christmas tree decorations, with some metallic and I love how simple and Charlie Brown they are. I also love that they're grouped between the dining room and the living room, so we can enjoy them from both rooms. They're draped with some simple black and white ribbon as a garland. And the black and white candy canes were the perfect finishing touch.

And under the trees there's a few pretty lanterns, and lots of Christmas gift boxes. The buffalo check wrapping paper was perfect, tied with simple black ribbon.

Black and White Christmas Decor in the Living Room

Black and White Christmas tree

In the living room I've continued the black and white Christmas decorating ideas and I love it.

Black and White Christmas decor

I'm excited to be decorating for Christmas in the living room and kitchen for the first time since their makeovers in the last two One Room Challenges -see the living room makeover before and after here, and the kitchen makeover before and after here. I kept the fireplace really simple.

Black and White Christmas mantel

Fireplace Mantel

Black and White Christmas mantel

You can find a tutorial for how I made the macrame garland here. I made the simple hoop wreath out of...a spray painted hula hoop. I was clearing out the garage from summer toys, getting it ready for winter and I saw this hula hoop. It was in the donate bin but then I thought that with a little gold spray paint it would be the perfect big hoop wreath -haha. Upcycling at it's best. ;). I wired on some fresh greens and pine cones, and finished it with some black and white buffalo check ribbons.

Black and White Christmas Home Tour

I think my favourite part of this black and white colour scheme was finding all the perfect decorative pillows for the couch. I love the mix of textures, and prints all brought together by the simple Christmas color palette of black and white. And since I love black and white home decor all year round, these won't have to be put away after the Christmas season.

Black and White Christmas living room

Coffee Table

For a touch of holiday on the coffee table bench, I added more natural elements like birch and fresh greens, and some candles on a vintage black and white enamelware tray. And this classic decoration combination is updated a little with the addition of a cute light up clay house.

Black and White Christmas living room

My little sidekick Oscar wanted in on the fun, and it felt like he was posing for this picture. He's our adorable Havanese puppy, just 1 ½ years old and an amazing addition to the family.

Black and White Christmas living room ideas

This room feels so cozy. Although black and white might not be your traditional Christmas colours, they really do feel so relaxed and easy to live with. And all the greens definitely make it feel Christmas-y. The key to not making this color scheme feel cold is lots and lots of cozy layers, and interesting textures and unique vintage pieces mixed in to all the black and white decorations.

Black and White Christmas decorating

The Stairs

The stairs are dressed with simple evergreen boughs. I normally make garland for the stairs, but these are whole branches. They were perfect since they were growing in this downward way. And I love all the pinecones that were already attached to them.

Black and White Christmas

The living room leads into the kitchen. I'm so excited since we just finished redoing it a few weeks ago and I love cooking in it. We've started our Christmas baking and it's a pleasure to cook in.

Black and White Christmas Decor in the Kitchen

Black and White couch pillows

I've added some greens and a few little Christmas touches to my open shelves.

Black and White Christmas Home Tour
vintage Christmas bell
vintage santa mugs
kitchen Christmas decor


 Here's to lots more Christmas baking.

Black and White Christmas decor
Christmas kitchen decor

Looking back through the pass through, this pretty evergreen bough adds a festive feel with a few white Christmas ornaments hanging down.

Kitchen Dining Area

And our little eating area got dressed up for Christmas too.

Black and White Christmas decor

On the table is my little Christmas fairy garden along with a couple pretty copper house lanterns from last year with some fairy mushrooms in them.

Christmas Home Tour
Christmas fairy garden

You can find a tutorial on how to make a Christmas fairy garden like this one here.  It just makes me smile.  😉

I love all the little details.

Christmas fairy garden

Black and White Hot Chocolate Bar

And on the little side cabinet we set up a sweet hot chocolate bar.

Black and White Christmas Home Tour -Rustic Scandinavian Black and White Christmas Home Tour inspiration with lots of fresh greens and natural elements.

My 10 year old daughter did the pretty Merry Christmas sign on the chalkboard. The hot chocolate bar is stocked with all the essentials, including more the perfect black and white candy canes.

Black and White Christmas Home Tour

The pretty tree is one my sister bought for me years ago, and this year I've decorated it with some pretty gingerbread house cookies.

gingerbread Christmas tree

Thanks so much for joining me for a little tour of my main floor all decorated for Christmas.  With a black and white Christmas, life really is a party!

More Inspiration

You might also like our Black and White Boho Christmas Mantel here.

Black and White Modern Boho mante

Also check out our Black and White Christmas Table here.

You might also enjoy our Christmas Home Tour 2019 here.

Christmas Home Tour: Rustic Scandinavian Christmas Home Tour, with bit of modern boho.

Easy Italian Stuffed Mushrooms Recipe

Nov 28, 2017 · 7 Comments

Stuffed mushroom recipe.

Stuffed Mushrooms -A simple, go-to, tested and true Italian bread crumb stuffed mushroom recipe that mushroom lovers will love.

Stuffed mushroom recipe.
[feast_advanced_jump_to]

This easy stuffed mushroom recipe is one of my go-tos and has been for years.  These Italian stuffed mushrooms are the perfect treat for everyone one who loves mushrooms.  If you love Italian food, then you'll love these mushrooms stuffed with breadcrumbs.

how to make stuffed mushrooms

These mushrooms are always the first to go at a party, and I'm often asked for the recipe.  They are simple to make and really delicious.  I like to stuff my mushrooms with a bread crumb mixture and then top them with cheese.  The stuffing mix is an easy combination of ingredients made with the mushrooms stems, garlicky breadcrumbs, italian herbs, diced onion, and butter.  They have a delicious earthy flavor and they're one of our favorite hot appetizers.  I also love that you can make this easy appetizer a little bit ahead of time.  Make them in the afternoon, and put them in the fridge in an airtight container.  When it's party time, take them out of the fridge and bake and serve hot to your guests.  These are the ultimate party appetizer that your guests will love.

Mushrooms

Our stuffed mushrooms recipe uses simple white button mushrooms.  These are easy to find at the grocery store and inexpensive, and really delicious in this recipe.  Look for medium sized mushrooms for the perfect appetizer.  You don't want mushrooms that are too small, because they're difficult to stuff, and you don't want mushrooms that are too big, because this should be around one bite.

There is a. bit of an art to popping the stems out of the mushroom cap in all one piece.  Hold the mushroom stem firmly near the base in one hand, with the mushroom cap in the other hand and pop it to one side to remove it.  If the stem doesn't come out all in one piece, you can use a small spoon to scrape any remaining stem out of the mushroom cap.  Save the mushroom stems for the stuffing.

When you're baking these you want to bake them until the mushrooms are tender and cooked through.  Mushrooms have so much water in them.  While they're baking they'll release some of the that water and then the baking dish will dry up again, that's a sign that they're done.  You can also test their tenderness with the tip of a knife.

Fresh Herbs

Stuffed Mushrooms made with bread crumbs

We've added some fresh thyme to our stuffed mushrooms.  Thyme and mushrooms are a classic combination and one I like very much.  Fresh parsley would also be a great option for these stuffed mushrooms.

Stuffed Mushrooms hot party appetizer recipe

Cheese

I like to top my stuffed mushrooms with a little finely grated Swiss cheese.  If you aren't a fan of Swiss cheese, you can leave it off or switch it out for another type, but I love the little bit of nuty cheesy goodness it adds and best flavor.  Other options are using fresh parmesan cheese mixed into the stuffing.  Just add ¼ of parmesan cheese to the stuffing mixture before stuffing it in the mushroom caps.  You could also top these with a little grated mozzarella cheese for a more mild taste and great savory flavor.

Stuffed Mushrooms recipe


These are perfect for an appetizer evening, or as a starter before a special meal.  They're one of my favorite dishes for an appetizer night.  These are  also perfect for game day.  

They're a great option if you have to bring a hot appetizer to someone's house.  Prepare them at home, and bring them unbaked to the party in a casserole dish, or even disposable baking dish and then bake and serve at the party.  

Stuffed Mushrooms stuffed with bread crumbs and topped with cheese
Stuffed Mushrooms -a simple, go-to, tested and true stuffed mushroom recipe perfect as an appetizer.

Any mushroom lovers will love these, and they're sure to become one of your favorite ways to serve mushrooms.  What could be better than a hot stuffed mushrooms and a glass of white wine as a way to start a great evening?.

These stuffed mushrooms are like little mouthfuls of goodness!

Recipe

Stuffed mushroom recipe.

Stuffed Mushrooms

Baked mushroom caps stuffed with a bread crumb filling and topped with cheese.
No ratings yet
Print Pin Rate
Course: Appetizer
Cuisine: American
Prep Time: 15 minutes minutes
Cook Time: 20 minutes minutes
Total Time: 35 minutes minutes
Servings: 15 Stuffed Mushrooms
Calories: 51kcal
Author: Dannyelle Nicolle-Ramjist

Ingredients

  • 12-15 medium sized button mushrooms
  • ½ medium onion finely chopped
  • 1 clove garlic minced
  • ¼ cup butter
  • ¼ teaspoon salt
  • ¼ teaspoon pepper
  • ½ teaspoon fresh thyme leaves
  • ⅓ cup Italian bread crumbs
  • ⅓ cup shredded Swiss cheese

Instructions

  • Wash mushrooms and remove stems from the mushroom caps. Finely chop the stems into small pieces.
  • In a skillet over medium heat melt the butter. Add in the finely chopped mushroom stems, and onions, and minced garlic. Add in salt, pepper, and thyme. Cook until onion is softened.
  • Add breadcrumbs and stir well to combine into a stuffing.
    Using a small spoon, stuff the mushrooms firmly with the stuffing mixture. You may have a little left over.
  • Place the stuffed mushrooms in a baking dish, place some finely grated Swiss cheese on the top of the mushrooms, and bake at 350 for about 20 min. Serve hot.

Nutrition

Serving: 1g | Calories: 51kcal | Carbohydrates: 3g | Protein: 1g | Fat: 4g | Saturated Fat: 2g | Polyunsaturated Fat: 1g | Cholesterol: 10mg | Sodium: 100mg | Sugar: 1g
Tried this Recipe? Tag me Today!Mention @LifeisaParty or tag #lifeisaparty!
Stuffed Mushrooms recipe


With these delicious stuffed mushrooms for holiday entertaining, life really is a party!

More Appetizer Recipe Inspiration

You might also enjoy our Caramelized Onion and Goat's Cheese Tarts here.

Caramelized Onion and Goats Cheese Tarts: an easy and delicious appetizer for entertaining.

Also check out our Cheese Straws here.

Cheese Straws Recipe: spicy and savoury cheese shortbread straws, perfect for gift giving or as part of a charcuterie board.

You might also like our Potato Soup with Roasted Garlic here.

Little Girl's Christmas Bedroom

Nov 23, 2017 · Leave a Comment

Christmas bedroom decor ideas.

Little Girl's Christmas Bedroom -Add some coziness with warm throws, pom pom garland, and twinkle lights for any little girl's delight!

Christmas bedroom decor ideas.
[feast_advanced_jump_to]

Today I'm sharing Maddie's room all decorated for the holidays!  We used pretty pink, and mixed in some rich browns for a cozy Christmas bedroom.

Little Girl's Christmas Bedroom -Add some coziness with warm throws, pom pom garland, and twinkle lights for any little girl's delight!

This time of year, it's so nice to add some cozy touches for long winter nights.  

We started out with a new set of beautiful and soft white sheets.  She loves them and says they're so comfortable.  And then we added a couple beautiful throw blankets.  They are so soft and cozy...I'm tempted to steal them. 😉

Little Girl's Christmas Bedroom -Add some coziness with warm throws, pom pom garland, and twinkle lights for any little girl's delight!

I didn't want the pink to be too sweet, so the addition of some rich browns, plaids, and faux fur along with the greens really helps to balance it out.

Little Girl's Christmas Bedroom -Add some coziness with warm throws, pom pom garland, and twinkle lights for any little girl's delight!

Above her bed we decorated her little shelf with the sweetest little village -complete with little battery operated lights for night-time glow.

Little Girl's Christmas Bedroom -Add some coziness with warm throws, pom pom garland, and twinkle lights for any little girl's delight!

We hung a pretty little stocking too, and added some garland we sewed together with book page stars.

Little Girl's Christmas Bedroom -Add some coziness with warm throws, pom pom garland, and twinkle lights for any little girl's delight!

I think my favourite addition though is the garland over the bed.  We used faux greens so that she wouldn't end up with pine needles in her bed and layered on some pretty lights and pom pom garland. (She's old enough that I'm not concerned with the string from the garland being a safety hazard, but if you were using this idea for a younger child you should remove any strings or garlands that could be a safety risk).

Little Girl's Christmas Bedroom -Add some coziness with warm throws, pom pom garland, and twinkle lights for any little girl's delight!

We made the pom pom garland and wreath, it was so simple to make and it's so pretty.

Little Girl's Christmas Bedroom -Add some coziness with warm throws, pom pom garland, and twinkle lights for any little girl's delight!

On Maddie's bedside table we added a few Christmas touches with some fresh pine and a pretty reindeer.  She adores scented candles, but just for the scent -she won't be burning them.

Little Girl's Christmas Bedroom -Add some coziness with warm throws, pom pom garland, and twinkle lights for any little girl's delight!

We brought the rocking chair into her room, since winter nights are perfect for curling up with a good book.

Little Girl's Christmas Bedroom -Add some coziness with warm throws, pom pom garland, and twinkle lights for any little girl's delight!

On the rocking chair we added another cozy throw blanket, it's so warm and soft to curl up in.

Little Girl's Christmas Bedroom -Add some coziness with warm throws, pom pom garland, and twinkle lights for any little girl's delight!

This is the perfect spot for Maddie to enjoy, but it also occasionally does double duty as a guest room for us around the holidays.

Little Girl's Christmas Bedroom -Add some coziness with warm throws, pom pom garland, and twinkle lights for any little girl's delight!

Maddie's not the only one enjoying this cozy bed!

Wine and Cheese Basket: Easy DIY Guide

Nov 22, 2017 · 3 Comments

DIY wine and cheese basket with wine bottles, wrapped cheese, fruit, nuts and crackers in wire basket.

A wine and cheese basket is the perfect gift for any occasion, and making your own lets you customize it while keeping costs down. My secret? Repackaging store-bought items so everything looks cohesive and expensive, even when you've shopped at the grocery store, or bulk store.

DIY wine and cheese basket with wine bottles, wrapped cheese, fruit, nuts and crackers in wire basket.
[feast_advanced_jump_to]

Quick Look

  • 🕒Time: 15 minutes shopping + 20-30 minutes assembly time
  • 📋Skill Level: Beginner-friendly
  • 💲Cost Range: $30-60 depending on wine selection
  • 🎁Best For: Hosting gifts, housewarmings, holidays, thank-yous, birthdays

Why You'll Love This Wine and Cheese Basket

  • Looks Expensive, Costs Less -The repackaging trick makes bulk bin finds and dollar store items look gourmet and curated.
  • Totally Customizable -Tailor everything to the recipient's taste, dietary needs, and your budget.
  • Quick to Assemble -Under an hour from start to finish, even with homemade crackers.
  • Works for Any Occasion -This versatile gift fits holidays, housewarmings, birthdays, or simple thank-yous.
  • Reusable Container -The basket itself becomes a useful item the recipient can enjoy long after the goodies are gone.

I've been making wine and cheese baskets for years, and they're always a hit. The key is using quality store-bought basics and adding one special touch that makes your basket stand out. If you have an extra 25 minutes, I'll show you how to make homemade gourmet crackers that transform your gift from nice to unforgettable. But even without the crackers, this simple assembly formula creates a professional-looking basket that gets rave reviews every time.

Creating your own wine and cheese basket gives you so much more than buying pre-made. You can customize everything to match the recipient's taste, work within your budget, and add personal touches that show you care. Plus, it's surprisingly quick to put together.

A homemade basket feels more thoughtful than grabbing something off the shelf. You're curating an experience, not just buying a gift.

Looking for more creative gift ideas? Check out our Breakfast in Bed Gift Basket, DIY Hot Chocolate Mix, Bag of Sunshine Care Package, and Ice Cream Sundae Kit.

Materials You'll Need:

Wine and cheese basket materials including bottles, cheese, fruit and repackaging supplies.

 Here's your shopping list for a beautiful wine and cheese basket. Mix and match based on your budget and the occasion.

  • The Basket or Container: Start with a sturdy base. A wire basket, wooden crate, wicker basket, or decorative metal bin all work perfectly. I love using a basket the recipient can reuse for storage or serving. You can find great options at dollar stores, thrift shops, or home goods stores.
  • Repackaging Supplies (The Secret Weapon): This is what makes your basket look cohesive and expensive, even when you've shopped budget-friendly stores. Look for Cello bags in various sizes,  Chalkboard Sticker Labels and a Chalkboard Maker, Parchment paper for an artisan look, and Twine or Ribbon like natural jute twine, baker's twine, or thin black ribbon. All of these supplies are available at dollar stores, making this trick incredibly budget-friendly.
  • Wine Selection: Choose one or two bottles based on what you know the recipient enjoys. Red wine pairs beautifully with aged cheeses, while white wine complements softer varieties. When in doubt, pick one of each. You don't need to spend a fortune. A mid-range bottle (around $15-20) shows thoughtfulness without breaking your budget.
  • Cheese: The cheese is the star of any wine and cheese basket. Pick 2-3 different varieties to give options. Consider including a Firm Cheeses like a Swiss, aged cheddar, gouda, or manchego. Semi-Soft Cheeses like havarti or muenster add creaminess. And Specialty Cheeses such as blue cheese or an herb-crusted variety make your basket feel gourmet.
  • Crackers: You'll need something to pair with the cheese. Store-bought water crackers, flatbreads, or artisan crackers work wonderfully. Look for interesting varieties like everything seasoning, rosemary, or black pepper. Or make our easy homemade flatbread crackers -recipe below.
  • Fresh Fruit: Add color and freshness with seasonal fruit. Grapes, pears, apples, and pomegranates all pair beautifully with wine and cheese. Choose fruit that's in season, depending on when you're giving your gift.
  • Nuts: Cashews, almonds, or honey roasted peanuts add crunch and pair well with wine. Buy from the bulk bins to save money, then package them in small cello bags with your coordinating labels. This simple repackaging trick makes budget-friendly nuts look gourmet.
  • Chutneys or Jams: Fig jam, onion chutney, or balsamic preserves complement cheese perfectly. These small jars add gourmet flair.
  • Pretty Napkins: Some napkins tie the whole gift together. Choose a pattern that matches the occasion, cloth or paper napkins are a welcome addition.
  • Basket Filler: Use some Kraft paper shred, tissue paper, or a kitchen towel to provide cushioning and make everything look polished.

The Secret to a Cohesive Look: Repackaging

Here's the trick that takes your wine and cheese basket from homemade to professionally curated. Repackage your store-bought items so everything coordinates beautifully.

Wire basket lined with kraft paper shred, and filled with wine and cheese.

When you buy nuts from the bulk bin, crackers from the grocery store, or grab items from different shops, they come in mismatched packaging. That's fine for your pantry but not for a gift. The solution is simple and costs just a few dollars at the dollar store.

  • Transfer everything into clear cello bags. Nuts, crackers, chocolates, and any loose items get their own bags. This instantly makes everything look intentional and put-together.
  • Add coordinating labels. I love using chalkboard sticker labels with a chalkboard marker. You can write what's inside in pretty handwriting, and these labels tie everything together with a cohesive look. Regular printed labels work great too.
  • Wrap cheese in parchment paper tied with twine. This gives an artisan, farmhouse feel that looks expensive. It takes 30 seconds per cheese. It also allows you to elevate cheese from the grocery store, or divide up a large package from stores like Costco.

How to Assemble Your Wine and Cheese Basket

Now comes the fun part. Here's how to arrange everything so your basket looks professionally done.

Step 1: Prepare Your Base

Line your basket with kraft paper shred or crumpled tissue paper. This creates height and cushions items. If you're using a kitchen towel as filler, fold it loosely and tuck it into the bottom.

Wire basket lined with kraft paper shred for wine and cheese basket assembly.

Step 2: Place the Wine

Position your wine bottles at the back or center of the basket. These are your tallest items, so they anchor everything else. If you're worried about stability, you can nestle the bottles into the filler material.

Wine bottles and fresh fruit arranged in gift basket for wine and cheese basket.

Step 3: Add the Cheese

Wrap your cheese in parchment paper for a polished look, then place it near the wine. The parchment keeps everything clean and adds a charming artisan touch.

Cheese wrapped in parchment paper with twine for wine and cheese basket.

Step 4: Fill in With Extras

Now arrange your crackers, fruit, nuts, jams, and napkins around the wine and cheese. Vary the heights and textures so everything is visible. Tuck smaller items into gaps.

Play with the arrangement until nothing is hidden and the basket feels full without being crammed.

Fig jam and chutney with coordinating labels for wine and cheese basket.

Step 5: Add Finishing Touches

This is where your basket goes from nice to wow. Tie a ribbon around the wine bottle neck, add a sprig of greenery, or attach a small ornament. These tiny details make a big impression.

Complete DIY wine and cheese basket with wine, cheese, crackers, fruit, nuts and festive touches.

For holiday baskets, I love adding gold leaves and a jingle bell to the wine. It takes 30 seconds but makes the whole gift feel festive.

The Special Touch: Homemade Gourmet Crackers

Want to make your wine and cheese basket truly memorable? Add homemade crackers. I know it sounds fancy, but these come together in 25 minutes using pantry staples you probably already have.

Homemade gourmet flatbread crackers with sea salt and pepper.

These crackers have been my secret weapon for years. Everyone is amazed when they learn you made crackers from scratch, but honestly, they're easier than most cookie recipes.

Rolled flatbread cracker dough ready for baking on a baking tray.

Flavor Variations: Try fresh herbs like rosemary or thyme instead of pepper. You can also add parmesan cheese, sesame seeds, or everything bagel seasoning.

Homemade flatbread crackers for wine and cheese basket.

Package your cooled crackers in a clear cello bag with one of your coordinating labels. This makes them match the rest of your basket perfectly. Store them in an airtight container so they stay crispy until you're ready to assemble your gift.

Recipe

gourmet homemade crackers

Homemade Gourmet Crackers

5 from 1 vote
Print Pin Rate
Course: Appetizers
Prep Time: 15 minutes minutes
Cook Time: 10 minutes minutes
Total Time: 25 minutes minutes
Servings: 6 Large Crackers
Calories: 119kcal
Author: Dannyelle Nicolle-Ramjist

Ingredients

  • 1 ¾ cups all-purpose flour
  • ½ teaspoon of coarsely ground black pepper
  • 1 teaspoon baking powder
  • ¾ teaspoon salt
  • ½ cup water
  • ⅓ cup olive oil plus more for brushing
  • Flaky sea salt

Instructions

  • Preheat your oven to 450°F
  • Stir together flour, baking powder, salt, and pepper in a medium bowl. Make a well in the centre, and add the water and oil. Stir together with a wooden spoon until a dough forms.
  • Knead dough gently on a floured work surface 4 or 5 times. Divide dough into about 6 equal pieces and roll out each piece into a rustic long baton shape. The dough should be very thin. Lightly brush top with additional oil and sprinkle with sea salt and a little more pepper if you like. (Roll out dough on parchment and transfer sheet and all to the baking sheet, or just spray baking sheet with cooking spray and bake directly on baking sheet.)
  • Bake in batches, until flatbread crackers are pale golden and browned in spots, 8 to 10 min. Flatbread crackers can be made 2 days ahead and cooled completely, then kept in an airtight container at room temperature.

Notes

Substitute pepper for other flavouring. You might try fresh herbs like rosemary, or thyme, or some parmesan cheese, or try adding nuts or seeds. Use your imagination and enjoy!

Nutrition

Serving: 1g | Calories: 119kcal | Carbohydrates: 14g | Protein: 2g | Fat: 6g | Saturated Fat: 1g | Polyunsaturated Fat: 5g | Sodium: 222mg | Fiber: 1g
Tried this Recipe? Tag me Today!Mention @LifeisaParty or tag #lifeisaparty!

Wine and Cheese Basket Tips

  • Repackage for a Polished Look -Don't skip the repackaging step. Transferring bulk items into cello bags with coordinating labels is what makes your basket look professionally curated instead of thrown together. It's the difference between "nice gift" and "wow, where did you get this?"
  • Plan for Refrigeration -Be sure to let the basket recipenant know that this gift basket contains items that need to be refrigerated. If you notice the basket sitting out, offer to place the items that it in the refrigerator.
  • Match the Occasion -Tailor your basket to fit the event. Holiday baskets can include seasonal touches like cinnamon sticks or pine sprigs. Summer baskets might feature lighter wines and fresh berries.
  • Consider Wine Preferences -If you know the recipient loves red wine, focus there. For non-drinkers, swap wine for sparkling cider or juice, or include options.
  • Budget Smart -You don't need to buy everything at specialty stores. Dollar stores carry excellent basket fillers, and grocery stores often have great cheese and wine selections, look for sales, and buy at the bulk food store, or places like Costco.
  • Make It Personal -Add a handwritten note or include items that reflect inside jokes or shared memories. That personal connection matters more than any price tag.

When to Give a Wine and Cheese Basket

This versatile gift works for so many occasions:

  • Hosting gifts for holiday parties or dinner invitations
  • Housewarming presents for new homeowners
  • Thank you gifts for teachers, neighbors, or coworkers
  • Birthday celebrations for wine lovers
  • Sympathy or thinking-of-you gestures

A well-made wine and cheese basket shows thoughtfulness without being overly personal. It's that sweet spot gift that works in almost any situation.

Frequently Asked Questions

How long does a wine and cheese basket stay fresh?

It depends on what you include. Firm cheeses like cheddar or gouda can stay at room temperature for a few hours during gift giving. If the basket includes soft cheese or fresh fruit, the recipient should refrigerate it as soon as possible. Crackers, nuts, and shelf-stable items last much longer.

Can I make a wine and cheese basket without wine?

Absolutely. Swap the wine for sparkling cider, lemonade, or gourmet soda pop. The basket concept works beautifully with any beverage the recipient enjoys.

What's the best cheese for gift baskets?

Firmer cheeses like aged cheddar, gouda, manchego, or Swiss work best because they handle room temperature better and have a longer shelf life. If you're delivering the basket immediately, you can include softer varieties like brie or havarti.

How much should I spend on a wine and cheese basket?

You can create a beautiful basket for $30 to $60 depending on your wine selection. The repackaging trick makes budget-friendly items look expensive, so you don't need to overspend to impress.

Can I make the crackers ahead of time?

Yes. Make them up to 2 days ahead and store in an airtight container. They stay crispy and fresh when properly sealed.

Do I need special equipment to make the crackers?

No. You just need basic kitchen tools you already have -a mixing bowl, wooden spoon, rolling pin, and baking sheet.

More Gift Basket Ideas

  • DIY hot chocolate mix recipe in a mason jar.
    DIY Hot Chocolate Mix Gift Idea
  • Breakfast gift basket filled with coffee beans, homemde pancake mix, pastries and more.
    DIY Breakfast Gift Basket with Homemade Pancake Mix
  • Easy chocolate walnut fudge made in the microwave with sweetened condensed milk, cut into squares.
    Easy Chocolate Walnut Fudge -Mrs. Weasley's Recipe
  • Bag of sunshine yellow gift basket ideas.
    Bag of Sunshine Yellow Care Package Ideas

If you try this wine and cheese basket or any other gift ideas from Life is a Party, please let me know how it went in the comments below, and be sure to give the recipe a star rating too. Thanks for visiting today!

Kitchen Makeover Reveal -One Room Challenge

Nov 15, 2017 · 57 Comments

Modern Farmhouse Kitchen Makeover -painted cabinets, white subway tile with dark grout, rustic wood shelves, & brass touches in a black and white makeover.

Modern Farmhouse Kitchen Makeover -painted cabinets, white subway tile with dark grout, rustic wood shelves, & brass touches in a black and white makeover.

before and after kitchen makeover modern farmhouse
[feast_advanced_jump_to]

I'm so excited to share my modern farmhouse kitchen makeover reveal with you.   I love it, really, really love it and I hope you love it too.

The One Room Challenge

My One Room Challenge is finally finished!  I joined in on a 7 week challenge where bloggers make over one room of their homes and share their progress each week at the host blog Calling It Home.  Be sure to check out all the other participants big reveals too.

If you missed any of my updates you can catch up here:

The Kitchen Before and Inspiration

Installing Backsplash Tile in a Kitchen

DIY Kitchen Floating Shelves

Black Dipped Paint Brass Candlesticks

The Kitchen Before

I never really liked this kitchen even way back when we bought this house about 10 years ago.  It was always on my wish list to re-do it.

kitchen before and after

But, there was nothing really wrong with it, and lots of other priorities so it was pretty low down on the list.  My dream kitchen was a full reno, but as the years passed by I started thinking that maybe we could afford a facelift and that it could really help.  This makeover was on a budget, but what a huge difference it's made.  I thought I'd need a full reno to really love it, but this makeover has me all heart eyes over it.

The Modern Farmhouse Kitchen Makeover Inspiration

The Cabinets

My main desire with this modern farmhouse kitchen makeover was to have white cabinets, and from there the rest kind of unfolded.  We painted them, and I just love how the cabinets turned out, and what a huge difference having the cabinets painted has made to the feel of the room!

Modern Farmhouse Kitchen Makeover

And on the cabinets and drawers we added the prettiest hardware from Lee Valley Tools.  They have a huge selection of cabinet hardware so when I decided to add brass and gold metal accents to the kitchen to add a little warmth, they were the first place I looked.  The knobs are from the Milan Suite in Antique Brass and the pulls are Zinc Shell Pulls in Antique Brass.  Both the knobs and the pulls are so beautiful; they have a lovely weight to them, and are such excellent quality.  The new pulls and knobs are like jewelry for the new white cabinets -making the perfect outfit. 😉

Modern Farmhouse Kitchen Makeover

Subway Tile

Once I decided on white cabinets, I knew we'd have to replace the stone looking back splash.   I thought white subway tile would be a good inexpensive and classic option, and then I decided on dark grout to tie in the black countertops.  I knew I couldn't change the dark granite counters, but now I actually love them.  The beautiful and timeless white subway tile is from Home Depot and so is the pewter grout -read about the process of removing the old one and installing the new tile here.  I had a steep learning curve as a first time tiler -and I could not have possibly done it without the help of brother-in-law Shaun from Benjamin Tileworks.  He was a patient teacher and hard worker through the whole project which seemed to grow as the weeks went by as these things sometimes do. 😉

farmhouse floating shelves

DIY Floating Kitchen Shelves

Because, once I decided on the new black splash during the planning stages, my next big idea was to remove the glass front cabinets beside the range hood, add tile to the ceiling and put up open shelves to replace the cupboards.  This is one of my favourite elements of the new kitchen.  It adds a real updated feel to the space -with a bit of rustic charm.

DIY kitchen floating shelves

I love a place to display lots of favourite things along with our dishes.

vintage glasses on a floating shelf

I partnered with Minwax for the open shelving project.  Shaun came up with a great inexpensive way to make our own brackets, and then he made and installed the shelves.  I stained and sealed with Minwax and I love how they turned out.  Read how to make your own inexpensive large farmhouse floating shelves here.

kitchen floating shelves

I'm already thinking about how to style the new shelves for Christmas.  I know every part of the kitchen can't be my favourite, but these shelves are a definite contender.

New Appliances

Another real contender would have to be our beautiful new fridge and range from GE Appliances.

white kitchen cabinets and stainless steal appliances


This Fridge is the beautiful French Door Fridge with Ice and Water  and the perfect addition to our modern farmhouse kitchen makeover.  I love the way the ice and water are integrated inside the fridge and not in the door, making it look nice and clean lined. The water dispenser also filters the water with the Advanced Pharmaceutical Filtration (APF) water filter.  It's one of the most advanced water filters out there and removes 94% of top pharmaceuticals found in the water - which most people are unaware of.   I also love how big the fridge feels, especially with its adjustable shelving -so perfect for entertaining!

white kitchen stainless steal fridge

The new Gas Range is also amazing.  Our old stove was electric and we brought it here when we moved in.  But, the previous owners had gas so when it was time for a replacement I knew I wanted to upgrade to a gas range.

Modern Farmhouse Kitchen Makeover


I love the new gas range -it's truly the nicest one I've ever owned.  I'm enjoying and getting used to cooking with gas, and I love the gas convection oven.  It also includes the industry's largest integrated griddle -I see lots of Saturday pancake breakfasts in my future!

stainless steal stove and white subway tile

I'm also looking forward to its self cleaning setting, including a steam clean feature.

Modern Farmhouse Kitchen Makeover

Modern Farmhouse Kitchen Accessories

It was great to add some amazing little details to the room too.  Early on in my planning stages I was out shopping one day and found this lovely little broom.  I already had a perfectly functional but rather ugly broom.  I don't really care for red and 17 years ago when I first got married we bought a little red broom.  I've always kind of disliked it, especially since we don't have a broom closet so it's always out.  I saw this pretty little wood broom and thought to myself that at 43 years of age, that it was time to replace the ugly yet functional with something functional and pretty.  The new broom was under $10 and I kind of heart it.  Sometimes it's the little things. 😉

delta gold kitchen faucet

New Tap

Another beautiful detail in the room is the new tap and soap dispenser.  I partnered with Delta to add this beautiful Trinsic Faucet with Touch20 Technology in the Champagne Bronze finish, along with the matching Contemporary Soap Dispenser with Touch20 Technology also in the Champagne Bronze finish.

Trinsic Faucet with Touch20 Technology in the Champagne Bronze finish

When we moved into this house there was a hot water tap.  We never used it -it wasn't hot enough to make a good cup of tea, so we never really saw the use of it, in fact it was unplugged.  Since we already had a hole in the counter top we replaced it with the hands free soap dispenser  and use it all the time.

Trinsic Faucet with Touch20 Technology in the Champagne Bronze finish
Modern Farmhouse Kitchen

I love the convenience of the hands free faucet and soap dispenser.  It's so handy when you're cooking and have messy hands and especially for the kids.  Want your kids to use soap every time they wash their hands?  Get a hands free dispenser and they'll love using it. 😉

Over the sink, in the pass through window I added some pretty planters.

hanging succulentes

I love the way they add a little green to the space.

coffee and tea station

Coffee and Tea Station

We also were in need of a new coffeemaker and tea kettle.  We partnered with Hamilton Beach for a coffee maker, tea kettle, and toaster.

coffee and tea station

It's nice to have a little tea and coffee station in the kitchen, with all the supplies together since we use them so many times a day.  I love the beautiful stainless steel finish on the Hamilton Beach 12 Cup Programmable Coffeemaker.  We also love that the coffeemaker is programmable, so we've been able to wake up to freshly brewed coffee -what a treat!  We also got the Stainless Steel Kettle.  I tend to have a coffee in the morning and then drink tea all day long.  I love that the kettle is cordless and has a pop-up lid -so convenient.

stainless steal toaster

There are few greater simple pleasures in life than hot buttered toast.  I love the huge range of settings available on this Classic Chrome Toaster -to make your toast exactly how you want it every time.  No more kids complaining of burnt toast, or waffles that are still frozen in the middle.  I also love its classic retro style and beautiful chrome finish.

kitchen open shelves

Cooking in the new kitchen has been so much fun already.  The whole space just feels so bright and welcoming.

white pots and pans

New Cookware

I'm also in love with my new Lagostina Cookware Set.  The white Bianco Forged 10 Piece Ceramic Non-Stick Cookware Set is so gorgeous.  Why shouldn't functional be beautiful?  These pots are certainly both.  I love the white colour but also the ceramic non-stick interior.  It allows you to cook with very little butter or oil, and is so easy to clean.  The heavy gauge tempered glass lids are so great, because you can see everything as it cooks.  I never thought I could love cookware, but I love this gorgeous set!

black and white Kitchen Makeover

Light Fixture

I also replaced the builder basic light in the kitchen with this beautiful light from Wayfair.  It's the Langley Tree Gehry 1-Light Glass Pendant.

Kitchen Makeover


I added a beautiful Edison style bulb, since the shade is glass and it's a chance to showcase a pretty bulb.

glass and brass light fixture

This light is the perfect complement to the gold and brass touches in the room and to the beautiful chandelier over the dining table -the Brayden Studio Wunsch 6-Light Cascade Pendant, also from Wayfair.

Modern Farmhouse Kitchen Makeover
 Kitchen Makeover before and after

I worked on the dining area of the room for the last One Room Challenge, since the living room, kitchen and eating area all flow into each other.

Modern Farmhouse Tablescape

Now that the kitchen is complete all three rooms look great together.

Eating Area

I had fun dressing up the eating area to match the new kitchen.  I used my DIY'd macrame table runner to add a little texture to the table.

Modern Farmhouse Kitchen Table

My other DIY additions to the table are the Black Paint Dipped Brass Candlesticks.  I worked with Krylon to add the touch of black to these thrift store candlesticks and update their look.

Modern Farmhouse tablescape

I kept the colour scheme on the table black and white to match the rest of the kitchen.  The real show-stopper of the table has to be the gorgeous Hampton Forge Signature 20 Piece Flatware sets from Wayfair.

black cutlery

This beautiful flatware is like jewelry for the table.  It adds so much sophistication.

black and white tablescape

So Glad It's Finished!

We are  so pleased with how the kitchen makeover turned out.  I knew an update would help make it a prettier space, but I really didn't think I'd ever love it without changing everything.  But these changes have made such a big impact, I can now honestly say I love it.

black and white Kitchen Makeover

The modern farmhouse kitchen makeover was a lot of work but so totally worth it!

 Kitchen Makeover

I've always loved to cook, so I'm so grateful and happy to have a kitchen that's so beautiful now.

Kitchen Makeover

With a new Modern Farmhouse Black and White Kitchen Makeover life really is a party!

I've been working with some amazing brands on my One Room Challenge Kitchen Makeover, and I'm so grateful.  I've received products or discounts, but as always, all opinions are my own. I'm so happy to be partnering with Home Depot, Wayfair Canada, GE Canada, Benjamin Tileworks, Lagostina, Smith Sprayers, Lee Valley Tools, Delta Faucet, Krylon, Minwax, and Hamilton Beach.  

A very special thank you to all my sponsors -I couldn't have done it without you!

Black Dipped Paint Brass Candlesticks

Nov 14, 2017 · Leave a Comment

How make paint dipped candlestick holders.

Black Paint Dipped Brass Candlesticks: update inexpensive thrift store brass candlesticks with matte black spray paint DIY.

How make paint dipped candlestick holders.
[feast_advanced_jump_to]
Black Paint Dipped Brass Candlesticks: update inexpensive thrift store brass candlesticks with matte black spray paint DIY

Vintage Brass Candlesticks are so on-trend right now.  I found mine at various thrift stores, and was able to get them for anywhere for $1 to $5 a set.  To give them a fun update I did a Black Dipped Paint Brass Candlestick effect on them.

It's very easy to create -and you might be surprised to know that it doesn't involve messy paint dipping at all.  I used Krylon Black Flat Spray Paint to create this matte paint dip effect.

Black Paint Dipped Brass Candlesticks: update inexpensive thrift store brass candlesticks with matte black spray paint DIY

Using spray paint makes this project a lot quicker and easier than real paint dipping would be.  It also insures that the paint isn't too thick and that it doesn't build up and distort any of the pretty details on the brass.  The flat finish gives a matte paint effect and is very much on-trend for right now.  With spray paint we were able to add a few quick and thin layers to create this beautiful effect.

Materials:

  • thrifted brass candlesticks of various heights
  • painters tape
  • Krylon black flat spray paint
Black Paint Dipped Brass Candlesticks: update inexpensive thrift store brass candlesticks with matte black spray paint DIY

Instructions:

  1. Make sure the candlesticks are clean and free from dust or dripped wax.  You can polish them if you'd like a shiny brass finish, or keep the beautiful slightly tarnished patina.
  2. Using the tape, mask off a line so that it looks like the candlestick has been dipped in the paint.  Add additional tape to cover any parts of the candlestick that you want to remain brass and not be affected by the over spray of the paint.
  3. Give your candlestick many thin coats.  This will ensure that the paint won't have any drip marks in it.  Be sure to turn the candlestick around between new coats to make sure you get all the grooves well covered.
  4. Once dry, remove the tape to reveal the paint dip effect.  Add candles and enjoy.
Black Paint Dipped Brass Candlesticks: update inexpensive thrift store brass candlesticks with matte black spray paint DIY

I love how these candles turned out.  And the dramatic black candlesticks add to the effect as well.  They're perfect as a centrepiece or in grouping.

Black Paint Dipped Brass Candlesticks: update inexpensive thrift store brass candlesticks with matte black spray paint DIY

I made these as part of the One Room Challenge Kitchen Makeover I'm working on.  It's always fun to add some character to a new room by including hand-made and antique pieces -this project involves both.  You can check our my weekly progress on the One Room Challenge Kitchen Makeover by clicking below.

The Kitchen Before and Inspiration -Week One

Installing Backsplash Tile in a Kitchen -Week Four

DIY Floating Kitchen Shelves -Week Six

Black Dipped Paint Brass Candlesticks

Black Paint Dipped Brass Candlesticks: update inexpensive thrift store brass candlesticks with matte black spray paint DIY

Modern Farmhouse Kitchen Makeover

Be sure to come back tomorrow for the big final reveal of the Kitchen Makeover.

I'm working with some amazing brands on my One Room Challenge Kitchen Makeover, and I'm so grateful.  I've received products or discounts, but as always, all opinions are my own. I'm so happy to be partnering with Home Depot, Wayfair Canada, GE Canada, Benjamin Woodworks, Lagostina, Smith Sprayers, Lee Valley Tools, Delta Faucet, Krylon, Minwax, and Hamilton Beach.

Black Paint Dipped Brass Candlesticks: update inexpensive thrift store brass candlesticks with matte black spray paint DIY

With new Black Paint Dipped Brass Candlesticks, life really is a party!

Getting Ready For Christmas

Nov 9, 2017 · Leave a Comment

Getting ready for Christmas.

November is for getting ready for Christmas and December is for celebrating Christmas -your guide to getting ready early this year!

Getting ready for Christmas.
[feast_advanced_jump_to]

The calendar page has turned over to November, the clocks have turned back an hour and it's time to start thinking about Christmas.  It's early, but early is the best time to get ready.

When I was a new mom years ago, I heard "November is the time for getting ready for Christmas, and December is the time for celebrating".  Over the years I've made it my goal to start getting everything ready for Christmas during November, and really focus on celebrating when December rolls around.

Imagine if all the preparations -the shopping, the planning, the decorating, the wrapping were all done (or at least well on their way) when December rolled around?  Imagine if you actually had time to enjoy the celebrations?  So often as moms we take on the bulk of the prep for Christmas and instead of being a time of celebrating and spending time with family it's a mad rush to clean, decorate, shop, and prepare.  We can feel like the holiday passes us by in a whirlwind and is anything but fun and relaxing.  But, if the prep or even just the bulk of the prep can happen in November, Christmas can be fun again, even for Moms!

Here are my tips for what things to work on during November as part of your Christmas preparations.

November is for getting ready for Christmas and December is for celebrating Christmas -your guide to getting ready early this year!

Choose Your Christmas Decorating Scheme

You might use the same colours and decor every year and just add a few things, or you might be someone who changes it all every year.  Now is the time to think about your colour scheme and design directions for this year.  

Are you into the traditional red and green?  Silver, gold, and copper?  Winter white and neutrals?  Blues, pastels?  The sky is the limit these days; there's Christmas decor for every style and in every colour.  Decide early on your direction for this year, and start shopping,gathering, and making now.  

The great thing about shopping early is that there is lots of selection.  How many times have you seen something early and not picked it up only for it to be sold out when you're ready for it?  Now is the time to start picking things up as you see them, and tuck them away until you're ready to decorate.

November is for getting ready for Christmas and December is for celebrating Christmas -your guide to getting ready early this year!

If you're strict about not decorating until December, now might just be the time to get ready by gathering up your supplies.  My mom always had strict rules about doing a real deep clean before putting up the Christmas decorations.  I try to do the same.  I start now and try to do a few of those once a year jobs each week -like cleaning chandeliers, and polishing my hard wood floors, or sending out the rugs for dry cleaning.  Get that stuff done now, and you'll be already to decorate.

Get Things On The Calendar

November is for getting ready for Christmas and December is for celebrating Christmas -your guide to getting ready early this year!

Now is the time to make sure important dates are on the calendar.  Write down your local Christmas parade, family get togethers, work parties, church events, and school plays.  If you're throwing a Christmas party make sure to get your invitations sent out to family and friends before their calendars are full.  Want to attend local events? Buy your tickets now.  If you like to do an advent calendar with your family plan for it now.  Consider putting together an Christmas storybook advent calendar or a DIY little house advent calendar.  Or, pick up a chocolate or toy advent calendar at the store before they sell out.  You might even consider something for your spouse -like this 12 days of Christmas love letter advent I made for my husband one year.

Pick Up Your Gift Wrap Supplies

November is for getting ready for Christmas and December is for celebrating Christmas -your guide to getting ready early this year!

Choose papers that match your Christmas colour scheme, and make sure you have pretty ribbons, gift toppers, and tags on hand.  Don't forget the tape! Set up a little gift wrap station -a box where it's all stored, a corner of your office, or a little cart whatever works for your house.  Taking the time to do this now means that you can wrap as you buy.  So many times I've left it all for the last minute -Christmas Eve and wished I'd done it sooner.  If you wrap your gifts beautifully as you buy them you can place them around the house and under your tree as part of your beautiful holiday decor.

Get Your Holiday Outfits Planed

November is for getting ready for Christmas and December is for celebrating Christmas -your guide to getting ready early this year!

Now is the time to plan your holiday outfits.  Do you want coordinating family outfits for a photo shoot? (Did you book the photo shoot yet?  And when it's done, remember to get your holiday cards ordered too.)  Do your kids need new dress shoes for the holidays since the old ones are all too small?  Does your little black dress need an update?  Don't forget dress socks, hose, and new tights.  Think now about updating an older outfit with new accessories and a great nail polish colour.  Pick up and order on-line as you see things. Now really is the time to get all the sizes you need, before they sell out.  This is especially true of Christmas pyjamas.  If you traditionally give your kids new pjs on Christmas Eve now is the time to get them so that you can get matching ones in the sizes you need.

November is for getting ready for Christmas and December is for celebrating Christmas -your guide to getting ready early this year!

Take Inventory of Your Serving Pieces

If you're hosting holiday parties, or get togethers now is the time to take inventory and pick up pieces you will need.  Do you have a turkey baster, enough platters for Christmas dinner, a roasting pan big enough for the turkey?

November is for getting ready for Christmas and December is for celebrating Christmas -your guide to getting ready early this year!

Remember to pick up your Christmas crackers for your Christmas dinner table now.  Grab pretty napkins and candles when you see them.  Co-ordinate your holiday table with your holiday decor in the rest the of your house.  The more you can get done now, the less you'll have to worry about in December.

Start Your Christmas Shopping

Now is the time to do your Christmas shopping.  The malls are less busy, the selection is better, and you won't feel rushed and stressed.  Don't worry about missing out on sale prices by shopping early. Most stores will adjust the prices for you if things go on sale between now and Christmas.  Also, many stores adjust their return policies for the holidays so that you can still return things after Christmas.  If you're really unsure about a size for your tween, pickup two sizes. Just return the one that didn't fit after Christmas.  So often if you try to exchange after Christmas the right size or colour will be sold out.  

Also, shop on-line.  There's still lots of time to ship everything.  Take advantage of on-line sales for cyber-Monday also.  If you are shopping at the mall, try to get it done now before the crowds and lines are big.  If you're able to shop through the week when things are really not busy yet, plan to take advantage of it.

Also order items from Etsy now. Items that are homemade can take a little longer to make and then ship to you.  Order any custom pieces now too.  

November is for getting ready for Christmas and December is for celebrating Christmas -your guide to getting ready early this year!

Even start to pick up stocking stuffers as you see them.  Watch your flyers for sales and take advantage of having the time to shop around.  Don't forget all those other little gifts you need for people like teachers, bus drivers and coaches too.

Also remember to pick up the supplies you need for home made gifts.  If you're planning to make or bake something for the special people in your life -like the grandparents, decide on it now and pick up supplies early.

Focus On The Wins Instead of the Loses

Even with this plan in place you might still be shopping, cleaning, and decorating in December and that's okay -be graceful to yourself.  The goal is to make December more fun, and if you get any of these things out of the way now, you'll be well on your way to having a more relaxed Christmas.  Tackle the things you dislike the most first.  If you love wrapping or baking and consider it part of the fun of Christmas than save those tasks for last.  

My goal with this plan is to be less stressed out and more present for Christmas in December.  If I'm stressed about the new plan than I haven't really achieved much.  Remember the goal is to have a more fun filled magical Christmas with your kids instead of being the stressed out, yelling, turning into a grinch mom (not that any of us can relate to that -haha).  I'm grateful for this special time of the year, and all the goodness of the season like celebrating love came down, spending time with my family and friends, and celebrating the light.  I don't want it to pass me by, or be missed out on because I'm so consumed with making it "perfect".  

At the end of the day it's also about laying down the illusion of perfect, not worrying about every single detail being magazine worthy, and being present over perfect.  Sometimes for moms and dads Christmas turns into a giant to-do list and all the magic is lost.  I want it back.  Who's with me?  Any tips for getting the magic back?

By getting ready for Christmas in November, and having time to really celebrate Christmas in December life really is a party!

Affordable DIY Large Kitchen Floating Shelves

Nov 8, 2017 · 18 Comments

How to make large floating shelves.

DIY Floating Kitchen Shelves: Want the look of large floating kitchen shelves but can't afford them? DIY them with plumping supplies and 1" x 12" boards.

How to make large floating shelves.
[feast_advanced_jump_to]

Today I'm sharing my Affordable DIY Large Floating Kitchen Shelves for my Kitchen Makeover.  This shelf project turned out amazing and looks so great in our kitchen.  We love open shelving and I'm so glad we removed our upper kitchen cabinets and added in these wall shelves.

It's week 6 of this 7 week makeover for this fall's One Room Challenge. Be sure to check out all the other bloggers progress at Calling It Home. I've been making over my kitchen and it's almost done. Next week will be the big reveal, and I cannot wait to show you how great it looks!

If you missed any of my updates you can catch up here:

The Kitchen Before and Inspiration -Week One

Installing Backsplash Tile in a Kitchen

Black Dipped Paint Brass Candlesticks

Modern Farmhouse Kitchen Makeover Reveal

DIY floating kitchen shelves

DIY Floating Kitchen Shelves

This week I'm excited to tell you how to DIY large floating shelves and do it on a budget. During my design process I decided that I wanted to take down my existing upper cabinets on either side of my range hood and replace them with open shelving. I felt like it would be a great update to the kitchen and as someone who likes to change their decor often I thought it would be a great spot for display.  Since we were creating the shelves as a replacement for our upper cabinets we knew we would need them for extra storage and we'd need as much space as possible to accommodate everything that was in the cabinets before.  I was also planning to change our existing backsplash to subway tile, and thought that extending it up the entire wall behind the new floating shelves would look great.

Adding Reinforcement to the Wall

My brother-in-law Shaun of Benjamin Tileworks is a contractor and he did all the building for this project for me.  The first thing we started with was removing the old tile backsplash in the kitchen and in the process we damaged the drywall.  We ended up having to replace it, so while the walls were torn apart, we added in some reinforcements for the shelves. I knew I'd be using the shelves for all my heavy plates and dishes and didn't want to be worried about it ever falling down under so much weight.  If you're building open shelves in your kitchen, we highly recommend taking the time to anchor them into the studs like we did.

Reinforcing the wall for floating shelves.

Shaun notched out the wall studs and added in some more 2 x 4 wood support boards in our predetermined locations of the shelves, so that he'd be able to attach our metal support piece directly into it for added support. After the blocking was added to reinforce the wall anchor spots, we added our new drywall over top.  This was such a good idea to do while we had the wall open anyway.  Now we won't have to worry about the weight of all the dishes.

Reinforcing the wall for floating shelves.

Materials:

  • ½" galvanized flanges (2 for each shelf)
  • ½" x 6" long threaded pipes (2 for each shelf)
  • 1 ¼" diamond drill bit 
  • 1 x 12 pine boards cut to 28" lengths -or whatever length you need (2 for each shelf)
  • wood glue and clamps
  • router
  • drill
  • ⅛" x 1" metal screws (2 for each shelf)
  • sandpaper
  • wood conditioner
  • wood stain
  • polycrylic sealer

Creating the Shelf Supports

To create the floating shelf supports we used plumbing supplies. We thought about a lot of different options for the floating shelf supports. We had trouble finding anything large enough. The floating shelf supports we could find were only for a 6" deep shelf. I knew I needed 12" deep wood shelves in order for them to be deep enough to hold dinner plates.

We did find some larger ones that were handmade in a little shop online, but they would have been very expensive for our 8 shelves as each needed two supports, for a total of 16 supports. We thought about having some custom welded for us, but again it would have been very pricy for 16 supports. In the end Shaun came up with the idea of using inexpensive plumbing supplies, and it worked out great.

DIY floating shelves

We used ½" galvanized flanges and screwed ½" x 6" long threaded pipes onto them as the shelf supports.  Shaun then used a 2 ⅛" hole cutter in a drill to cut the drywall out and attach the support to the wall where it had been reinforced. Shaun used a level to make sure that all the pipes were level and straight at this stage.

how to make your own floating shelves

When we did the tiling, we were able to tile over the entire thing, and not have to worry about the bracket base sitting up above the tile.  We tiled right up to the pipe shelf support, and then Shaun used a 1 ¼" diamond drill bit for the tile to cut out a hole for the pipe to go through for a really clean finished look.

DIY floating shelves

Building the Shelves

To make the actual shelves we picked up some 1 x 12 pine boards and cut them to 28" lengths. Shaun used a router to cut channels for the posts on each side. Then two of the boards were glued together with wood glue and clamped together to create 2" shelves, with routed holes in the back to accept our pipe shelf brackets.

We wanted the finished shelves to be a 2 inches thick.  Shaun could have used 2" inch piece to create solid wood chunky shelves, but we didn't think that was the best choice for a couple of reasons. It would have been difficult to drill perfectly straight holes into the back for the pipes to fit into. If the holes weren't perfectly straight the shelves won't have been level.

It was also much cheaper to buy the 1 x 12 inch boards, and it really looks great, so it was a real win-win.

We choose pine as our type of wood for the shelves because it's inexpensive, looks great stained, and is available at any major hardware store.

how to make your own floating shelves

Staining The Floating Shelves

The next step was sanding the shelves.  We then conditioned the wood with Minwax Pre-Stain Wood Conditioner, since we were working with pine and it accepts the stain more consistently when the wood is pre-conditioned. Then it was time to stain the wood. The stain color I used was a combination of two different stain colors.  I used Minwax Classic Grey and followed that with a light layer of Minwax Dark Walnut to add a bit more brown. After the stain was dry on the pieces of wood, I sealed it with a top coat of Minwax Polycrylic giving each shelf three coats. I love using the Polycyclic Protective Finish because it has a matte finish and doesn't look yellow at all when it dries.  The soap and water clean up is a real plus too.

Installing the Shelves

Shaun installed the shelves on the back wall. He started by making minor adjustments with a dry fit and getting the shelves perfectly level with some small wood shims around the pipe brackets where needed to make them absolutely perfectly level.

DIY floating shelves

The next step was to secure the shelf to the pipes, he drilled a hole through the top of the new shelf and into the top of the pipe.

how to make your own farm house floating shelves

He screwed ⅛" x 1" metal screws into each of the metal brackets to hold the shelf firmly in place. Since the bottom long shelves are at eye level, he secured them from the bottom of the shelves so they won't be visible. The rest are done from the top so they're not seen either.

DIY floating kitchen shelves


Recipe

How to make large floating shelves.

Affordable DIY Large Kitchen Floating Shelves

No ratings yet
Print Pin Rate
Cook Time: 4 hours hours
Total Time: 4 hours hours
Author: Dannyelle Nicolle-Ramjist

Equipment

  • Saw
  • router
  • Drill

Materials

  • ½ " galvanized flanges 2 for each shelf
  • ½ " x 6" long threaded pipes 2 for each shelf
  • 1 ¼ " diamond drill bit
  • 1 x 12 pine boards cut to 28" lengths -or whatever length you need 2 for each shelf
  • wood glue and clamps
  • ⅛ " x 1" metal screws 2 for each shelf
  • sandpaper
  • wood conditioner
  • wood stain
  • polycrylic sealer

Instructions

  • To create the shelf support attach two ½" galvanized flanges to a wall stud, making sure they're level with each other, and then screw a ½" x 6" long threaded pipe on to each one.
  • To make the shelf, use two 1 x 12 inch pine boards. Use a router to route out a ¼" deep x 6" long channel in the same position on each side of the board, on both ends of the shelf. Then sandwich them together with wood glues and clamps to dry, and creating a hole in the finished shelf for the shelf bracket.
  • Give the glued shelves a sand with fine grit sandpaper. Be sure to wipe them down to remove any sanding dust. Next apply wood conditioner to the wood shelves. Next stain the wood in a stain color of your choice. We combined two stains to achieve the color we wanted. Lastly seal the shelves with a polyacrylic sealer. We did three coats of the sealer for added durability.
  • To install the shelves, slide them on to the shelf brackets. Make any minor adjustments necessary with small wood shims to make sure they're perfectly level, Then secure the shelf by drilling a hole through the wood shelf and into the metal pipe support, and then adding a metal screw right through the wood and into to the metal pipe to secure it.

 Shelf Love

I love the Minwax stain colours.  The greyish shelves look great with the dark grey grout from the backsplash.

how to make your own floating shelves

Shaun did an amazing job of making my vision come to life on a budget with this great project. Using the plumbing supplies and the 1" x 12" pine boards really helped our budget. If you're trying to create a similar look but need to do it on a budget, I hope this DIY project idea helps you as well.  The floating shelves would be great in your kitchen, dining room, laundry room, or living room.  

The finished shelves in our kitchen are now the perfect place for displaying all our kitchen items, and we are so glad we could do it on budget.  I'm so glad we were able to remove the old cupboards and replace them with these gorgeous DIY floating shelves on a budget.  These, along with the new subway tile backsplash are probably very favourite change to the kitchen for our kitchen makeover.  They have a huge impact on the space, and were definitely worth doing to create the look we're after.

DIY kitchen shelves

The new shelves look amazing, and I am having so much fun styling them with all our kitchen dishes, home decor, and finishing touches.

Dust Problems

I few people mentioned a worry about the dishes on the open shelving getting dusty, because they're not stored in a cupboard.  I think that because these are our everyday dishes that most of them will get used so often that dust won't be a problem.  Perhaps if things were sitting on the shelves and unused most of the time, this might be a concern.  And you might want to consider it before installing open shelves in your own kitchen.

how to make your own floating shelves

Kitchen Reveal Coming Up

Next week is the big reveal of the finished the kitchen.  I can not wait to share it with you. It has definitely been worth all the hard work, and having our house in a bit of chaos for the last six weeks. Follow me on Instagram and check out my stories for some sneak peaks of the finished kitchen.

DIY kitchen floating shelves

With new Modern Farmhouse Affordable Large DIY Floating Shelves, life really is a party!

I'm working with some amazing brands on my One Room Challenge Kitchen Makeover, and I'm so grateful.  I've received products or discounts, but as always, all opinions are my own. I'm so happy to be partnering with Home Depot, Wayfair Canada, GE Canada, Benjamin Tileworks, Lagostina, Smith Sprayers, Lee Valley Tools, Delta Faucet, Krylon, Minwax, and Hamilton Beach.

Installing Backsplash Tile In A Kitchen

Oct 27, 2017 · 18 Comments

Installing Backsplash Tile In A Kitchen: from removing tile, and replacing dry wall to installing the new tile and grouting.

Installing Backsplash Tile In A Kitchen: from removing tile, and replacing dry wall to installing the new tile and grouting.

Installing Backsplash Tile In A Kitchen: from removing tile, and replacing dry wall to installing the new tile and grouting.

I have never liked my kitchen backsplash tile, so when we decided to give our kitchen a facelift I knew that ripping out the old tile and installing backsplash tile in a kitchen was high on the priority list.

Before Picture:

Here's a before picture of what we started out with.

how to install kitchen tile

The Plan:

And here is the direction we were headed.

kitchen makeover mood board.

Installing Backsplash Tile In A Kitchen

1.Remove Old Tile

The first job was to remove the old tile.  When we removed it we really damaged the drywall.  We had hoped we'd be able to save the drywall in some areas, but we had to replace it.  We were also removing the cupboards from the wall with the stove and replacing them with floating shelves so the wall was prepped for the shelf brackets at the same time -you can read all about our DIY Floating Shelves here.

prepping wall


Use a strong exacto knife or cutting tool to cut out the drywall and leave nice clean edges.

how to remove an old tile backsplash

2.Re-Drywall

To prep the wall for tile, replace the drywall with new pieces screwed into place with drywall screws.

fresh drywall.

After the dry wall was up, I sealed the seams with some tape and tile adhesive, and then added a tile primer.  Because we're prepping the wall for tile and not to paint we used the tile adhesive and didn't worry about sanding like you would normally.

3. Installing The Backsplash Tile

This past weekend we installed all the tile.  A special thanks to Home Depot Canada this week for supplying all the materials for the tile and grout.

My sweet brother-in-law Shaun from Benjamin Woodworks, came for the weekend along with my sister and their two dachshunds.  I have to say that the tile was harder than I expected.  That seems to be the trend here.  I'm all for trying new things, but if Shaun hadn't been here, I know it won't have come out looking this good, and I don't think it would be done yet.  I did learn a ton -but we joked that if he hired me as his new apprentice, he won't want to pay me by the hour, haha.

installing backsplash tile in a kitchen


We started over by the sink, and we're lucky enough to be working with granite counters so they were perfectly level.

Begin by spreading your tile adhesive on the wall with a notched trowel.  

Place your tiles on the wall and use the spaces to creating even spaces between them.

Use a tile cutter to to cut straight lines to make the tiles fit your pattern.  We went with a basic brick pattern.

Use and angle grinder to cut tiles to fit around outlets, or for for corners.

how to instal a tile backsplash in a kitchen

To cut around our shelf supports we drilled holes in the tiles.

installing backsplash tile in a kitchen

After 24 hours you can remove the spacers and your ready to begin the grout.

4. The Grout

This week it was my job to do the grout.  I've never done grout before.  Shaun talked me through it and I read the directions.  I started with the little area behind the sink and it went well.  

Just mix the grout according to package directions and apply with the grout float at a 45 degree angle.  Once it's just set but not completely hard yet, use a sponge to remove the access.  

how to grout tile
white subway tile with dark grout
installing backsplash tile in a kitchen
how to install kitchen tile


After

And here is what the tile looked like when it was all completely finished!  I love it.

white subway tile with dark grout
installing backsplash tile in kitchen
how to replace your kitchen tile
how to instal new kitchen tile
white subway tile with dark grout
how to tile your kitchen backsplash

The Rest Of The Kitchen Makeover

This was week four of the One Room Challenge, and I'm happy to report that it feels like we've made lots of progress.  I'm taking part in a Challenge hosted by Calling it Home where bloggers take six weeks to makeover one room of their homes and share their weekly progress.  Be sure to check out everyone else's progress too at Calling It Home.
If you missed any of my updates you can catch up here:

The Kitchen Before and Inspiration

Tile and Grout

Kitchen Cabinet Makeover

Affordable DIY Large Floating Shelves for the Kitchen

Black Dipped Paint Brass Candlesticks

The Kitchen Makeover Reveal

This week it felt like we made some great progress and the end really is in sight, but there's still a fair bit on the to do list.

I'm working with some amazing brands on this project, and I'm so grateful.  I've received products or discounts, but as always, all opinions are my own. I'm so happy to be partnering with Home Depot, Wayfair Canada, GE Canada, Benjamin Woodworks, Lagostina, Smith Sprayers, Lee Valley Tools, Delta Faucet, Krylon, Minwax, and Hamilton Beach.

With a kitchen makeover that's making progress, life really is a party!

How To Make Pumpkin Spice Rice Krispie Treats

Oct 13, 2017 · 1 Comment

Pumpkin spice Rice Krispie treats recipe.

These pumpkin spice rice krispie treats are the ultimate fall dessert. They're easy to make in 30 minutes, full of cozy pumpkin flavor, and perfect for Halloween, Thanksgiving, or any fall party. And we're using real pumpkin and spices, so there's no artificial taste.

Pumpkin spice Rice Krispie treats recipe.

A Quick Look At This Recipe

  • 📋 Recipe: Pumpkin Spice Rice Krispie Treats
  • ⏲️ Ready: In 30 Minutes
  • 👪 Servings: Makes a 9 x 13 pan
  • 🔪 Difficulty: Very Easy -Beginner Level
  • 💭Top Tip: Drain your pumpkin puree on paper towel to avoid soggy treats.

Why You'll Love These

  • Who doesn't love a Rice Krispie treat? They're quick, easy, and delicious.
  • Great pumpkin and pumpkin spice flavor! Perfect for pumpkin lovers.
  • No artifical pumpkin taste -that so many pumpkin spice items have. These are made with real pumpkin and real spices.
[feast_advanced_jump_to]

It's October and officially pumpkin spice month!  This calls for everything pumpkin spice, including your favourite rice krispies!  

We're rice krispie treat fans around here -like they're my husbands absolute favorites. So I thought it would be fun to make some pumpkin spice rice krispie treats to celebrate the season. Some people call these pumpkin marshmallow bars or pumpkin krispies, but whatever you call them, they're the best fall twist on classic rice krispie treats.

After a few attempts, I perfected the easy recipe, and I've been making them every fall ever since. I've worked out how to get the best pumpkin, and pumpkin spice flavor without getting soggy rice krispie treats and I can't wait to share my secrets with you!

There's only a few tablespoons of pumpkin puree in this recipe, so it's great for using up leftover pumpkin.

These are perfect for enjoying this fall with a cup of coffee, or a pumpkin spice latte. ;). They'd also be great to bring to a Pink Halloween Party, or any Fall Themed Party. If you're a pumpkin lover also check out our Pumpkin Blondies with Frosting, Pumpkin Spice Milkshakes, Pumpkin Shaped Dinner Rolls, and our Pumpkin Bread with Walnuts.

how to make Pumpkin Spice Rice Krispies

Ingredients

Pumpkin spice rice krispie treat bars ingredients.
  • Pumpkin: This recipe uses real pumpkin puree. Be sure to buy pumpkin puree and not pumpkin pie filling. Pumpkin pie filling has spices and other ingredients added to it. There's just a few tablespoons of pumpkin in this recipe, but it adds such great pumpkin flavor. The pumpkin in this recipe could make the rice krispies a little soaky, so we've drained the pumpkin puree on paper towel.
  • Pumpkin Pie Spice: You can use pumpkin pie spice in this recipe, look for it in the spice aisle of the grocery store, or make your own with ½ teaspoon cinnamon, ¼ teaspoon nutmeg, ¼ teaspoon ginger, and good pinch of ground cloves.

Variations:

  • Chocolate Chips: As an option you can drizzle your finished pumpkin spice rice krispie treats with melted white chocolate and pumpkin sprinkles, or instead you can add chocoalte chips right into your rice krispe mixture. When you add the rice cearal also add in 1 cup of white chocoalte chips, or semi sweet chocoalte chips.
  • Vegan/Diary Free: Replace the butter with vegan butter, and the marshmallows with vegan marshmallows for a vegan version of these pumpkin spice rice krispie treats.
  • Pumpkin Spice Latte Version: Love a pumpkin spice latte? Make these into a latte version by adding 2 tablespoon of instant coffee granules to the melted marshmallow mixture. Be sure it's instant coffee and not coffee grouds.

Expert Tip: Keeping Your Pumpkin Spice Rice Krispie Treats Crispy

Adding any liquid or even our pureed pumpkin to your rice krispie treat recipe can result in slightly soggy rice krispie treats.  We love the taste of real pumpkin in this recipe, but to combat this potential problem, our recipe calls for you to drain your pumpkin puree by plating it on a paper towel to absorb any excess moisture before adding it to your rice Krispie mixture. We also suggest you wait and let the marshmallow mixture sit for about 15 minutes before adding in the rice krispie cereal.  This ensures that the rice krispie cereal stays nice and crispy, and eliminates the soggy cereal problem.

How To Make Pumpkin Spice Rice Krispie Treats

  1. Step 1: Place the pumpkin puree on a paper towel lined plate and spread it out slightly. Leave it to drain.
  1. Step 2:In a large saucepan combine the butter, and marshmallows. Heat over a medium heat while stirring, until the butter and marshmallows are completely melted and well combined.
  1. Step 3: Remove from the heat and add in the vanilla, and pumpkin spice and stir to combine.
  1. Step 4: Let the hot mixture stand for about 15 min. Allowing it to cool before adding the rice cereal will help them from becoming too soggy. After 15 min. stir in the rice krispies until completely combined.
  1. Step 5: Spray a 9 x 13 inch pan with nonstick cooking spray and then pour the cereal mixture into it. Use a rubber spatula sprayed in nonstick cooking spray to smooth out the mixture.
  1. Step 6: Optional: top the rice krispie treats with a drizzle or melted white chocolate and pumpkin sprinkles, or use your hands to form the mixture into pumpkin shaped balls, and top with a prezel or chocolate stem.

Storage

Store your pumpkin spice rice krispie treats in an airtight container at room temperature.

We served our Pumpkin Spice Rice Krispies for our Thanksgiving Dessert table.  They were the perfect pumpkin-y and easy addition to Thanksgiving dinner or any fall celebration.

With Pumpkin Spice Rice Krispie Treats, life really is a party!

Frequently Asked Questions

Why are my pumpkin spice rice krispie treats soggy?

Adding any moisture to rice krispie treats can result in them tasting soggy. The solution is to drain your pumpkin on a paper towel before adding to remove excess moisture, and let your marshmallow mixture sit for 15 minutes before adding in the rice cereal.

Can I make pumpkin spice rice krispie treats without adding pumpkin?

Yes, you can add the pumpkin spice and skip the pumpkin puree. They won't have the pumpkin flavor that adding pumpkin puree adds, but they will taste like pumpkin spice.

How can I make these pumpkin spice rice krispie treats thicker?

To make thicker pumpkin spice rice krispie treats, use an 8 x 8 baking dish instead of a 9 x 13 pan. They'll be twice as thick.

If you try these Pumpkin Spice Rice Krispie Treats or any other recipe on my blog please leave a star rating and let me know how it went in the comments below. Thanks for visiting today!

More Pumpkin Recipe Inspiration

  • How to make a pumpkin spice milkshake.
    Pumpkin Spice Milkshake Recipe
  • A loaf of moist pumpkin bread with walnuts on a cutting board.
    Moist Pumpkin Bread With Walnuts
  • Pumpkin blondies with pumpkin frosting.
    Pumpkin Blondies with Pumpkin Frosting
  • pumpkin bread pudding
    Pumpkin Bread Pudding

Recipe

Pumpkin spice Rice Krispie treats recipe.

Pumpkin Spice Rice Krispie Treats

Video

Classic Rice Krispie treats get a fall makeover with addition of pumpkin and pumpkin spice.
5 from 1 vote
Print Pin Rate
Course: Desserts
Cuisine: American
Prep Time: 5 minutes minutes
Cook Time: 10 minutes minutes
Additional Time: 15 minutes minutes
Total Time: 30 minutes minutes
Servings: 16
Calories: 237kcal
Author: Dannyelle Nicolle-Ramjist

Ingredients

  • 3 tablespoon butter
  • 16 oz. bag of regular or mini marshmallows
  • 2 tablespoon pure pumpkin puree
  • 1 teaspoon vanilla extract
  • 1 teaspoon pumpkin pie spice
  • 6 cups rice krispies
  • optional: melted white chocolate chips or wafers for drizzling and pumpkin sprinkles or pretzel or chocolate candies for stems

Instructions

  • Place pumpkin puree on a paper towel lined plate and set aside.
  • In a large saucepan, combine the butter, and marshmallows. Heat over a medium heat while stirring, until the butter and marshmallows are completely melted and well combined.
  • Remove from the heat and add in the drained pumpkin puree, vanilla, and pumpkin spice and stir to combine.
  • Let the hot mixture stand for about 15 min. Allowing it to cool before adding the rice cereal will help them from becoming too soggy. After 15 min. stir in the rice krispies until completely combined.
  • Spray a 9 x 13 inch pan with nonstick cooking spray and then pour the cereal mixture into it. Use a rubber spatula sprayed in nonstick cooking spray to smooth out the mixture. Allow to set and then cut the crispy rice treats into squares or triangles with a sharp knife.
  • Optional: Add a white chocolate drizzle and pumpkin sprinkles or instead of placing the mixture into the baking dish, use your hands to form small balls that look like pumpkins and top with a pretzel or chocolate stem.

Notes

Drain the pumpkin puree on a paper towel to remove any moisture and help stop your rice krispie treats from being soggy.  Also, let your marshmallow mixture stand 15 min. before adding the rice cereal, to also help them from becoming soggy by absorbing too much moisture.
Form in a baking dish, and decorate with melted white chocolate and pumpkin sprinkles, or form them into mini pumpkin shapes and add a pretzel or candy stem.
Be sure to store in an airtight container at room temperature.

Nutrition

Serving: 1g | Calories: 237kcal | Carbohydrates: 48g | Protein: 2g | Fat: 5g | Saturated Fat: 3g | Polyunsaturated Fat: 2g | Cholesterol: 8mg | Sodium: 140mg | Sugar: 27g
Tried this Recipe? Tag me Today!Mention @LifeisaParty or tag #lifeisaparty!

One Room Challenge -The Kitchen Week One

Oct 4, 2017 · 8 Comments

Kitchen Makeover -a six week One Room Challenge transformation taking a dark, dated kitchen to a bright, white, Rustic Scandinavian Kitchen.

It's that time of year again!  The One Room Challenge begins again today.  This is a challenge for bloggers to take one room of their homes and make them over in six weeks, joining over 200 other bloggers in sharing their weekly progress at the host blog, Calling It Home, and on their own blogs. This time it's a kitchen makeover.


If you missed any of my updates you can catch up here:

Week One -The Kitchen Before and Inspiration

and Week Four -Tile and Grout

also Week Five -Kitchen Cabinet Makeover

and Week Six -Affordable DIY Large Floating Shelves for the Kitchen

Black Dipped Paint Brass Candlesticks

The Challenge

This is my third time joining in and I'm so excited to get starting on making over my kitchen.

Last spring I took part and made over my living room.  We went from a cozy but a little dated beige living room to a bright and airy Rustic Scandinavian inspired space.  See the Living Room Reveal here.

Kitchen Makeover -a six week One Room Challenge transformation taking a dark, dated kitchen to a bright, white, Rustic Scandinavian Kitchen.

And, last fall, for my first One Room Challenge, I did over the dining room.  We went from a  dark dated space, to white and open Rustic Scandinavian inspired space there too.  See the reveal Dining Room Reveal here.

Kitchen Makeover -a six week One Room Challenge transformation taking a dark, dated kitchen to a bright, white, Rustic Scandinavian Kitchen.

The kitchen will be the last major living space on the main floor to be made over.  Finishing this room will complete the transition to a bright, white, Rustic Scandinavian inspired main floor space.

I love Rustic Scandinavian design.  It's often neutral with lots of white and some black, along with wood.  It embraces the idea of hygge, and making spaces cozy and warm with lots of natural materials like wood, wool, ceramic, and bringing the outdoors in through things like pinecones, and branches.   I'd say this look in many ways shares some similarities with modern farmhouse design, but is a bit more pared back, and minimalist.

Scandinavian design is often very modern and cleaned lined -but I'd say my take is a bit more country influenced. The rustic piece is where my love of rustic antiques and junk shop finds comes in.  I've found the design to be a really good backdrop for the blog as well.  I find more and more I use my home as my studio and I need a neutral backdrop for entertaining, decor, and cooking.  I can't wait to be able to use my kitchen as a background to my food photography -haha blogger dreams.

The Kitchen Before

Here's what the kitchen looks like now.  It was this way when we moved in about 10 years ago.  Not exactly what I would have picked even back then, but not so bad either.  What I would have picked, and what we had in our previous home, was a white kitchen.  White kitchens are so popular, but they're still my favourite.  And and I have to say that for the whole 10 years I've been dreaming about having a white kitchen again.

The existing kitchen is maple, with a black granite counter, and stone backsplash.  The fridge and stove were brought from our previous house and we've had them since we got married 16 years ago.  They are due to be replaced.  The floor is a slate look tile.  The light fixture is a builder basic and so is the kitchen faucet.

Kitchen Makeover -a six week One Room Challenge transformation taking a dark, dated kitchen to a bright, white, Rustic Scandinavian Kitchen.


The Kitchen Makeover Plan

I have to keep the flooring, and the cupboards.  So this is definitely a makeover rather than a reno.  I looked into having the cabinets re-faced last year, where you have the doors replaced with white -or whatever you like, and the sides are recovered to match.  I was shocked at the price; $8000 for my small kitchen.  So this time around I looked into painting them.  I was hesitant to paint them at first because I was worried about them chipping and looking worse than the plain maple.  My husband had a friend who had theirs painted by a professional though and recommended it to us.  It turns out professional painting comes with a guarantee against chipping and is a fraction of the cost of replacing them.  Sold!  So I get to have my long awaited white kitchen!  Insert happy dance here.

Since the counters are granite they have to stay too, so we'll have a black and white kitchen -perfectly Scandinavian.

Here's some beautiful inspiration from Veranda Interiors.  I love the white cupboards, black counters and open shelves.

Kitchen Makeover -a six week One Room Challenge transformation taking a dark, dated kitchen to a bright, white, Rustic Scandinavian Kitchen.

This mood board gives you idea of where I'm headed with the whole makeover.

kitchen makeover mood board.

Kitchen Makeover Inspiration

To see more of my inspiration follow me on Pinterest, and check out my Kitchen Board.

I'm excited to add some brass and gold accents to warm up the space too.  We'll be adding brass lighting, cabinet hardware, and an amazing new kitchen faucet.  I'll be mixing the brass with the stainless steel appliances.  The existing backsplash tile will be replaced with white subway tile.  Subway tile is a real classic and the dark grout will help tie it into the black counters.

The other big project is that I'm removing the glass cabinets on either side of the range and replacing them with open shelves and tile up to the ceiling.  I've never done tiling but it's a project I'm tackling myself -infact I'll be starting to remove the old tile this week.

I'm very excited to be partnering with some AMAZING brands for this project -be sure to follow along over on Instagram to see the amazing products as they arrive at my door on Instagram Stories.

Kitchen Makeover -a six week One Room Challenge transformation taking a dark, dated kitchen to a bright, white, Rustic Scandinavian Kitchen.

Does that seem like a big list of things to get done in six weeks?  Writing it all down is making me feel that way too!  But bit by bit, week by week it will get done.  I'm excited to share my weekly updates with you here.  Can you believe that in six short weeks we'll be done!

I'm linking up this post at Calling It Home where you can see all the other guest participants bloggers and their plans for their room makeovers too.

Sponsors

I am working with some amazing brands on my One Room Challenge Kitchen Makeover, and I'm so grateful.  I've received products or discounts, but as always, all opinions are my own. I'm so happy to be partnering with Home Depot, Wayfair Canada, GE Canada, Benjamin Woodworks, Lagostina, Smith Sprayers, Lee Valley Tools, Delta Faucet, Krylon, Minwax, and Hamilton Beach.  

With a new kitchen makeover getting started, life really is a party!

Outdoor Thanksgiving Table

Oct 3, 2017 · 10 Comments

Outdoor neutral thanksgiving table ideas.

Outdoor Neutral Thanksgiving Tablescape: layer neutrals to create a beautiful thanksgiving table with some simple DIY projects.

Neutral outdoor thanksgiving table ideas.
[feast_advanced_jump_to]

This weekend is Canadian Thanksgiving.  Since it's so early this year, the weather outside is beautiful and I thought it would be fun to set up a neutral thanksgiving tablescape under our pergola in the backyard.

Outdoor Neutral Thanksgiving Fall Table: layer neutrals to create a beautiful outdoor thanksgiving table with some DIY projects.

In case it gets cool as it gets later in the day, I've included some cozy throw blankets too.

Outdoor Neutral Thanksgiving Fall Table: layer neutrals to create a beautiful outdoor thanksgiving table with some DIY projects.

Neutral Thanksgiving Tablescape Centrepiece

I started the table off with my handmade macrame table runner.  I knew I wanted to do an all white table this year, so I wanted to include lots of texture to keep it interesting.  The macrame runner was the perfect base.

Outdoor Neutral Thanksgiving Fall Table: layer neutrals to create a beautiful outdoor thanksgiving table with some DIY projects.

All along the runner and down the centre of the table I used some white pumpkins, big ones and mini ones too.

Outdoor Neutral Thanksgiving Fall Table: layer neutrals to create a beautiful outdoor thanksgiving table with some DIY projects.

The flowers are some wild ones from the edge of the forest.  They look great in these tarnished silver julep cups.

Outdoor Neutral Thanksgiving Fall Table: layer neutrals to create a beautiful outdoor thanksgiving table with some DIY projects.

I also included a few antlers.  I love how rustic they are and their great texture.

Outdoor Neutral Thanksgiving Fall Table: layer neutrals to create a beautiful outdoor thanksgiving table with some DIY projects.

DIY Pumpkin Tassels

One more favourite detail for the centre piece, are these fun DIY pumpkin tassels.  They add a little boho vibe to the table along with the macrame runner.  Just use yarn to create some simple tassels and string on some wood beads, then loop them over your pumpkin stem.

Outdoor Neutral Thanksgiving Fall Table: layer neutrals to create a beautiful outdoor thanksgiving table with some DIY projects.

Place Settings

At each place setting I started with some vintage finds.

Outdoor Neutral Thanksgiving Fall Table: layer neutrals to create a beautiful outdoor thanksgiving table with some DIY projects.

Last month when I was at the antique fair, I stopped by the booth that always has vintage silver cutlery.  I visited the $1 a piece section and picked out 6 place settings with random patterns.  I kind of love that they don't match.  They add a lot of character to the table.

Outdoor Neutral Thanksgiving Fall Table: layer neutrals to create a beautiful outdoor thanksgiving table with some DIY projects.

Then just the other day I spotted some vintage silver goblets at the second hand store.  I thought they'd be cute with the vintage cutlery, but I couldn't decide and didn't get them.  I went back yesterday and wonders of wonders they were still there waiting for me.

Outdoor Neutral Thanksgiving Fall Table: layer neutrals to create a beautiful outdoor thanksgiving table with some DIY projects.

They're just perfect, with a cute little pumpkin inside.

Outdoor Neutral Thanksgiving Fall Table: layer neutrals to create a beautiful outdoor thanksgiving table with some DIY projects.

I used my everyday white dinner plates and plain cotton napkins for this table.  Then I layered on my "give thanks" plates.

Outdoor Neutral Thanksgiving Fall Table: layer neutrals to create a beautiful outdoor thanksgiving table with some DIY projects.

I made these plates a few years ago with dollar store plates and a ceramic marker.  You bake them in the oven when you're done to make it permanent -you can see my whole tutorial on how to permanently decorate a plate with a marker here.

Outdoor Neutral Thanksgiving Fall Table: layer neutrals to create a beautiful outdoor thanksgiving table with some DIY projects.

I love how fun and inexpensive these little plates are, and I bring them out every year for Thanksgiving.

Outdoor Neutral Thanksgiving Fall Table: layer neutrals to create a beautiful outdoor thanksgiving table with some DIY projects.

Spray Painted Leaves

Next, I layered on some fall leaves.  You can see how I dried them and ironed them with wax paper to preserve them here.

Outdoor Neutral Thanksgiving Fall Table: layer neutrals to create a beautiful outdoor thanksgiving table with some DIY projects.

Since this table was all white and I wanted the leaves to tie in, I spray painted them.  I used a piece of paper to cover up a portion of them and sprayed the rest white.

Outdoor Neutral Thanksgiving Fall Table: layer neutrals to create a beautiful outdoor thanksgiving table with some DIY projects.

On top of my leaves, I added a little sweet beginning to the dinner in a miniature glass cloche -some maple fudge.

Outdoor Neutral Thanksgiving Fall Table: layer neutrals to create a beautiful outdoor thanksgiving table with some DIY projects.

Everyone always loves a special little sweet treat.

Outdoor Neutral Thanksgiving Fall Table: layer neutrals to create a beautiful outdoor thanksgiving table with some DIY projects.

And that is my neutral Thanksgiving tablescape this year.

Outdoor Neutral Thanksgiving Fall Table: layer neutrals to create a beautiful outdoor thanksgiving table with some DIY projects.

Lots of fun neutral details to create an interesting fall table.

Outdoor Neutral Thanksgiving Fall Table: layer neutrals to create a beautiful outdoor thanksgiving table with some DIY projects.

Outdoor Neutral Thanksgiving Fall Table: layer neutrals to create a beautiful outdoor thanksgiving table with some DIY projects.

Hopefully you're feeling inspired.

Outdoor Neutral Thanksgiving Fall Table: layer neutrals to create a beautiful outdoor thanksgiving table with some DIY projects.d

With an Outdoor Thanksgiving Table, life really is a party!

More Thanksgiving Tablescape Inspiration

You might also like our Black and White Farmhouse Thanksgiving Table here.

Black and White Modern Farmhouse Thanksgiving Table: White pumpkins, black cutlery, and DIY macrame napkins rings make the perfect Thanksgiving table.

Also check out our Fall Leaf Thanksgiving Table here.

Fall Leaf Thanksgiving Table: Hanging pressed fall leaves, and pink heirloom pumpkins, ombre leaf cookies, and cloths pin place cards make a beautiful table.

You might also enjoy our Vintage Botanical Thanksgiving Table here.

Vintage Botanical Scientific Thanksgiving Table: scientific glass, old books, a microscope, and lots of botanical specimens create a beautiful table.

How To Make A Fall Leaf Backdrop

Sep 29, 2017 · Leave a Comment

How to make an easy fall leaf backdrop.

How To Make A Fall Leaf Backdrop -use real leaves and washi table to make an inexpensive stunning fall backdrop for your fall entertaining!

How to make an easy fall leaf backdrop.
[feast_advanced_jump_to]

Yesterday I shared an amazing Fall Thanksgiving Dessert Table -you can read about it here.  One of my favourite elements of the whole dessert table was the amazing Fall Leaf Backdrop.  This fall backdrop was really inexpensive to put together, and adds a big impact!  This easy DIY backdrop is a great way to bring the beauty of the outdoors in fall in.

How To Make A Fall Leaf Backdrop

Dessert Table Backdrop

We love dessert tables or food buffets for entertaining.  This backdrop is the perfect creative idea to add some interest and a focal point behind the food.  We used our dessert table for a Thanksgiving dinner, you could use it for any fall celebration, like a wedding backdrop or shower dessert table, or a Halloween party.

DIY Photo Booth Backdrop

This backdrop worked perfectly for a dessert table backdrop, but it would also be great as a backdrop for a photo booth.  Imagine using it as a photo booth for guests at a wedding, wedding shower, fall birthday party, Thanksgiving, or baby showers. Set it up and invite your guests to take a memorial photo to share in front of this colorful backdrop.  I love this beautiful backdrop, especially for fall wedding photos.  Add in some pumpkins and hay bales for guests to sit on in front of the camera, and some fun photo props and you have an great idea for a photo guest book for any fall event.  

Professional photographers use this idea take your pumpkin backdrop to the next level.  Add interesting texture and fall colors in your photography studio for fall bookings.  This is such a fun option for fall portraits.  This simple backdrop idea is quick and inexpensive to create.

Fall Home Decor

It would also look great as part of your fall home decor.  Imagine adding some fall leaves to the front of your fireplace for fall, or in your windows as fall decor.  It's such an affordable way to add some visual interest and fall decorations to your home.

How To Make A Fall Leaf Backdrop

And this Fall Leaf Backdrop is really easy to make, and won't take much money to put together.

Supplies:

  • fresh fall leaves
  • heavy book
  • iron
  • paper
  • wax paper
  • washi tape

How To Make A Fall Leaf Backdrop

Pressing Your Leaves

1.  First you'll need to collect some fall leaves from your neighbour.  Look for different leaf varieties in different shapes and sizes.  We used all the different colors of fall leaves, but you could use just your favorite color for your own backdrop if you prefer.   

As soon as you get home press the leaves in a heavy book.  This is one of the most important things, because the leaves will start to curl up right away if you don't press them flat.  Put them in a single layer, between book pages, and then close up the book and put a weight on top, like wooden boards or more books.

how to press fall leaves

Waxing Your Pressed Leaves

2.  After your leaves have been pressed overnight, or for a few days it's time to wax them using simple wax paper.  The wax will help preserve the leaves so they last for a long  time, and make them a little more shiny.

ironing fall leaves with wax paper to preserve them

Heat up your iron to the cotton setting, and turn off the steam.  Fold a piece of wax paper in half and put the leaves in single file inside.

how to wax pressed leaves

Use some paper on the top and bottom of the wax paper with the leaves to protect your ironing board and iron from the wax and then iron them for a few seconds.

how to wax fall leaves to preserve them

Remove them from the wax paper and they're all ready to use.  You don't have to wax the leaves, but it's an easy way to add a little shine to them.

pressed fall leaves

Creating Your Backdrop

3.  To create your backdrop, use some washi tape to attach the leaves to your wall.  Washi tape is a good choice because it's paper and easy to tear, not too sticky so it won't damage your walls, and comes in lots of pretty colours.  Just use a little bit on each stem.  The leaves are lightweight and easy to apply.

gold washi tape

I placed them in a random pattern, which is a fun way to do it, but you could arrange the leaves in different ways.  If you prefer arrange the leaves in rows of straight lines or any pattern with the different colors that you like.

how to make a fall backdrop

Recipe

How to make an easy fall leaf backdrop.

How To Make A Fall Leaf Backdrop

Use pressed leaves to create a stunning fall backdrop for a party, dessert table, buffet, photo booth, or photo studio.
No ratings yet
Print Pin Rate
Prep Time: 15 minutes minutes
Cook Time: 10 minutes minutes
Total Time: 25 minutes minutes
Author: Dannyelle Nicolle-Ramjist

Equipment

  • iron

Materials

  • fresh fall leaves
  • heavy book
  • paper
  • wax paper
  • washi tape

Instructions

  • First you'll need to collect some fall leaves from your neighbour. Look for different leaf varieties in different shapes and sizes. Press the leaves in a heavy book. Put them in a single layer, between book pages, and then close up the book and put a weight on top.
  • After your leaves have been pressed overnight, or for a few days it's time to wax them using simple wax paper. Heat up your iron to the cotton setting, and turn off the steam. Fold a piece of wax paper in half and put the leaves in single file inside. Use some paper on the top and bottom of the wax paper with the leaves to protect your ironing board and iron from the wax and then iron them for a few seconds.
  • To create your backdrop, use some washi tape to attach the leaves to your wall.

This backdrop is really inexpensive to make -just some wax paper and washi tape.  It takes a little time to put together, but is a good backdrop for BIG impact.  It's really perfect for any fall entertaining.

Fall Leaf Backdrop

Creating A Keepsake

After the party or celebration, save some of the leaves for a keepsake, or add to a scrapbook with pics of the party or your photo guest book as a sweet keepsake.

With a Fall Leaf Backdrop, life really is a party!

You might also like our Fall Leaf Thanksgiving Table here. 

More Fall Inspiration
Fall Leaf Thanksgiving Table: Hanging pressed fall leaves, and pink heirloom pumpkins, ombre leaf cookies, and cloths pin place cards make a beautiful table.

Also check out our Kids Thanksgiving Table here.

Kids Thanksgiving Table: a leaf mobile, painted pumpkins, velvet pumpkins, and leaf crowns create a special spot for special guests.

You might also enjoy our Fall Tea Party here.

This post contains affiliate links.  Thanks so much for supporting Life is a Party!

Easy Fall Thanksgiving Dessert Table

Sep 28, 2017 · 2 Comments

Fall dessert table.

Easy Fall Dessert Table -homemade, semi-homemade, and store bought fall party desserts served in individual portions.

Fall dessert table.
[feast_advanced_jump_to]

This table came together pretty easily, and I thought it might inspire some of you who are on fall party desserts for Thanksgiving or for a fall get together this time of year.

It's full of easy homemade, semi-homemade, and delicious store bought desserts, so you can bake a little, put a few things together, and defrost a little. ;). These easy fall desserts are sure to be a hit and grouped together, they make a really great dessert table. The best part of this time to year just might be the flavors of fall. This dessert table brings together all best fall desserts, and such a fun treat for you and your guests and your sweet tooth.

Fall dessert table ideas.

The Dessert Table Decor

The first job was to set the scene.  I made this pretty fall leaf backdrop with real leaves and a little washi tape.  See the full tutorial on How To Make a Fall Leaf Backdrop by clicking here.

Pumpkins with tassels.

The pretty metallic pumpkins are mixed them in with some real ones. I'm loving the mix of gold and copper this fall; the fun pumpkin tassels tie in the metallic even more. I made them with some wooden beads and yarn, and the metallic beads were just spray painted in rose gold.

How to make a fall dessert table.

Individual Portions of Fall Party Desserts

I love offering individual portions on a dessert table. It means that for me as the host once the thanksgiving dinner or dinner party is done and the food is out on the dessert table, I can relax and guests can help themselves. It really is the easiest way to serve dessert, especially to a crowd. It's also great for offering lots of little portions of everyone's favorite fall desserts. Guests love to have the option to try lots of small collection of fall desserts -a little bit of everything! I've also found the small individual portions are great for kids and help reduce waste. And even if people are not that hungry after dinner they can have at least one small sweet treat.

Easy fall dessert ideas.

Chocolate

It's great to think about different flavours when putting a variety of delicious fall desserts for a dessert table. You want something for everyone when it comes to festive treats. I was going for a fall feeling, but even in fall chocolate lovers are chocolate lovers and at least one chocolate dessert is probably a must at any dessert table, regardless of the season.

Easy fall dessert table ideas.

This sweet chocolate pudding is one of the semi-homemade desserts. It's just some instant pudding but we dressed it up with some whipped cream and chopped Reese's pieces for a little crunch to turn it into the perfect fall dessert. You could also use nuts like some crunchy pecans, or for a nut-free option seasonal chocolate M & Ms would be great way to dress up pudding too for a delicious treat. Here's some more chocolate fall dessert ideas you might include:

  • chocolate pudding
  • chocolate brownies (even made from a brownie mix)
  • seasonal chocolate treats
  • homemade chocolate chips cookies
Fall dessert table ideas.

Pumpkin Desserts

I wanted to include a few real pumpkin dishes since we're celebrating fall and it's maybe the best flavor of the season especially when mixed with autumn spices. Nothing reallys says fall like anything pumpkin. So I also made some Pumpkin Spice Rice Krispies, find the recipe here, for one of your favorite things, with a pumpkin twist. They're sure to become a new favorite fall treat.

Pumpkin spice Rice Krispie squares

These have all the ooey-gooey goodness of Rice Krispie Squares, but with the flavour of pumpkin and pumpkin pie spice! I added a drizzle of white Belgian chocolate to the top and some sweet pumpkin sprinkles to make them extra special.

I also picked up a Pumpkin Cheesecake. Anything pumpkin is such a classic fall dessert. You can bake pumpkin cheesecake or pick one up at your favorite grocery store, or bakery. The cake is sliced into little wedges and I added a some whip cream to the top. I served them on these cute little individual square plates. Cheesecake always feels like a special dessert and it's really perfect for the holiday season.

Fall dessert table ideas.

Want some more ideas for pumpkin fall party desserts you can enjoy this fall? Check out all these treat ideas:

  • pumpkin rice krispie squares
  • mini pumpkin pies
  • sweet potato pie
  • pumpkin cinnamon rolls
  • pumpkin cake with fluffy cream cheese frosting
  • pumpkin bread
  • pumpkin spice cupcakes
  • pumpkin spice cookies
  • pumpkin chocolate chip cookies
  • pumpkin bars
maple fudge

Maple Desserts

When you think of the fall season here in Ontario you can't help but think about the fall leaves turning colour and nothing puts on a better fall show than the maple trees! They also make you think of maple syrup. So it seemed like the perfect time to include a maple dessert as an addition to the dessert table for fall.

I picked some Maple Fudge. I also love the idea of mixing in some homemade with some store bought to make life a little bit easier for all of us. Here's a few great maple dessert ideas to include on your fall dessert table:

  • maple fudge
  • maple cookies
  • maple donuts
Easy fall dessert ideas for thanksgiving.

Apple Desserts

The last item on the dessert table were some homemade apple crisps. Every fall dessert table needs something apple flavoured and these apple crisps were the perfect dessert to include. These apple crisps are so easy to make -you can find my full recipe here. But, if you're not in the baking mood, you could also find a frozen one that you could just spoon into the cute serving dishes after it's baked. Apple crisp is one of those really easy fall dessert recipes, and apple is always one of everyone's favorite fall flavors. You might also add a scoop of vanilla ice cream when serving.

individual apple crips for a fall dessert table.

I love these little matte black individual baking dishes, with their cute little lids. They're perfect for giving everyone their own, and the lids help to keep whatever your cooking nice and warm until serving time. Want some more apple dessert ideas for your fall dessert table? How about:

  • apple crisp
  • caramel apples
  • homemade apple pie
  • caramel apple pie
  • apple brown betty
Thanksgiving dessert table ideas.

I hope you're feeling inspired for your own Thanksgiving or Fall Dessert Table. After a fall dinner, your guests will love the individual desserts, and you'll love the ease of some homemade, some semi-homemade, and some store bought small treats! Everyone can indulge in one decadent fall dessert or many.

How to put together a fall dessert table.

With an Easy Fall Thanksgiving Dessert Table life this one, life really is a party!

More Fall Party Desserts Inspiration

Having a Halloween party? Check out these fun Halloween inspired desserts here.

pink Halloween party

Also check out this fall party, with leaf raking themed desserts here.

Fall Leaf Raking Party -a fun family fall party, filled with leaf themed treats, like leaf jello, rake cookies, and fall themed decor.
Fall Leaf Raking Party

Fall Home Tour -Part II

Sep 25, 2017 · 32 Comments

Fall home decor ideas.

Fall Home Tour -Vintage fall decor, botanicals, scientific decor and lots of natural elements to bring the outdoors in and celebrate the changing season.

Fall home decor ideas.
[feast_advanced_jump_to]

Welcome to my Fall Home Tour, full of vintage fall decor, botanicals, and scientific decor.  

Rustic Neutral Fall Home Tour

The Dining Room

Let's start off in the dining room, it's the first room in our home, and I have to say that for this Fall Home Tour it's my favourite.  I'm so excited to show you my Botanical Scientific Vintage inspired Fall decor.  A botanist is someone who studies plants, and I was inspired to give the room a bit of a science feel this season.  

I love the outdoors, but especially this time of year.  The leaves are changing colour, the pumpkins are out, and the acorns are falling.  Every fall walk seems like an occasion to find some new treasure in nature.  I love the idea of bringing the outdoors in and that inspired me this fall.  I always decorate for fall with leaves and pumpkins, and pinecones, but this year there's lots of other little treasures from nature and they're all on display.

entry table with fall decor

Just in the front door, on the console table I've used a few glass cloches to display some pinecones, acorns made from Easter eggs -see how I made them here, and there's a magnifying glass for further inspection.

neutral fall decor

I used some scientific glass for vases.  Some I picked up at an antique market, and a couple of pieces are from Michael's Halloween section.
scientific glass vases

Fall Tablescape

I set the table for a fall get together.  Inspired by our botanists theme, I used some more cloches as centerpieces.

rustic neutral fall table
rustic neutral fall tablescape

I was inspired by the grey pumpkins and squash to keep the table in dark tones of grey, and black mixed with my usual whites.

rustic neutral fall decor ideas

I love how the greyish green of the seeded eucalyptus tied everything all together.

green fall table

At each placesetting, a science inspired favour for my guests.

neutral fall table ideas

I picked up some test tubes at Michael's and filled them with some candied nuts.  I added some science-y looking labels and used them as placards for my guests.  A feather adds to the botanist feel too.

rustic fall tablescape

The pretty matte black side plates helped bring the table together; I picked them up at IKEA.

brass candlesticks

The paint dipped brass candlesticks were some I made a while ago -see the tutorial here, and the little fairy lights helped add some sparkle.

fall table ideas


Bar Cart
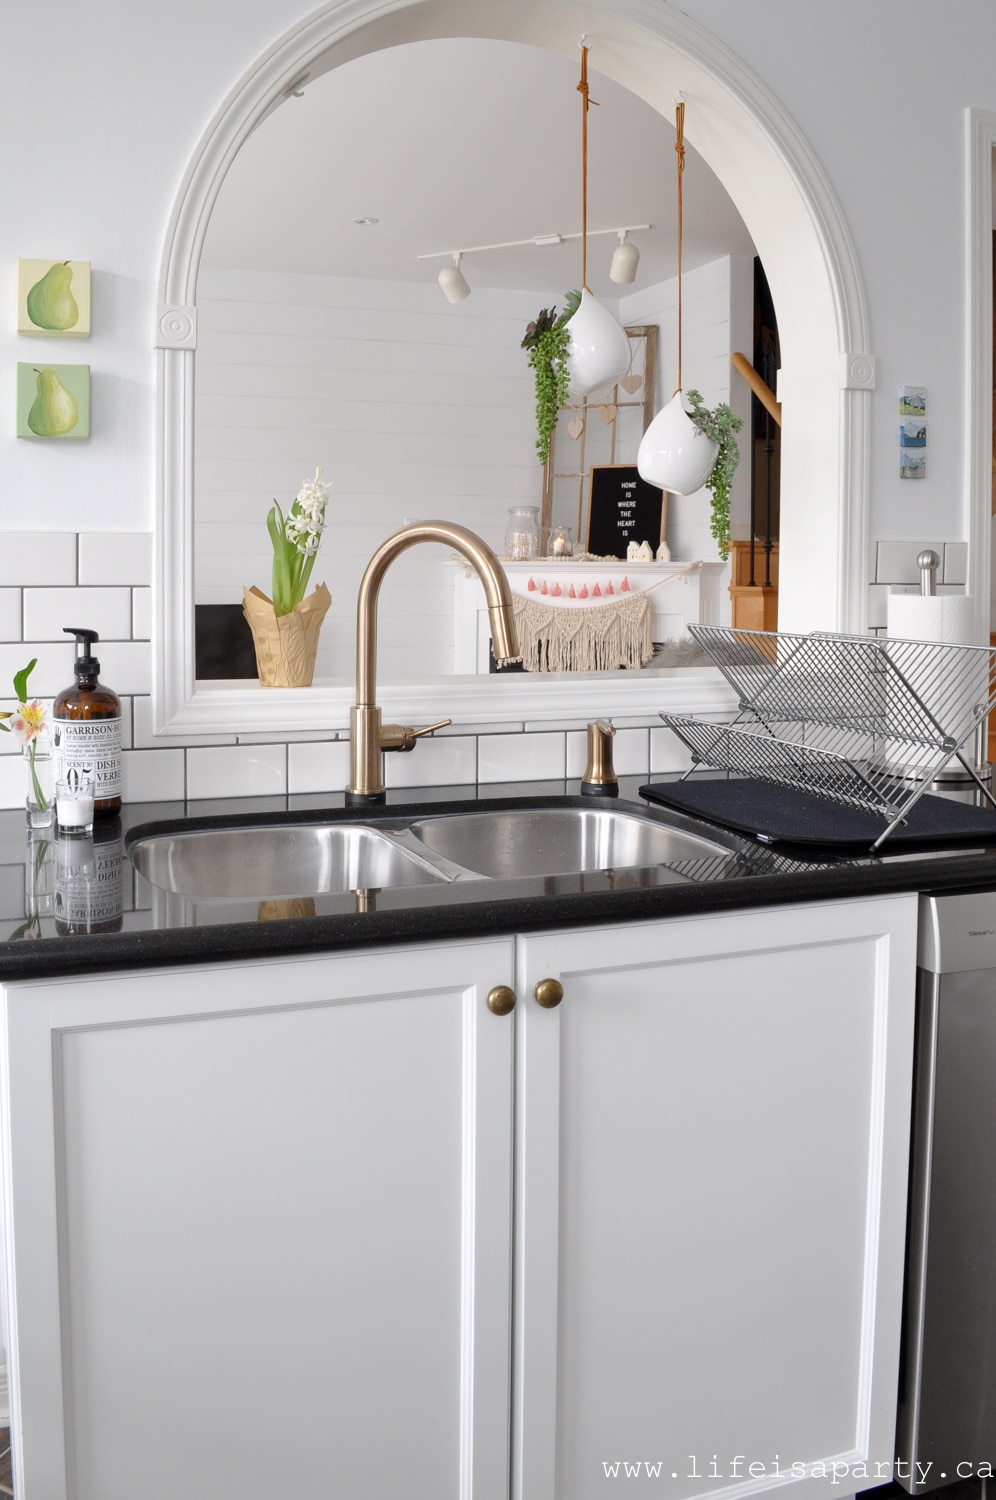
In the corner of the room I have a little bar cart.  It holds some of my favourite vintage glasses, ready for entertaining.

neutral fall bar cart
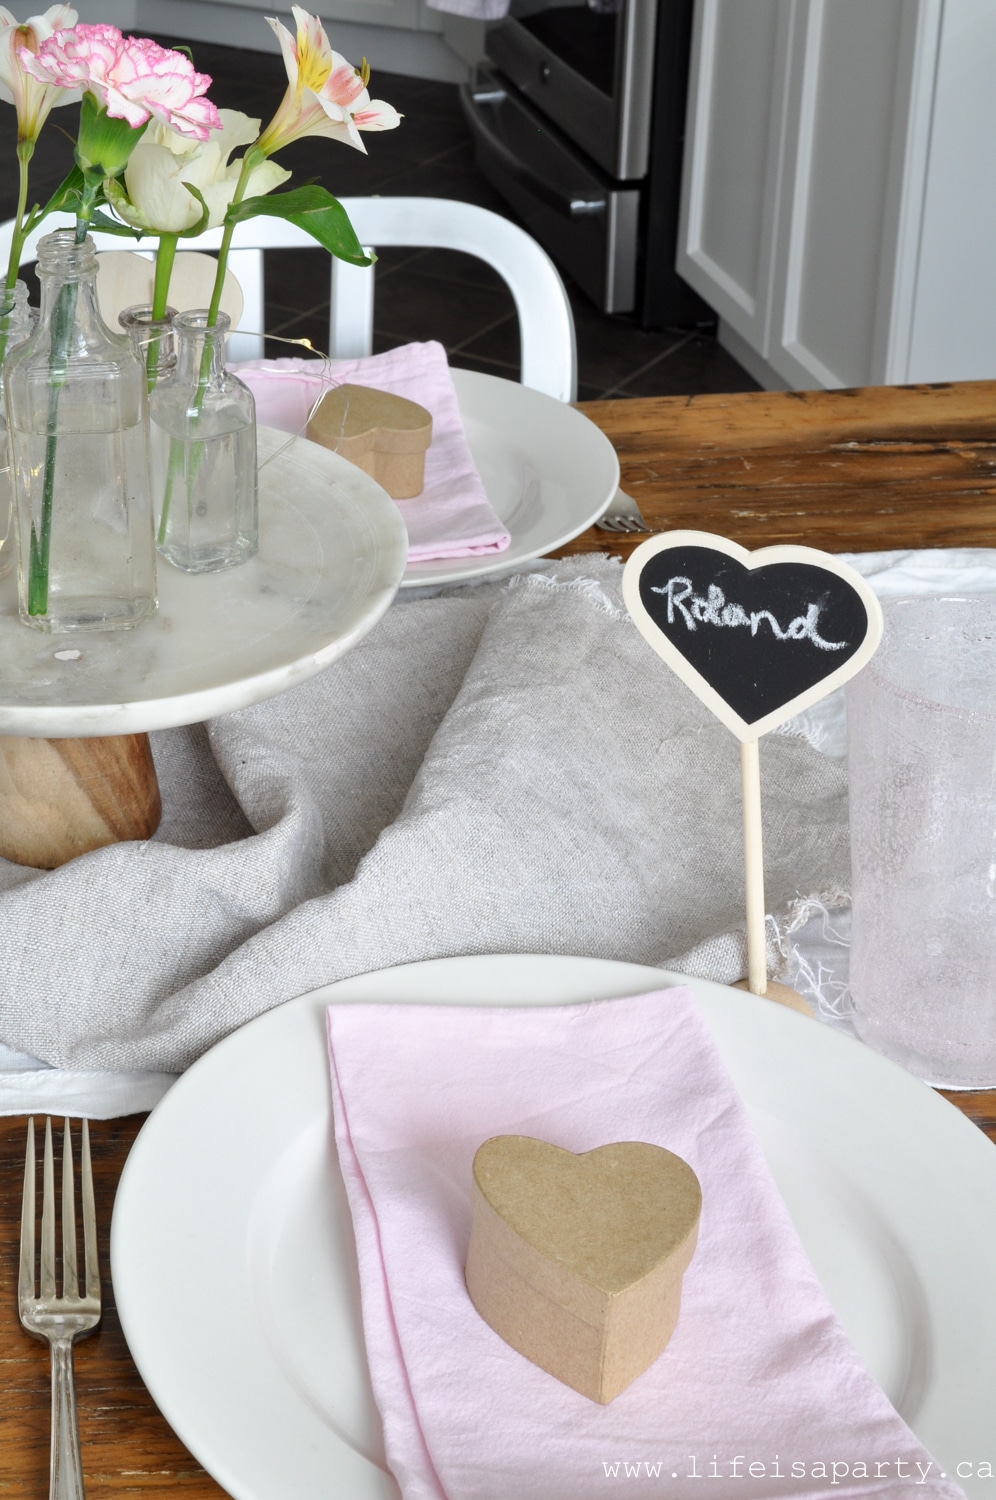
I've got it ready for fall with a collection of pretty pumpkins.  The book page leaf garland is a simple DIY I did years ago, and love to bring out very year -see the book page leaf tutorial here.

neutral fall decor

Vintage Fall Decor Display

My very  favourite part of the room is the display on the buffet.  I had so much fun collecting all the bits and pieces.
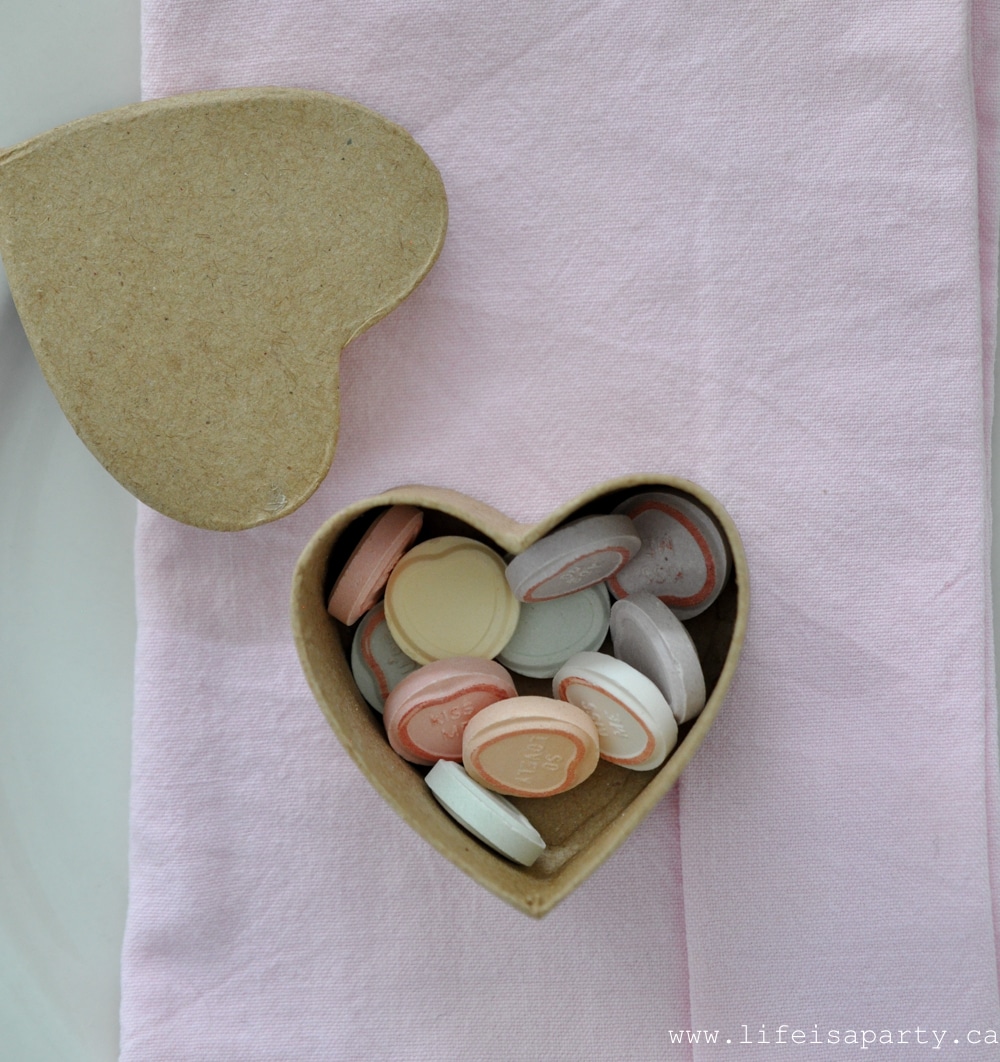
vintage fall decor

When I was at an antique fair a few weeks ago, I was on the look out for an old printers tray. Printers who worked with printing presses years ago used to keep all the letters in these special trays to organize them.  Lots of people use them today to display little collections.  
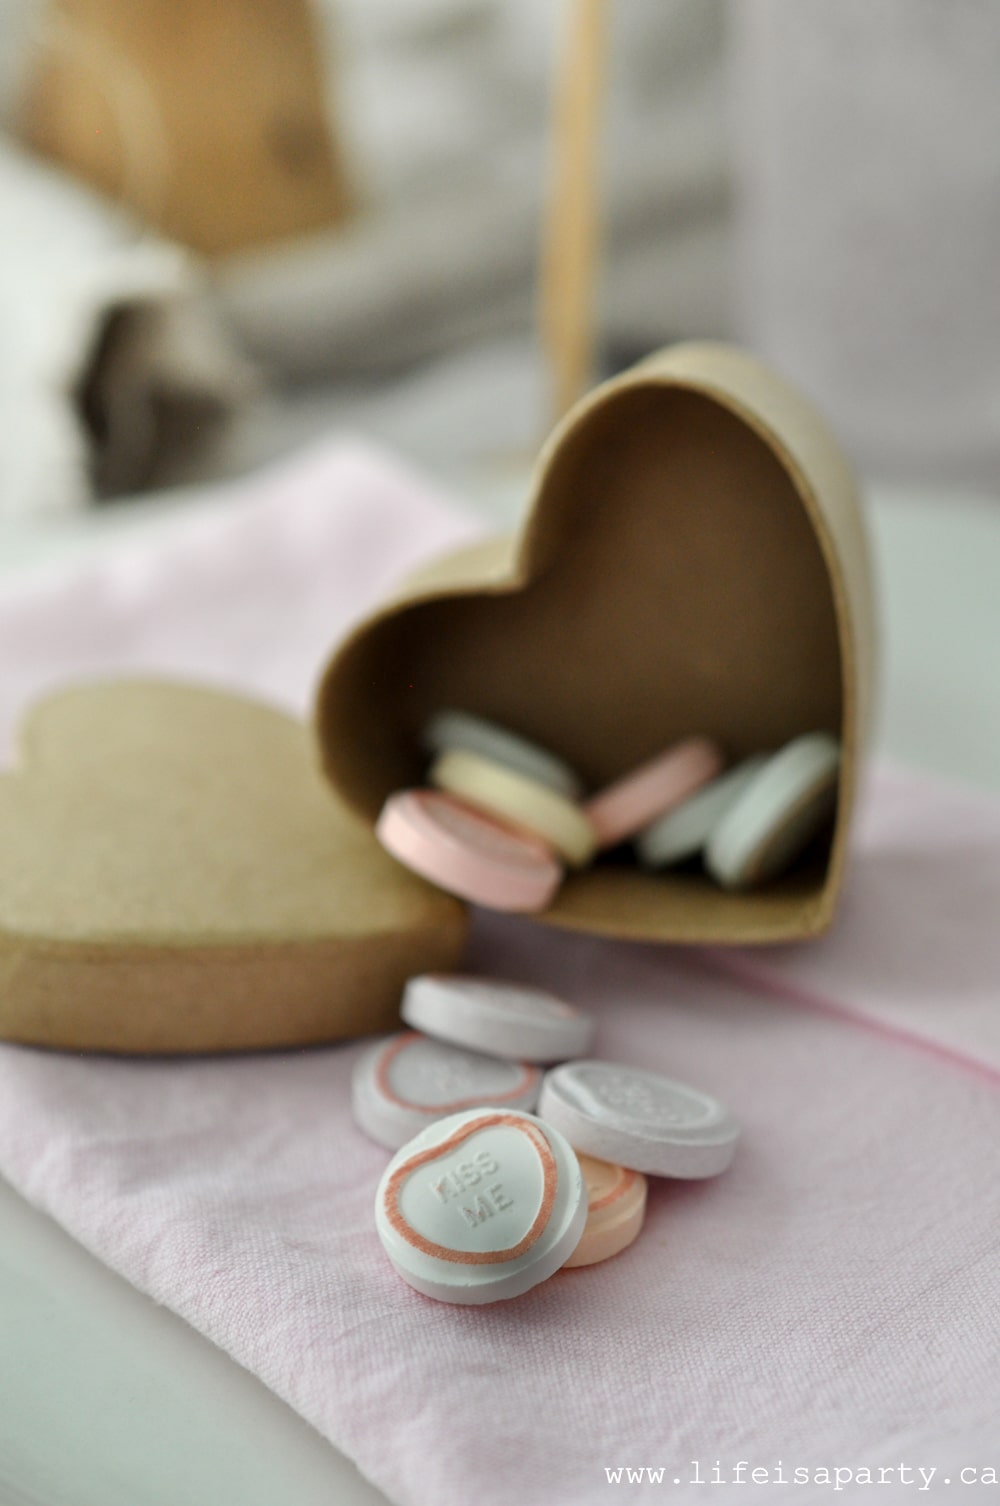
I wanted to use a science theme and the printers tray seemed like the perfect way to display seeds and nuts for fall.  We also included some botanical drawings as part of this display.  I made these ones, and there's a tutorial on how to hang large, inexpensive color engineer prints here. They were so simple and inexpensive to put together.
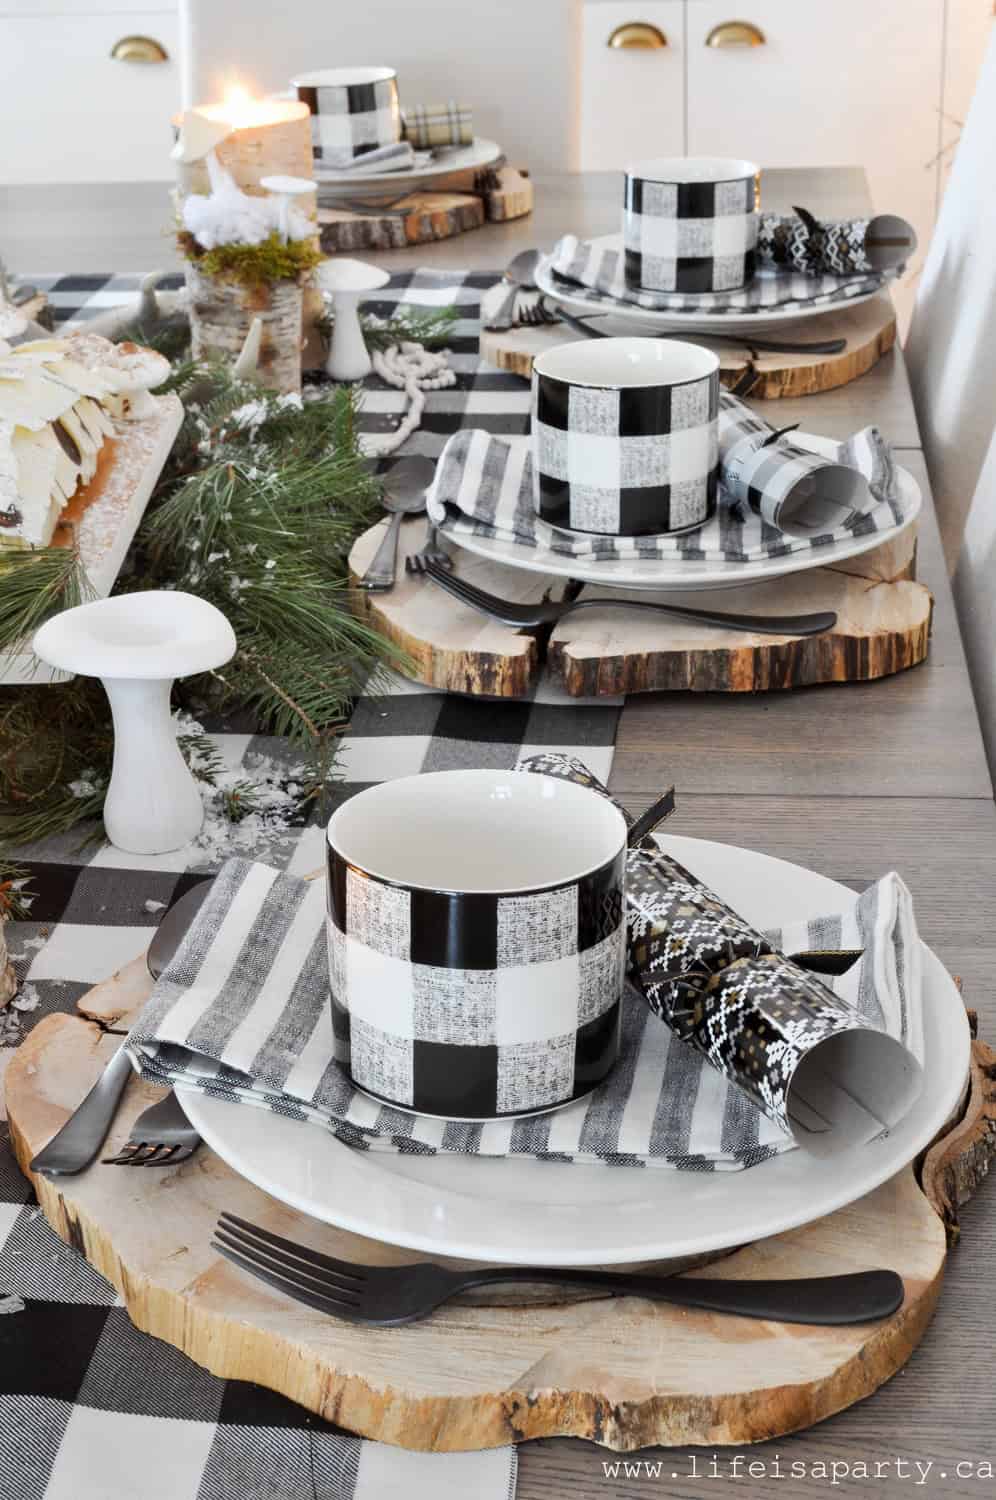
vintage botanical scientific fall decor ideas

And then in the front a collection of more treasures from nature.
vintage botanical scientific decor for fall

The real framed butterfly specimens and the vintage magnifying glass were picked up at the antique fair.  As were the antique apothecary jars.  I filled them with some acorns, chestnuts, and black-eyed peas.

vintage fall decor

The microscope was a kijiji find that my sister picked up for me.   And  on the table are more apothecary jars filled with seeds and some more vintage scientific glassware filled with beautiful feathers.

vintage botanical scientific fall decor ideas

Adding A Little Whimsy To My Decor

This little scene was so much fun to put together.  I was  inspired in part by Erin of Cotton Stem. She has a beautiful blog and instagram feed and always does such fun displays seasonally.  I love her style and how big and fun it is.  She's shown flowers hanging from ladders, books nailed to her walls, and this season copper kettles as pumpkins.  She made me feel like I had permission to choose a fun theme and really run with it.  
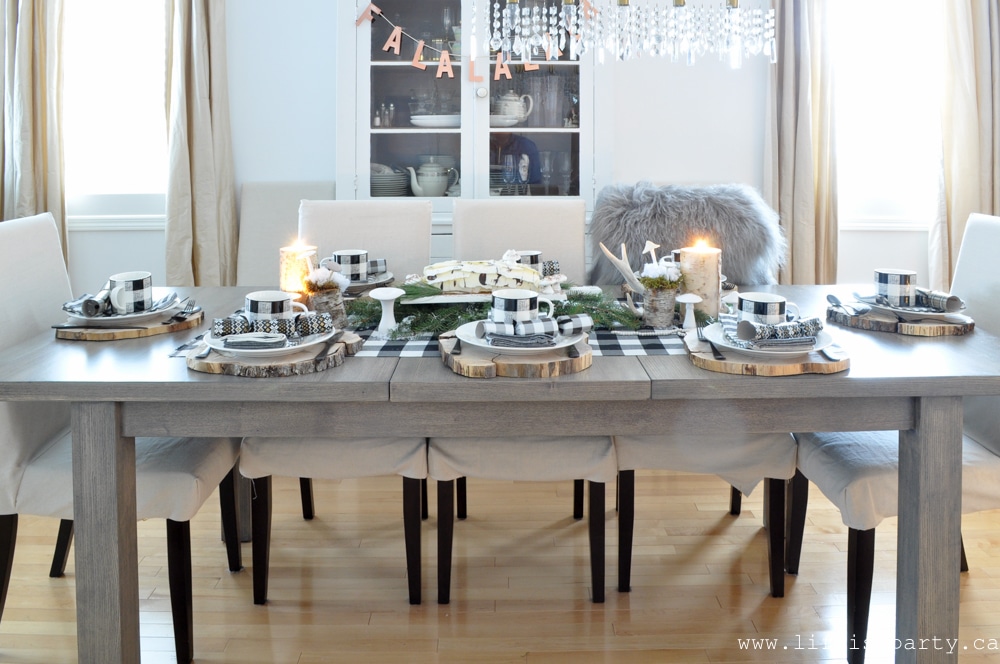
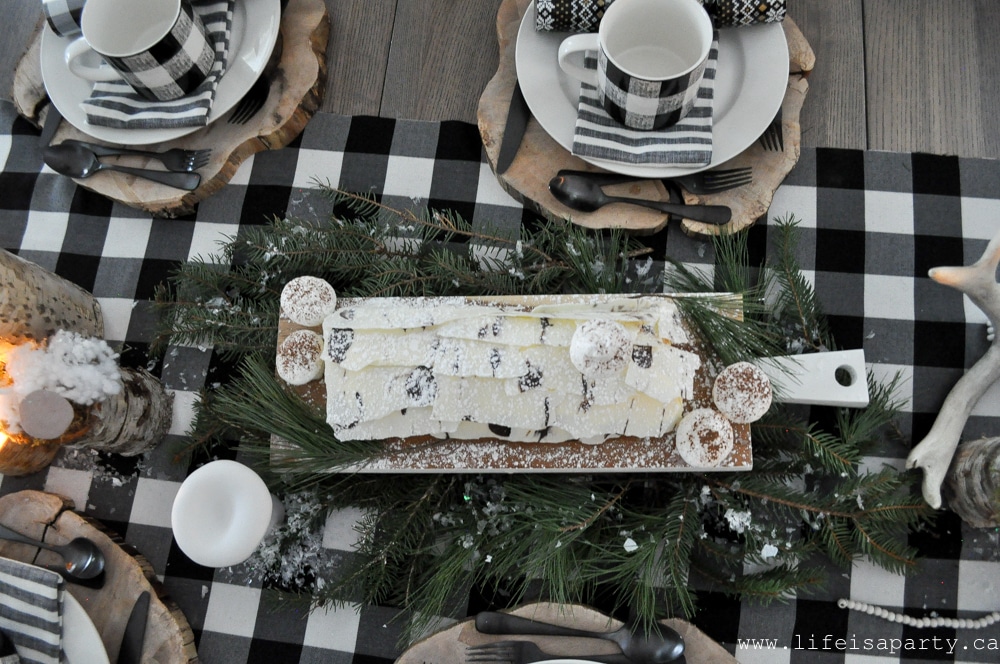
I know that everyone isn't this over the top when they decorate their homes seasonally.  But seeing hers, and seeing how well it's received by others made me feel like I had permission to go for it.  Years ago my sister had the sweetest little florist and gift shop and her and I would spend hours talking about things like her new store front windows each season.  Seeing Erin's displays made me feel like I could make my own little shop window displays in my house if I wanted to.  I hope I might inspire some of you to put the fun back into your decorating this season.

how to use vintage pieces in your fall decor

So that's my fun science-y botanists dining room this fall.  From the dining room, we head into the living room.

The Living Room

hello pumpkin

On this cute little table I have the sweetest "hello pumpkin" display set up.

hello pumpkin

The cute little brass deer is a thrift store find  and I love it.

vintage brass deer and pumpkins

Black and White Fall Decor Fireplace

In the living room this fall, I continued the greys from the dining room.

black and white fall mantel
black and white fall decor

The mantel was a lot of fun to put together.  The grey and white colour scheme inspired me to use a collection of tarnished silver.  And I used lots and lots of white pumpkins.

black and white fall fireplace mantel

Another favourite from this home tour are the fun pumpkin tassels, made of yarn and wooden beads.

black and white fall decor

The "gather" sign was a real quick and easy DIY last year.  I found an old and falling apart pallet on a walk in the woods, and took a piece of the wood home.  I used chalk to write out the word gather and when I was happy with it , I went over it in craft paint.

black and white fall decor ideas

You can find the tutorial of the book page flower pumpkin here.

black and white fall decor

Cozy Living Room Additions

To make everything feel cozy for fall I used lots of fur and pillows in the living room.

cozy fall living room
vintage fall decor ideas

Perfect for curling up with some tea and tv on a cool fall evening.

black and white fall decor

And over on the other side of the room lots more elements of nature brought in -the wood stump tables, the birch poles, and a little marble bowl filled with acorns.

black and white fall decor

The Kitchen

Last week I shared some pics from the kitchen -you can see it all here.  It's pretty neutral too, but with some hits of copper and rose gold.

fall kitchen decor


vintage fall decor ideas

I'm so glad you stopped by and I hope you're feeling inspired to bring some of the outdoors in this fall.

vintage fall decor ideas

With the house all decorated with vintage fall decor for fall, life really is a party!

More Fall Inspiration

You might also like Fall Home Tour 2019 here.

Fall Home Tour: Full of autumn decor ideas for Vintage Botanical Scientific Decor with Boho Maximalist Influence with lots of plants, insects, and pumpkins.
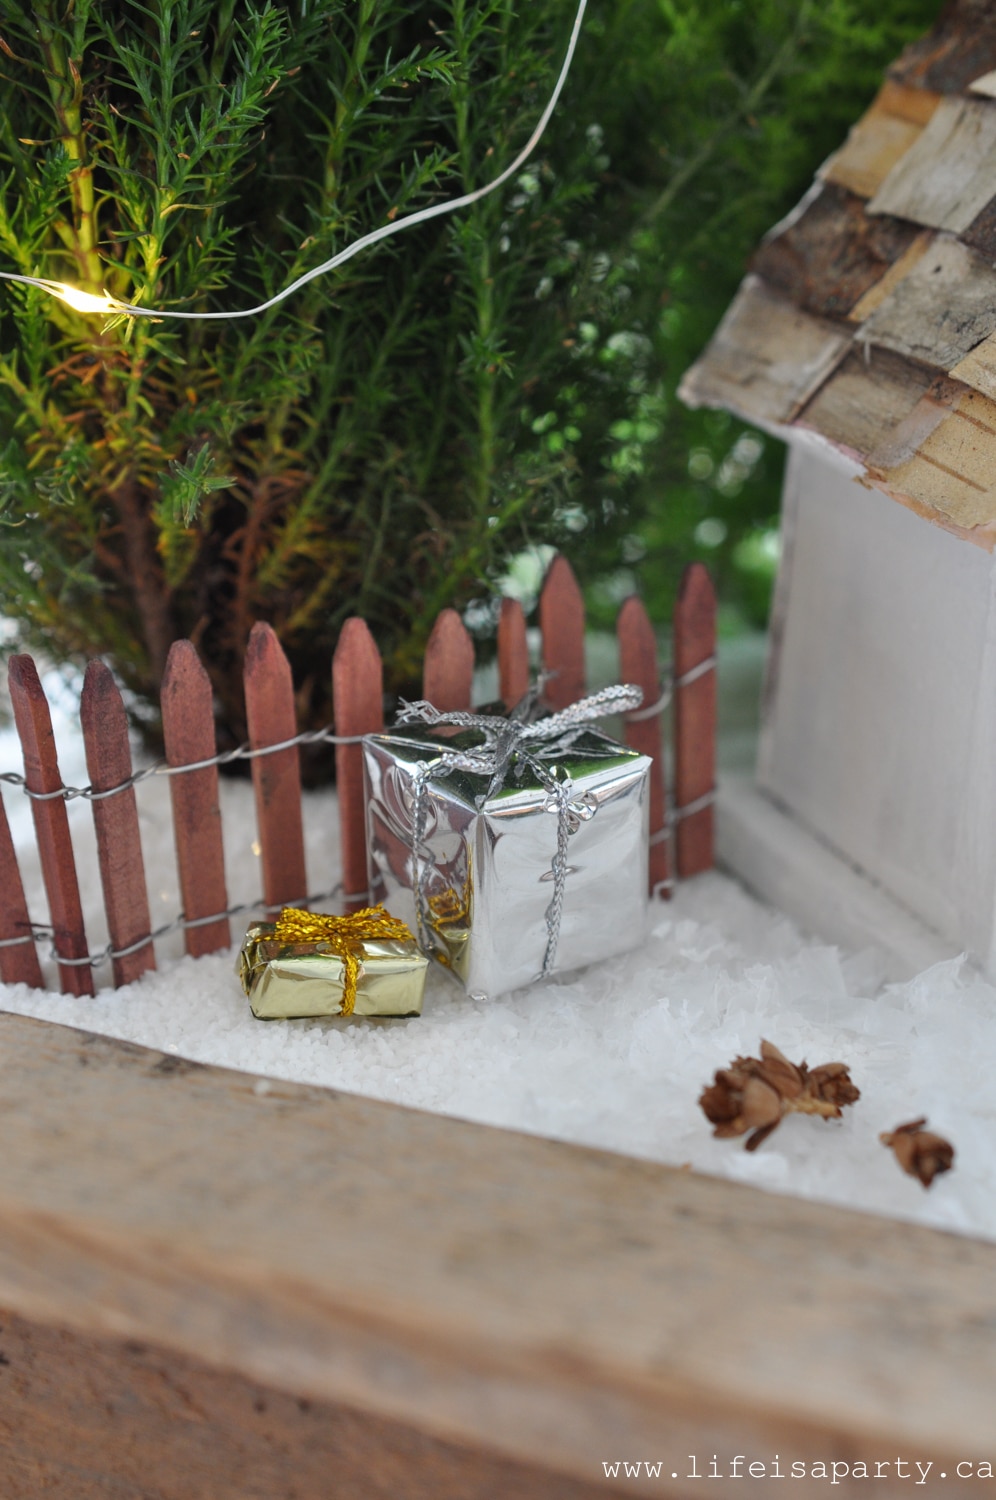
Also check out our Fall Home Tour 2018 here.

Fall Home Tour: With a nod to science this botanical scientific vintage decor brings the outdoors in, with lots of neutrals and mustard yellow.

You might also enjoy our 5 Ways To Make A Cozy Fall Bedroom here.

Cozy Fall Bedroom: 5 simple ways to make your bedroom cozy for fall, like candles, layers, books, natural elements, and neutral decor.

Pumpkin Spice Milkshake Recipe

Sep 23, 2017 · 1 Comment

How to make a pumpkin spice milkshake.

Pumpkin Spice Milkshake Recipe: the perfect treat for a warm fall day with creamy ice cream and warm pumpkin spices.

Pumpkin spice milkshake and toppings.
[feast_advanced_jump_to]

It's the first weekend of fall, but it's so hot outside that it feels like the height of summer!  What do you do on a fall day that's 30 degrees outside (86 for my American friends)?  You make a Pumpkin Spice Milkshake to enjoy the flavours of fall and beat the heat. ;). This is the perfect way to enjoy a little bit of the classic pumpkin spice flavor that we just can't wait for combined with the great taste of creamy ice cream.

Pumpkin Spice Extreme Milkshakes

During this time of year, we love all things pumpkin.  Pumpkin recipes are such a favorite that we wait all year for.  This Moist Pumpkin Breaad with Walnuts is one we love. You might also like our Pumpkin Blondies with Pumpkin Frosting, Pumpkin Shaped Dinner Rolls, and Pumpkin Spice Rice Krispie Treats Recipe.

Pumpkin Puree

When your making your pumpkin spice milkshake, be sure to use pure pumpkin and not pumpkin pie filling.  The canned pumpkin pie filling has spices and sugar added.  You can use canned pureed pumpkin for this recipe, or roast a pie pumpkin and make your own pumpkin puree.  This is a great recipe to use if you have some leftover pumpkin pie ingredients like pumpkin puree to use up.

Toppings

This pumpkin spice milkshake is delicious on it's own.  It's like a slice of pumpkin pie in a glass.  But if you're a fan of pumpkin pie, why not add it to the top of the milkshake, or a few other fall inspired treats.  We made ours into Extreme Shakes by adding lots of fun toppings and turning them into a full dessert!  If you want to bring this drink to the next level for the pumpkin spice lover, you can add more toppings on top for extra pumpkin flavor.  

We started out by dipping the empty rim of the glass into some melted chocolate, then we rolled sprinkled some cut up M&Ms on it, and some fall sprinkles.  Let that sit before making your milkshake.  Once it's set and you've added your milkshake you can add lots of toppings on top.  A drizzle of caramel sauce would be a great starting point.  Then we piled the glass with a maple filled donut, resting it on the rim.  We added some whipped cream and maple cookie and then finished it all off with orange rock candy, some festive fall straws and more sprinkles.  Adding cinnamon sticks would be a great option as well. They were so good!  You could even go as far as to add a slice of pie if you wanted to.  They don't call them extreme shakes for nothing!

Pumpkin Spice Milkshake recipe

These pumpkin spice milkshakes are the perfect way to treat yourself on a warm fall day.  Find all the simple ingredients at the grocery store.  If you're a fan of delicious pumpkin desserts then we guarantee you'll love this combination of creamy vanilla ice cream, and warm spices.  This delicious pumpkin spice milkshake with it's smooth consistency and great flavor is the perfect fall treat.  You and your family will want to add this to your favorite fall recipes

Pumpkin Spice Extreme Milkshake

Recipe

How to make a pumpkin spice milkshake.

Pumpkin Spice Milkshake

Creamy pumpkin flavoured pumpkin spice milkshake with lots of fun toppings.
5 from 1 vote
Print Pin Rate
Course: Drinks
Cuisine: American
Prep Time: 5 minutes minutes
Total Time: 5 minutes minutes
Servings: 1
Calories: 1521kcal
Author: Dannyelle Nicolle-Ramjist

Ingredients

  • 4 scoops vanilla ice cream
  • ½ cup milk
  • ¼ cup pumpkin puree
  • ½ teaspoon pumpkin spice
  • 1 teaspoon sugar
  • Optional toppings: melted chocolate sprinkles, chopped M&Ms, maple or pumpkin donut, whipped cream, orange rock candy, maple cookie

Instructions

  • Melt chocolate chips and dip the rim of the glass into it. Add sprinkles and chopped M&Ms to the rim, and allow to harden.
  • In a blender combine ice cream, ½ cup of milk, pumpkin puree, pumpkin spice, and sugar. Blend until completely smooth. Pour into chocolate rimmed glass.
  • Add whipped cream and other optional toppings on top. Enjoy!

Nutrition

Serving: 1g | Calories: 1521kcal | Carbohydrates: 203g | Protein: 23g | Fat: 72g | Saturated Fat: 35g | Polyunsaturated Fat: 32g | Trans Fat: 1g | Cholesterol: 184mg | Sodium: 775mg | Fiber: 10g | Sugar: 153g
Tried this Recipe? Tag me Today!Mention @LifeisaParty or tag #lifeisaparty!

If you're a big fan of a pumpkin spice latte, this is the perfect option to enjoy instead if the weather is hot.

how to make a Pumpkin Spice Milkshake

With a homemade Pumpkin Spice Milkshake, life really is a party!

More Recipe Inspiration

You might also like our Pumpkin Spice Rice Krispie Treats here.

Also check our our Gingerbread Milkshakes here.

Gingerbread Extreme Milkshake Freakshake: Recipe for gingerbread syrup and gingerbread extreme milkshakes. Perfect treat for the holidays.

You might also enjoy our Pumpkin Blondies with Pumpkin Frosting here.

Fall Home Tour 2017 -Fall Kitchen Decor
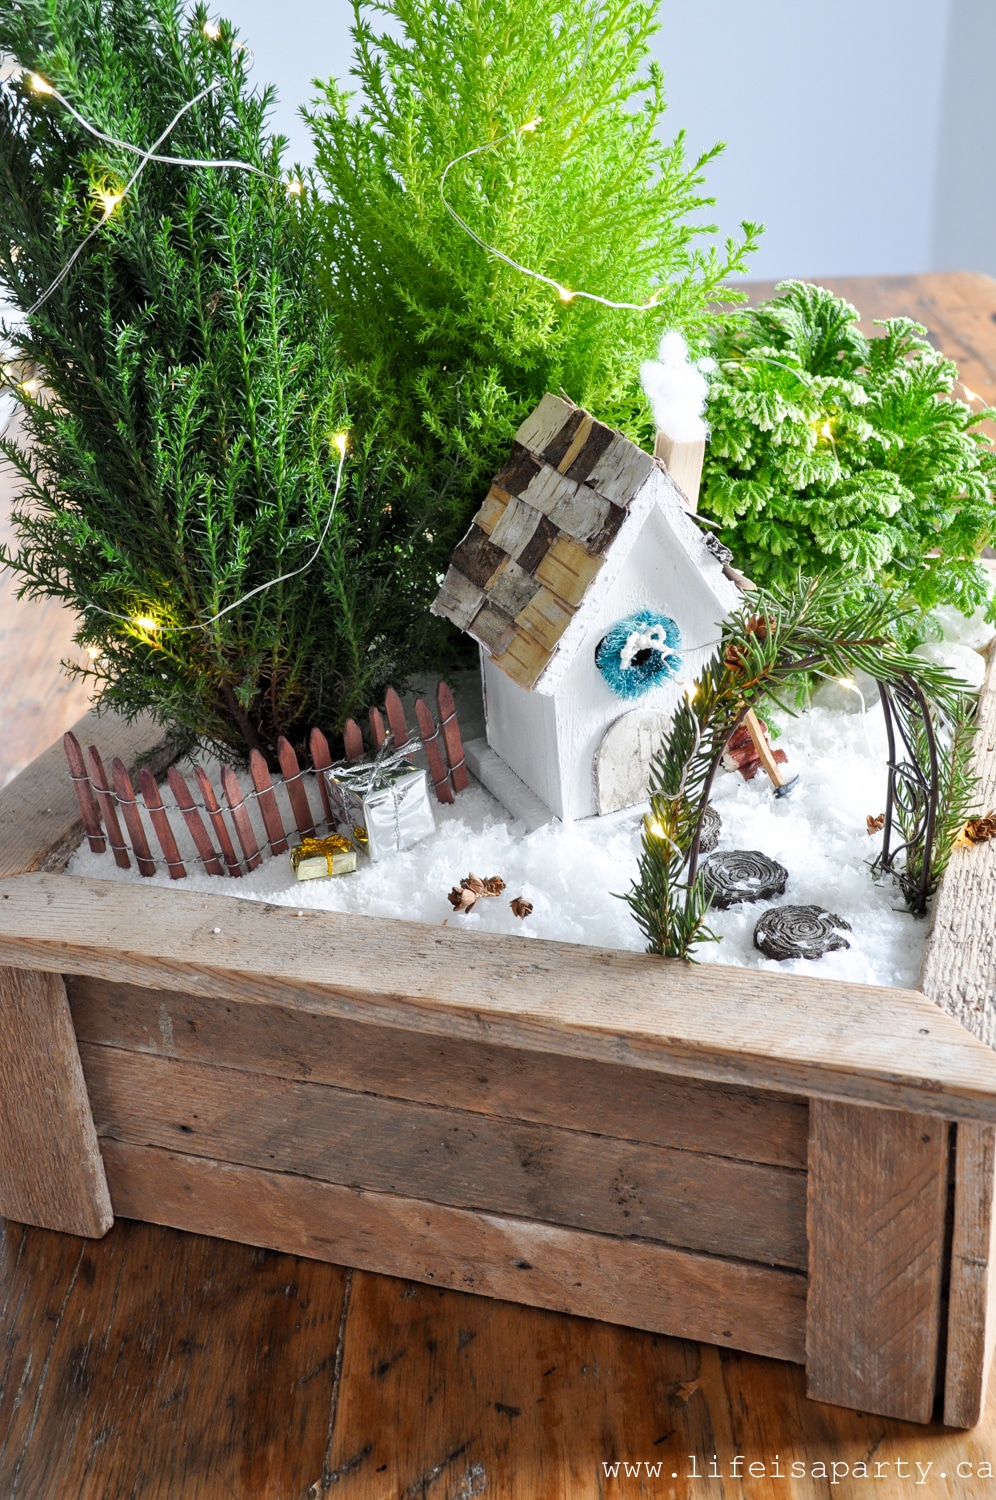
Sep 22, 2017 · 22 Comments

Fall Home Tour -Fall Kitchen Decor boho and natural elements mixed with copper and rose gold for a warm fall look.
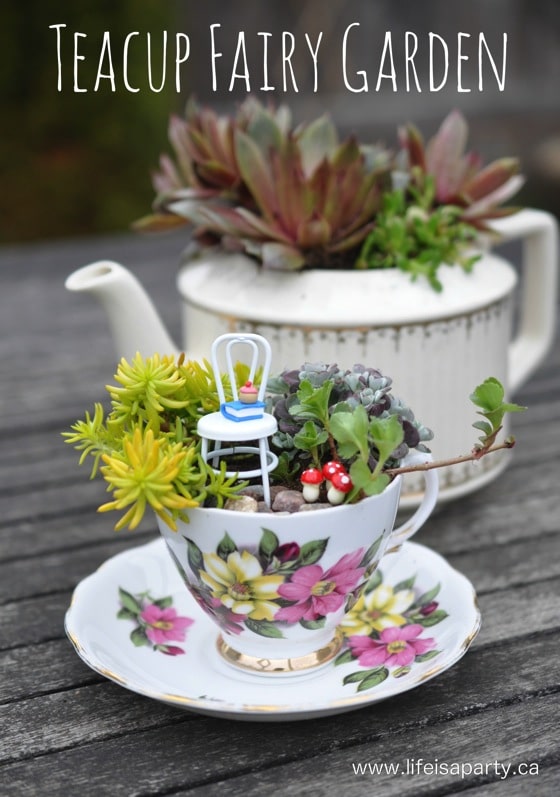
Fall Home Tour -Fall Kitchen Decor boho and natural elements mixed with copper and rose gold for a warm fall look.
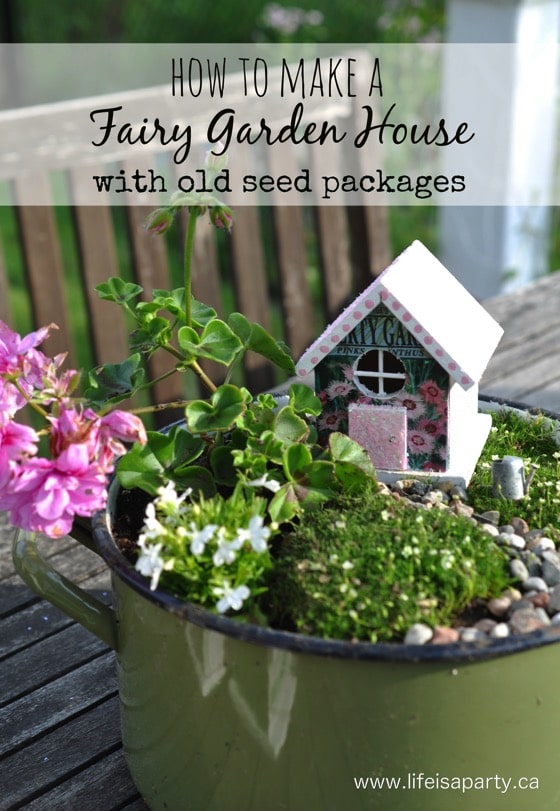
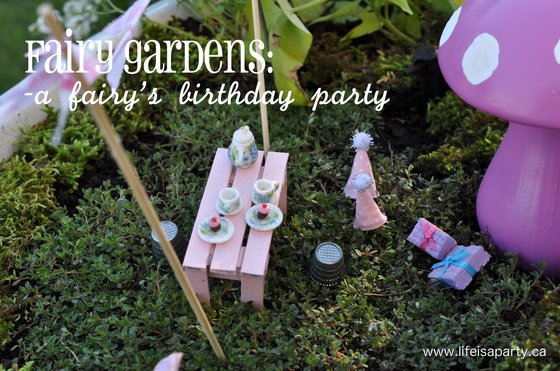

Welcome and thanks for stopping by.  I'm excited to share my fall kitchen decor with you today.  It's been so hot here this week, but the calendar says it's officially the first day of fall.

We are blessed to have a forest behind our house, and I have noticed the leaves are just beginning to turn colour.  I'm sure the cool days are not too far off.
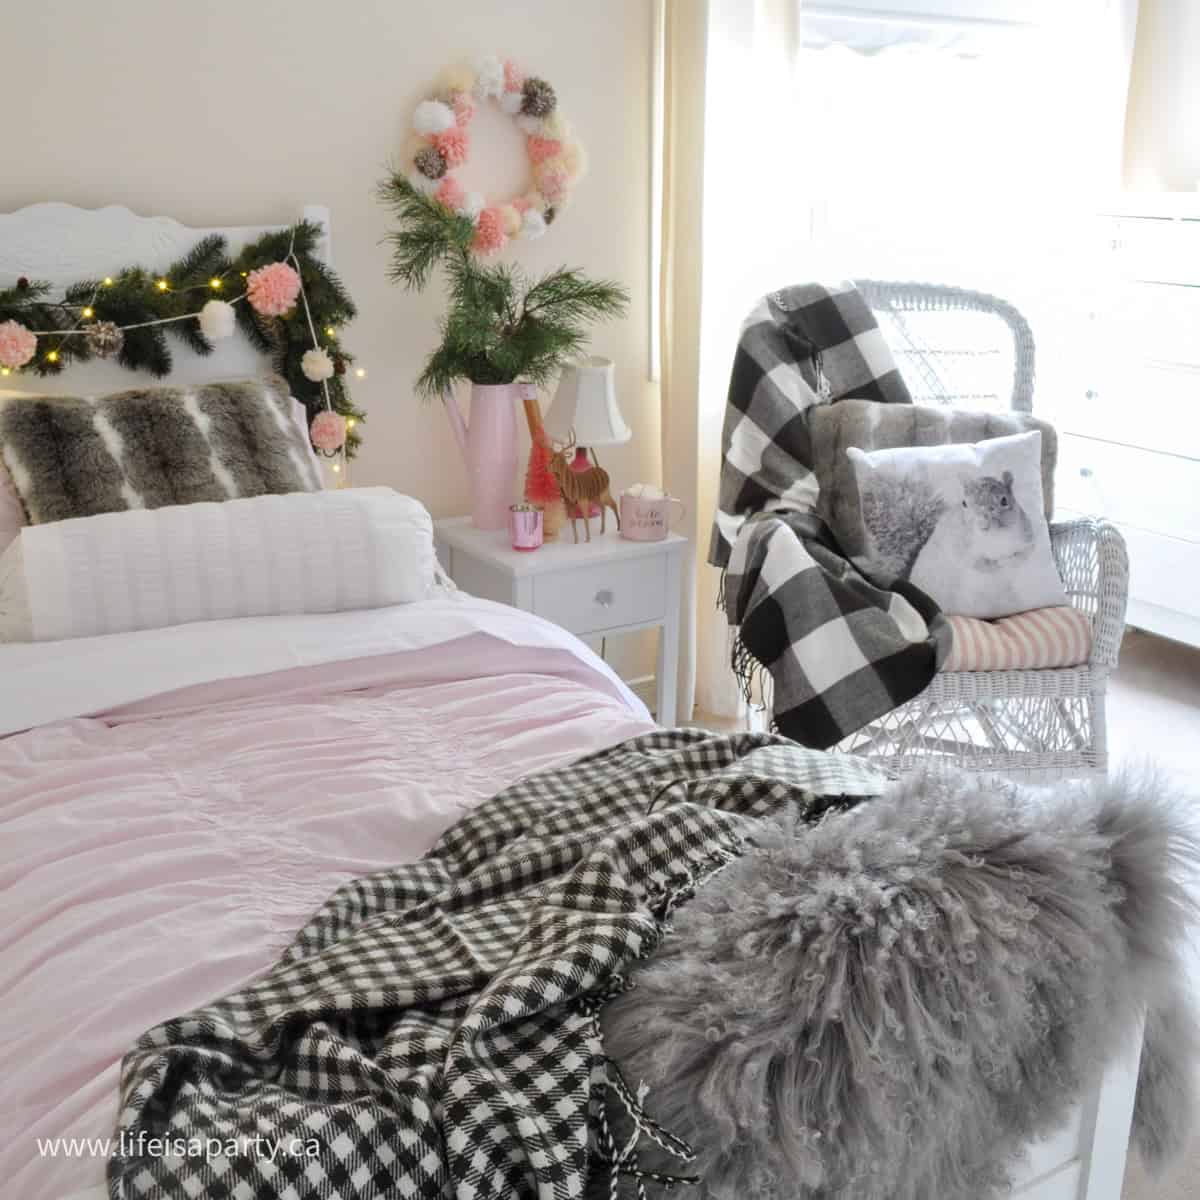
This year I was so excited to decorate my kitchen eating area for fall after it's big makeover in the fall.  I love how white and bright it is now. I decided to go with mostly neutrals in here for fall, with lots of pretty hits of copper and rose gold, and a little bit of the traditional orange for all the fall vibes.

Neutral and Copper Rose Gold Eating Area

fall kitchen decor ideas

My very favourite element has to be the macrame table runner.  I just finished it yesterday after lots of trial and error.  It adds so much lovely texture and warmth to the space.

boho fall decor

It was fun to put together this pretty centre piece with lots of warm neutrals and coppers and rose golds.  I found the lovely peachy pumpkin at a farm stand and love all its pretty texture.

The hydrangeas are some from my garden that I dried and I love the colour.

peach pink pumpkin

The cake stand is a recent find, and seemed like the perfect stage for a few little treasures.

boho fall decor

I added some pretty Baby Boo white pumpkins because they're just so cute.

And the little amber glass jar turned candle holder is actually just an old yeast jar that I was going to recycle and then rescued because I thought it would be a perfect little tea light holder for fall.

amber glass candle holder

Over on the other side, a few black-eyed susan's picked from my garden in another recycled glass jar. They always make me think of fall.

fall kitchen decor ideas

I also included a pretty little succulent in a vintage copper cup and old key.

succulent in vintage copper cup

I love grouping together smaller items for a sweet little display full of interest and treasure.

boho fall decor ideas

Side Cabinet

And behind the table on the little side cabinet, another little grouping for fall.

fall decor ideas

The cabinet itself is an antique piece that I made over last summer.  It's perfect here for housing all the puppy stuff -food, leash, treats, etc.  In the background is my fall subway art.  I made it years ago -see how here.  I love how it's really personalized with everything that means fall to our family.

white pumpkins and antler

This pretty antler is one that my oldest daughter and I found in the woods behind our house one day when we were out walking the dog -it's a real treasure to us.  And I love how it looks grouped with some white pumpkins.

vintage thermos fall vase

Over on the other side I added in some pretty leaves.  What better vase than this old antique thermos with wood grain that I found out thrifting one day.  I've grouped it with this pretty squirrel and some felted acorns.

fall kitchen decor

The rest of the house is much more neutral this year with some greys thrown in, but I'm loving the warmth of the copper and rose gold in the kitchen.

boho fall decor ideas

Thanks so much for stopping by to visit.  I'll be sharing the living room and the dining room all dressed up for fall on Tuesday, so be sure to come back.  And, don't forget to visit all the other amazing home tours listed below.

With a pretty fall kitchen decor, life really is a party!

More Fall Decor Inspiration

You might also enjoy our Fall Home Tour 2019 here.

Also check out our Fall Home Tour 2018.

You might also like our 5 Ways To Make A Cozy Fall Bedroom here.

Slow Cooker Spinach and Artichoke Dip

Sep 13, 2017 · 4 Comments

Spinach and artichoke dip.

Slow Cooker Spinach and Artichoke Dip: Perfect for easy entertaining, just add everything to the slow cooker and forget about it.

Spinach and artichoke dip.
[feast_advanced_jump_to]

Spinach and Artichoke Dip is such a favourite.  It's that perfect creamy cheese dip and the spinach and artichoke flavor, and enjoying it all on a crispy chip, what could be better?  And the fact that this warm dip is so easy, and all you have to do is put everything in the slow cooker and forget it about until you're ready to indulge is just another huge plus for this recipe.  It's one of my family's favorite recipes.

Fall days are here, and it's lovely to get out the slow cooker for some warm and easy recipes.  These cool days are made for Sunday afternoon football games and get togethers and this couldn't be a better easy appetizer recipe to enjoy with friends.  Slow Cooker Spinach and Artichoke Dip is the perfect warm and comforting dip to enjoy on a cool day or evening.  It's also always a hit a potluck too, or for a football season game watching party, or super bowl party snack.  This delicious appetizer is sure to be a hit at holiday parties too.  This awesome recipe is also a real crowd pleaser.  This delicious dip is a total winner with only about 15 minutes of prep work.  This hot spinach artichoke dip recipe is sure to become a new favorite.
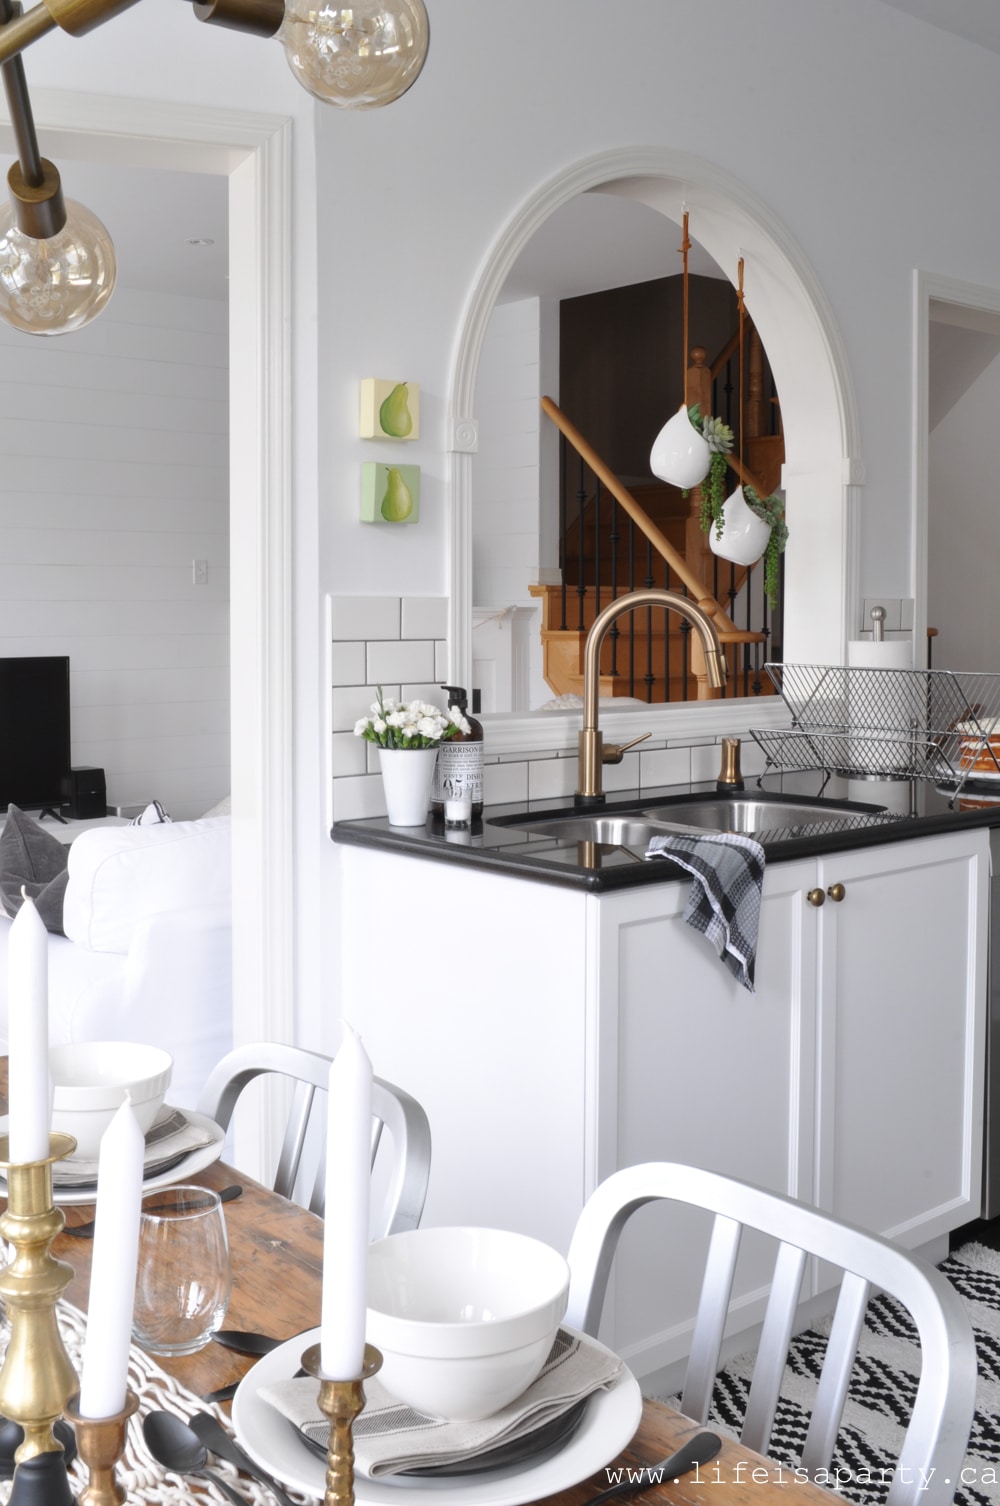
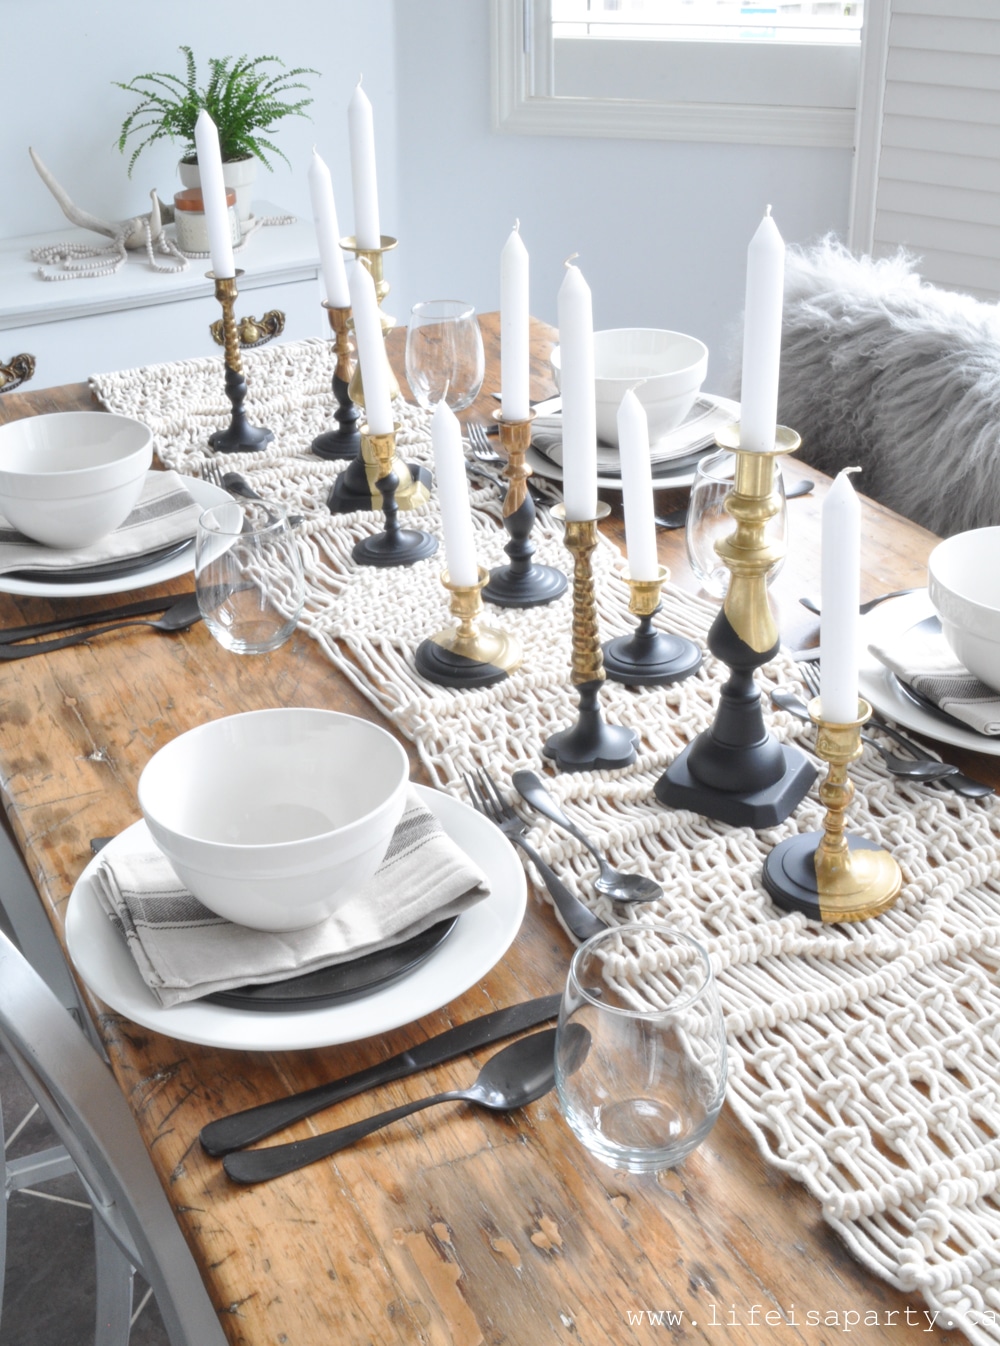
Slow Cooker Spinach and Artichoke Dip and pita chips

Make In The Slow Cooker

This Slow Cooker Spinach and Artichoke Dip is sure to be a hit.  It's easy to make and sooo good!  It's warm and creamy, but has great chucks of artichoke and great mix of cheeses.  I love being able to put it all in my slow cooker and forget about it.  After it's all finished cooking on low heat, you can leave it on the warm setting, and it's all ready to serve.  Be sure to give it a good stir, every so often while it's on the warm setting.  You can even put it together the night before and then just take it out of the fridge and put it in the crockpot the next day before serving.  If the dip becomes too dry you can always stir in little milk to make it more runny.

how to make Spinach and Artichoke Dip

Favorite Dippers

I usually serve this warm spinach dip with some homemade pita chips.  They're easy to make too.  Just cut up some pita bread into triangles, brush with a little oil and toast them in the oven until crisp.  Tortilla chips are great easyn option too, or just plain pita bread.  Bagel chips are a great option as a dipper for this crockpot spinach artichoke dip recipe.

Ingredients

Look for canned artichokes at the grocery store and be sure to drain and chop artichoke hearts  before adding them to the crock pot spinach artichoke dip.

We used frozen chopped spinach.  Just let it thaw and squeeze out any water before adding it to the dip.  If you forget to defrost the spinach before hand, like I have a few times, you can defrost in the microwave.  Just be sure to drain it well before adding it to the crock pot.

You can use full fat cream cheese or low fat cream cheese in this recipe. This dip has such a creamy base, that either version will work great here, so use whichever you prefer.  It's easy to blend the cream cheese into the dip if it's at room temperature, but if you forget to take it out of the fridge before hand don't worry the block of cream cheese will melt as the dip warms up in the slow cooker.  For best results, just be sure to stir it occasionally as it warms up so that you can fully incorporate it into the dip.

Spinach and Artichoke Dip and pita chips

Leftovers

If you have any leftover spinach artichoke dip, you can store it in the fridge in an airtight container.  Warm up leftovers in the microwave and serve warm.

Slow Cooker Spinach and Artichoke Dip recipe

This creamy, tasty dip with chips really is the perfect warm dish that's great for entertaining, and real comfort food.  It's sure to become one of your favourite dip recipes.  The best part of this great recipe is it's not too much work to put together.  It's so perfect for pot luck parties or a holiday party, or just enjoying at home.  It uses simple ingredients and has the best flavor.

Recipe

Spinach and artichoke dip.

Slow Cooker Spinach and Artichoke Dip

Creamy warm spinach and artichoke dip makes the perfect appetizer or snack.
No ratings yet
Print Pin Rate
Course: Appetizers
Cuisine: American
Prep Time: 15 minutes minutes
Cook Time: 1 hour hour 30 minutes minutes
Total Time: 1 hour hour 45 minutes minutes
Servings: 18
Calories: 82kcal
Author: Dannyelle Nicolle-Ramjist

Ingredients

  • 1 can (14 oz. artichoke hearts roughly chopped
  • 10 oz package frozen chopped spinach, thawed, drained and squeezed dry
  • 8 oz package cream cheese
  • 8 oz container sour cream
  • ¾ cup grated parmesan cheese
  • ¾ cup milk
  • ½ cup crumbled fetta
  • 1 onion diced
  • ½ cup mayonnaise
  • 1 tablespoon red wine vinegar
  • 2 cloves garlic minced
  • freshly ground pepper

Instructions

  • Drain and roughly chop the artichoke hearts. Squeeze out any excess moisture from the frozen chopped spinach, and dice an onion. Combine all the ingredients in a slow cooker. Stir to combine.
  • Cook on low for 1 - 1 ½ hours, stirring occasionally, until everything is warm.
  • Serve the dip warm with chips, pitas, or pita chips.

Nutrition

Serving: 1g | Calories: 82kcal | Carbohydrates: 2g | Protein: 2g | Fat: 7g | Saturated Fat: 2g | Polyunsaturated Fat: 5g | Cholesterol: 10mg | Sodium: 138mg | Sugar: 1g
Tried this Recipe? Tag me Today!Mention @LifeisaParty or tag #lifeisaparty!

With this Slow Cooker Spinach Artichoke Dip recipe, life really is a party!

More Slow Cooker Recipe Inspiration

You might also like our Slow Cooker Beef Stroganoff recipe here.

Also check out our Slow Cooker Homemade Baked Beans recipe here.

Back To School Family Dinner Party

Sep 6, 2017 · Leave a Comment

Back to school celebration table set with chalkboard runner and apple centrepiece.

This Back To School Party Family Dinner is the perfect new tradition to start with your family. Your kids will love a chance to tell you all about the first day, new teachers, and friends with a fun back to school themed table.

Back to school celebration.
[feast_advanced_jump_to]

Why We Love This Party

  • It's a great tradition to start the school off.
  • Back to school is a big transition and traditions like this one help kids get excited.
  • It's always a great surprise for kids to get home from school and find a beautiful party like this all set up.
  • It's a chance to intentionally hear about new teachers, friends, and how their day went.

It's a tradition in our house to have a special Back To School party family dinner on the very first day.  We hear all about new teachers, and who's sitting where, and if the teachers seems nice so far.  Our girls can't wait to take their turn and tell us all about it.  

While they're at school that first day, I take the time to put together a Back To School themed table and they can't wait to see it when they get home.

Back To School Family Dinner

It's getting a little tricky to come up with new ideas each year after doing it so many times. You can see the best of my Back To School Party Ideas here, and the book themed party here. Also check out our free back to school printables, Marshmallow Pencil Snacks, and Back To School Snack Mix.

Back To School Party Decor Ideas

This year I was inspired by apples and succulents.

back to school party decorations

I've been pinning fall decor on pinterest, and saw pumpkins planted with mini succulents the other day and it inspired the idea of hollowed out apples with succulents planted inside.

back to school party decorations

I ended up using some great faux succulents, but real ones planted in apples would look amazing too.

I also hollowed out a few apples to hold some tea lights.

school themed party

And from there the apple ideas continued.

Apple Balloons

school themed party decorations

On the side cabinet I set up a sweet little Back To School vignette, and added these DIY apple balloons.

DIY apple balloons

I picked up some simple round red mylar balloons at the party store, and added green ribbon, a brown paper stem and green leaf with some clear tape.

So simple and so cute.

school themed party decorations

I also added in a few school supplies.

back to school party ideas

Chalkboard Table Runner

Over on the table, I started out with a "chalkboard" runner.  It's made out of simple black wrapping paper.  It was a bit too wide, so I folded it in half.  I added "A B C" with some chalk.

how to throw a back to school dinner

Then it was time for a few fun DIY additions.

back to school party ideas

The little apple chalkboards were picked up at the dollar store, and made great little placards for us.

Back To School Family Dinner ideas

Gum Ball Pencils

The Gum Ball Pencil favours for the kids were really easy and inexpensive to make.  I picked up the individual gum balls at the party store, removed them from their packaging and placed them in these glass test tubes from the craft store.

first day of school party

Pencil Stir Sticks

Another fun DIY detail were these little pencil stir sticks.  I was inspired by the Studio DIY version.  For mine, I used a straw, tissue paper for the top, and then washi tape to hold the tissue paper in place. Then I covered the tape with some gold string, and they turned out so cute.

pencil stir stick

Apple Desserts

We also have an apple themed dessert for these back to school family dinners every year, so this year I made my grandma's apple dumplings.

DIY apple donuts

But as a little added dessert bonus, I also made these cute apple donuts.

apple donuts

These simple apple donuts are made with honey dip donuts I picked up at the donut store.  I made some red icing using red gel food coloring, and spread some on top.  The stem of the apple is made from a pretzel stick and the leaf is a green skittle.

Back To School Family Dinner

We had a great time hearing all about our girls adventures so far in a new grade.

And don't worry, if you're feeling inspired to start this new family tradition at your house it's not too late.  How about you celebrate Friday night with a "you survived the first week of school" party!  And, be sure to pin this idea for next year too. 😉

With a Back To School Family Dinner, life really is a party!

 Frequently Asked Questions

How do you keep it a surprise?

I usually start prepping a few weeks ahead, picking up supplies my kids don't know about. After I drop them at school on the first day, I come home and set it all up, and cook. I know some families do it as a breakfast party, and set it all up the night before, after their kids go to bed.

Where did you get the balloons?

These are inexpensive helium balloons from dollar tree. We added a simple paper stem and leaf and transformed them into apples. You could also use regular red balloons and blow them up and tape them to the ceiling for a similar effect.

How did you get your apple donut icing so red?

Use gel icing. It's much more intense than regular liquid food coloring, where the red often leaves things more pink colored.

If you try the Back To School Family Dinner Party, or any other ideas on my blog please let me know how it went in the comments below. Thanks for visiting today!

More Back To School Party Ideas

  • Back to school party ideas of table decorations, apple balloons, book garland, and smart cookies with glasses.
    20 Back To School Party Ideas
  • Back to School themed foods snacks and treats.
    Easy and Cute Back To School Themed Foods and Treats
  • Back to school snack mix trail mix recipe.
    Easy Back To School Snack Mix Recipe
  • Back to school free printables including bunting, pencil boxes, party hats and more all set up at a children's tablescape.
    Back To School Free Printables Pack

Kool-Aid Dip Dyed Tassels

Aug 23, 2017 · Leave a Comment

DIY Kool Aid Dip Dyed Tassels: easy, inexpensive, and non-toxic way to ombre dye your own tassels -perfect party or home decor.

DIY Kool Aid Dip Dyed Tassels: easy, inexpensive, and non-toxic way to ombre dye your own tassels -perfect party or home decor.

These pretty Kool Aid Dip Dyed Tassels are perfect party decor, or a great little bunting for around the house.

Dip Dyeing them in Kool-Aid is the perfect way to add some ombre colour in an inexpensive and non-toxic way.

We did ours with Sharkleberry Kool-Aid and it gave us a pretty peachy pink, but by using different flavours of Kool-Aid you could create lots of different colours.

Kool Aid Dip Dye Materials:

  • Kool-Aid (Sharkleberry or any flavour you like the colour of)
  • Cotton Yarn
  • Piece of Cardboard
DIY Kool Aid Dip Dyed Tassels

How To Make Kool Aid Dip Dyed Tassels:

1.  Start by making simple tassels.  Be sure your yarn is a natural fiber like cotton or wool so it will accept the dye easily.  

To make the tassel, wrap the yarn around a piece of cardboard about 30-50 times -the more you do the thicker your tassel will be.  Tie the top together firmly.  Using scissors, cut the opposite end of the tassel.  Use another small piece of yarn and tie it around the tassel to create the little bump a short space from the top.

how to make a tassel

2. To make the Kool Aid dye, mix one package of Kool Aid with 1 cup of hot water in a mug.

Kool-Aid Dip Dye

Dip the tassel in the Kool Aid, leaving the bottom in longer to create the ombre effect.  Rinse with cold water.

DIY Kool-Aid Dip Dyed Tassels

3.  Hang your tassels to dry -and enjoy the awesome scent of the Kool Aid -haha (and if you're like me, all the childhood memories).

How To Kool Aid Dip Dye

When the tassels are dry, string them onto another piece of yarn to create the bunting.

How to Kool Aid Dip Dye

This is such a sweet little craft, and would make perfect party decor, especially since you can make it any colour to suit your party decor.

We hung ours with just a little washi tape.

Kool Aid Dip Dye

With easy and inexpensive Kool Aid Dip Dyed Tassels, life really is a party!

You might also like our Ribbon Wall Hanging tutorial here.

tassel wall hanging.

Also check out our Dip Dye Table Runner and Napkins here.

Dip Dyed Table Runner and Napkins: Easy how-to instructions to make your own napkin and table runner with a beautiful dip dyed ombre effect.

You might also enjoy How To Make Wood Bead Garland with Yarn Tassels here.

  • « Go to Previous Page
  • Page 1
  • Interim pages omitted …
  • Page 8
  • Page 9
  • Page 10
  • Page 11
  • Page 12
  • Interim pages omitted …
  • Page 21
  • Go to Next Page »

Primary Sidebar

Welcome!

Life is a Party is all about helping you celebrate everyday with great food, entertaining and party inspiration, and seasonal crafts and home decor inspired by the holidays.

More About Dannyelle

Trending Recipes

  • Mac and cheese with panko breadcrumb topping.
    Best Homemade Mac and Cheese with Panko Breadcrumb Topping
  • Homemade iced capps in glasses on a wood table.
    Tim Hortons Copycat Iced Capp Recipe
  • Dirt Pudding no cream cheese in glasses with candy rocks, and fresh mint that looks like a little plant.
    Easy Dirt Pudding Recipe without Cream Cheese
  • Easy 3 ingredient coconut milkshake recipe.
    Easy Coconut Milkshake Recipe
  • Easy food processor scones on a plate with jam.
    Easy Food Processor Scones
  • Fluffy small batch pancakes for two ready to serve on a plate with syrup.
    Easy Small Batch Pancakes For Two Recipe

Fall Ideas

  • Pumpkin shaped dinner roll recipe, with a herb stem.
    Pumpkin Shaped Dinner Rolls
  • Fall breakfast board
    Fall Breakfast Charcuterie Board
  • Halloween witch decorations
    Witch Halloween Decor
  • fall home decor
    Fall Decorating Ideas -Home Tour
  • Modern Boho fall mantel ideas.
    Modern Boho Fall Mantel Ideas
  • Homemade pink candy apples on a cutting board.
    How To Make Pink Candy Apples

Entertaining Ideas

  • Adult mermaid party table set on the beach with cake and shells.
    Adult Mermaid Party Ideas: A Beach Picnic Goodbye to Summer
  • Overhead view of tomato party table with pizza and appetizers.
    The Ultimate Tomato Party: A Tomato Girl Summer Garden Gathering
  • Camp themed party table with green gingham tablecloth, wildflowers, and Welcome to Camp banner.
    The Ultimate Camp Themed Party for Adults
  • Garden party table set under white pergola with vintage floral tablecloth, pink peony centerpiece in wooden tool caddy, white wicker chairs, and climbing white roses in background.
    Garden Themed Party
  • Complete mimosa bar setup on white console table with vintage silver ice bucket, labeled colorful juice bottles, small glass garnish bowls, and ribbon-tied champagne flutes on white lace tablecloth with flower wall backdrop.
    How to Set Up a Beautiful Mimosa Bar
  • Breakfast for dinner party table styled like a bed with star quilt tablecloth, gingham pillows, and cloud installation above.
    Breakfast for Dinner Party: Brinner Under the Stars
  • Recipe Index
  • Parties & Entertaining
  • Fall
  • Subscribe
  • Free Resource Library

Footer

back to top

as seen in:

Better Homes and Garden Logo
American Farmhouse Style logo.
Apartment Therapy logo.

About

  • Privacy Policy
  • About

Subscribe

  • Sign Up! for emails and updates

Contact

  • Contact

As an Amazon Associate I earn from qualifying purchases.

Copyright © 2025 Life is a Party

Share
Pin
Post
Share
Pin
Post

Rate This Recipe

Your vote:


A rating is required
A name is required
An email is required