
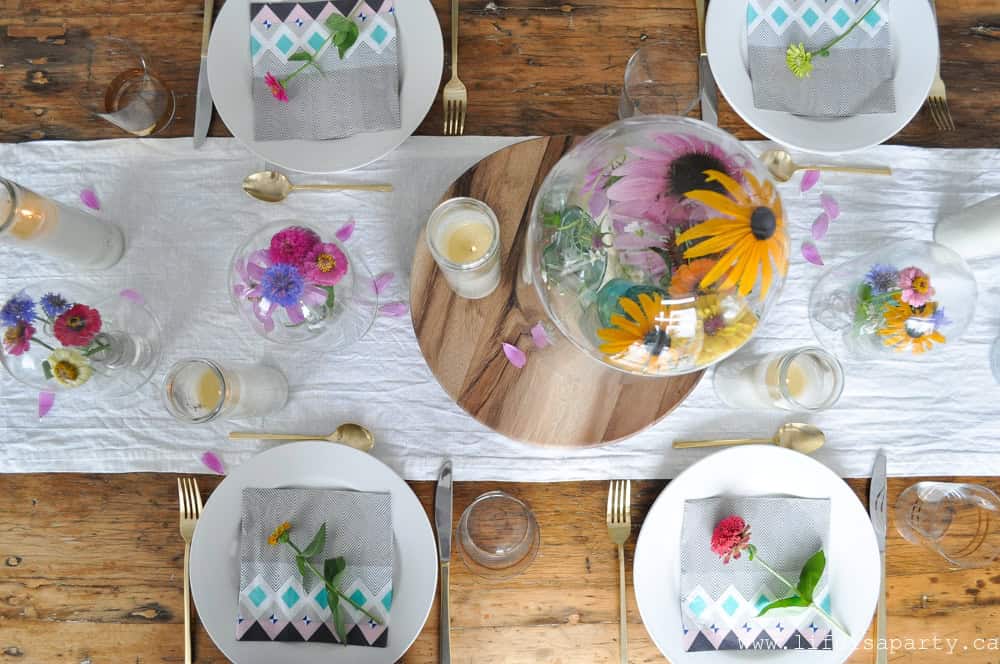
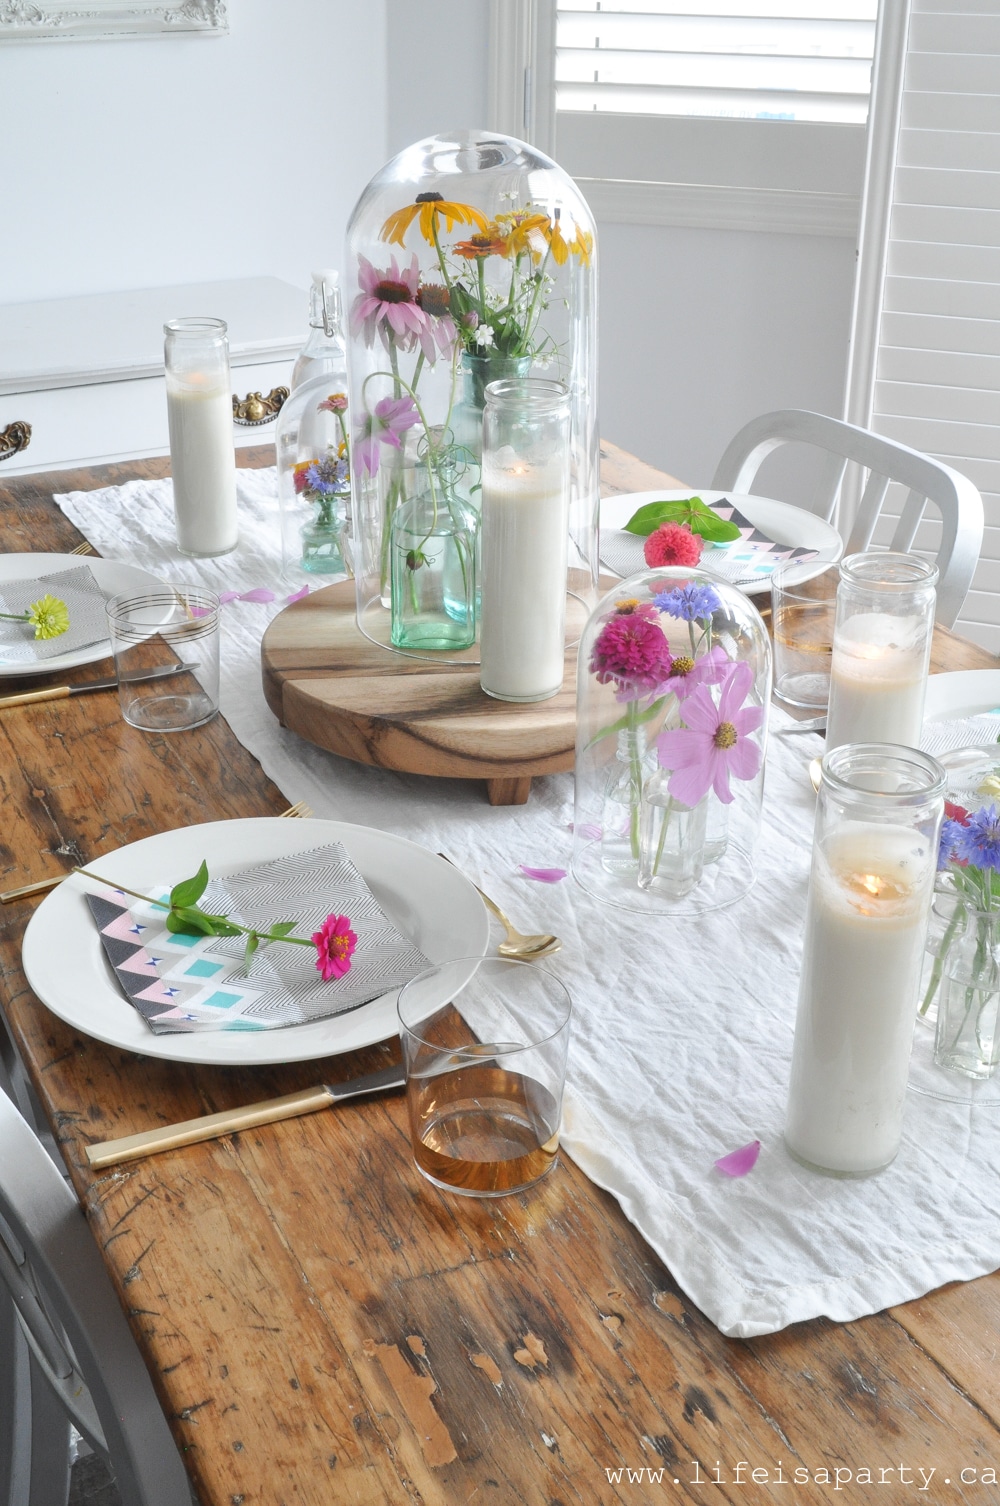
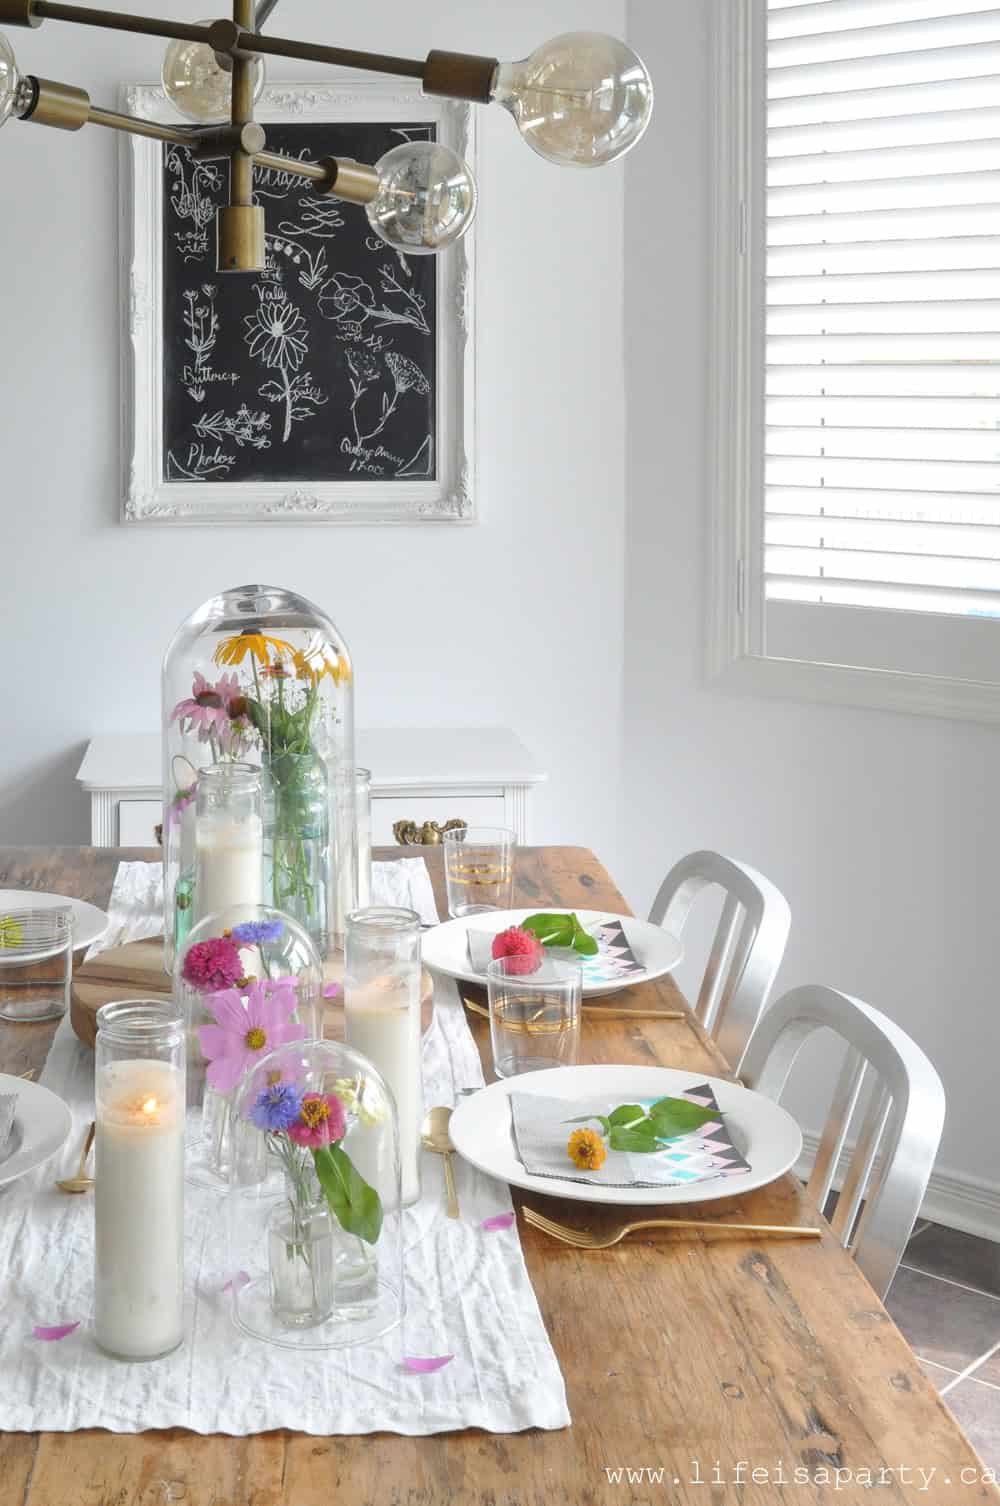
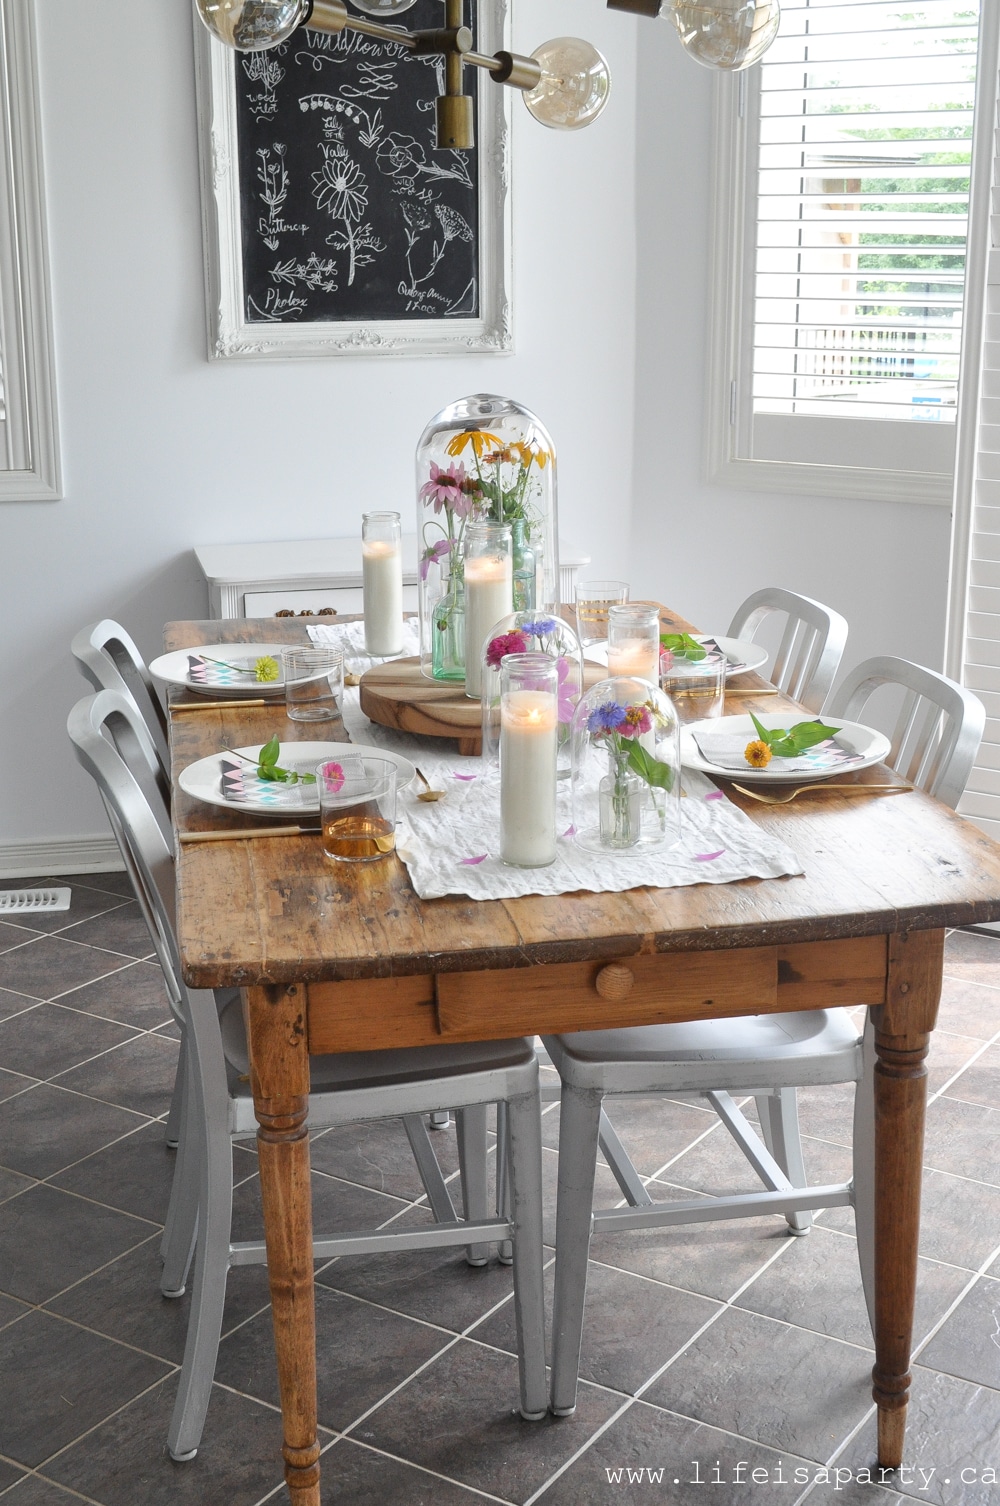
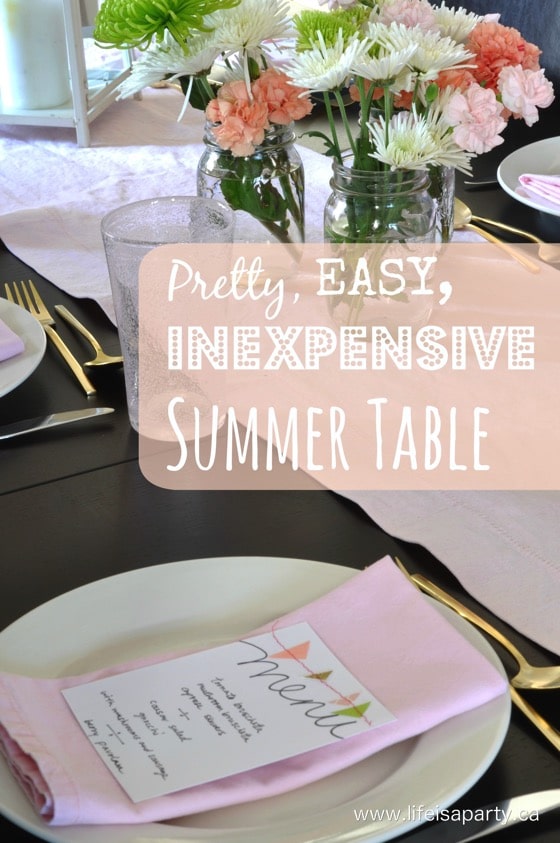
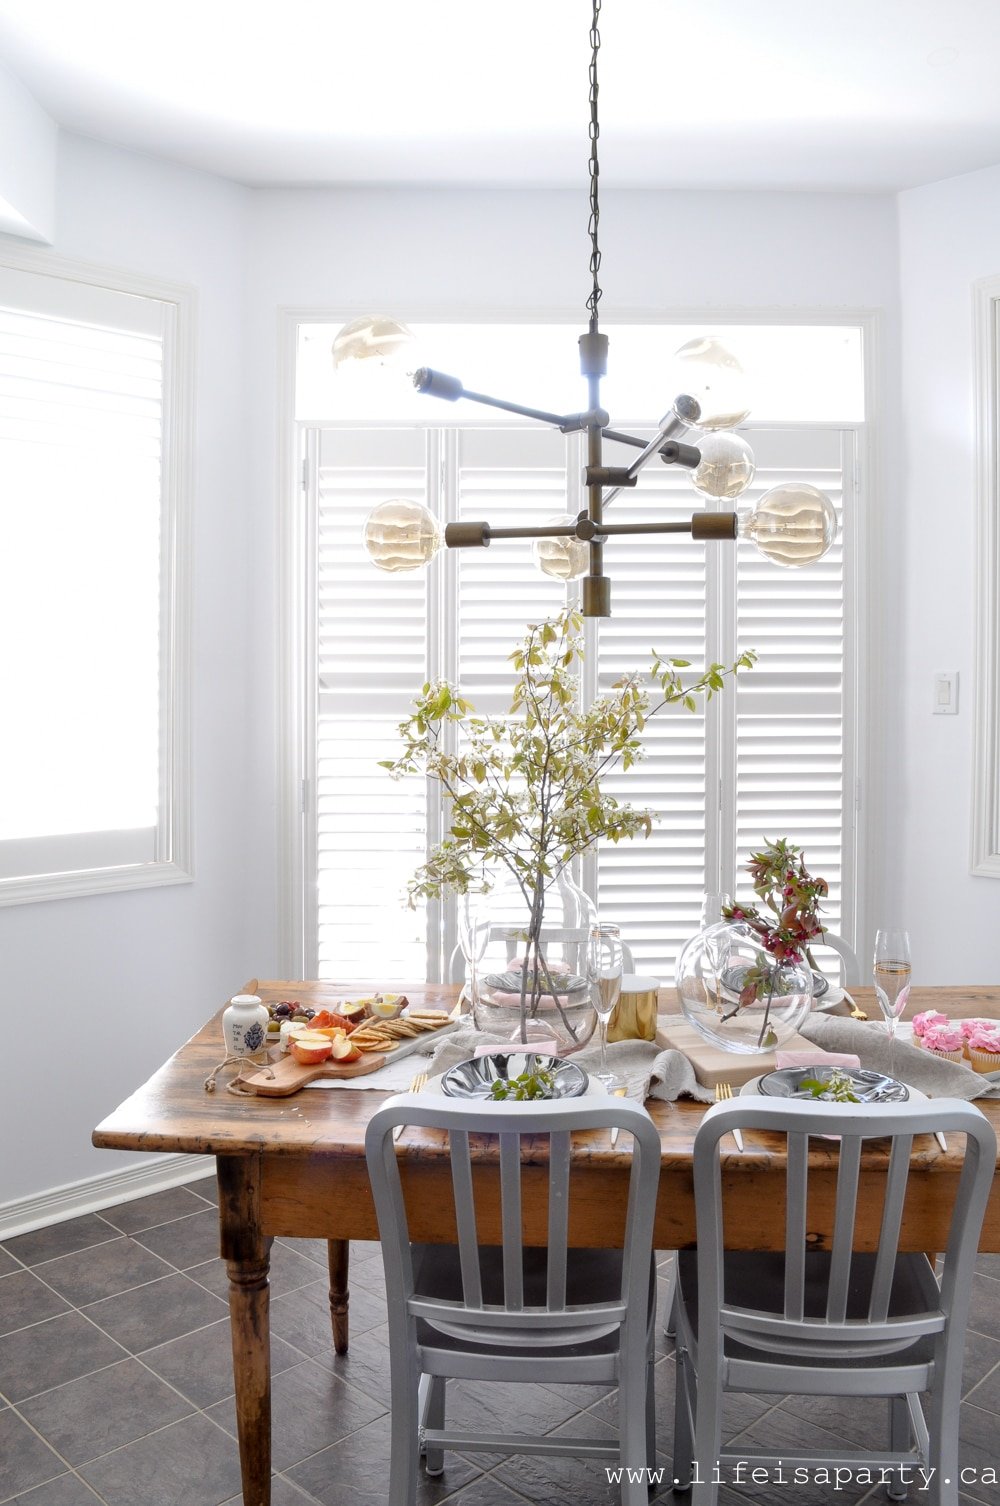
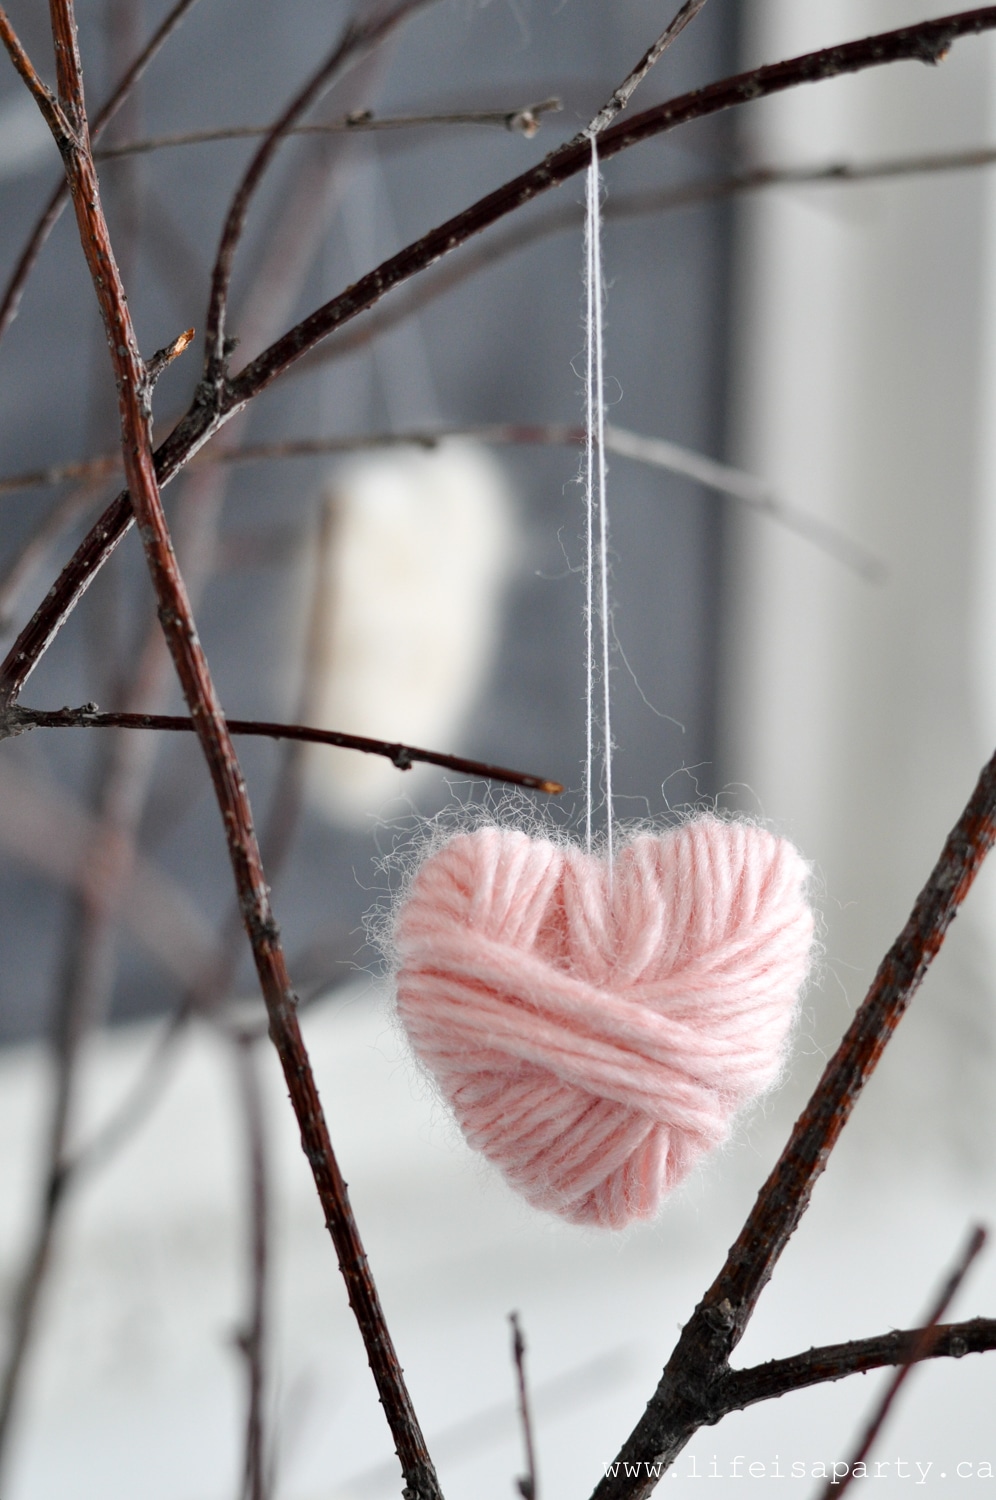
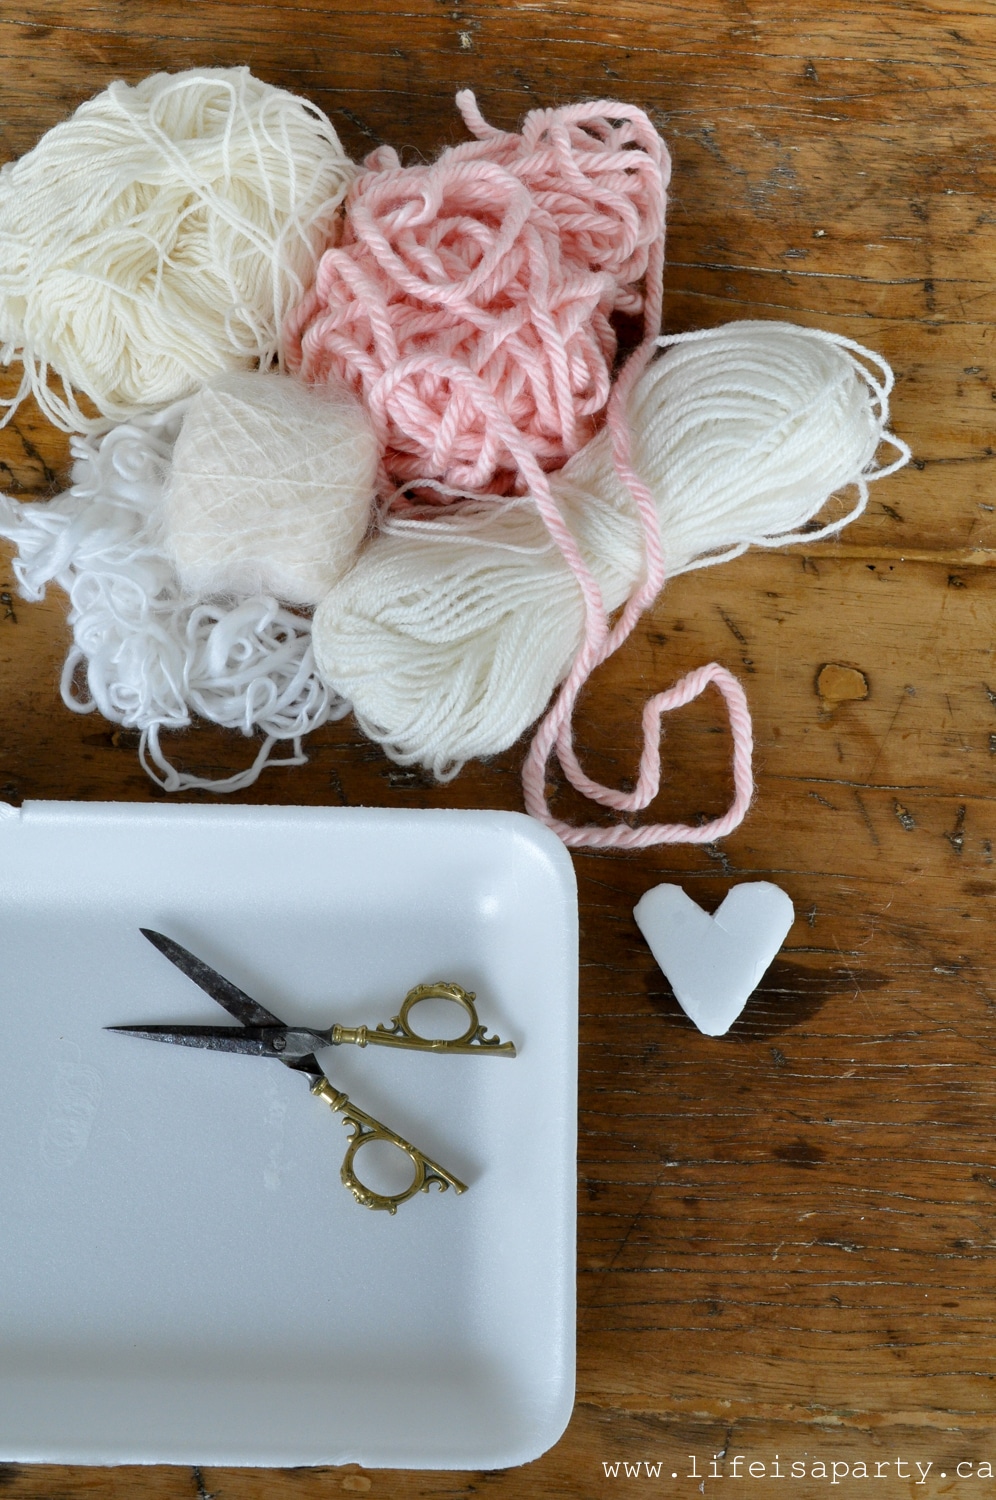
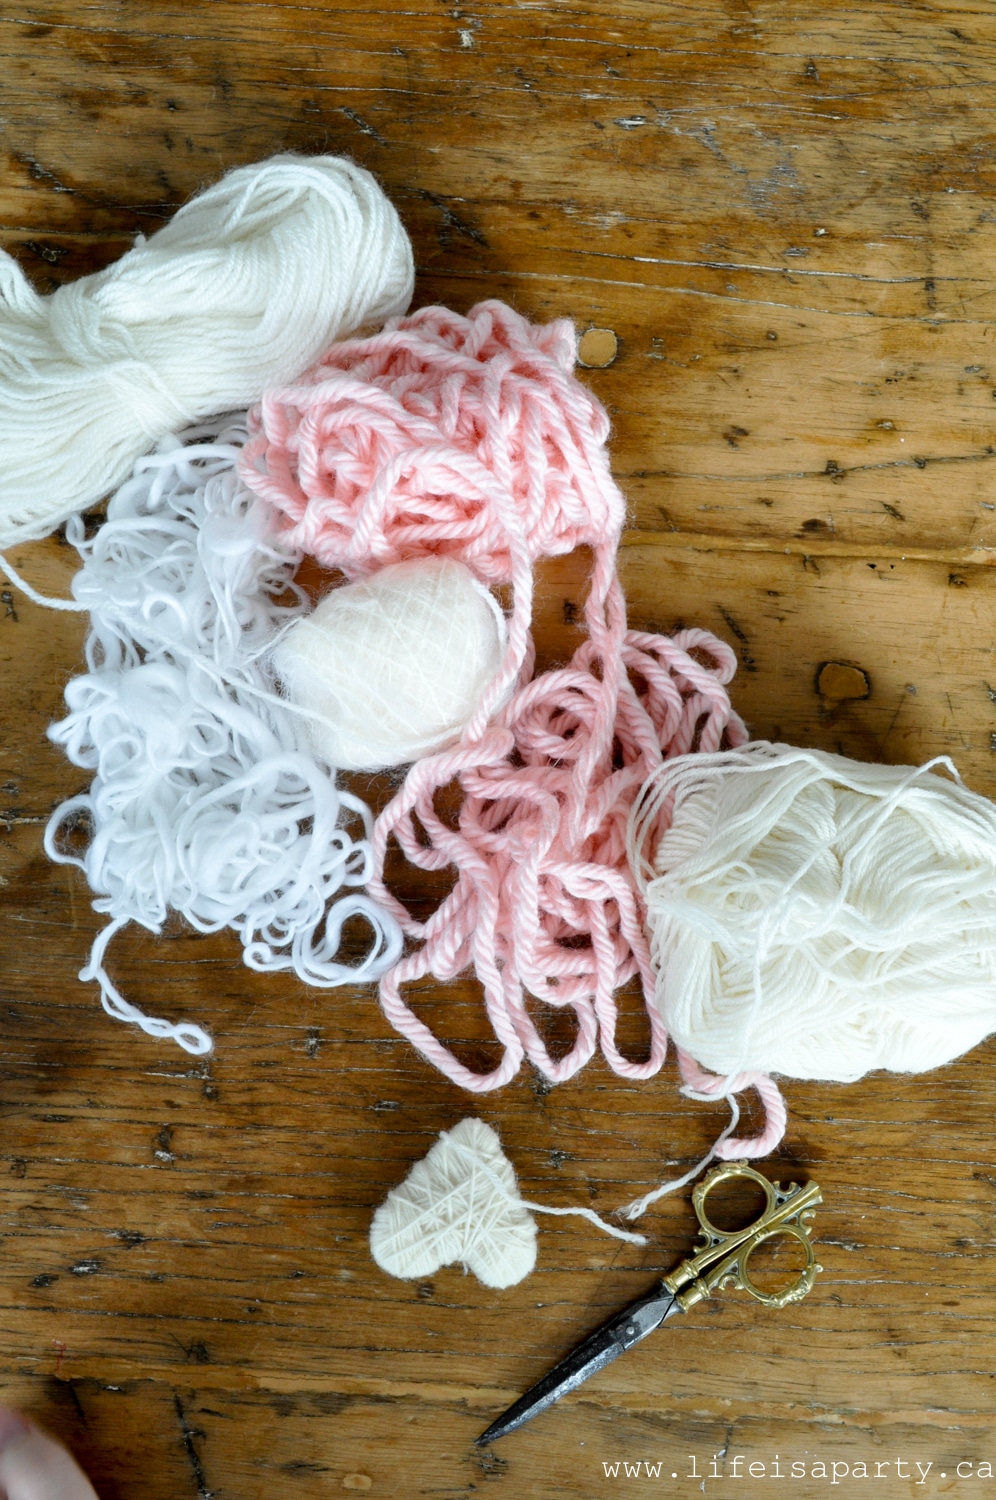
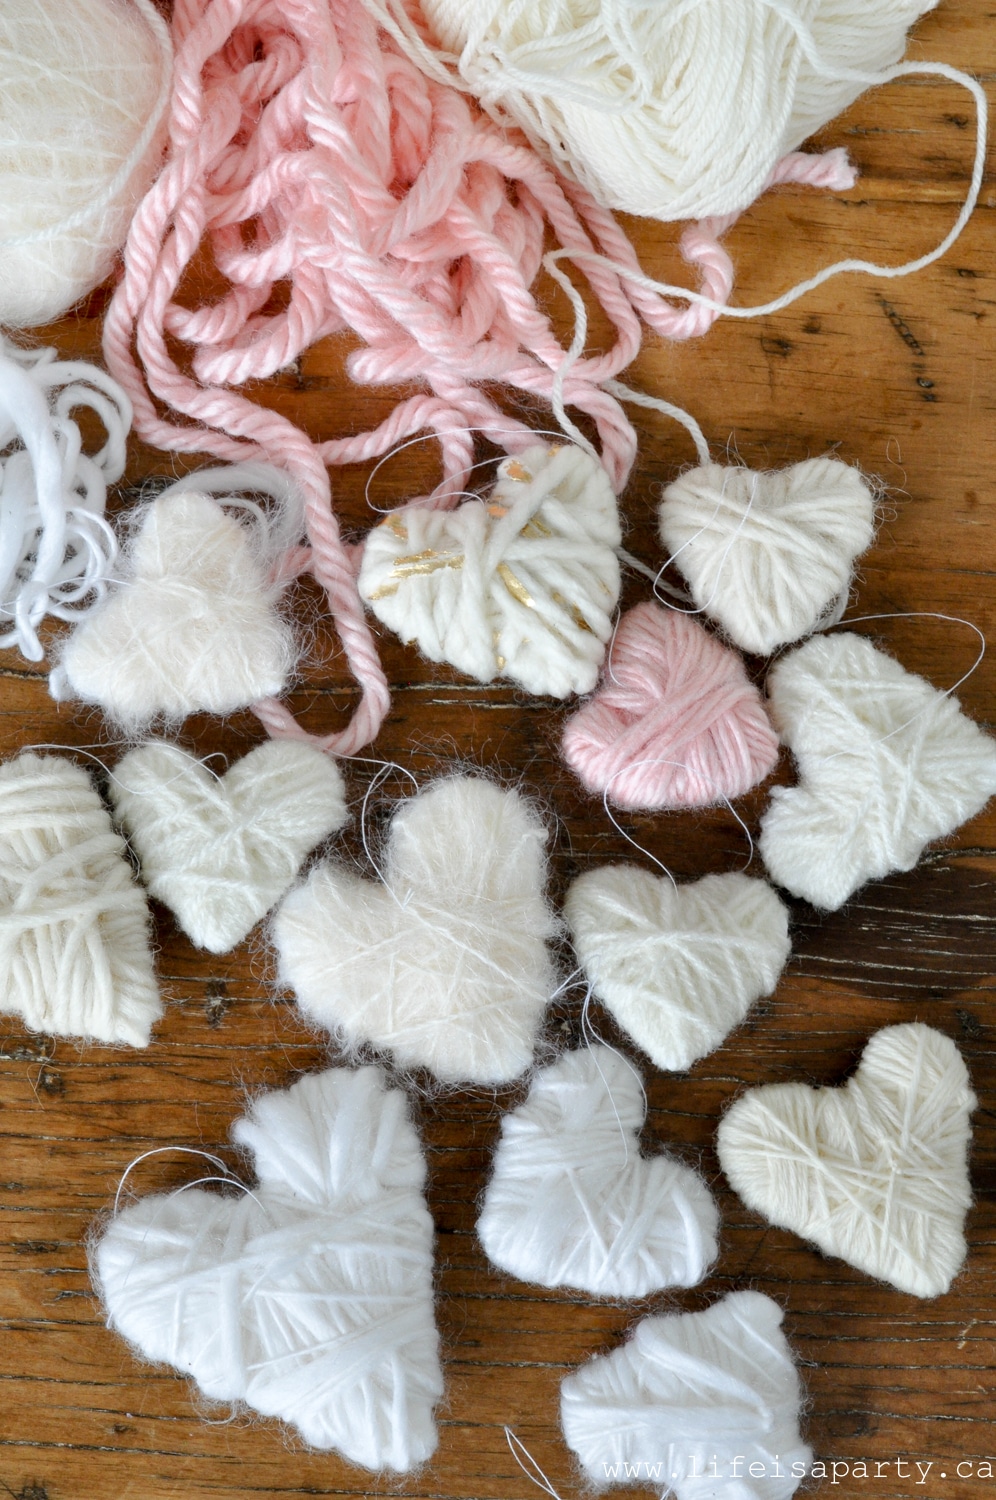
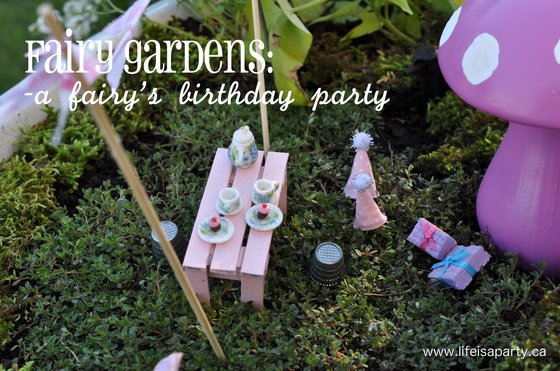
Summer Tablescape -garden flowers in vintage bottles under glass cloches create a simple, easy summer table for entertaining.

I love summer entertaining. The produce is at it's best, the weather is great, and best of all those so many pretty flowers! We picked some flowers from our garden for this pretty summer tablescape. This neutral loving girl, got swept up with gorgeous colourful summer blooms and embraced all the colour of the season.

Summer Tablescape with Garden Flowers
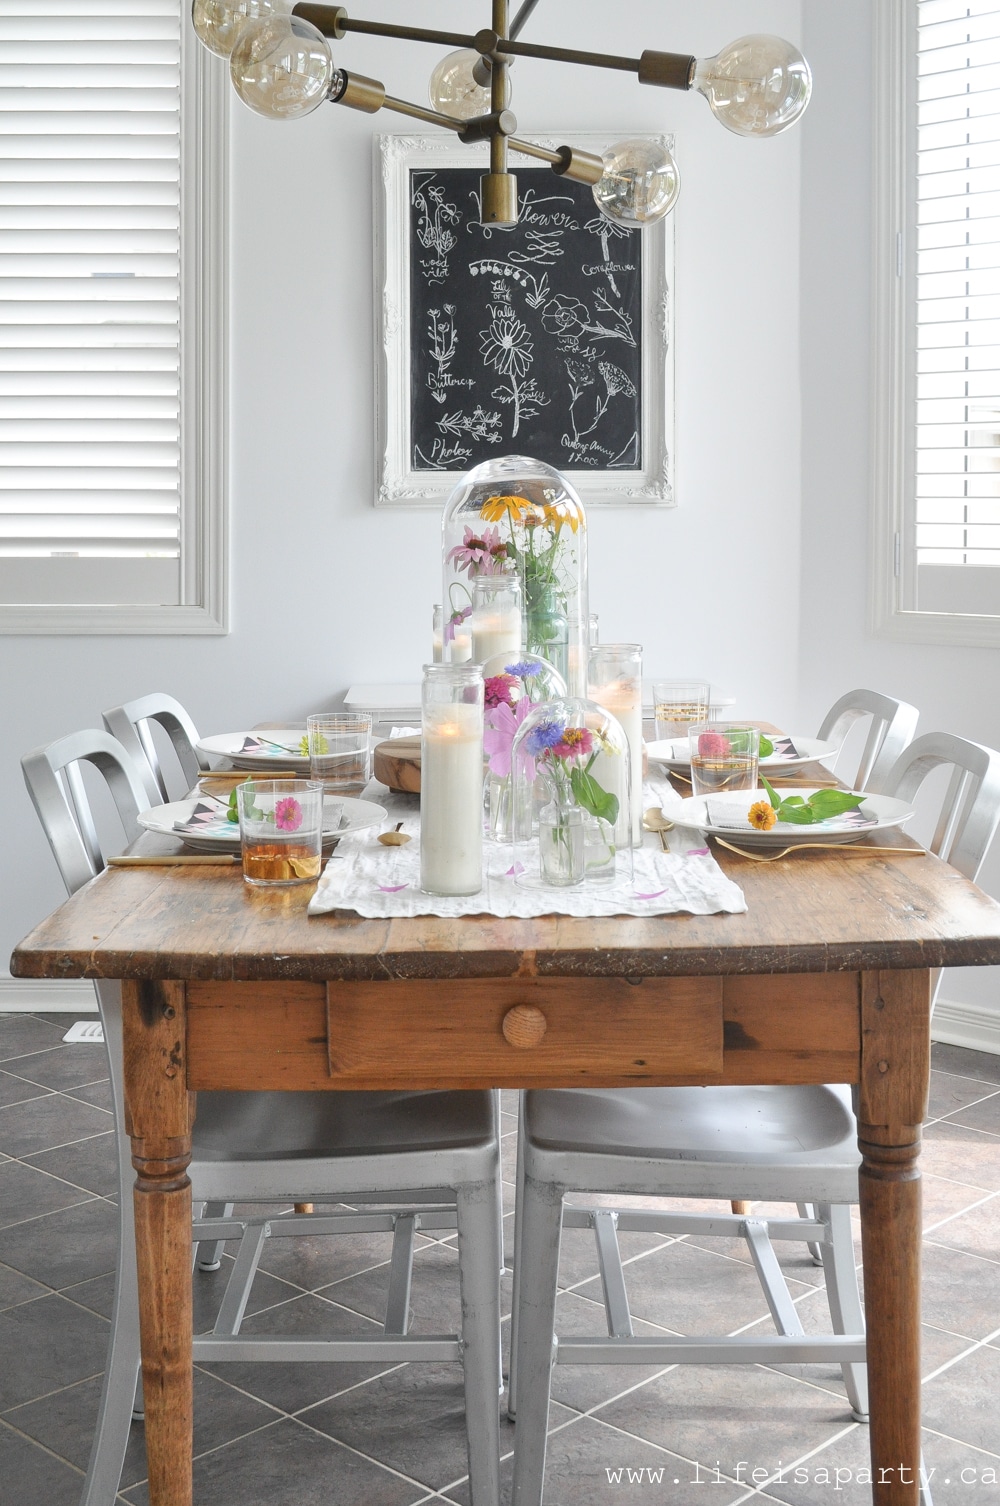
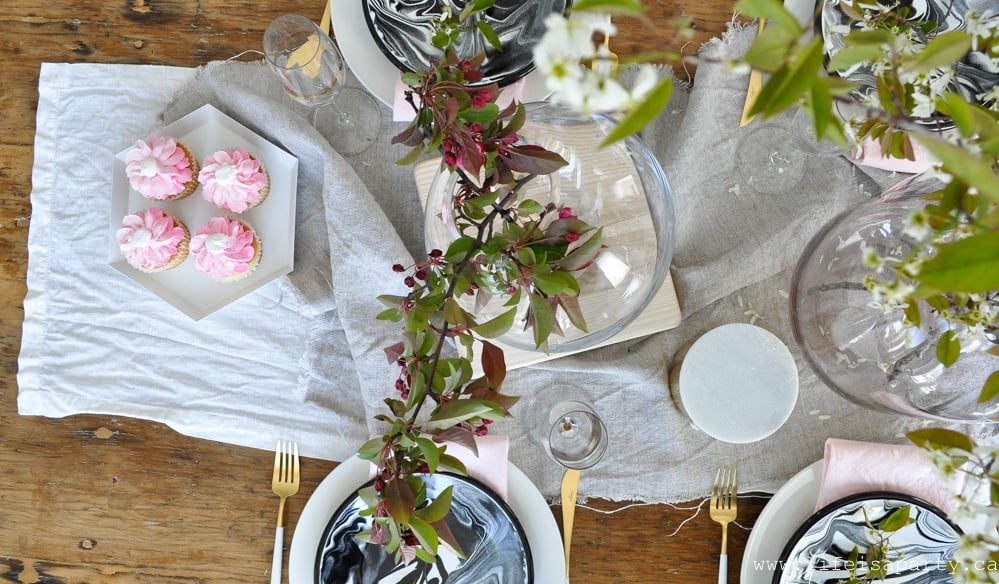
The flowers are all from our garden, and it was so much mixing and matching them, picking them, and arranging them. The flowers really were the inspiration for the whole table.
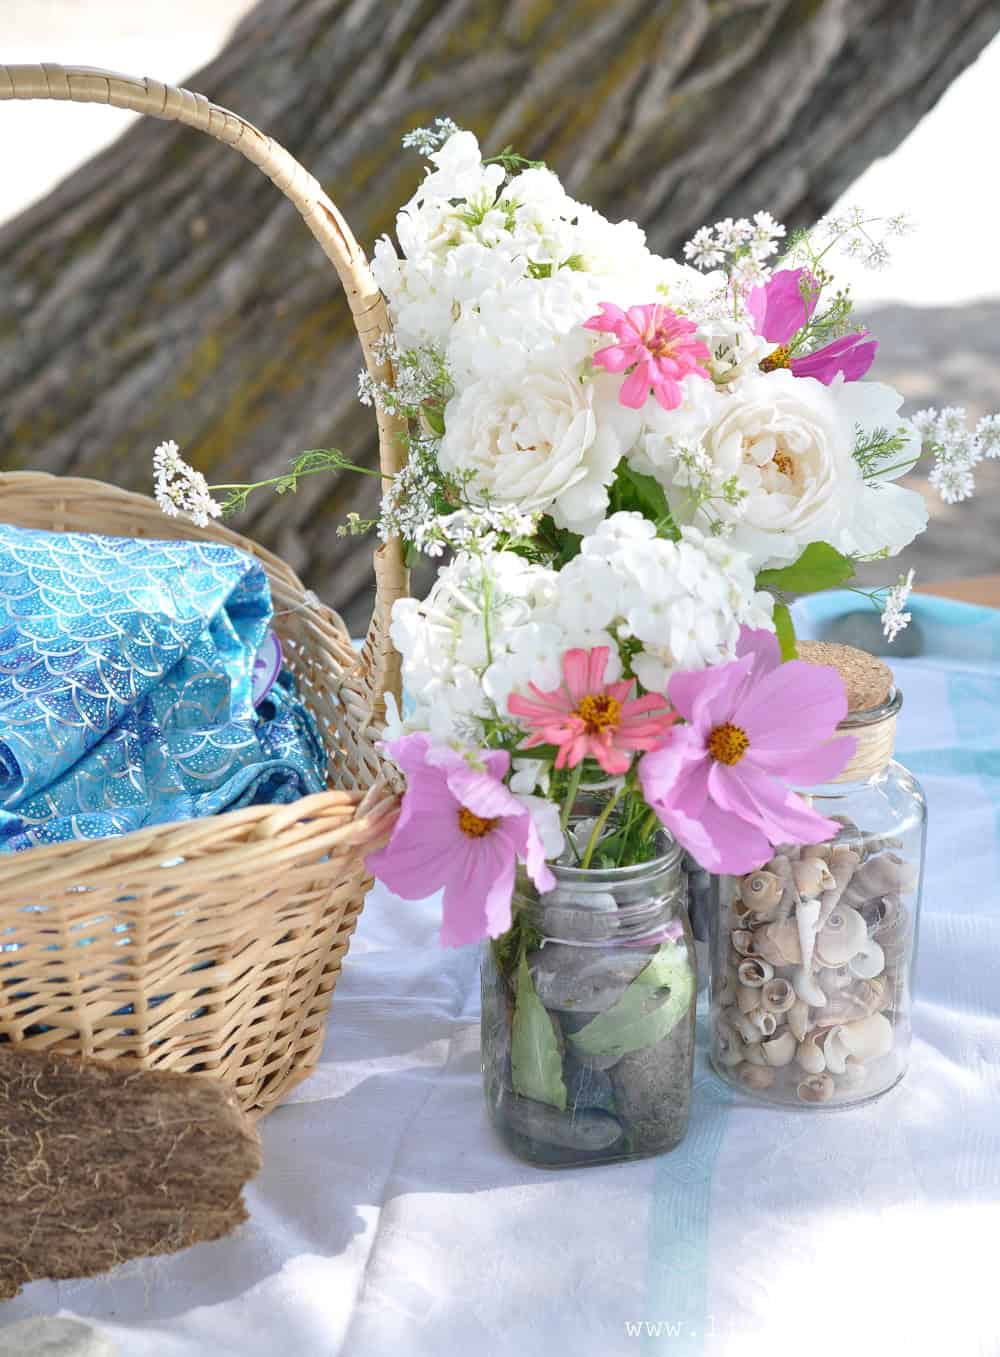
I used some pretty little vintage jars and made simple groupings of blooms.
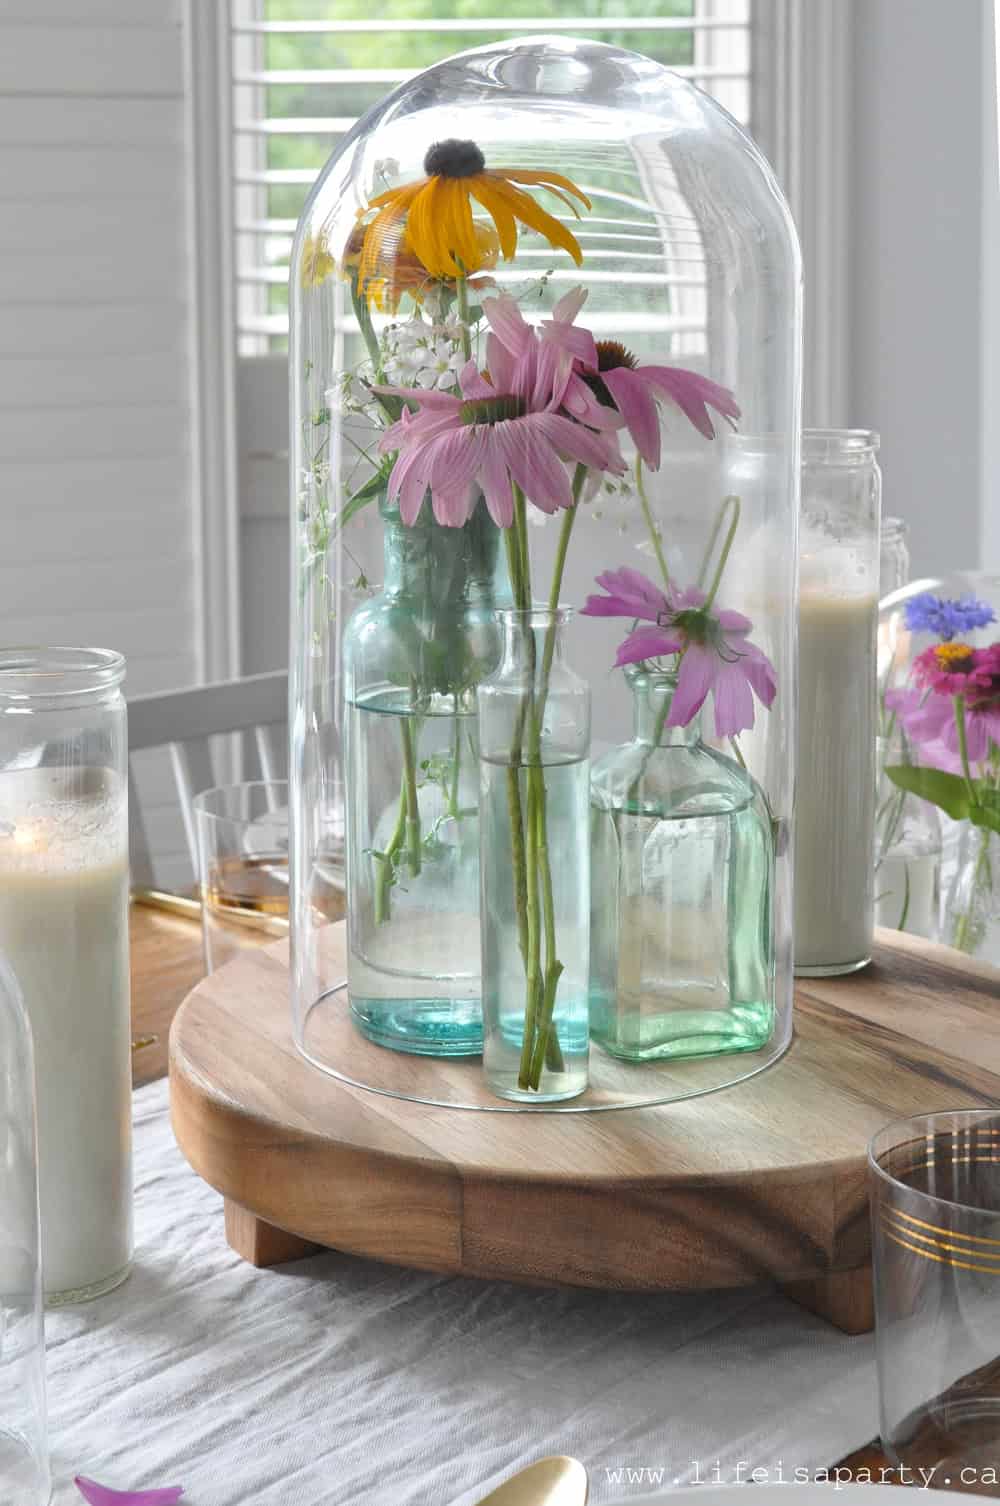
For our flowers we used a combination of zinnias, cosmos, bachelor's buttons, black eyes susans, and cone flowers that where all blooming in the garden.
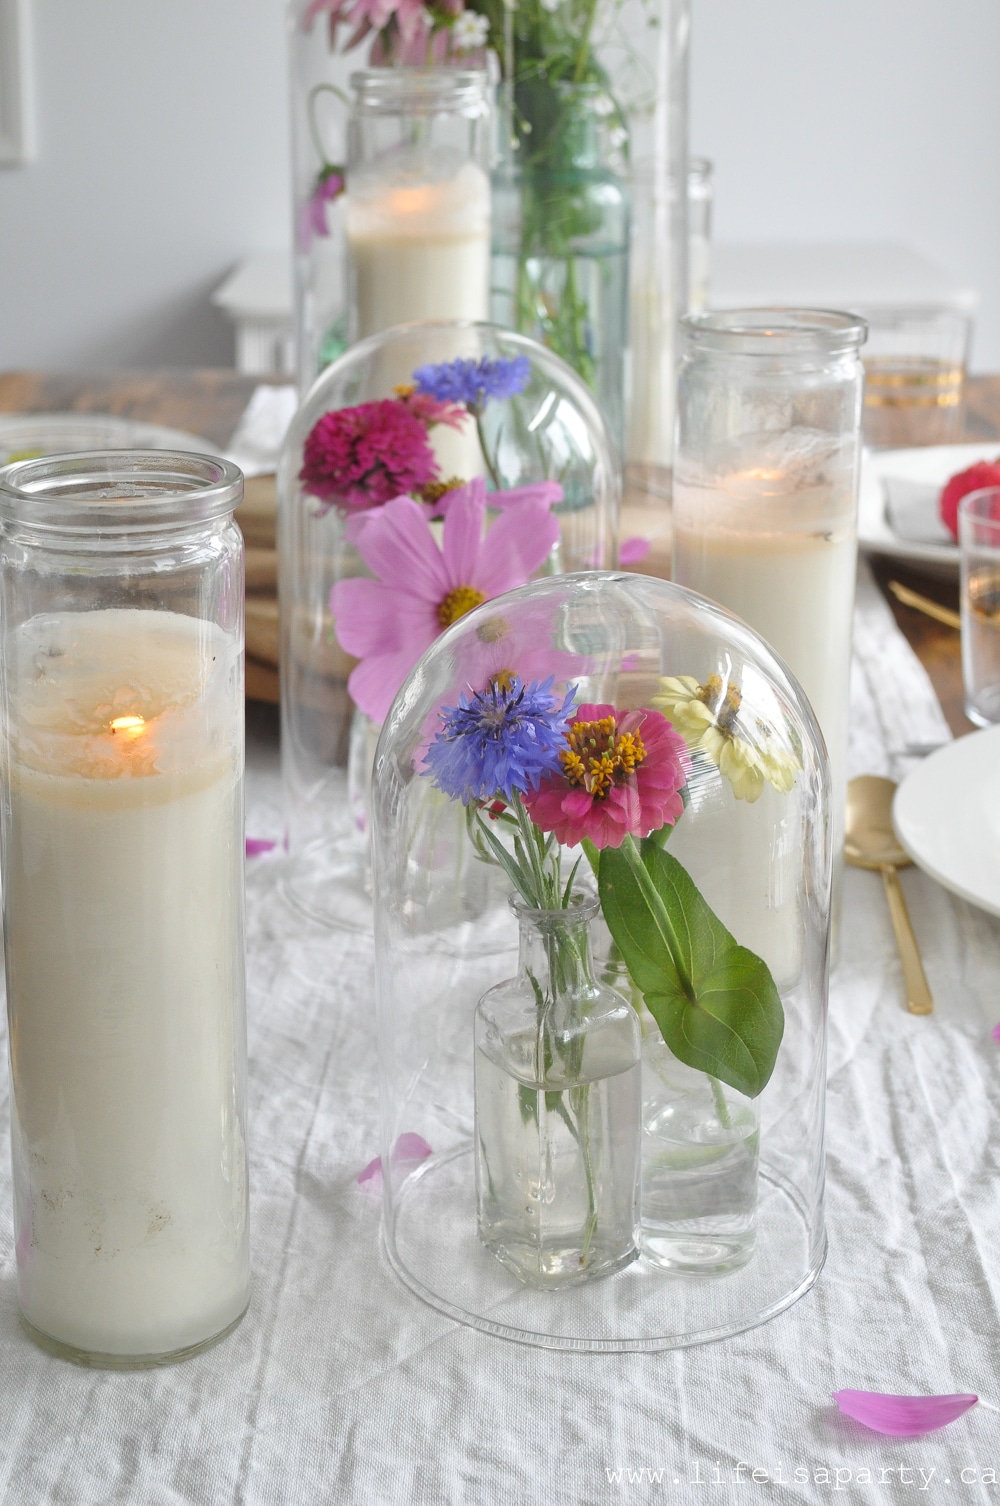
They look so pretty and special under these glass cloches. I just shopped my house and used a few that I already had.

Mixing and matching the different sizes of cloches was really fun too, and added interest to the table.
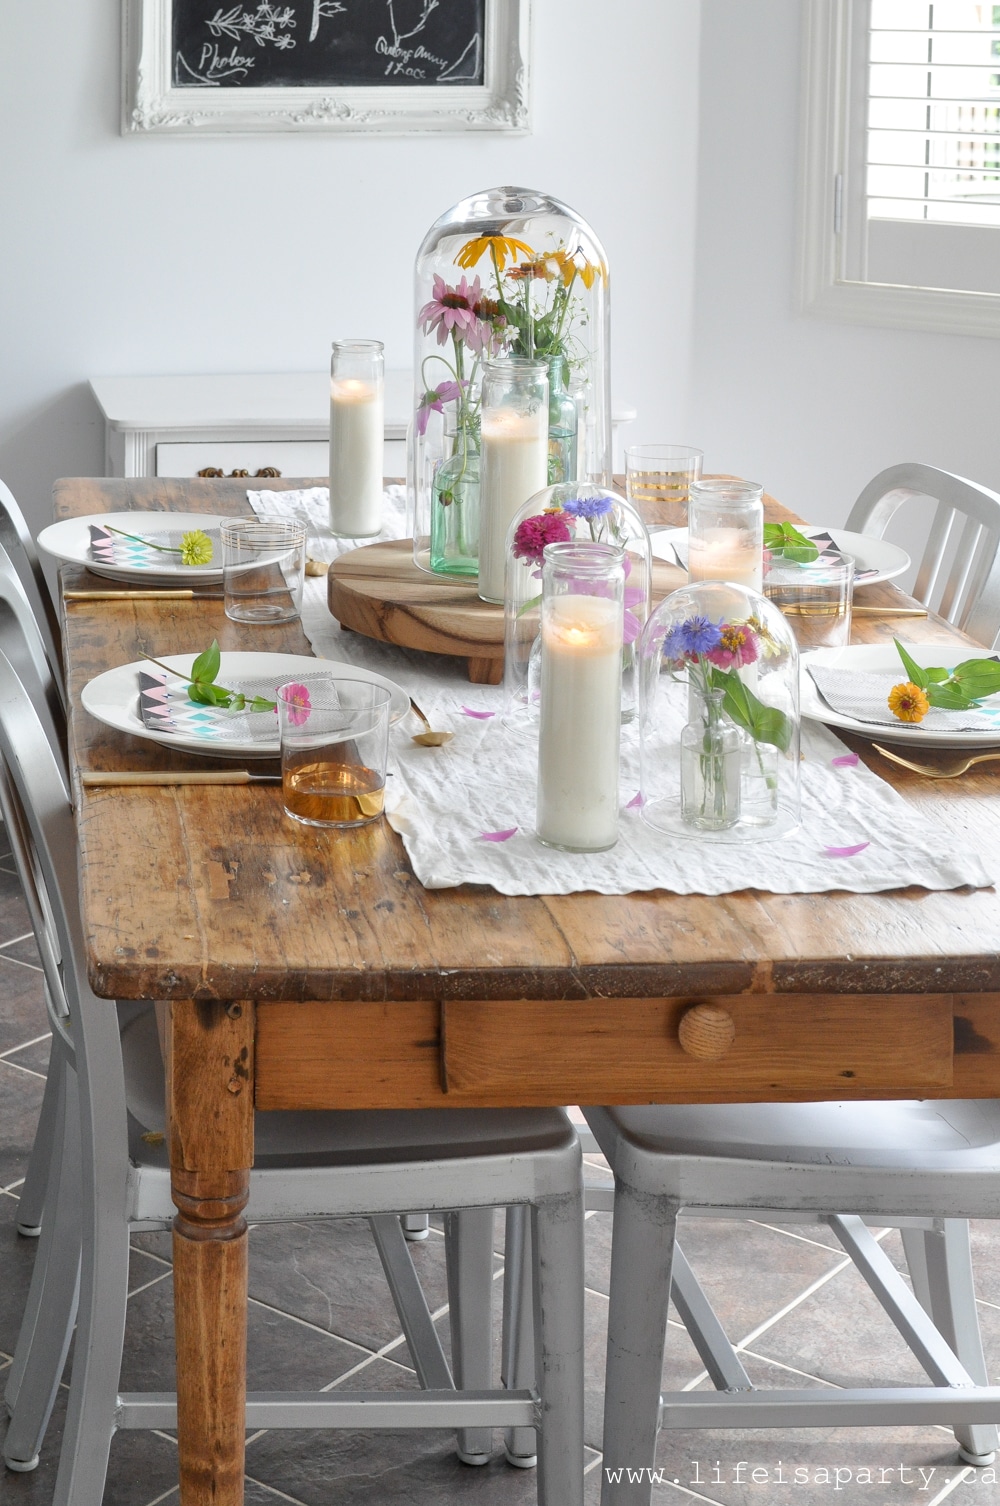 I used a simple and summery white linen runner on the table, and added in some pretty candles for a little candle light. The finishing touch was a few pretty cosmos flower petals scattered here and there.
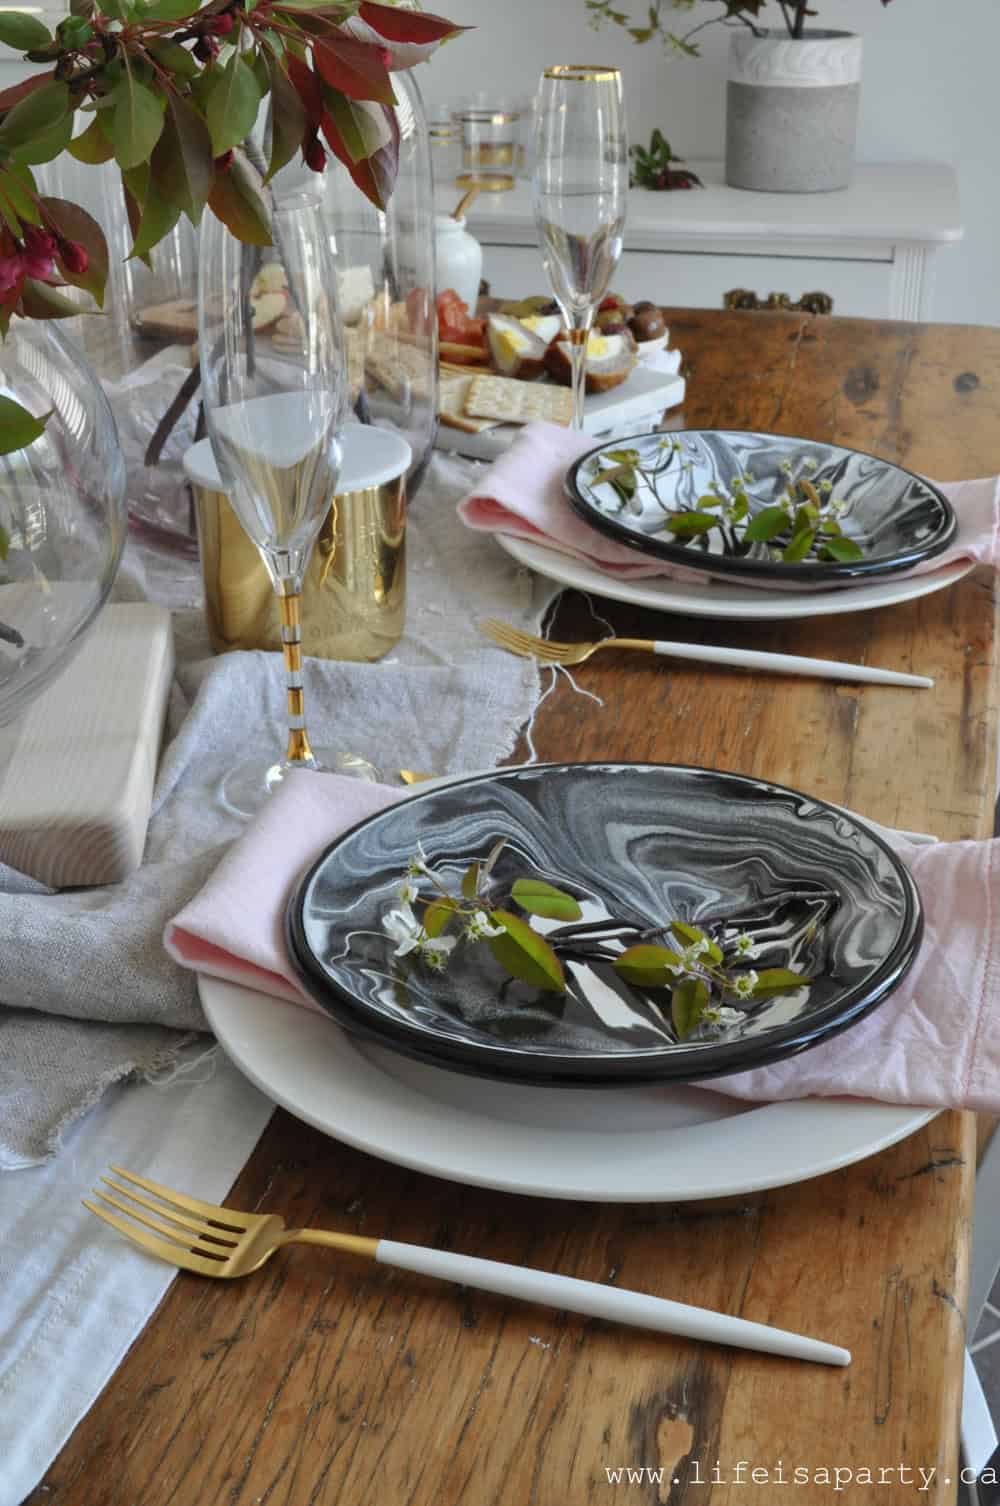
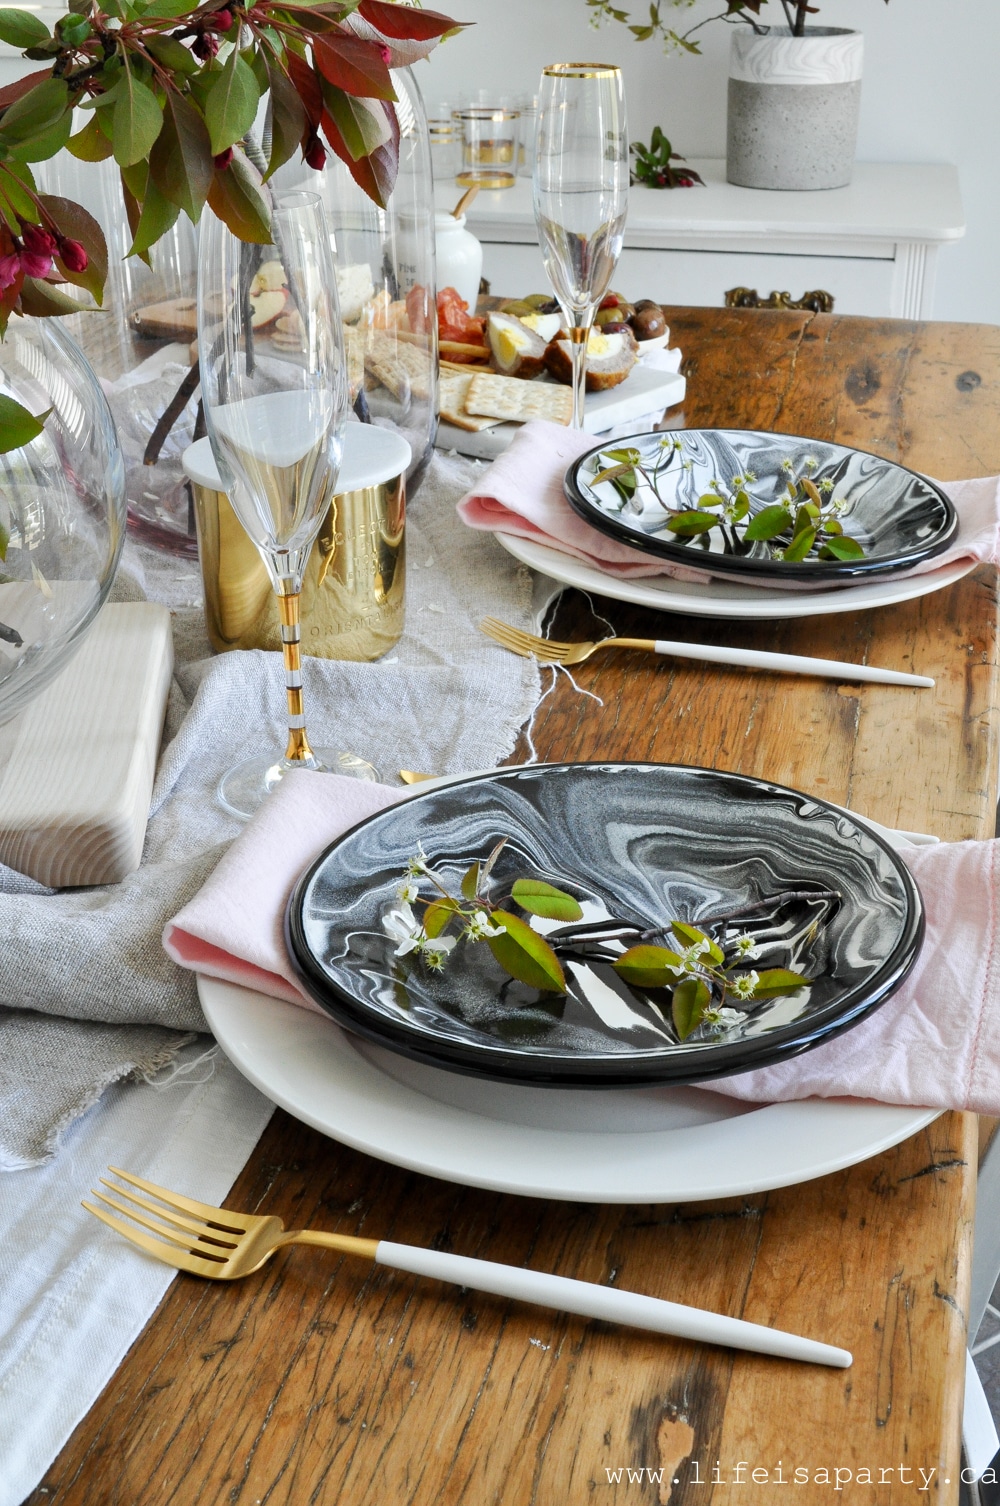
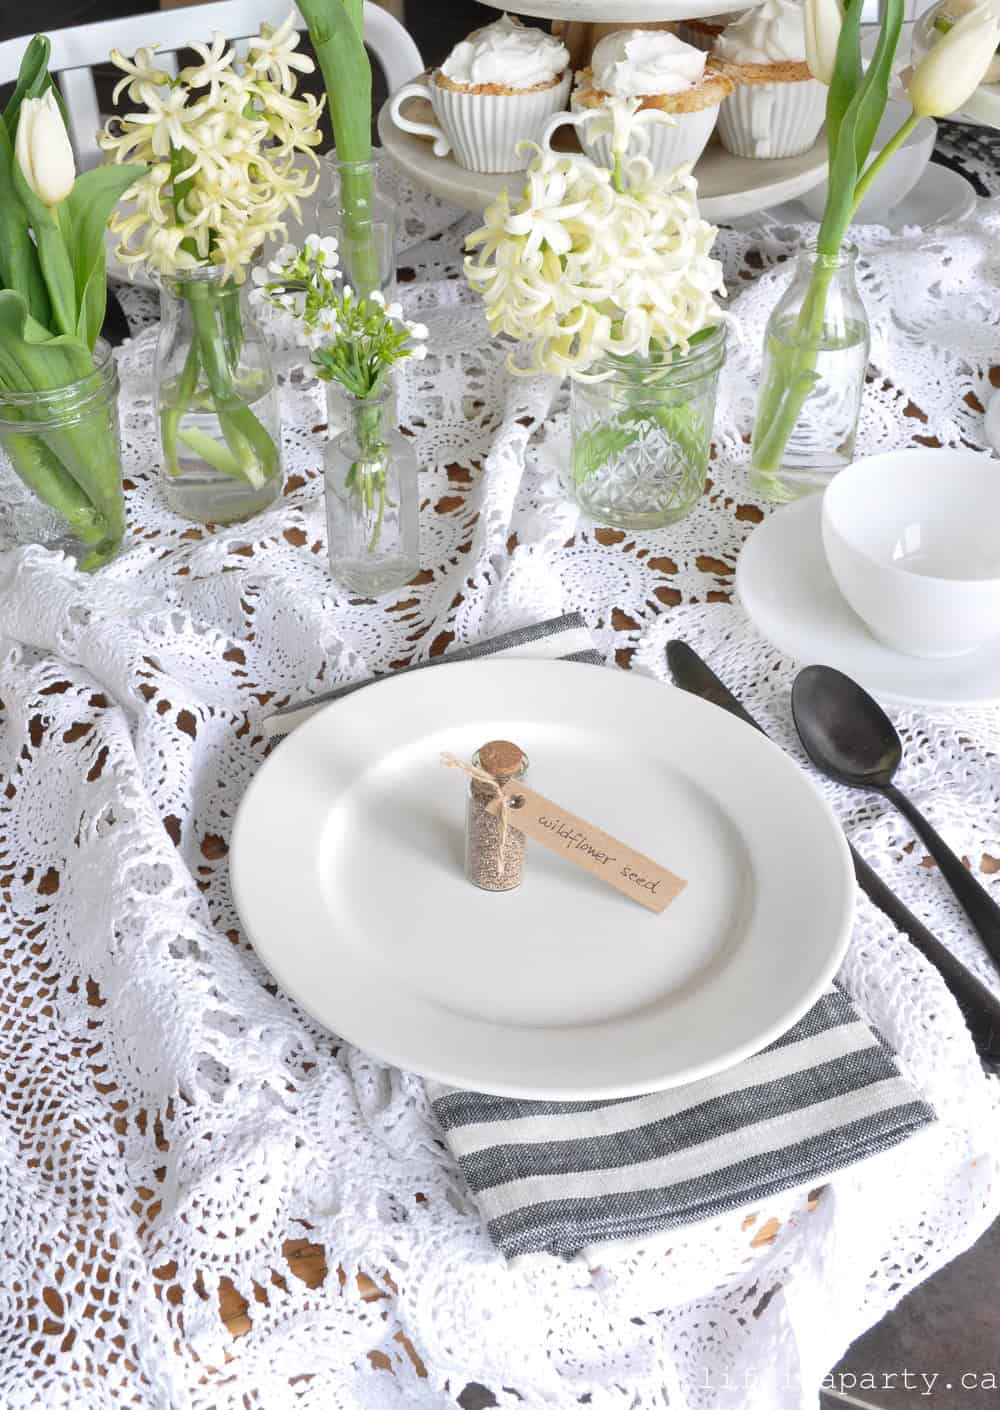
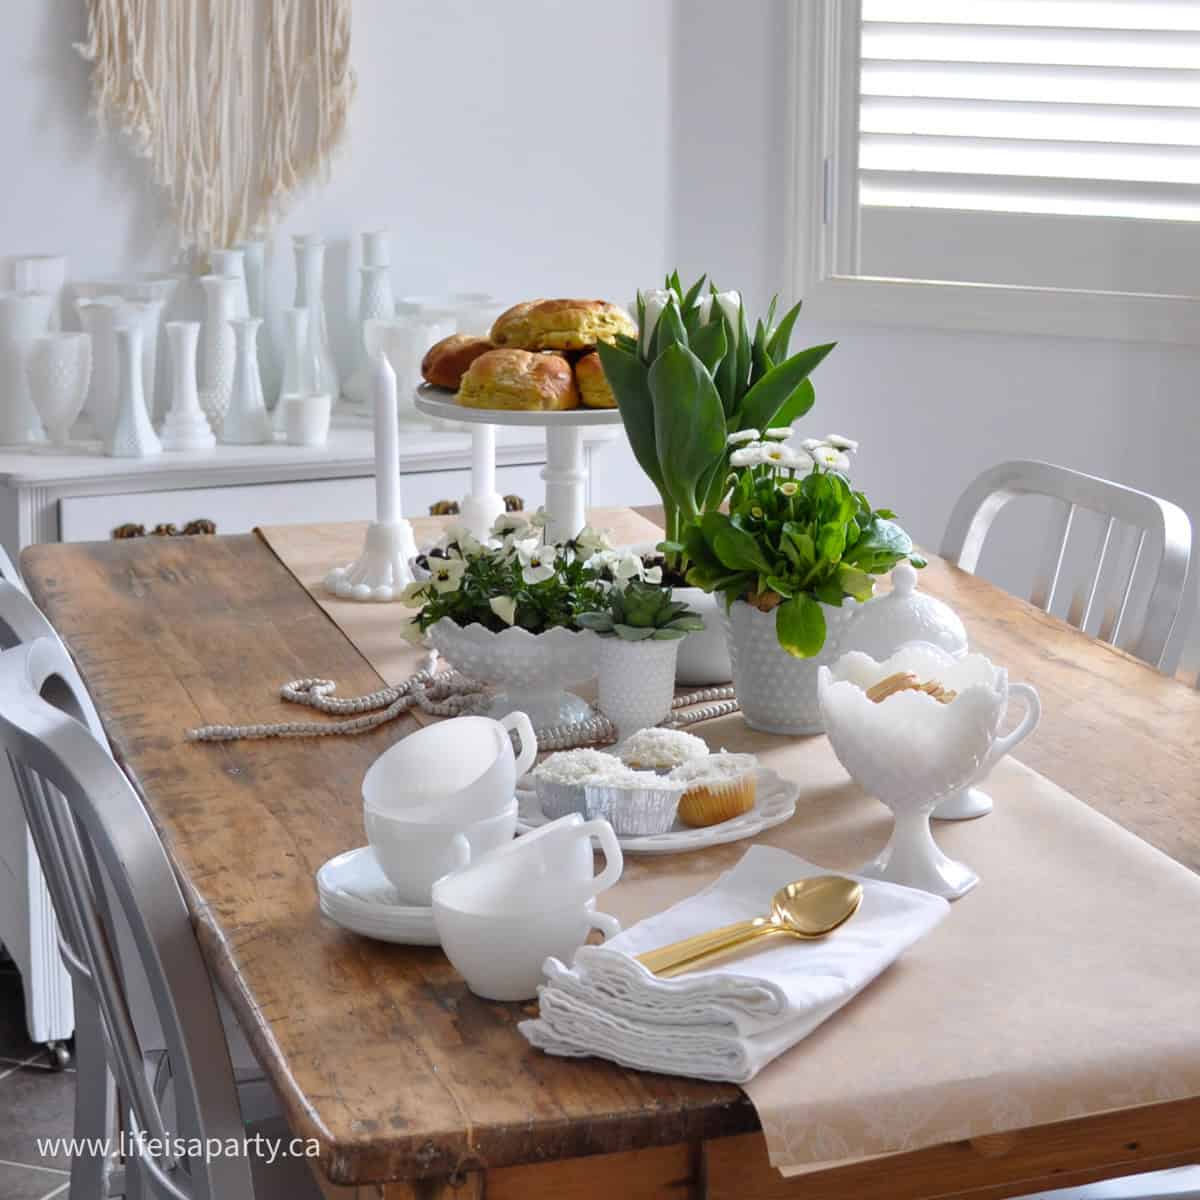
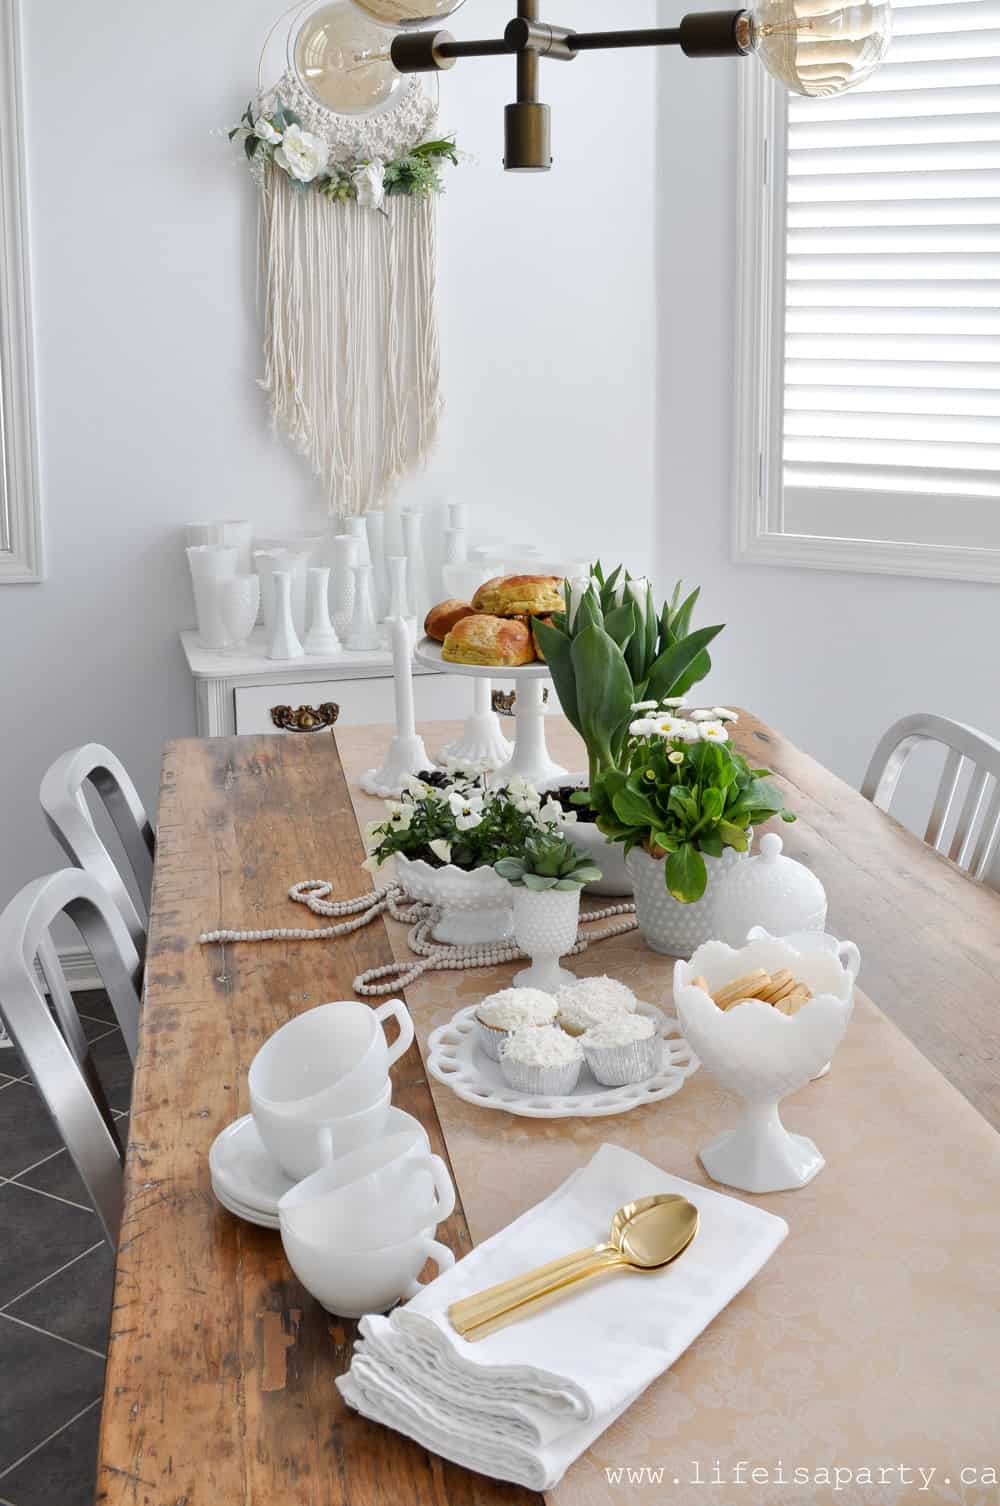
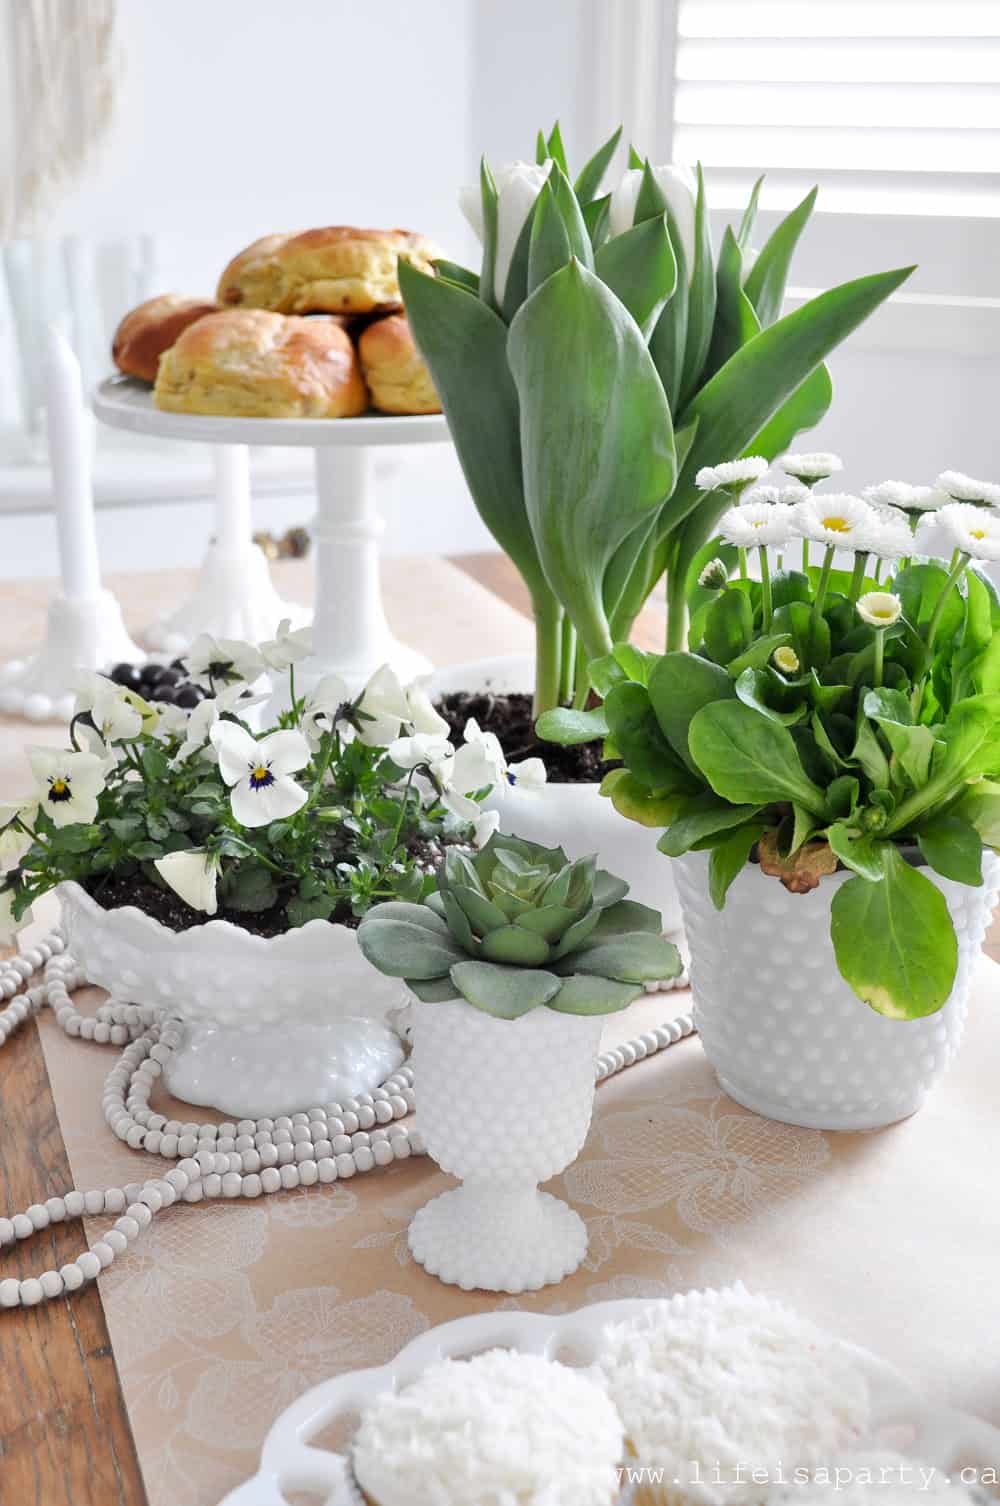
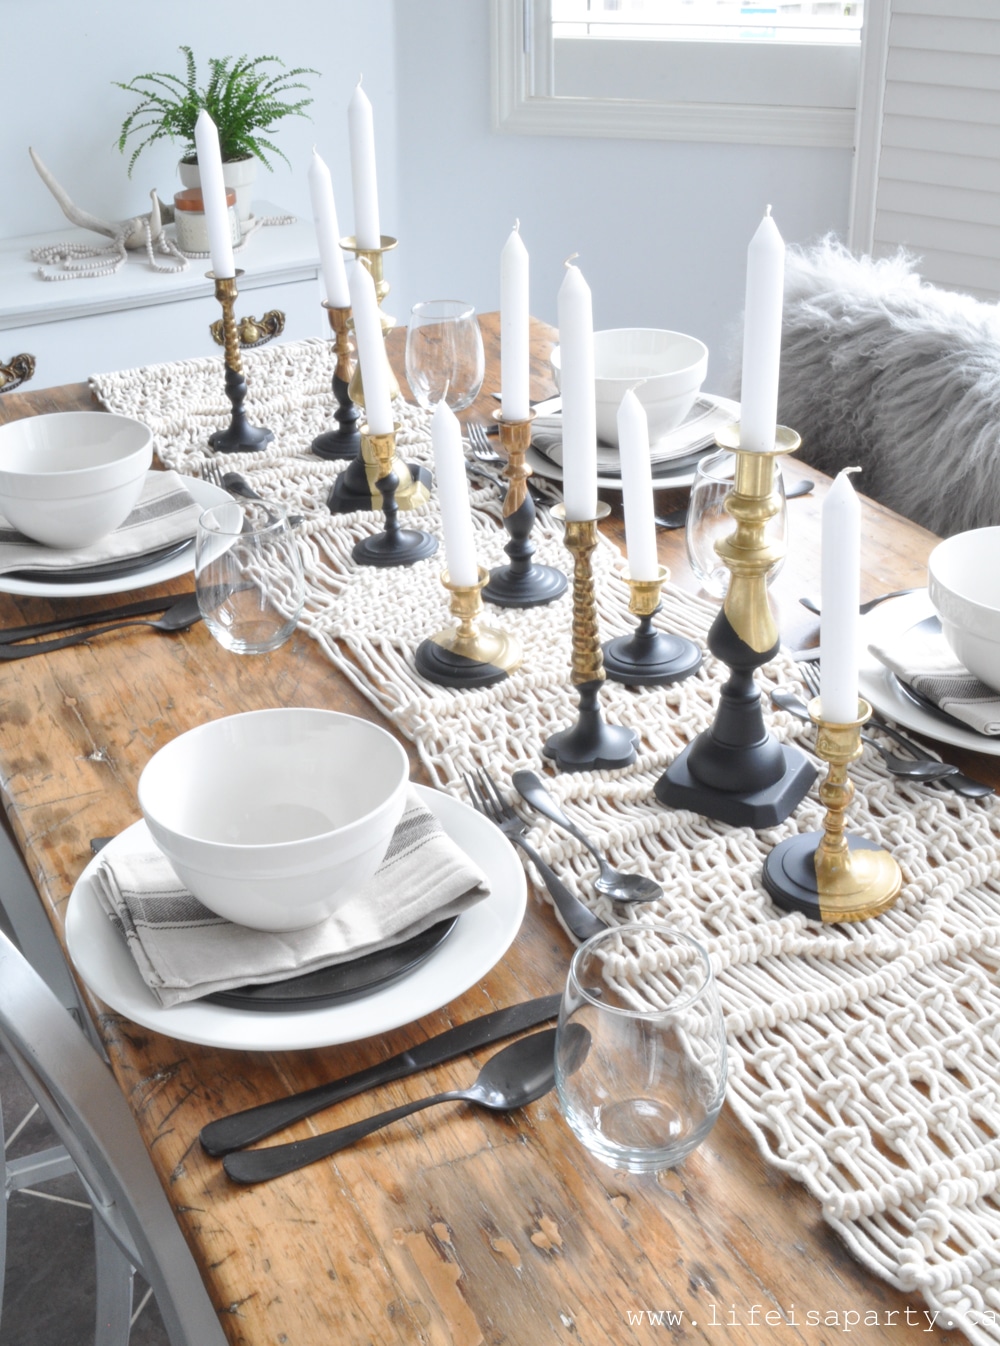
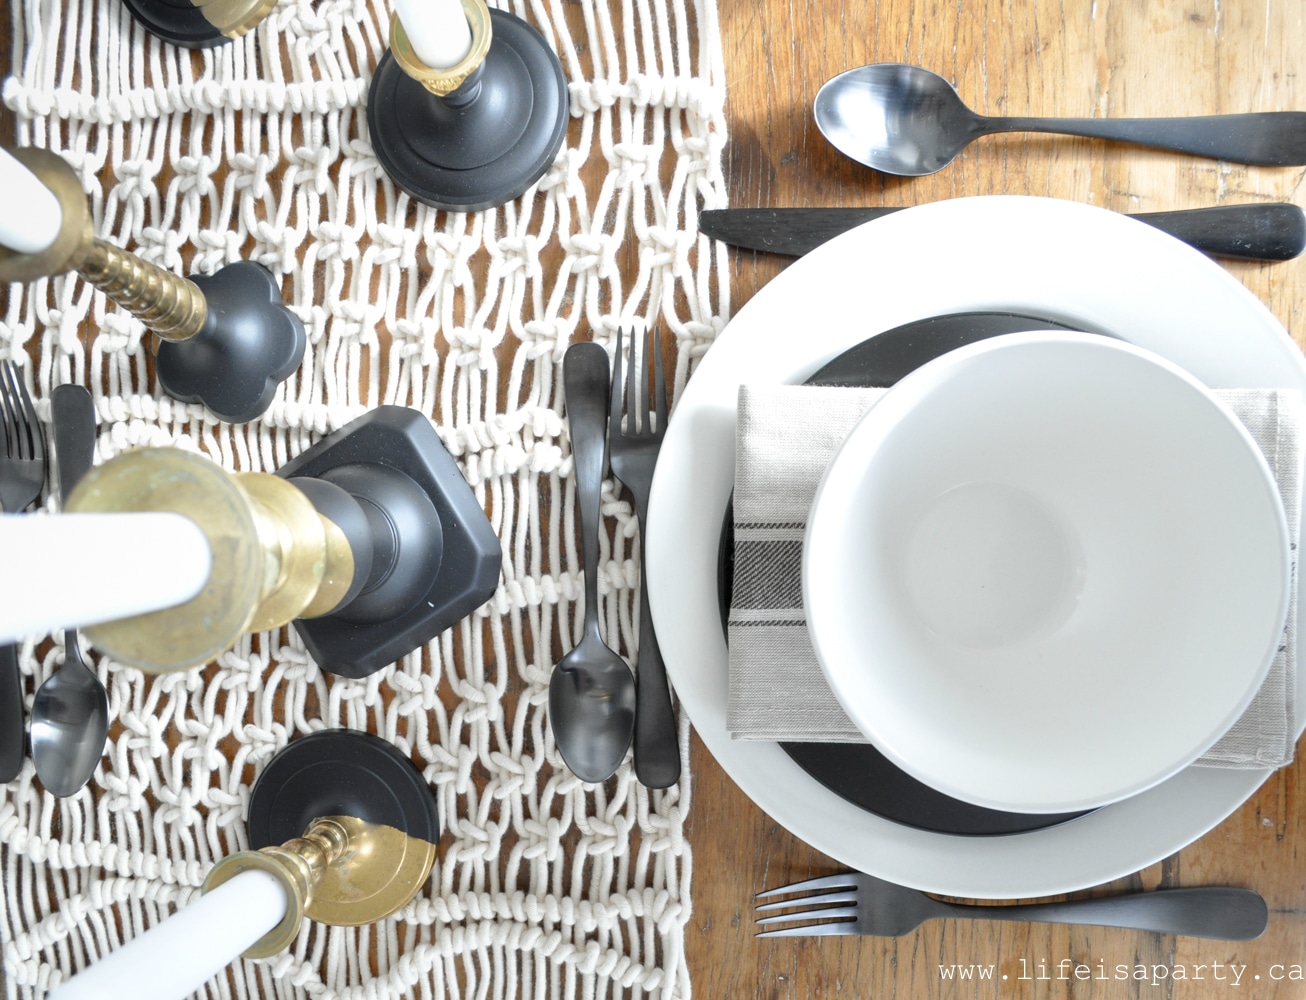
Place Settings
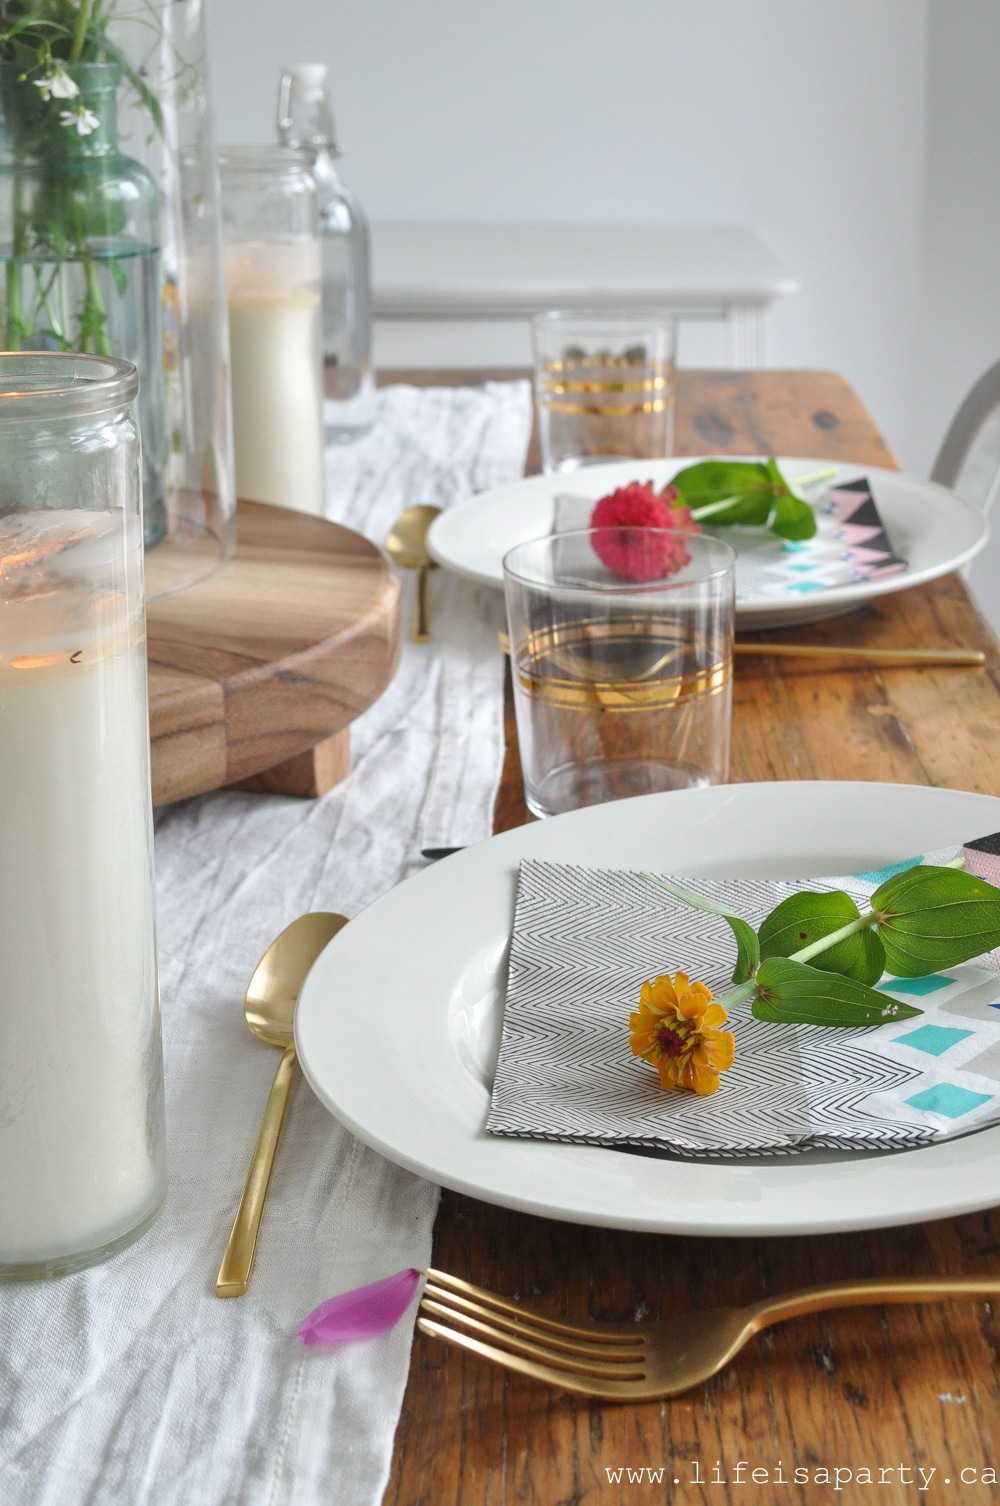 Place Settings
For the place settings, I used my everyday white dishes, but dressed it up a little with pretty gold cutlery and glasses for this summer tablescape.
The simple paper napkins make entertaining easy and add a little more colour and pattern.
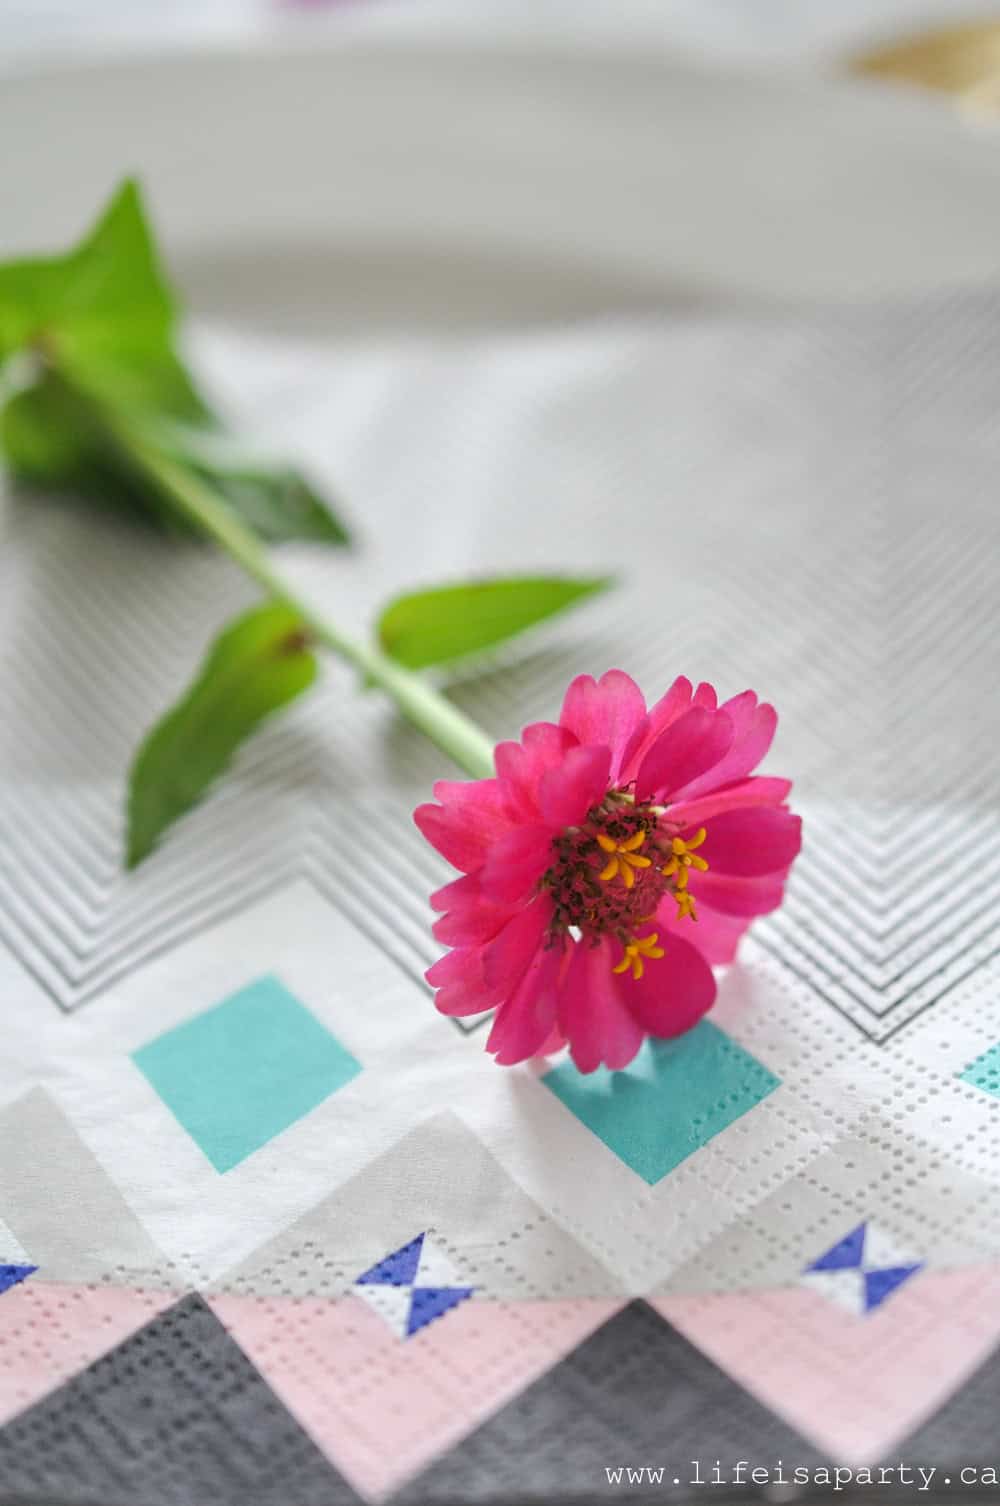 It's all finished off with a pretty individual zinnia blossom at each place setting. I think zinnias might be one of my very favourite flowers.
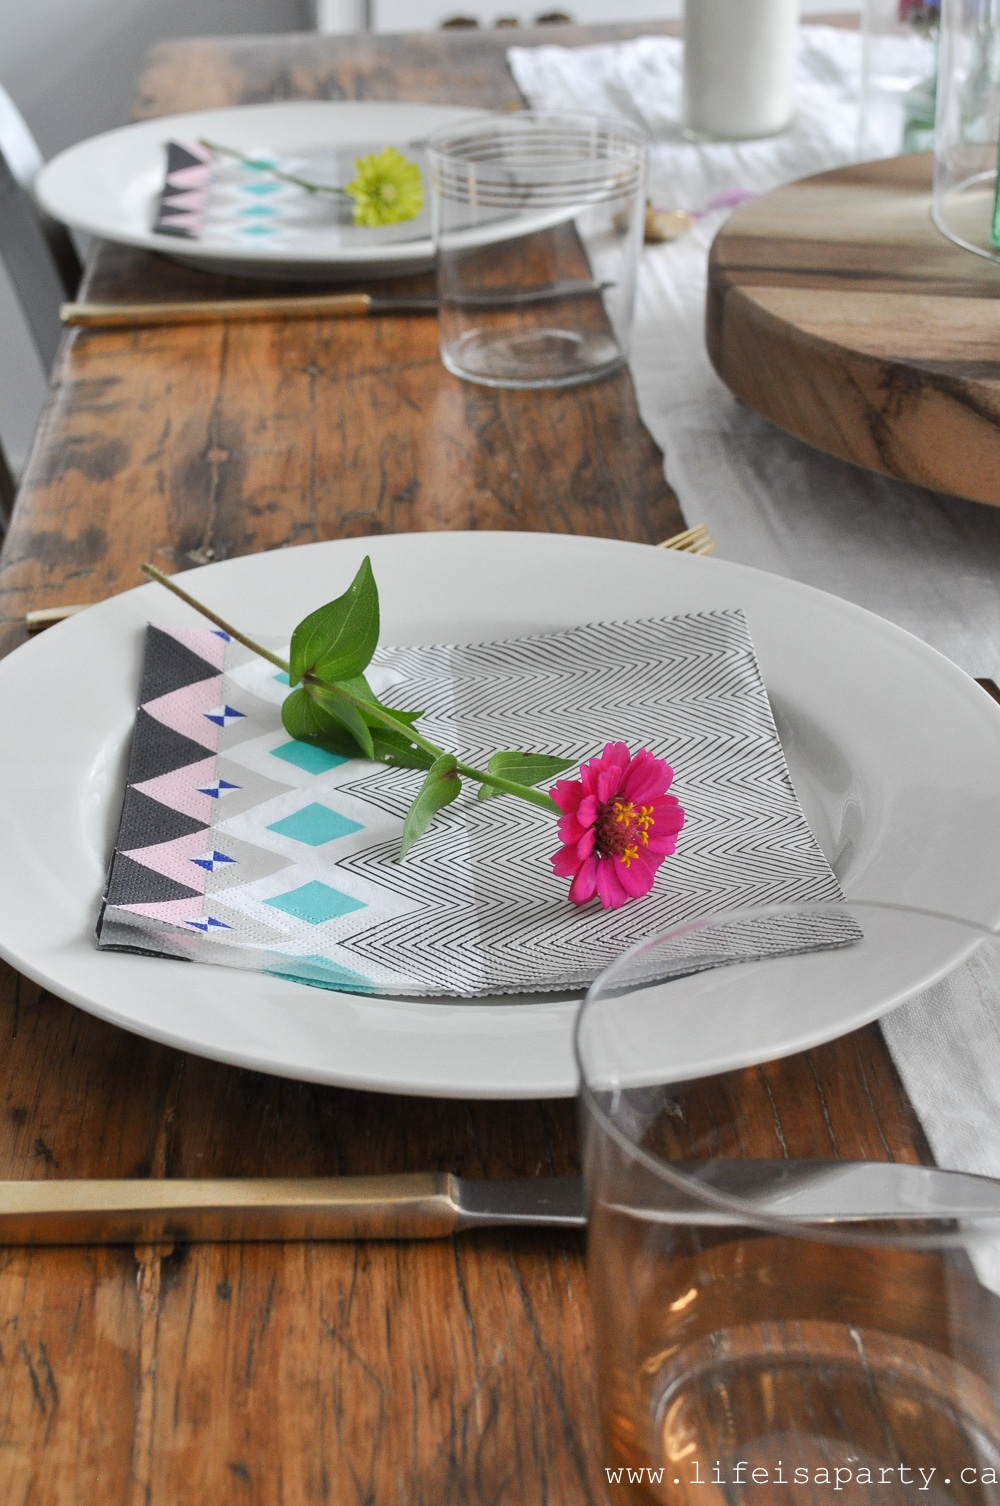
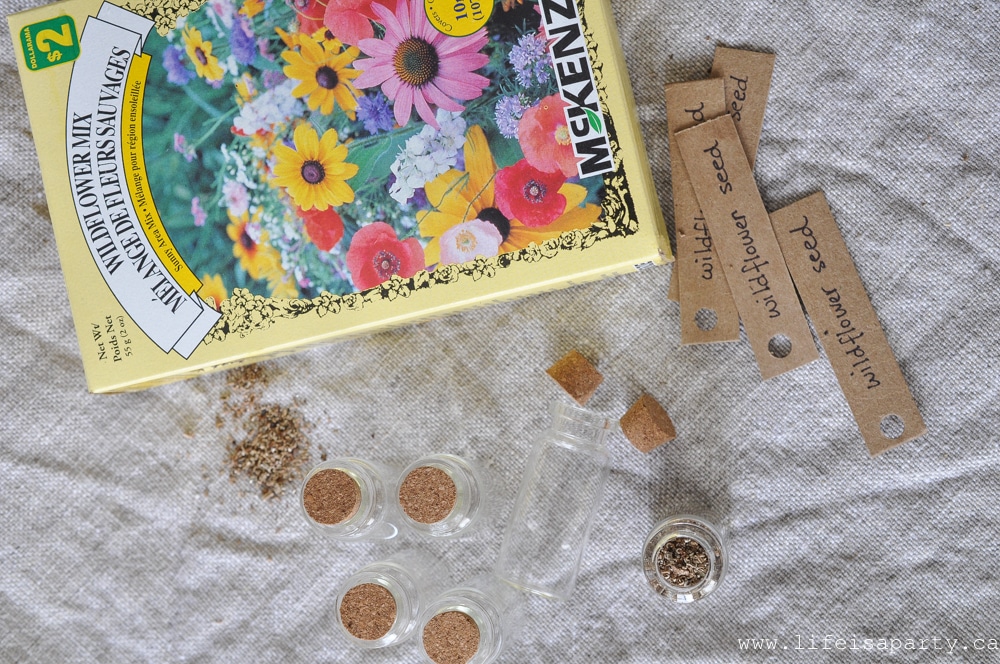
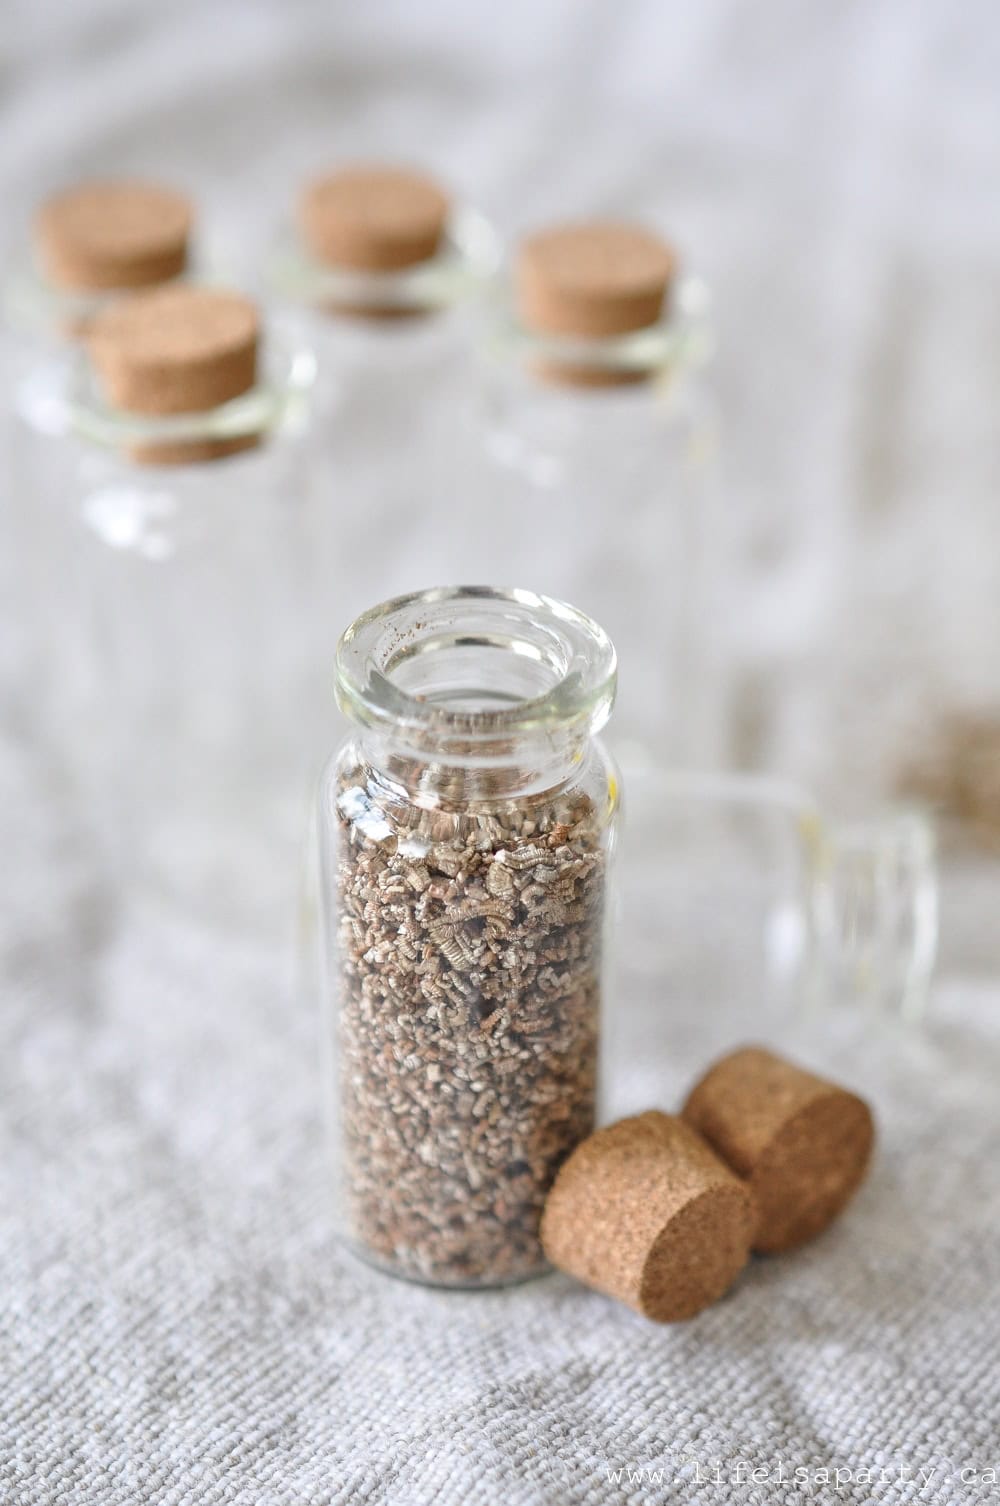
We grew these from seed, they're just an annual and so easy to grow. And the more you pick them the more they bloom, so I'm picking away and enjoying them inside.
 I love the ease of summer entertaining, and creating simple centre pieces right from our own backyard flowers. Do you grow your own flowers? The farmer's market is a great source too.
 With a pretty summer tablescape like this one, life really is a party!
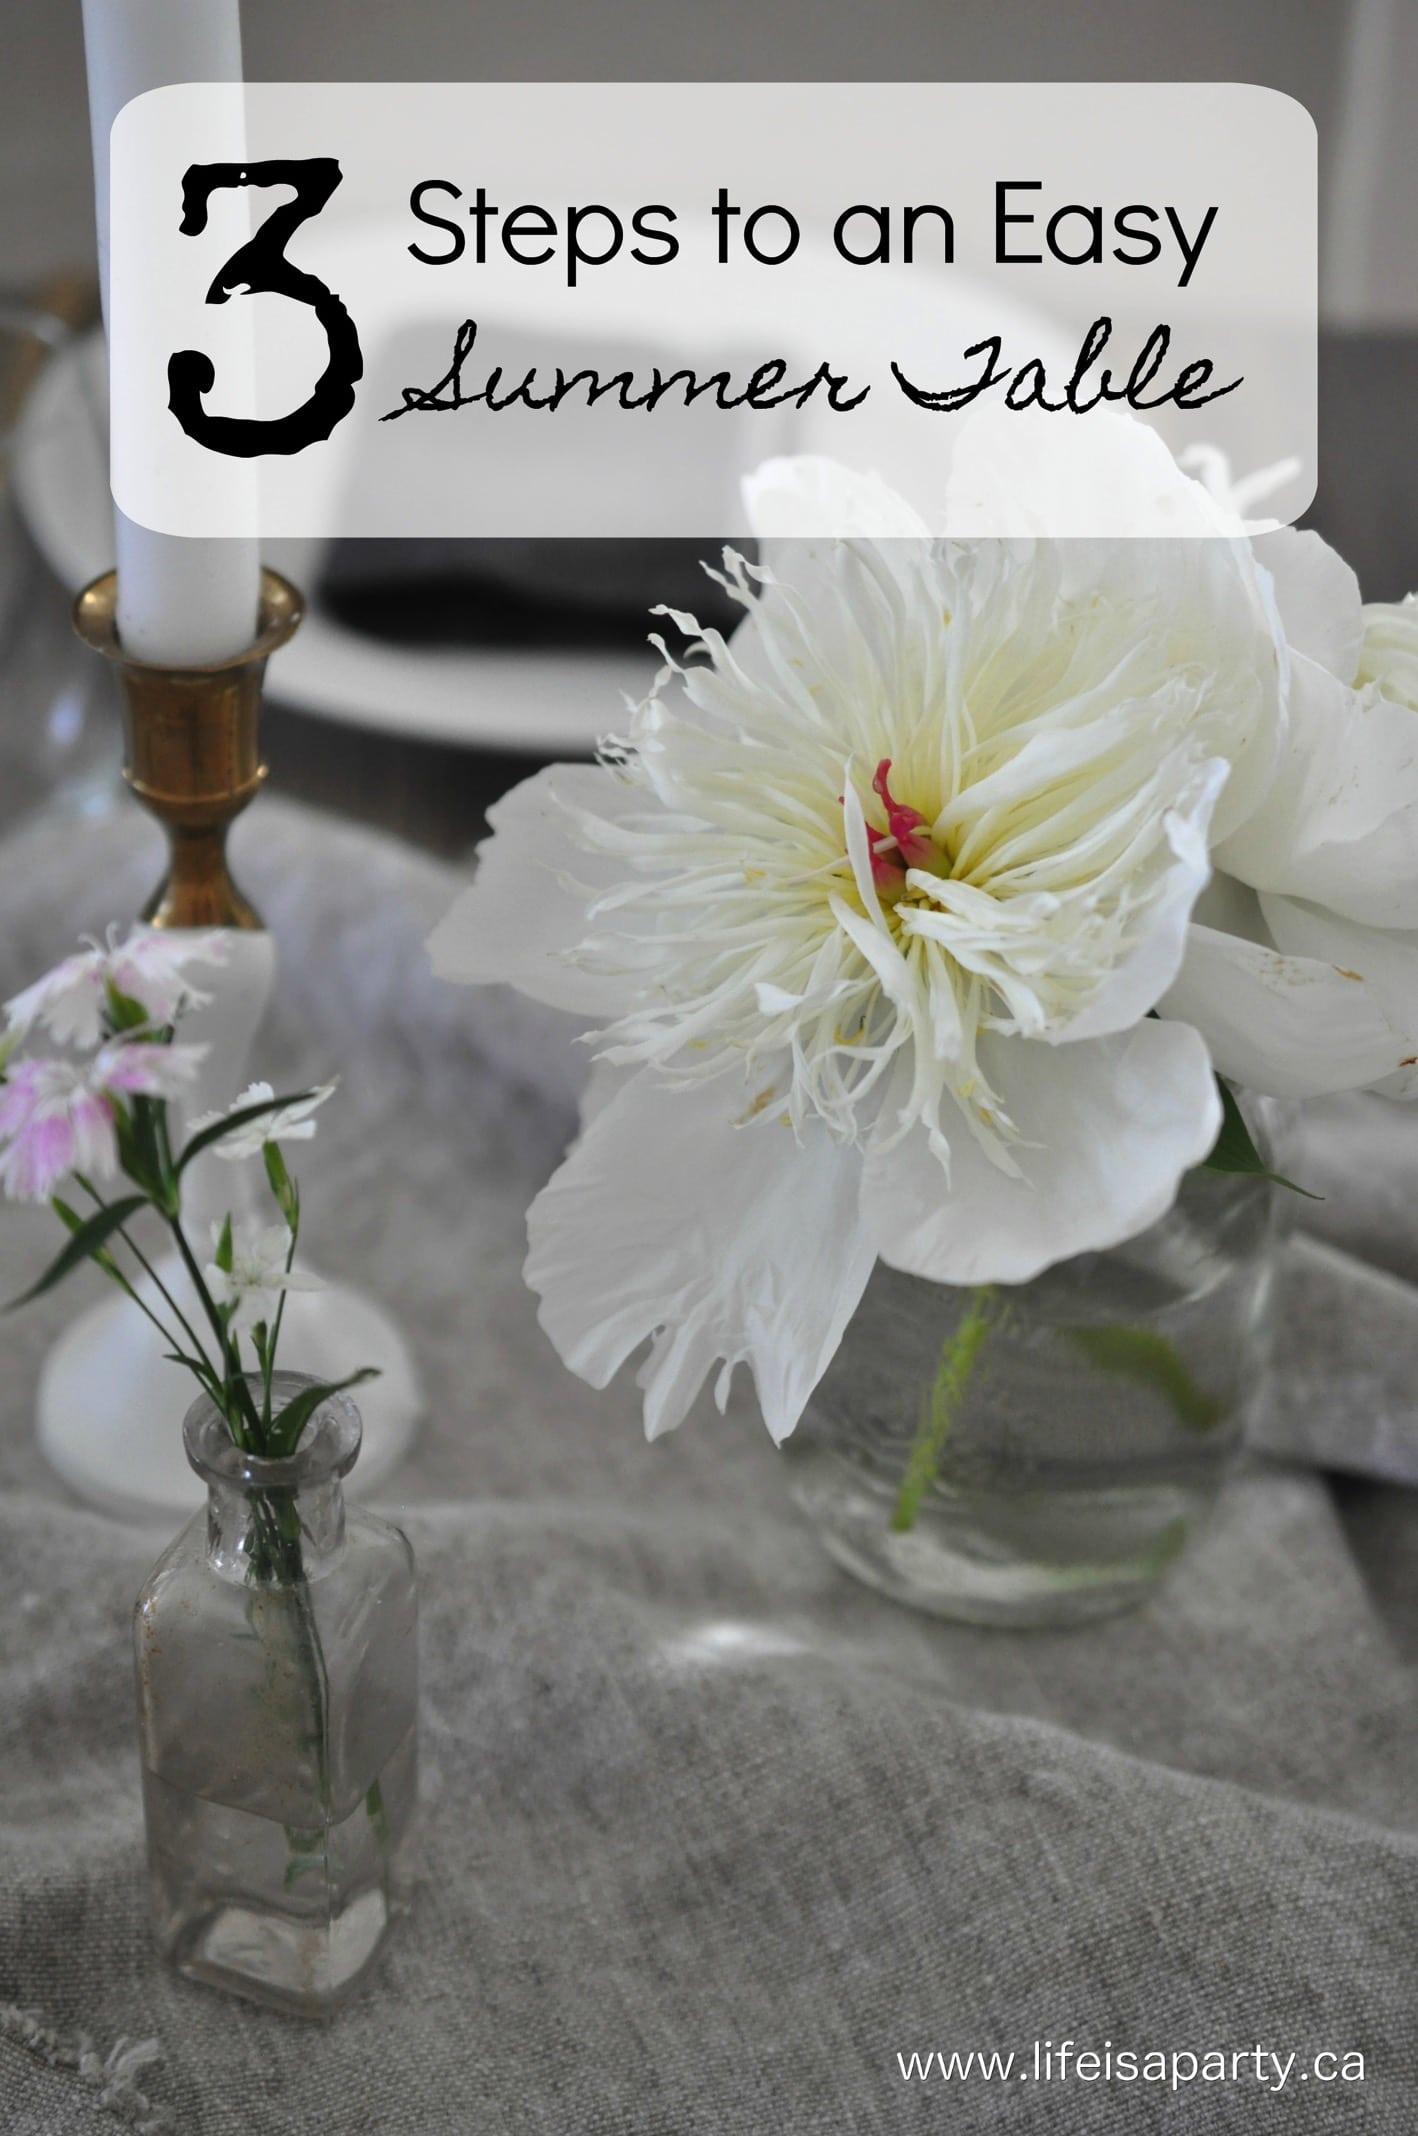
You might also like our 3 Steps To An Easy Summer Table here.
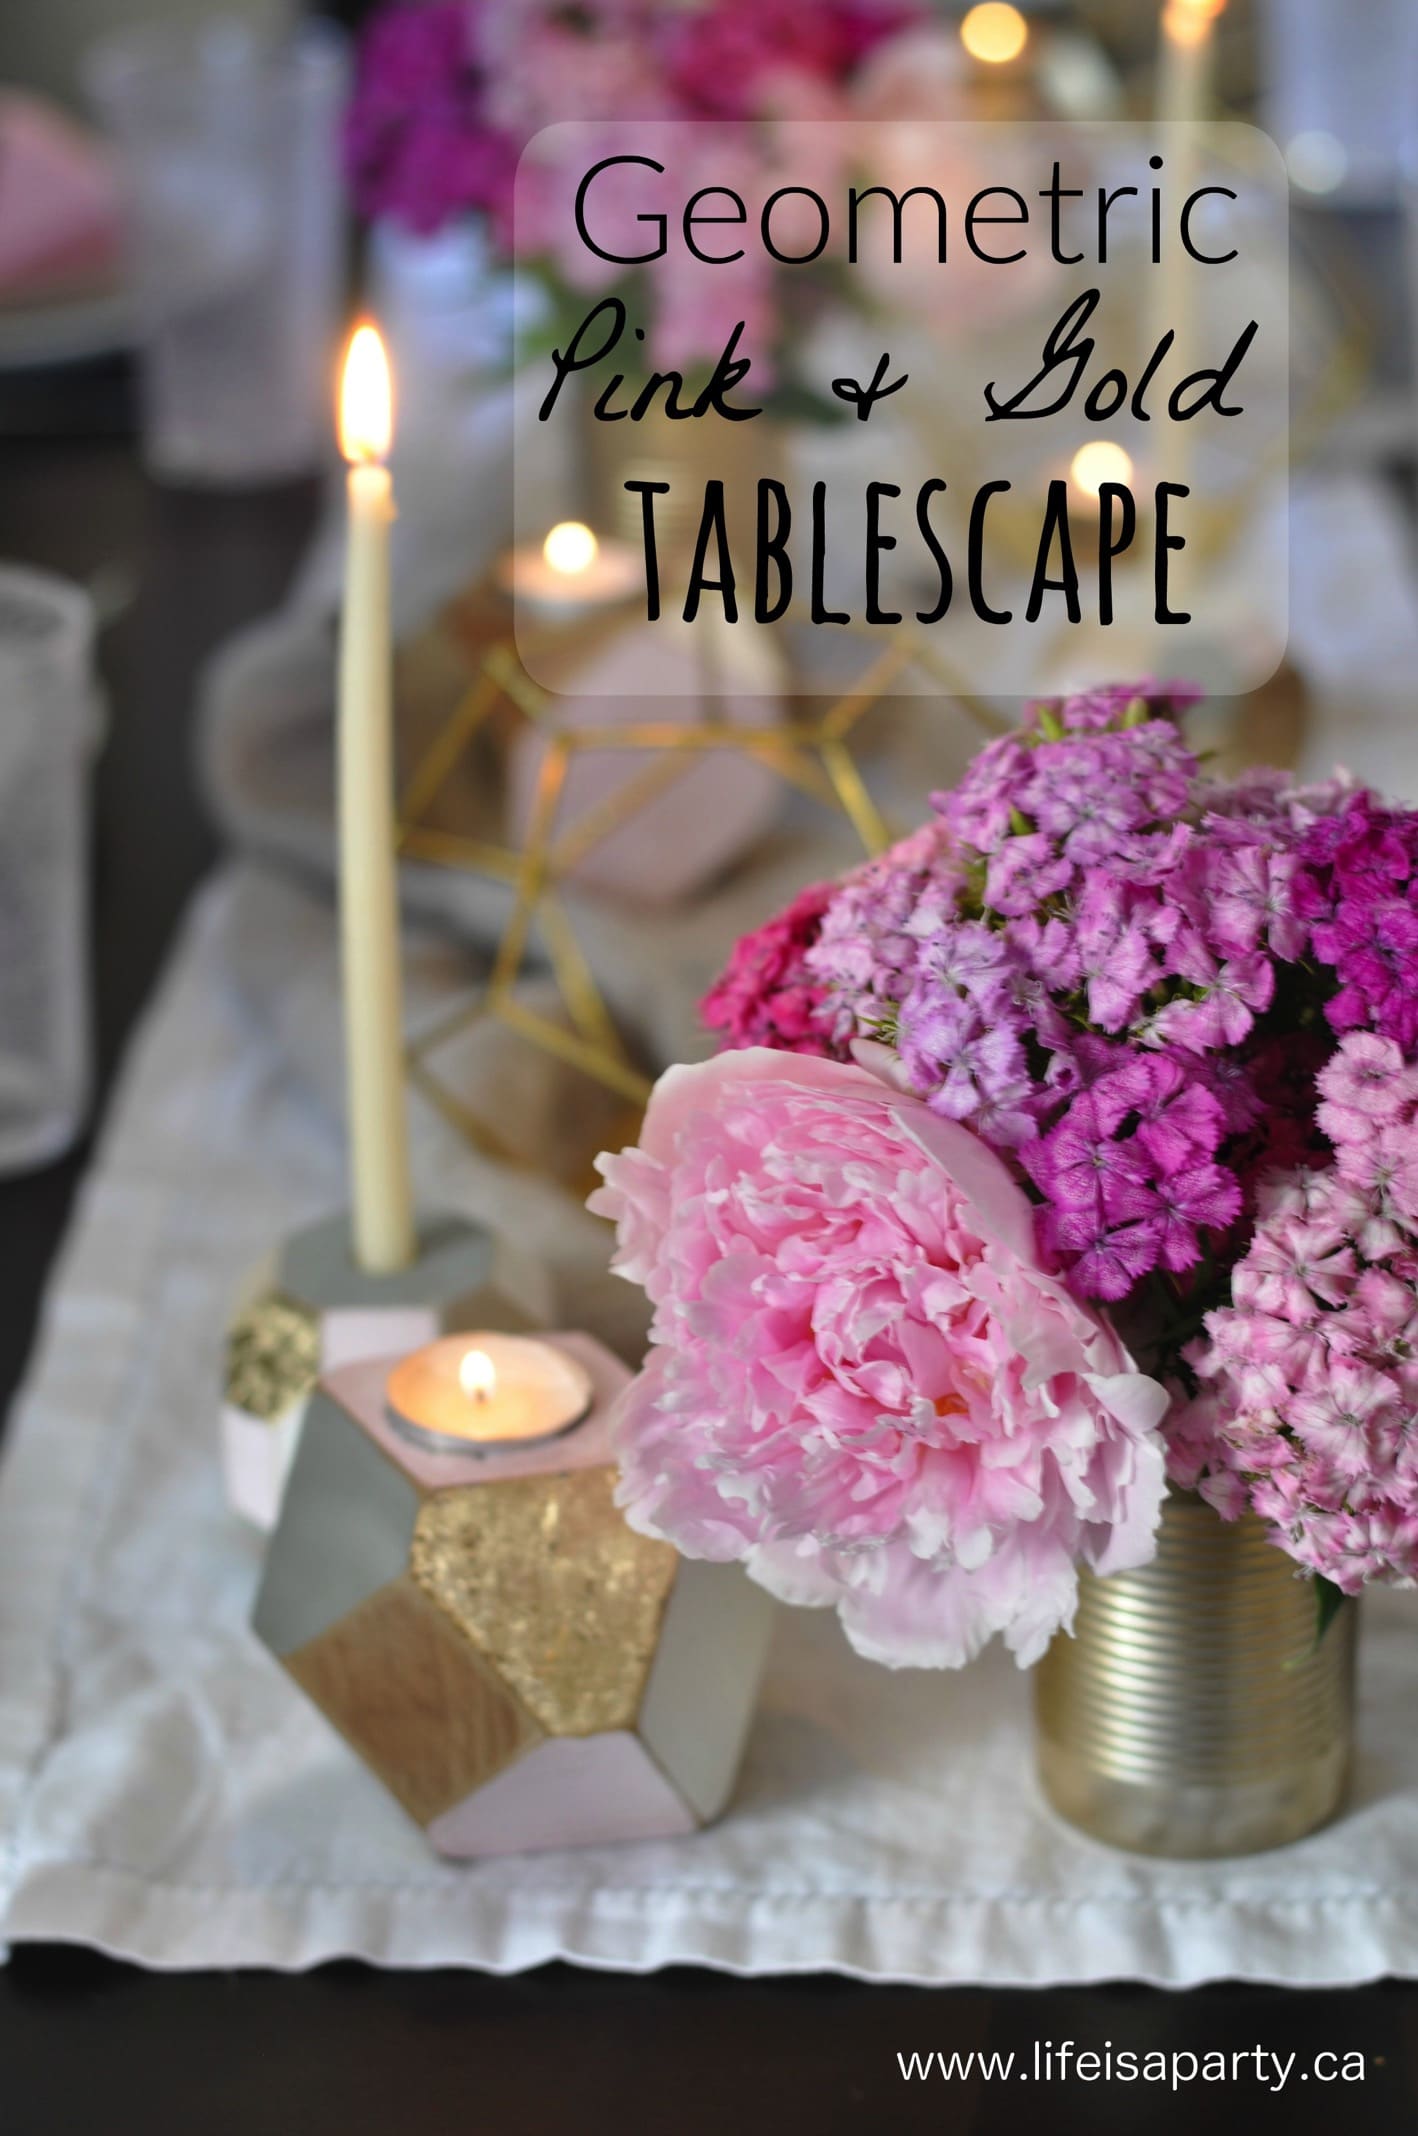
Also check out our Geometric Pink and Gold Tablescape here.
You might also enjoy our Summer Dinner Party here.
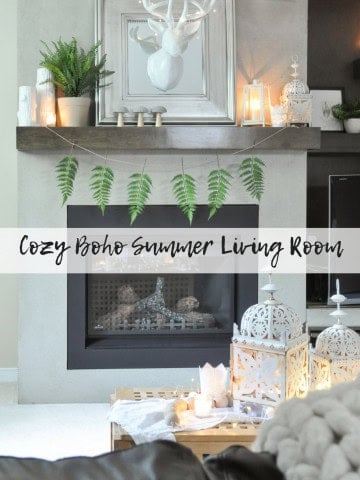
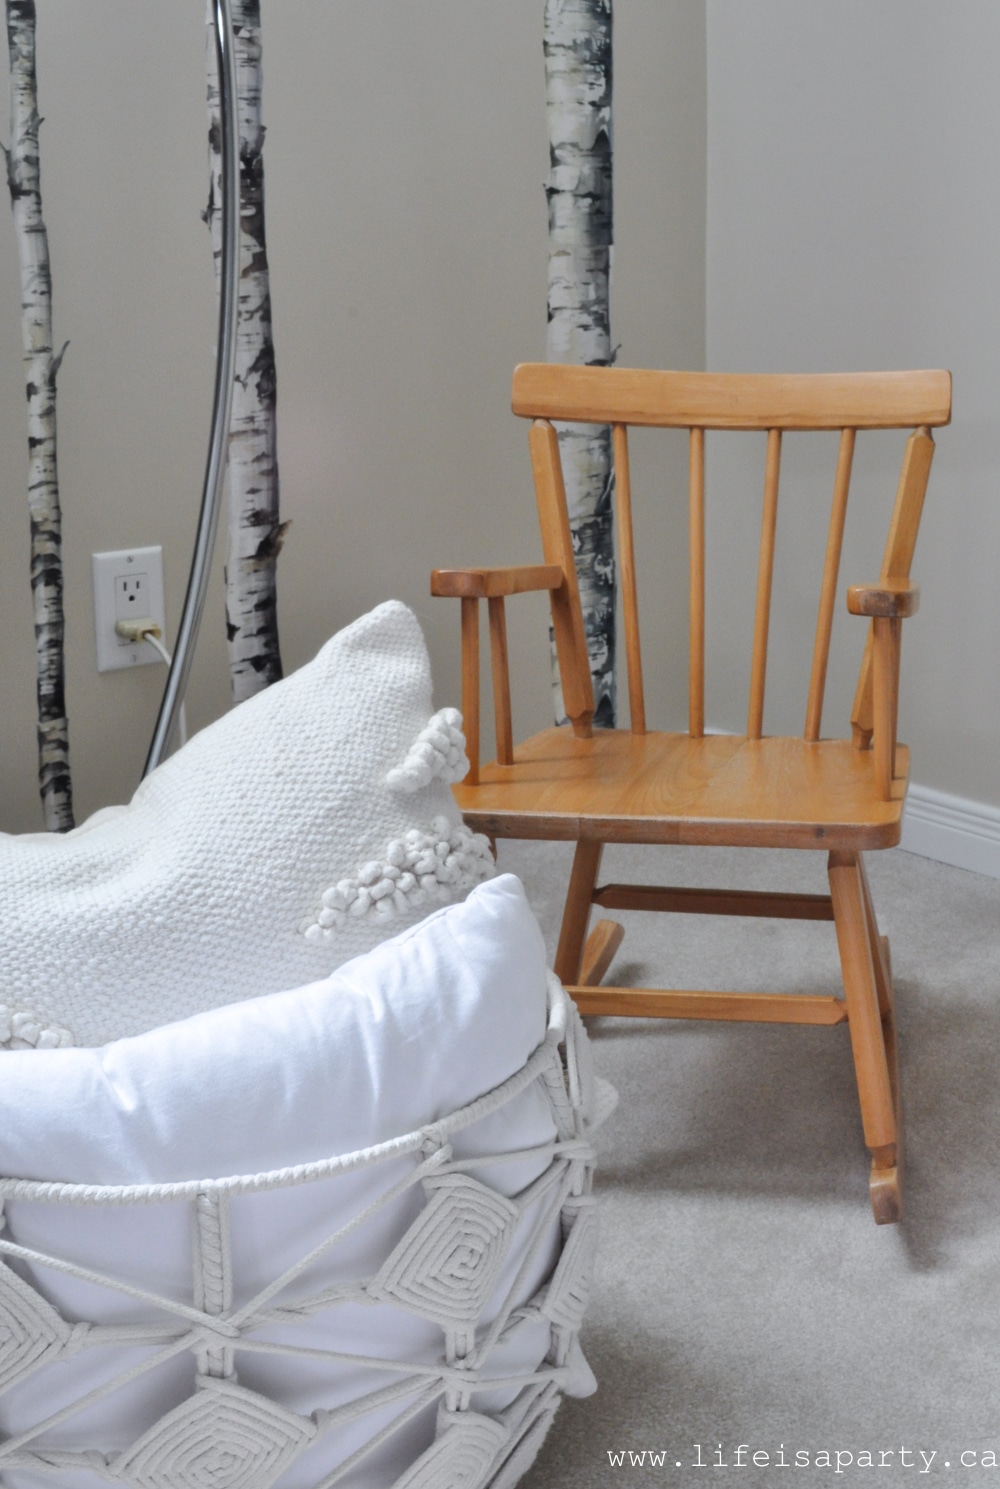
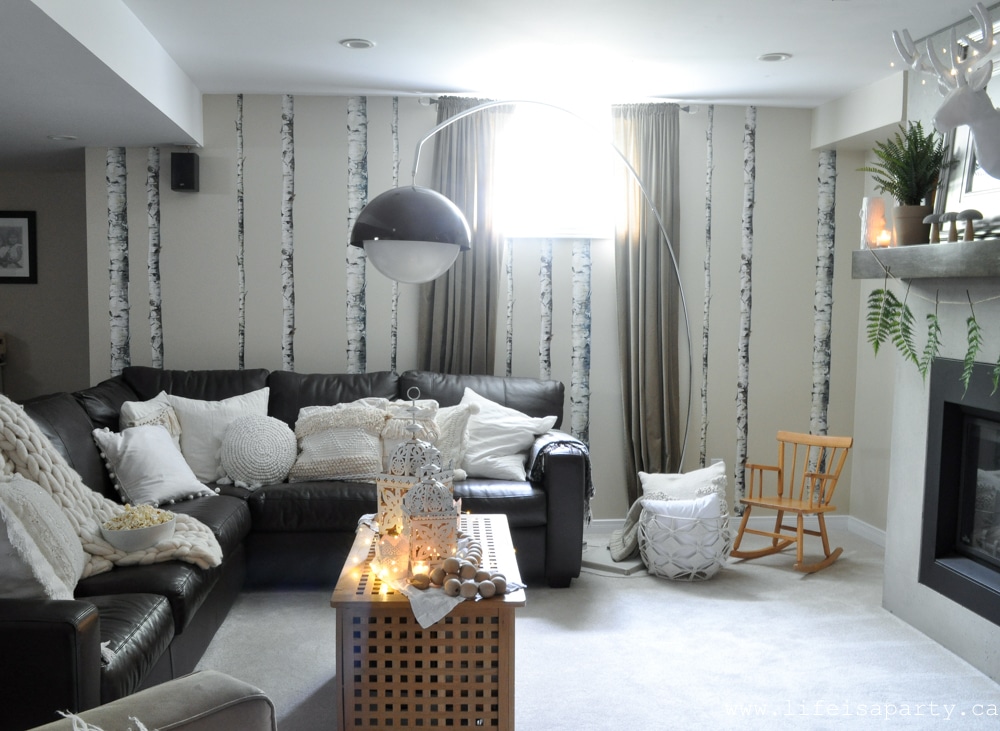
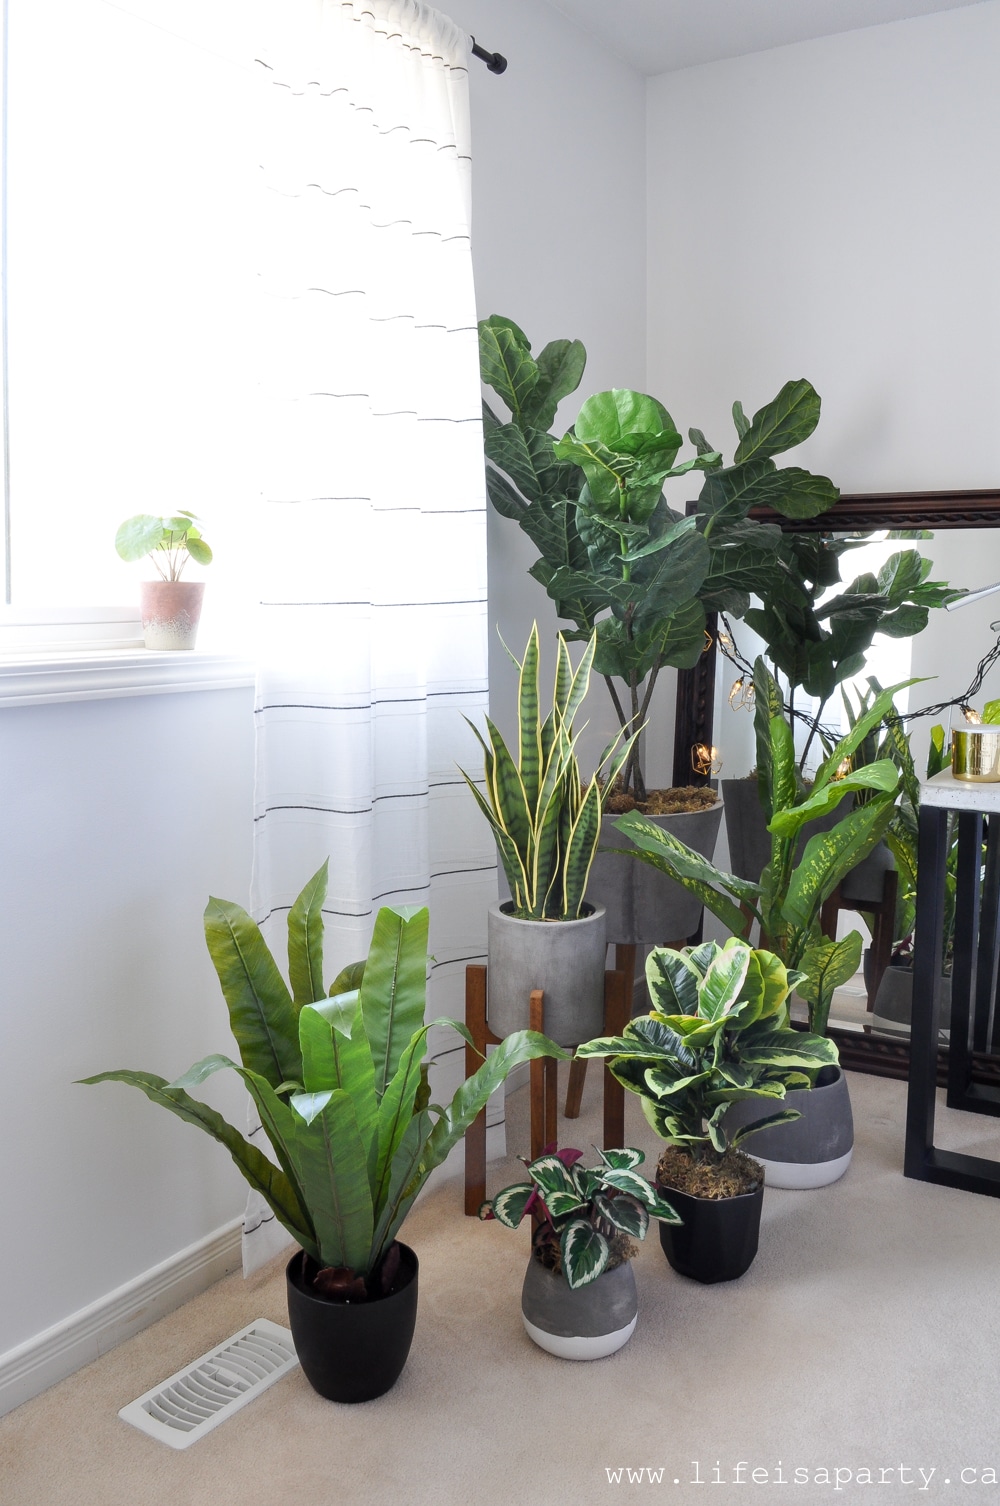
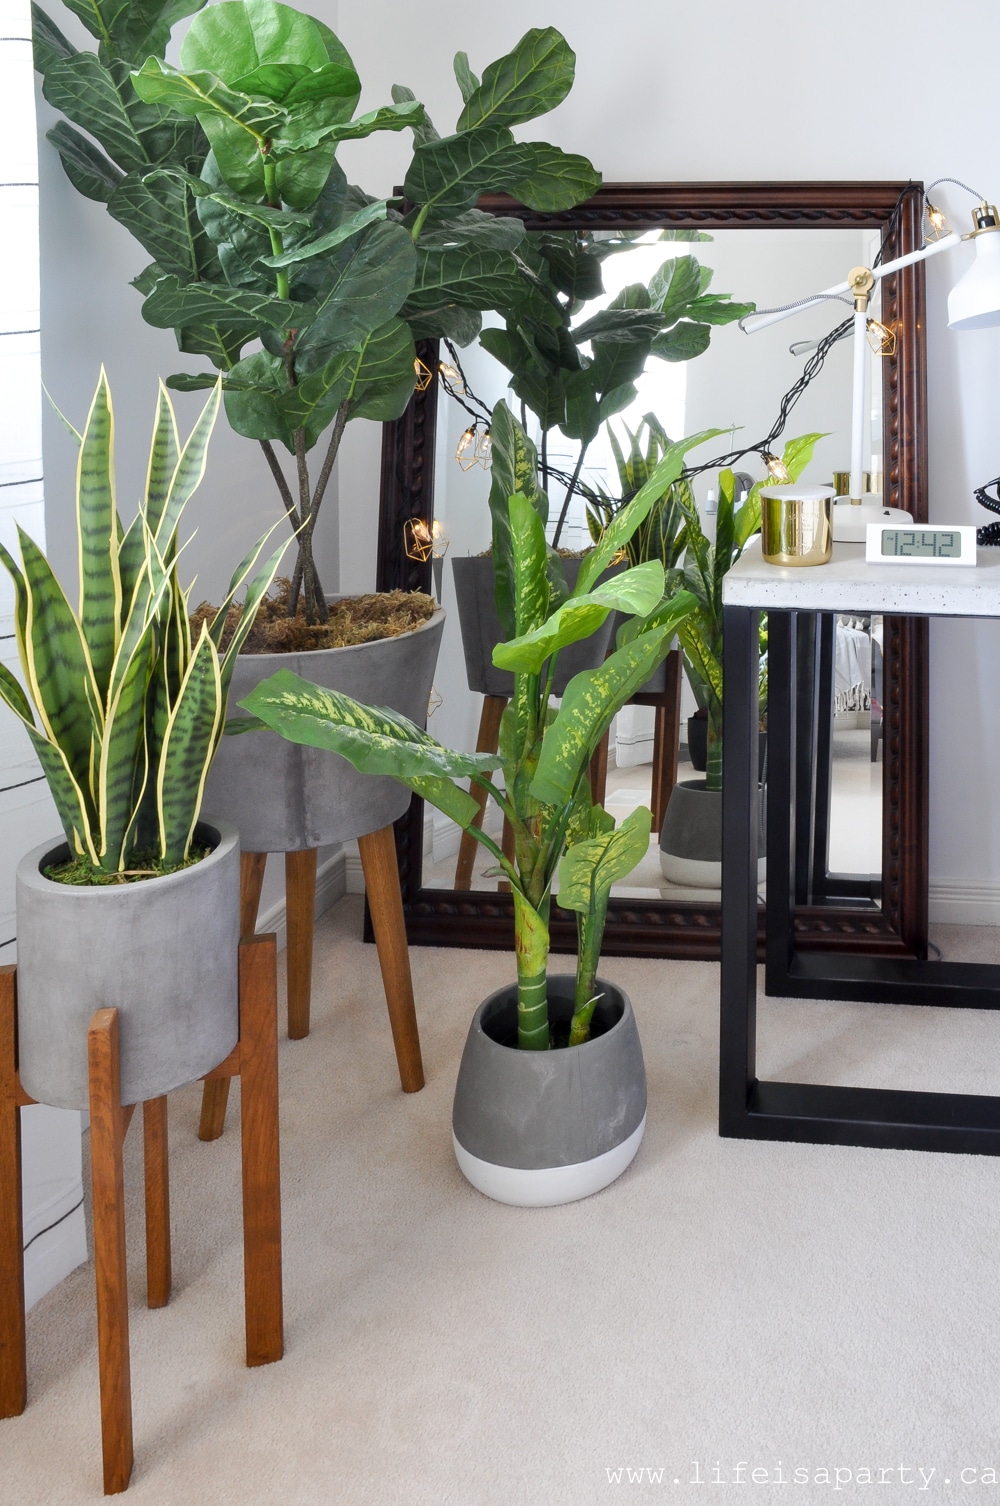
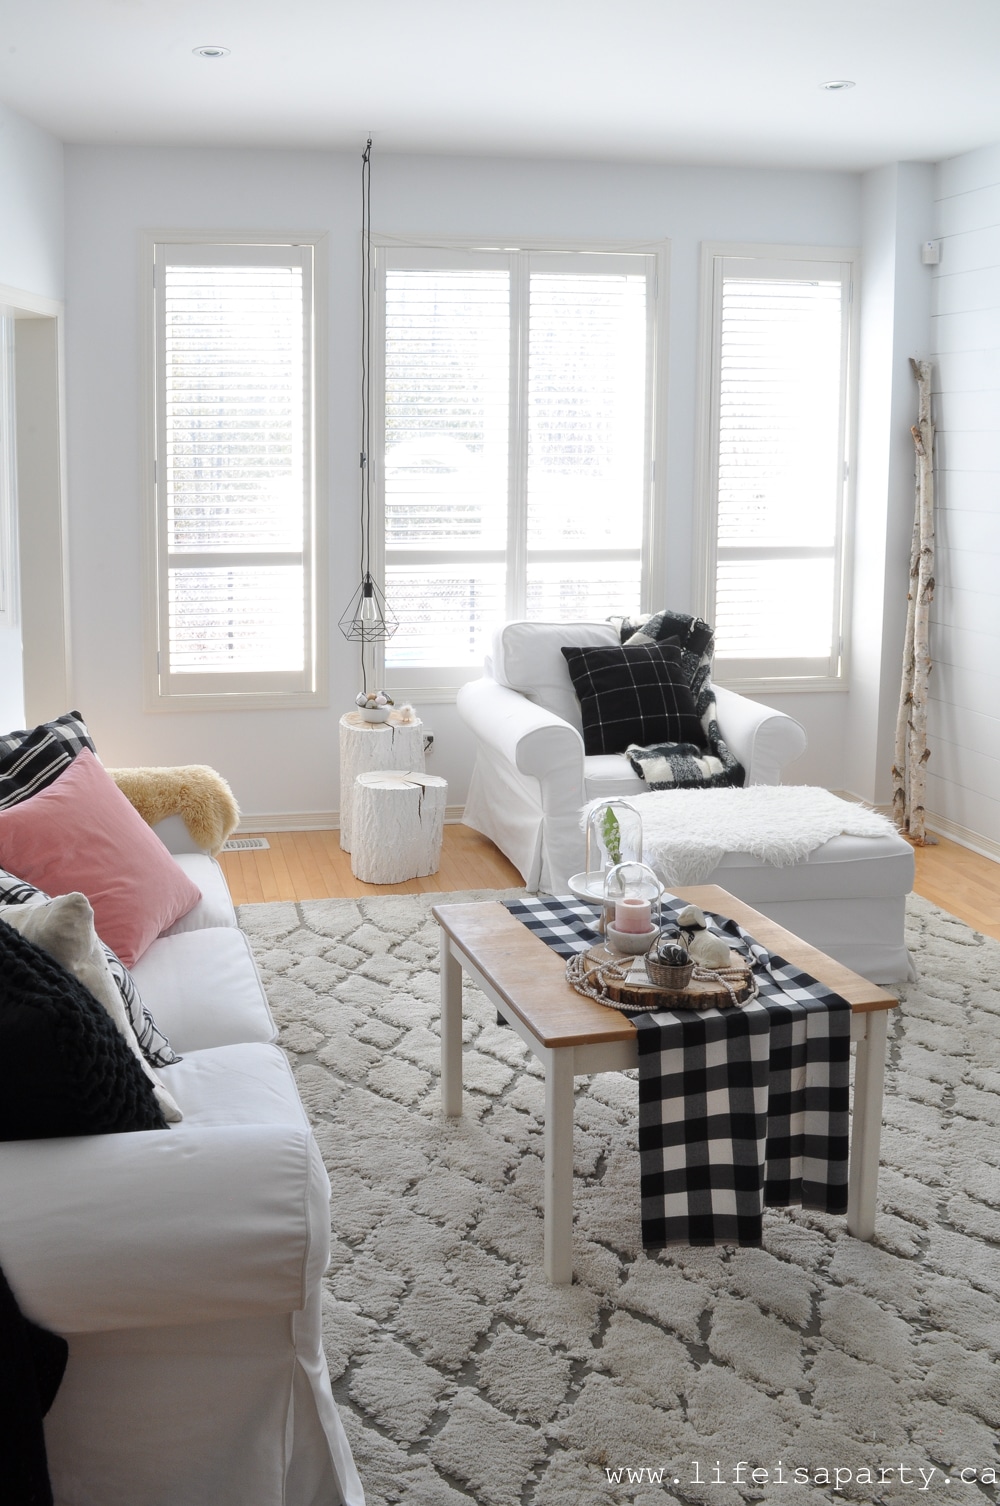
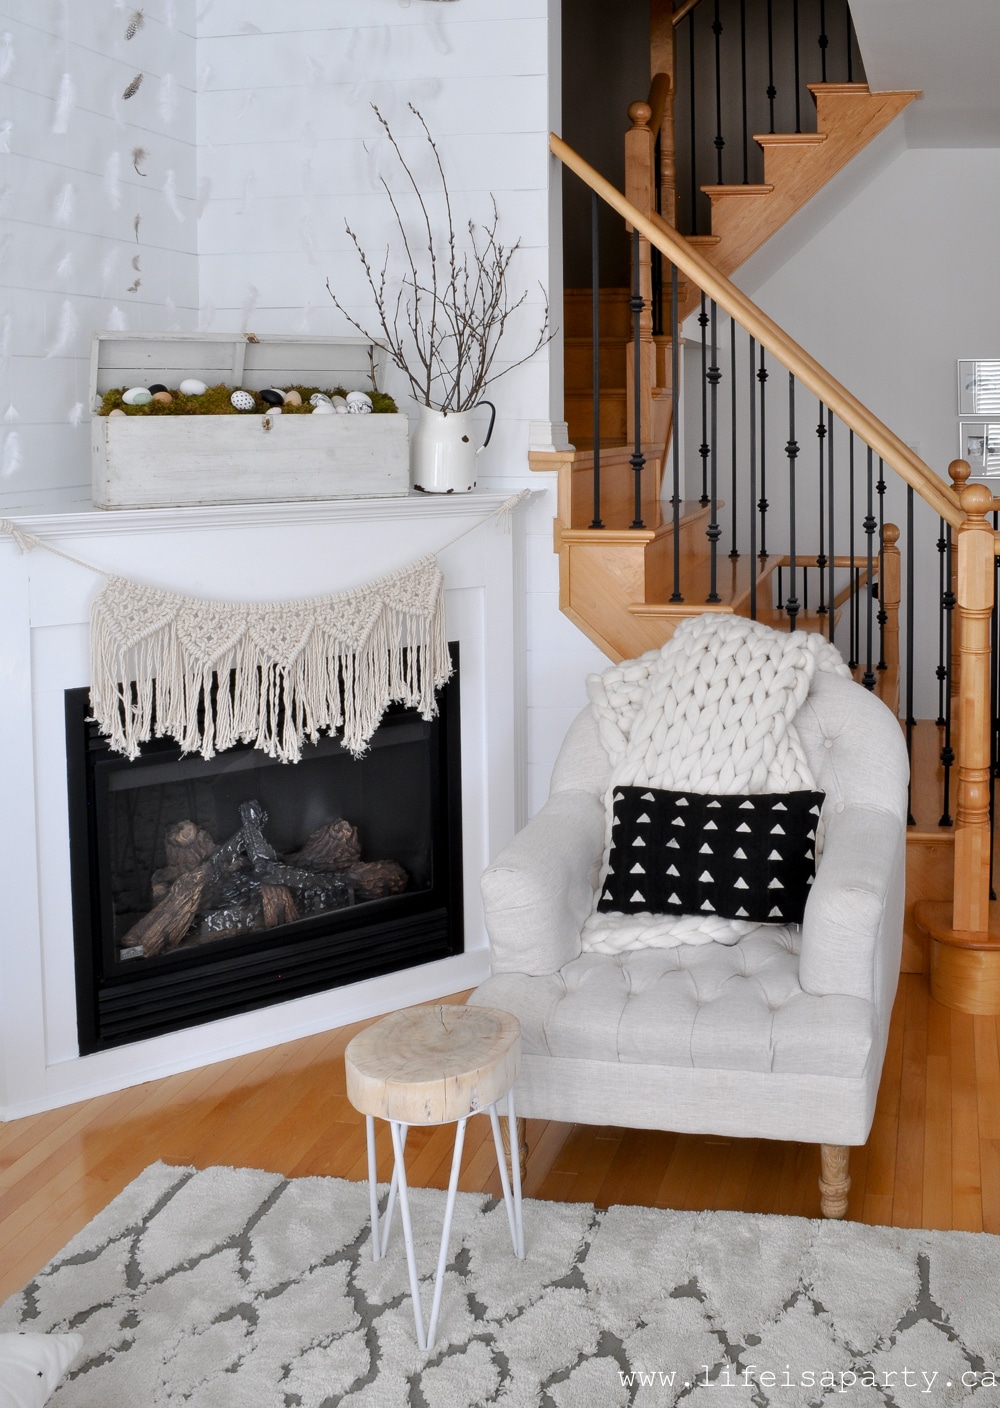
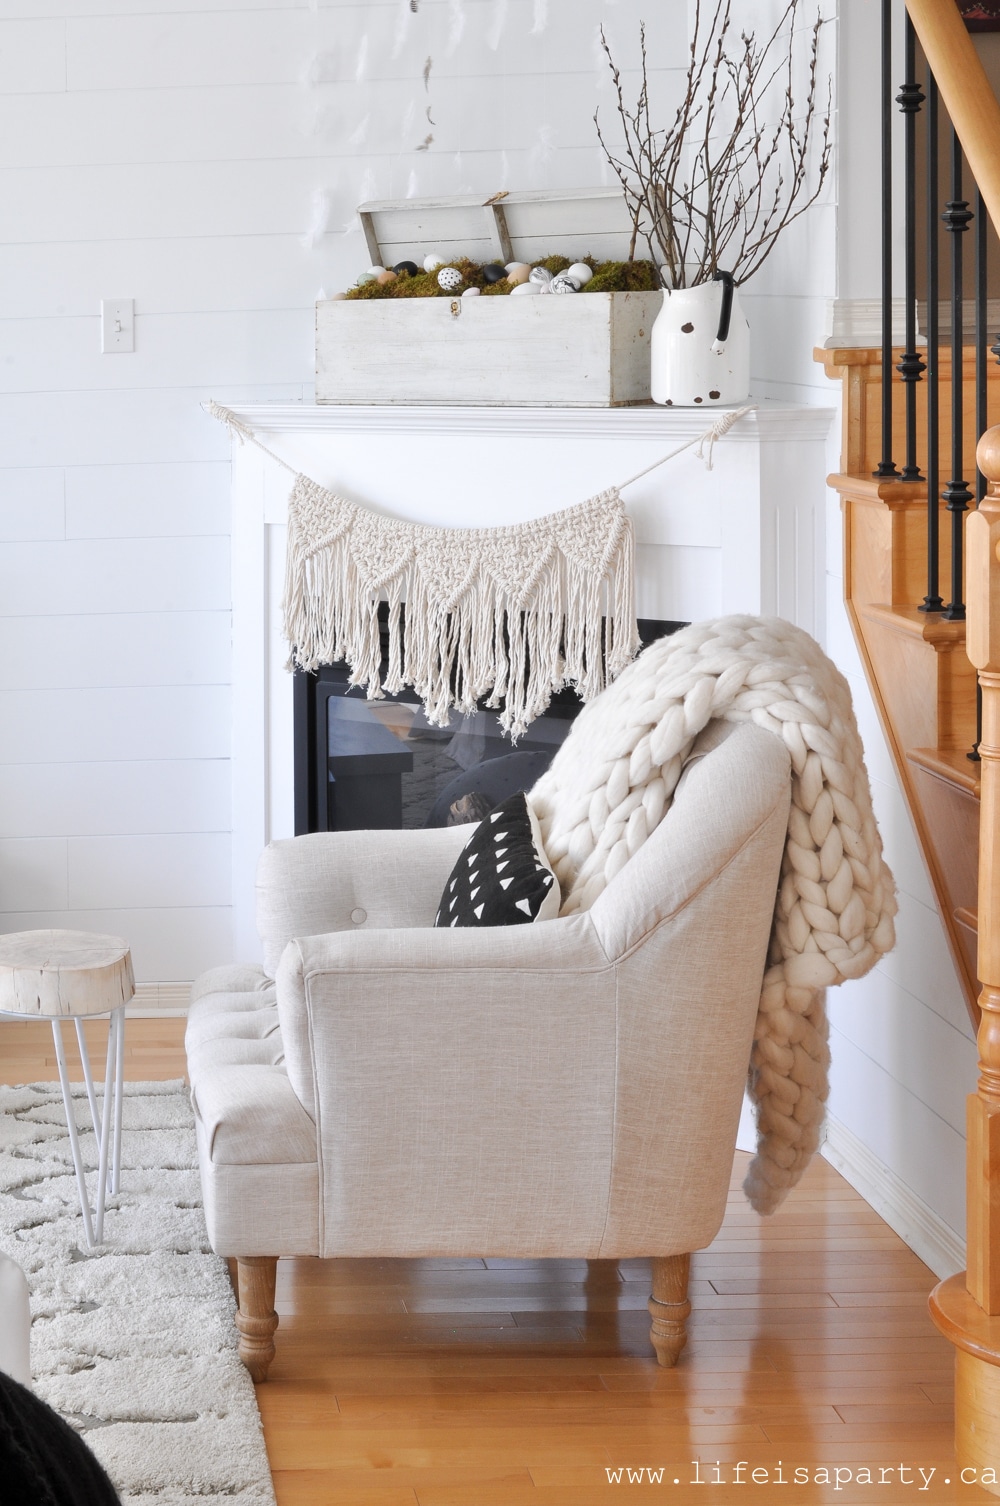
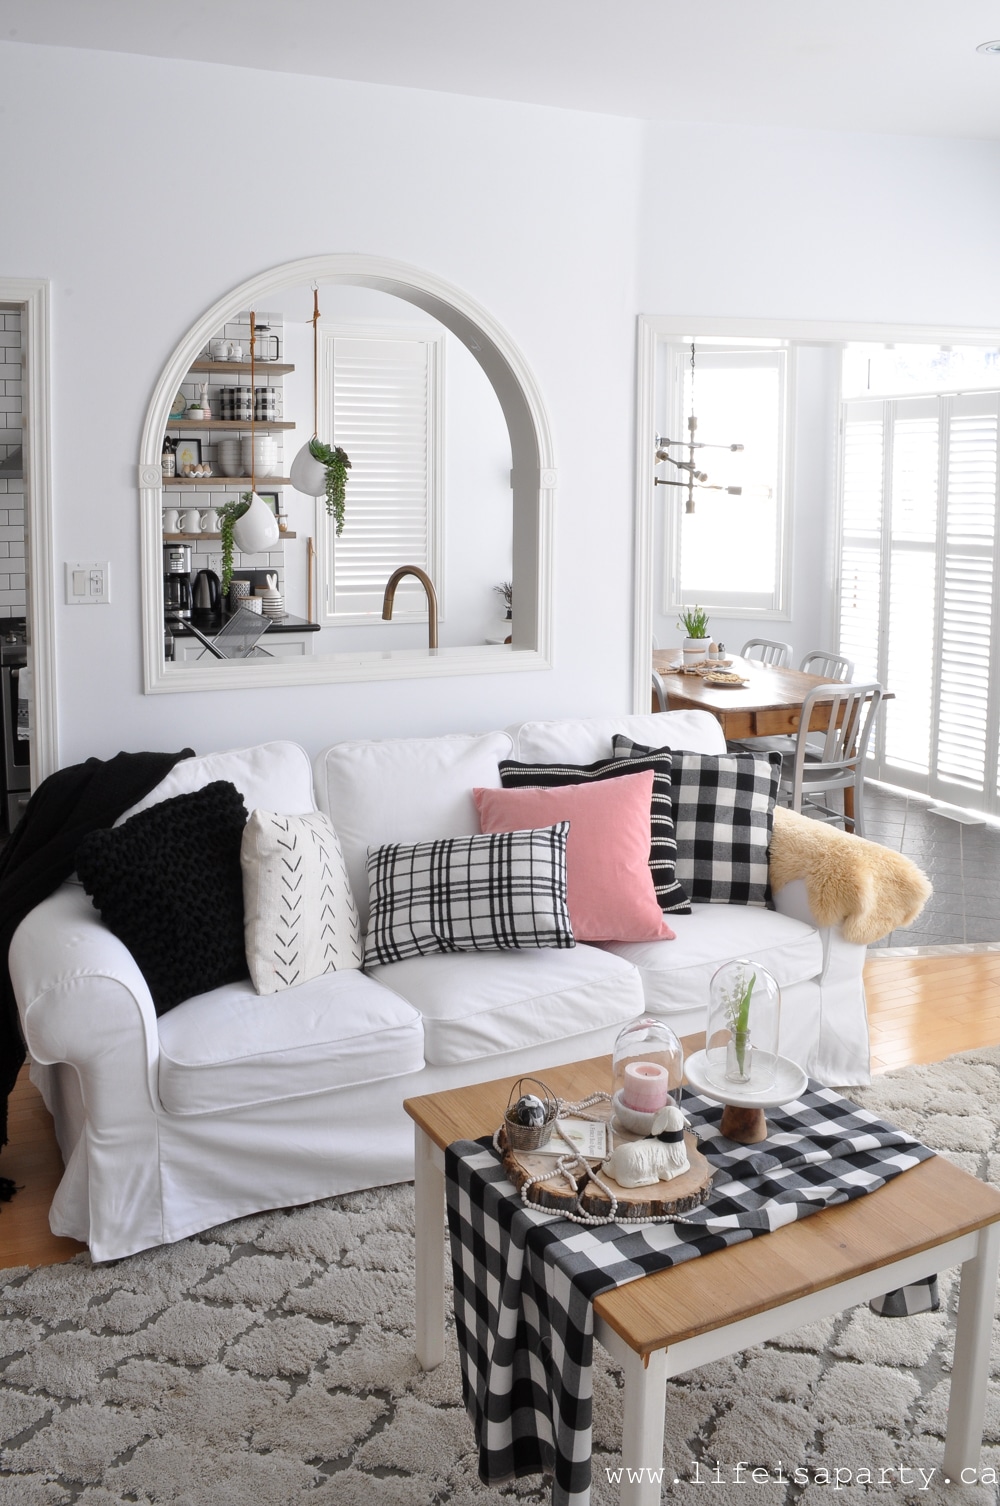
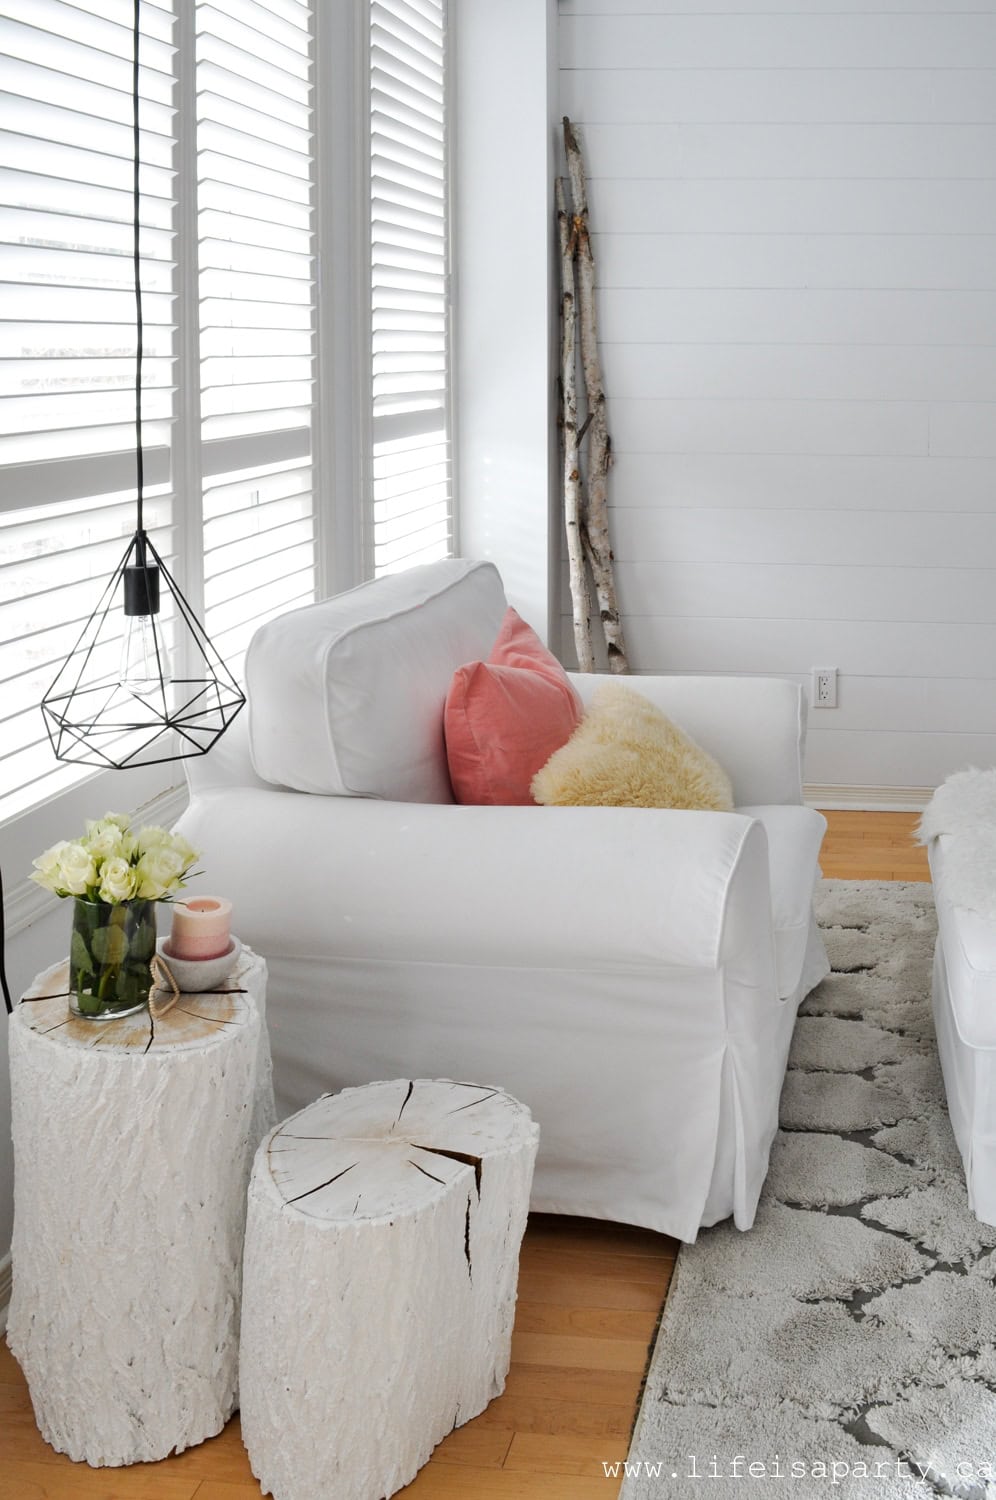
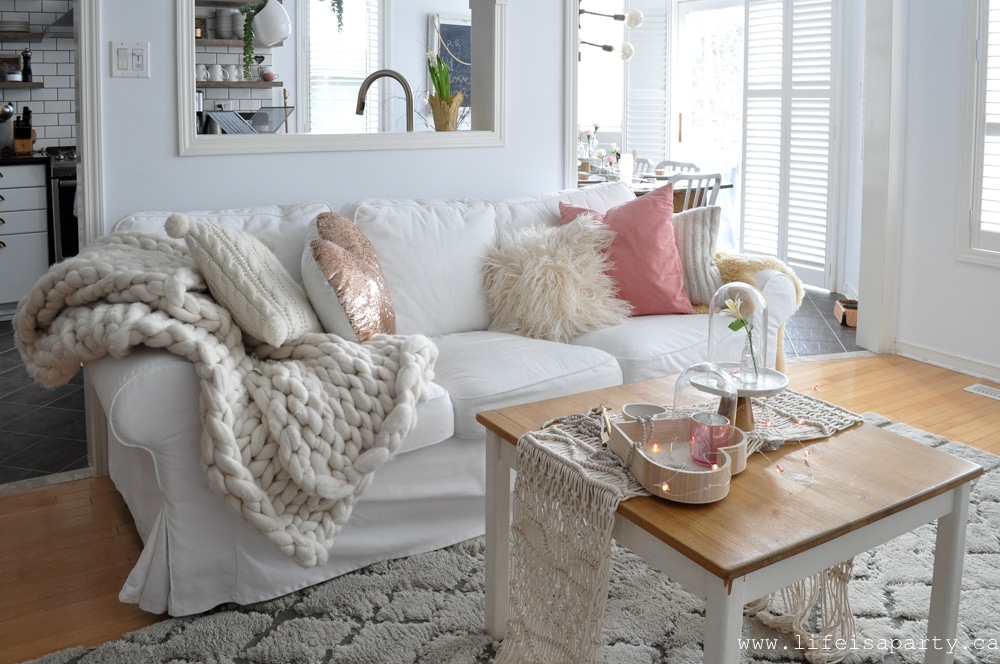
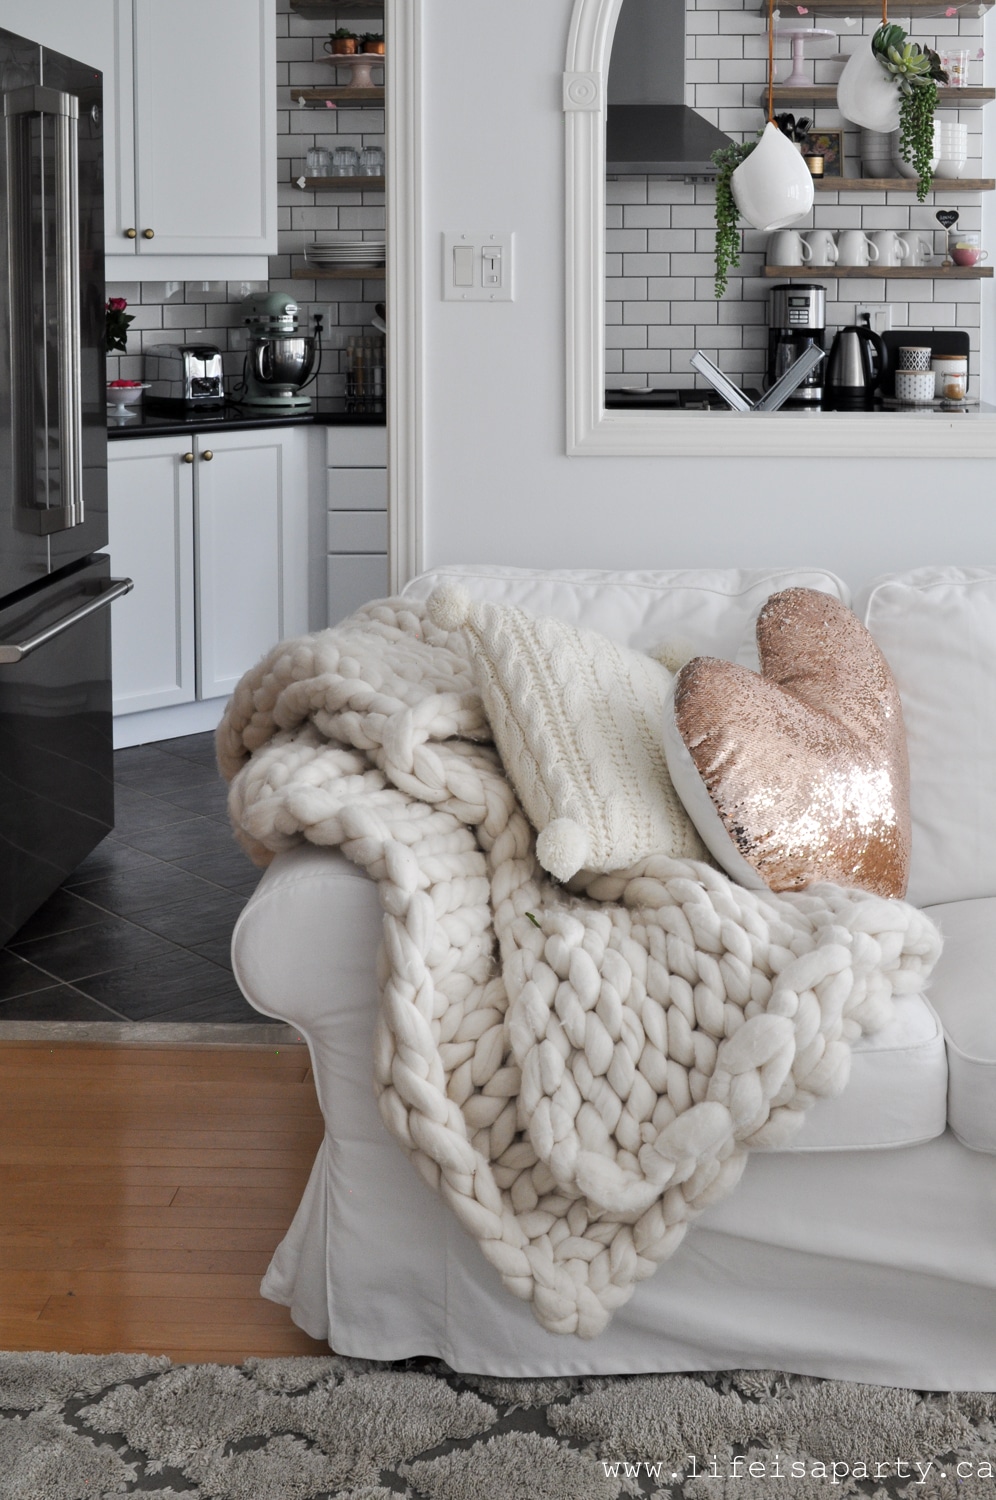
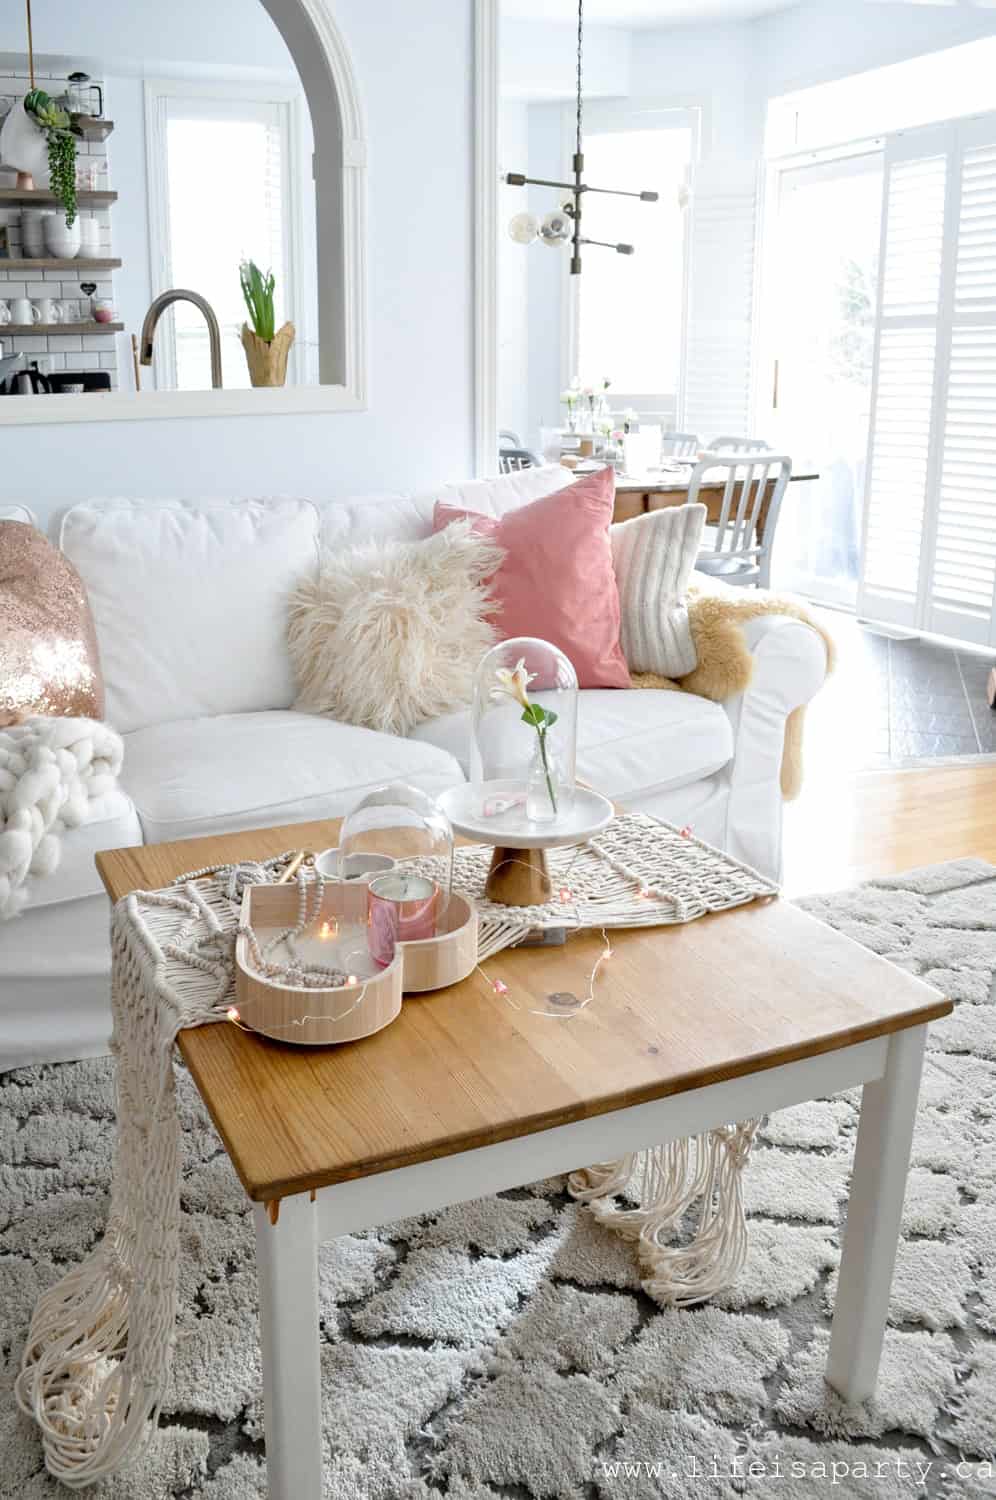
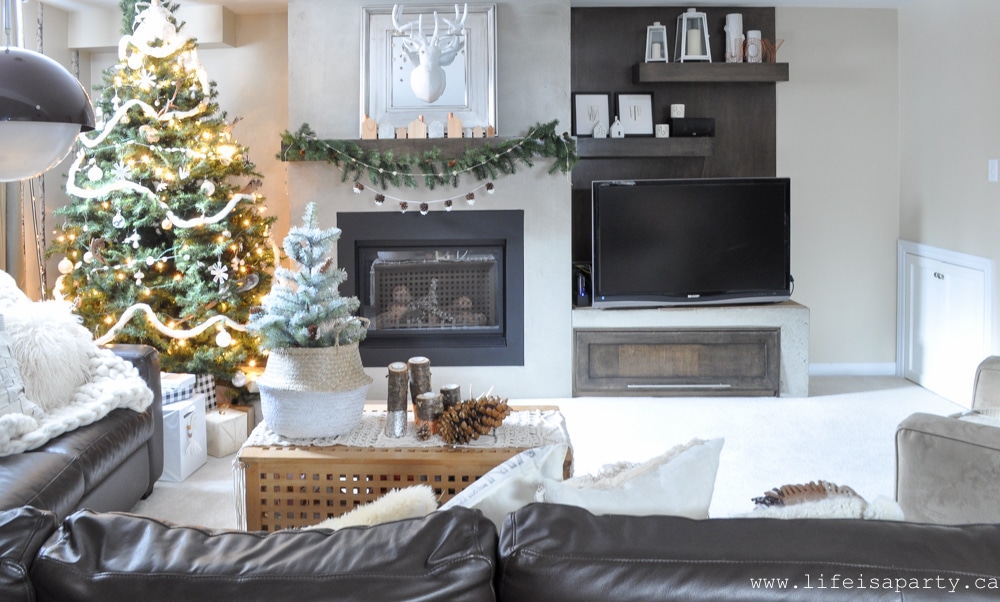
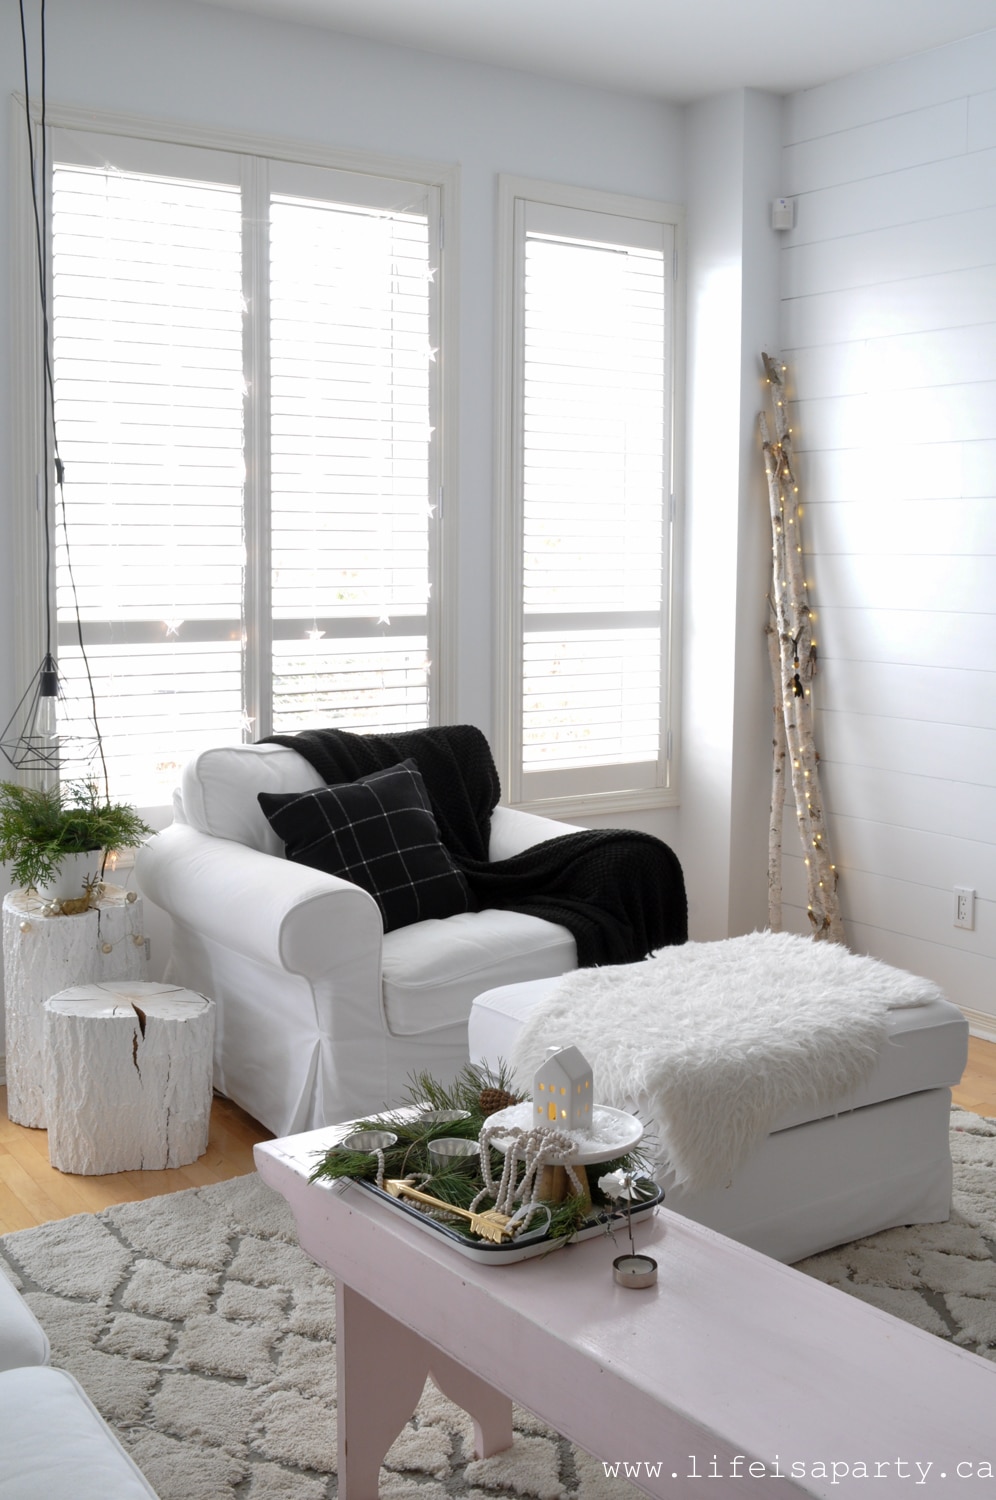
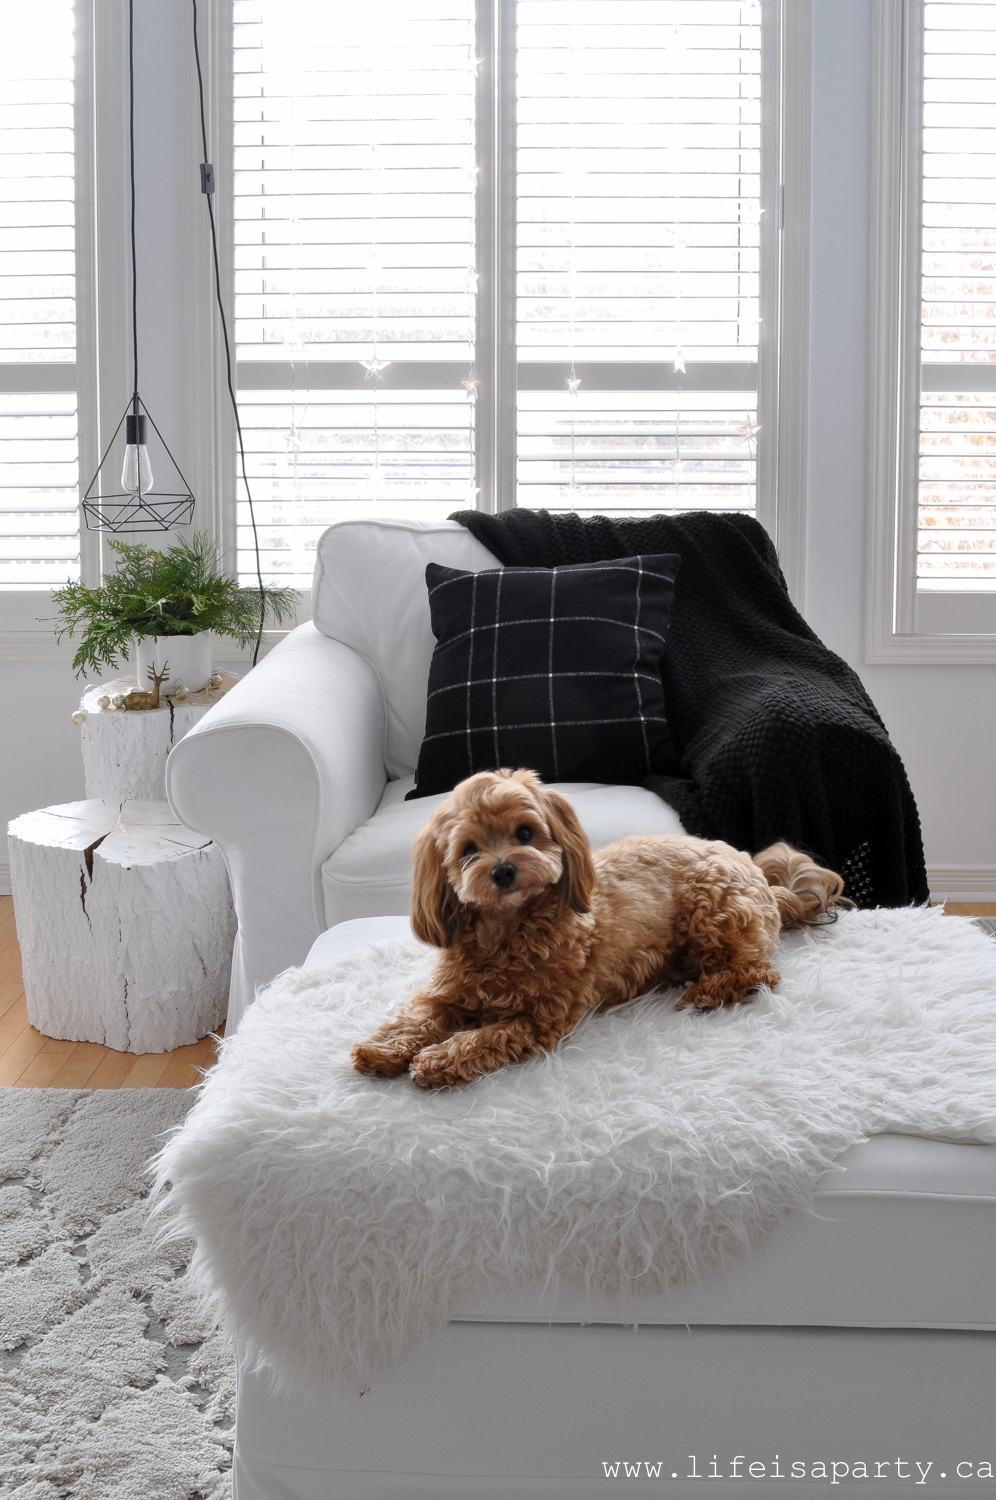
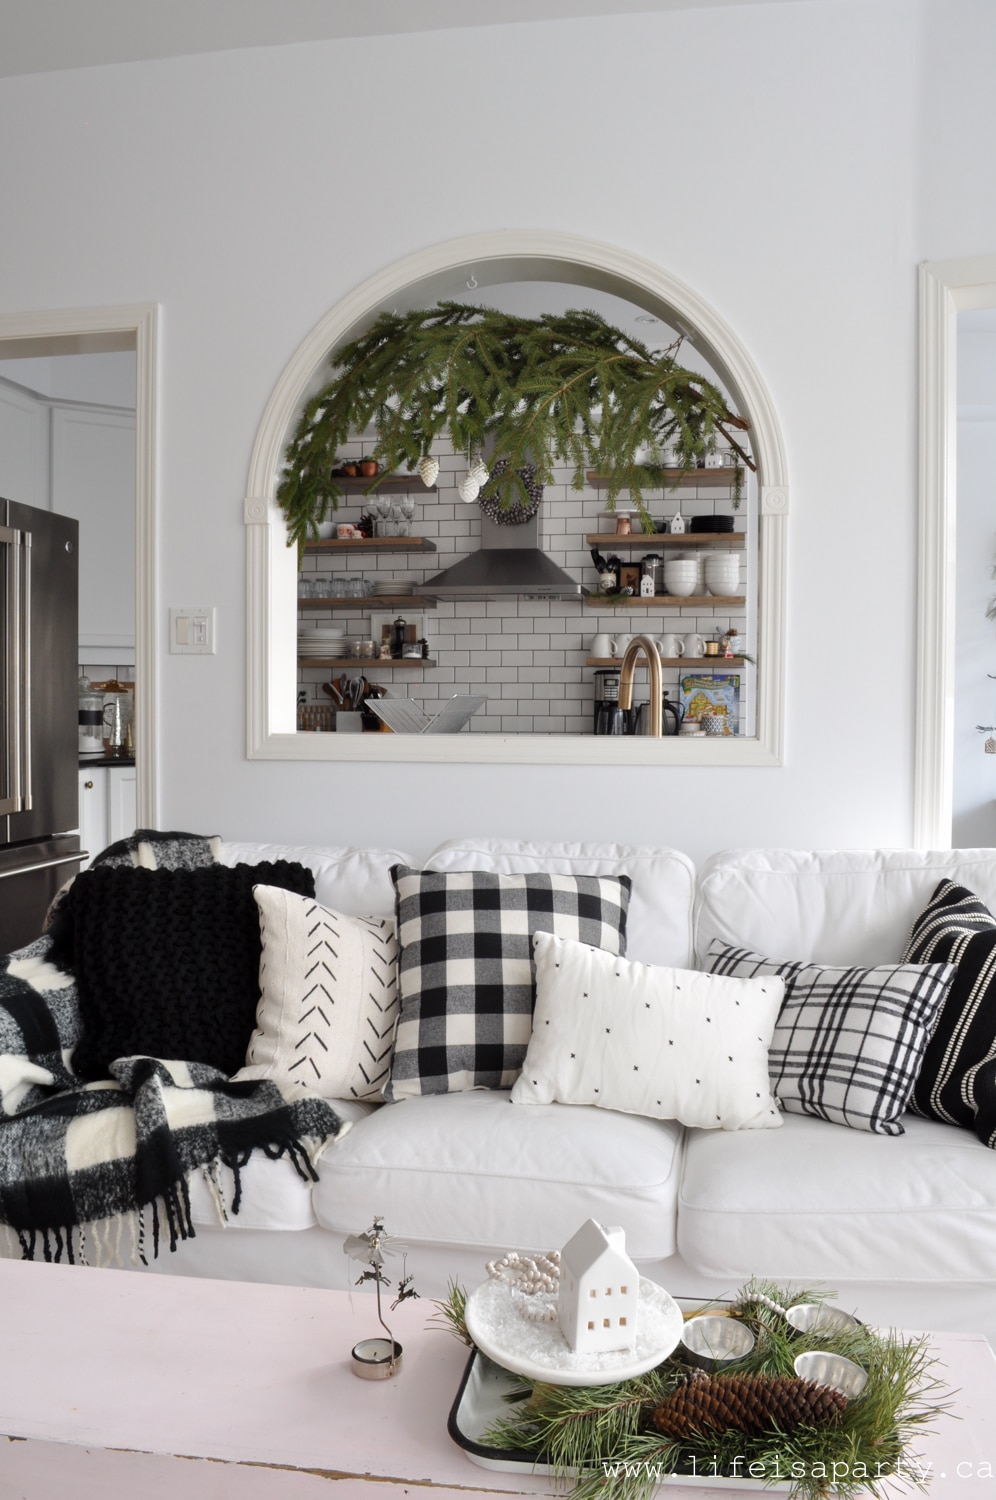
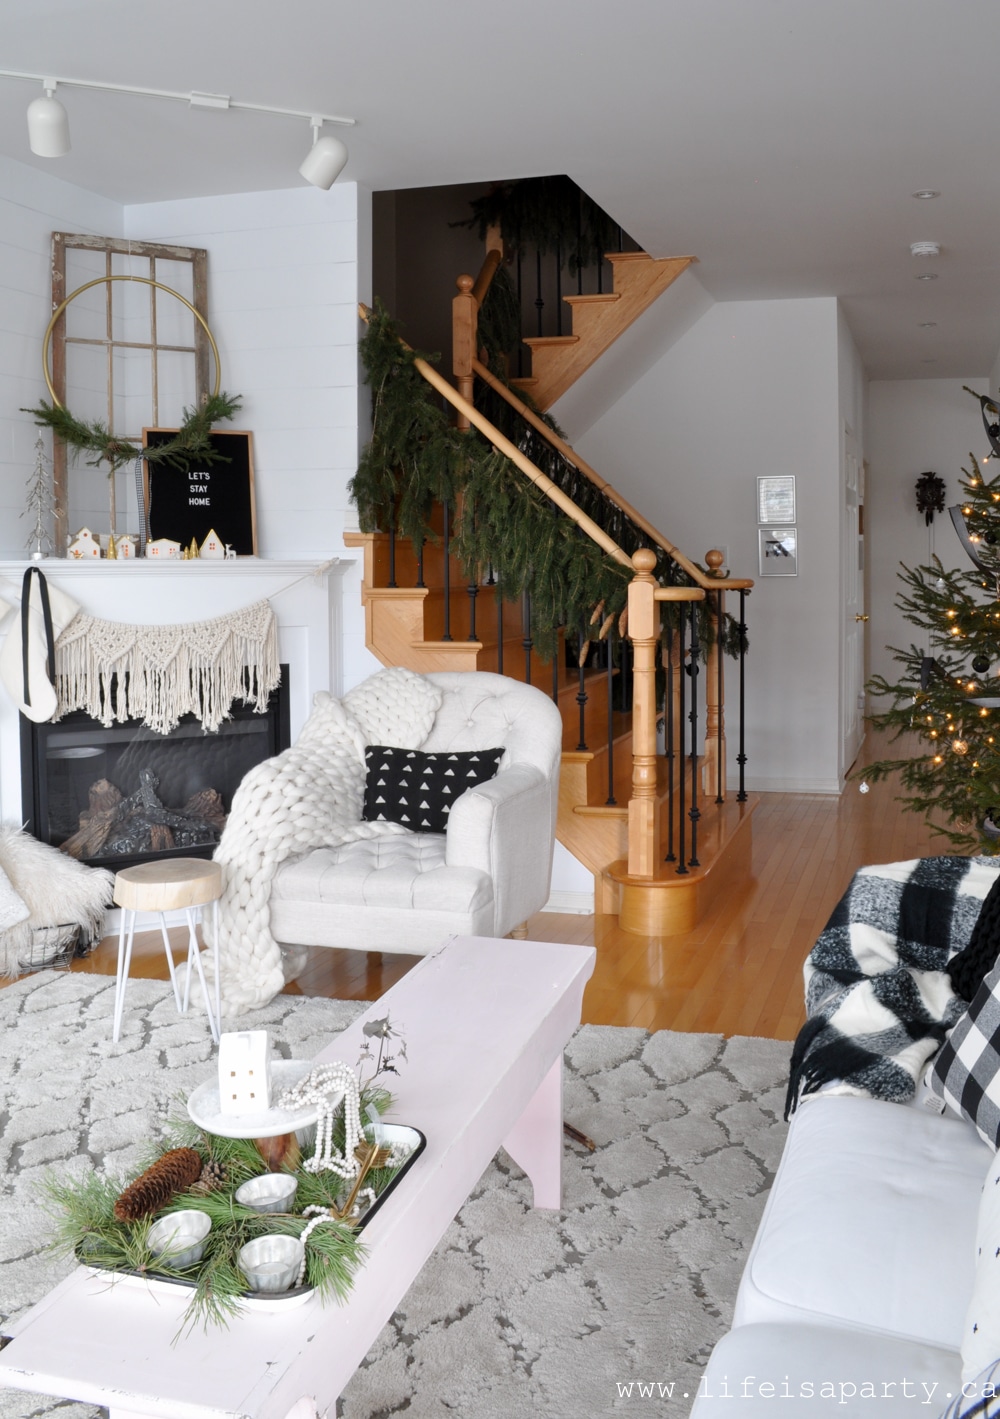
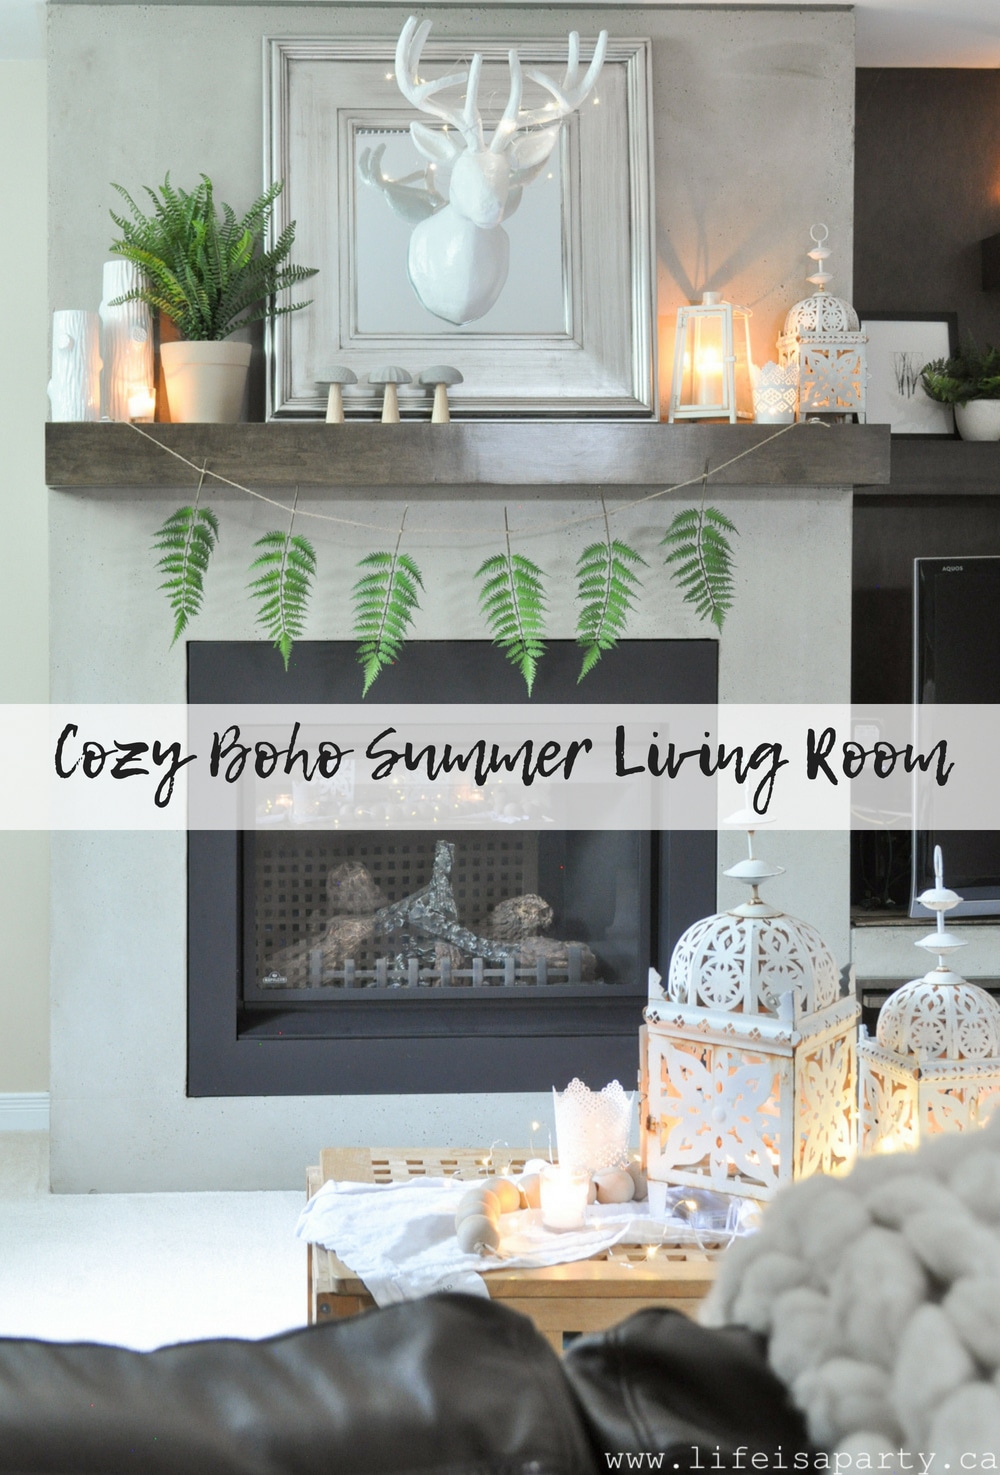 Today I'm sharing our cozy boho living room refresh for summer. Although you tend to think of spending cozy nights down there with a movie and the fireplace on during the winter, it's actually perfect for summer.
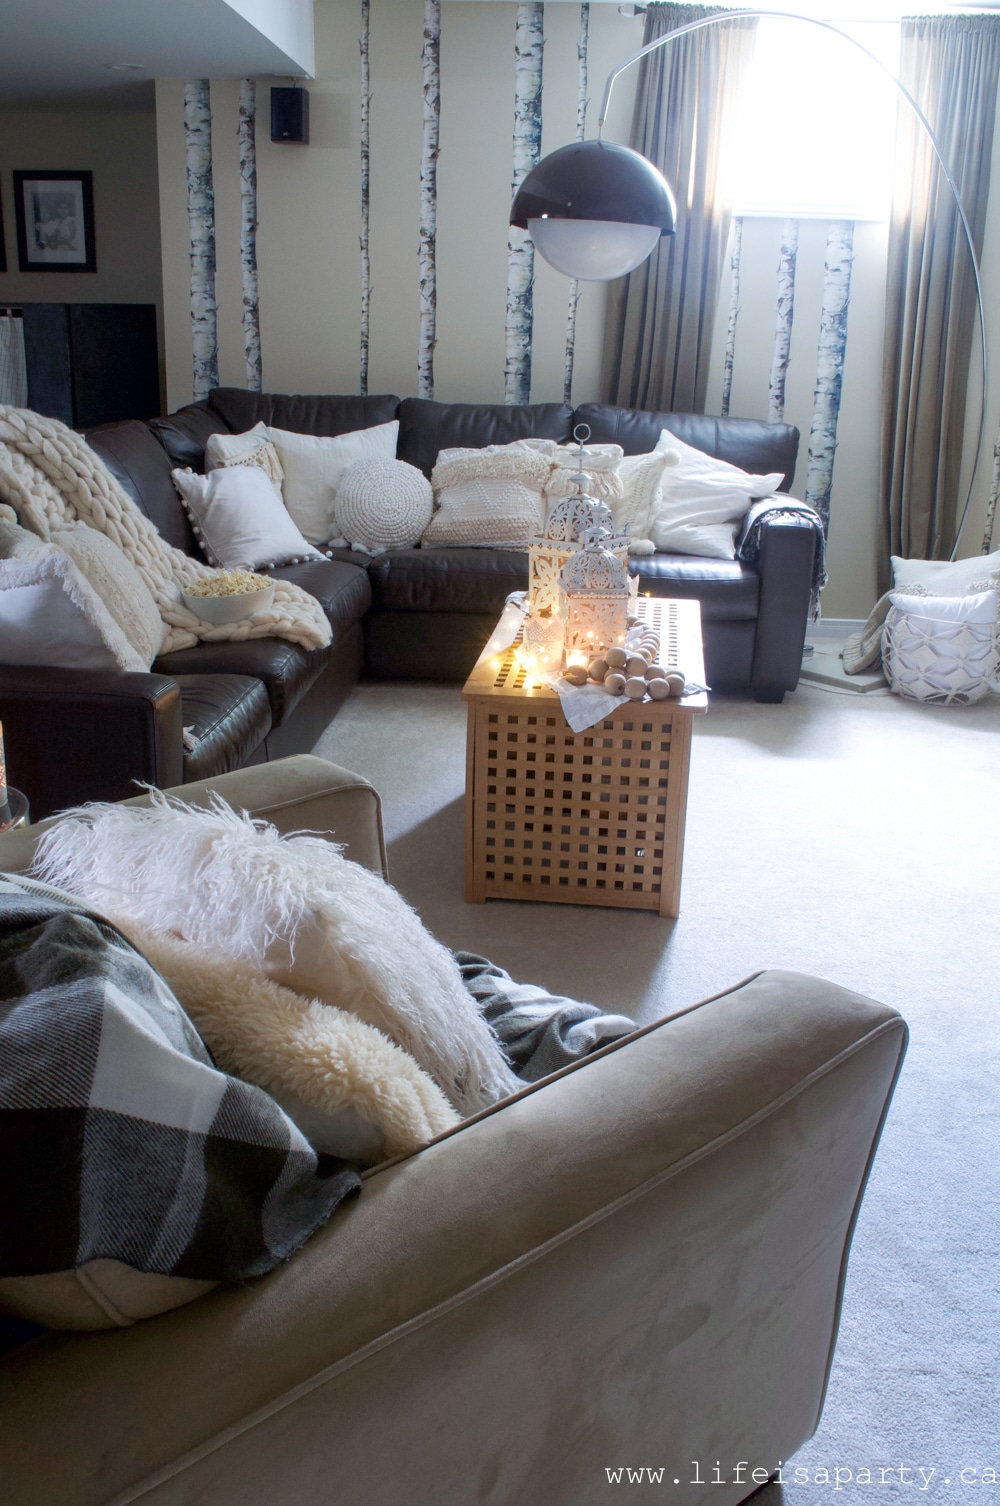 It's always so nice and cool and the perfect spot to beat the heat in the summer, especially after a long fun day in the sun. It's a great spot to retreat too when it's just too hot outside, or for the evening after enjoying the sun all day.
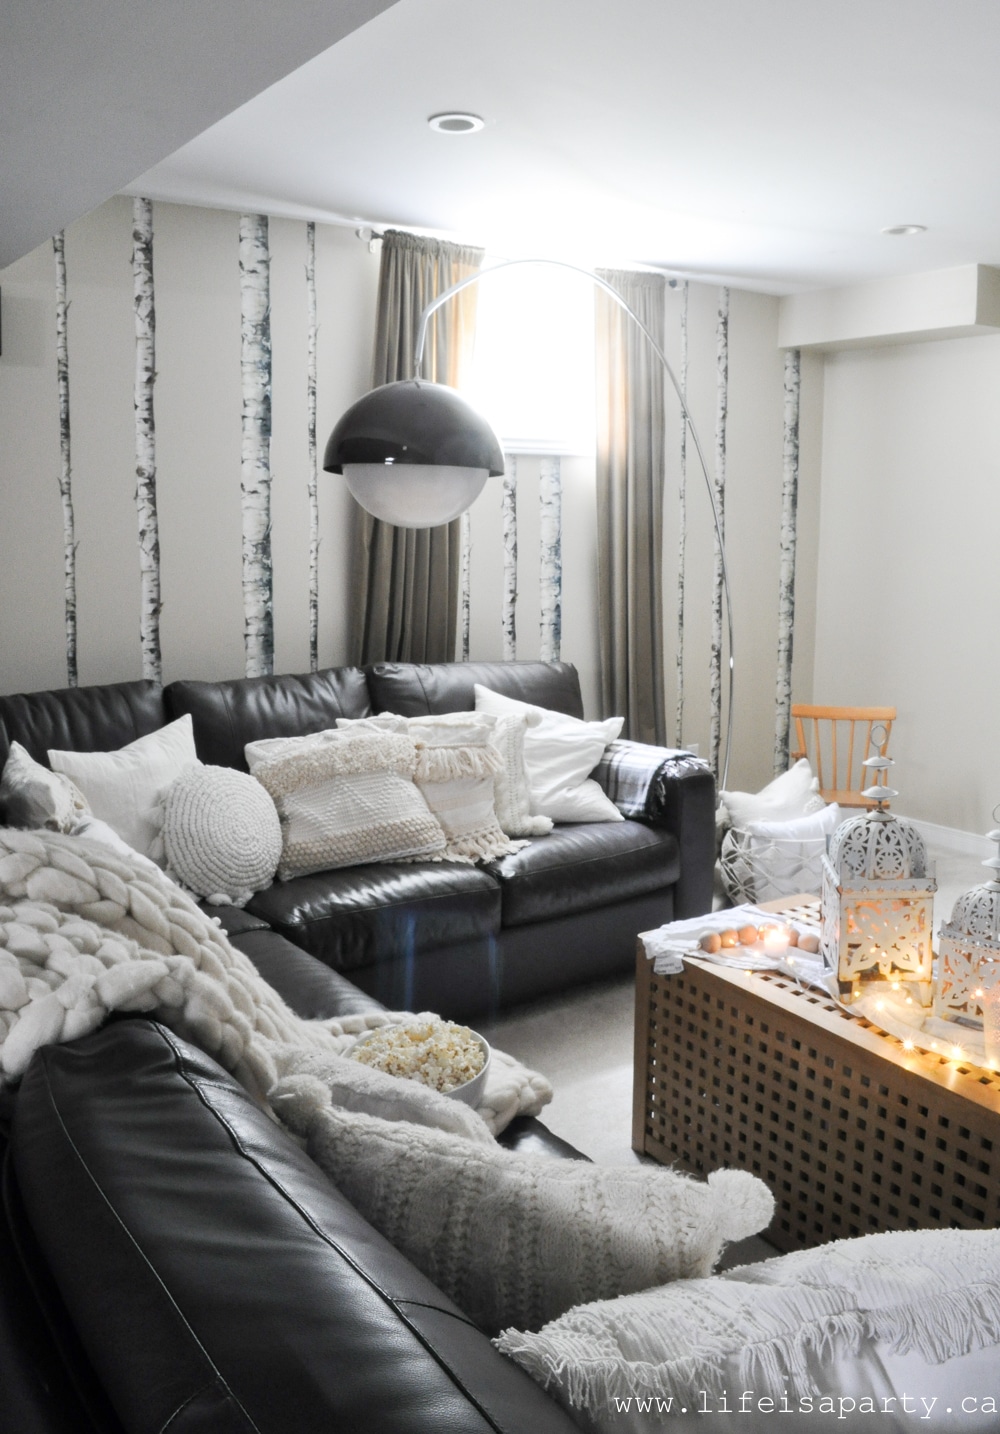
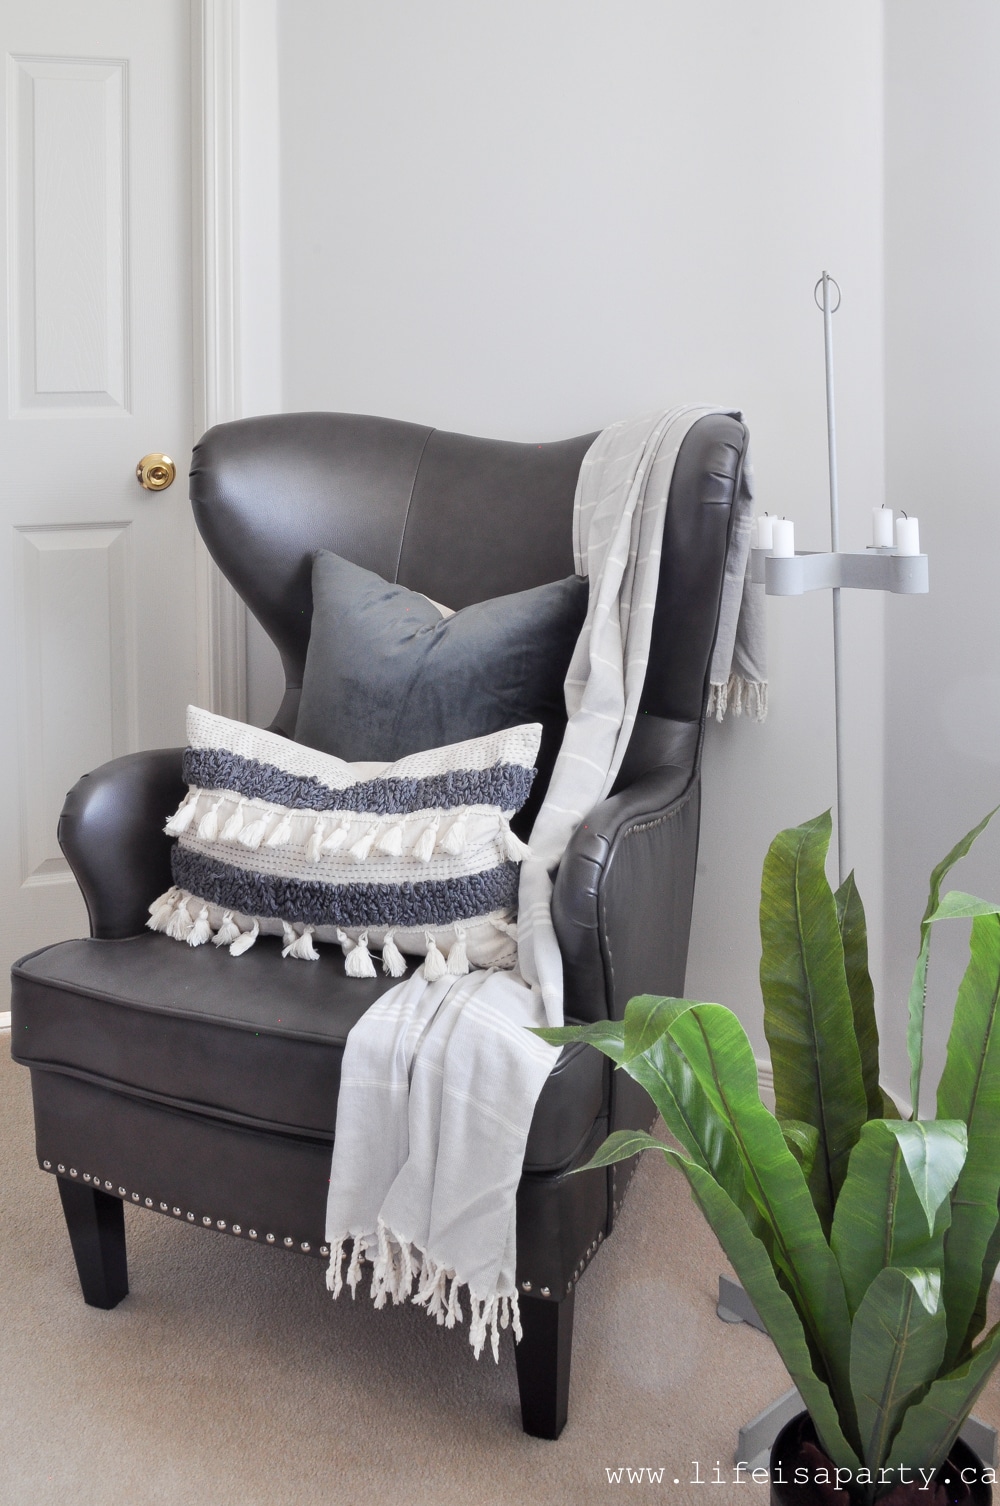
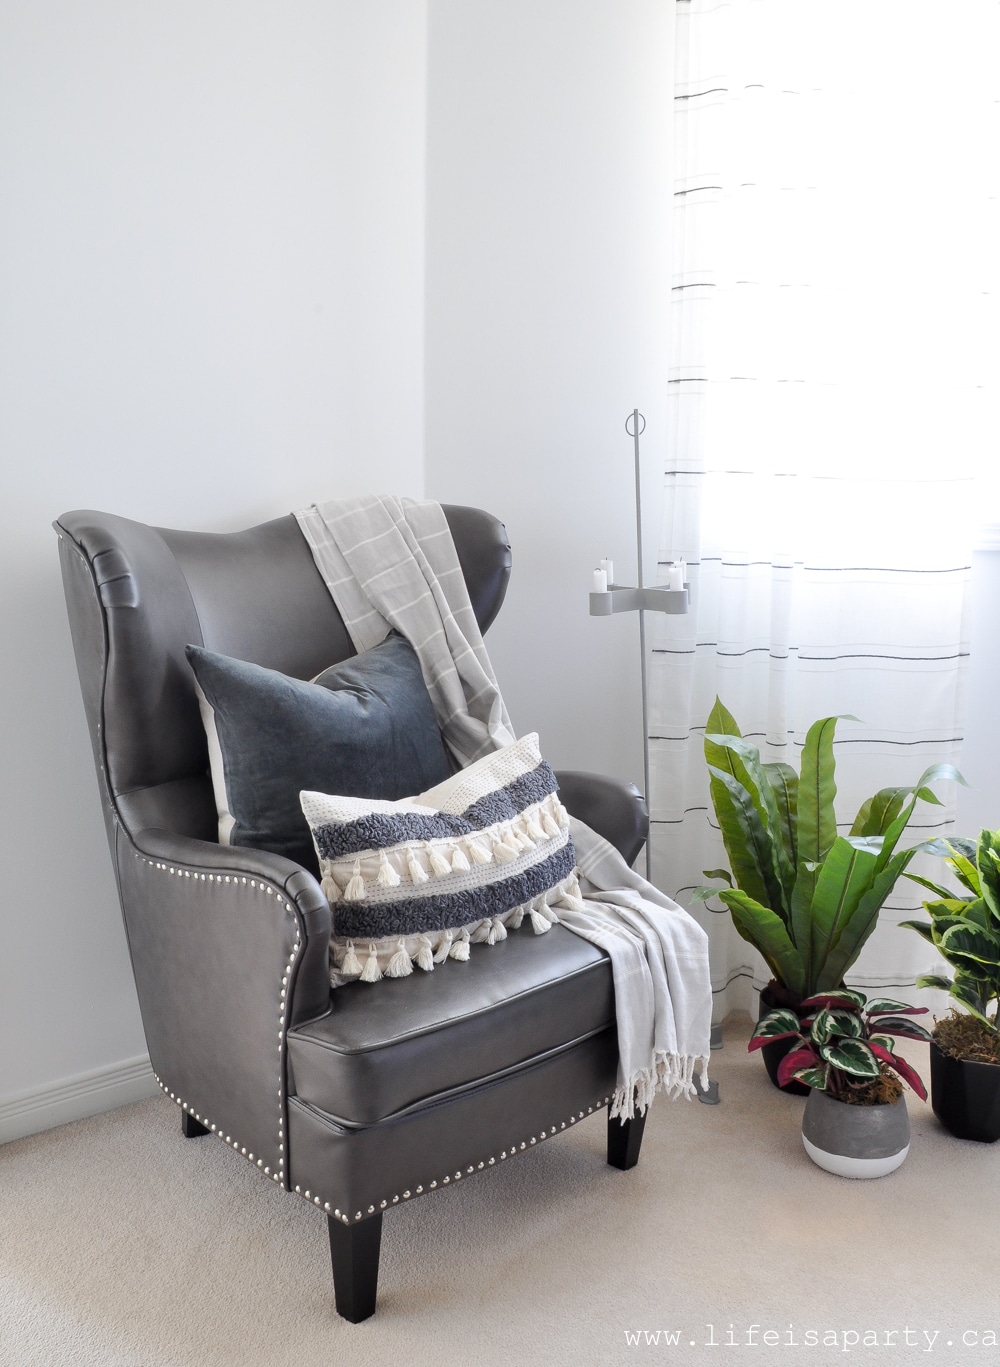
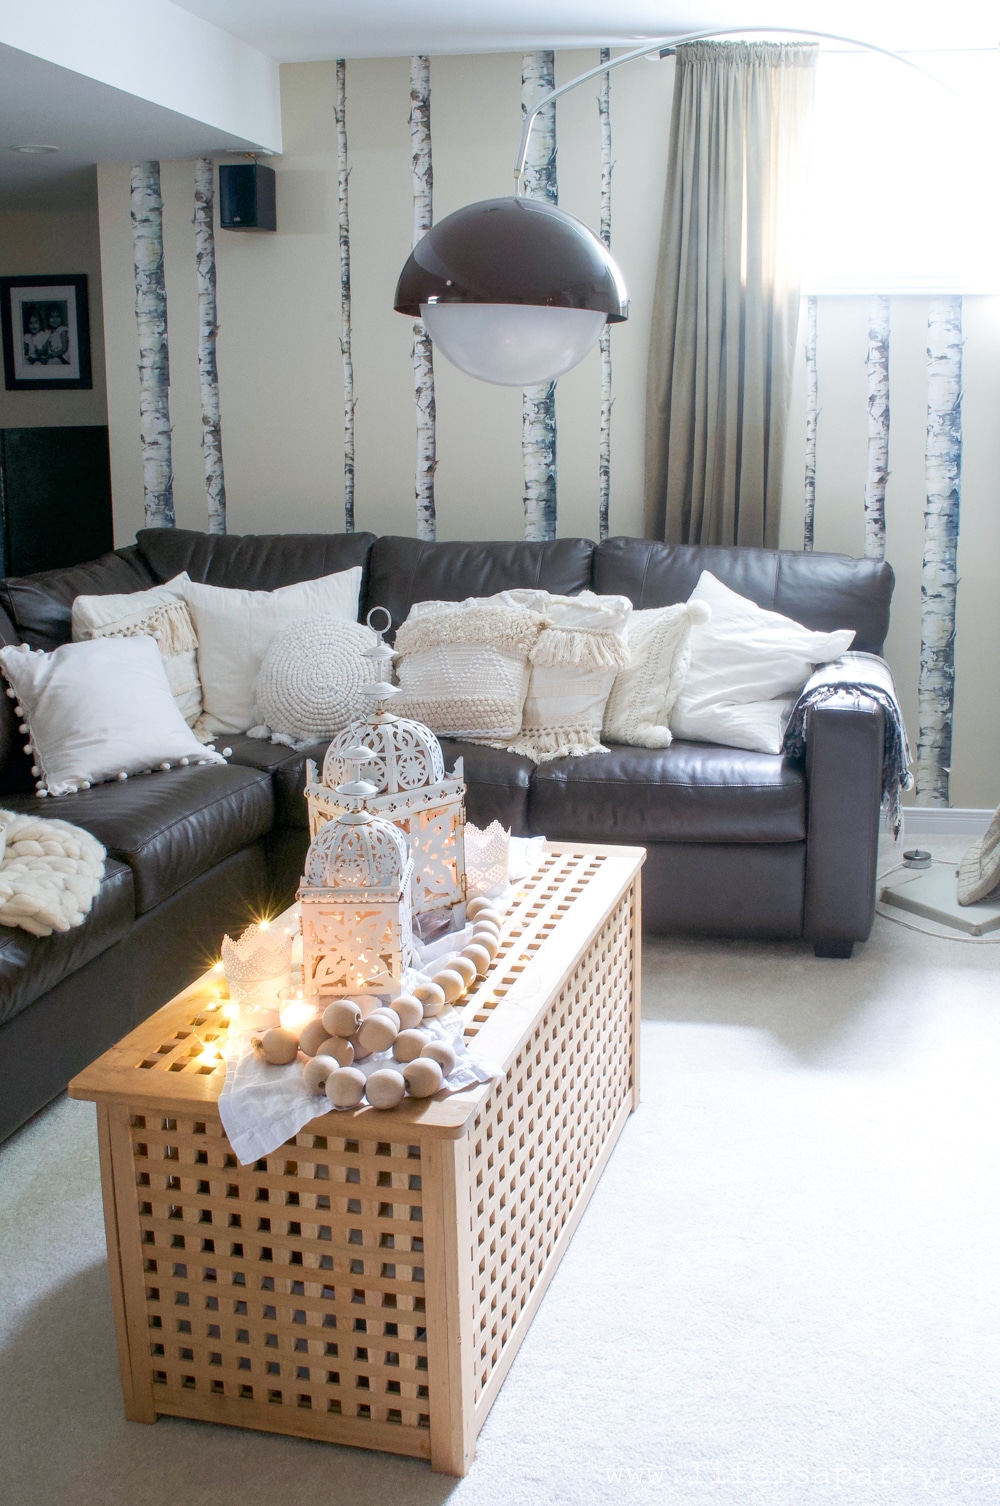 This really looks like the perfect spot to curl up and beat the heat with a movie and a bowl of popcorn in the afternoon.
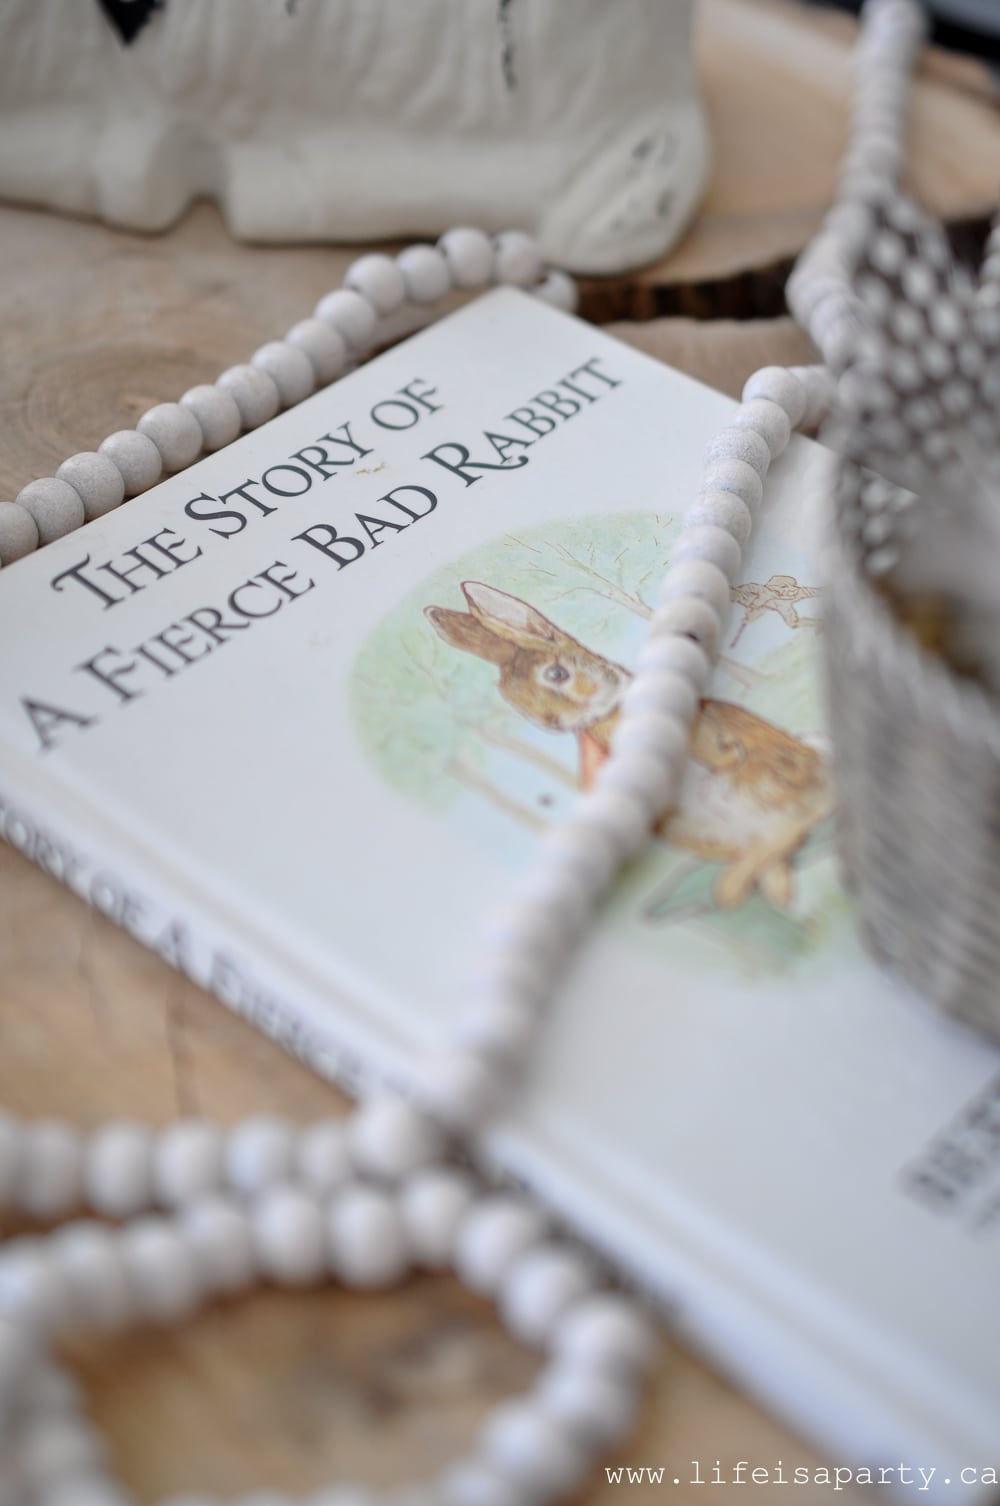
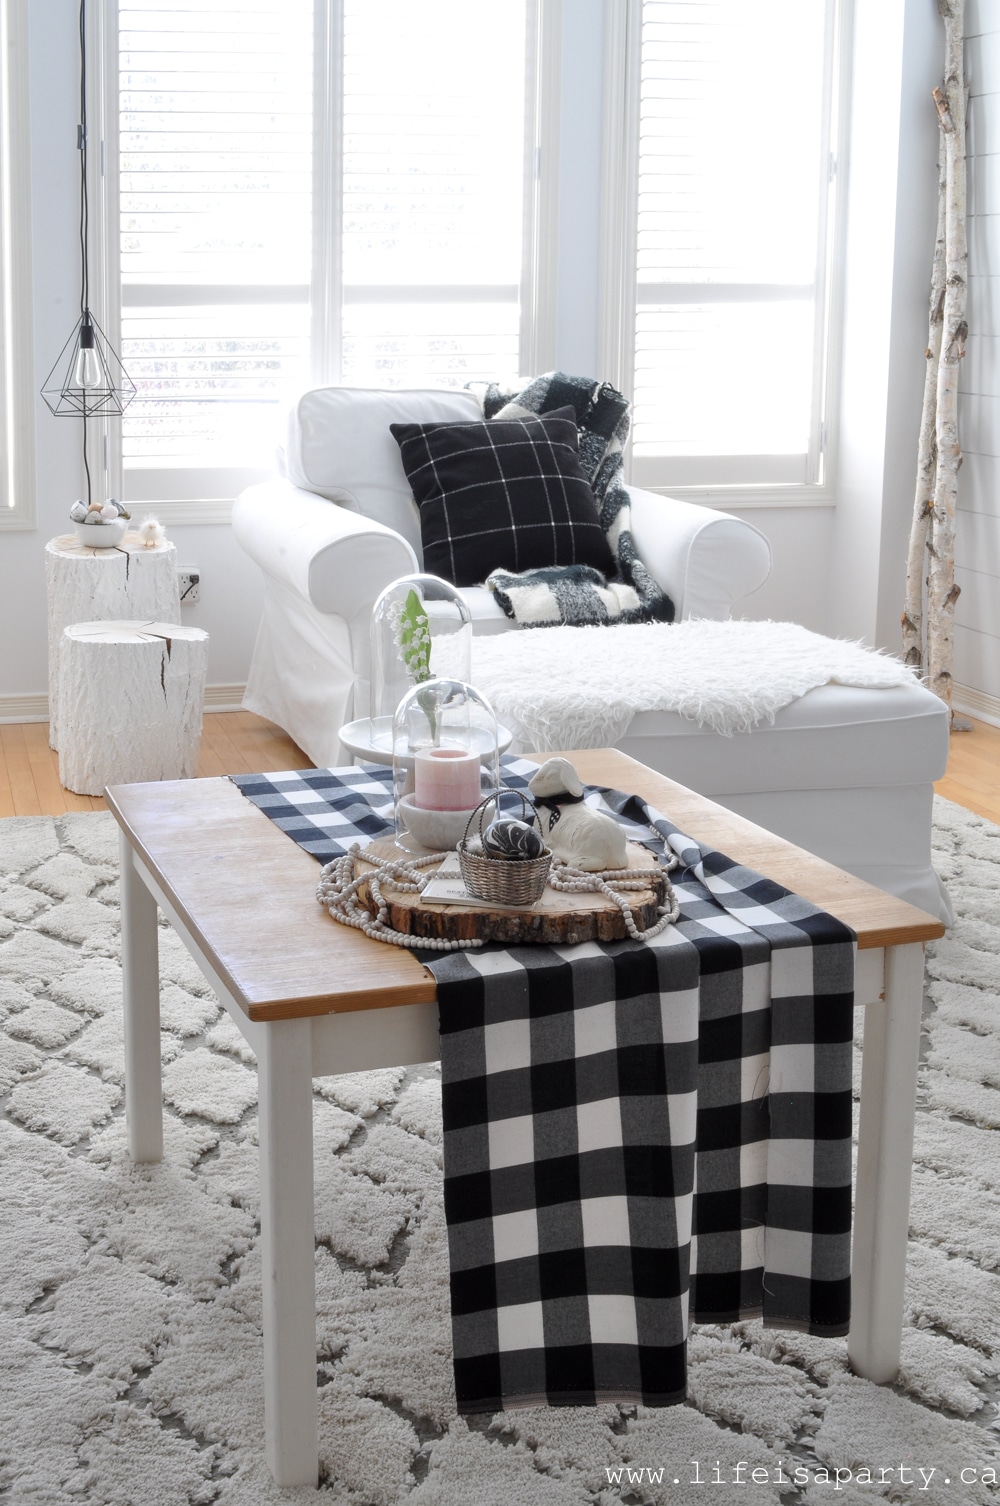
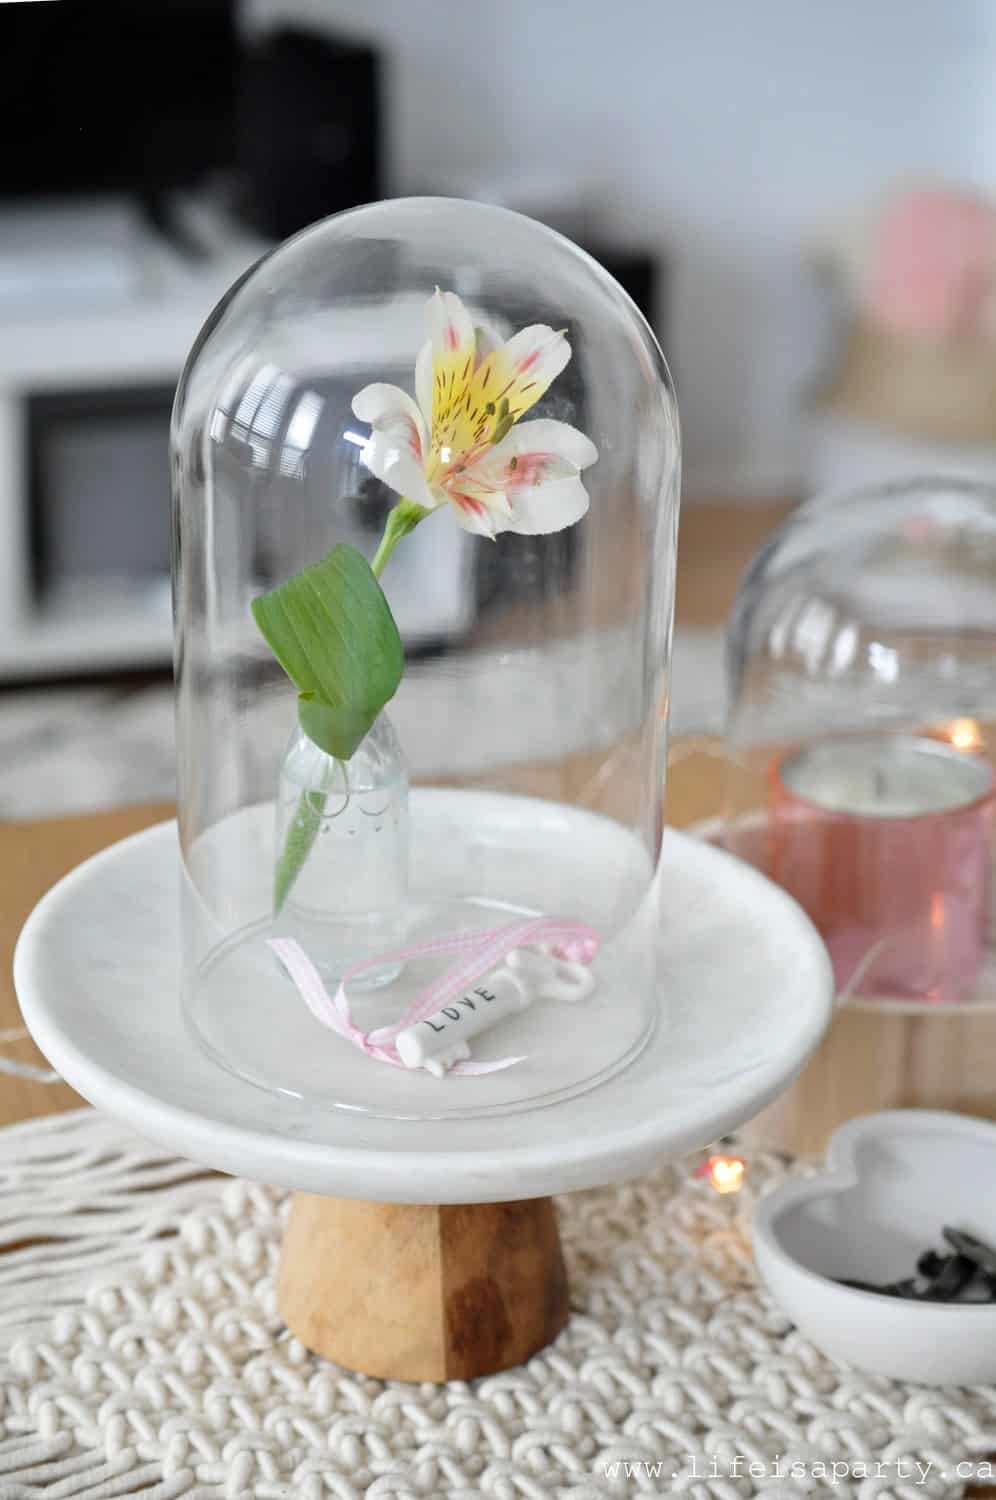
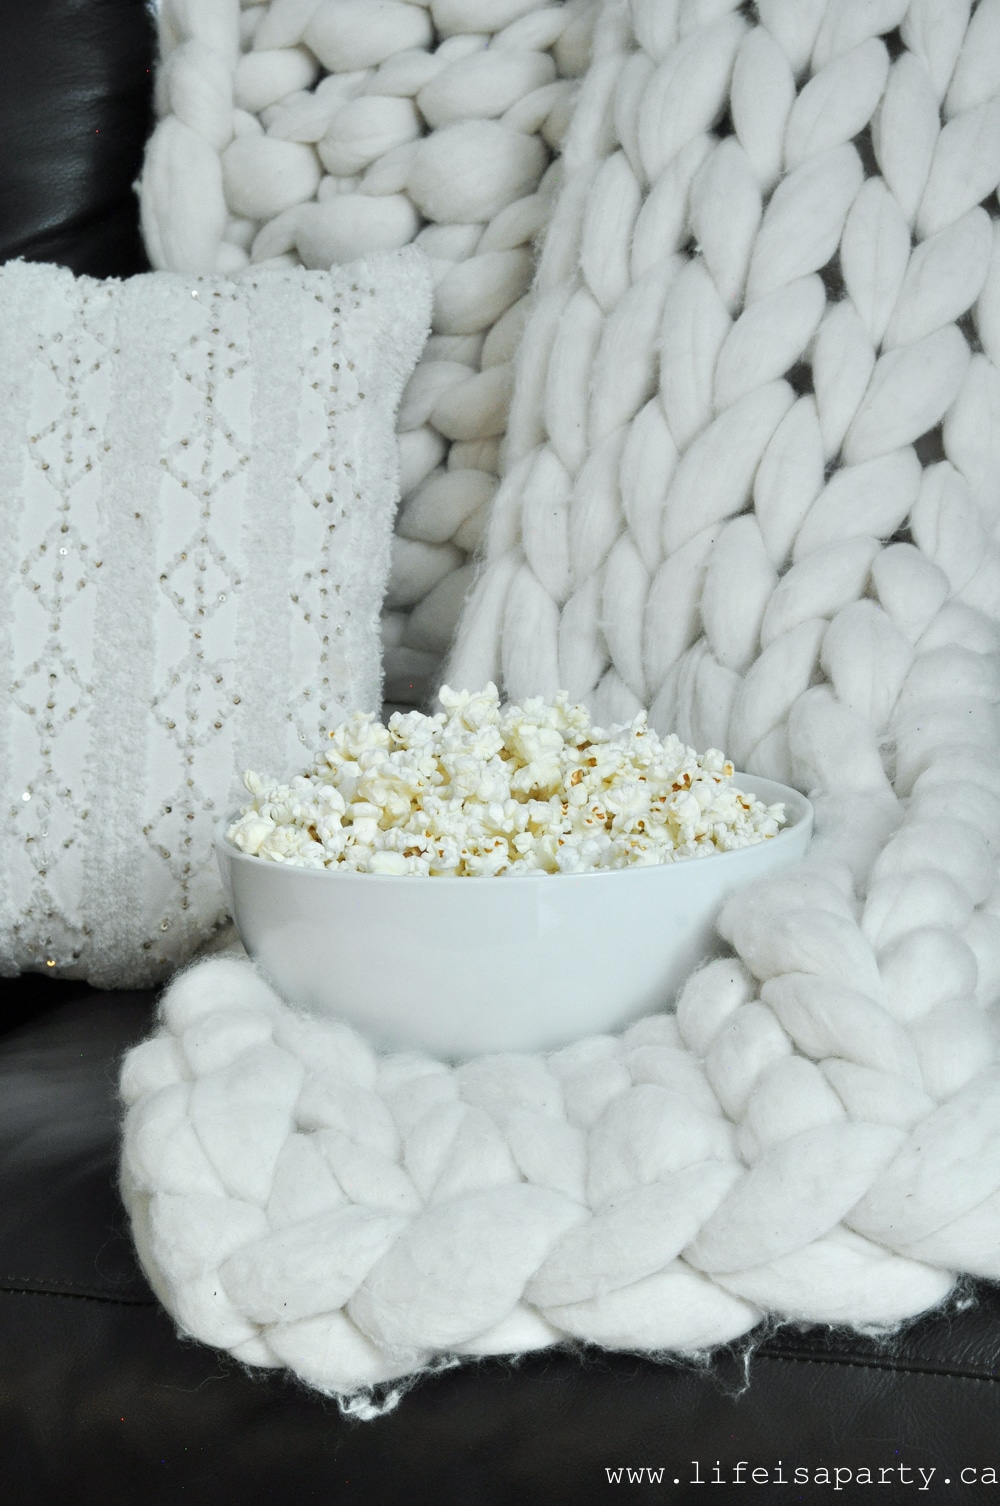 Coffee Table Wonderland
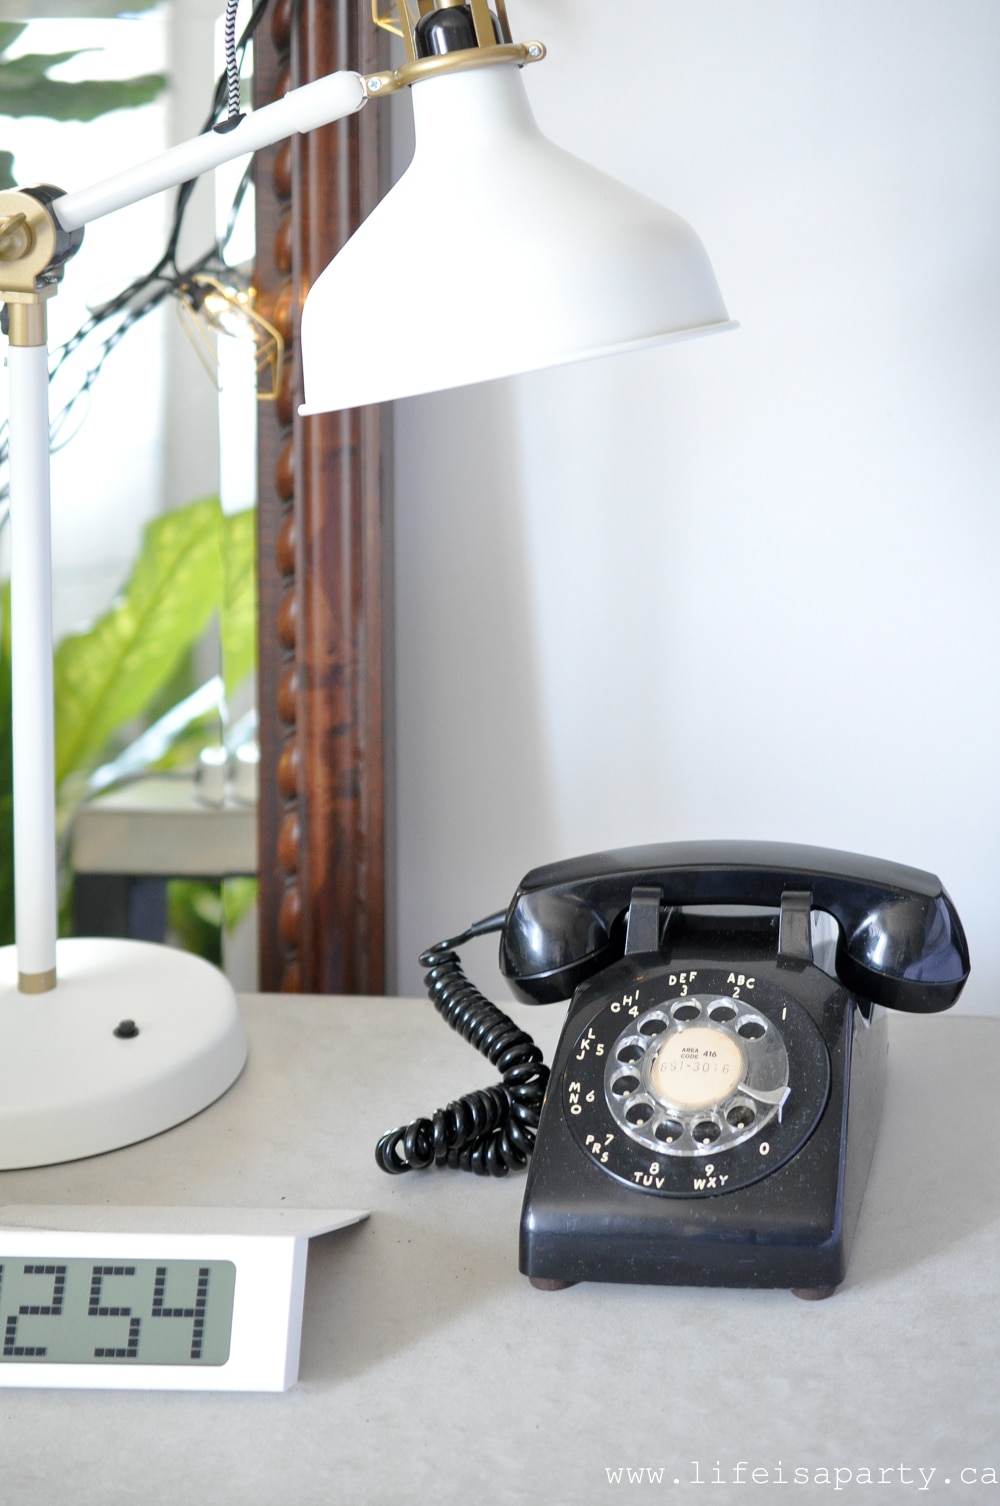
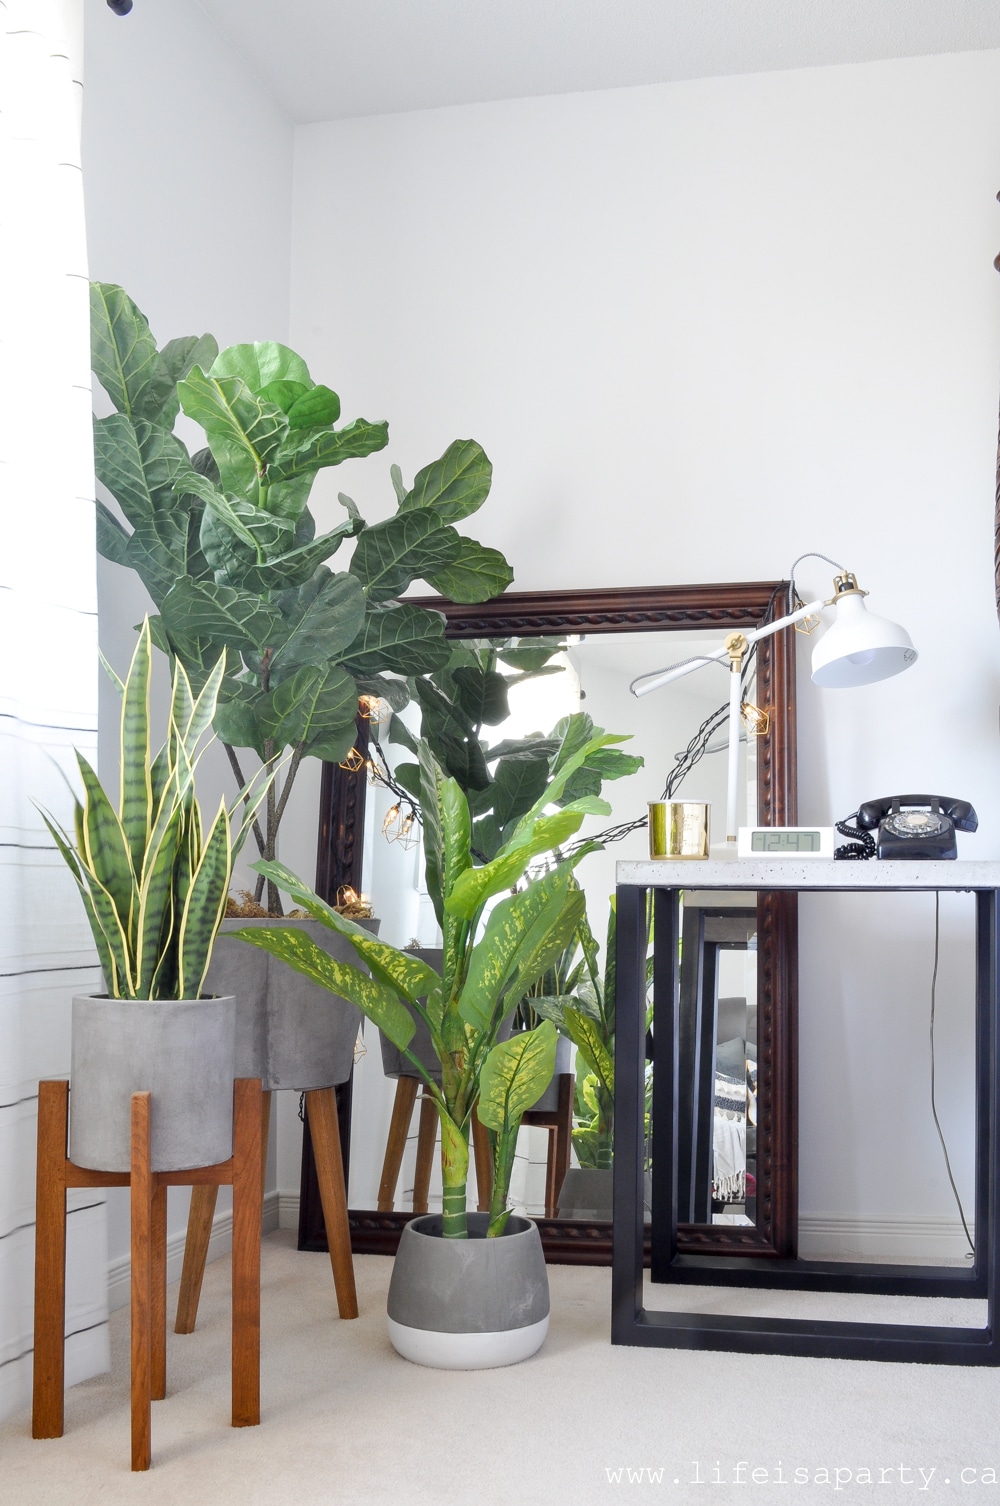
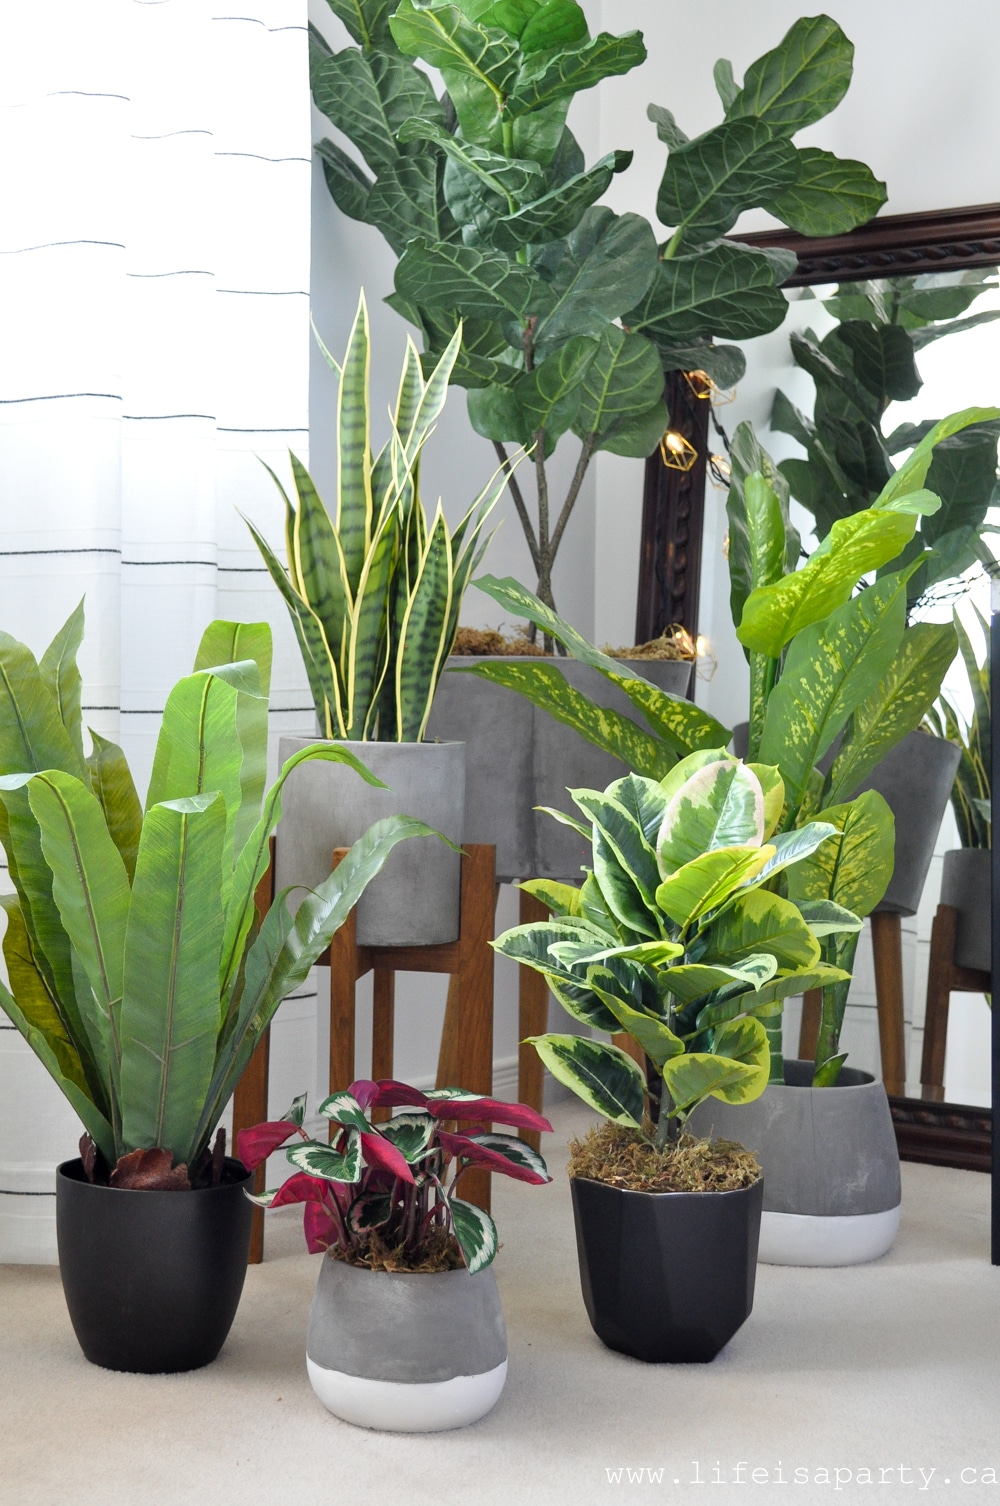
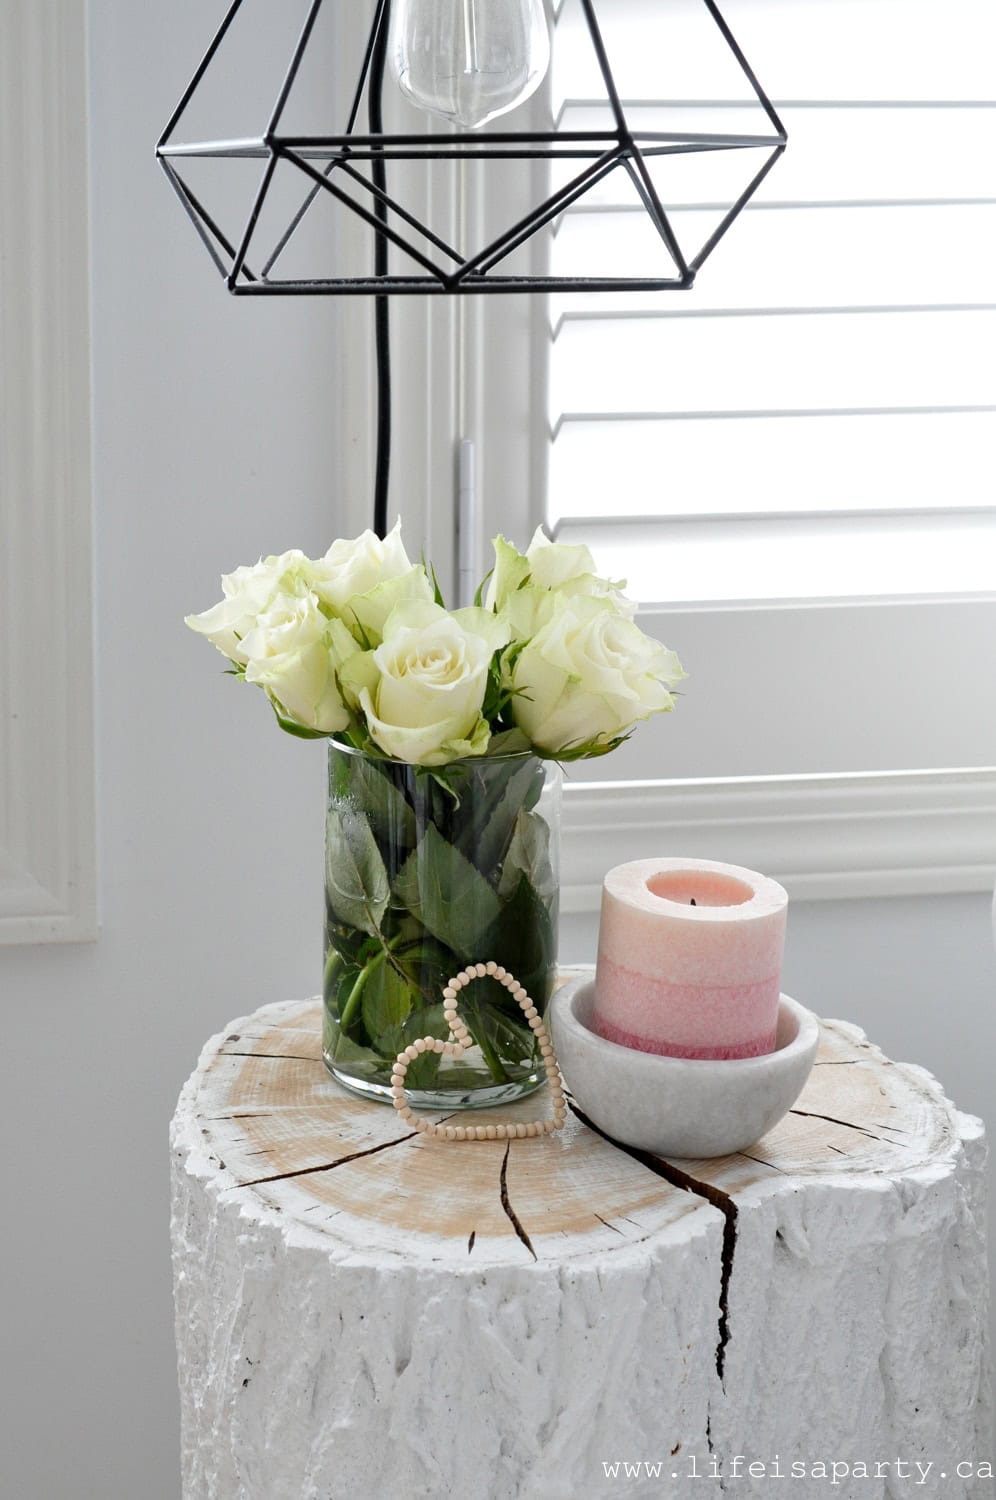
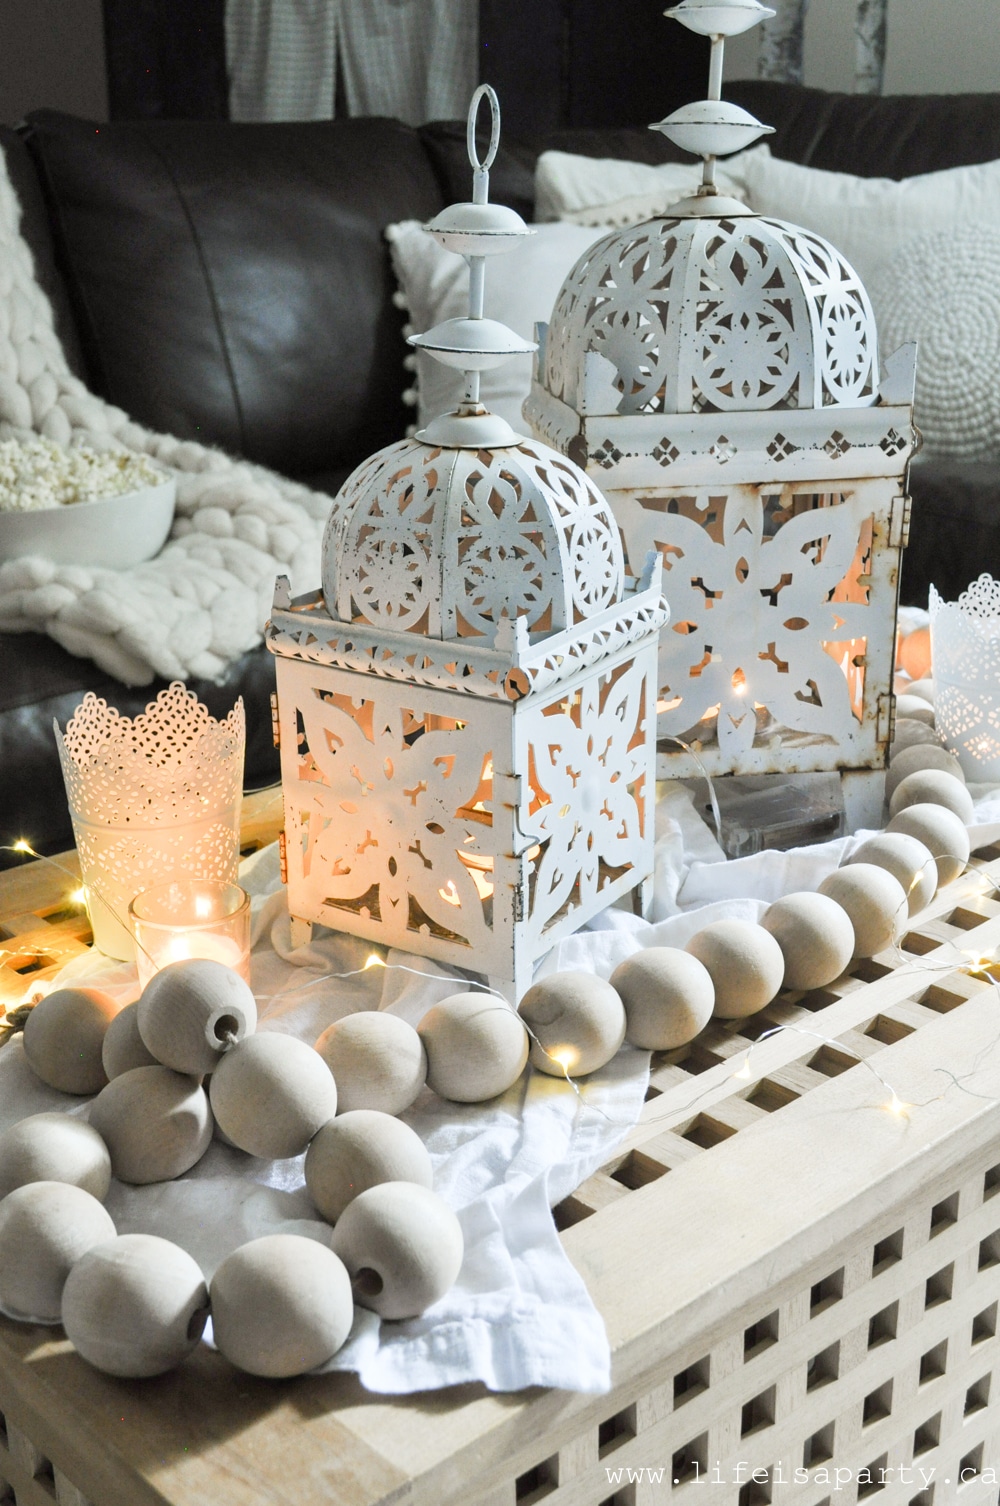
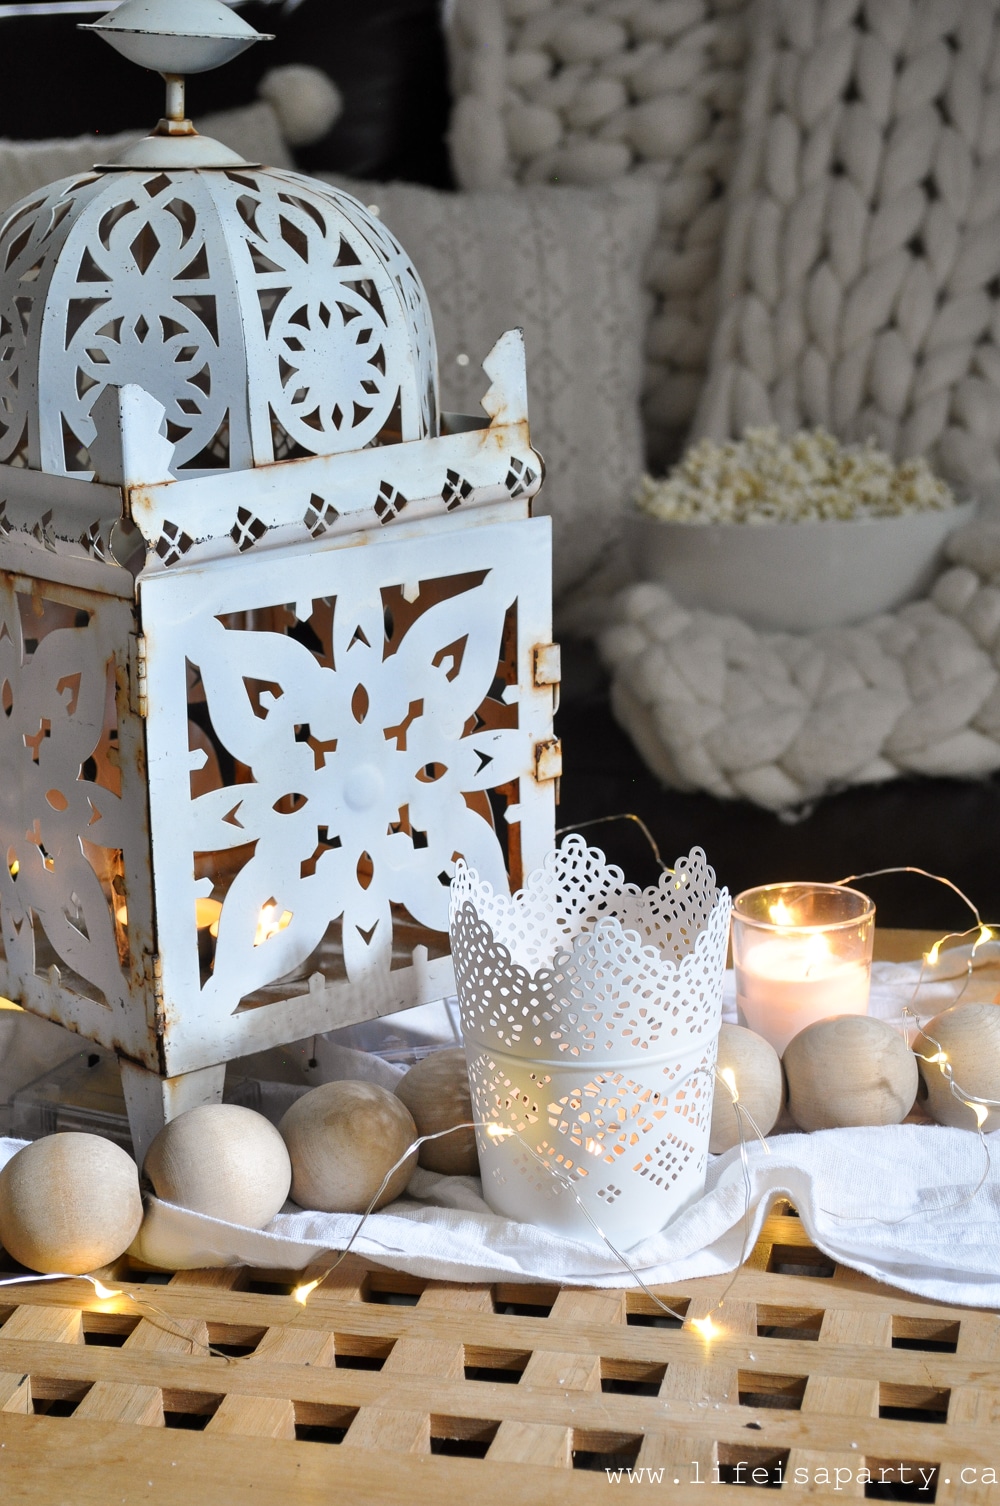
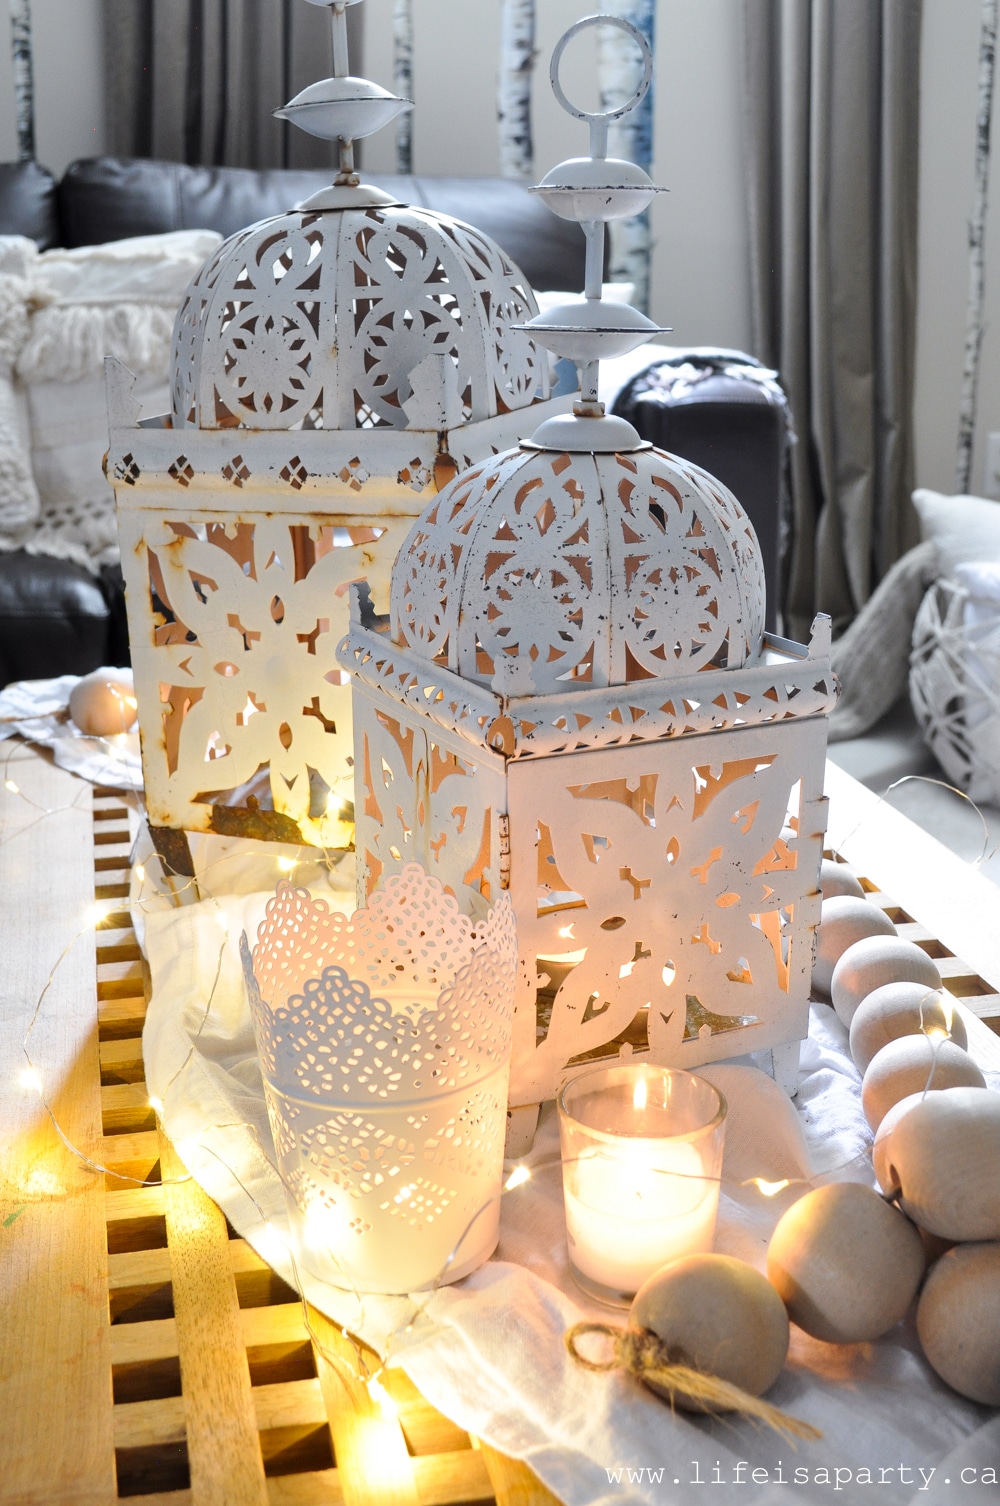
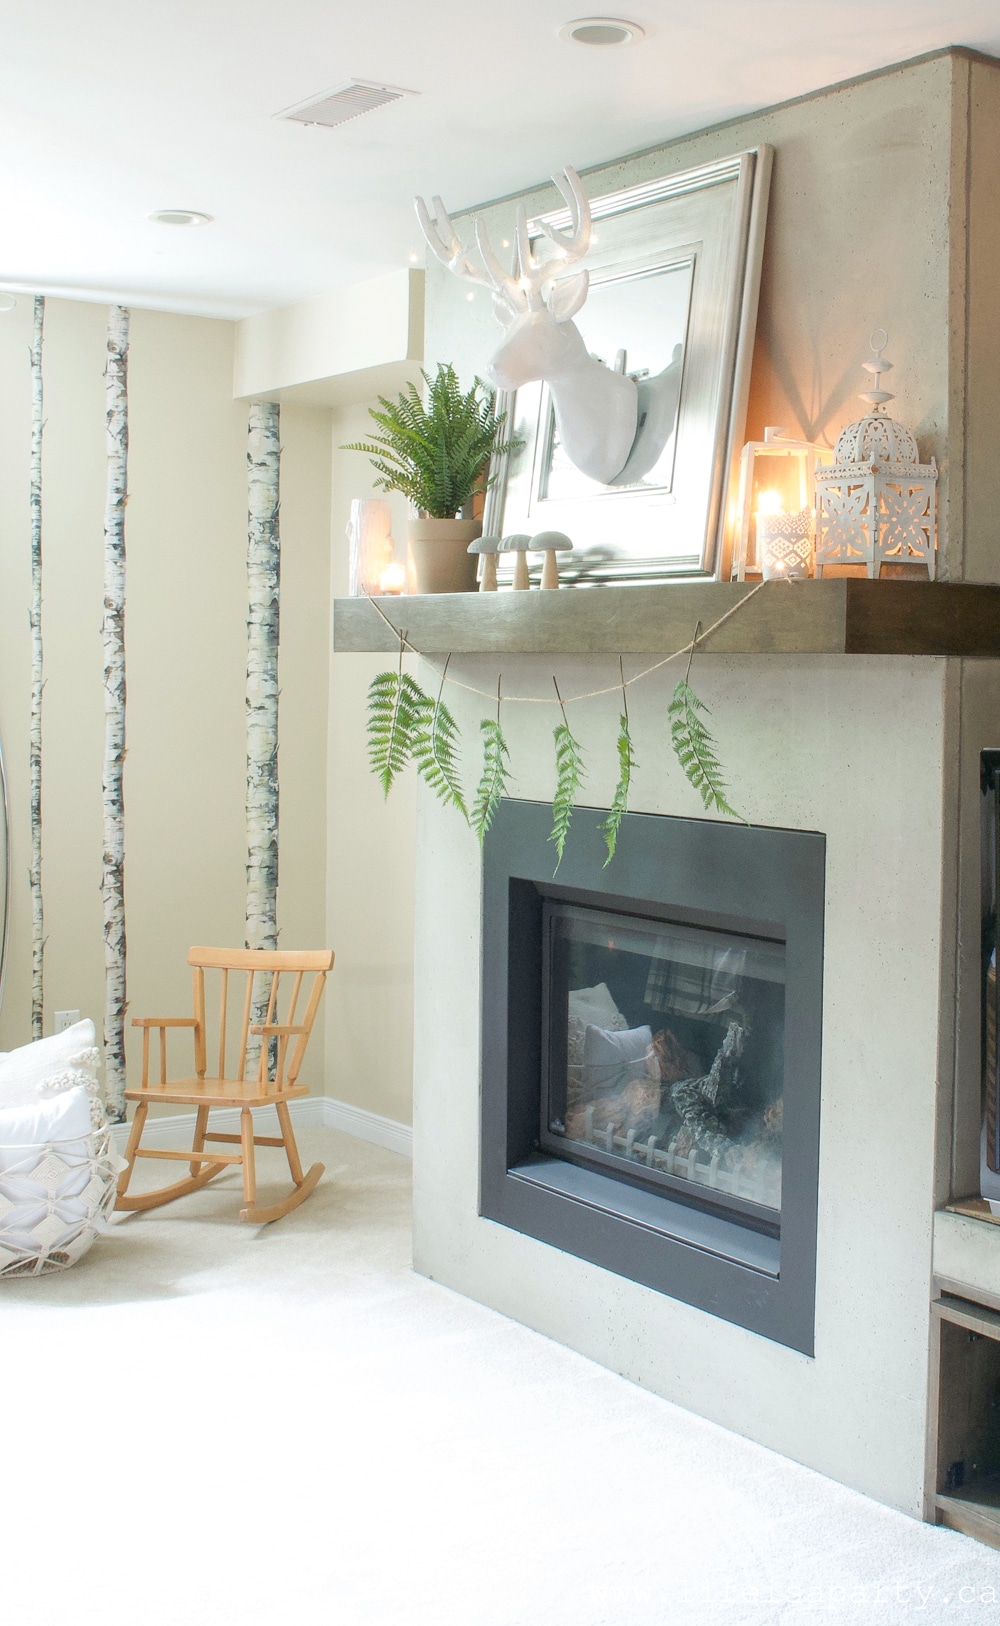
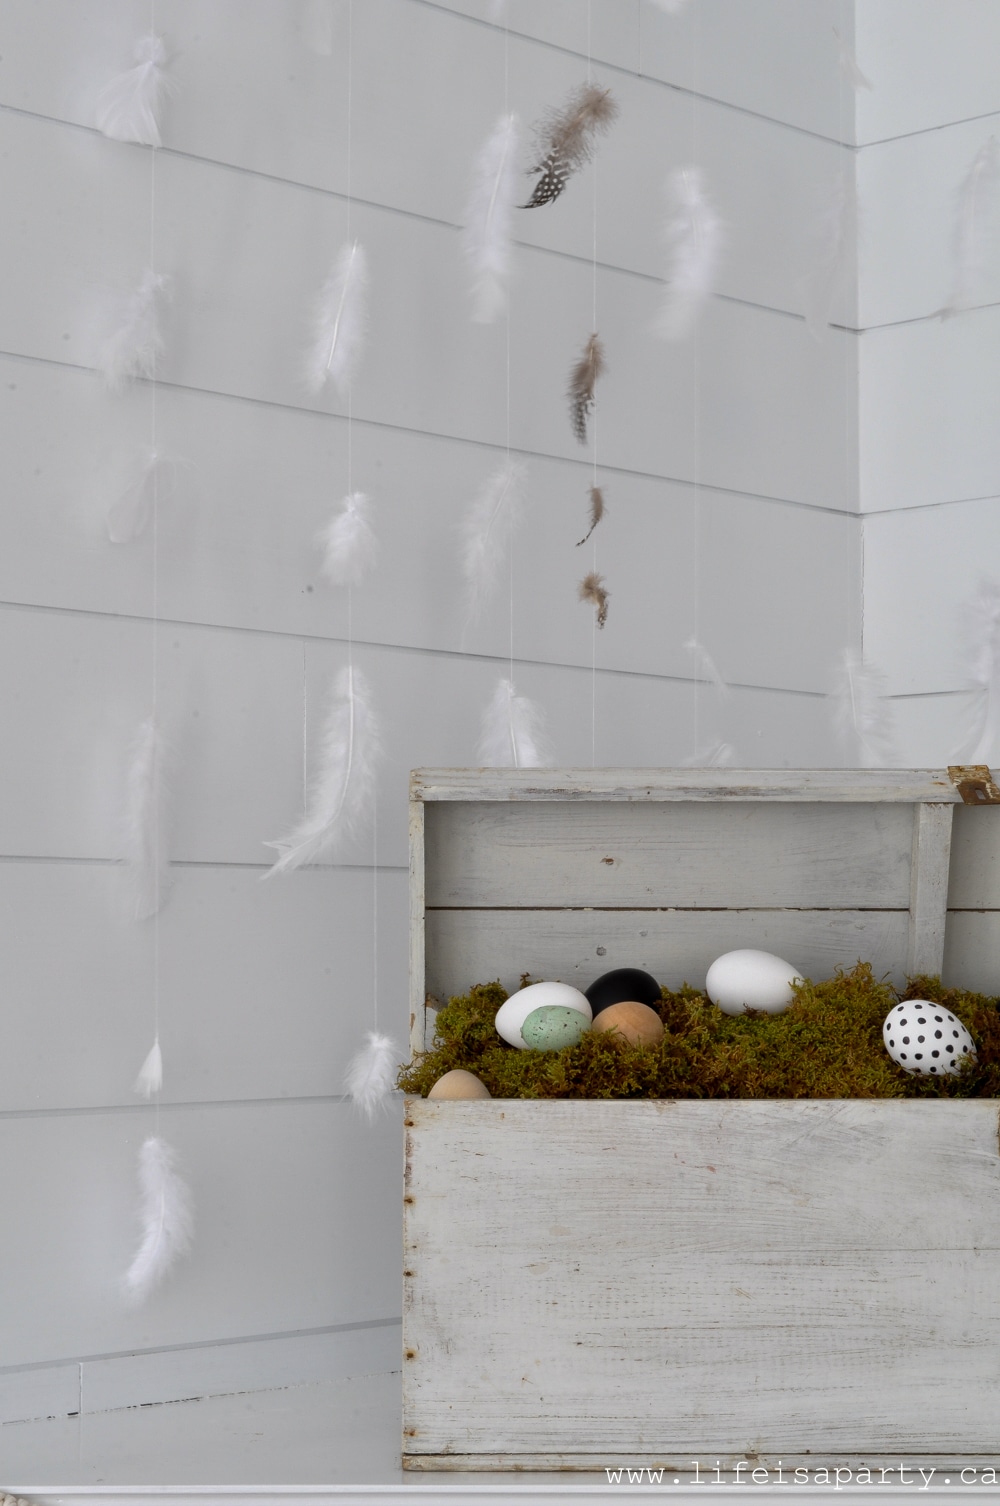
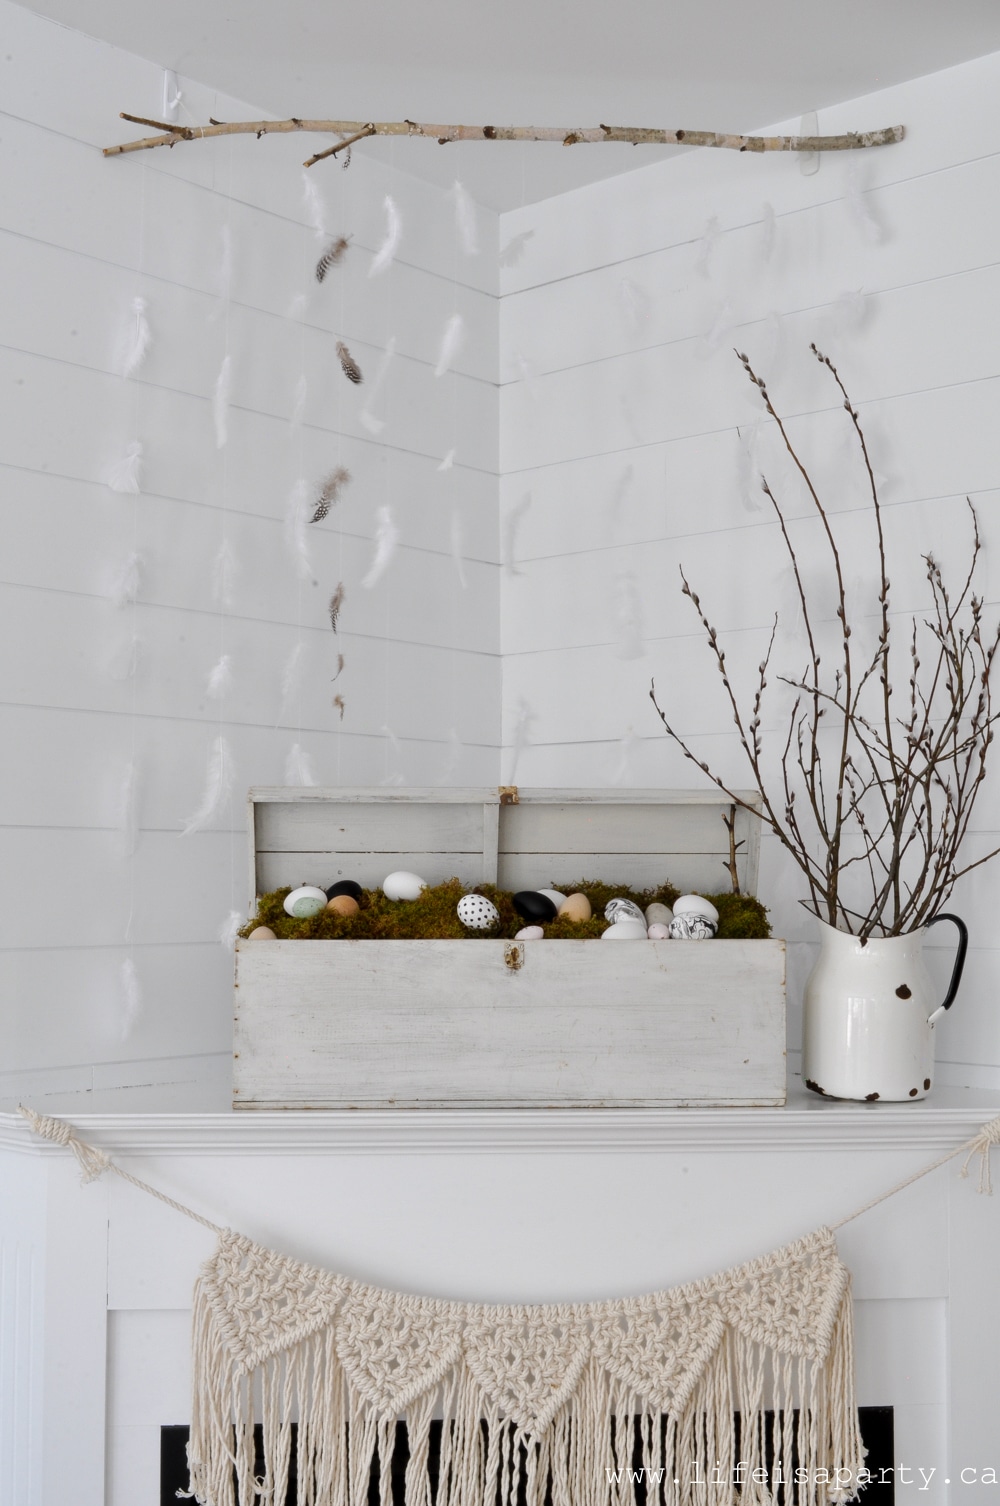
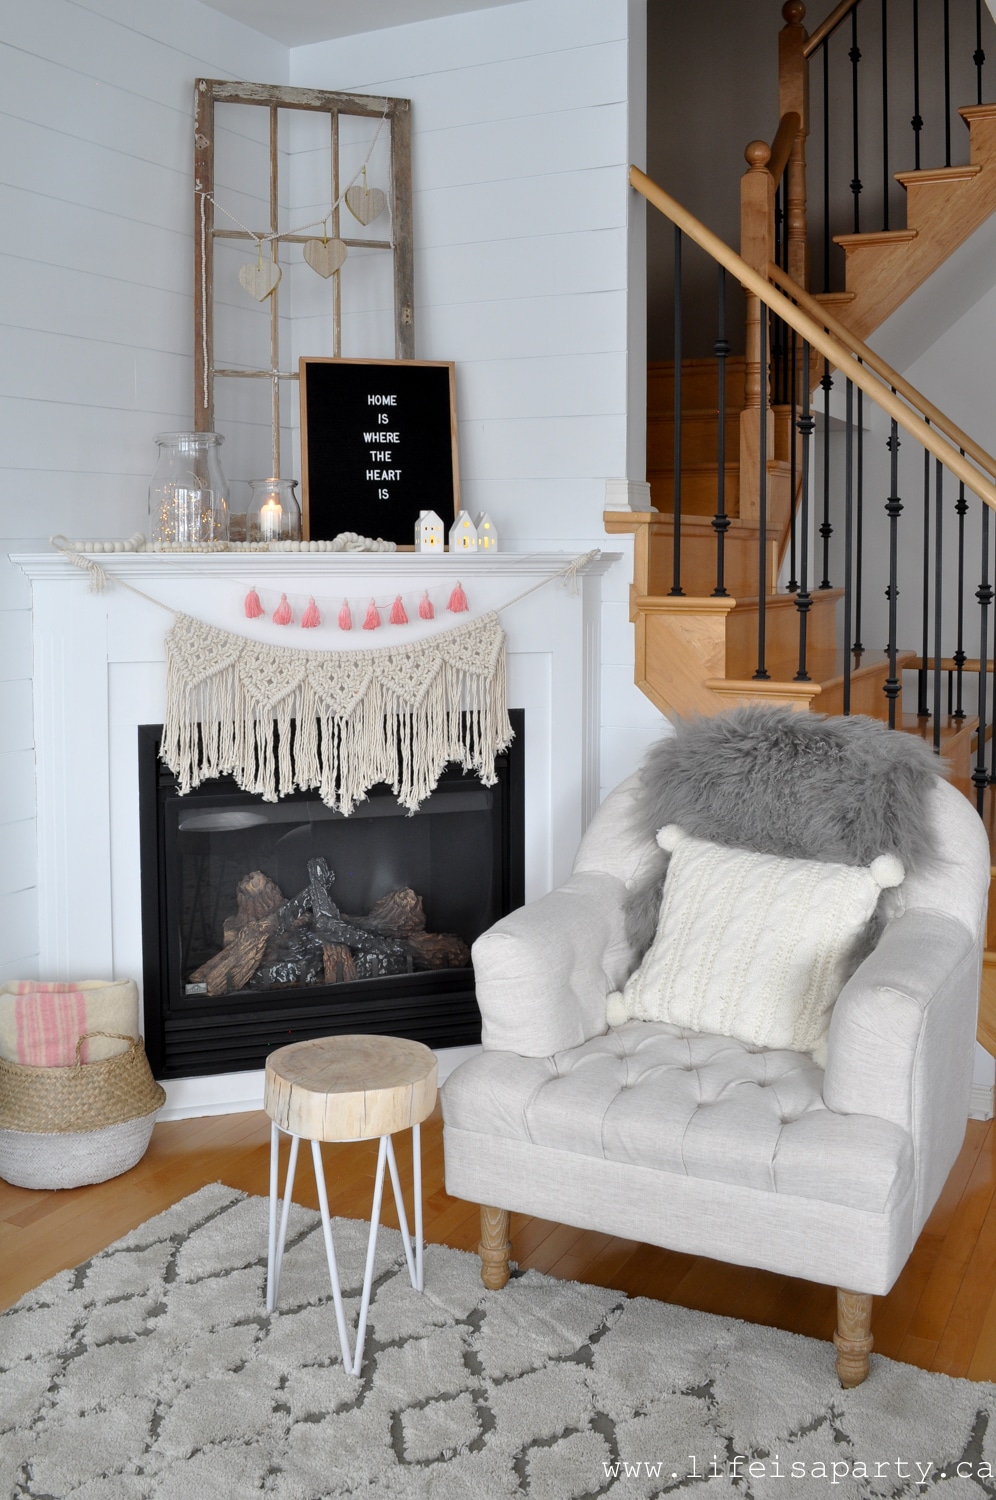
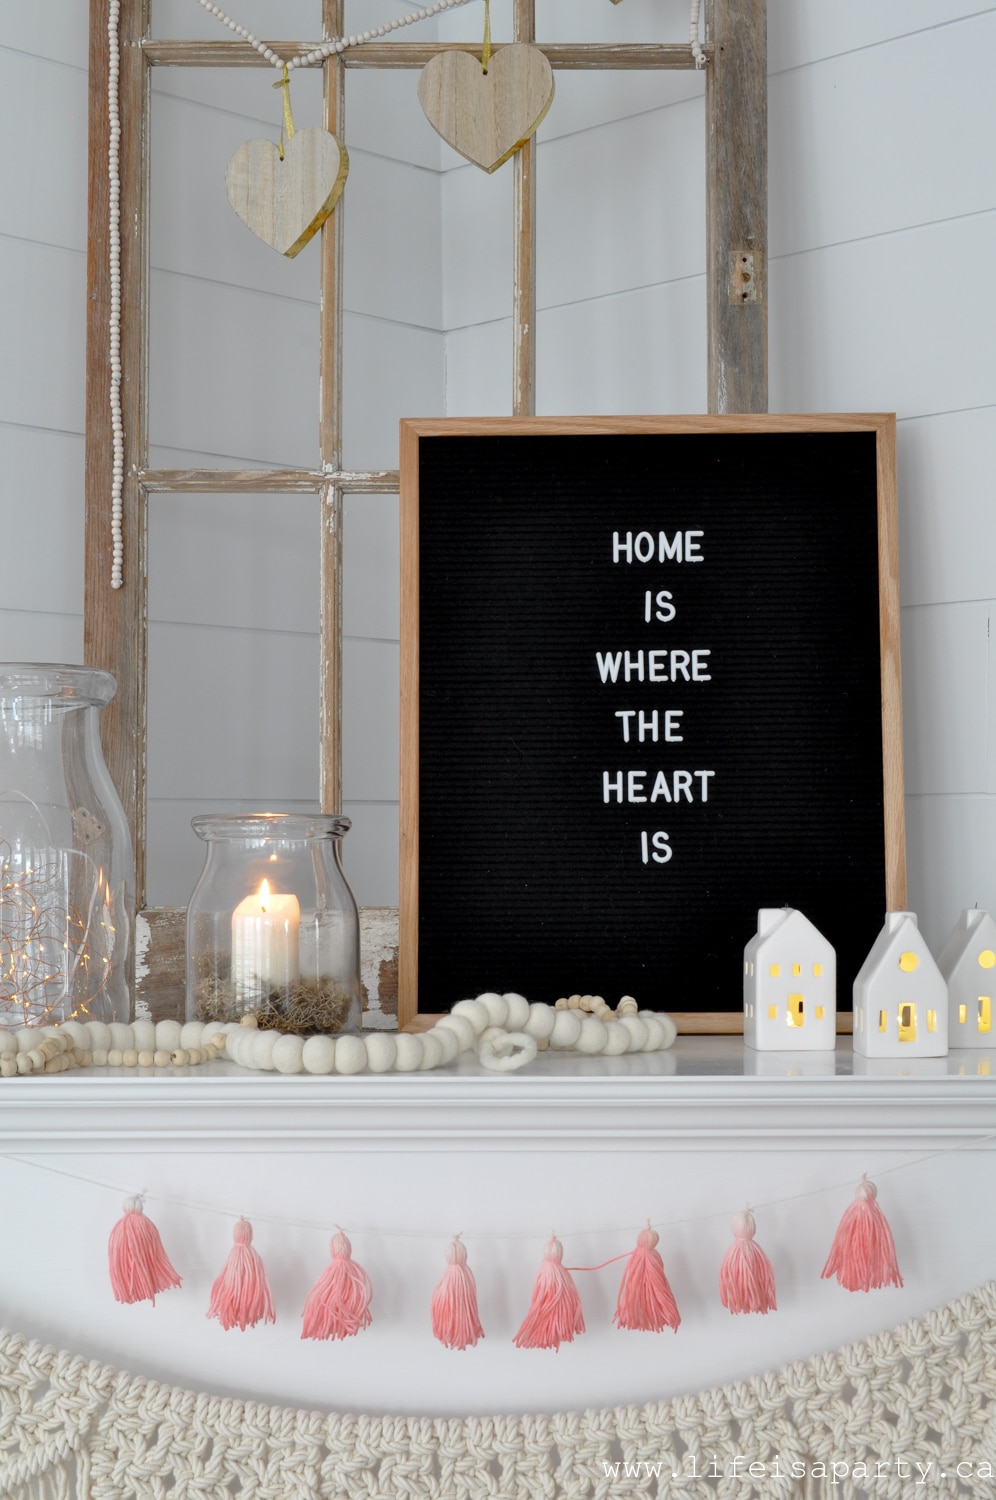
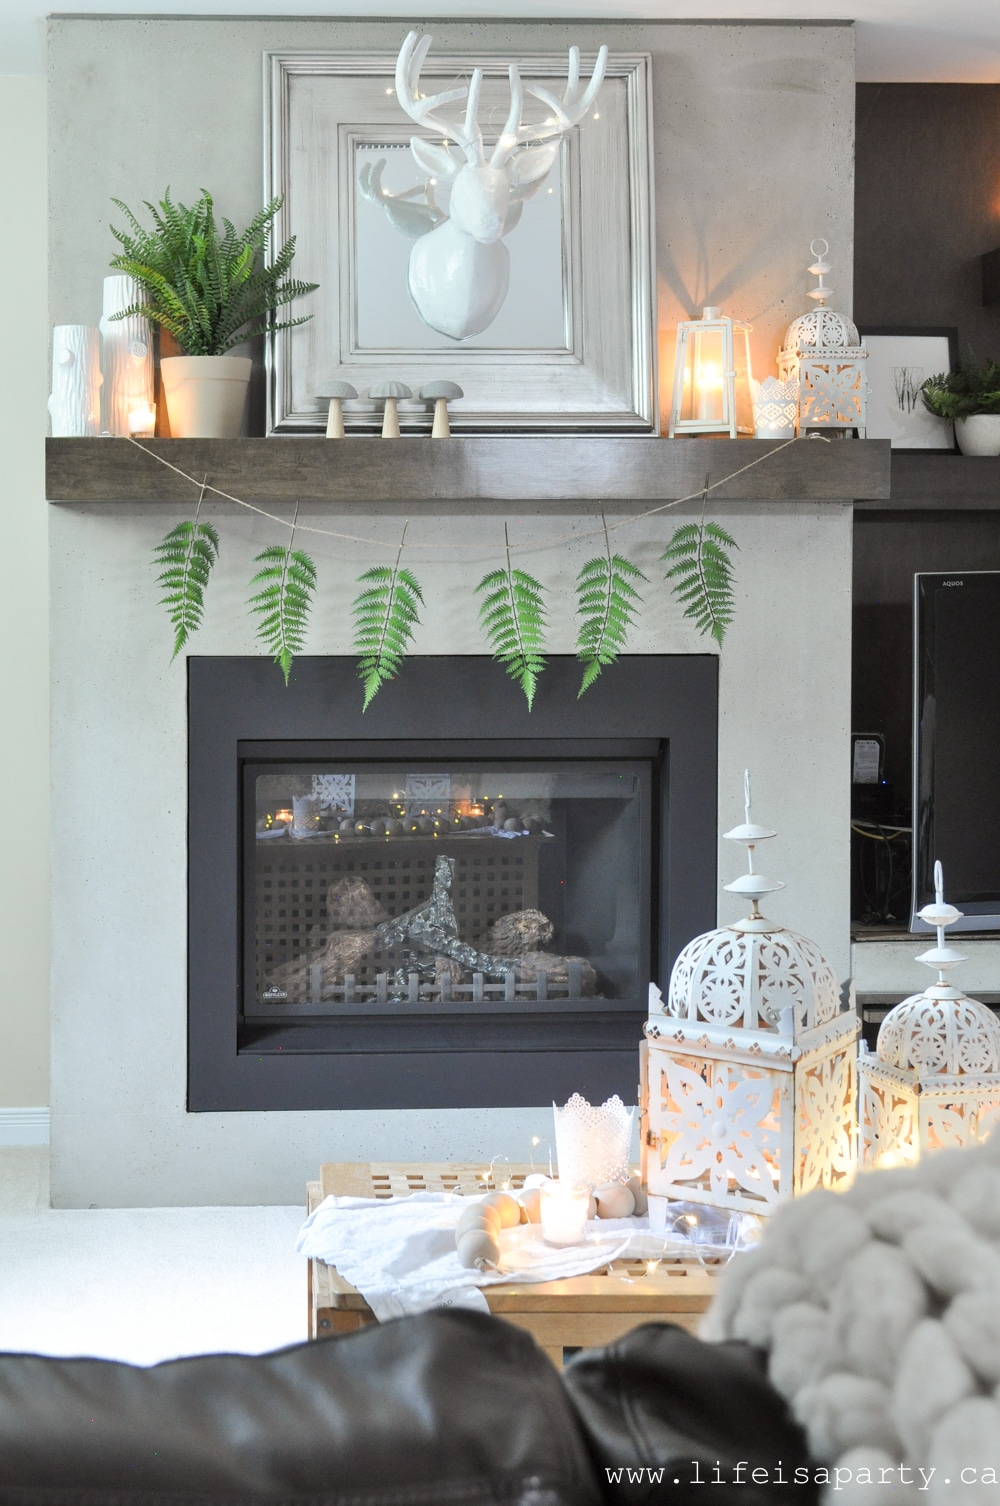 On the shelves there's a combination of lanterns and candles that I already had.
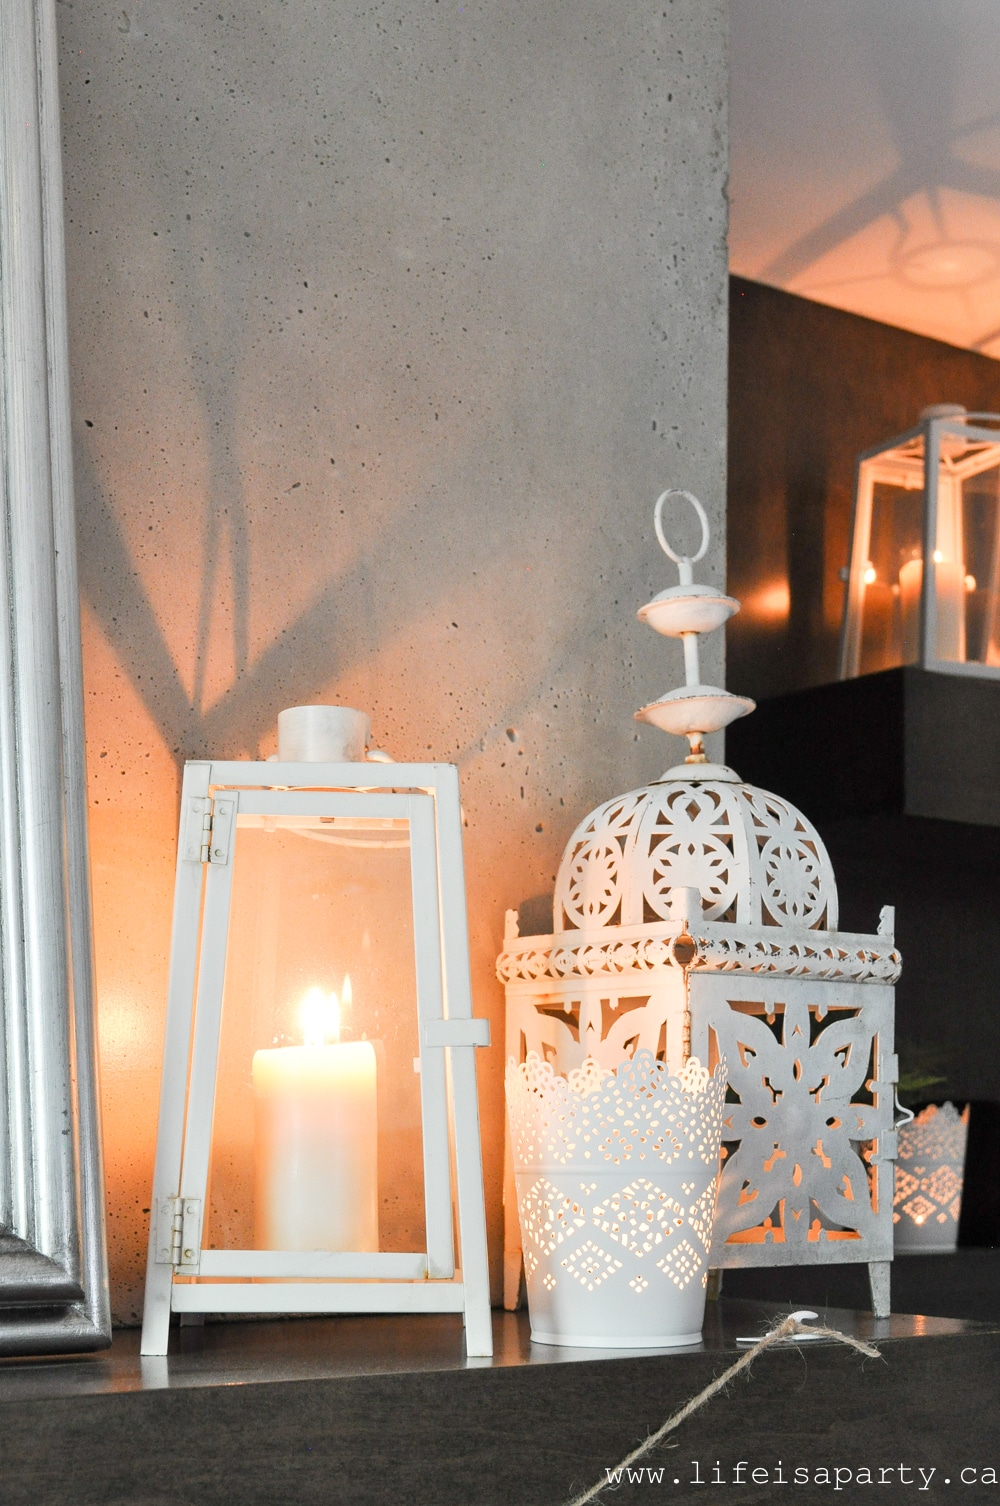 The fact that they're all white really brings the space together.
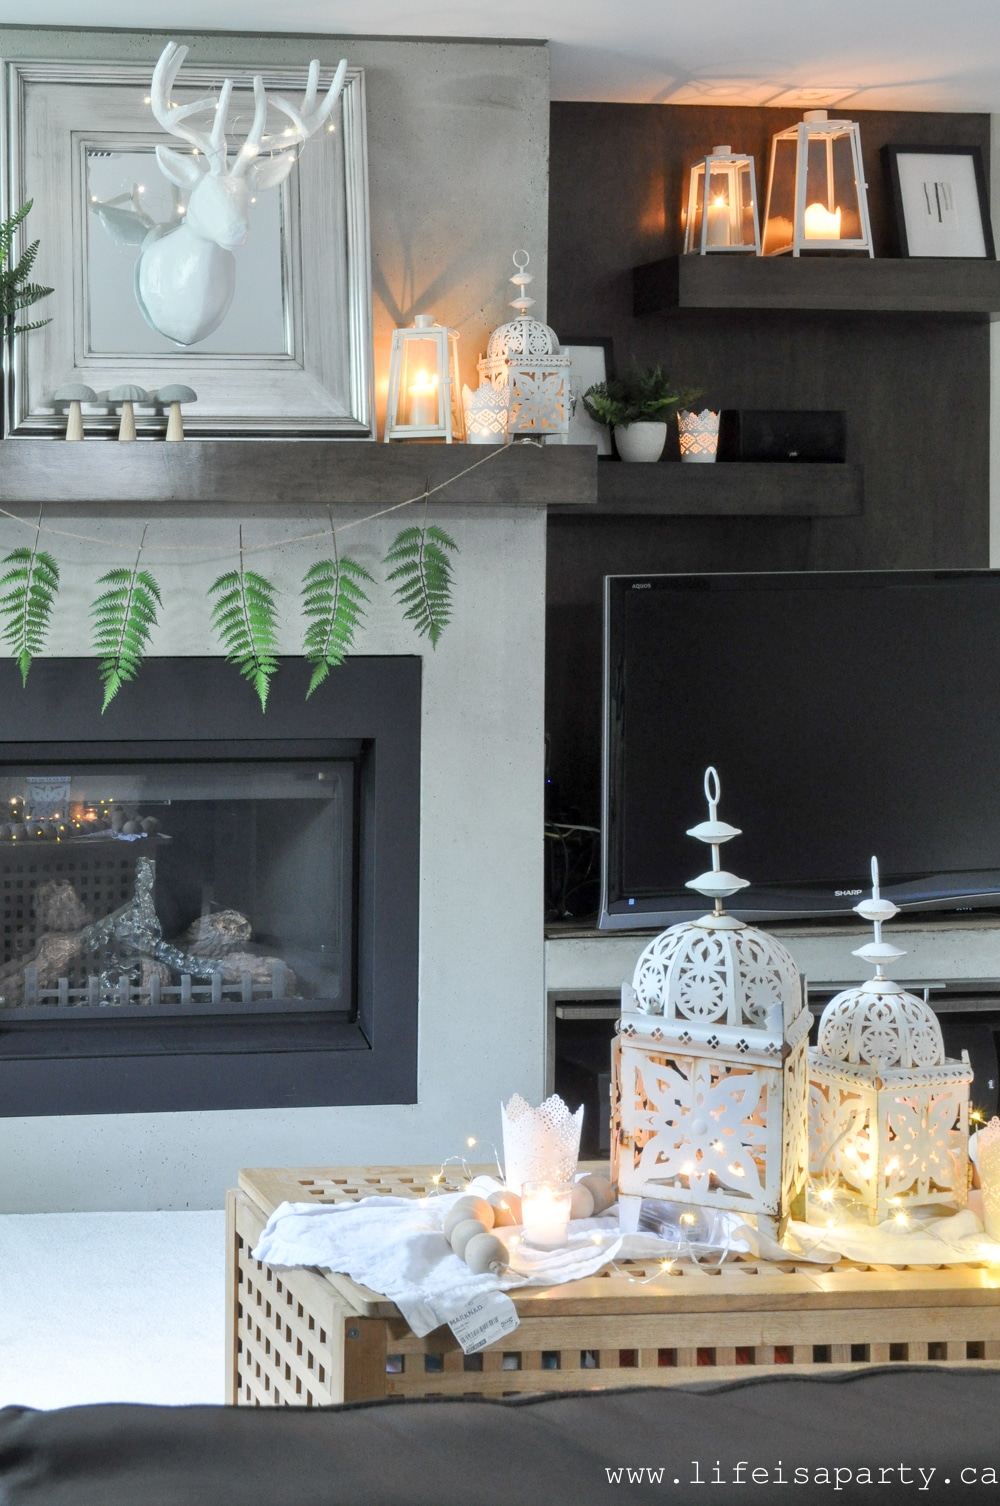
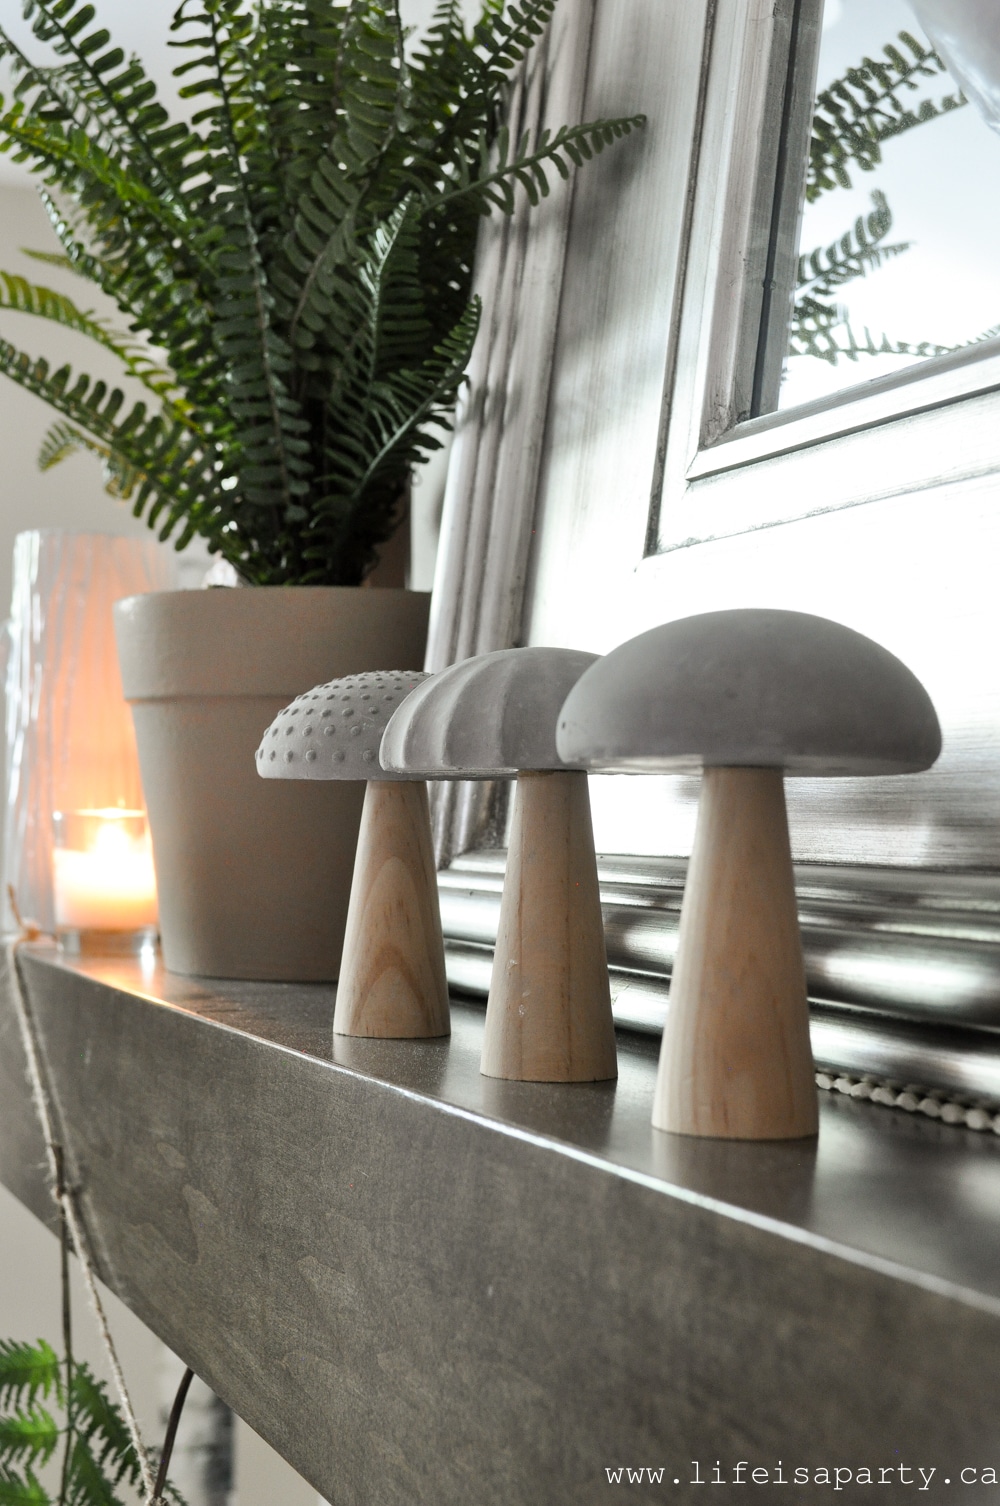
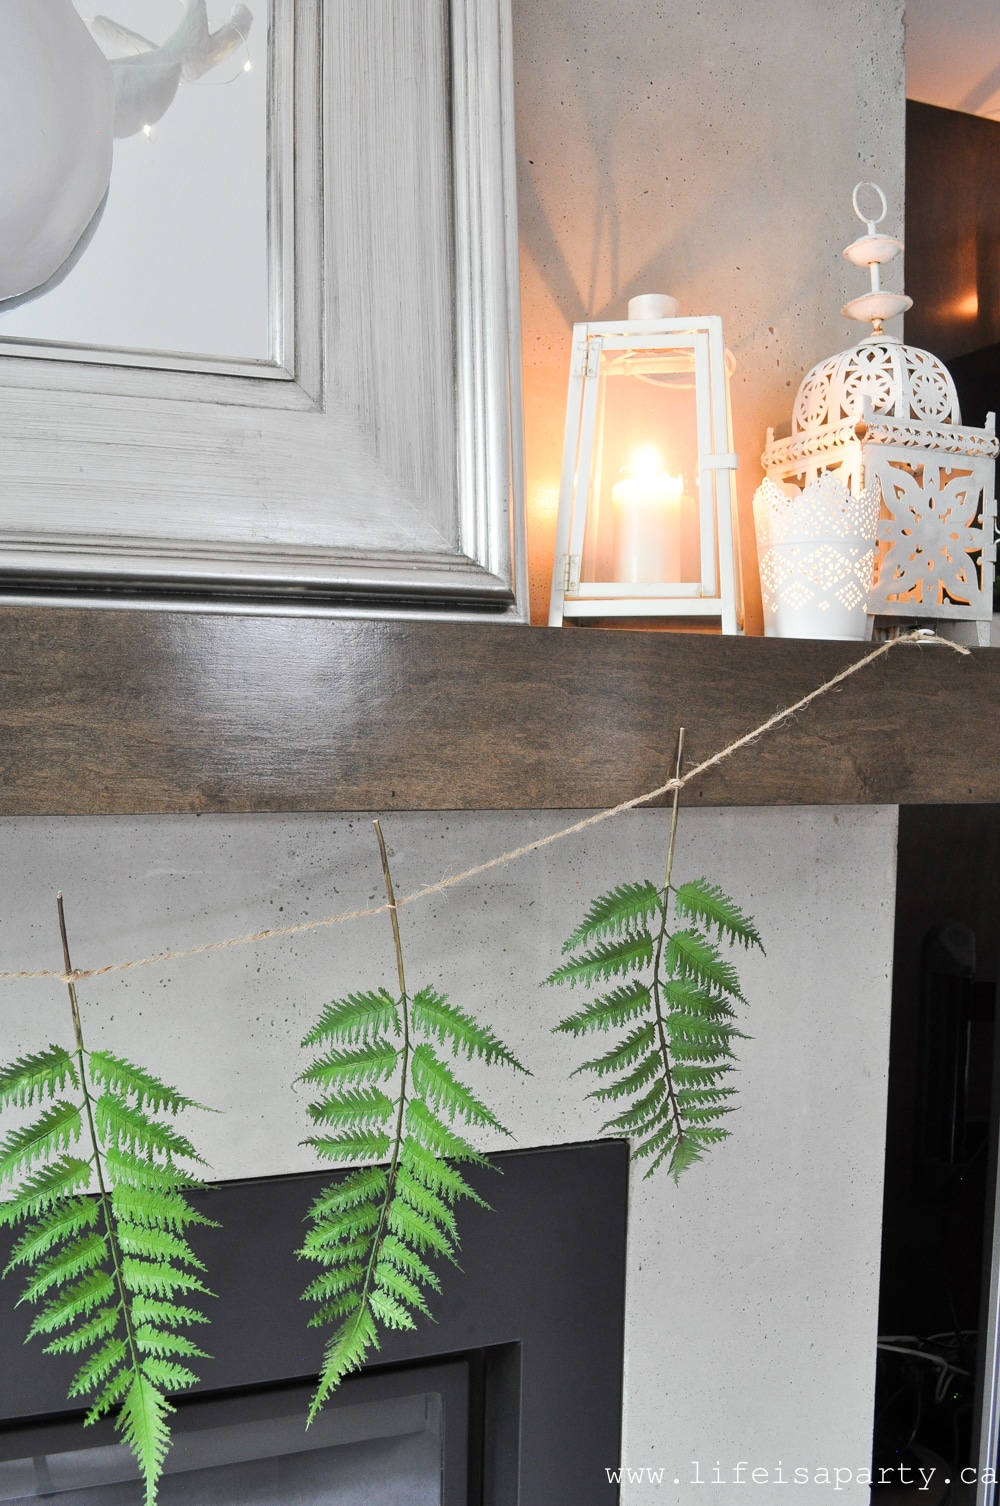
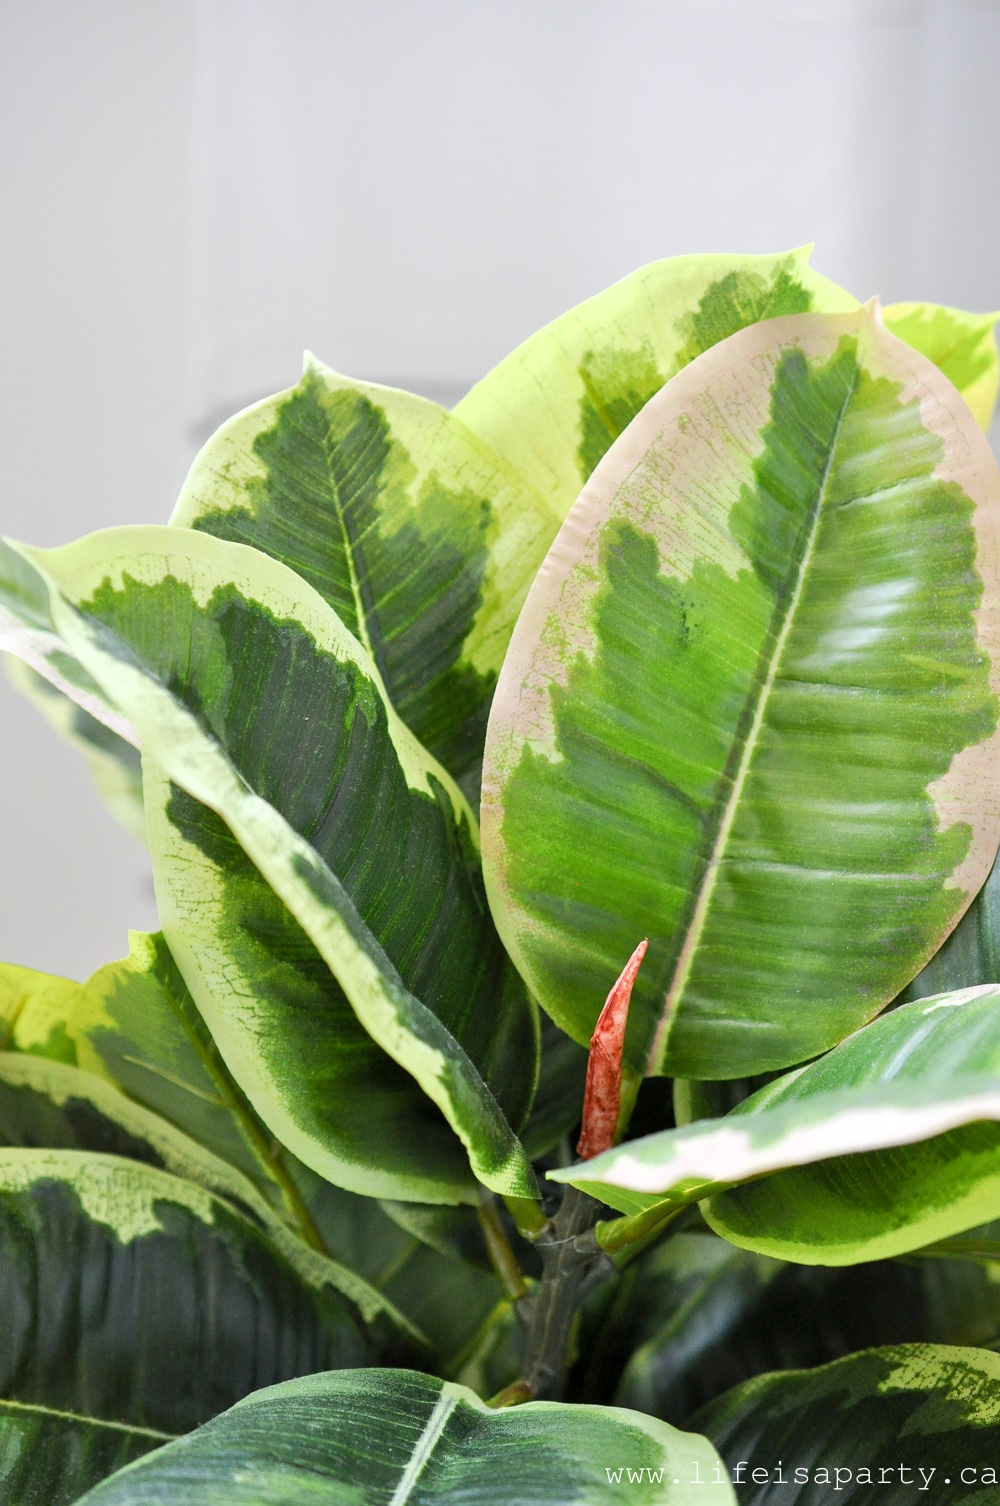
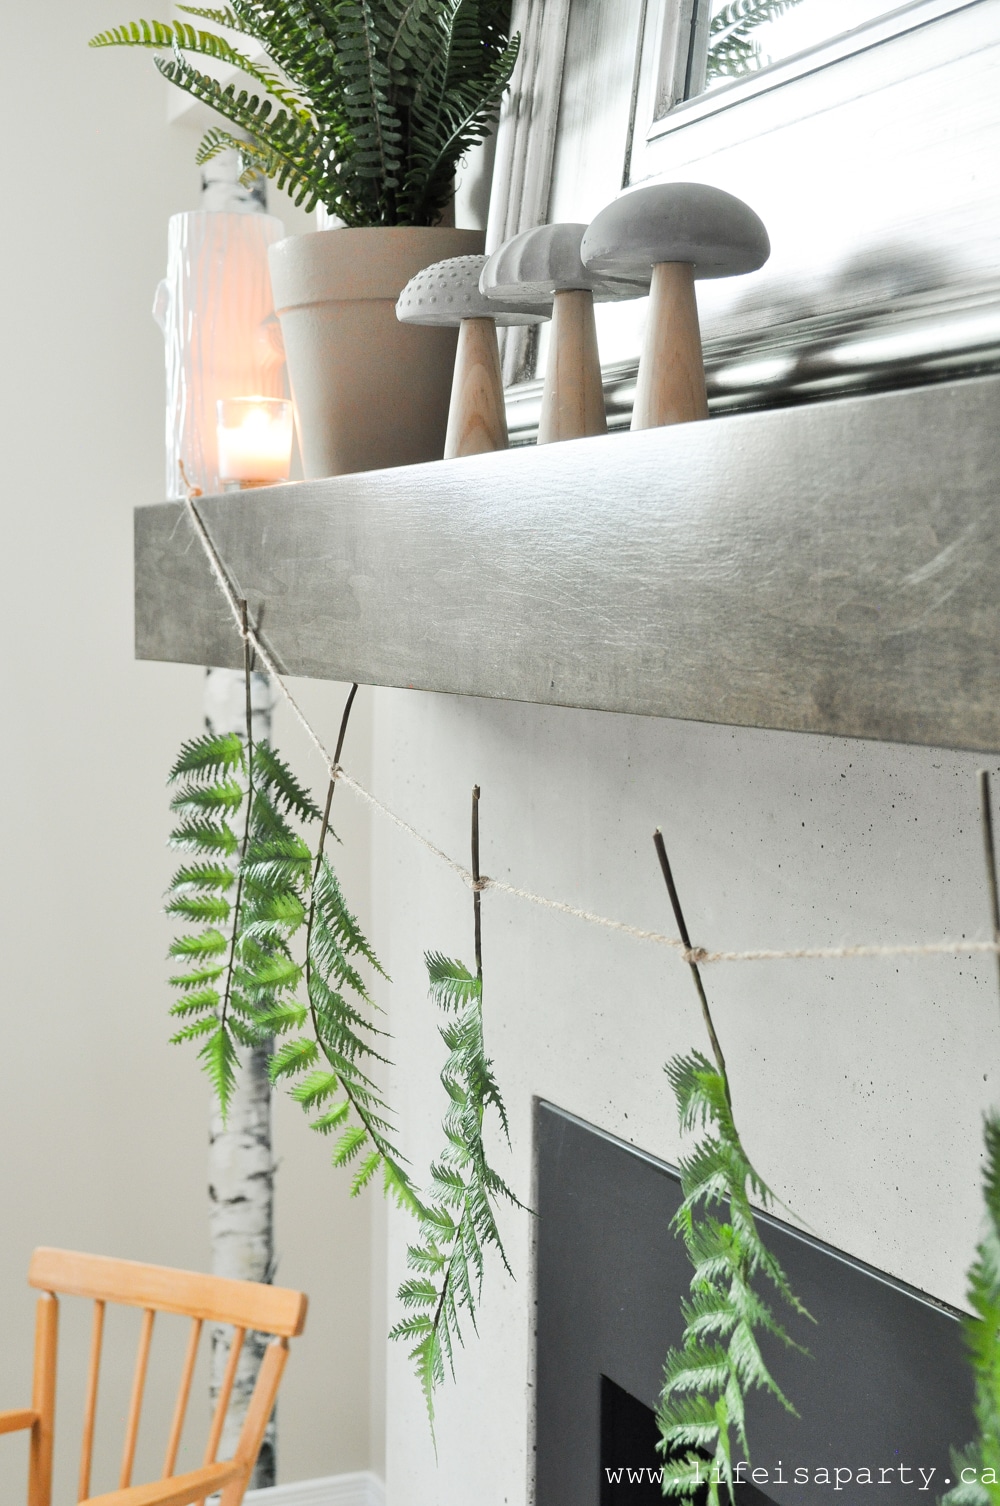 So simple, and so perfectly summer forest feeling.
 I added in some real white hydrangeas and ferns from my garden.
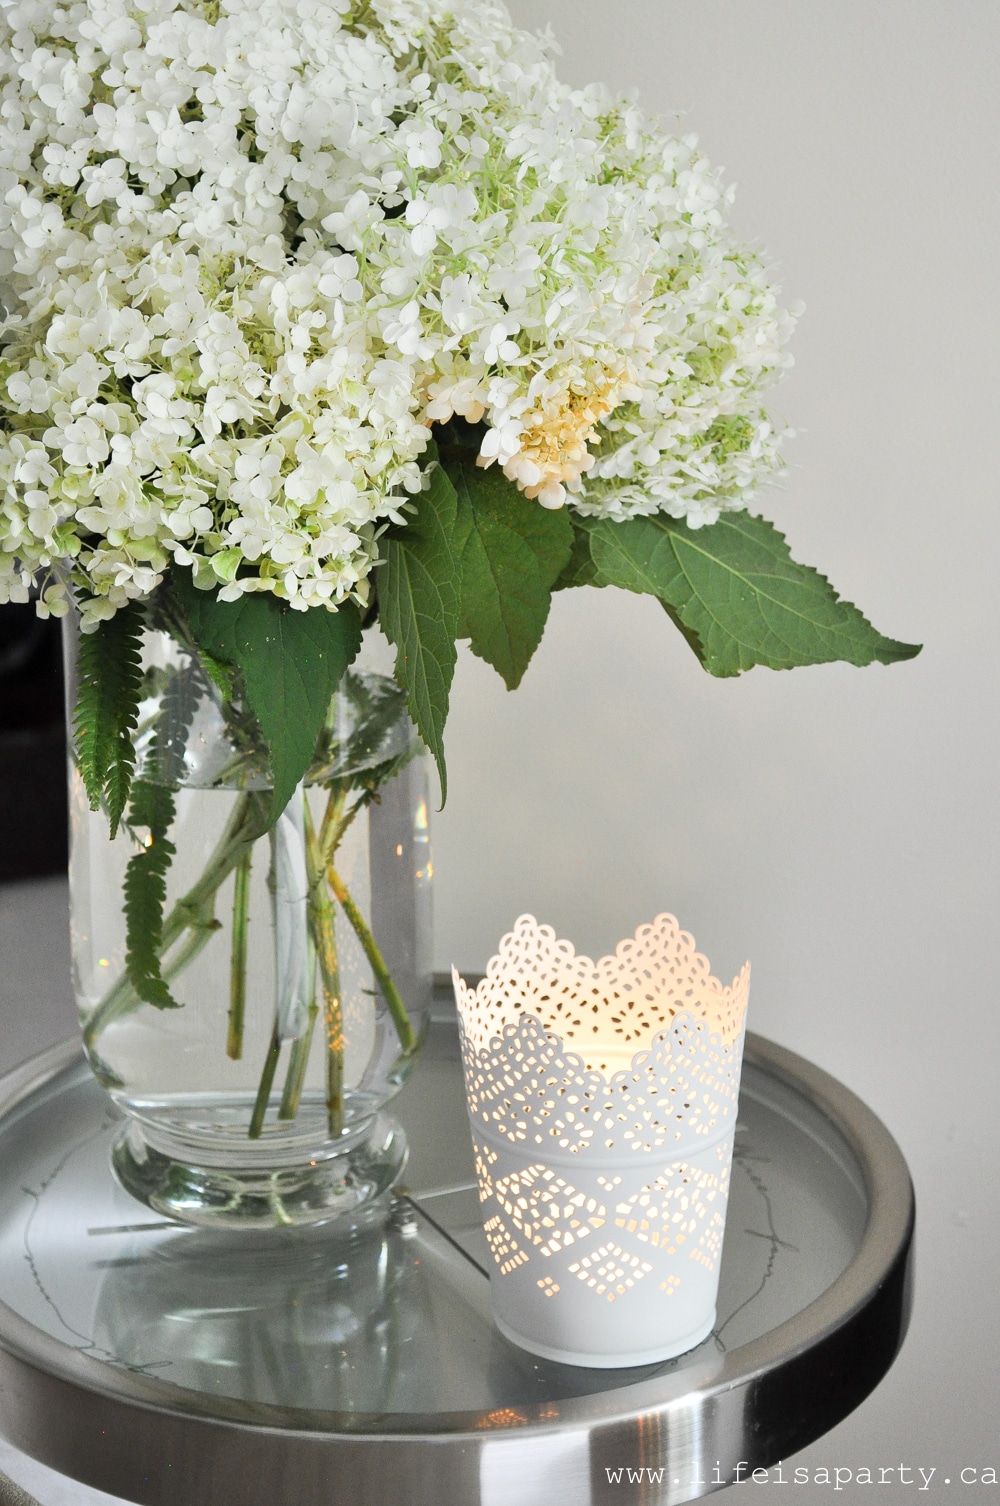 But all the other ferns are faux, so supper easy, and no need to worry about watering during summer vacation.
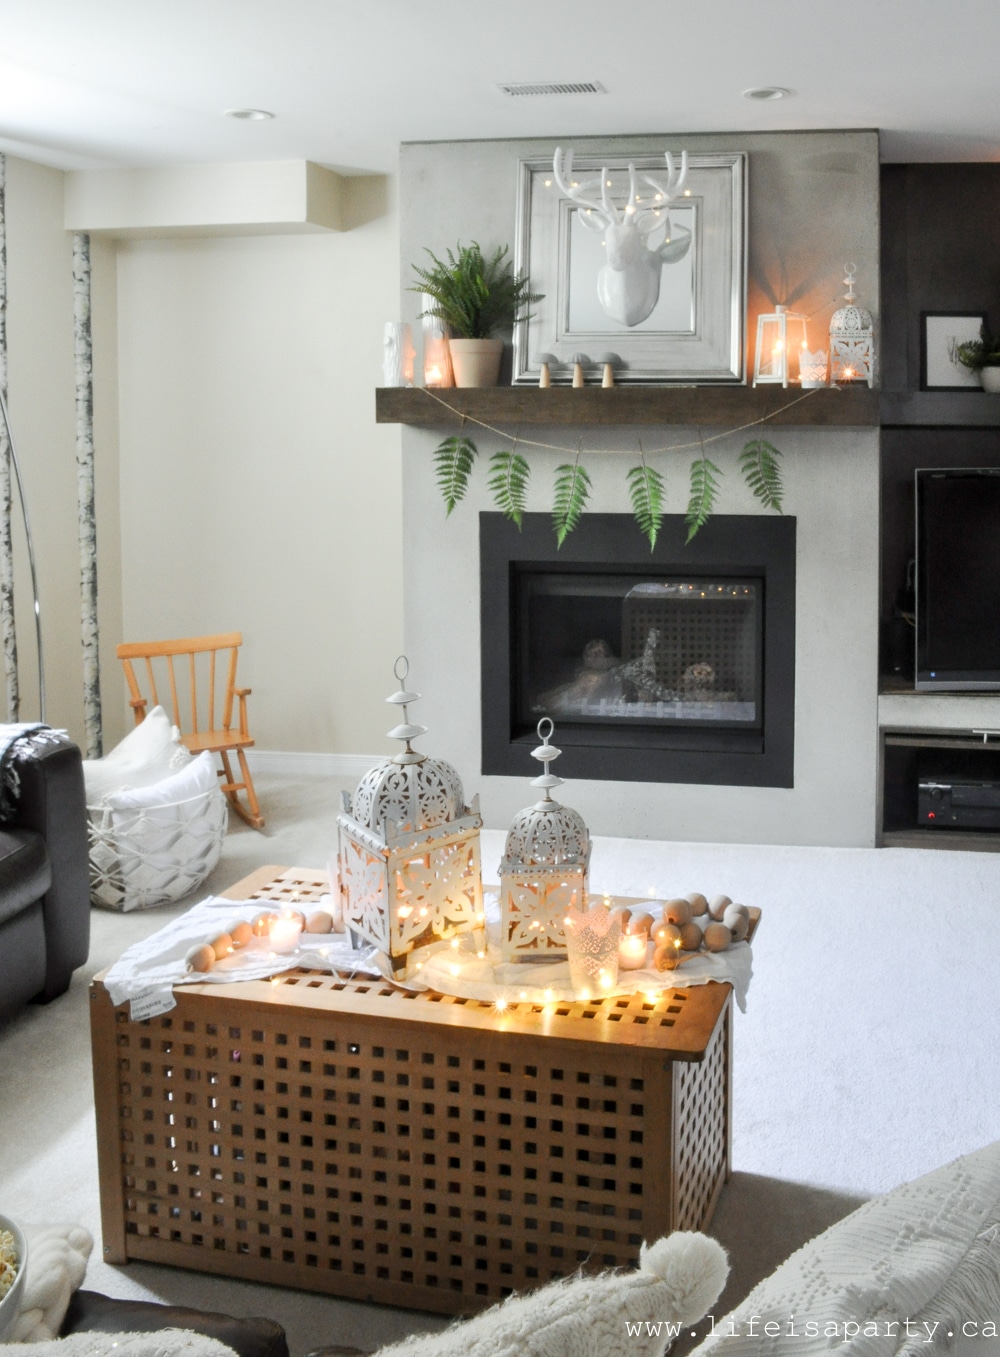


 They're sooo good.


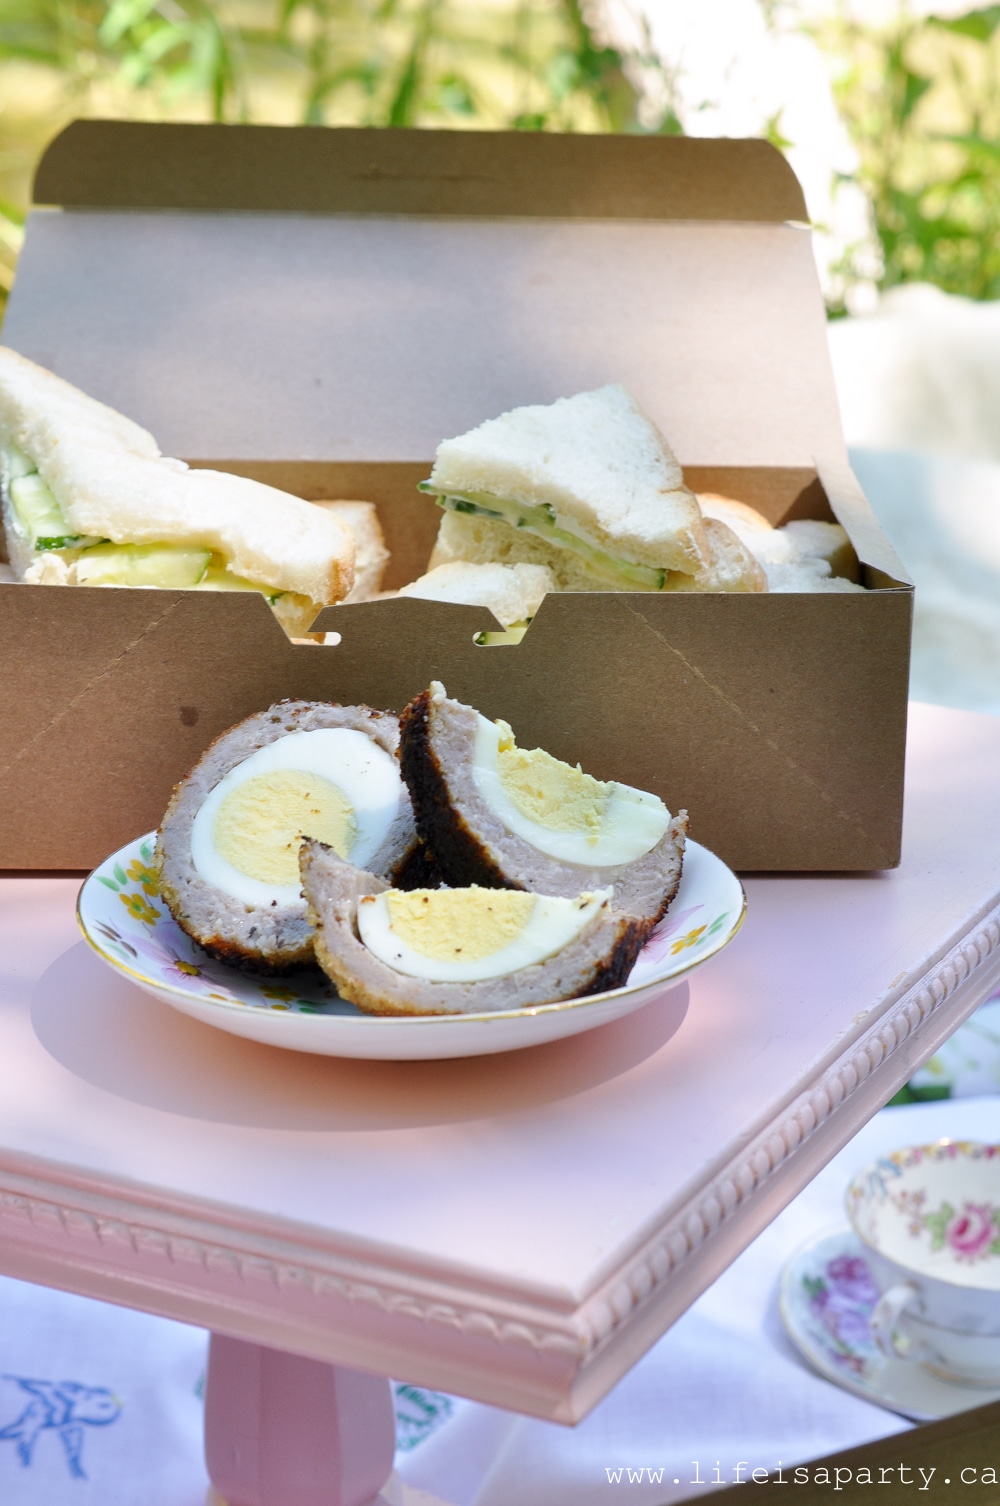
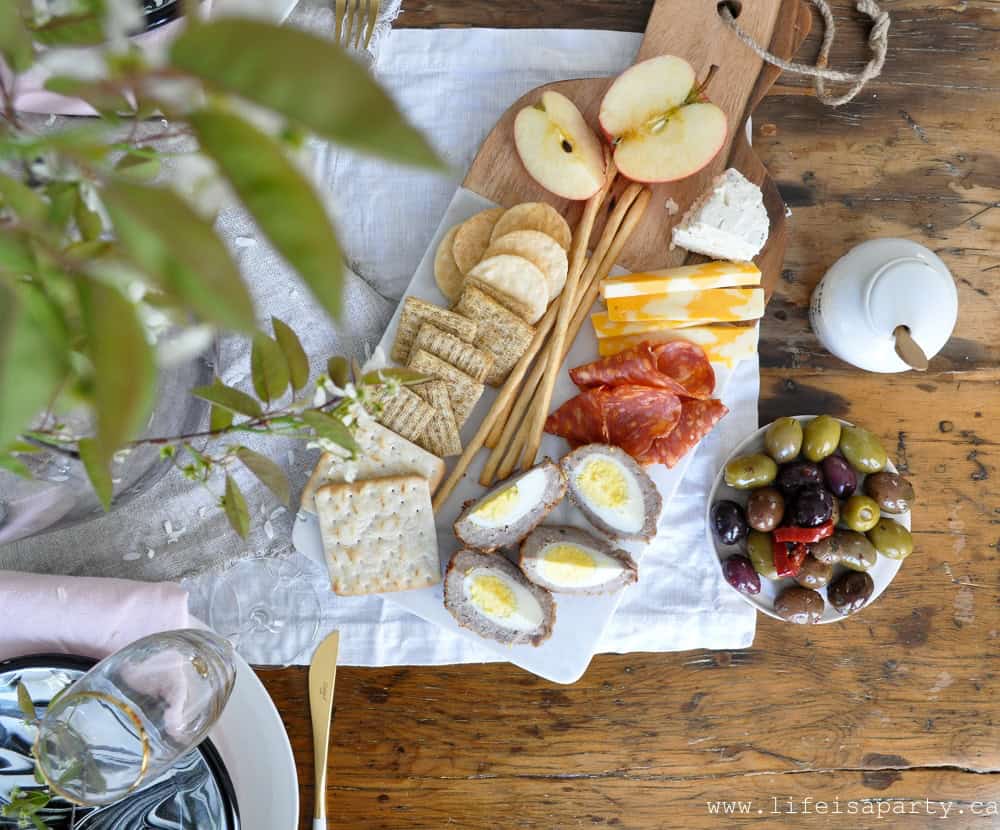
 The last time we made Scotch Eggs I included them as part of the charcuterie board for our
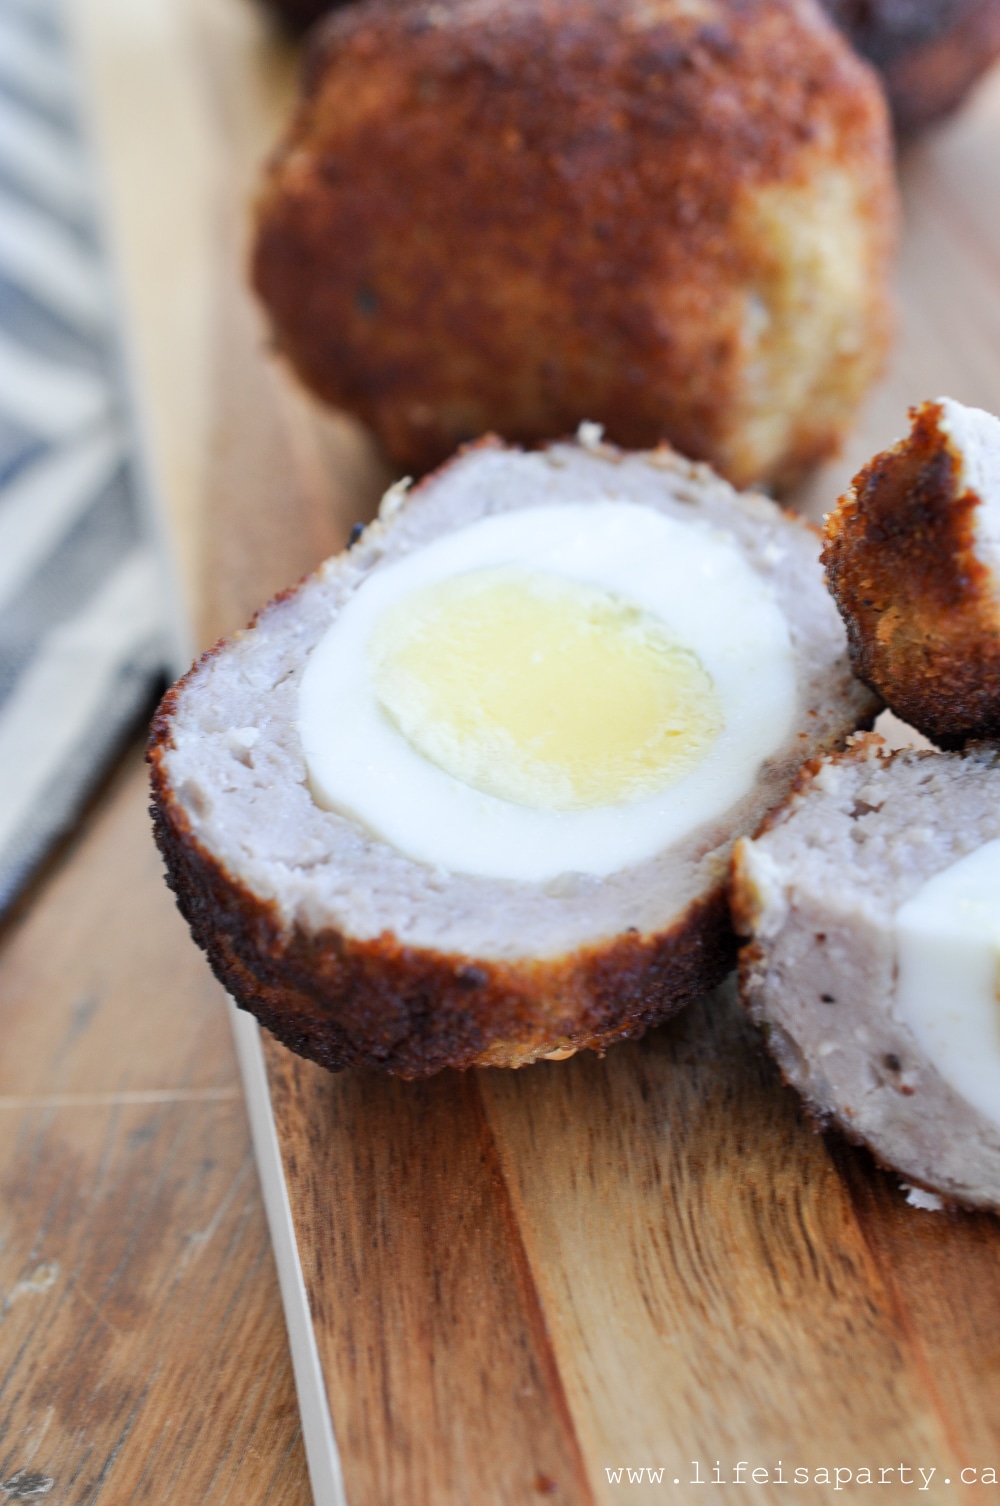
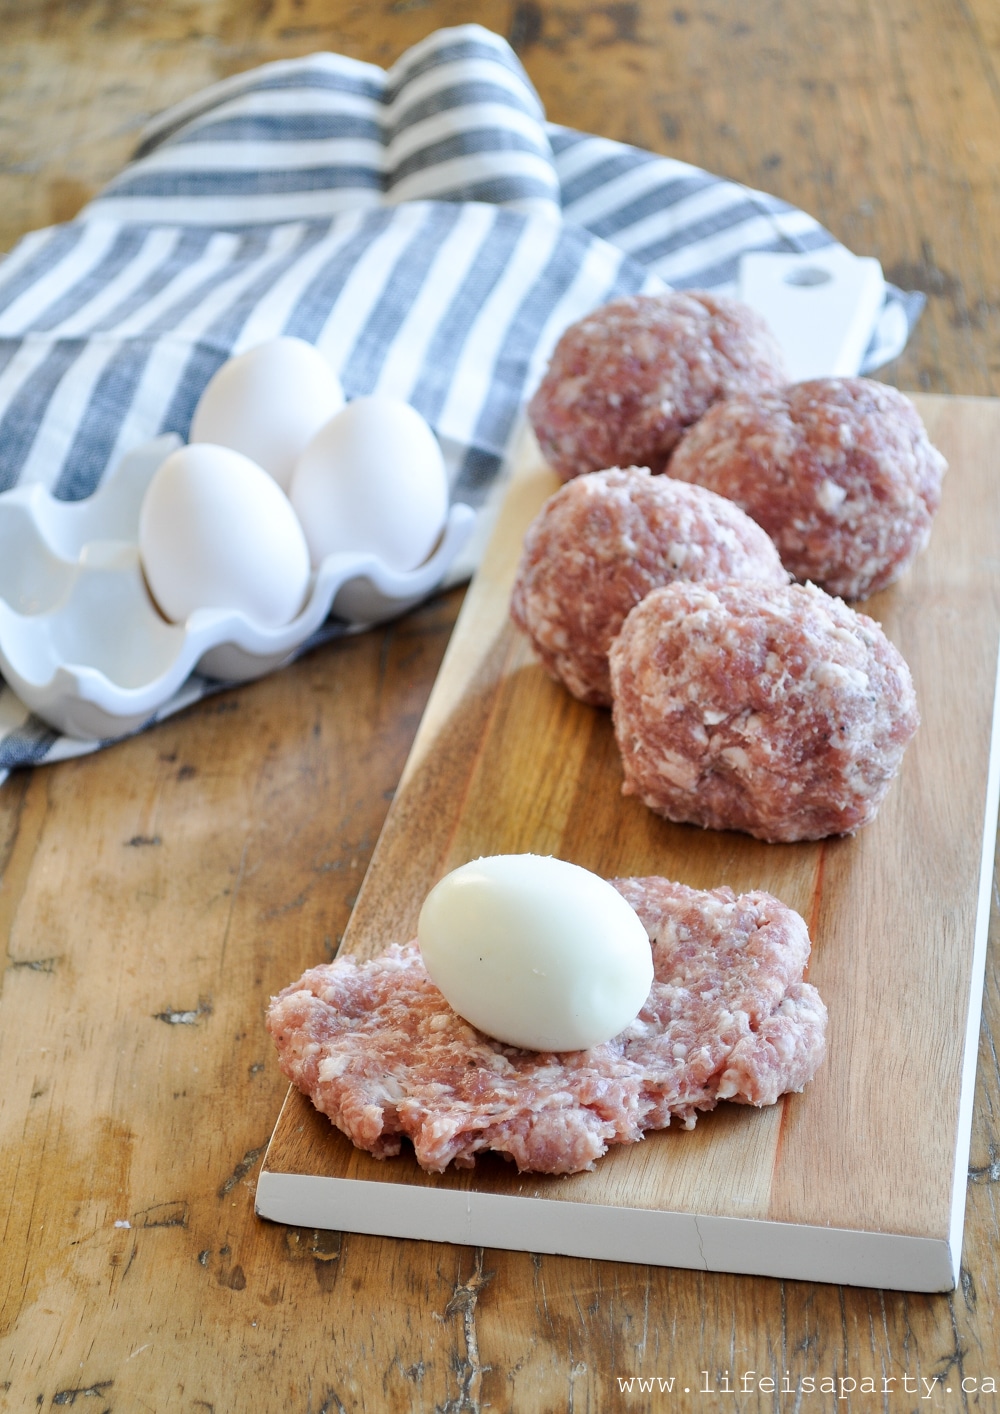
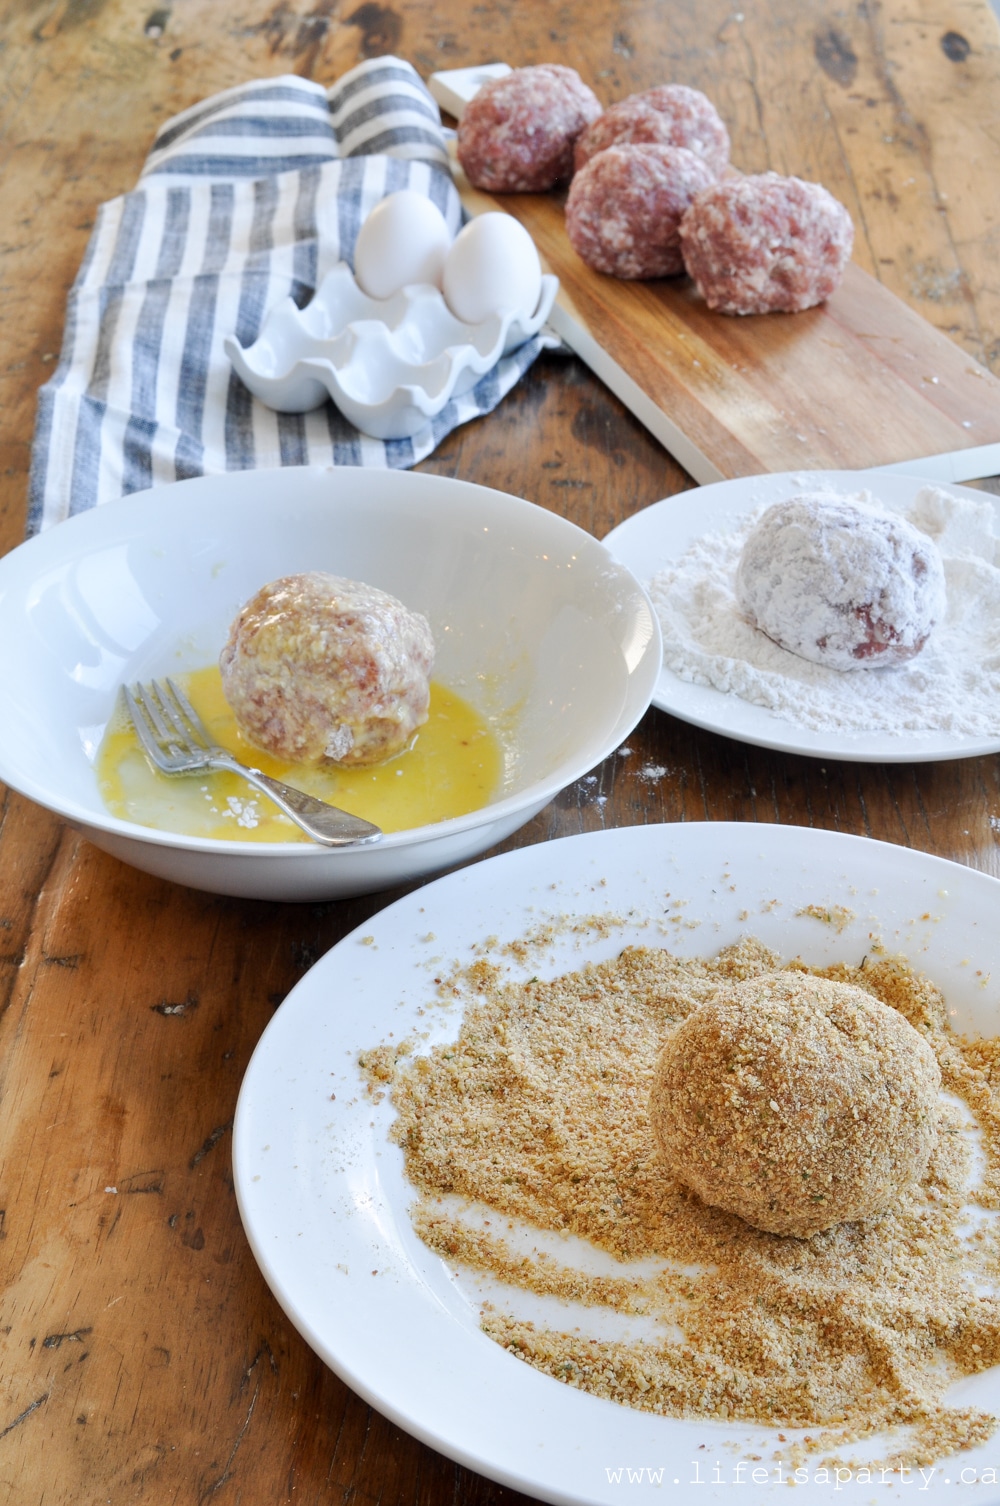
 With home made Scotch Eggs to enjoy, life really is a party!


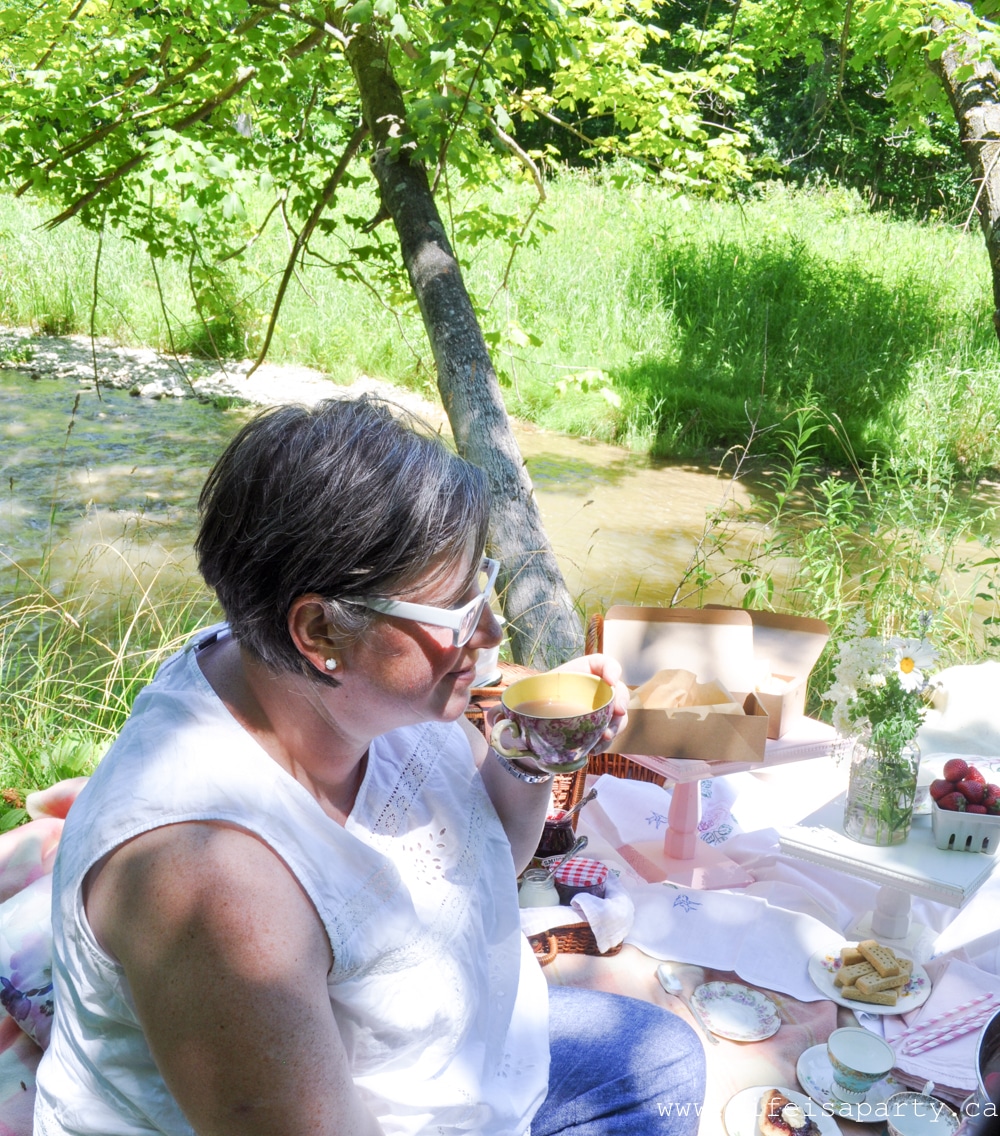
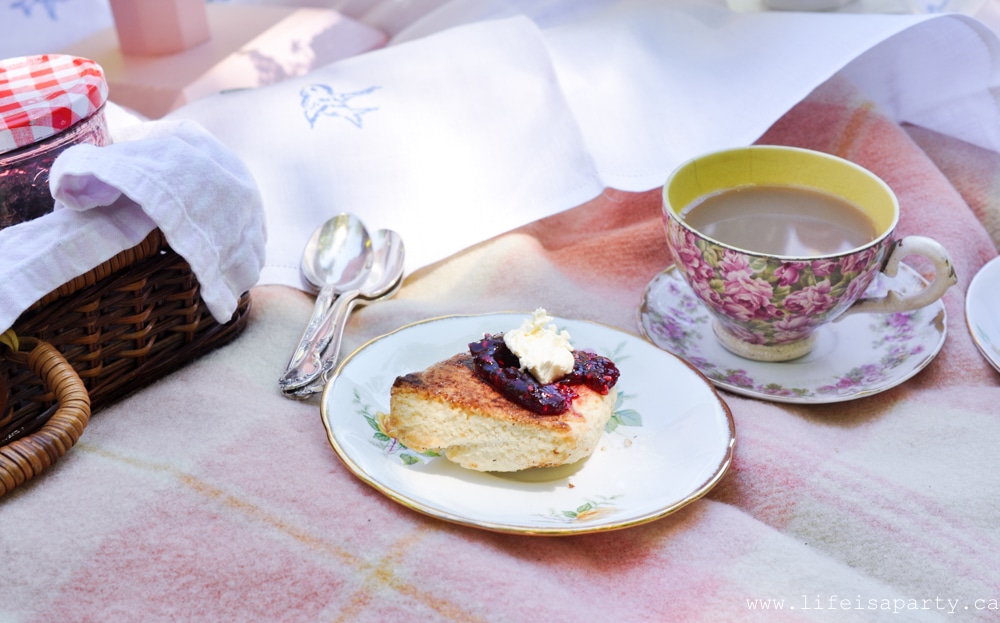
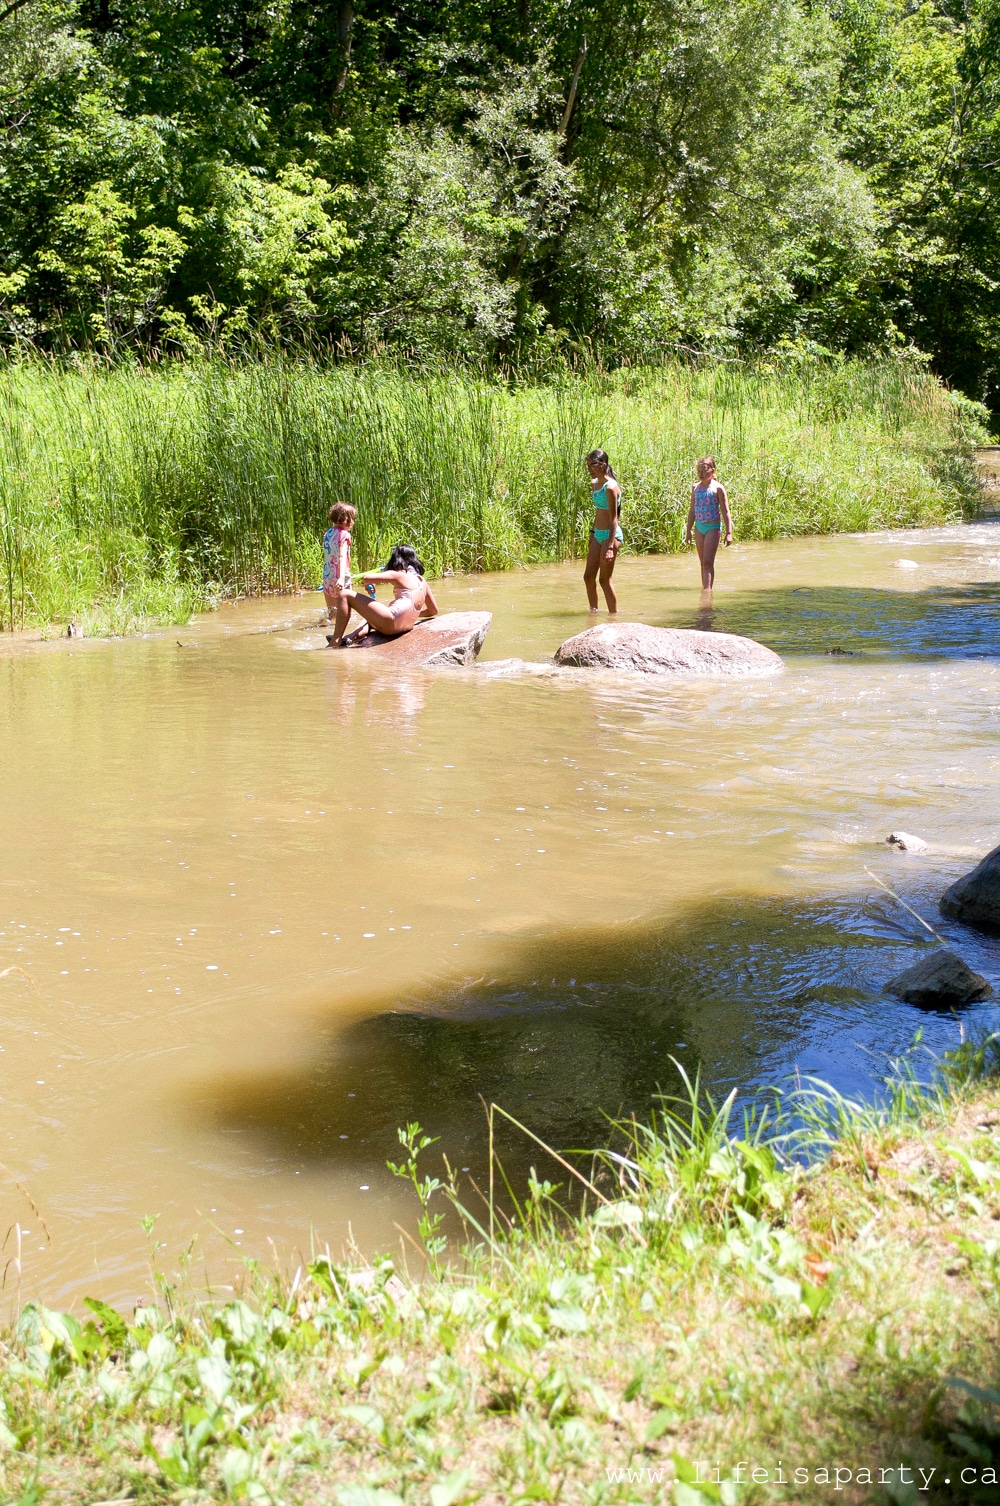

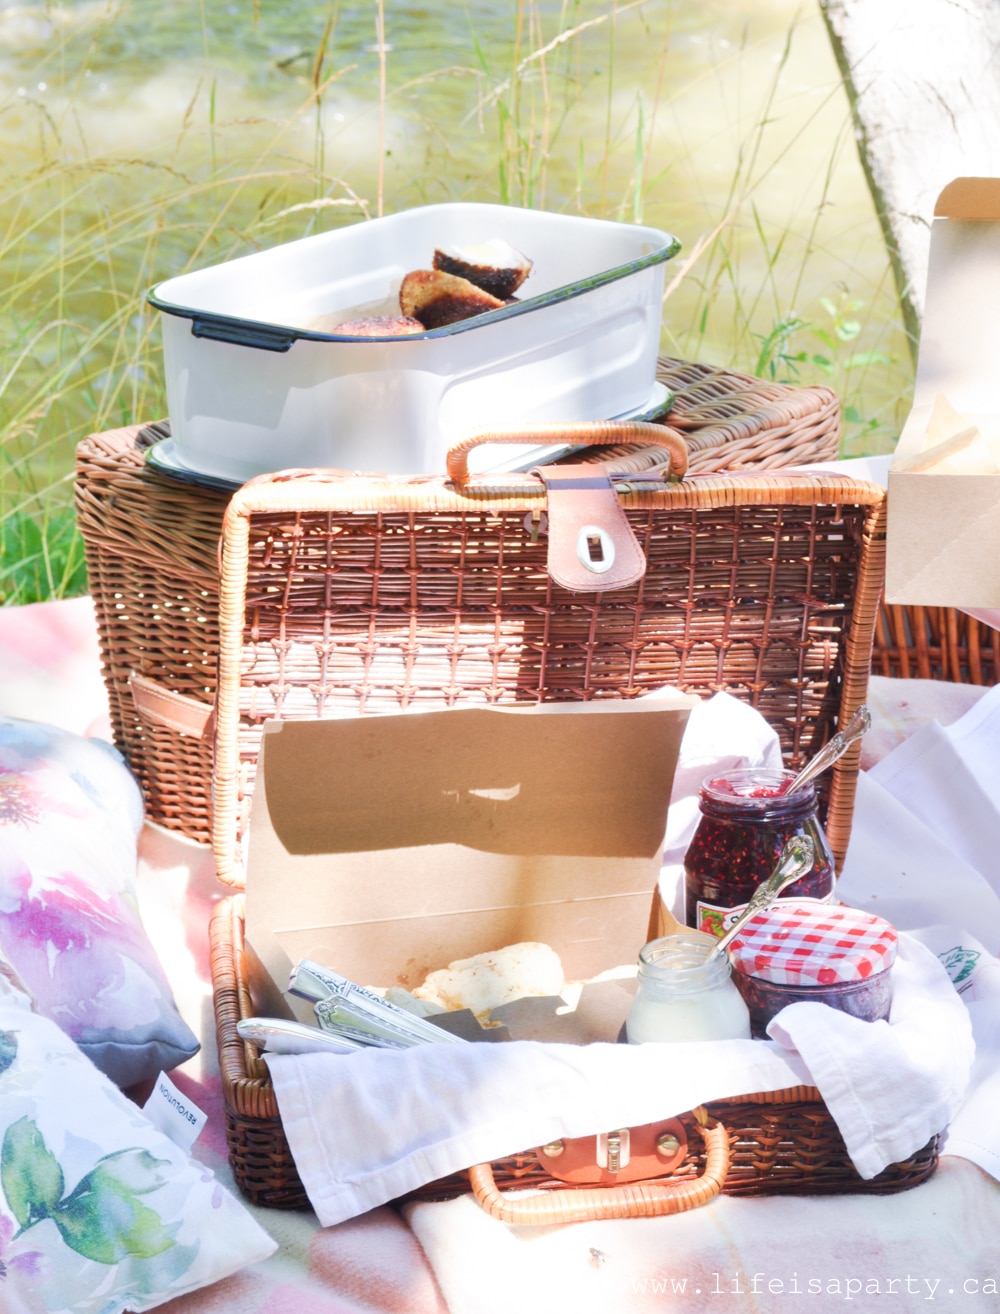
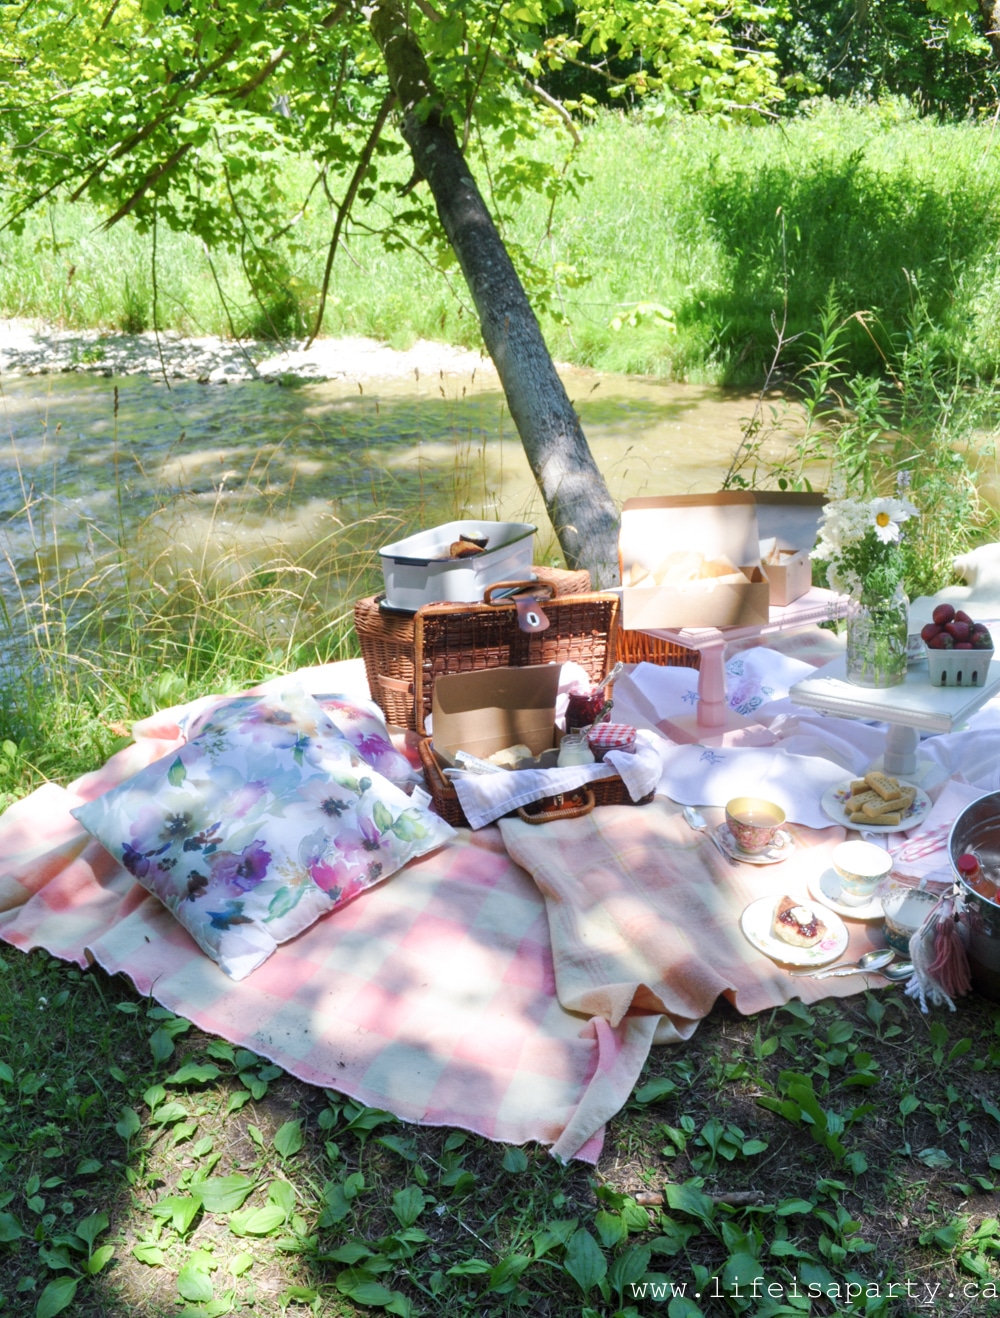
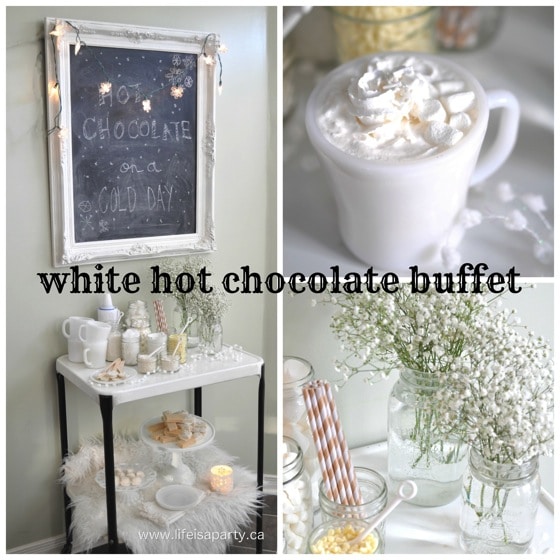
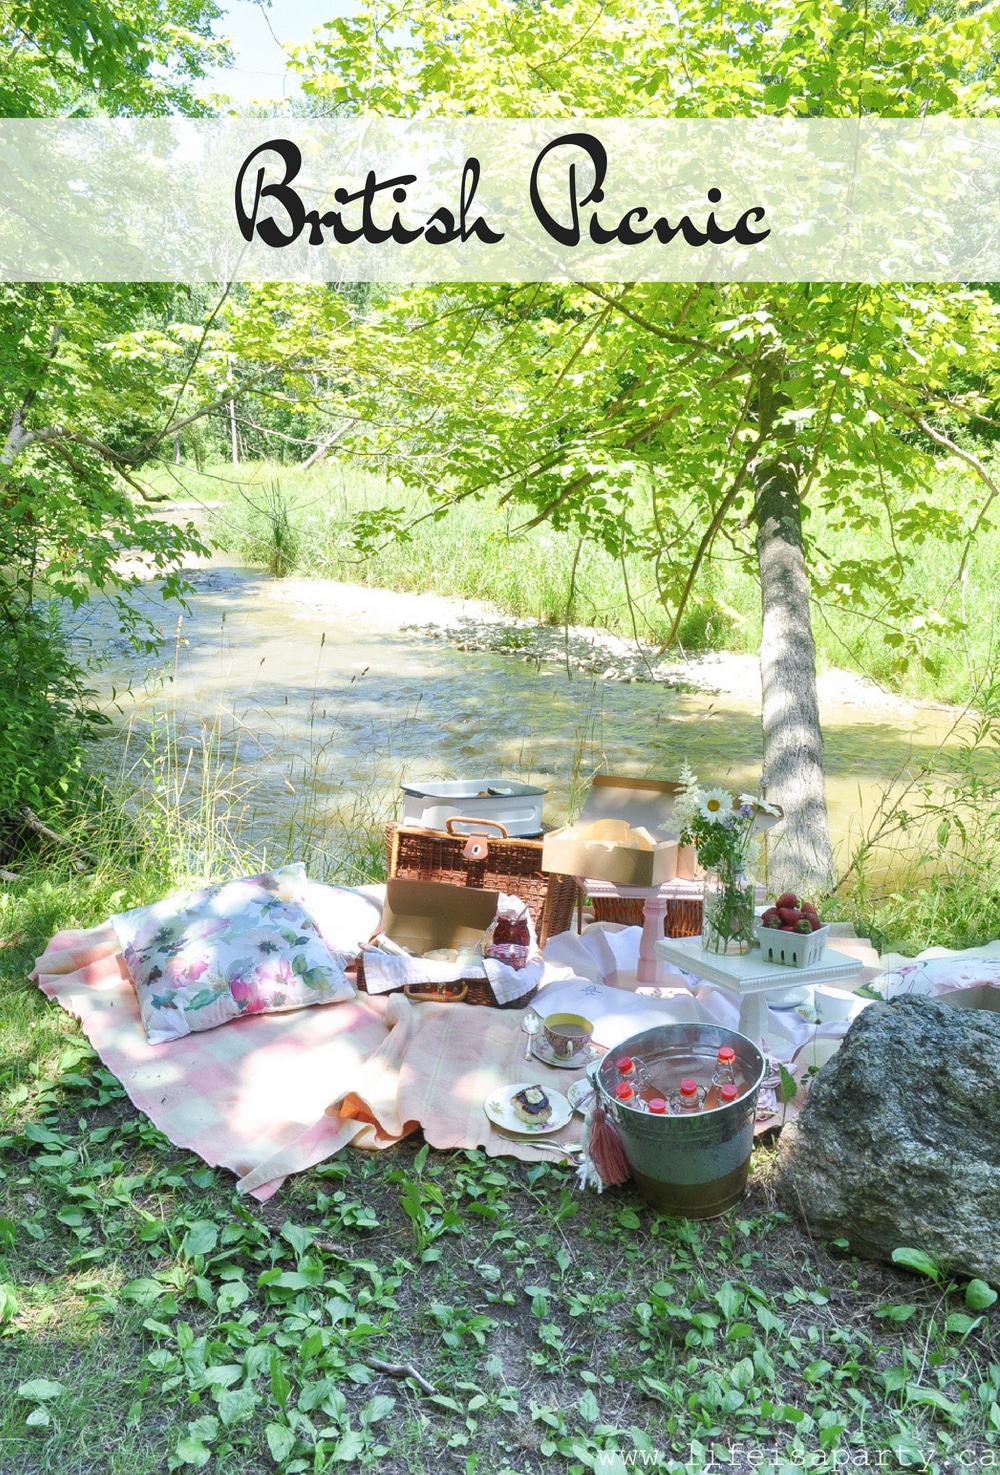
 The re-usable bottles are perfect for picnics. And instead of an ugly cooler, I used a pretty galvanized bucket filled with ice, which worked perfectly. The cold drinks were very welcome on a hot day....although after spending hours in the river the girls might have preferred hot chocolate at the end of the day.
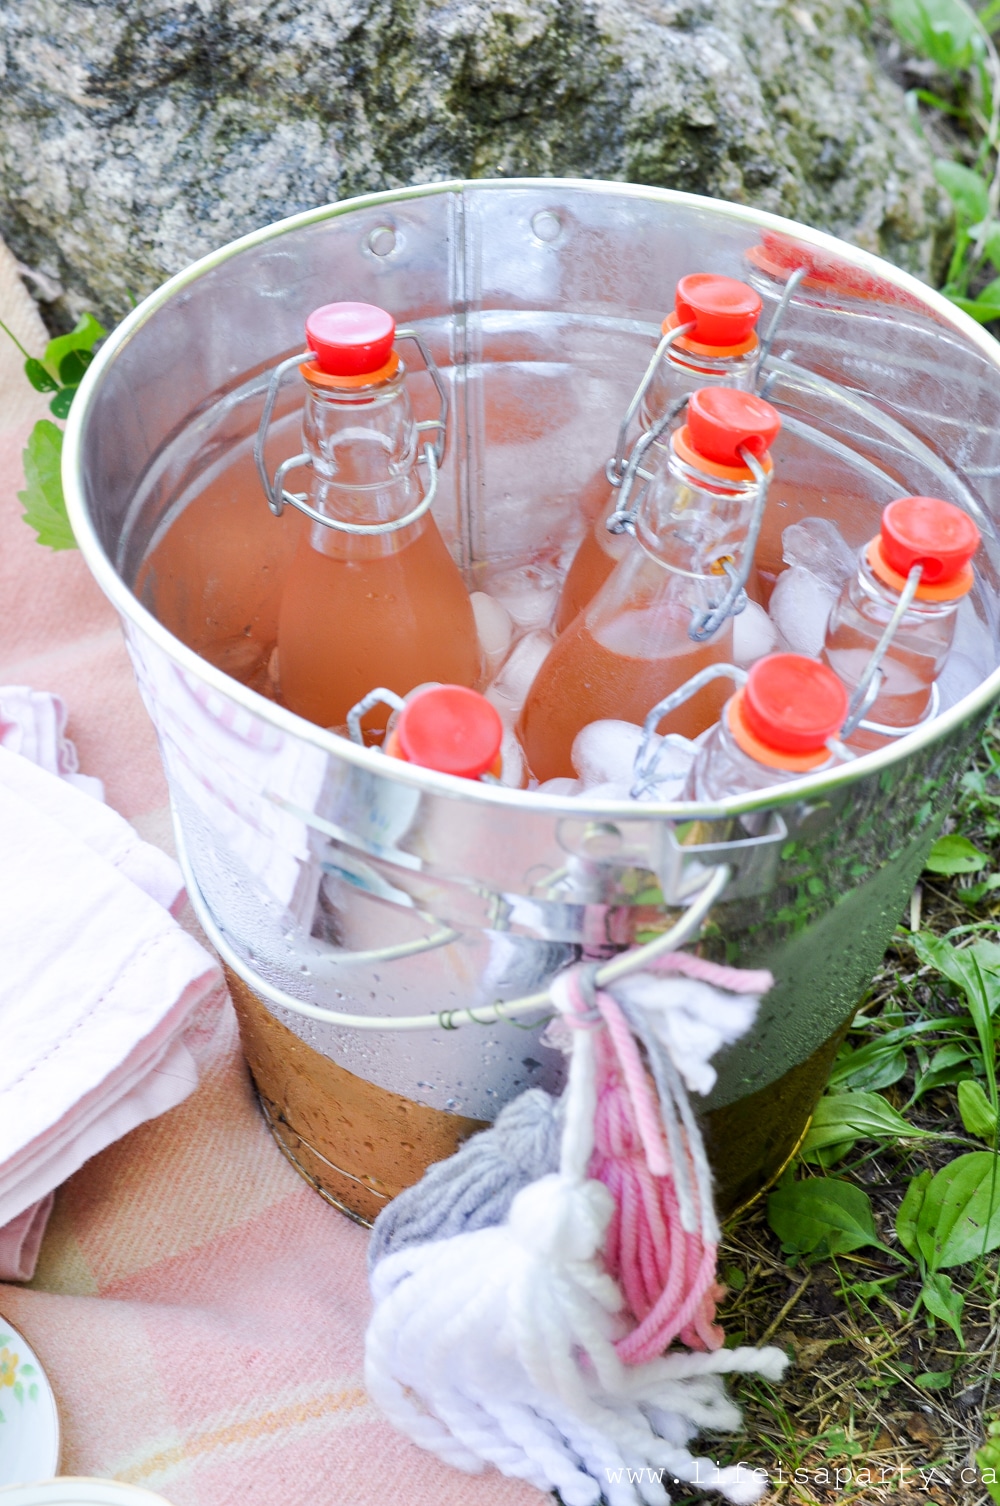

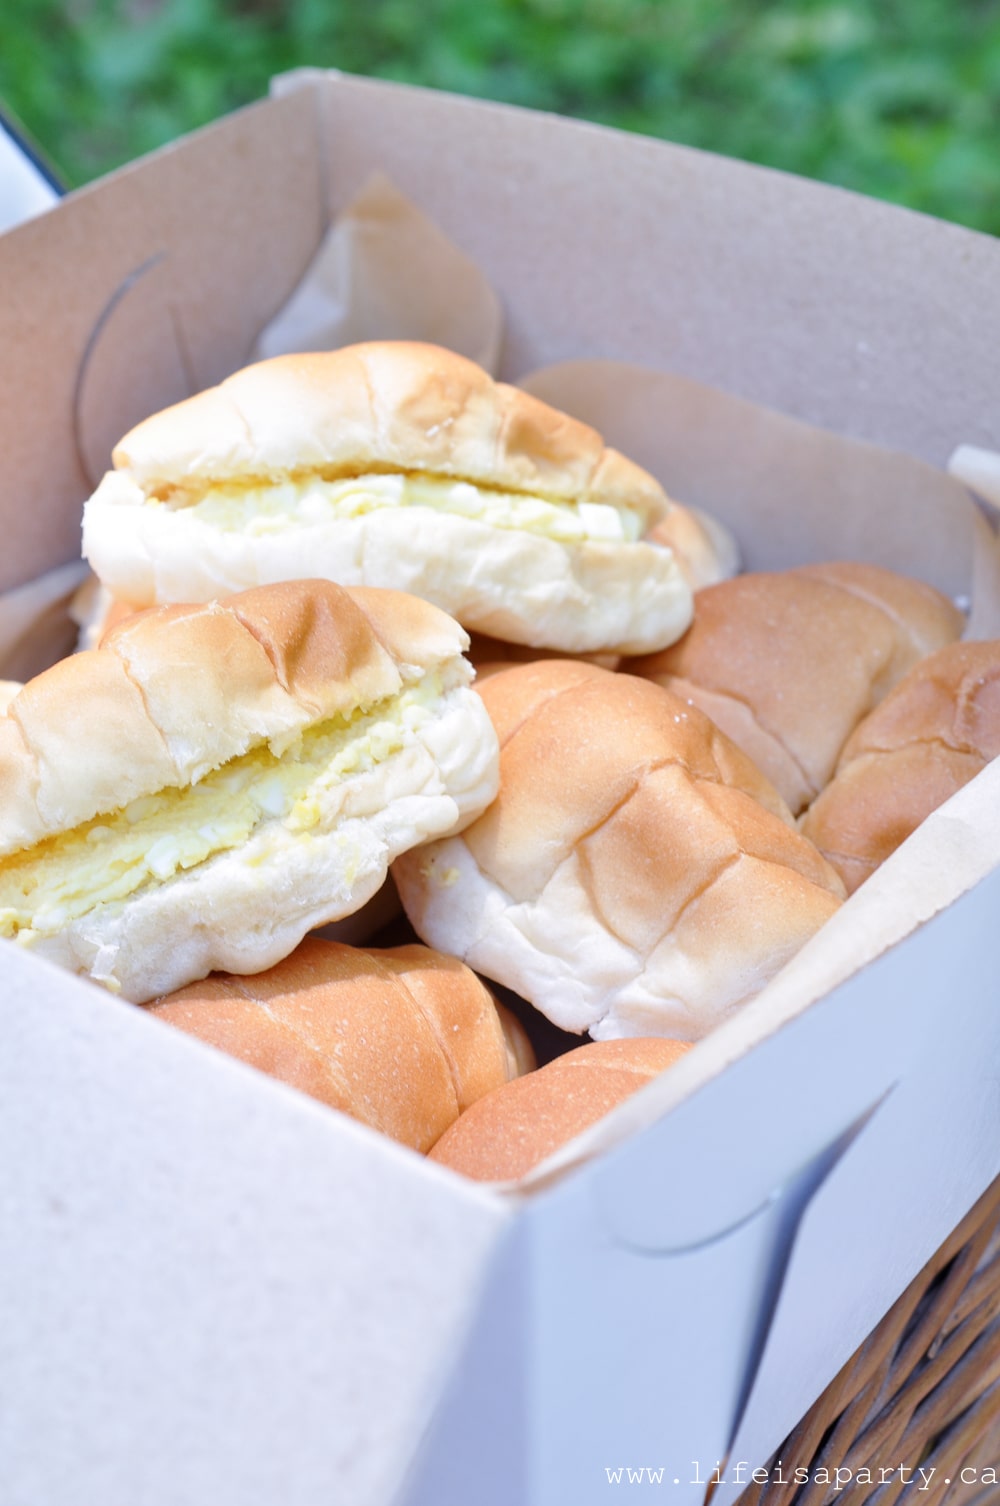
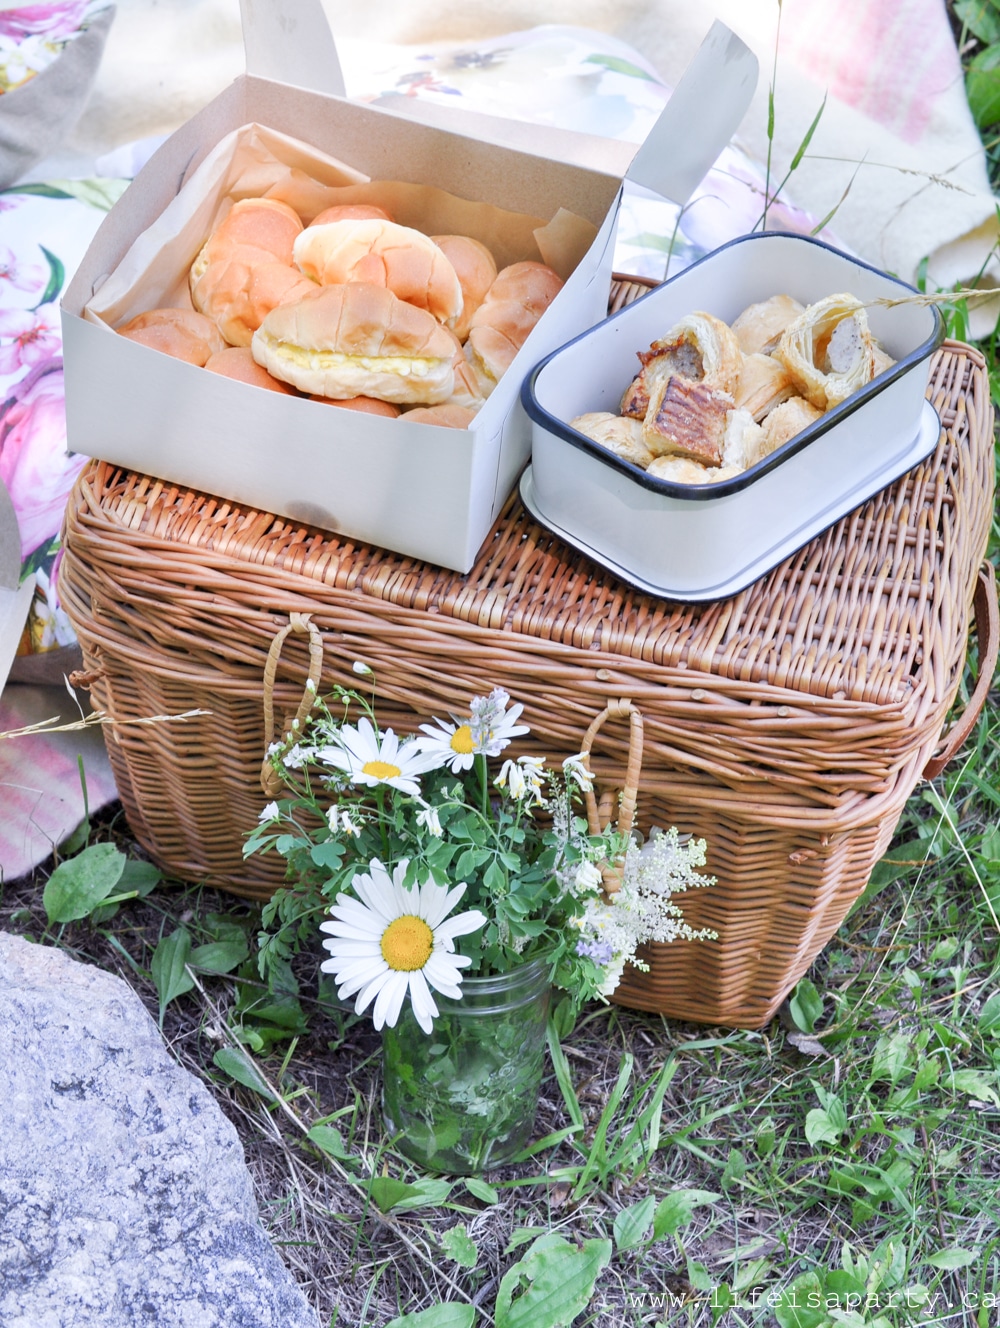
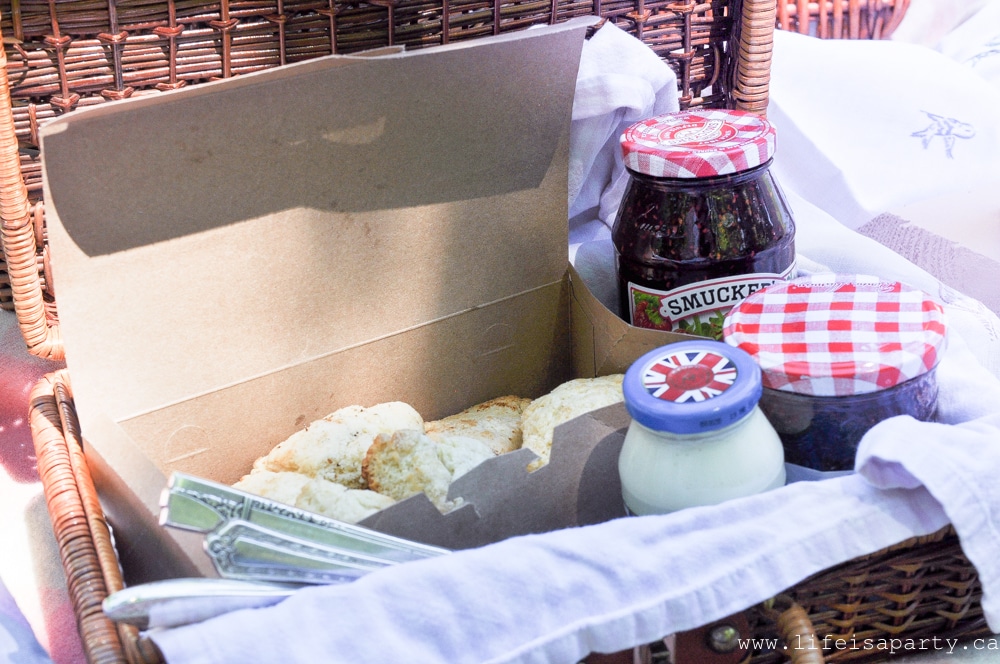
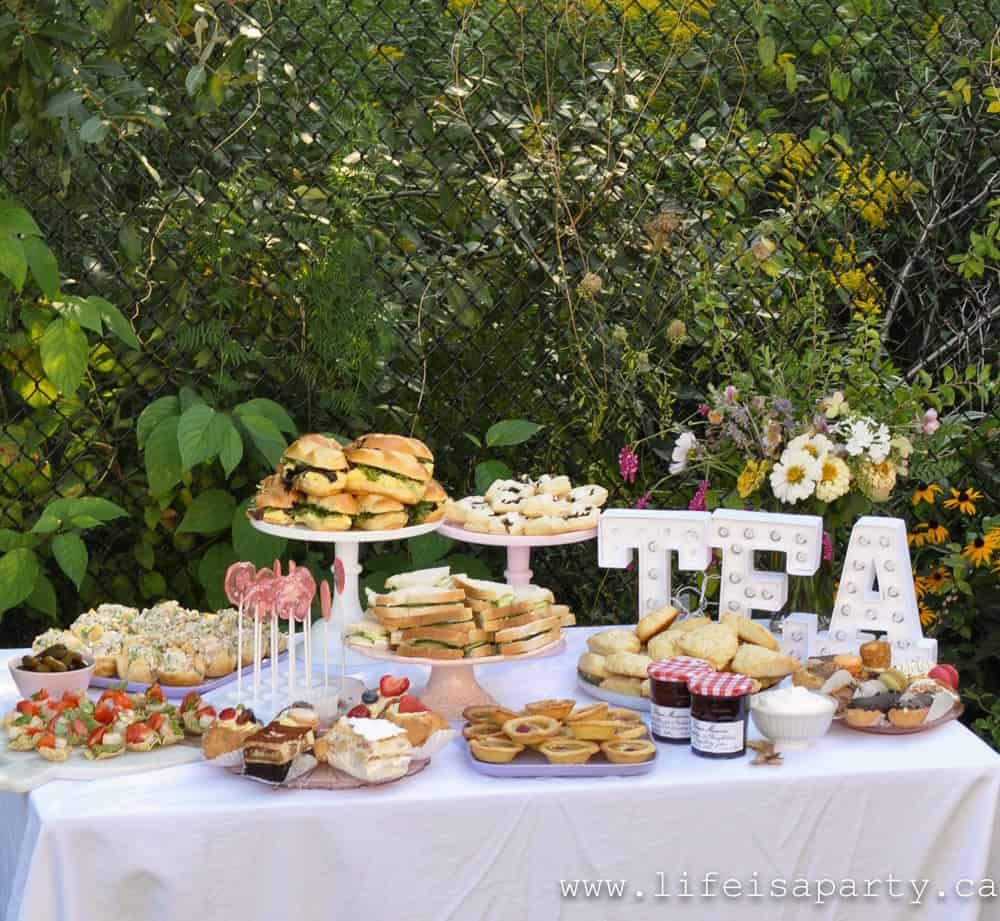
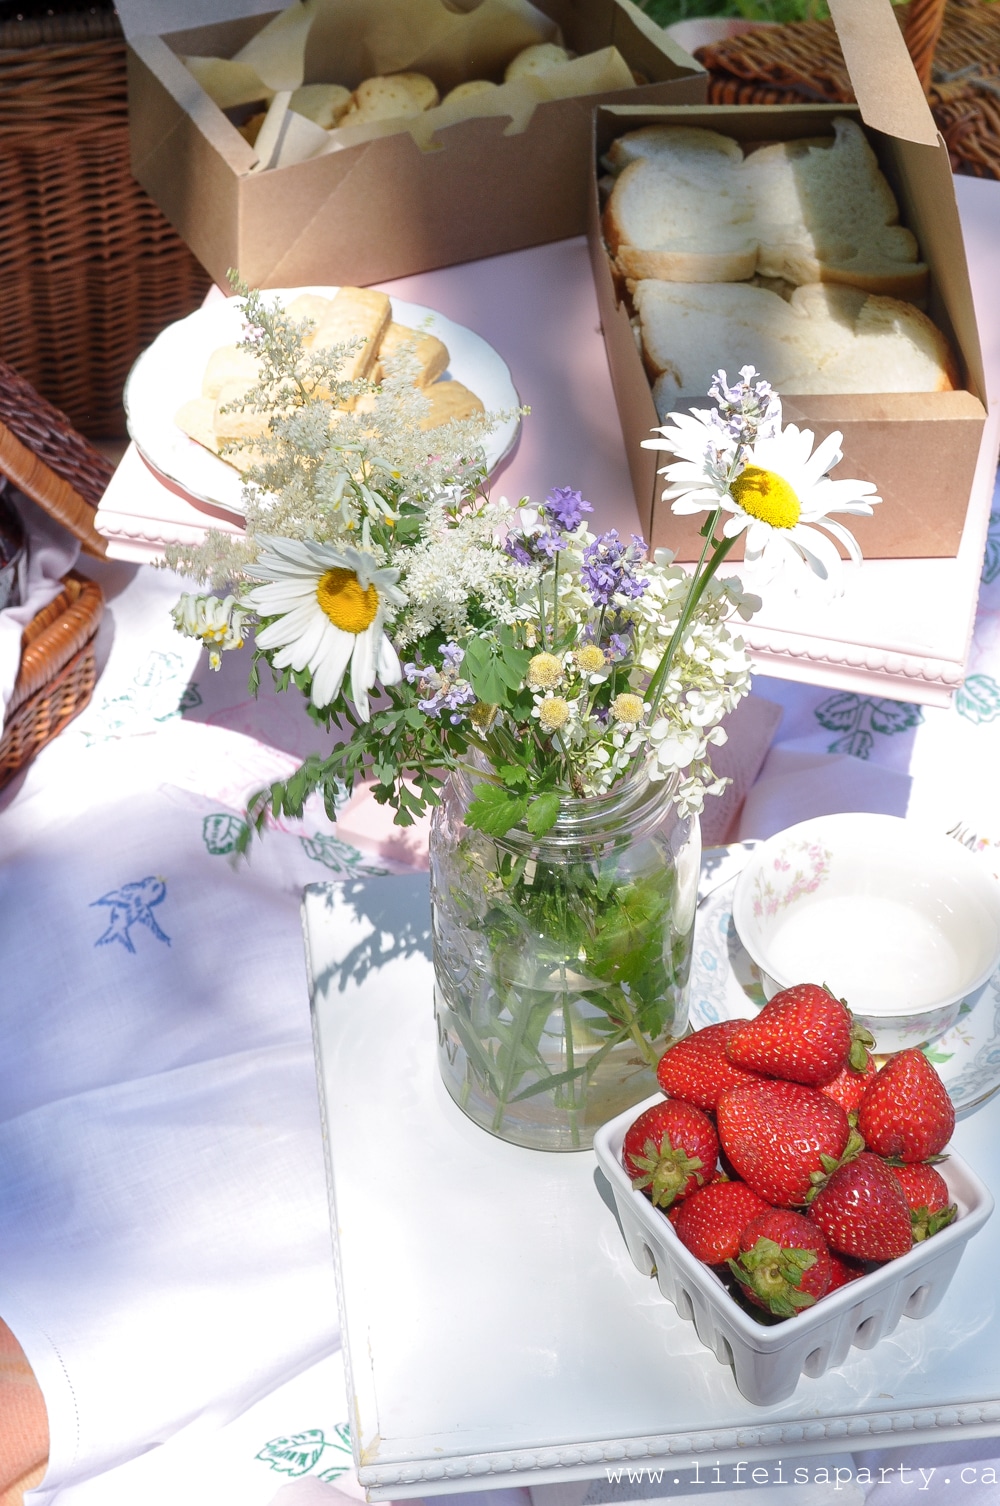 There were also lots of baked treats. When I picked up the sausage rolls at my favourite local bakery I also picked up some Empire cookies -a real favourite of mine. And here's a great tip for your picnic planning -make it easier on yourself by picking up some of the food and not making everything yourself.
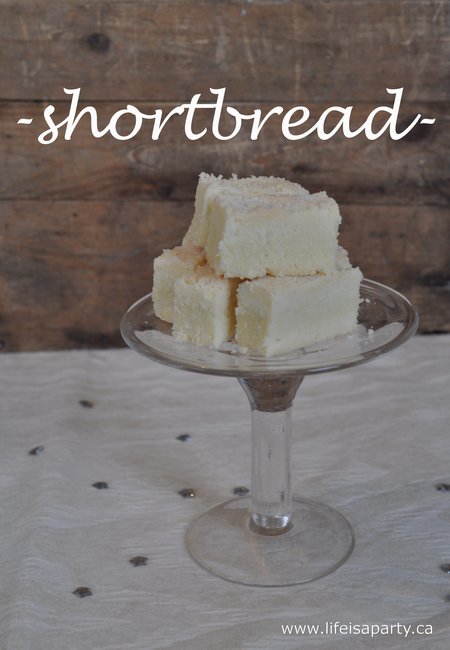
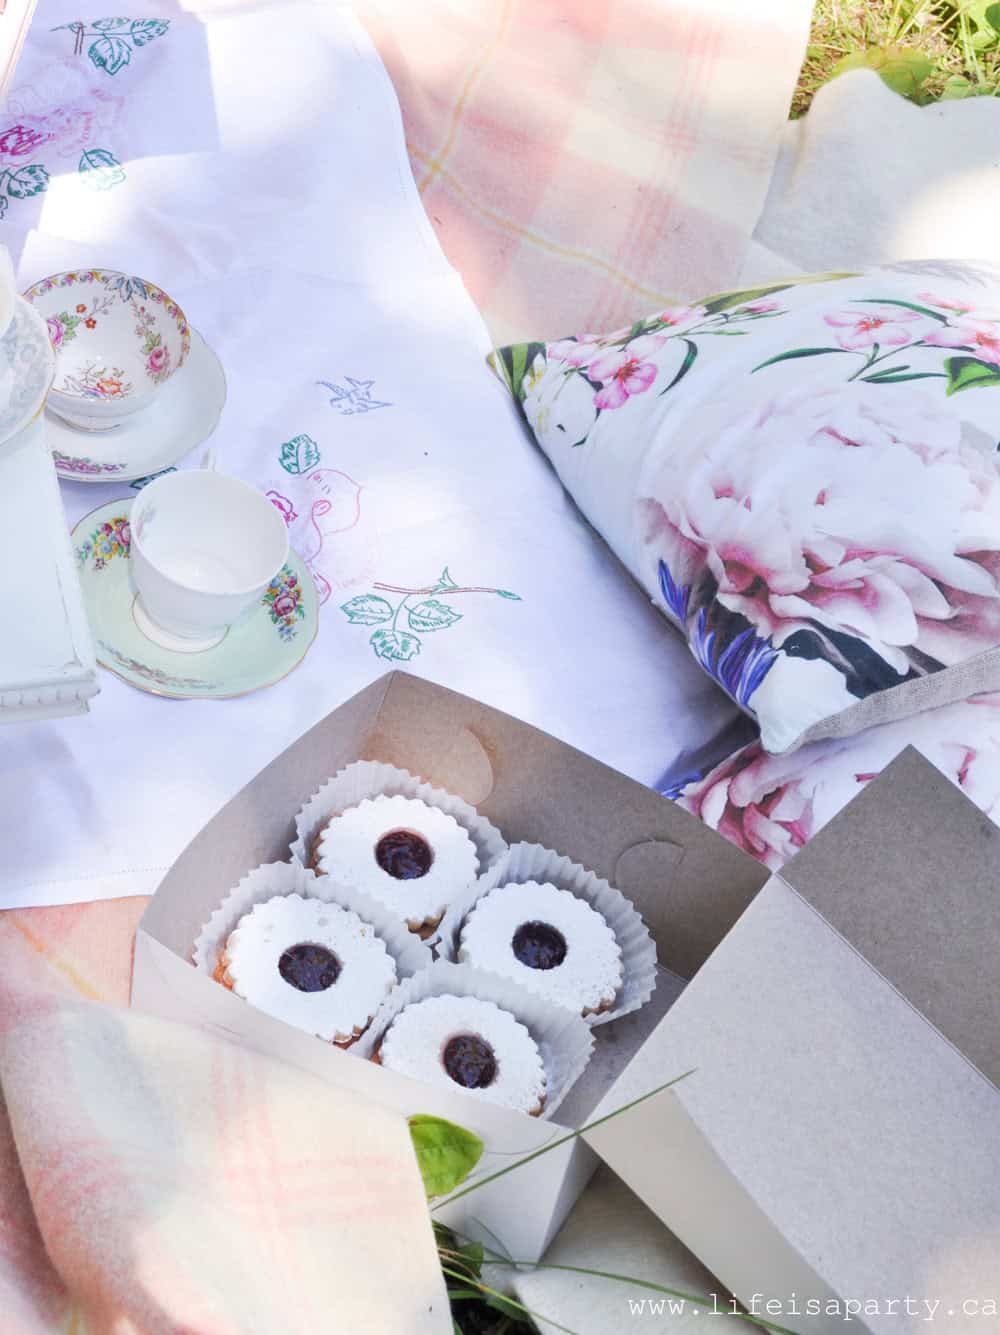 Another store-bought treat were some shortbread cookies.
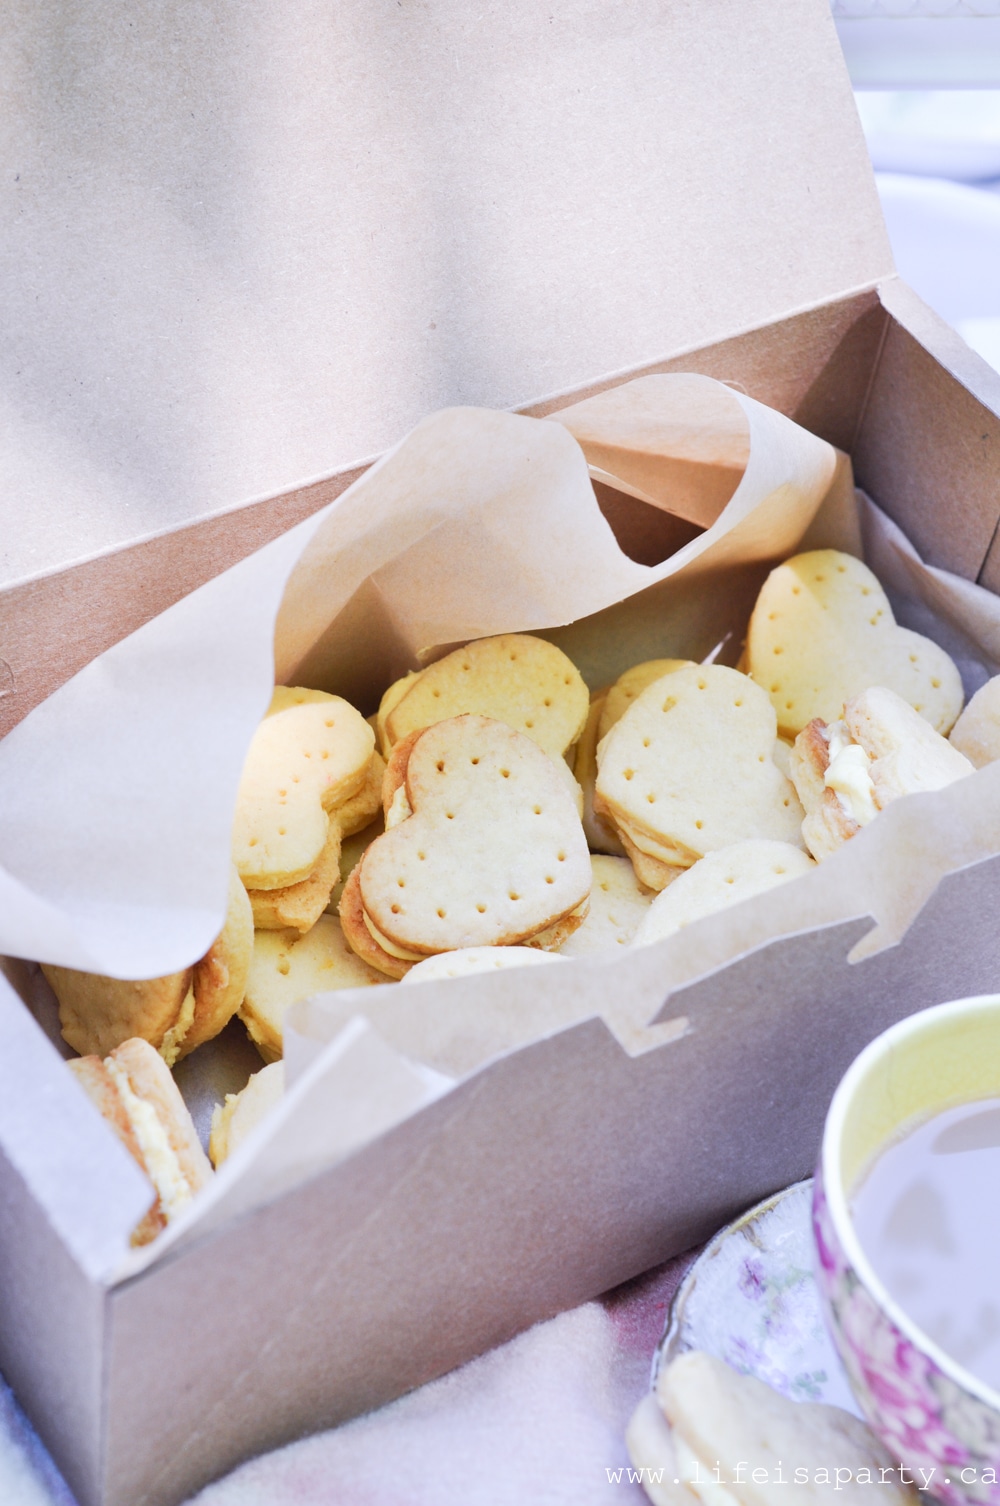
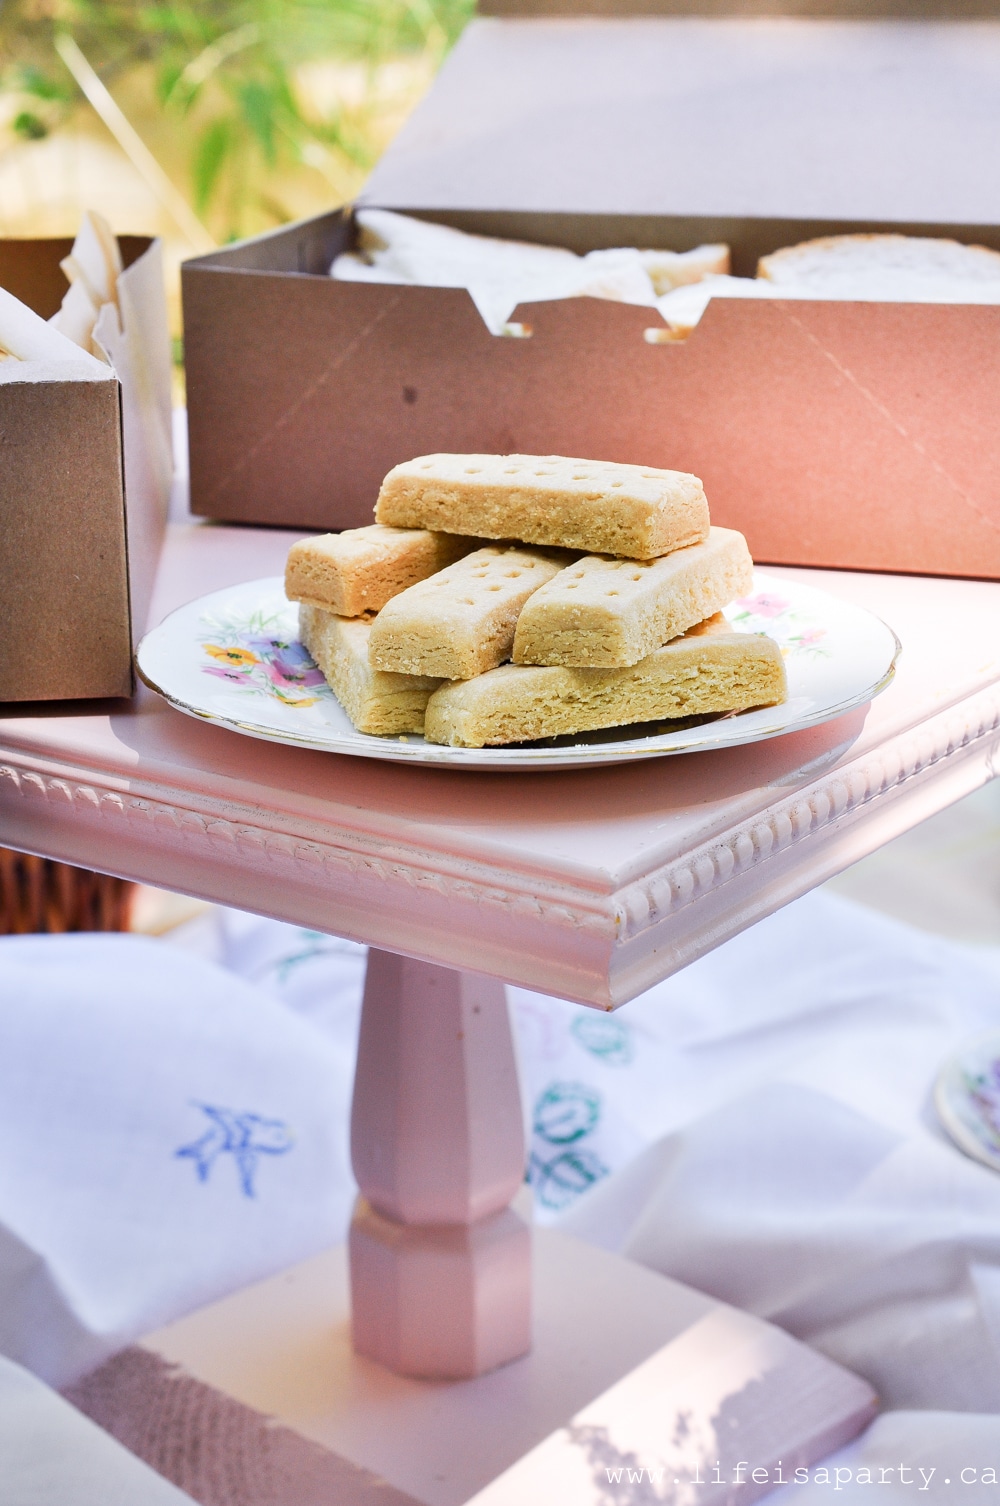 And probably everyones favourite were these homemade custard creams.
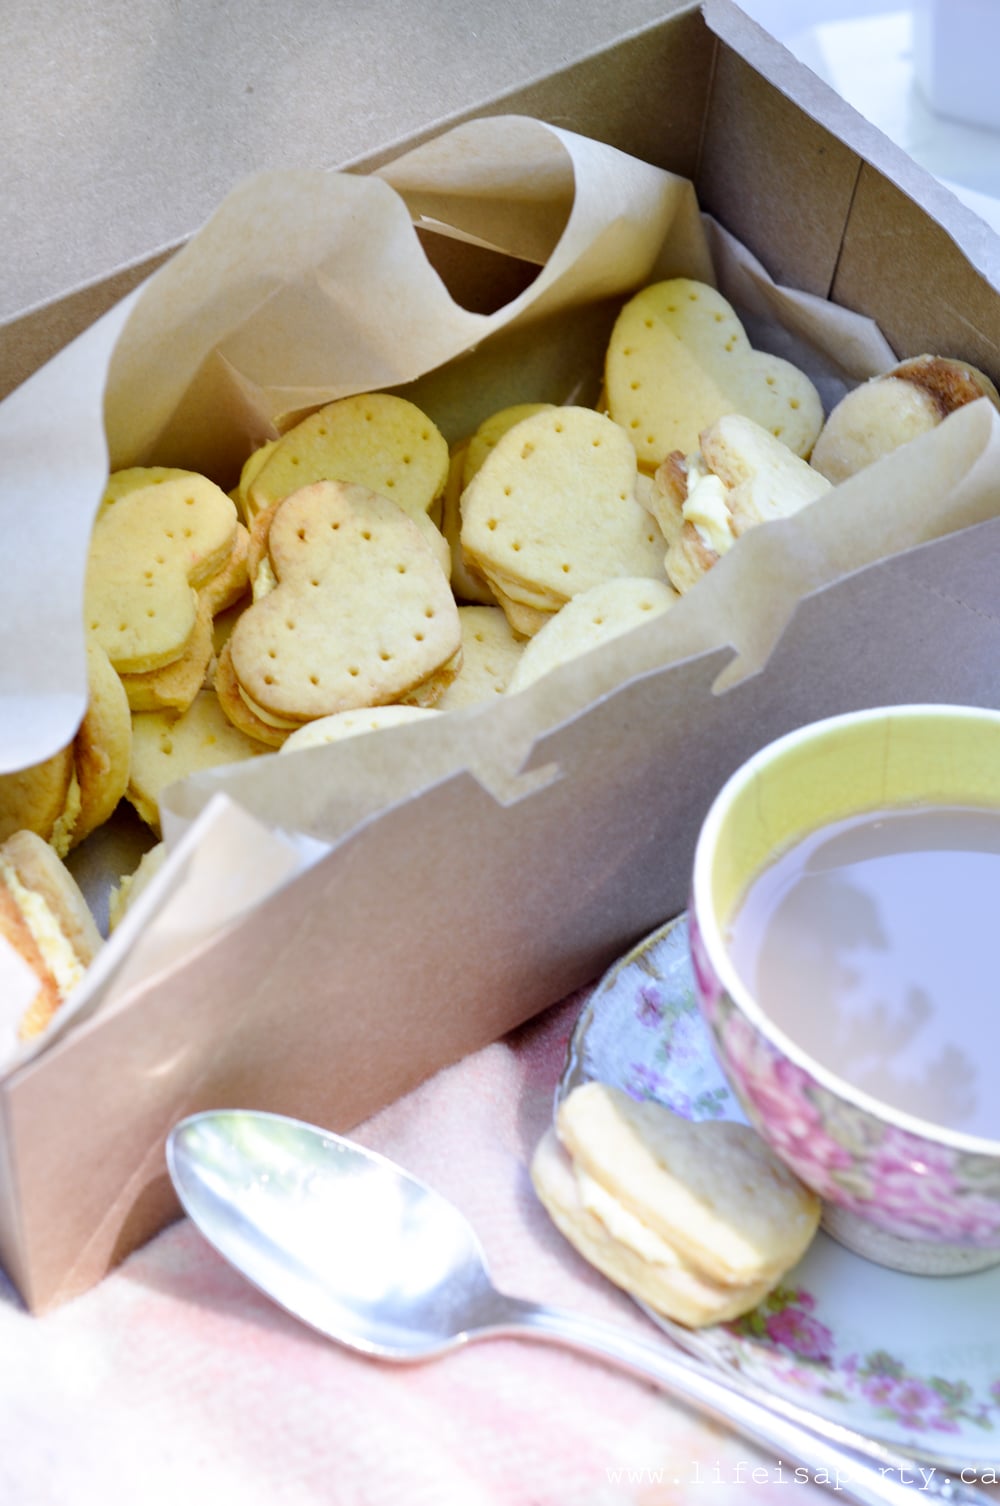
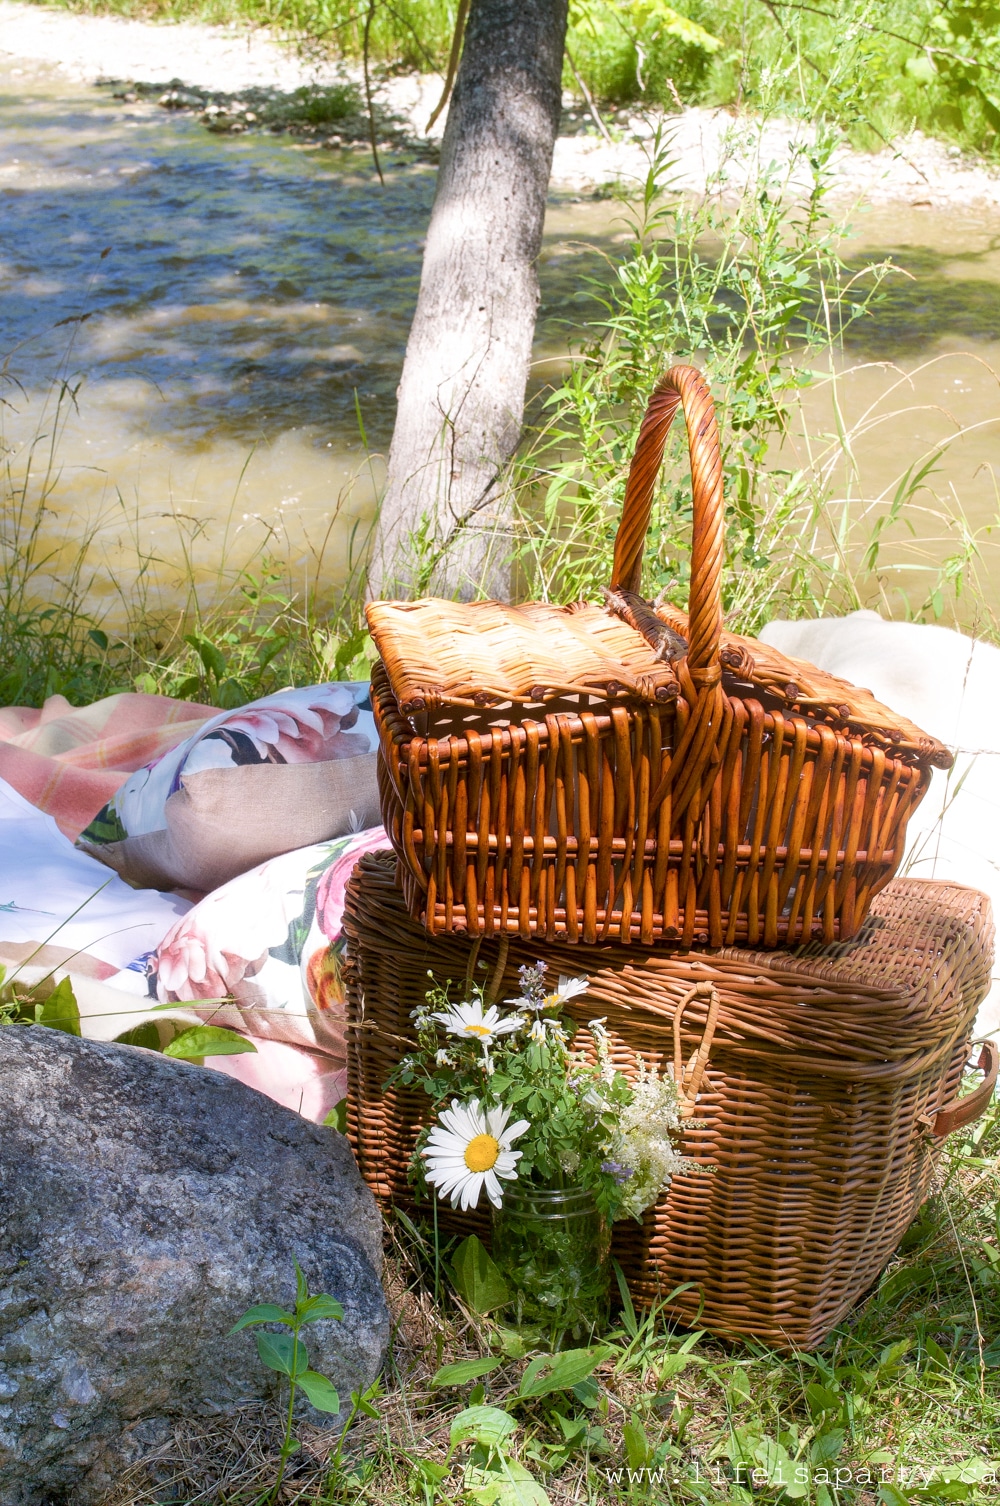
 All these goodies, some of our favourite people, and the loveliest setting made for one of the nicest afternoons that I've had in ages.
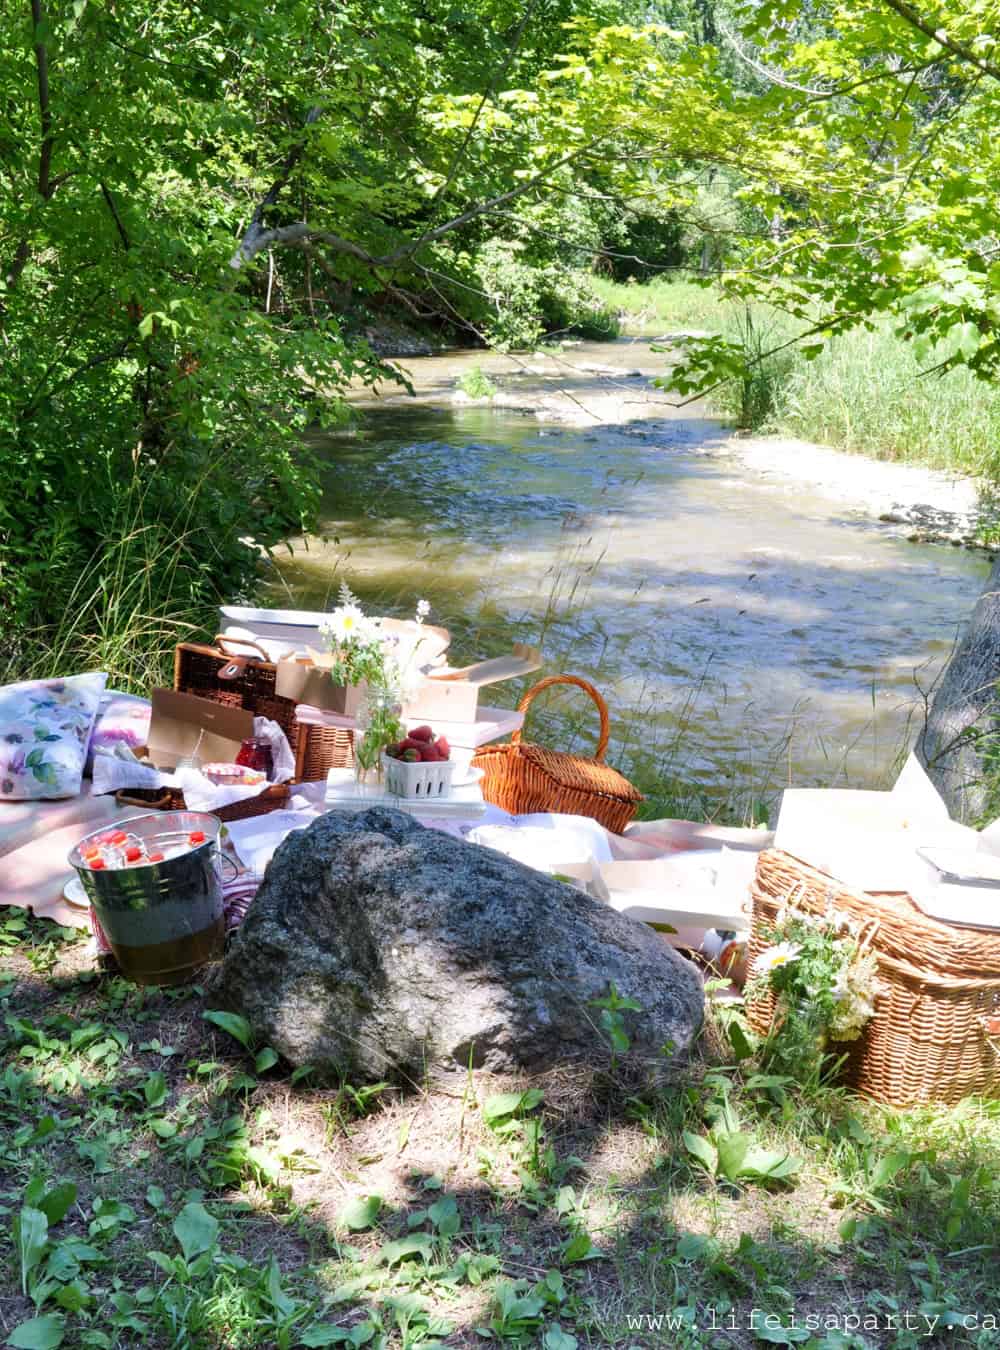


 With a British Picnic to enjoy along the river, life really is a party!
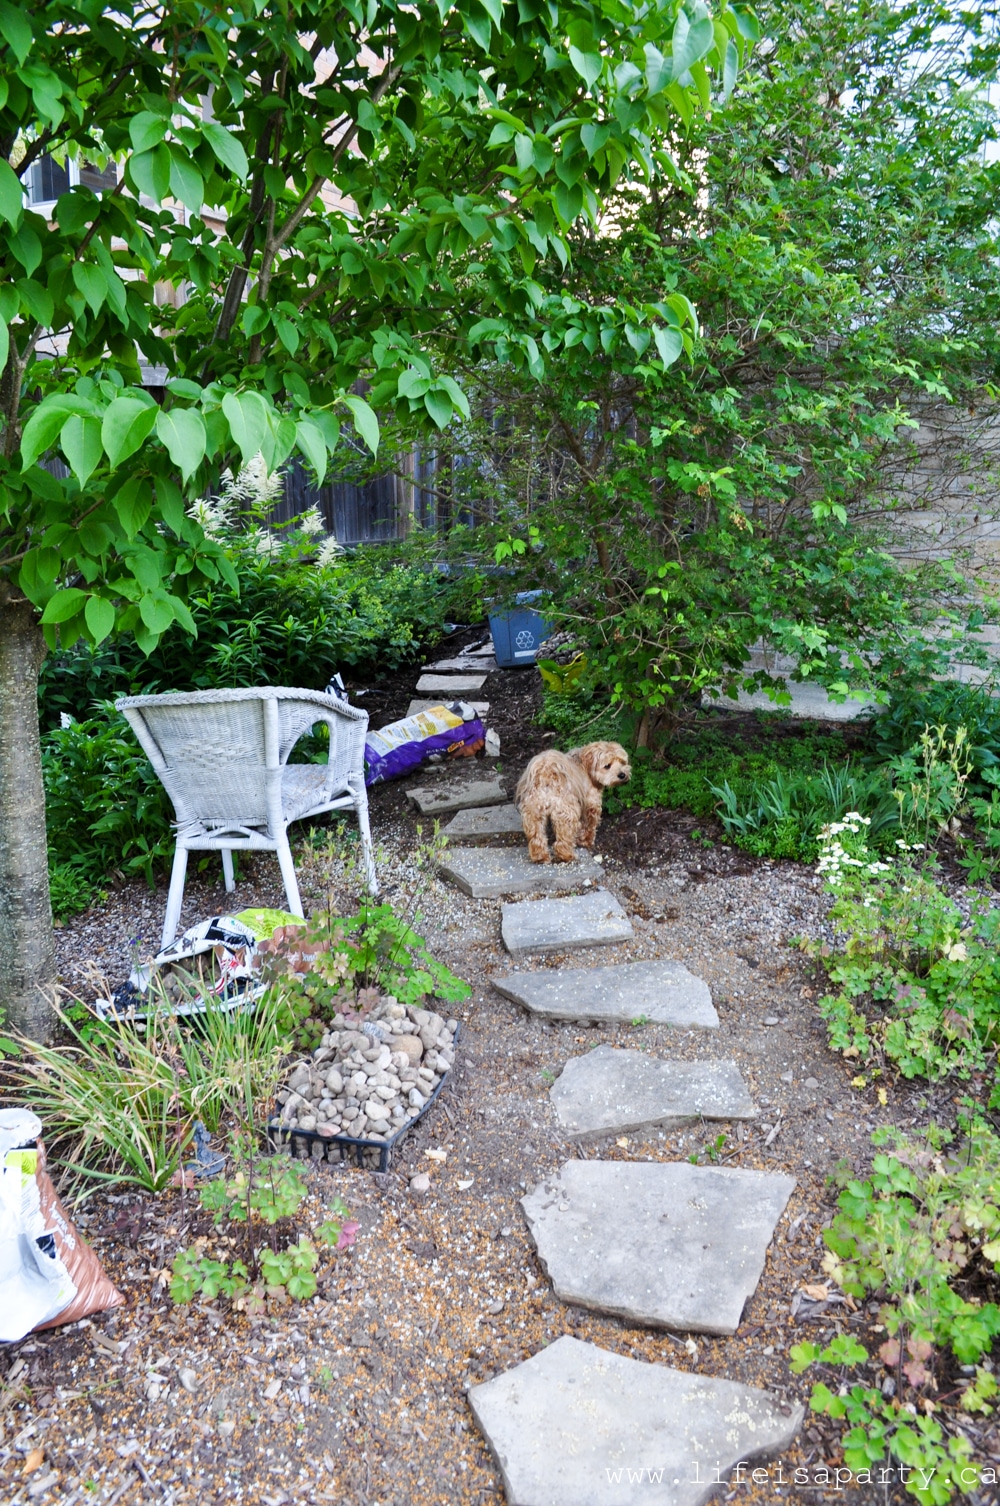
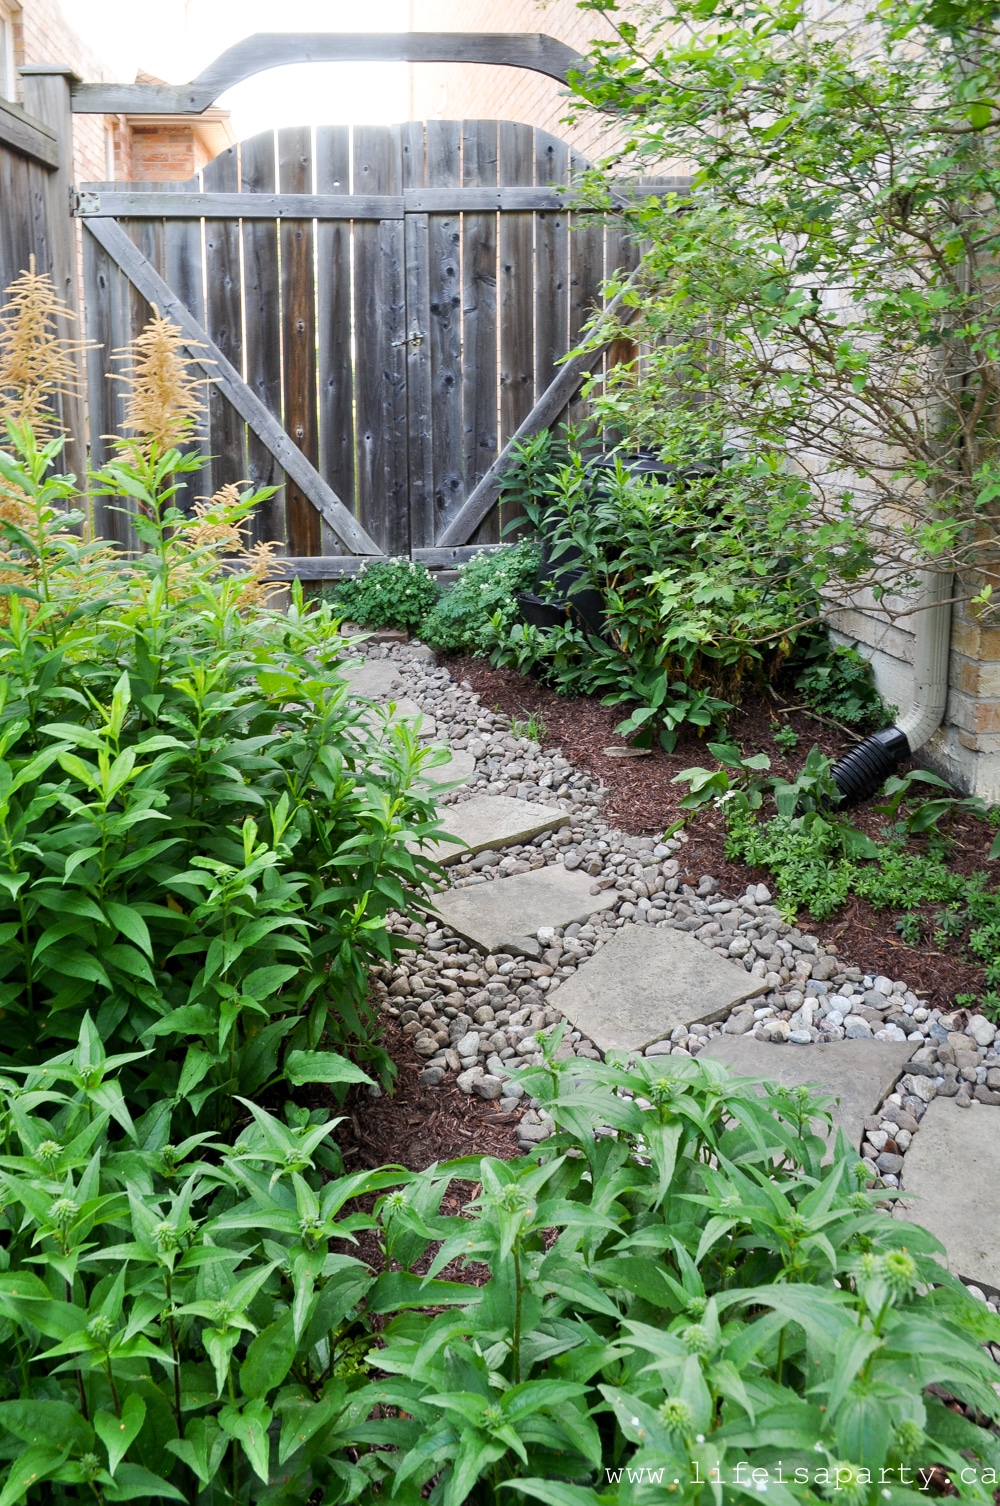
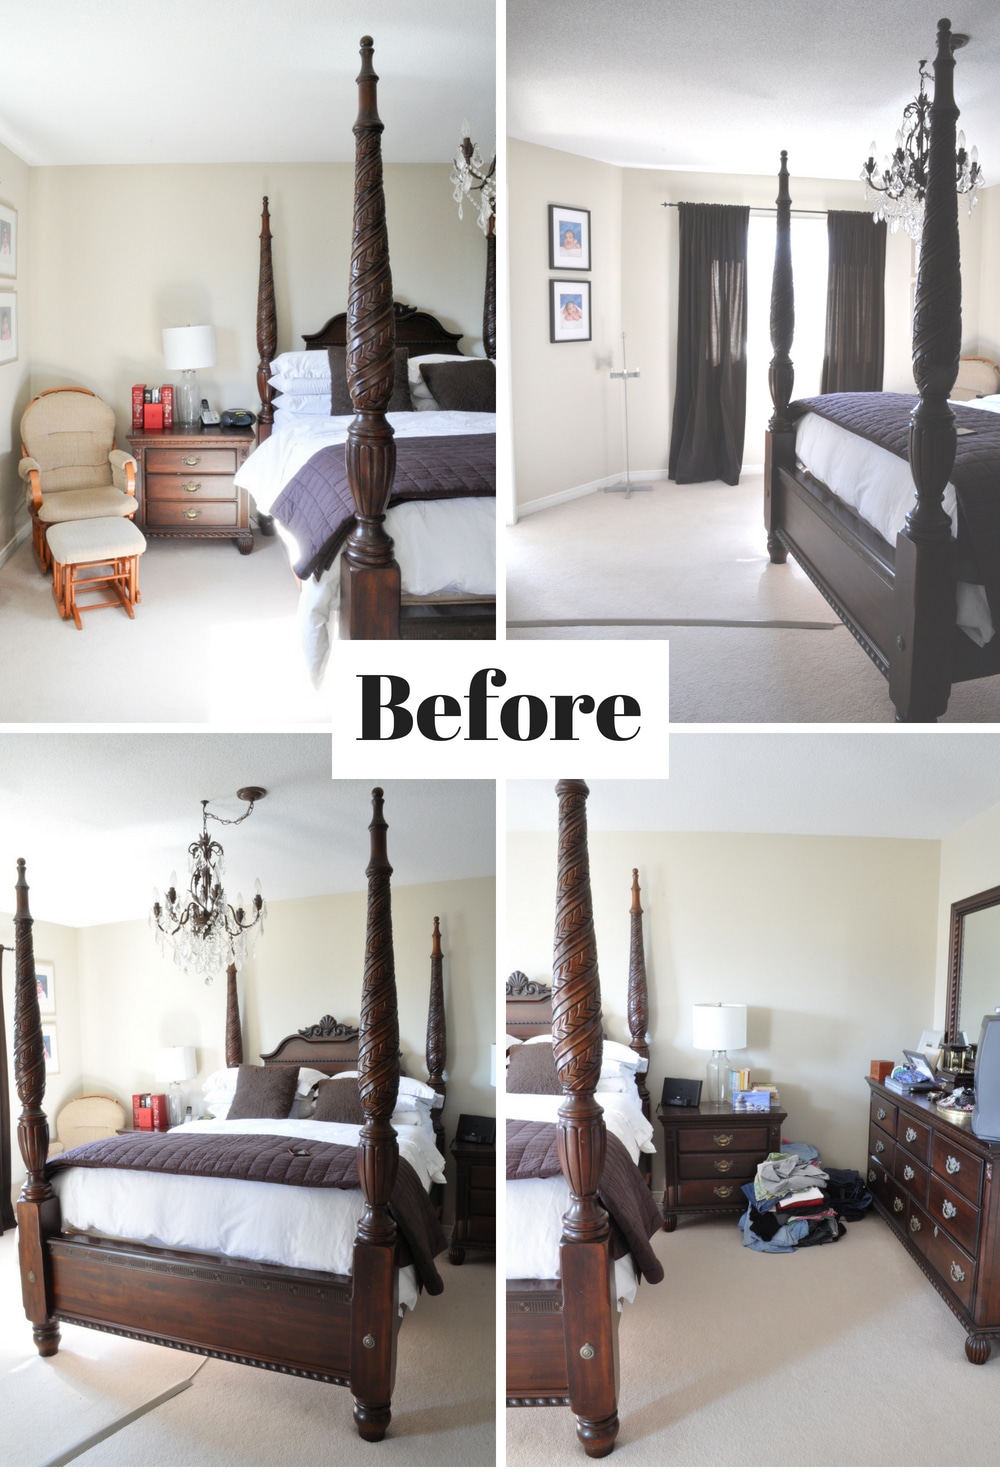
 Unfortunately I laid the one path of large flagstones surrounded by small river rocks without any weed barrier underneath. Shortly after laying it, I realized the mistake I'd made and thought someday I'd have to fix it. Over the years, this path has required a lot of weeding. Also over time the river rocks had worked their way into the soil and were mostly buried in the dirt.
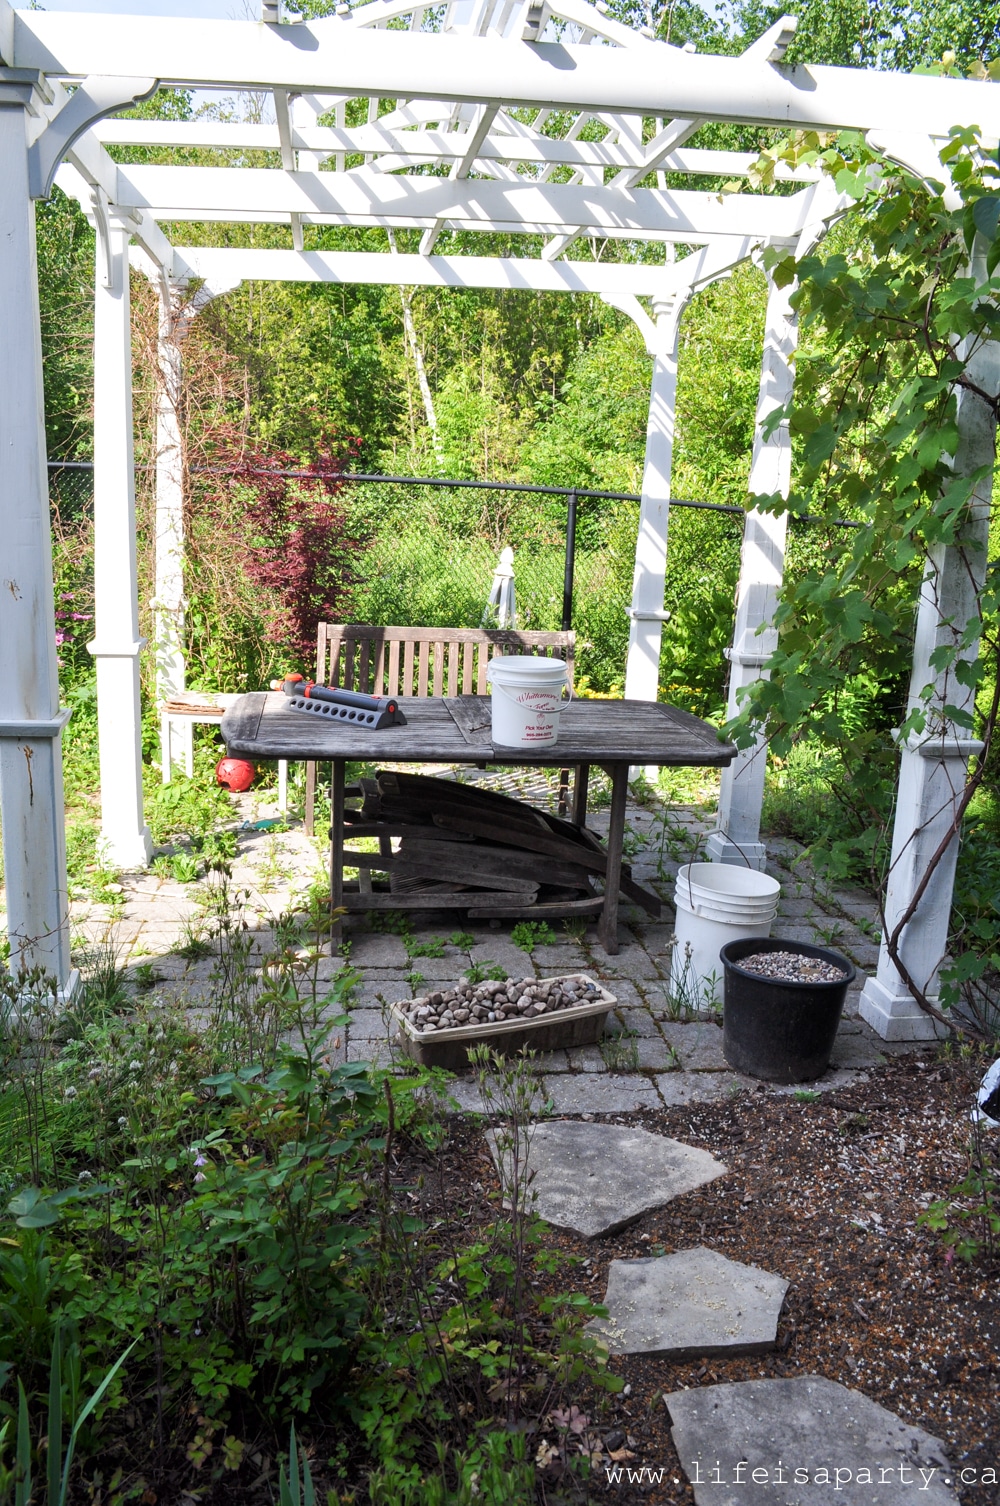
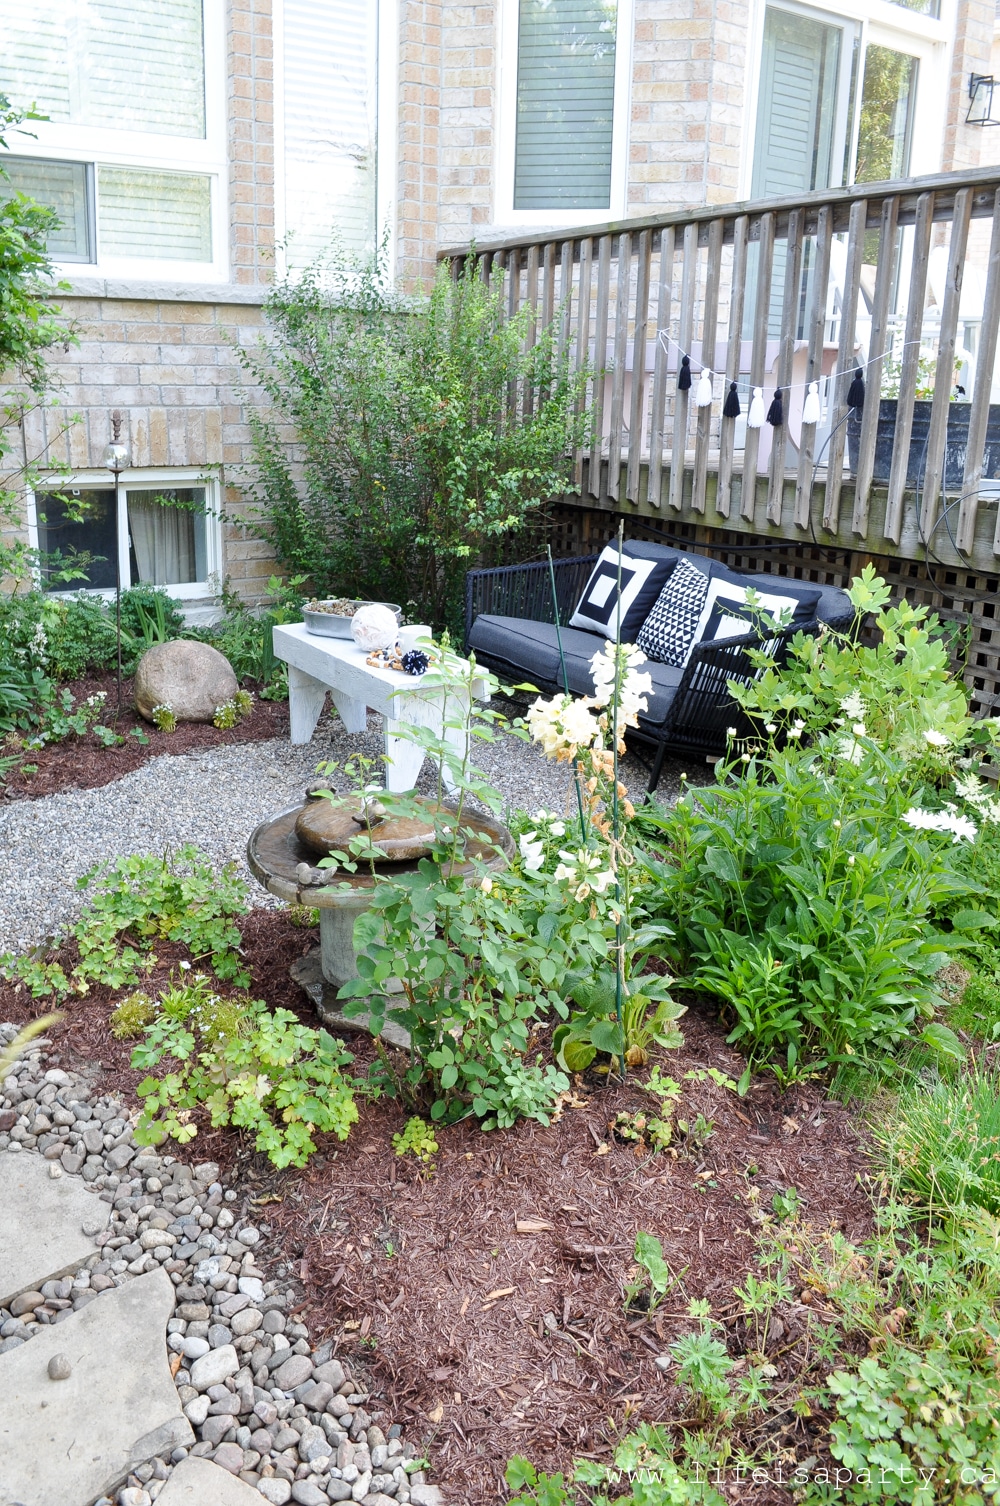
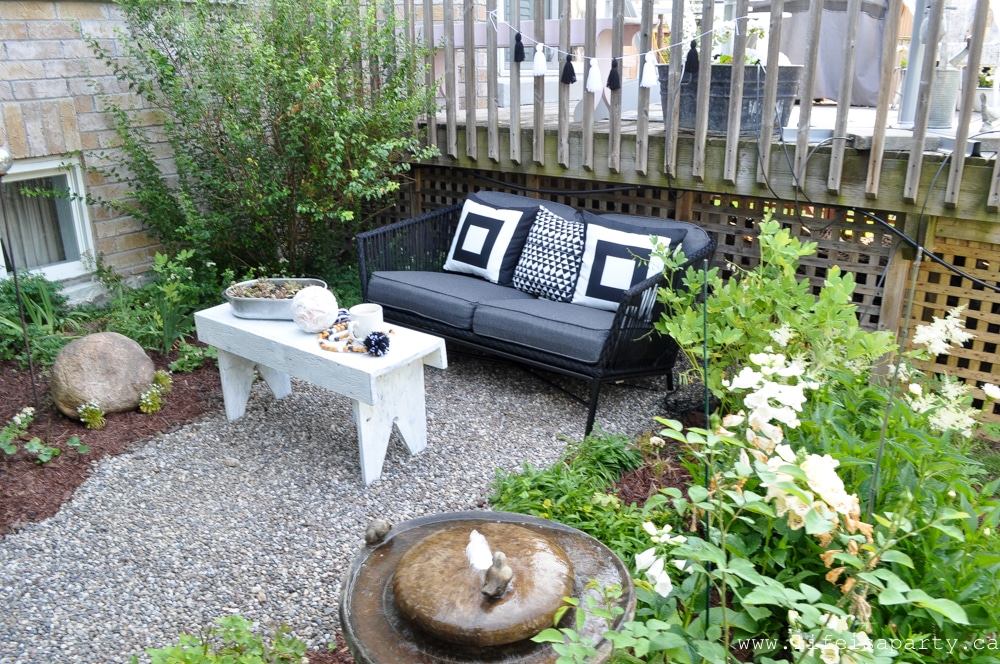
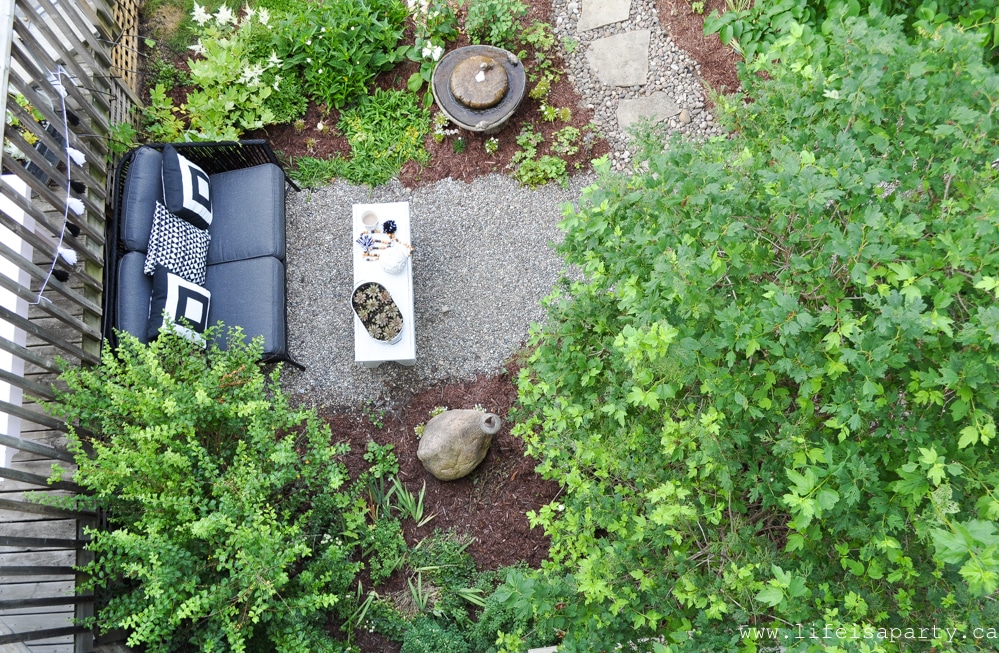 The New Seating Area
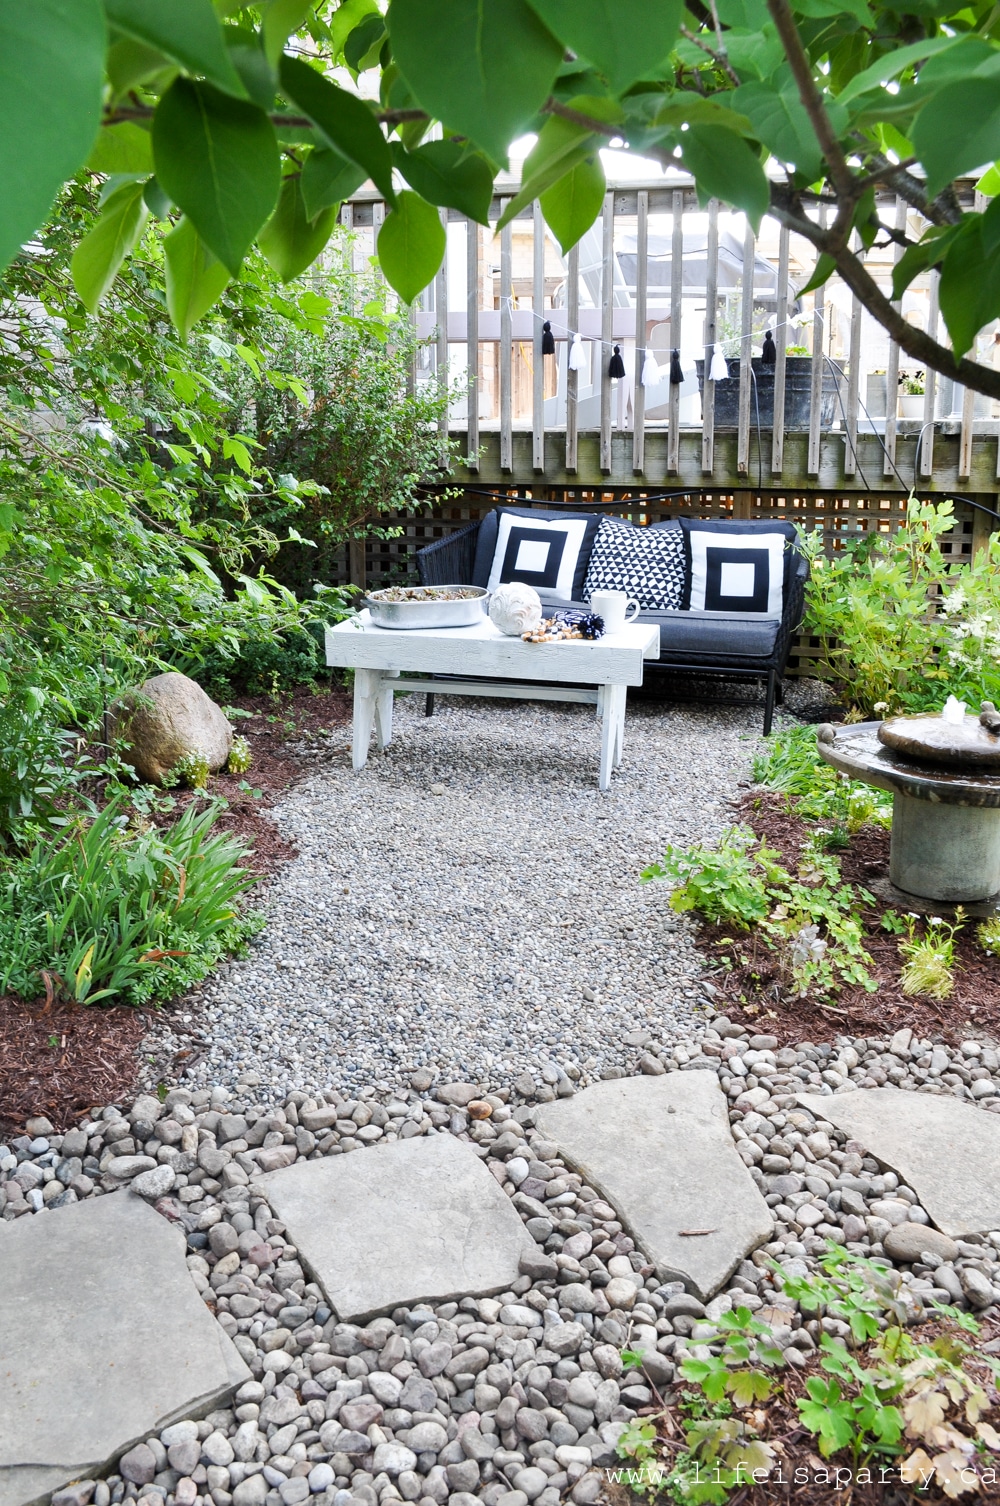
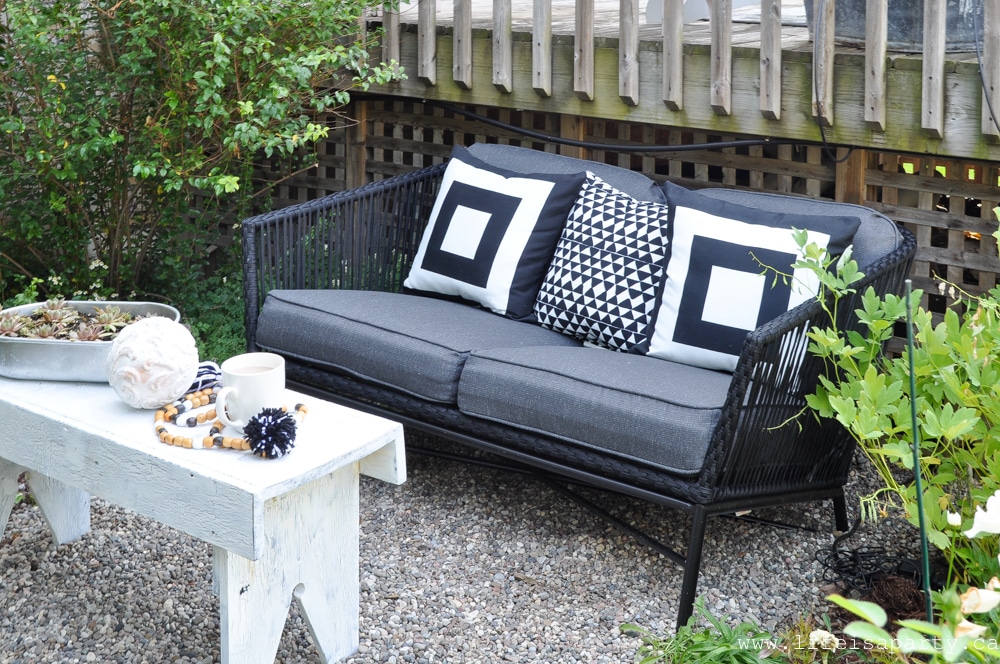
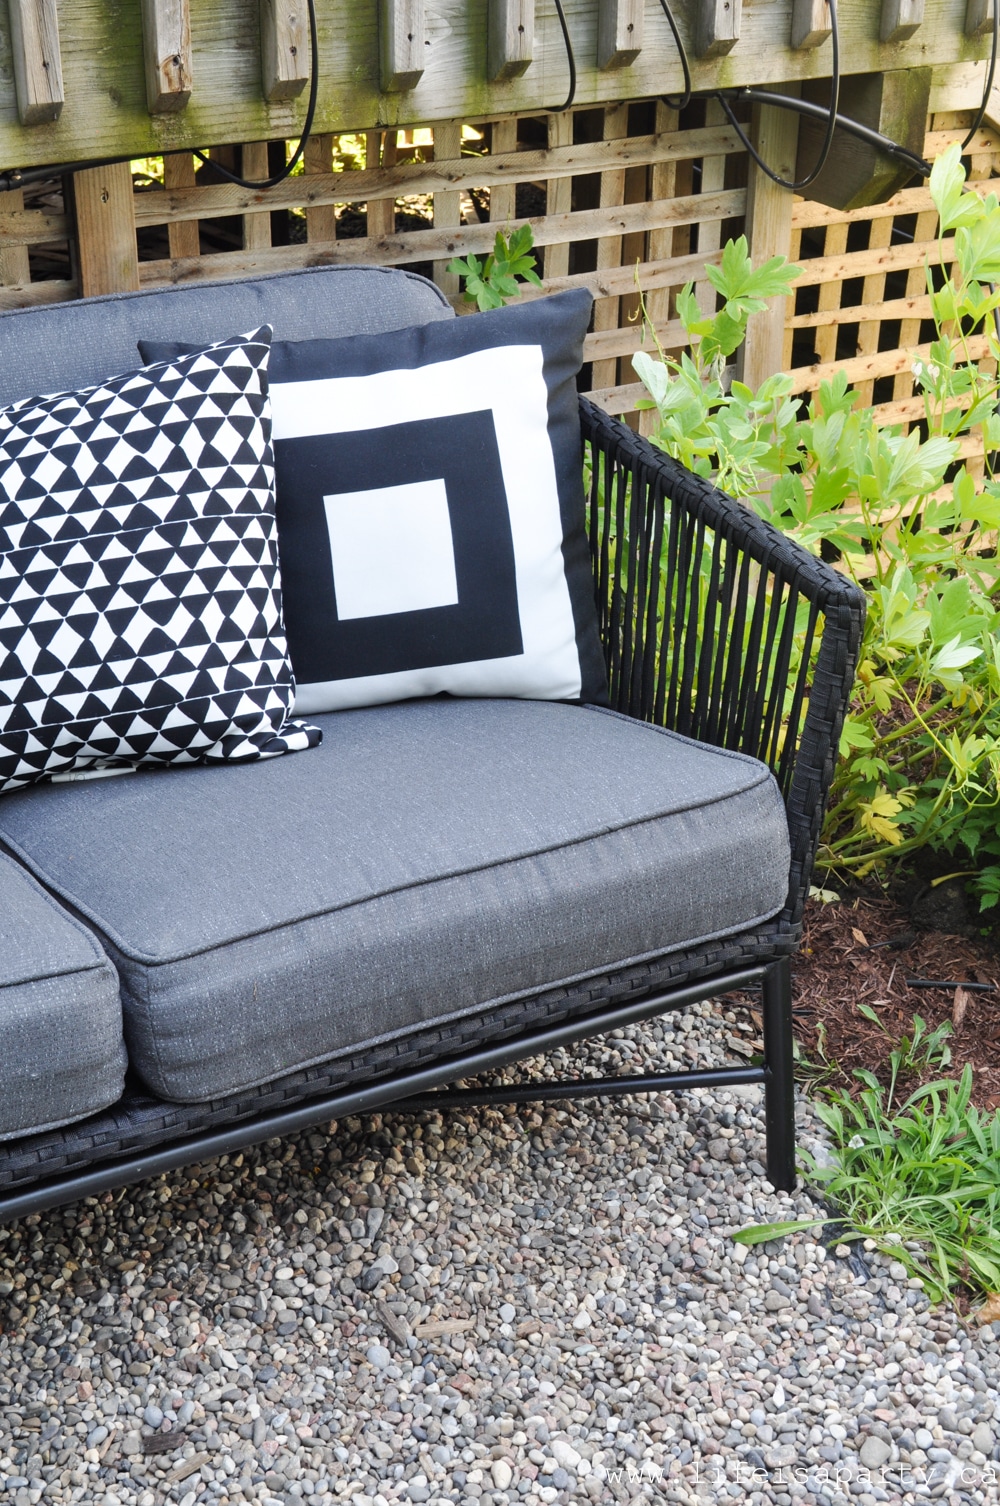
 And it's supper comfortable -nice and deep and cozy. Also the price was right, even with the drive, and paying customs at the border, and the exchange rate.
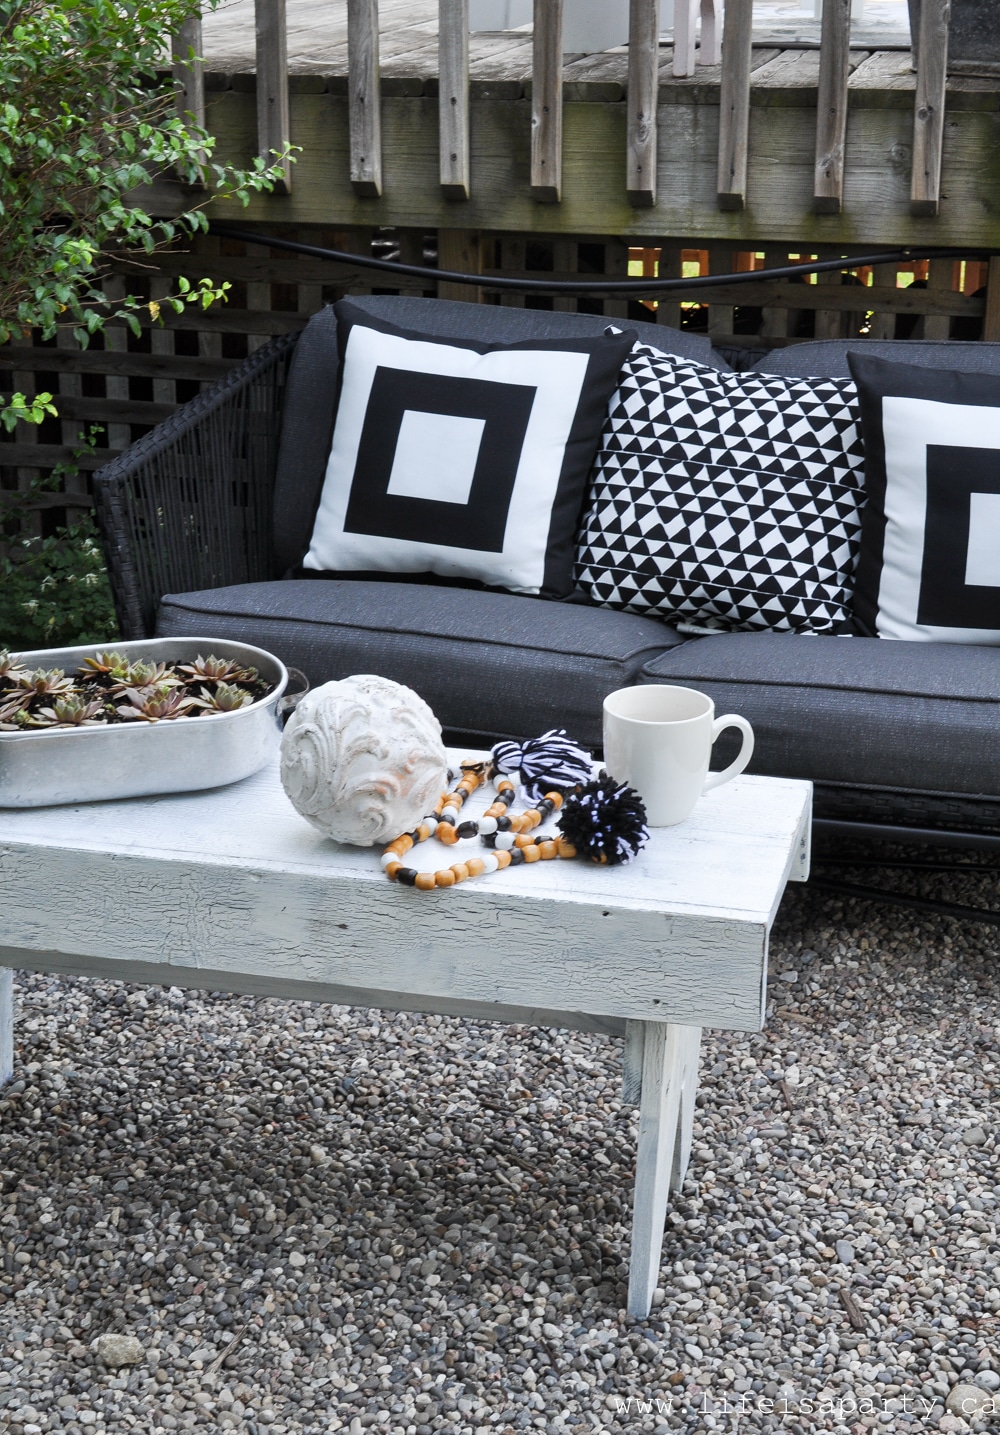
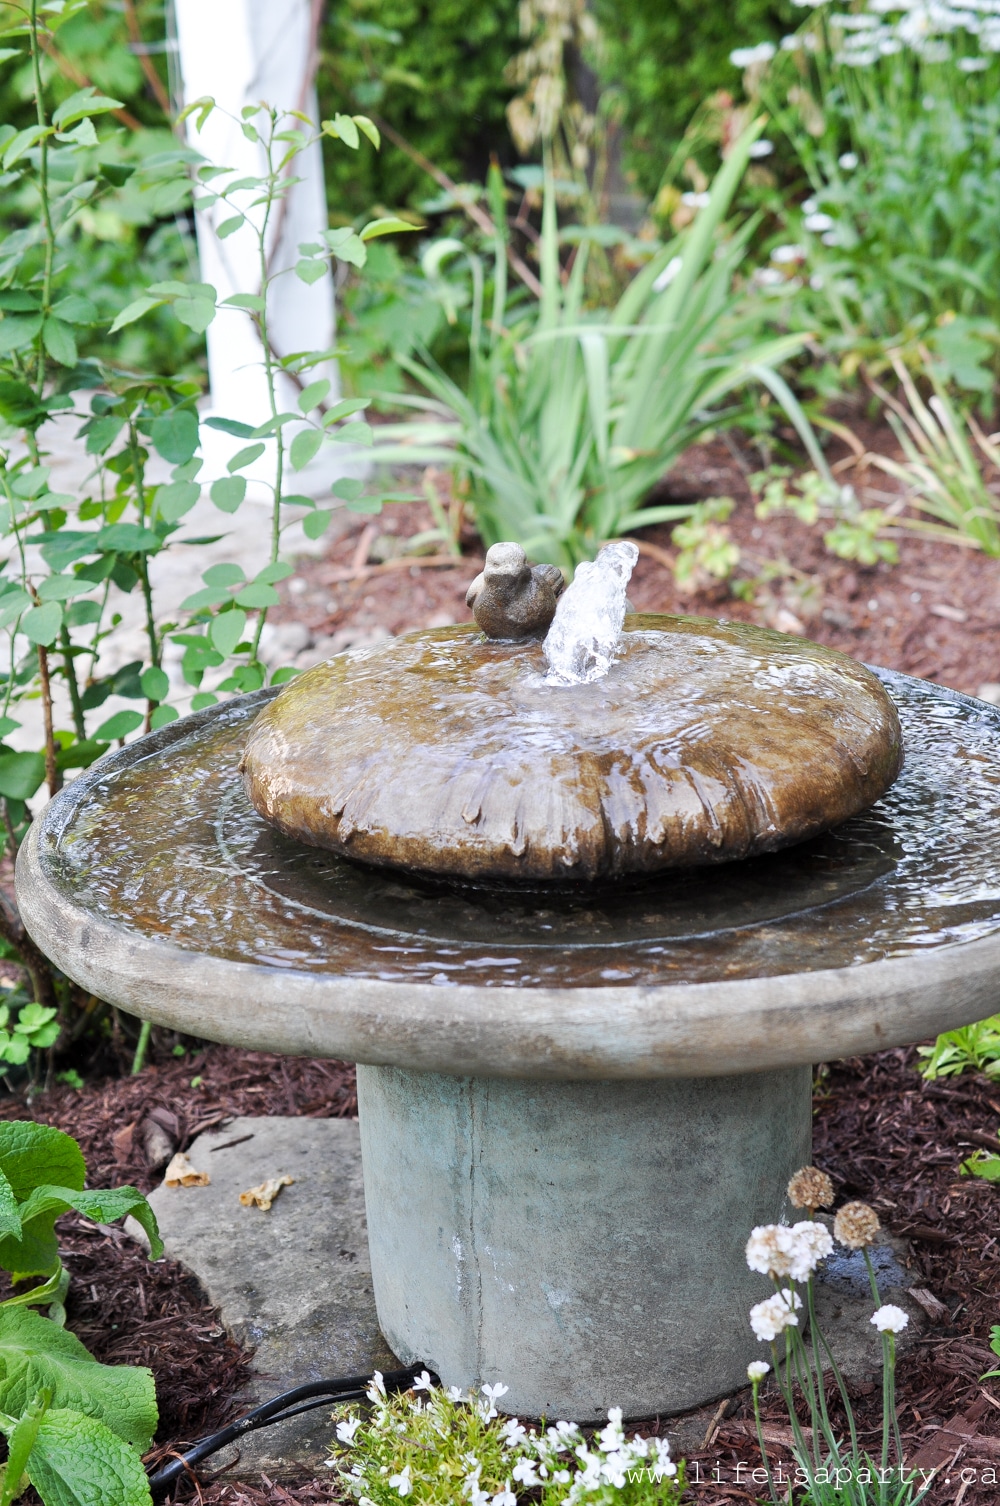 I already had the beautiful water feature, but it was in a different location, and this spot defiantly shows it off more.
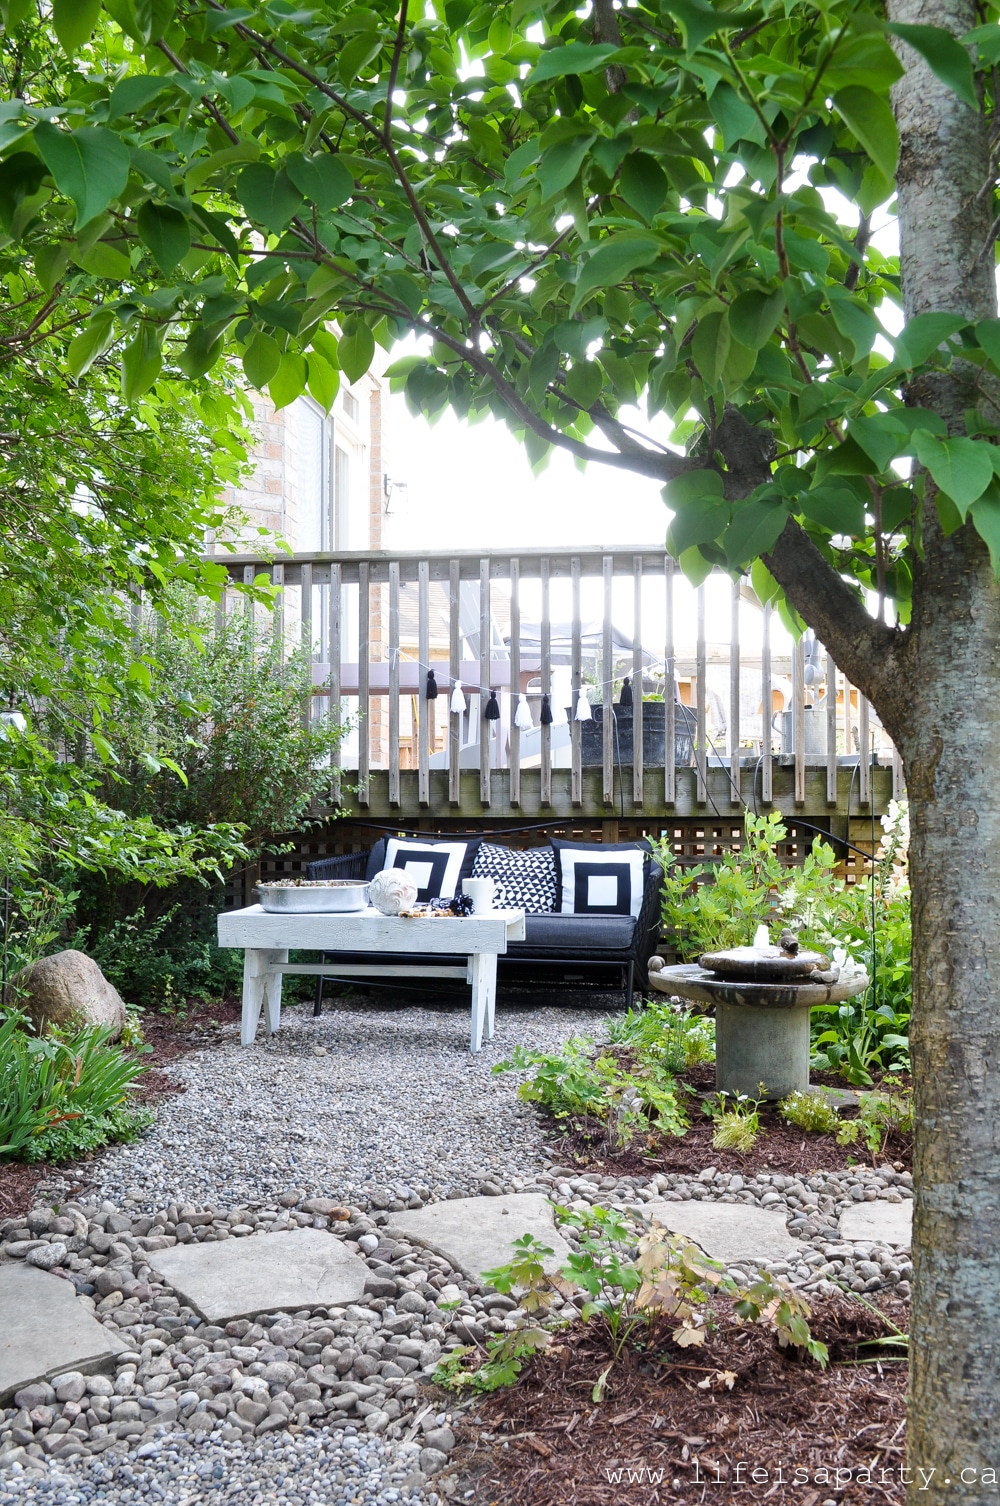
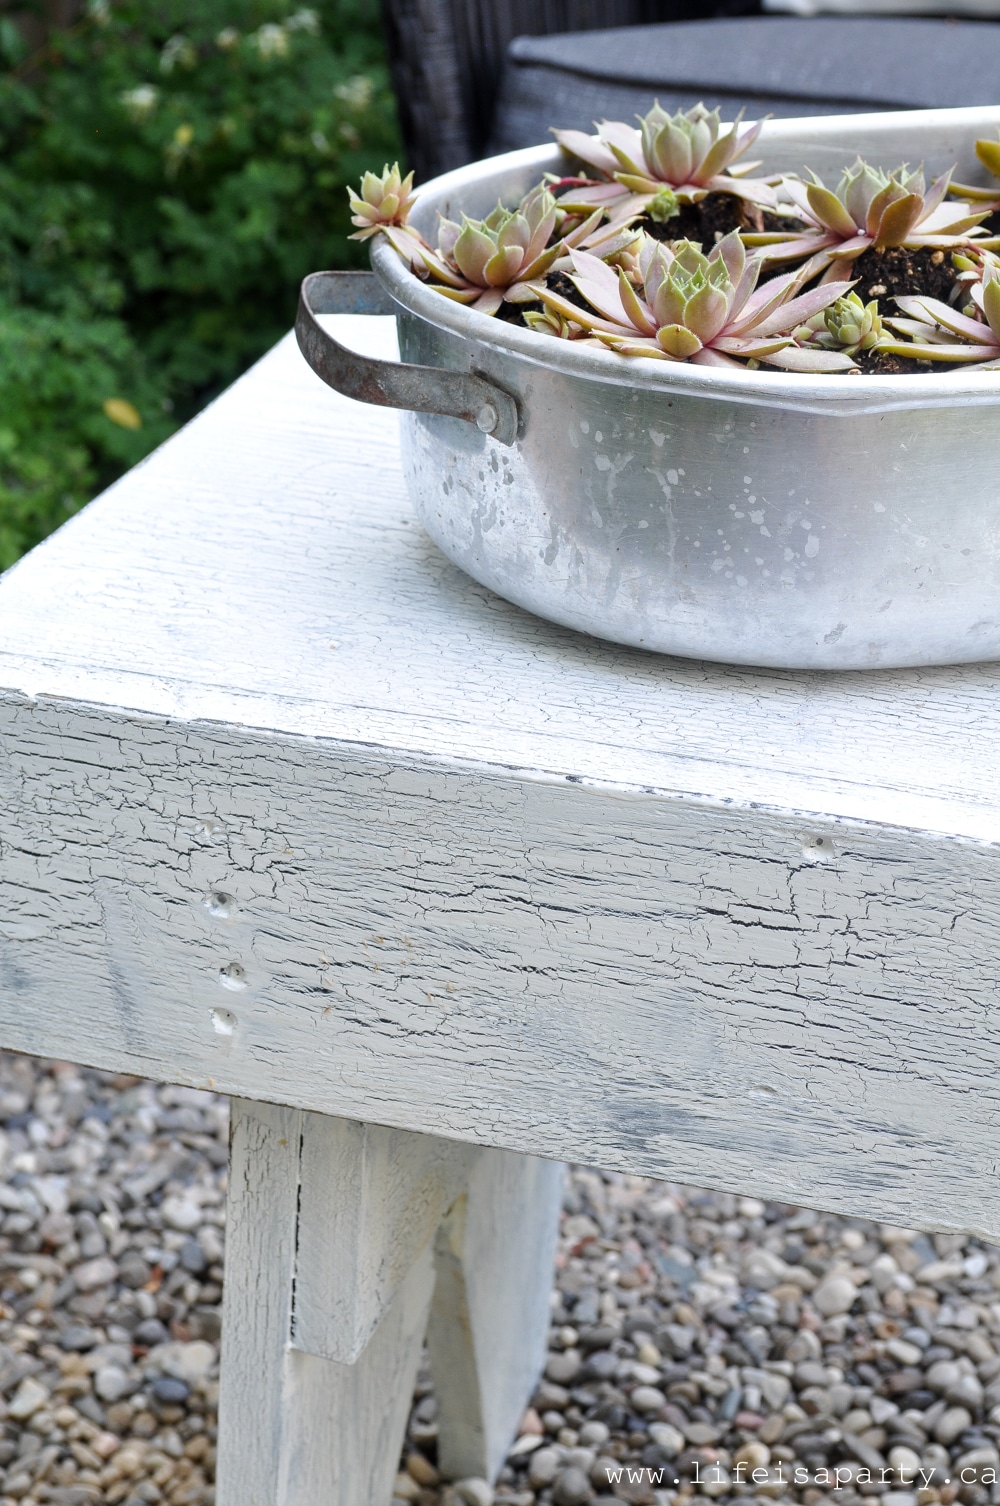
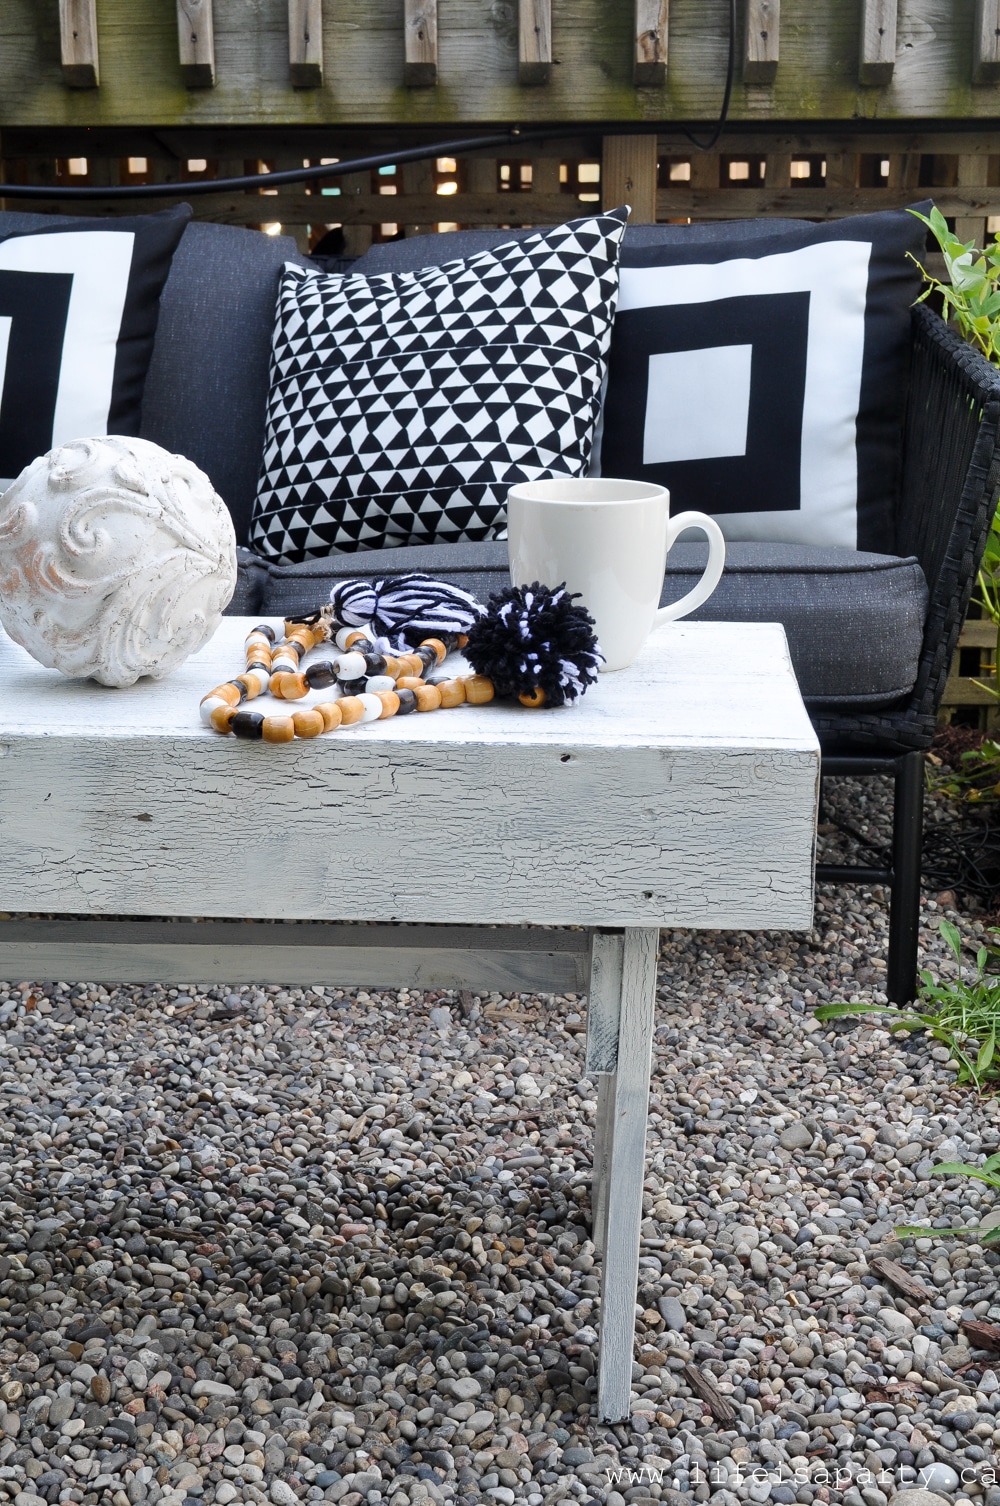

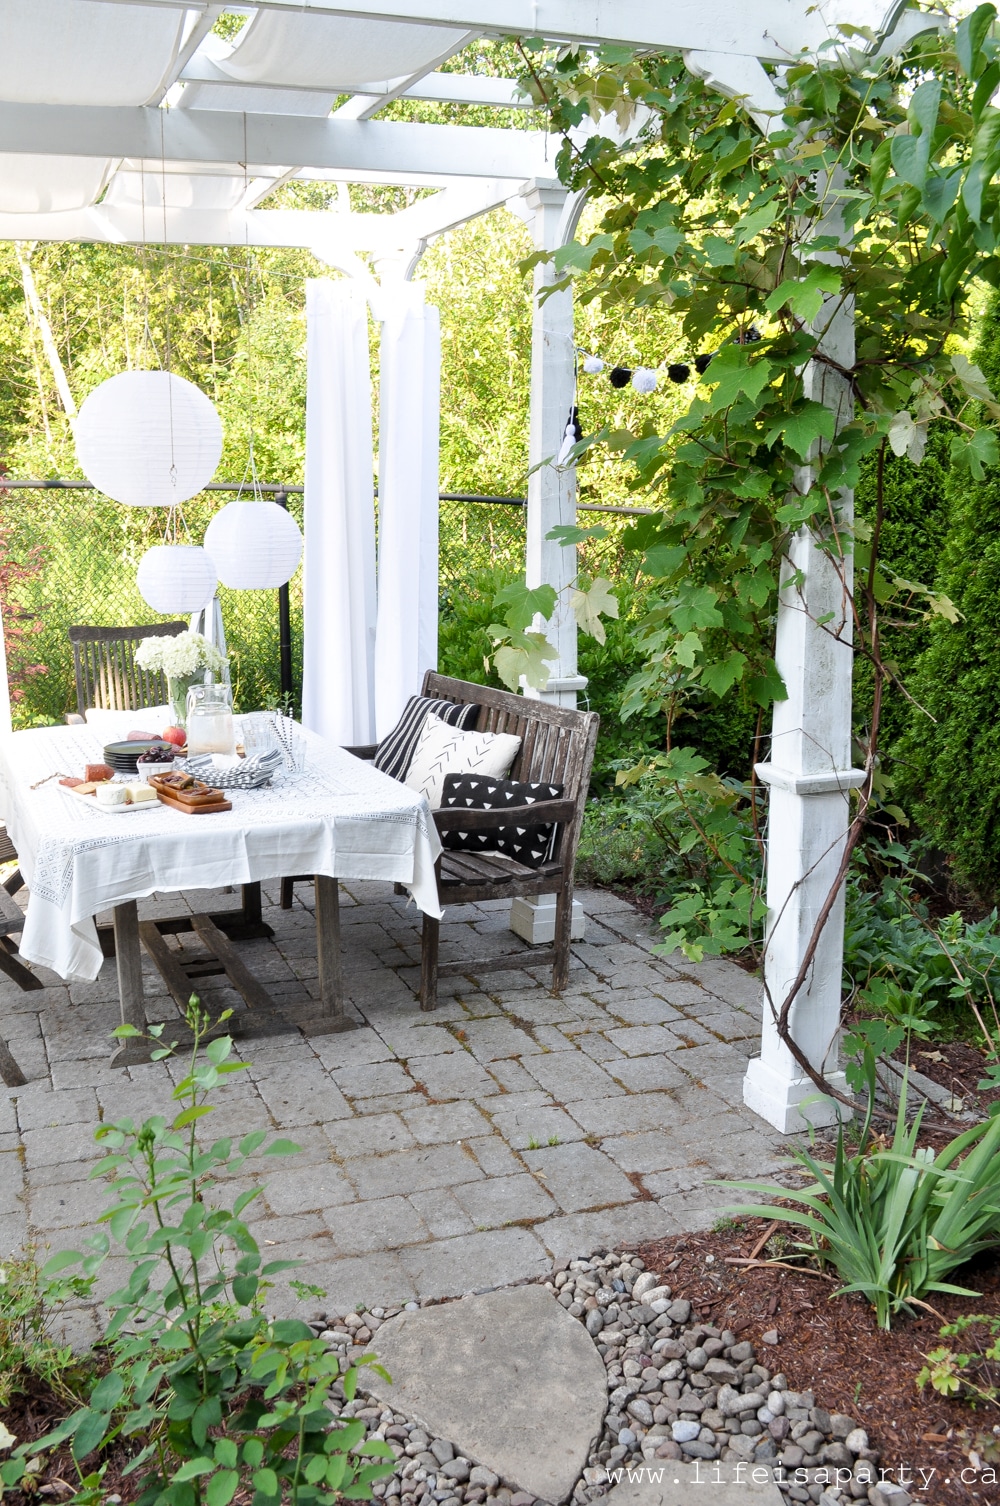
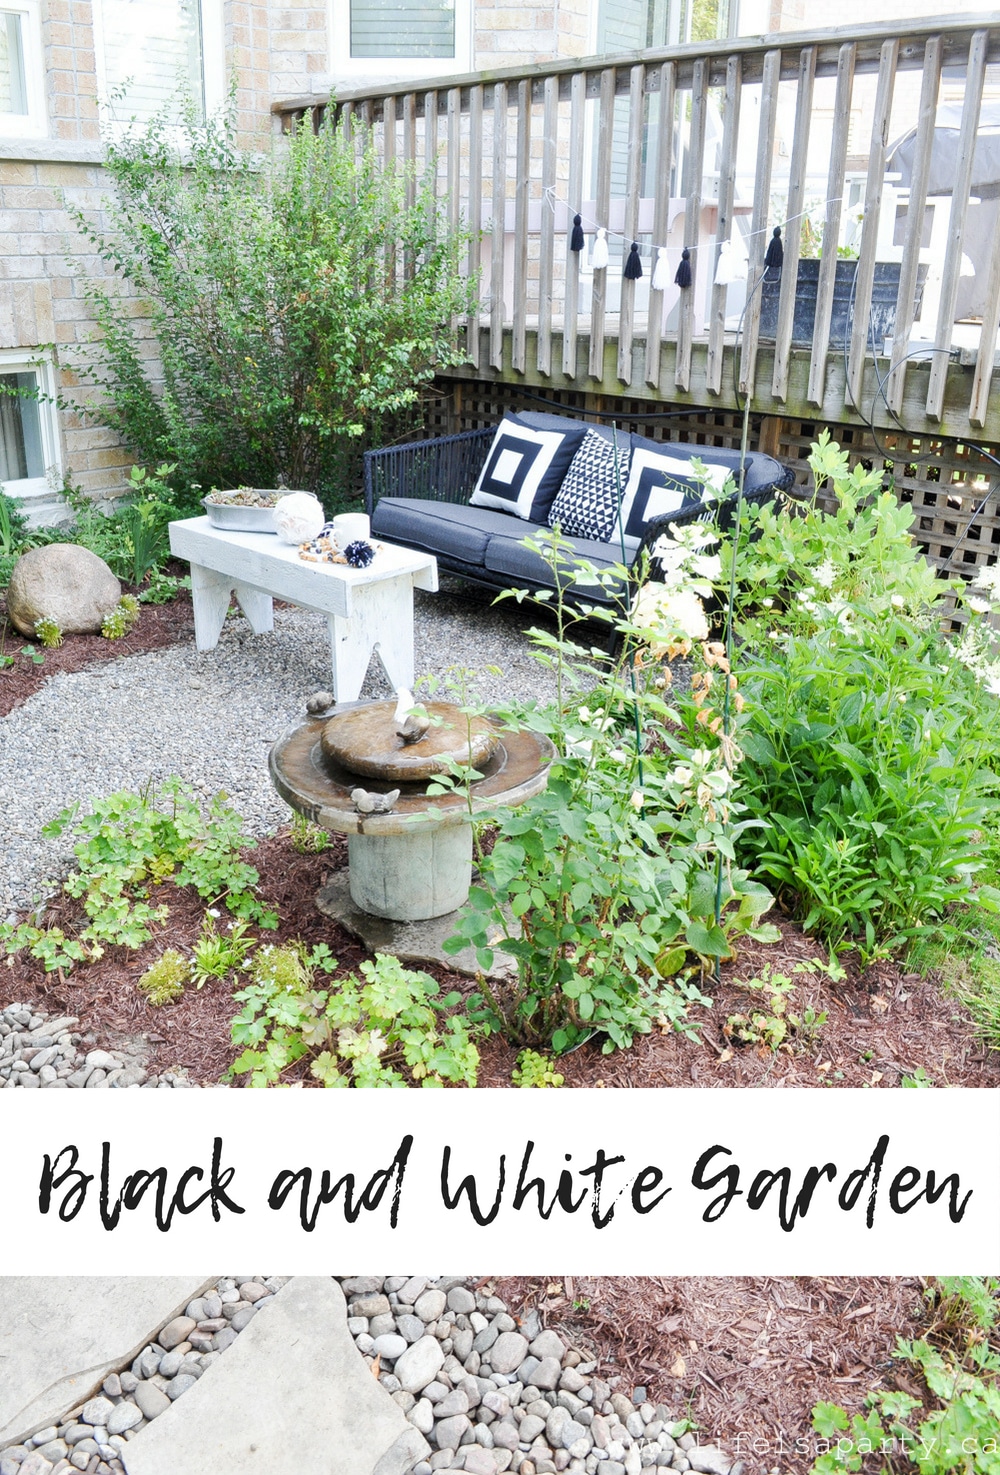
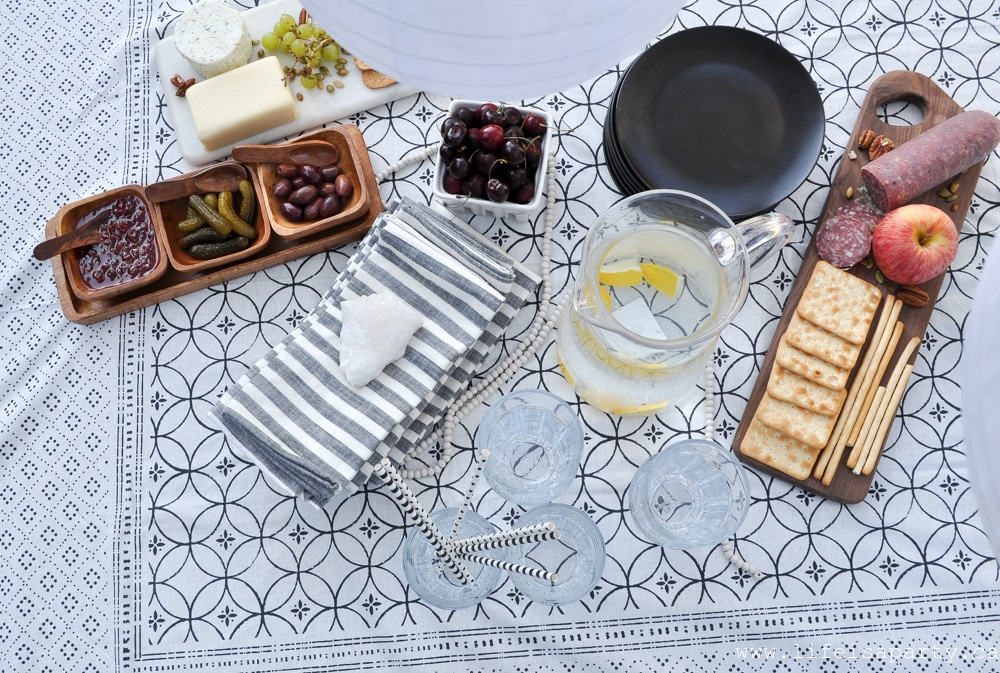
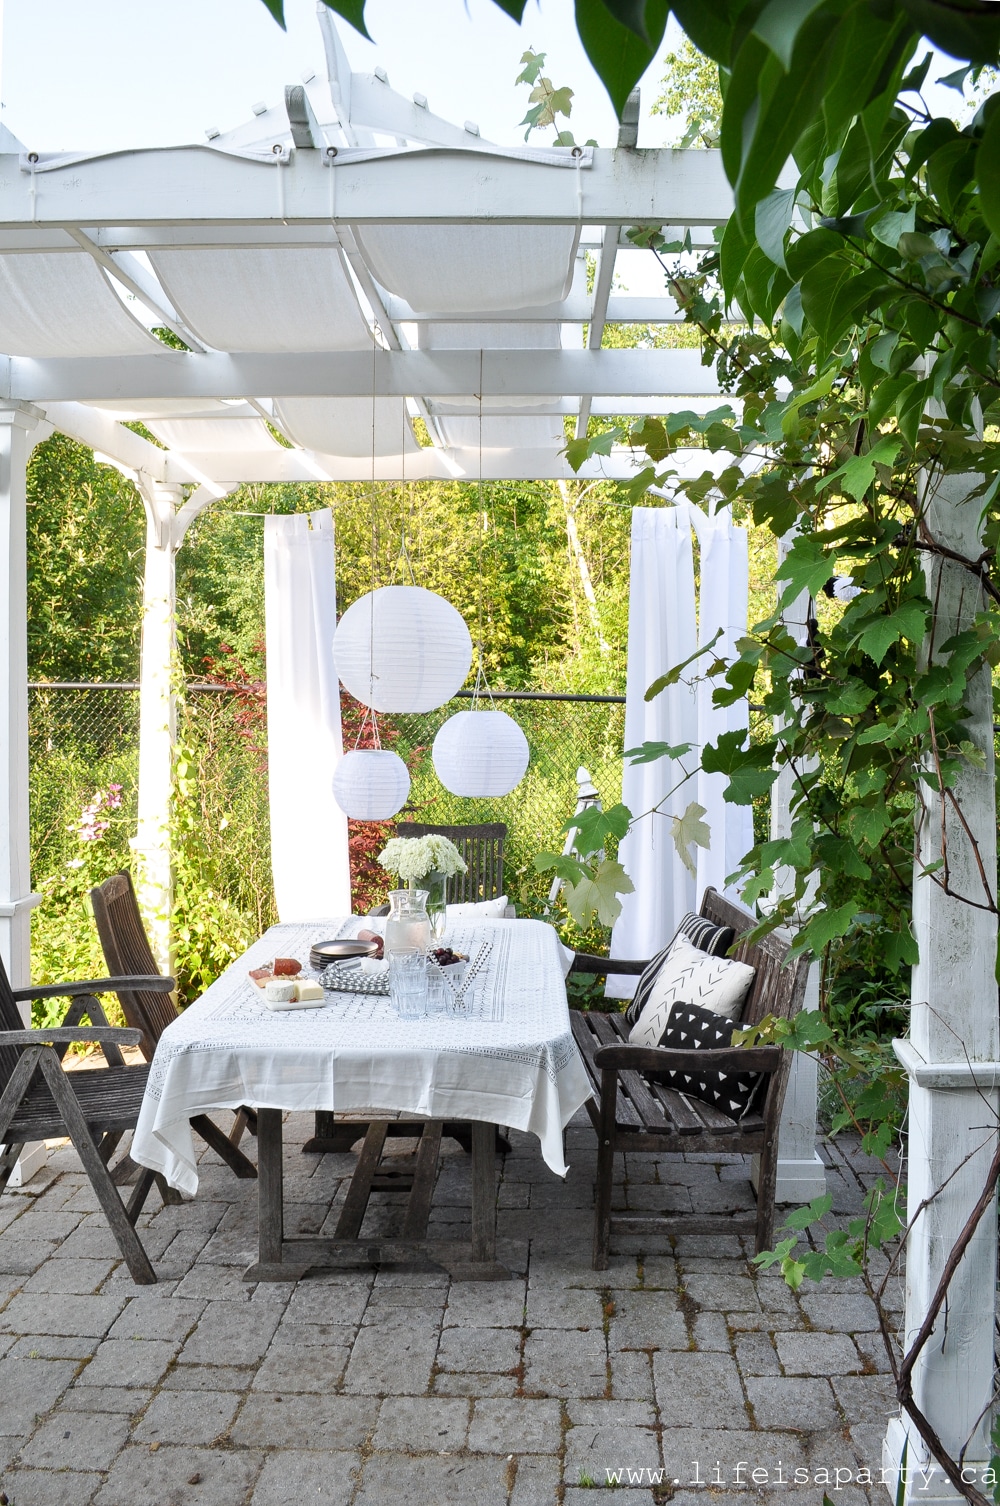
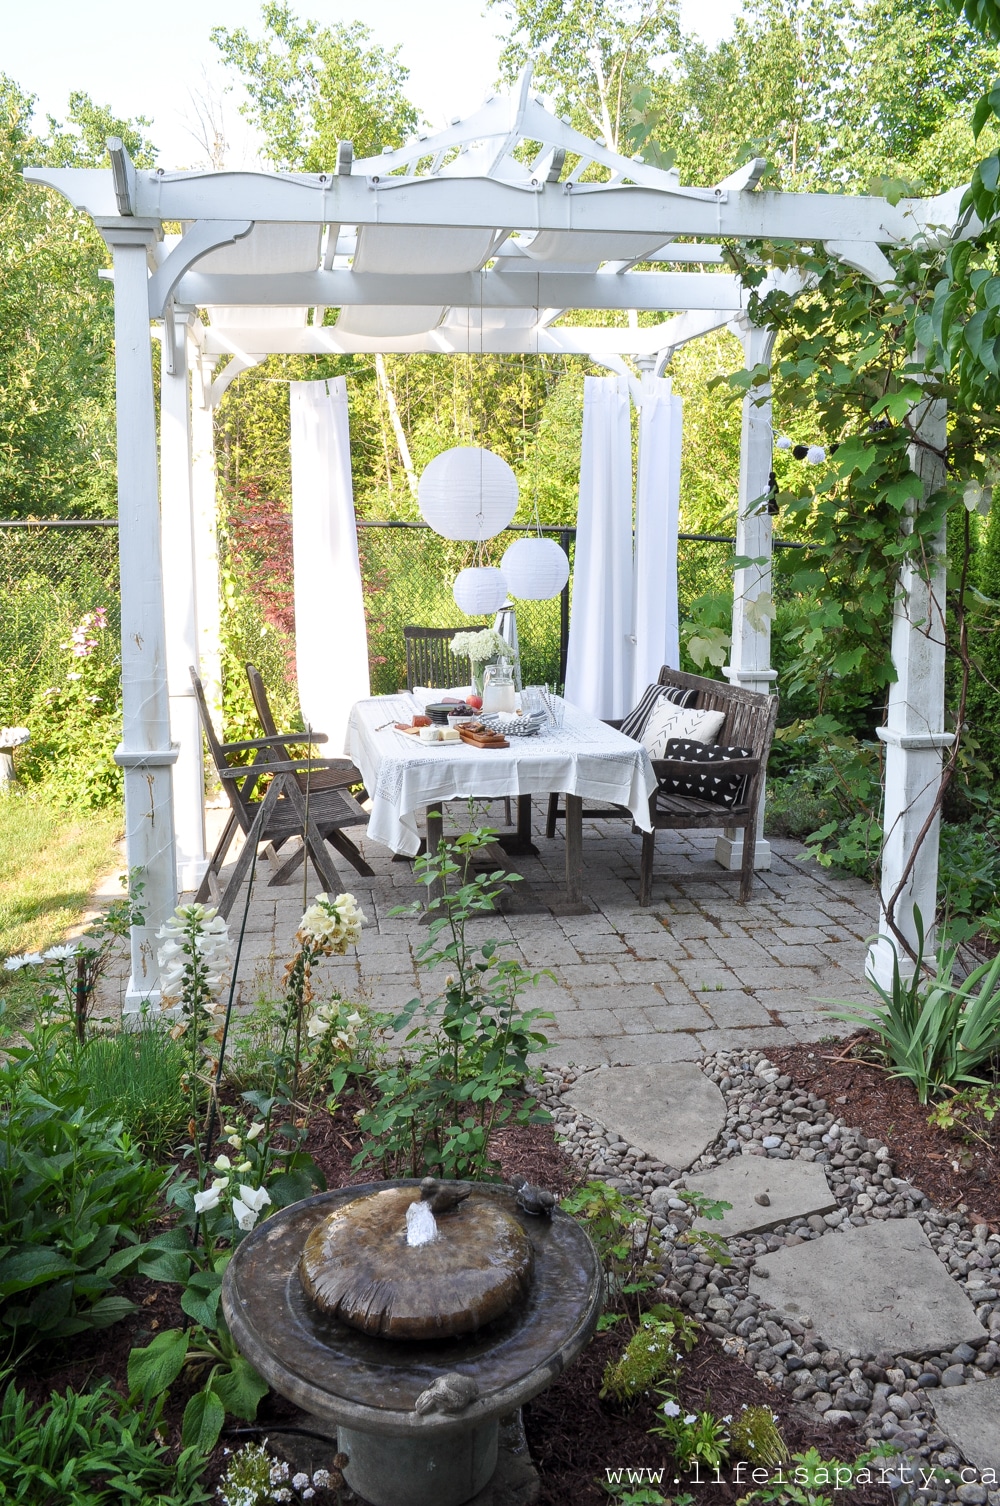 On the table a pretty new tablecloth from H&M Home. I love more of that boho black and white feel. I got the table all set up for a perfect snack.
 It's such a lovely space for entertaining.
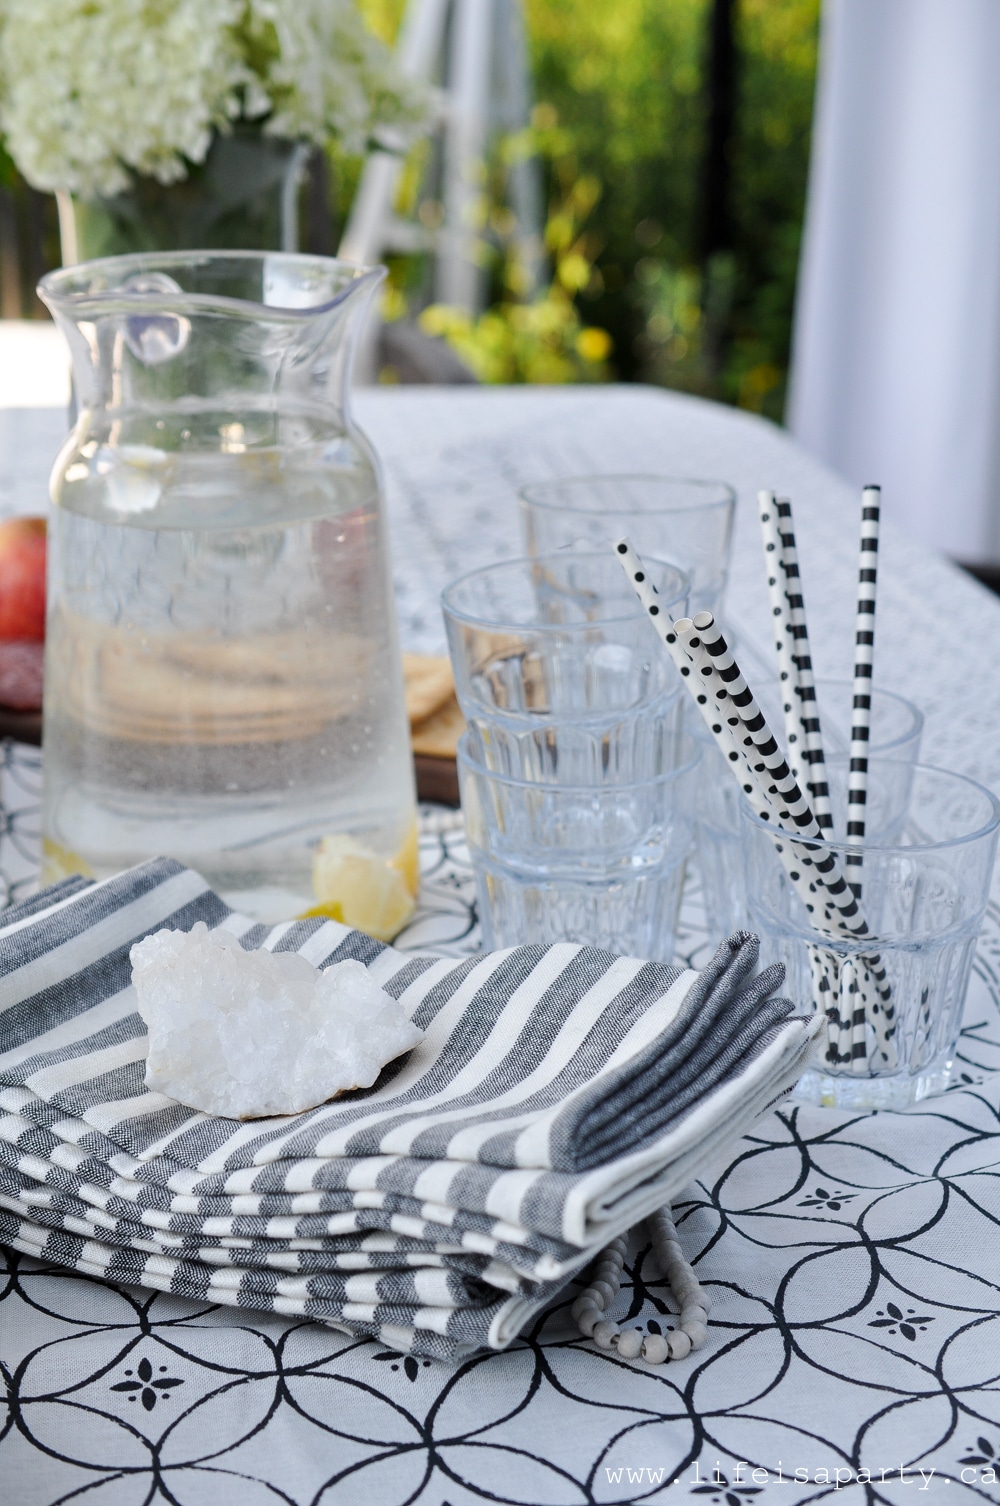 I love to start a party off out here in the garden with appetizers, while we bbq, and then move into the air conditioning later for dinner.
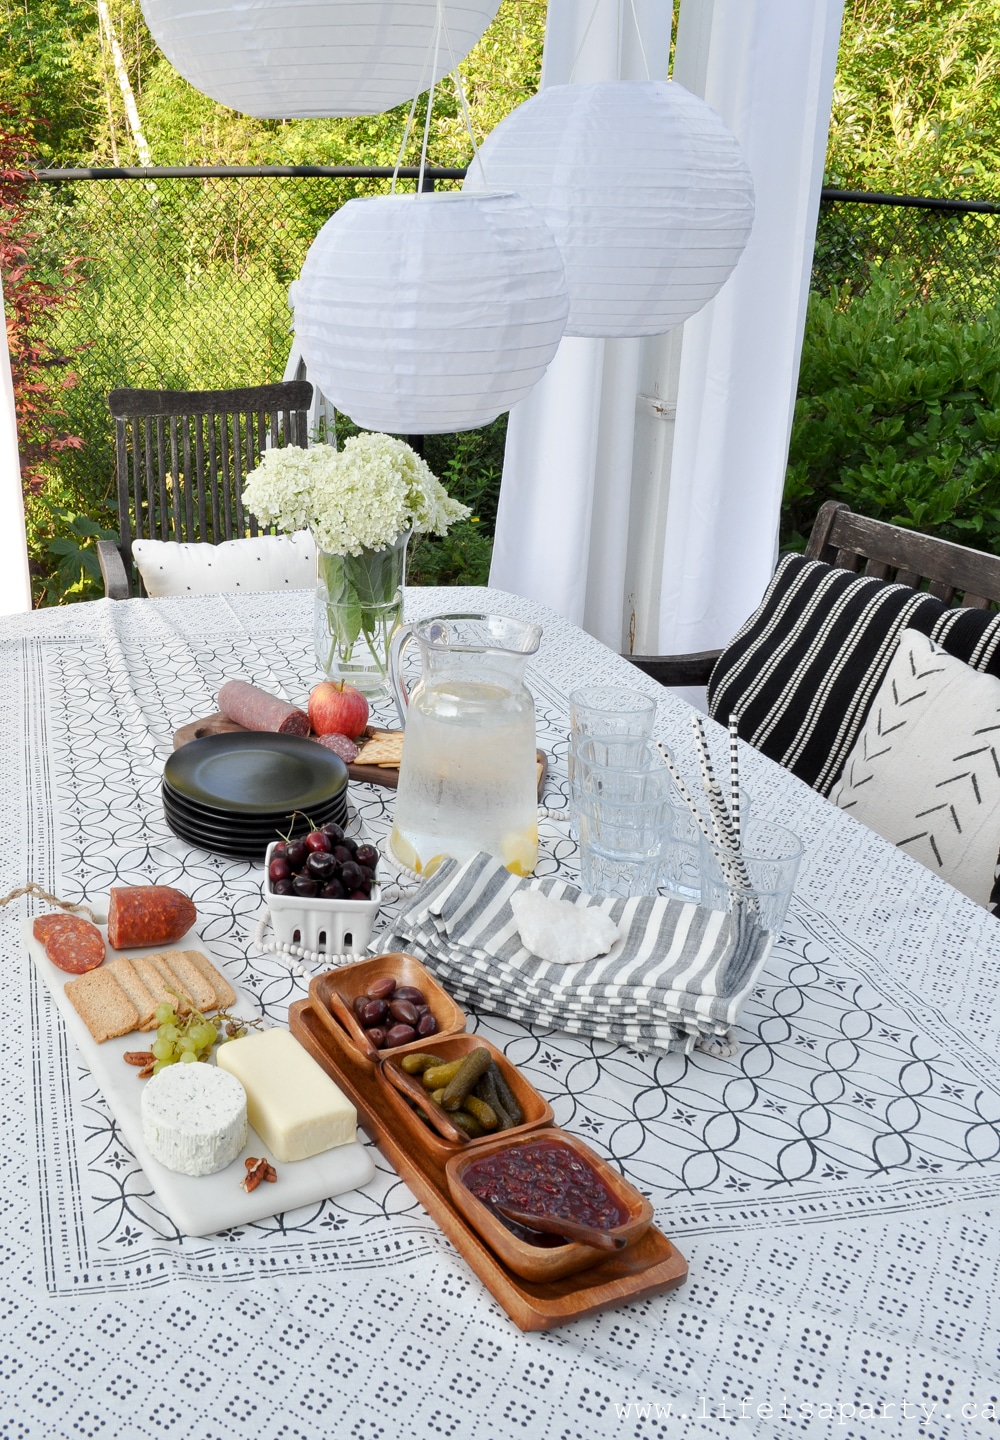
 The Deck
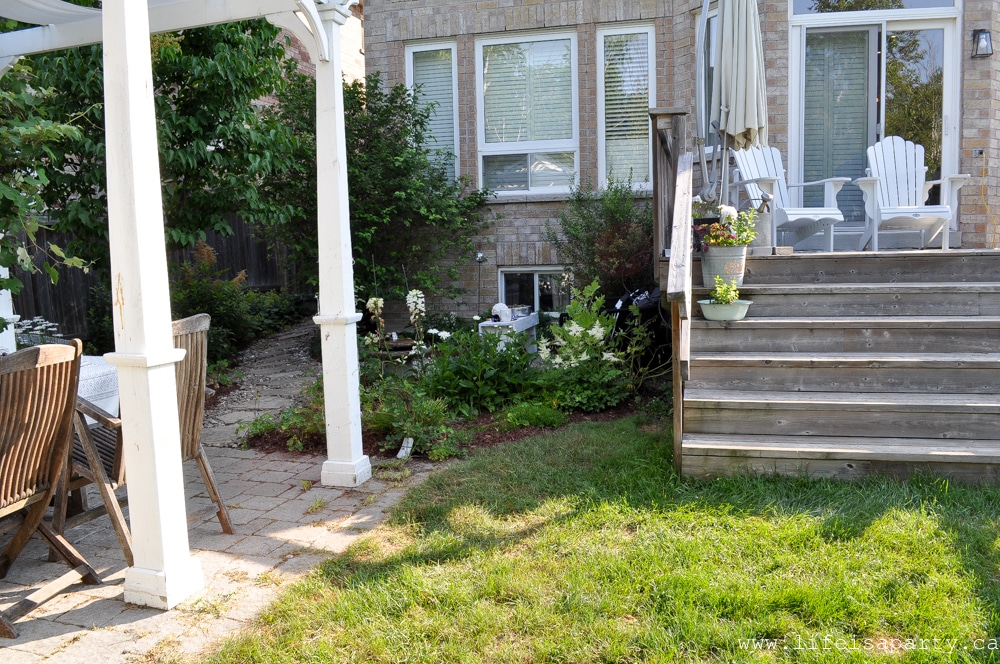 This area has our Muskoka chairs on it and a nice outdoor rug, which is so soft underfoot. The pots are all old enamel ware and metal pails, and washtubs. I love their aged vintage feel. We added holes to the bottoms for drainage and planted them up with black and white and white annuals. I love how the black and white plants look together. So simple, and so striking.
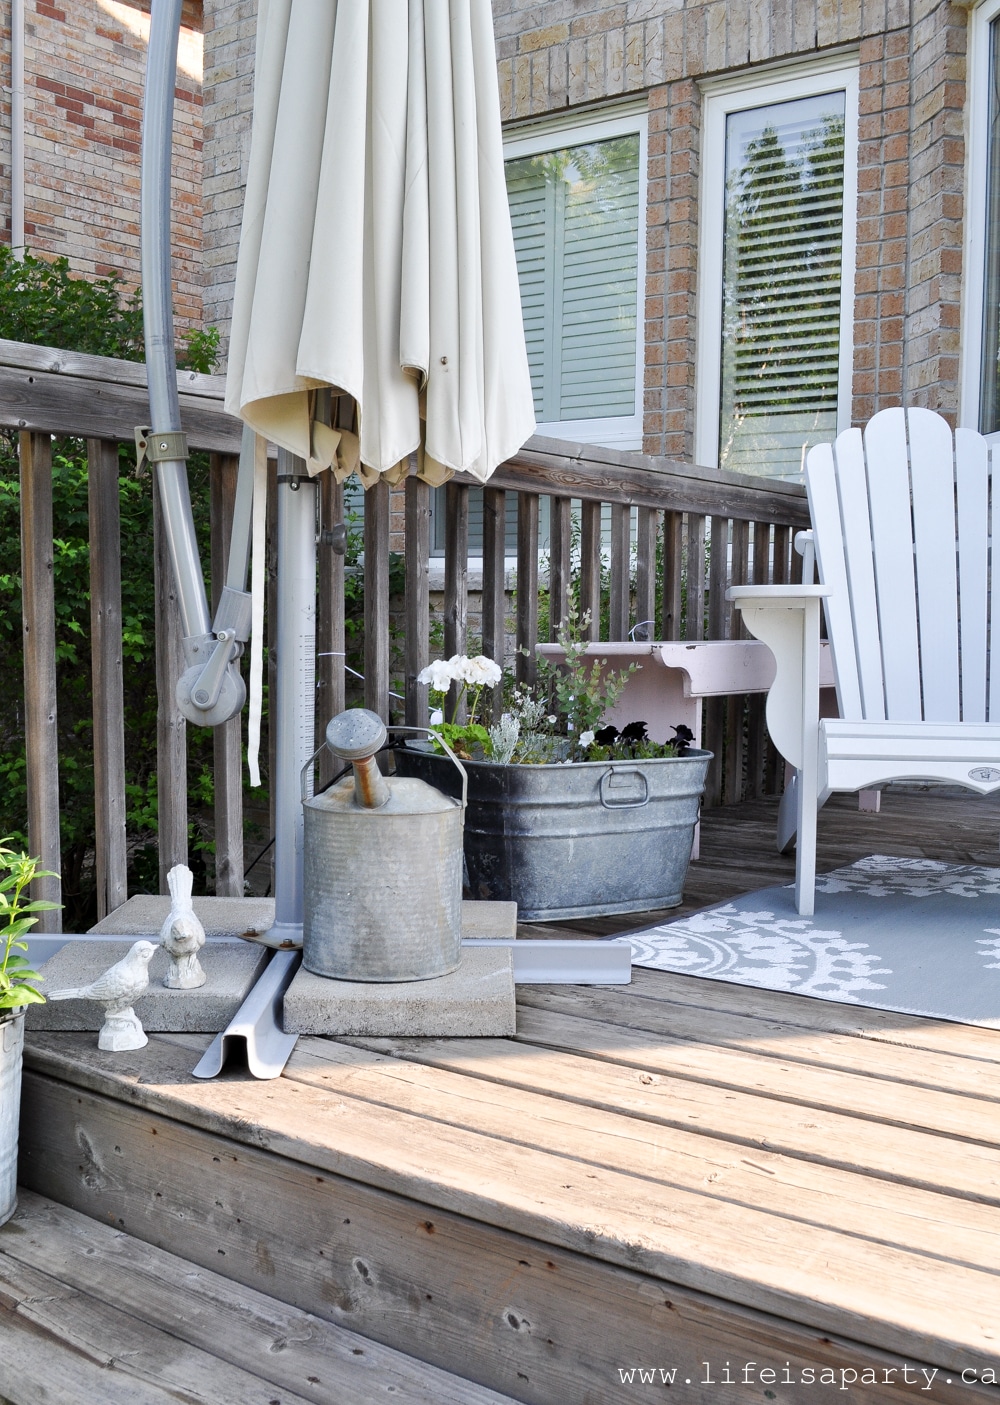
 This system is so worth it for me. In the fall we just put the timer away, and blow out the water lines so they don't freeze. In the spring we set it up again. I really could not be happier with it.
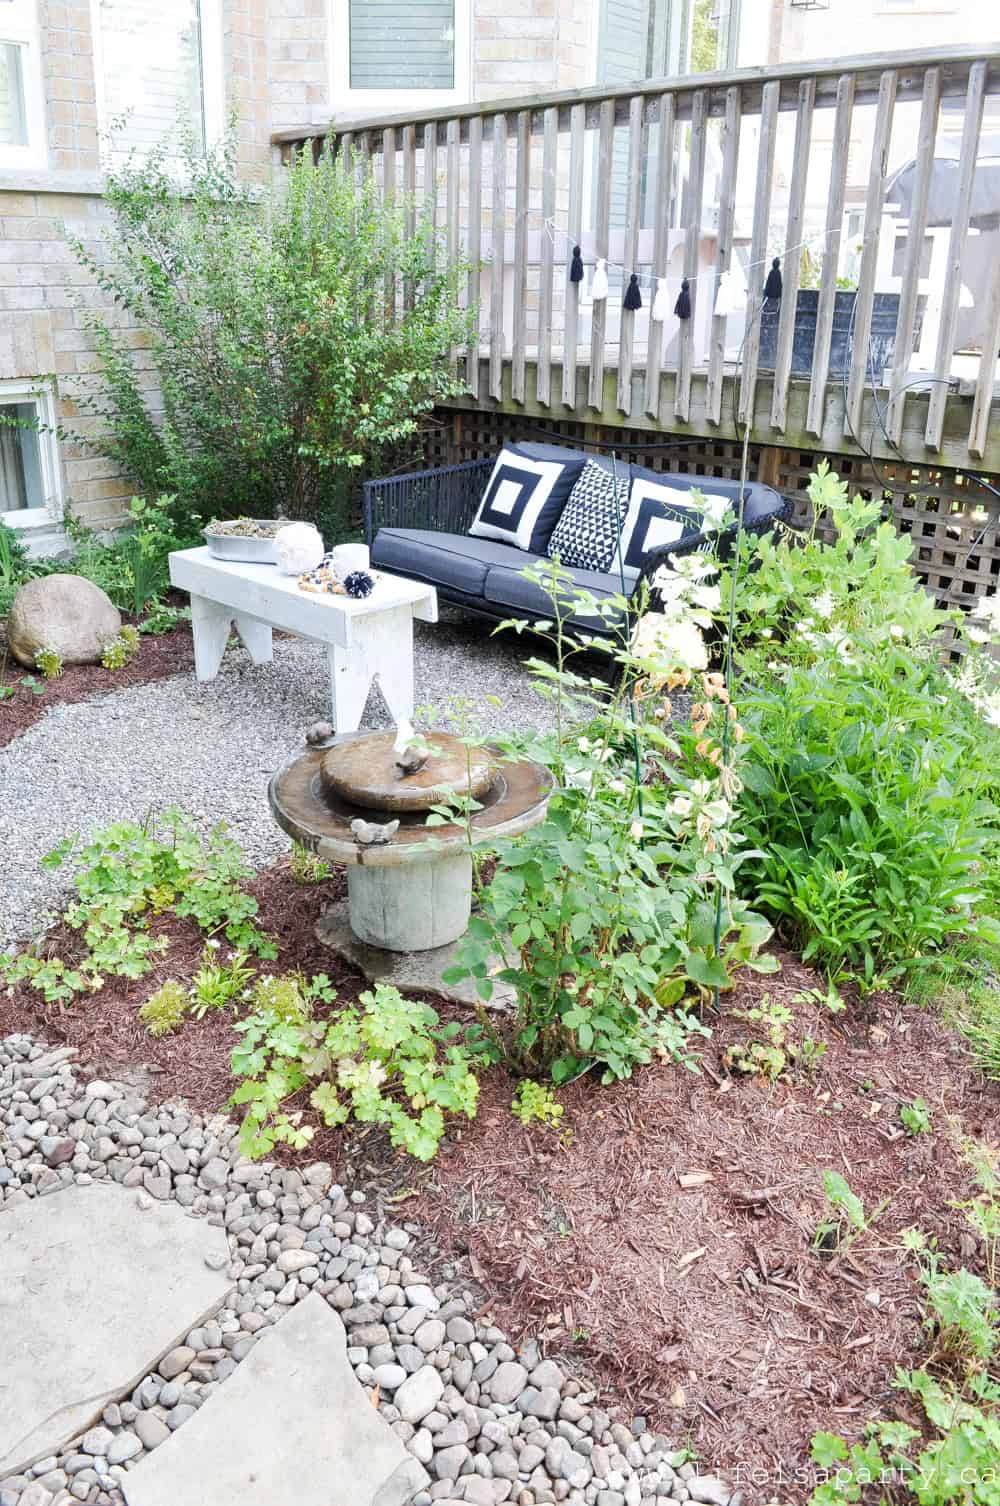
 So that's my black and white garden refresh. It was a big job, that ended up taking ages to finish, but I'm so happy with it. We're already enjoying coffee on the new love seat most mornings since finishing it. We also have an upcoming party next weekend that I'm so glad the space is all ready for. It really wasn't an expensive refresh, just a few new pieces, and lots of work -but so, so worth it!
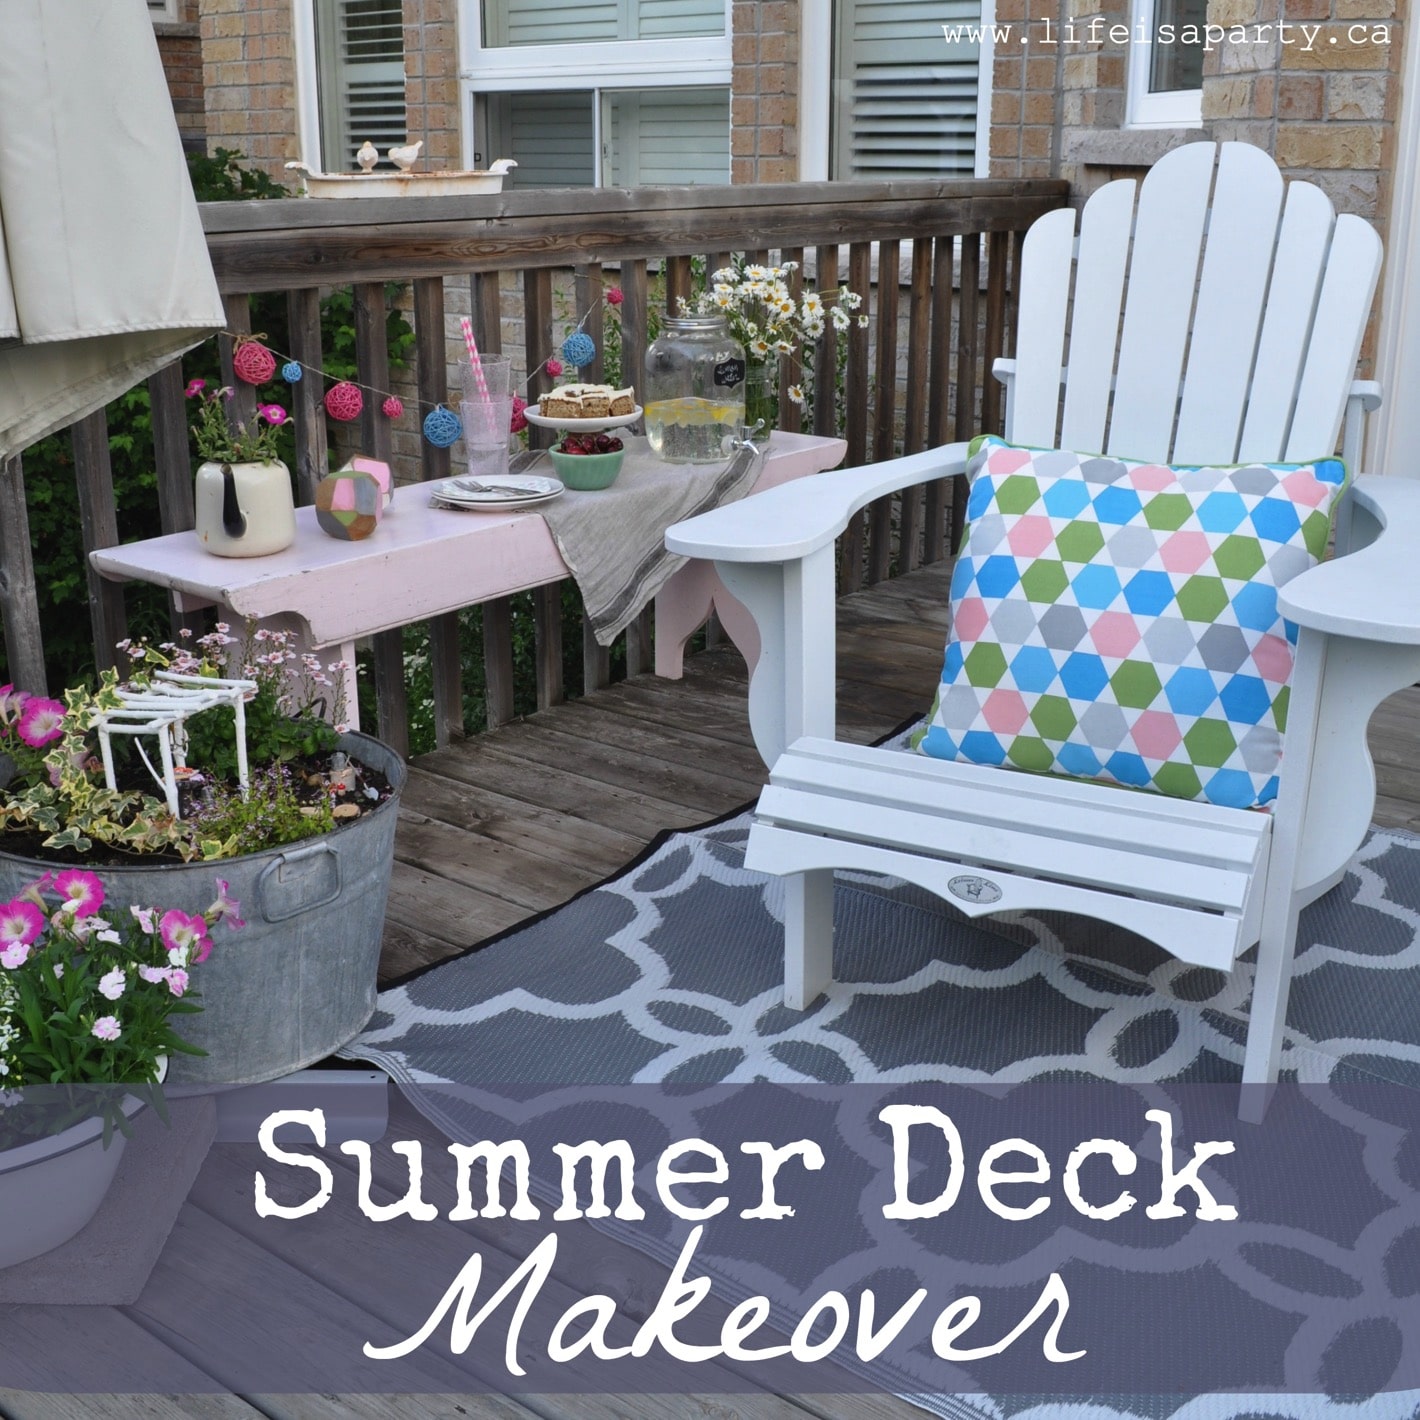


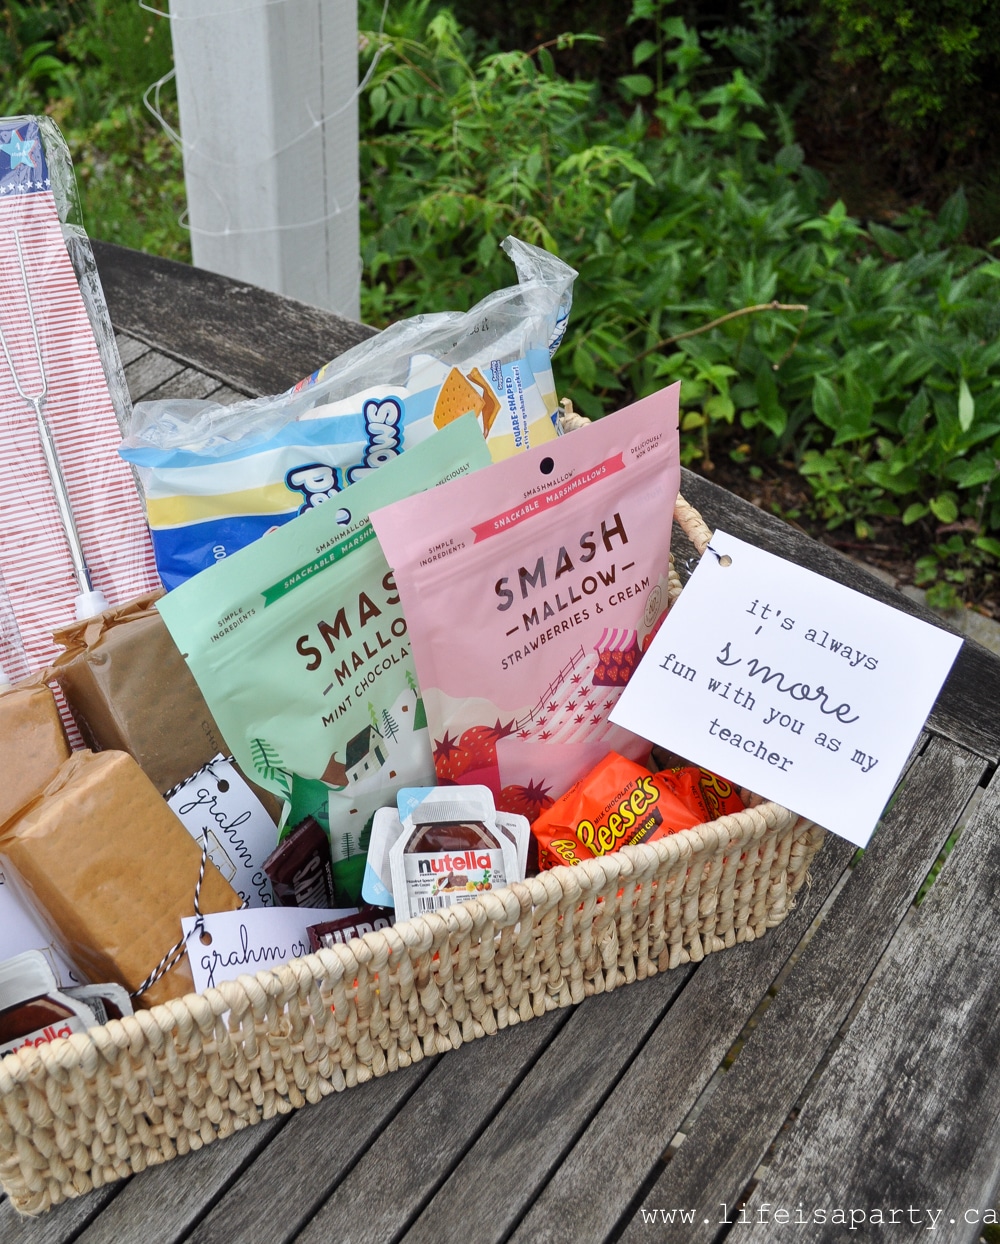
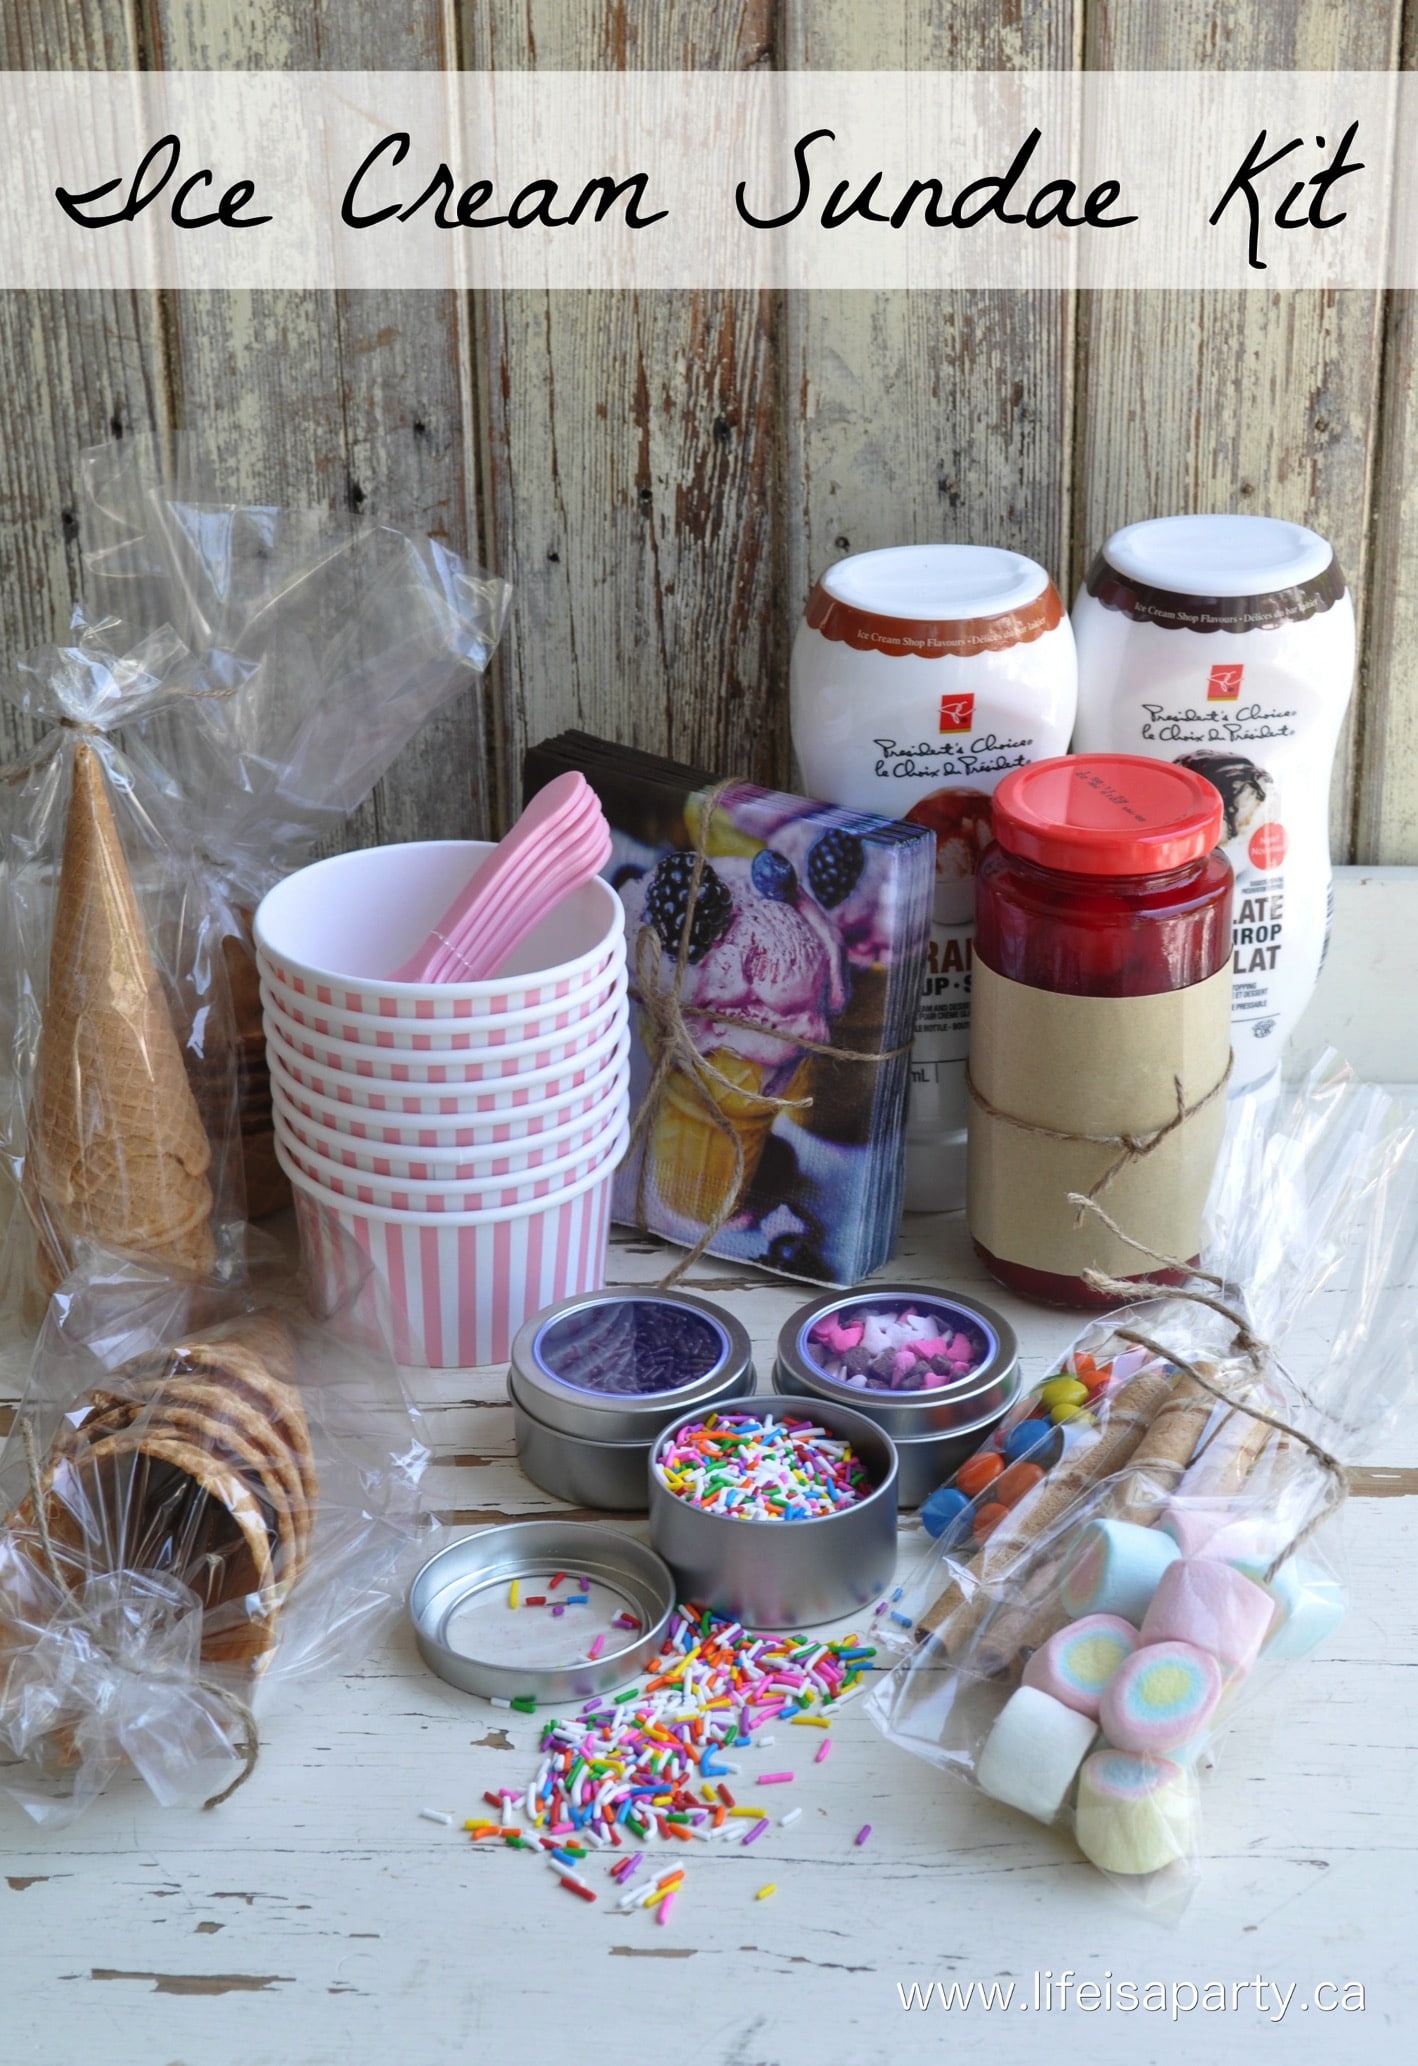 This year when I saw
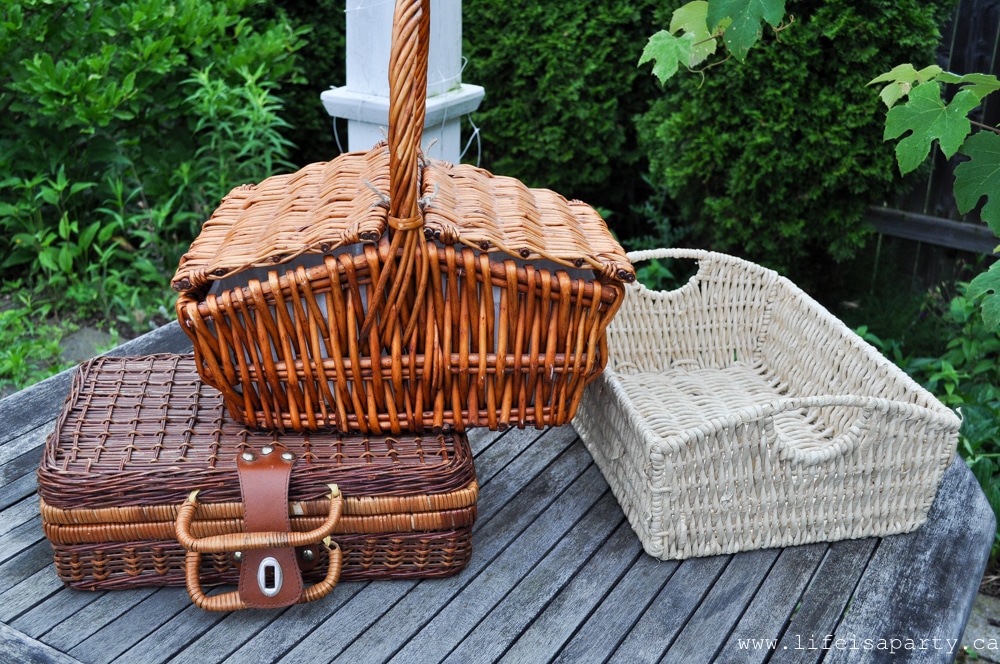
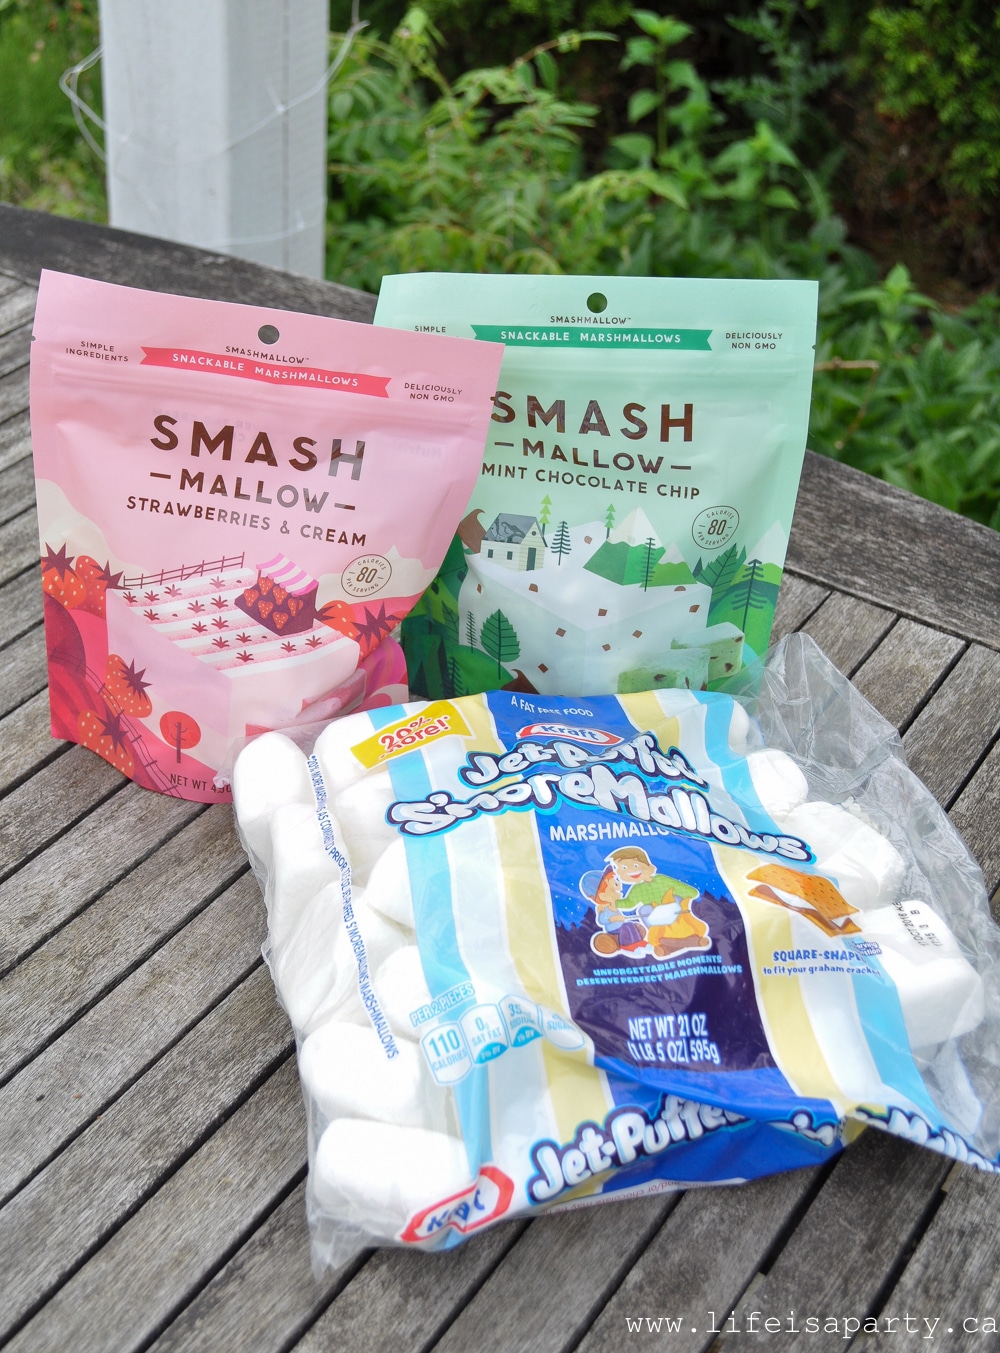
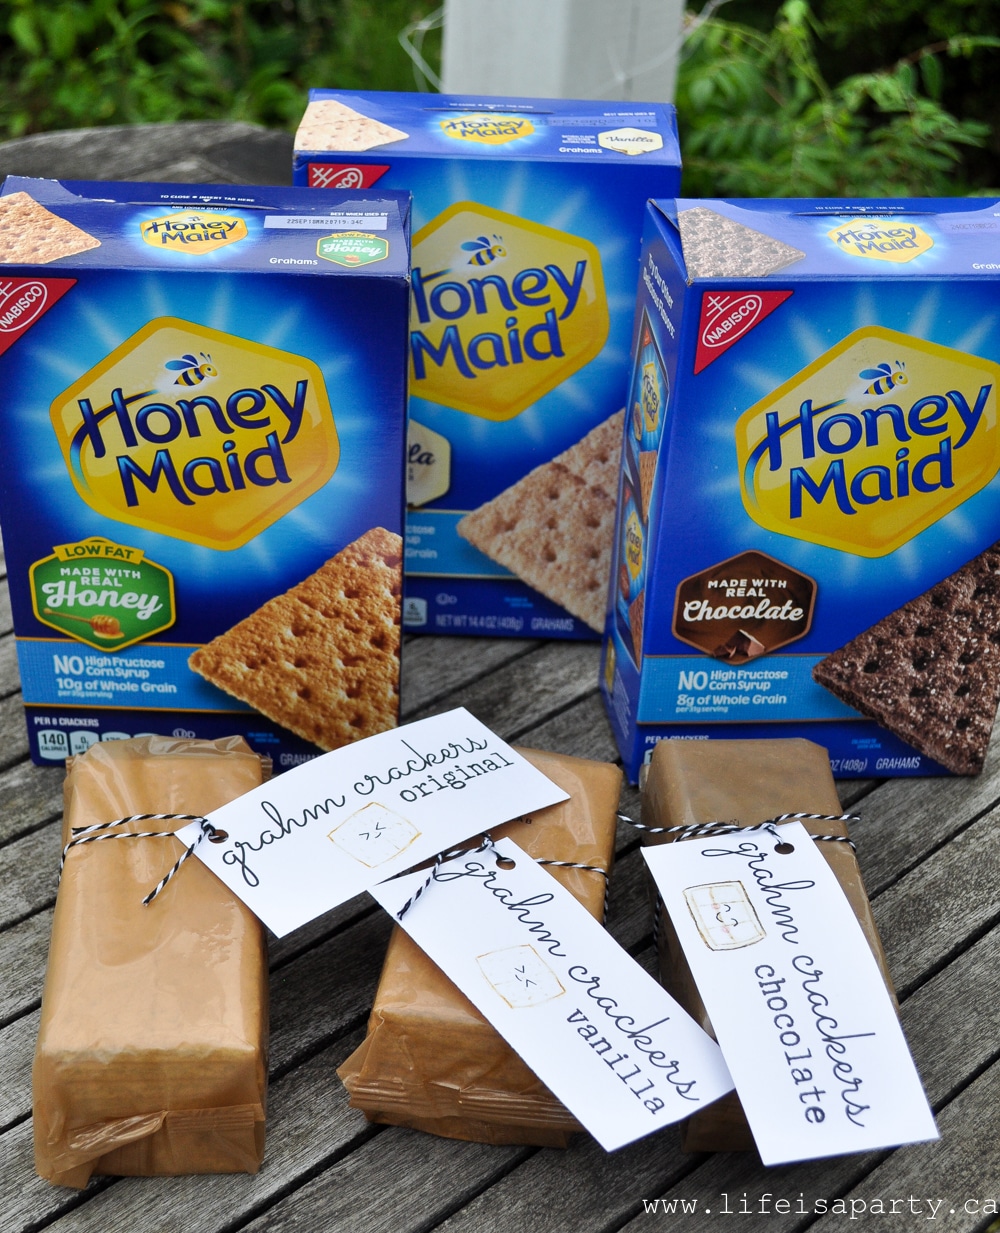
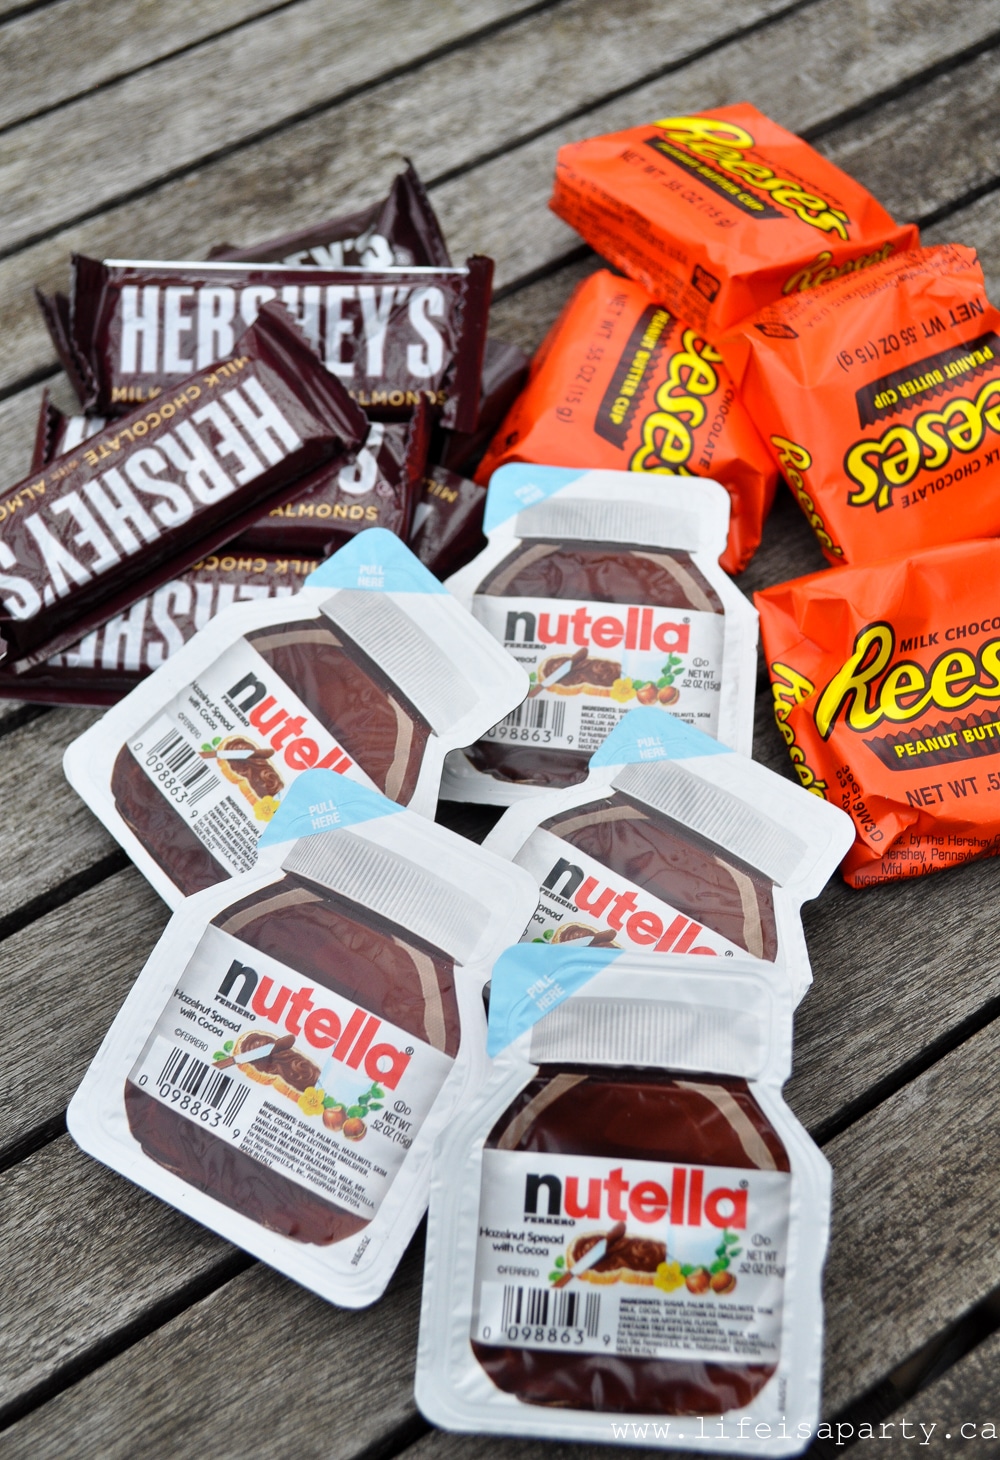
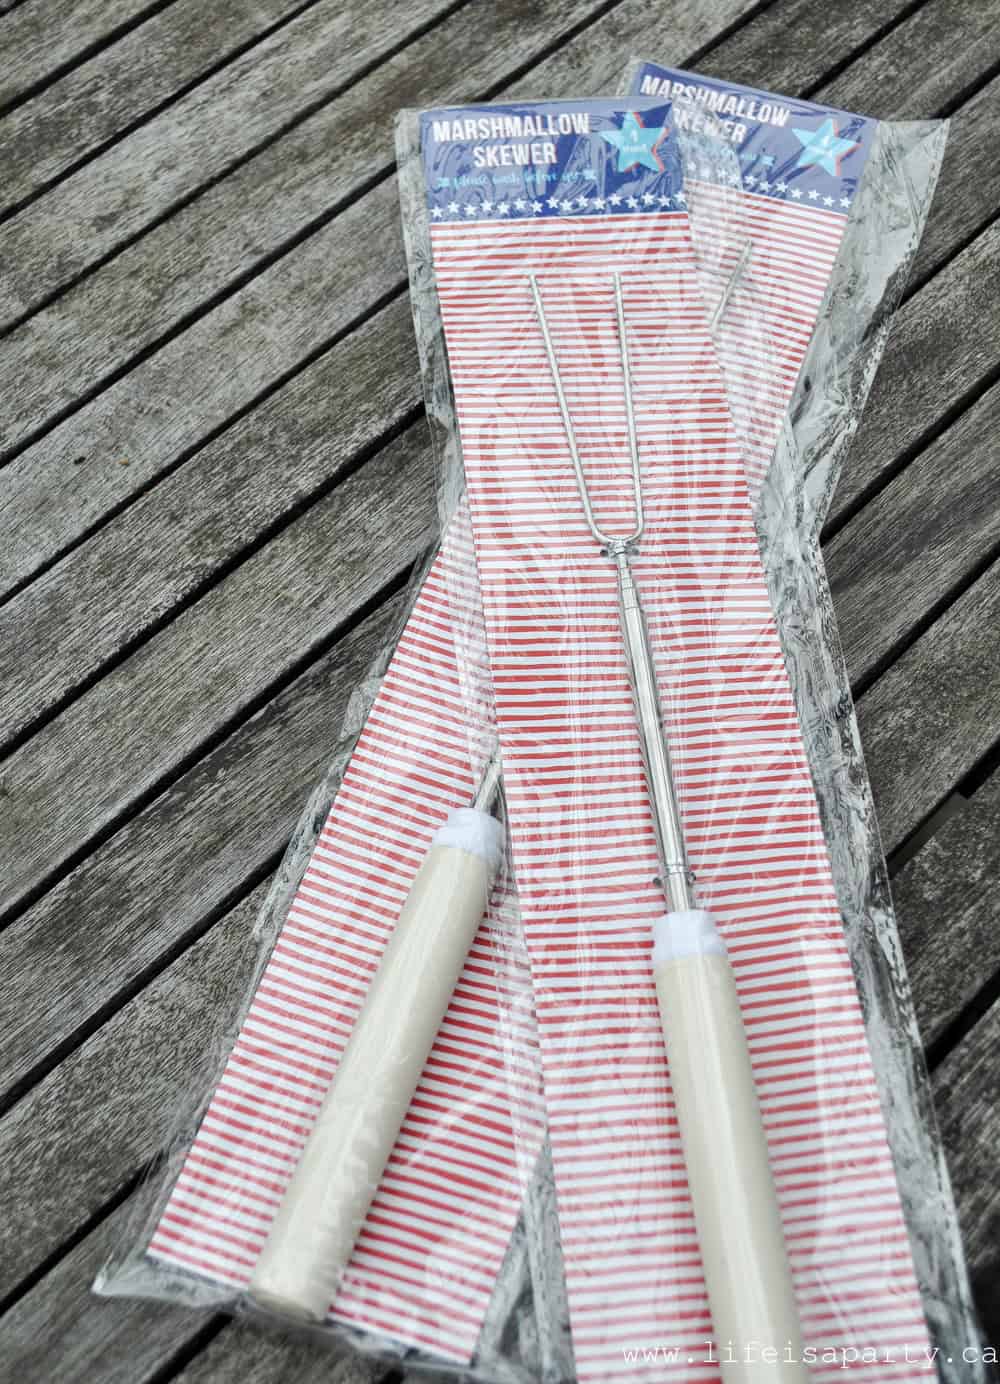
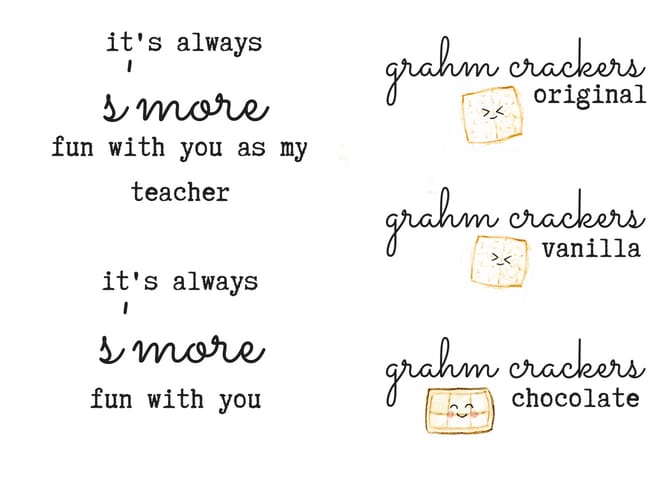
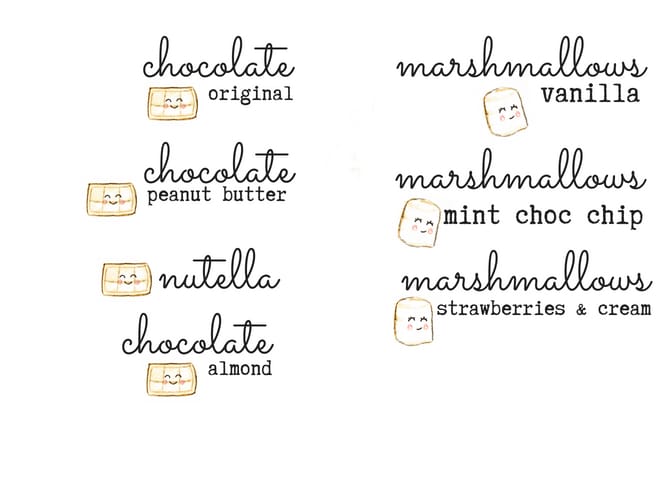
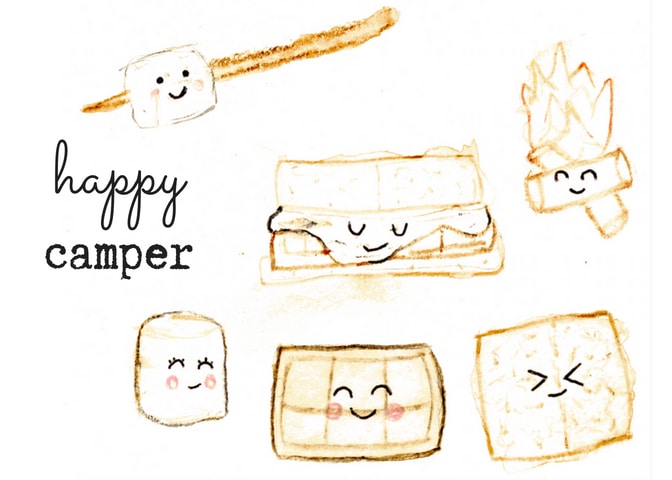
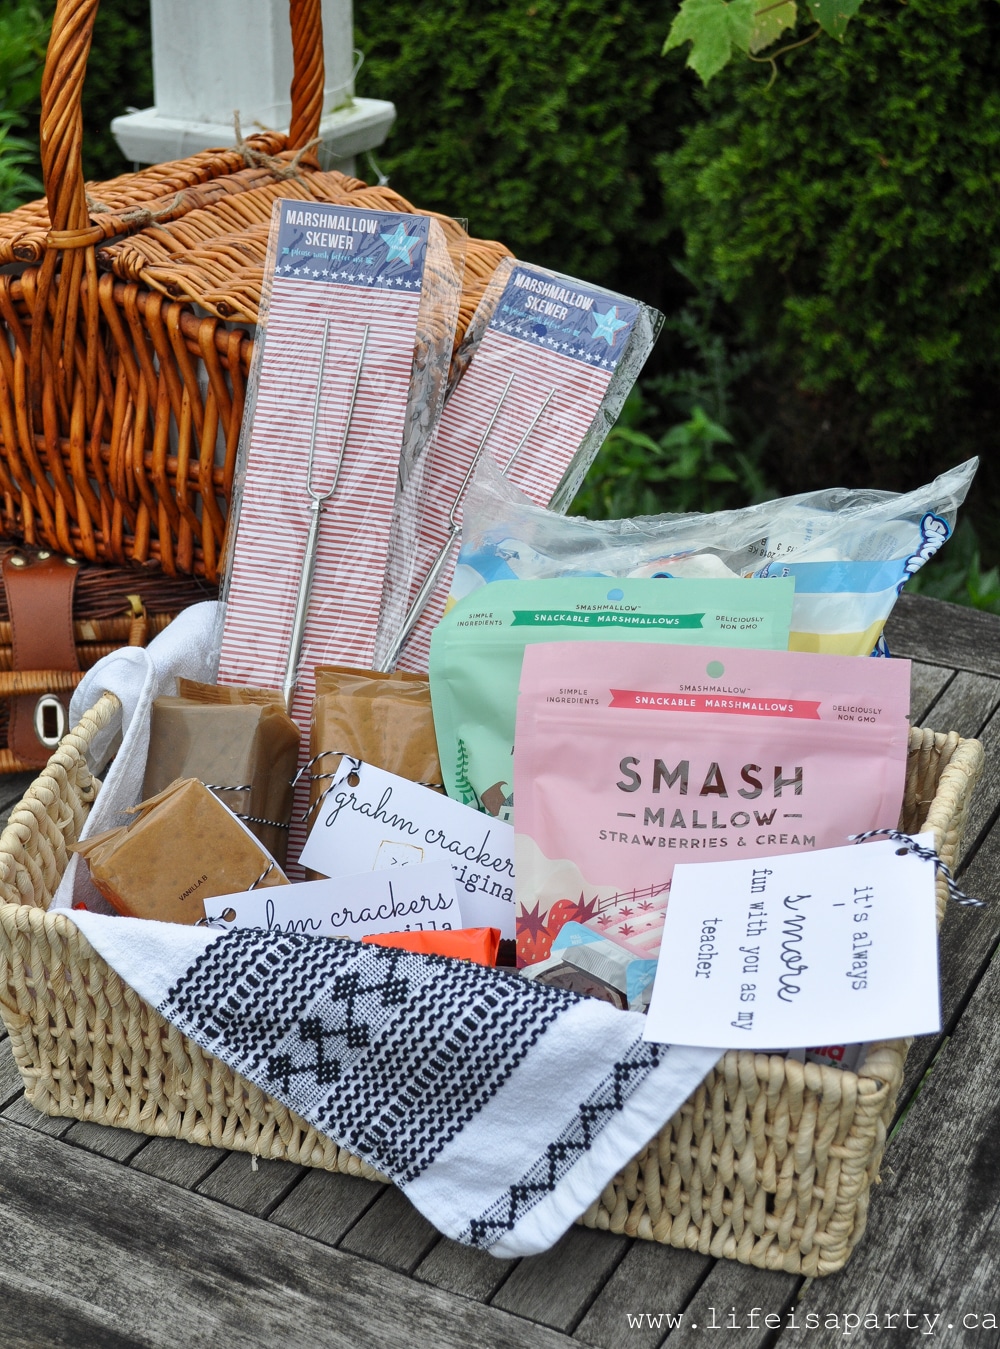 With a S'more Kit for gift giving this summer, life really is a party!


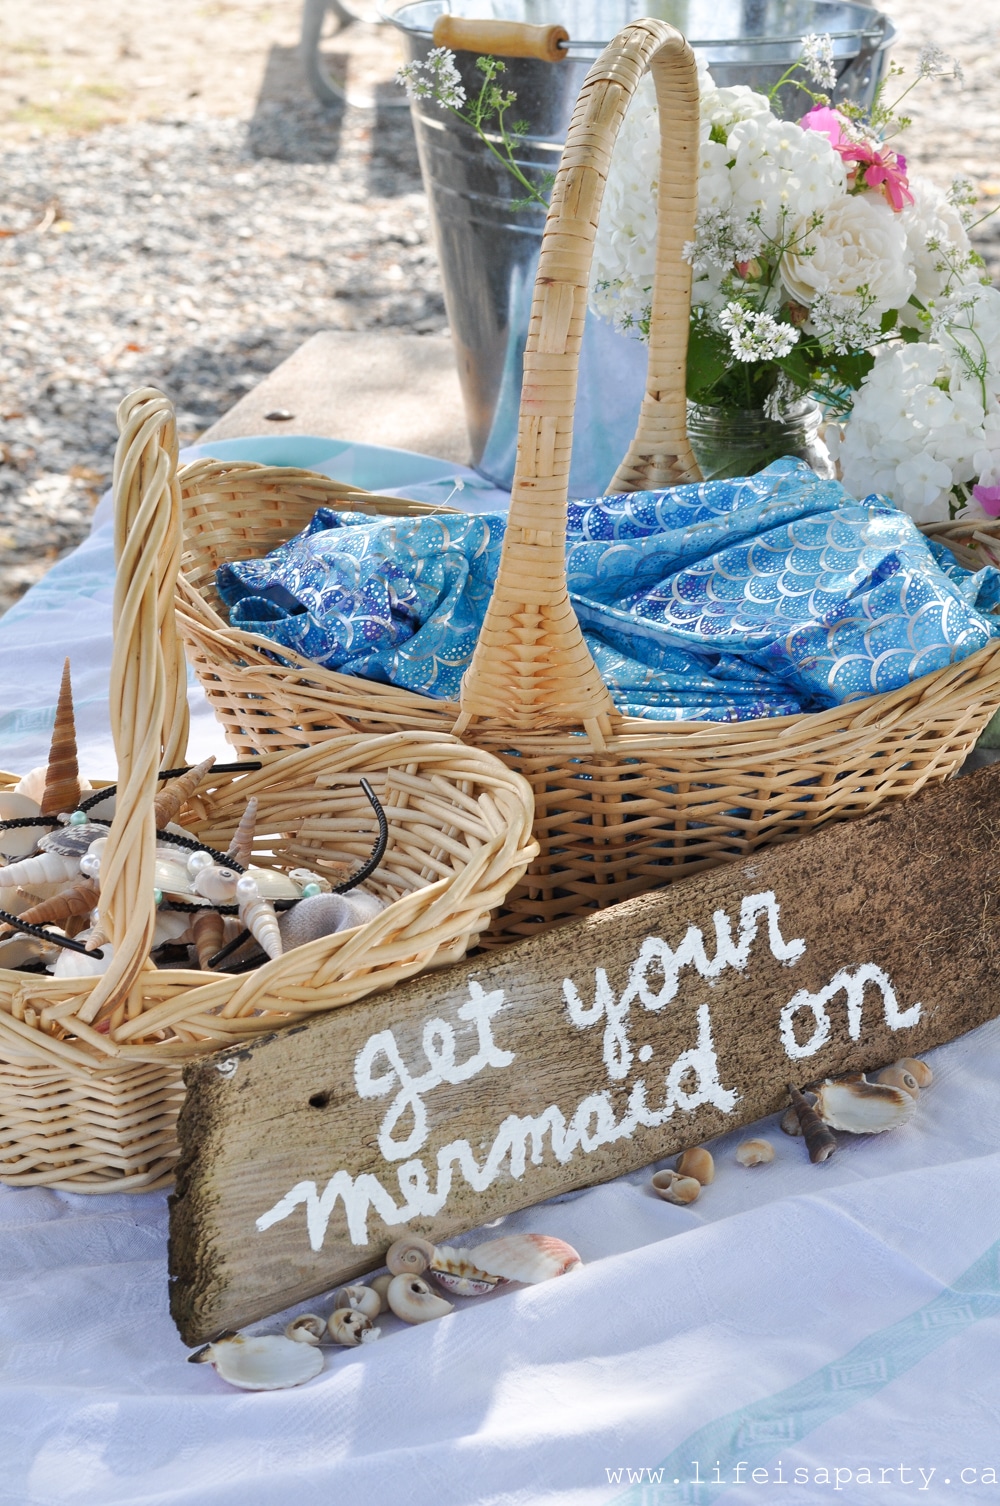
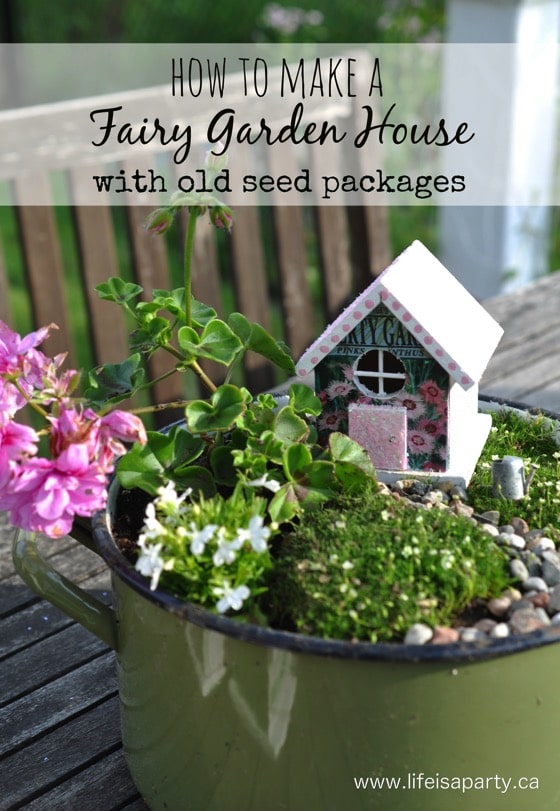
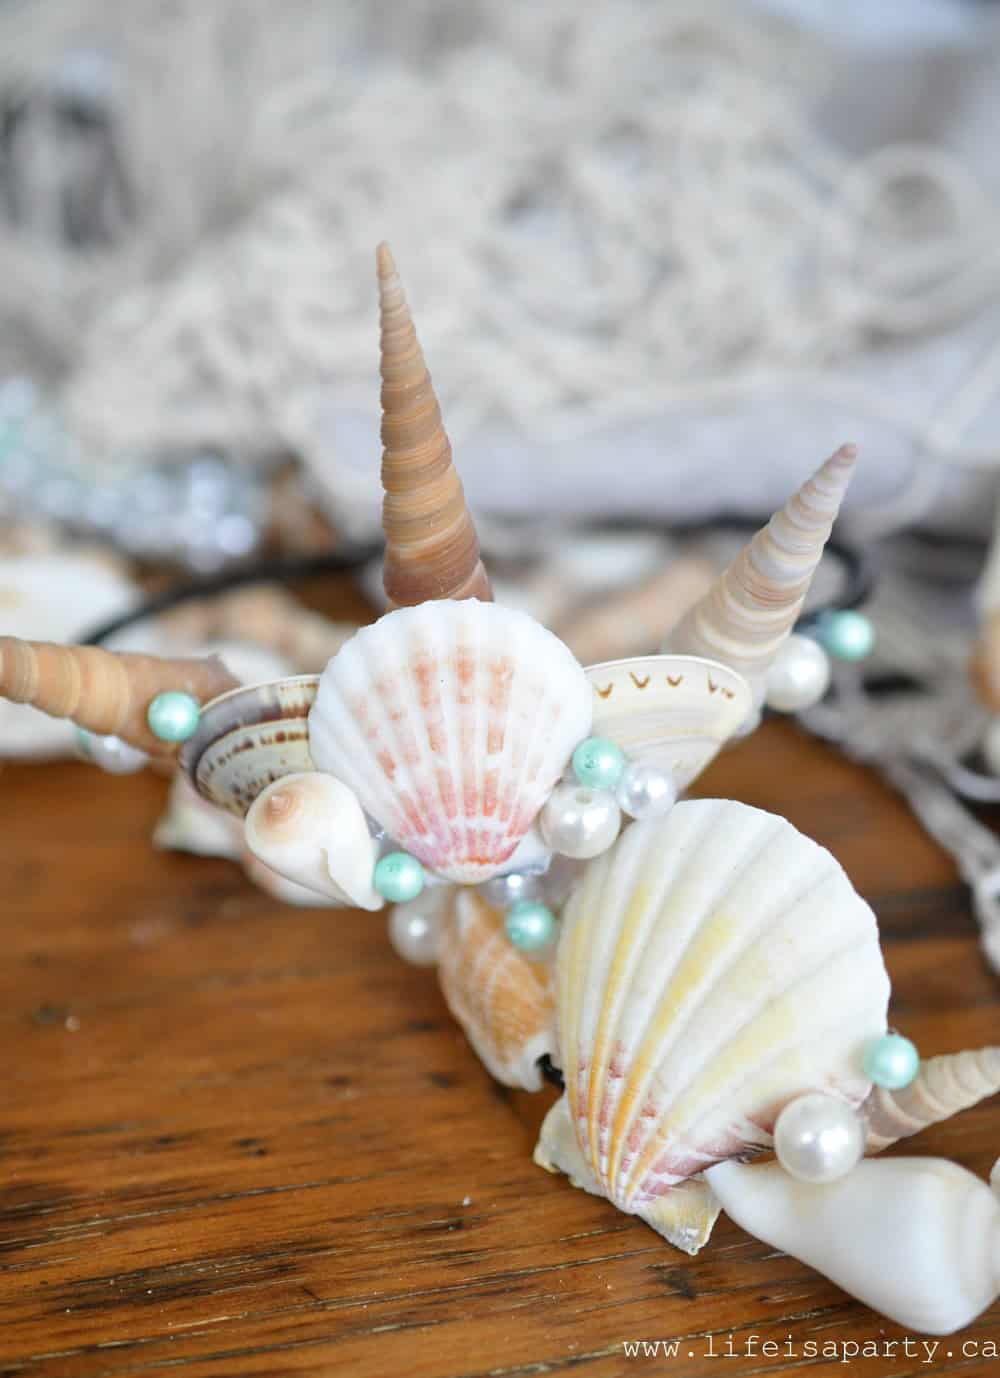
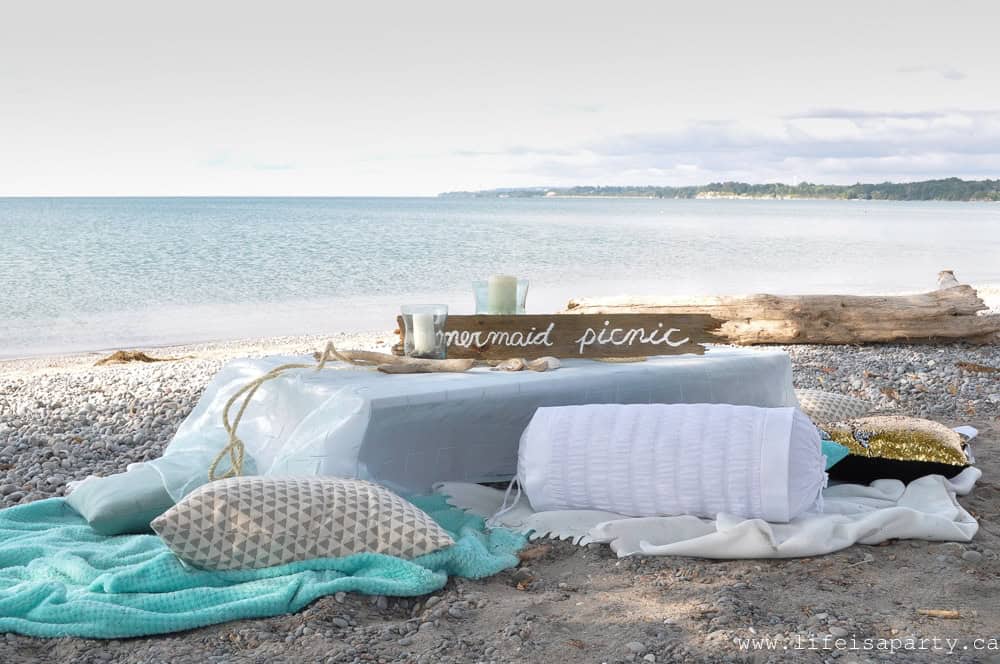
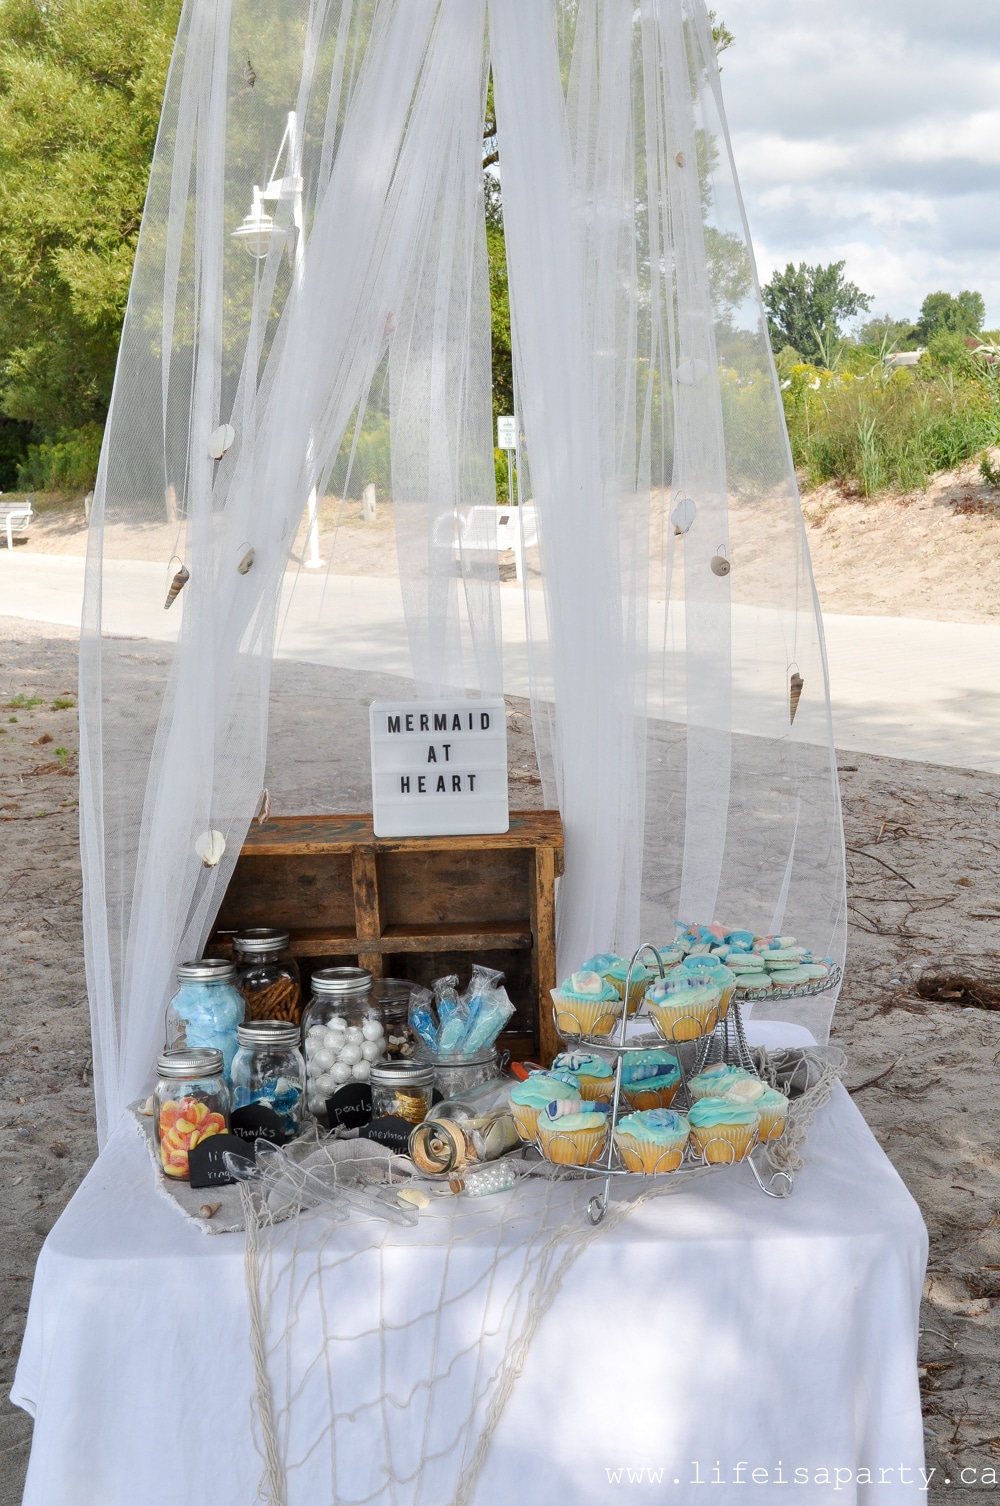
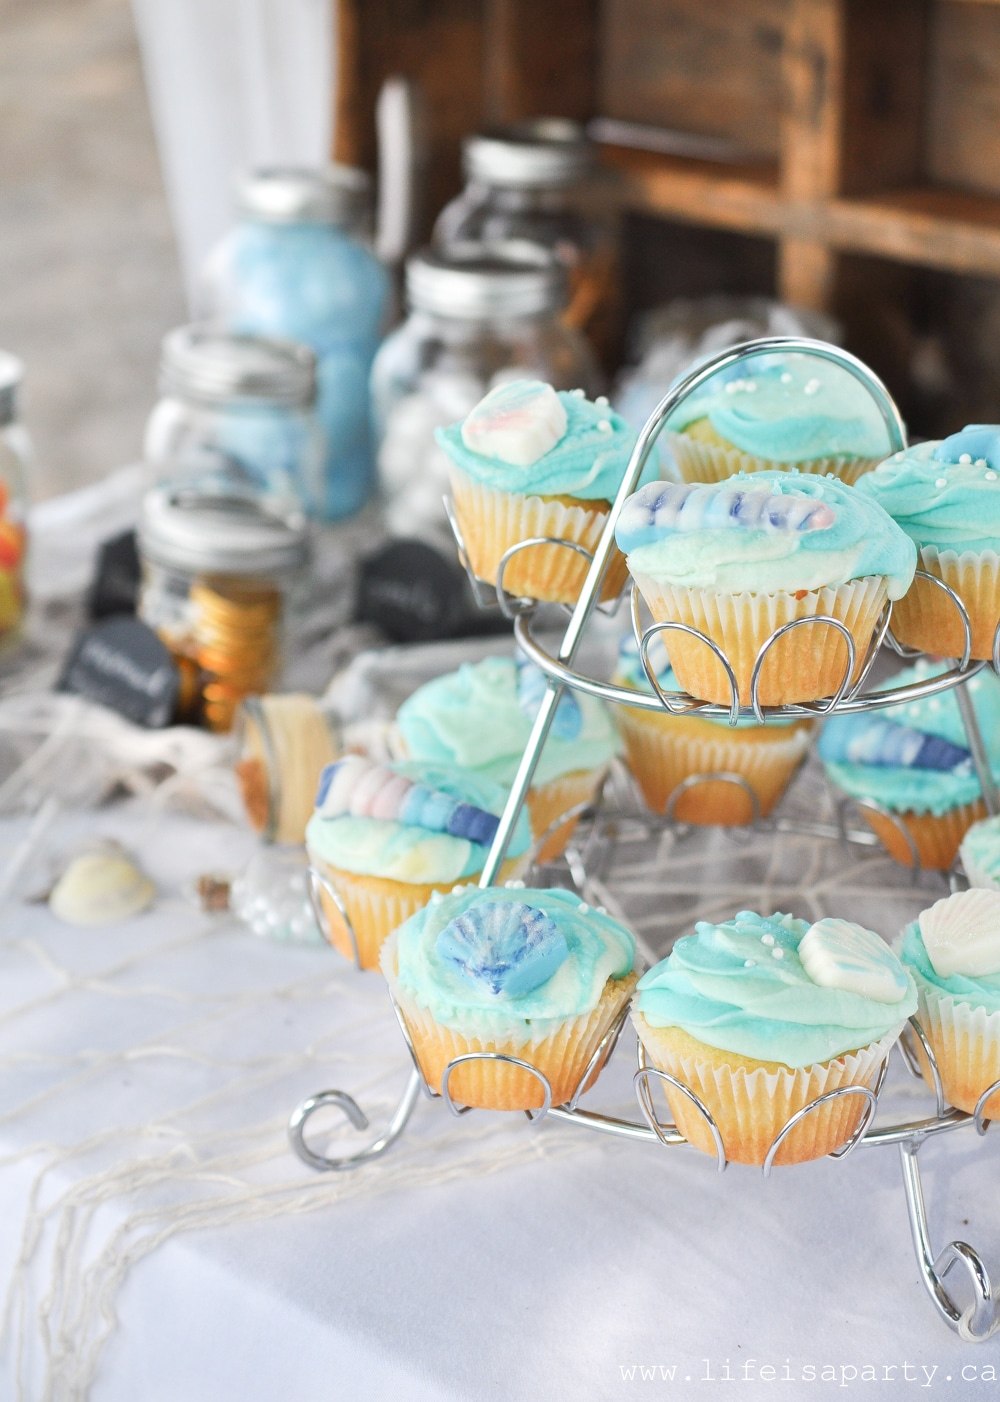
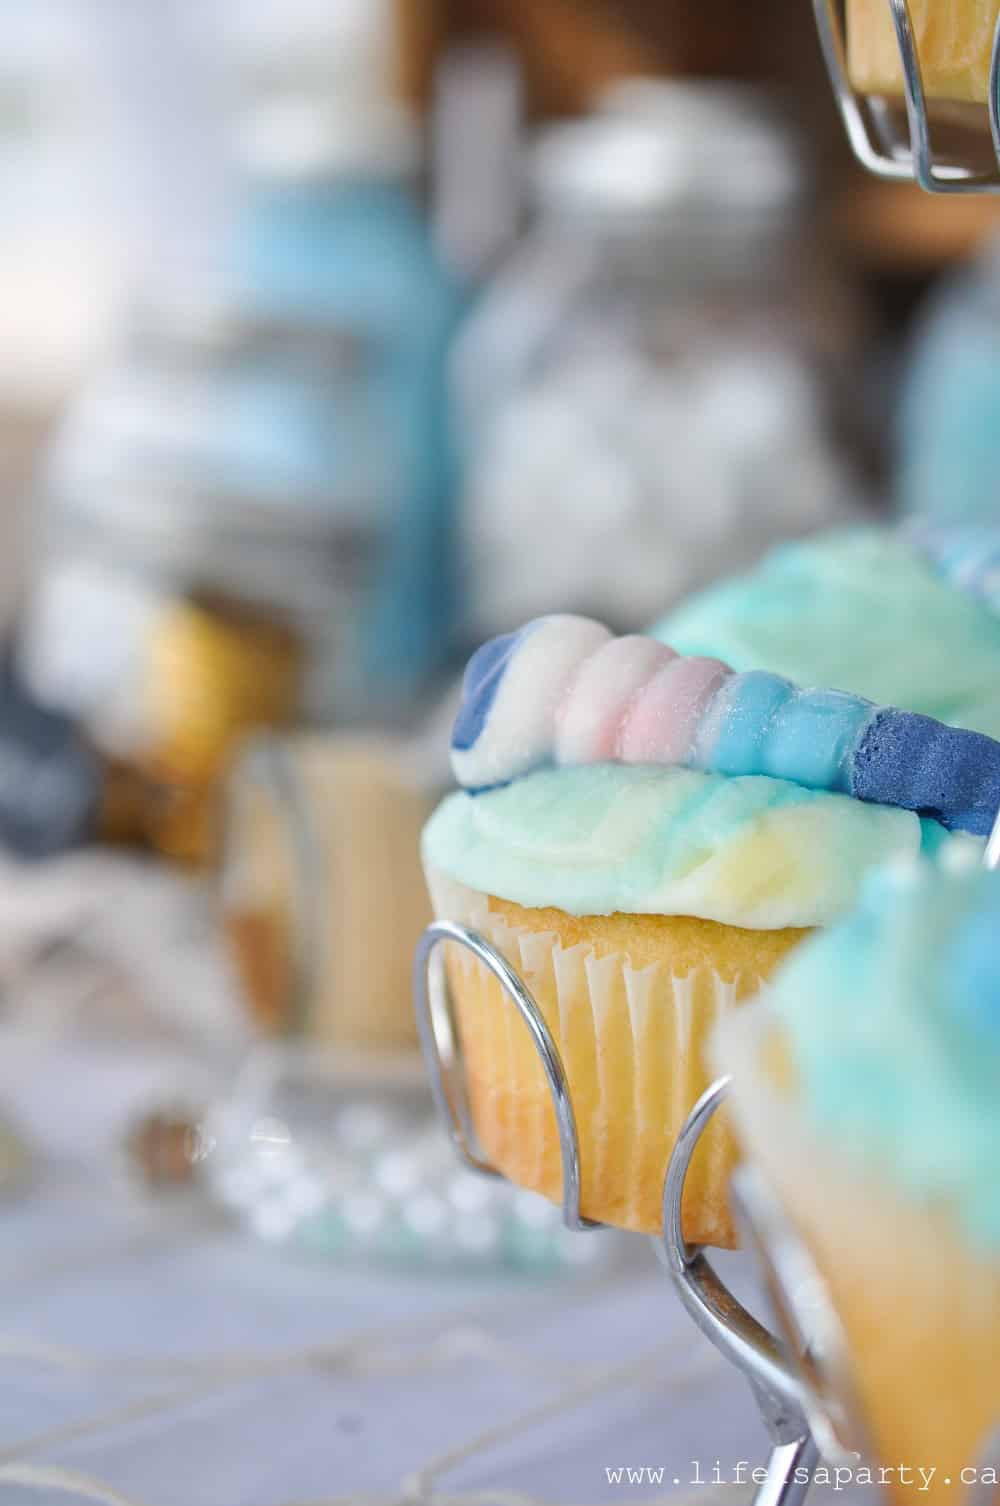
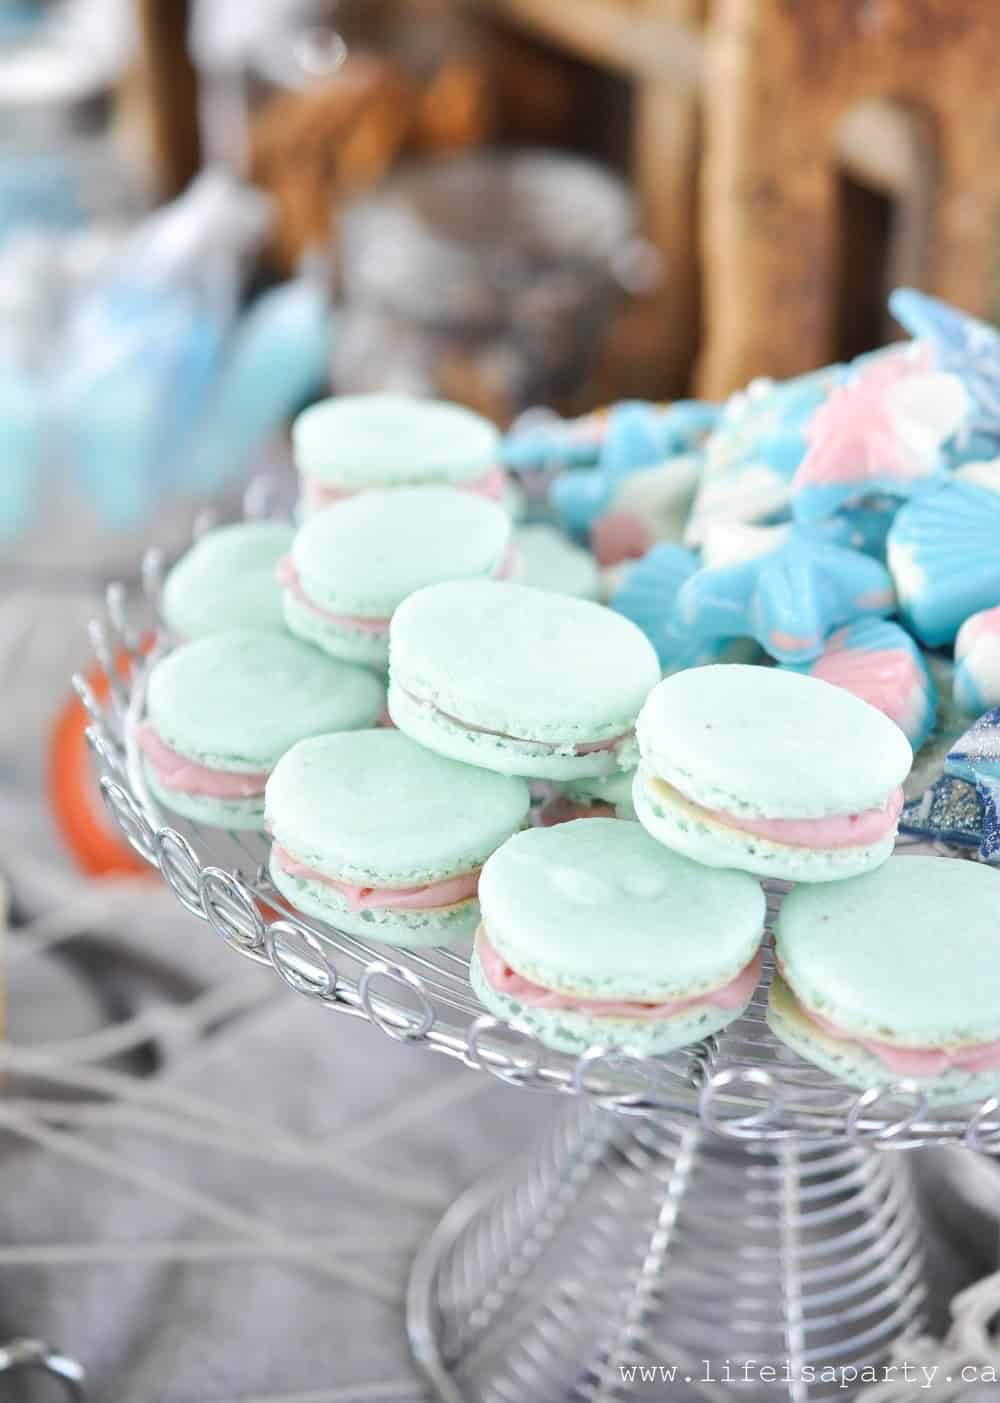
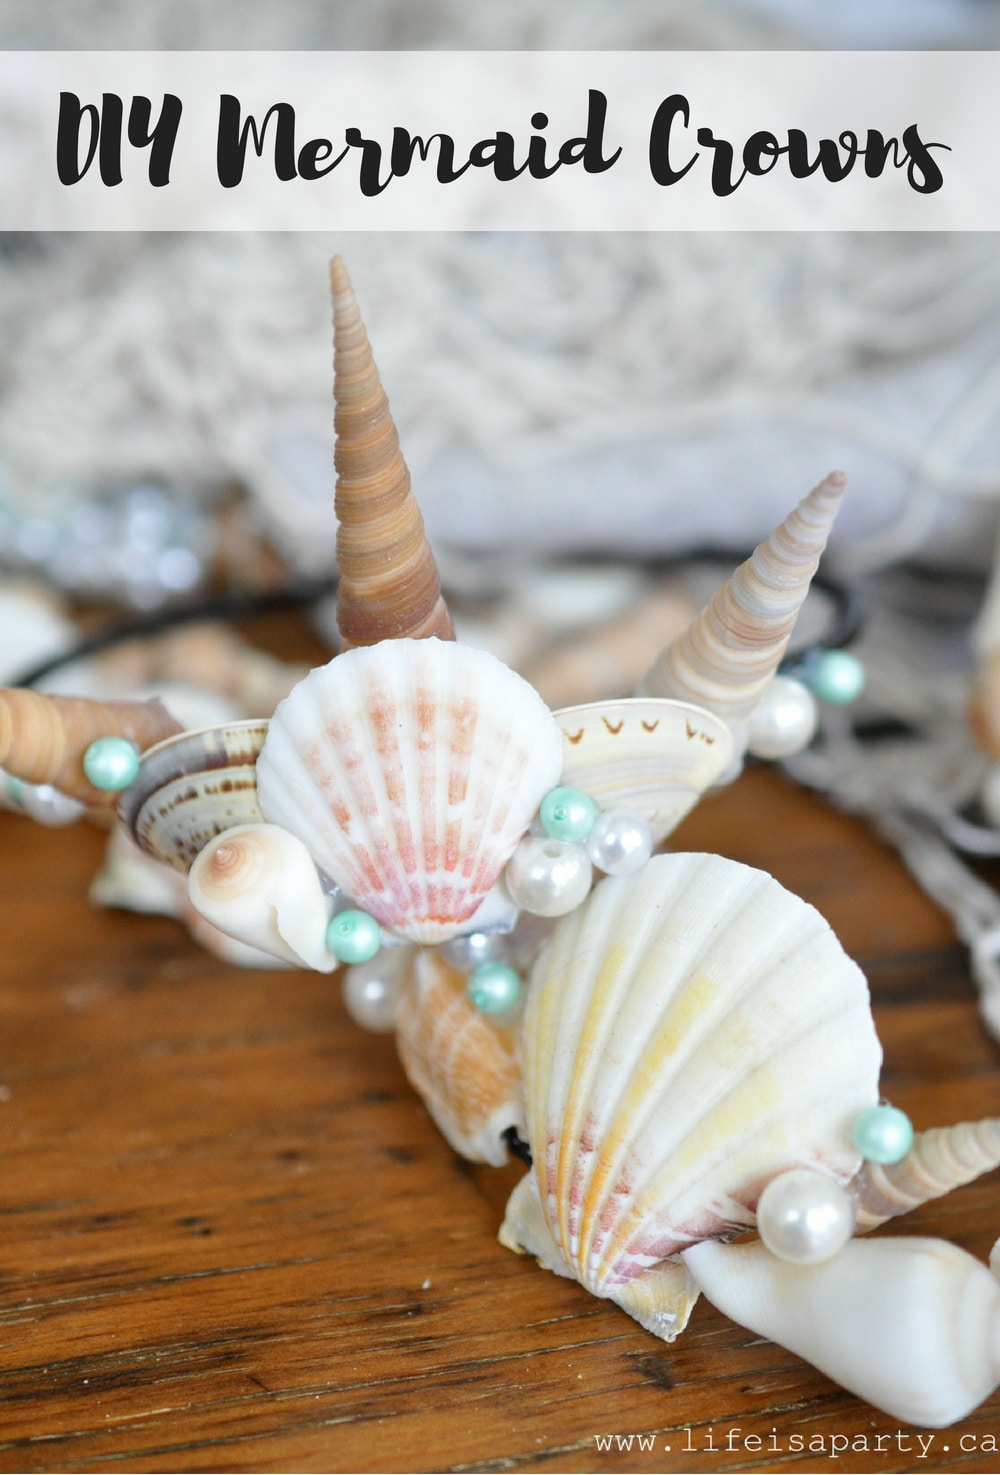
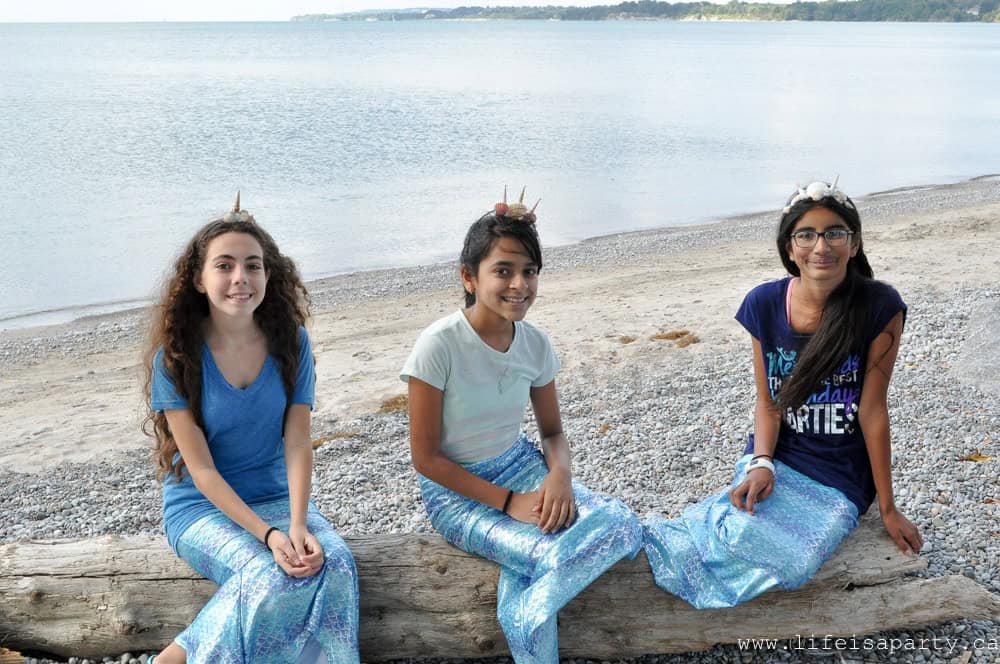
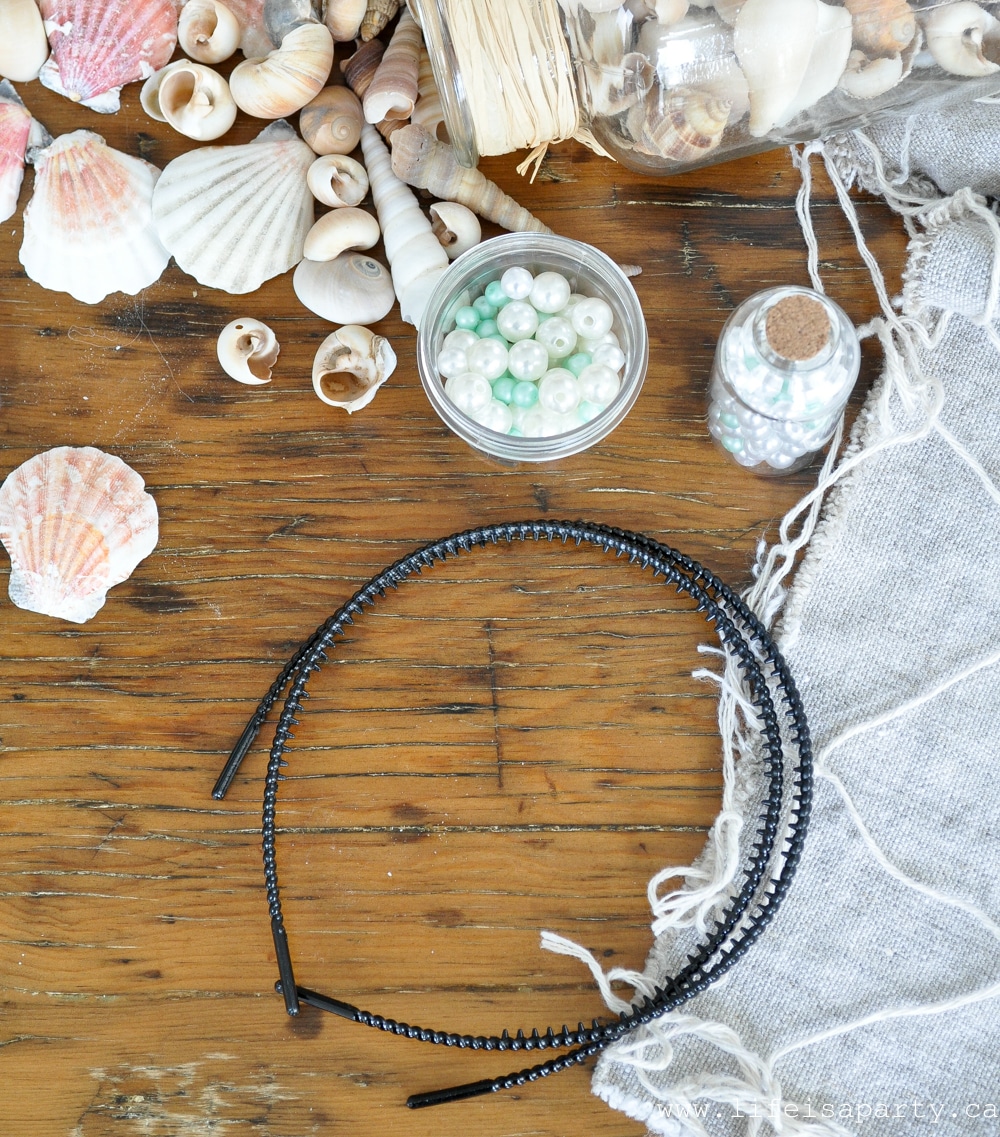 How To Make a Mermaid Crown:
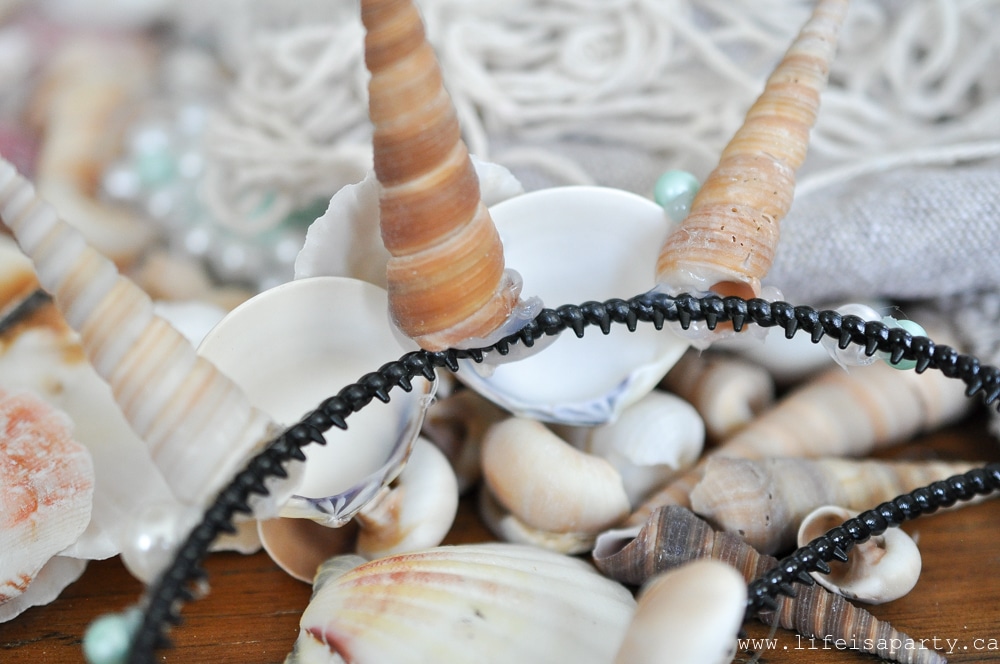
 Keep in mind that you don't want anything poking downward at the base of your crown, that would be uncomfortable when you're wearing head band. Also, when you're making your own mermaid crown you want the crown to be able sit on your head without tipping over and falling off, so keep your design balanced at the front of the crown. The shells can get kind of heavy.
 Also you can decide whether you want the hair band worn further back on your head and the design on the very top, or the hair band worn more forward and the design angled to sit up slightly like a mermaid princess crown.
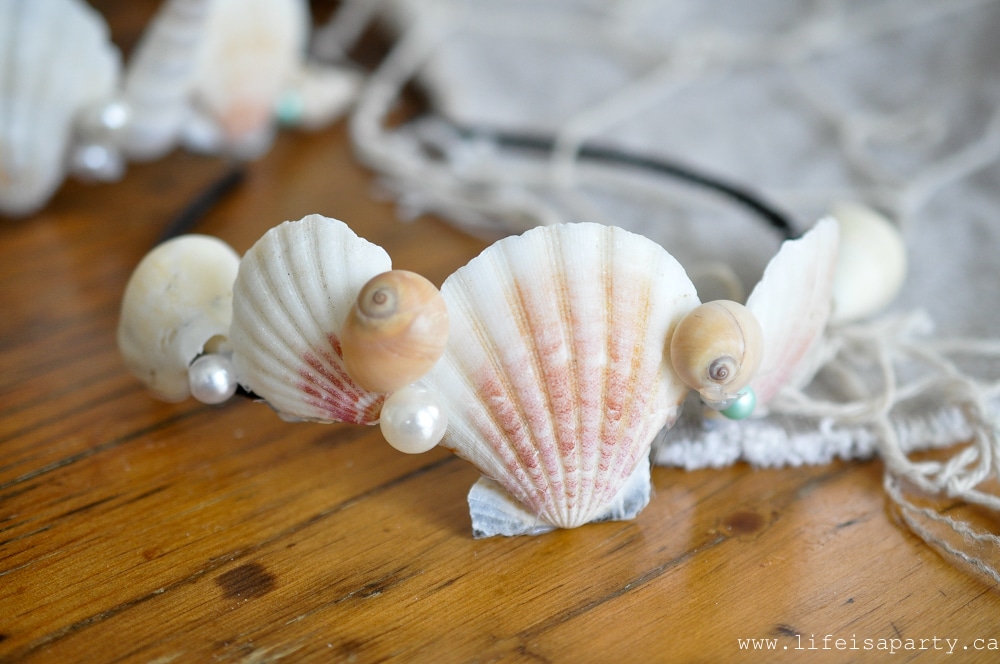

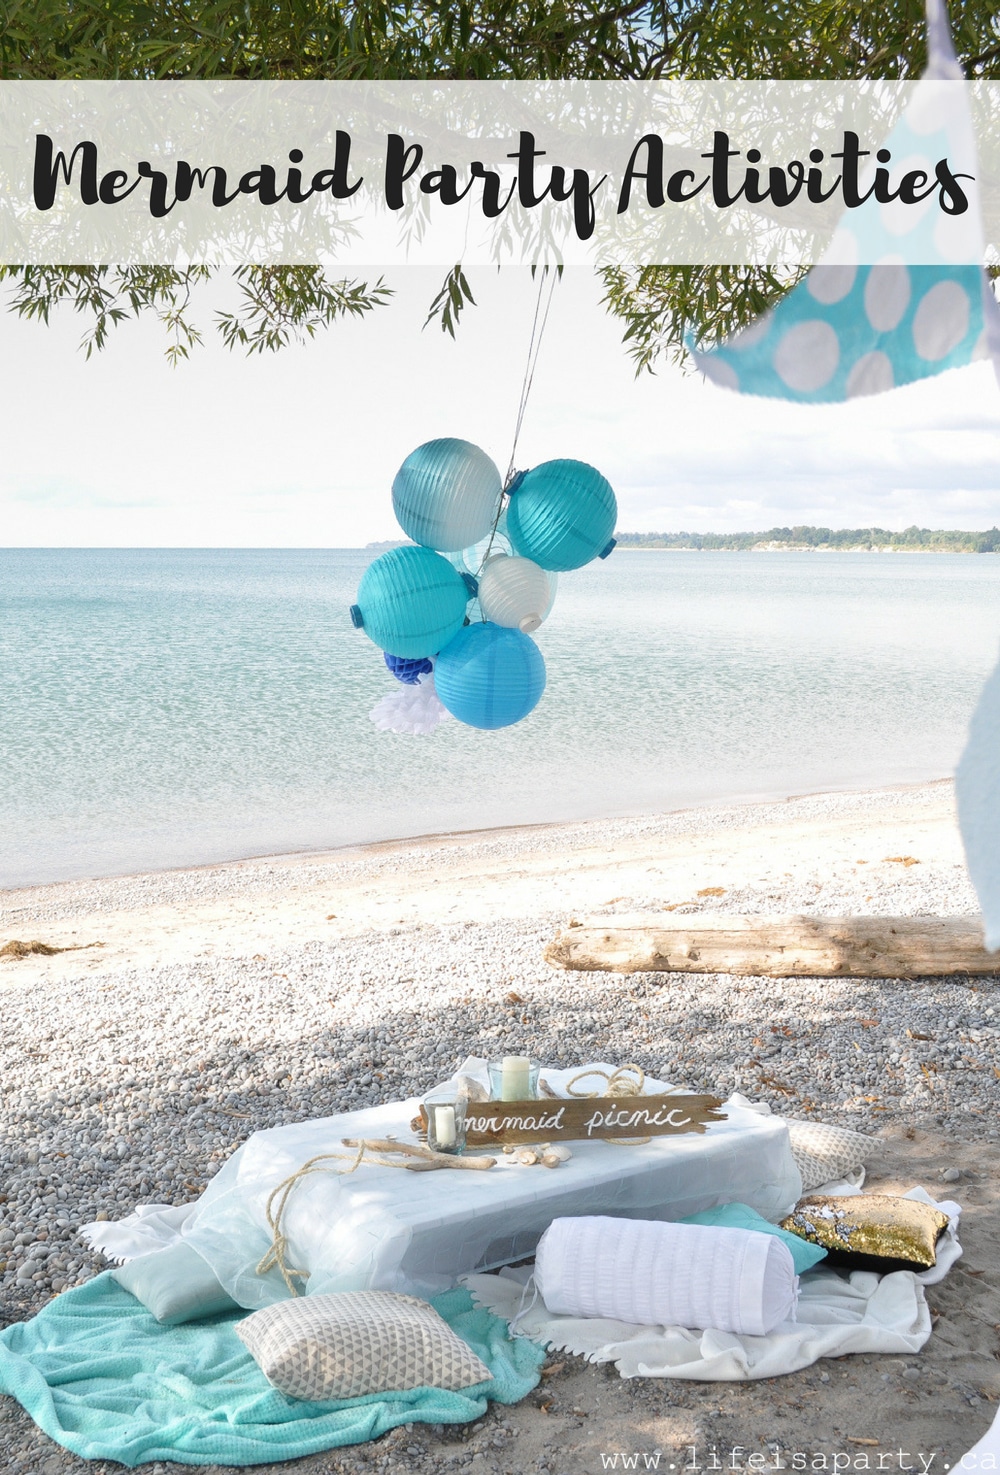


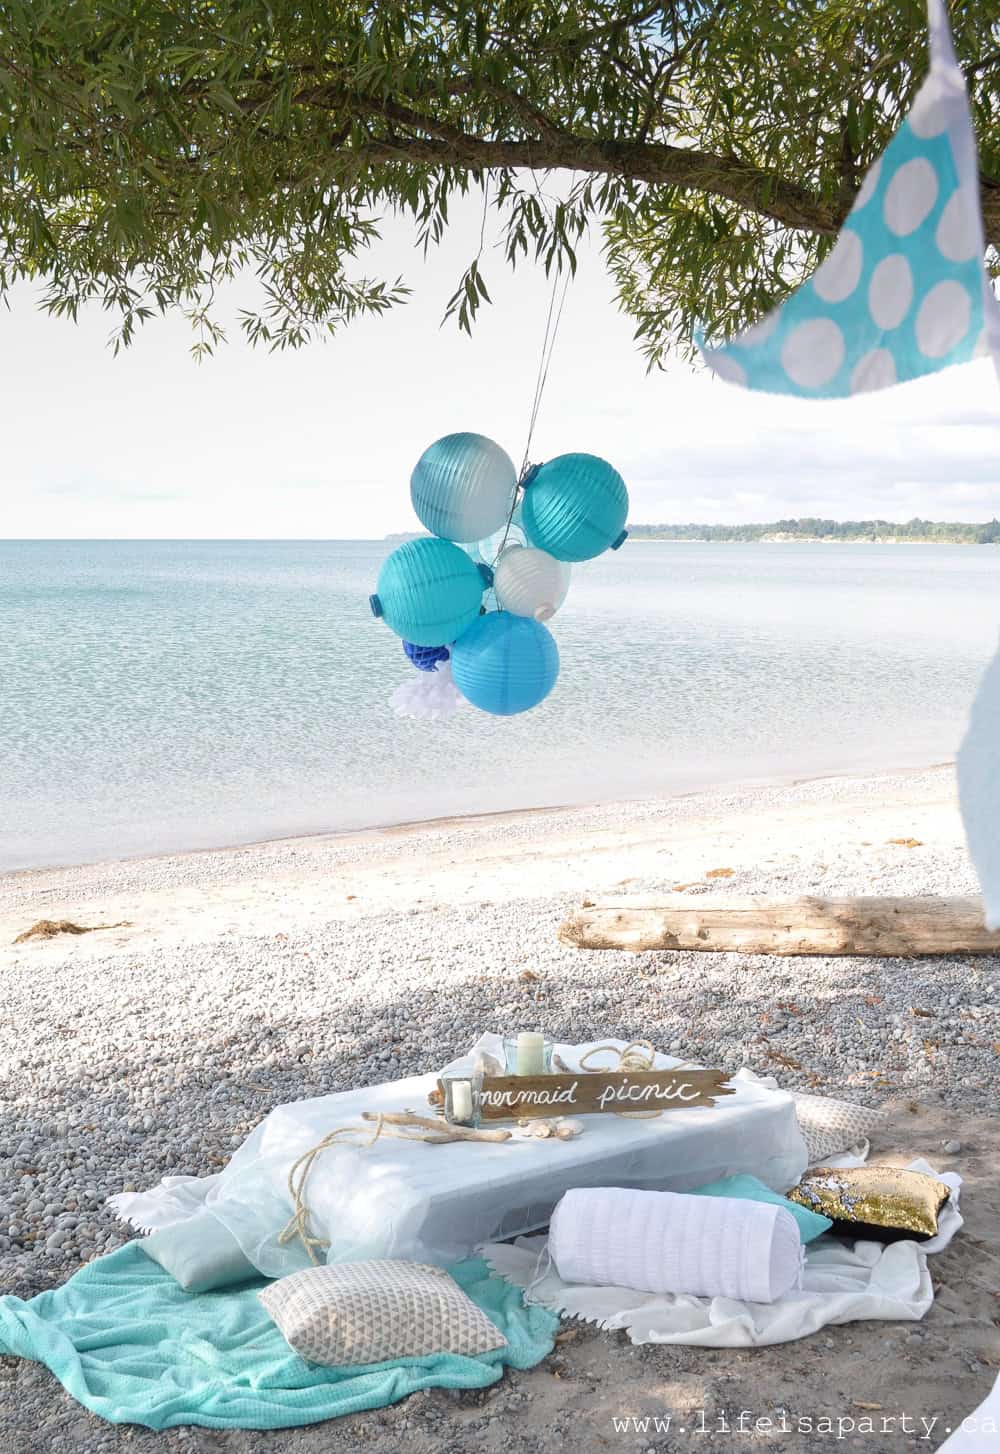

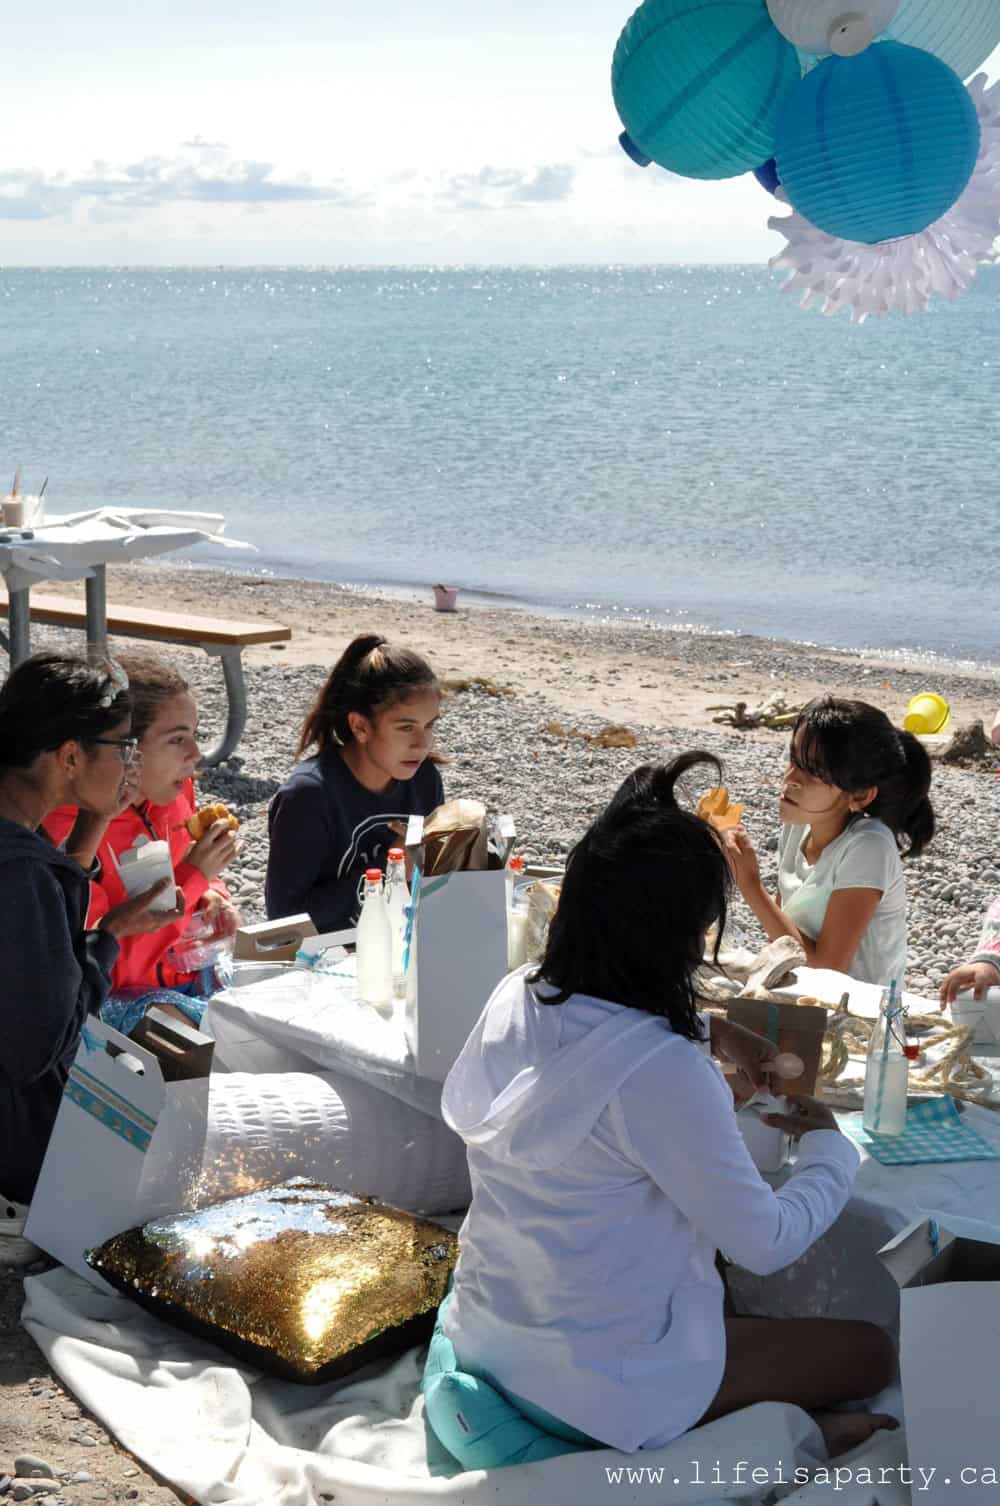
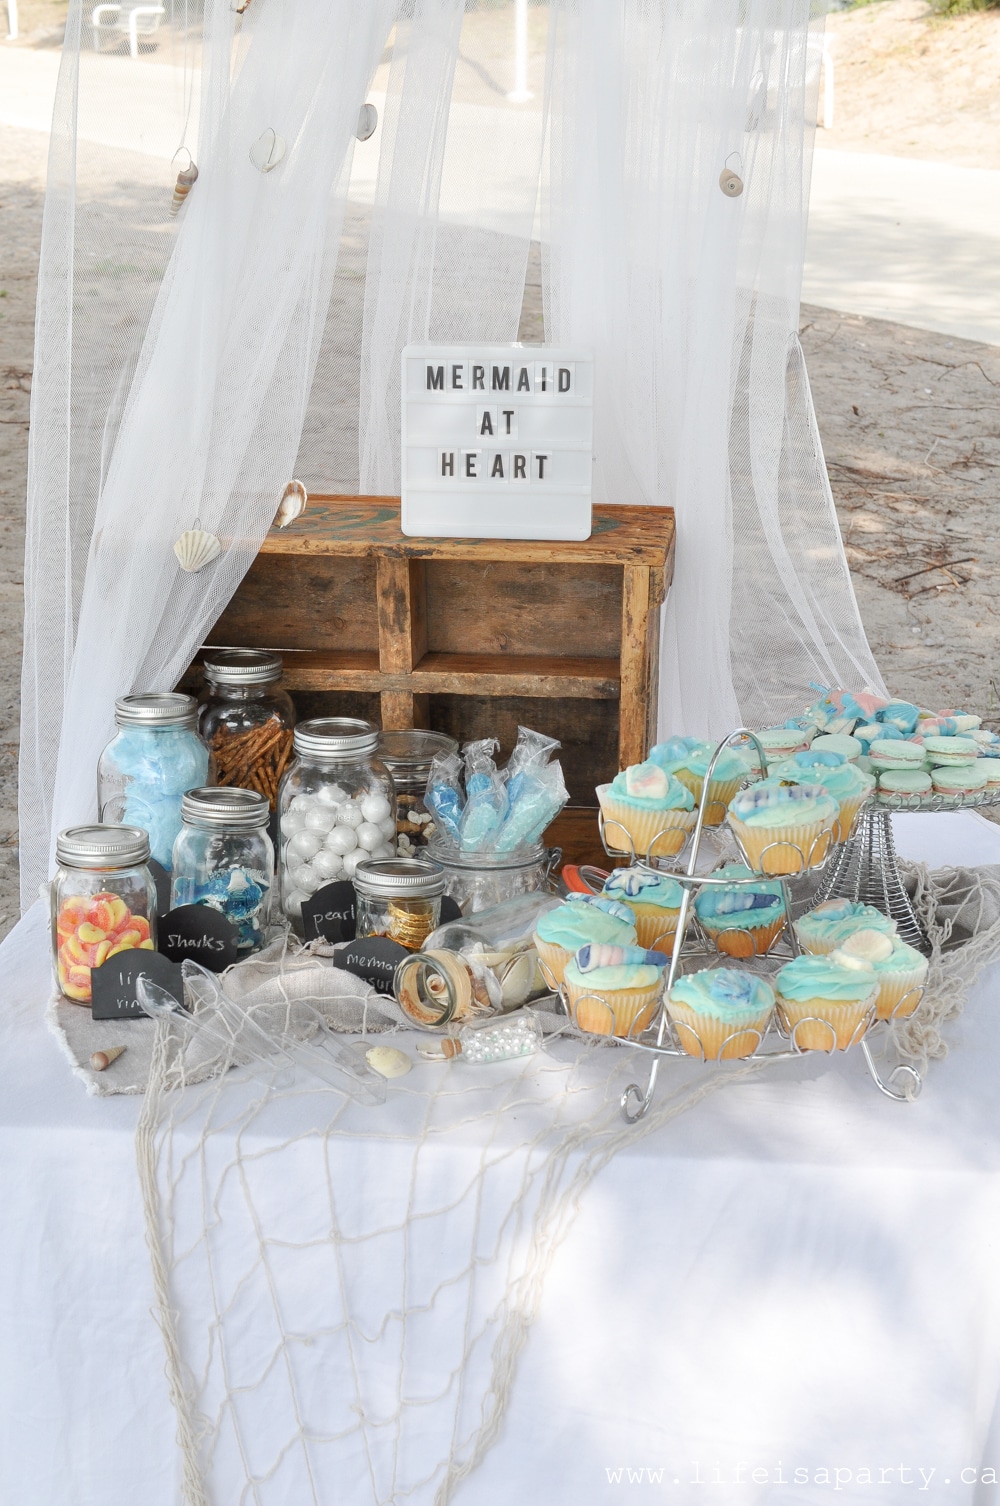
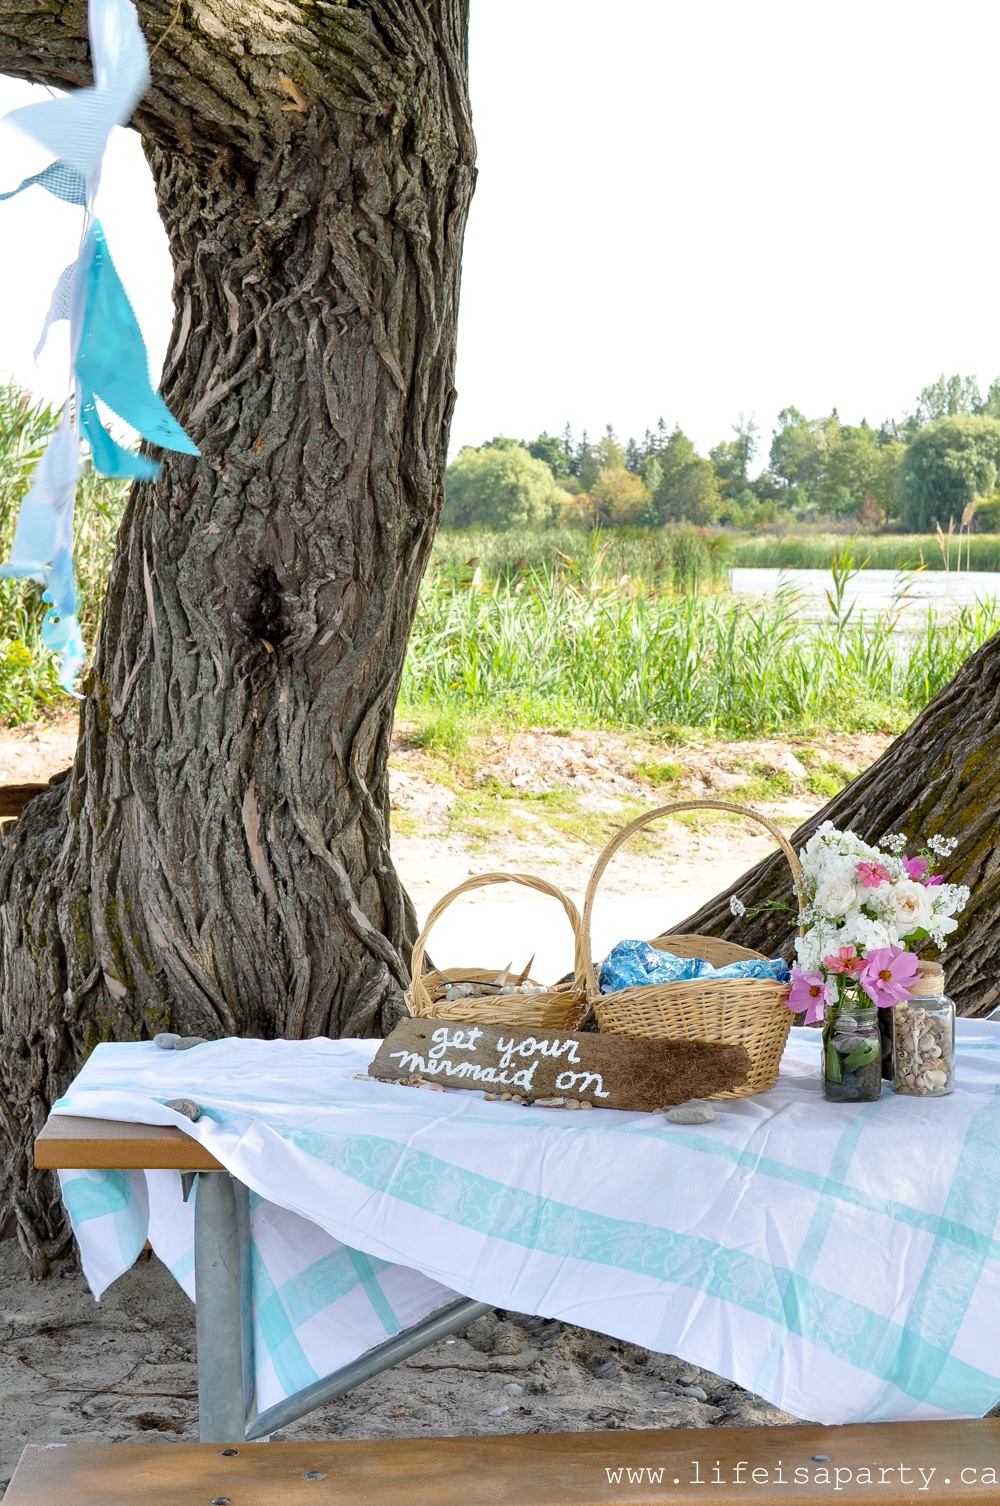
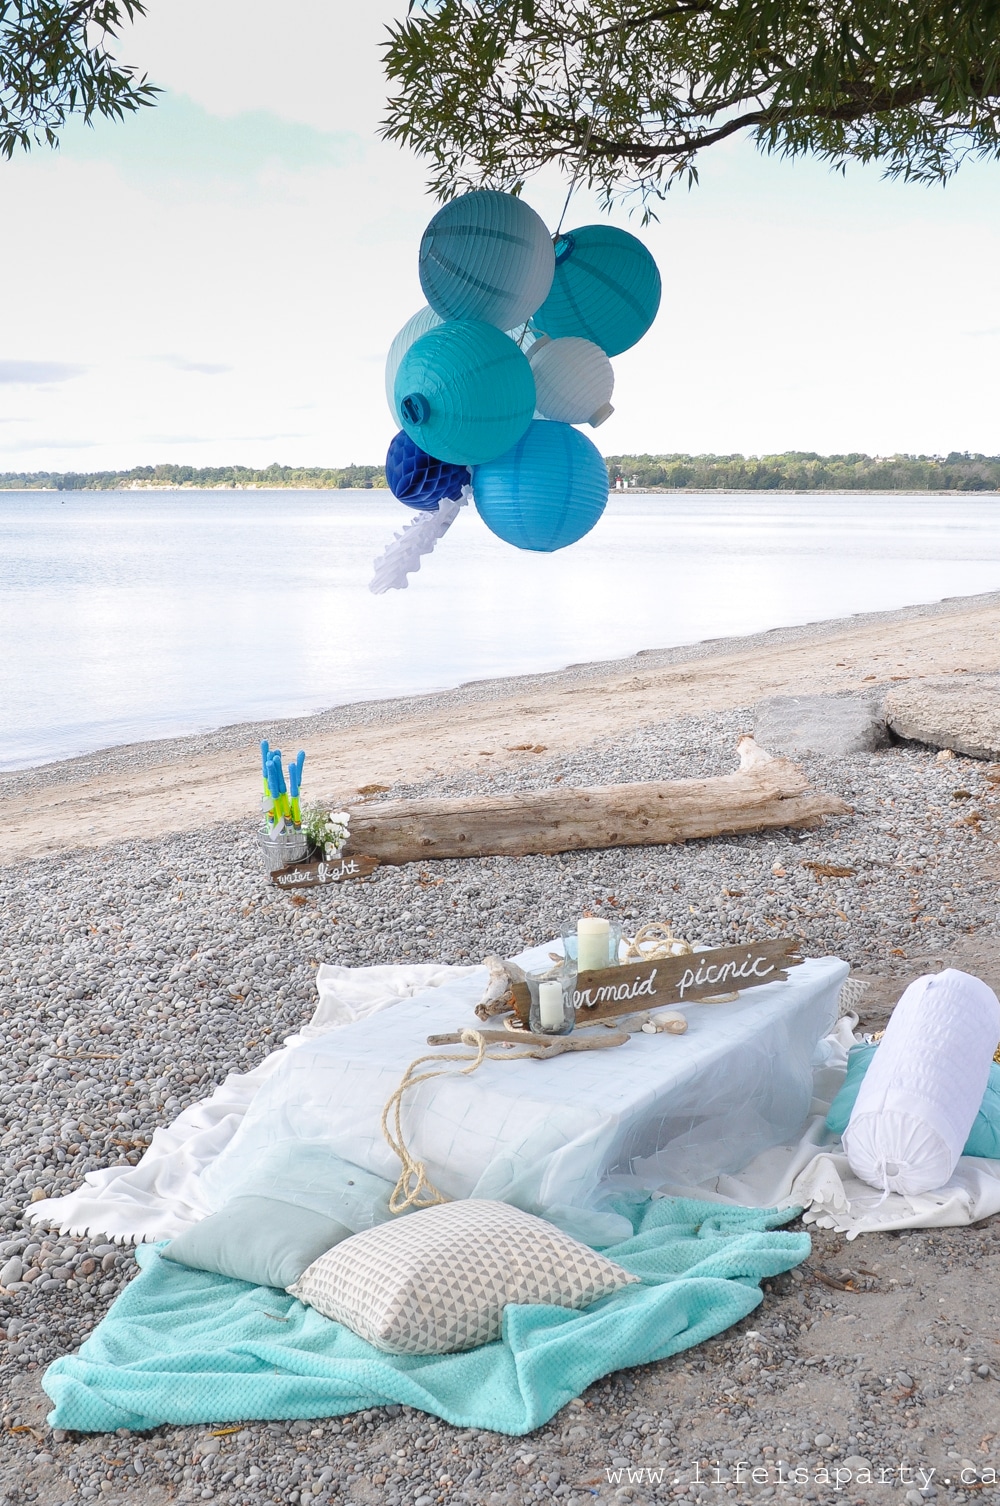 Over the table we made a cluster of pretty paper lanterns and hung them from the over head tree. These looked so gorgeous over the table, and were a nice alternative to balloons, with no danger of popping, or need to pick them up at the last moment at the party store.
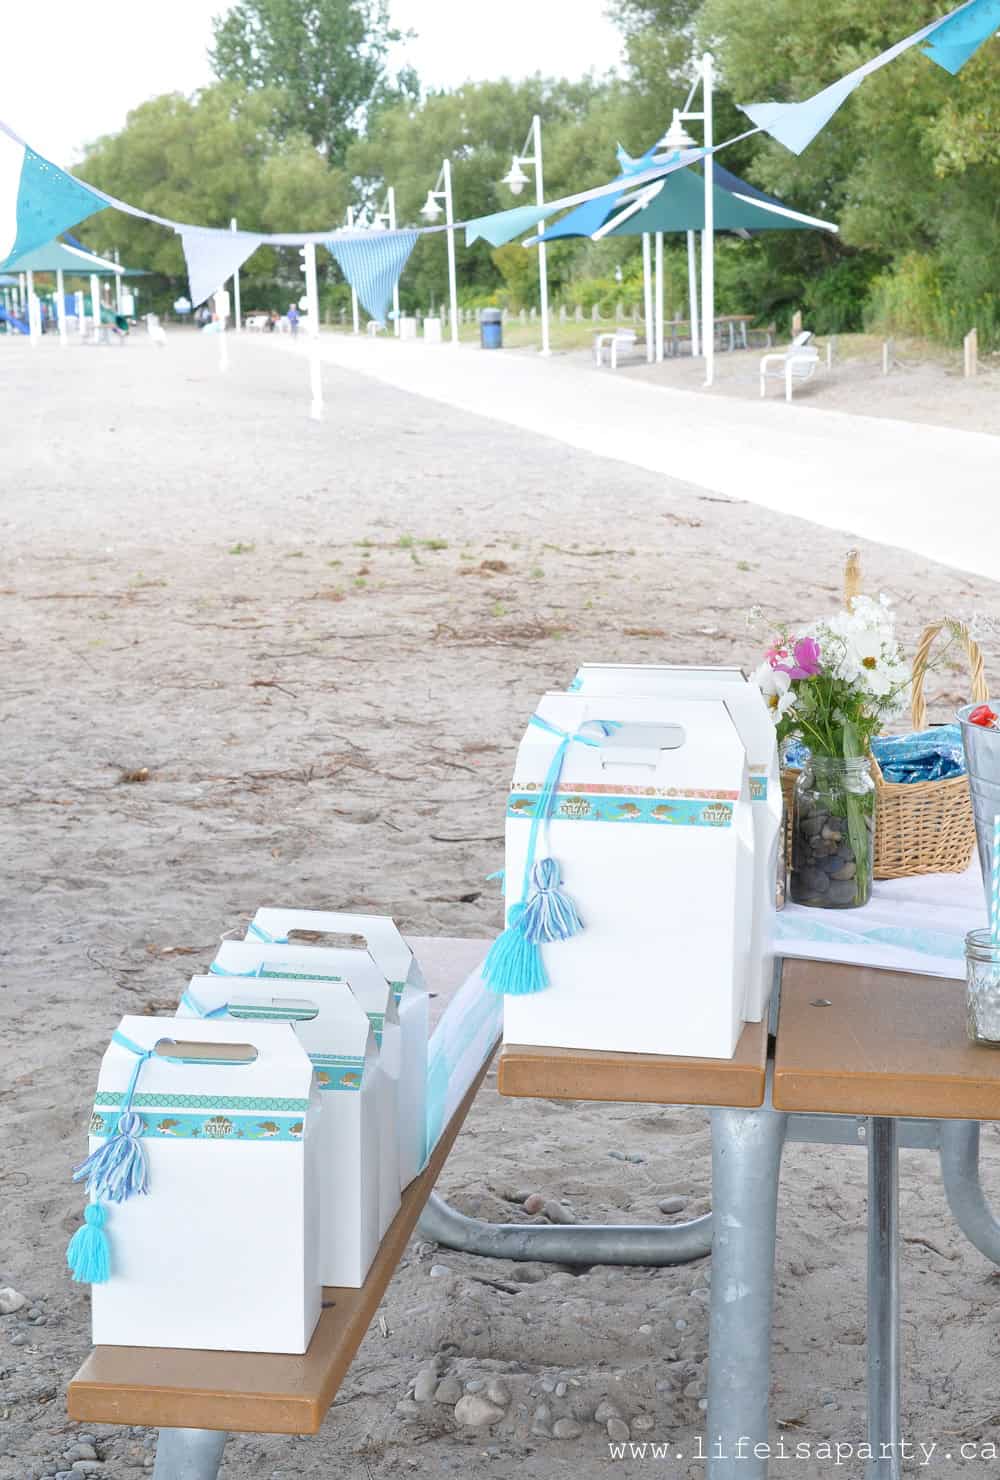
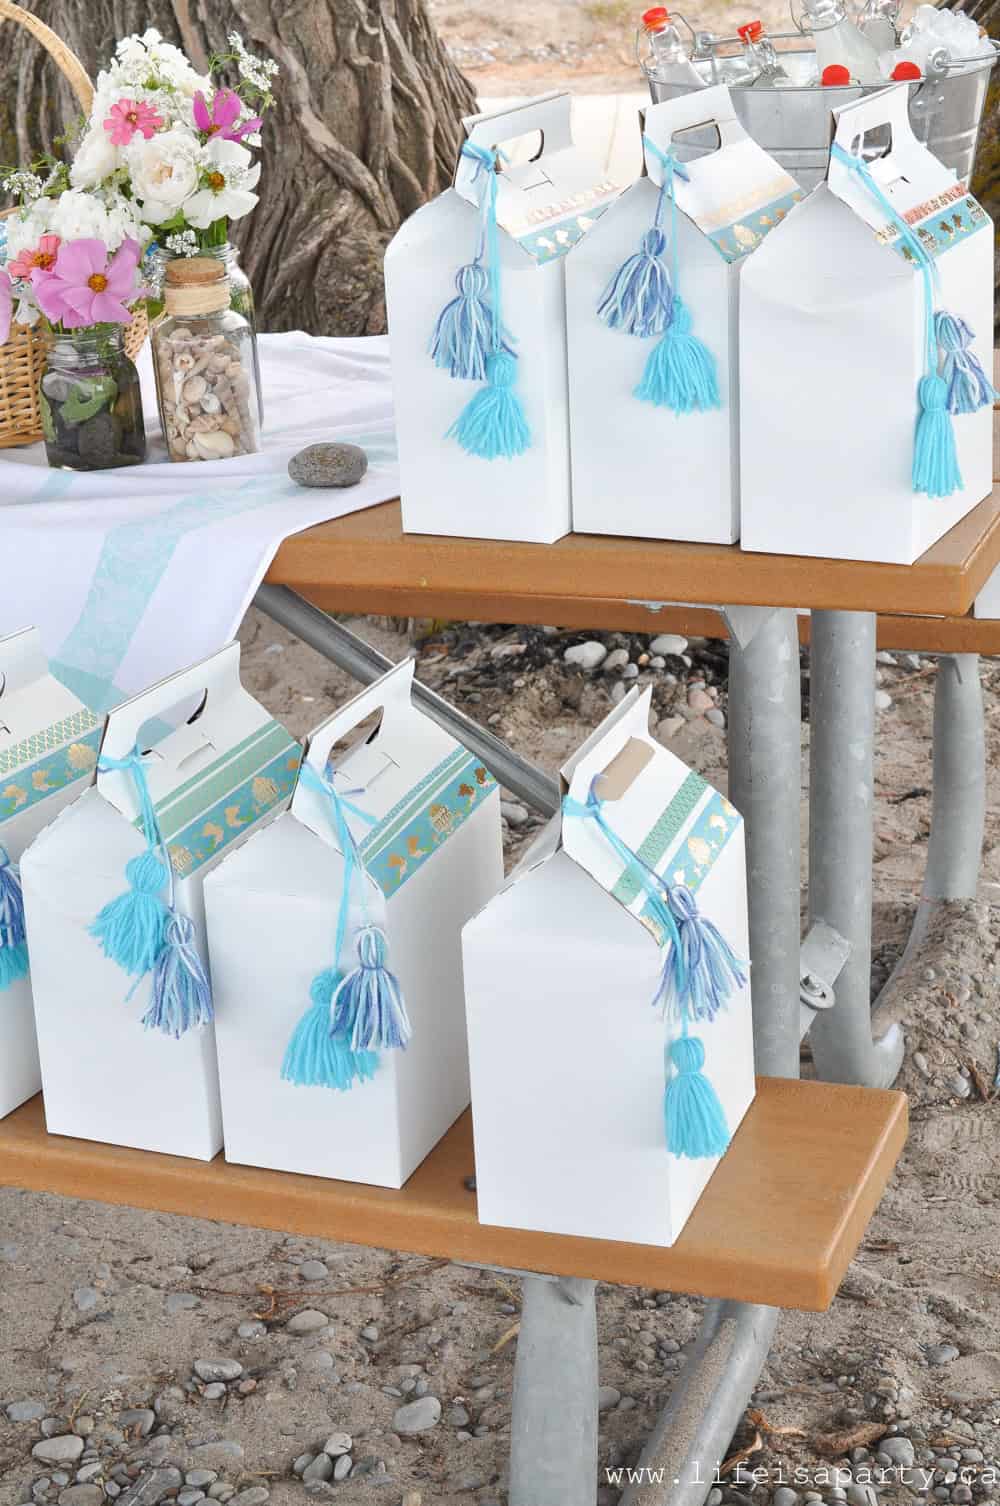
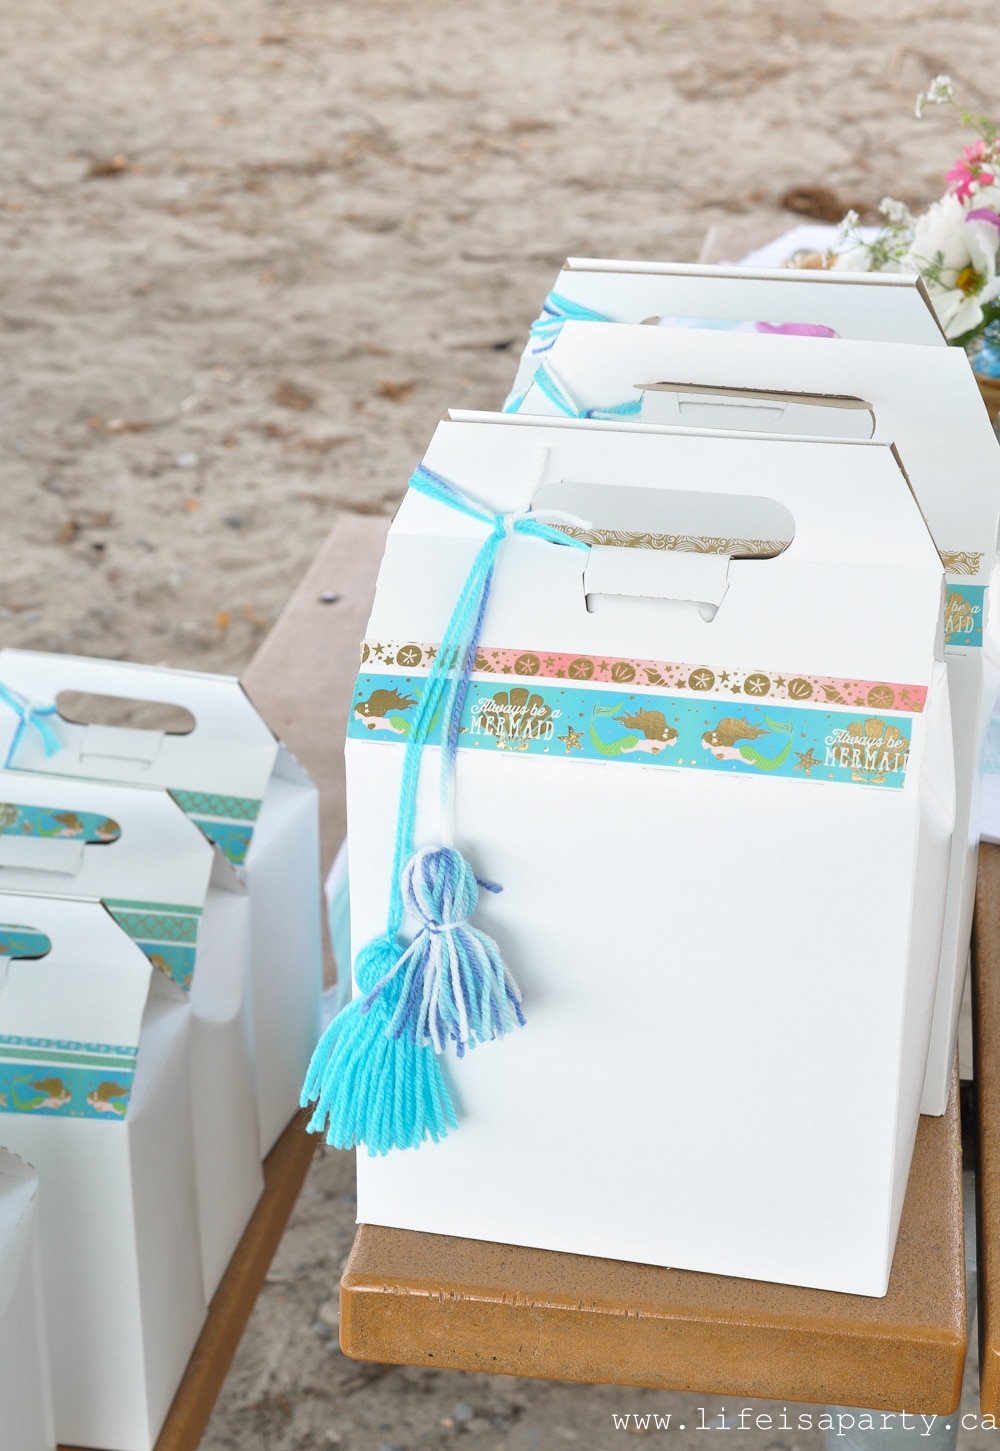
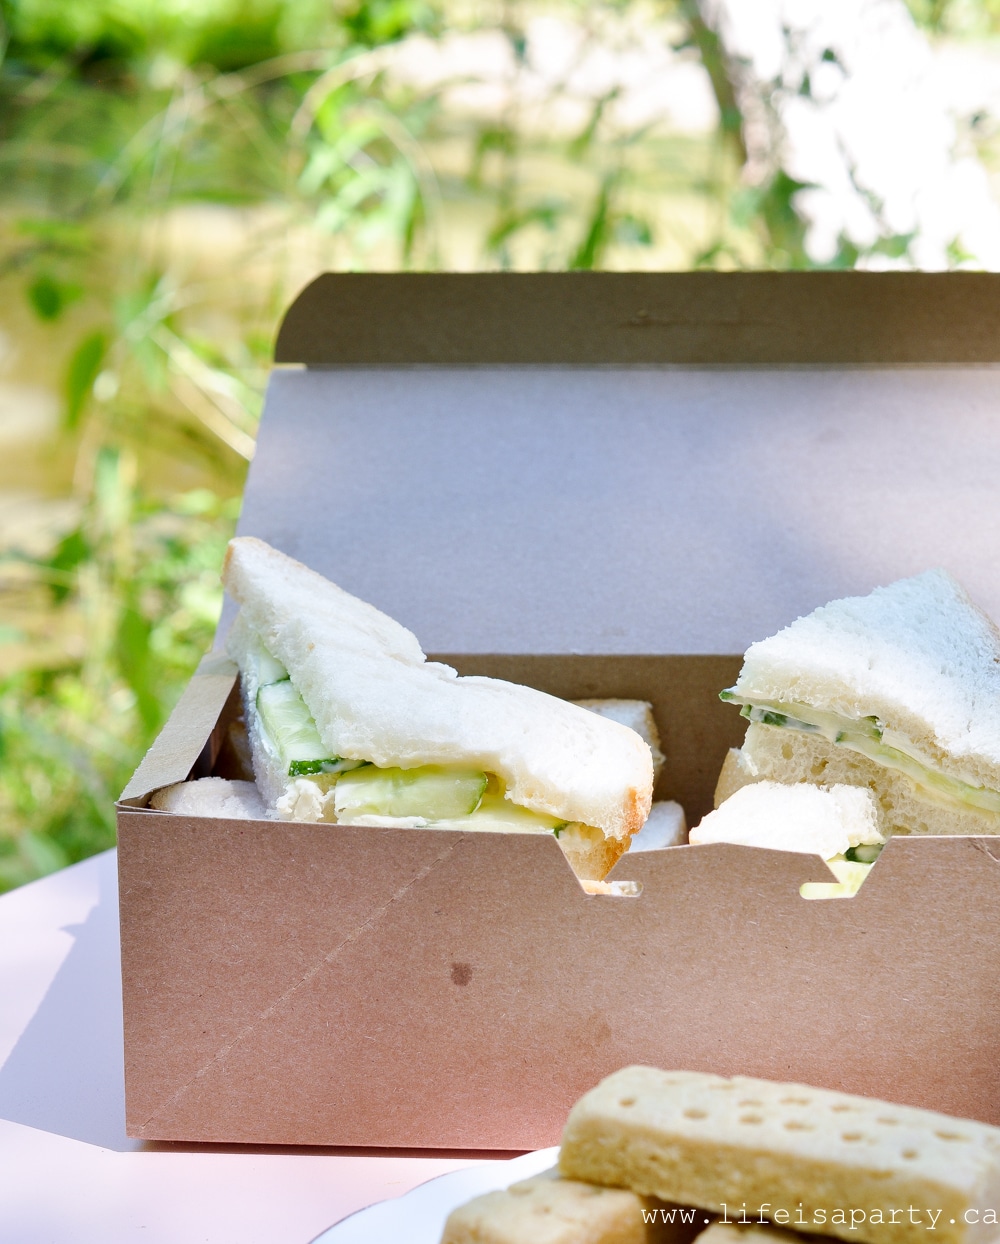
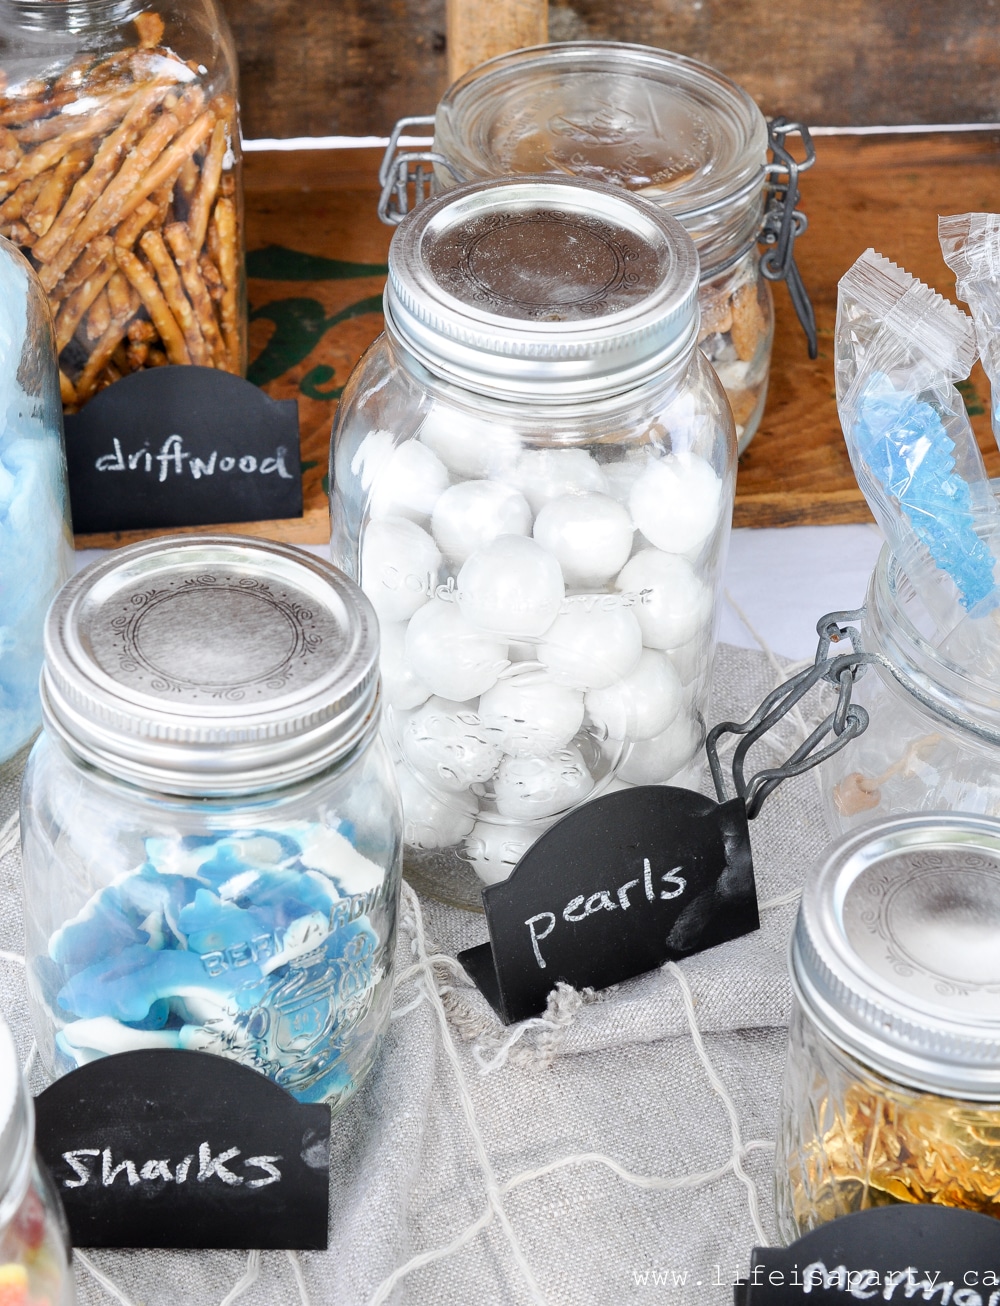
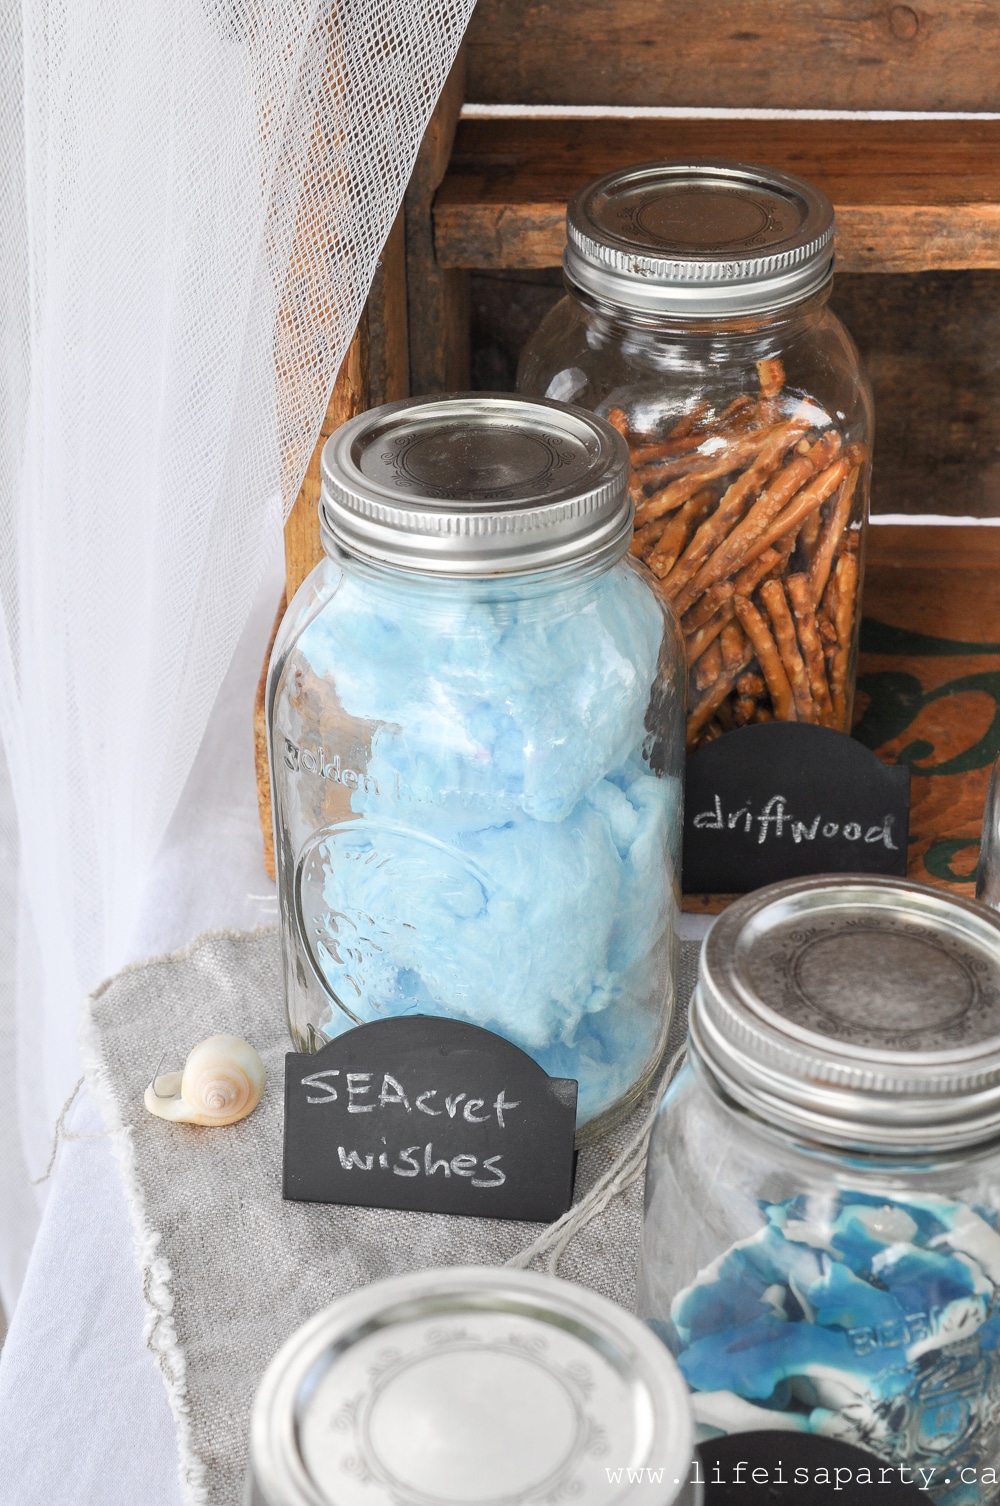
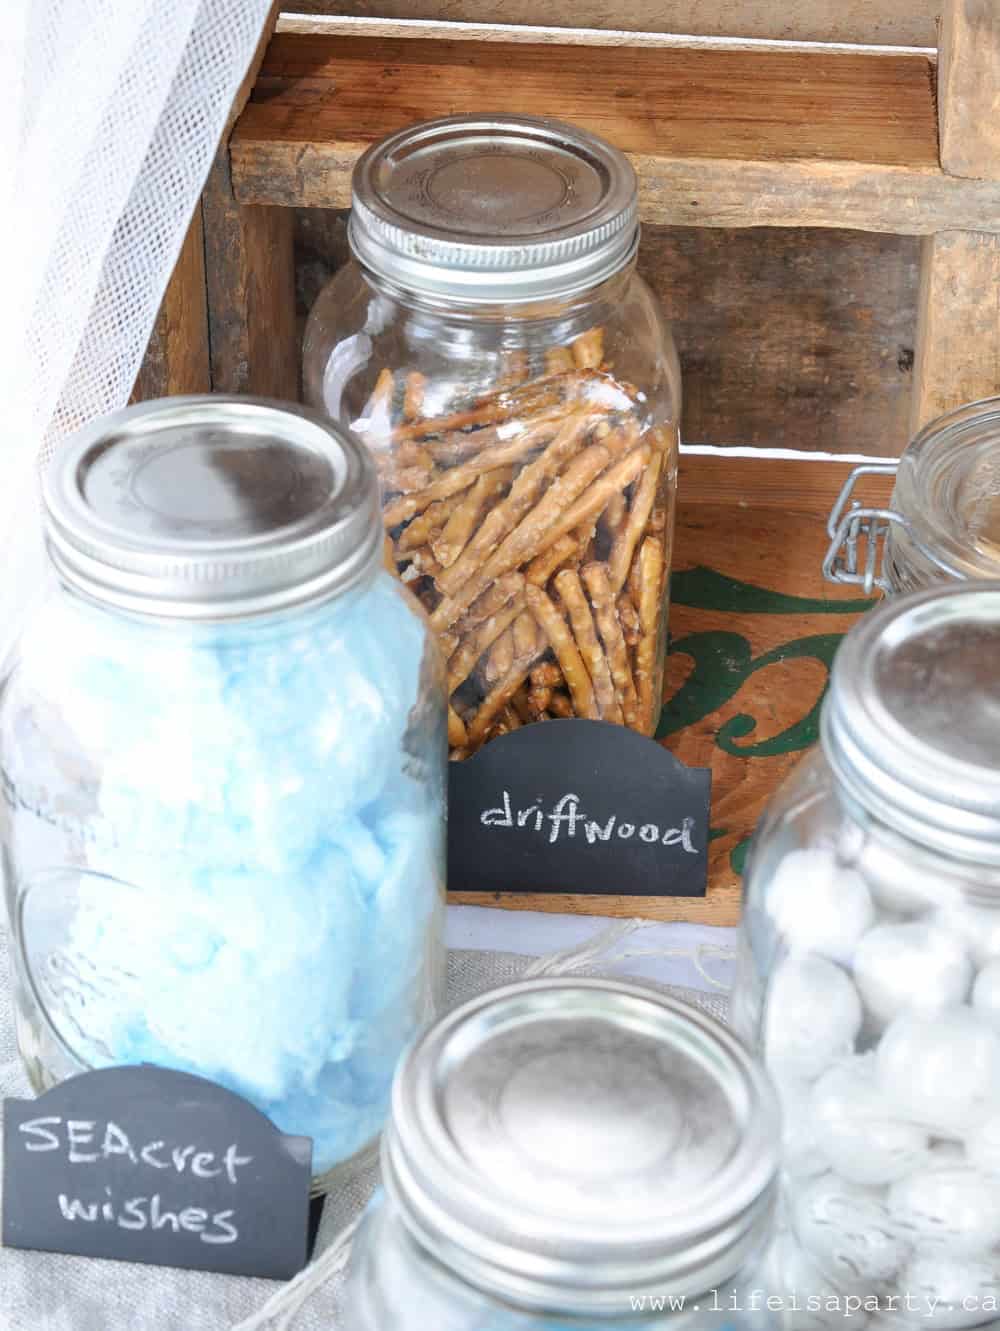
 Inside our individual picnic boxes were our mermaid lunches.
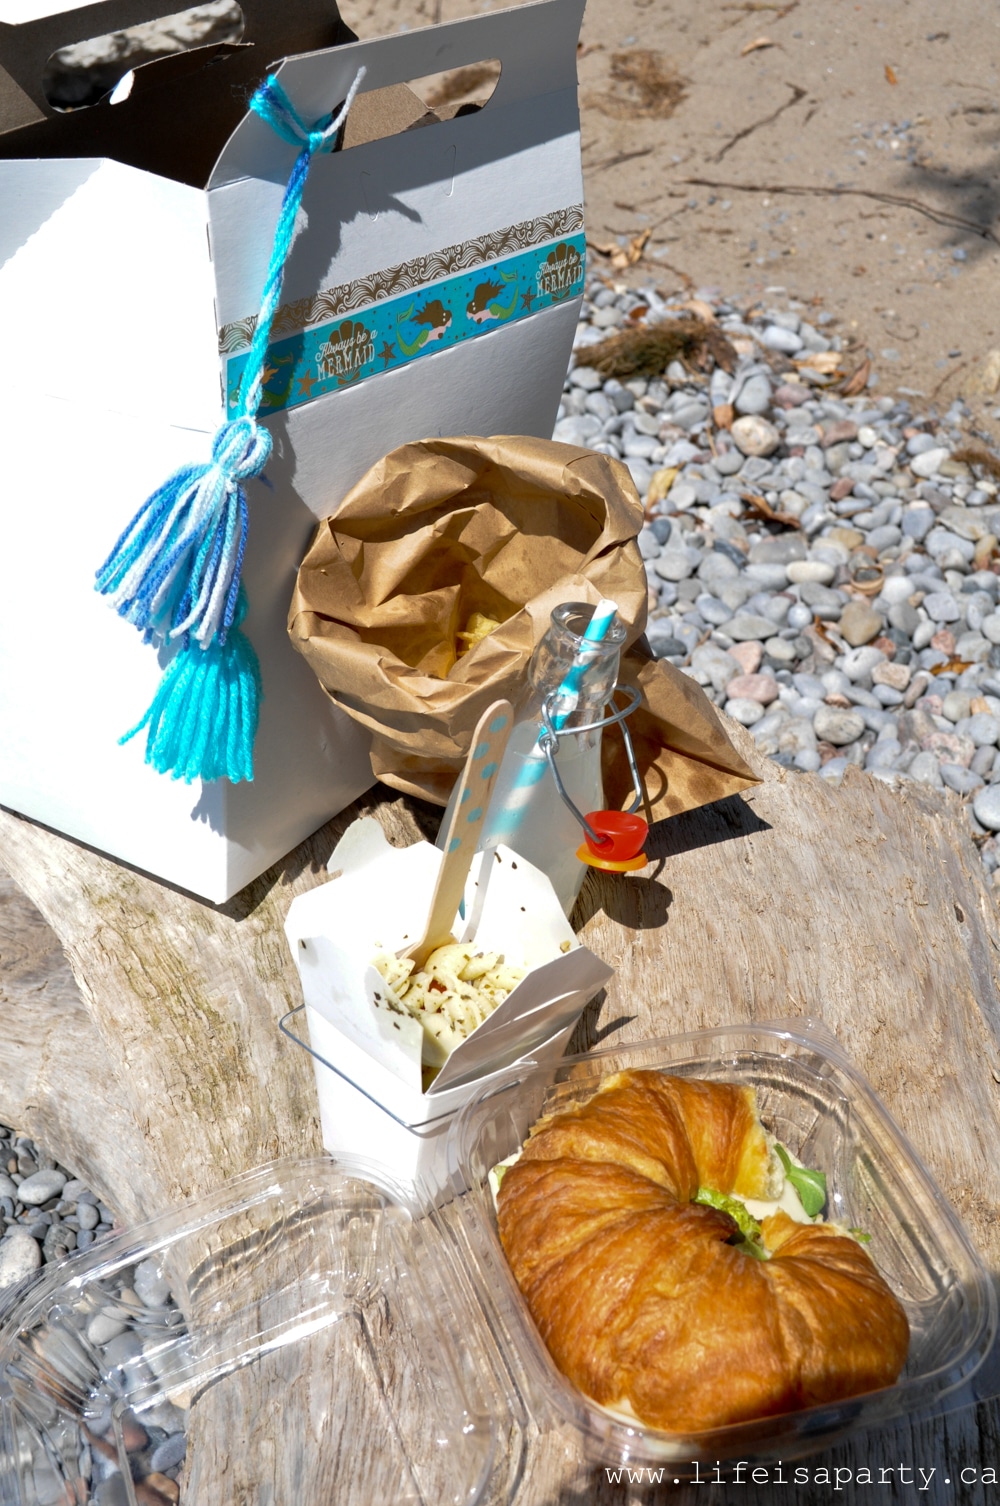


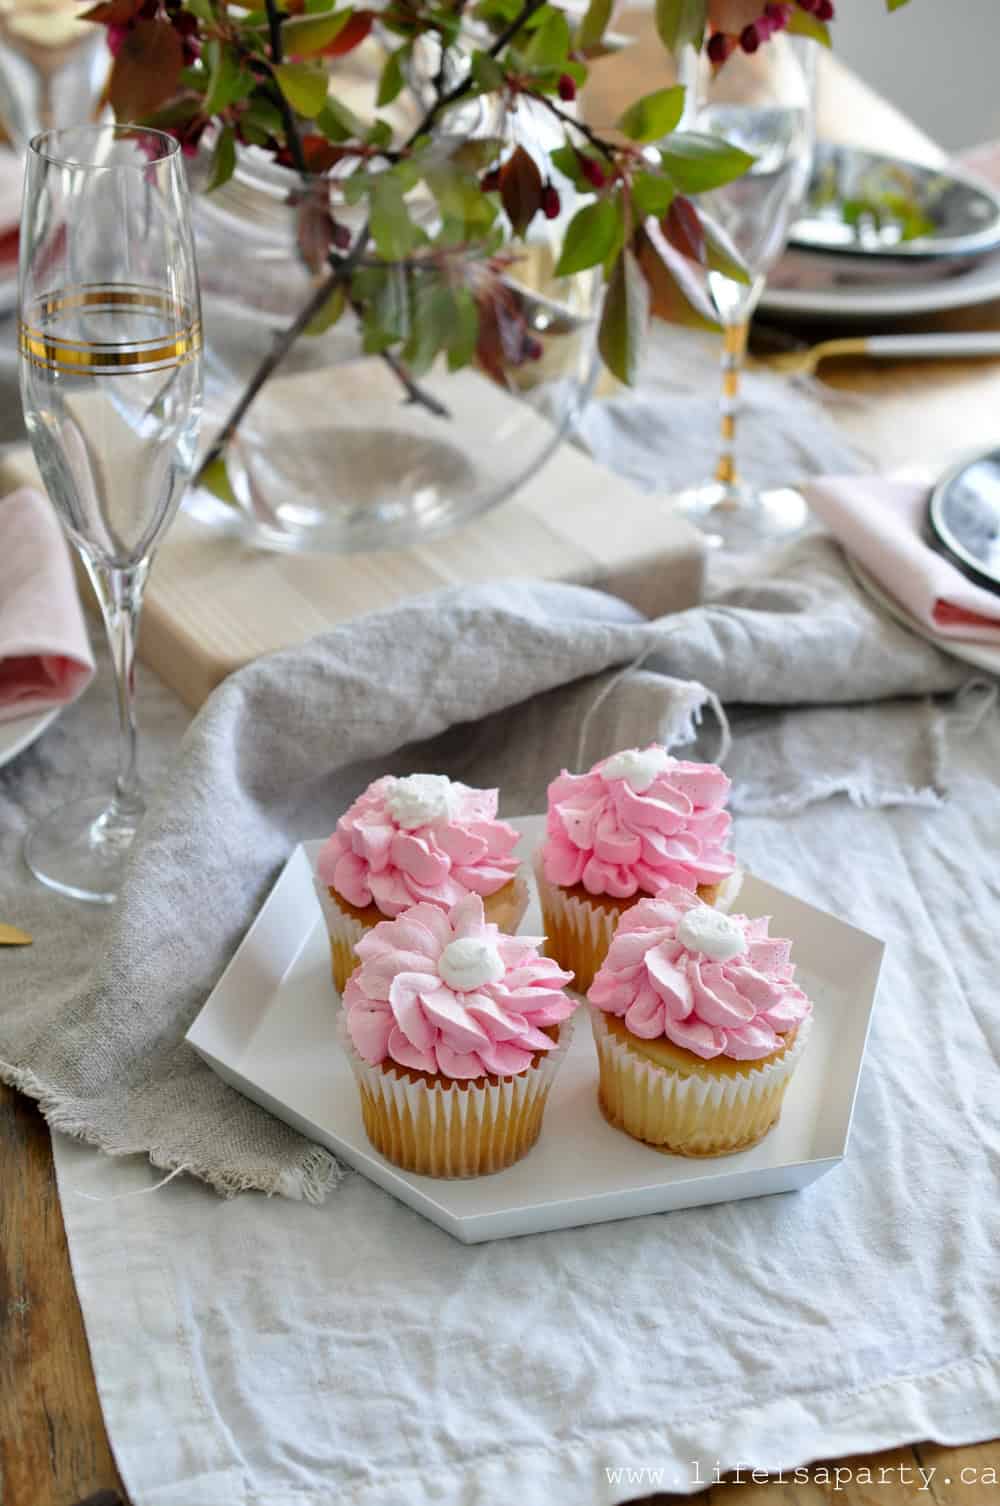
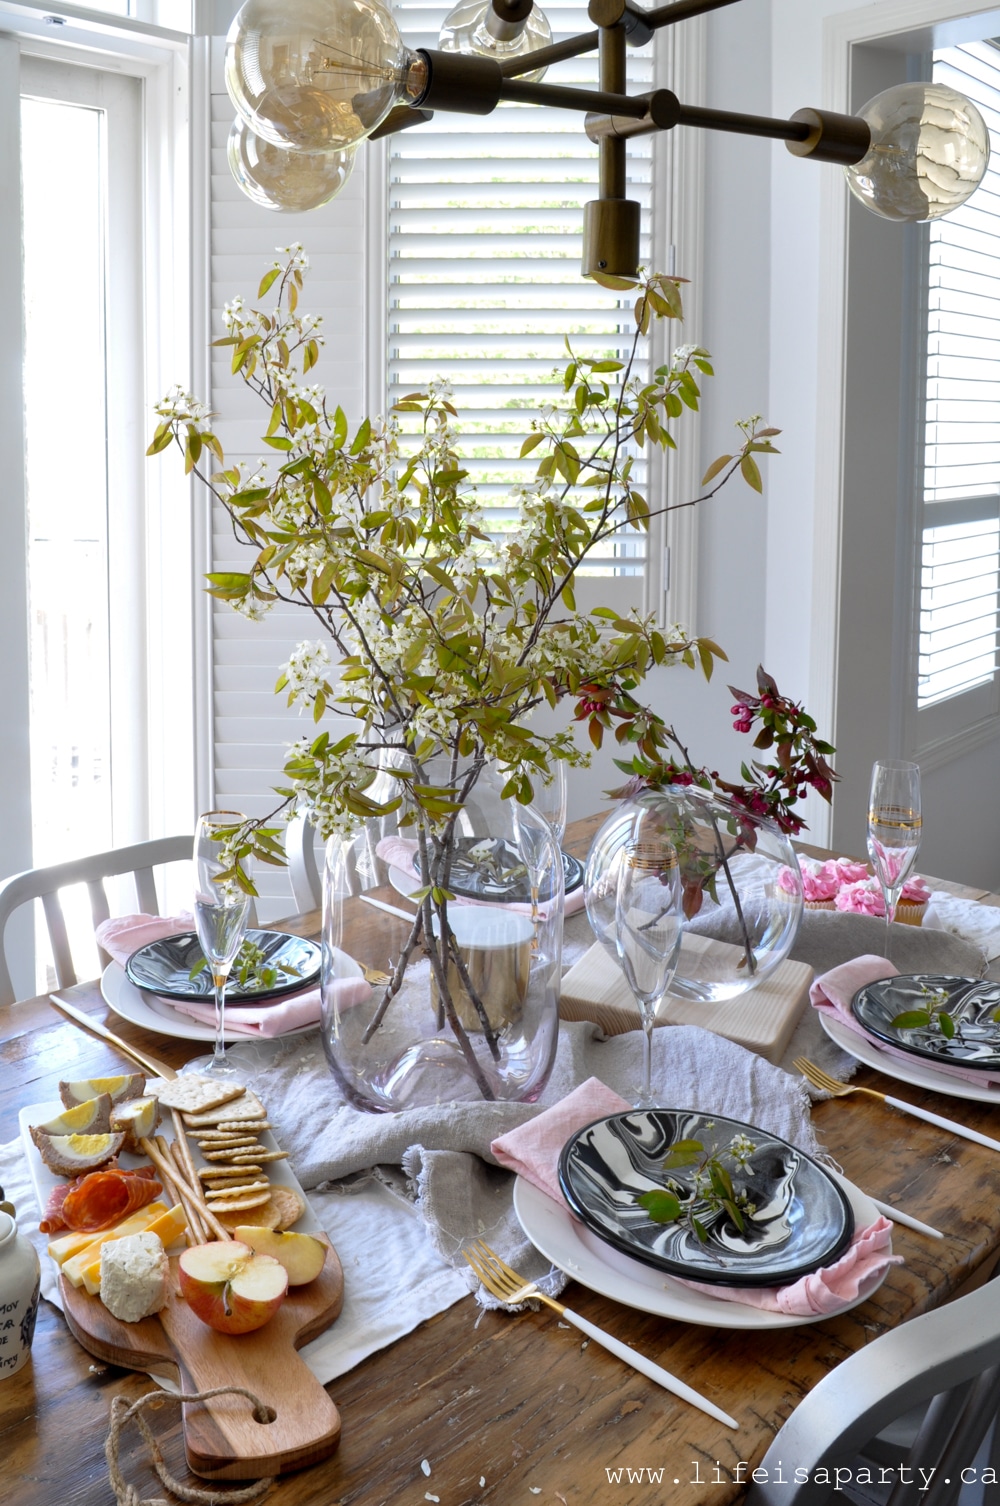
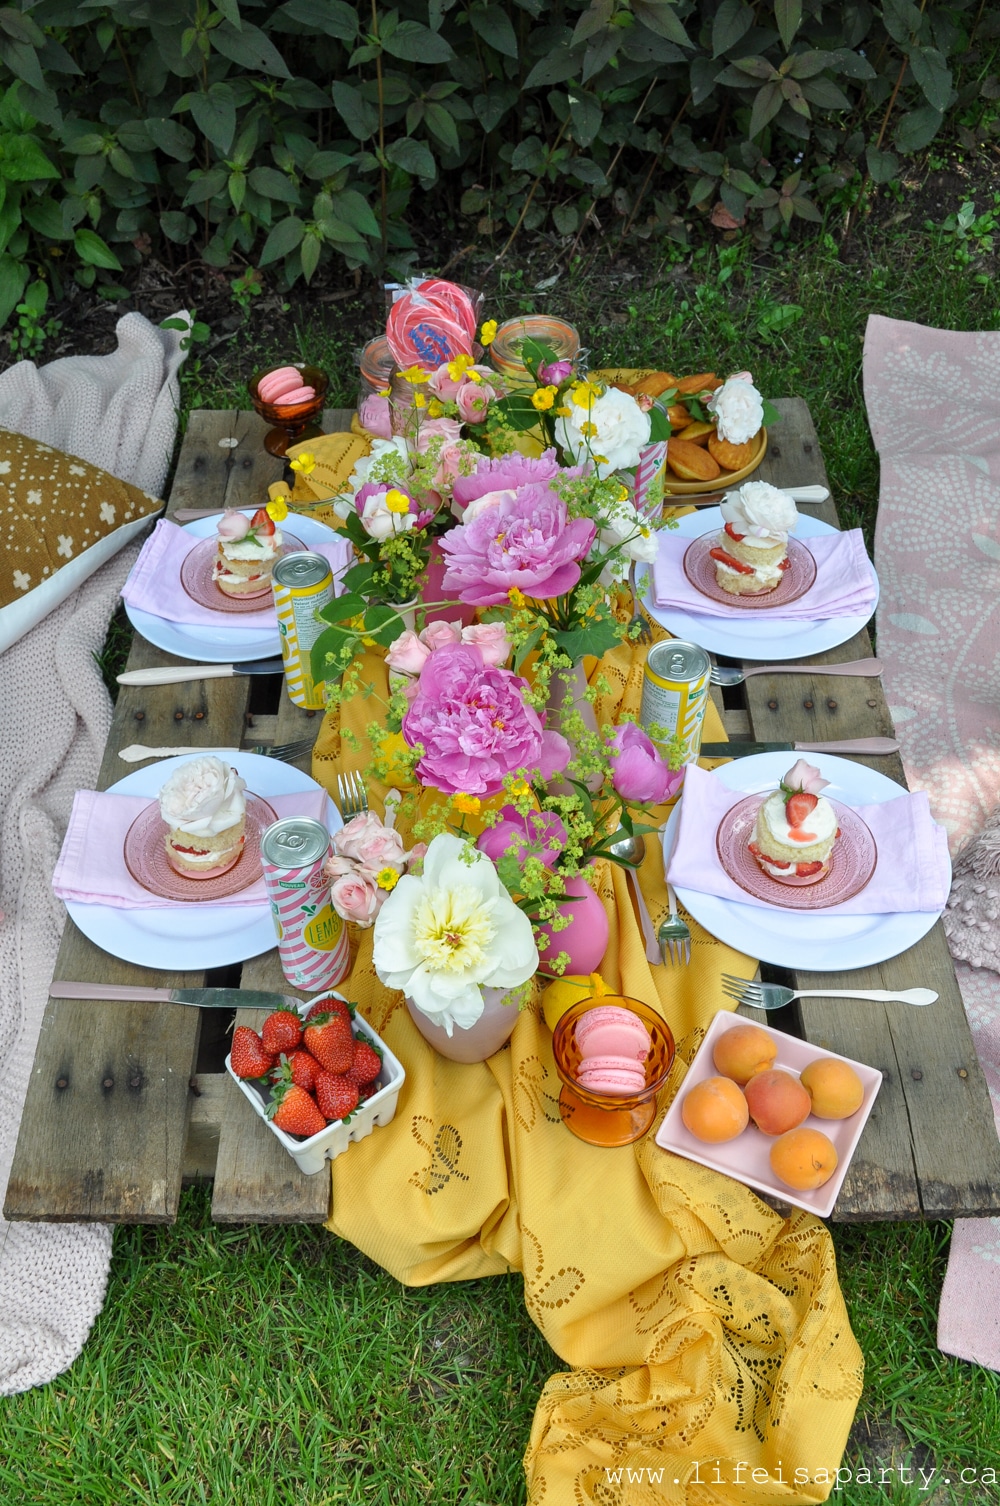
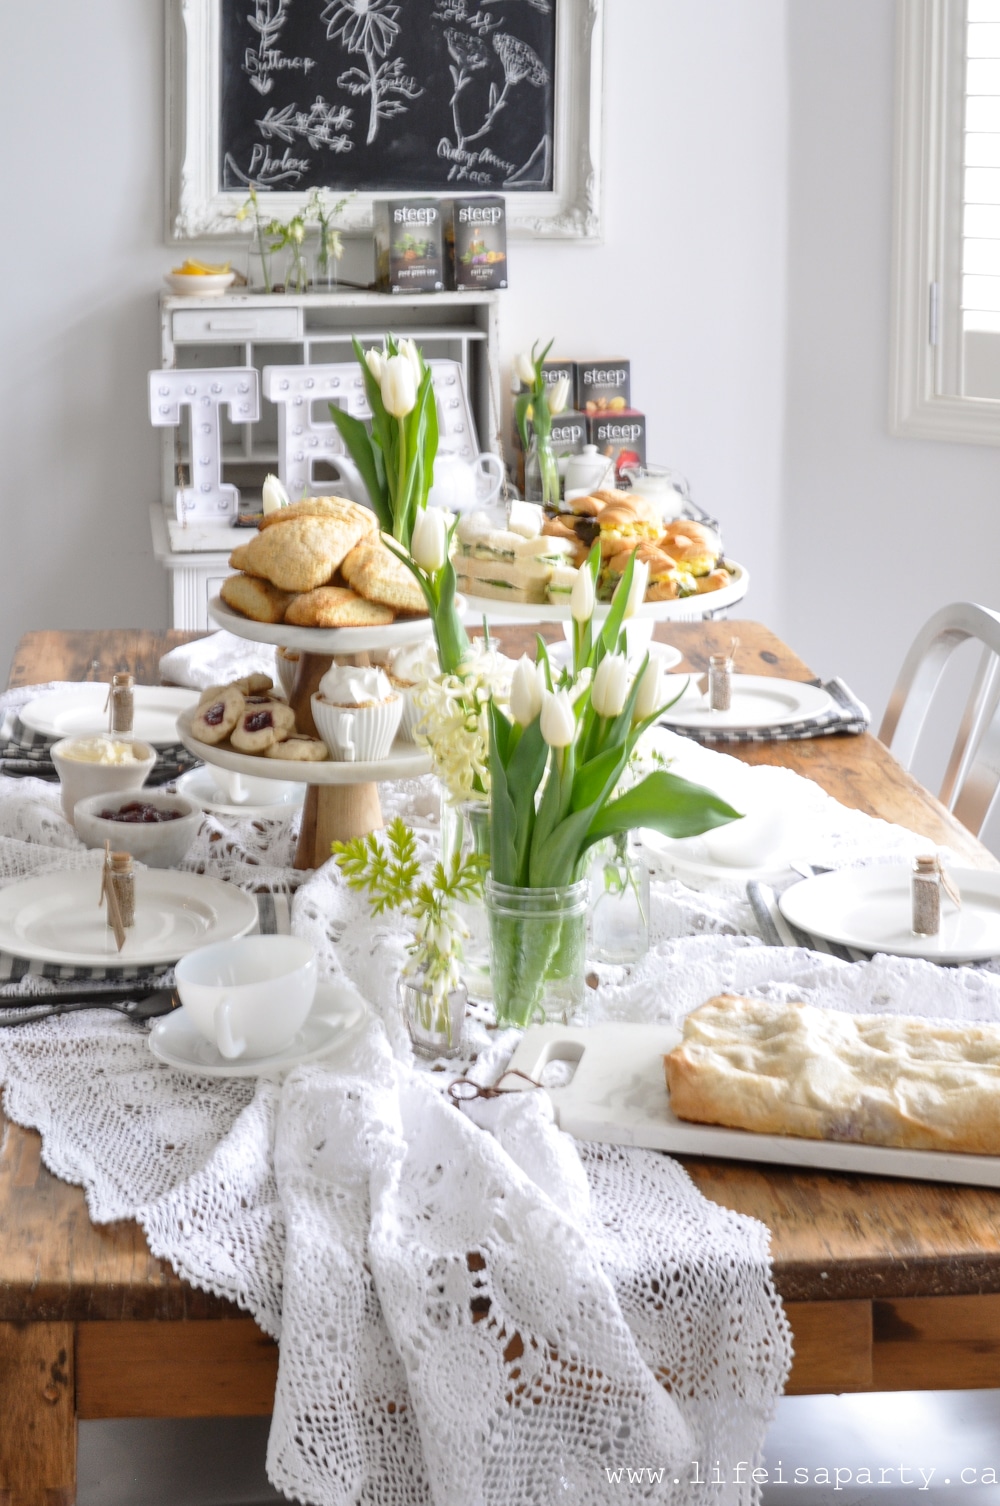
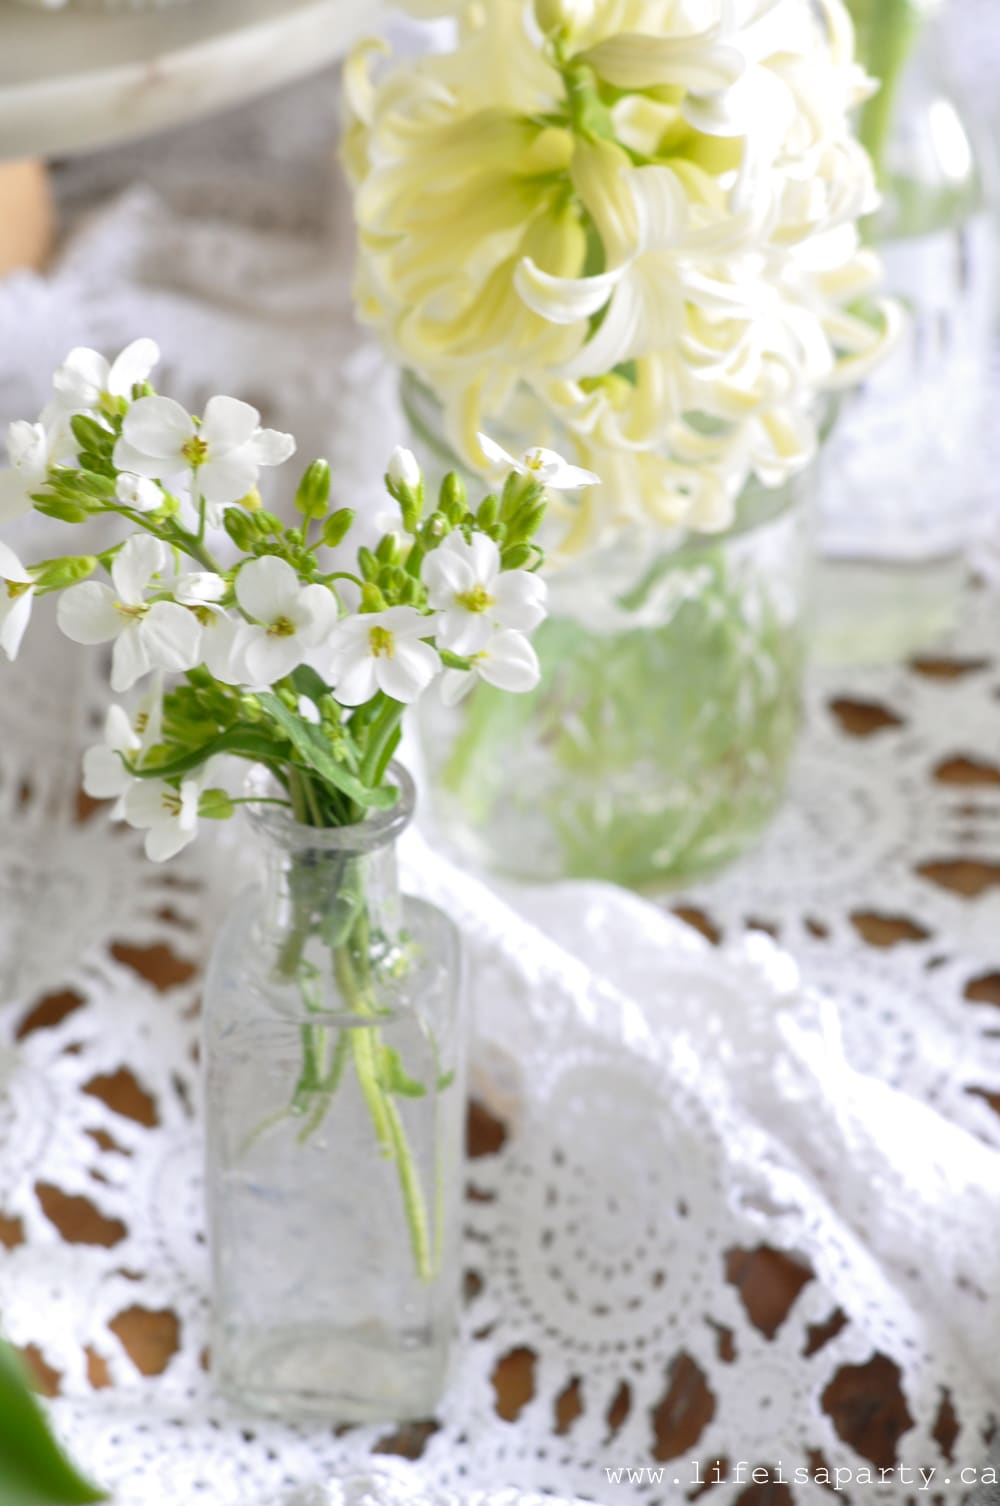
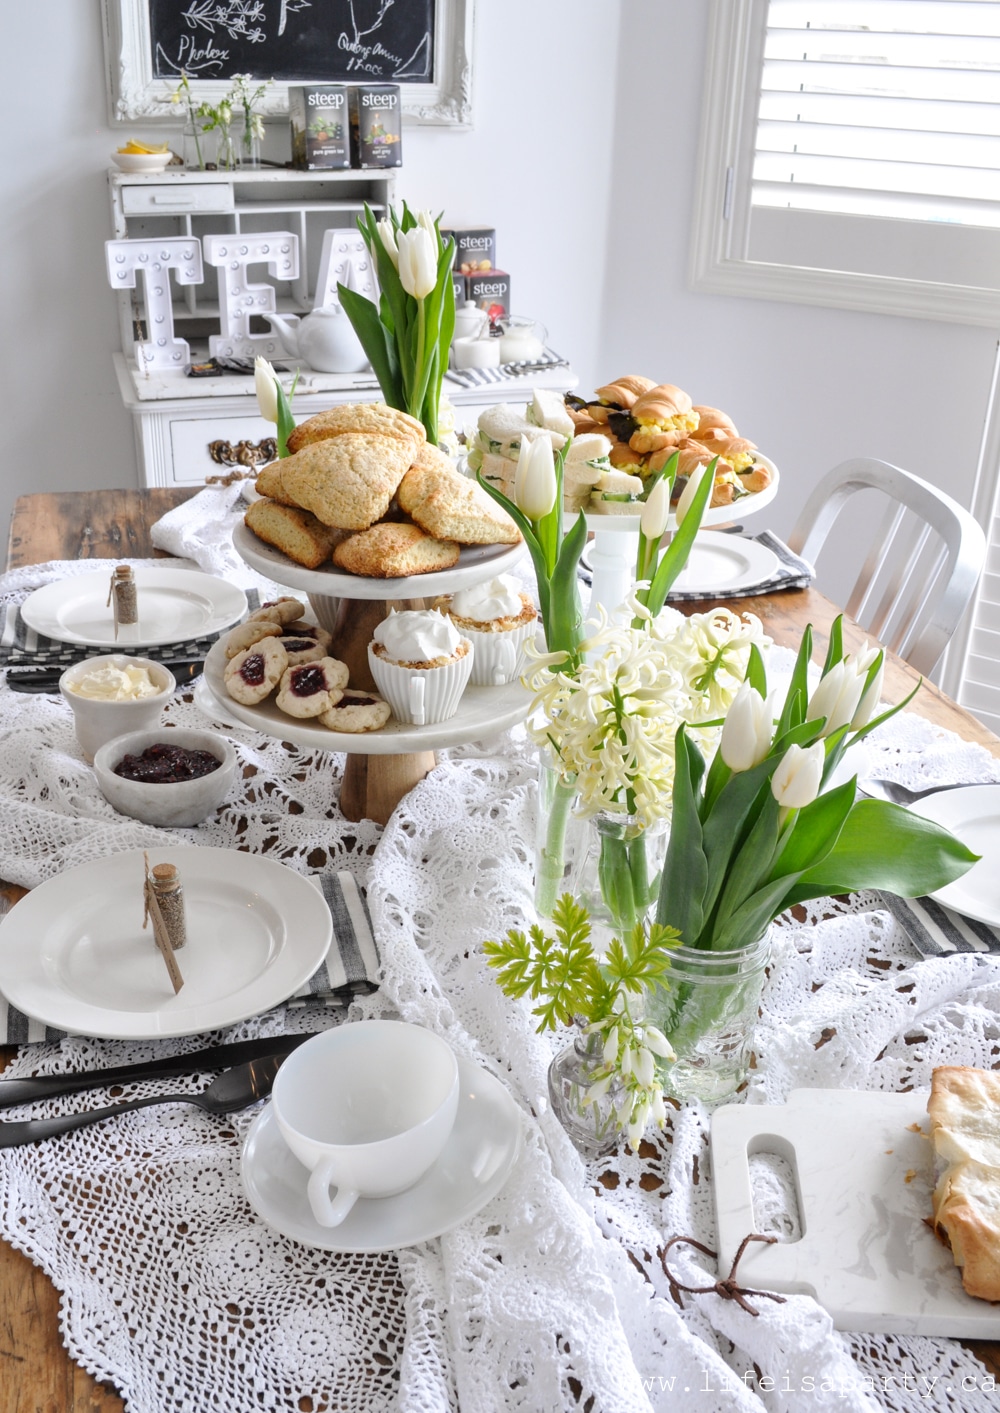
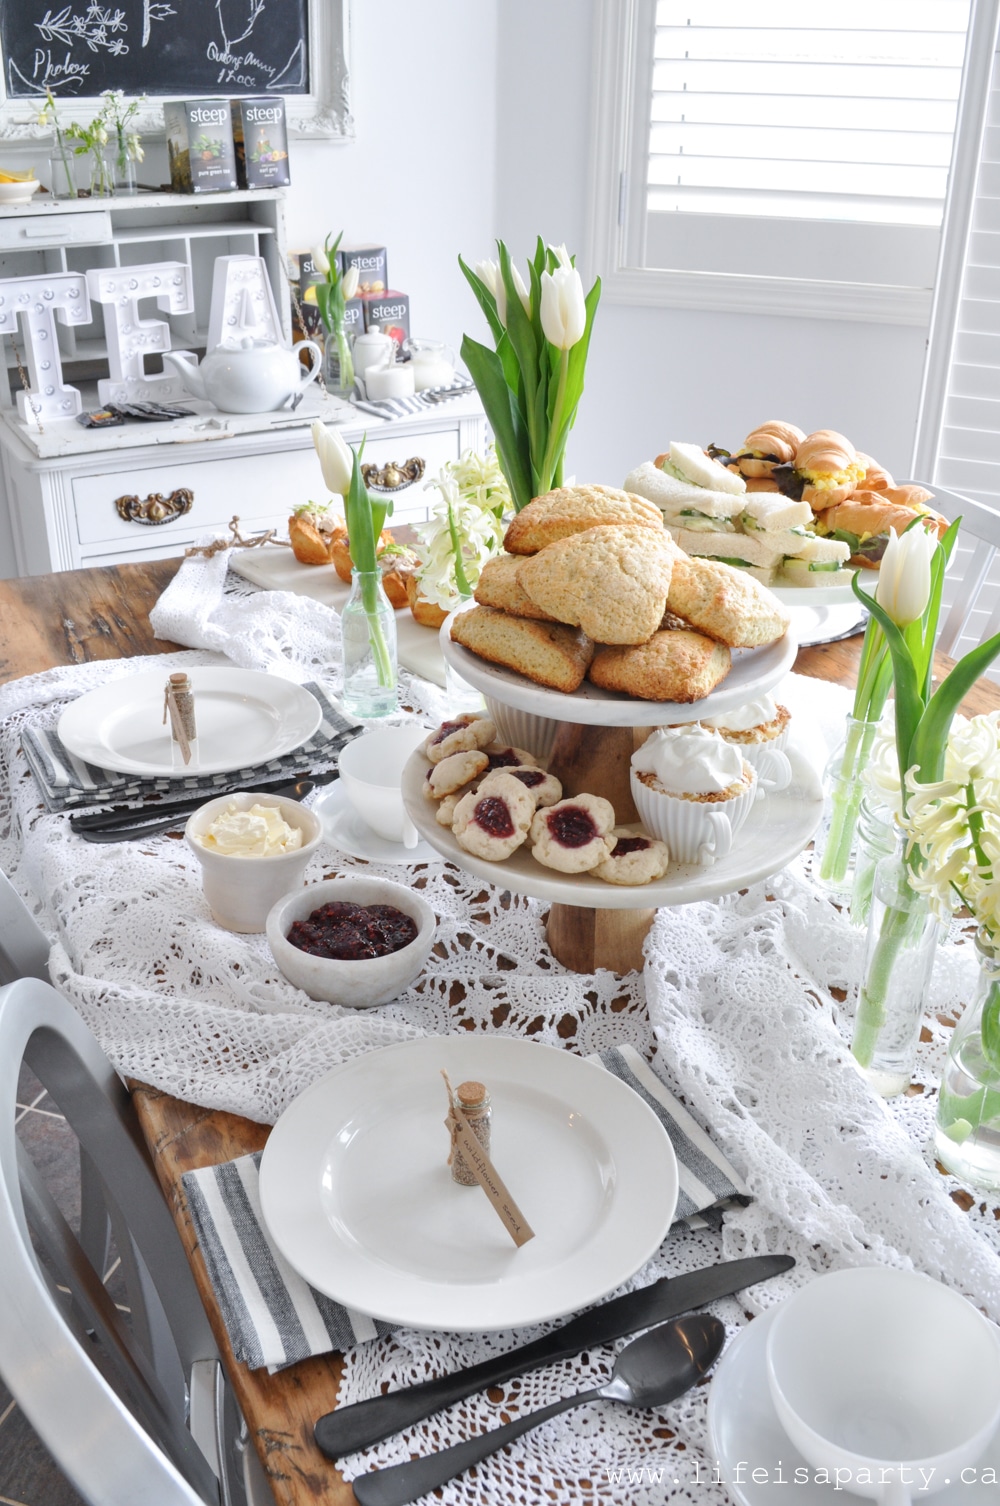
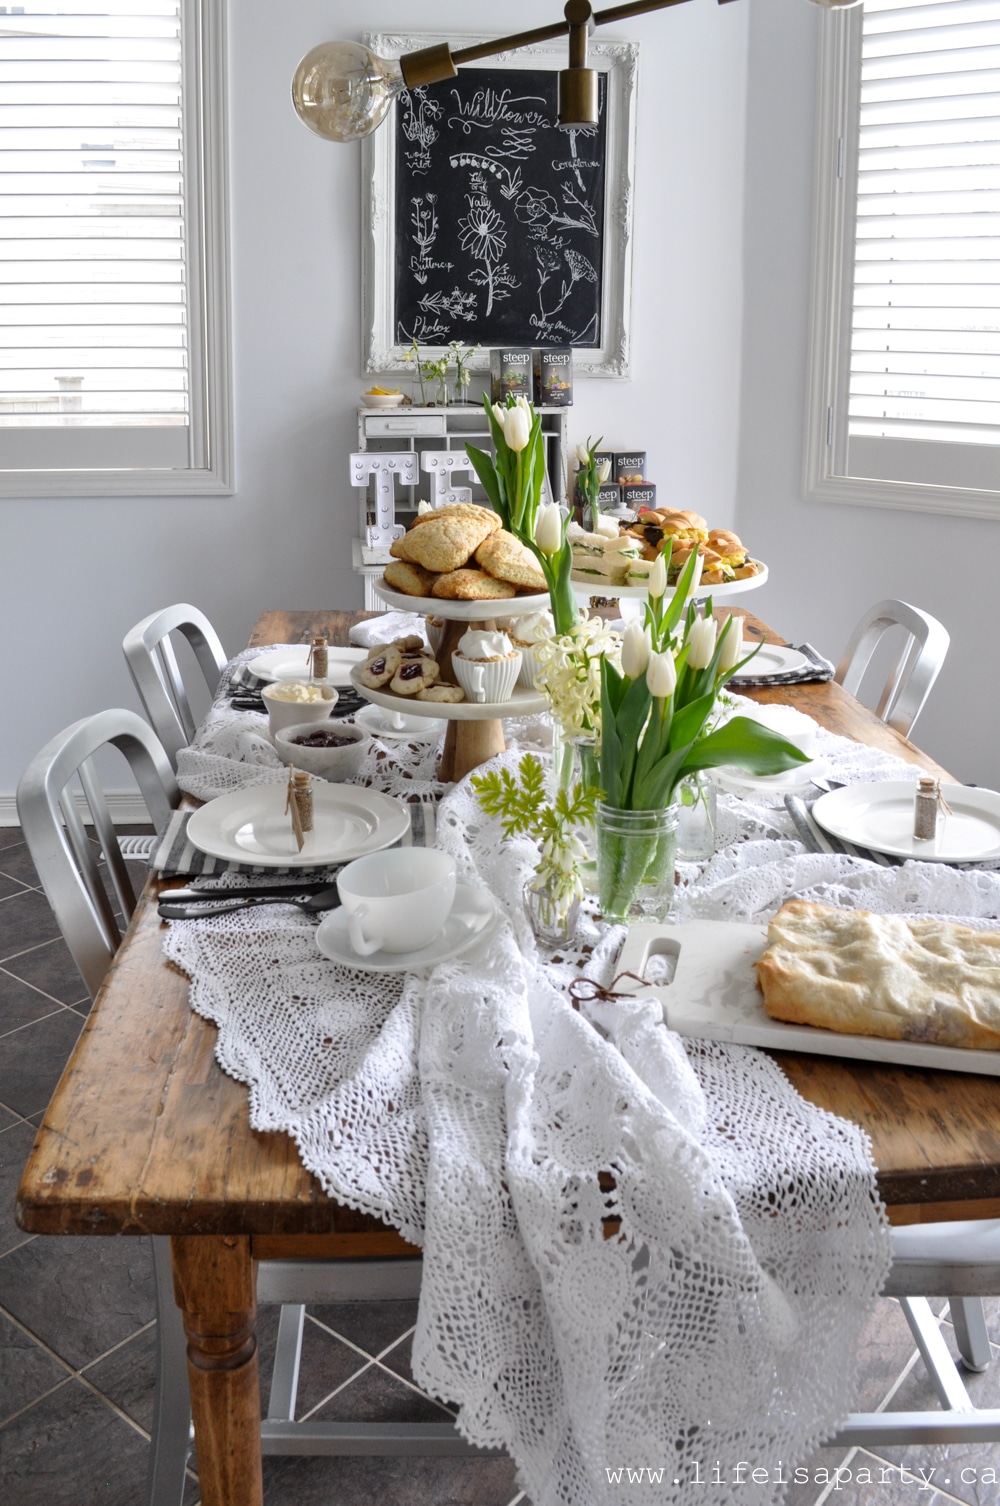
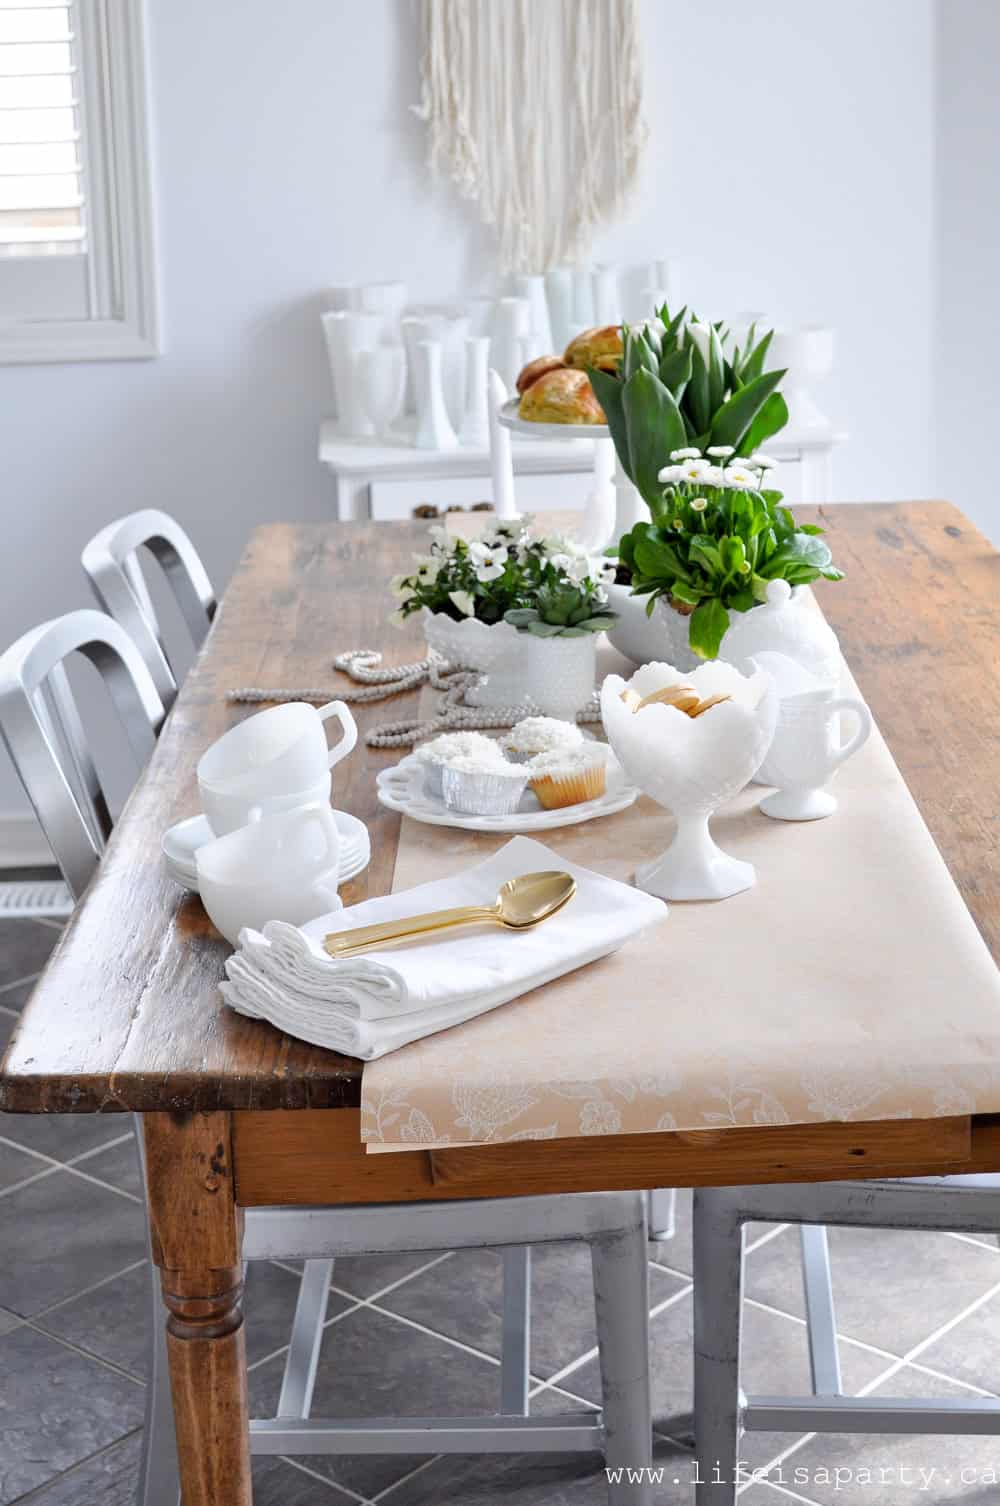
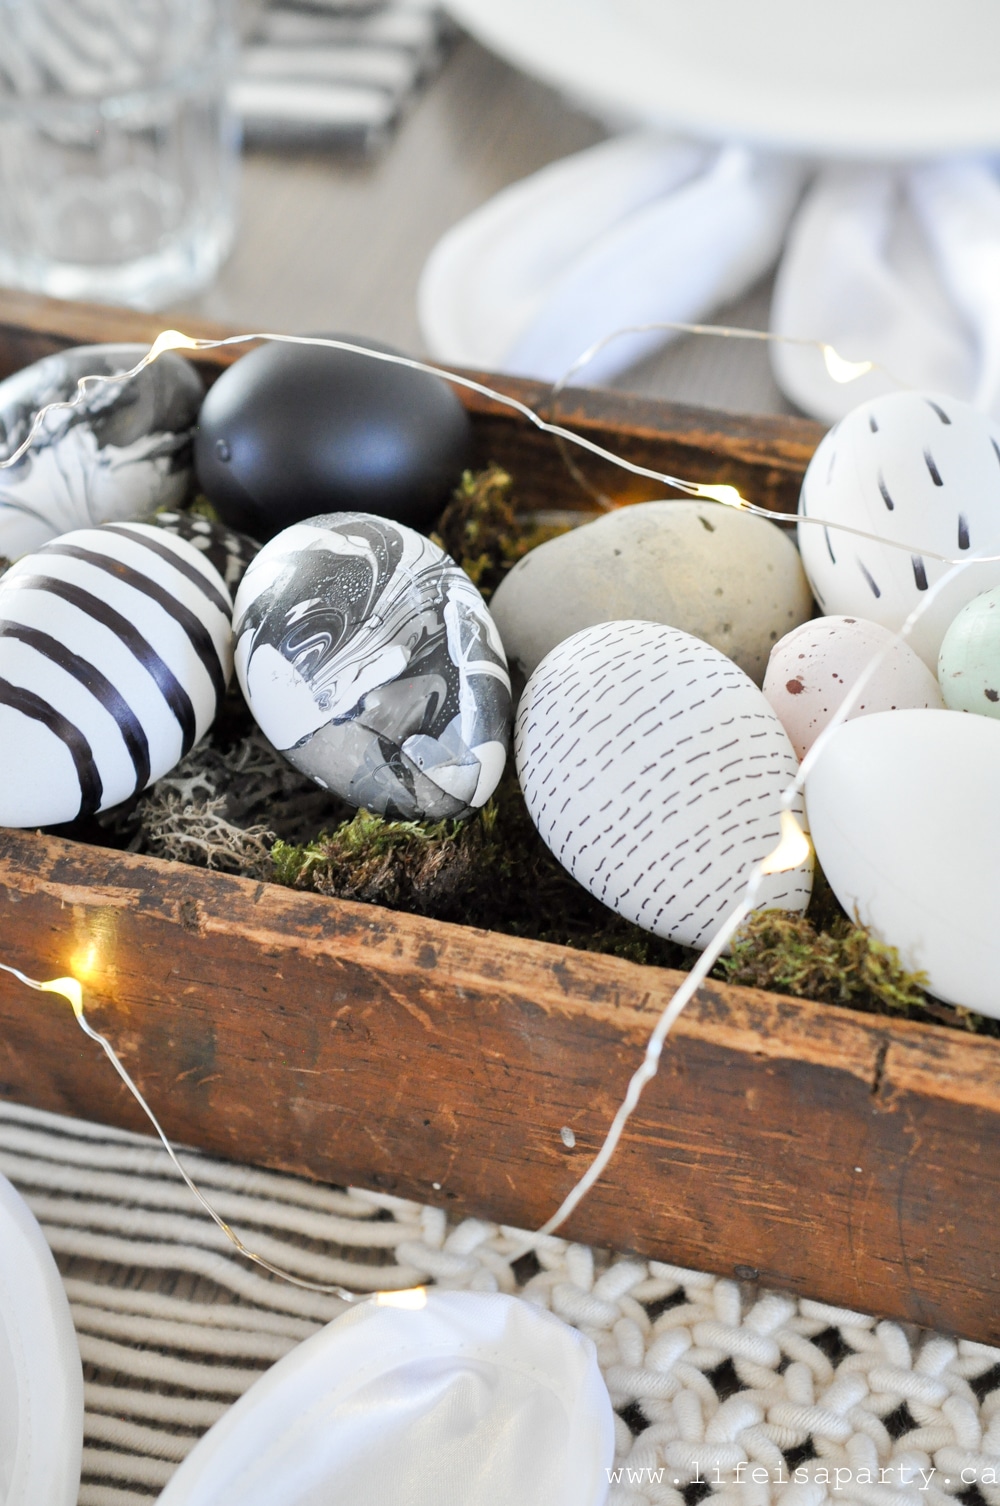
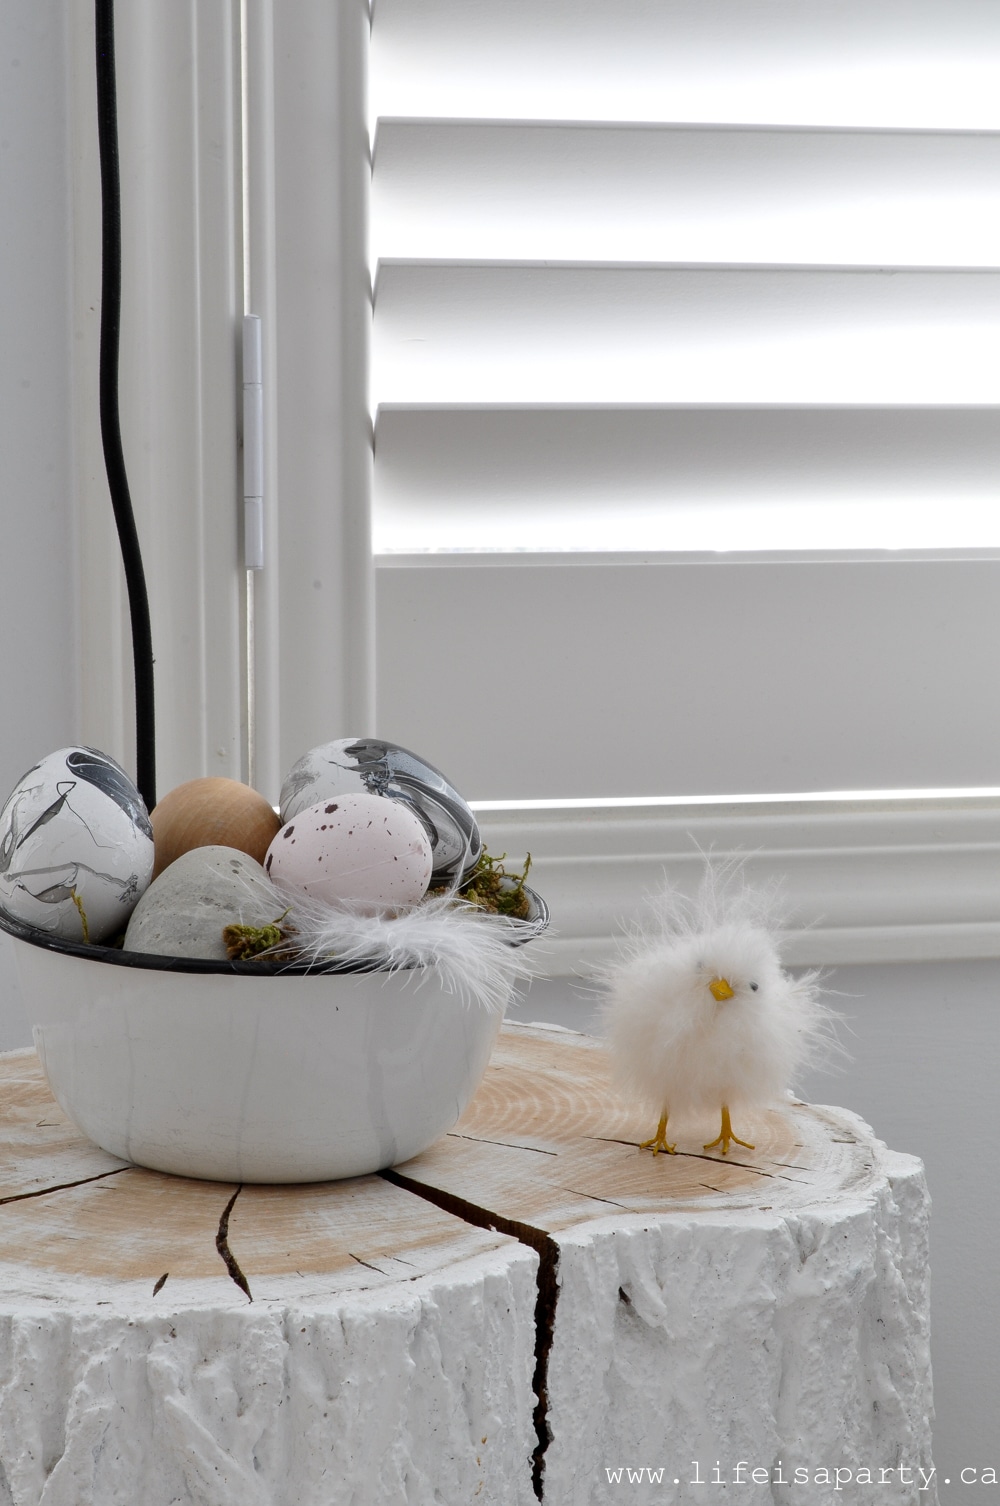
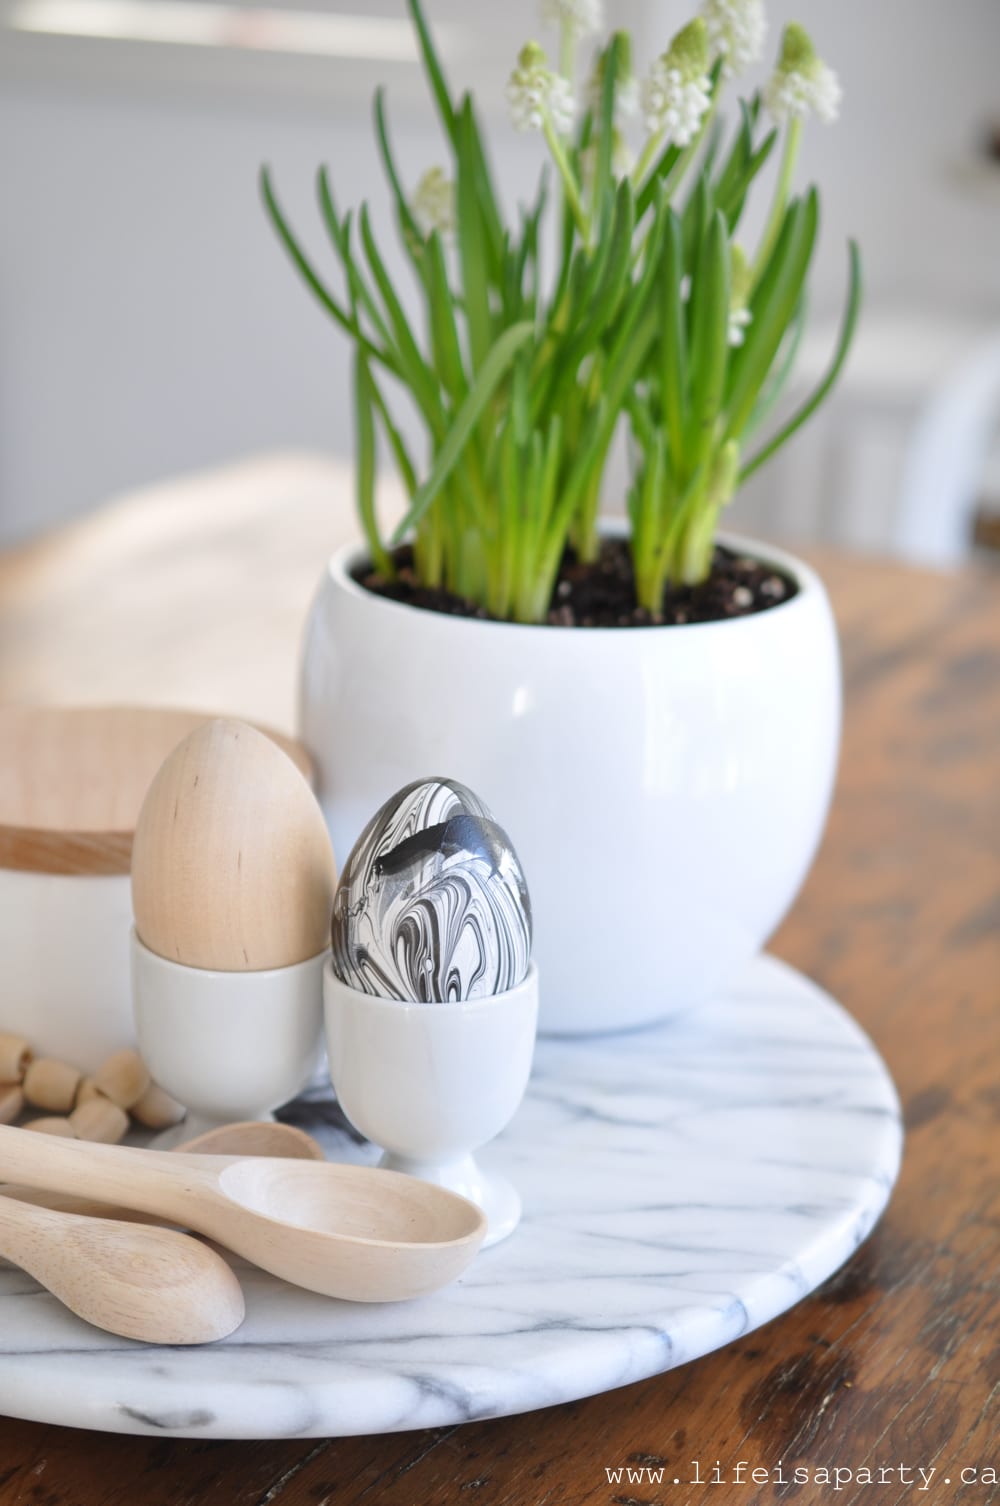
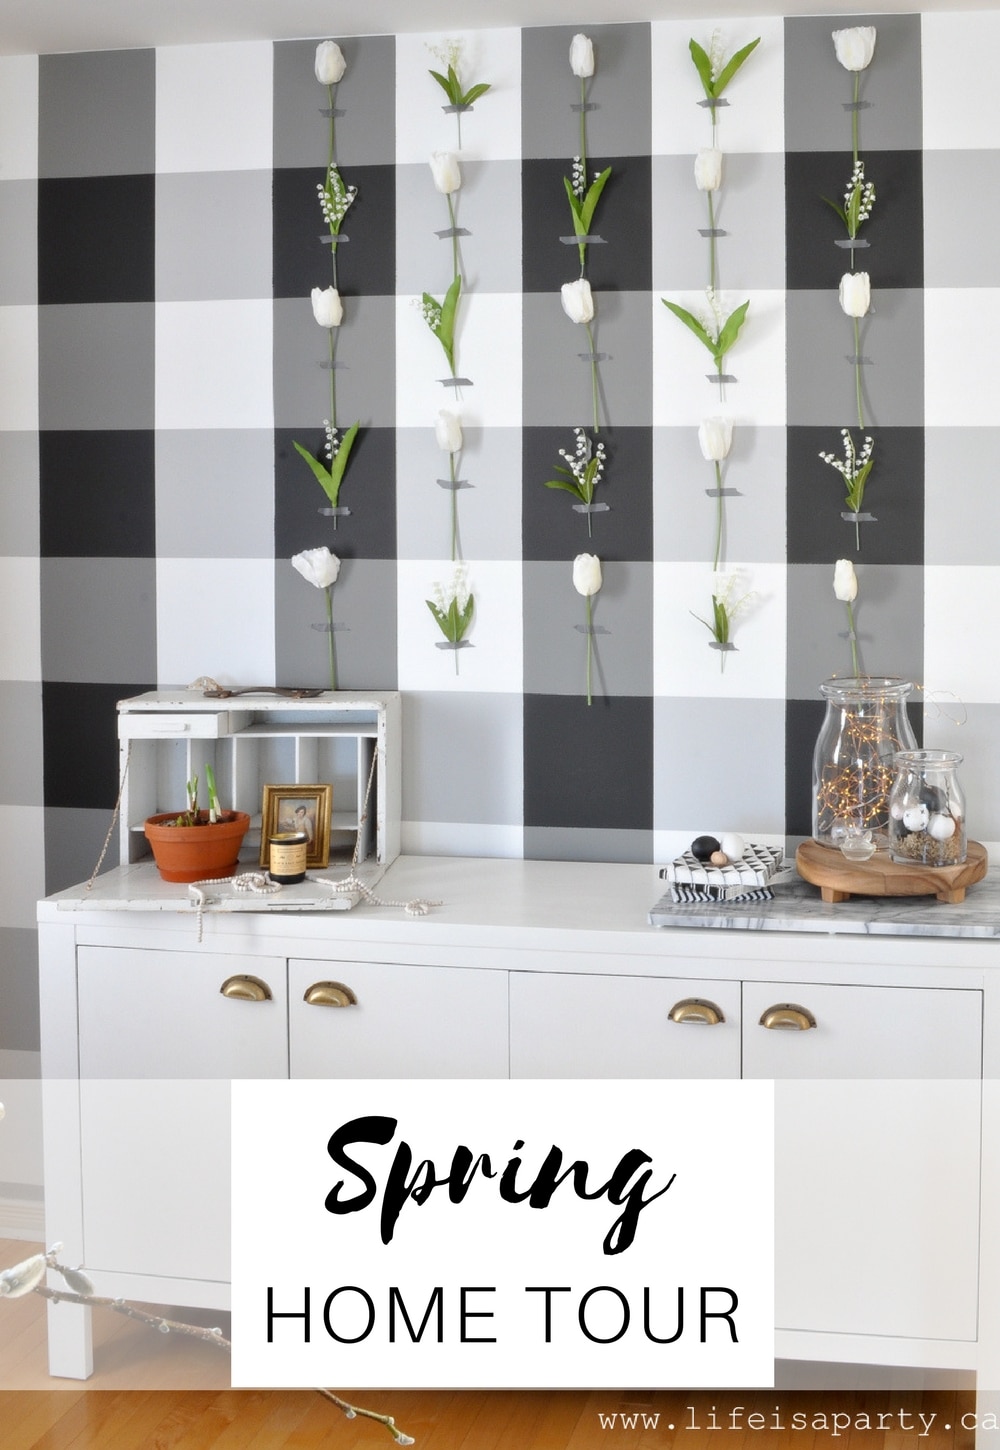
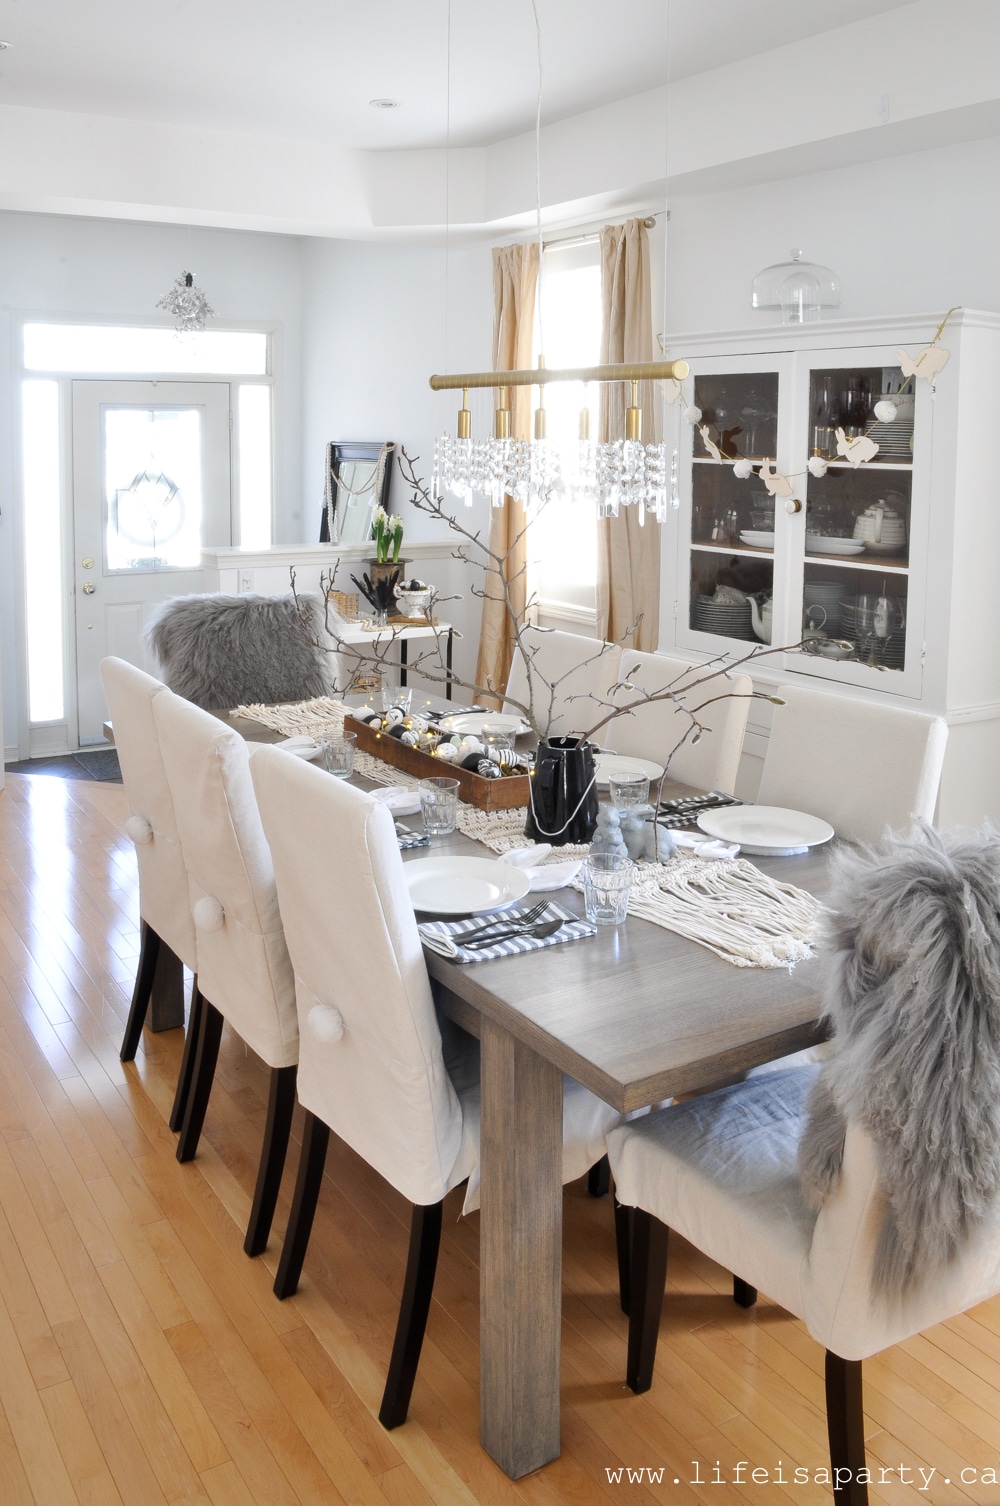
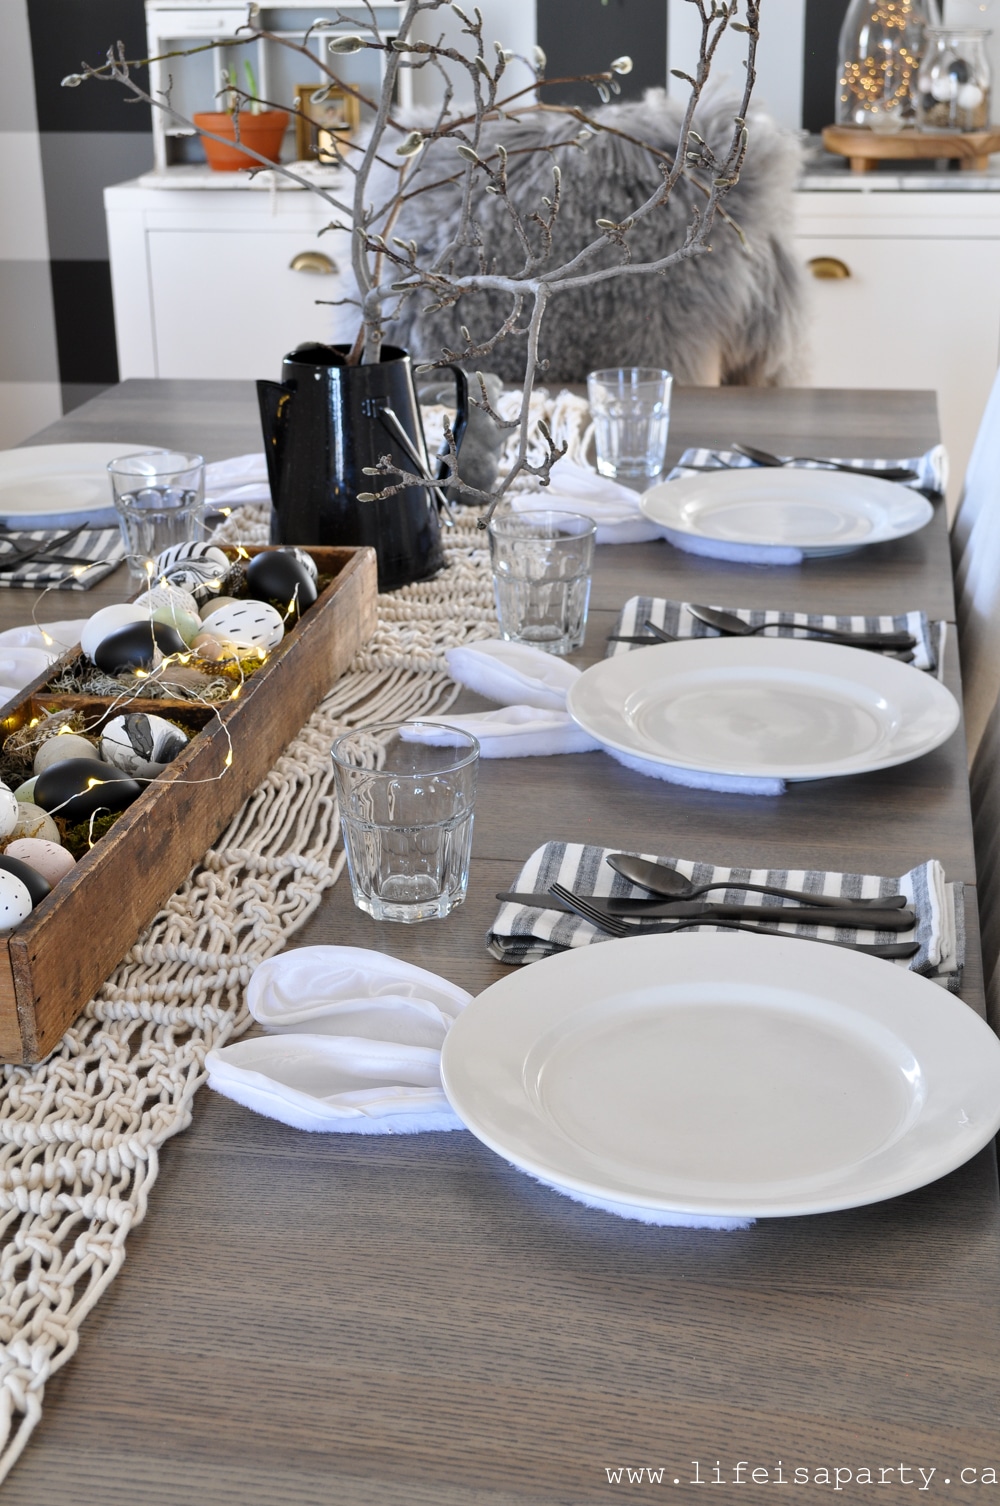
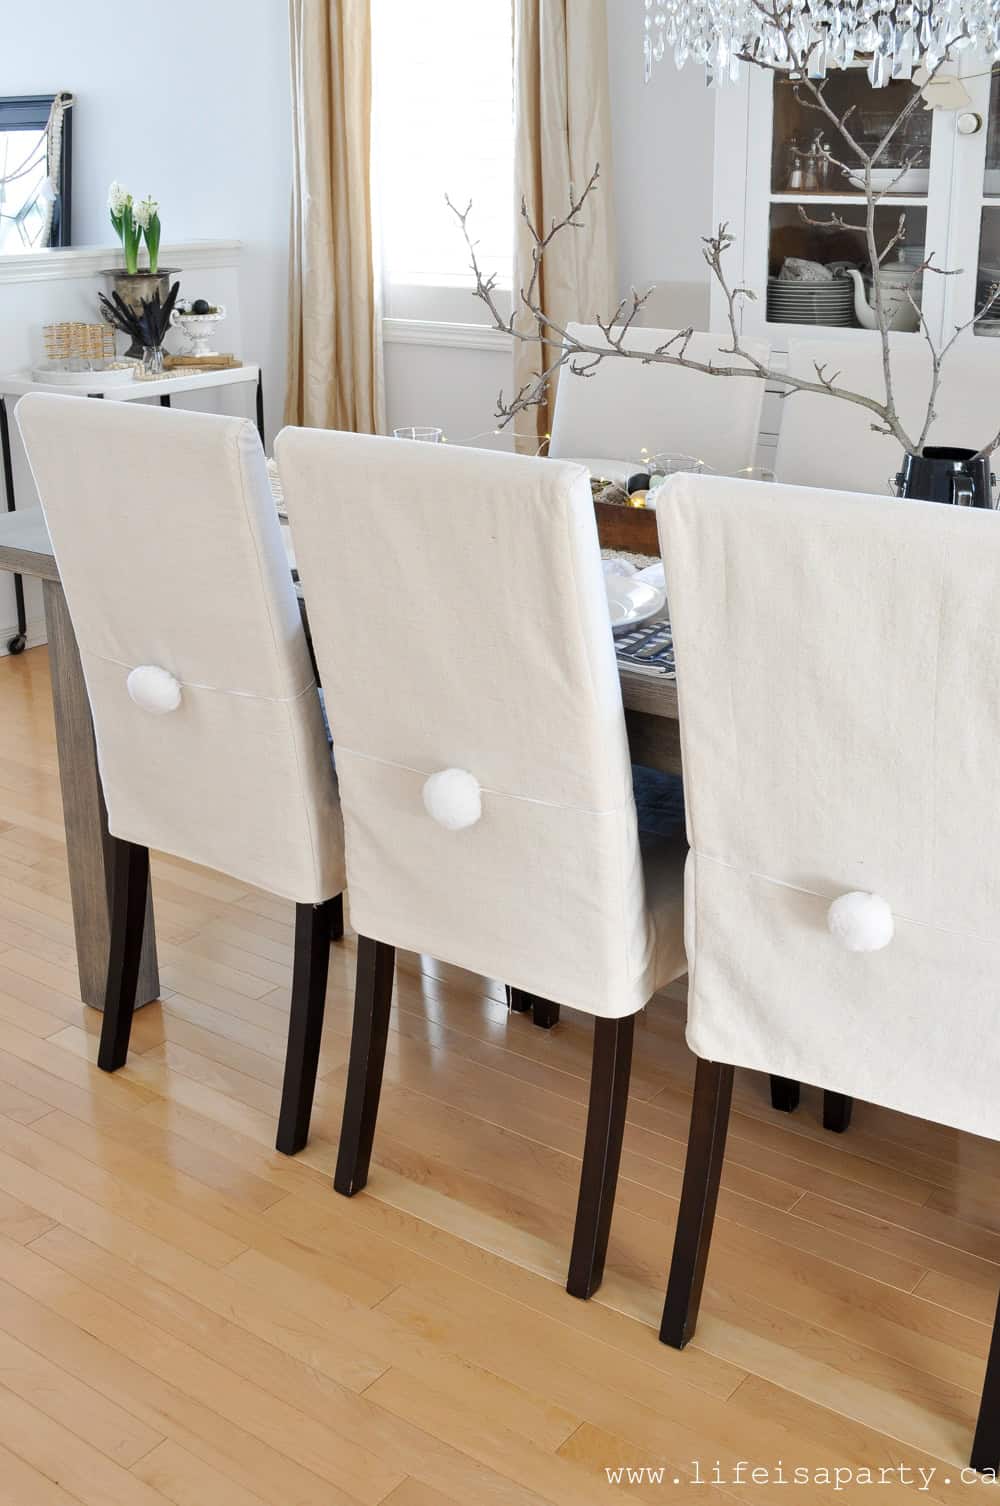
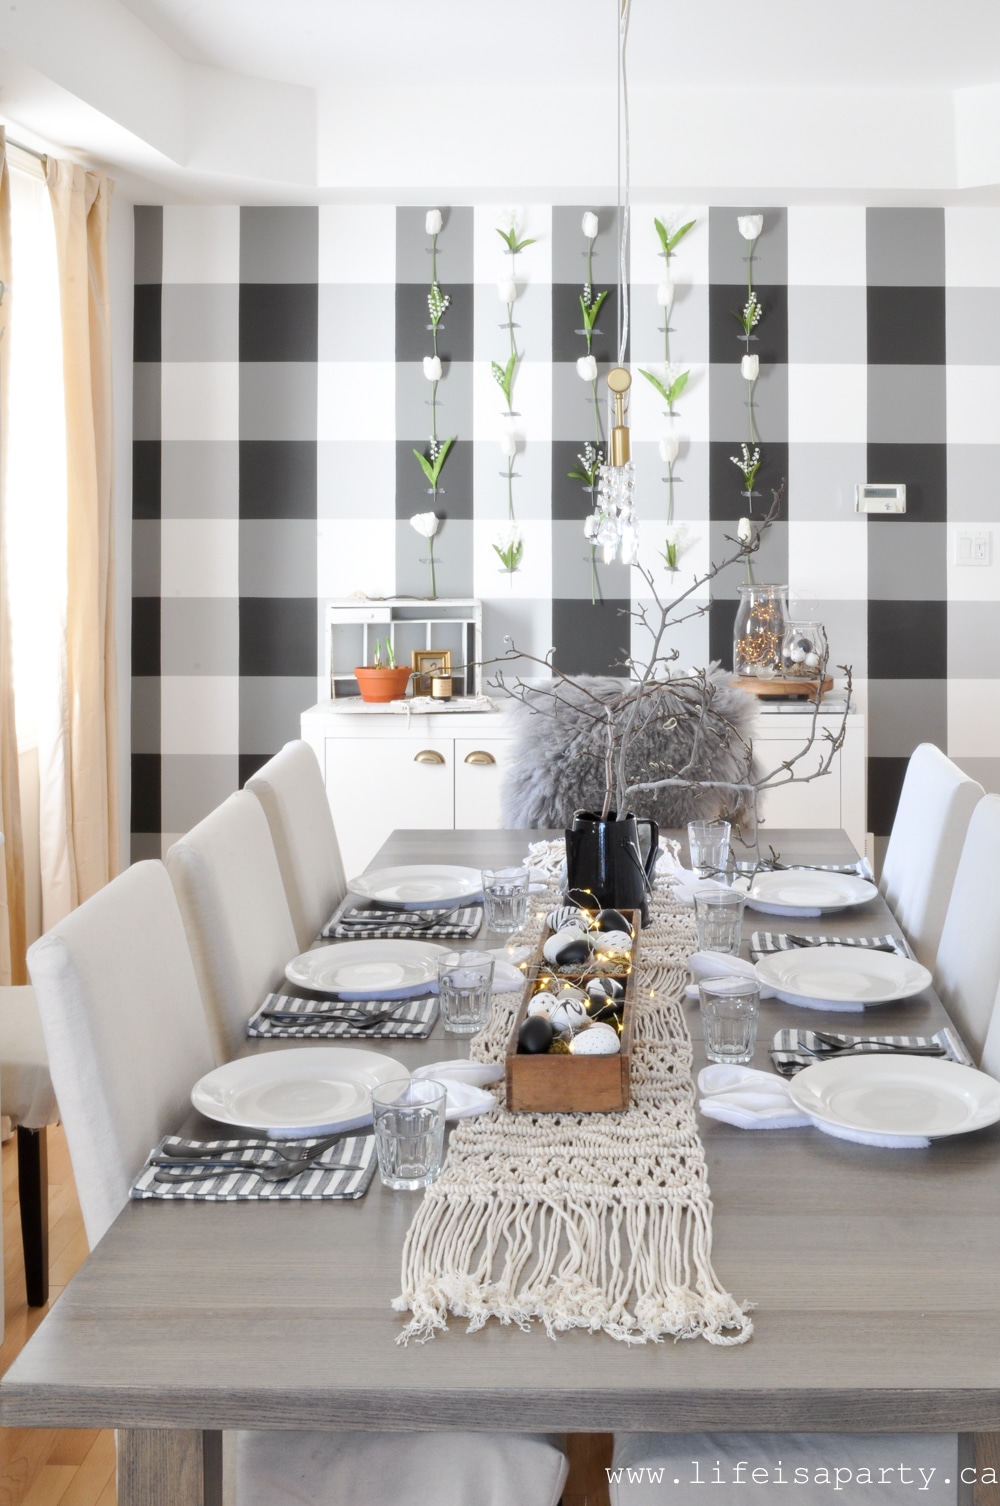
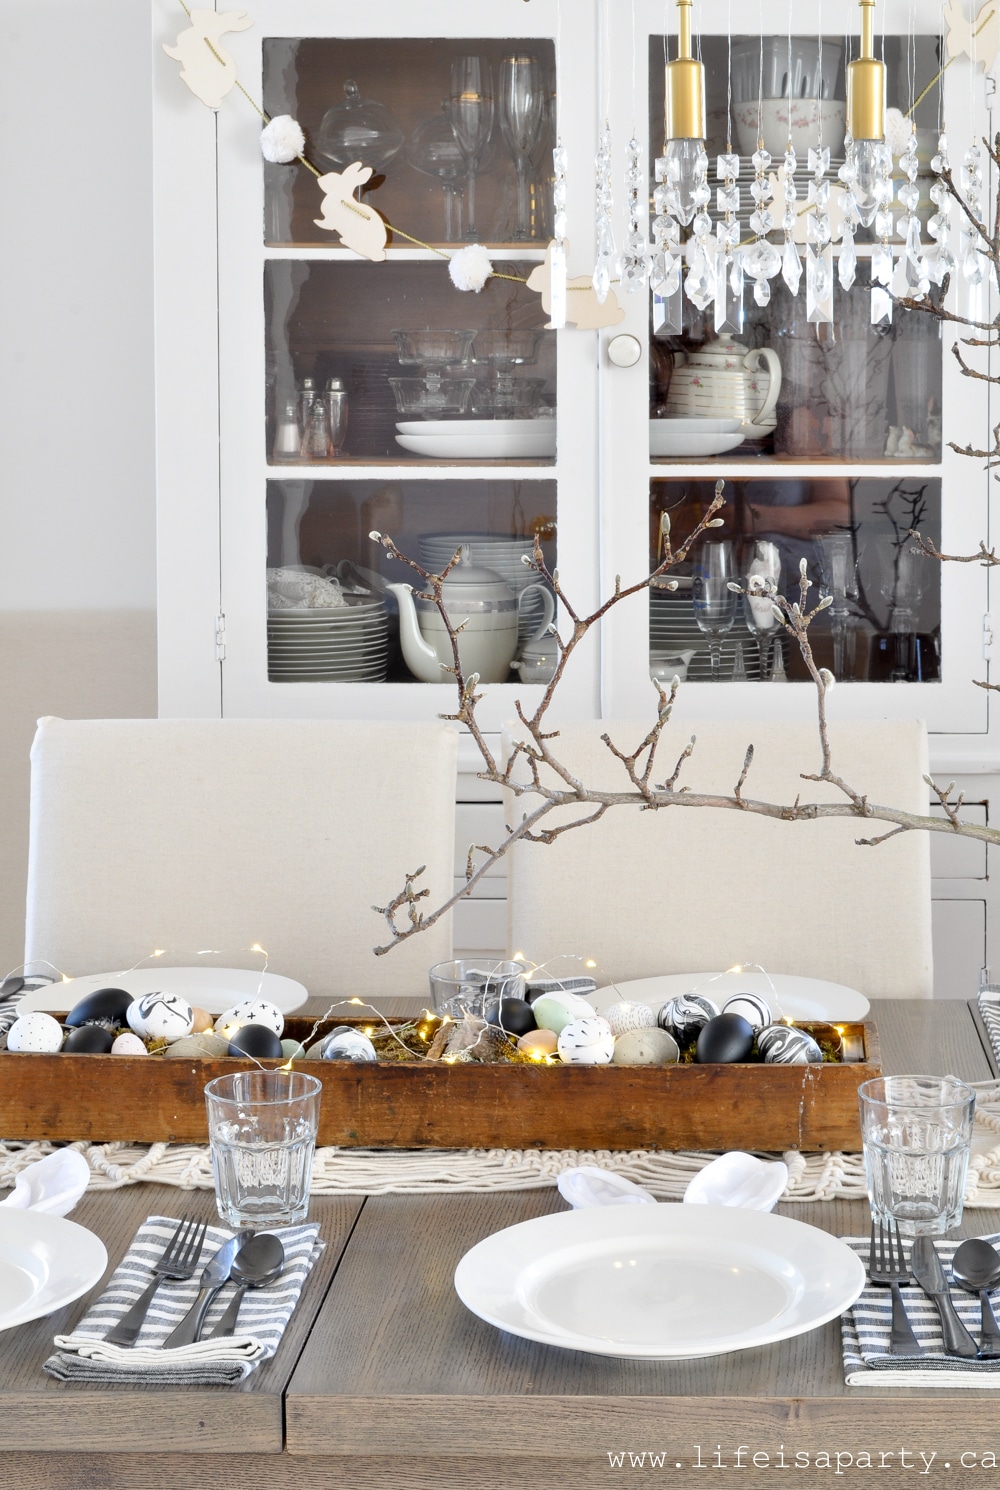
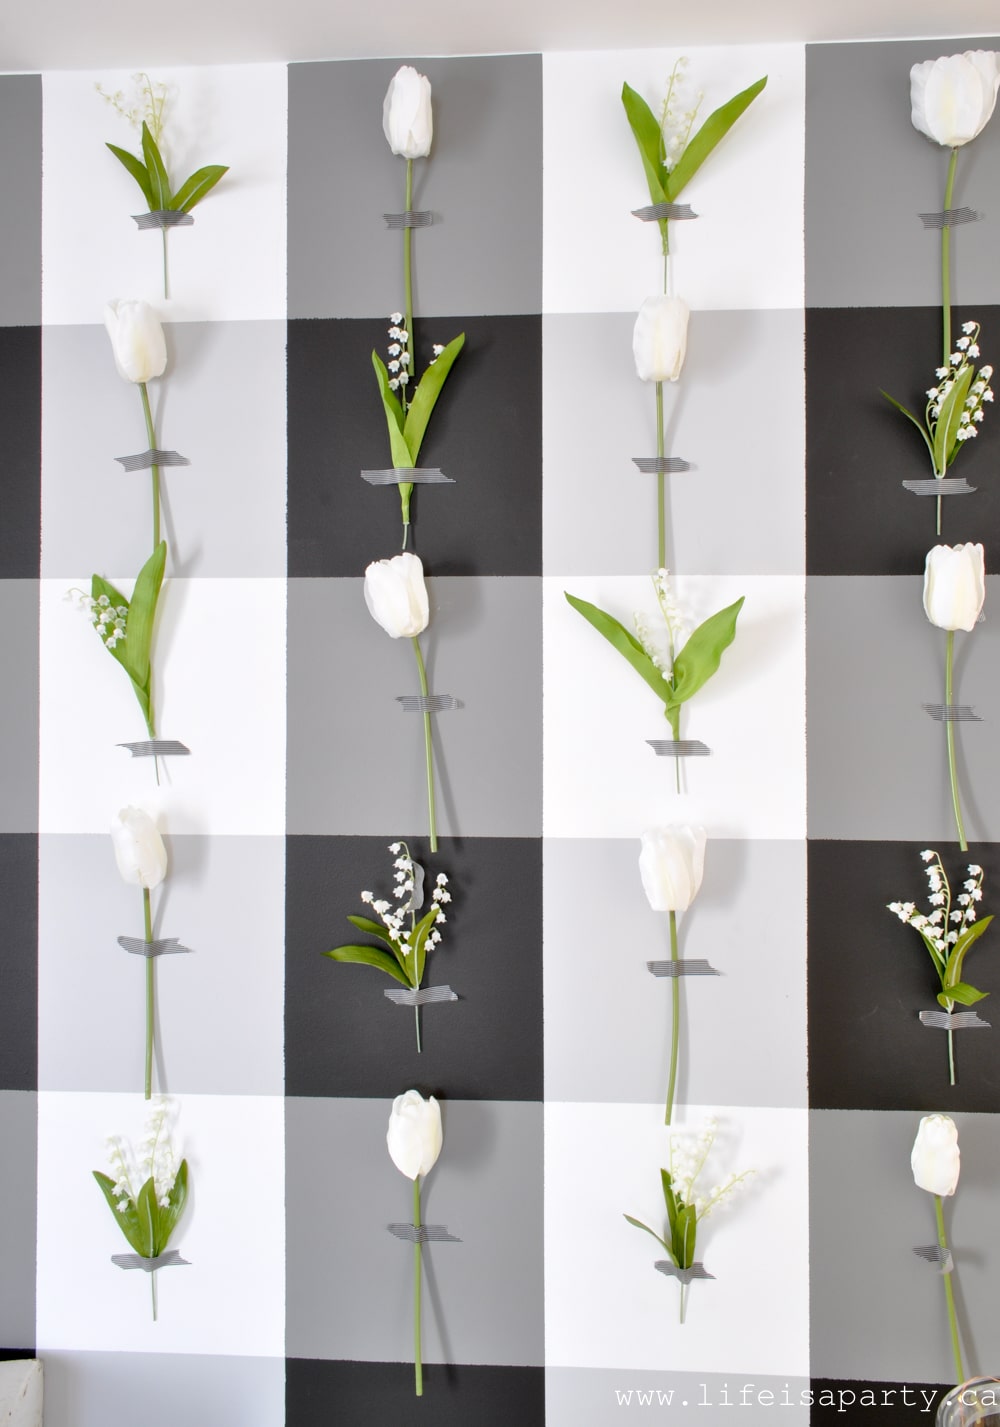
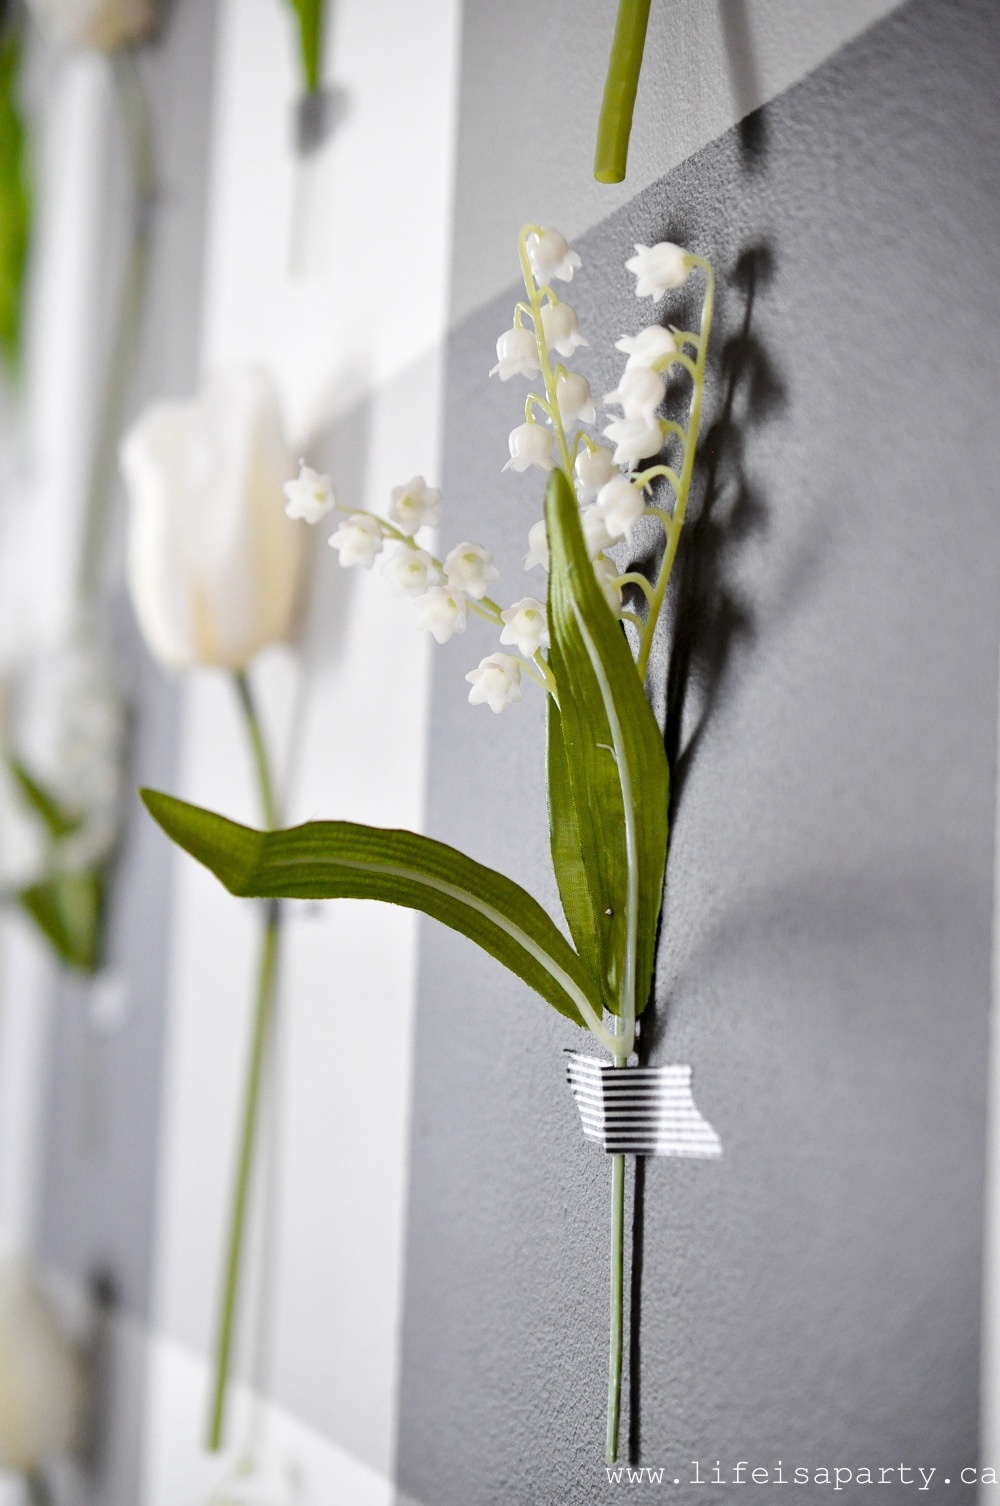
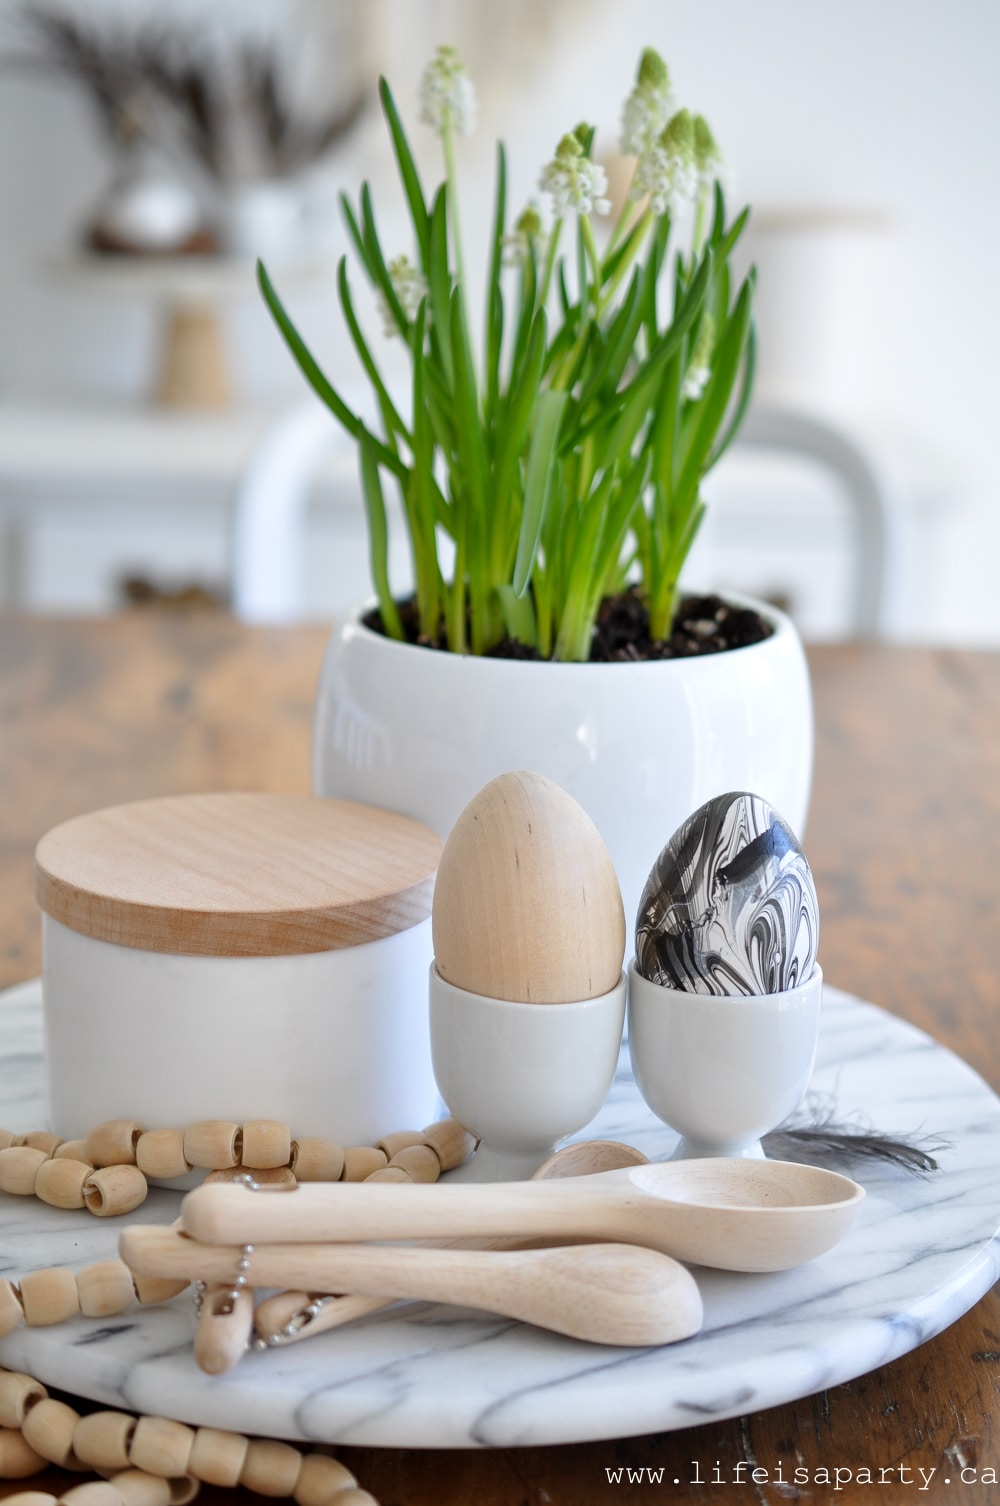
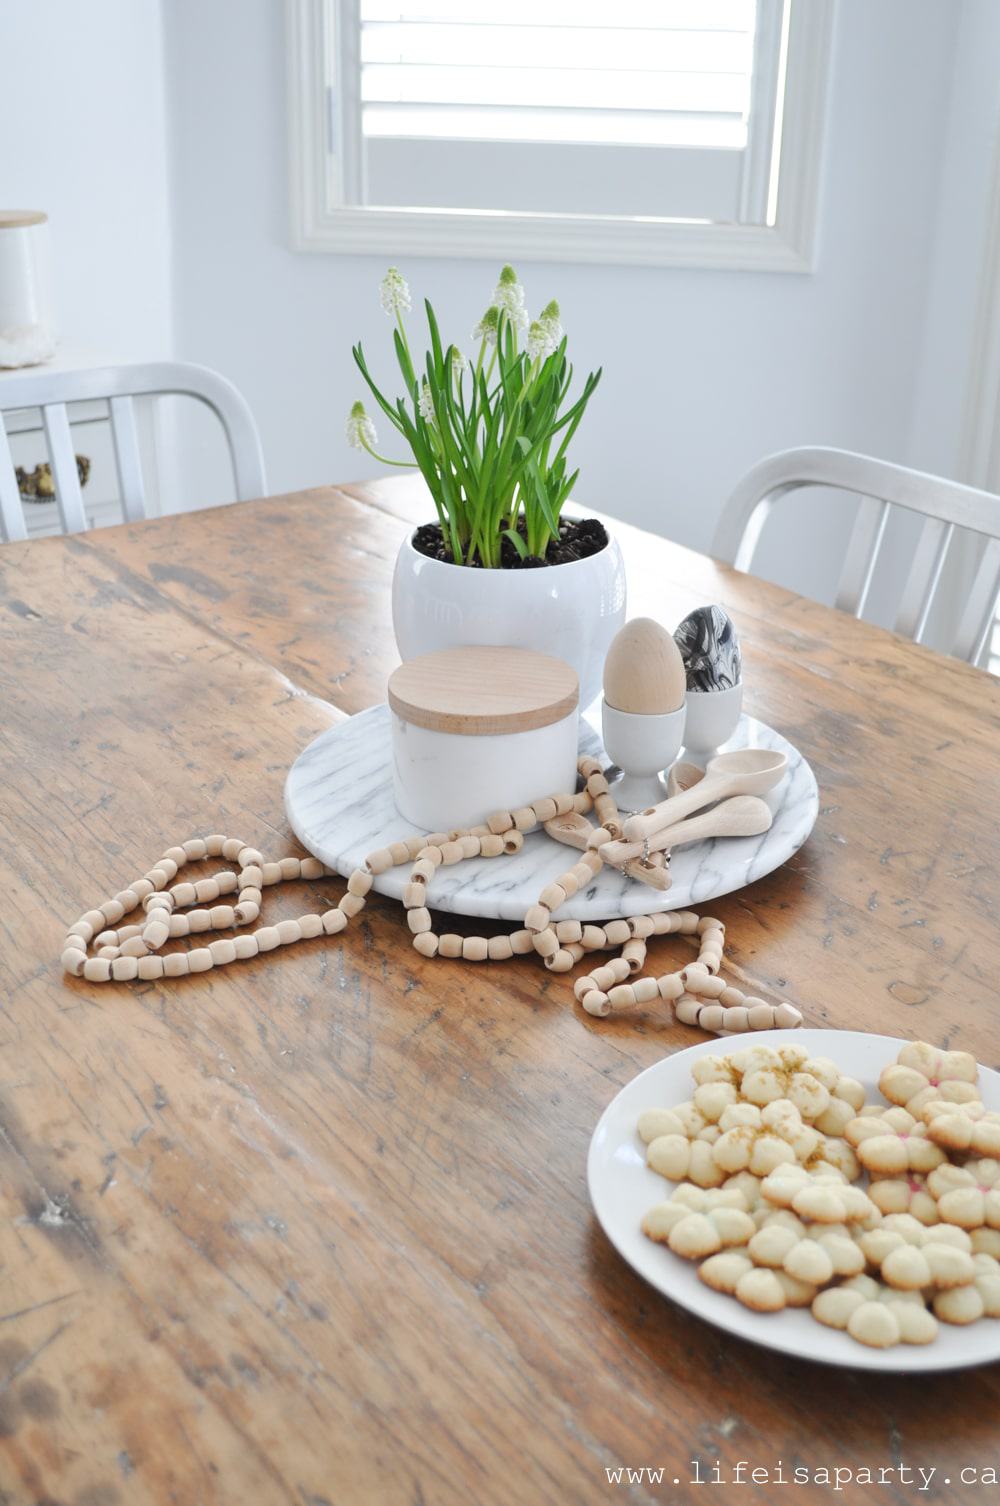
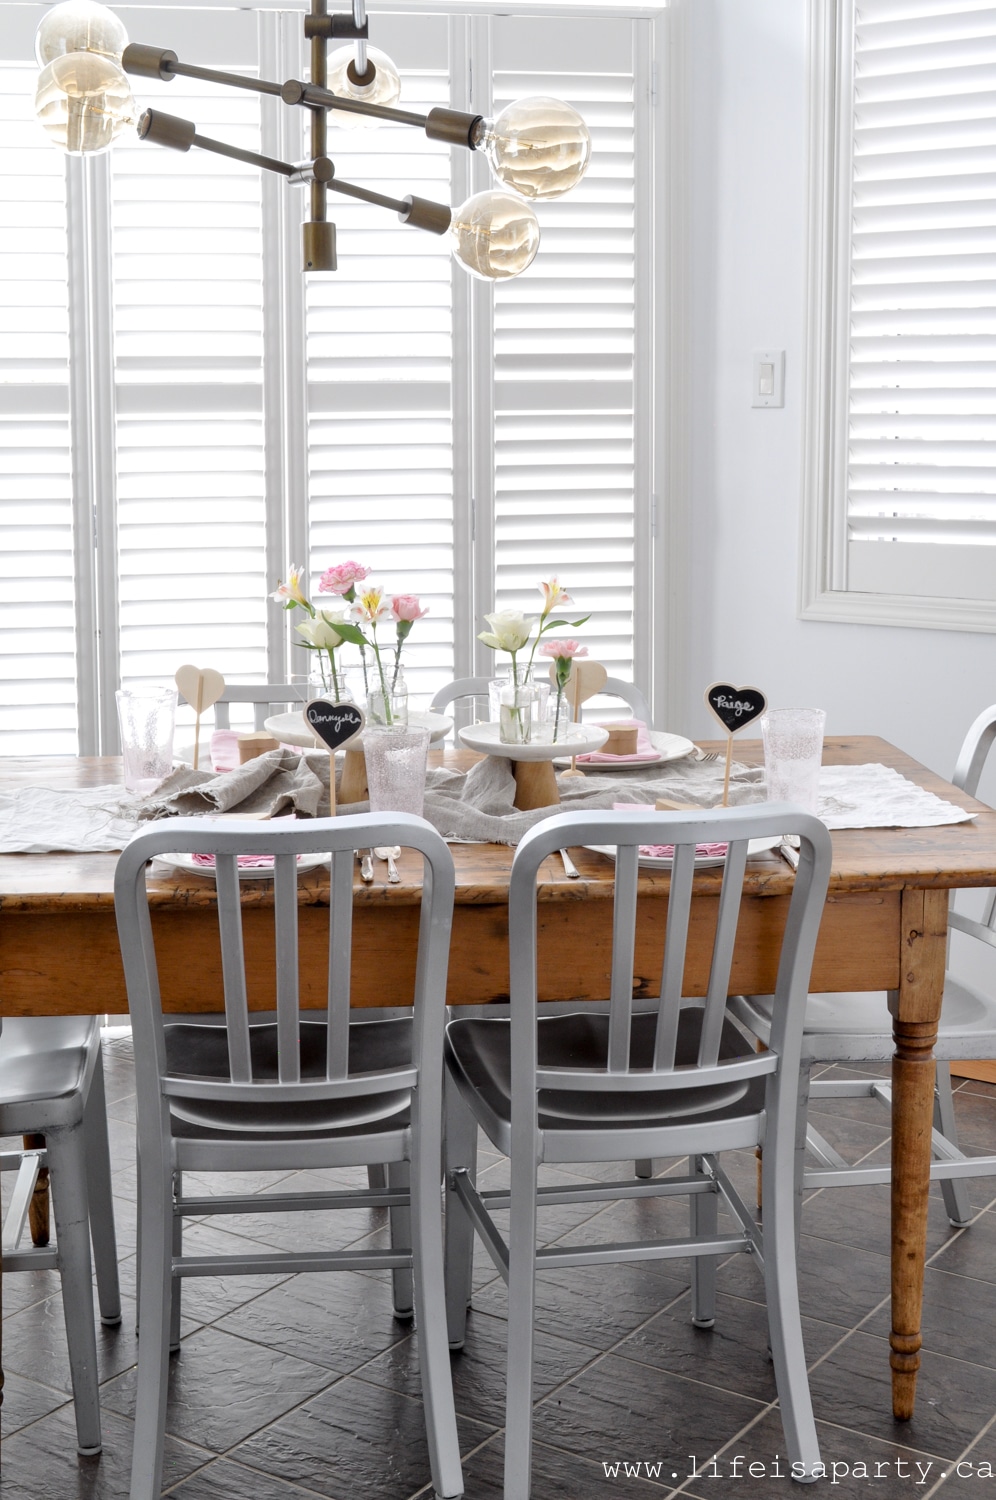
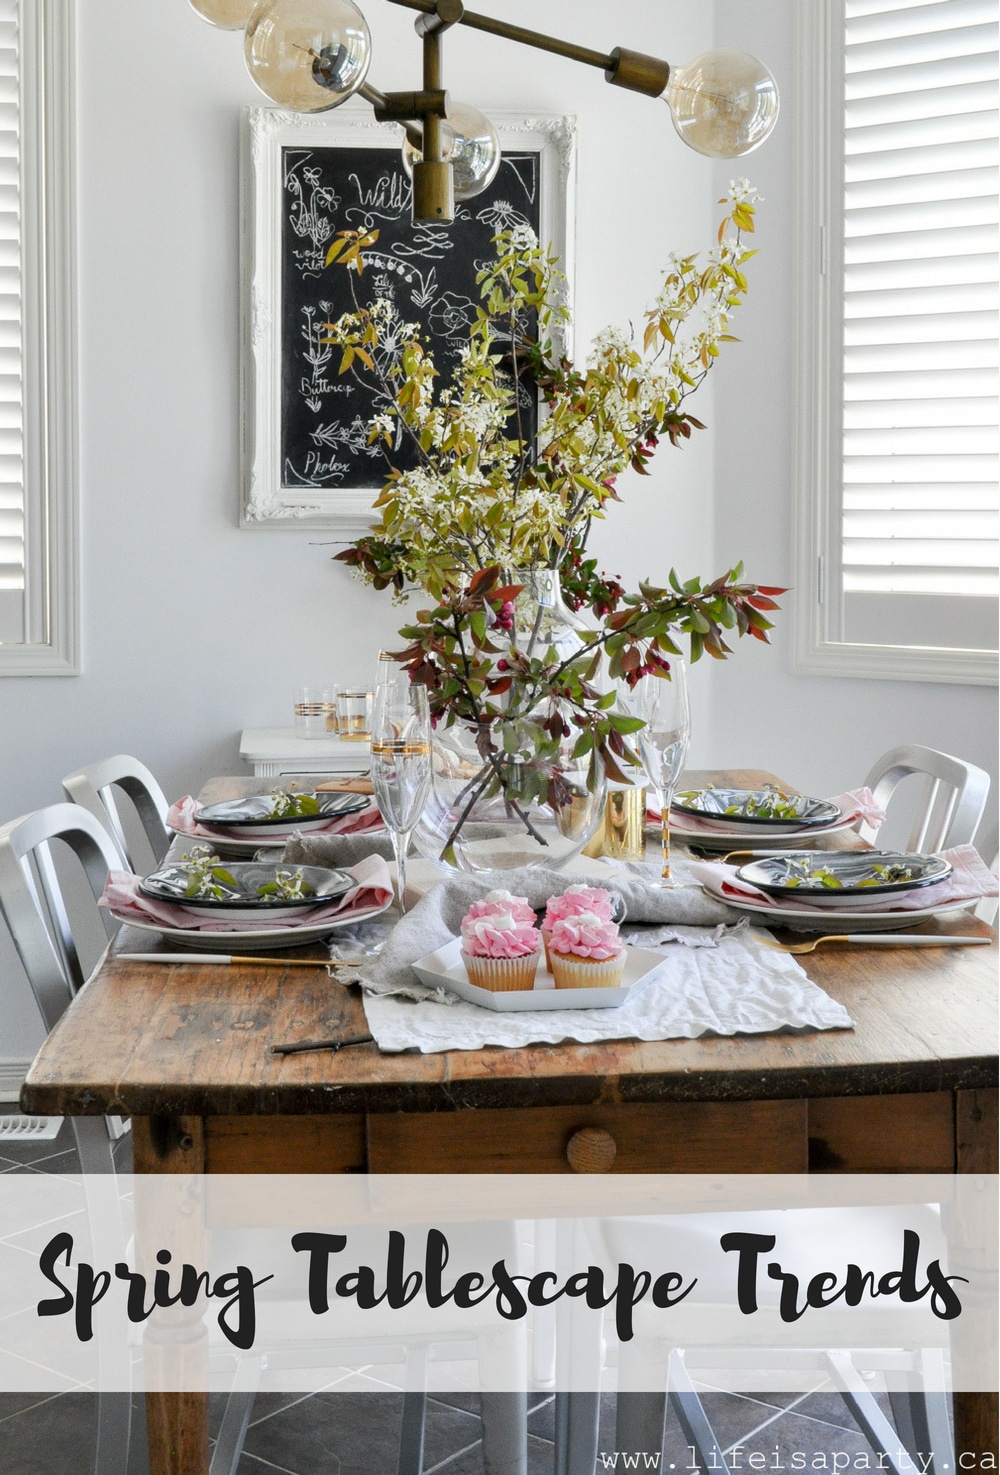 I wanted to share this pretty spring tablescape with you and some sprint table decor ideas.
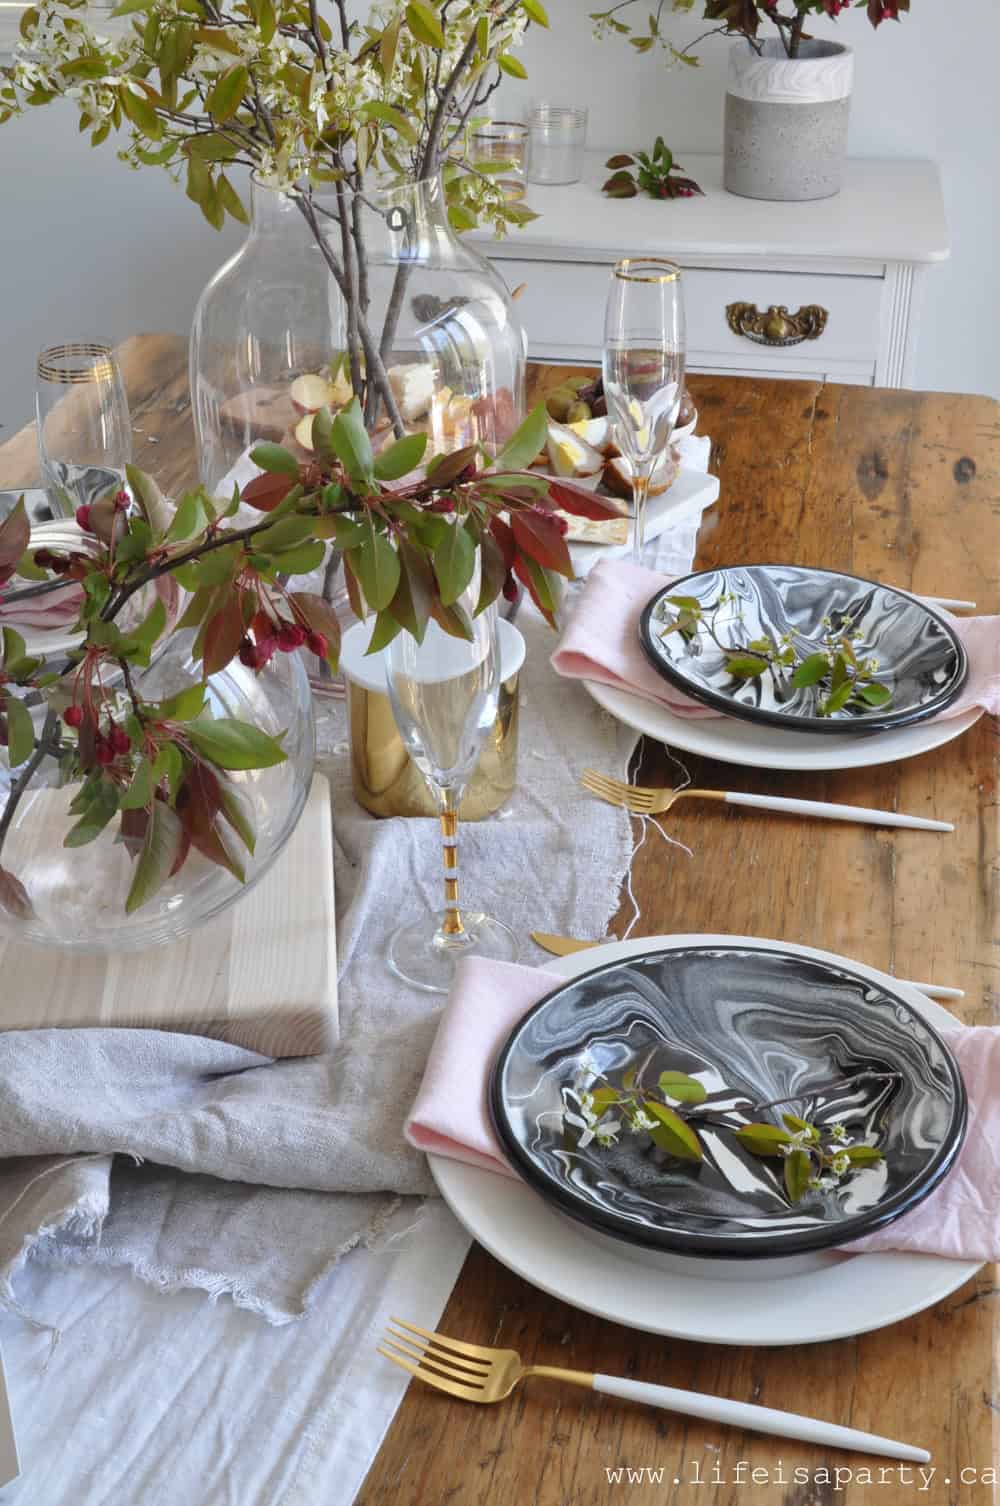
 With a pretty Spring table decor ideas, life really is a party!


 Formal Wear
 New Foods
 5. Feel free to ask for accommodations.
 6. Try to Relax and Enjoy

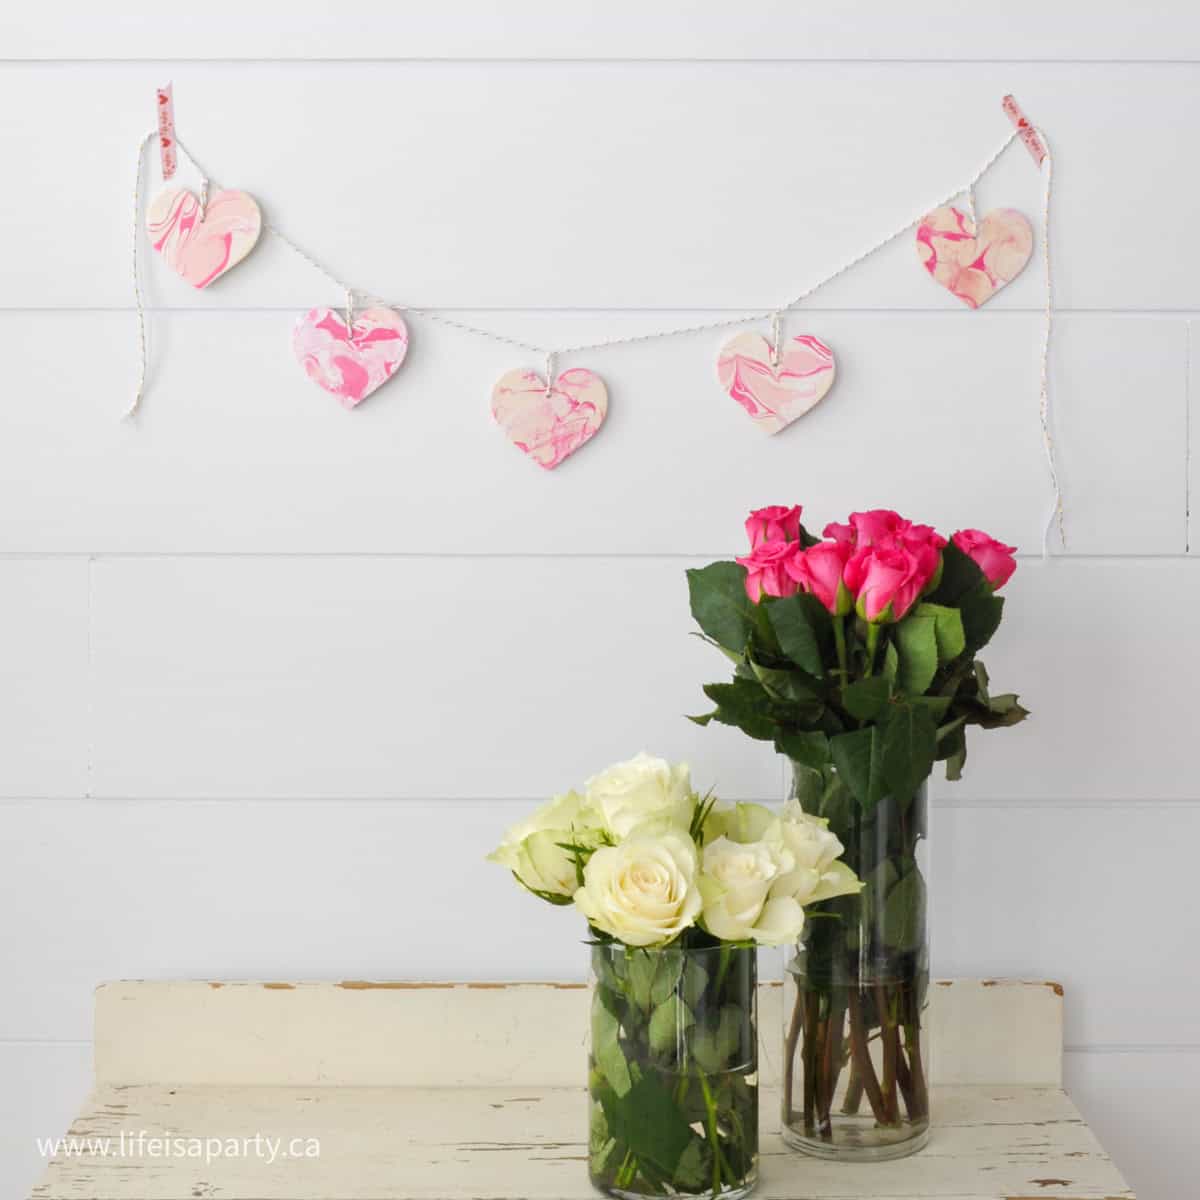
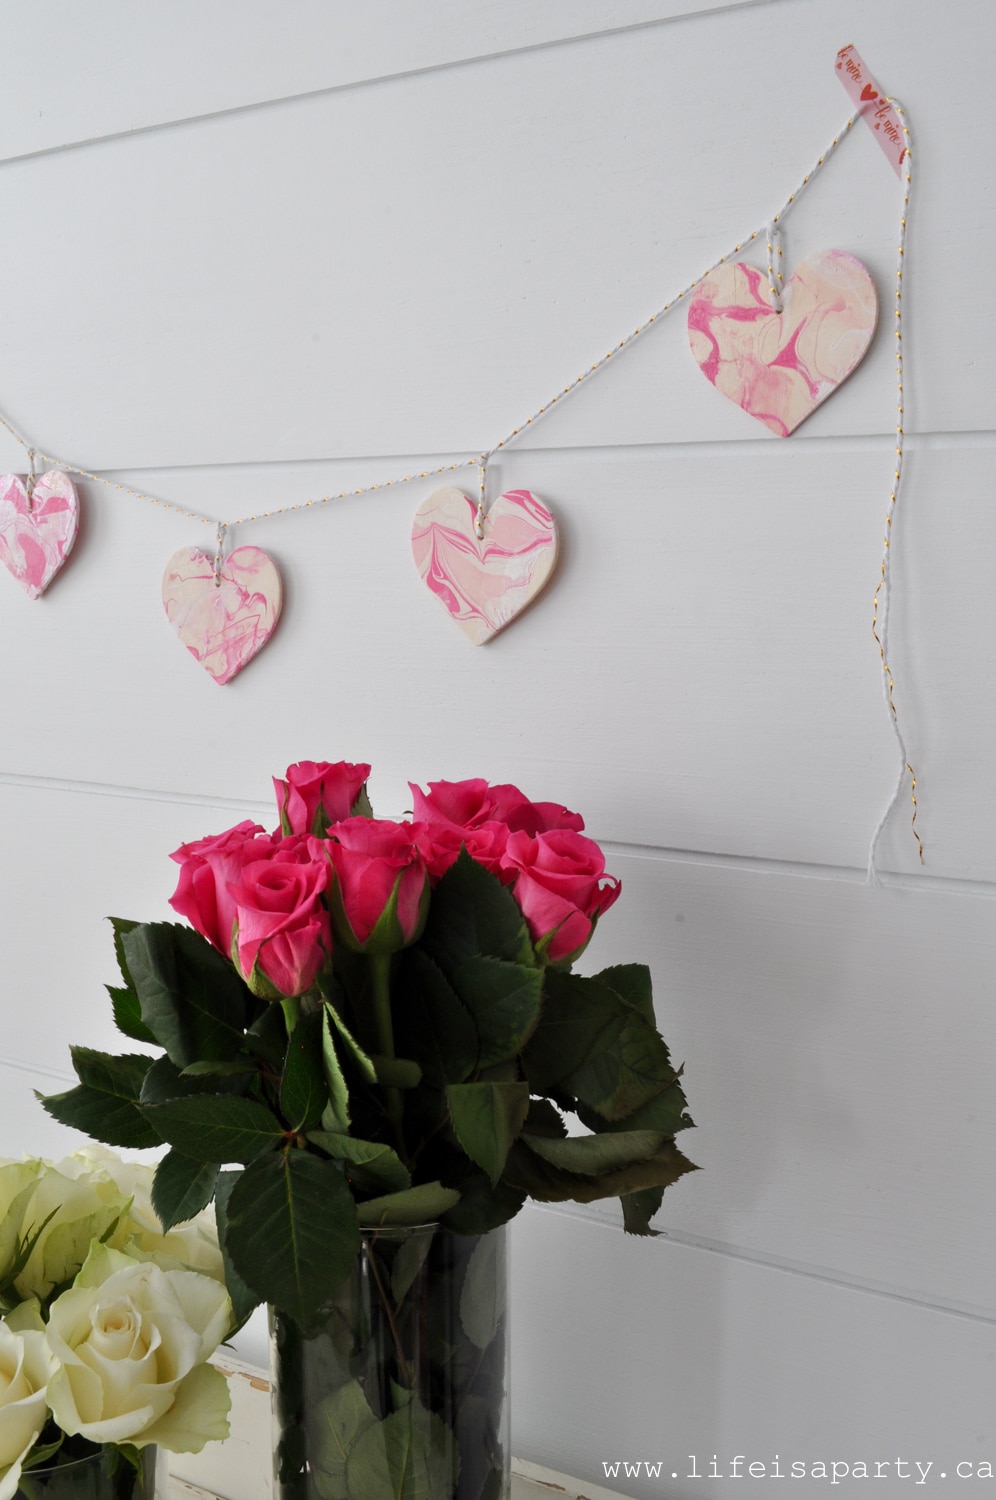
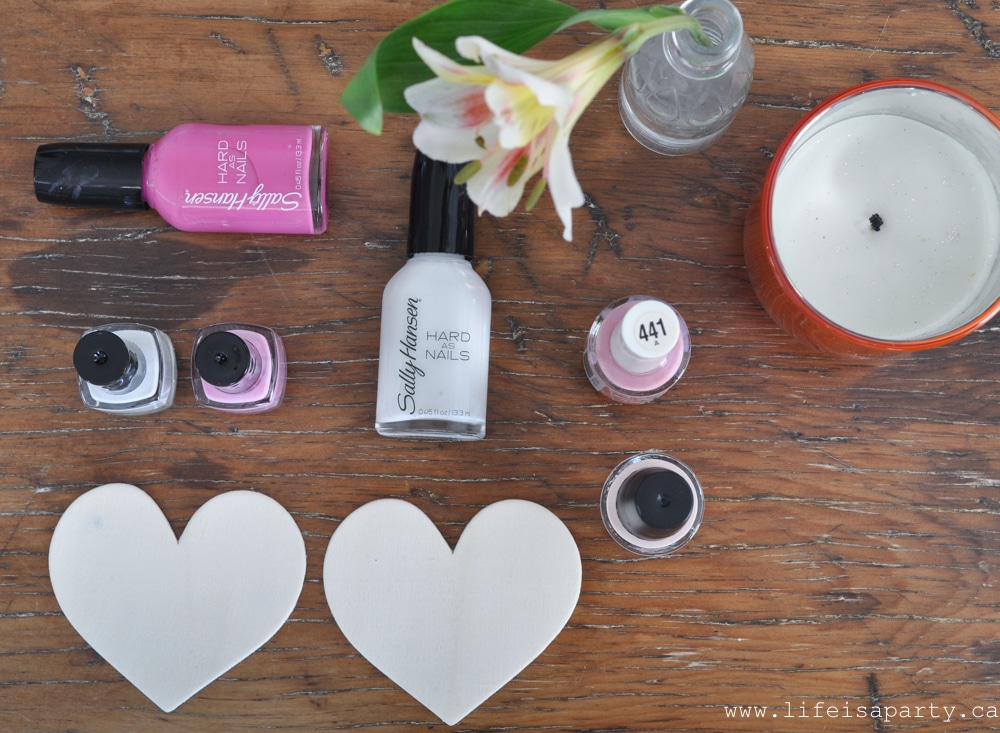
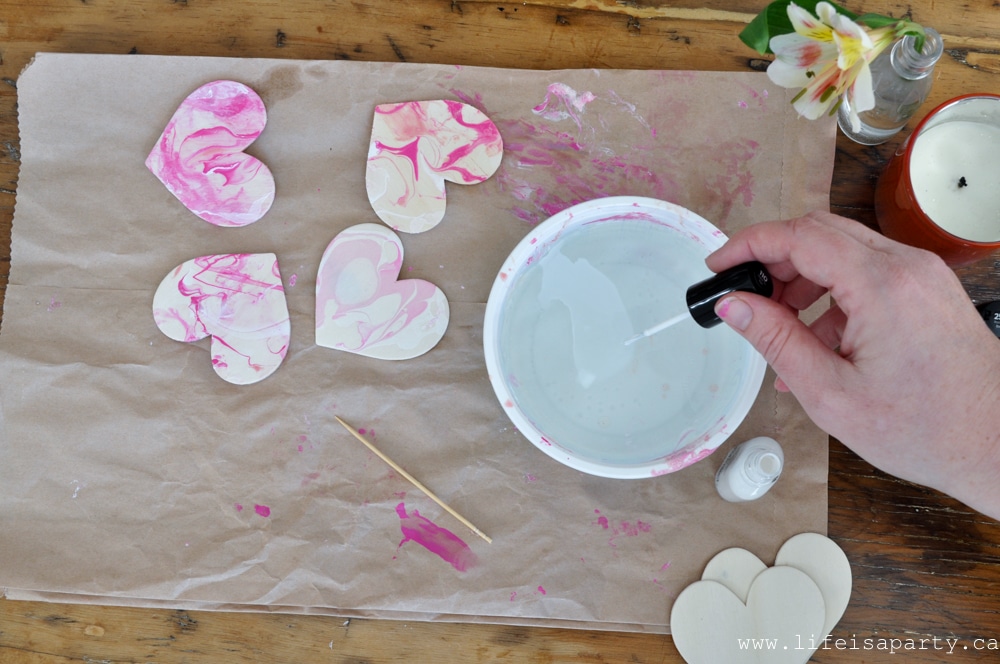
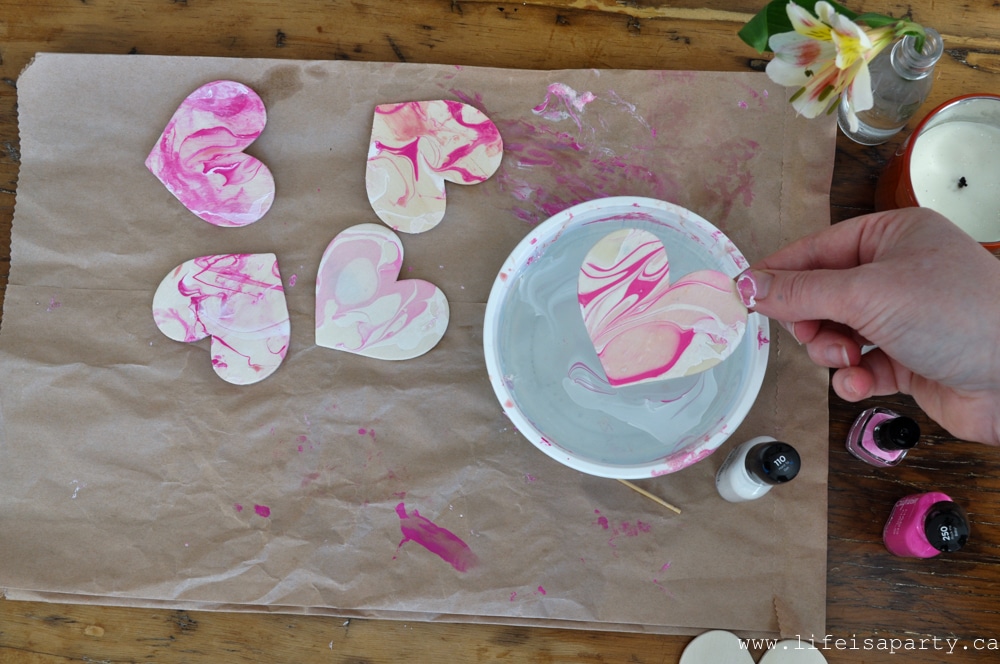
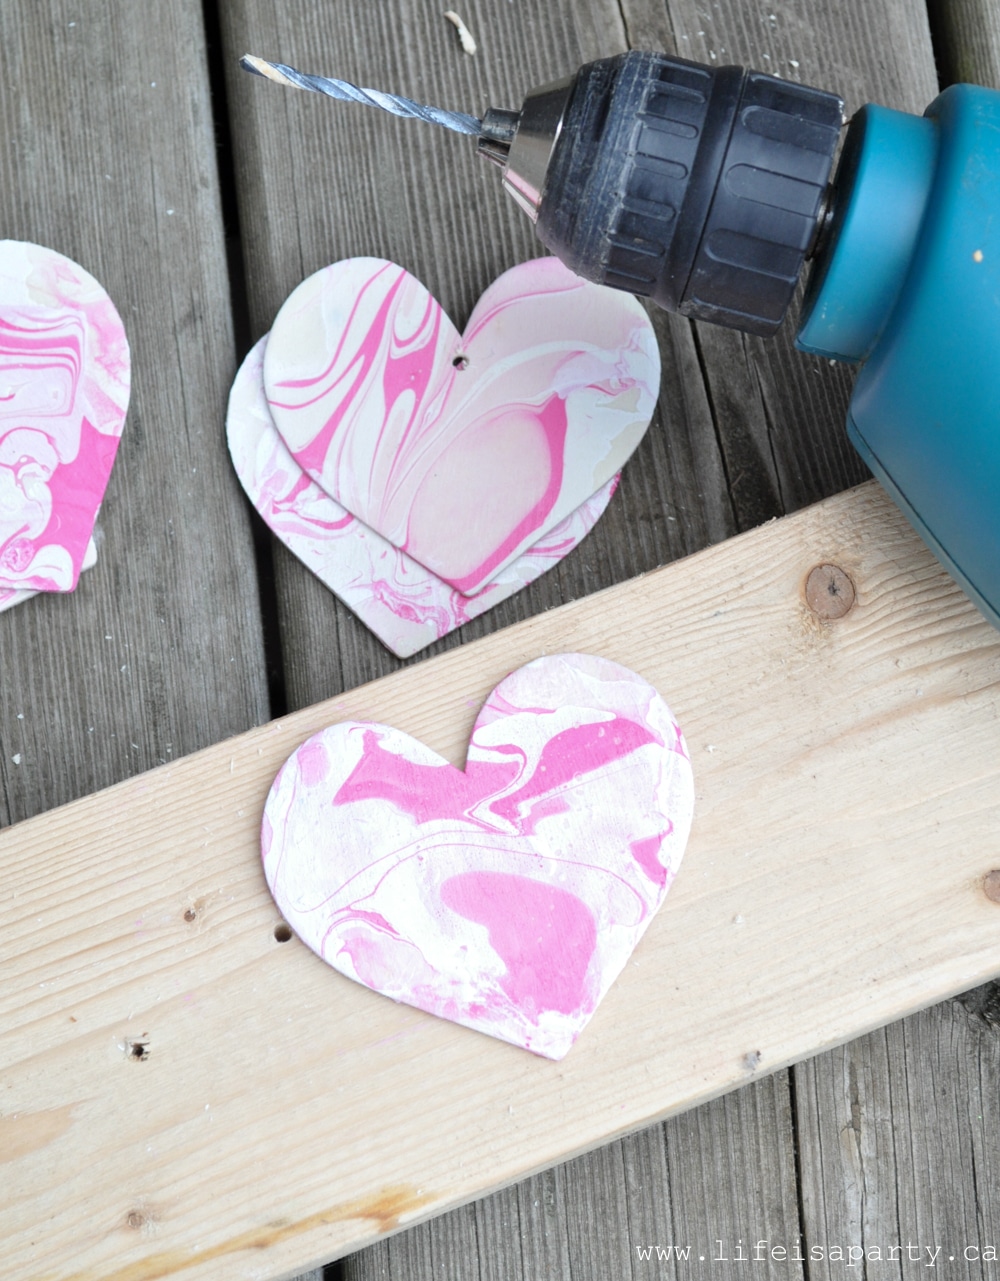
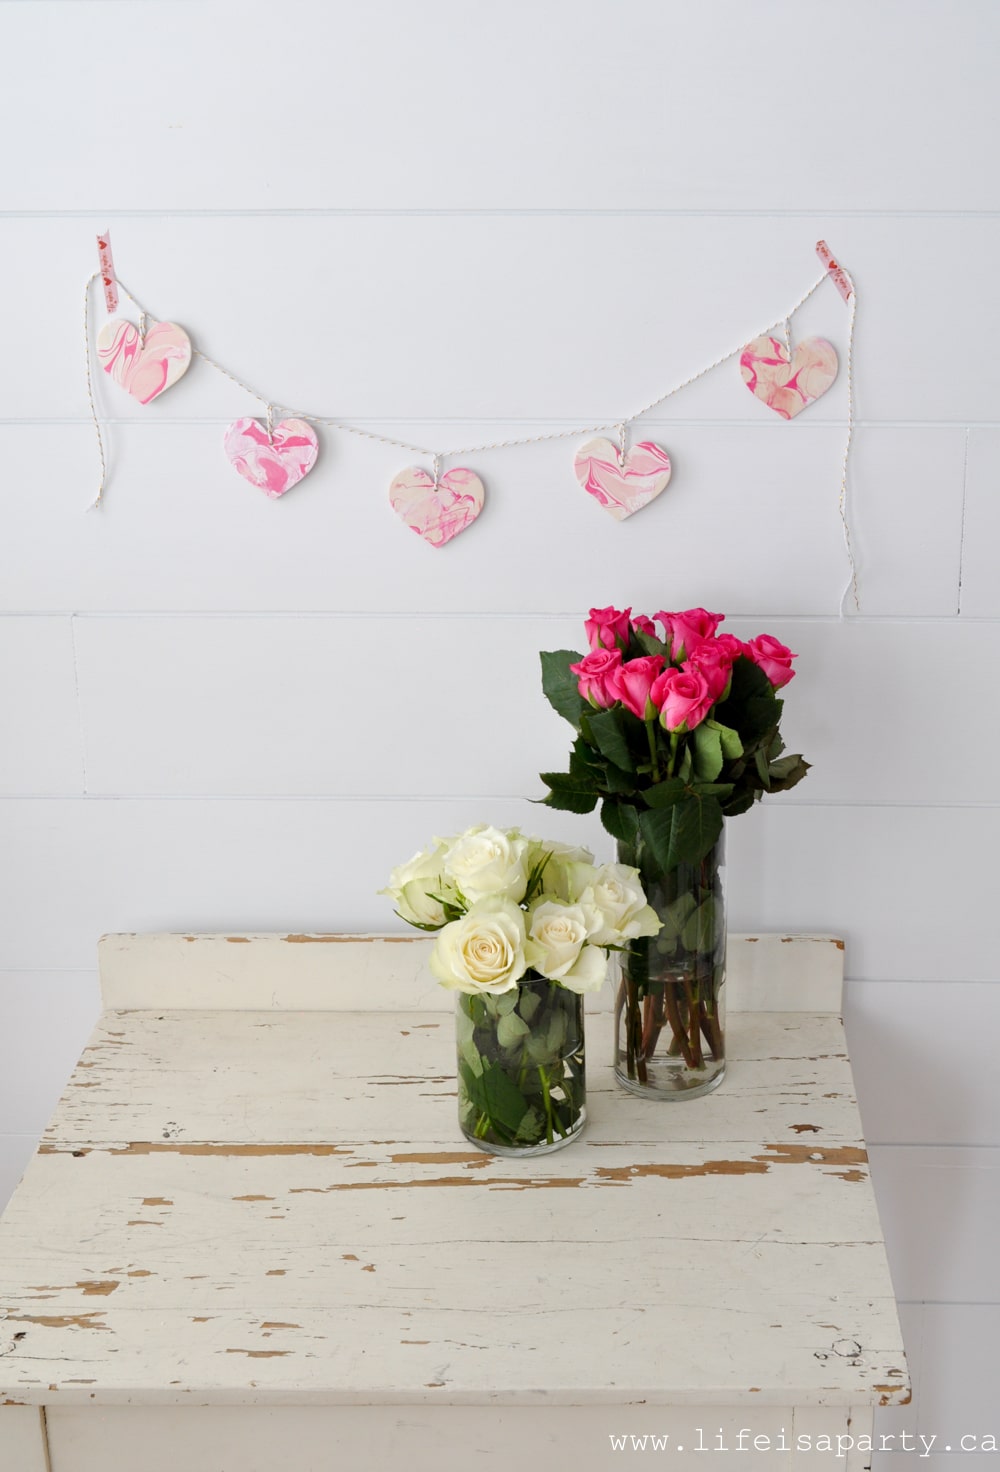
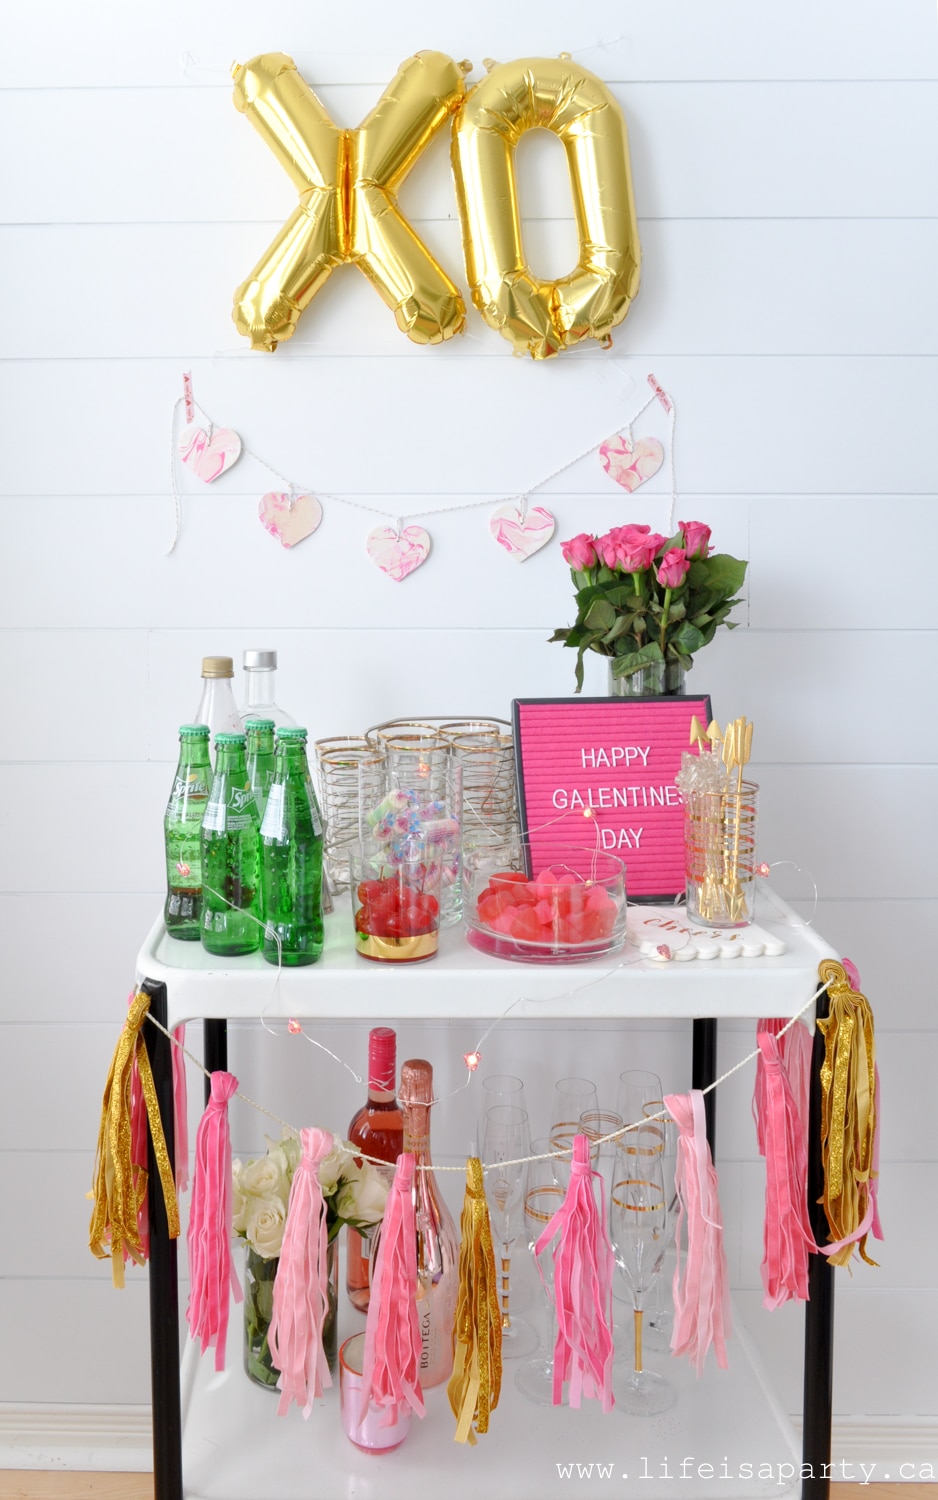


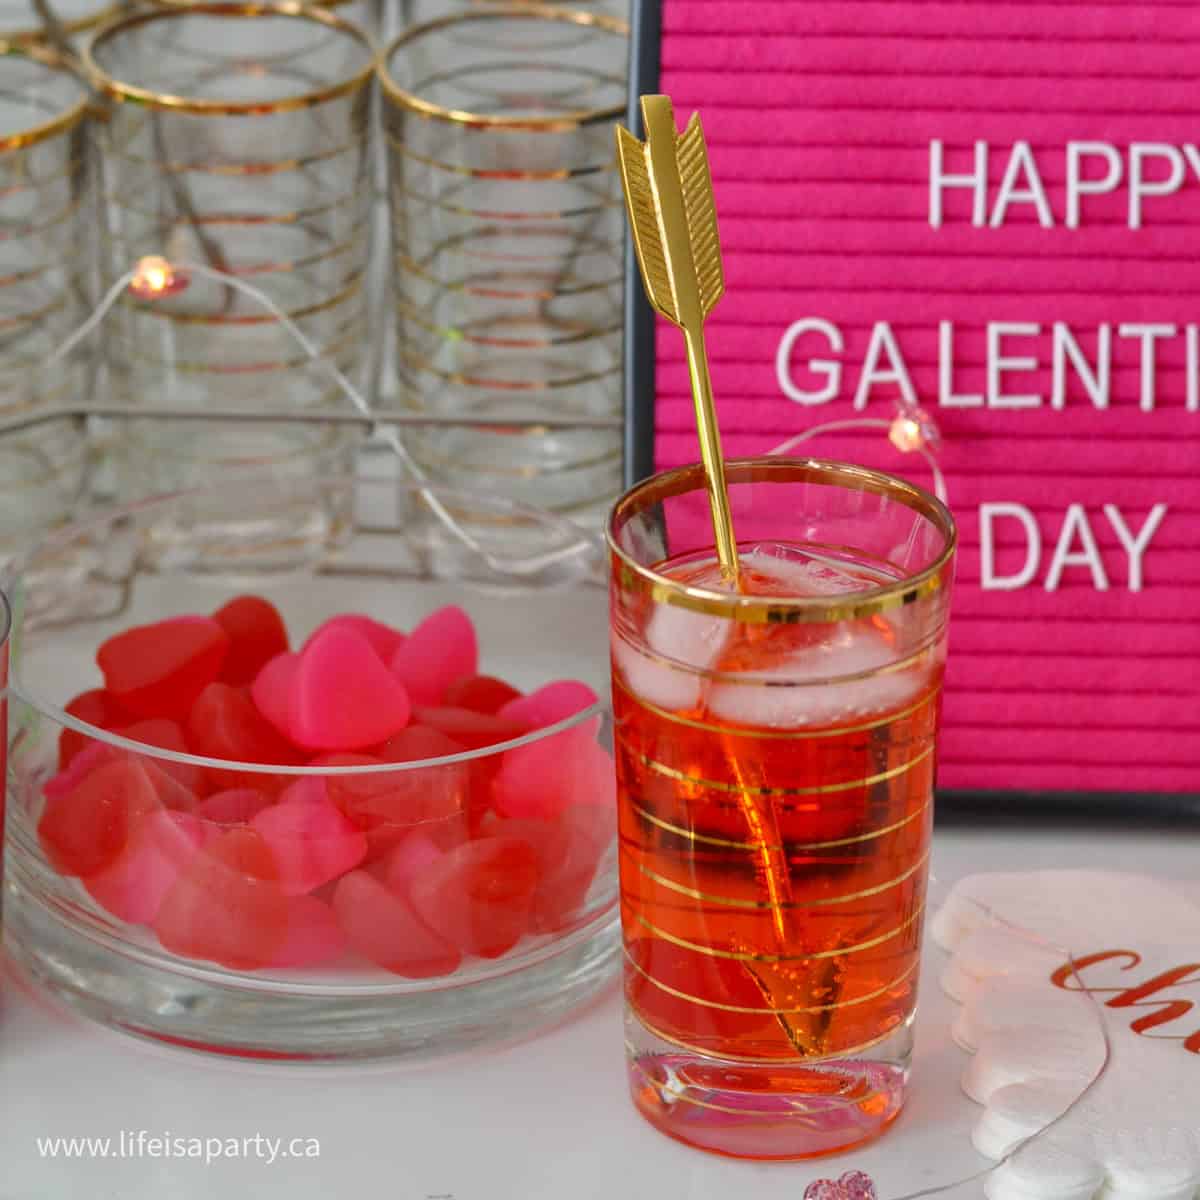
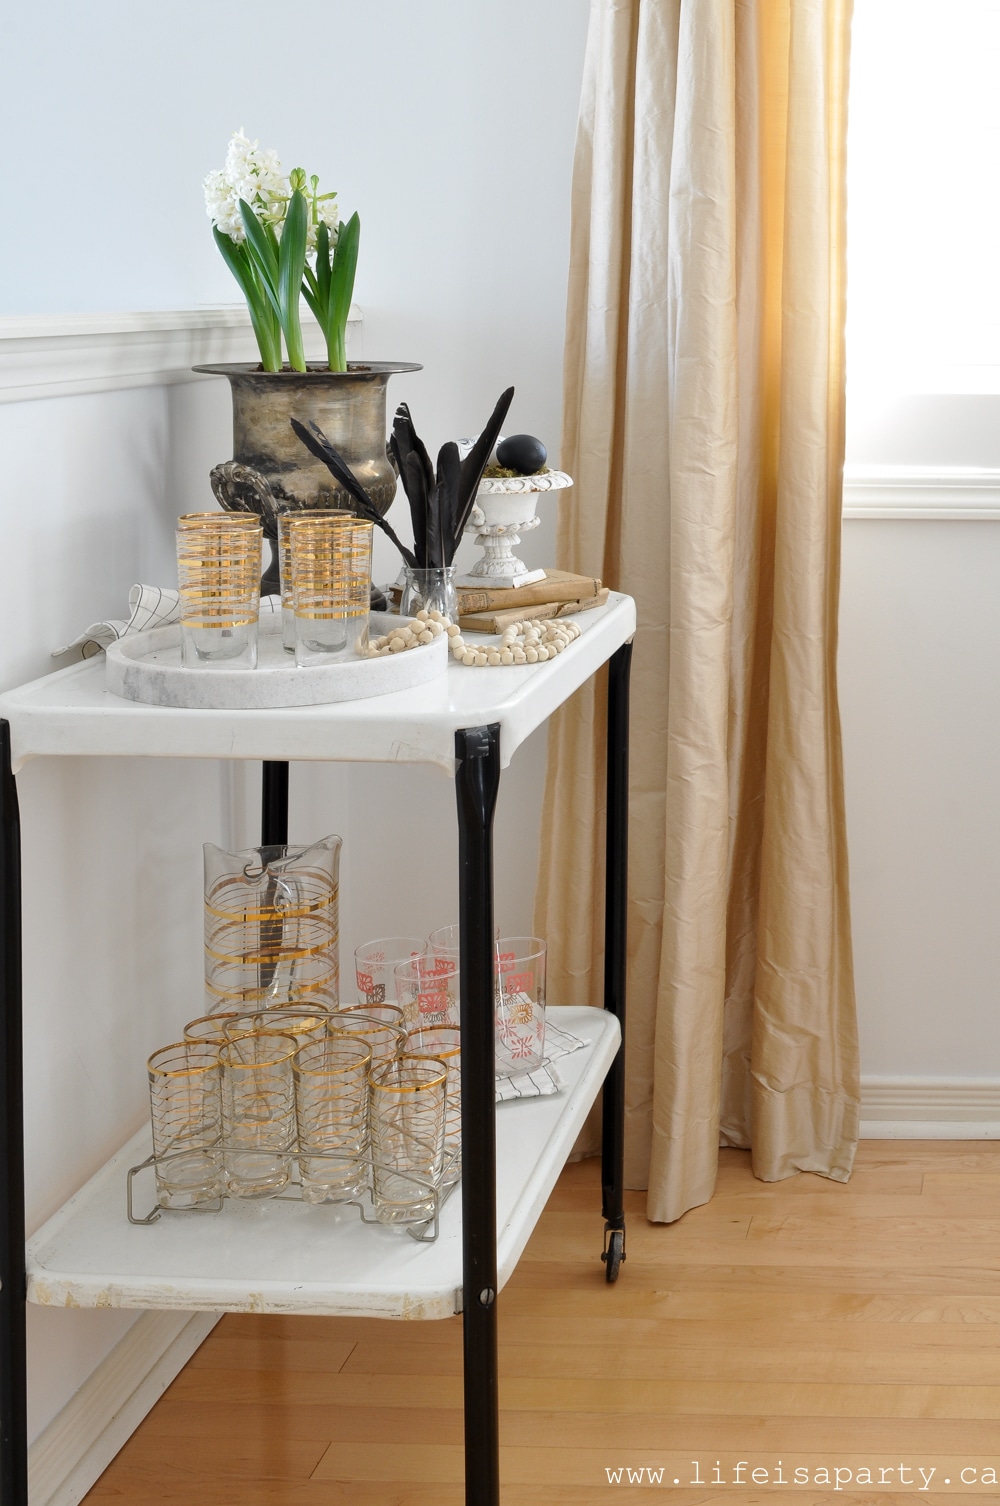
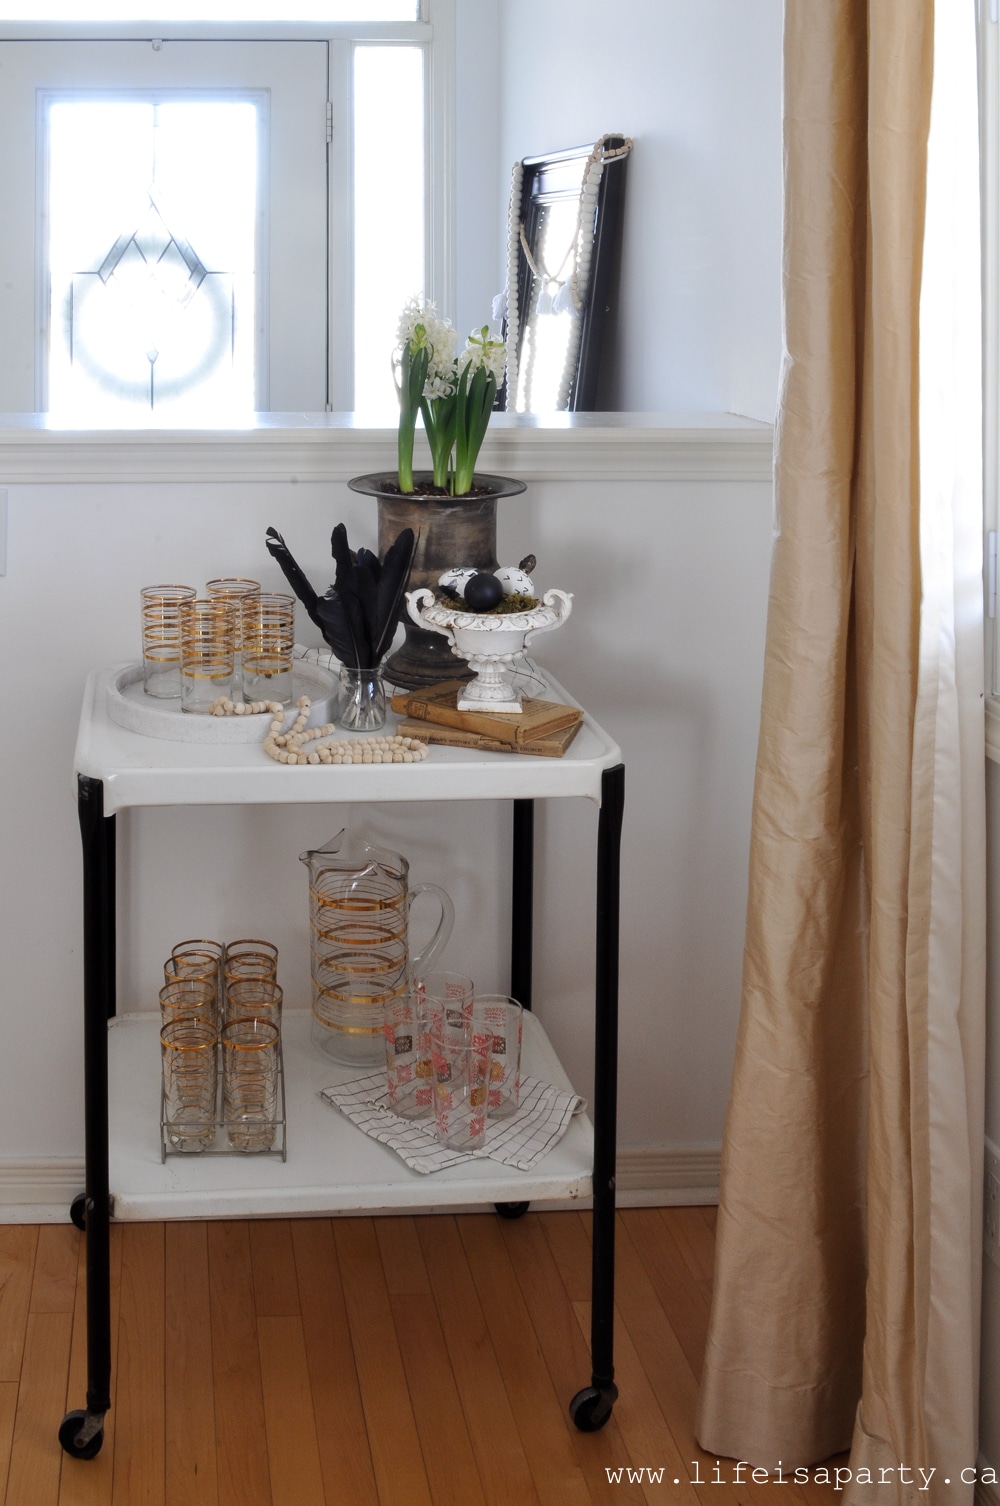
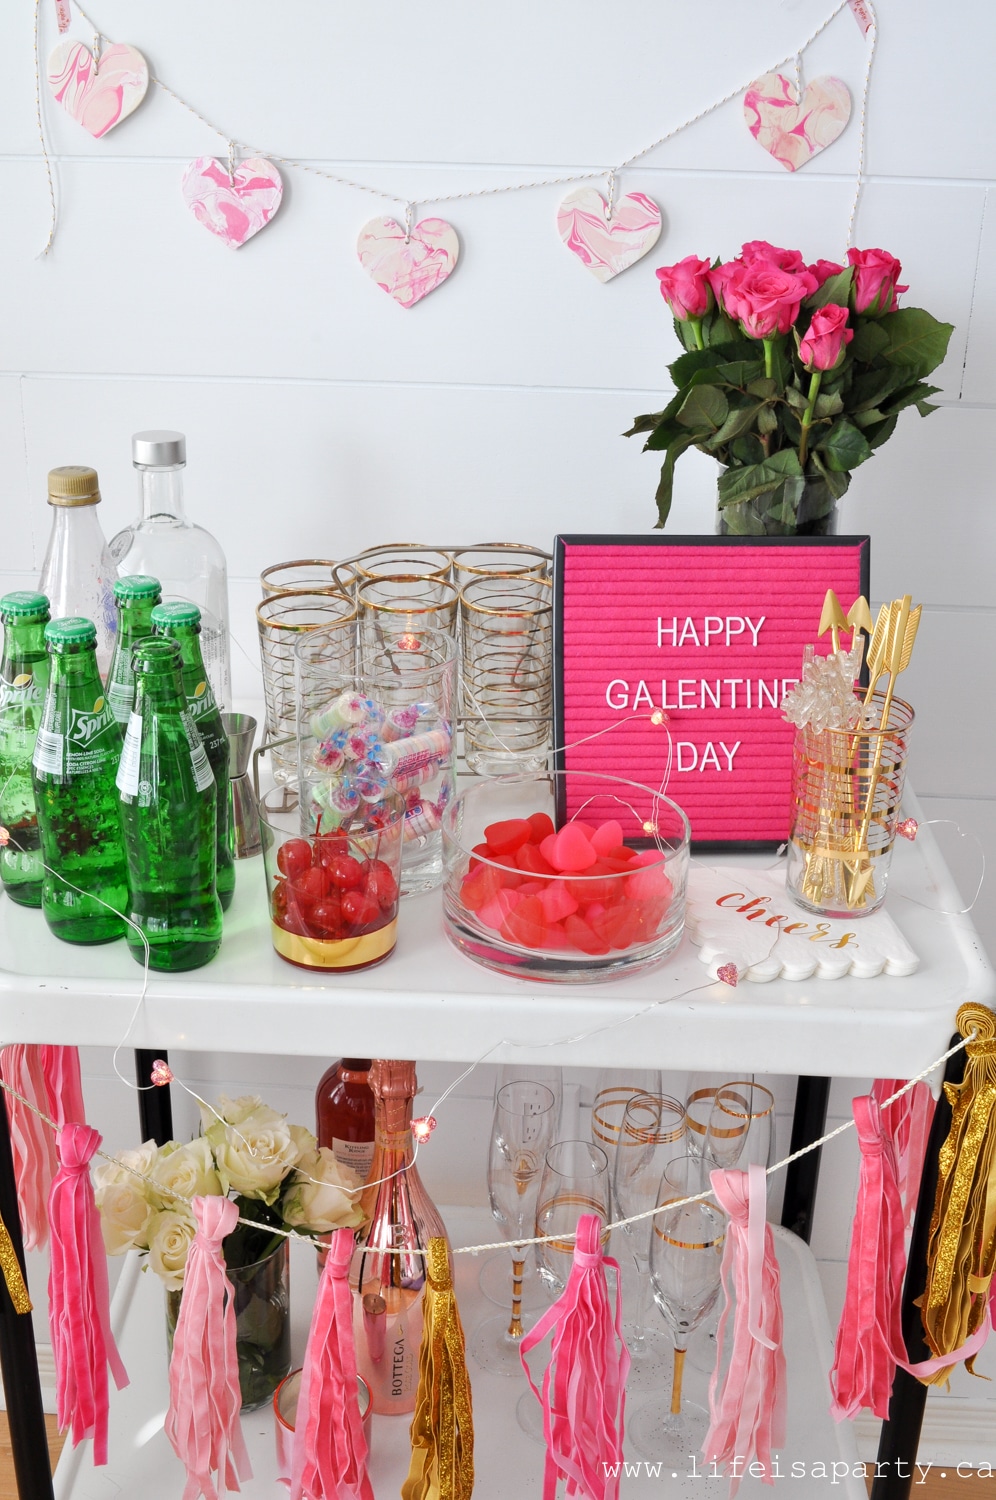
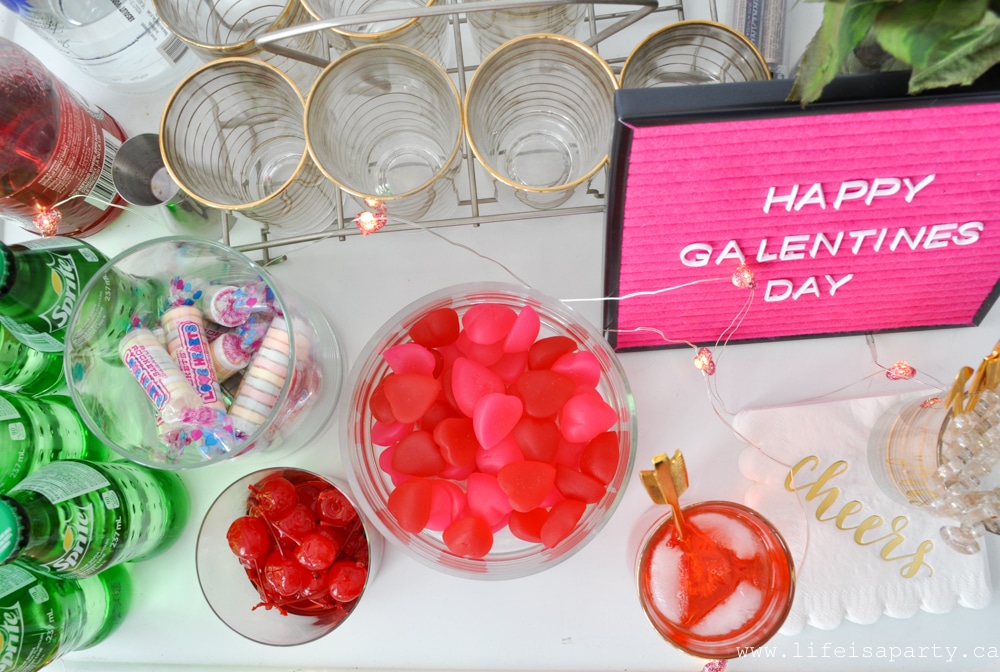
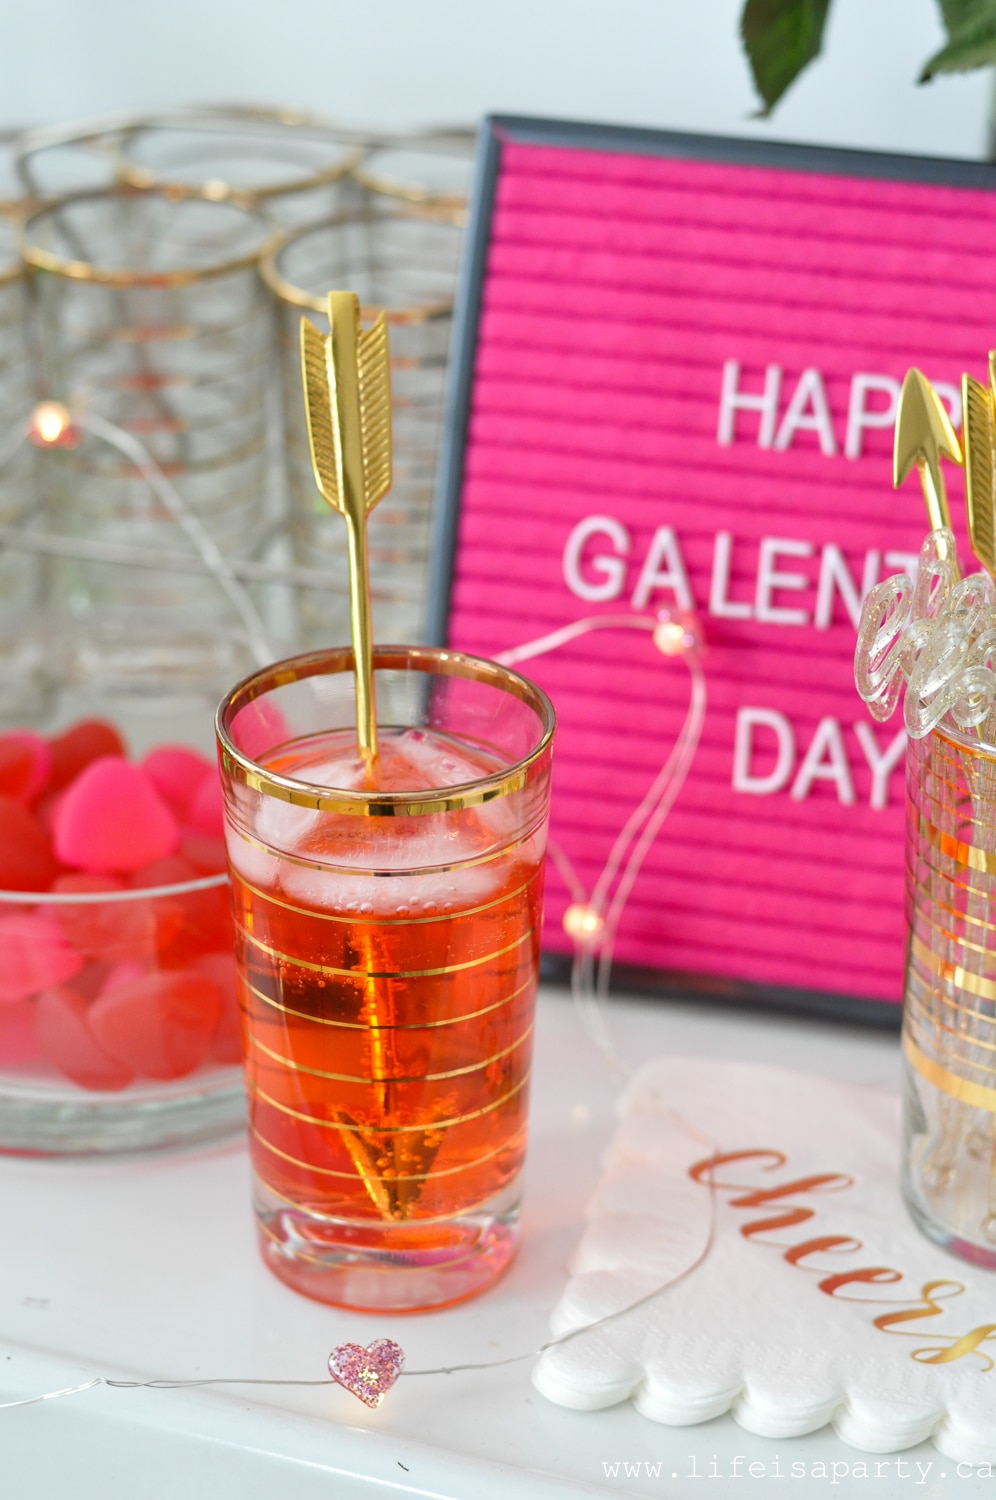
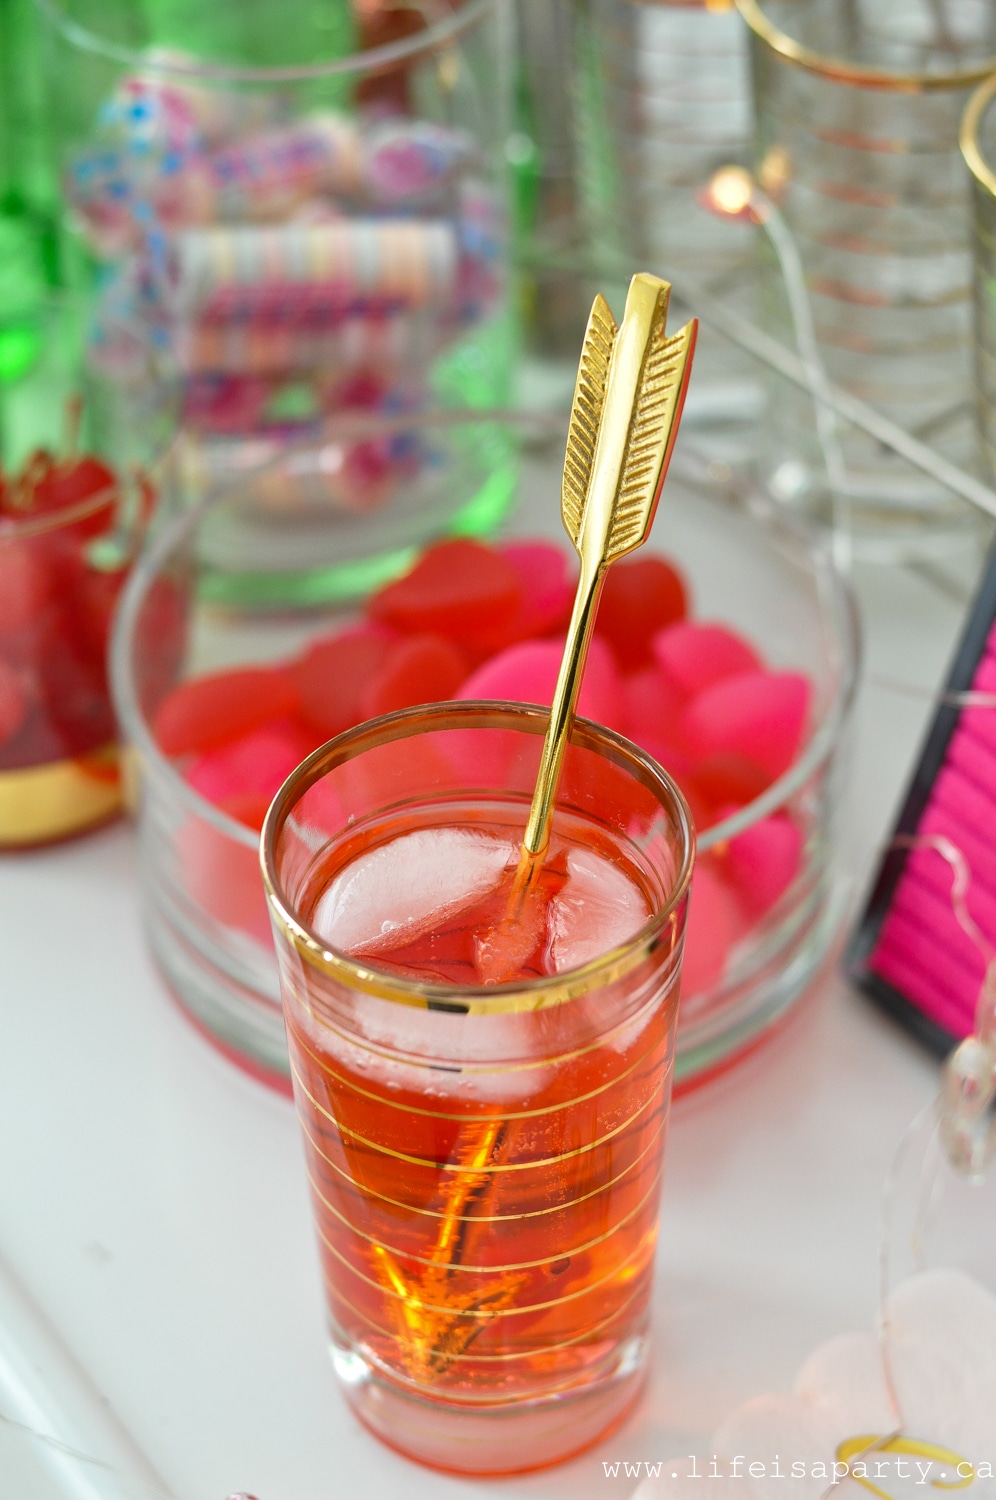
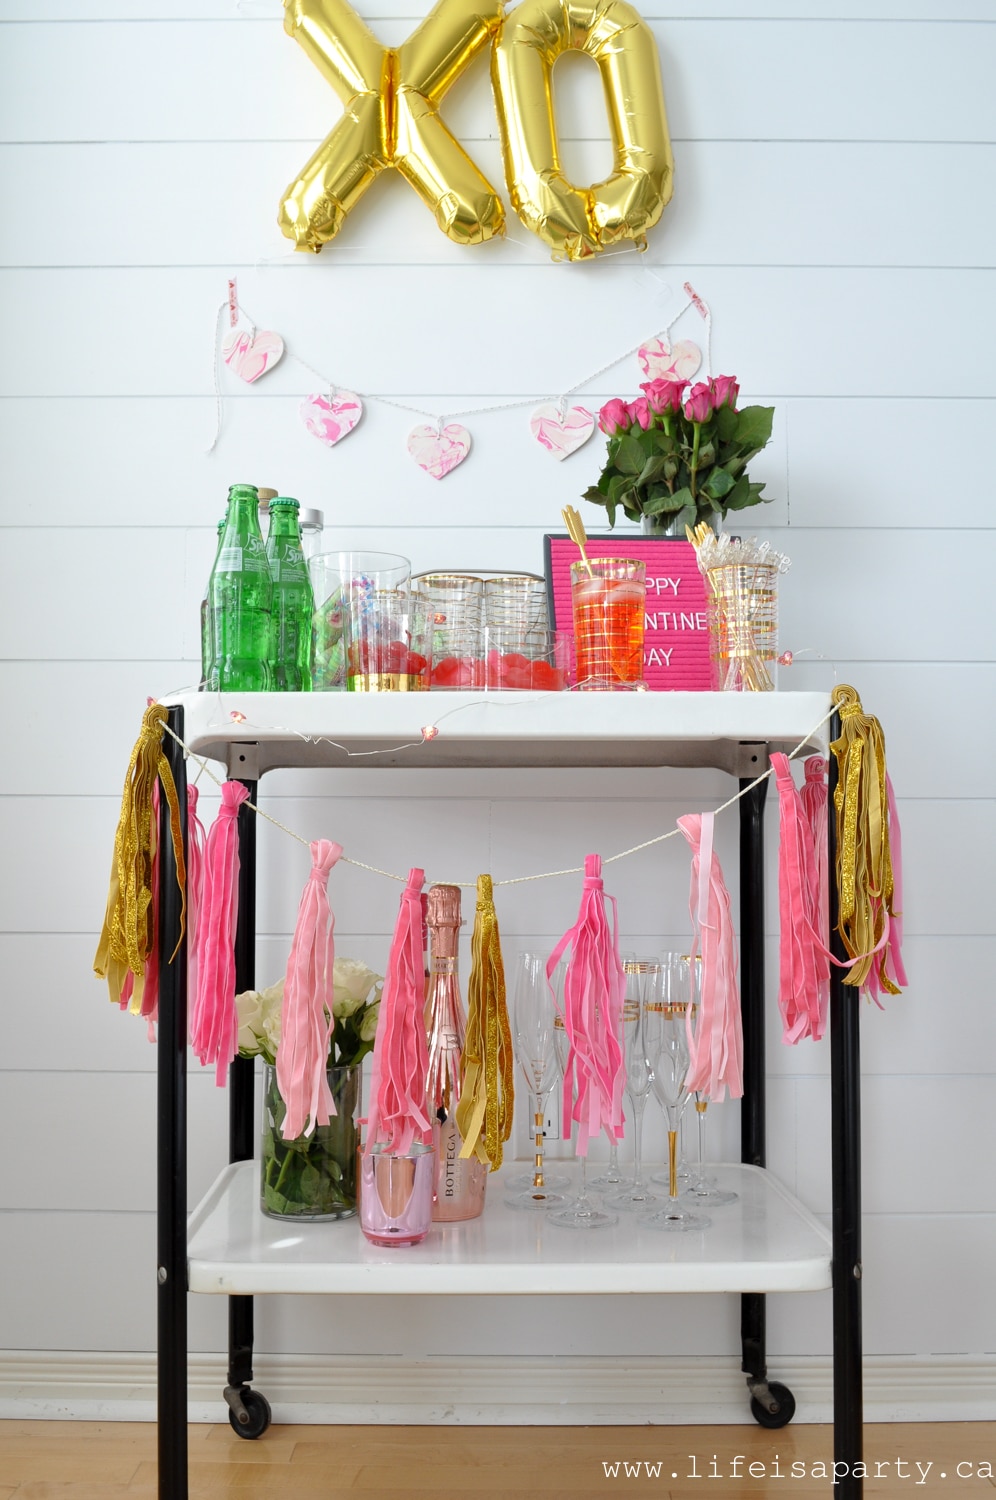
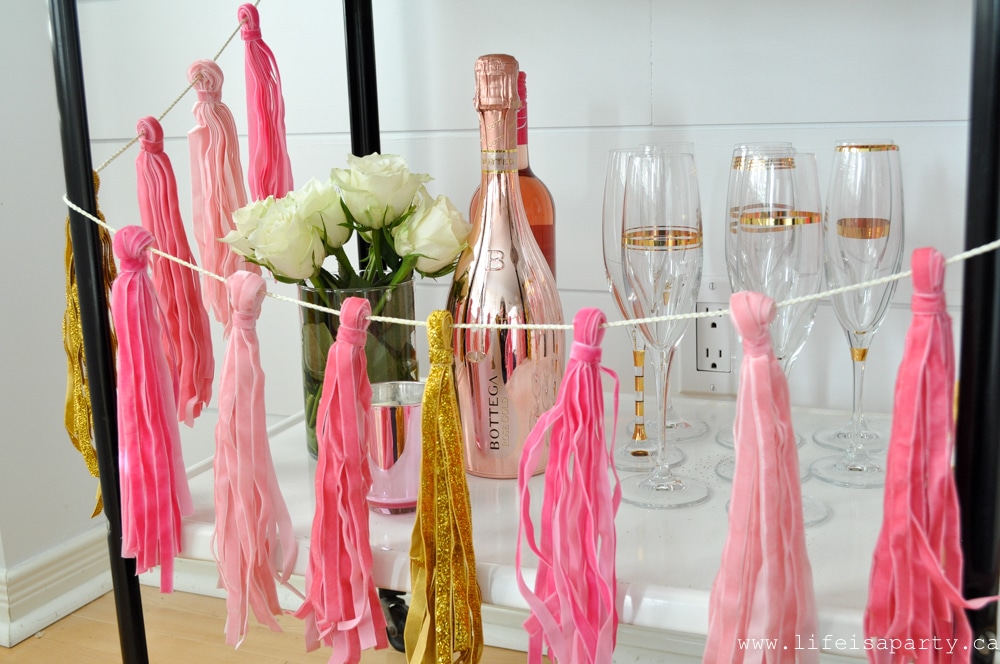
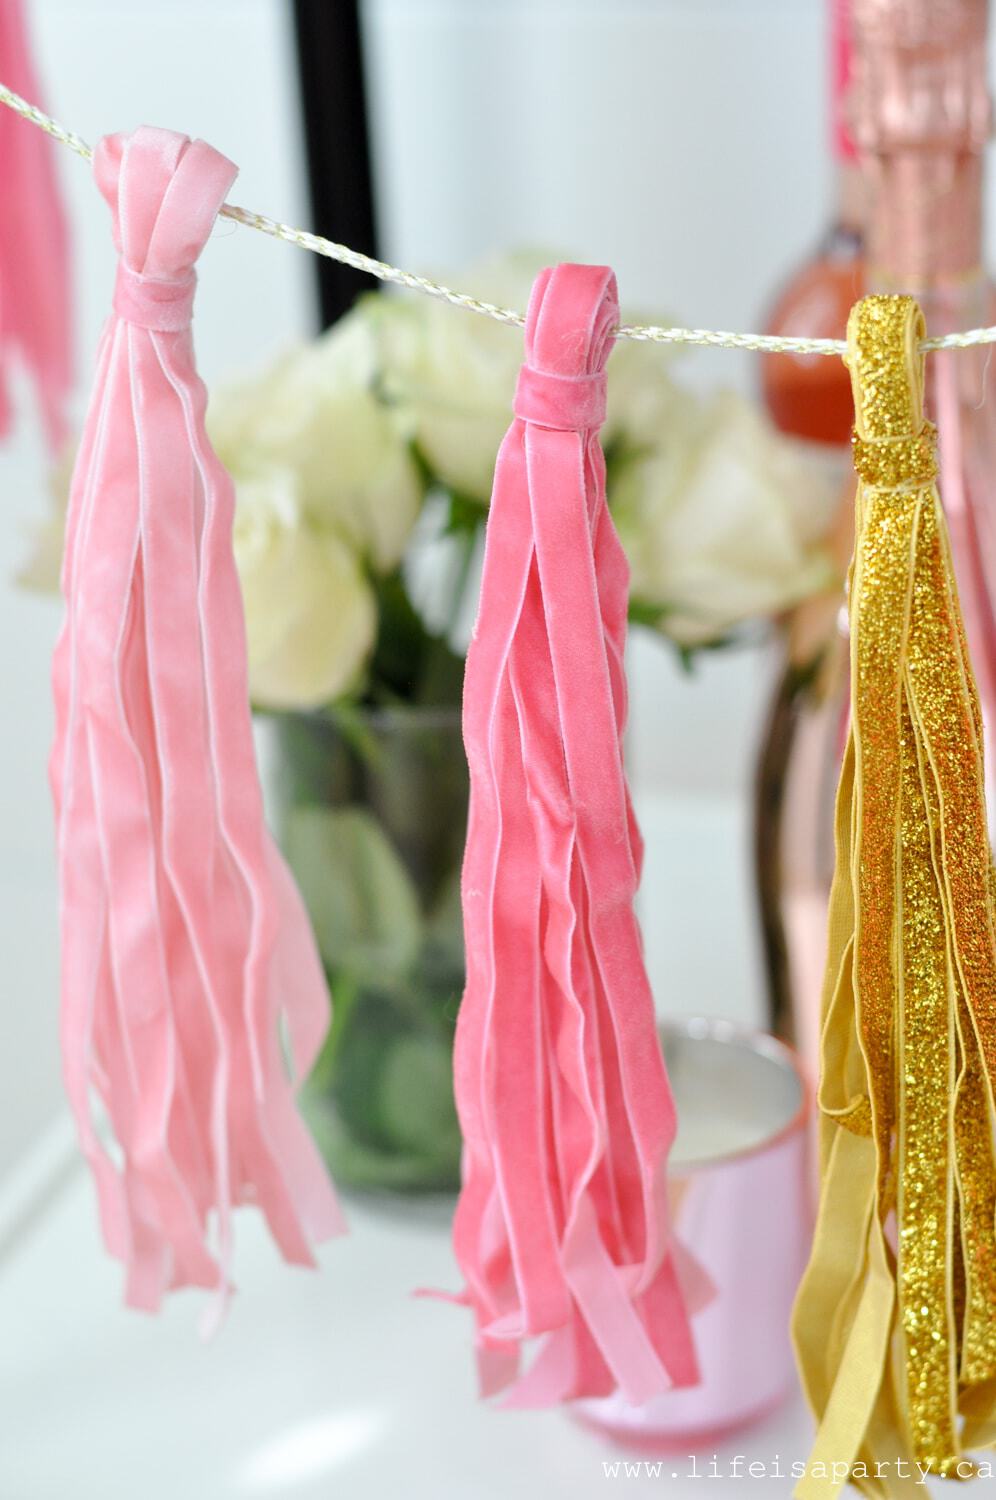
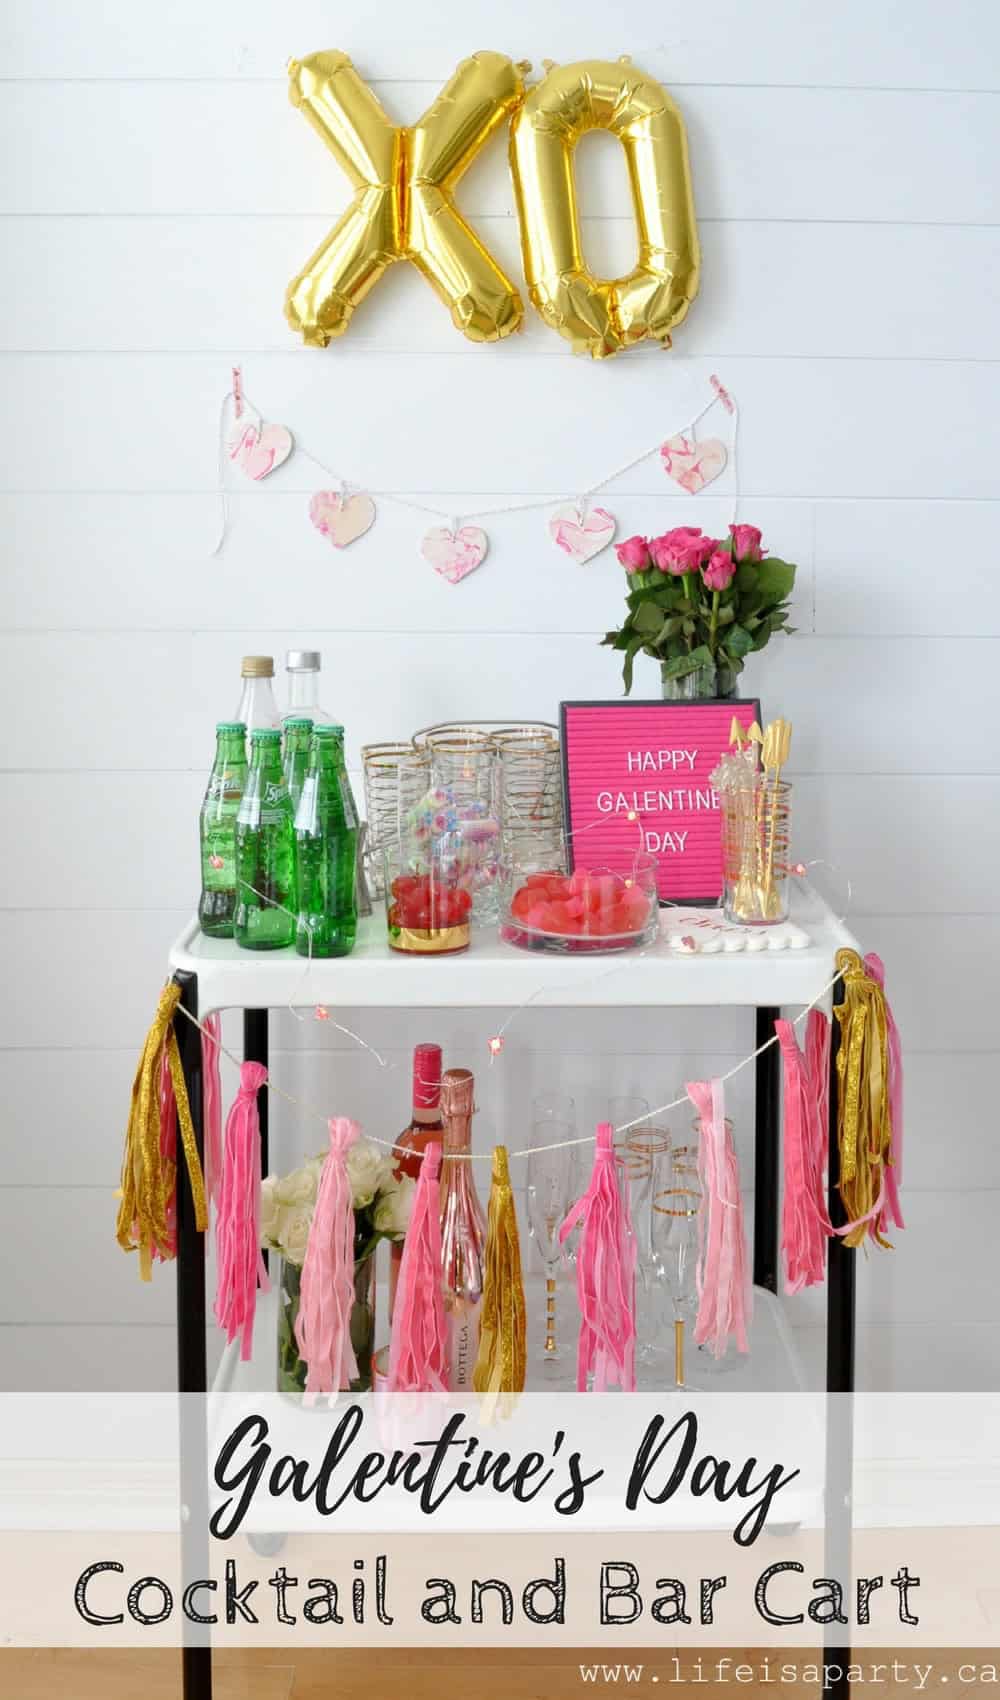
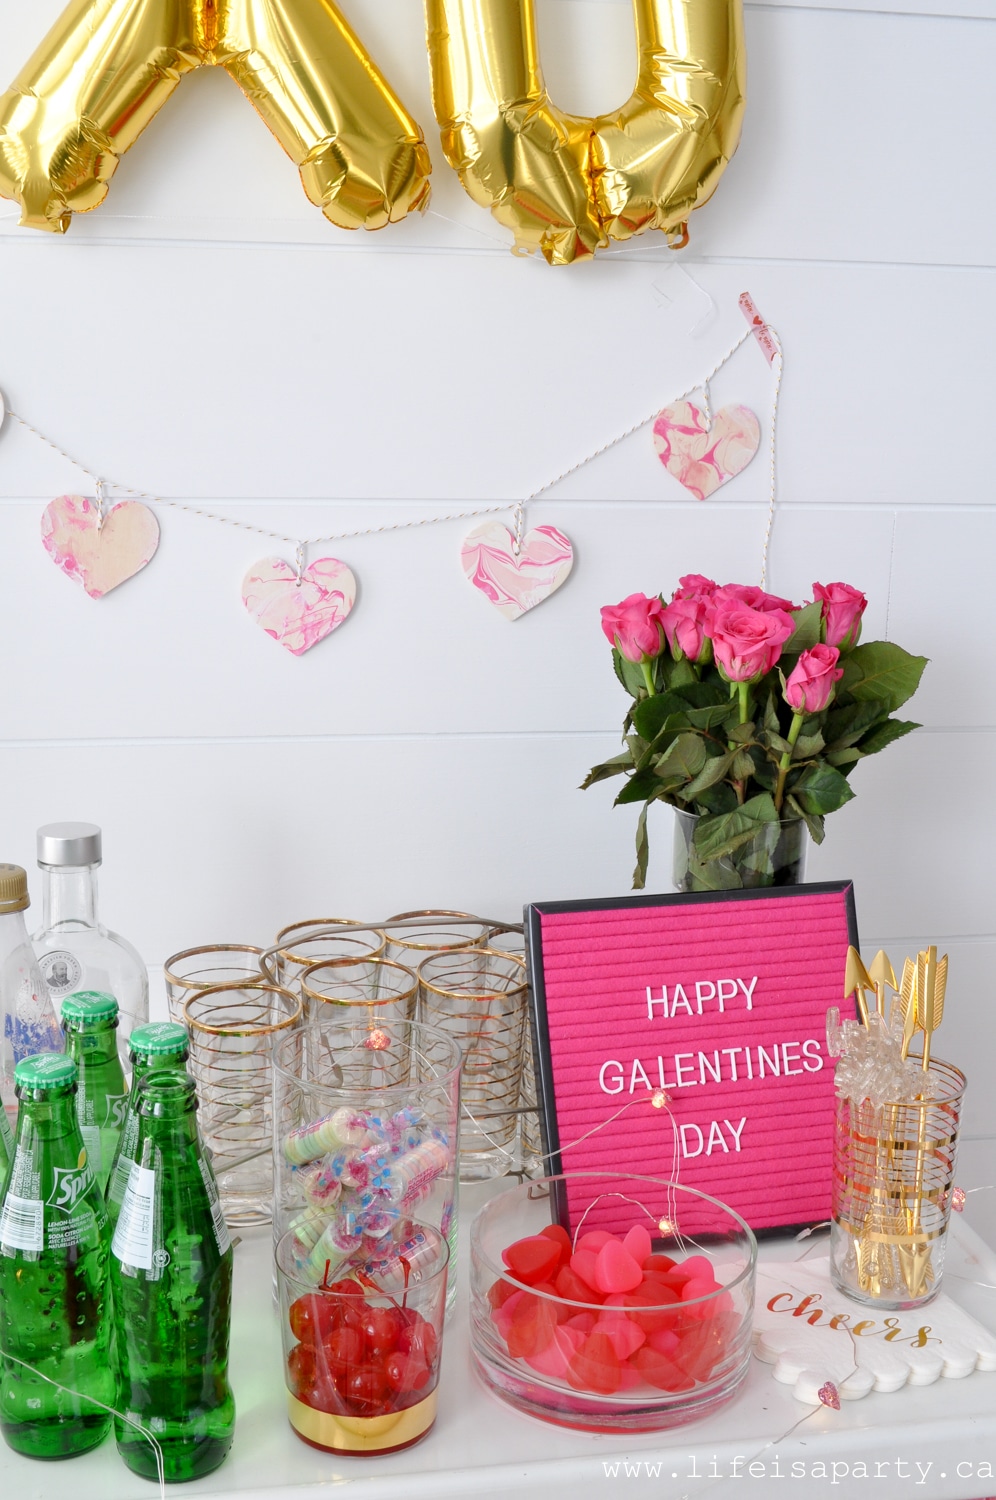 Galentine's Day Bar Cart
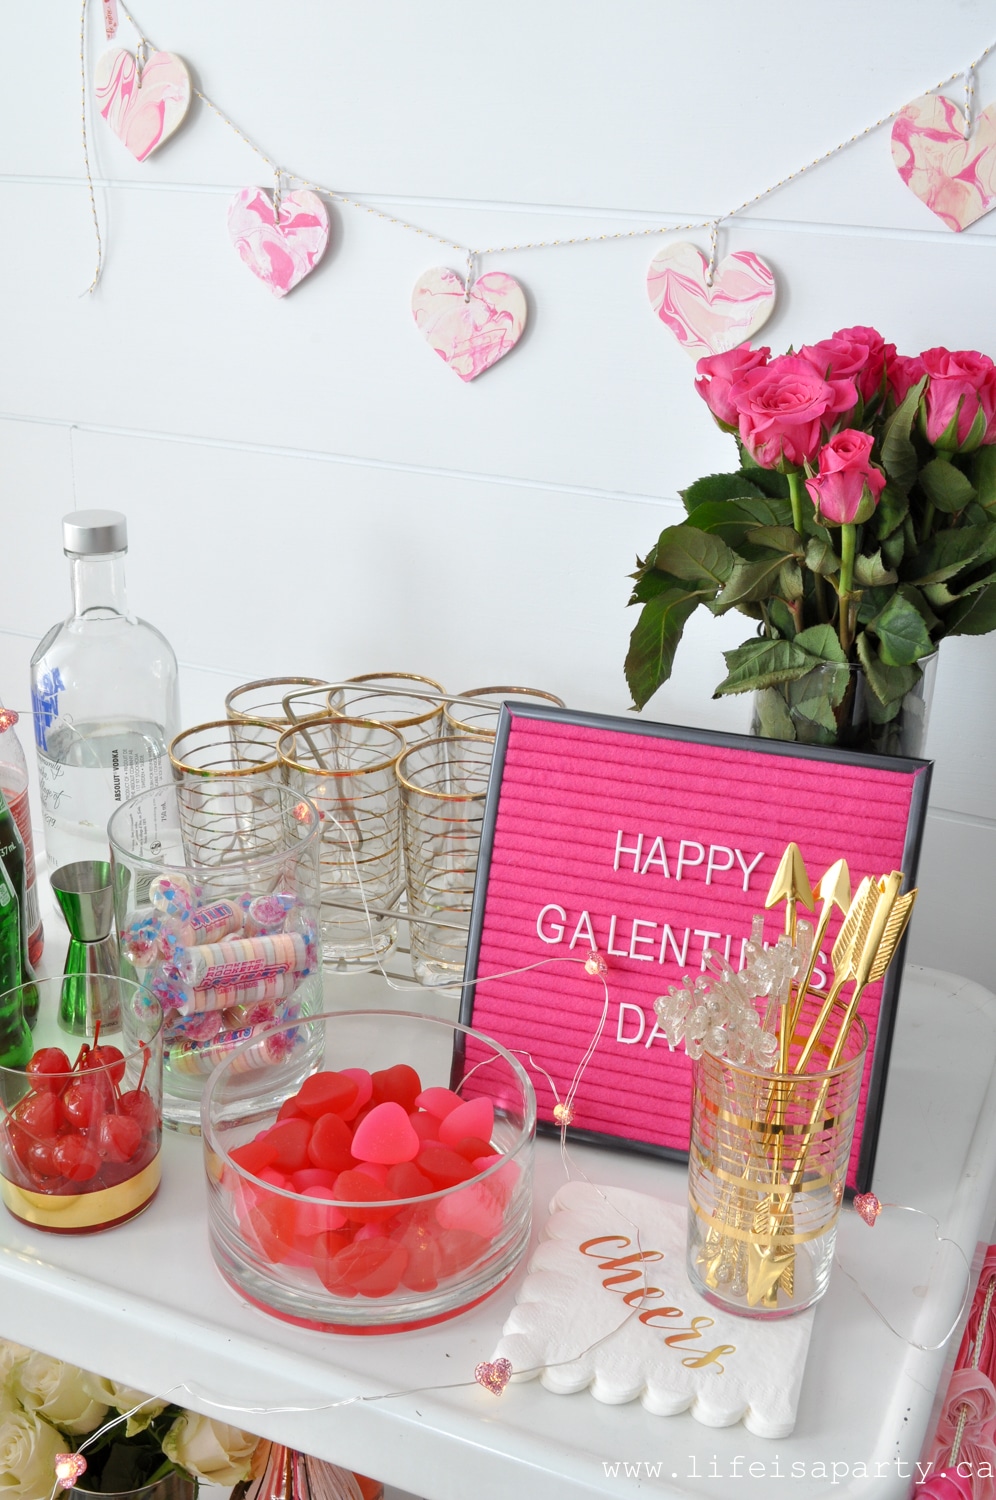


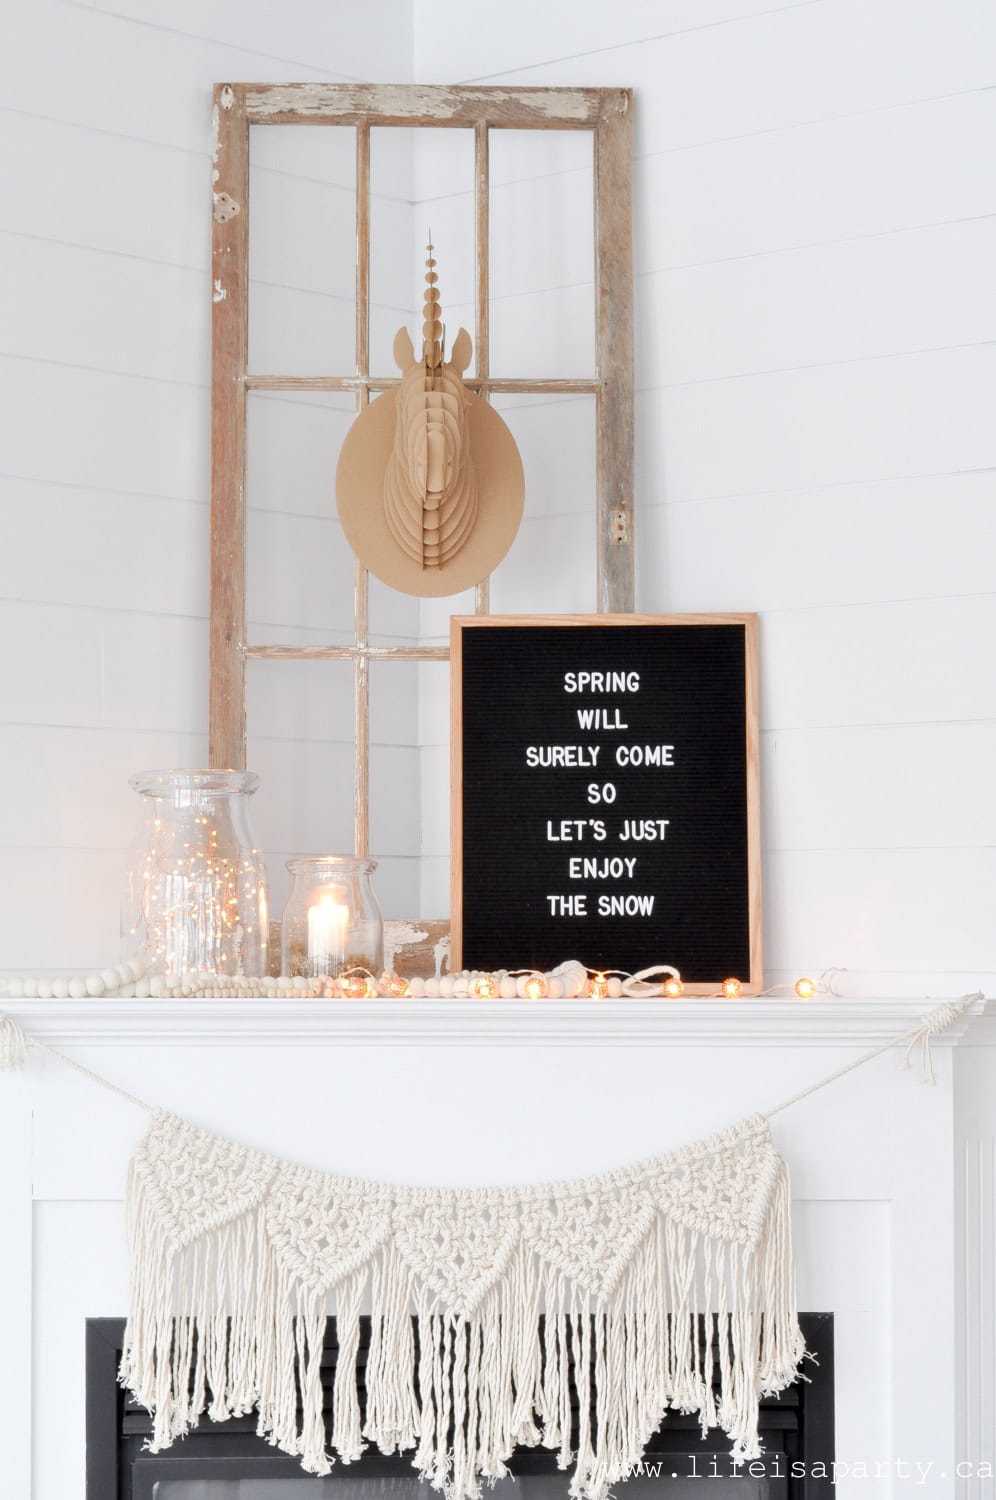


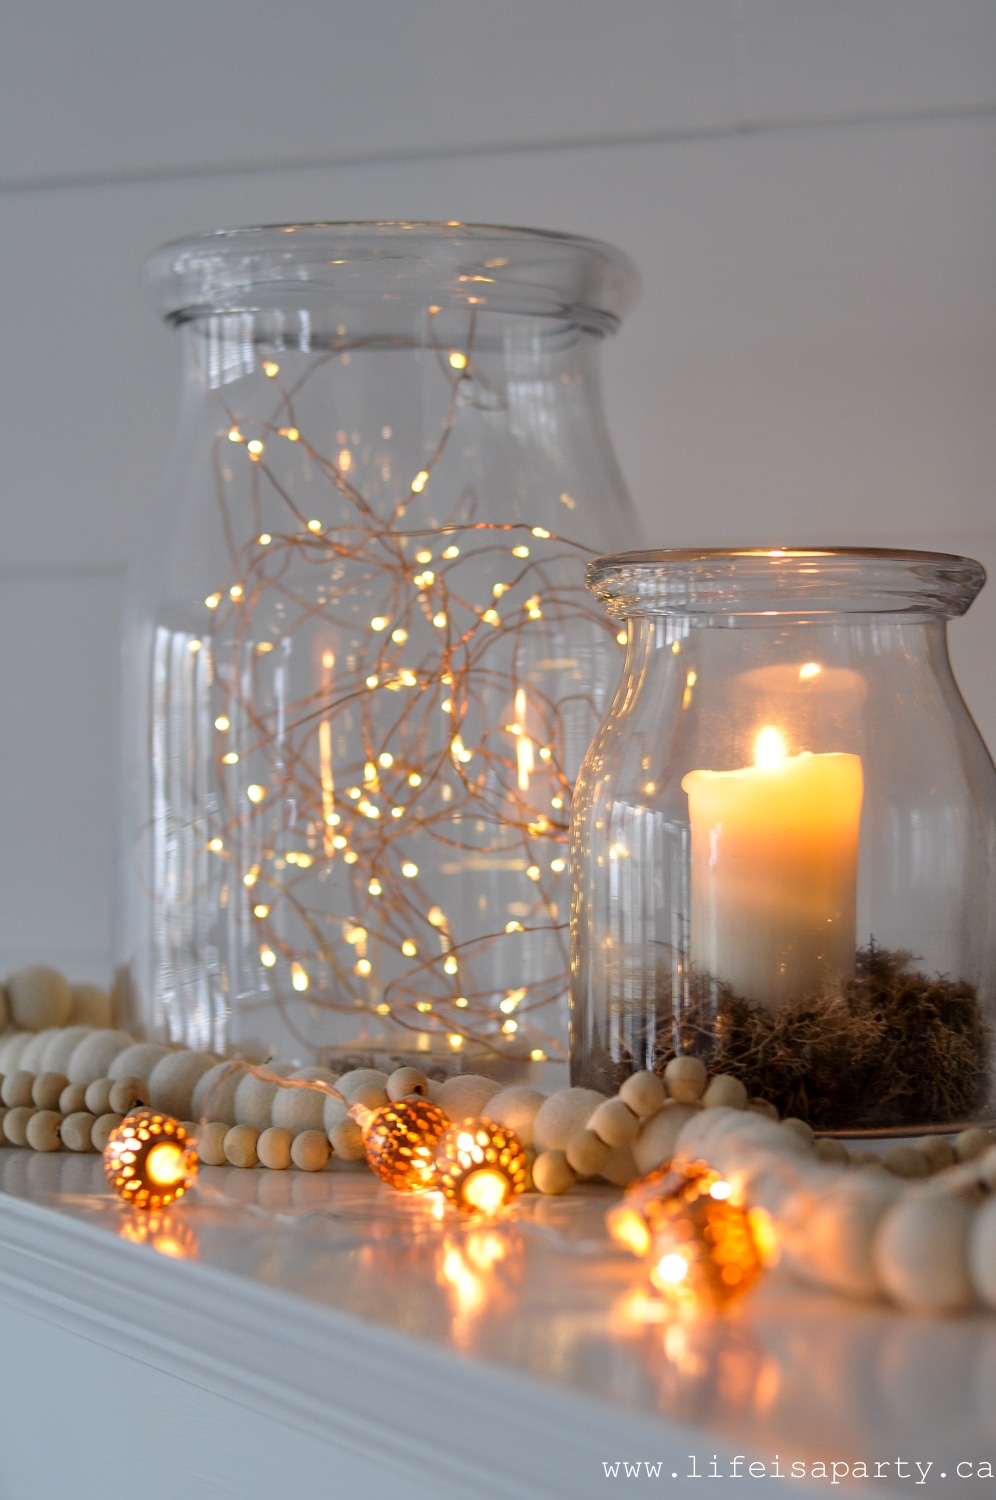
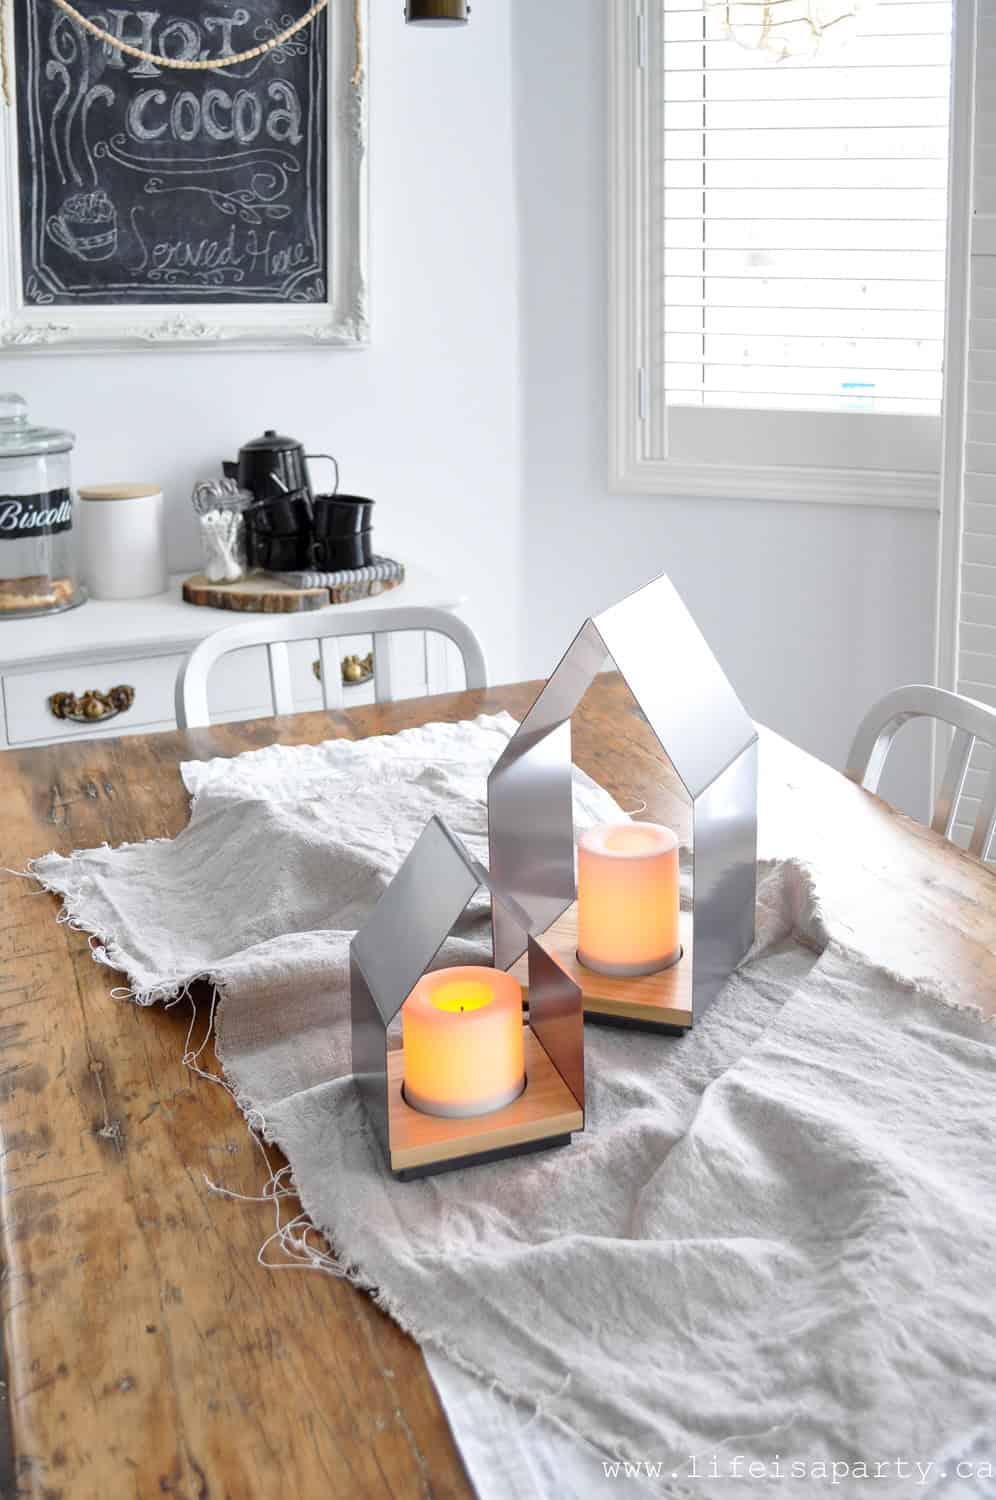


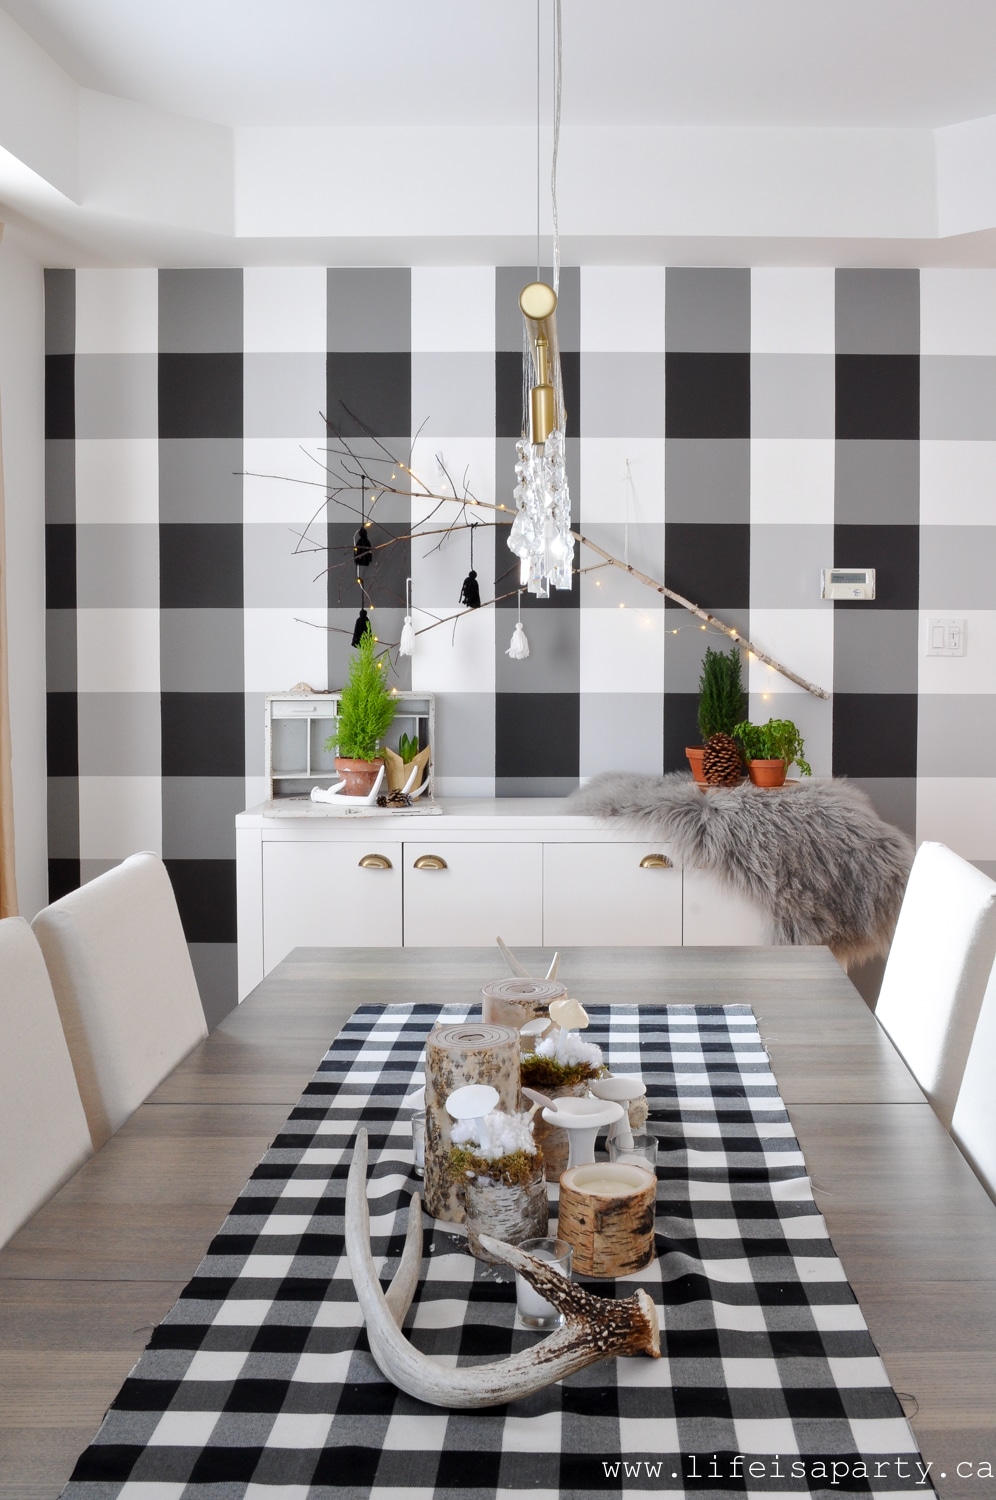
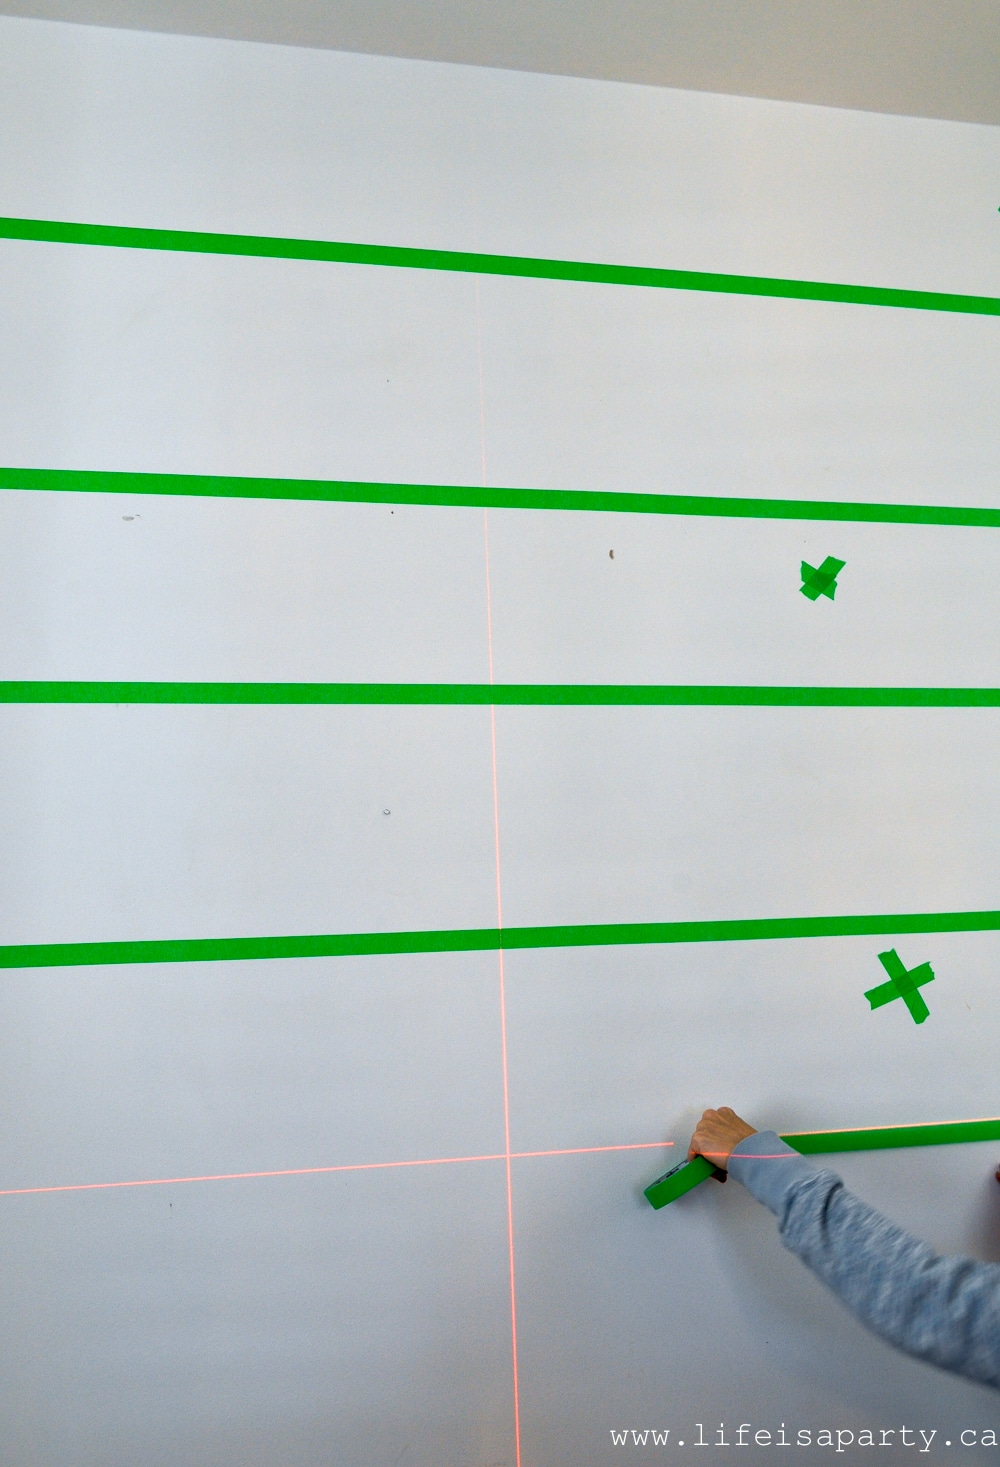
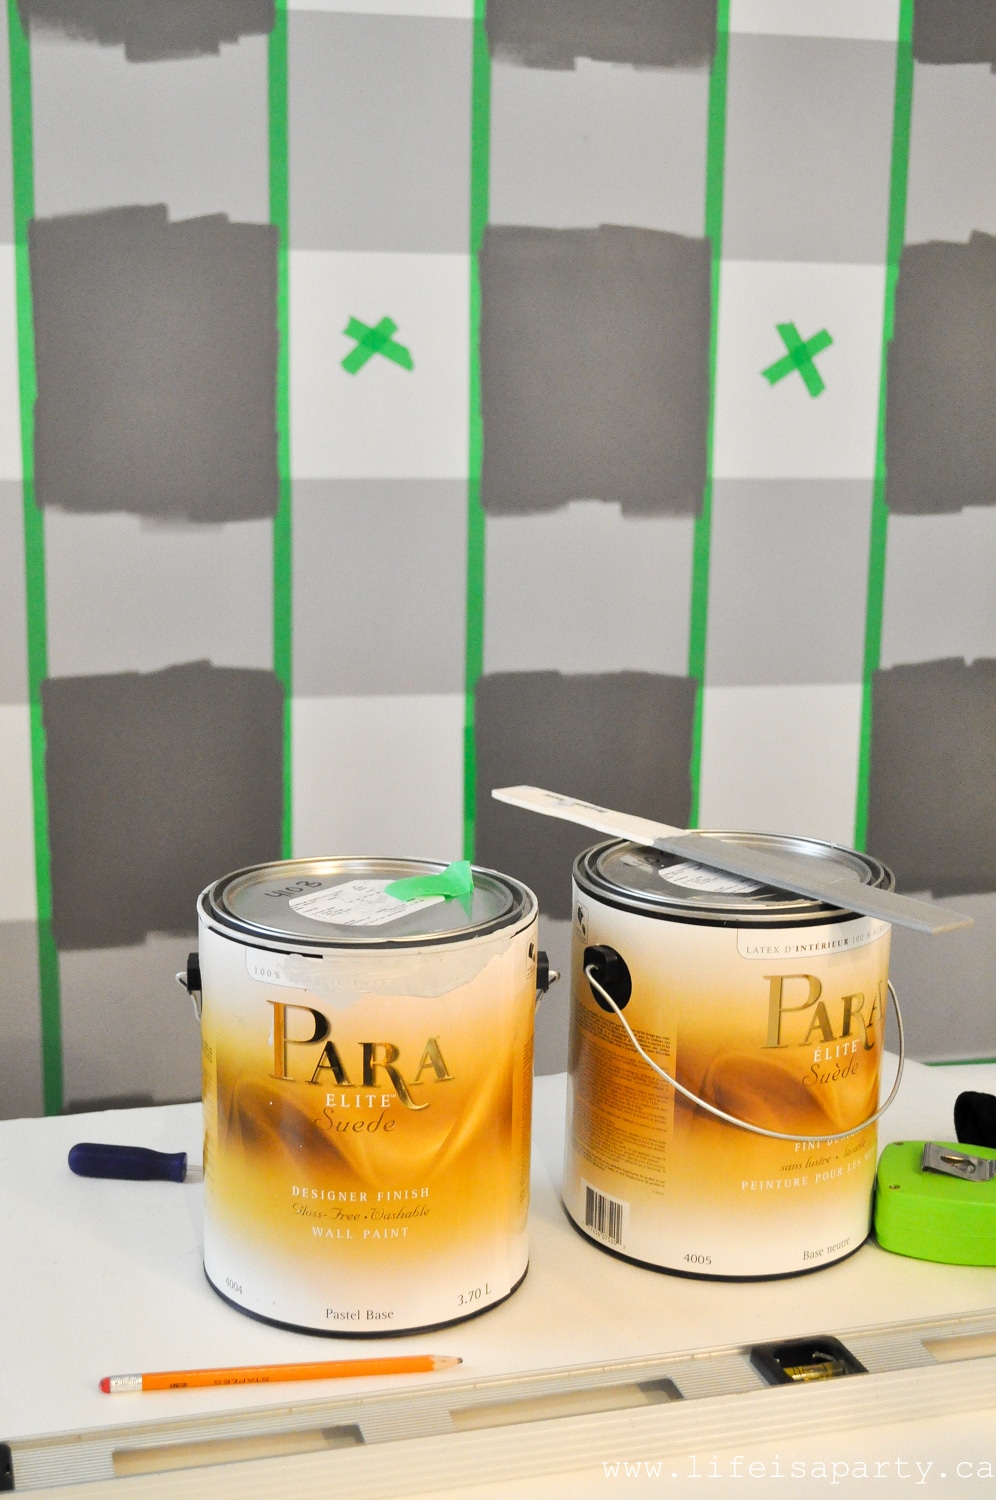
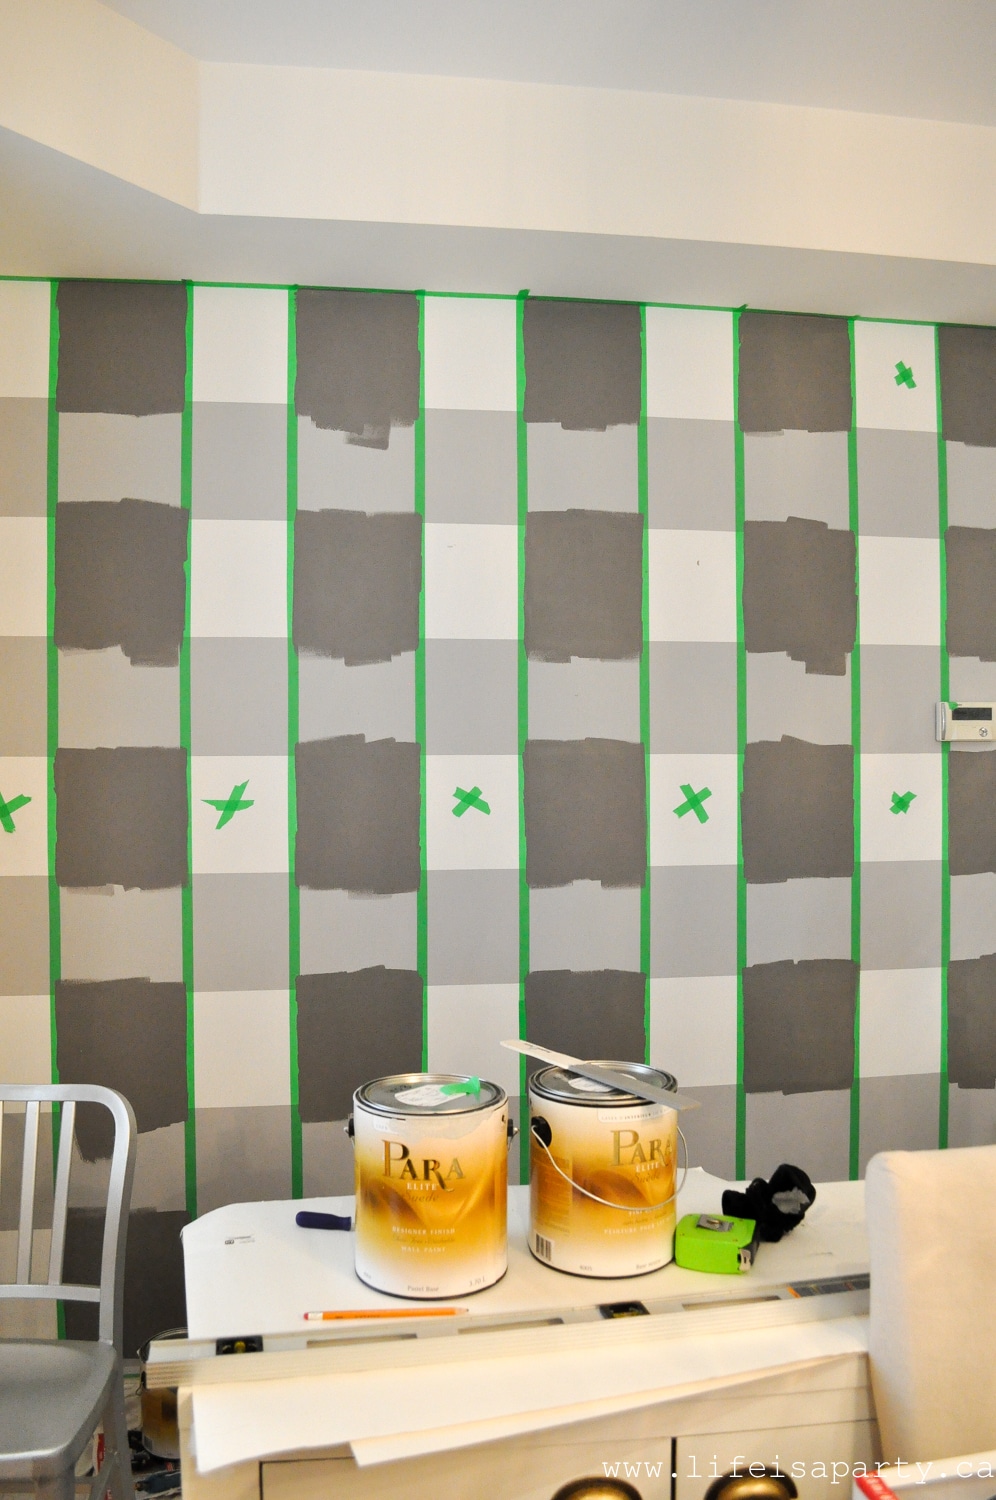


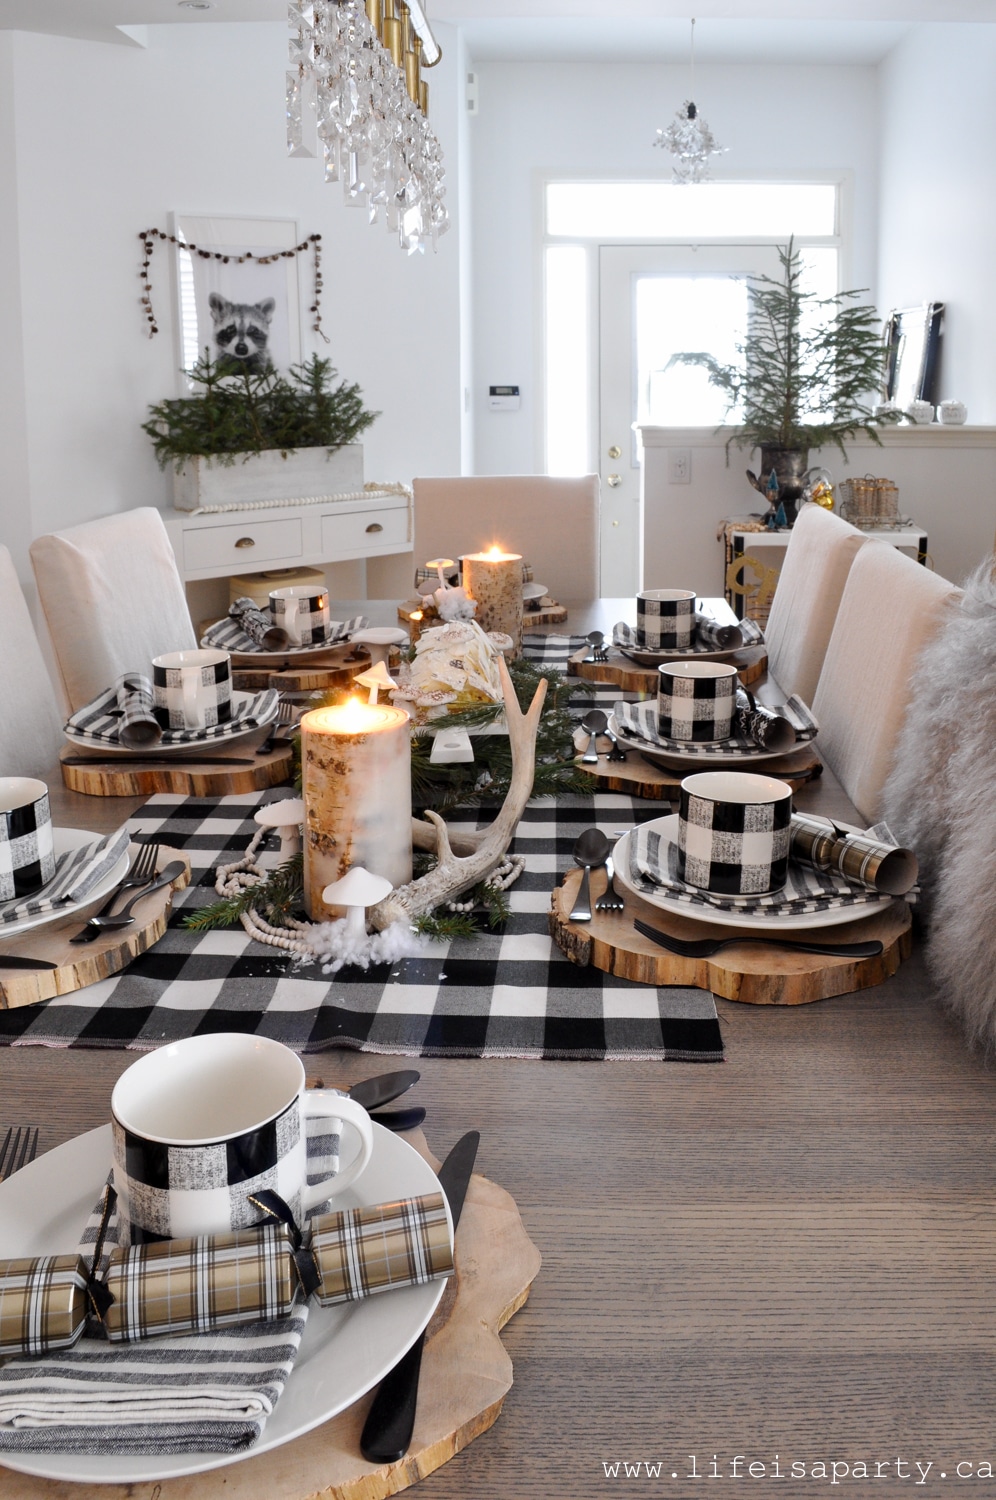
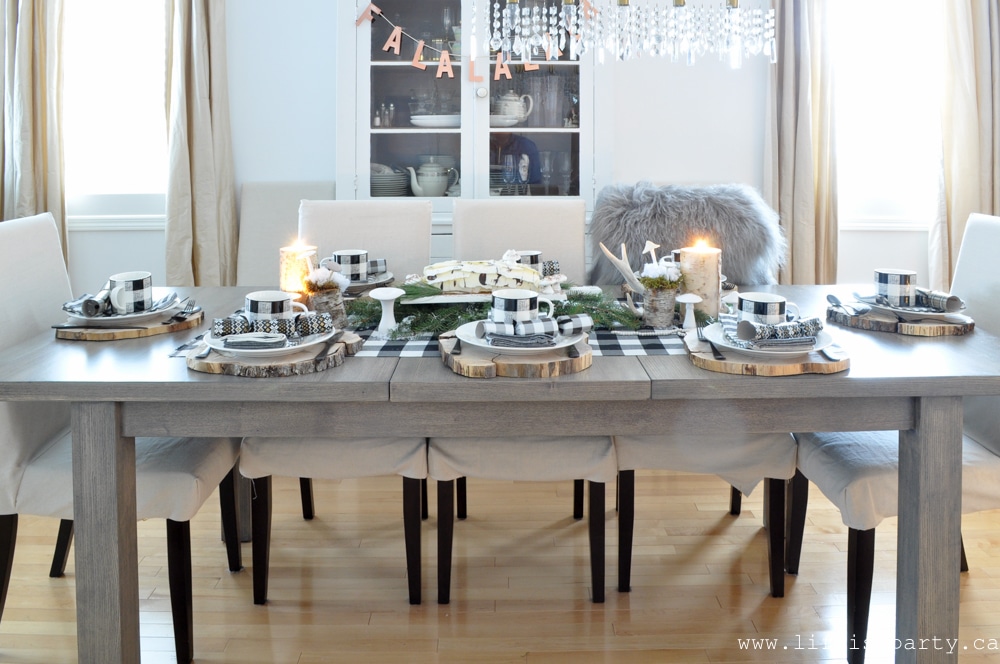
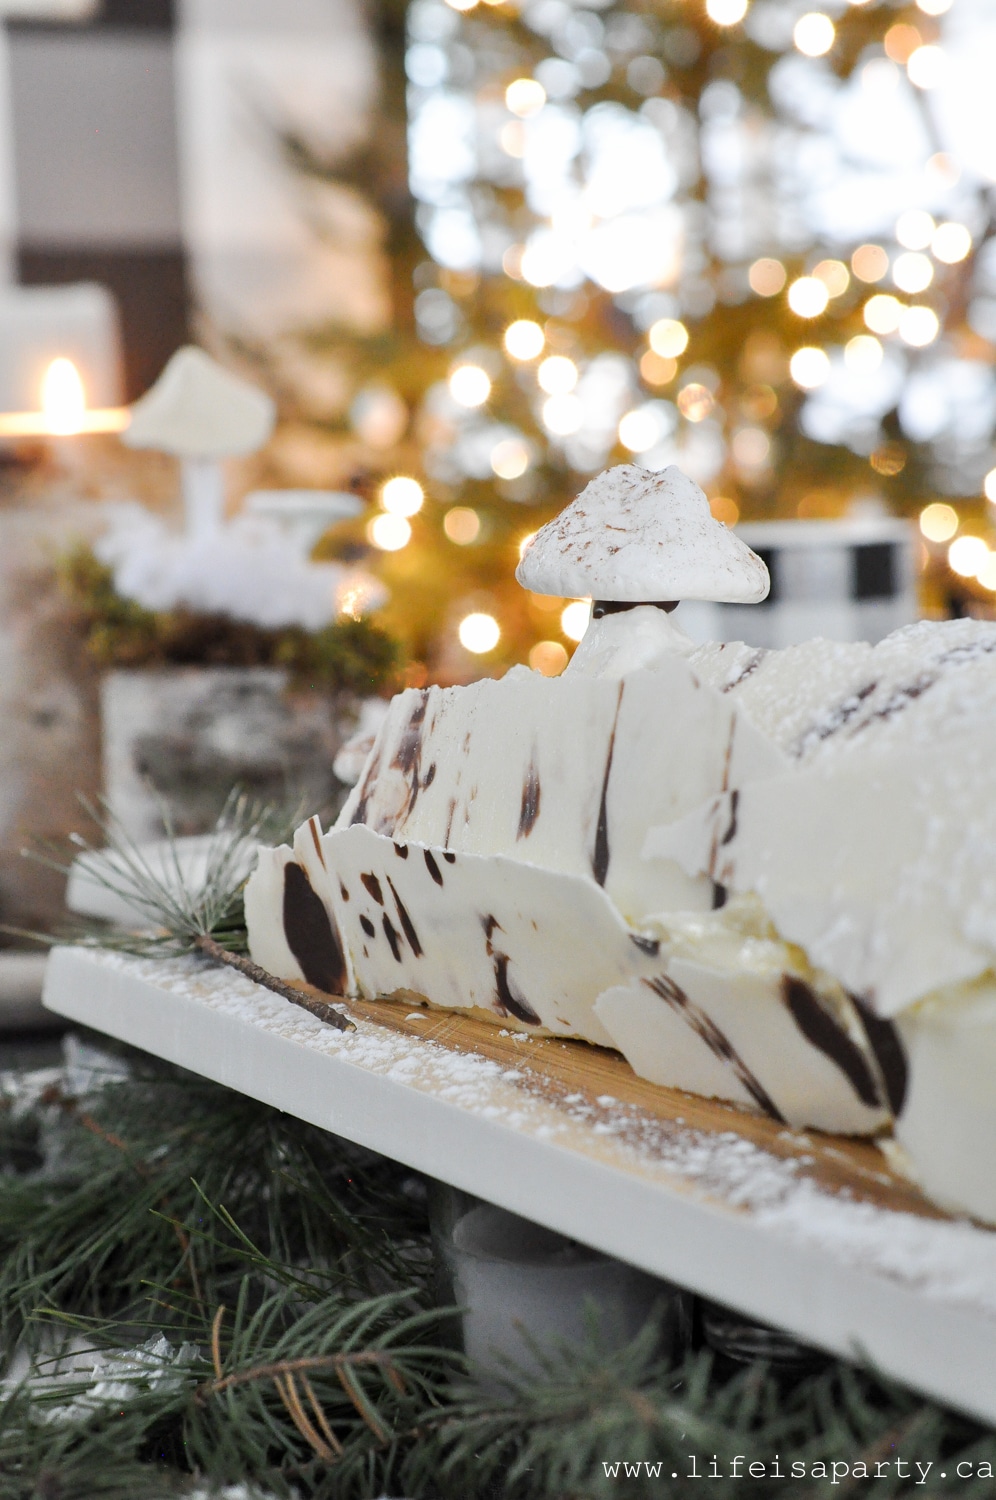


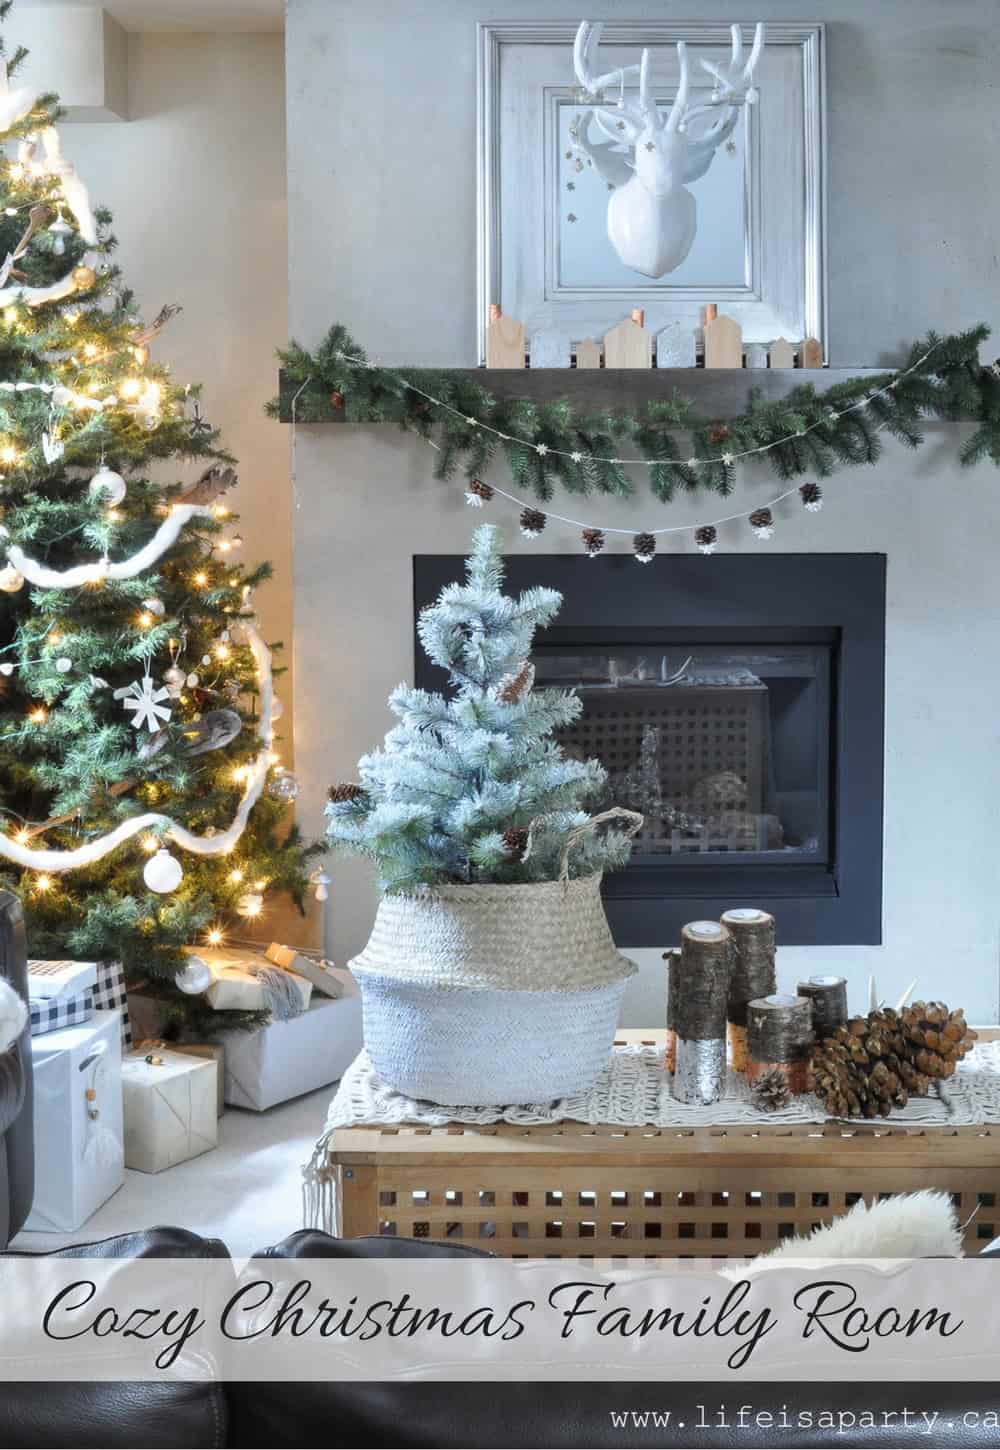

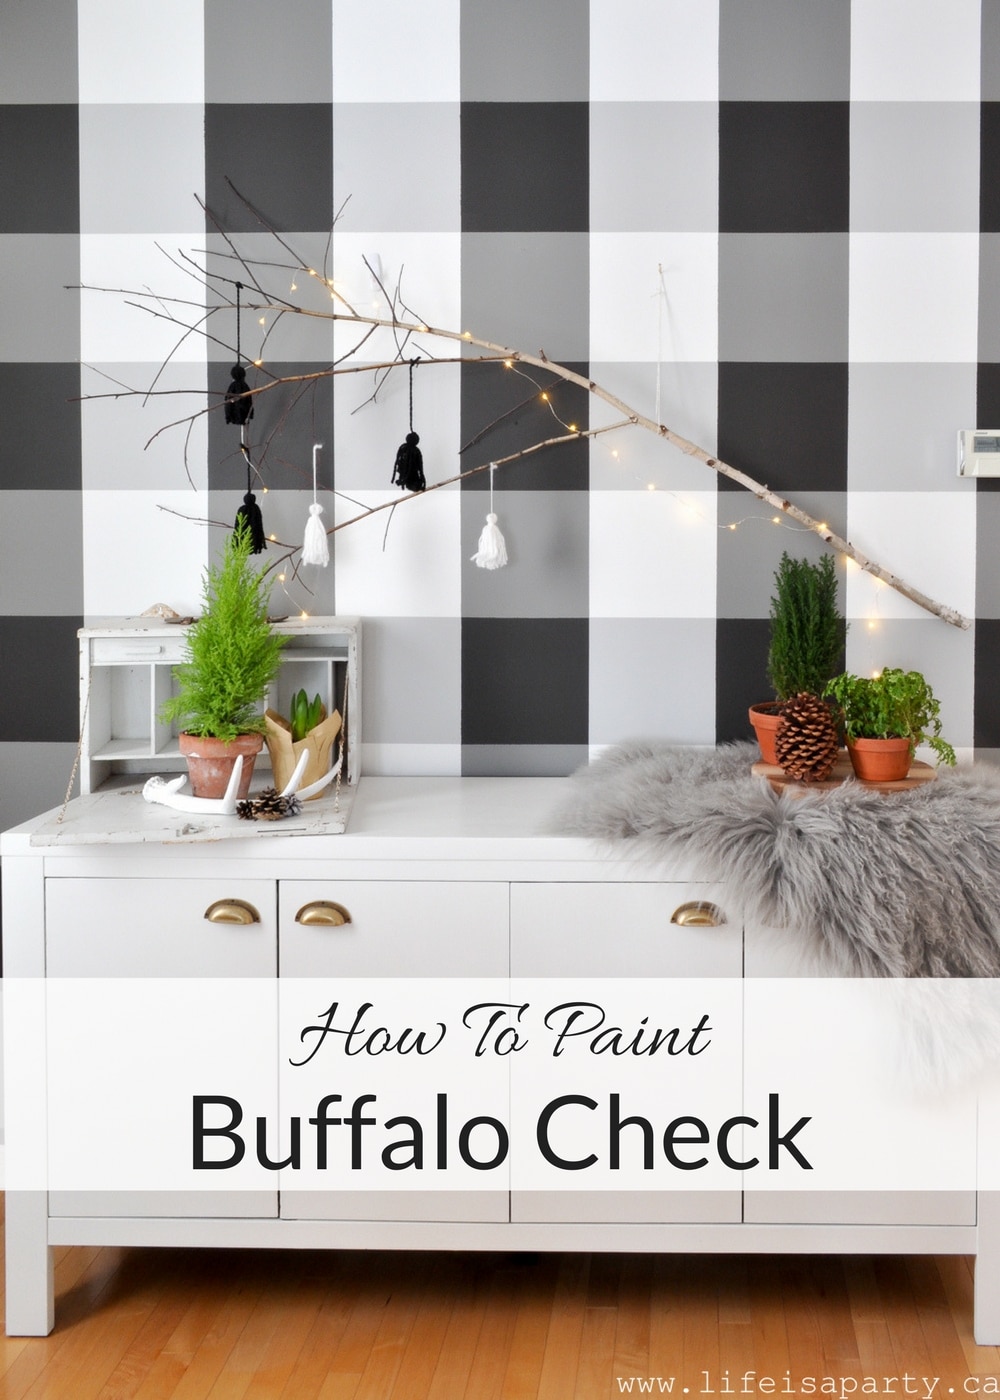
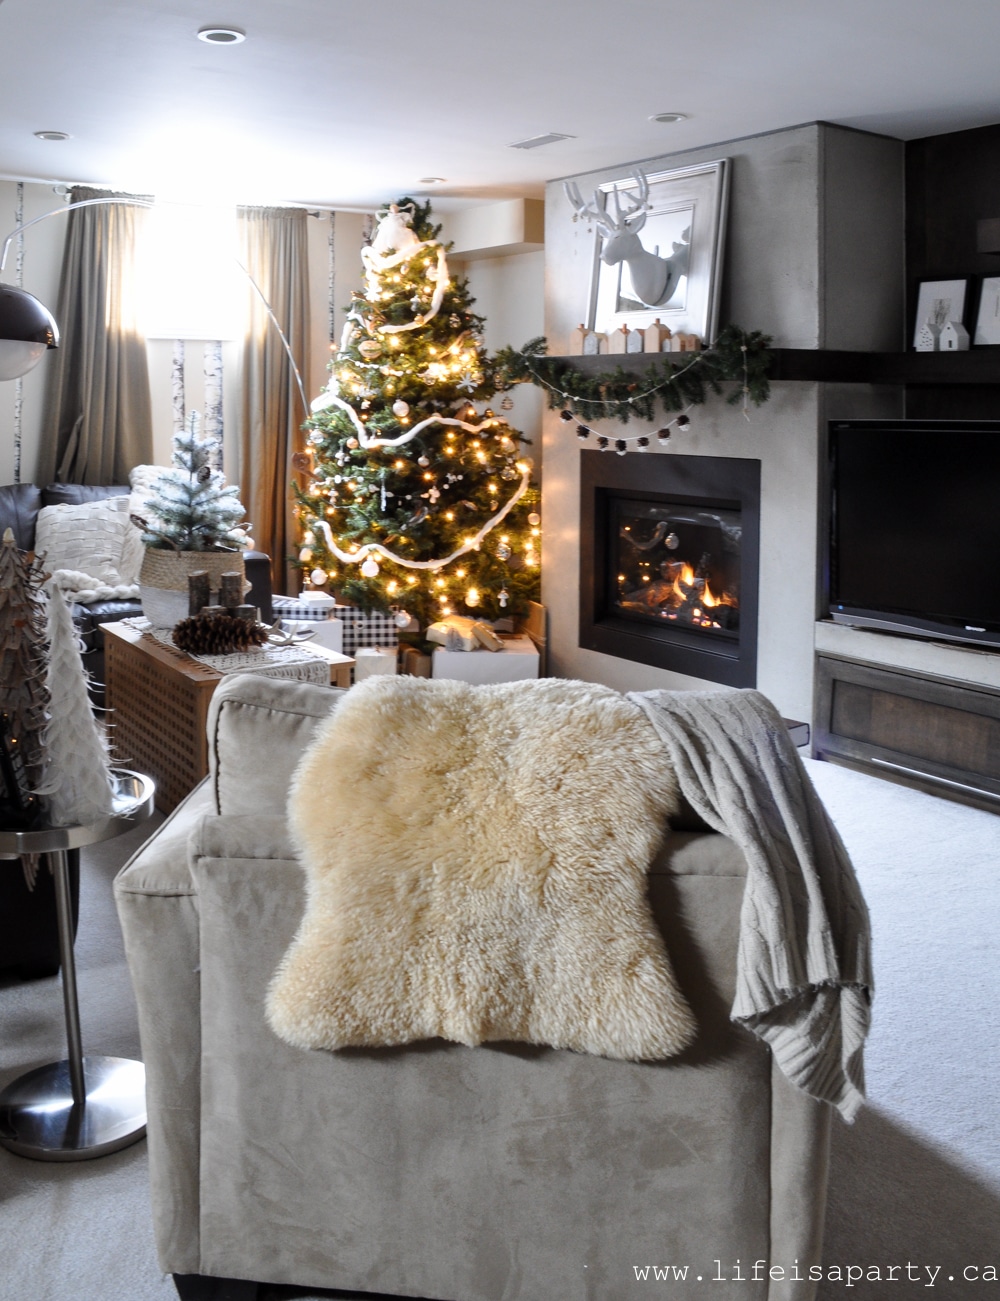
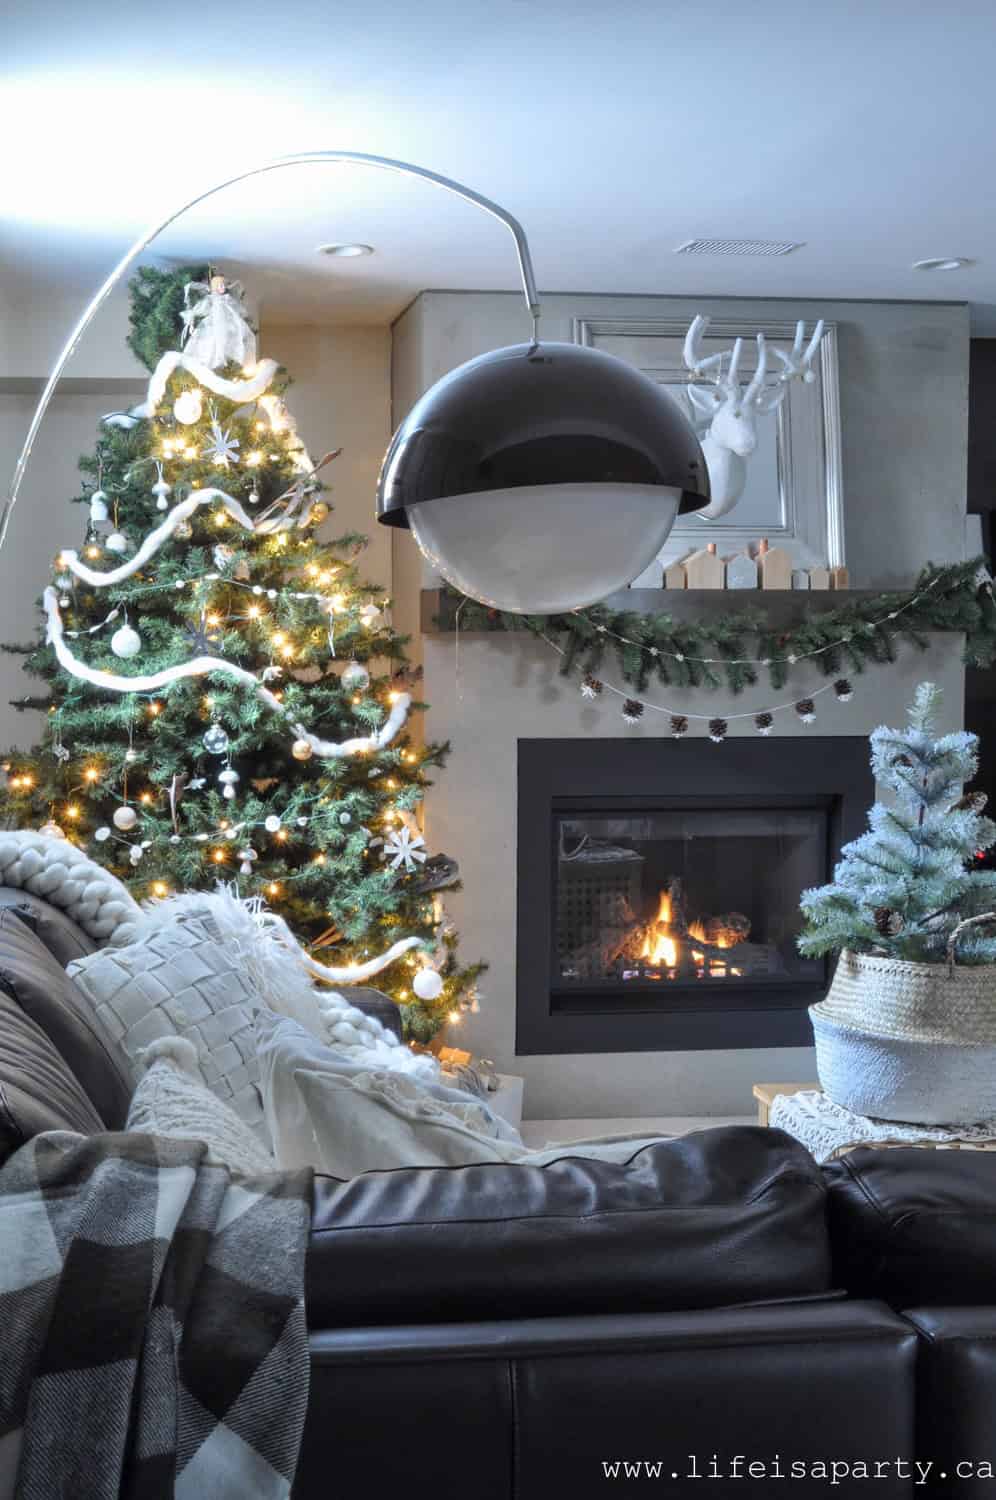
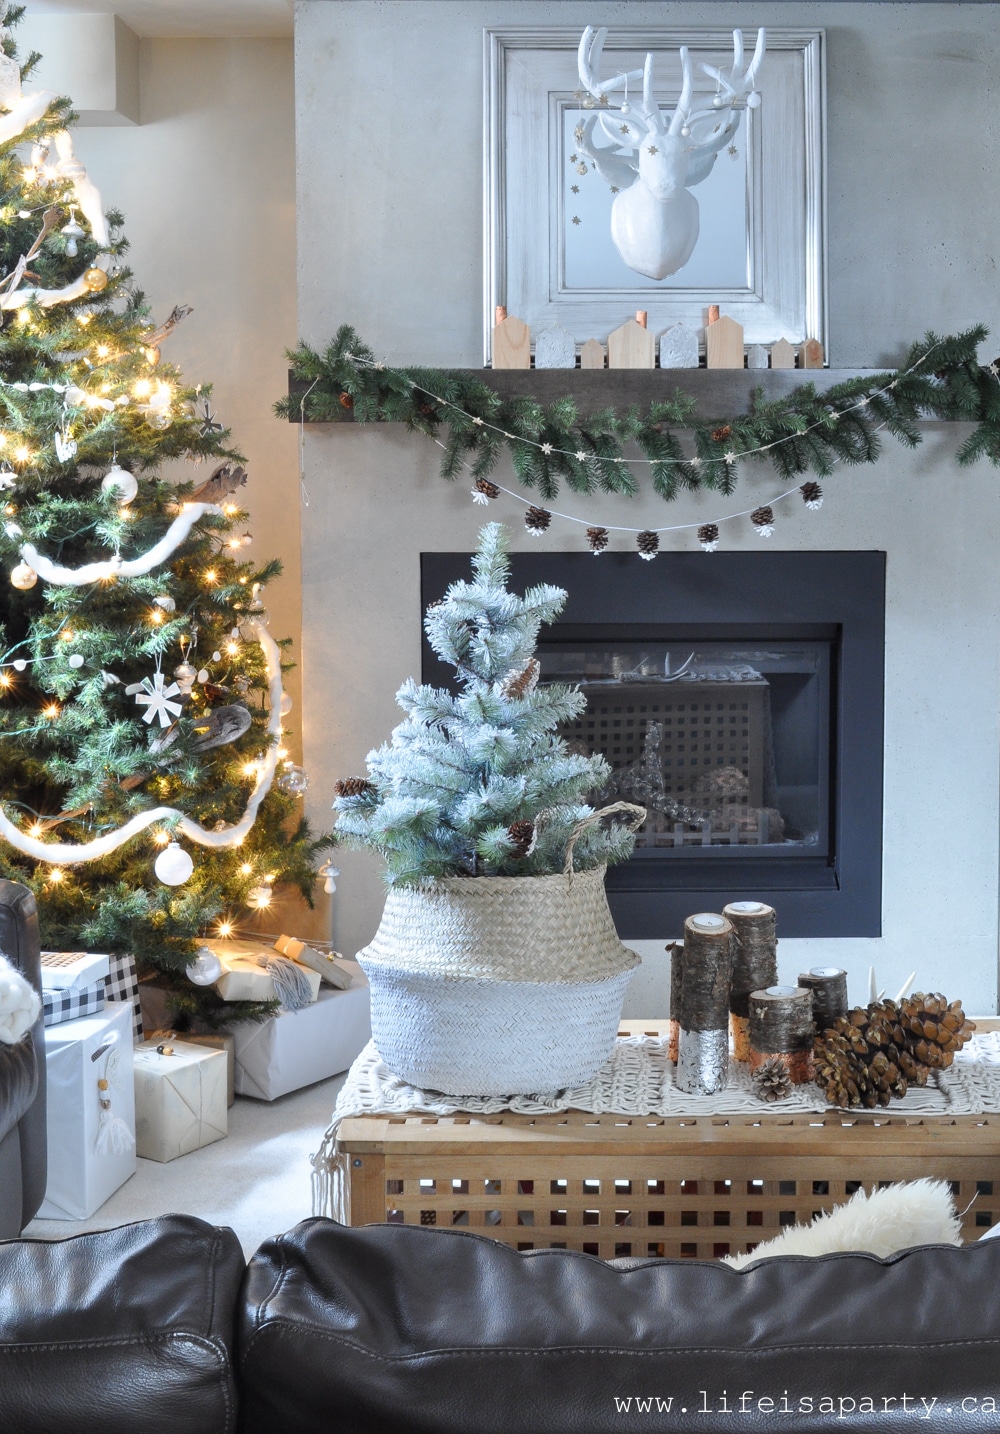
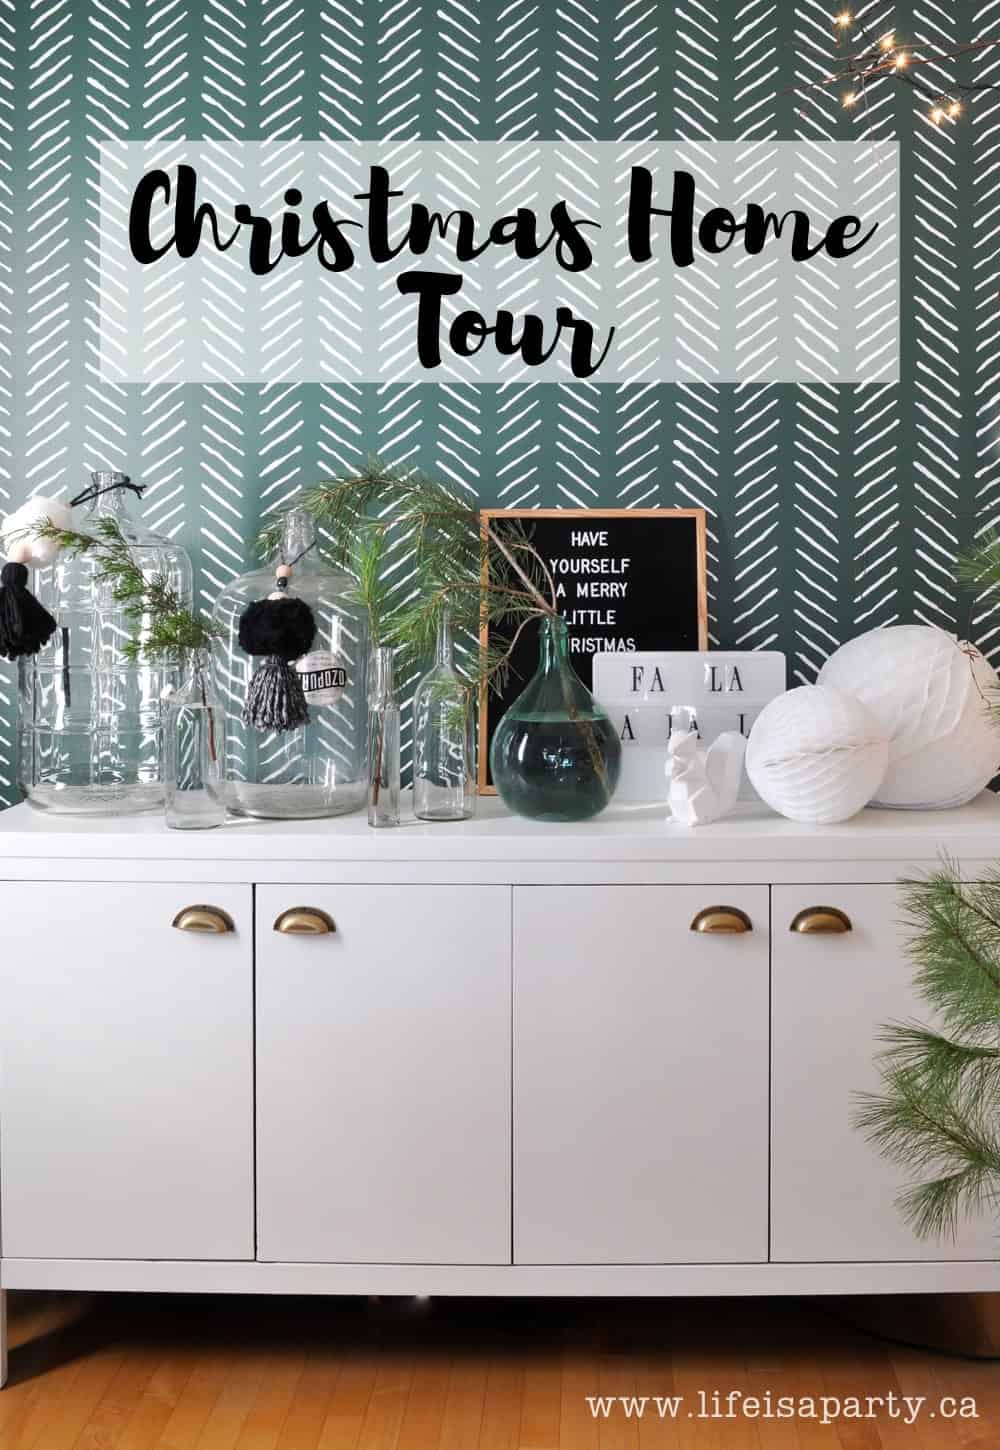
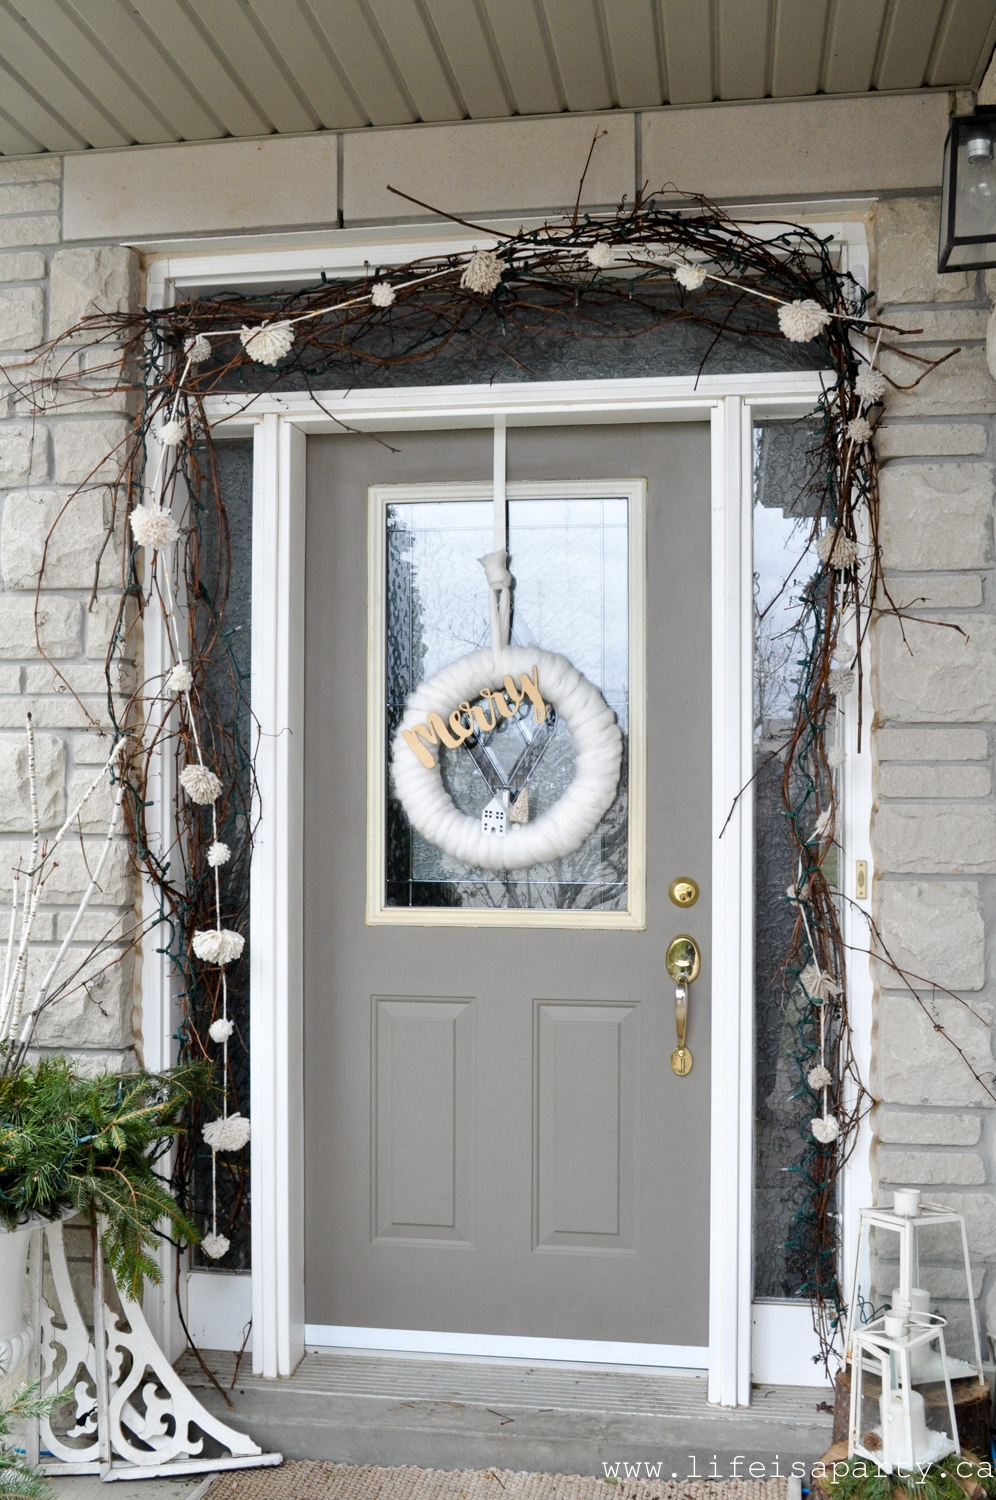
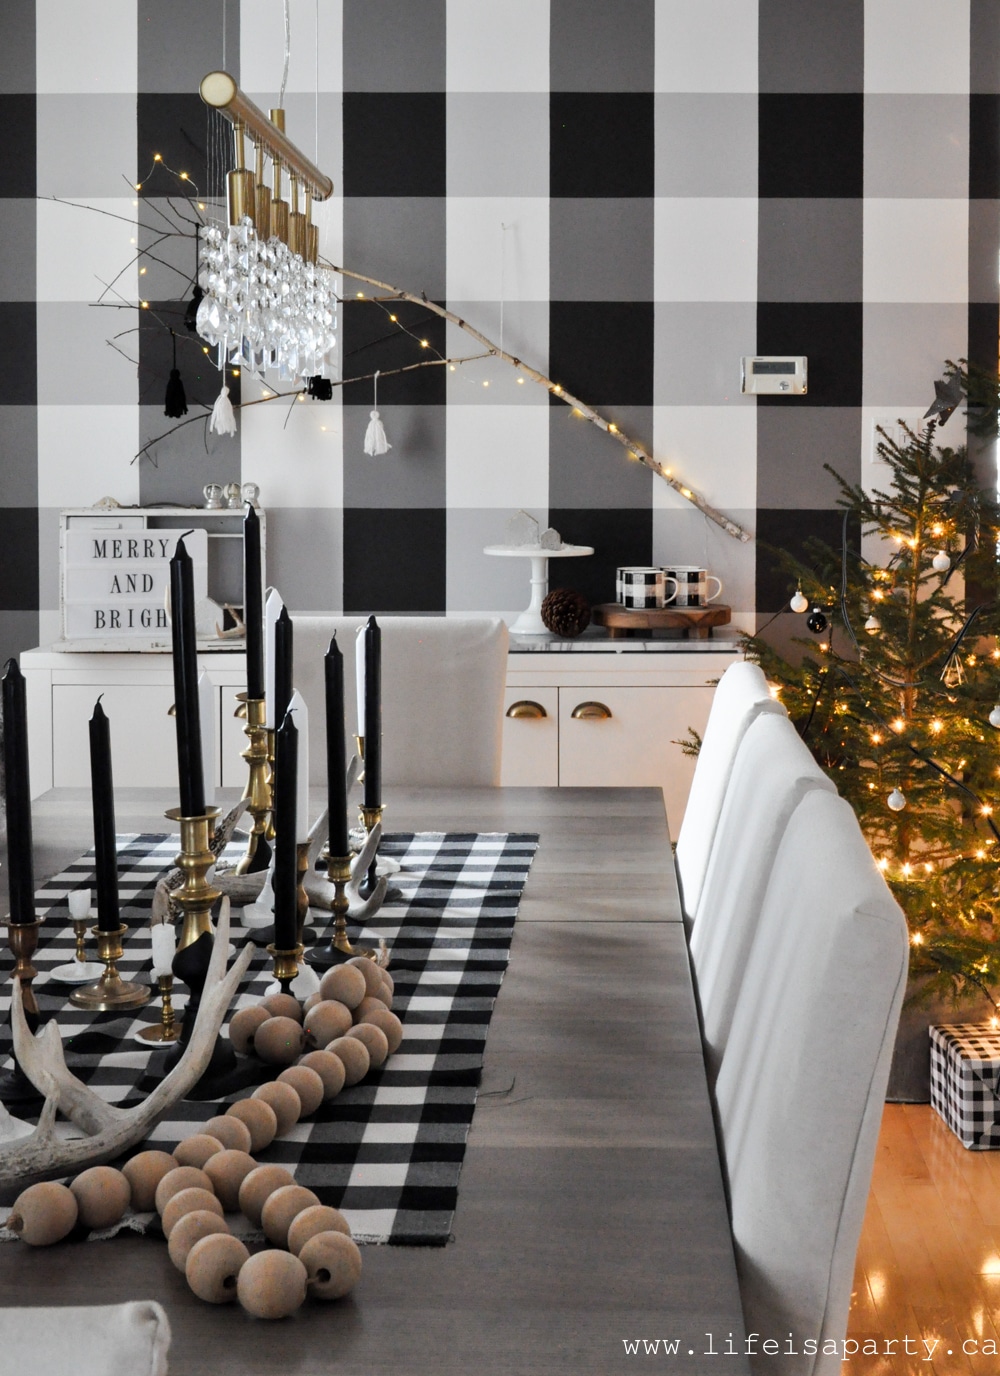
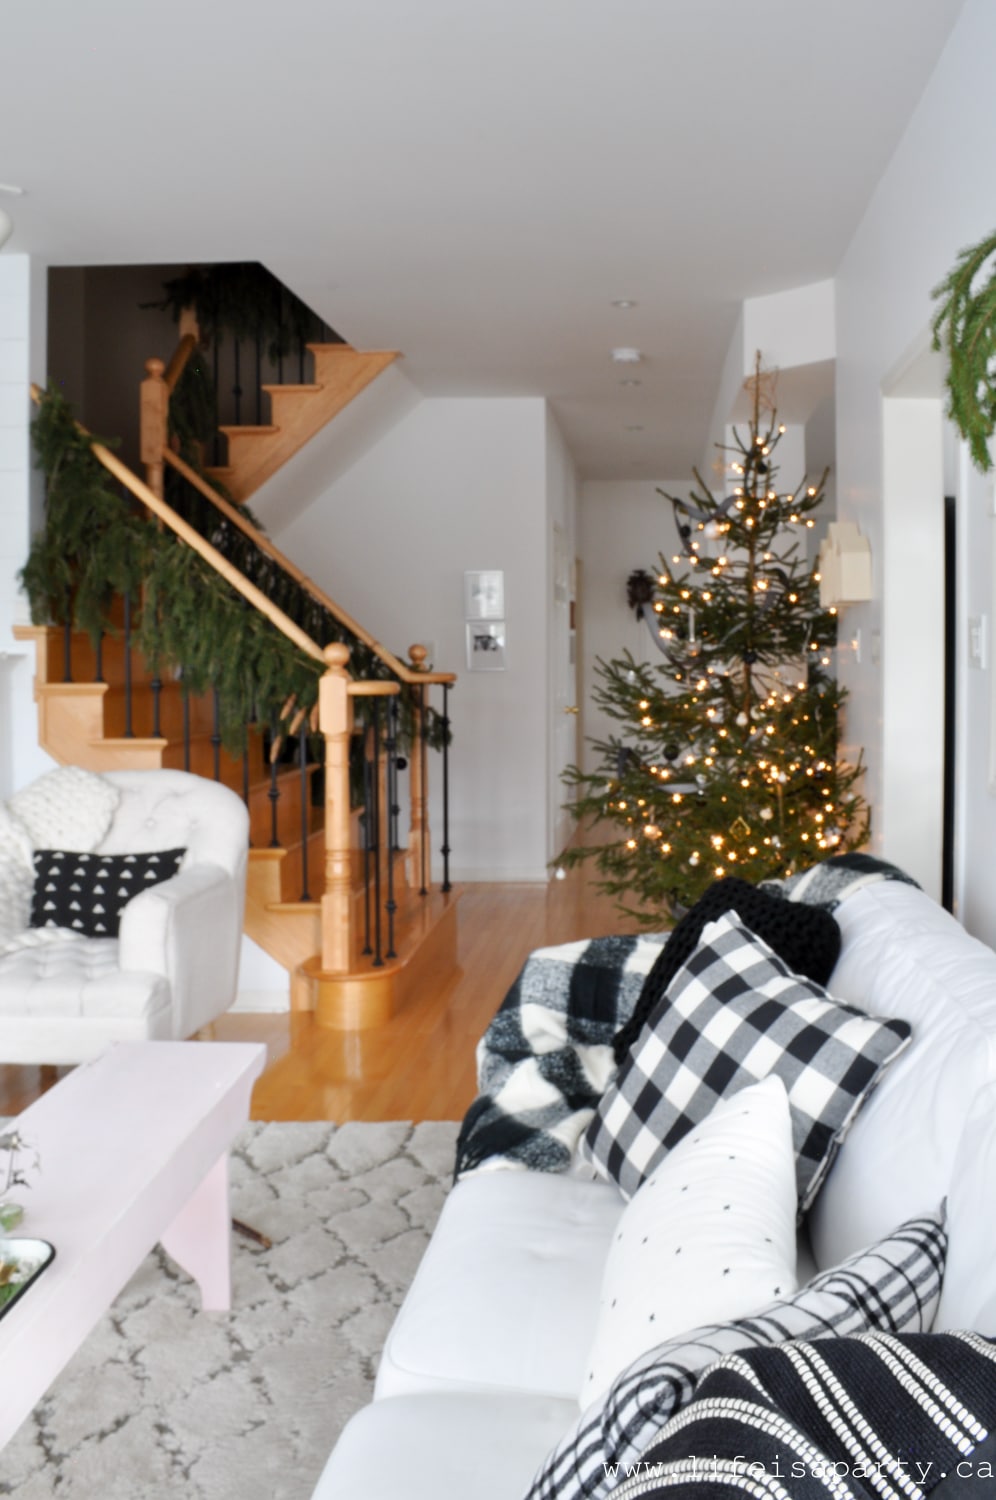
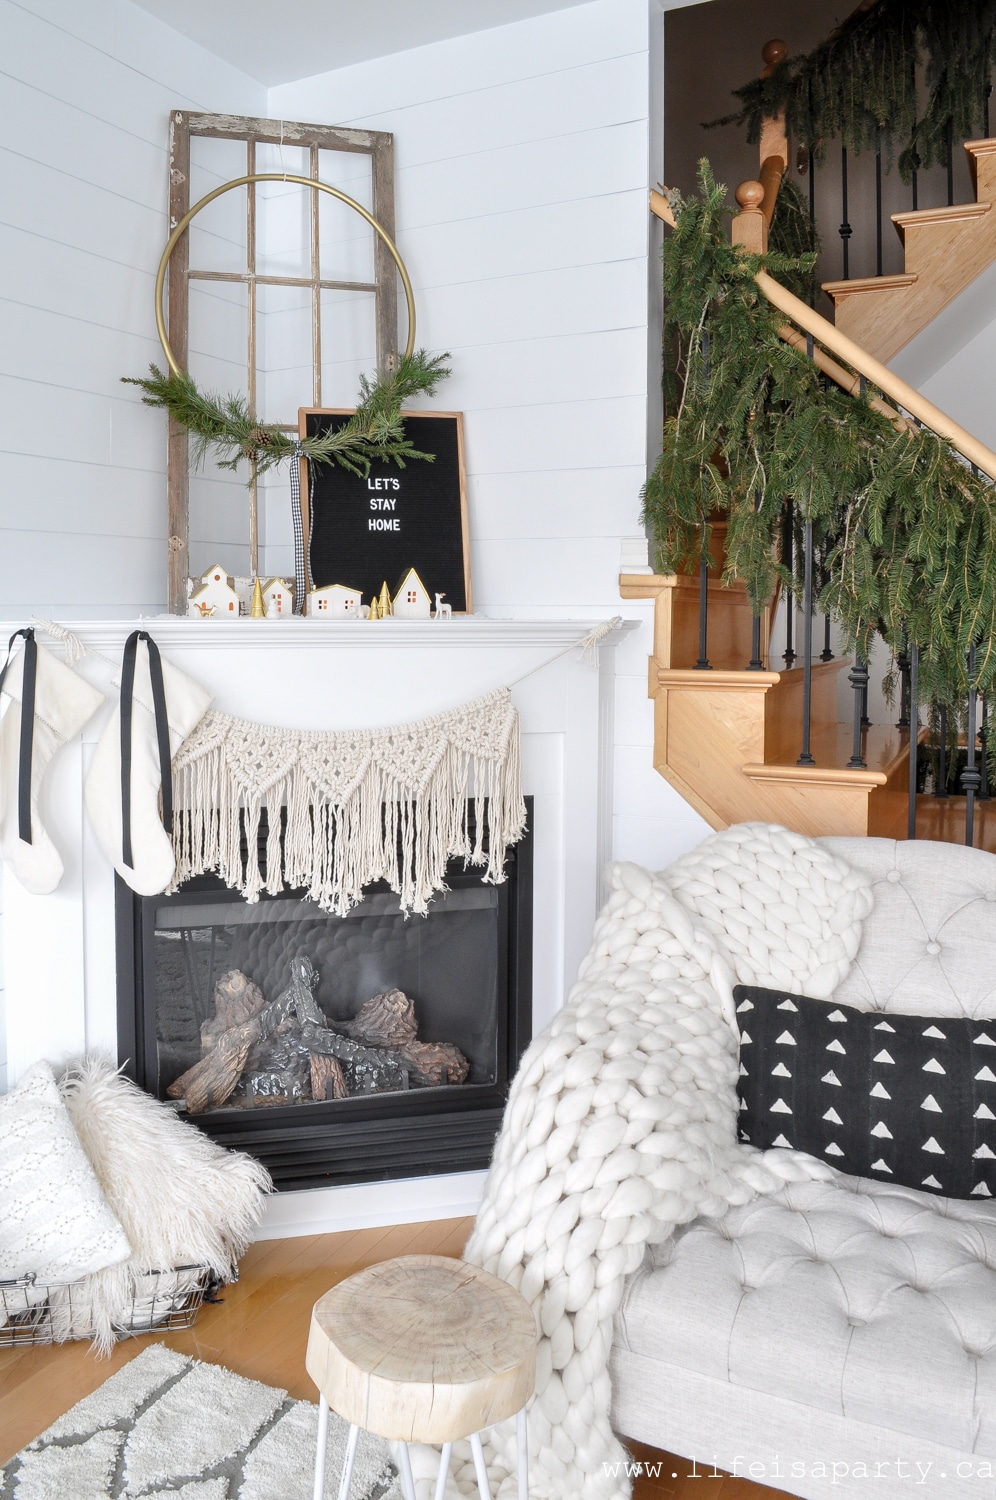
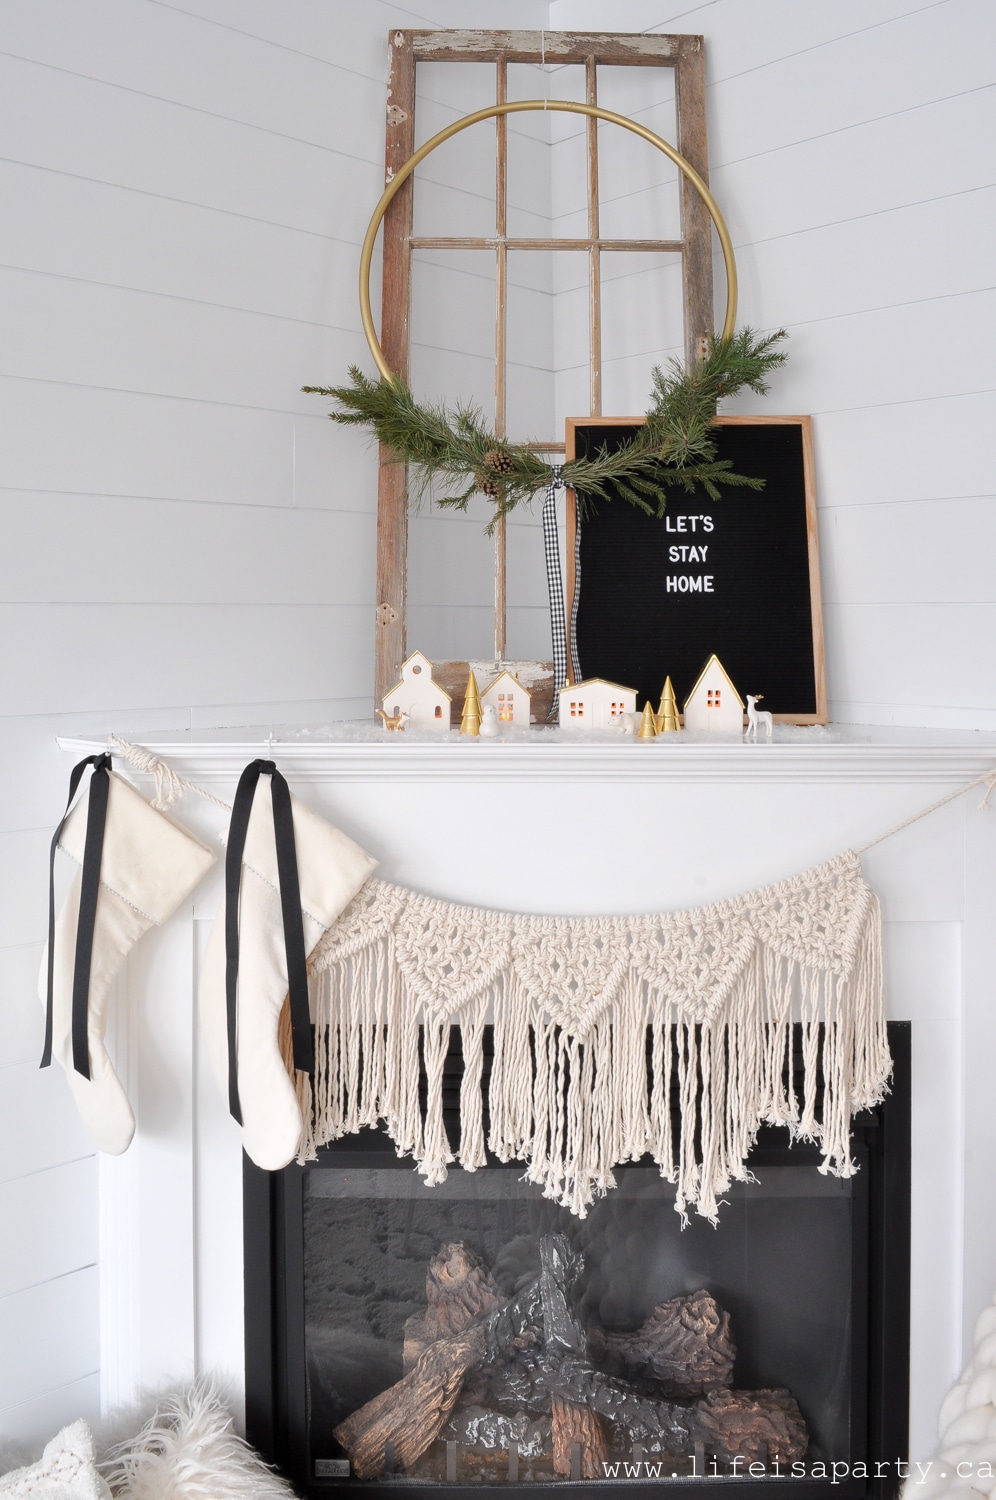
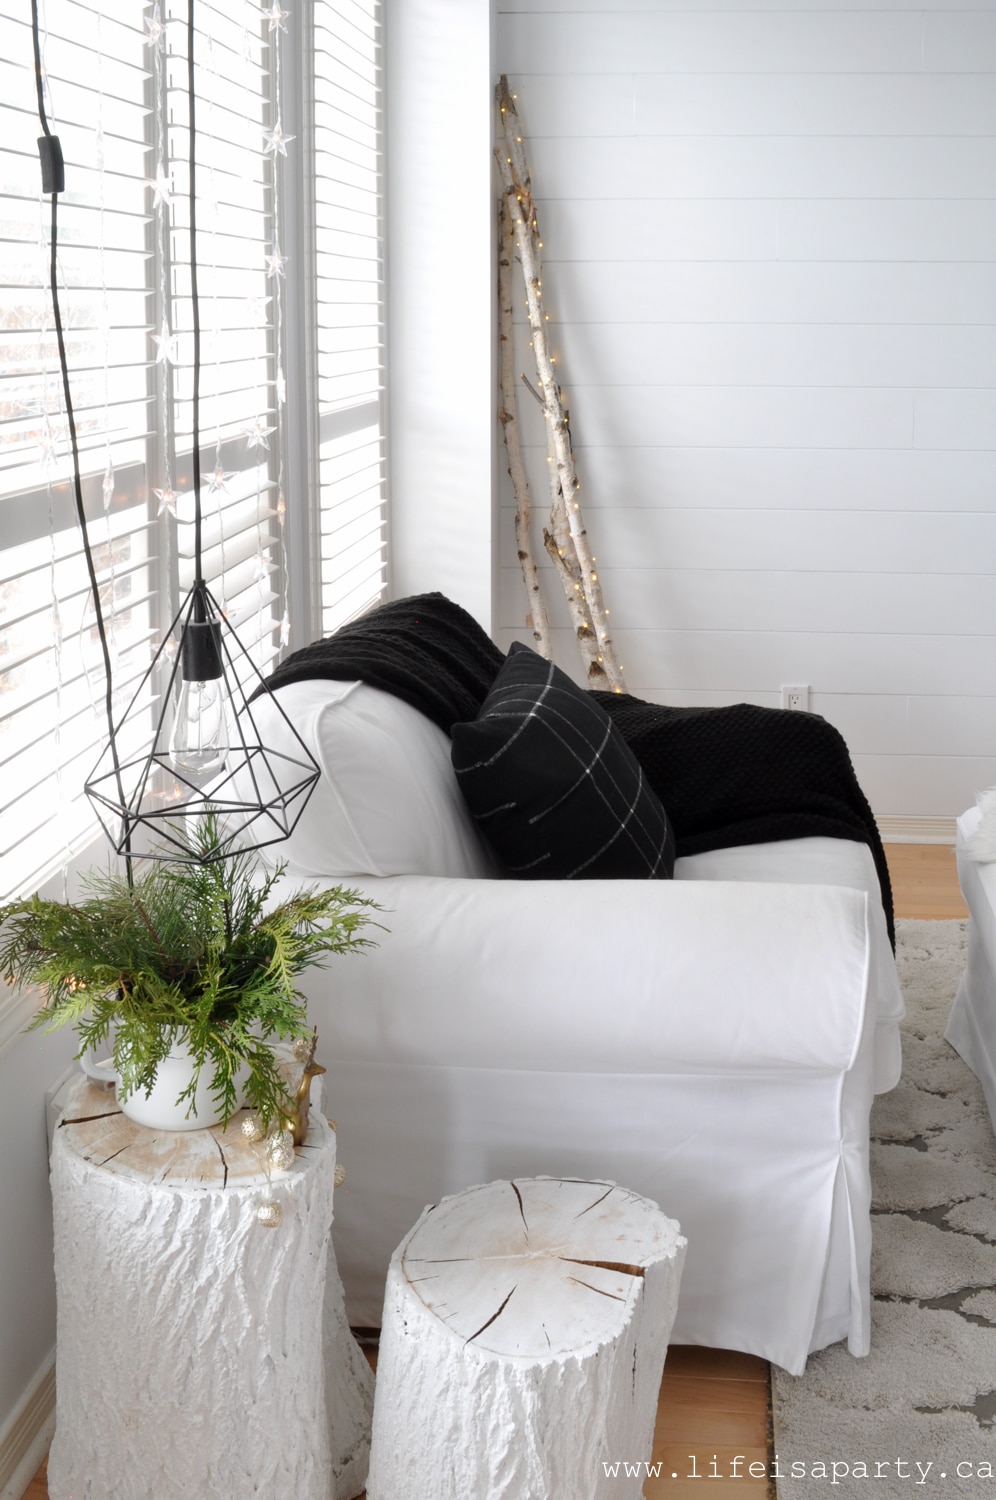
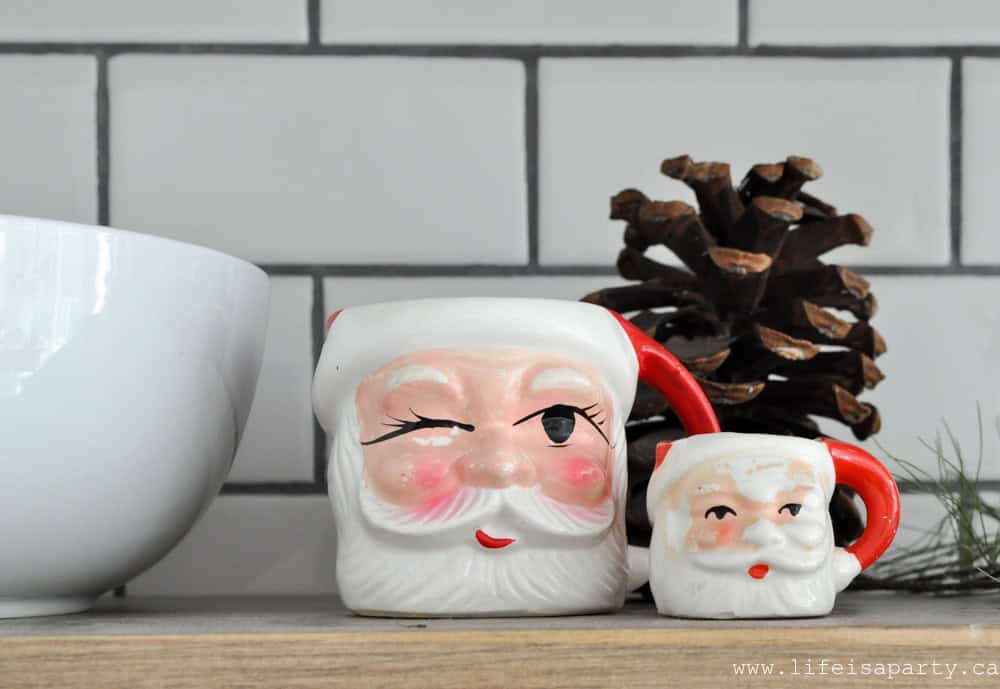
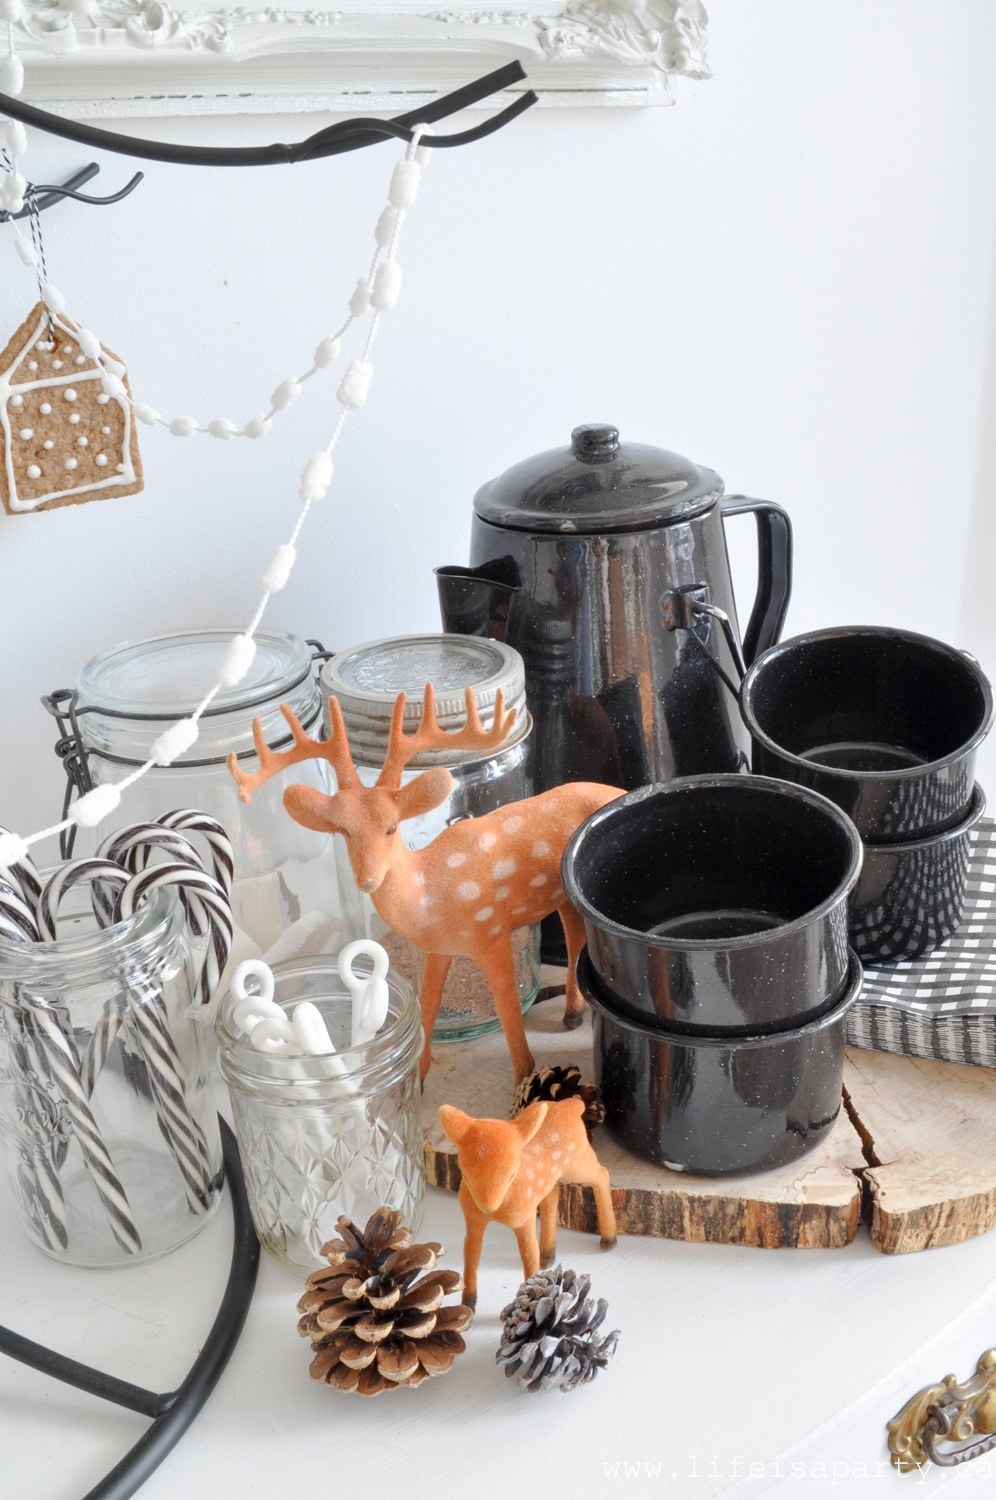
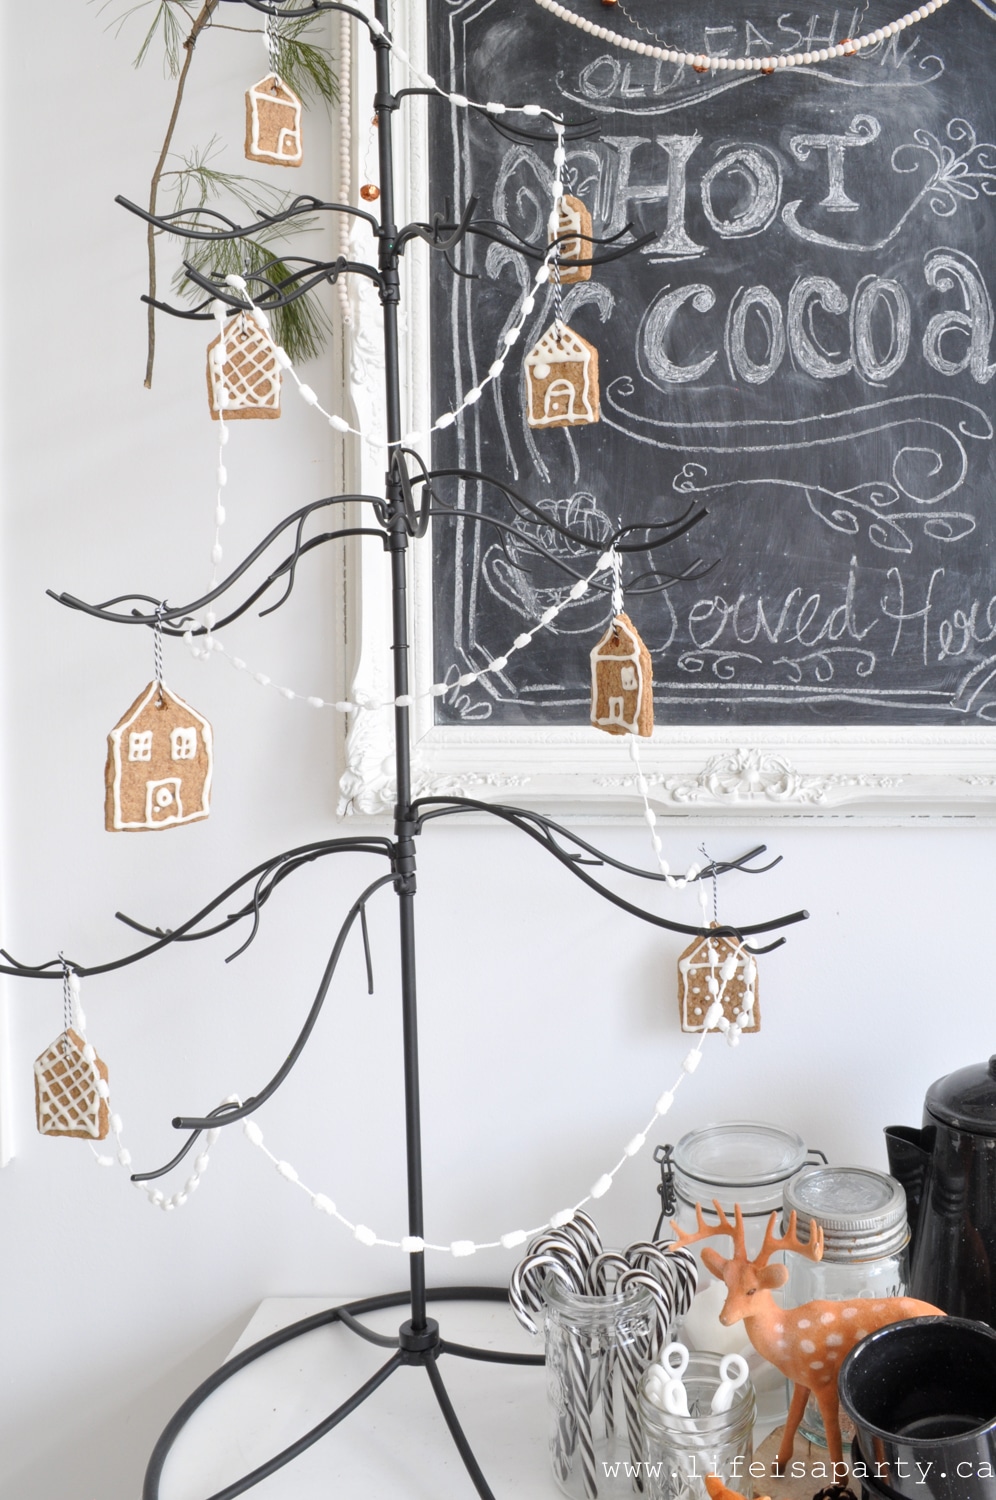
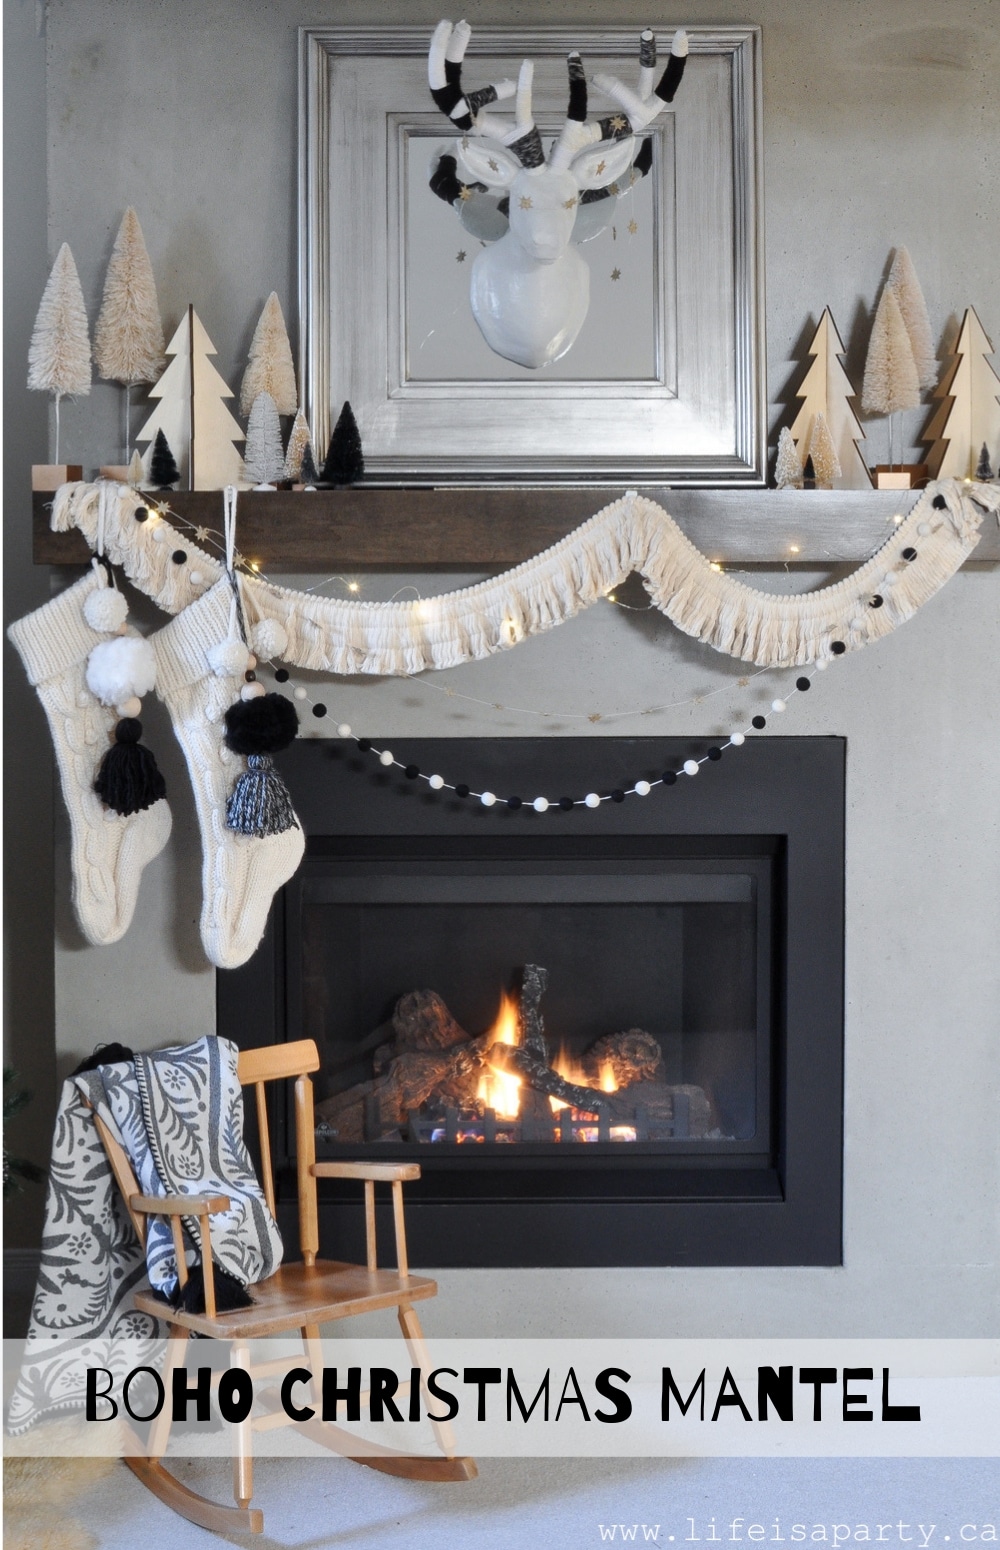
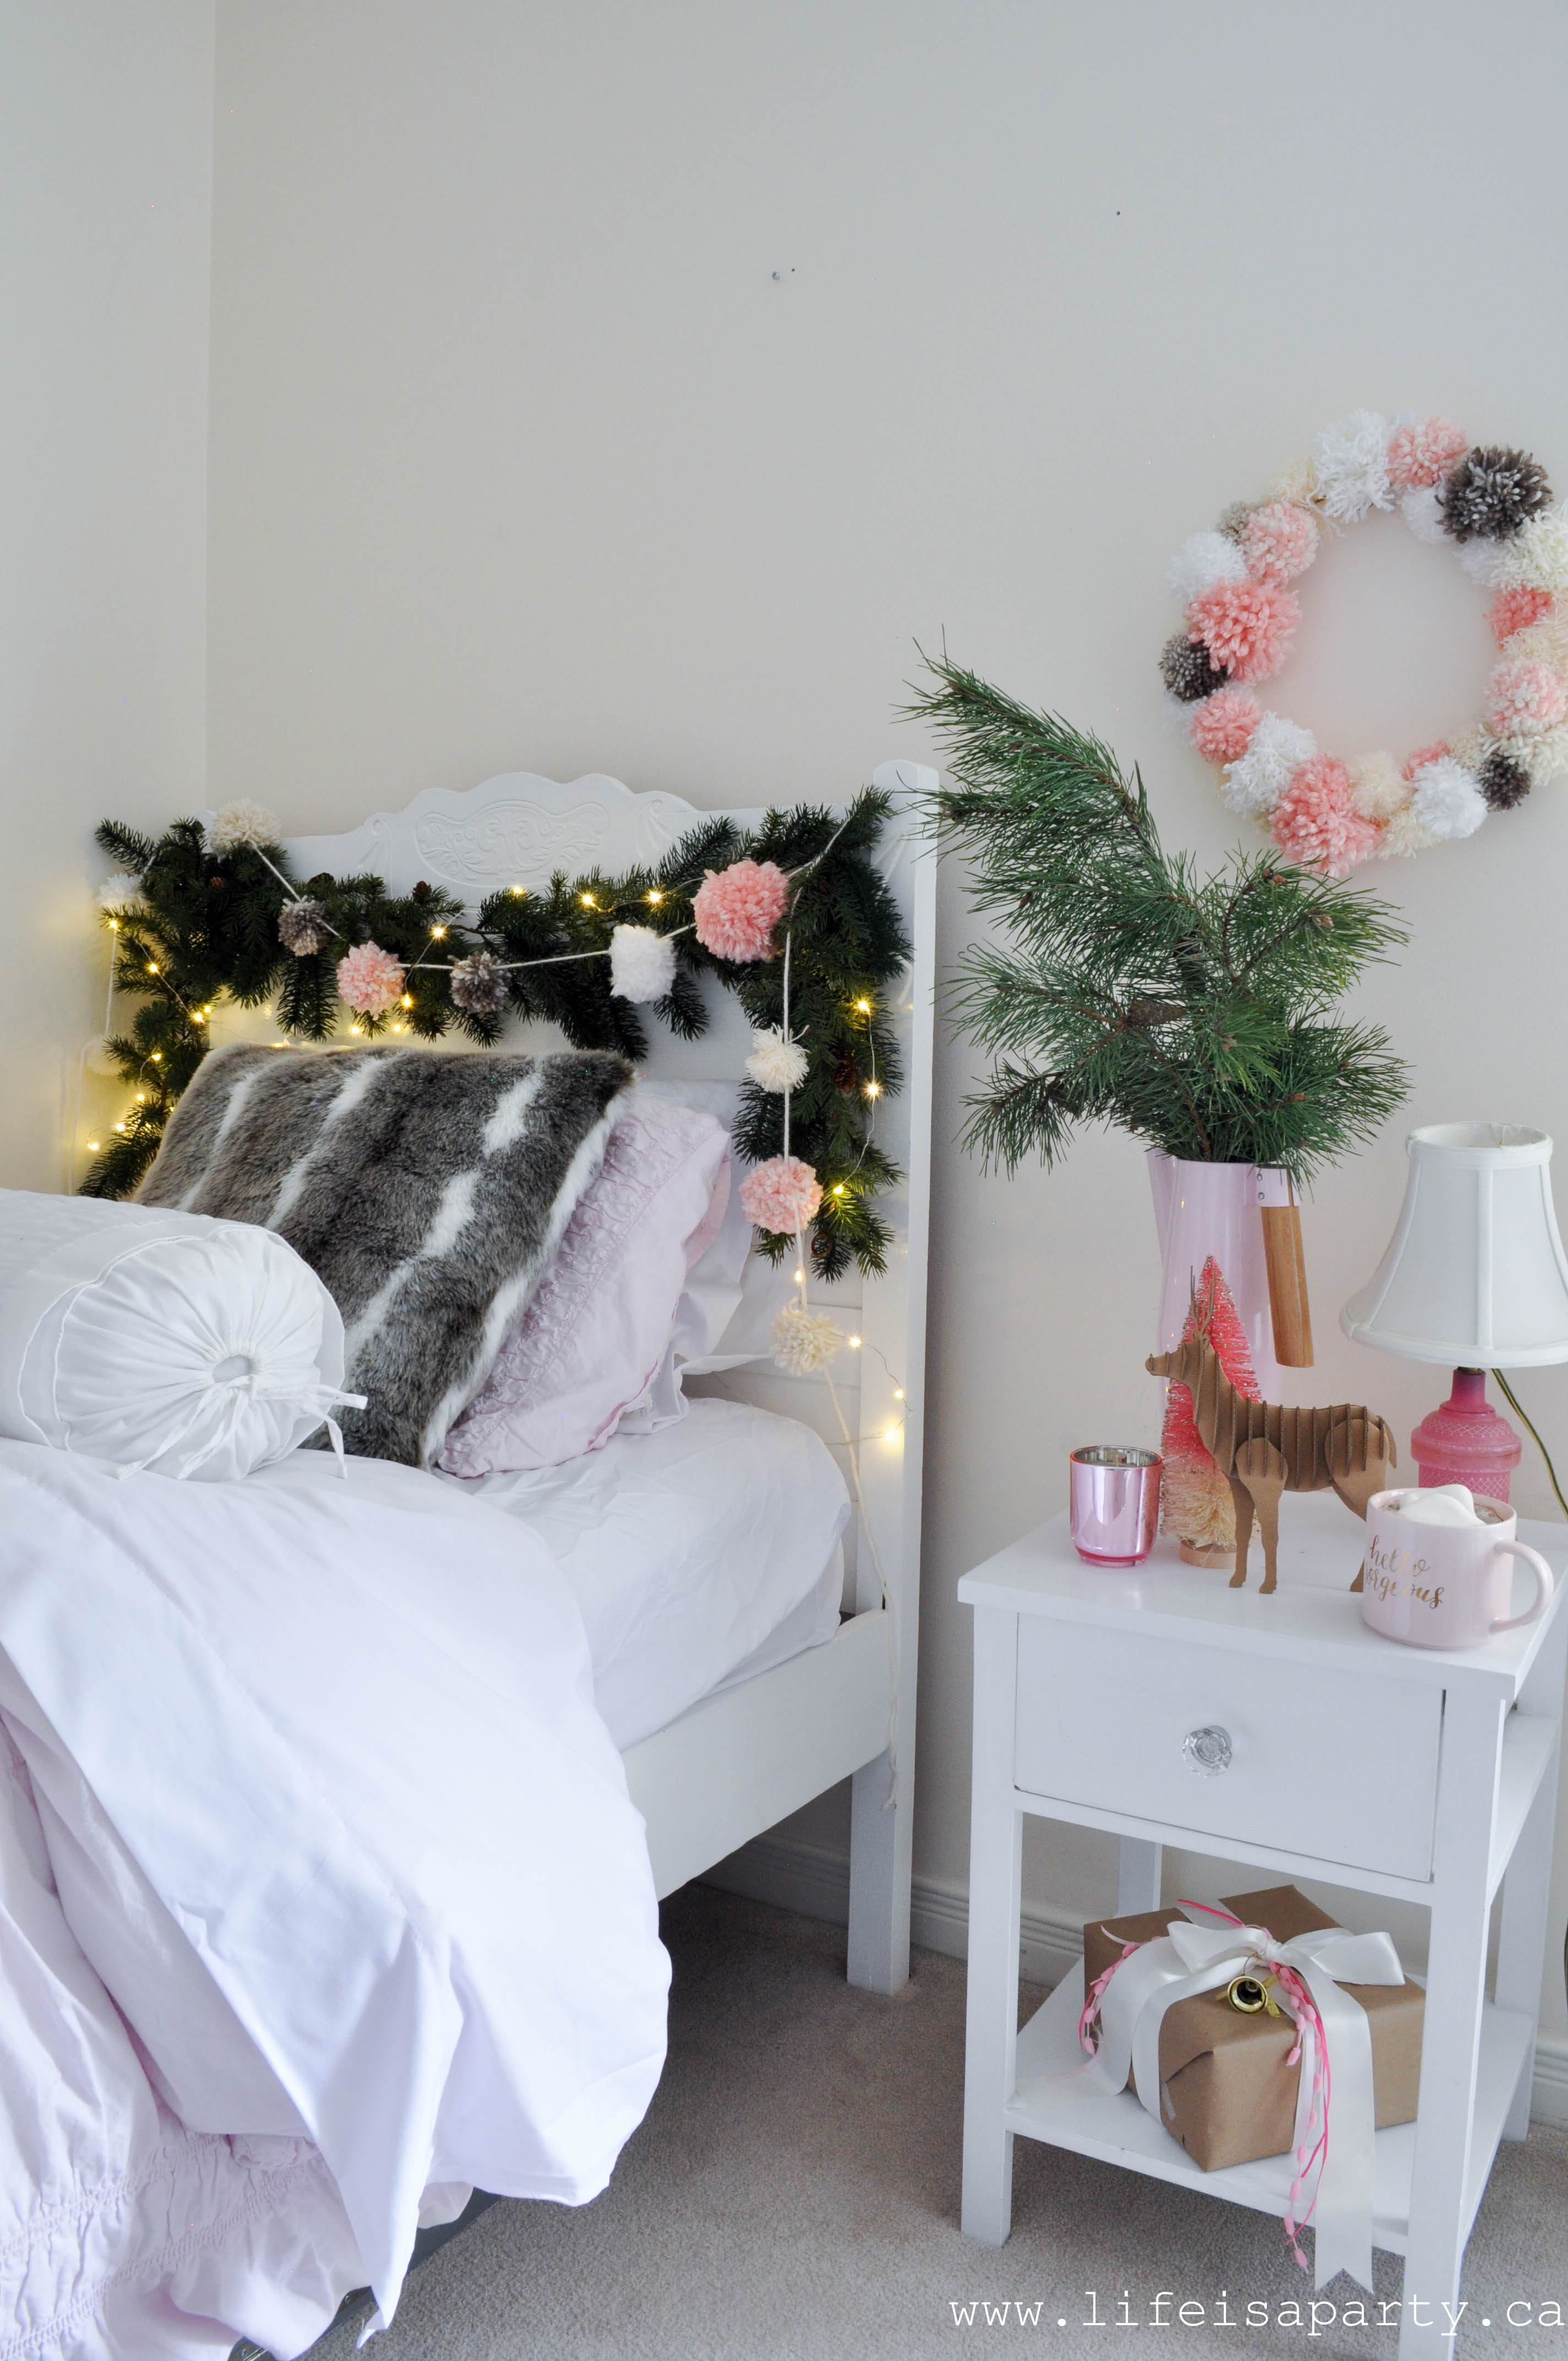
 Neutral Christmas Mantel
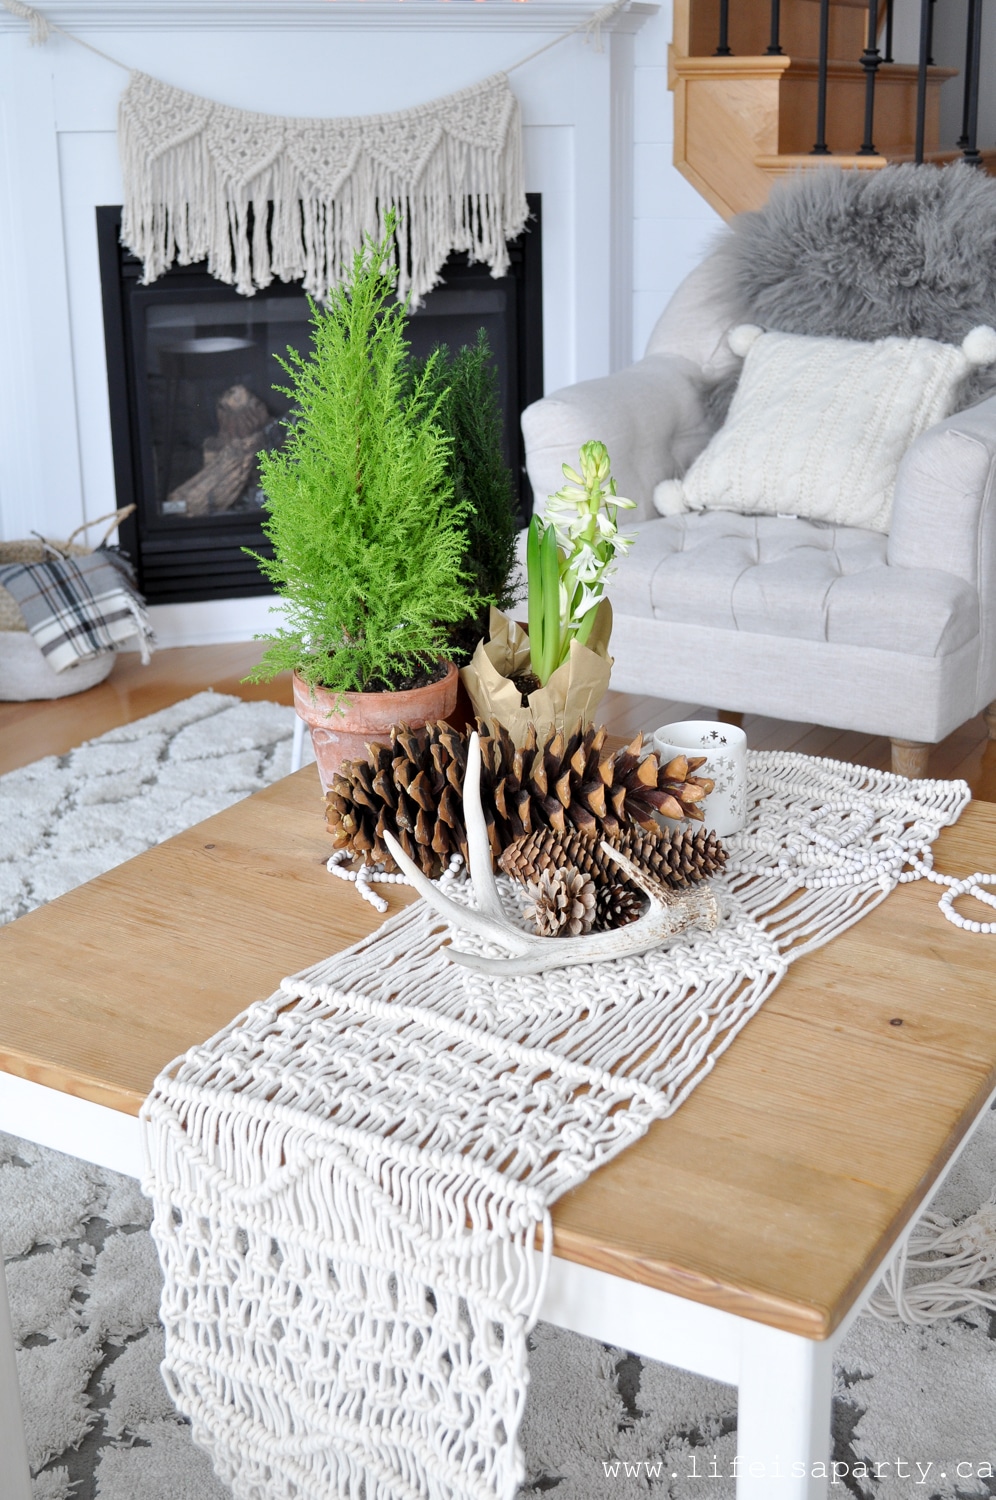
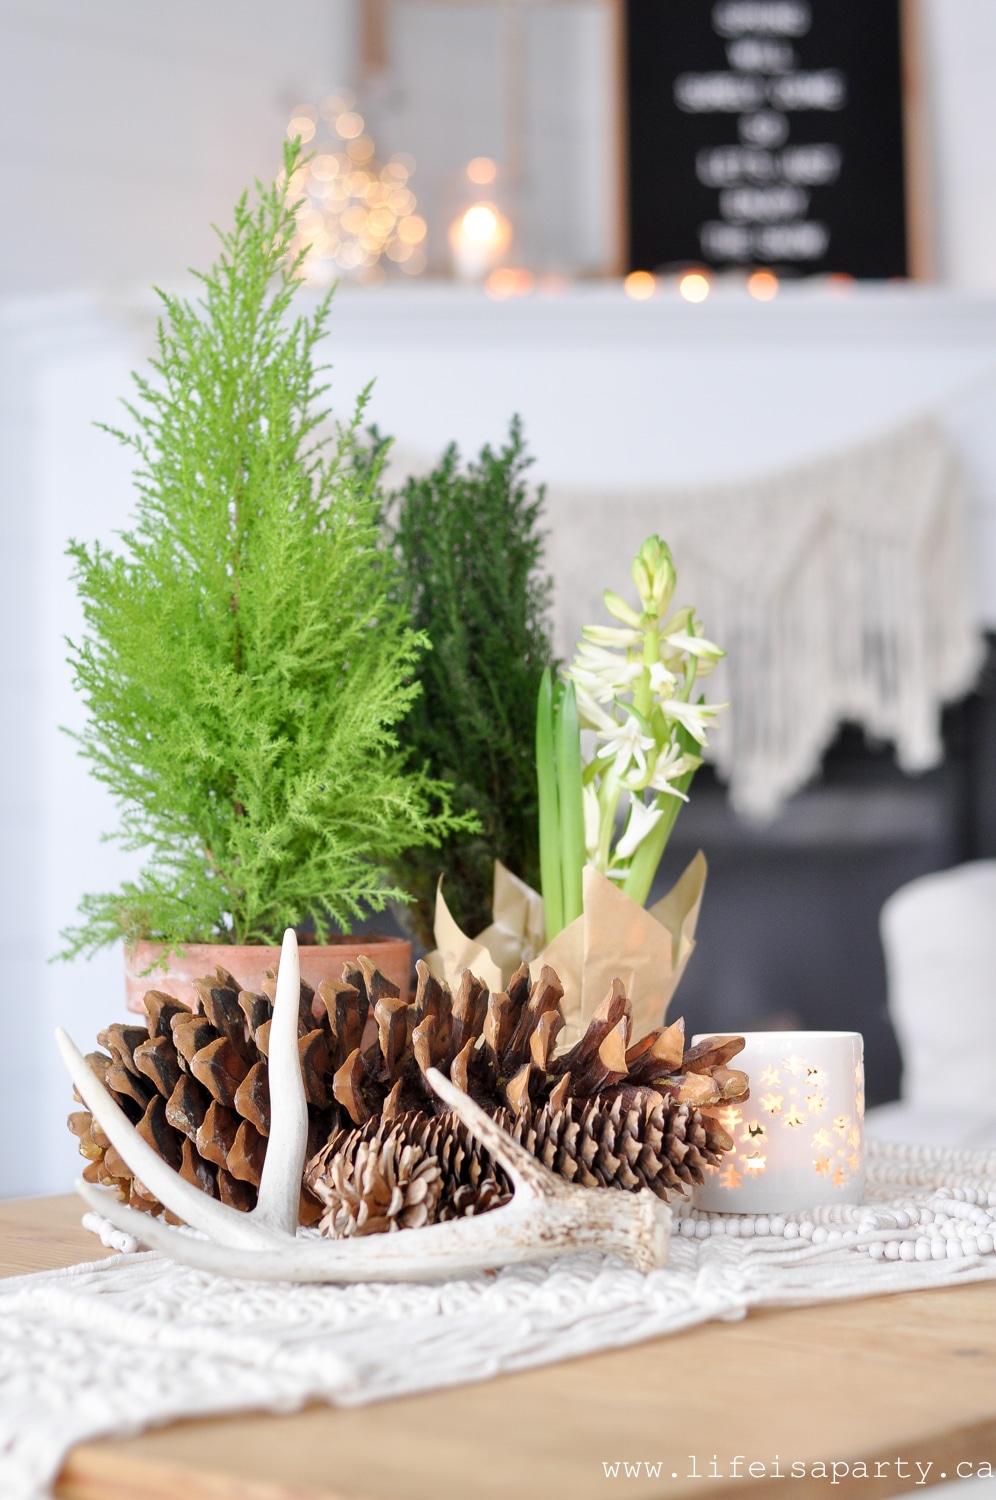
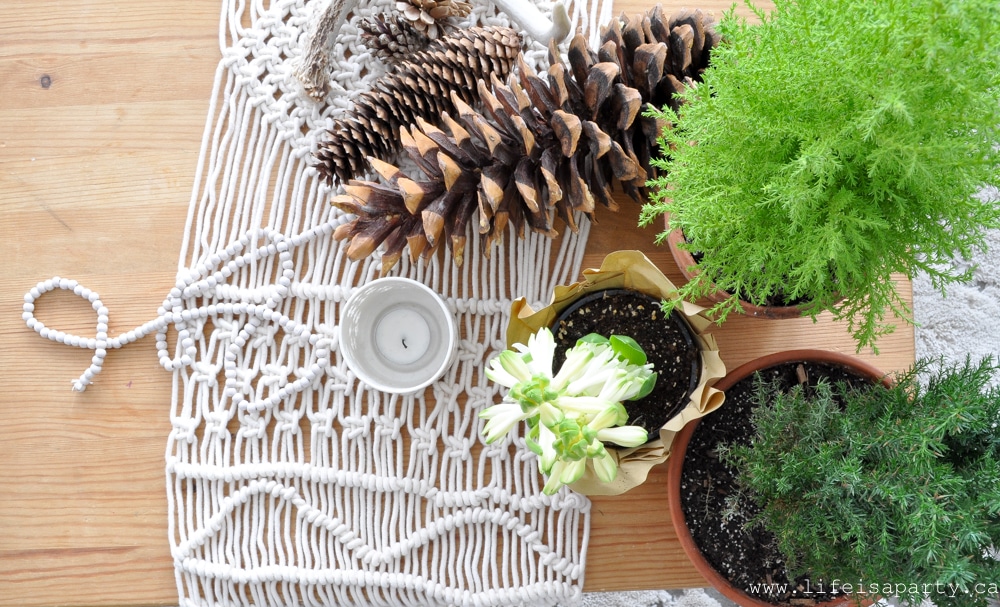
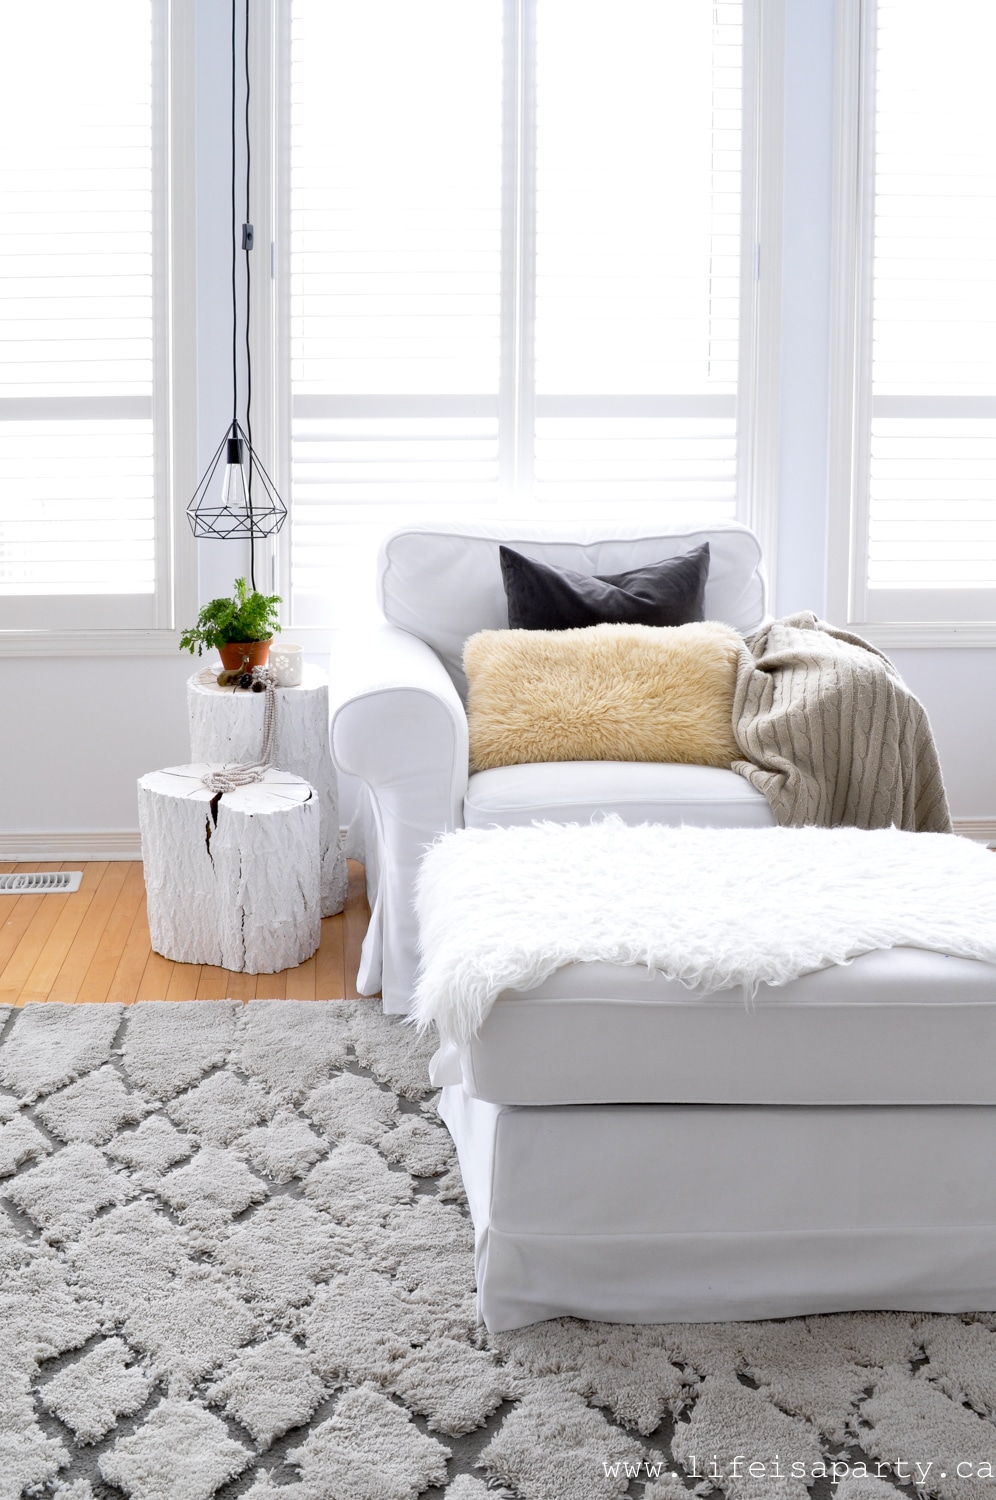
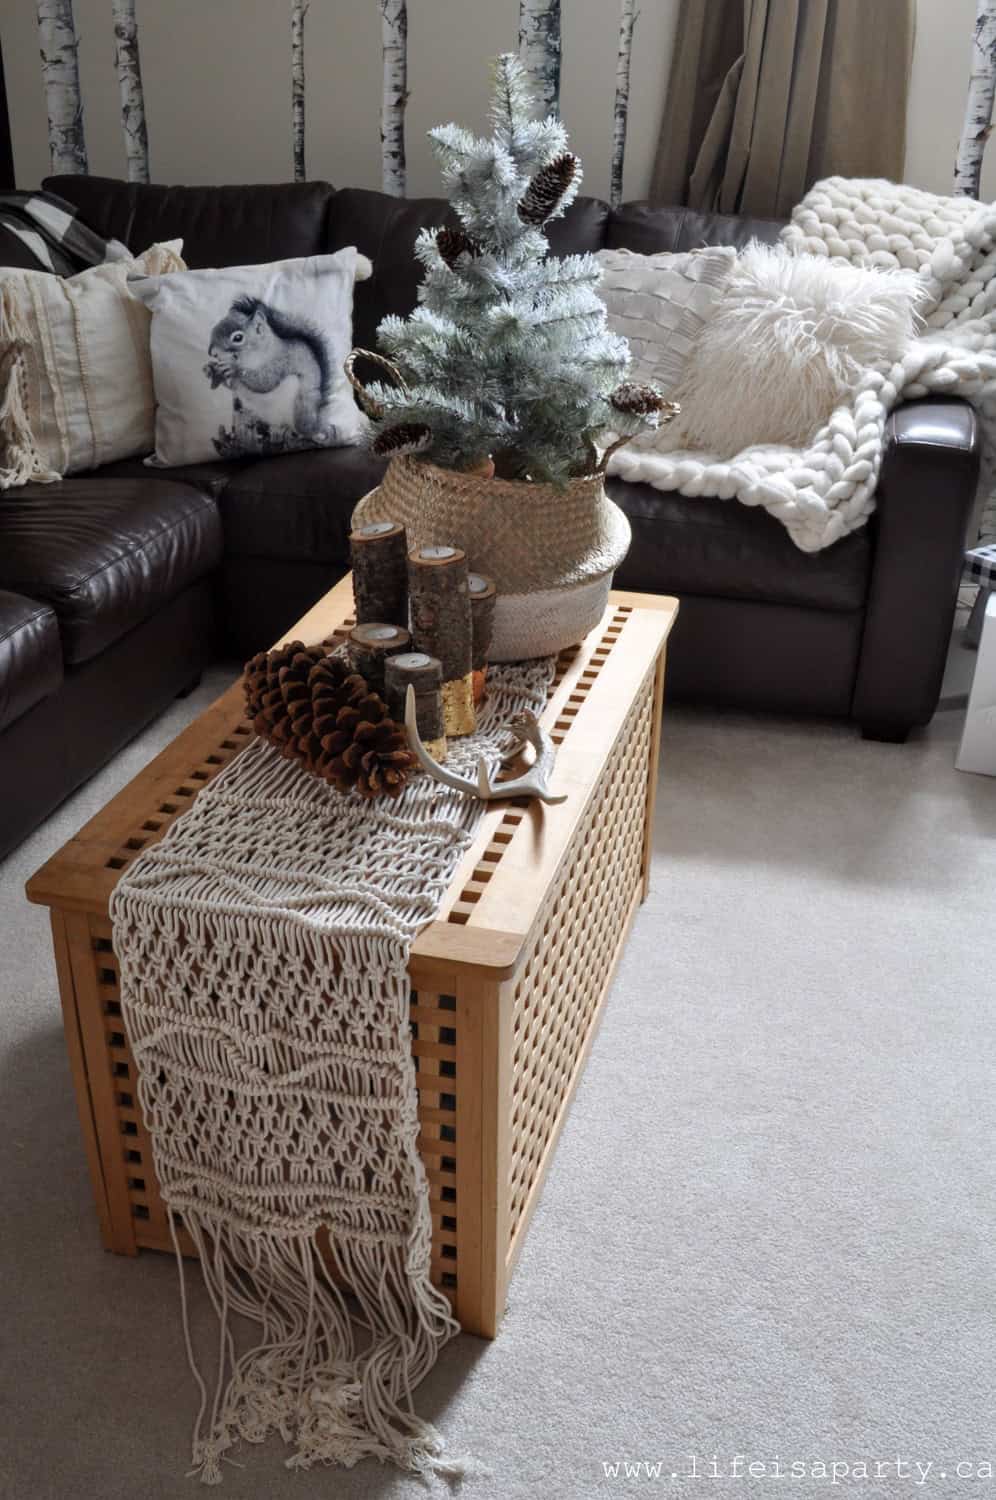
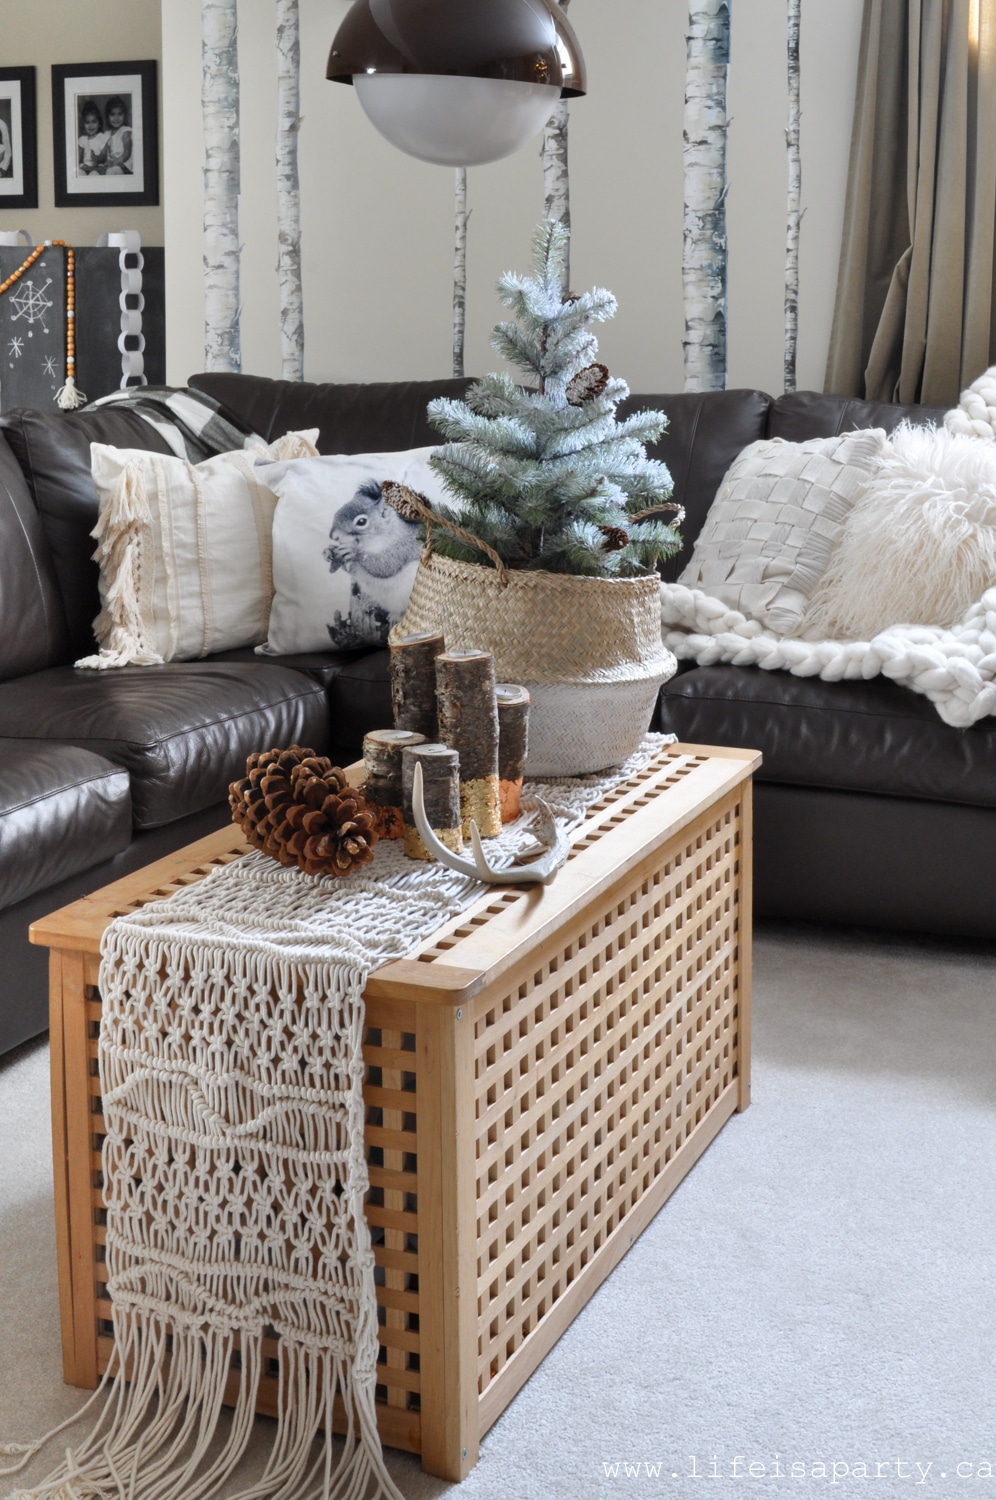
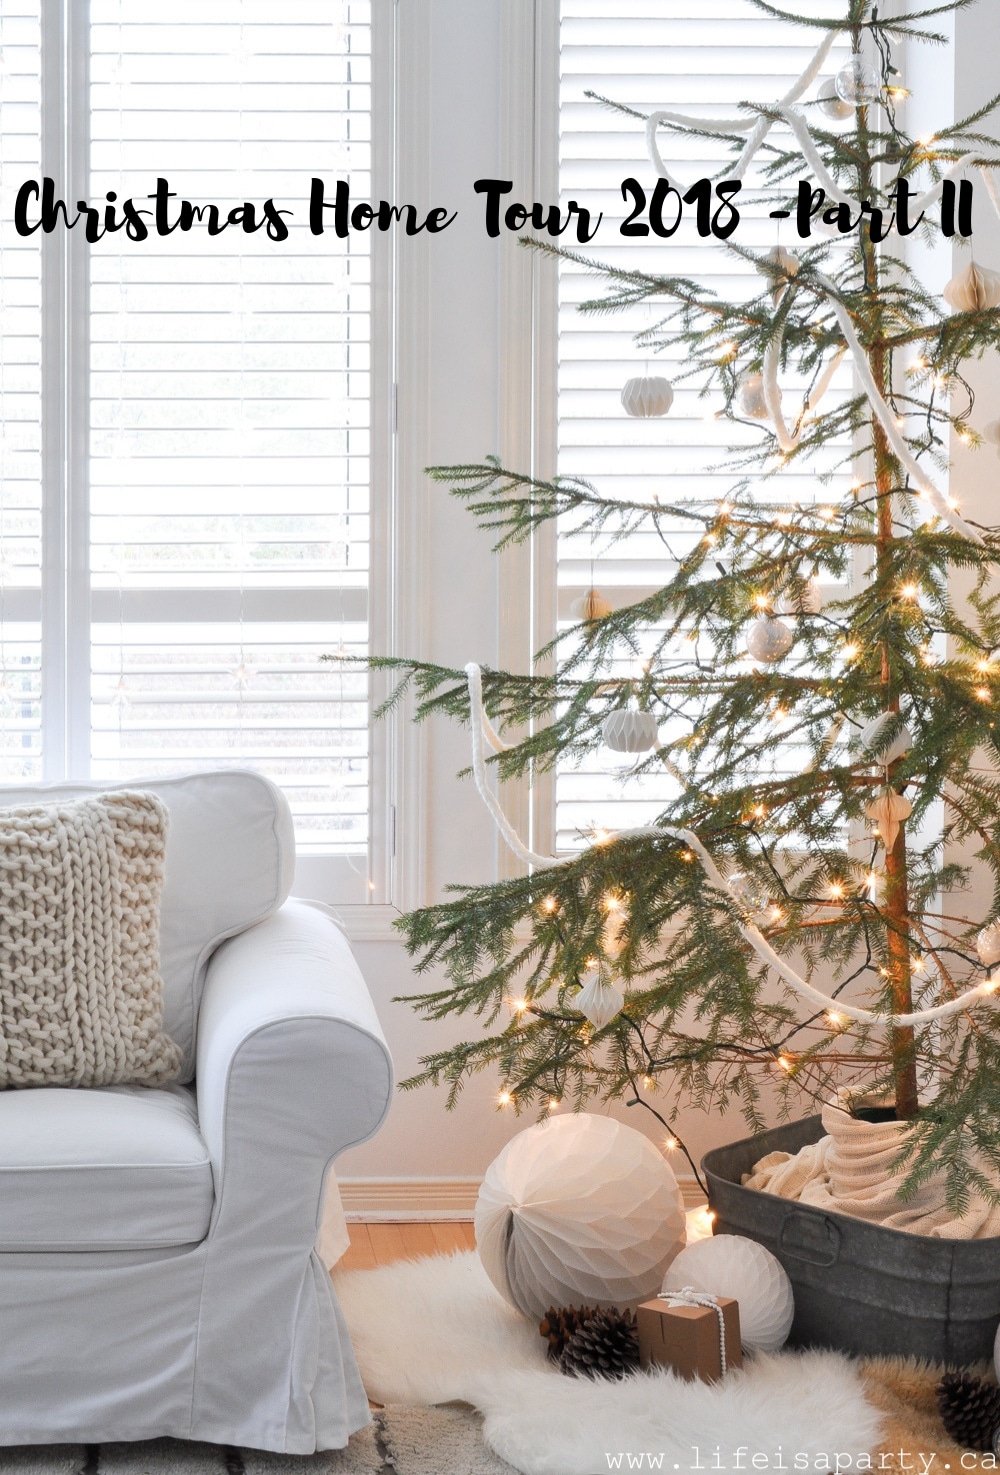
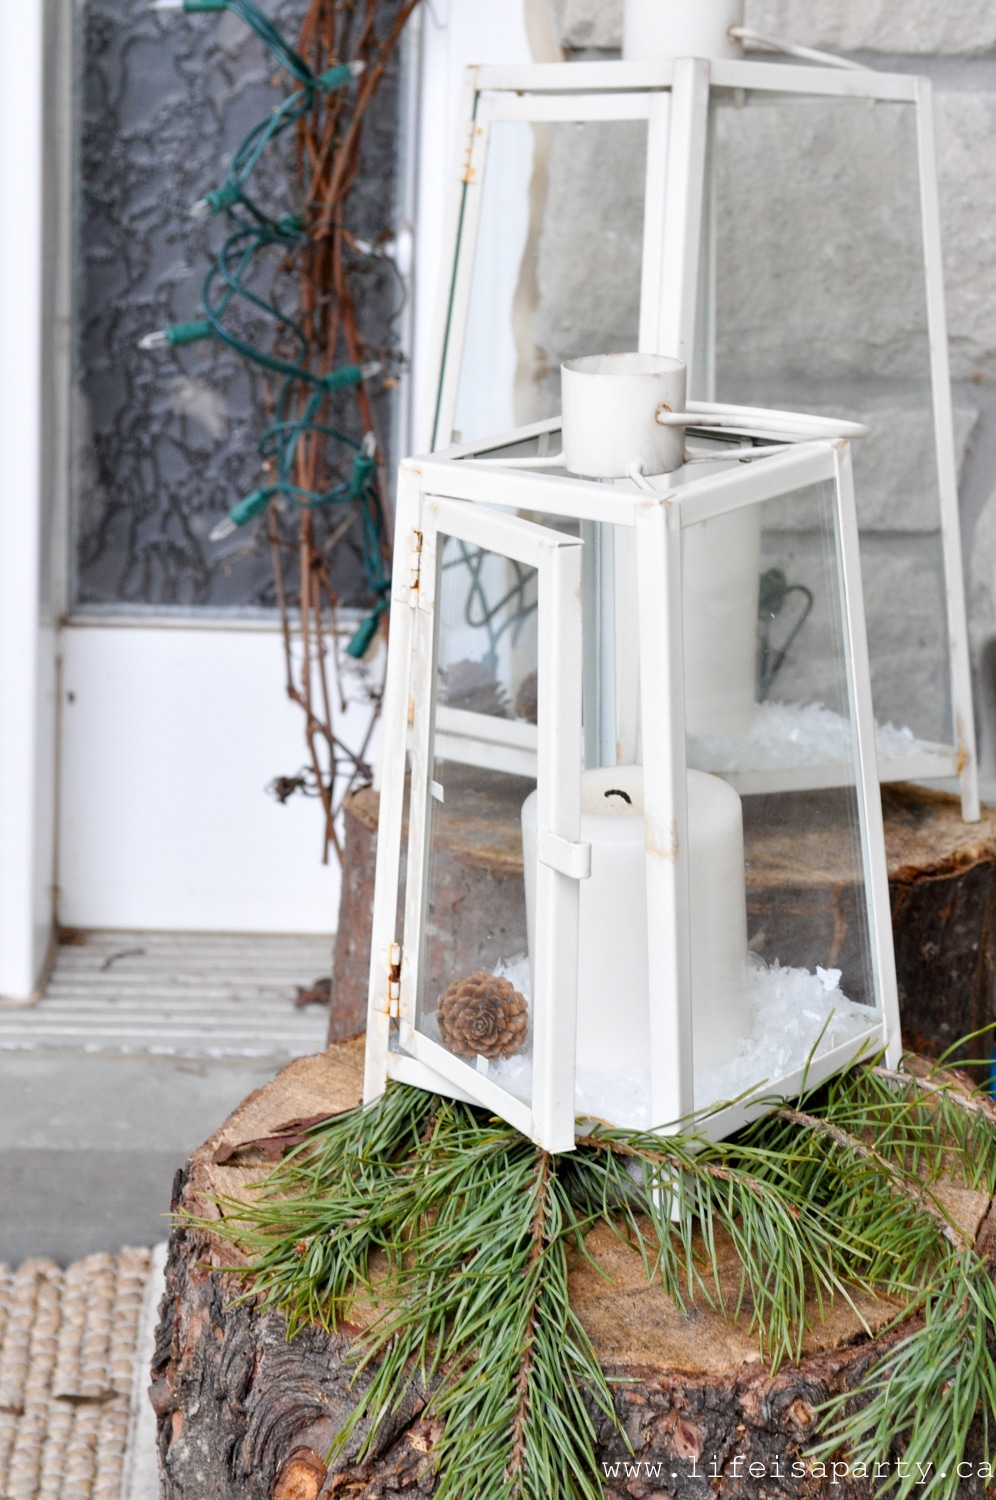
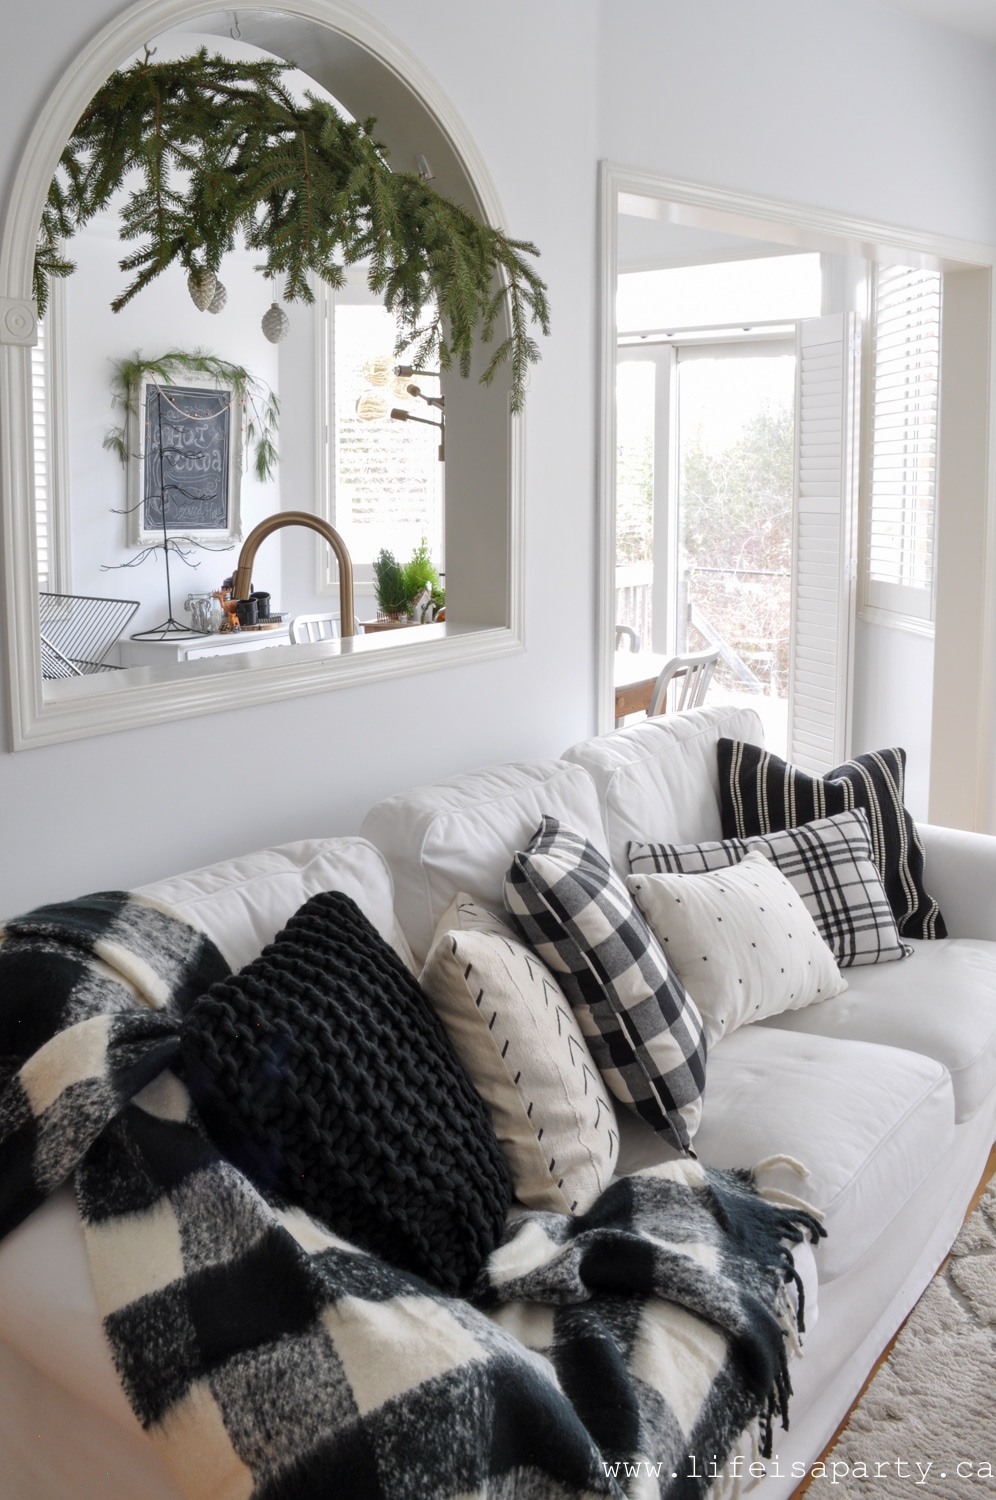
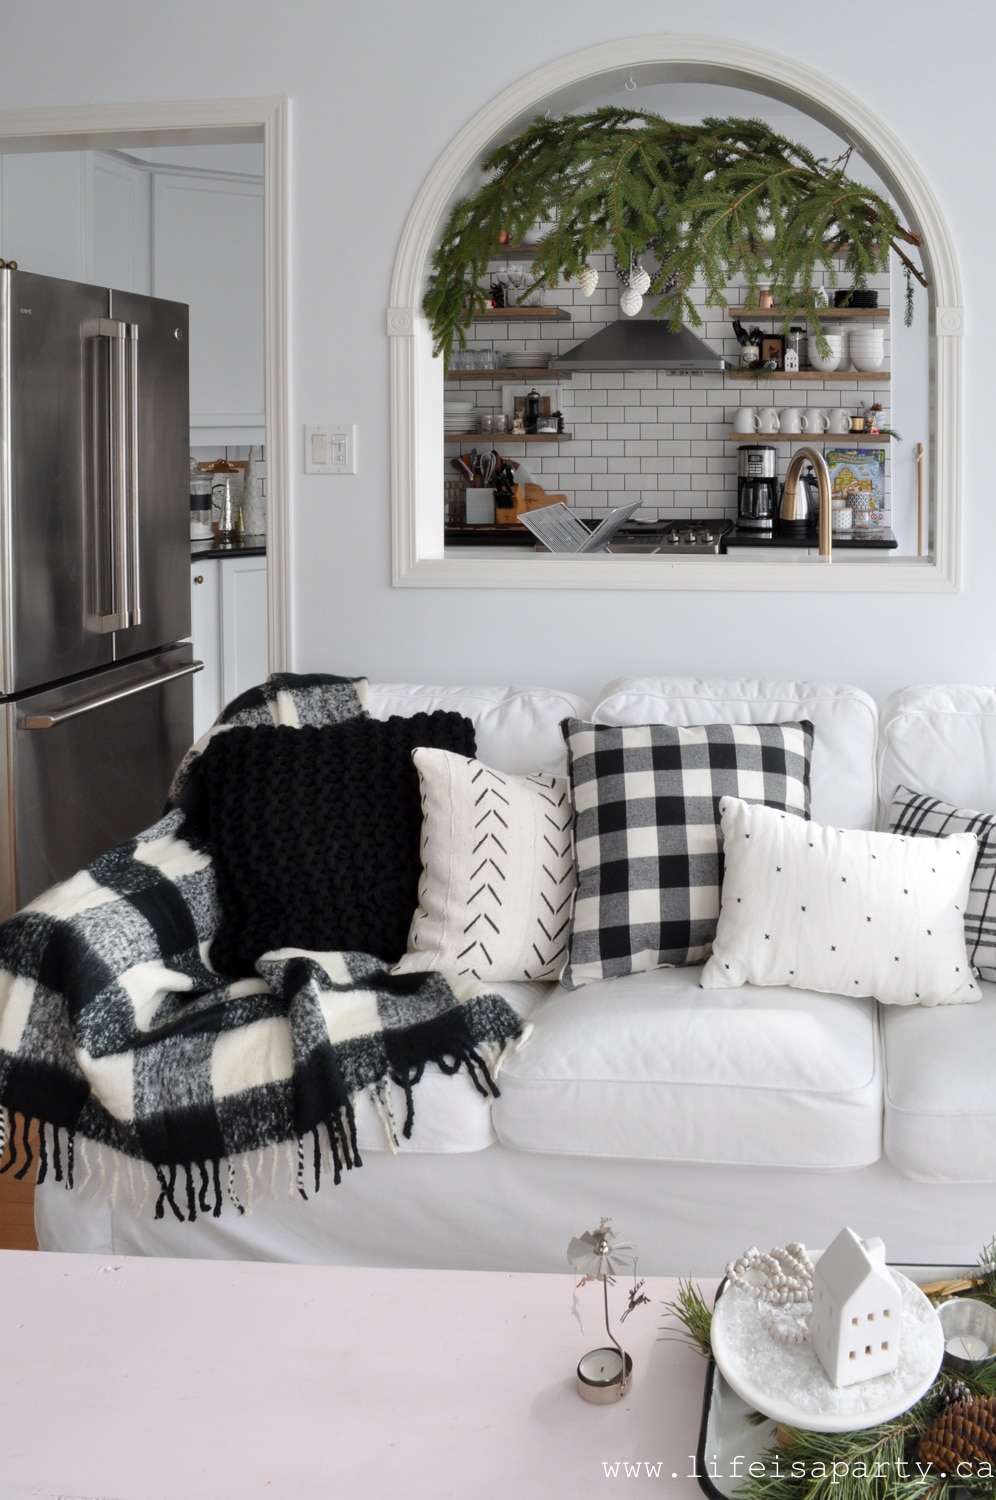
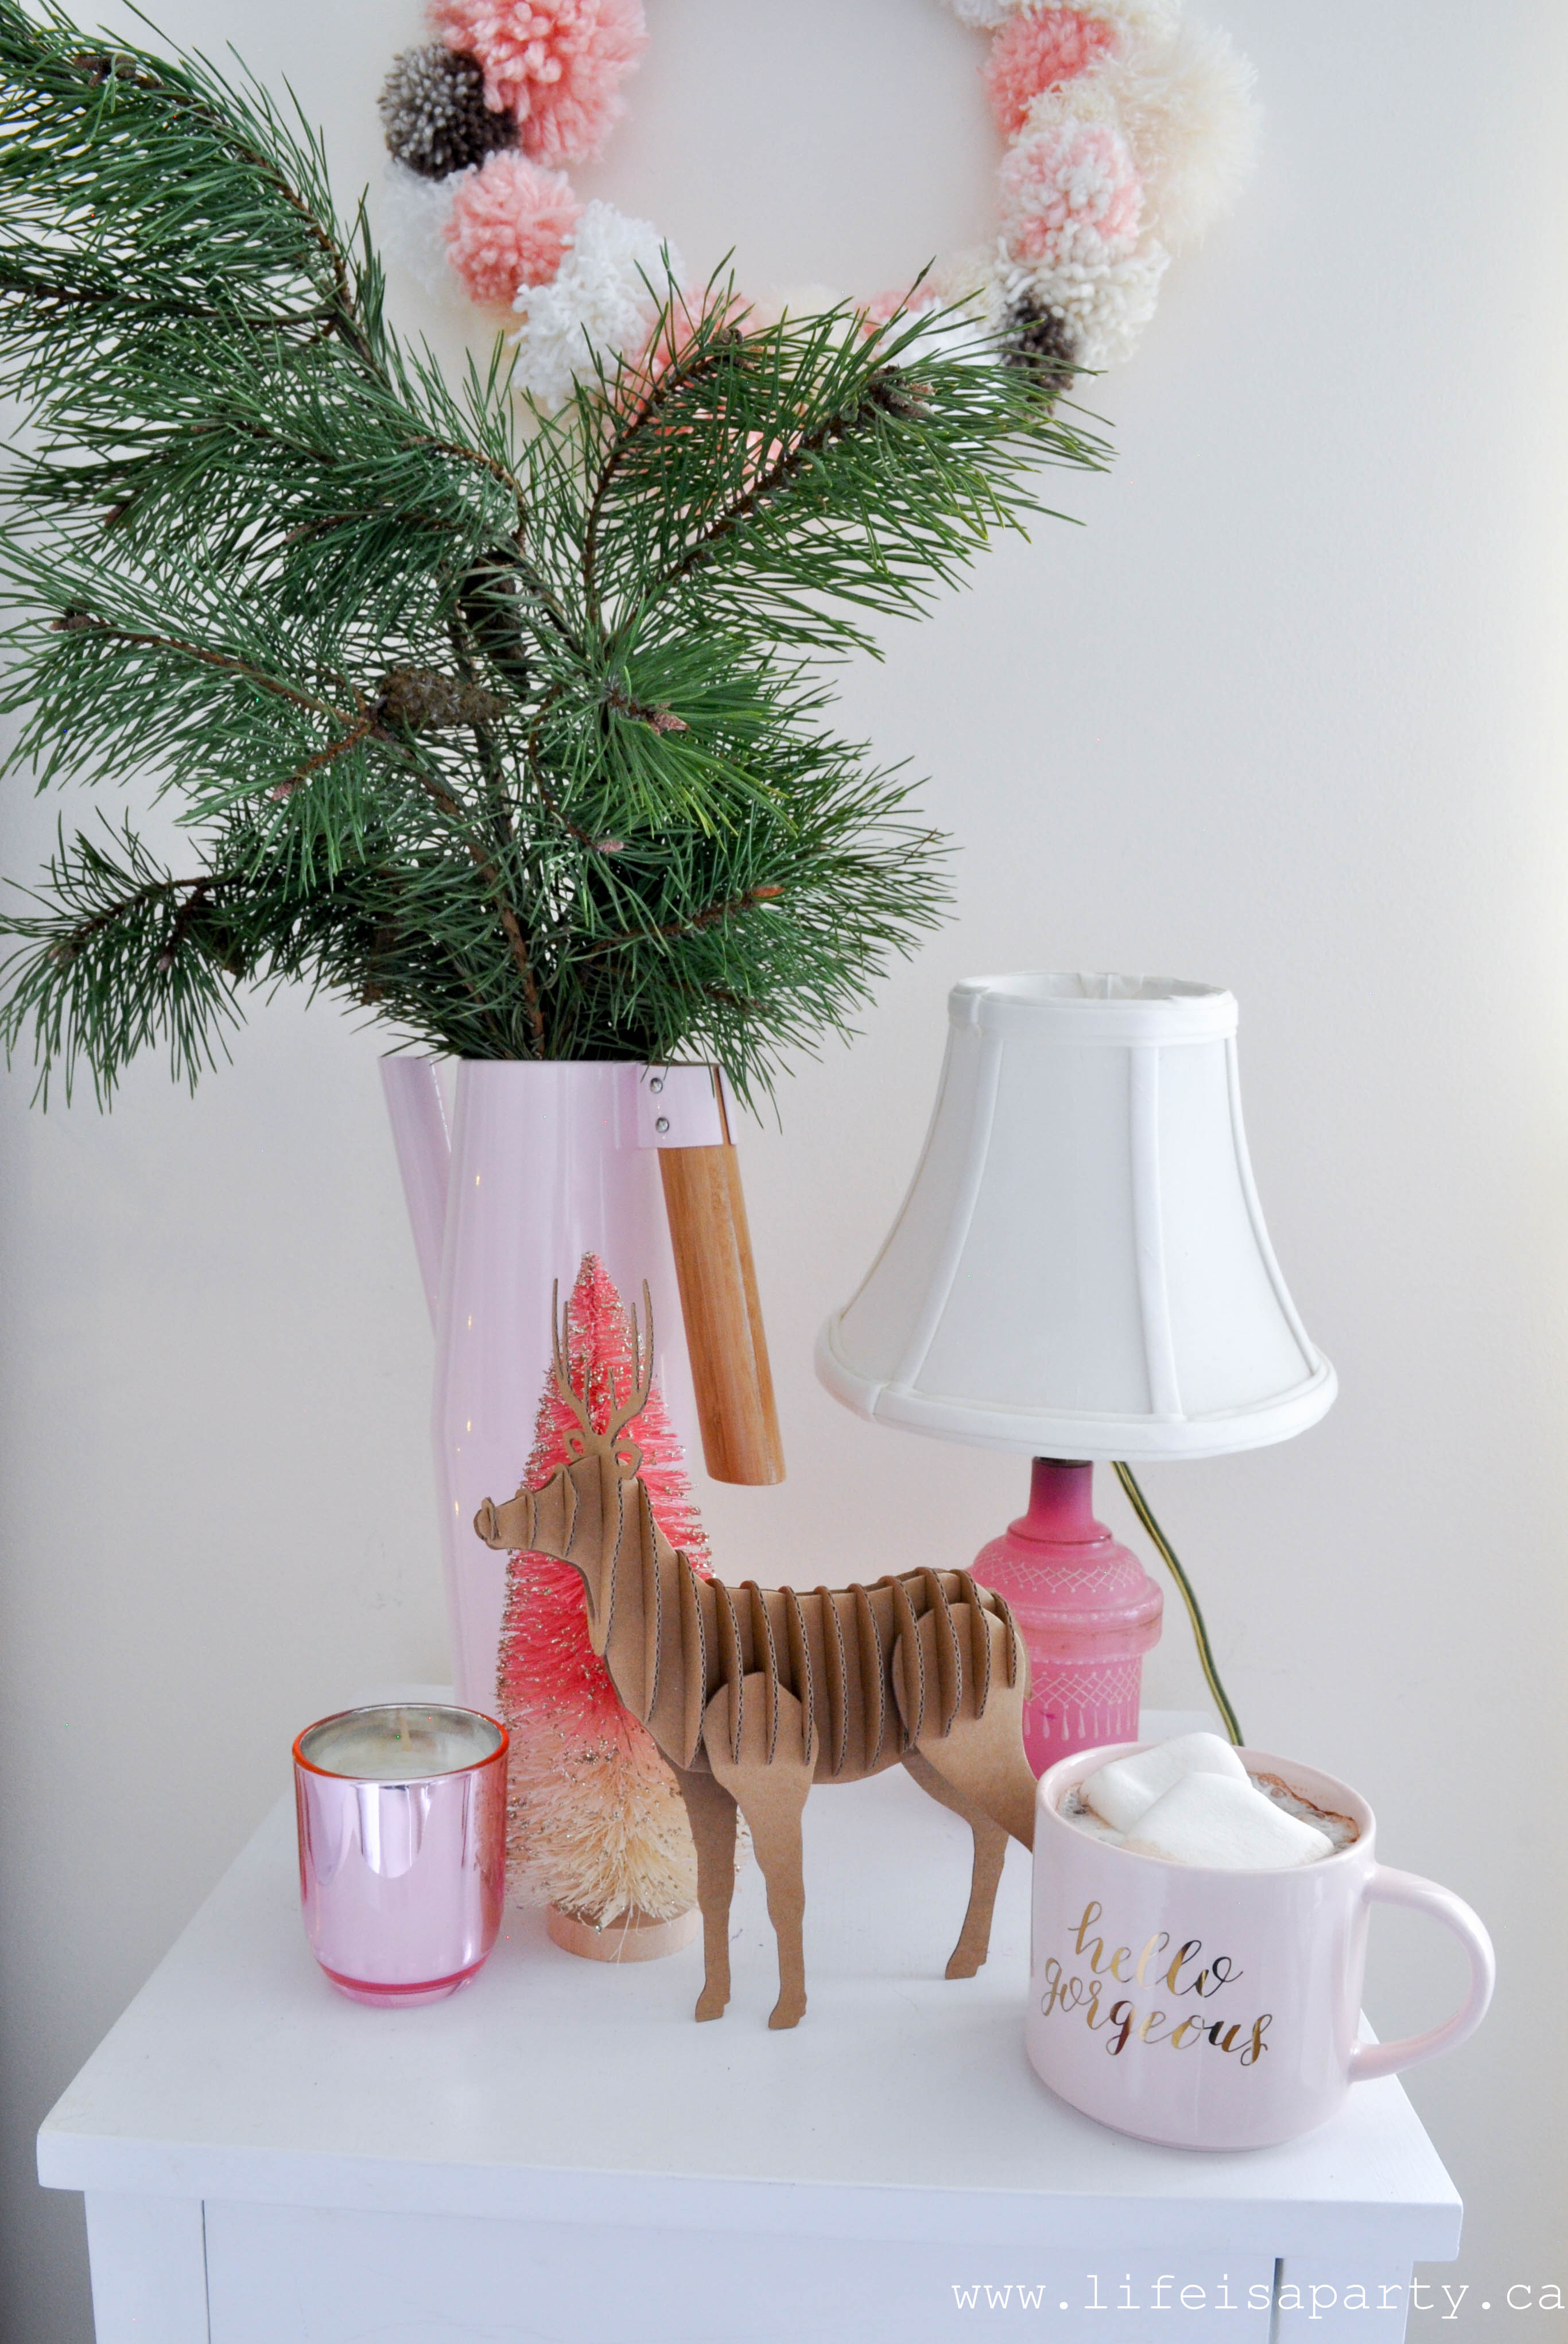
 Coffee Table
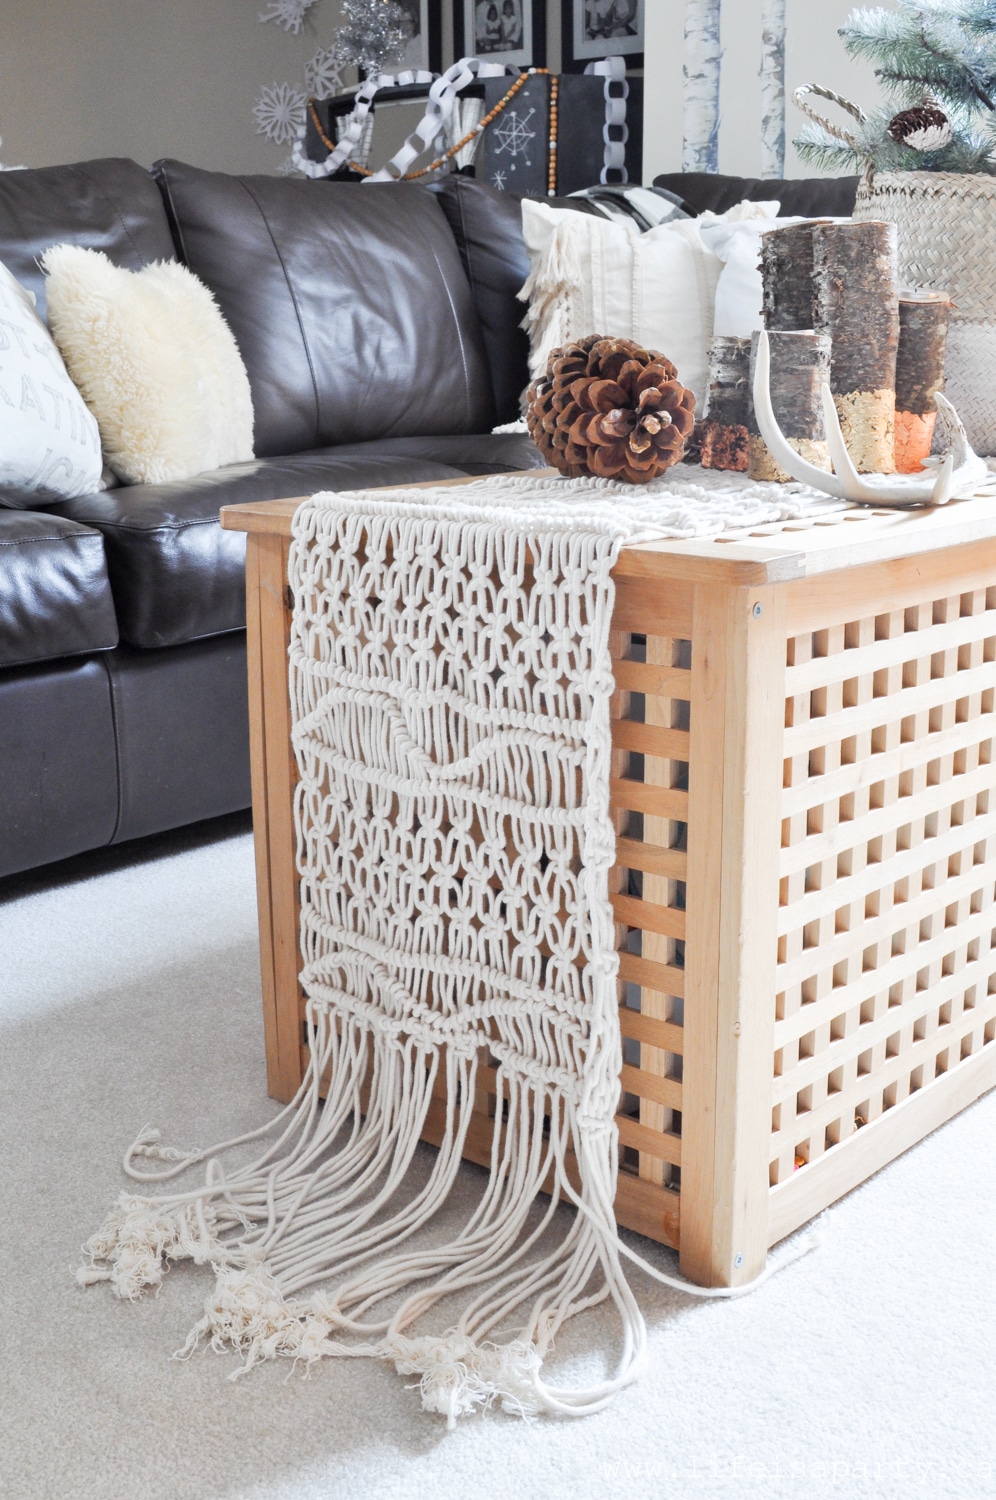
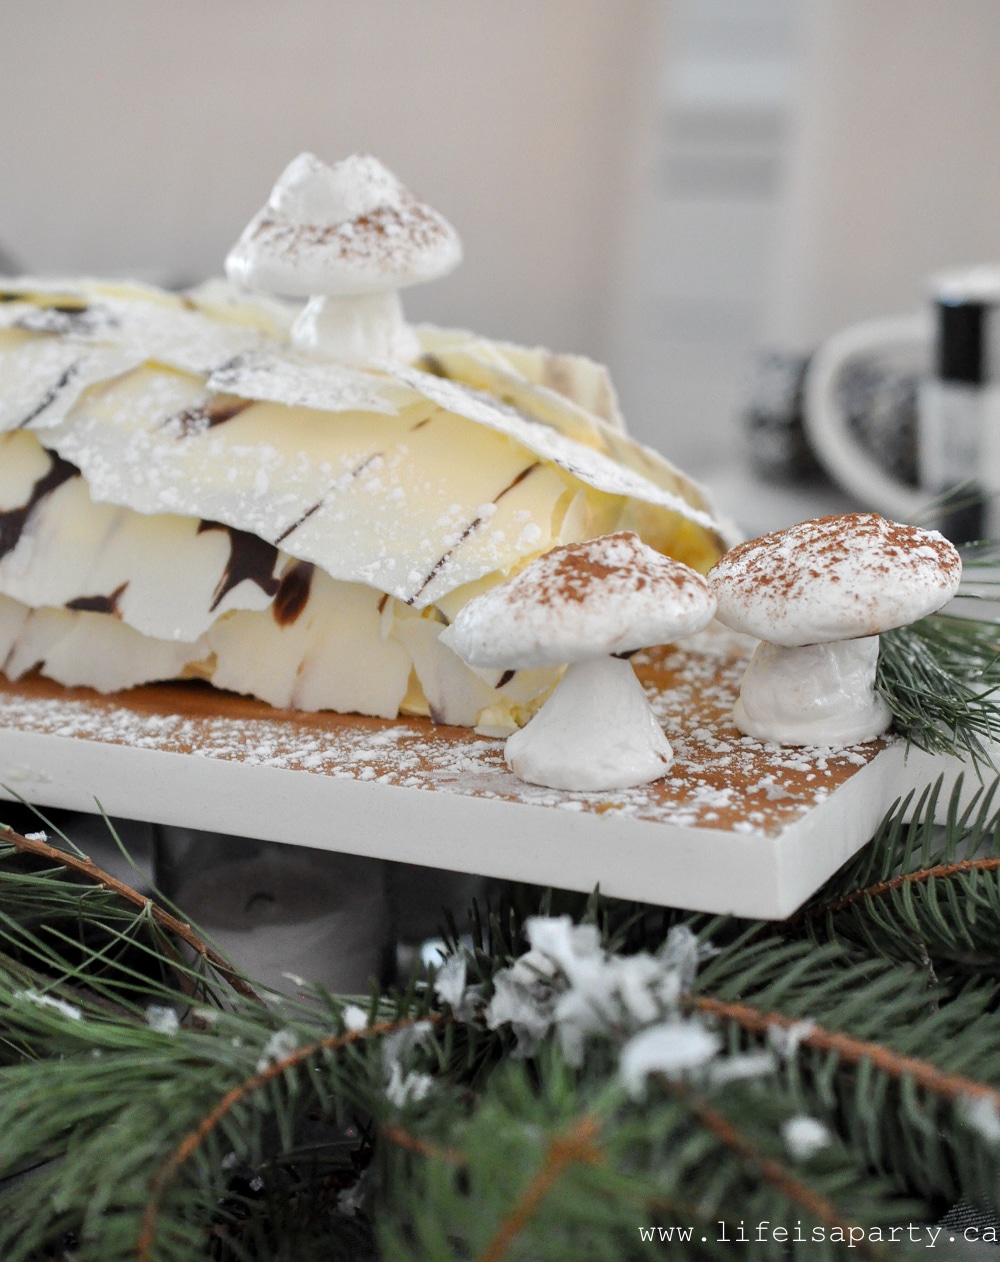
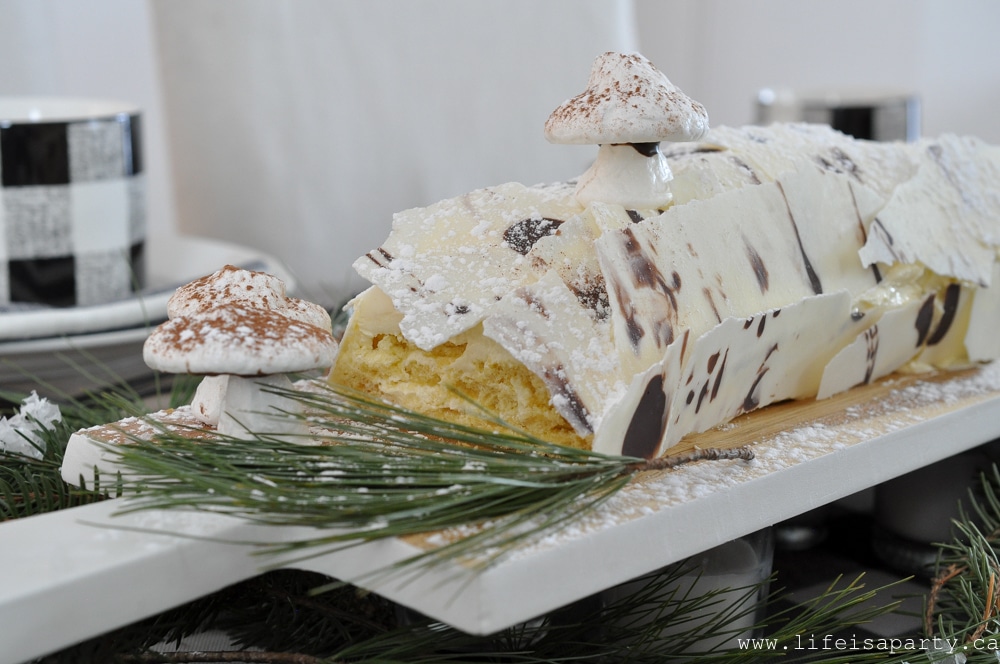
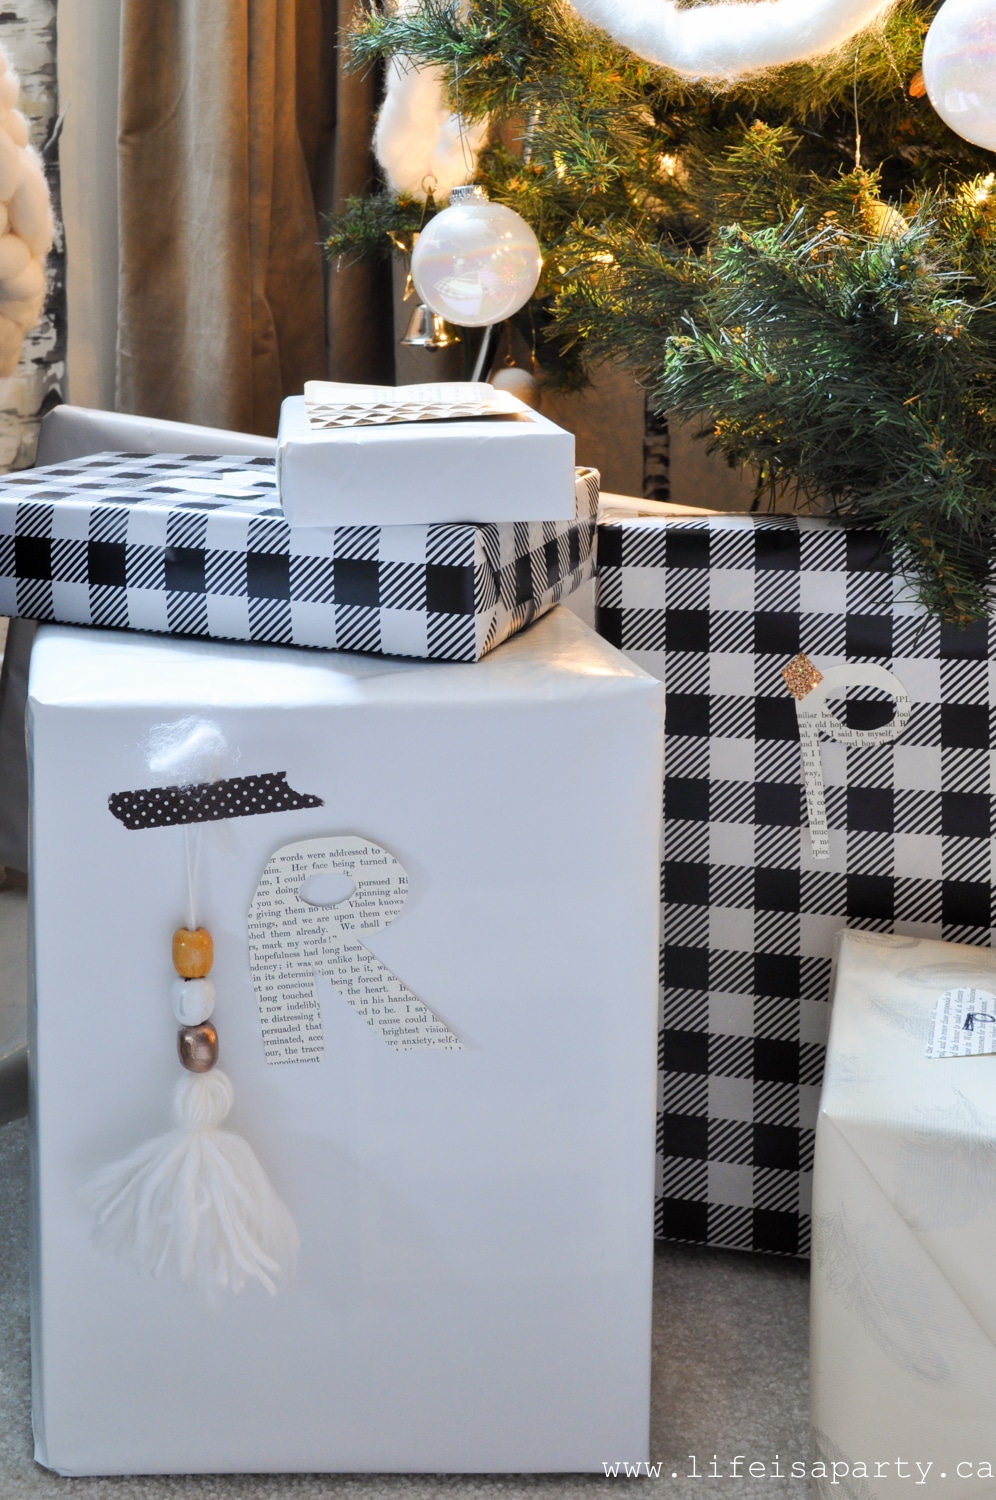
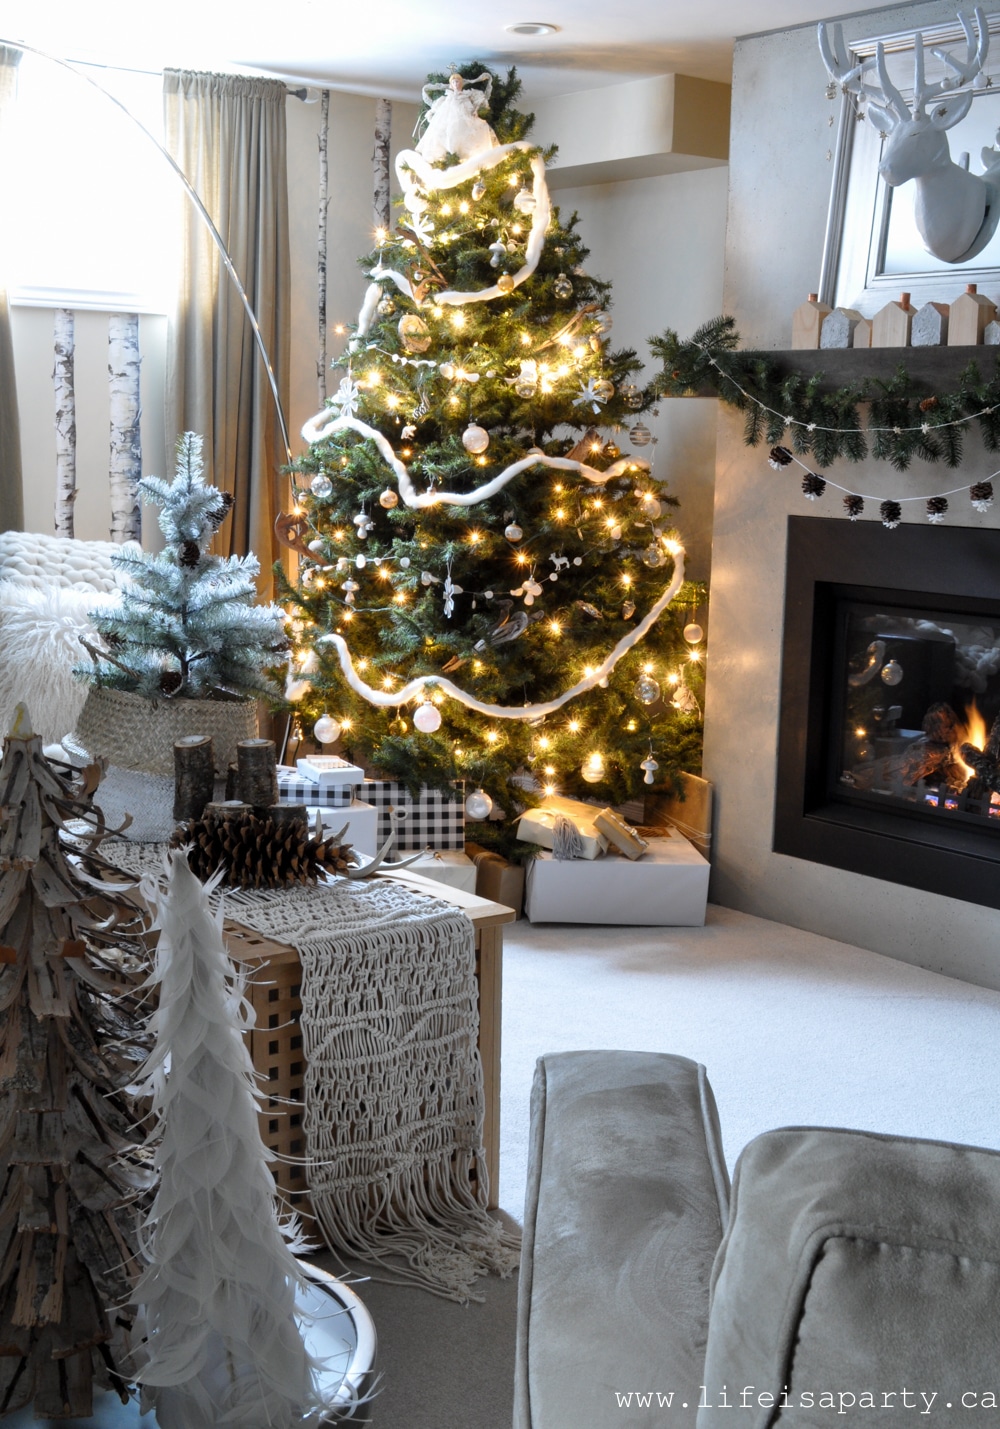
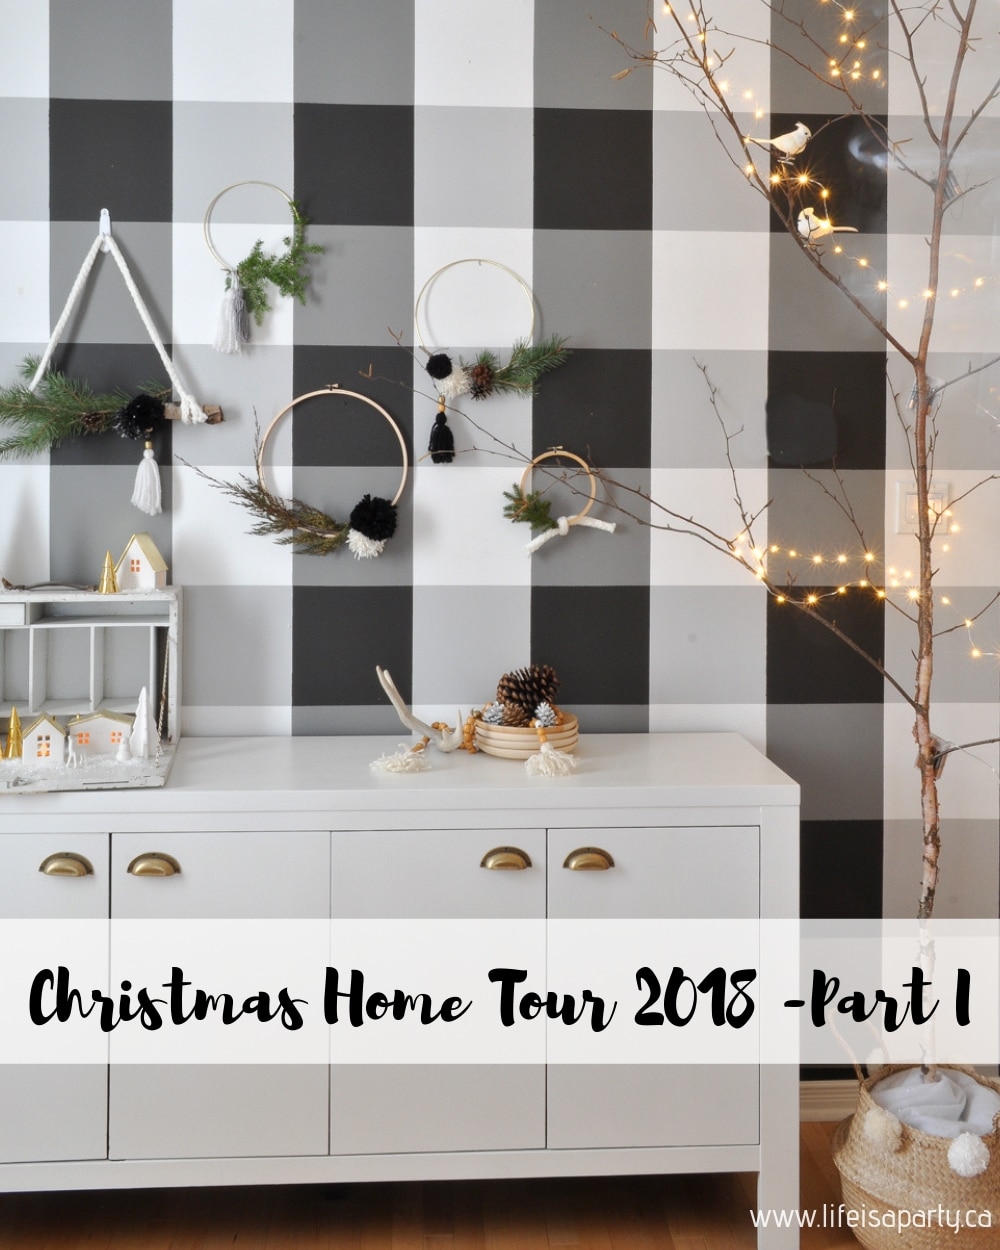
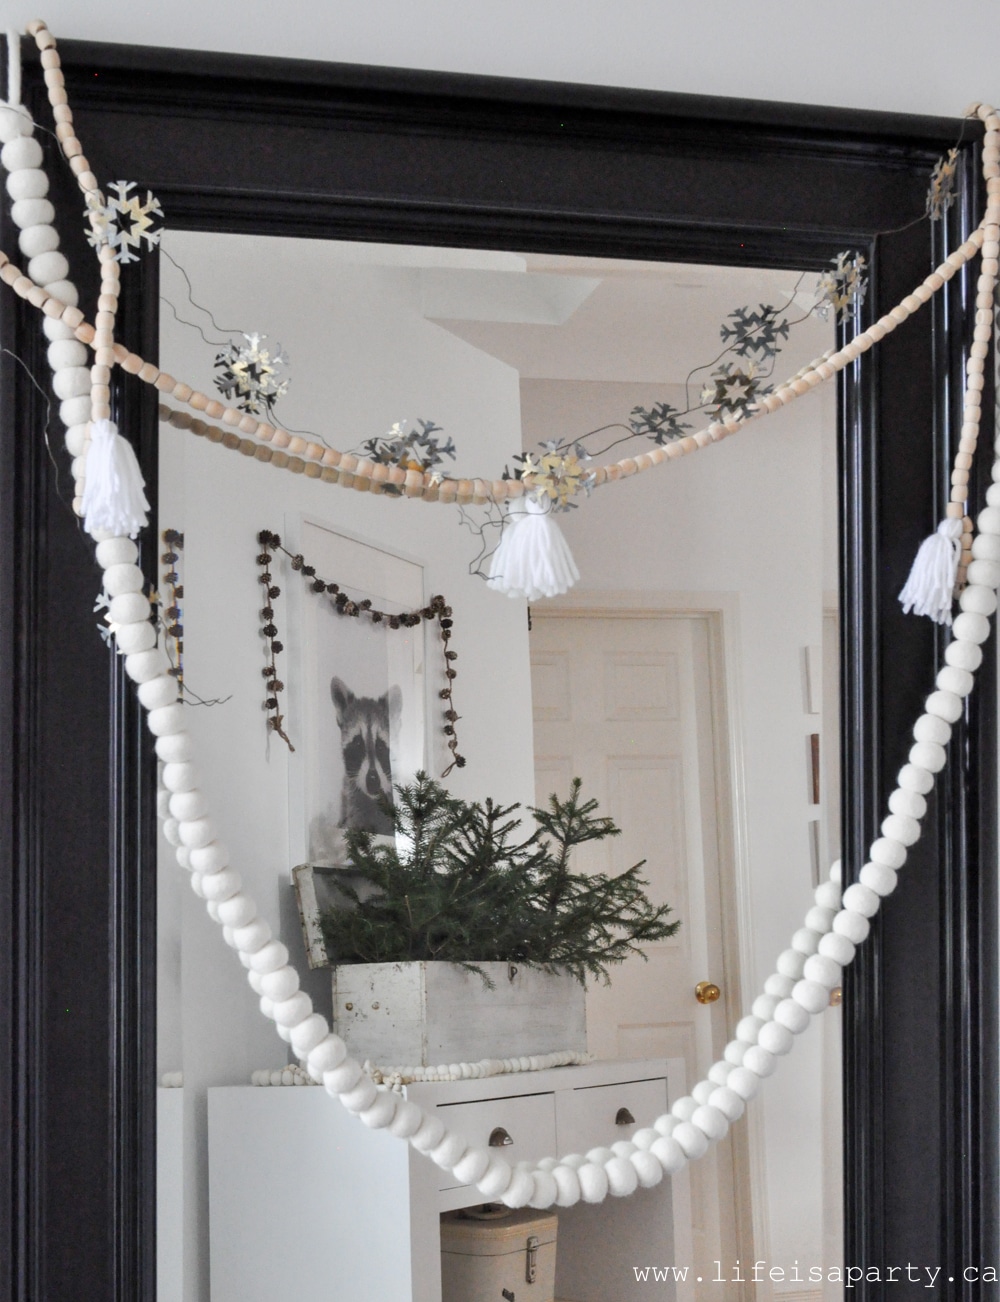
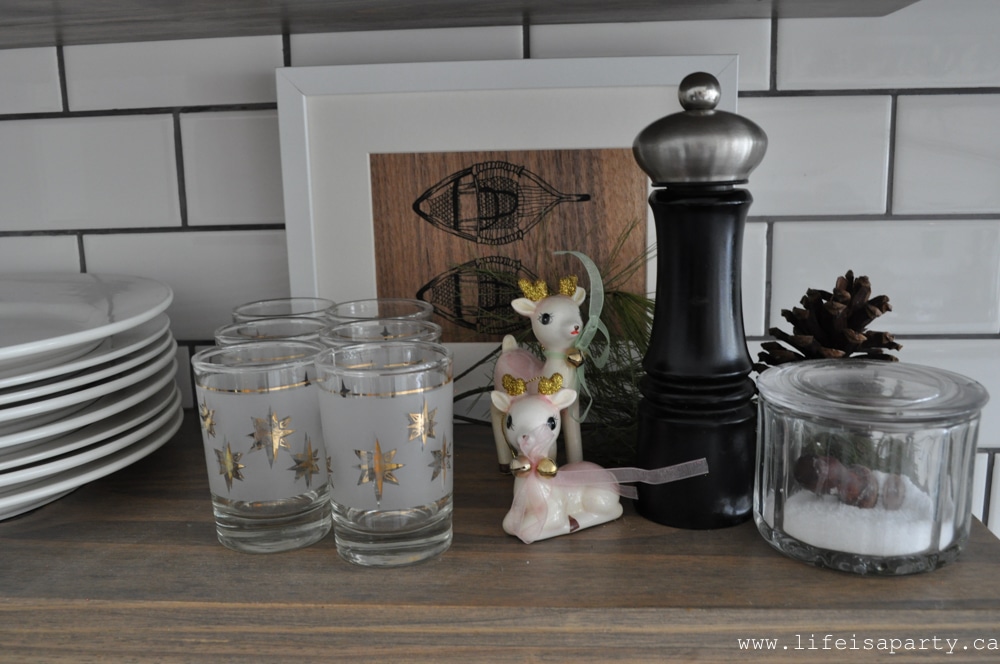
 Christmas Vignette
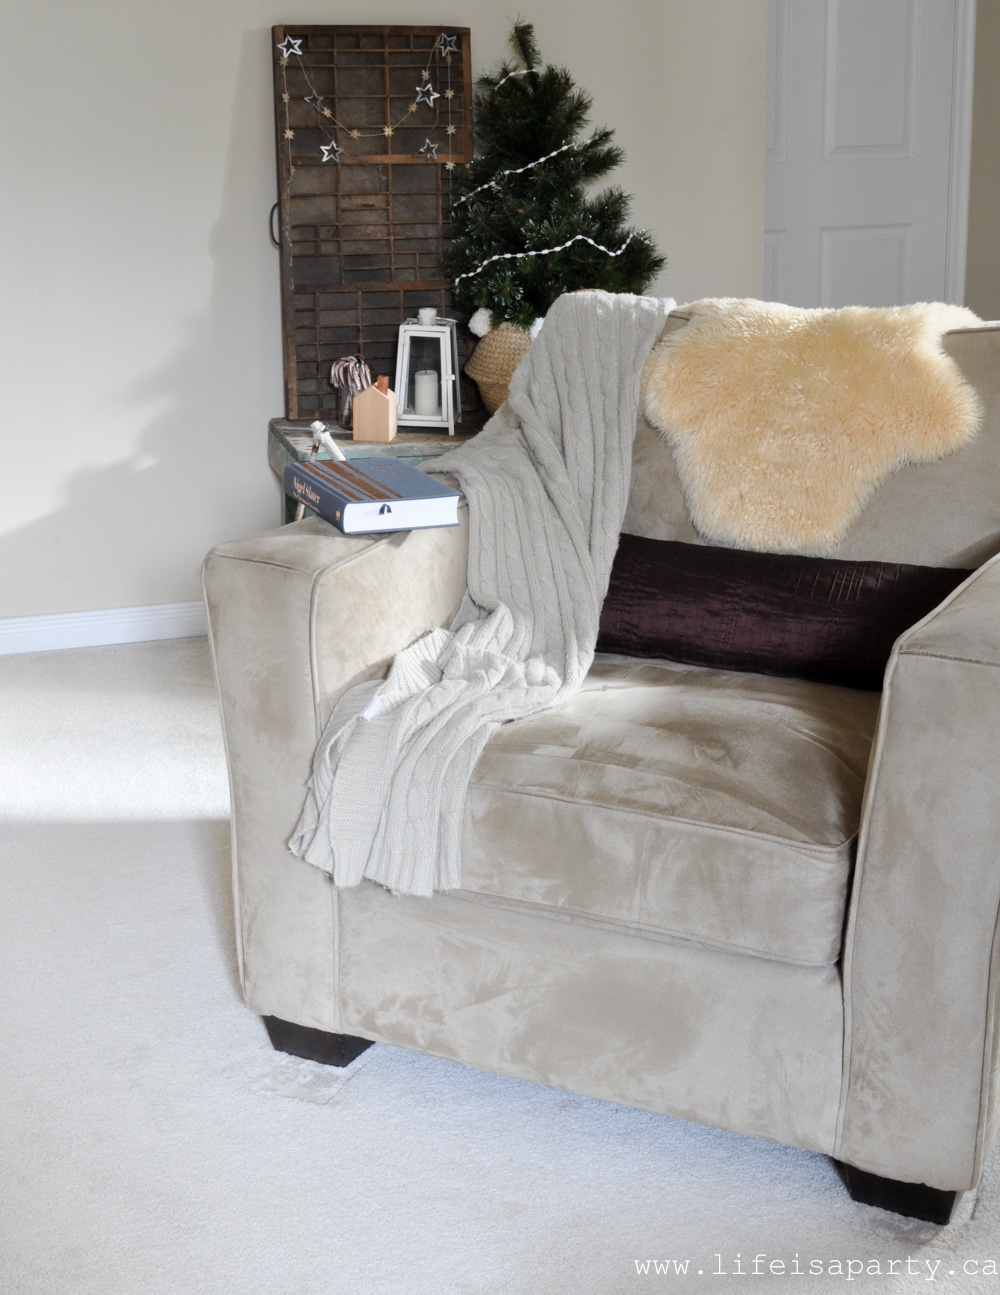

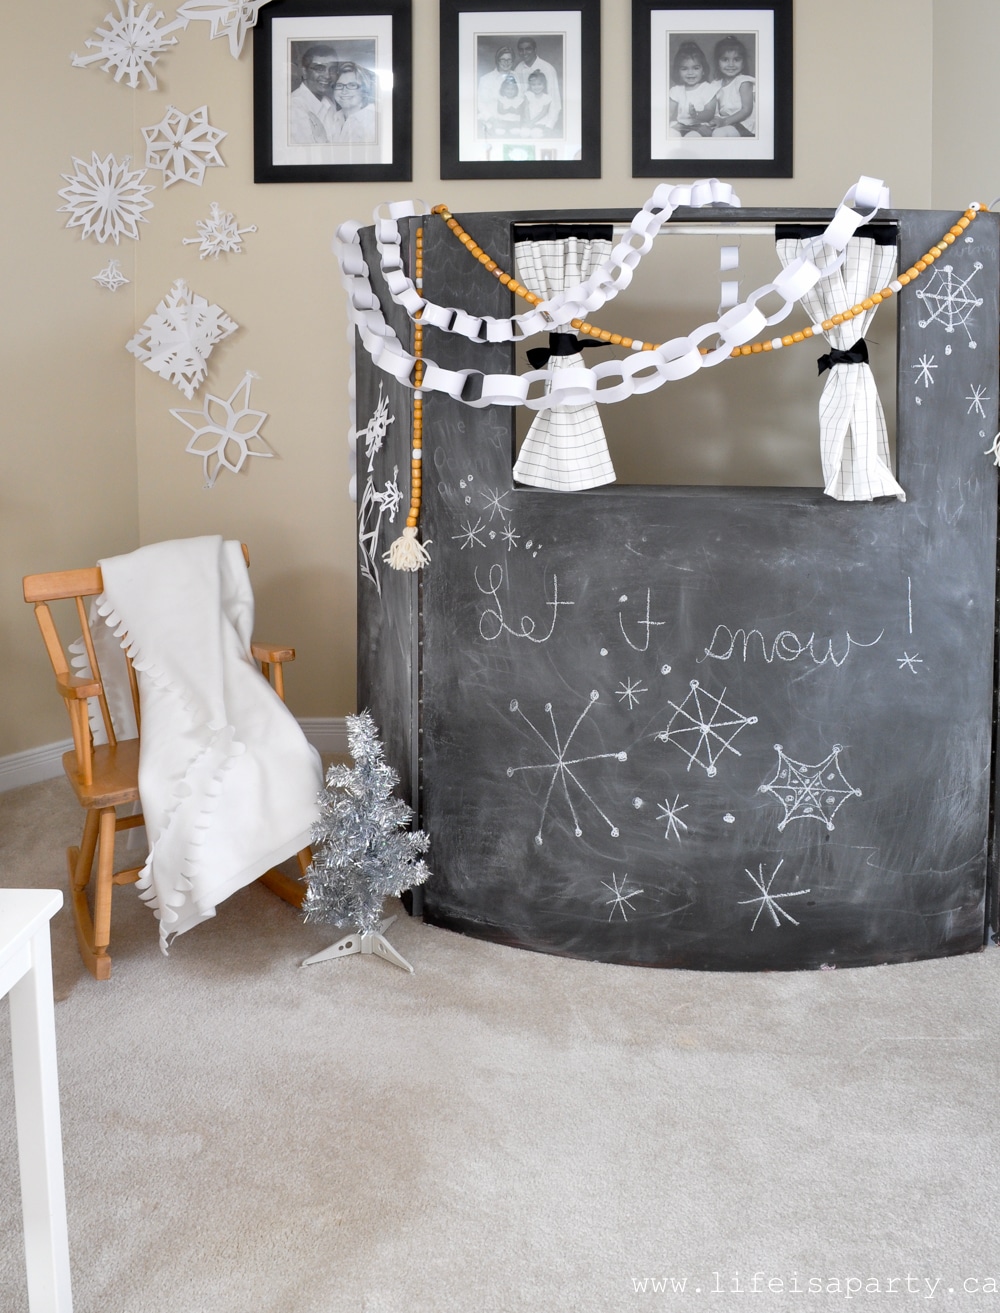
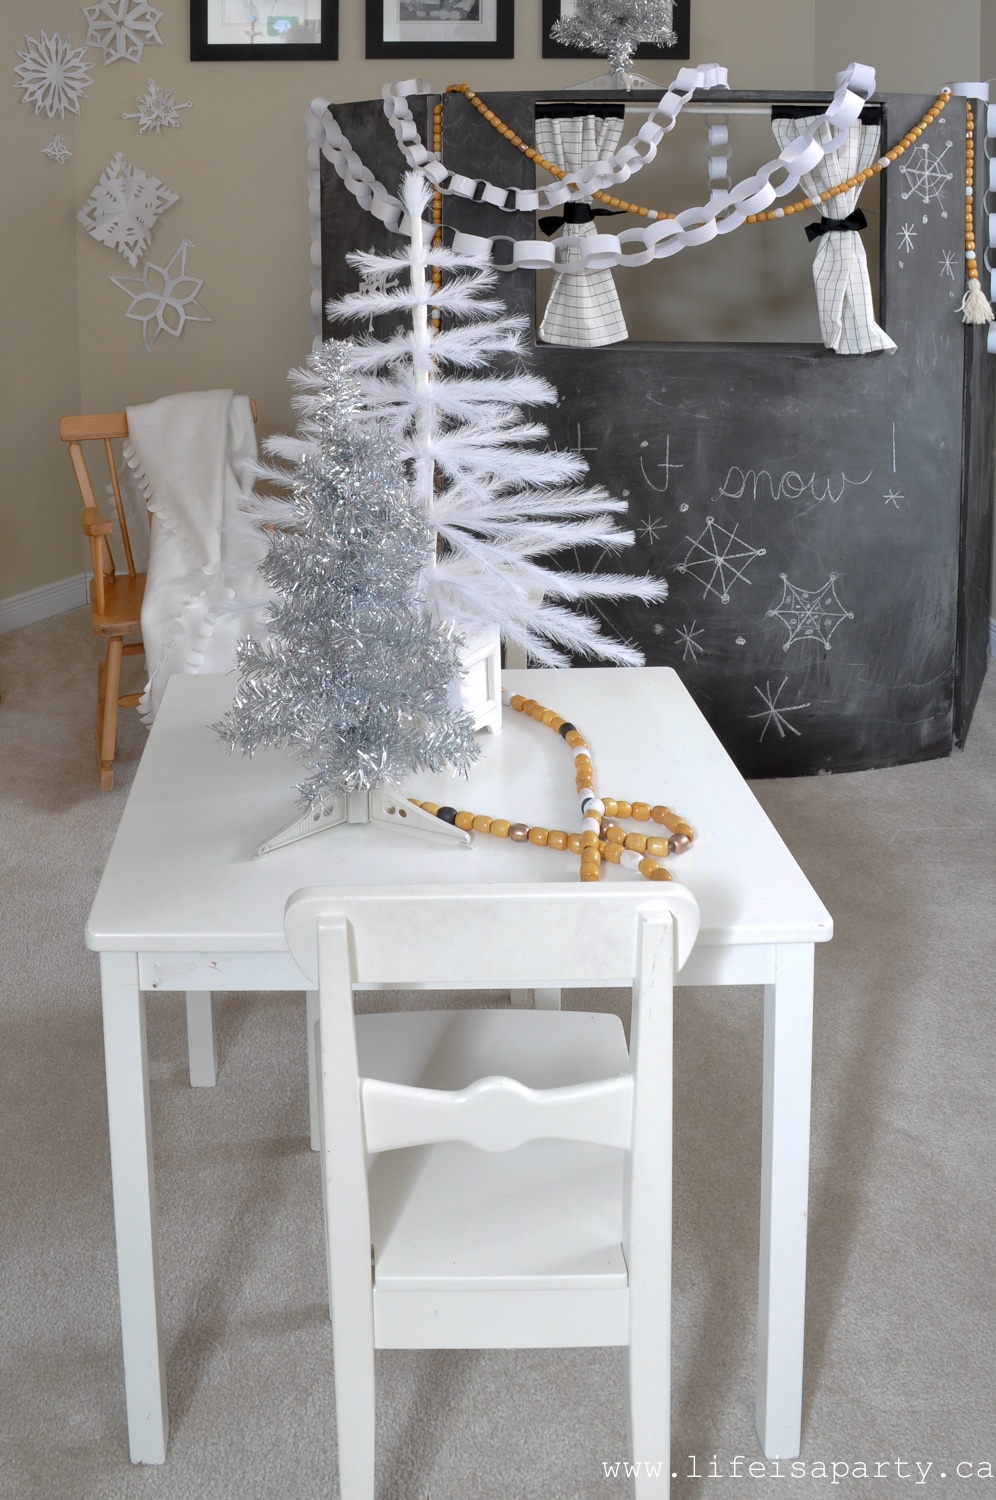
 Toy Room
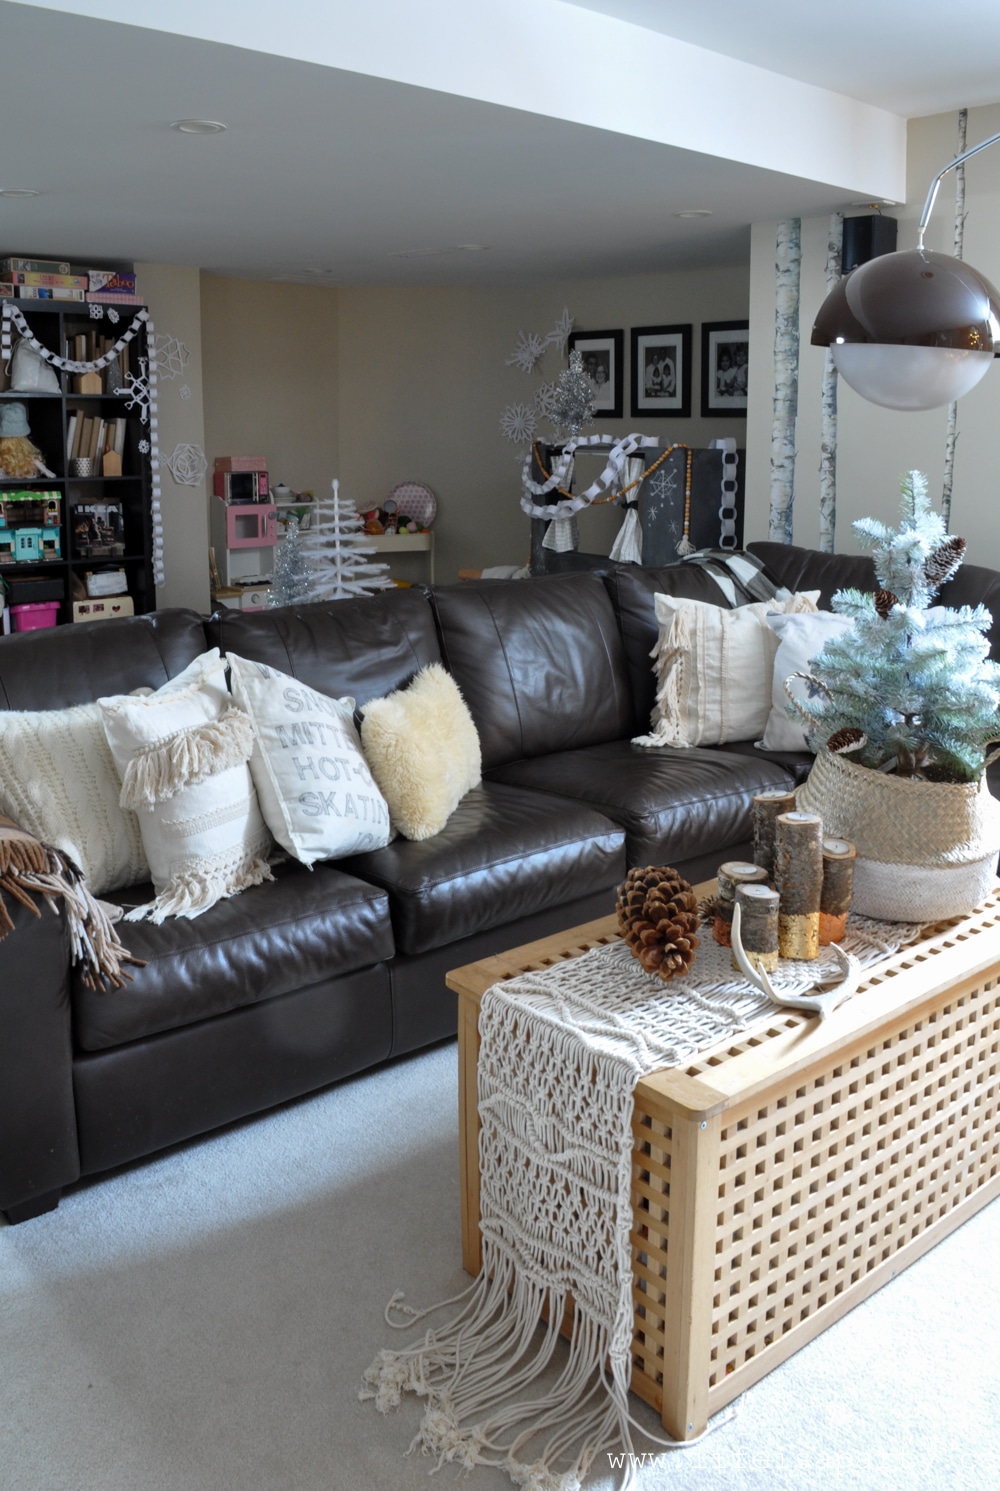


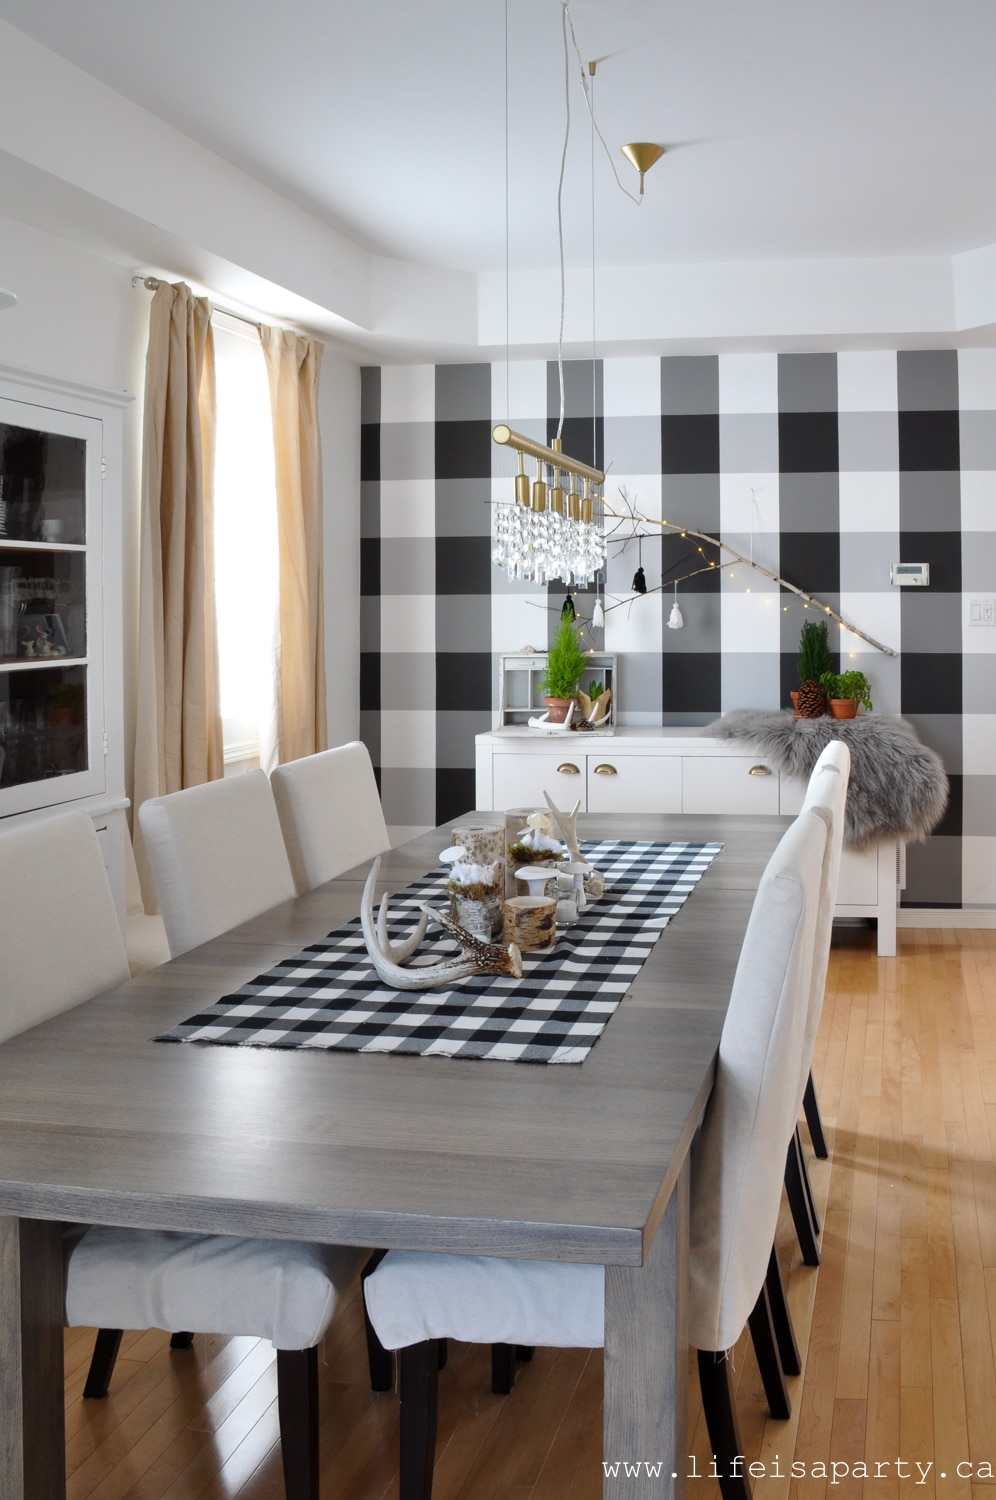
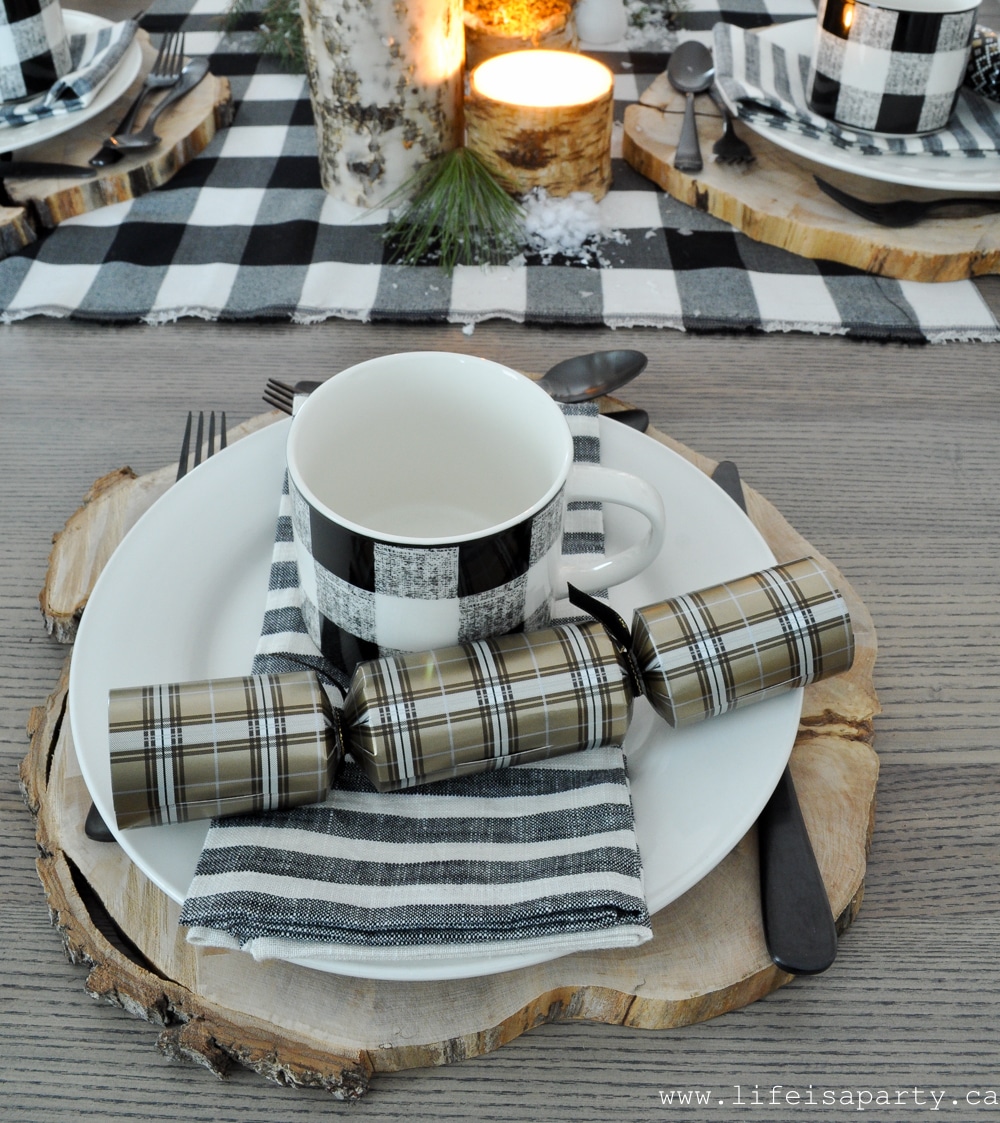
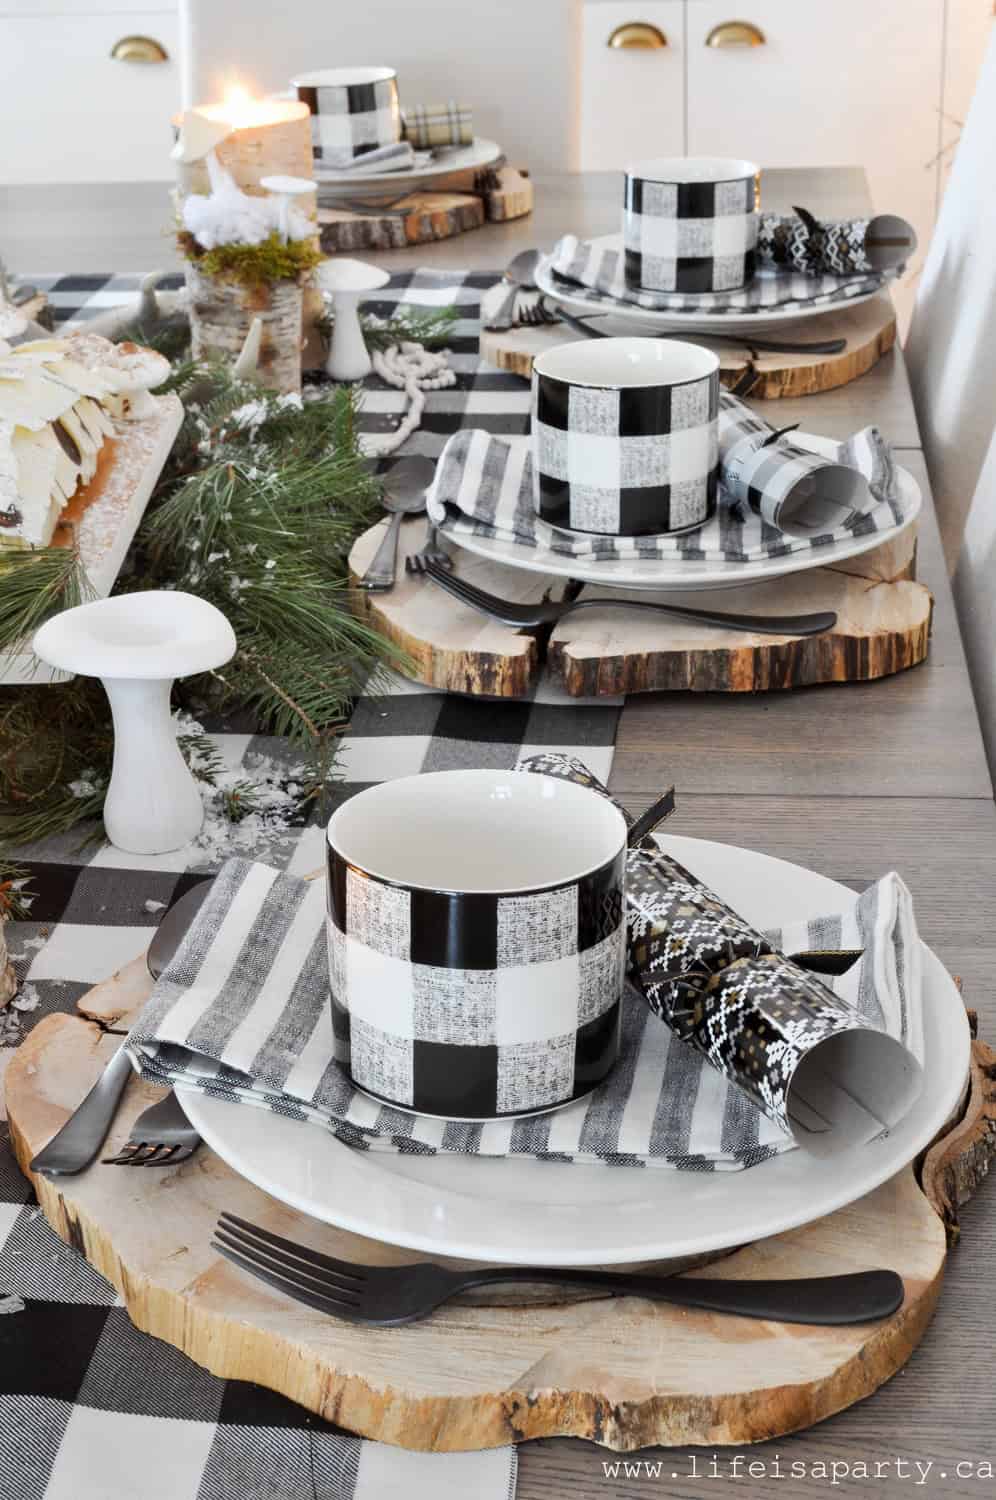
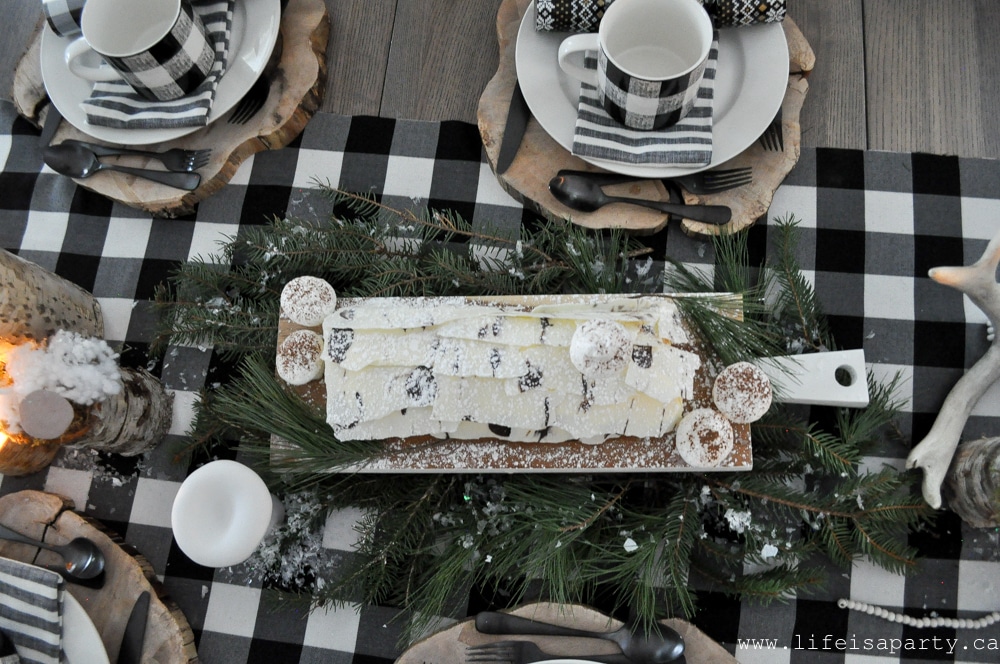
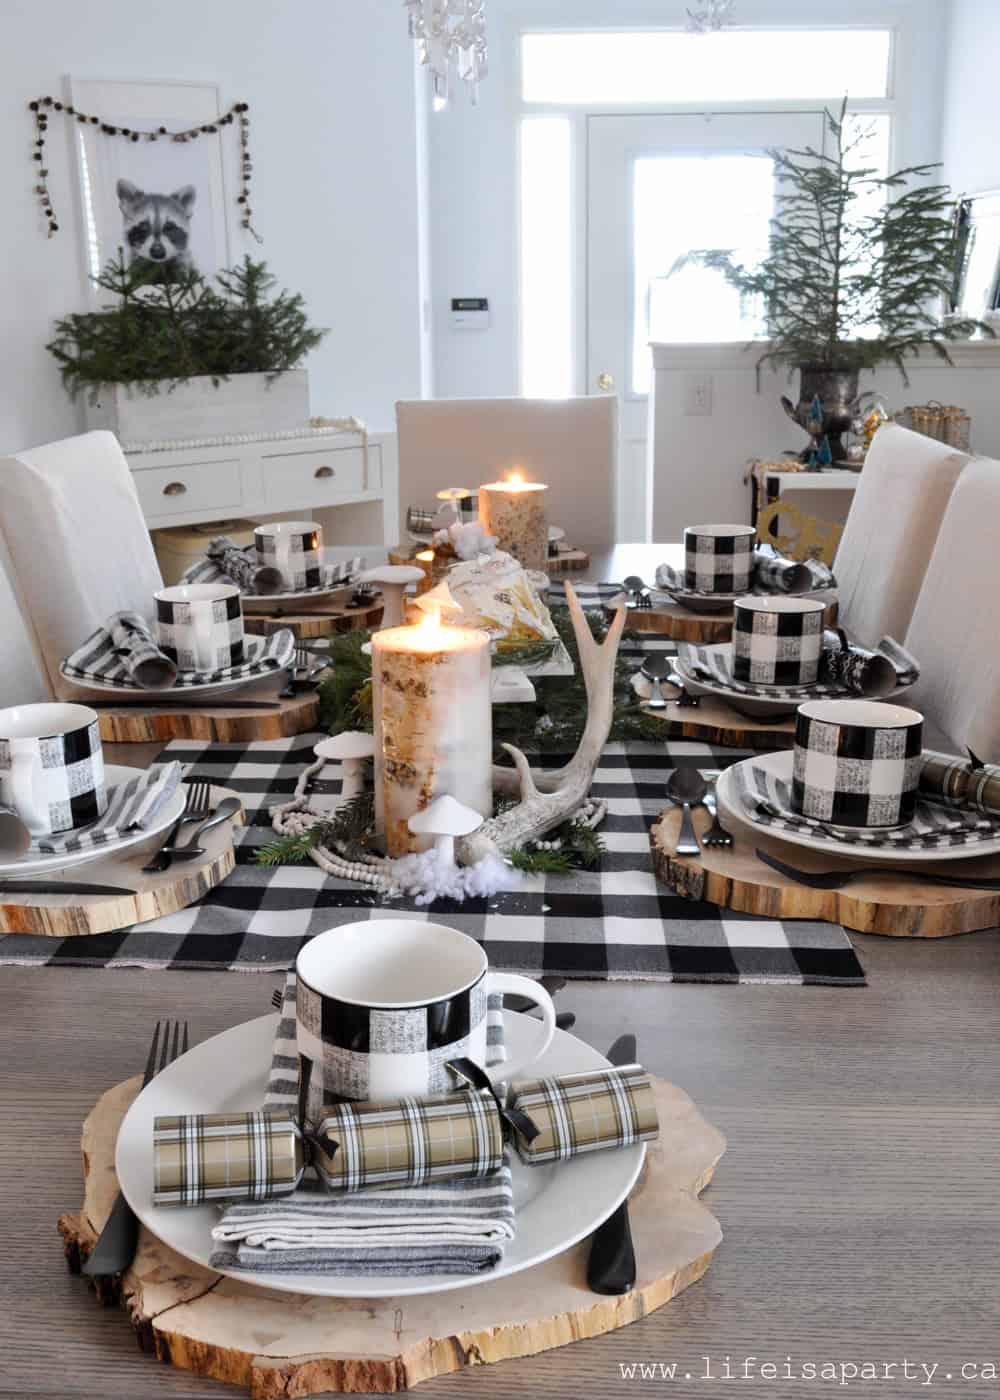
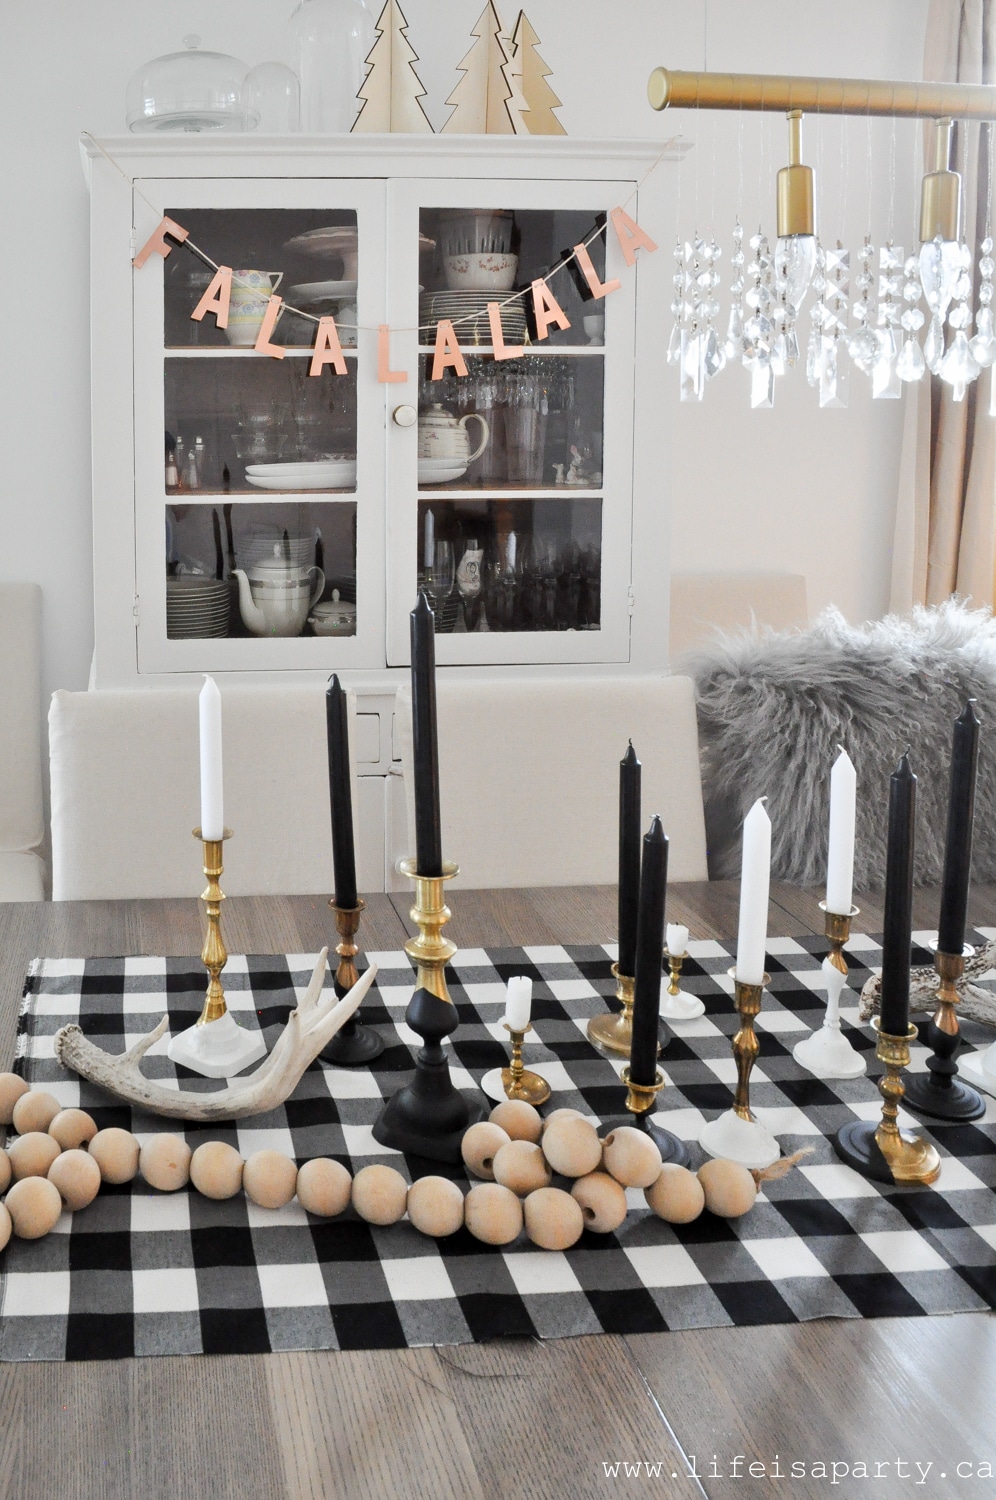
 Place Settings
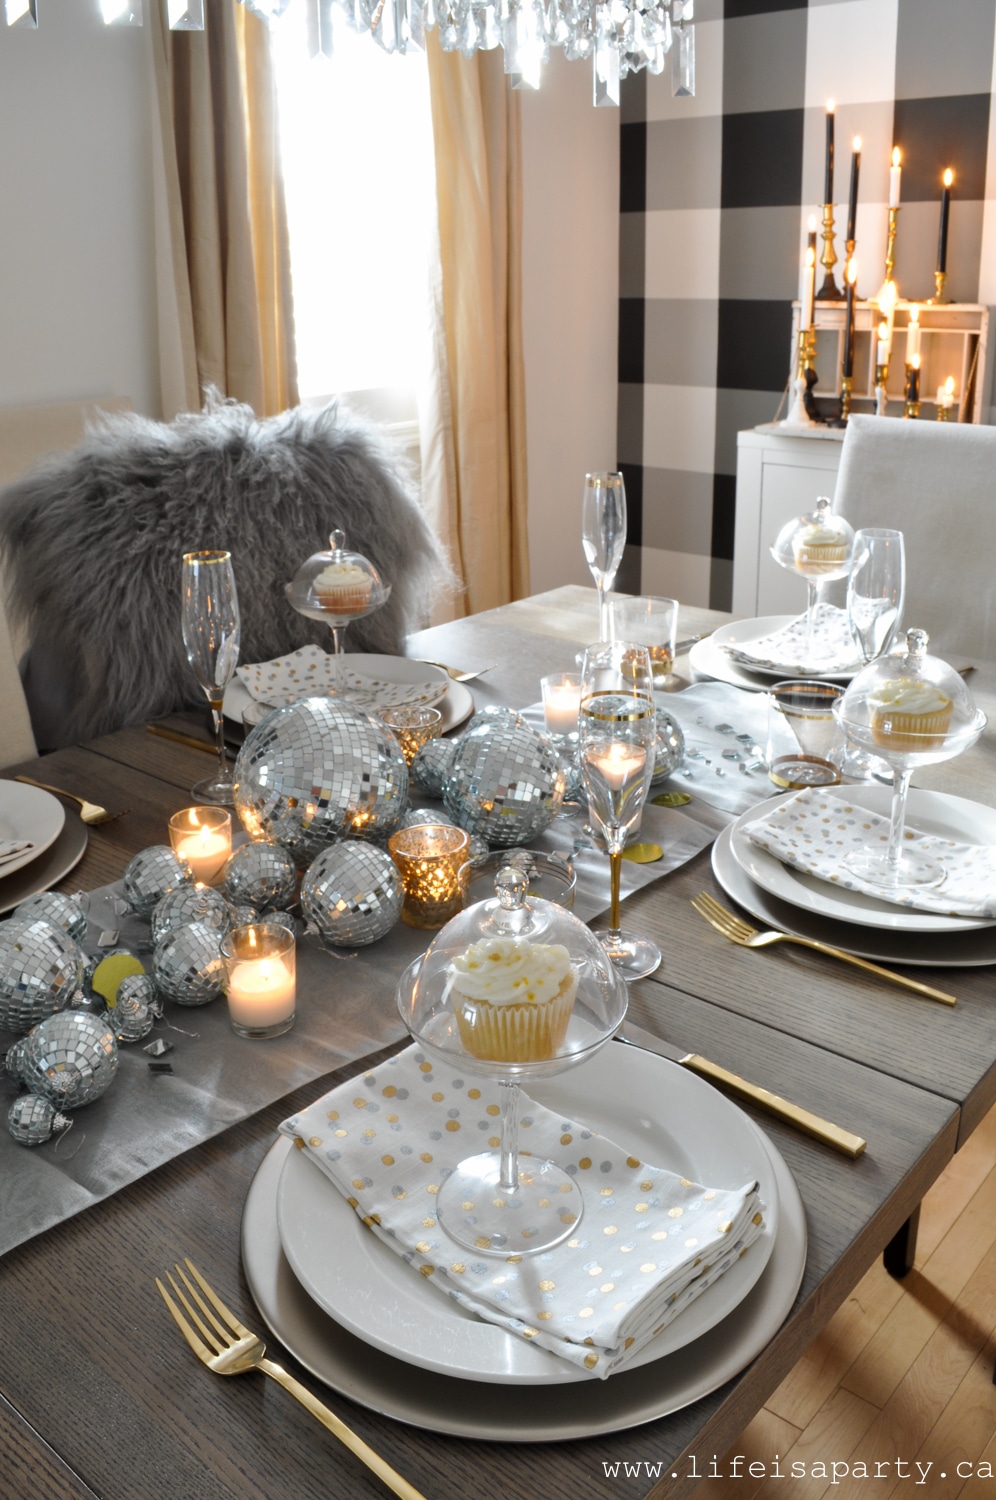
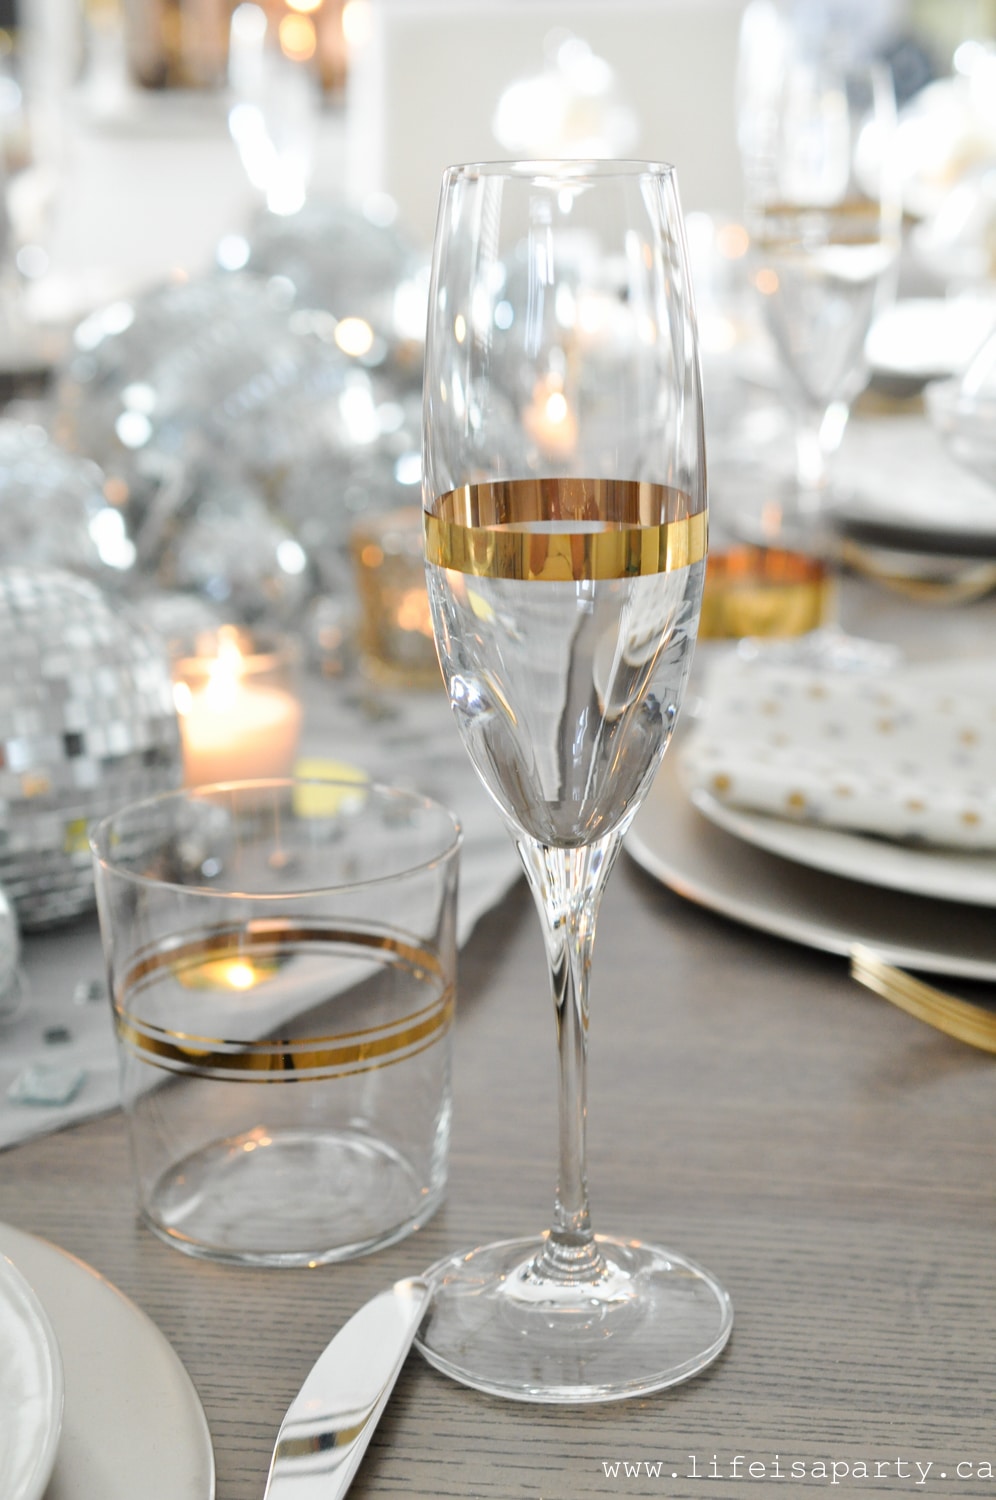
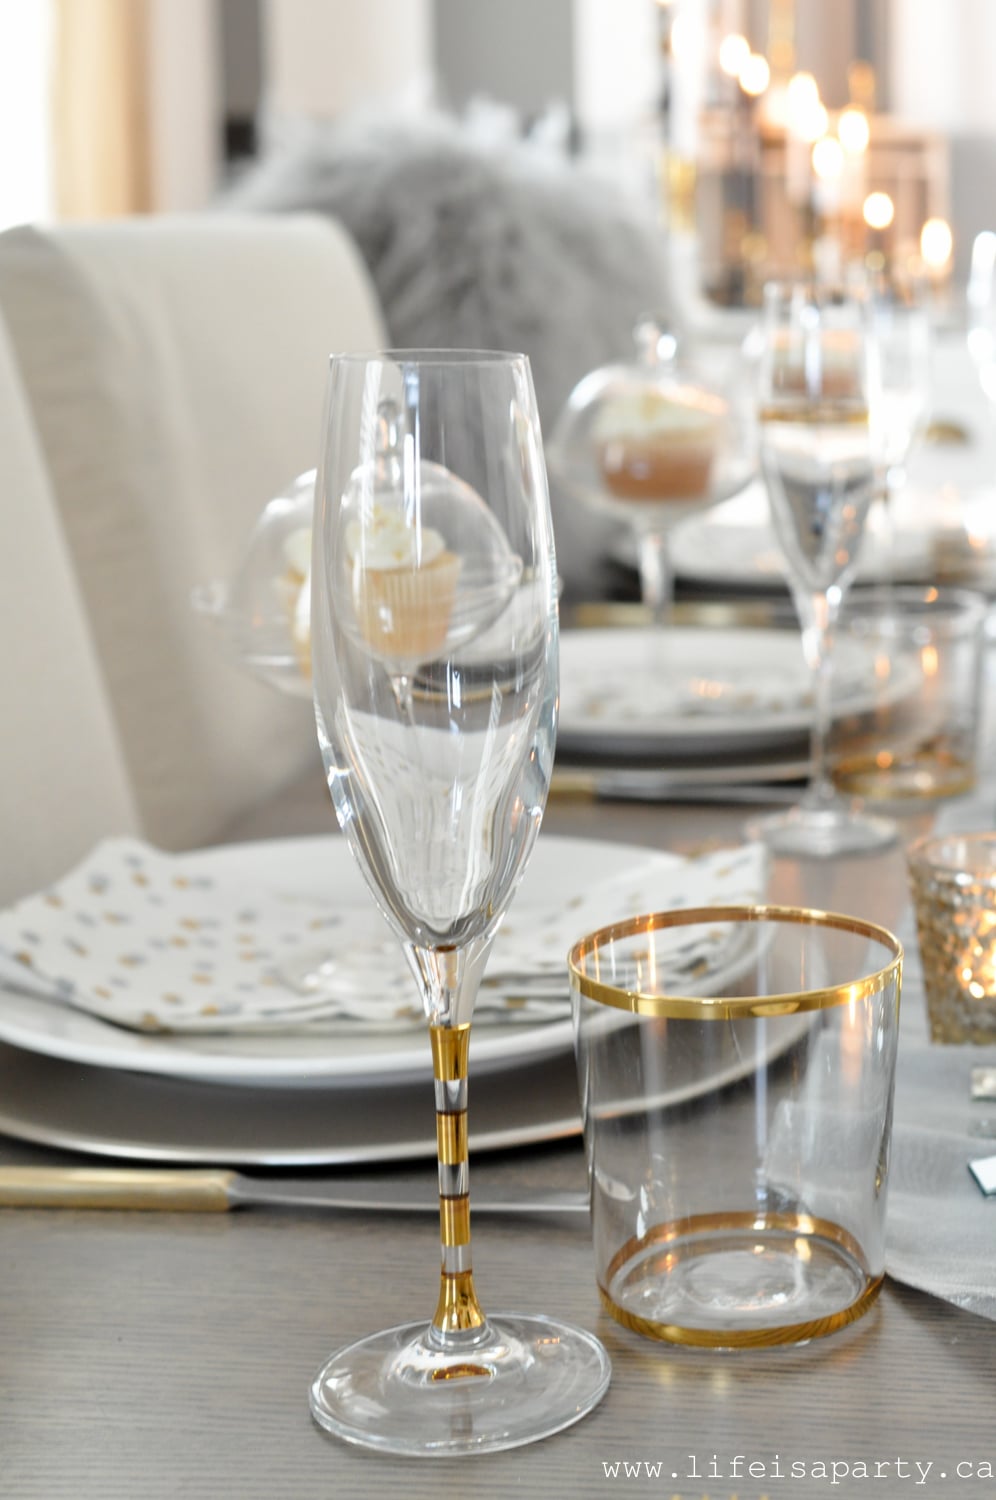

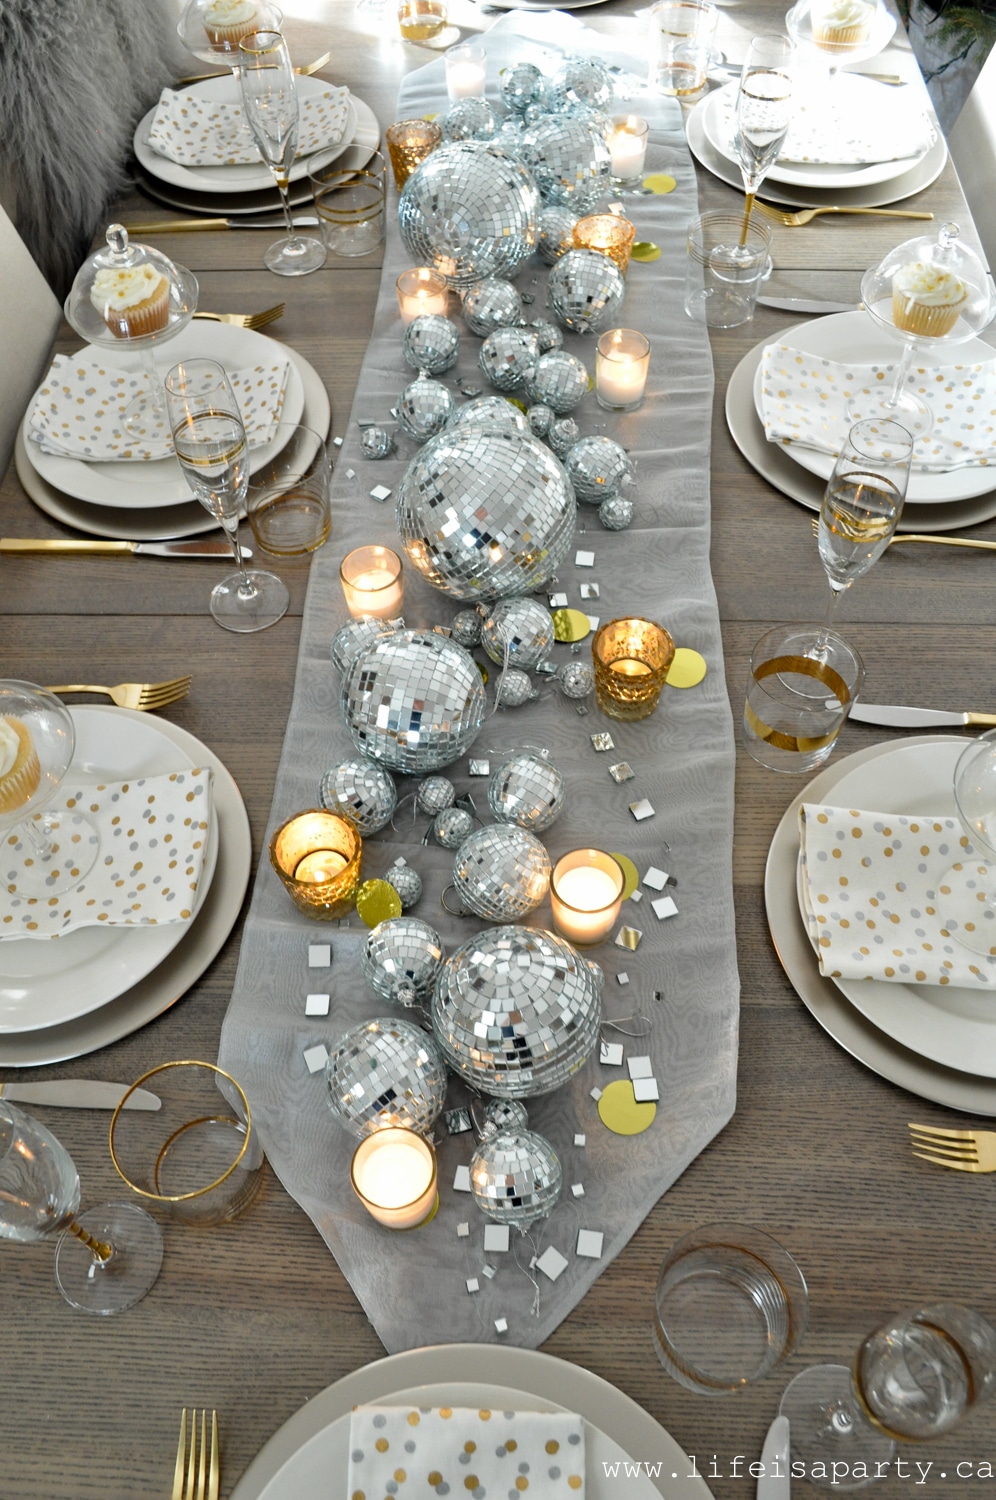
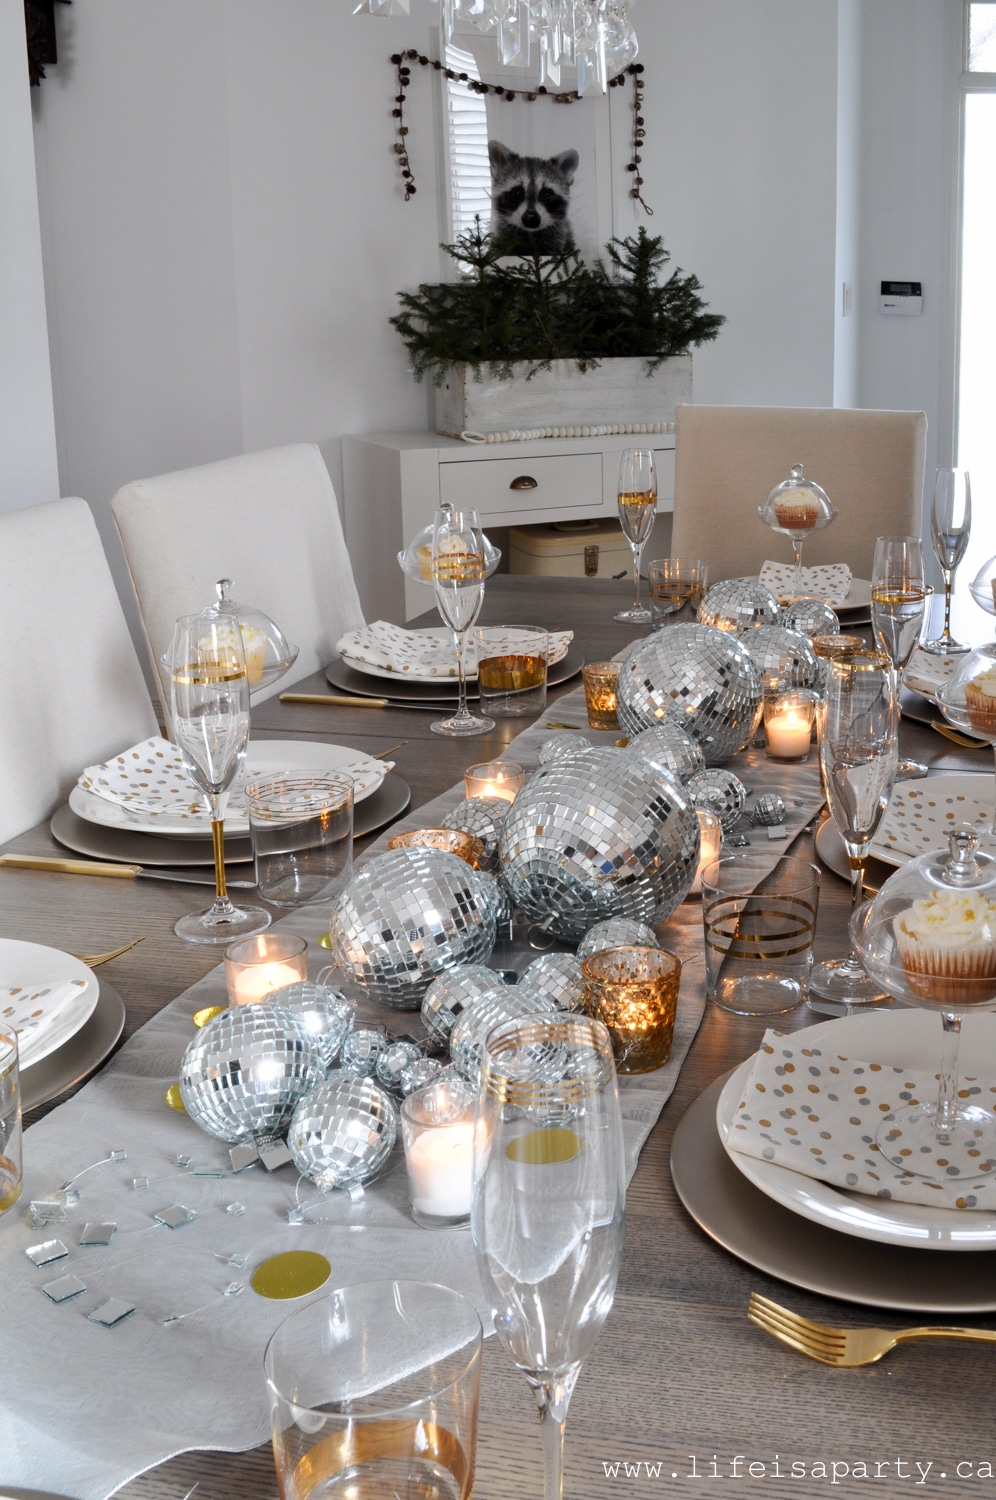
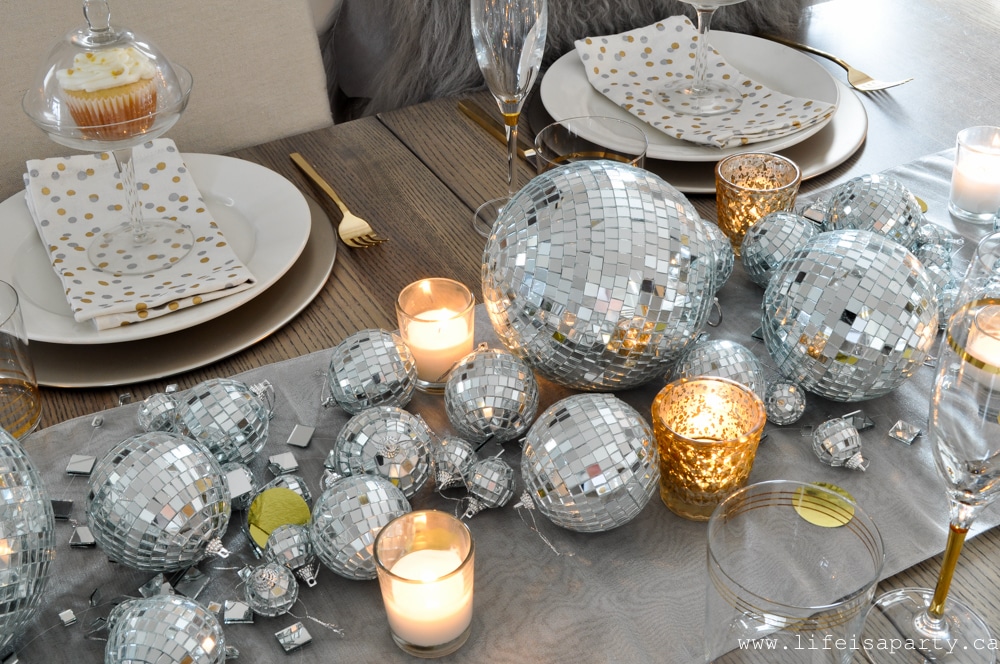
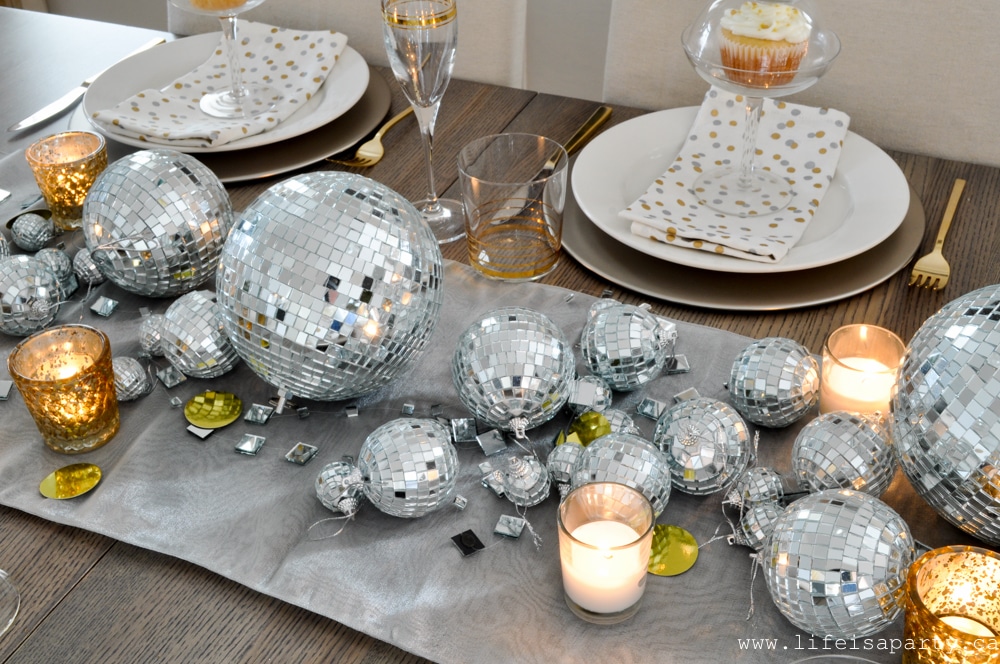
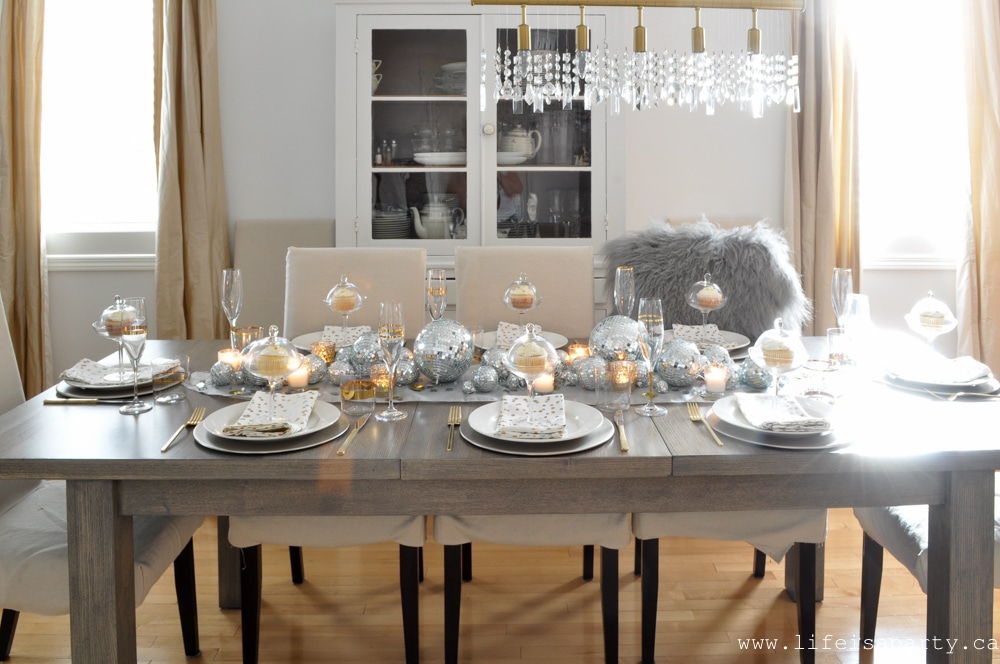
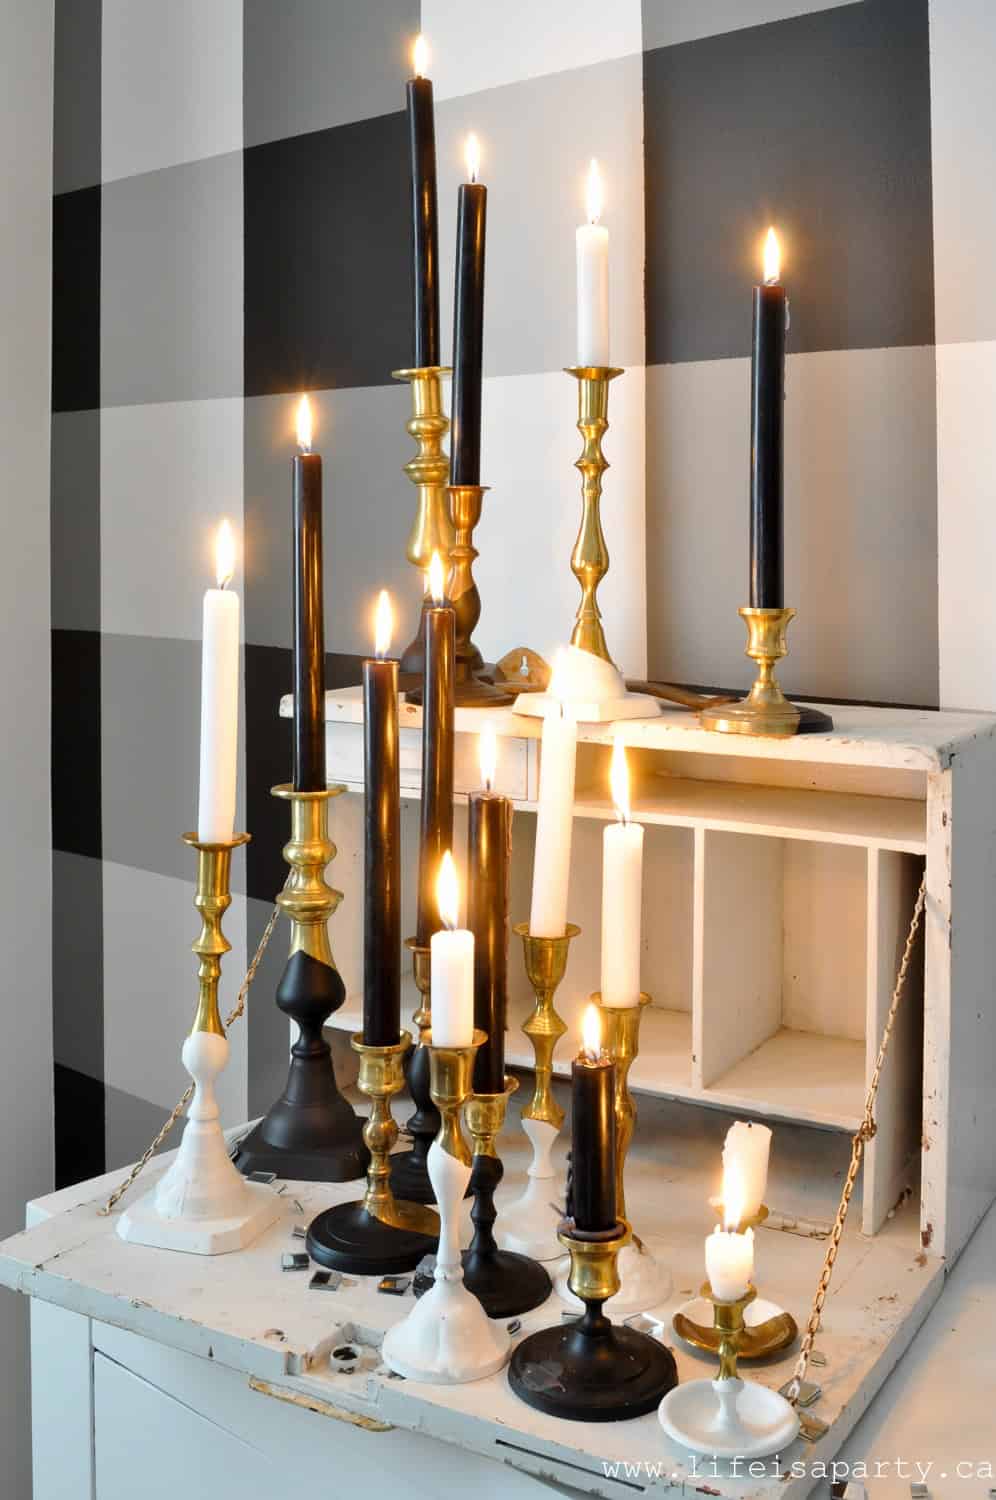
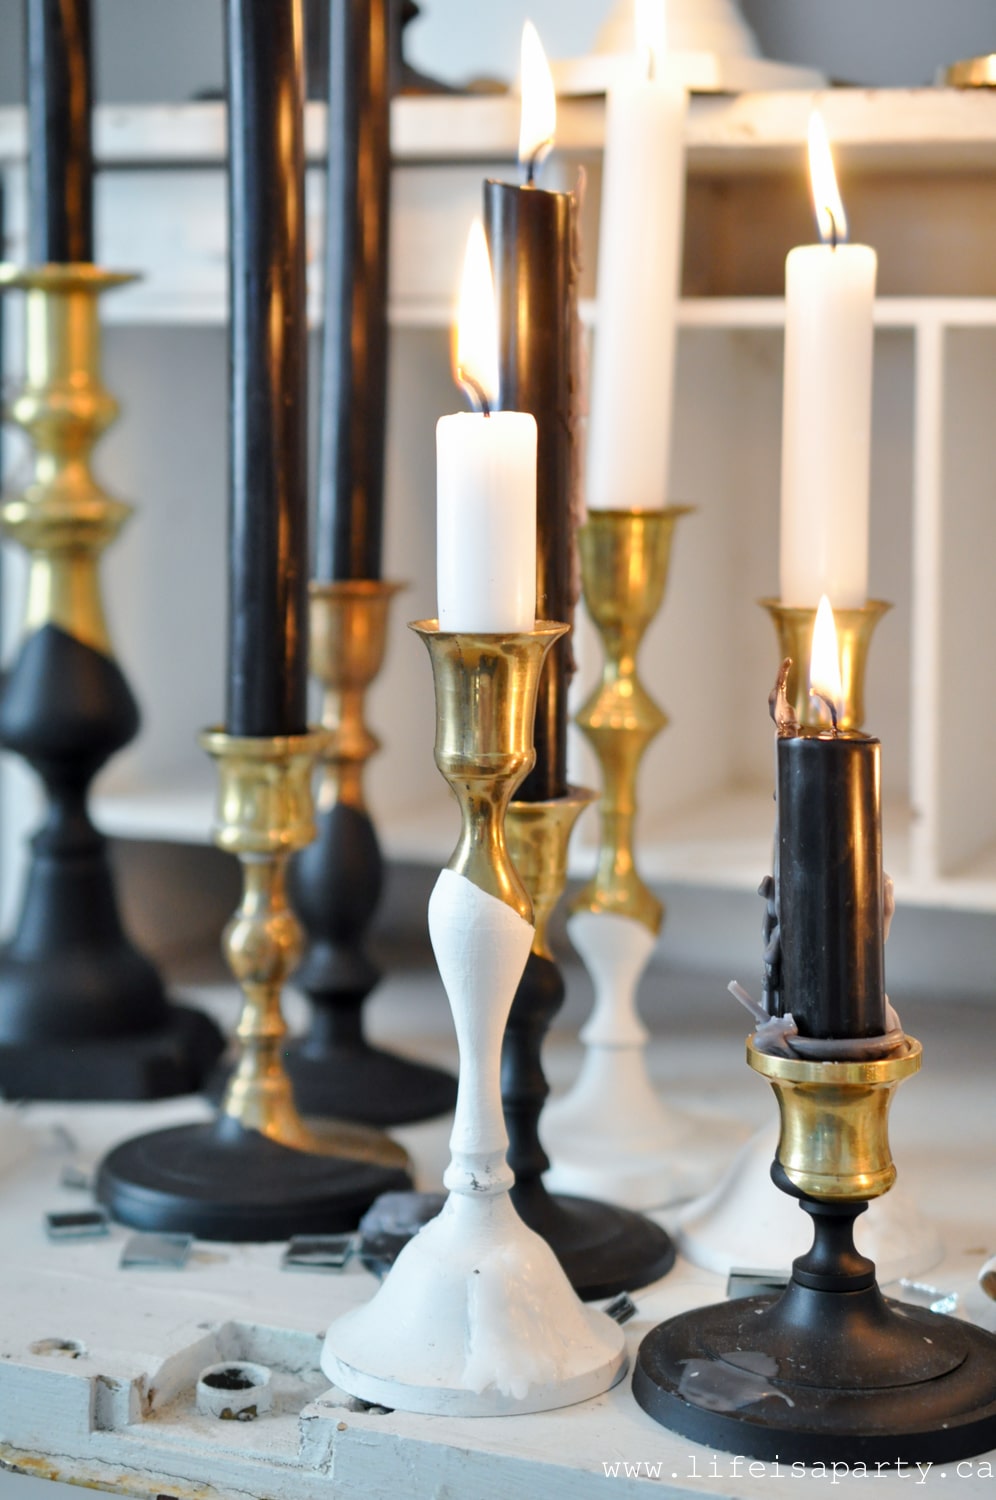
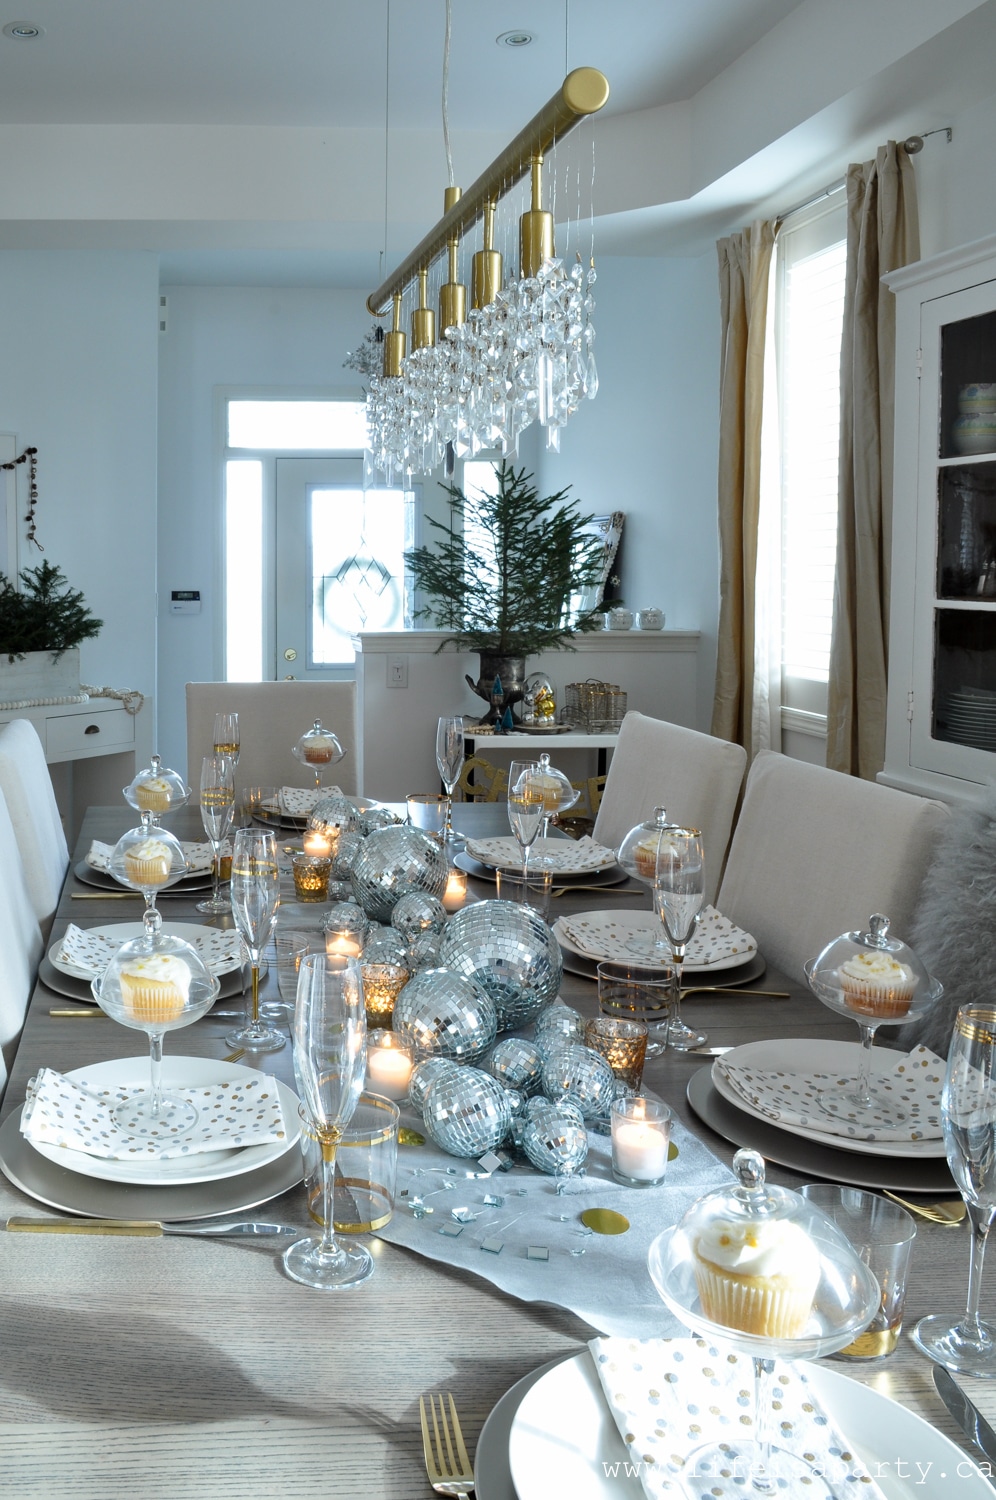
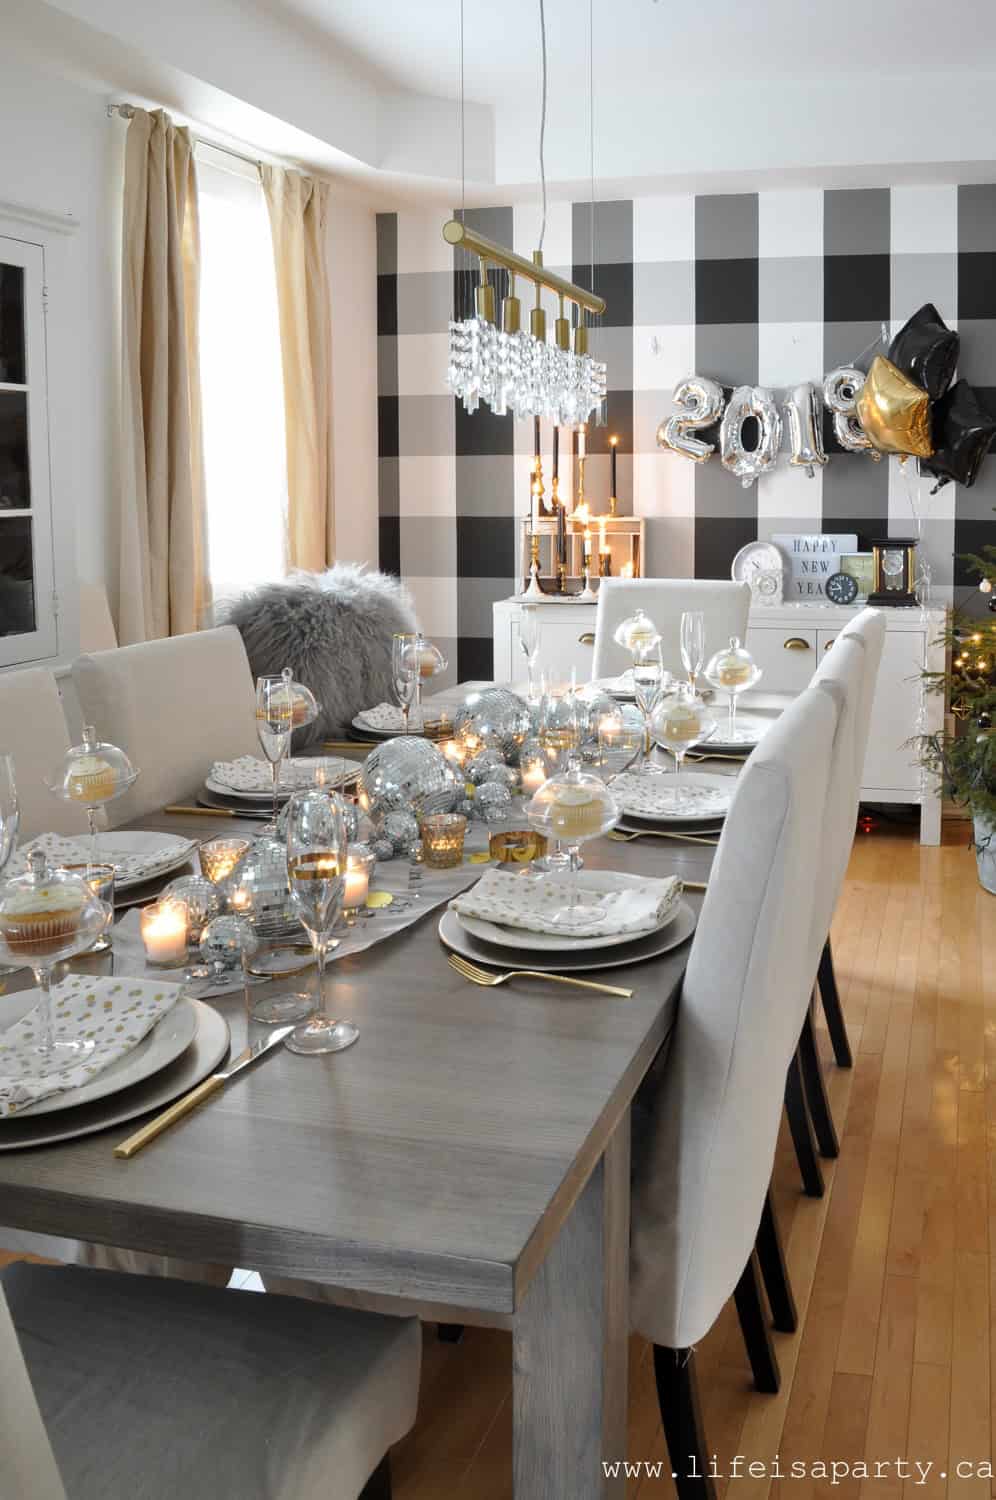
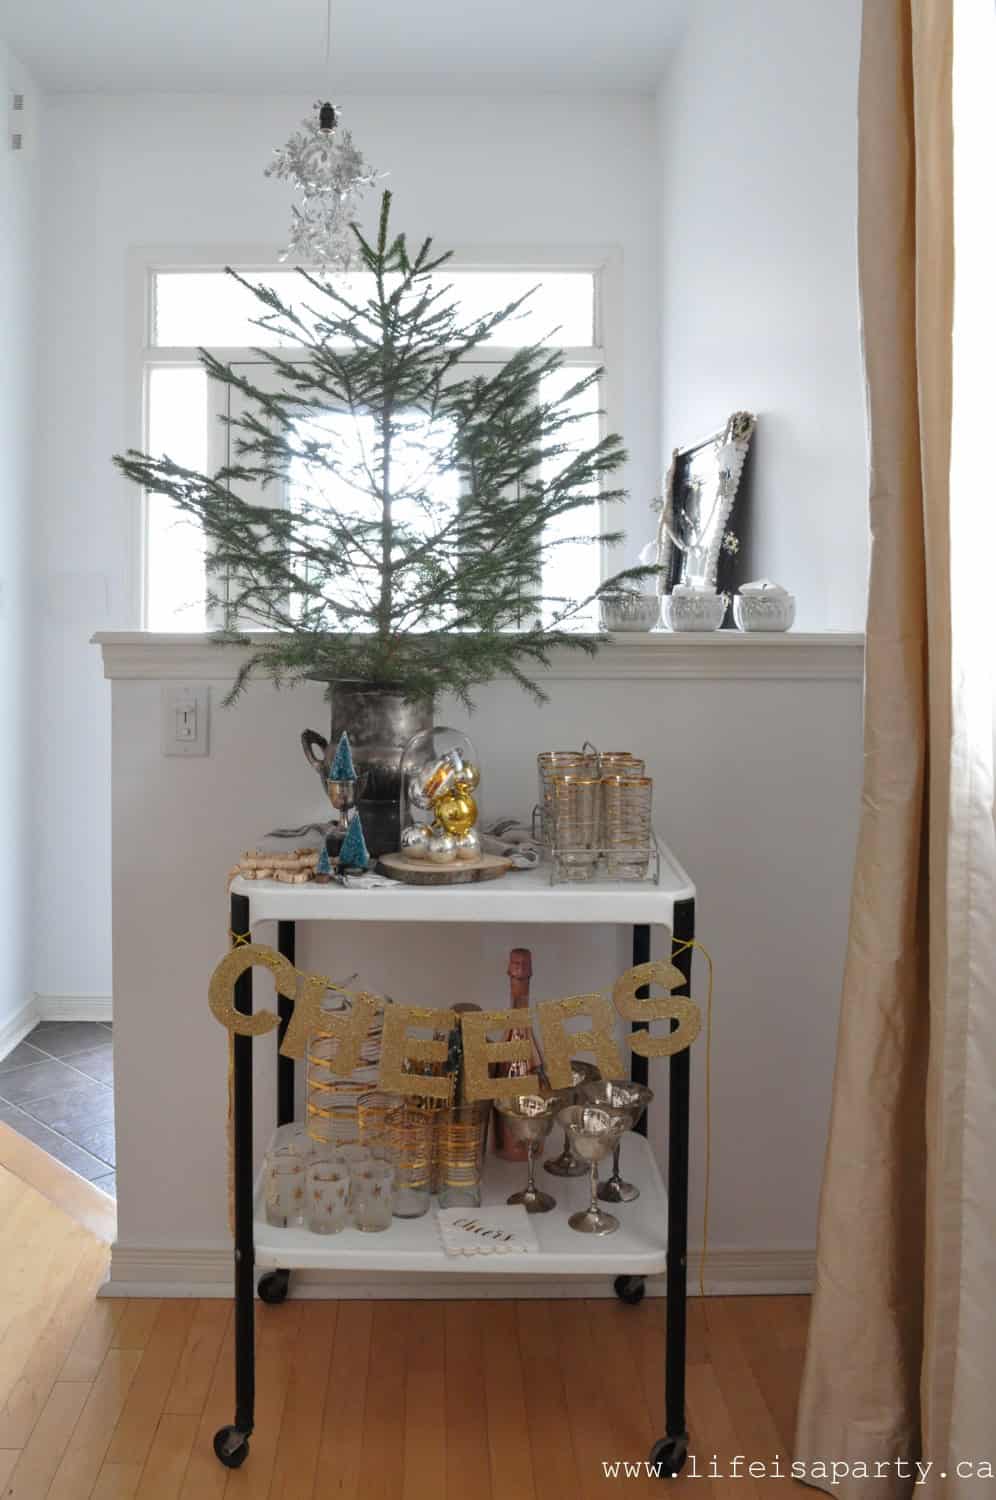
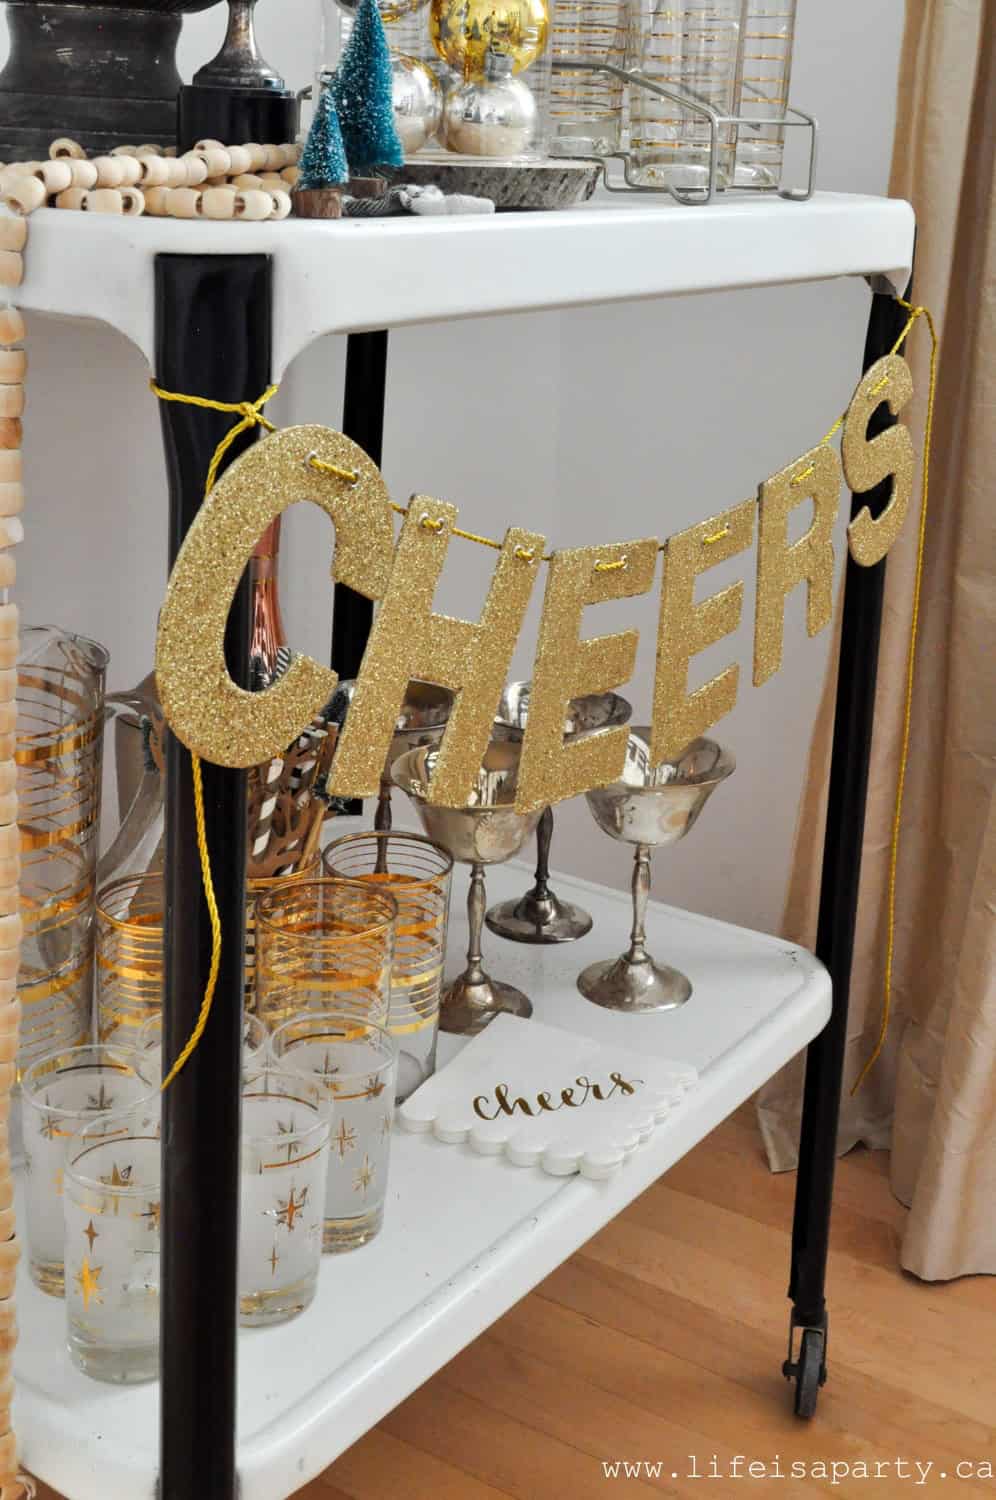
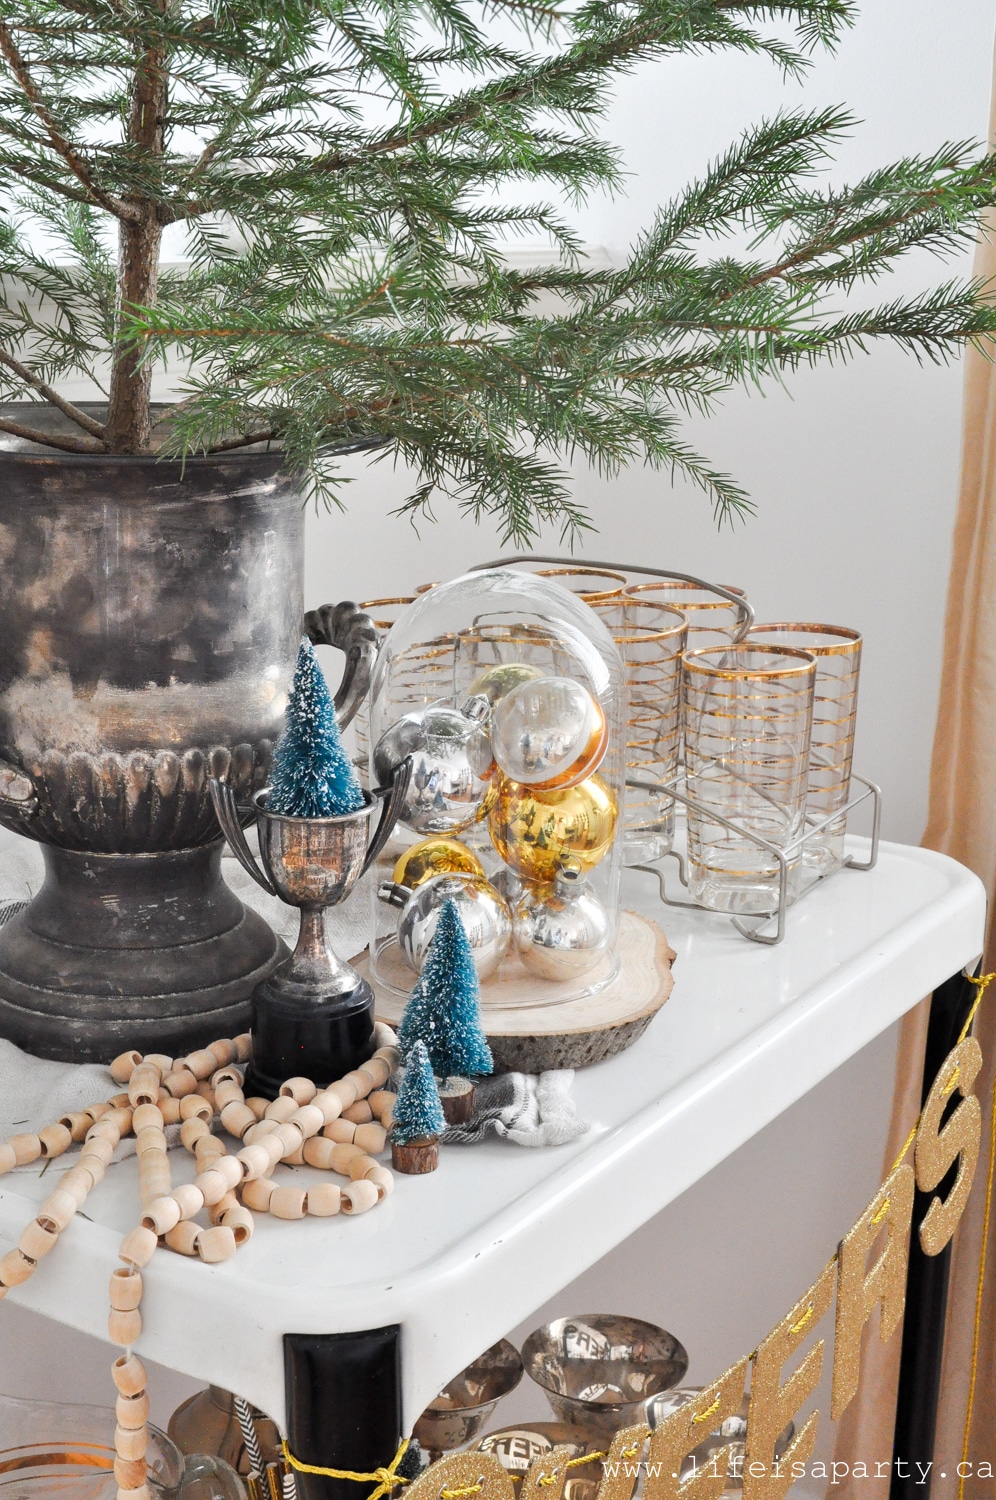
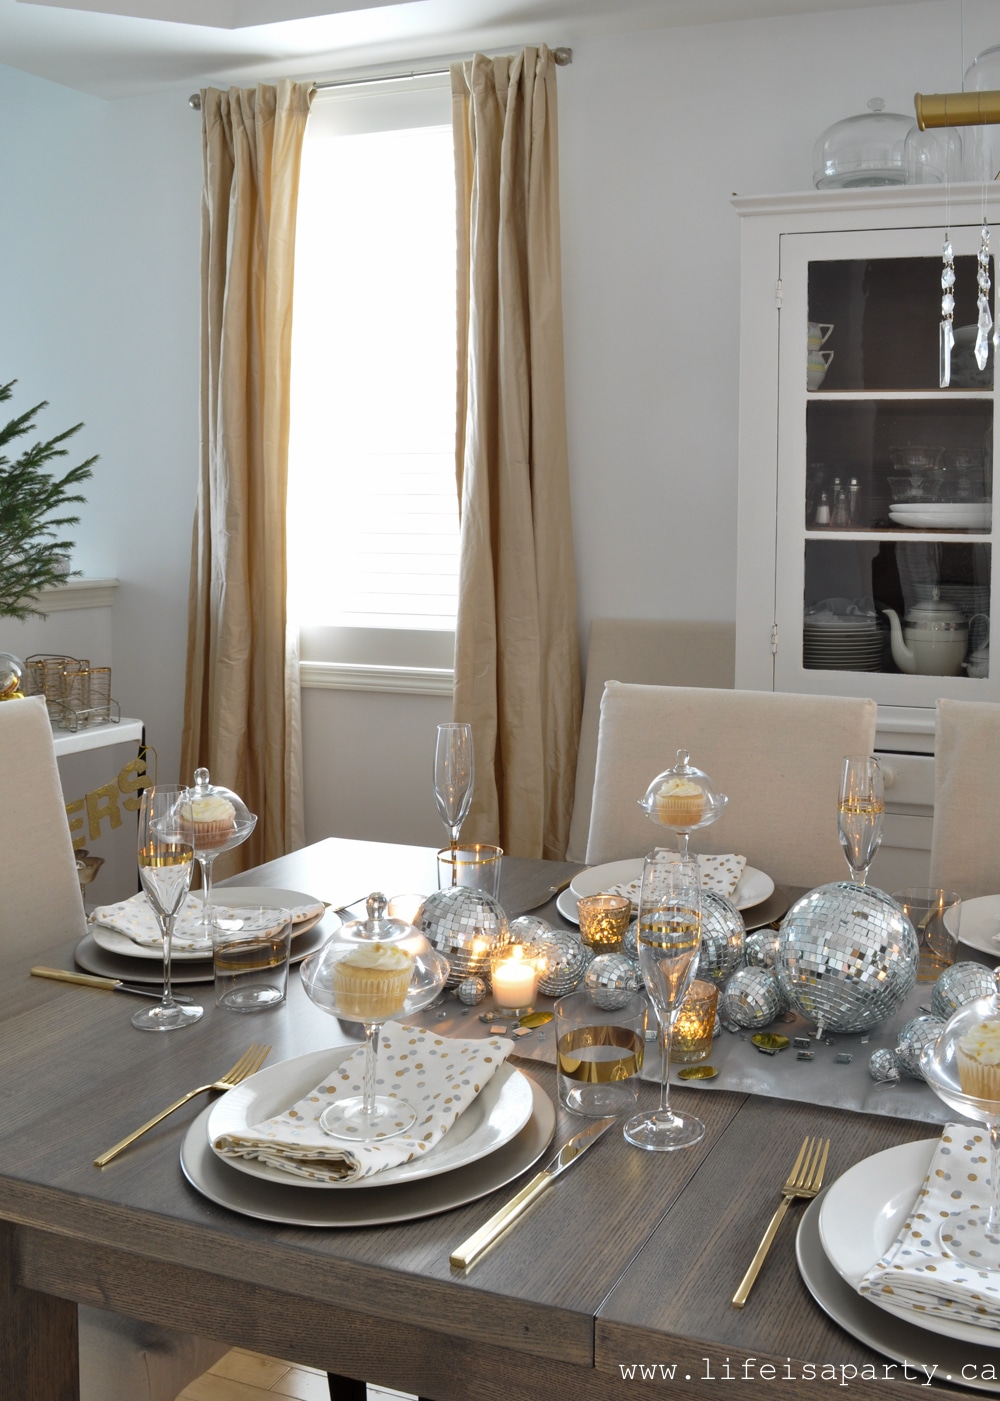 New Years Eve Decor
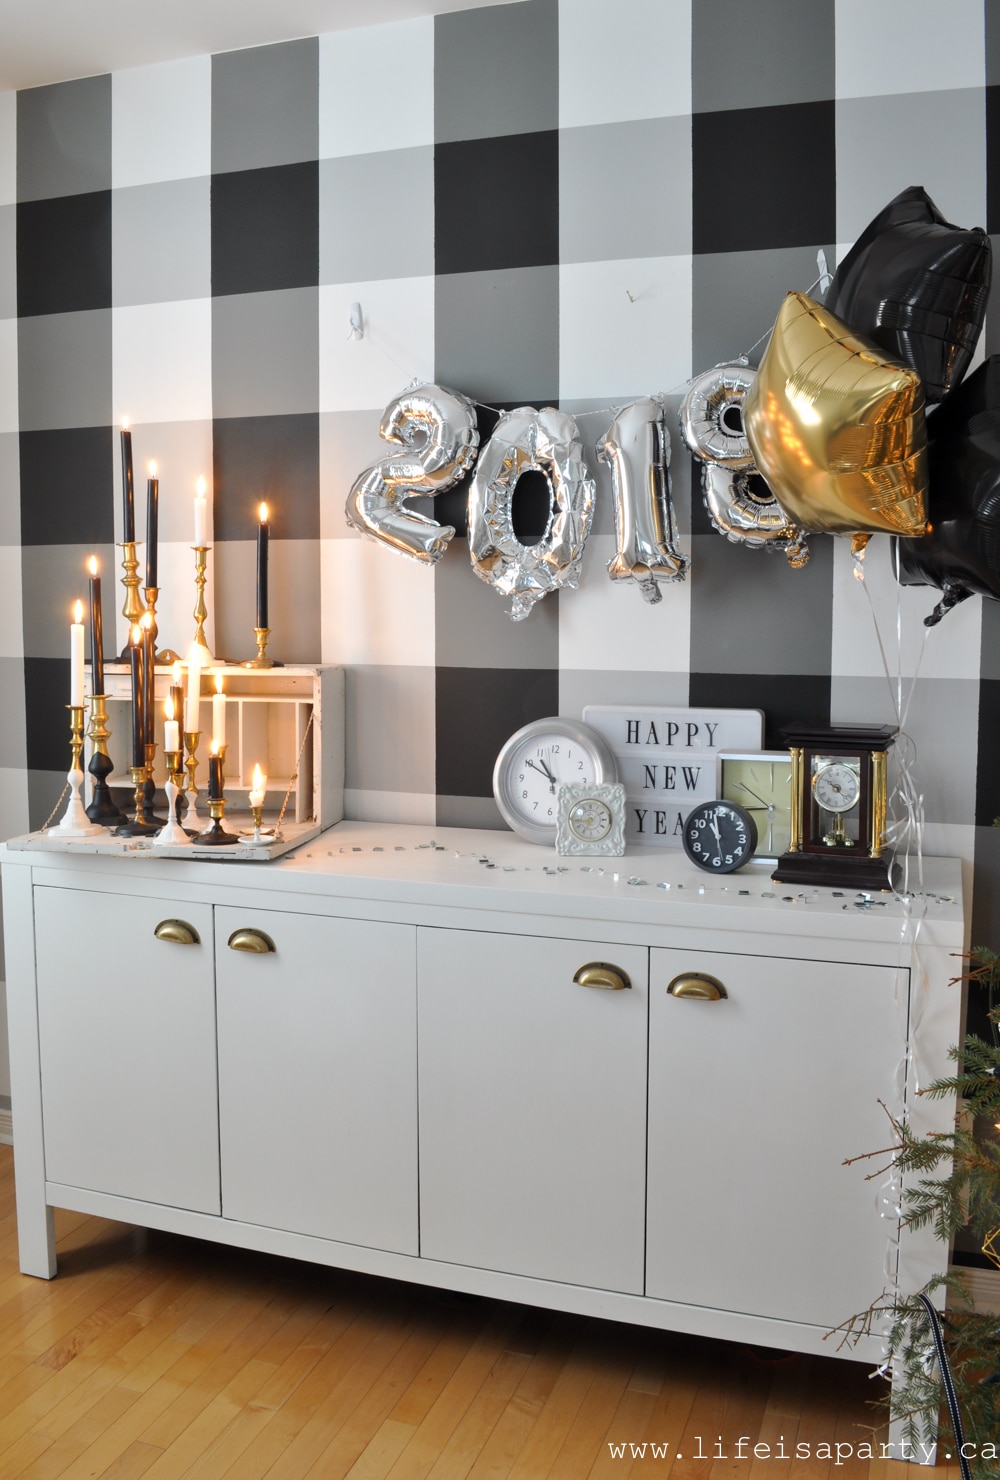


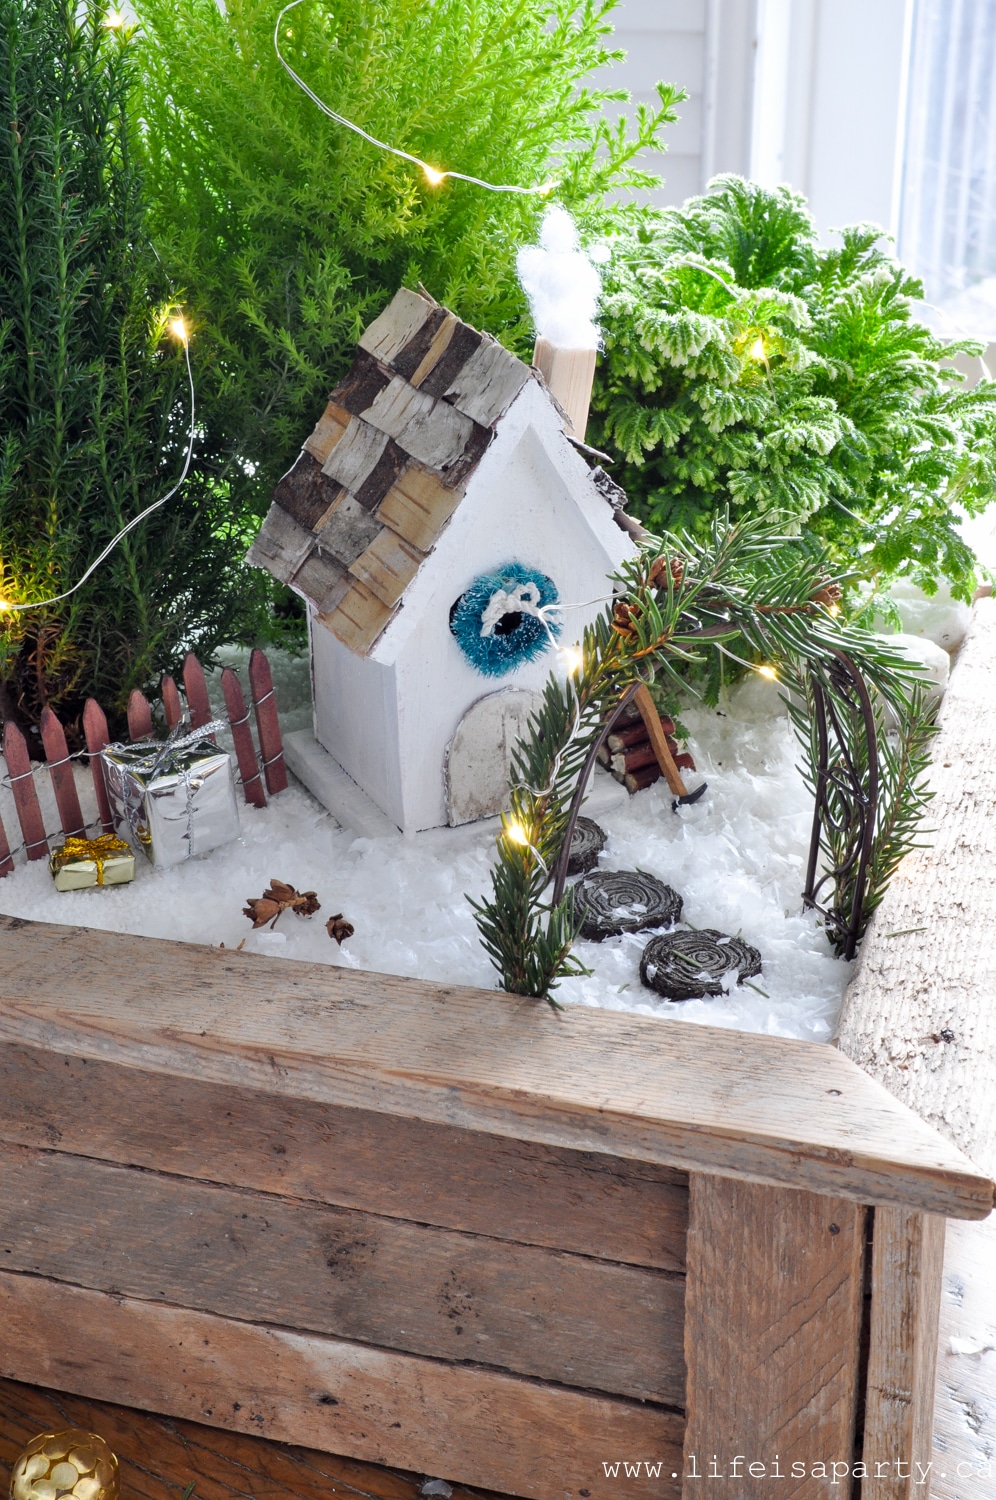
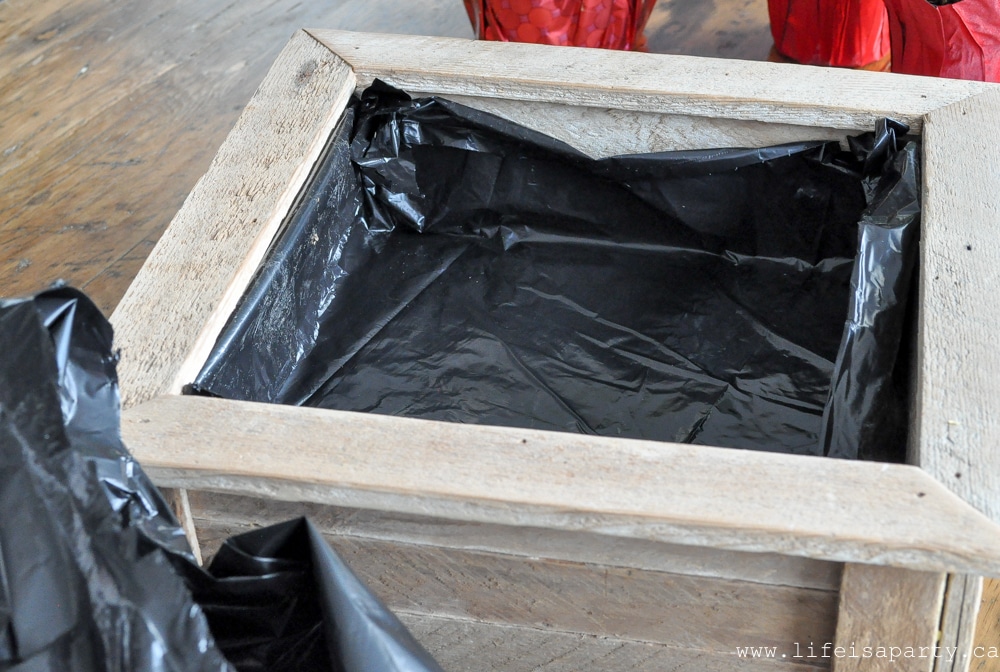
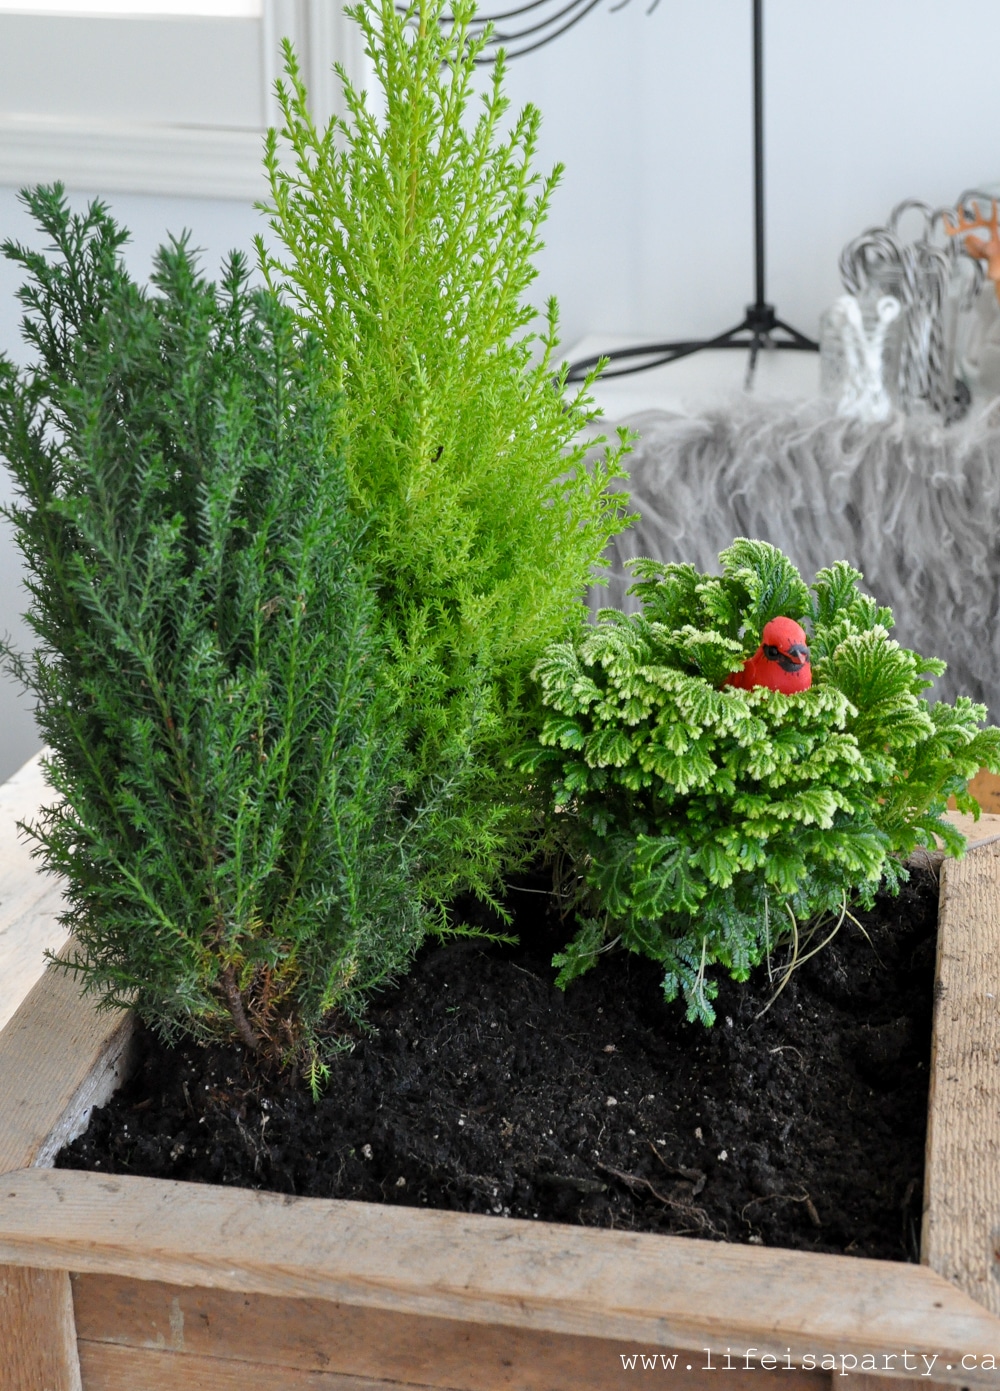
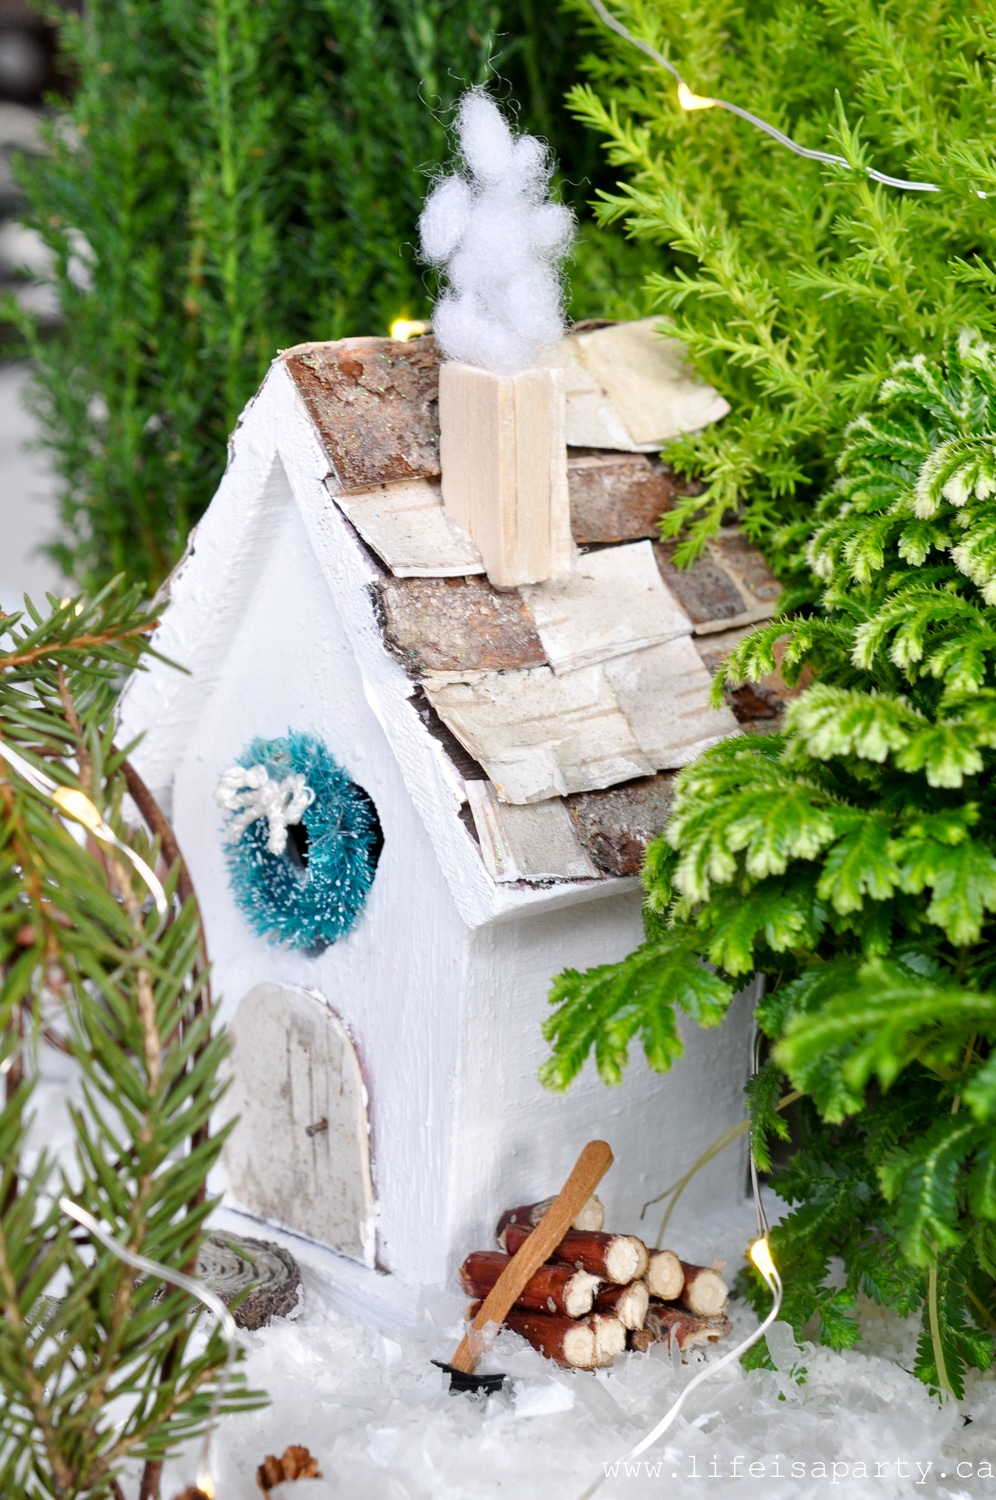
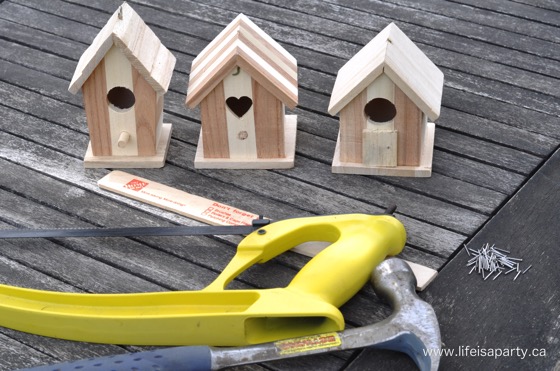

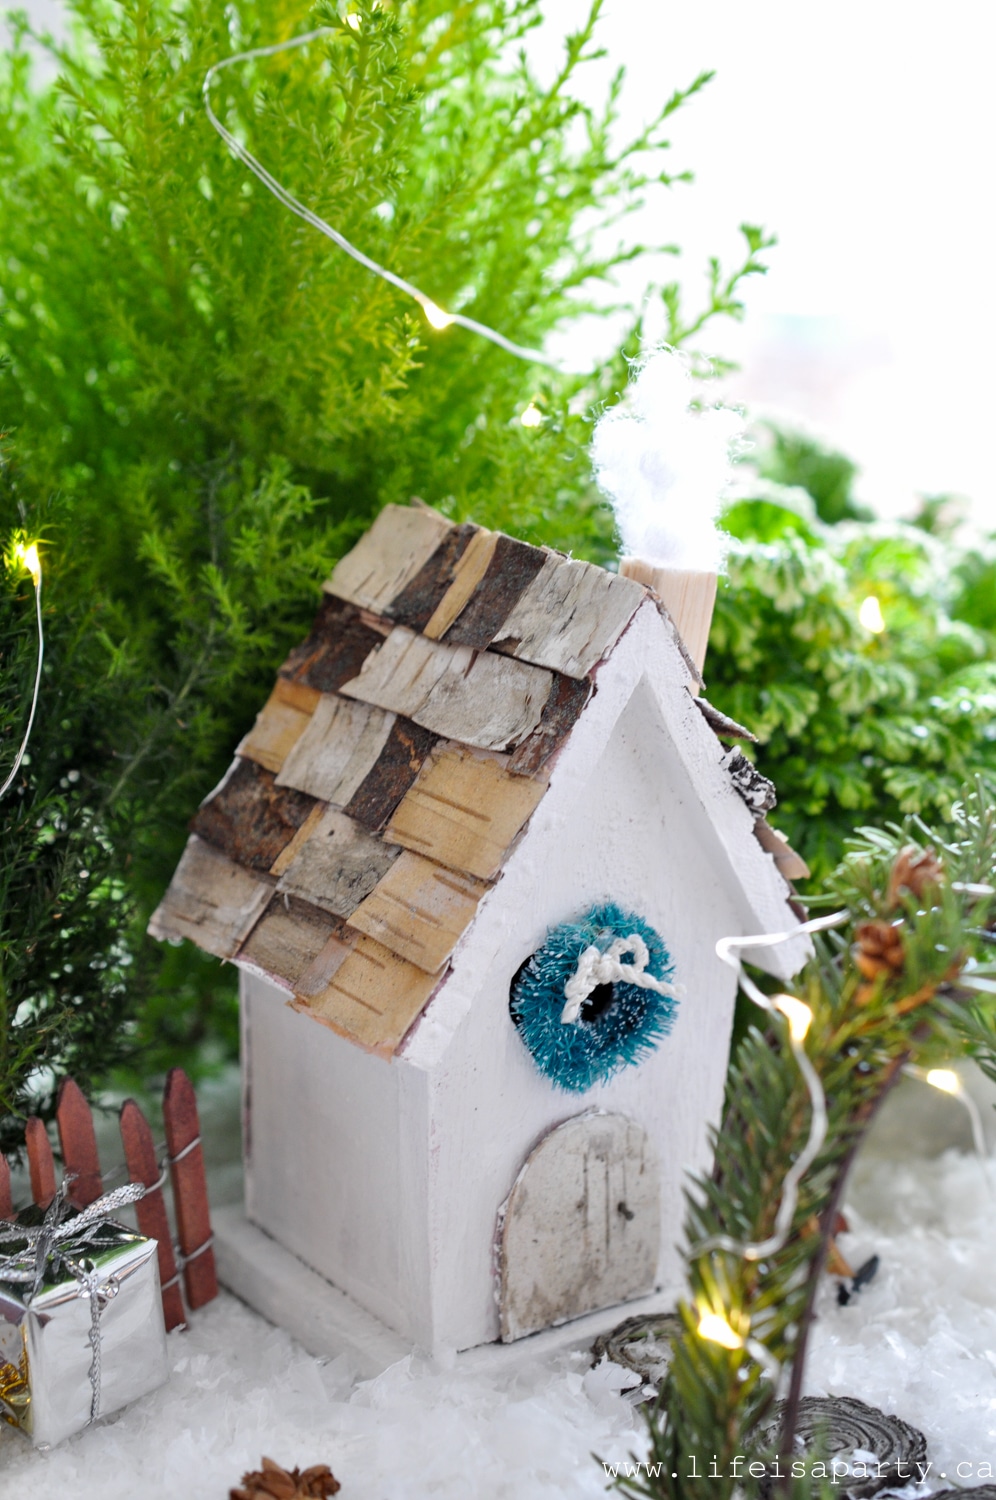
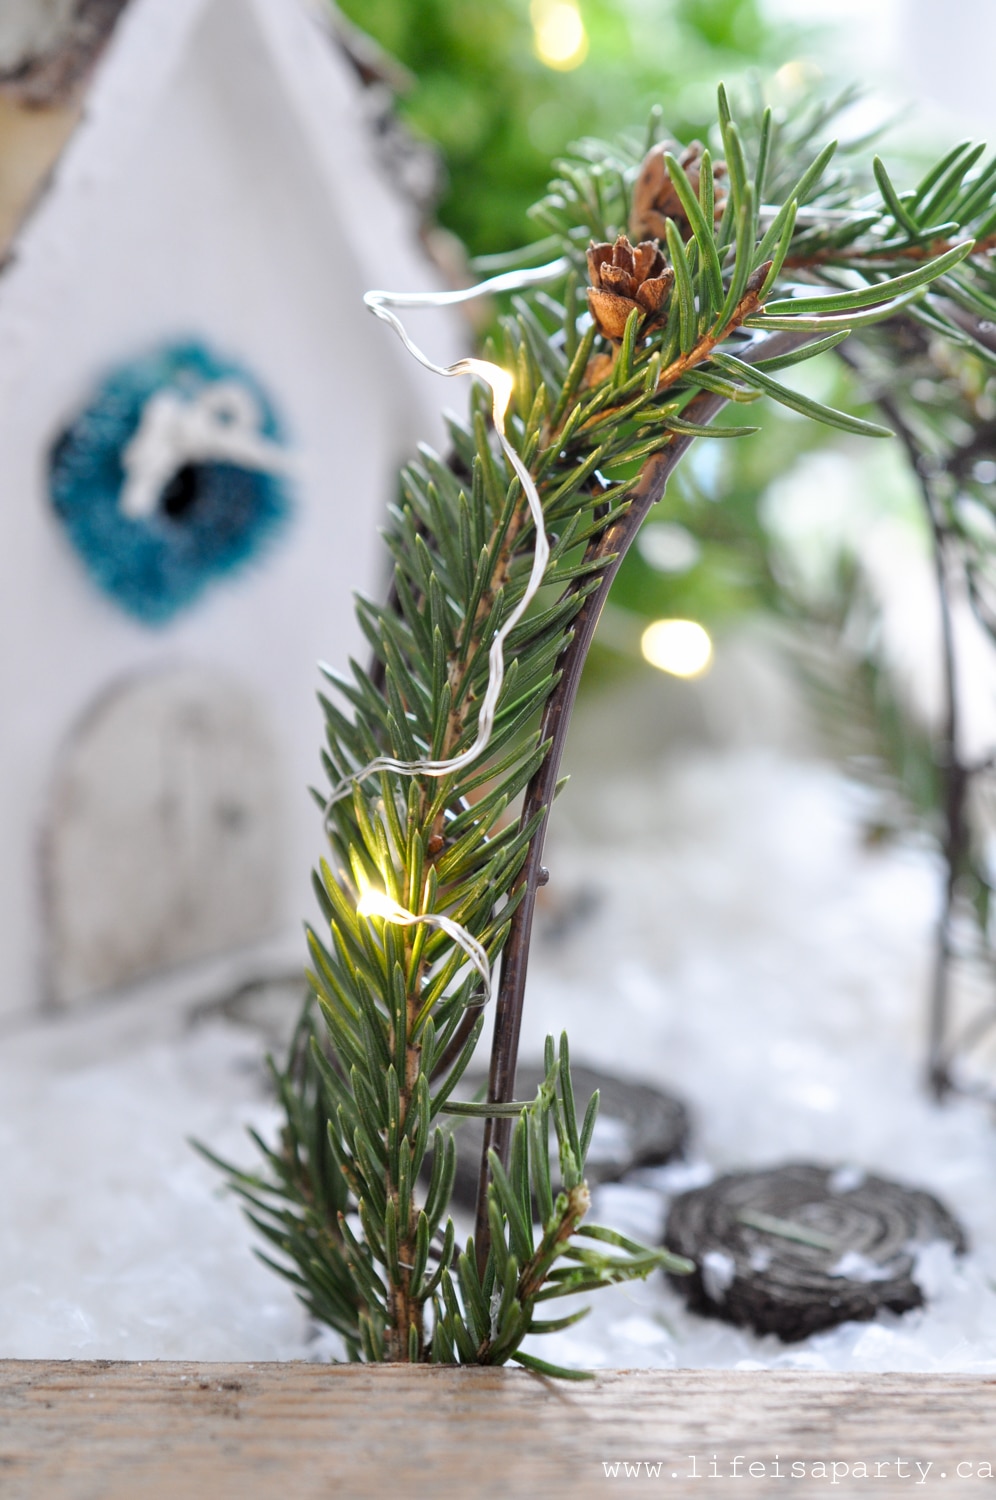


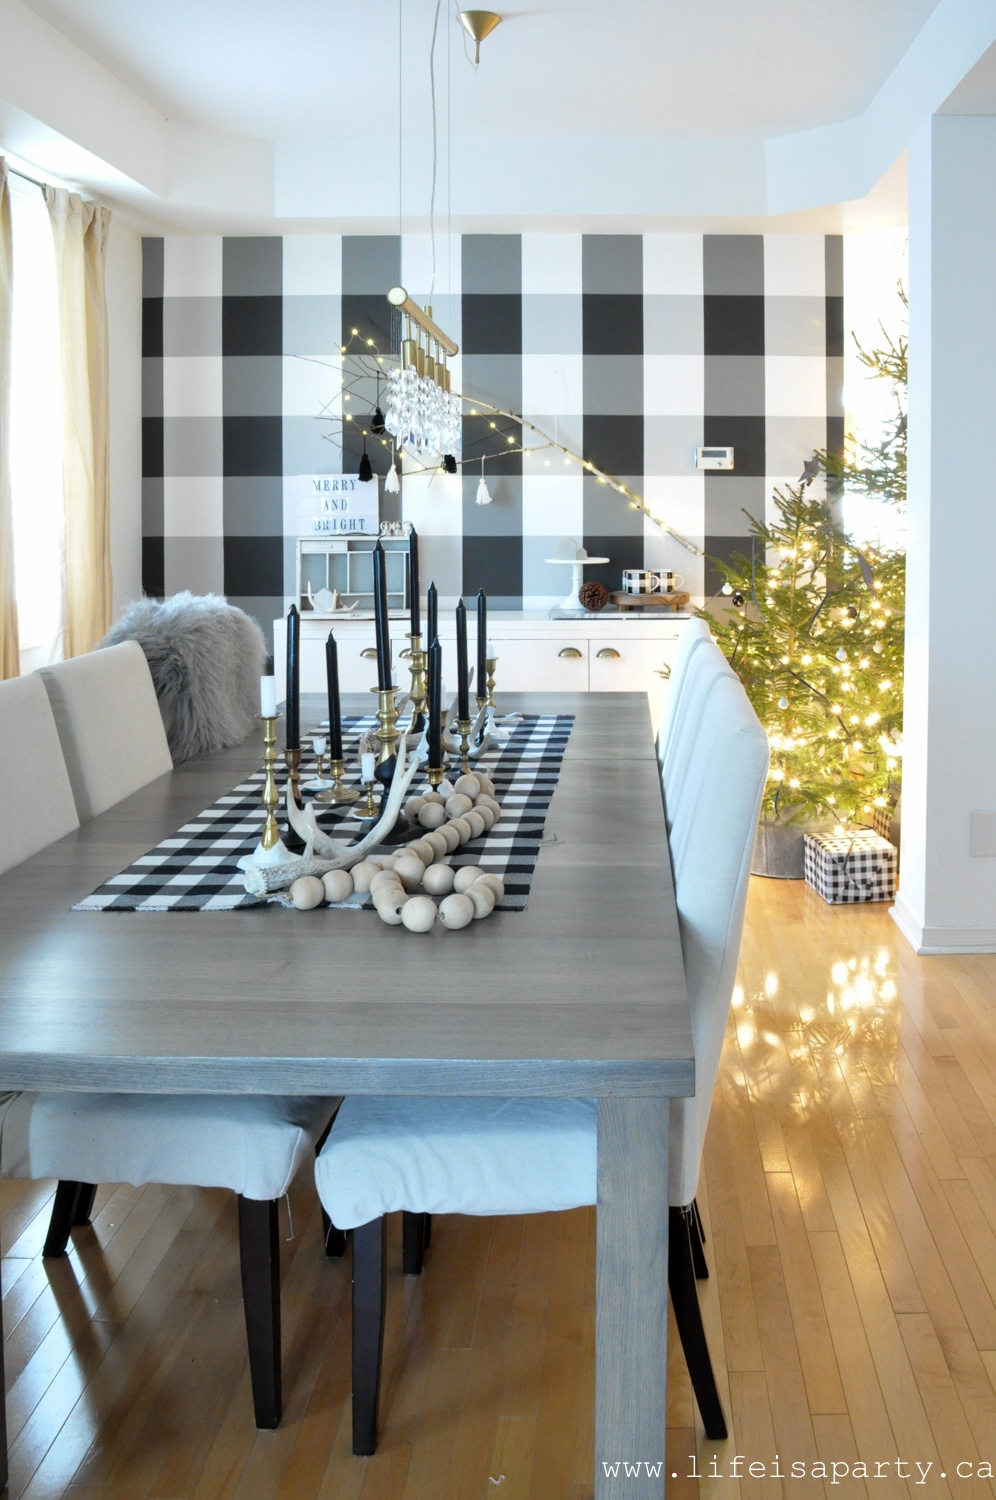
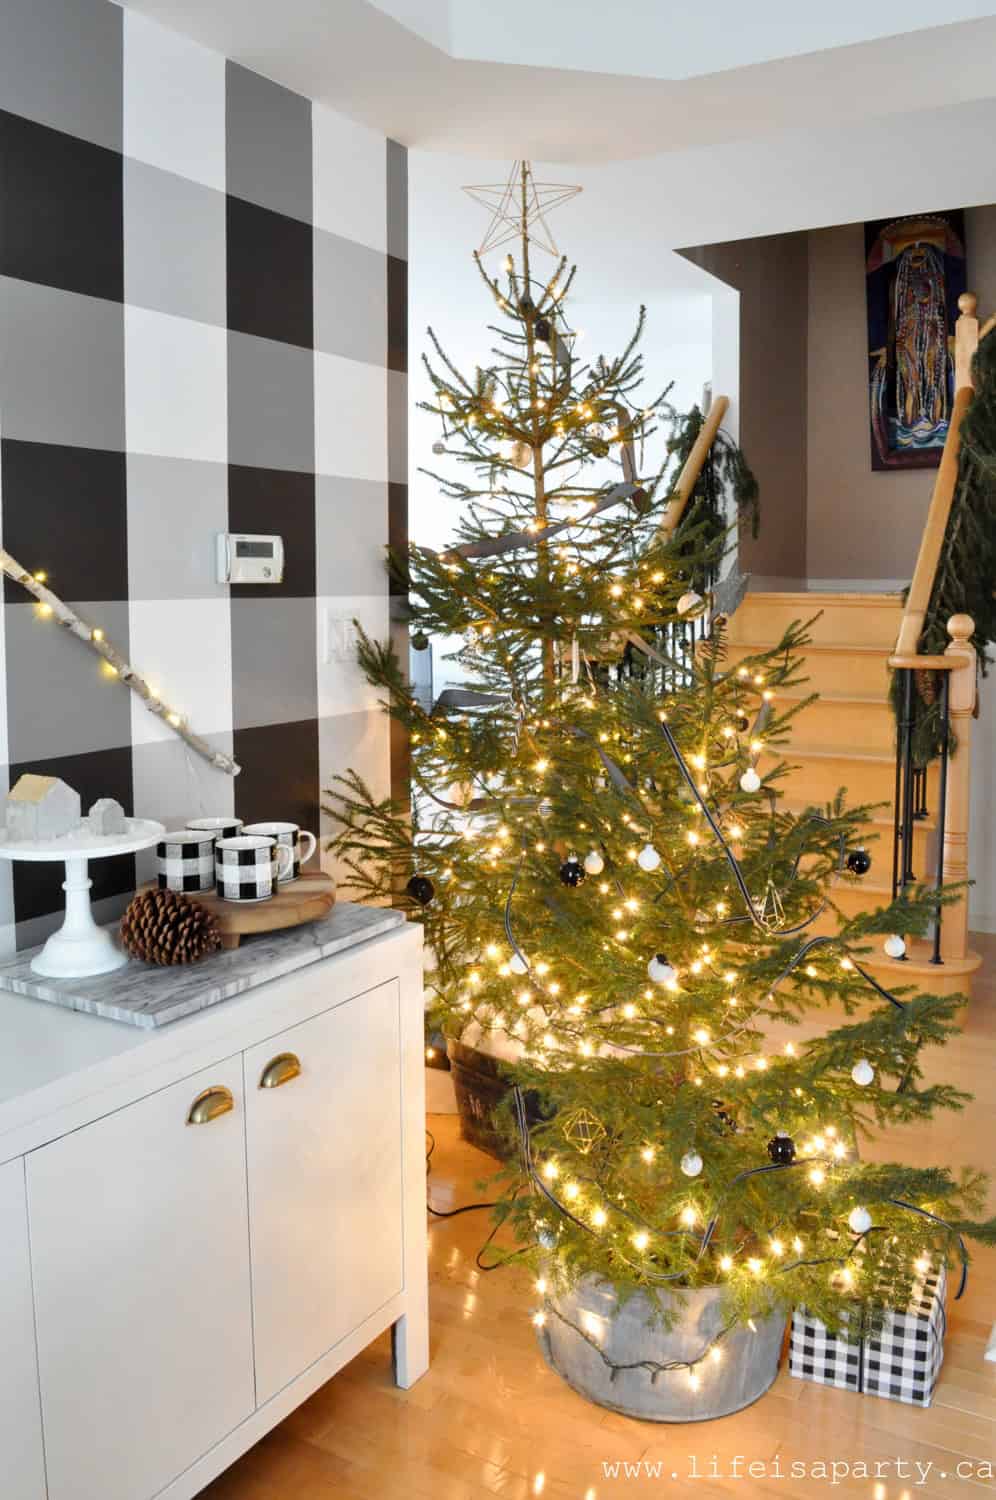


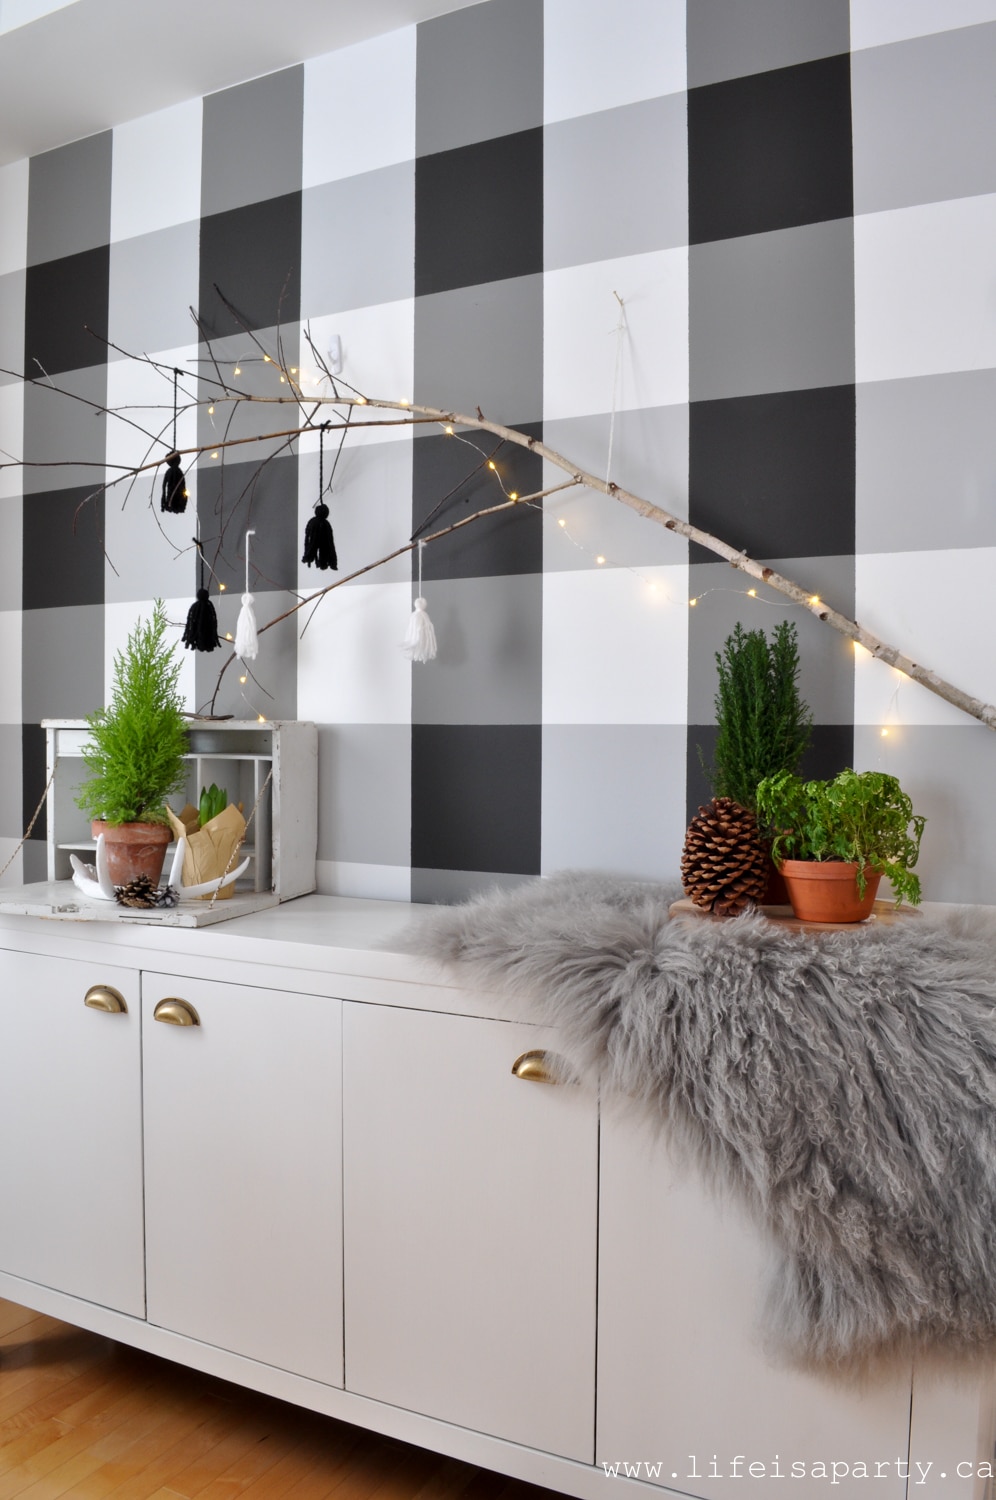
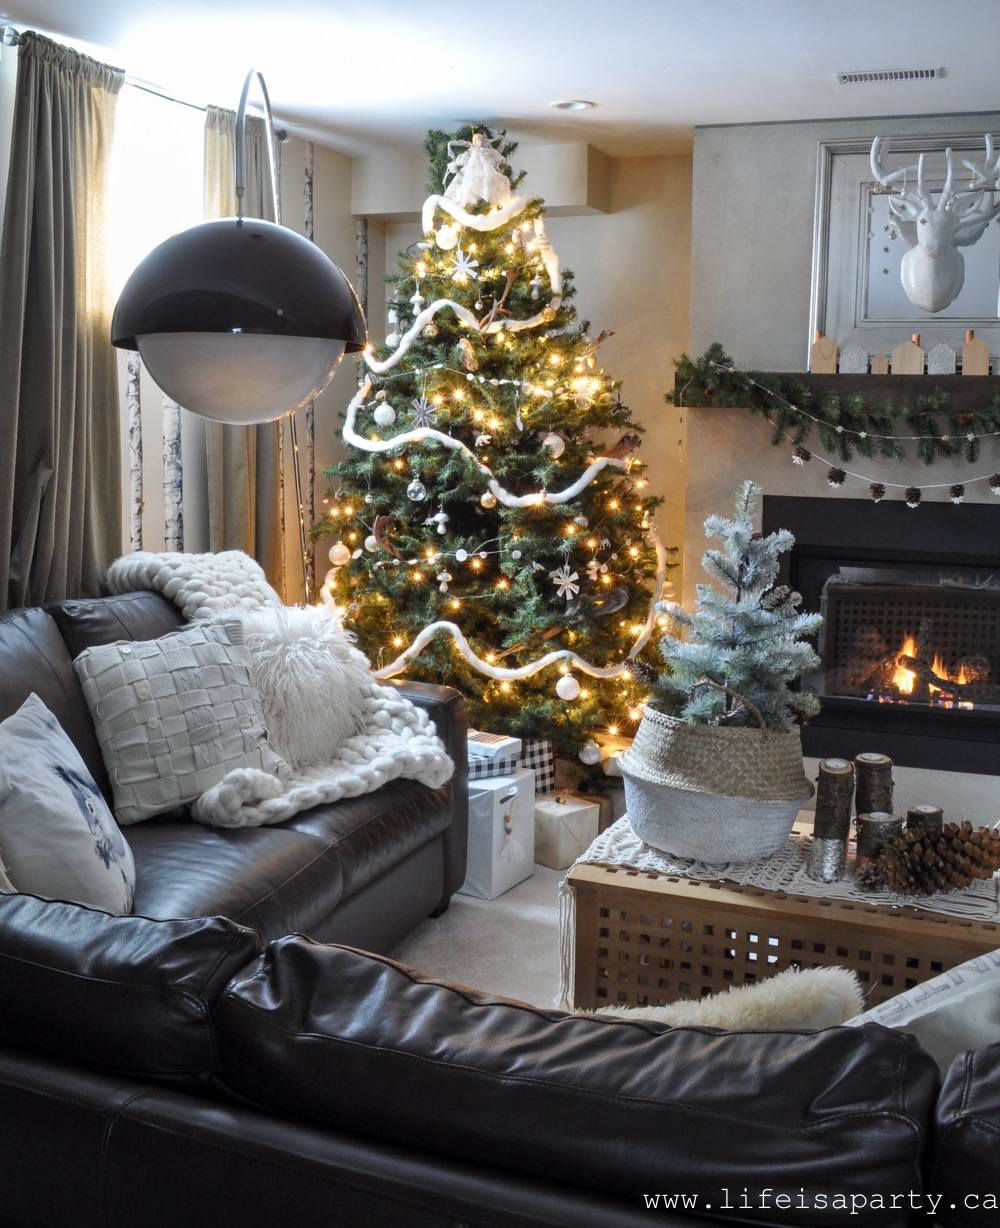
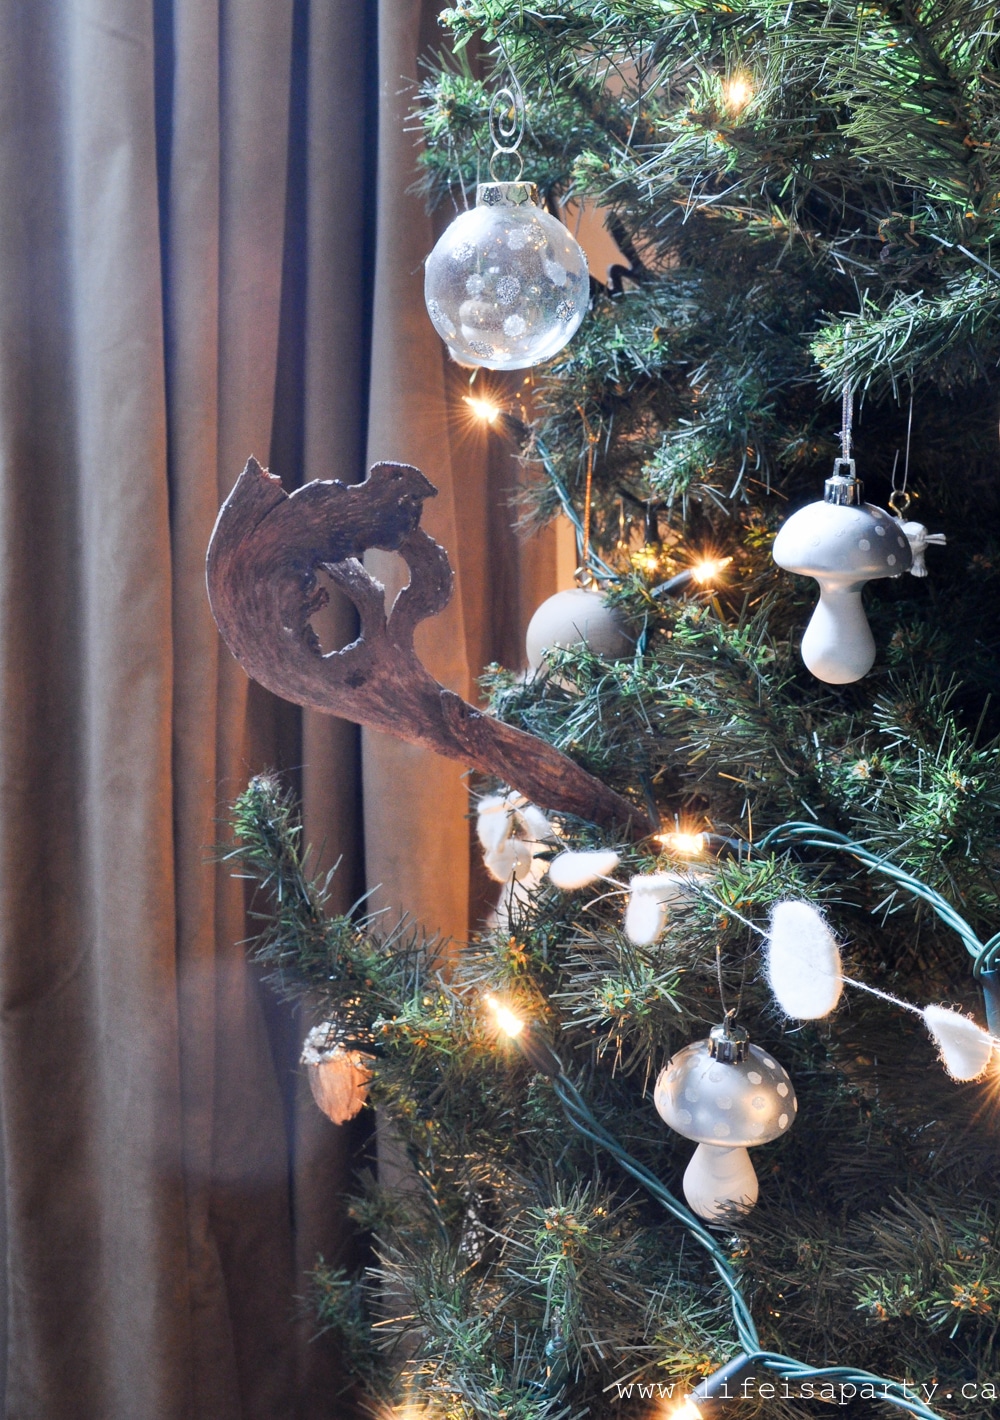
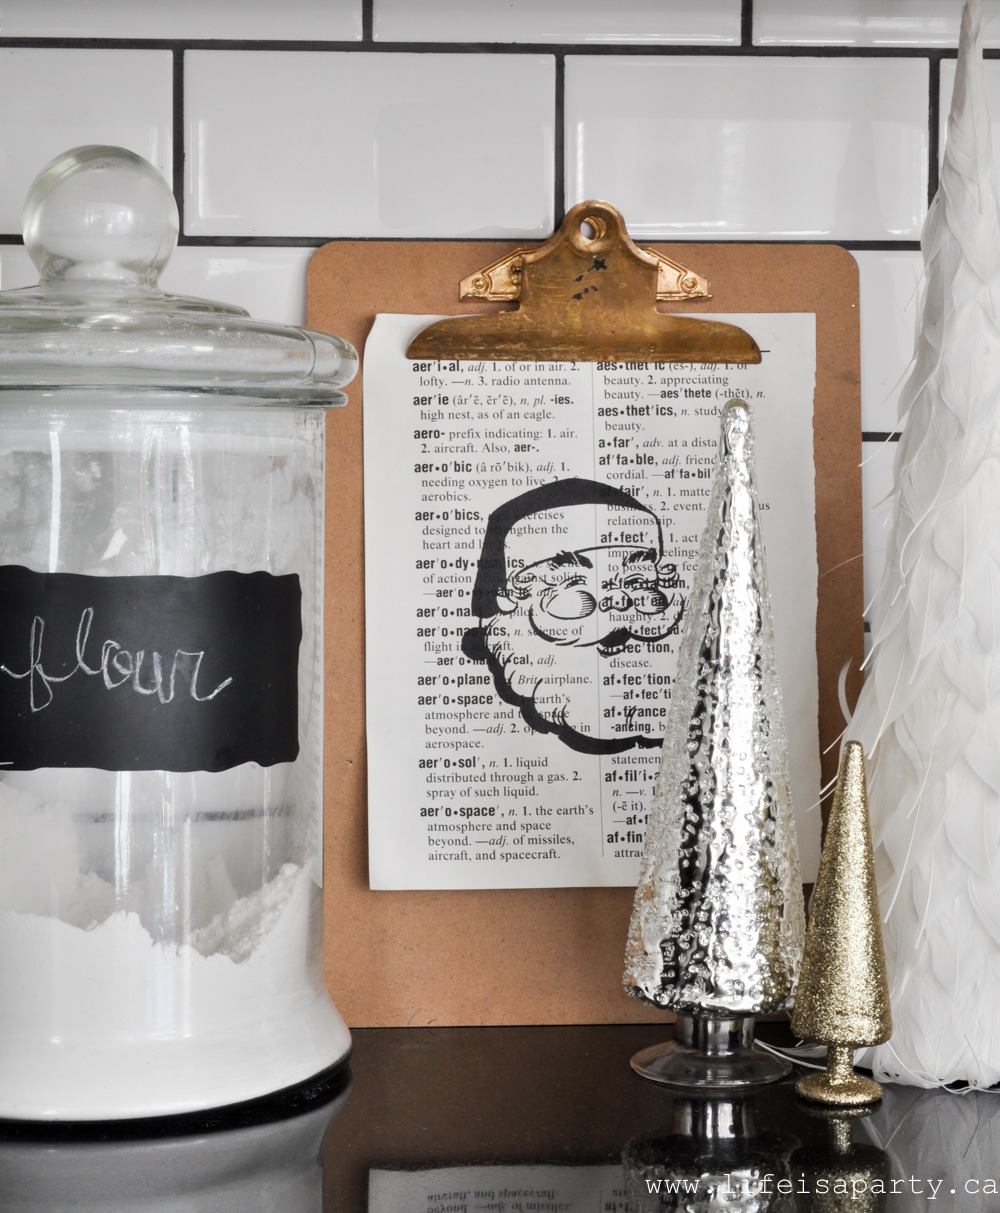
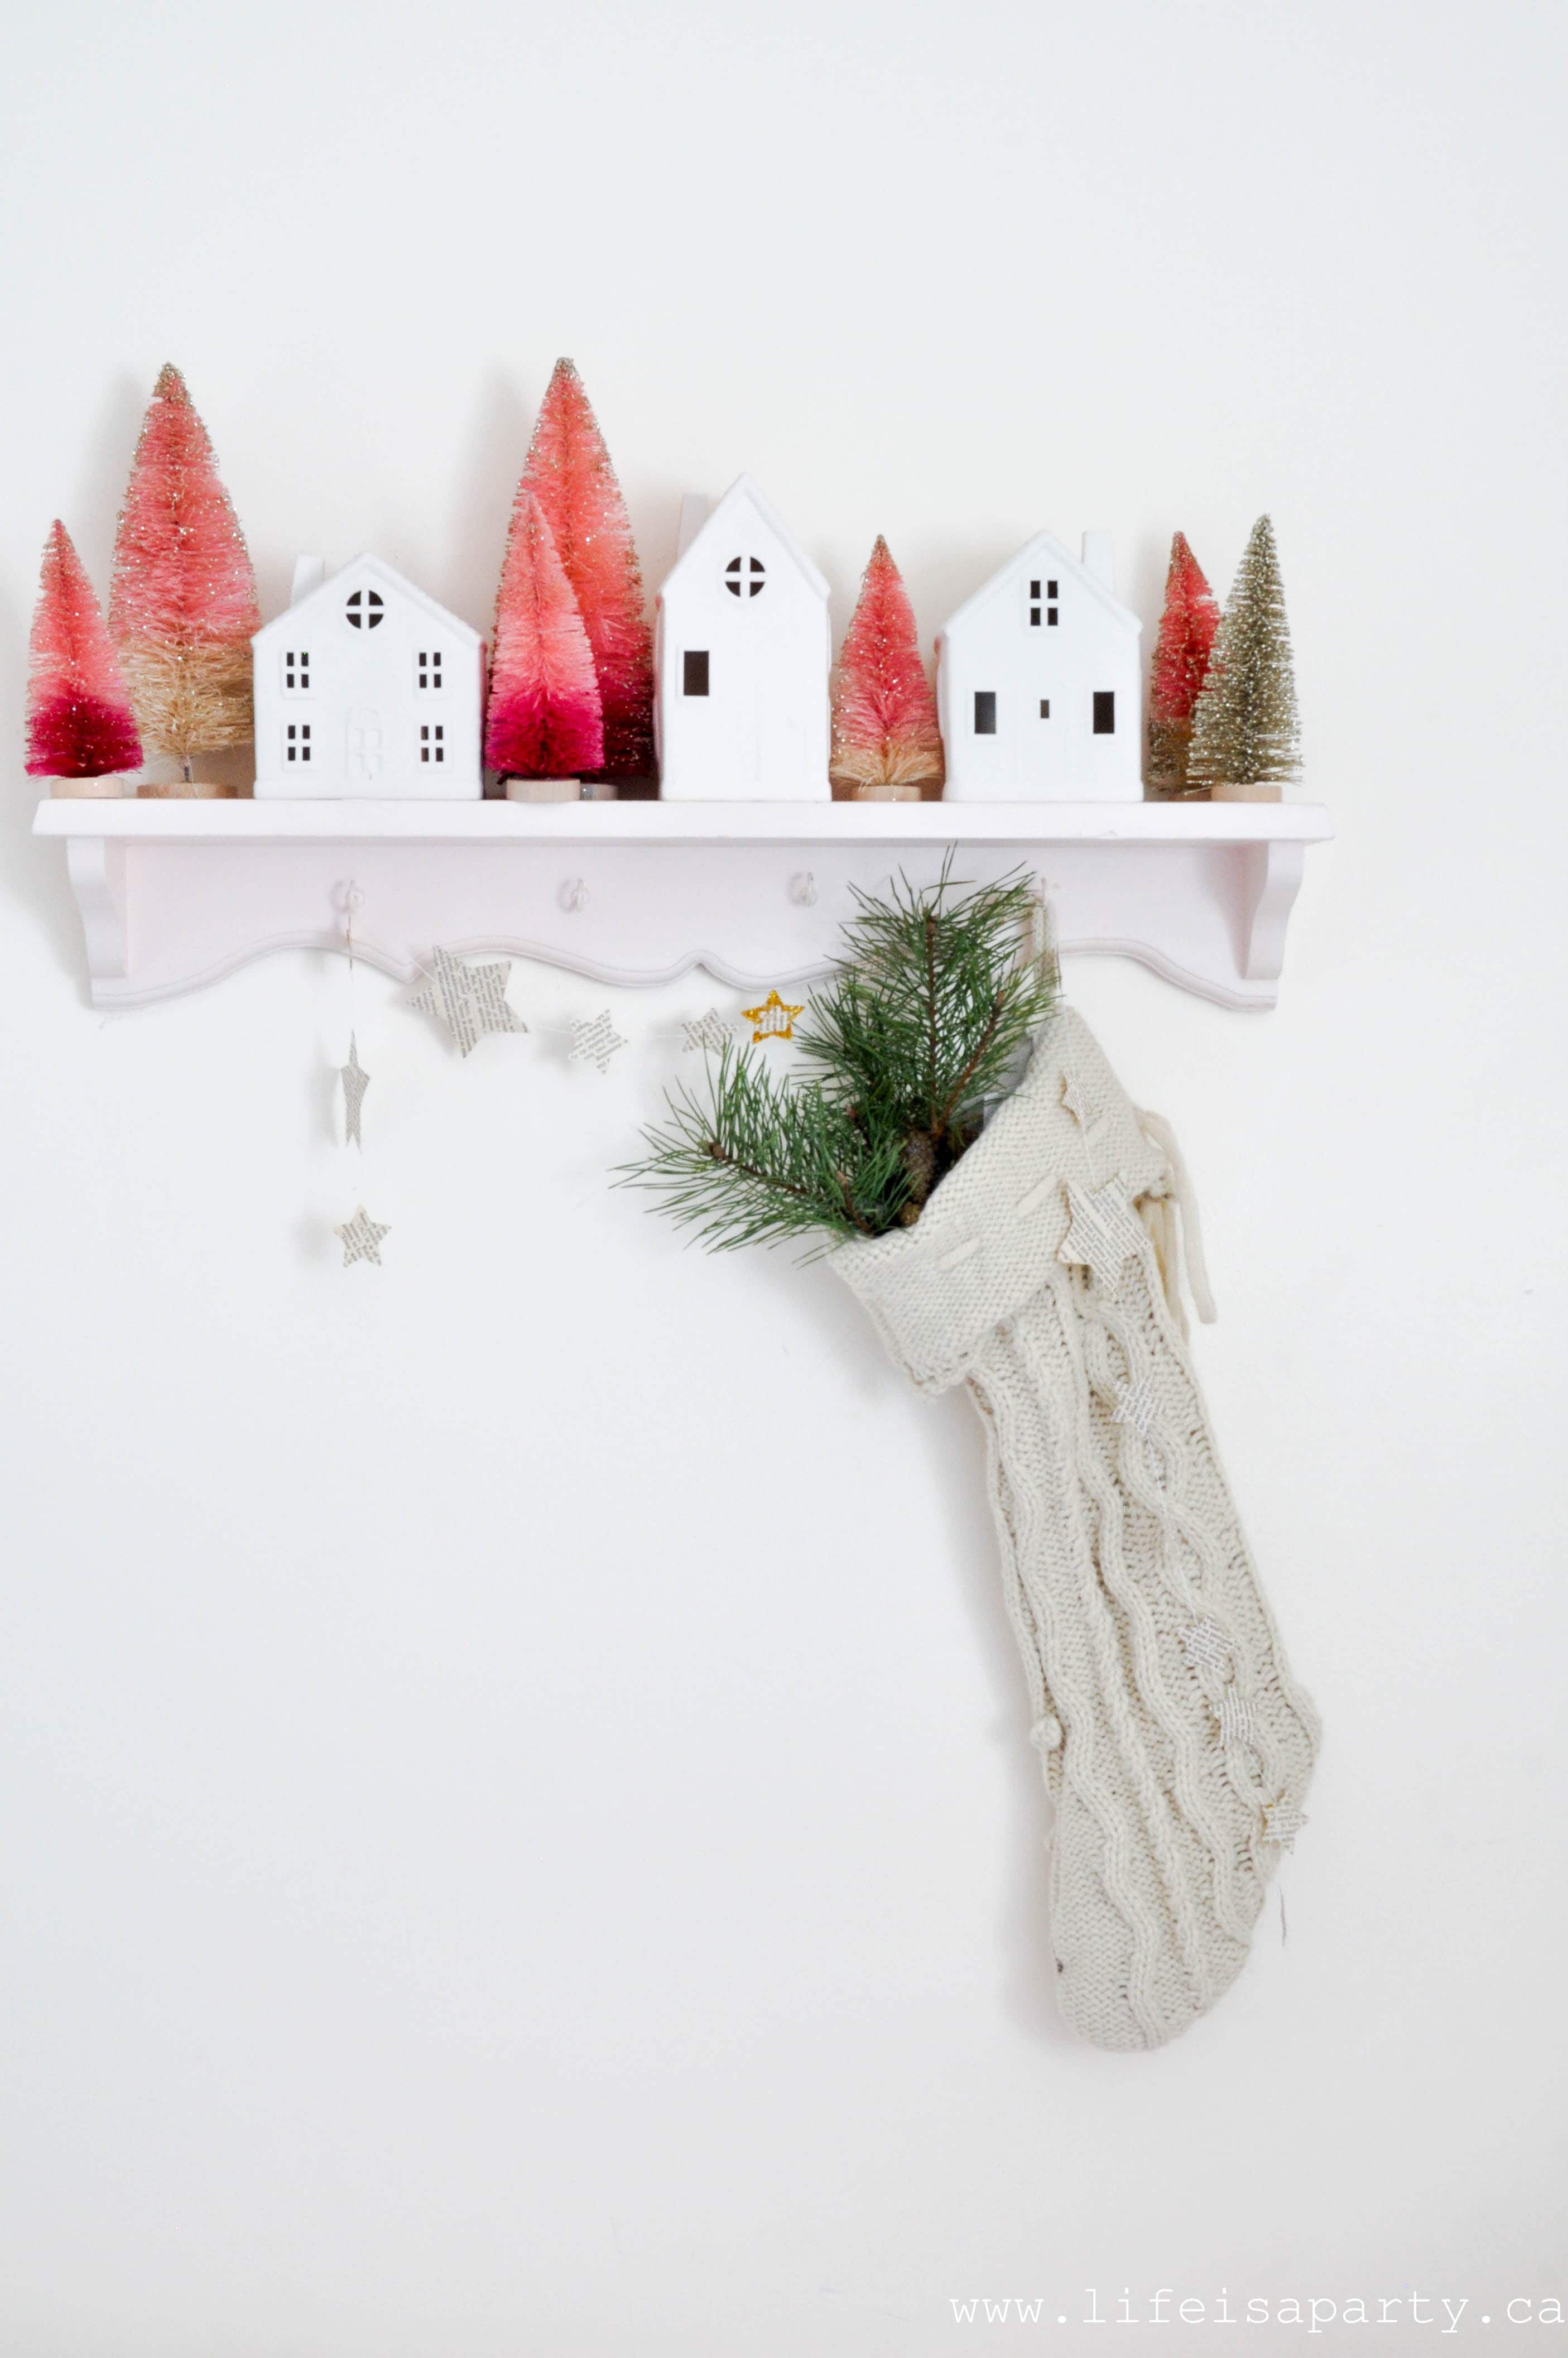
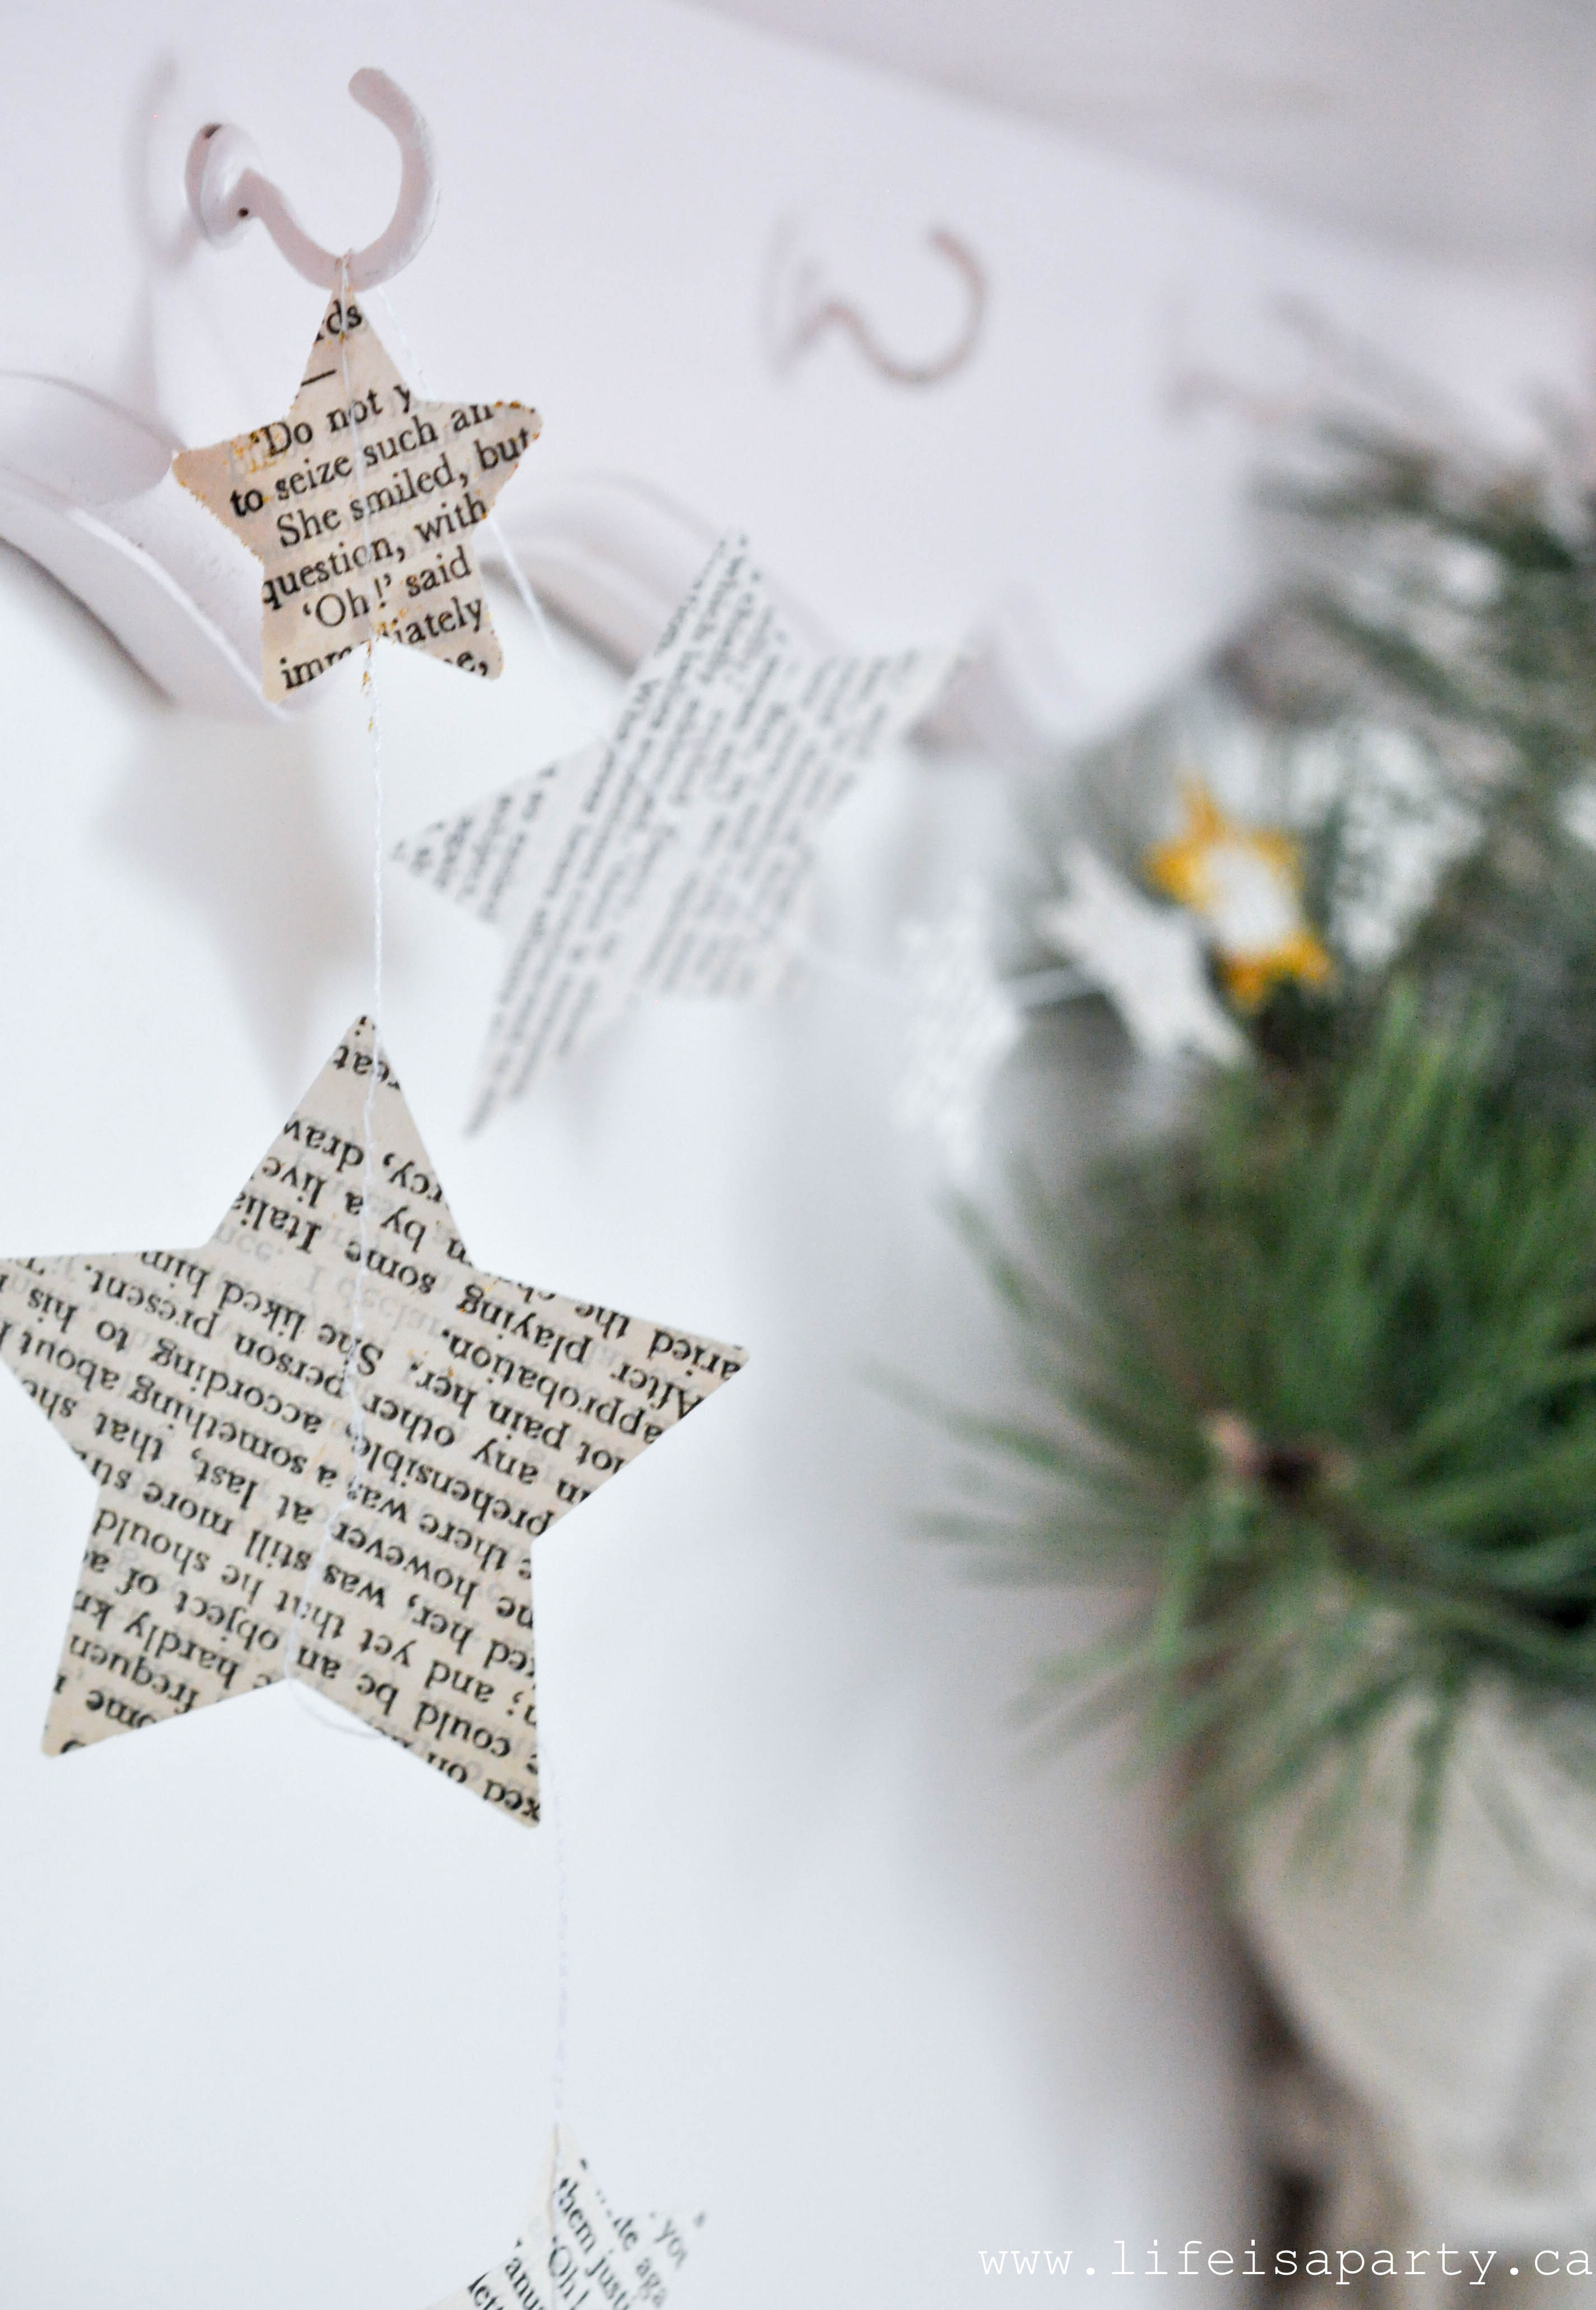
 A Forest of Christmas Trees
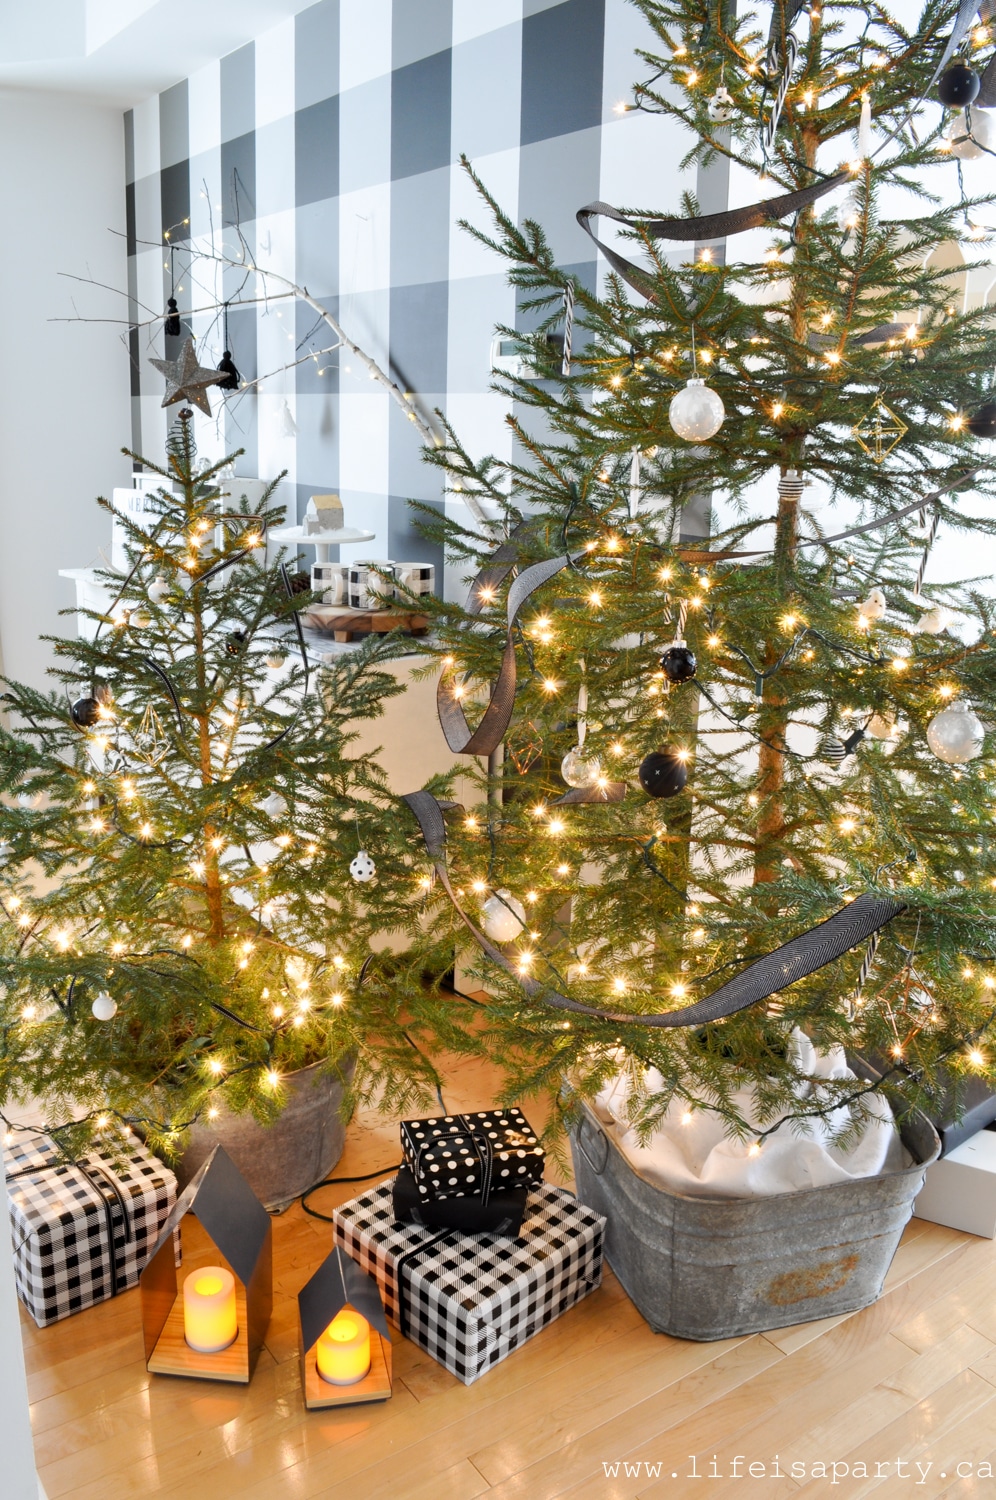


