
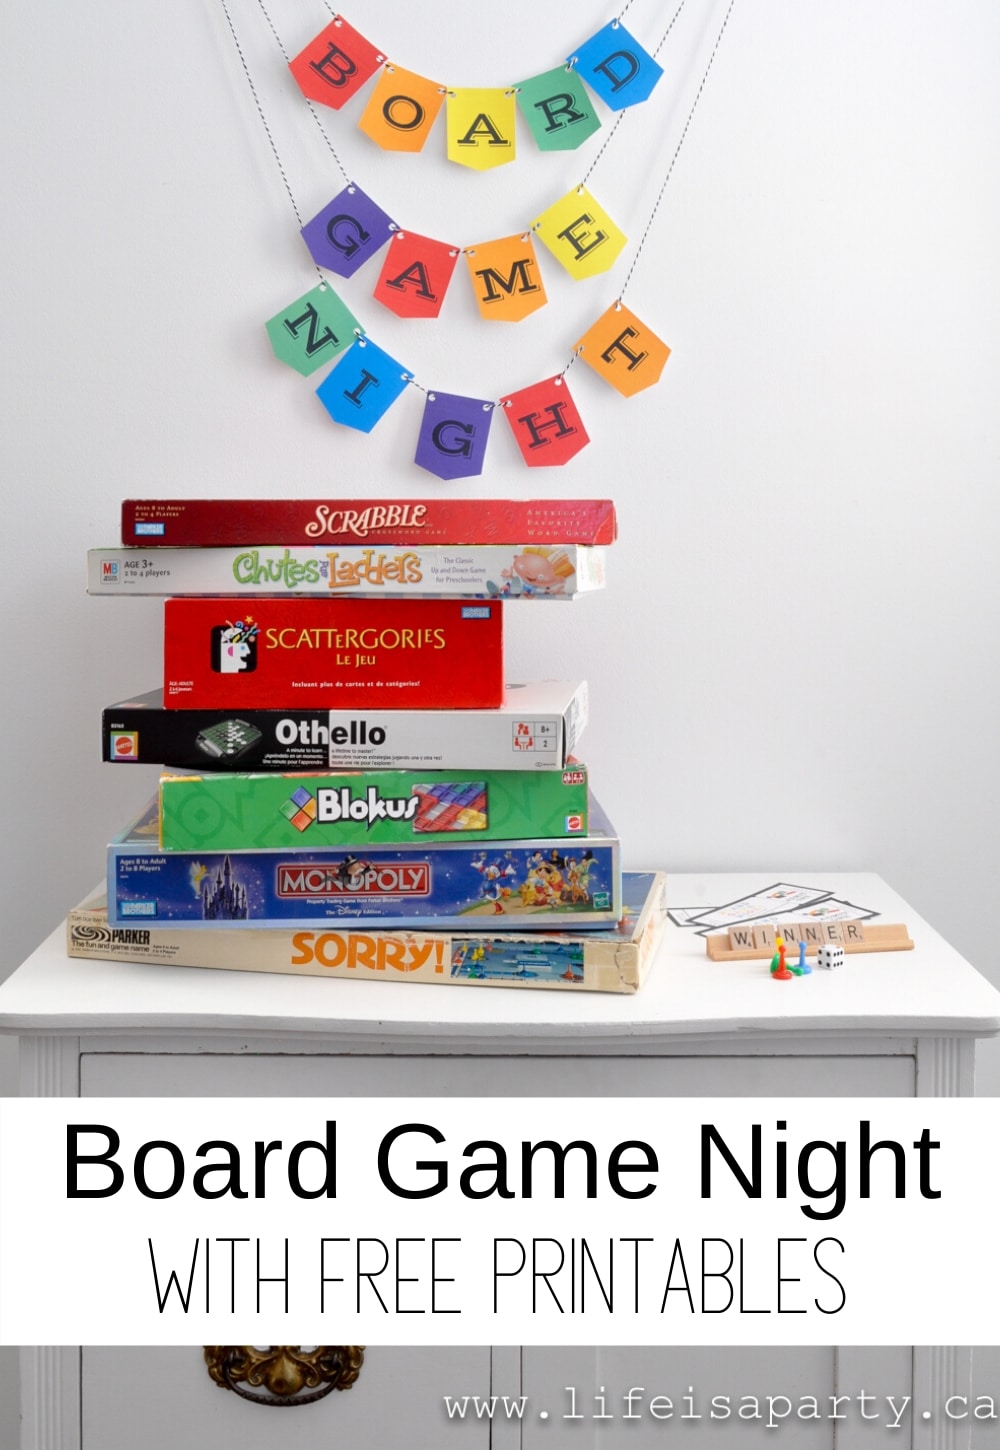
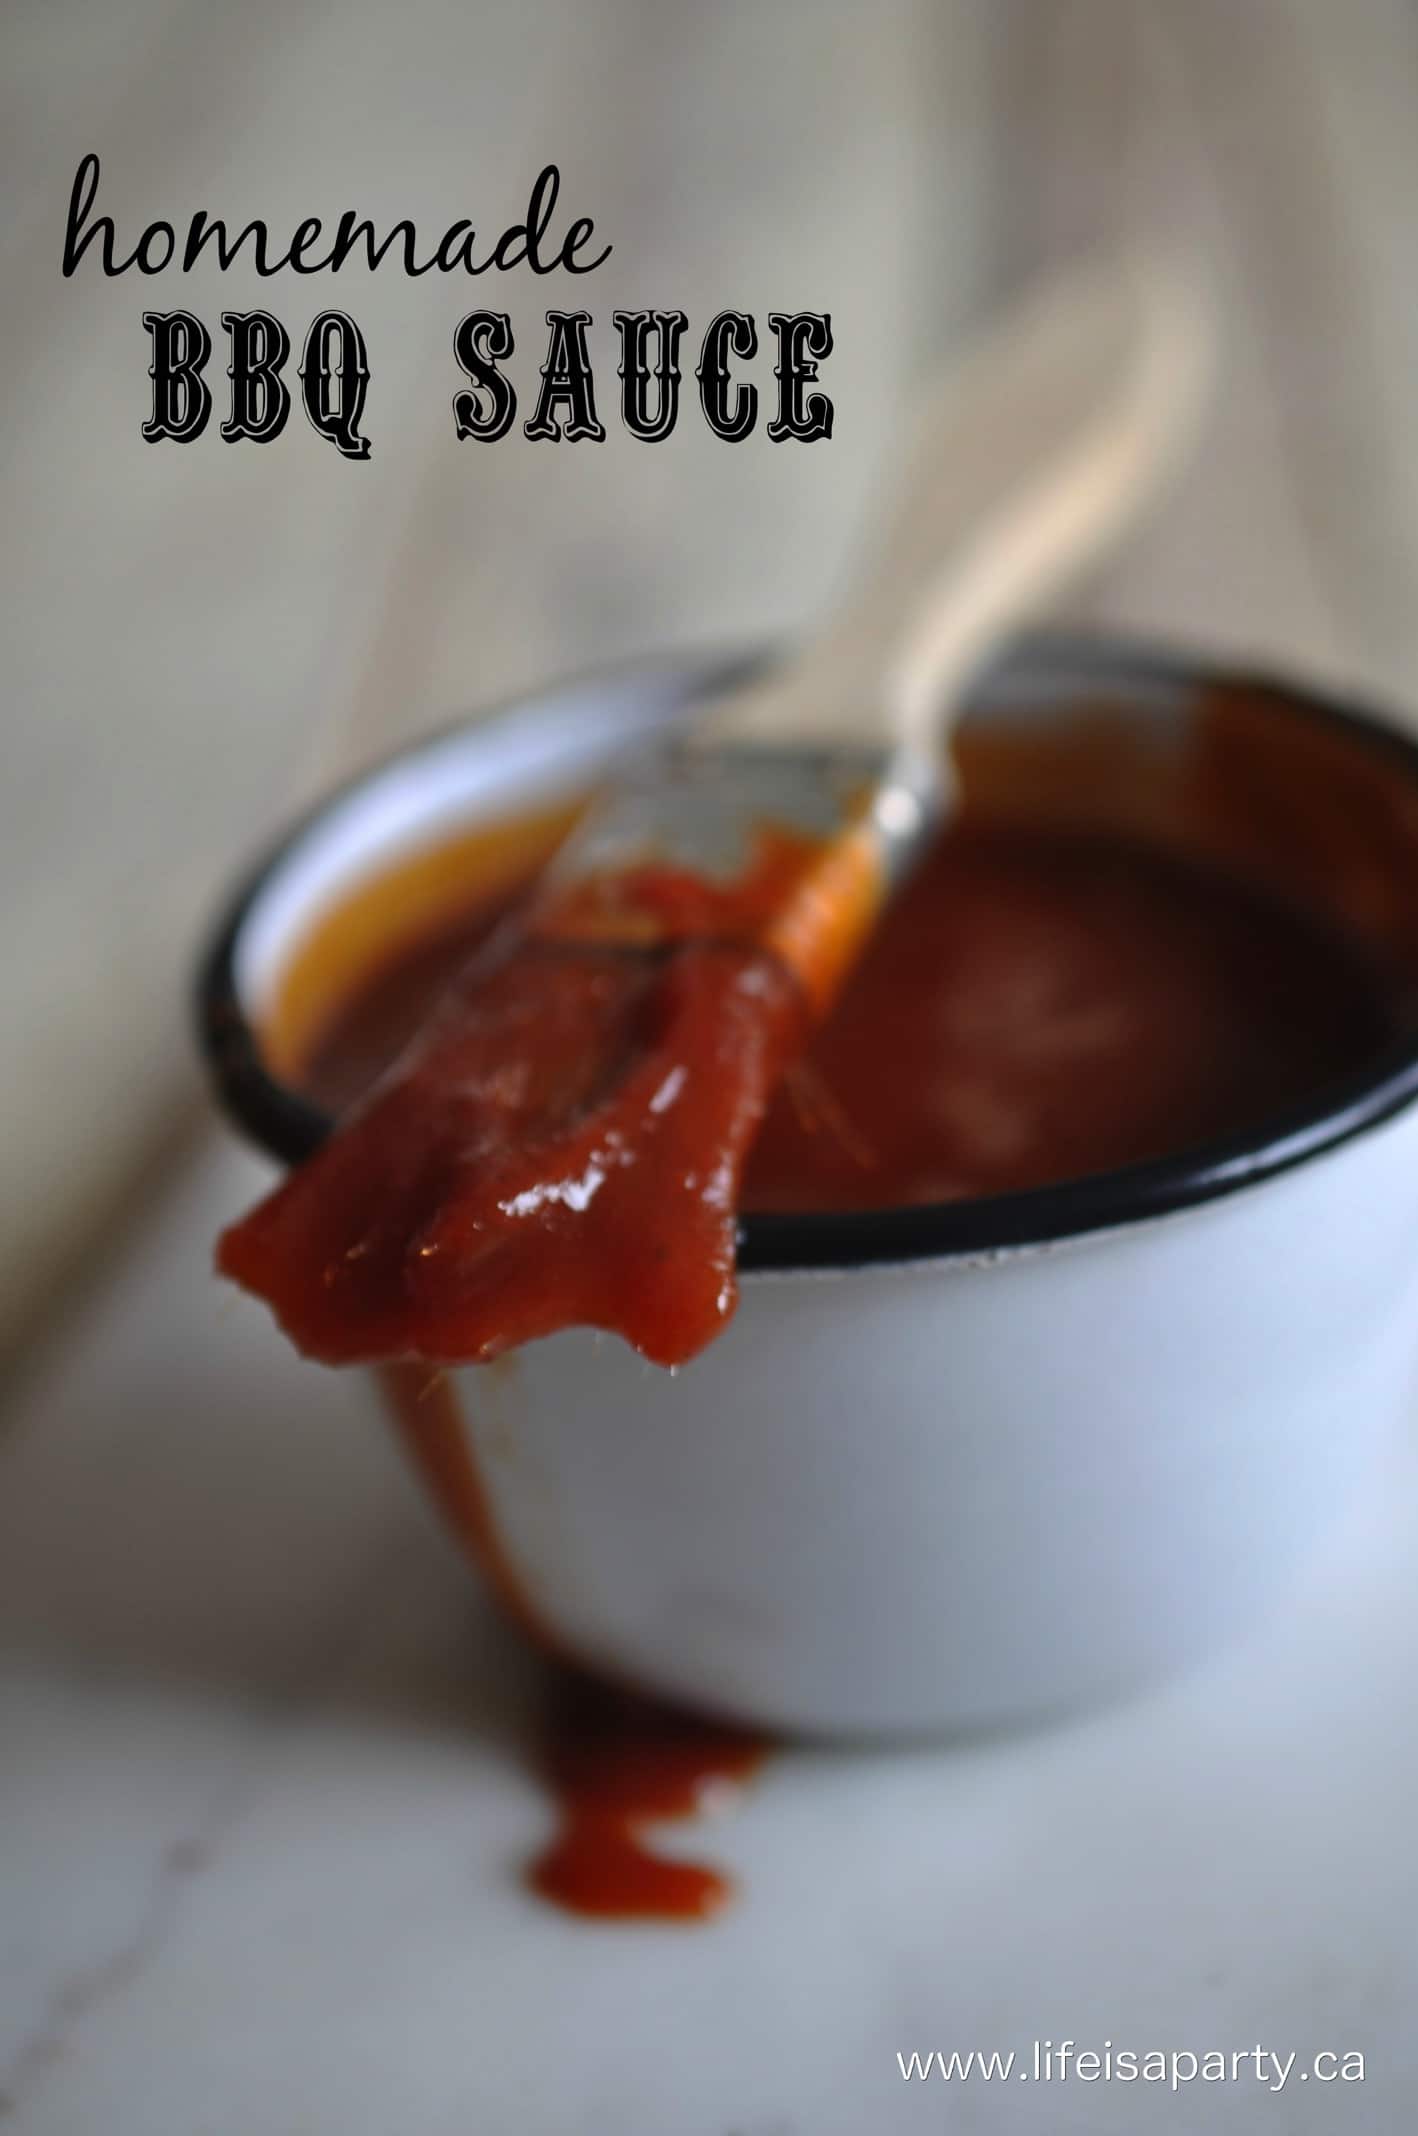
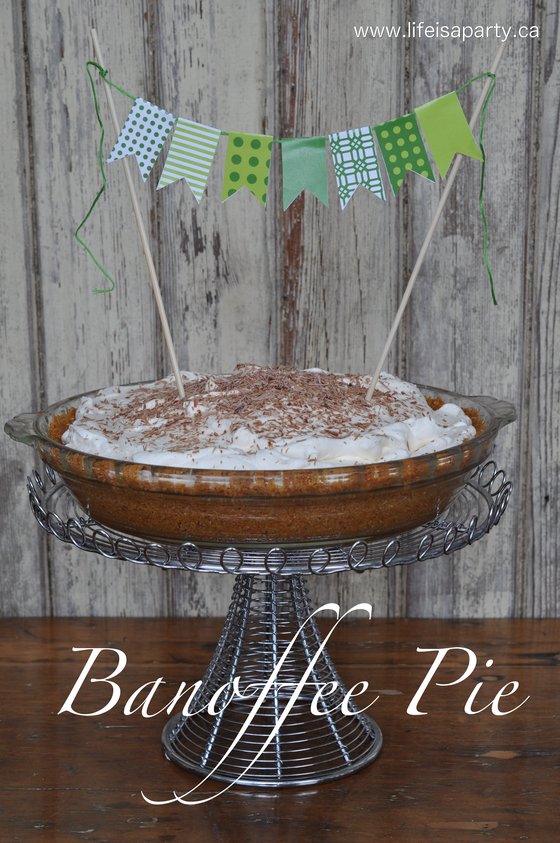
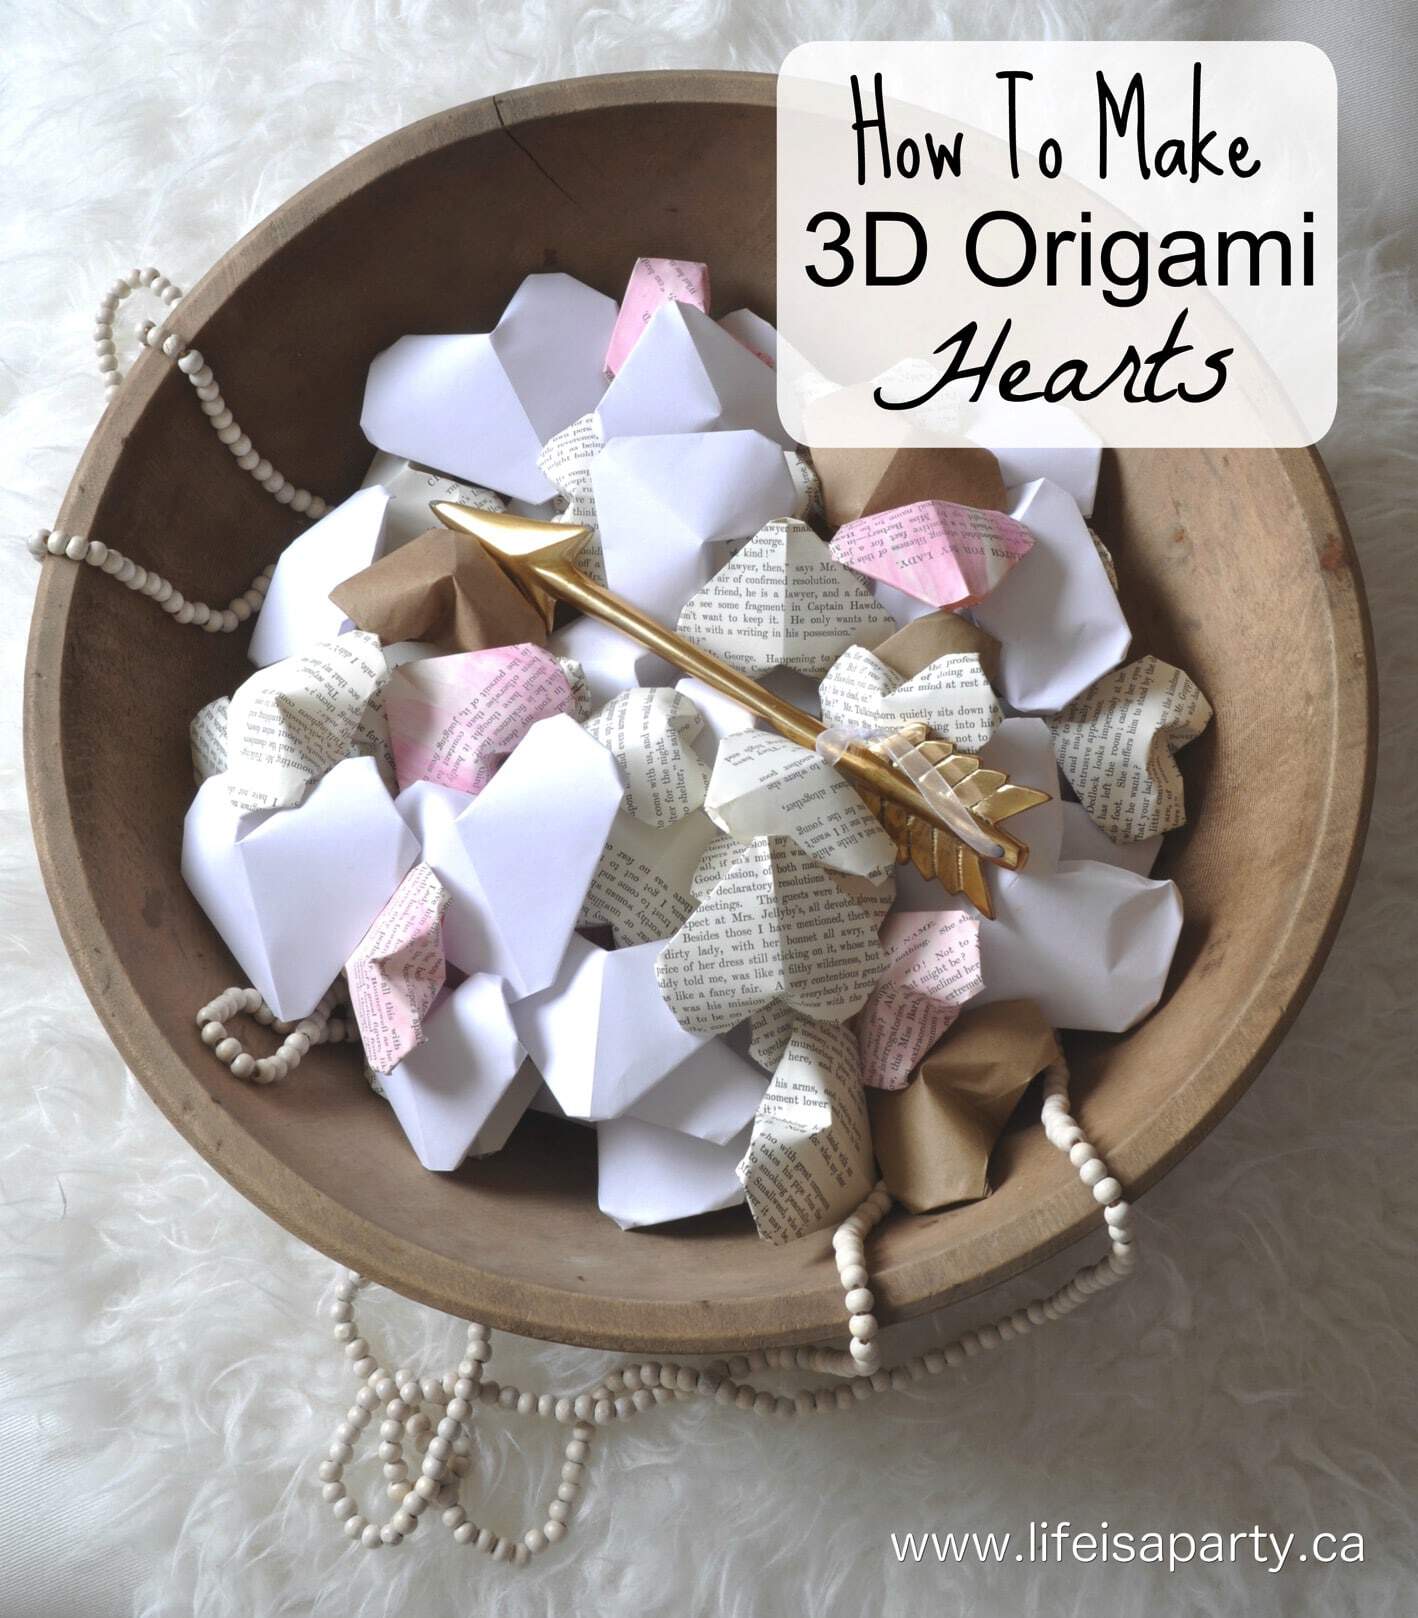
Thanksgiving Hostess Gift: Give your hosts drinks with a cheeky free printable gift tag for friends or family in 3 different colours.
It's nearly Thanksgiving here in Canada, and many of us will be heading over to the homes of our family or friends to enjoy some turkey together. It's always nice to bring a little hostess gift and this one is really fun!
Seasonal Drinks
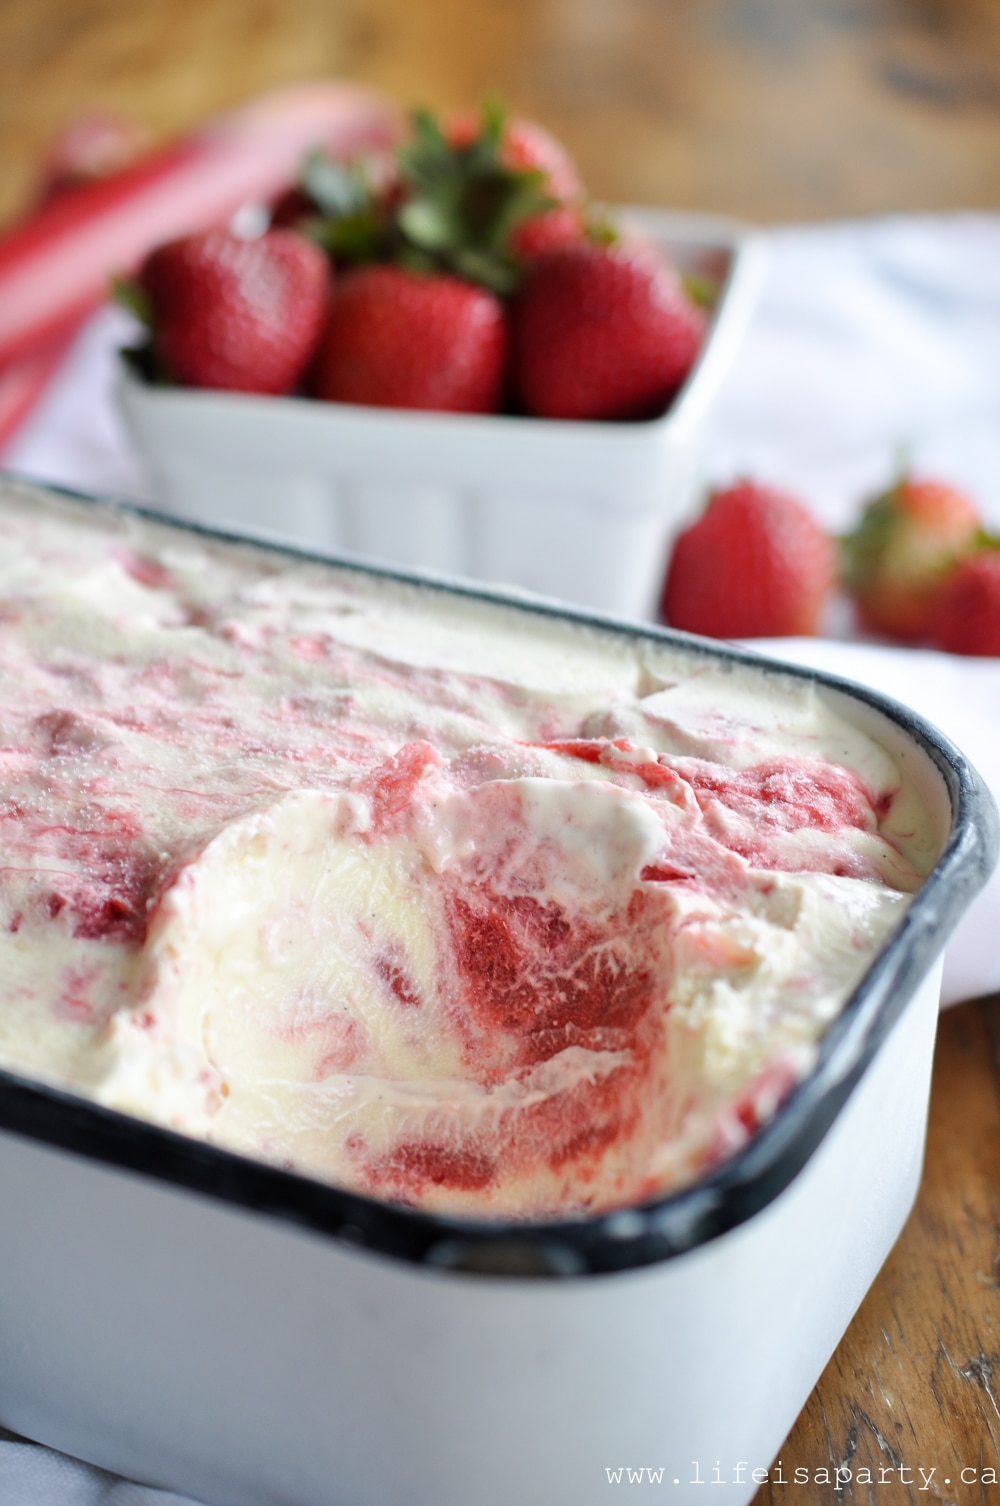
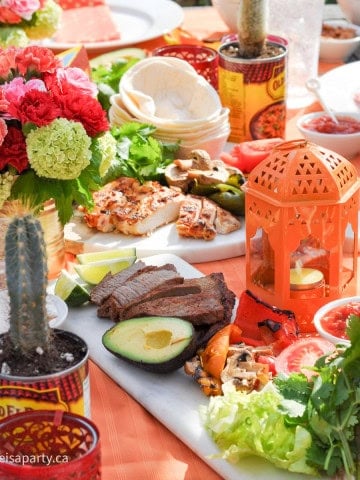
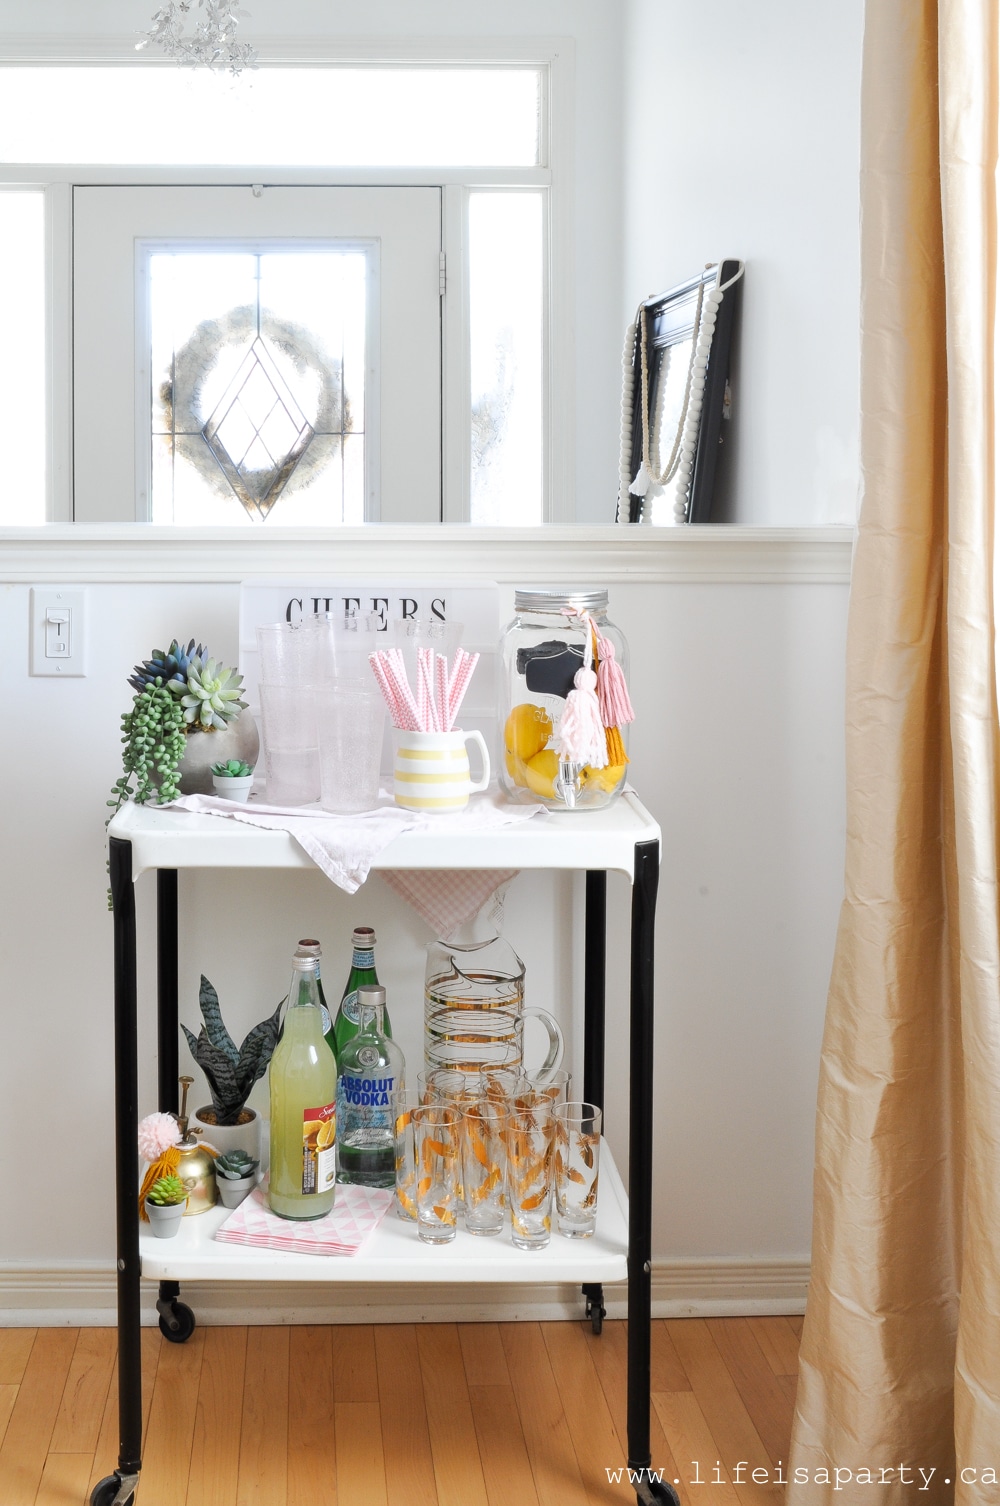
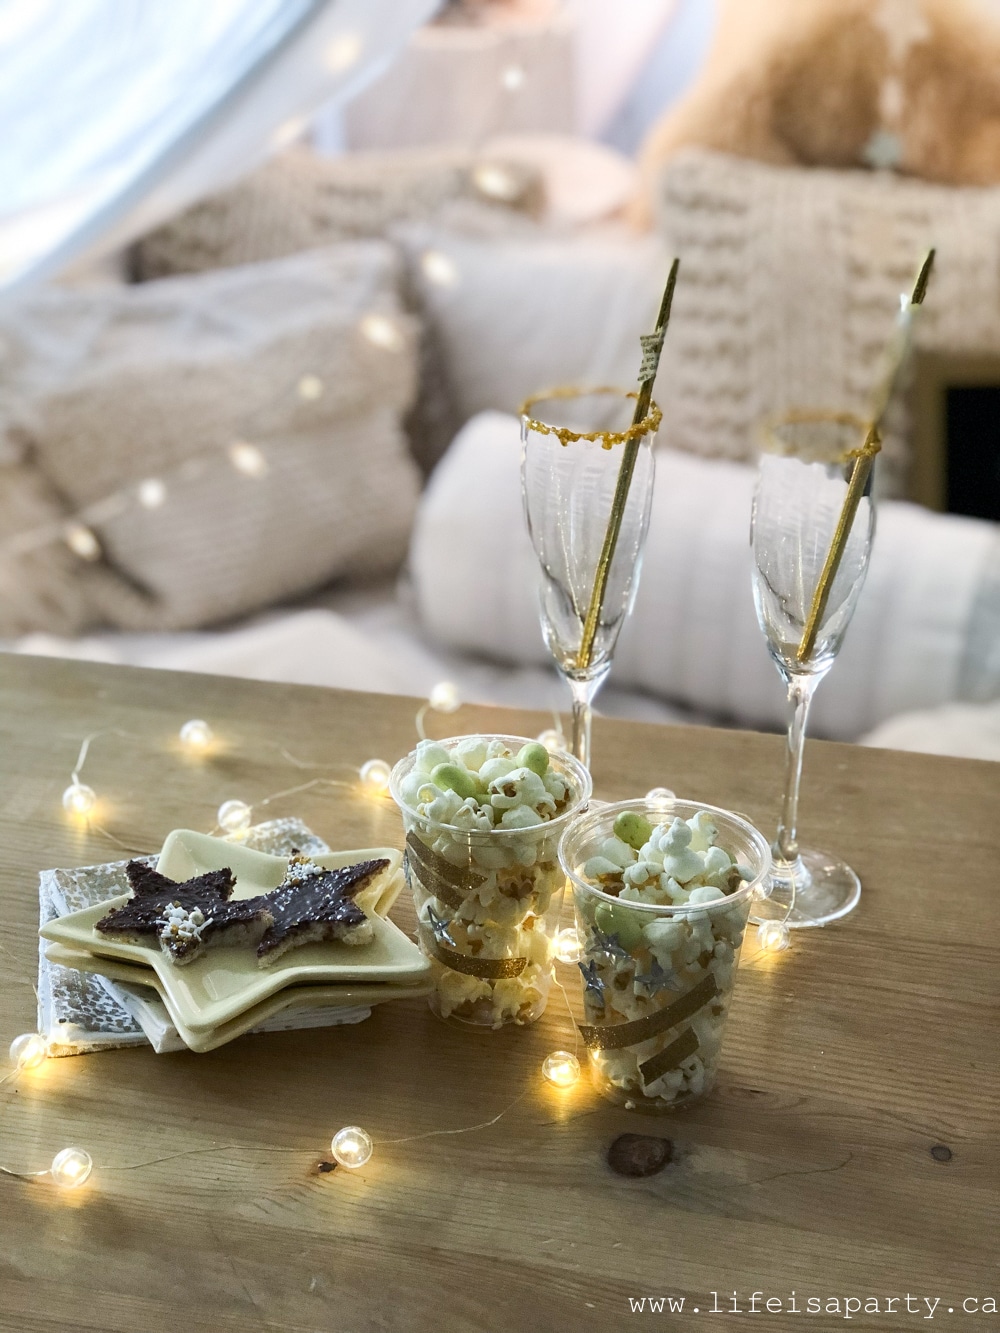
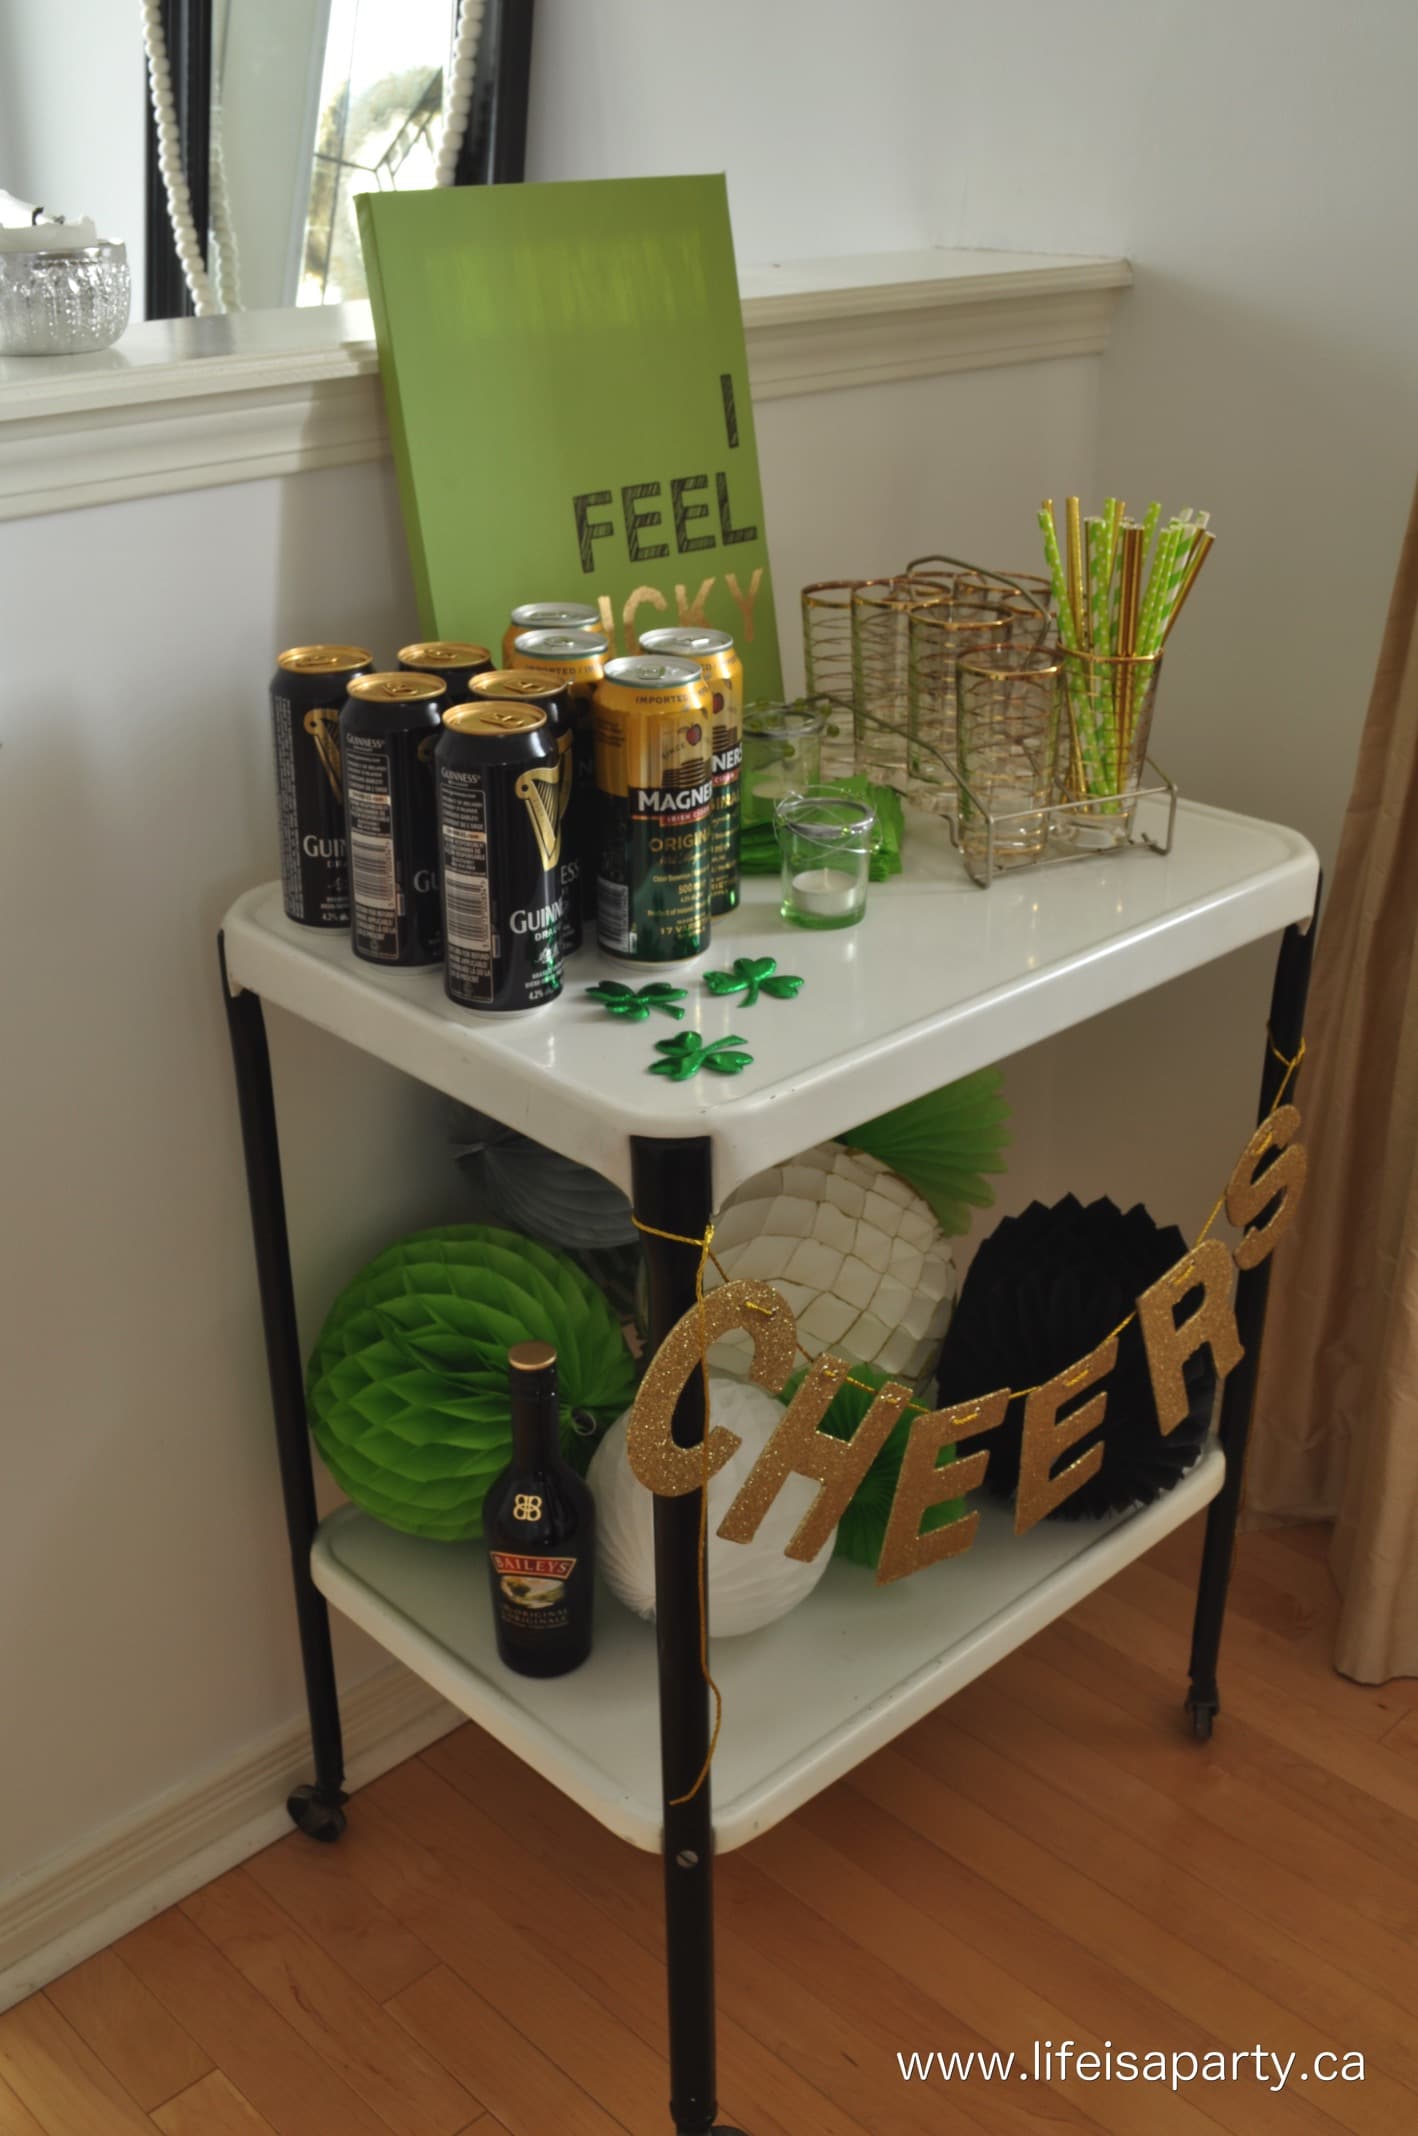
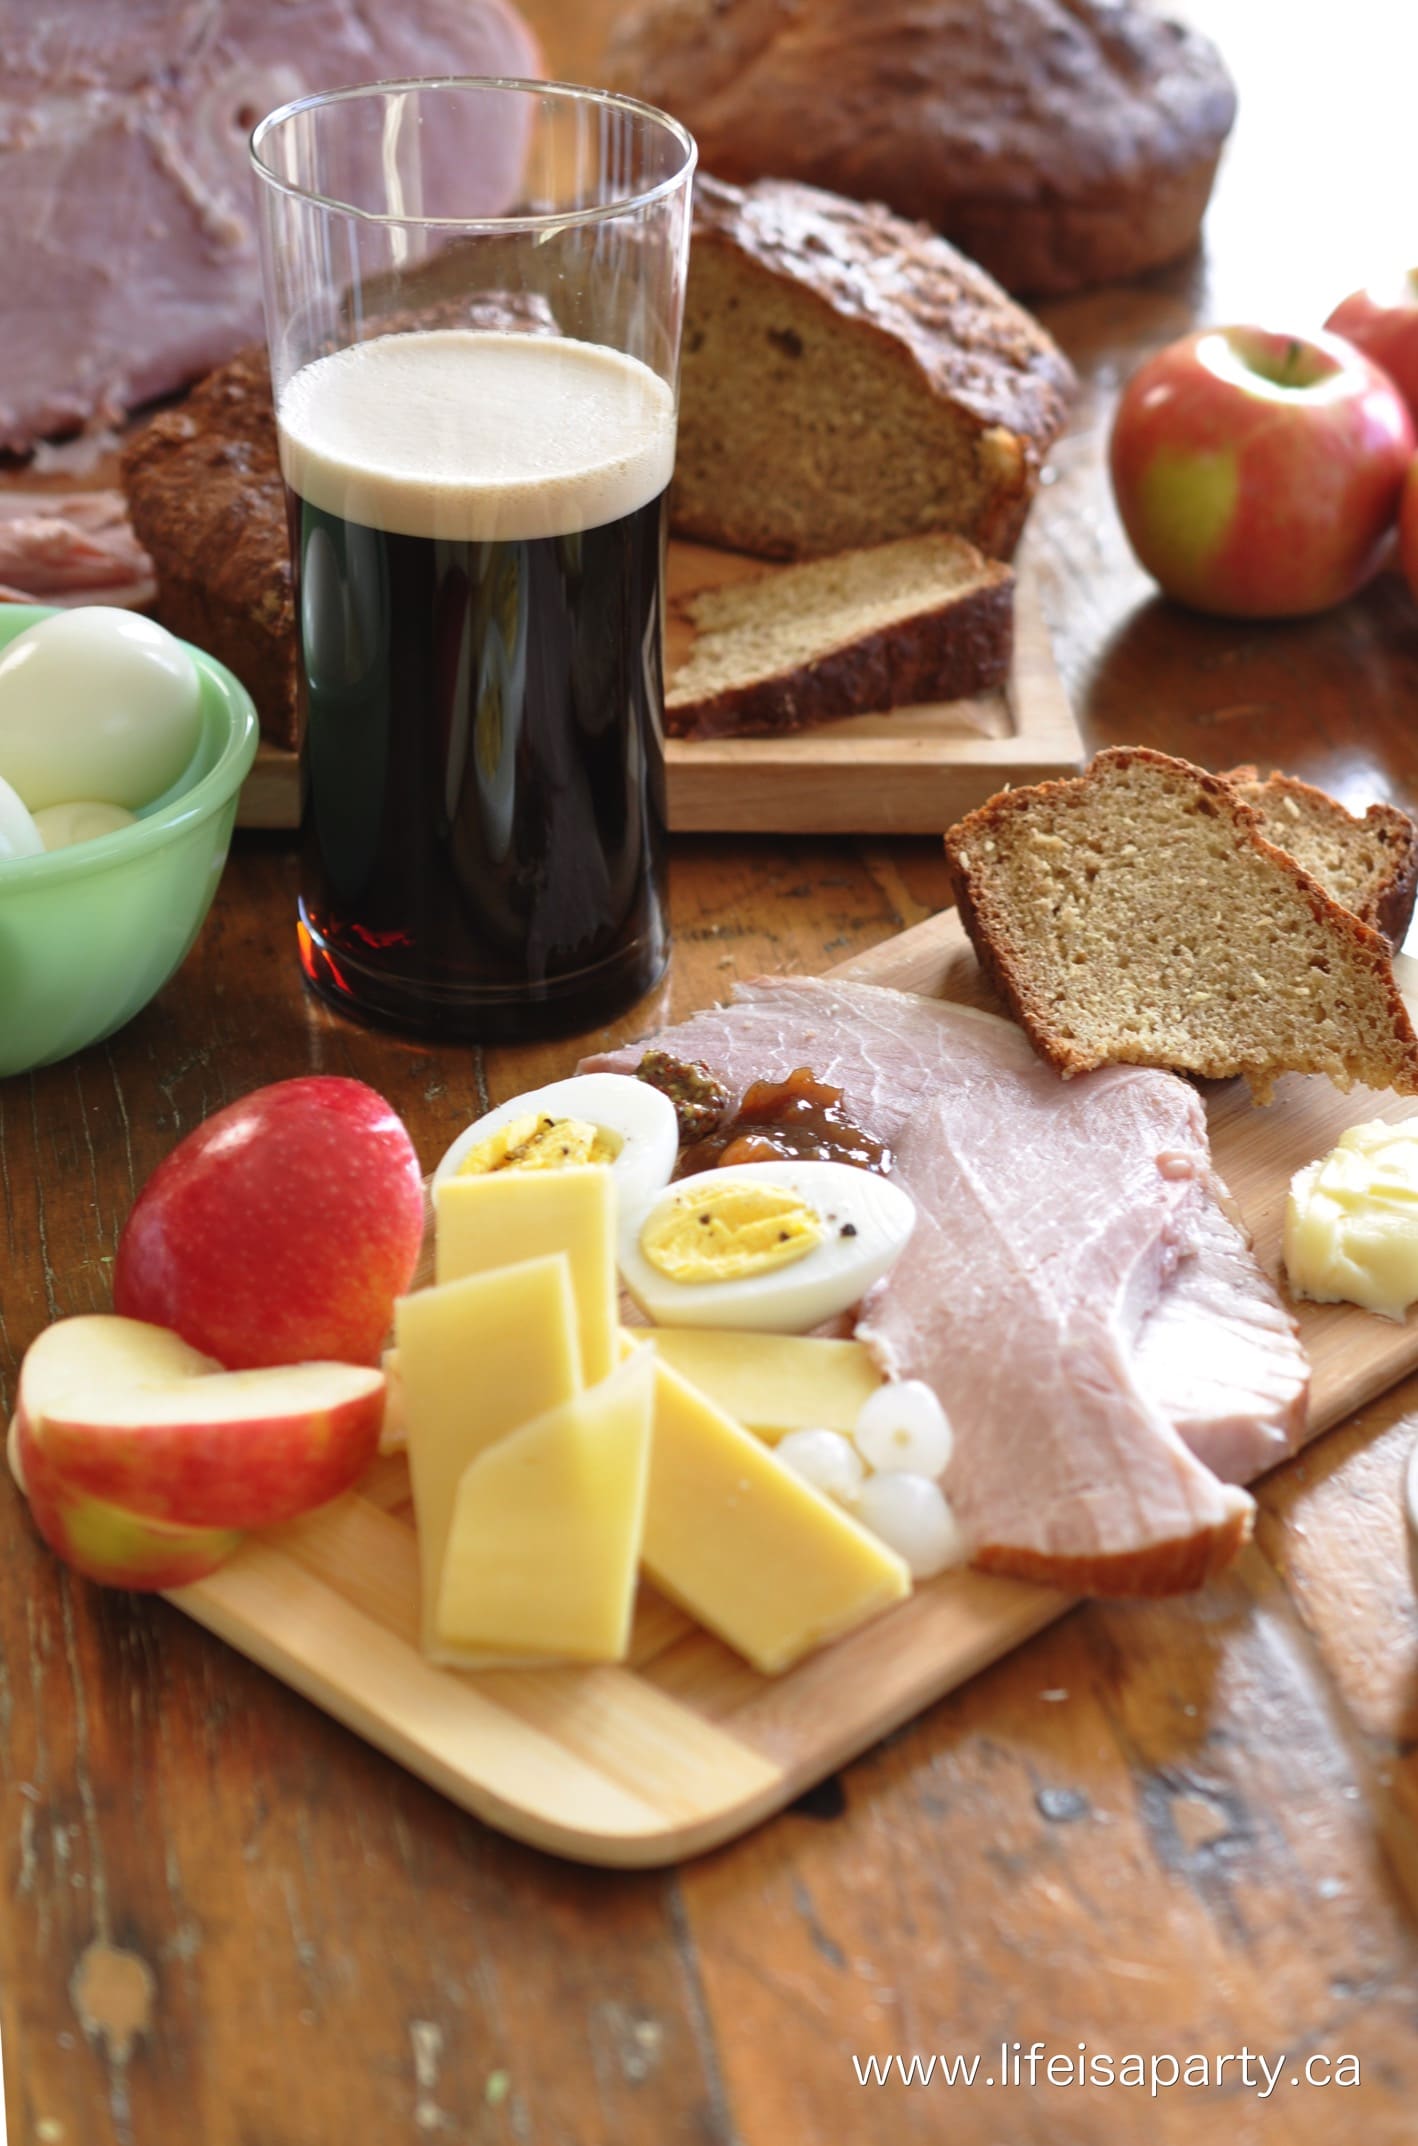
Last year I put together a fall bar cart, and we really enjoyed trying some different pumpkin beers and hard apple ciders. It was fun when guests came over too, to offer them something different and seasonal.

Thanksgiving Hostess Gift
So this year when I wanted to pick up a few more again, I got thinking what a lovely gift they would make. And it's totally perfect for bringing to Thanksgiving or Friendsgiving dinner too. The checky card makes it extra smile worthy.
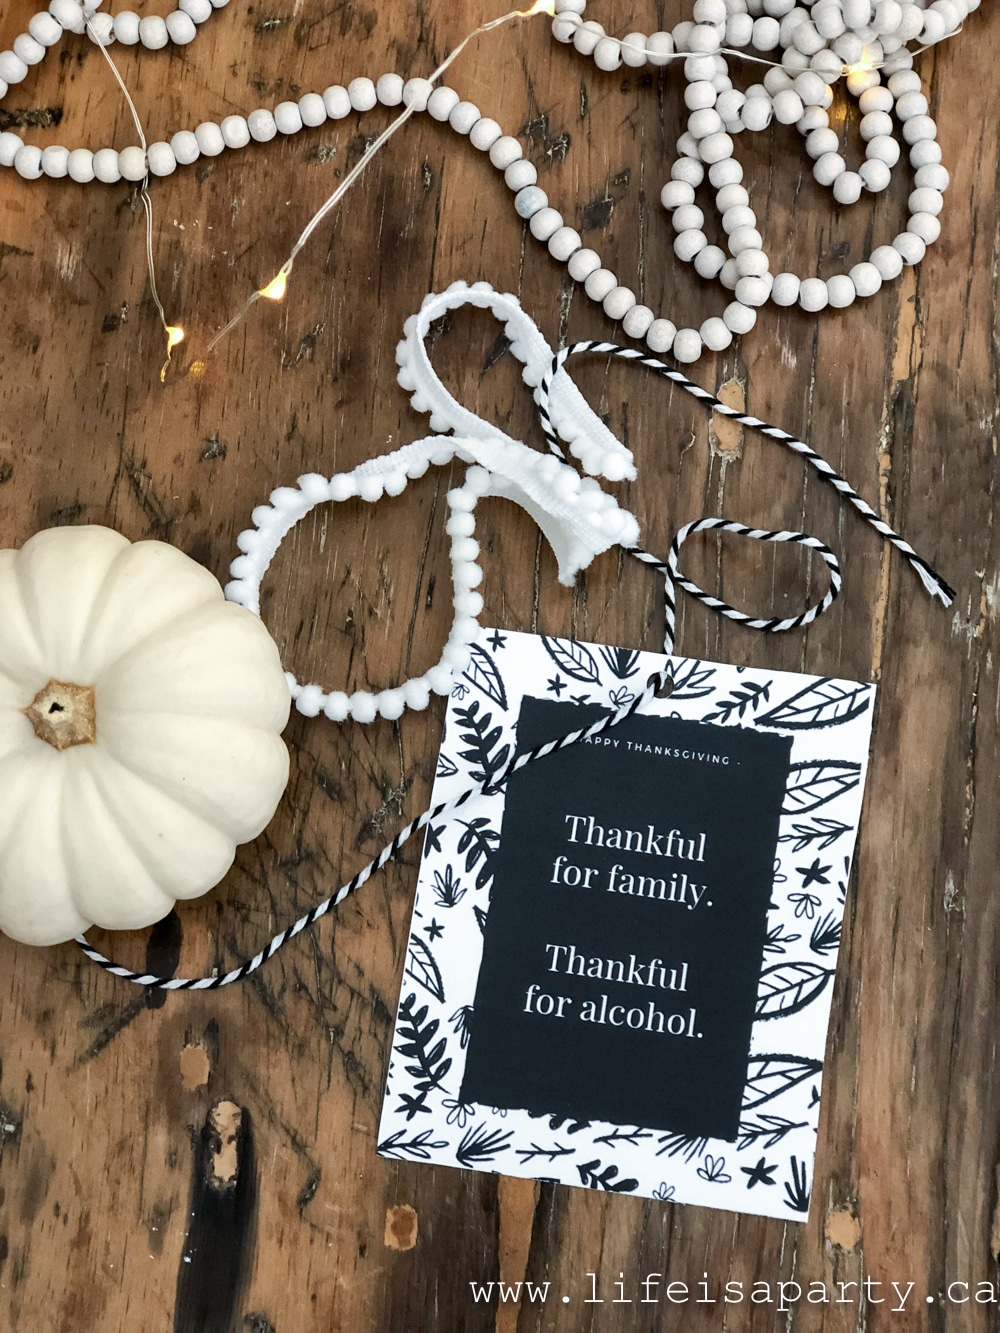
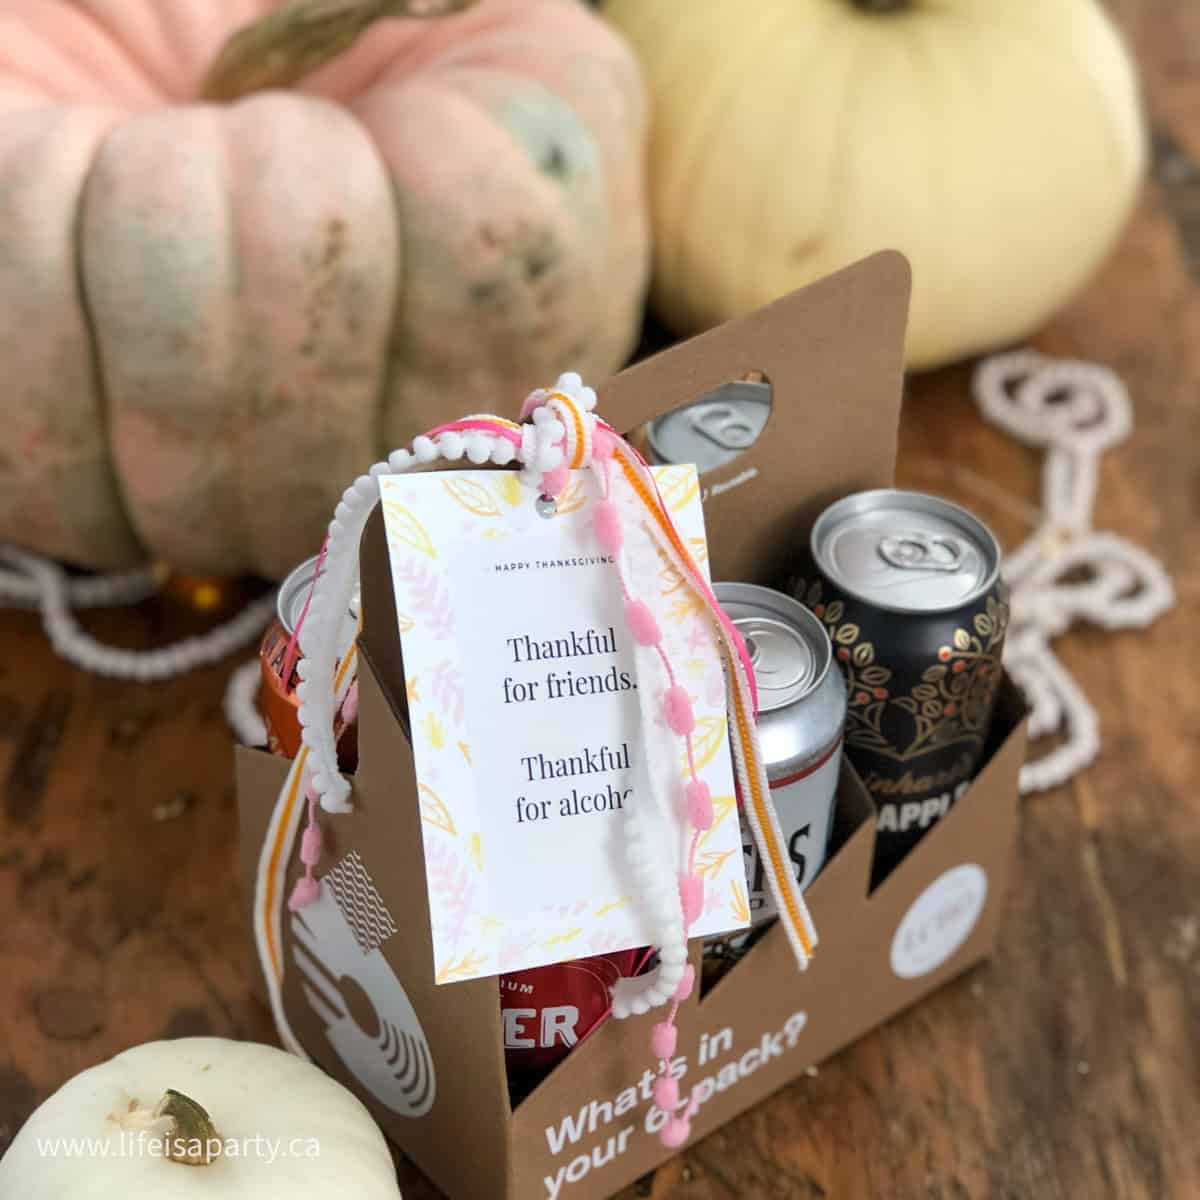
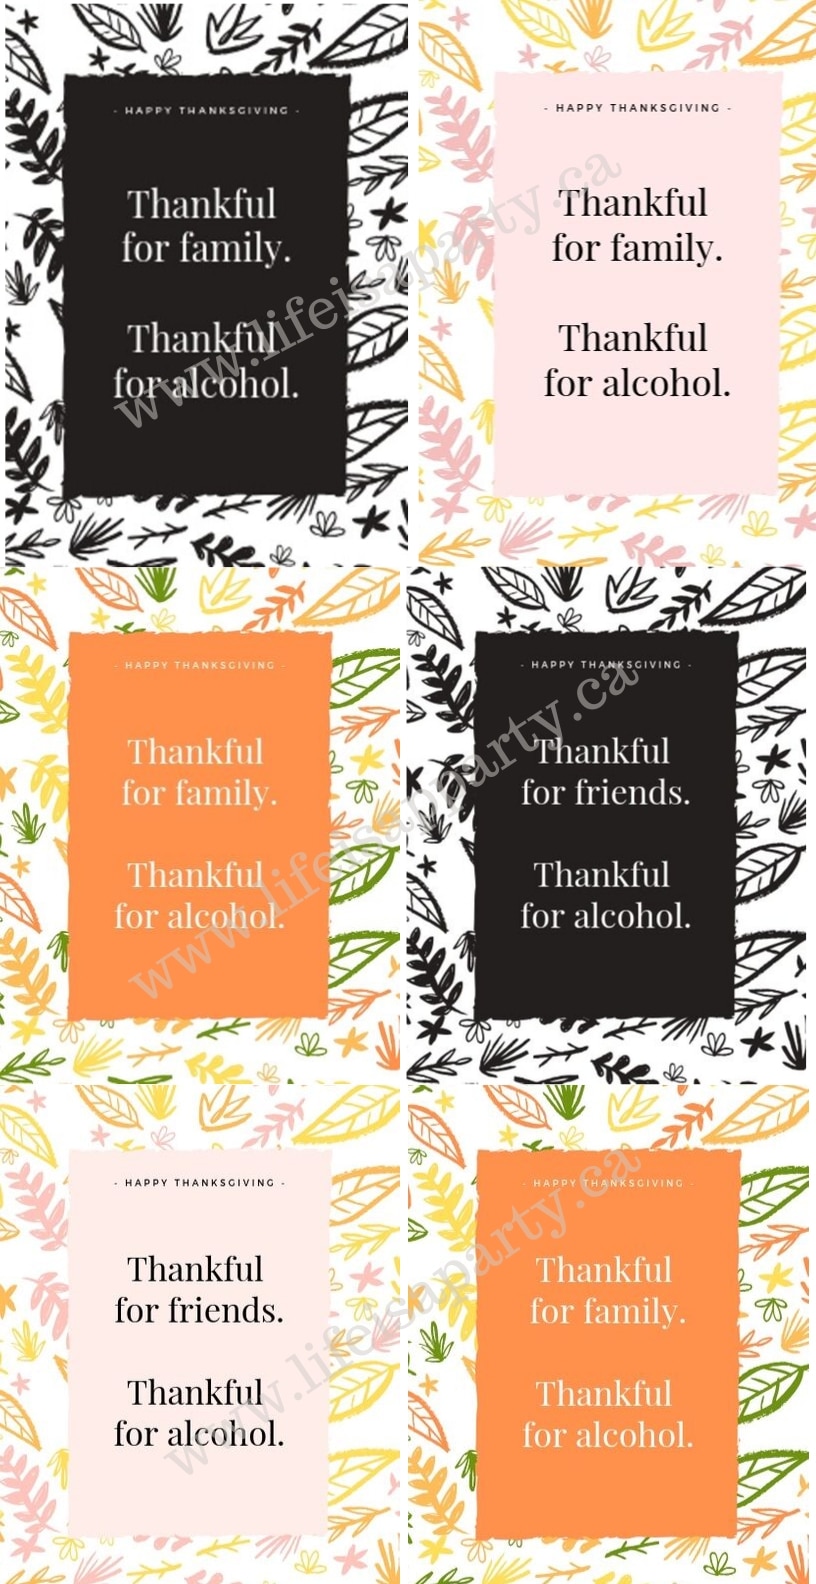
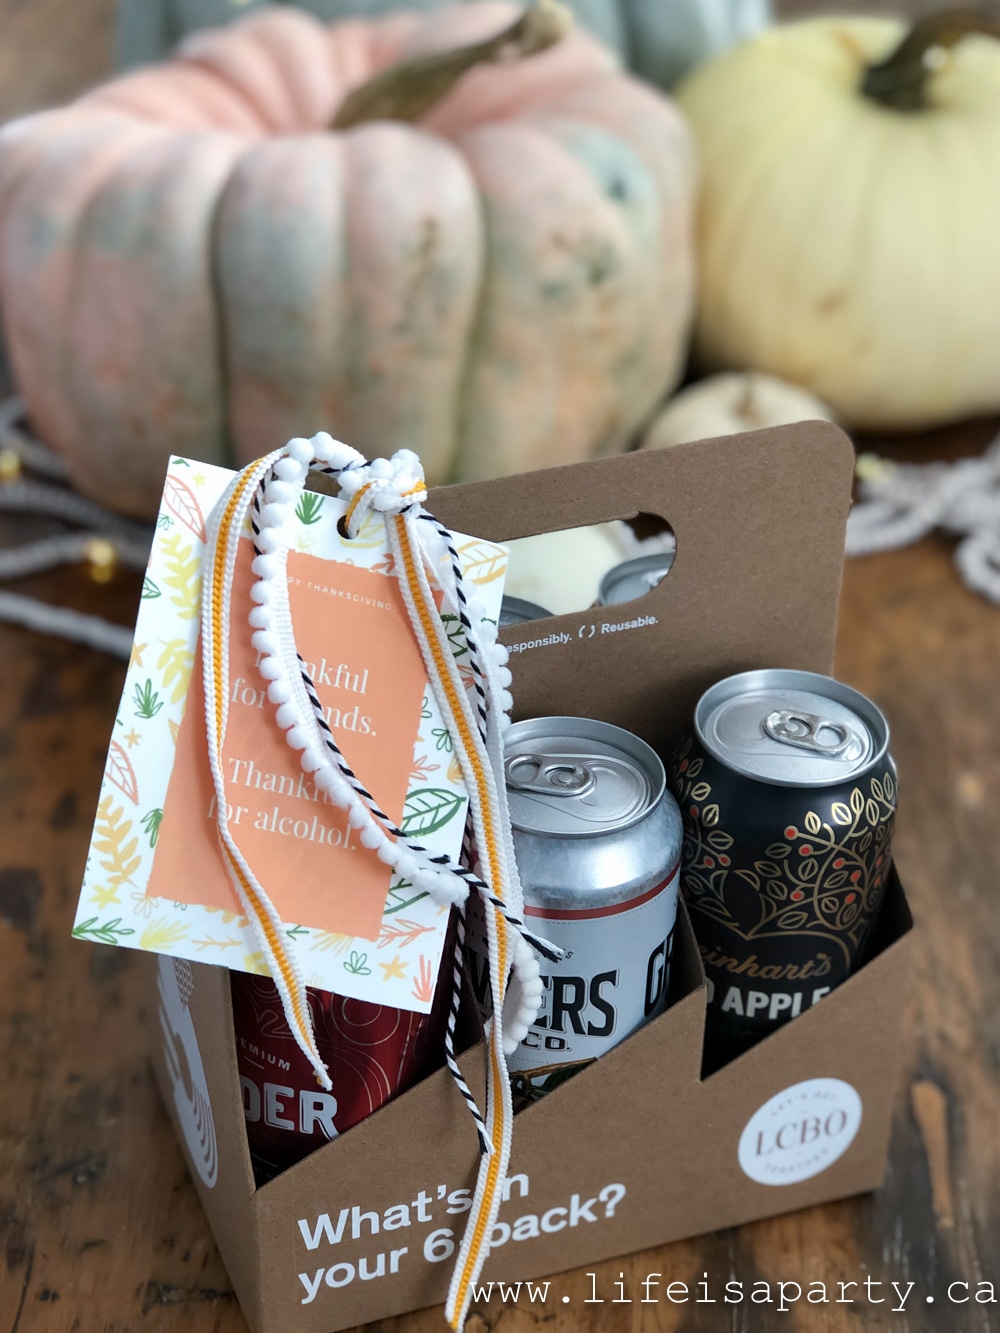
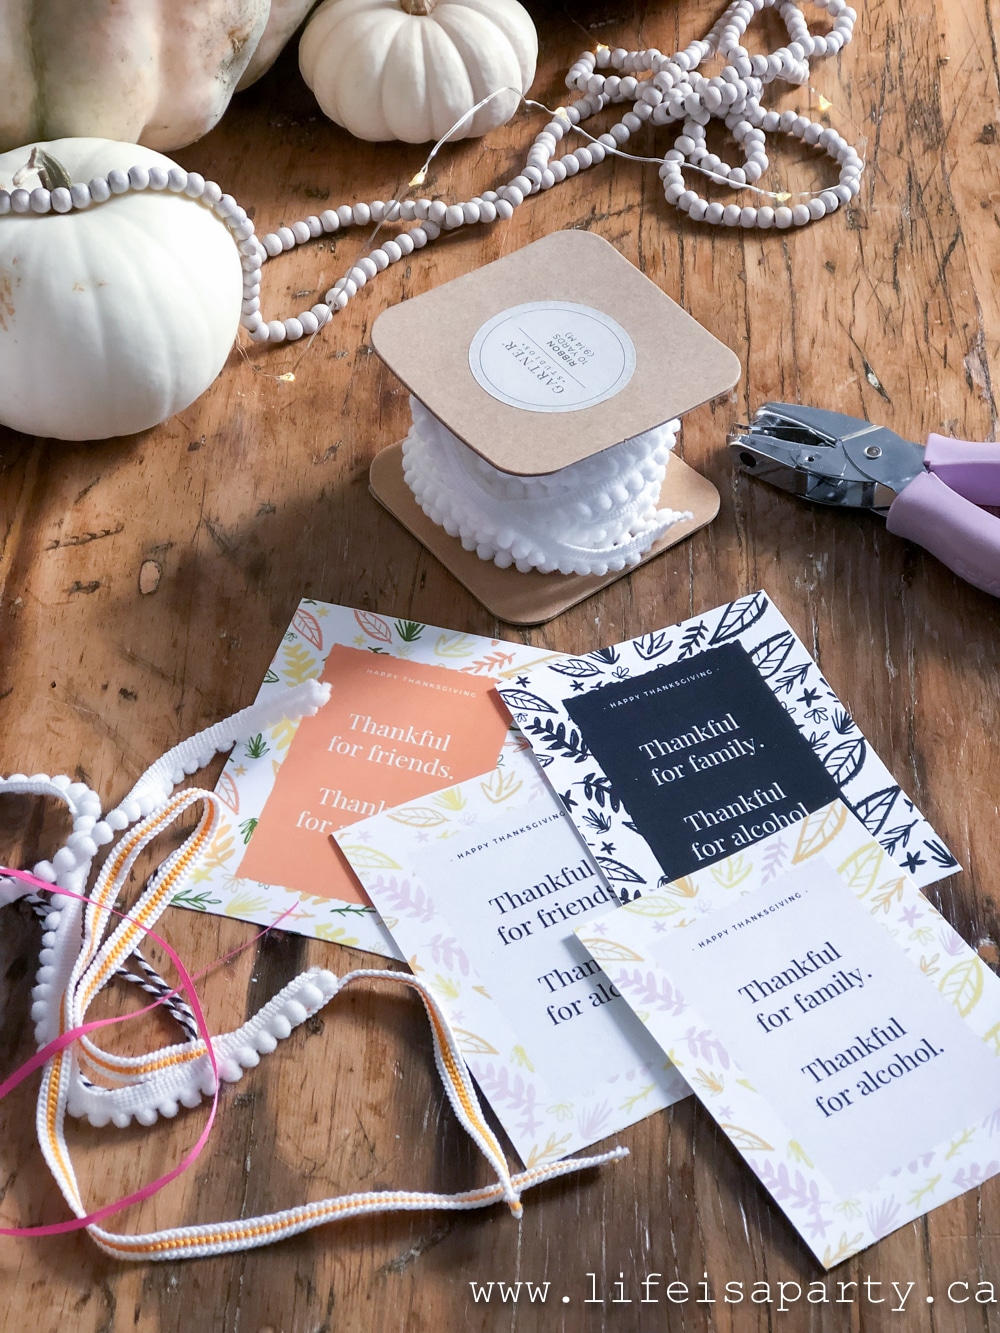
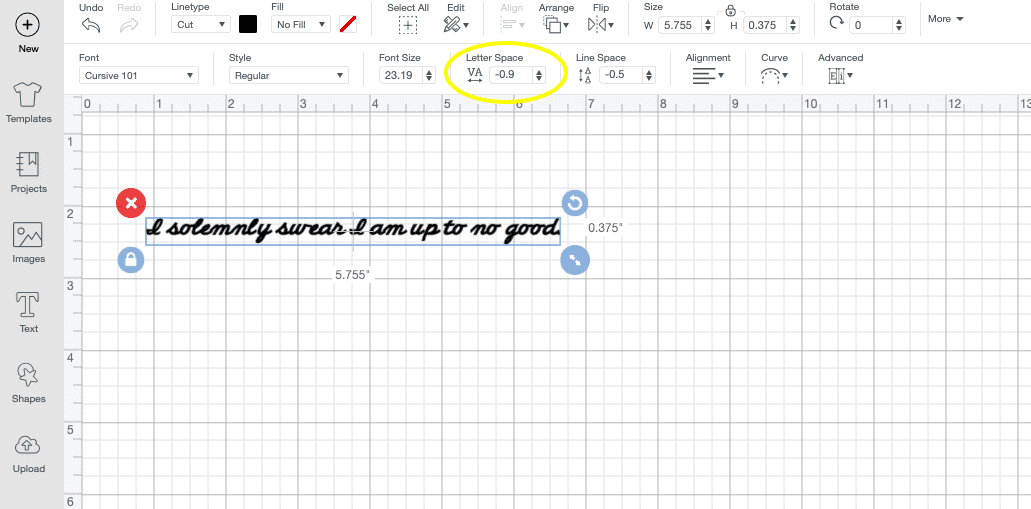
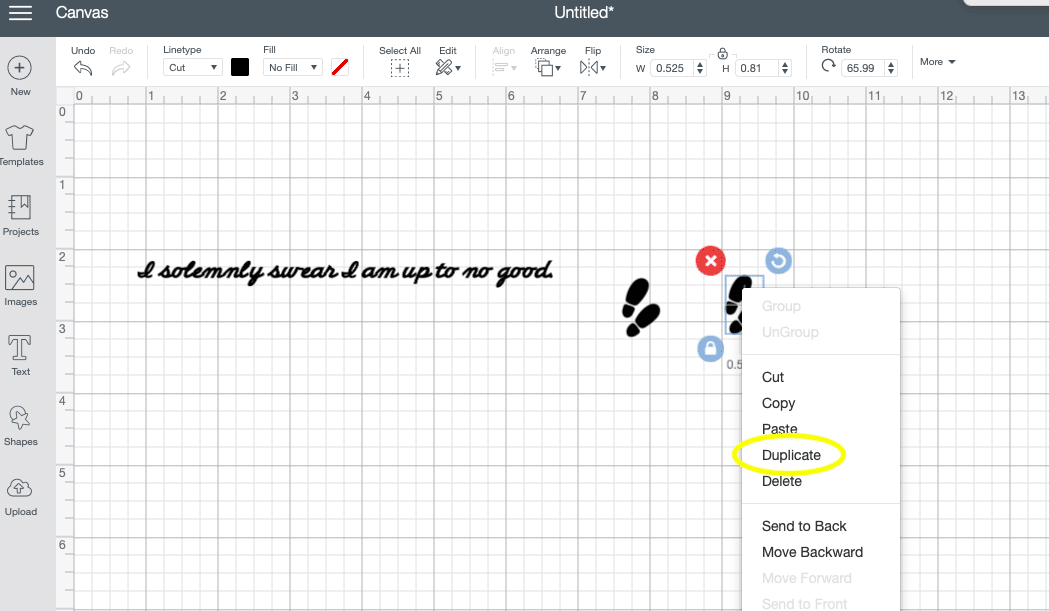
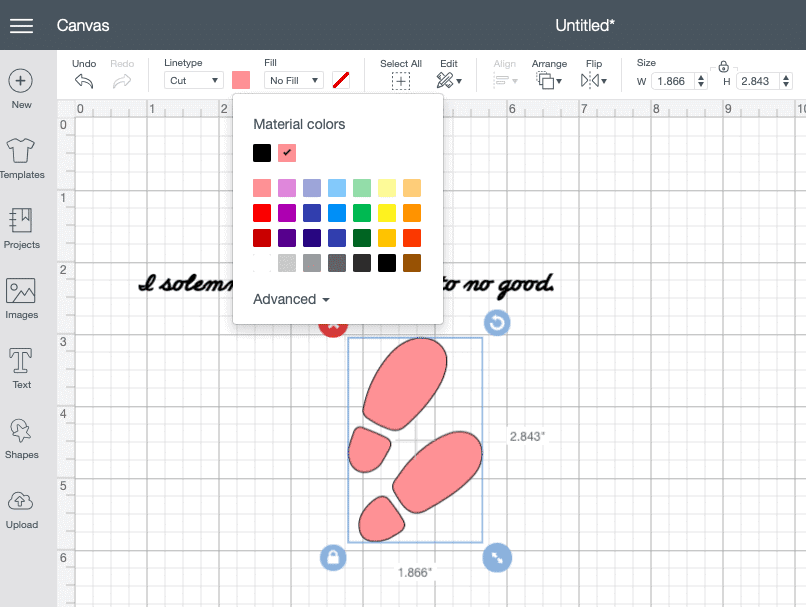
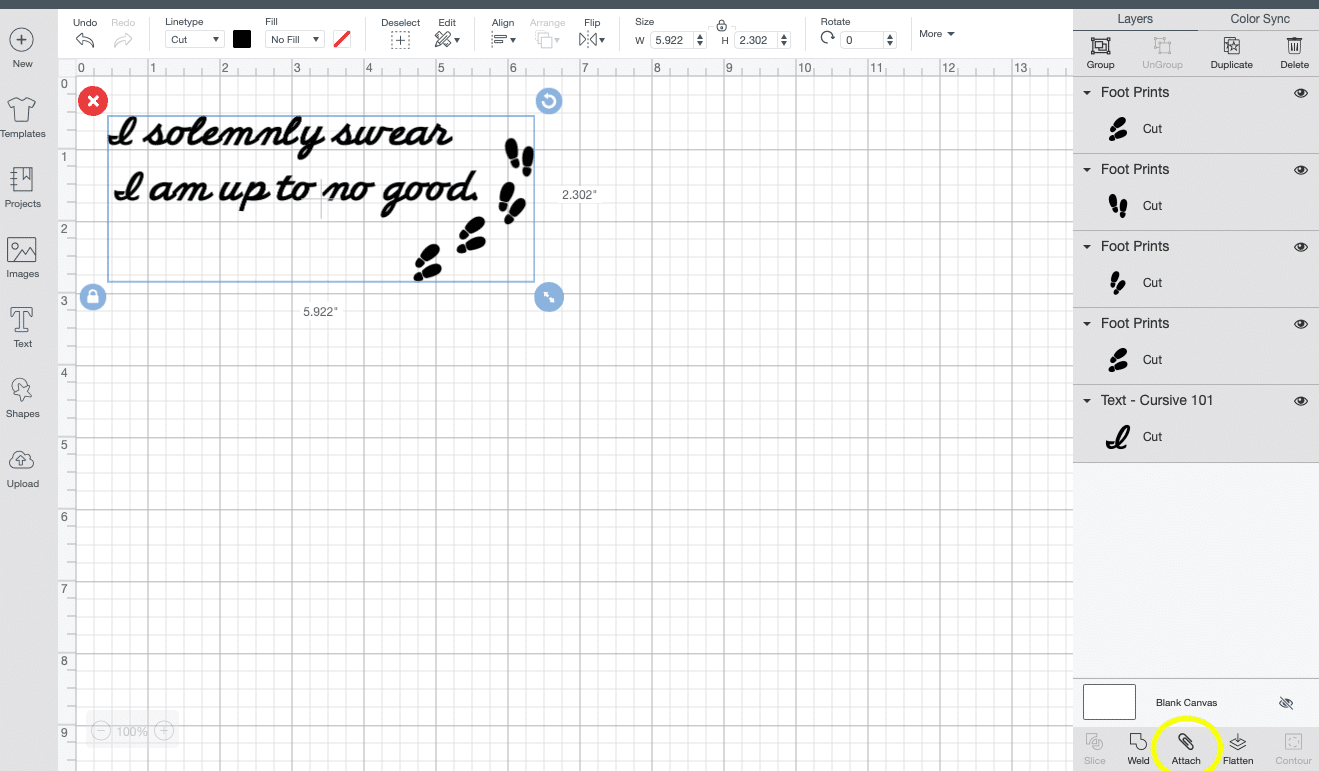
I made a couple versions of the gift tag -ones for friends and one for family depending on where you're headed for Thanksgiving. I also made each one in black and white, pink and yellow, or traditional fall colours -so just choose your favourite.
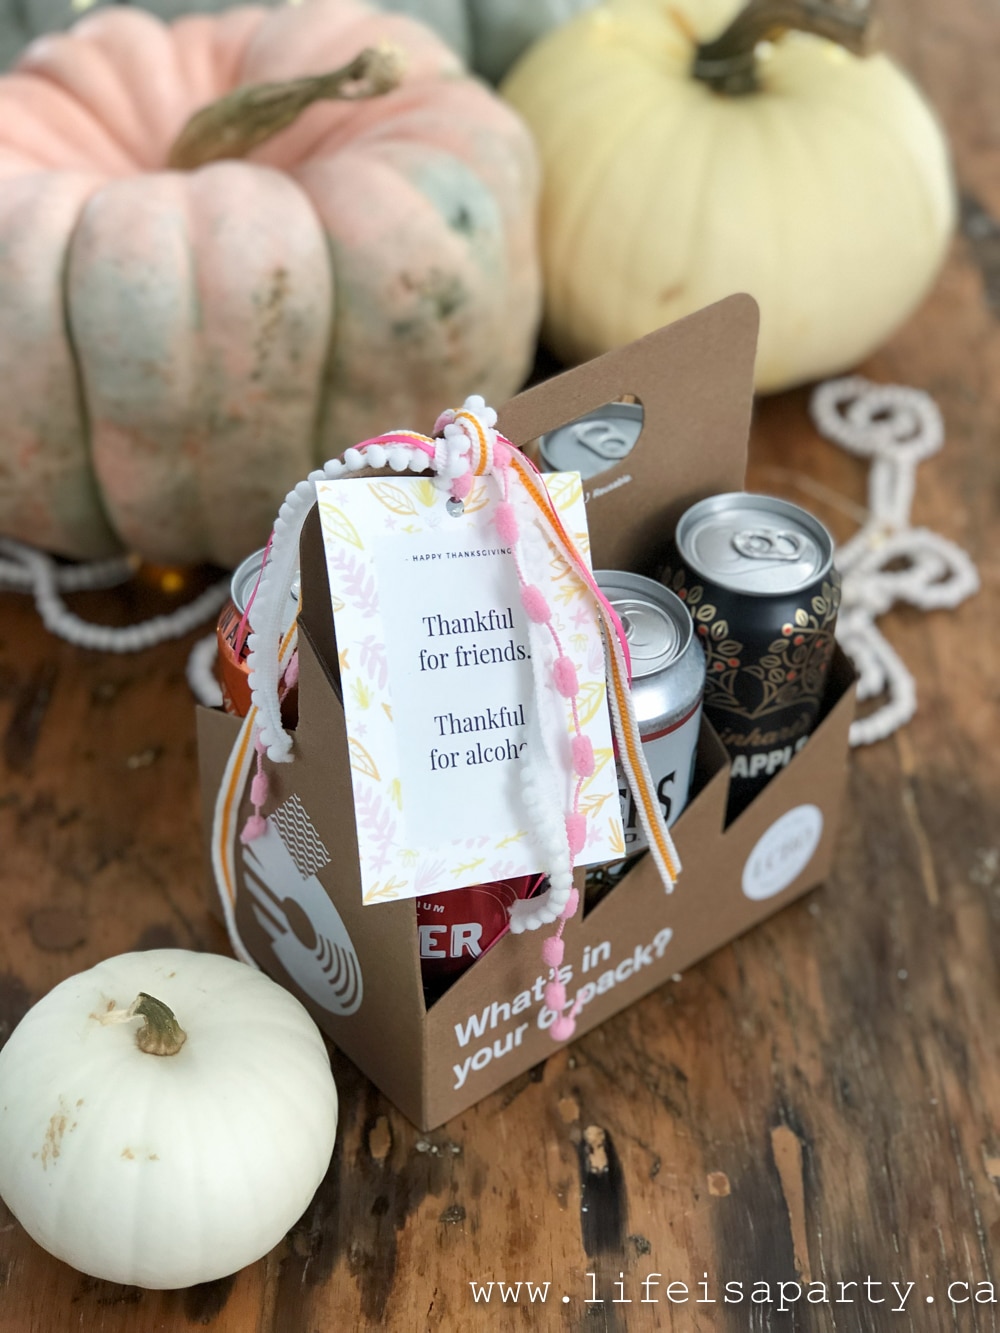
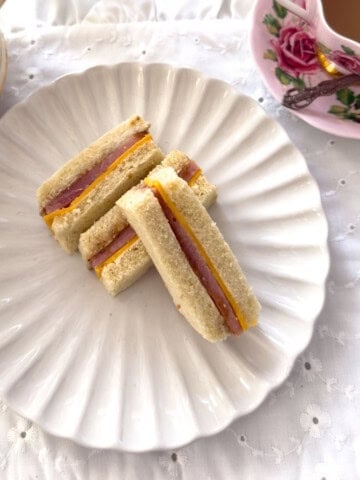
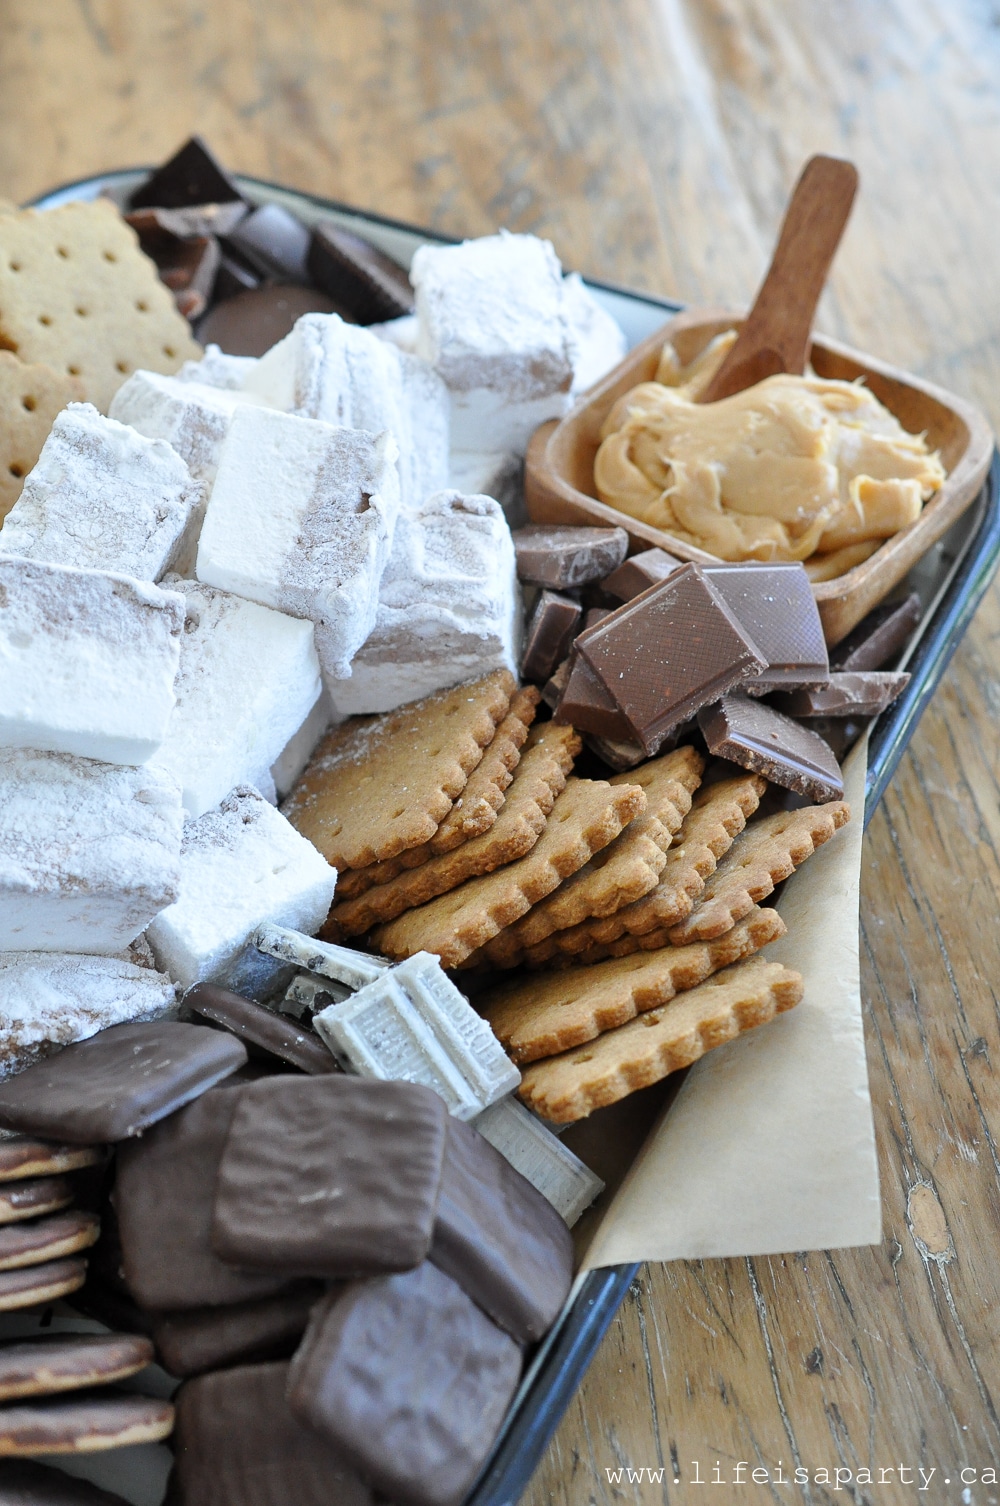
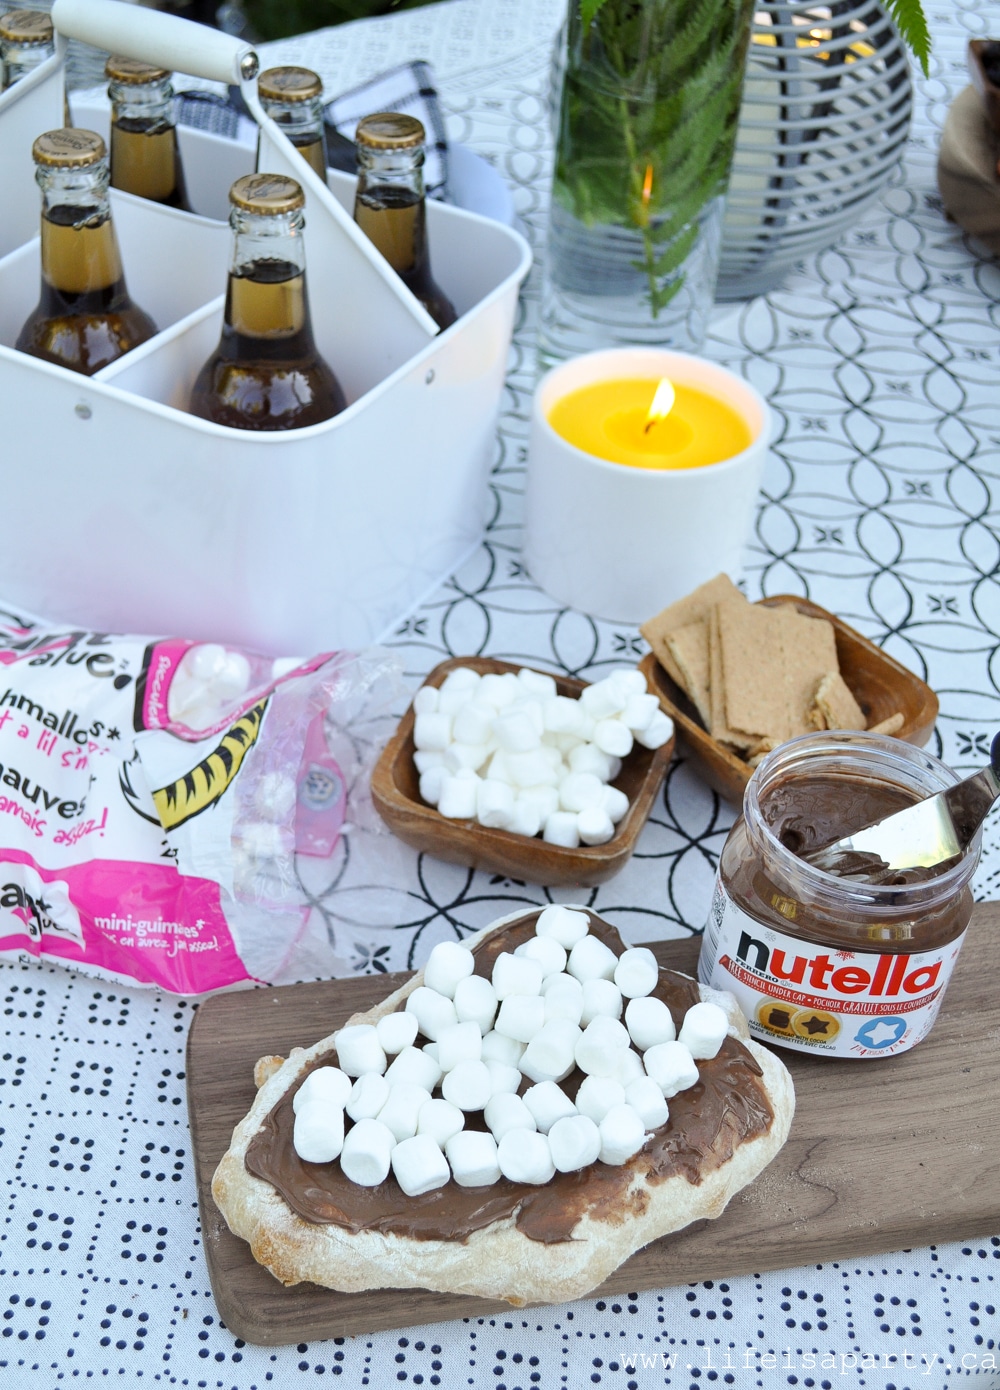
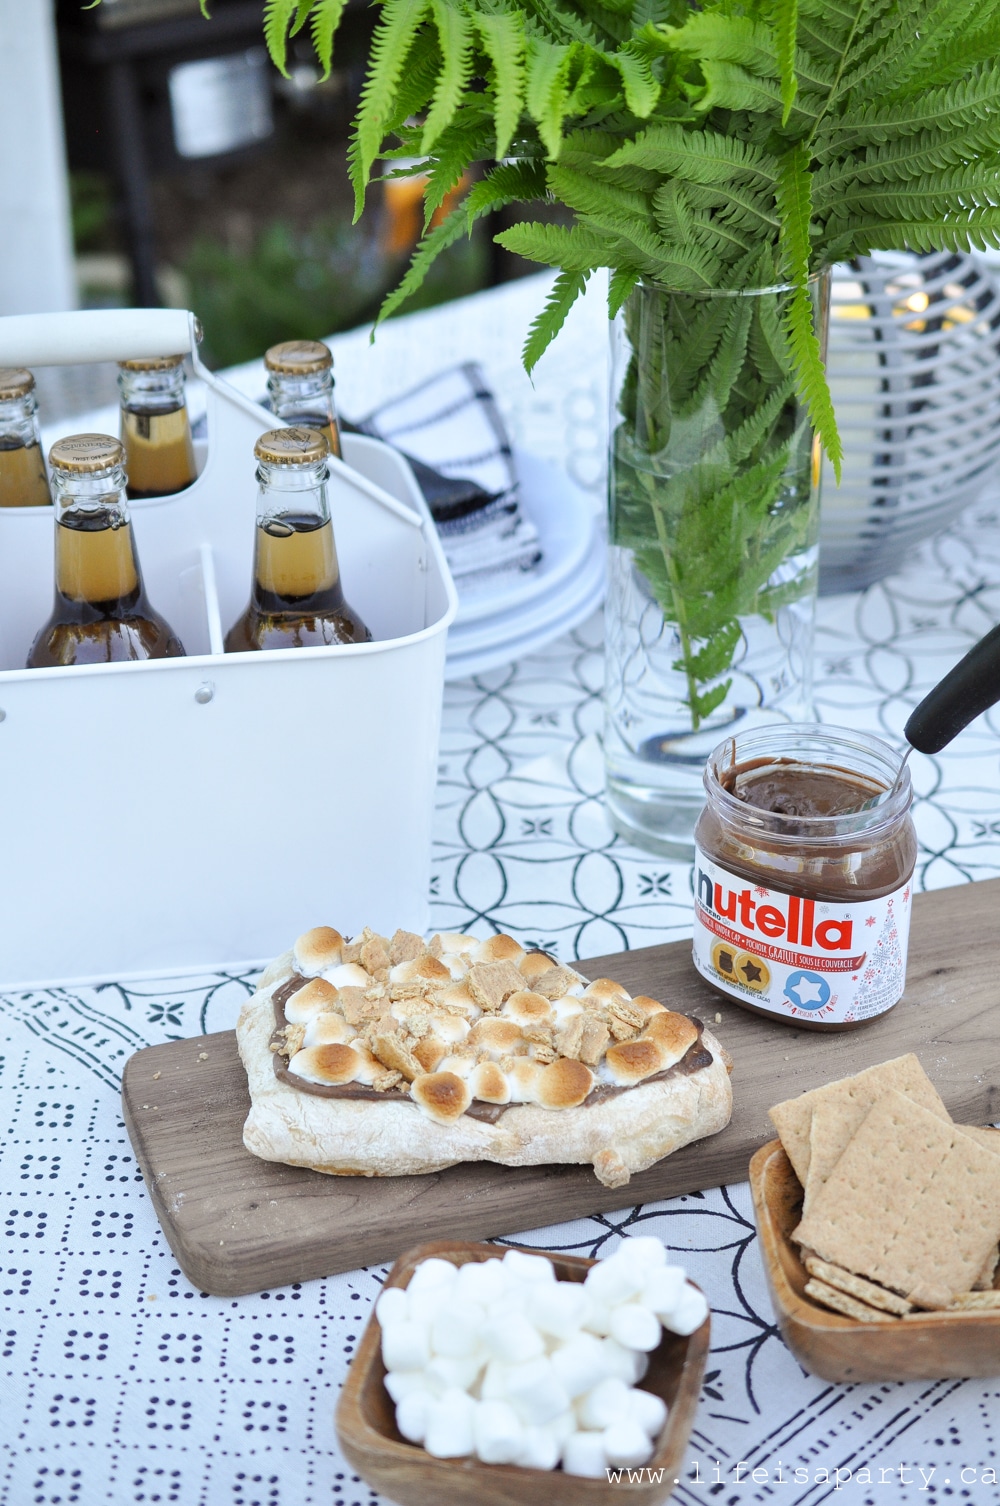
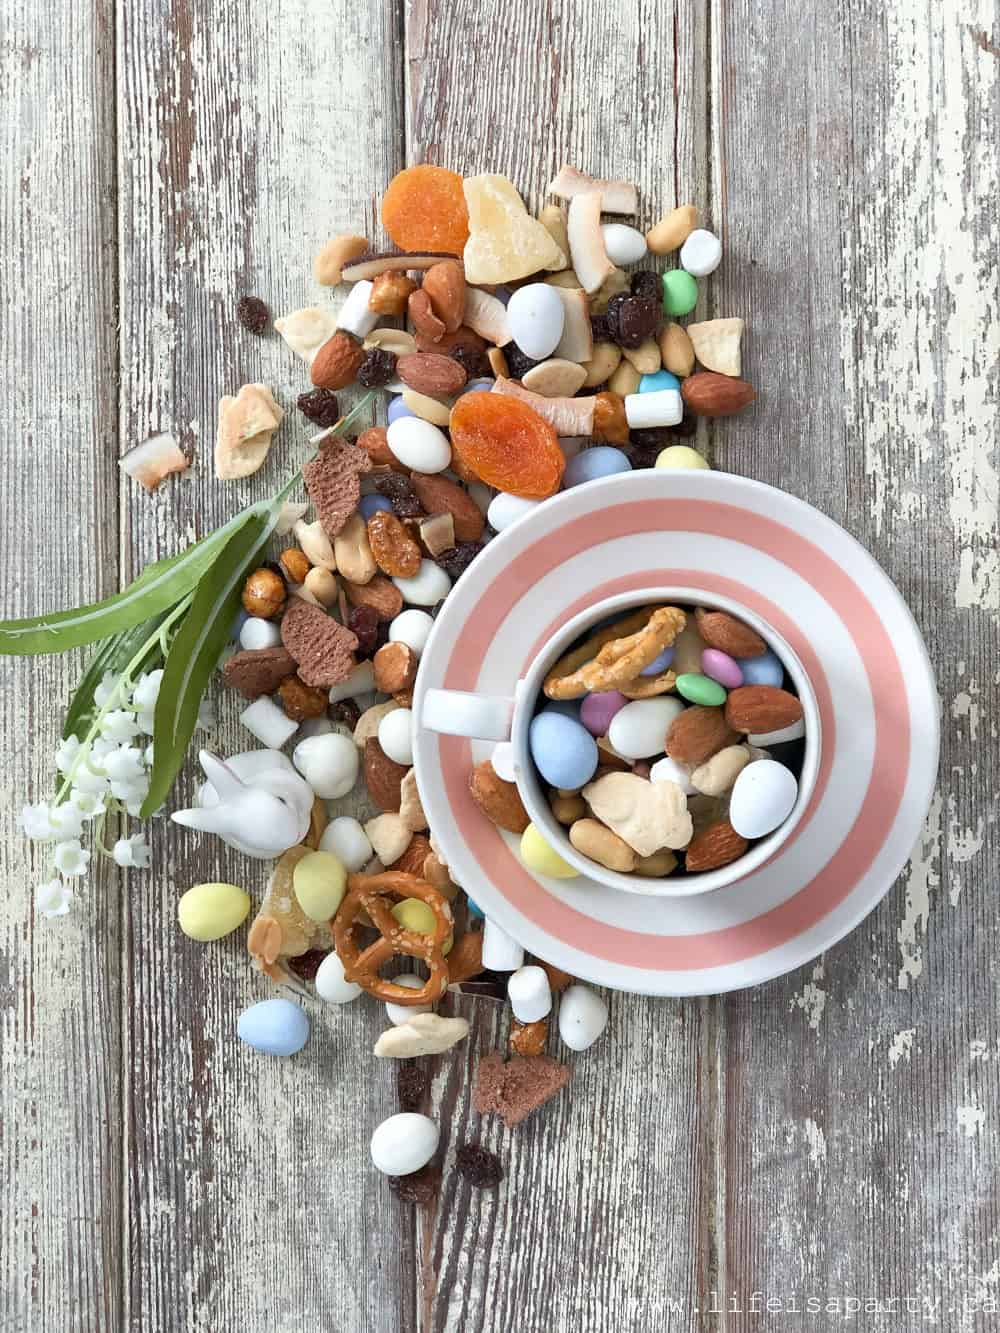
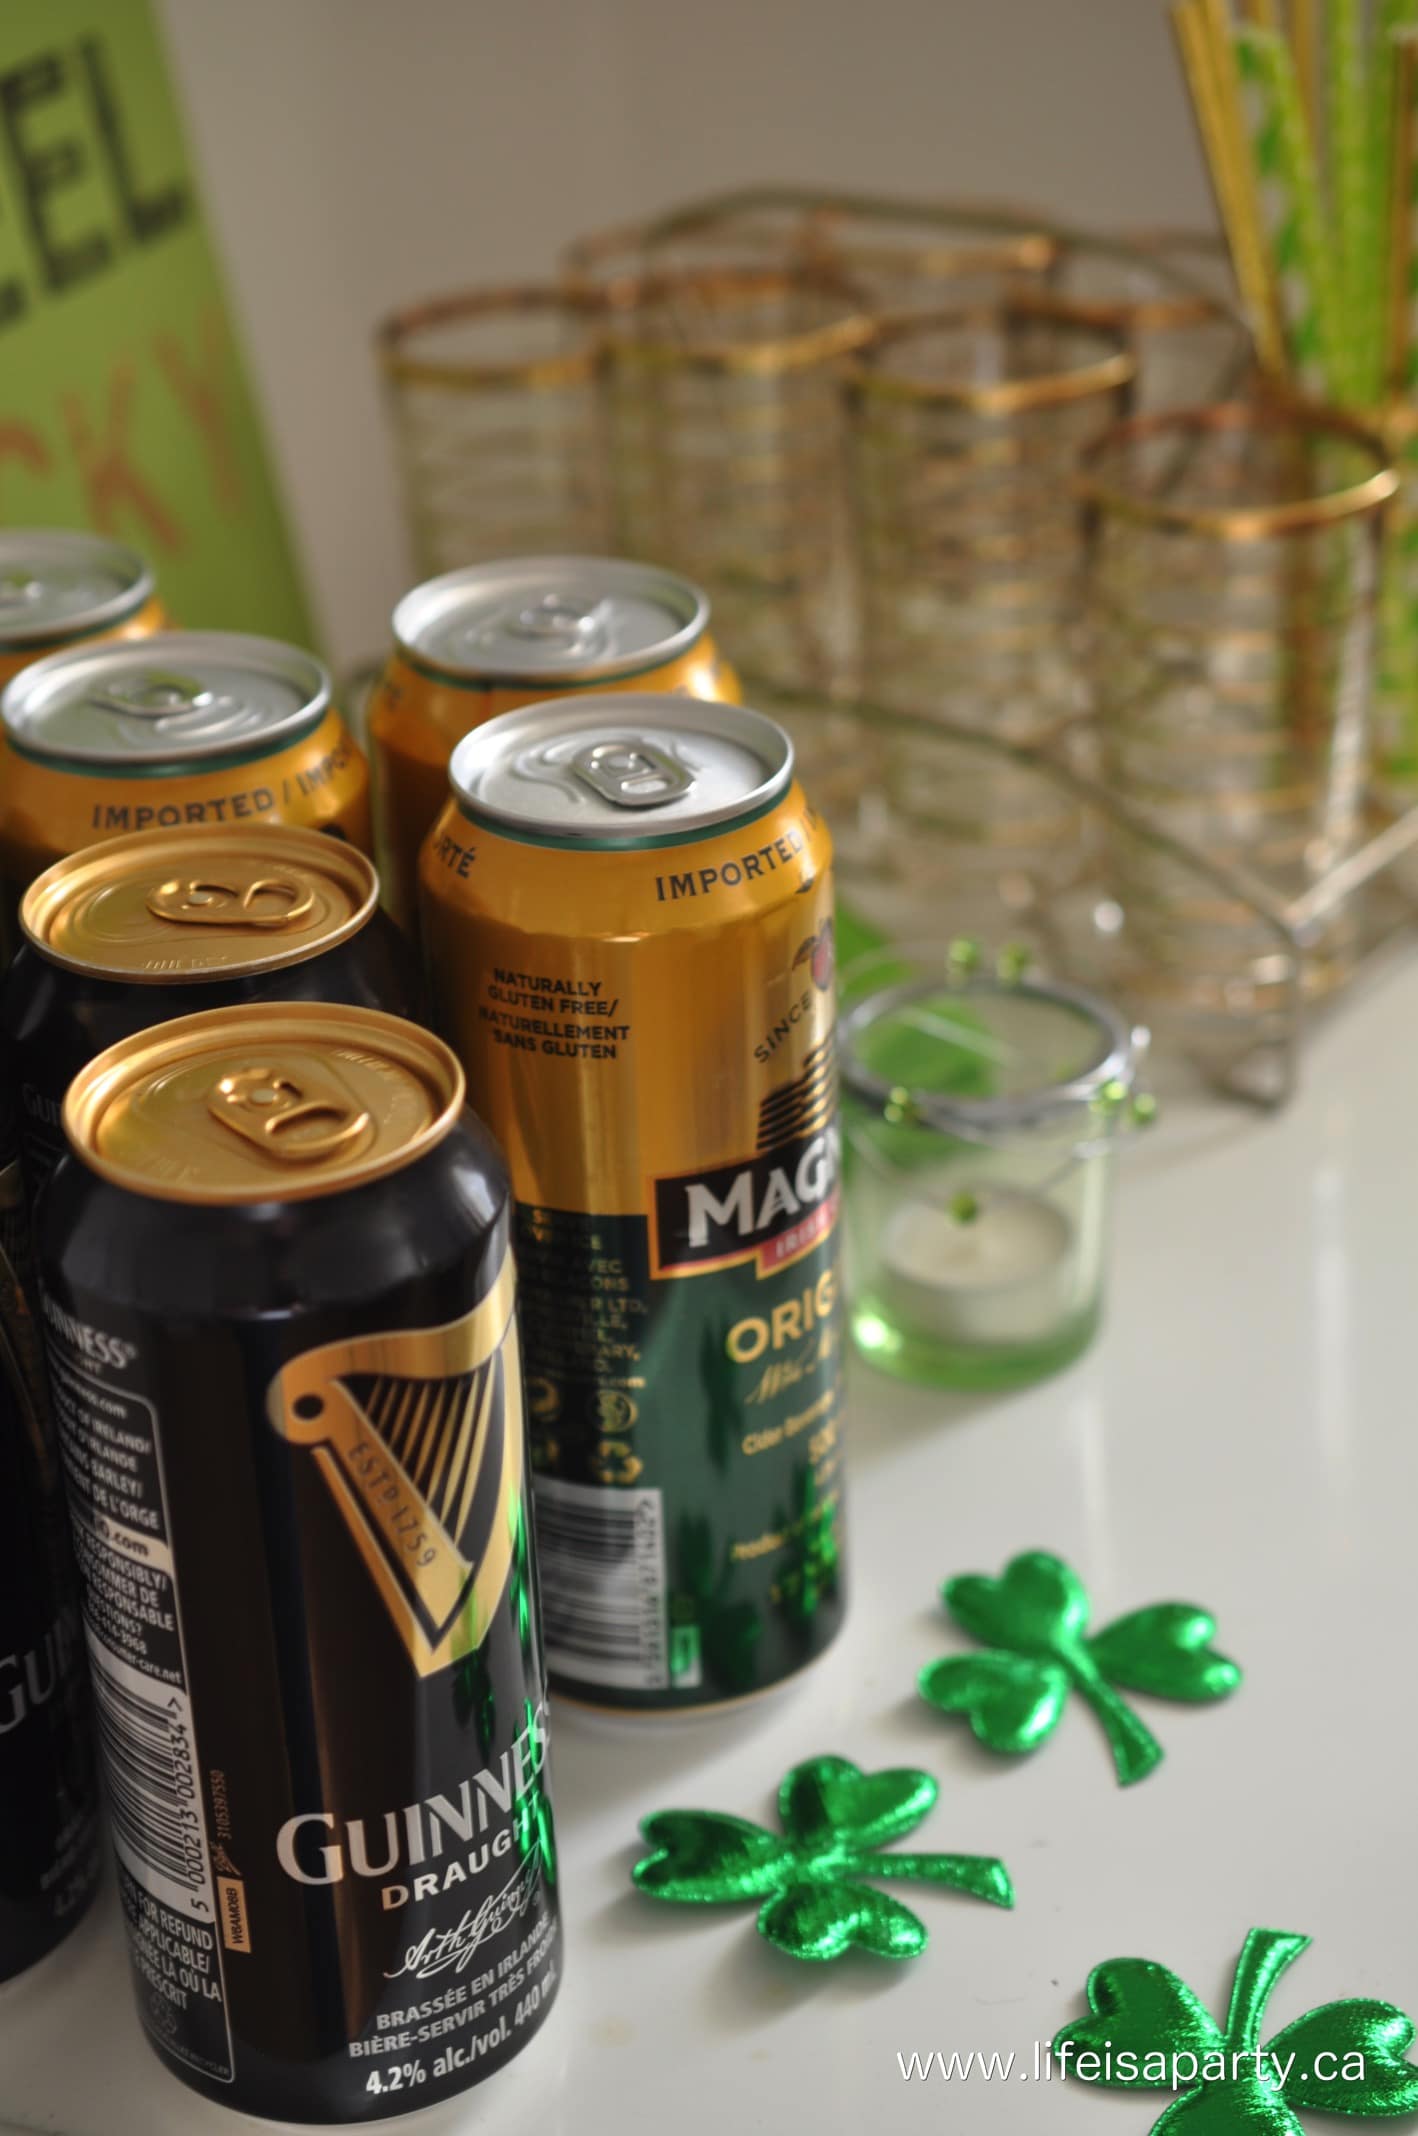
The LCBO has these 6 pack carry cases for free in store, so it's perfect for creating your own little variety pack. I thought it was fun to get a variety to try out. I did three pumpkins beers, and three ciders. You could of course go with all pumpkin, or all cider if you prefer. In fact this little tag would be fun for any type of alcohol, including a bottle of wine.
Materials
- 6 pack of pumpkin beer or cider, or your choose of alcohol
- printable gift tag
- hole punch
- ribbon
To Put It Together
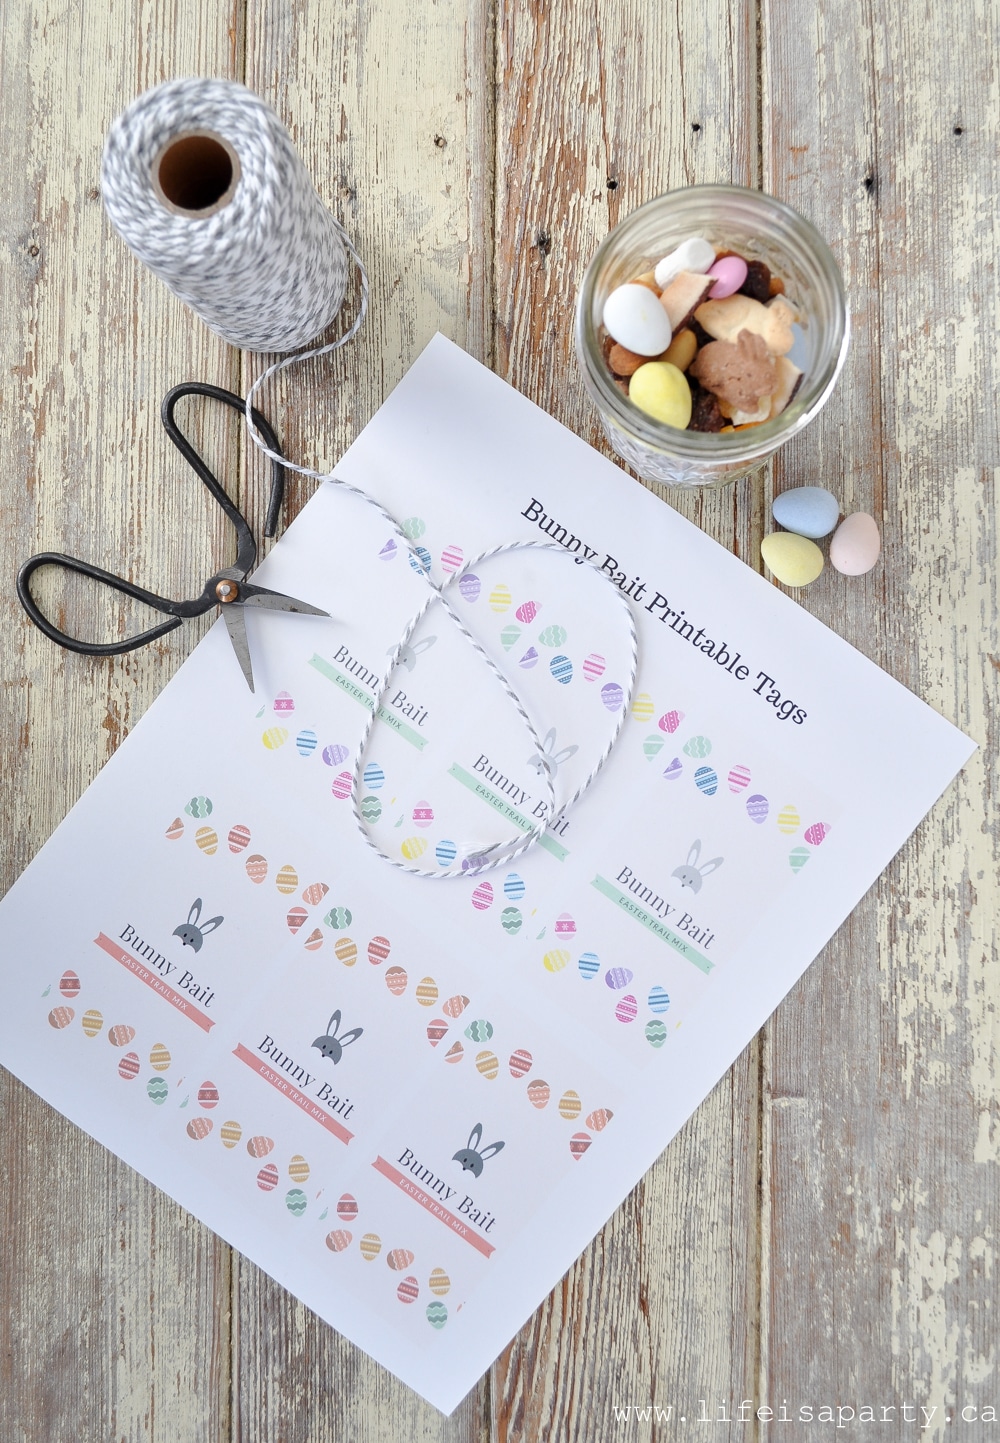
- Download the gift tag from our free printable library. Not a member yet? Subscribe below and gain access to this tag, and lots more free printables.
- Cut out the tag, and punch a hole in the top.
- Tie it on to the alcohol of your choose, and you're all ready for gift giving.
It's always nice to bring a little gift to Thanksgiving get togethers, and this one is sure to bring a smile to everyone's face.
With a perfect Thanksgiving hostess gift, life really is a party!
Want our free printable Thanksgiving Gift Tags? Subscribe to Life is a Party below for access to entire free printable library.
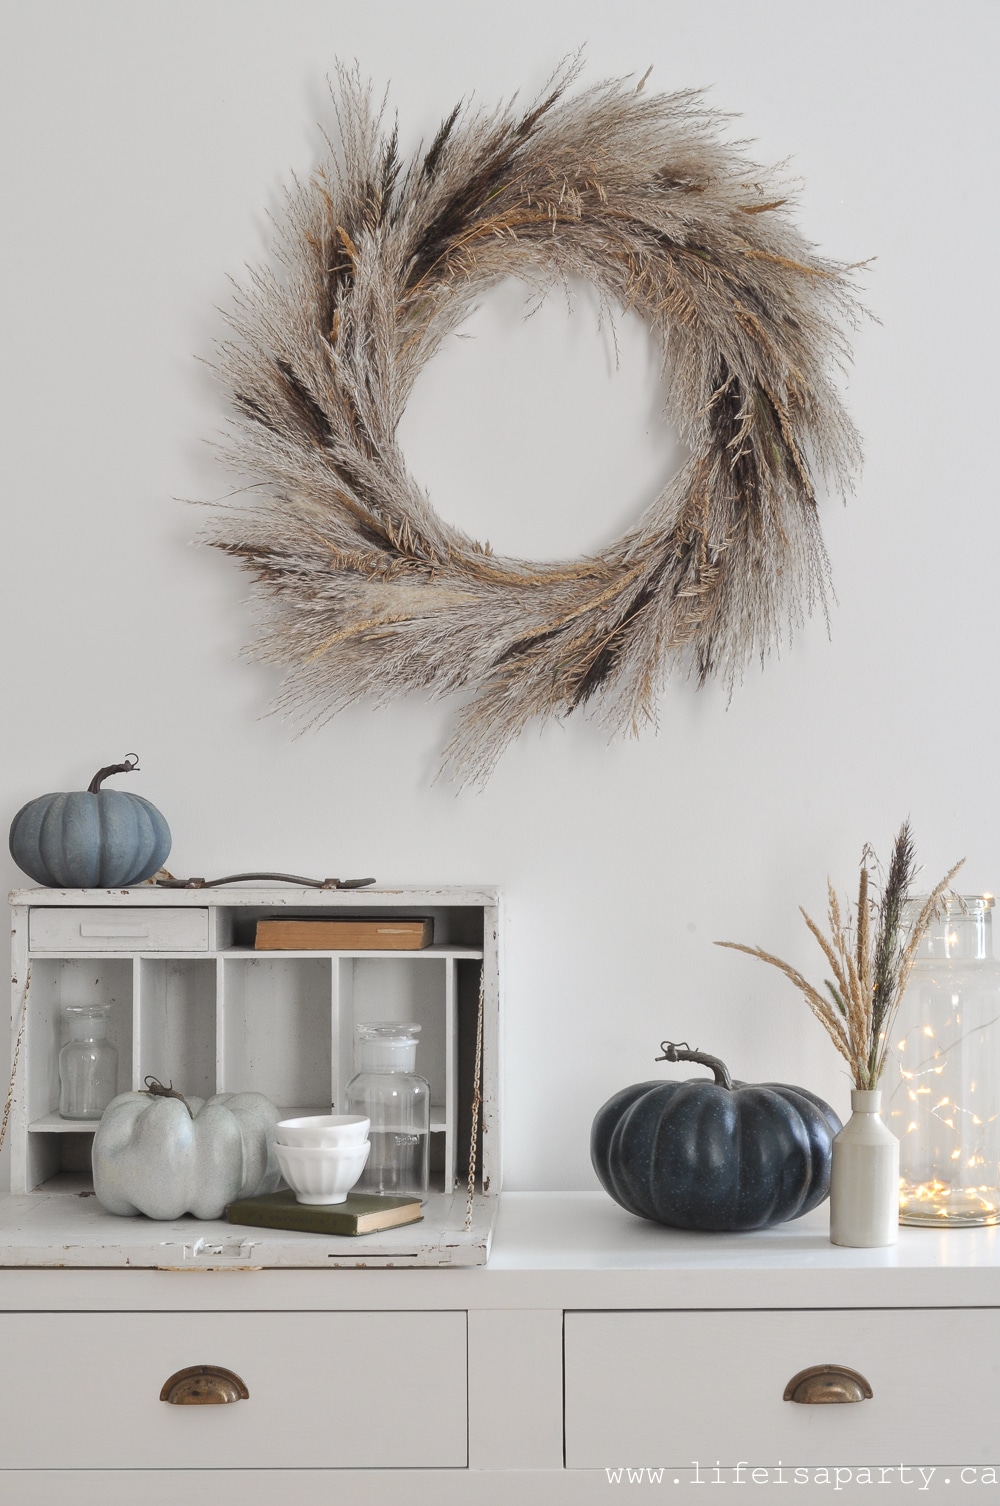
Also check out Black and White Farmhouse Thanksgiving Table here.
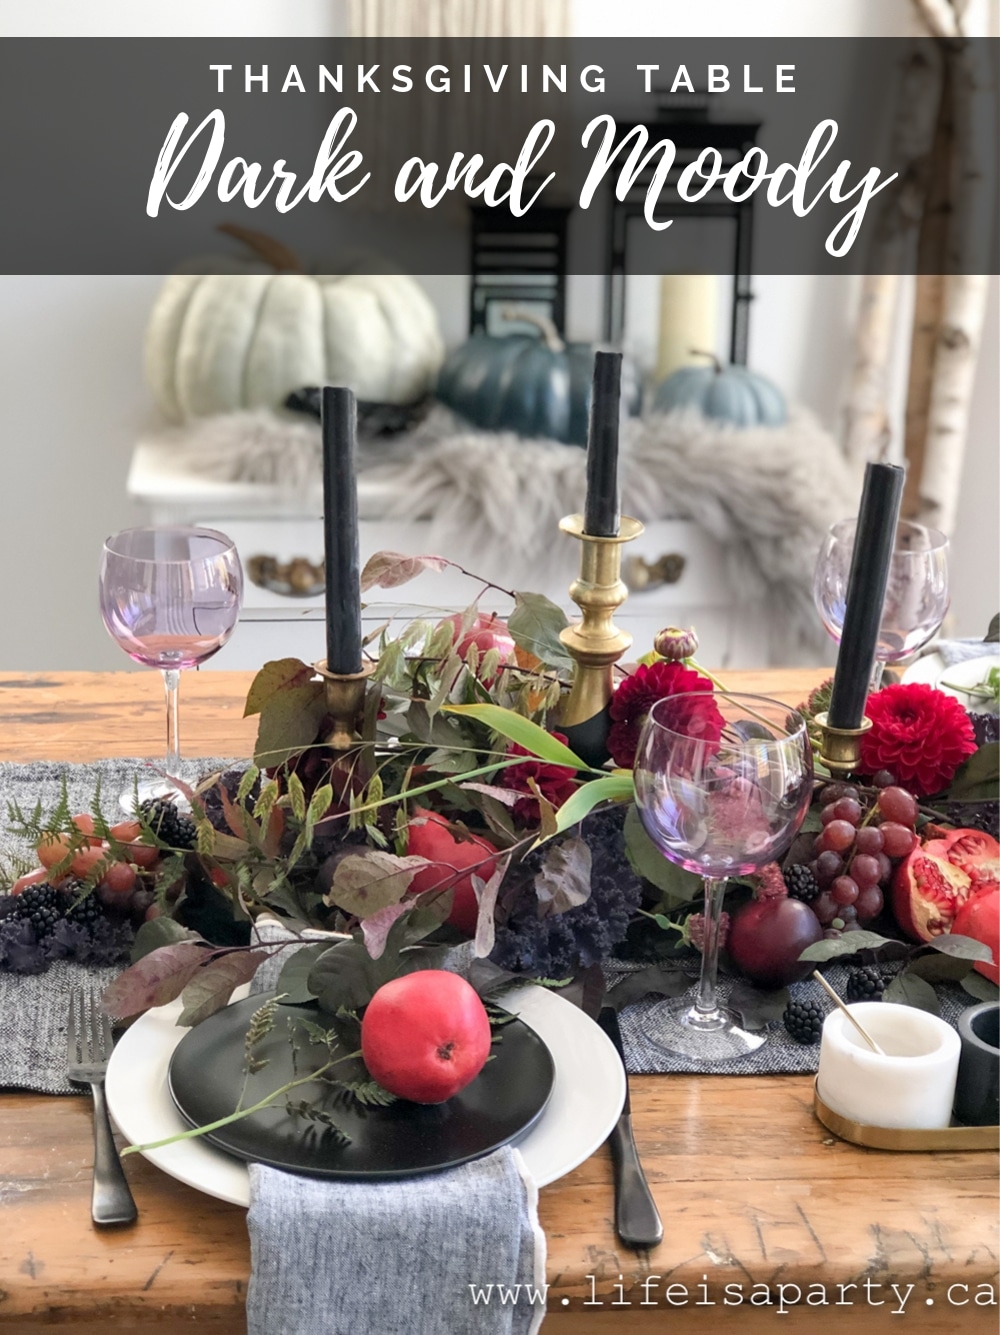
You might also enjoy our Dark and Moody Thanksgiving Table here.


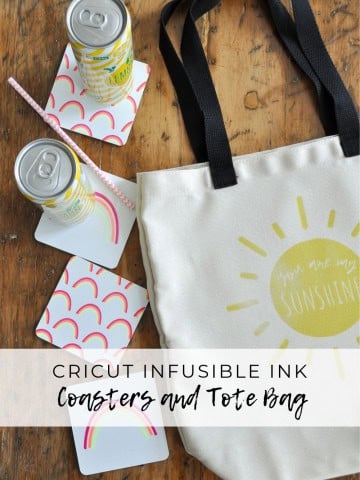
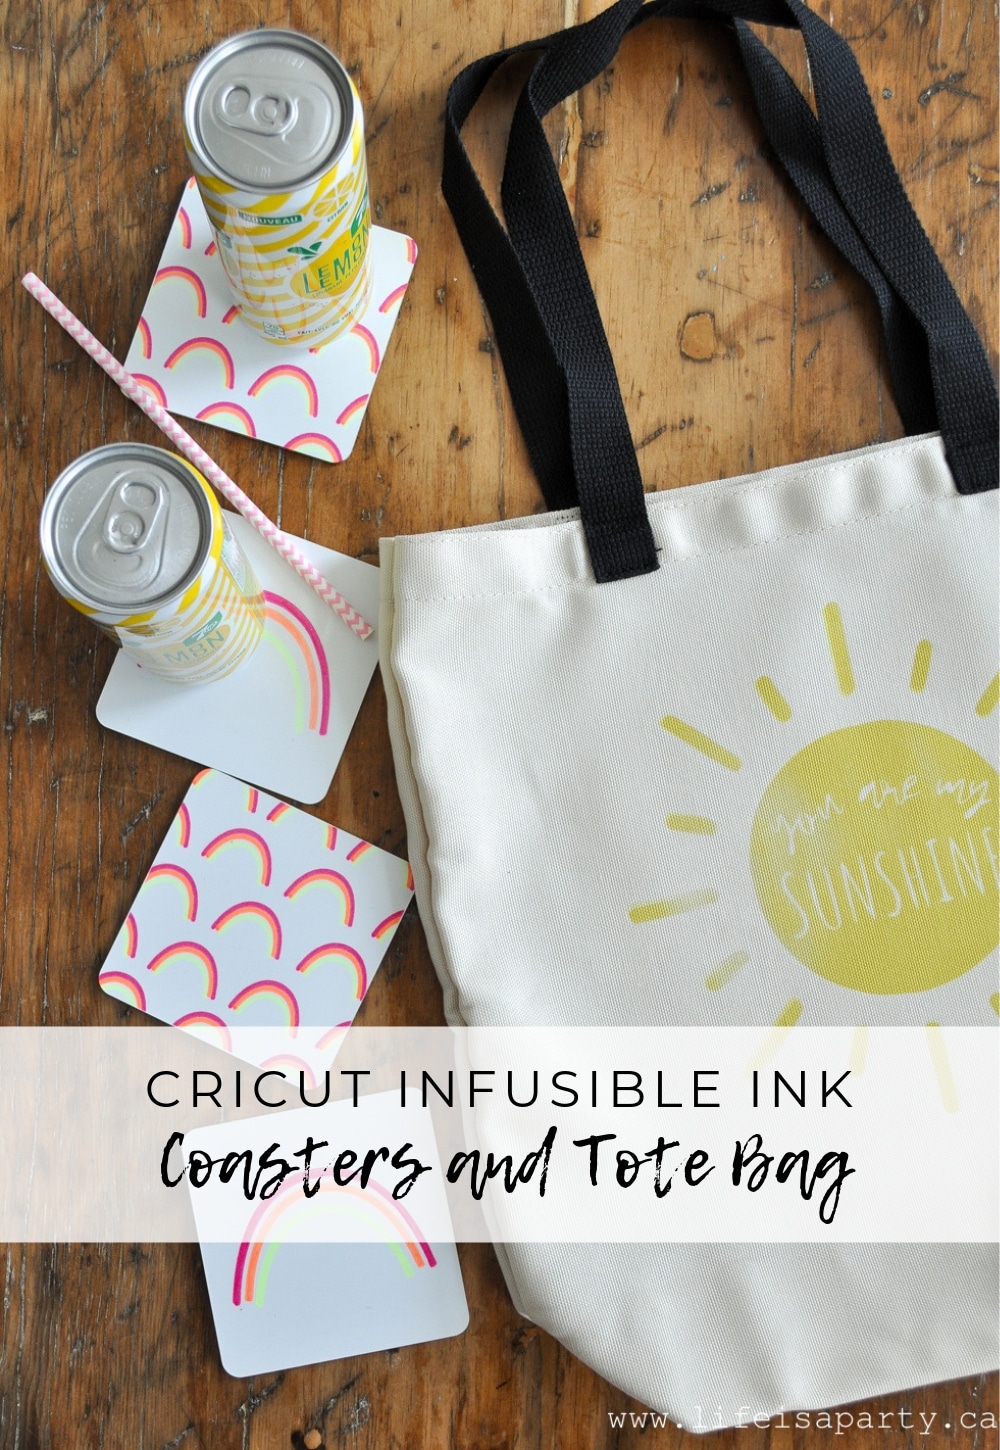
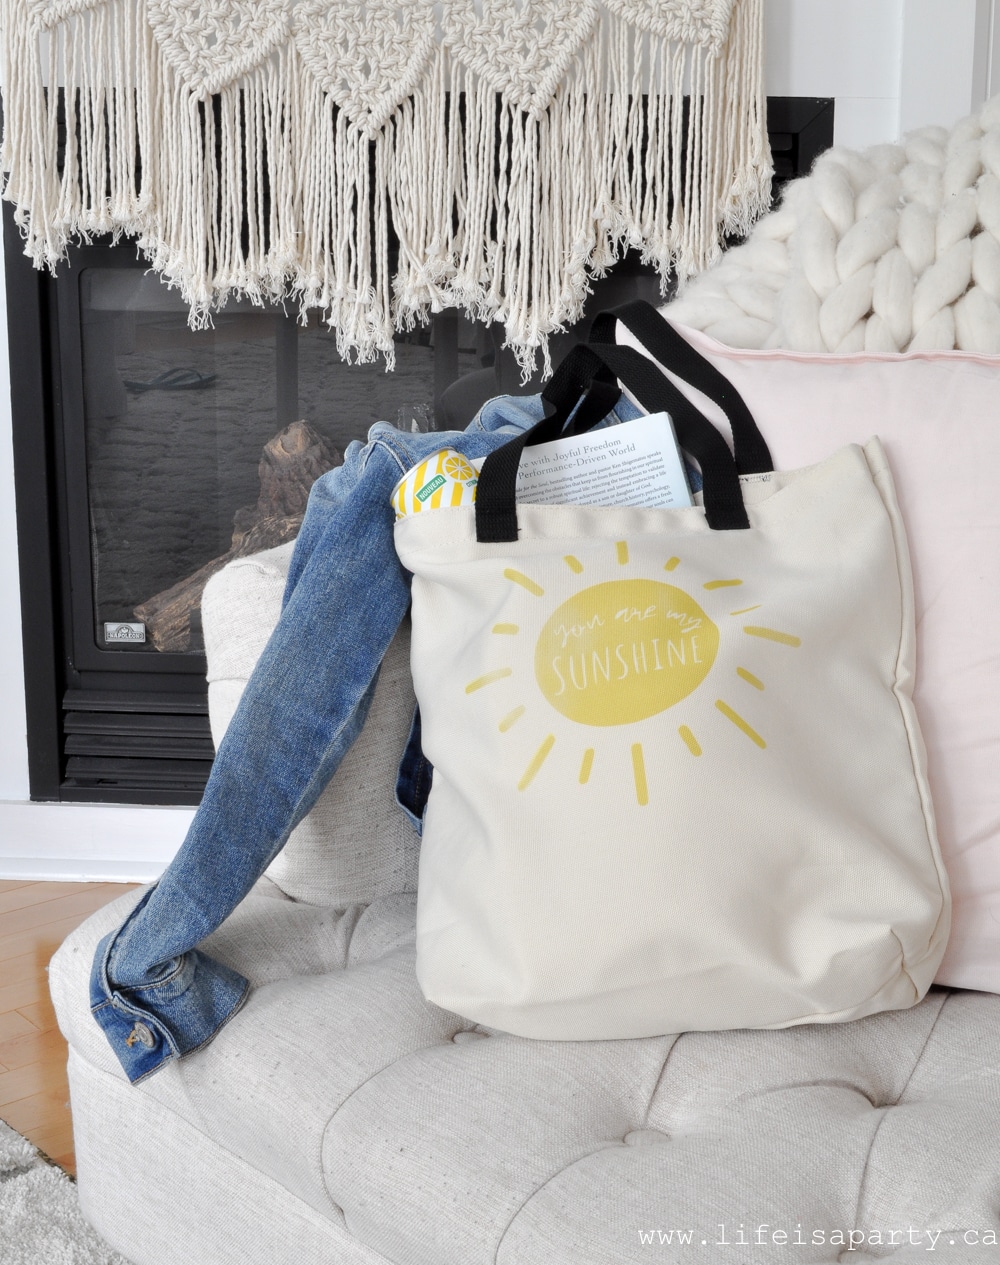
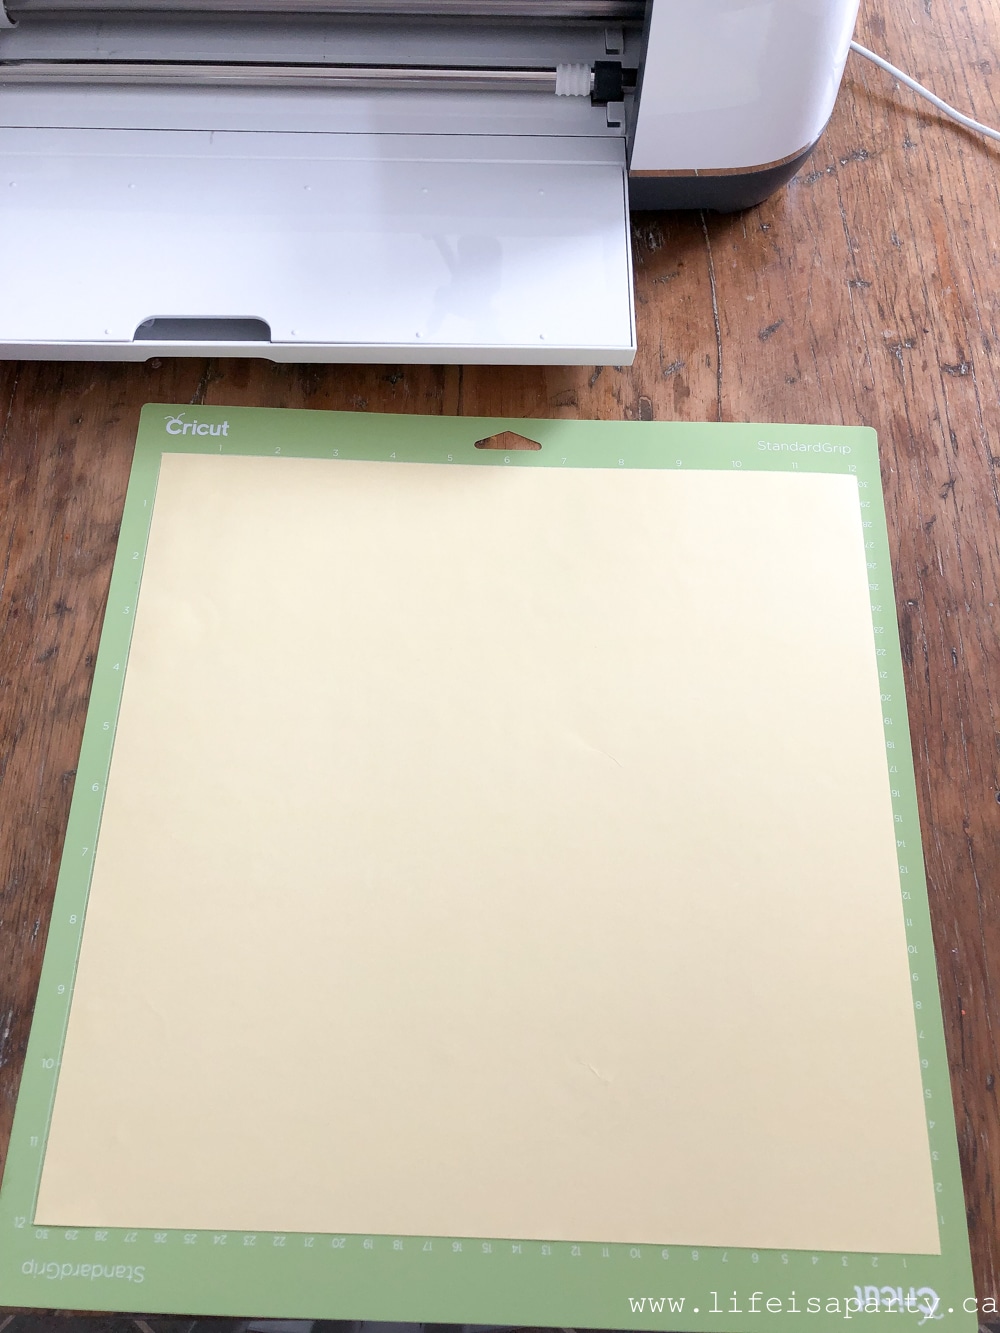
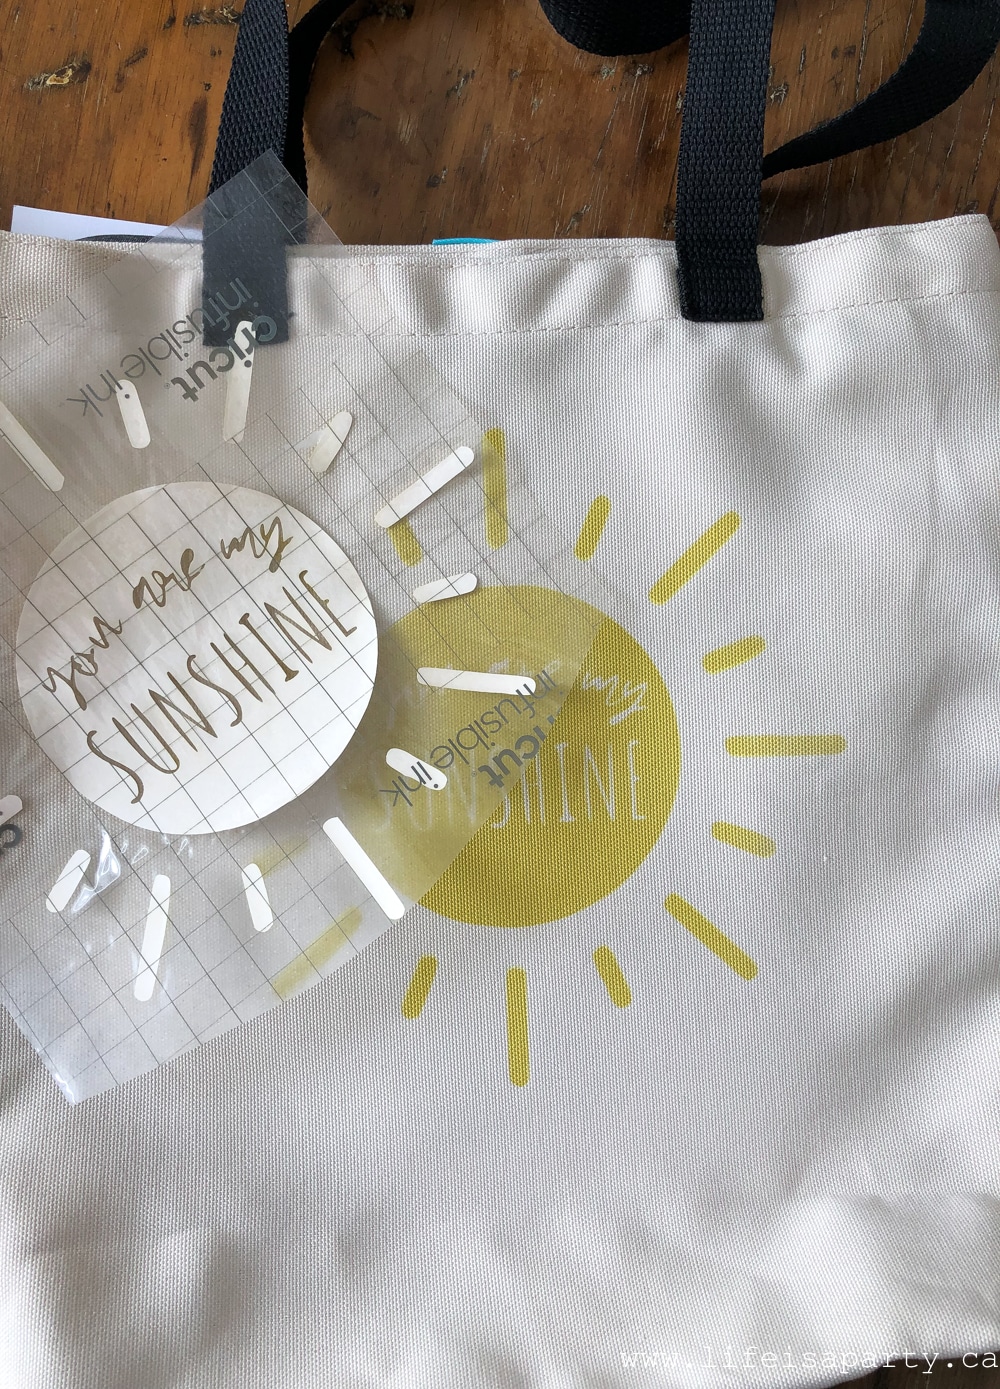
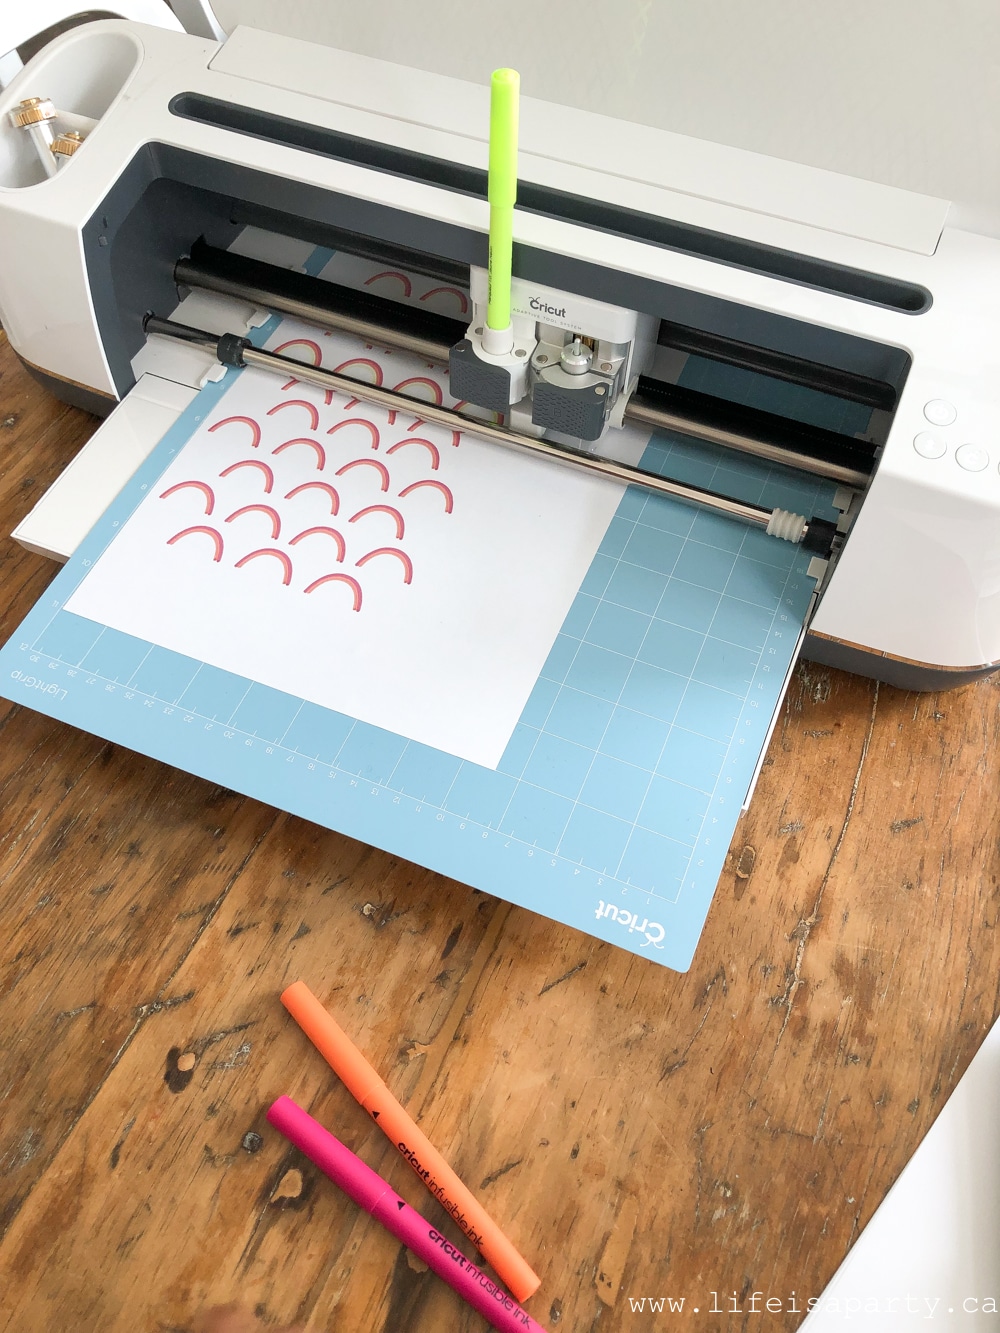
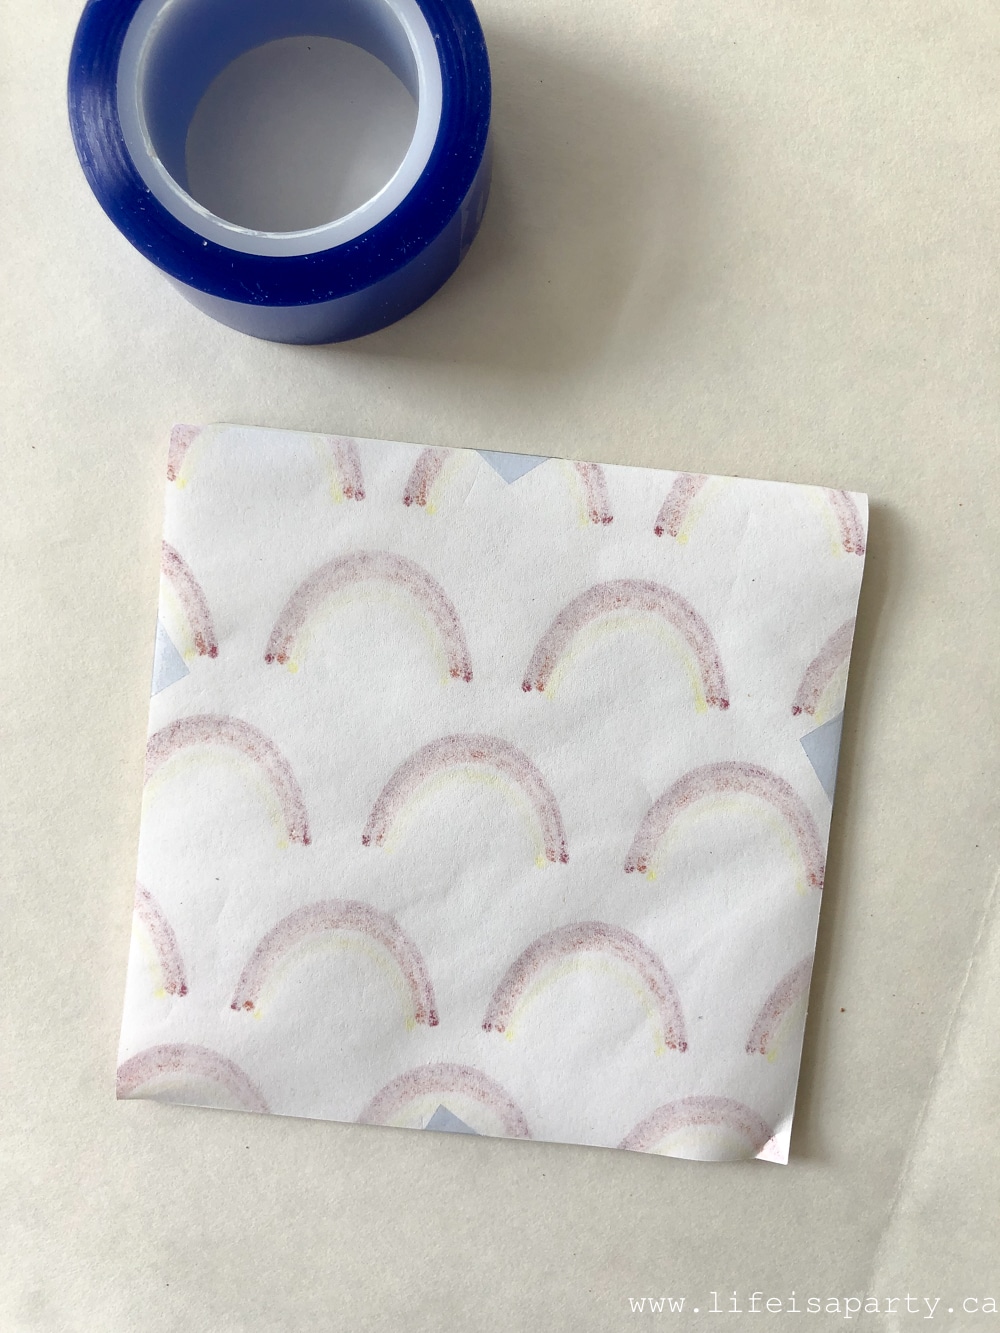
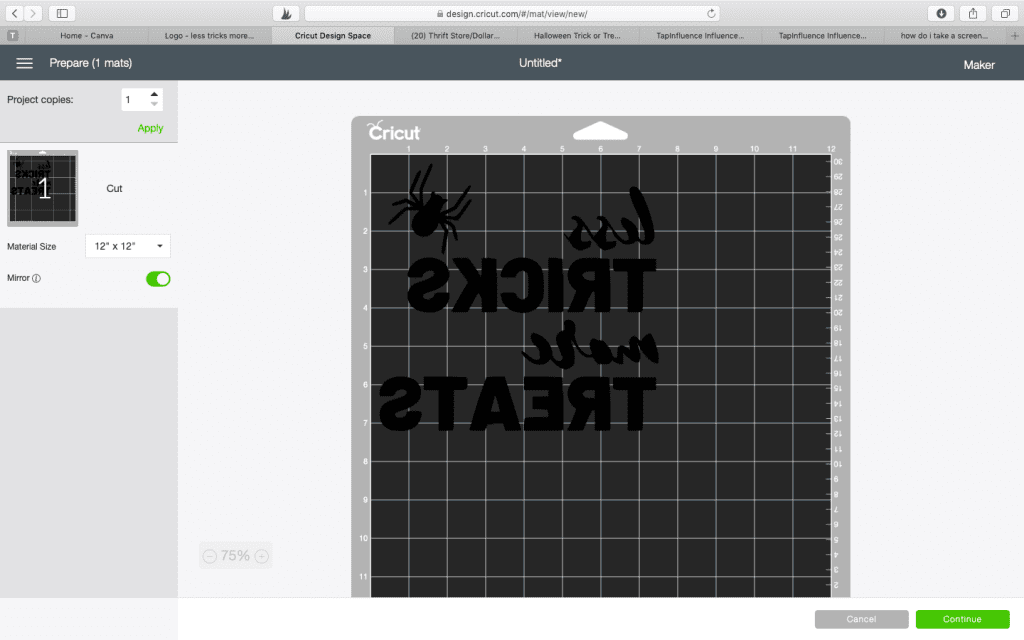 Choose Cricut Infusible Ink Transfer Sheet as your cutting material.
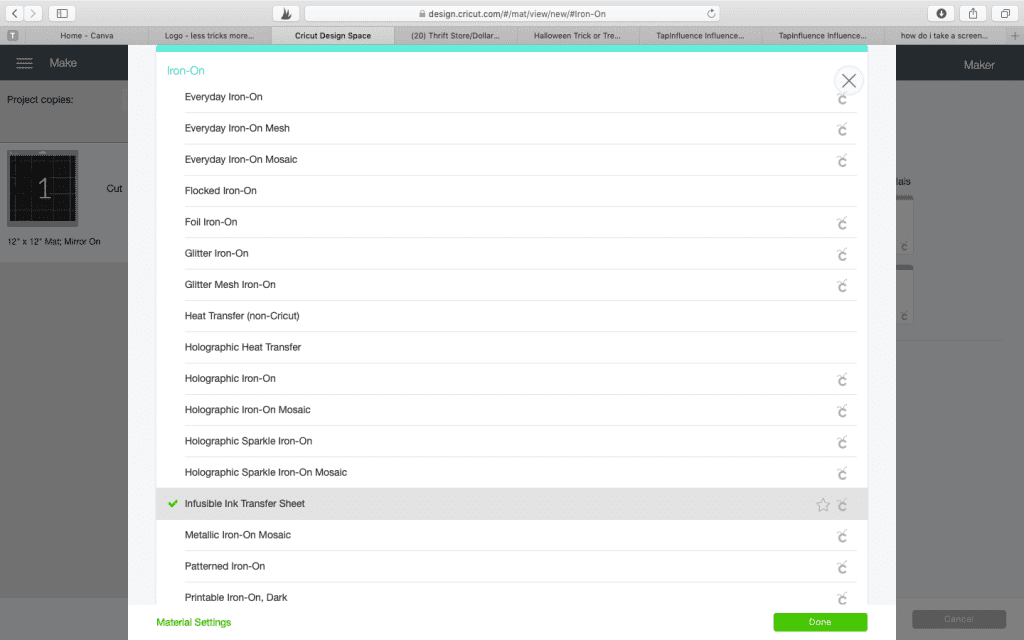
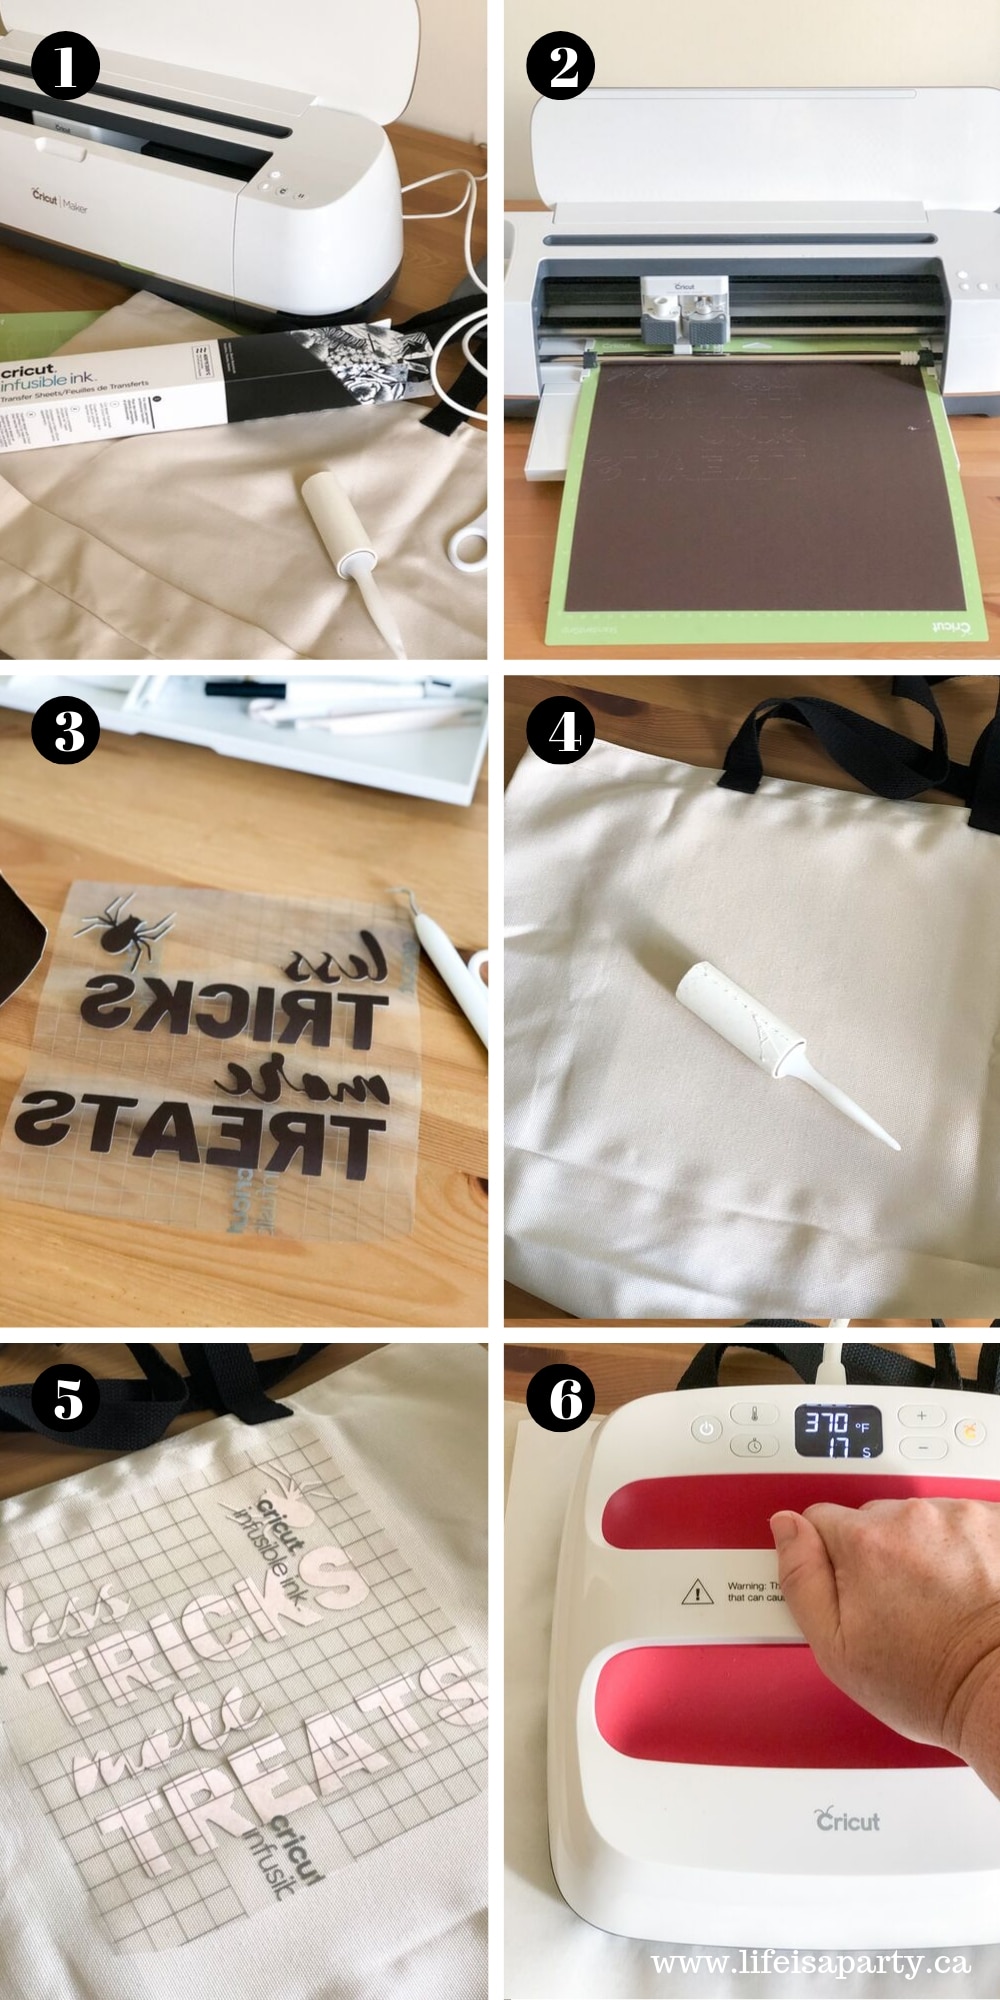
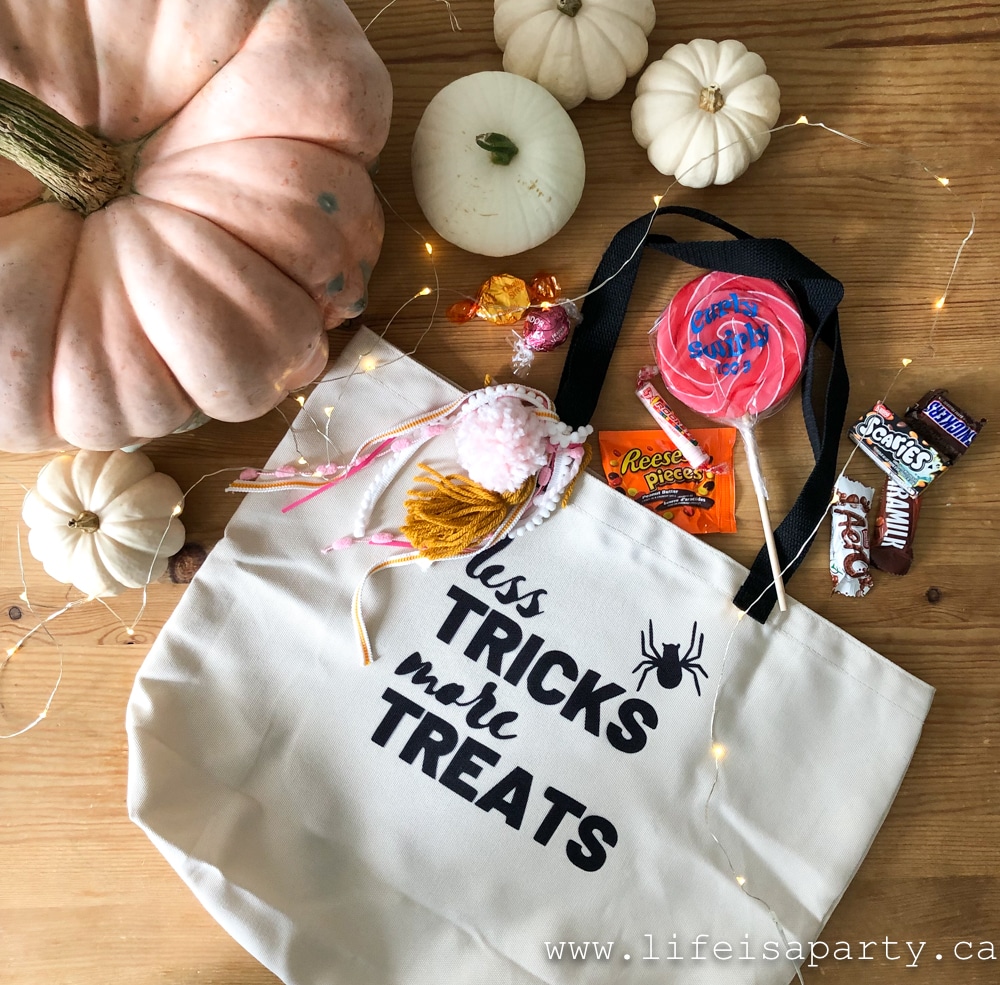
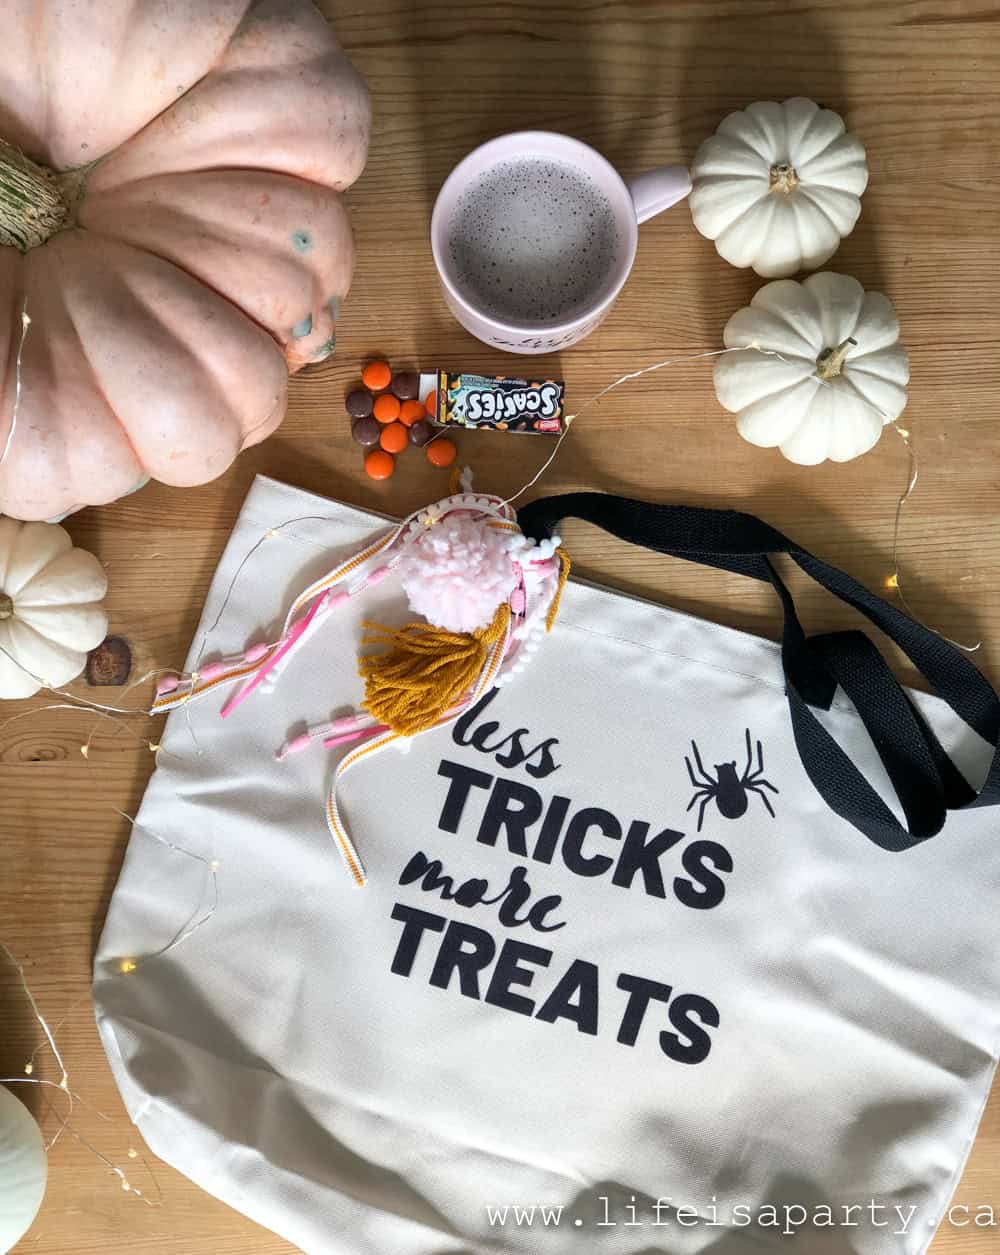
 I won't be just saving it for trick or treating on Halloween night, this cute bag will be in circulation all fall long.
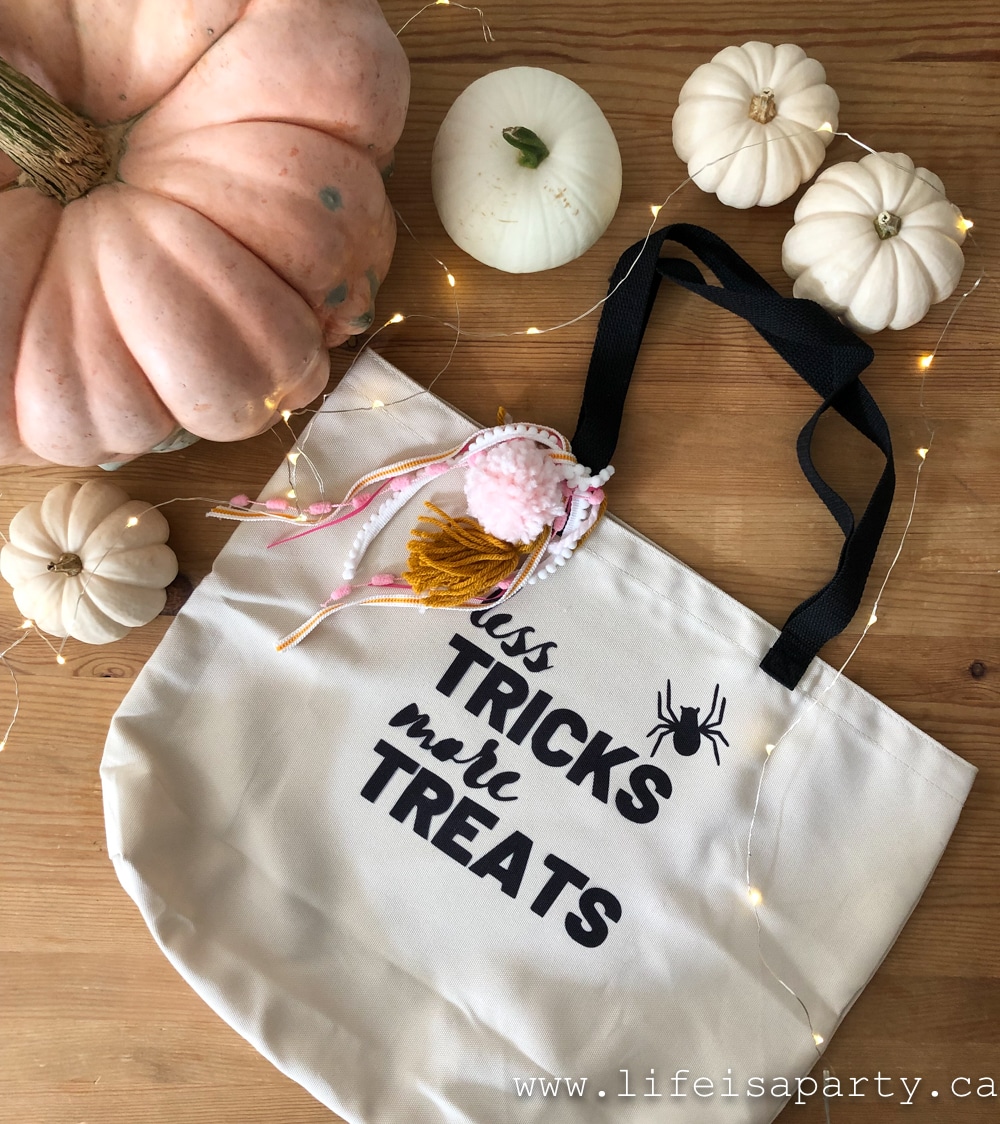 With this cute custom Cricut Halloween Trick or Treat Bag, life really is a party!


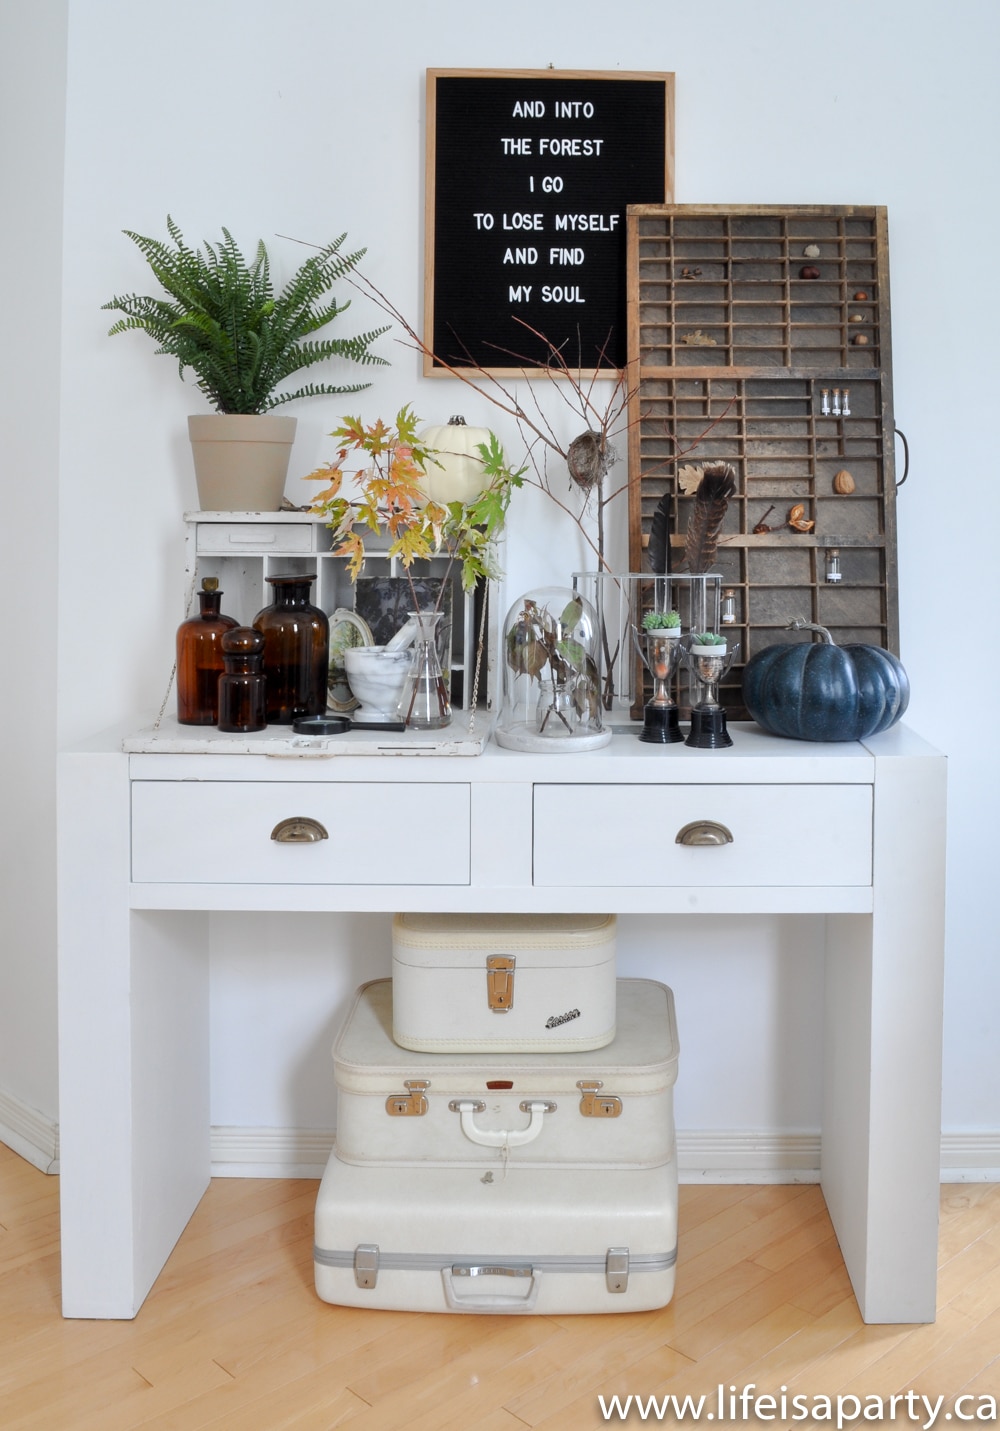
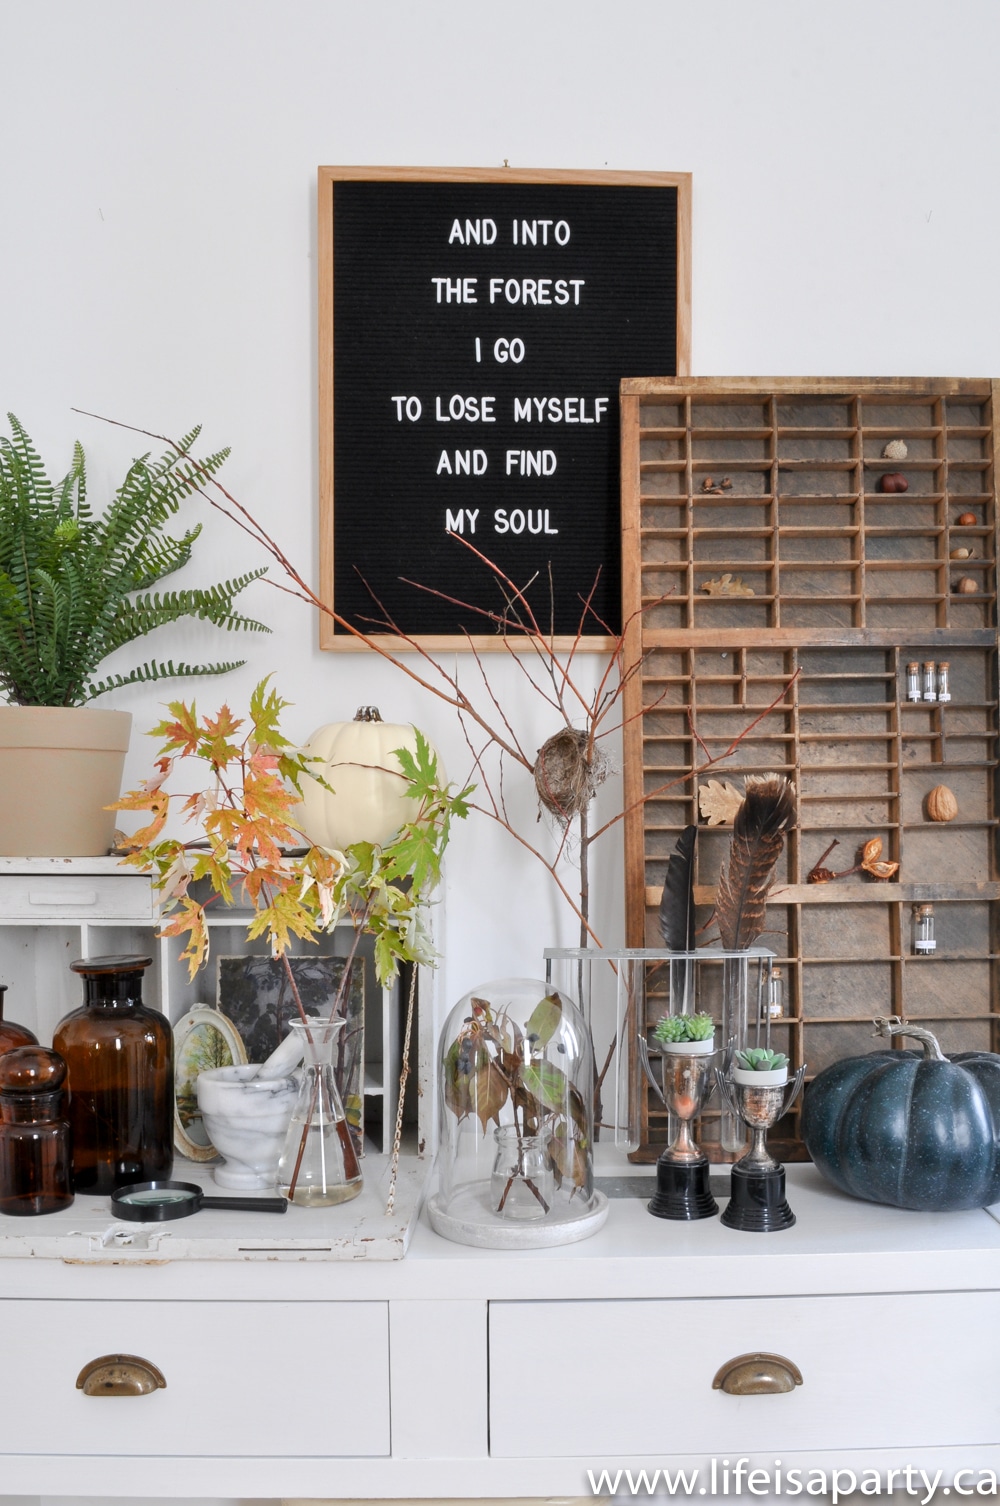
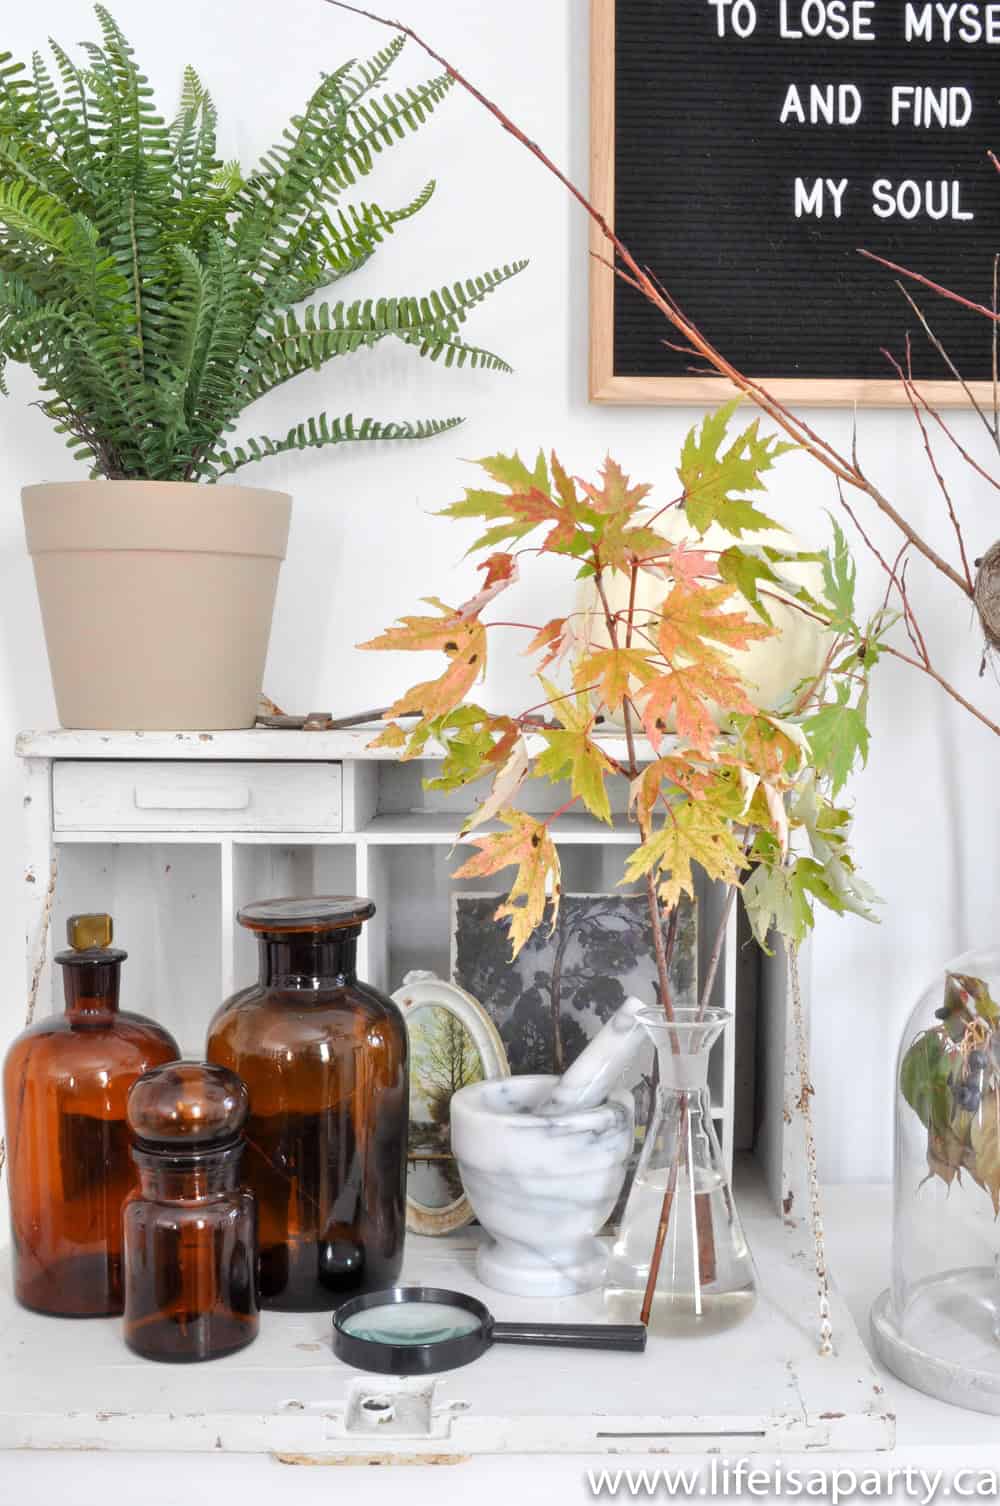
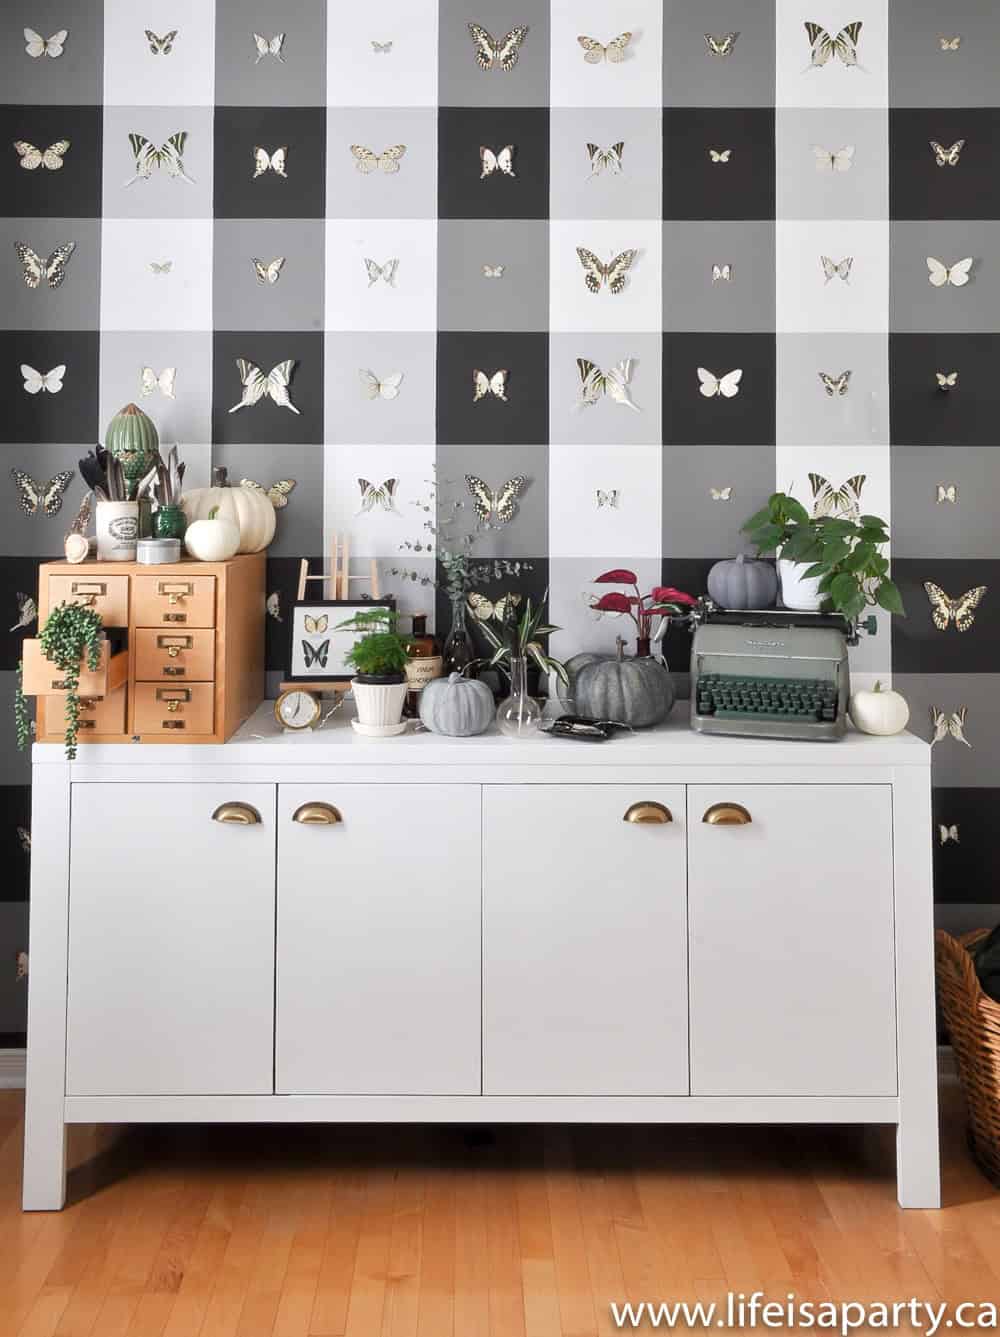
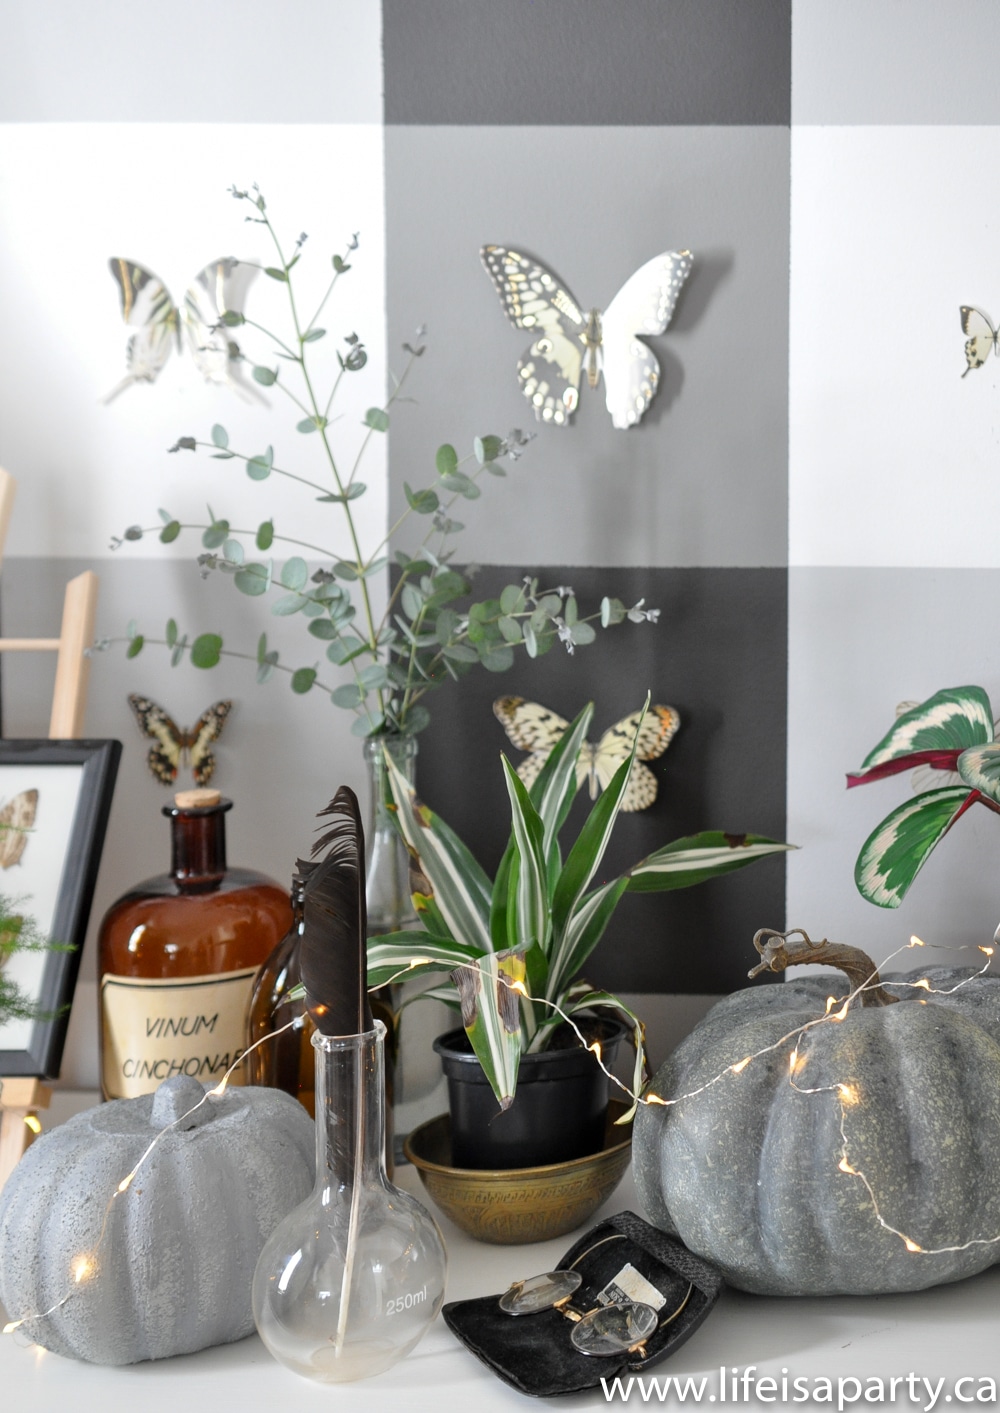
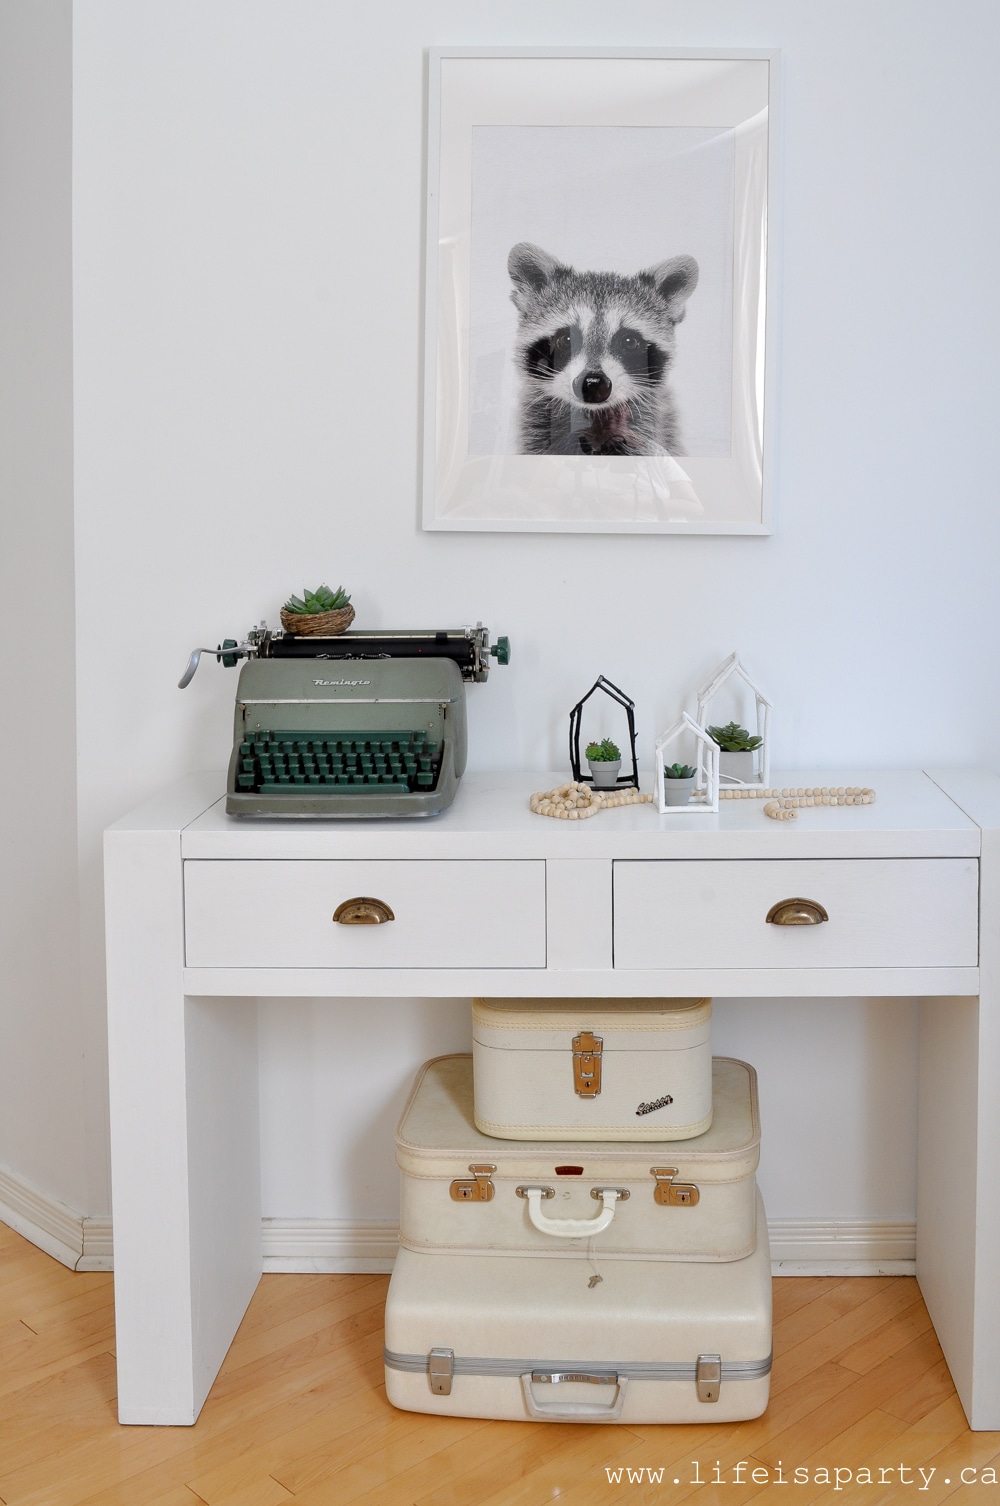
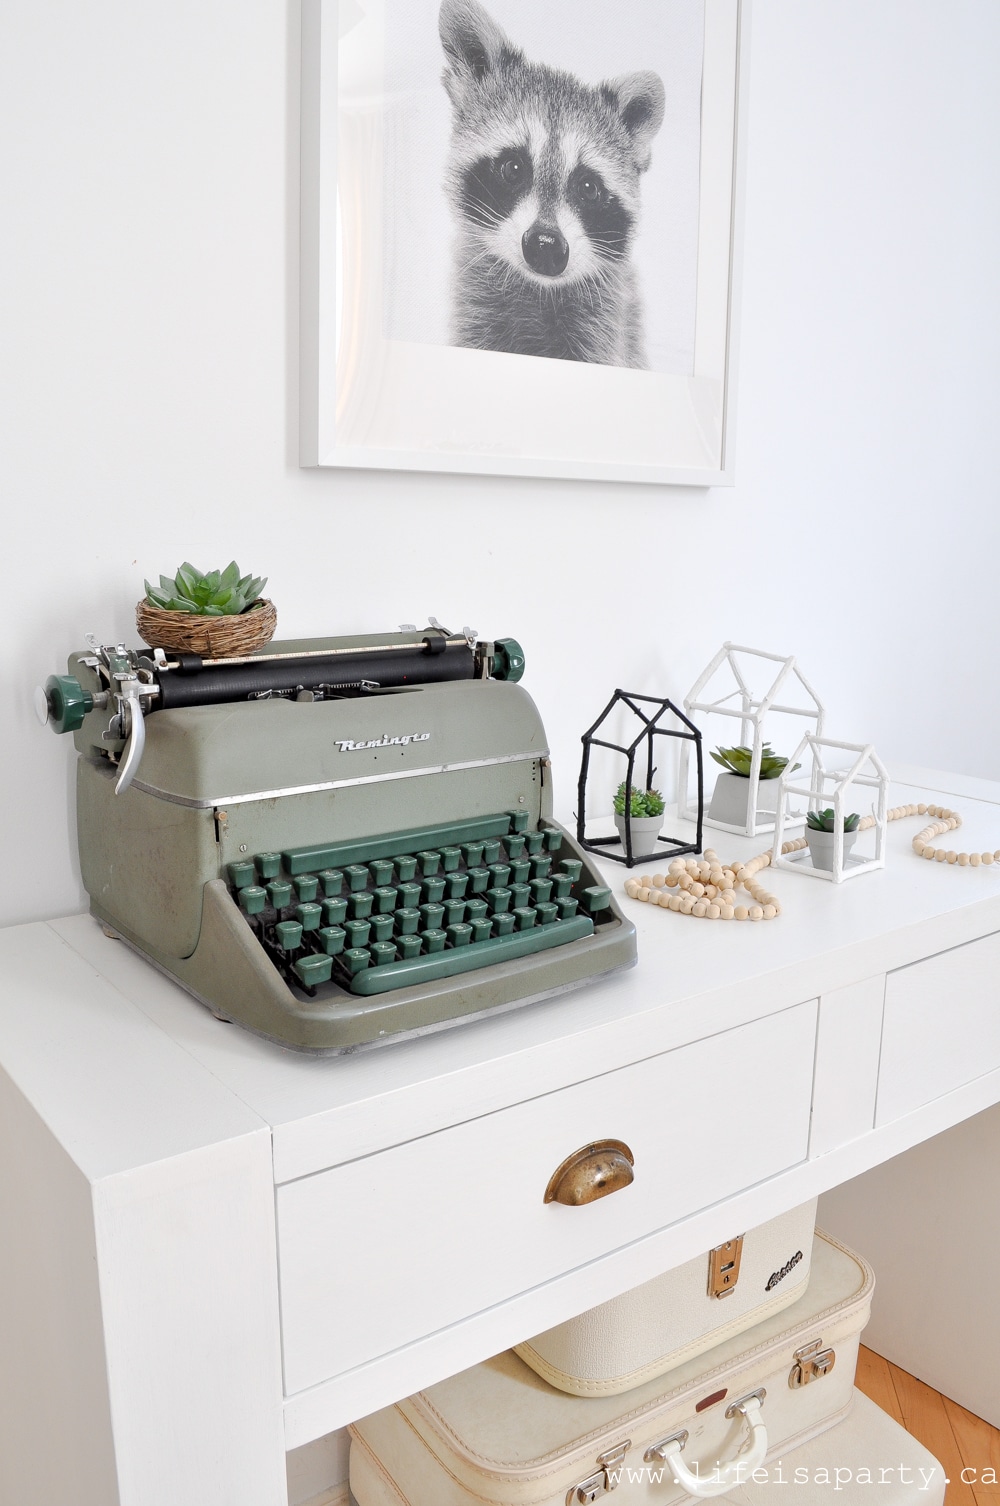
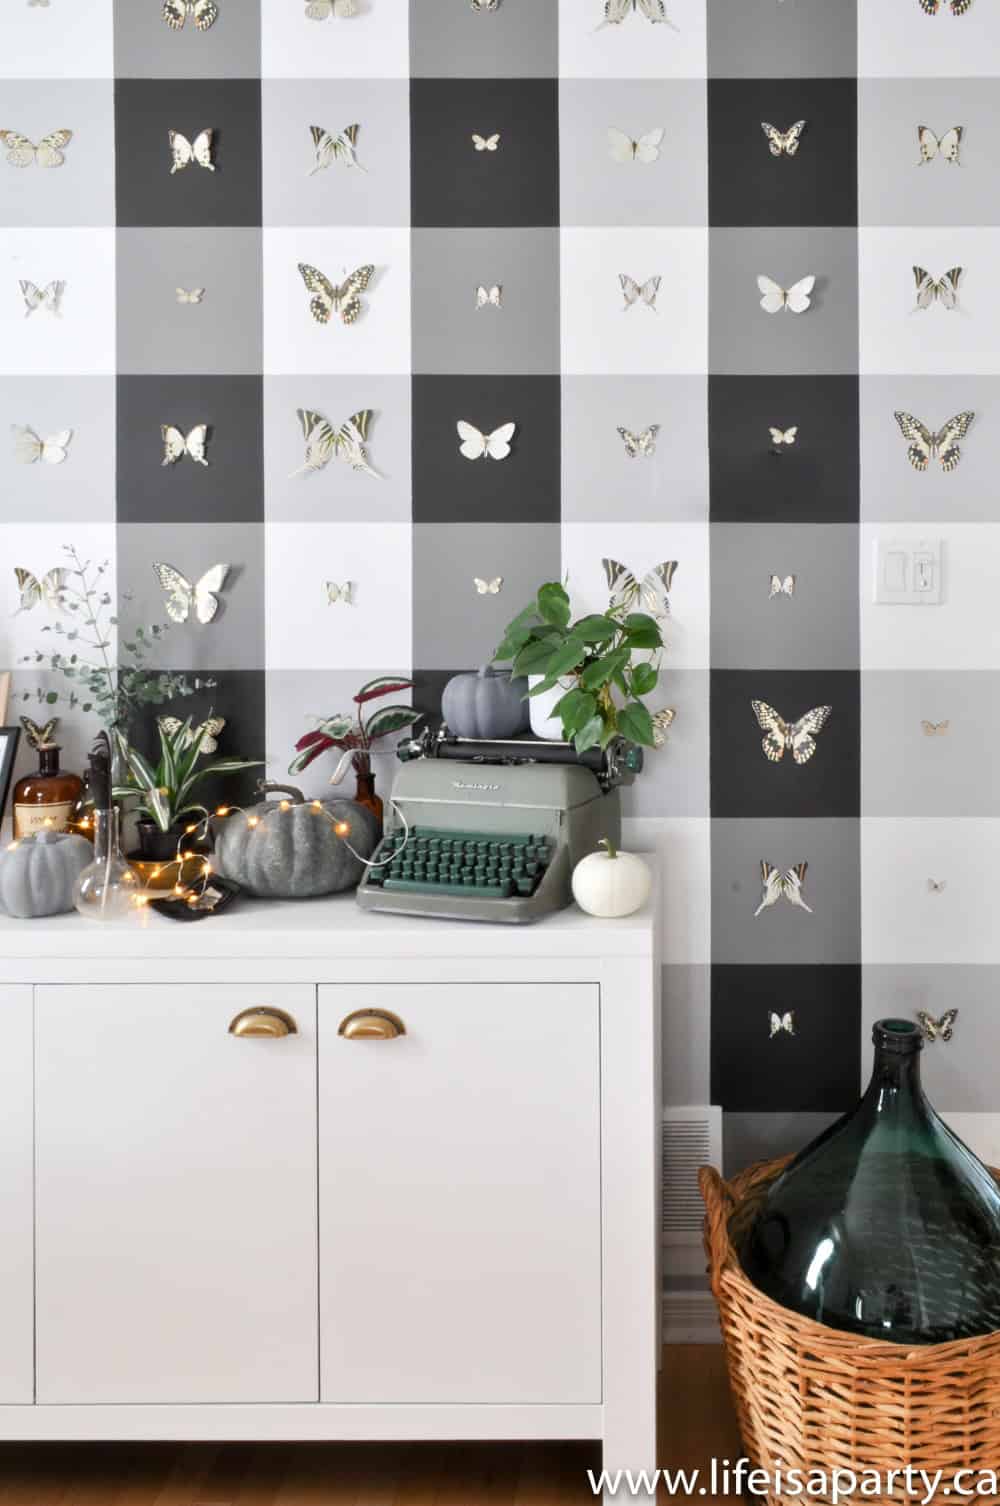 The vintage typewriter and spectacles are all ready for typing up notes of observations.
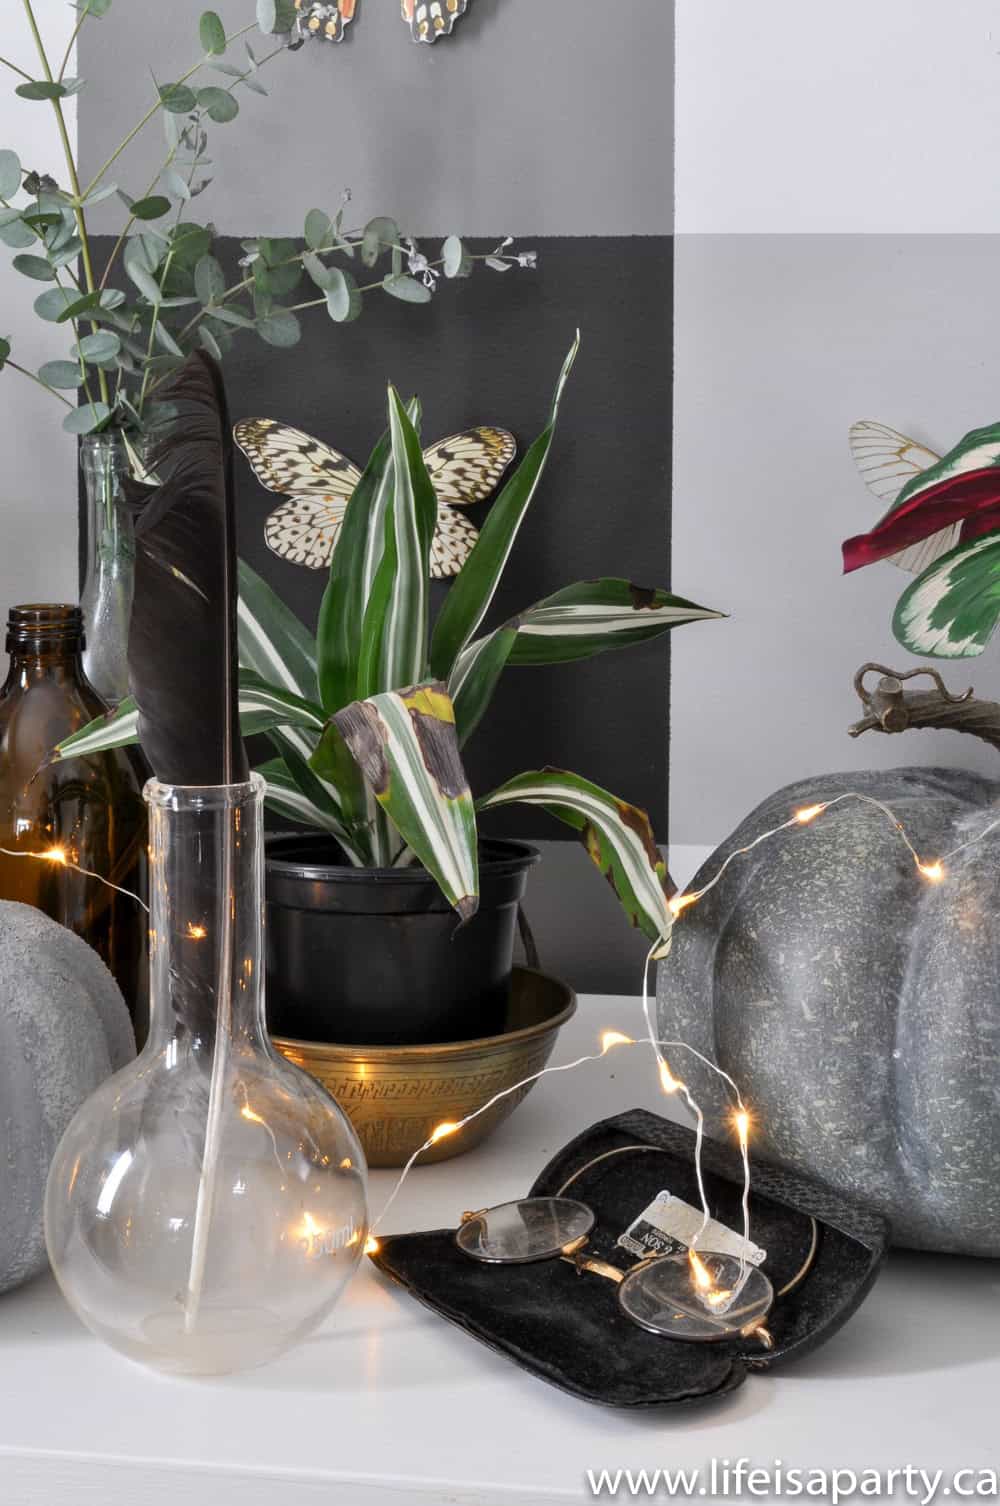


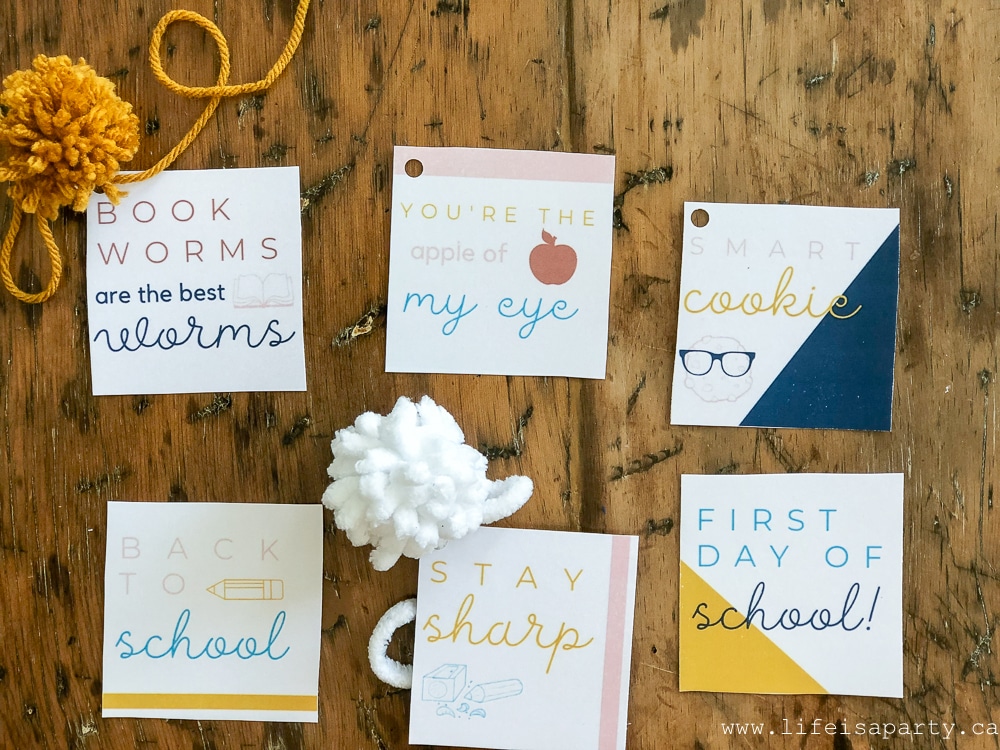
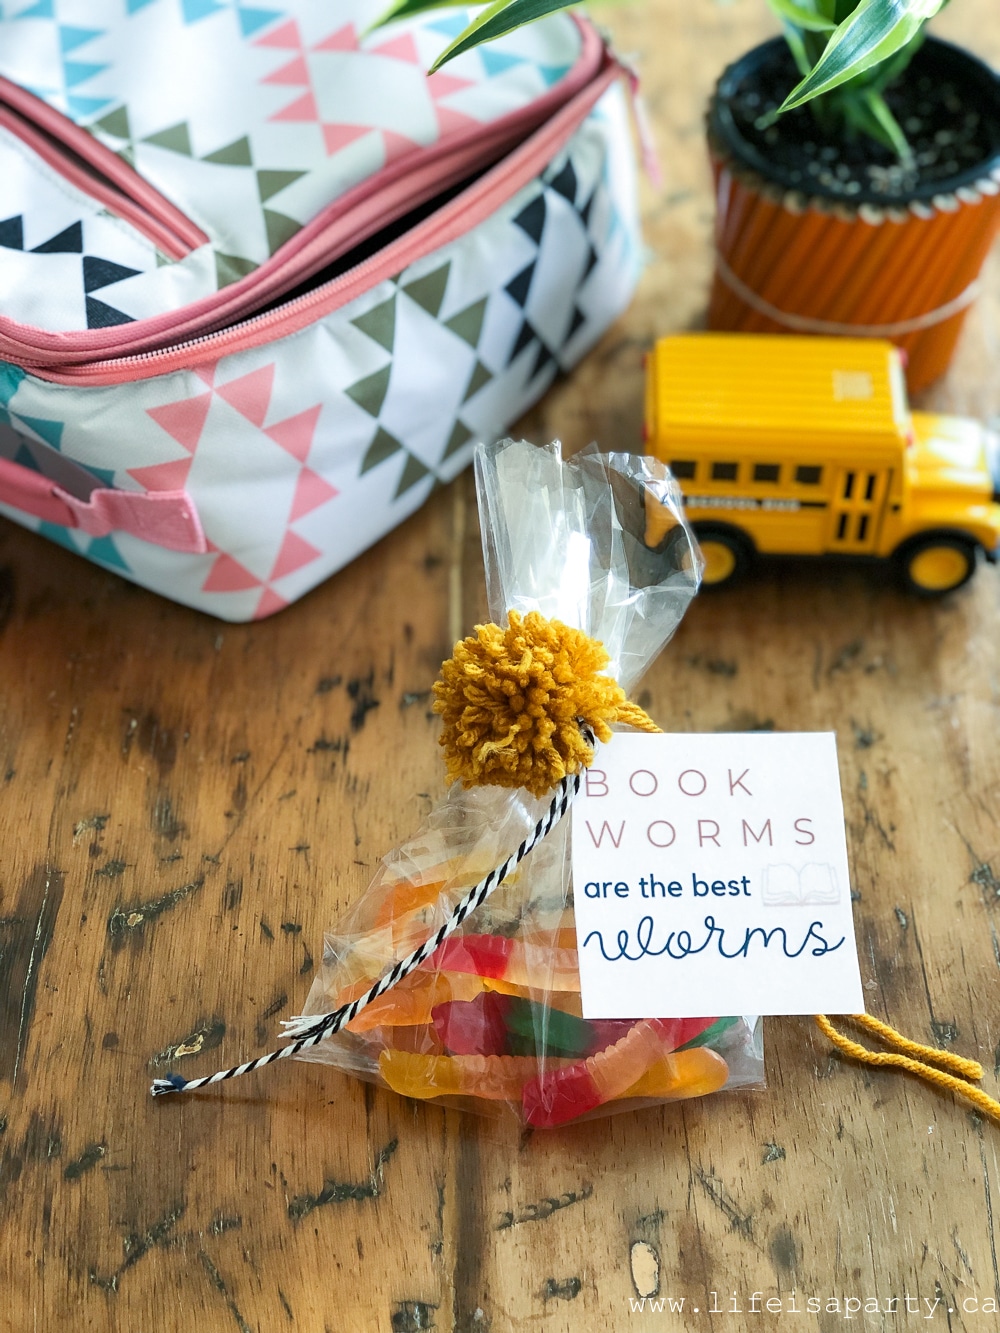
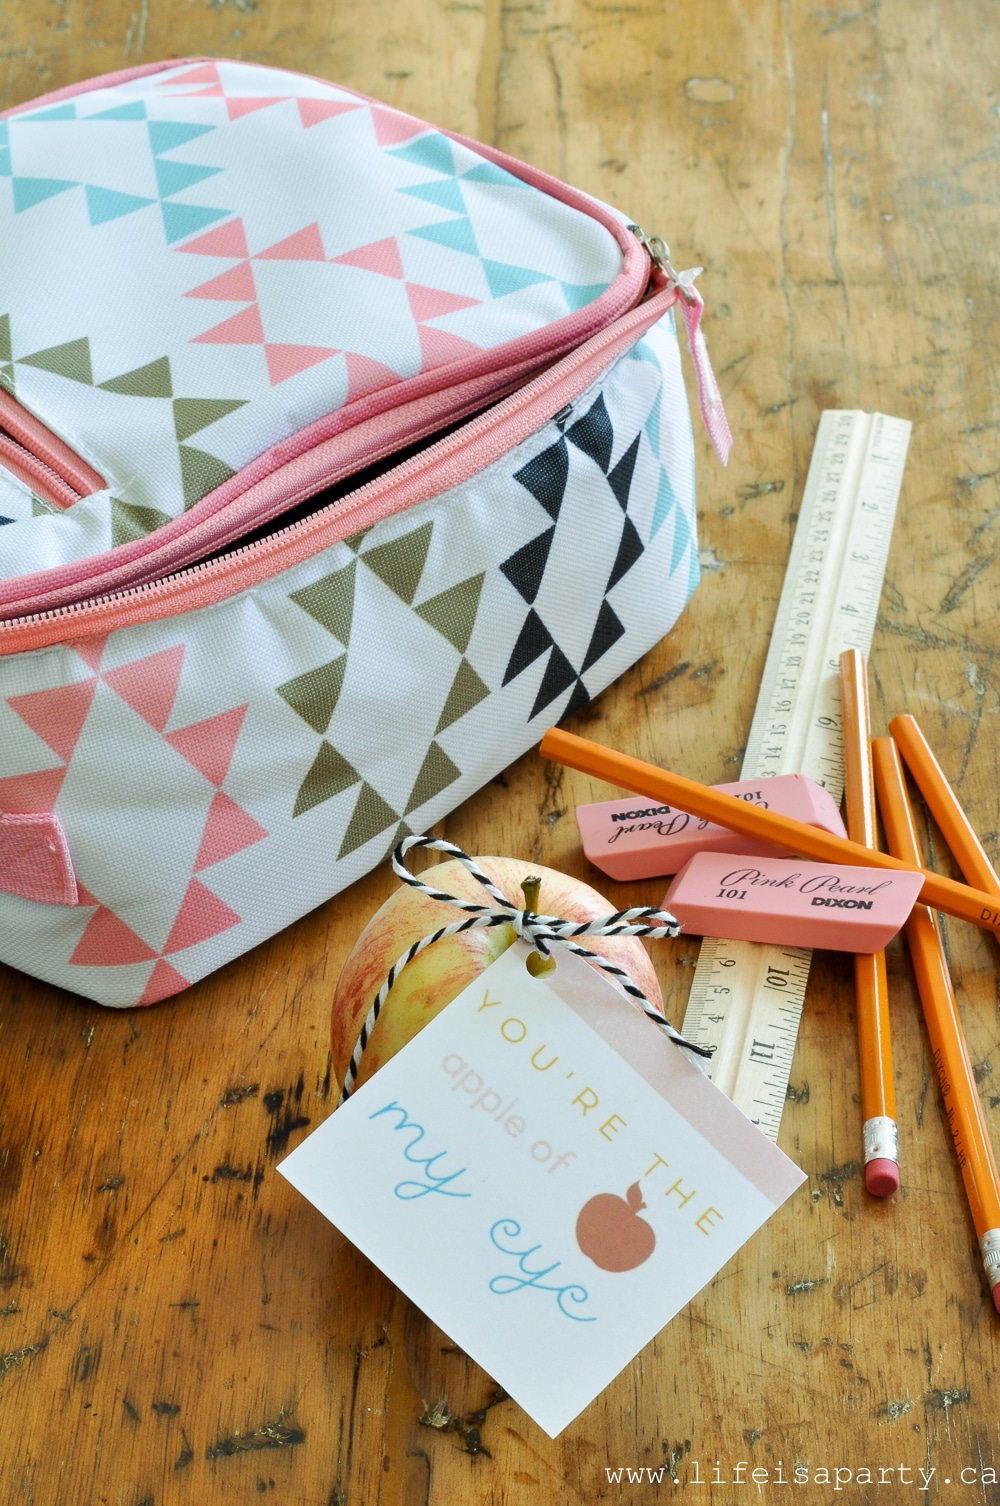
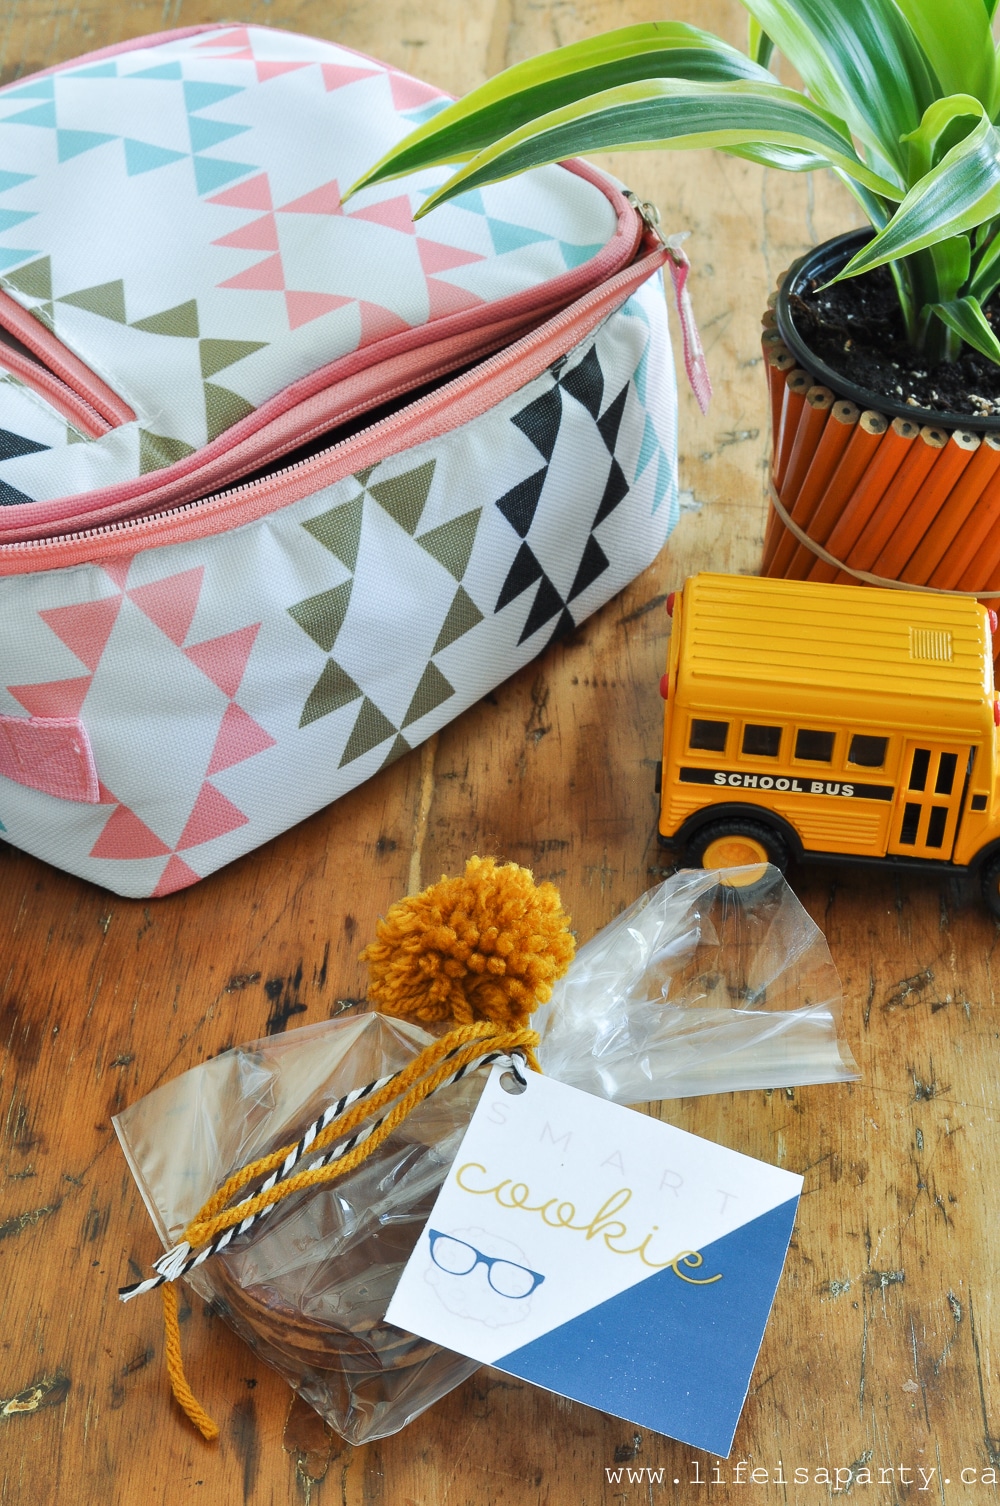
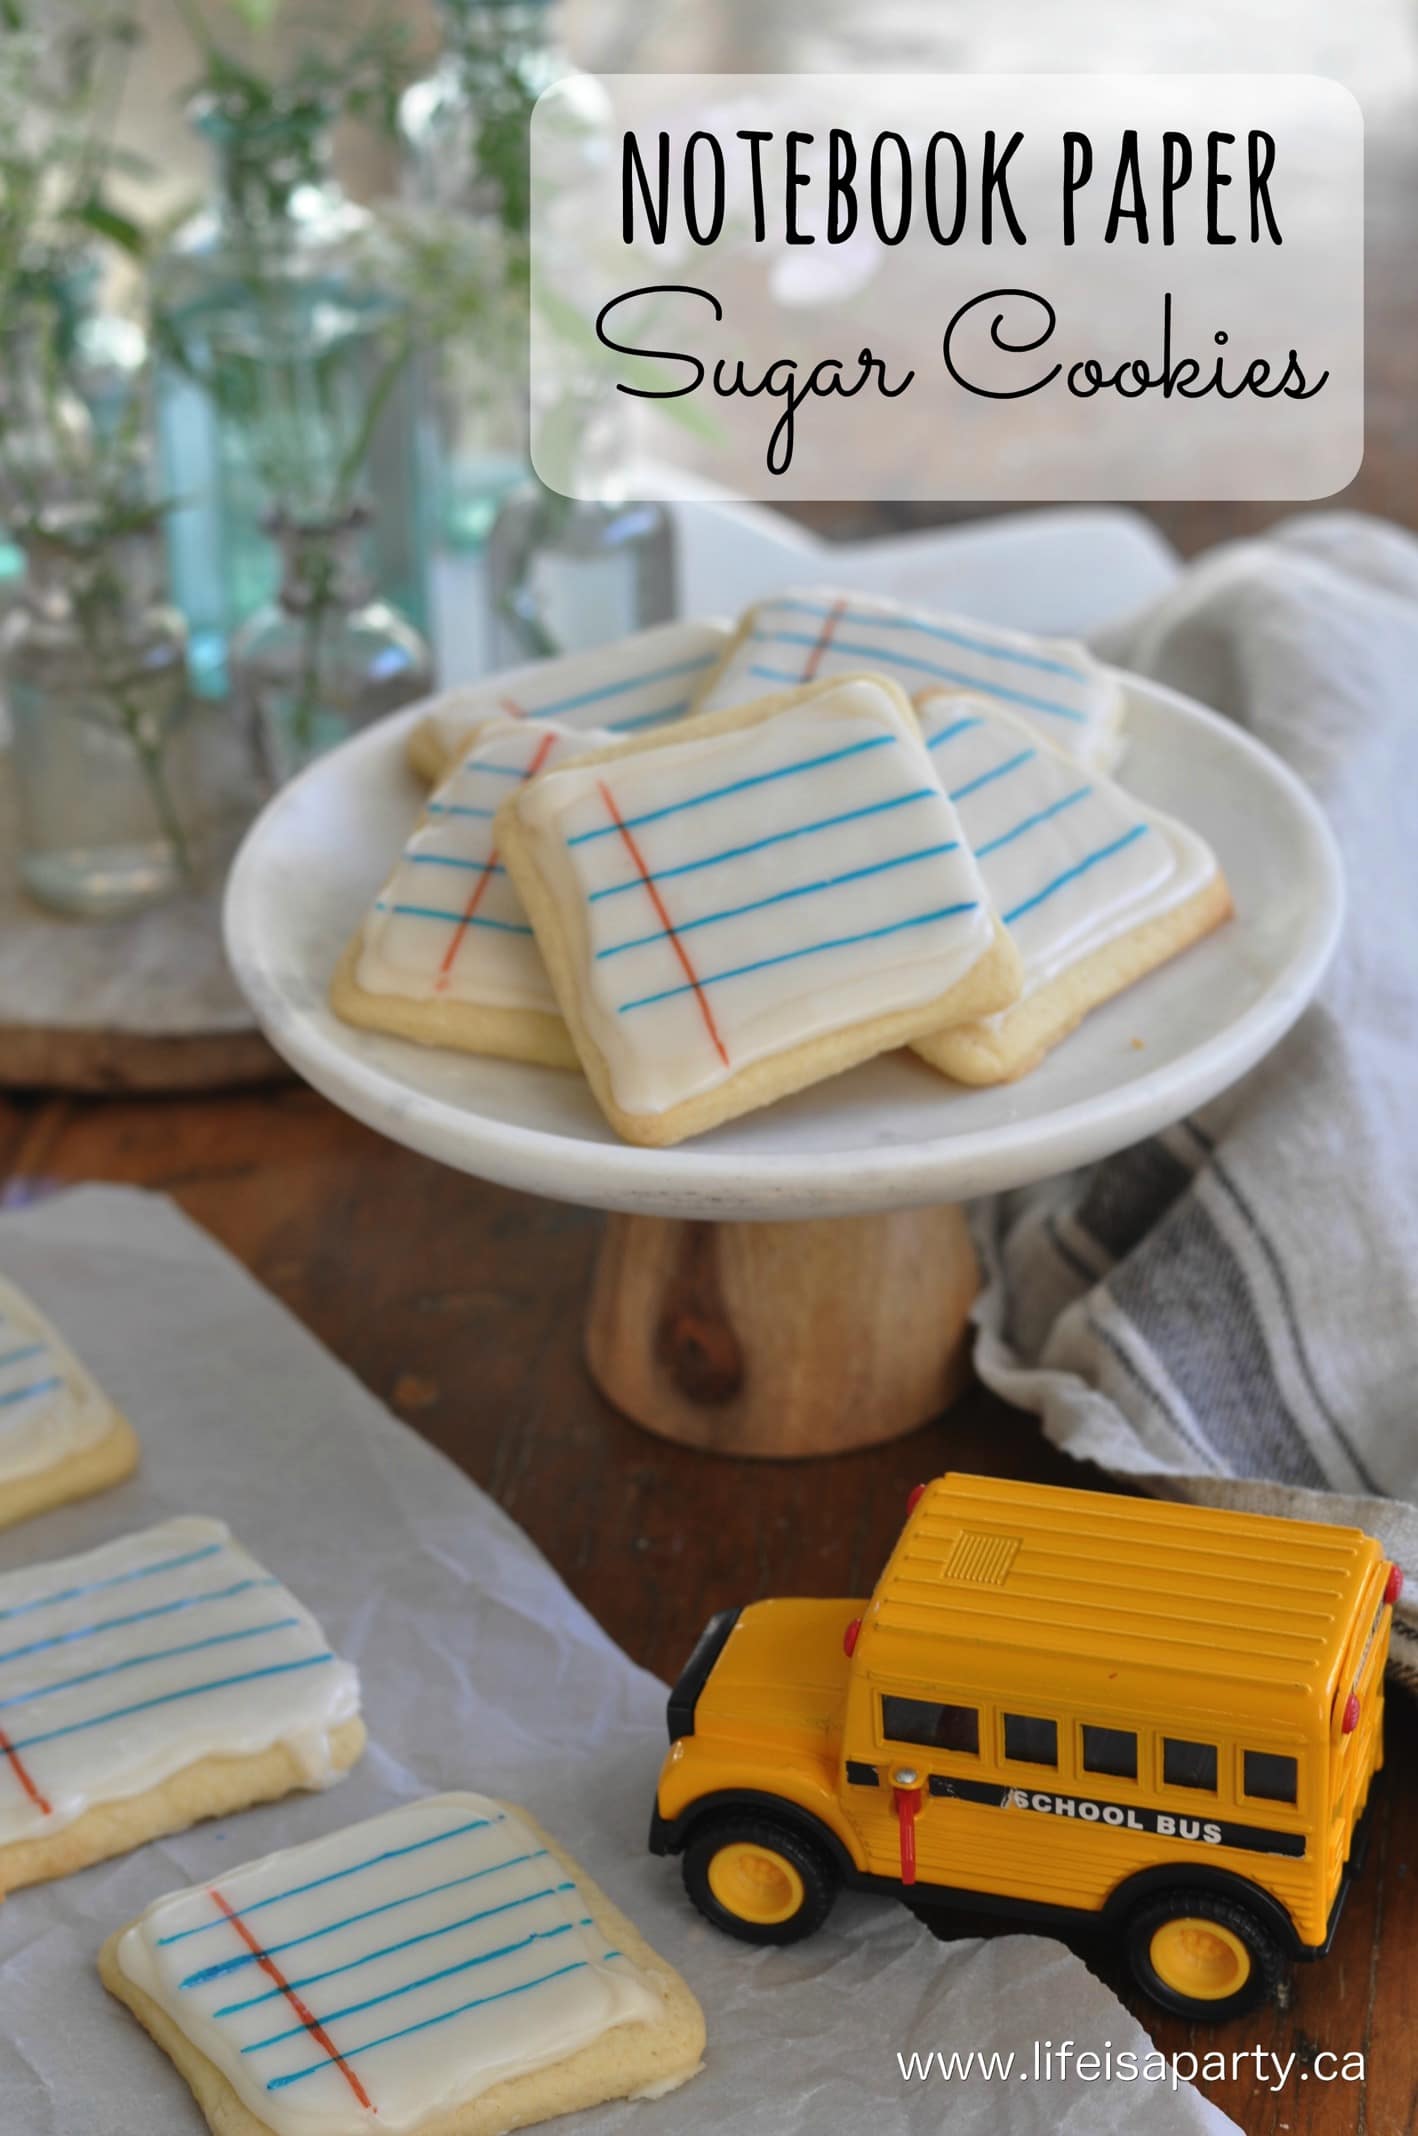
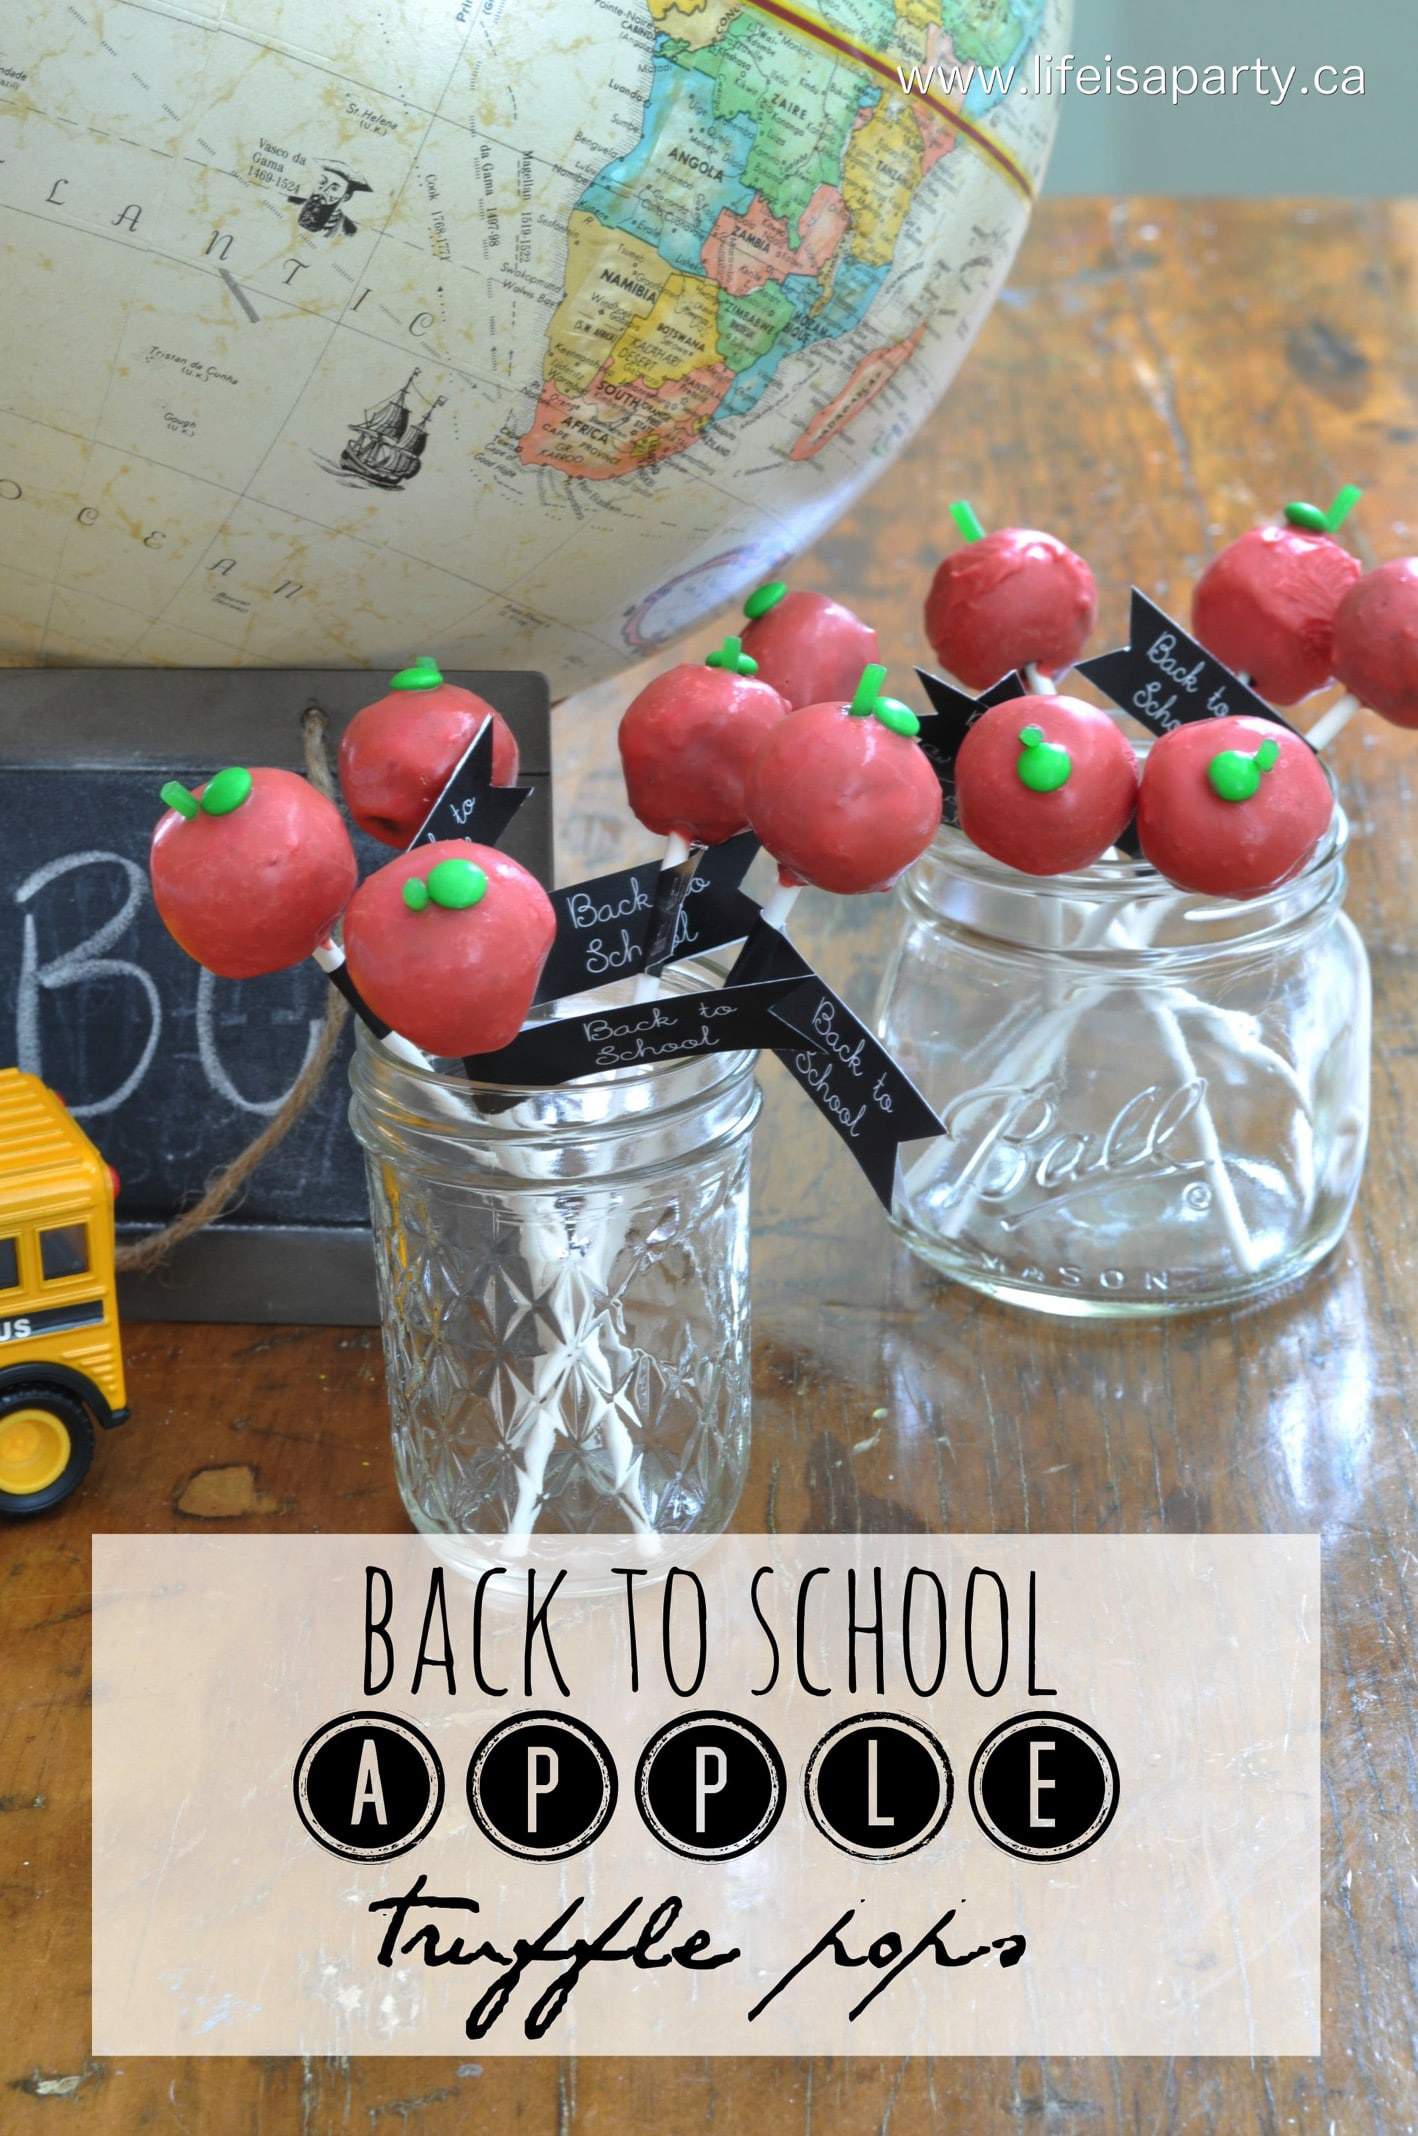
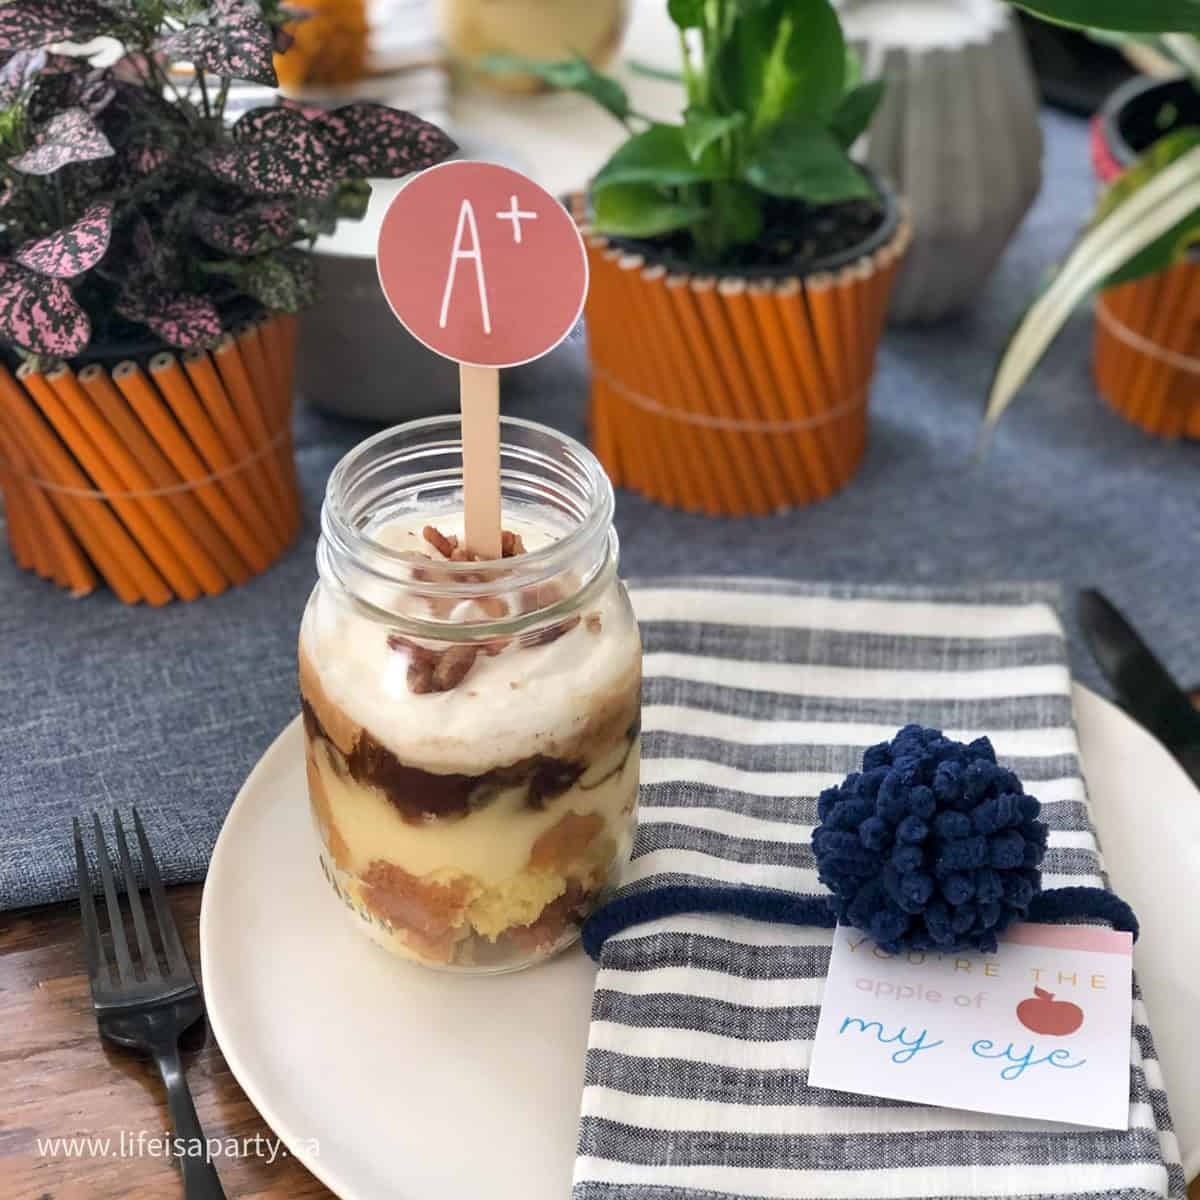
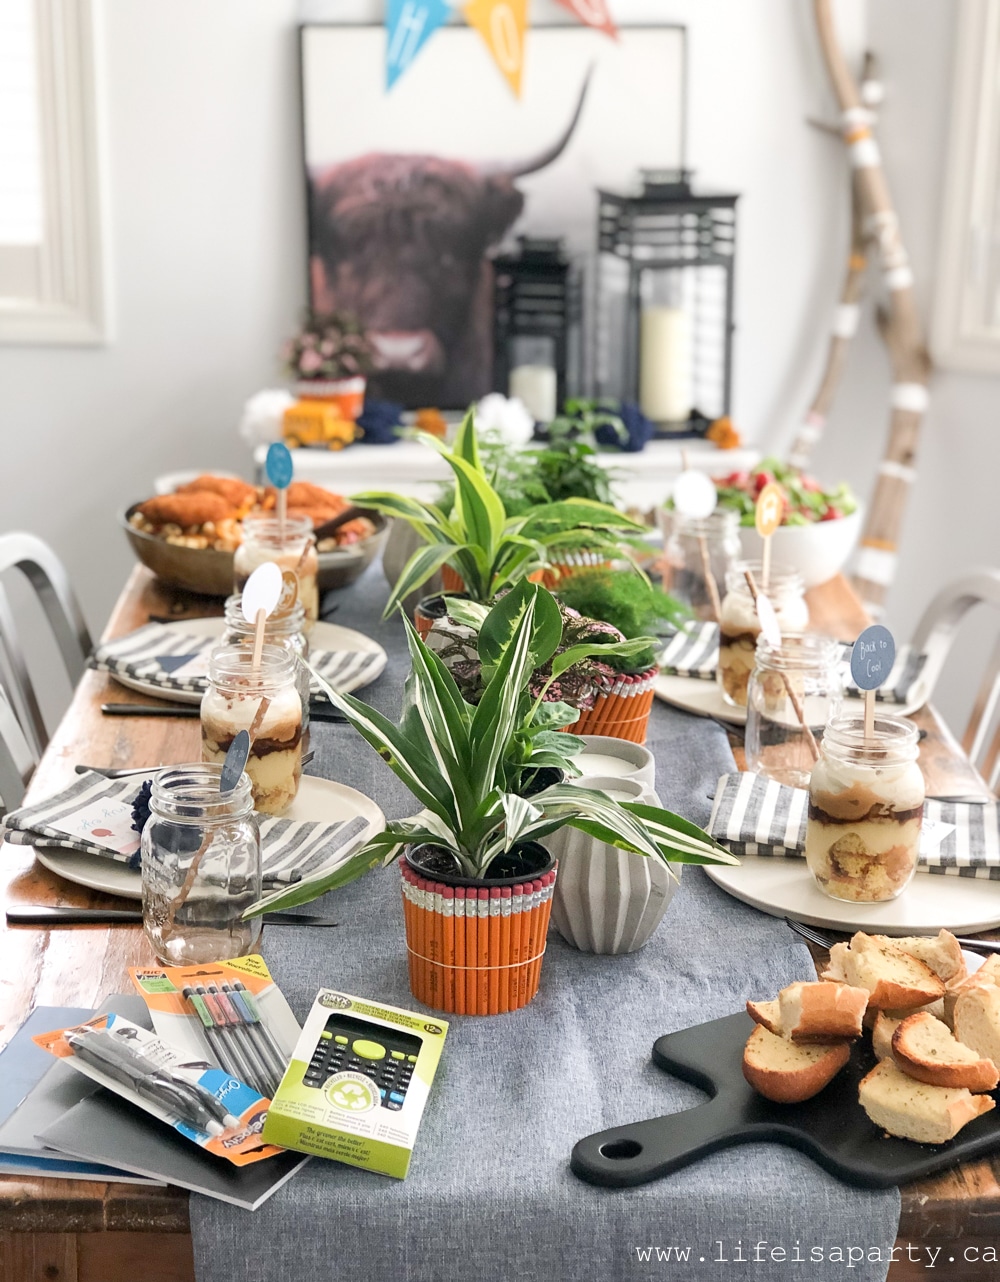
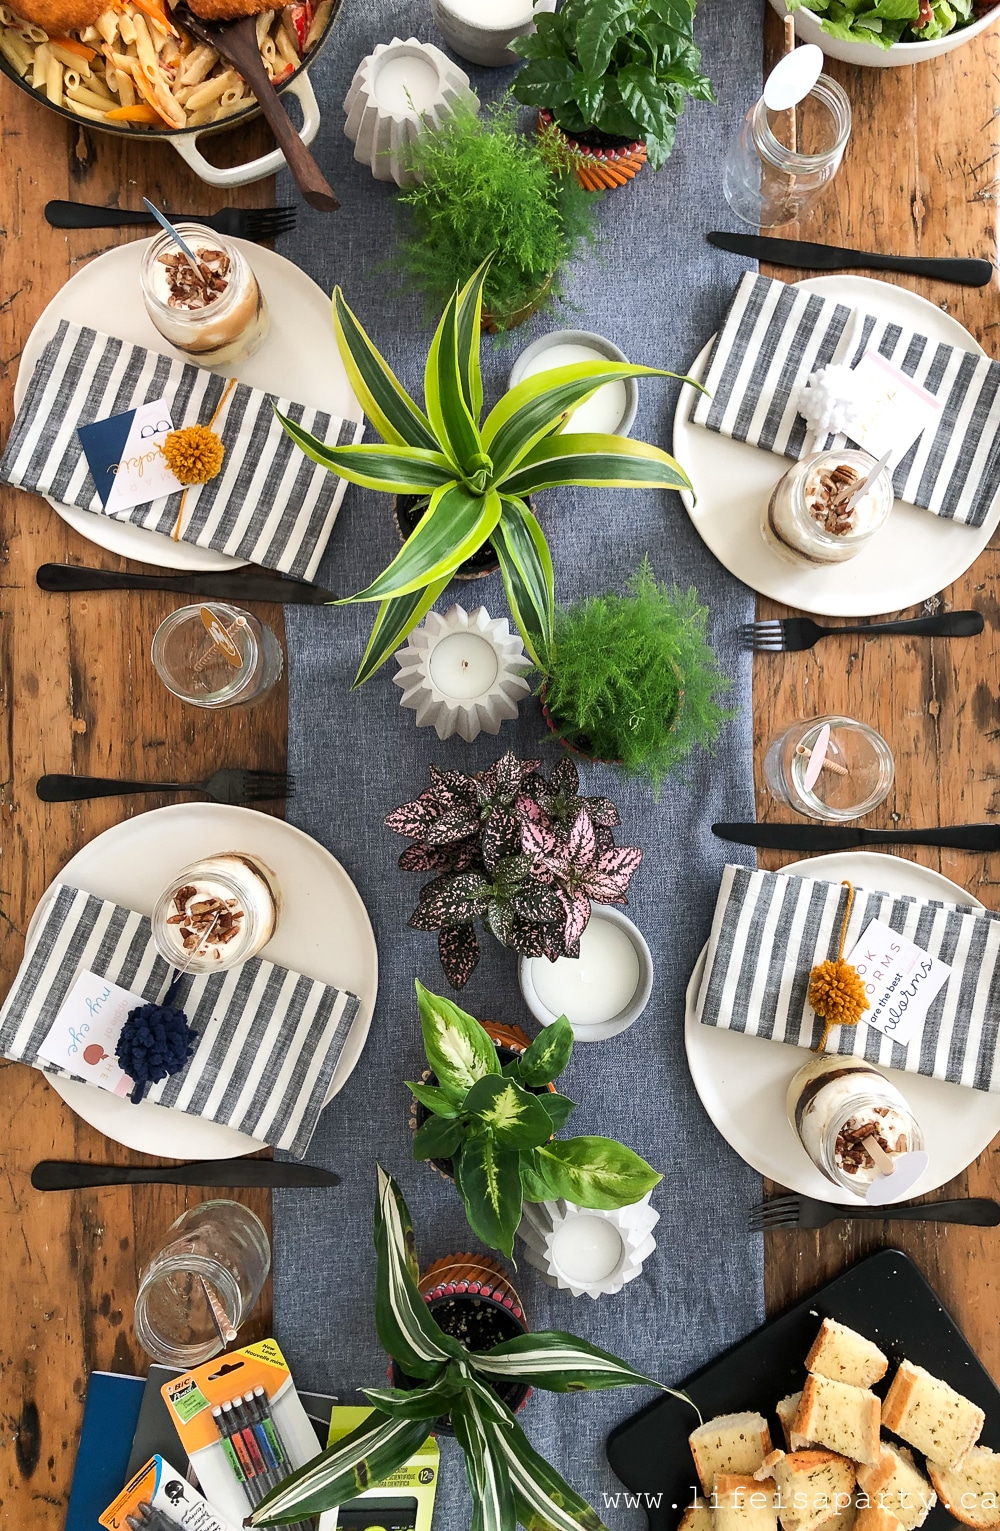
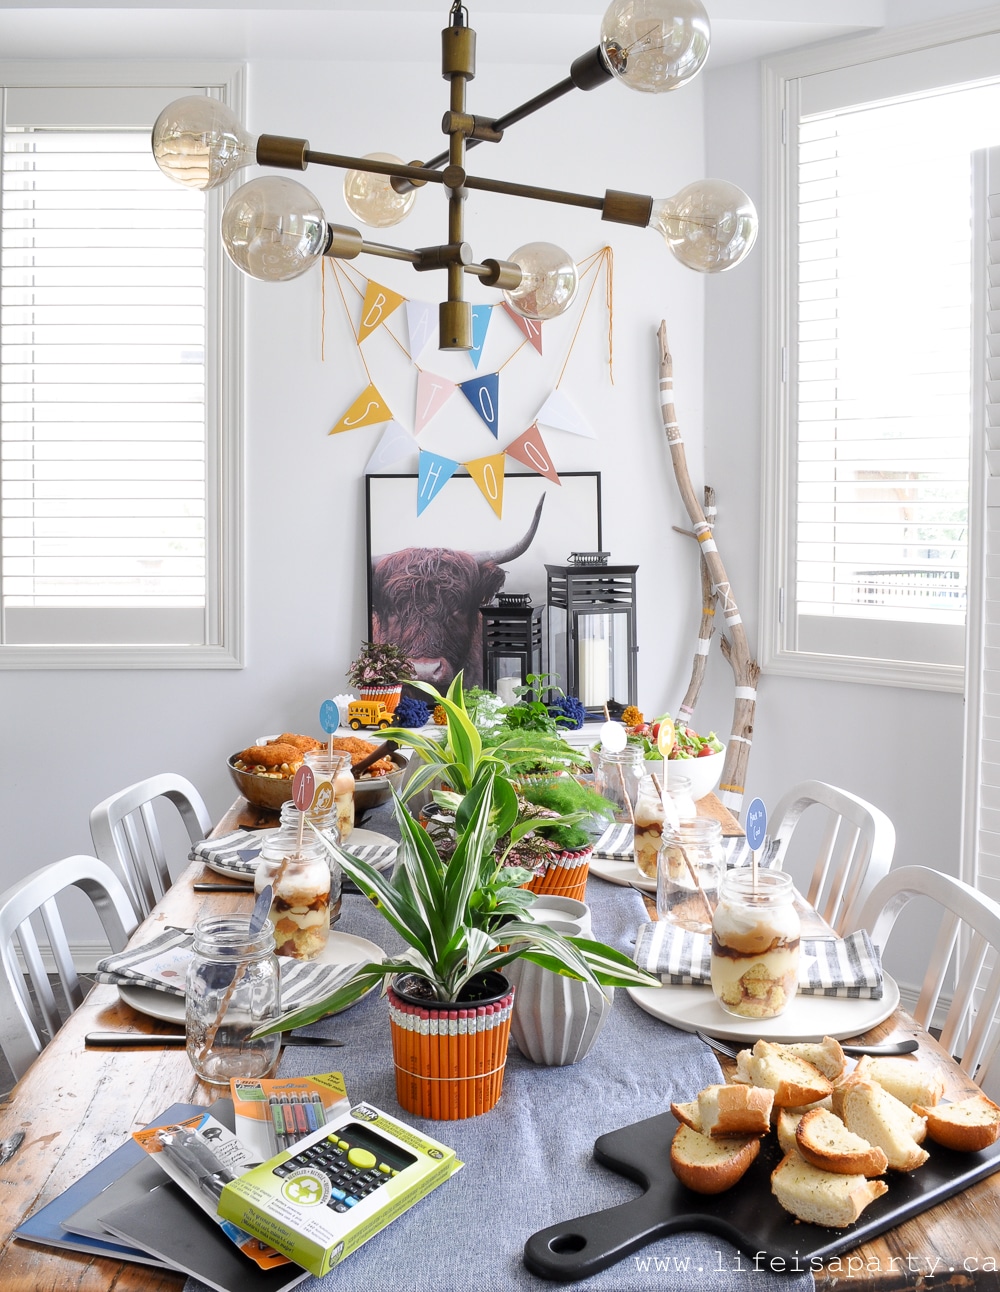
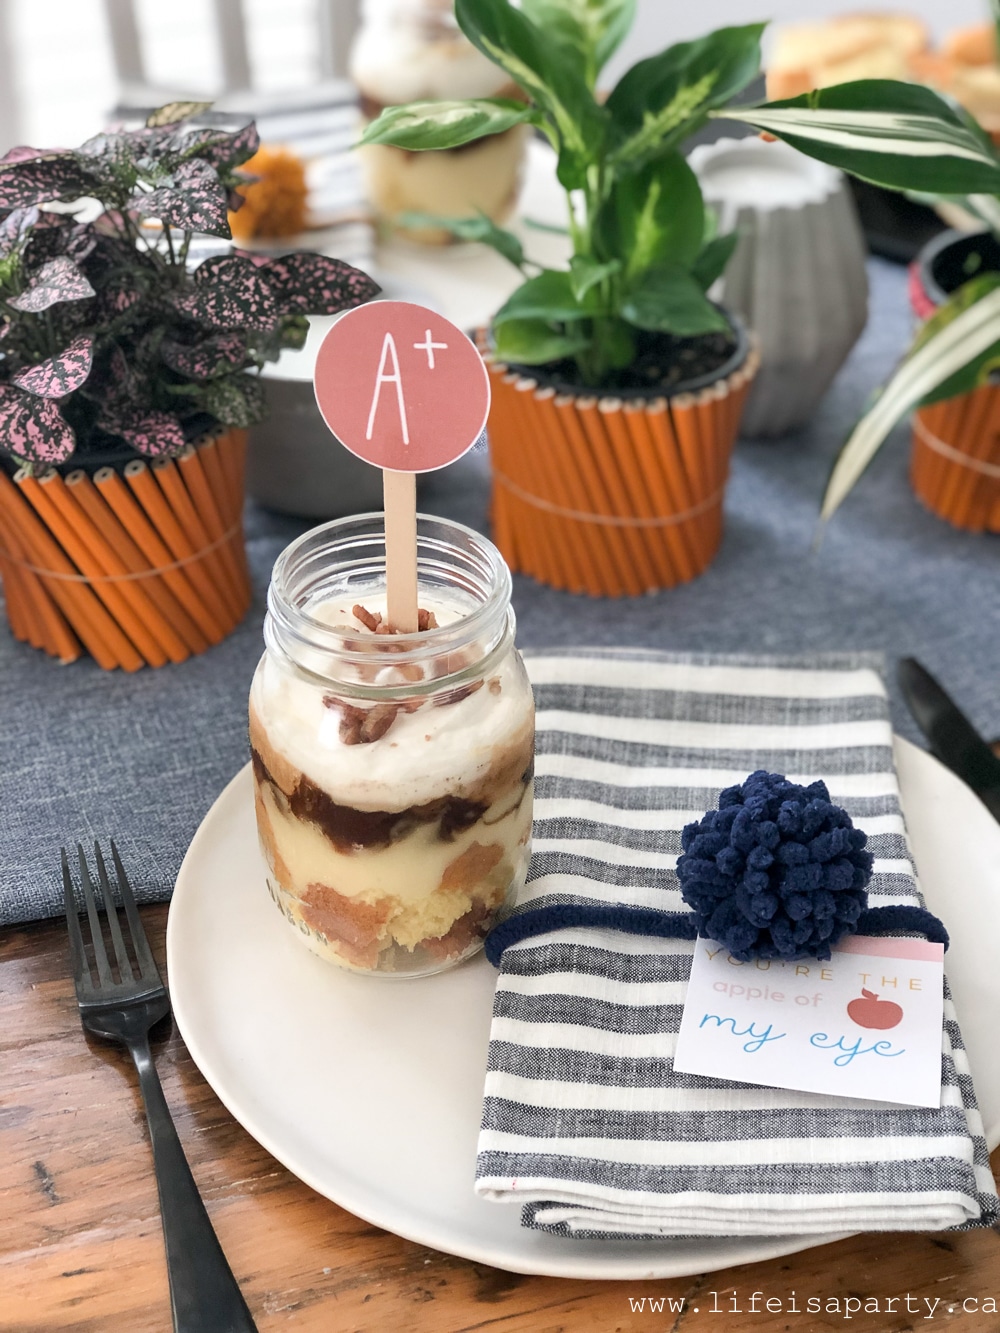
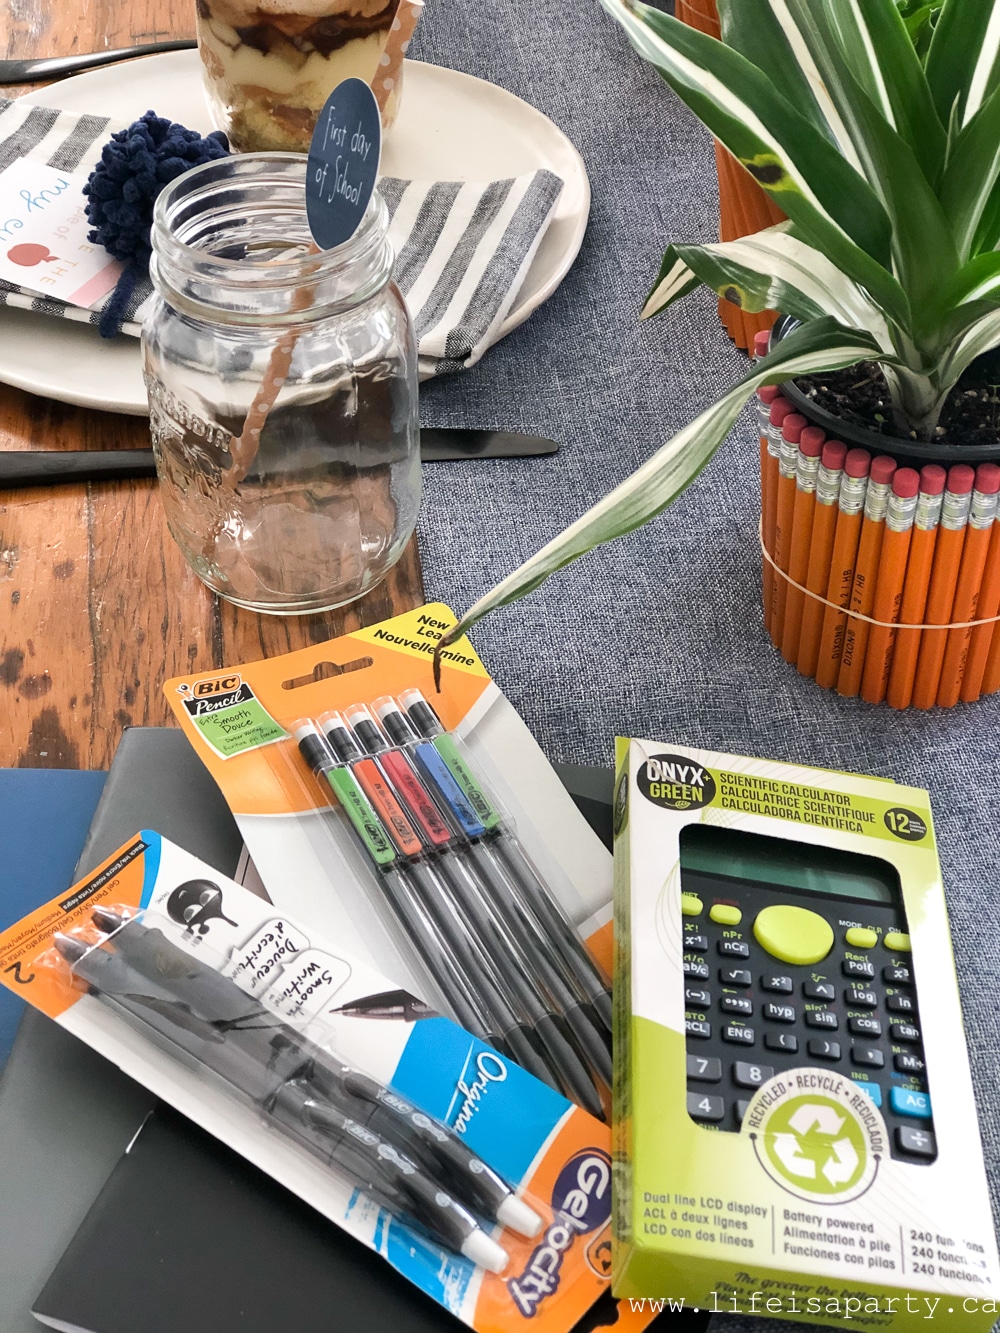
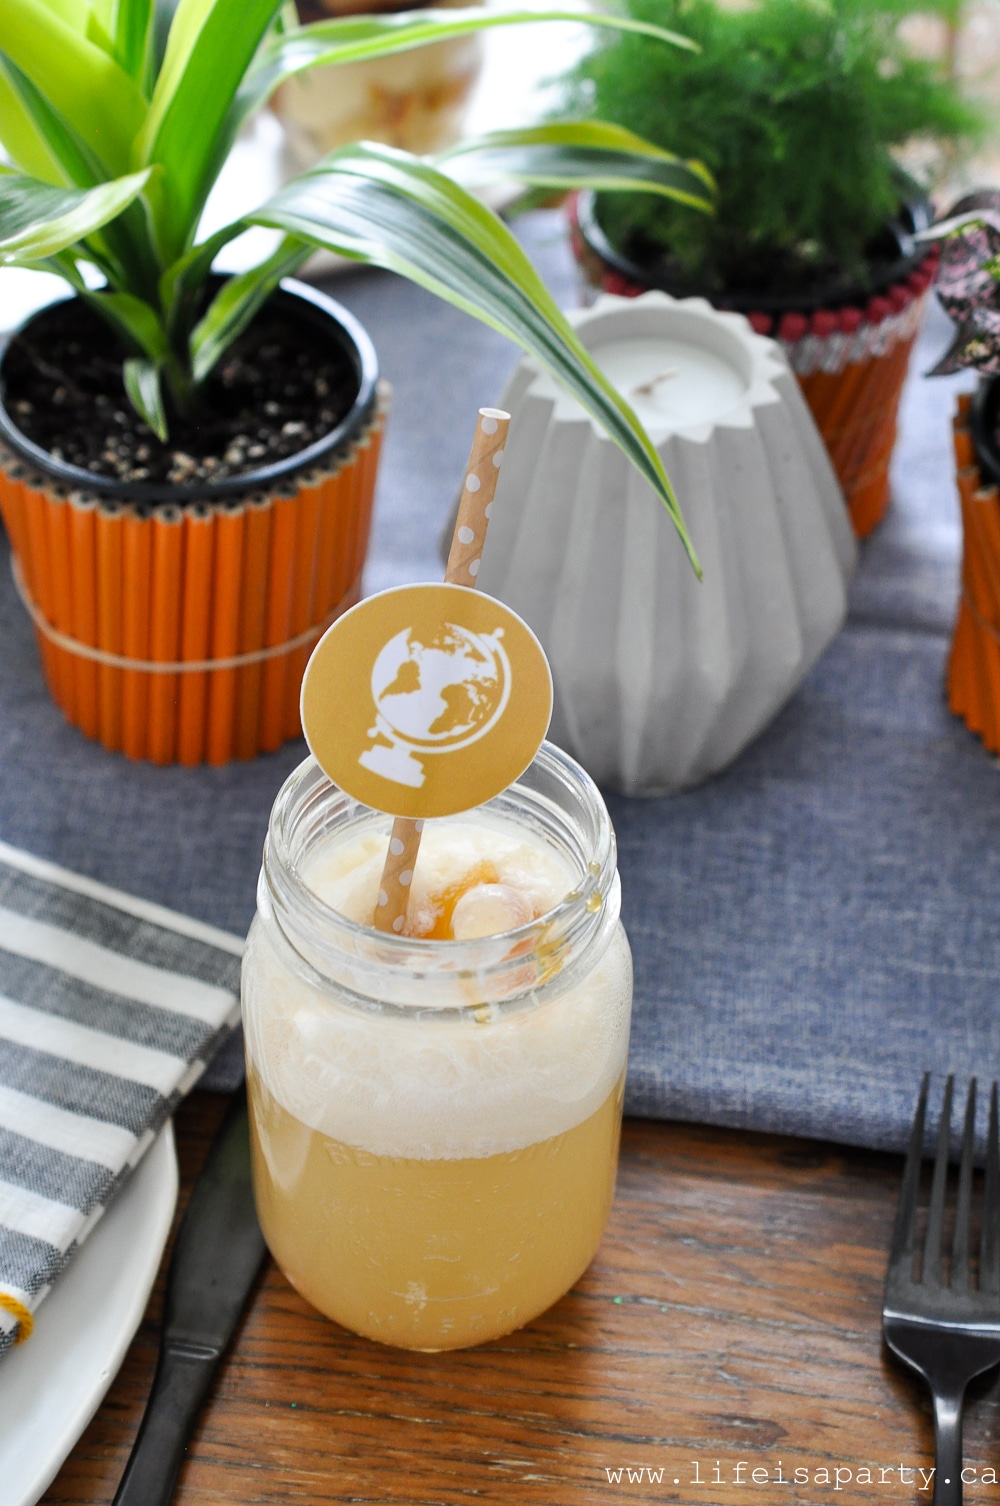
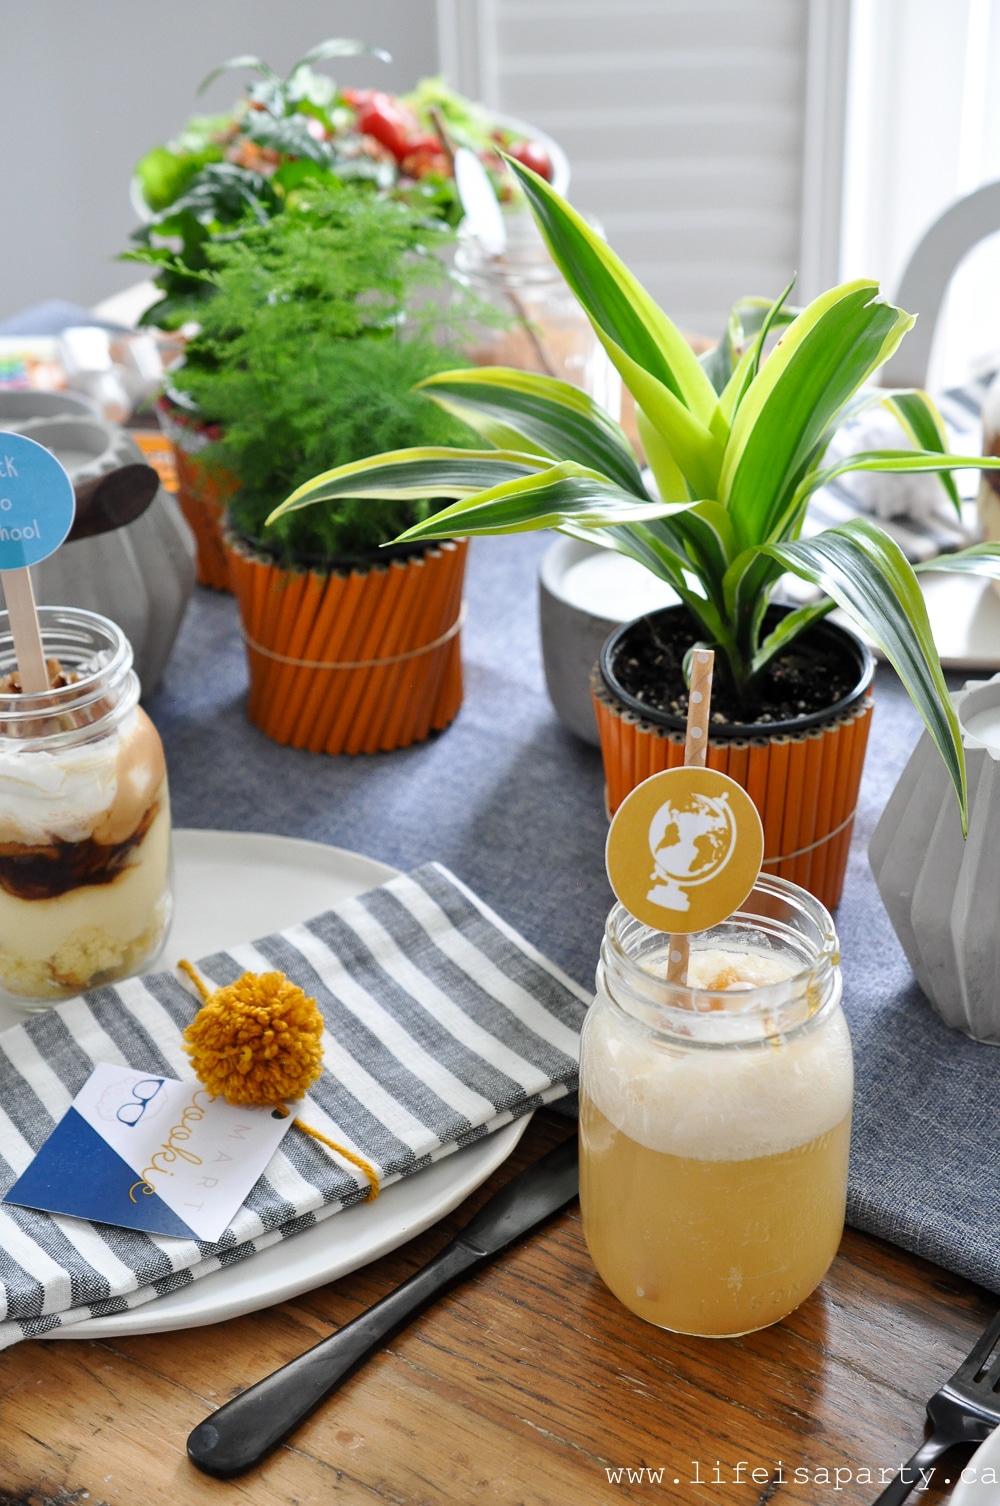
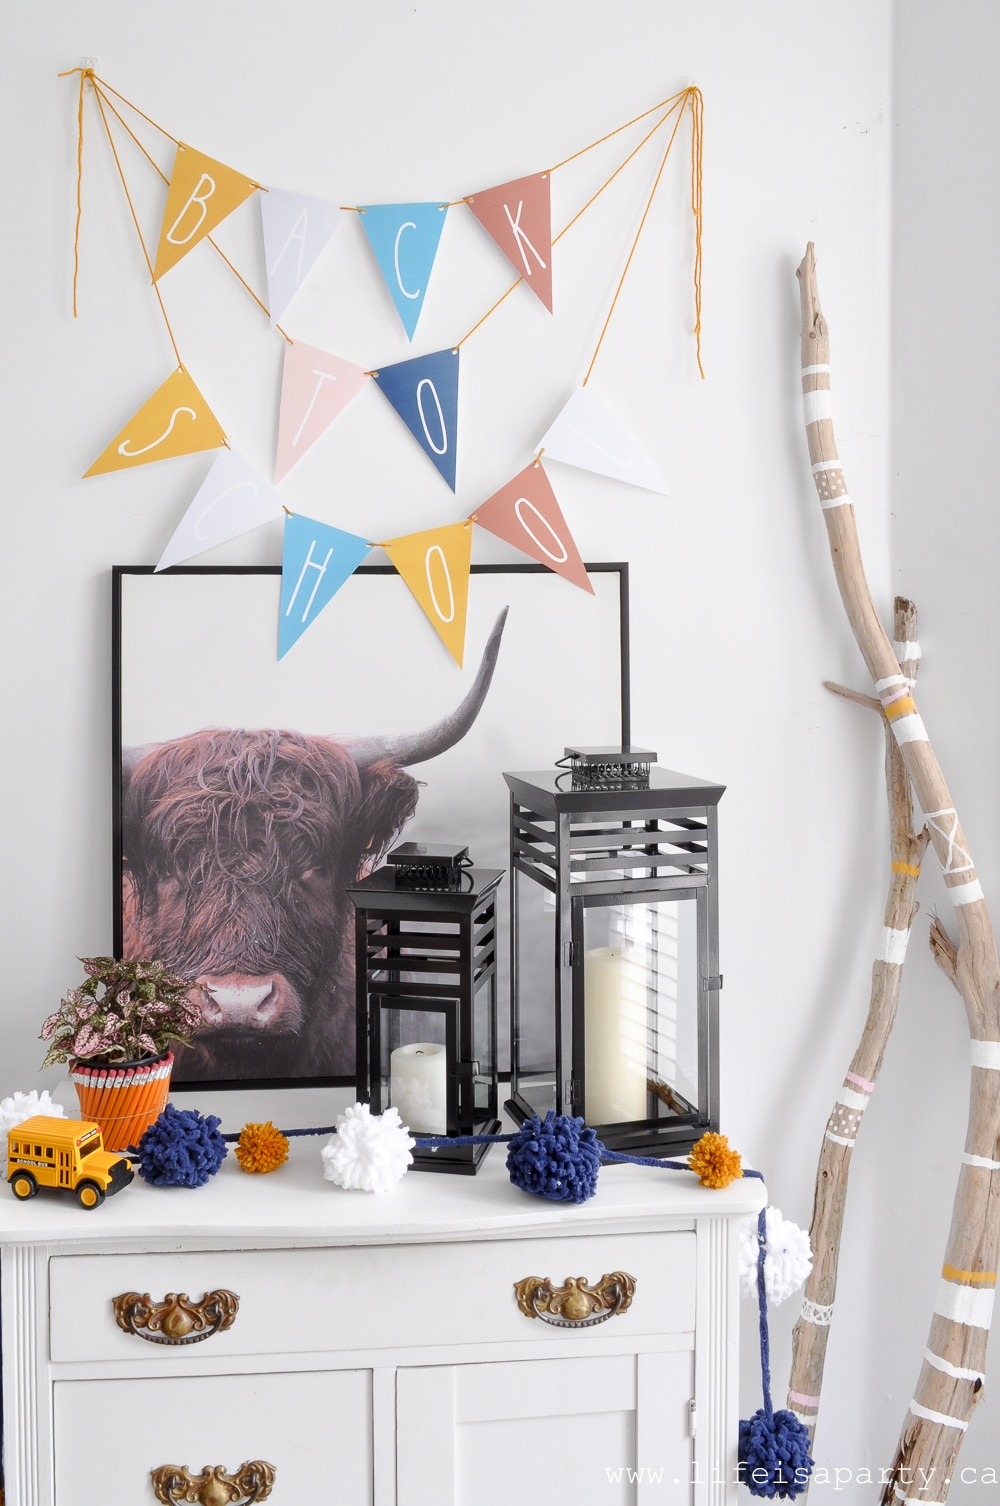
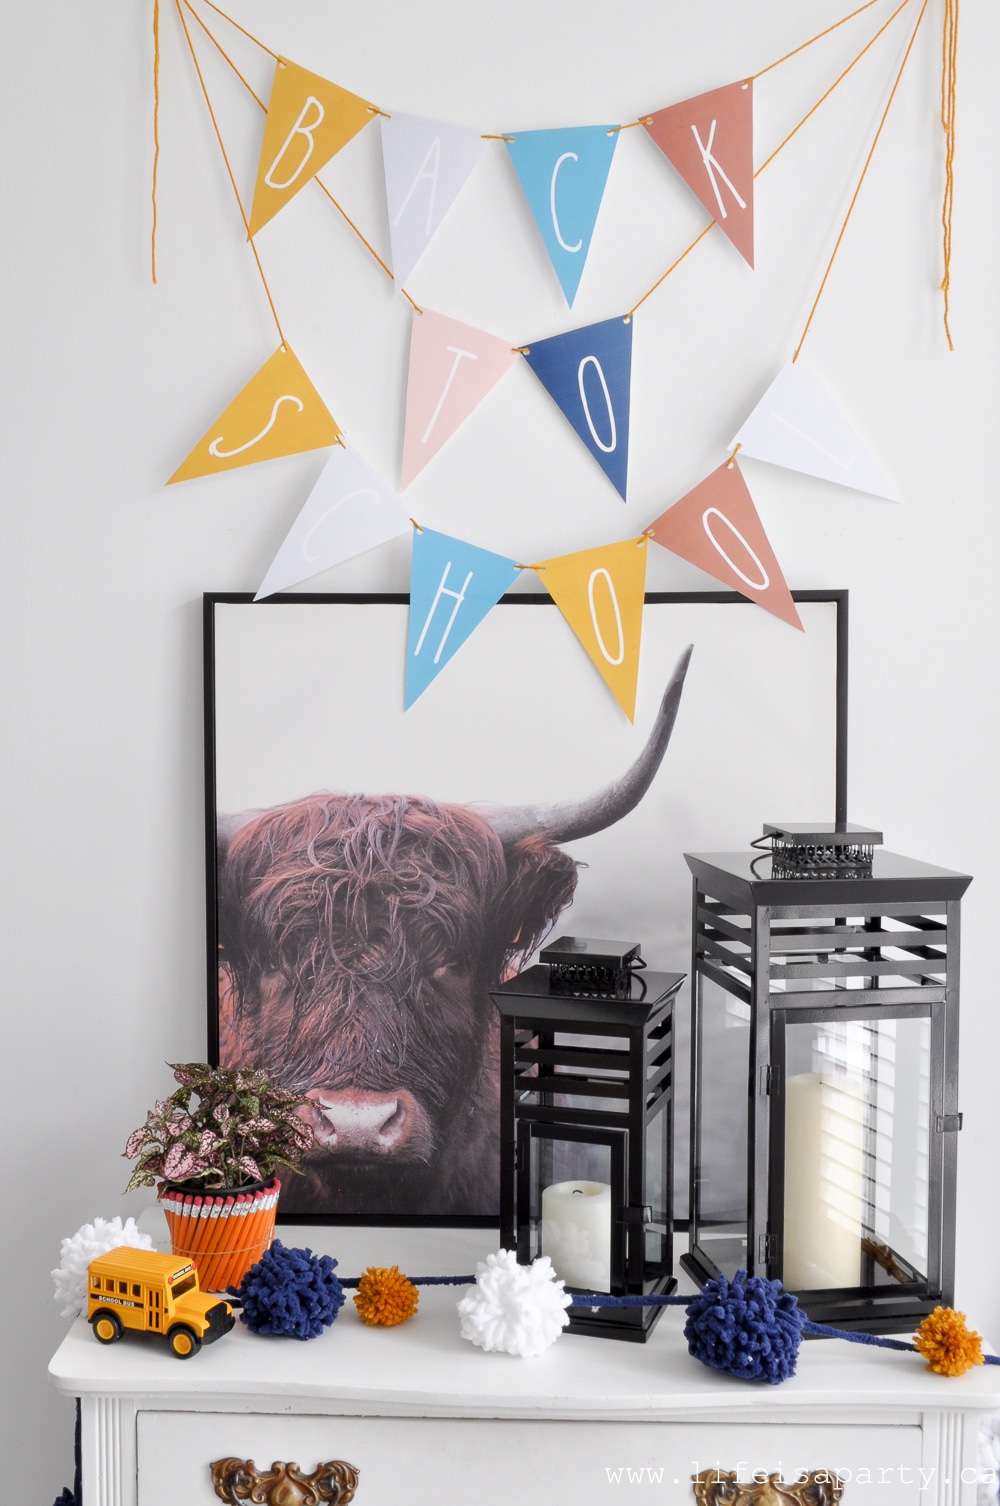
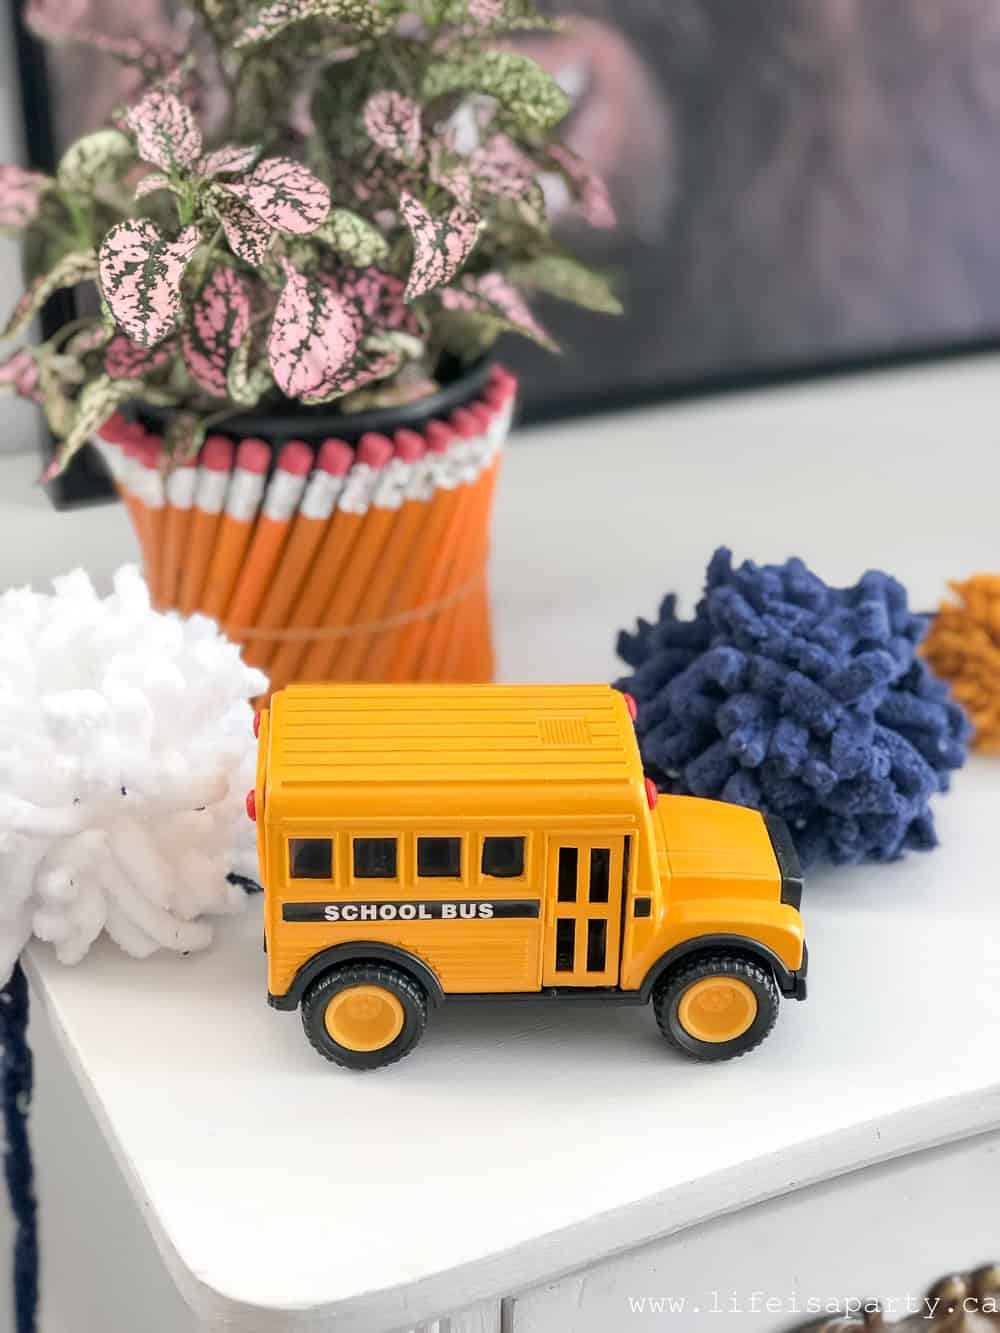
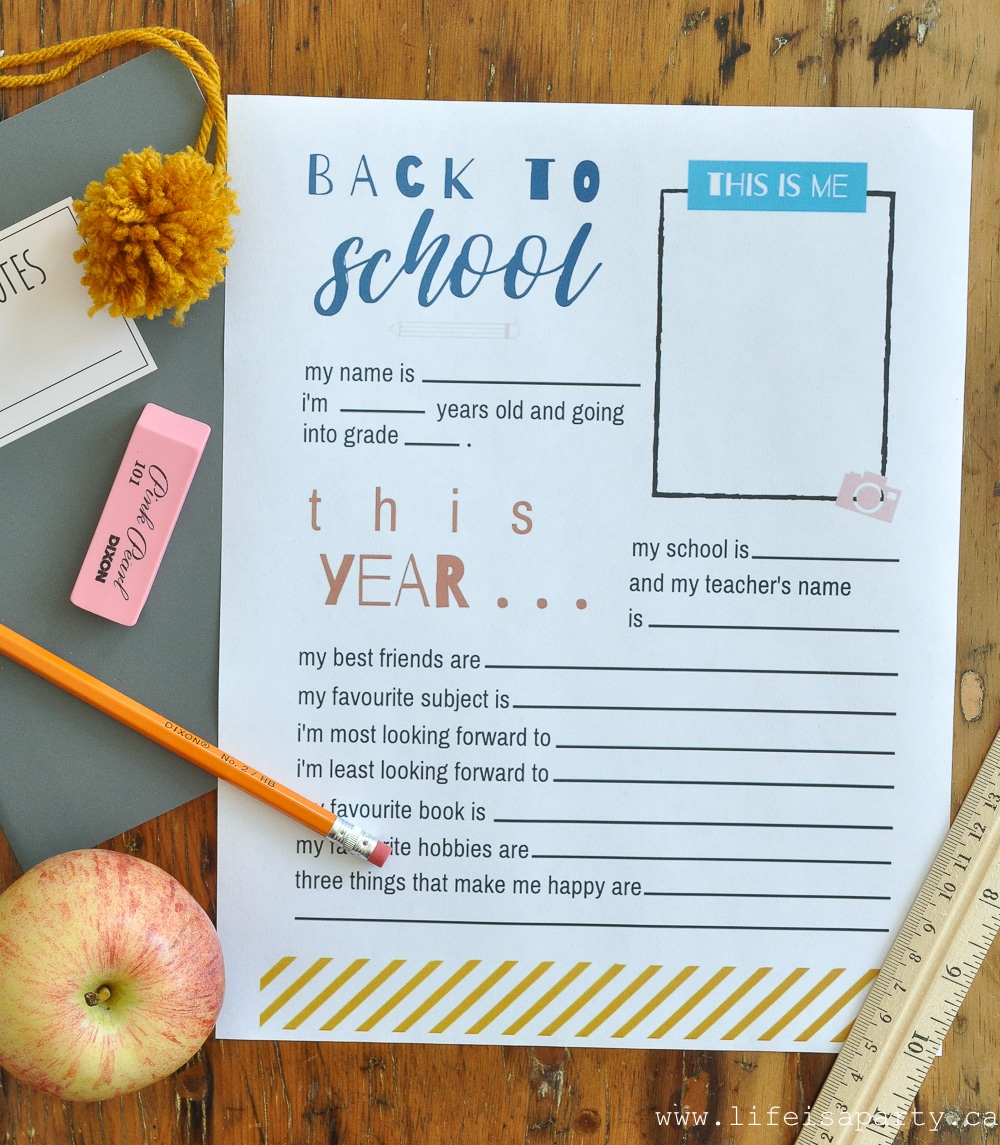
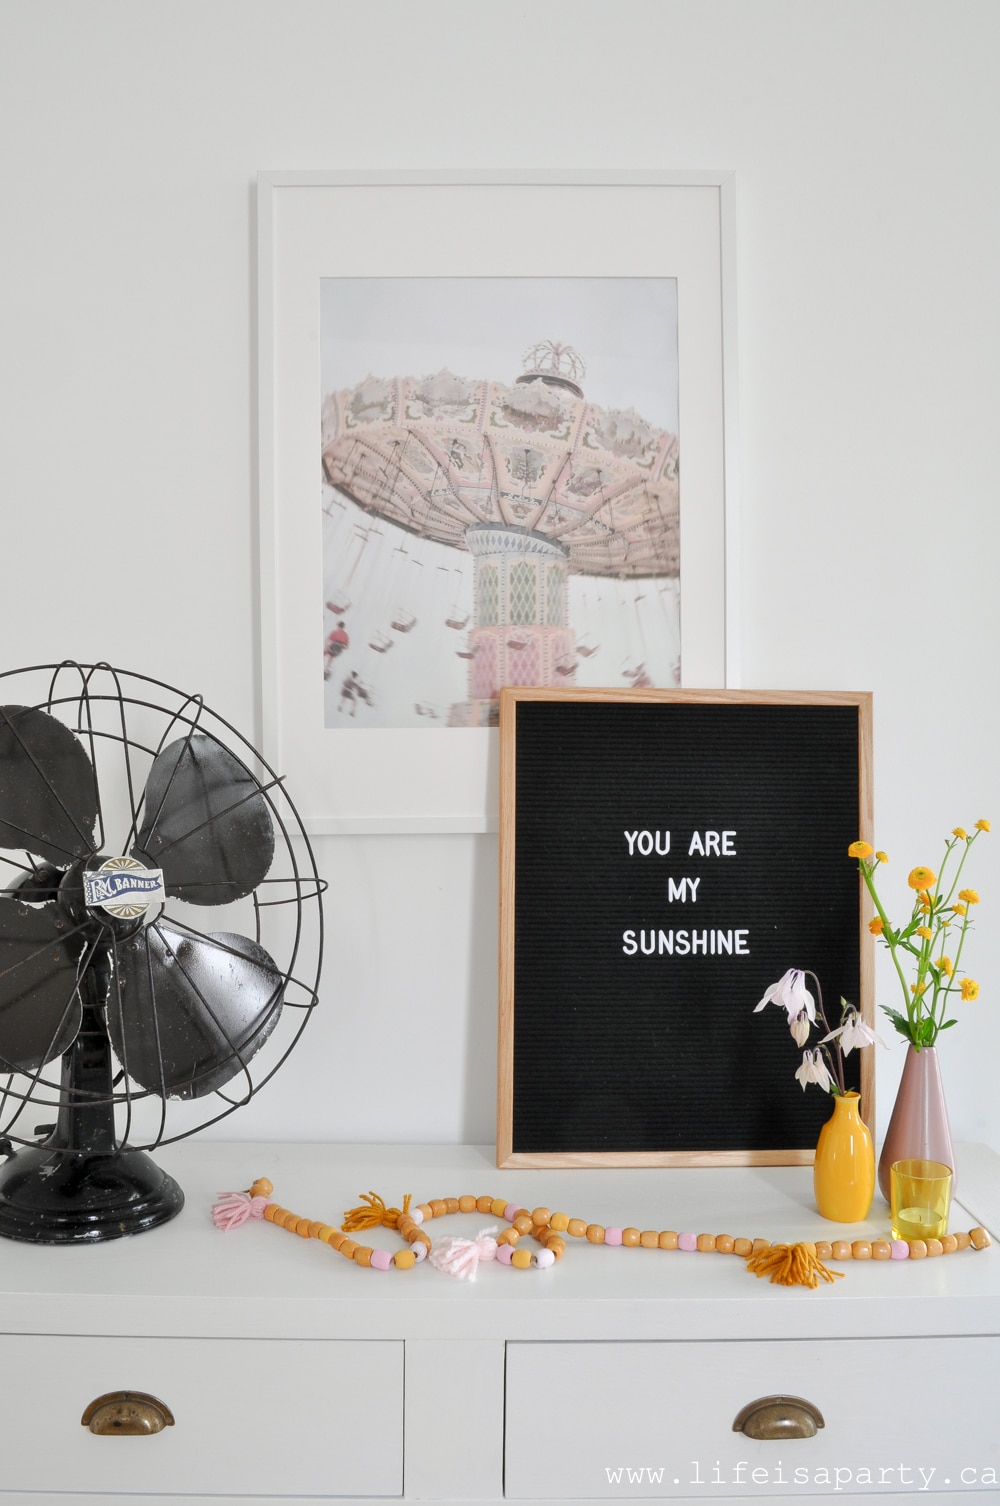
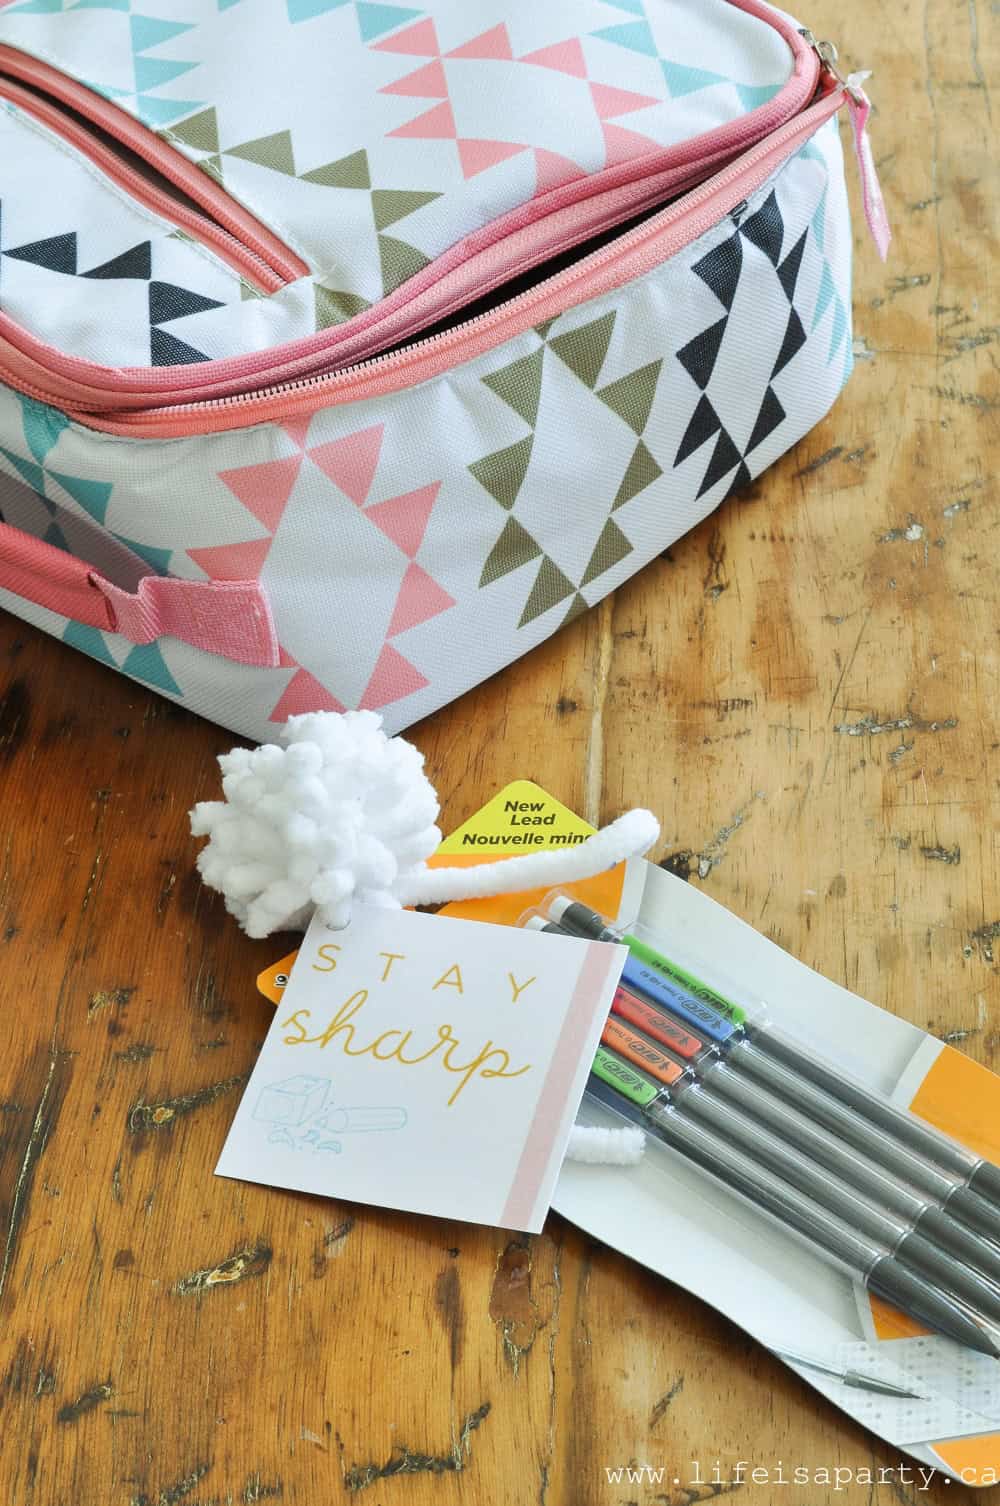 There's two more "first day of school" and "back to school" that would be great that first day.
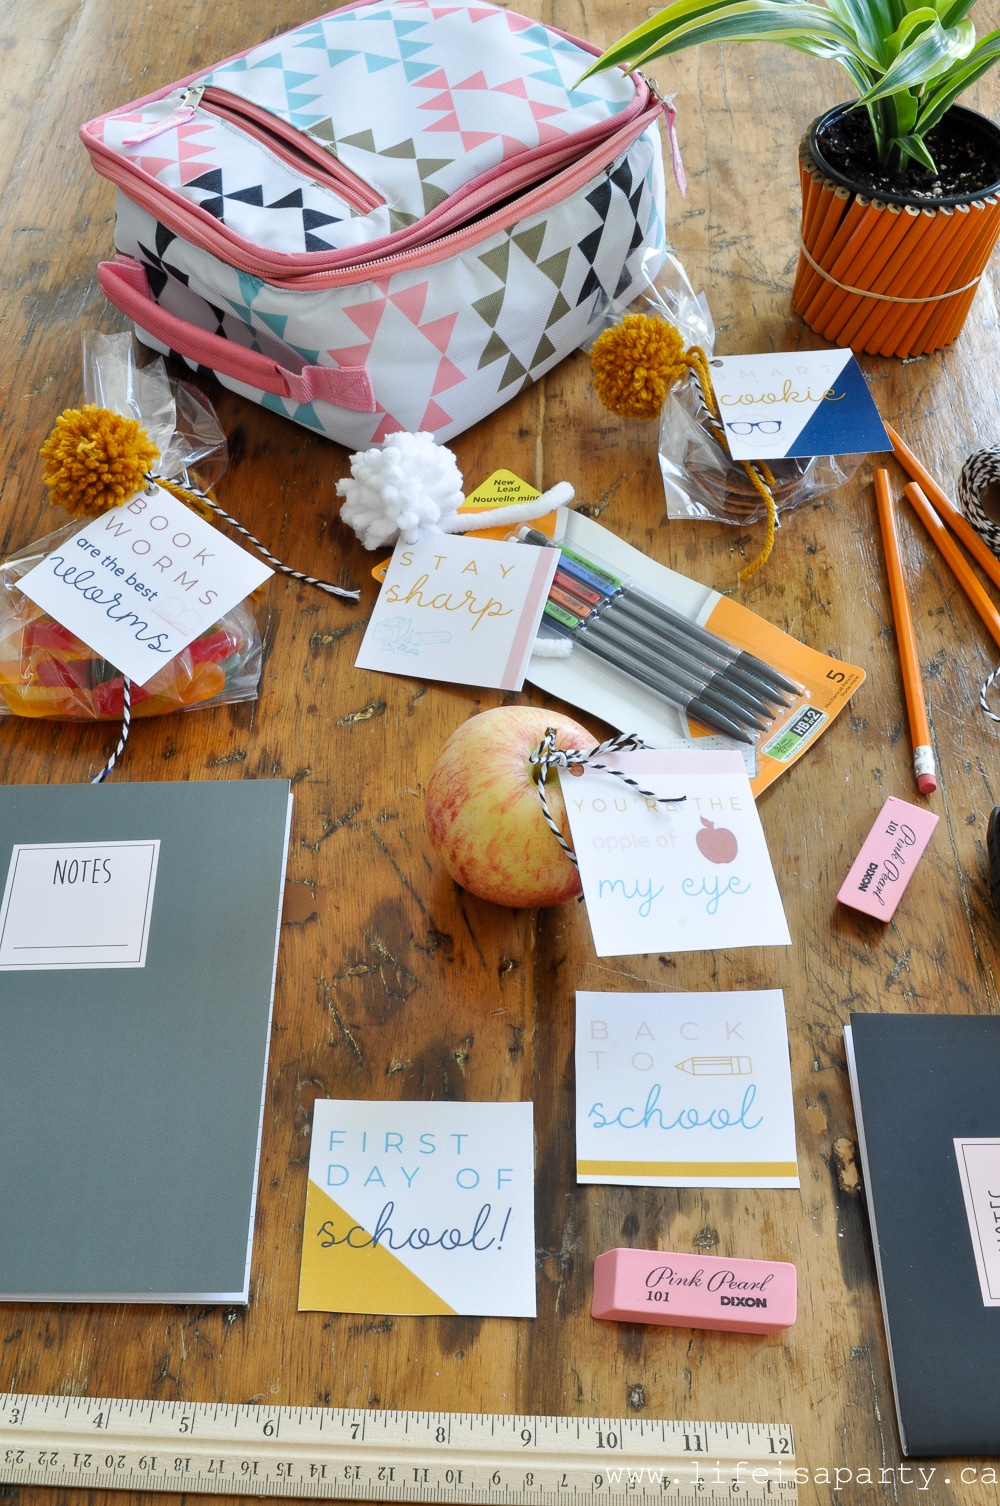 Also, these are even more special with a handwritten note of encouragement on the back from mom or dad, especially if anyone is struggling with first week back jitters.
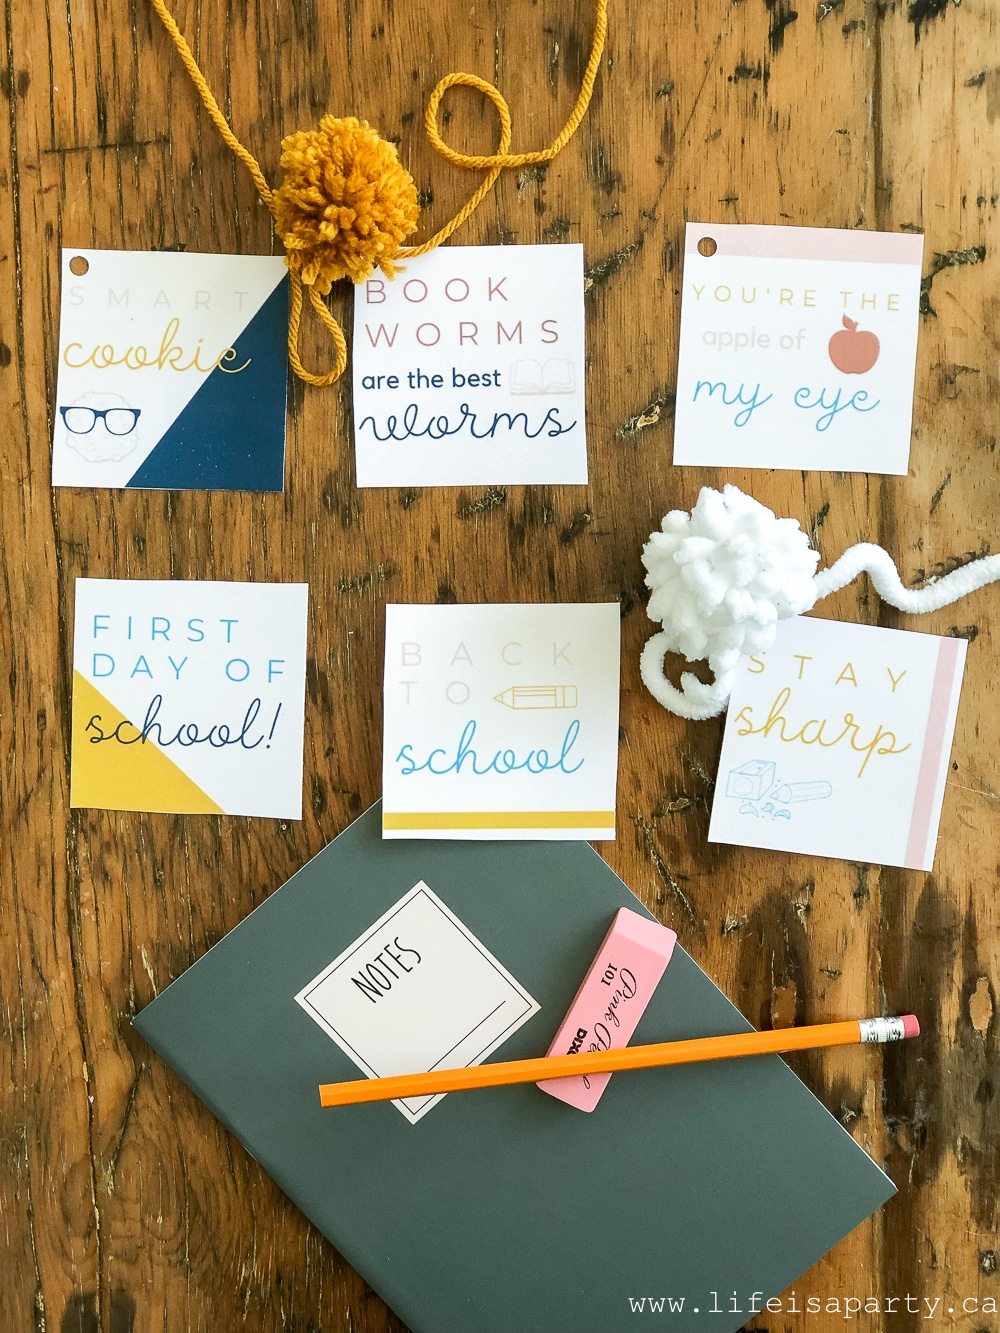 Remember to let your little ones know just how special to you they are with this thoughtful little treat.


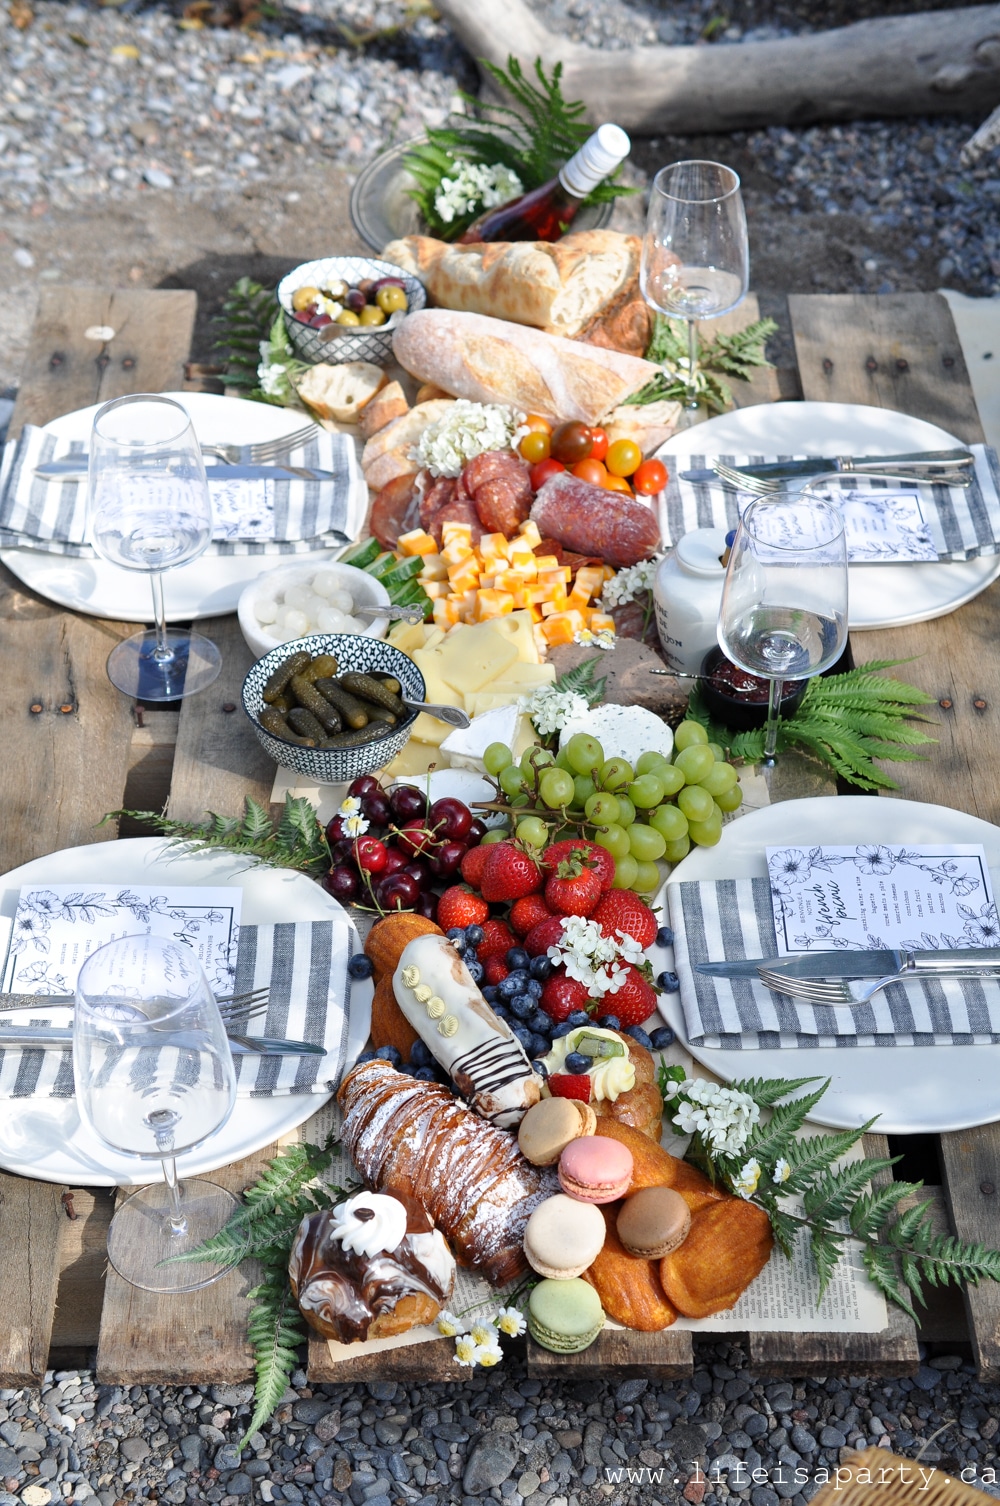

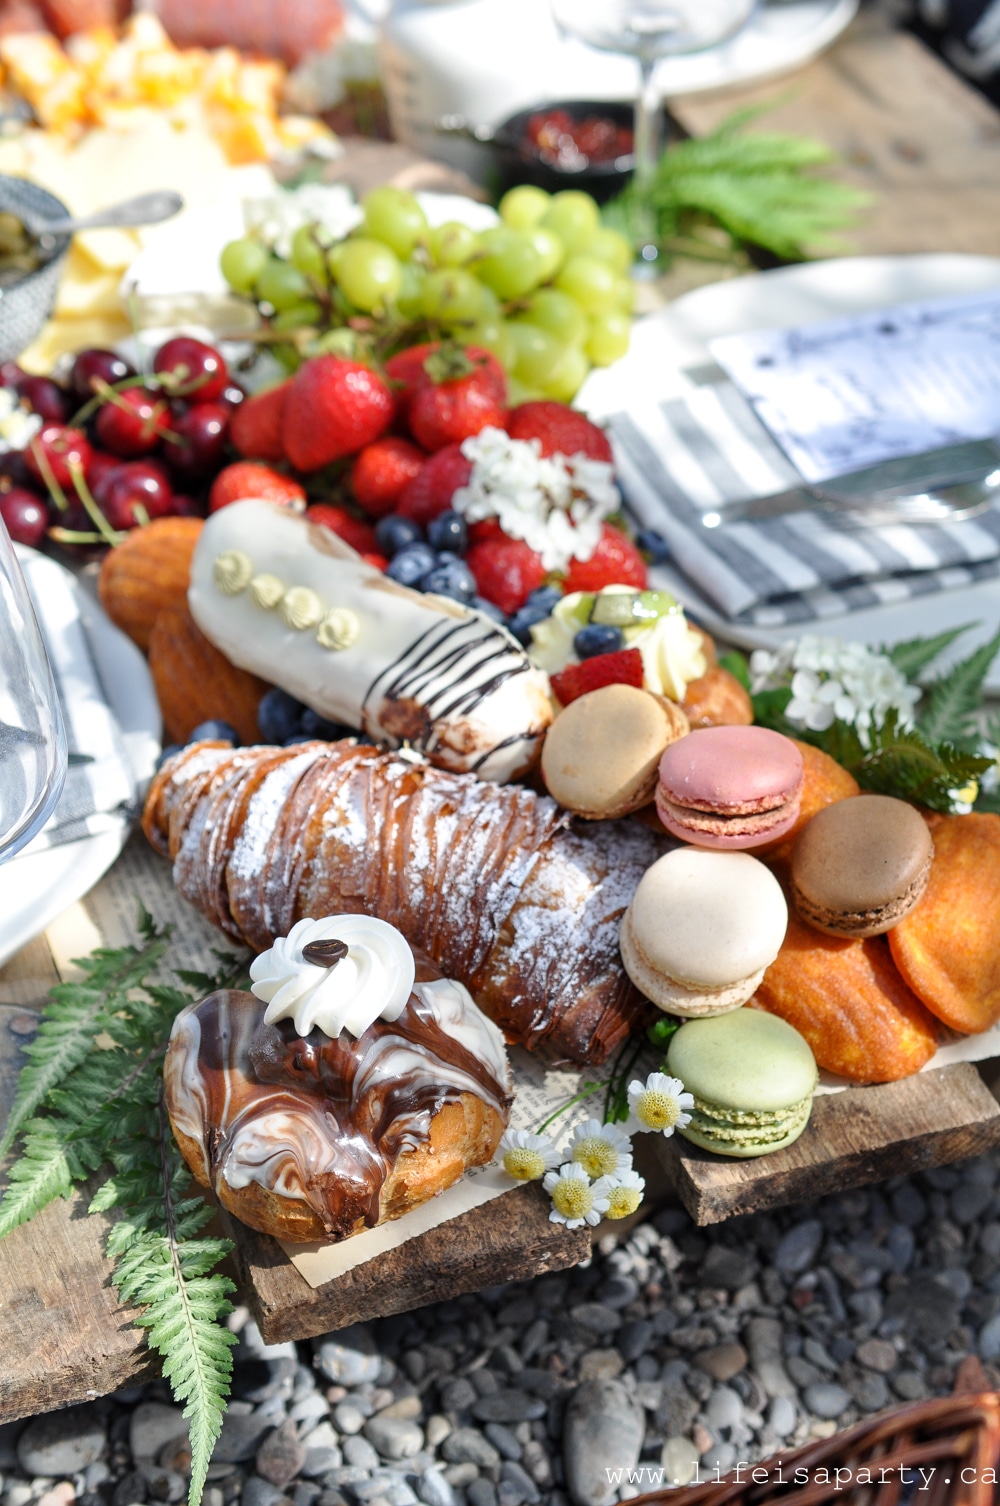
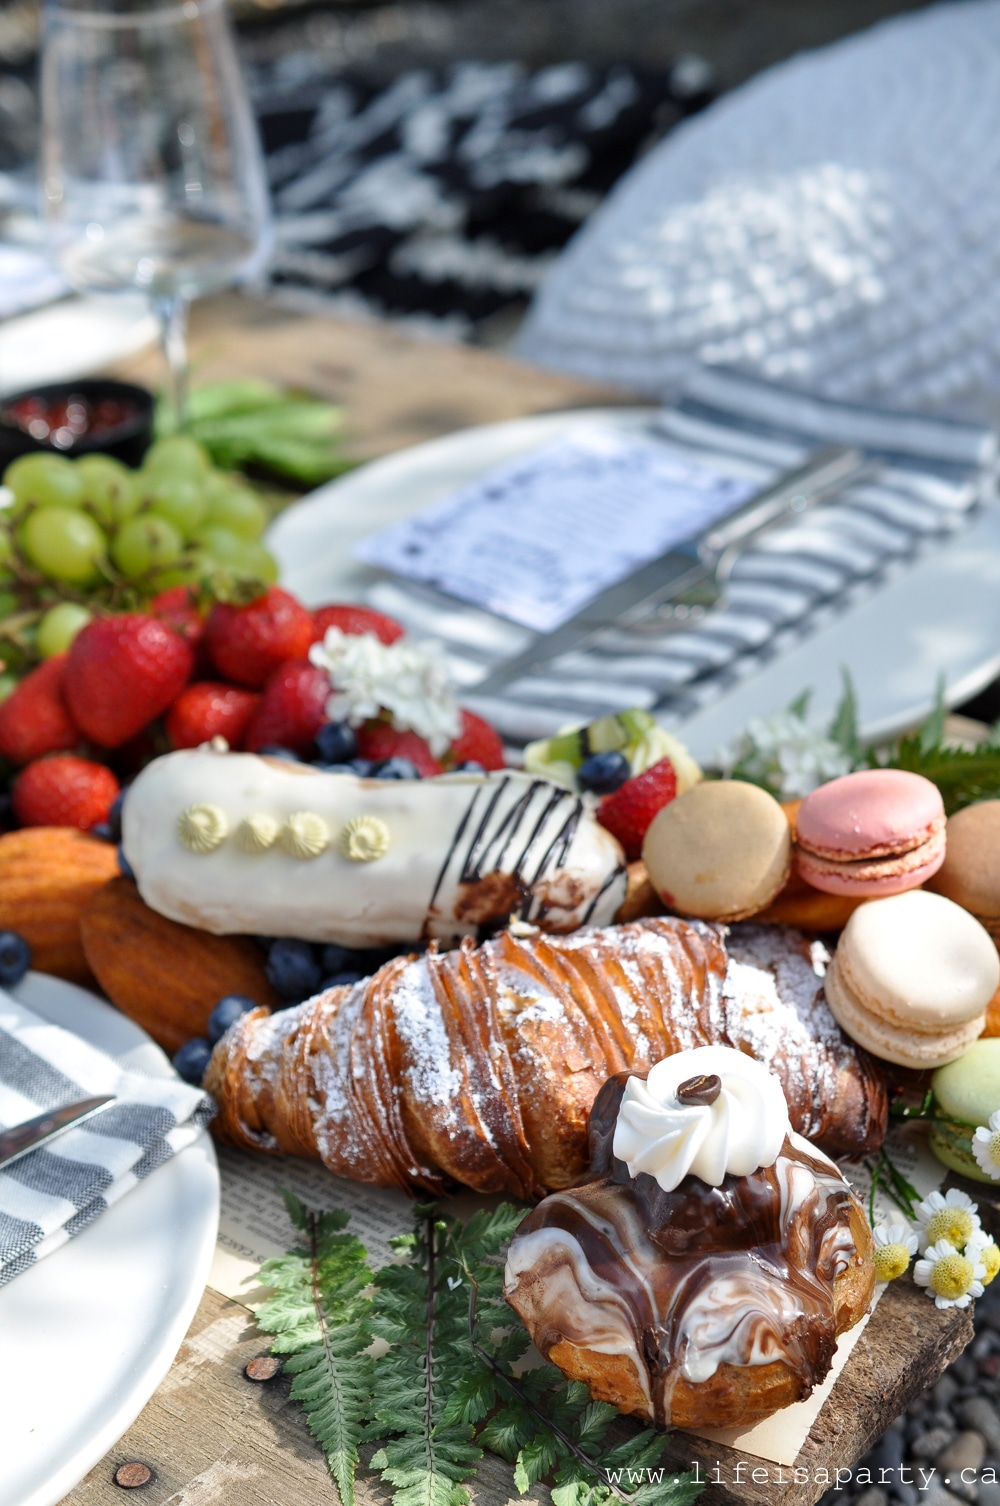
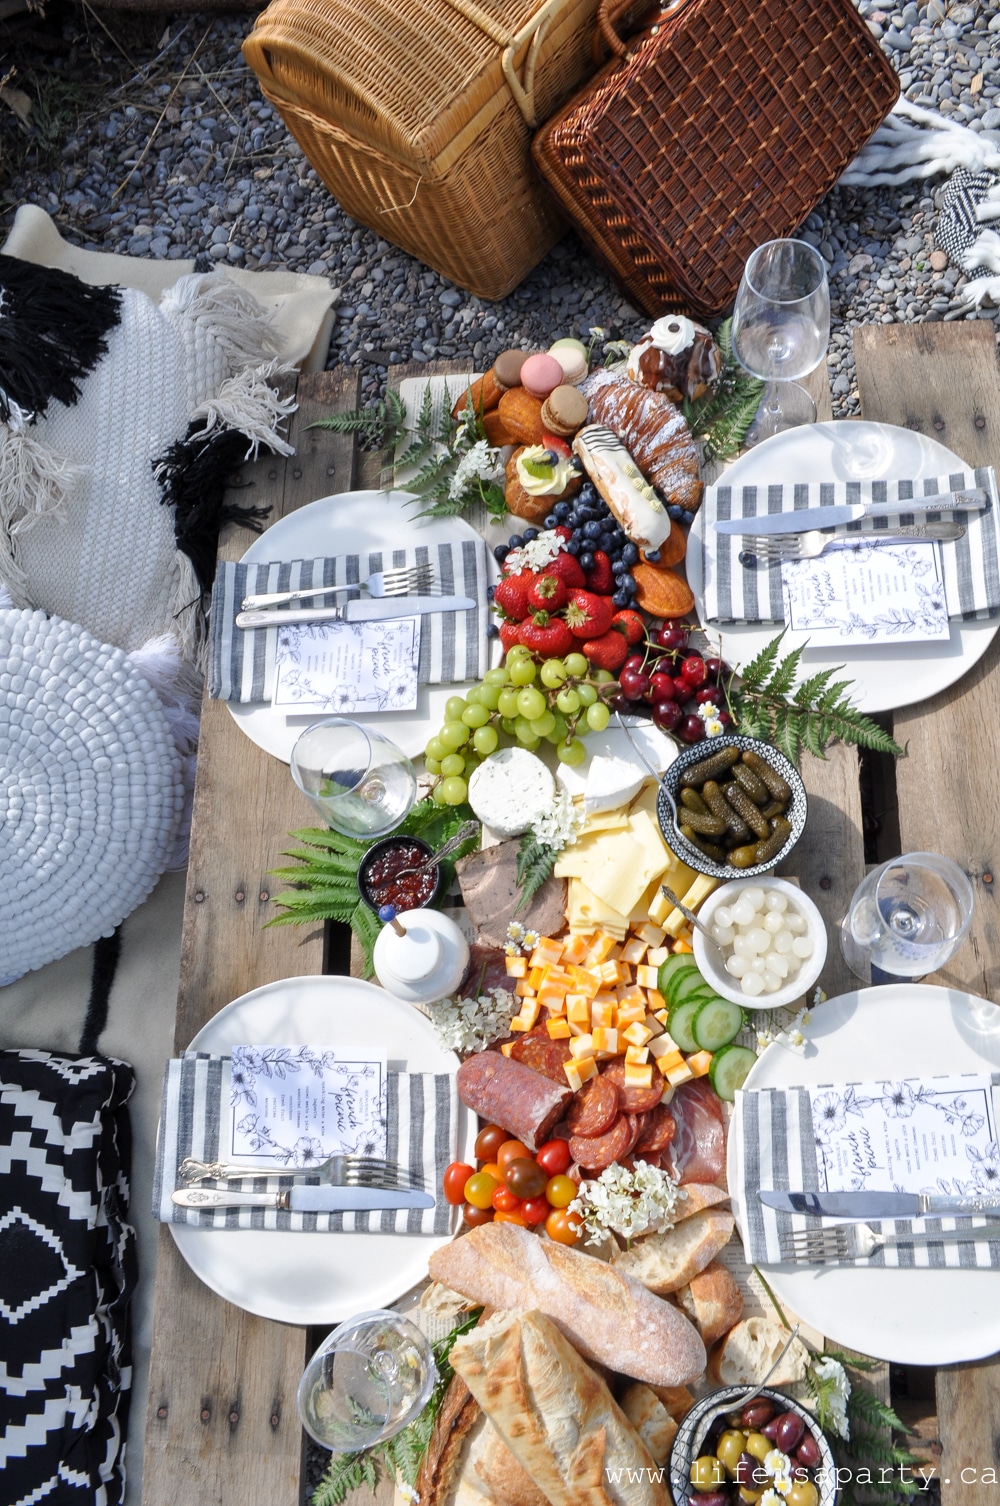
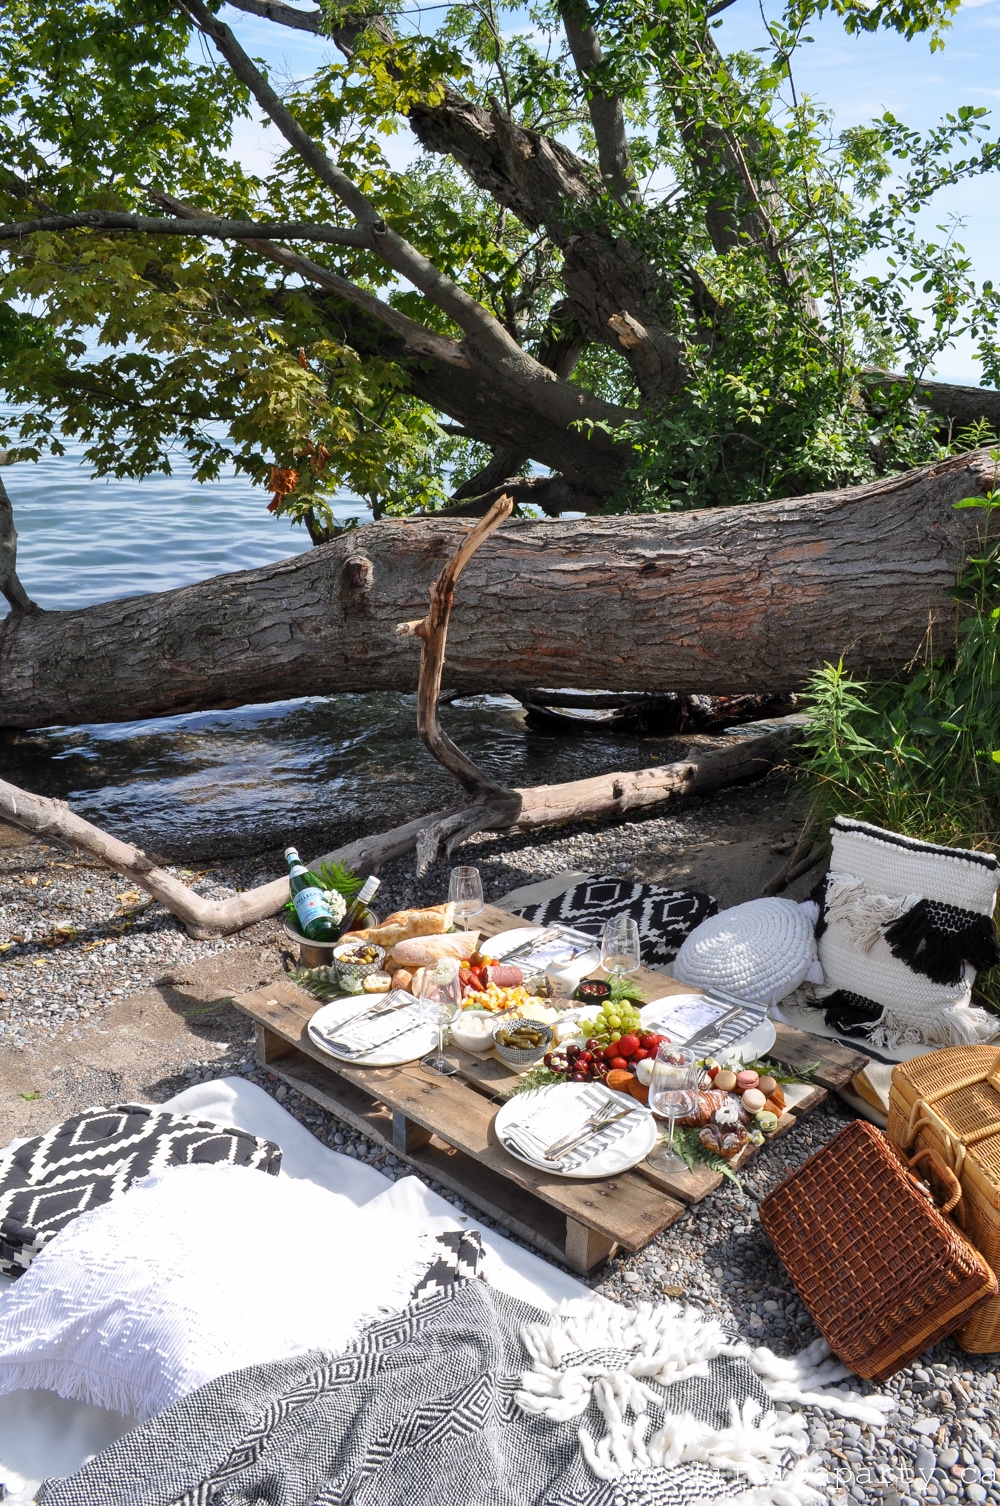


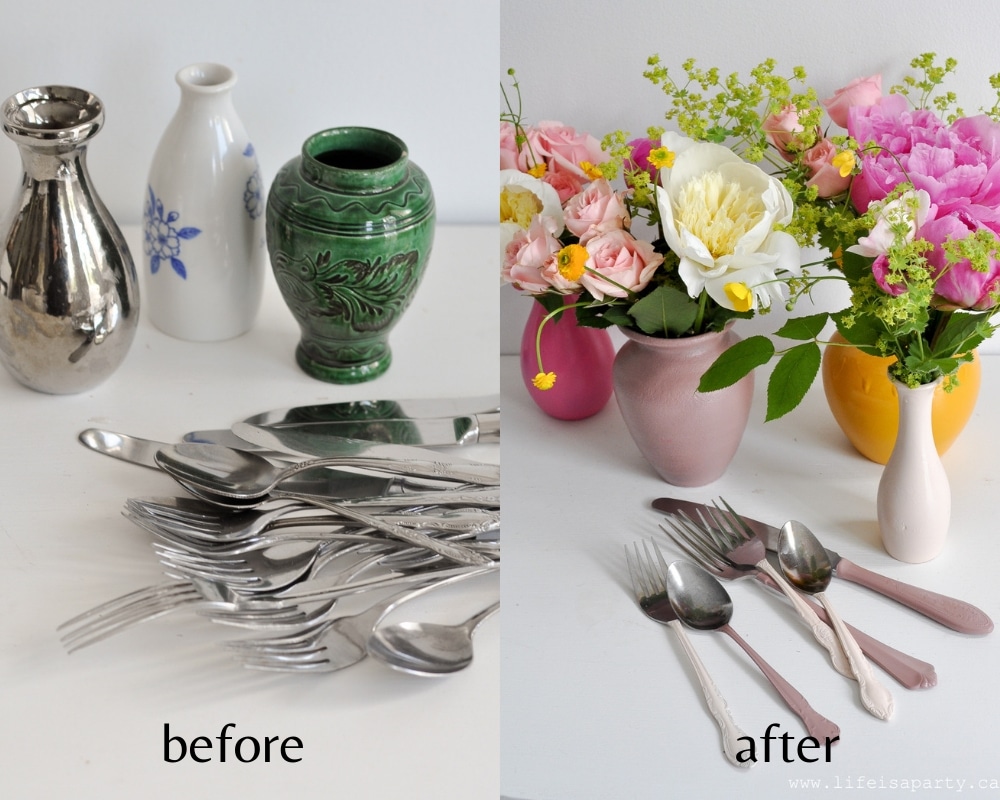
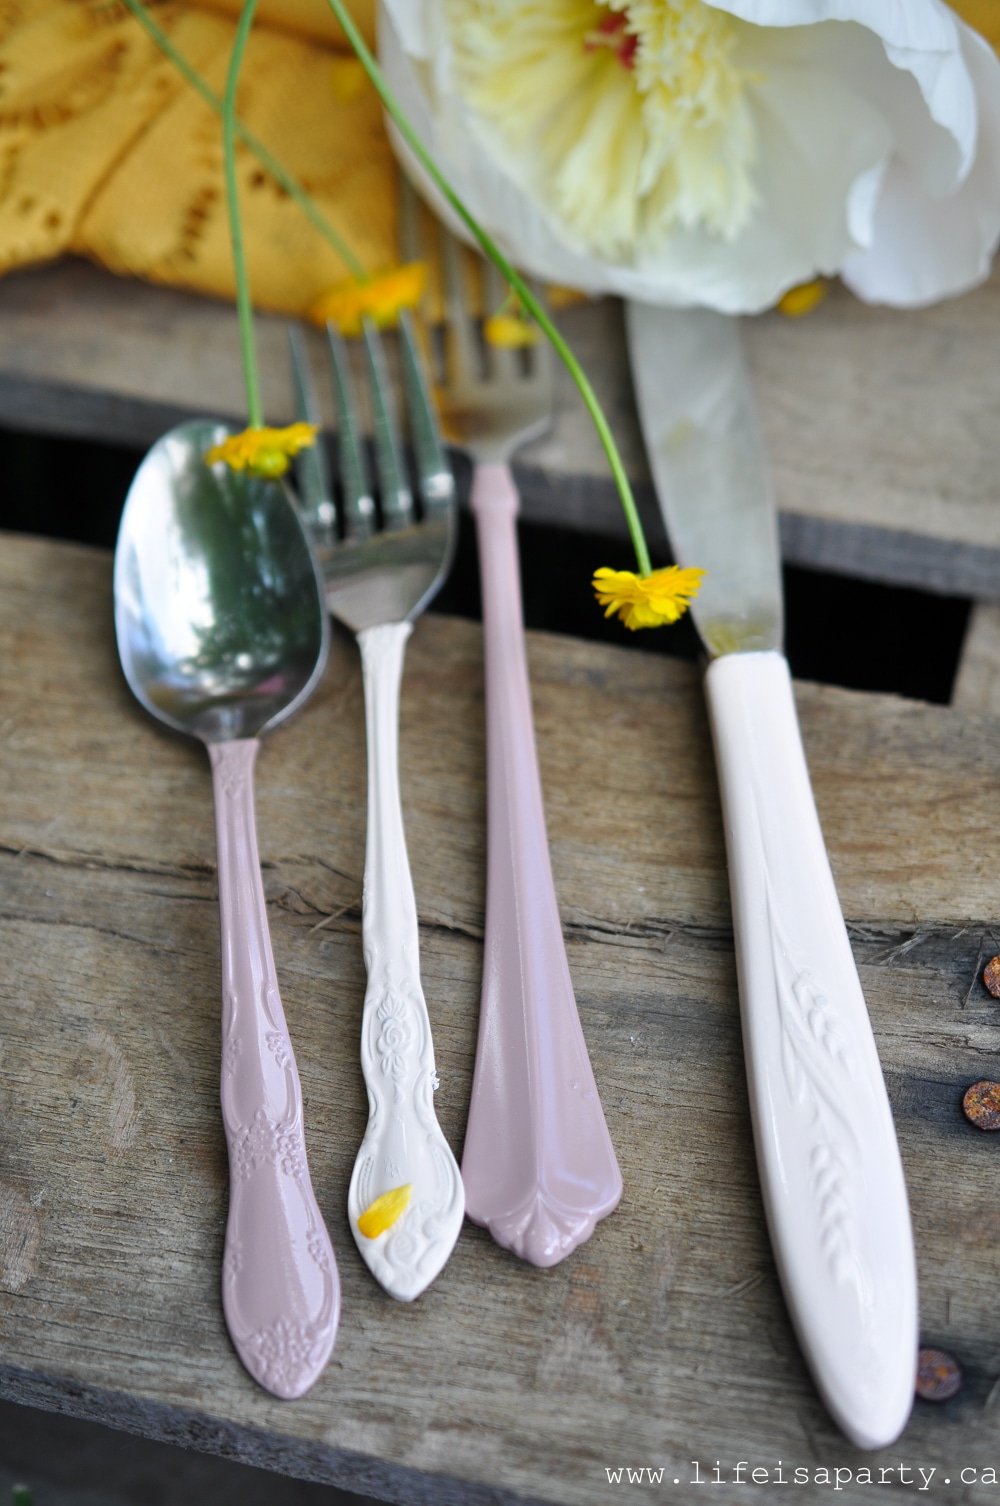
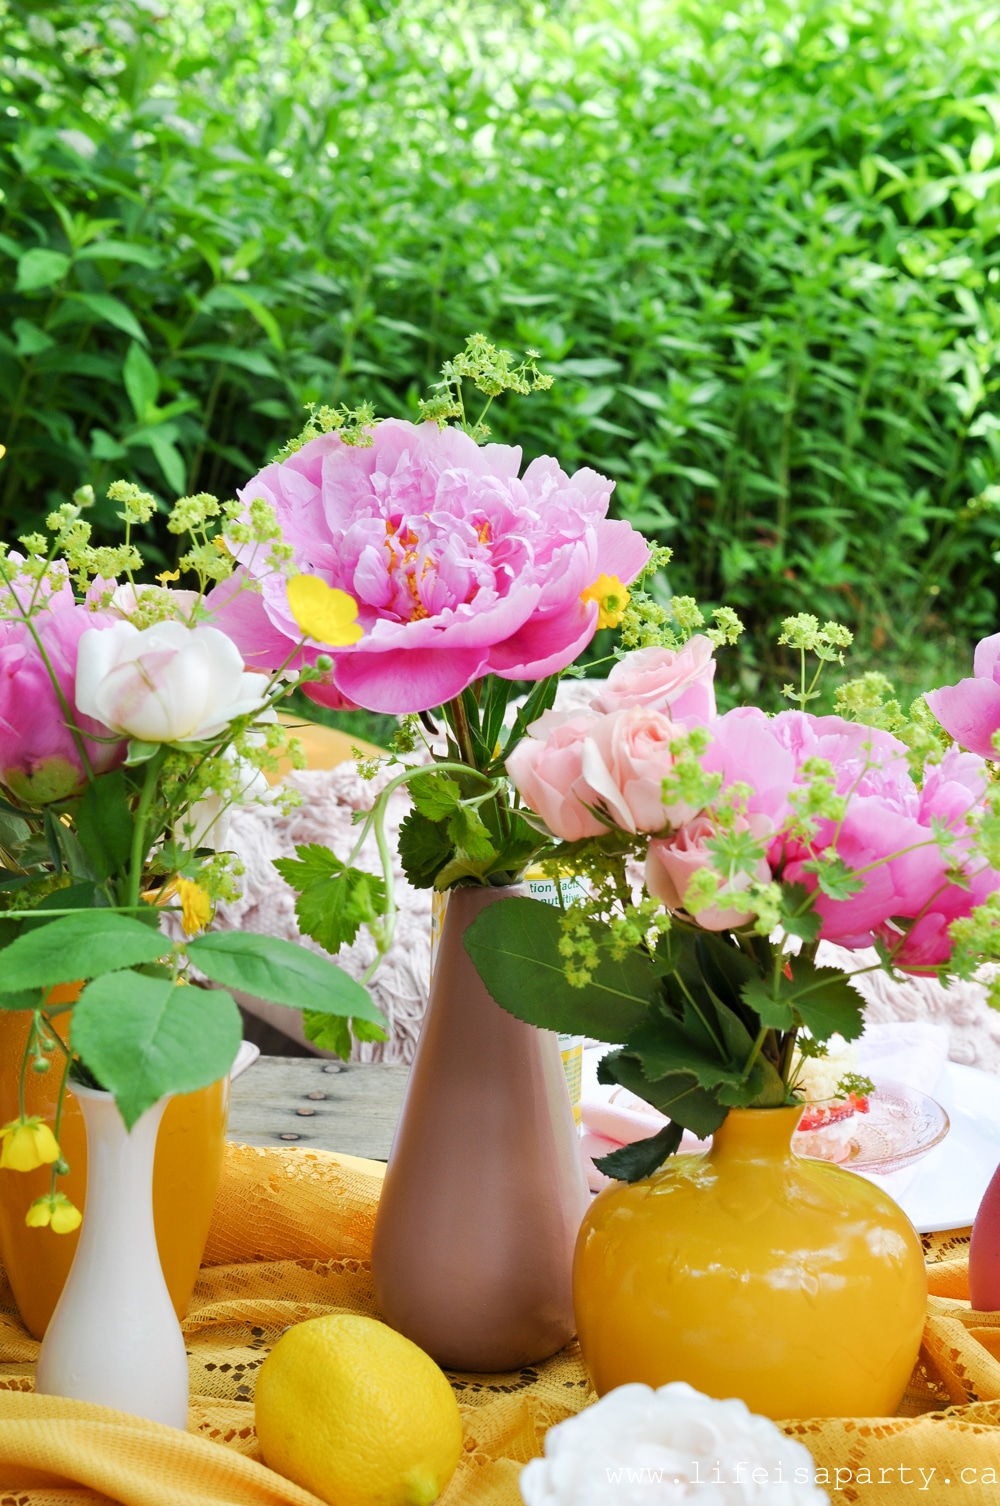
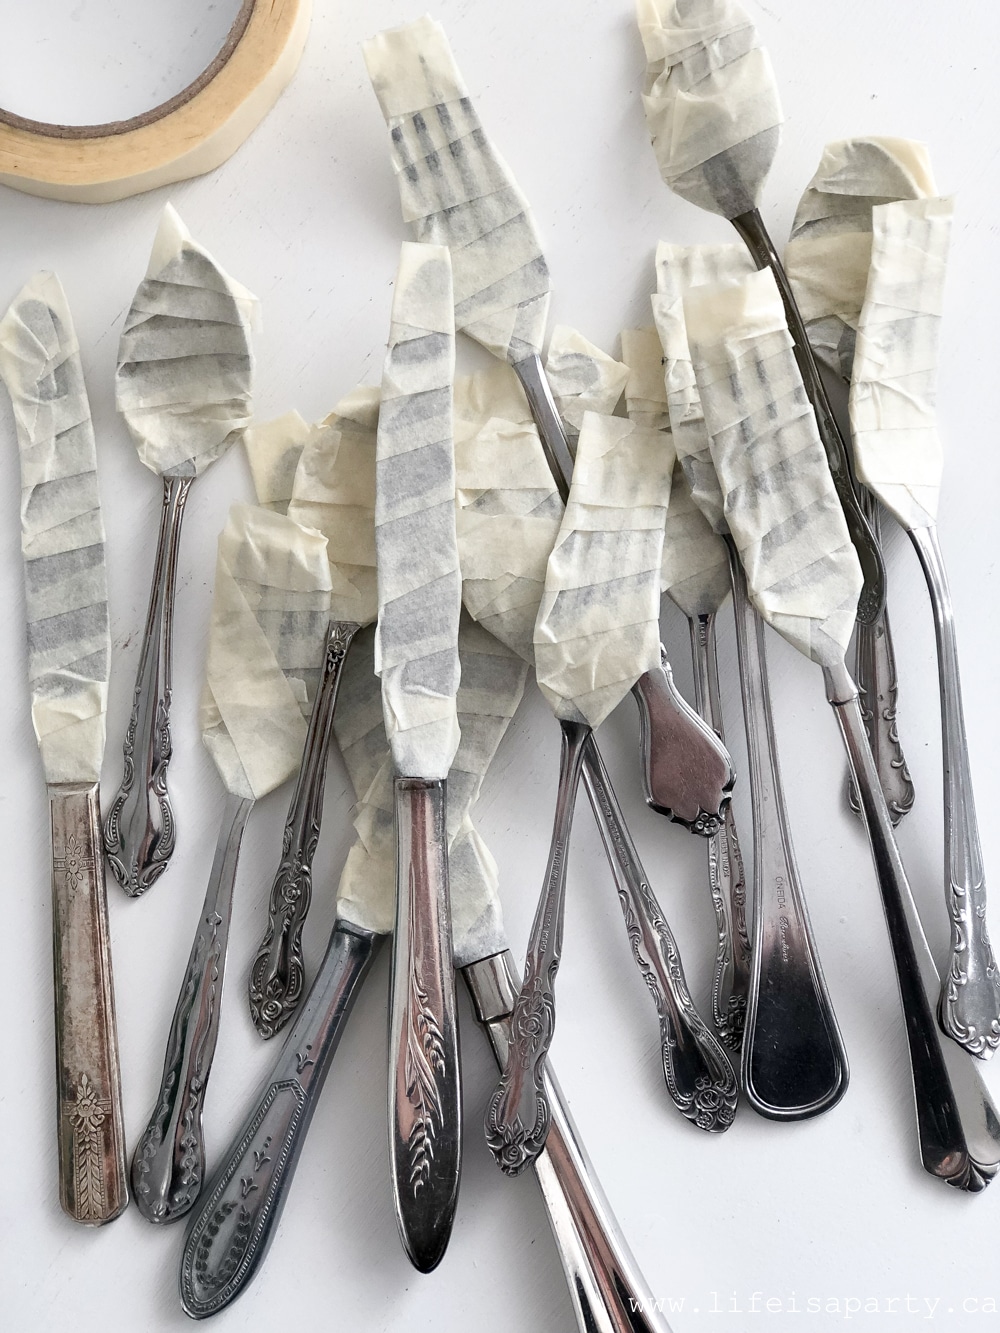
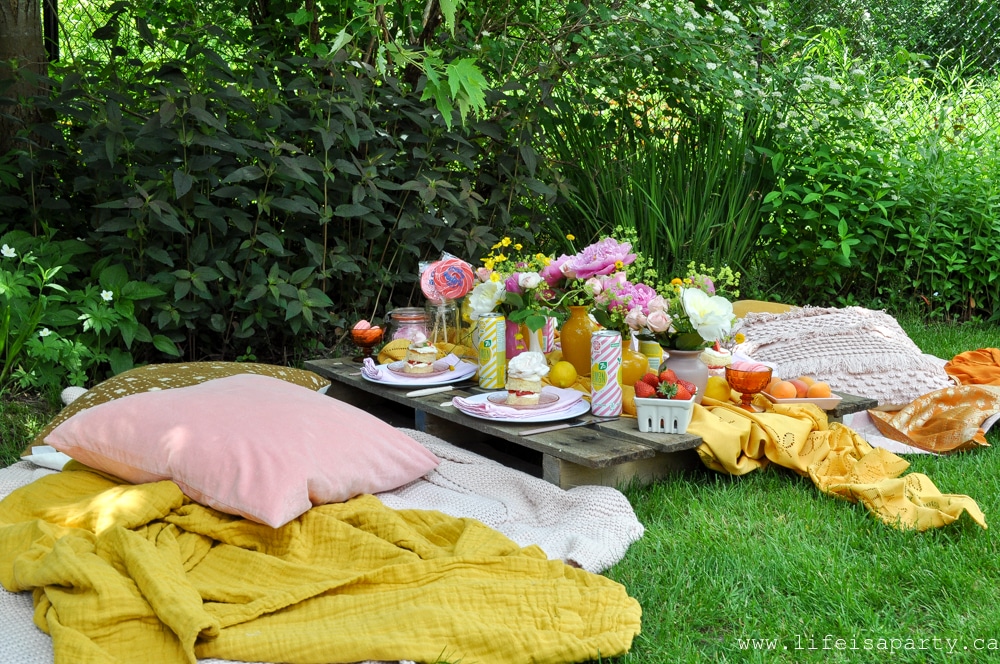
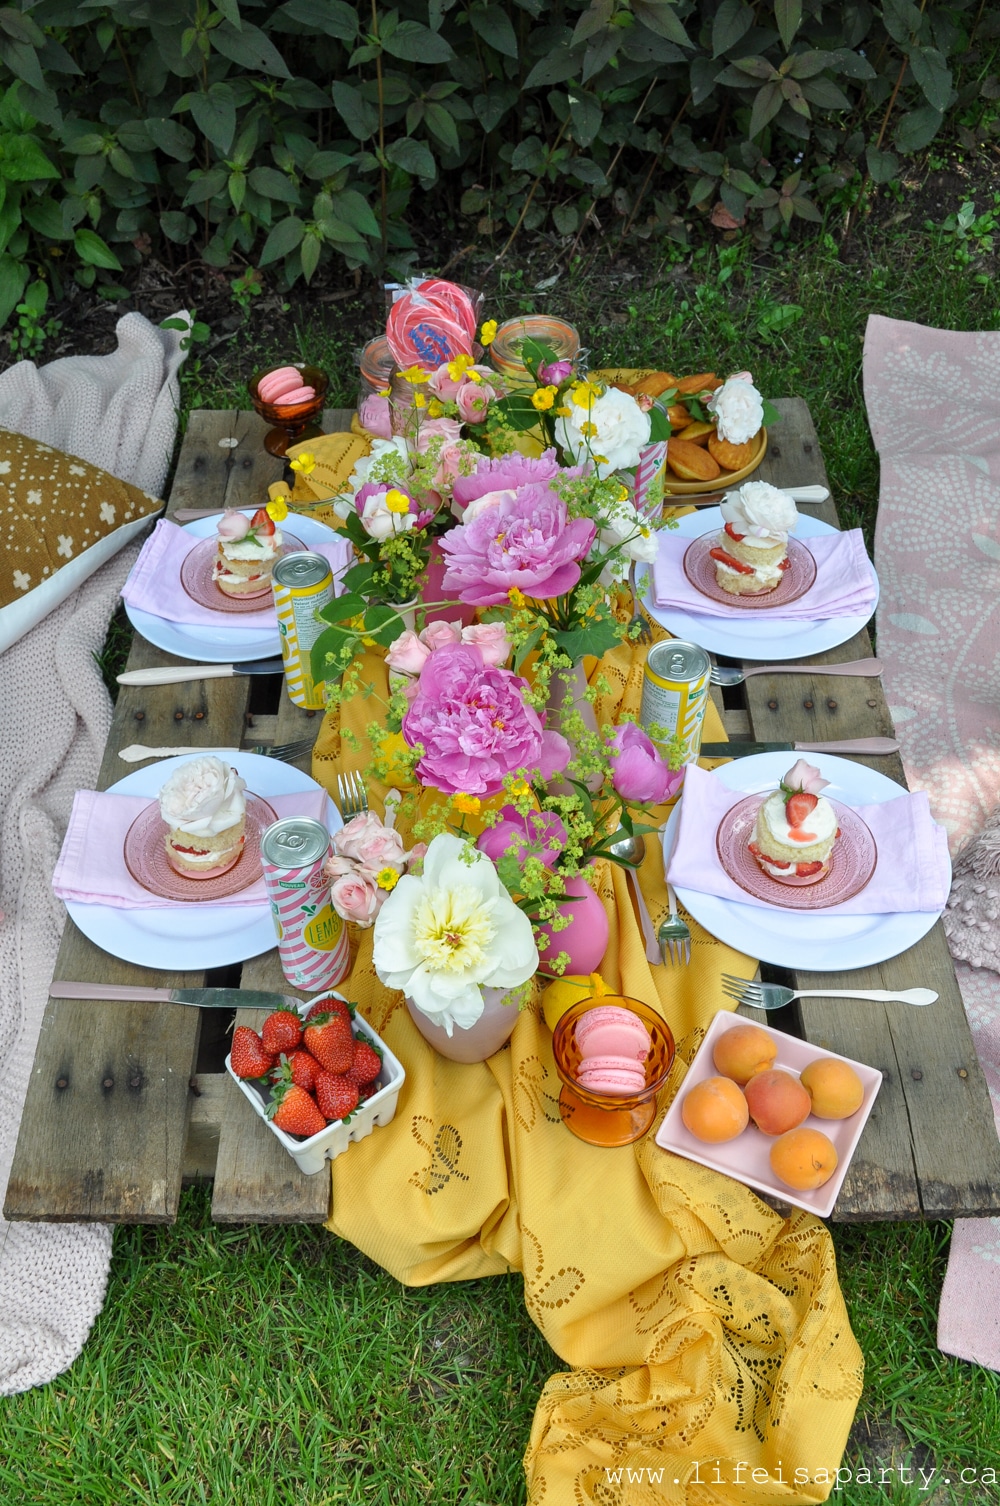
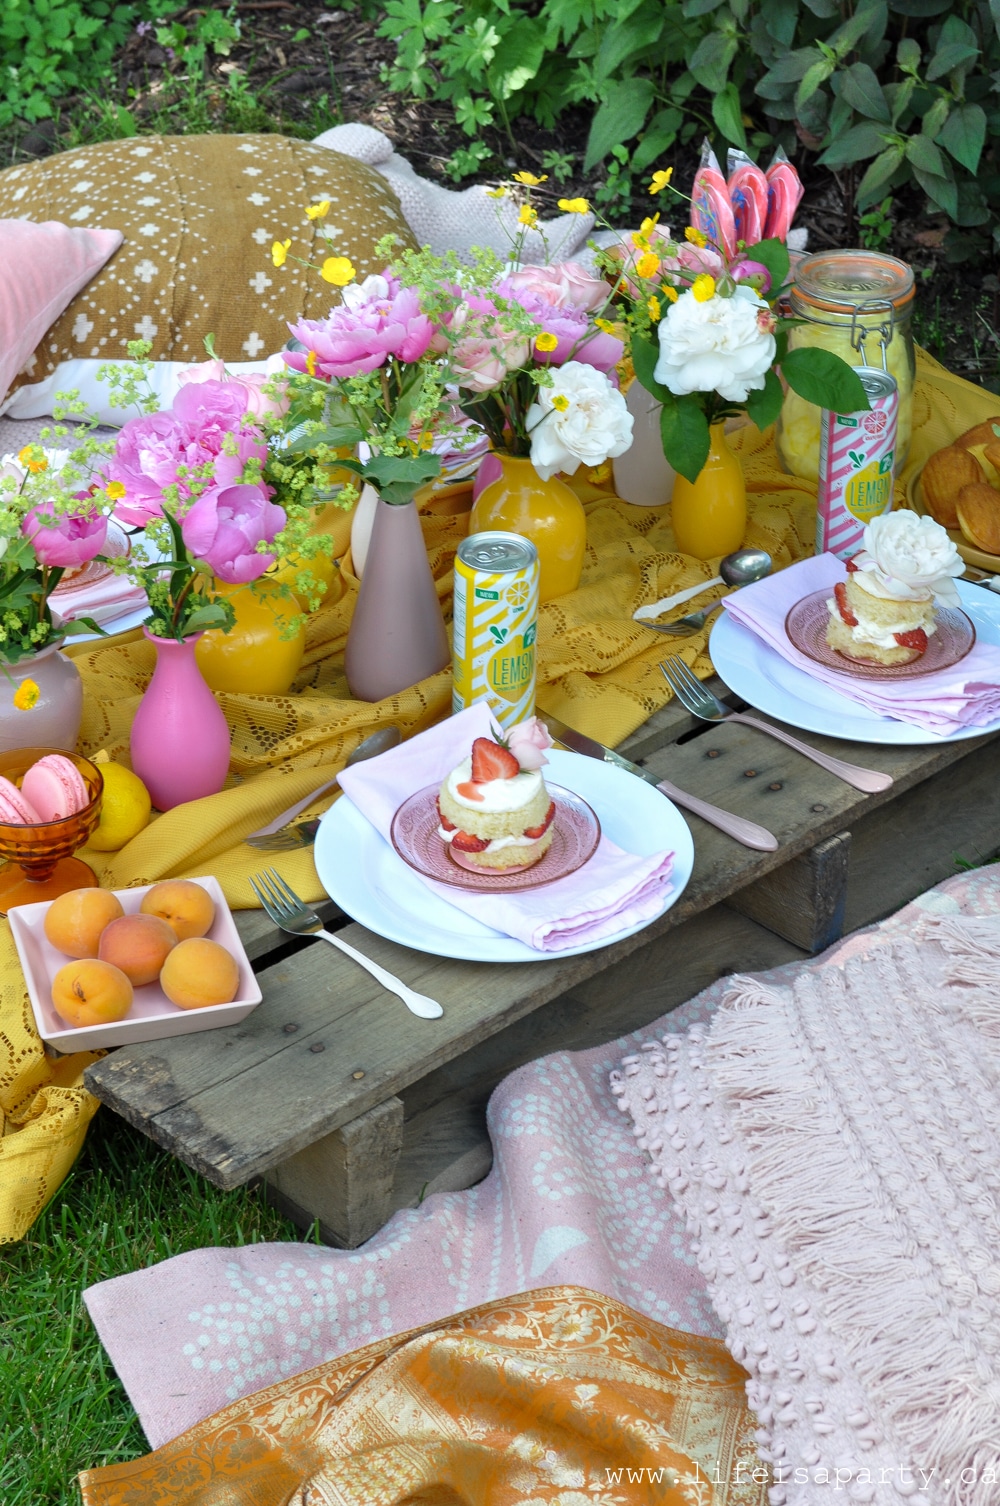
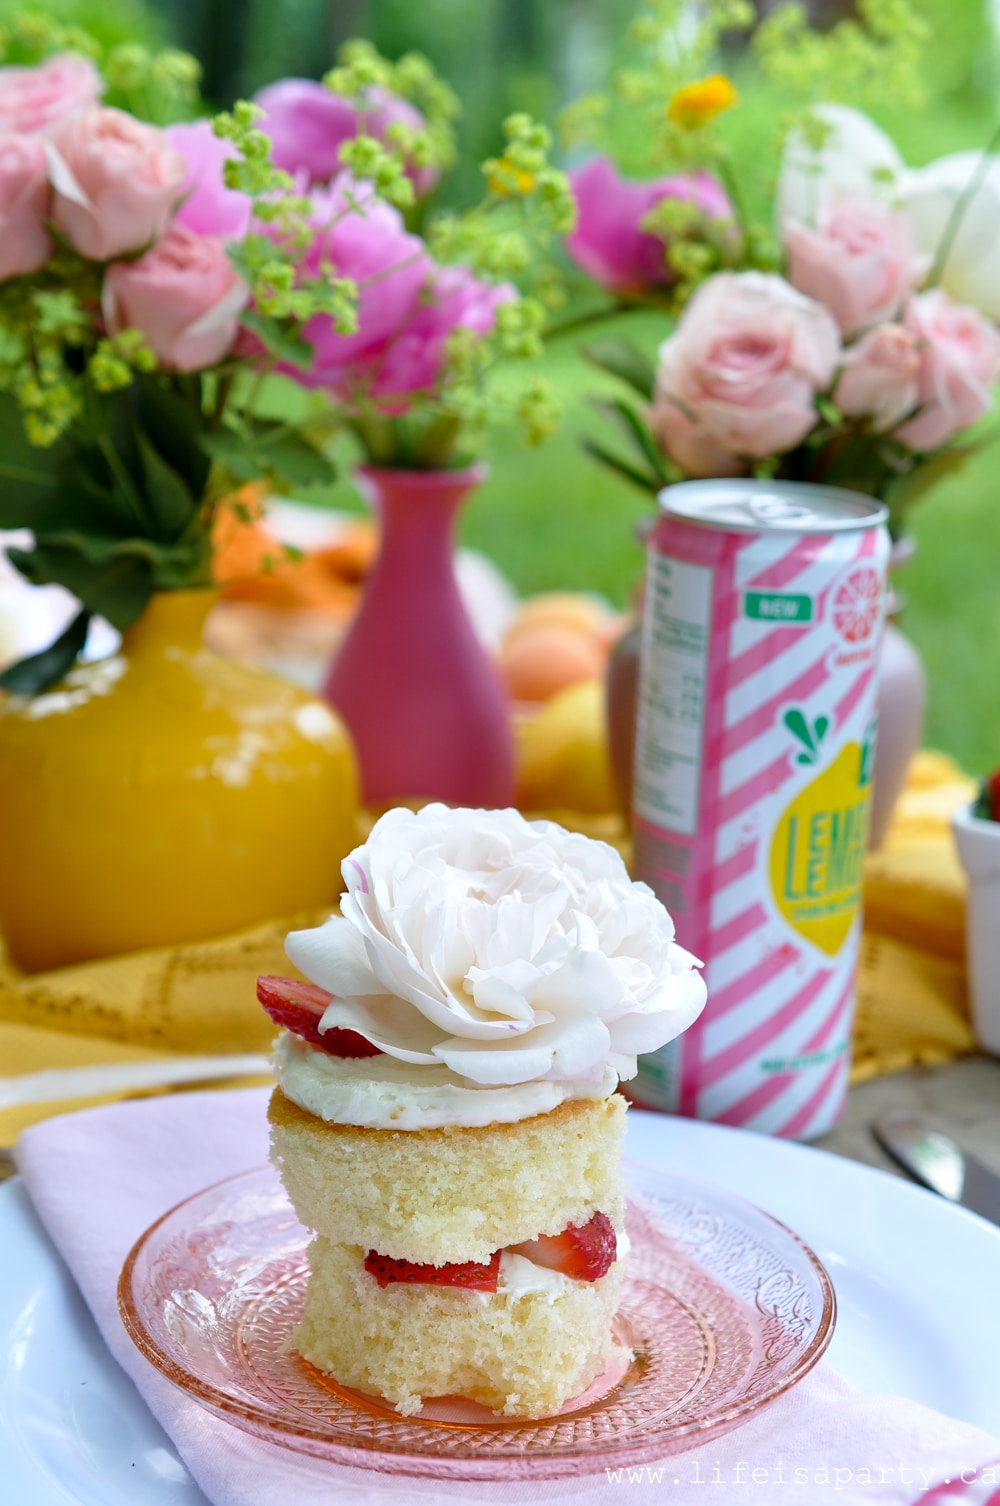
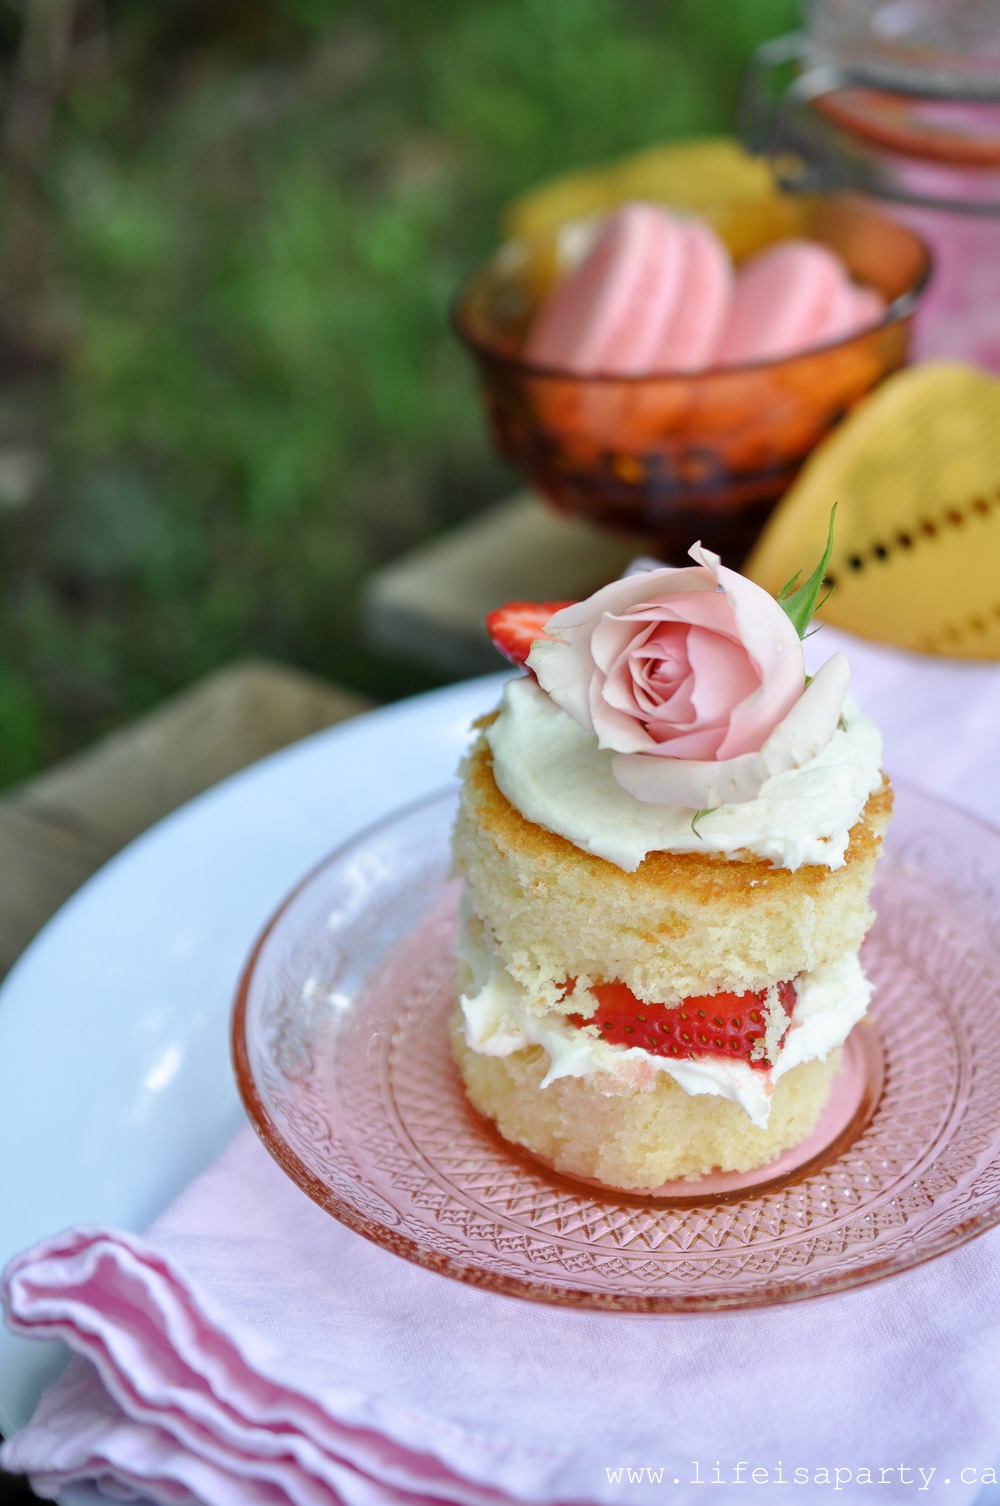
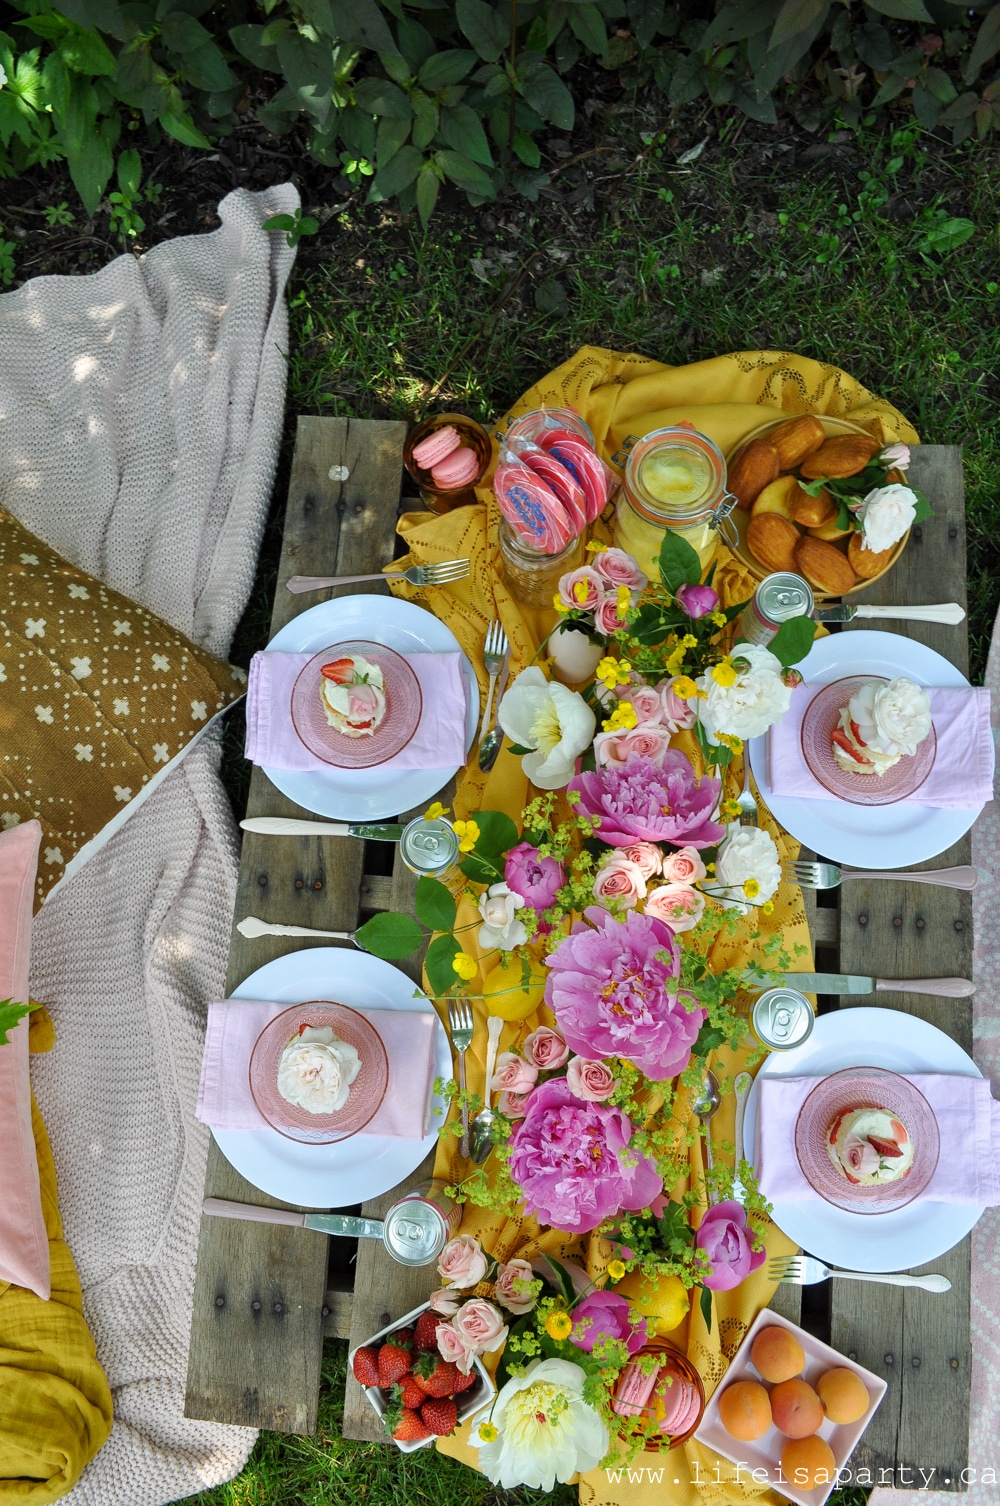
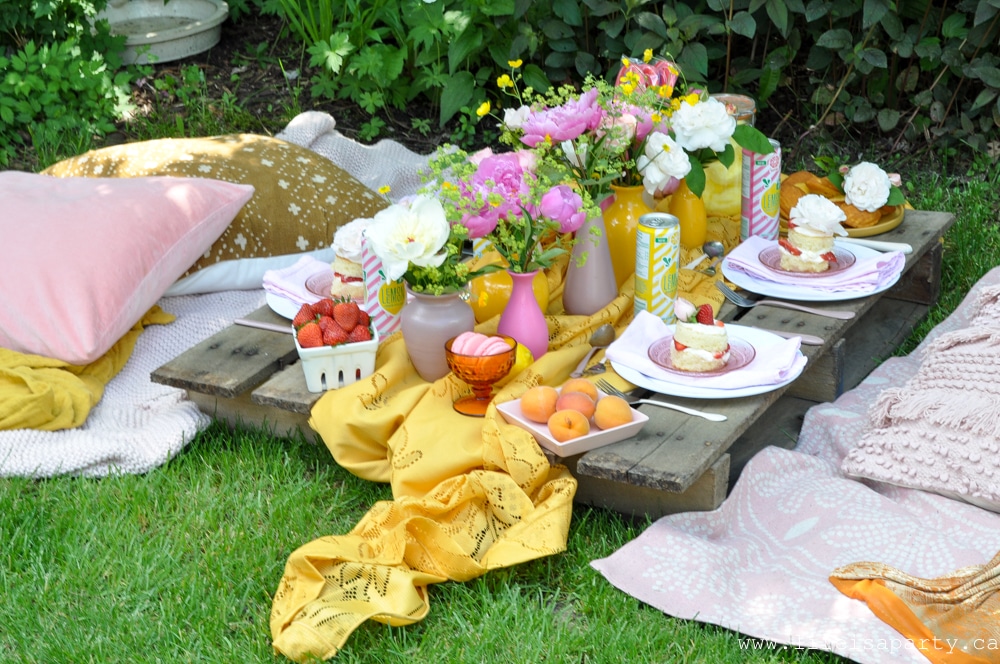
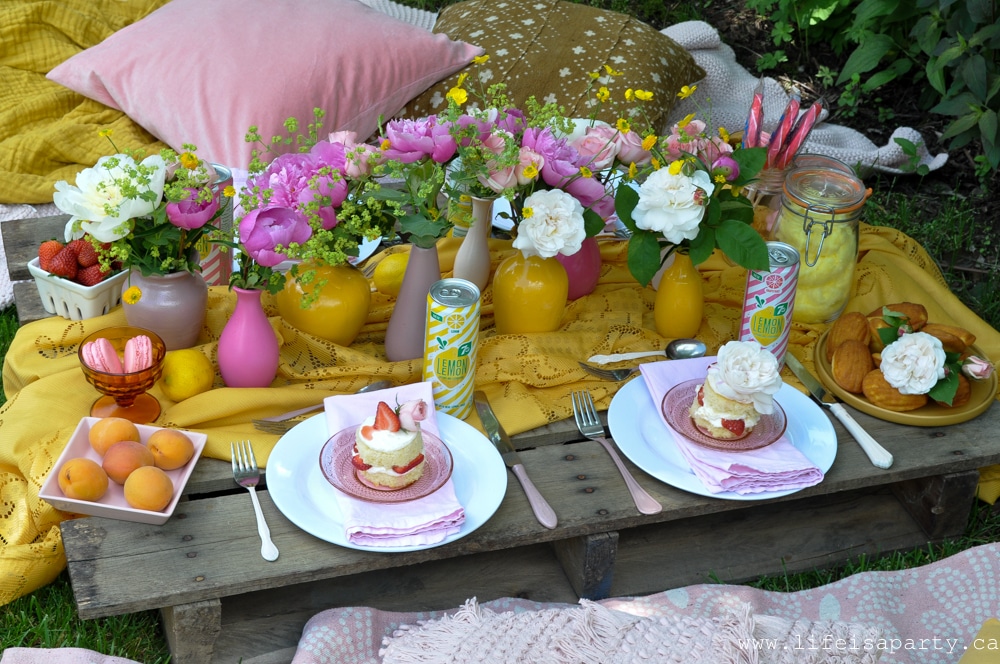
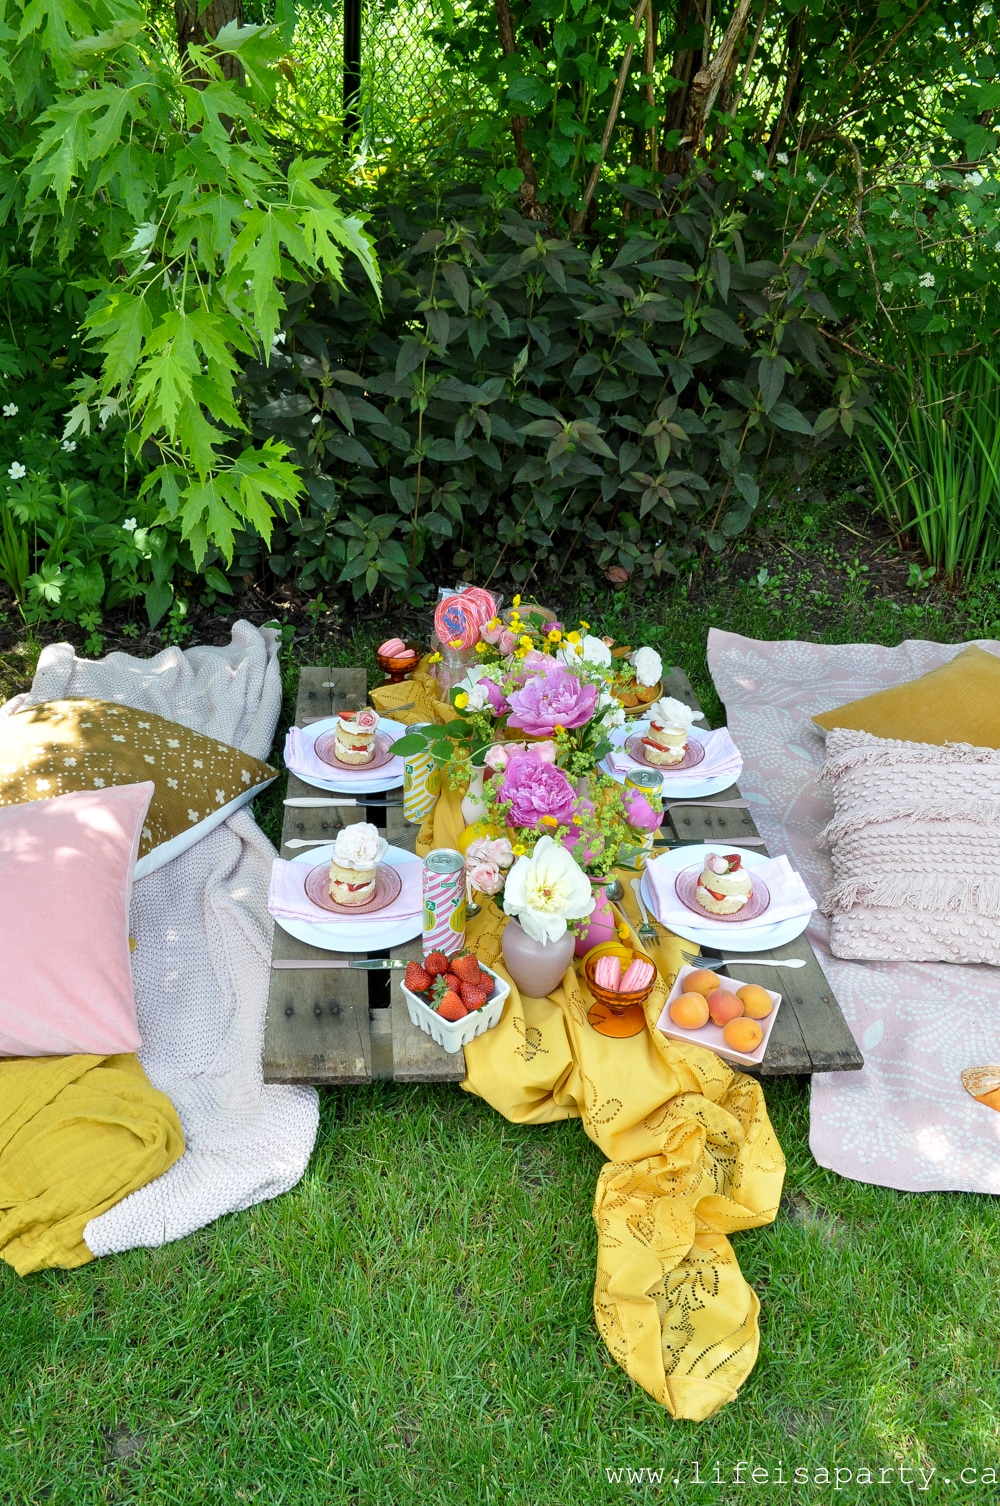 With a spray painted vase and cutlery makeover to create a beautiful picnic, life really is a party.
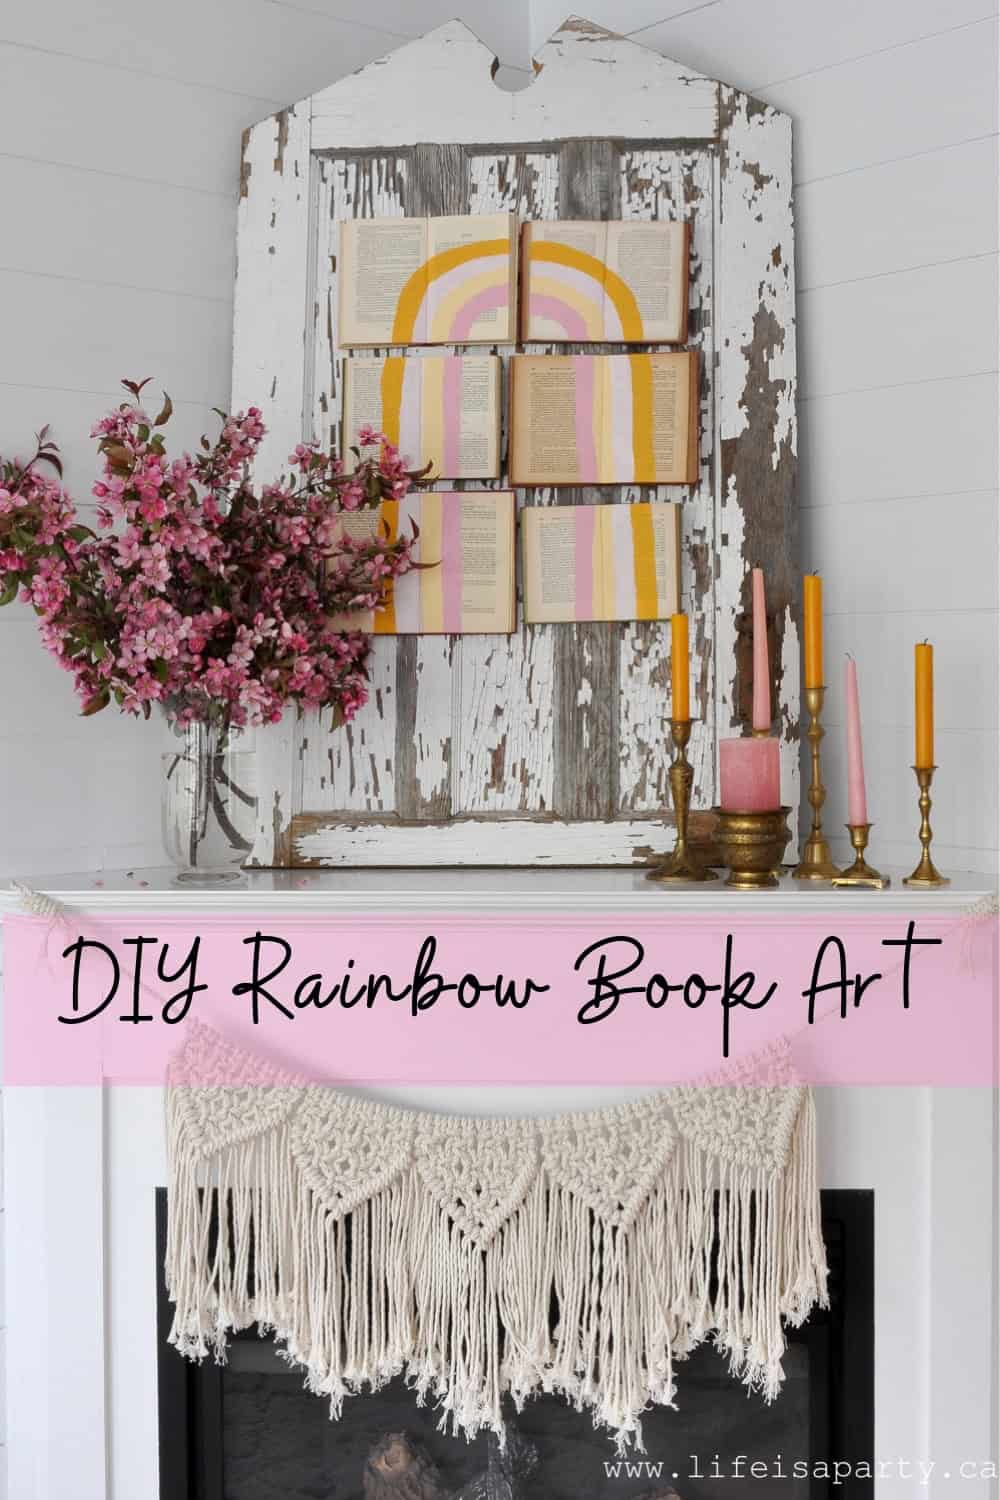


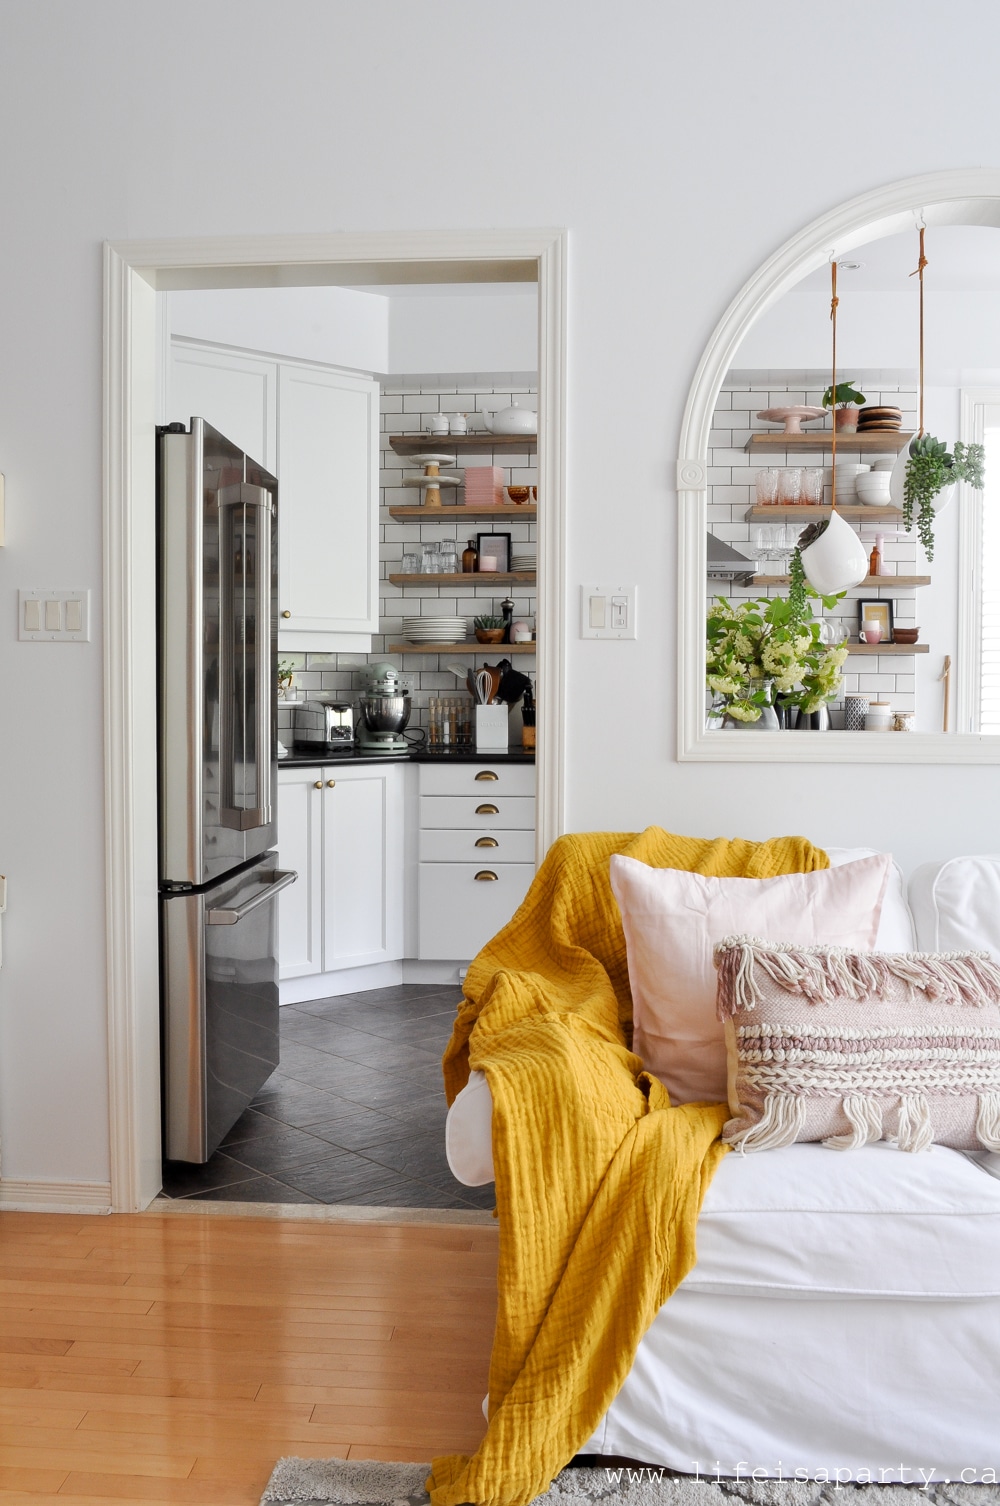

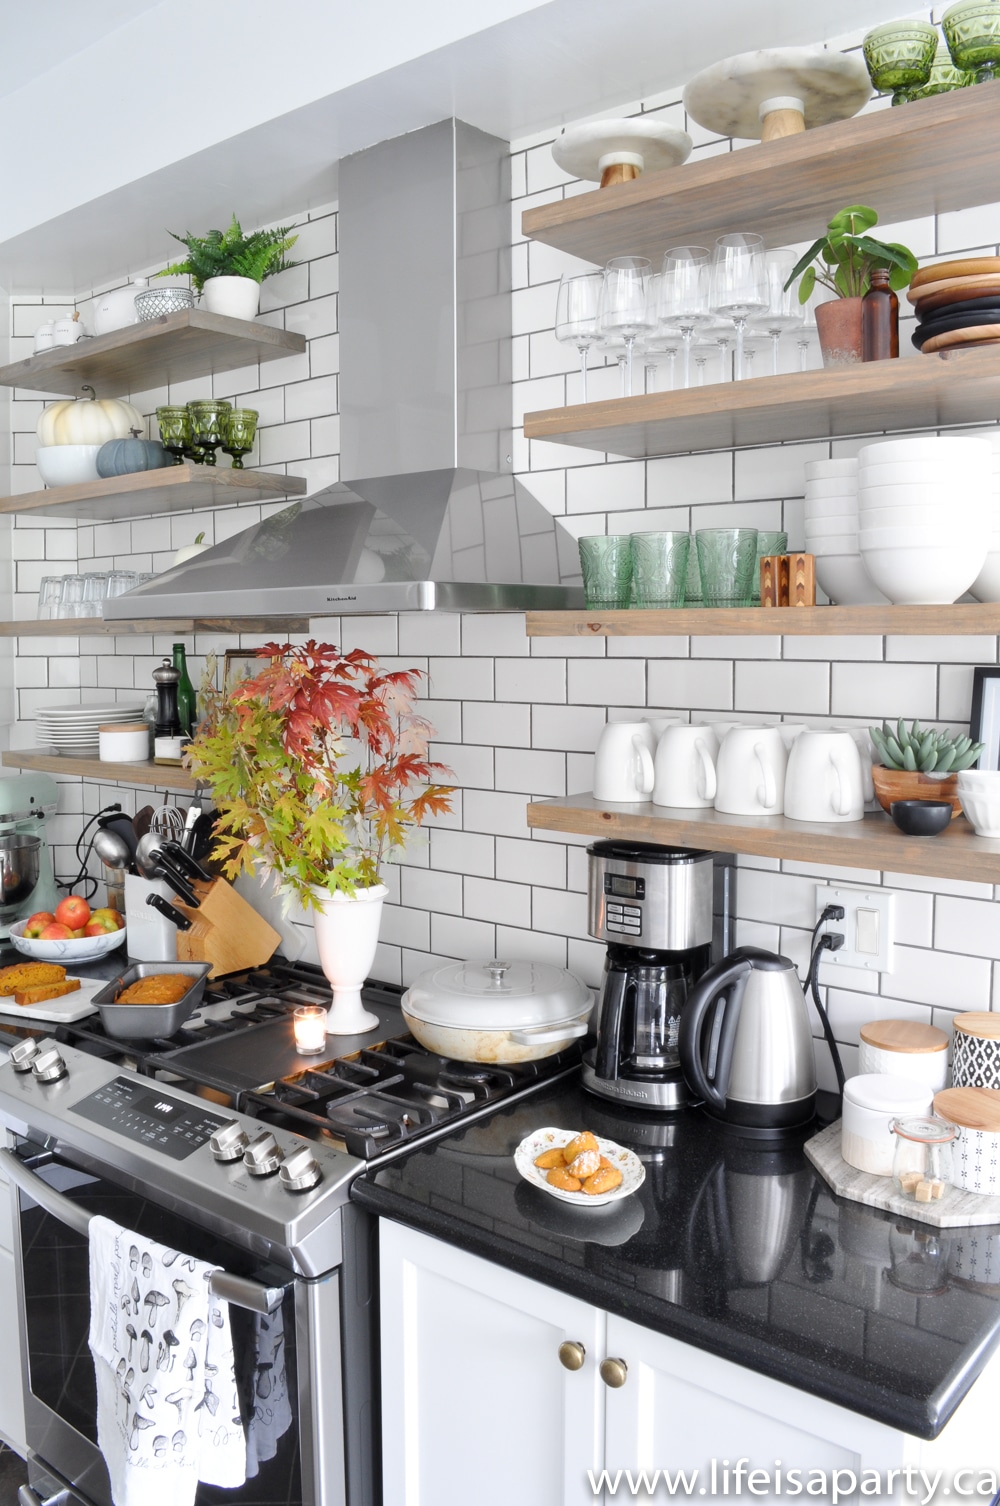
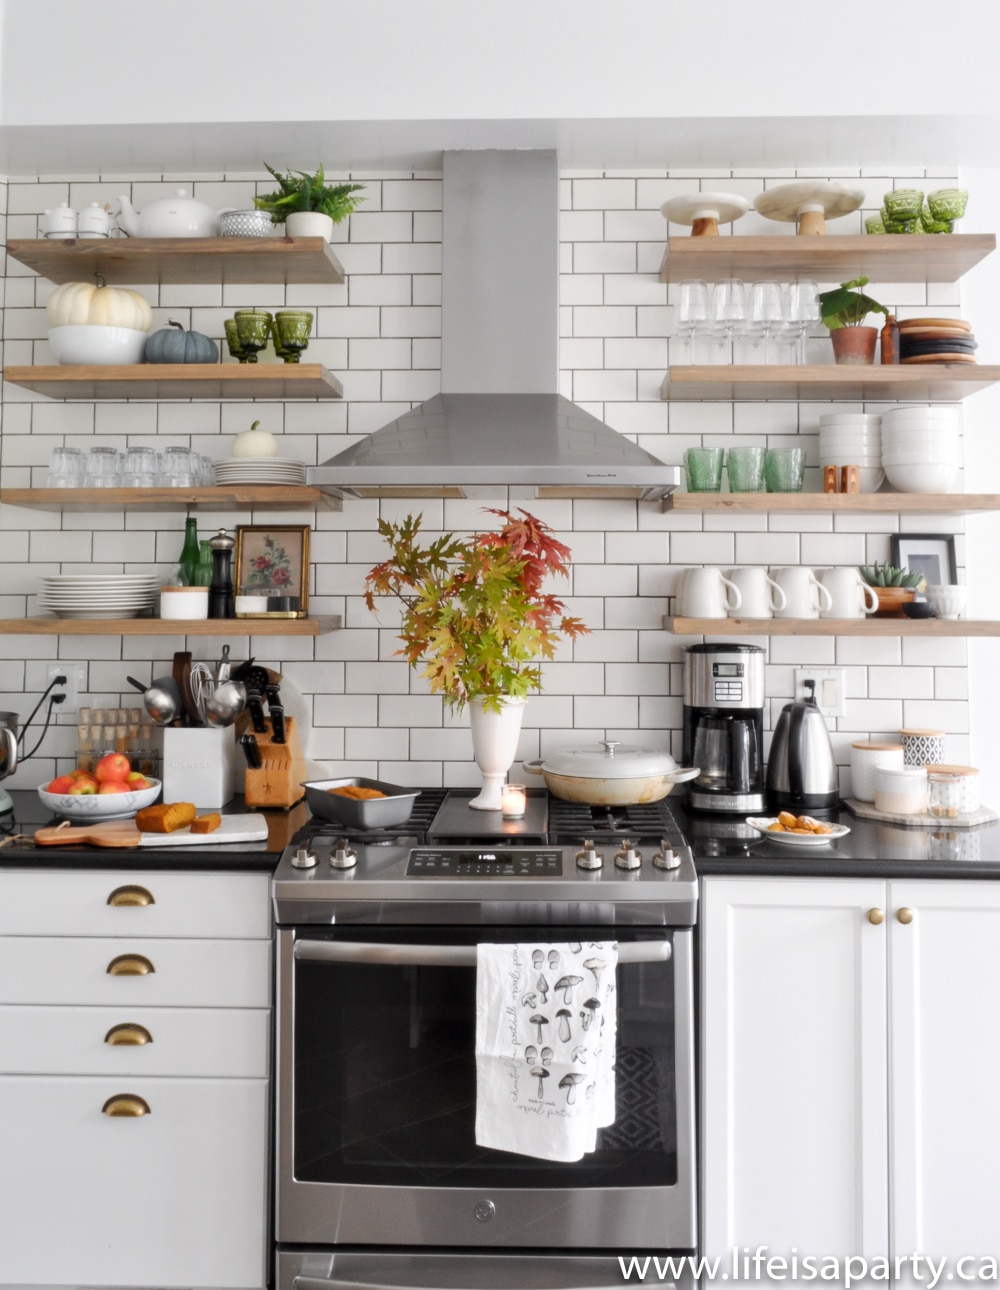
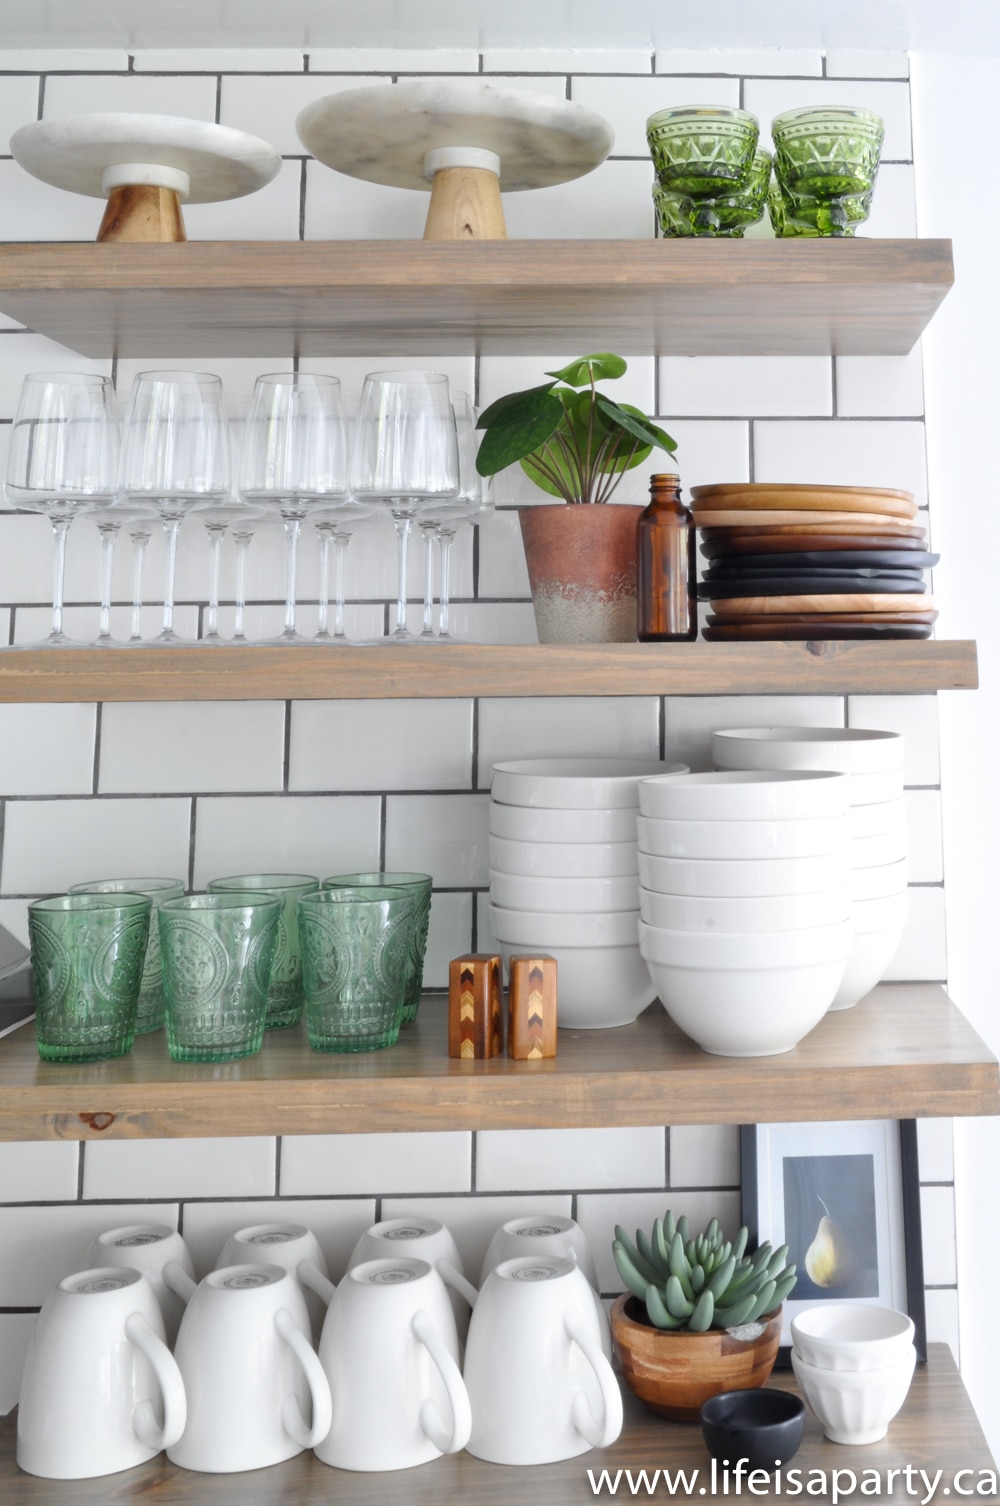
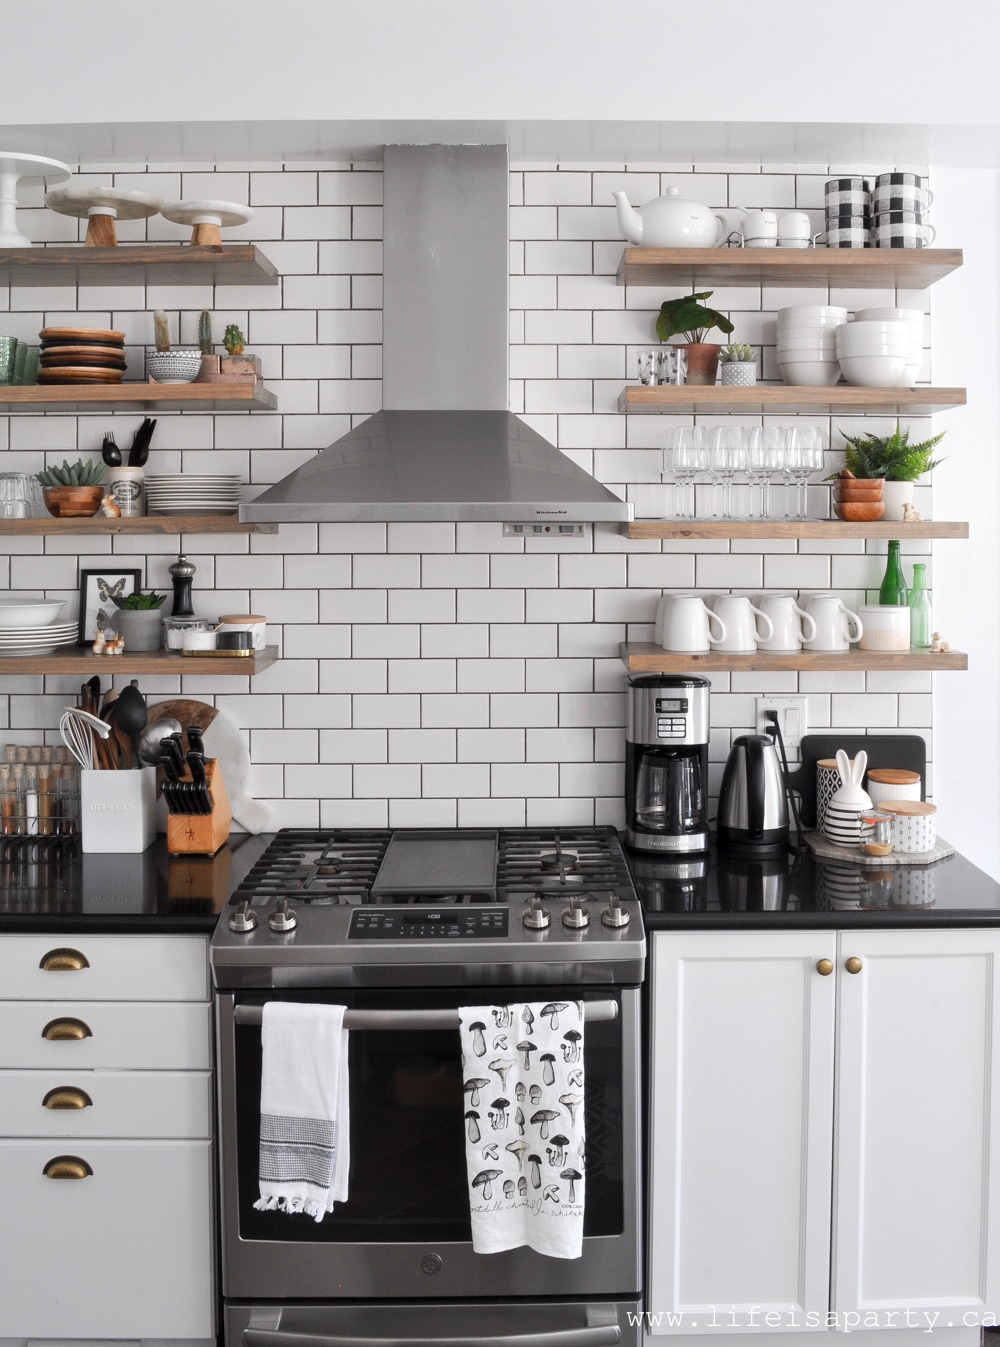
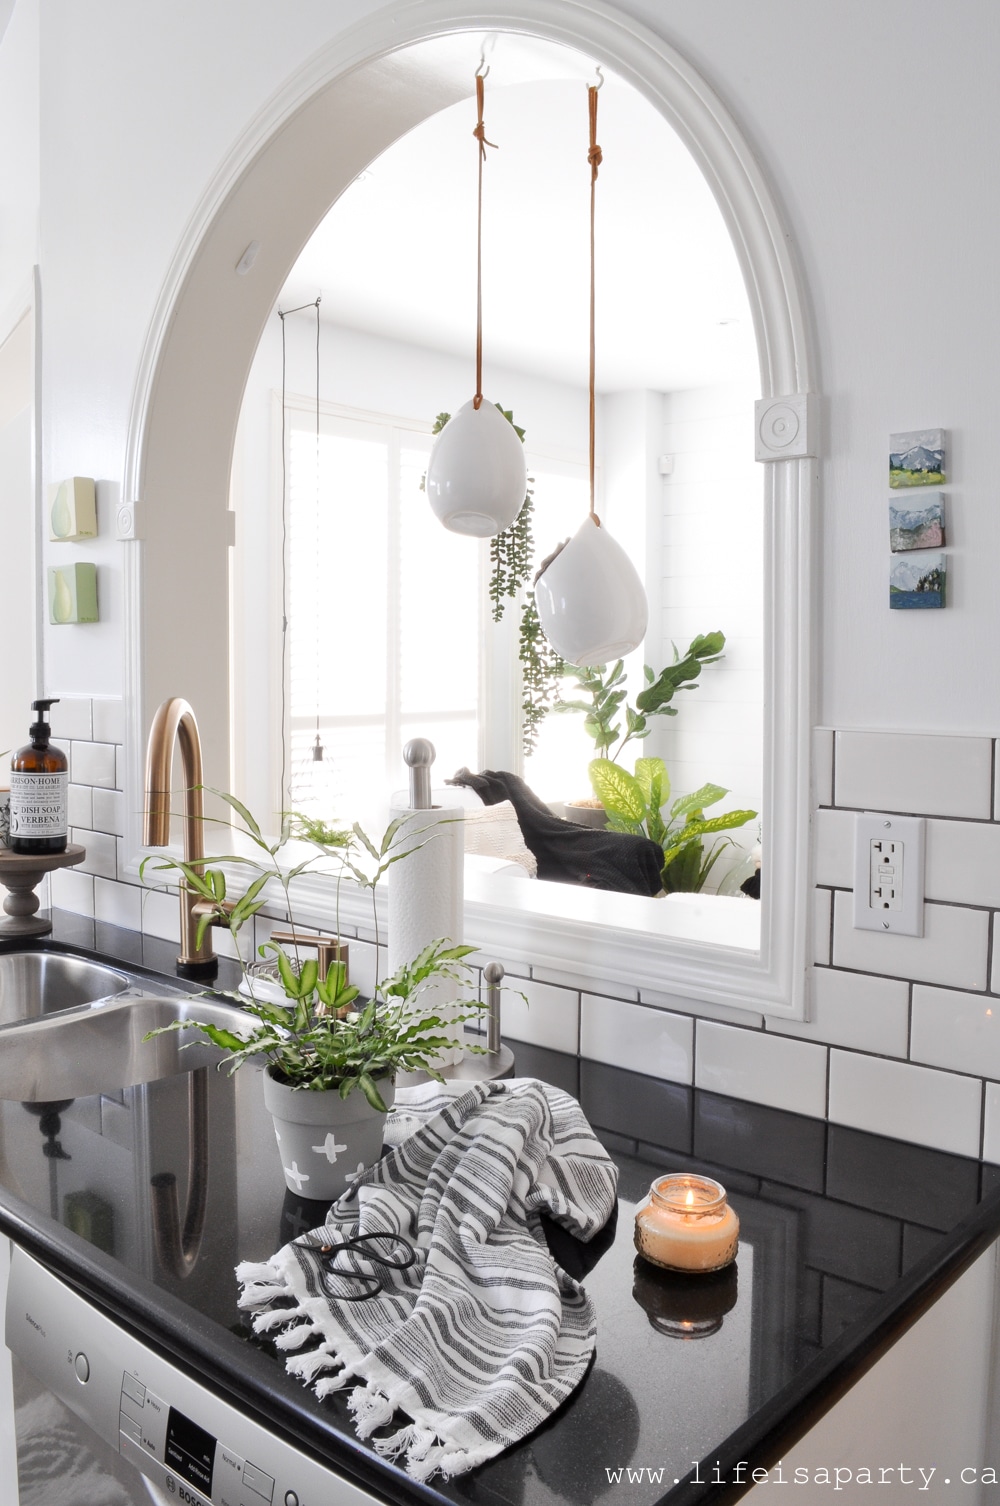
 Kitchen
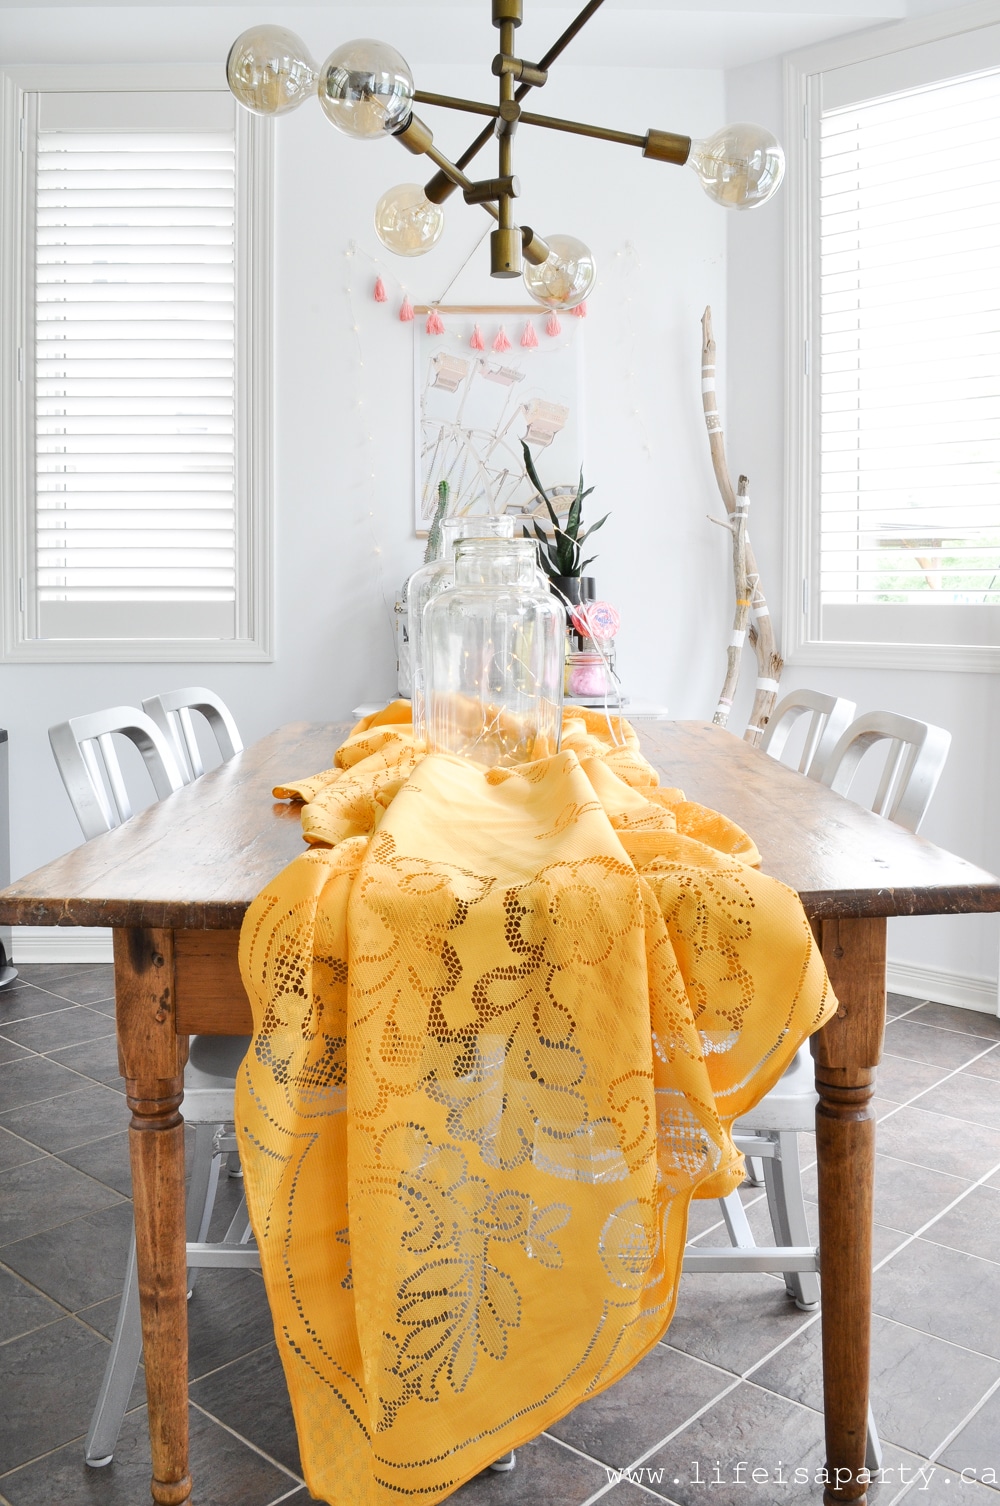
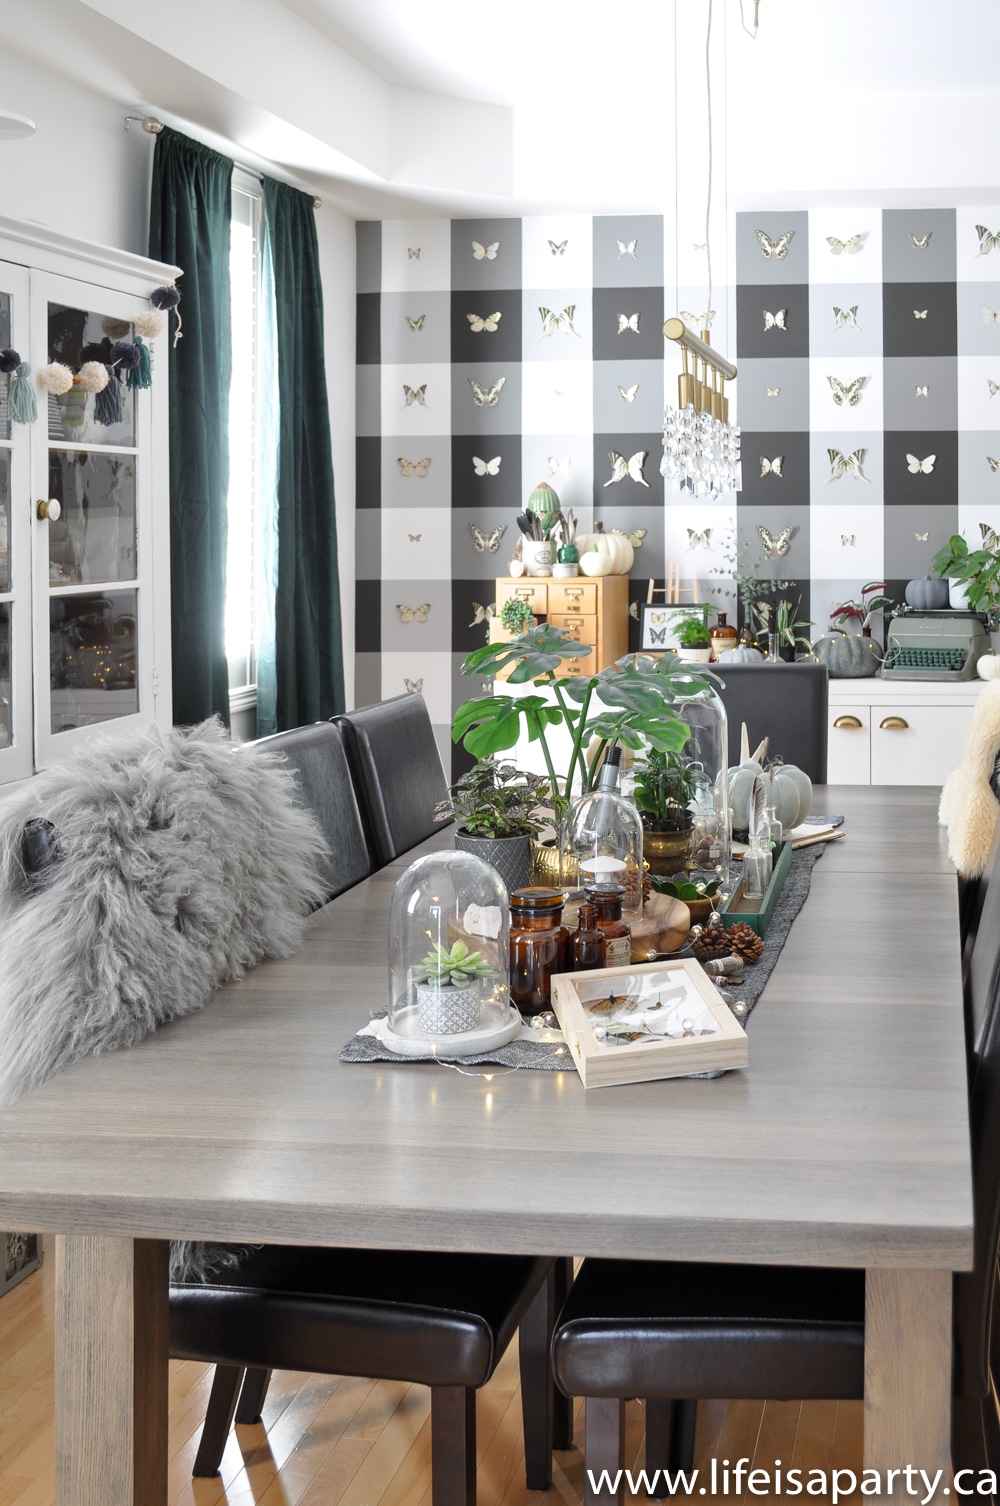
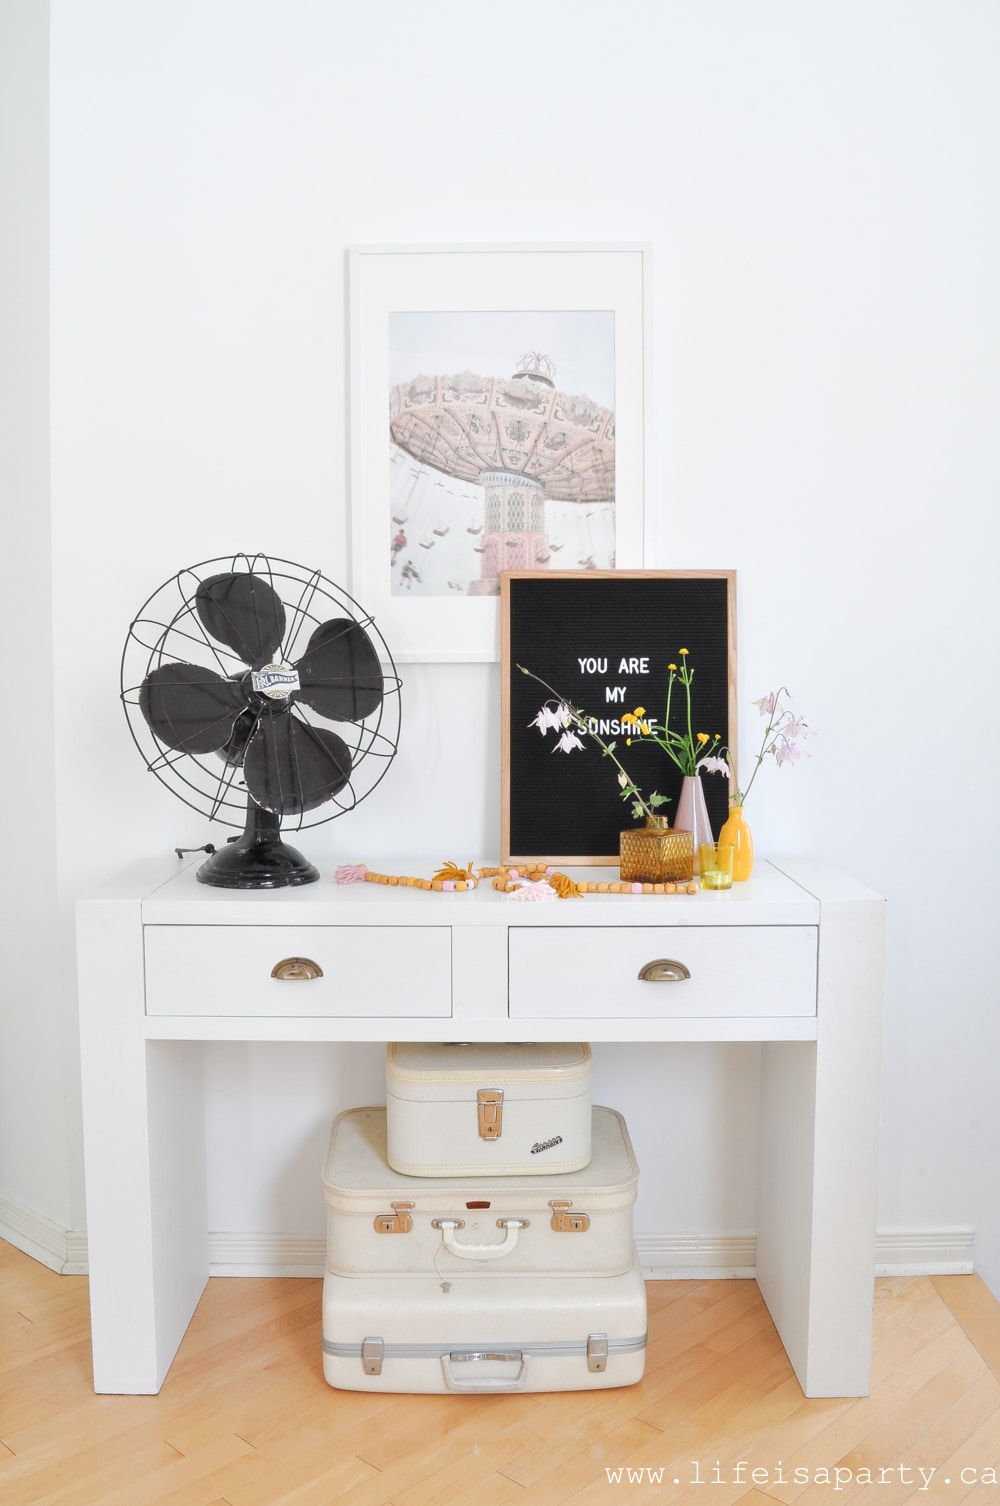
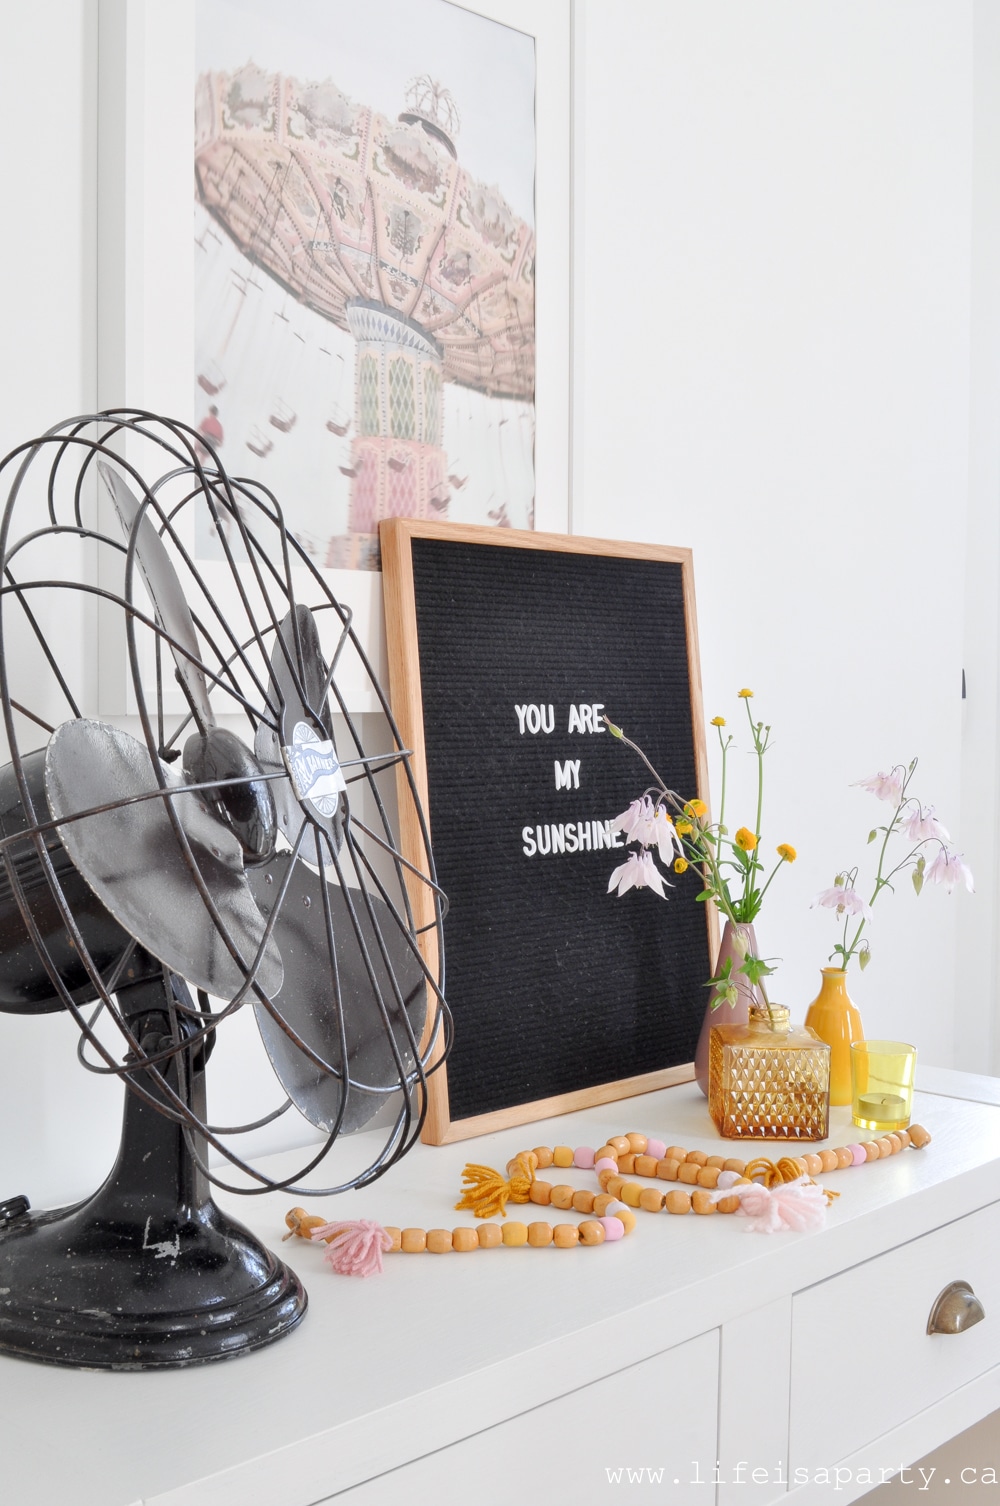
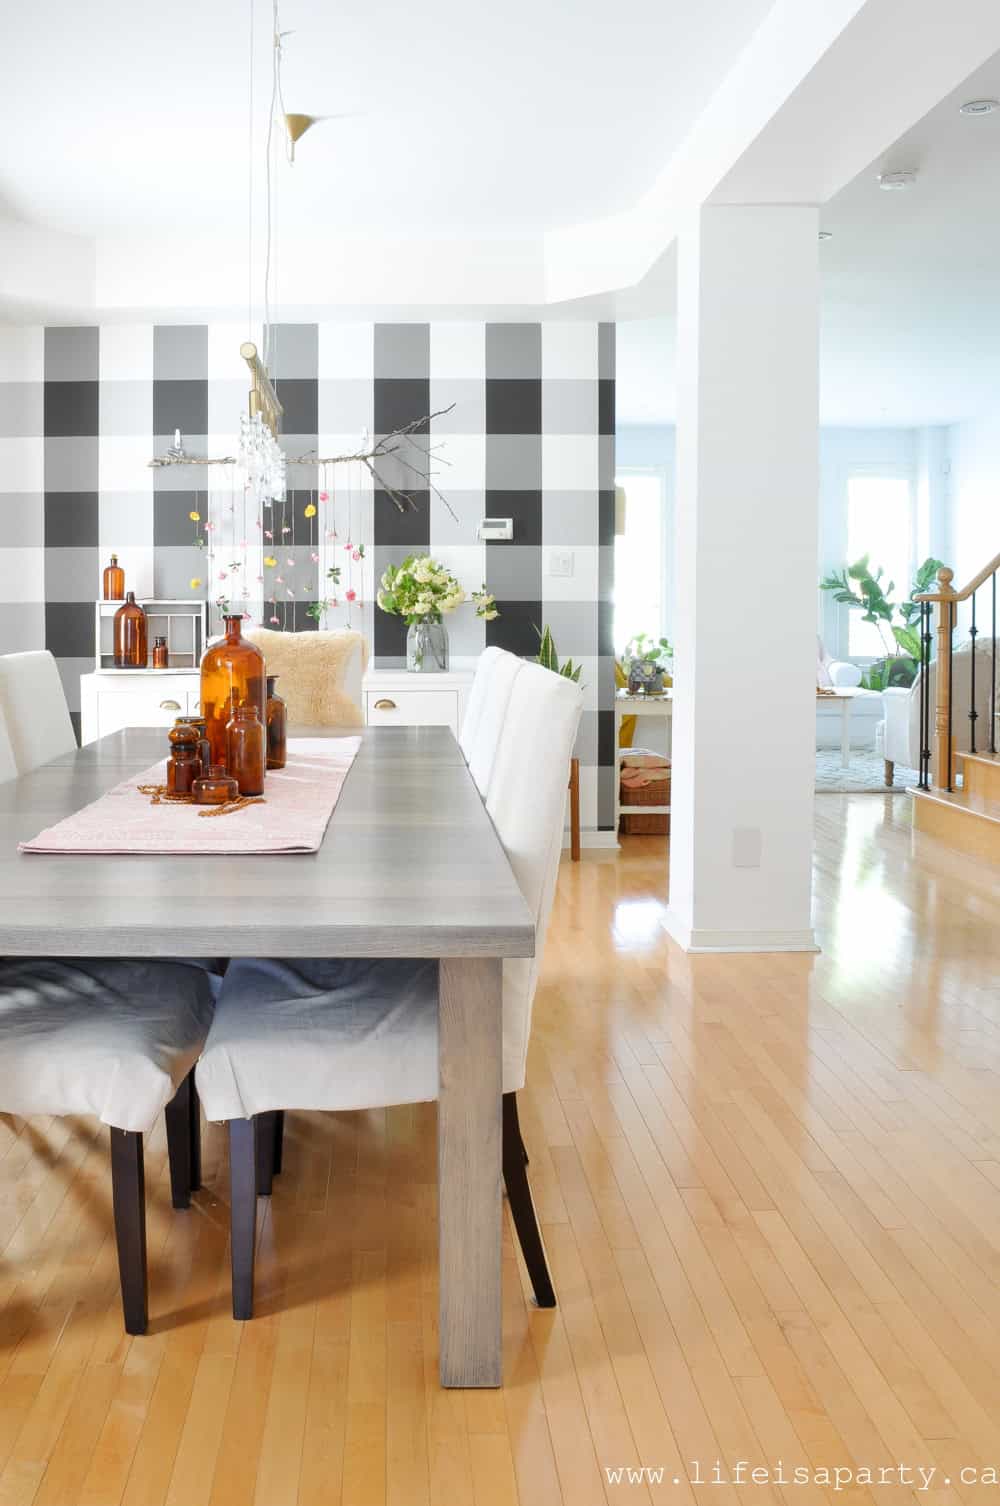
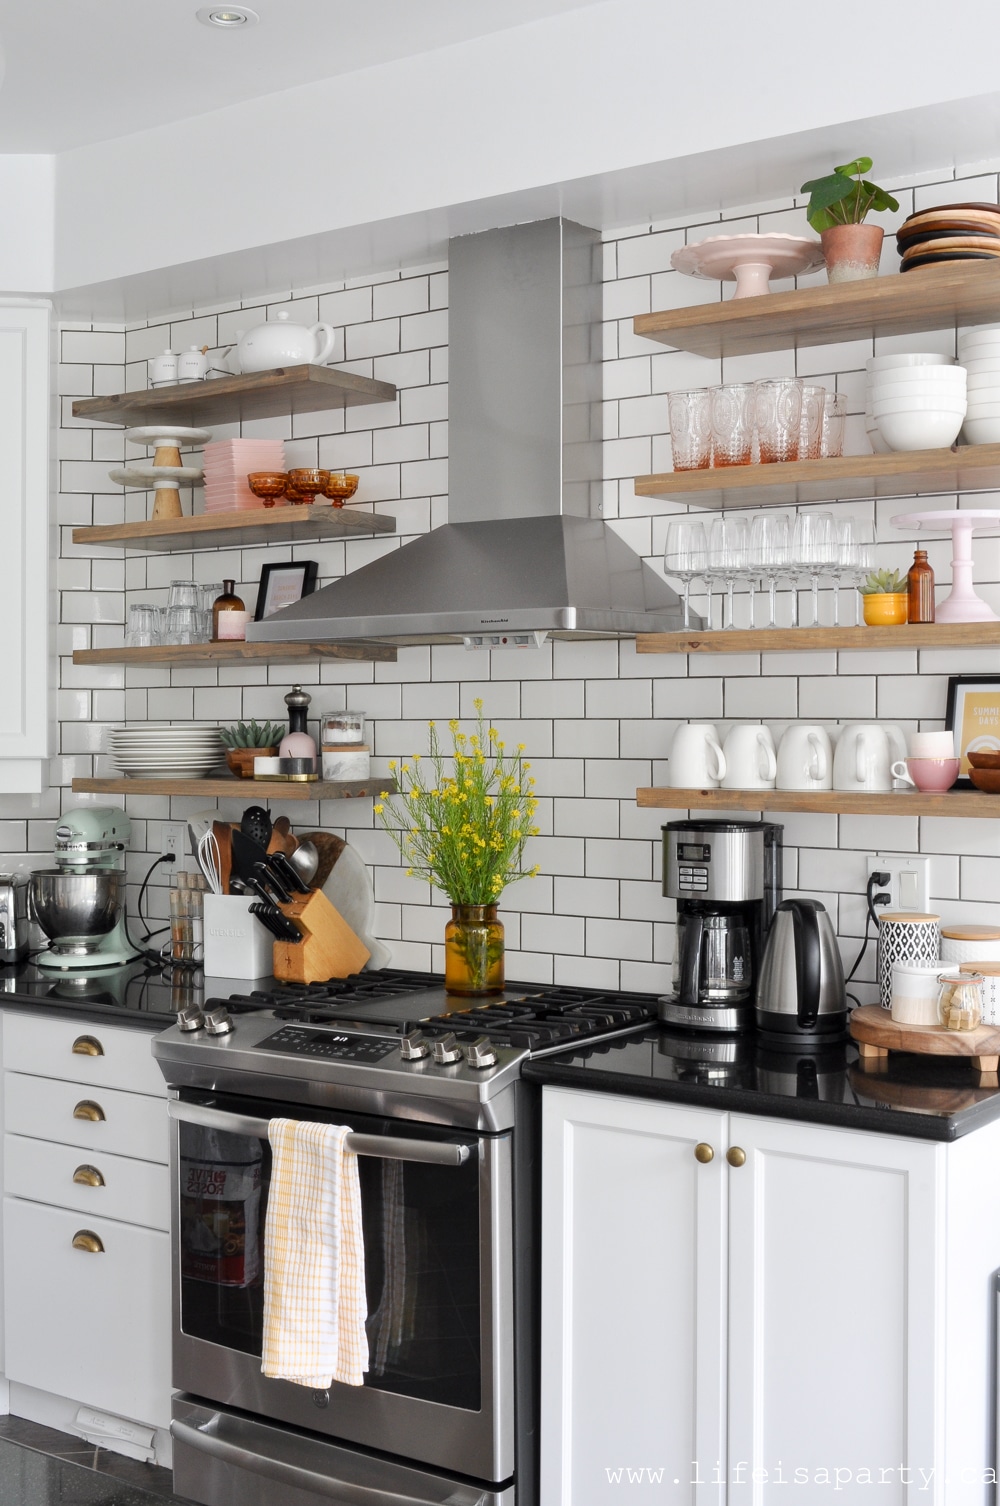
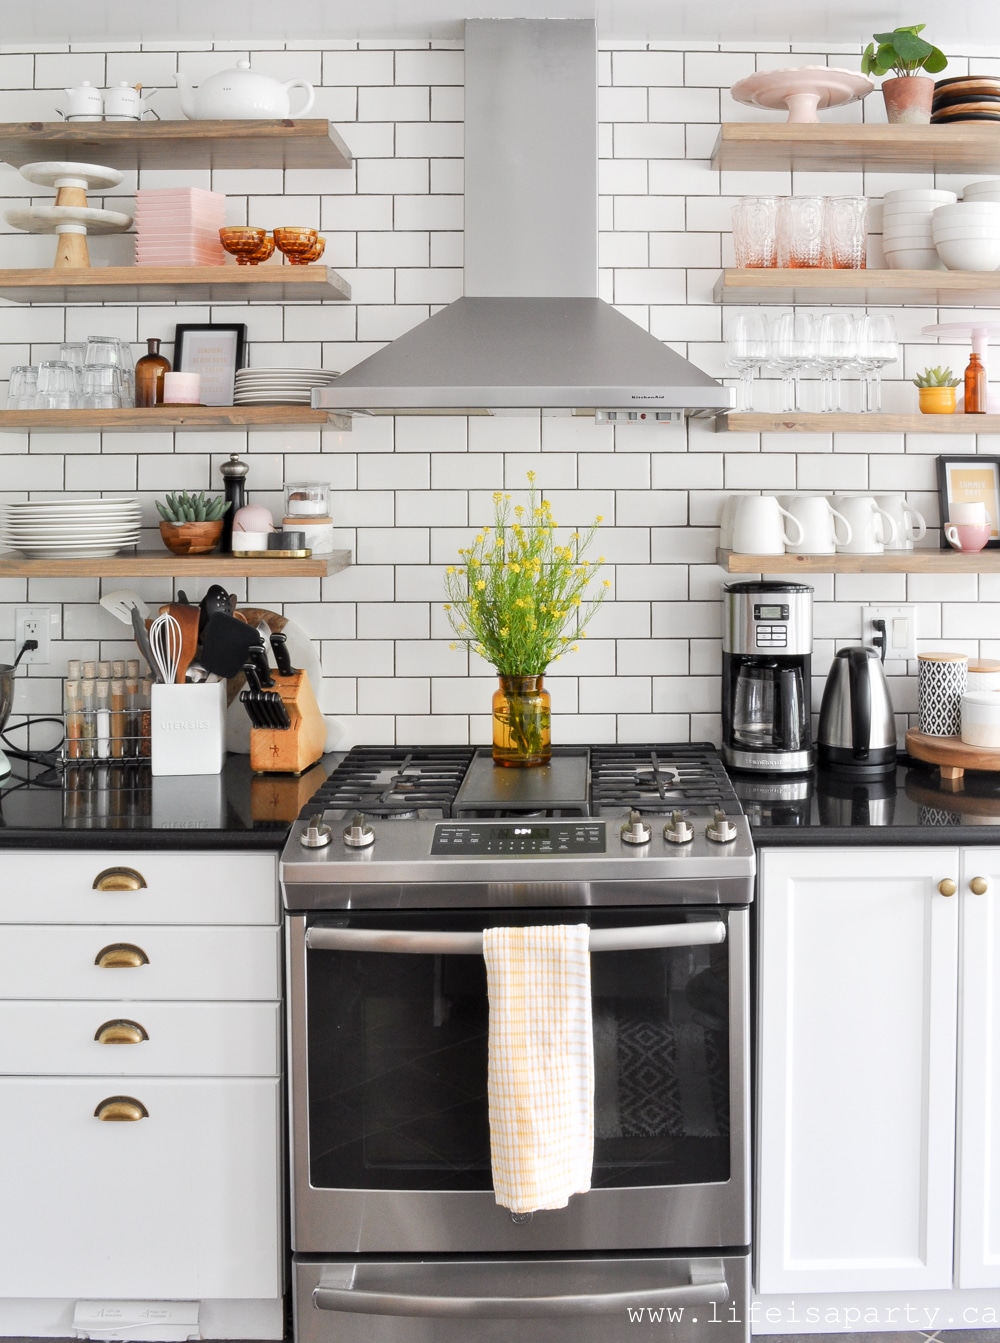
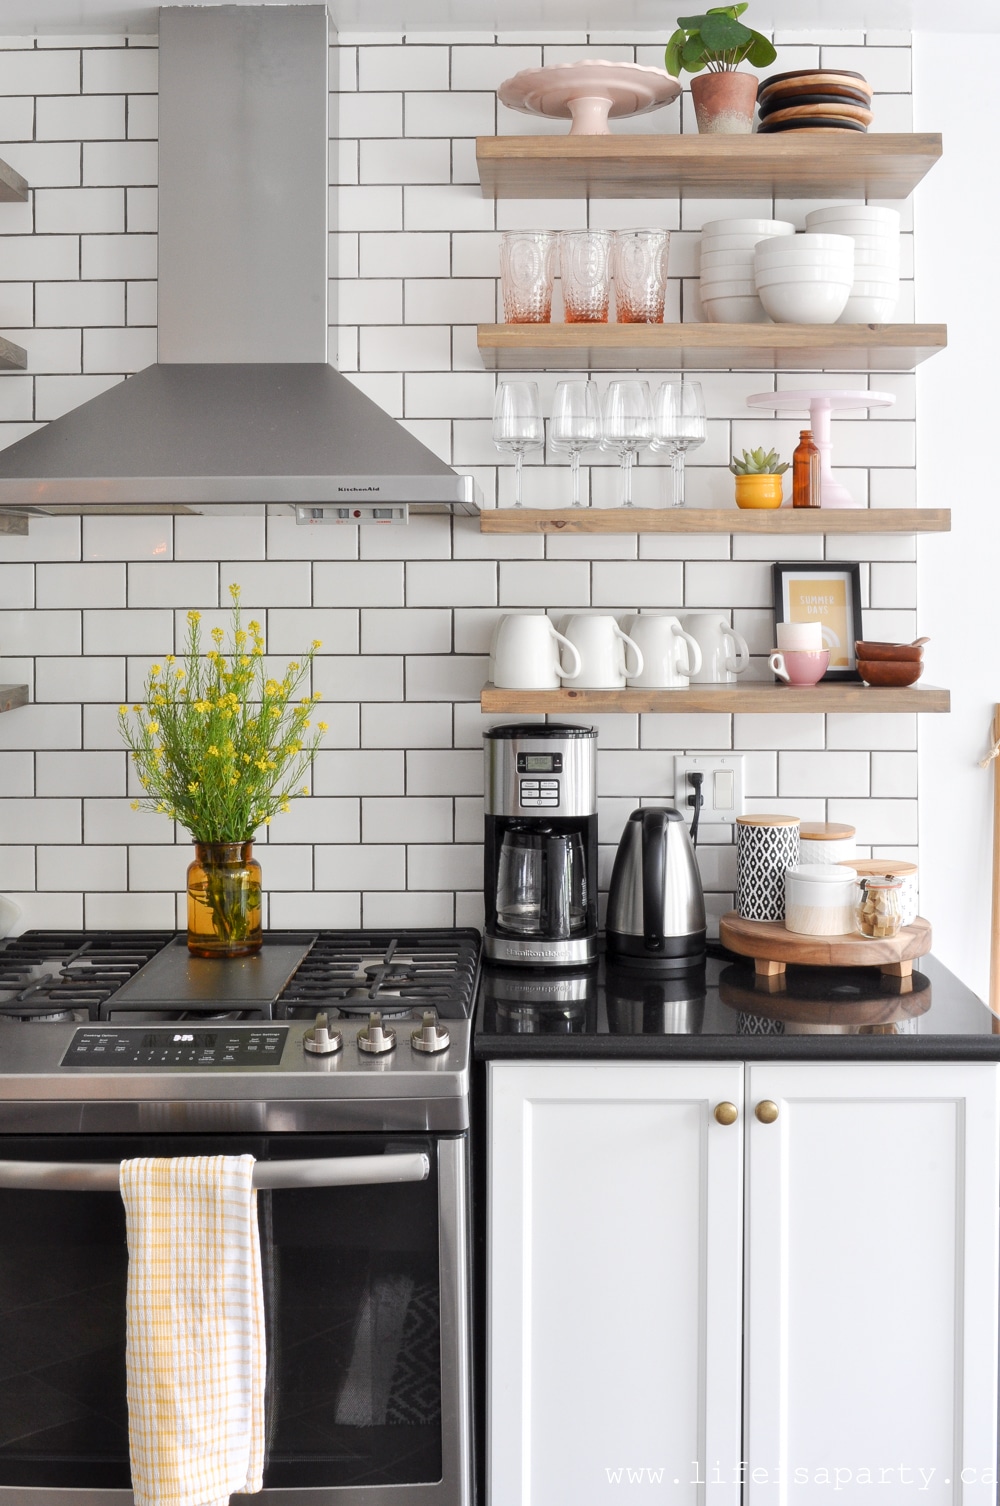
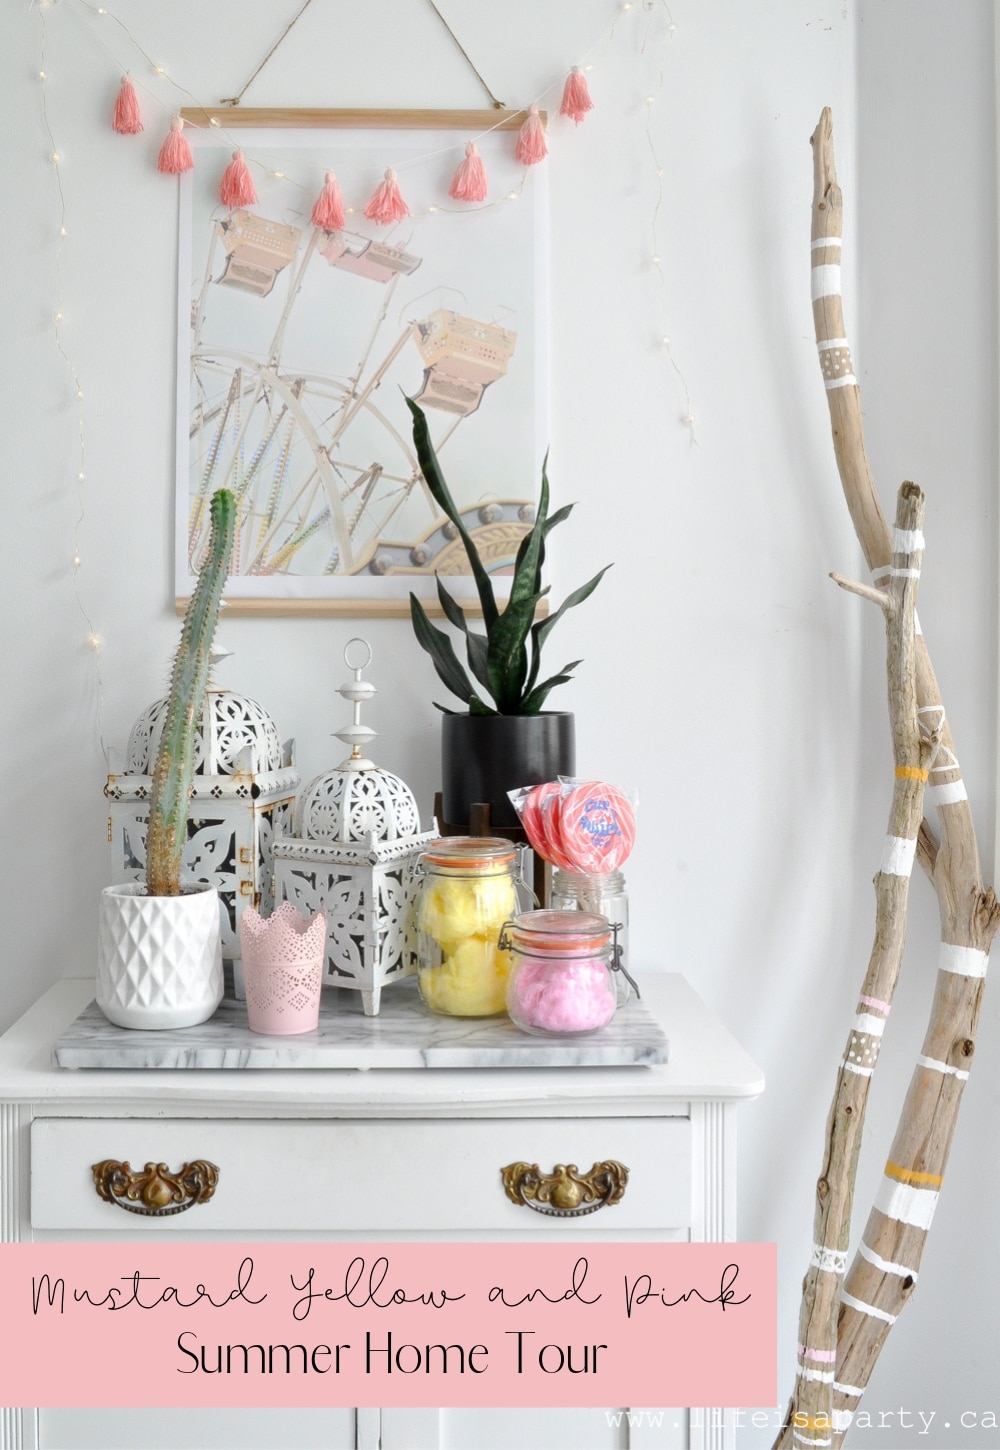
 And on the other side of the kitchen table, this little spot has become a favourite of mine to change a bit with each season.
 The
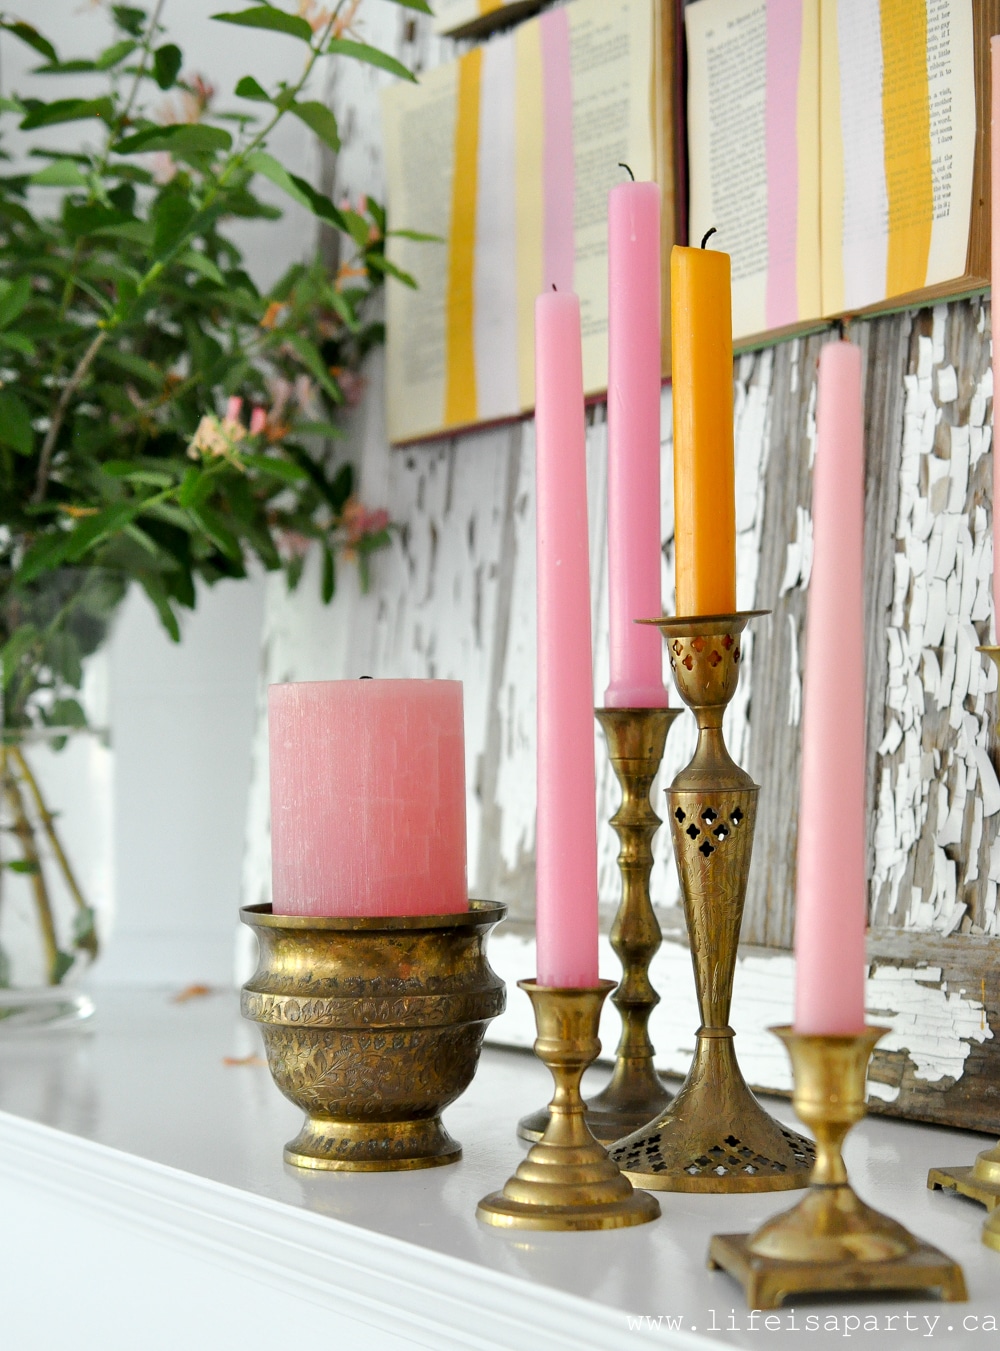
The 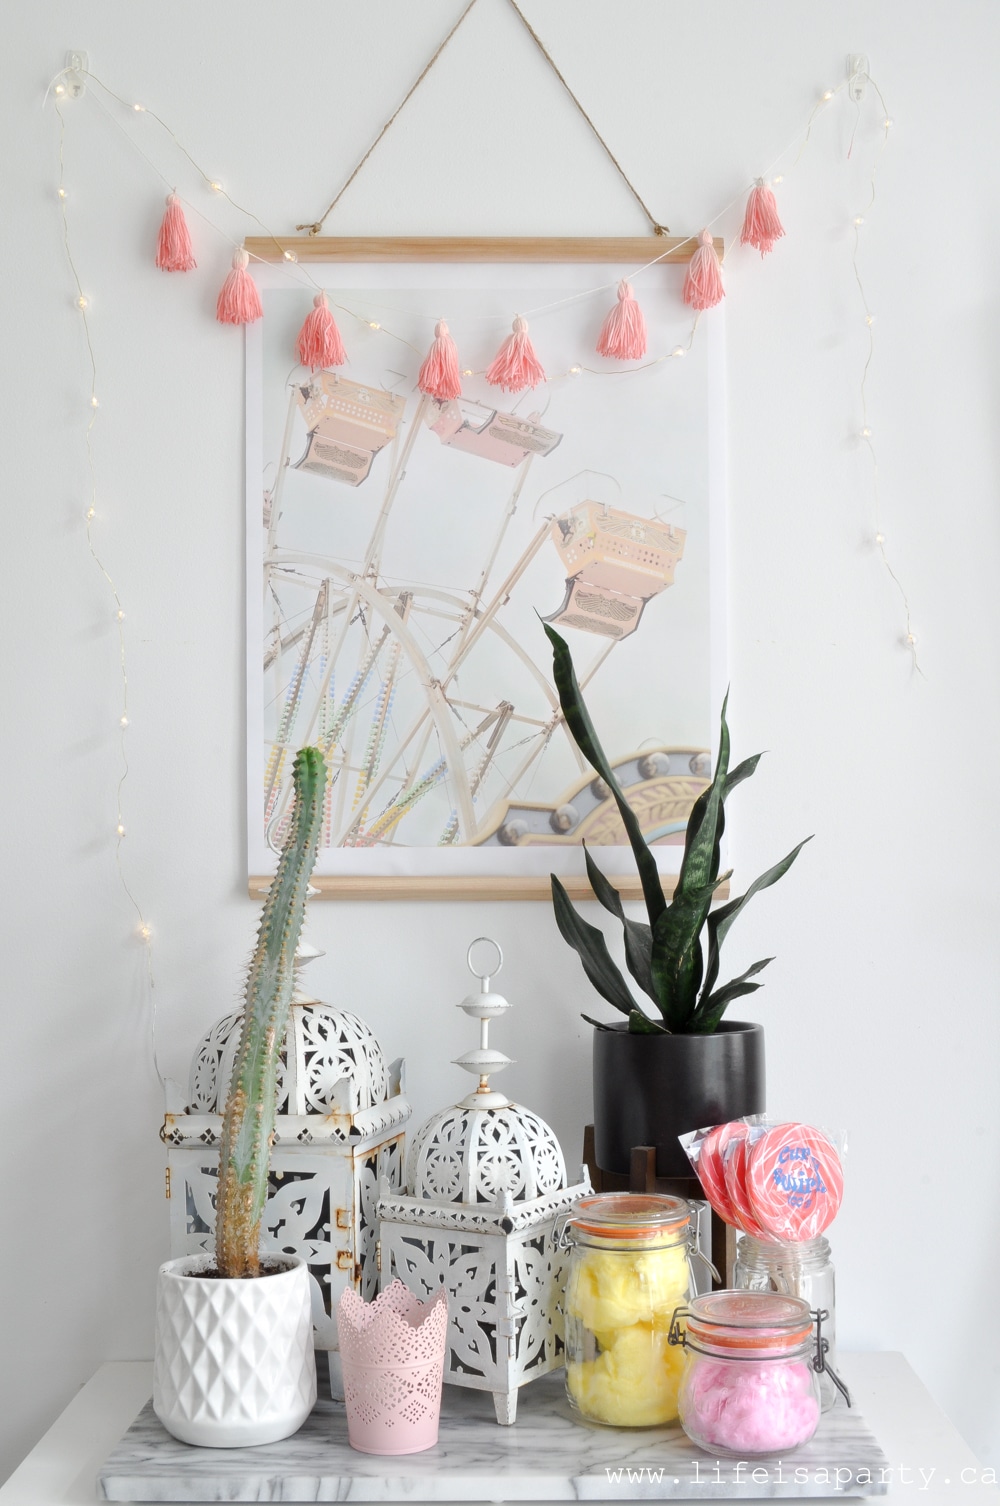 The art piece is from another from JessaMaePhoto, the same as the dining room piece. It fits our colours perfectly and the ferris wheel certainly feels like summer. On top of the art I layered on some lights inspired by the round bulb ones on any ferris wheel or midway ride at night.
 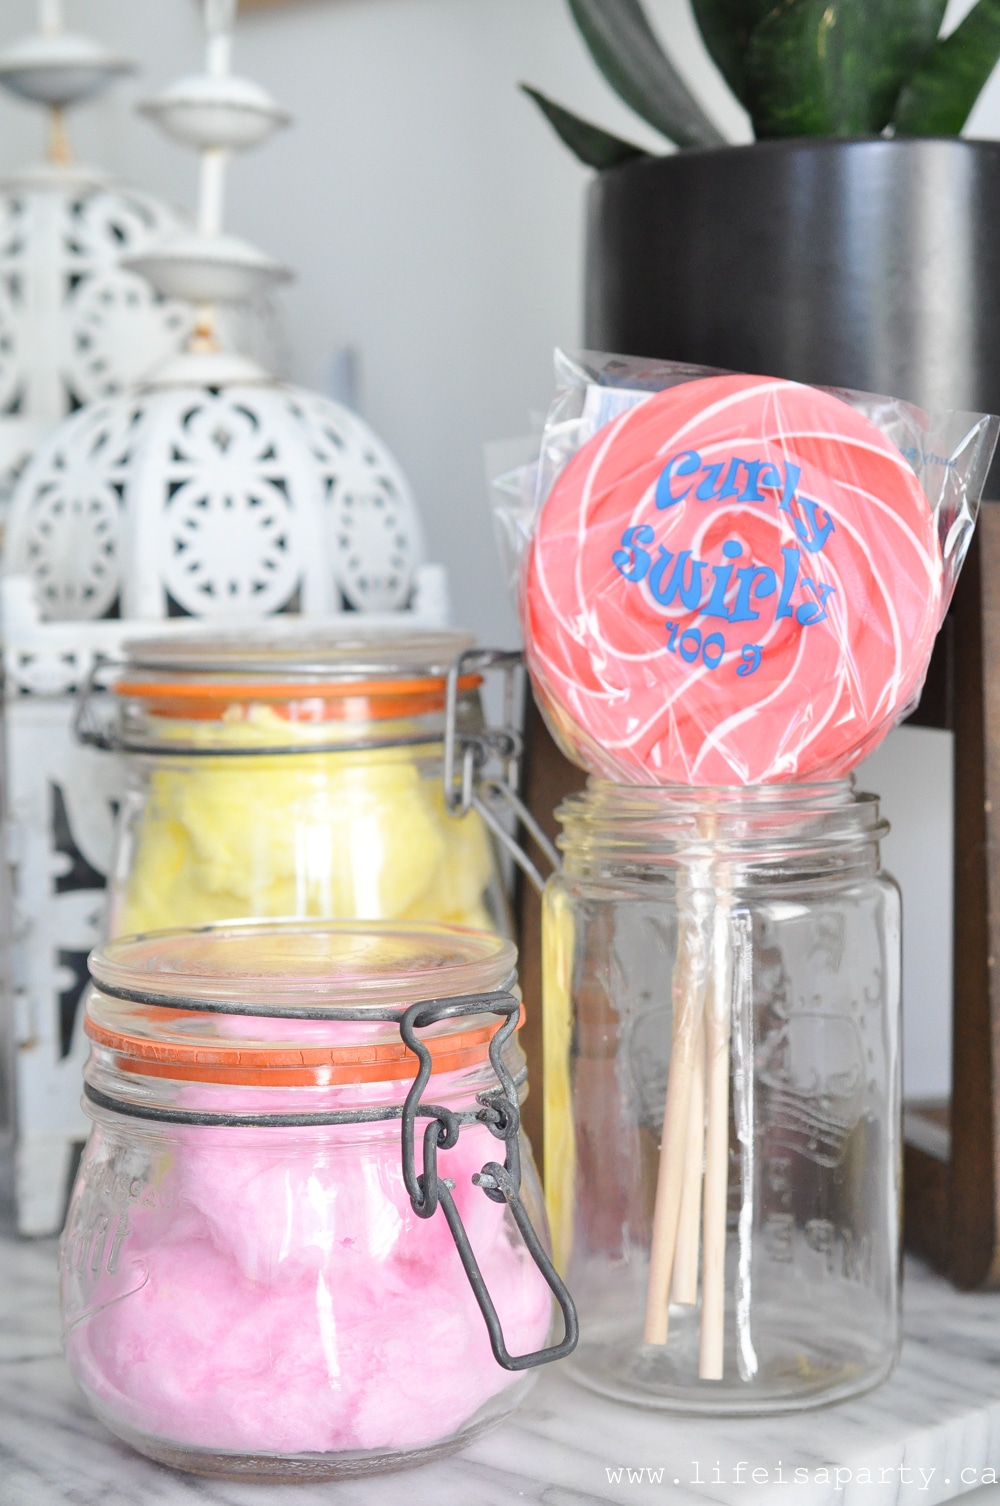 In keeping with the fair theme, I added a few classic fair treats -cotton candy, and giant lollipops!
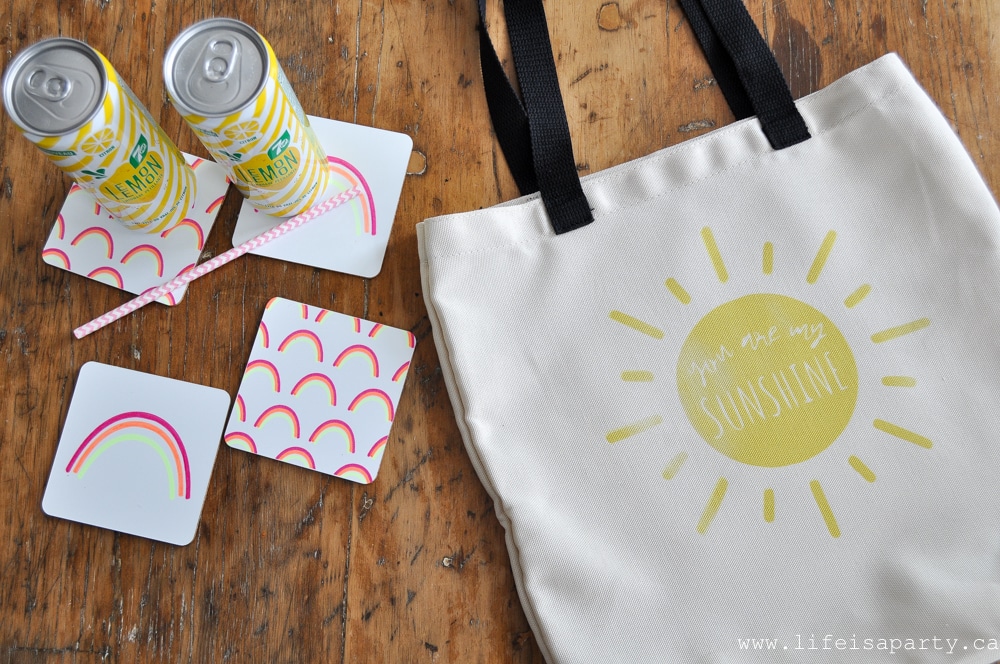
 Free Summer Printables
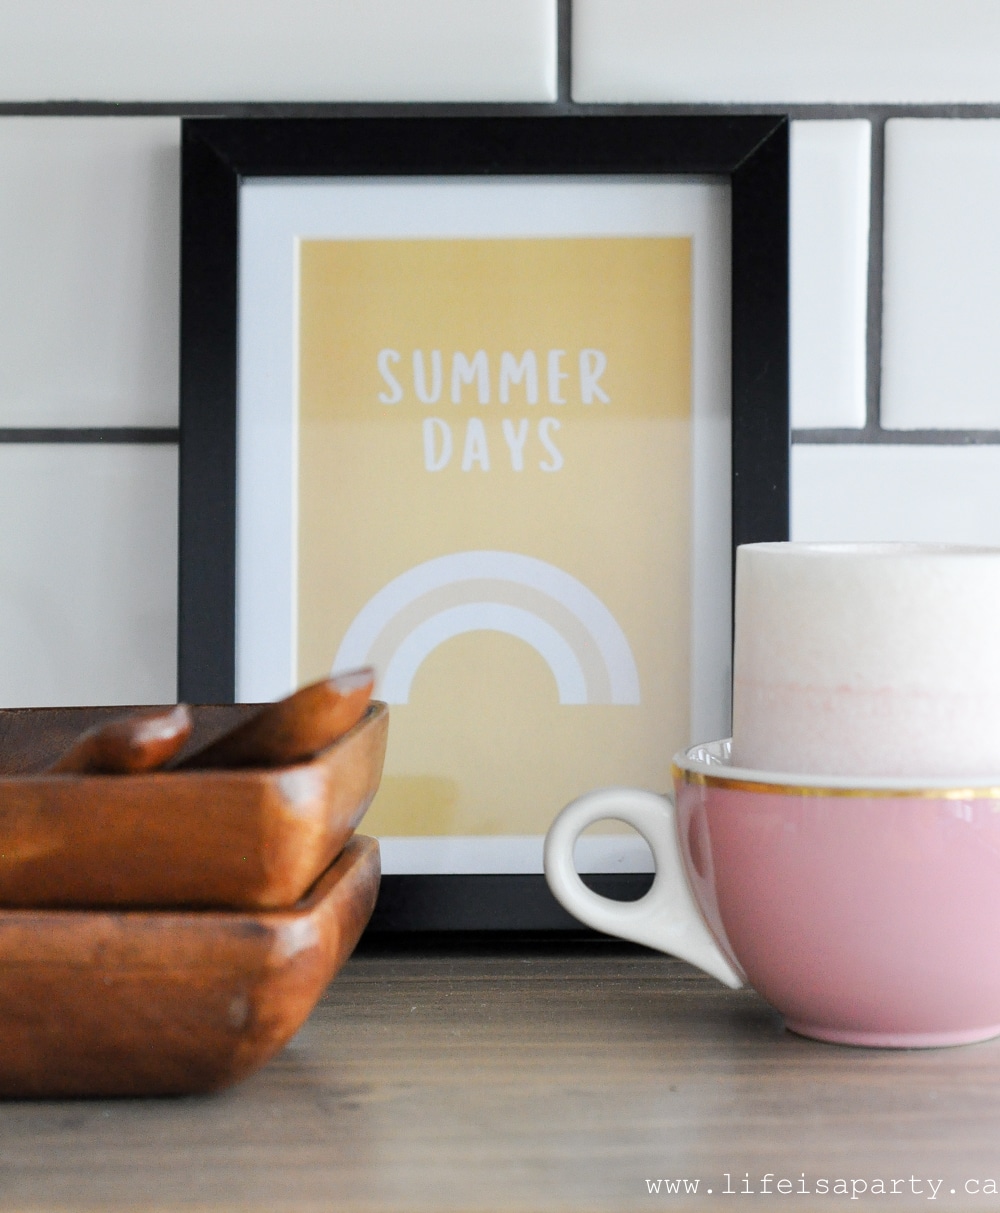 You can download the printables for free as a thank you gift for subscribing to our free newsletter. They're such a fun and inexpensive way to add some of that pretty pink and mustard yellow to your decor for summer too. Subscribe below for instant access to these printables and more.
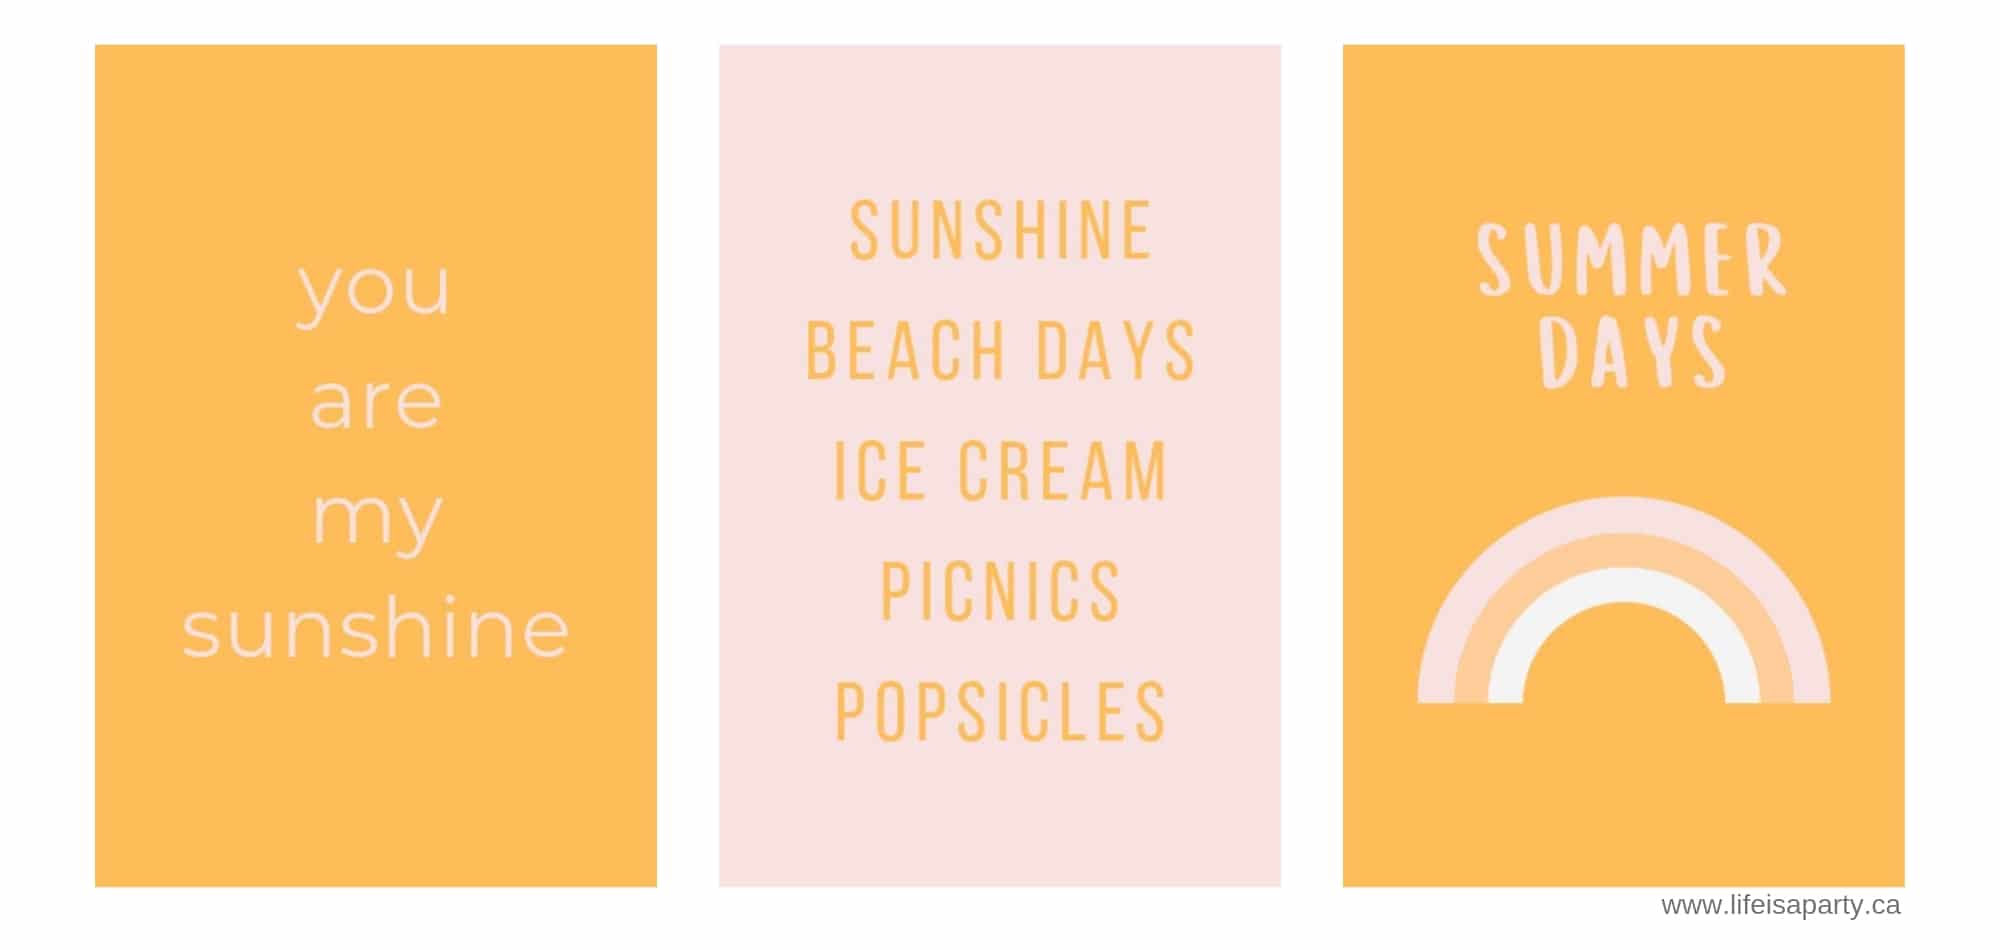
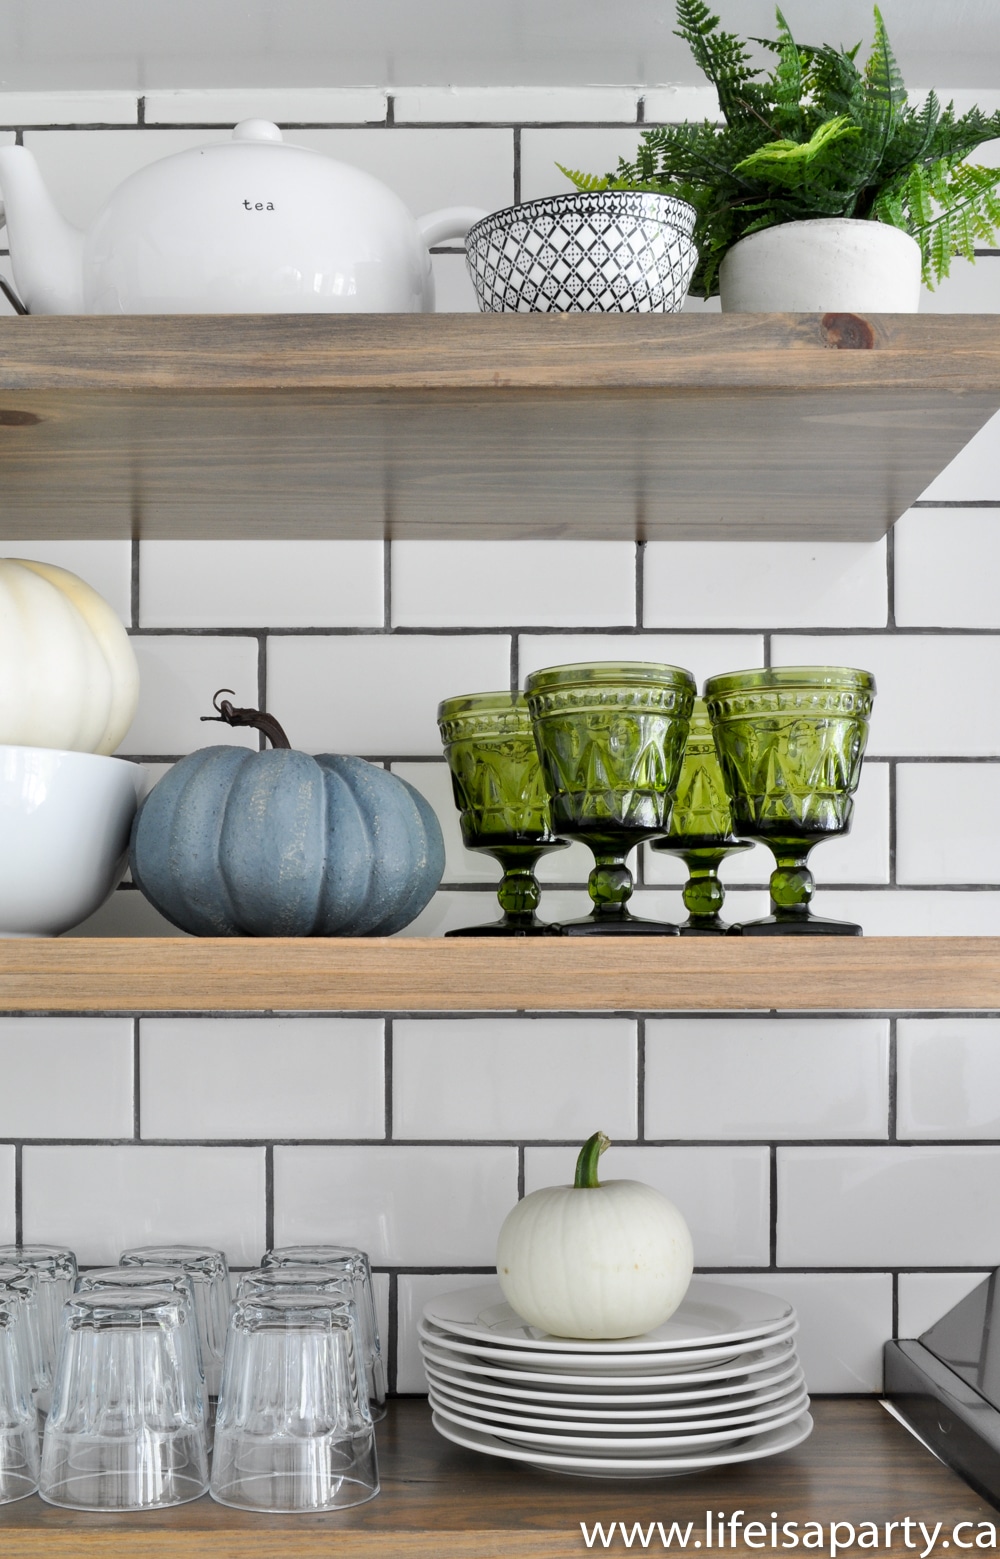
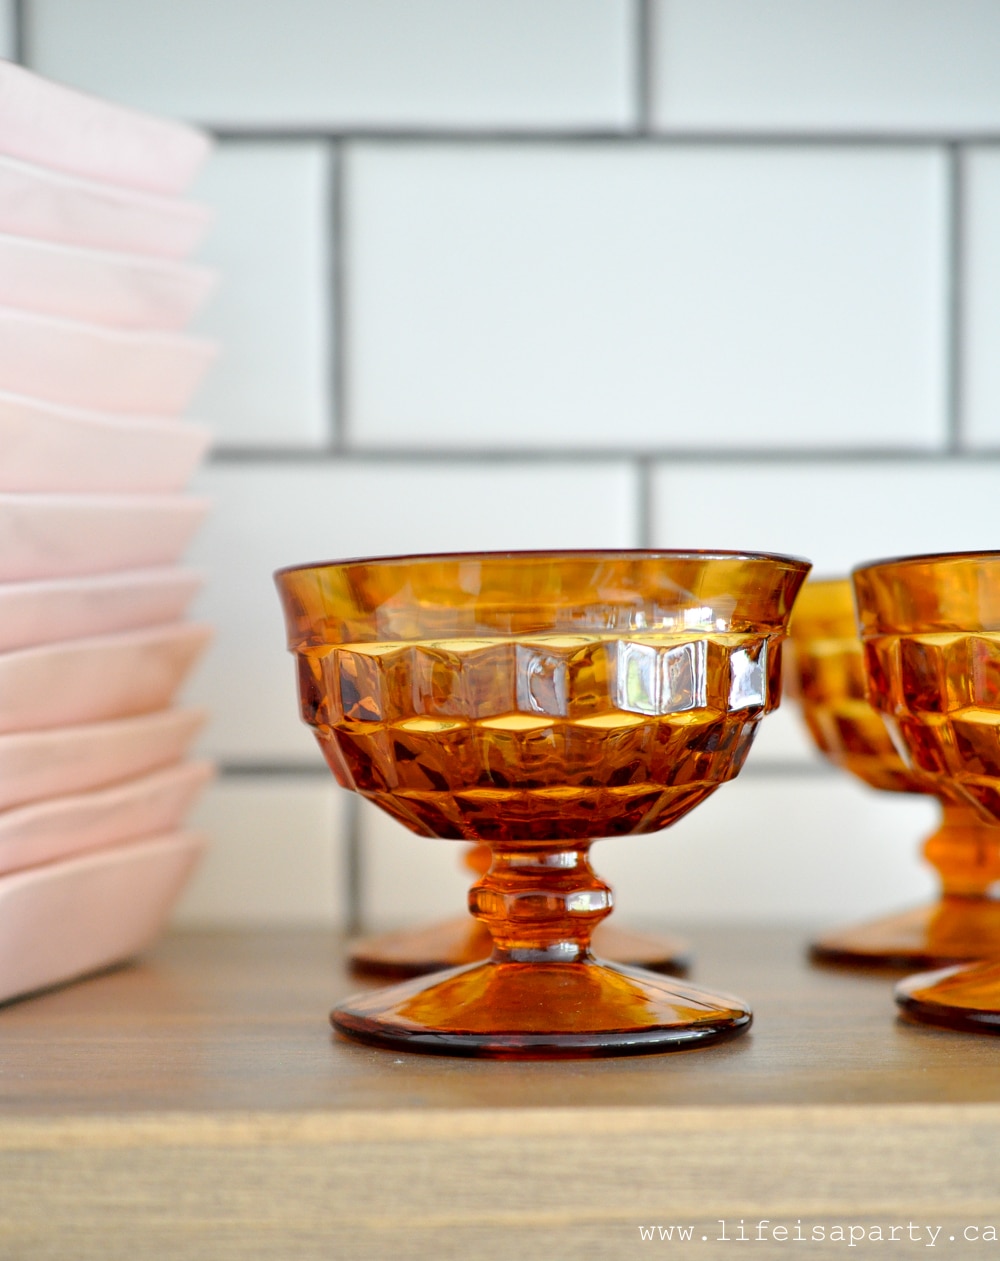
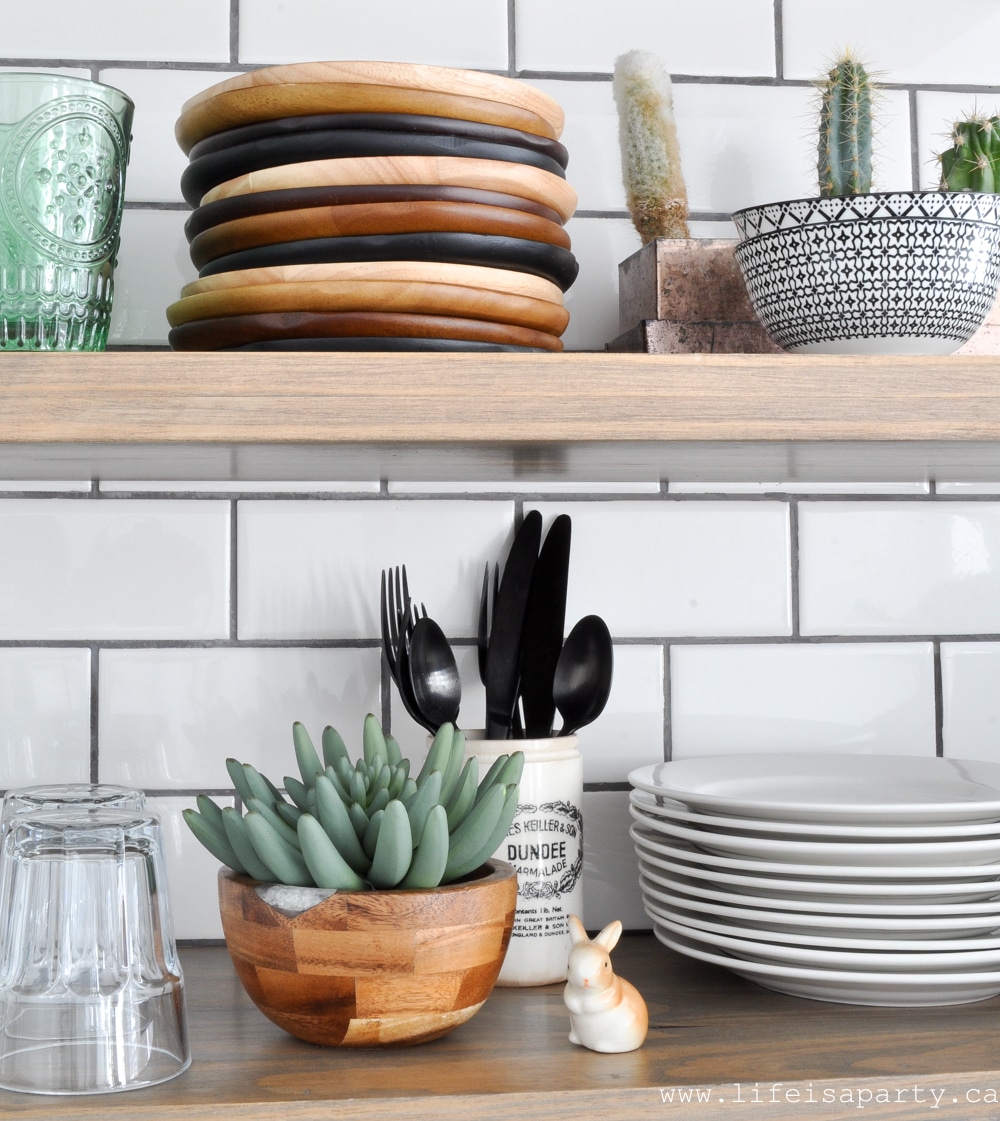
 Another fun addition to the shelves were these pretty amber glass dessert bowls I found out thrifting last week. Perfect for some after dinner ice cream this summer.
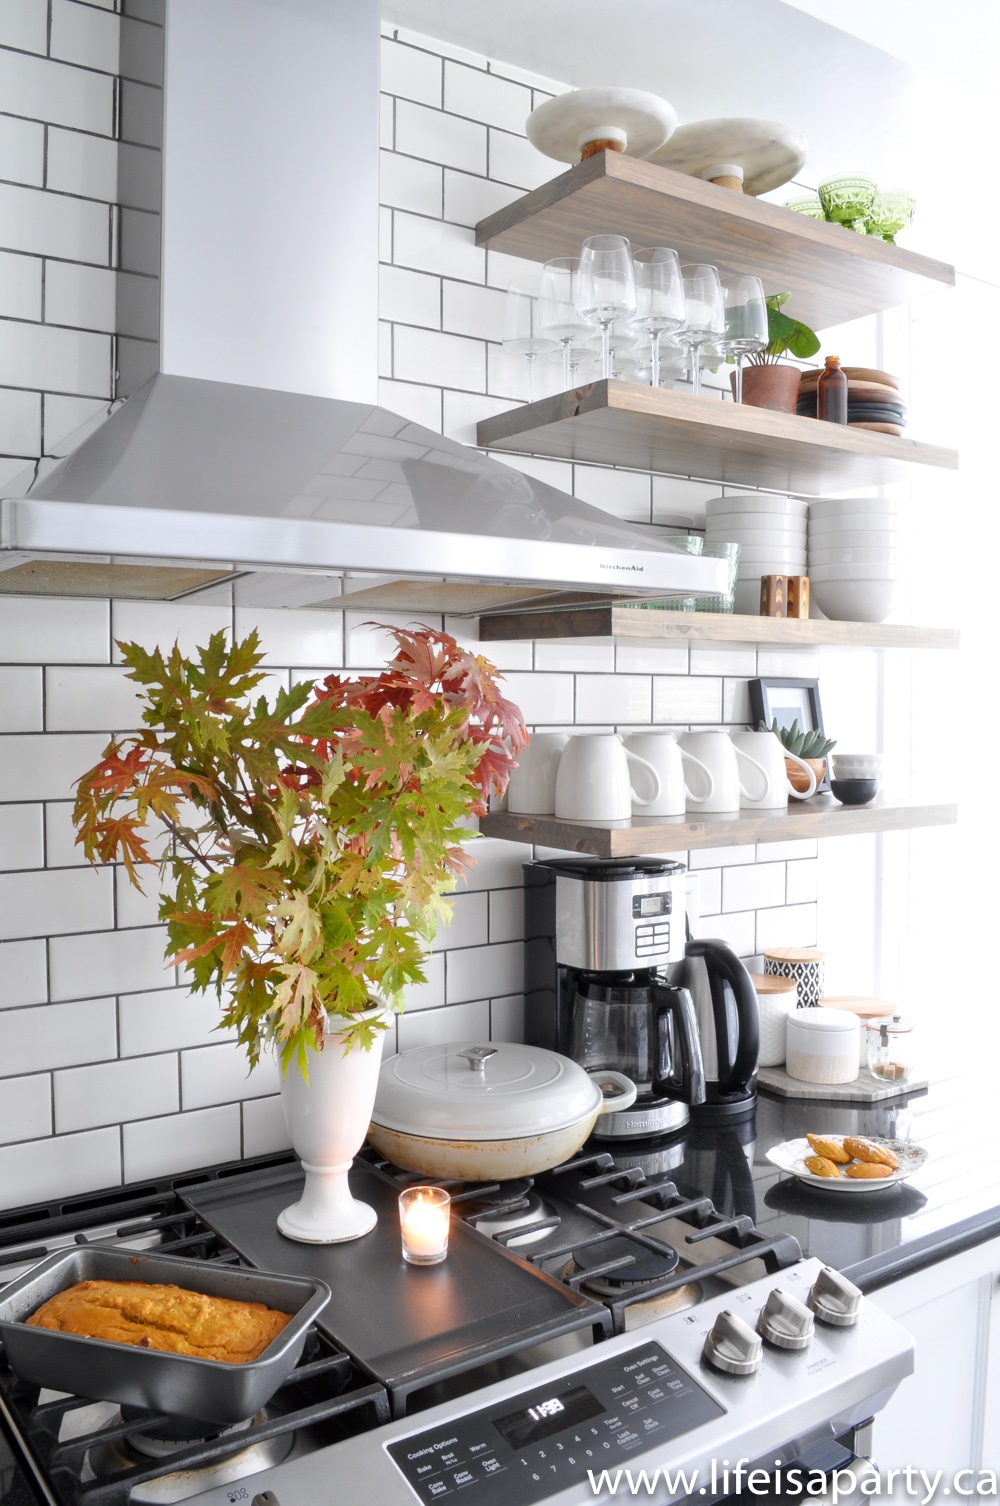
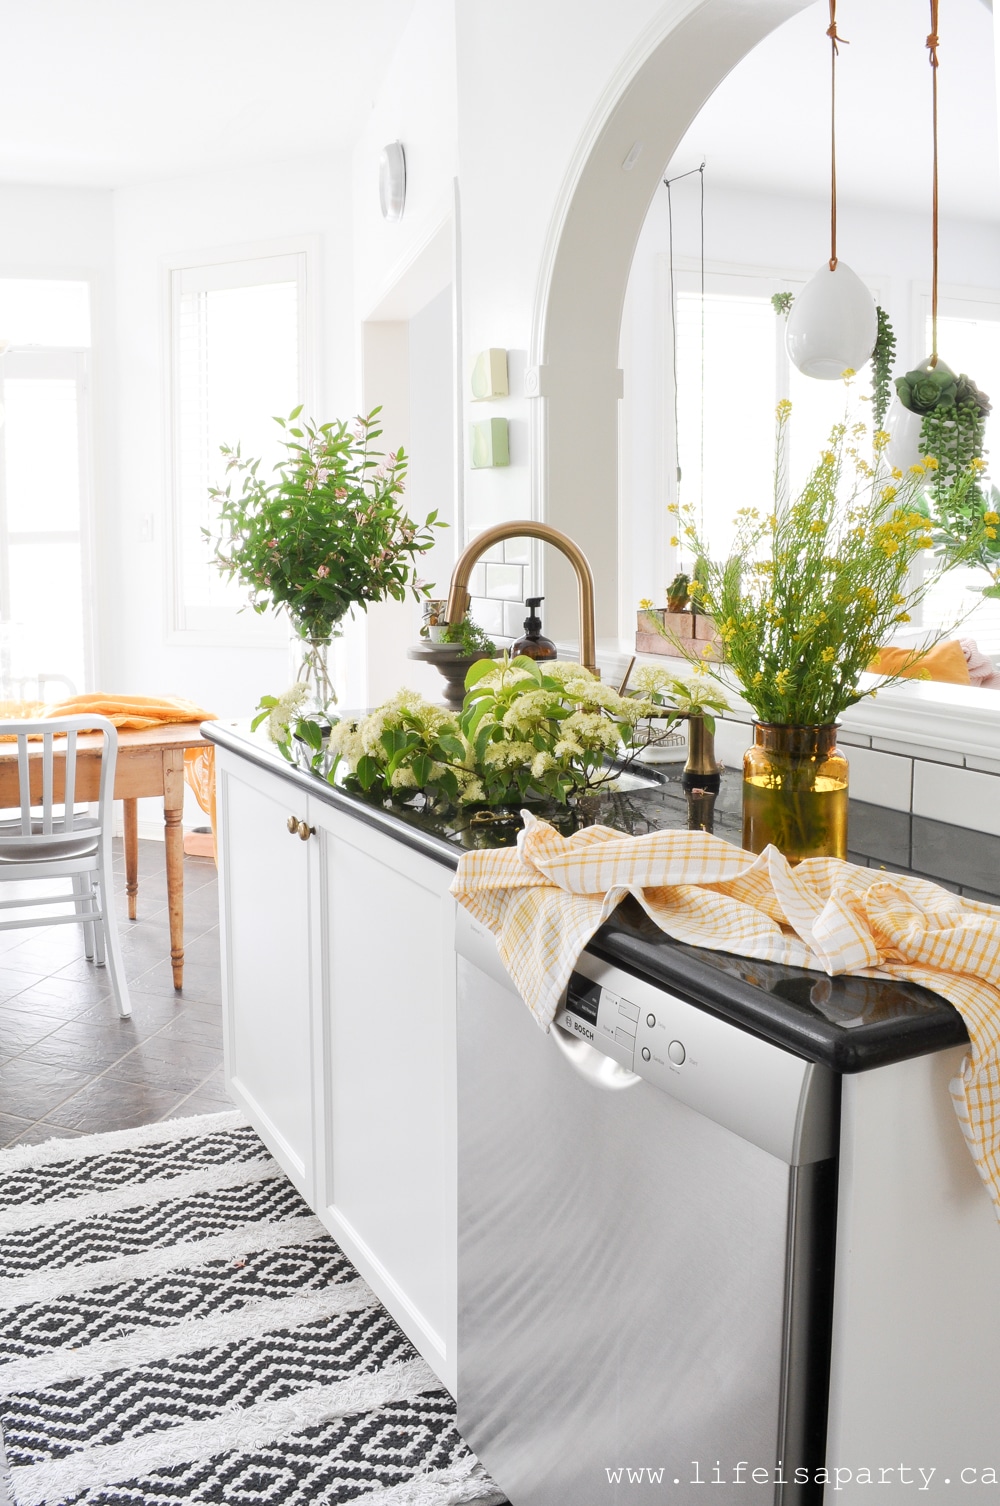 Over on the other side of the kitchen, you can see some pretty wild flowers and branches that I used in my decor.


 Shop Your House
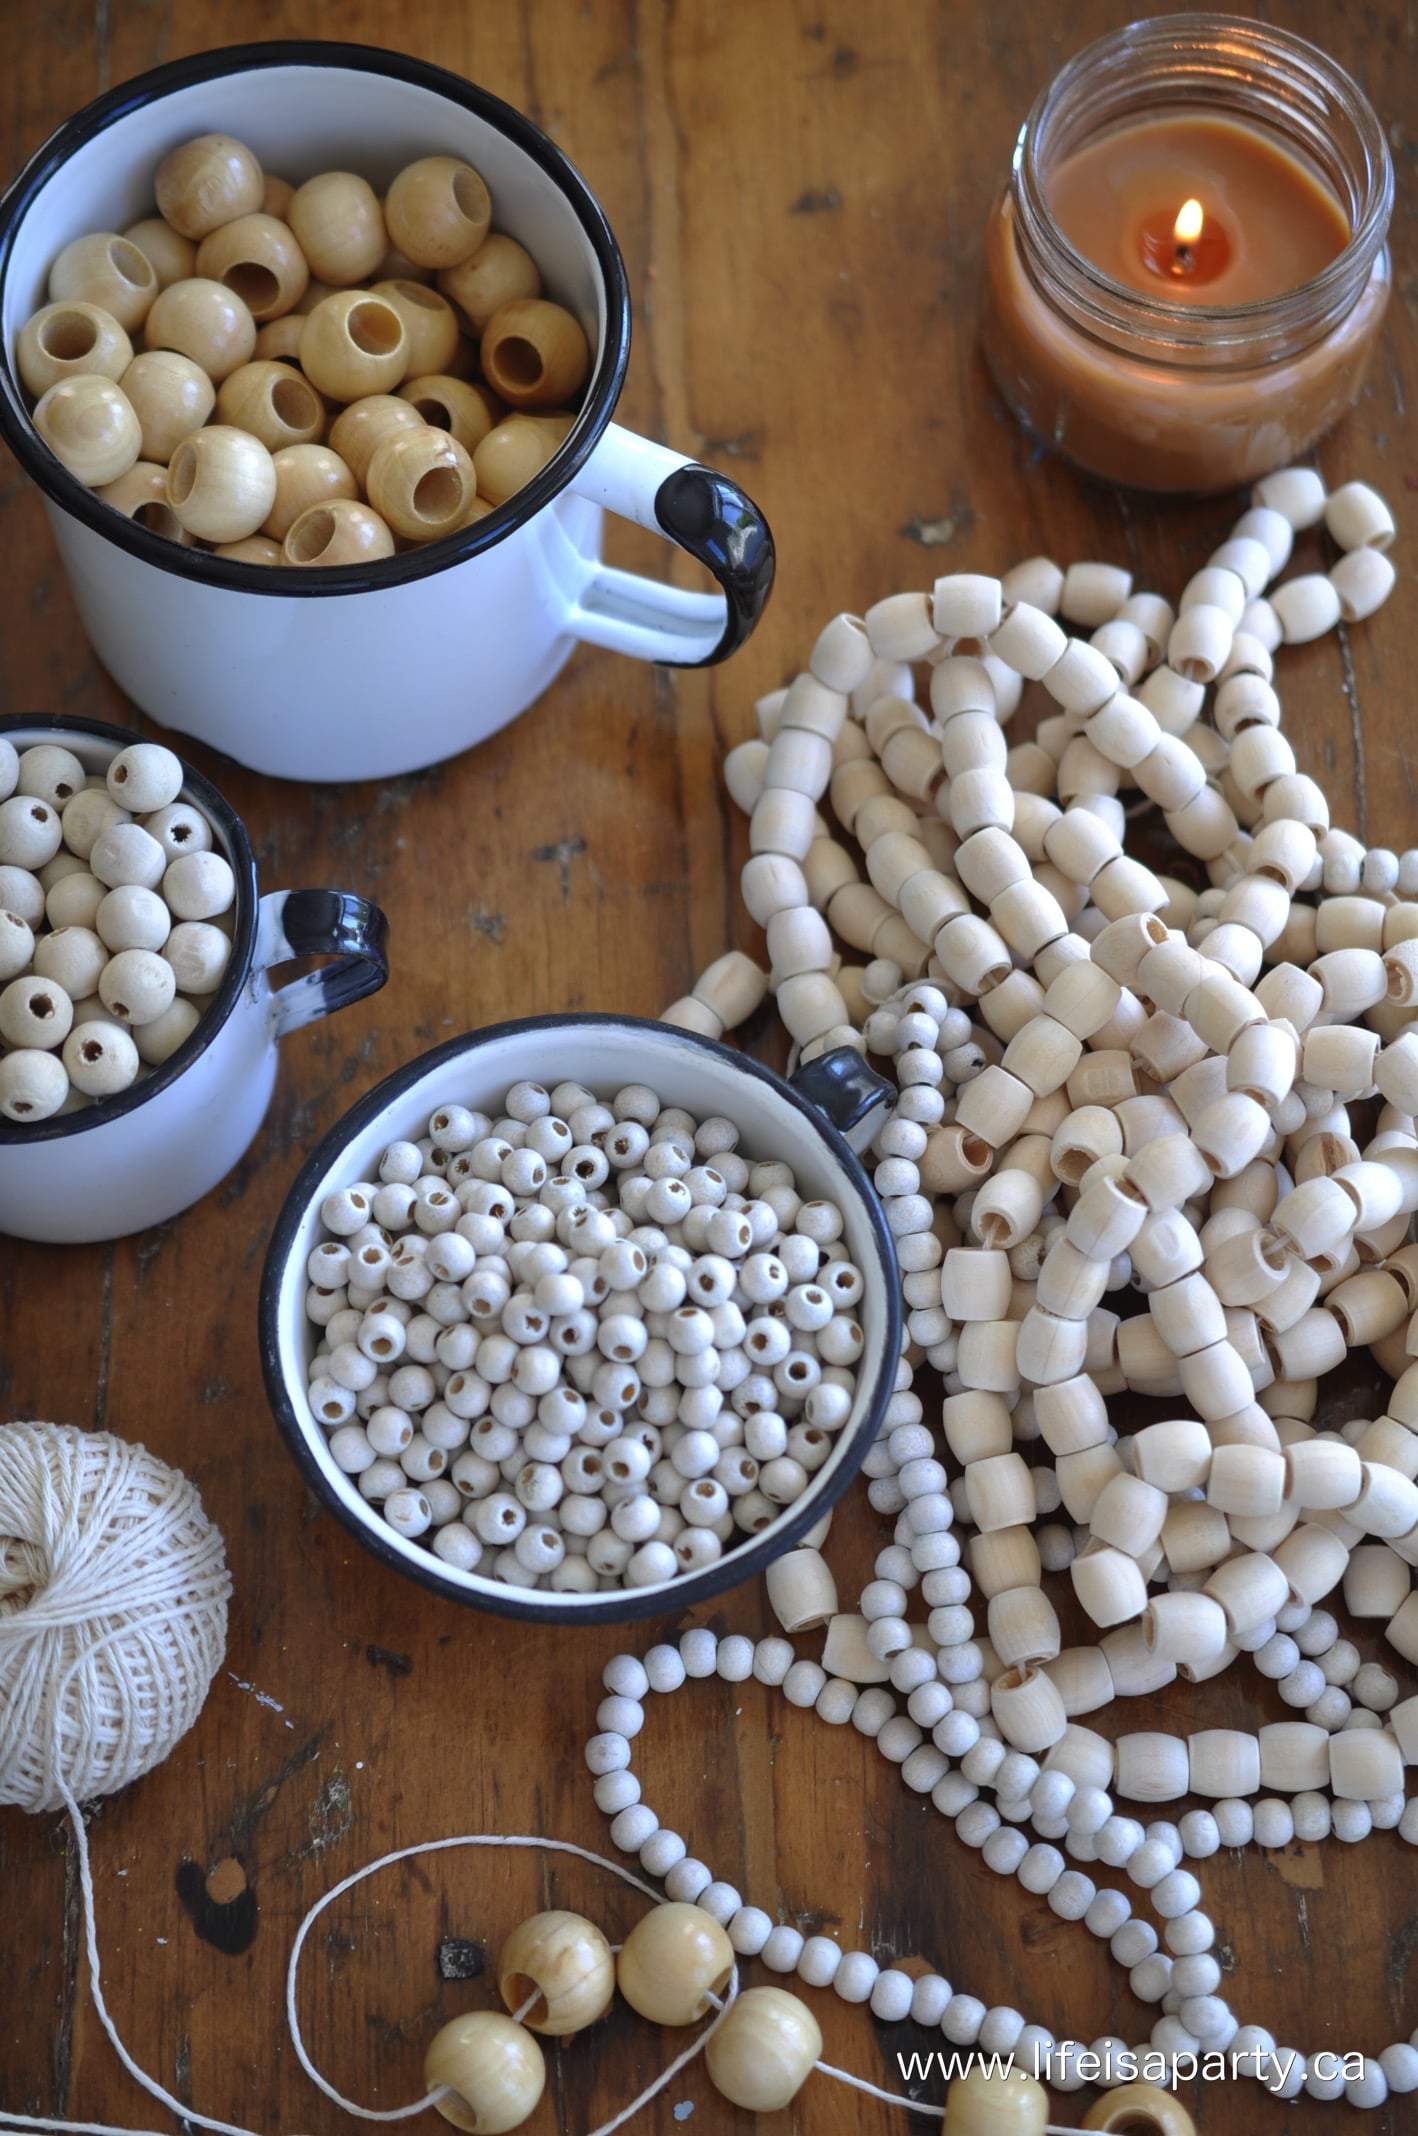
 Add Some Texture


 To hang the books, I used some small nails hammered into the books, and tied a string between them to hang from. The nails in the back helped secure some of the pages as well, but I also needed to add tacks at the front to keep the pages together too. Then I used a glue stick to glue the pages together at the front, and over the tack.
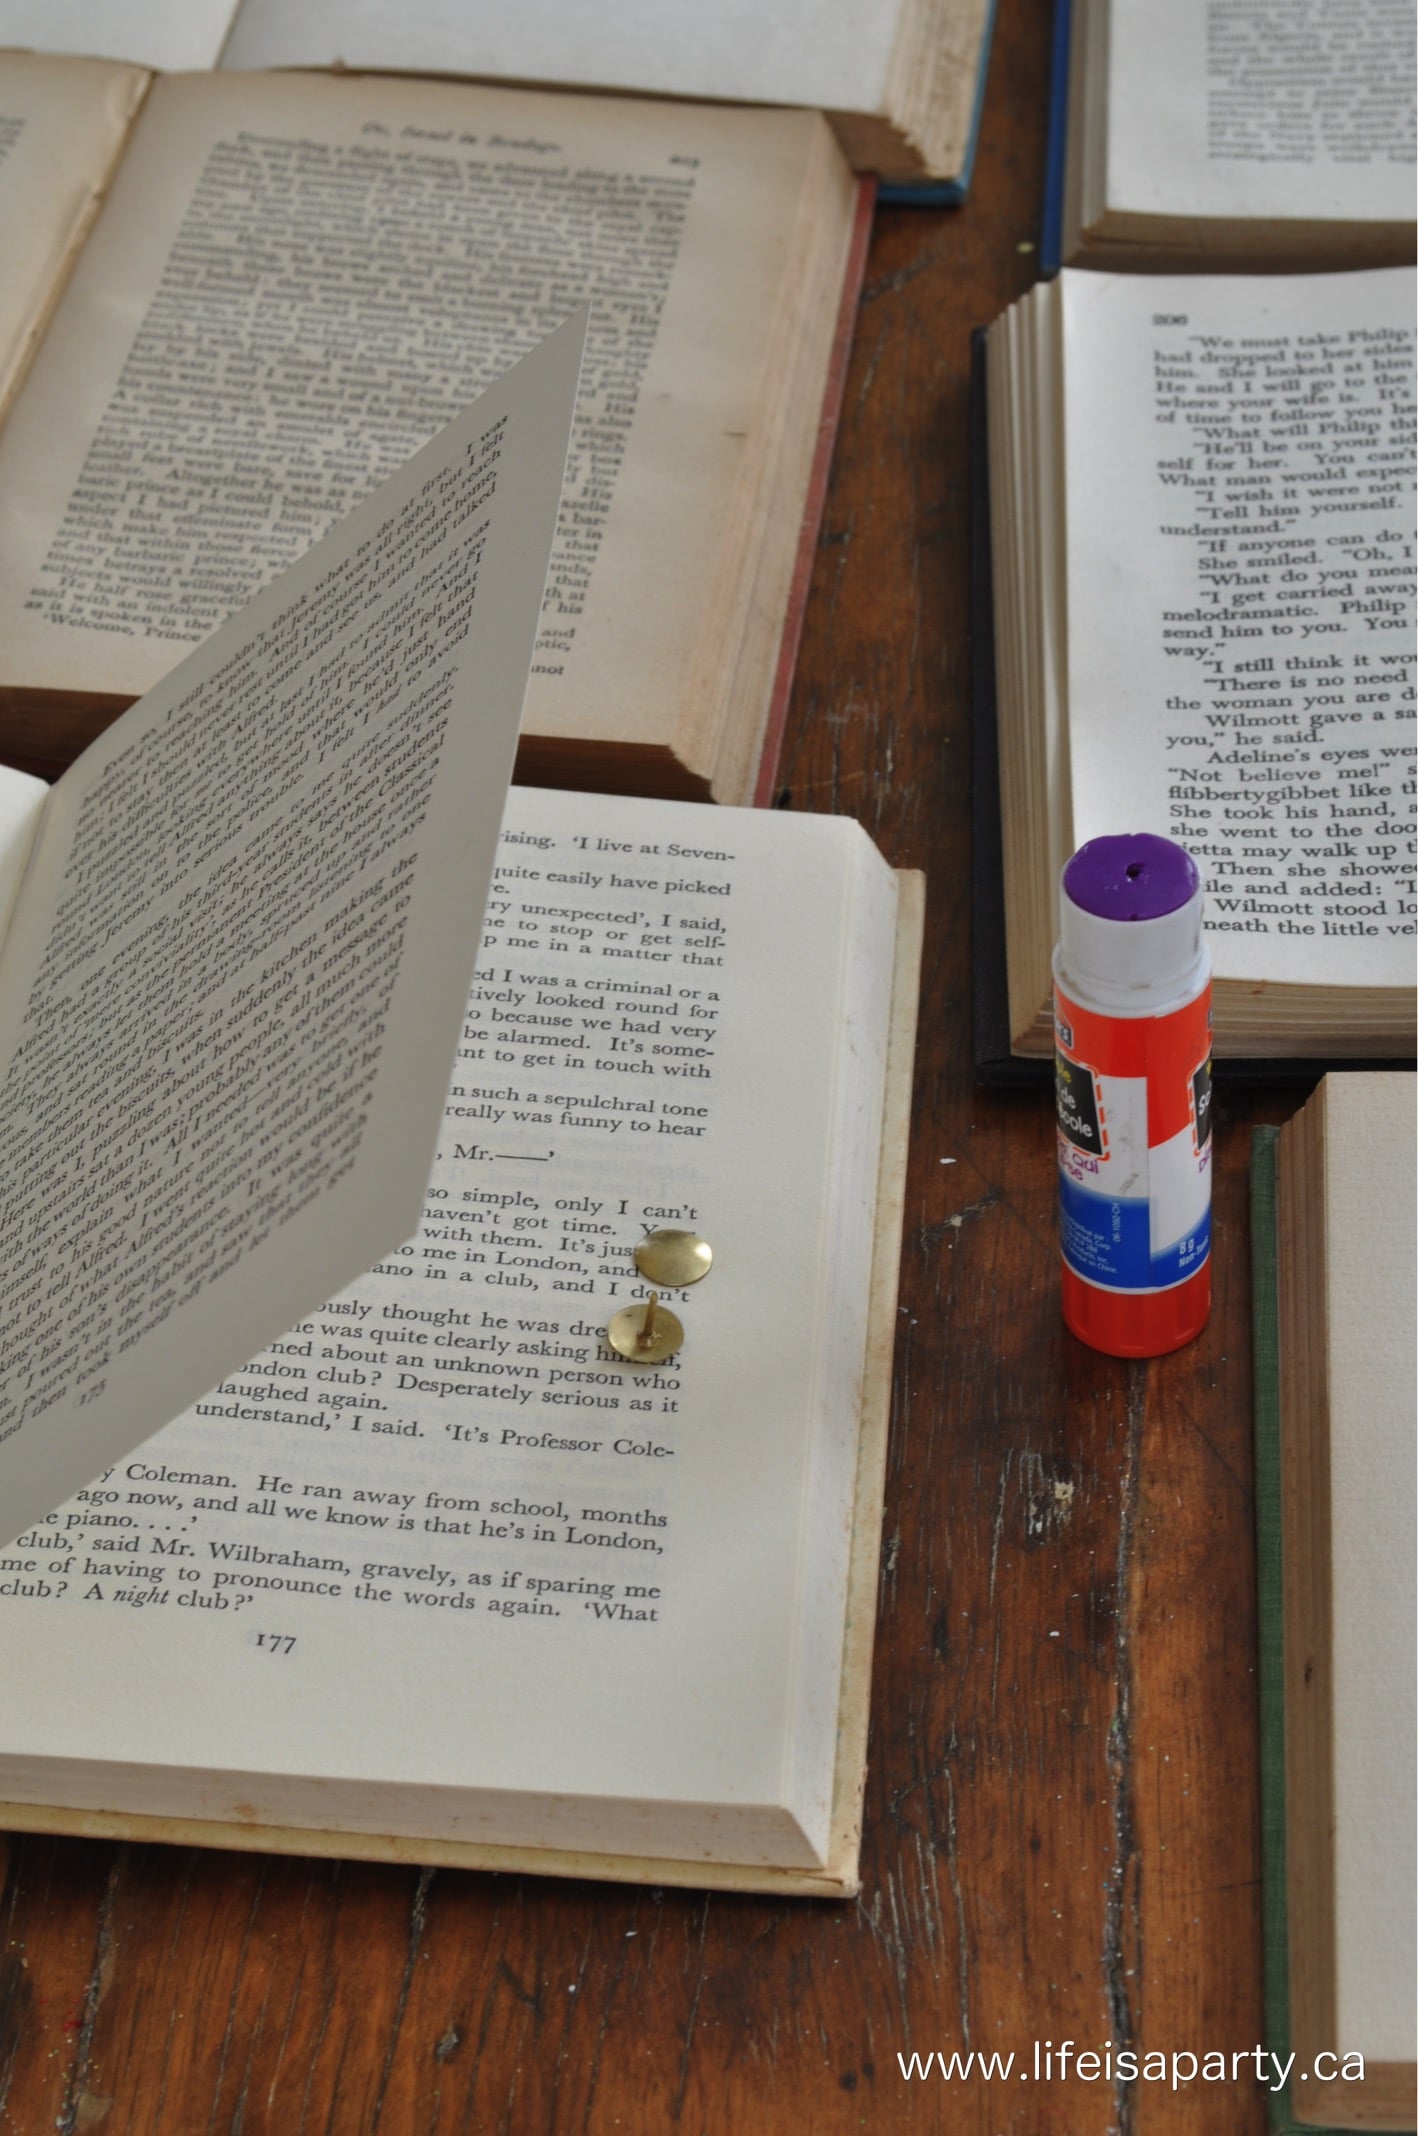
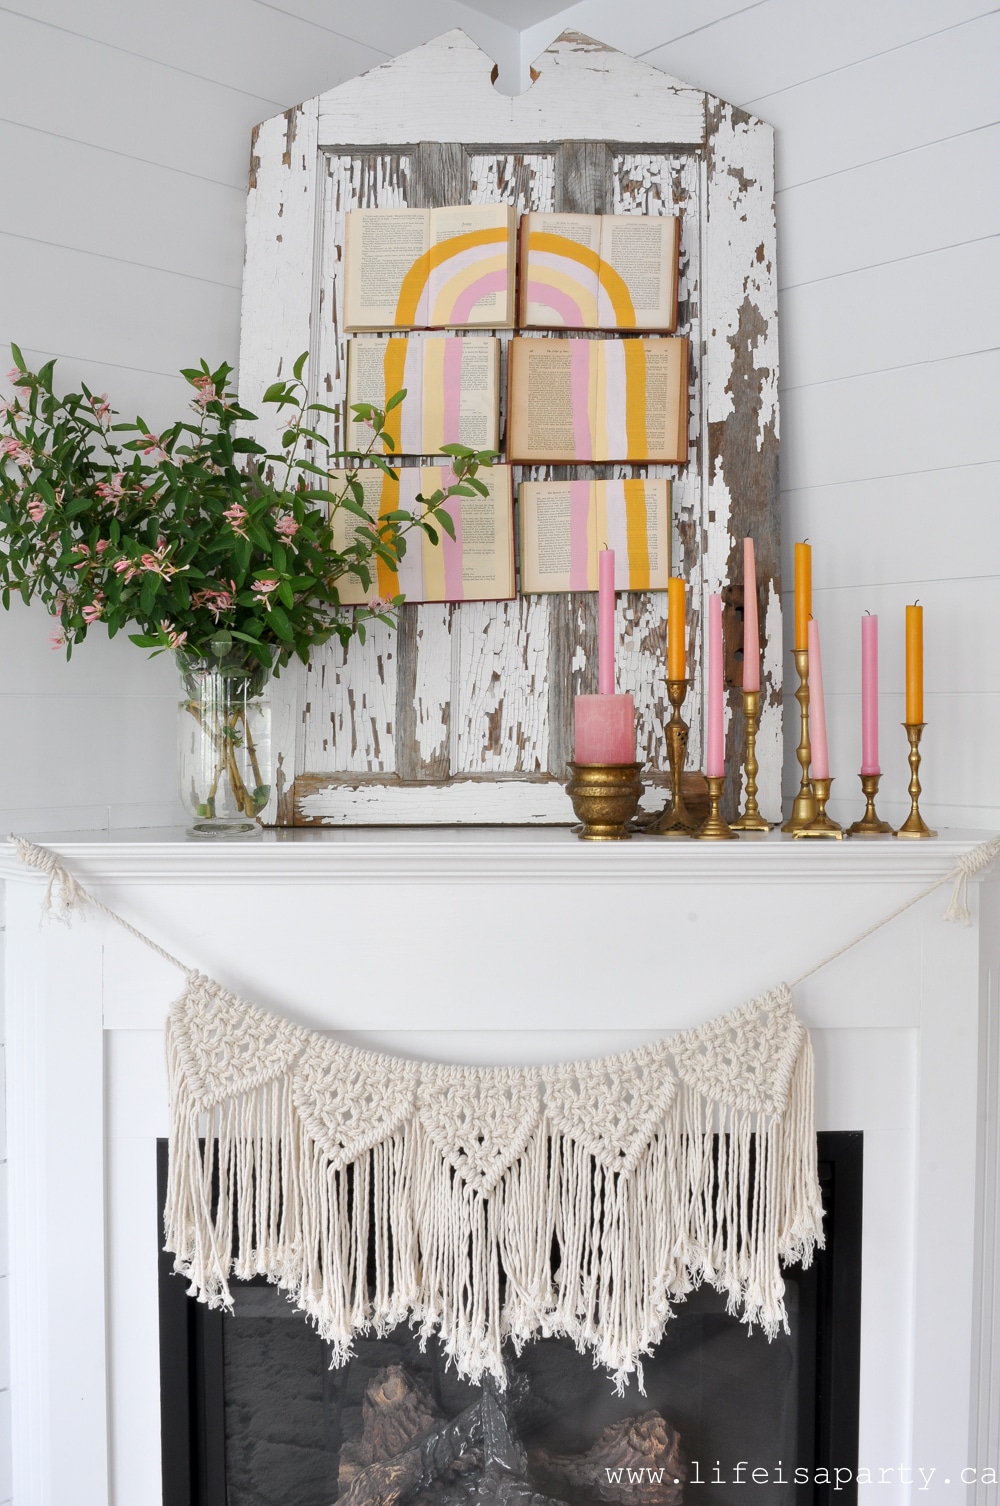
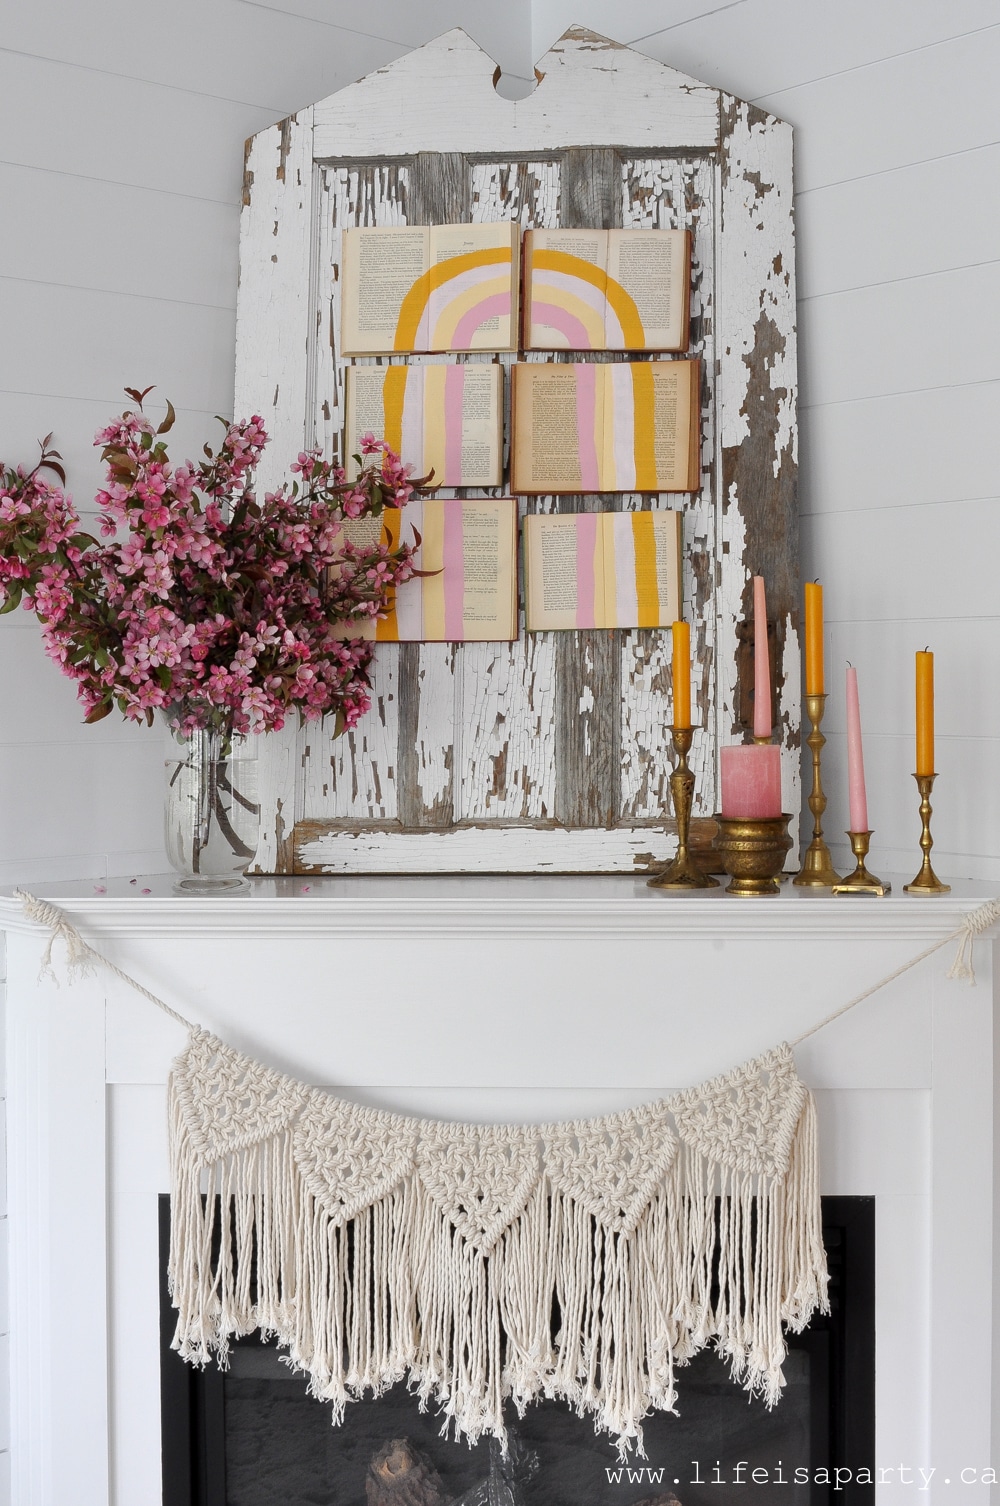
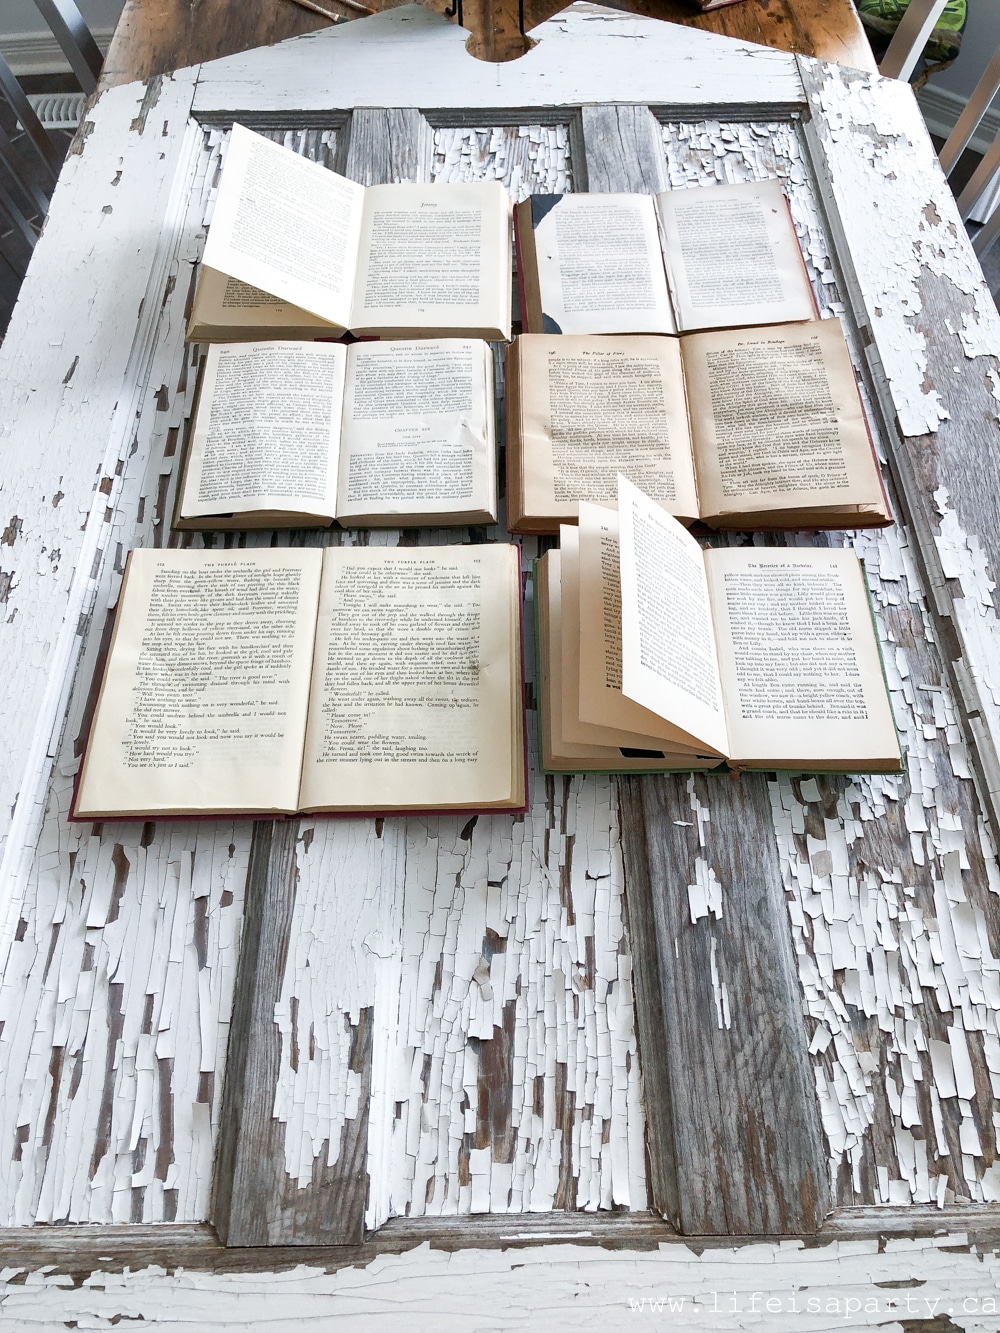 I decided I wanted to mount the books on this old rustic piece of a door. Because I have a corner fireplace, mounting the books directly on the wall there won't work, so using the door was the perfect solution. I thought it would be easiest to mount the books on the board before doing the rainbow painting. That way there were no worries about the painting lining up afterward. I used little finishing nails to hang the books on the old door.
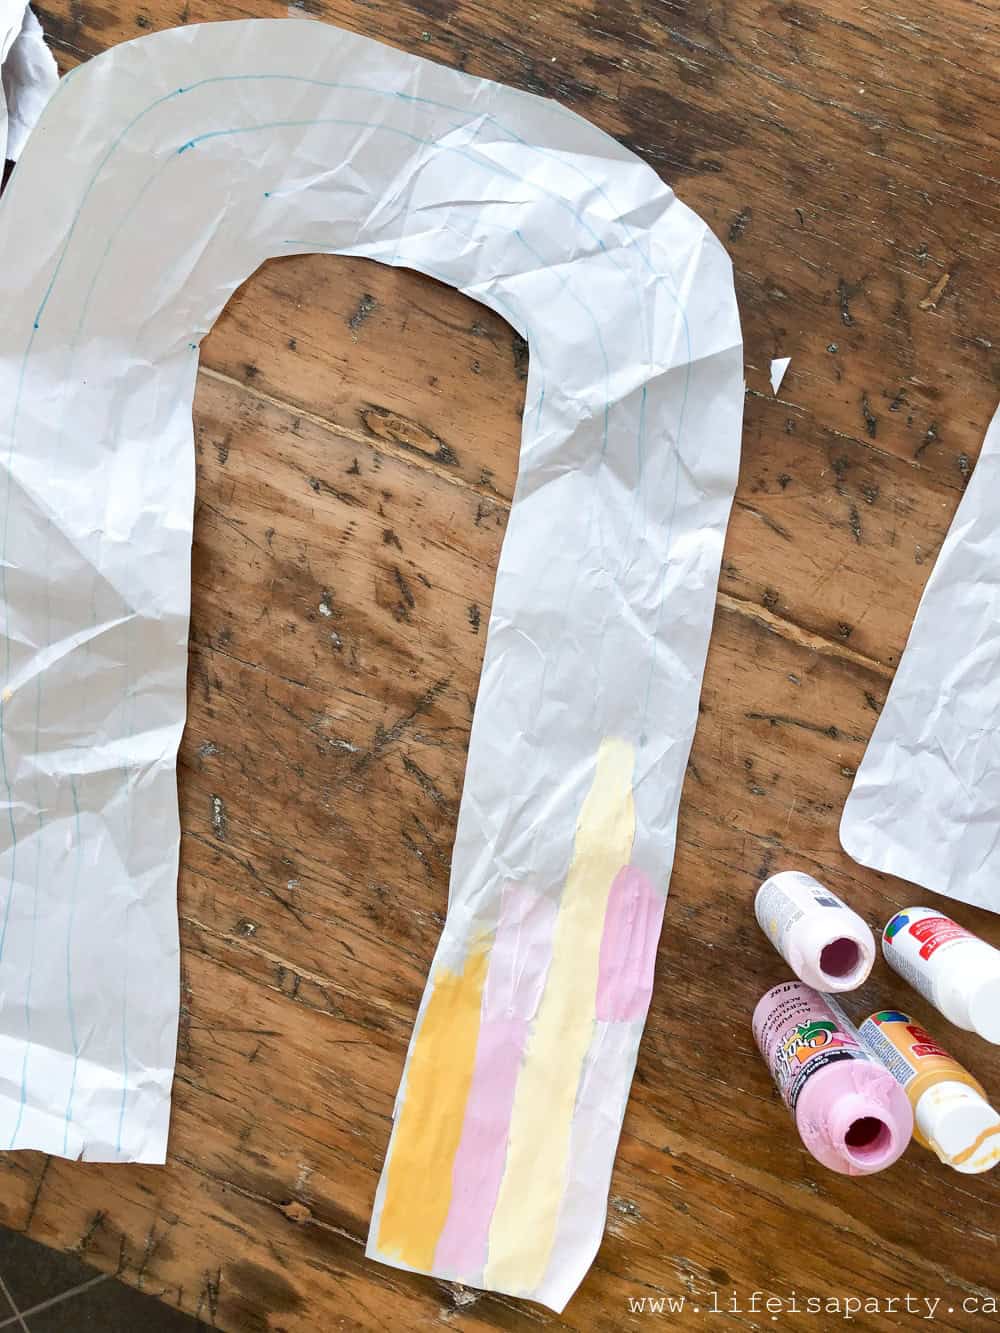 I made a really simple pattern out of some old paper. I drew my rainbow out roughly and then folded it in half and cut it out so that both sides would match.
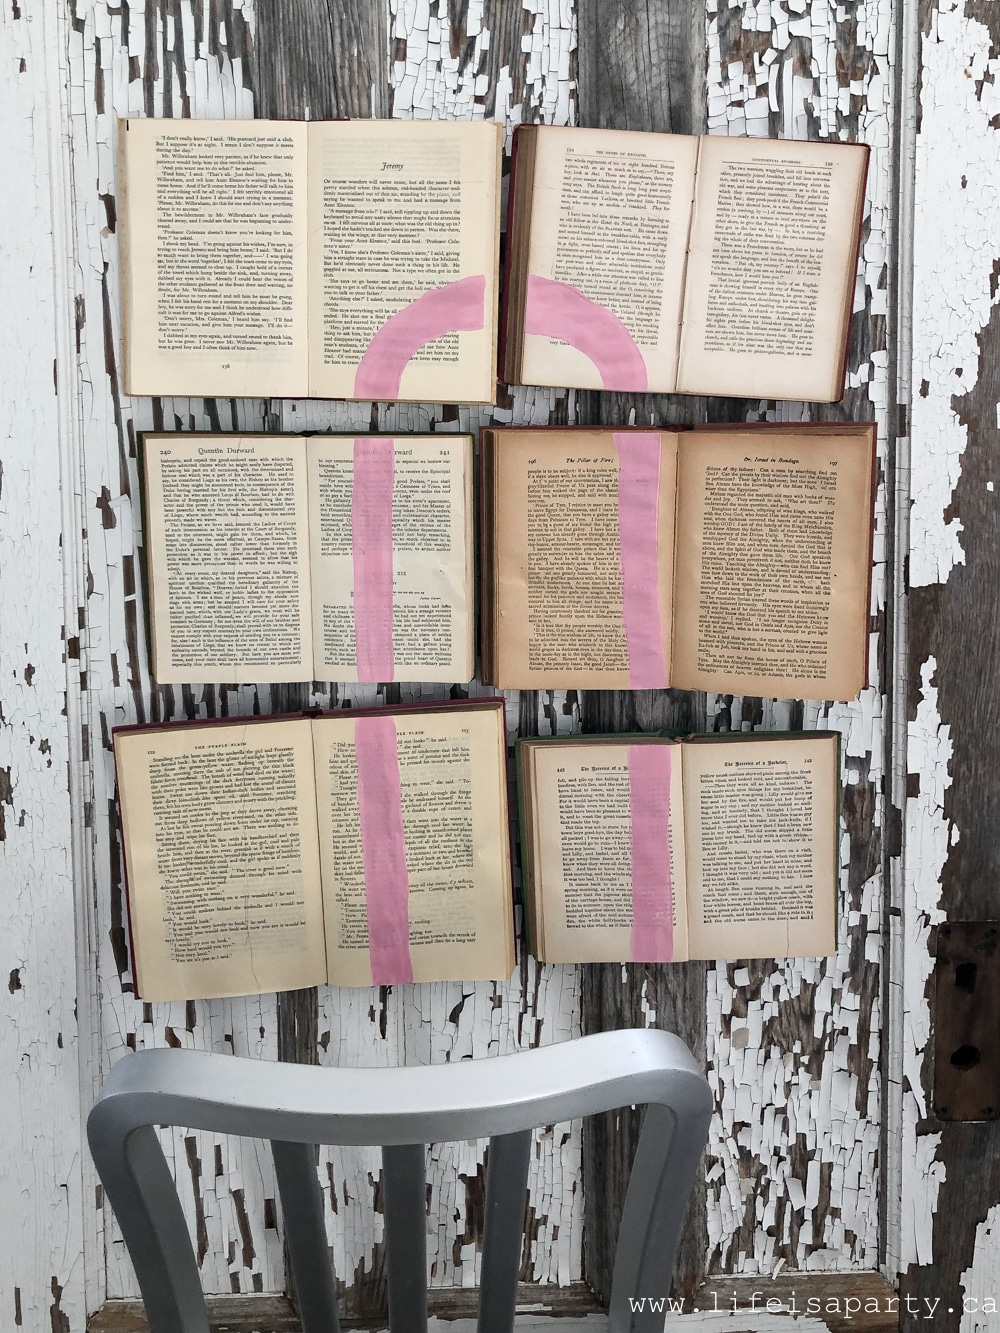
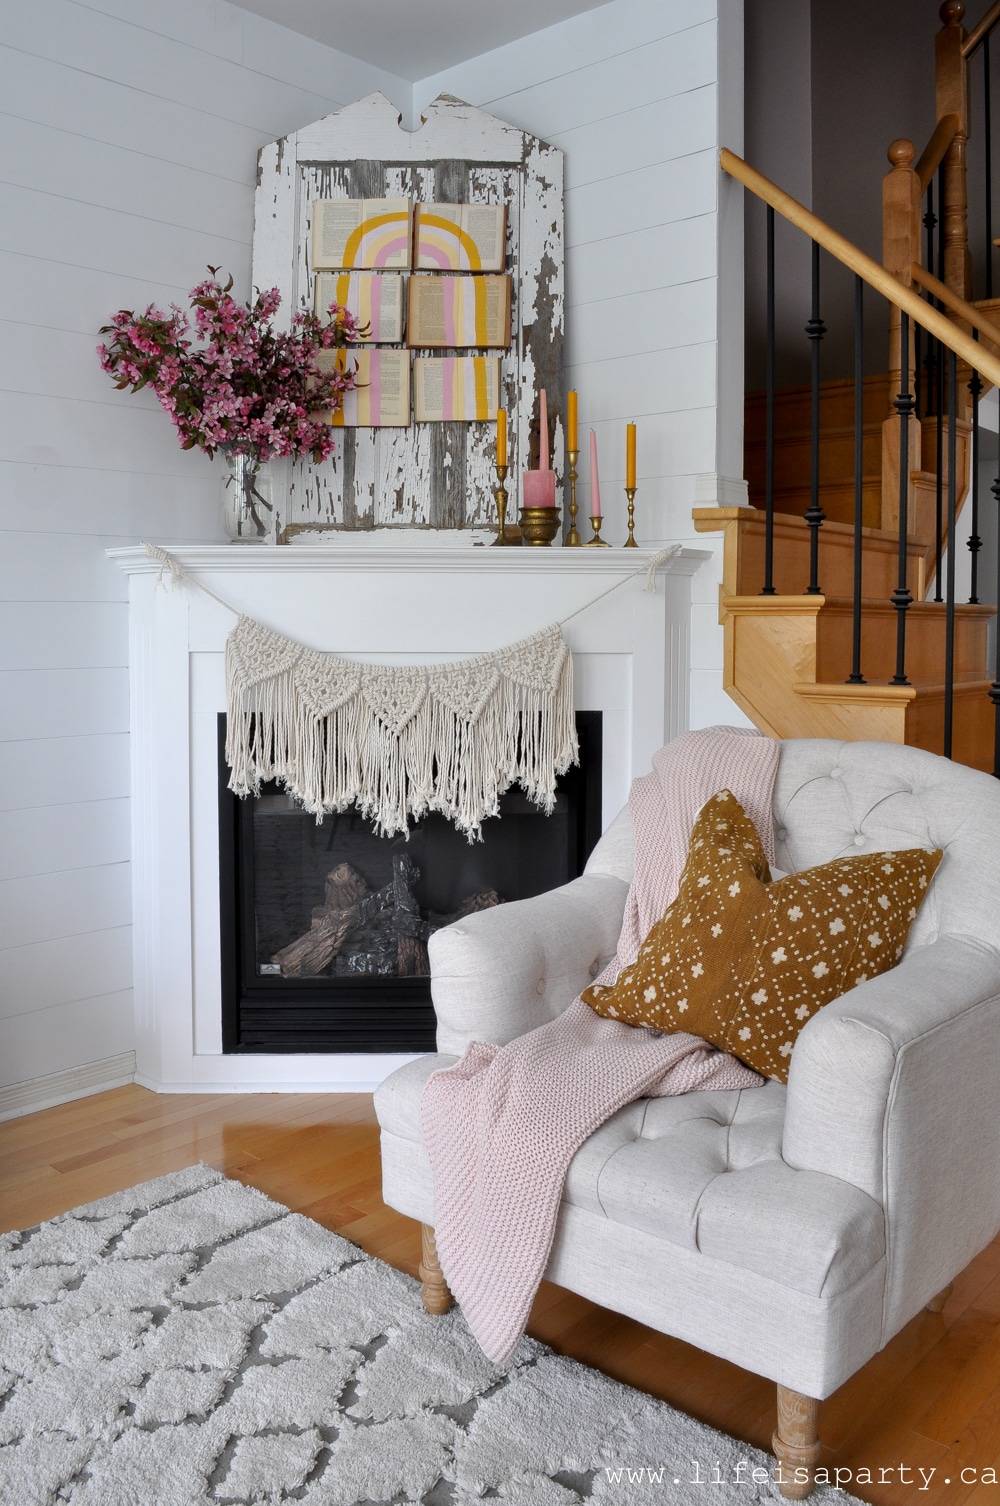
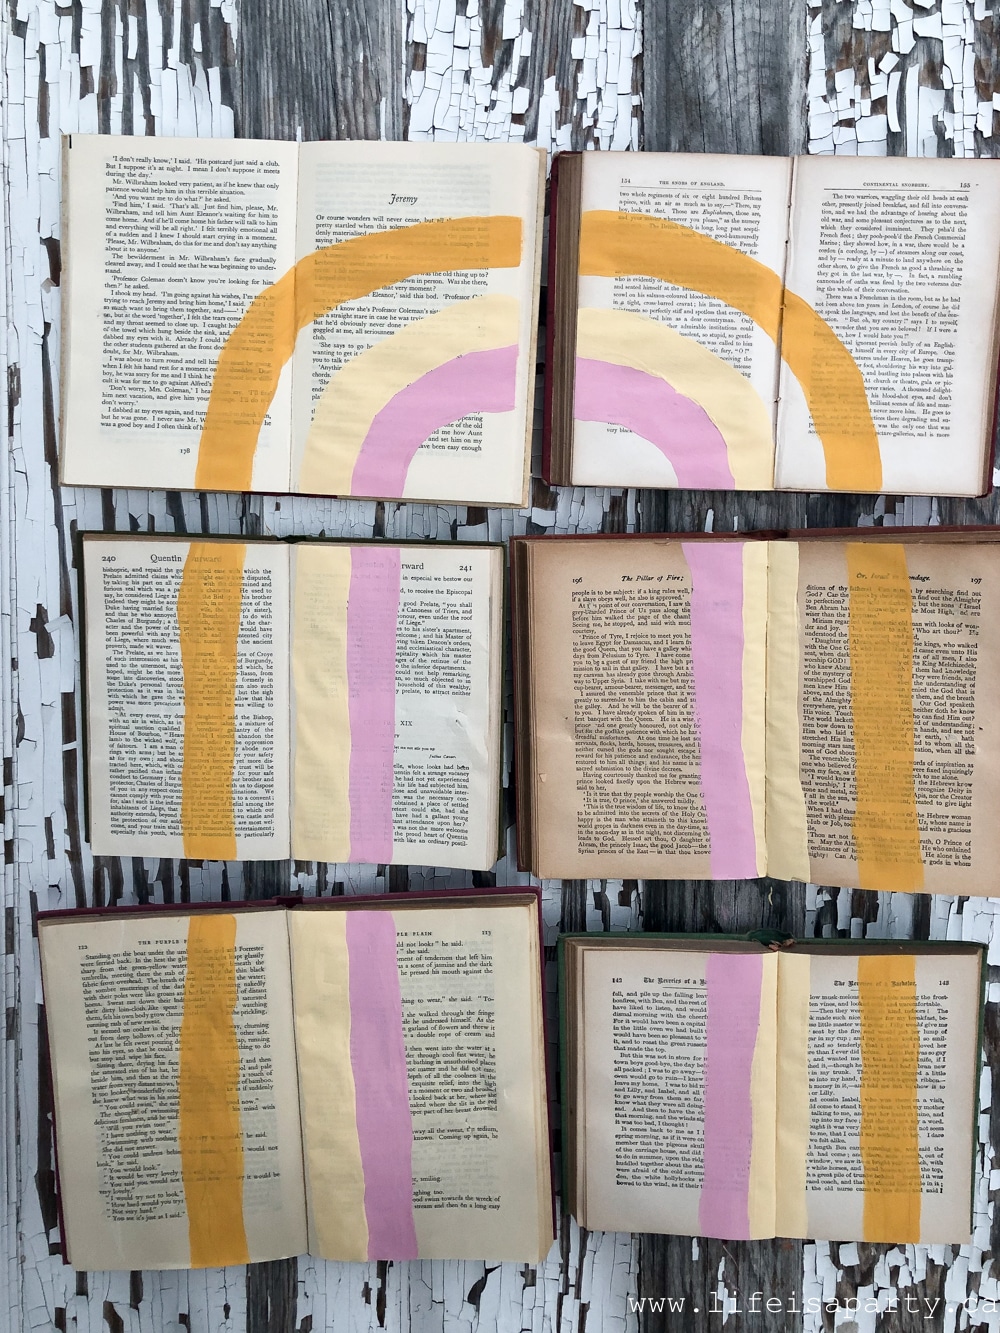 It was really simple to paint, and I love the final colour combination. I'm doing a pink and mustard yellow colour scheme for summer and this area is looking perfect now.
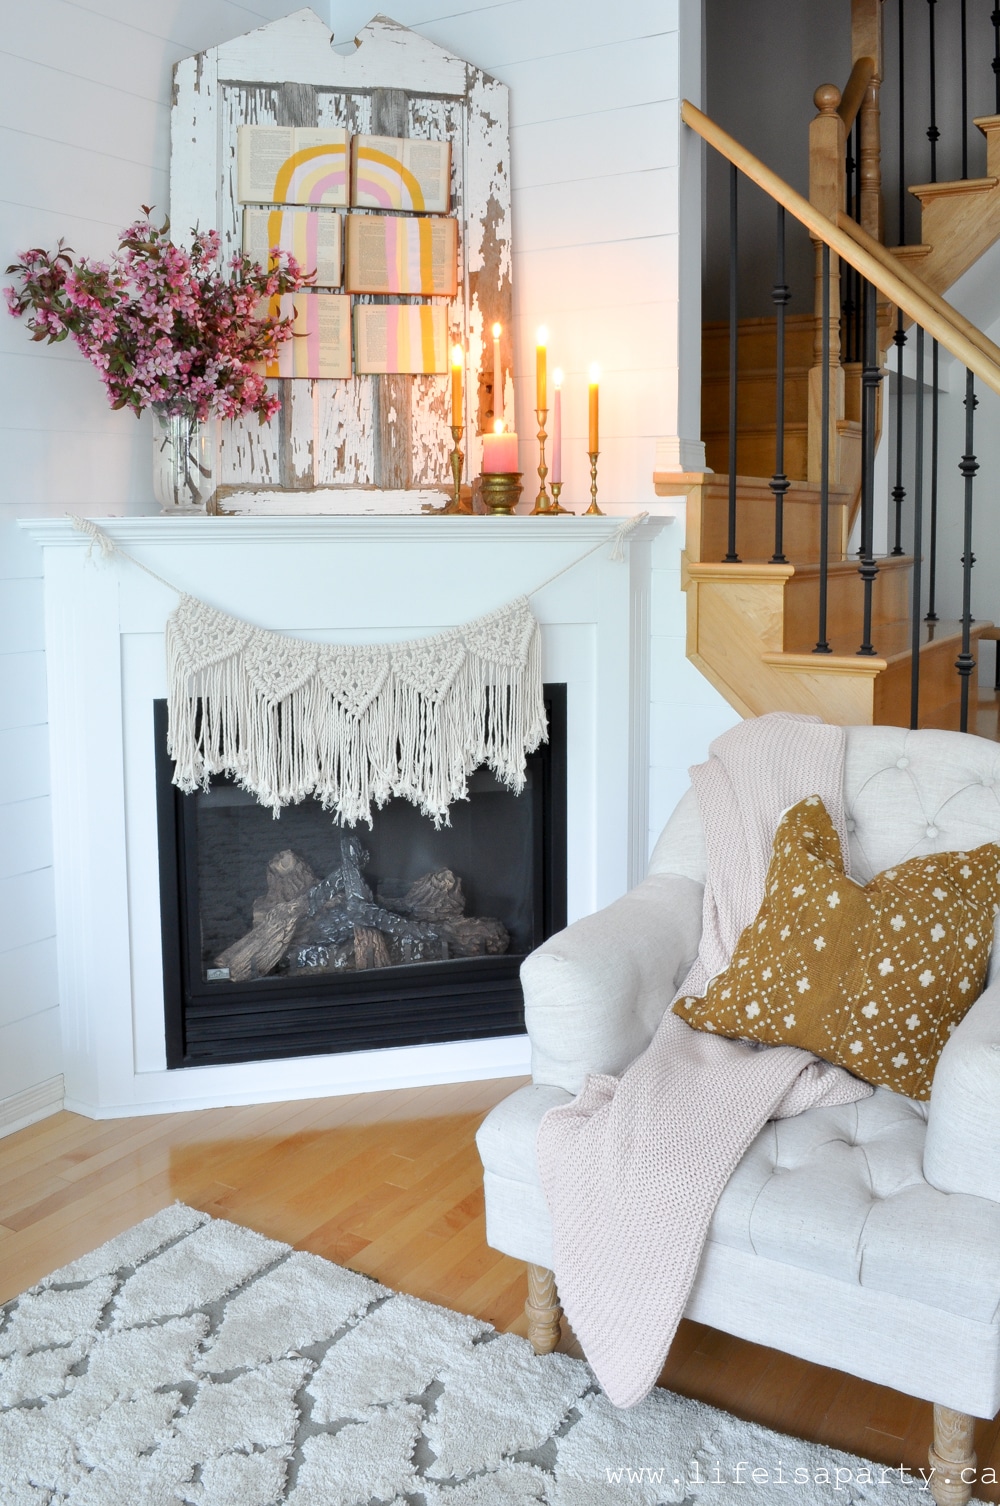
 This little spot is looking so cheery now and ready for summer!
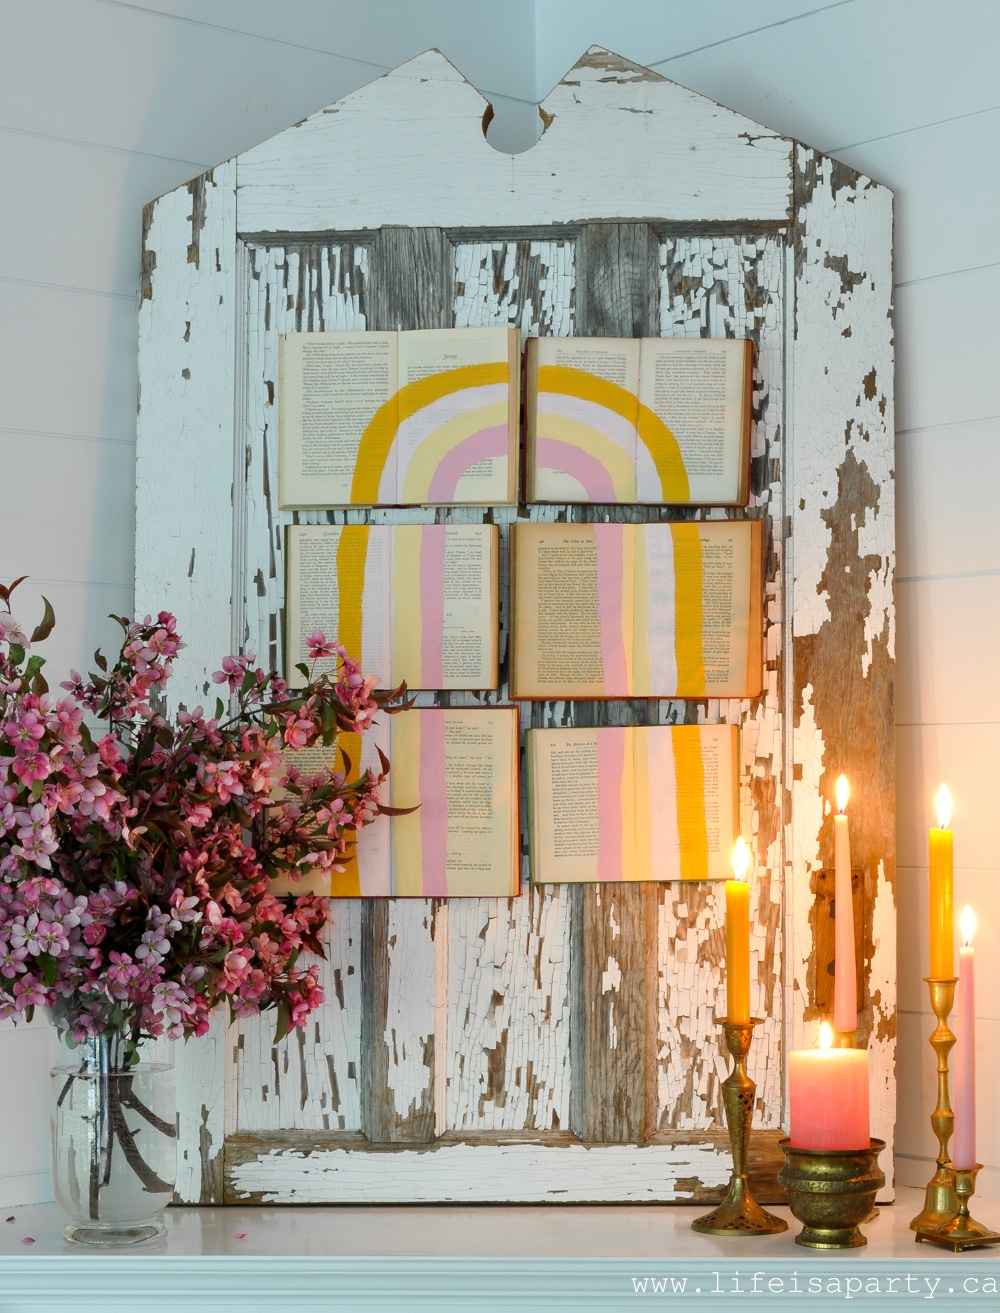 More Inspiration:
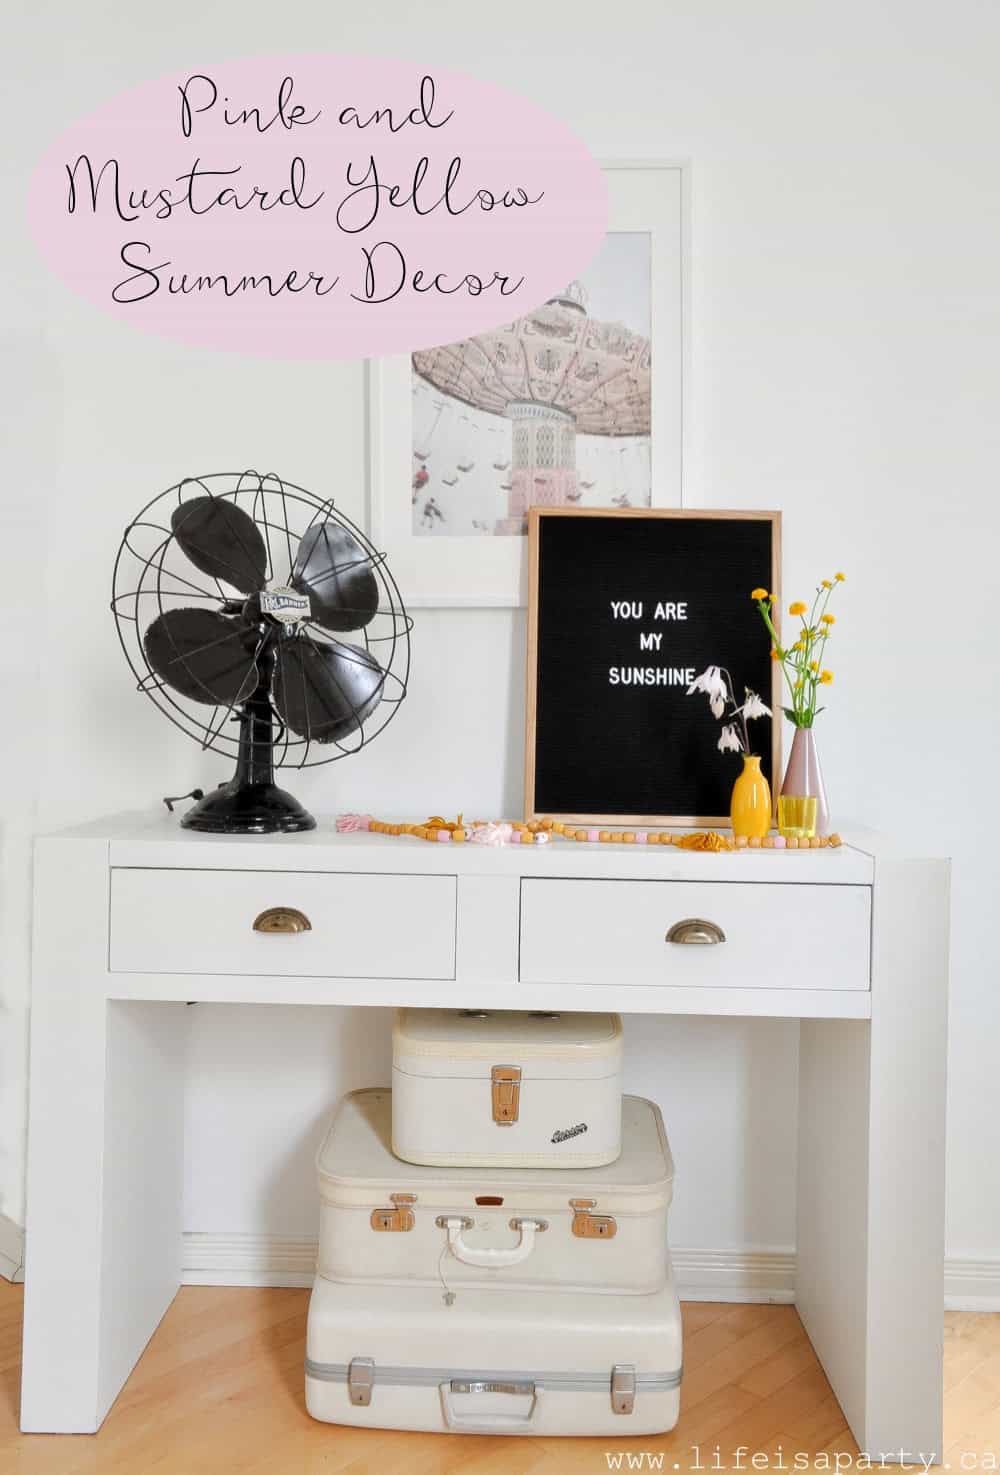


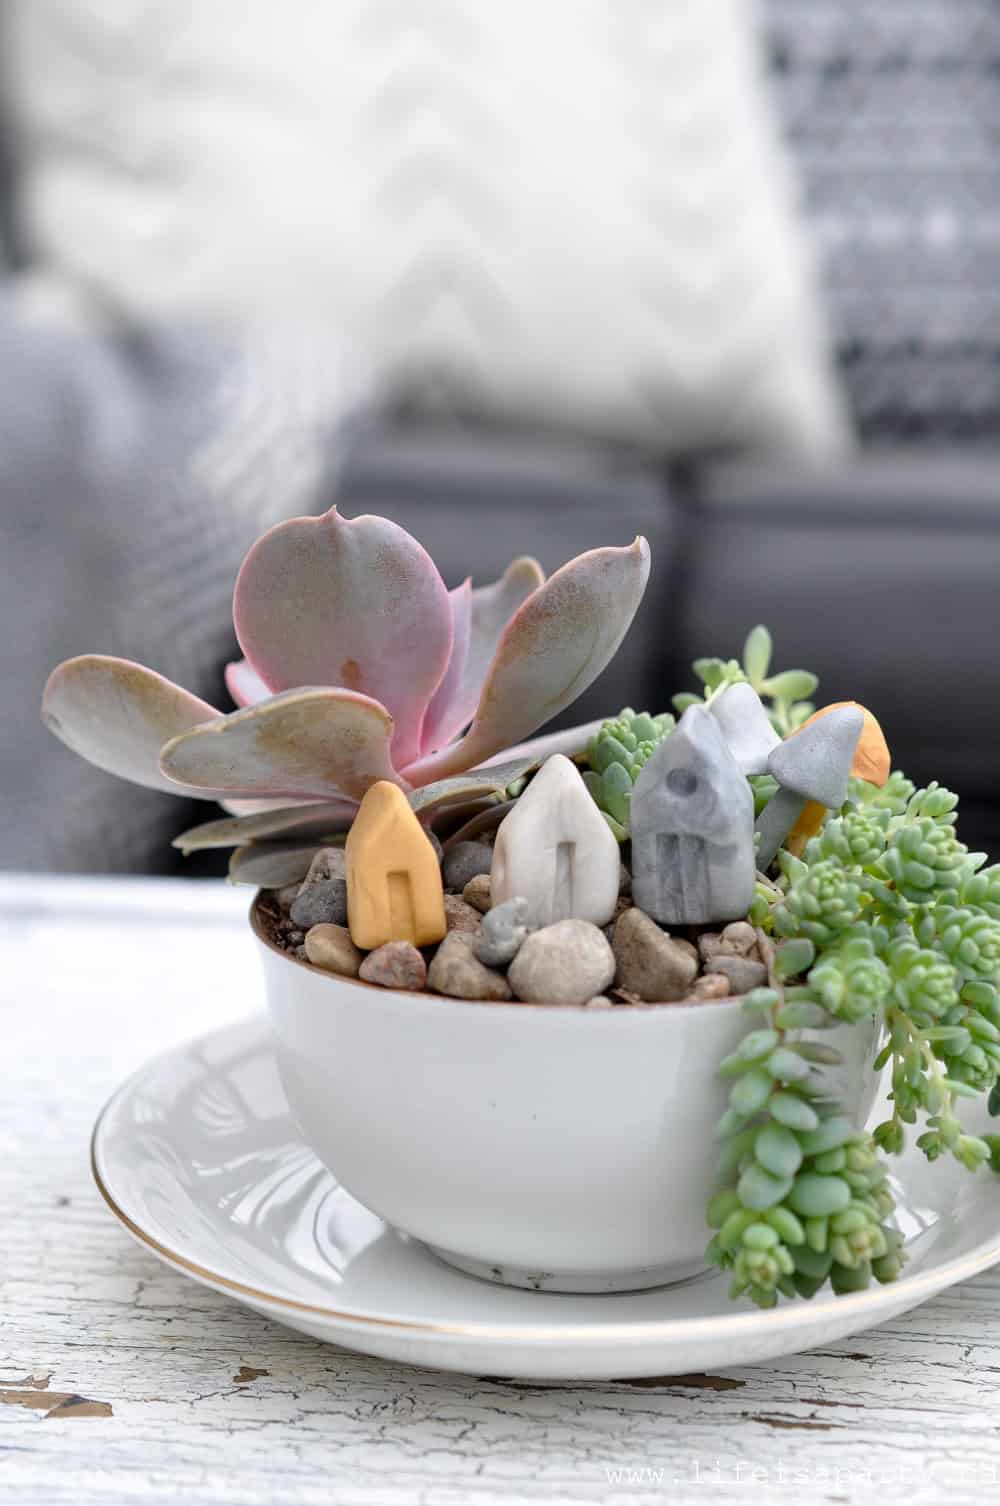
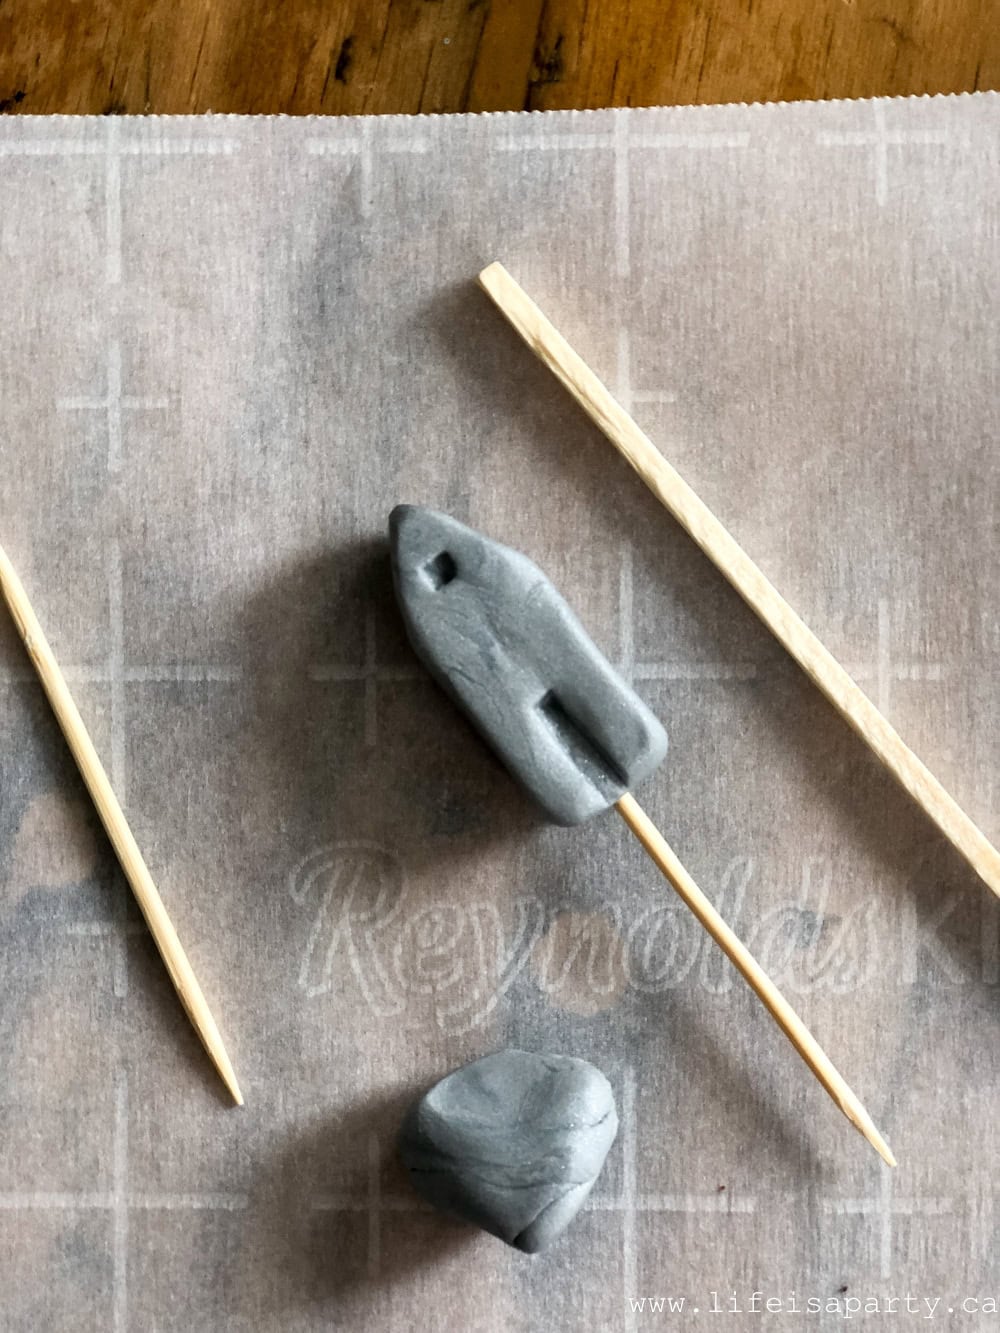
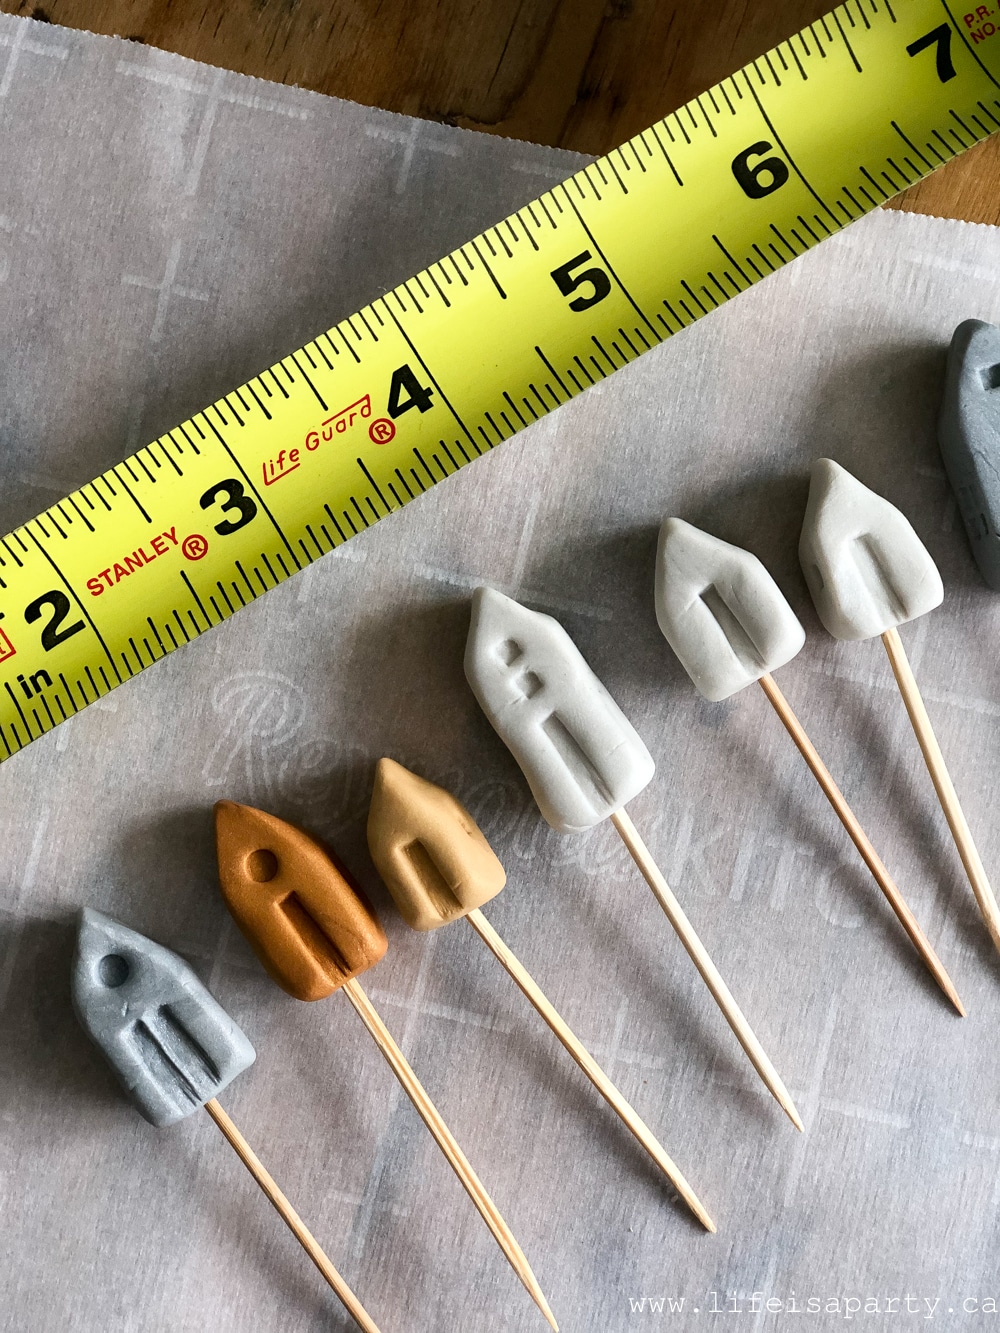
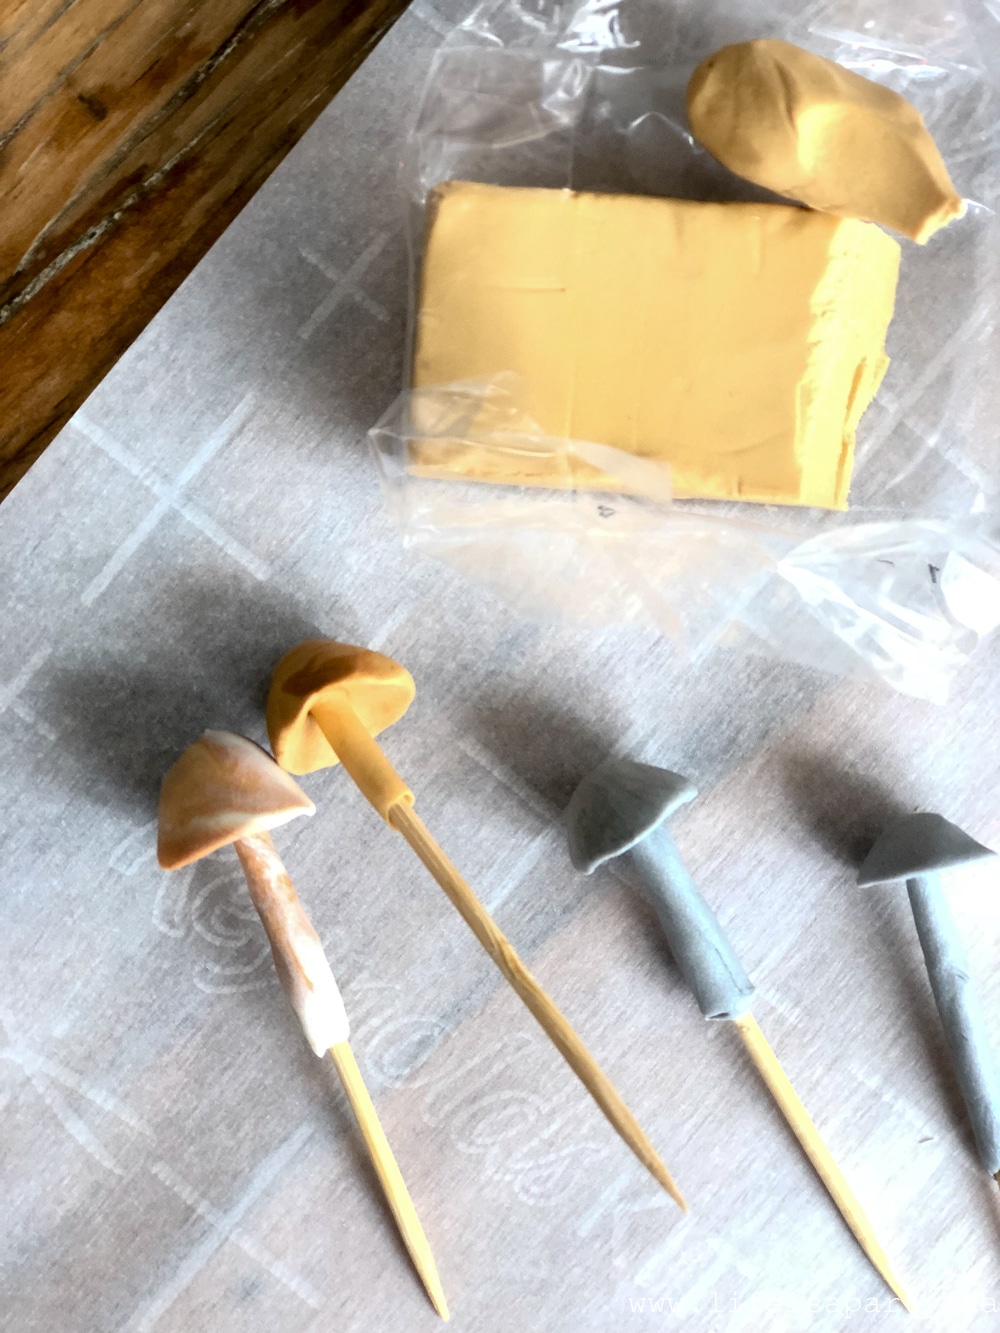
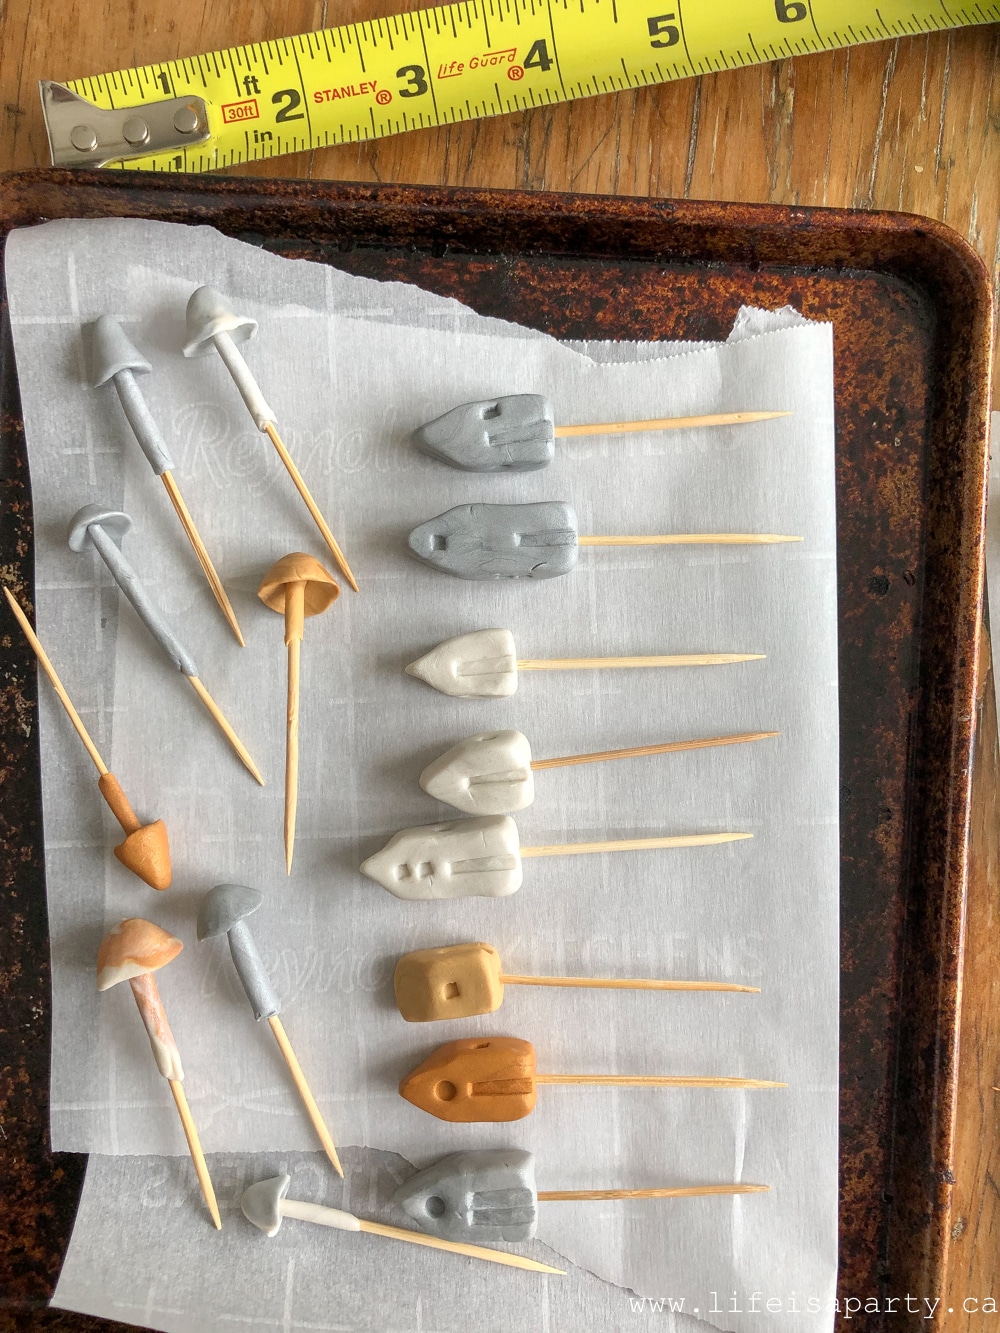
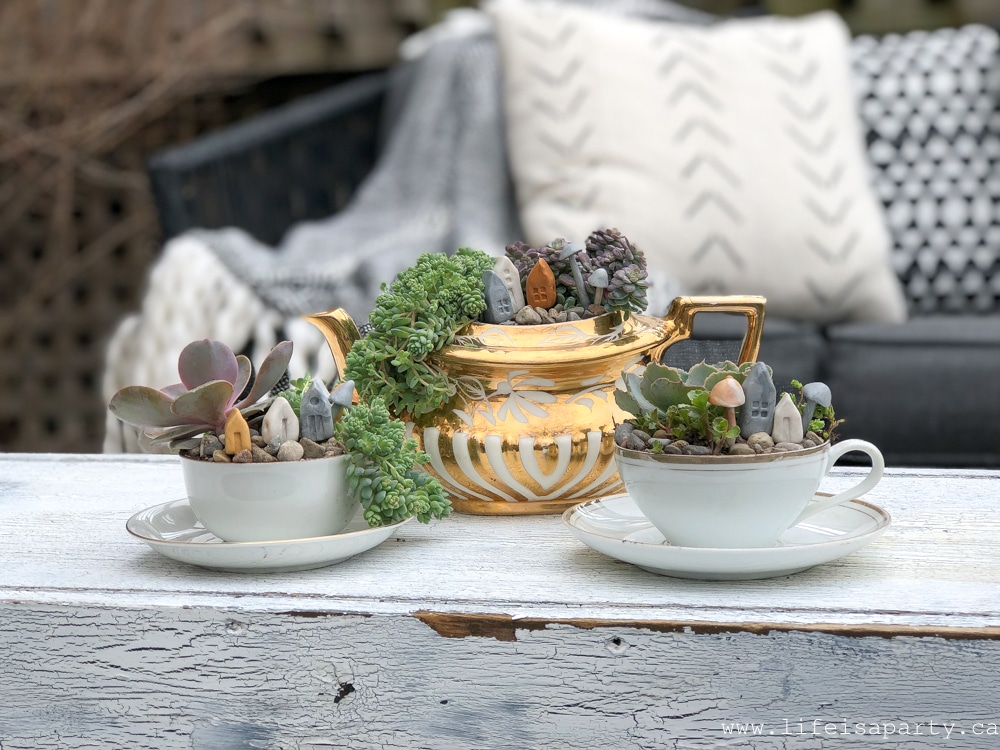
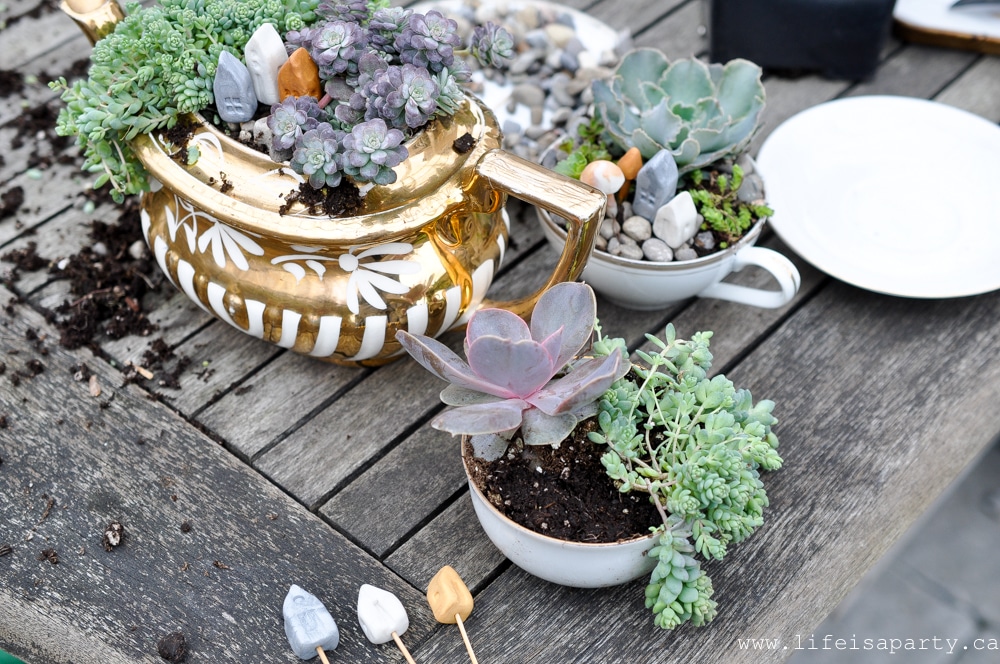
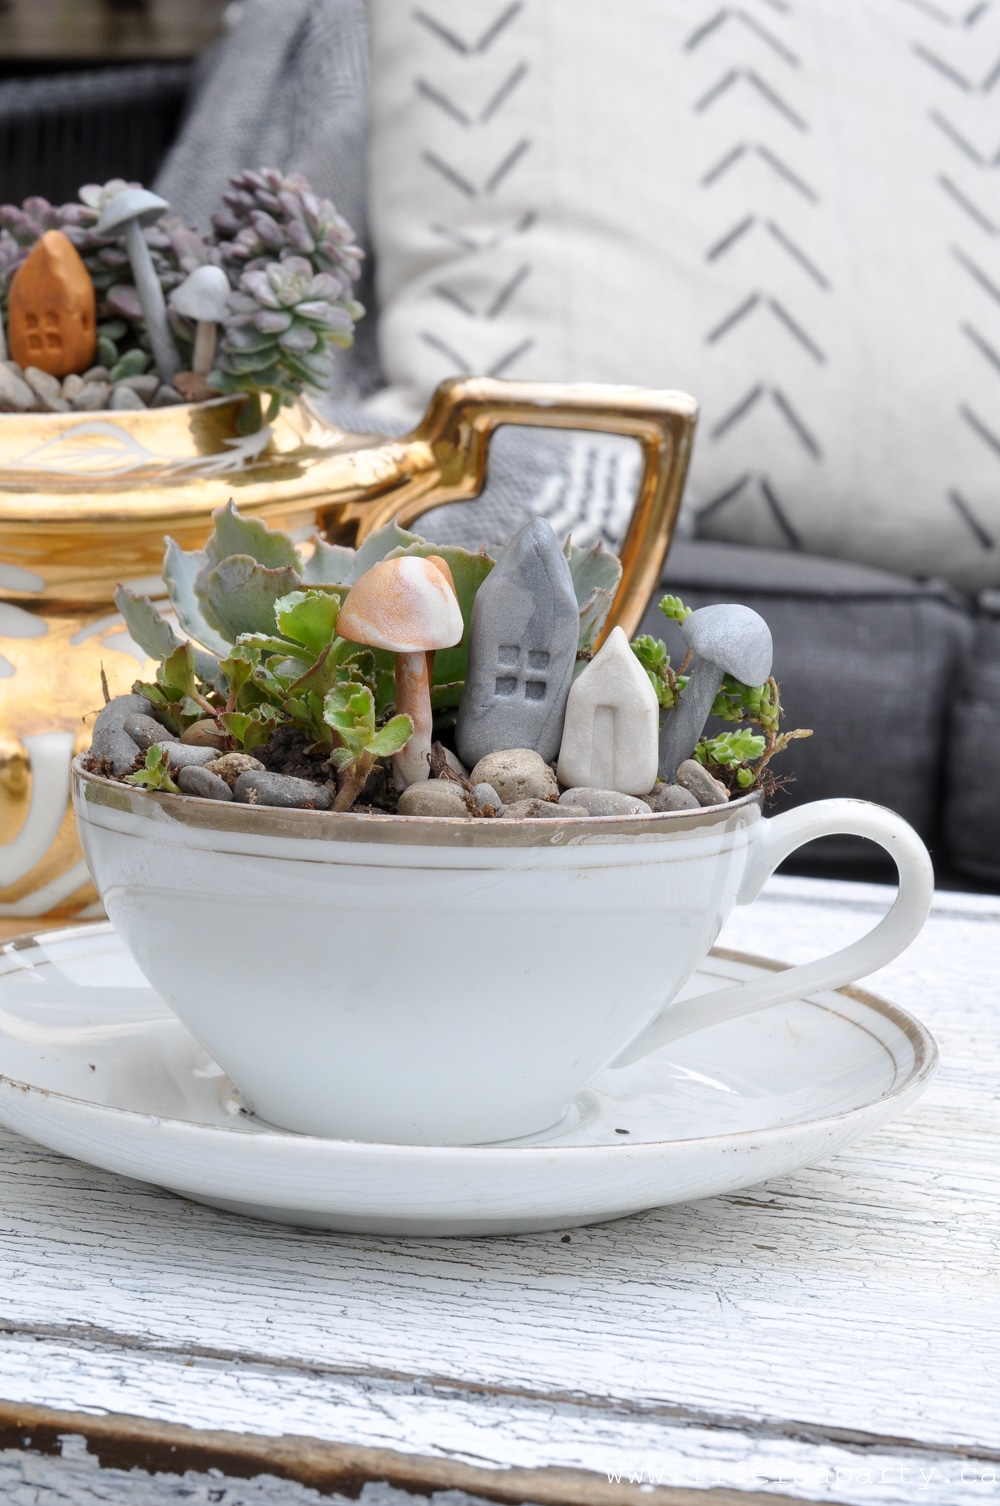
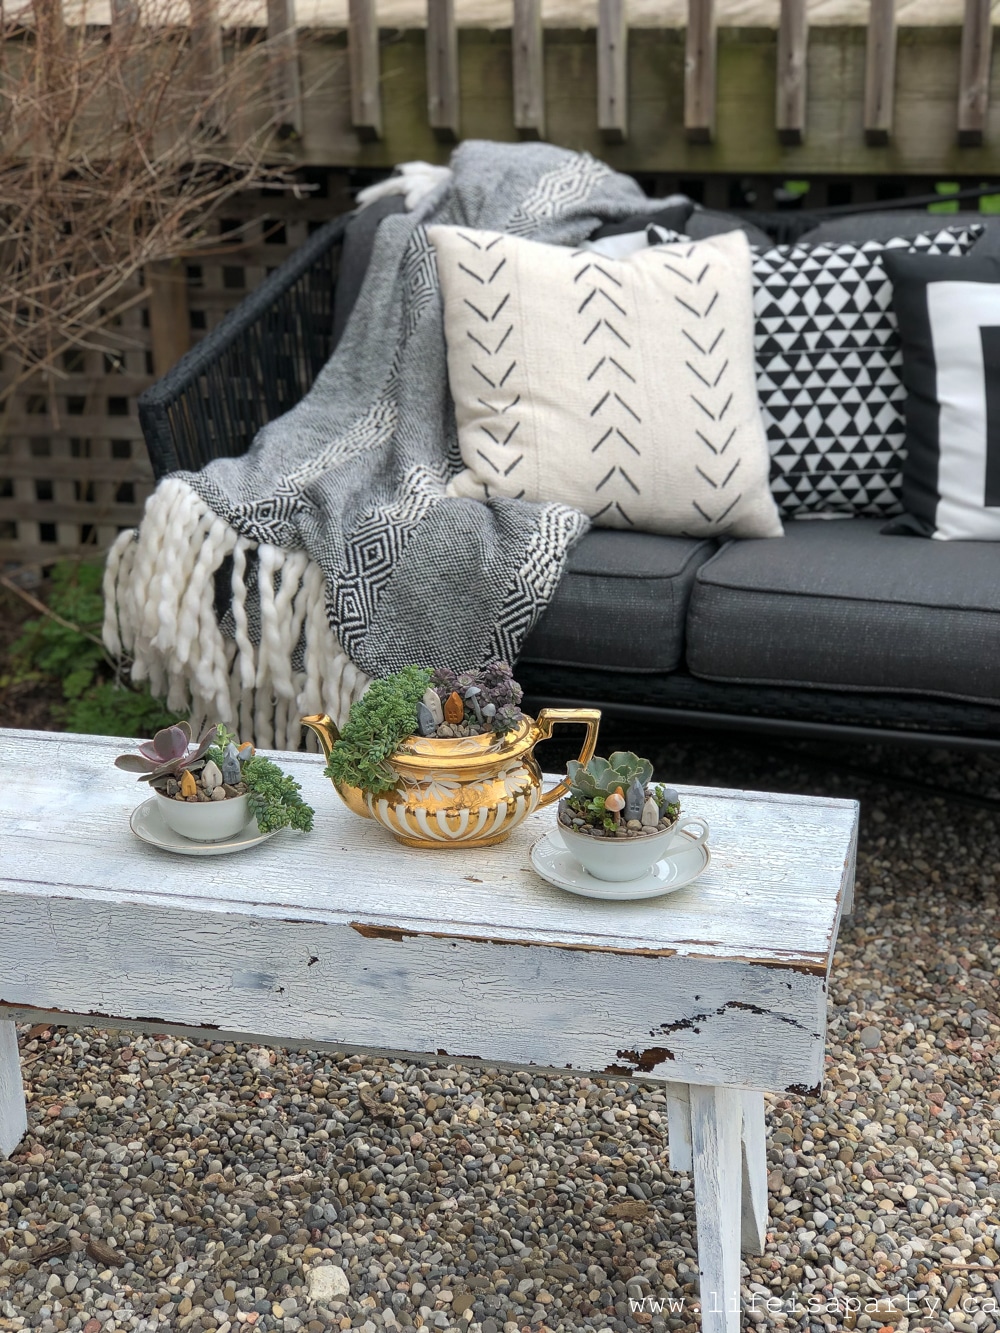
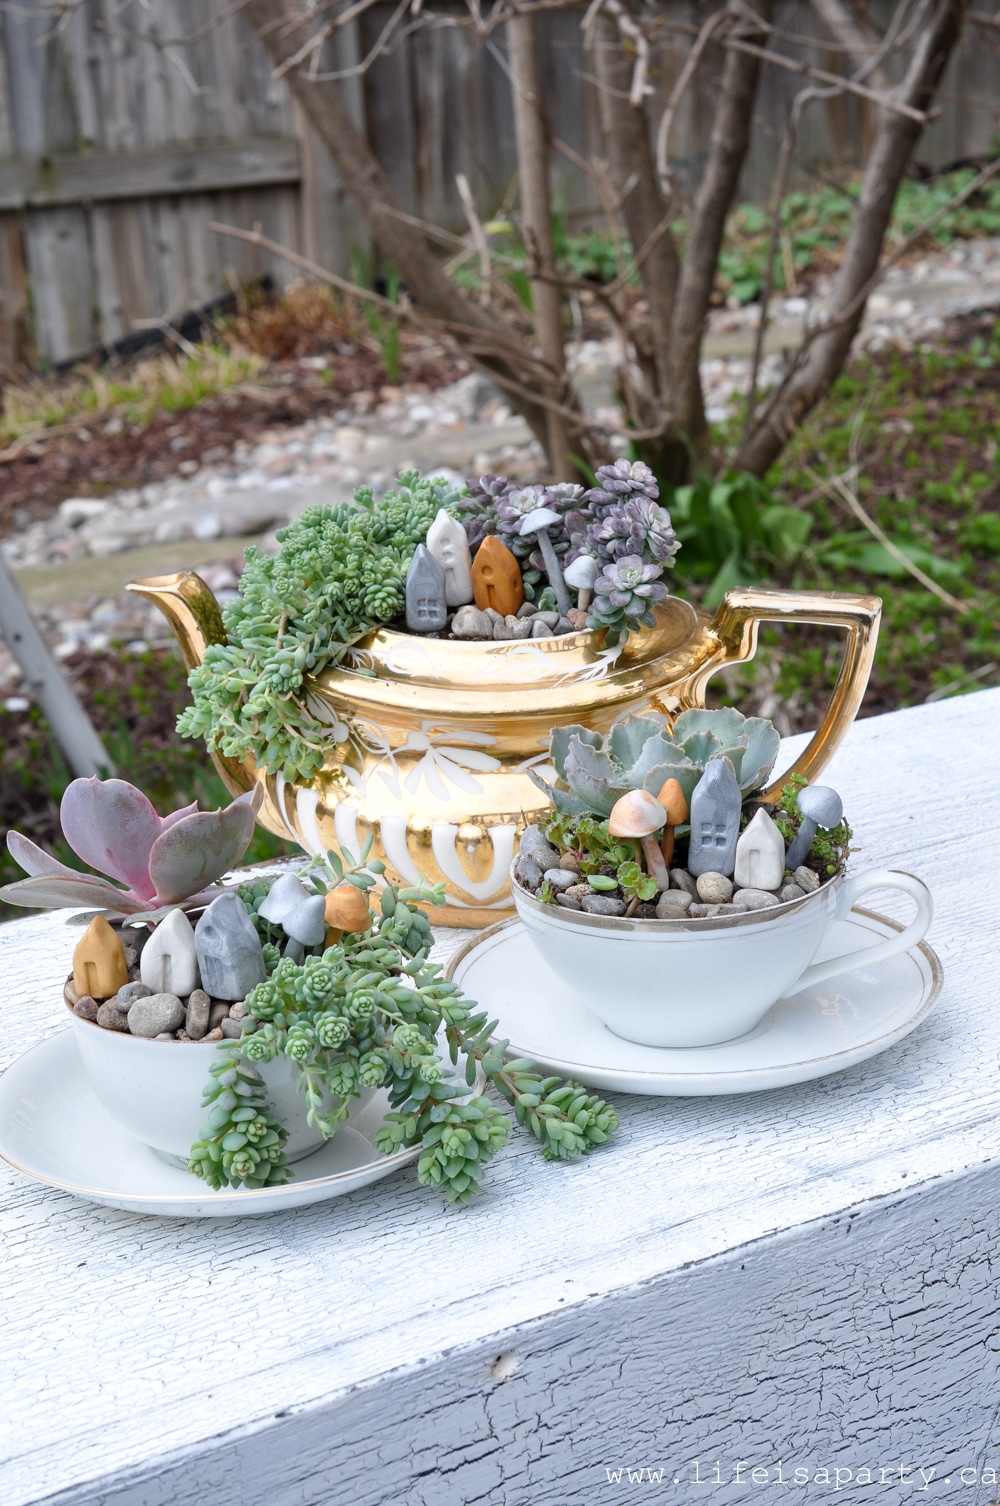
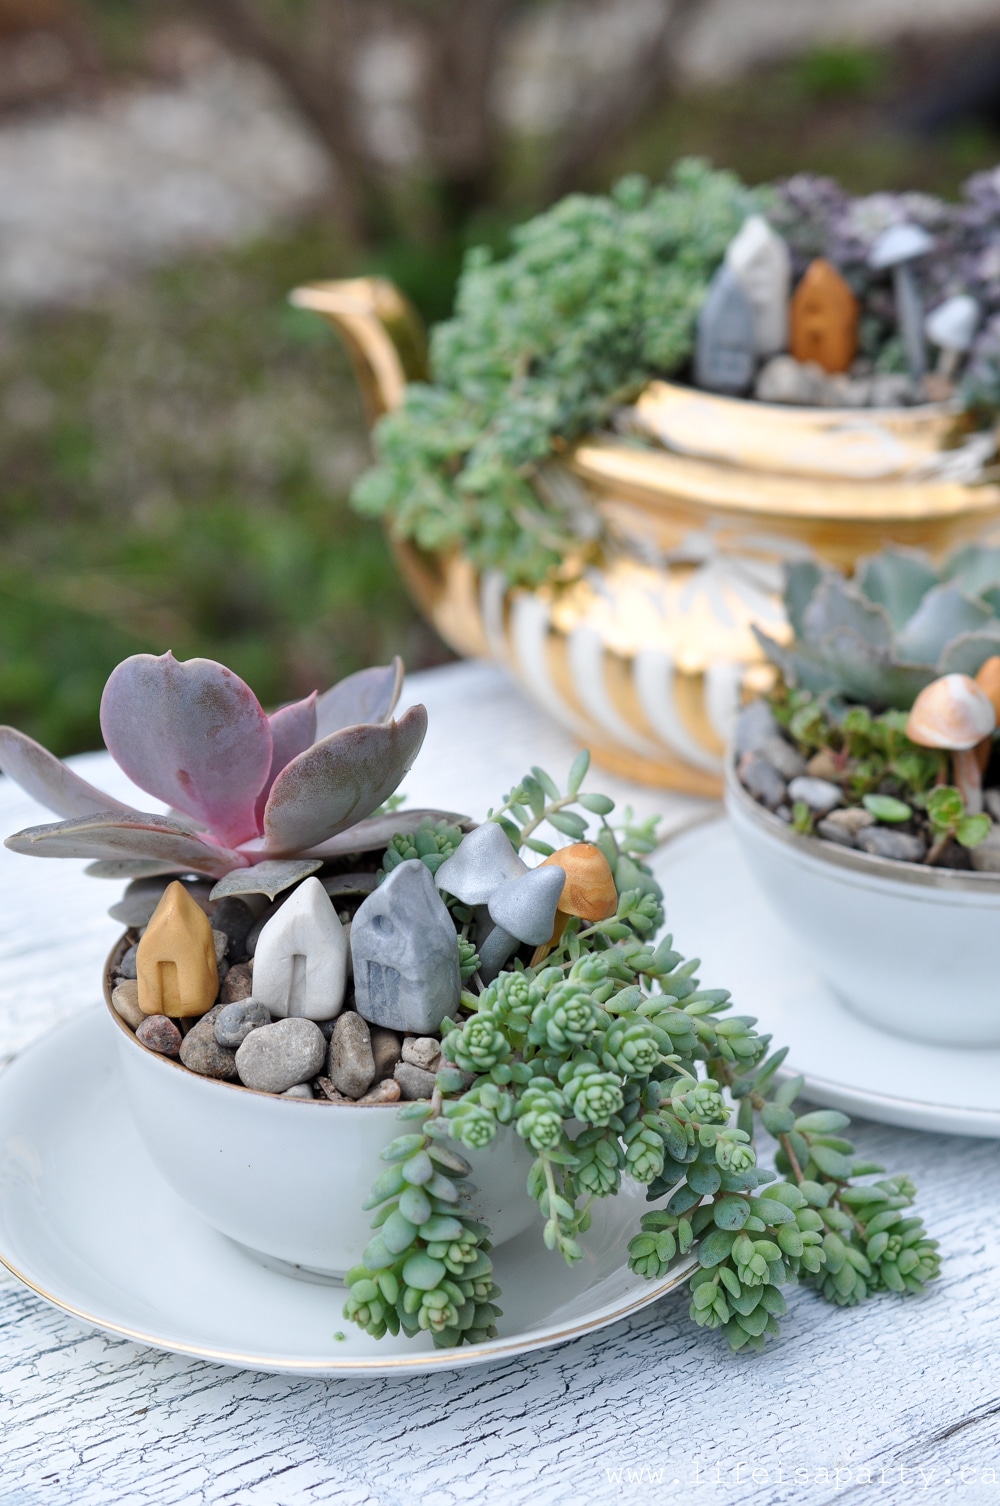
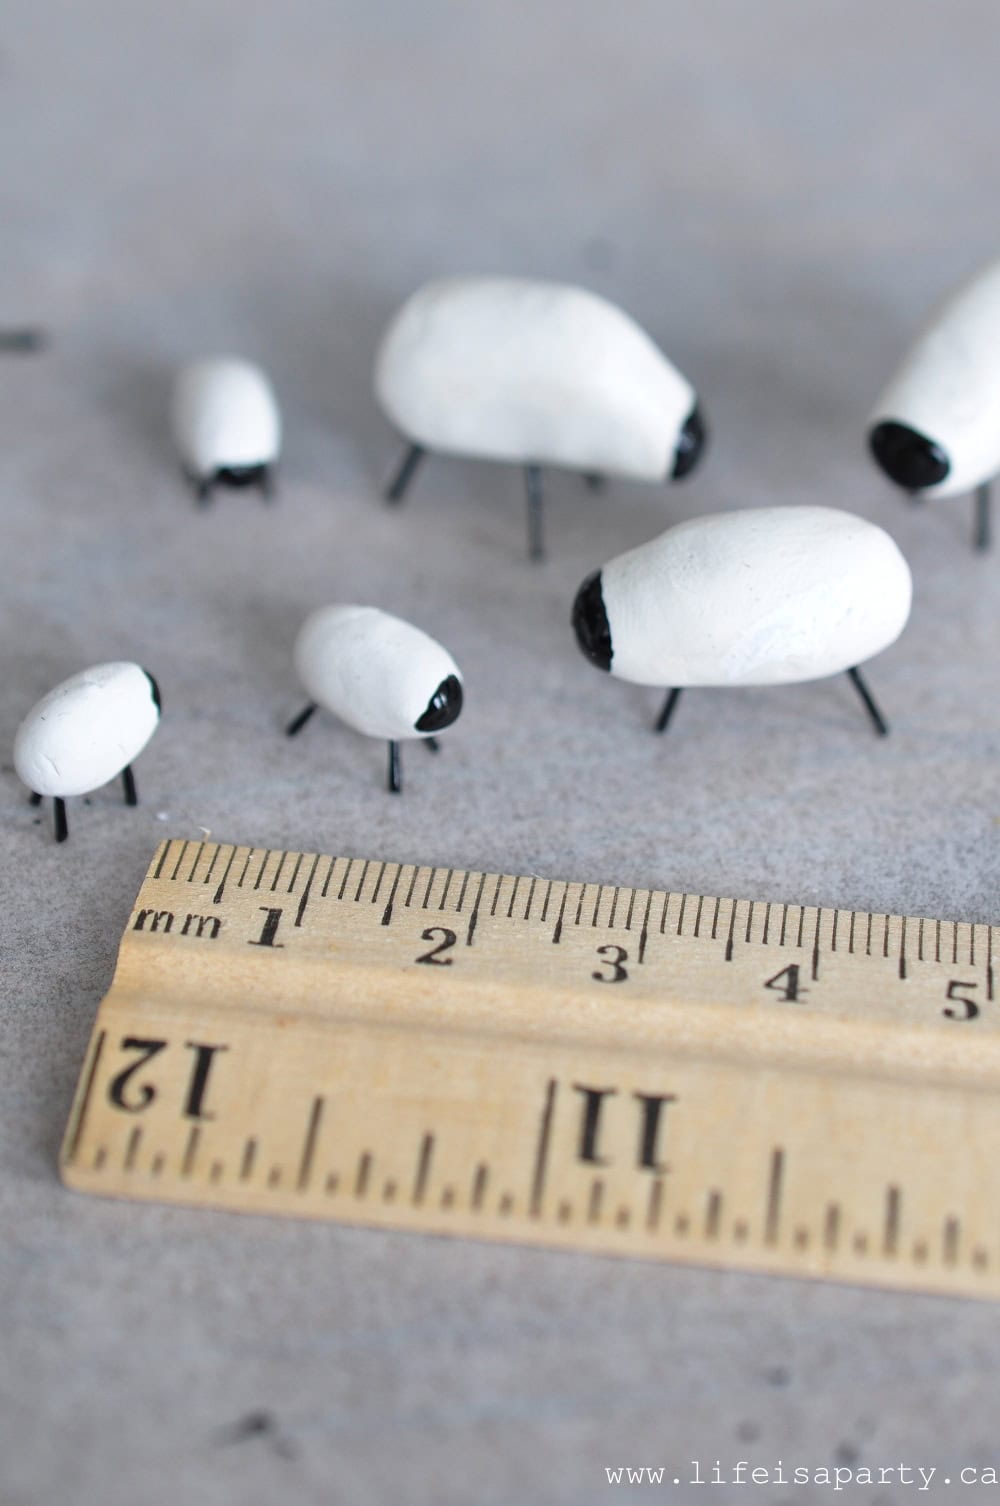
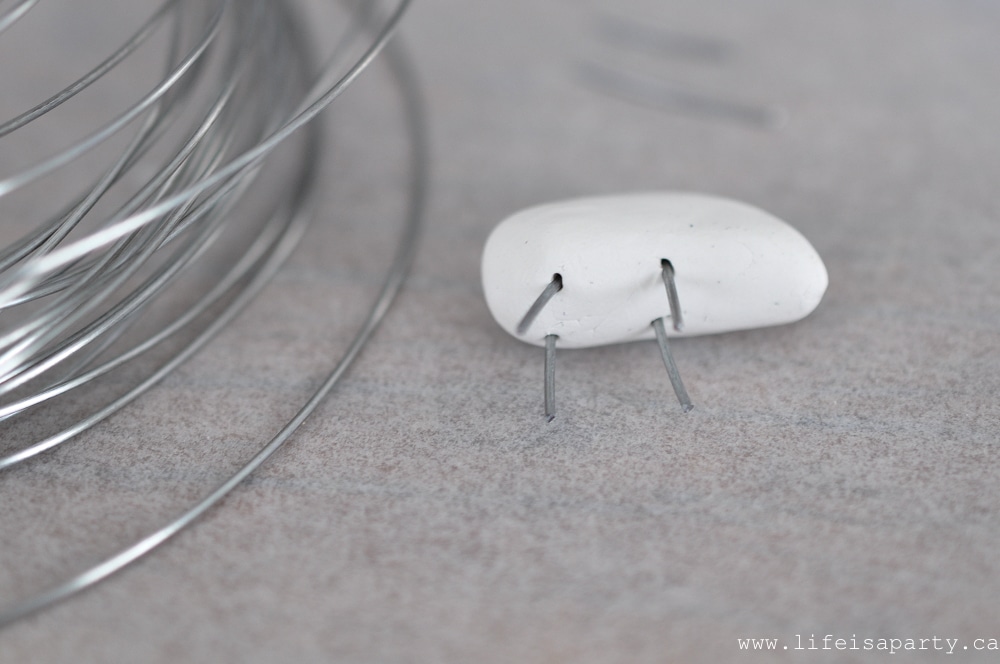
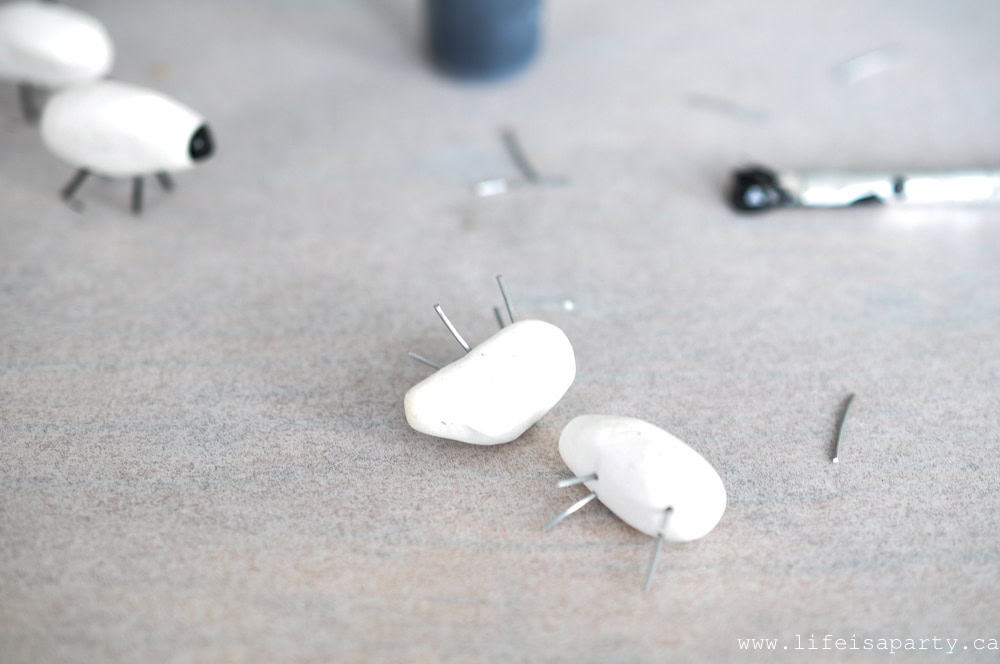
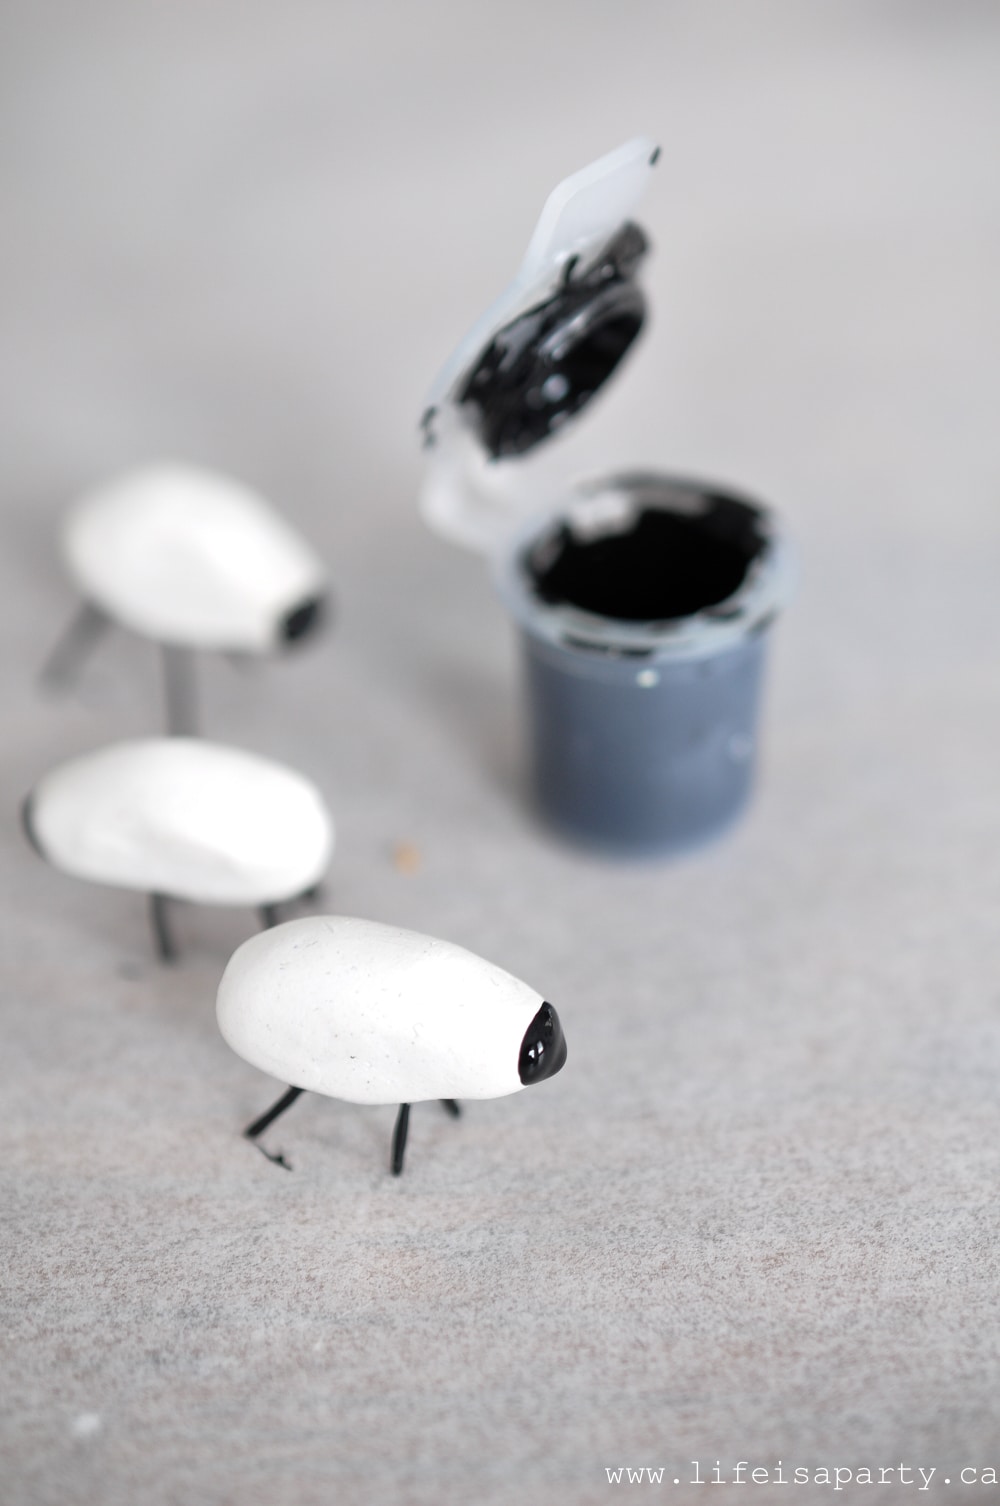
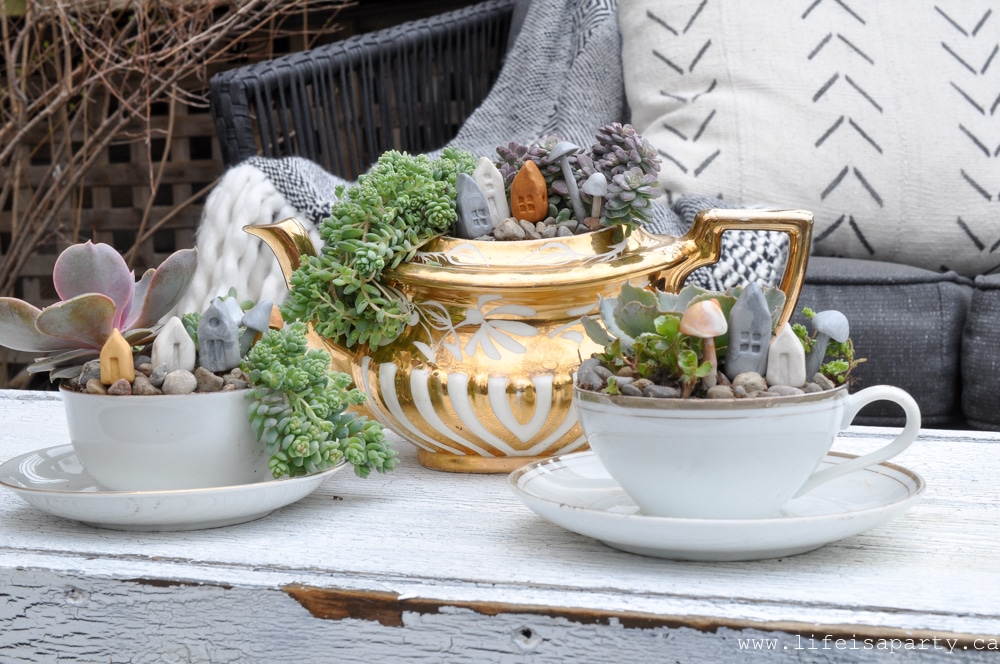 I was inspired by some cute little pottery mini houses I saw, and decided to try and make my own version with oven bake clay. They worked out really great and they were quite easy to put together.
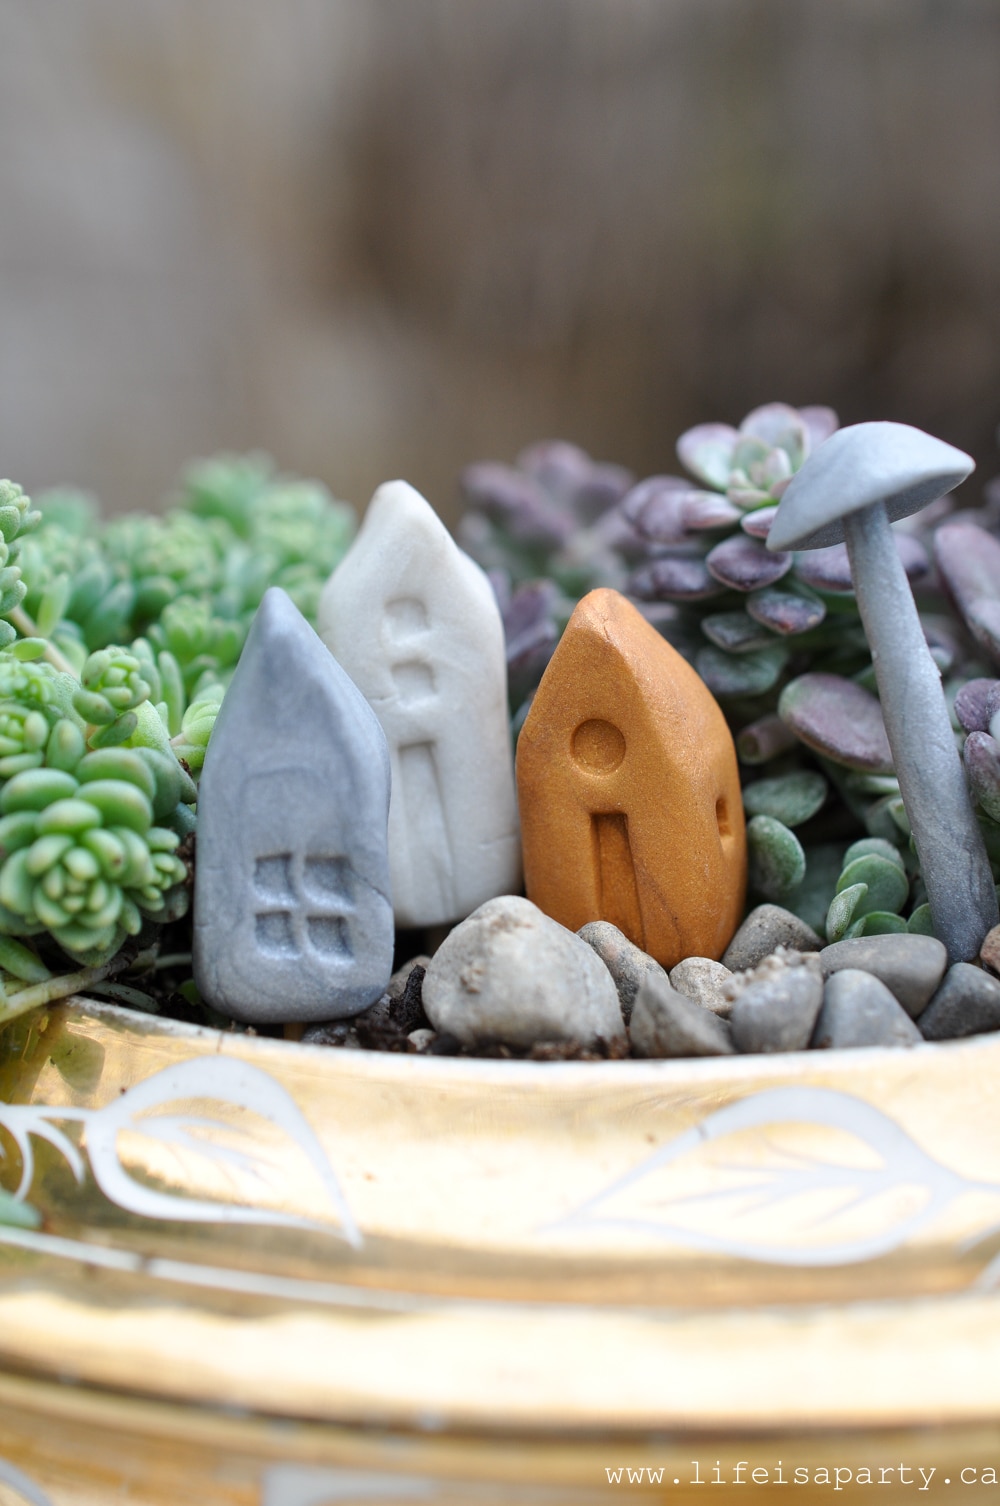


 These DIY party decor ideas have so much going for them. They're very inexpensive, and easy to make yourself. The other great thing about making your own is that you can customize it to any colour scheme or theme that you want.
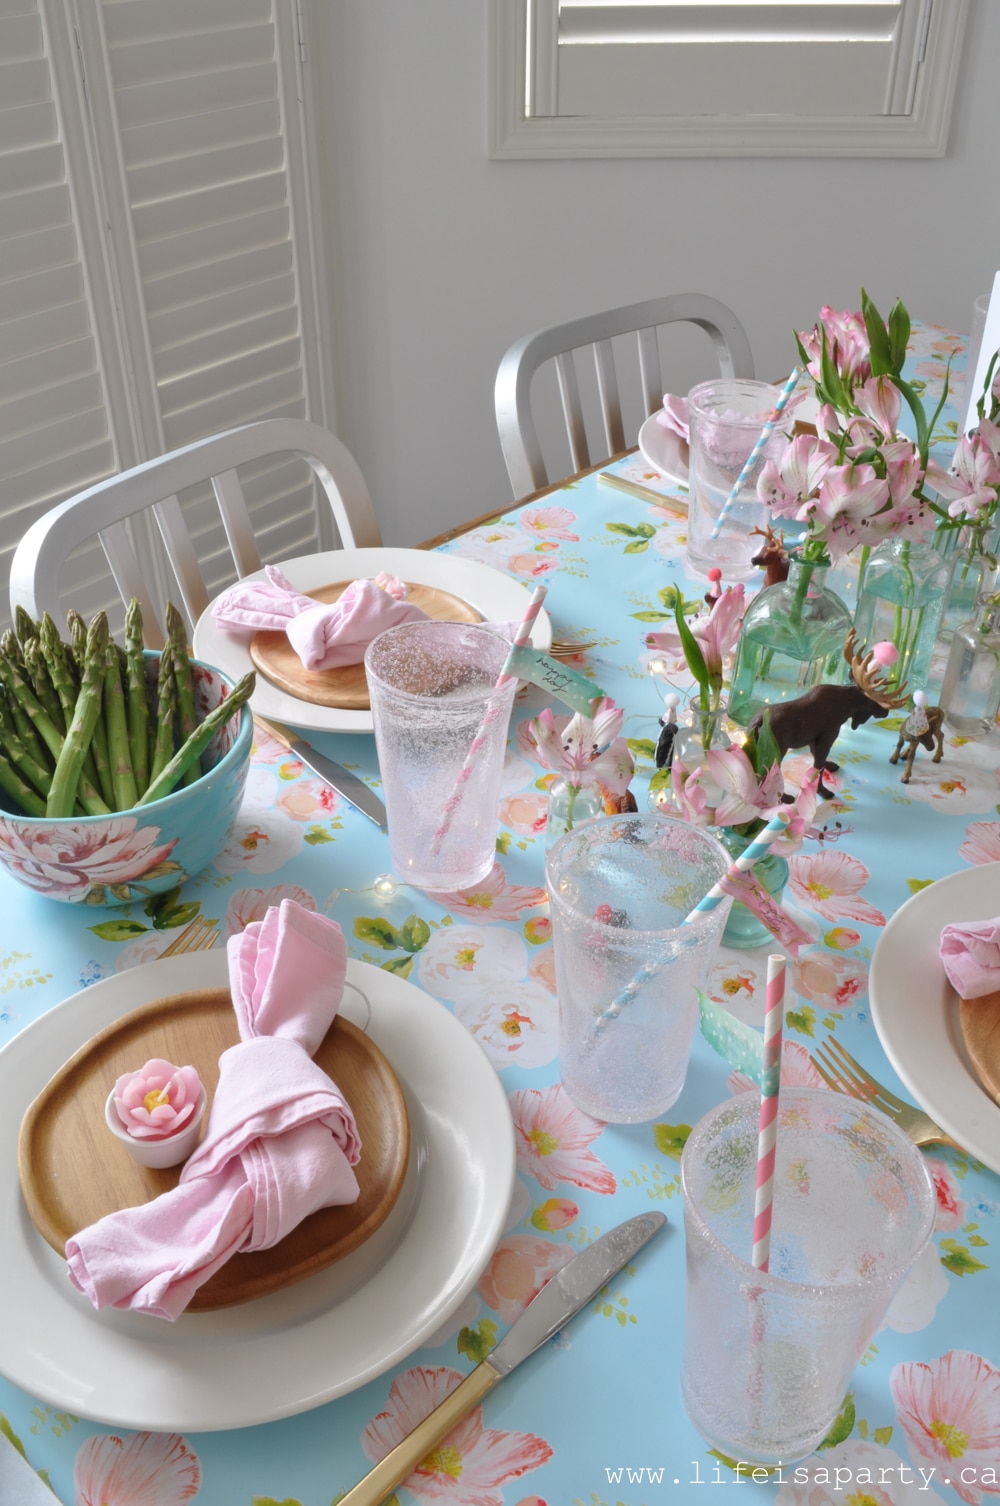


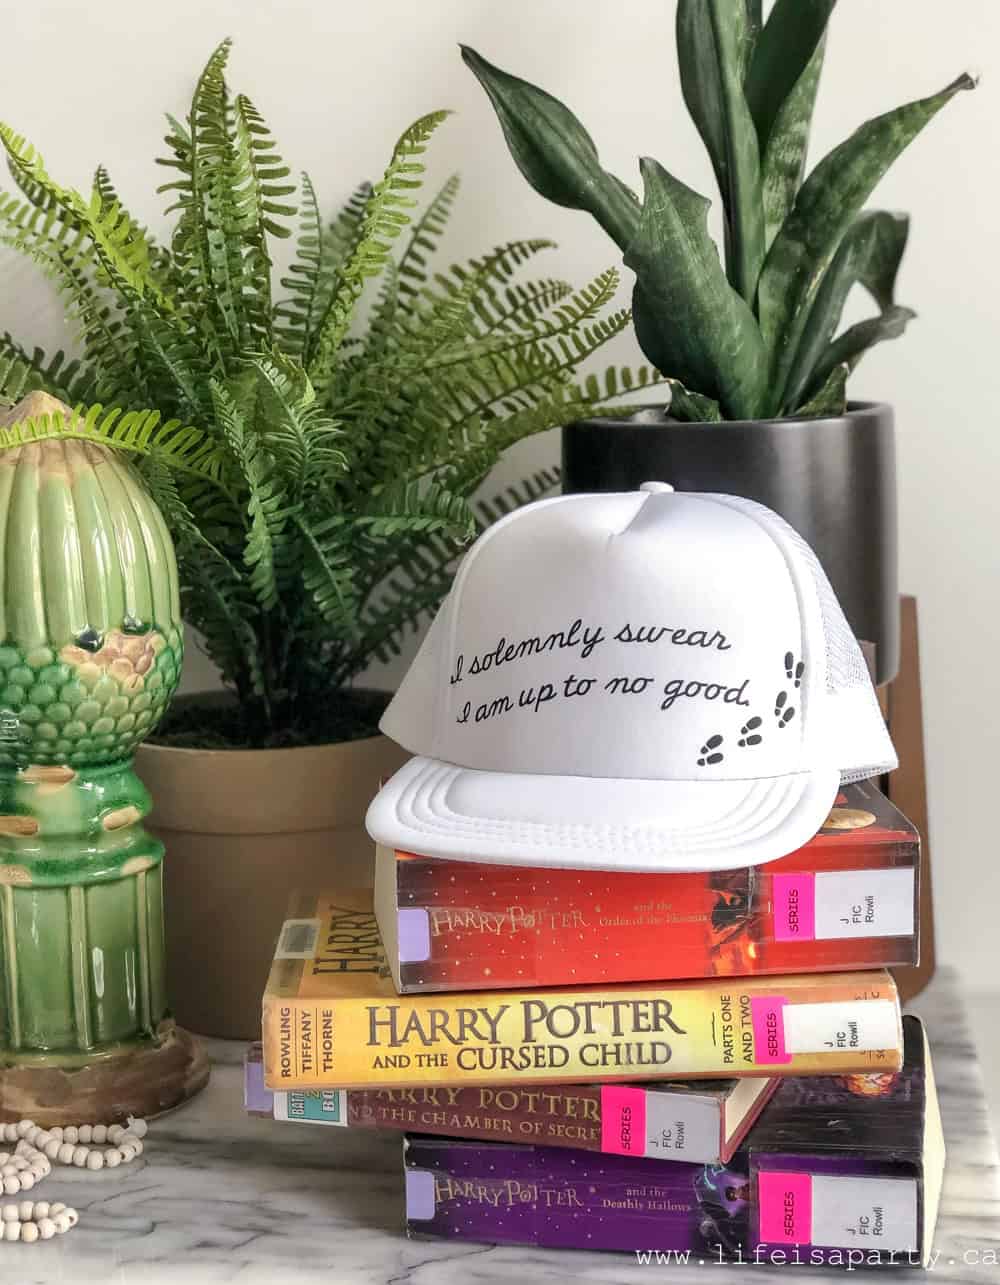

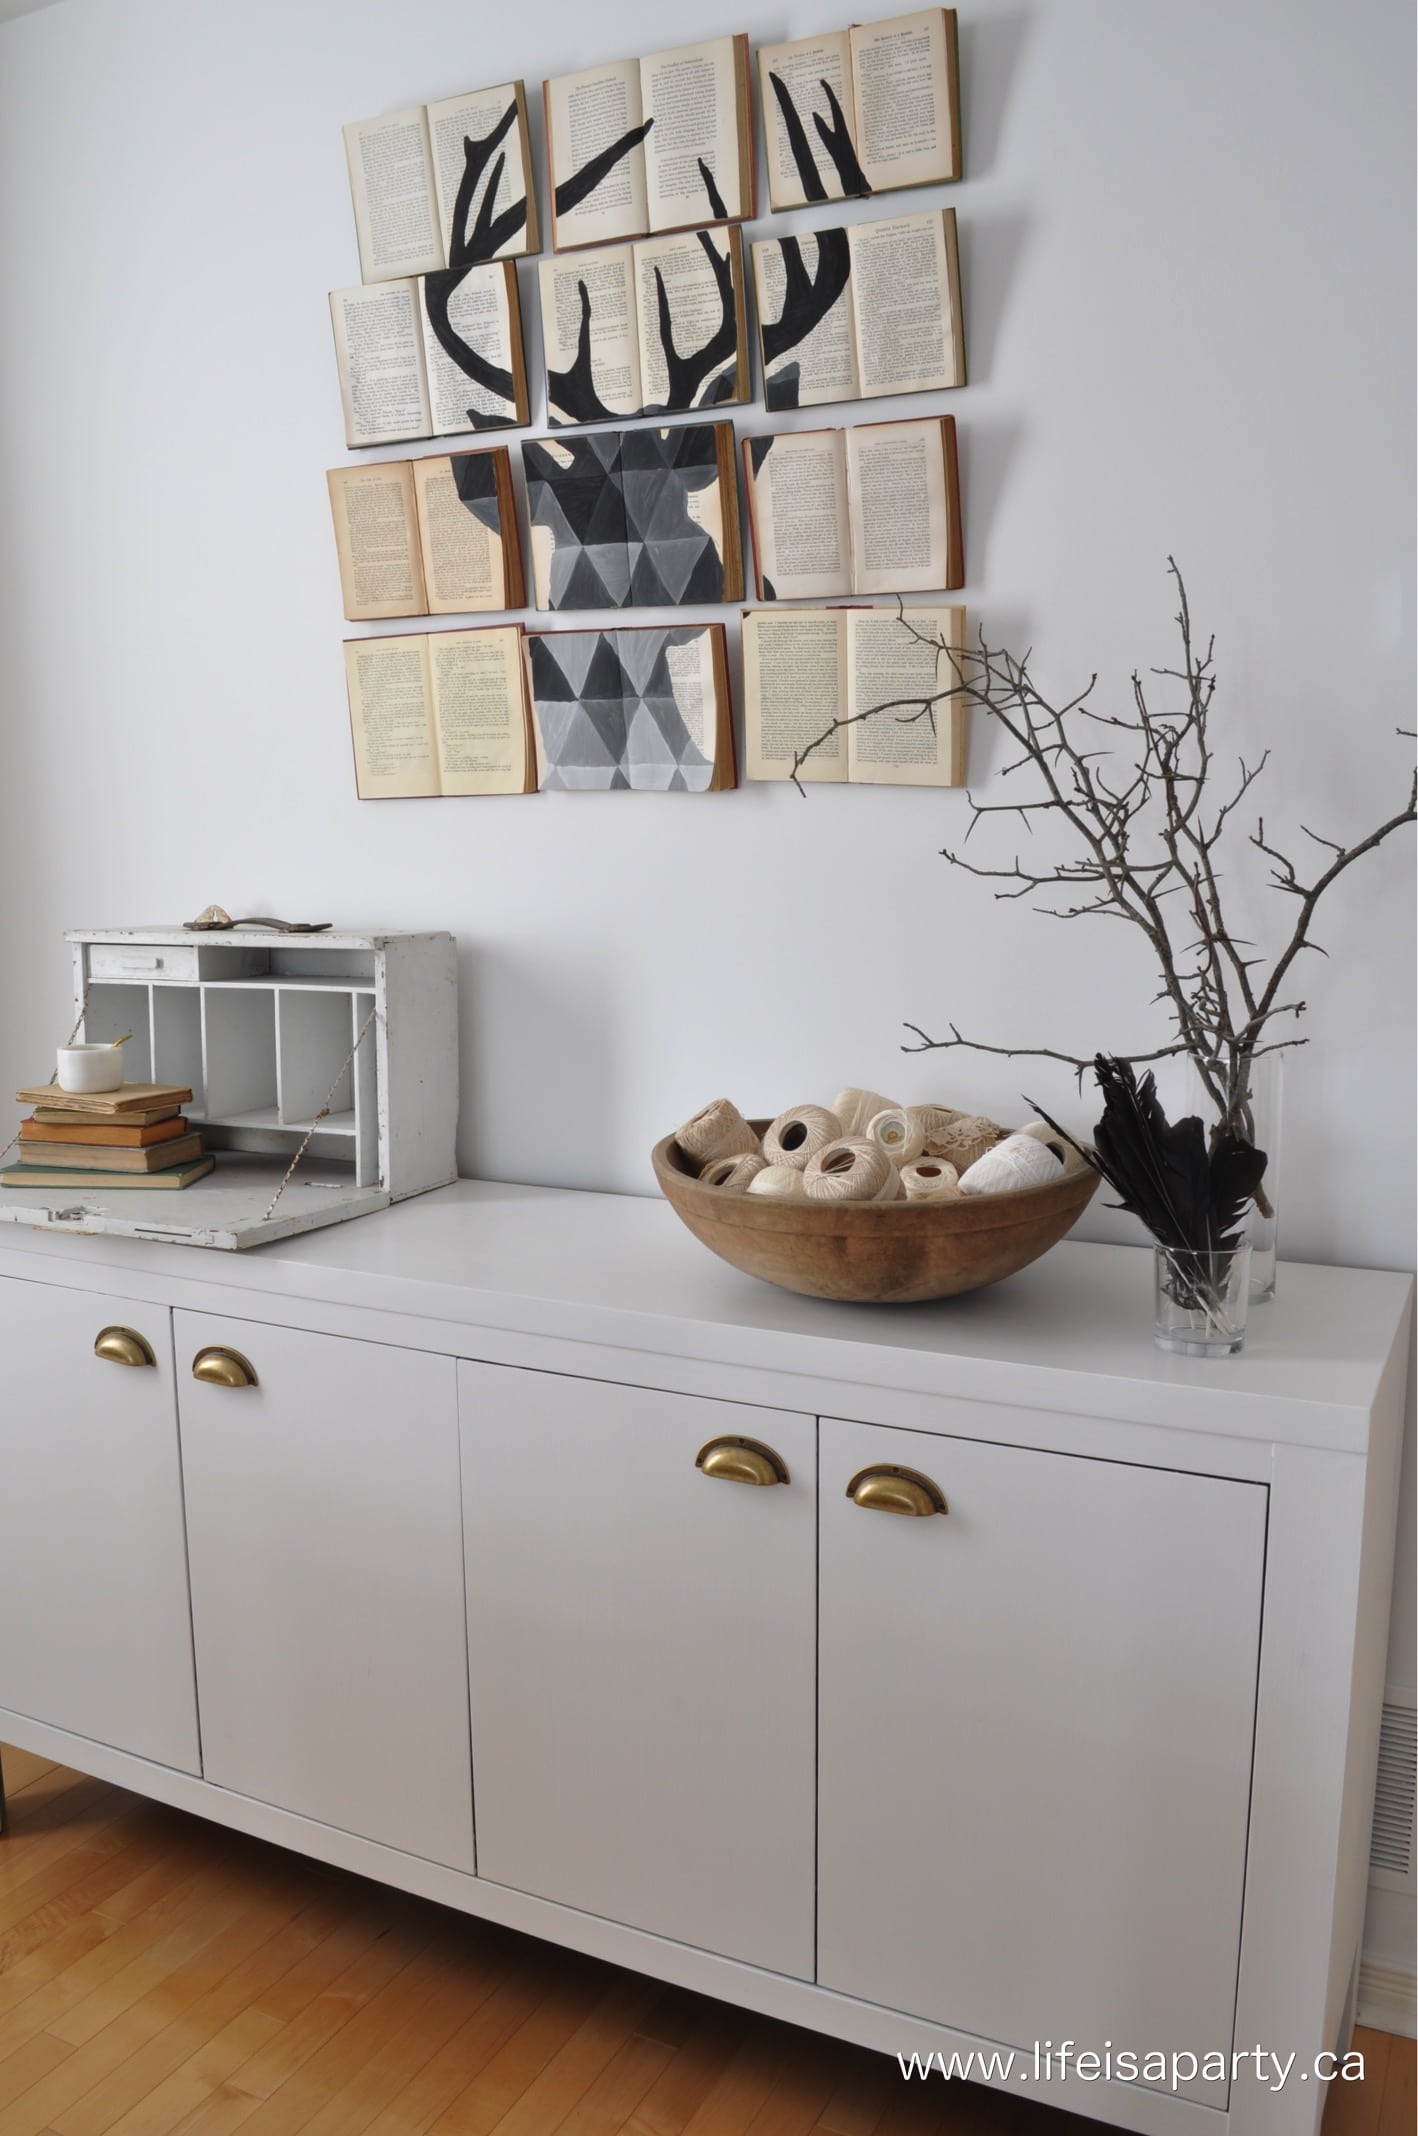
 Now I just need to get reading all the Harry Potter books.
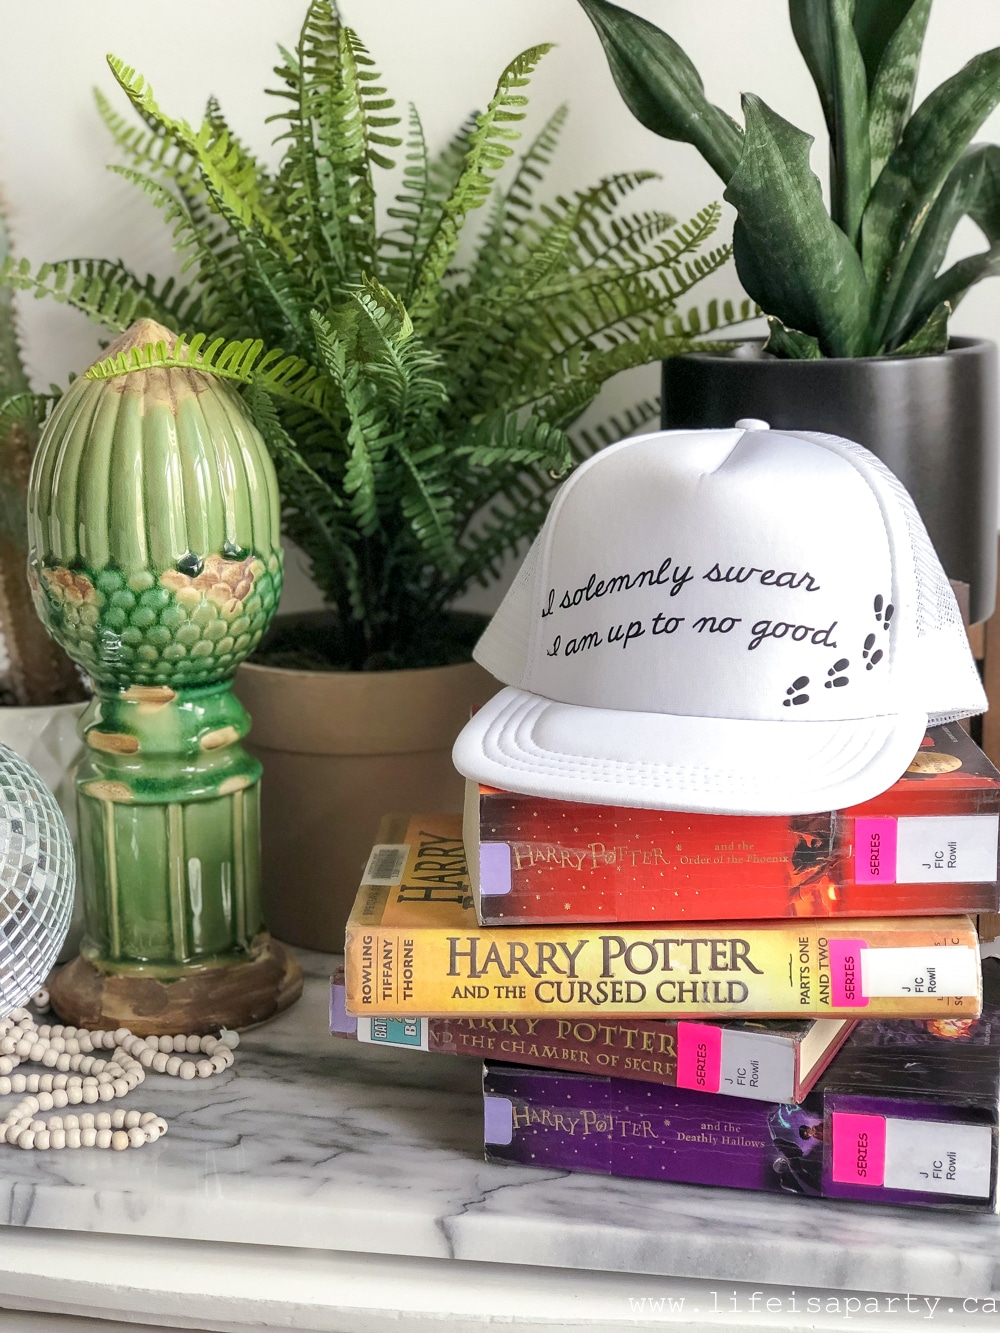


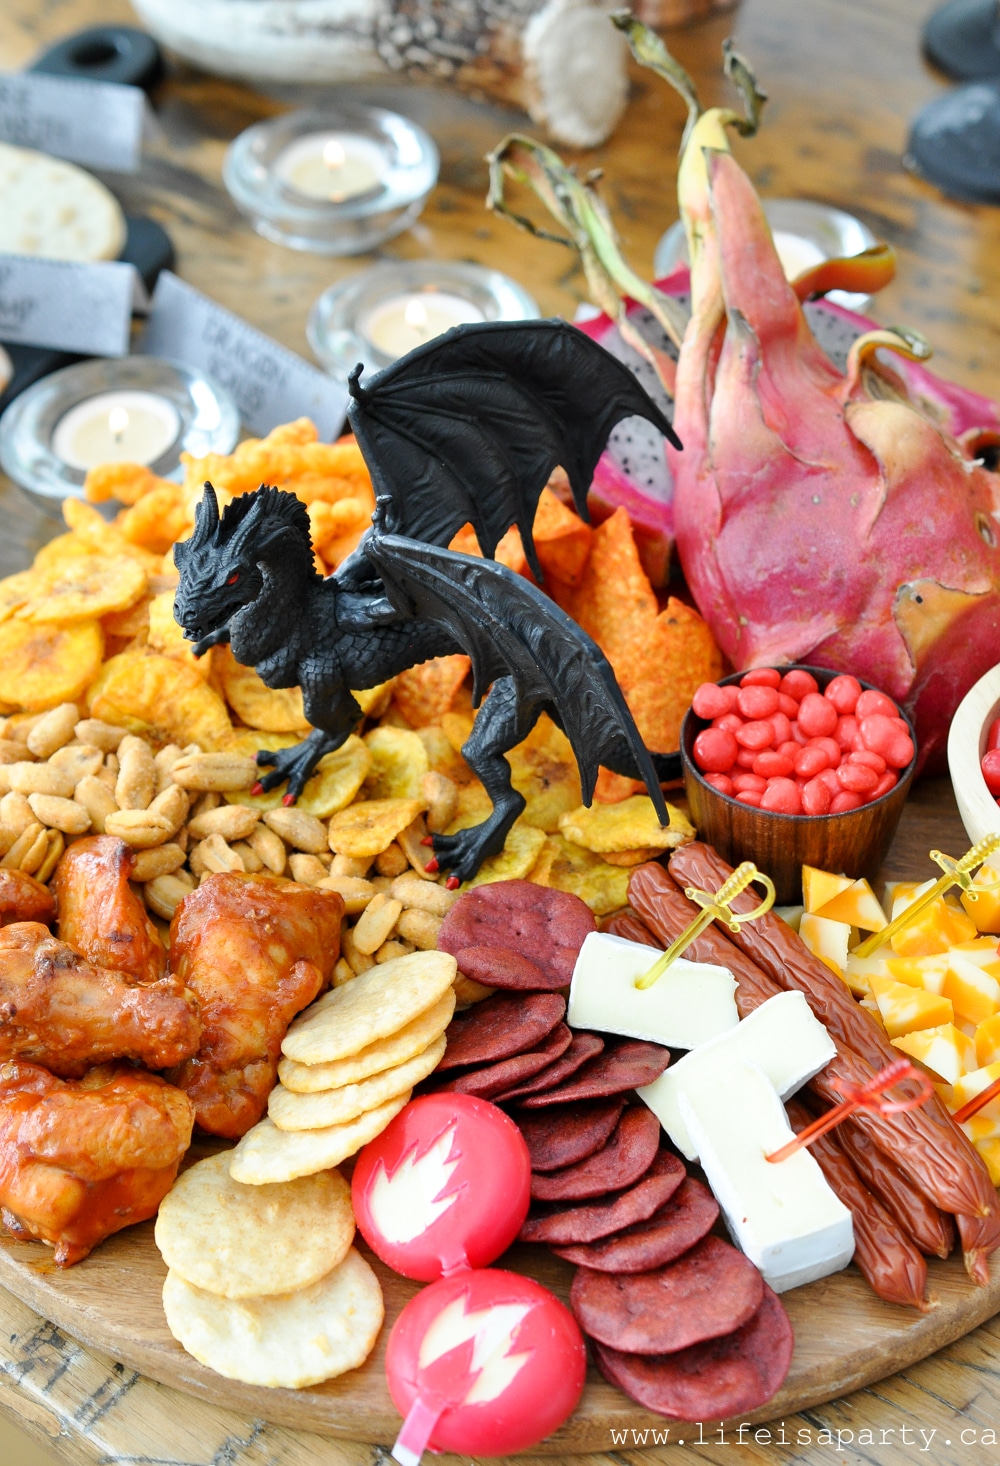
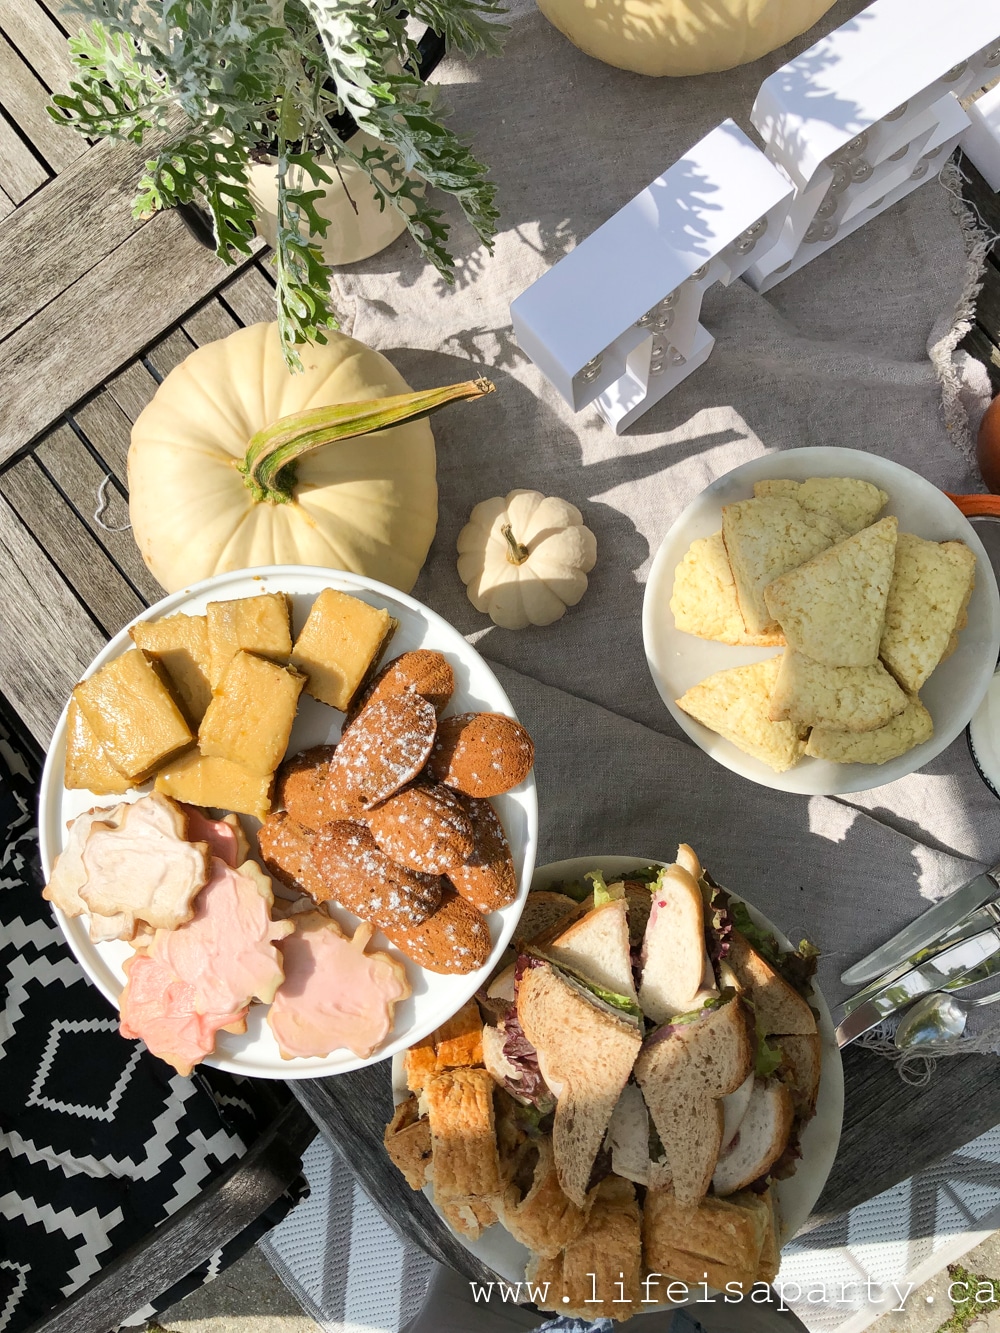
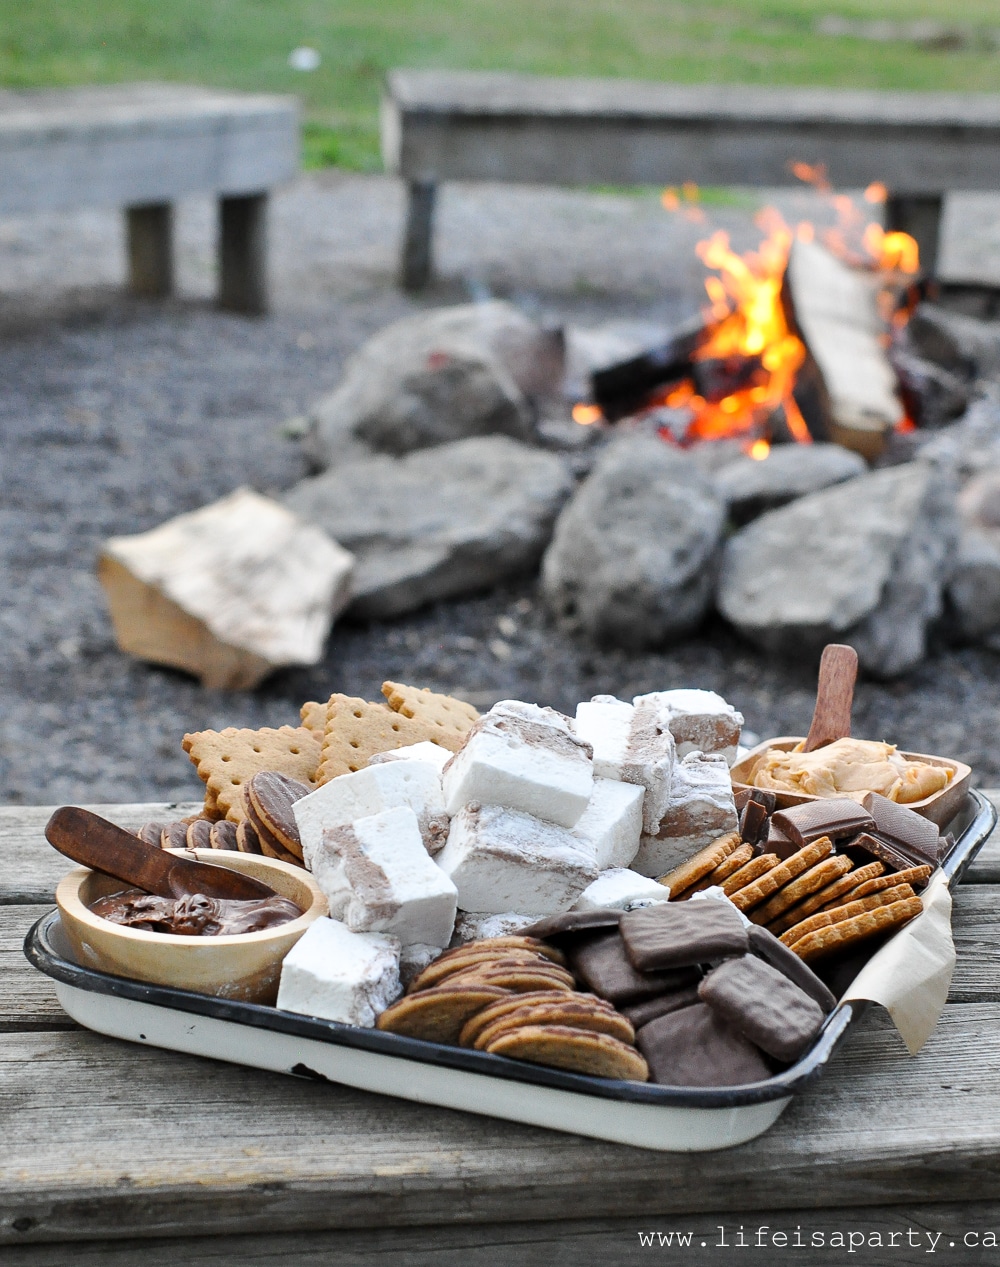
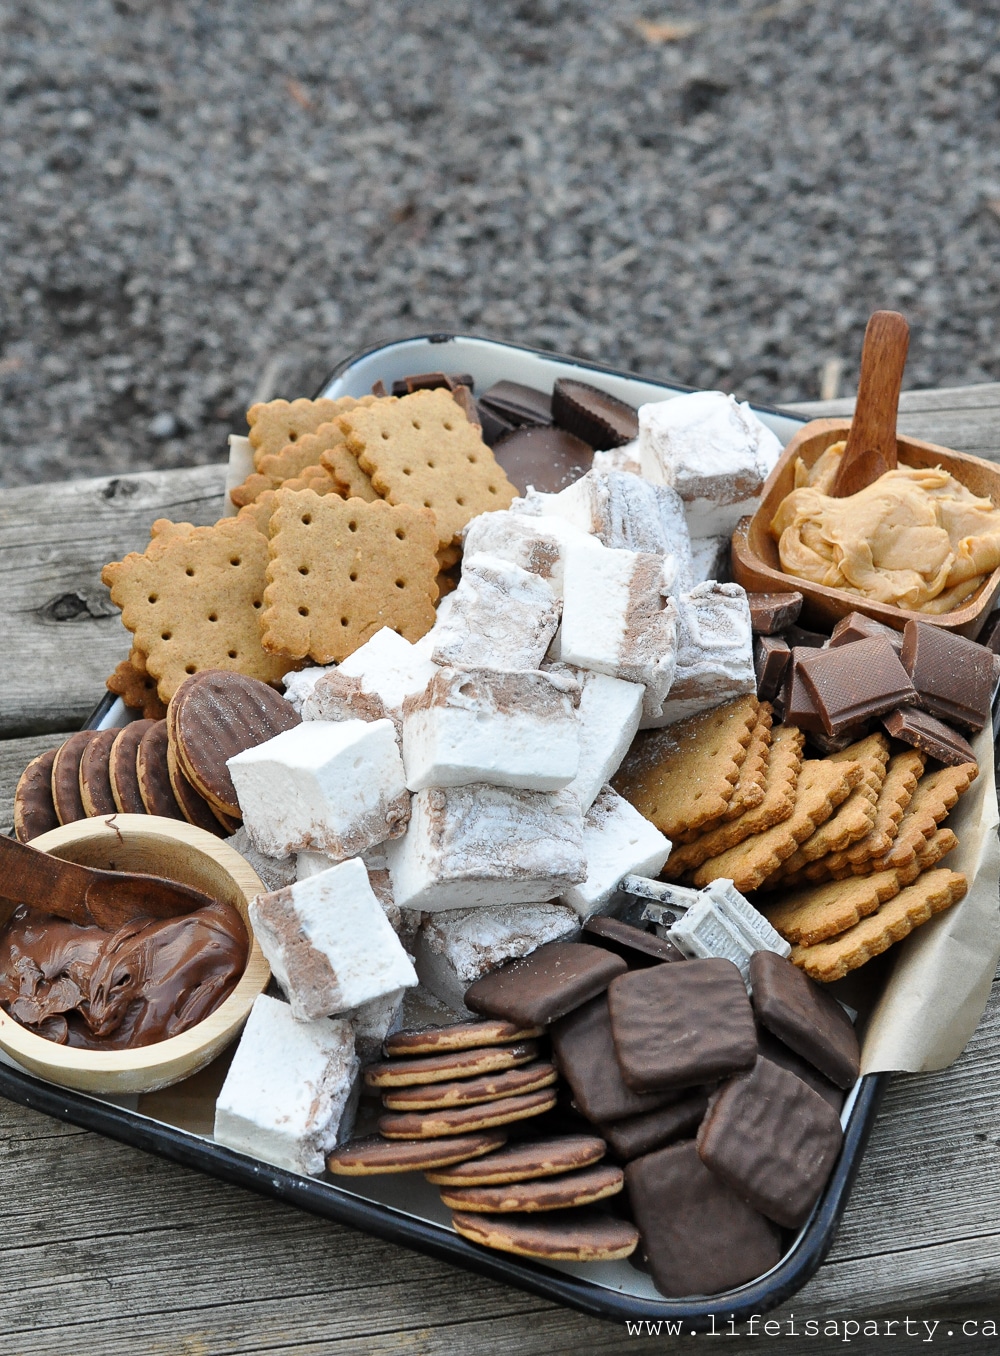
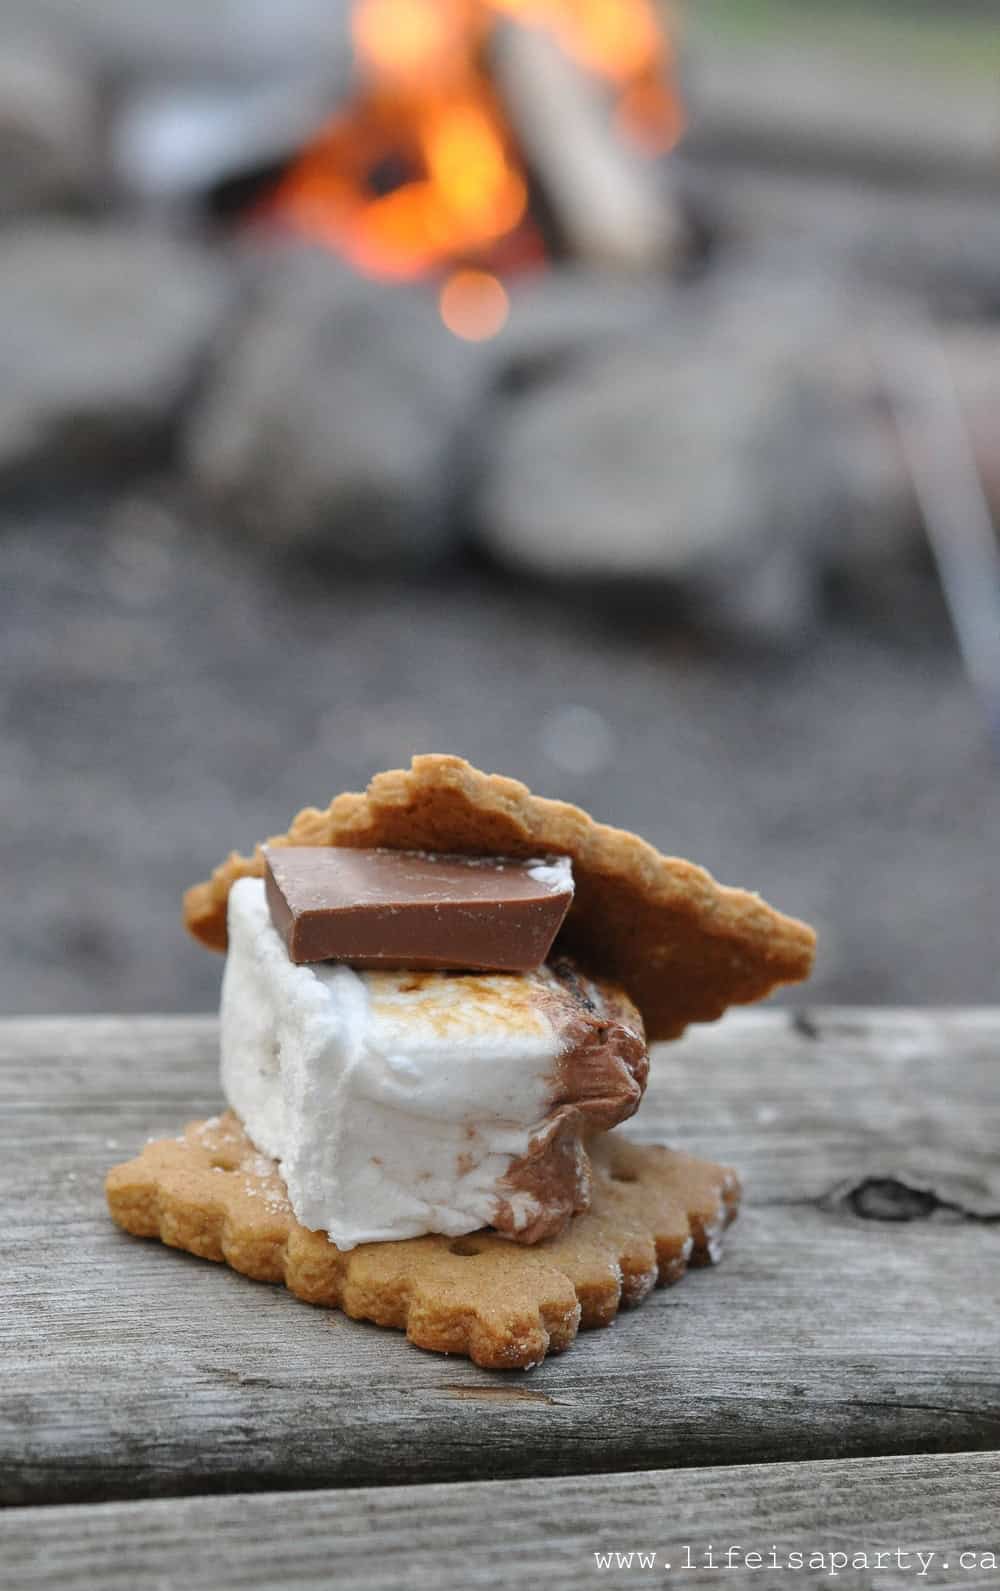
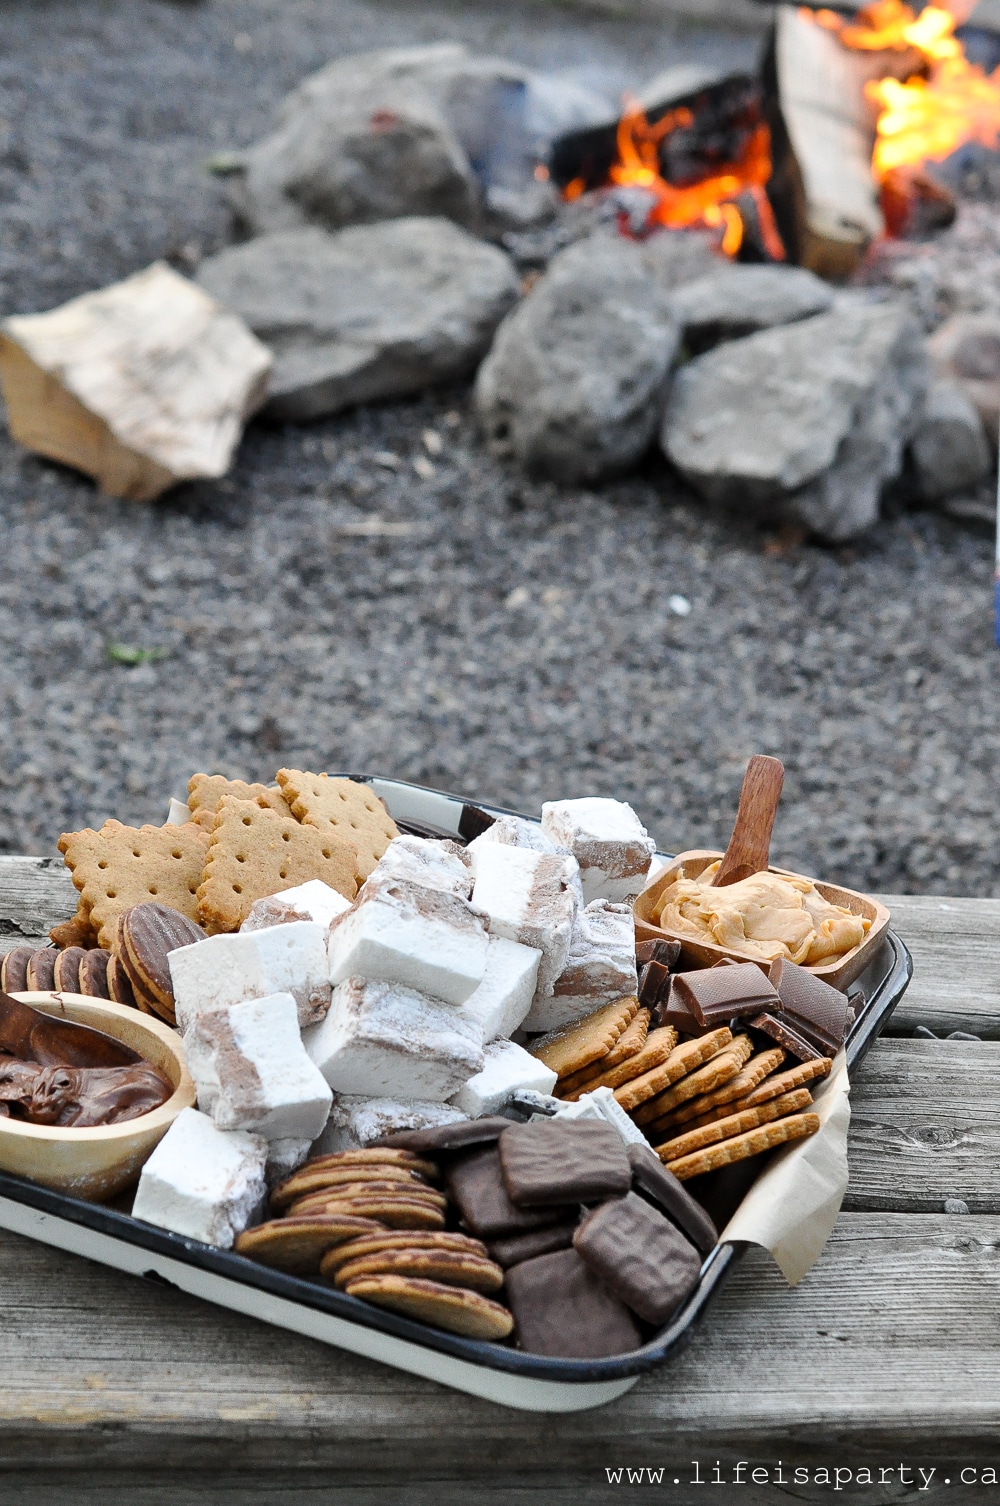
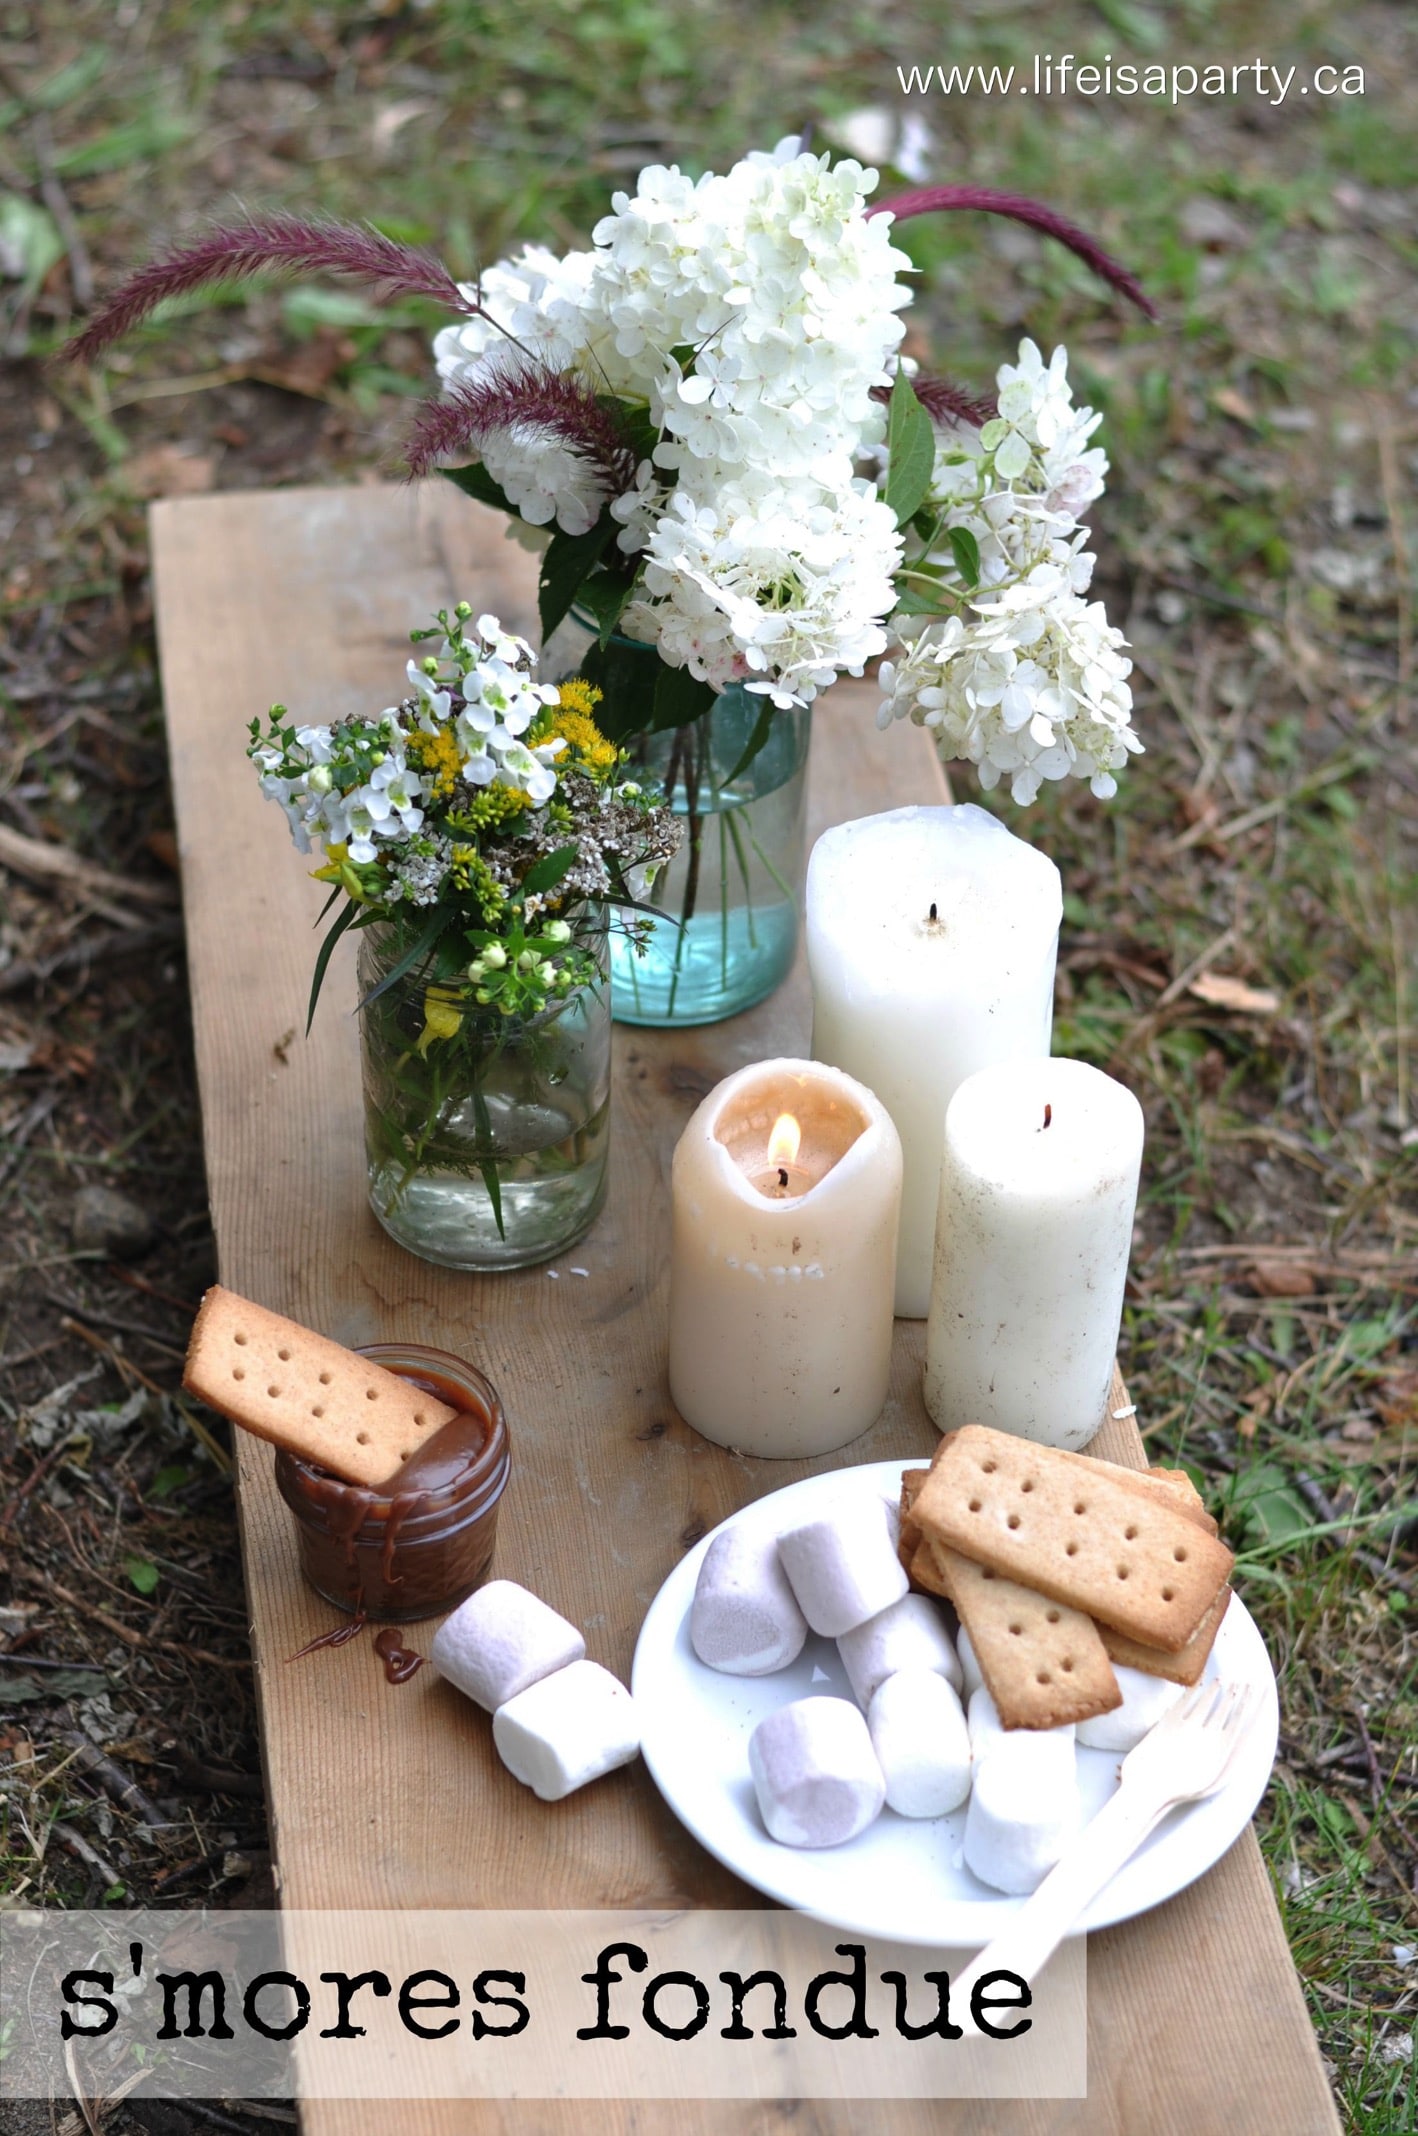
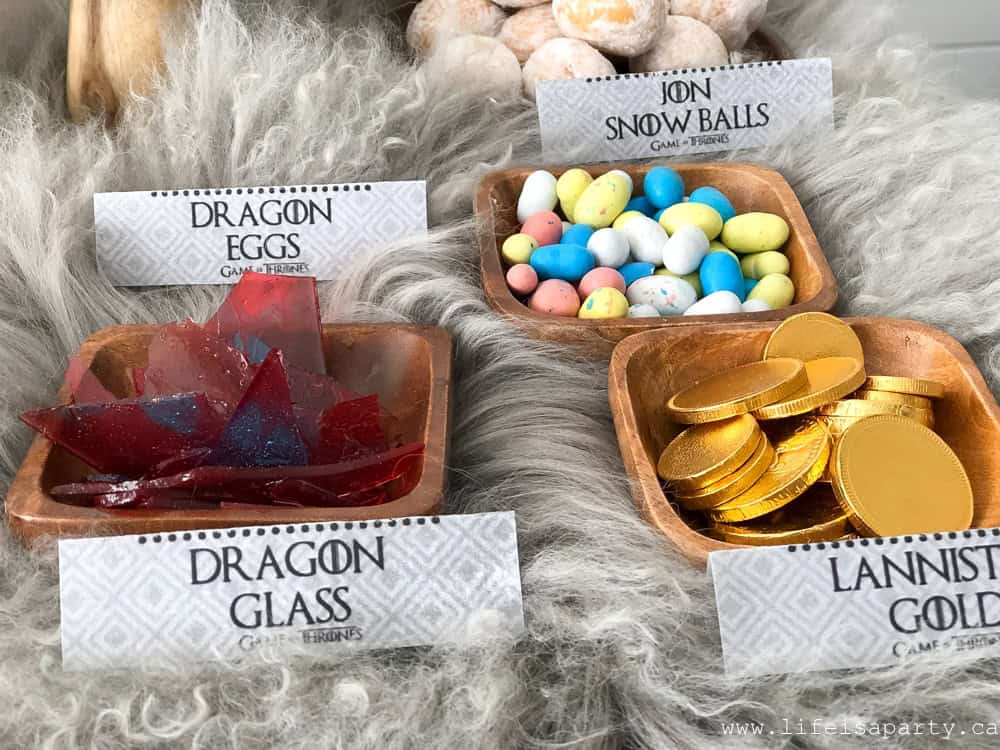
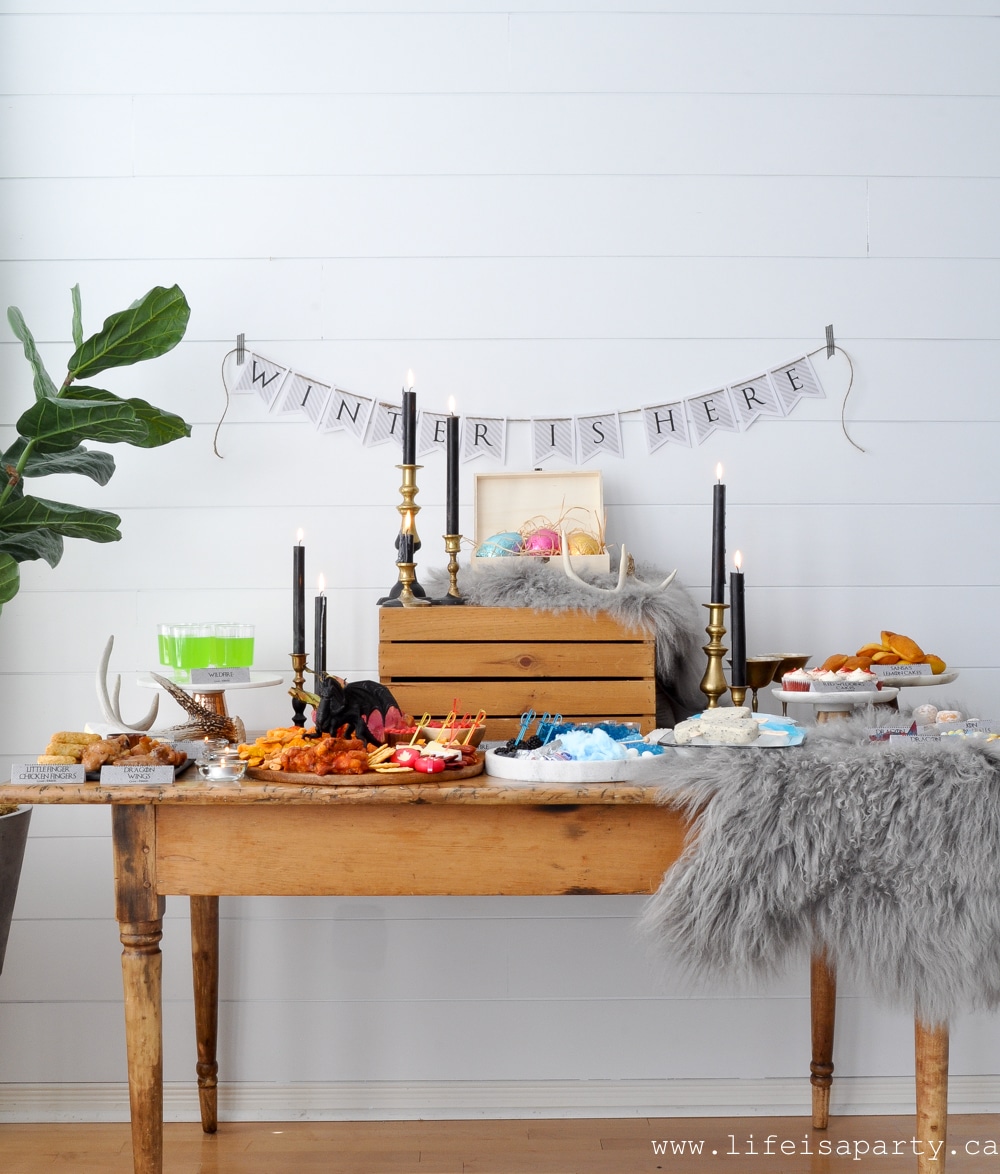
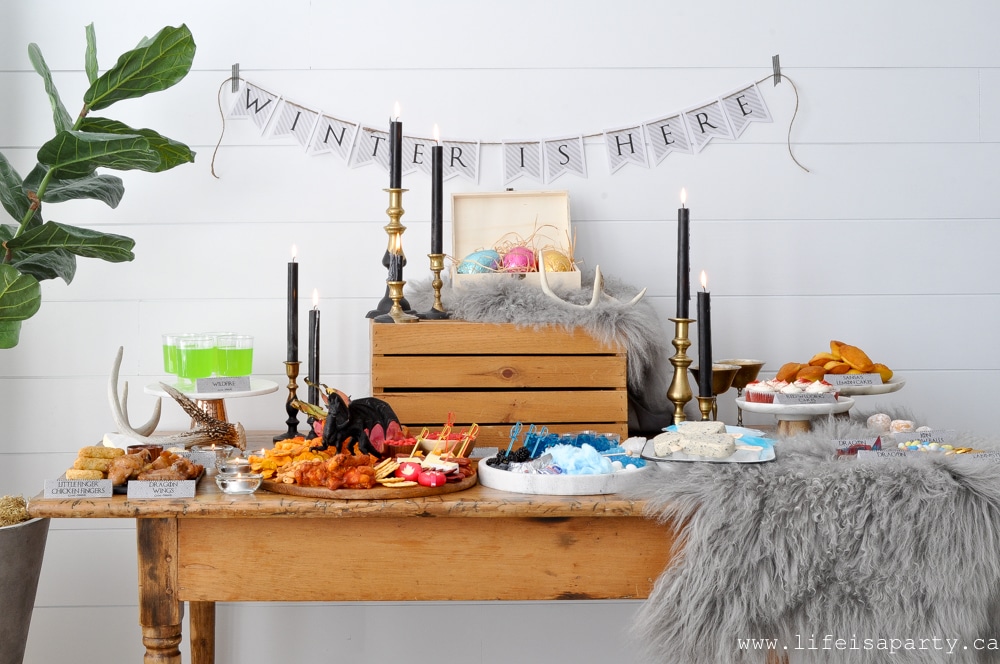
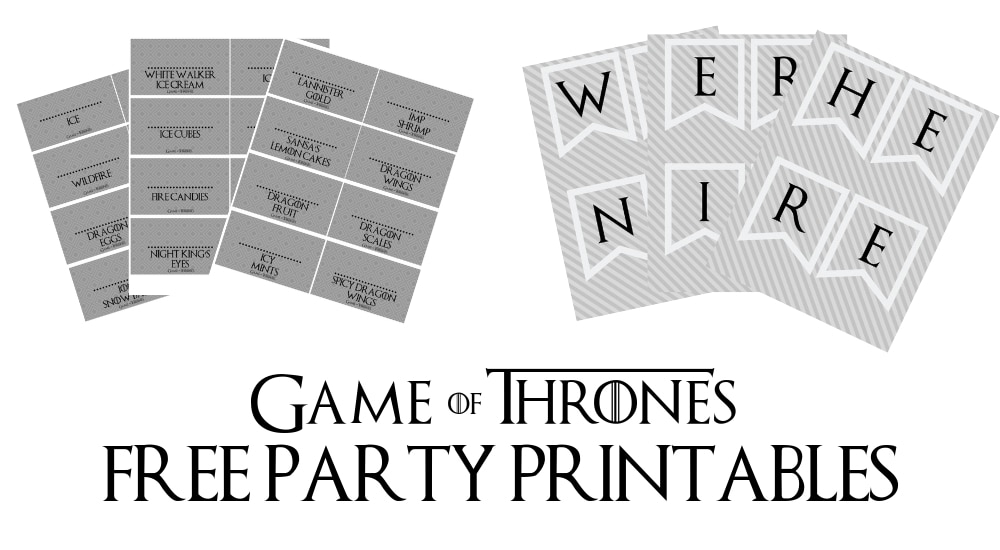
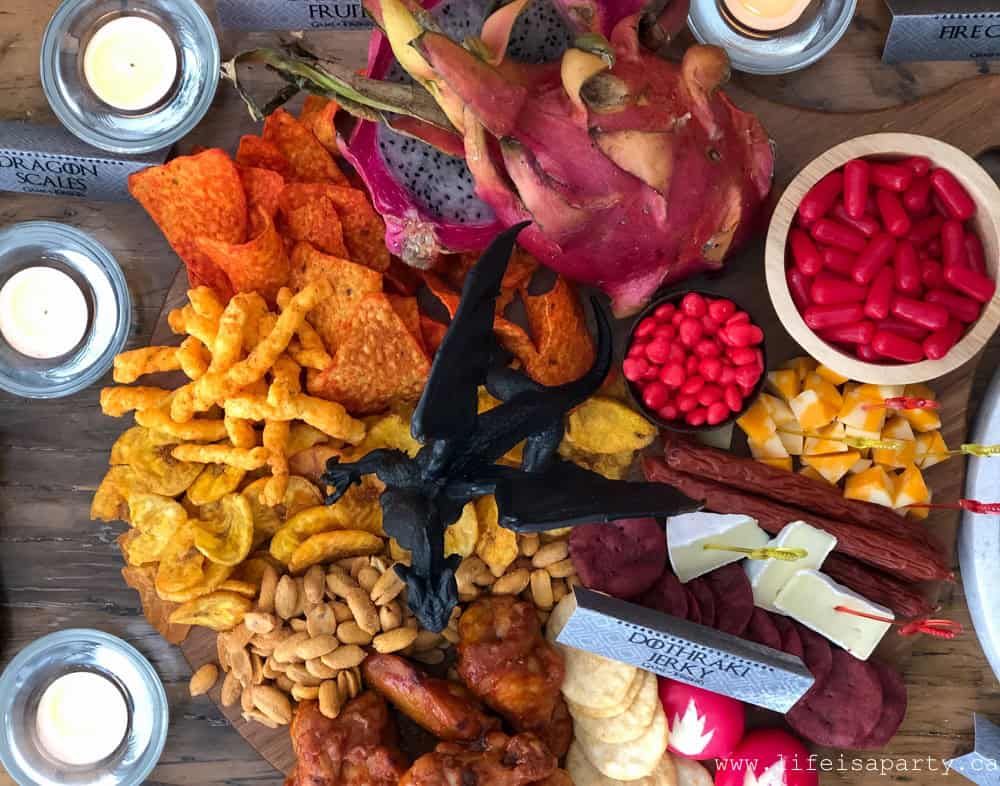 I wanted to include some crackers and cheese, so I used some marble cheddar and brie cut into triangles to reflect flames, and then used some Babybel Cheese with the outside wax cut out like a flame. I used a few different crackers and then some spicy pepperoni sticks.
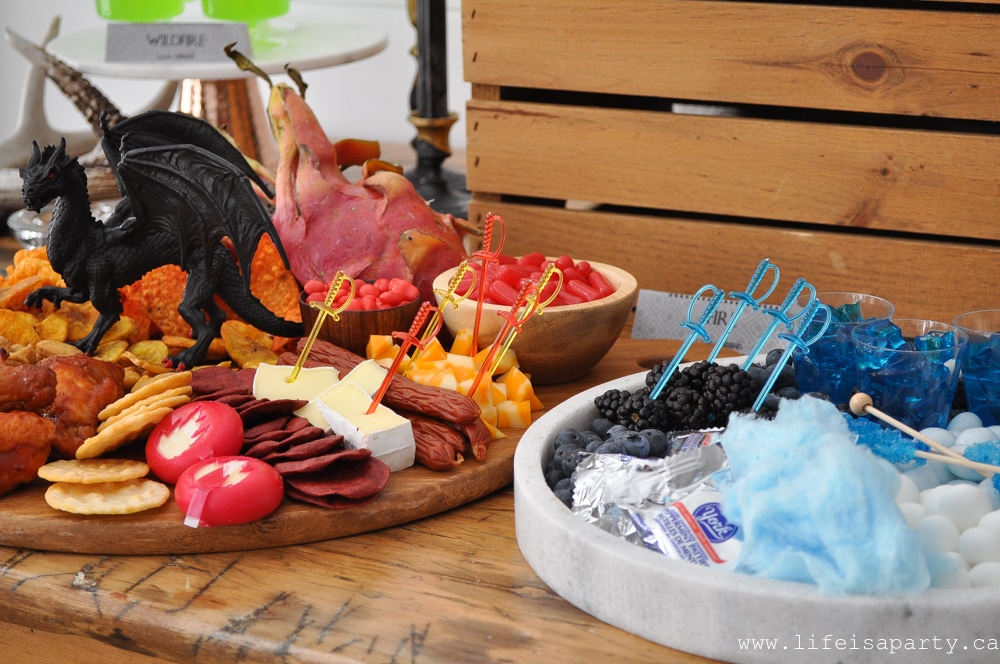
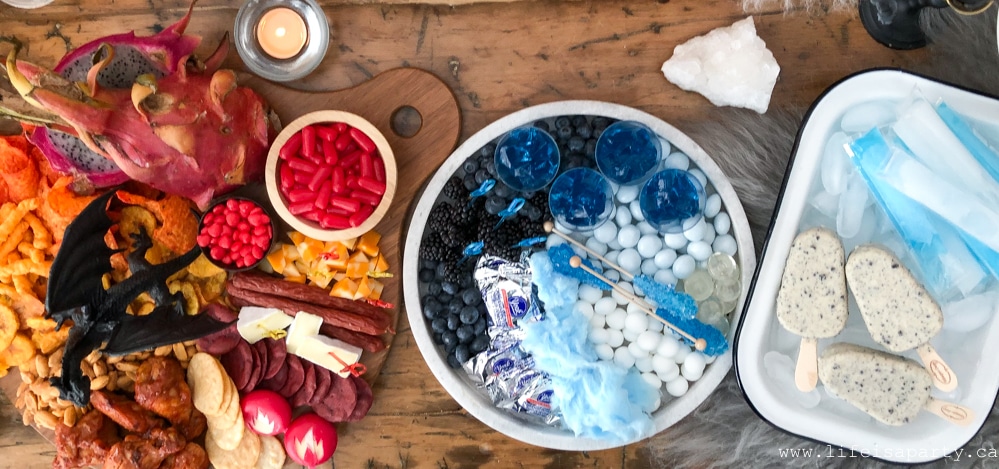

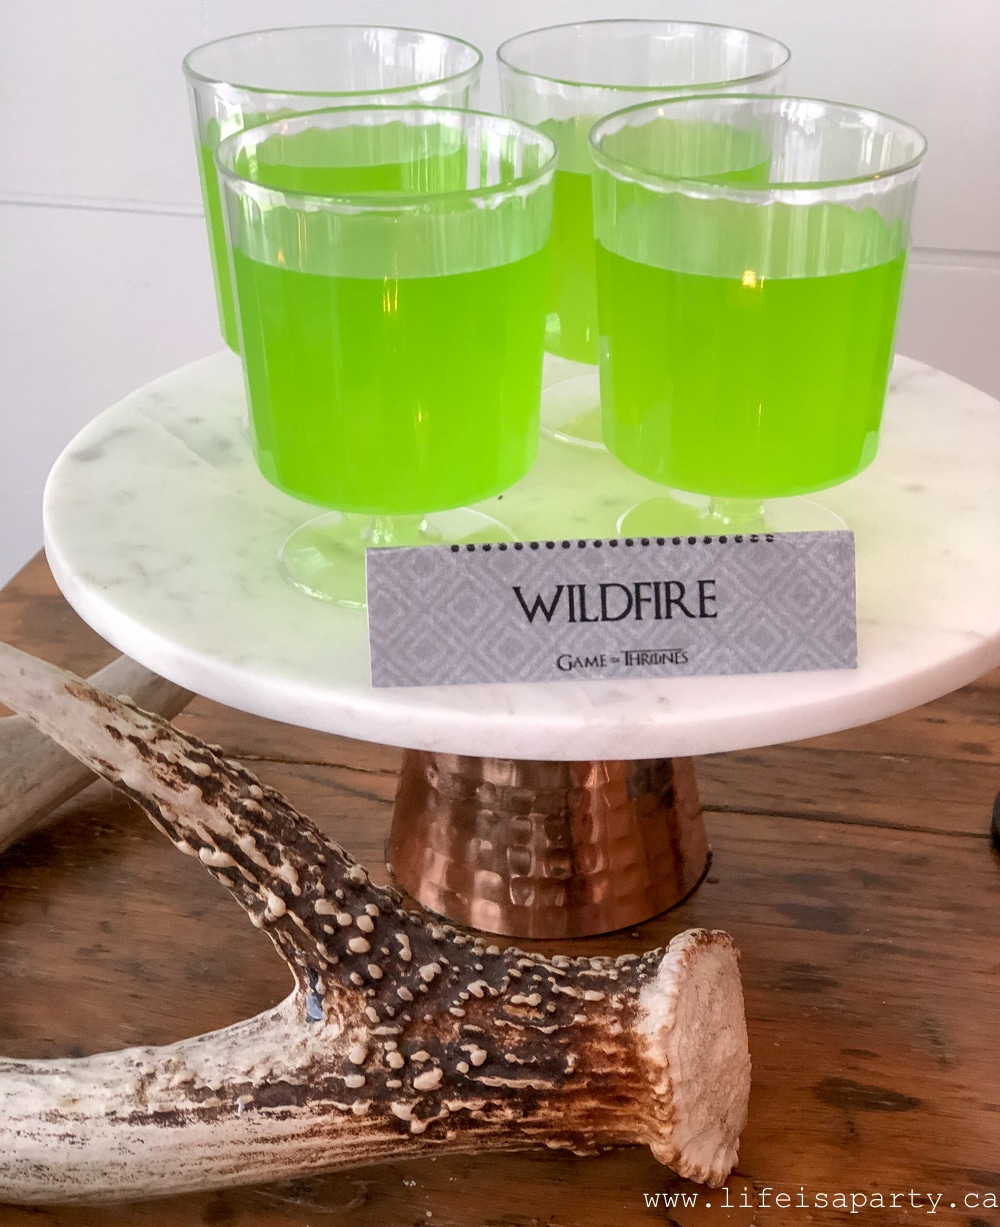 I also served some "Wildfire" which was sports drink. You could also add some vodka to make it into a cocktail.


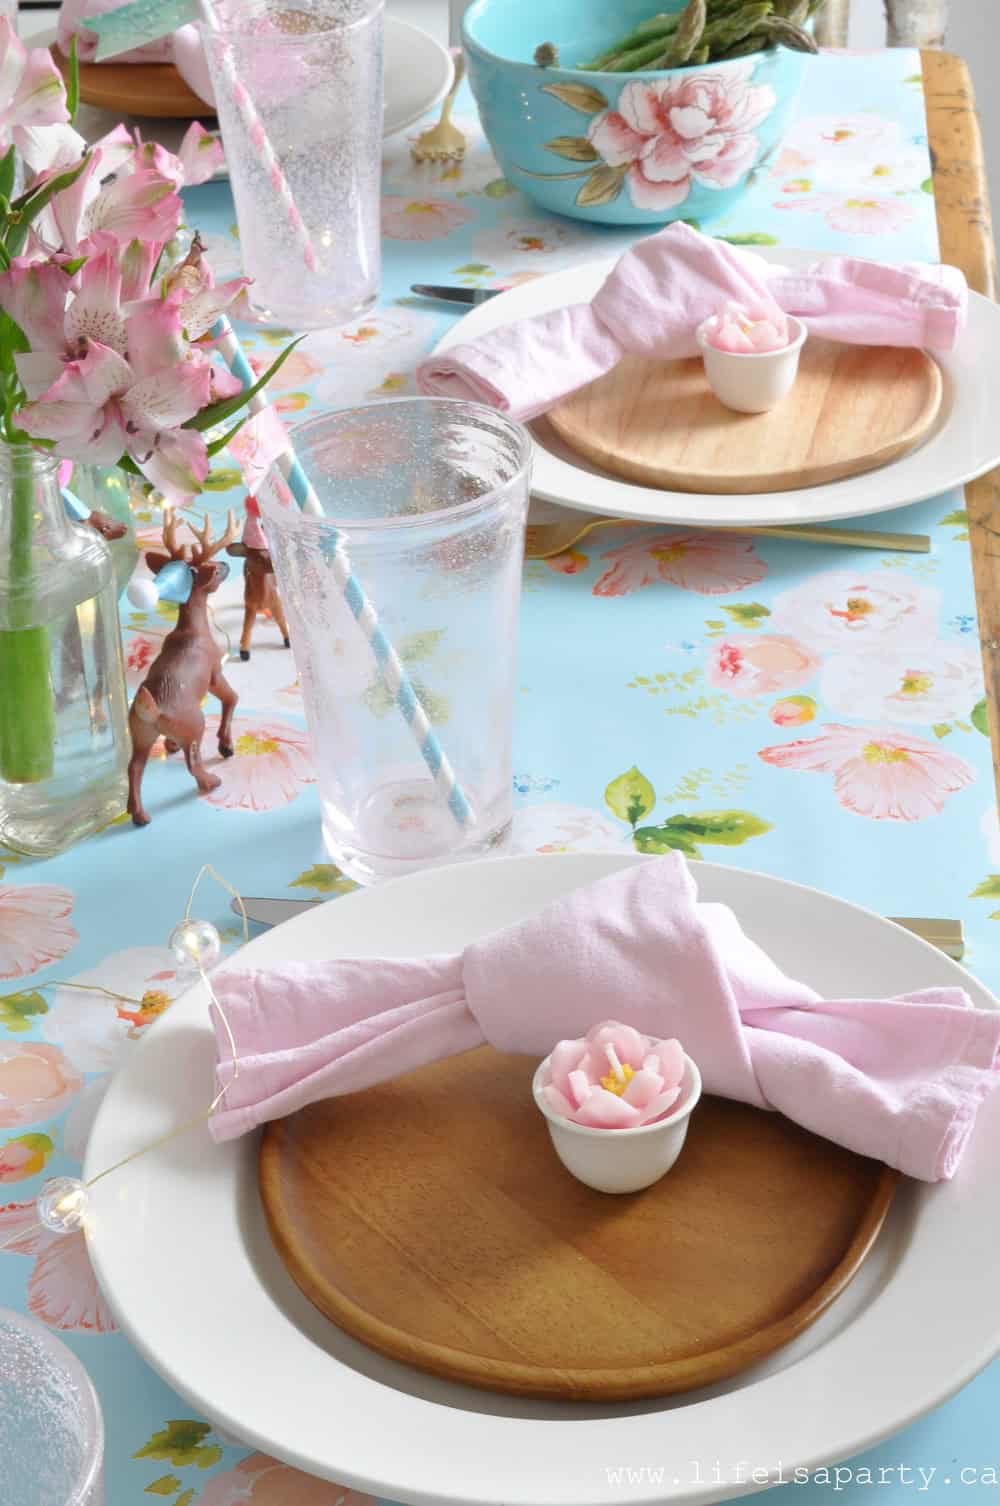
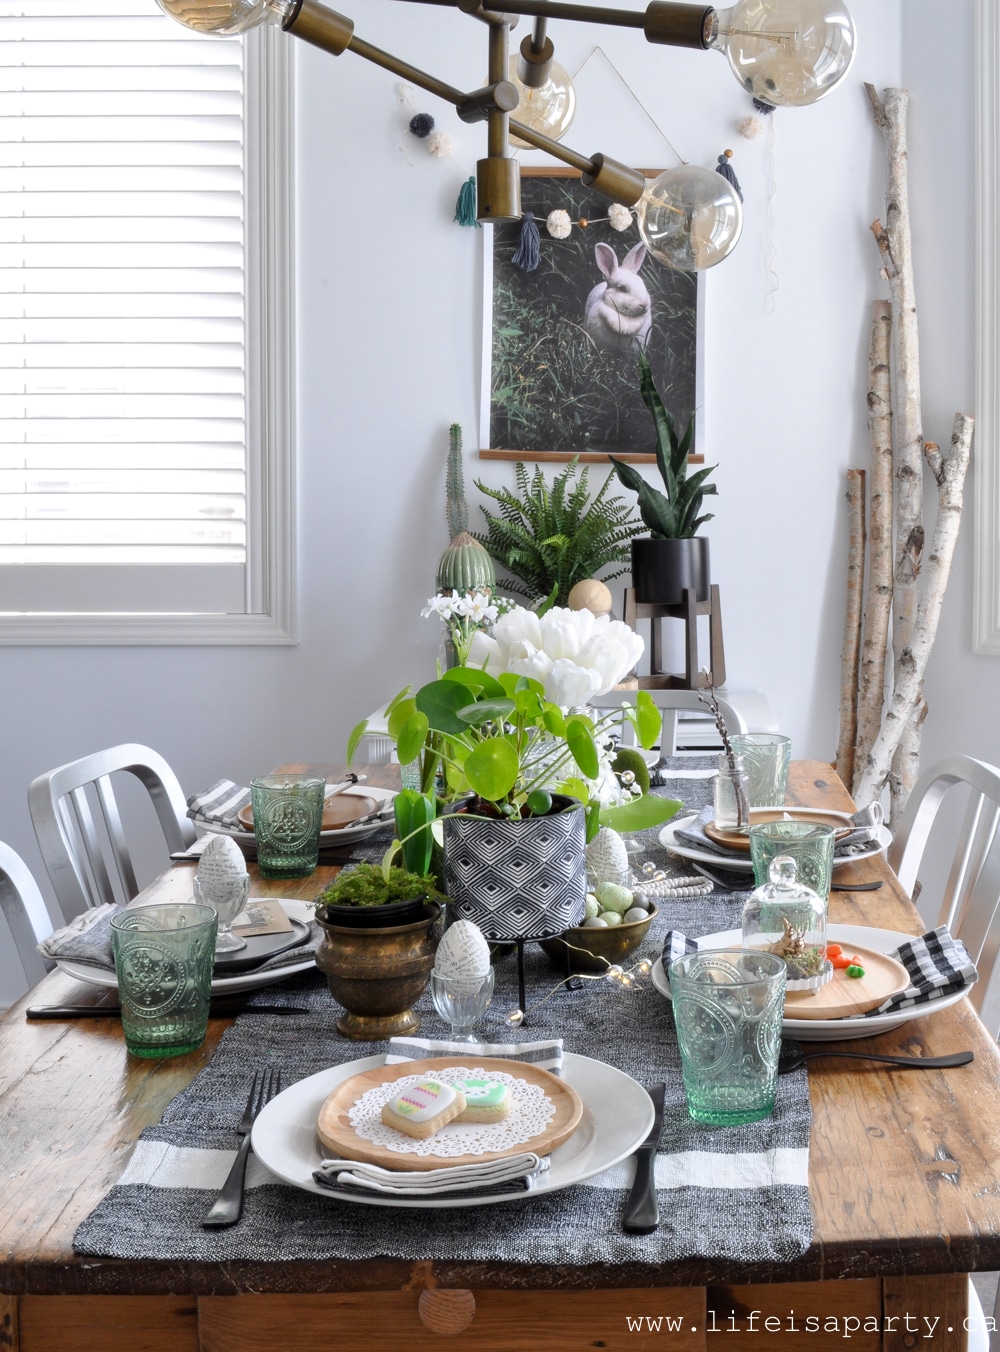
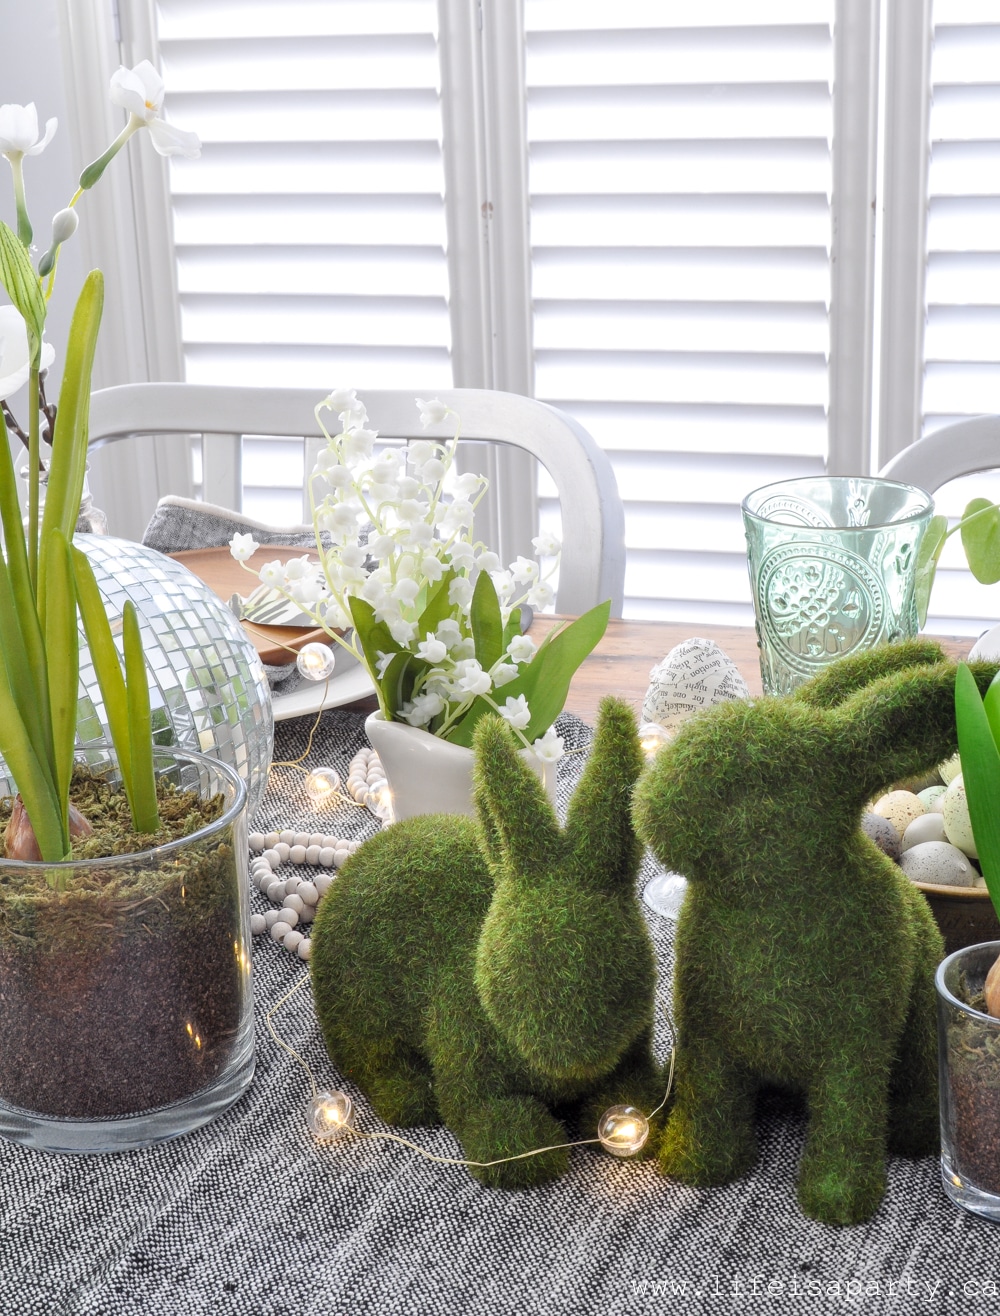
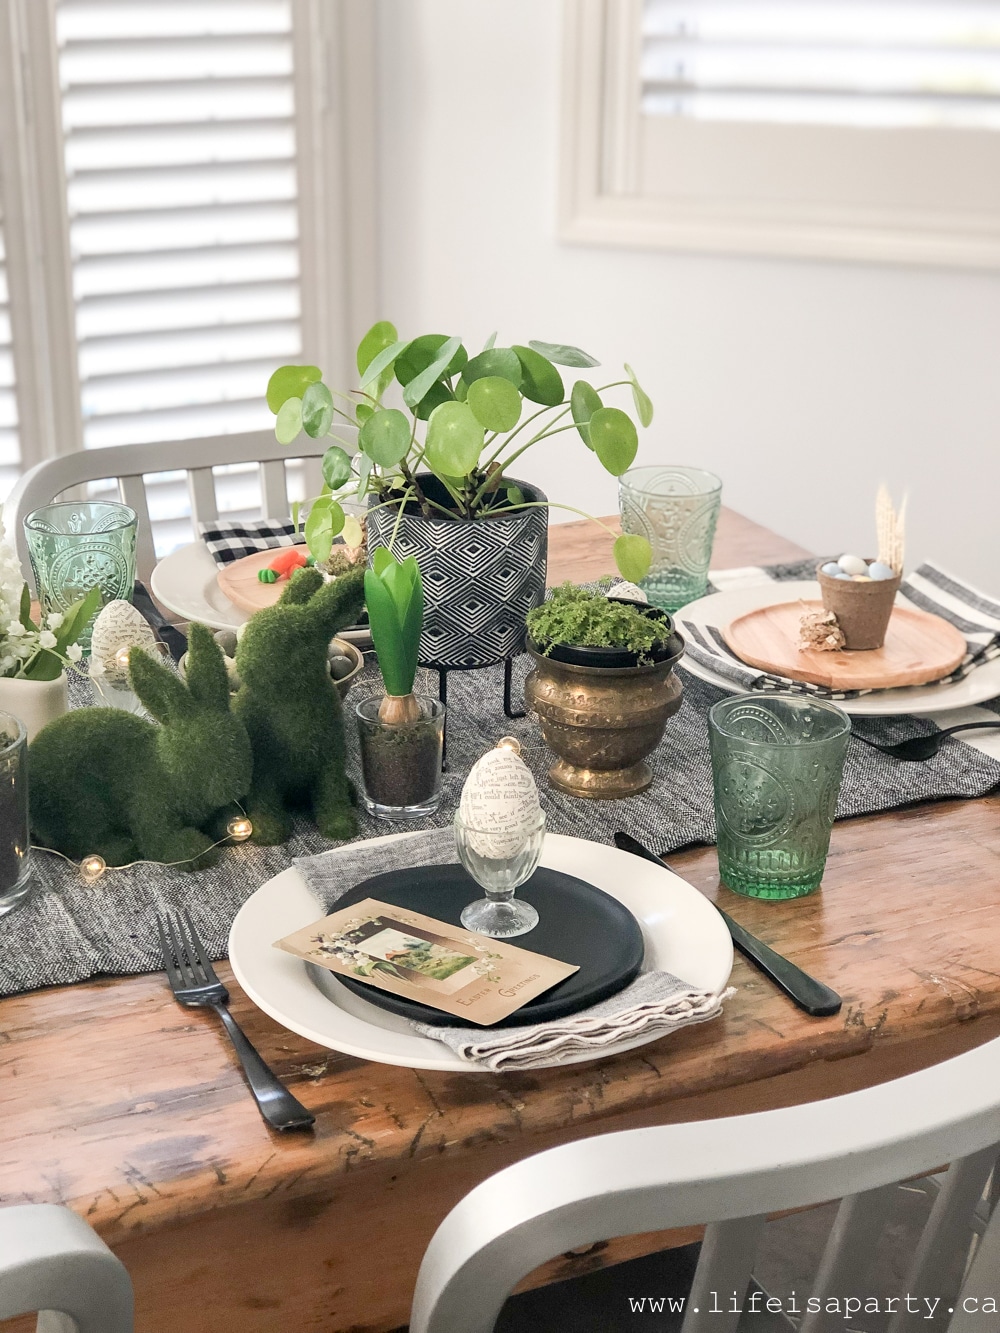
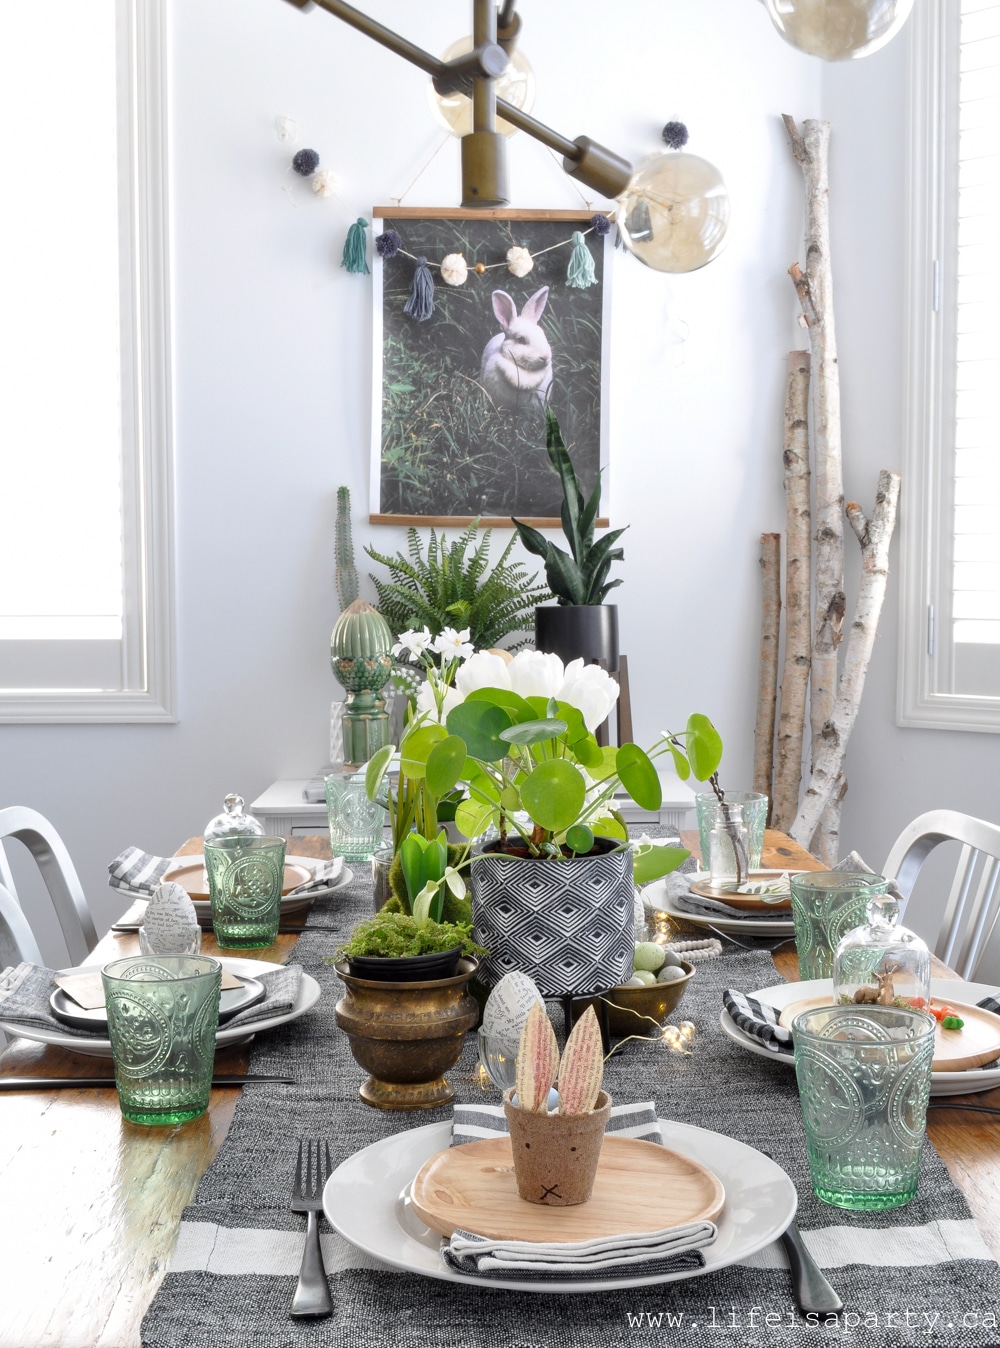
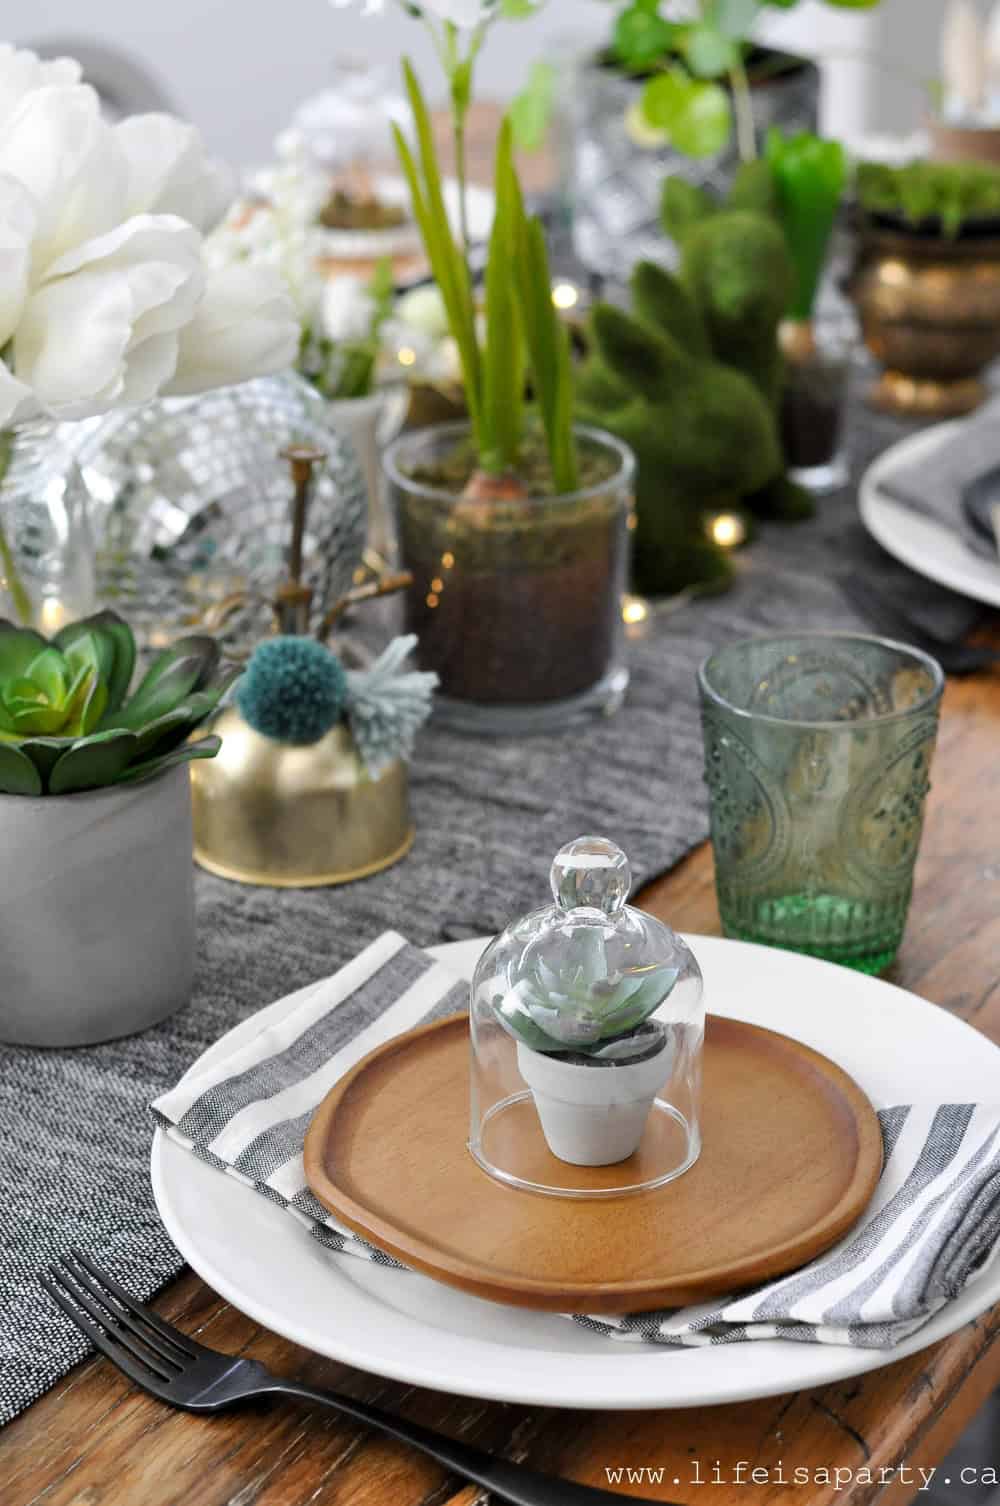
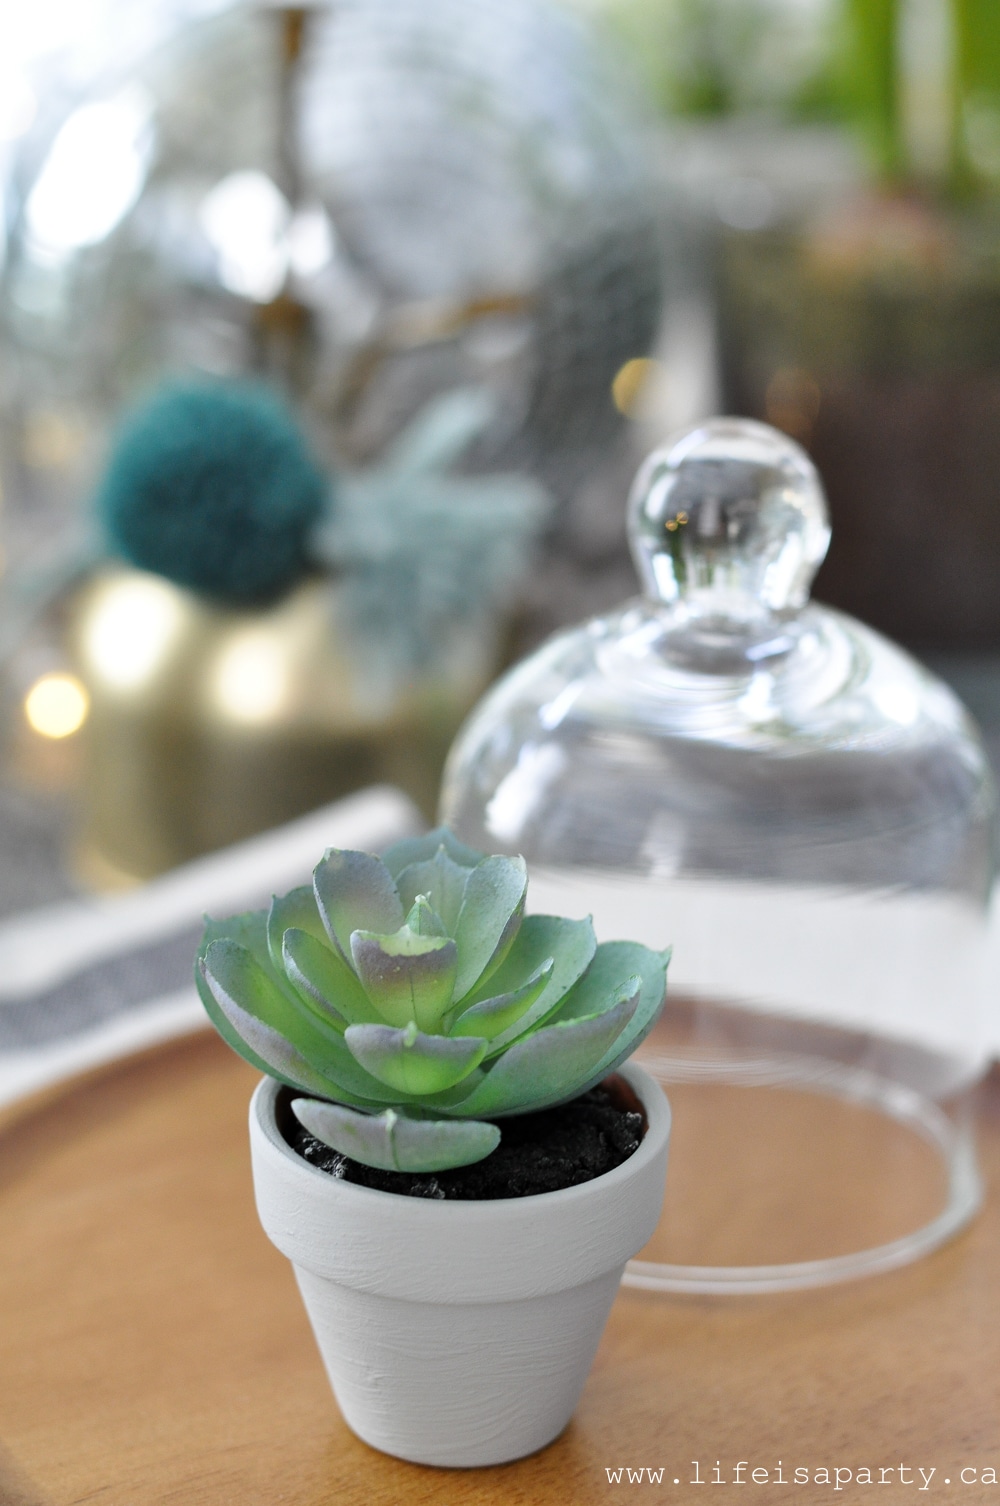
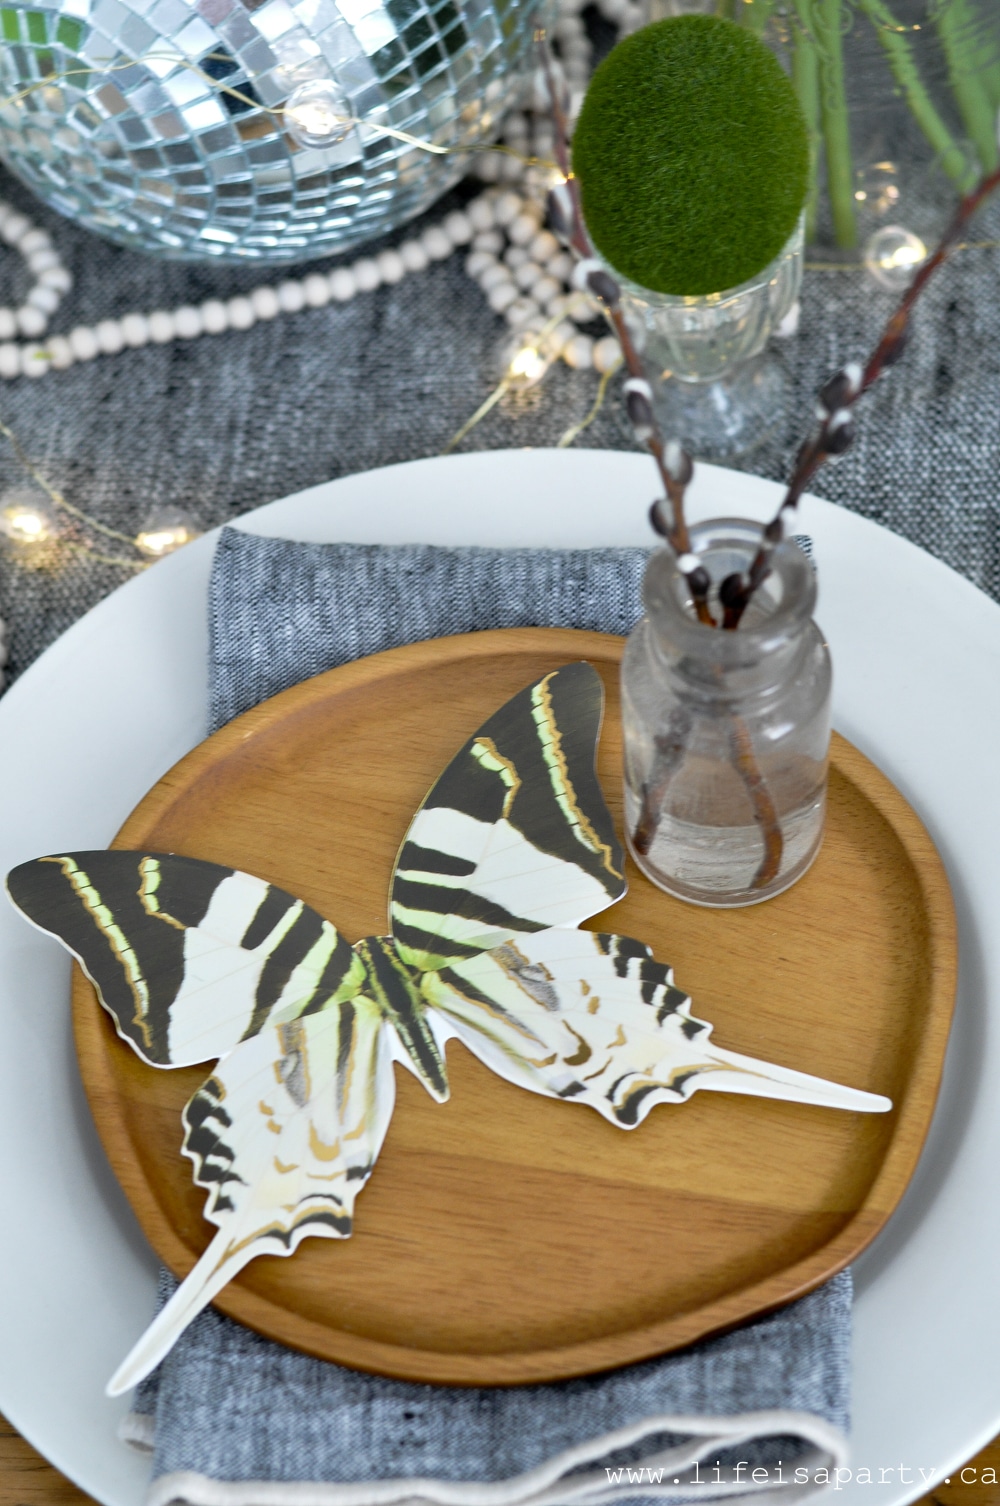
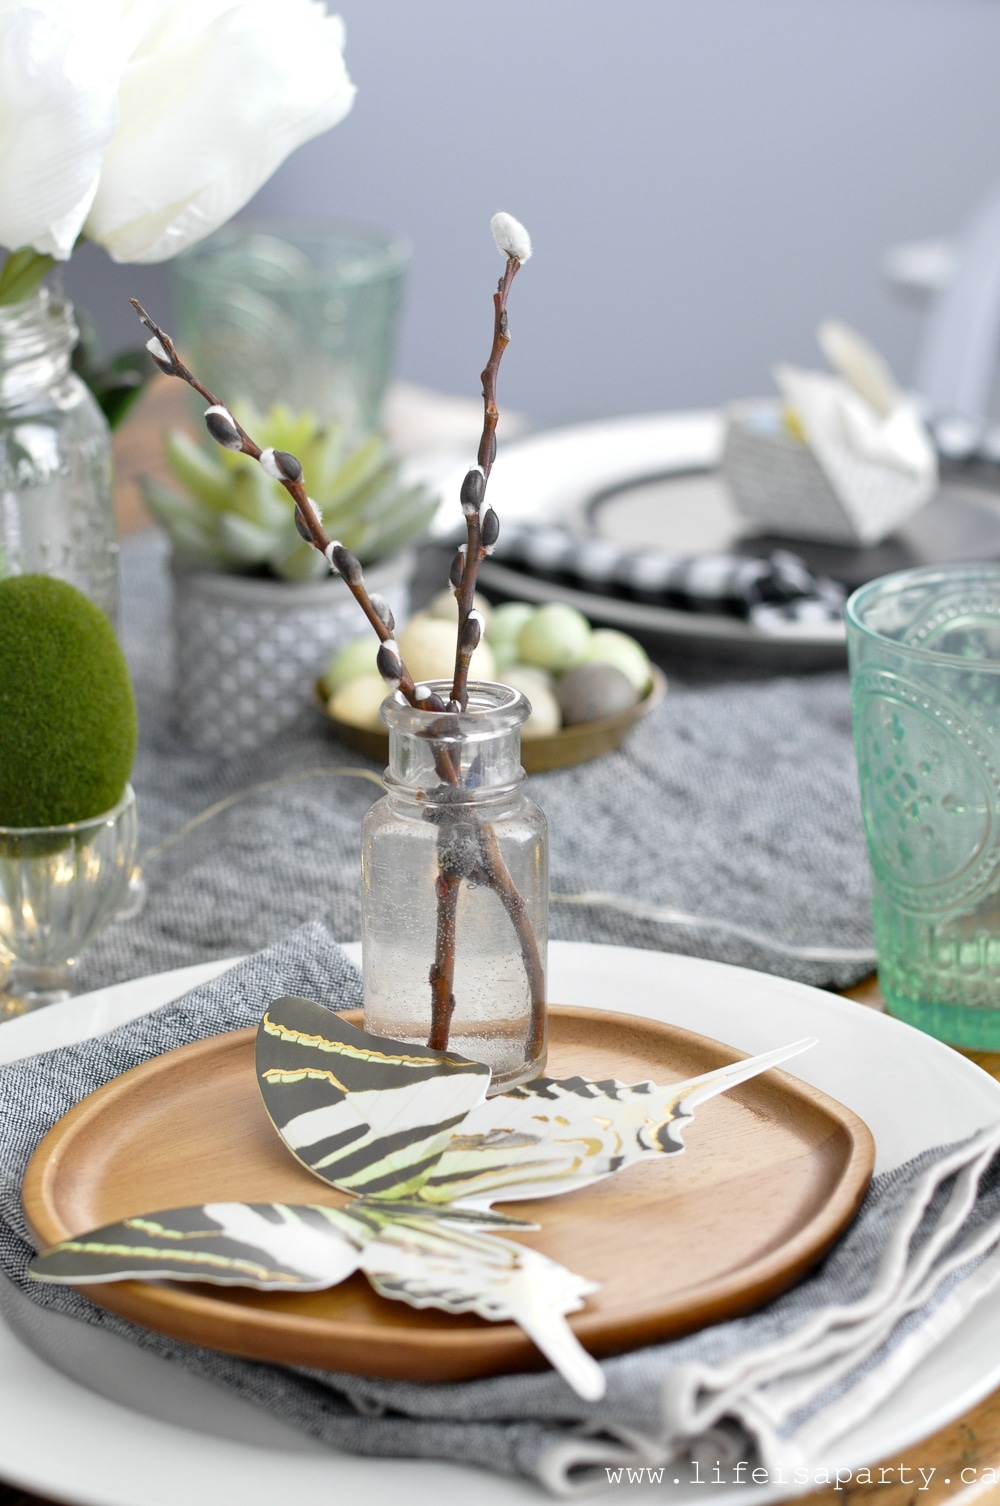
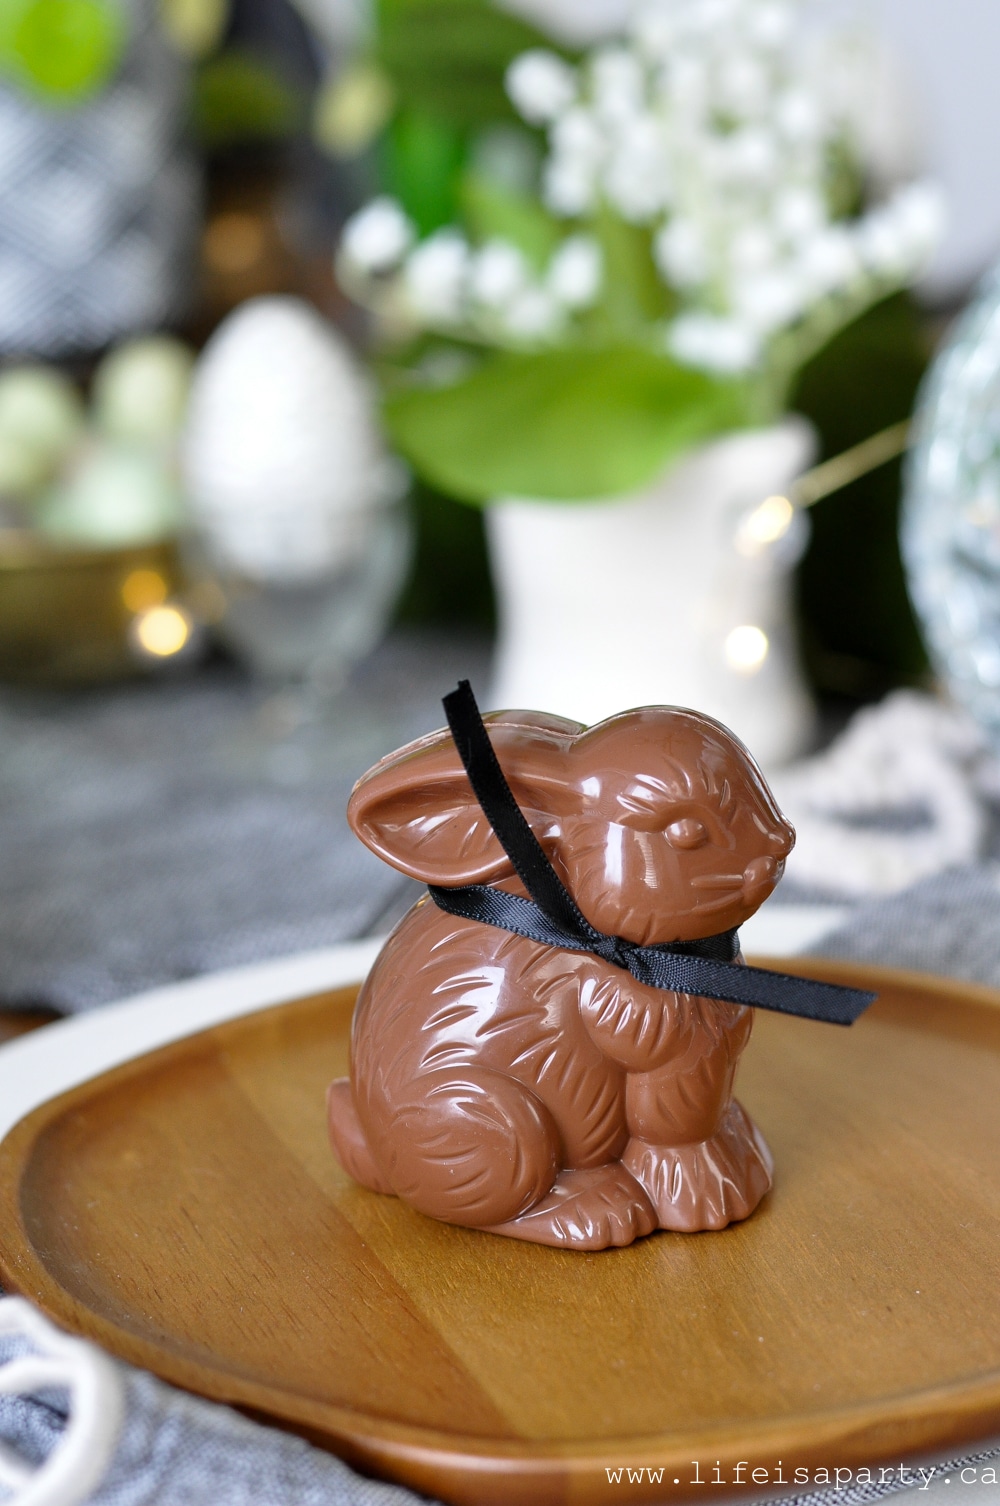
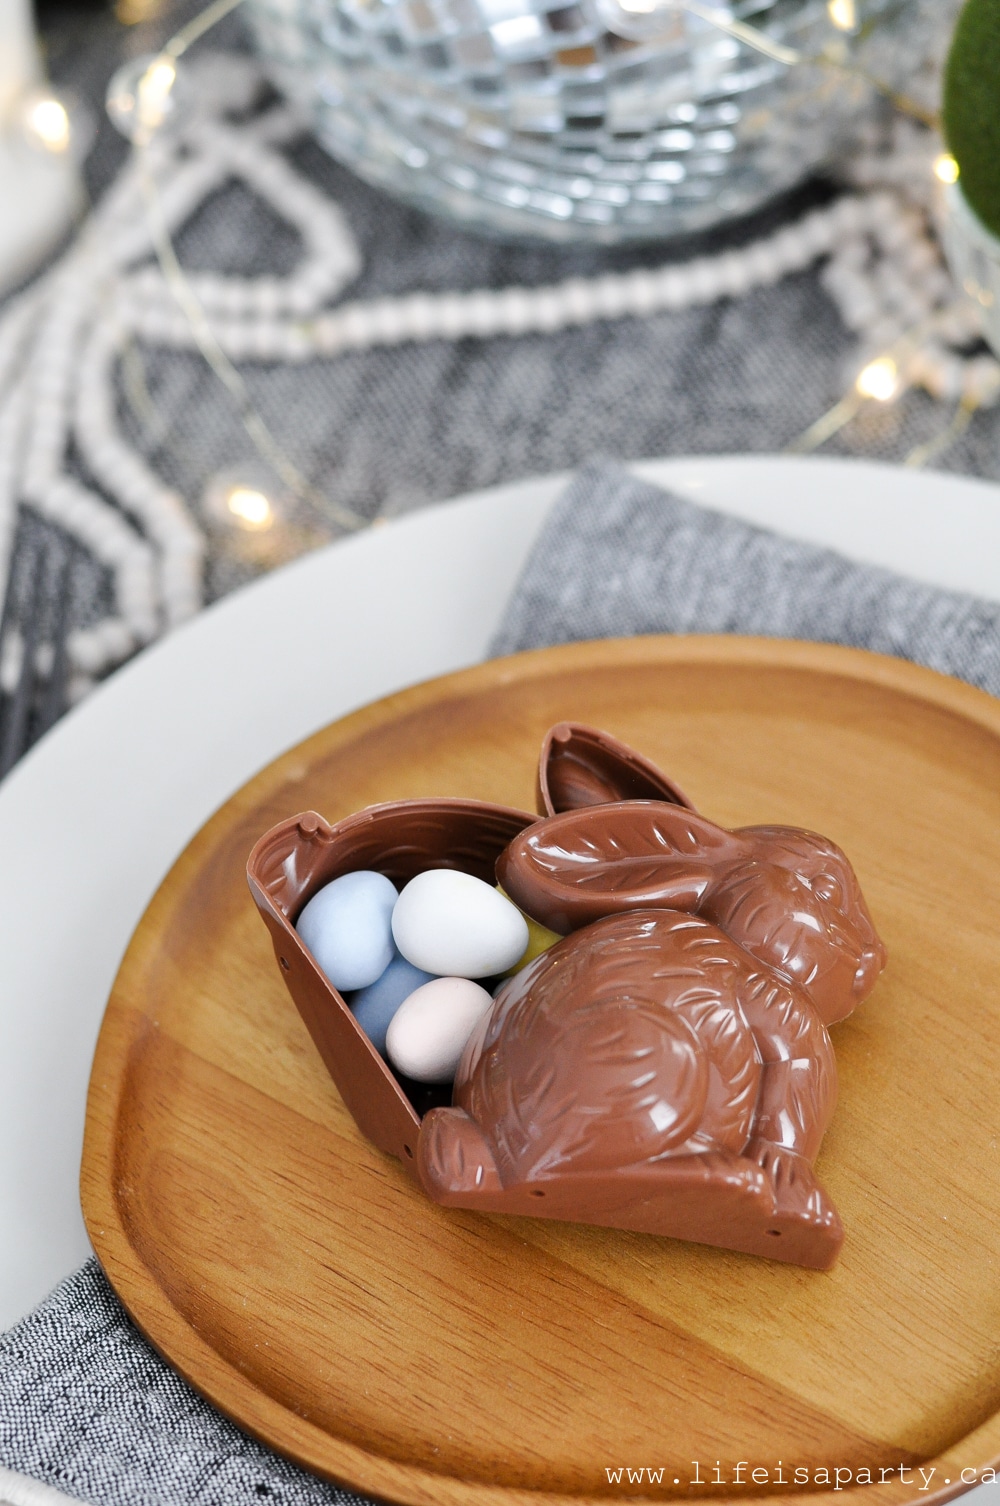
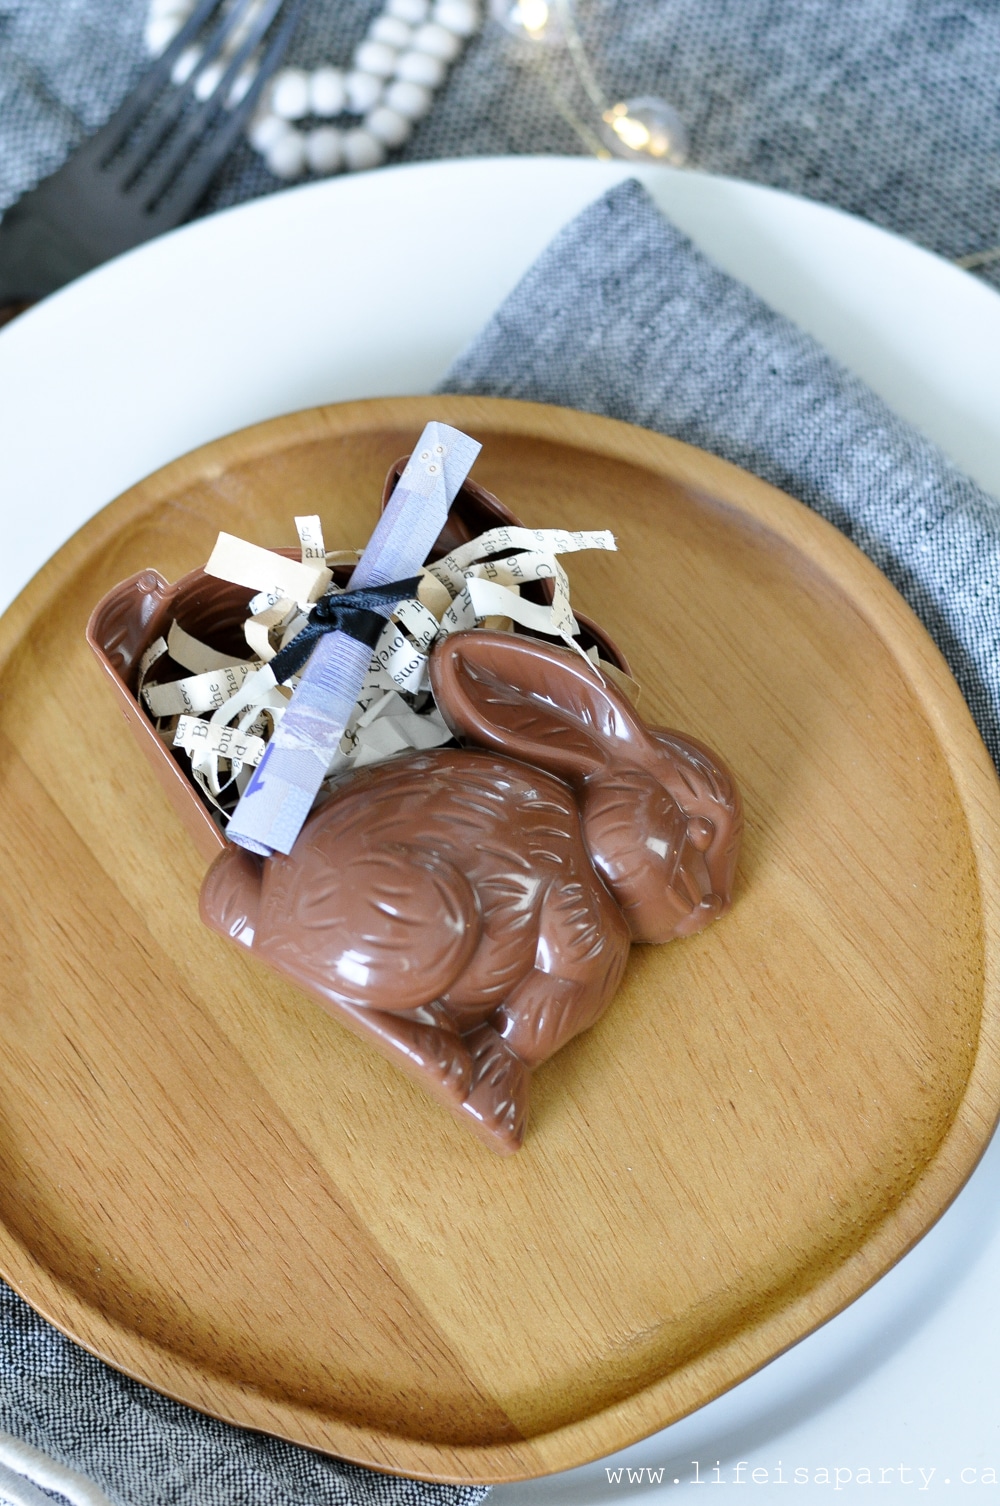
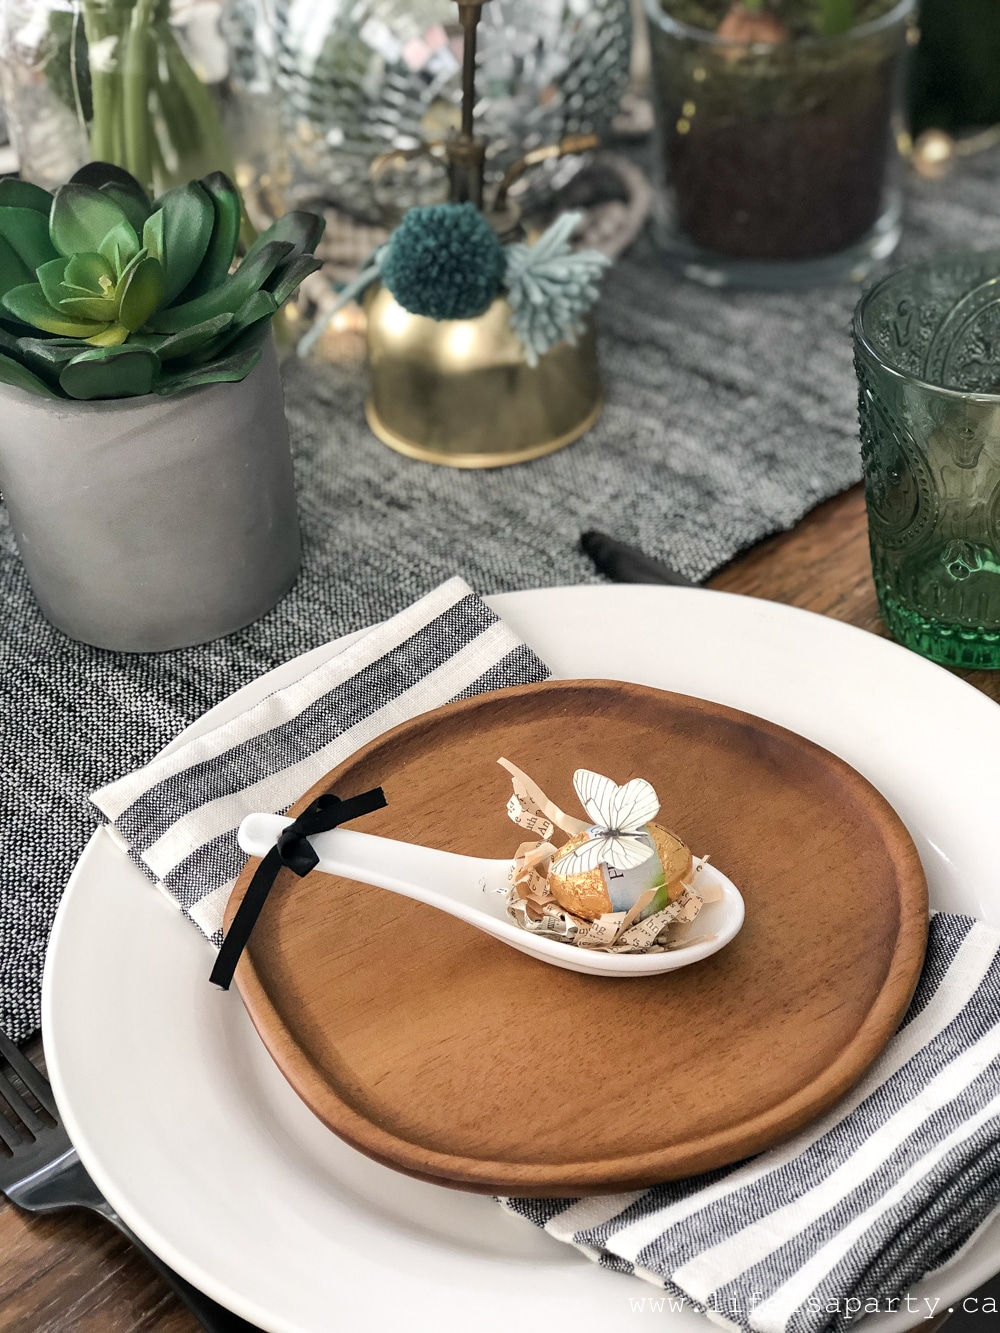
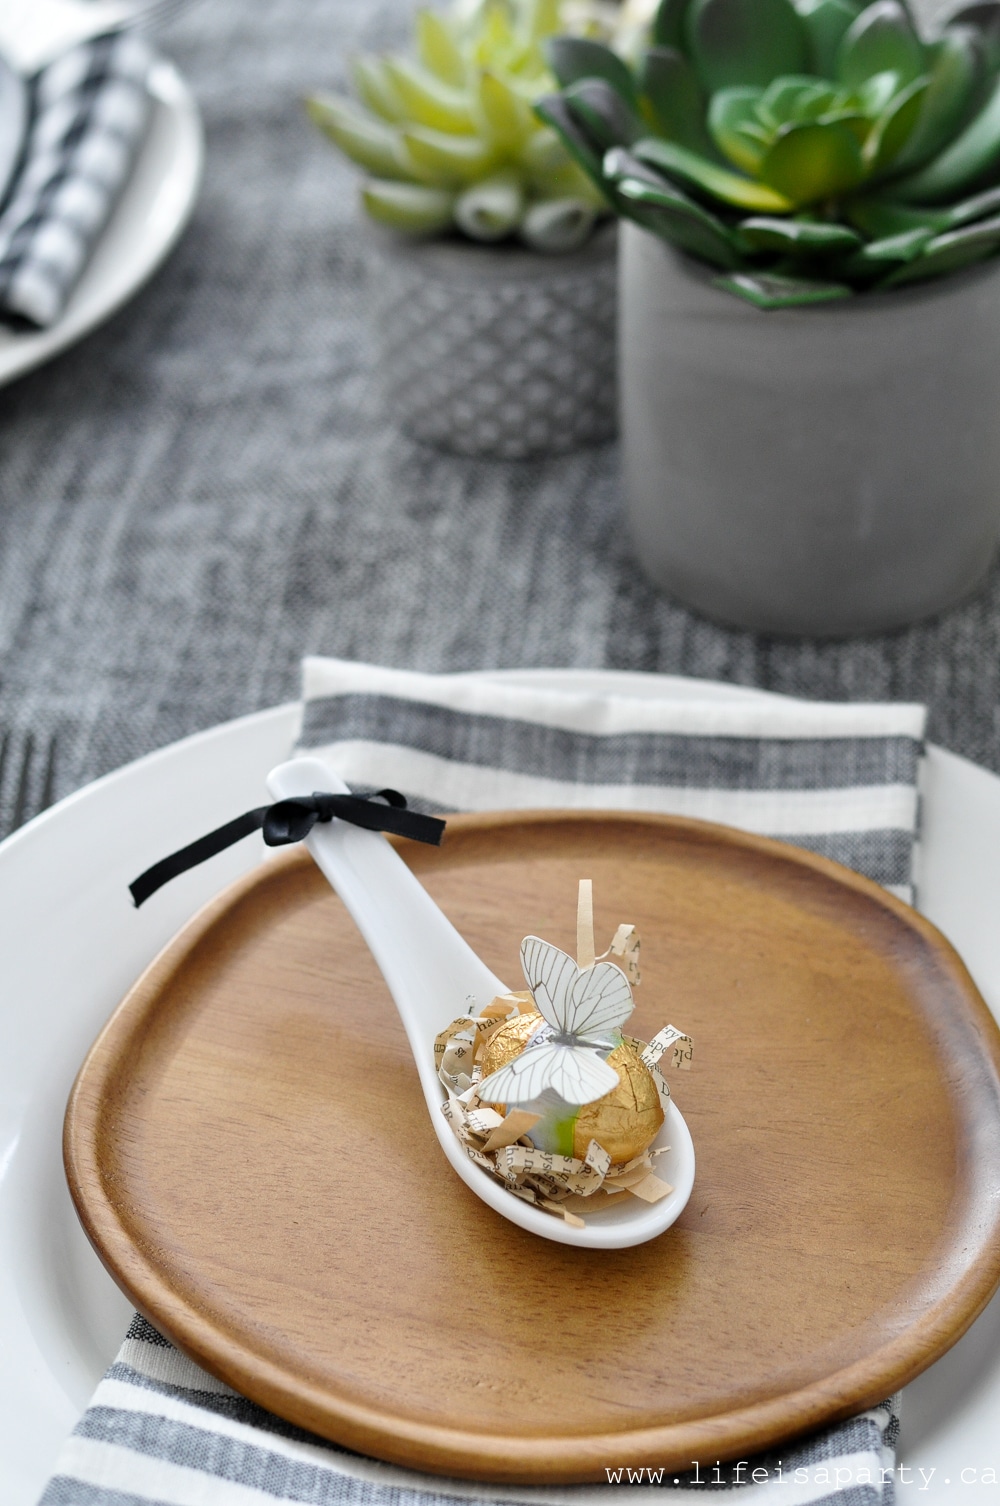
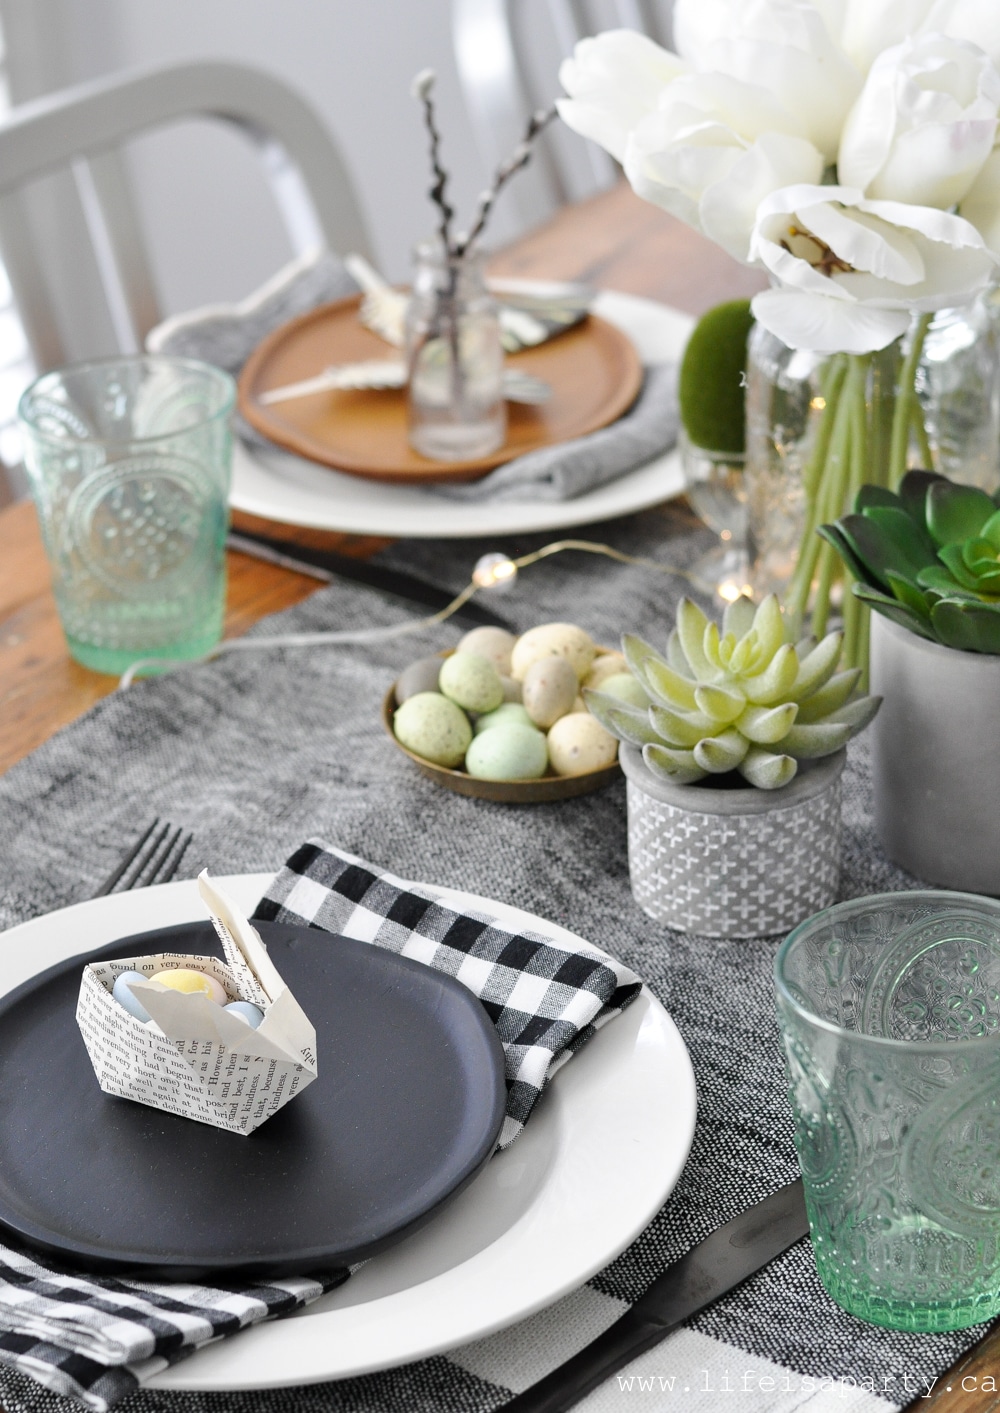
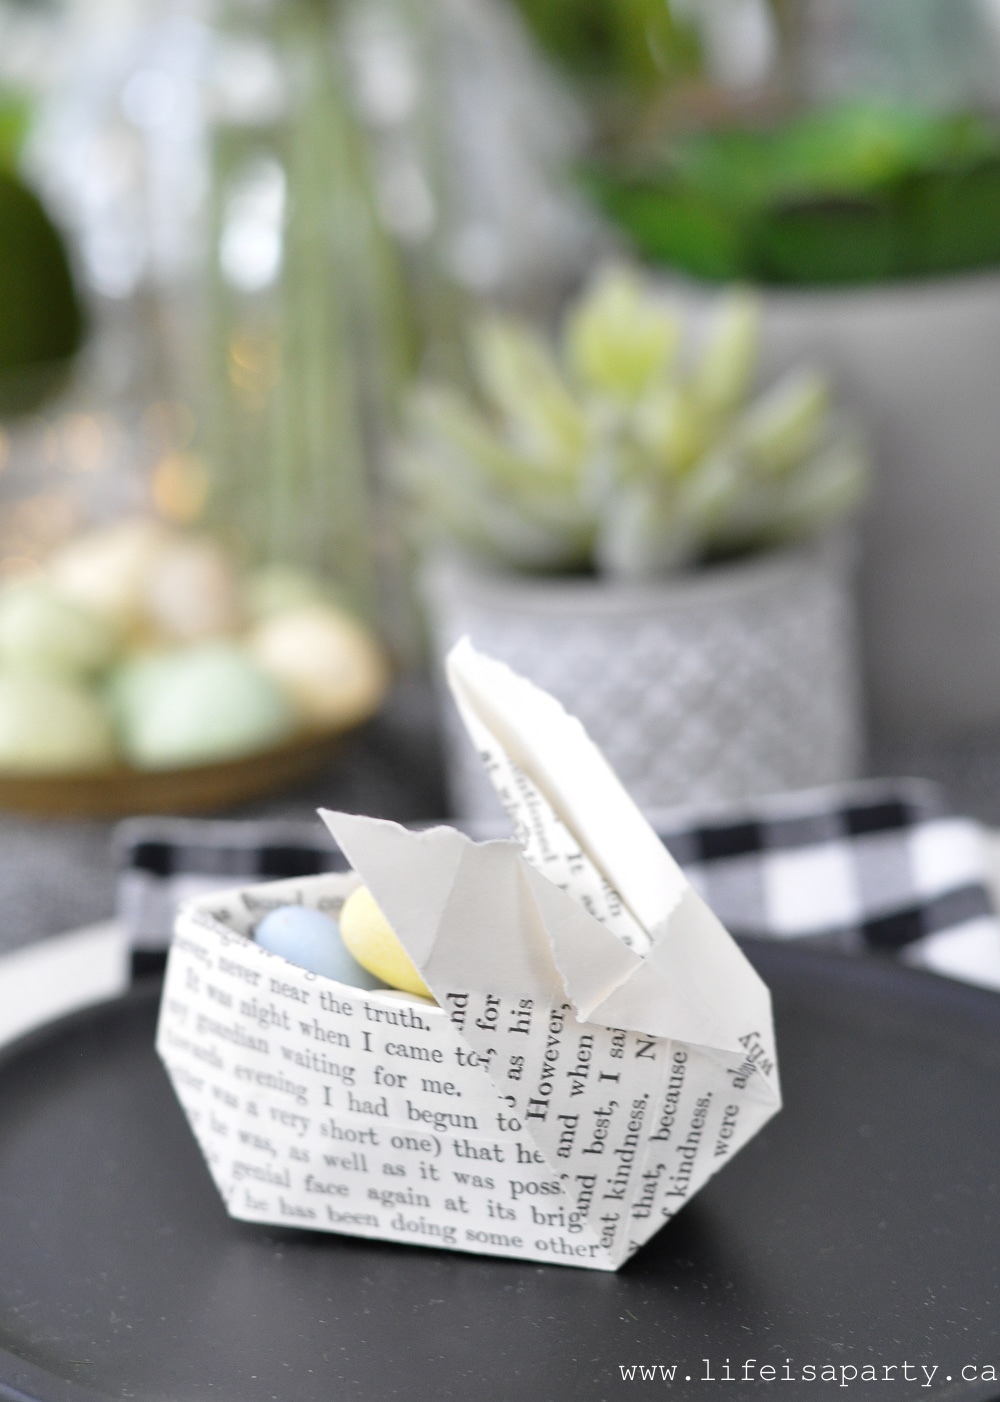
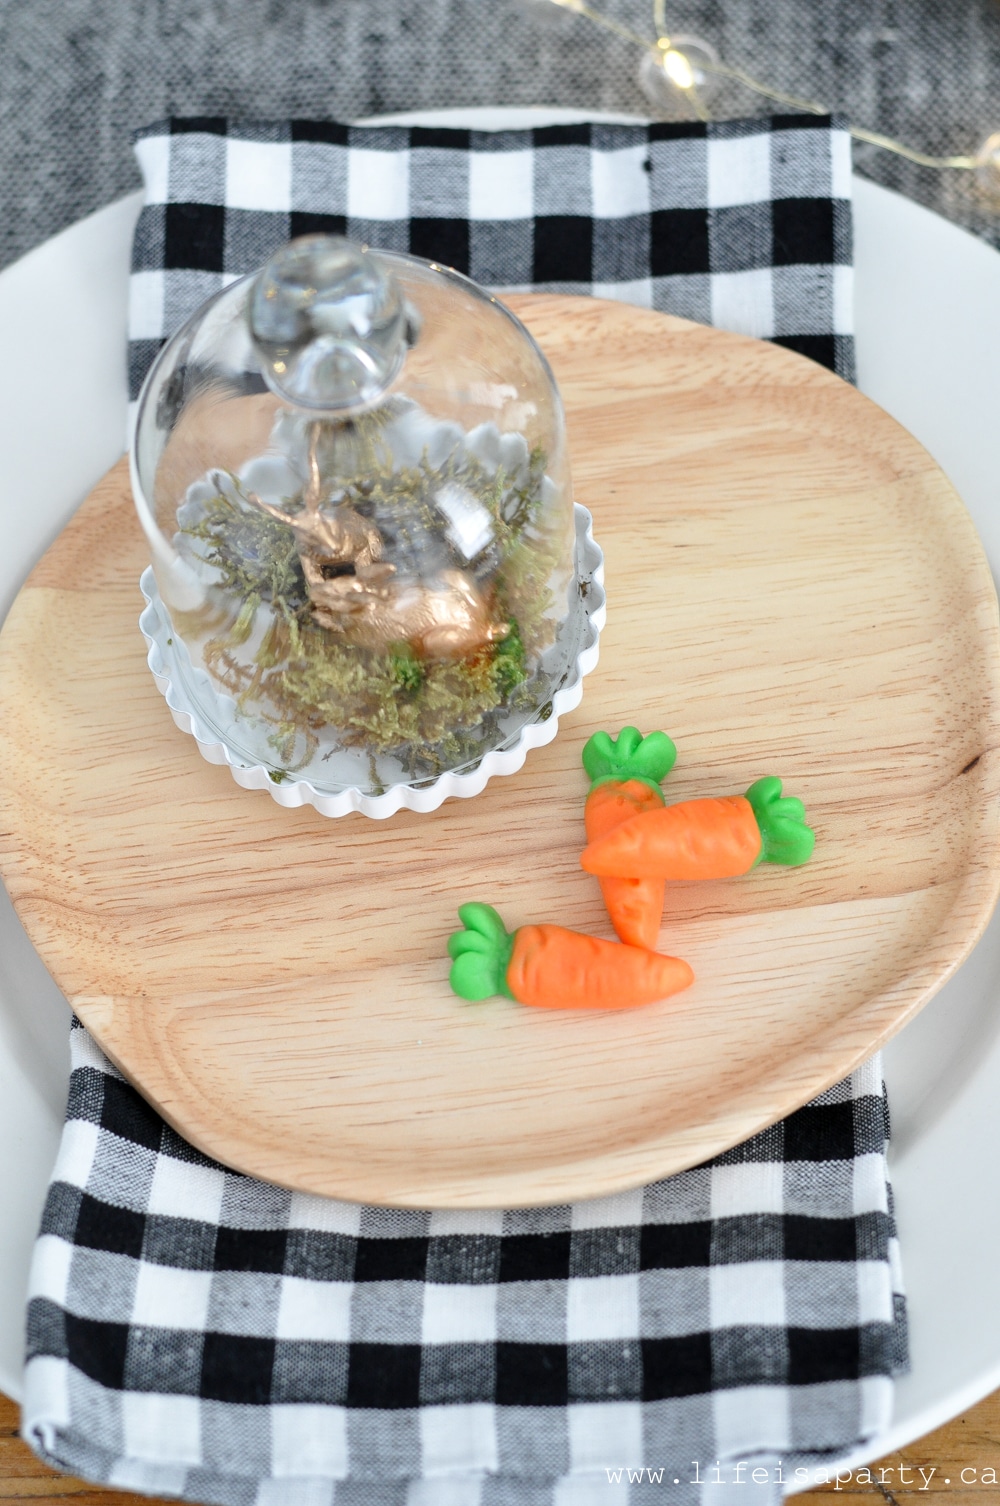
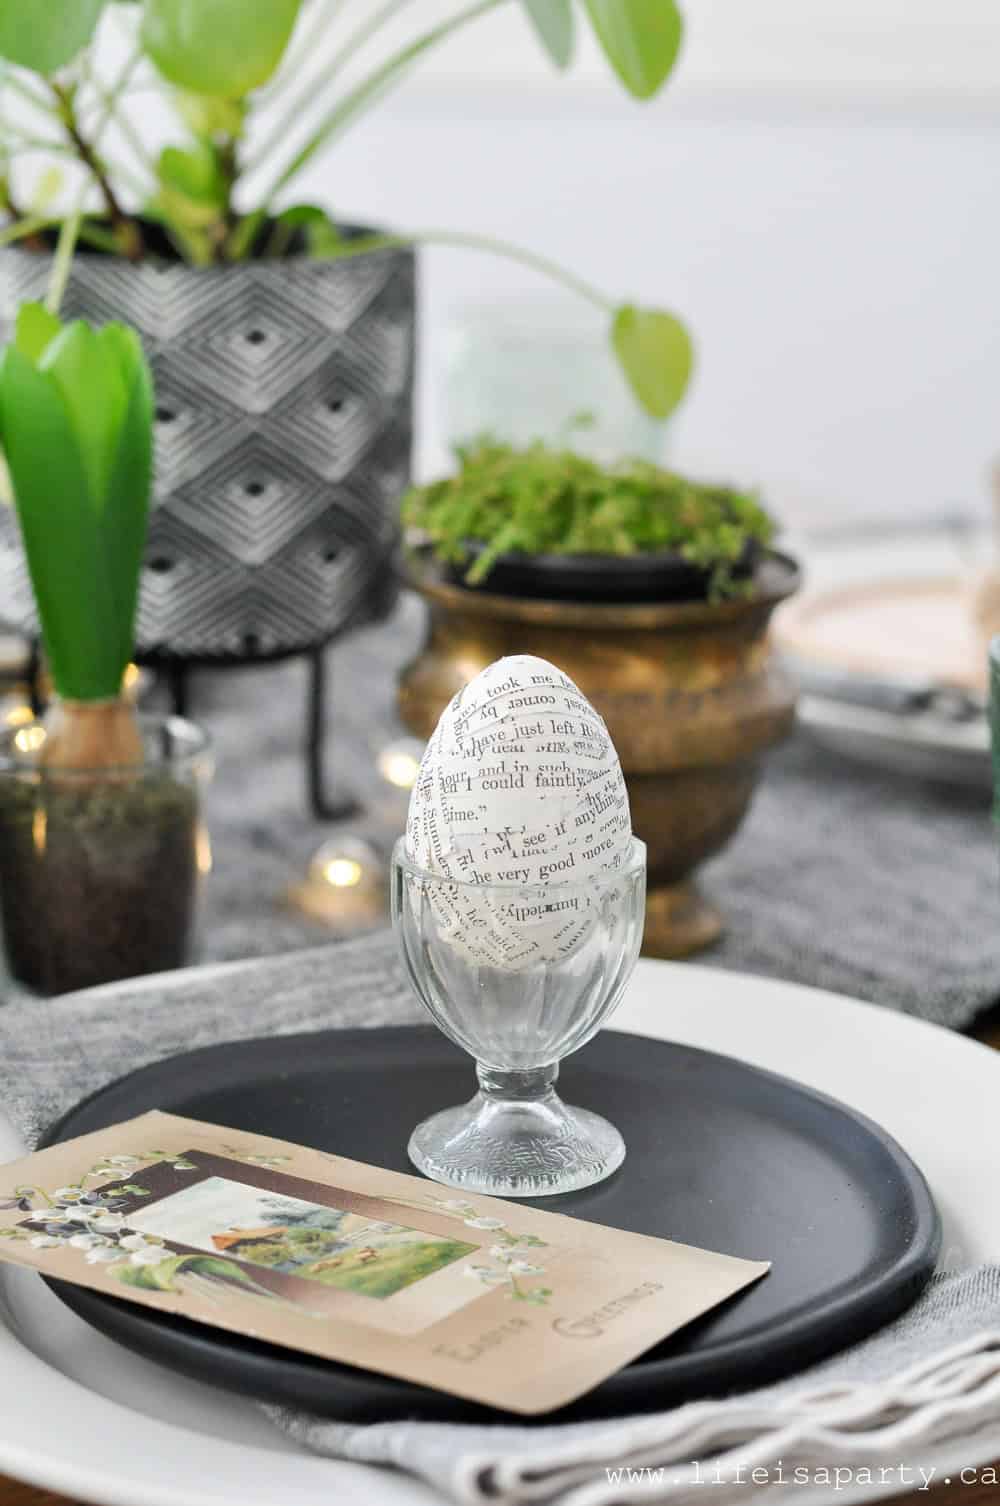
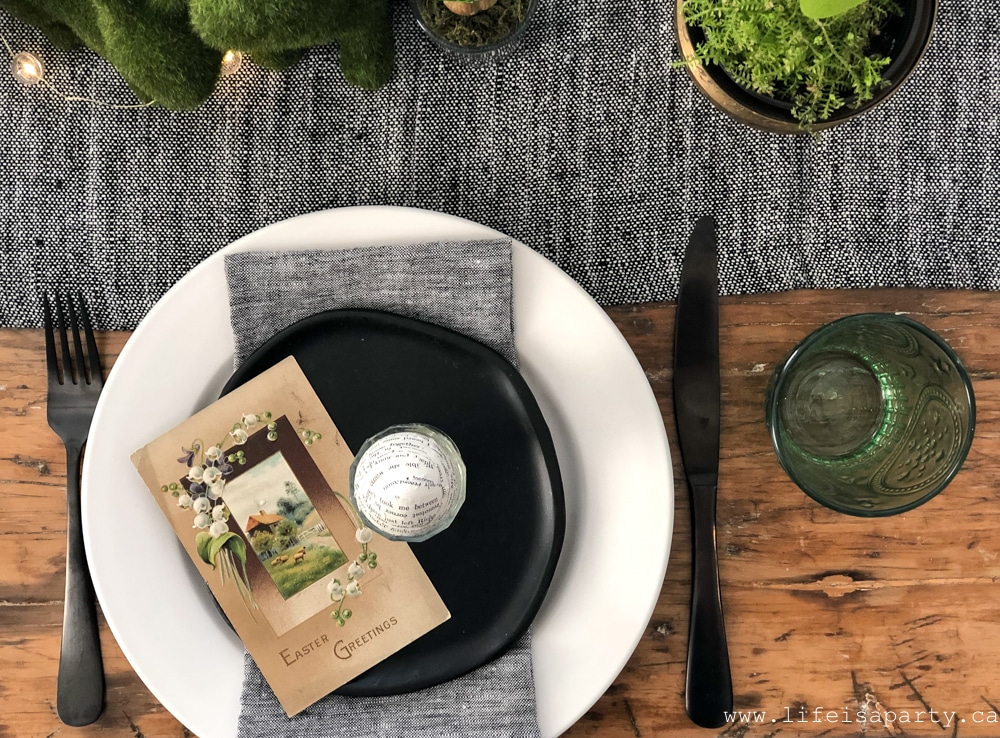
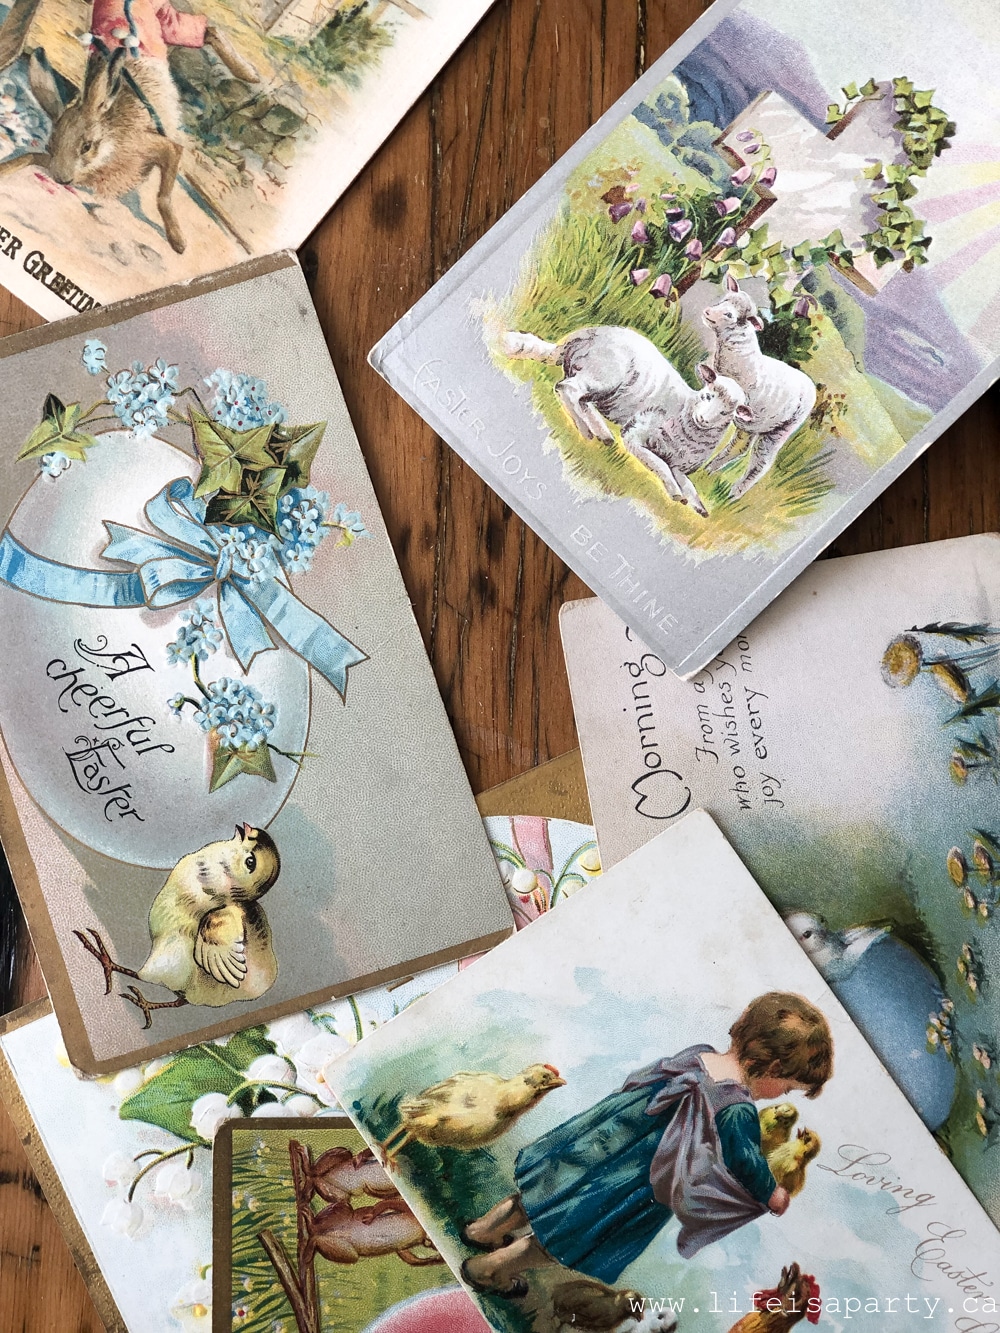
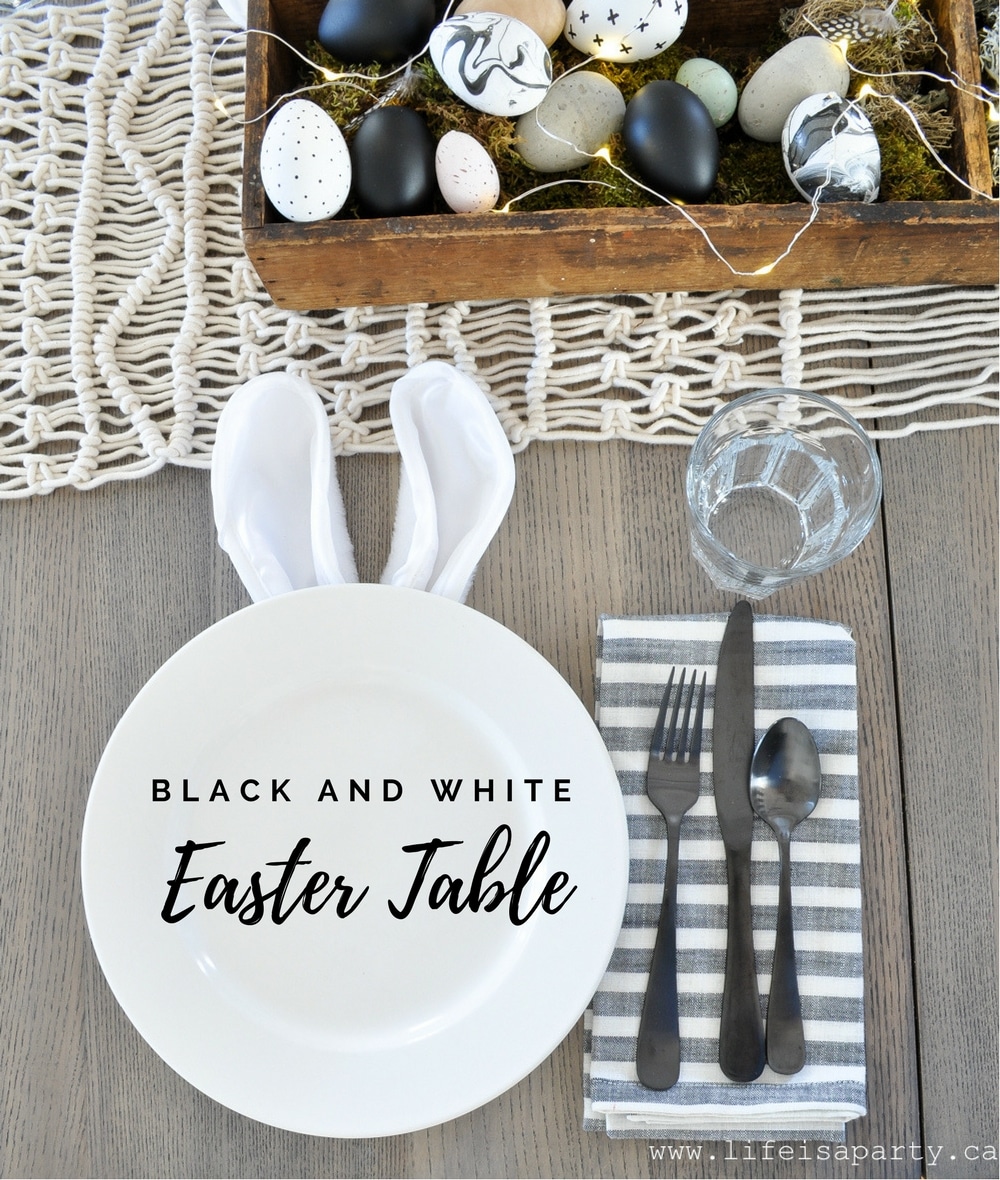
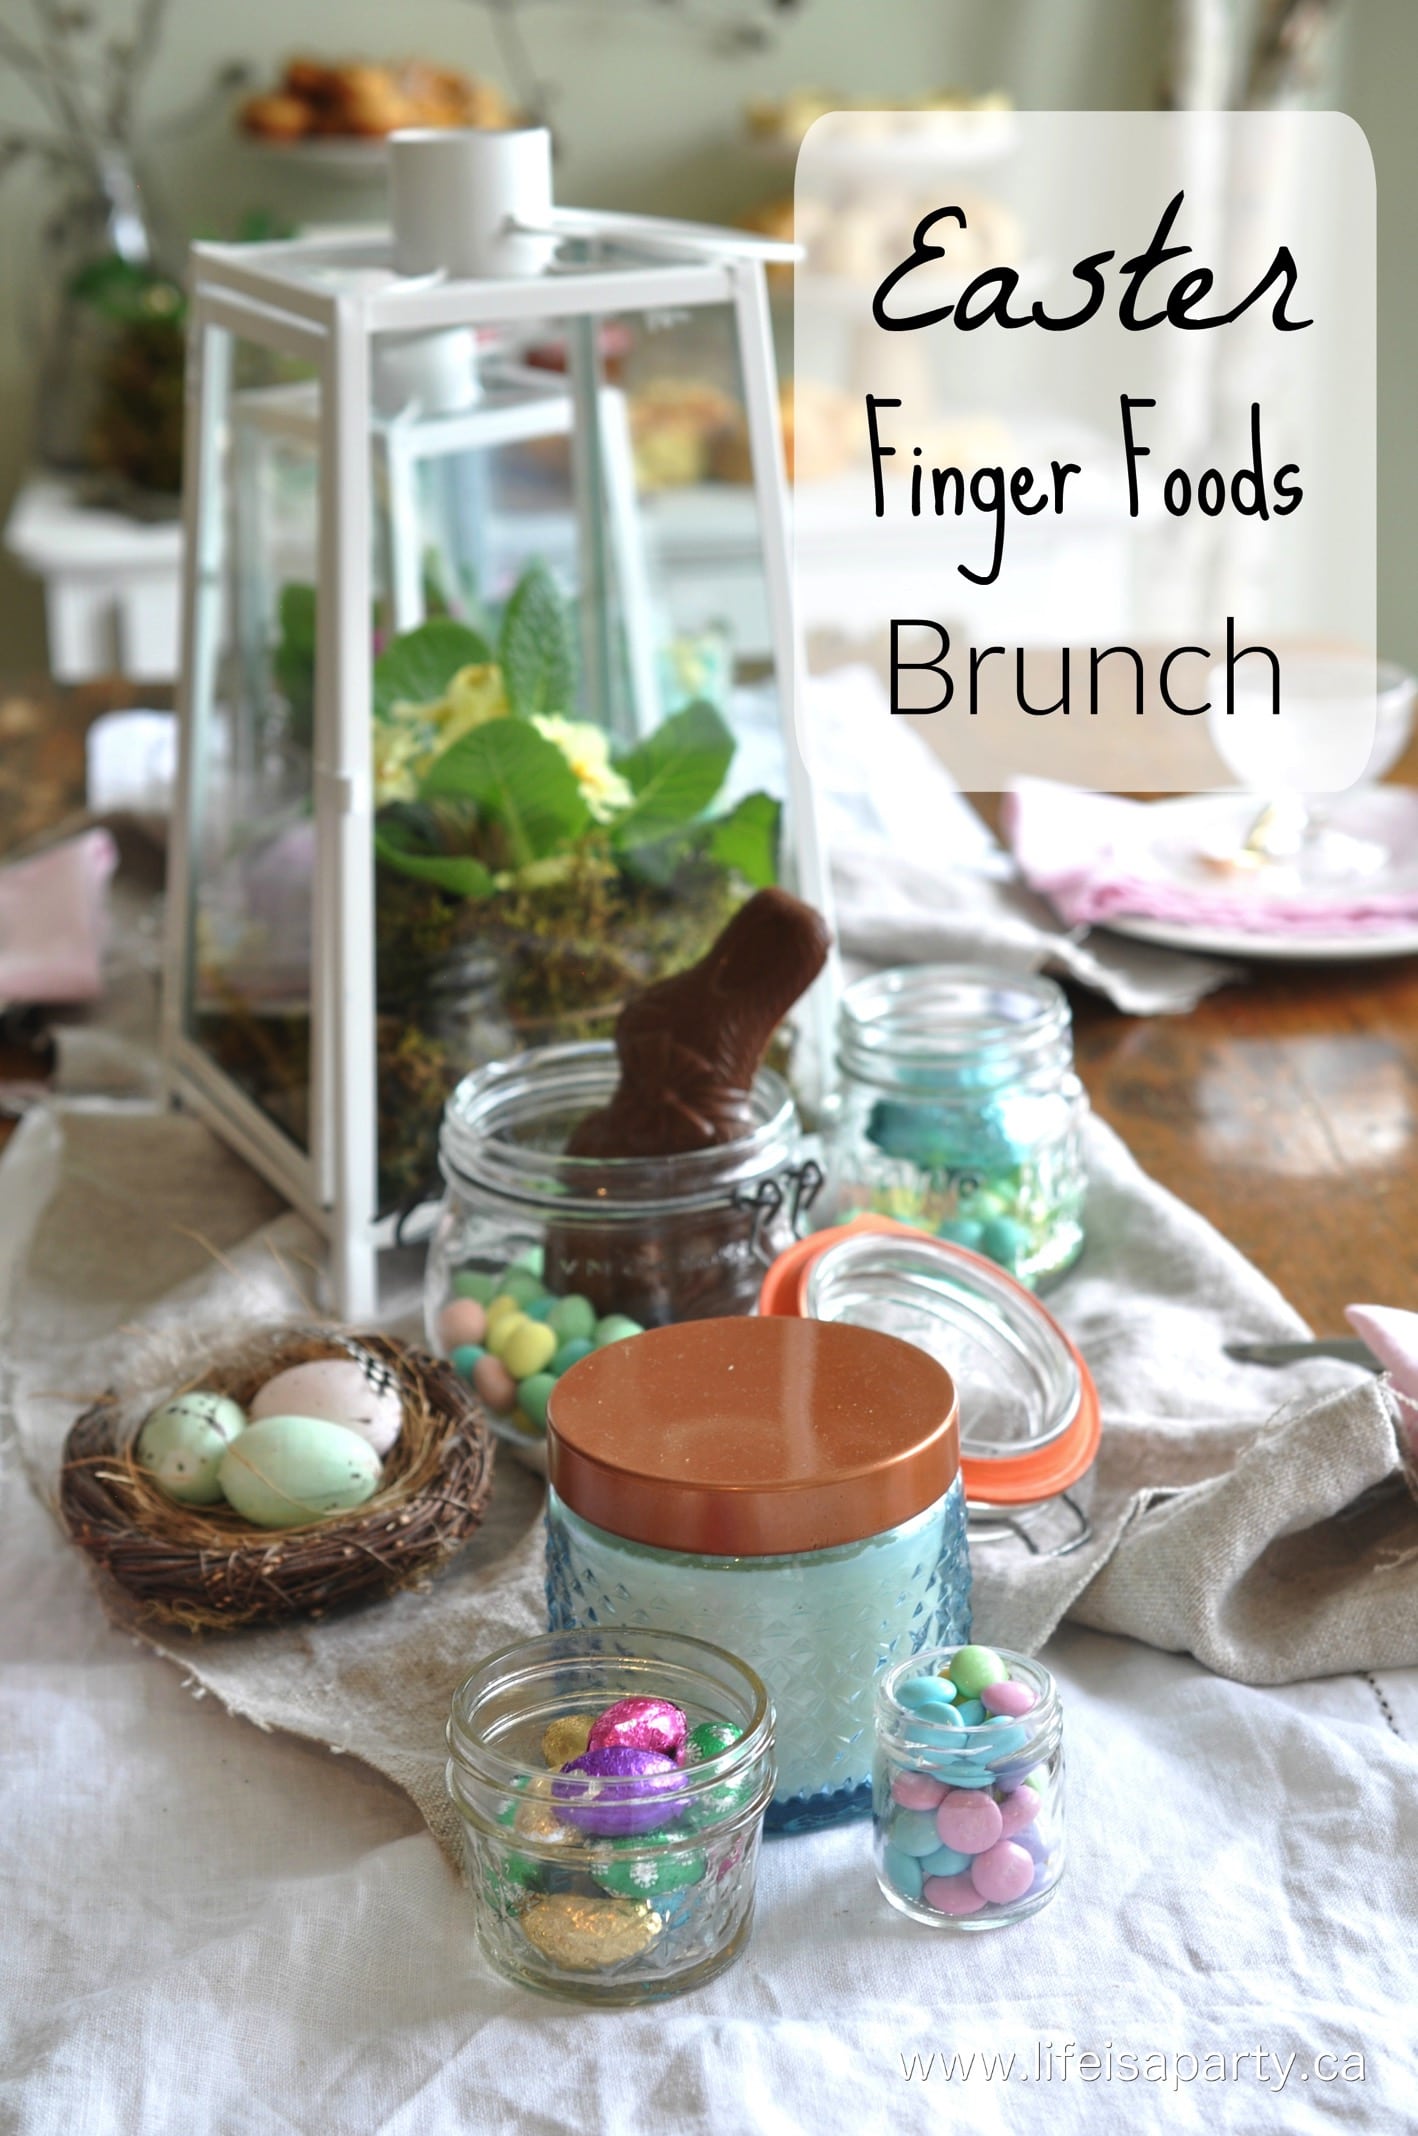
 I used green, black and white this year, but these ideas would work for any colour scheme. I always think it's fun to add a little detail to each place setting and I've got 8 different ideas of what you could add to a place setting for Easter or spring to make it extra special. Each place setting is different for this table -and I swapped a few extras out too, to give you lots of inspiration. Choose your favourite and use it on the whole table, or mix and match.
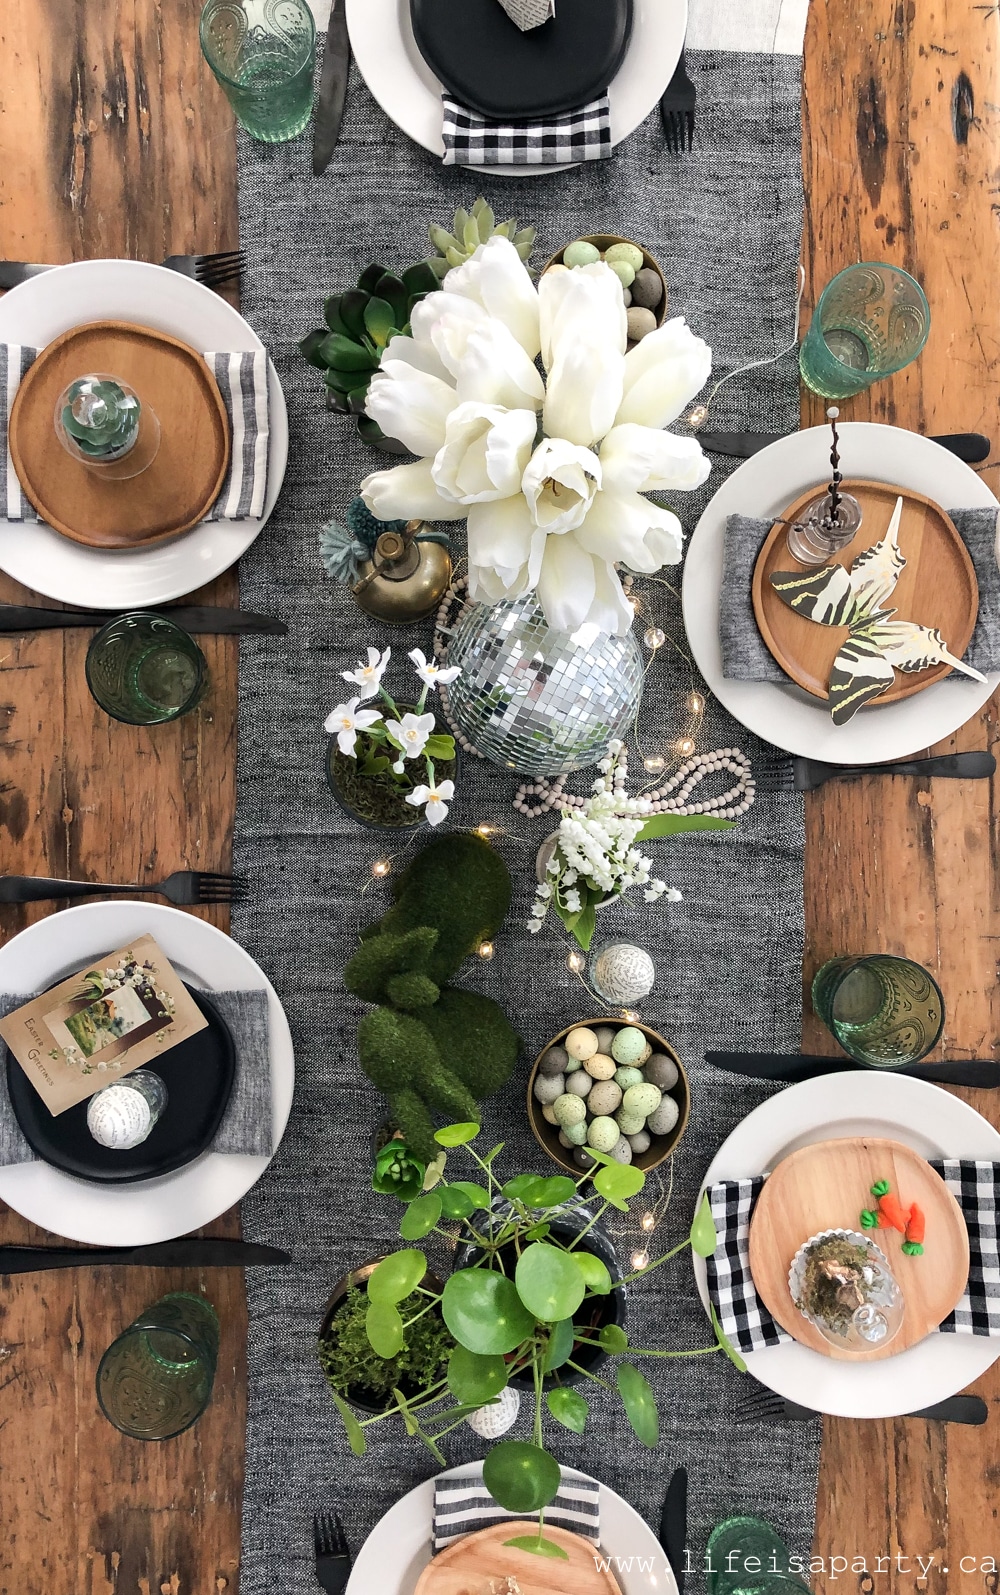
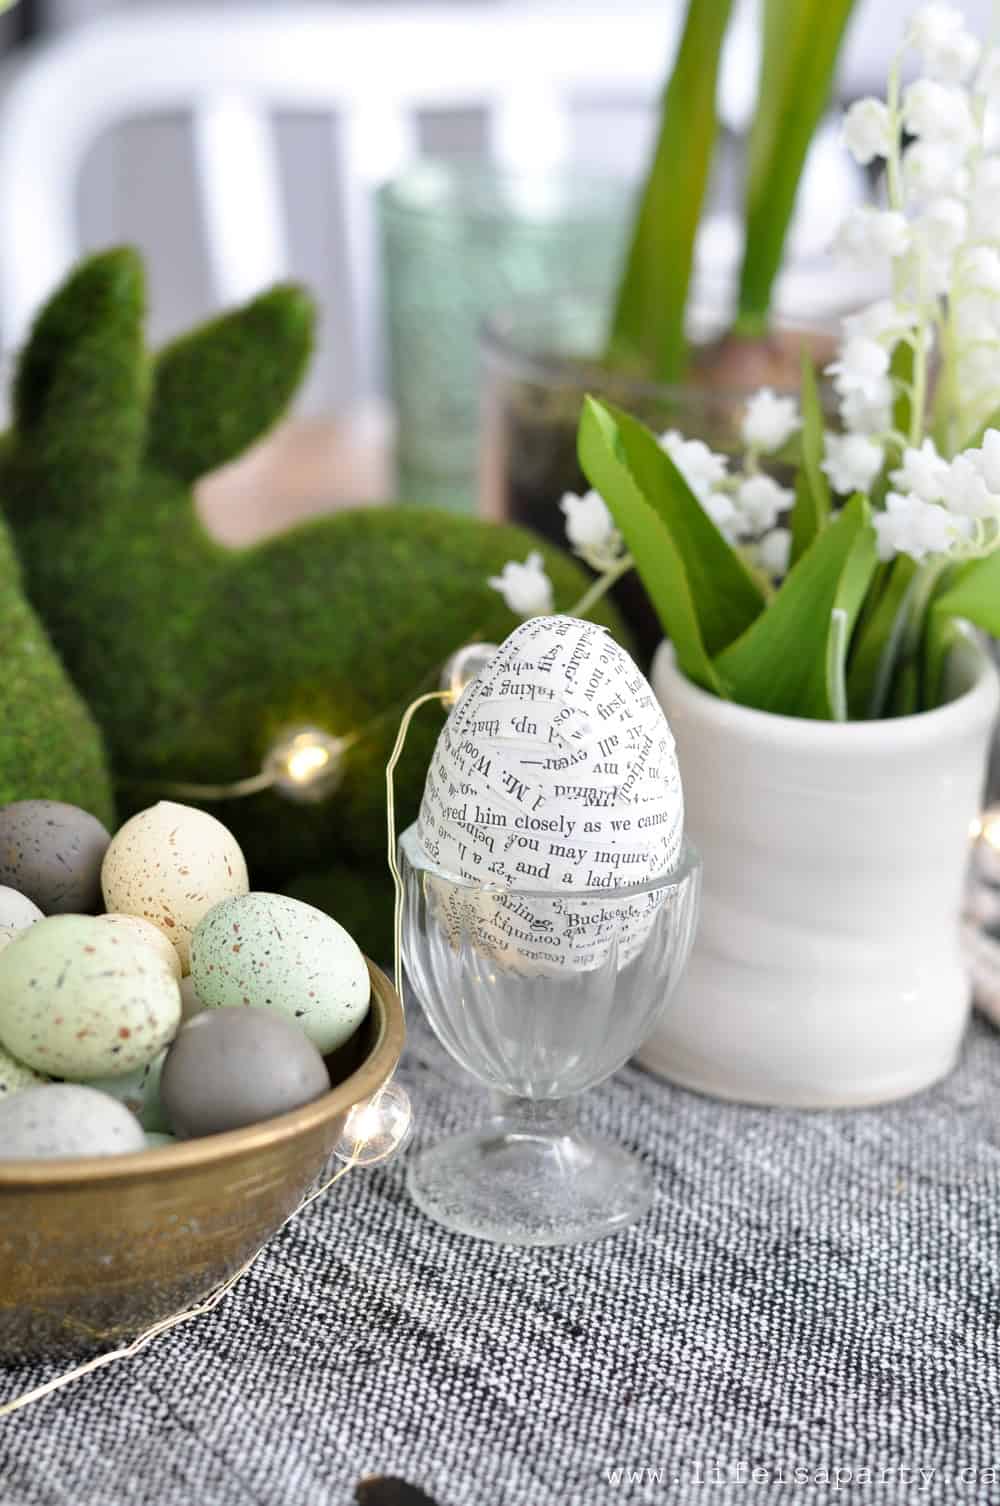
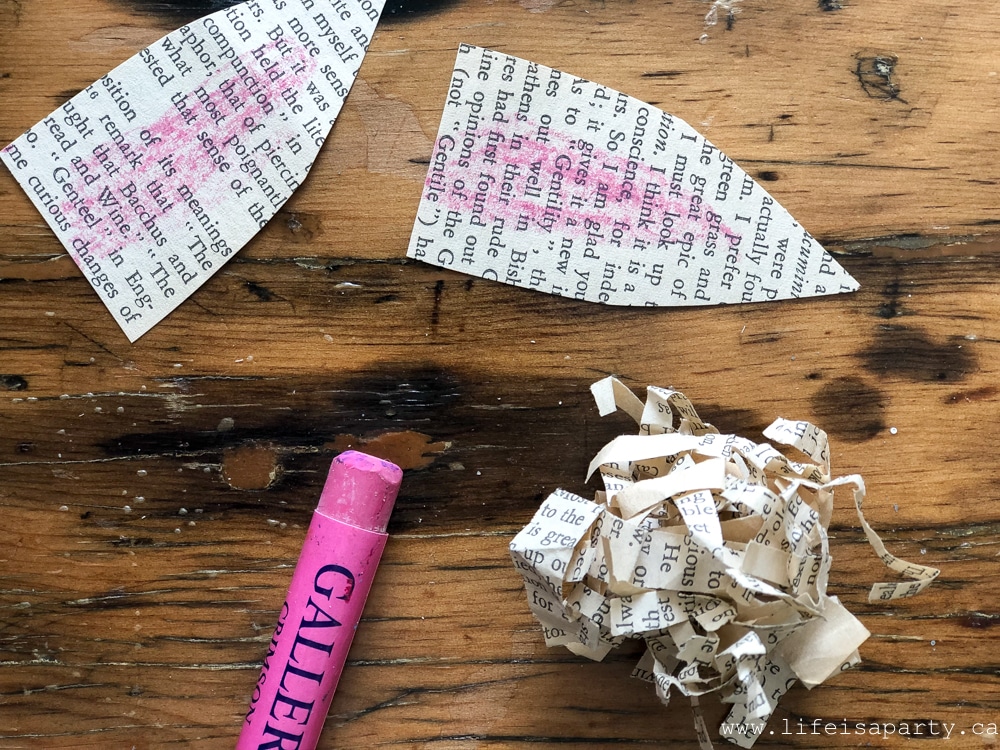
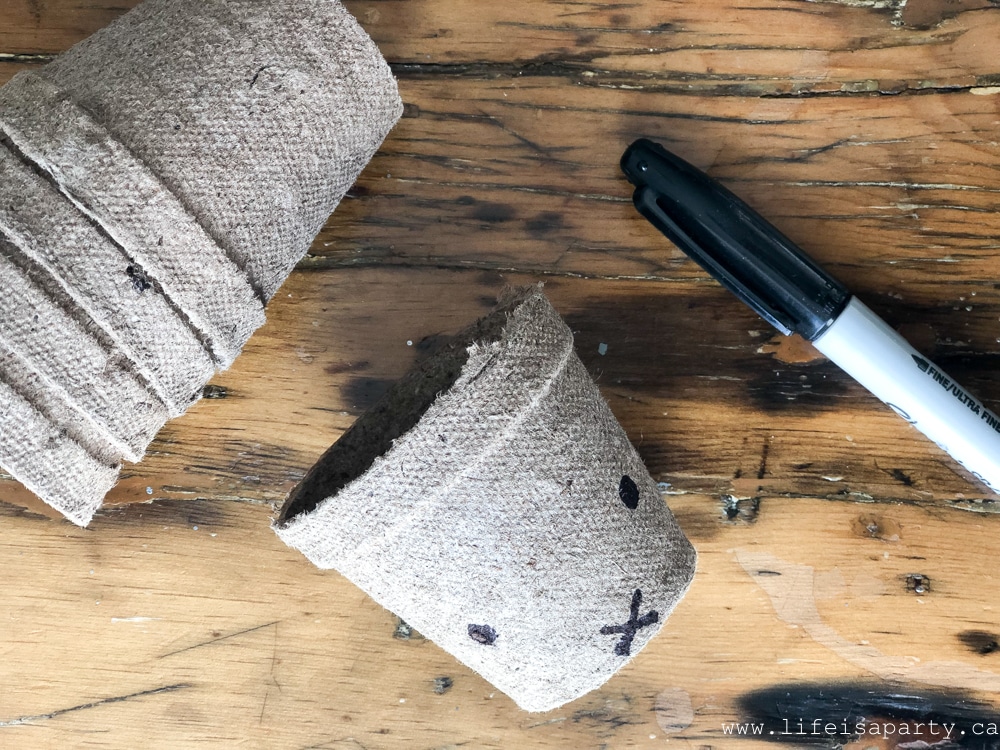
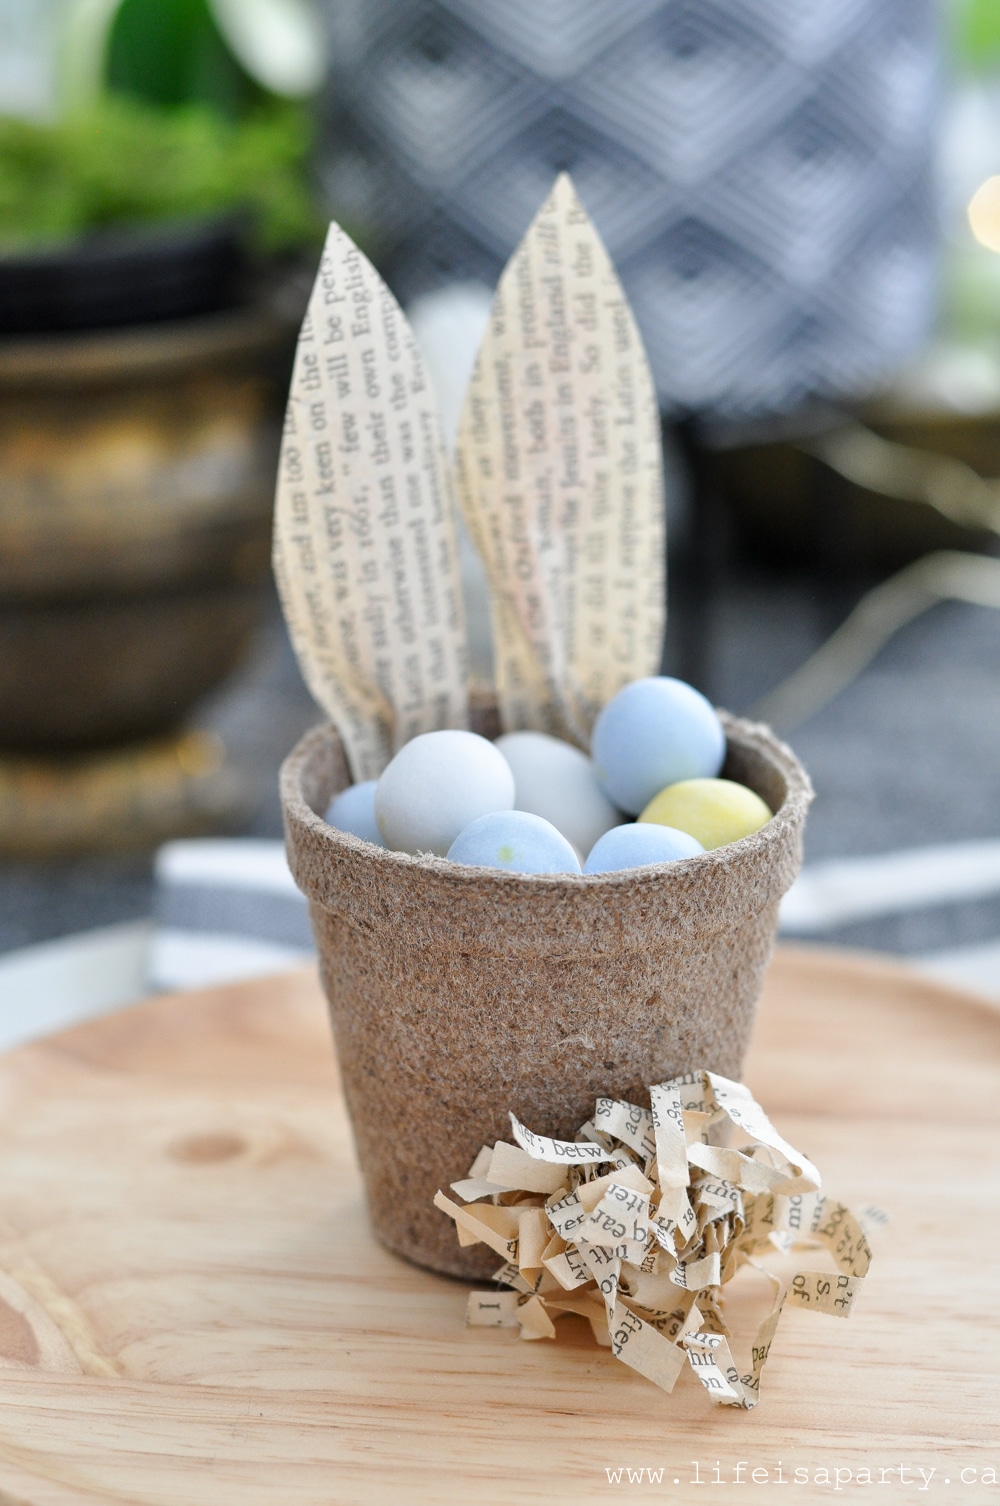
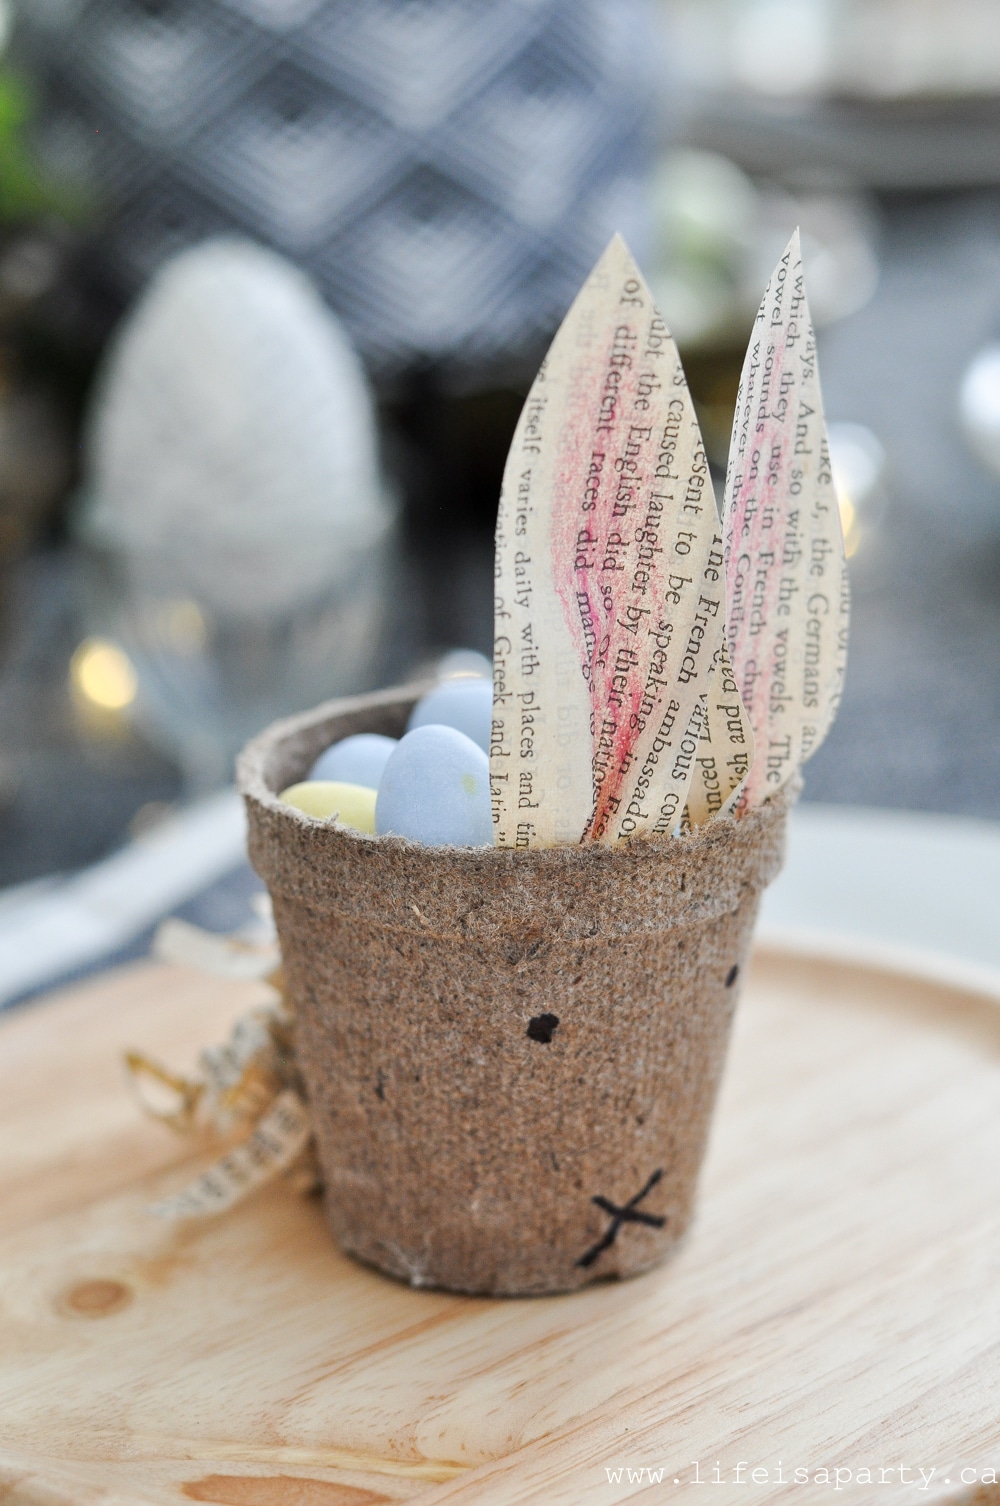
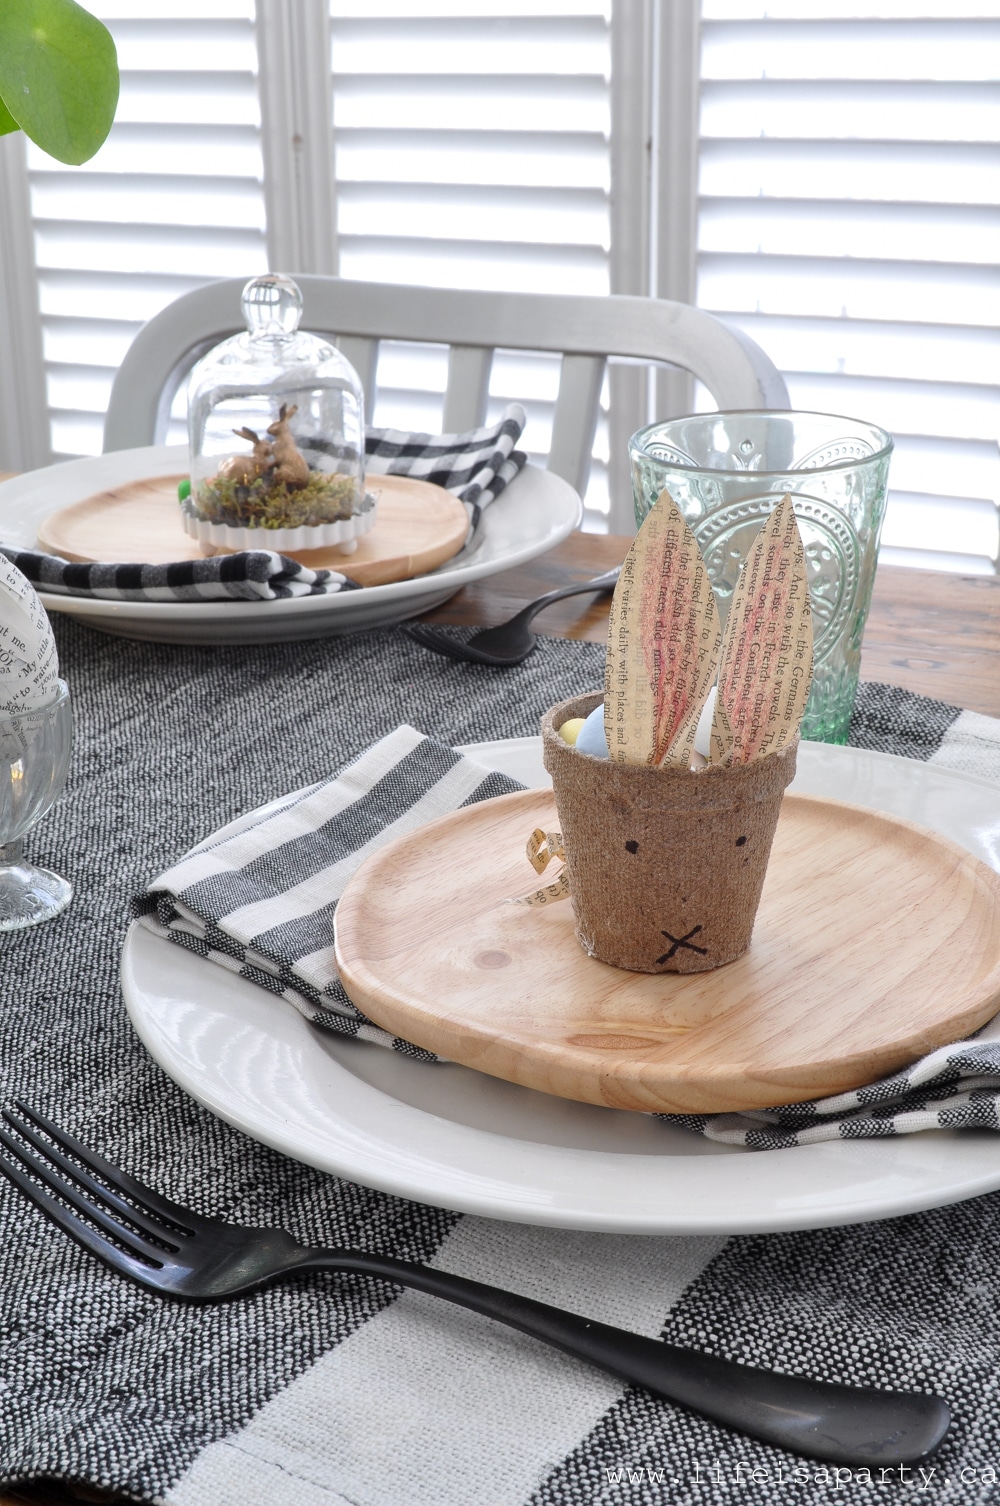 These little paper plant pots for starting seeds in inspired me to make a cute little bunny with them. I cut the ears out of an old book page, and then used some oil pastel to add some pink to them.
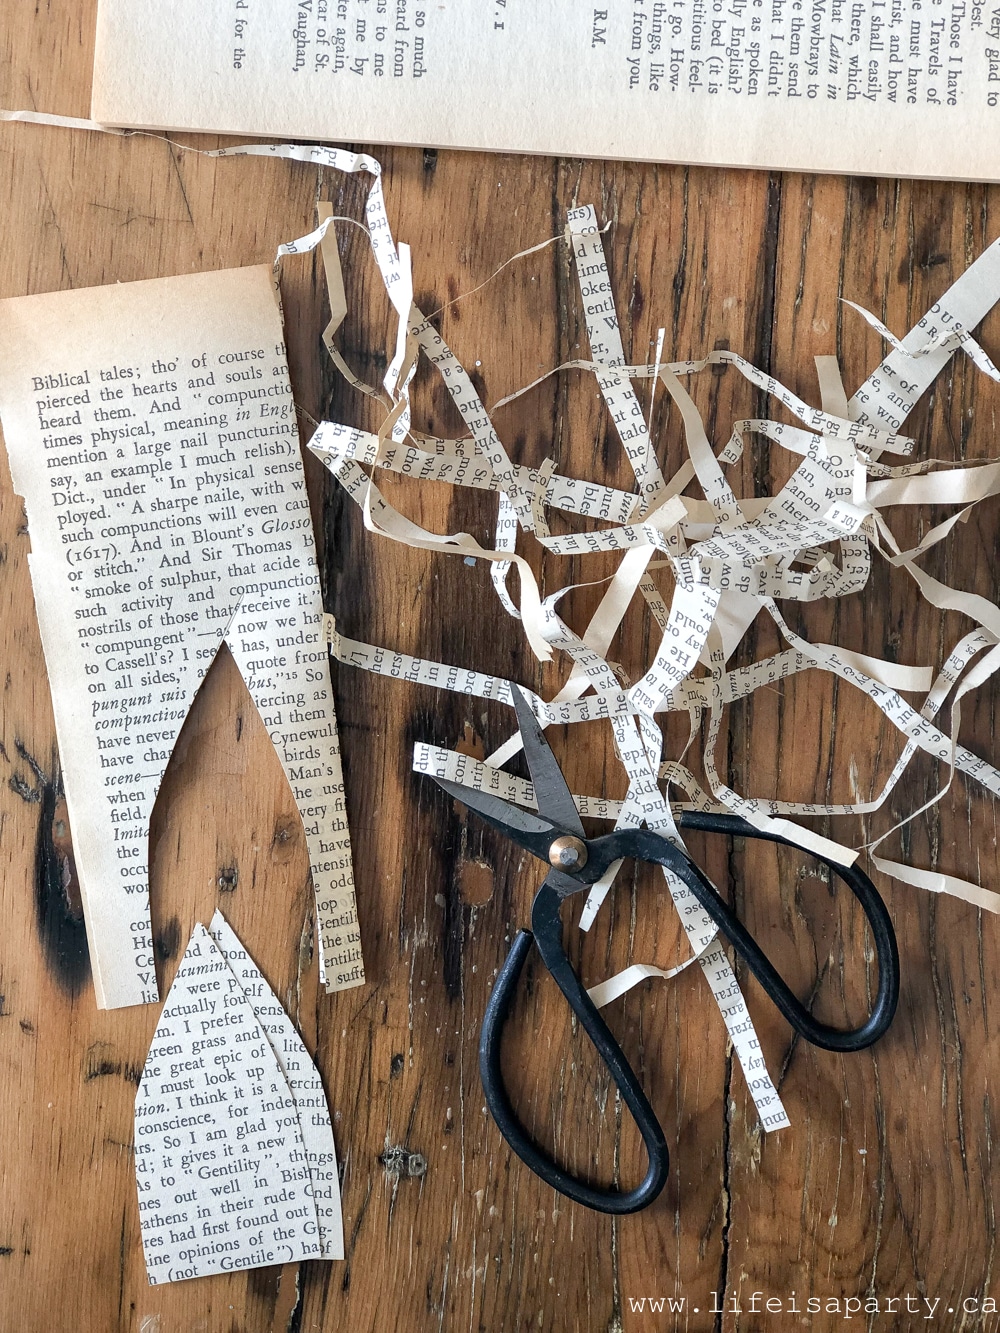

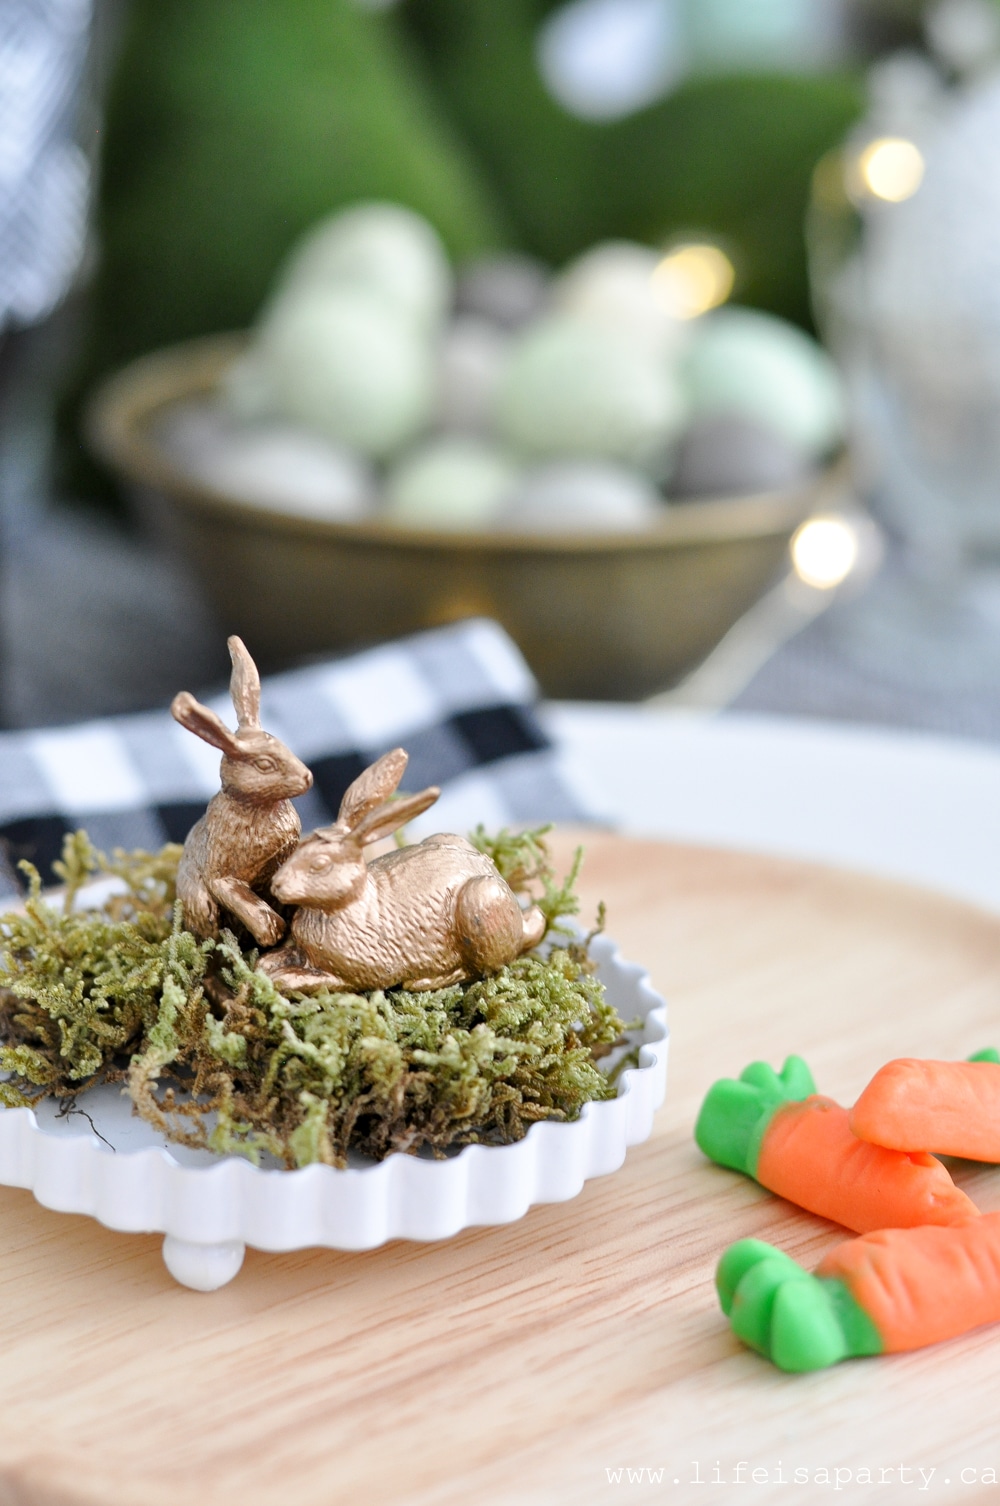
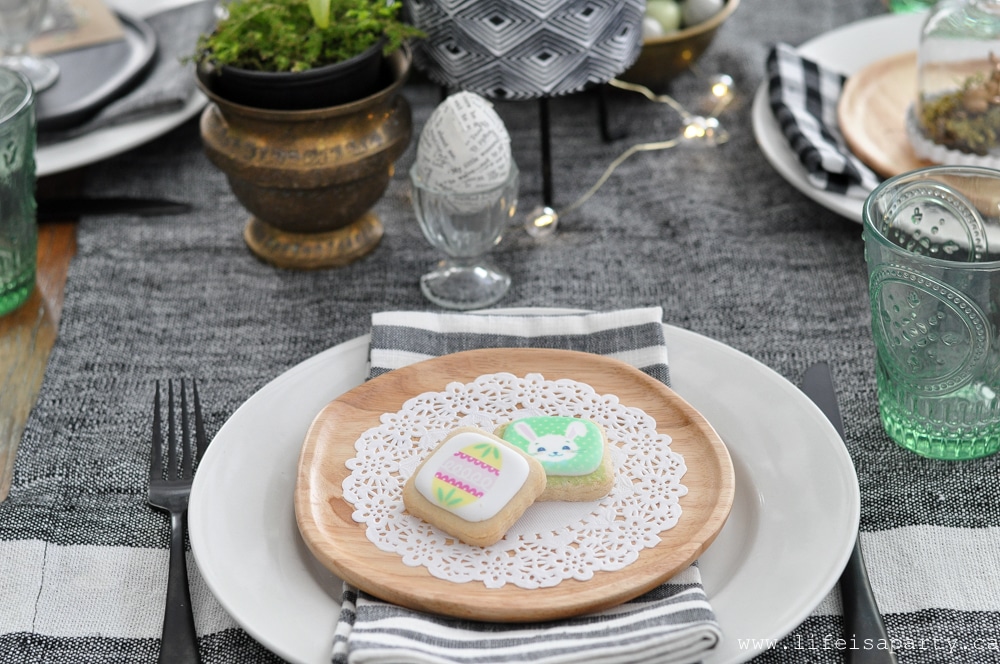 I picked up these sweet little Easter sugar cookies at the bulk store -but you could find some at the bakery or make your own. I used two cookies since they were small and layered them on top of a paper doily.
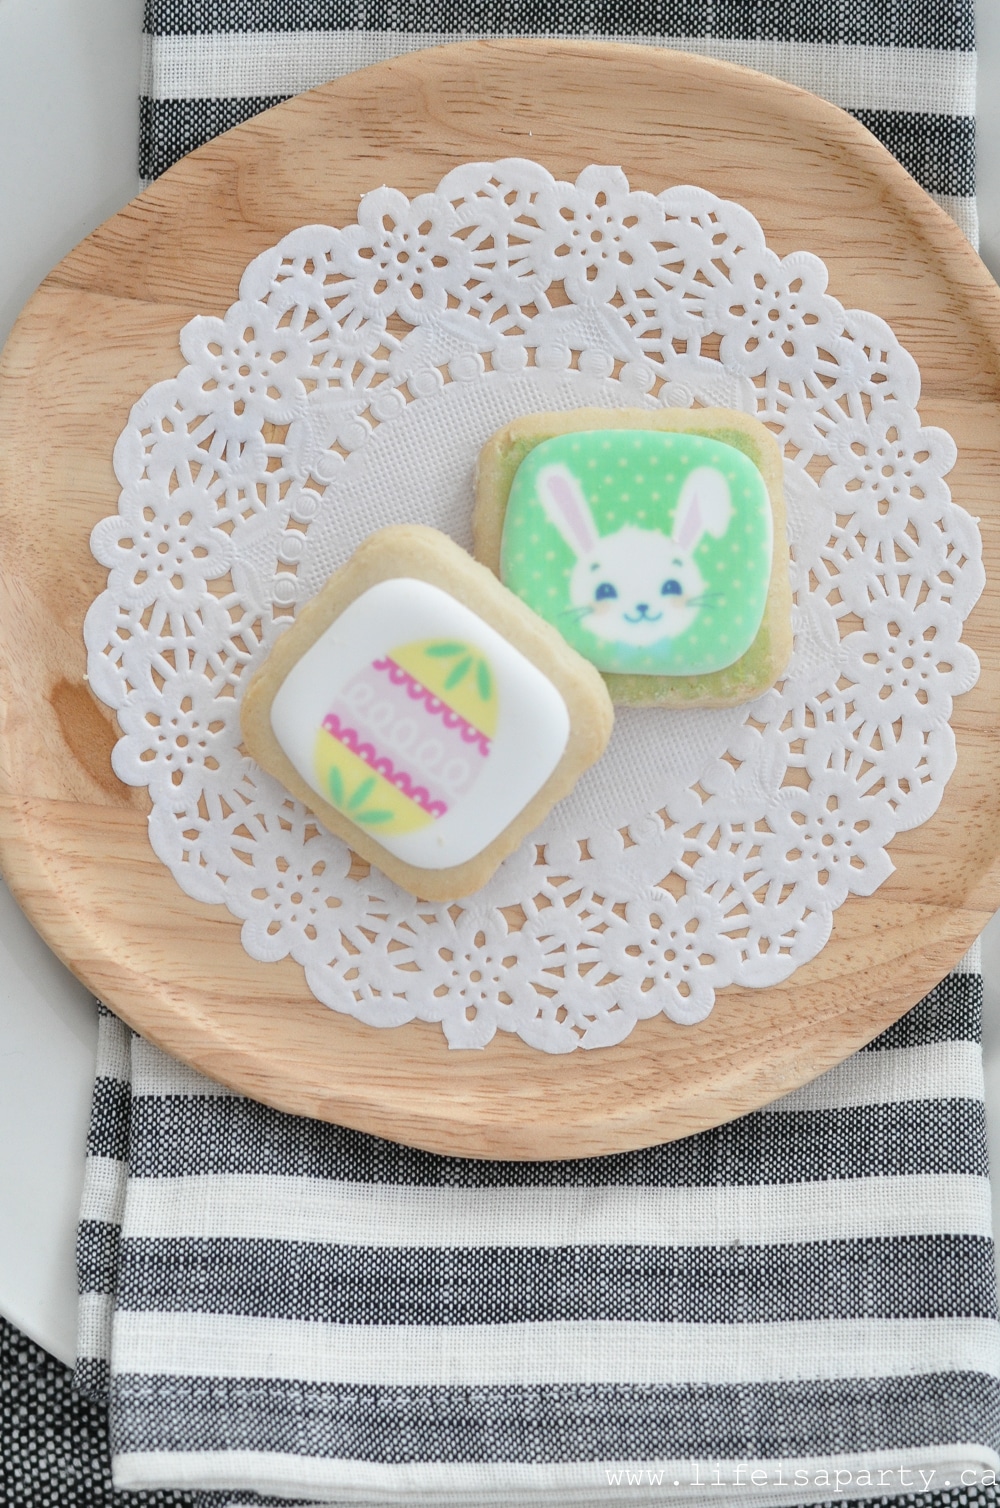


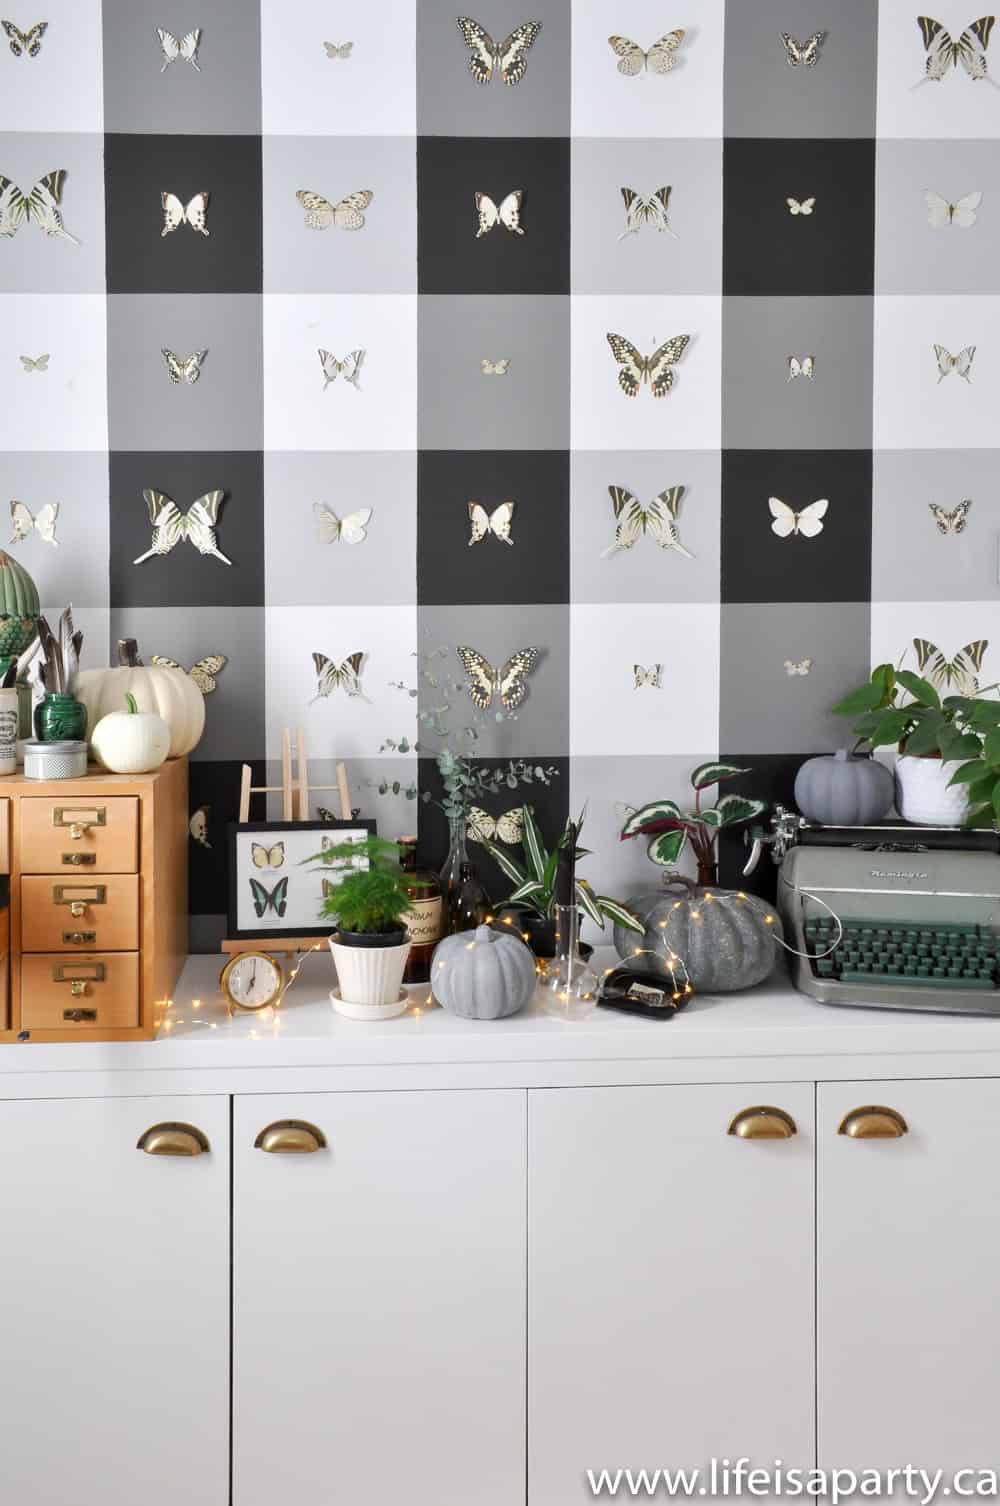
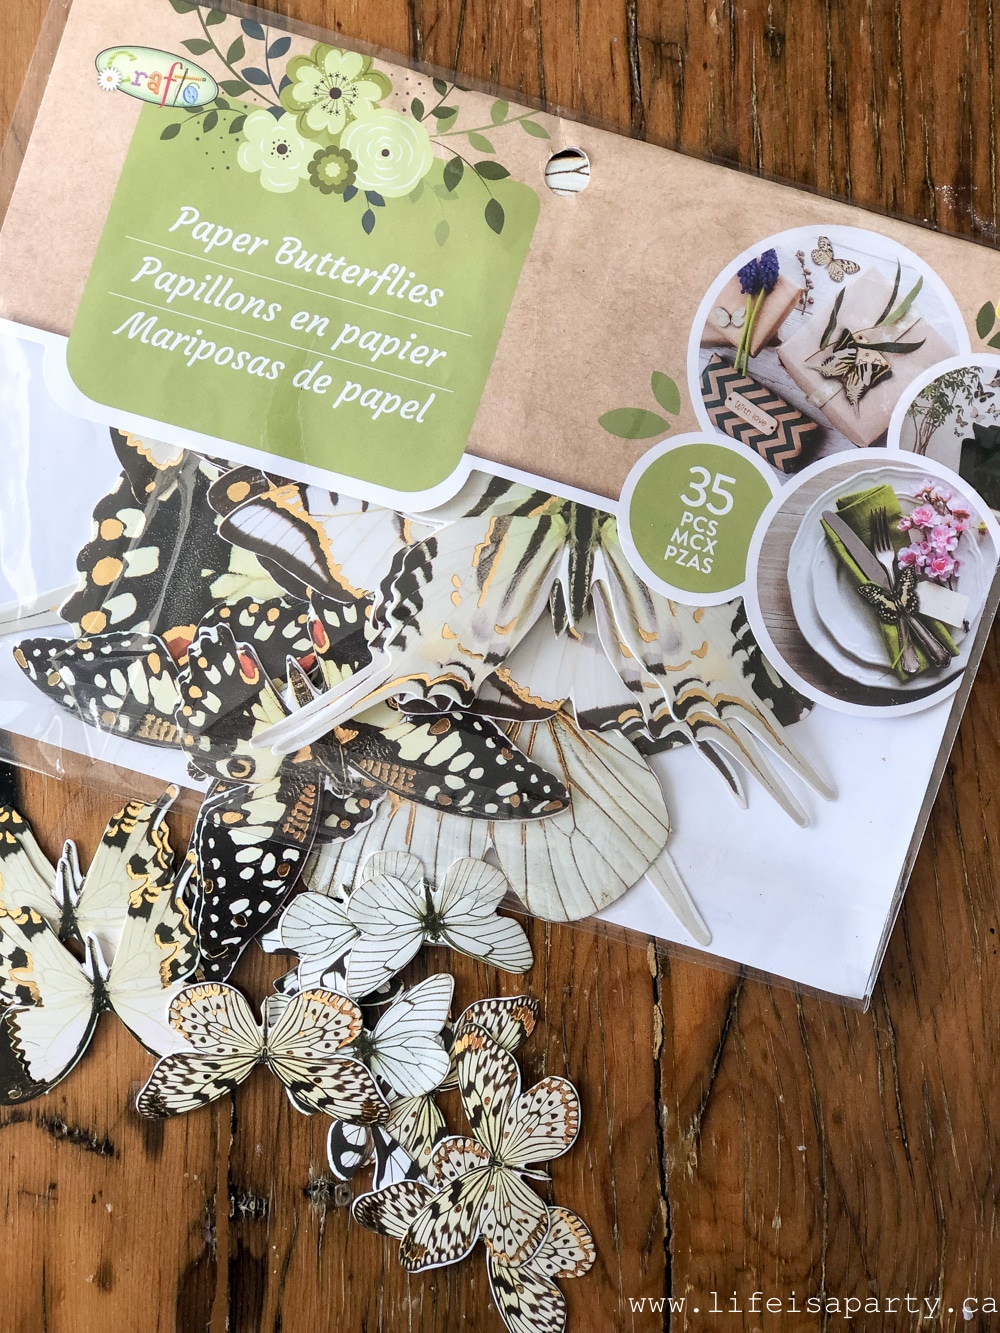
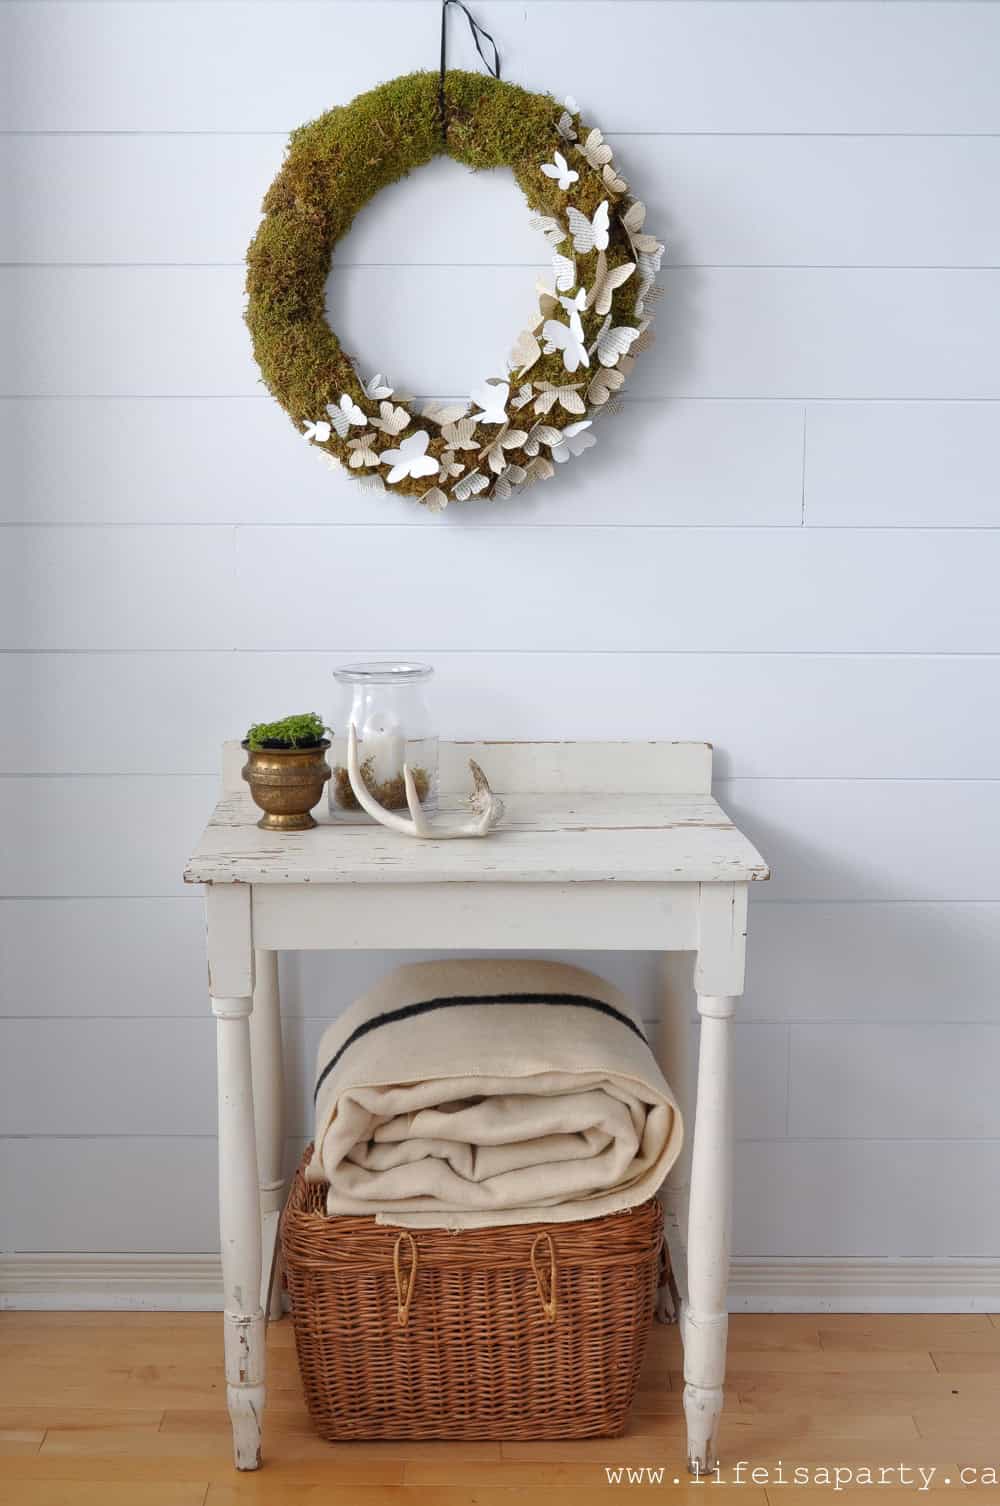
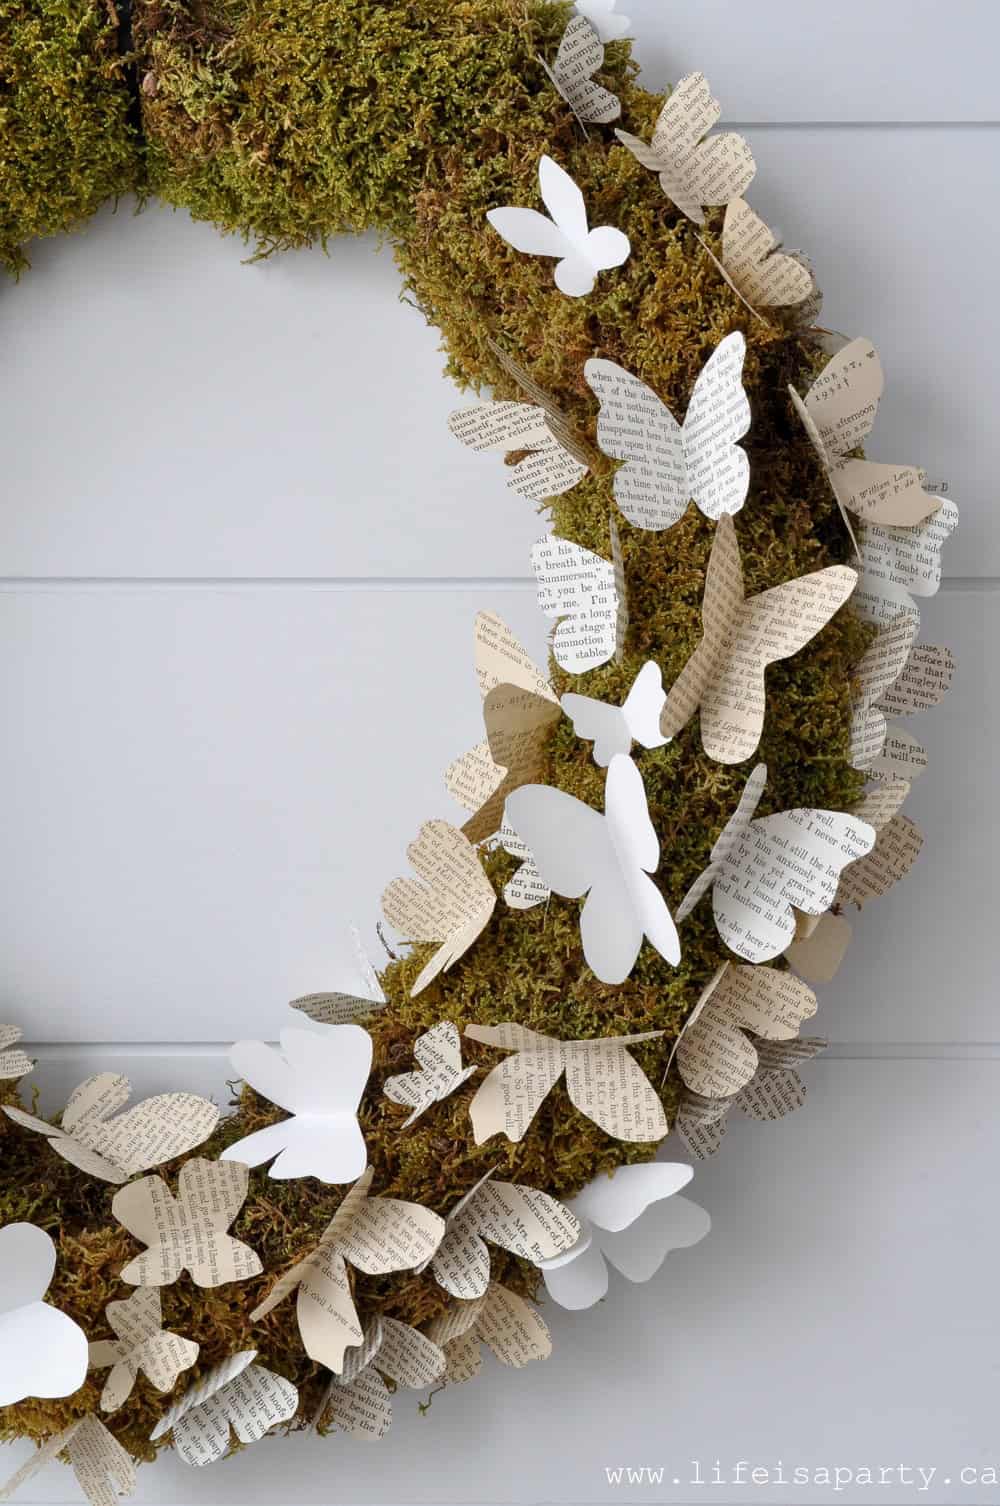
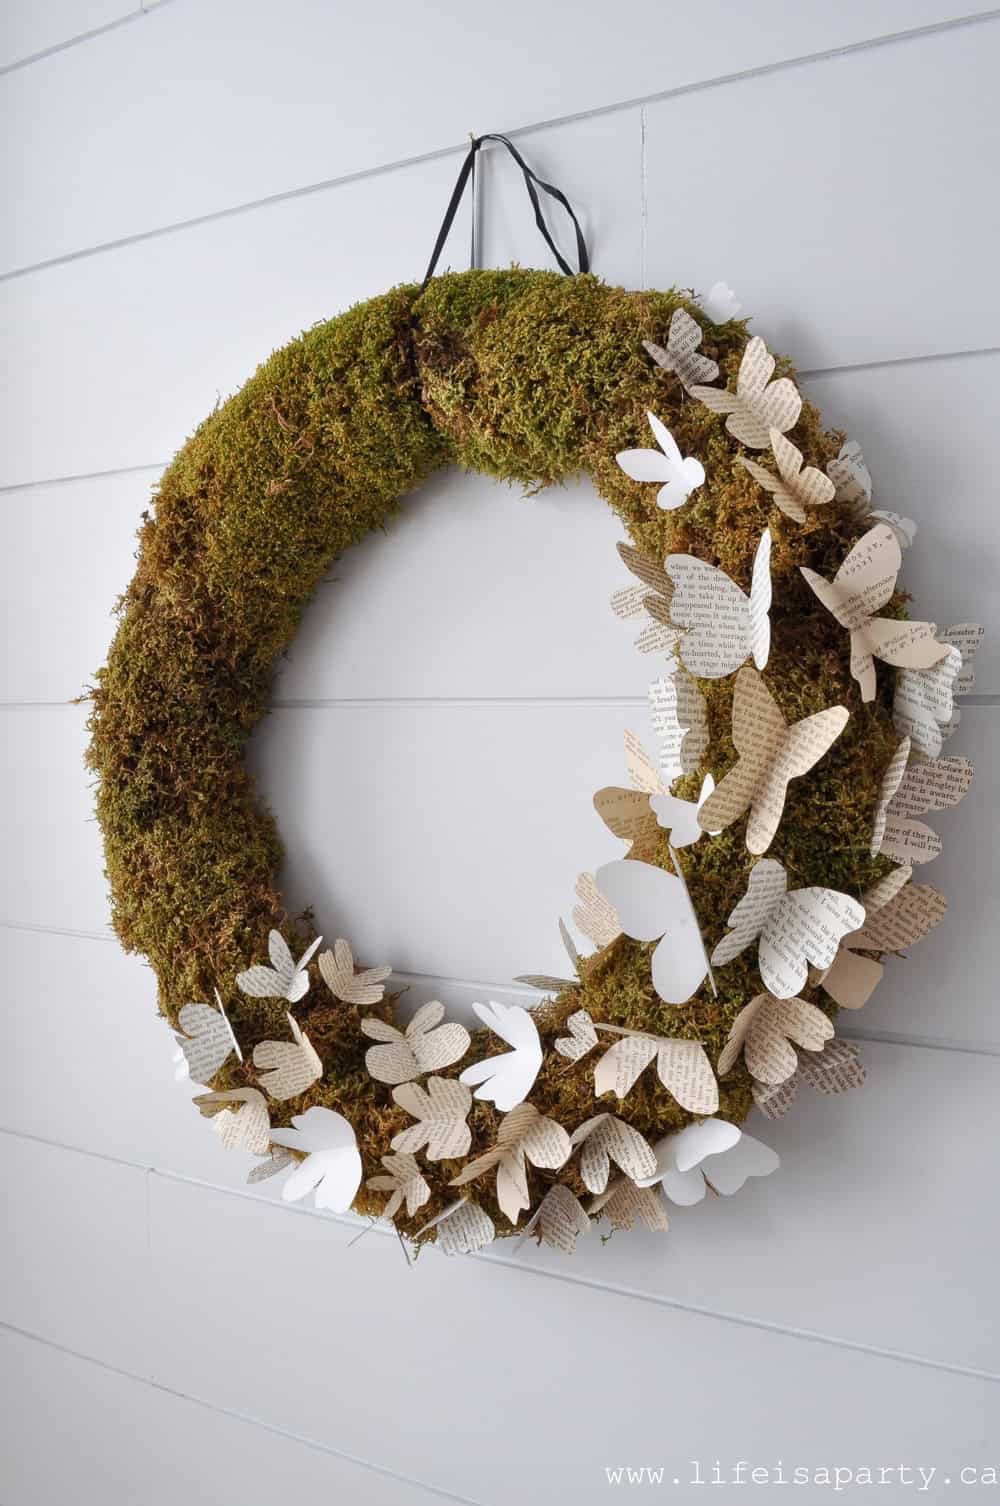
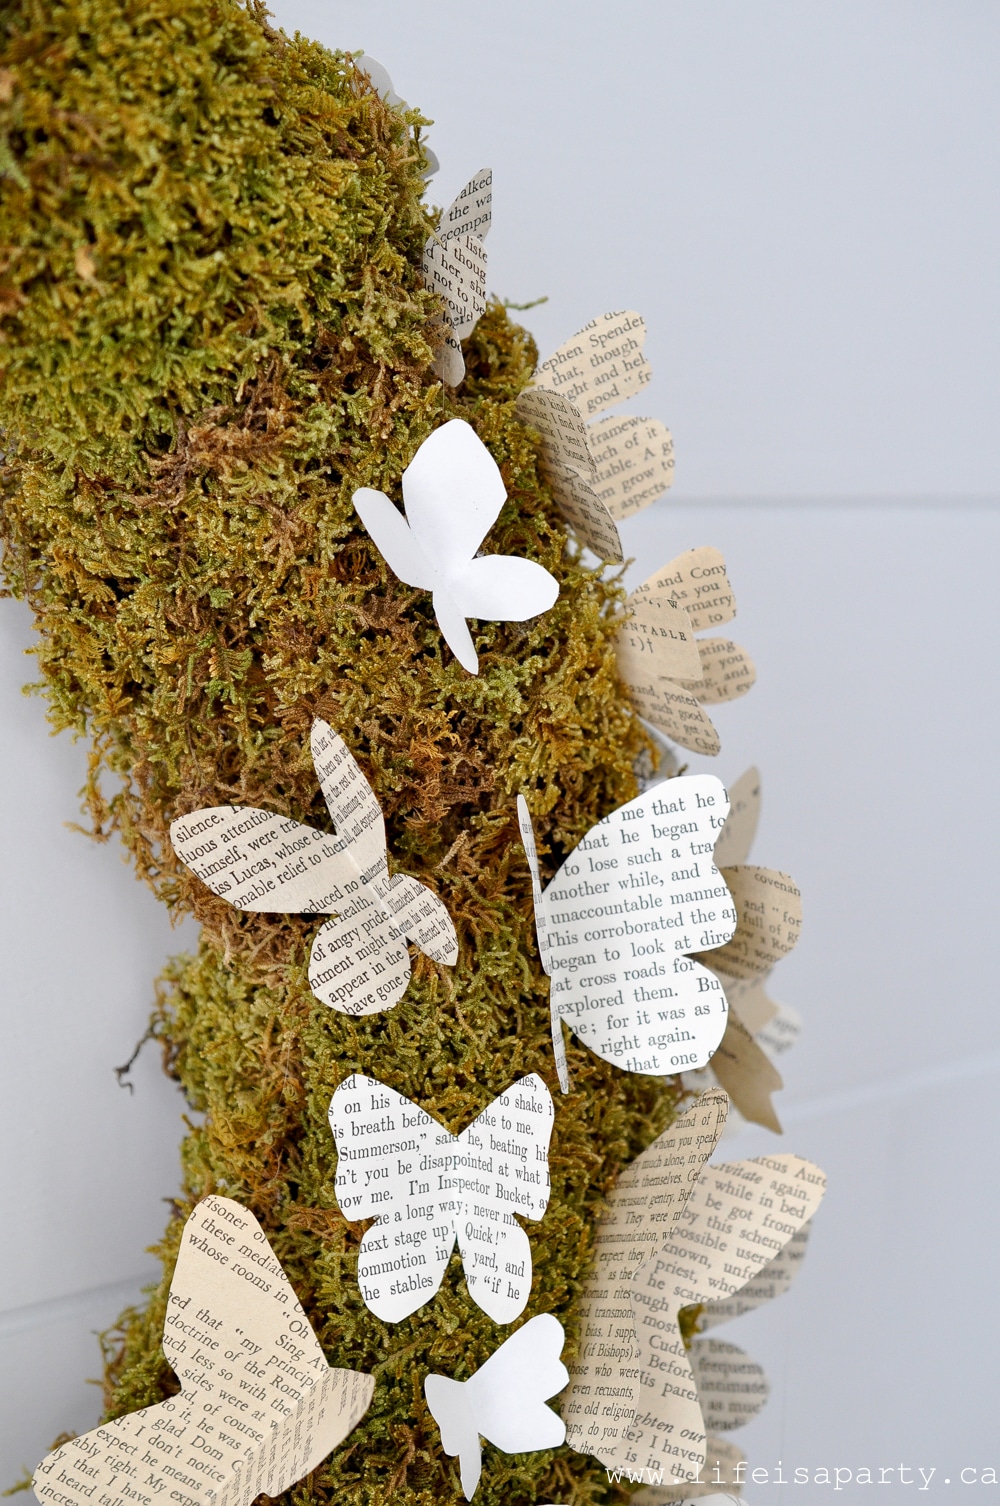
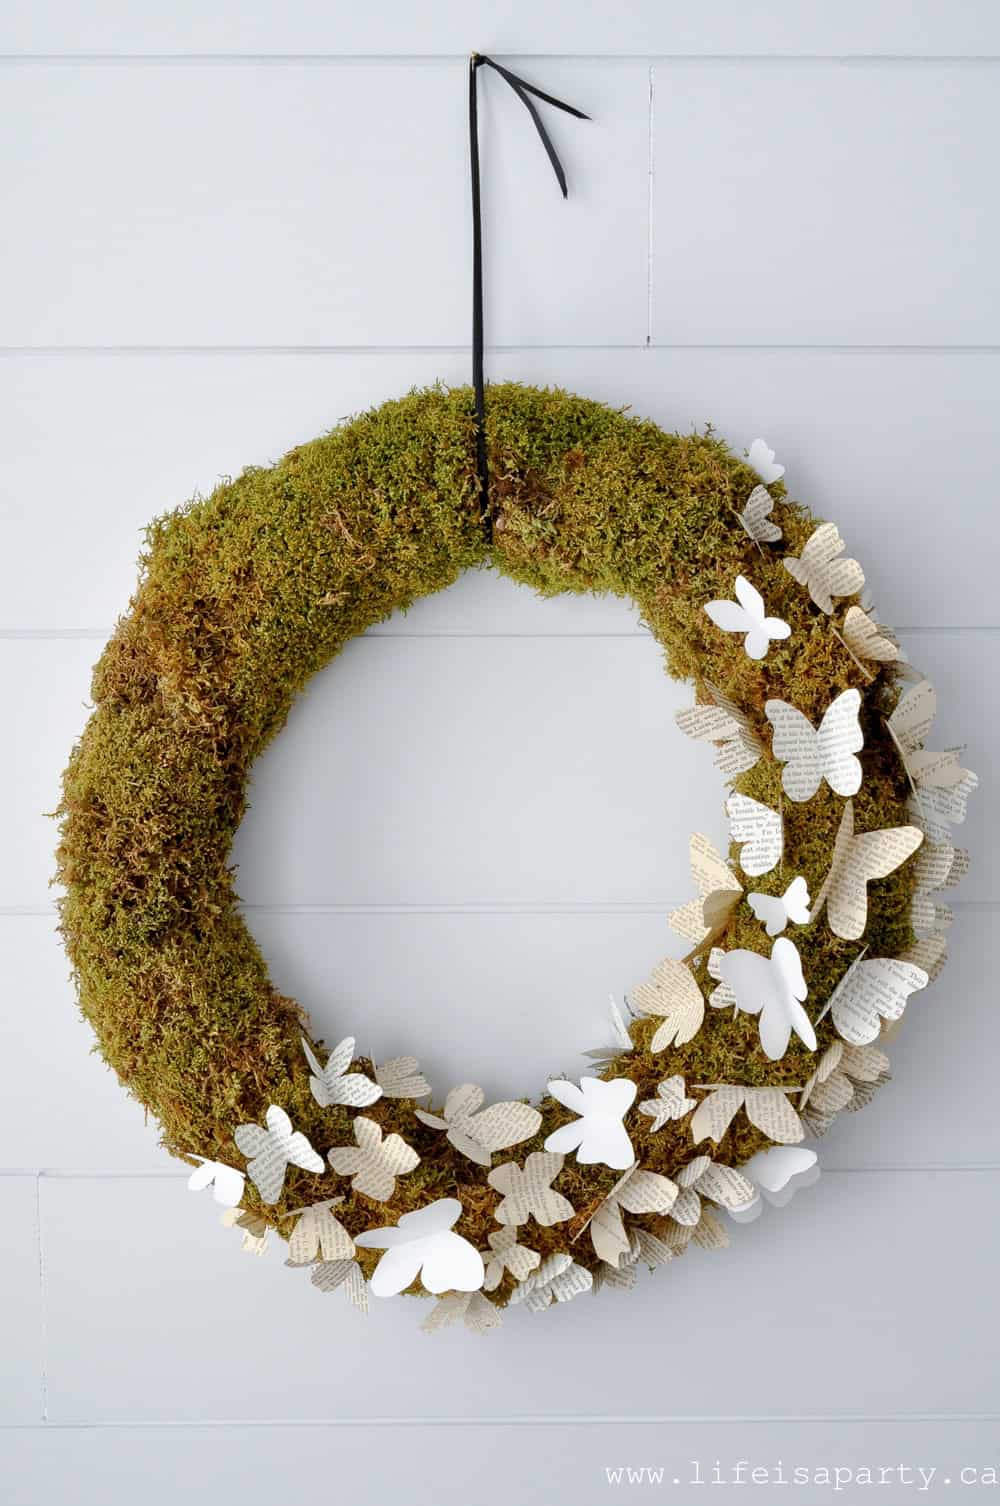
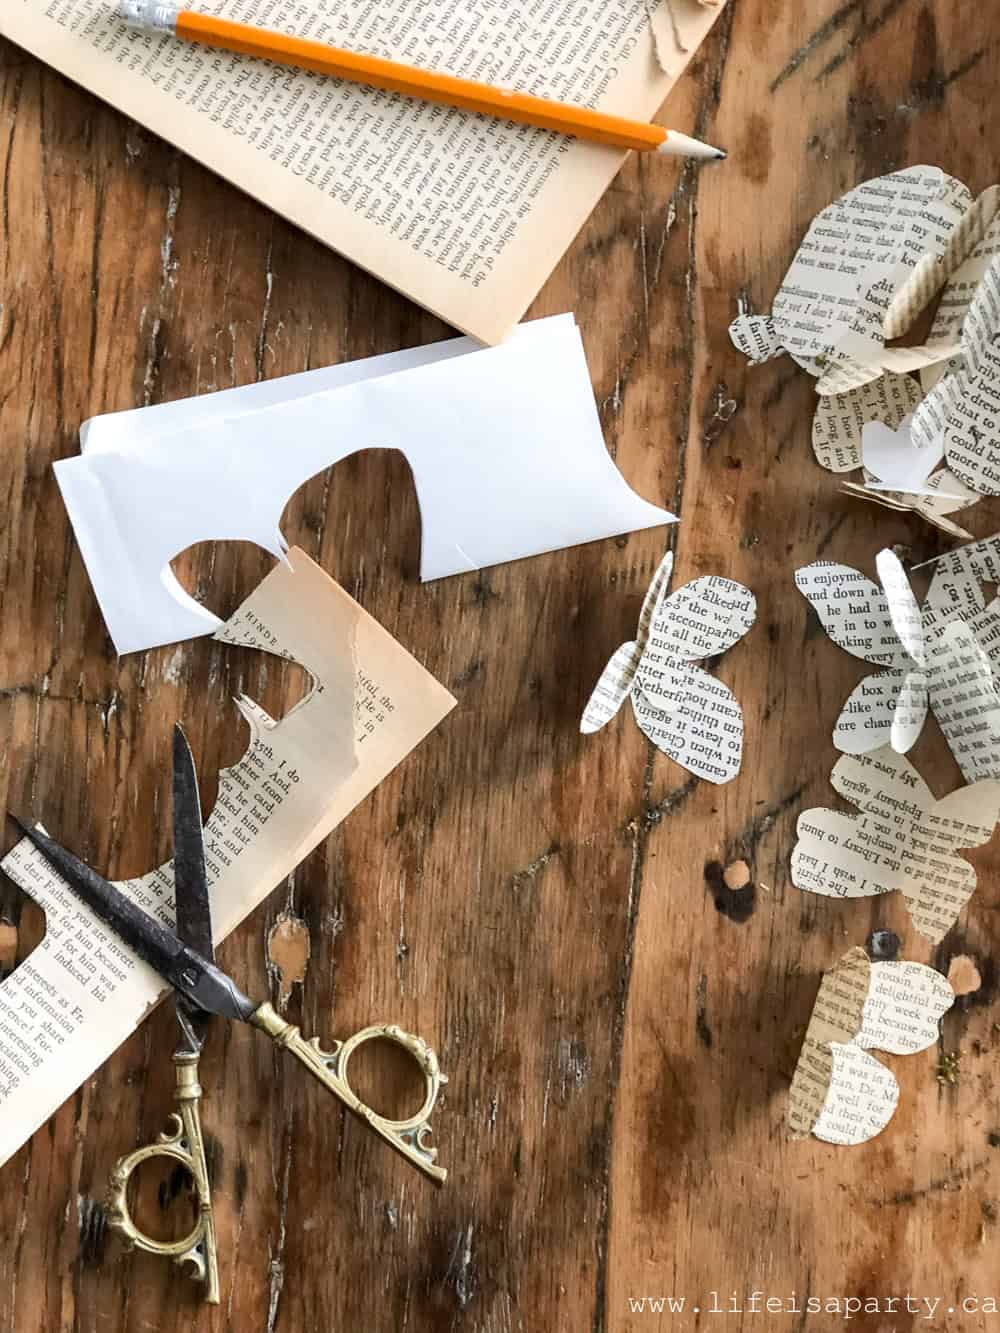 3. Once the butterflies were all cut out, I used hot glue to attach them to the moss. I made sure to add the largest butterflies to the middle, and had them get smaller and smaller out to the edges.
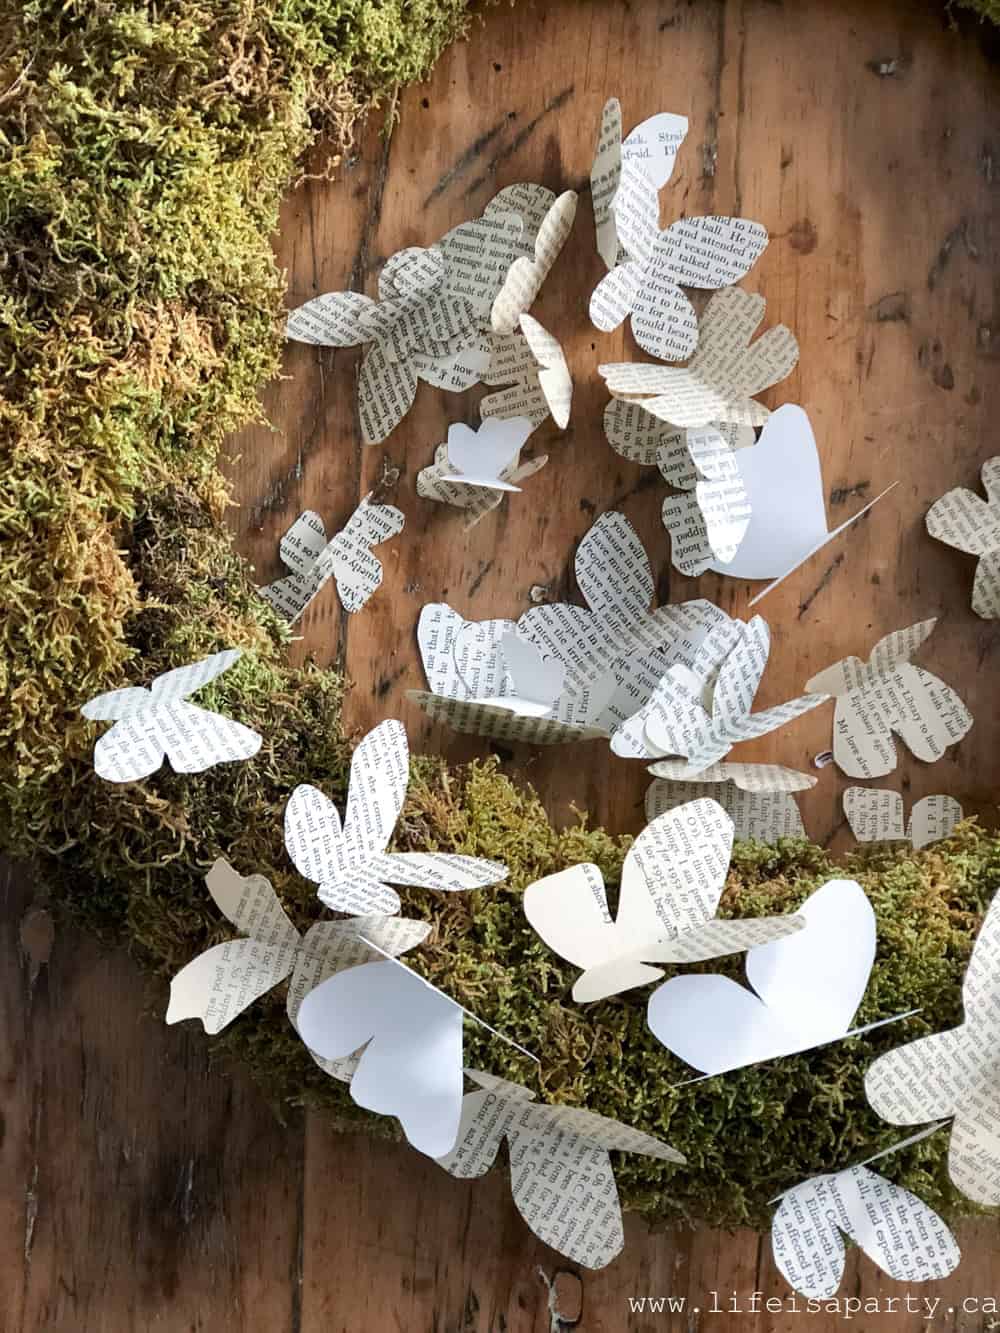


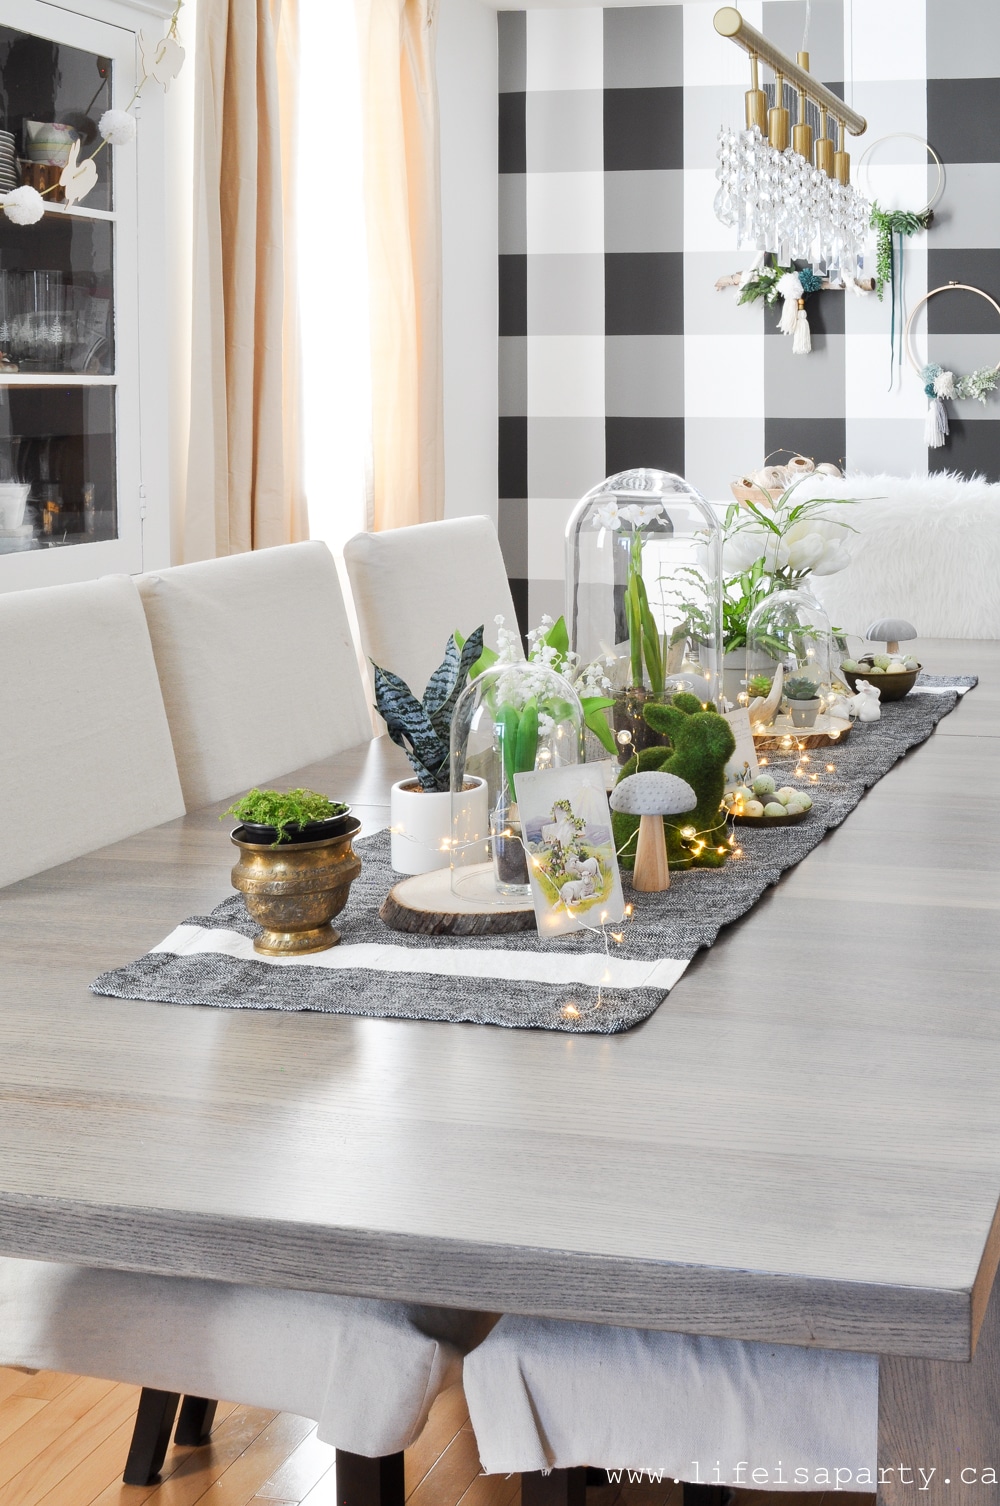
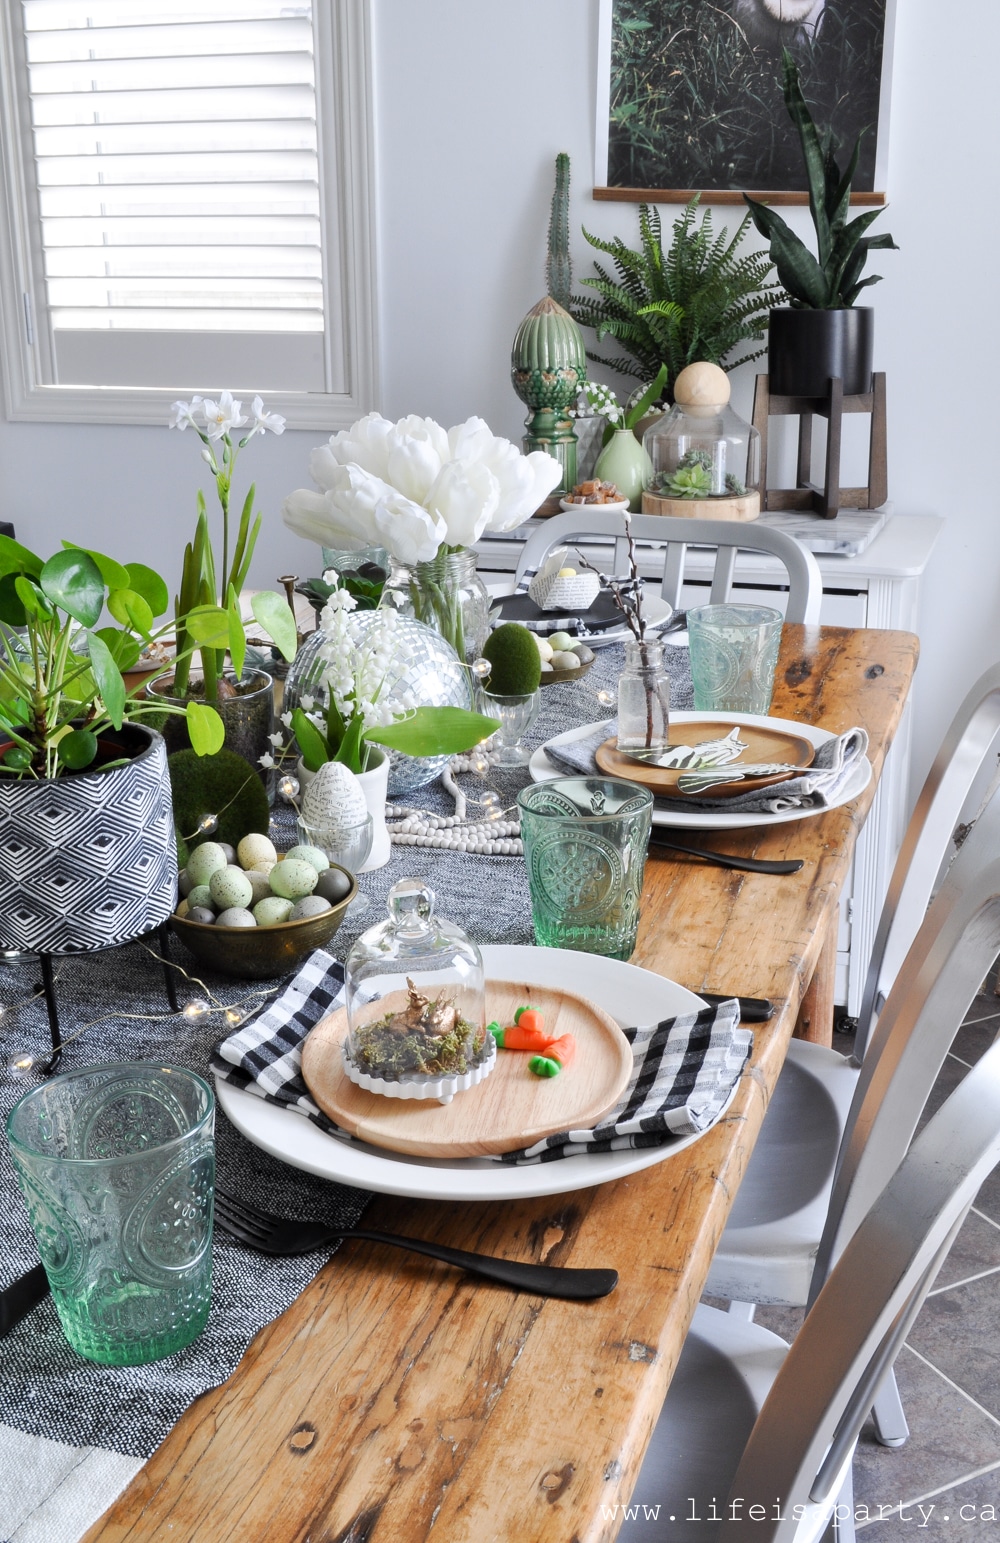
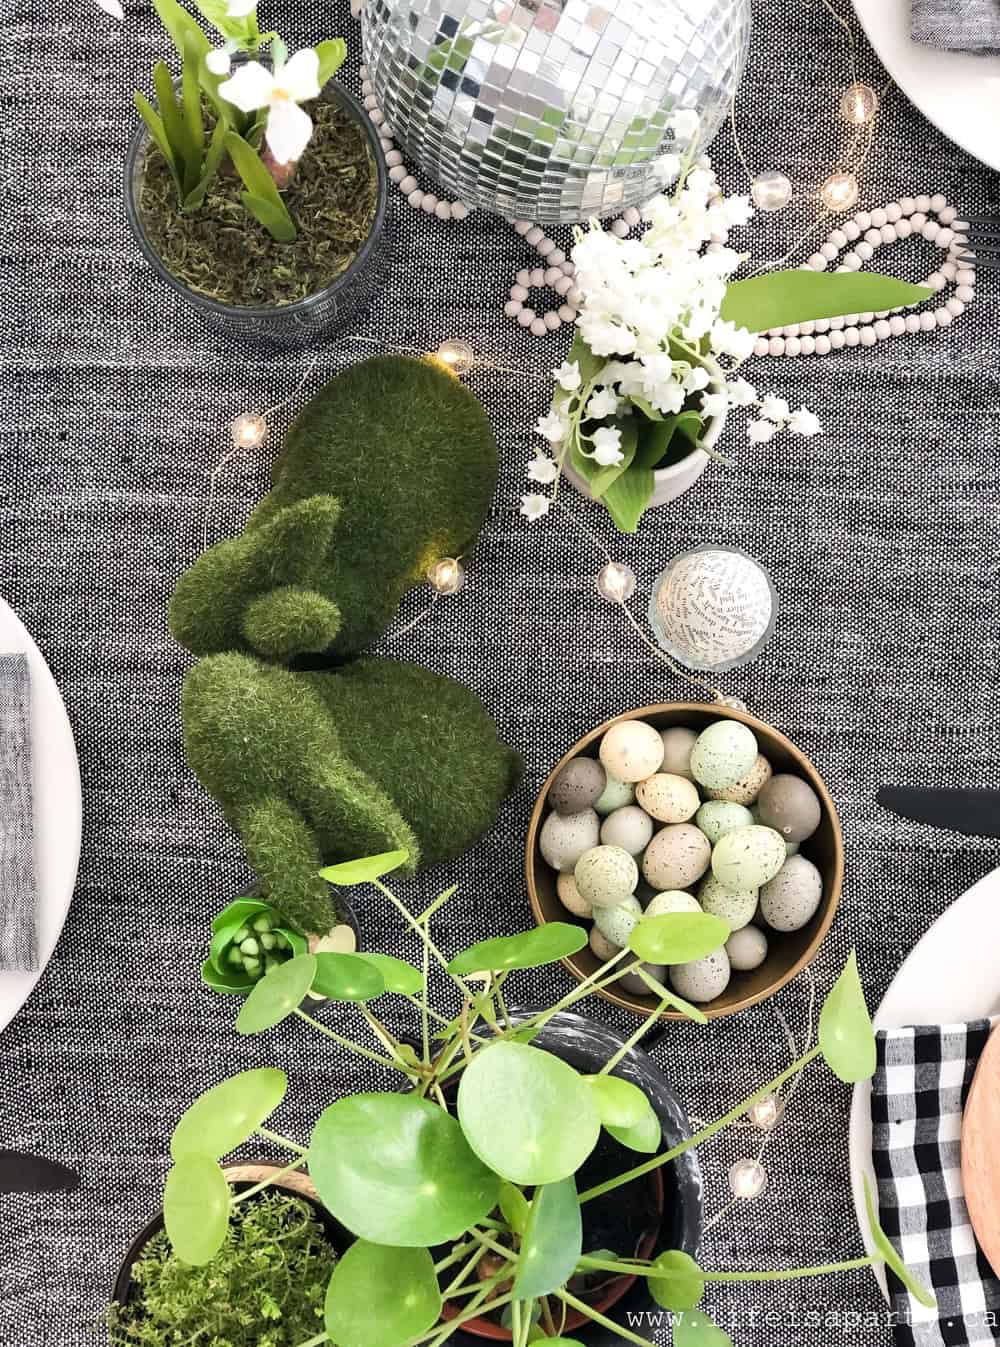
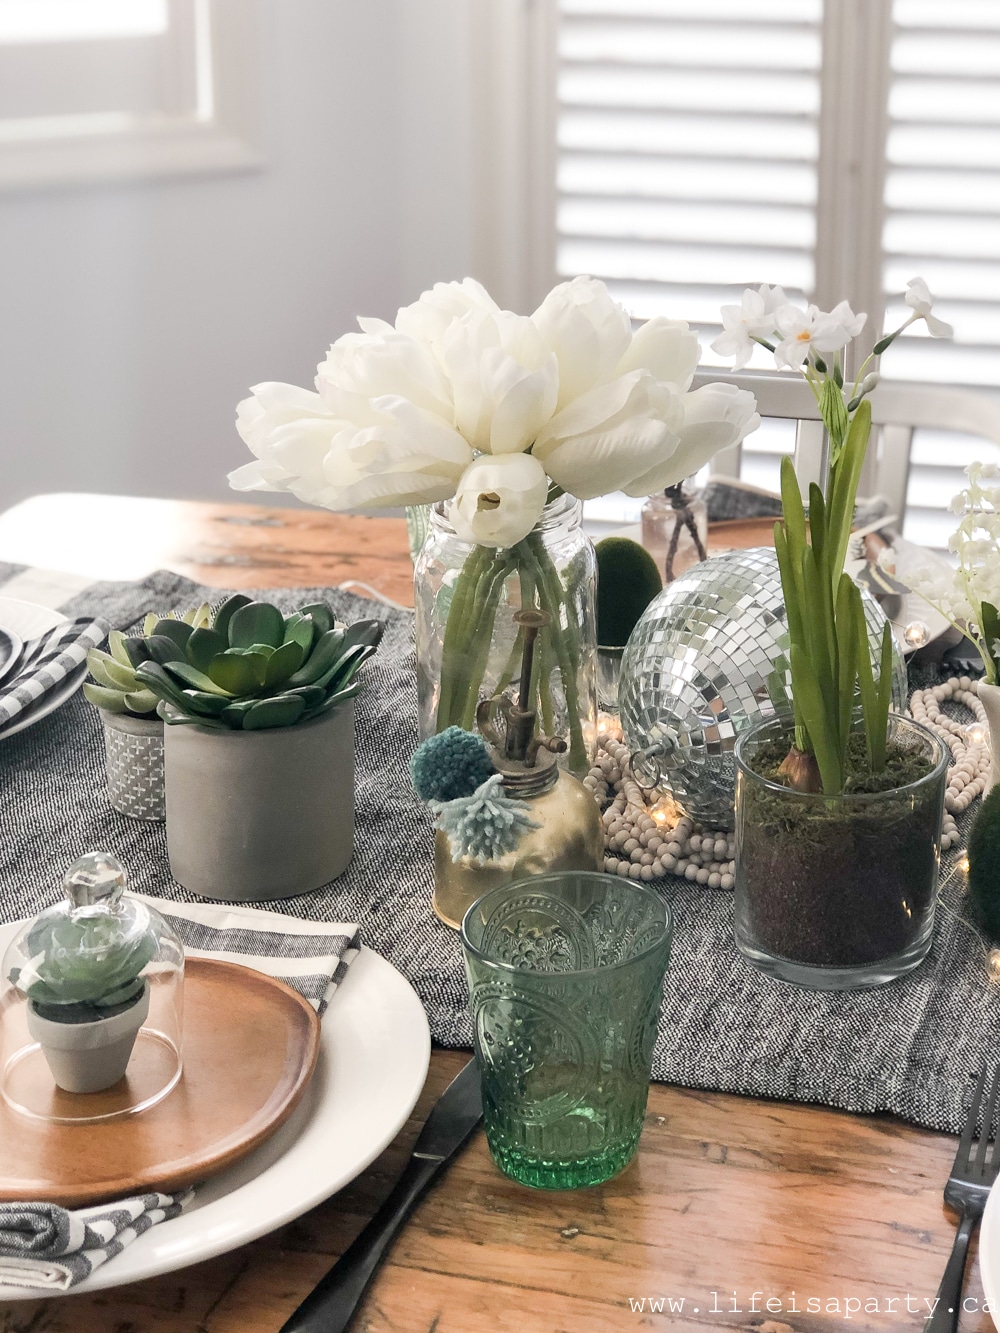
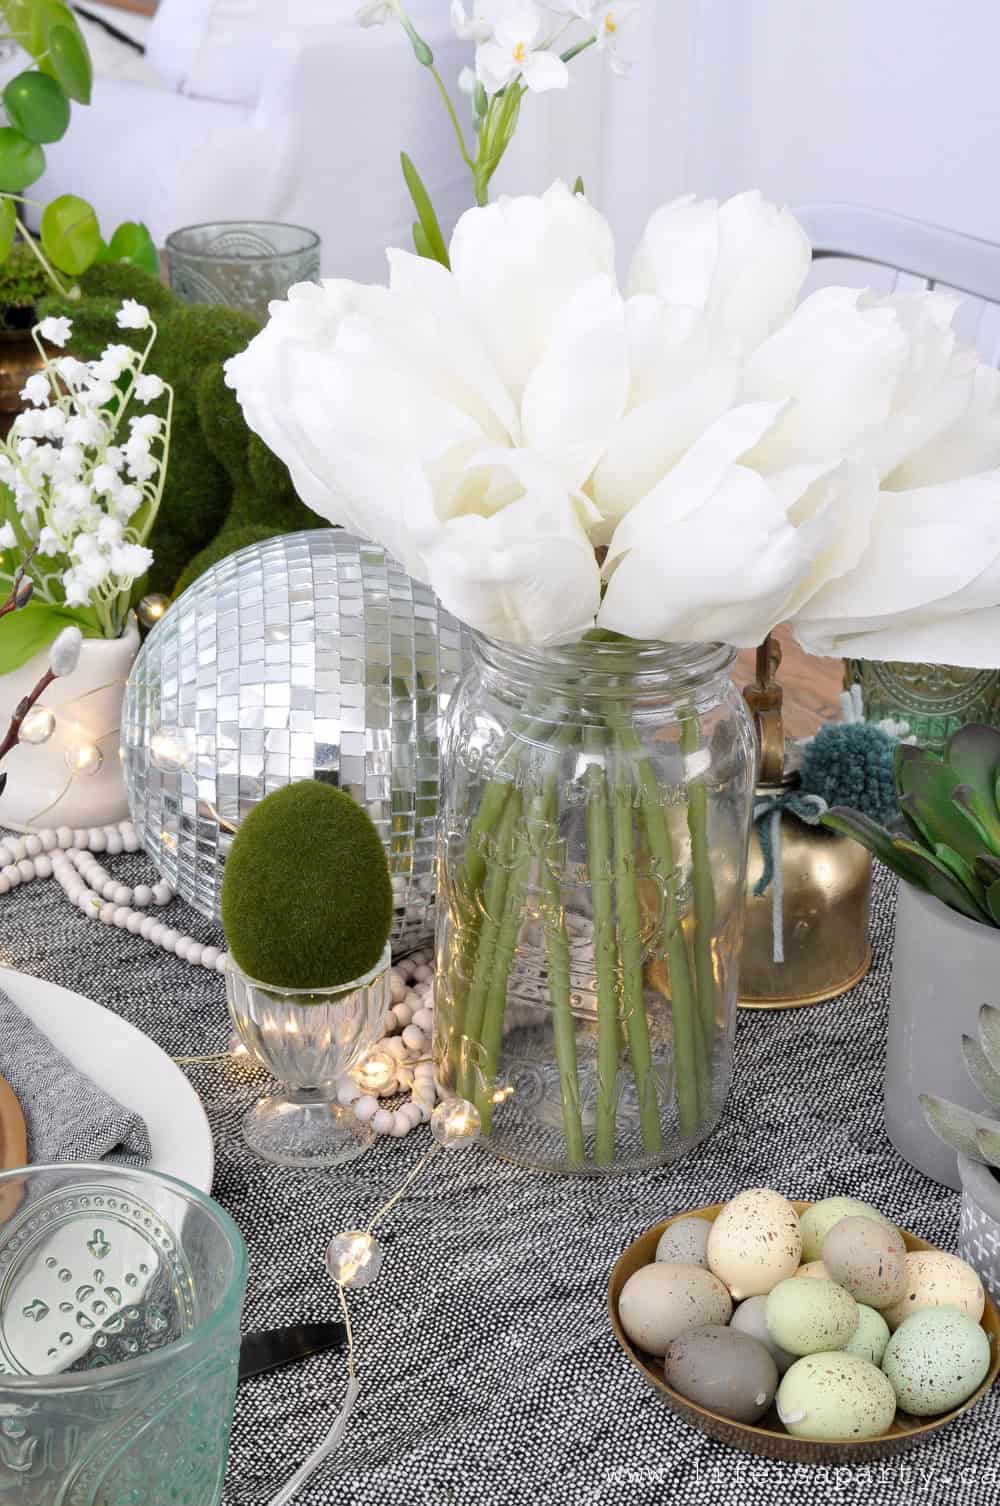
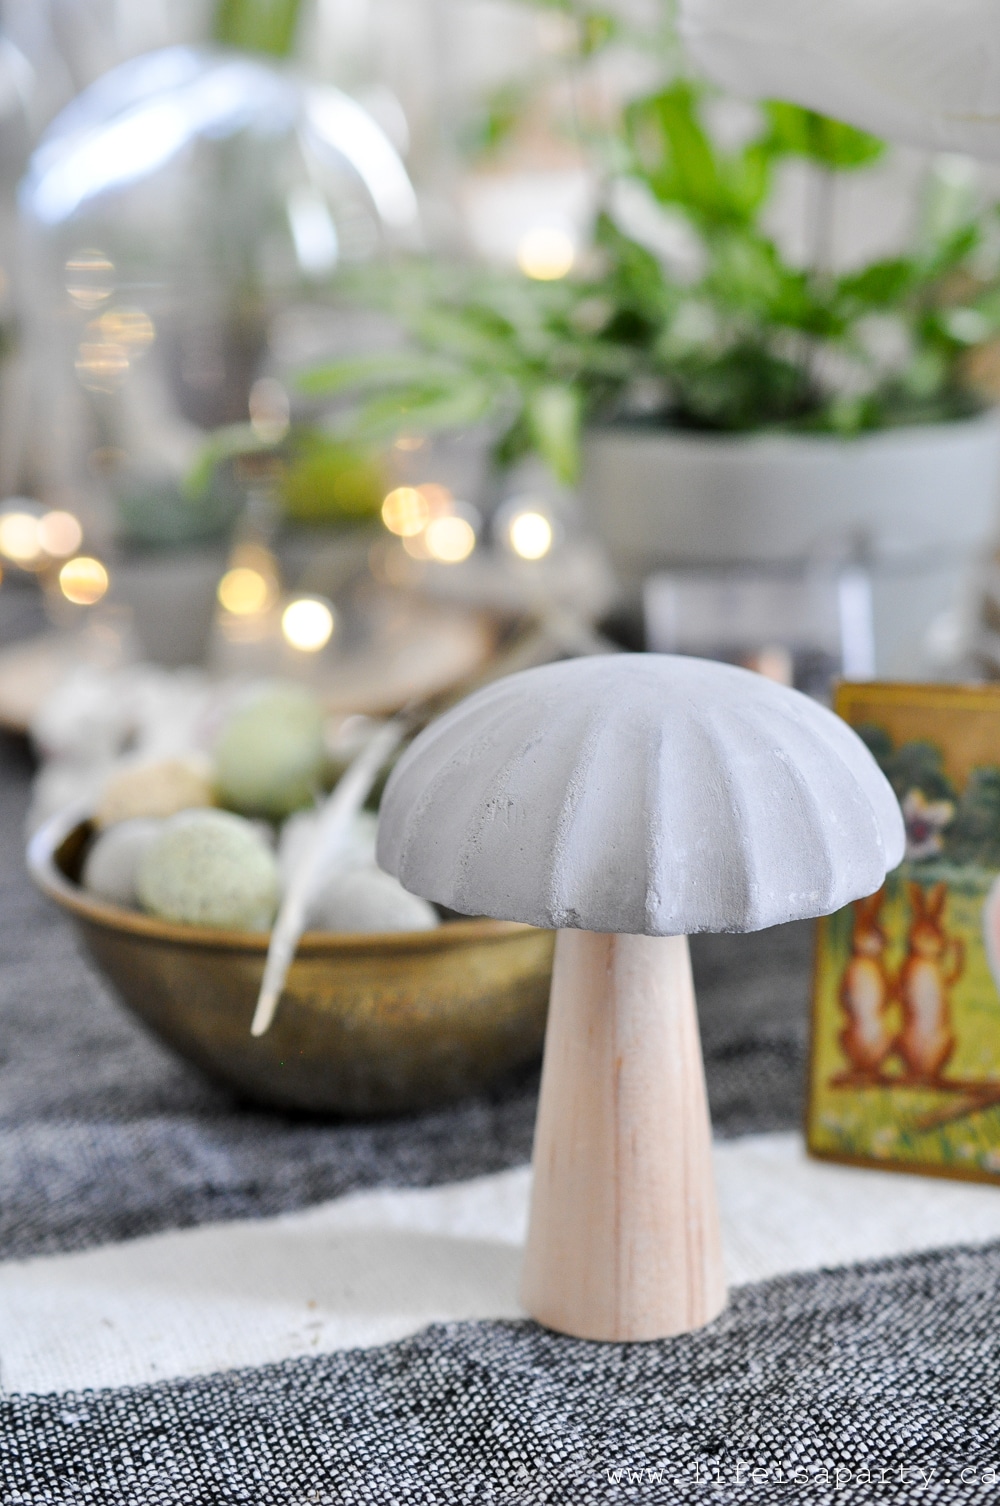
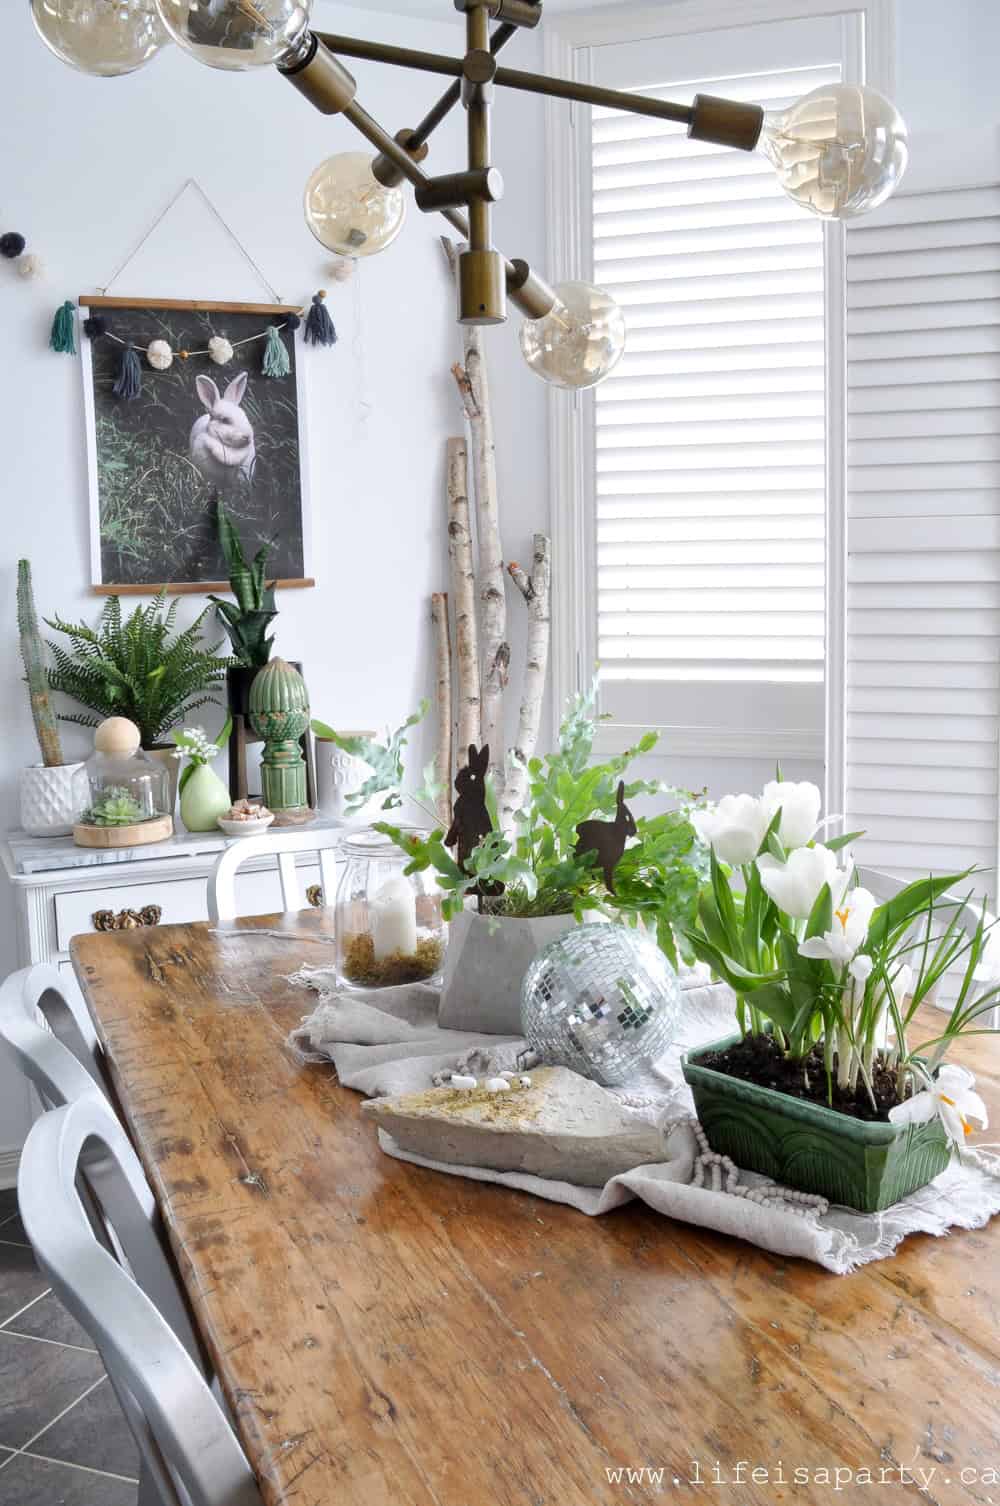
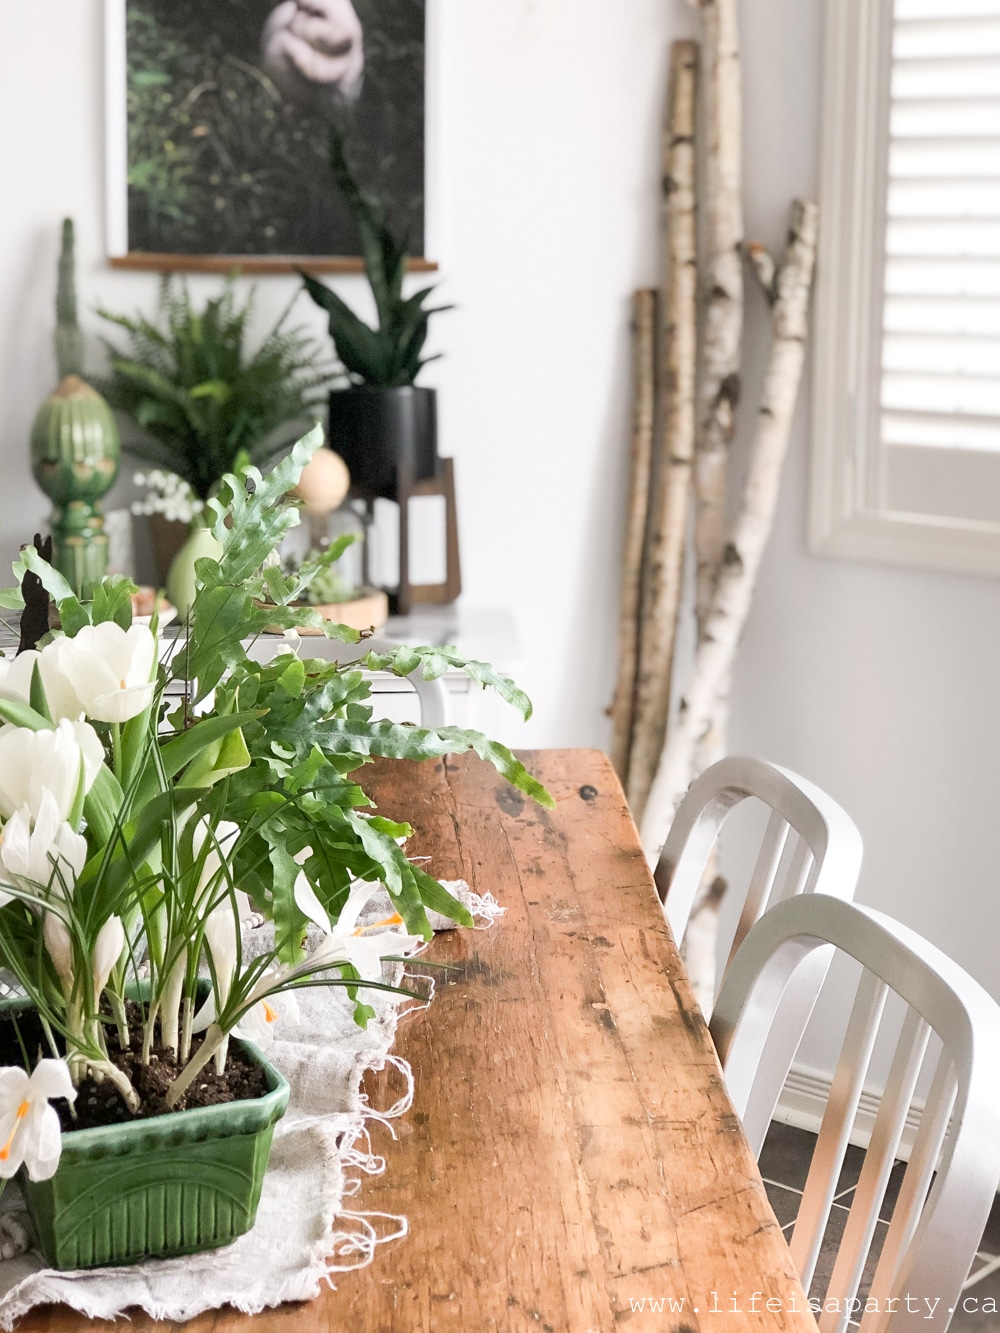
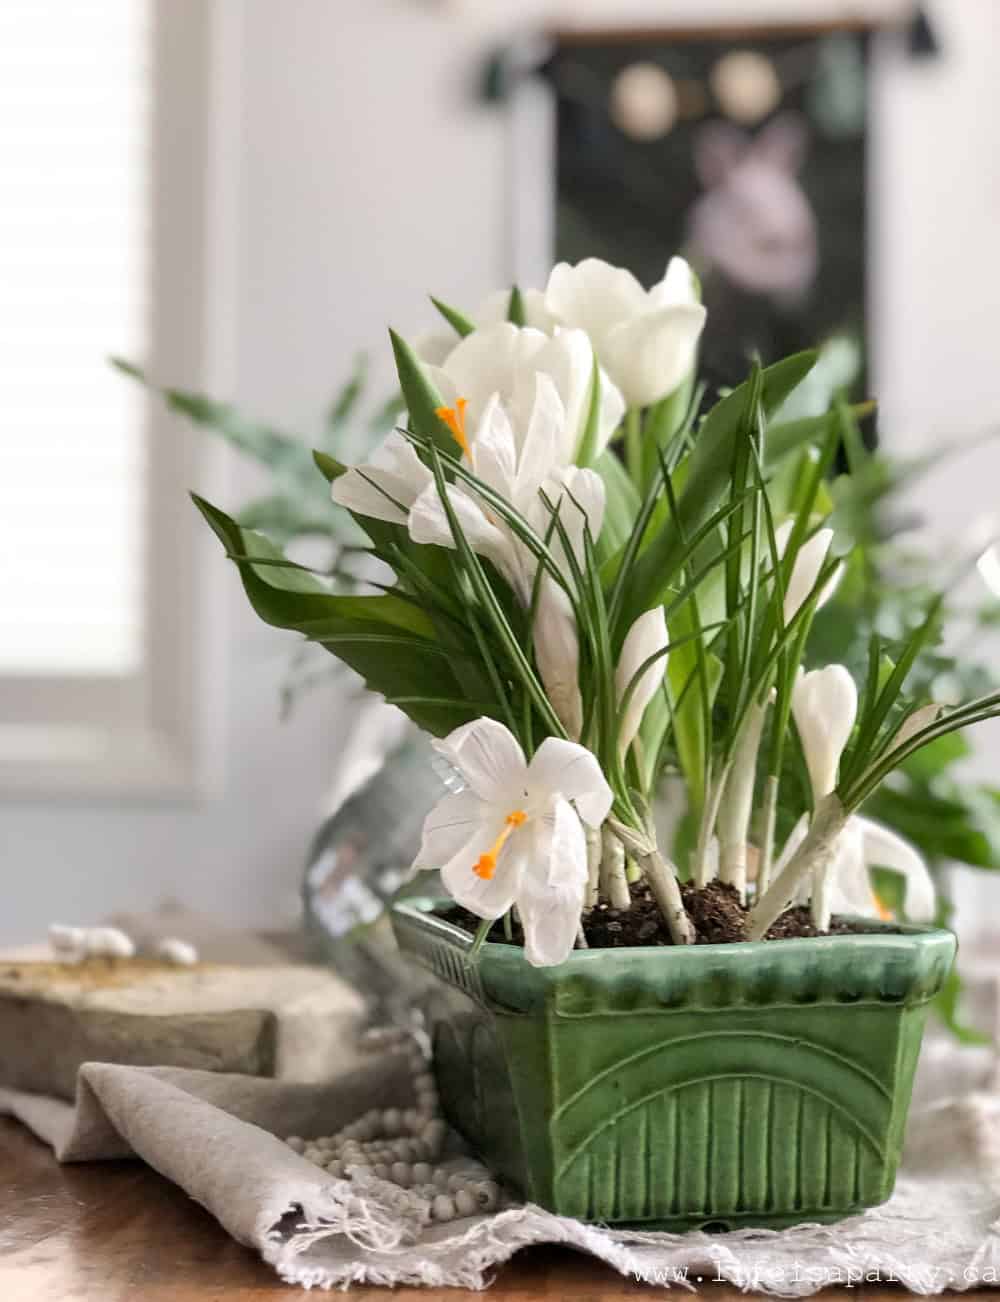
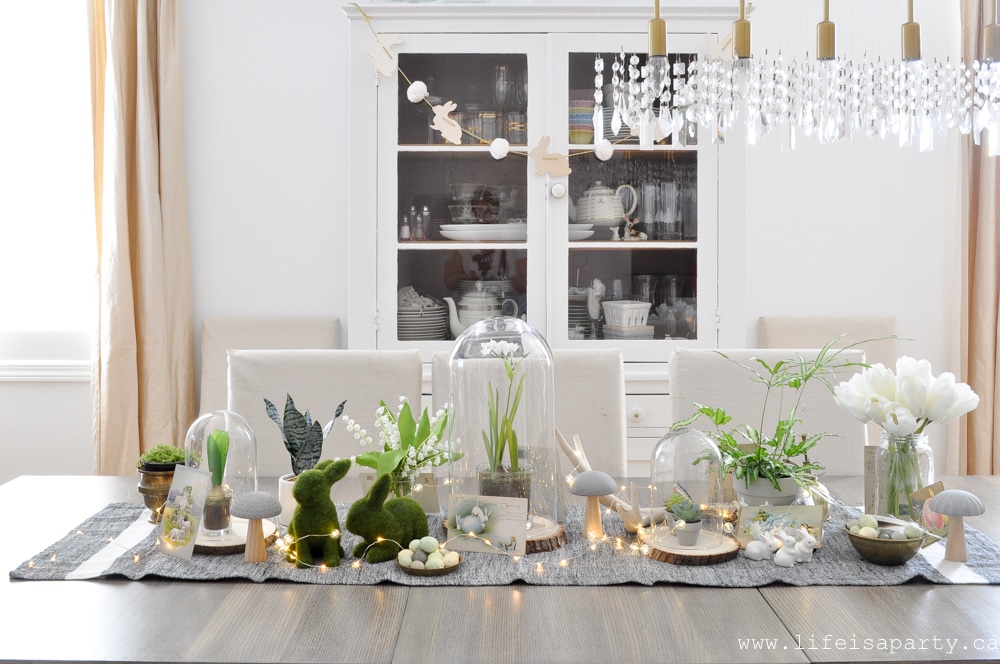 I started out with lots of green plants, and flowers.
 Next, I layered on some pretty string lights, and lots of spring touches like bunnies, eggs, and some cement mushrooms.
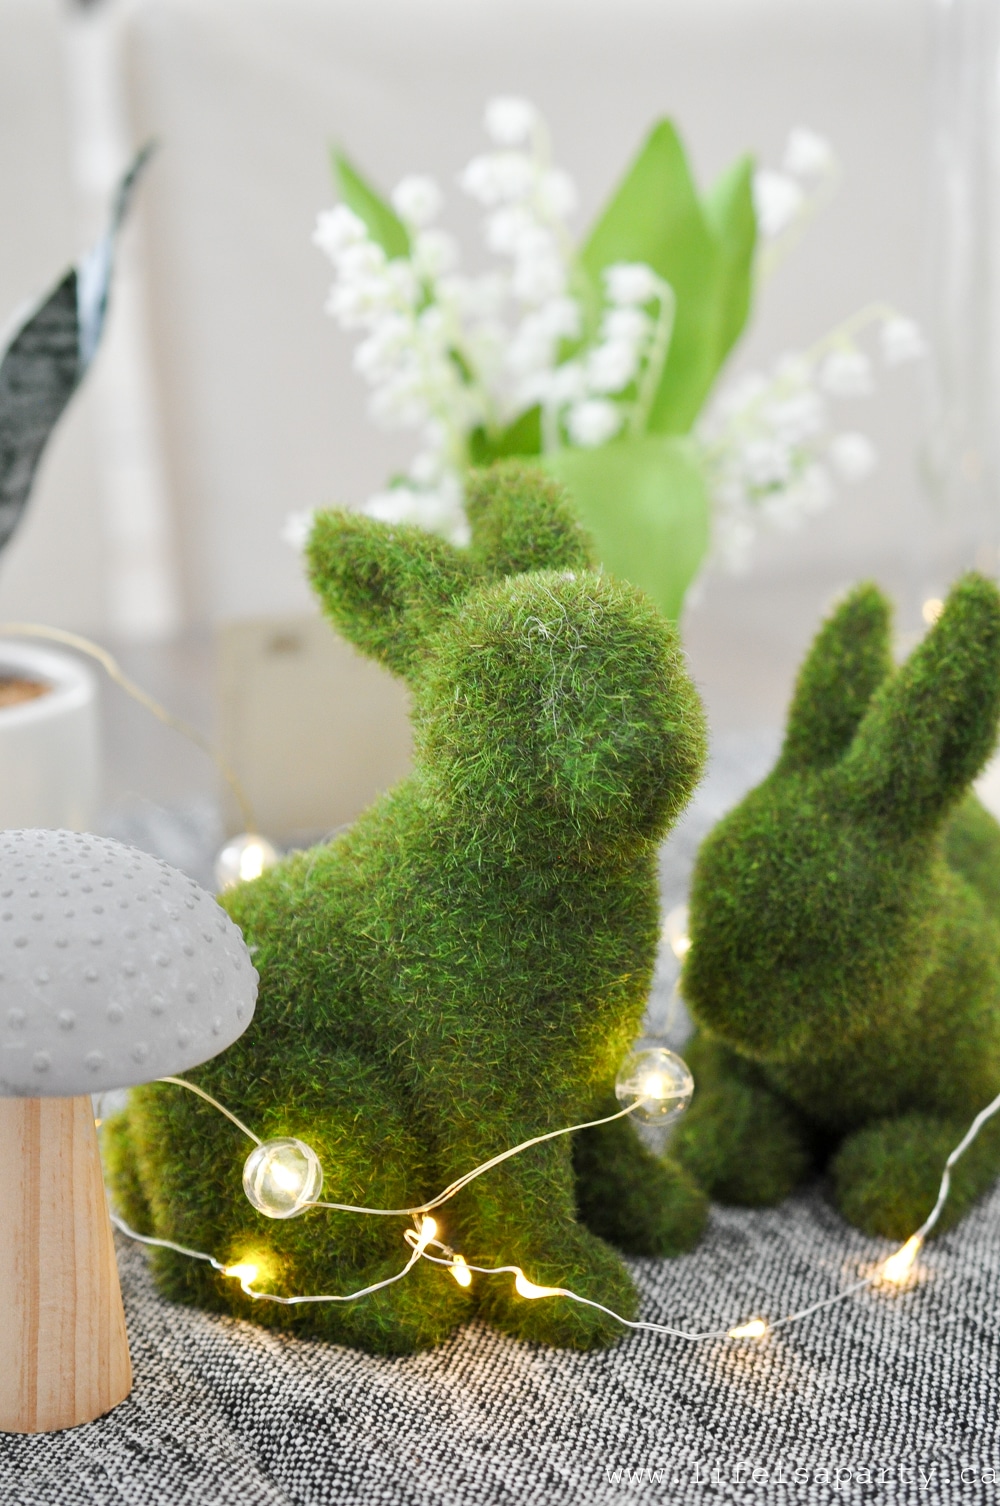
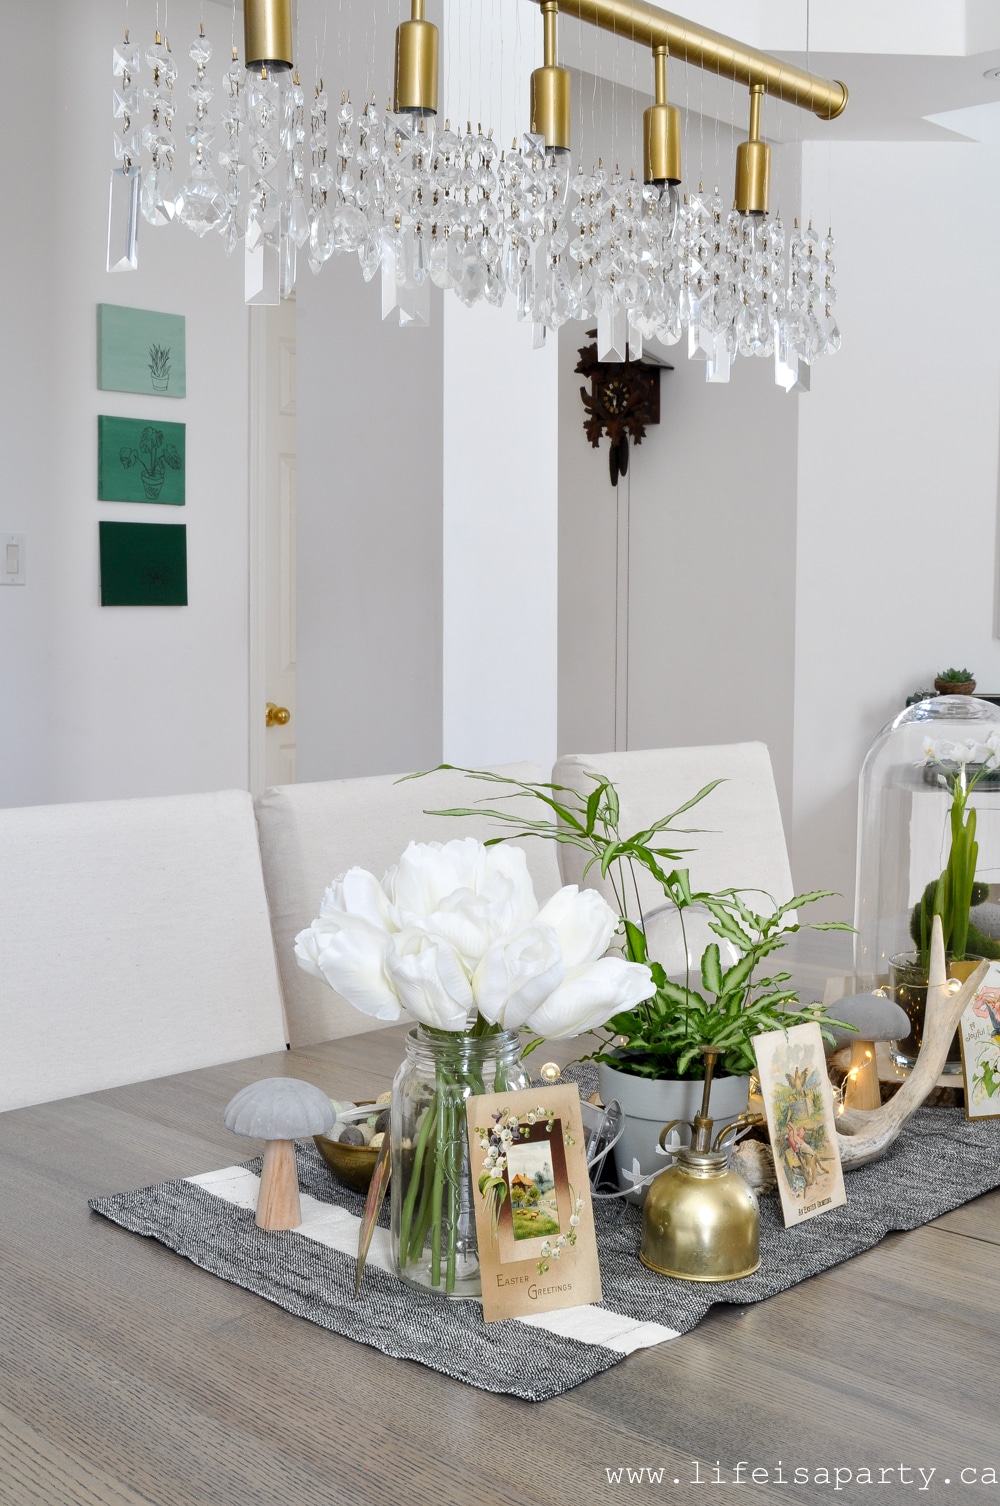
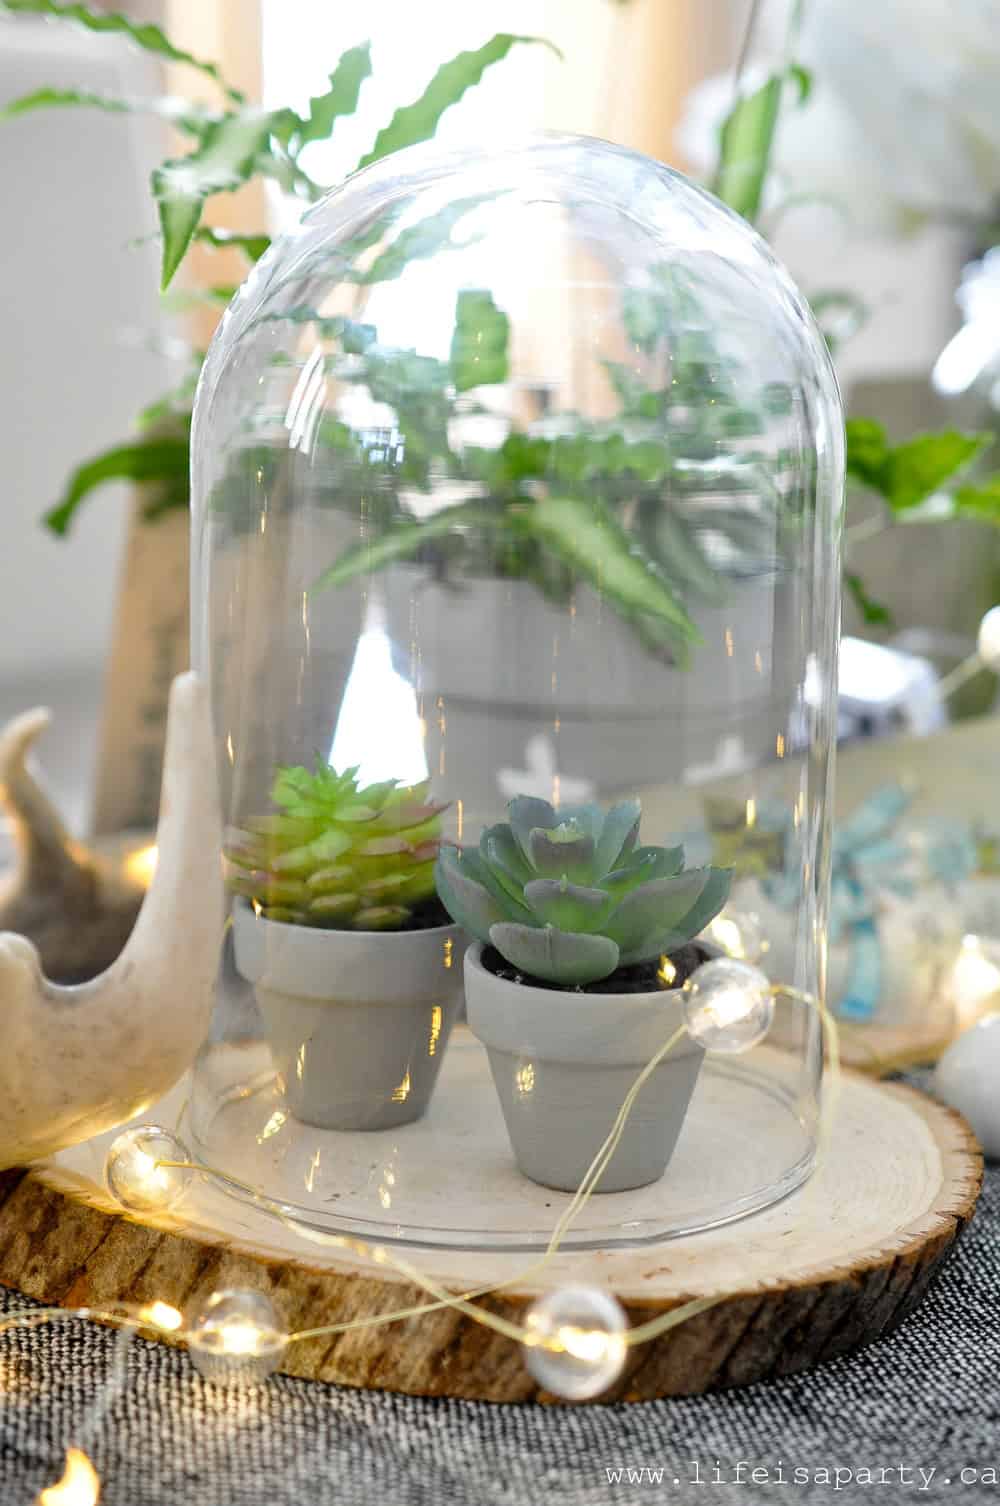
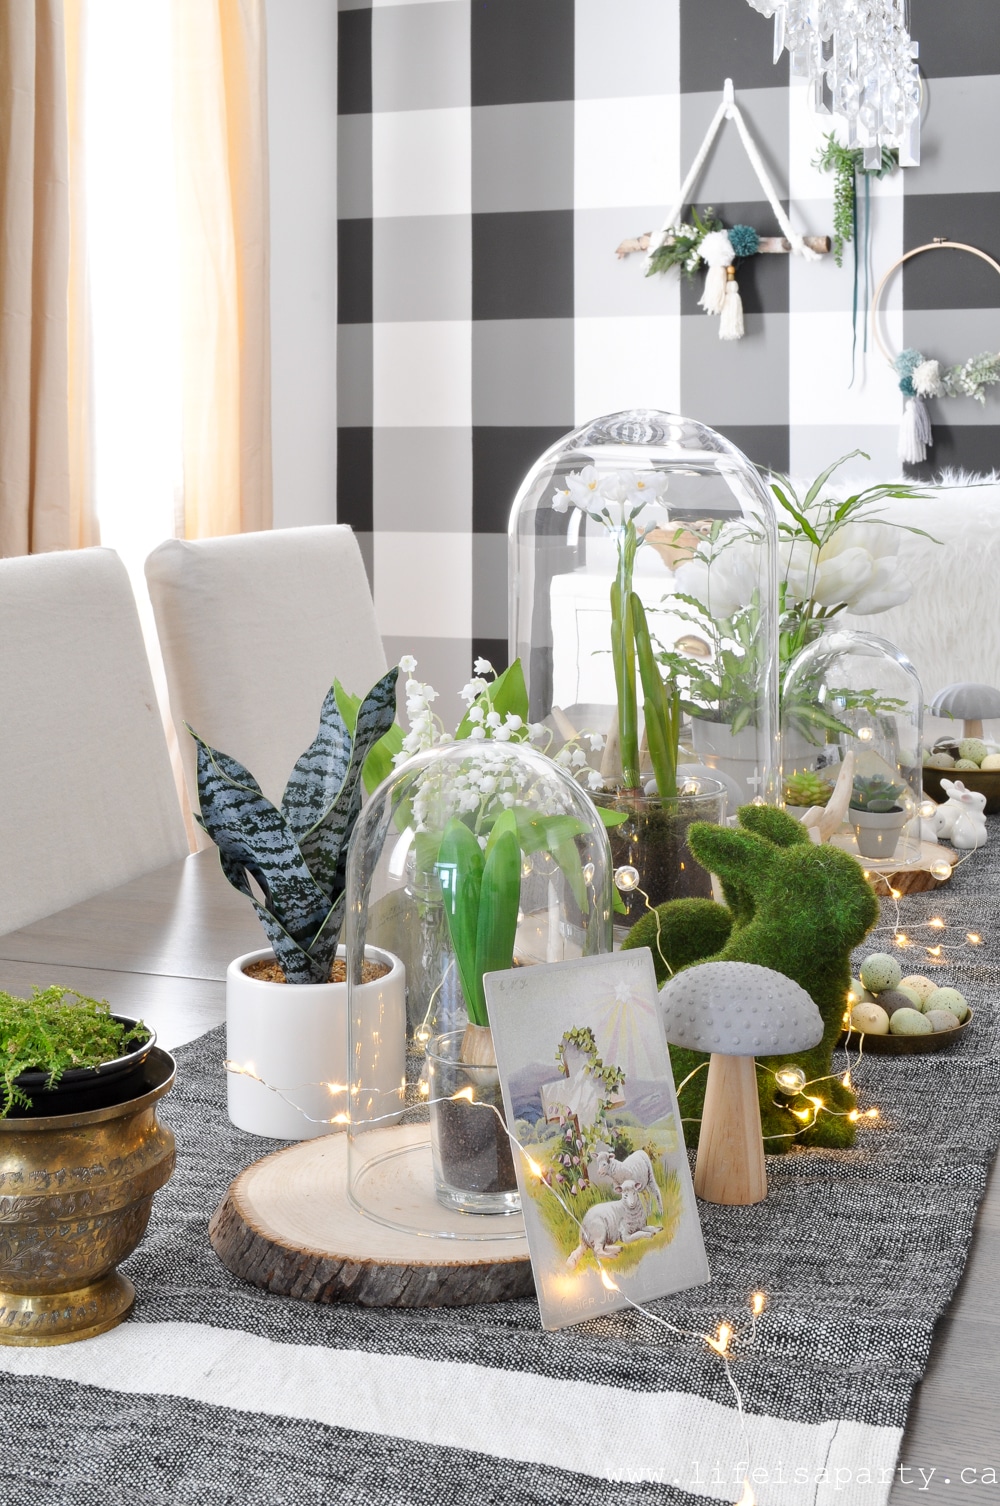 I did a mixture of real and faux plants, and I think it's hard to tell the difference.
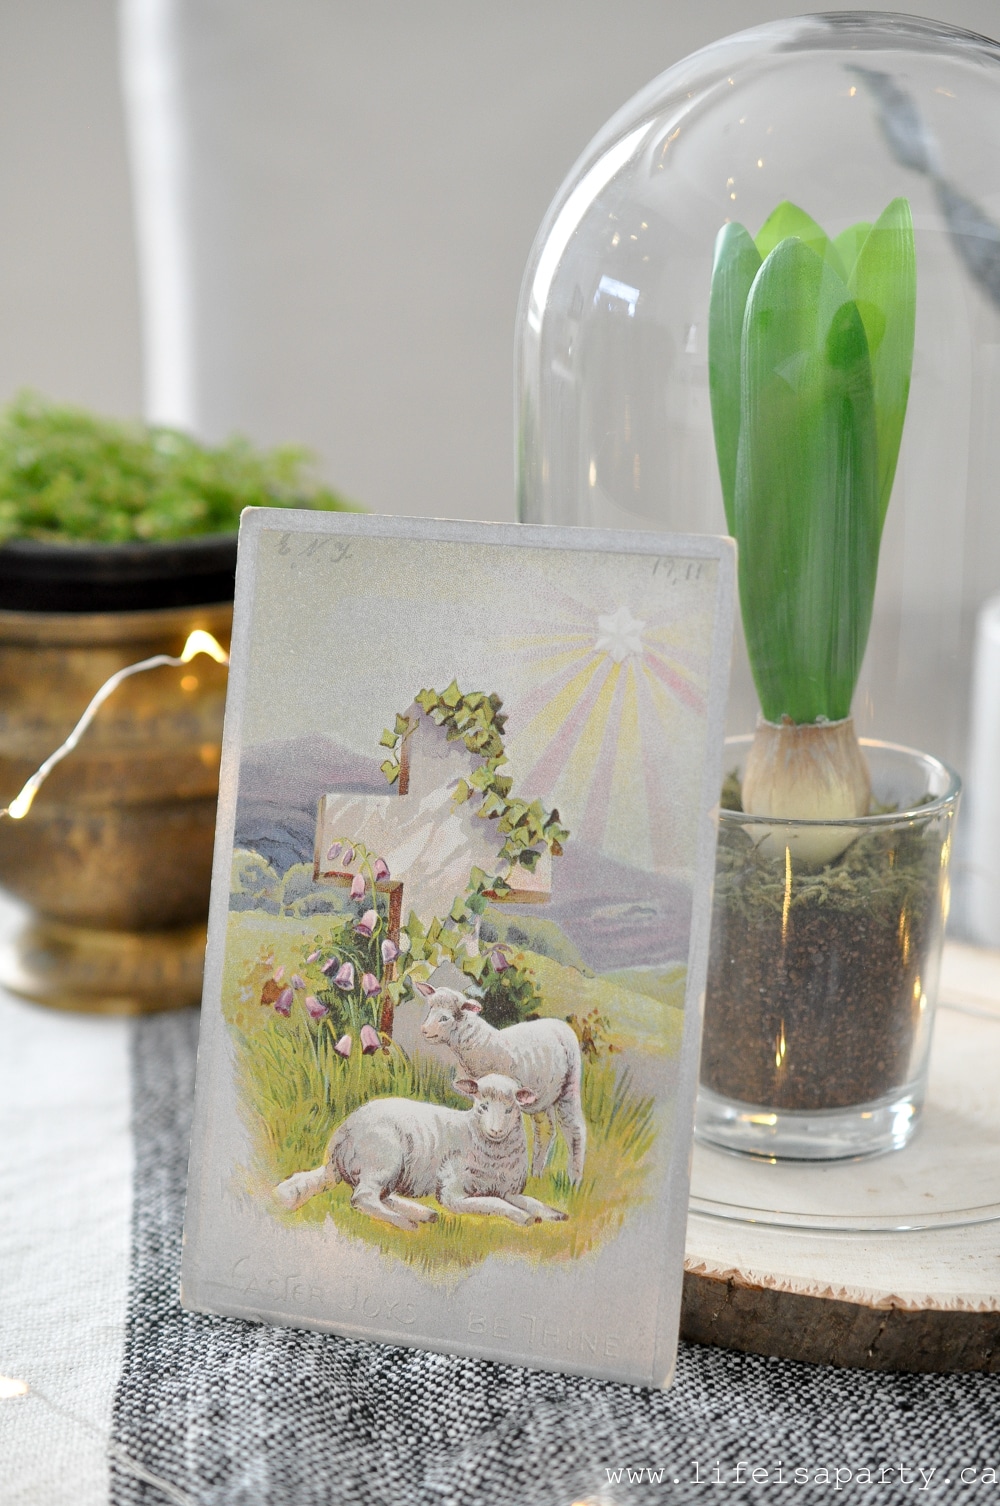
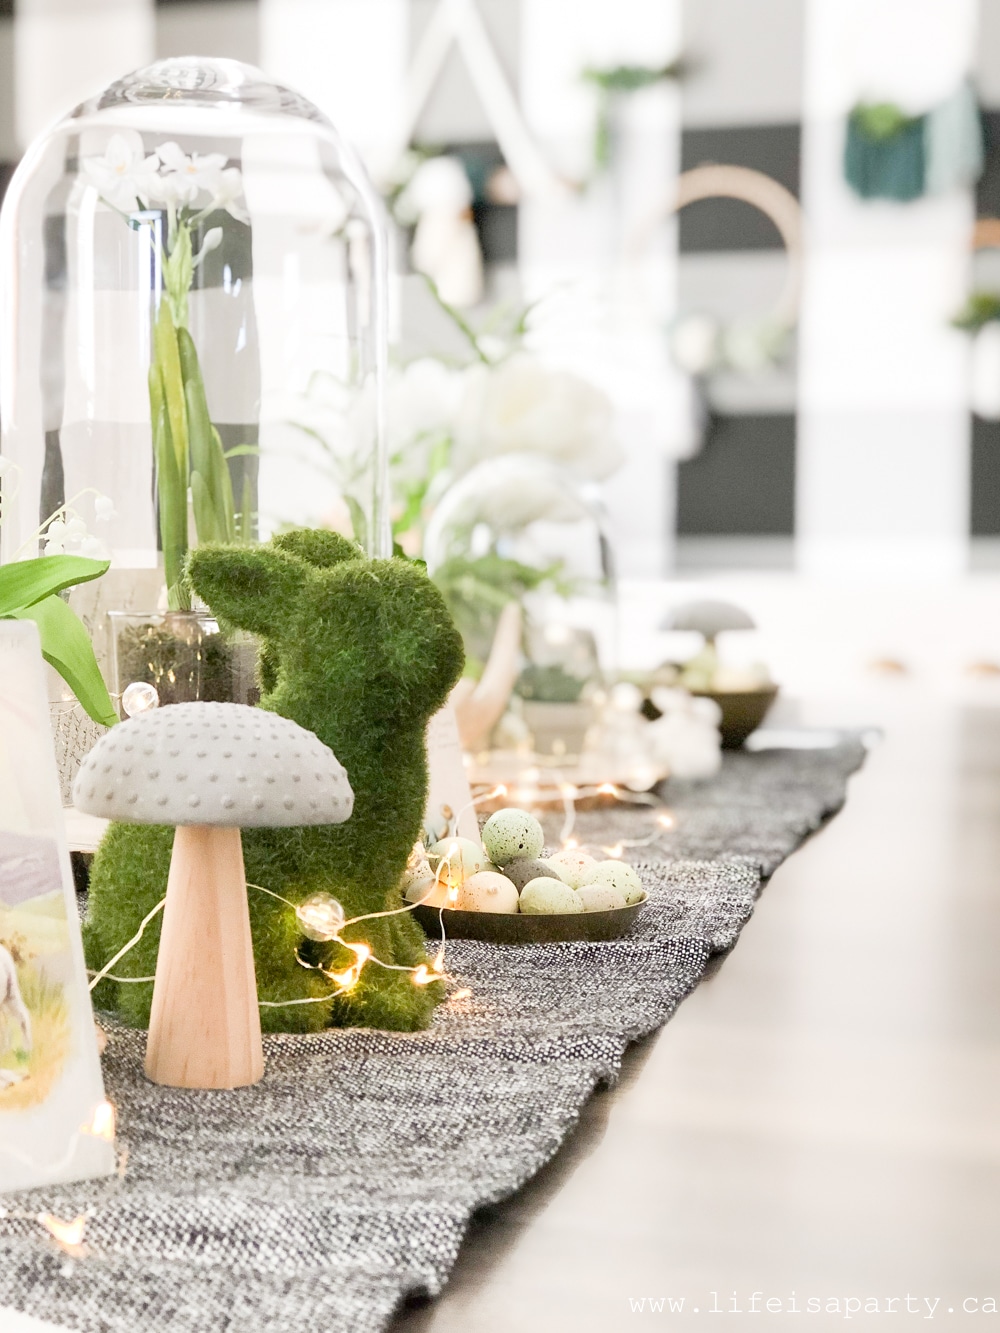
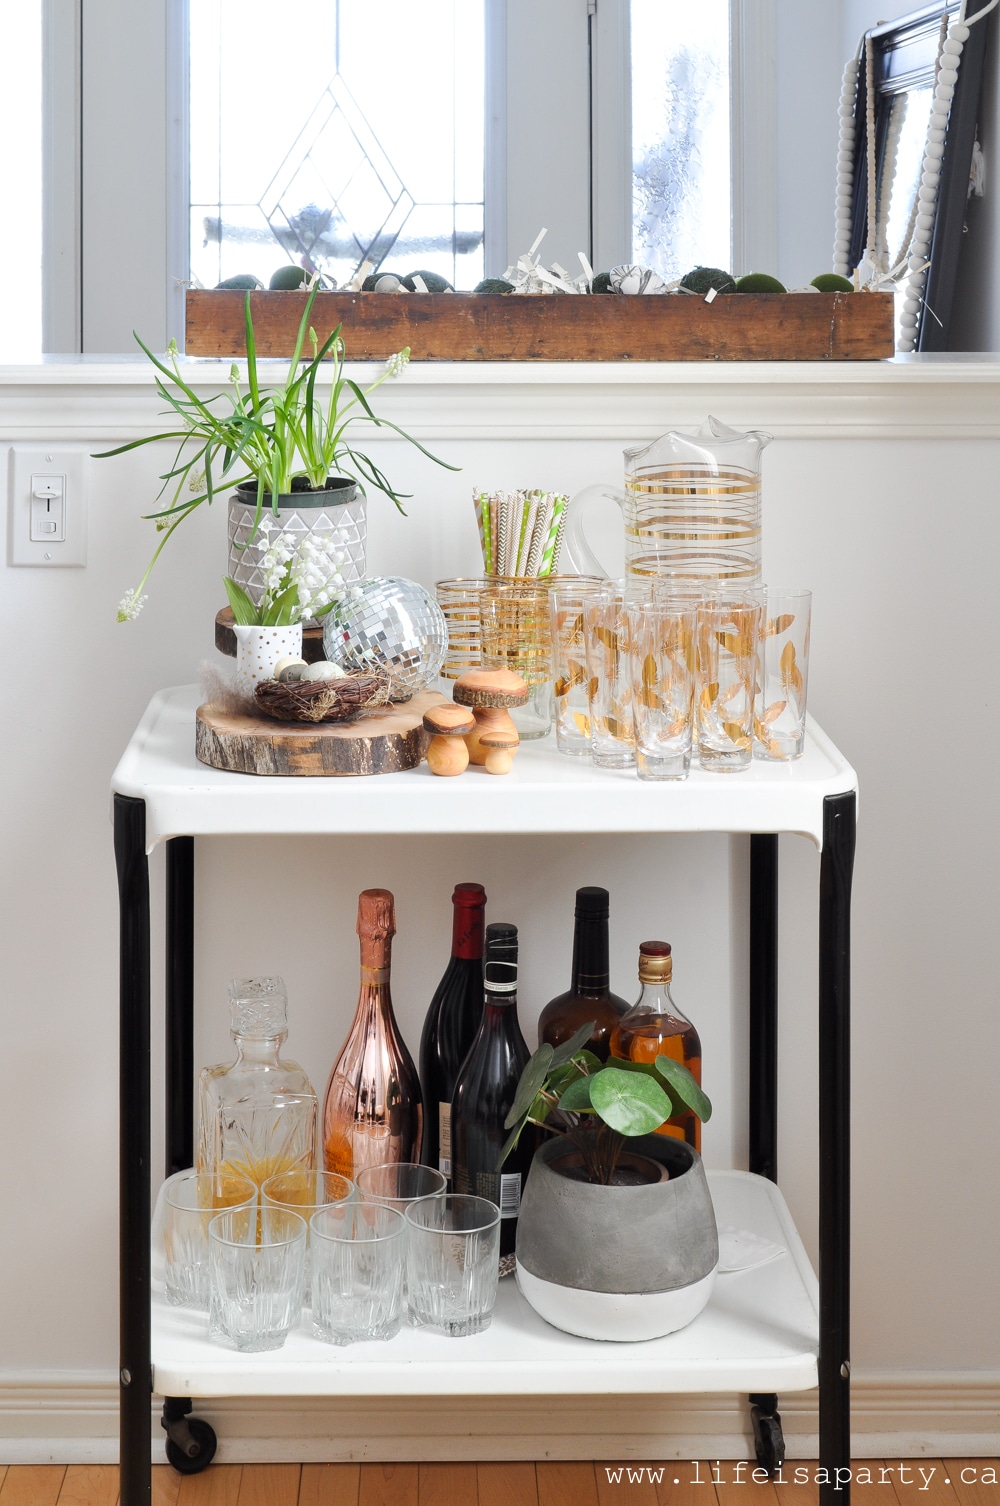
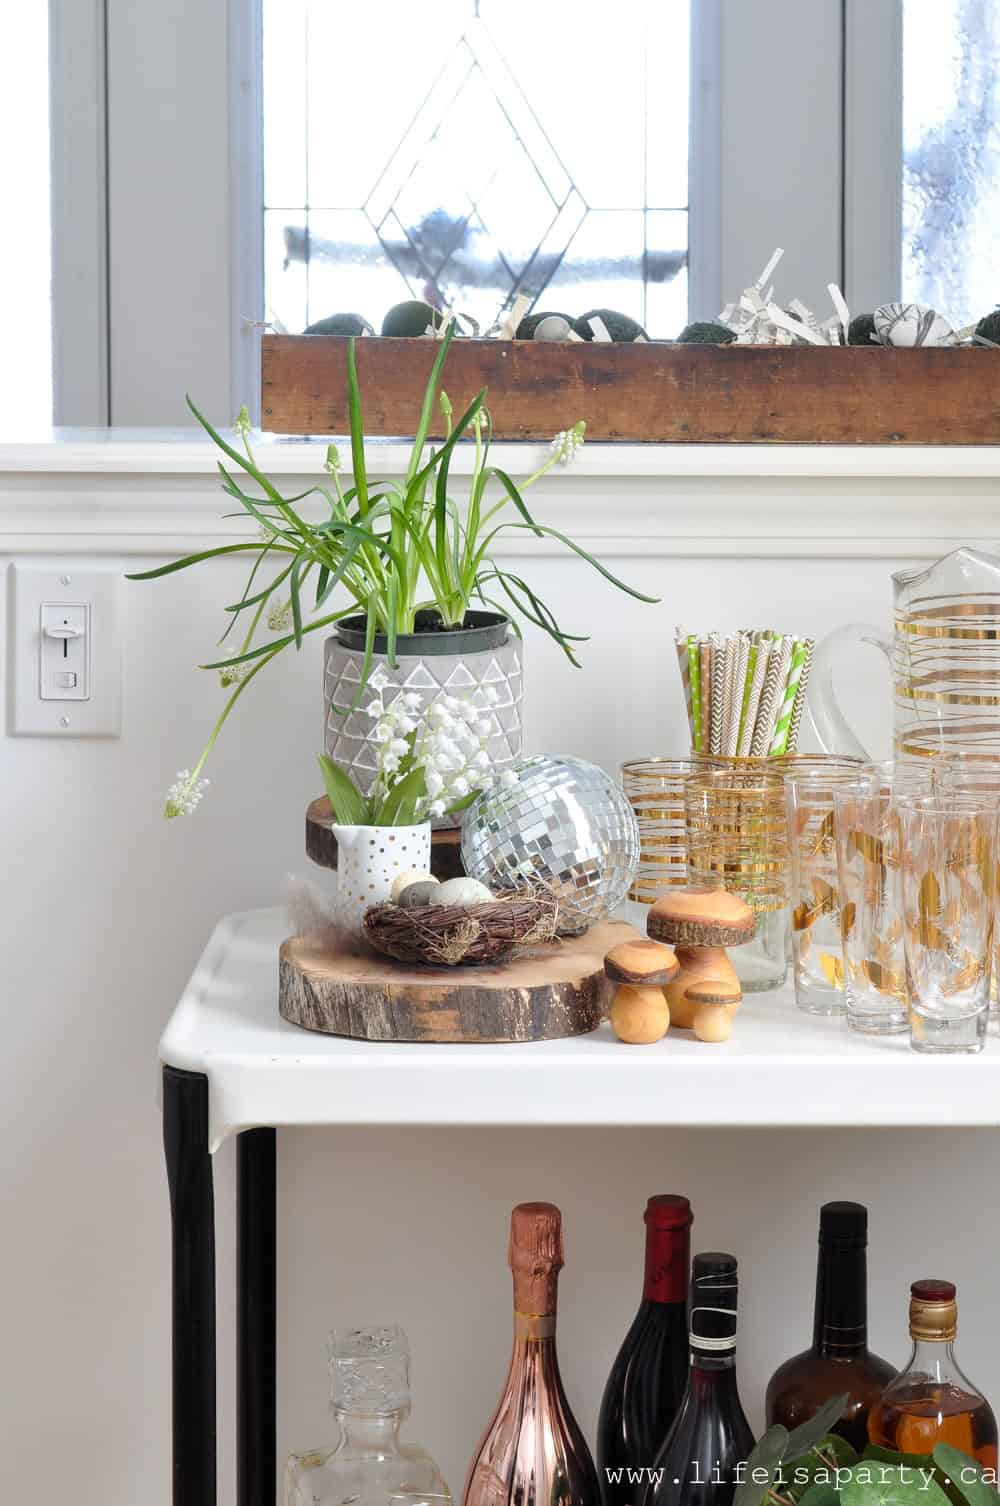 I also did a trough of eggs for spring. I added some old shredded book pages, and then a mix of beautiful moss, and green eggs.
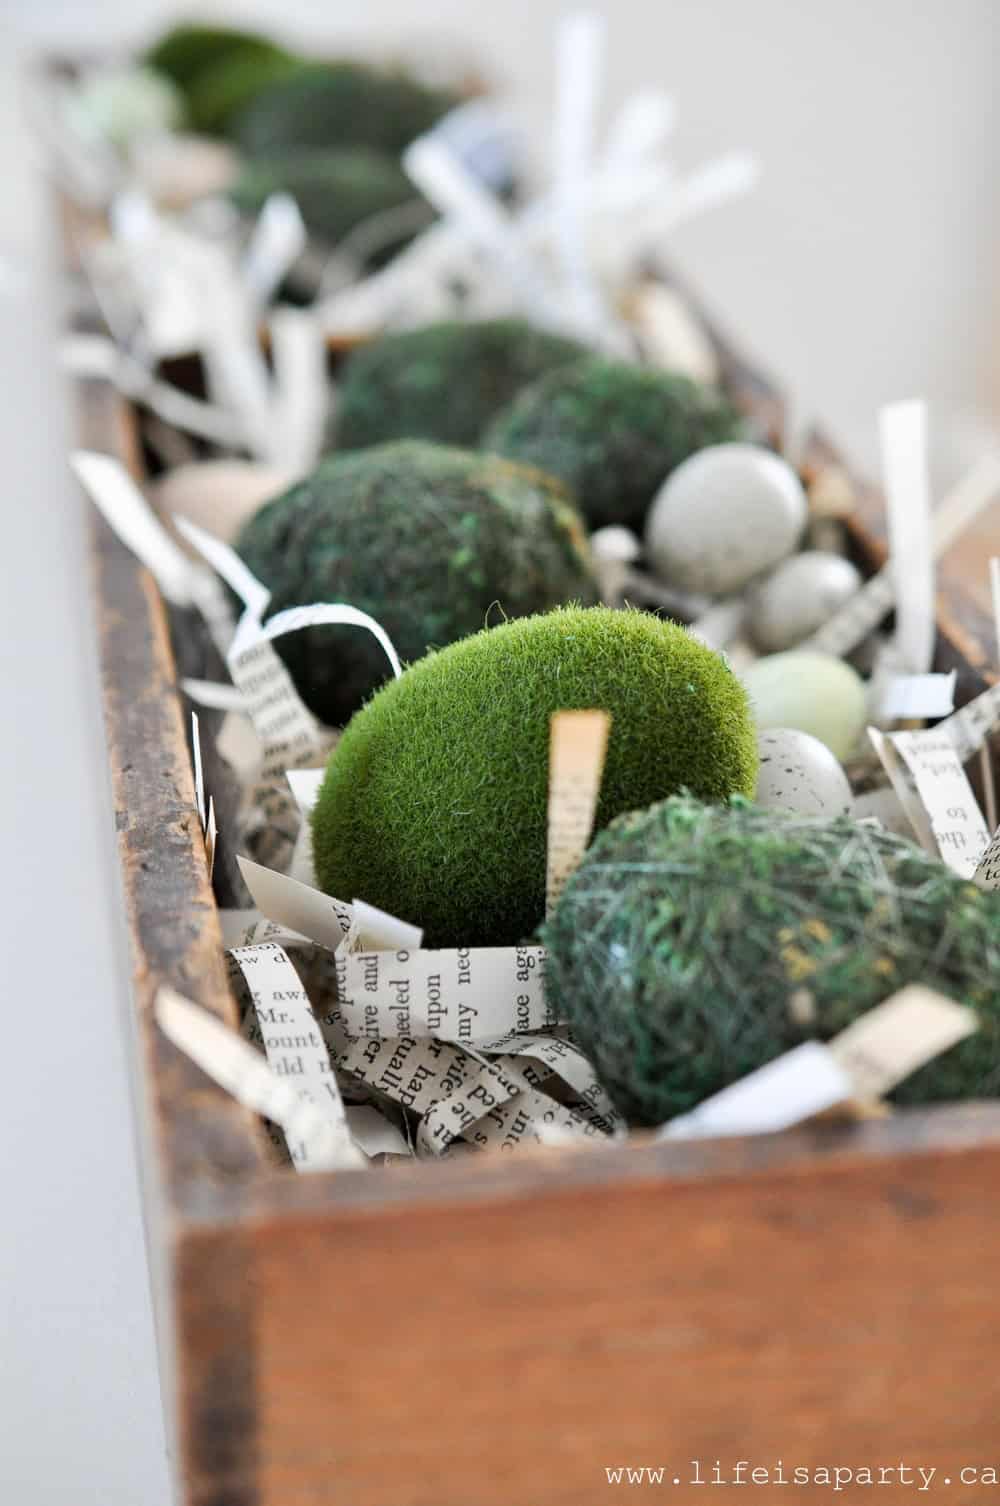
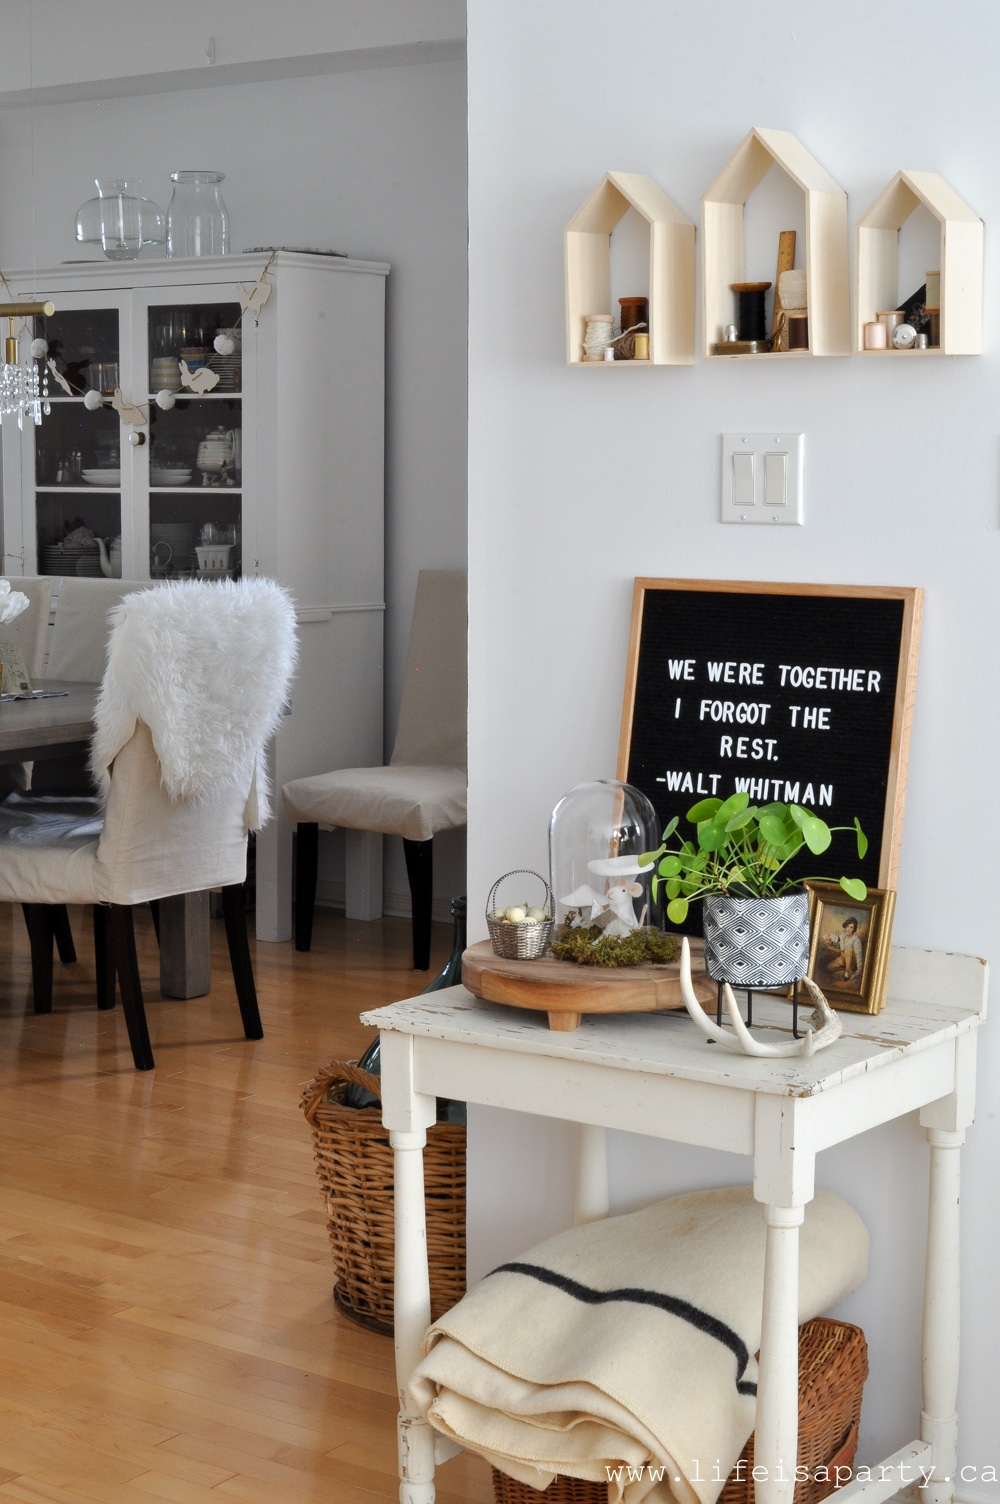
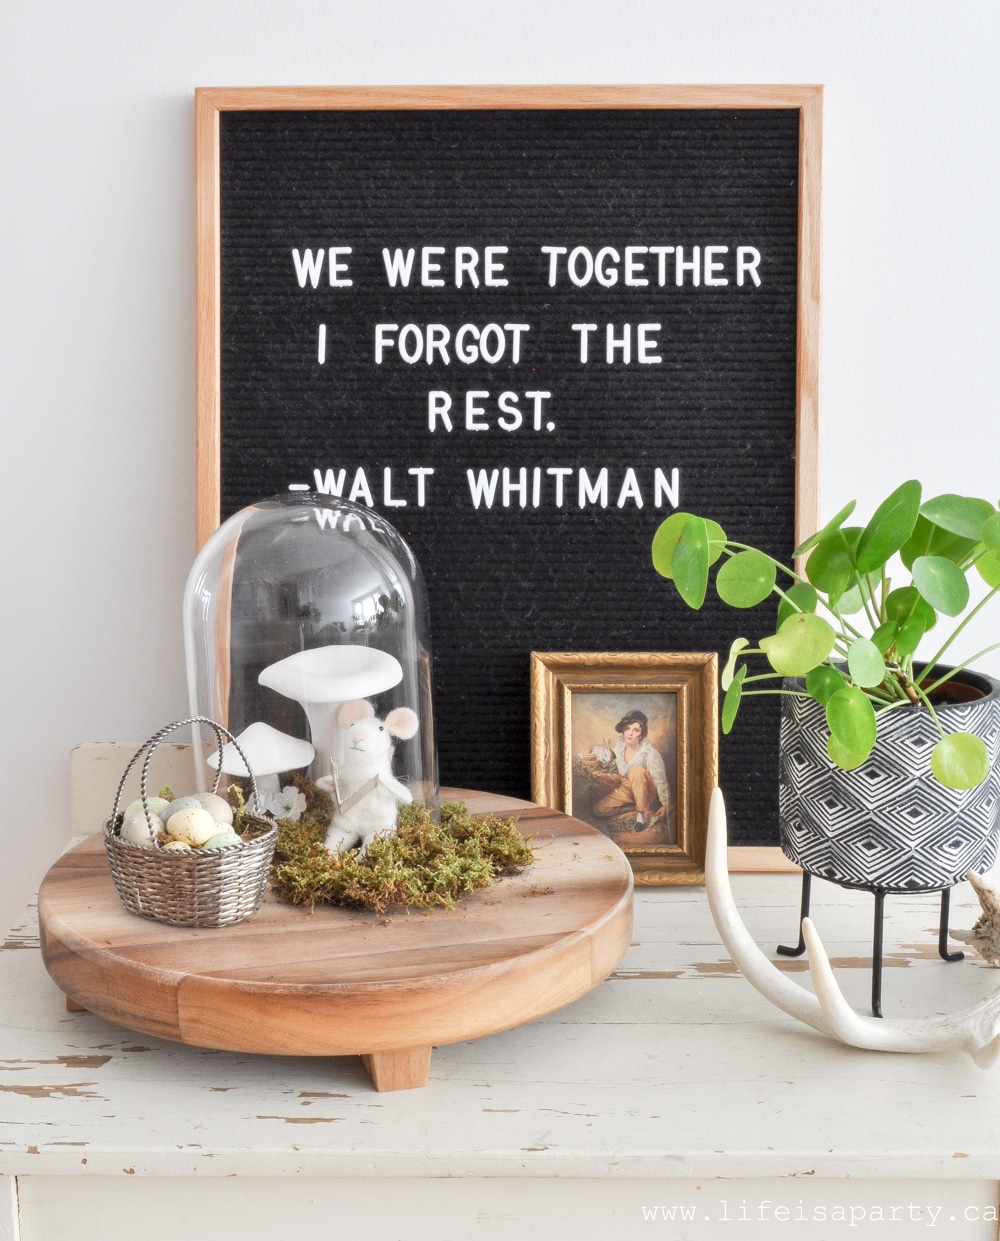
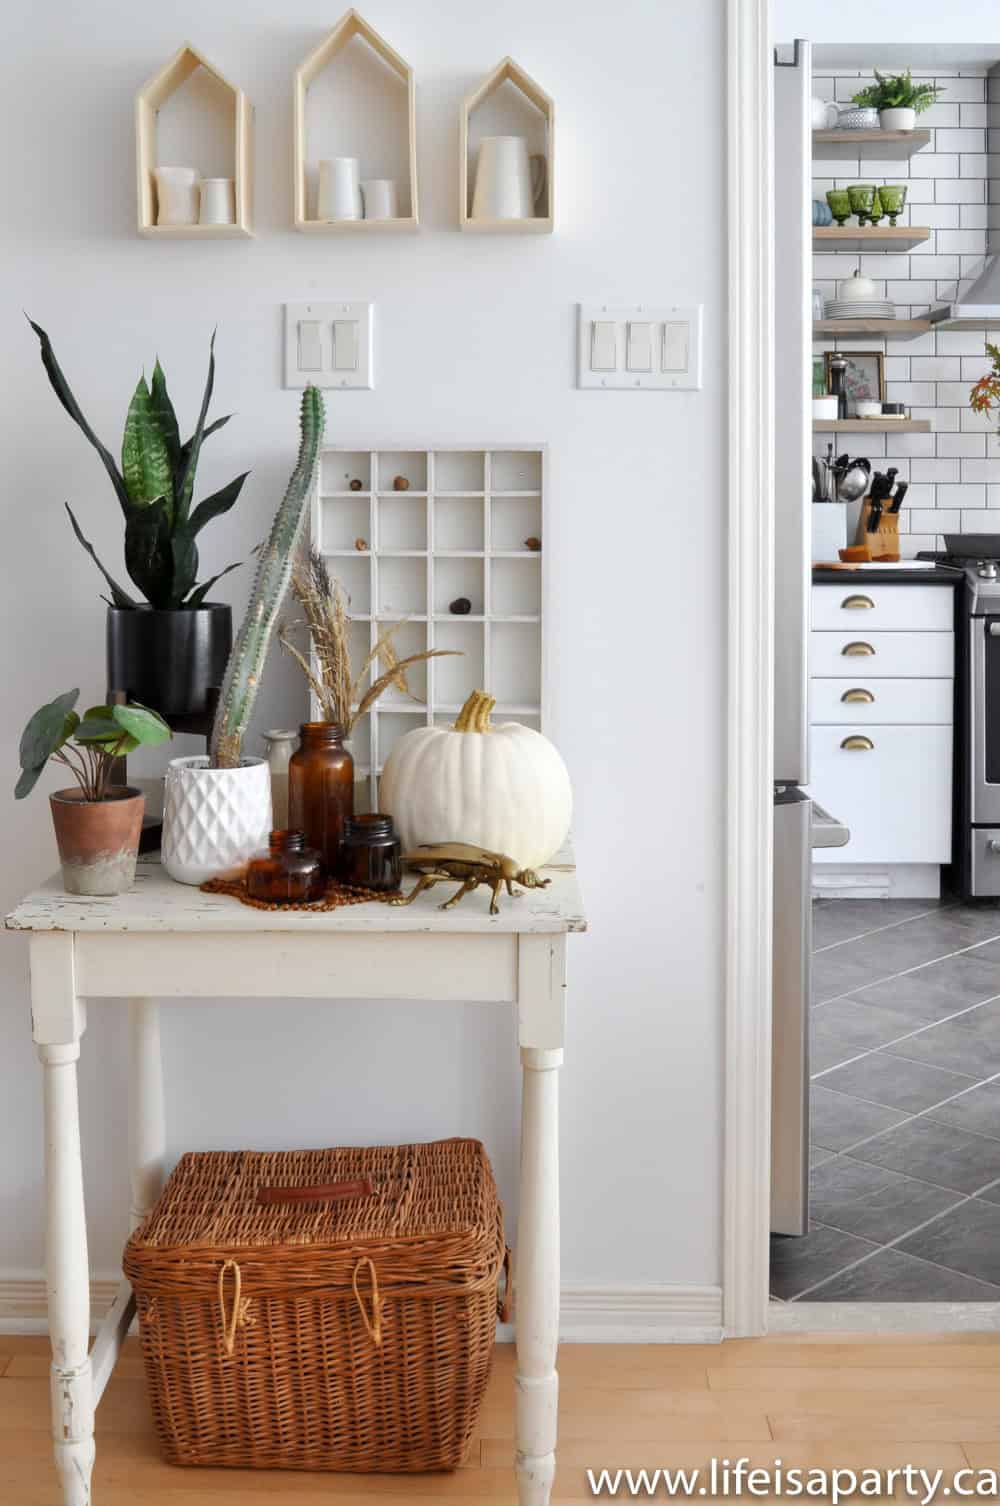
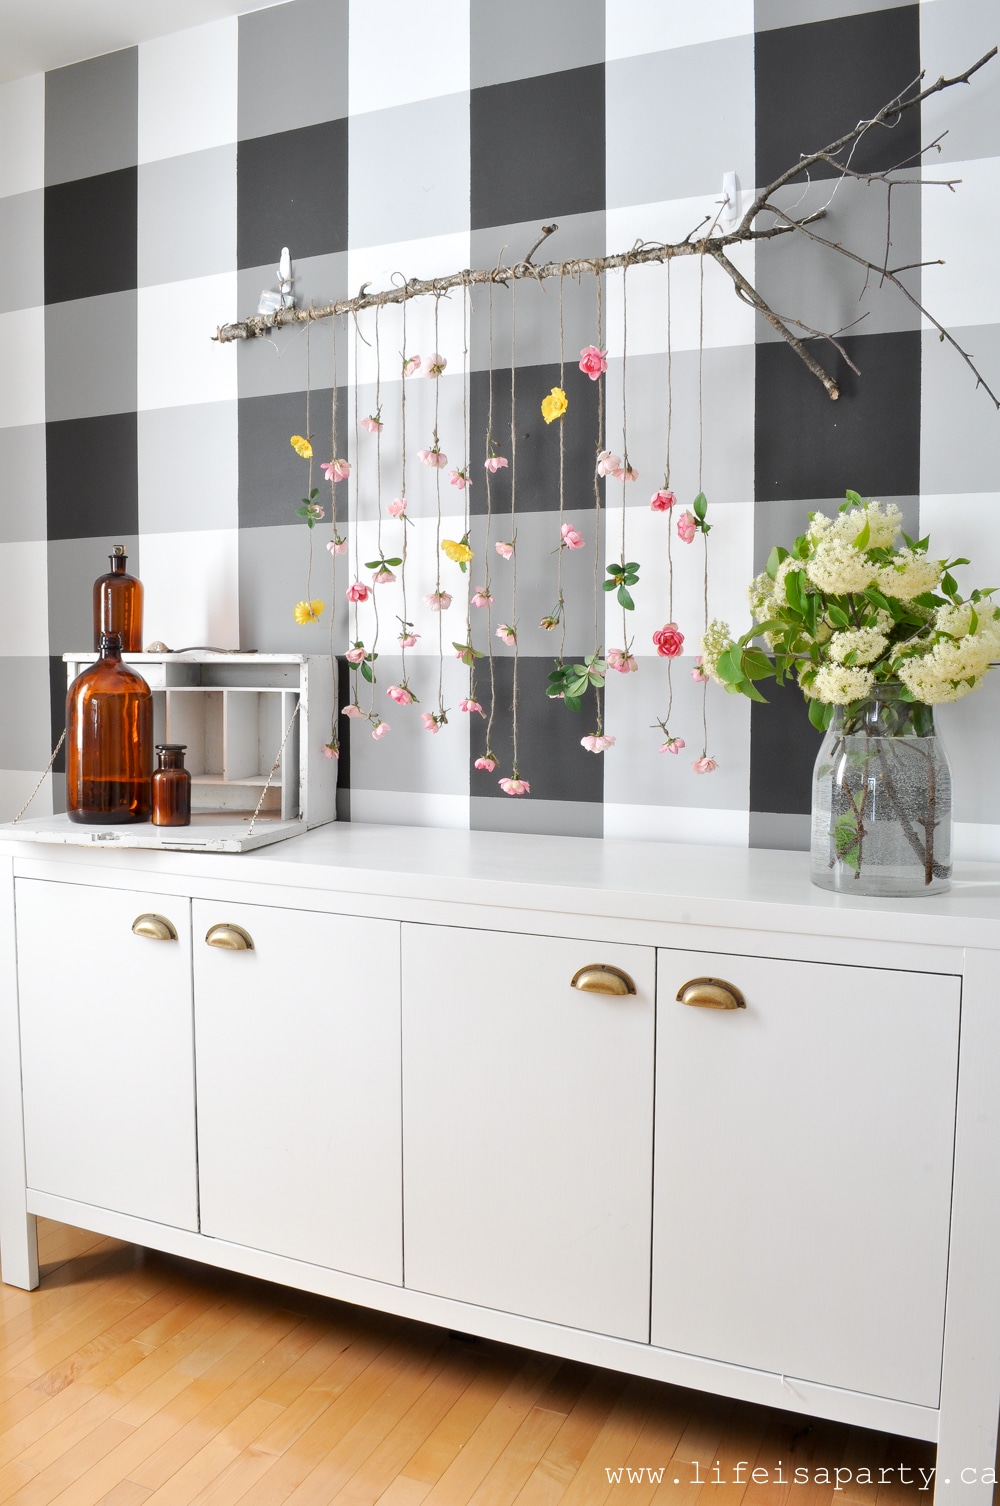
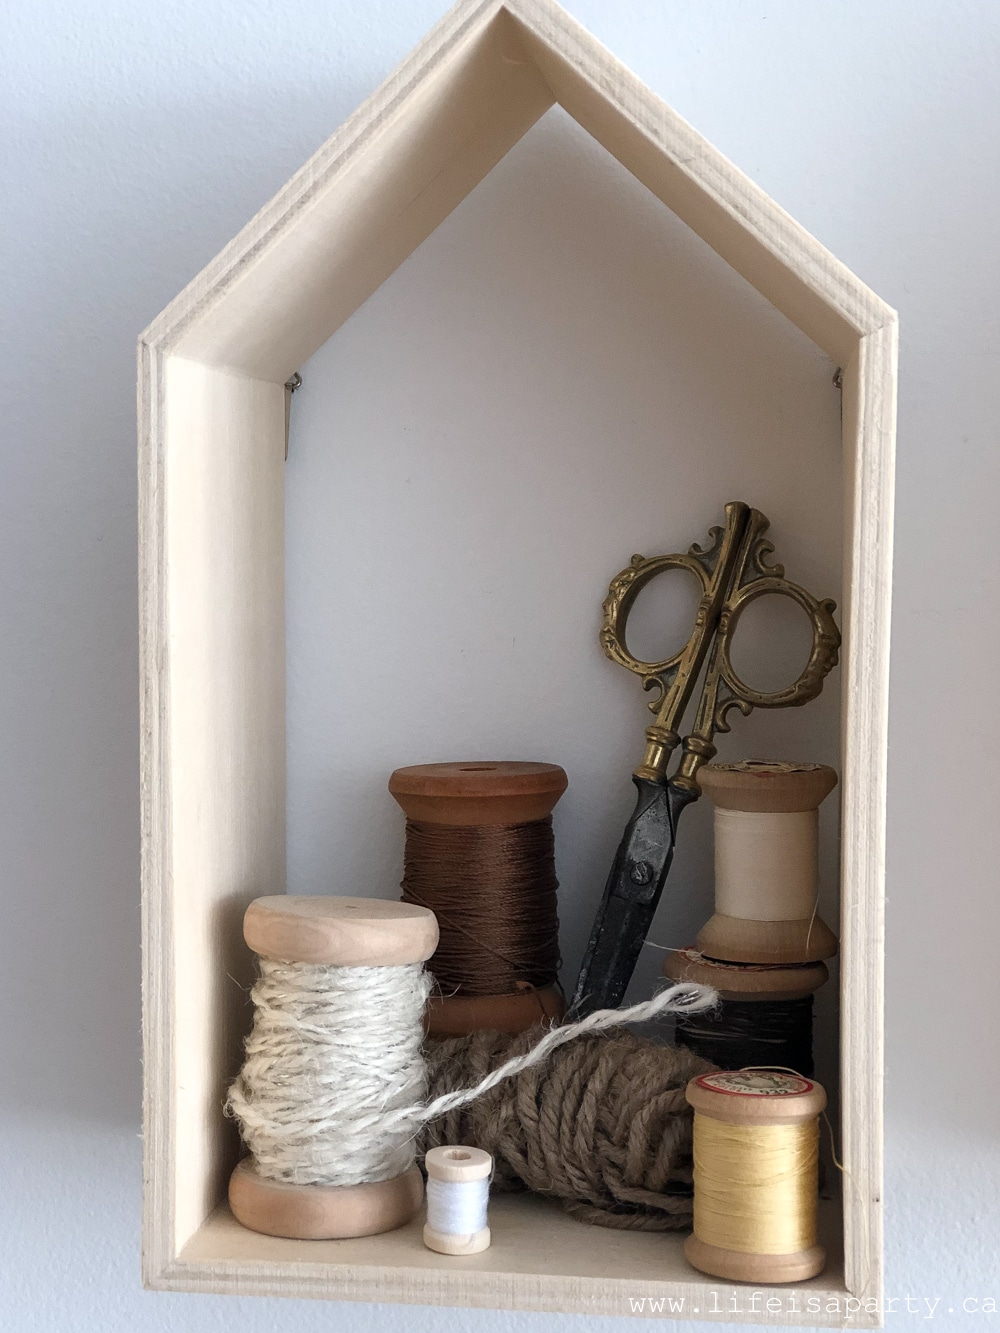
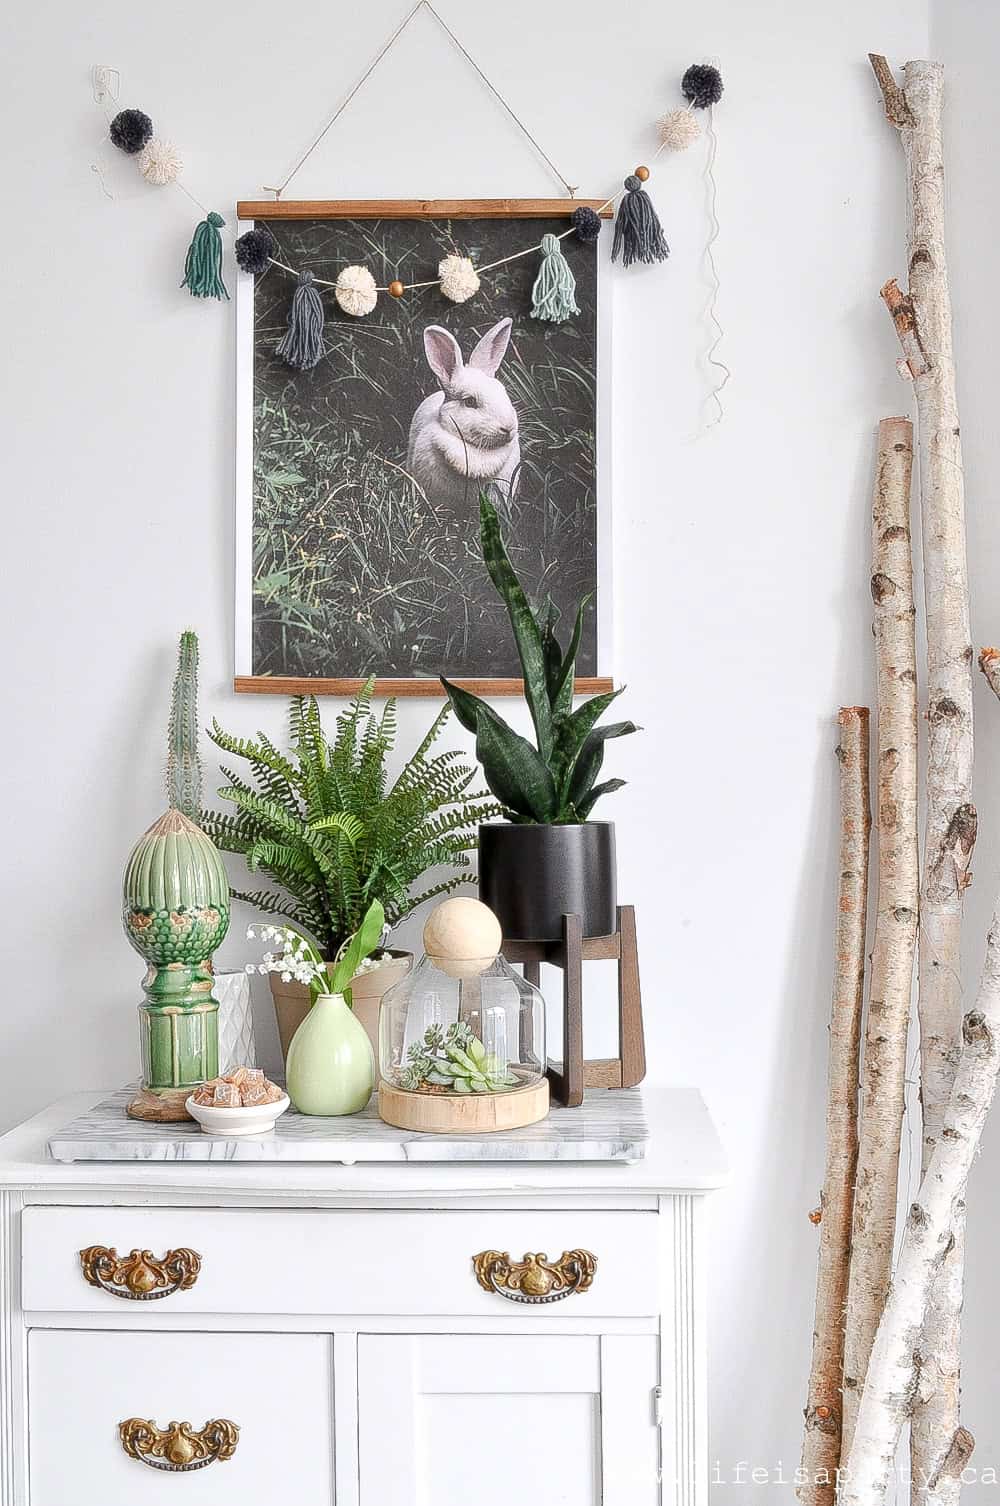
 Above the table, in the little house shelves I added a collection of vintage sewing supplies.
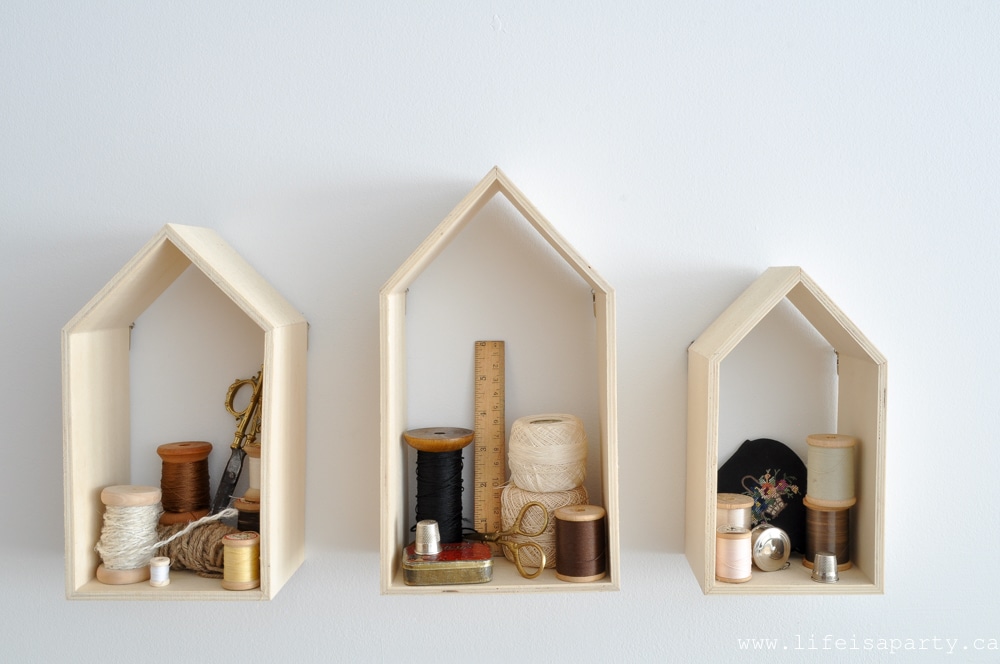
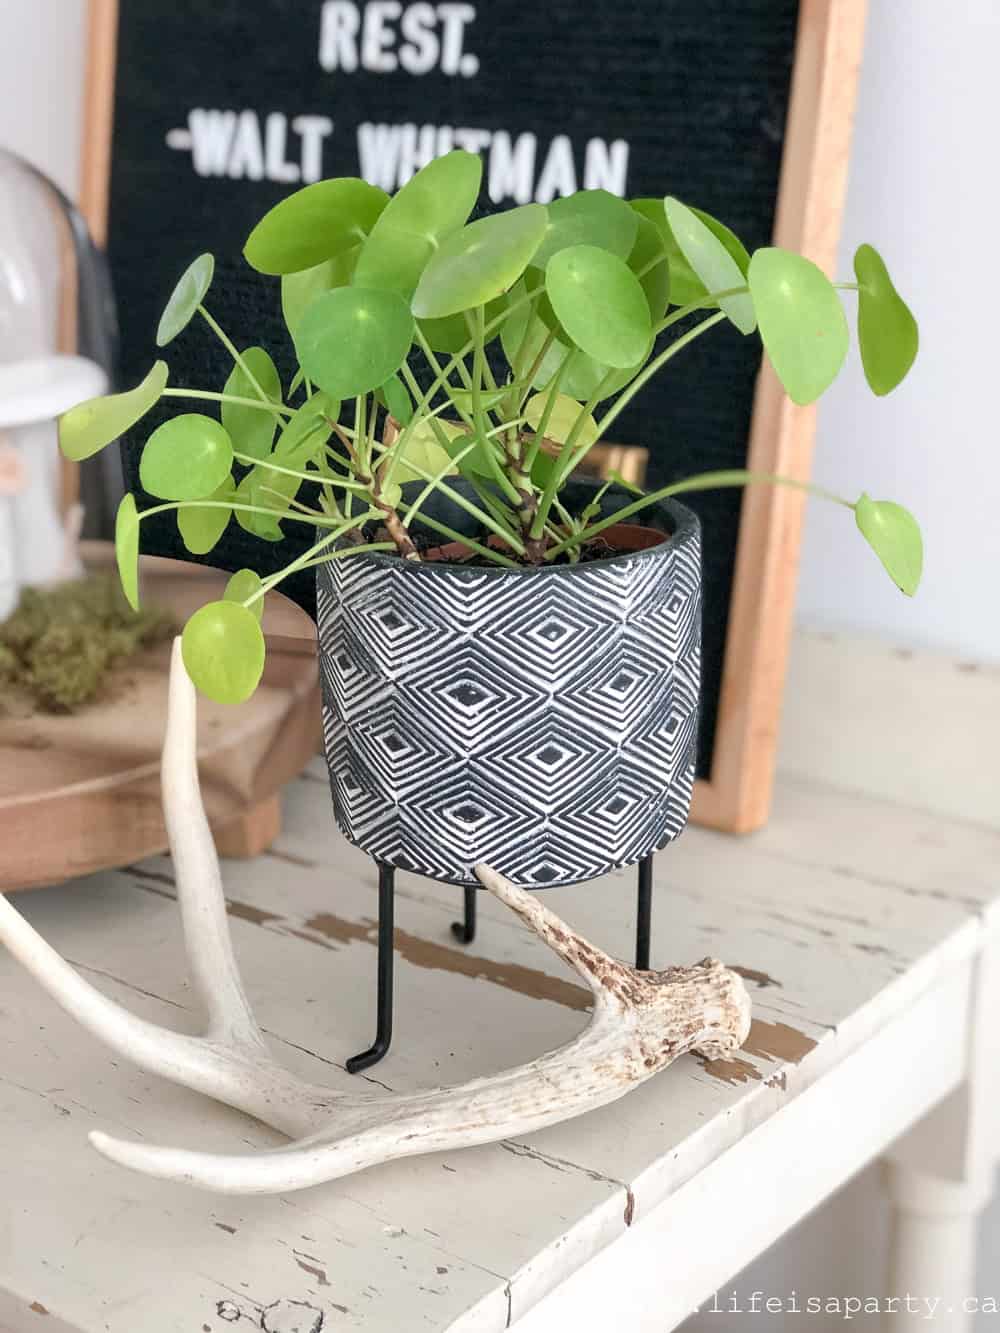
 I had fun adding lots more plants and green here too.
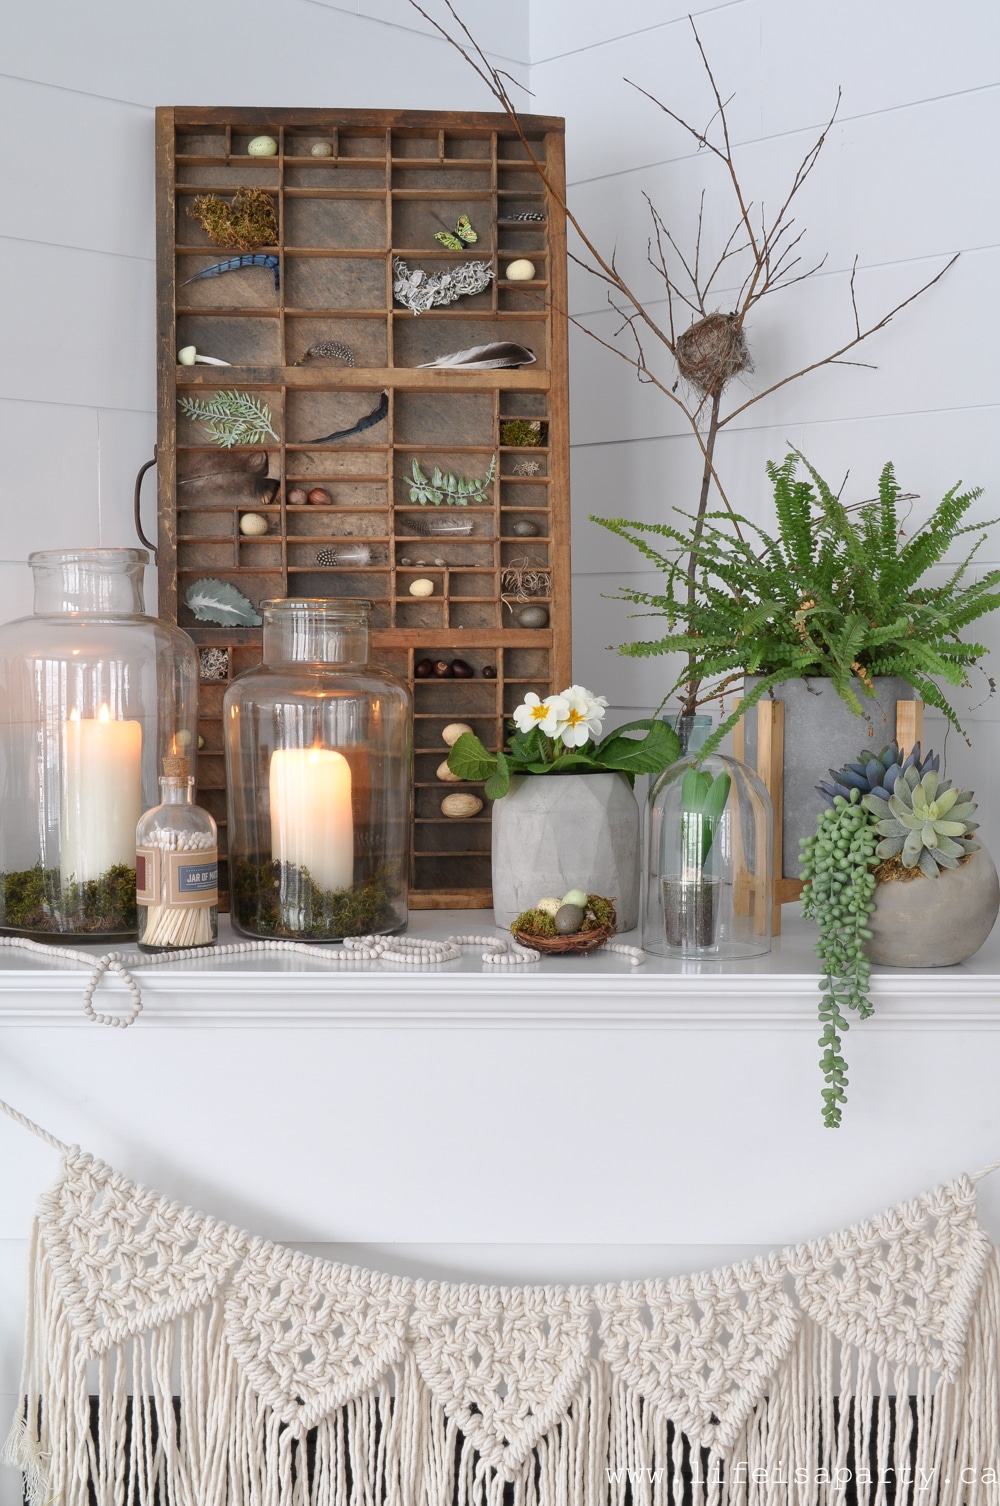
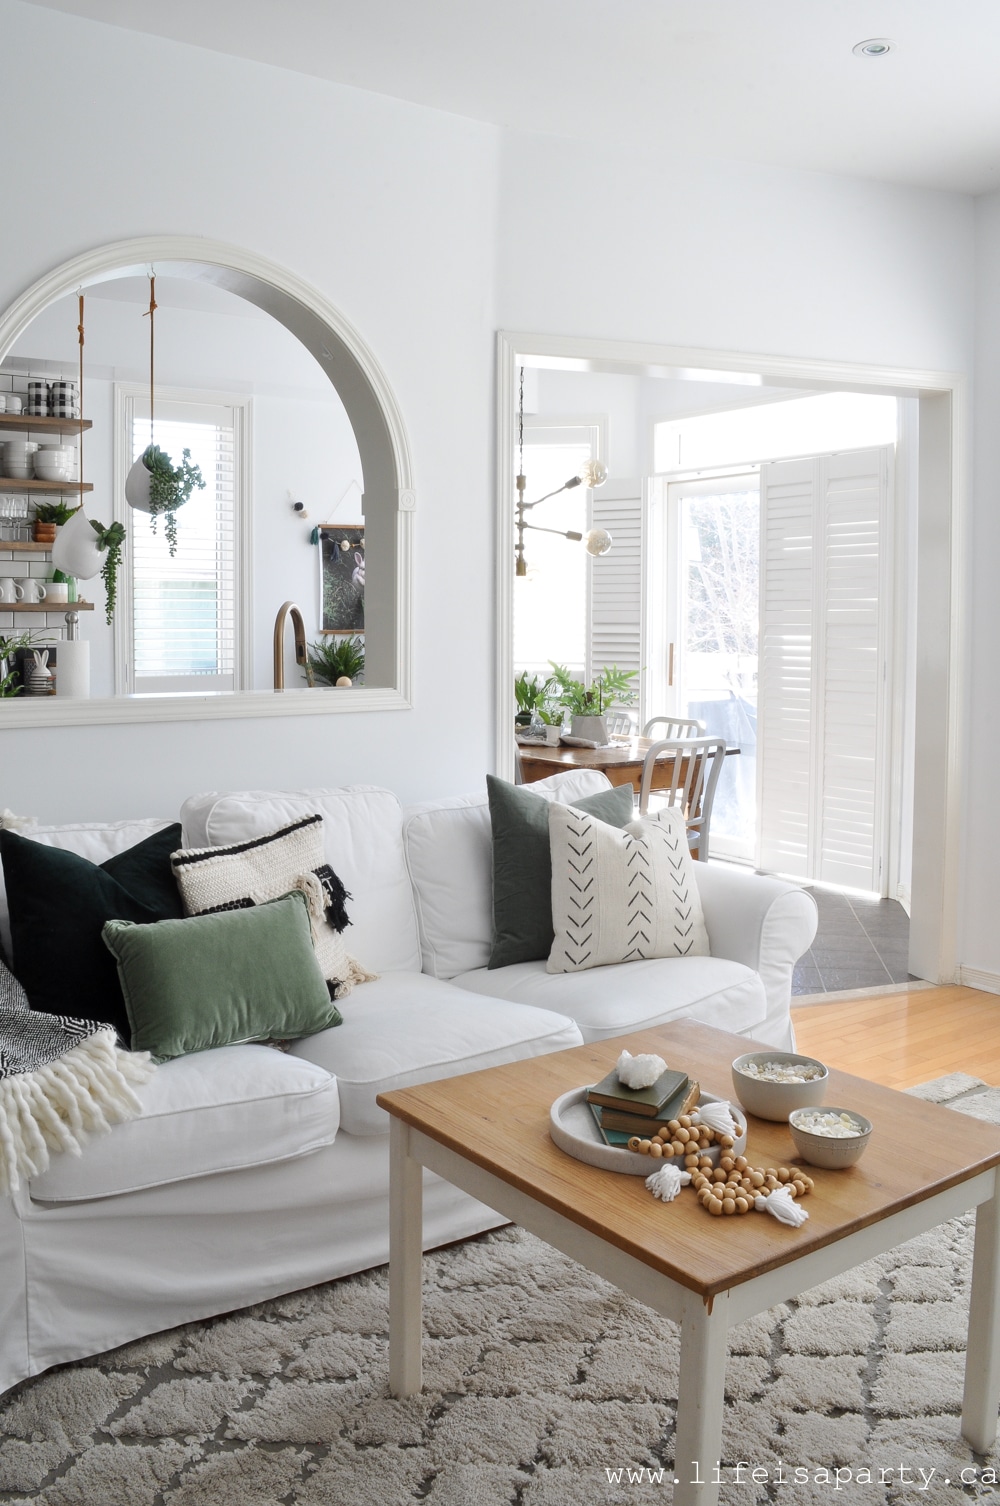
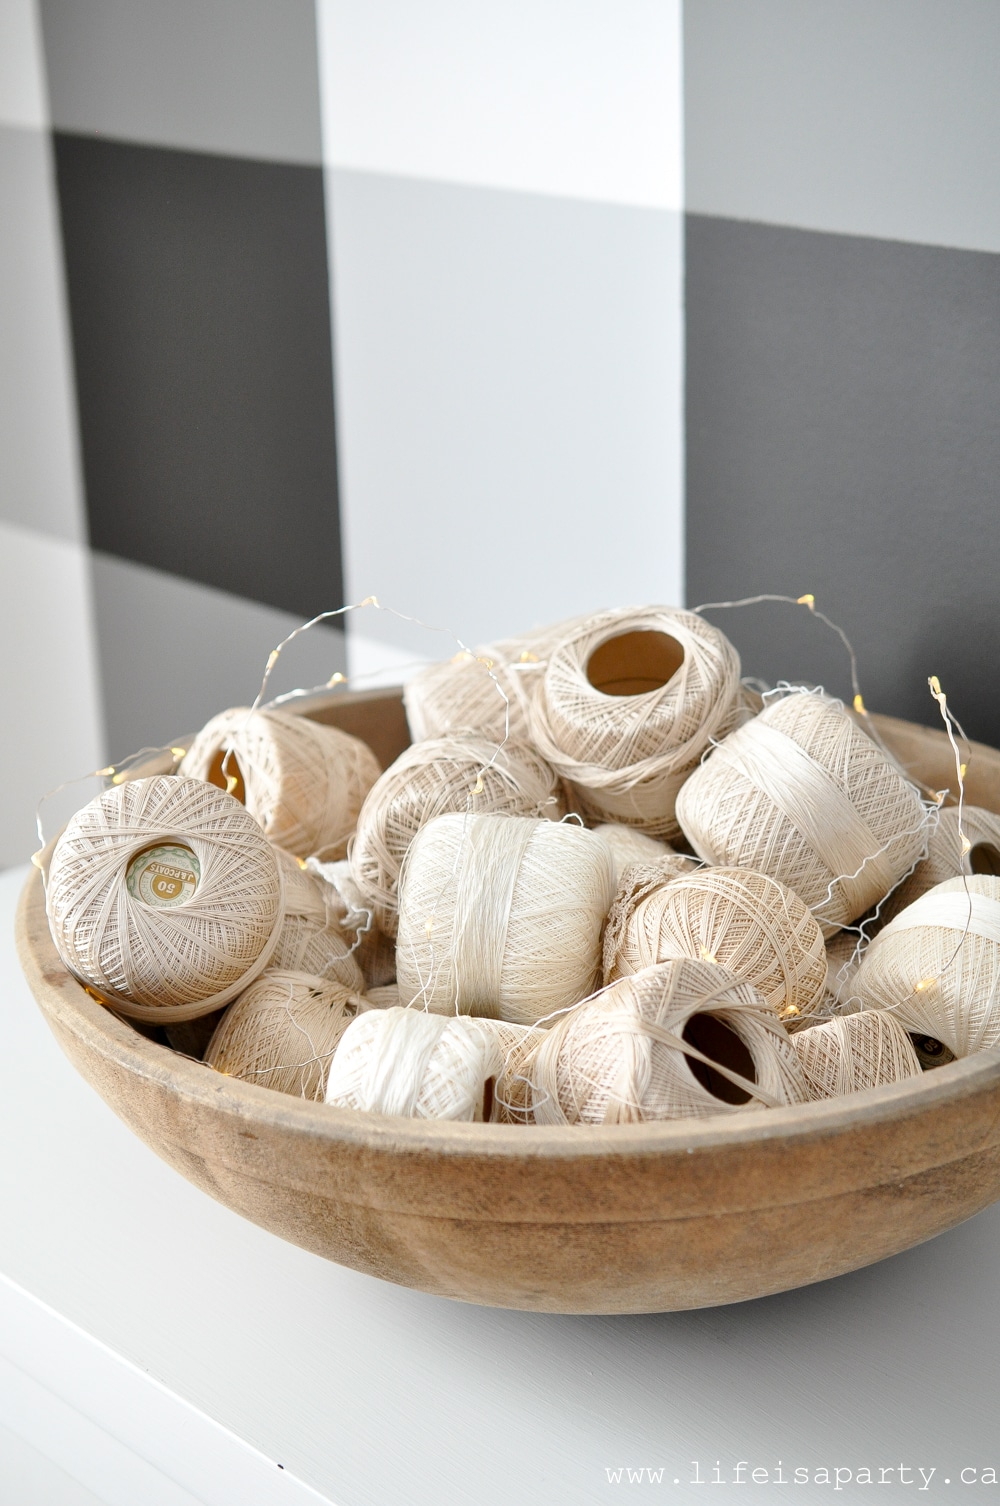
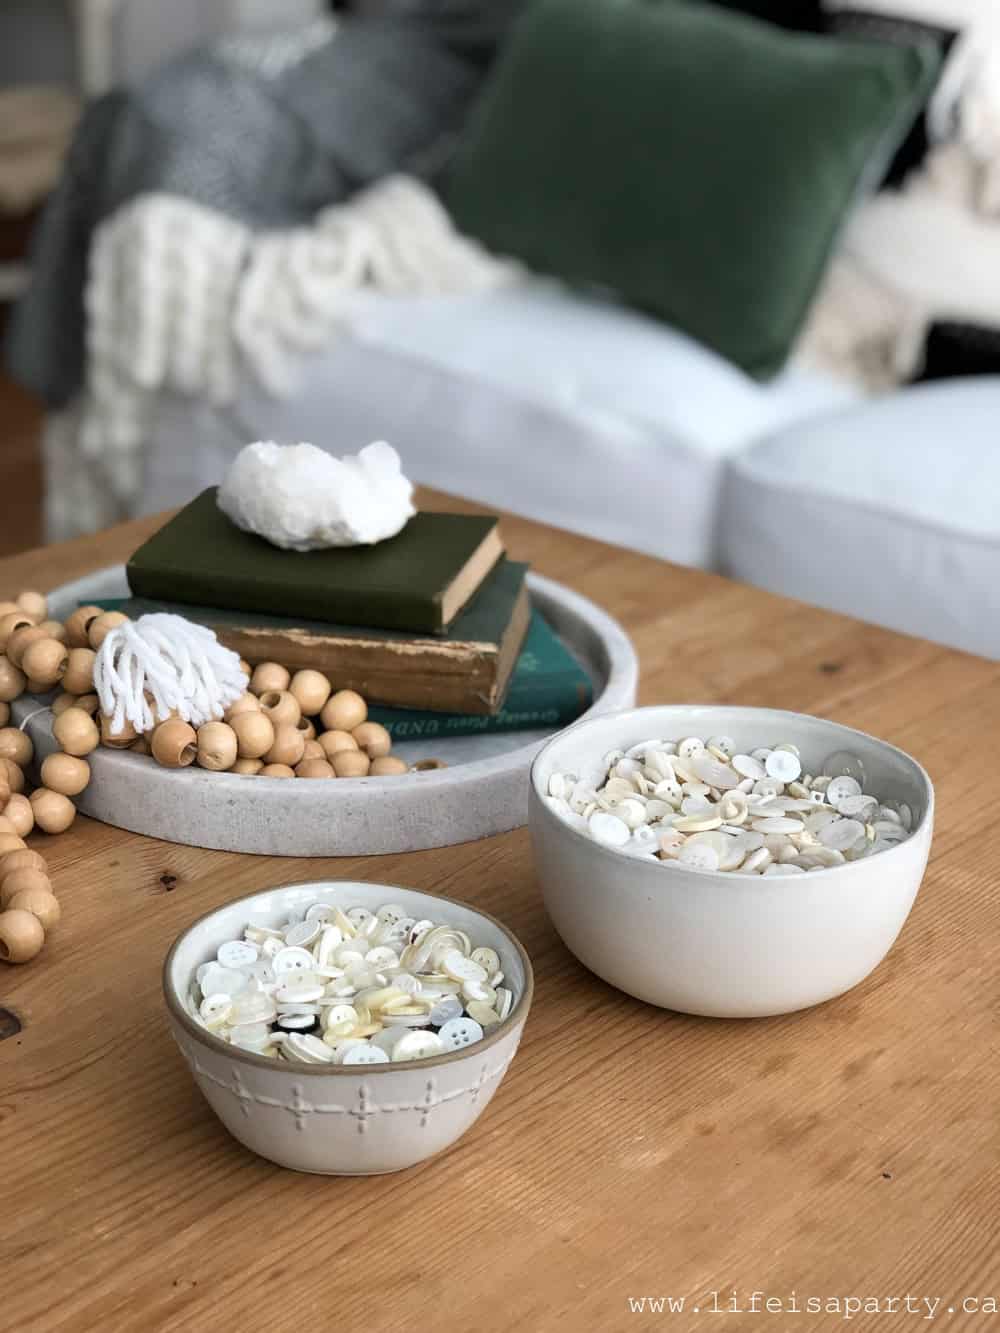 With the dough bowl of cotton thread in the dining room, my vintage sewing supplies in the little house shelves, and my bowls of buttons here on the coffee table I've added lots of fun vintage textile pieces. I love how much texture they add to the space.
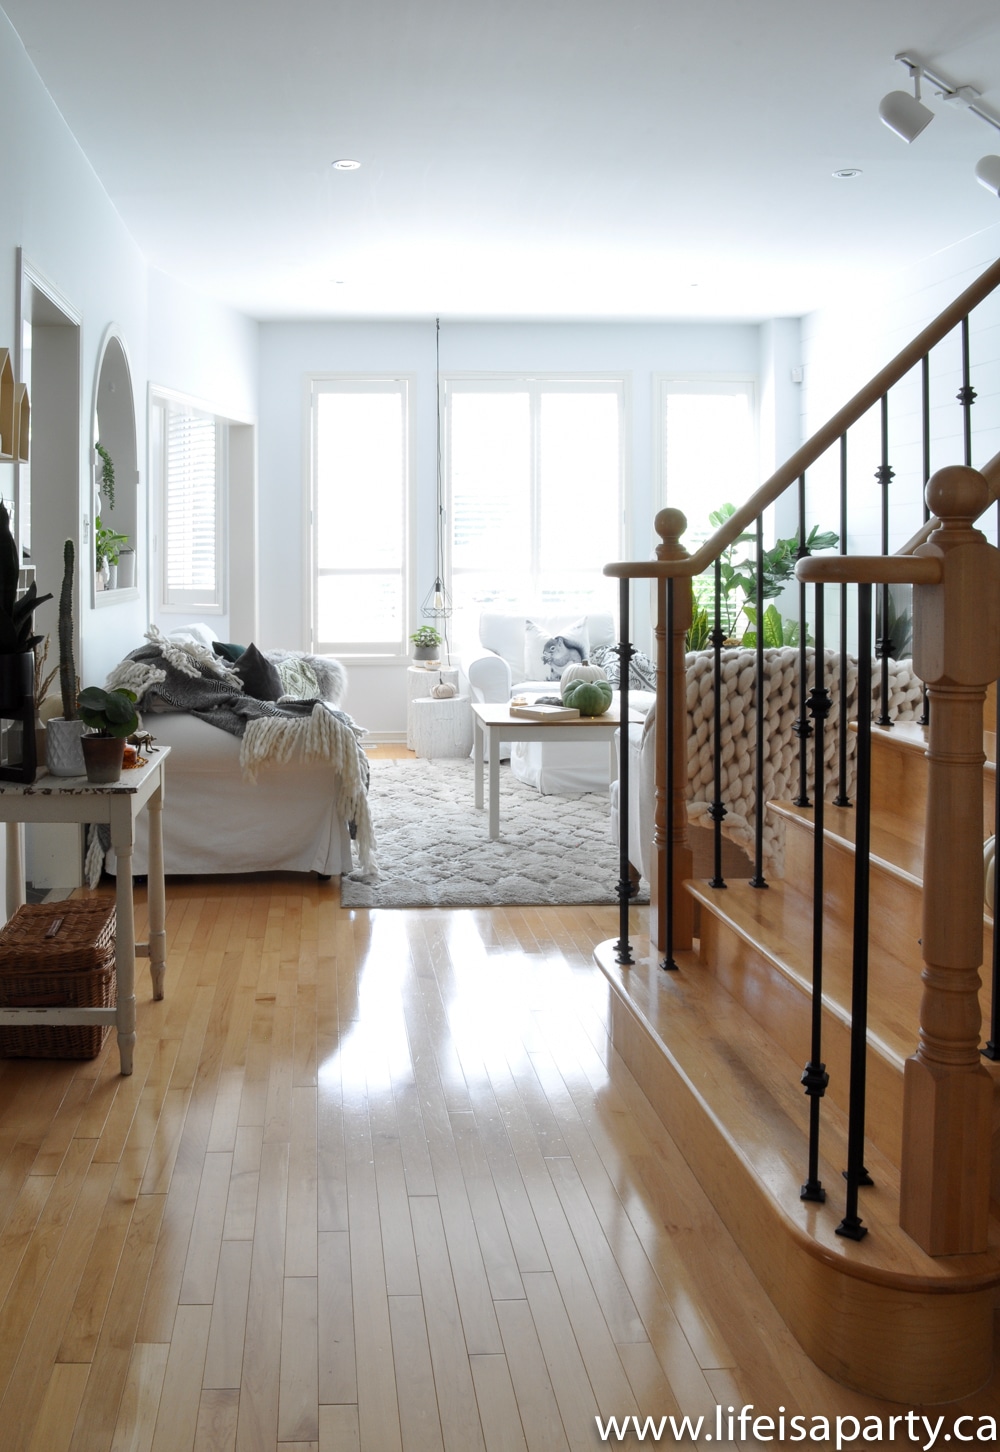
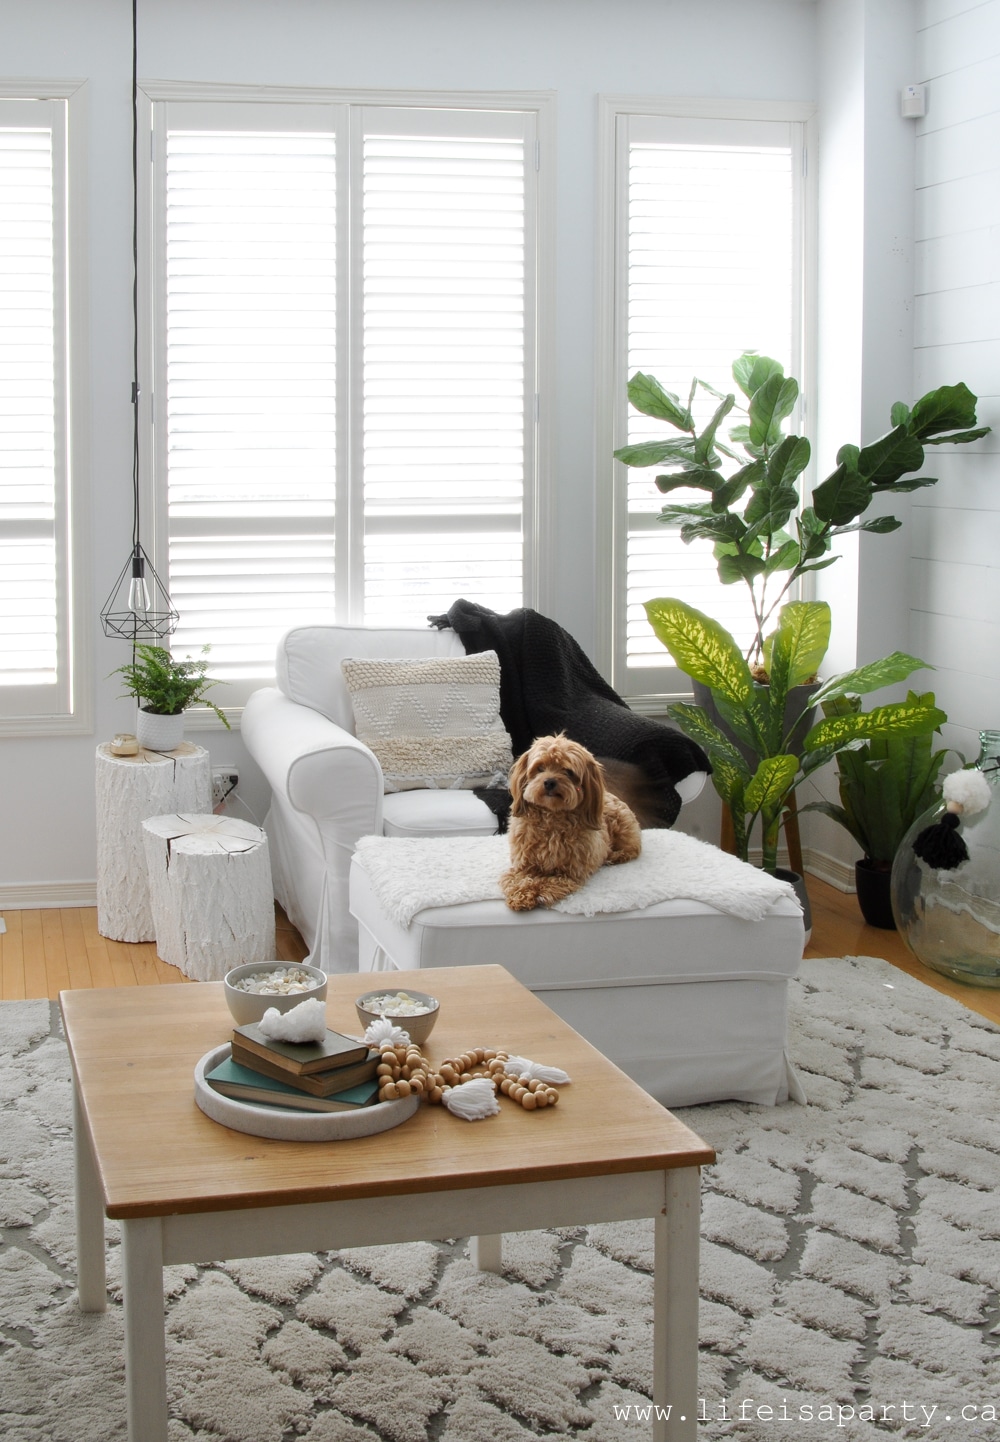 On the other side of the room, I've added lots of big plants, and it feels so nice for spring. My dog Oscar has made himself at home. 😉
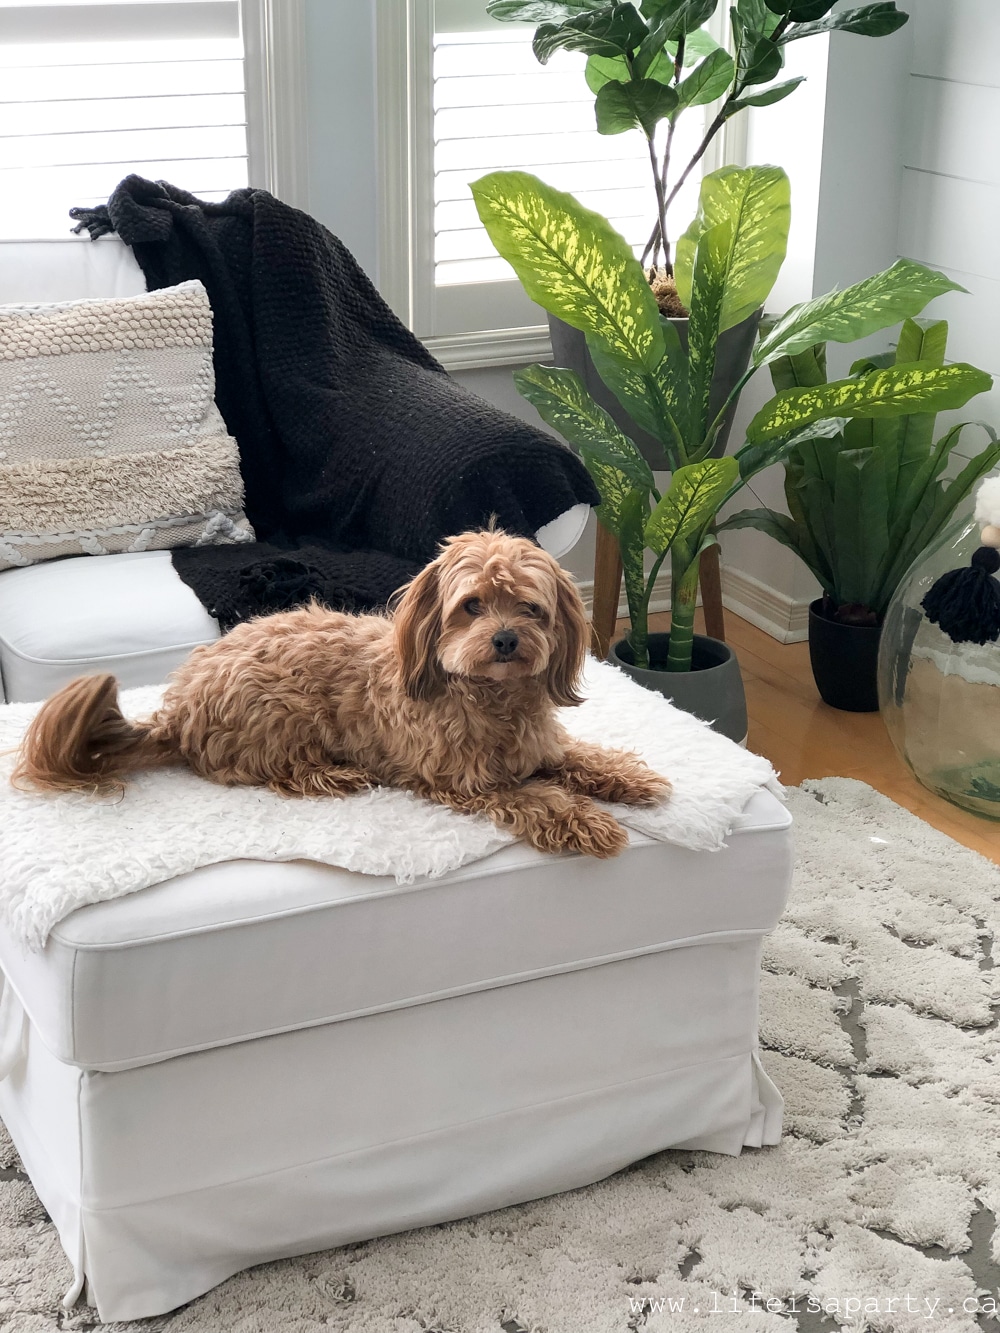
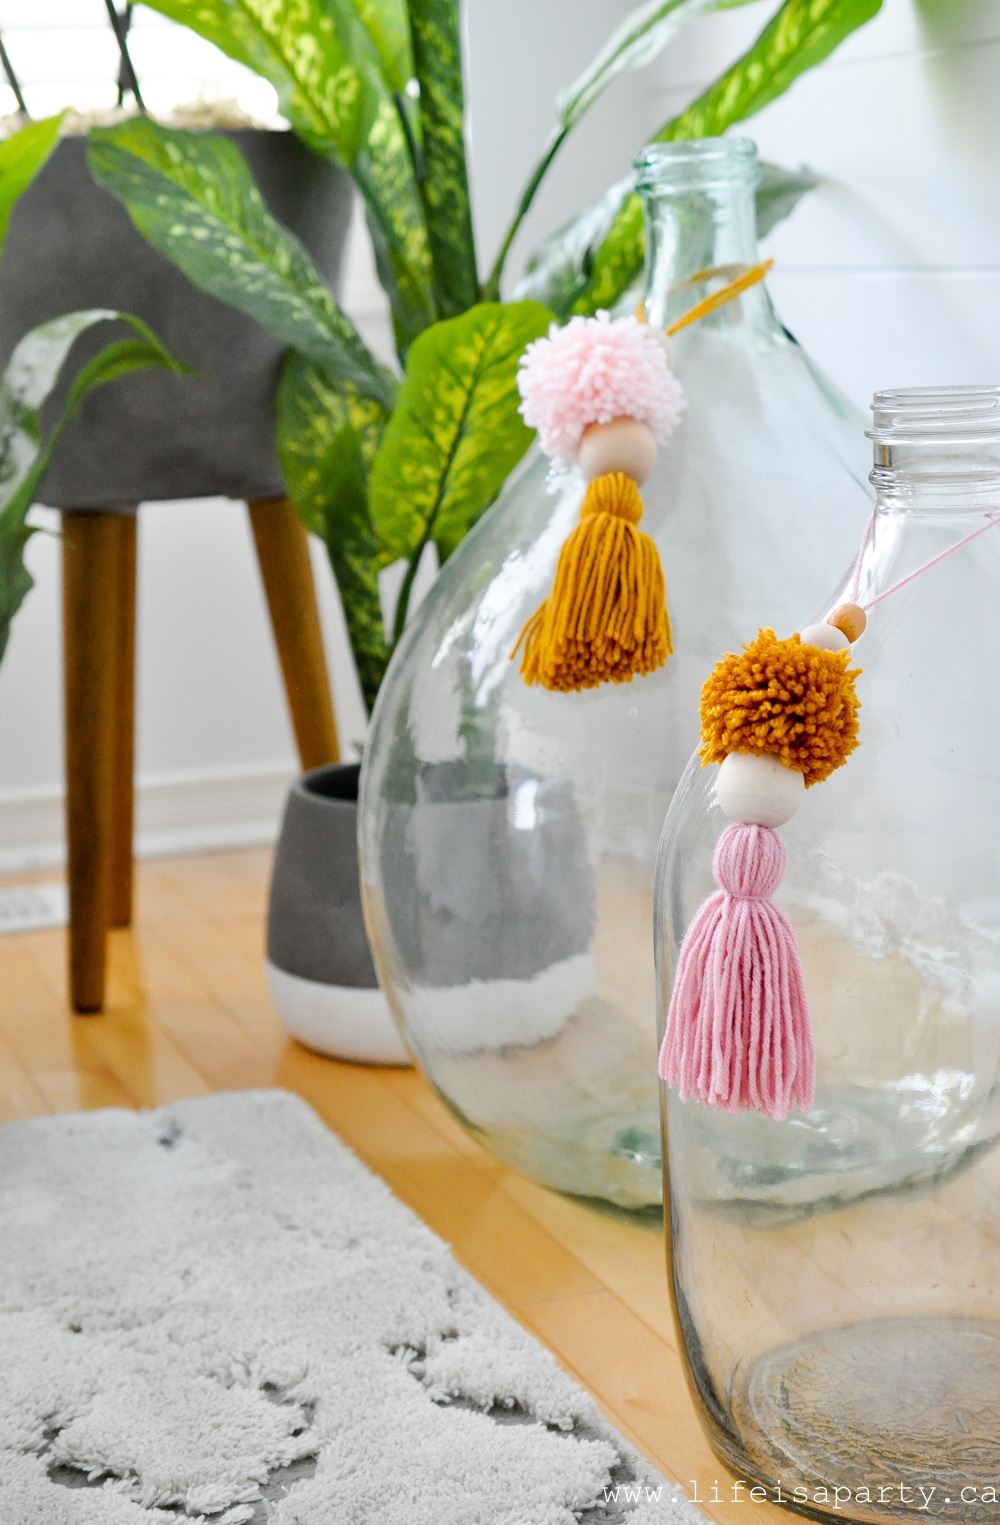
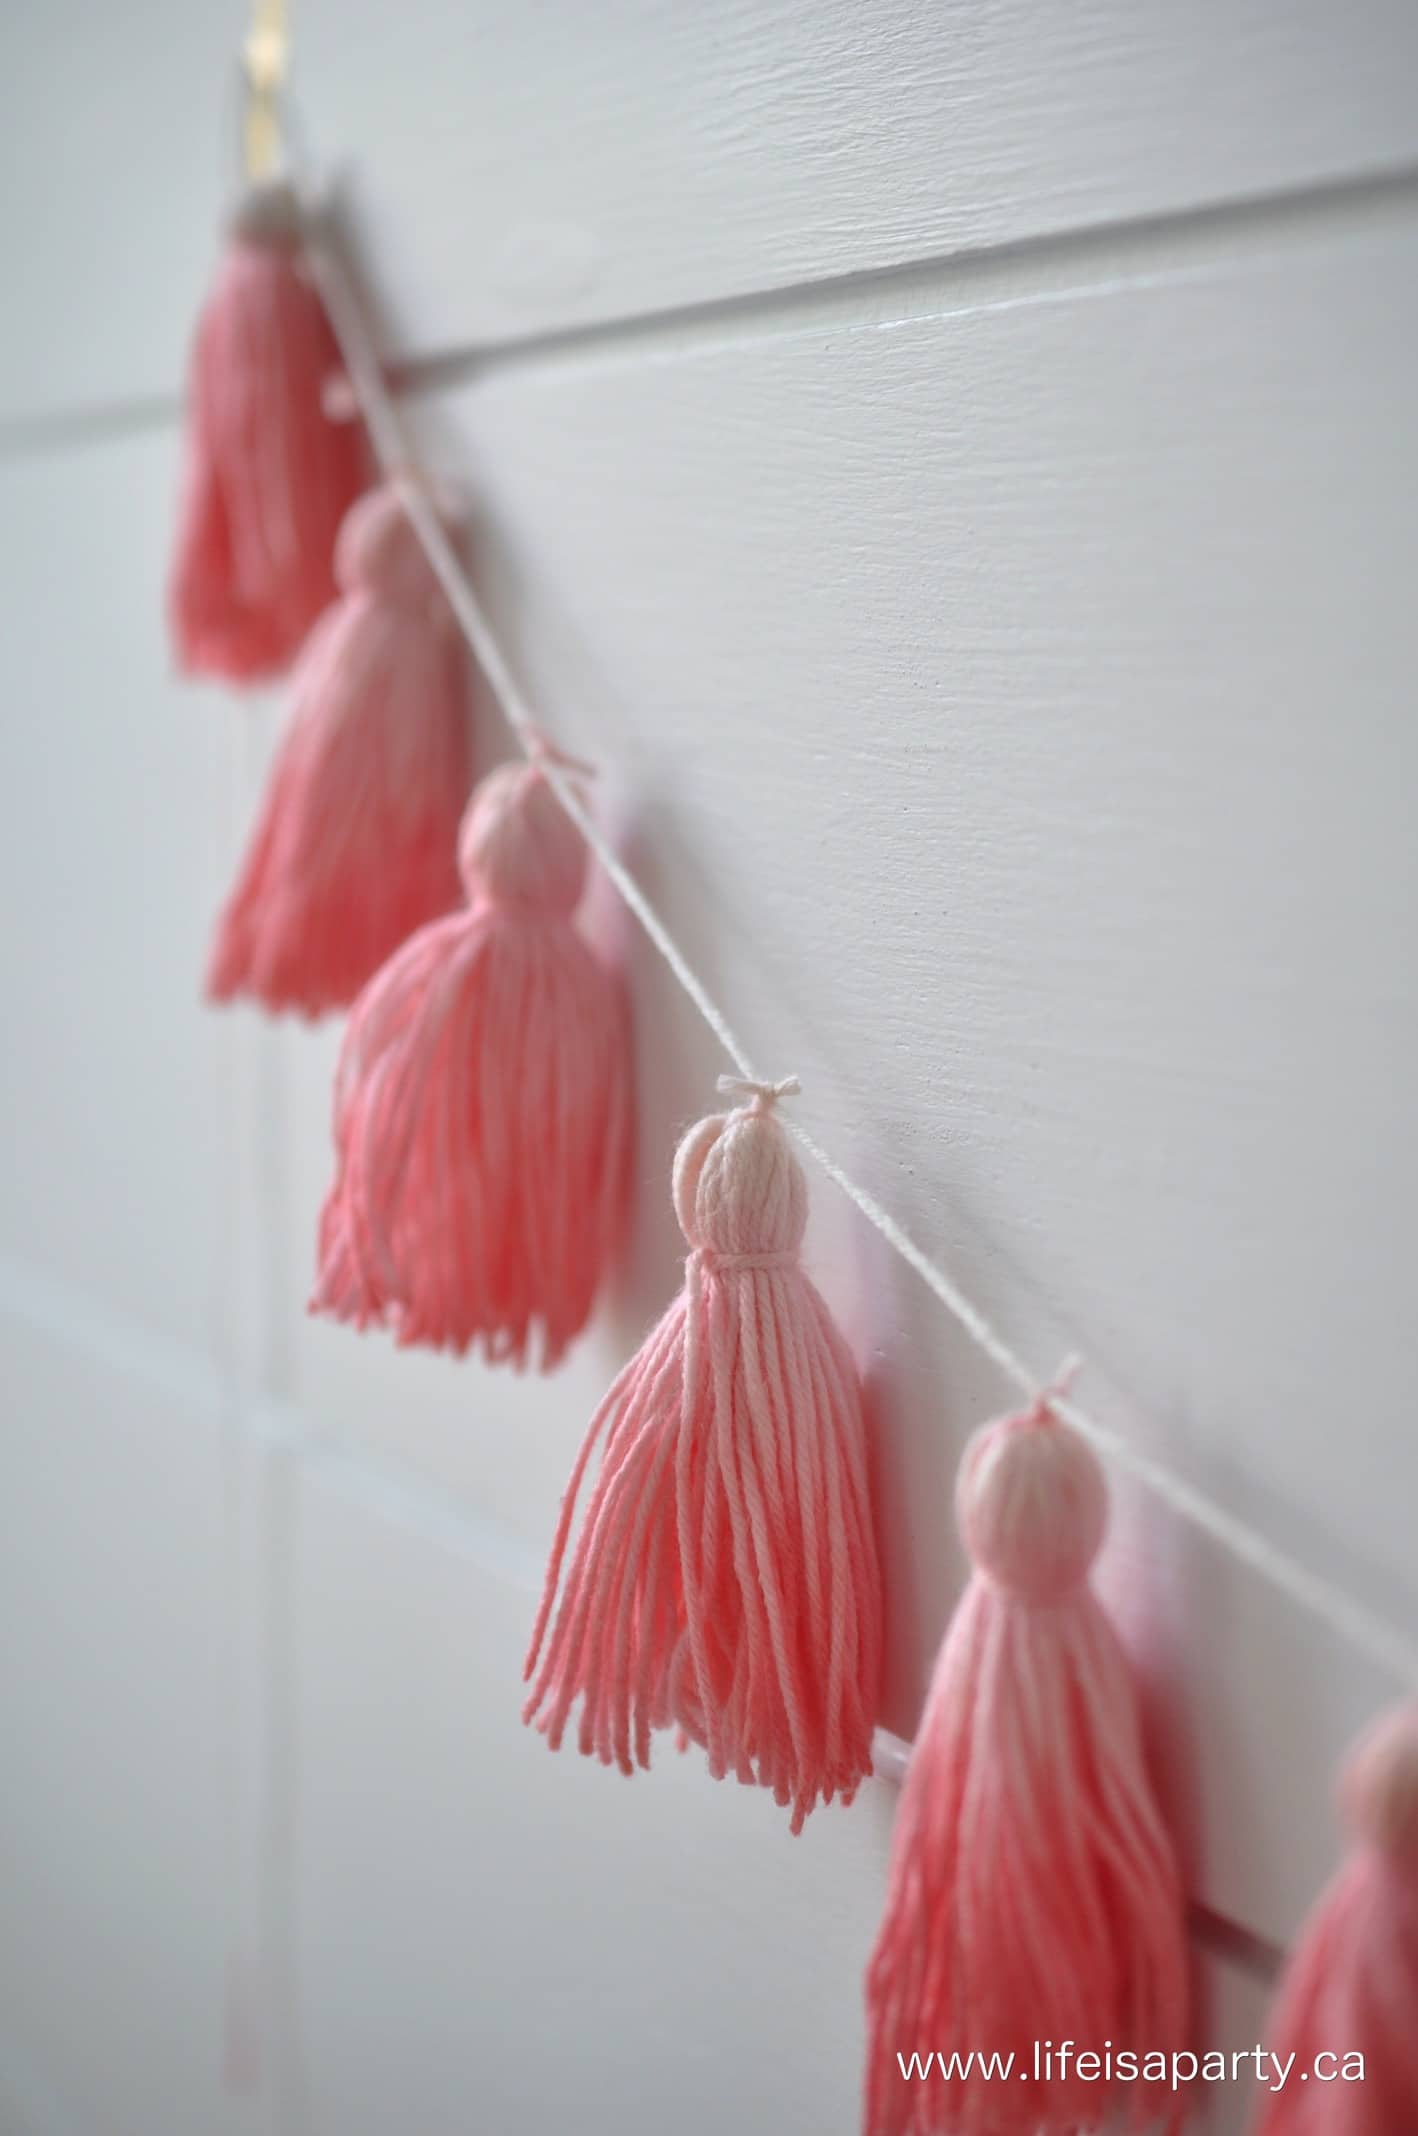
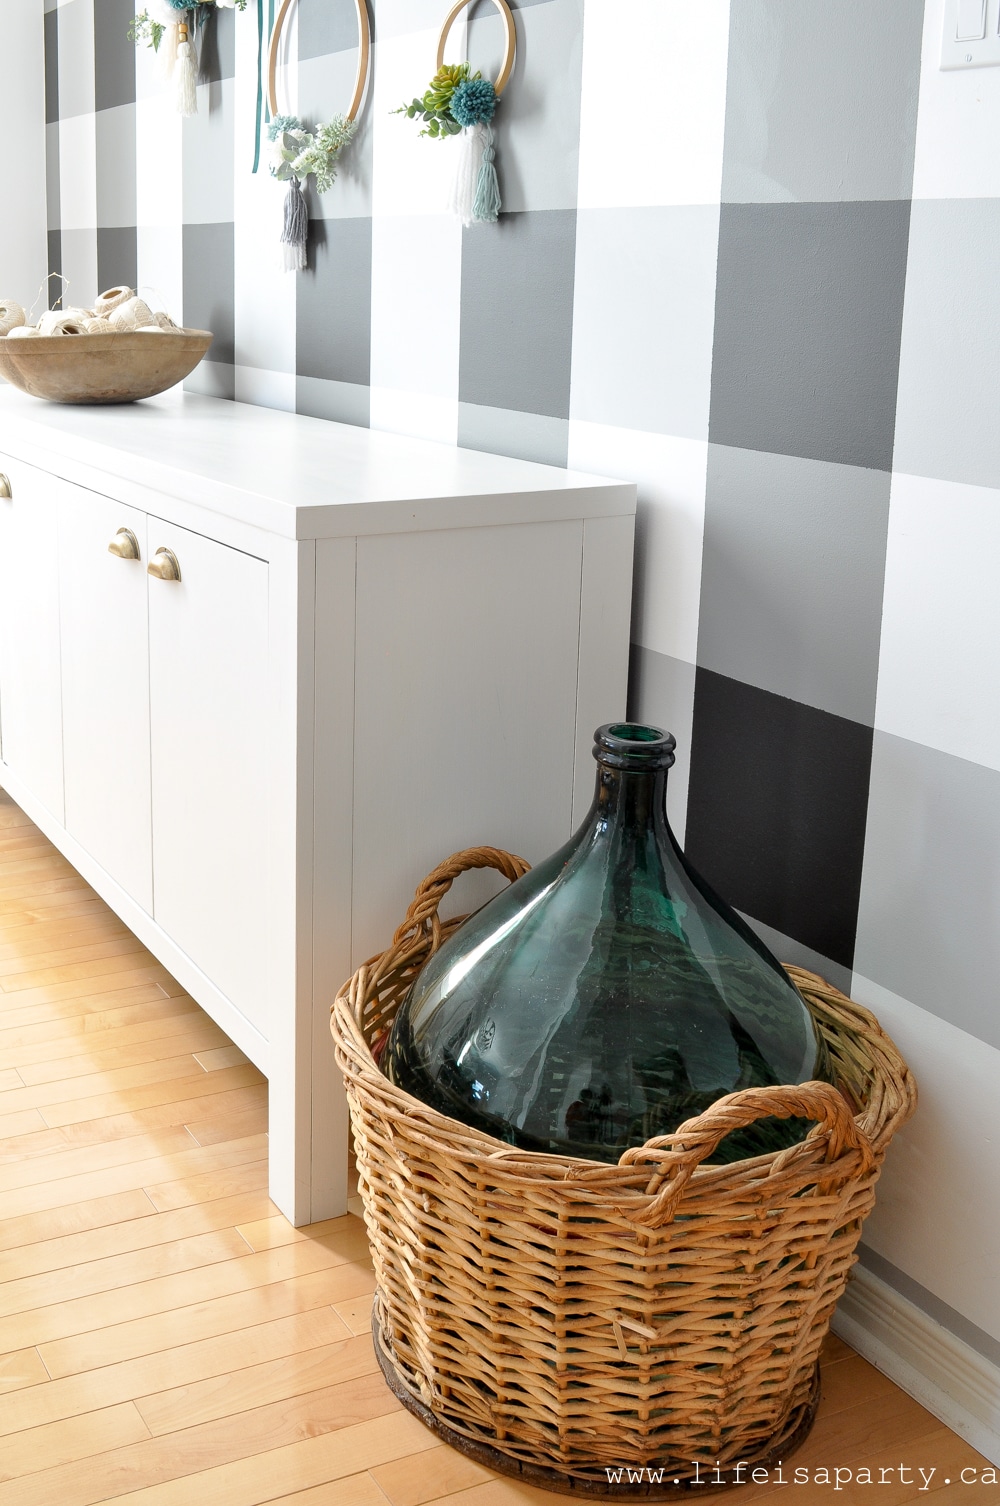
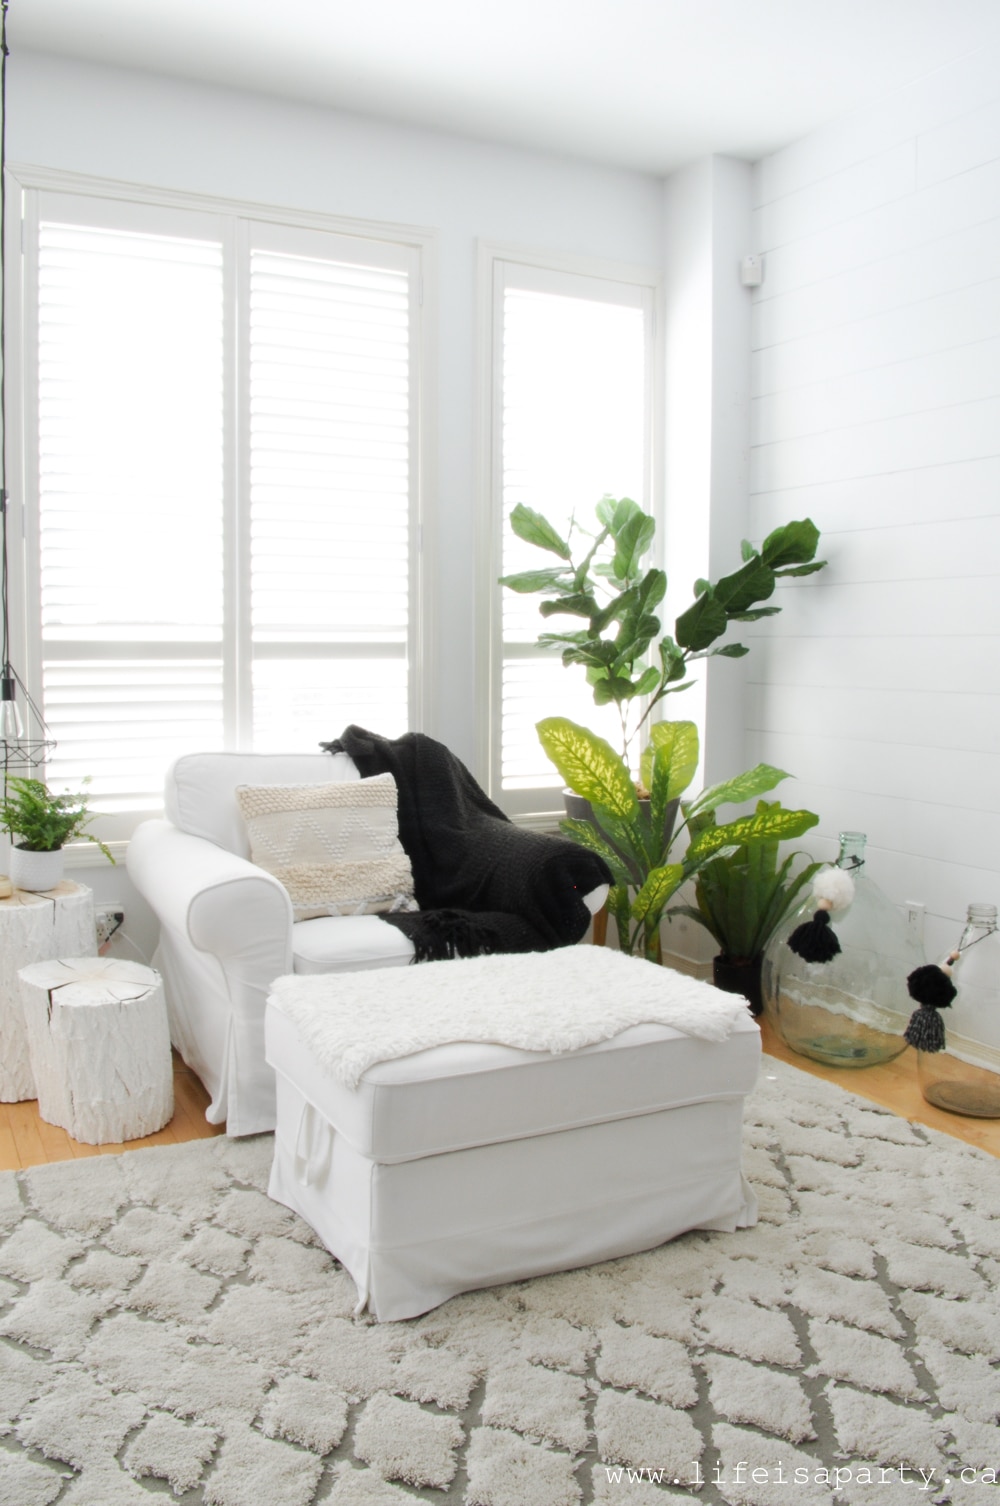 I'm also really in love with the large demi john jars. I asked my sister to hunt some down for me for Christmas and she came through like a champ. I added some fun tassels to them for that boho vibe that I love.
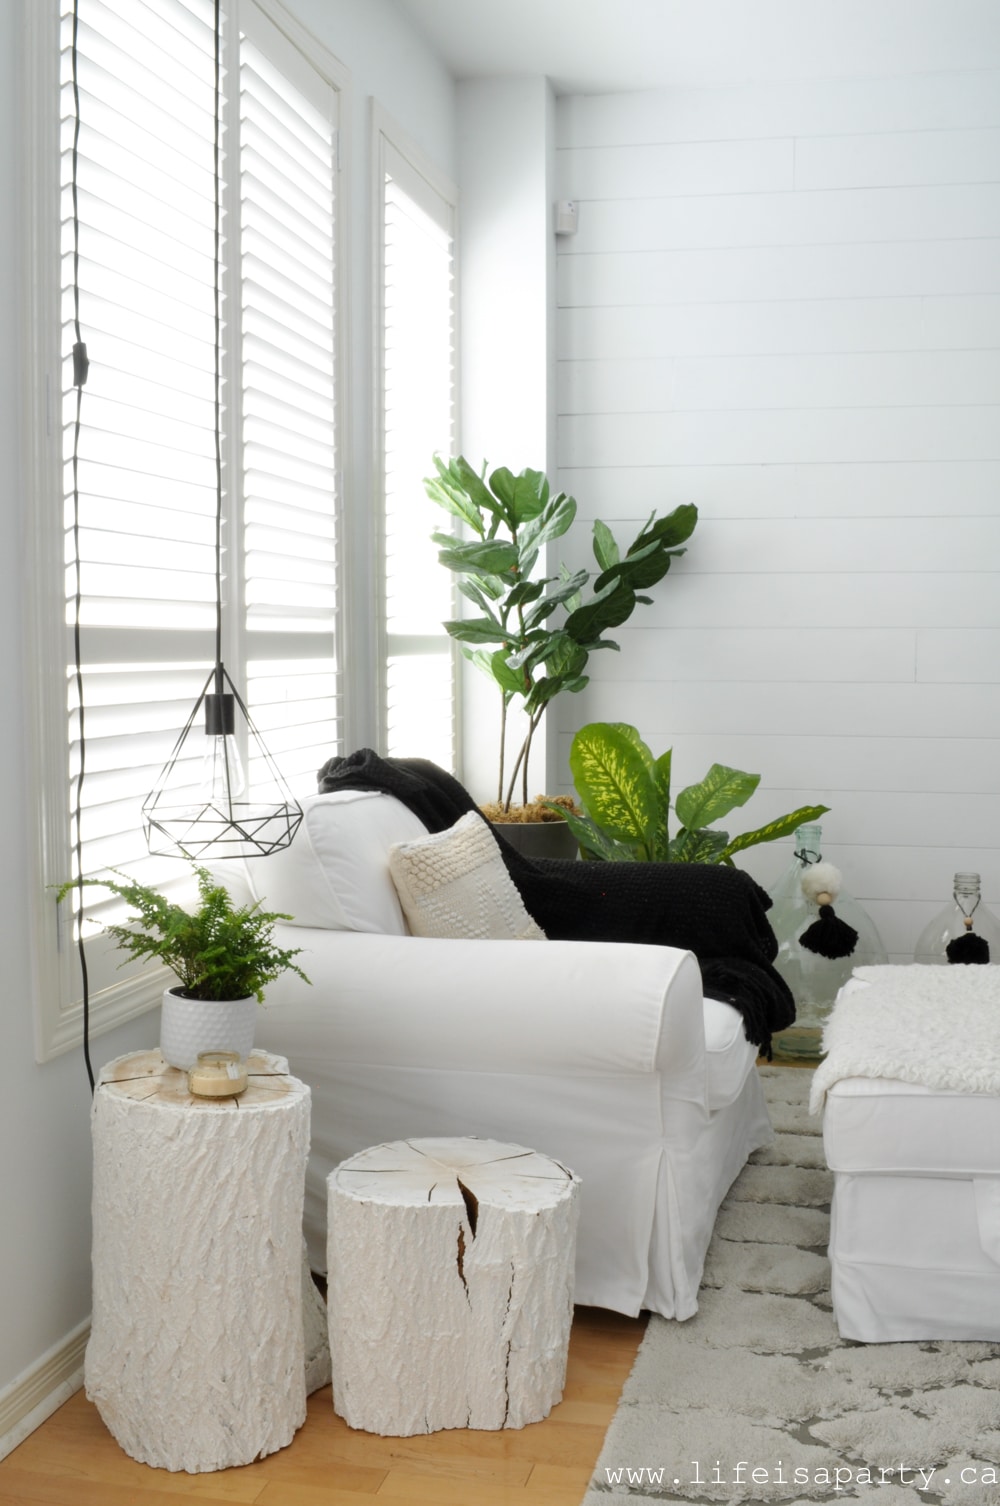 Over in the kitchen, the plants continue.
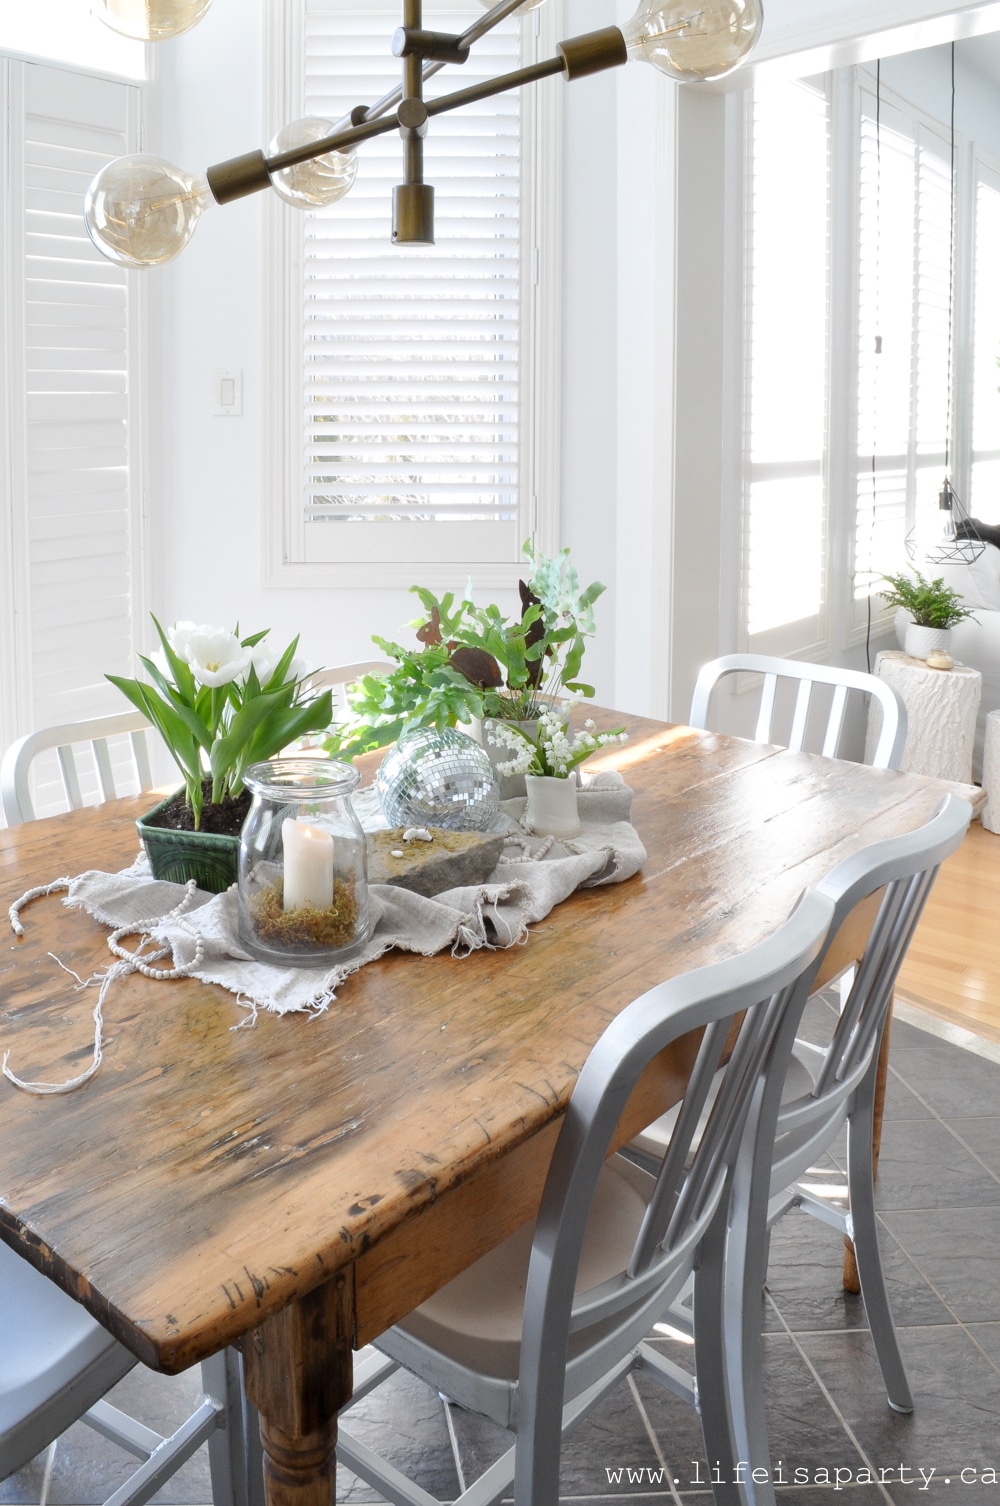
 I love how this little spot turned out. The tassel bunting came with some peach tassels, but I just removed them and added a little bit of green to make it work in my space.
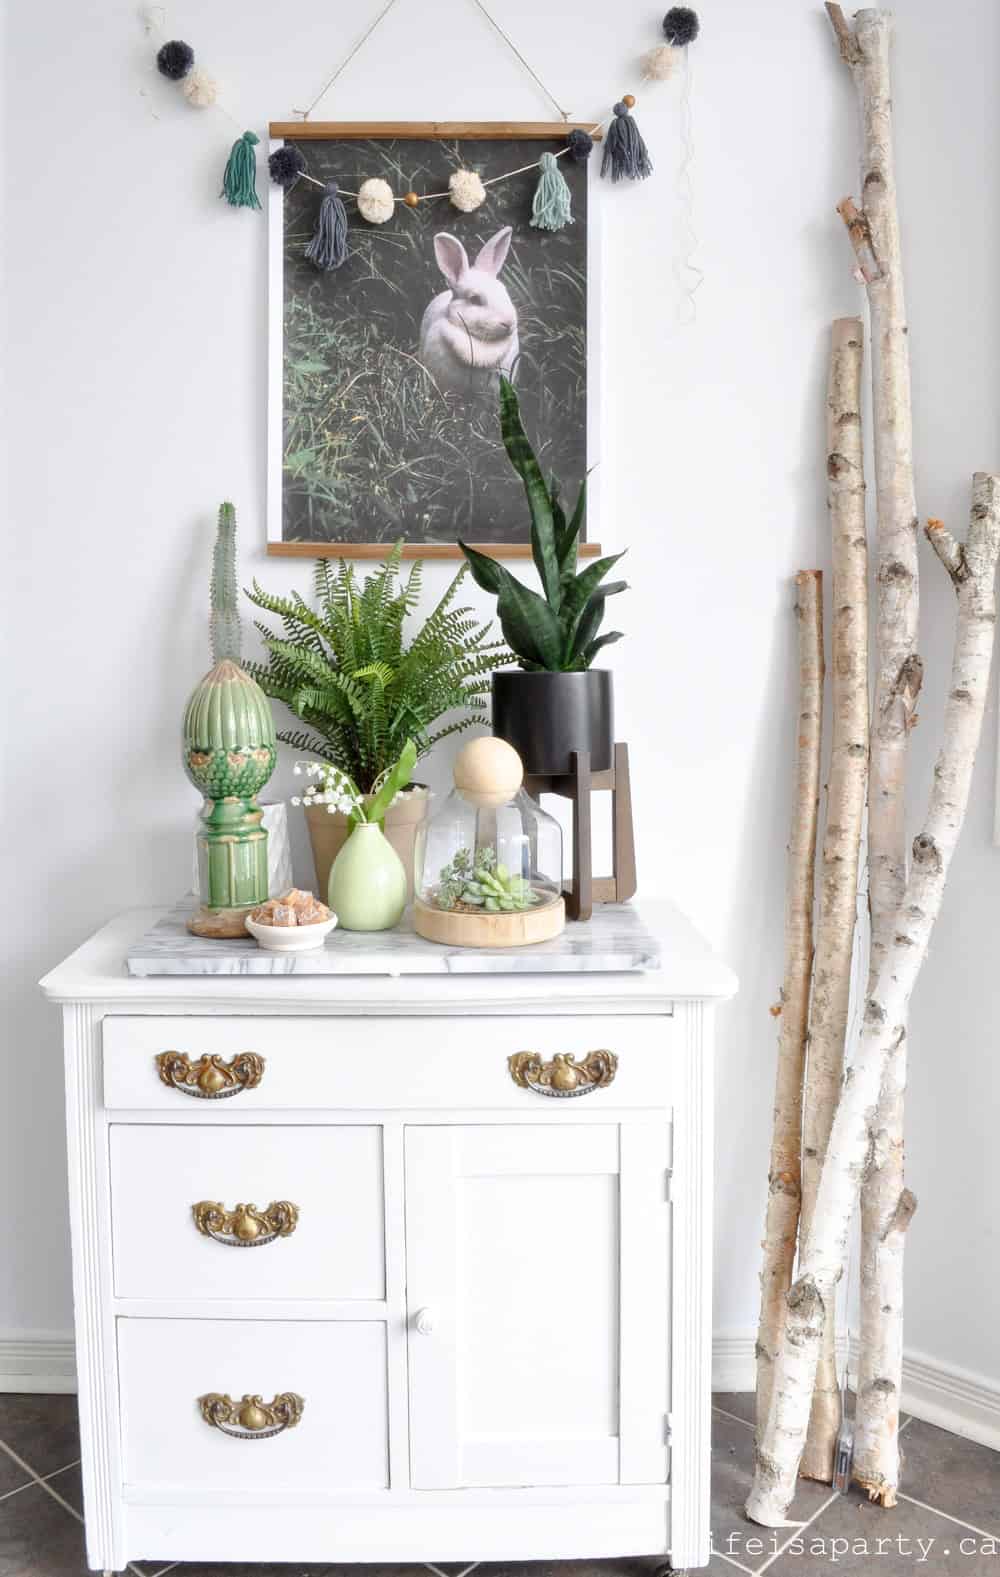 Over here, another mix of real and faux plants.
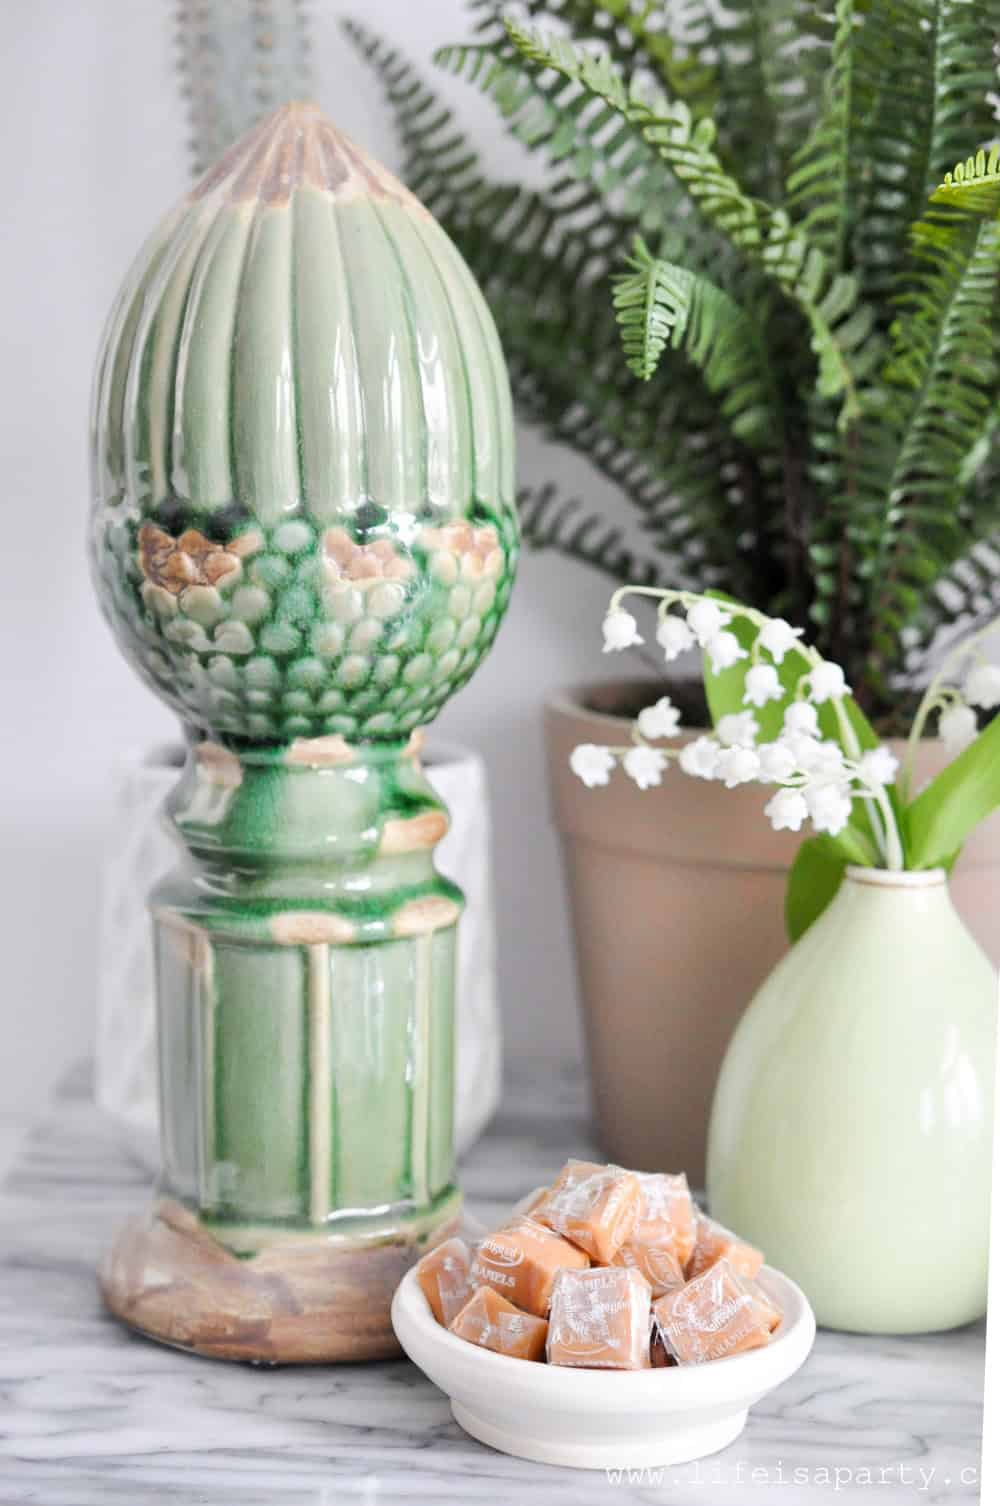

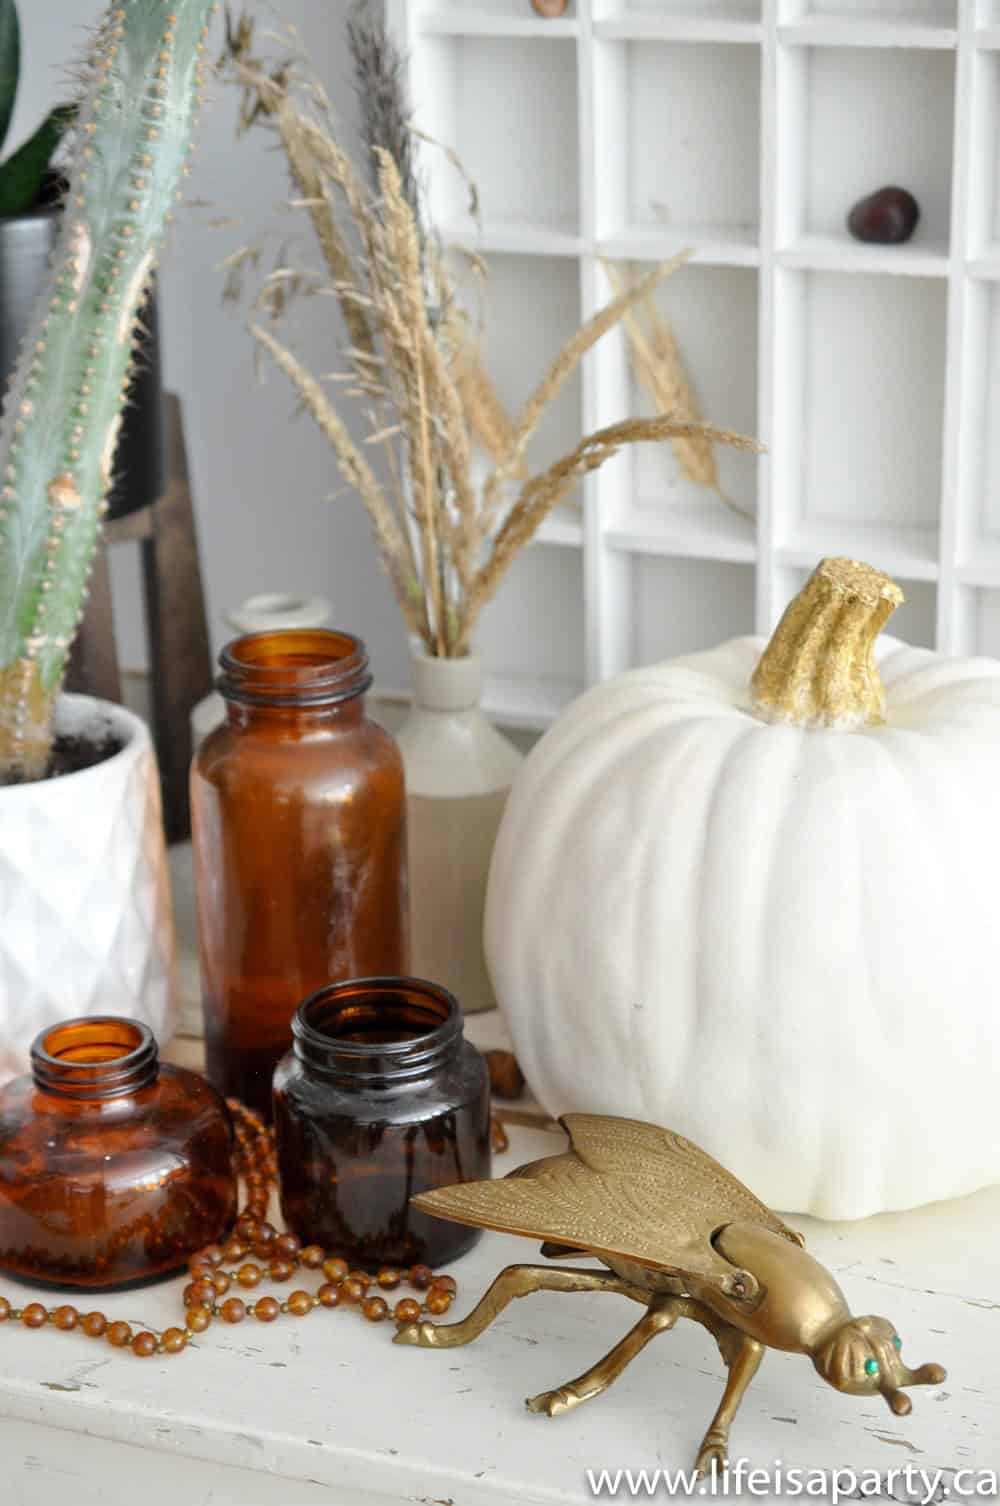
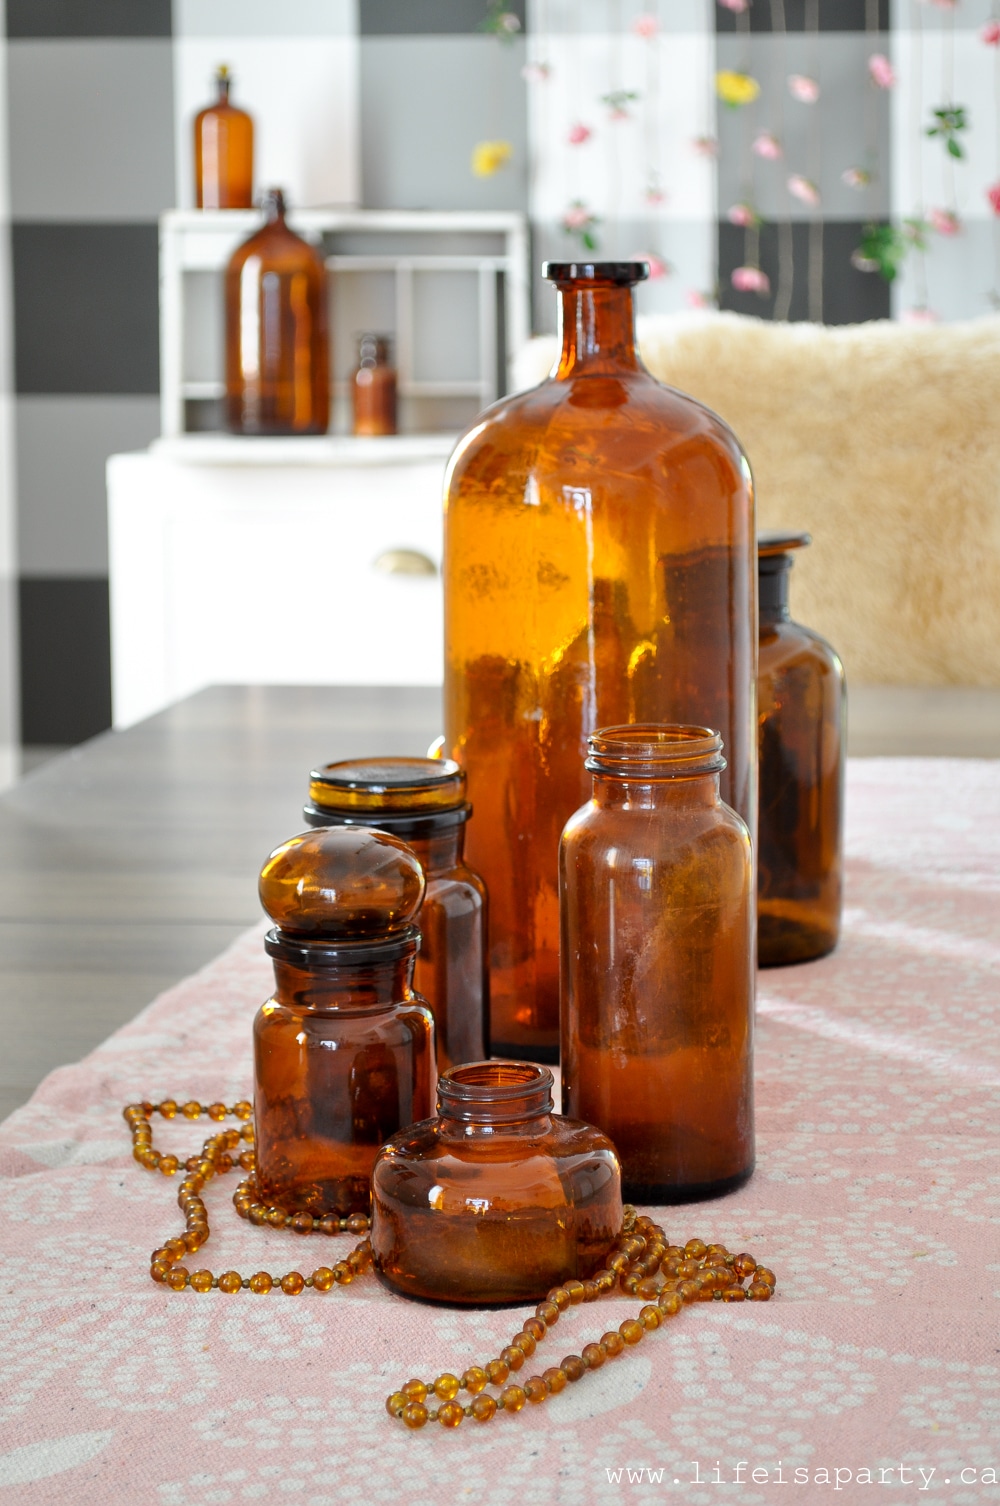
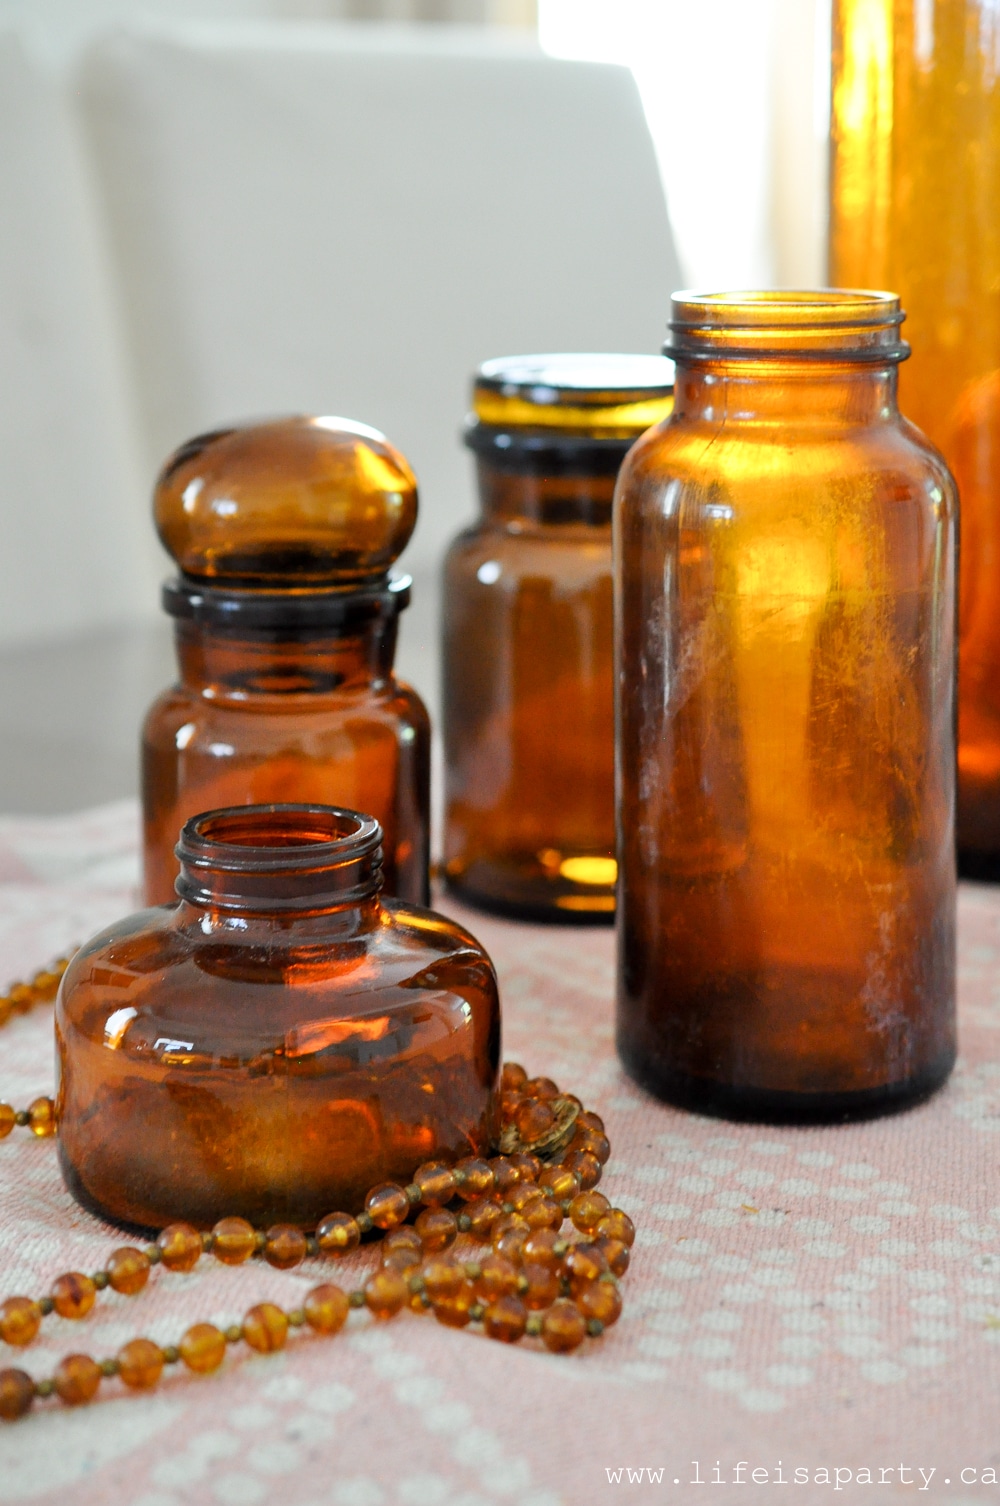
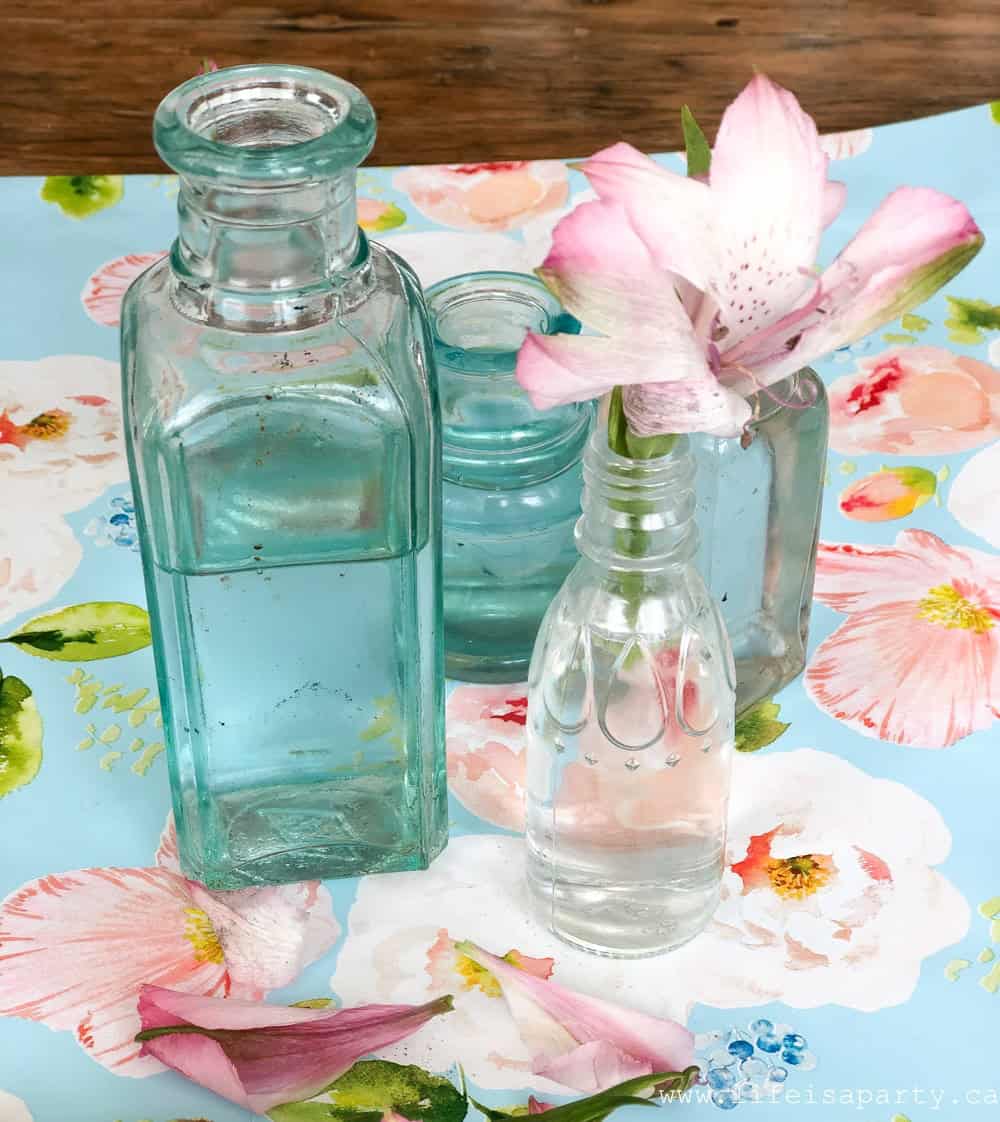
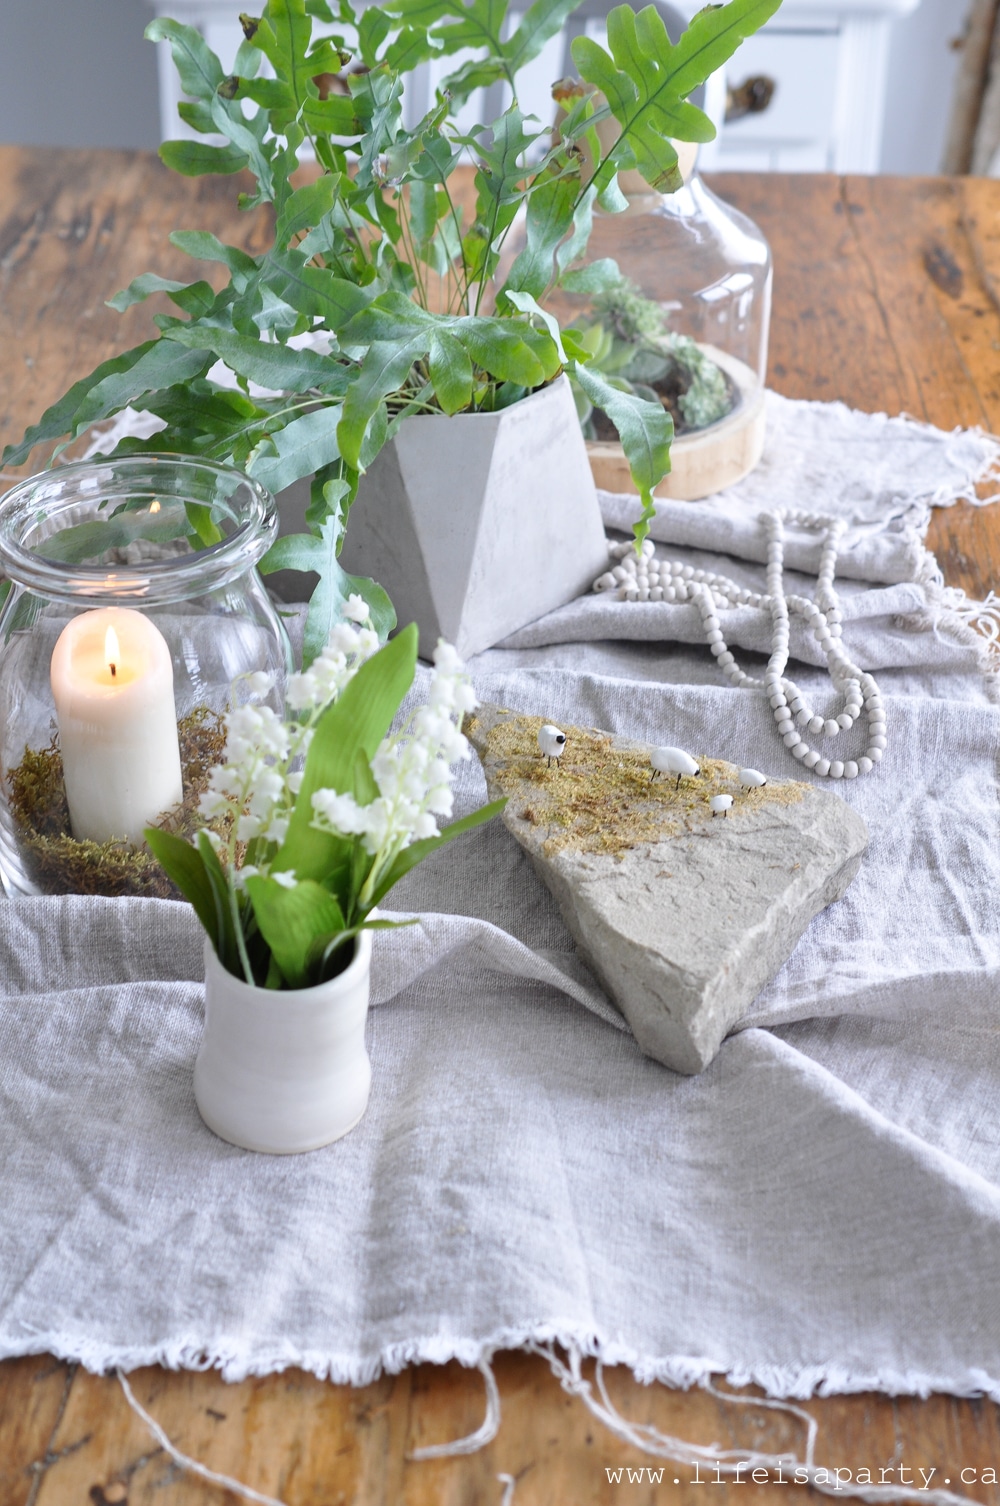
 I had fun hunting for a few green treasures to add in for spring, like these pretty vintage bottles I found at the antique market.
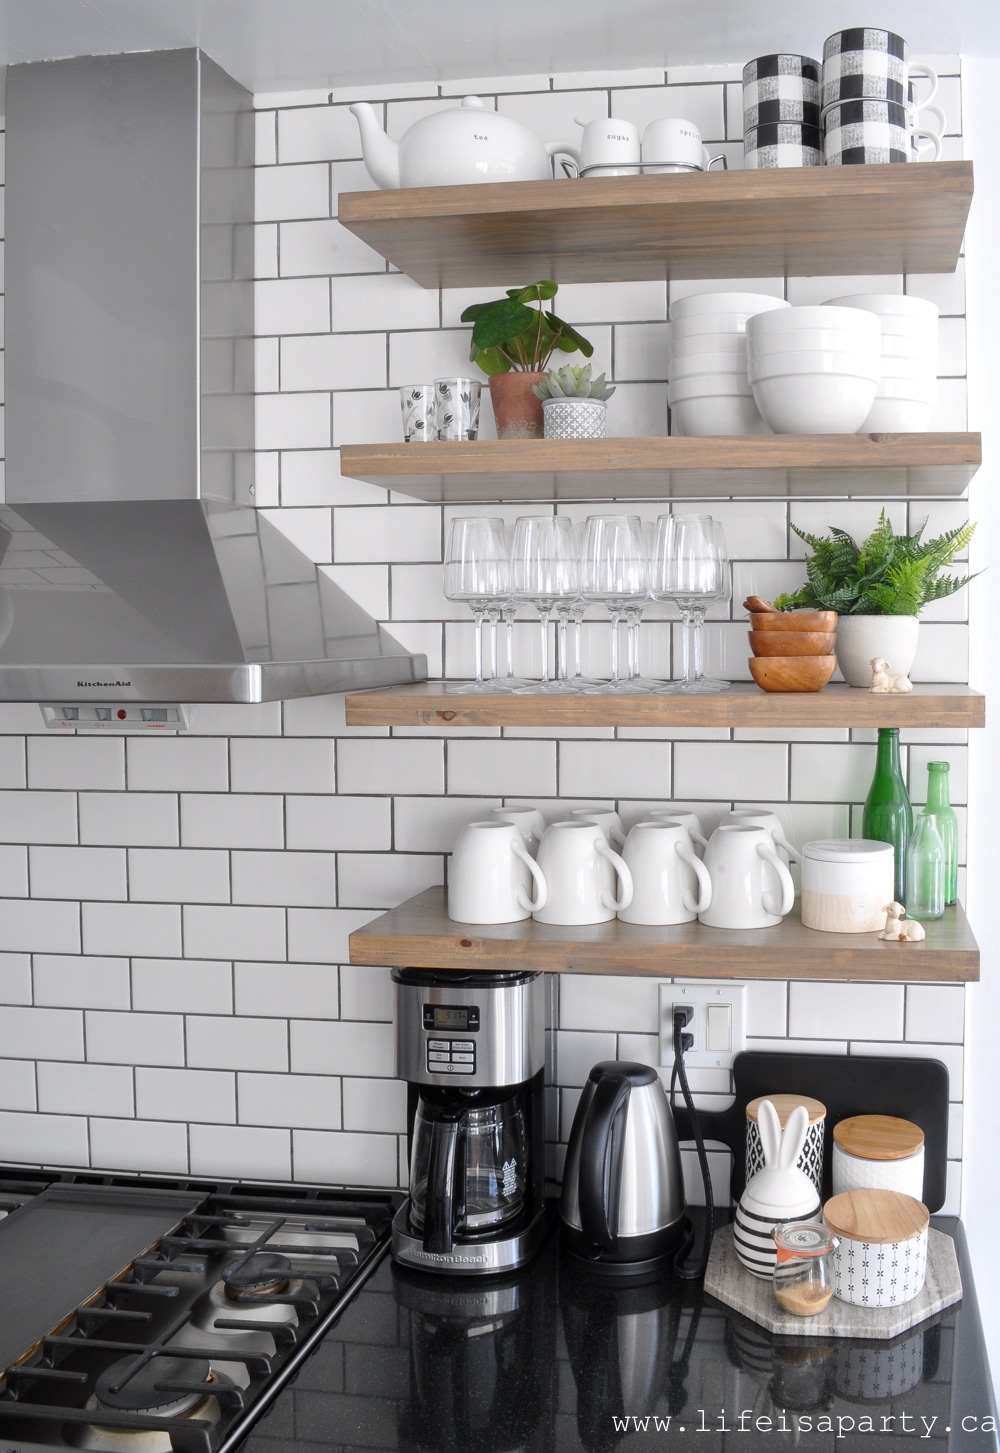
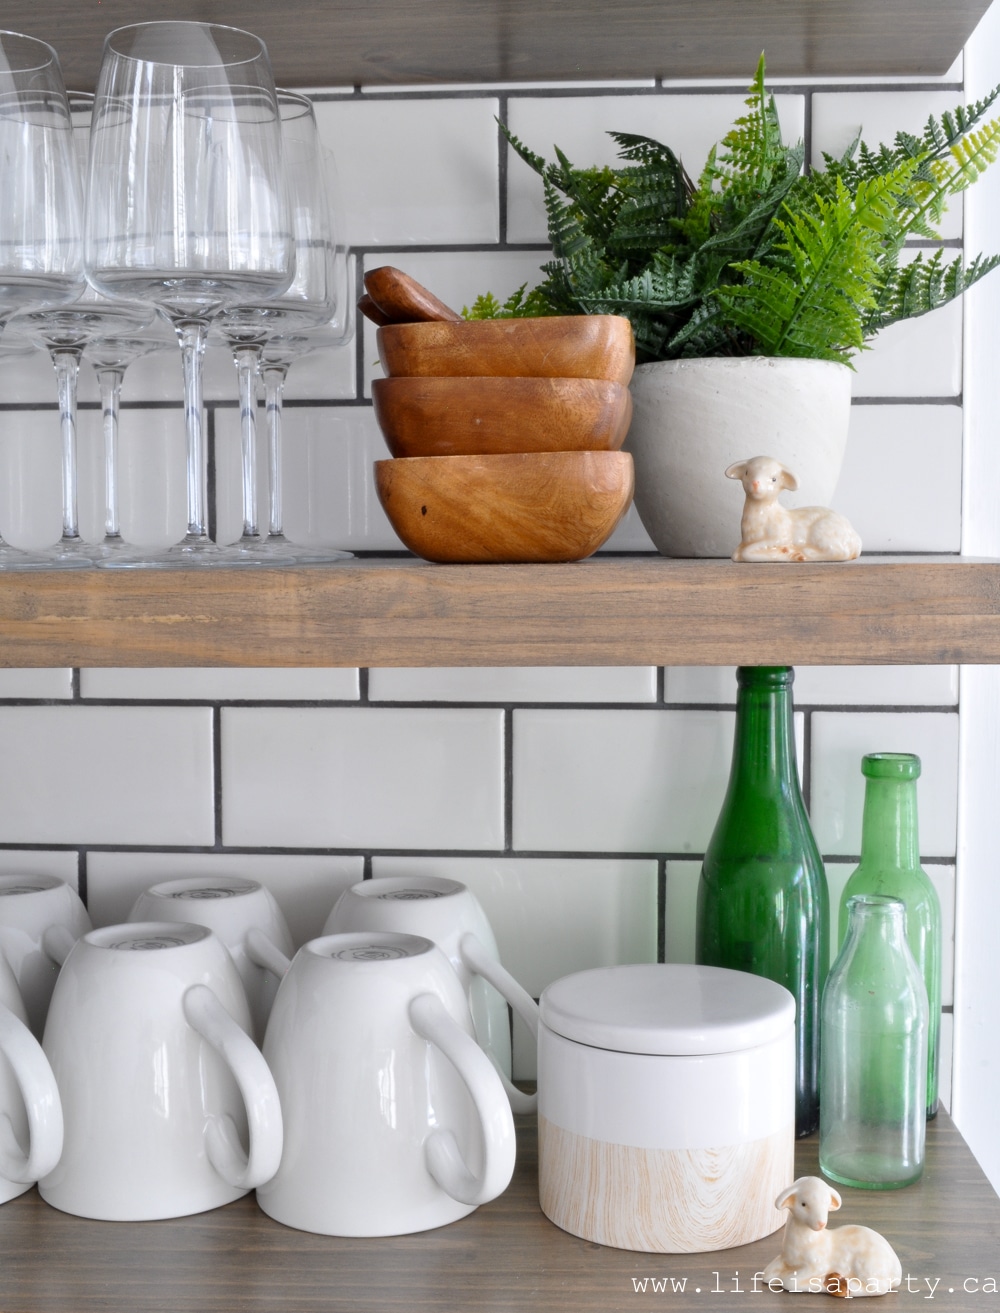
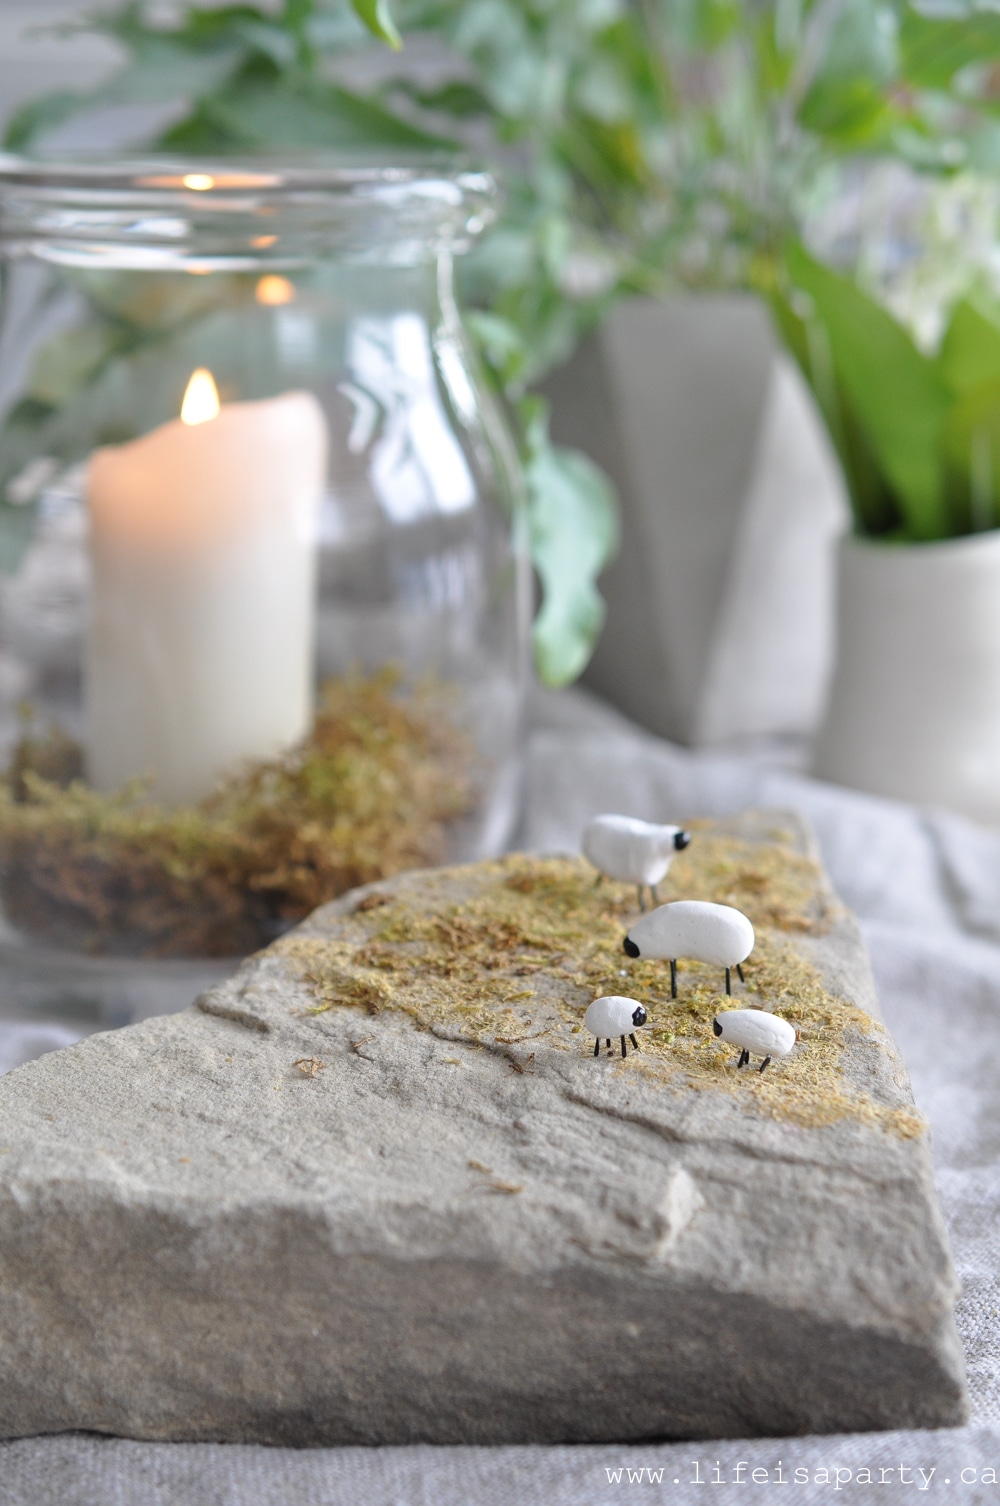
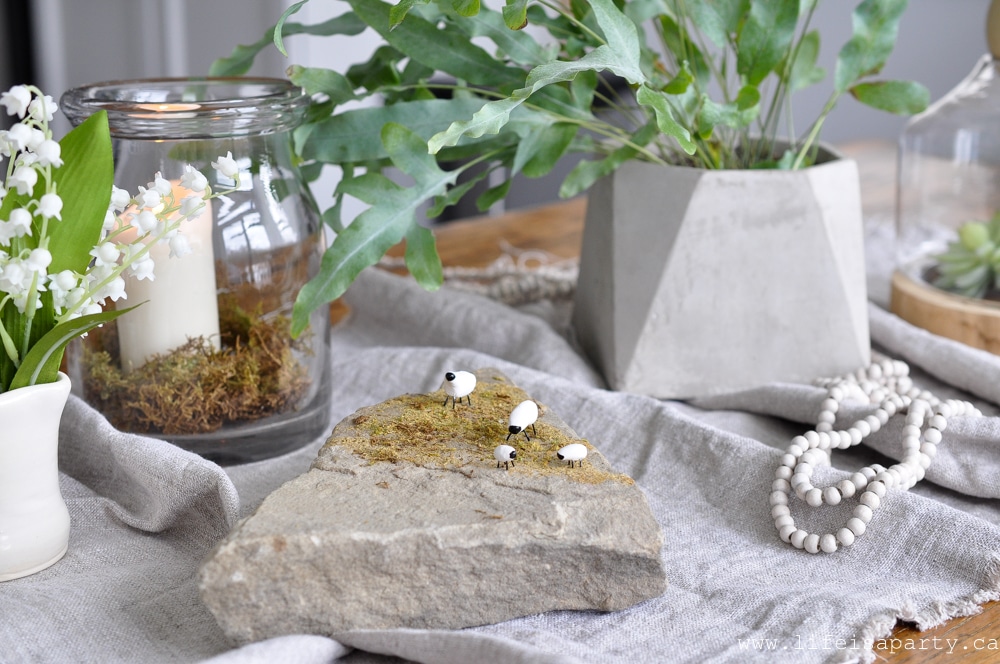
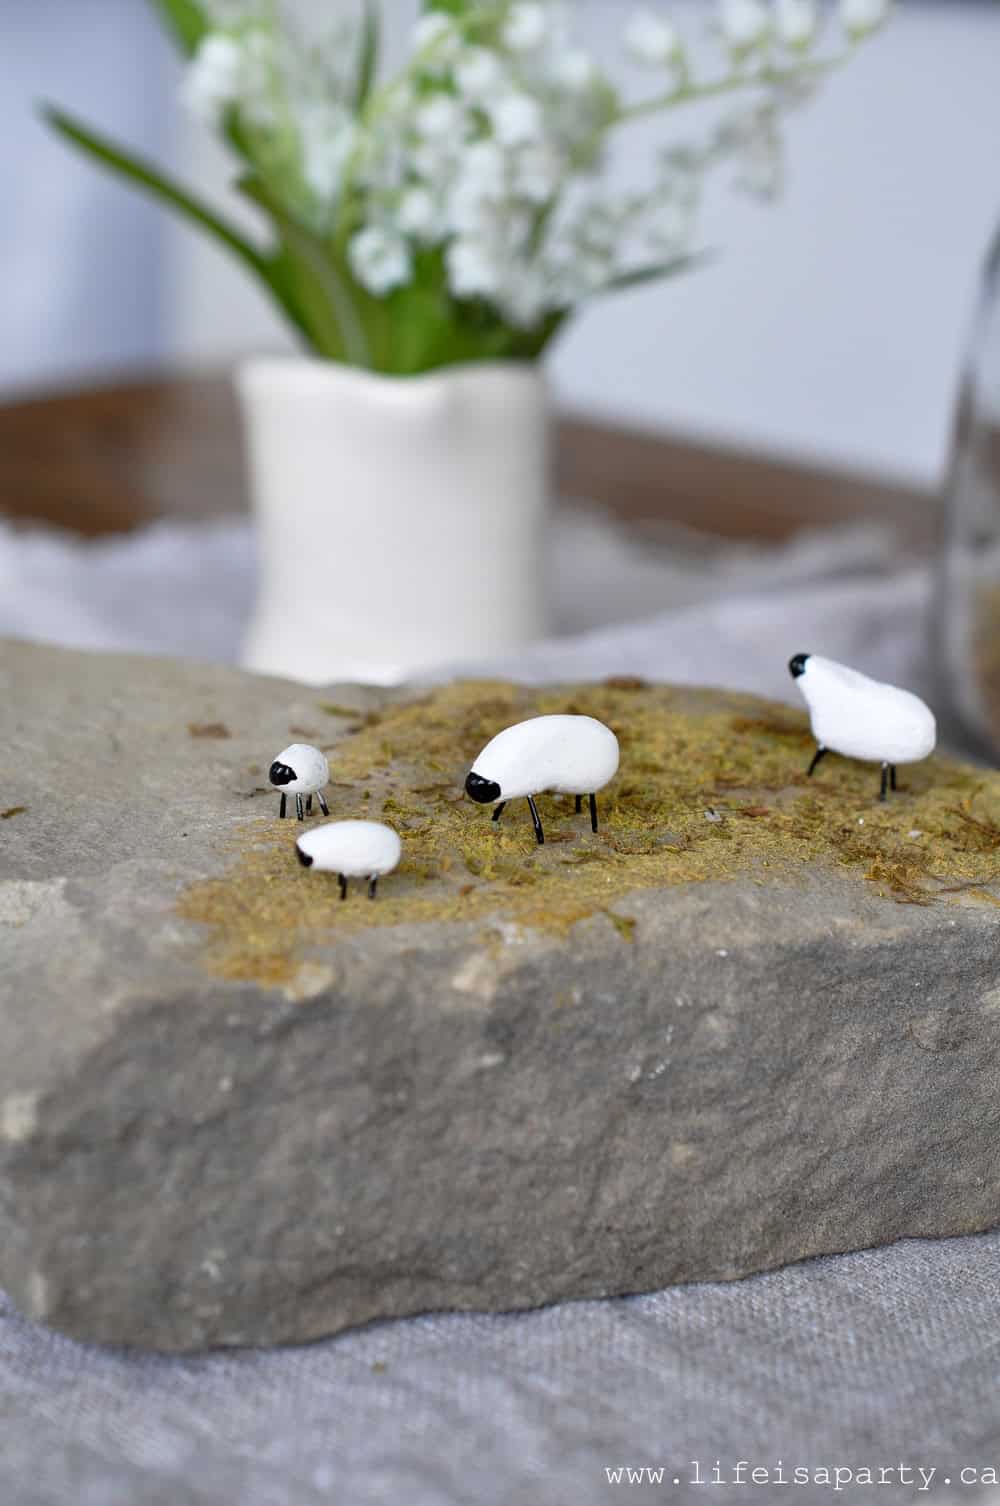
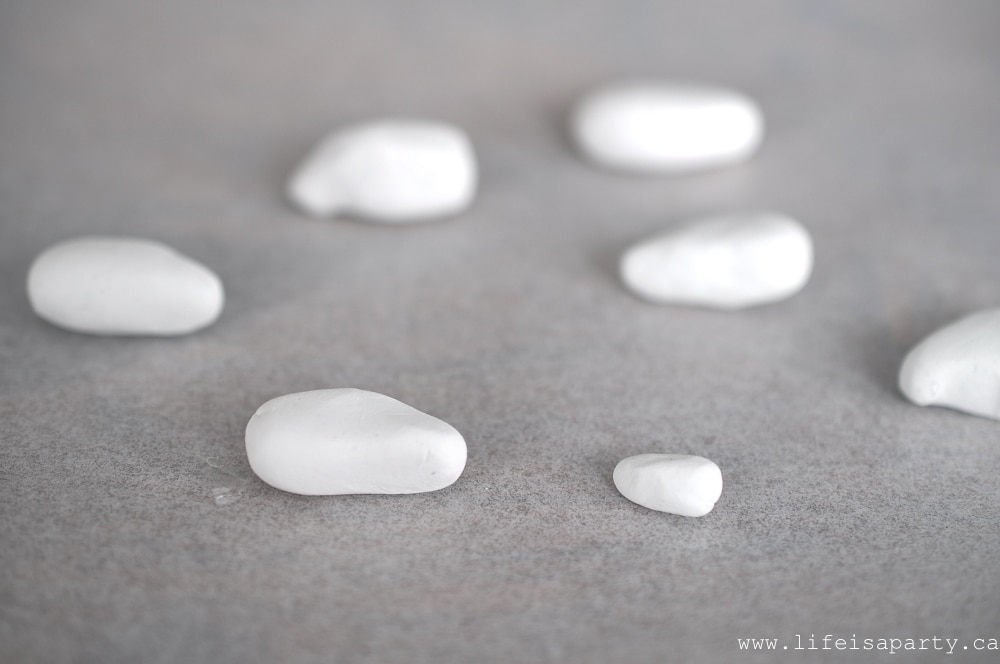
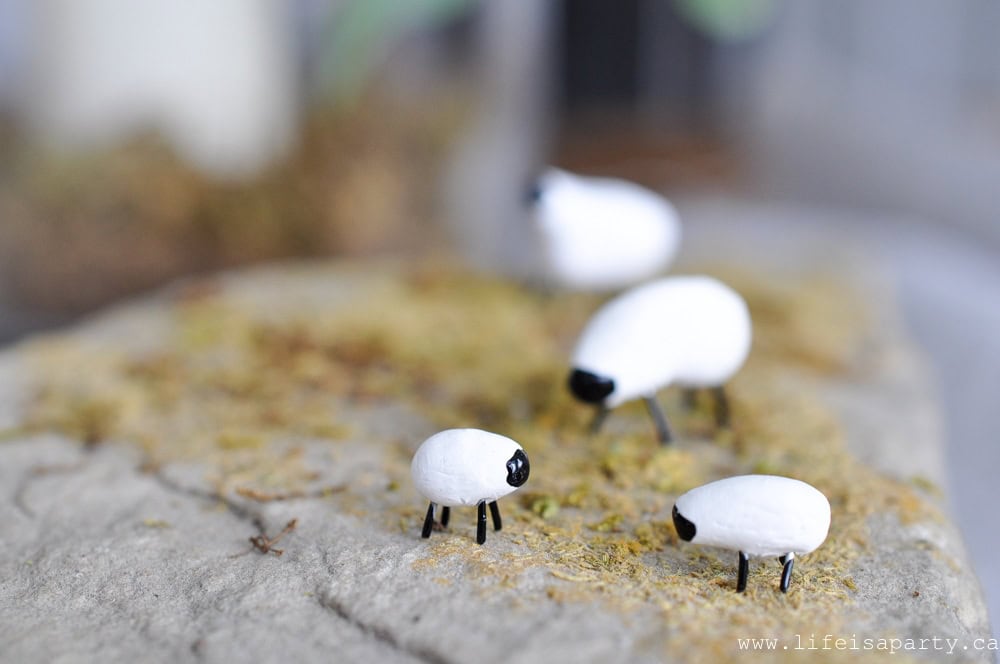
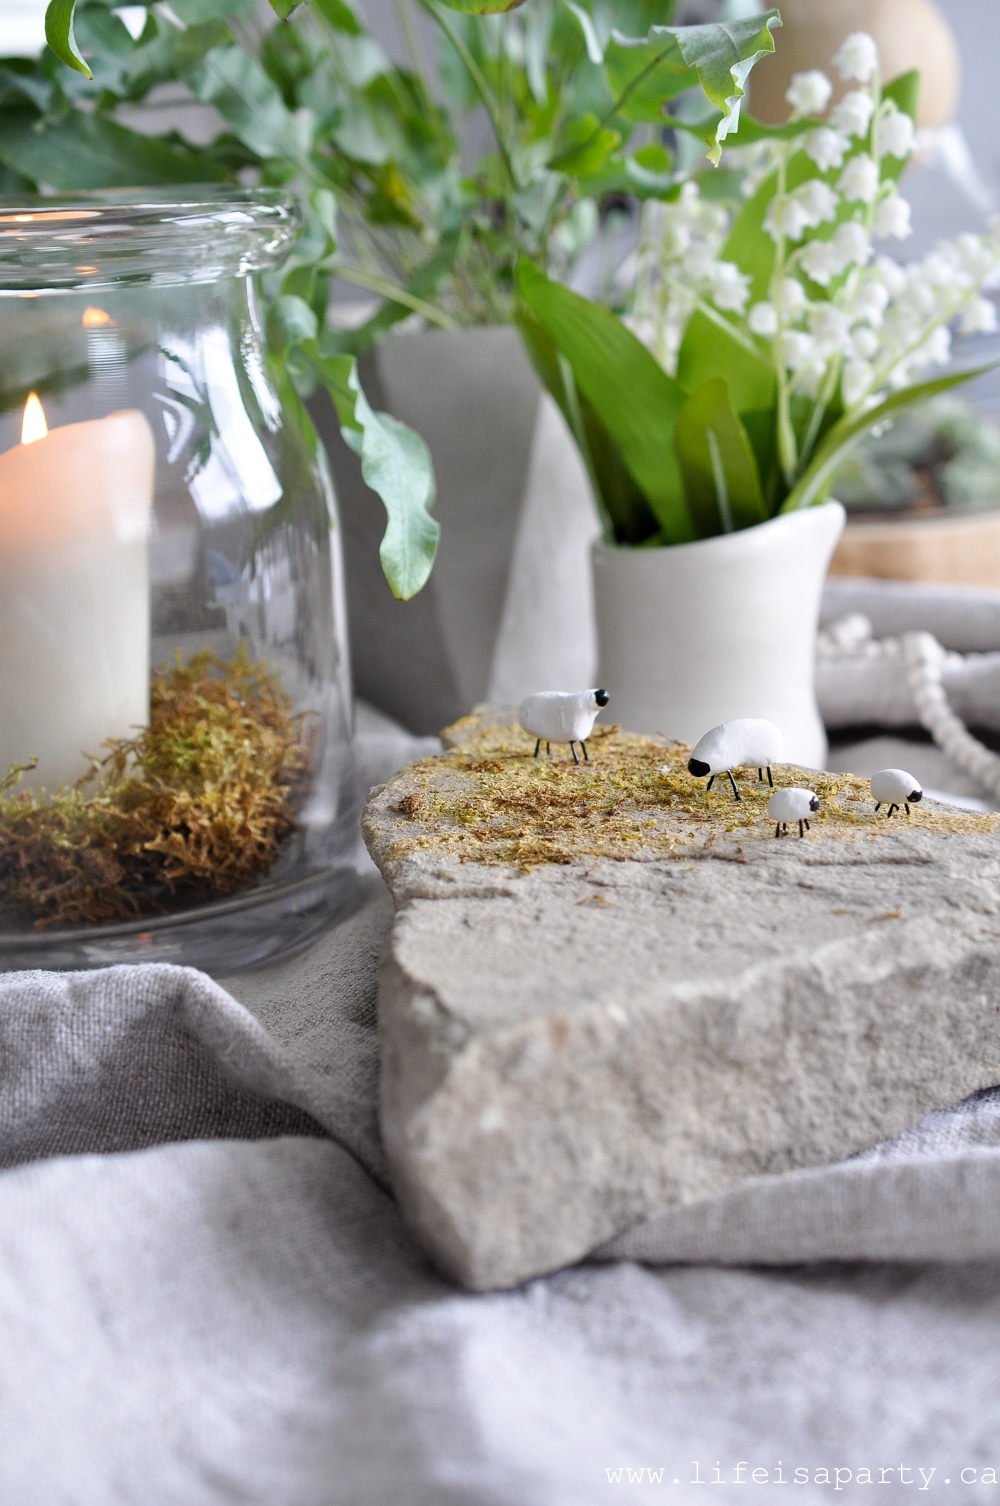
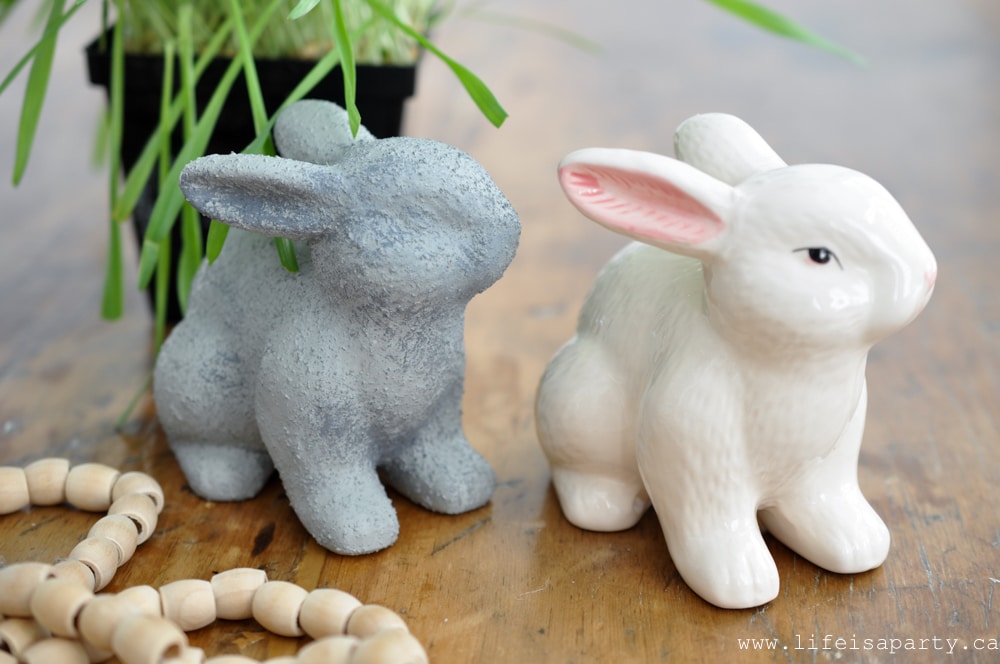
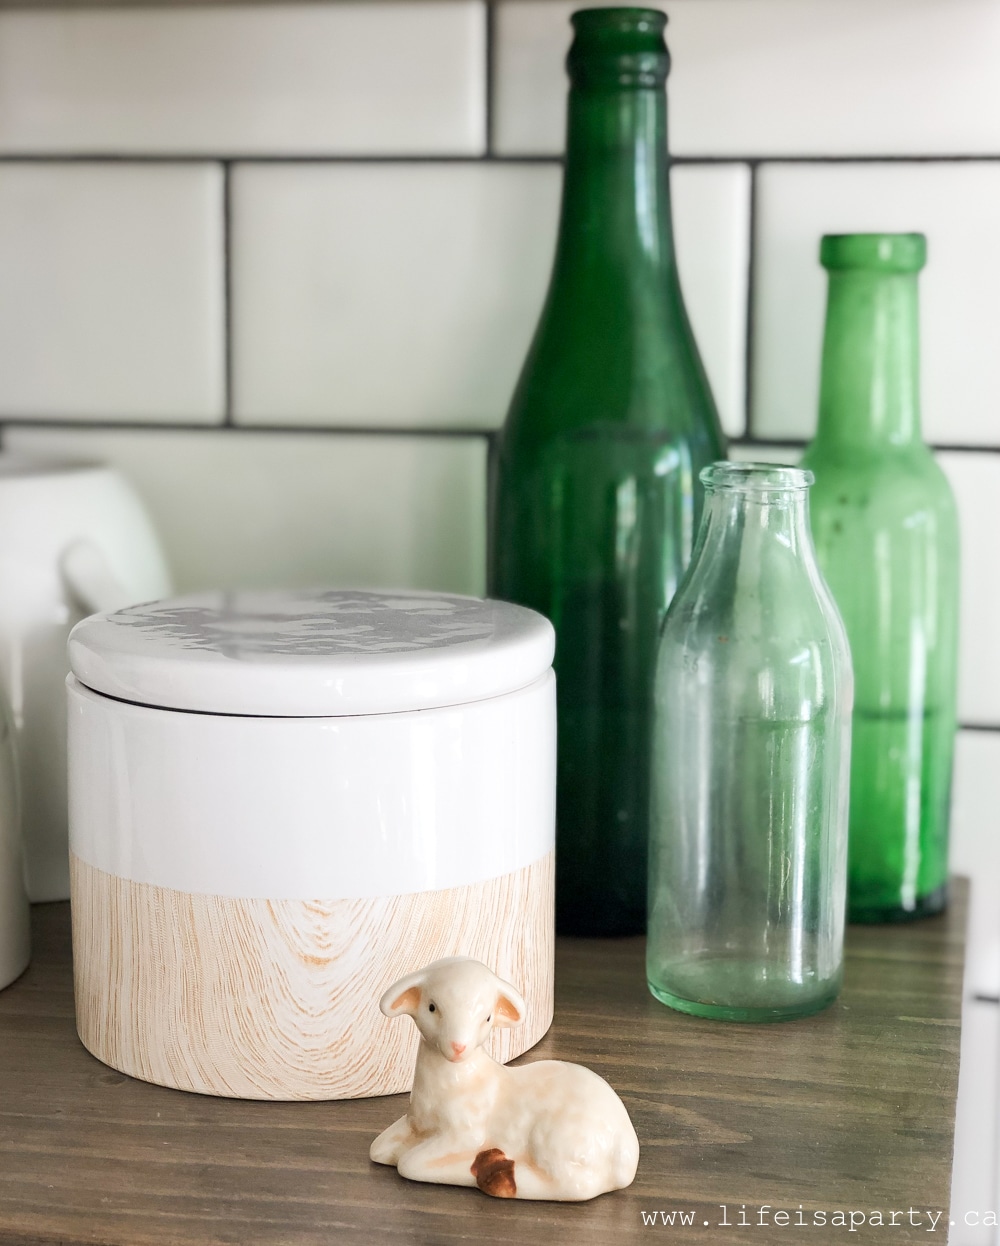 And the sweet little lambs (and bunnies) look like they're vintage but are a recent purchase from Hobby Lobby -in case you want to look for some.


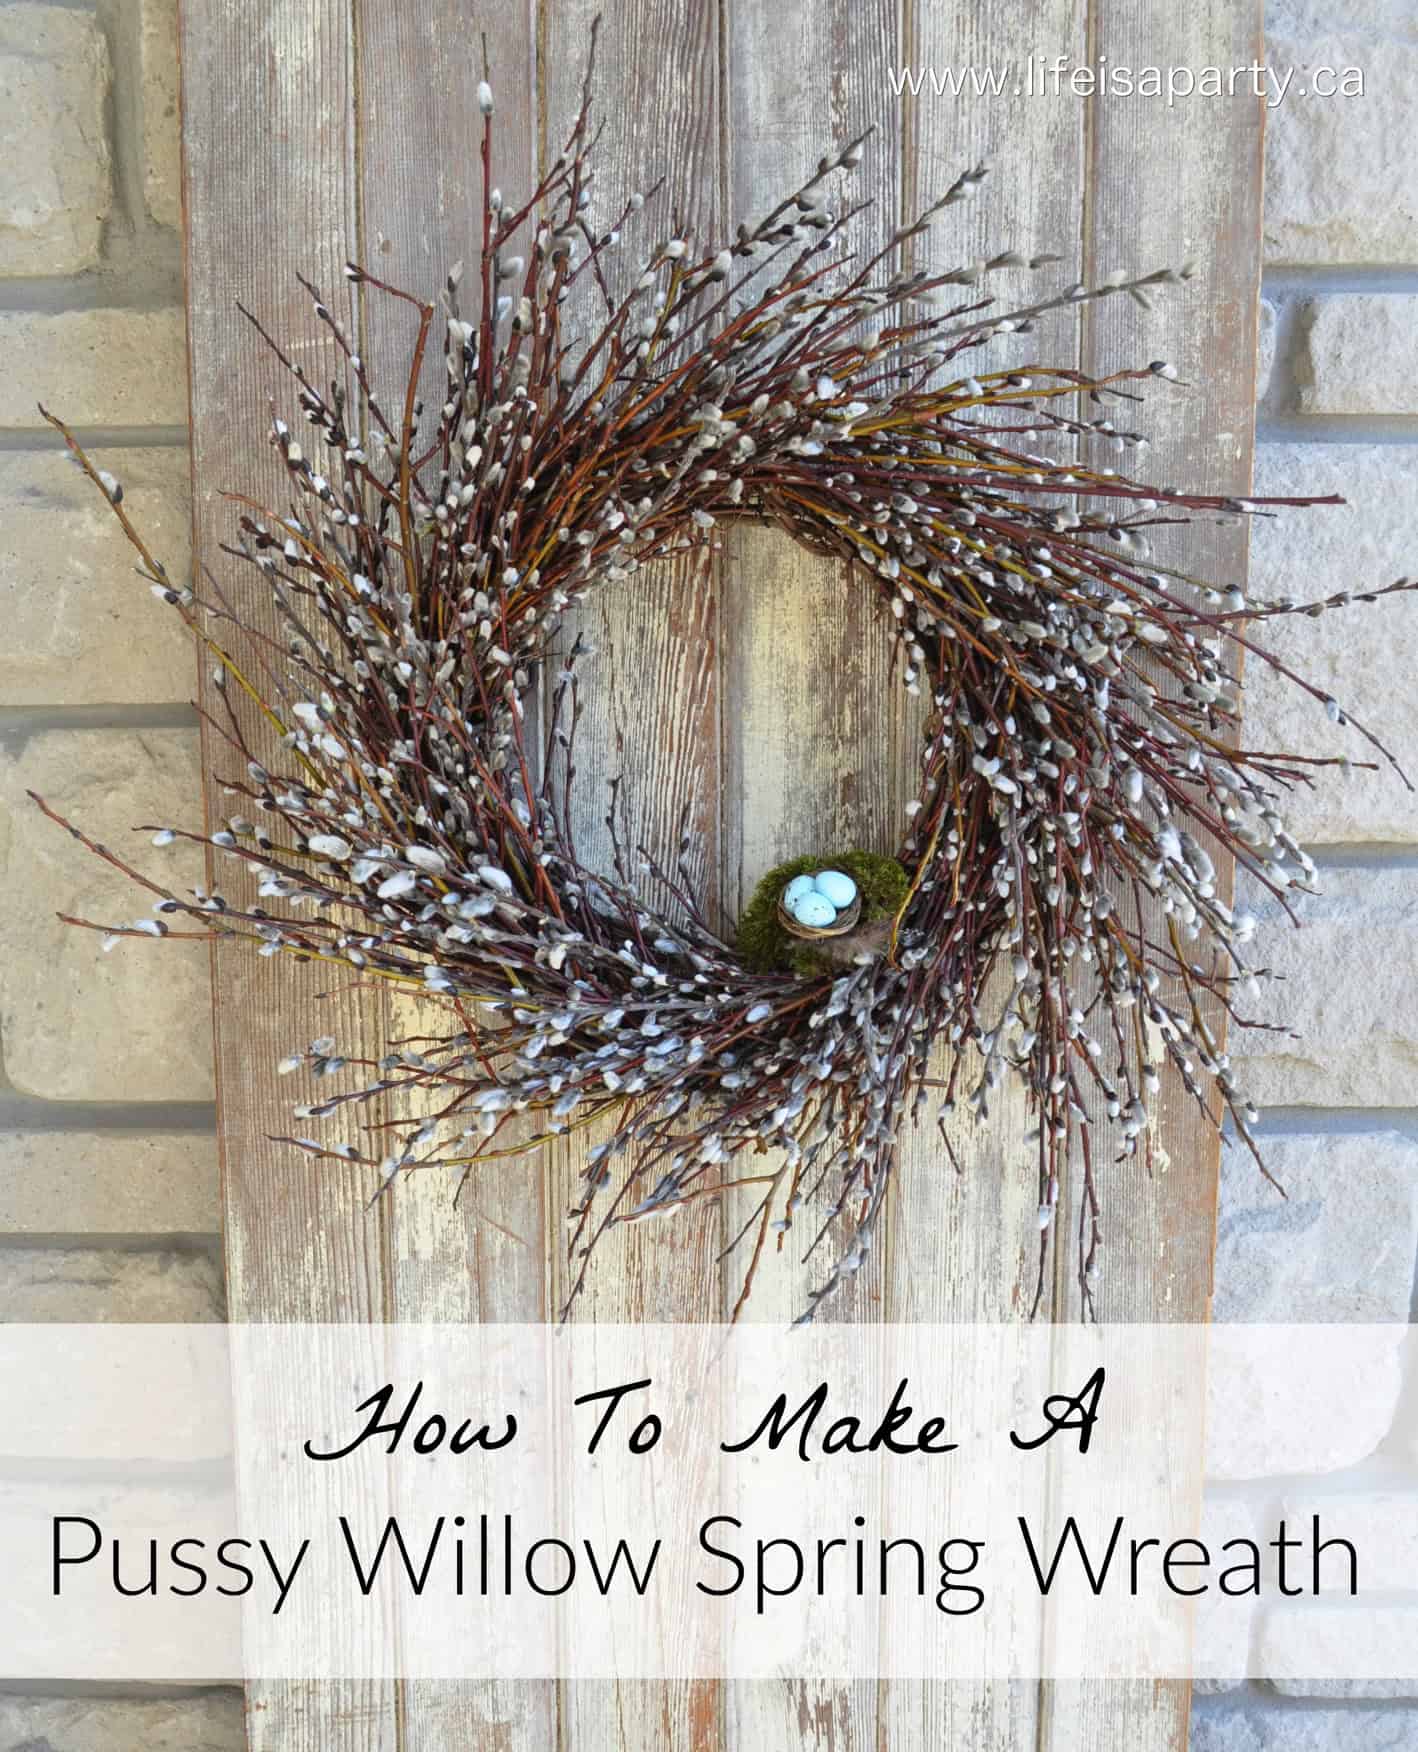
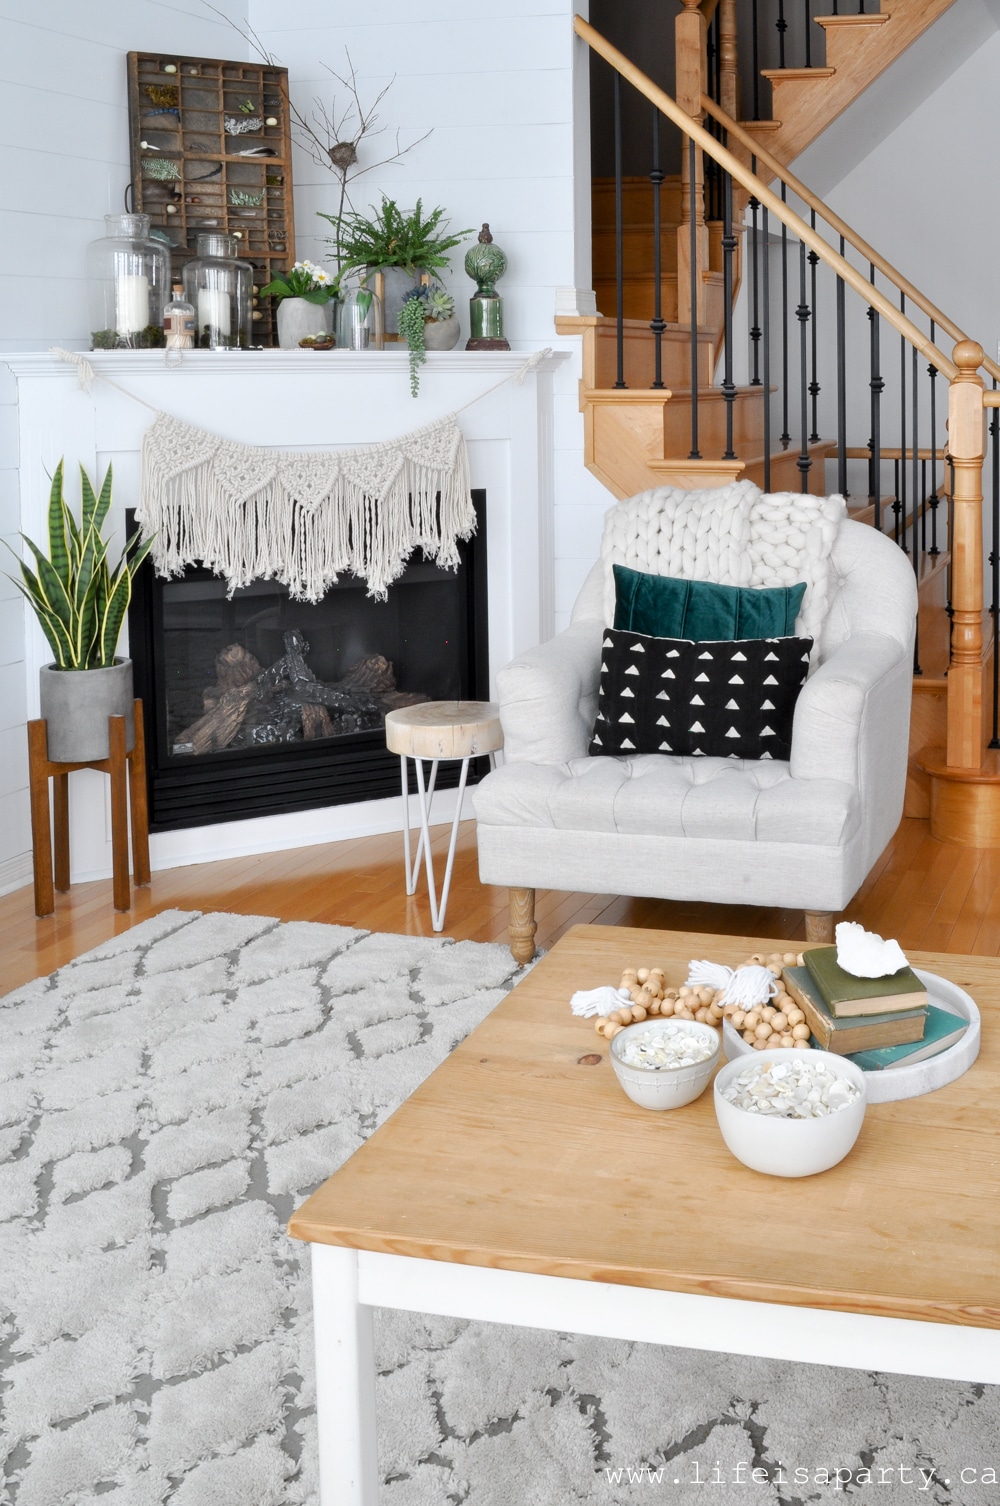
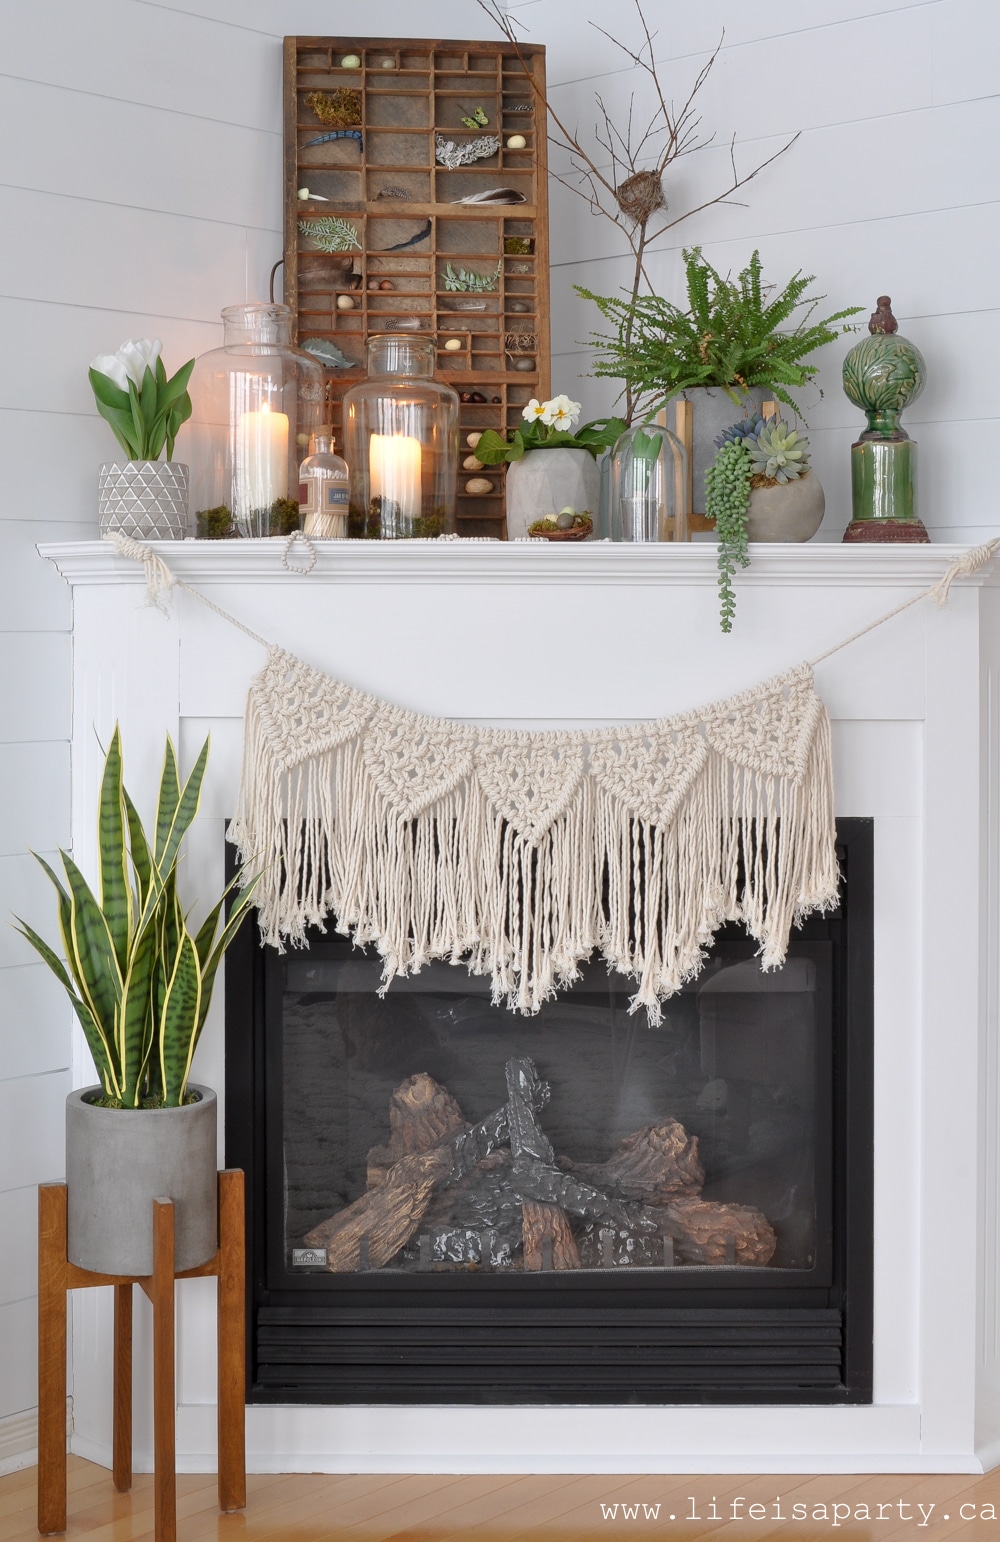
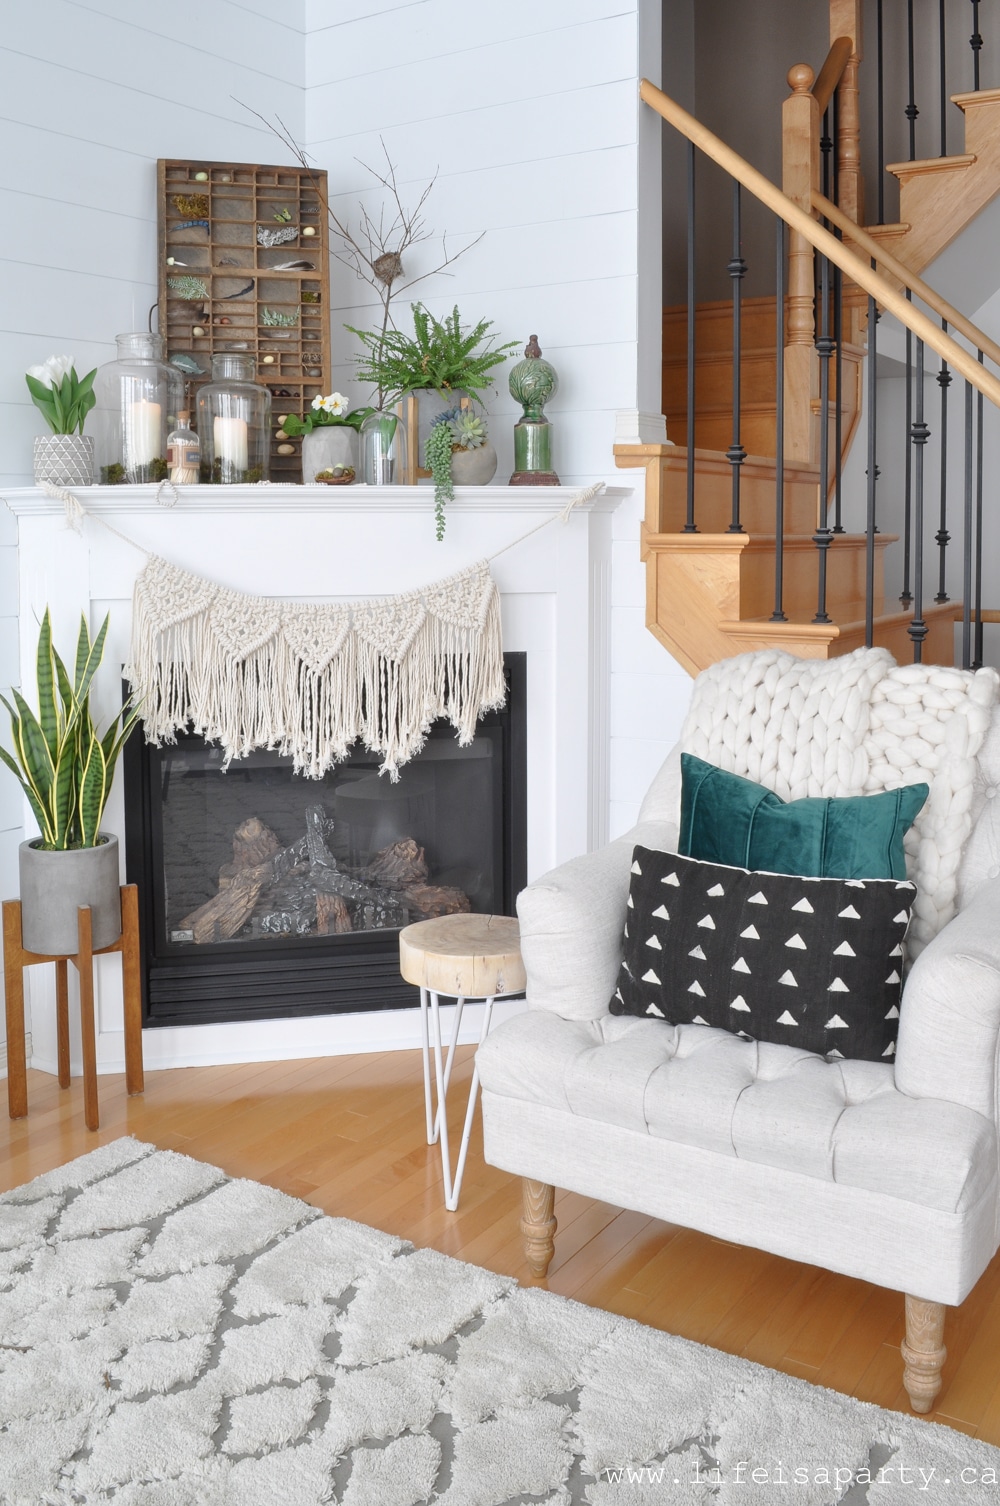 Spring Mantel
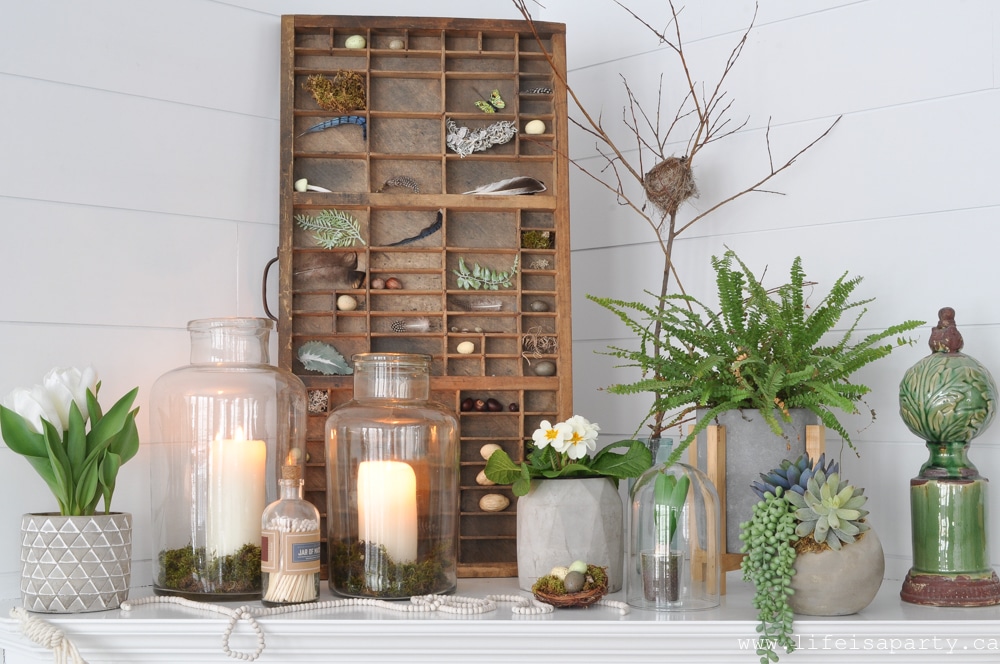 Inside the printers tray I added a few spring-y treasures, things like leaves, feathers, eggs, moss, and seeds.
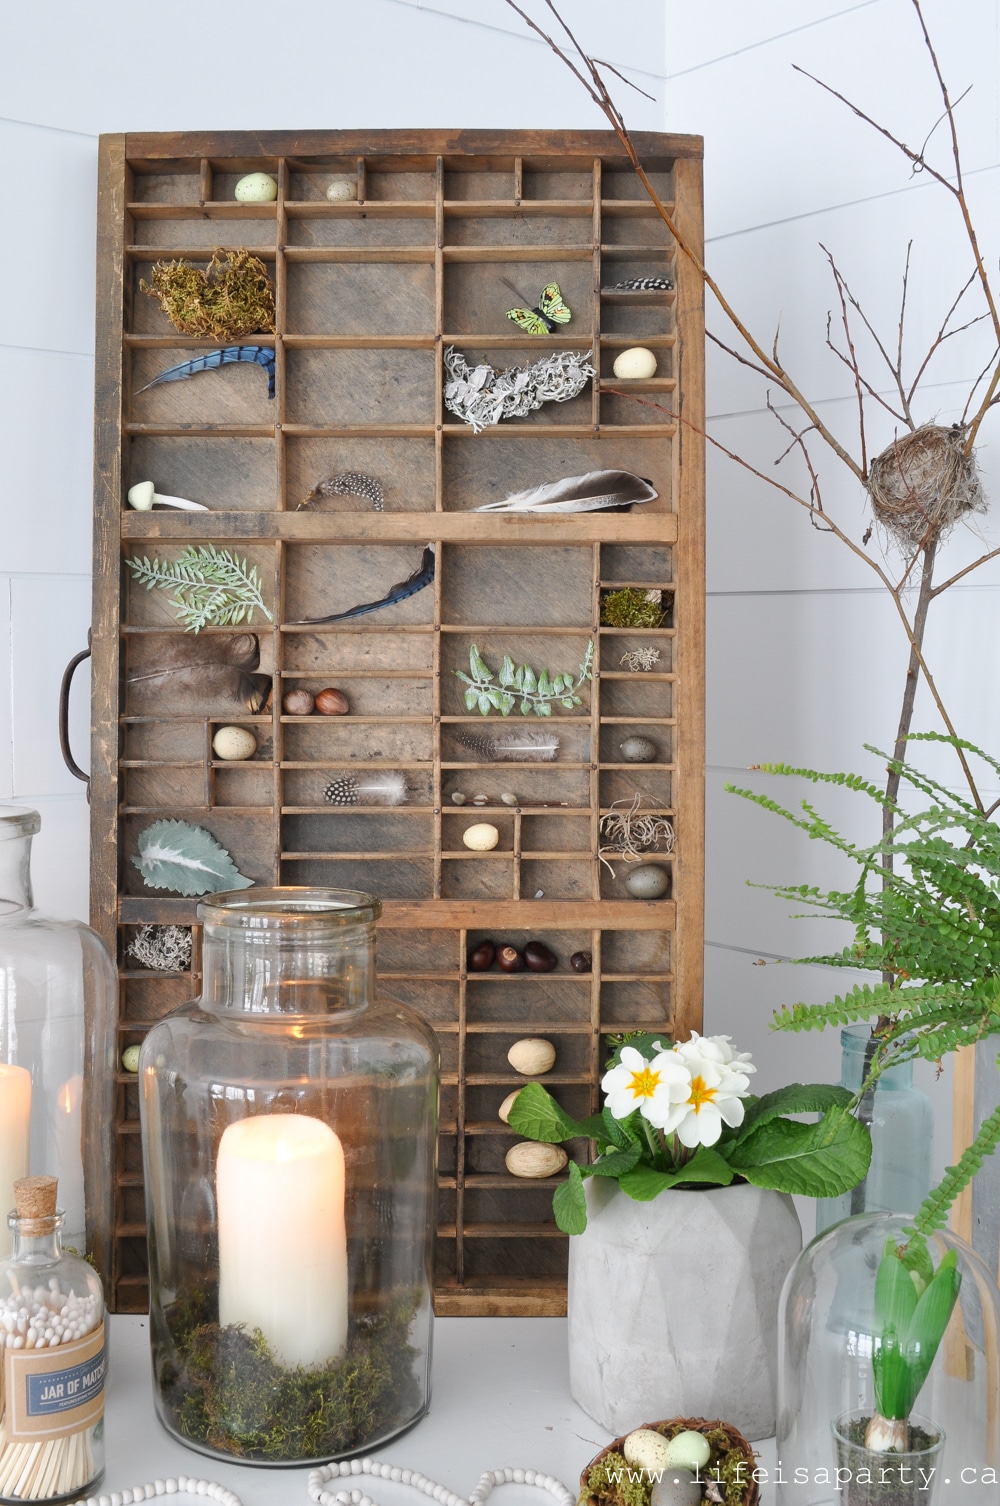 To create that back layer, I also added in a real nest in a twig. It's in a vintage bottle. In front of that back layer, I added in lots of plants. The plants feel so fresh and alive, and really make it feel like spring.
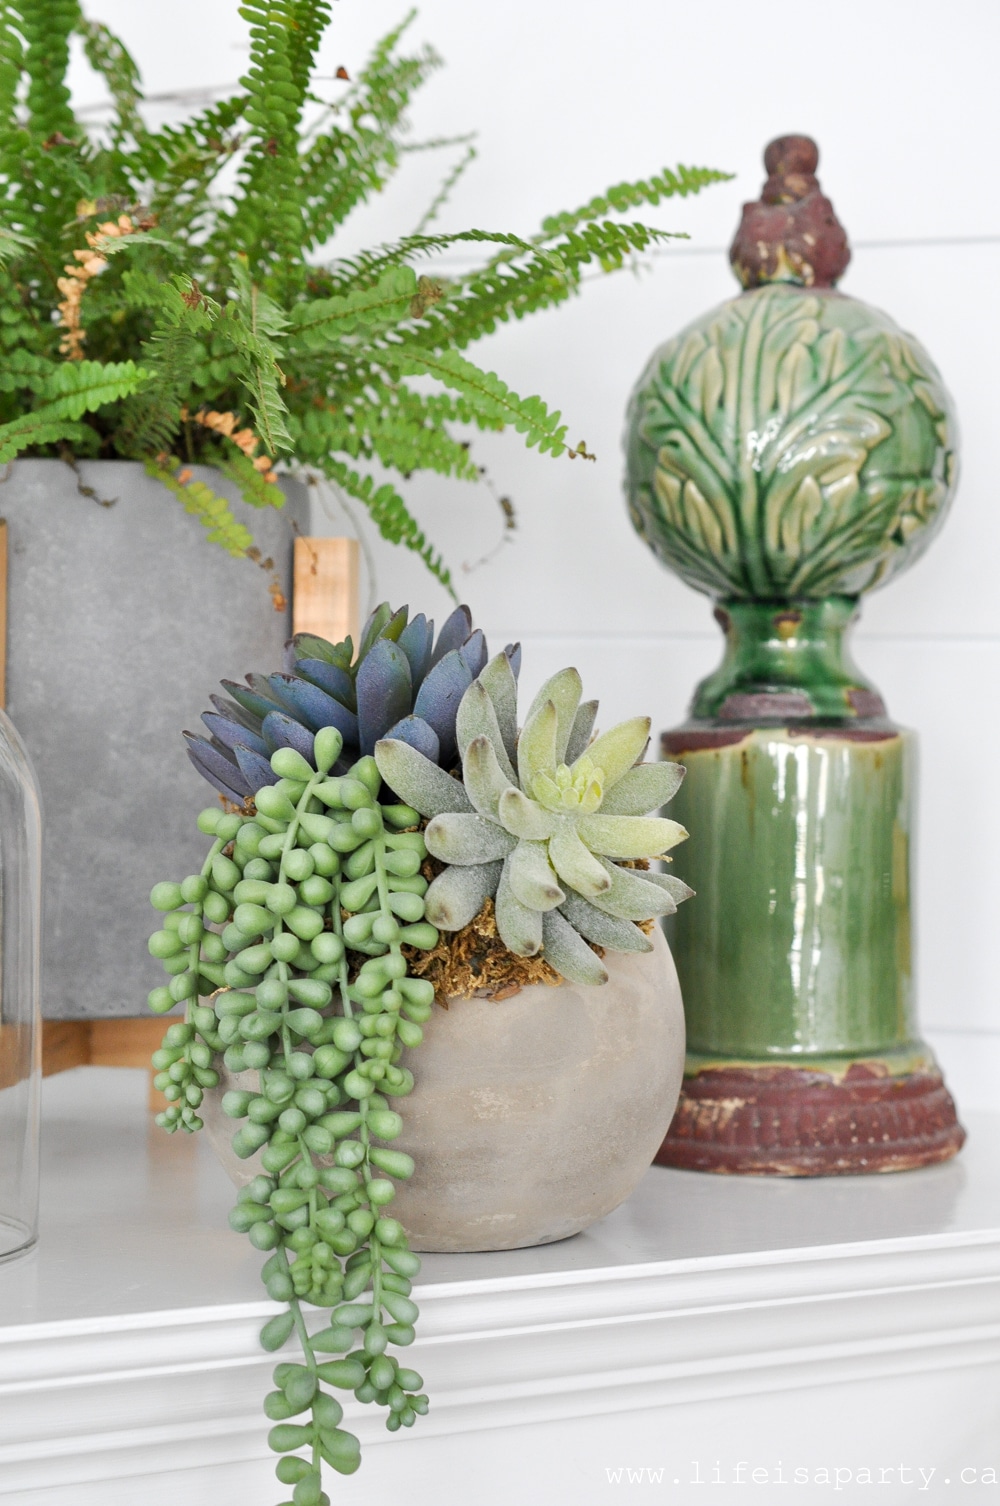 I mixed things up with a combination of succulents, spring bulbs, ferns and even tropicals. The mix makes it feel fun, and I feel like as long as there are some bulbs mixed in, it still feels like spring. I've added lots of plants all through the main floor for spring and can't wait to give you the whole tour next week.
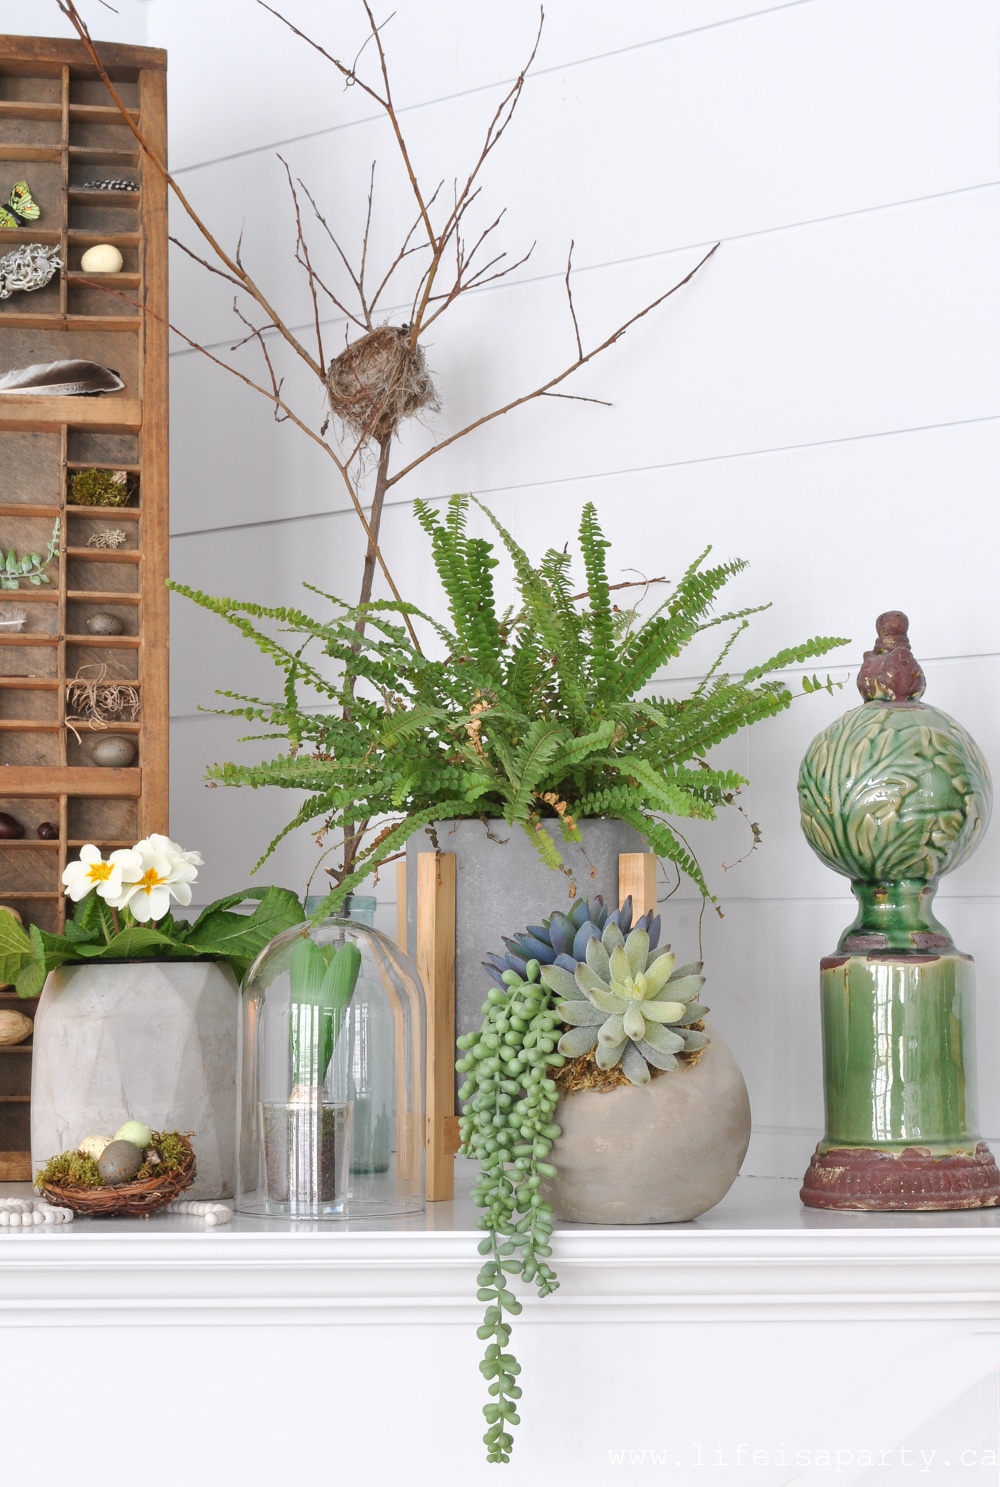 I was excited to use my new vintage jars that I received for Christmas on the mantel. I added some moss to the bottom and then some candles. The moss helps it feel like spring too.
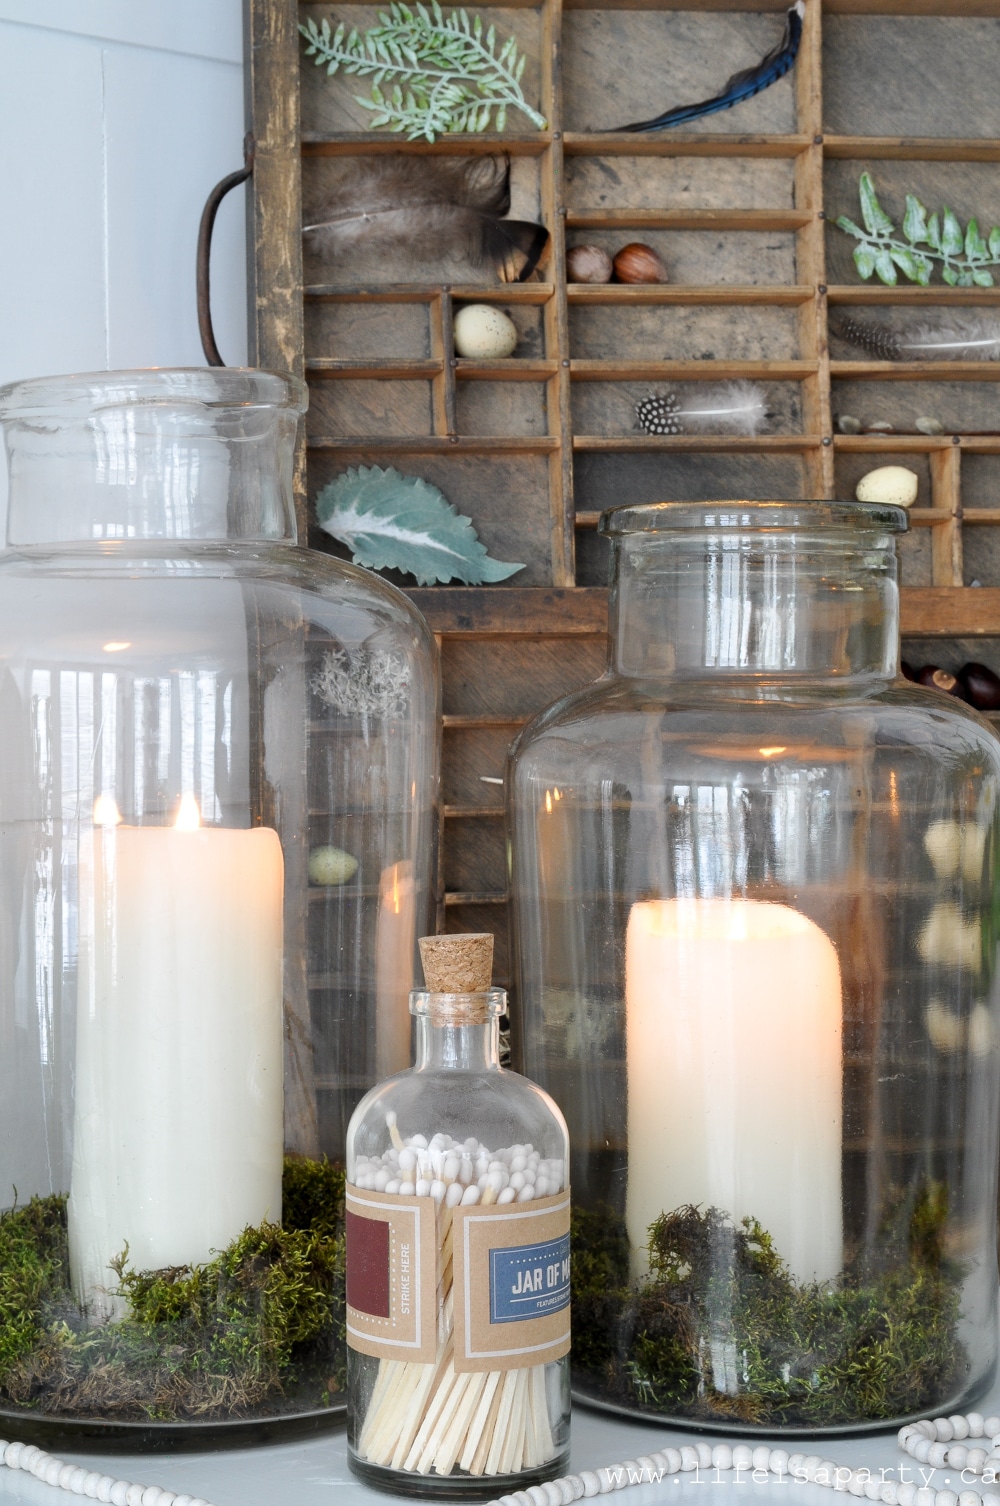 I added a few other fun touches, like the beads and the little nest. The nest and eggs help tie in the background piece.
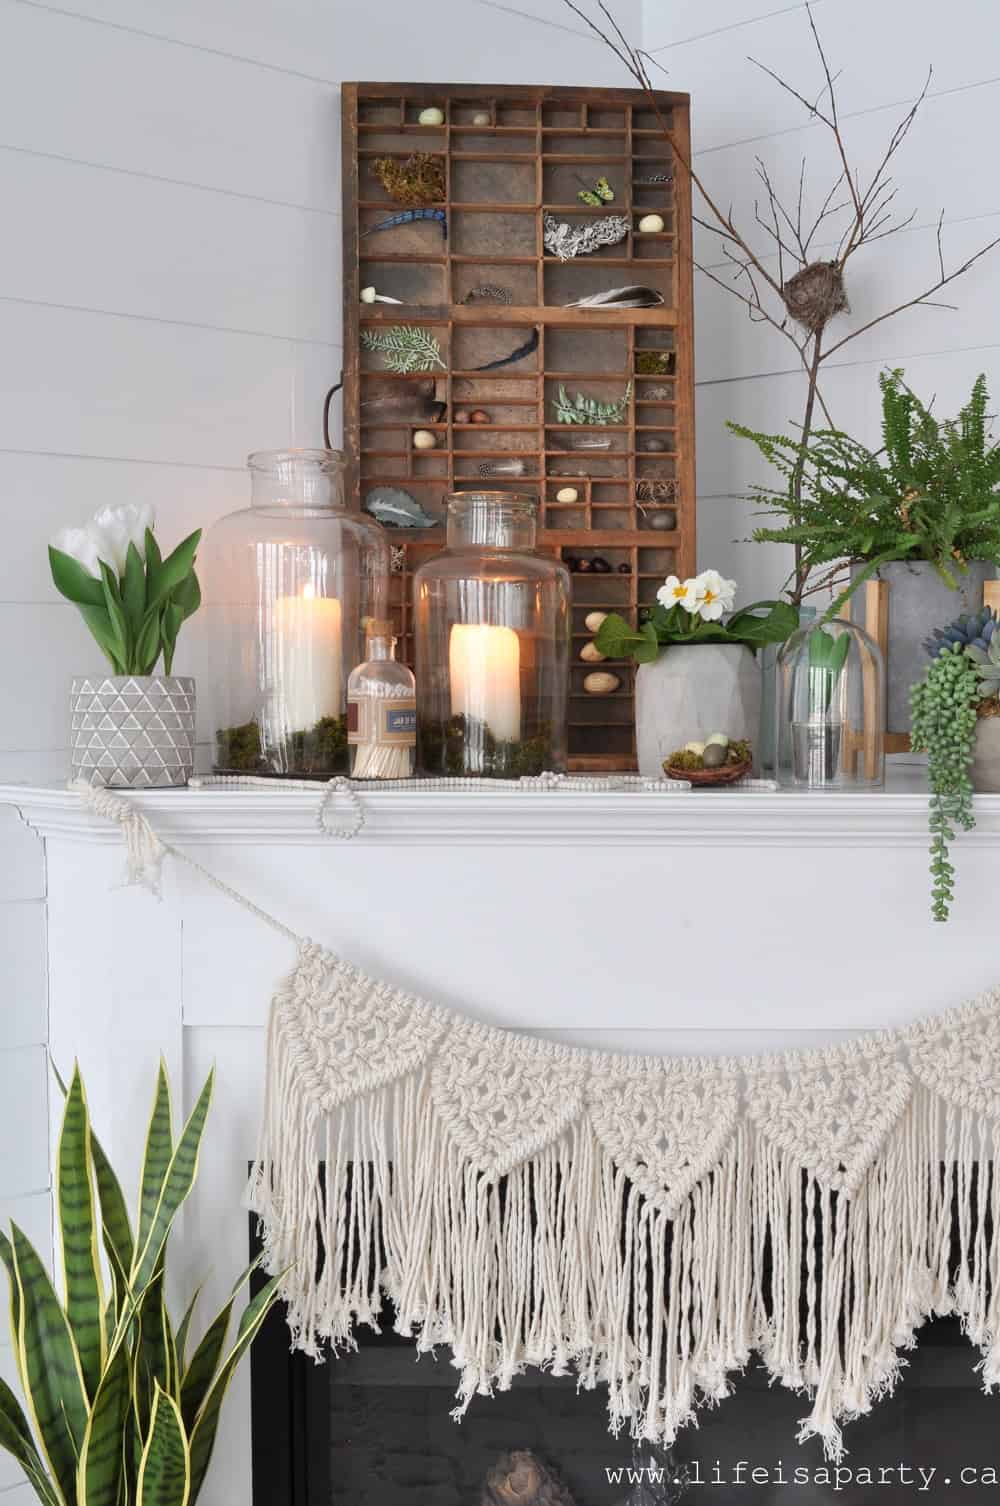 I wanted the mantel to have a bit of boho vibe and I feel like the planters and the macrame bunting really help create that feel.
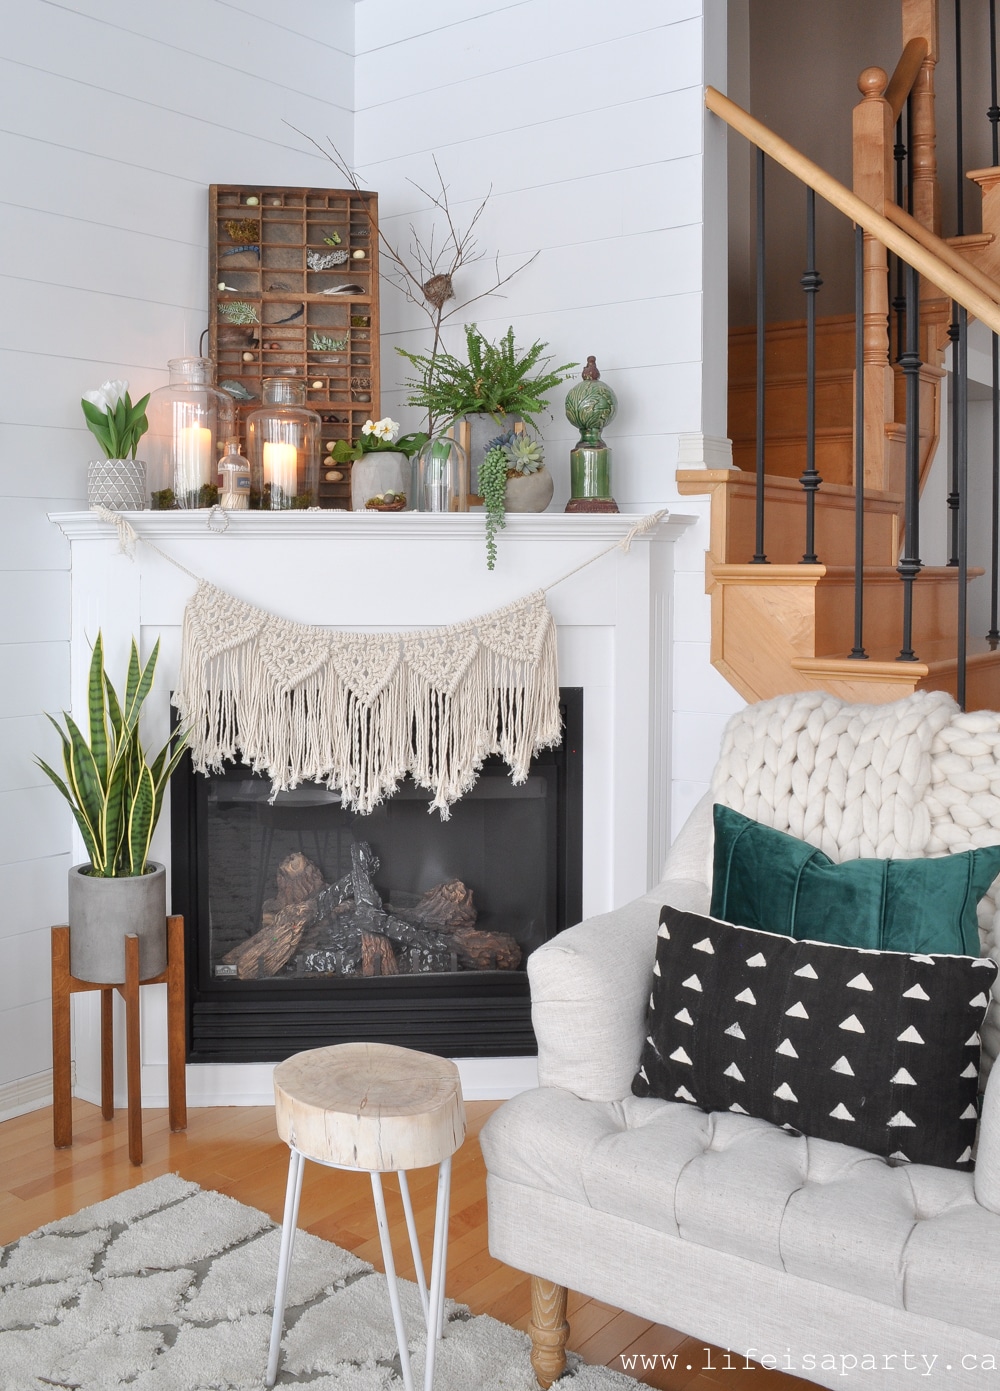
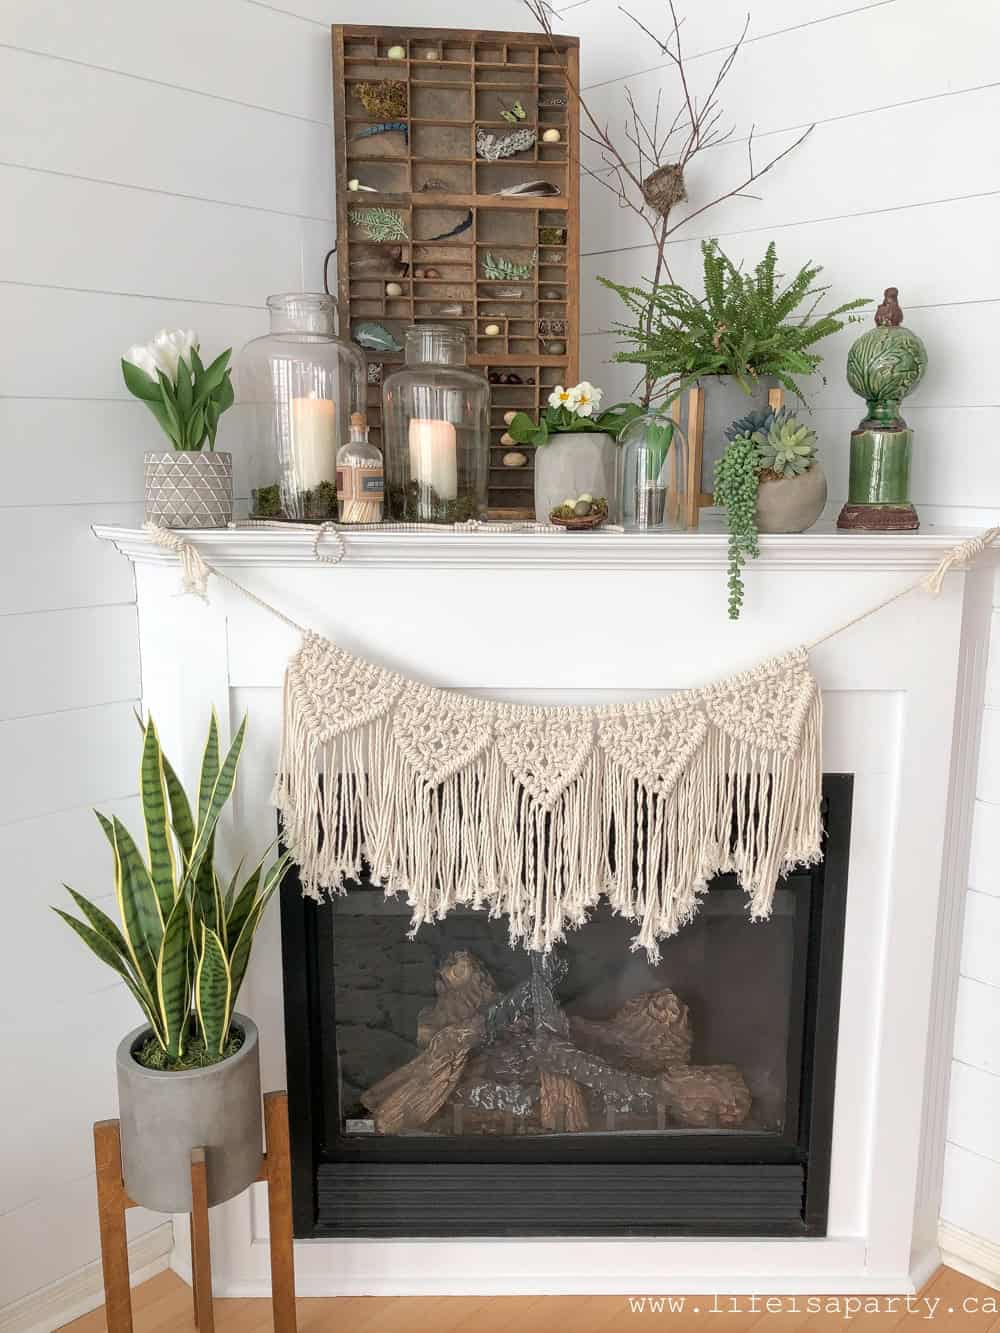 I hope you're inspired to add a little spring to your space. With a spring mantel, life is really a party!
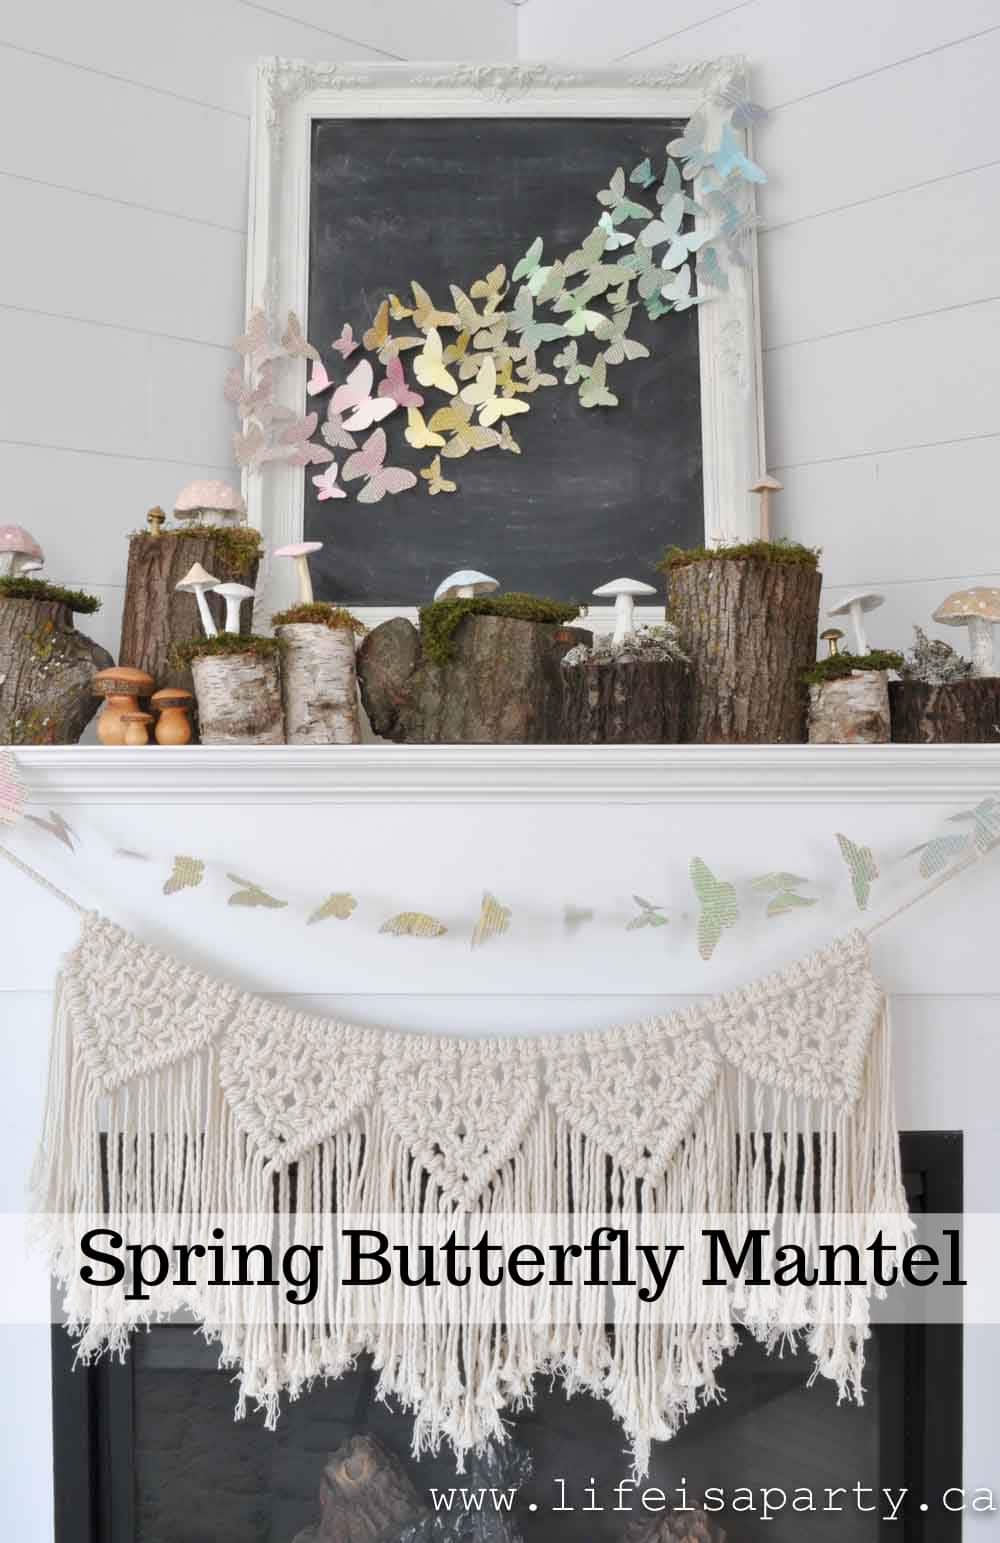


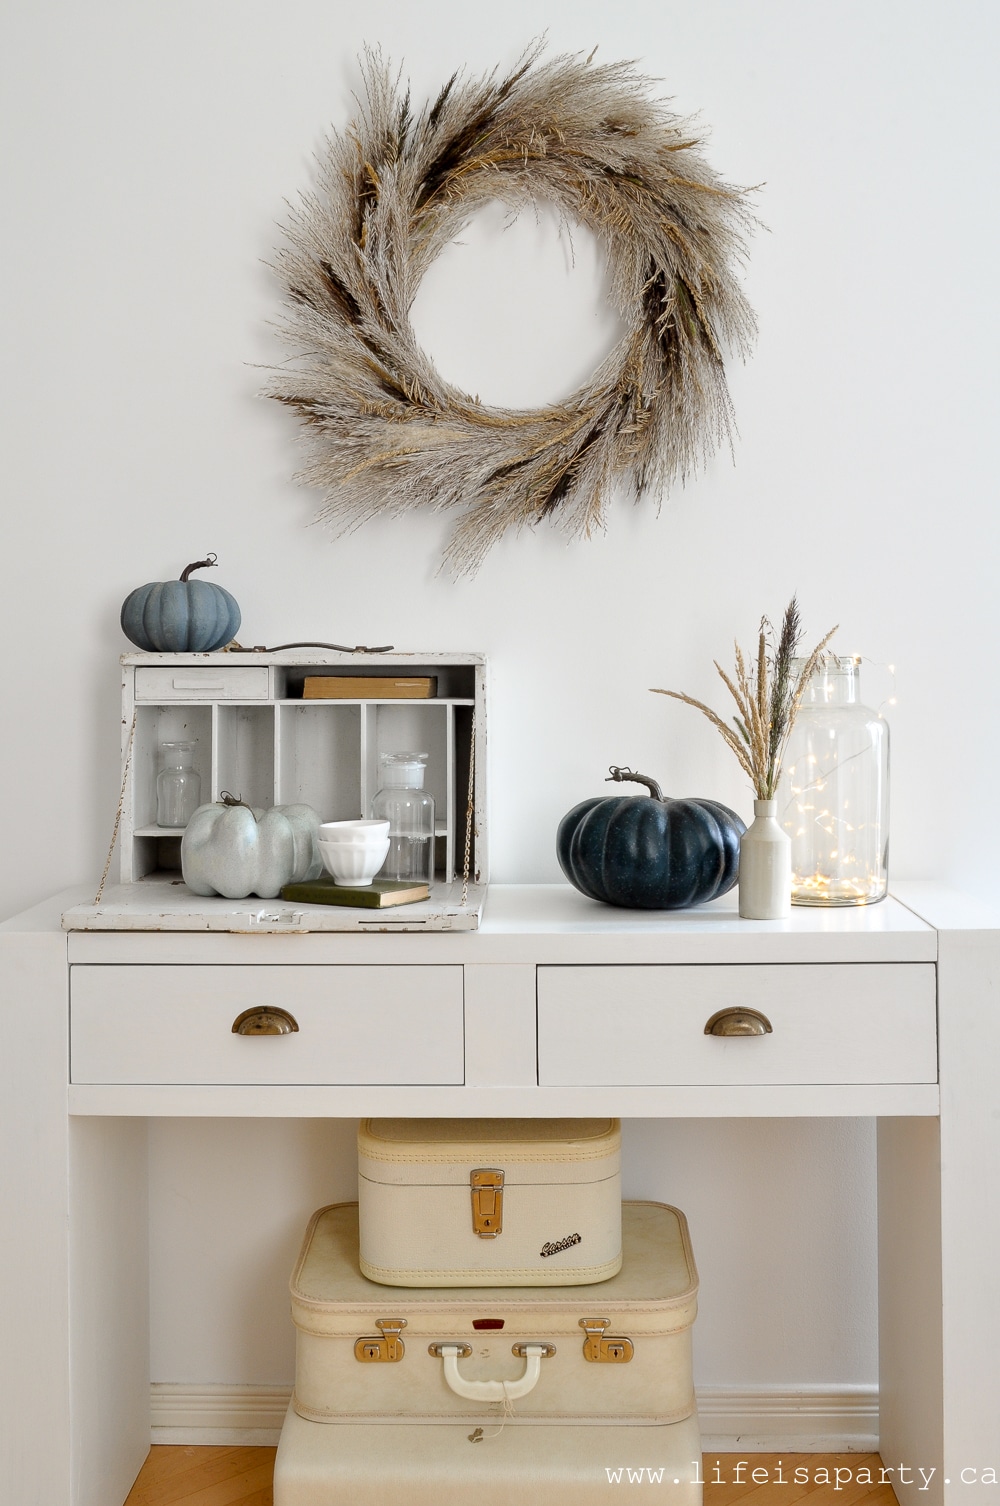
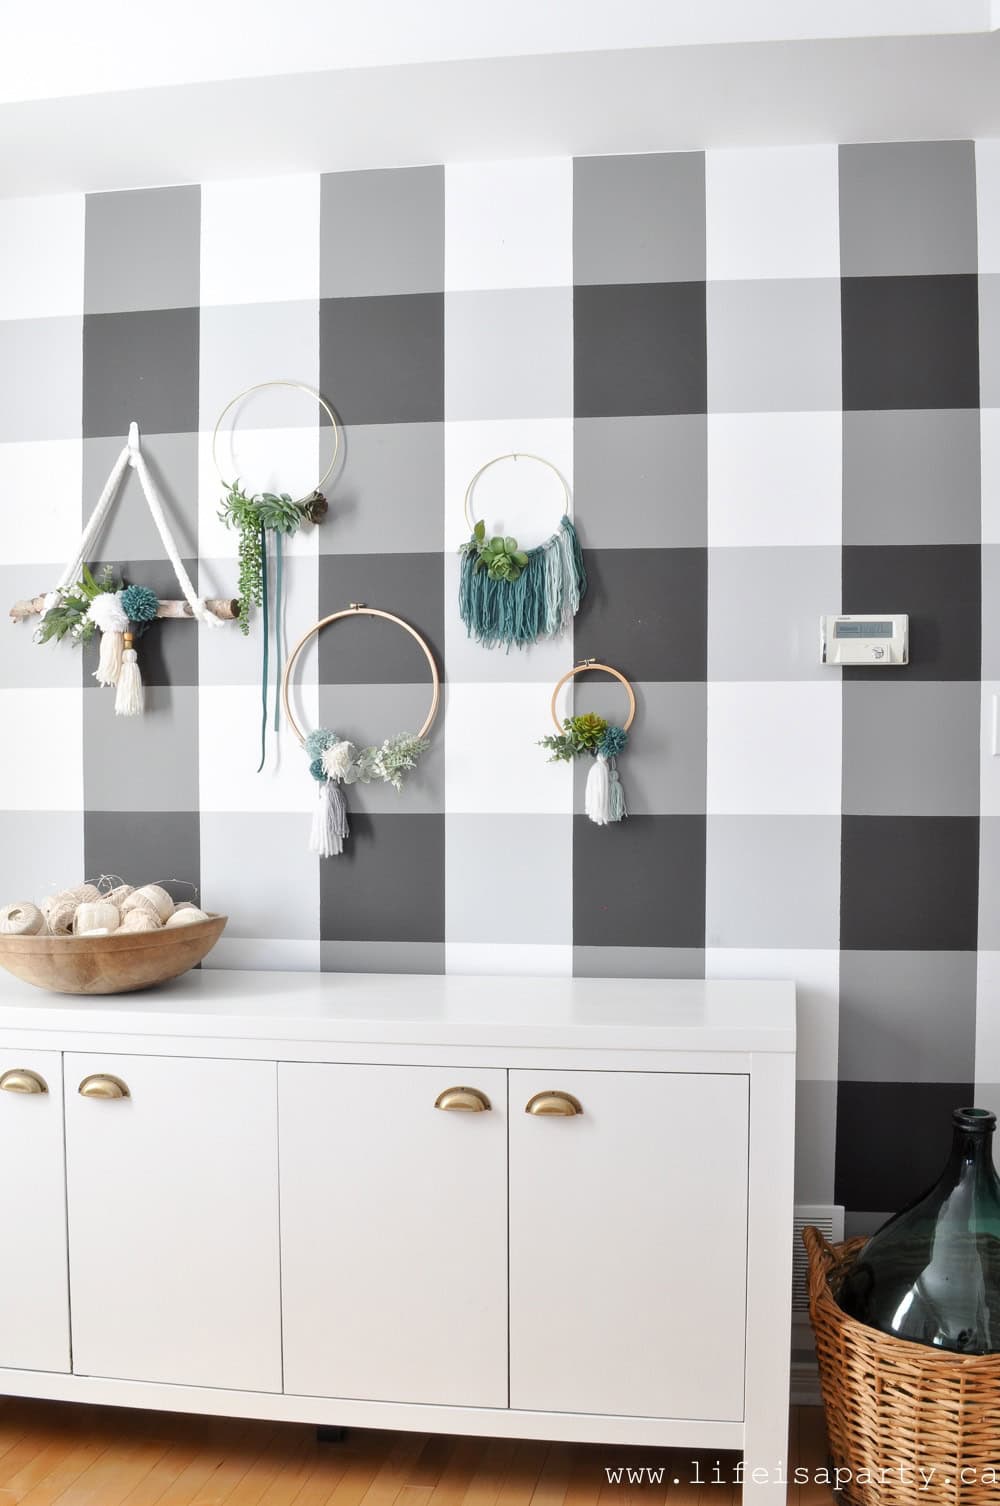
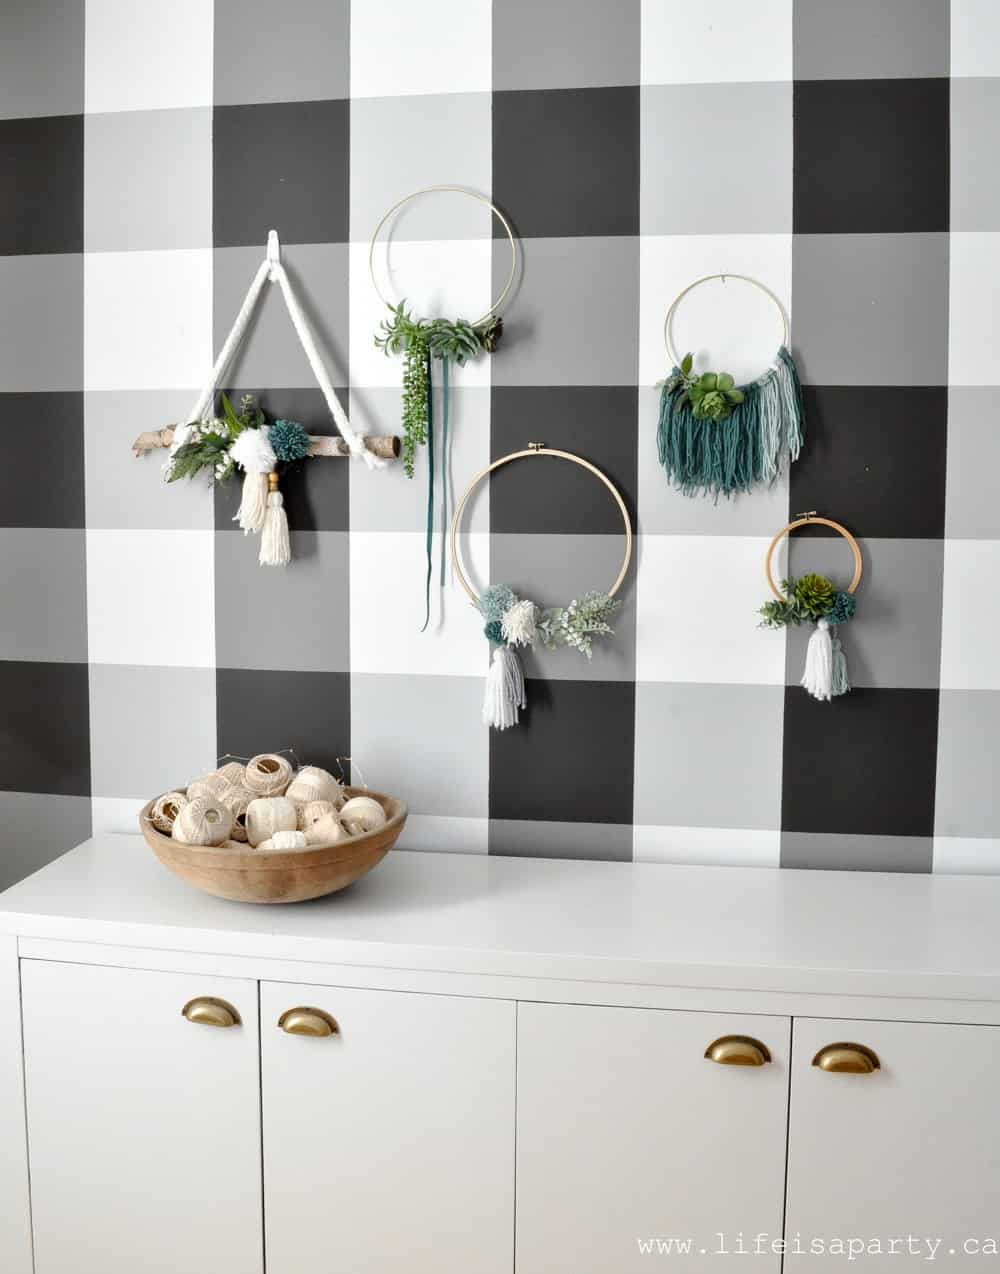
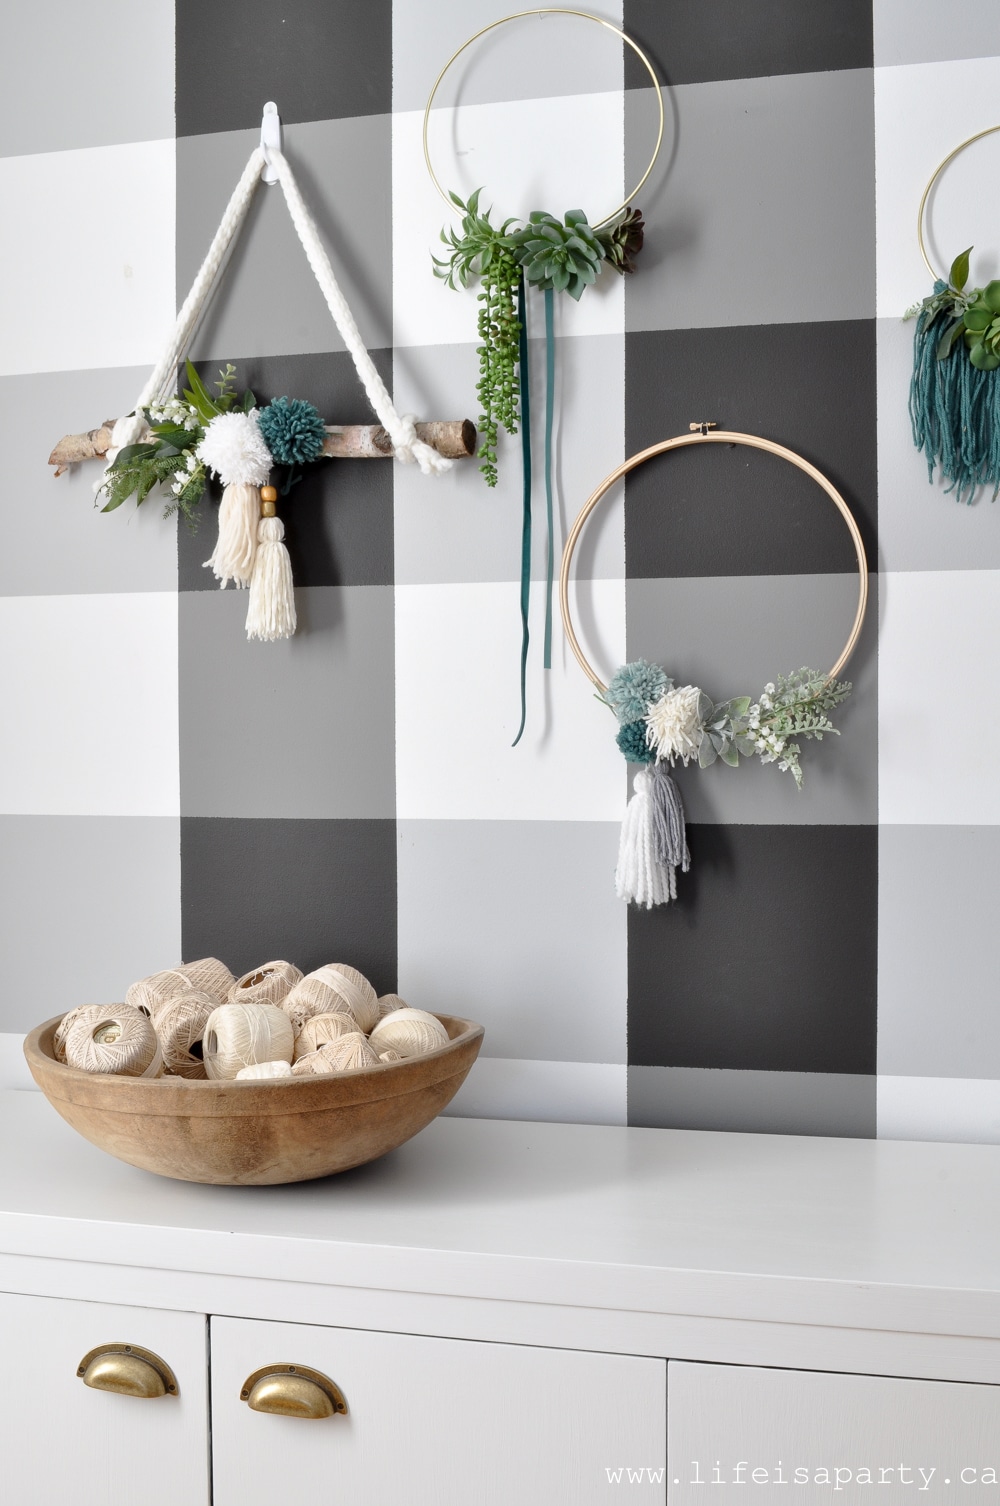
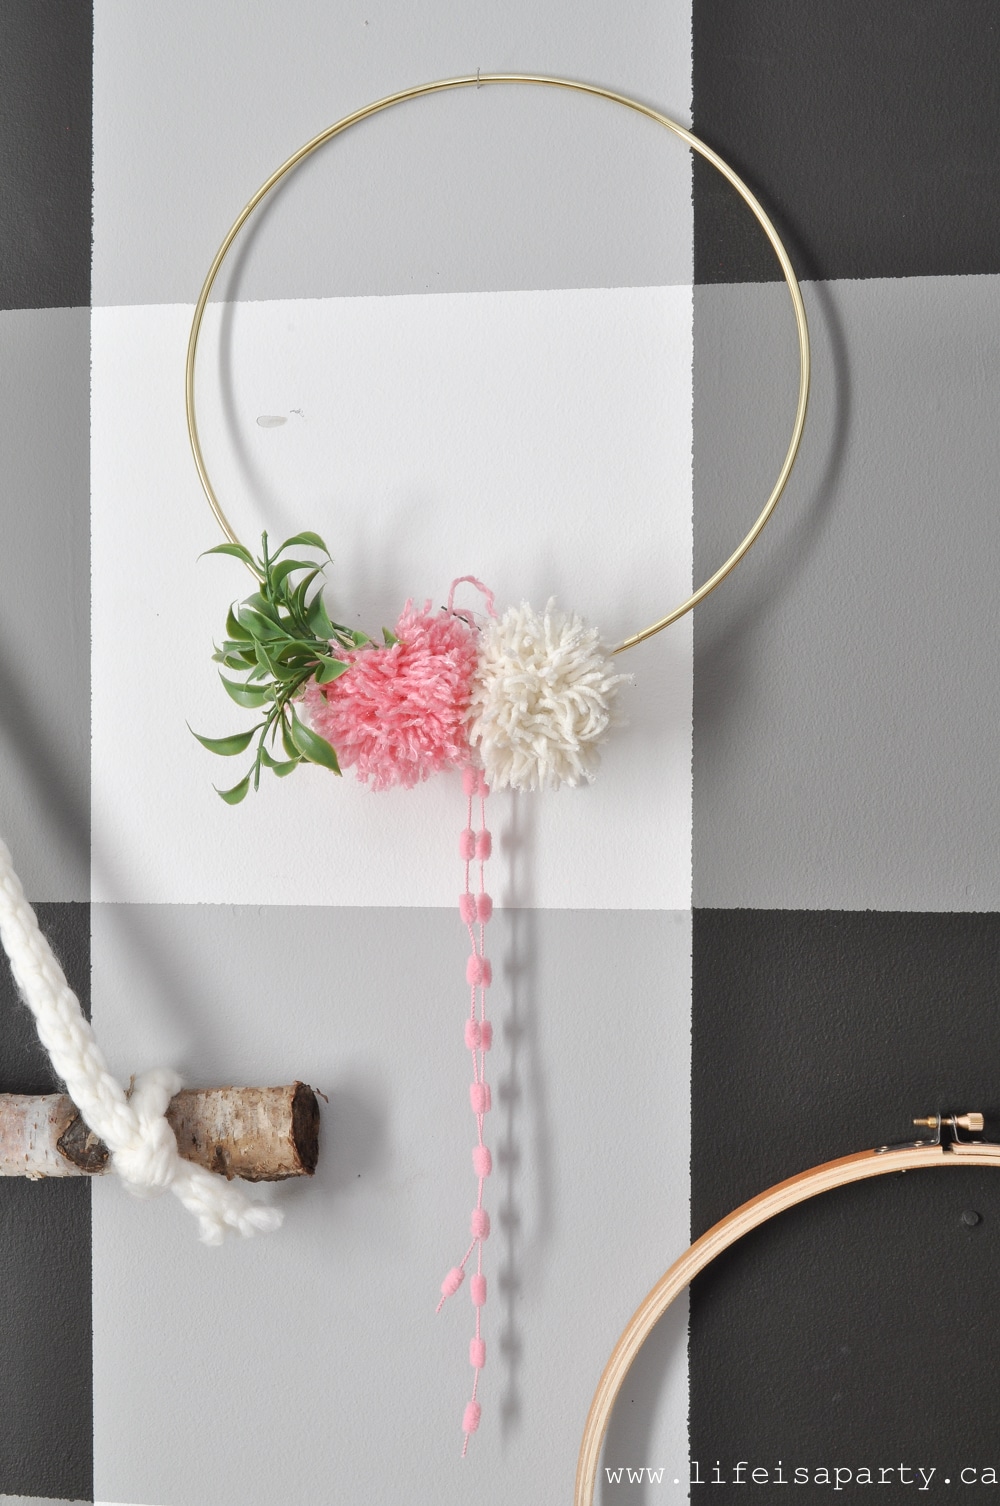
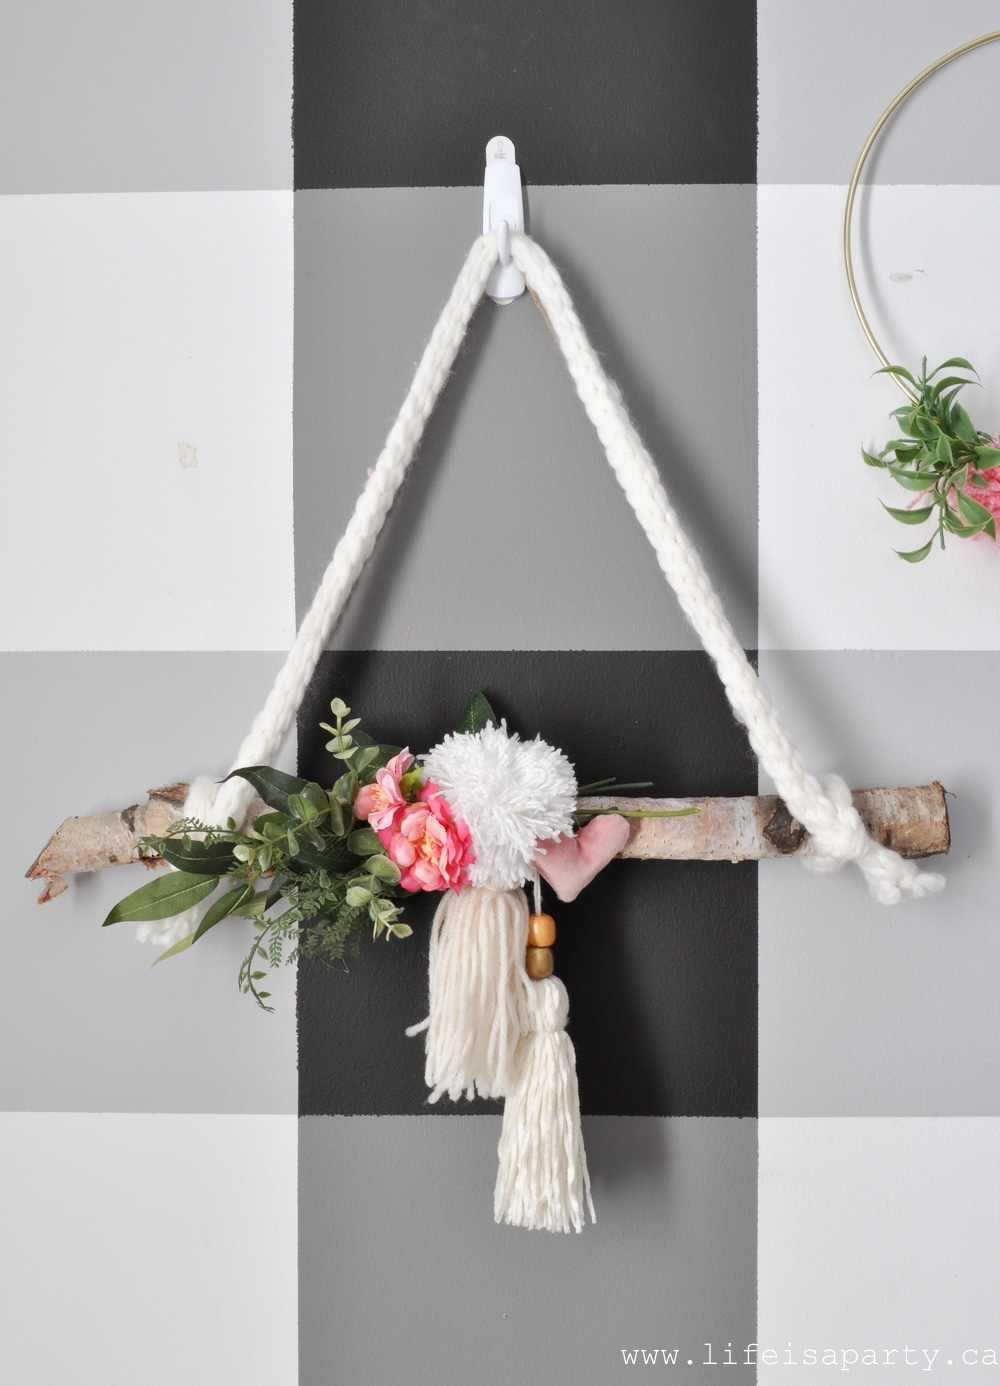
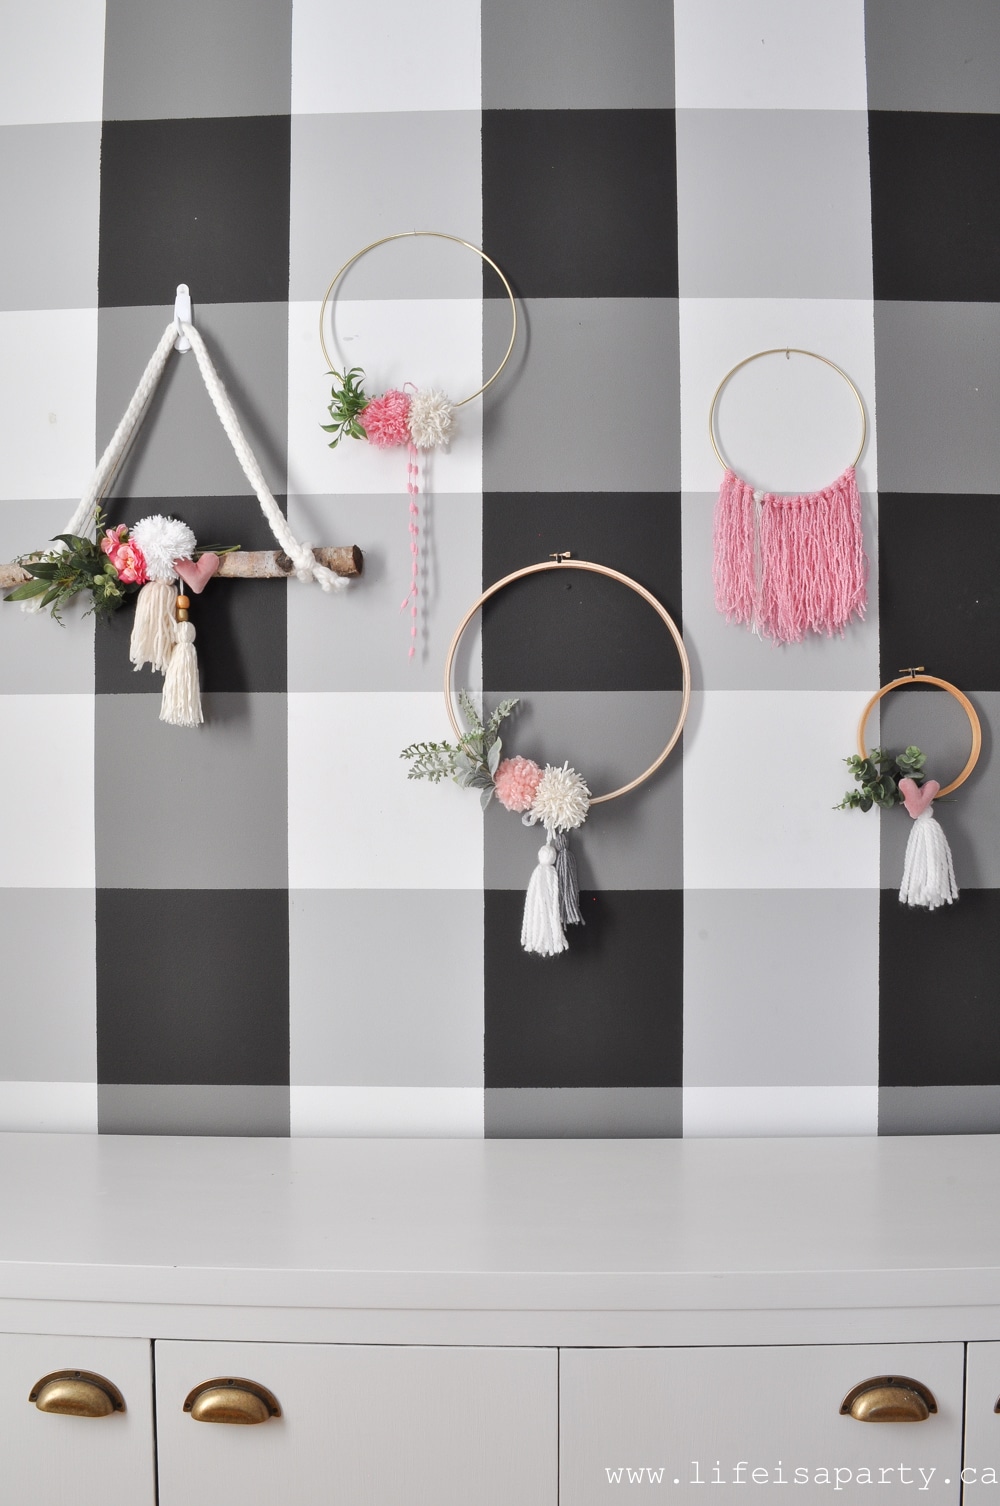
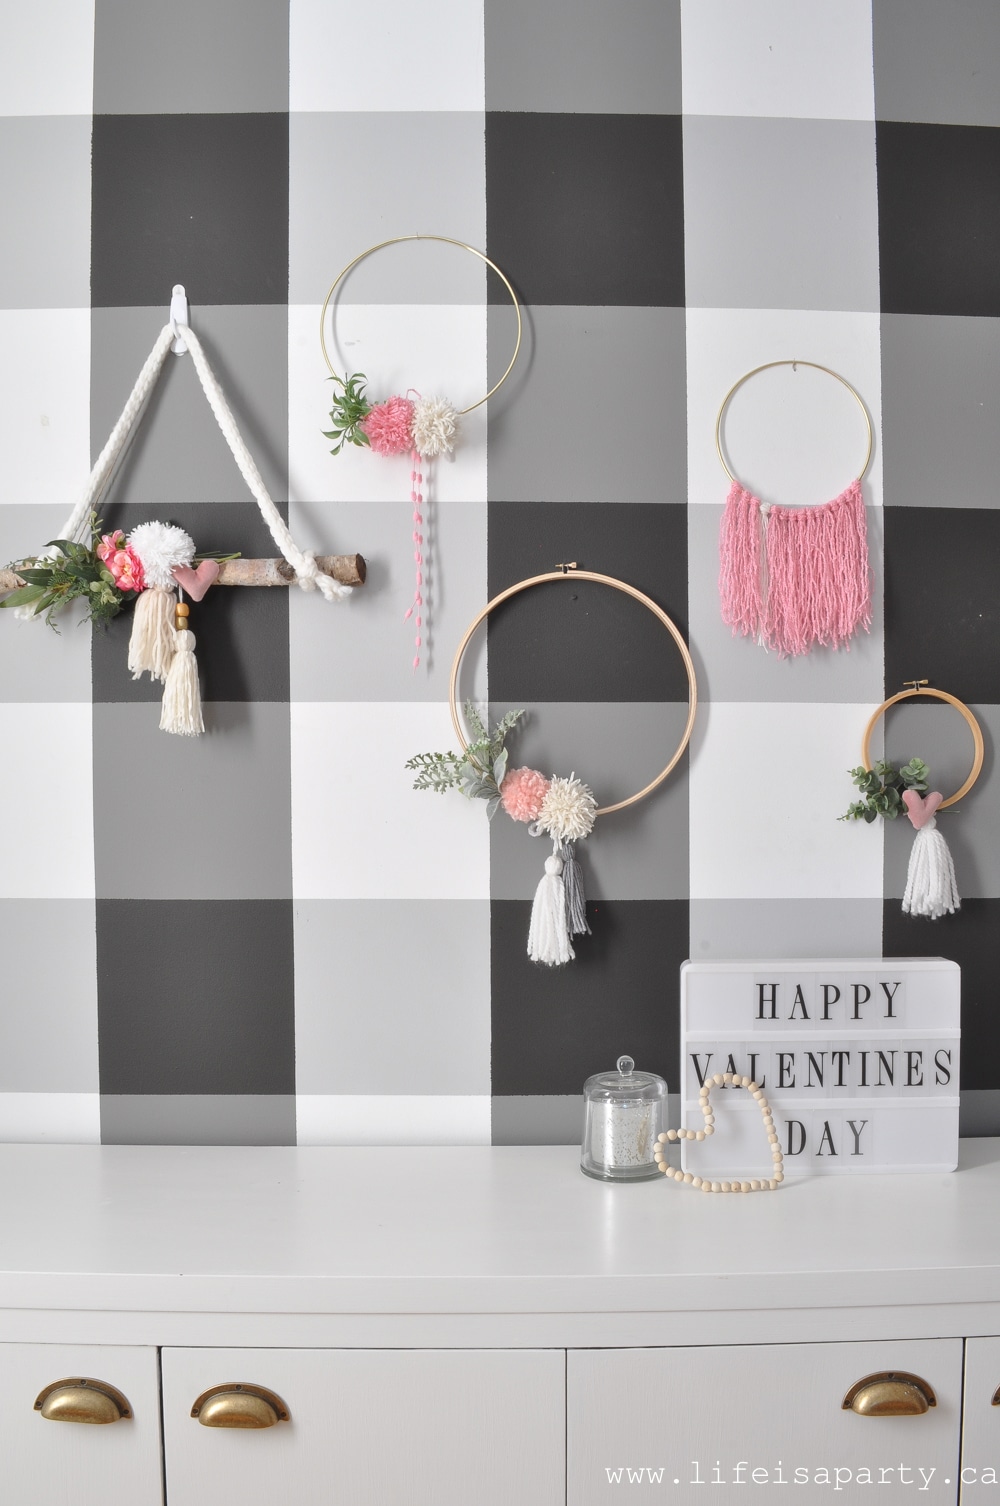 I love this grouping with 5 different beautiful wreaths all together. Each wreath is a little different, but they're all super easy to put together. This is a great way to decorate a large wall, where one small wreath would be too small for the smale. We've grouped ours together for more impact. We repeated some of the materials and the colours so that although they're all different, they all go together nicely. Here's how I made them.
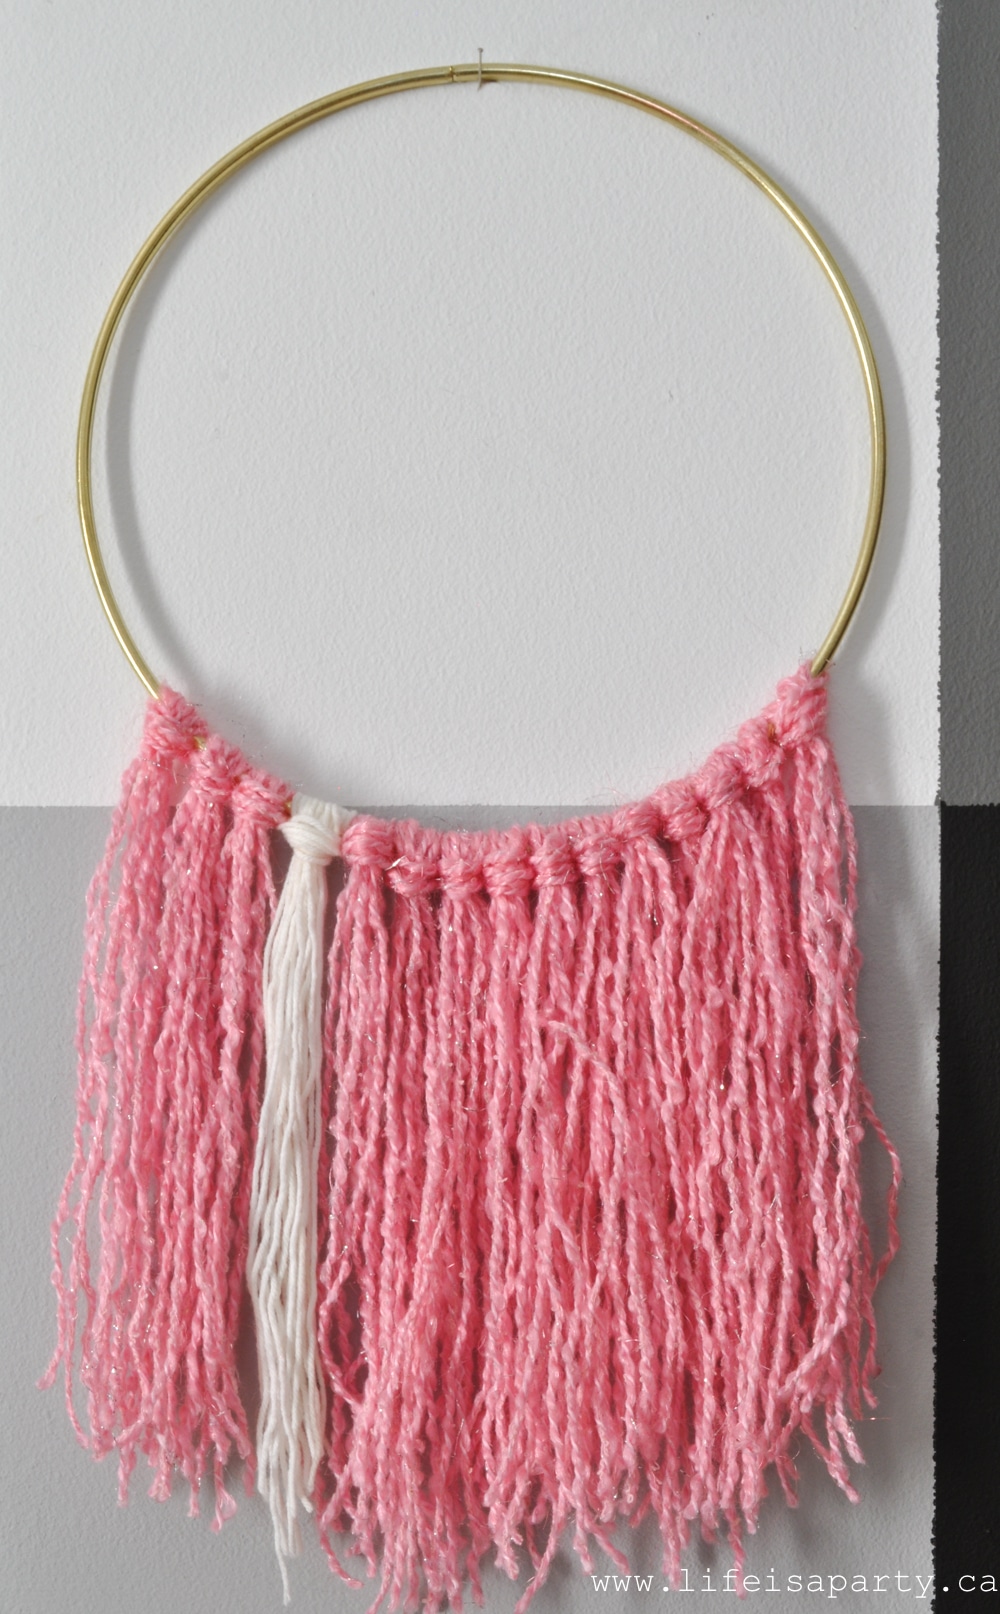
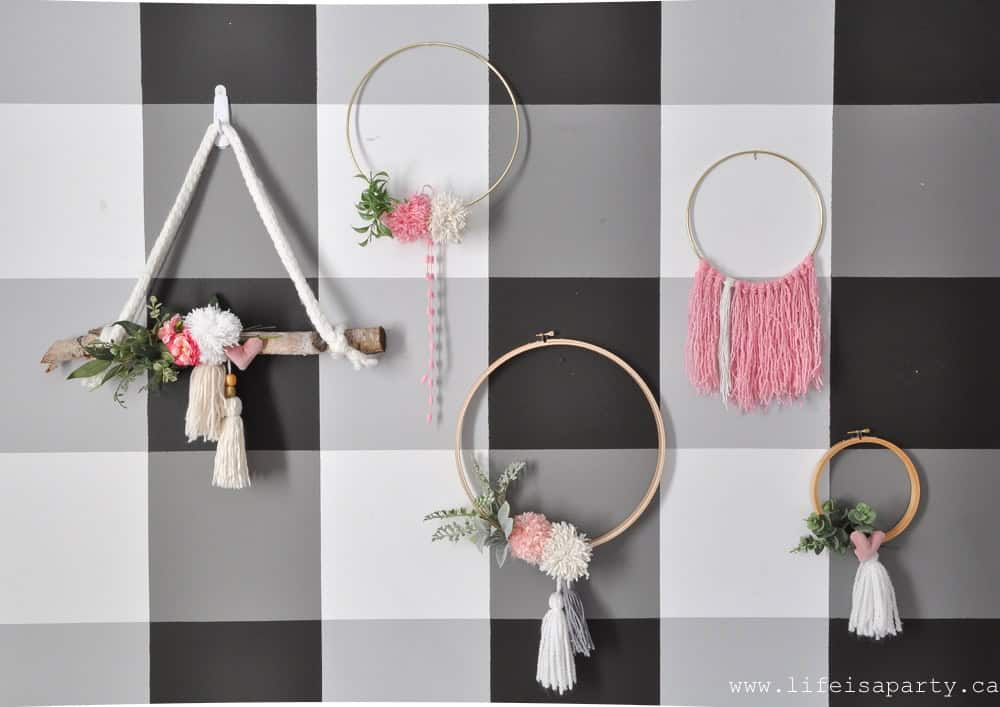
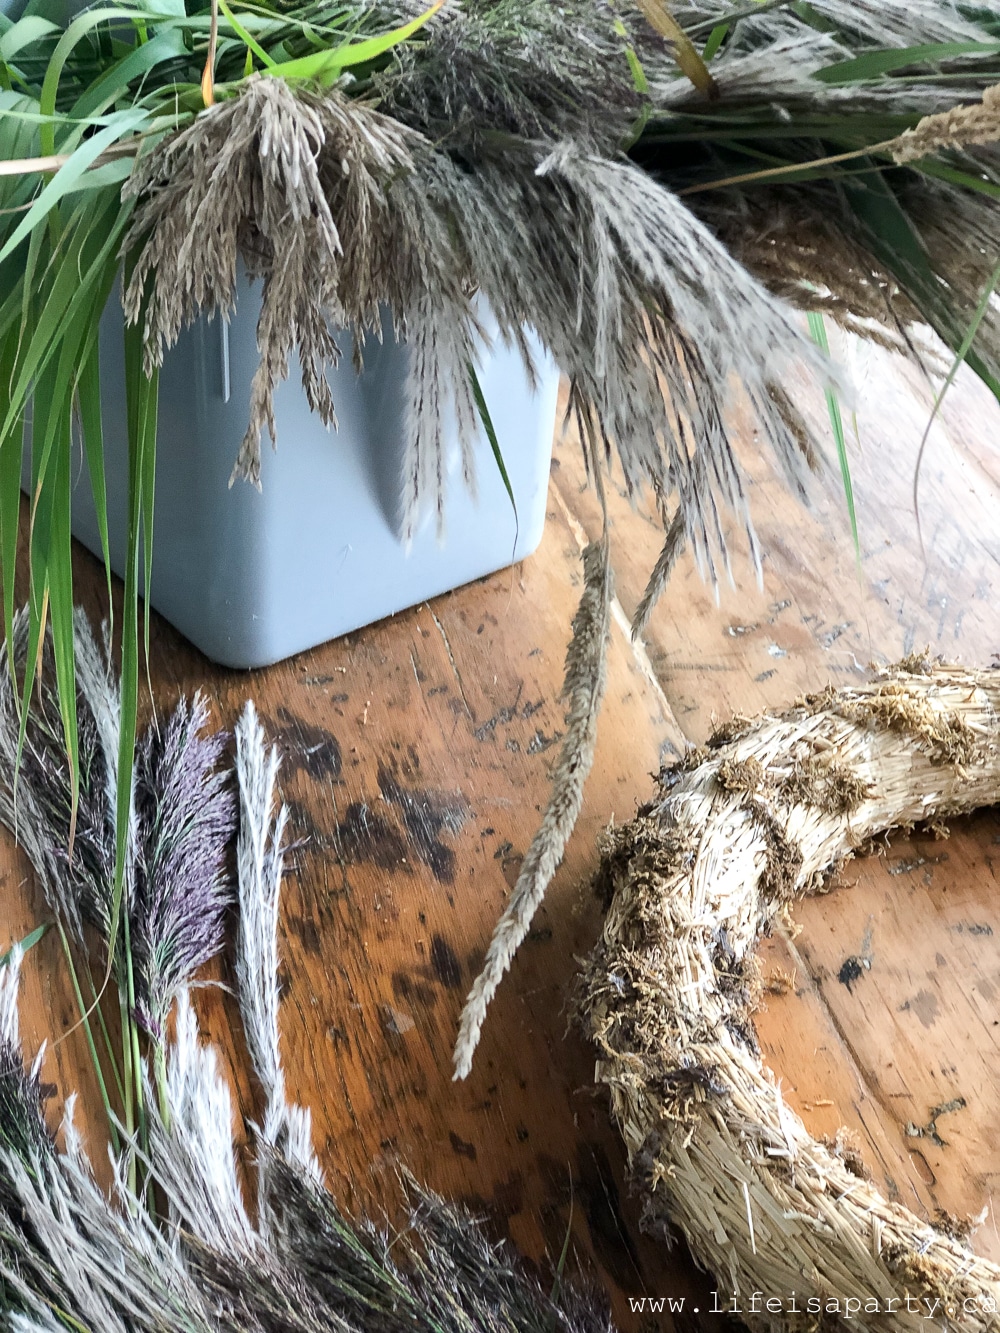
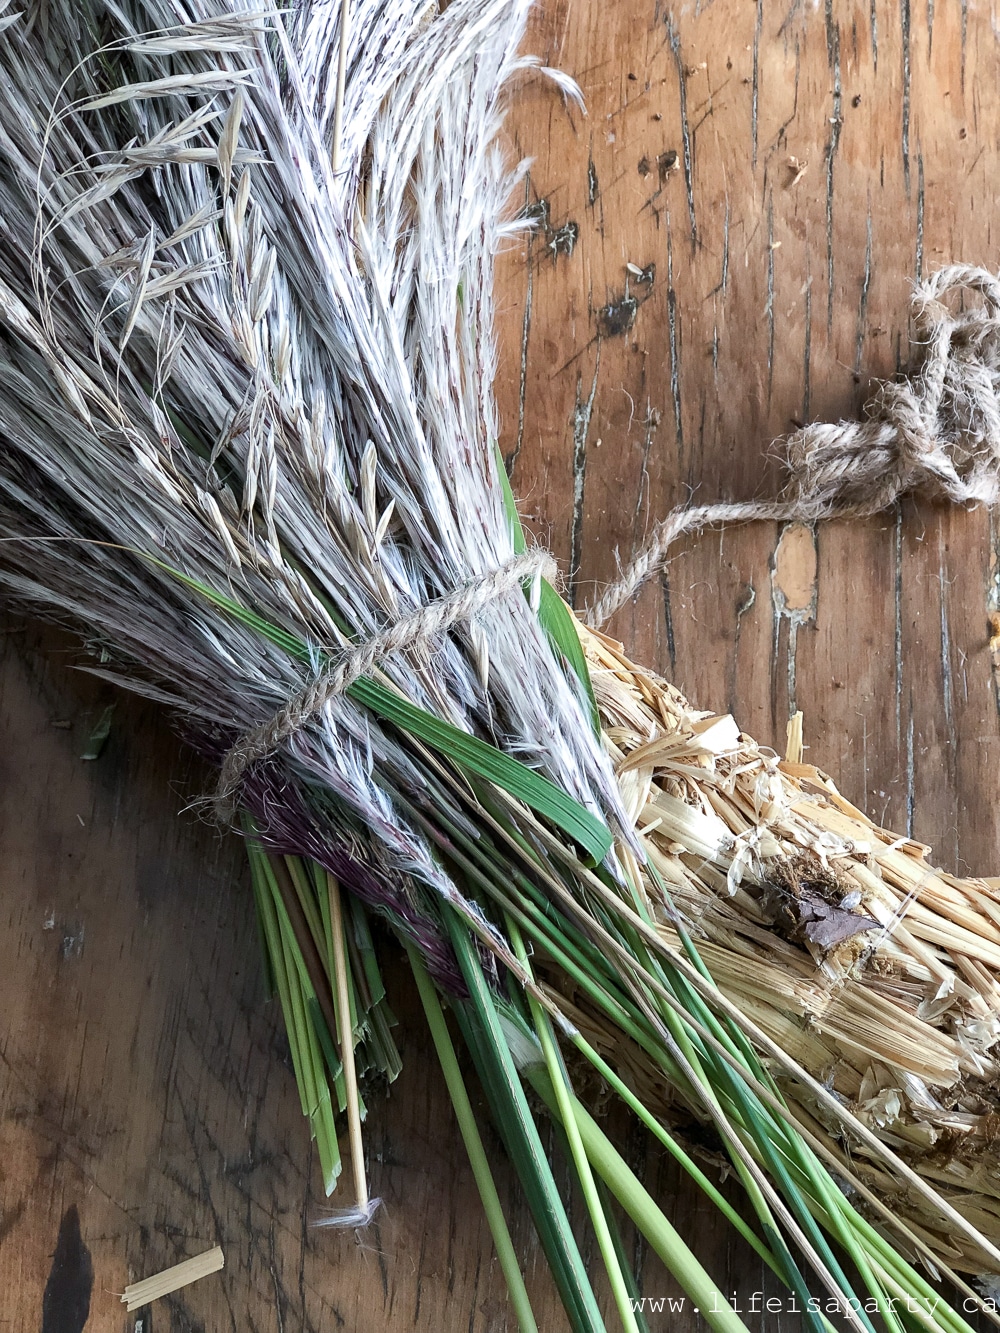
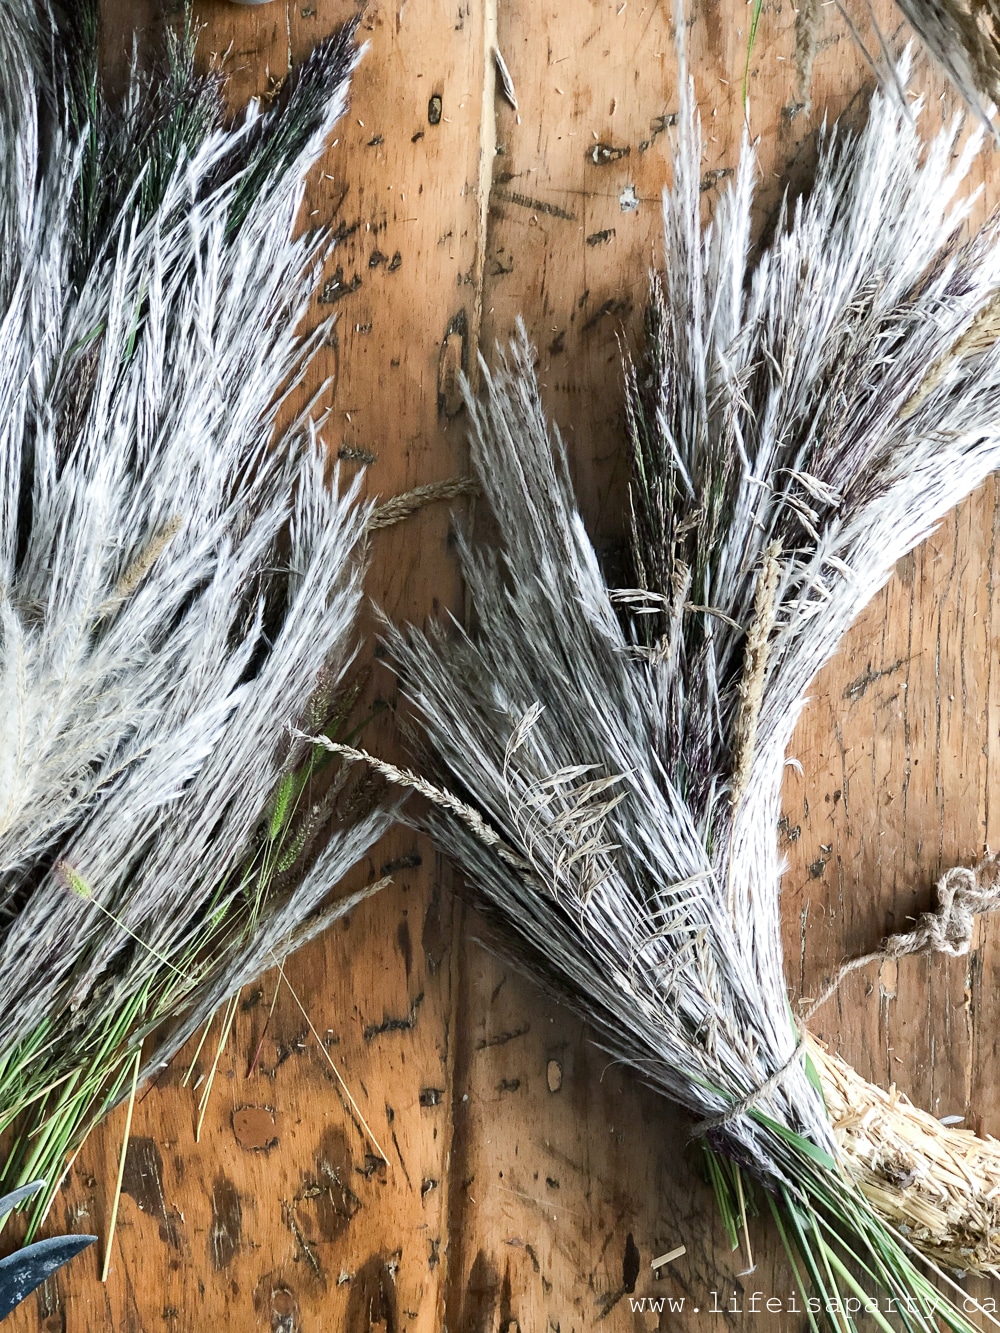
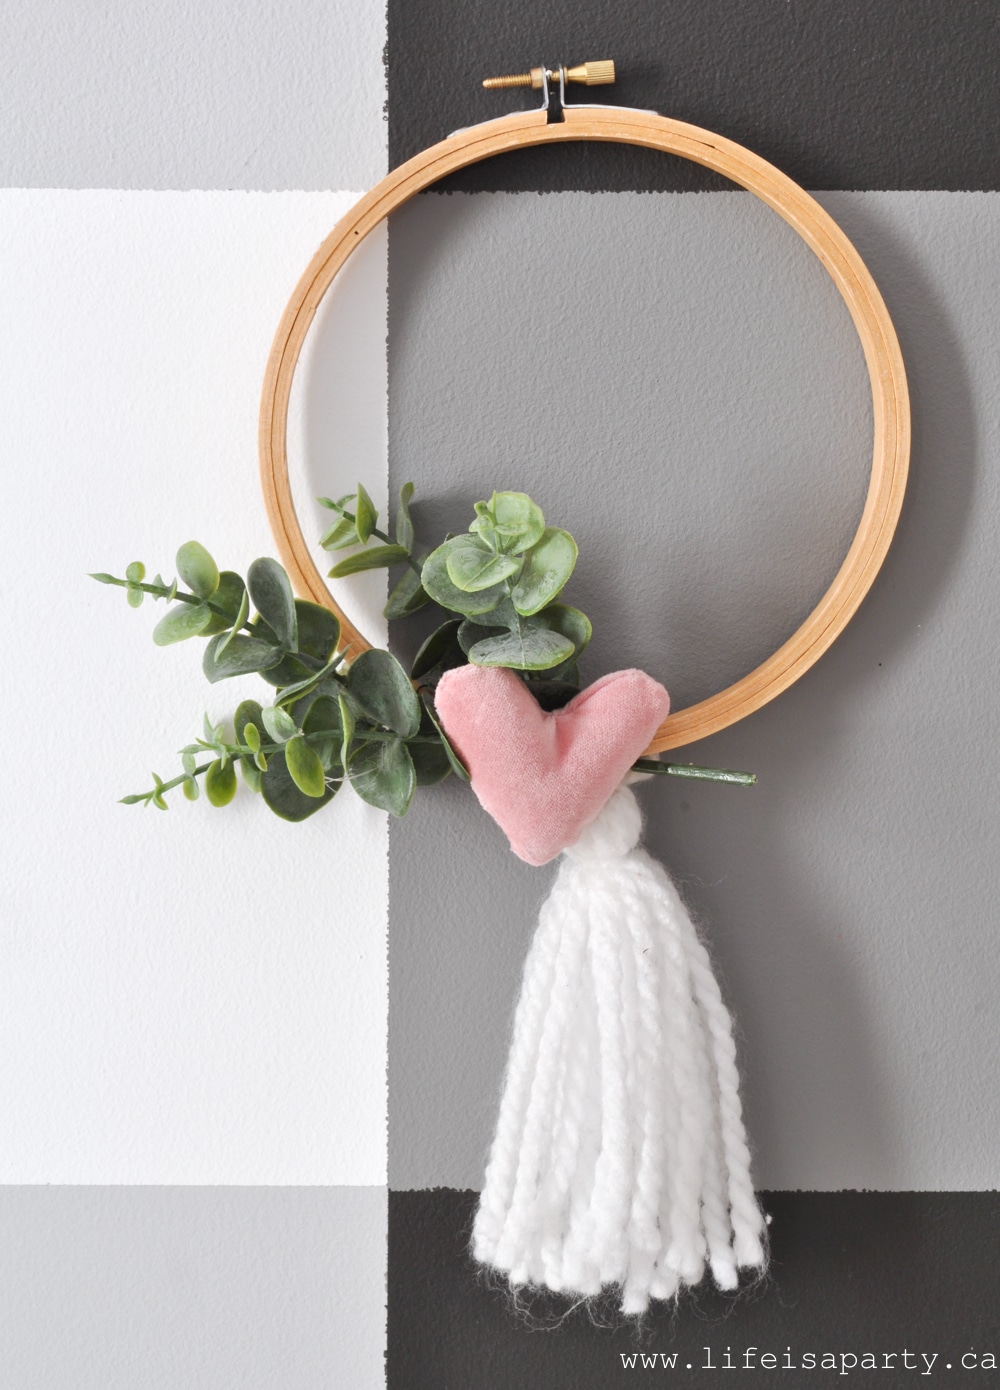
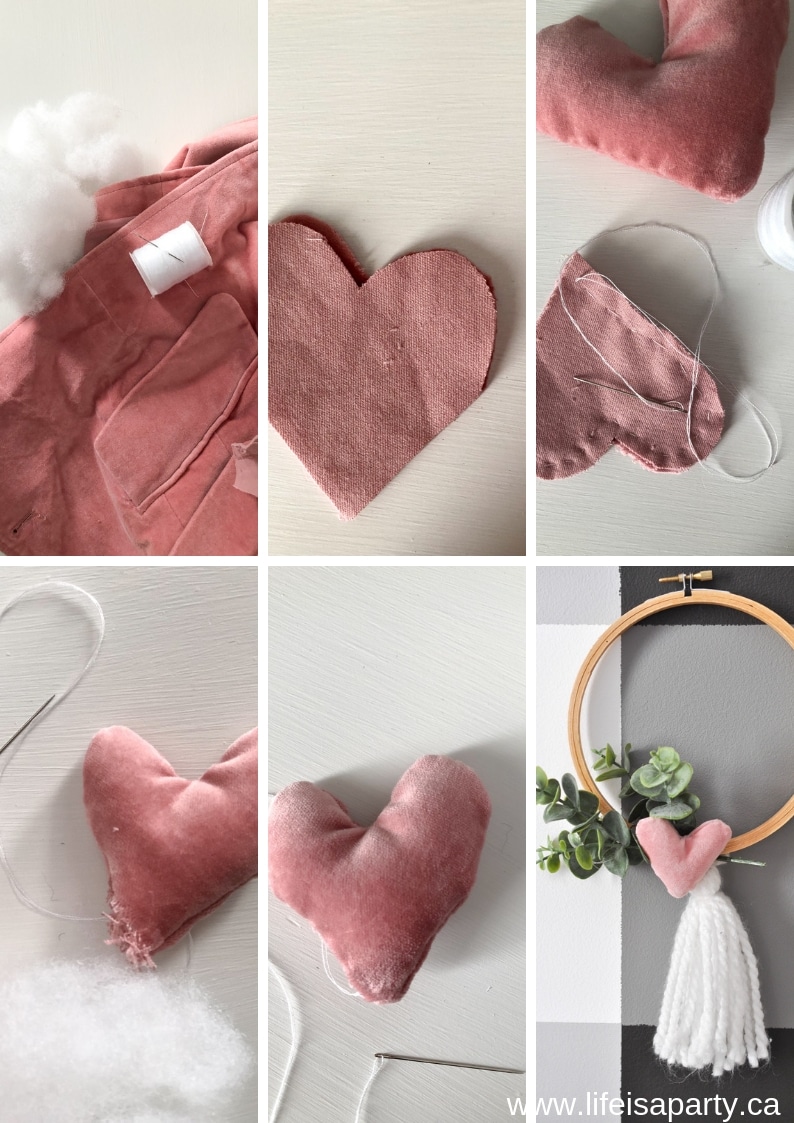
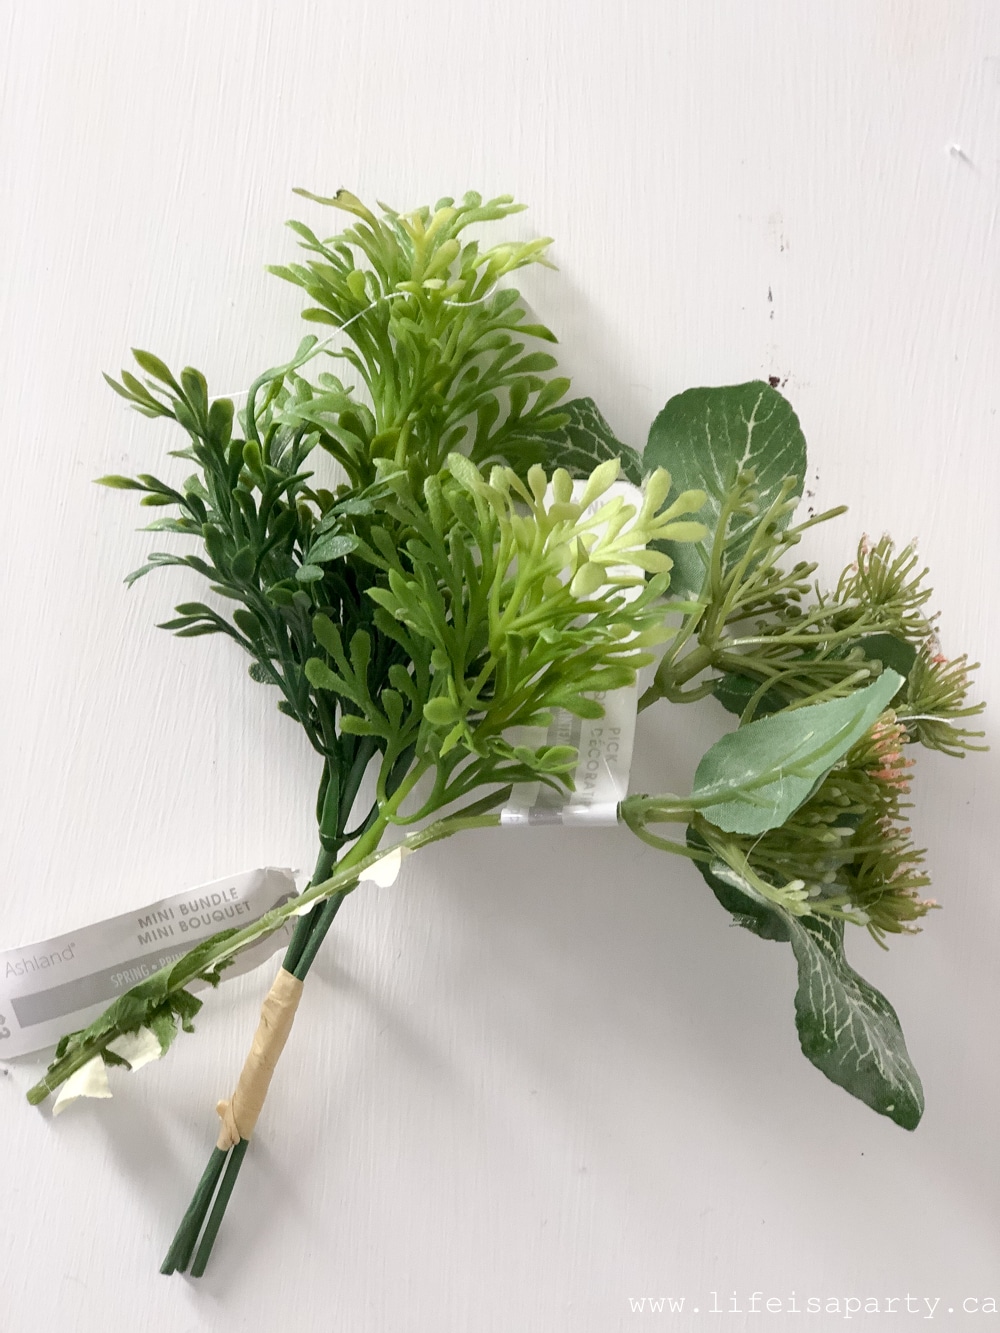 I used some floral wire to attach the greens to the wreaths. Use some wire cutters to cut your wire, and twist it securing it at the back of the wreath. You could use a hot glue gun to attach the greens instead, but the beauty of using wire is that it's completely removable. I think the wire is a better way to attach things because you can then so easily change your wreath for any season like I did with the these changing them from Christmas wreaths to Valentine's day. It's a great way to upcycle your Christmas decorations.
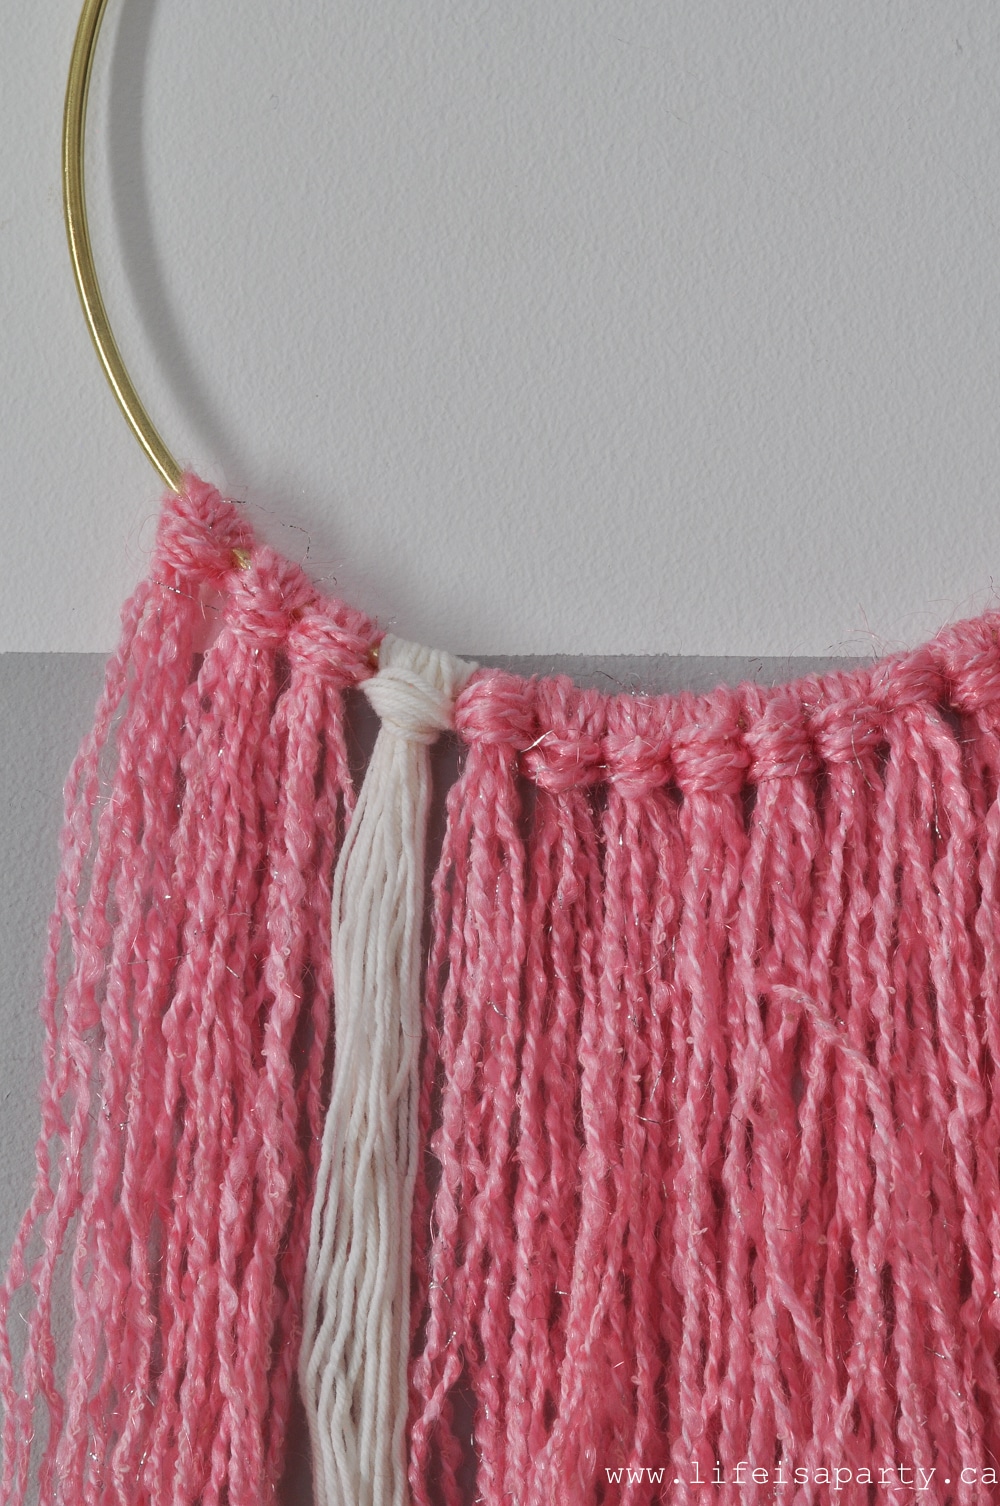
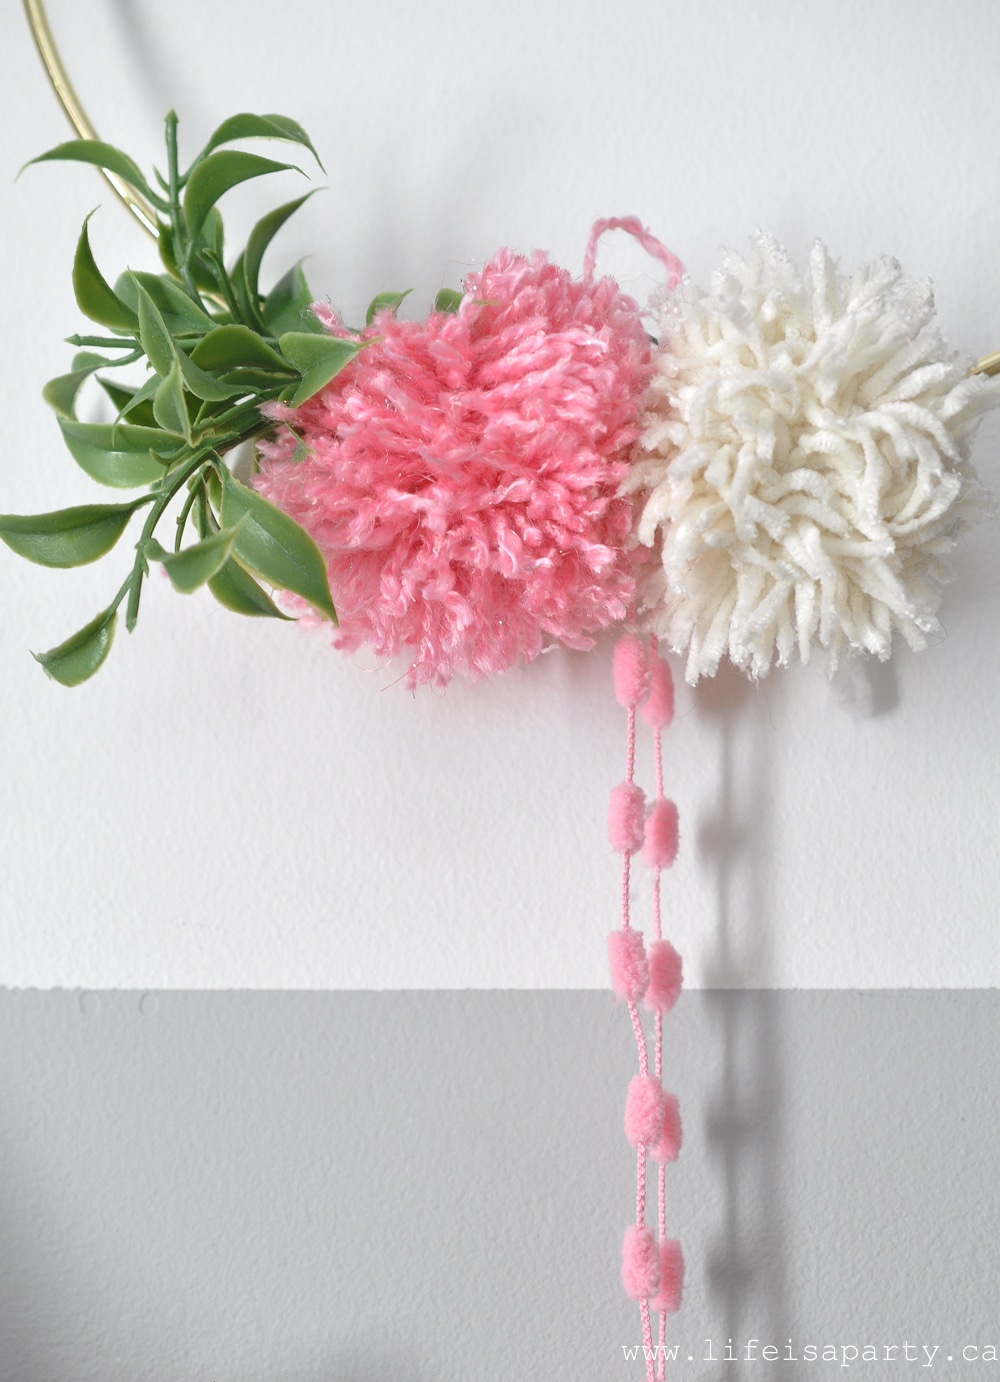
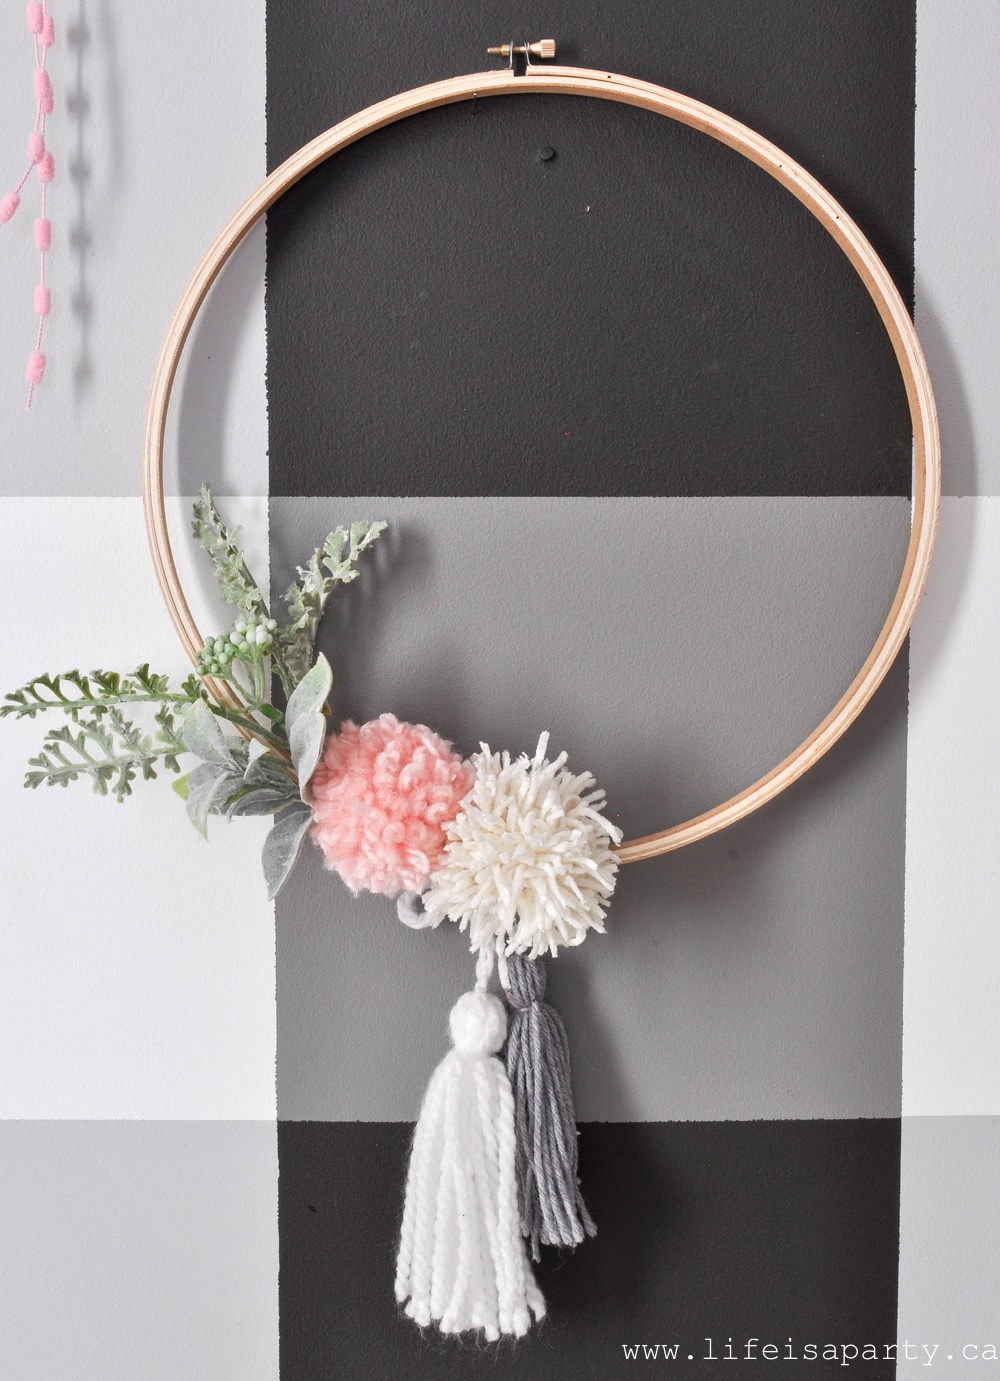
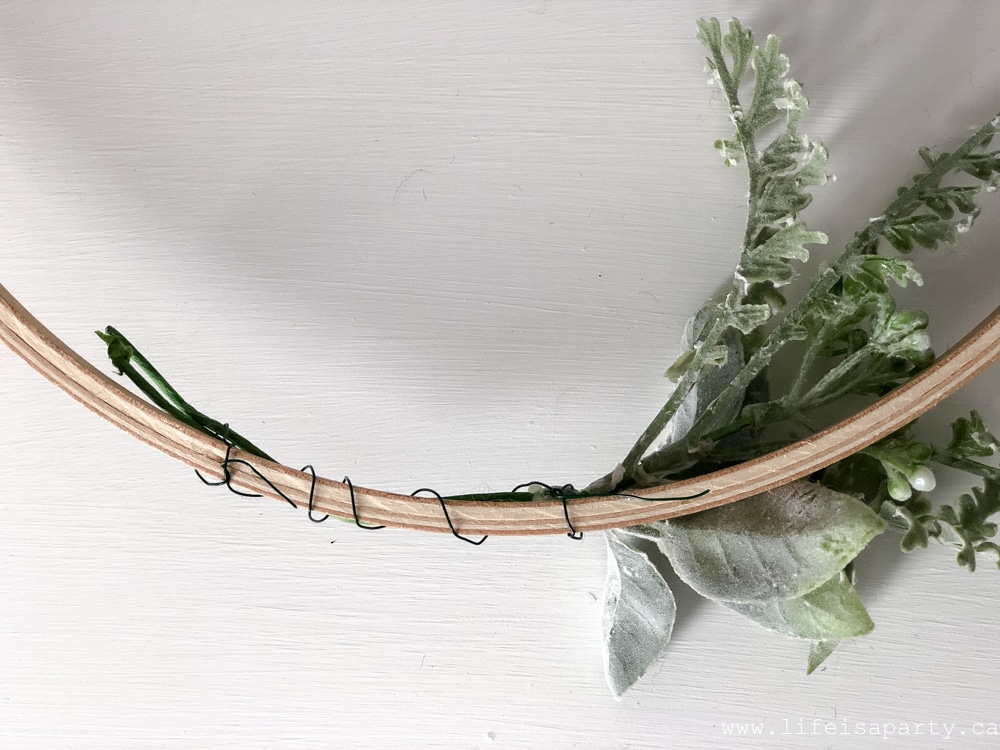 For these wreaths I also added some different chunky yarn pom poms and tassels. I like the boho feel of a pom-pom wreath, and the pom poms were also less expensive than using lots of faux flowers. To attach them I just tied them on at the back.
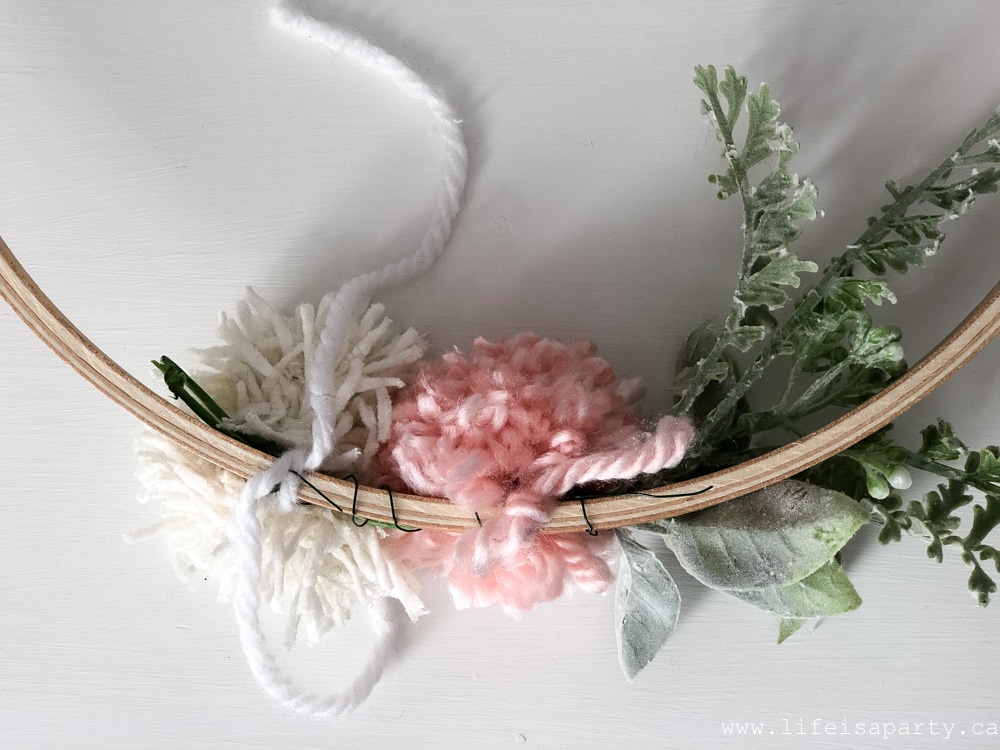