
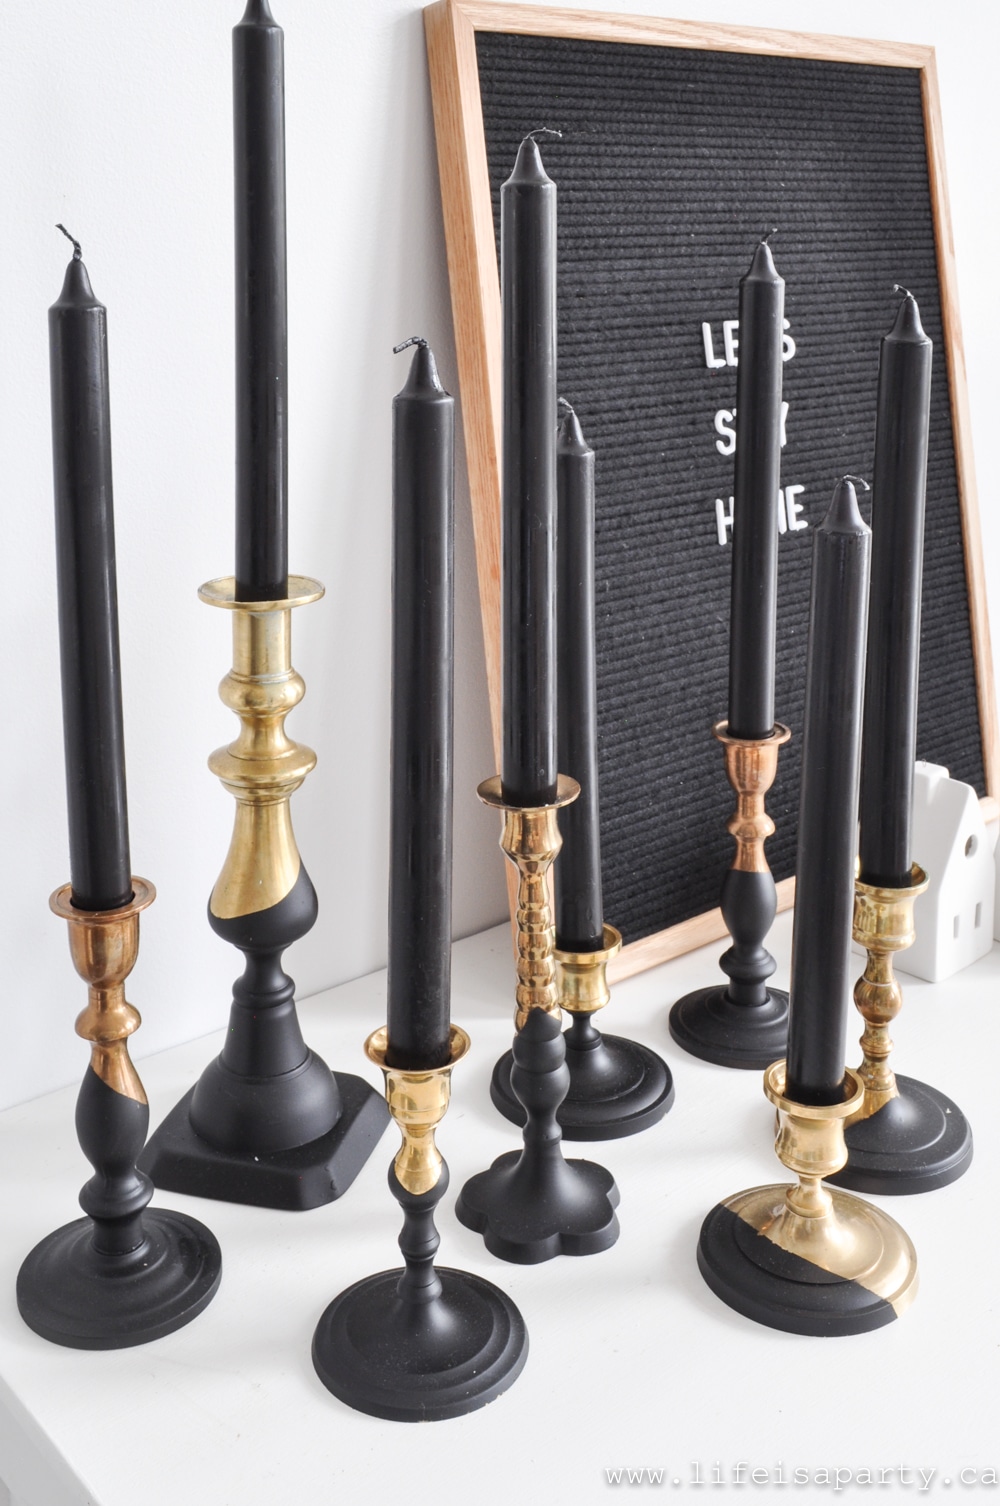
Black Paint Dipped Brass Candlesticks: update inexpensive thrift store brass candlesticks with matte black spray paint DIY.


Vintage Brass Candlesticks are so on-trend right now. I found mine at various thrift stores, and was able to get them for anywhere for $1 to $5 a set. To give them a fun update I did a Black Dipped Paint Brass Candlestick effect on them.
It's very easy to create -and you might be surprised to know that it doesn't involve messy paint dipping at all. I used Krylon Black Flat Spray Paint to create this matte paint dip effect.
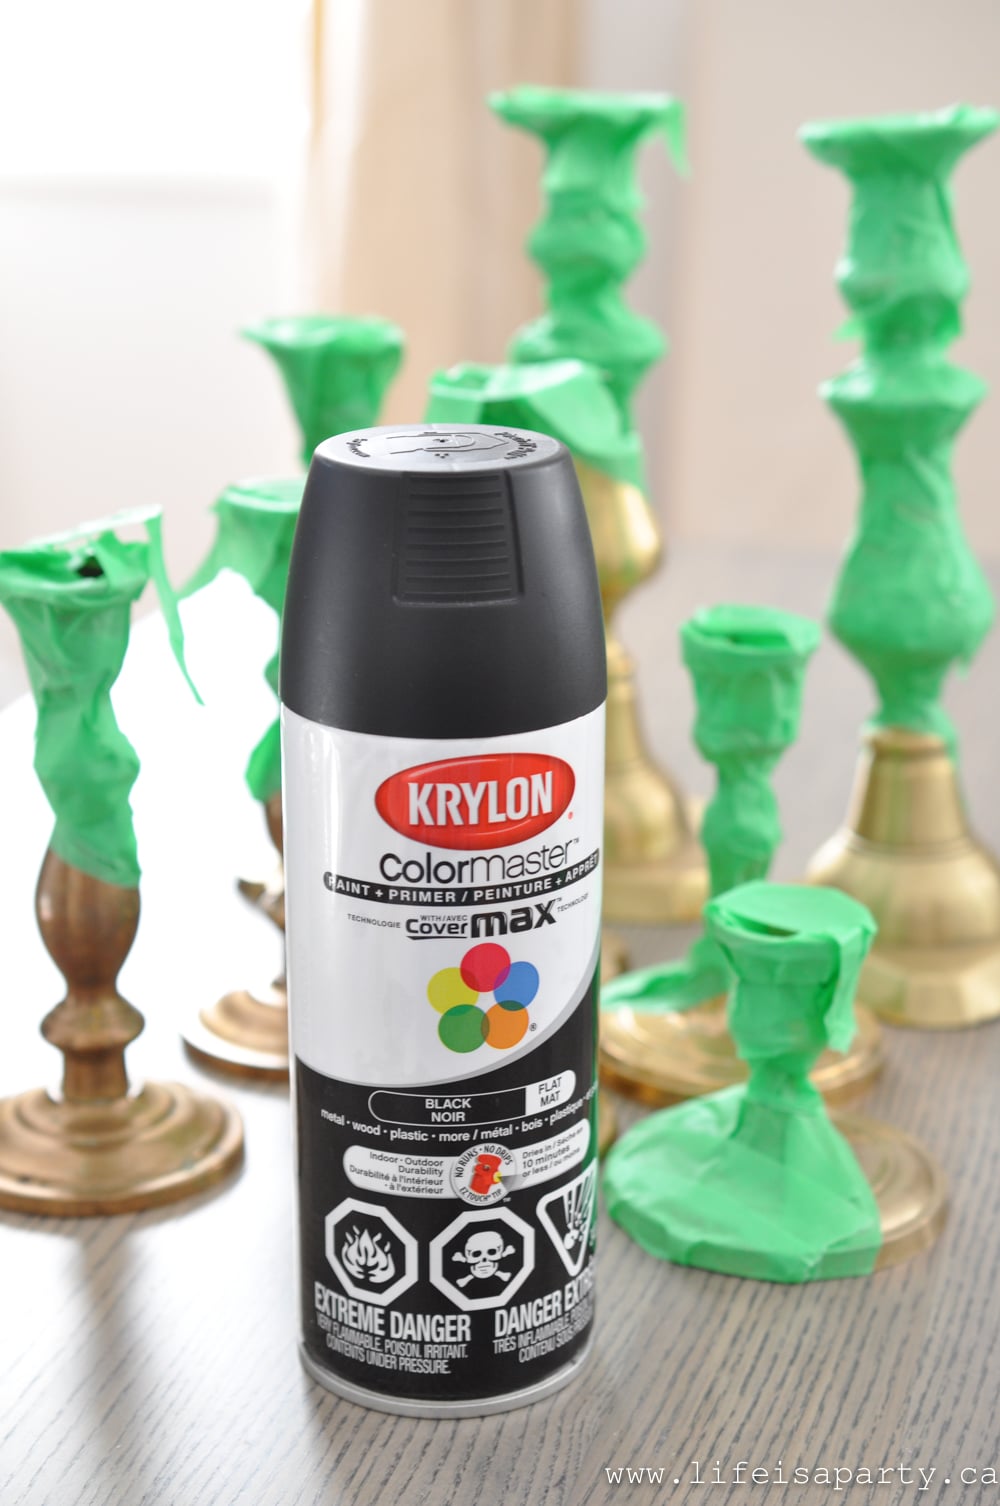
Using spray paint makes this project a lot quicker and easier than real paint dipping would be. It also insures that the paint isn't too thick and that it doesn't build up and distort any of the pretty details on the brass. The flat finish gives a matte paint effect and is very much on-trend for right now. With spray paint we were able to add a few quick and thin layers to create this beautiful effect.
Materials:
- thrifted brass candlesticks of various heights
- painters tape
- Krylon black flat spray paint
Instructions:
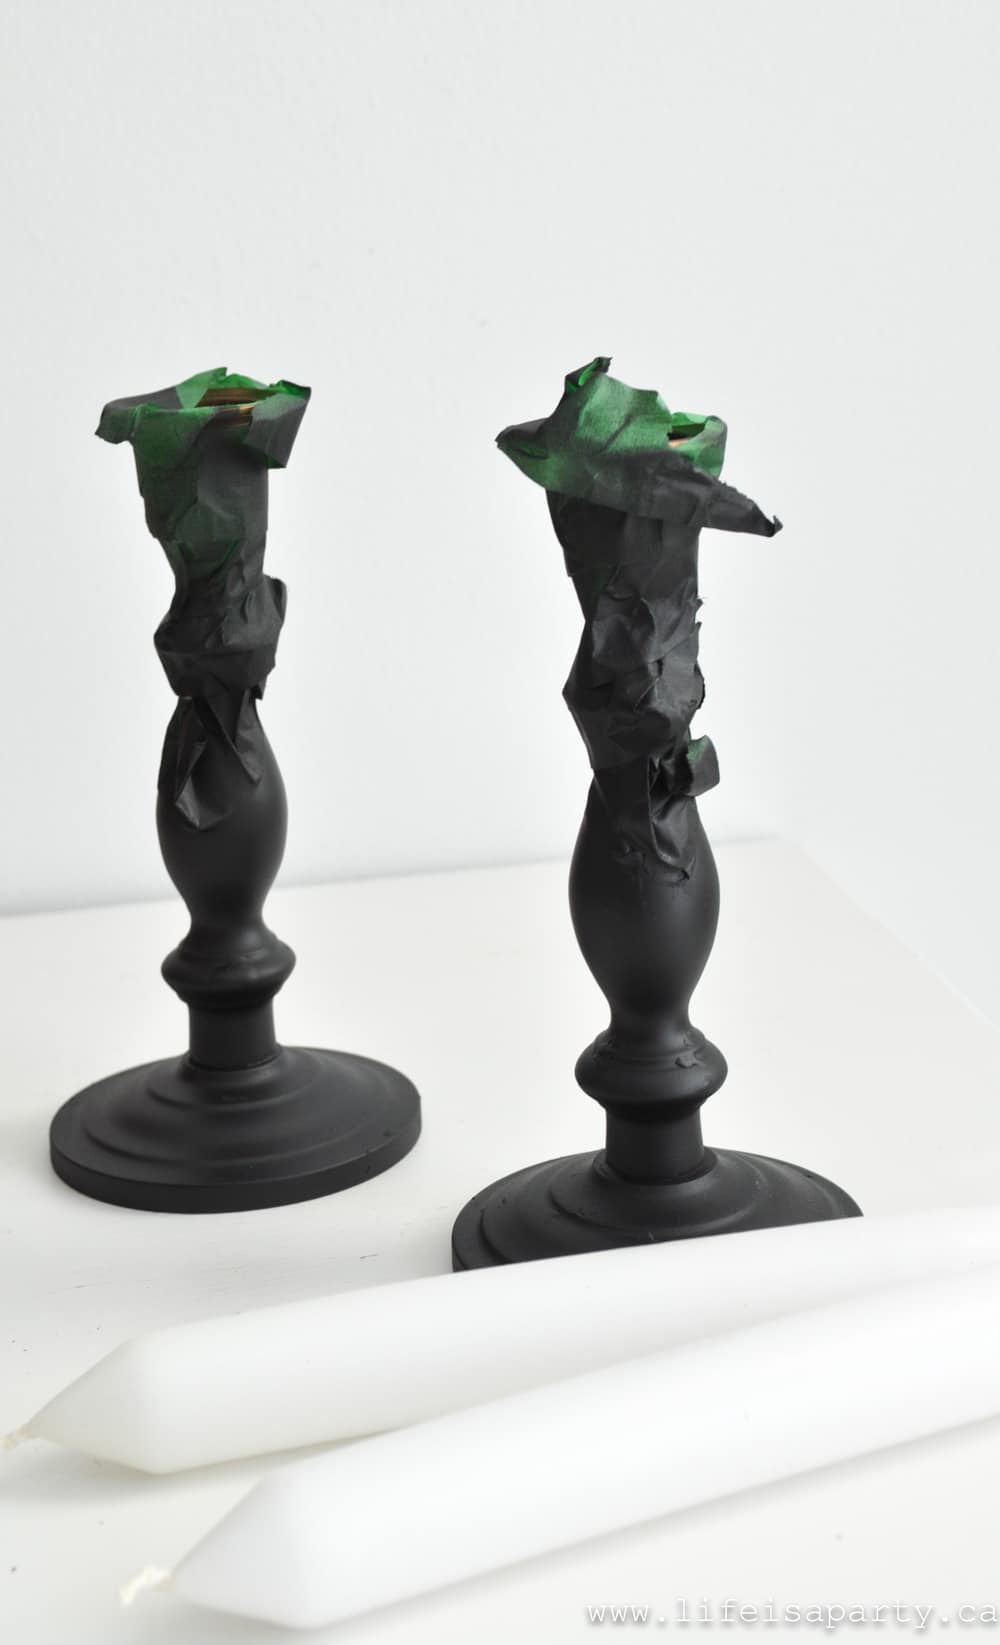
- Make sure the candlesticks are clean and free from dust or dripped wax. You can polish them if you'd like a shiny brass finish, or keep the beautiful slightly tarnished patina.
- Using the tape, mask off a line so that it looks like the candlestick has been dipped in the paint. Add additional tape to cover any parts of the candlestick that you want to remain brass and not be affected by the over spray of the paint.
- Give your candlestick many thin coats. This will ensure that the paint won't have any drip marks in it. Be sure to turn the candlestick around between new coats to make sure you get all the grooves well covered.
- Once dry, remove the tape to reveal the paint dip effect. Add candles and enjoy.
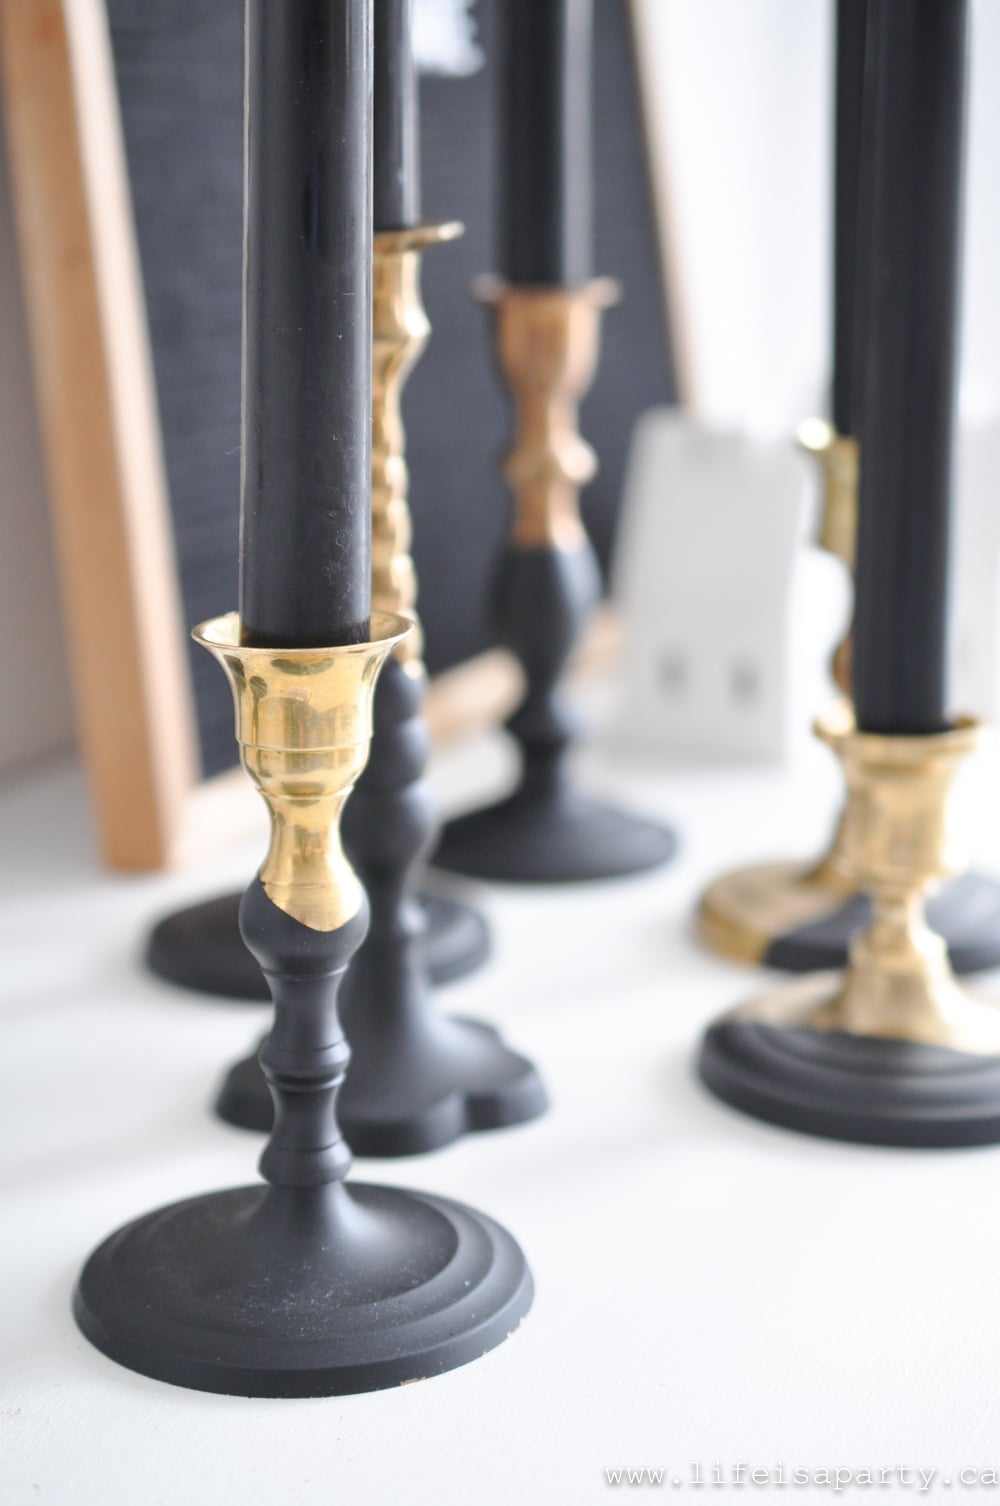
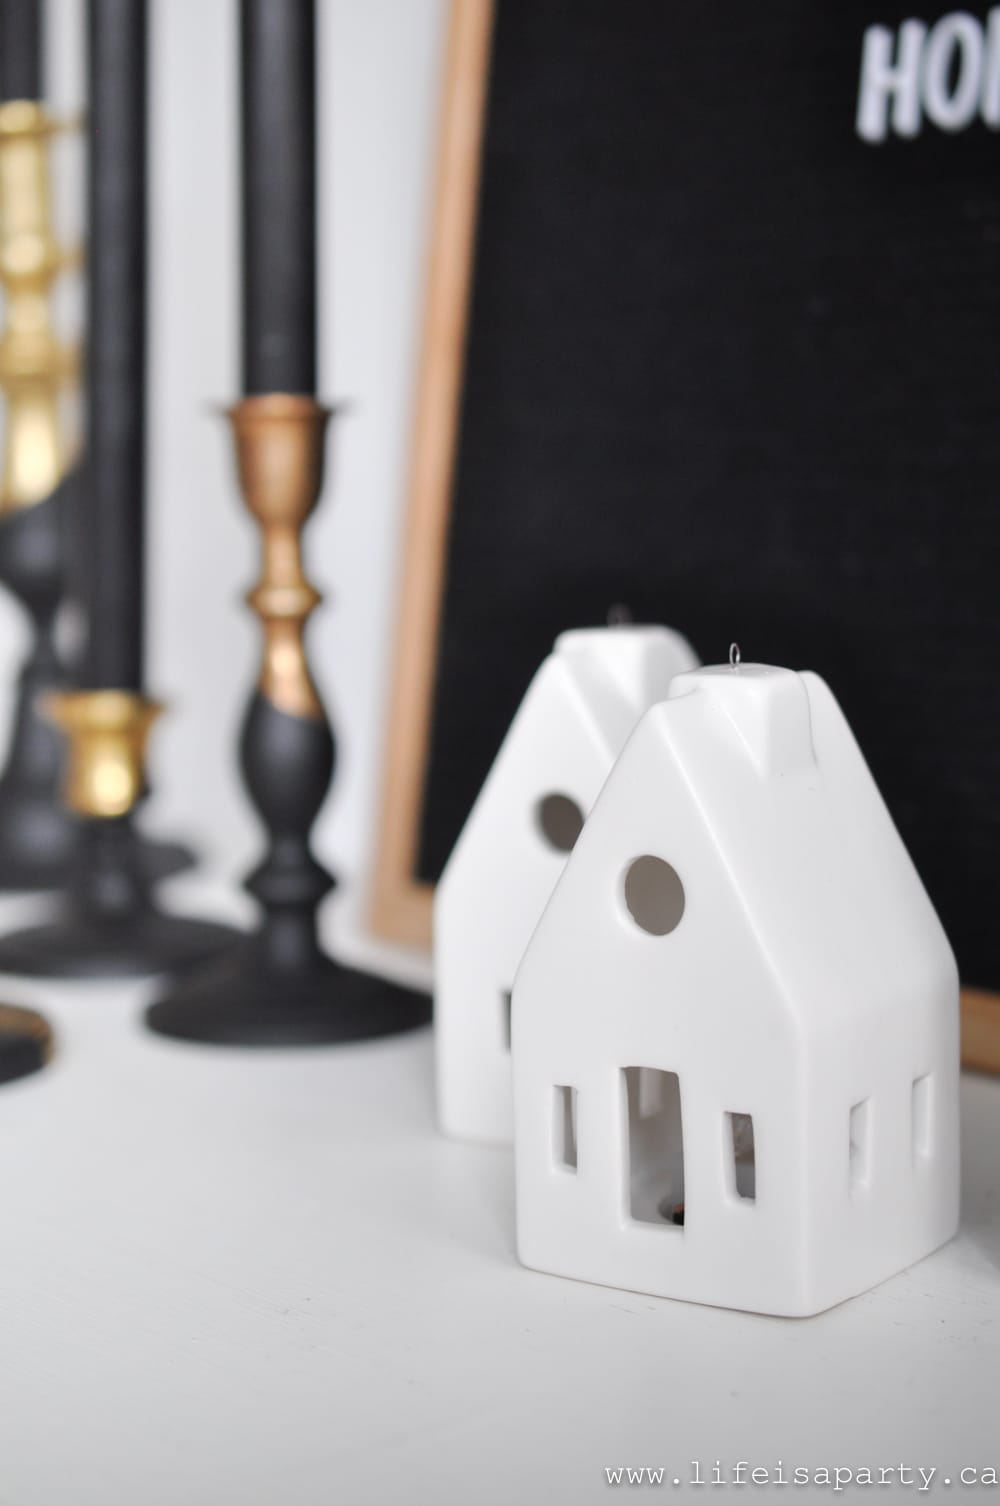
I love how these candles turned out. And the dramatic black candlesticks add to the effect as well. They're perfect as a centrepiece or in grouping.
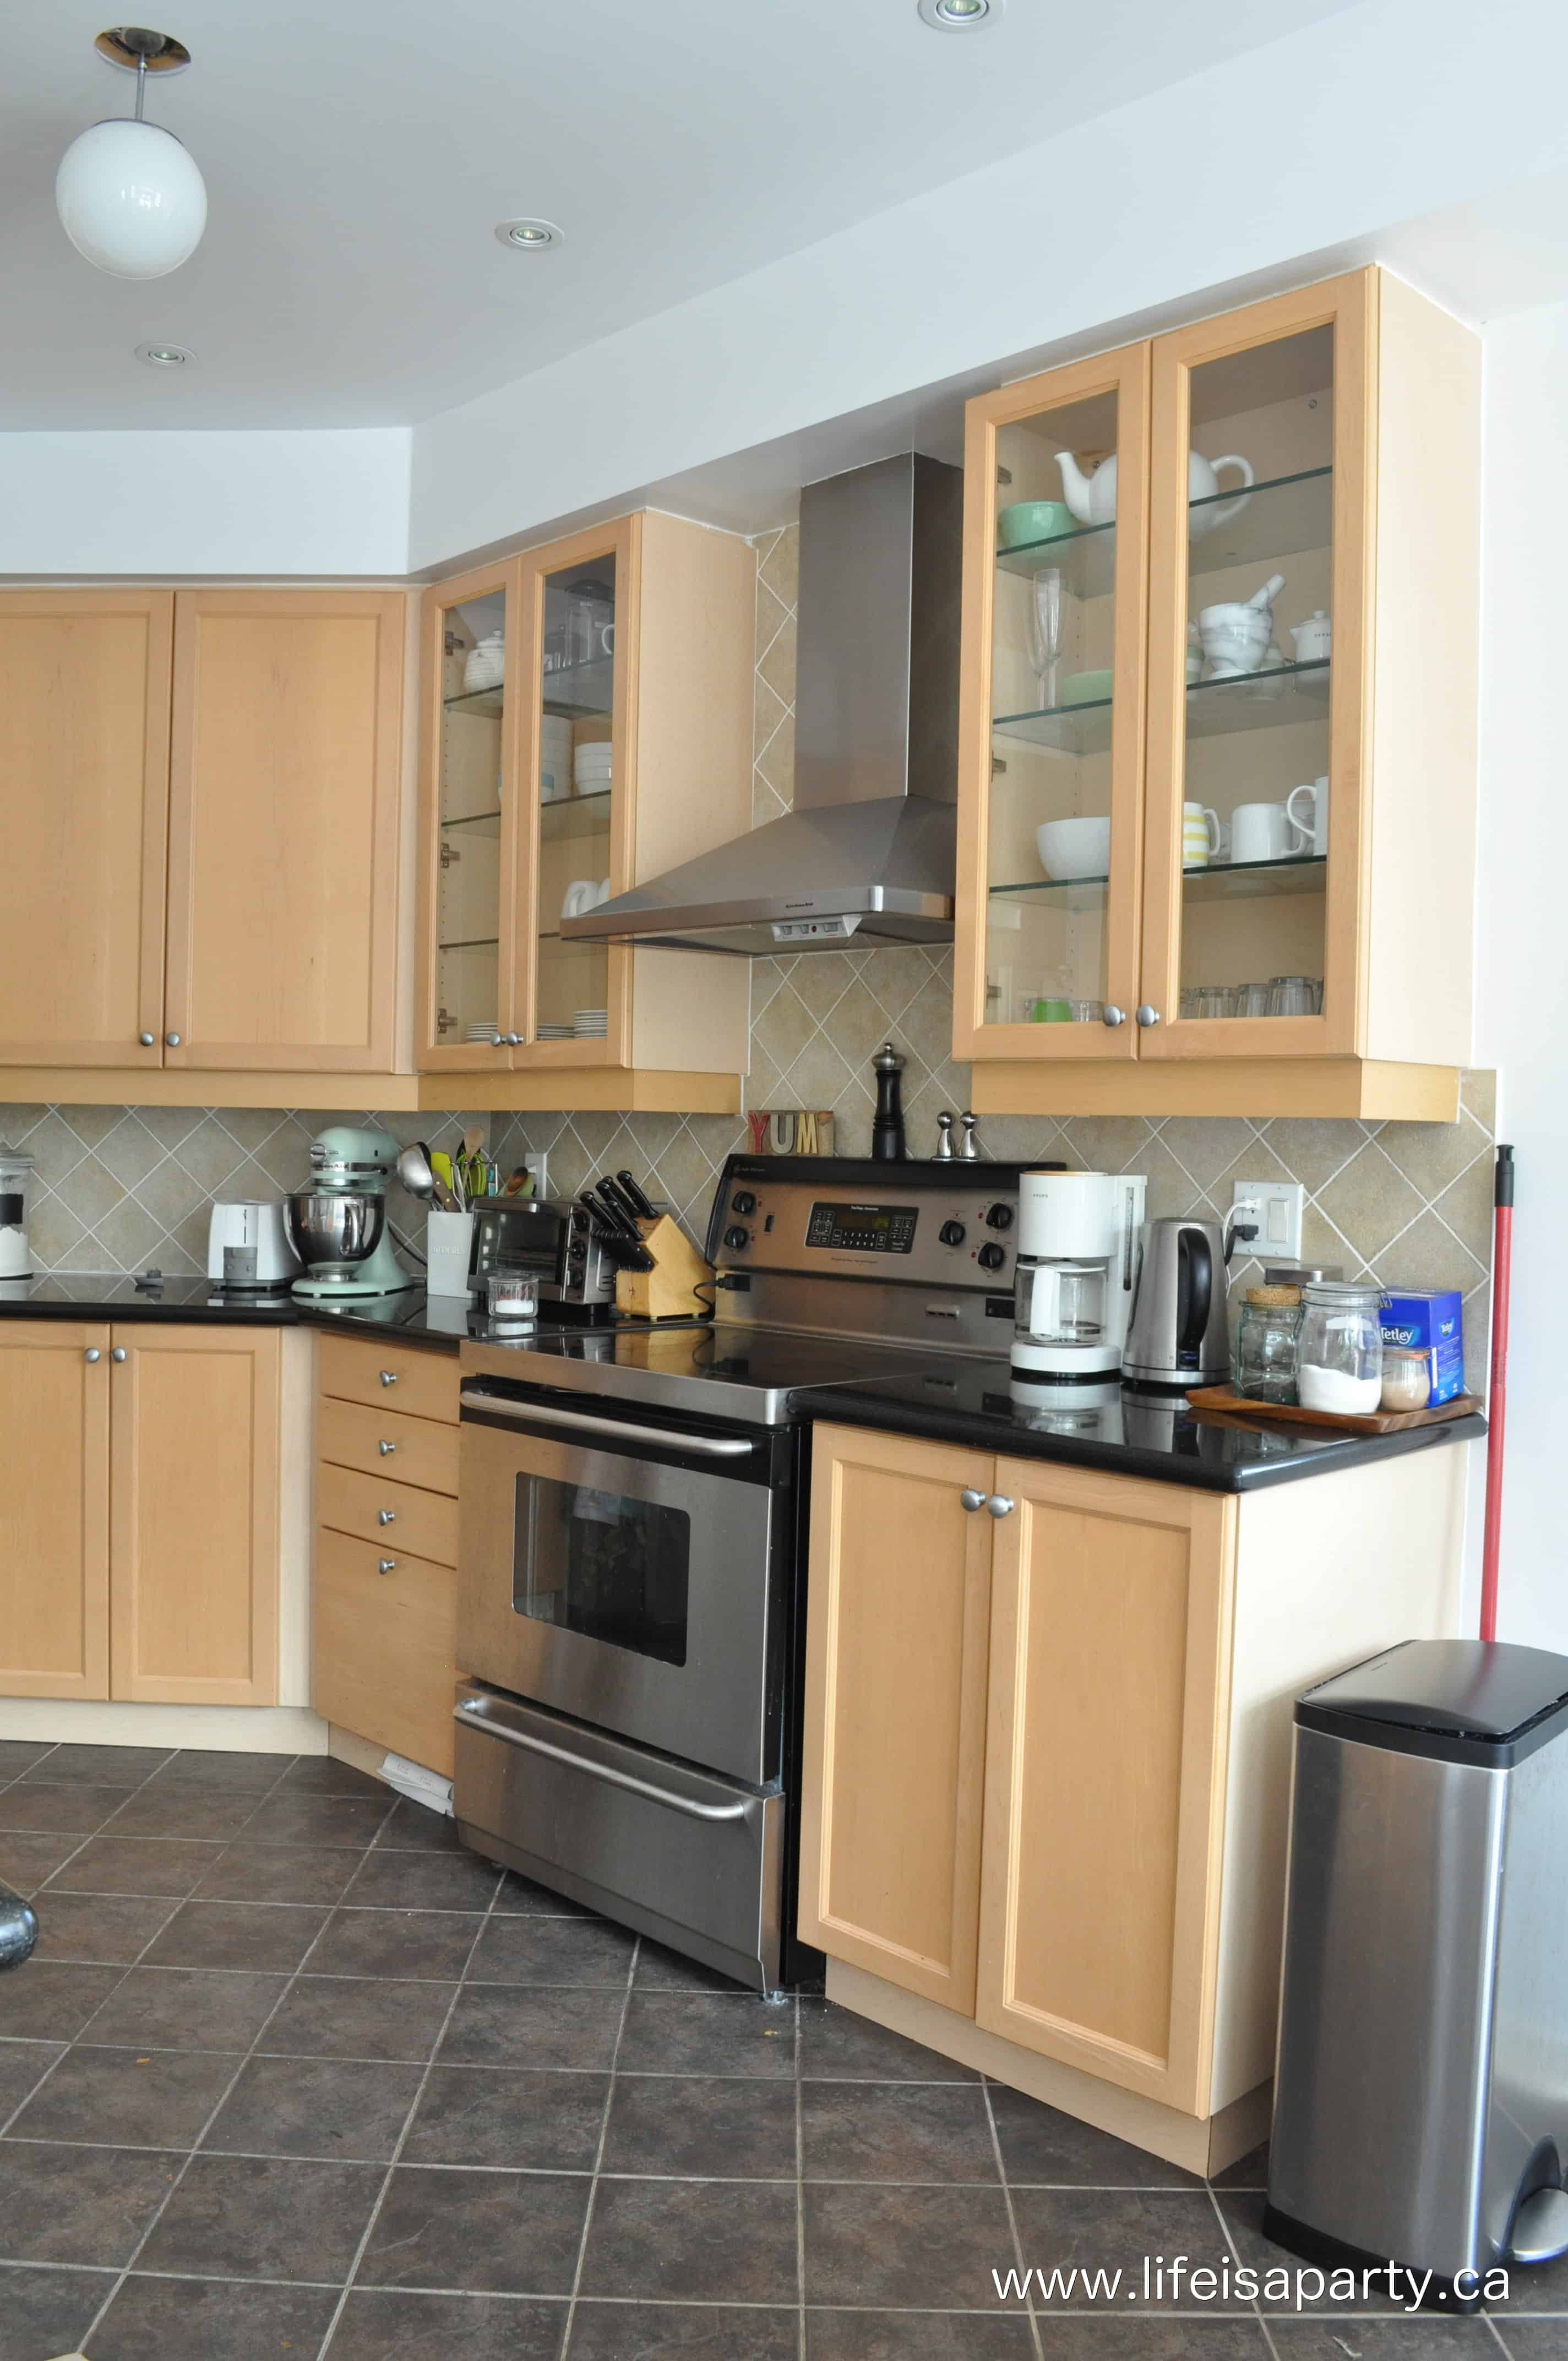
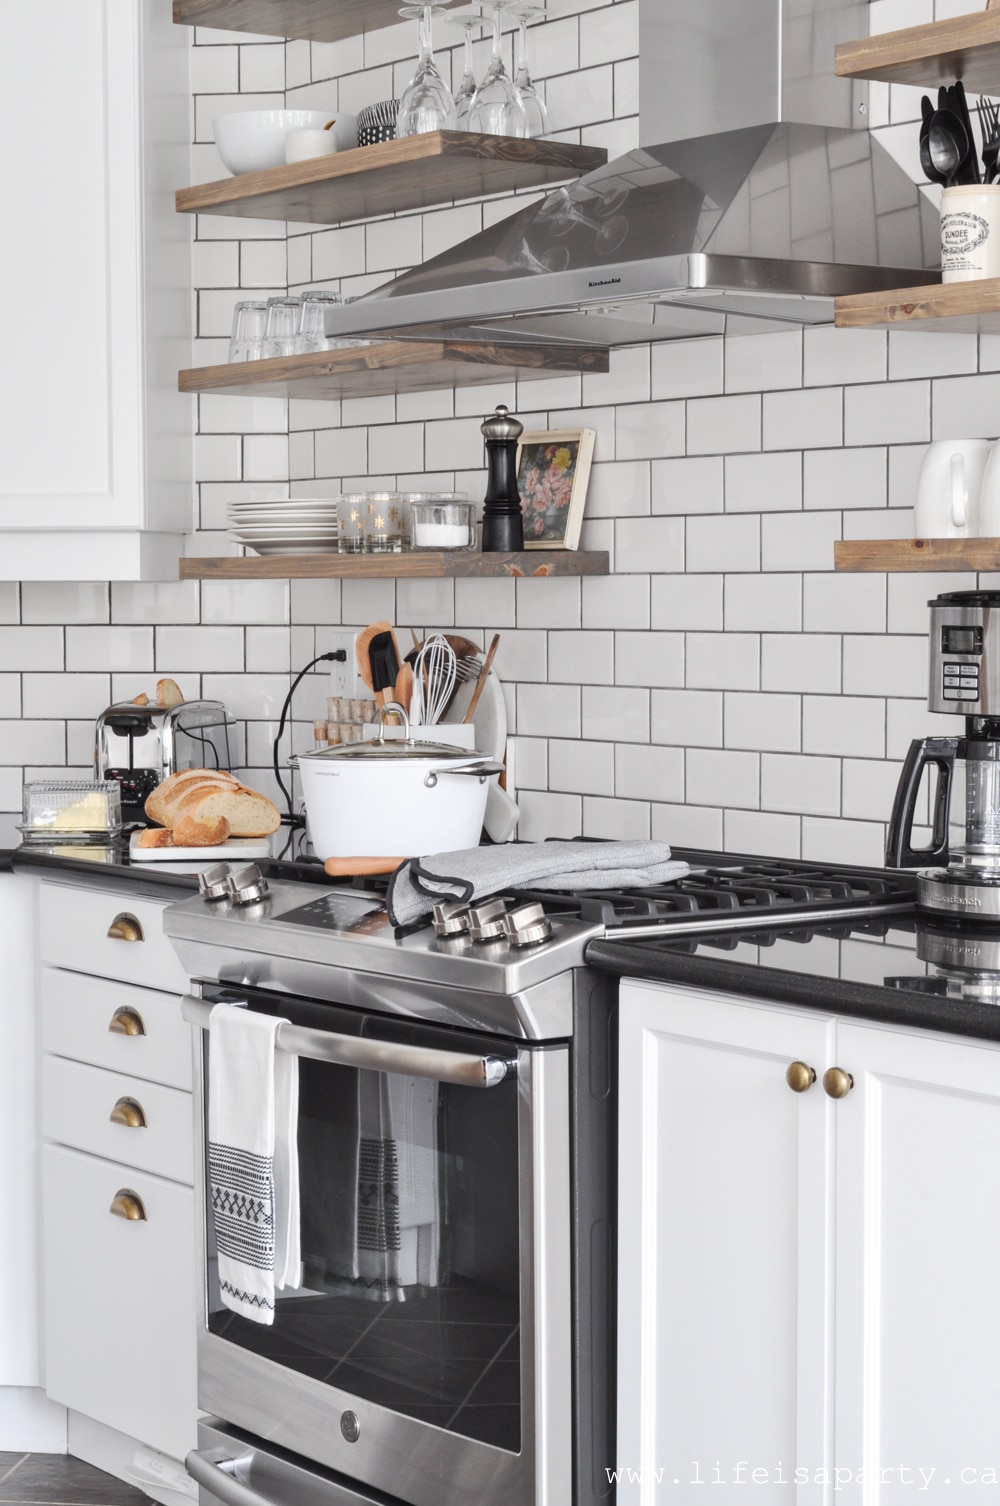
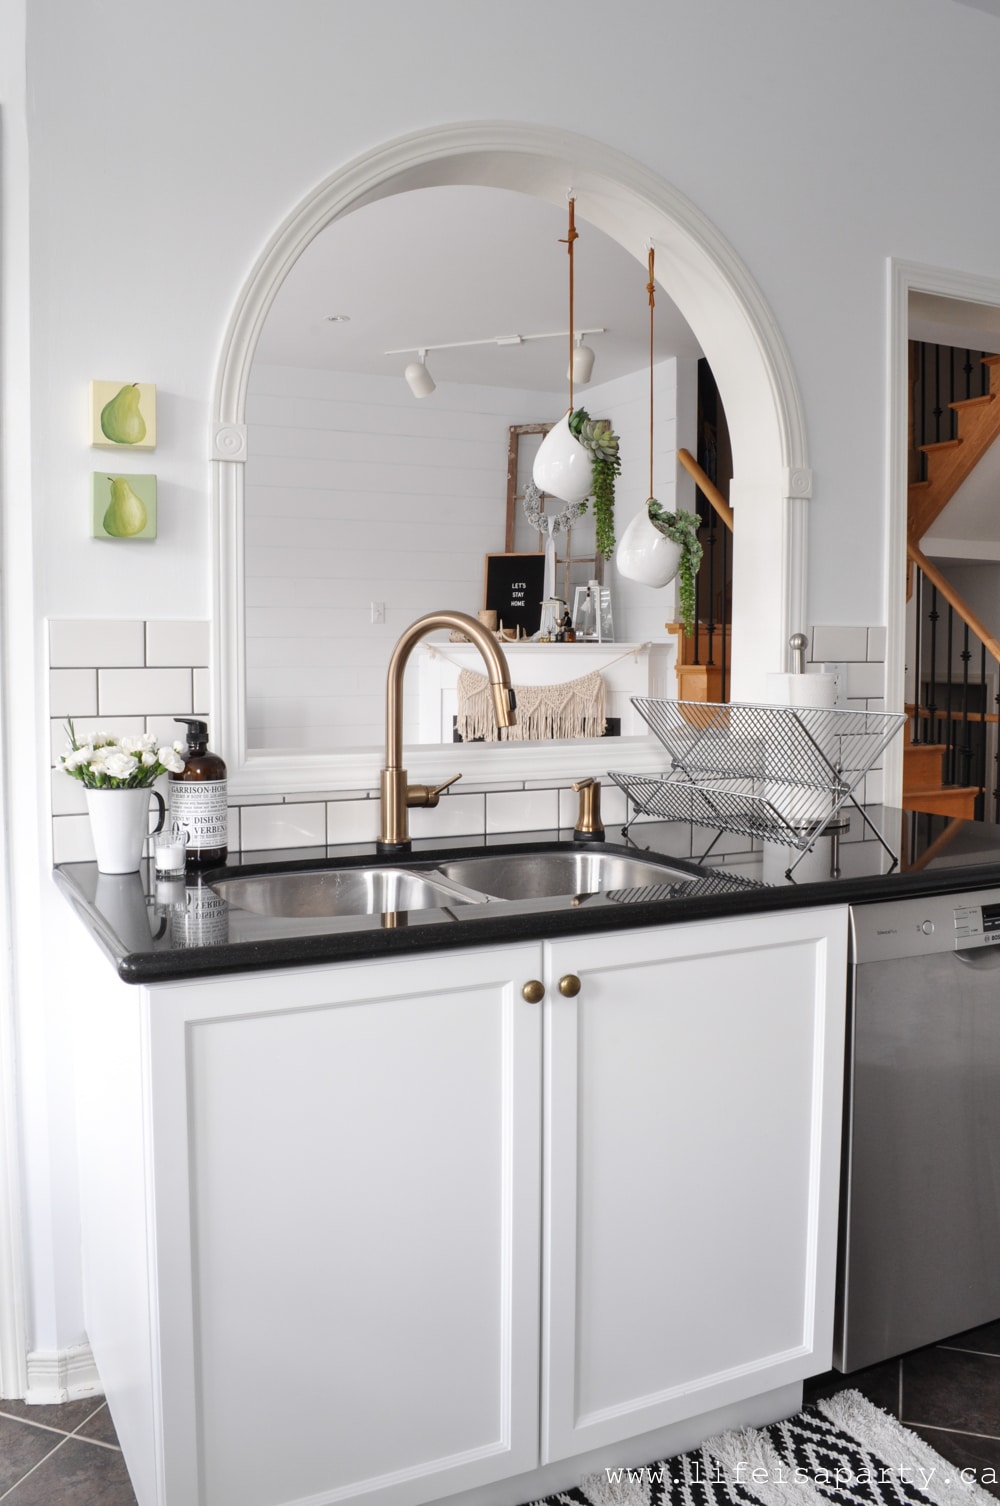
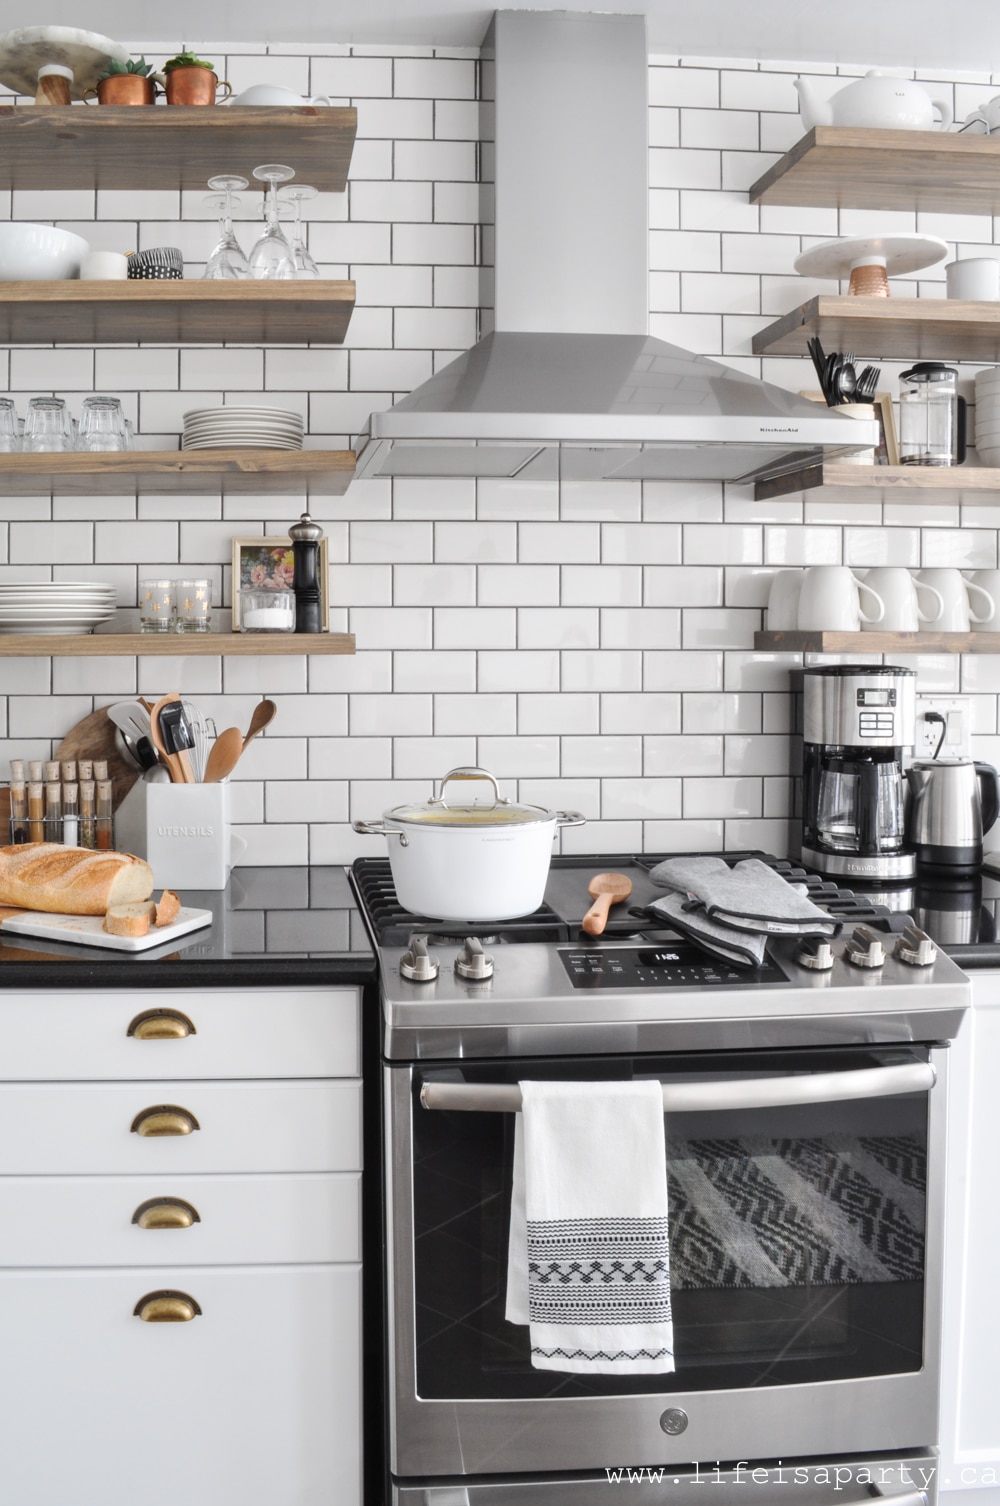
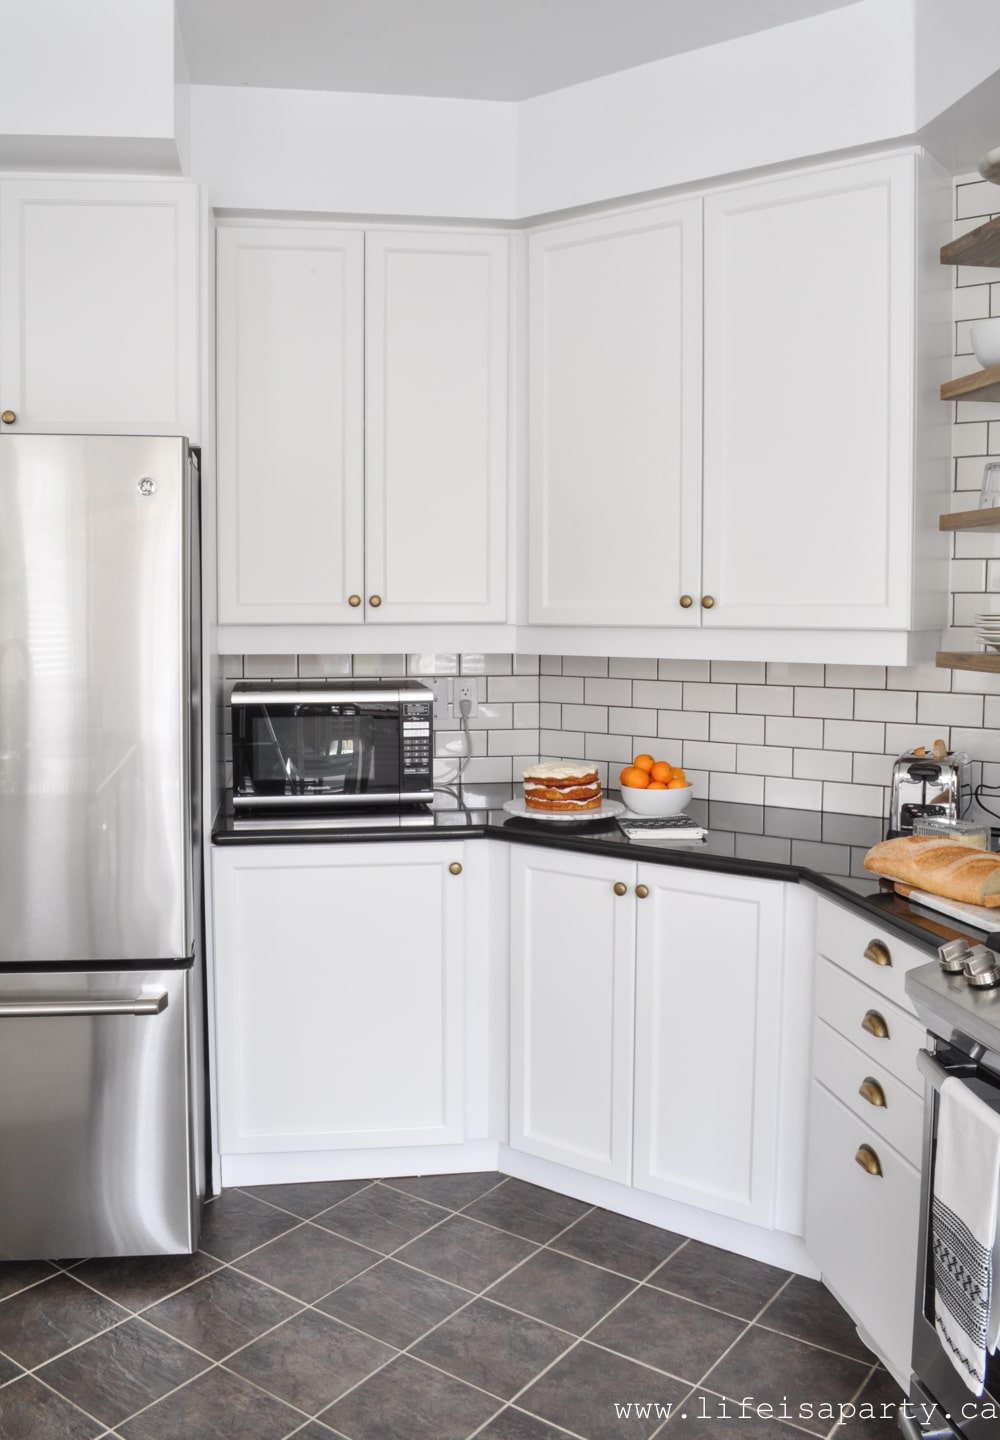
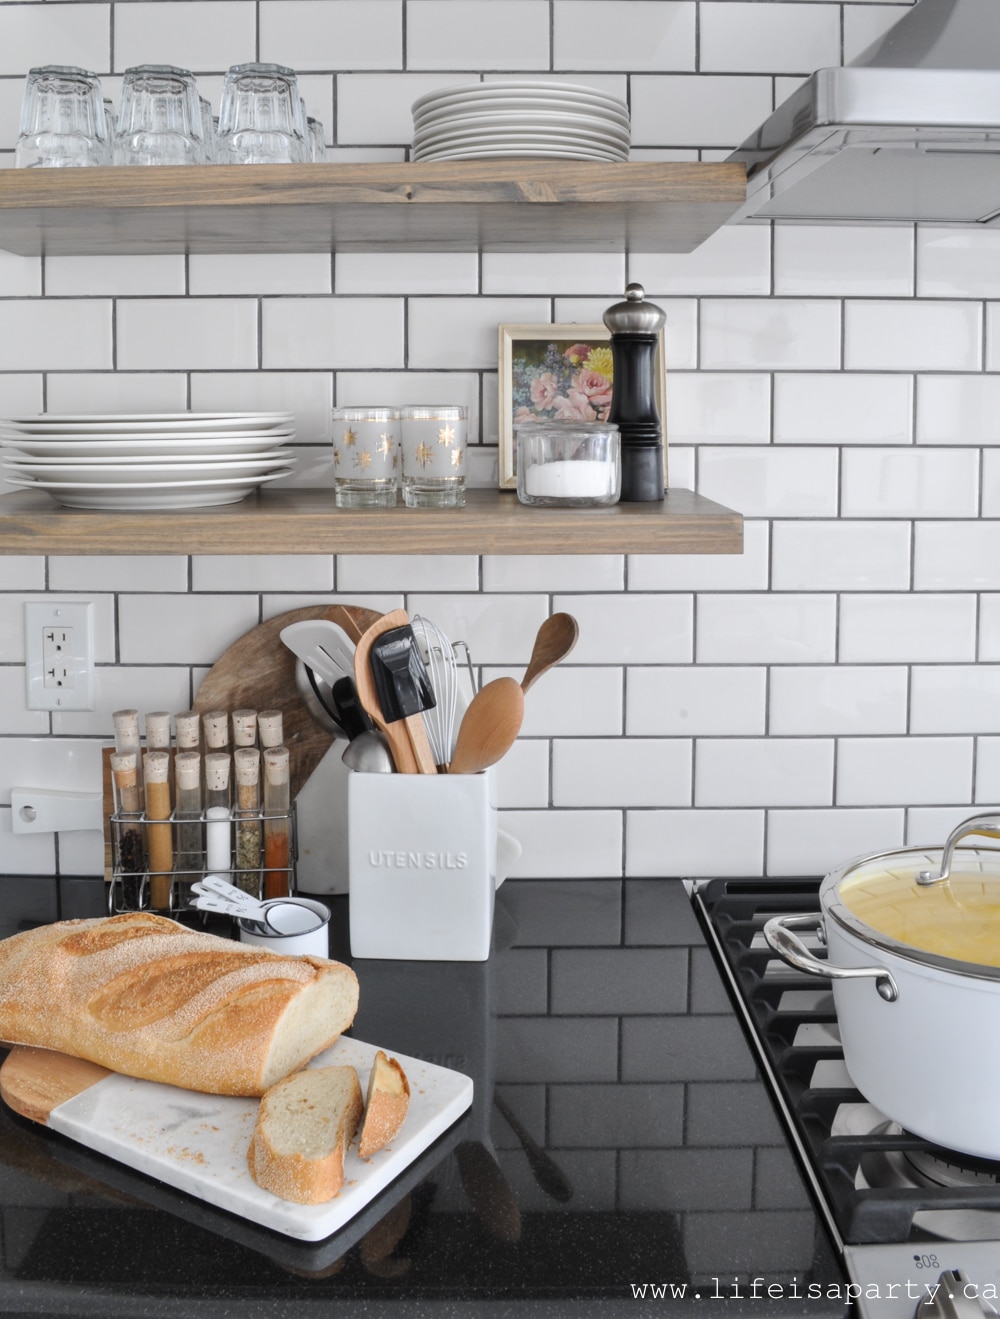
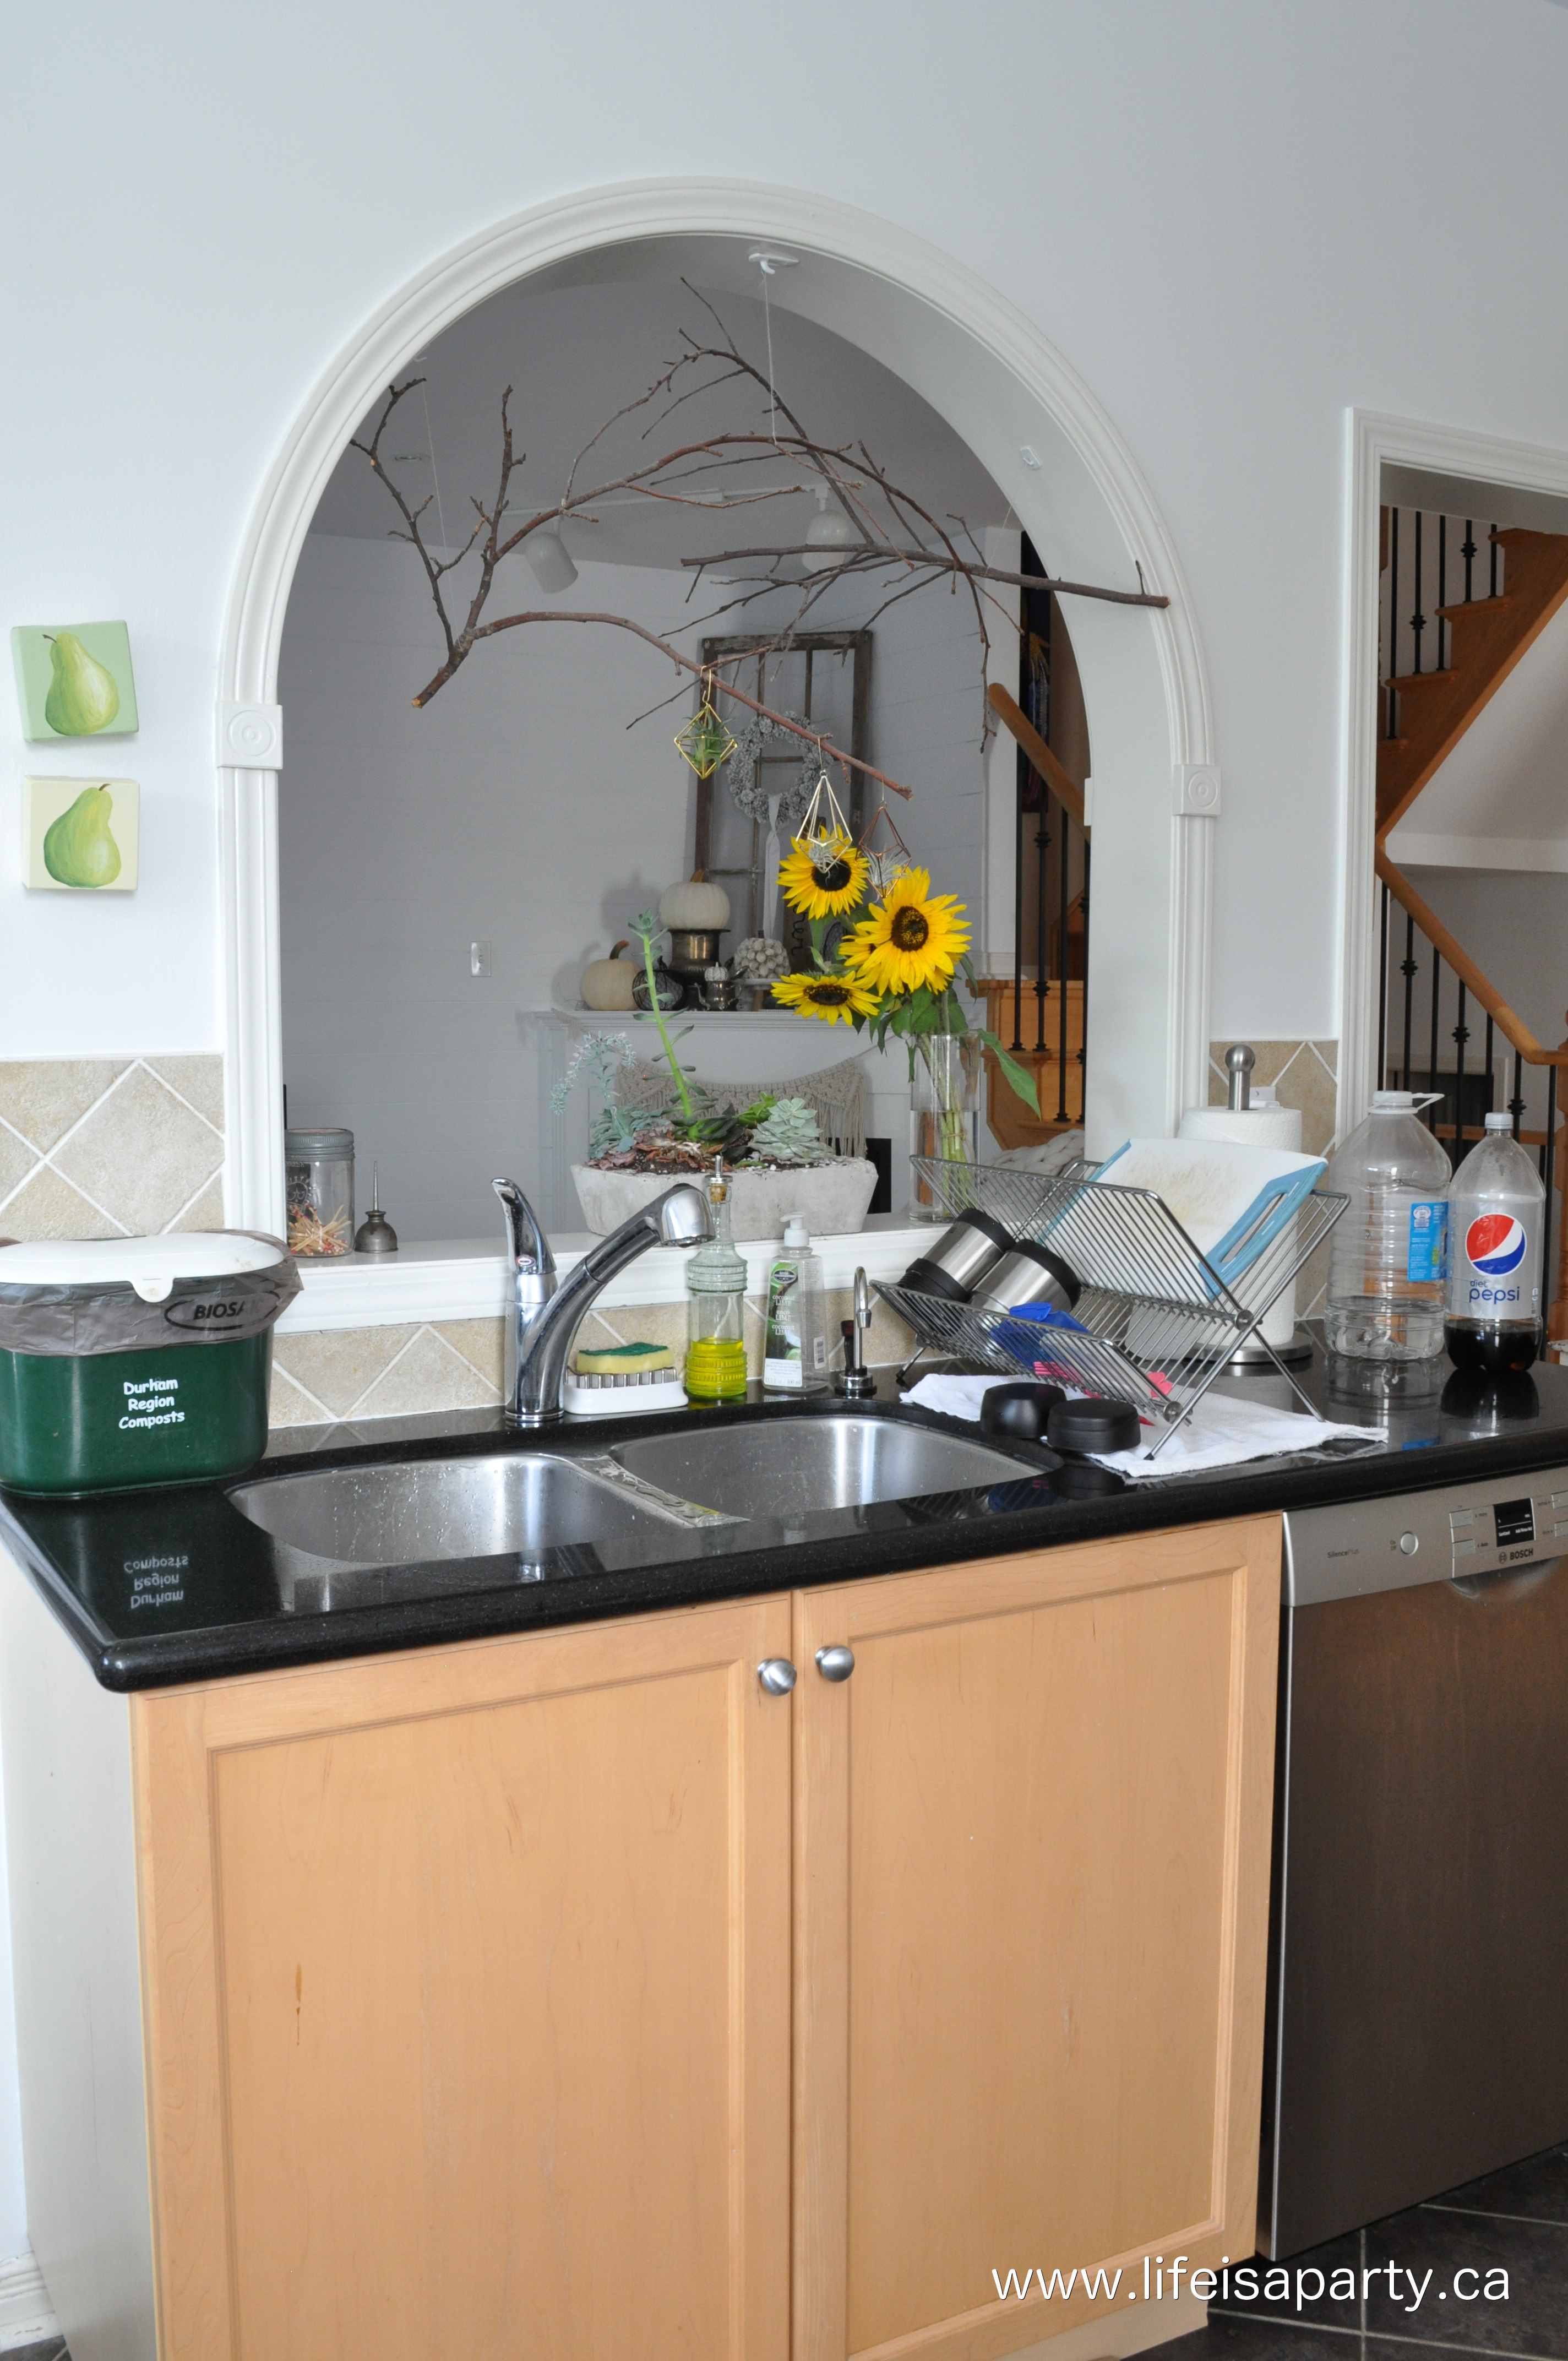
I made these as part of the One Room Challenge Kitchen Makeover I'm working on. It's always fun to add some character to a new room by including hand-made and antique pieces -this project involves both. You can check our my weekly progress on the One Room Challenge Kitchen Makeover by clicking below.
The Kitchen Before and Inspiration -Week One
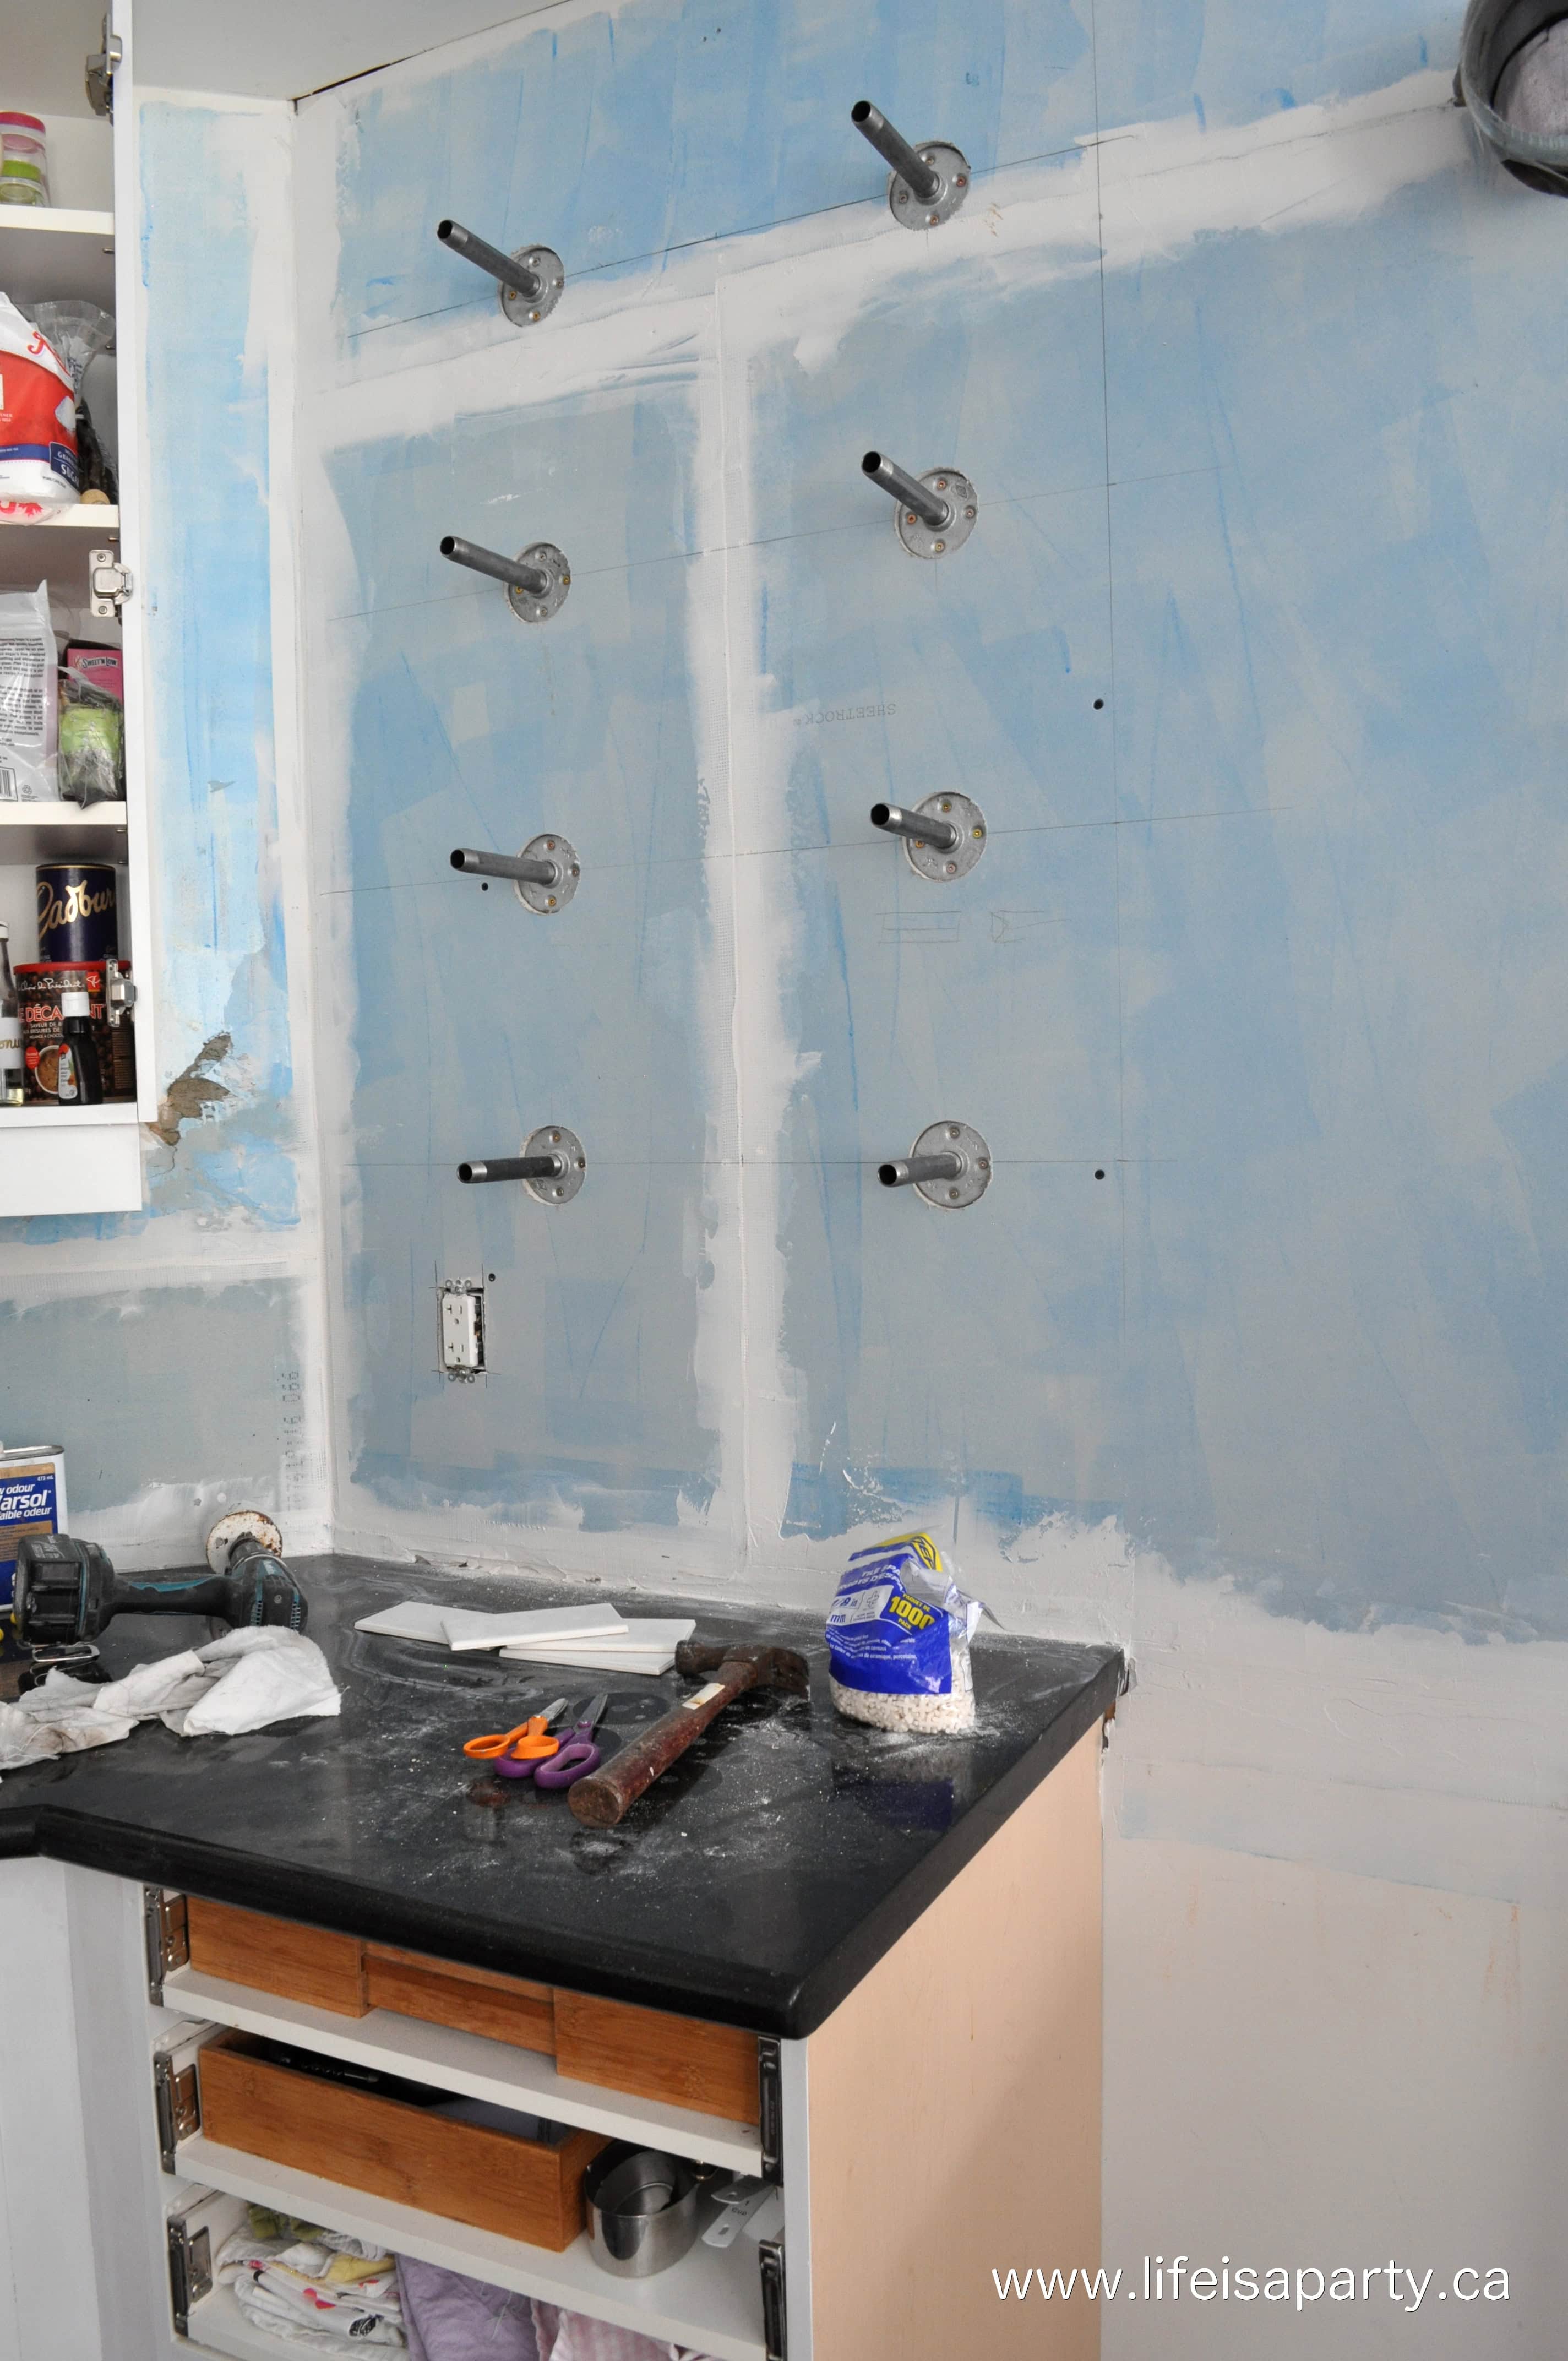
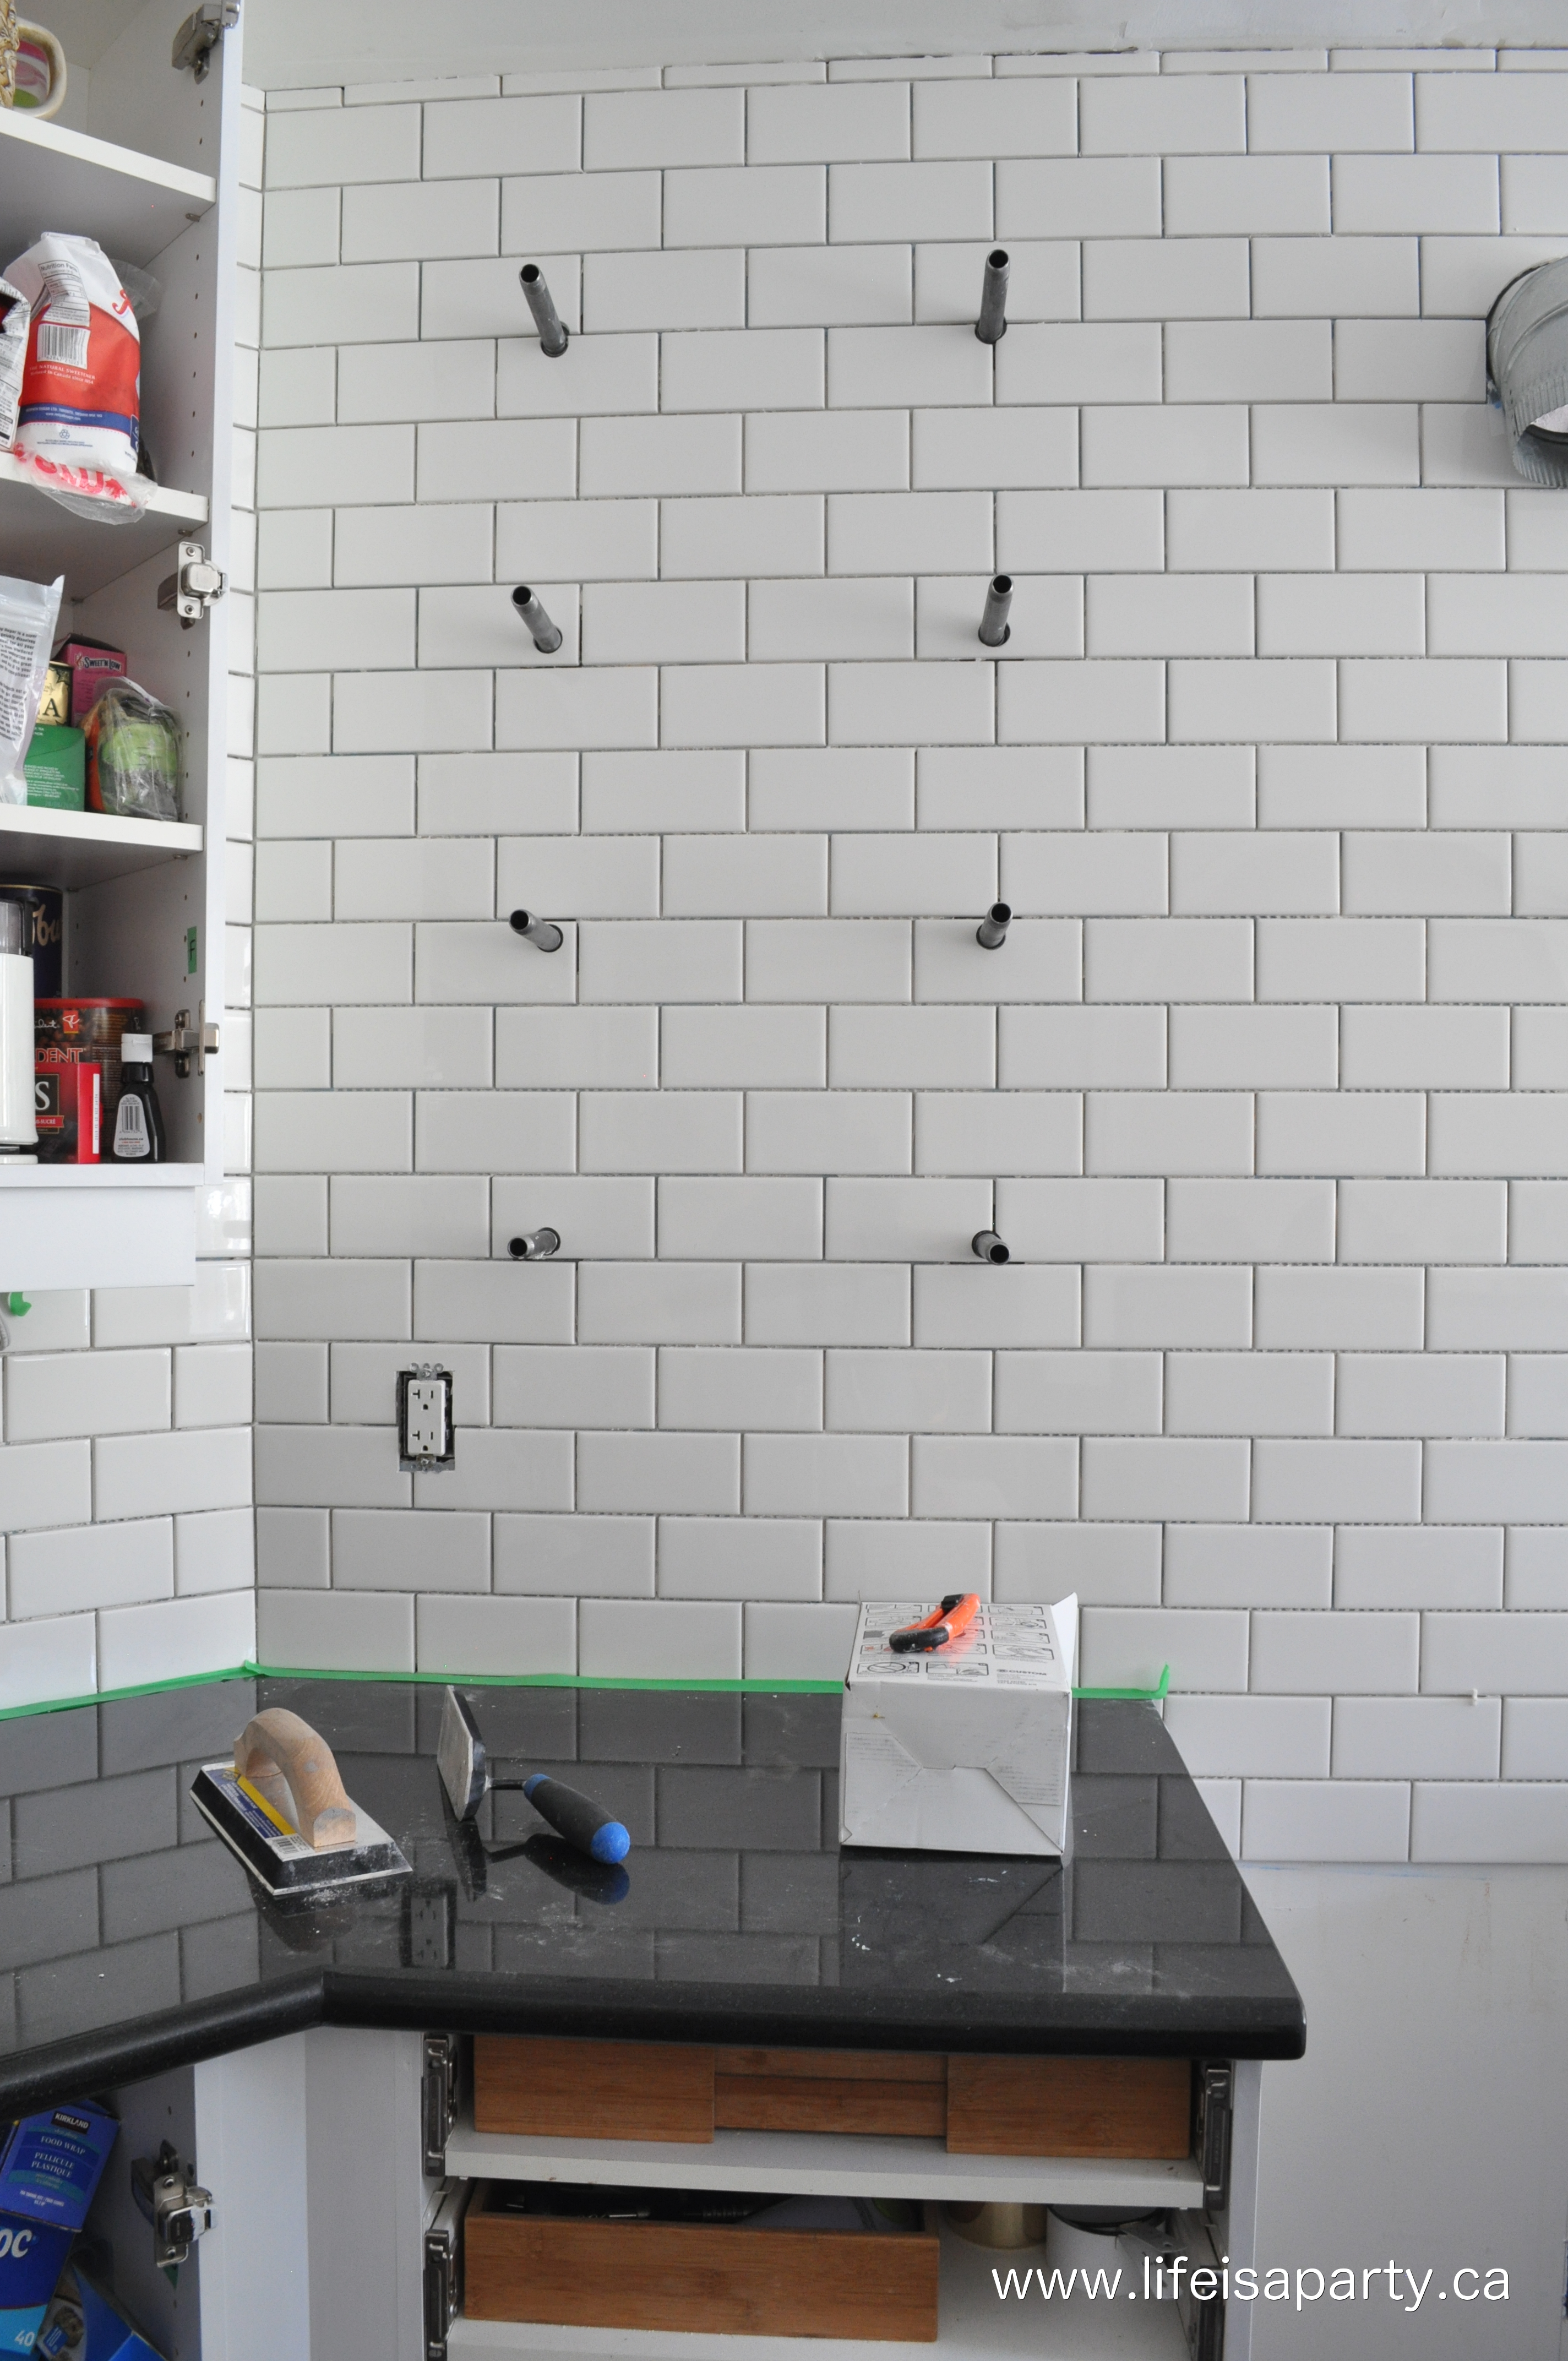
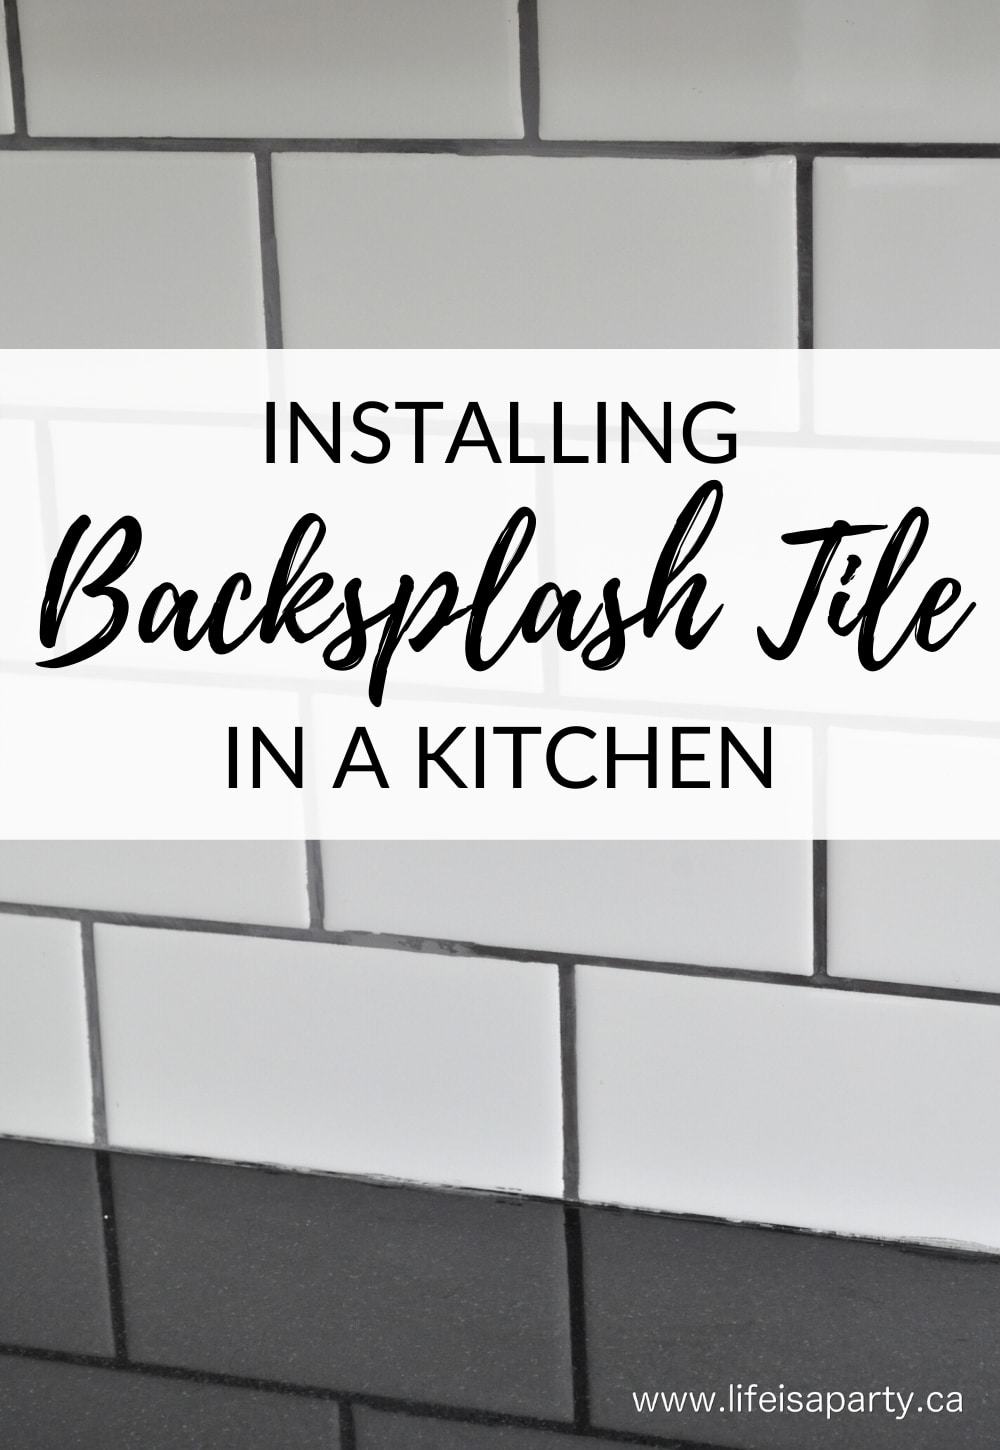
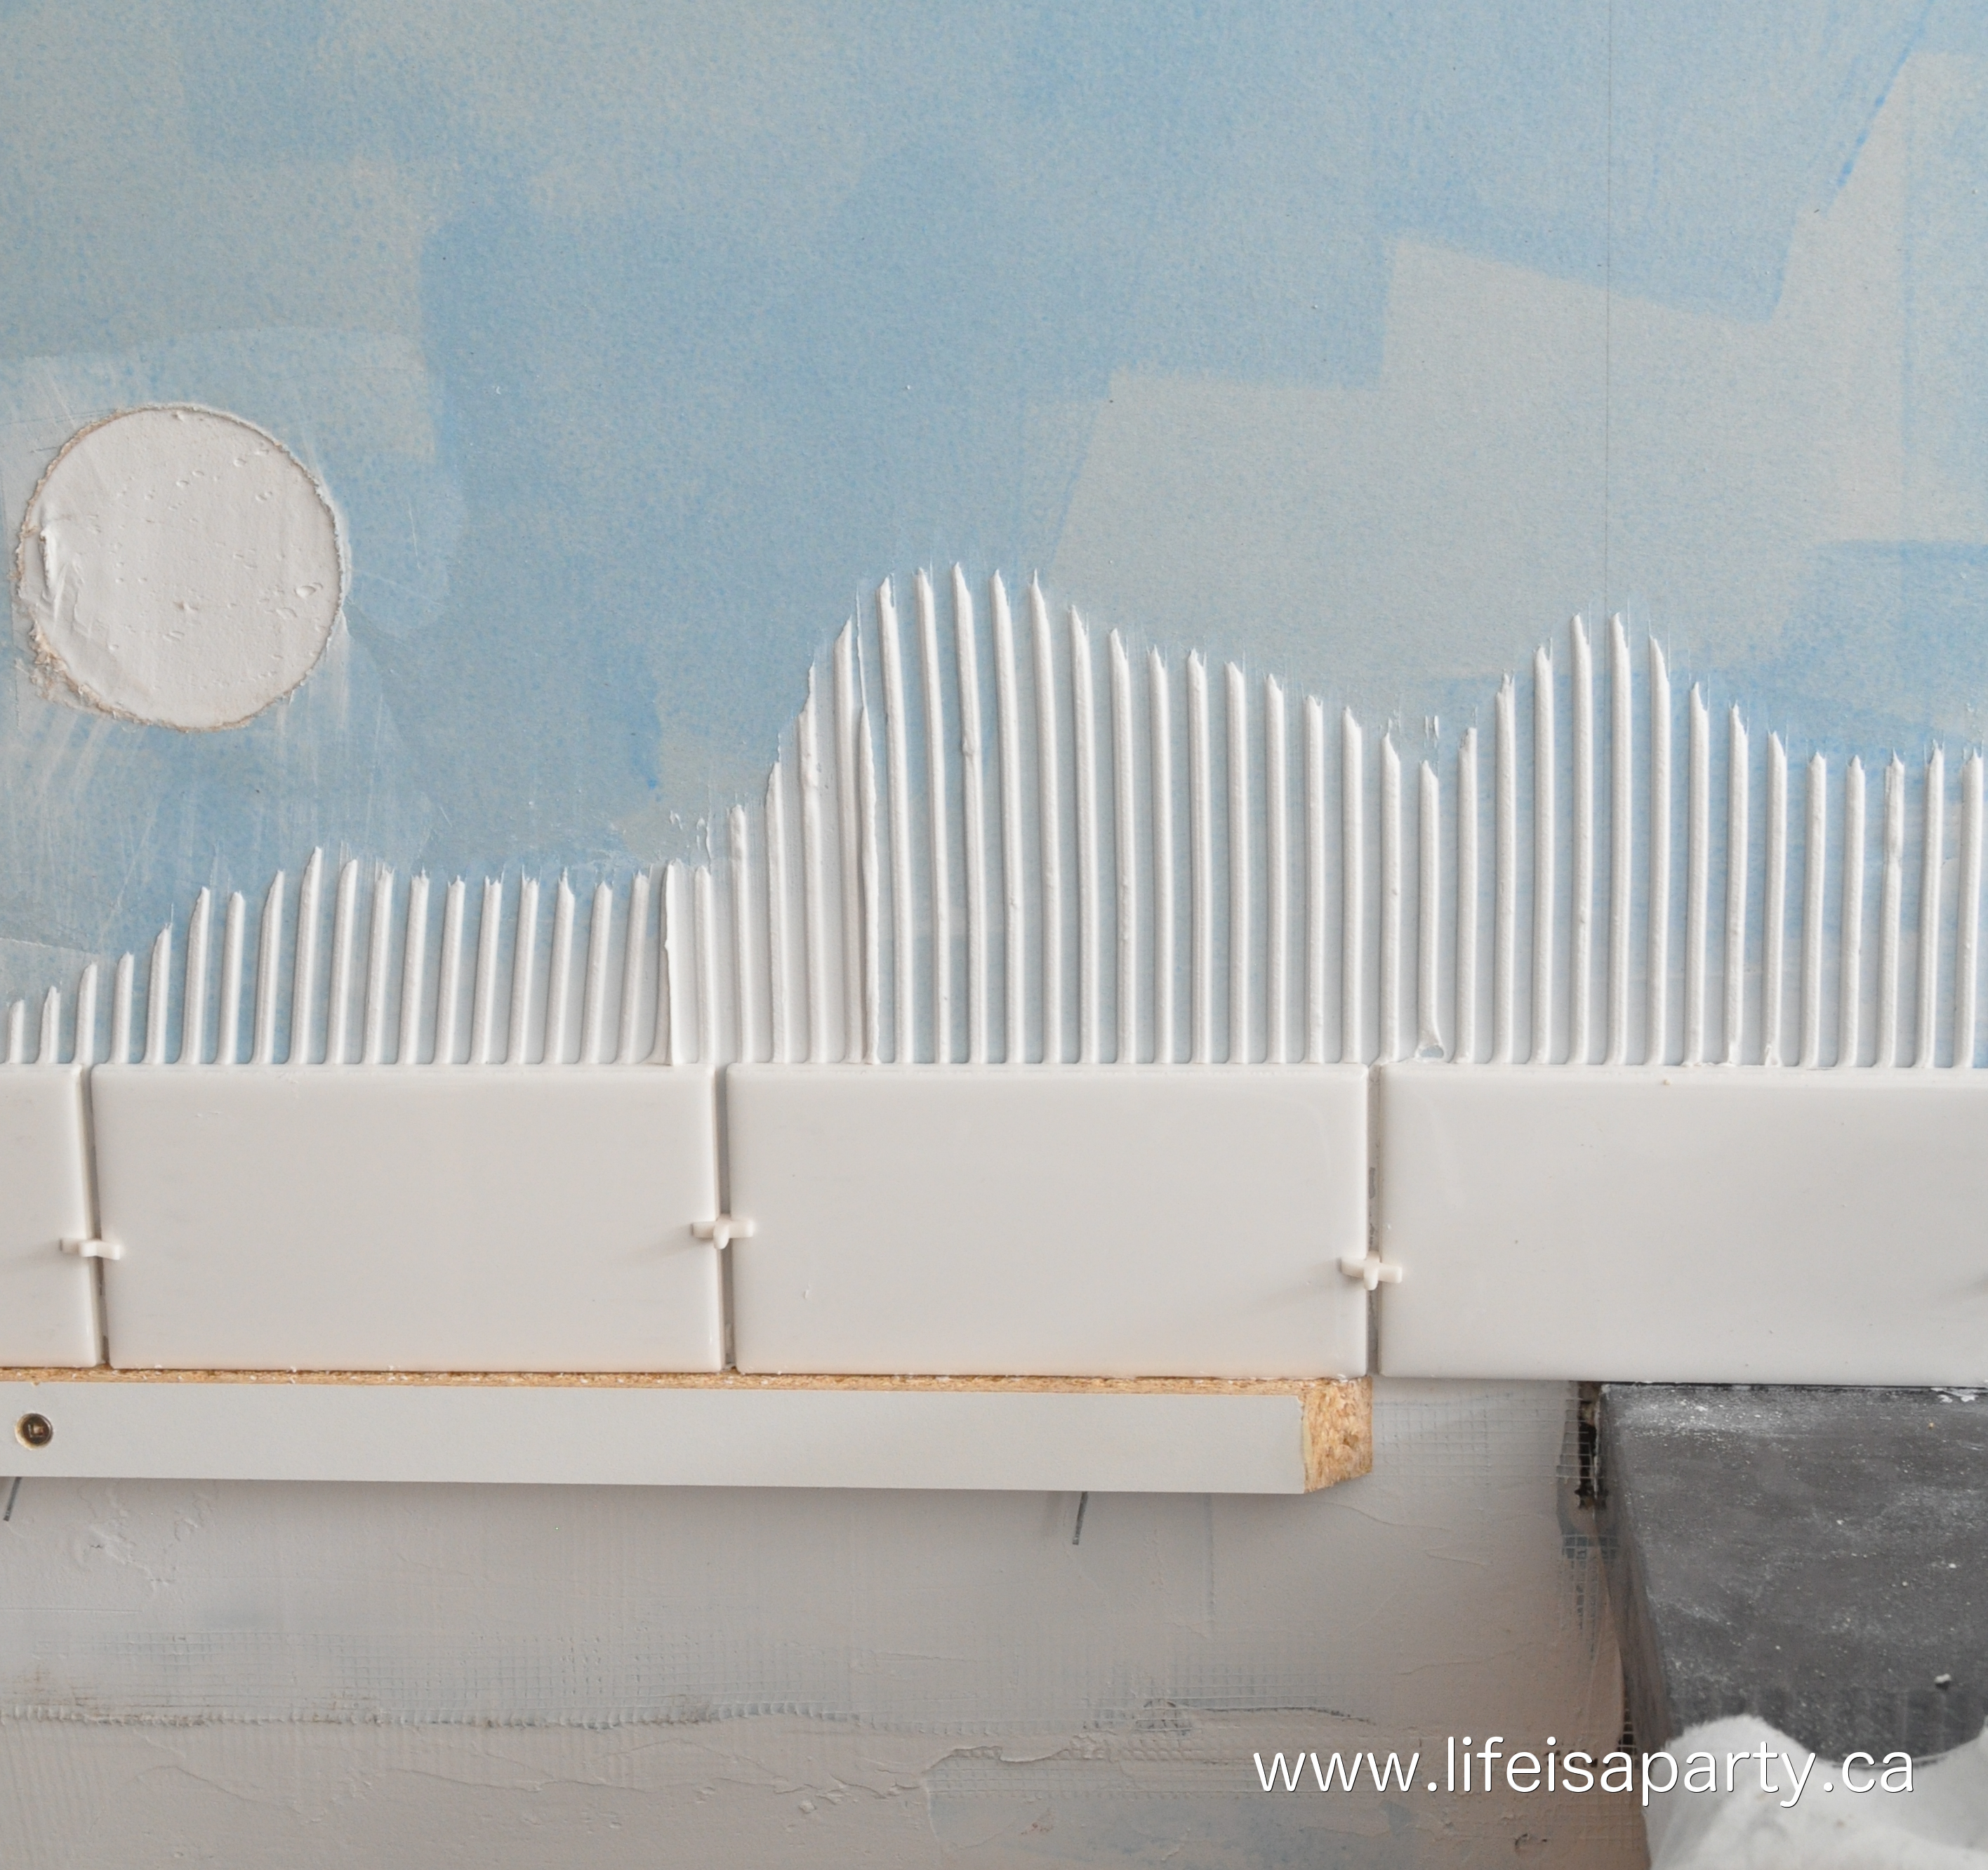
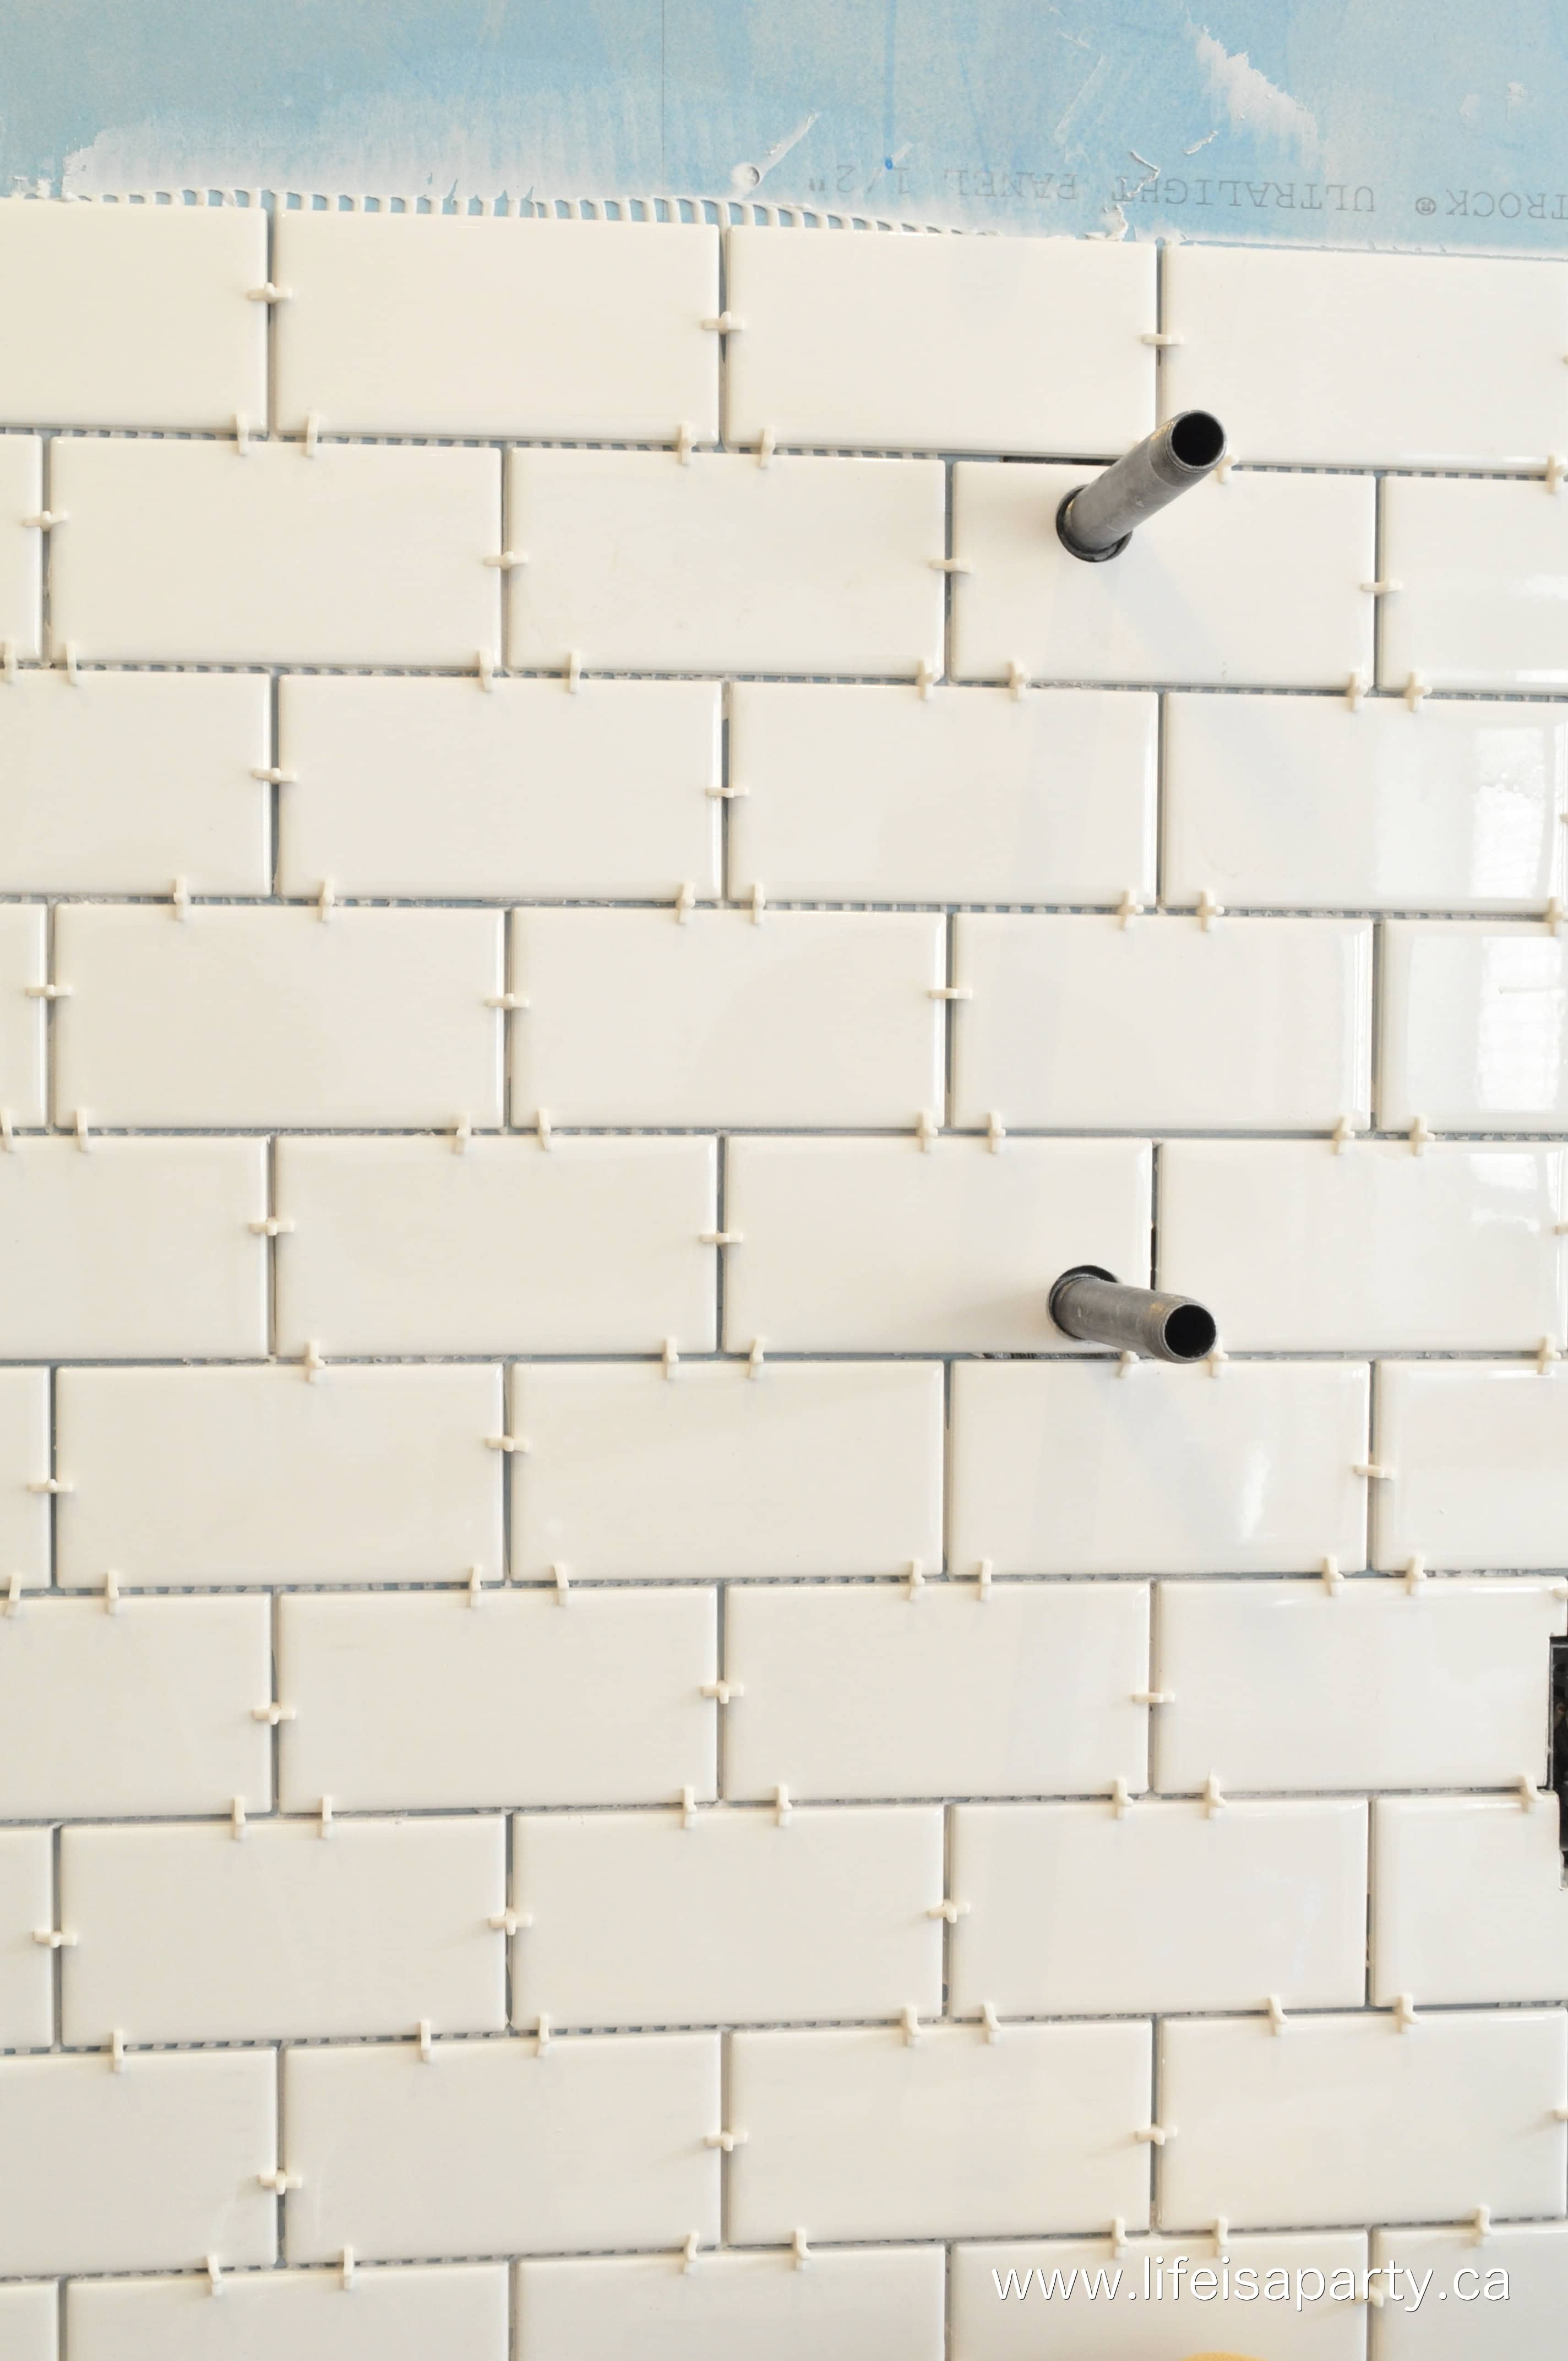
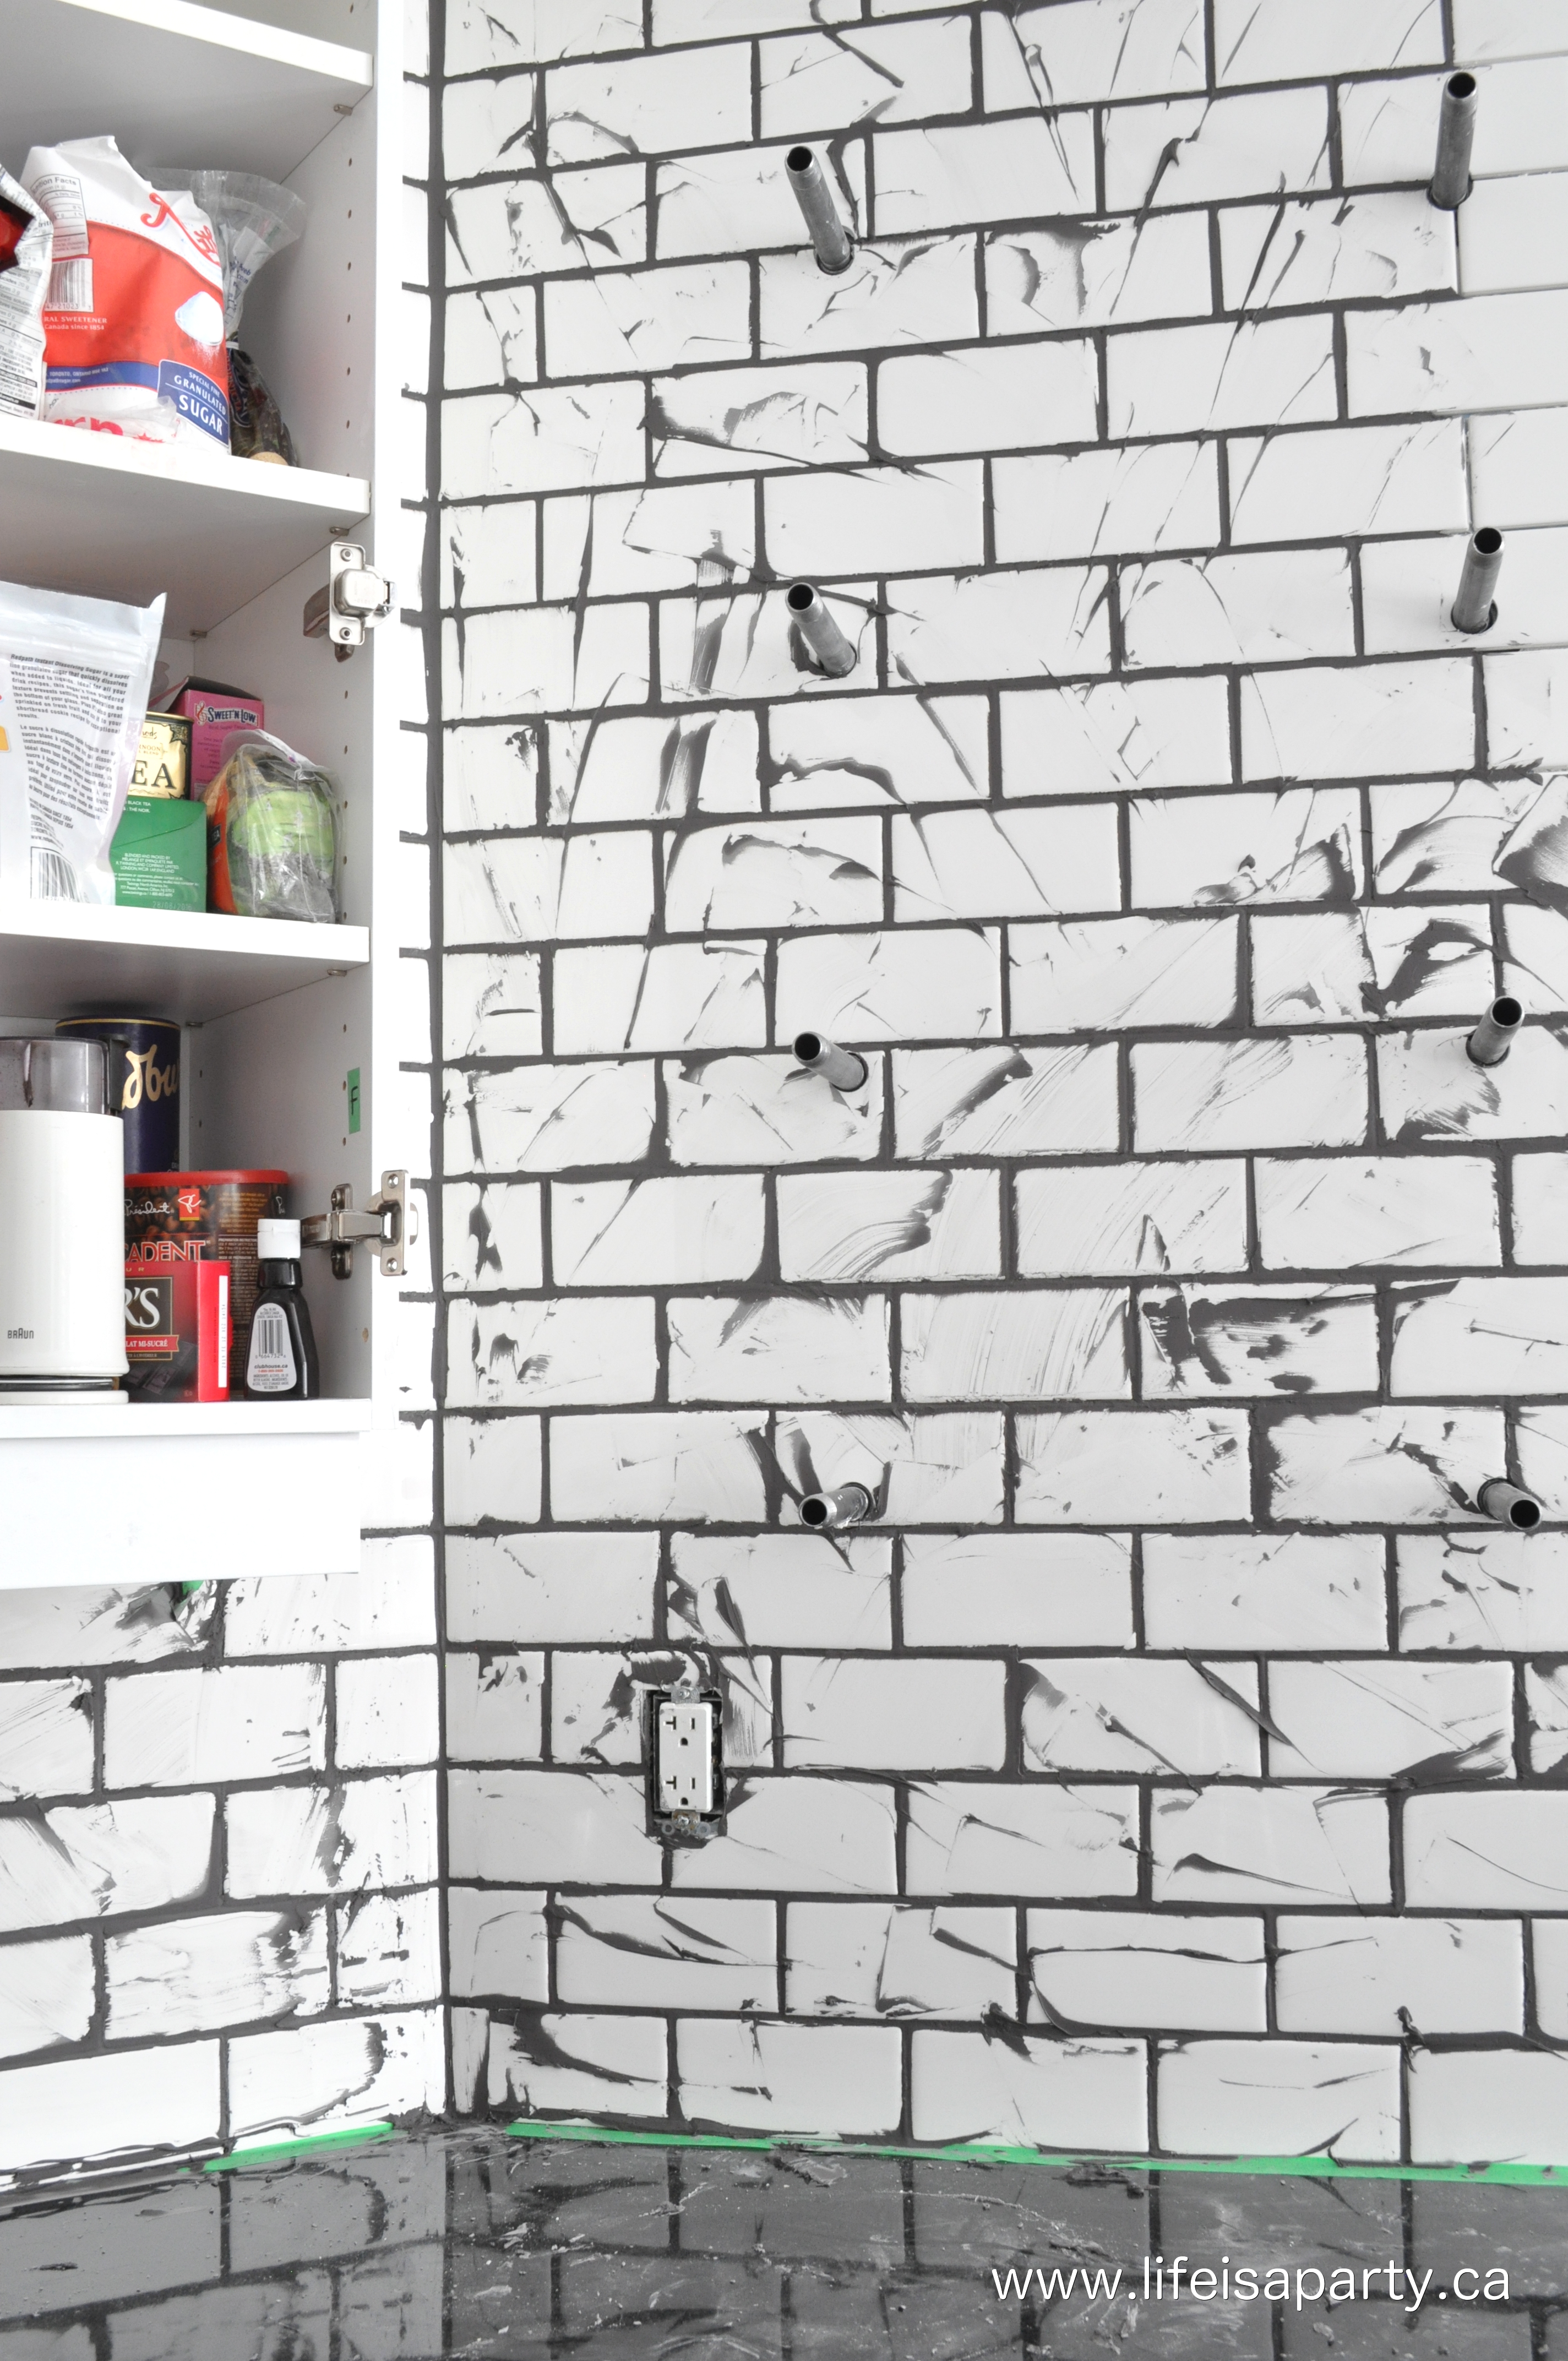
Installing Backsplash Tile in a Kitchen -Week Four
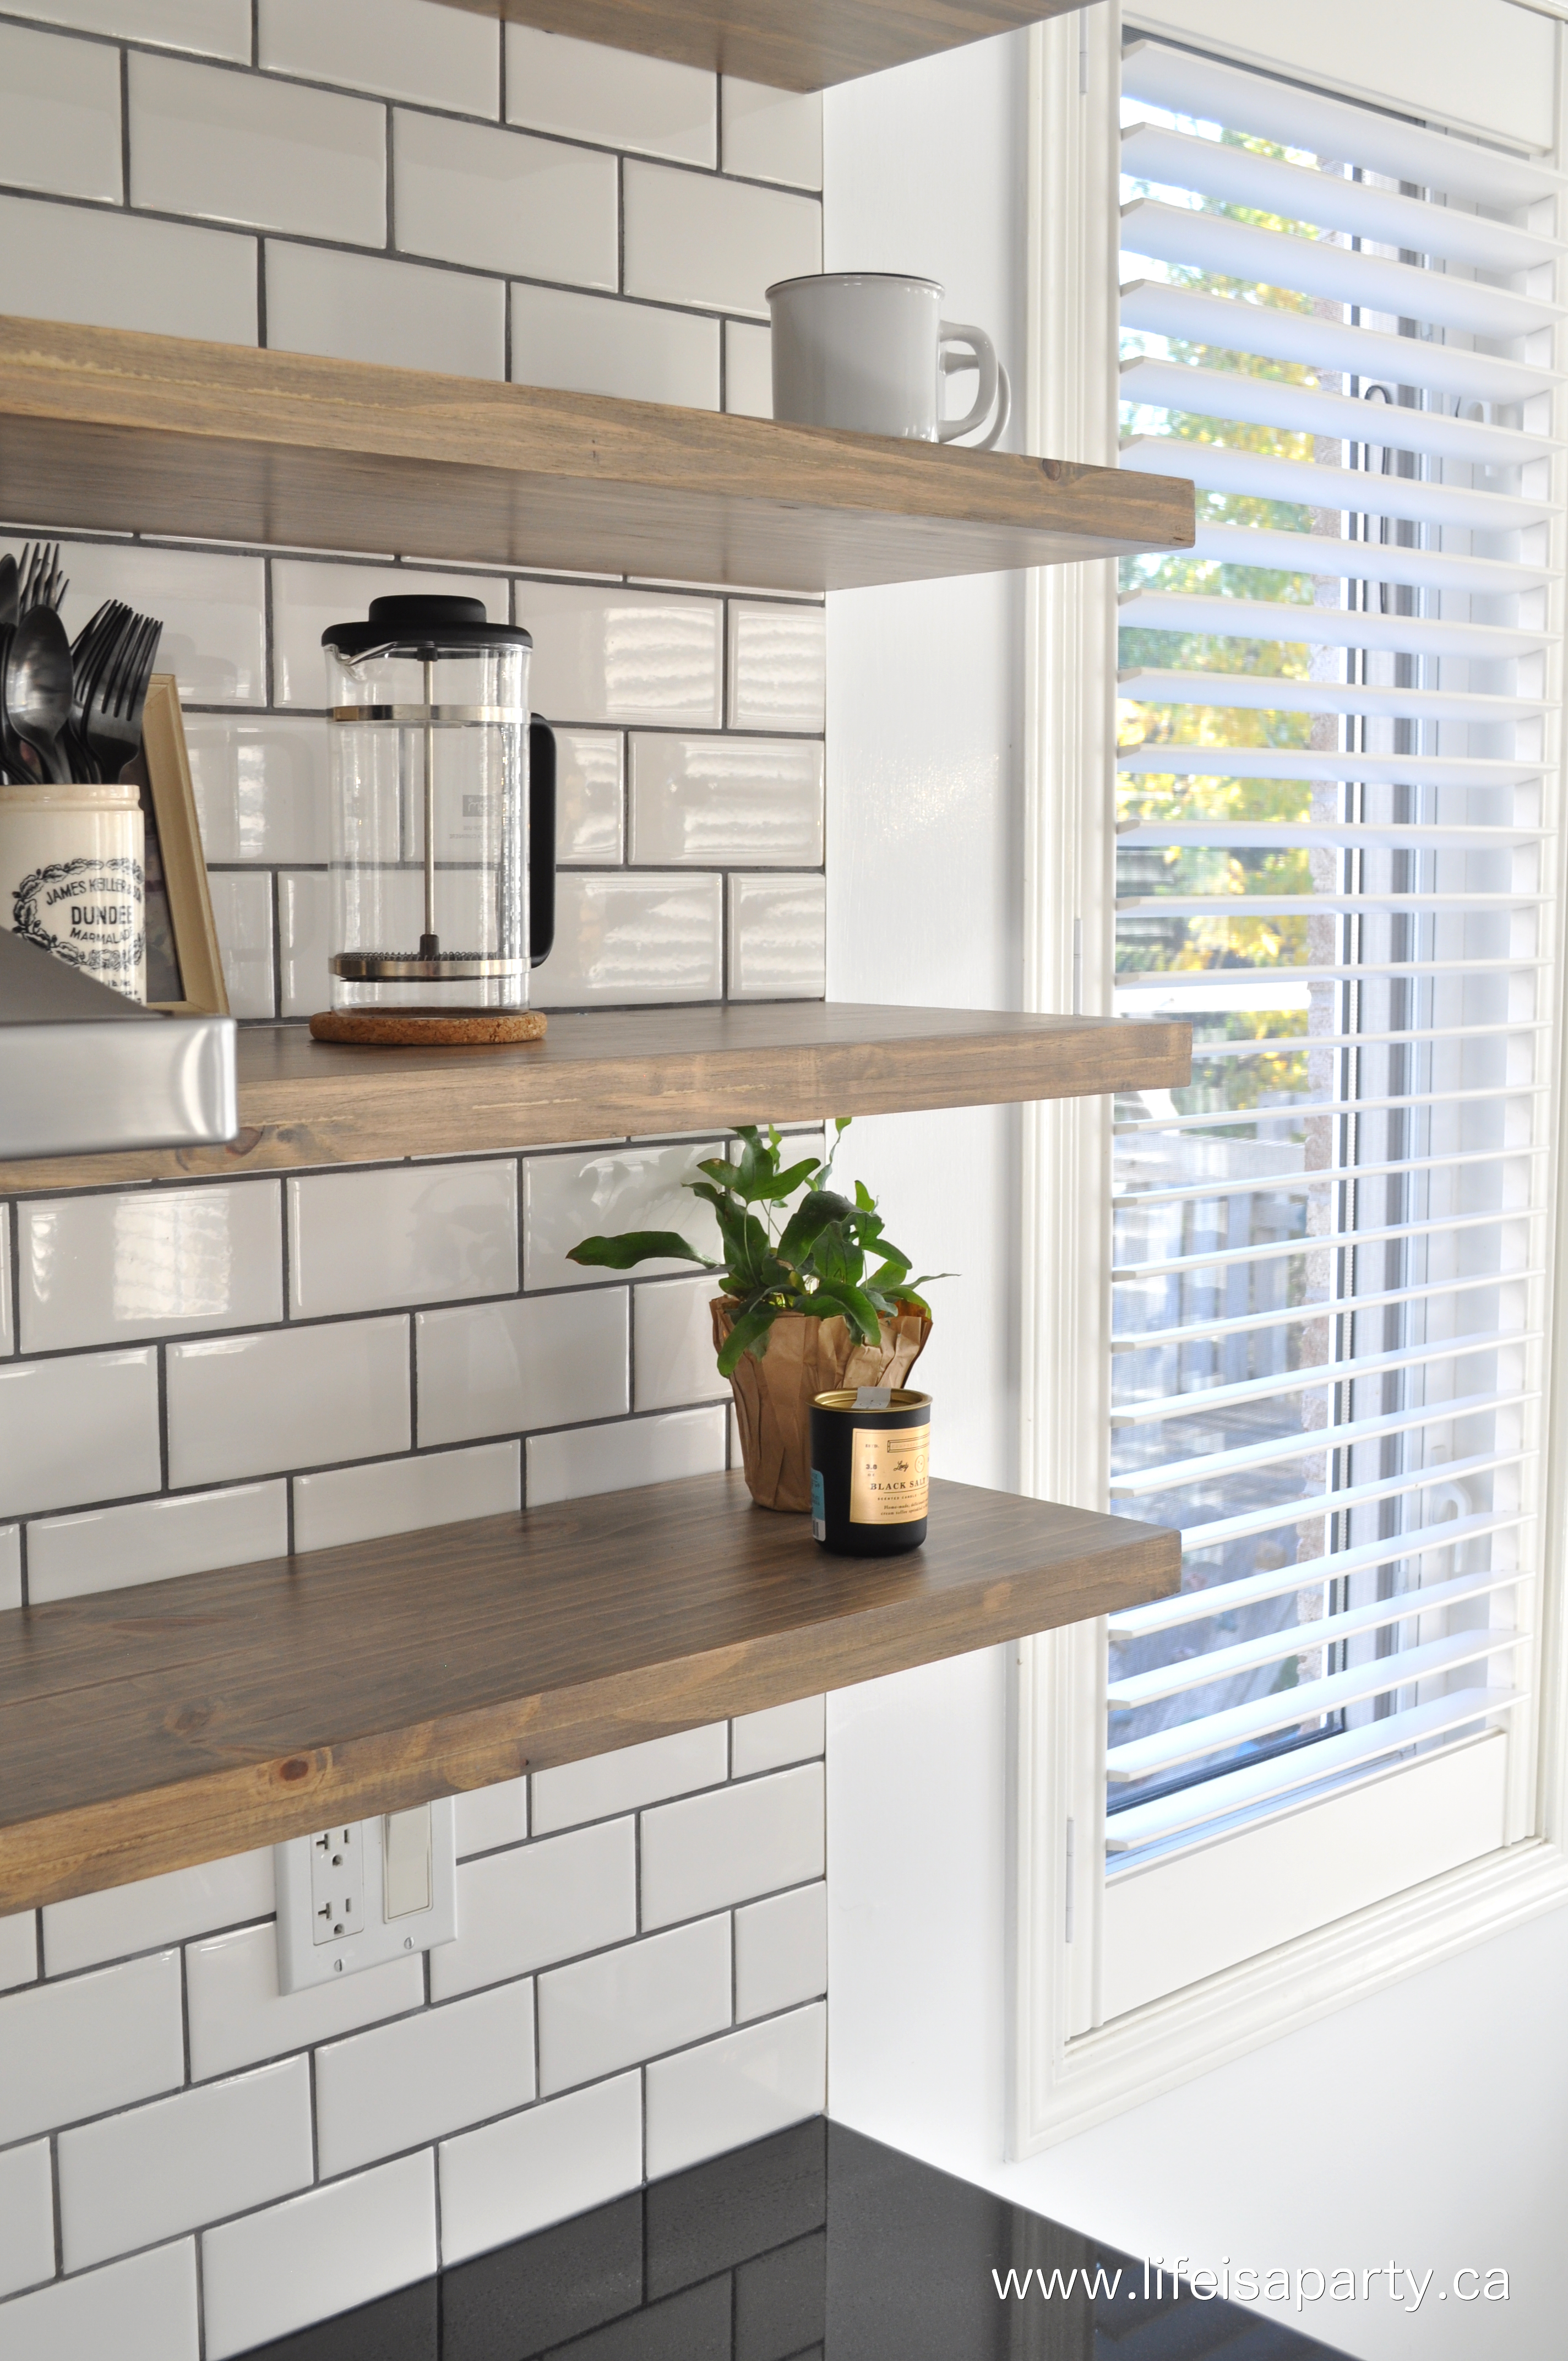
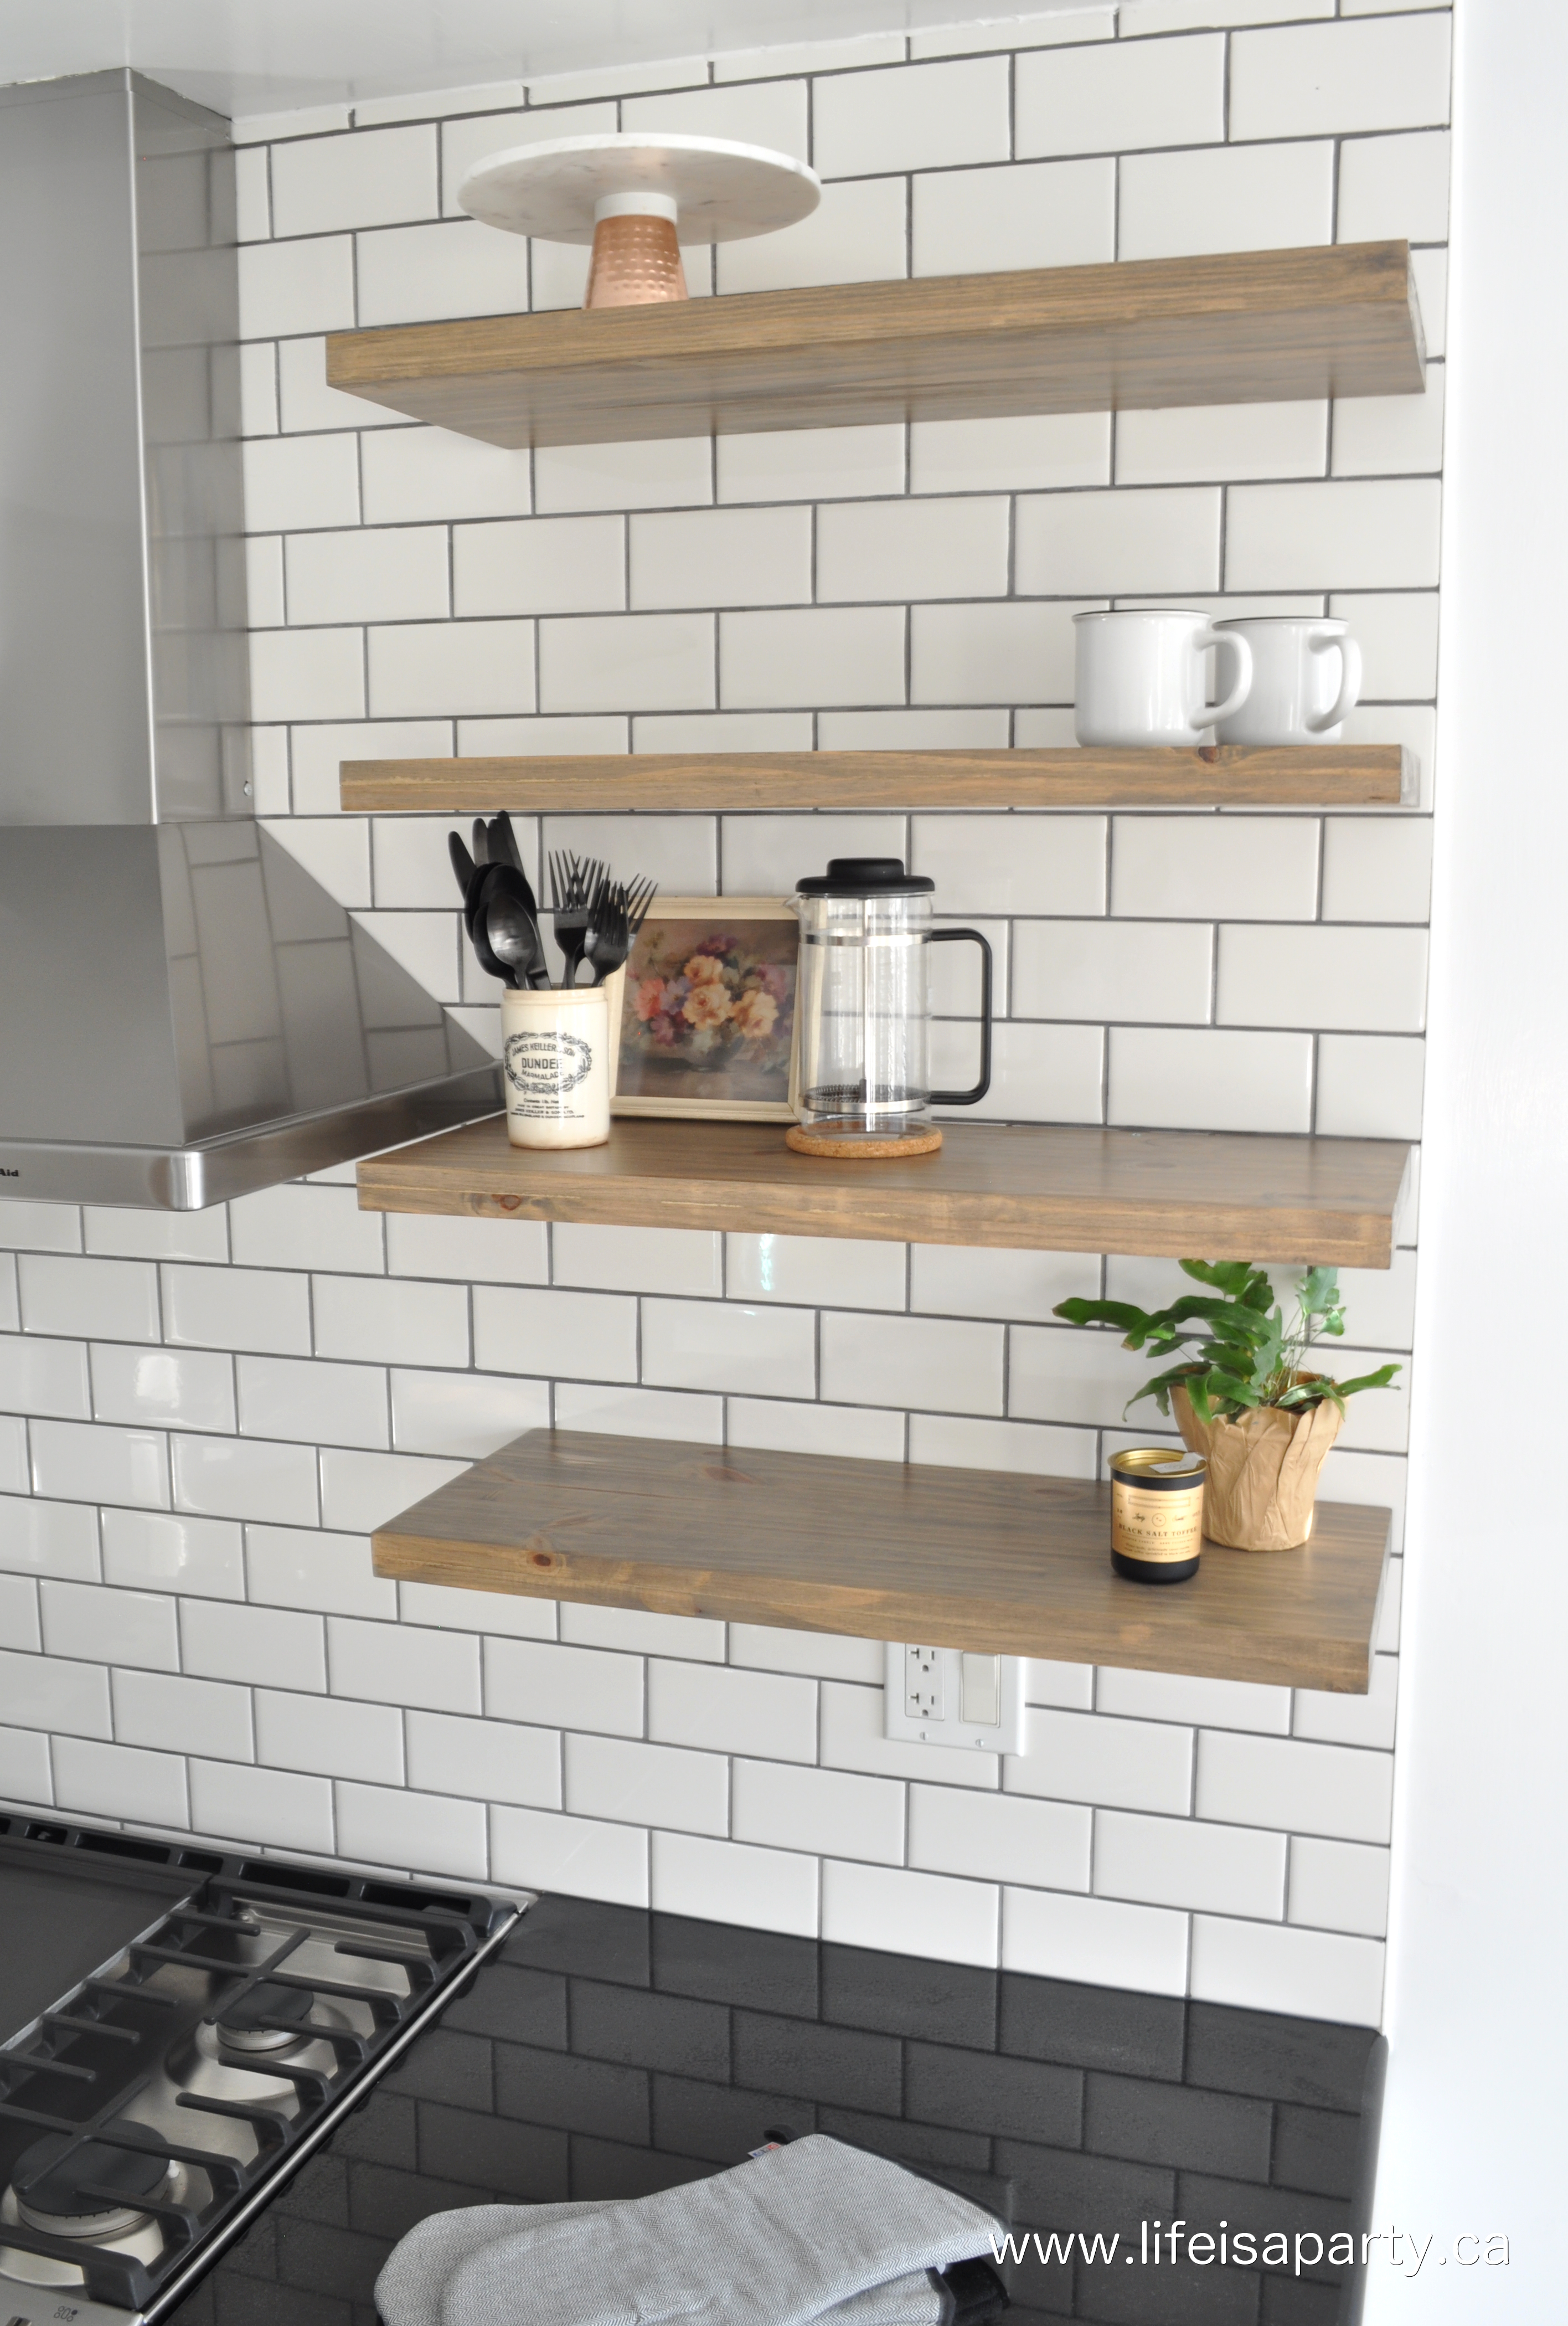
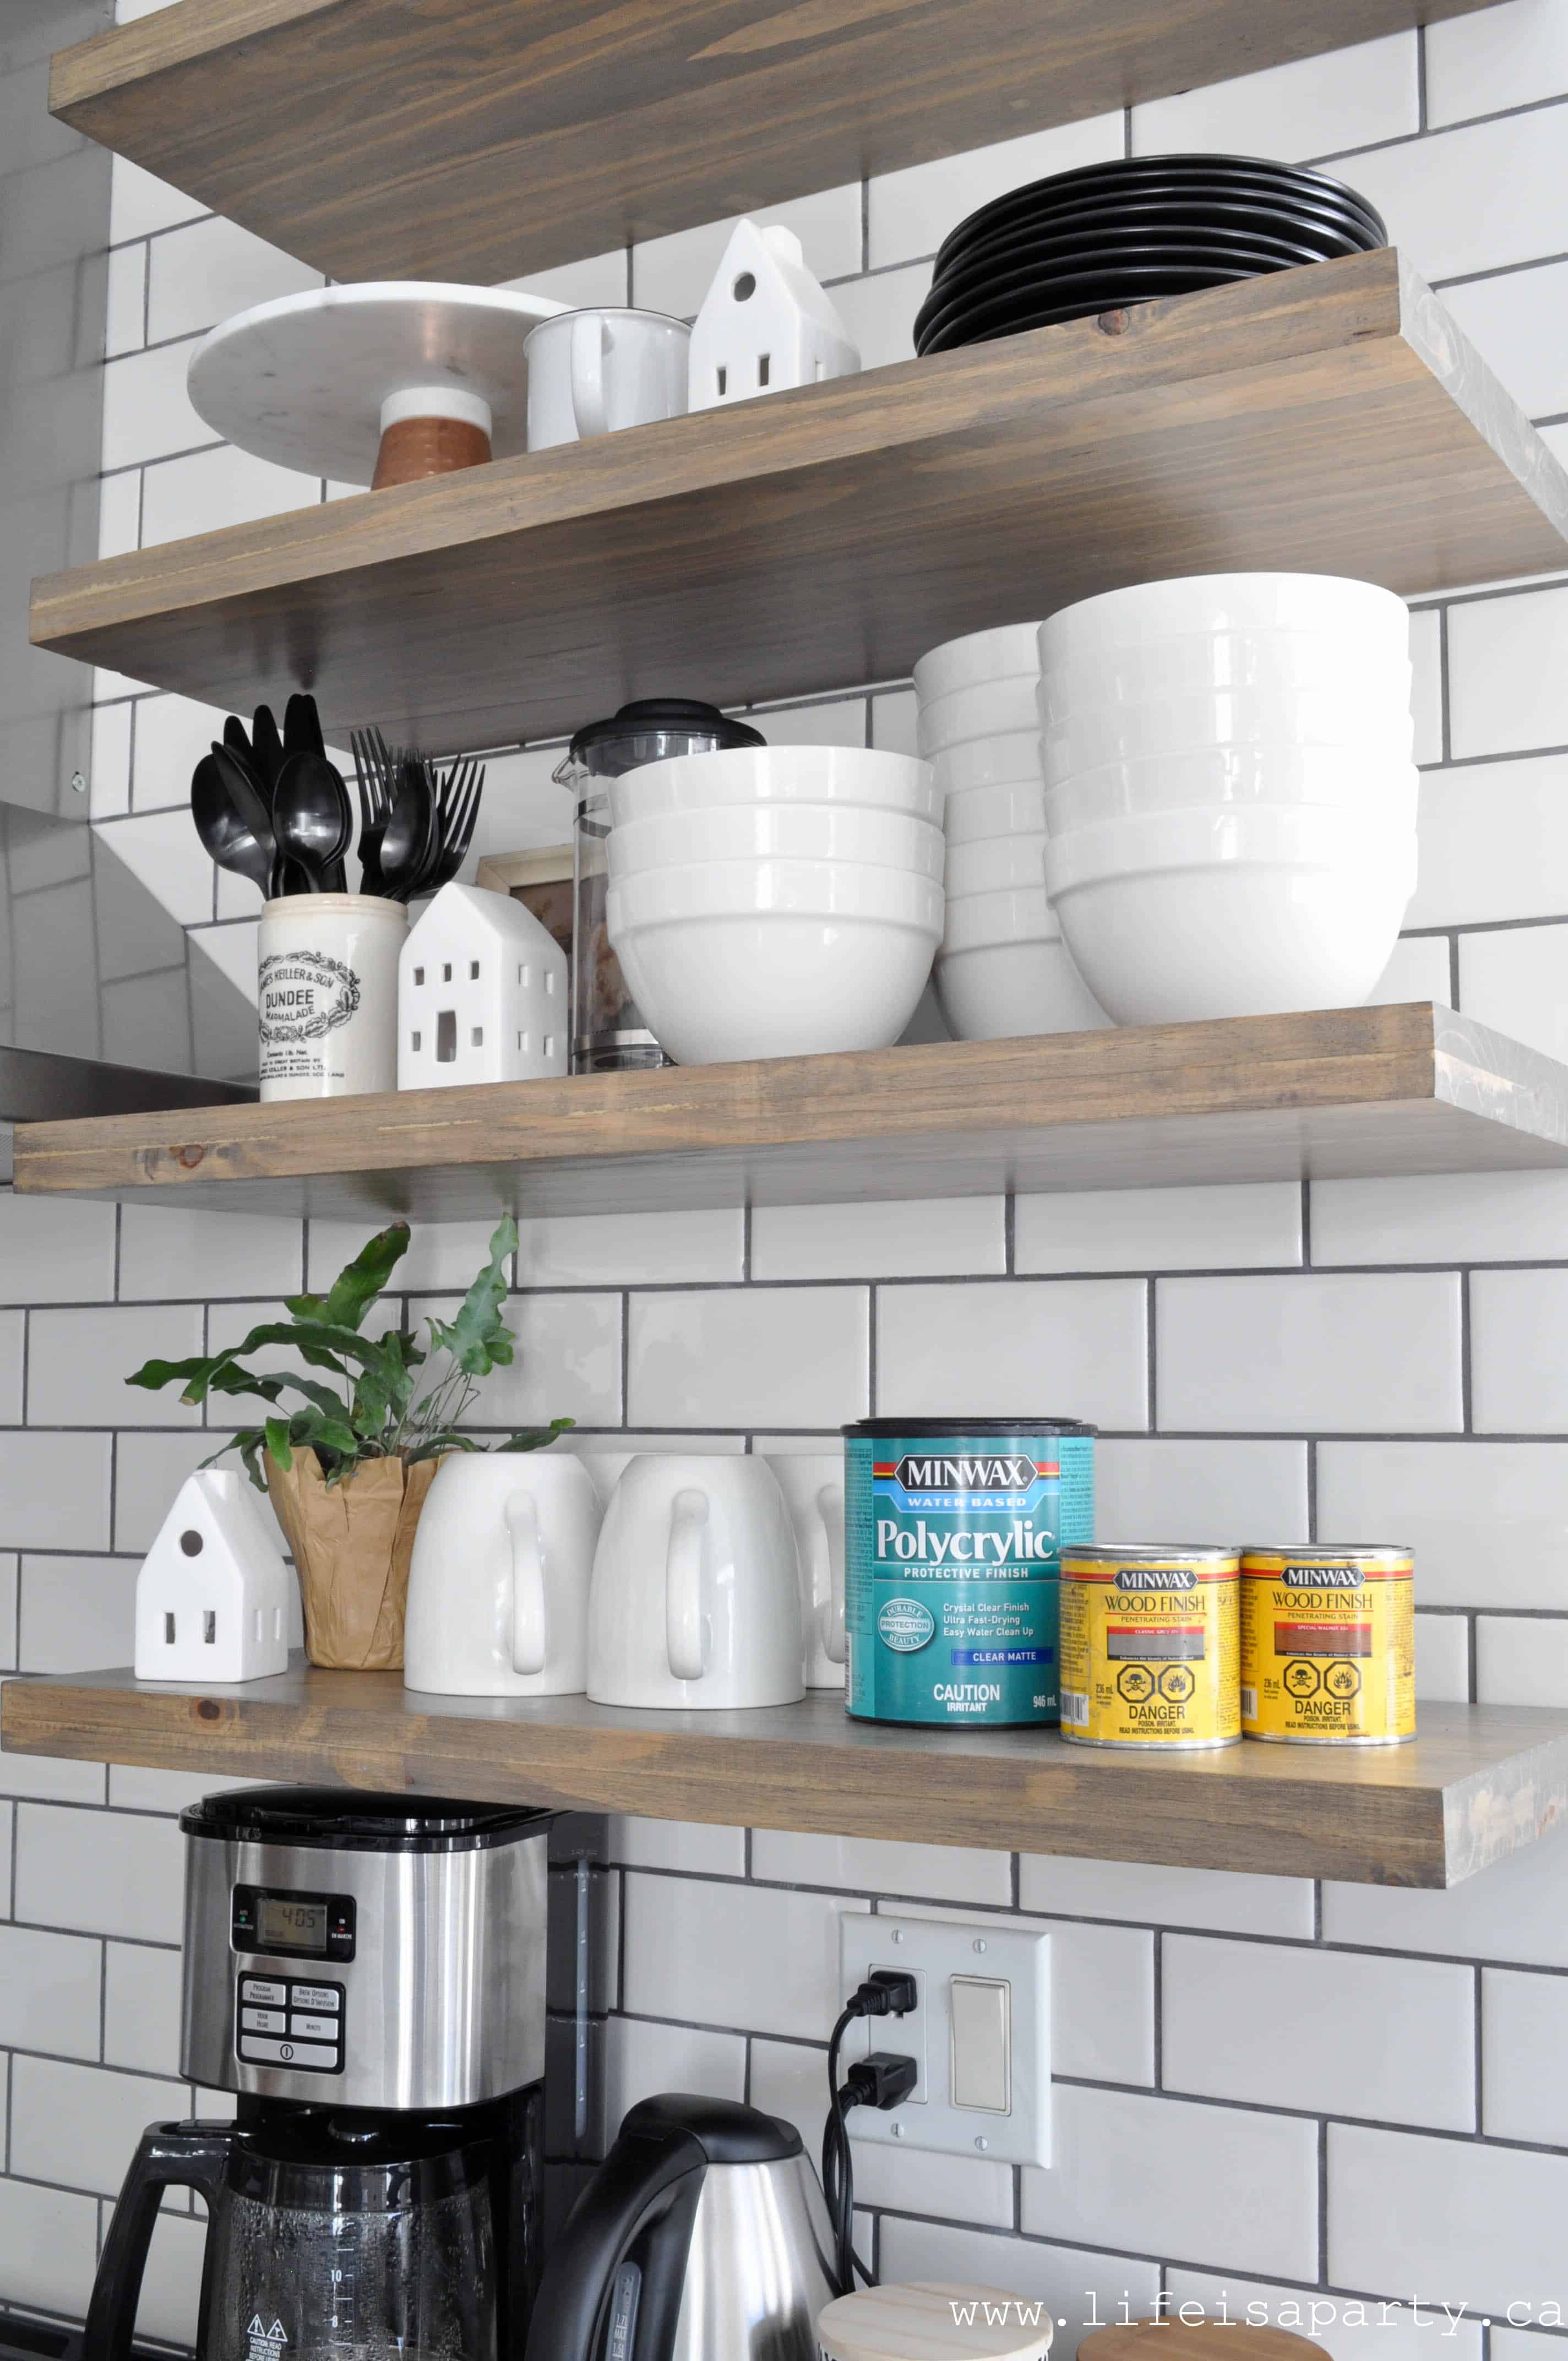
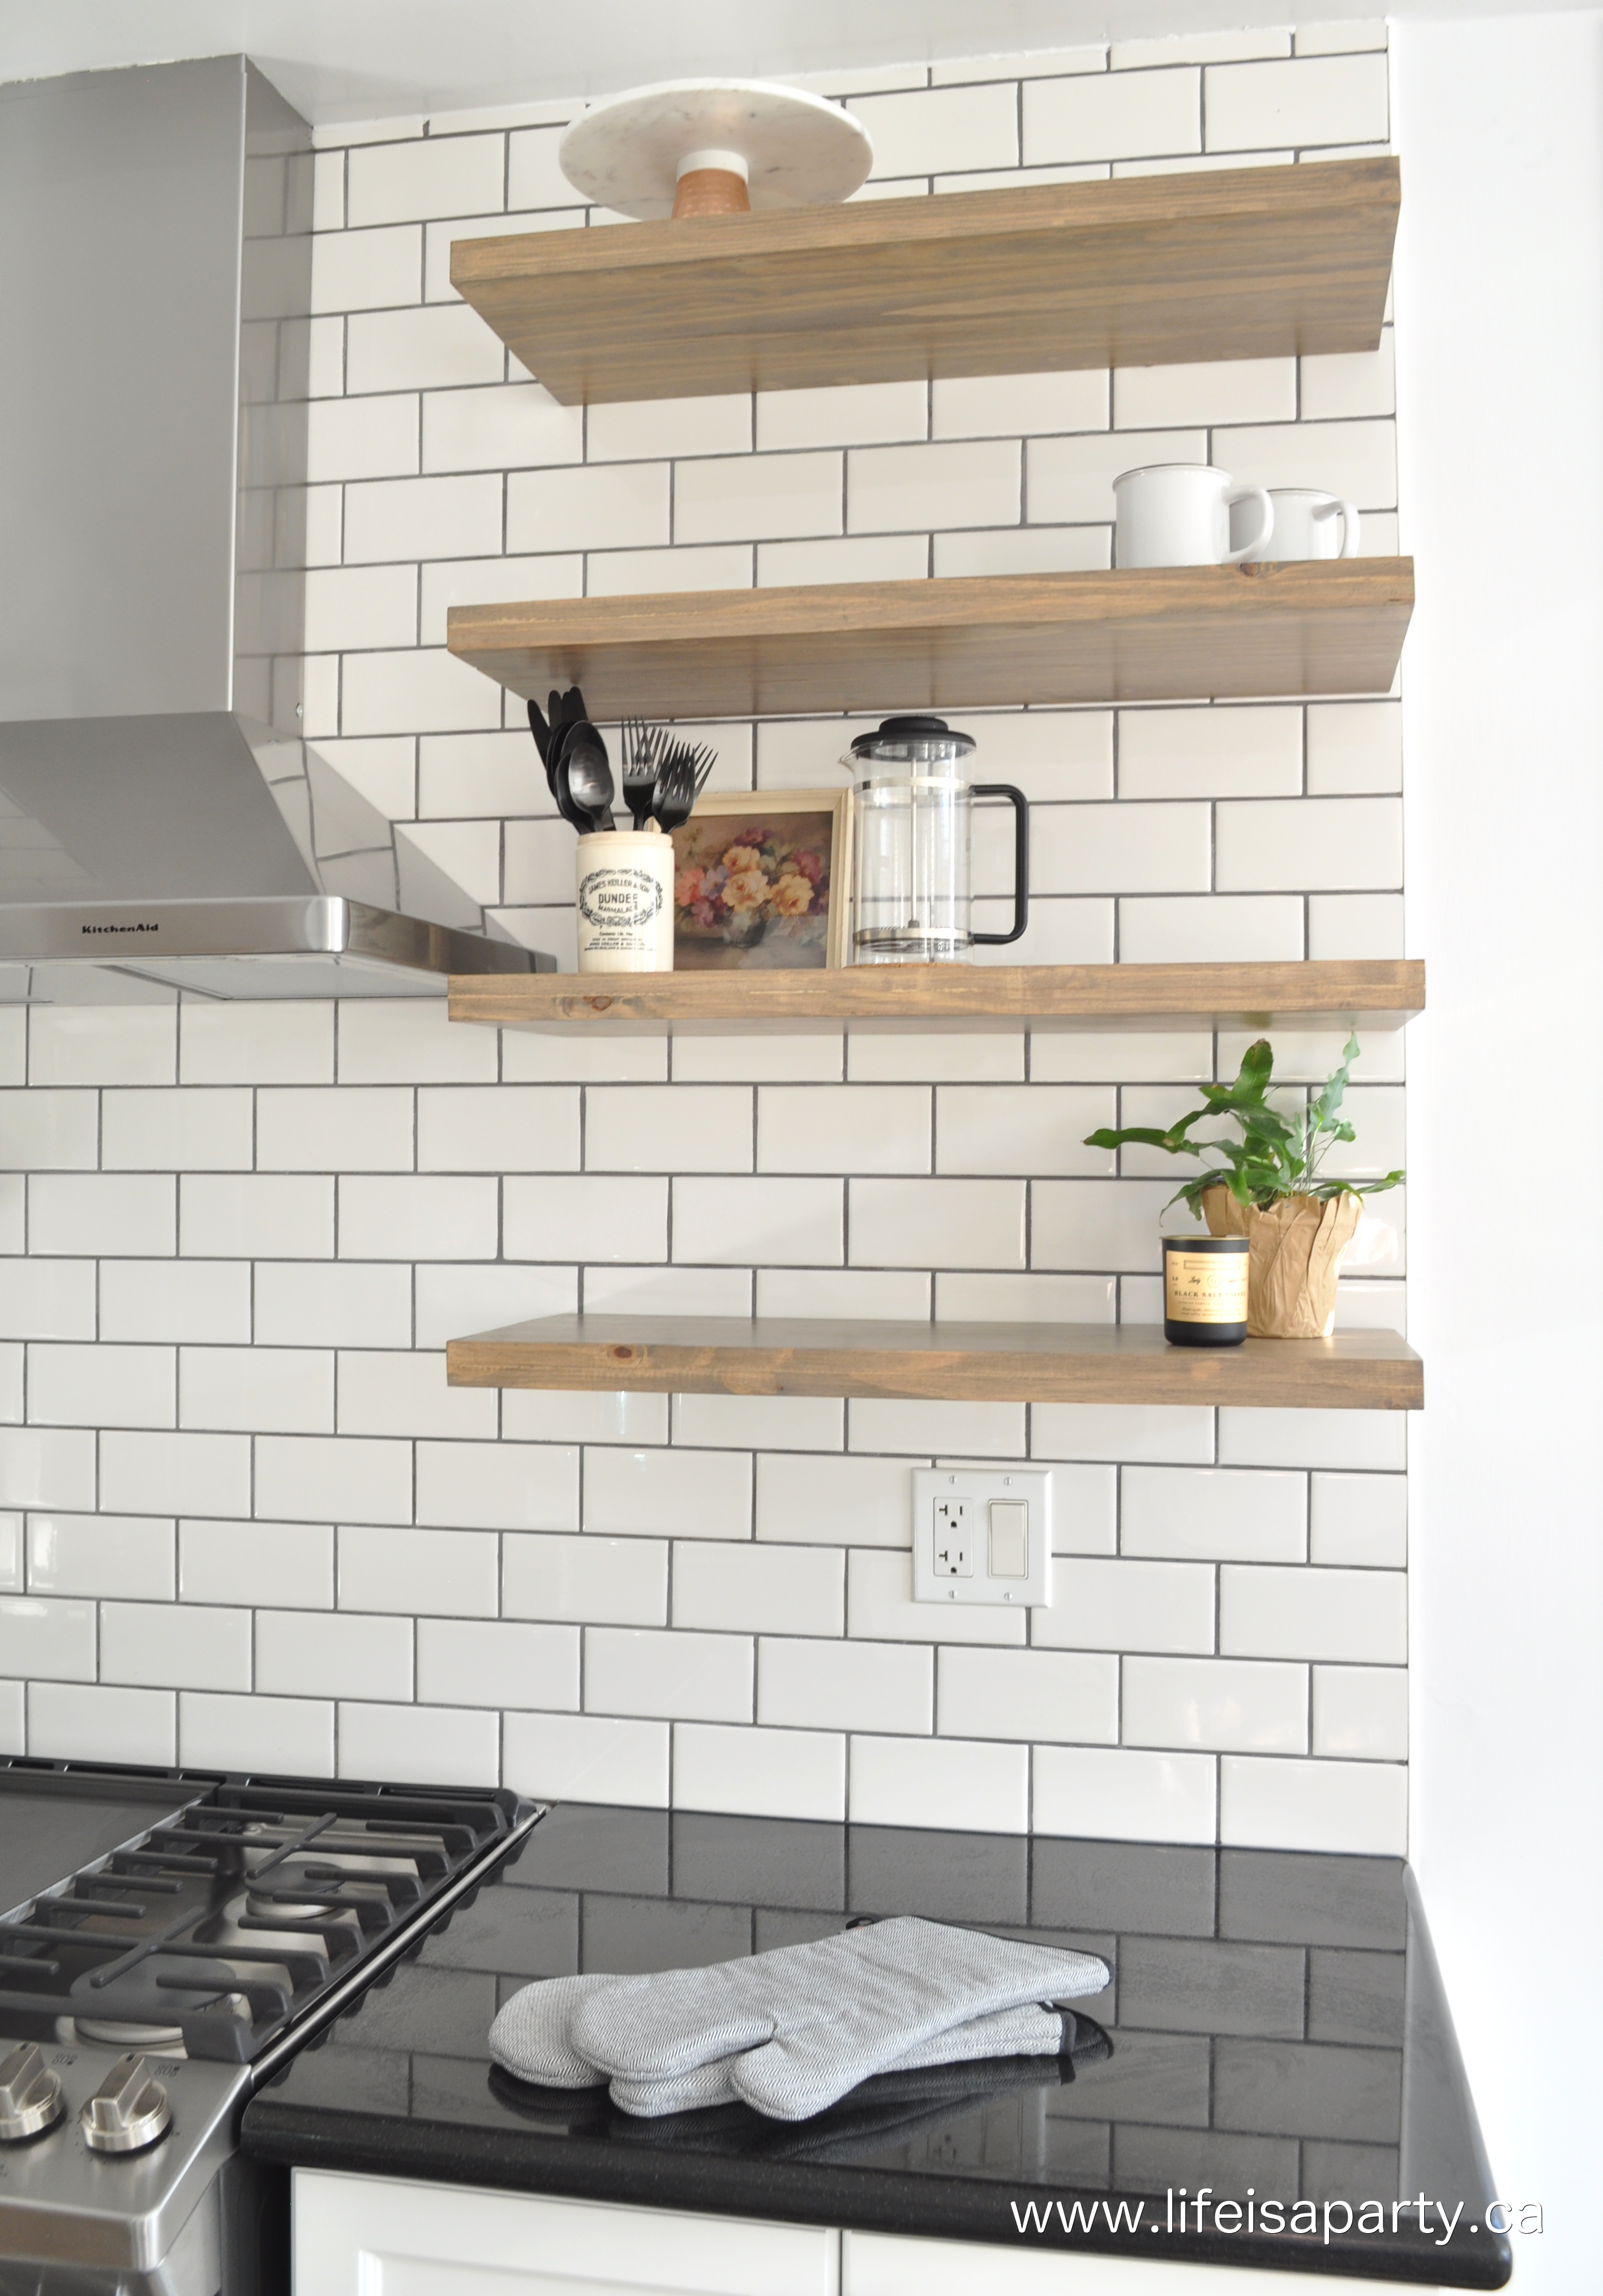
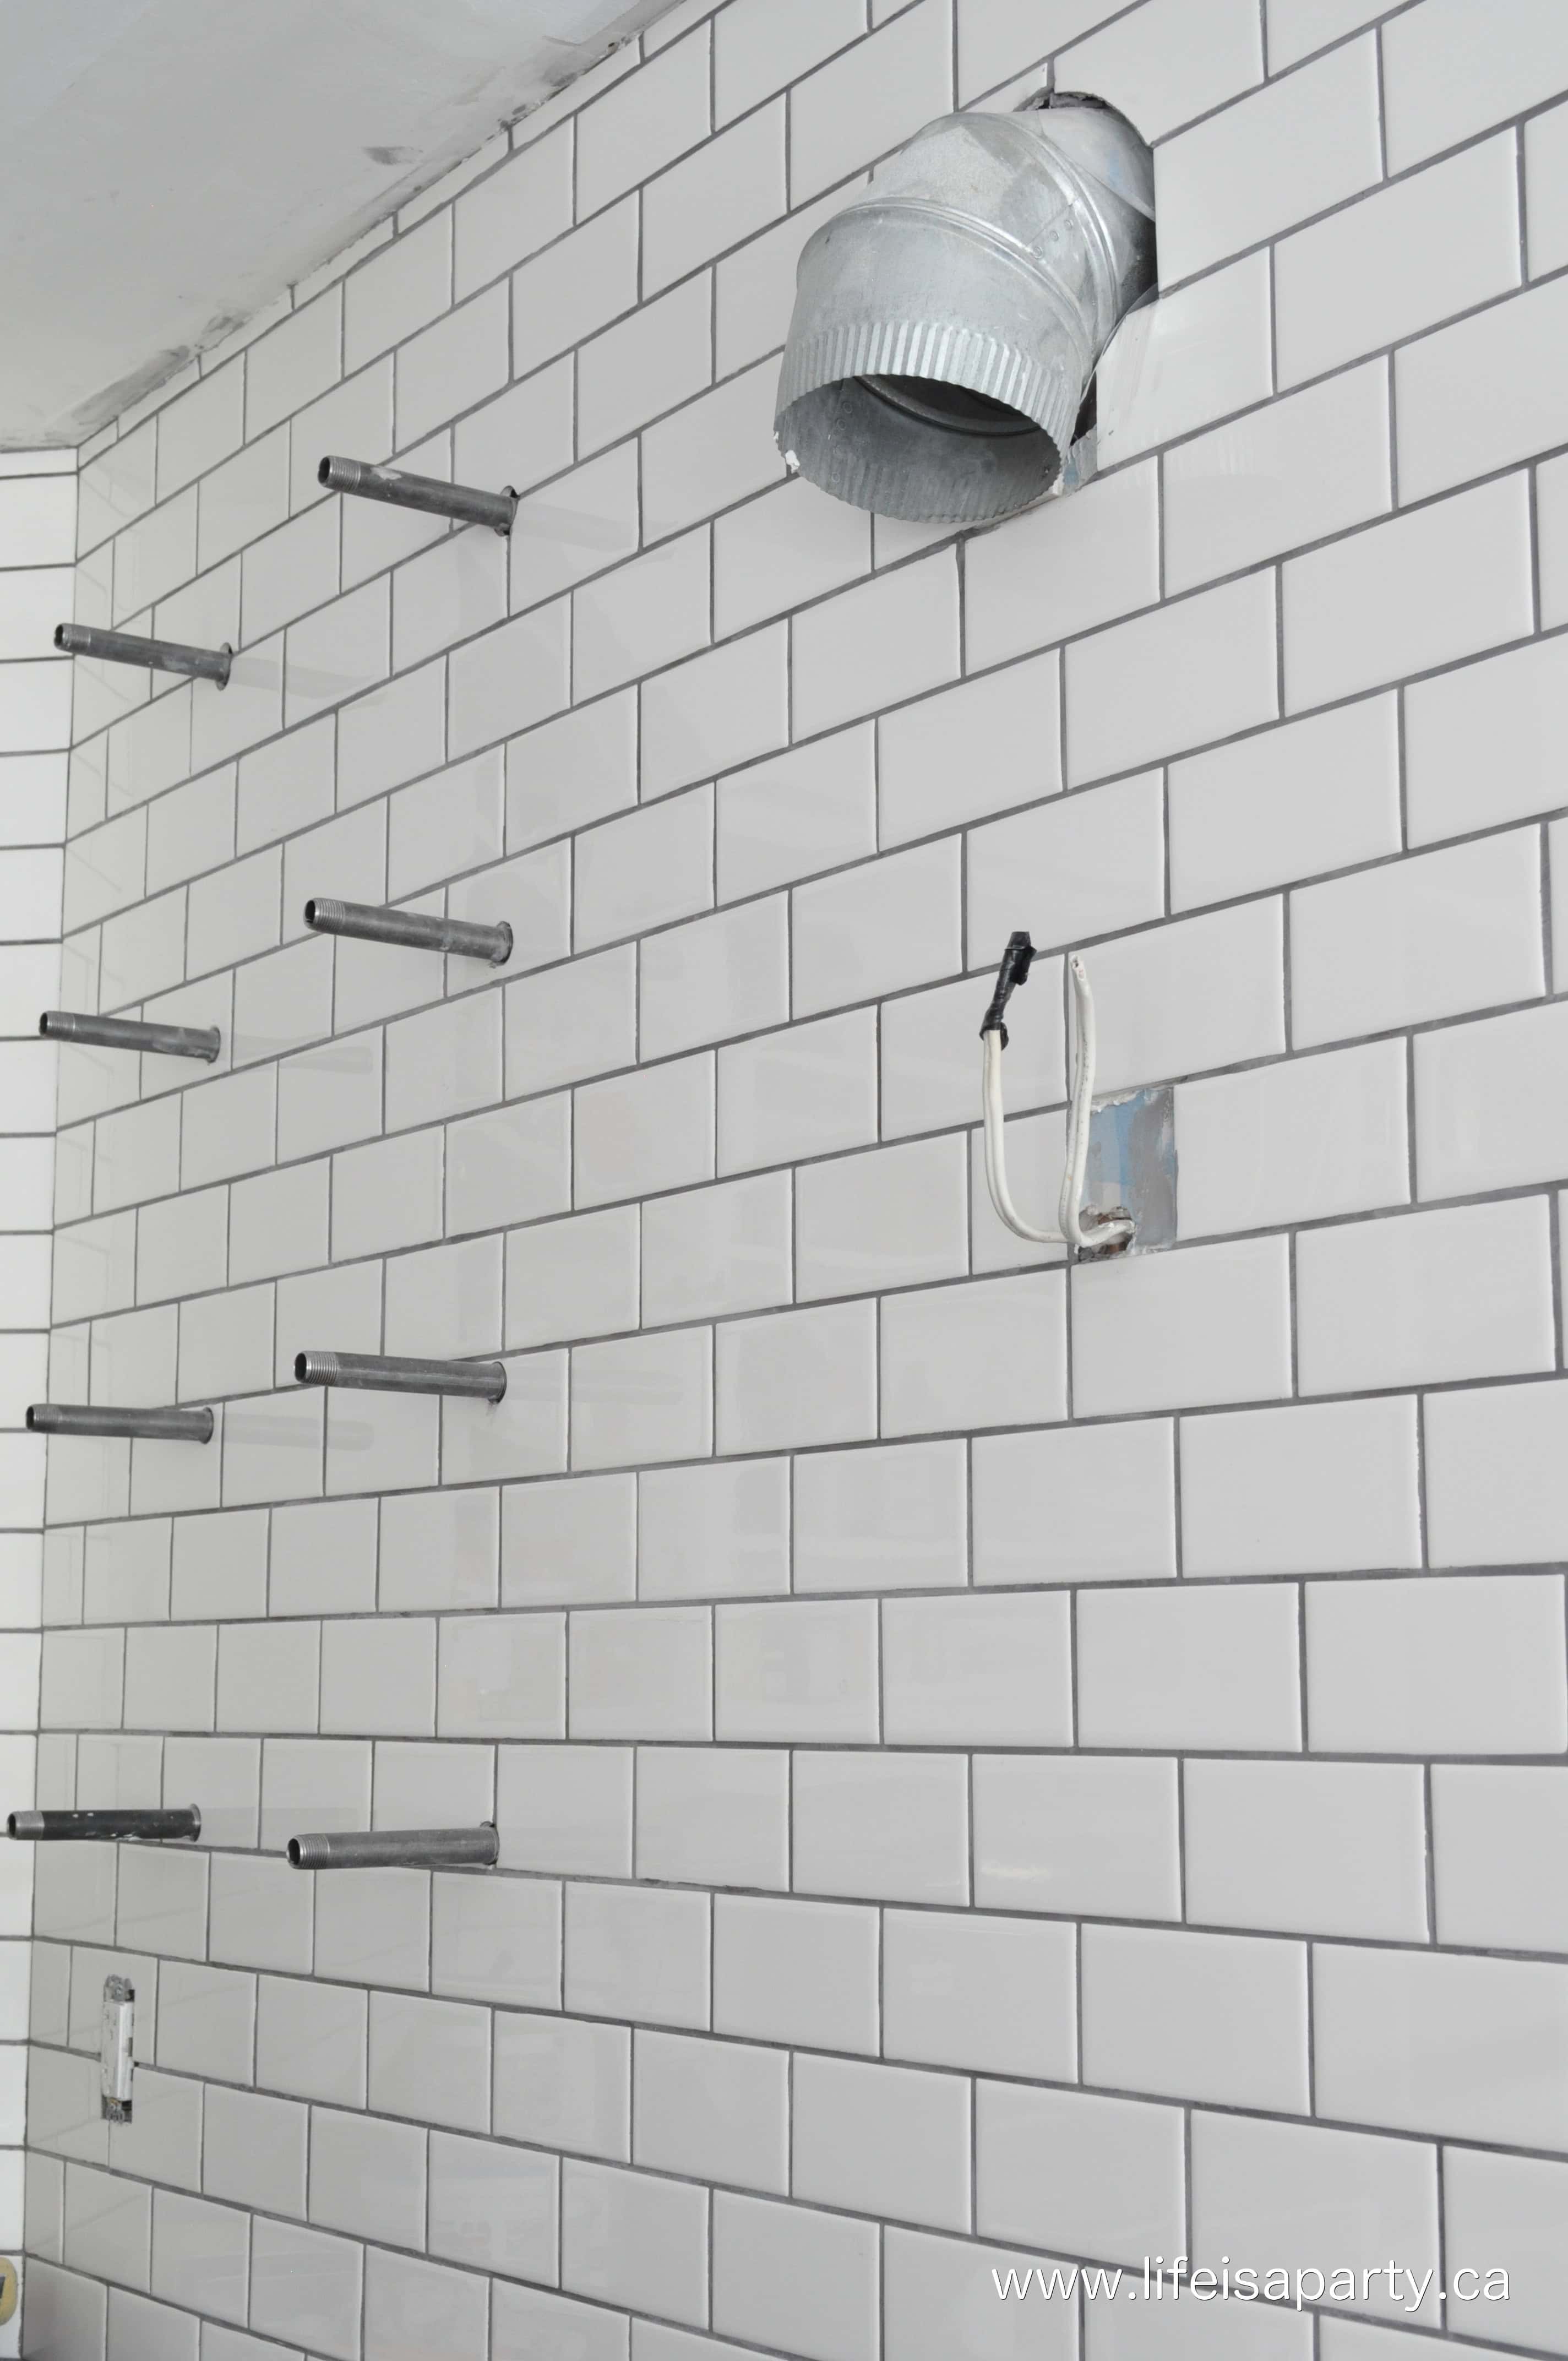
DIY Floating Kitchen Shelves -Week Six
Black Dipped Paint Brass Candlesticks
Modern Farmhouse Kitchen Makeover
Be sure to come back tomorrow for the big final reveal of the Kitchen Makeover.
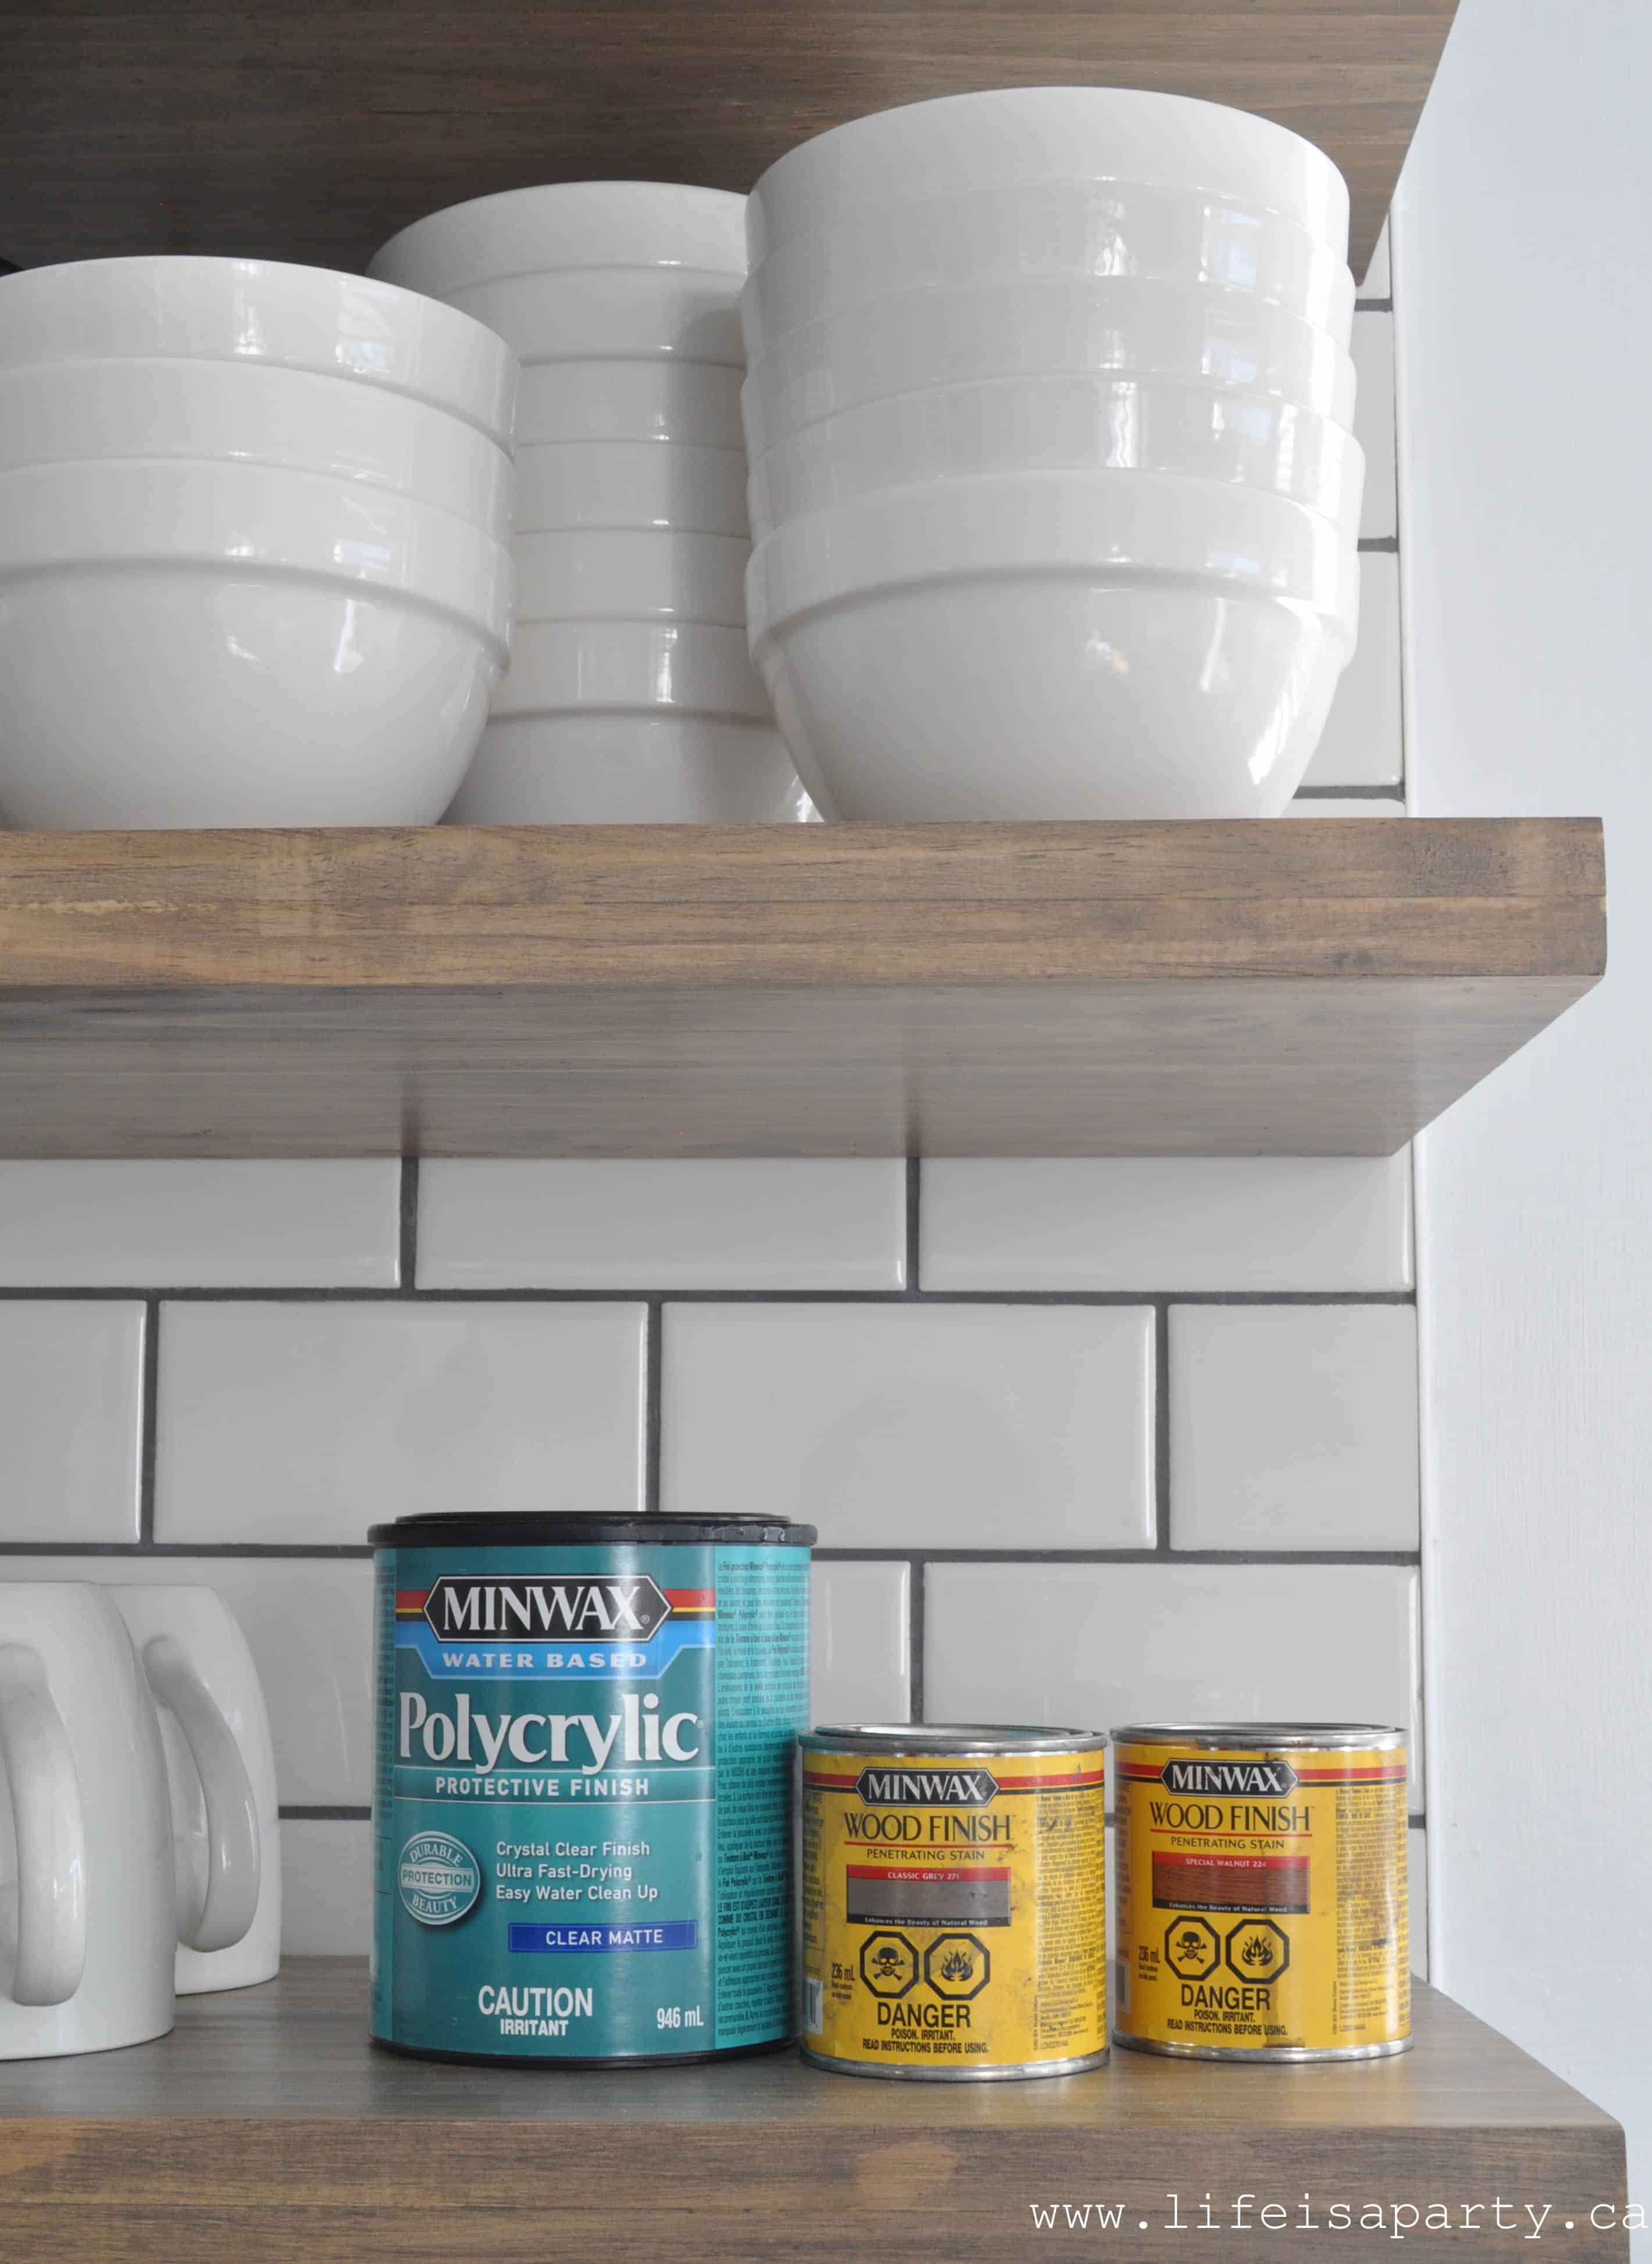
I'm working with some amazing brands on my One Room Challenge Kitchen Makeover, and I'm so grateful. I've received products or discounts, but as always, all opinions are my own. I'm so happy to be partnering with Home Depot, Wayfair Canada, GE Canada, Benjamin Woodworks, Lagostina, Smith Sprayers, Lee Valley Tools, Delta Faucet, Krylon, Minwax, and Hamilton Beach.
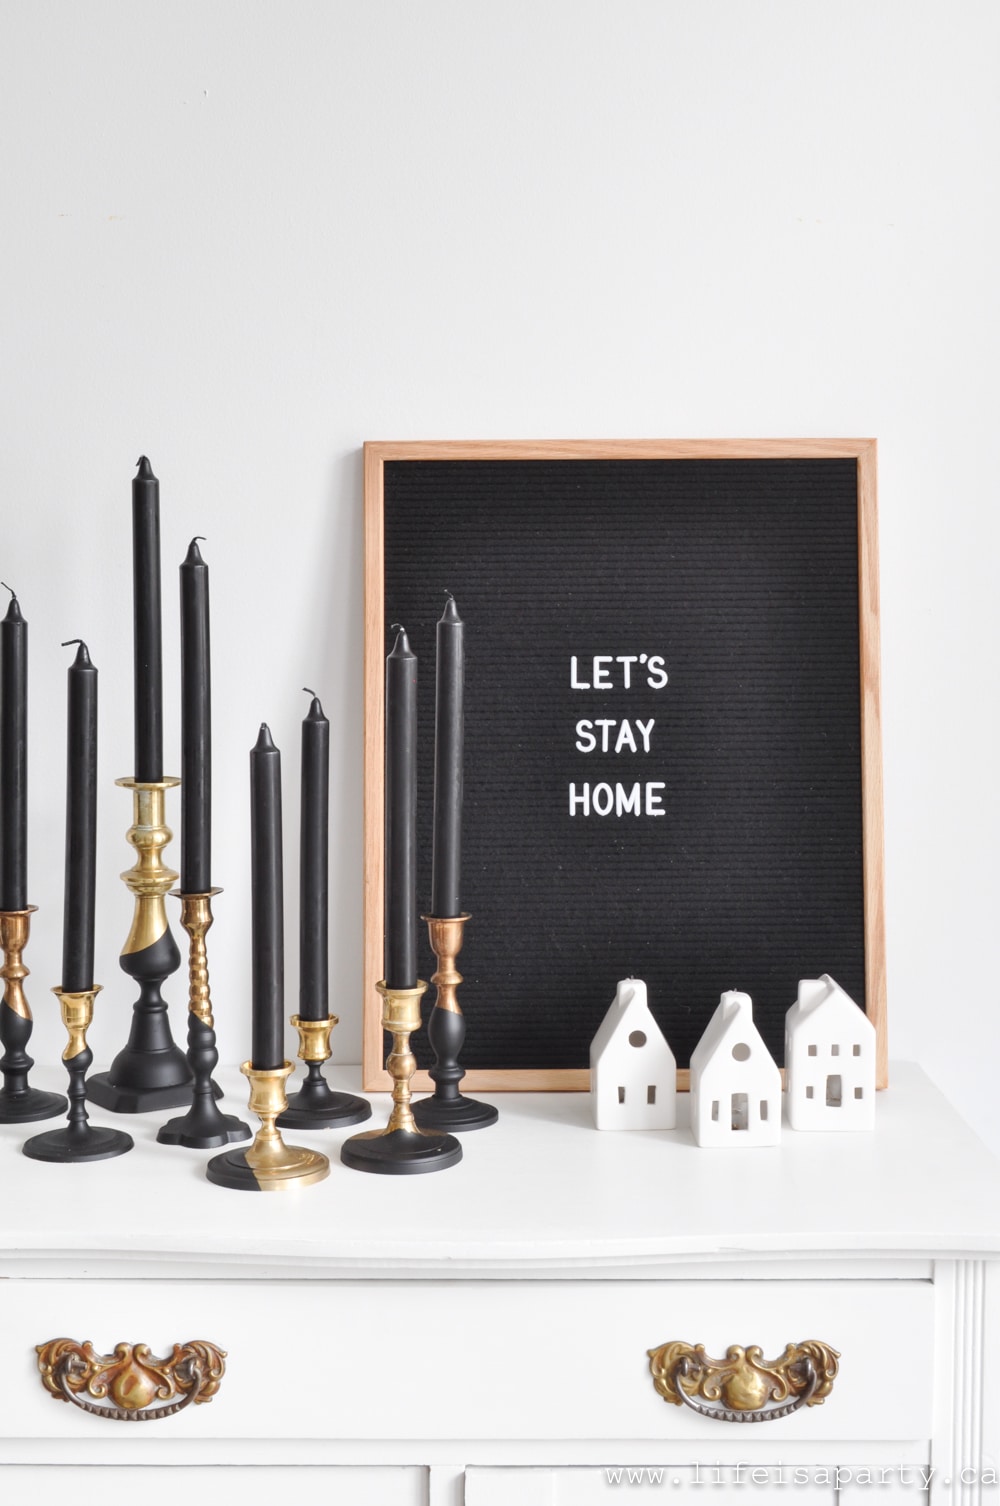
With new Black Paint Dipped Brass Candlesticks, life really is a party!


 Also check our our


 '
'


