
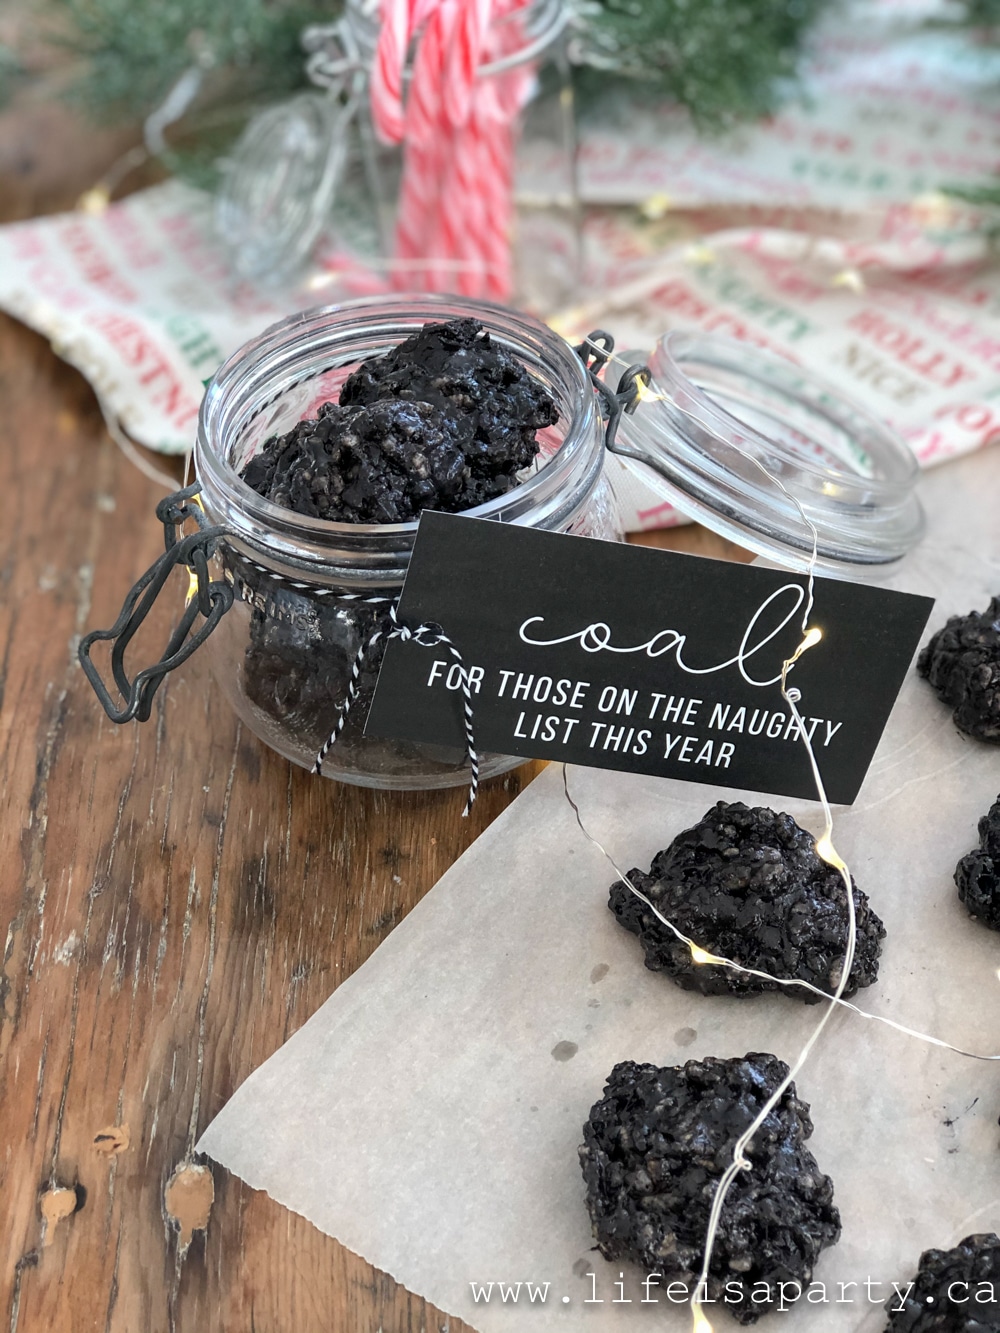
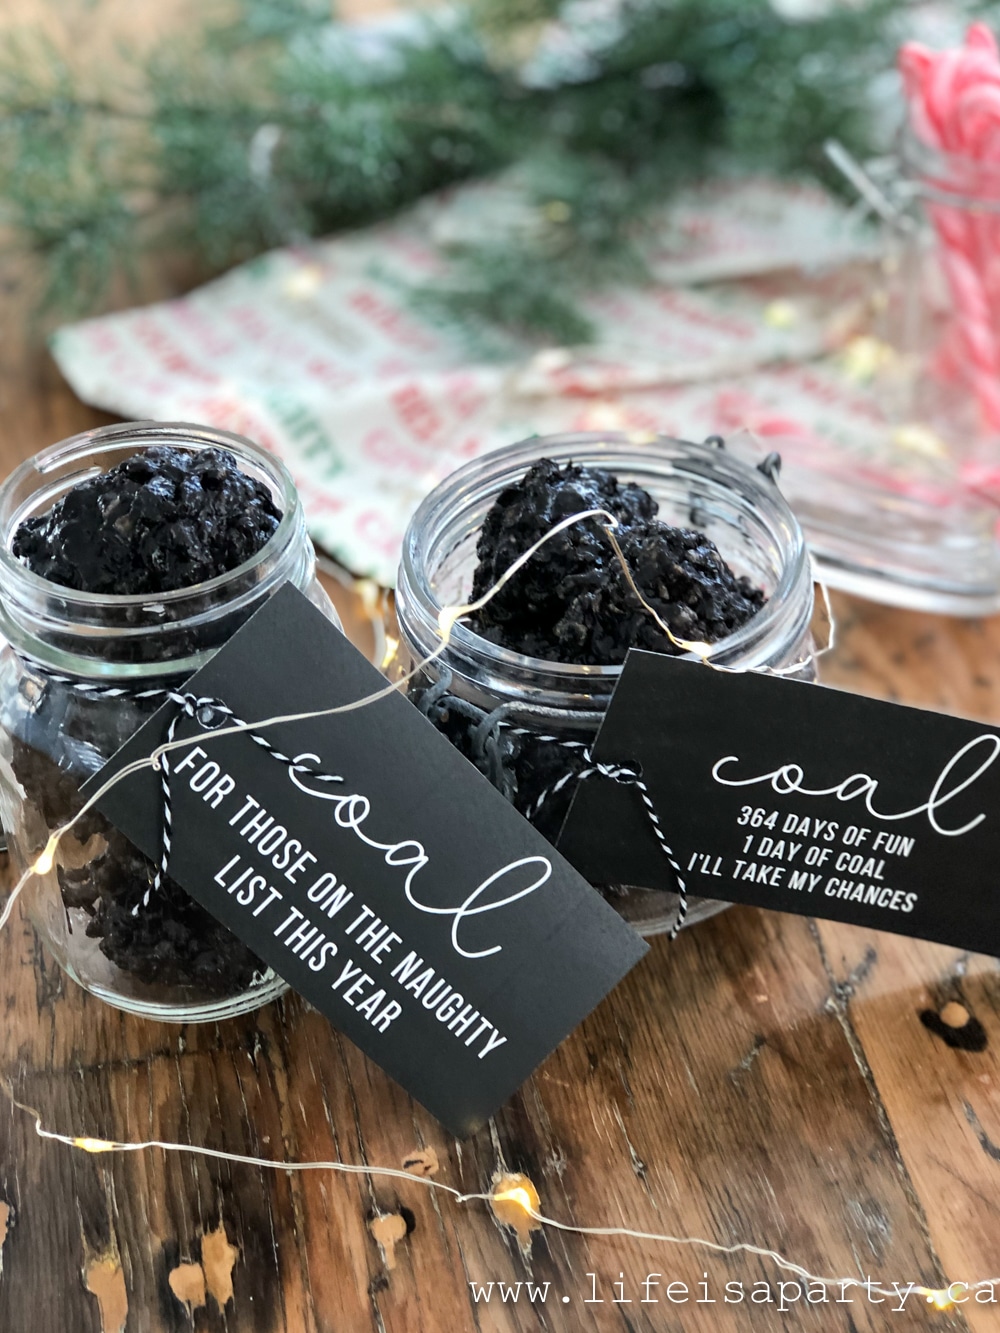
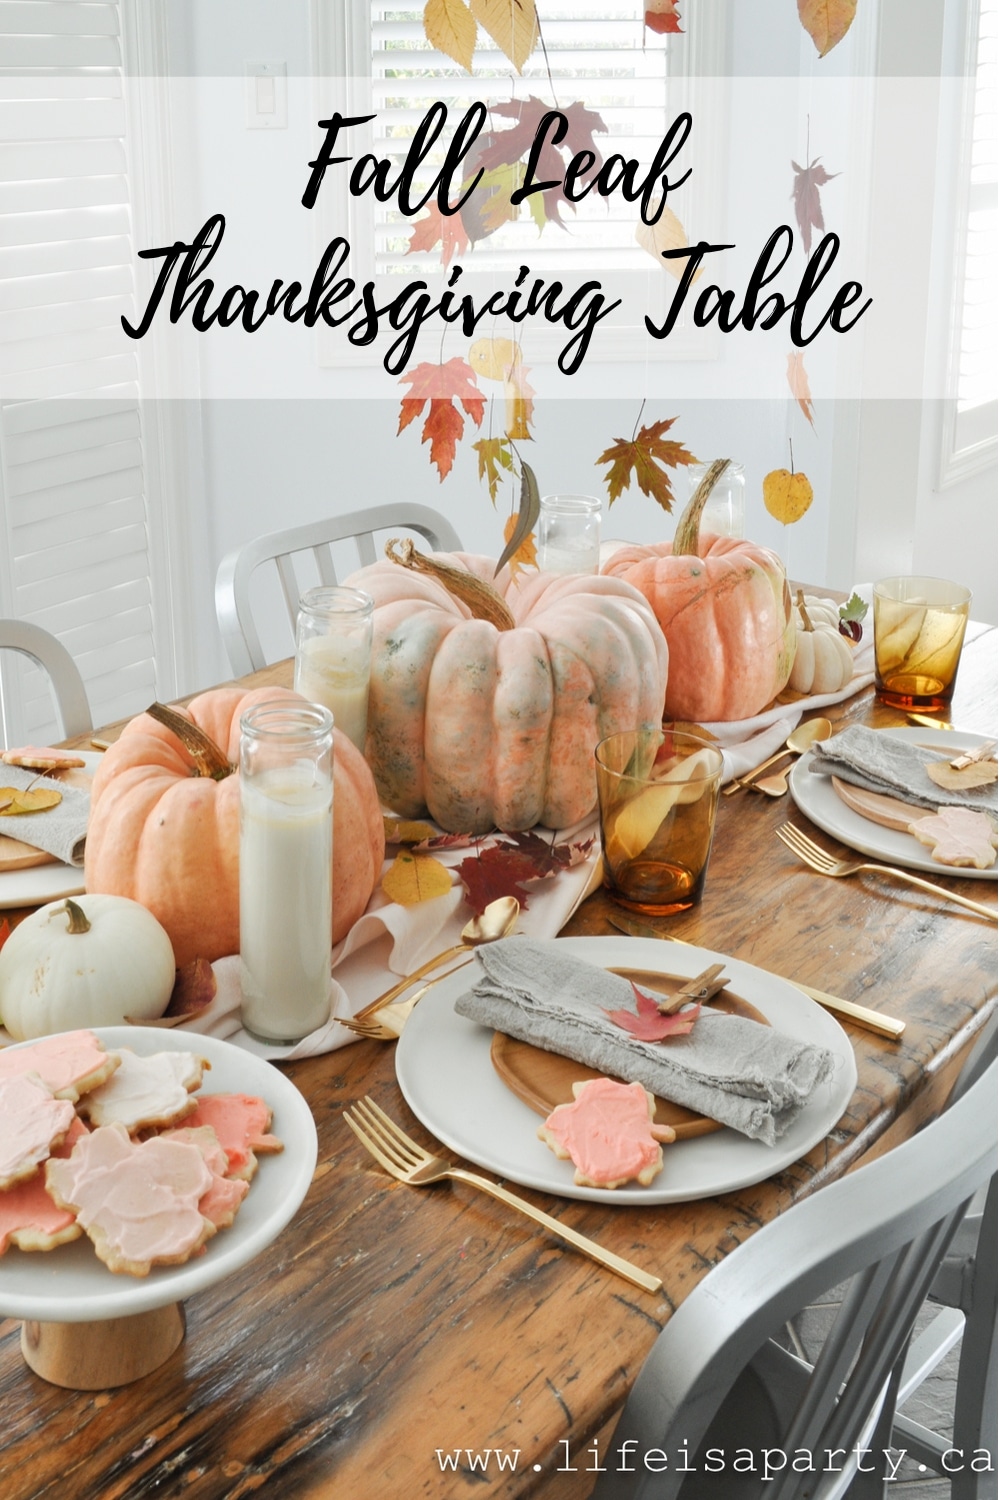
These Food Processor Scones are easy and quick to make. They're flaky and delicious and perfect for a tea party, breakfast, or snack. We love their crusty outside and soft tender inside.
These easy food processor scones are an old favourite of mine. They are my go-to scone recipe. I've made them so many times, so I'm very confident in telling you they're easy and they're delicious. If you're a fan of scones you will love how simple these are to make, and how delicious they are.
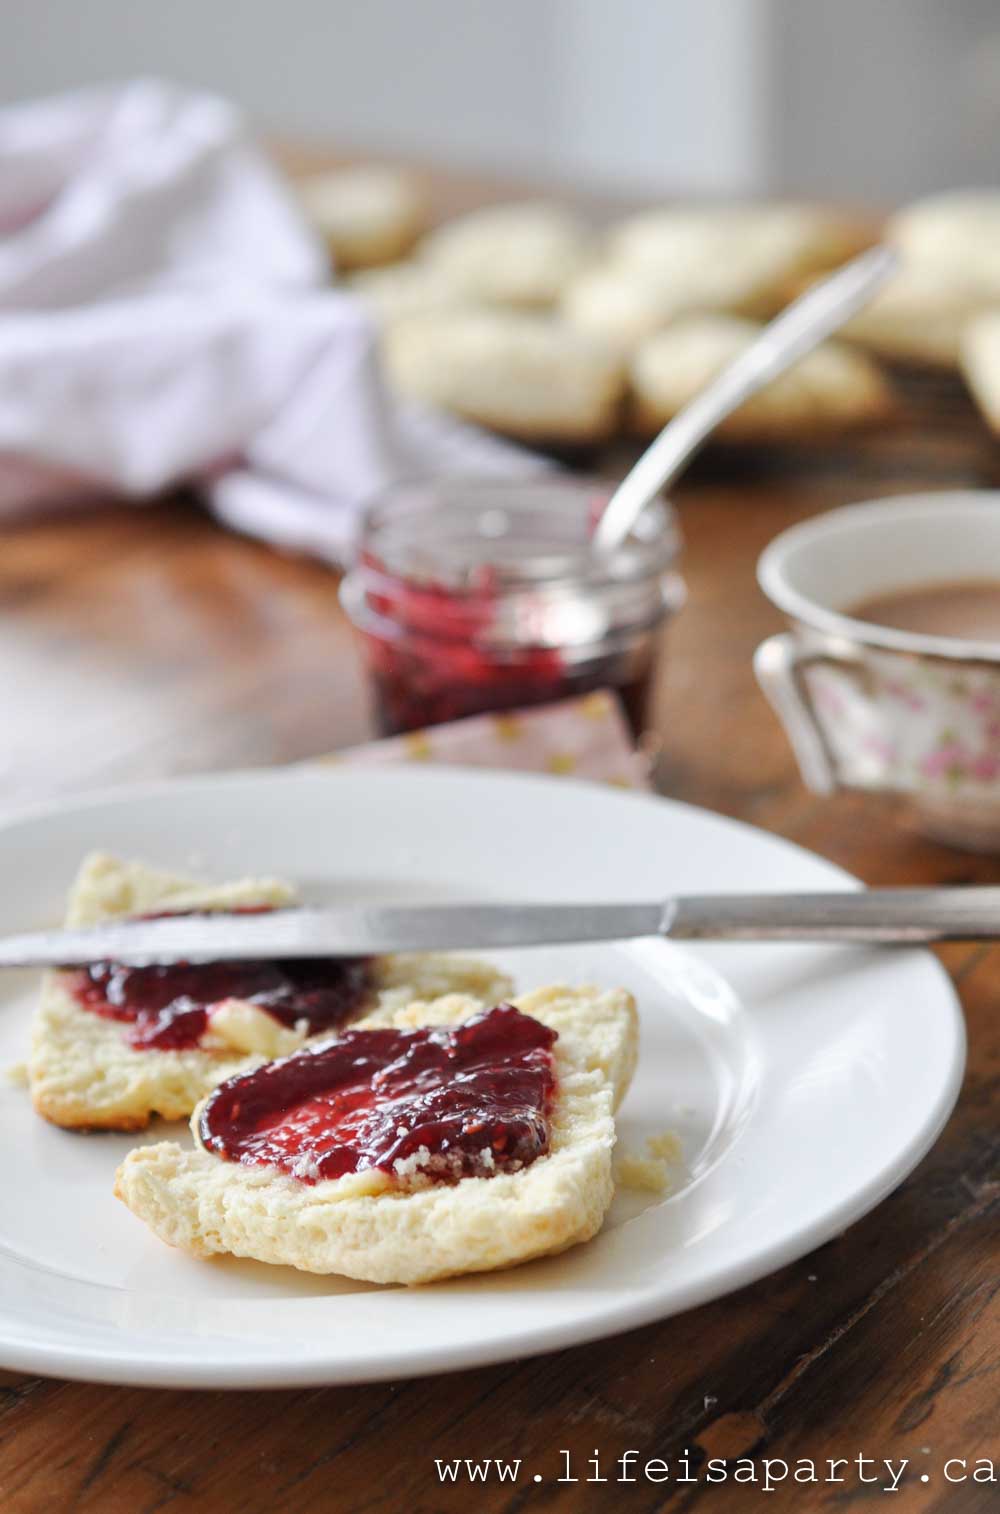
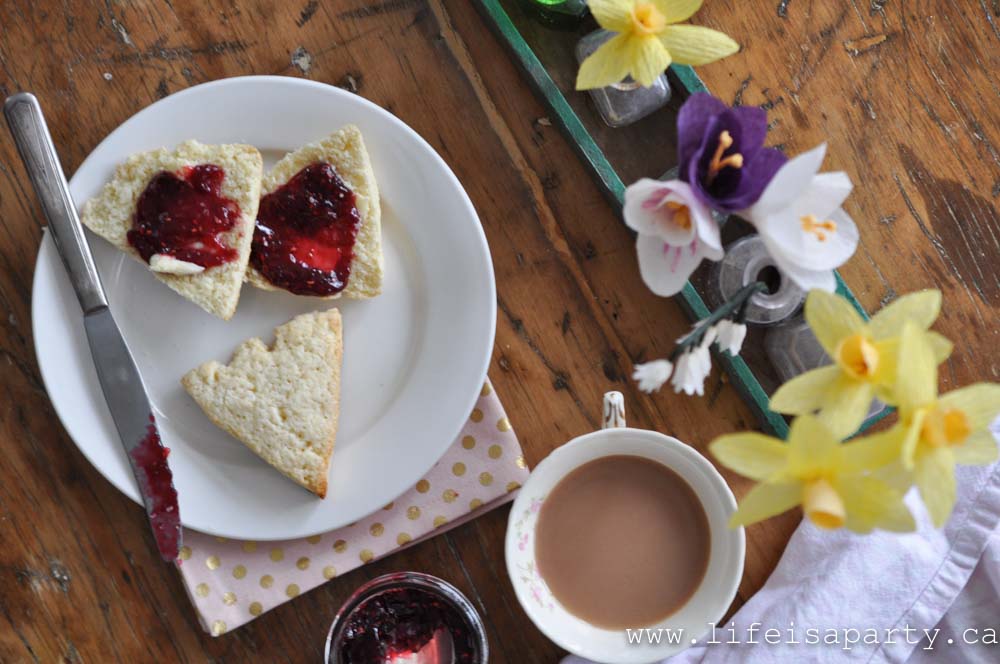
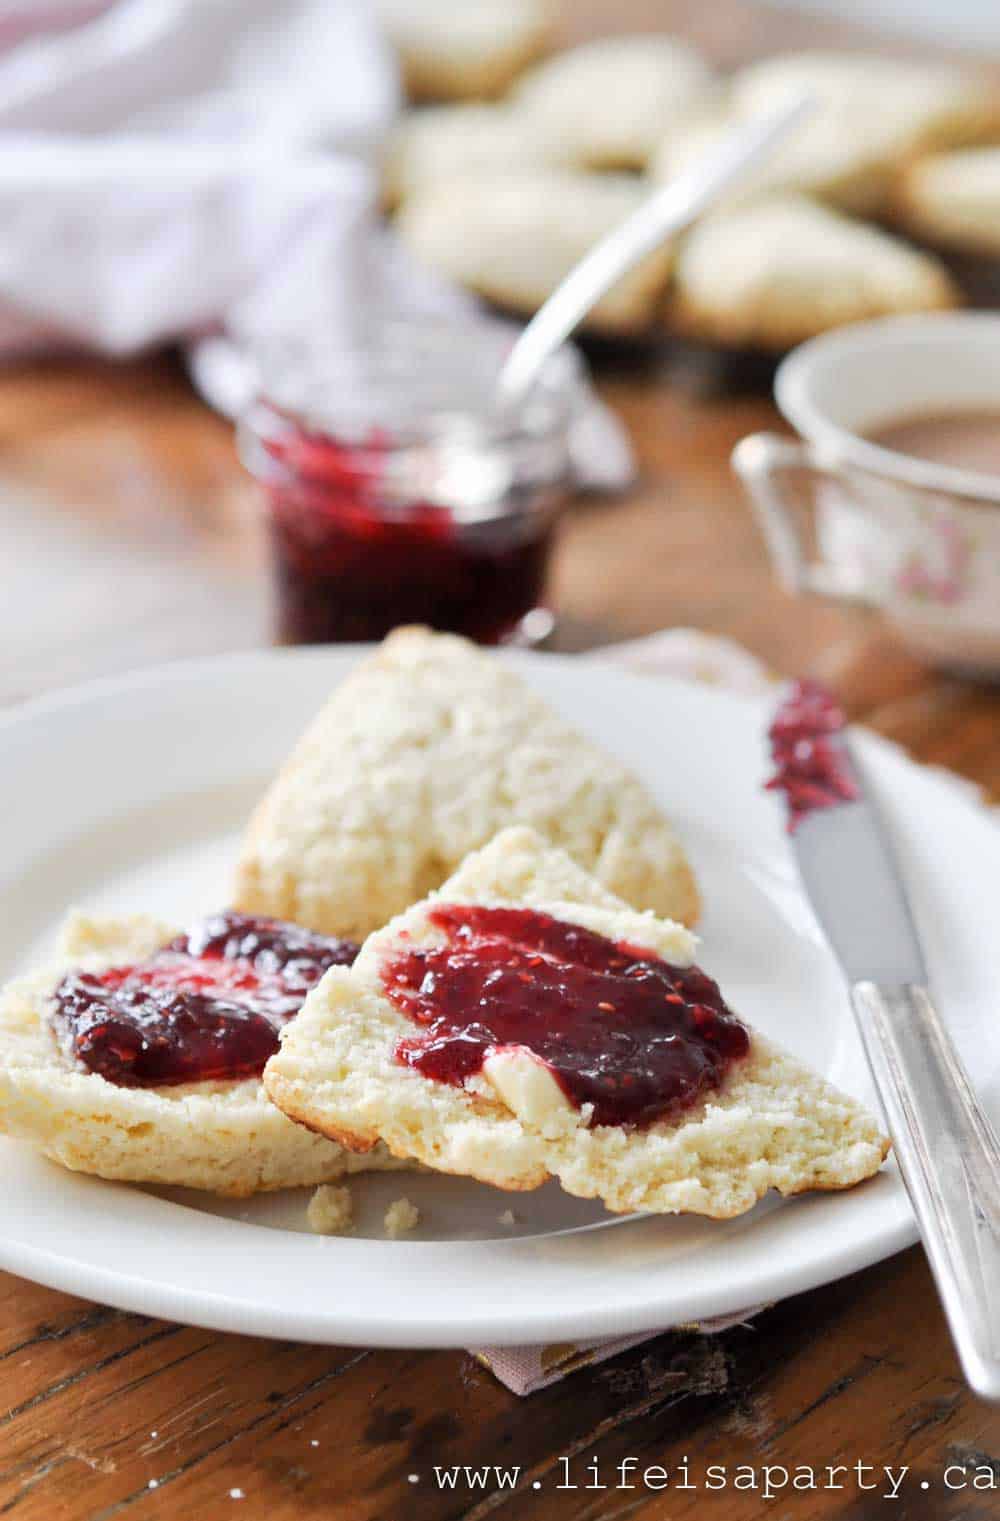
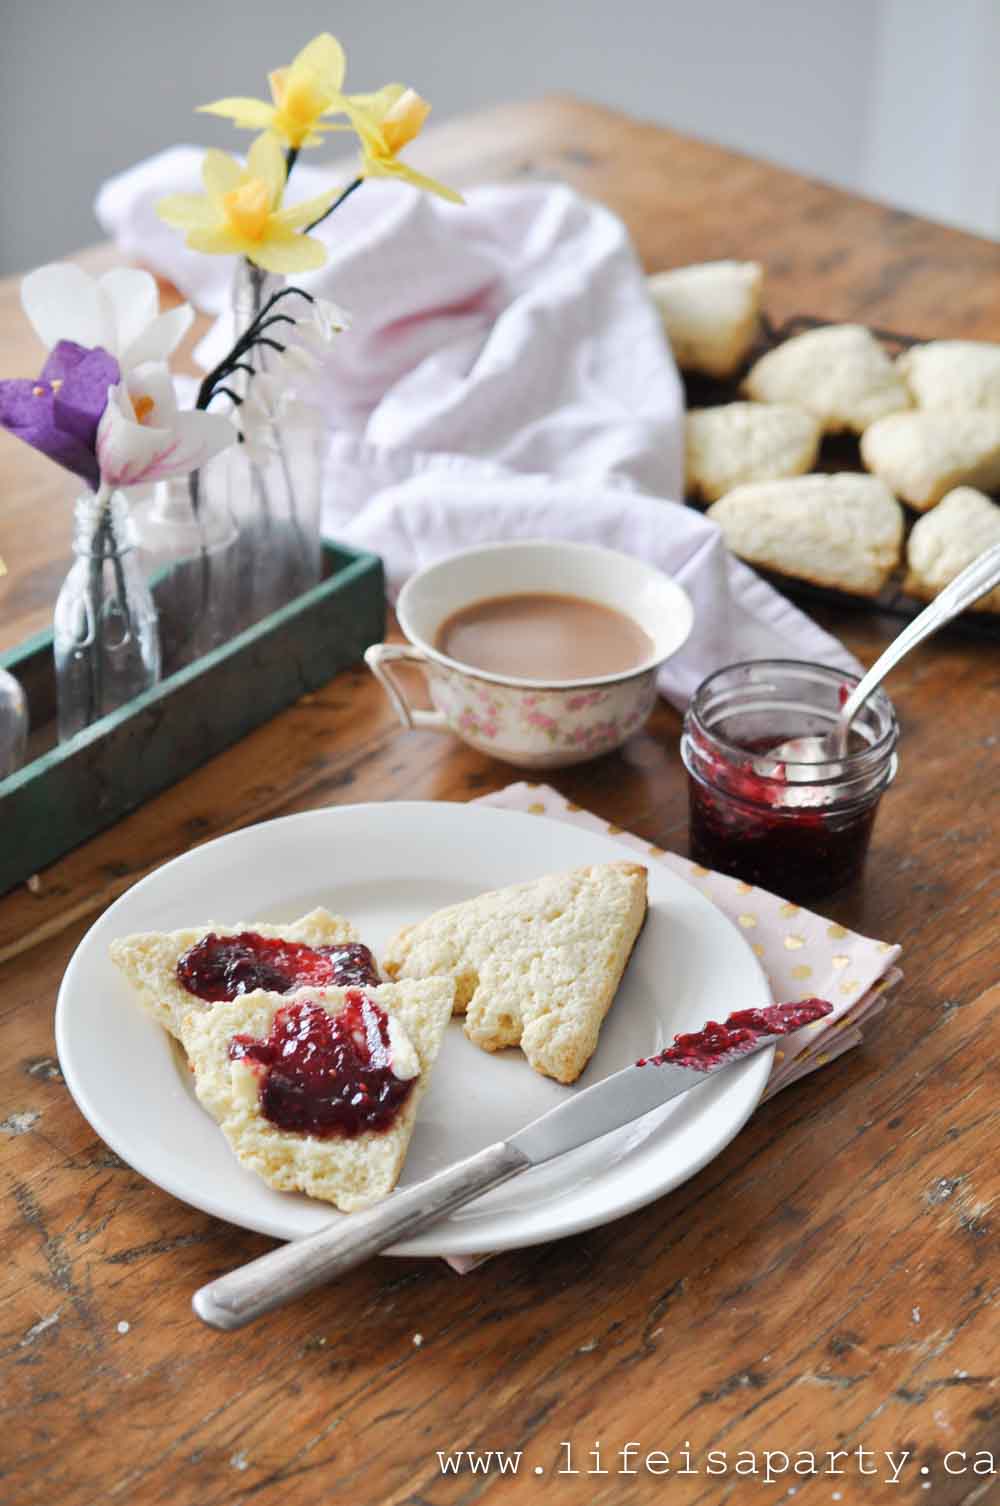
Many, many years ago I lived in England for 18 months. During that time I discovered scones. I went for many "cream teas" which is a pot of tea, served with fresh scones, butter, jam, and clotted cream.
Clotted cream is a little hard to come by where I live, but these scones are delicious served with butter and jam, and you can substitute whipped cream if you want to make your own cream tea at home.
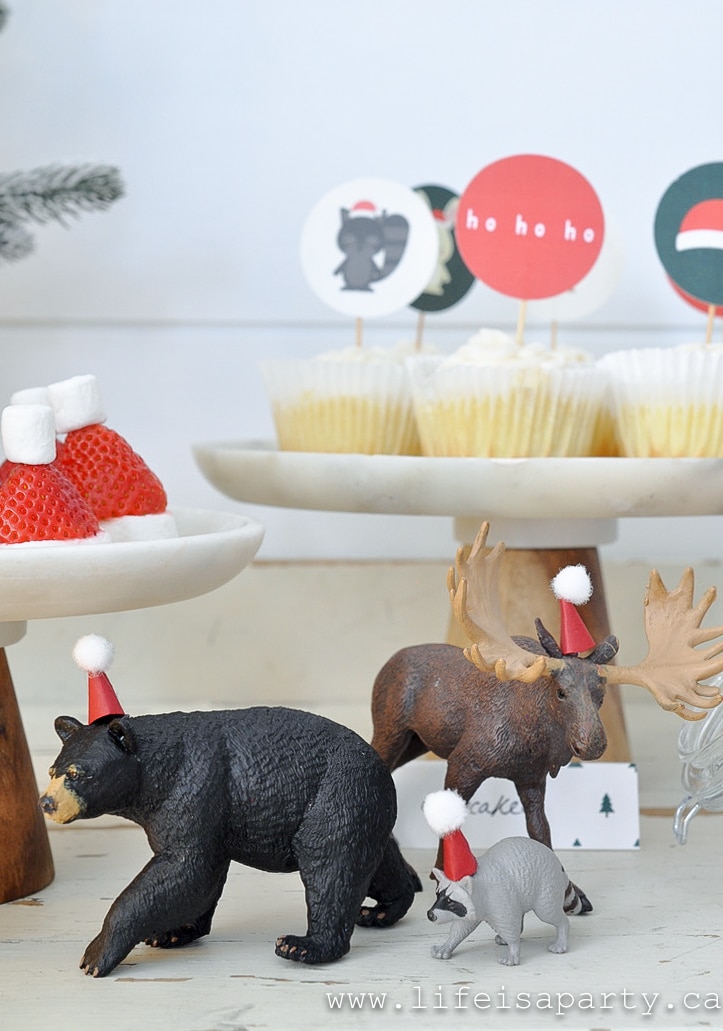
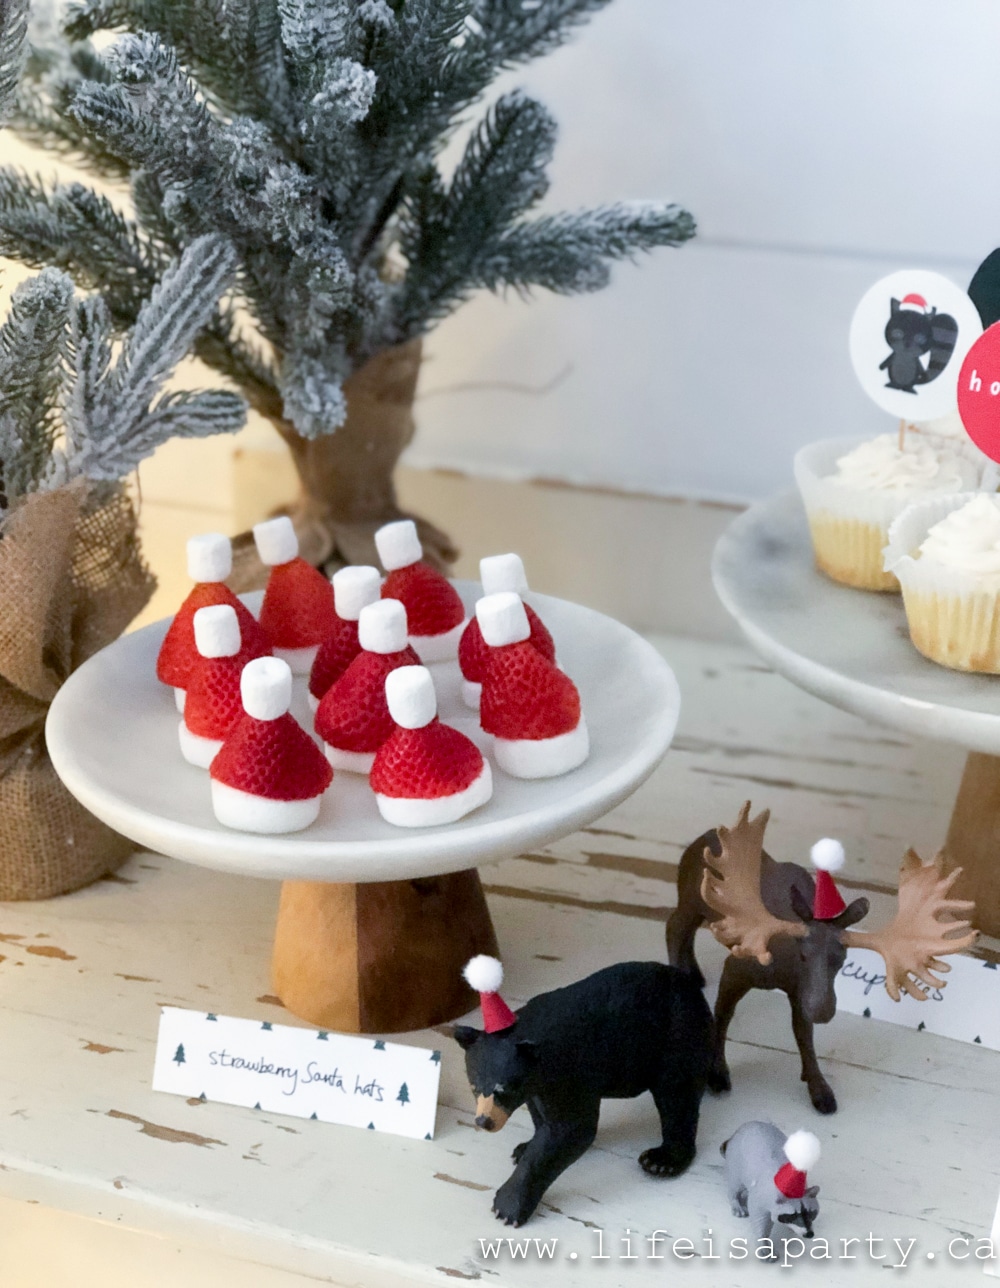
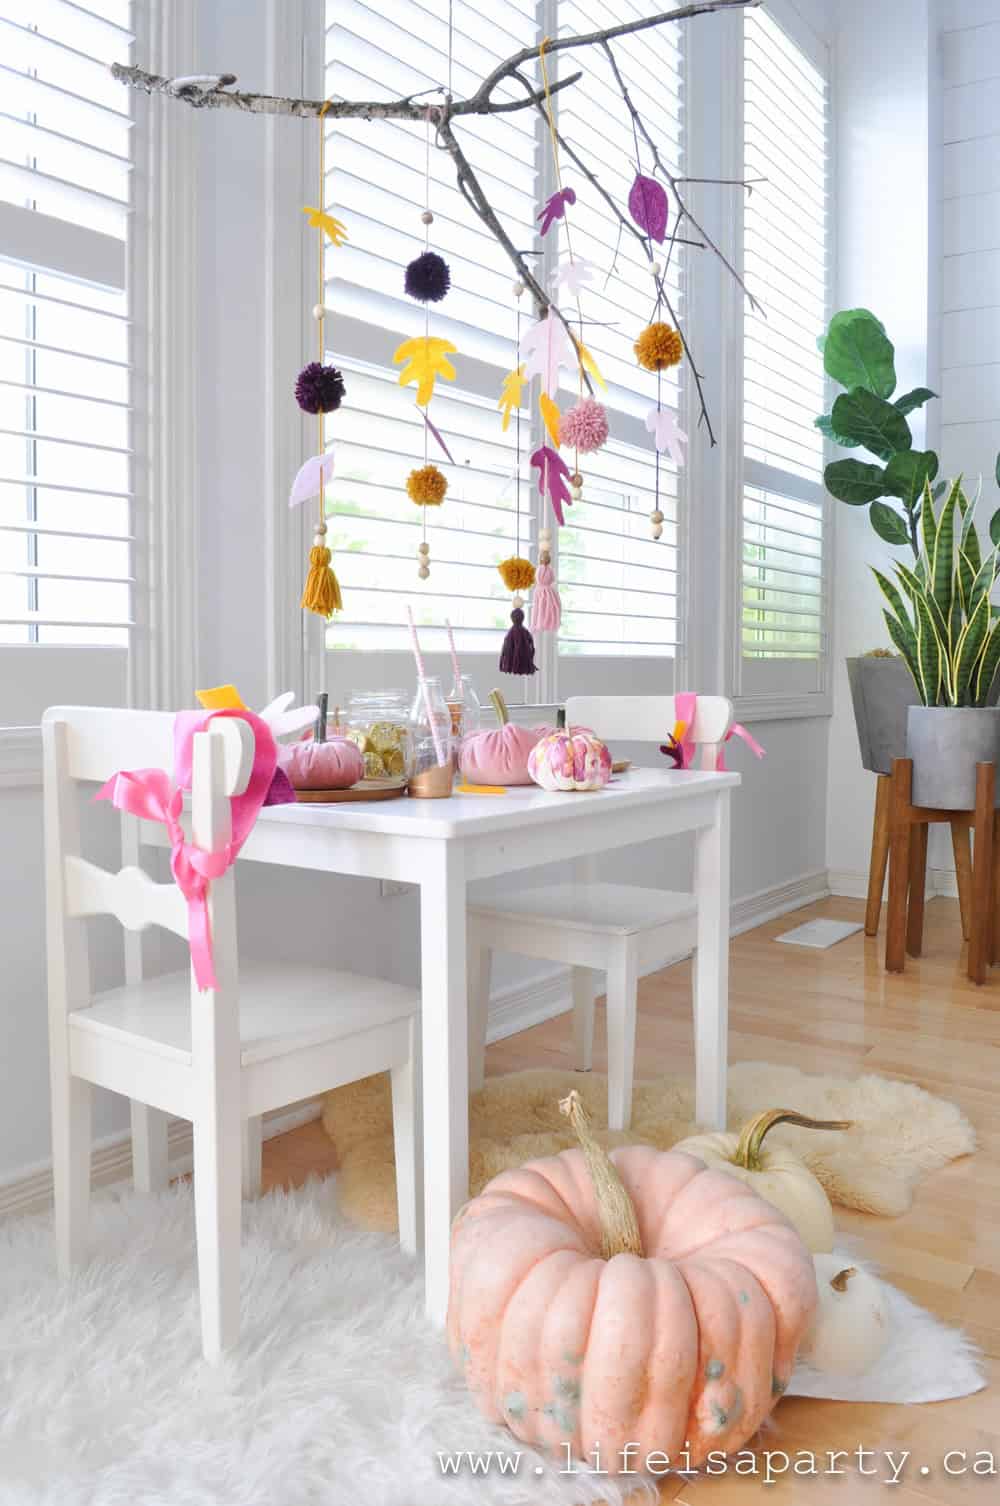
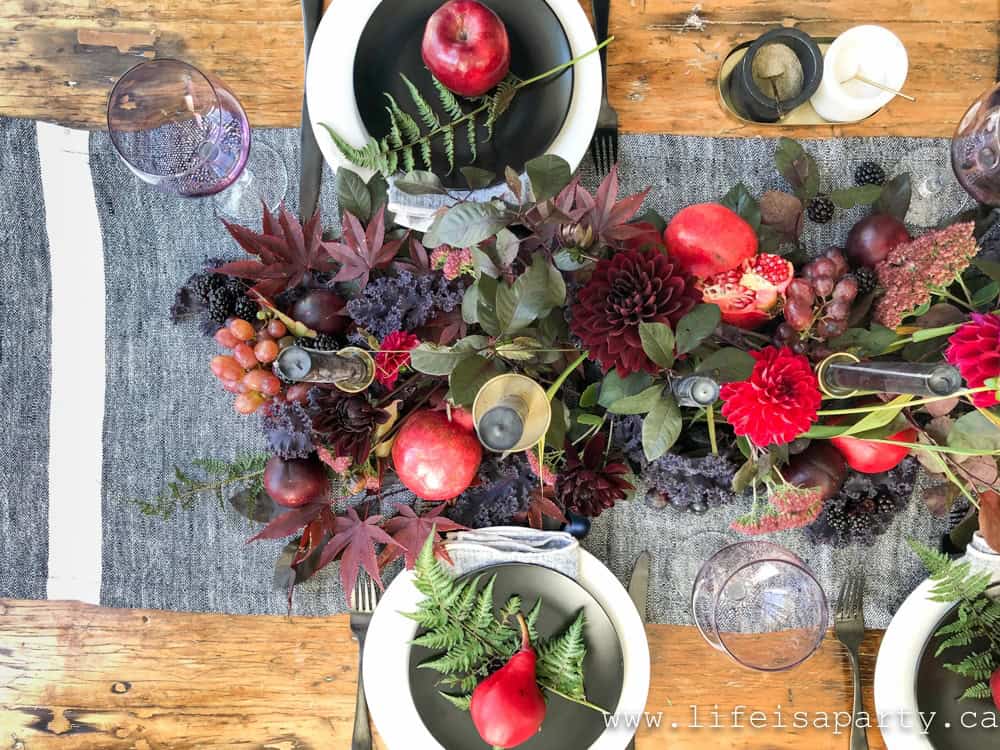
These are absolutely perfect to serve at an afternoon tea party for adults, a Fall Tea Party, or a Christmas Tea Party during the holidays. Make them the morning of your tea party for the best taste. A good scone is kind of crusty on the outside and nice and soft in the middle.
These aren't just for afternoon tea. I love these buttery scones for breakfast too. And they're a go to recipe for Mother's Day.
Ingredients
See the recipe below for exact measurements.
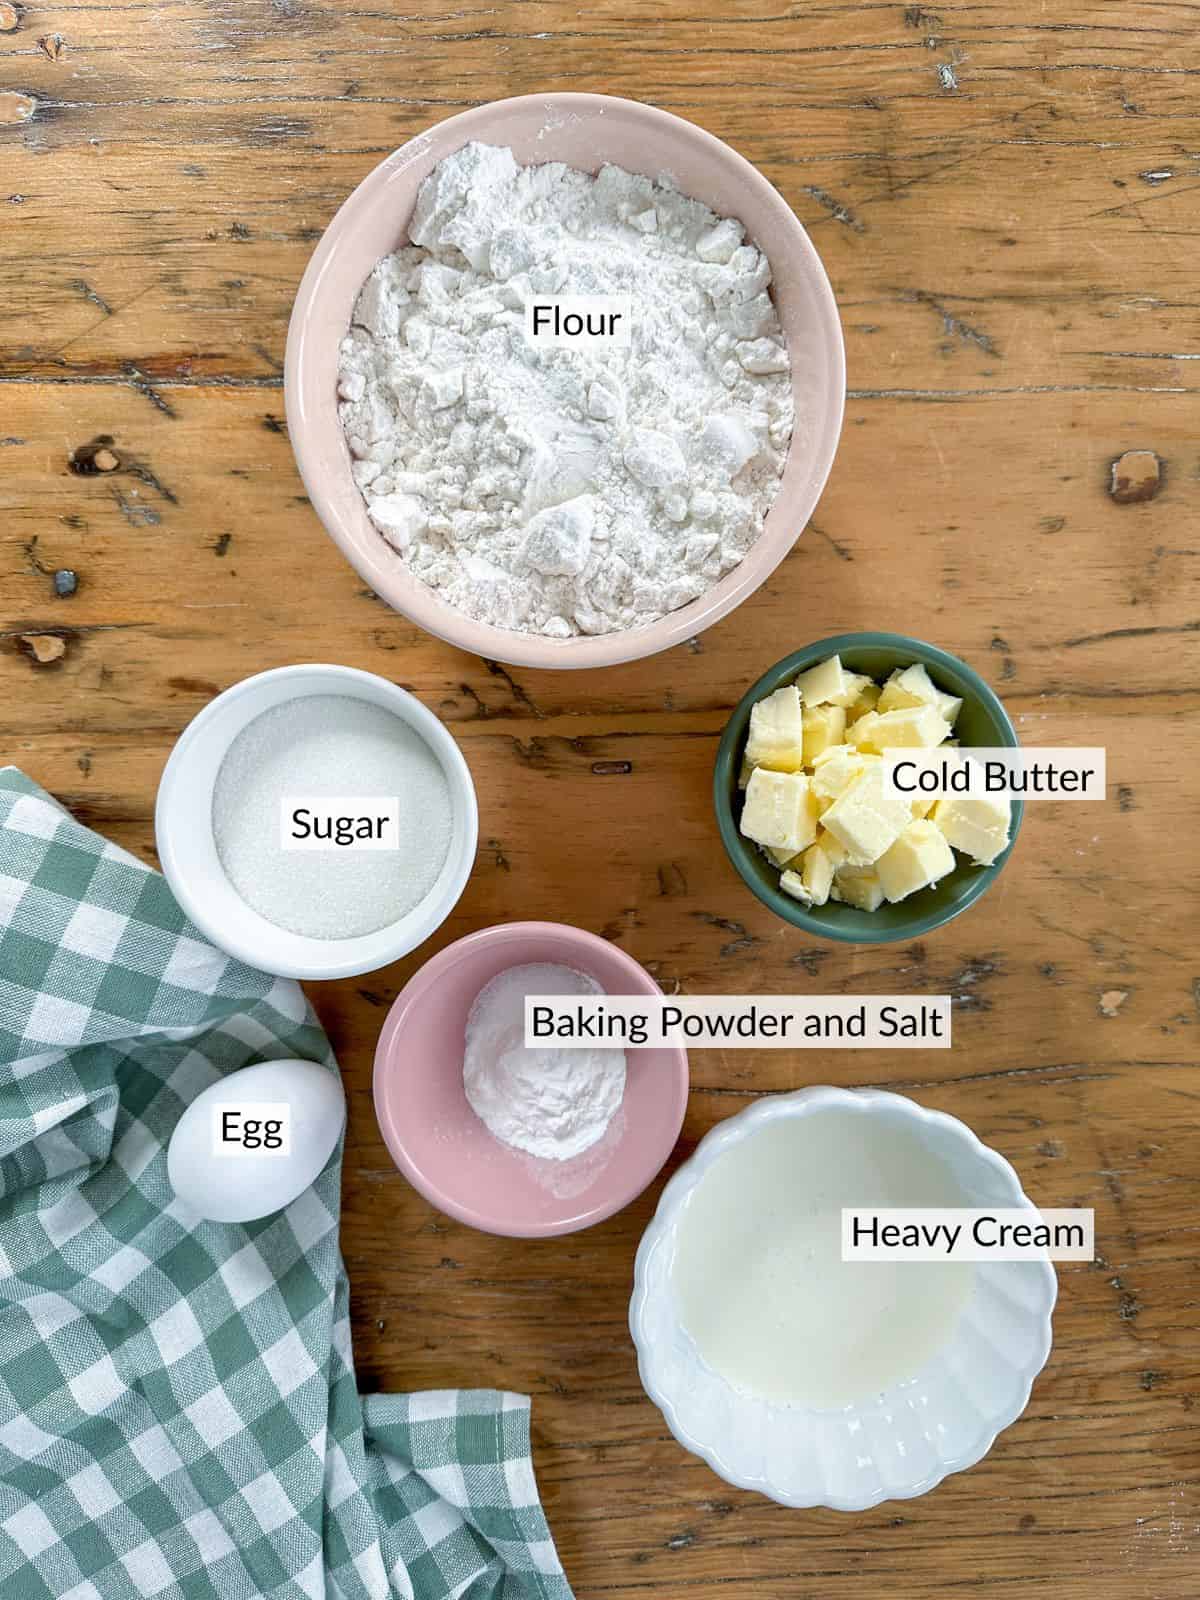
- Cold Butter: You want to use cold butter to make these scones, not softened butter. The cold butter creates air pockets in the mixture and when they cook they melt and create the flakey texture we love.
- Heavy Cream: The heavy cream adds richness to the scone with it's higher fat content, and also contributes to its flaky texture.
- Cream and Sugar Topping: We like to top these scones with a little cream and sugar sprinkled over the top just before baking. The sugar adds a lovely little sweet crust to the top of the scone, and the cream helps the scone brown on top.
Variations: Scone Add-Ins
I sometimes like to add raisins to this base scone recipe. You can not add your favorite mix-ins to the dough while it's in the food processor, because the blade would chop any add-ins into tiny pieces.
If you want to add anything to the dough, you'll have to take the dough out of the food process, and as your last step before shaping the scones, you can add in anything you like. Place the dough and the add-ins in a large bowl and use a wooden spoon to combine. I add ½ cup of raisins.
You can also try adding other ingredients to this basic scone recipe like dried currants for currant scones. You might also like to try adding cranberries, fresh blueberries, chocolate chips, or white chocolate chips.
Food Processor
Scones are traditionally made by hand, but making them in your food processor is a real time saver. When using your food processor for baking there is always the danger of overmixing. Overmixing scones means they will come out tough and chewy, instead of the tender crumbly texture we're going for.
To avoid this problem just be sure to only run the food processor until the dough comes together, and then stop once the dough forms, before overworking it.
You can also make this recipe by hand if you prefer, but the food processor method is much quicker. If you're making these by hand you can use a pastry cutter to cut in the butter, and then mix the dough together and work with a spoon and your hands.
How To Make This Recipe
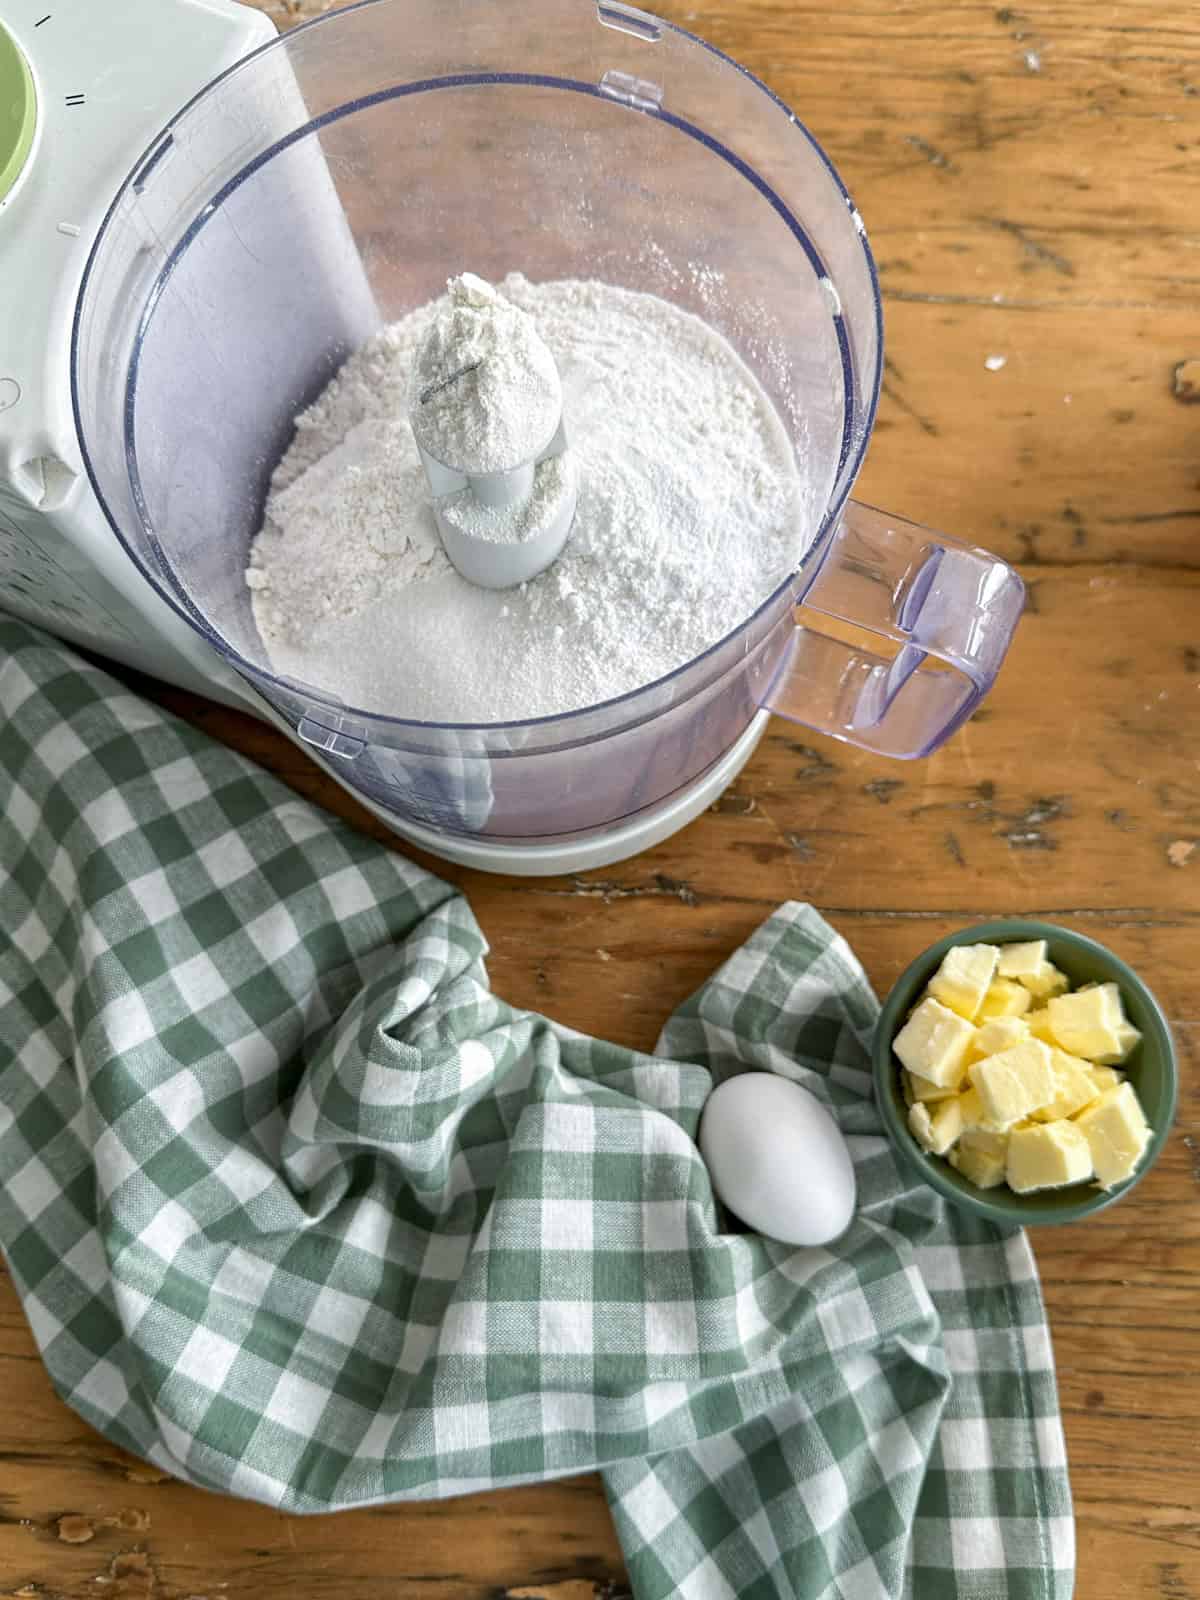
- Step 1: Combine the flour, sugar, baking powder, and salt in a food processor.
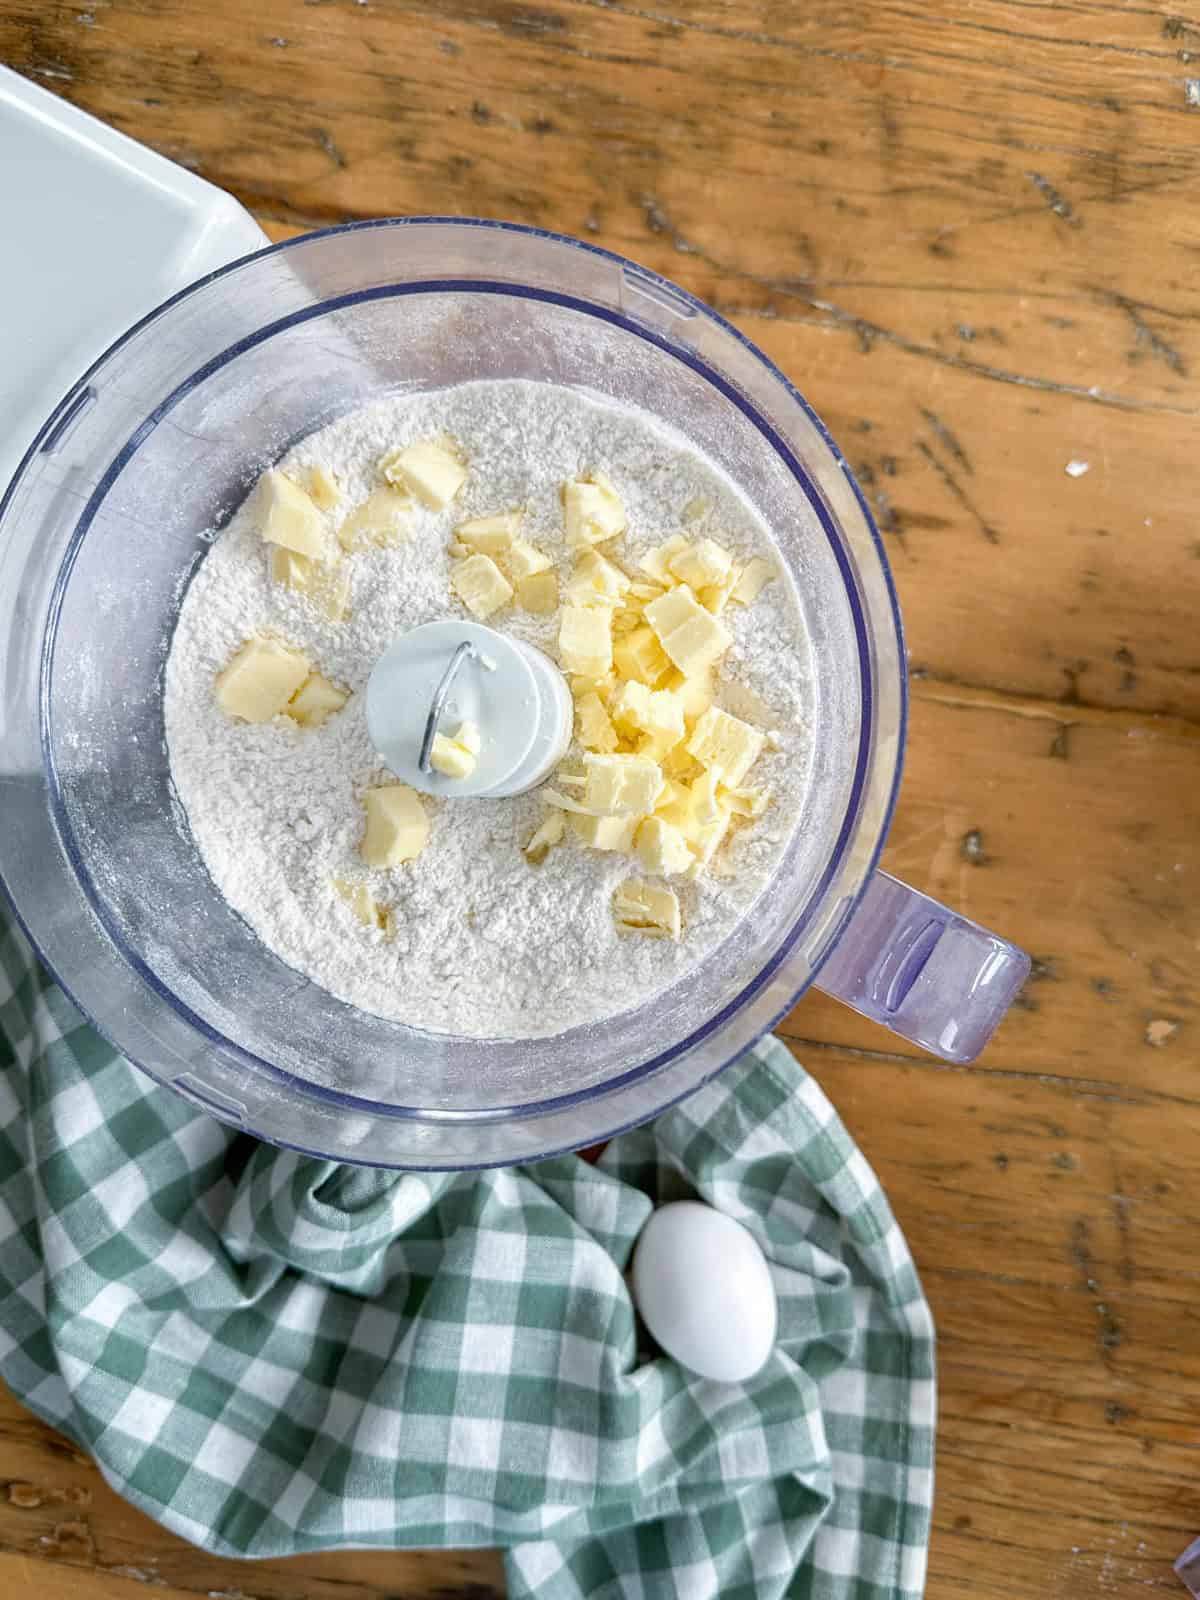
- Step 2: Add in the cold butter cut into small pieces and blend until the mixture looks like coarse crumbs.
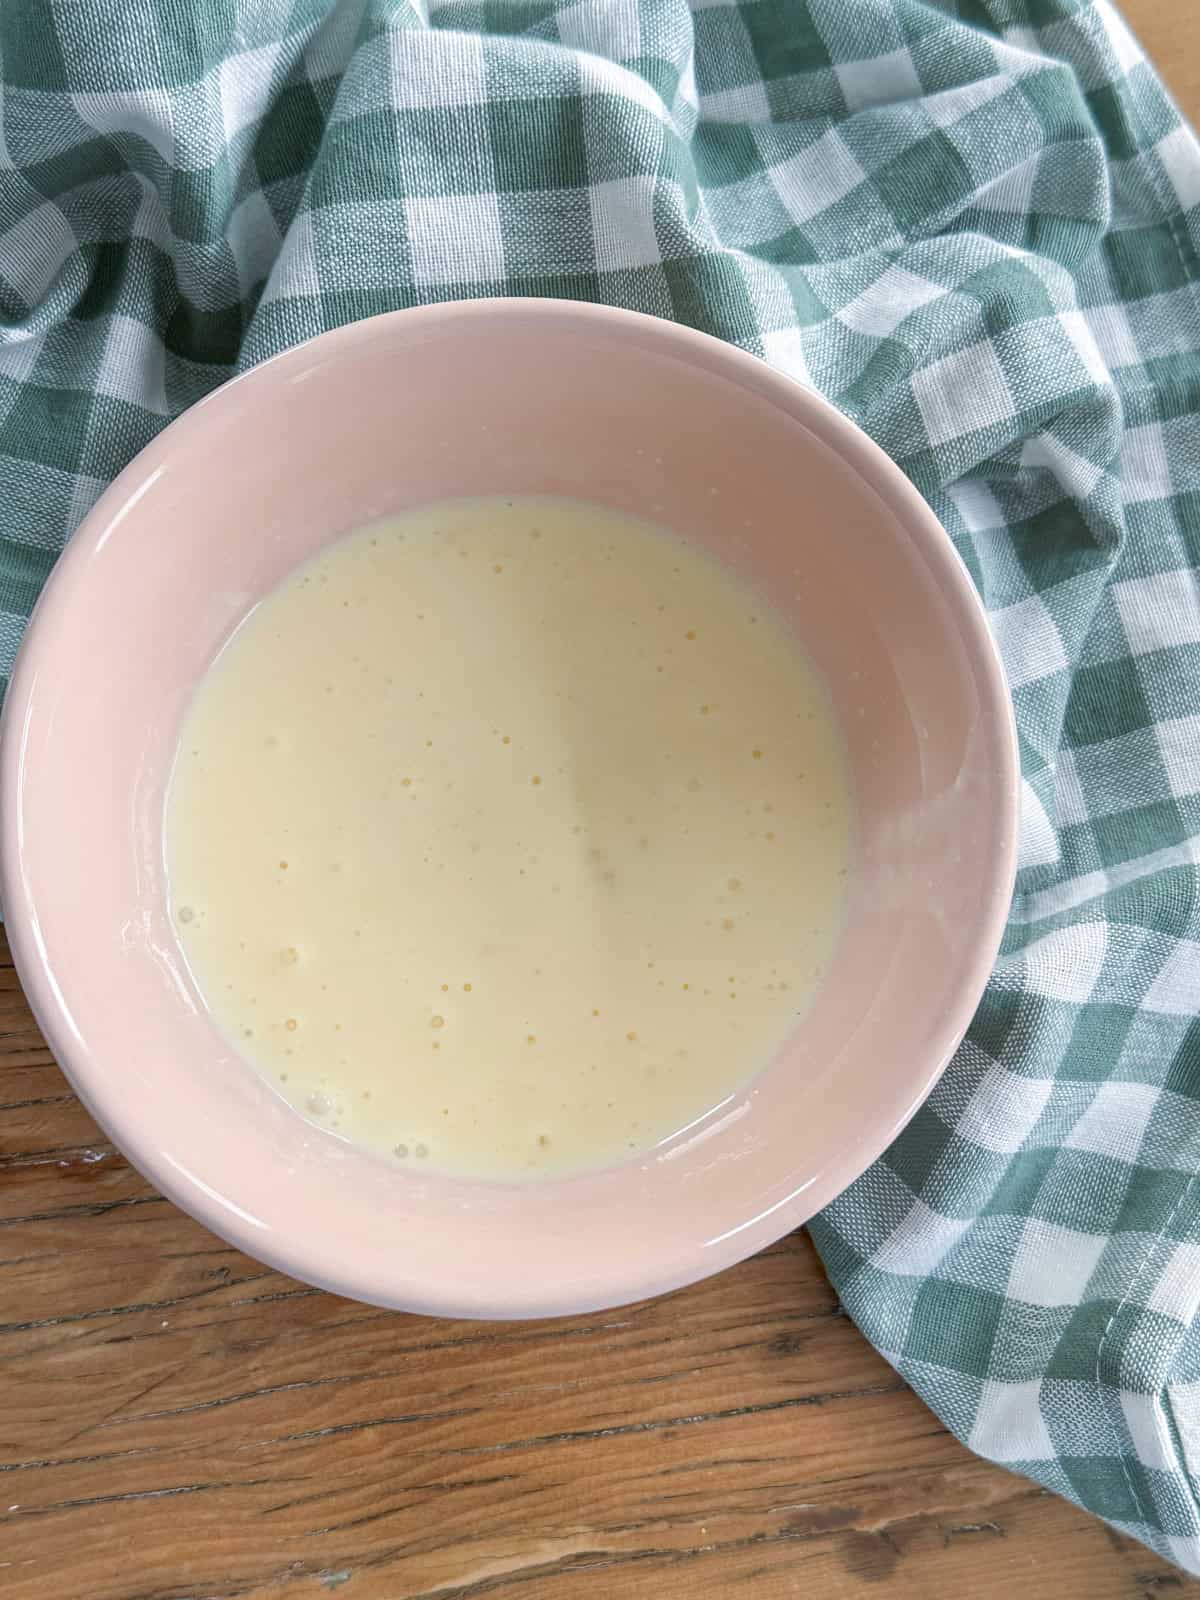
- Step 3: In a small bowl beat the egg and stir in the heavy cream.
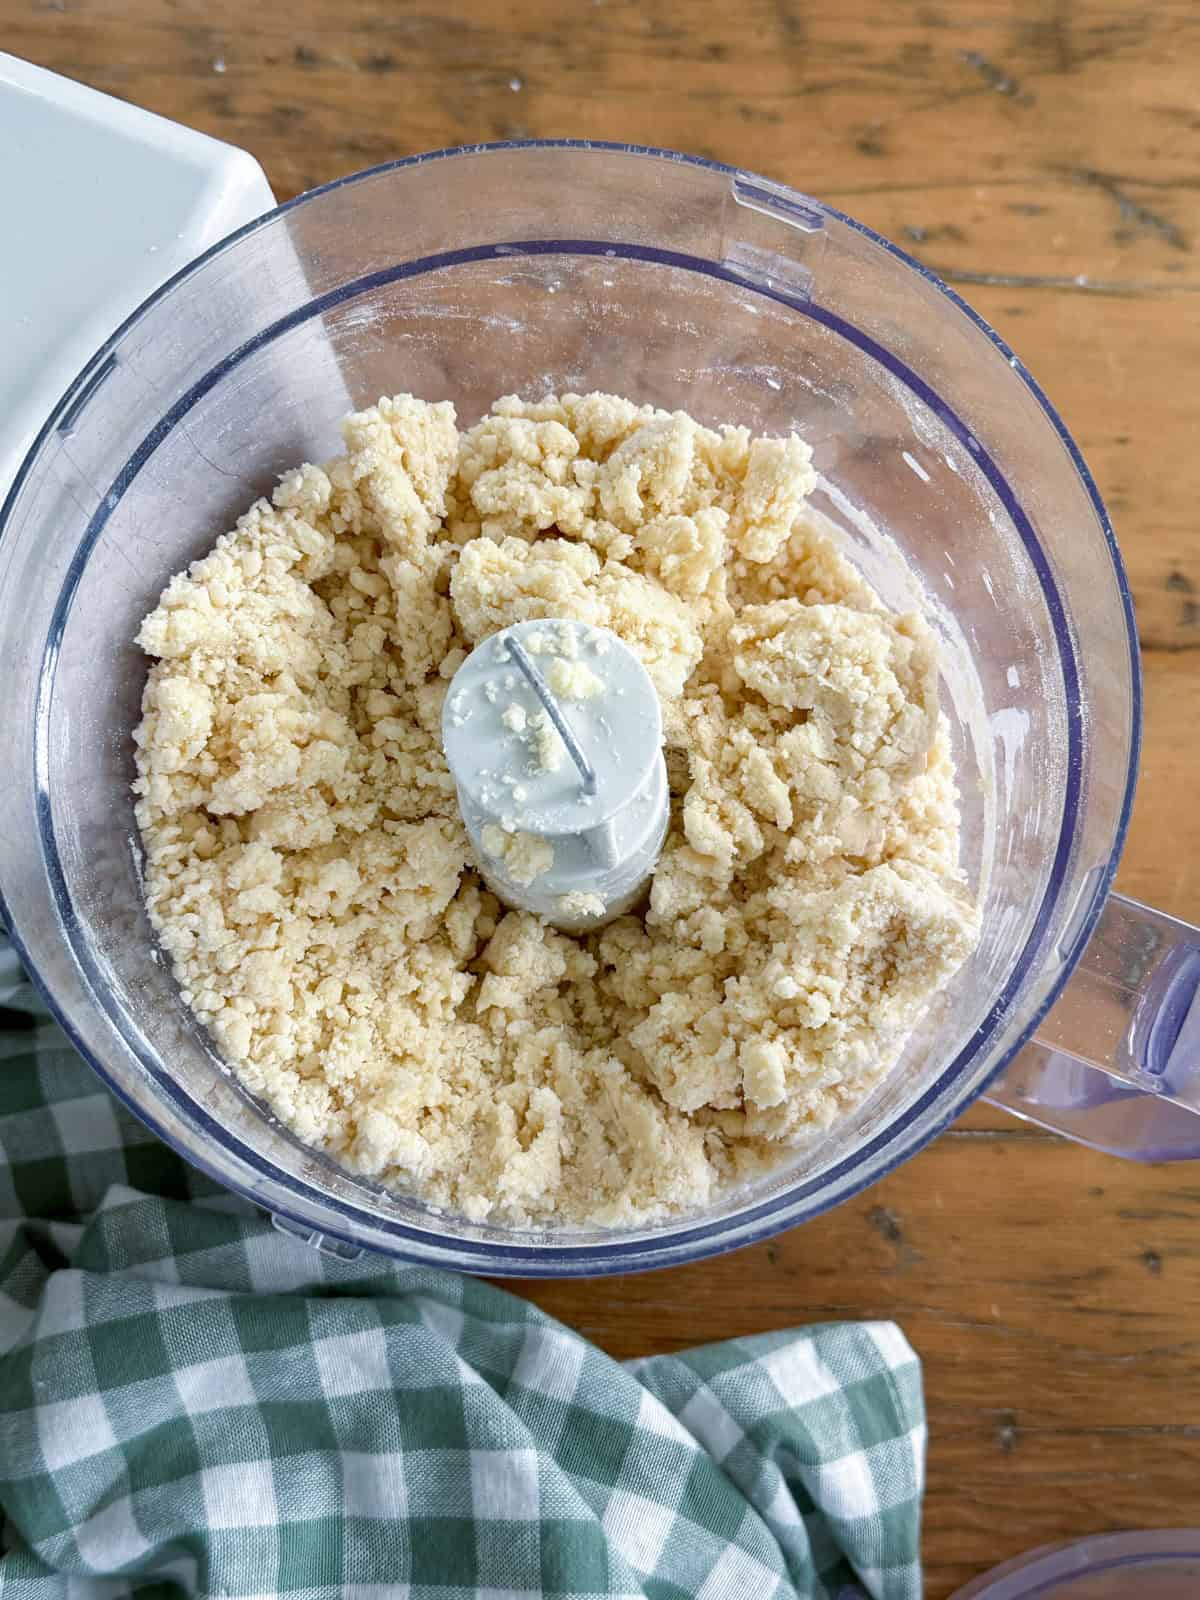
- Step 4: Add to the flour mixture in the food processor and pulse until it's completely combined and comes together to form a dough ball. Be careful not to over mix.
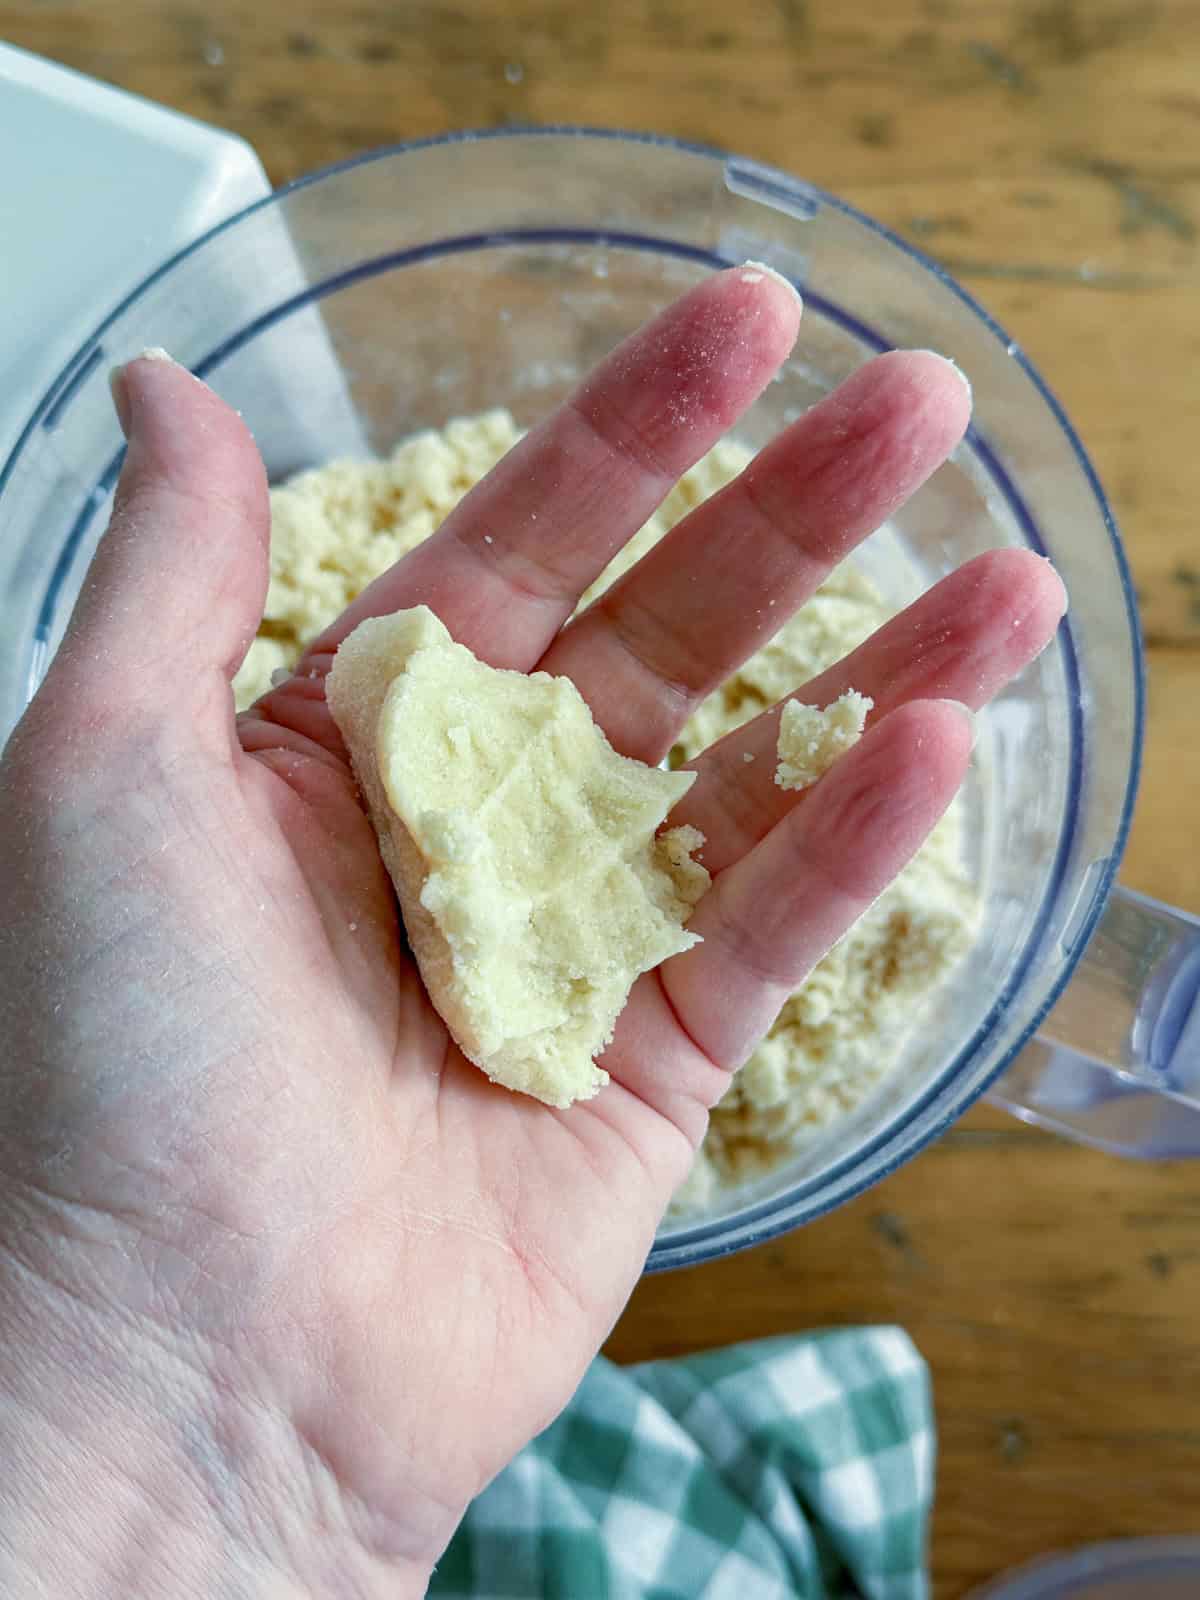
- Step 5: Dough is ready when it holds together when squeezed in your hand.

- Step 6: Turn dough out onto a lightly floured work surface and form into a ball.
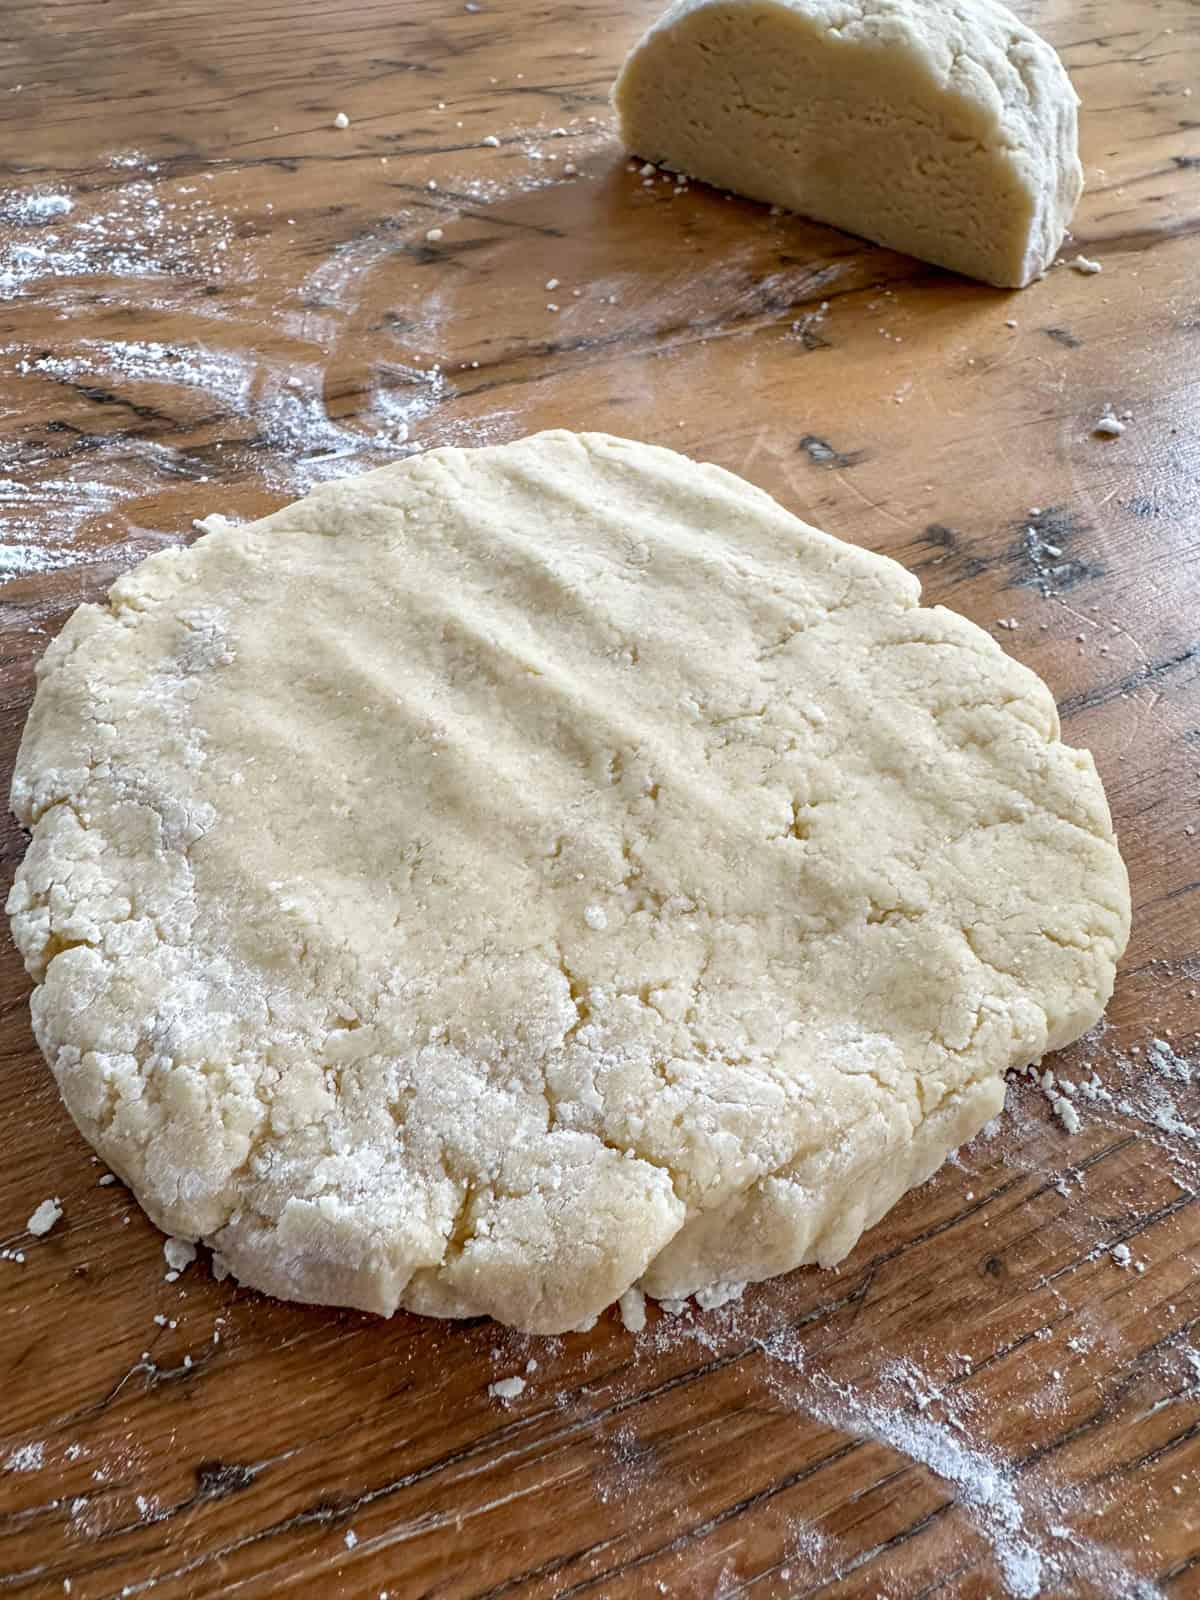
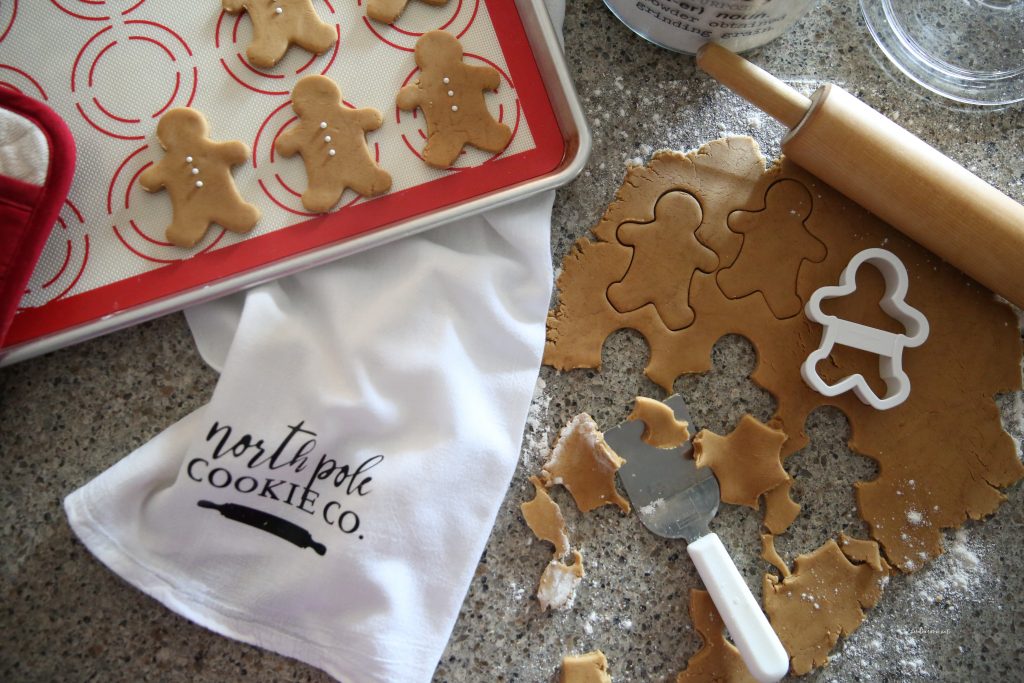
- Step 7: Cut the ball in half. Form each half into a flat disk about ¾ inch thick.

- Step 8: Cut each disk into 6 equal wedges. Brush the top of each scone with more heavy cream and sprinkle with some sugar.
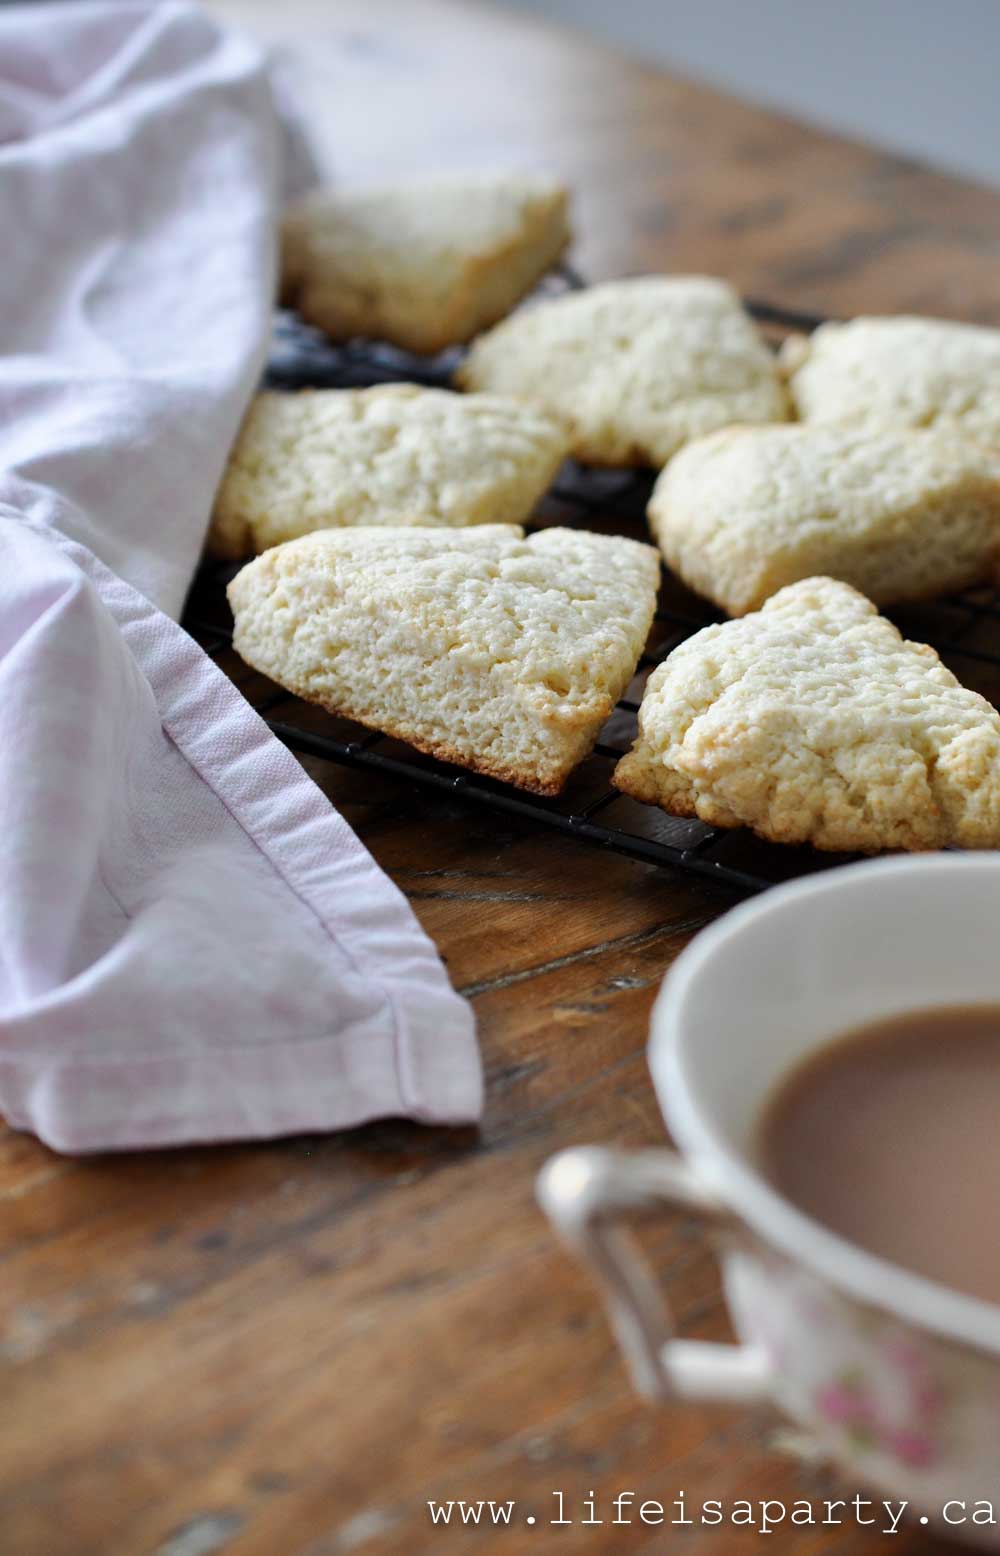
- Step 9: Bake at 425 F degree oven on a large baking sheet in the middle of the oven for about 10 minutes, or until the tips of the wedges start to turn golden brown. Let cool on a wire rack.
Tip: Shaping The Scones
I really prefer cutting the scone dough into wedges instead of using a round cookie cutter. If you use a cookie cutter, you will have to re-roll the leftover dough, and this can lead to overworked tough scones. By cutting the wedges you avoid having to overwork the dough and make more tender scones.
Storage
These scones are best eaten fresh the day they are made. When they're fresh they have a perfect crust on the outside, and are soft in the middle. You can store any leftovers in an airtight container at room temperature, but like most baked goods they lose the outer crust when they're not freshly baked.
You can freeze the dough and bake it fresh when needed. To do this prepare the scones and put on a baking tray and put the baking tray uncovered in the freezer. Once the scones are frozen individually you can store them in an airtight container in the freezer for several months. To bake them remove one, let it defrost on a baking sheet and then bake according to the recipe.
Frequently Asked Questions
These scones are best eaten the day they are made. You can store them for up to 3 days. When they are fresh they have a crusty outside and tender inside. You lose the crust after a day, but they're still delicious.
Yes, freeze the dough before baking and bake them fresh whenever you want them. Or freeze the baked scones.
Depending on the humidity and weather when and where you're baking the dough might be a little crumbly. If this happens add a few more tablespoons of cream to the food processor until the dough comes together nicely.
More Recipes You Might Like


If you try this Food Processor Scones Recipe or any other recipe on my blog please leave a star rating and let me know how it went in the comments below. Thanks for visiting today!
Recipe

Easy Food Processor Scones
Ingredients
- 2 cups flour
- ⅓ cup sugar
- 1 tablespoon baking powder
- ½ teaspoon salt
- ⅓ cup cold butter
- 1 egg
- ½ cup heavy cream
- plus 1 tablespoon more cream and 2 teaspoon sugar for the top
Instructions
- Combine the flour, sugar, baking powder, and salt in a food processor.
- Add in the cold butter cut into small pieces and blend until the mixture looks like coarse crumbs.
- In a small bowl beat the egg and stir in the heavy cream.
- Add the cream and egg mixture to the flour mixture in the food processor and pulse until it's completely combined and comes together to form a dough ball. Be careful not to over mix.
- Dough is ready when it holds together when squeezed in your hand.
- Turn dough out onto a lightly floured work surface and form into a ball.
- Cut the ball in half. Form each half into a flat disk about ¾ inch thick.
- Cut each disk into 6 equal wedges. Brush the top of each scone with more heavy cream and sprinkle with some sugar.
- Bake at 425 F degree oven on a large baking sheet in the middle of the oven for about 8-10 minutes, or until the tips of the wedges start to turn golden brown. Let cool on a wire rack.


 The magnolia flowers are a favourite of mine. I had to adjust them a little since I couldn't find crepe paper and had to use streamers to make them. I was inspired by the


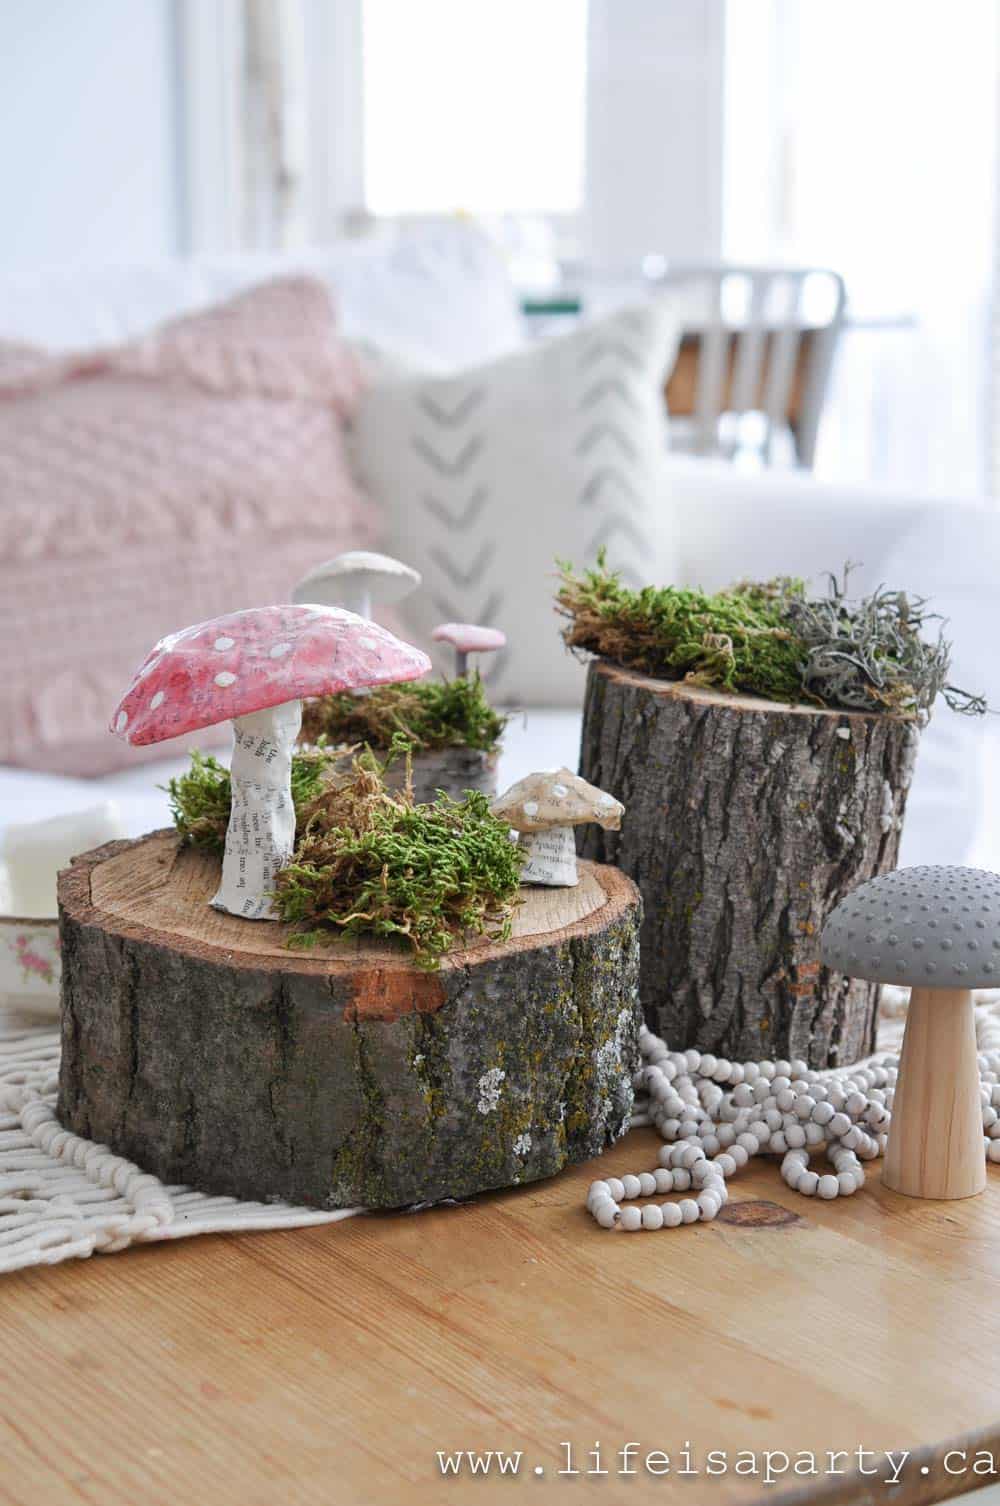

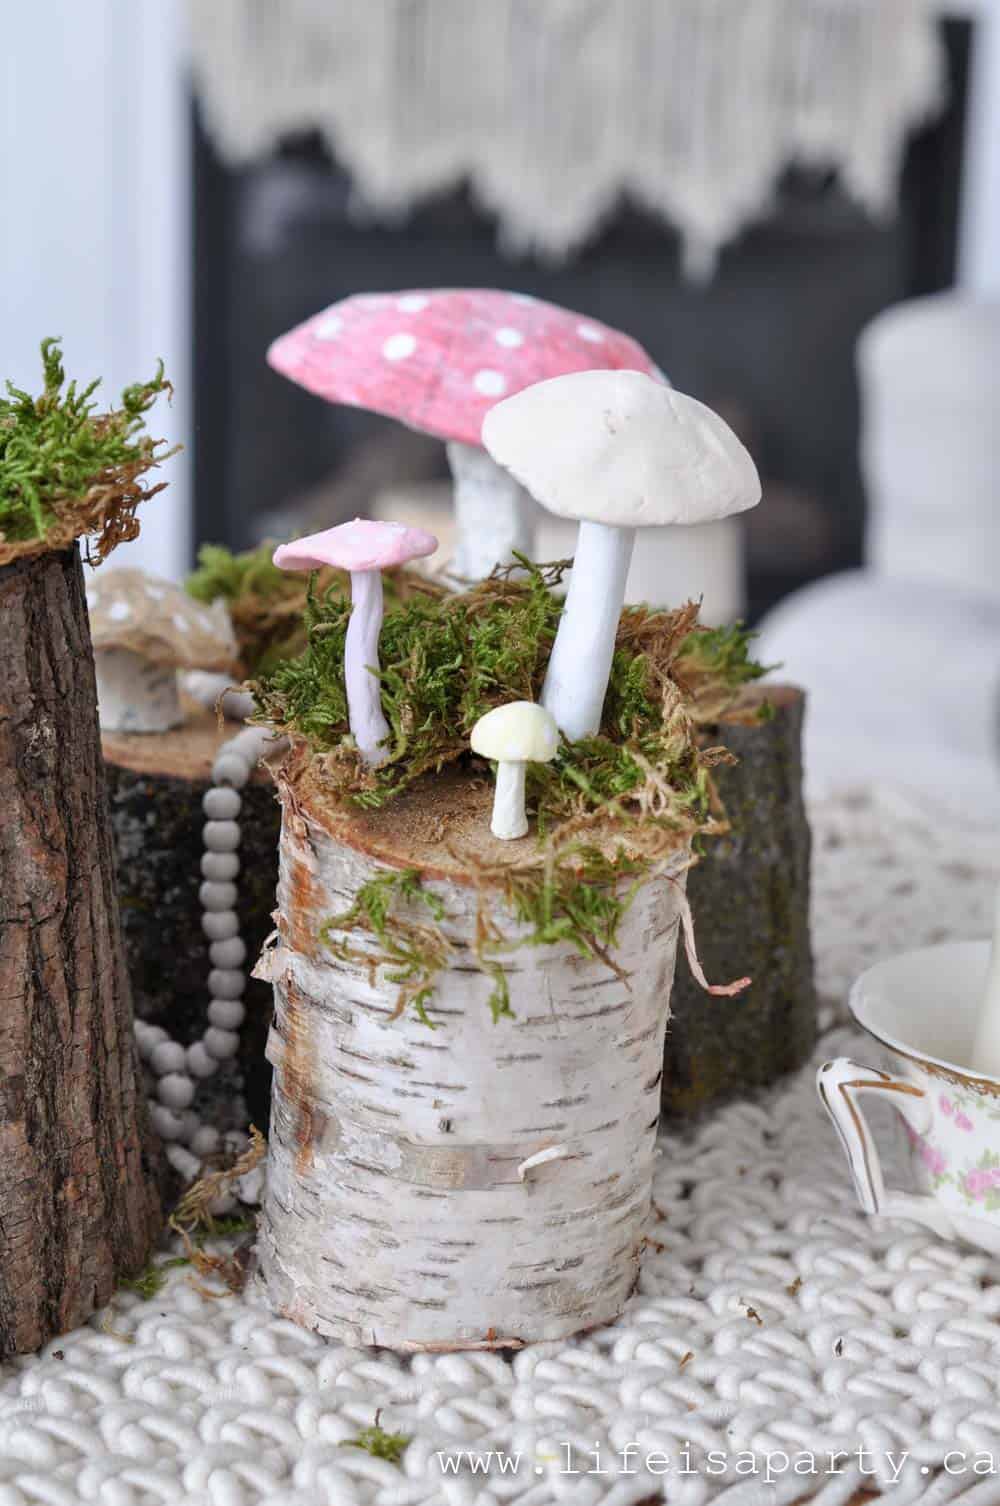
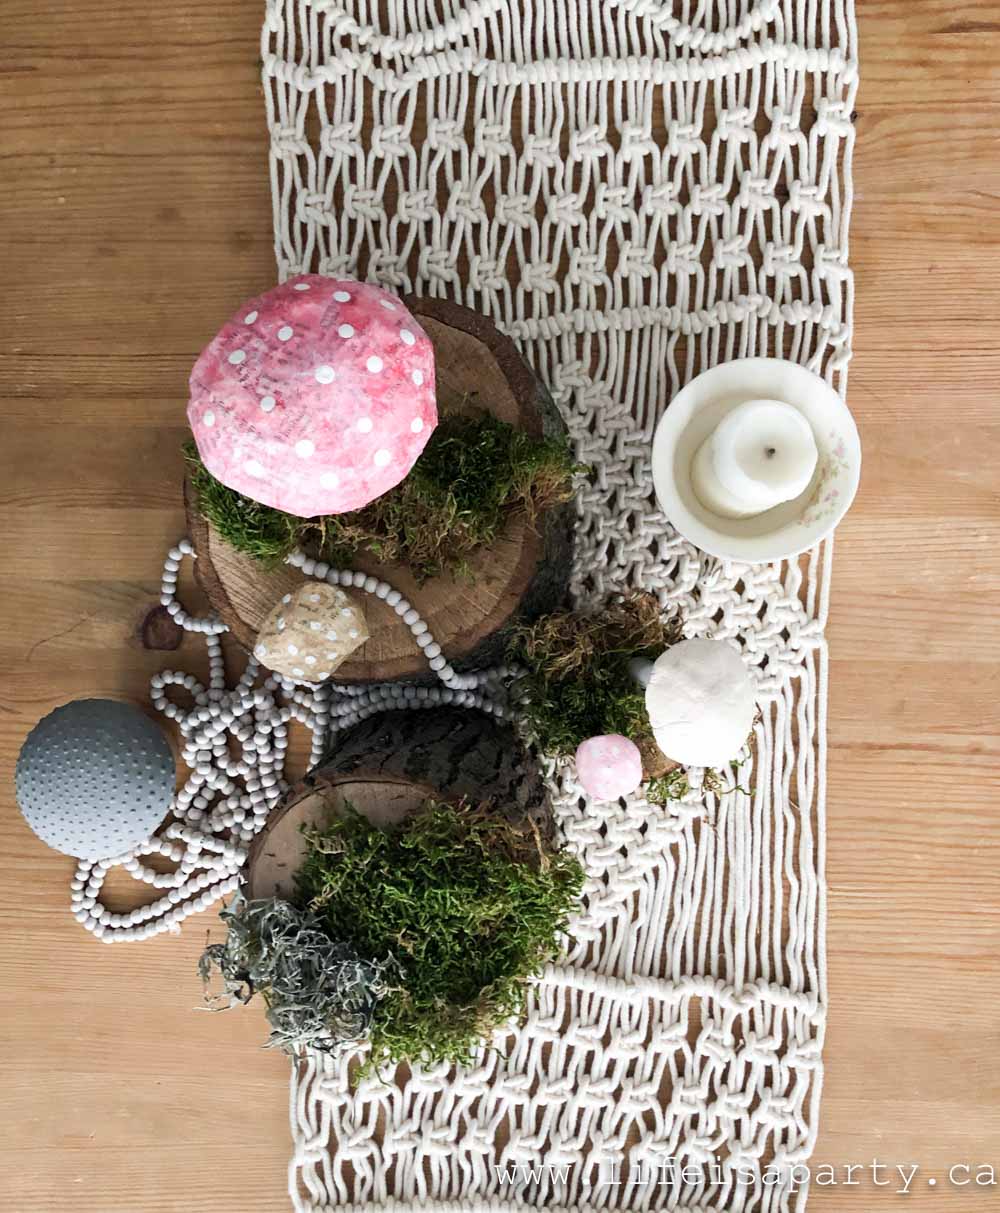


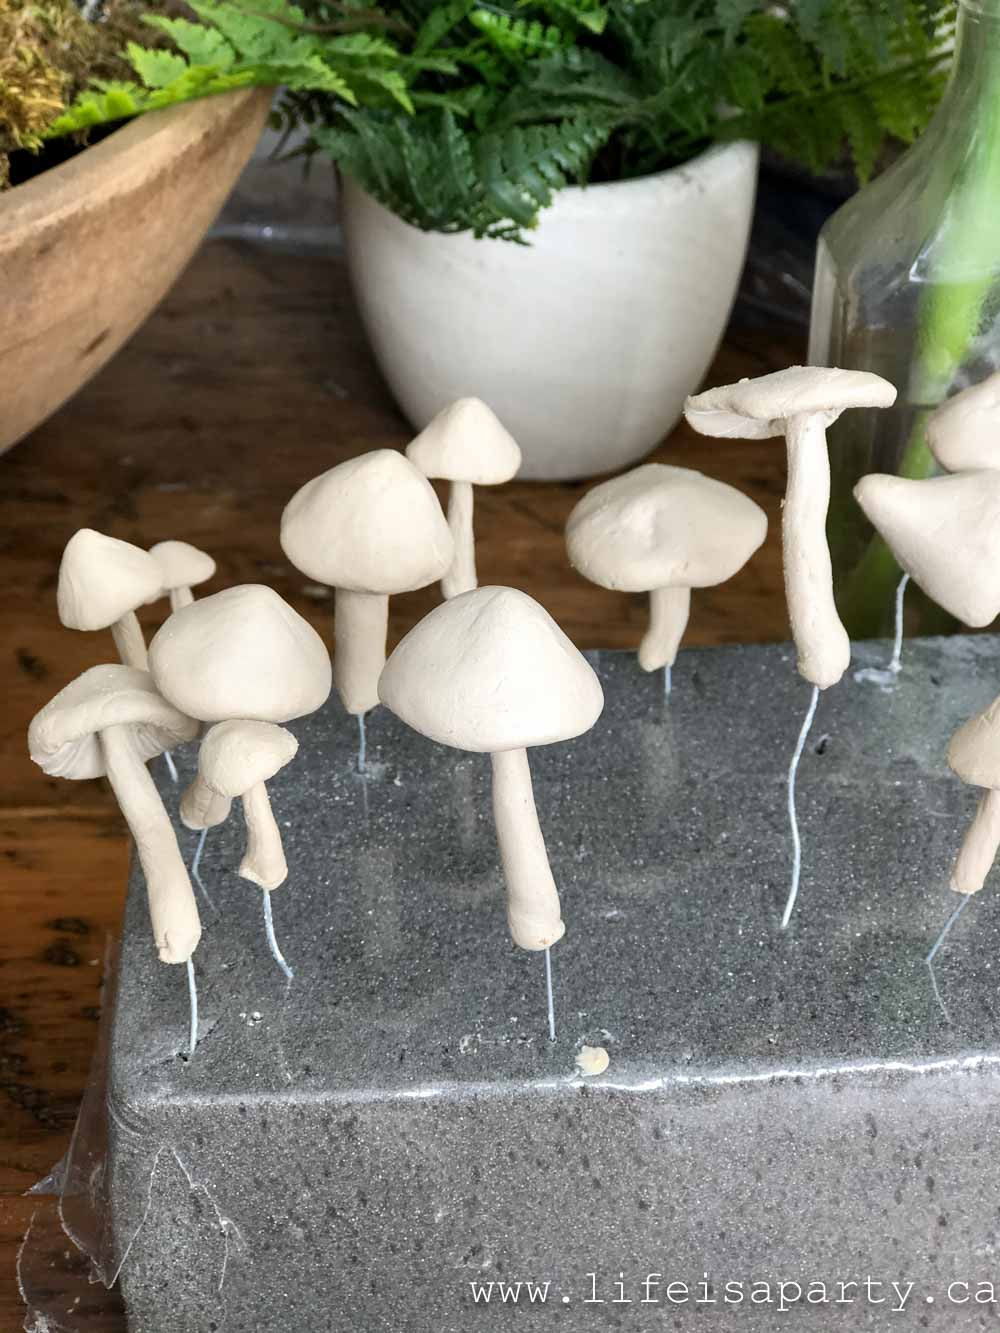


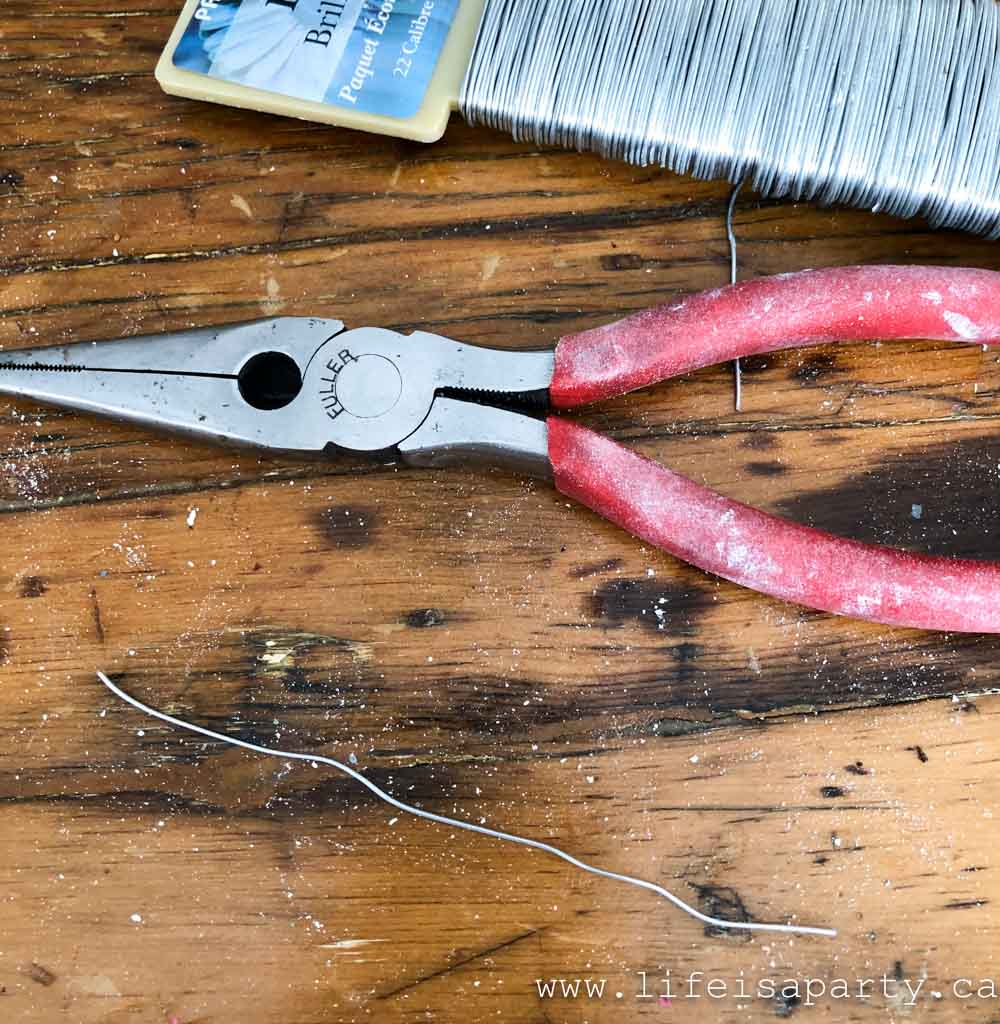
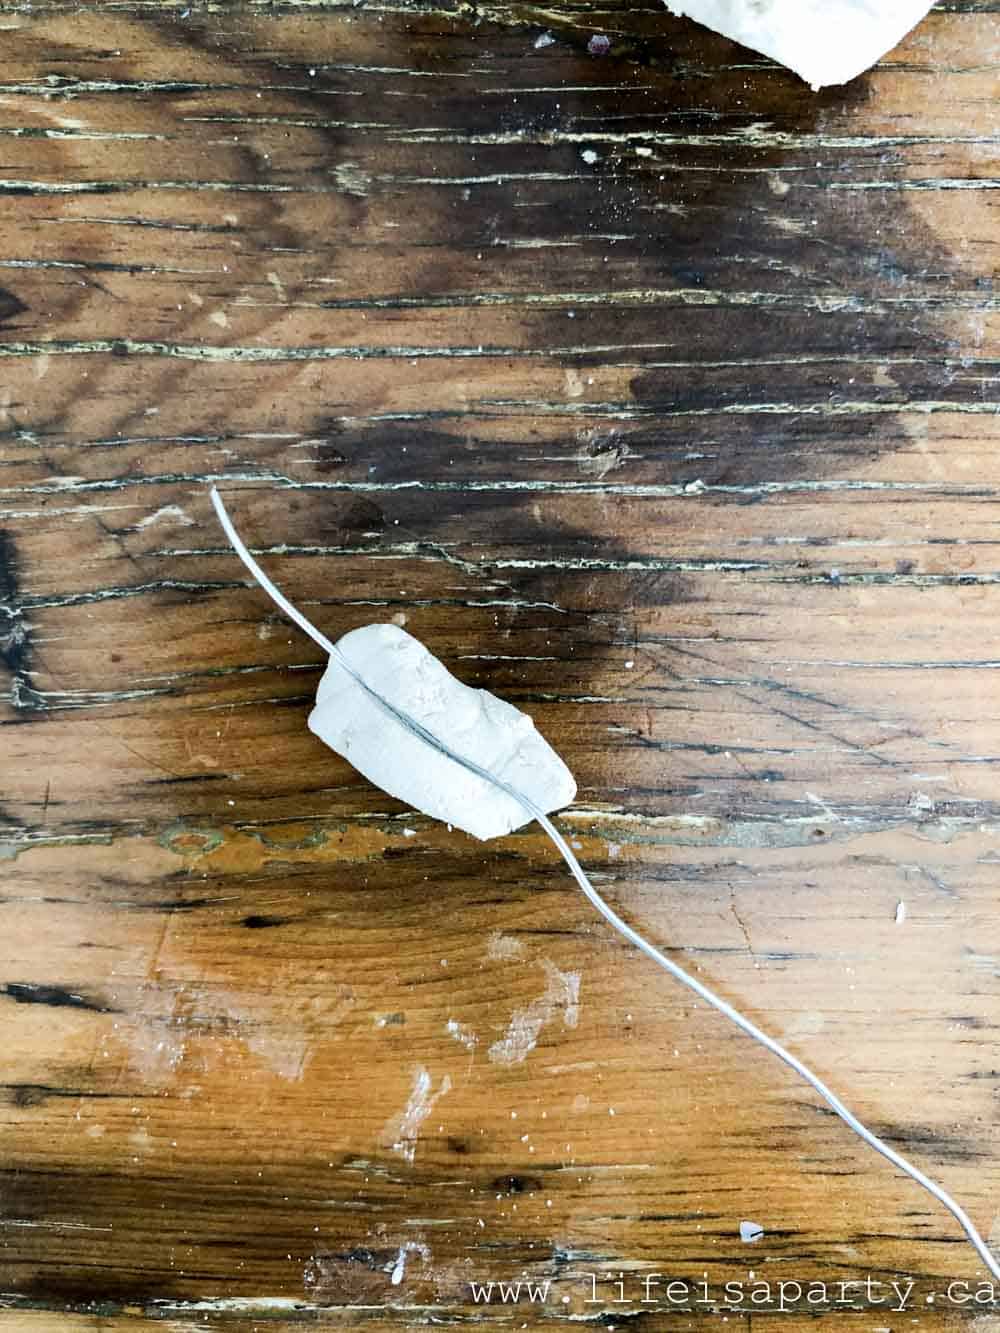
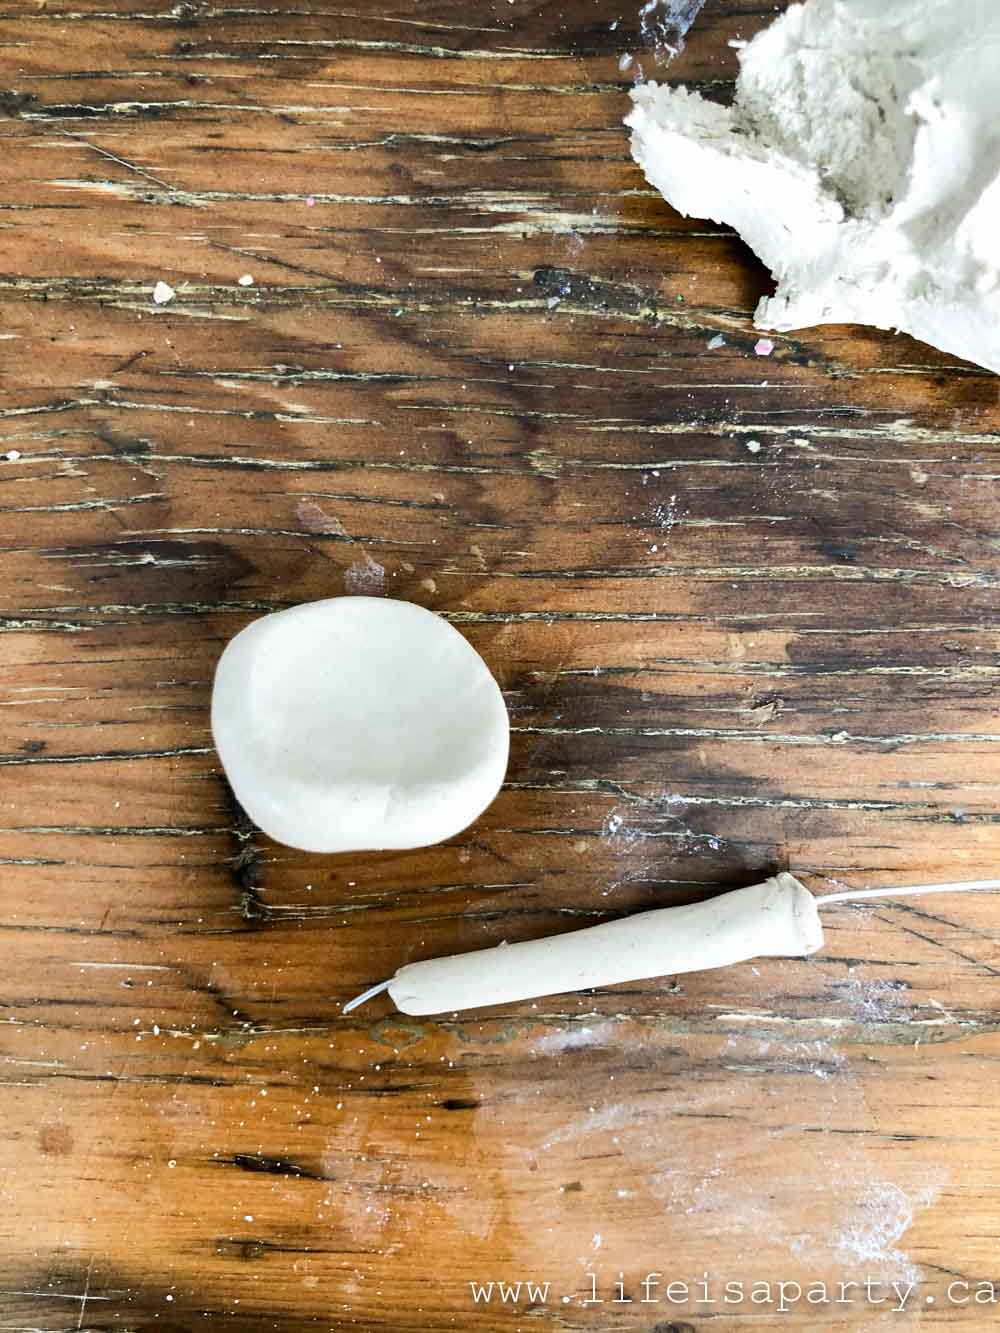
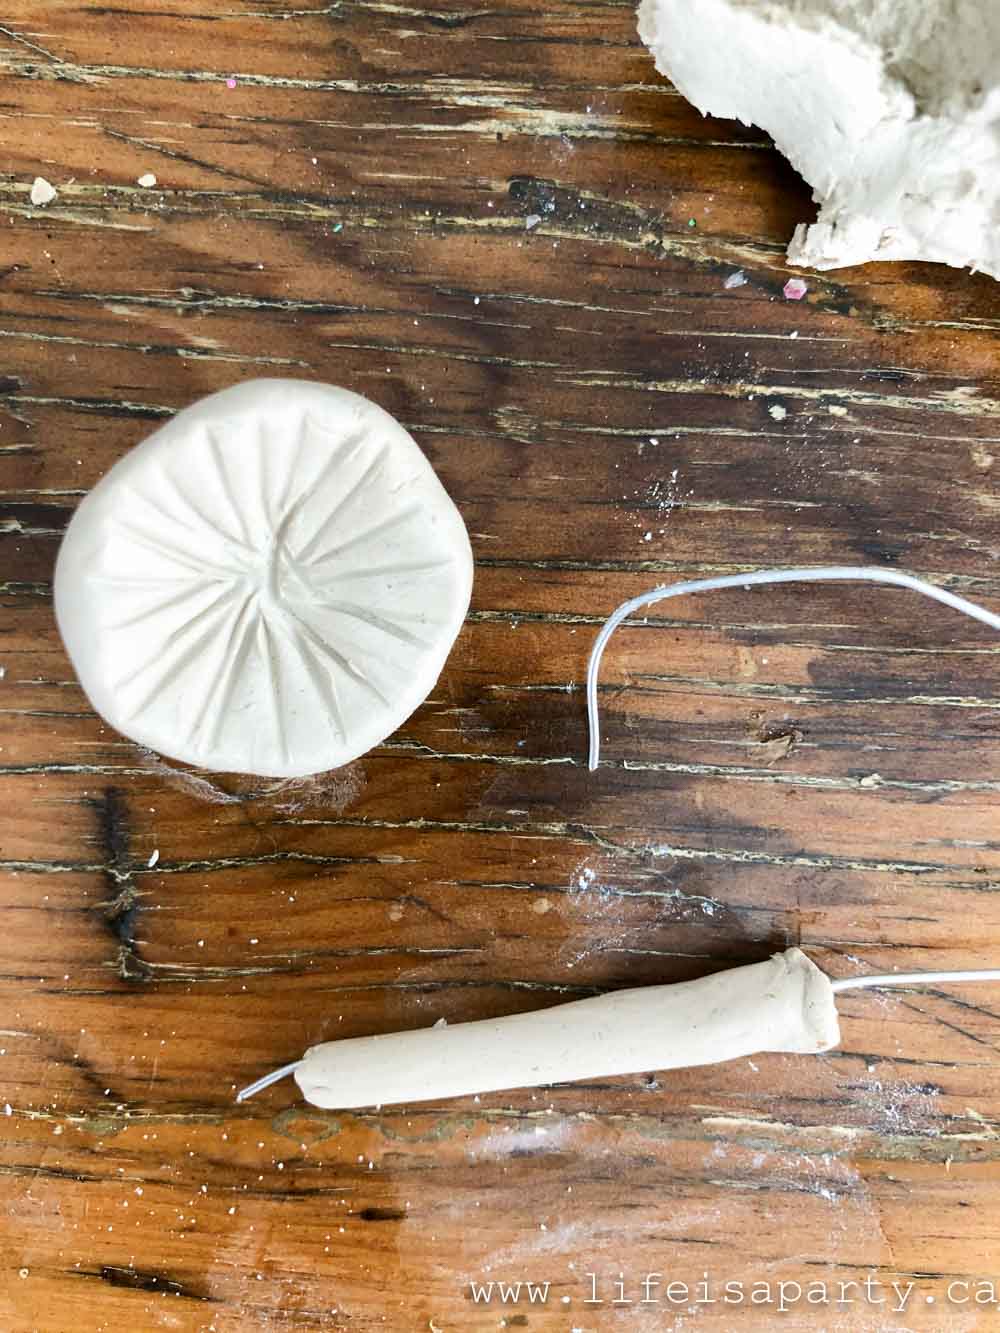


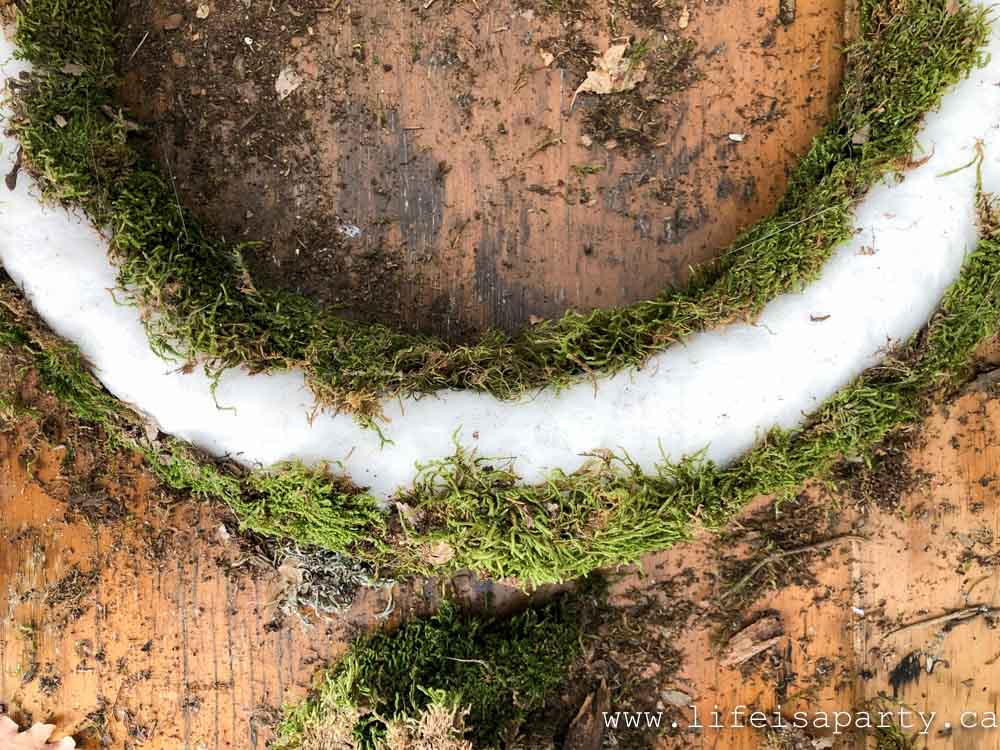
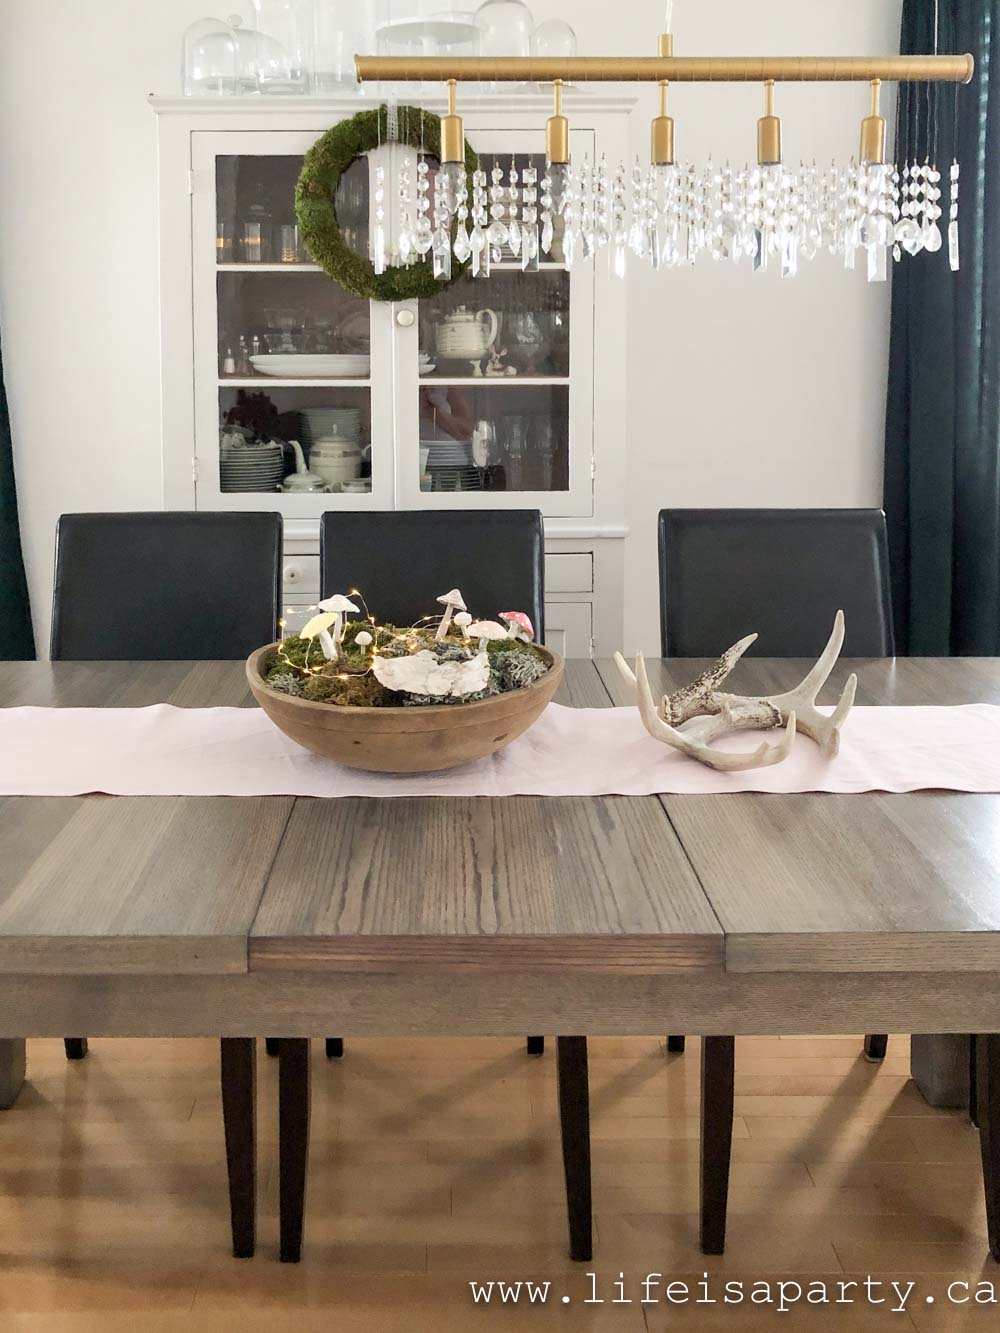
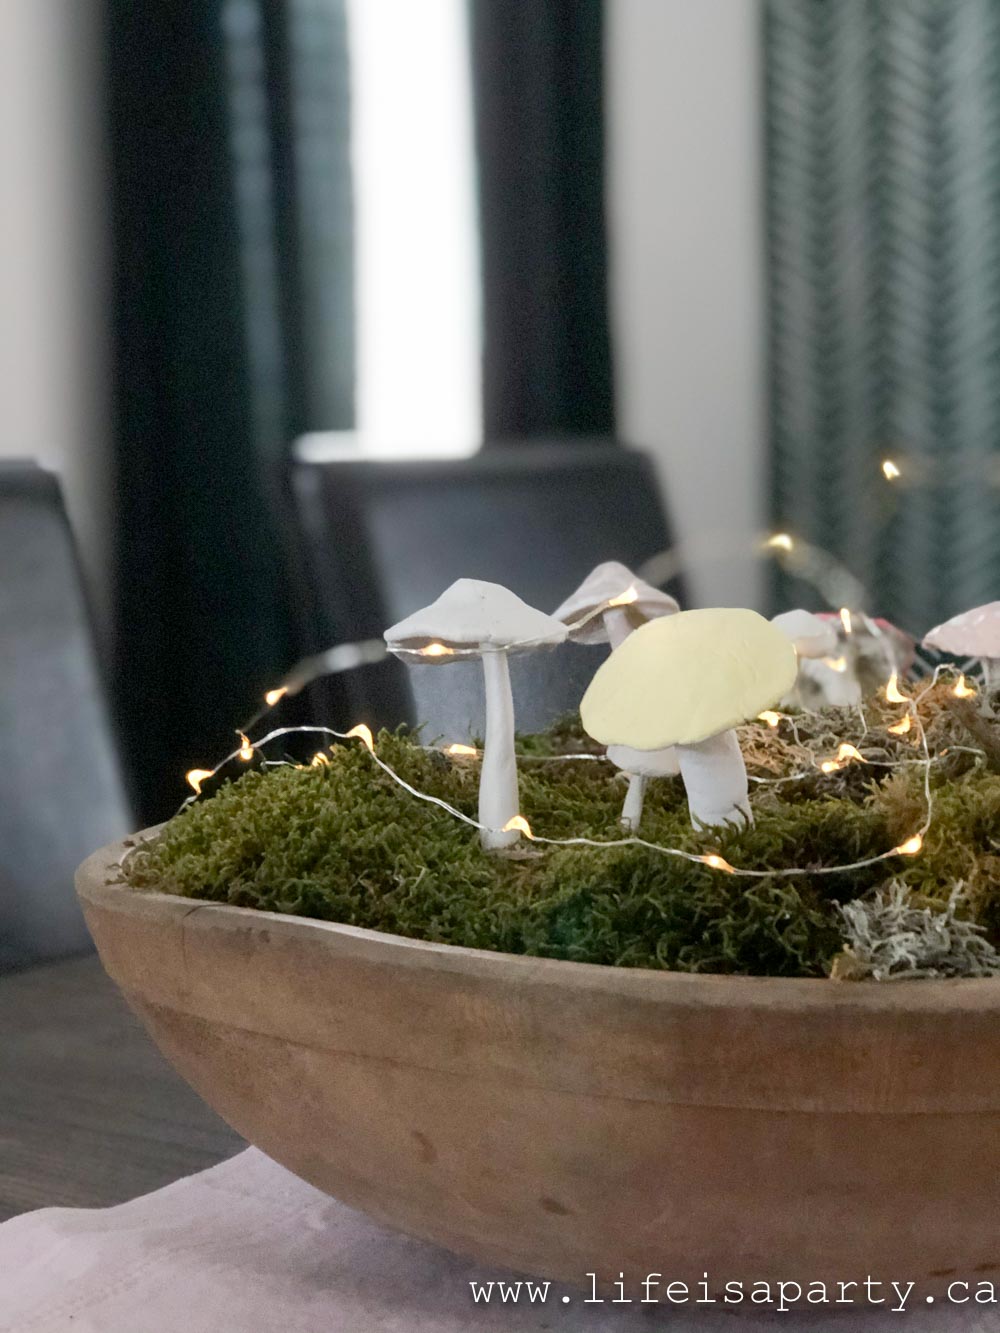
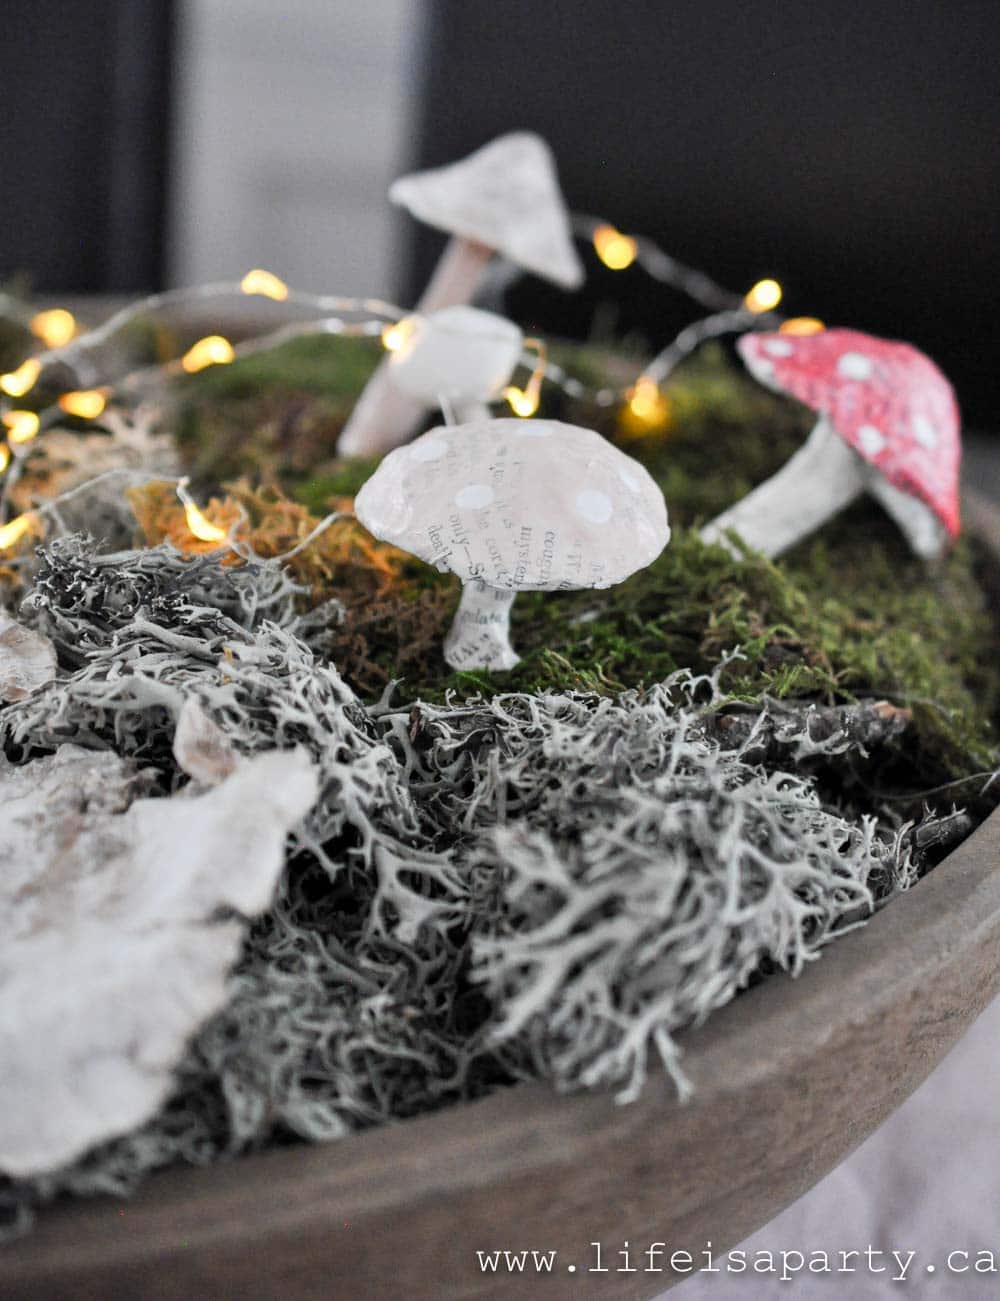
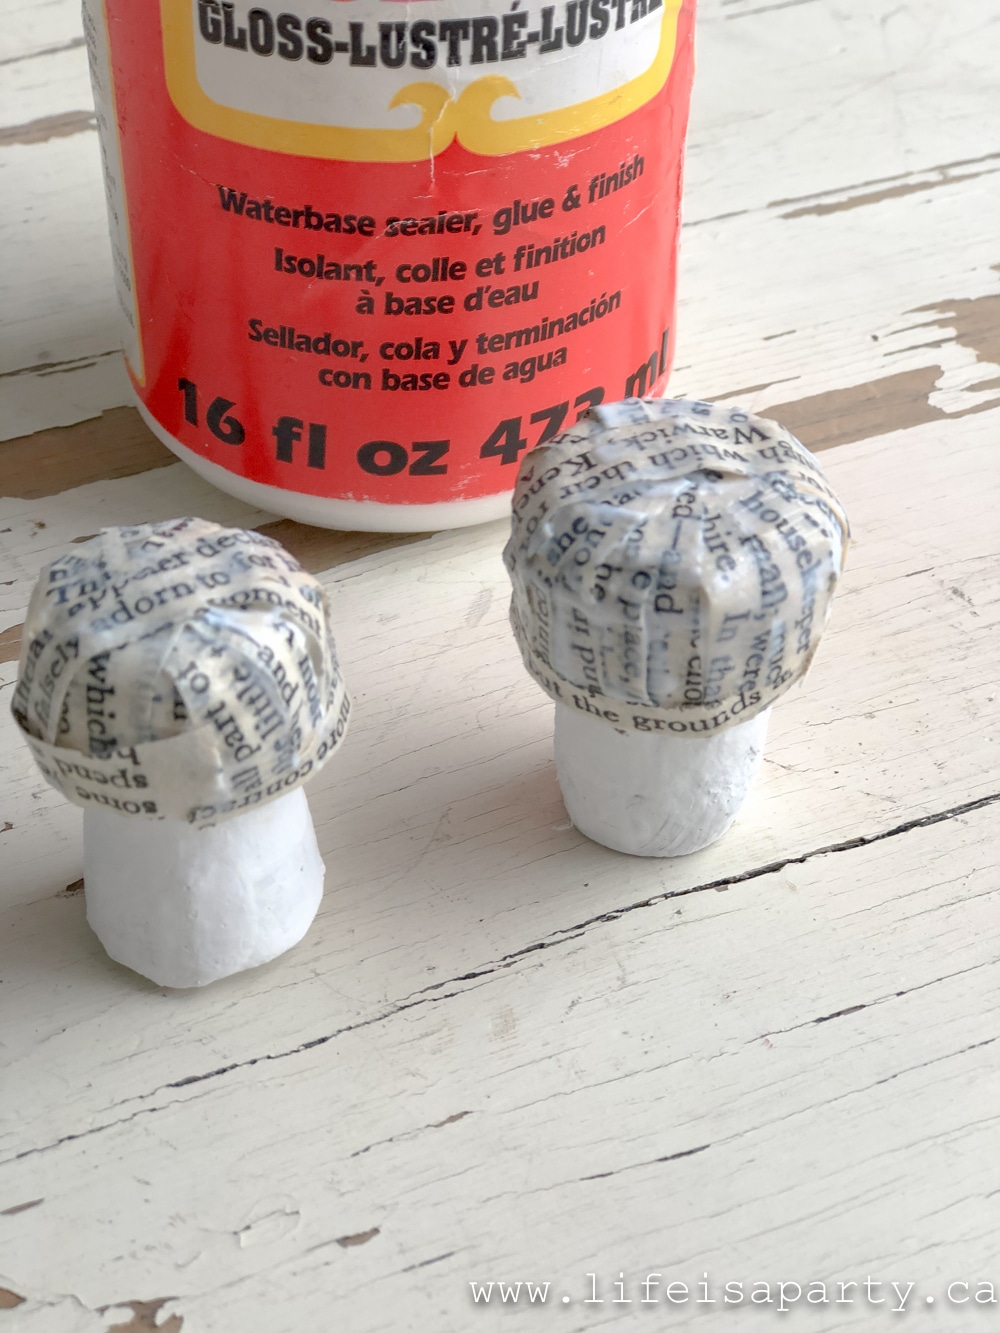
 9. Once the clay mushrooms have had enough drying time, poke the wire that's coming out of the bottom of the stem of the mushrooms into the moss covered styrofoam wreath to attach them. Feel free to add a little hot glue to the wire if you're worried about them wobbling.
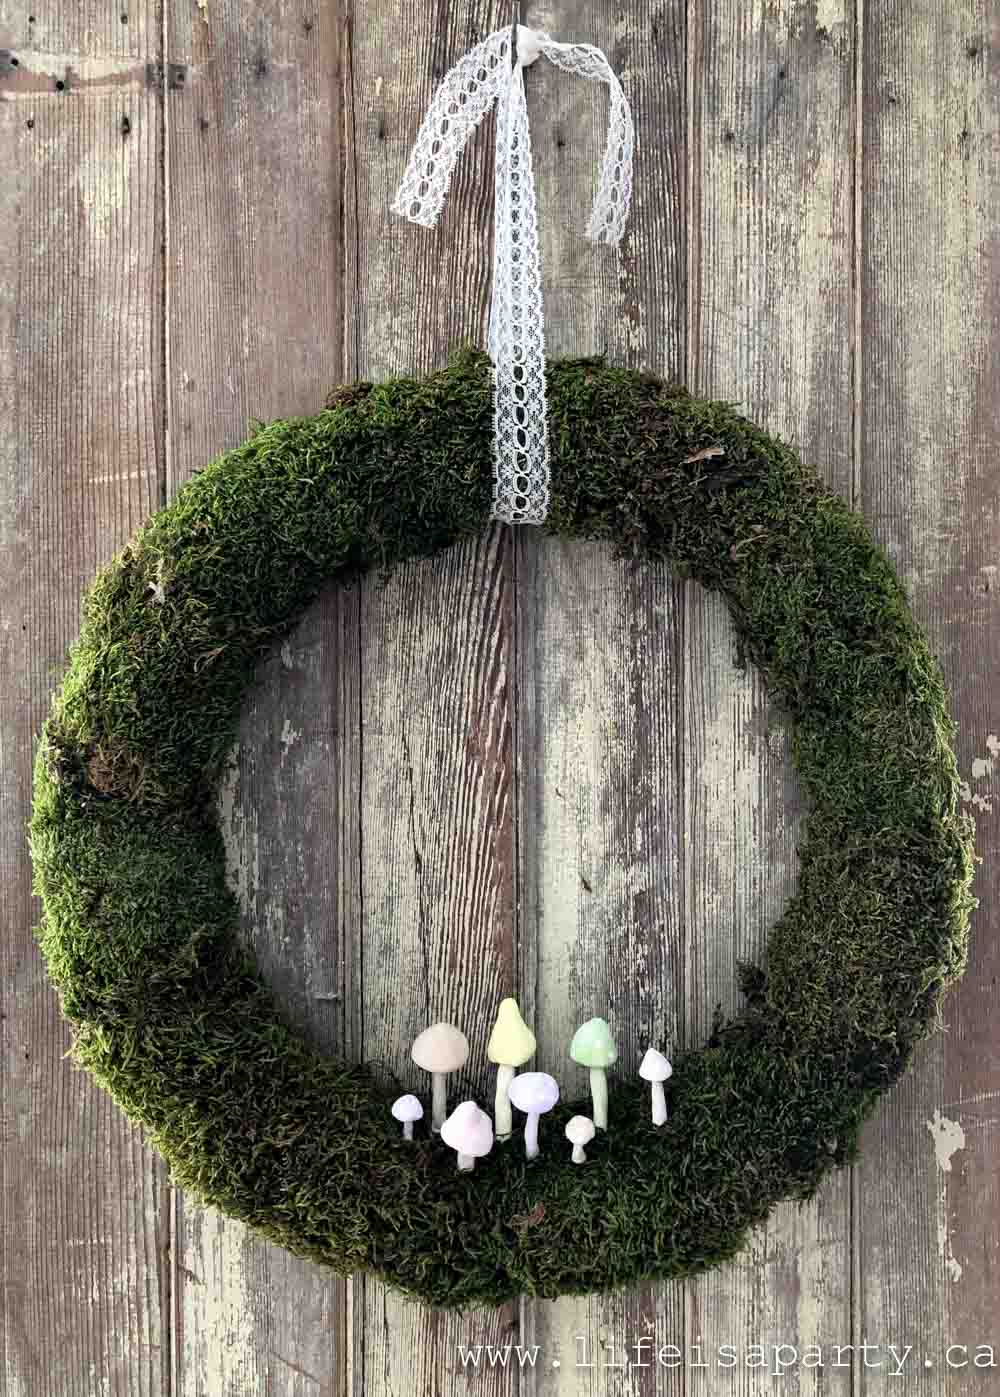
 10. Tie a ribbon around the top to hang the wreath.
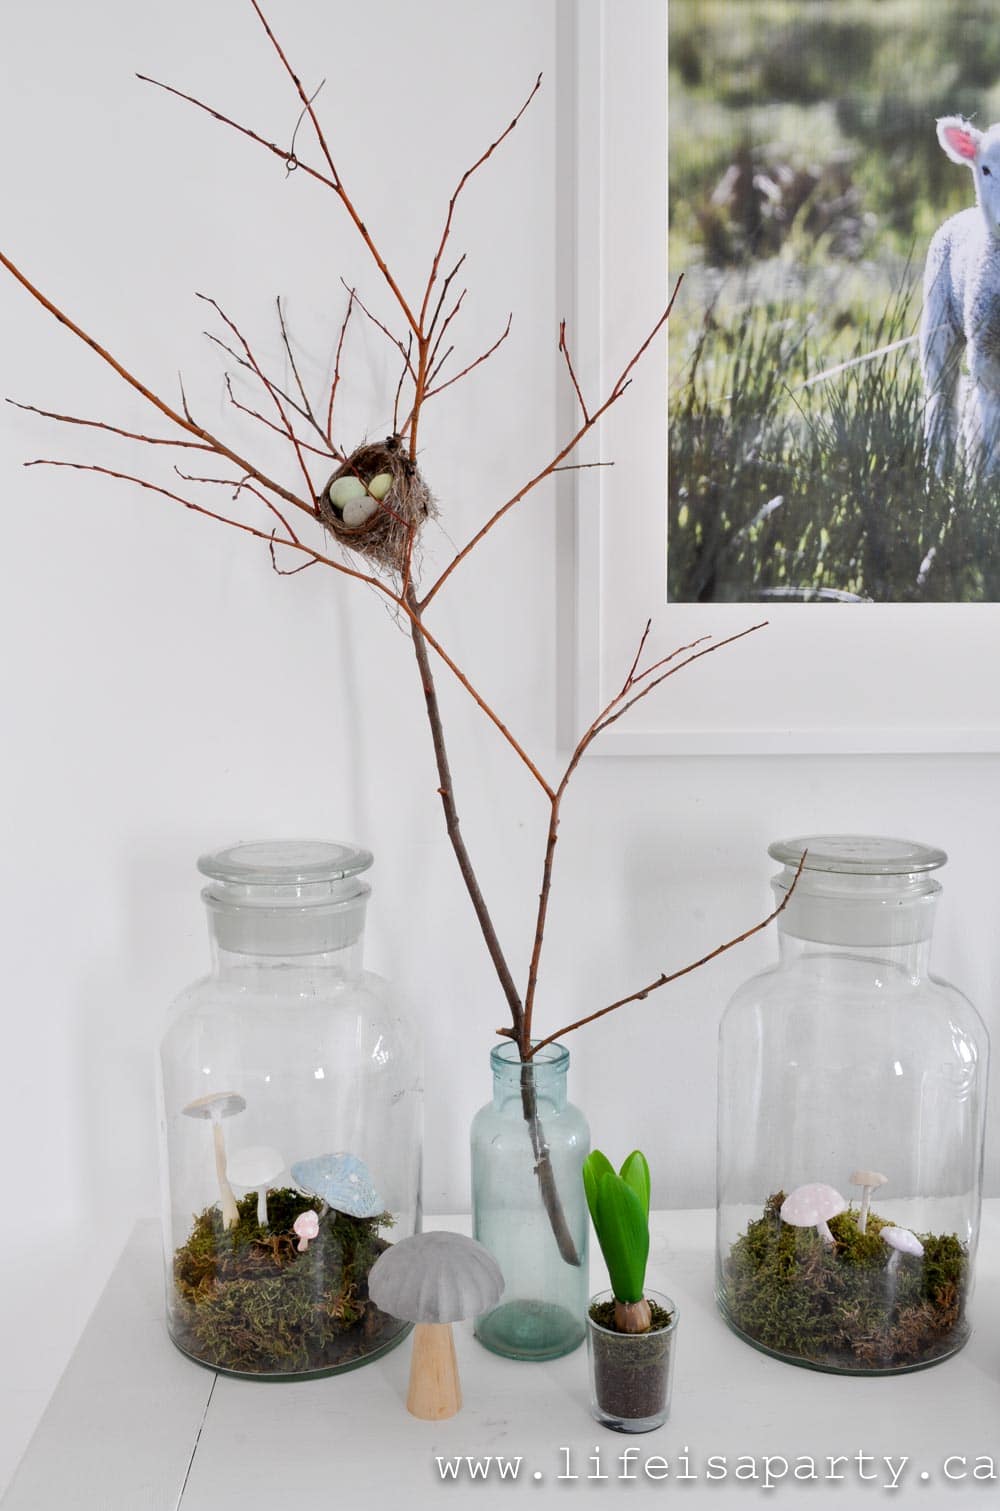
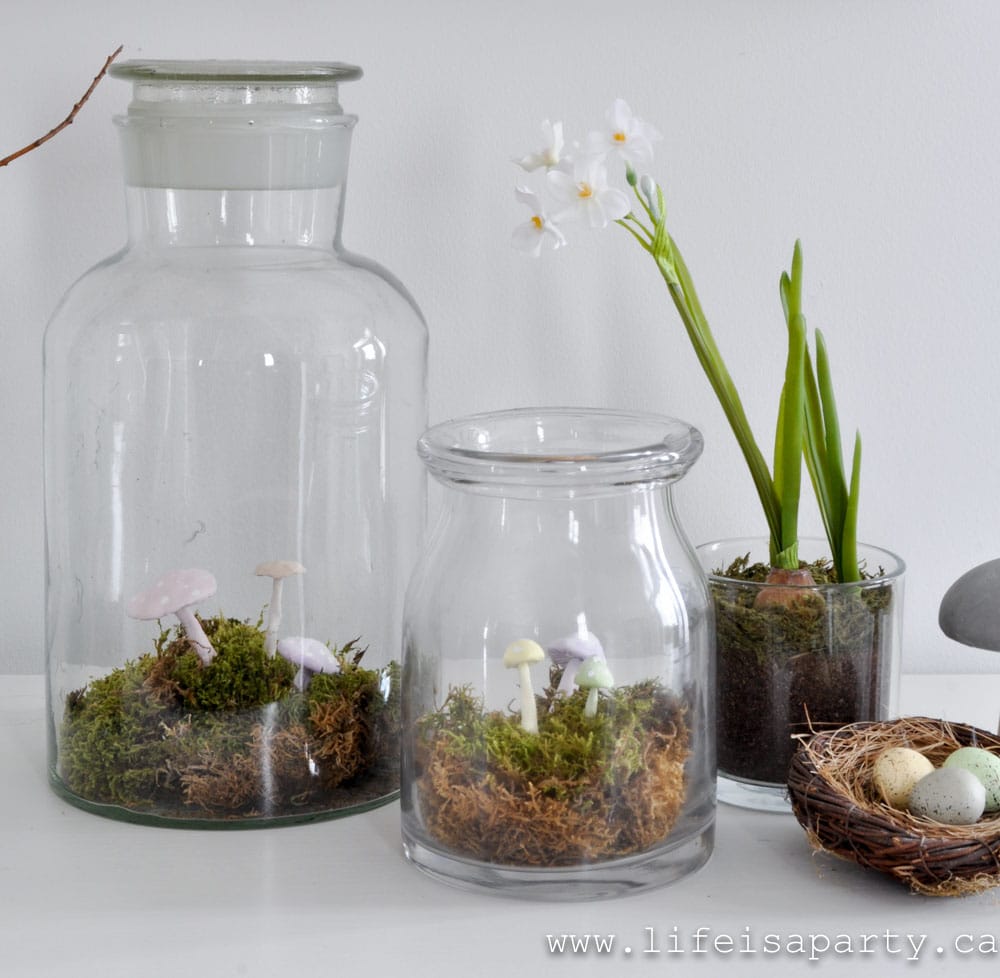
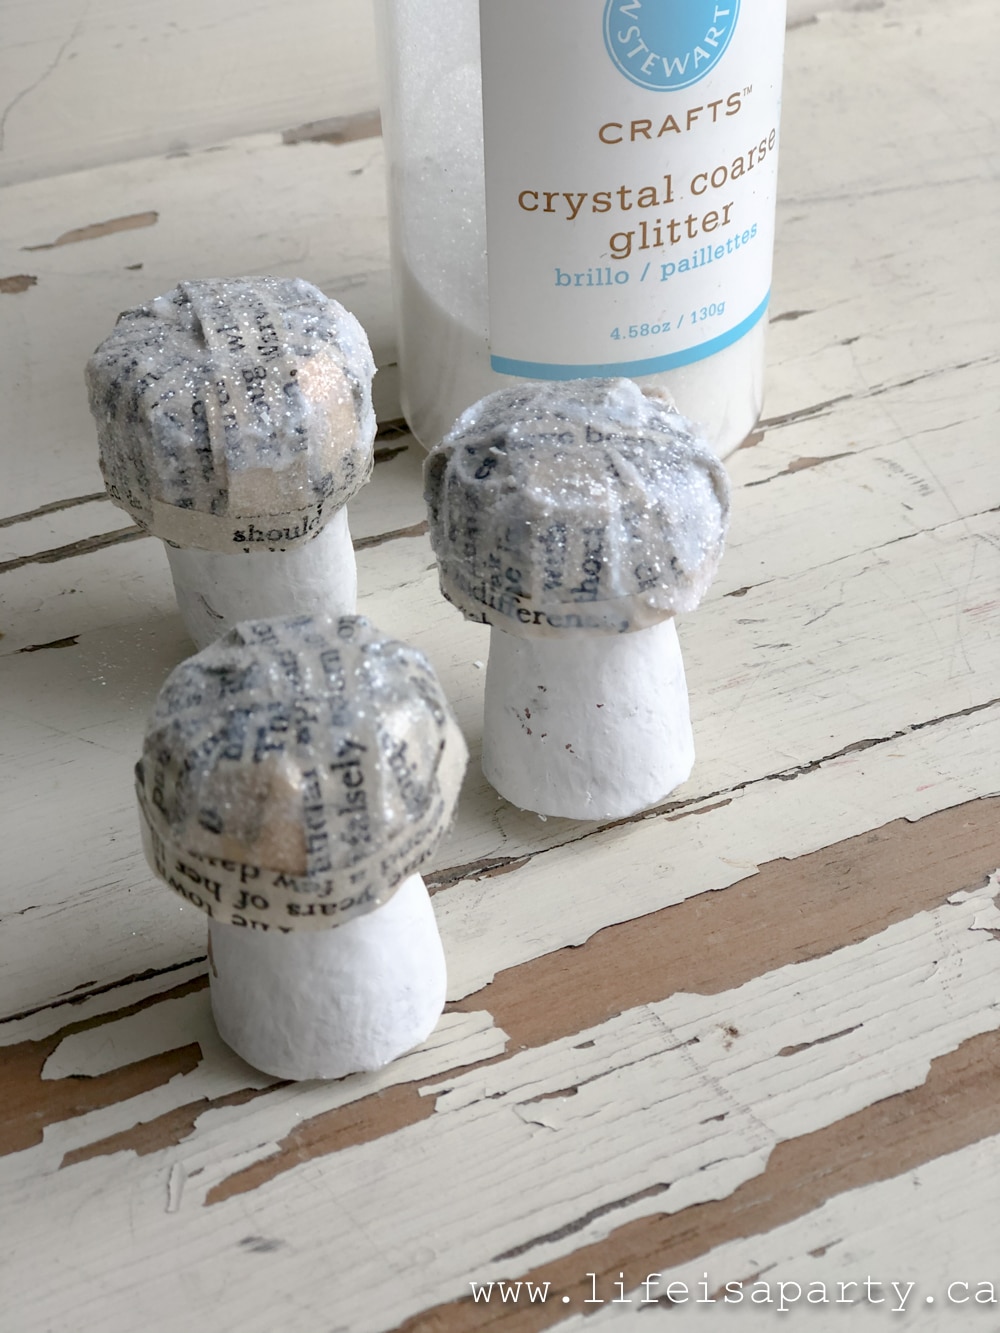
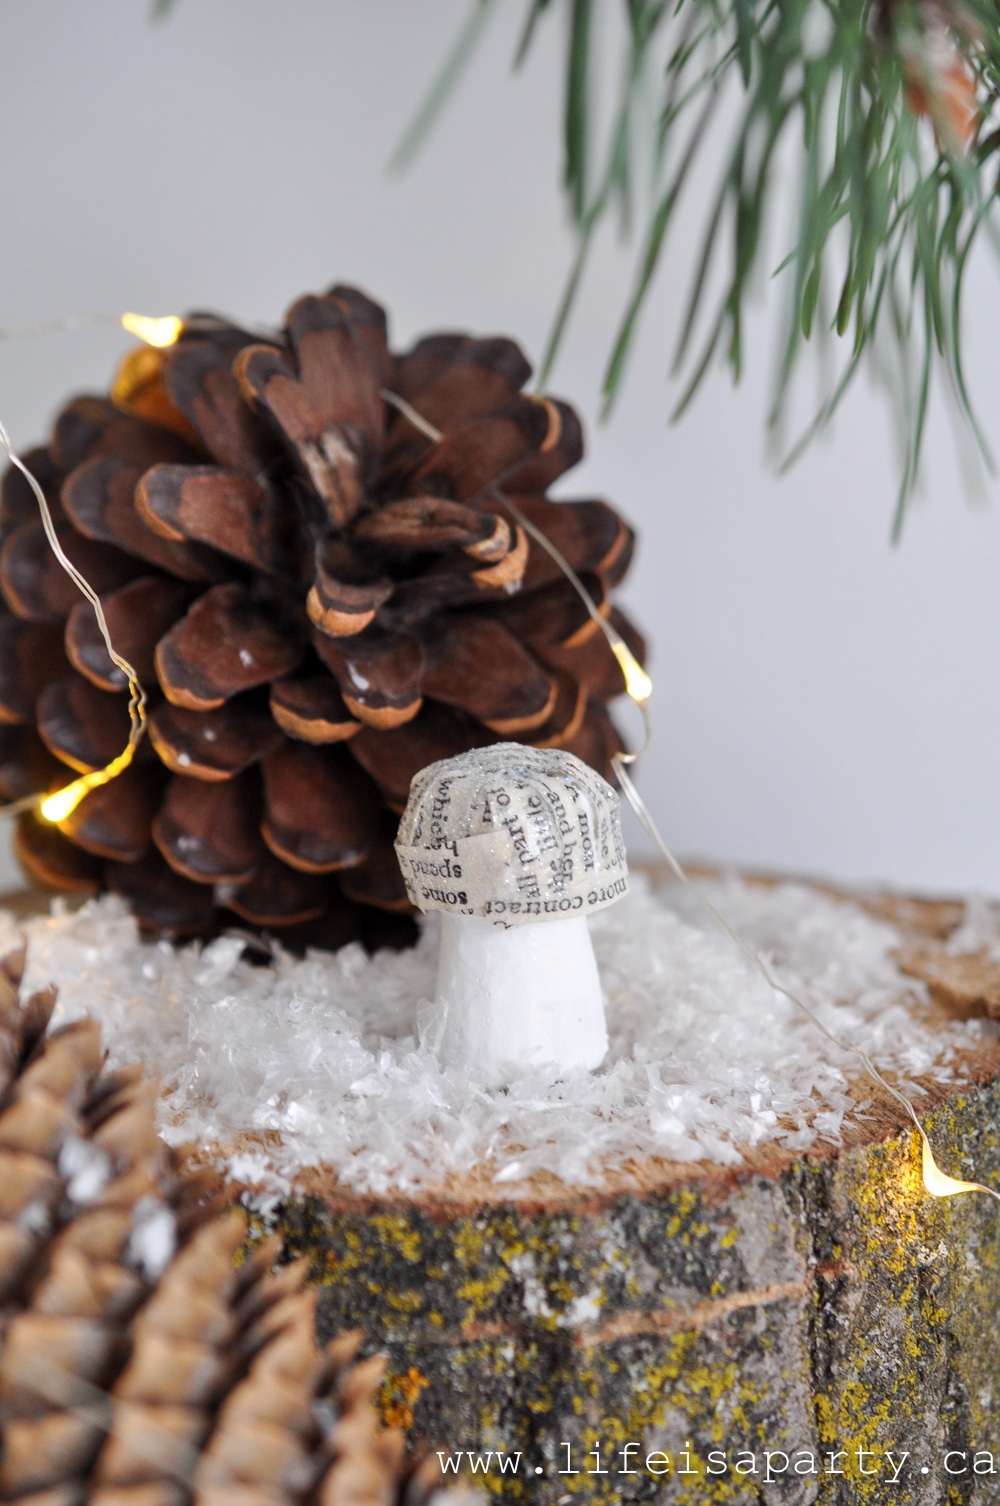
 I love how the mushrooms turned out and the spot of whimsy they add to the wreath. One of the best parts about this easy craft is that you can be really creative with all the different mushrooms, making each on a unique size, shape and color.


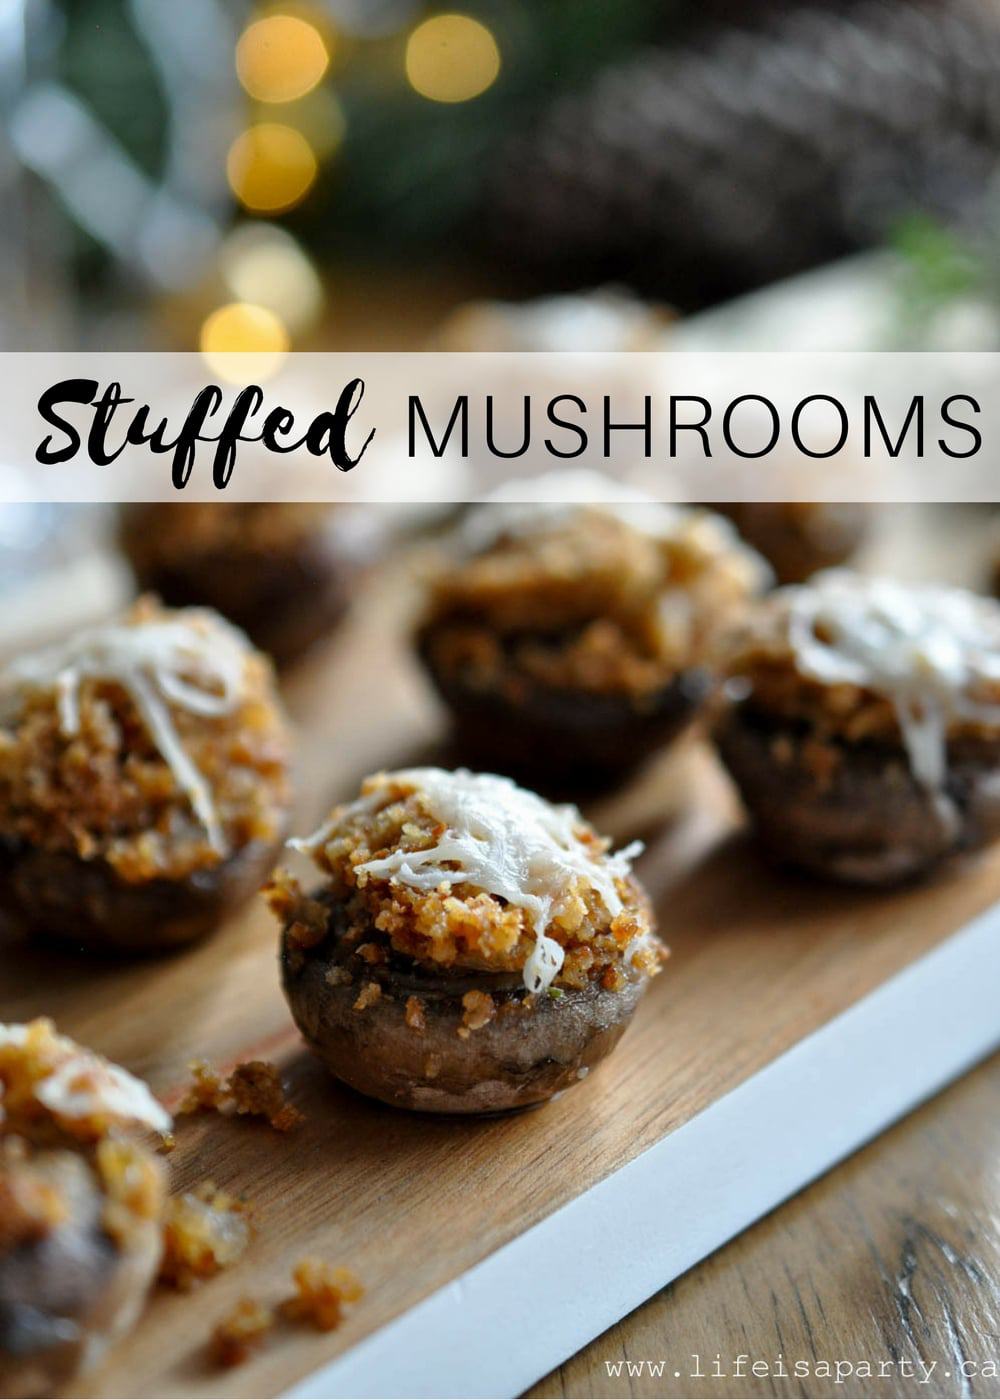
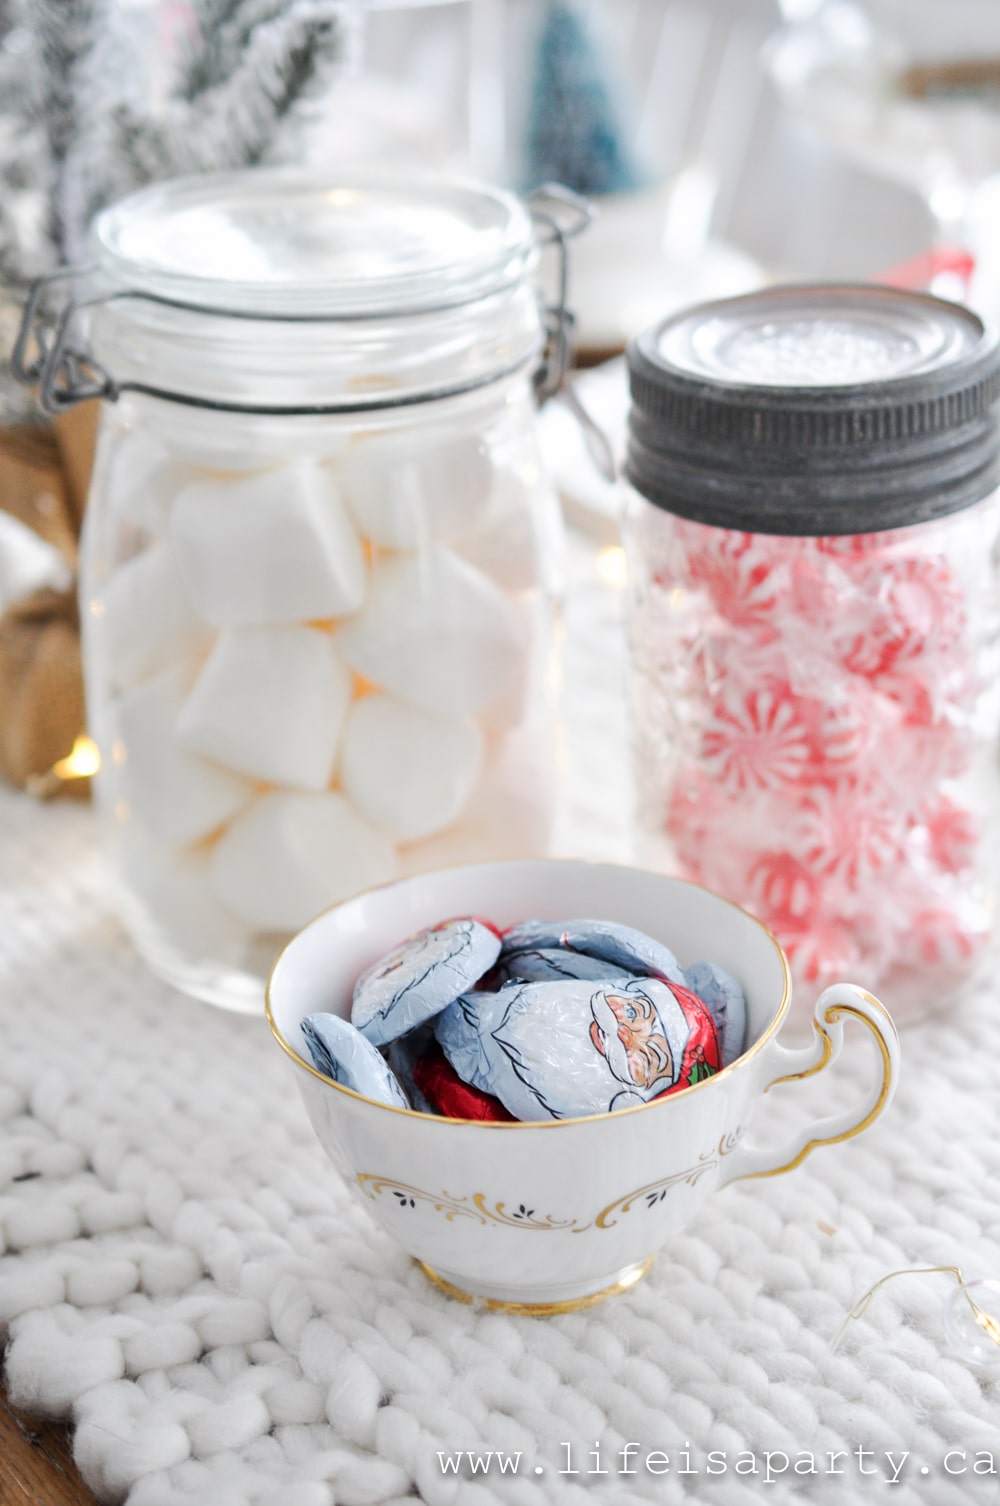
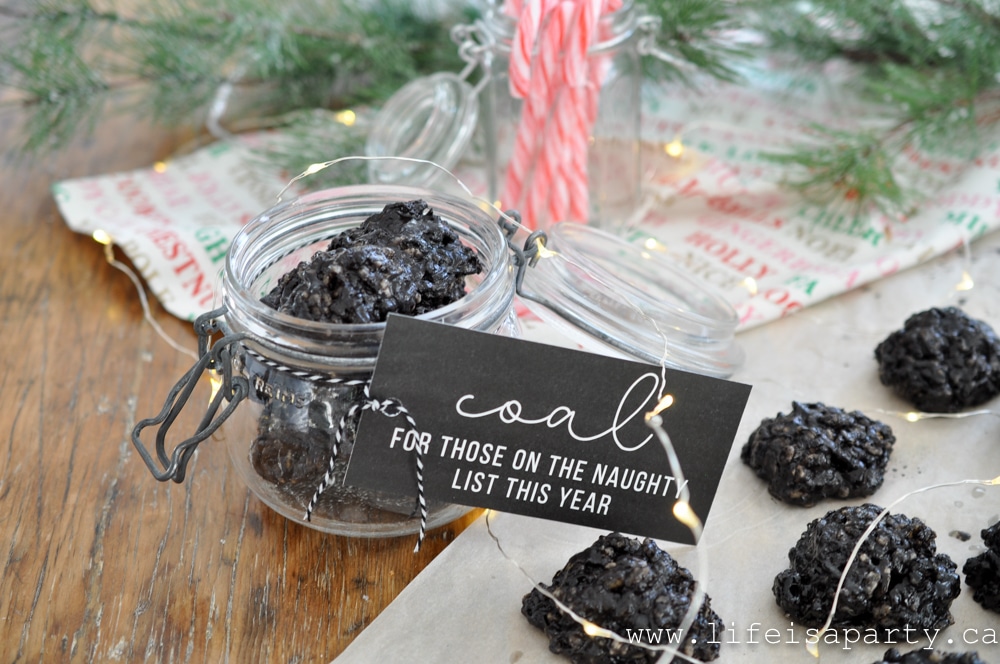
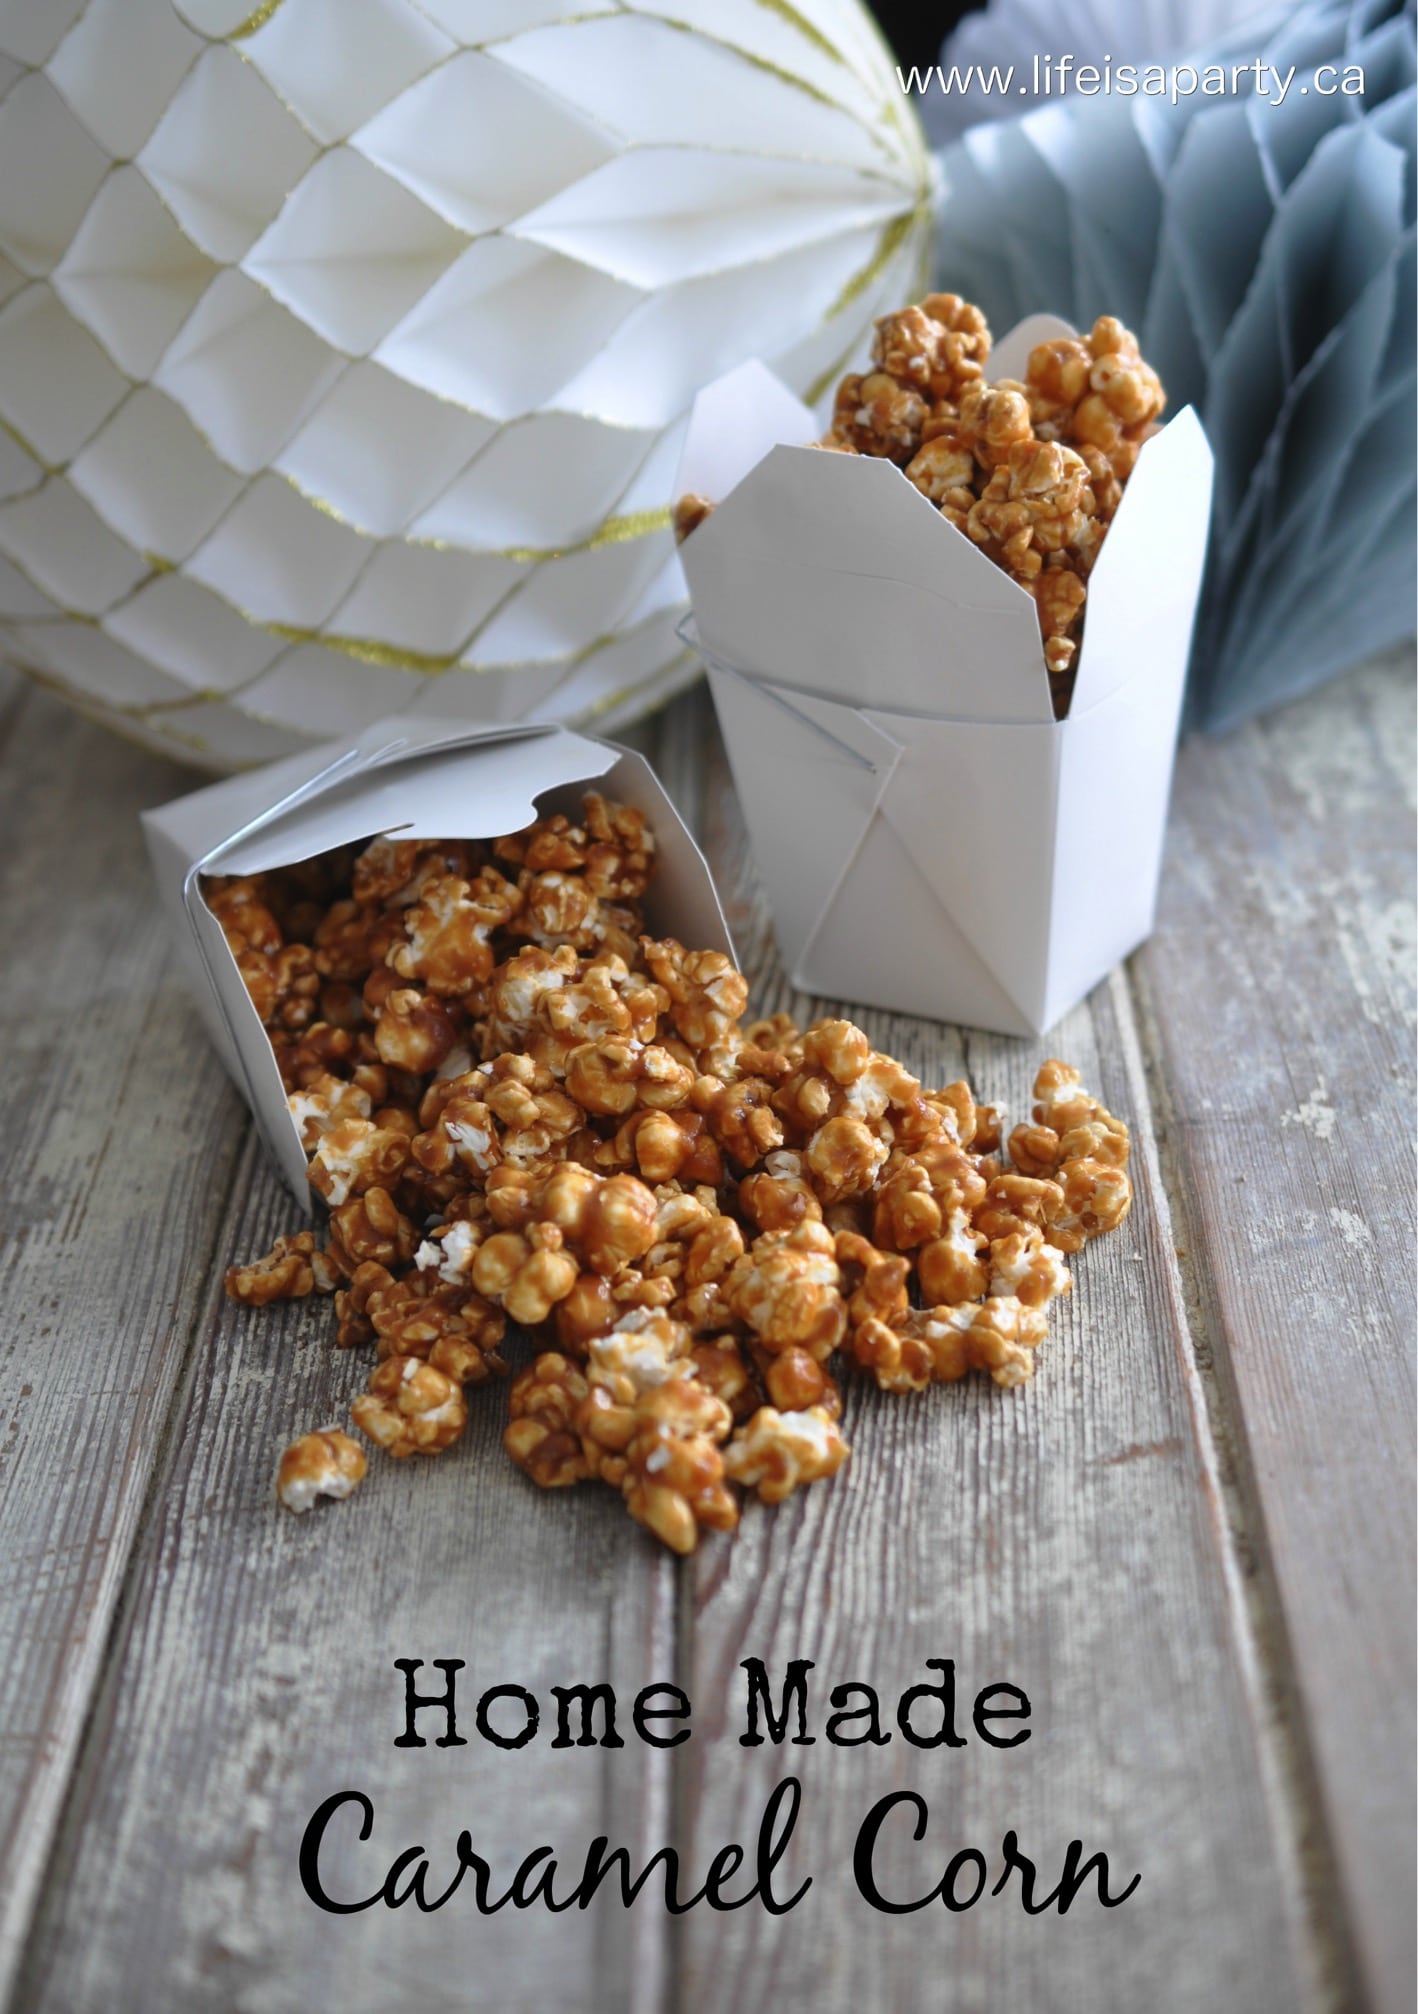
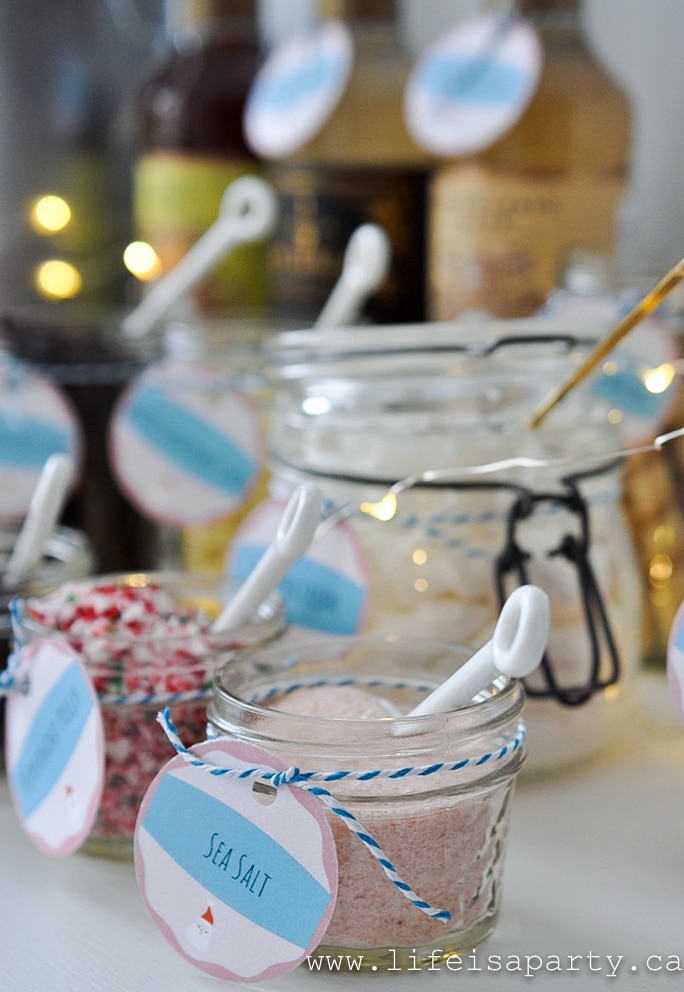
 Salty Snacks


 Bedroom Chair


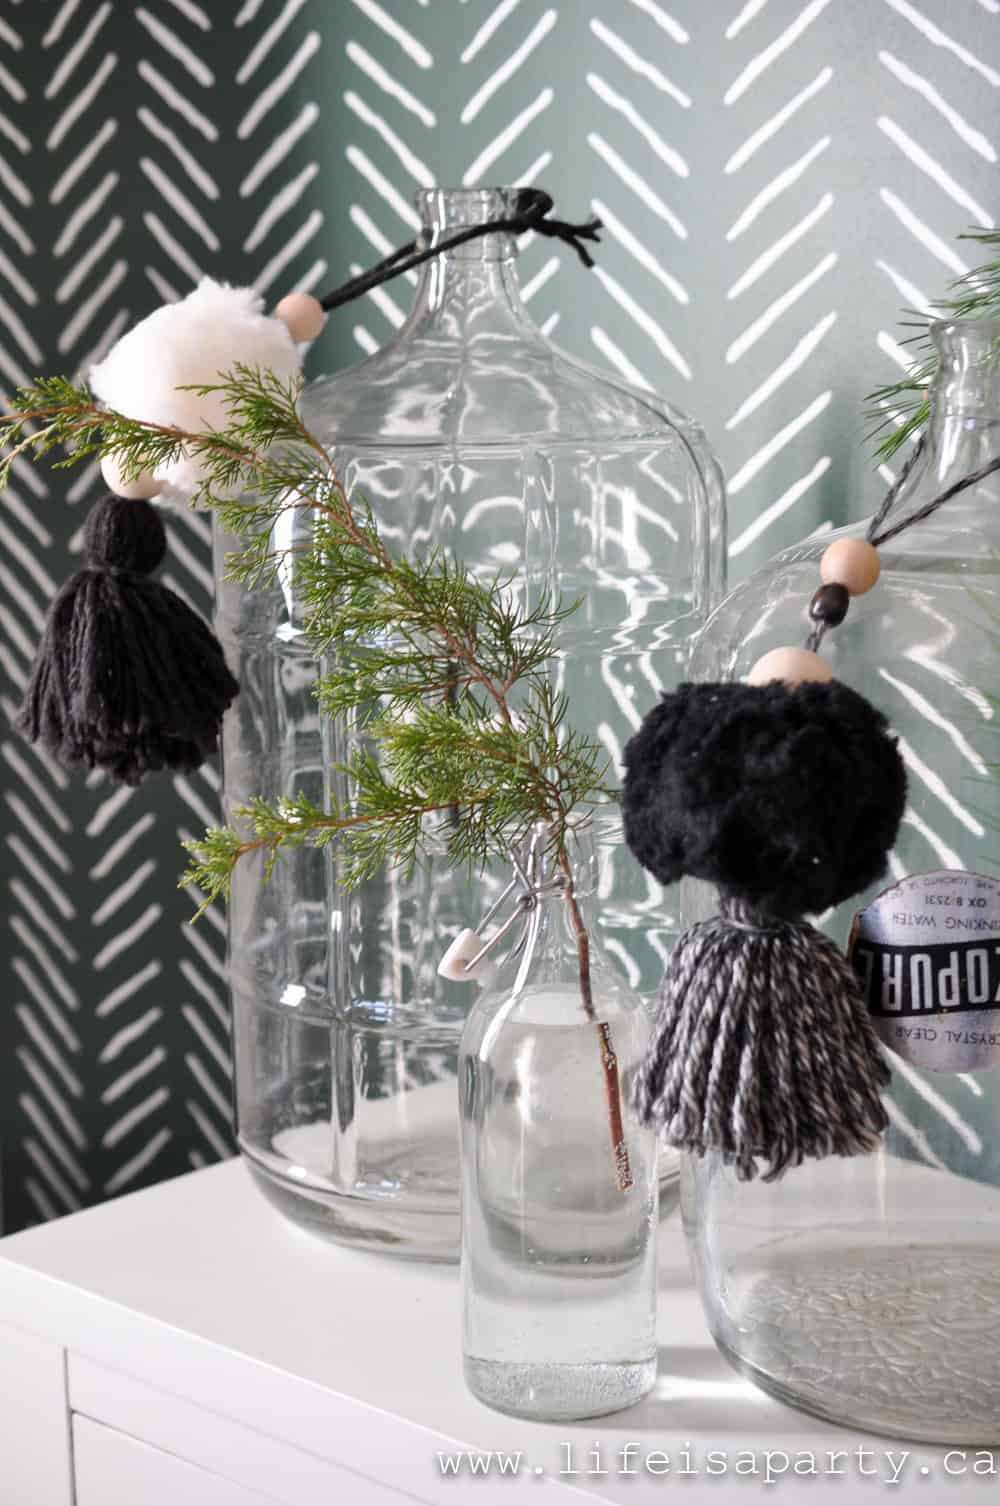


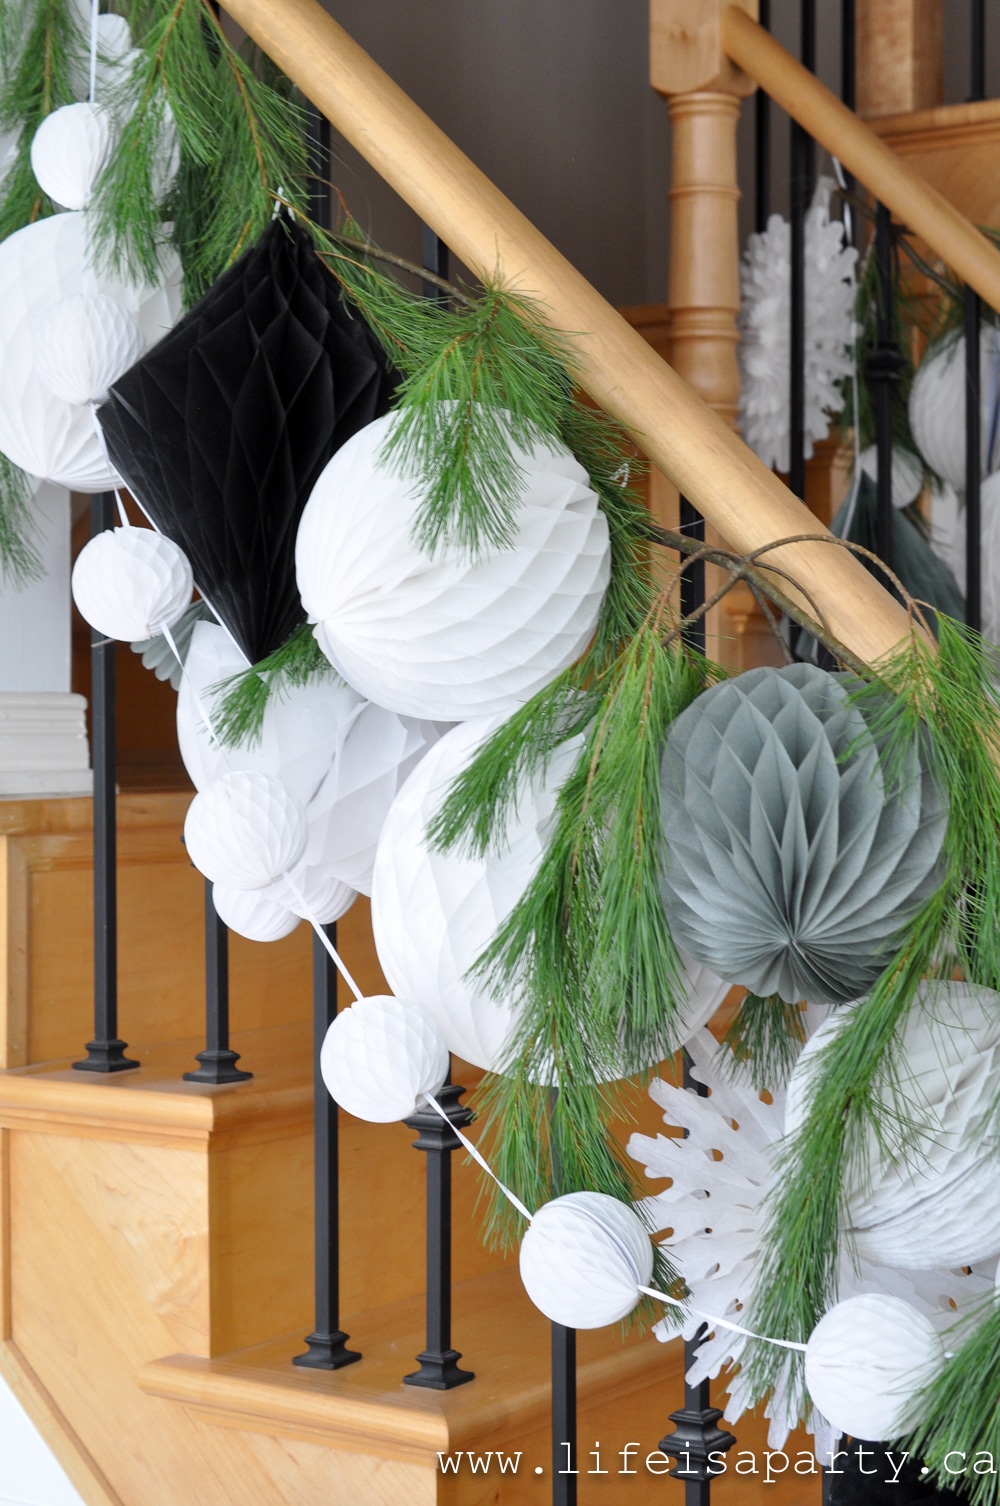
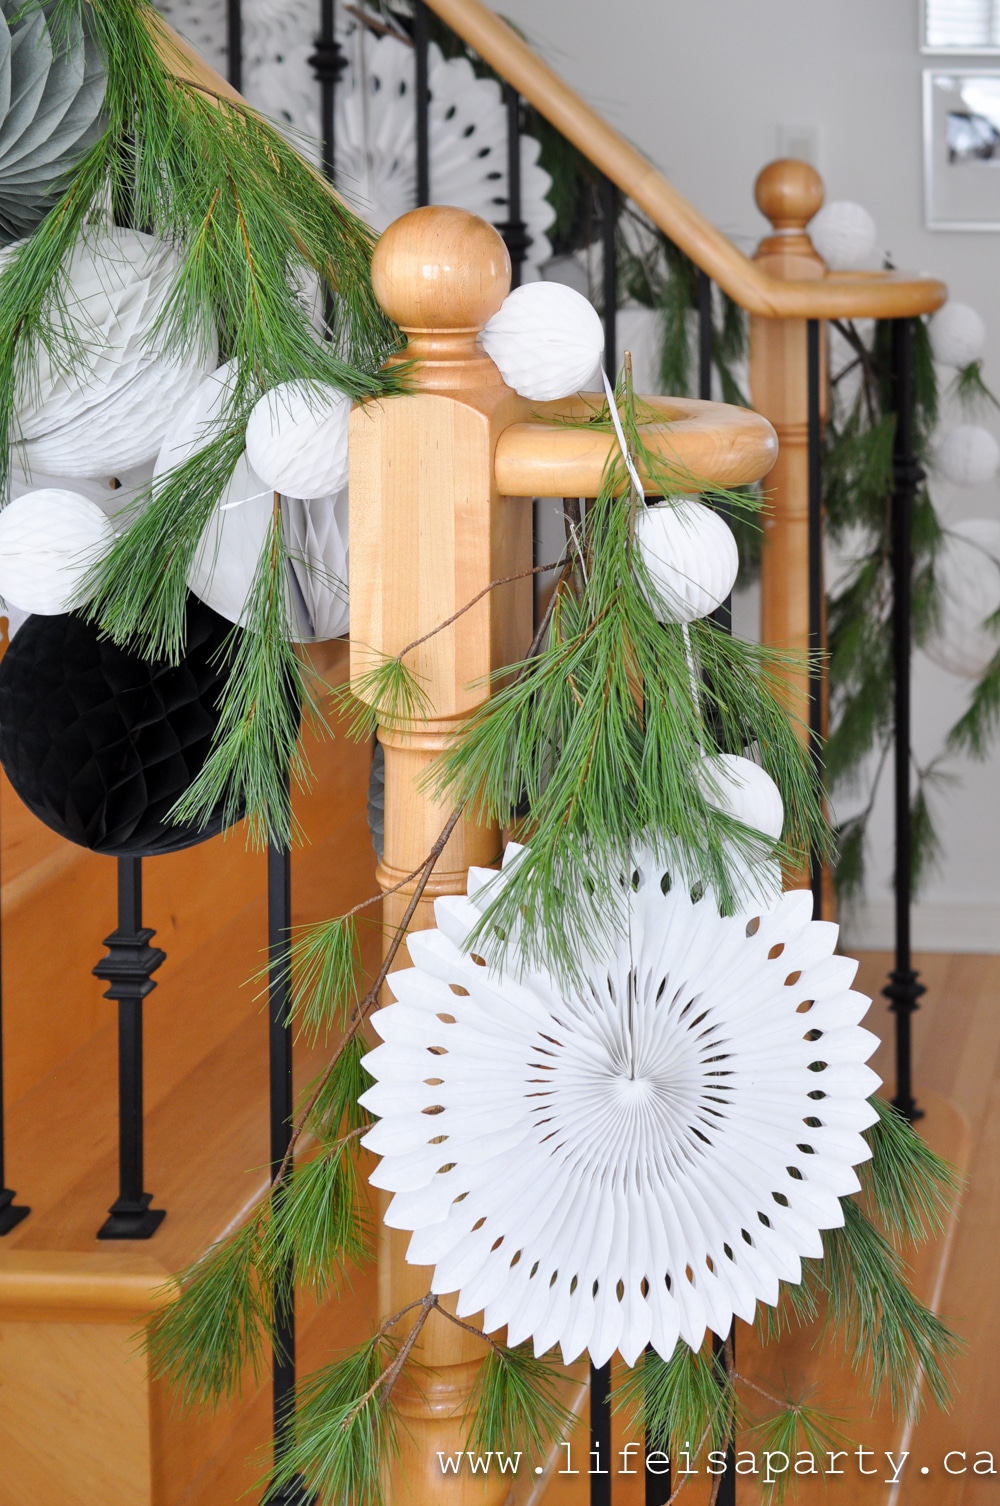


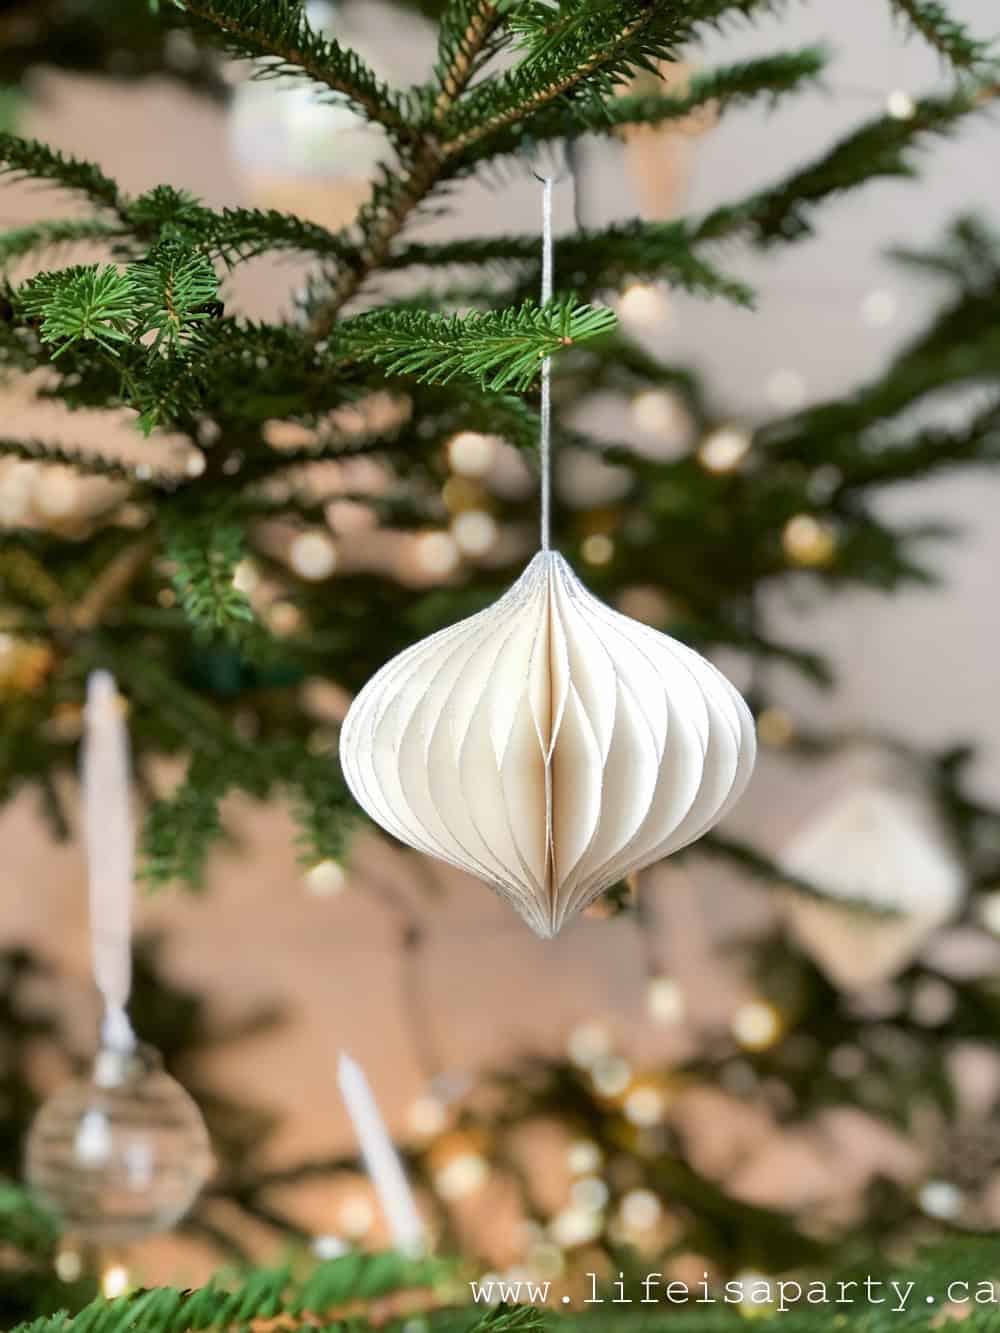


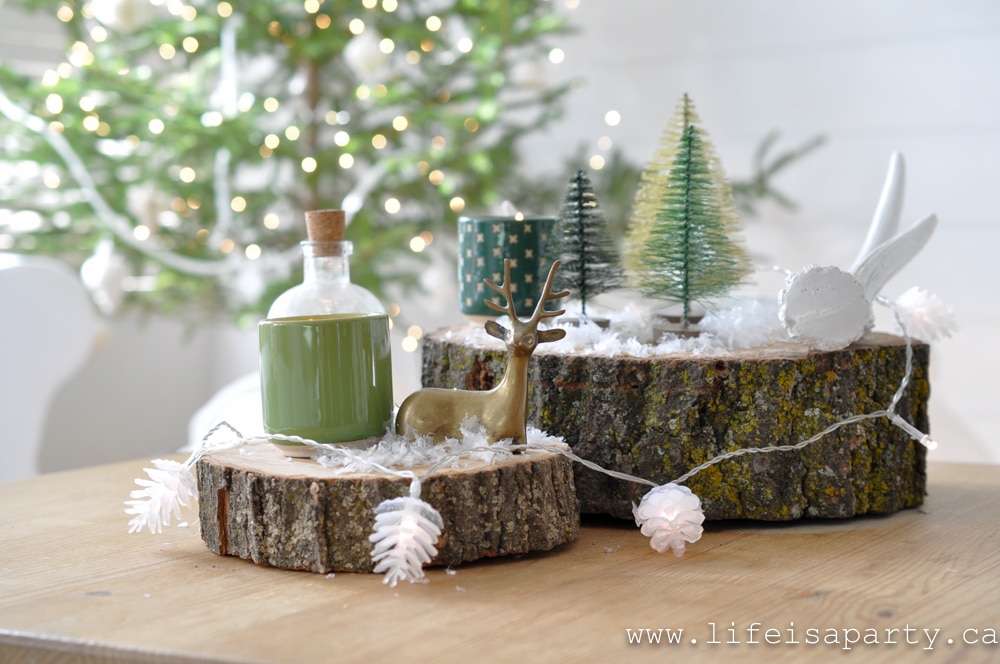


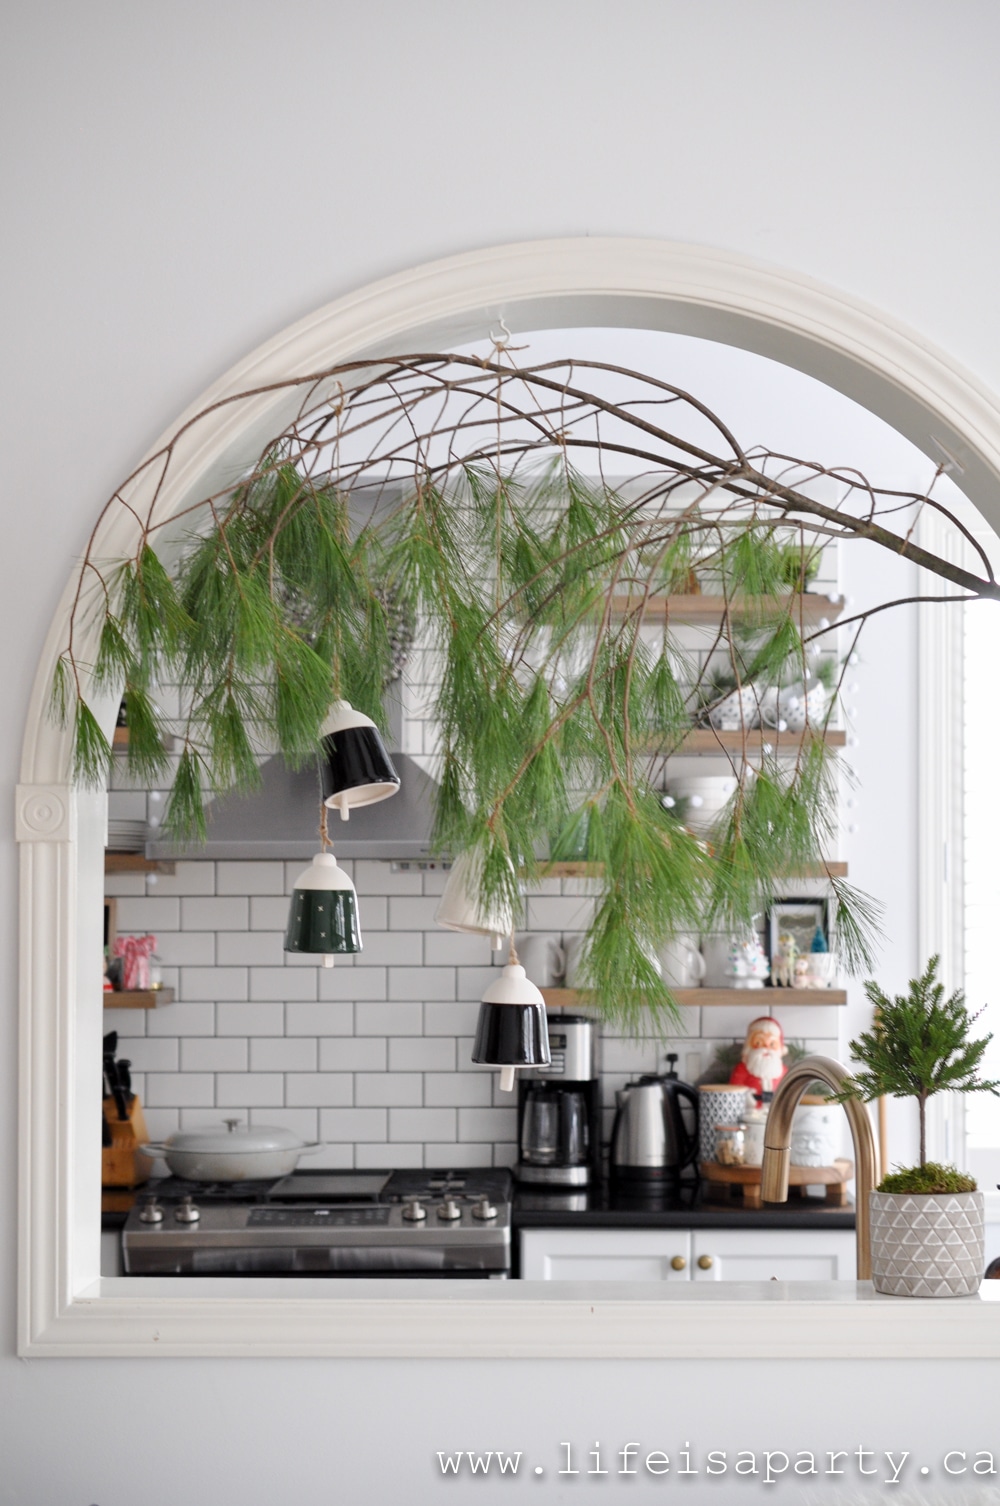


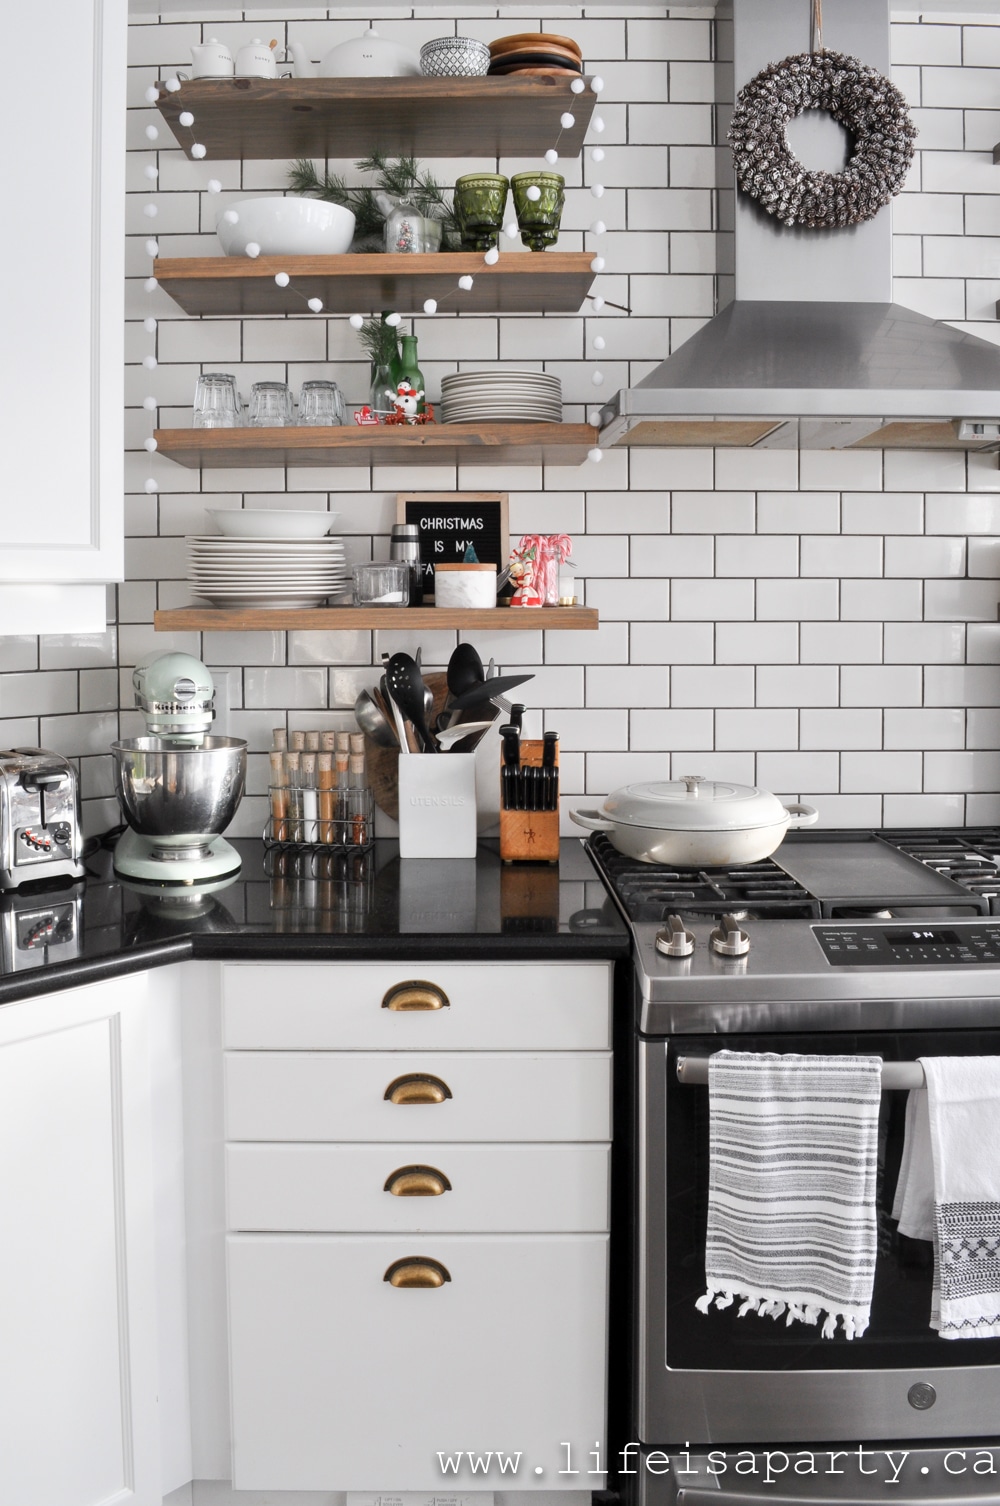

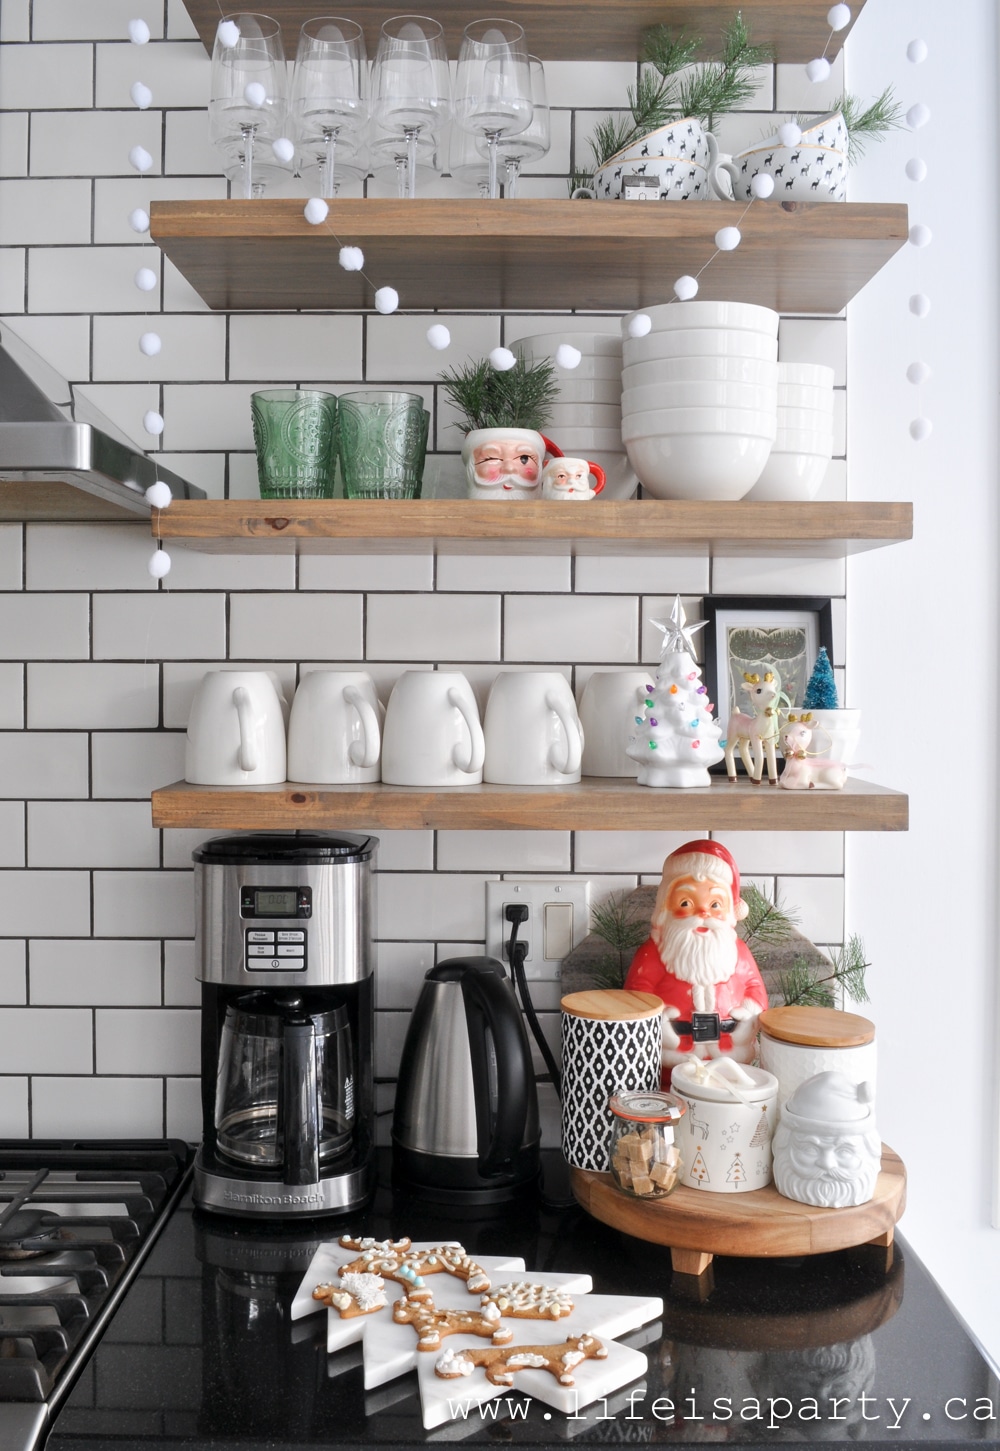


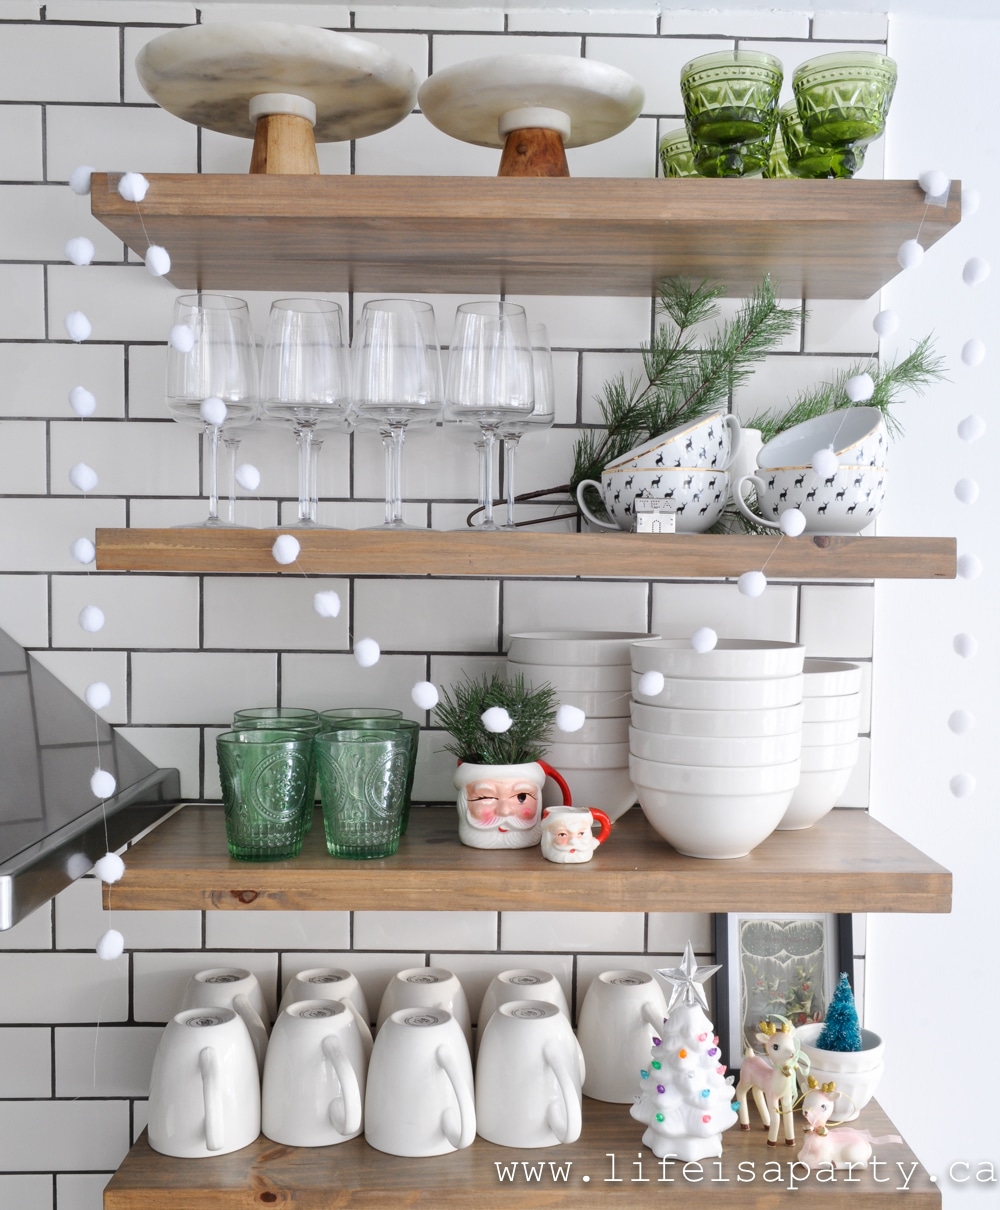


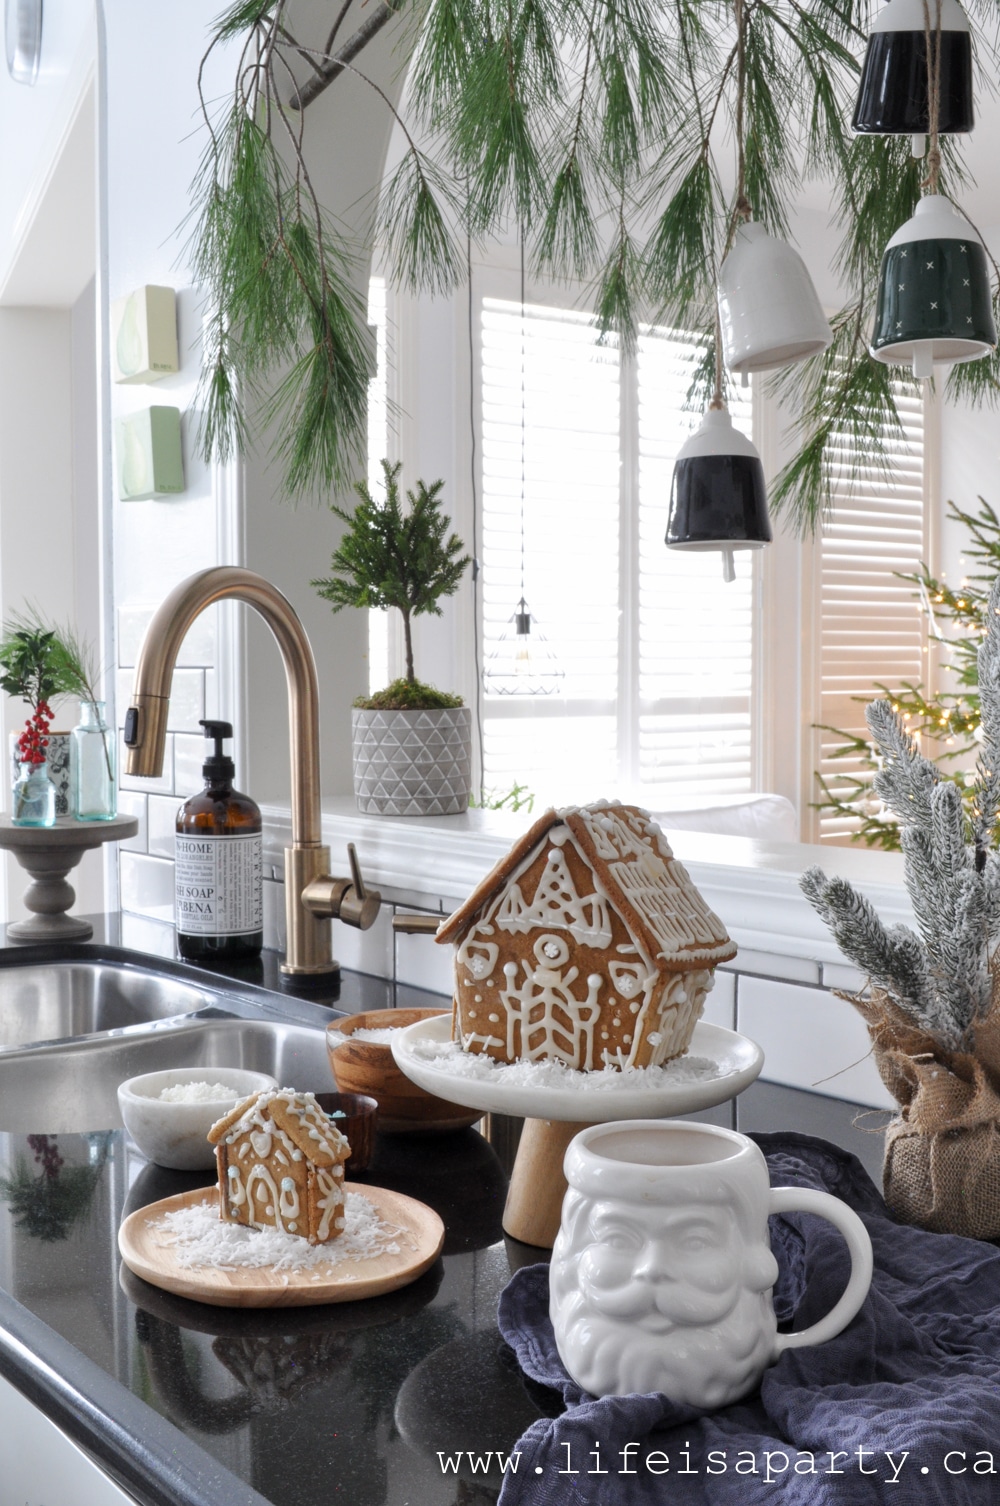
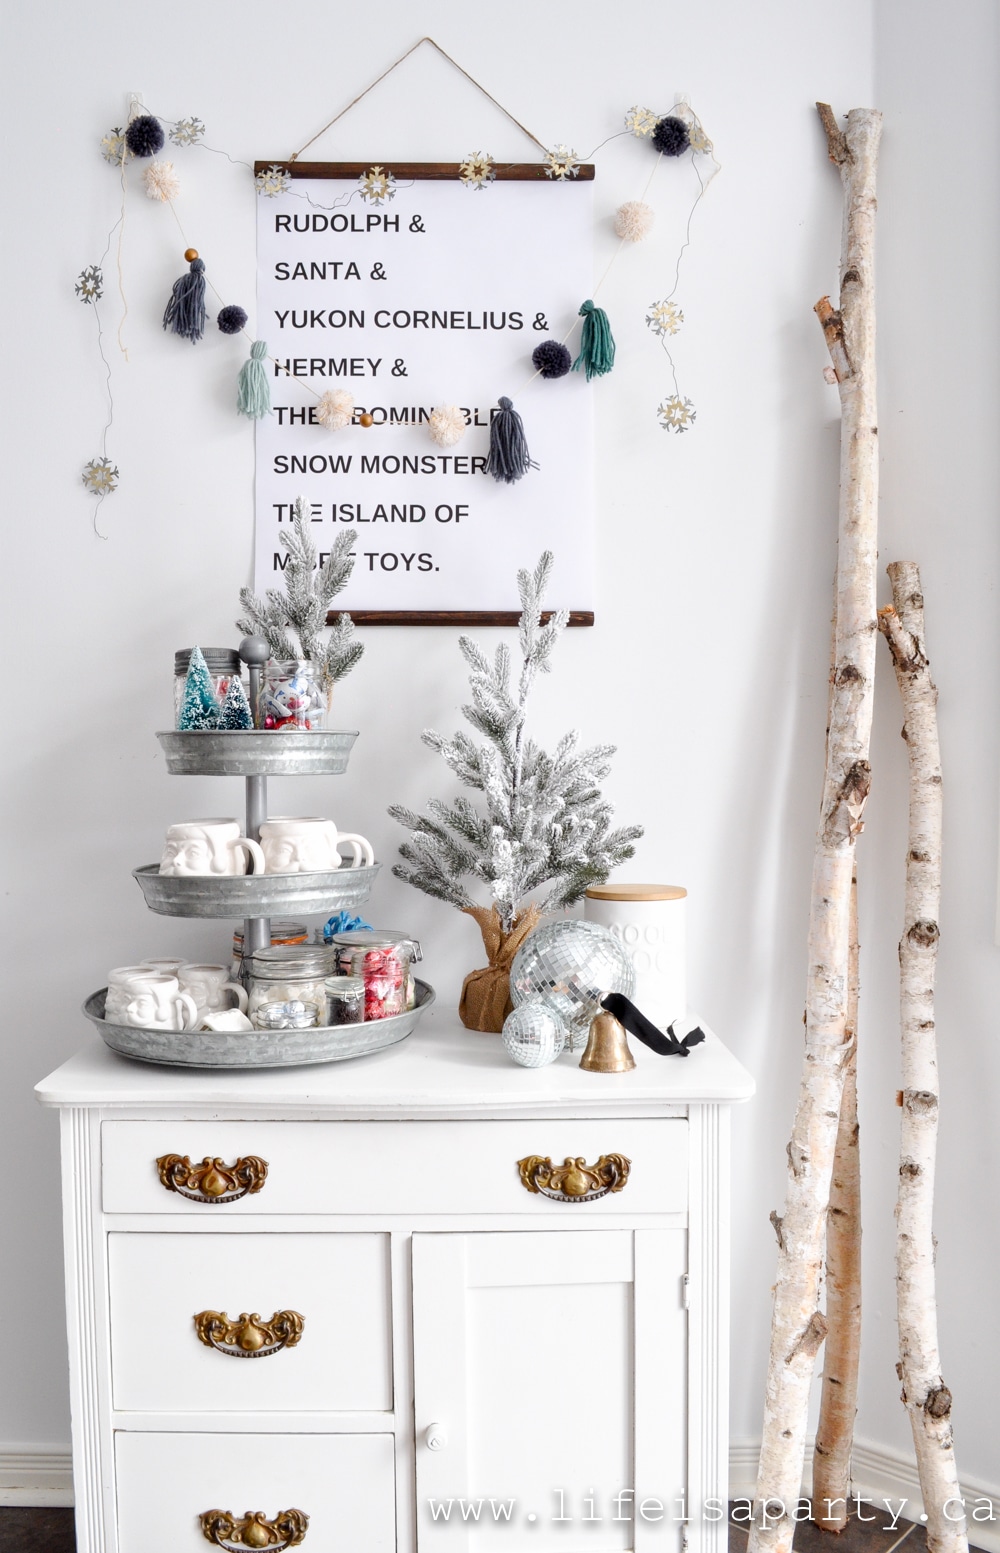
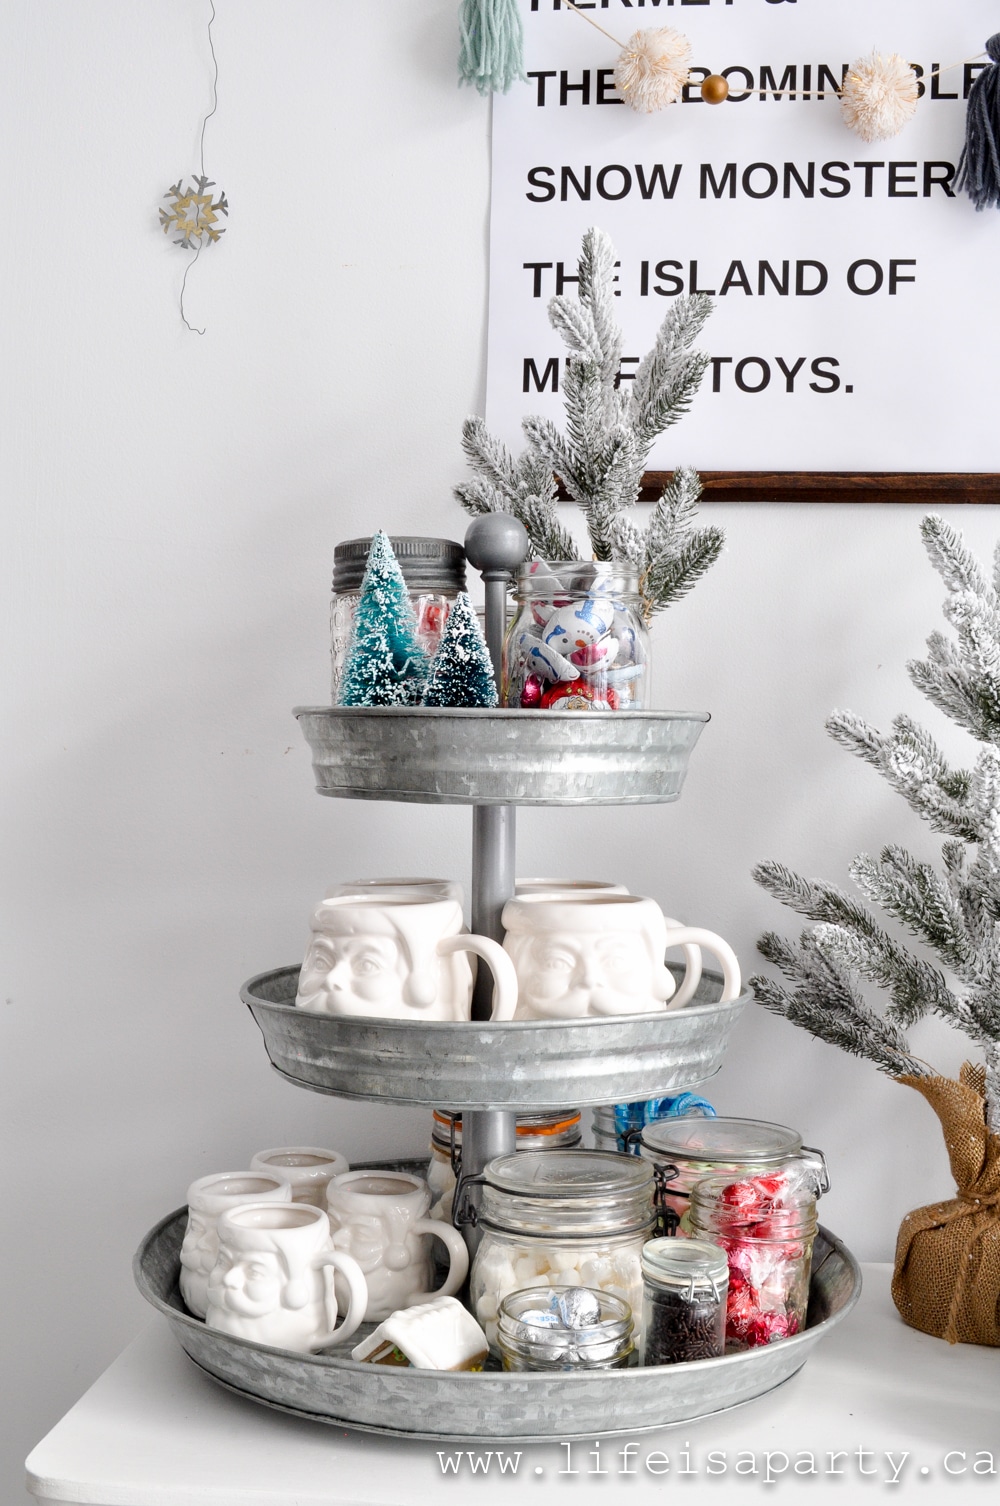
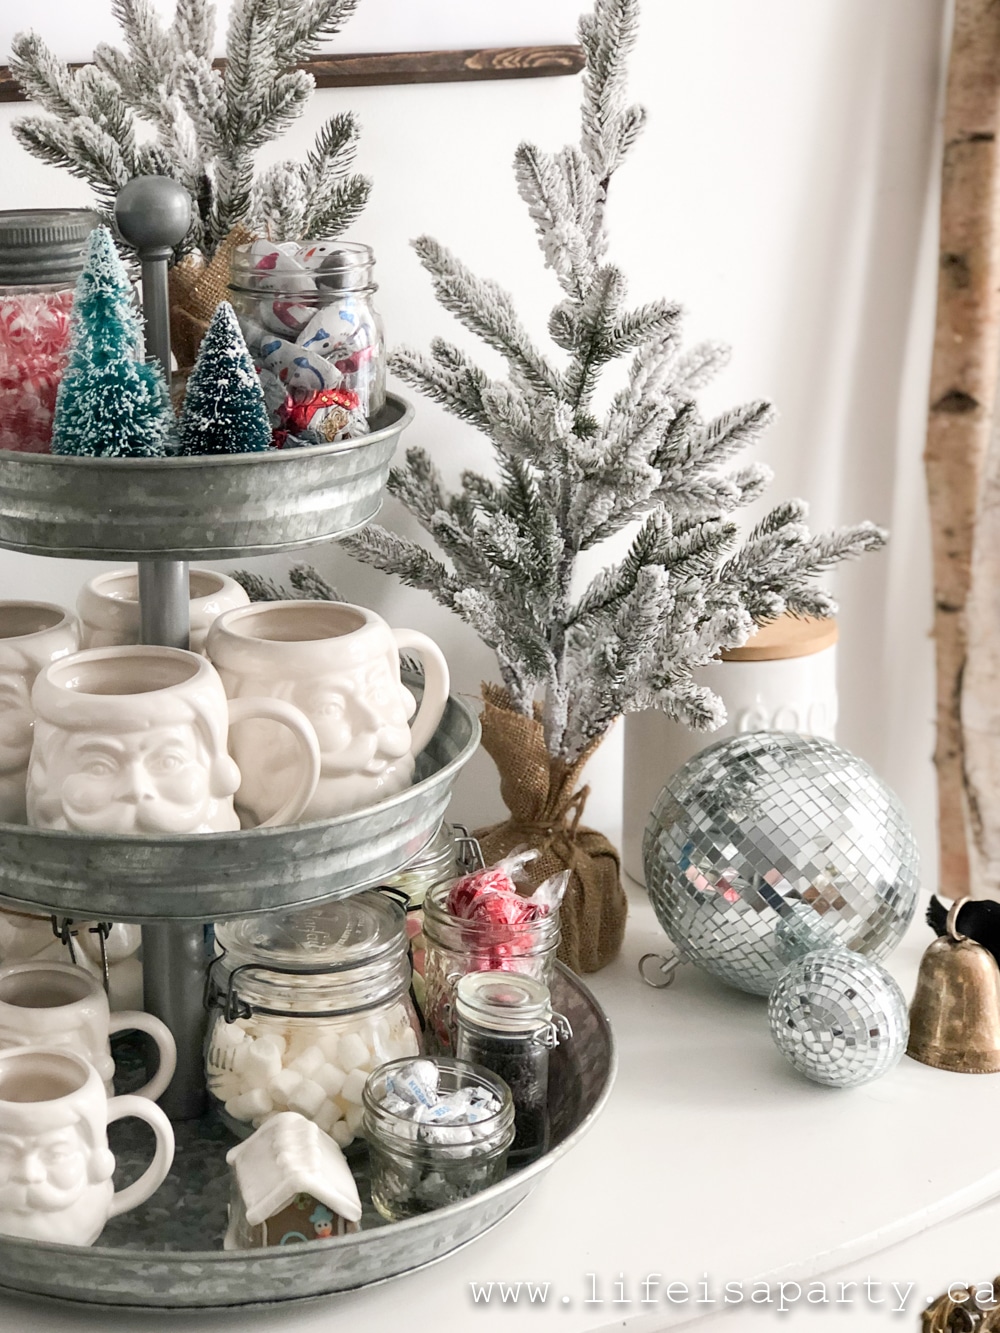
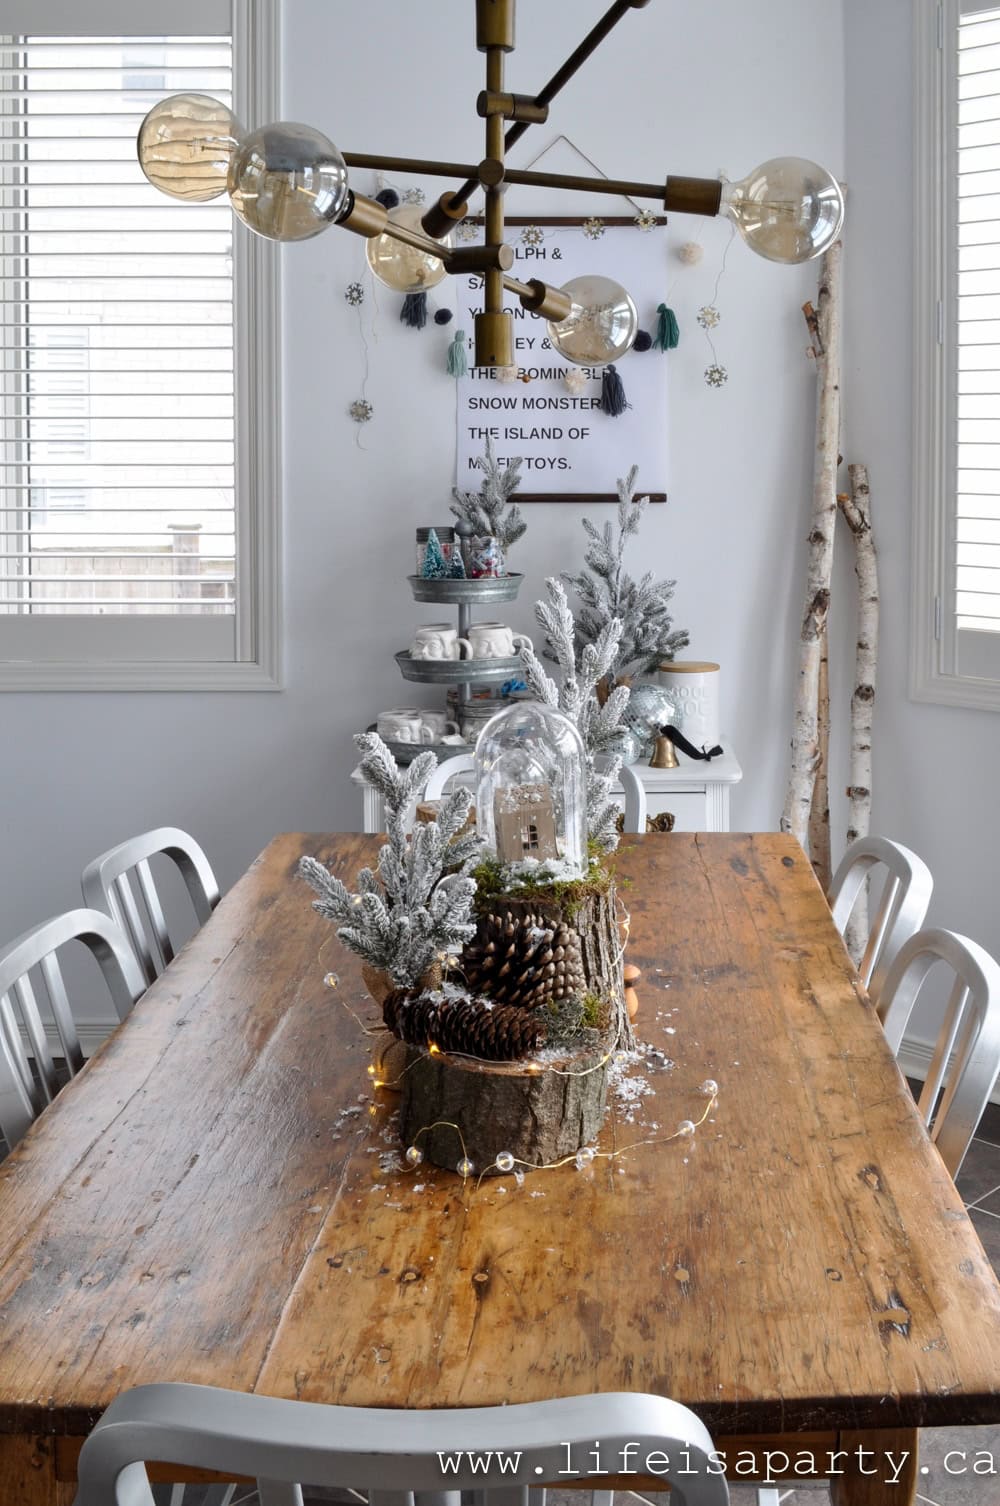


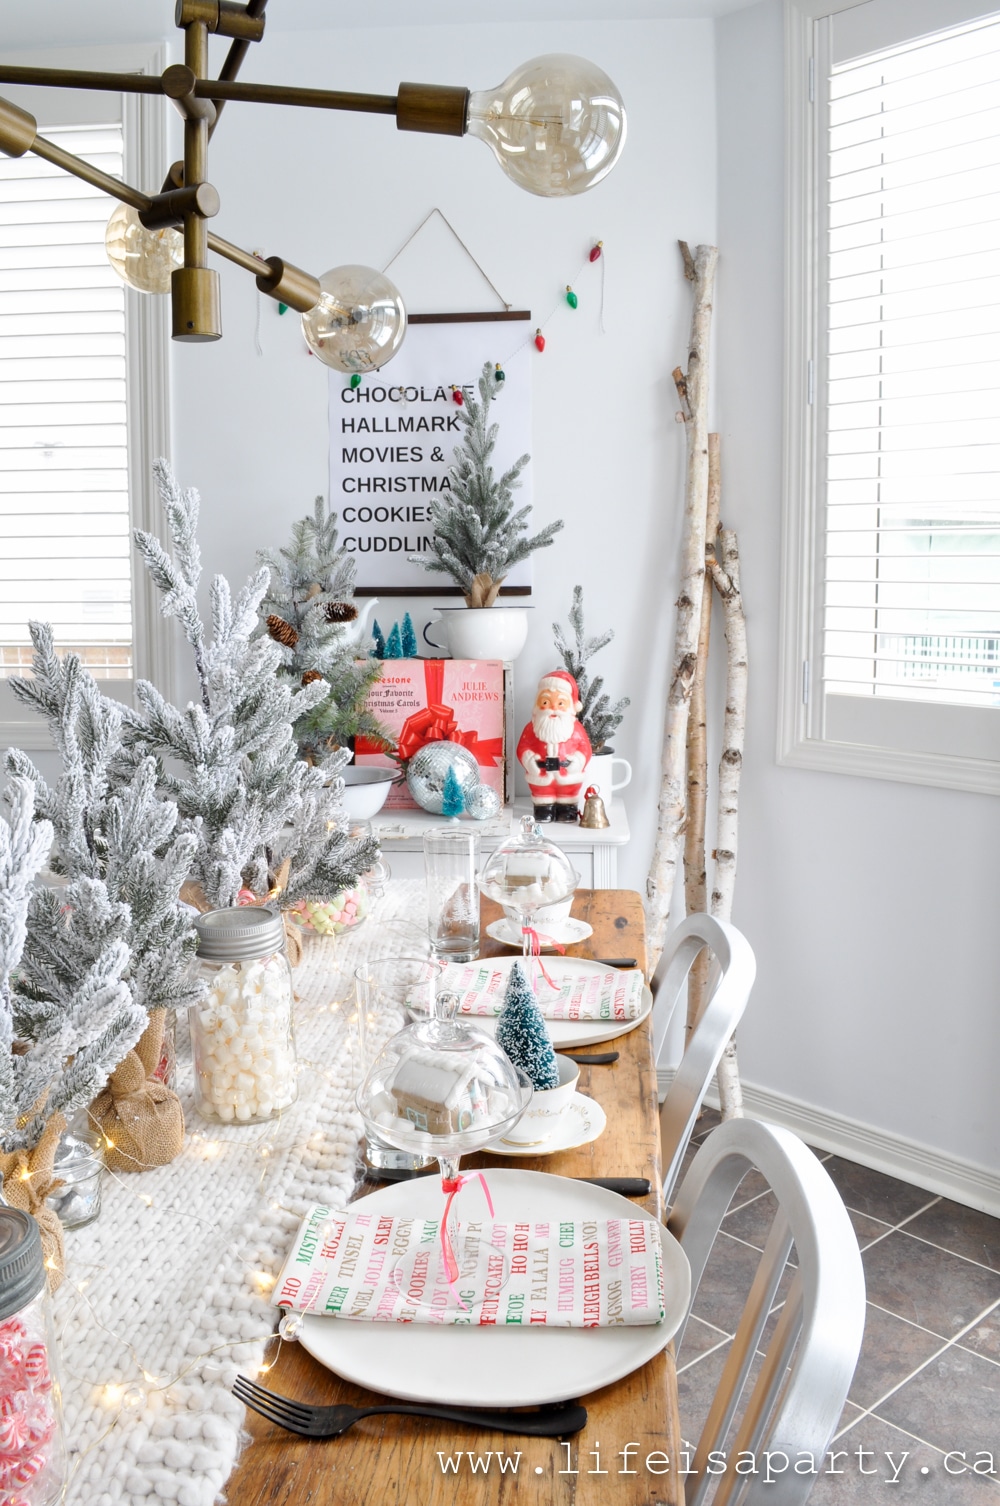
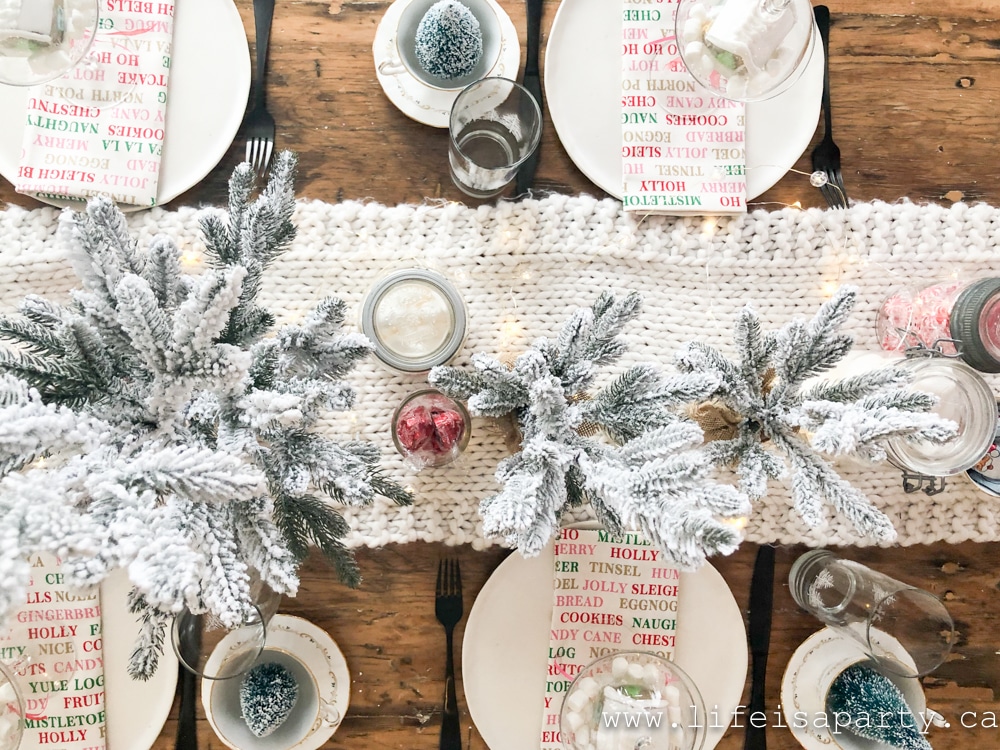
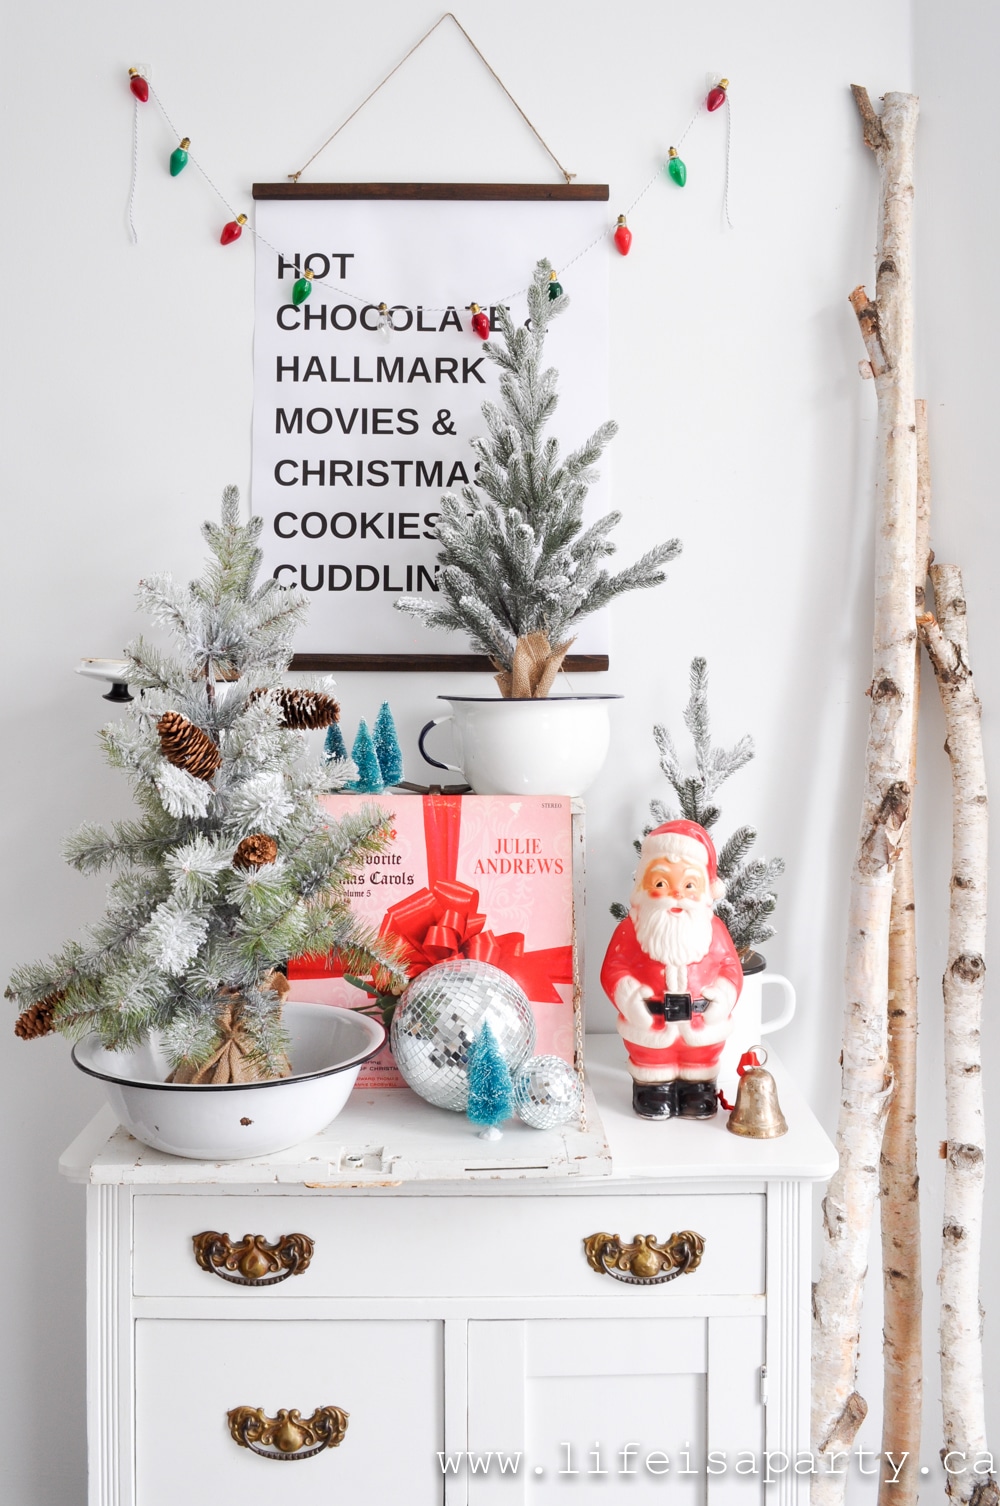

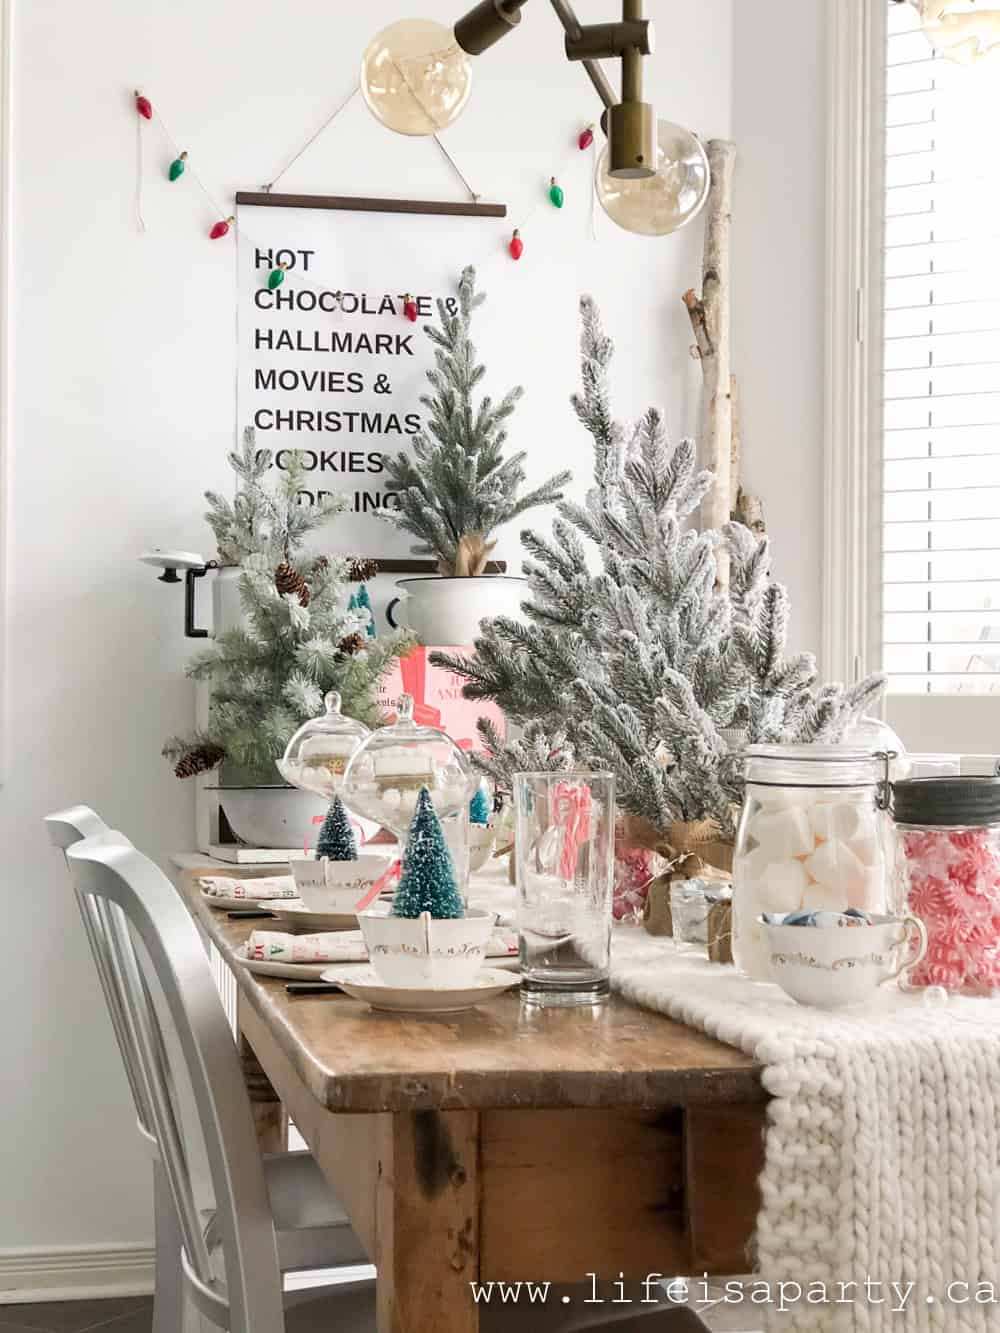
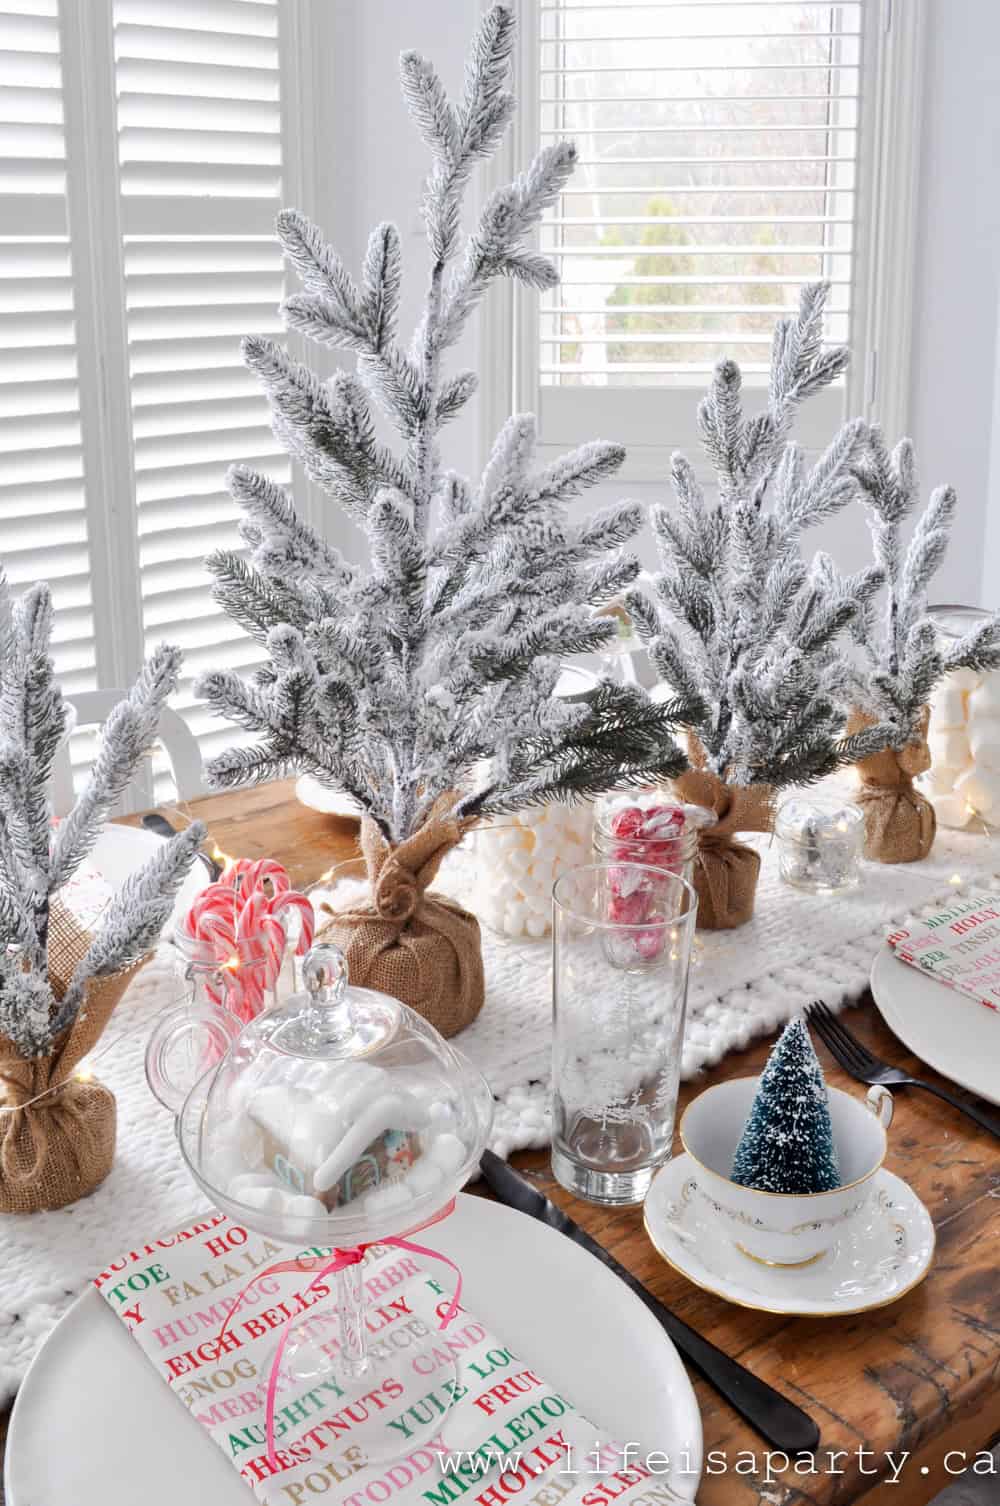
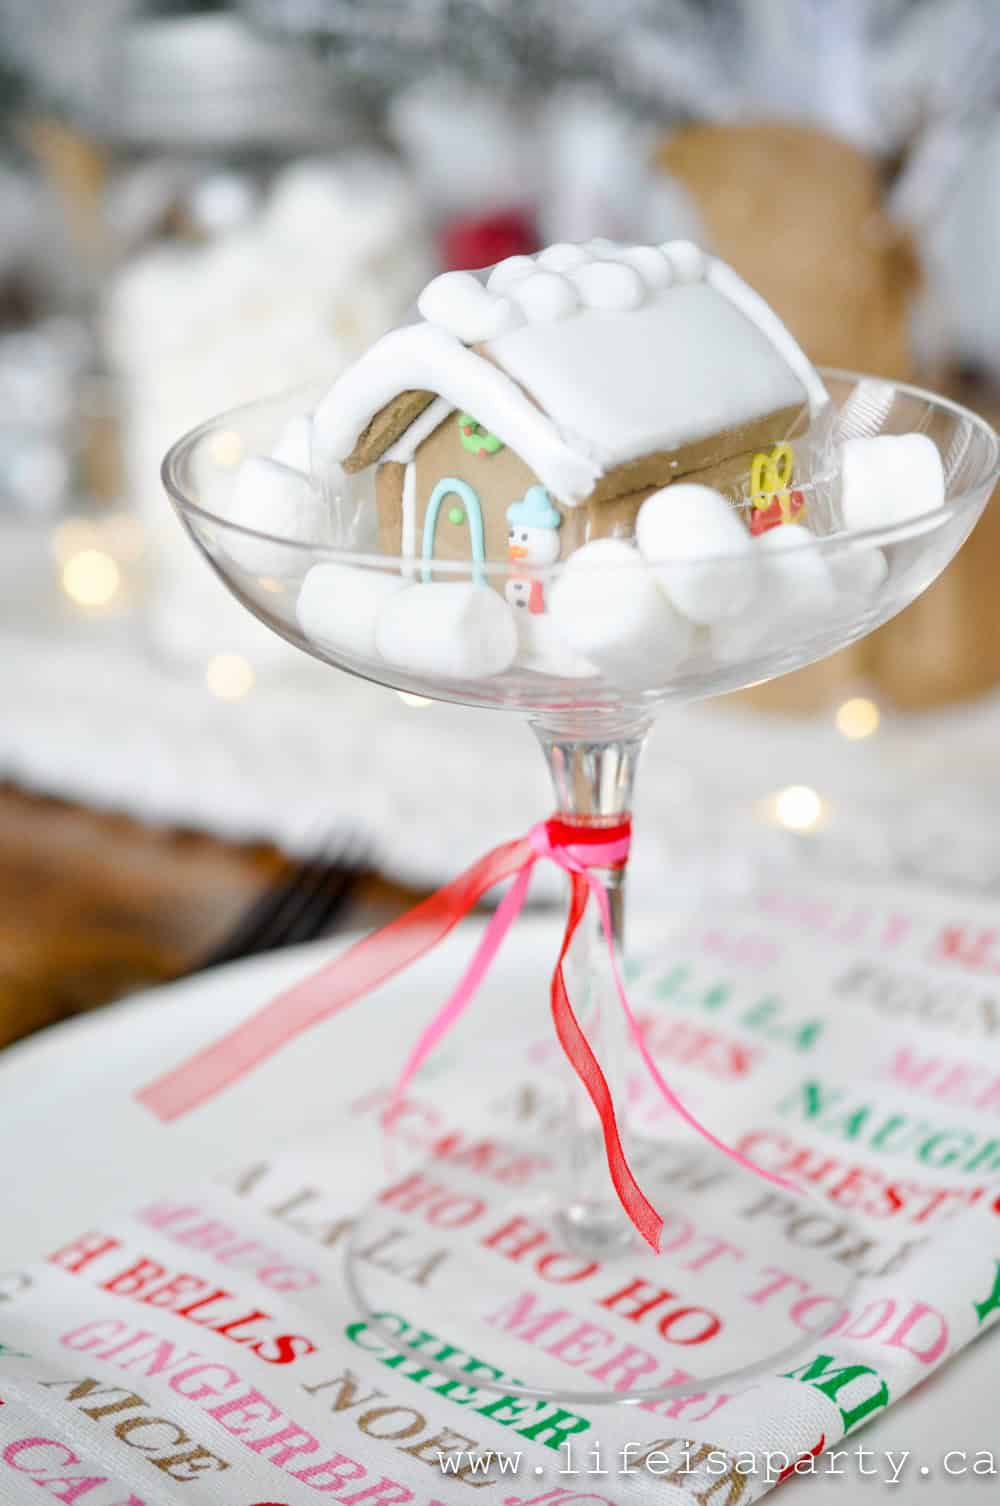
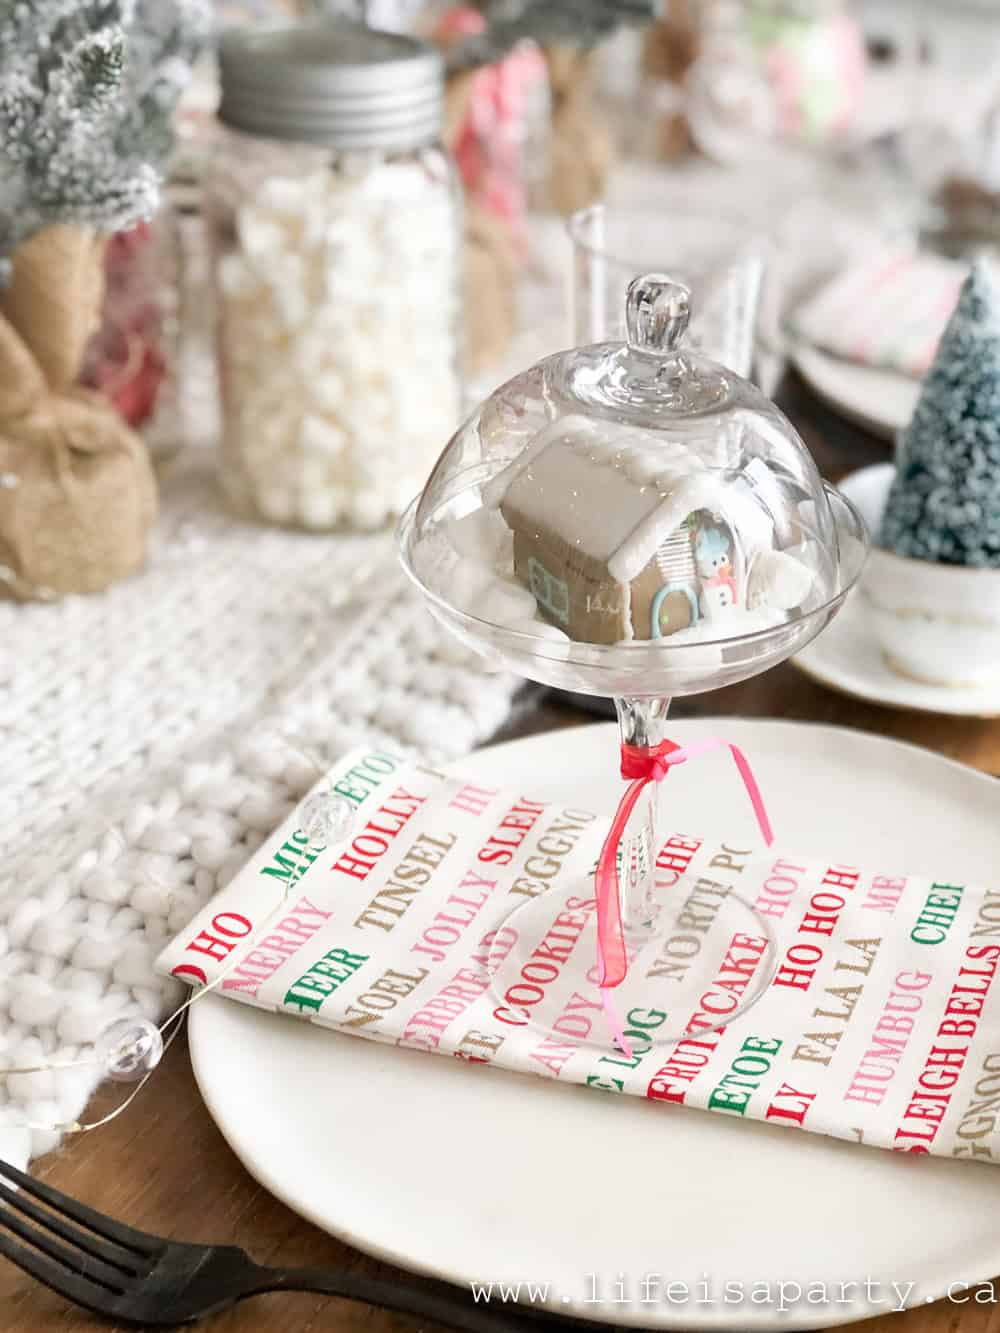
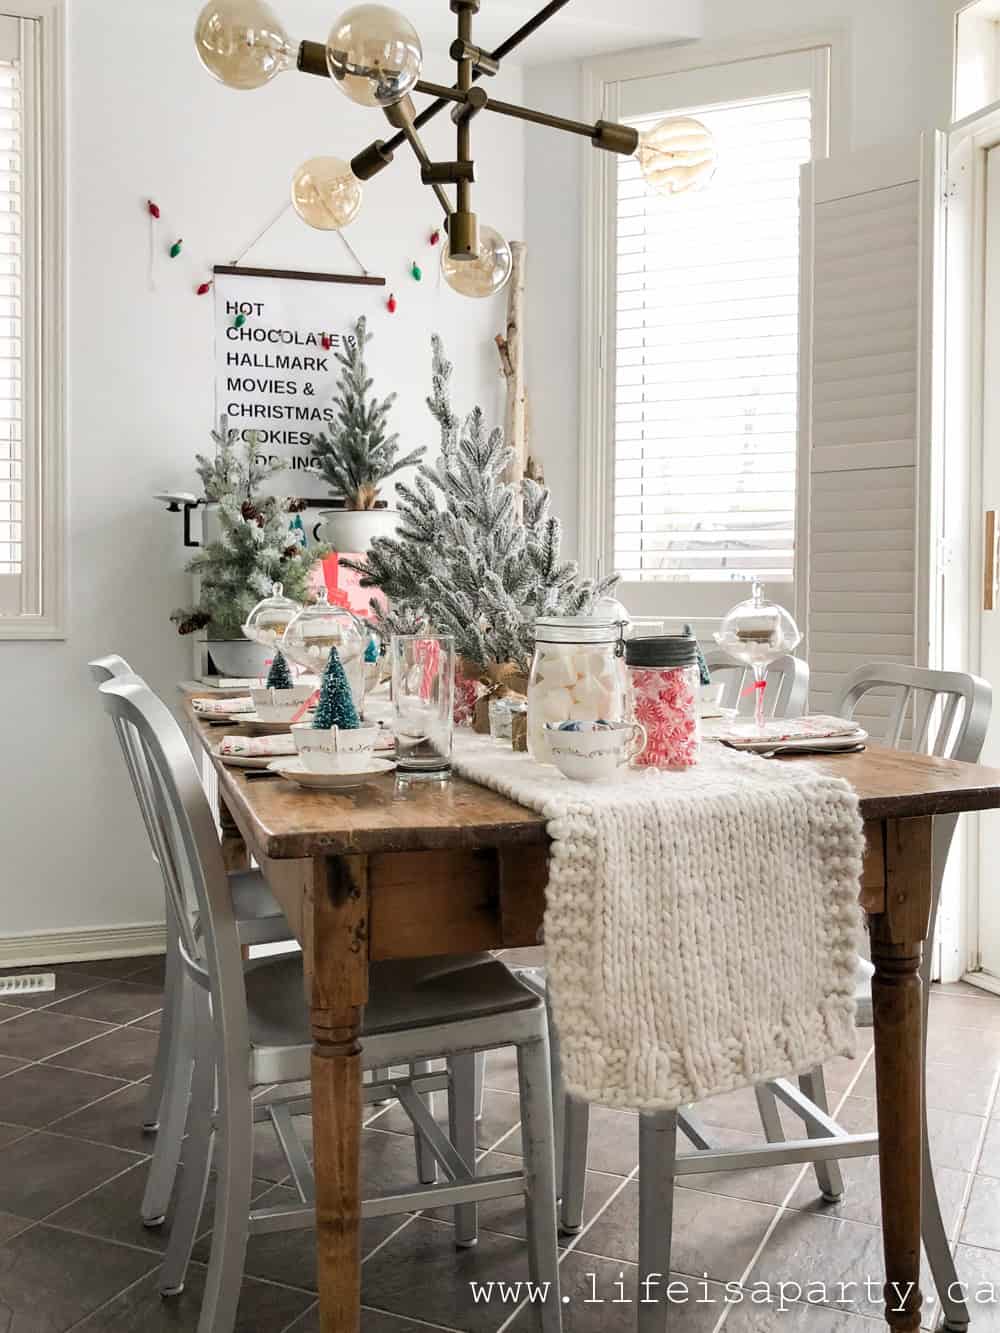

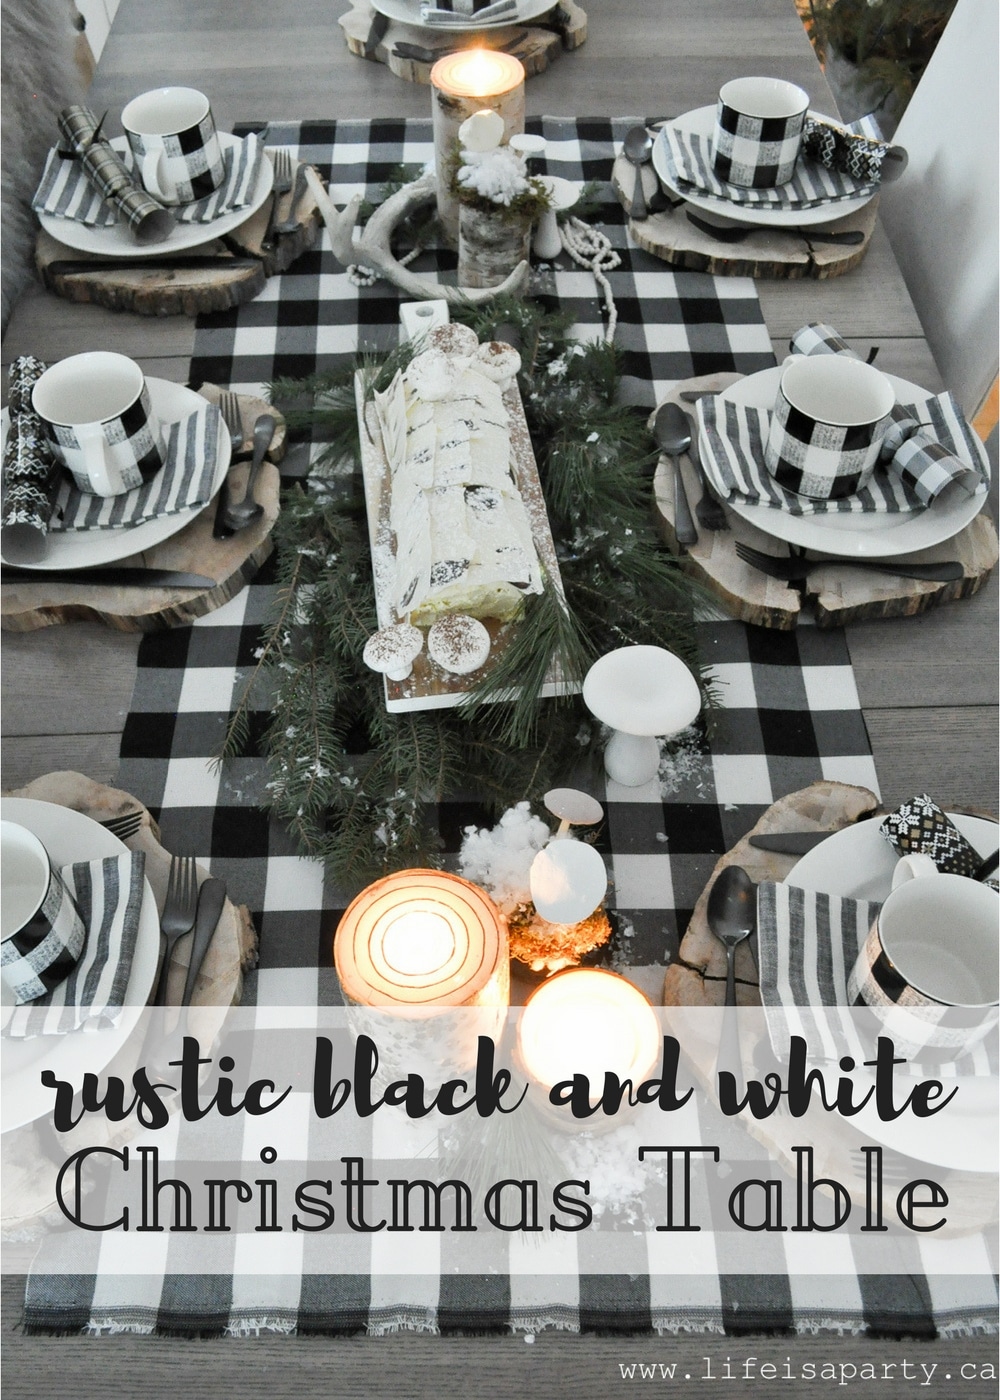


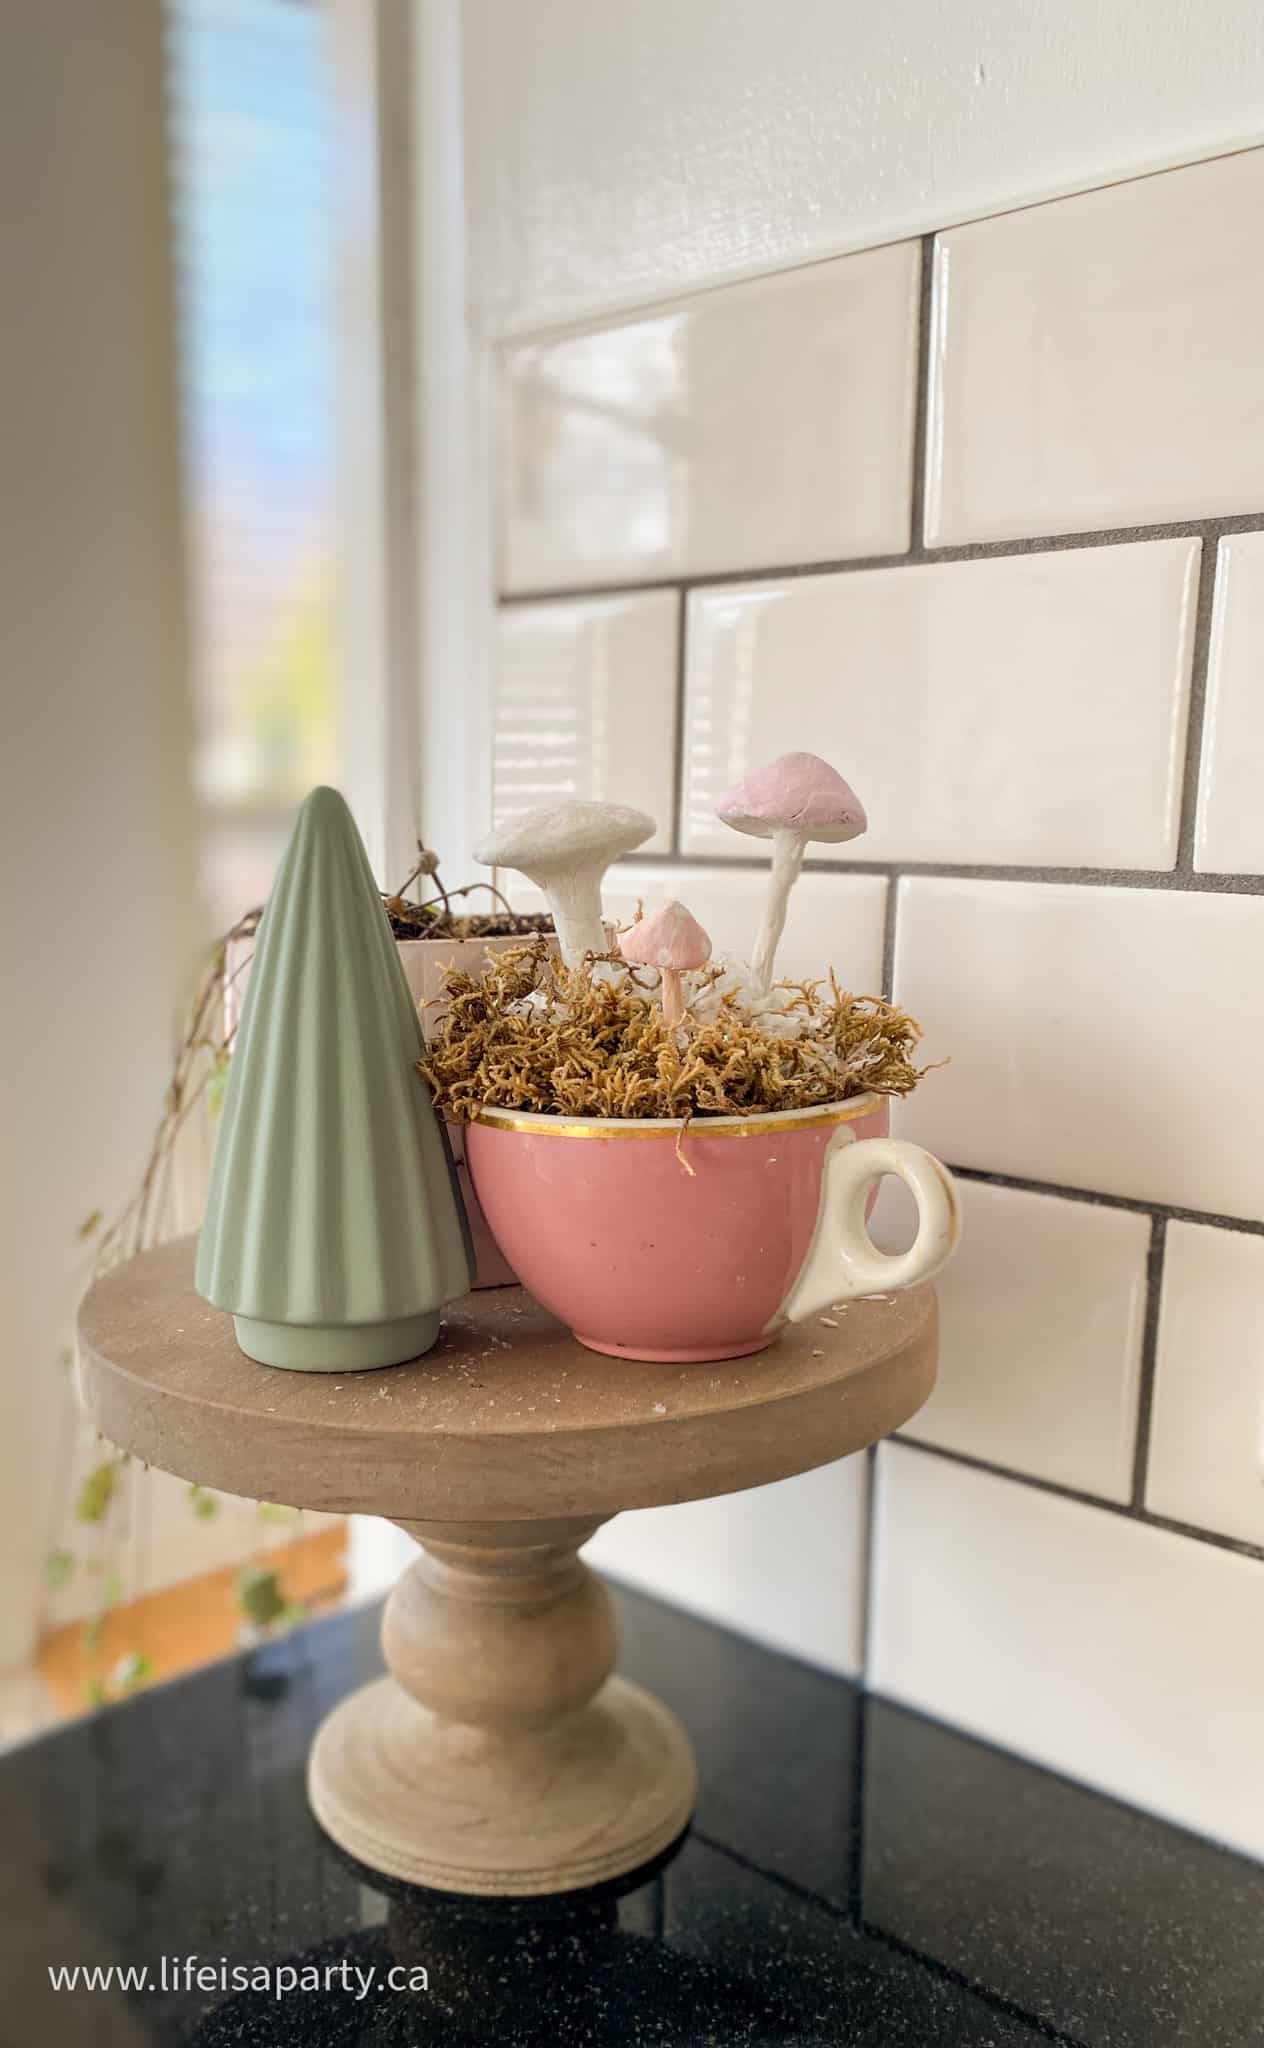
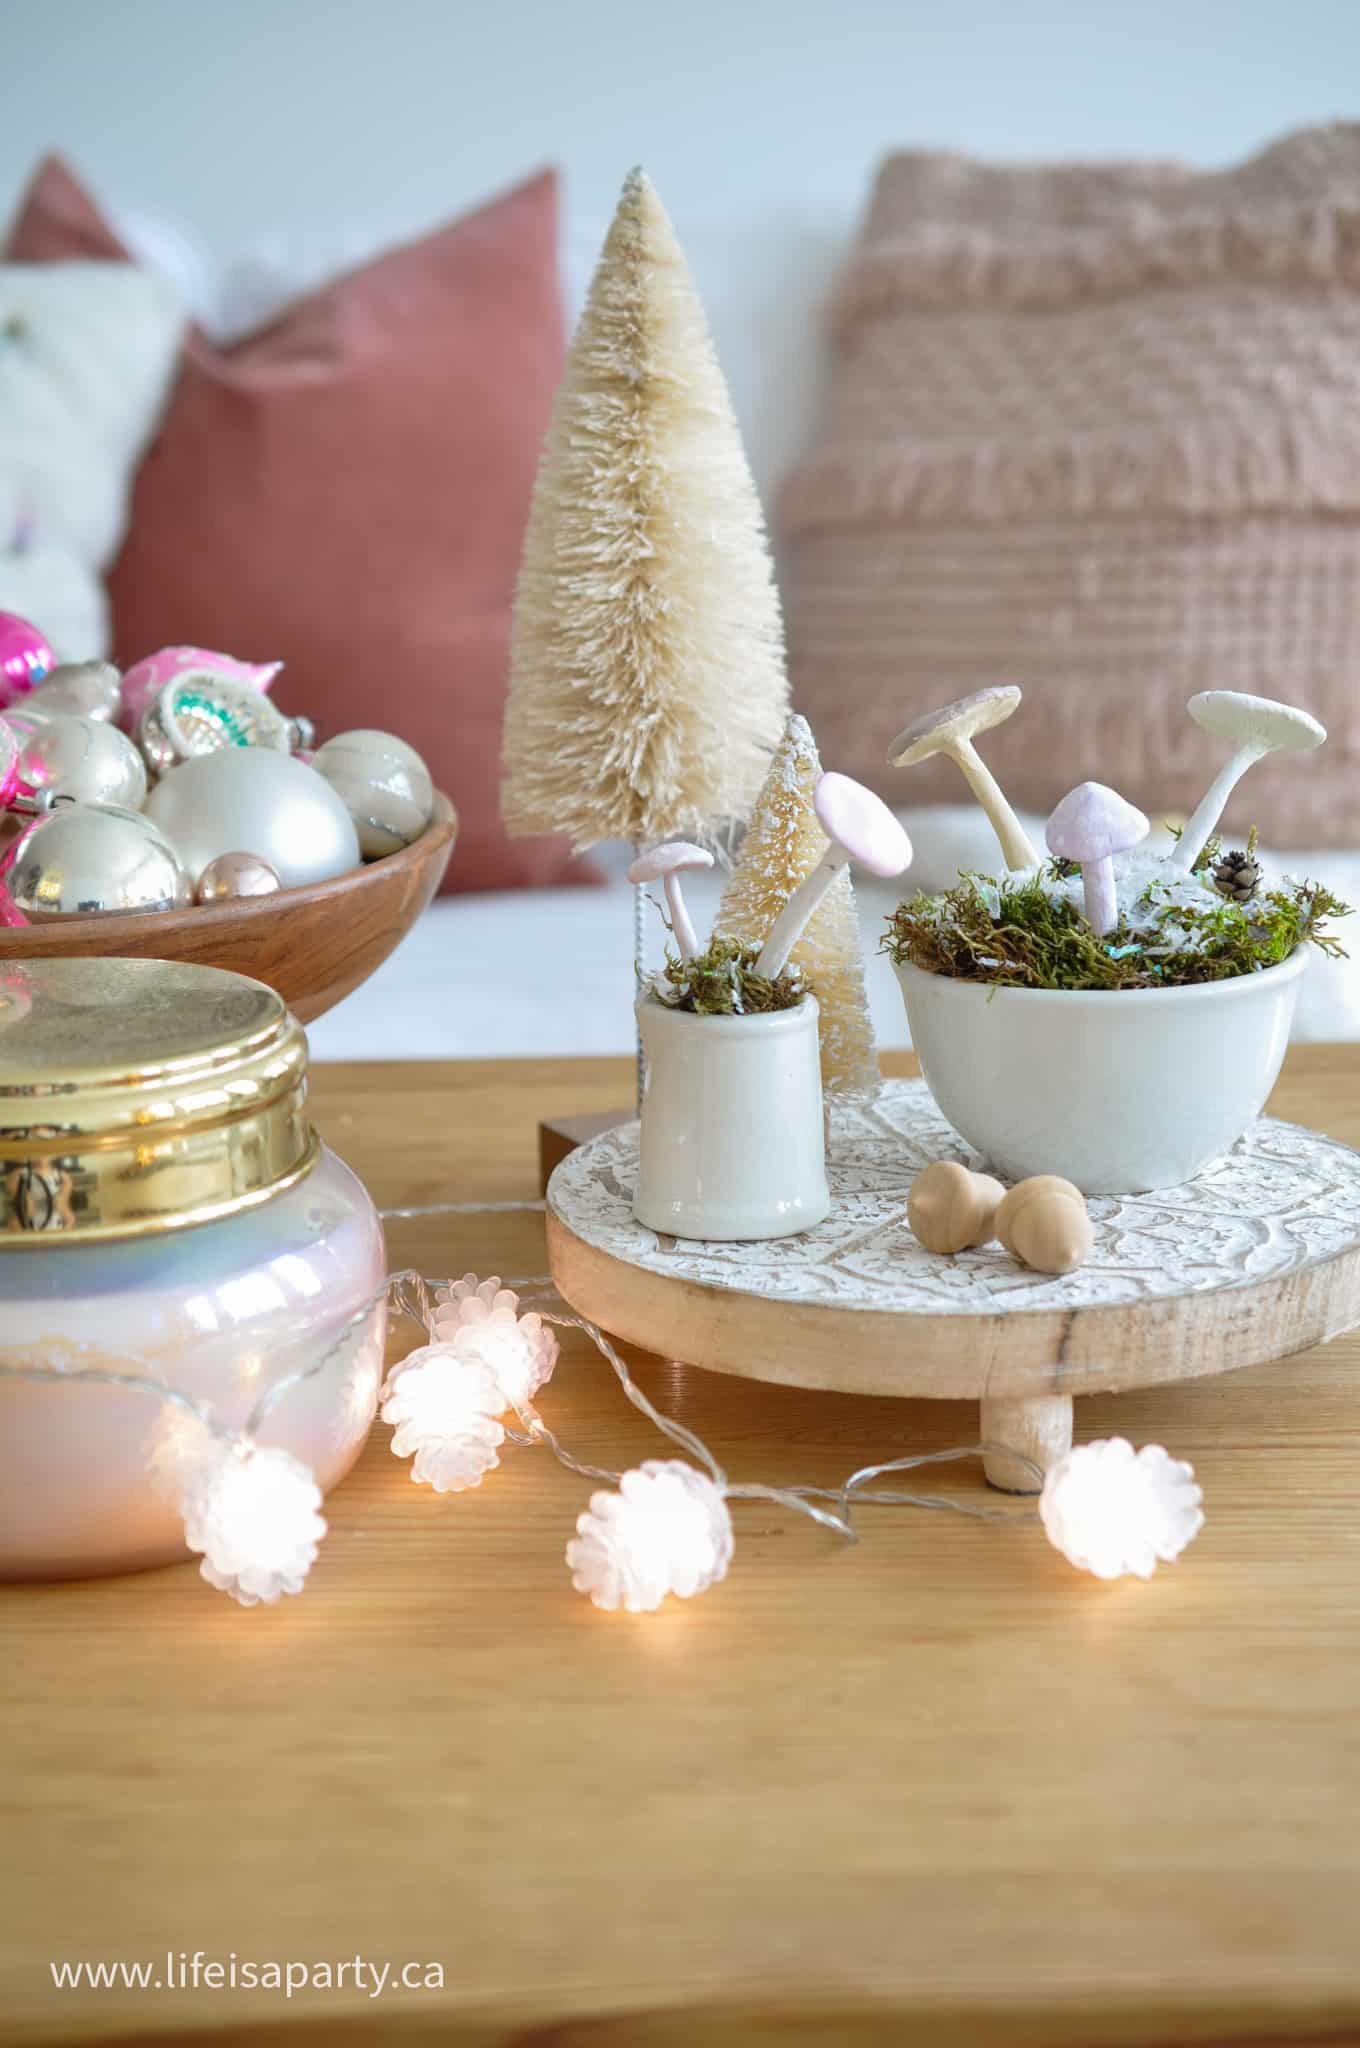
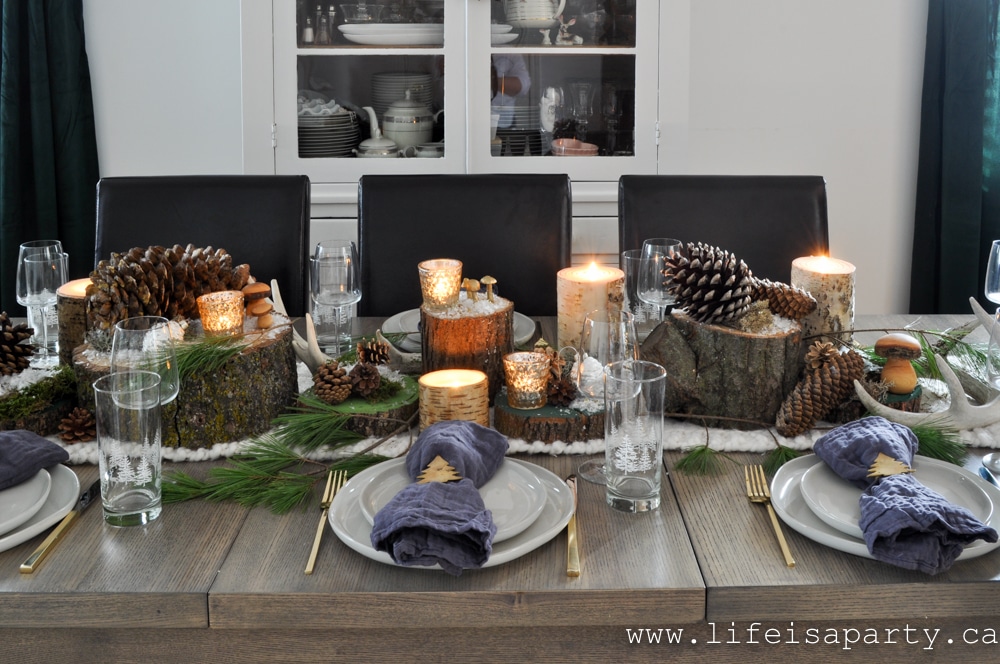
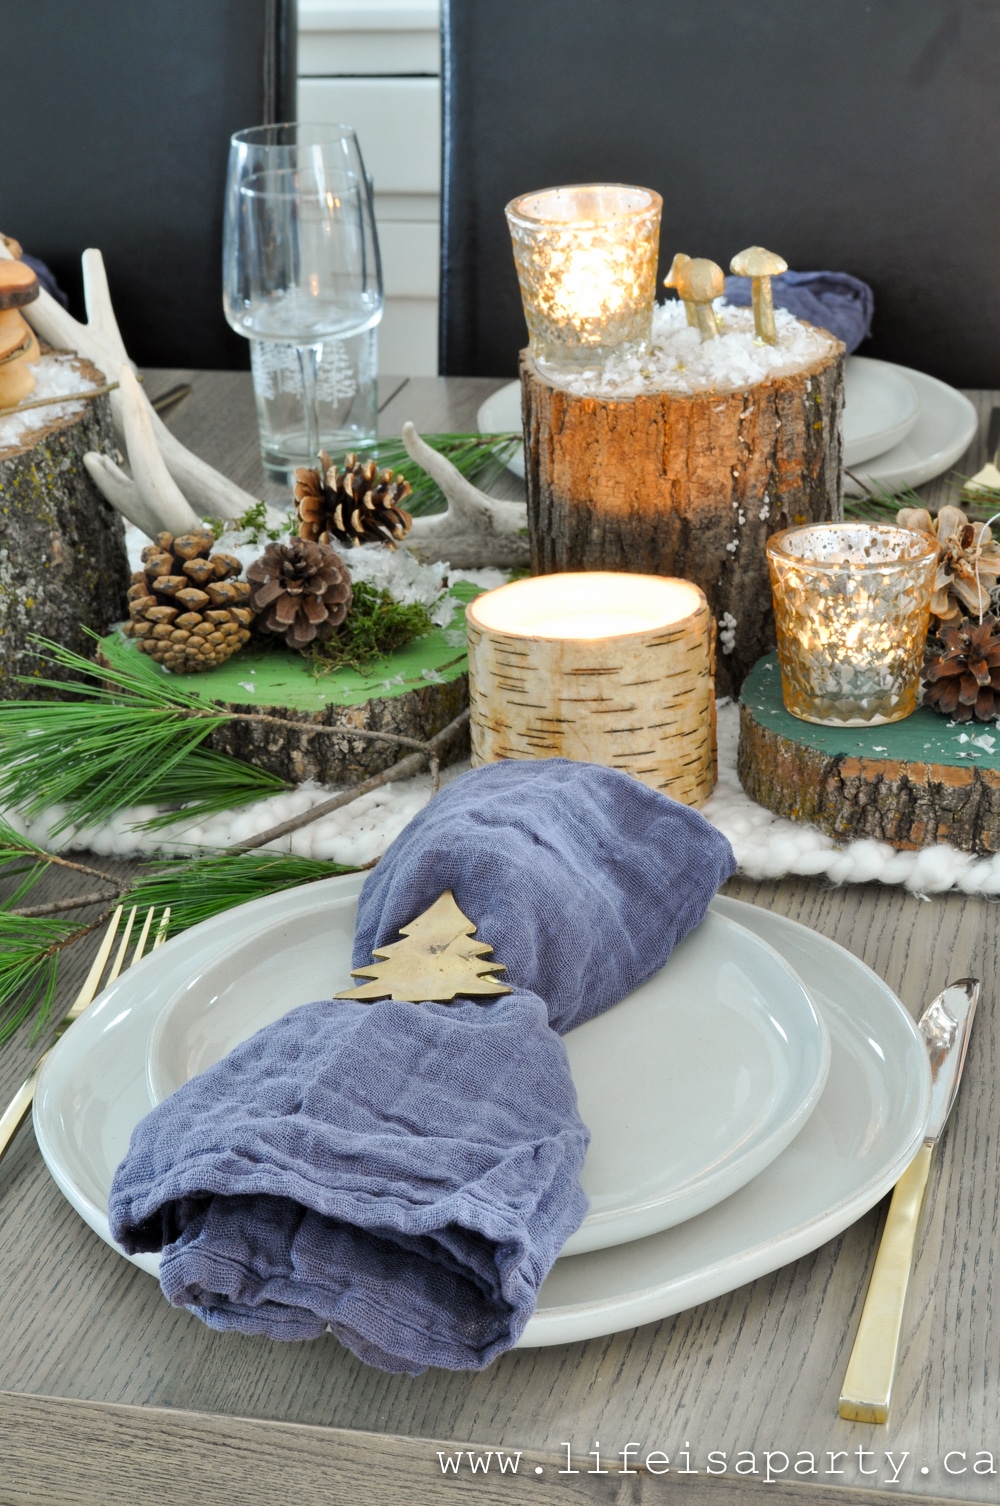
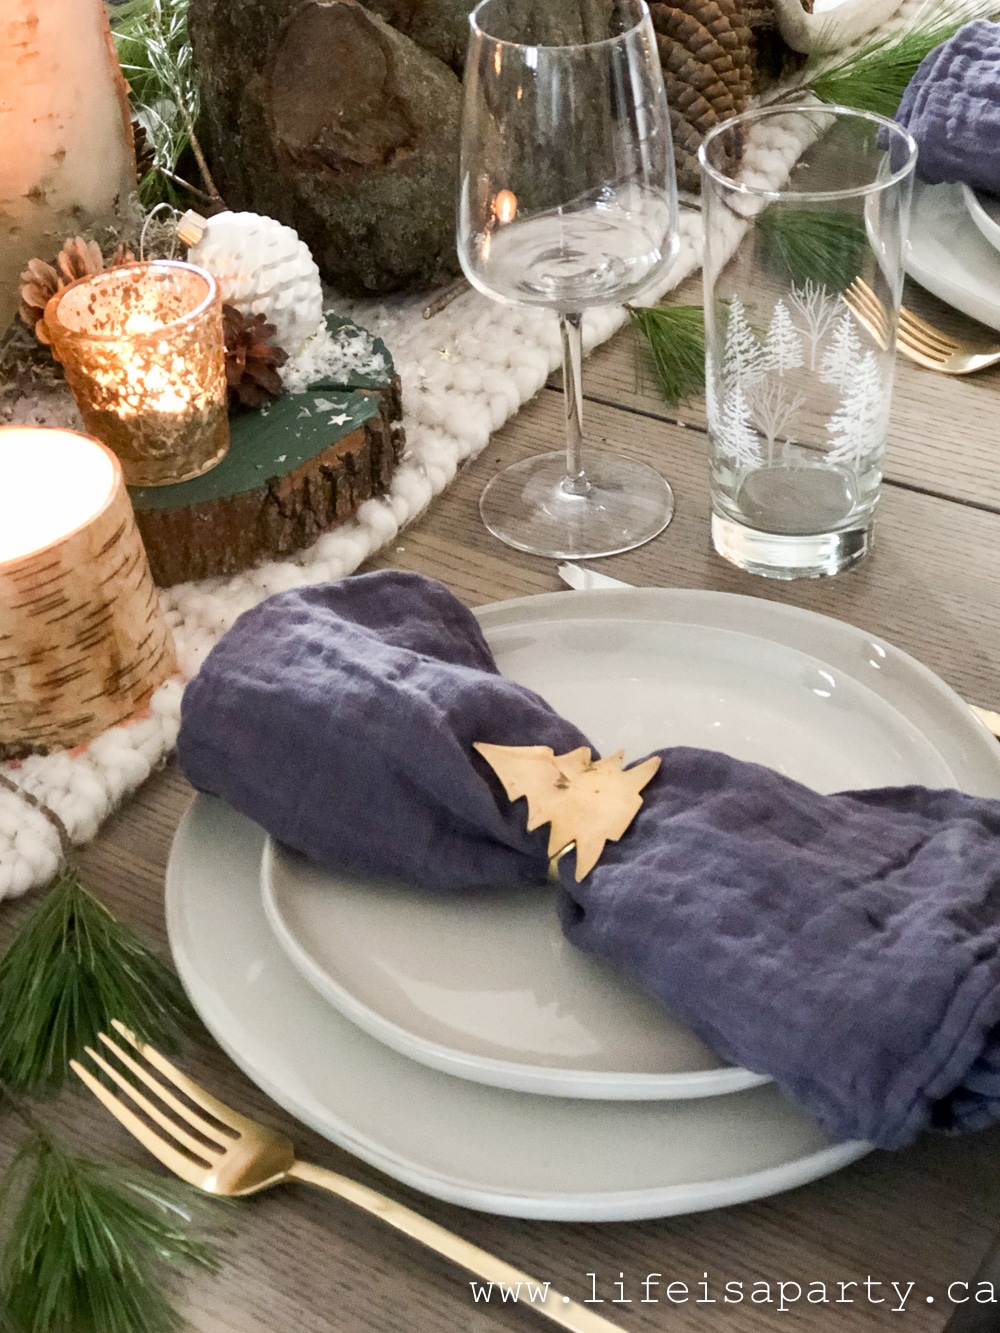
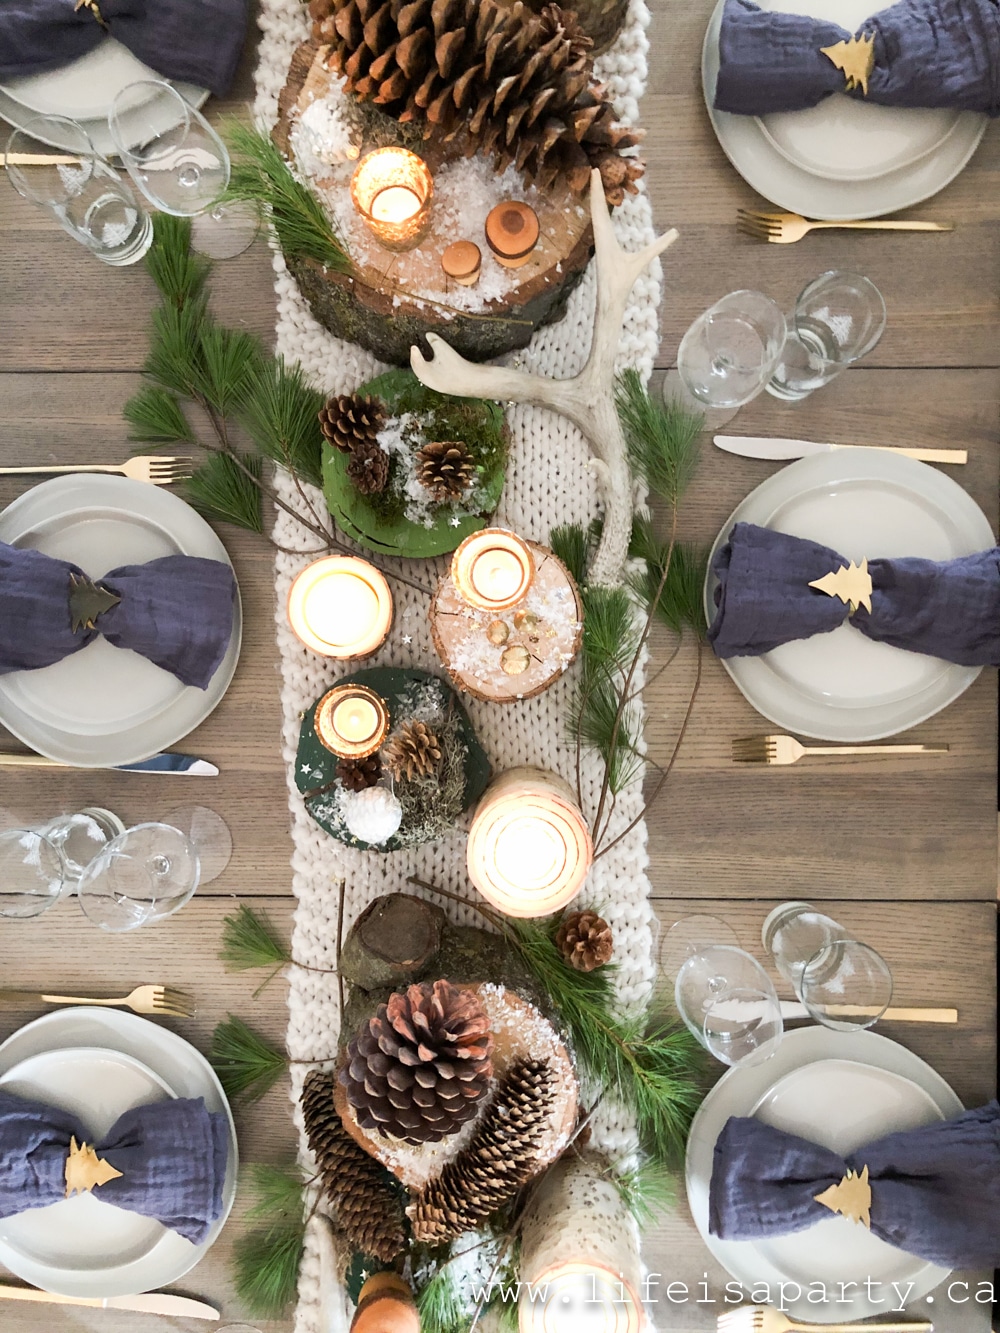
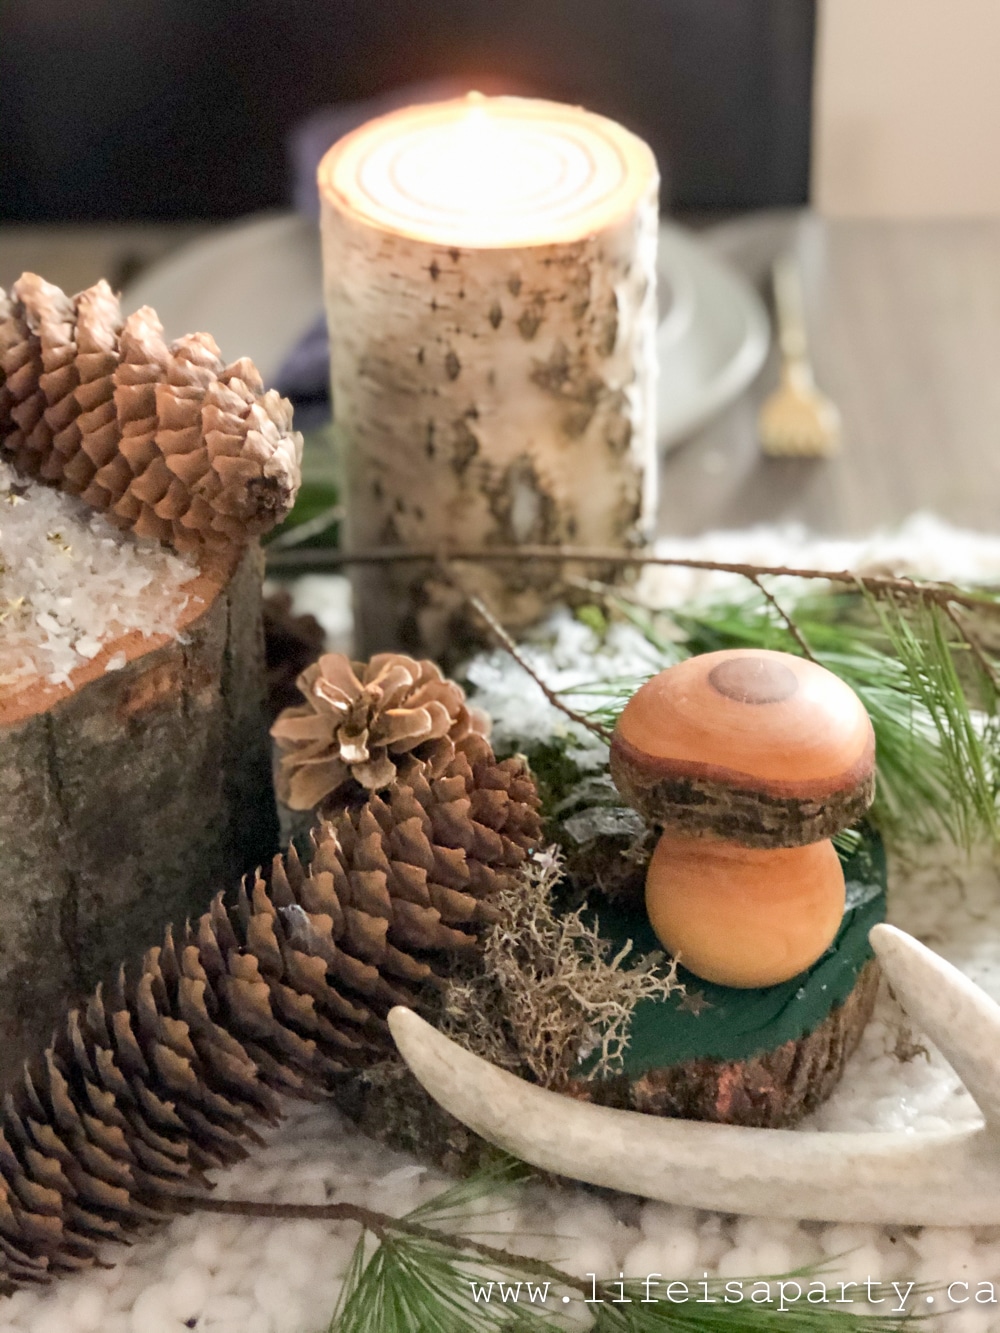
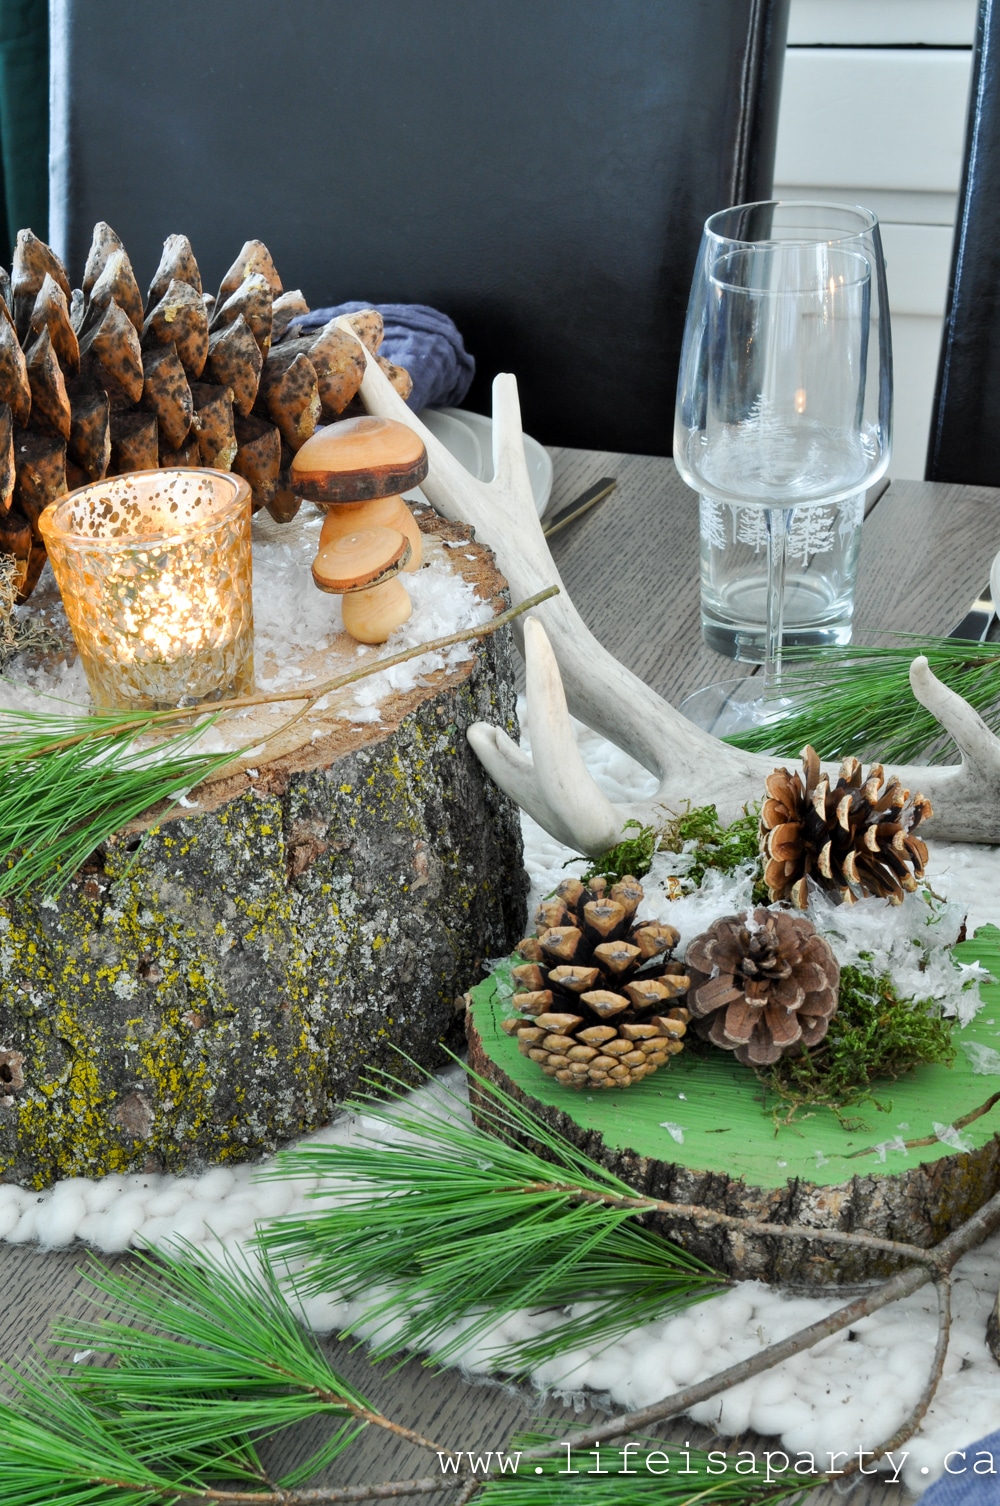
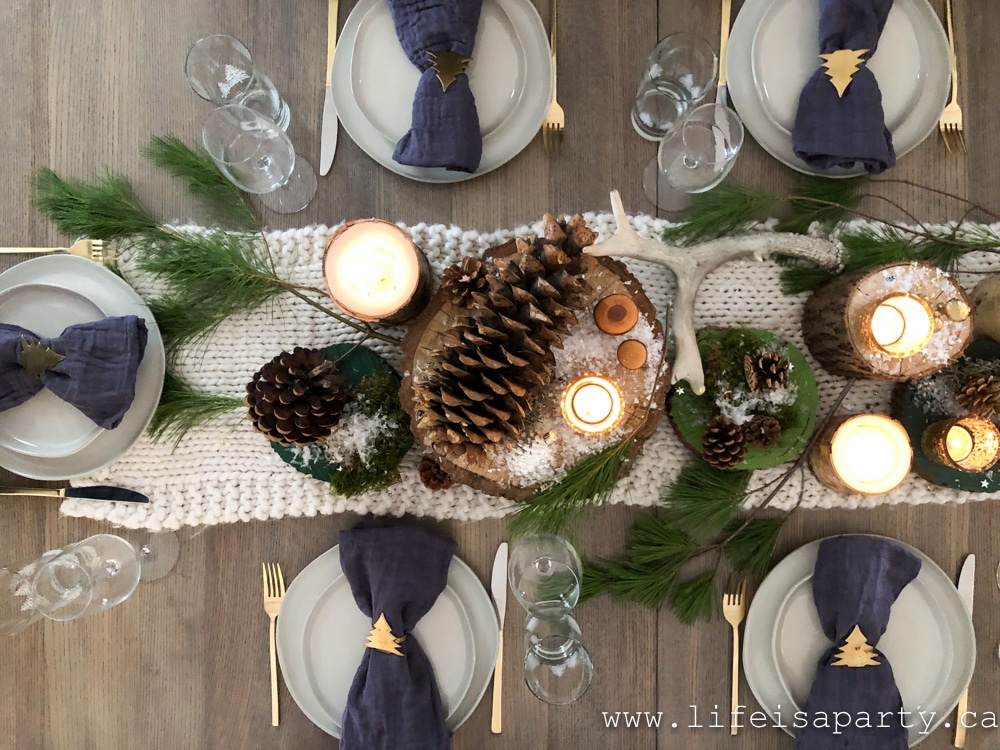
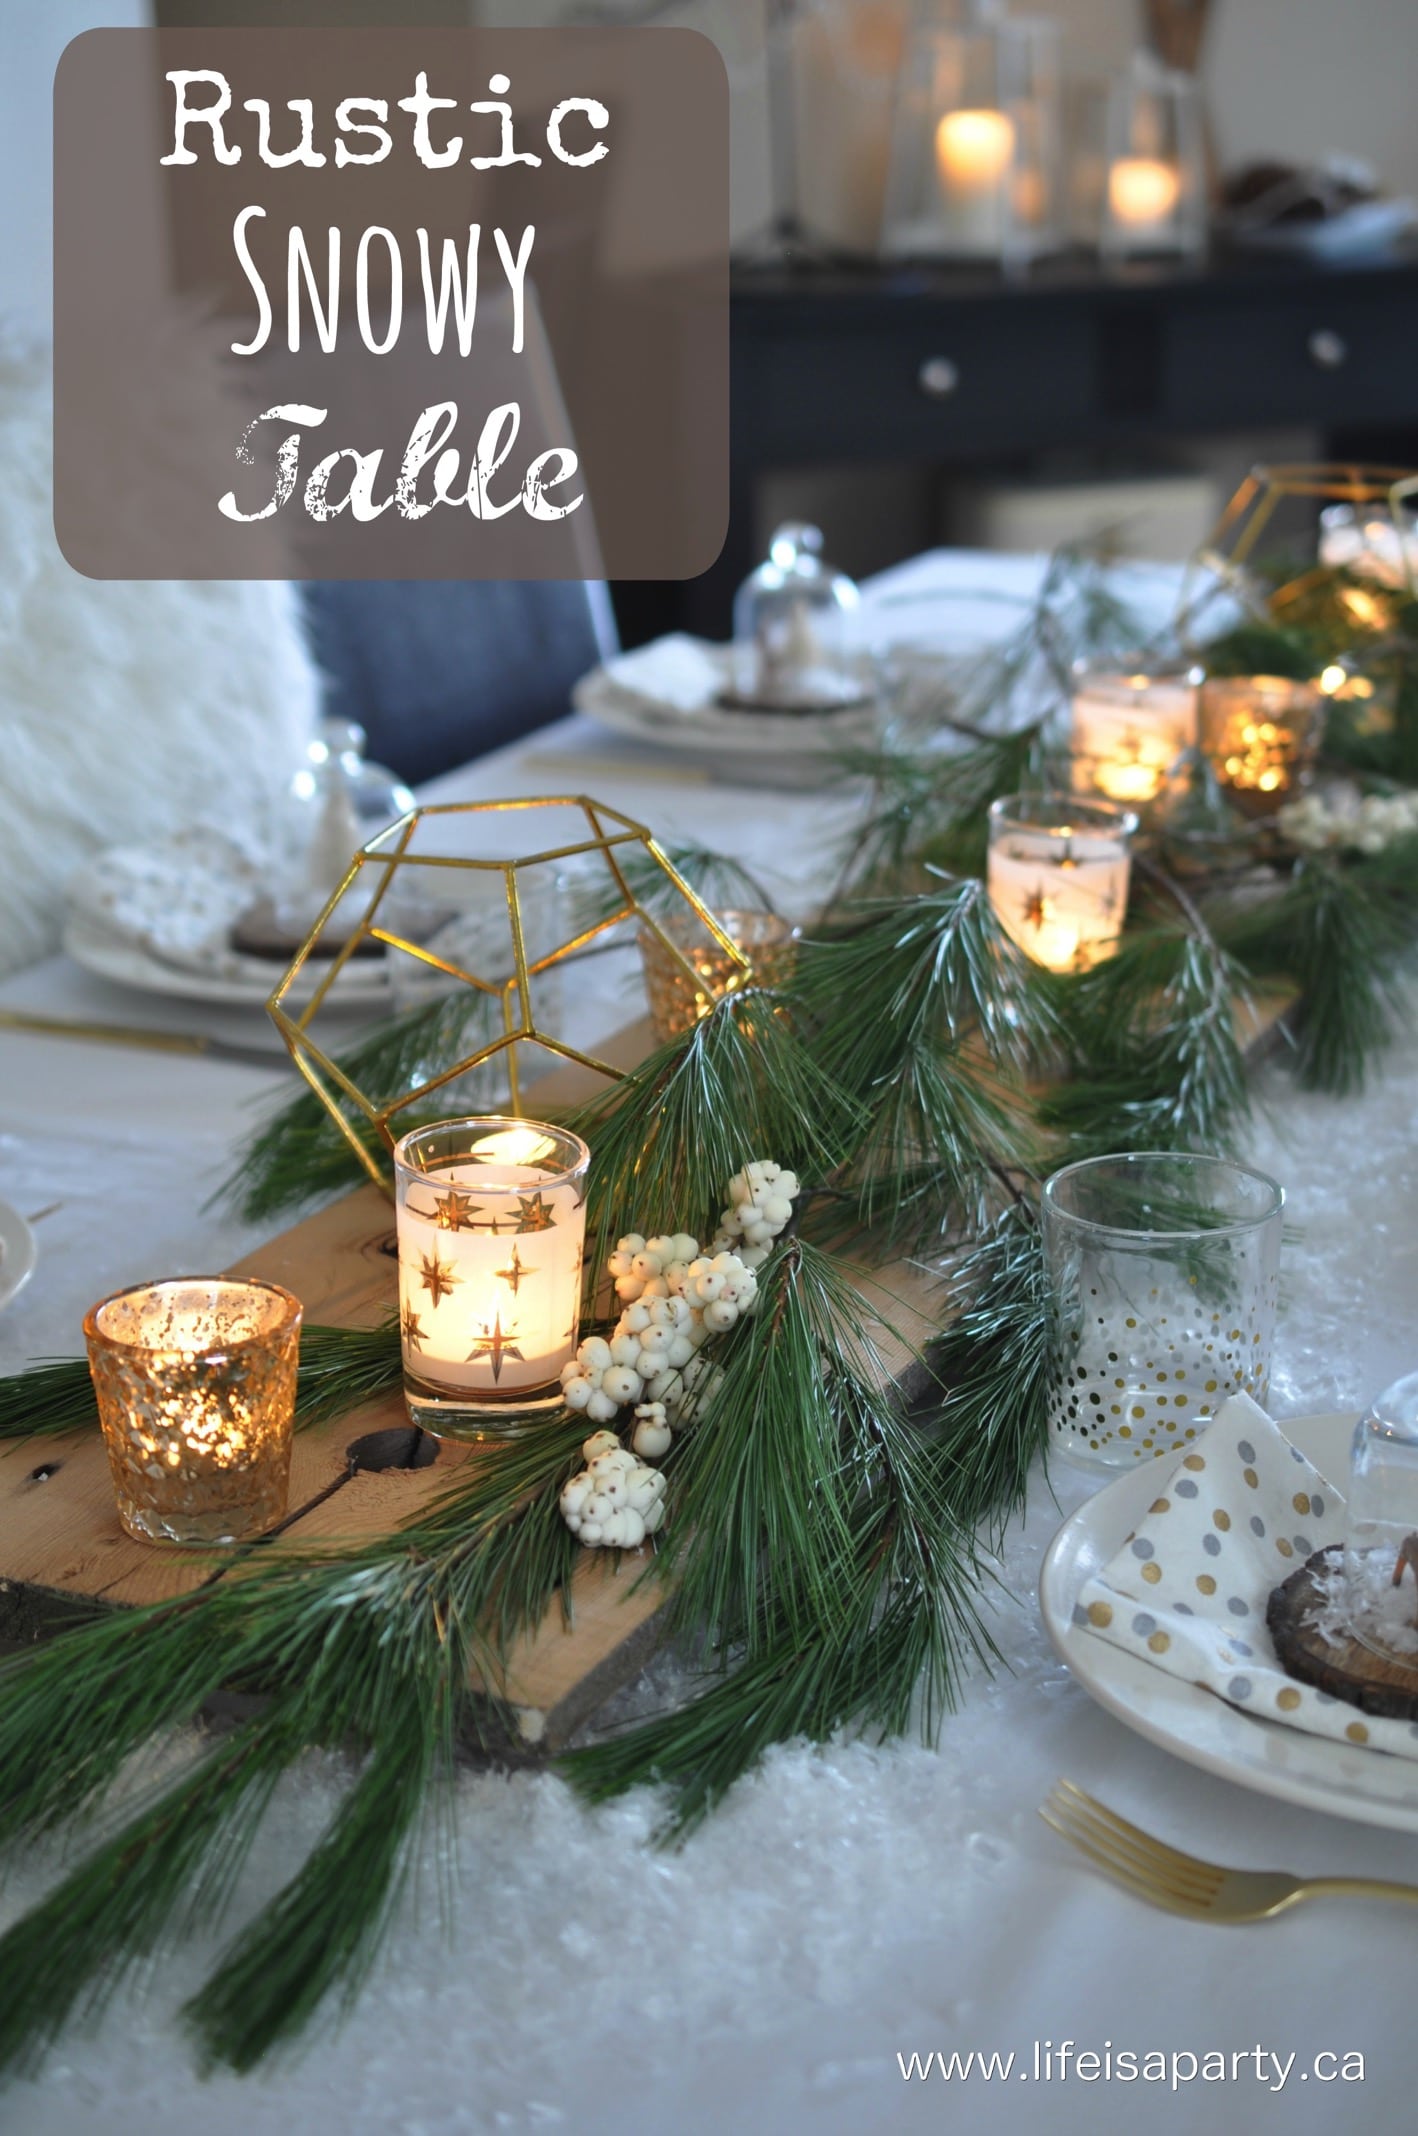
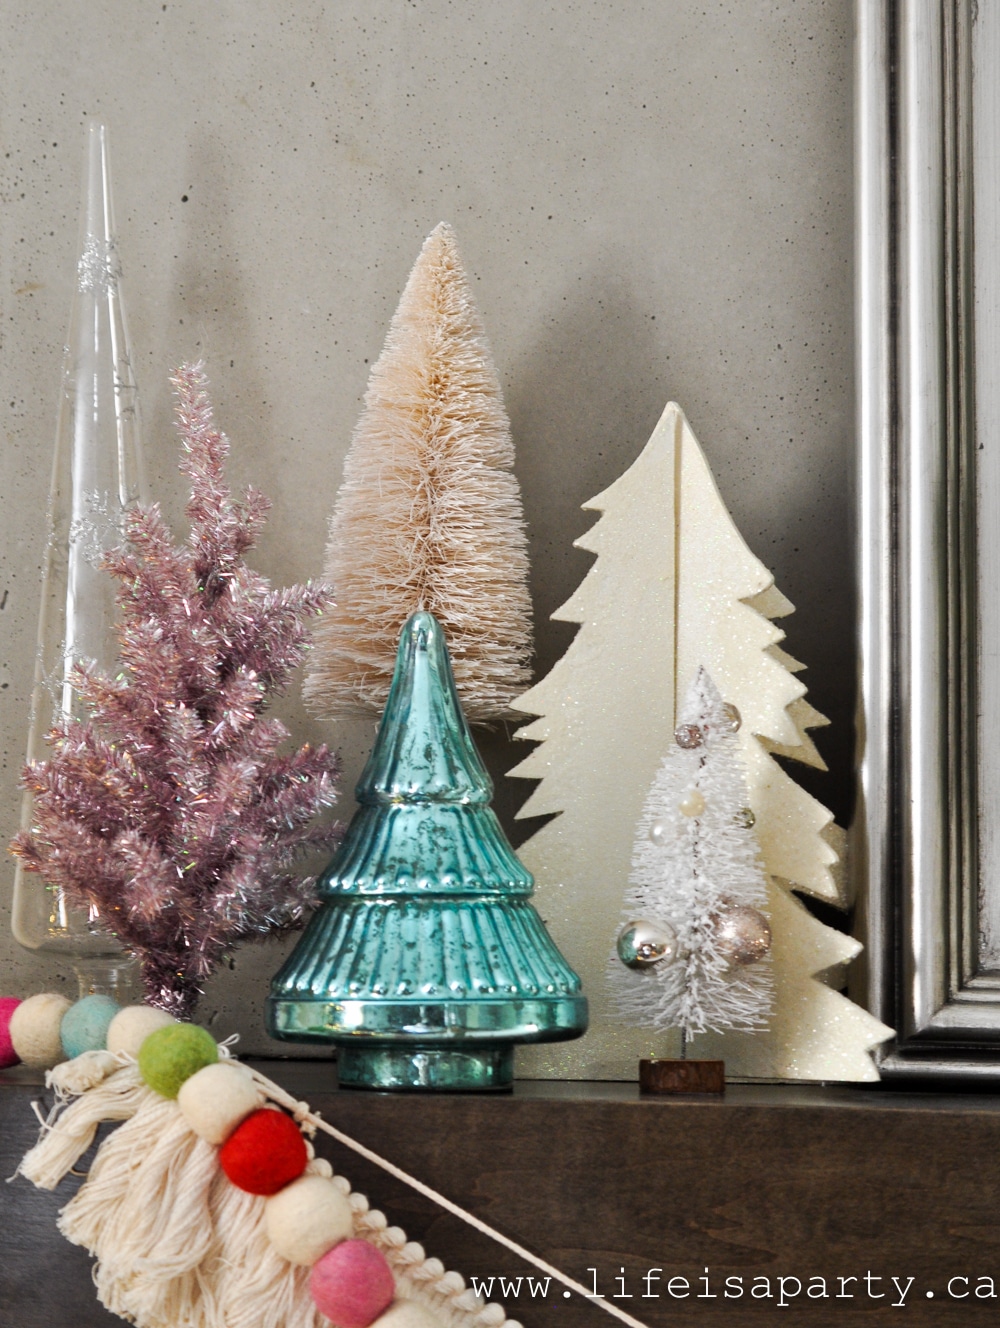
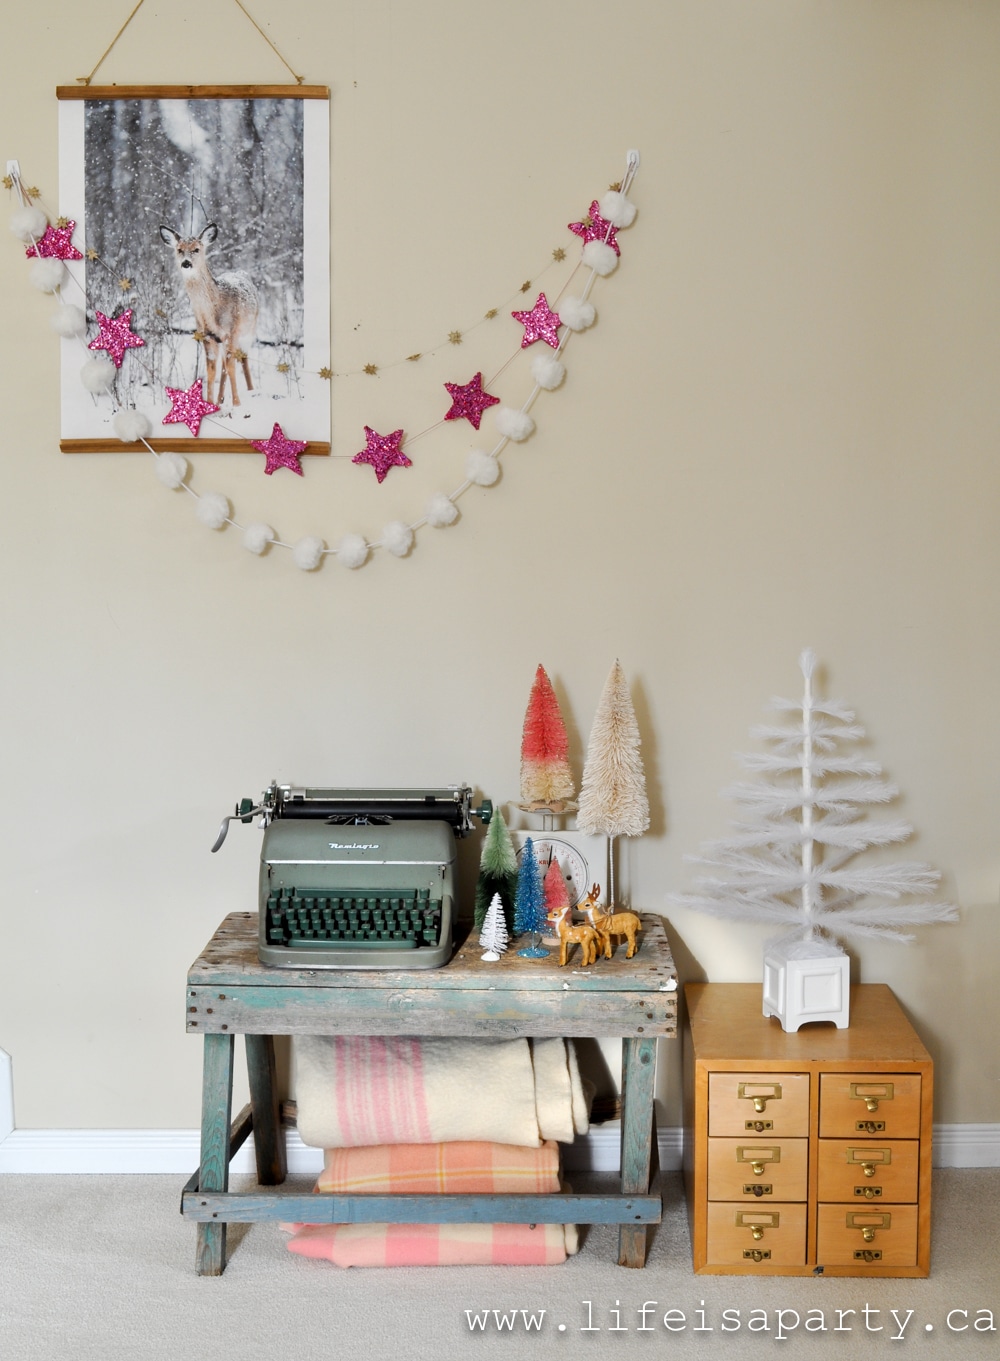
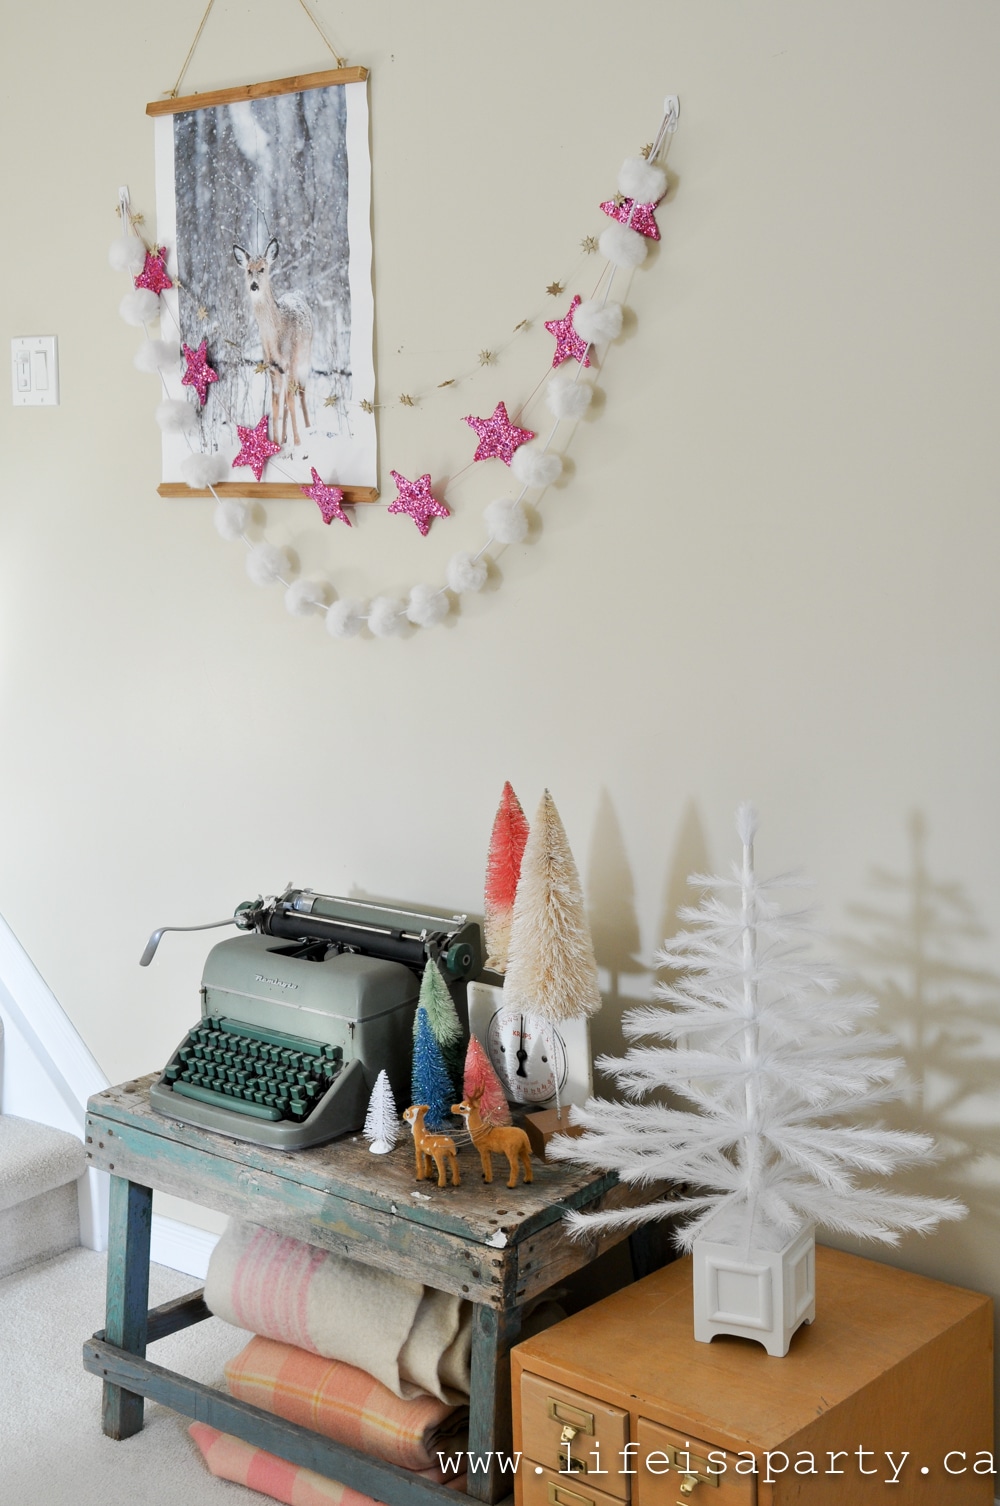
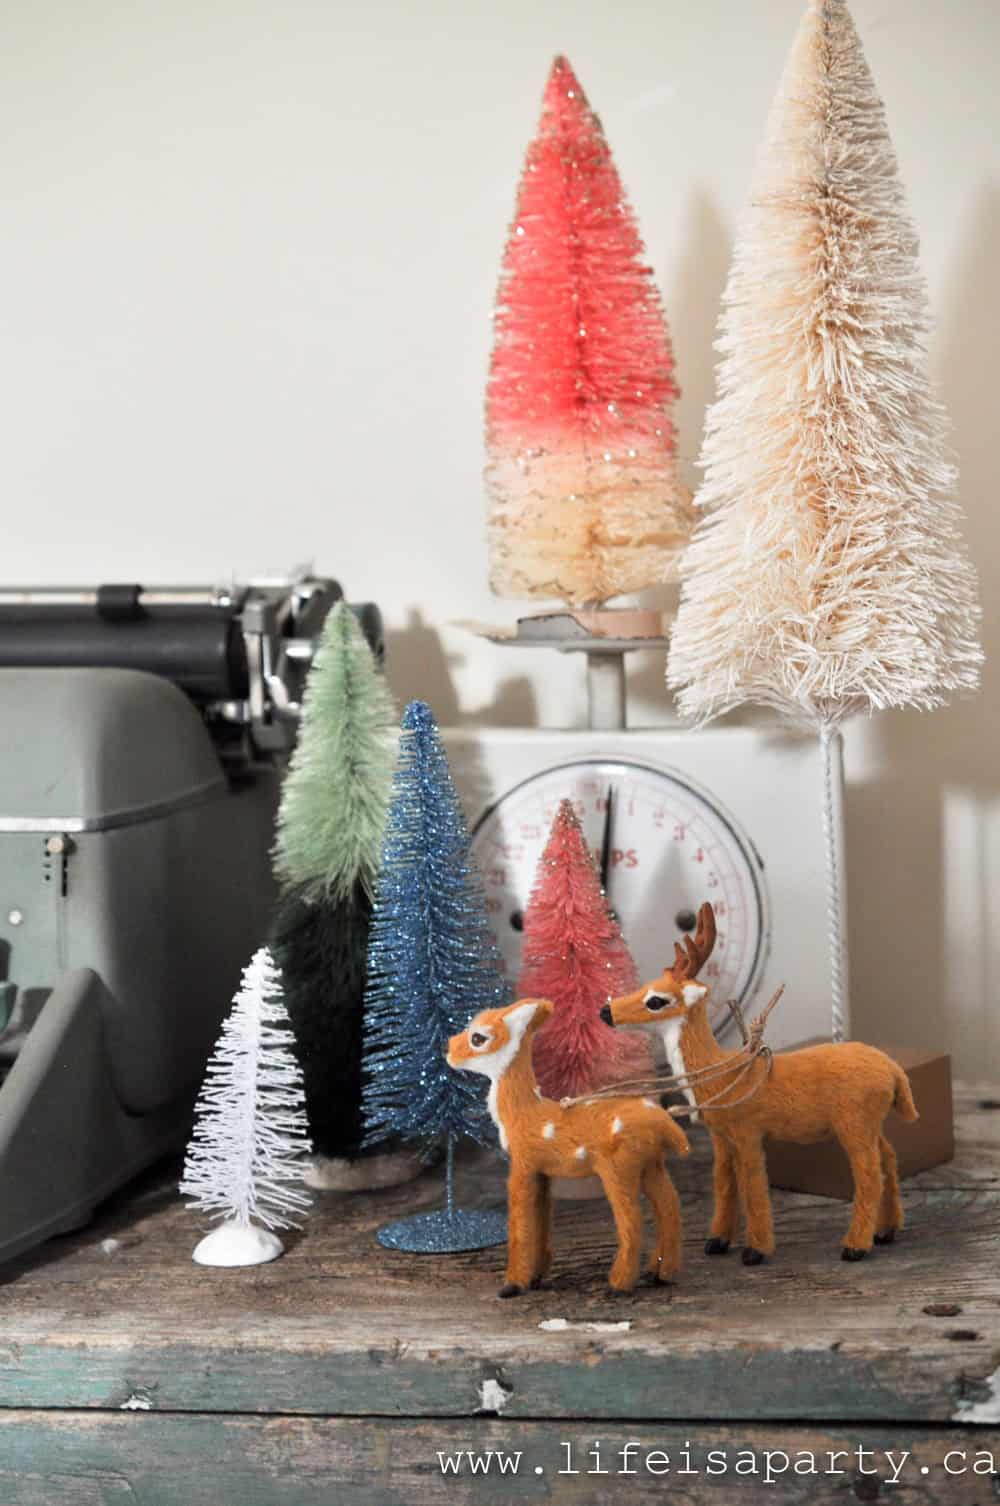
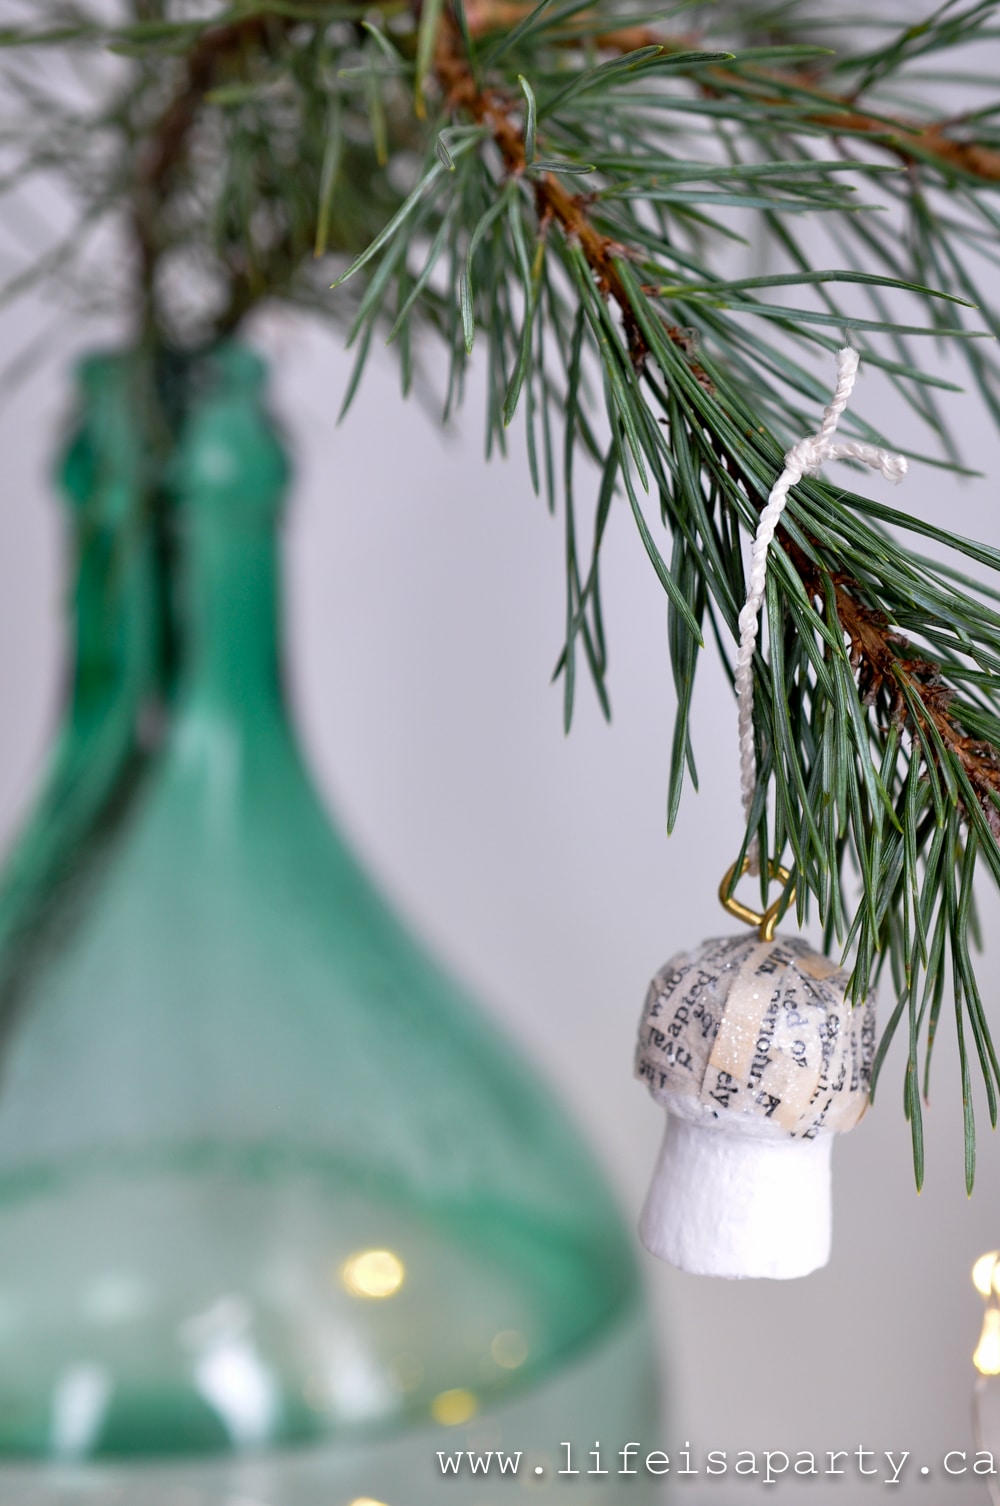
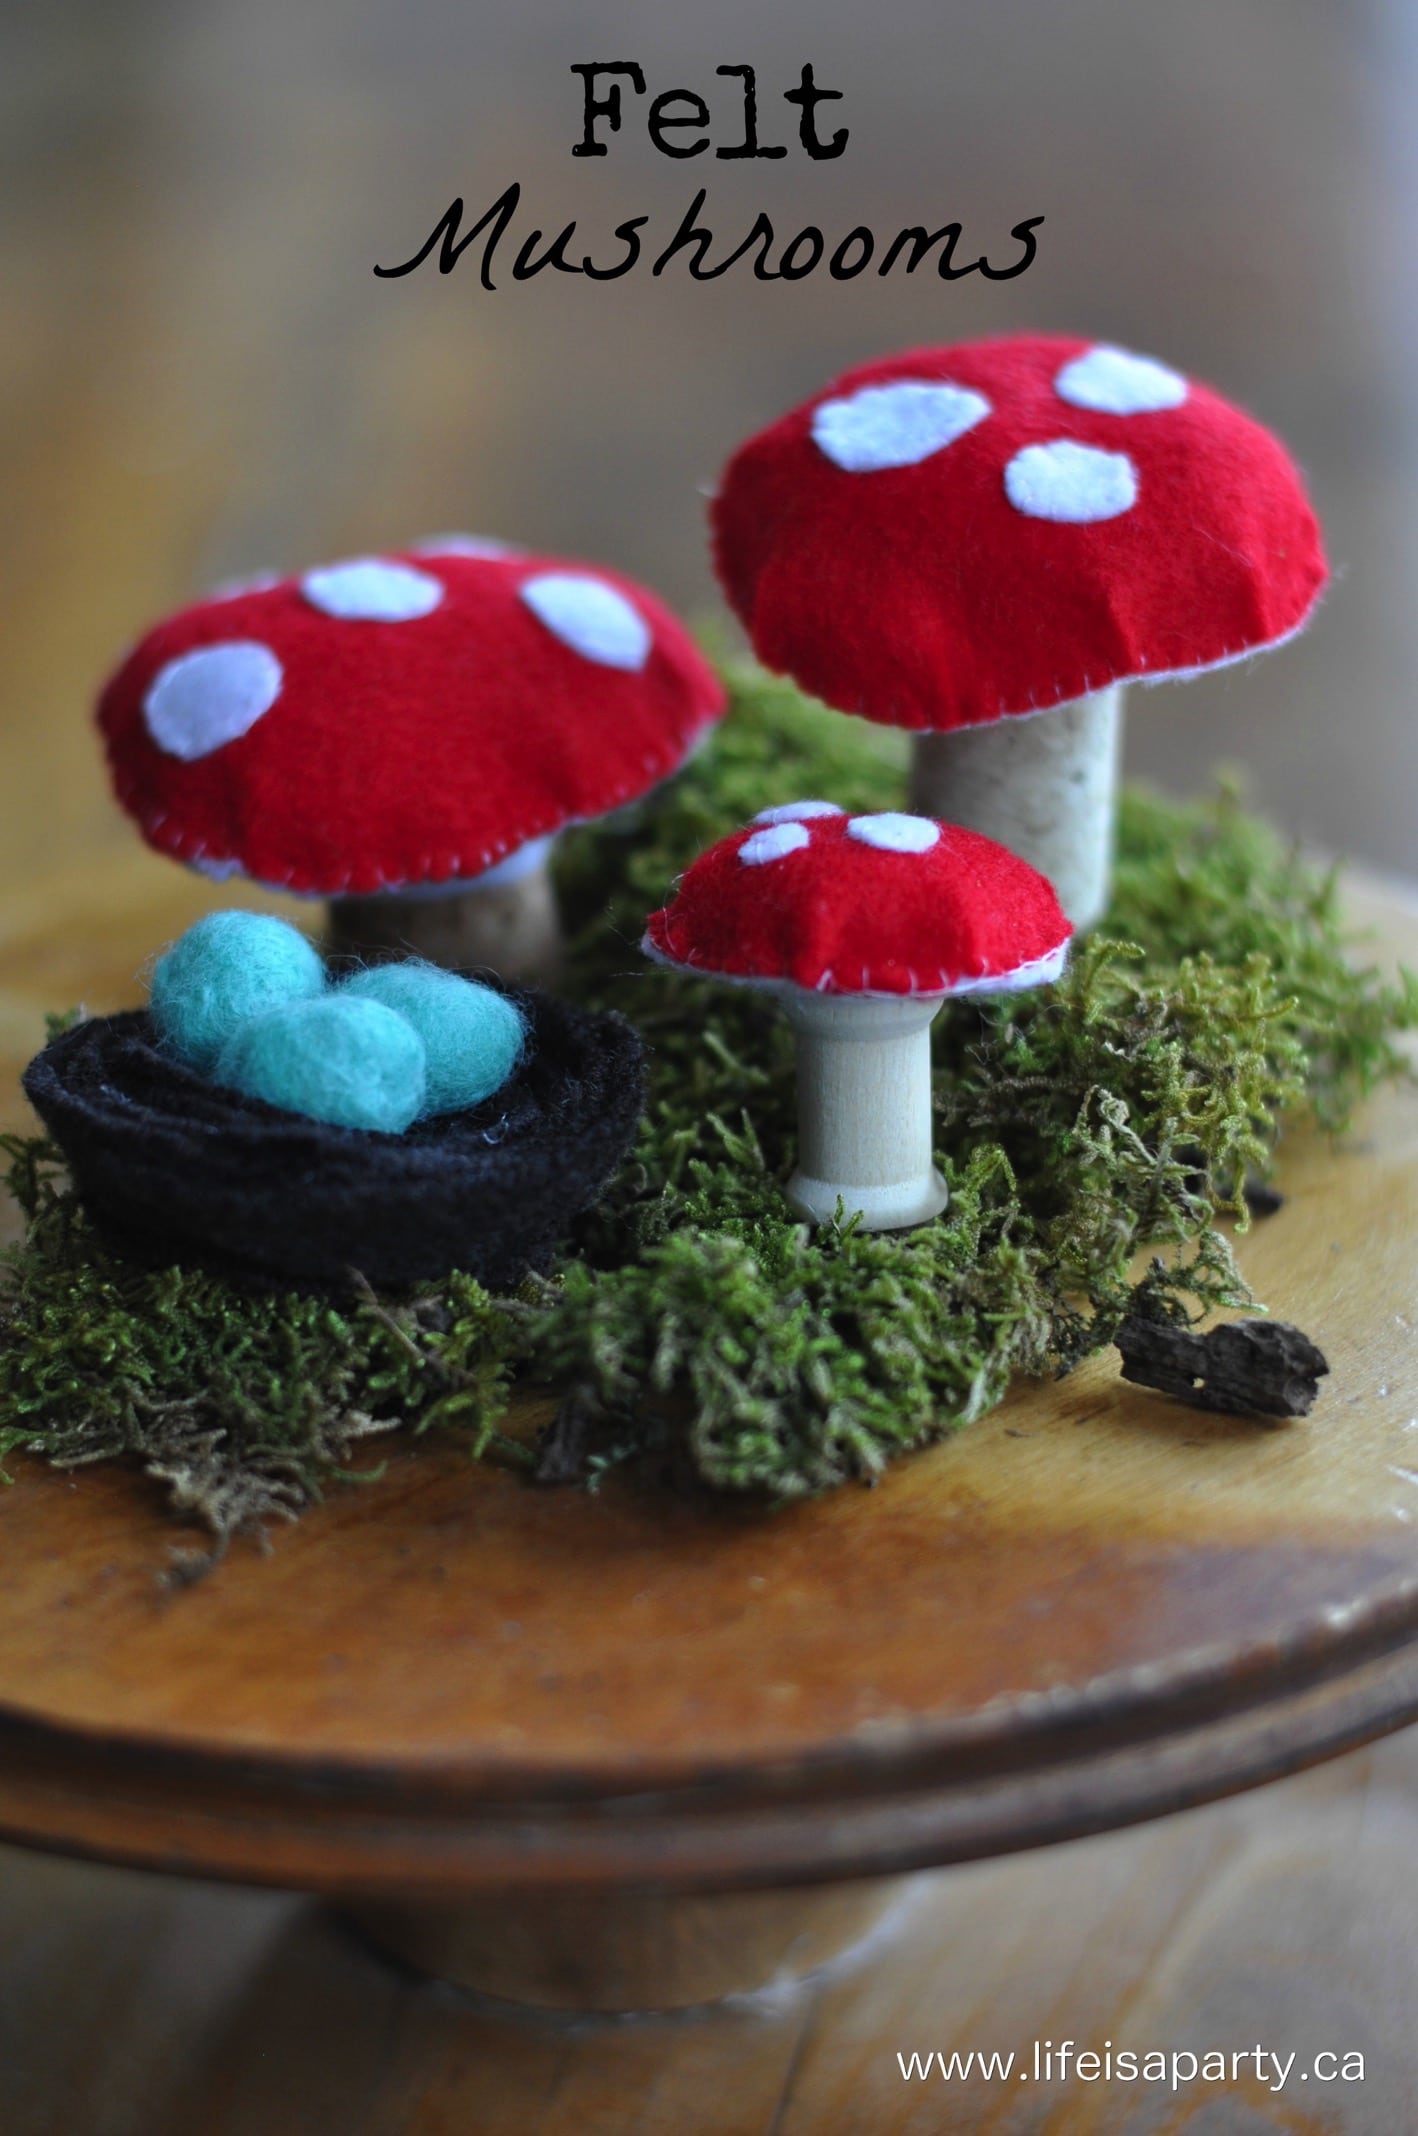
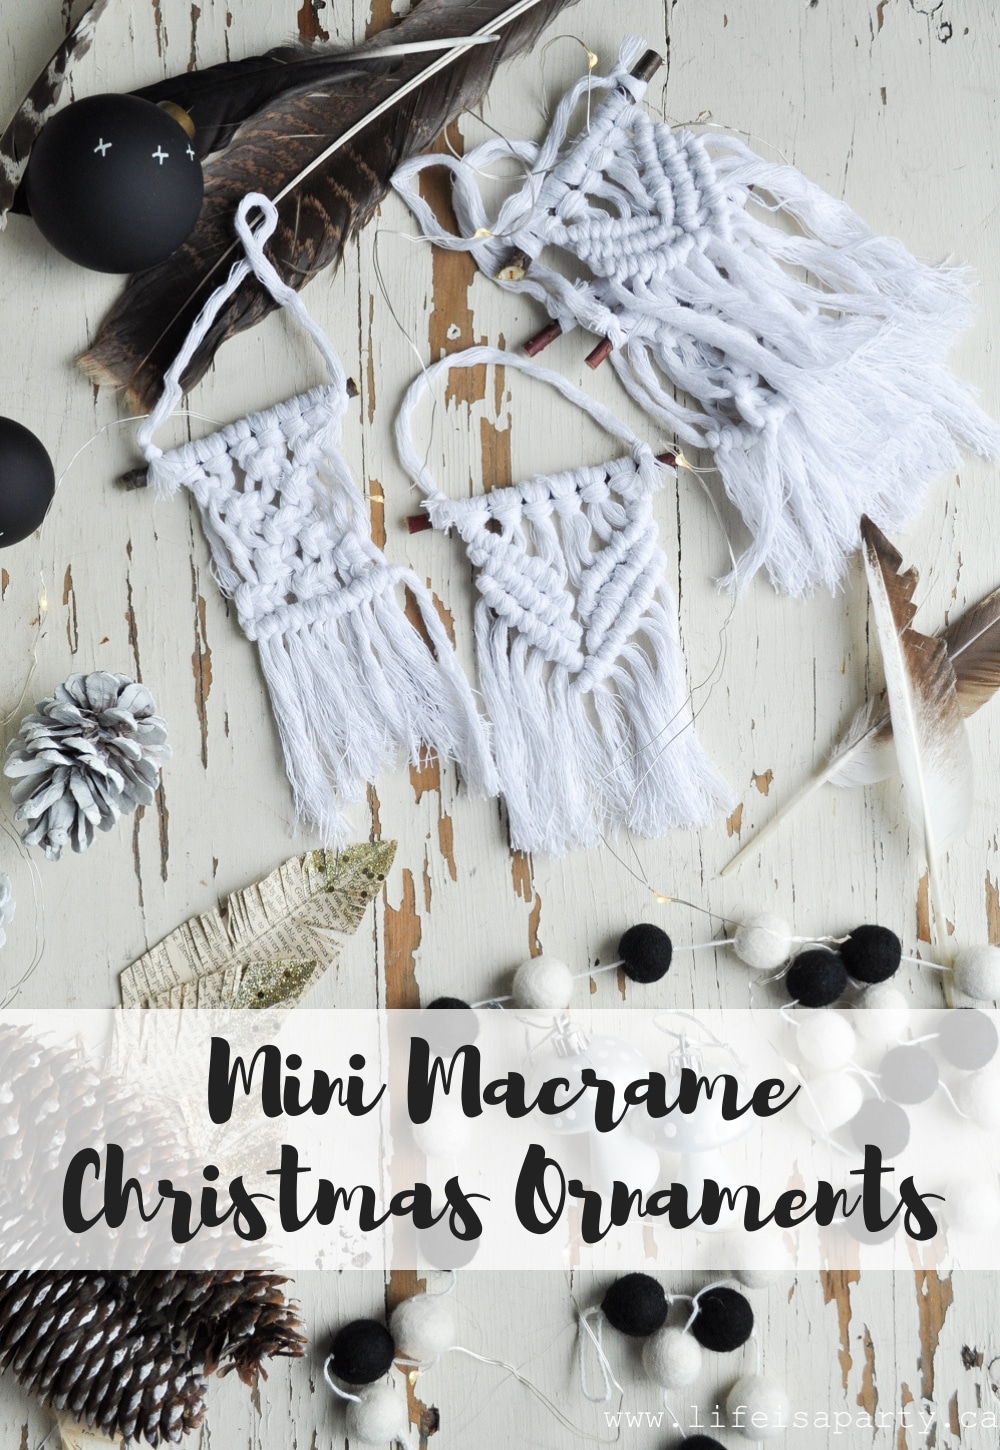
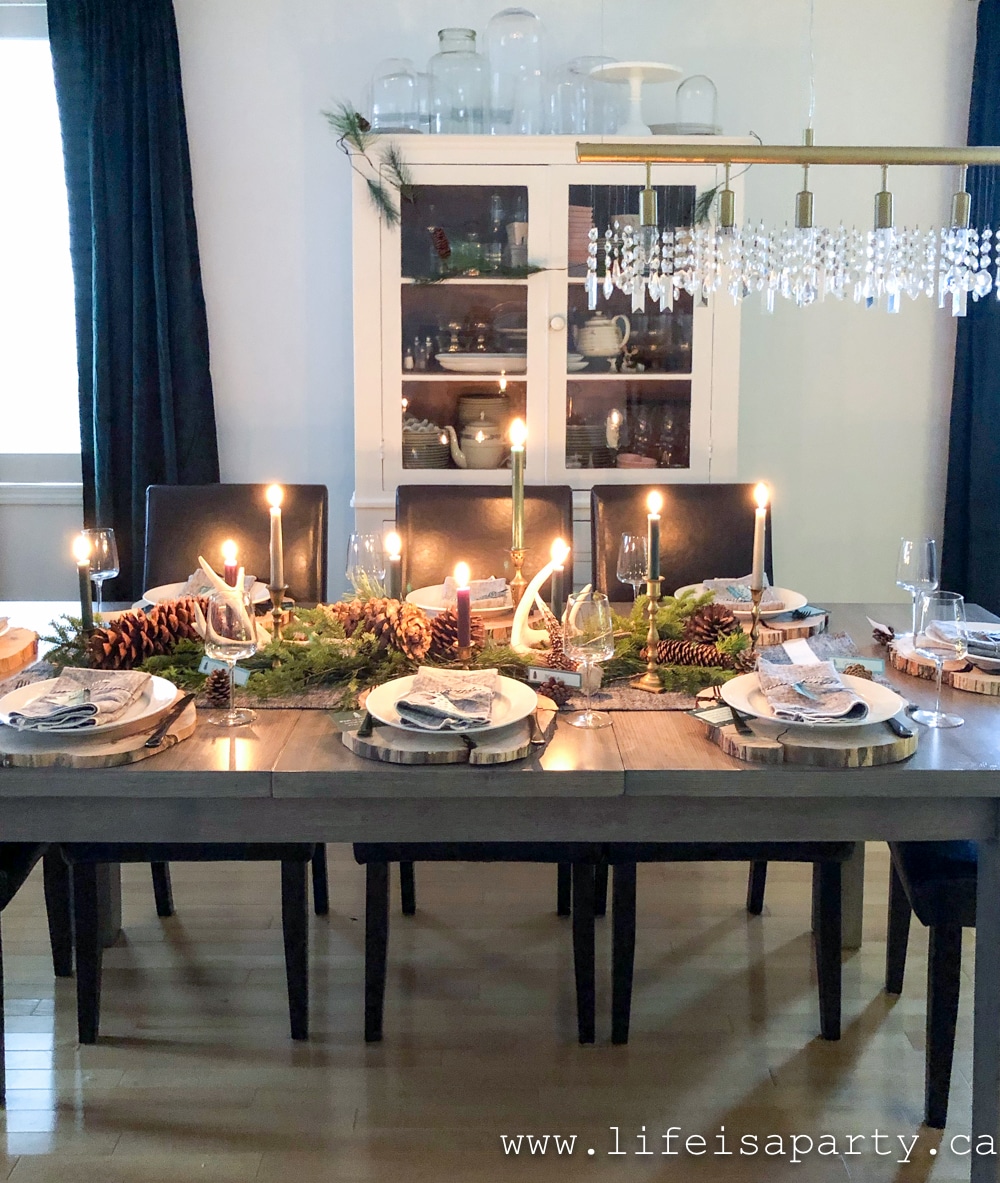
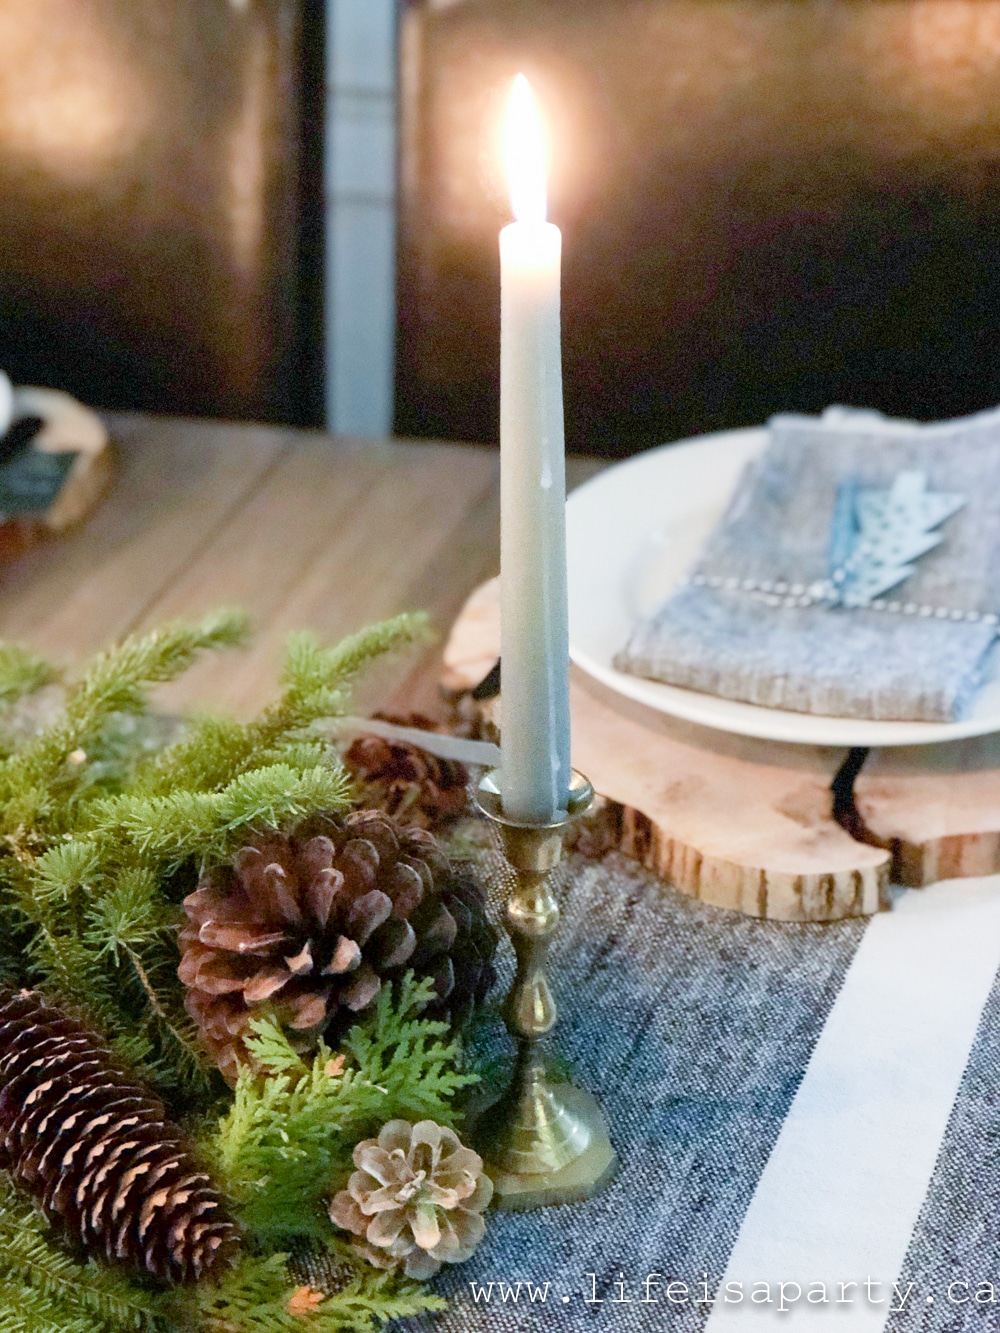
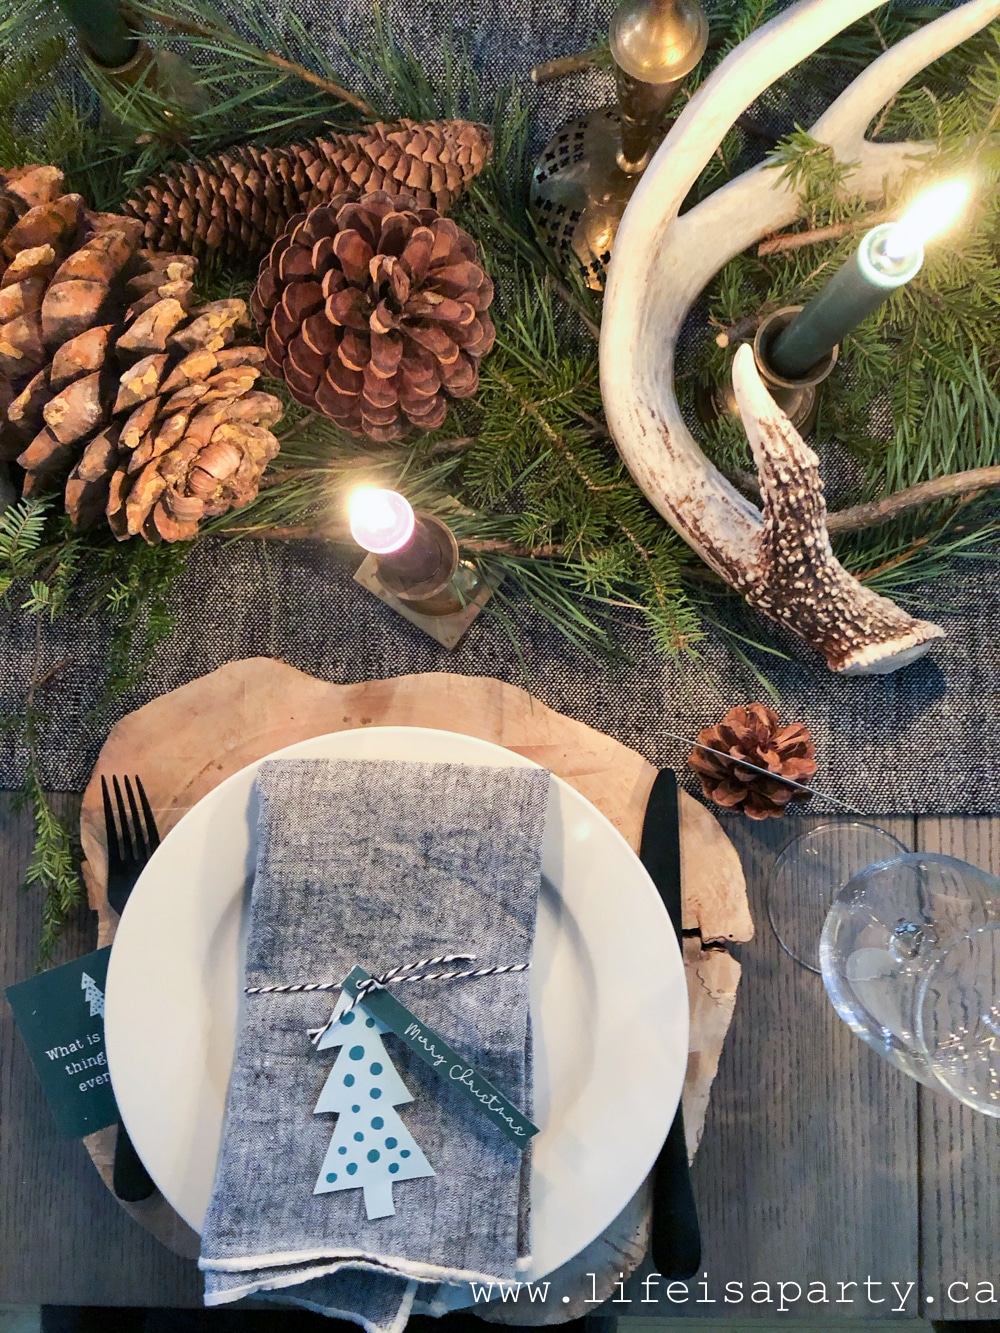
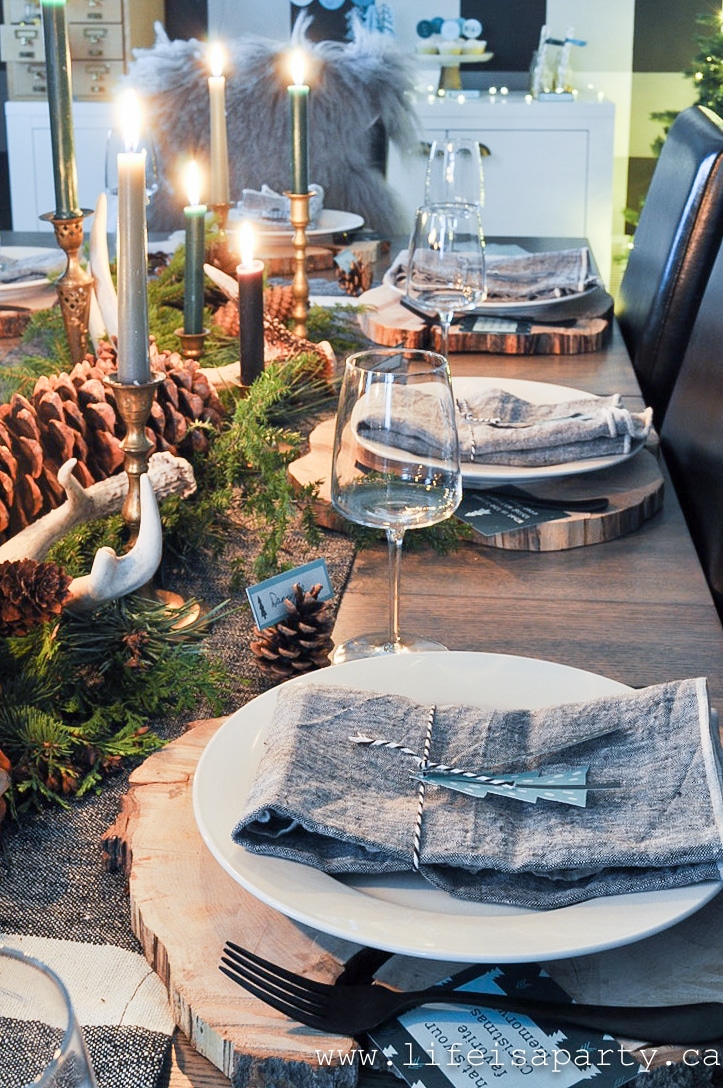
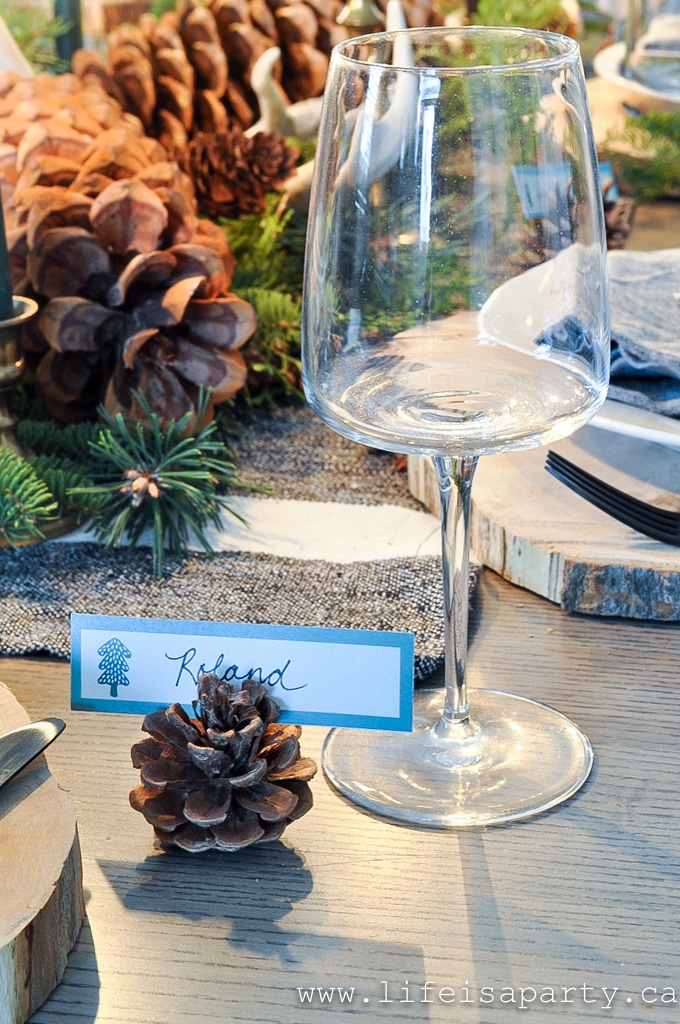
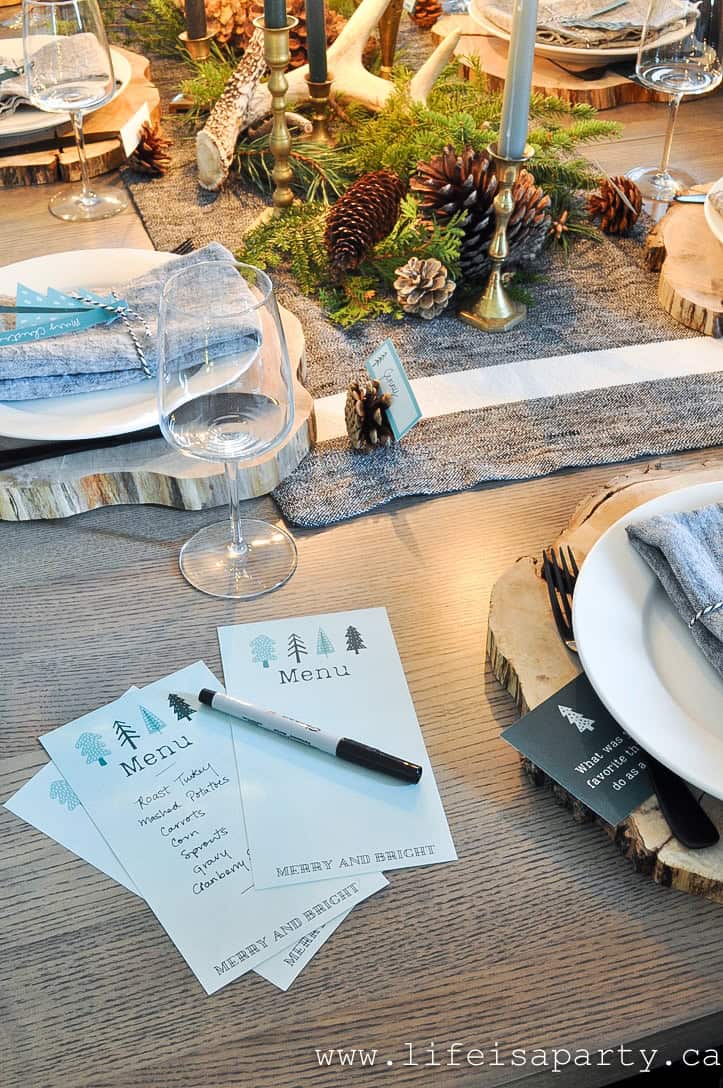
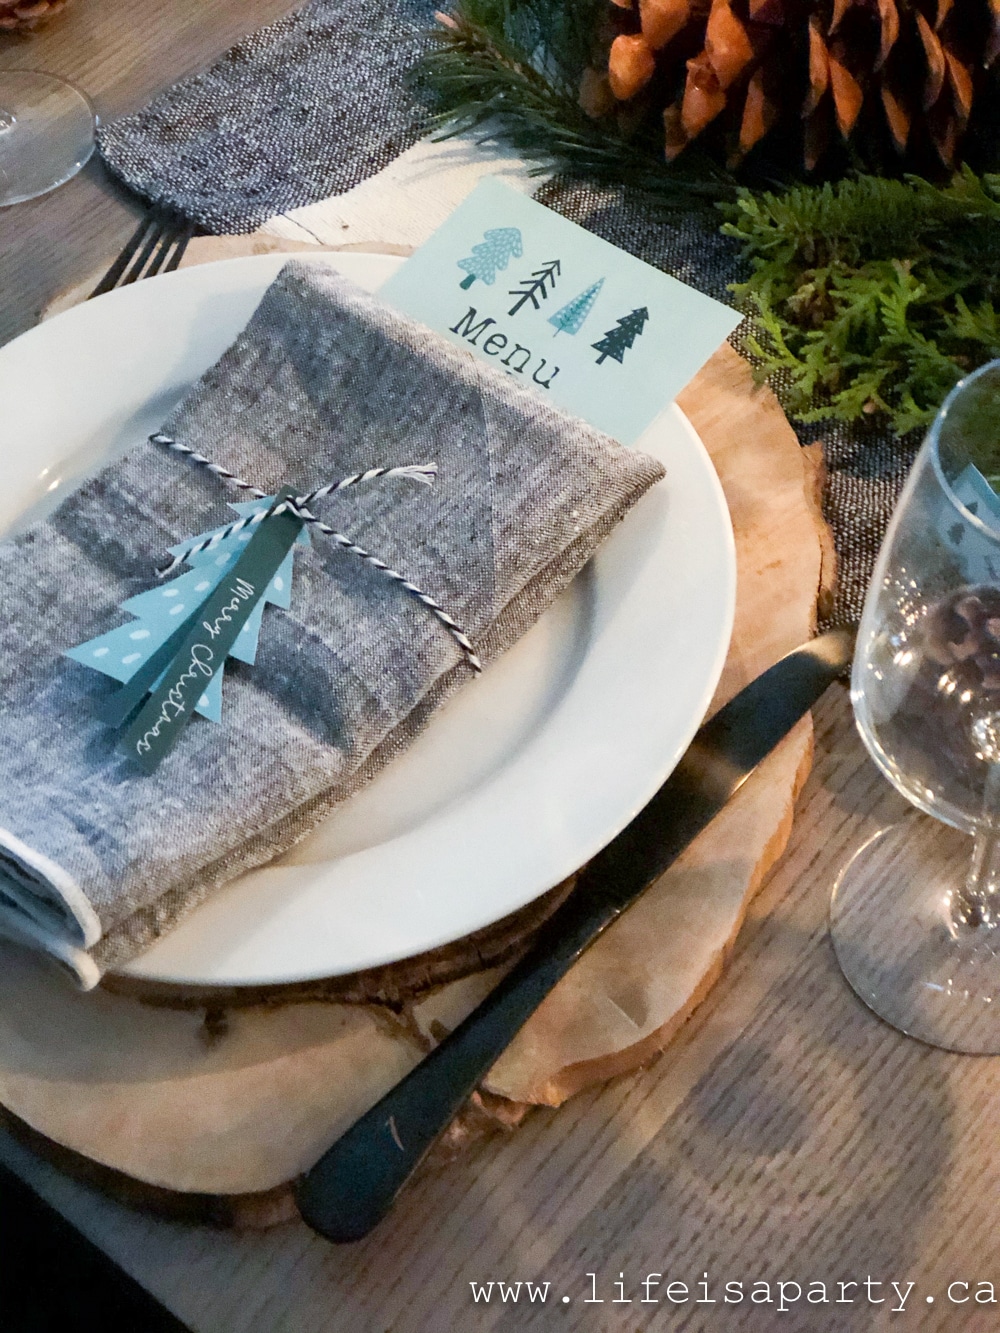
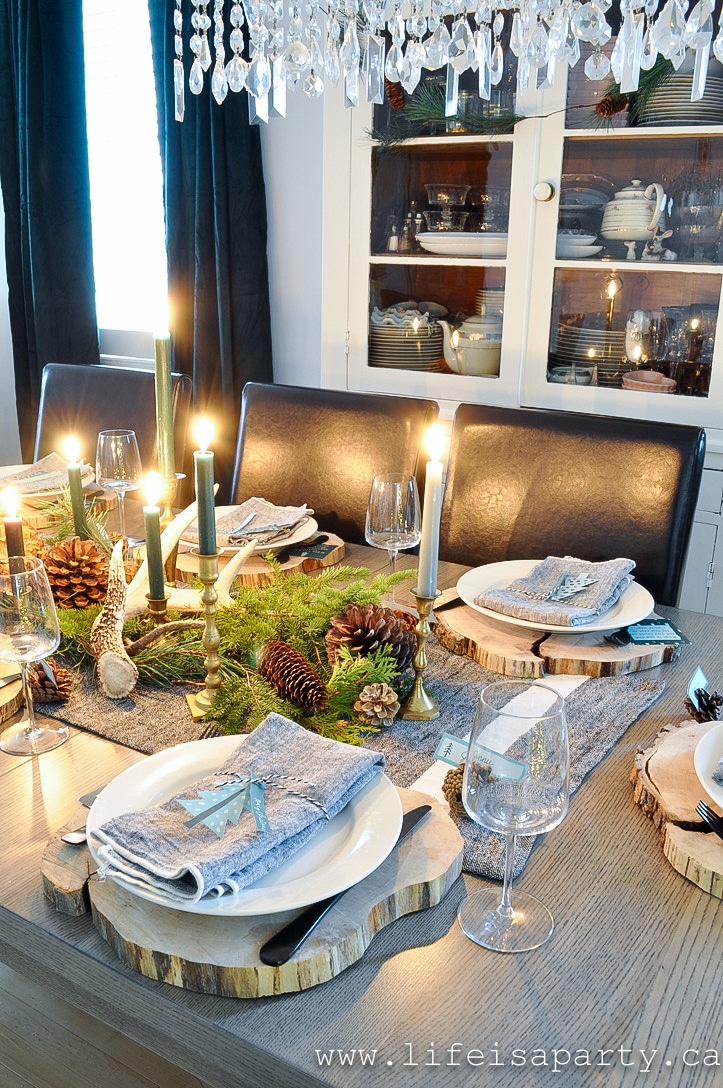
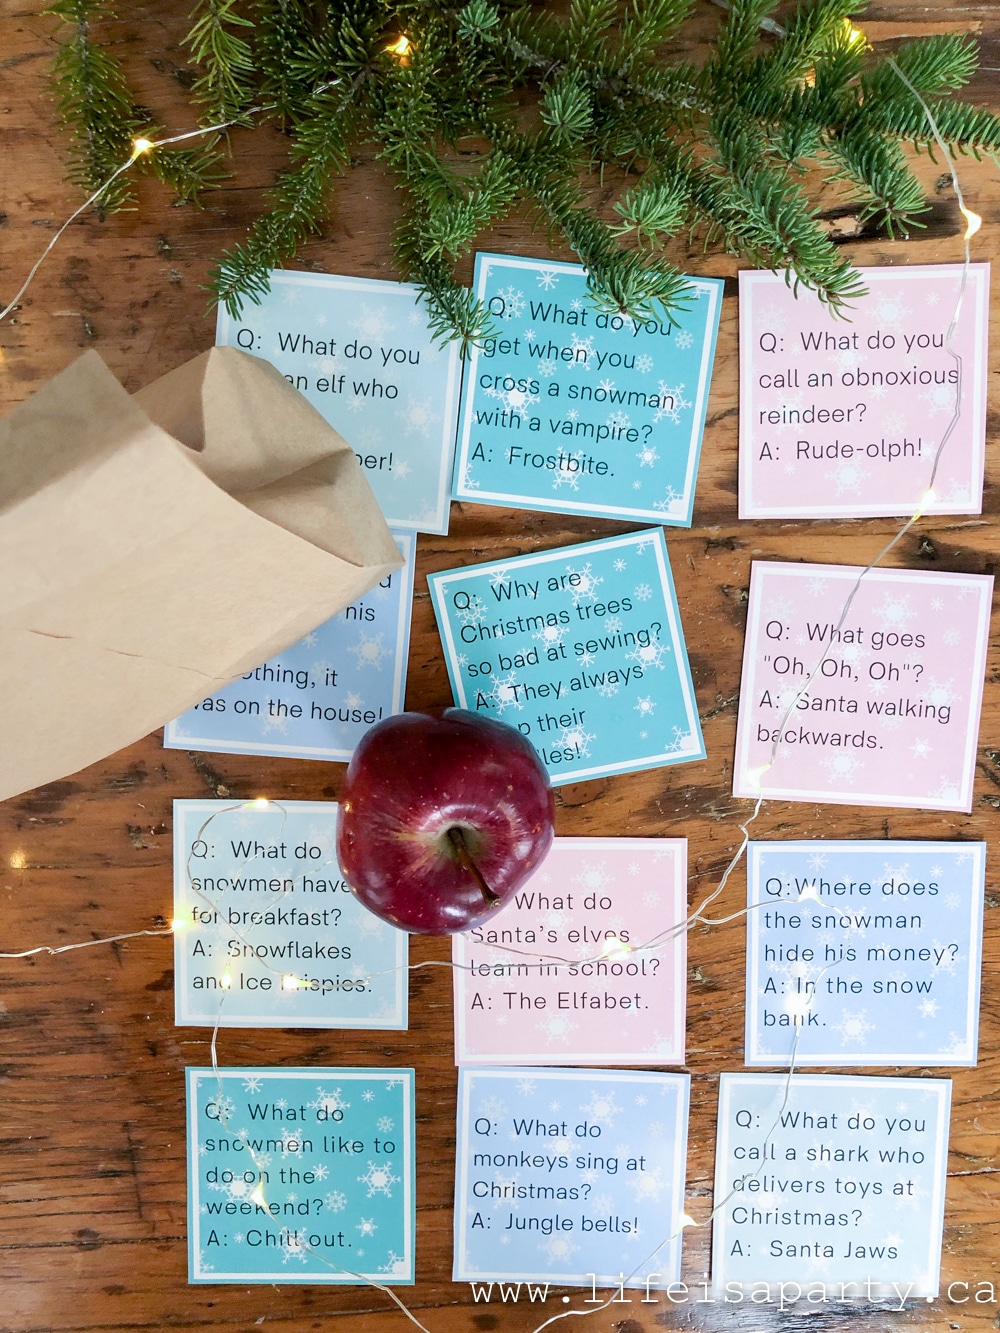
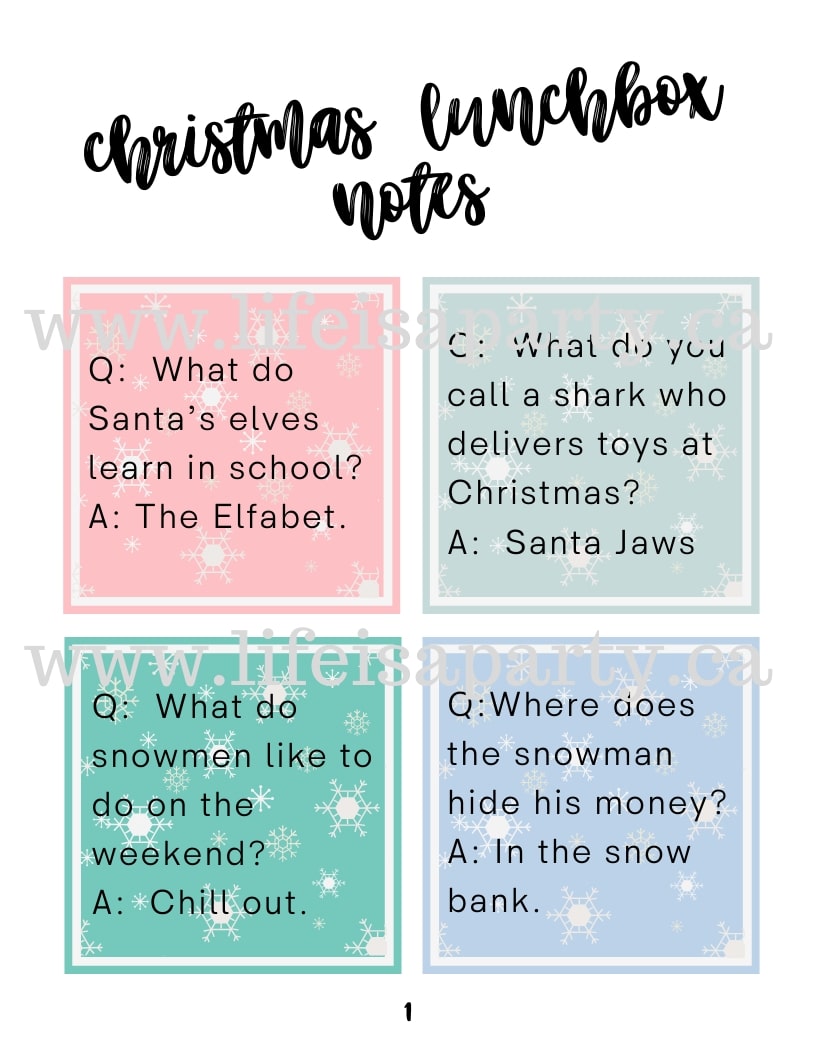
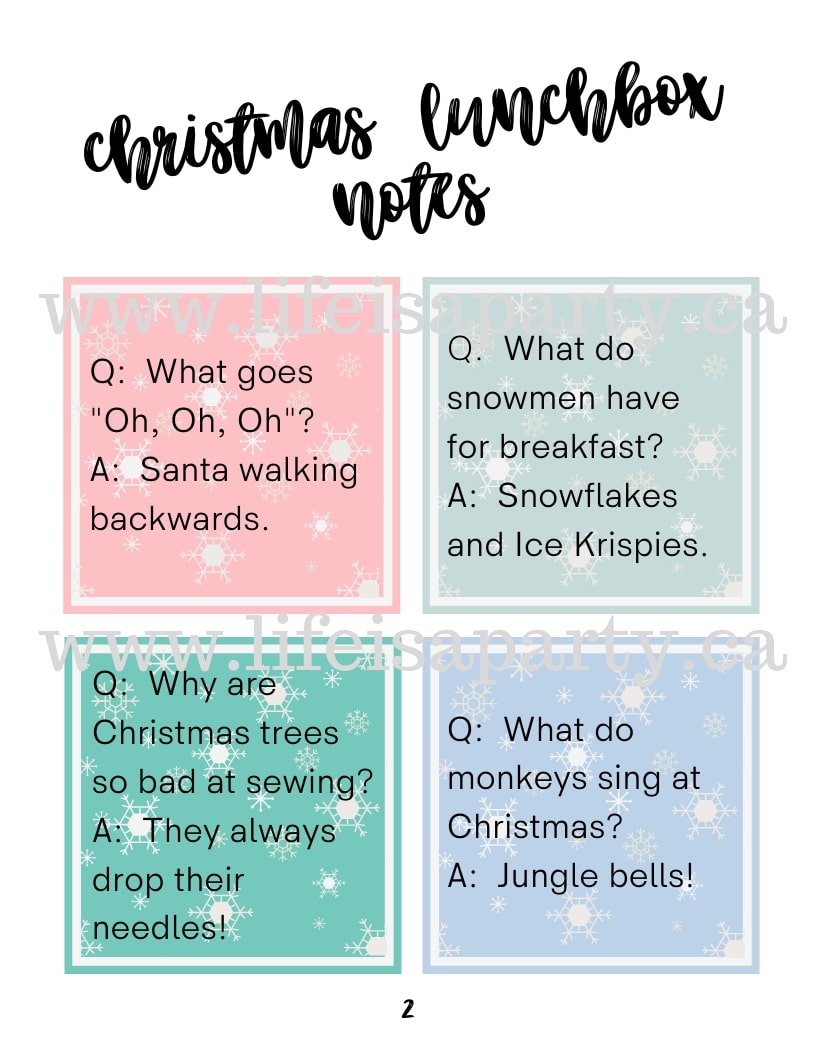
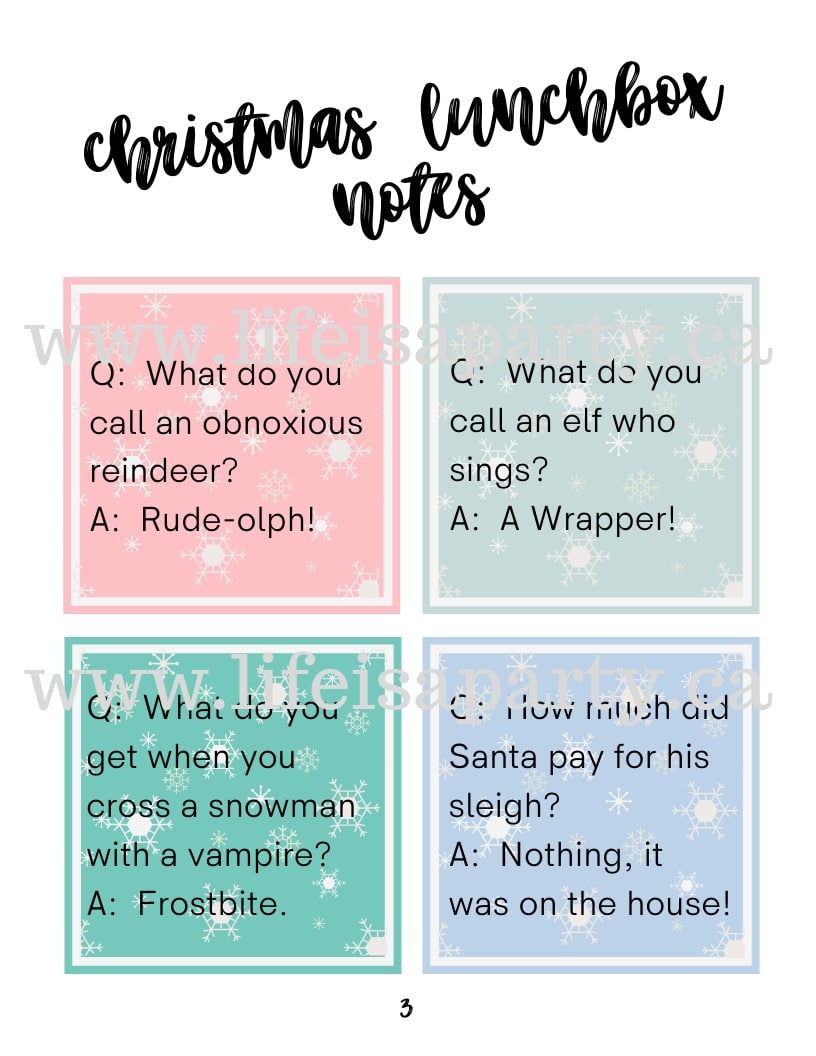
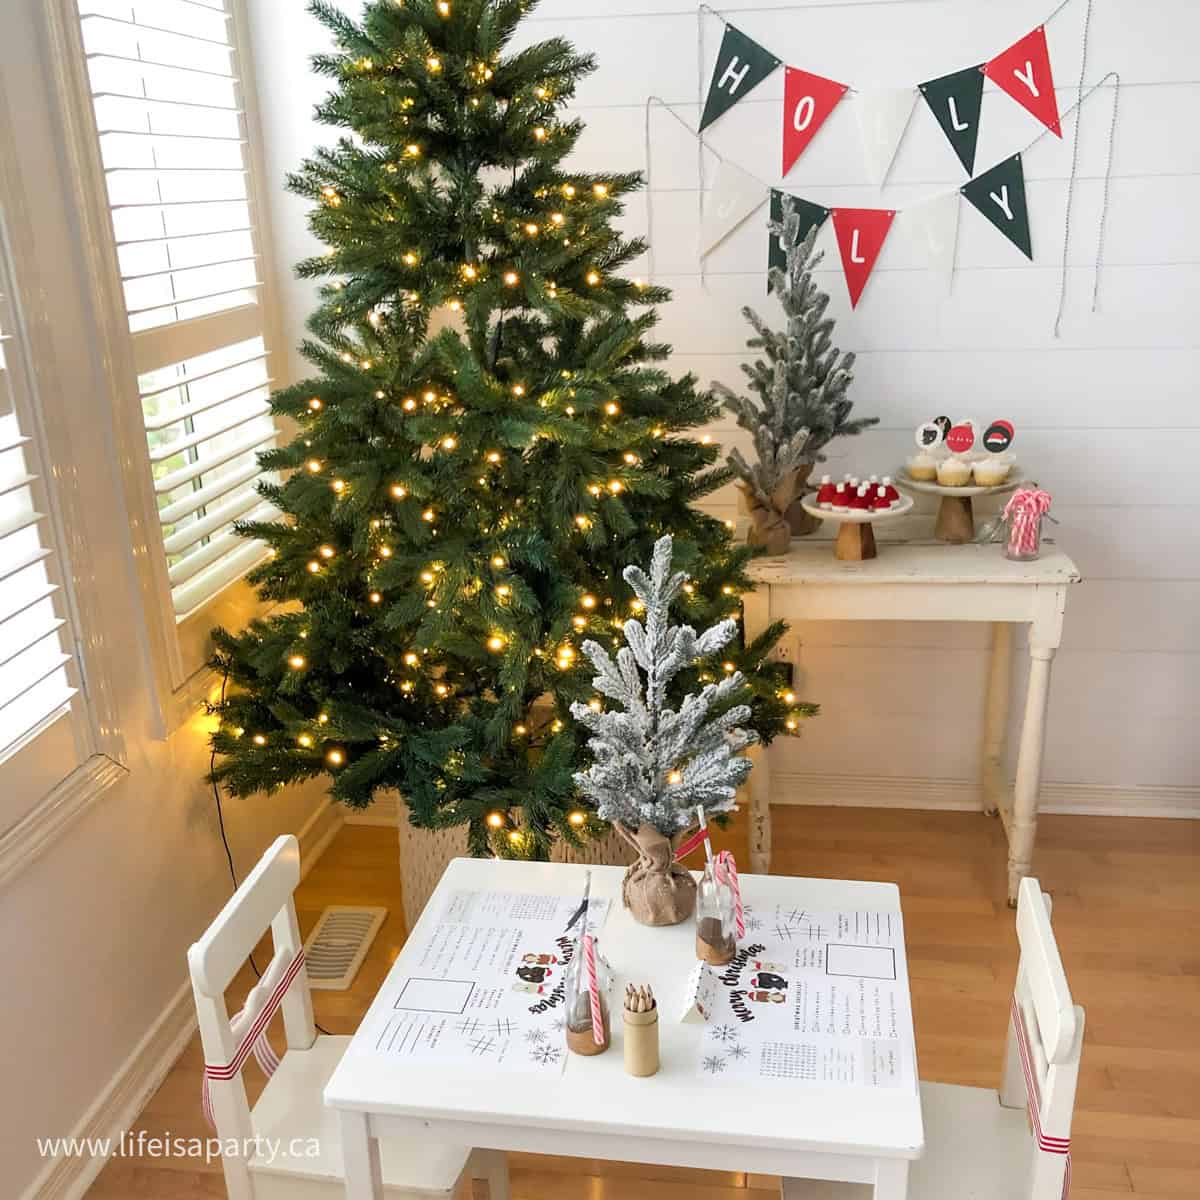
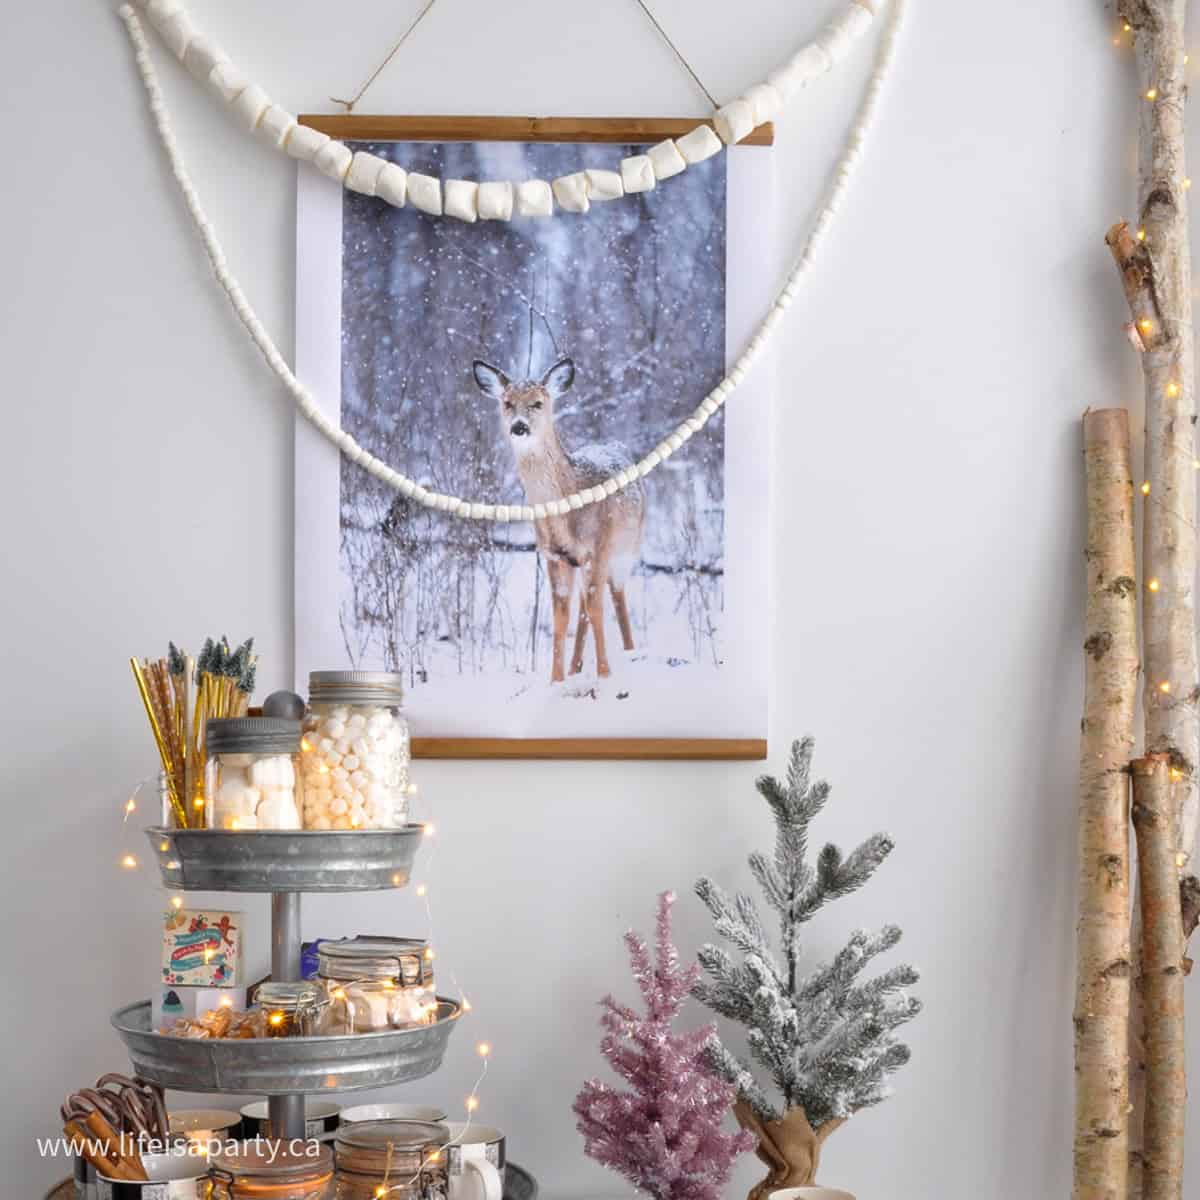
 Nature Inspired Christmas
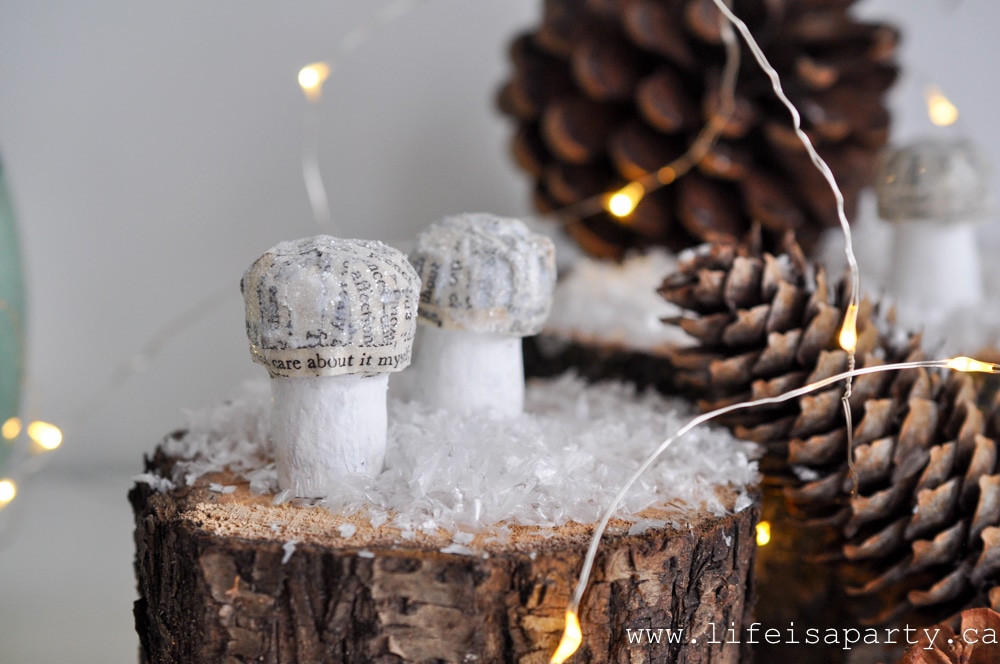


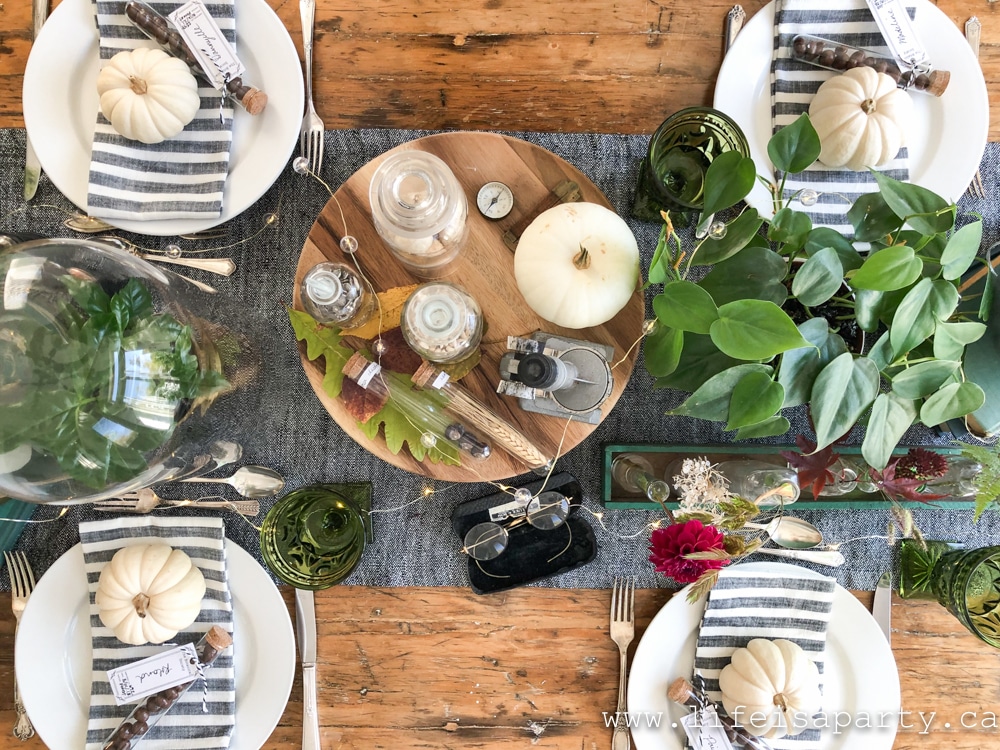


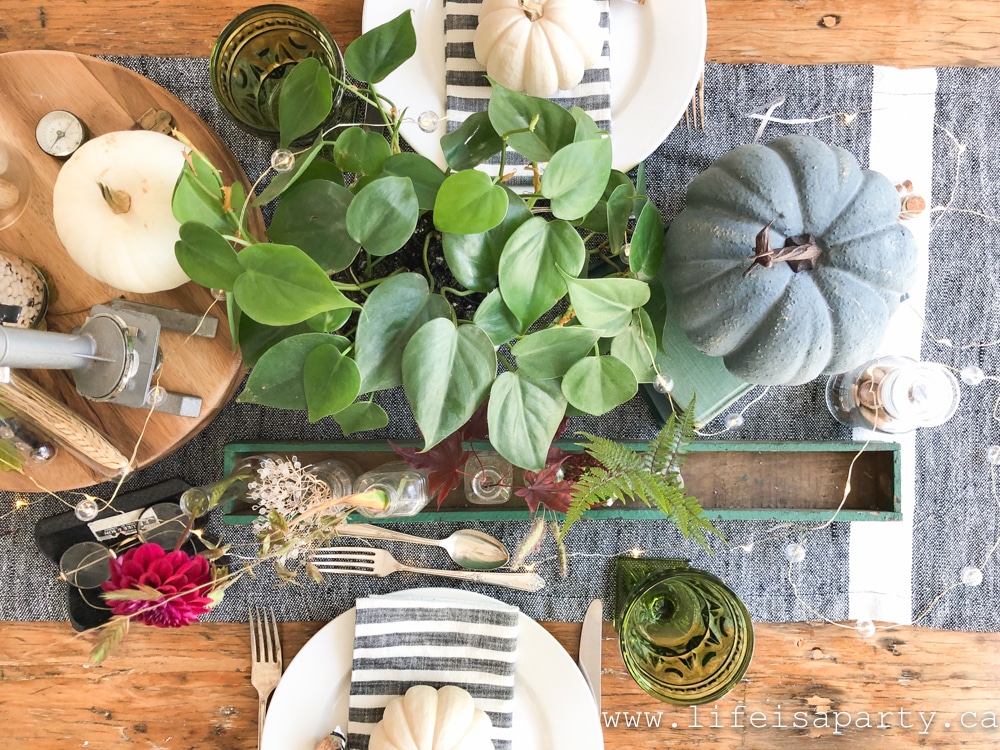
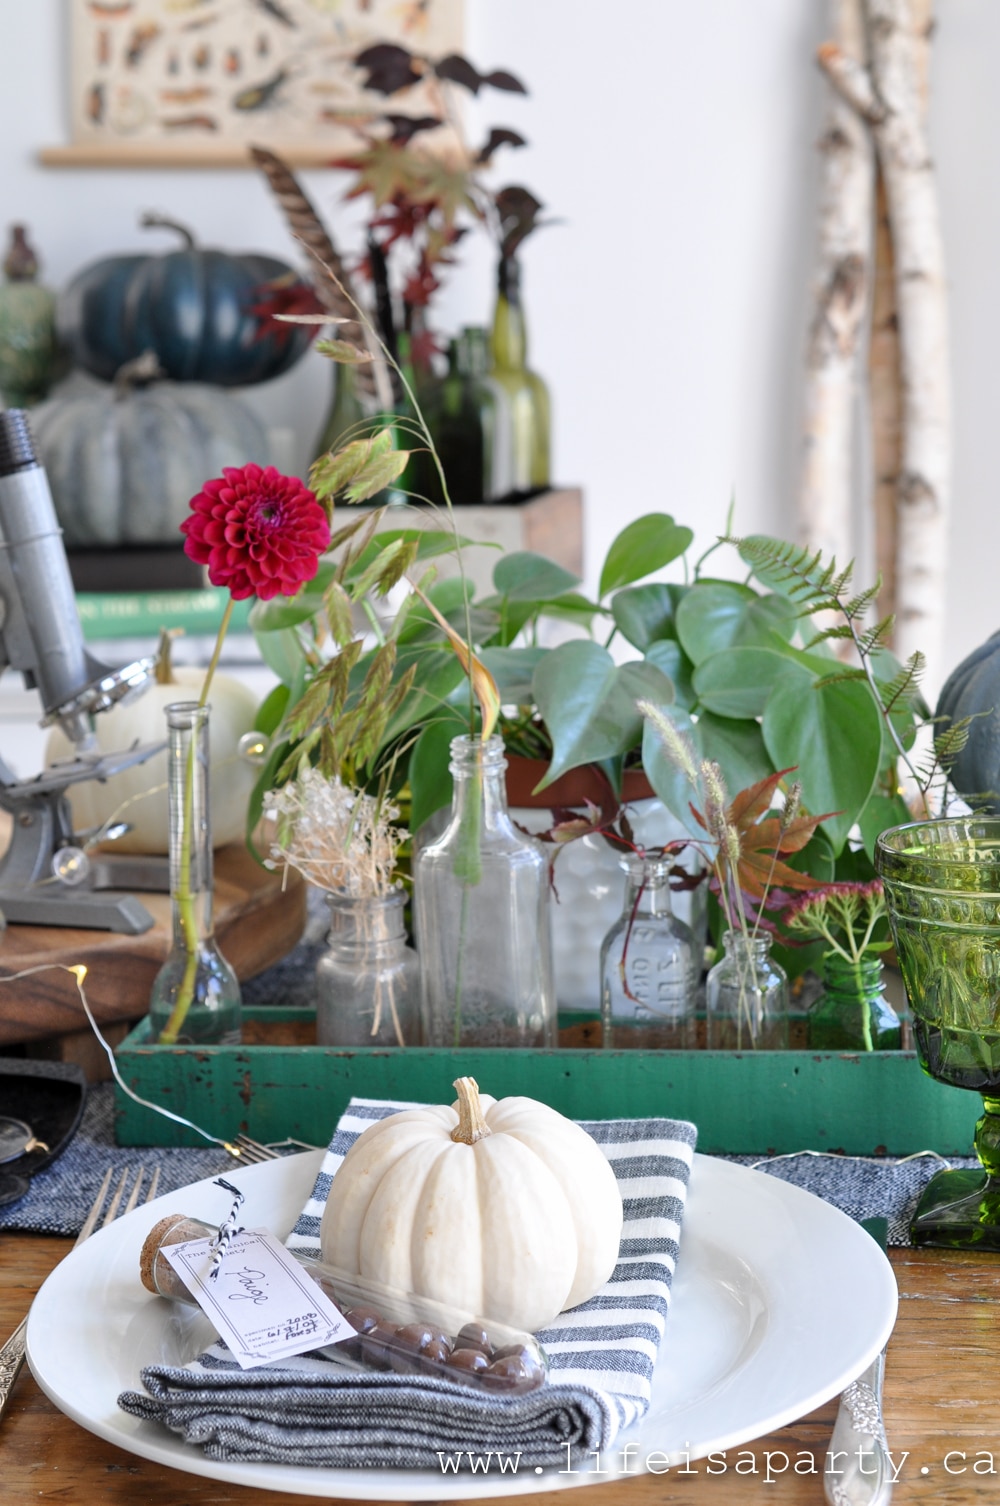
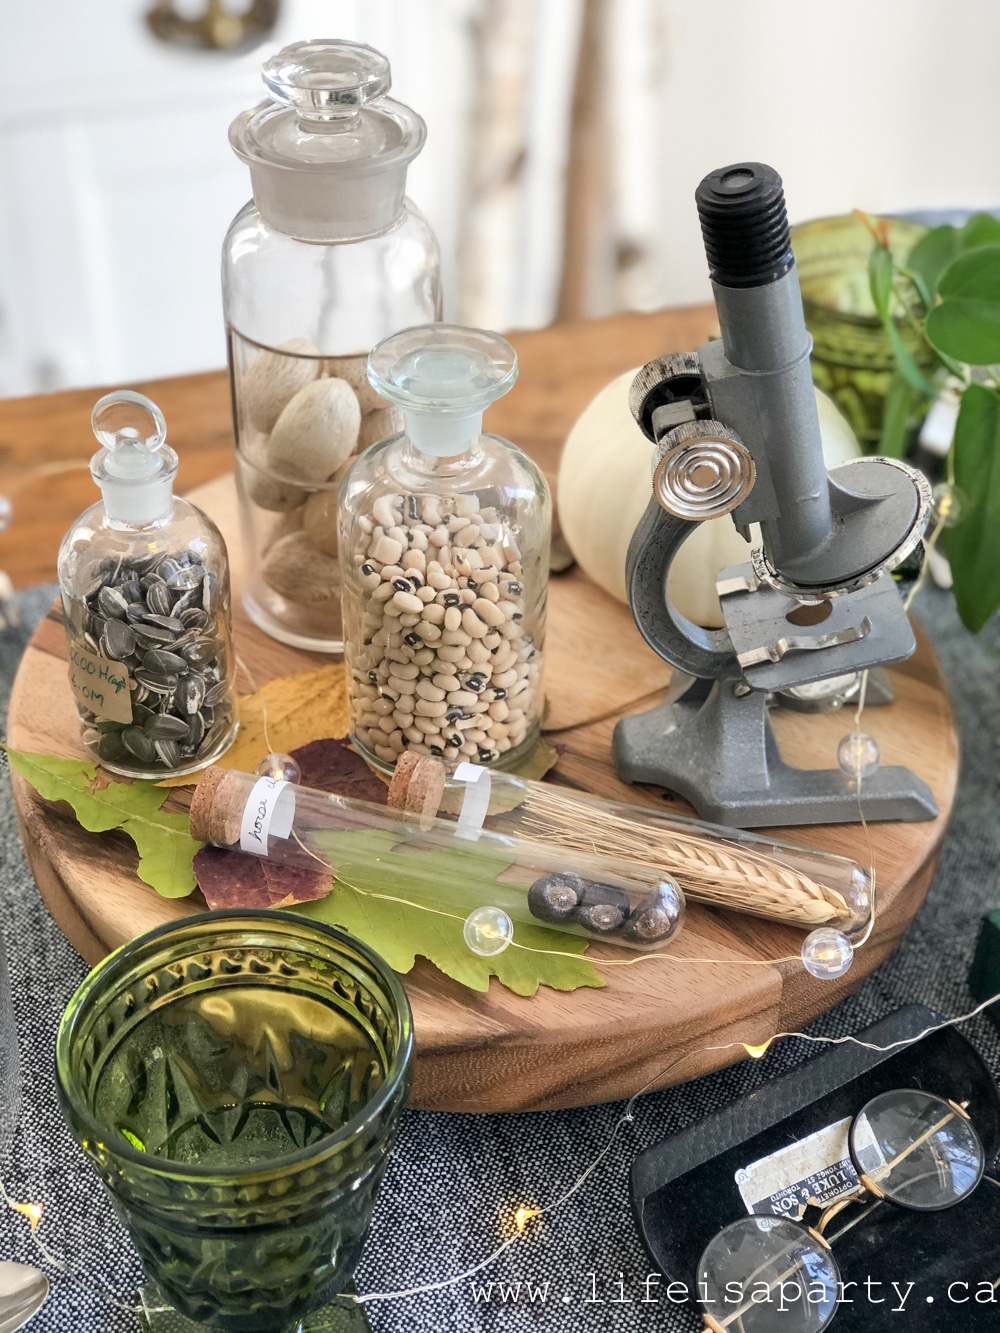
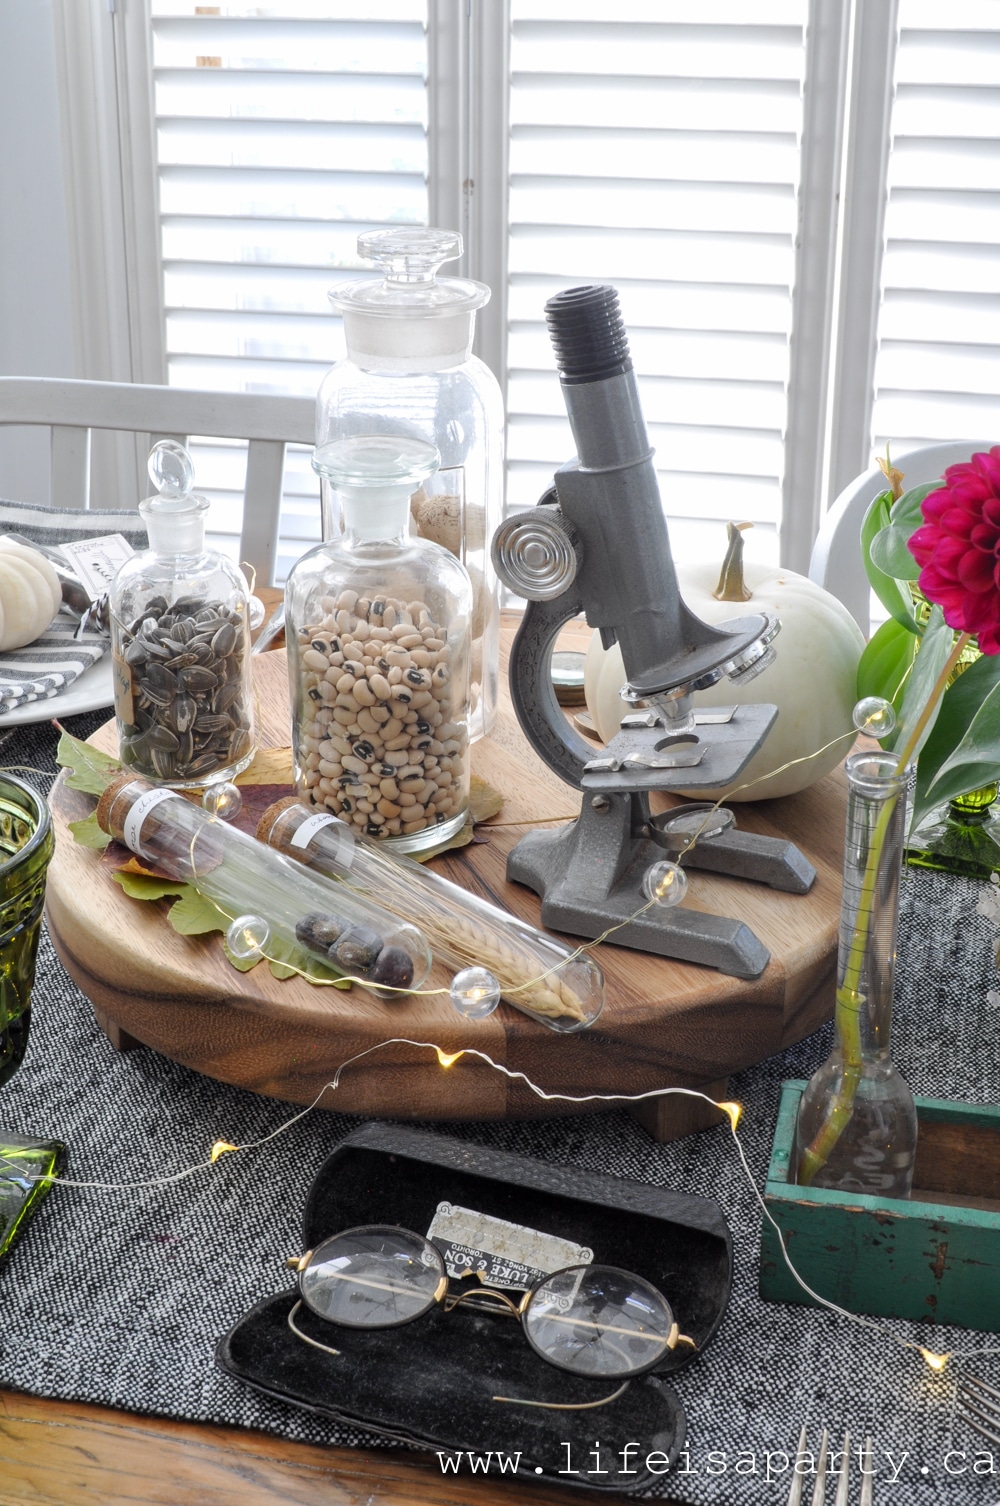
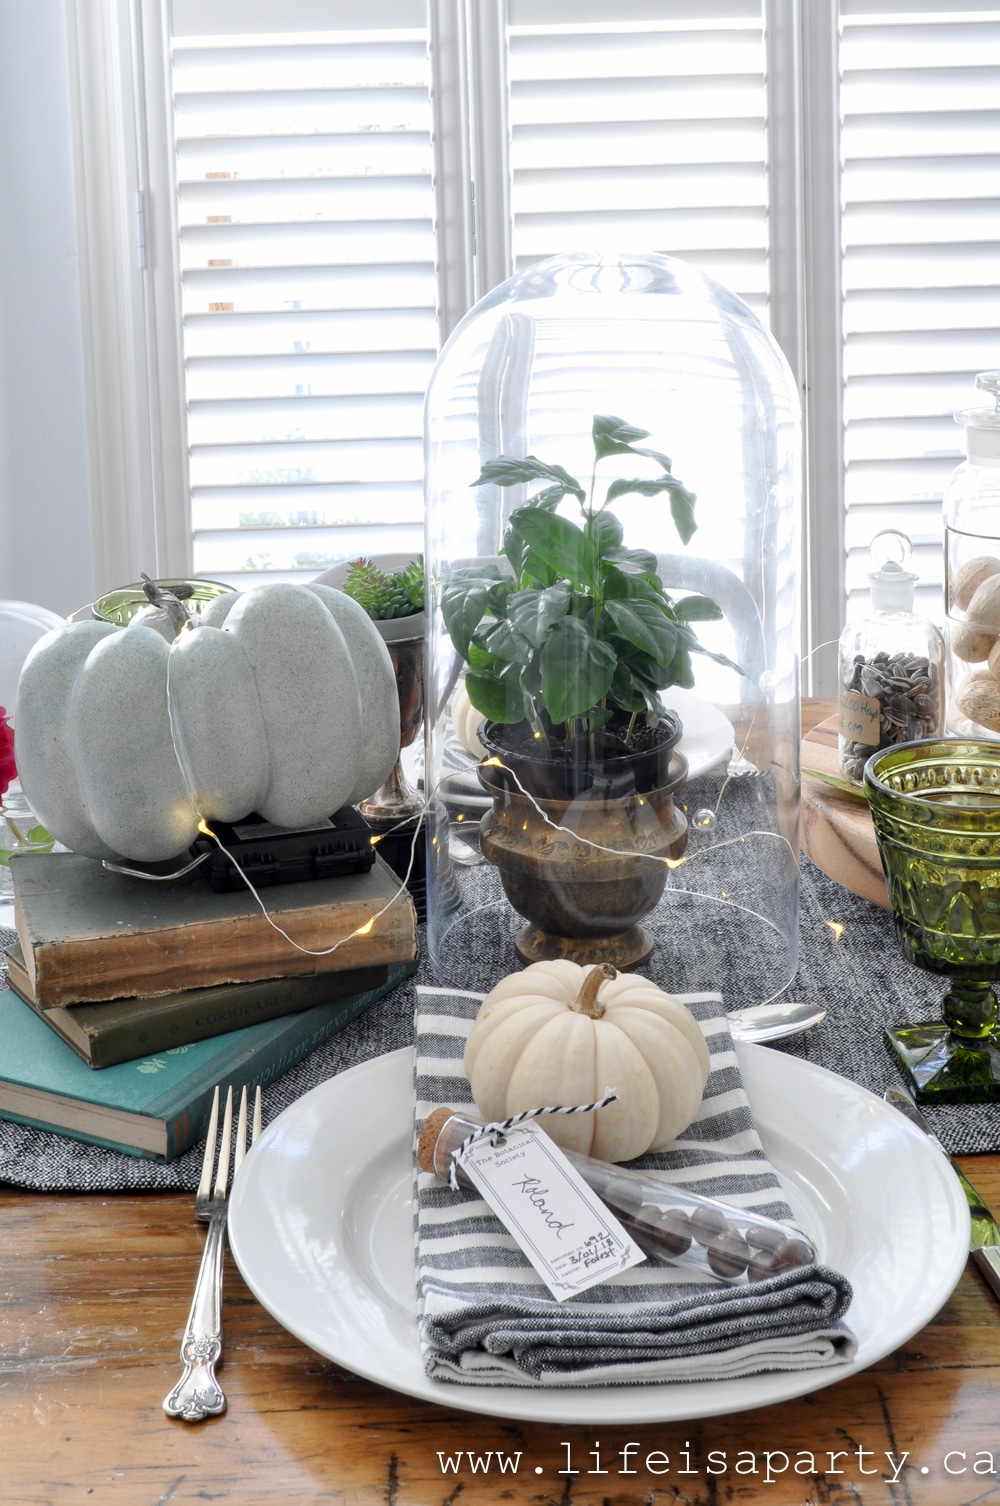
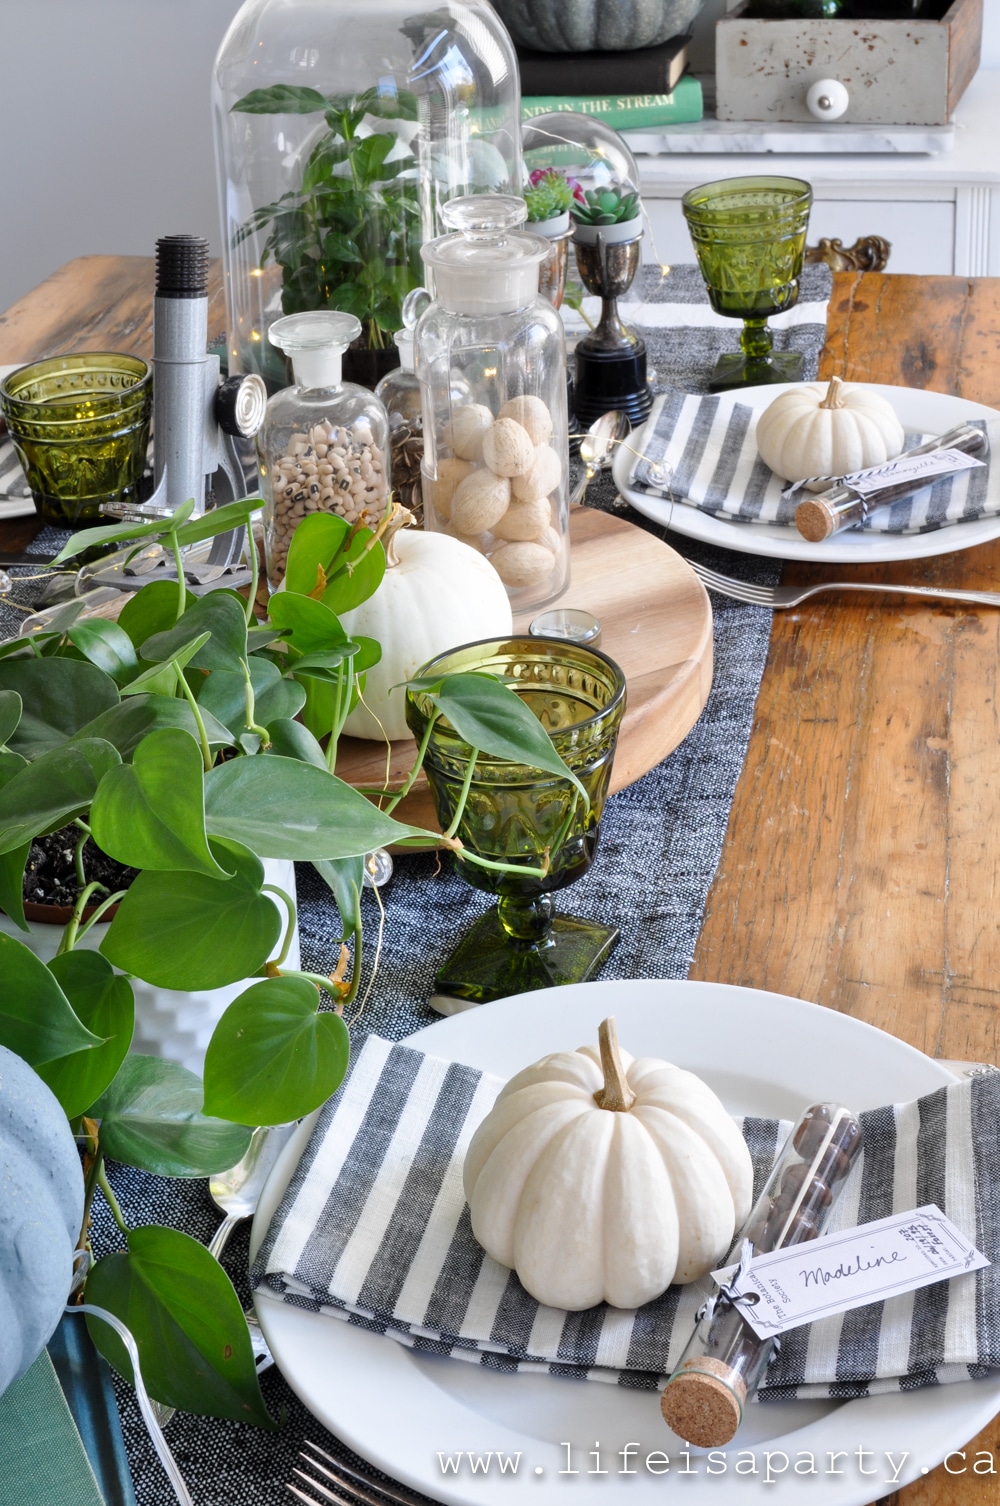
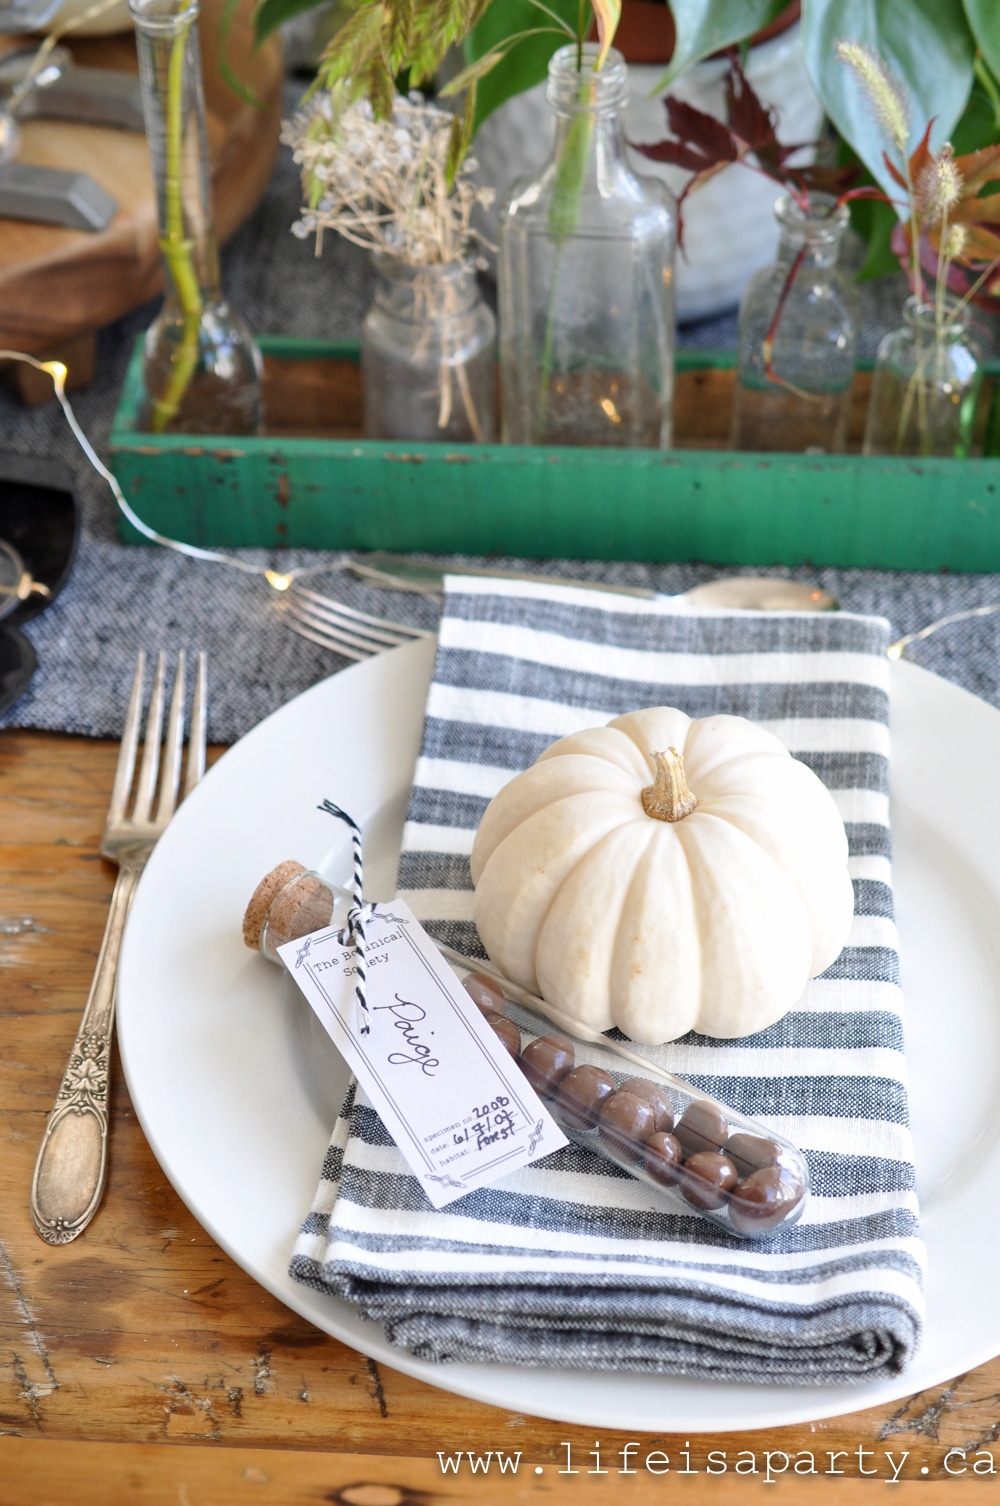 To make the favours I used some new test tubes -beware of using old scientific glass for food as it might have been used for chemicals or inedible substances. I filled each test tube with chocolate covered peanuts and added a vintage looking Botanical label to use as a place card.


