DIY Gingerbread Decor Ideas To Make With Your Cricut: make a gingerbread house banner with felt and iron-on vinyl and a glass canister.

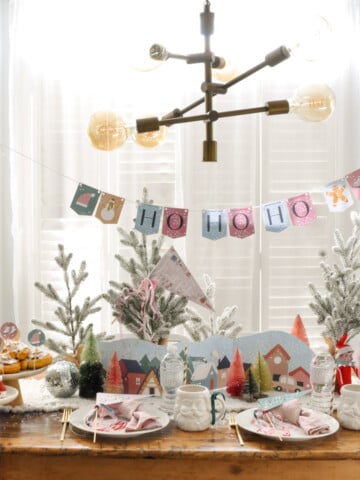
Gingerbread is this years hottest Christmas decorating trend. I thought it would be fun to make some of our own DIY gingerbread decor. This gingerbread house felt banner is the perfect piece to use in your kitchen or even on your mantel for the holiday season. And our second project is a gingerbread house canister. We were inspired by the Amsterdam canal houses, and our gingerbread version is so sweet. We added so many sweet white details to look like royal icing.
Felt
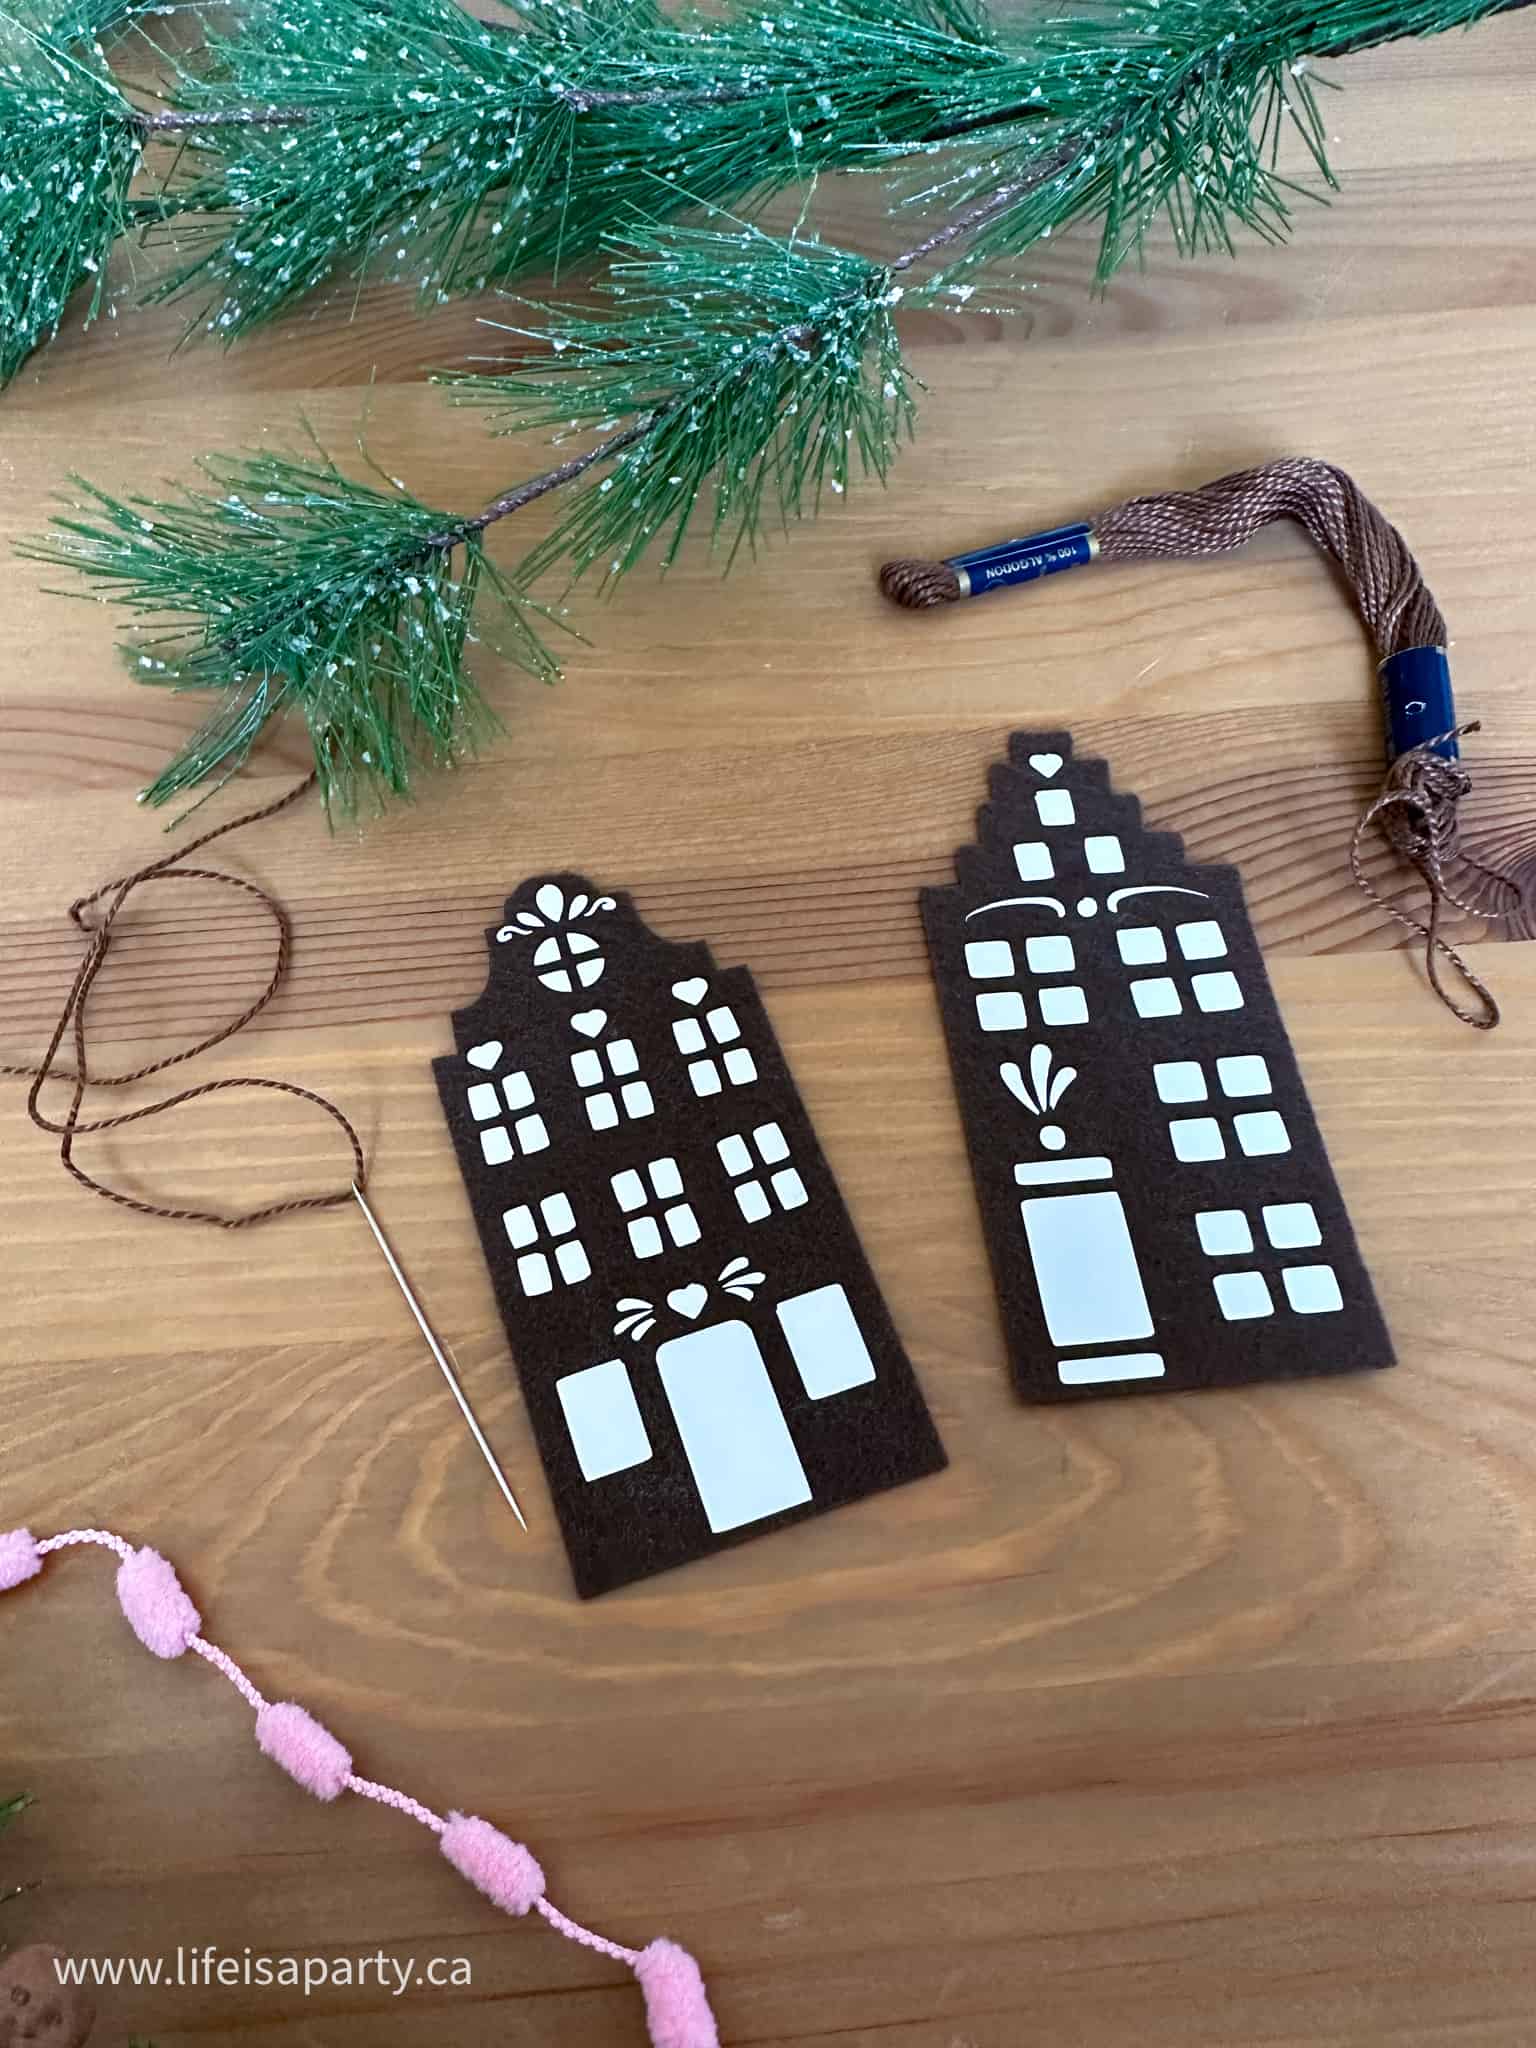
I love making handmade ornaments for the holidays and felt banner is such a great addition. No need for salt dough gingerbread cookies, hot glue, or puffy paint, our gingerbread house Christmas decorations are made out of felt and iron-on vinyl. There's no mess involved in making these gingerbread ornaments, and they will last forever. These tiny gingerbread houses were inspired by Amsterdam canal houses, and they could not be any sweeter. They have all the cuteness of regular gingerbread man decorations, but with the added charm of a European feel.
Materials for the Felt Gingerbread House Banner
- Gingerbread House Banner cut file -Cricut Design Space
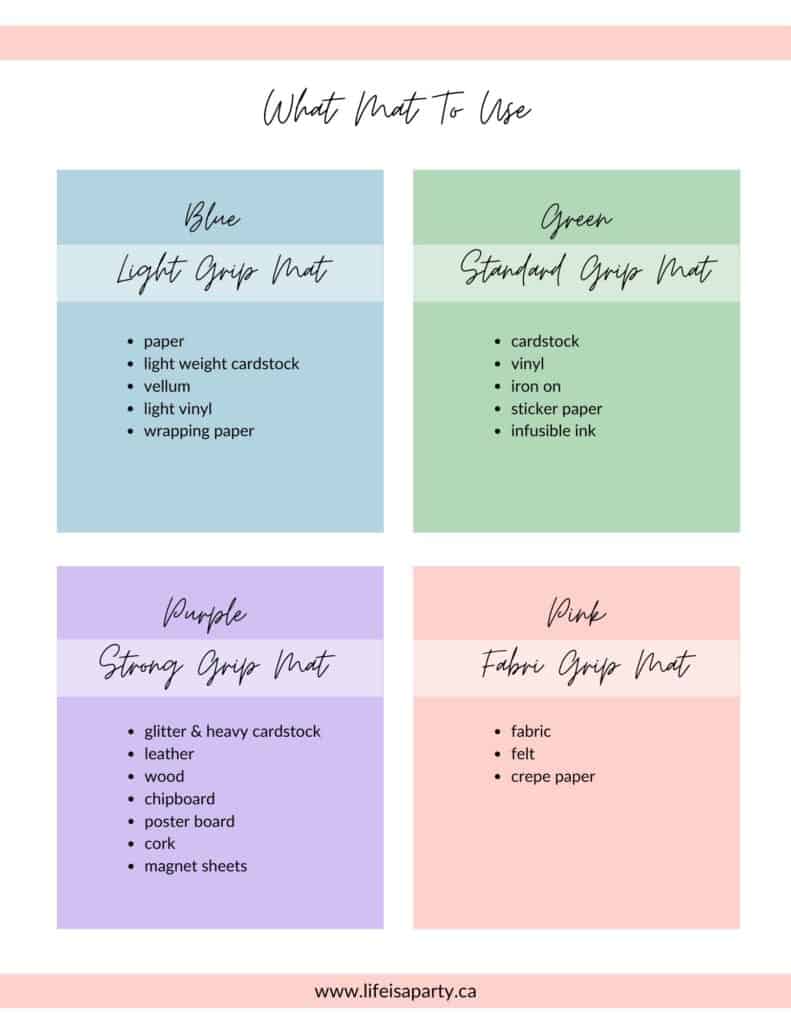
- brown felt
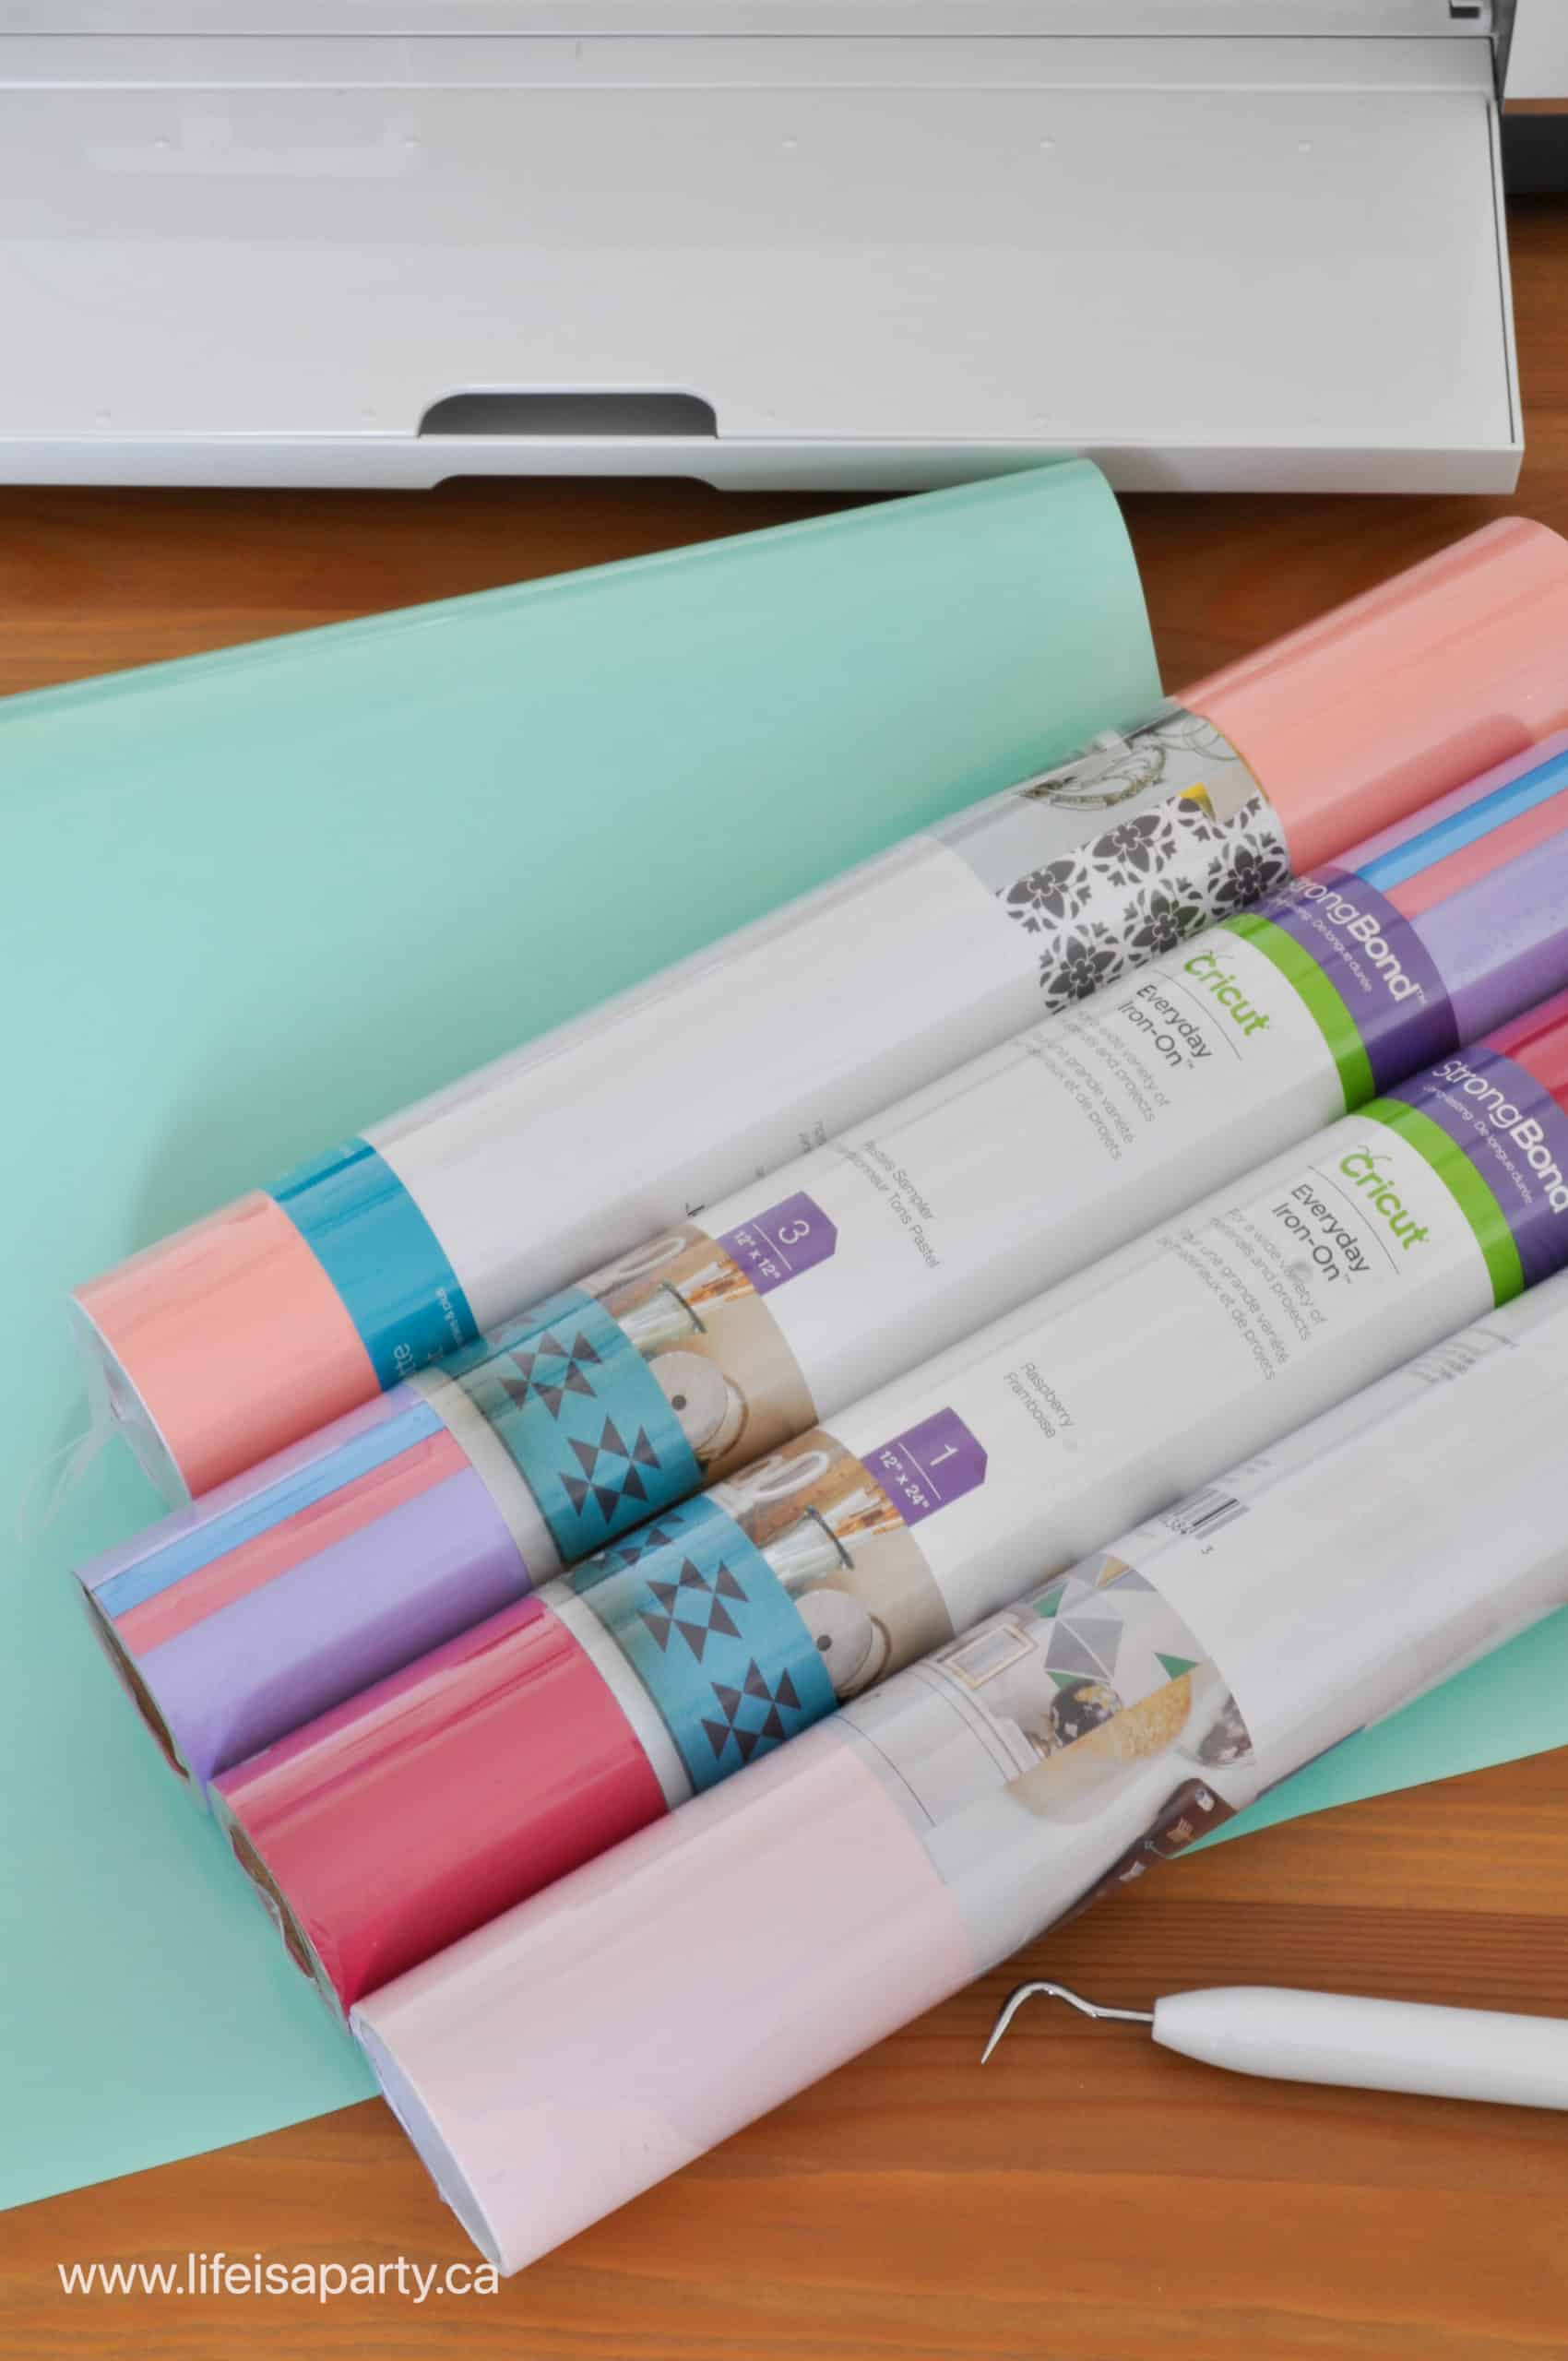
- white iron-on vinyl
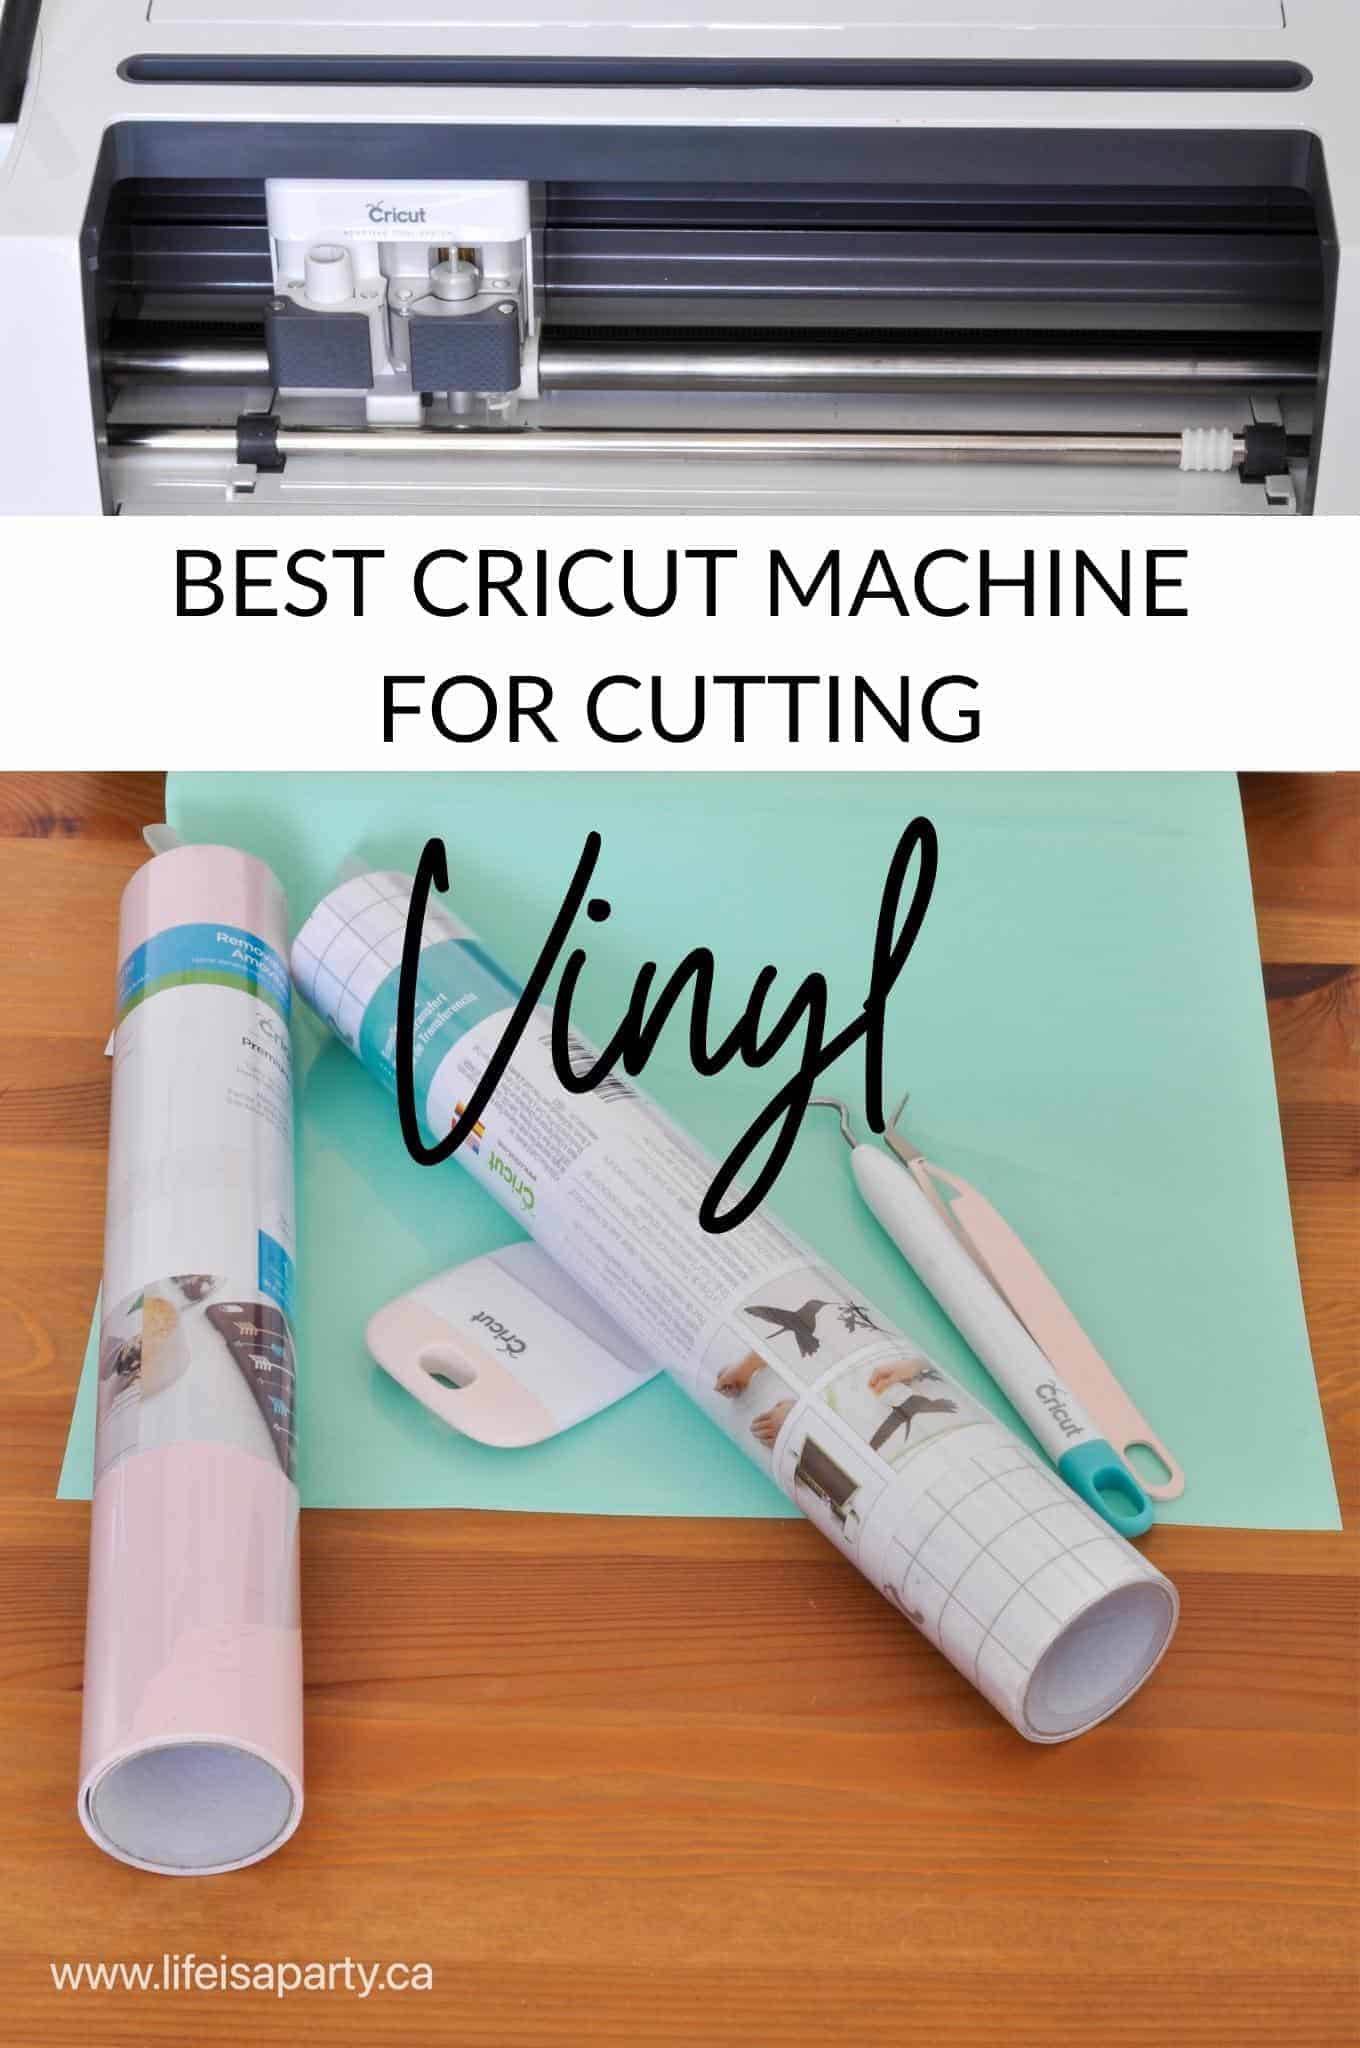
- Cricut Maker
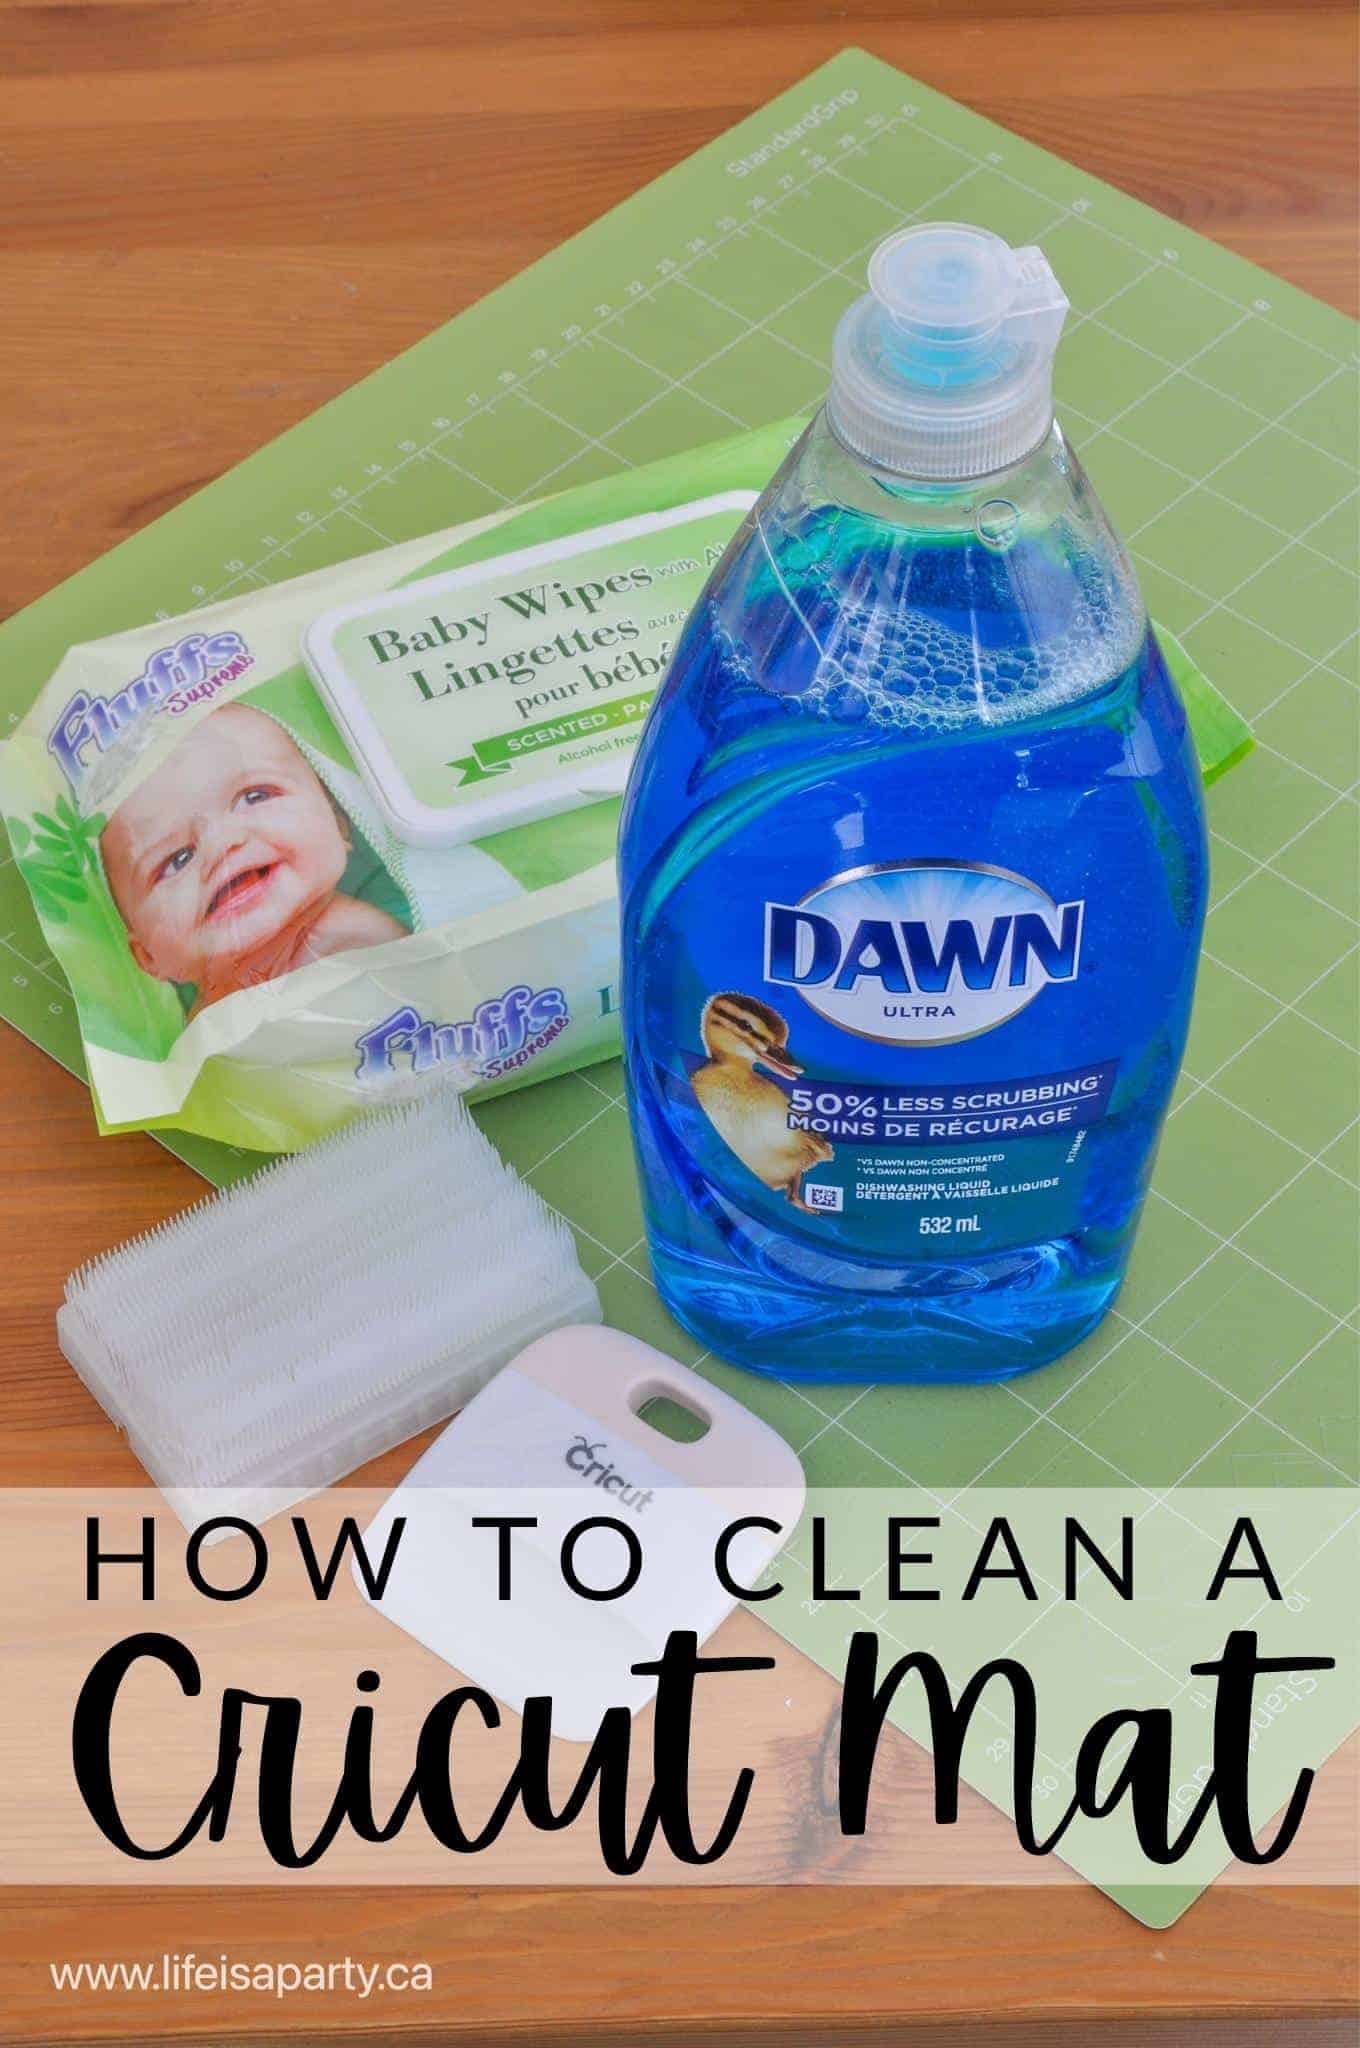
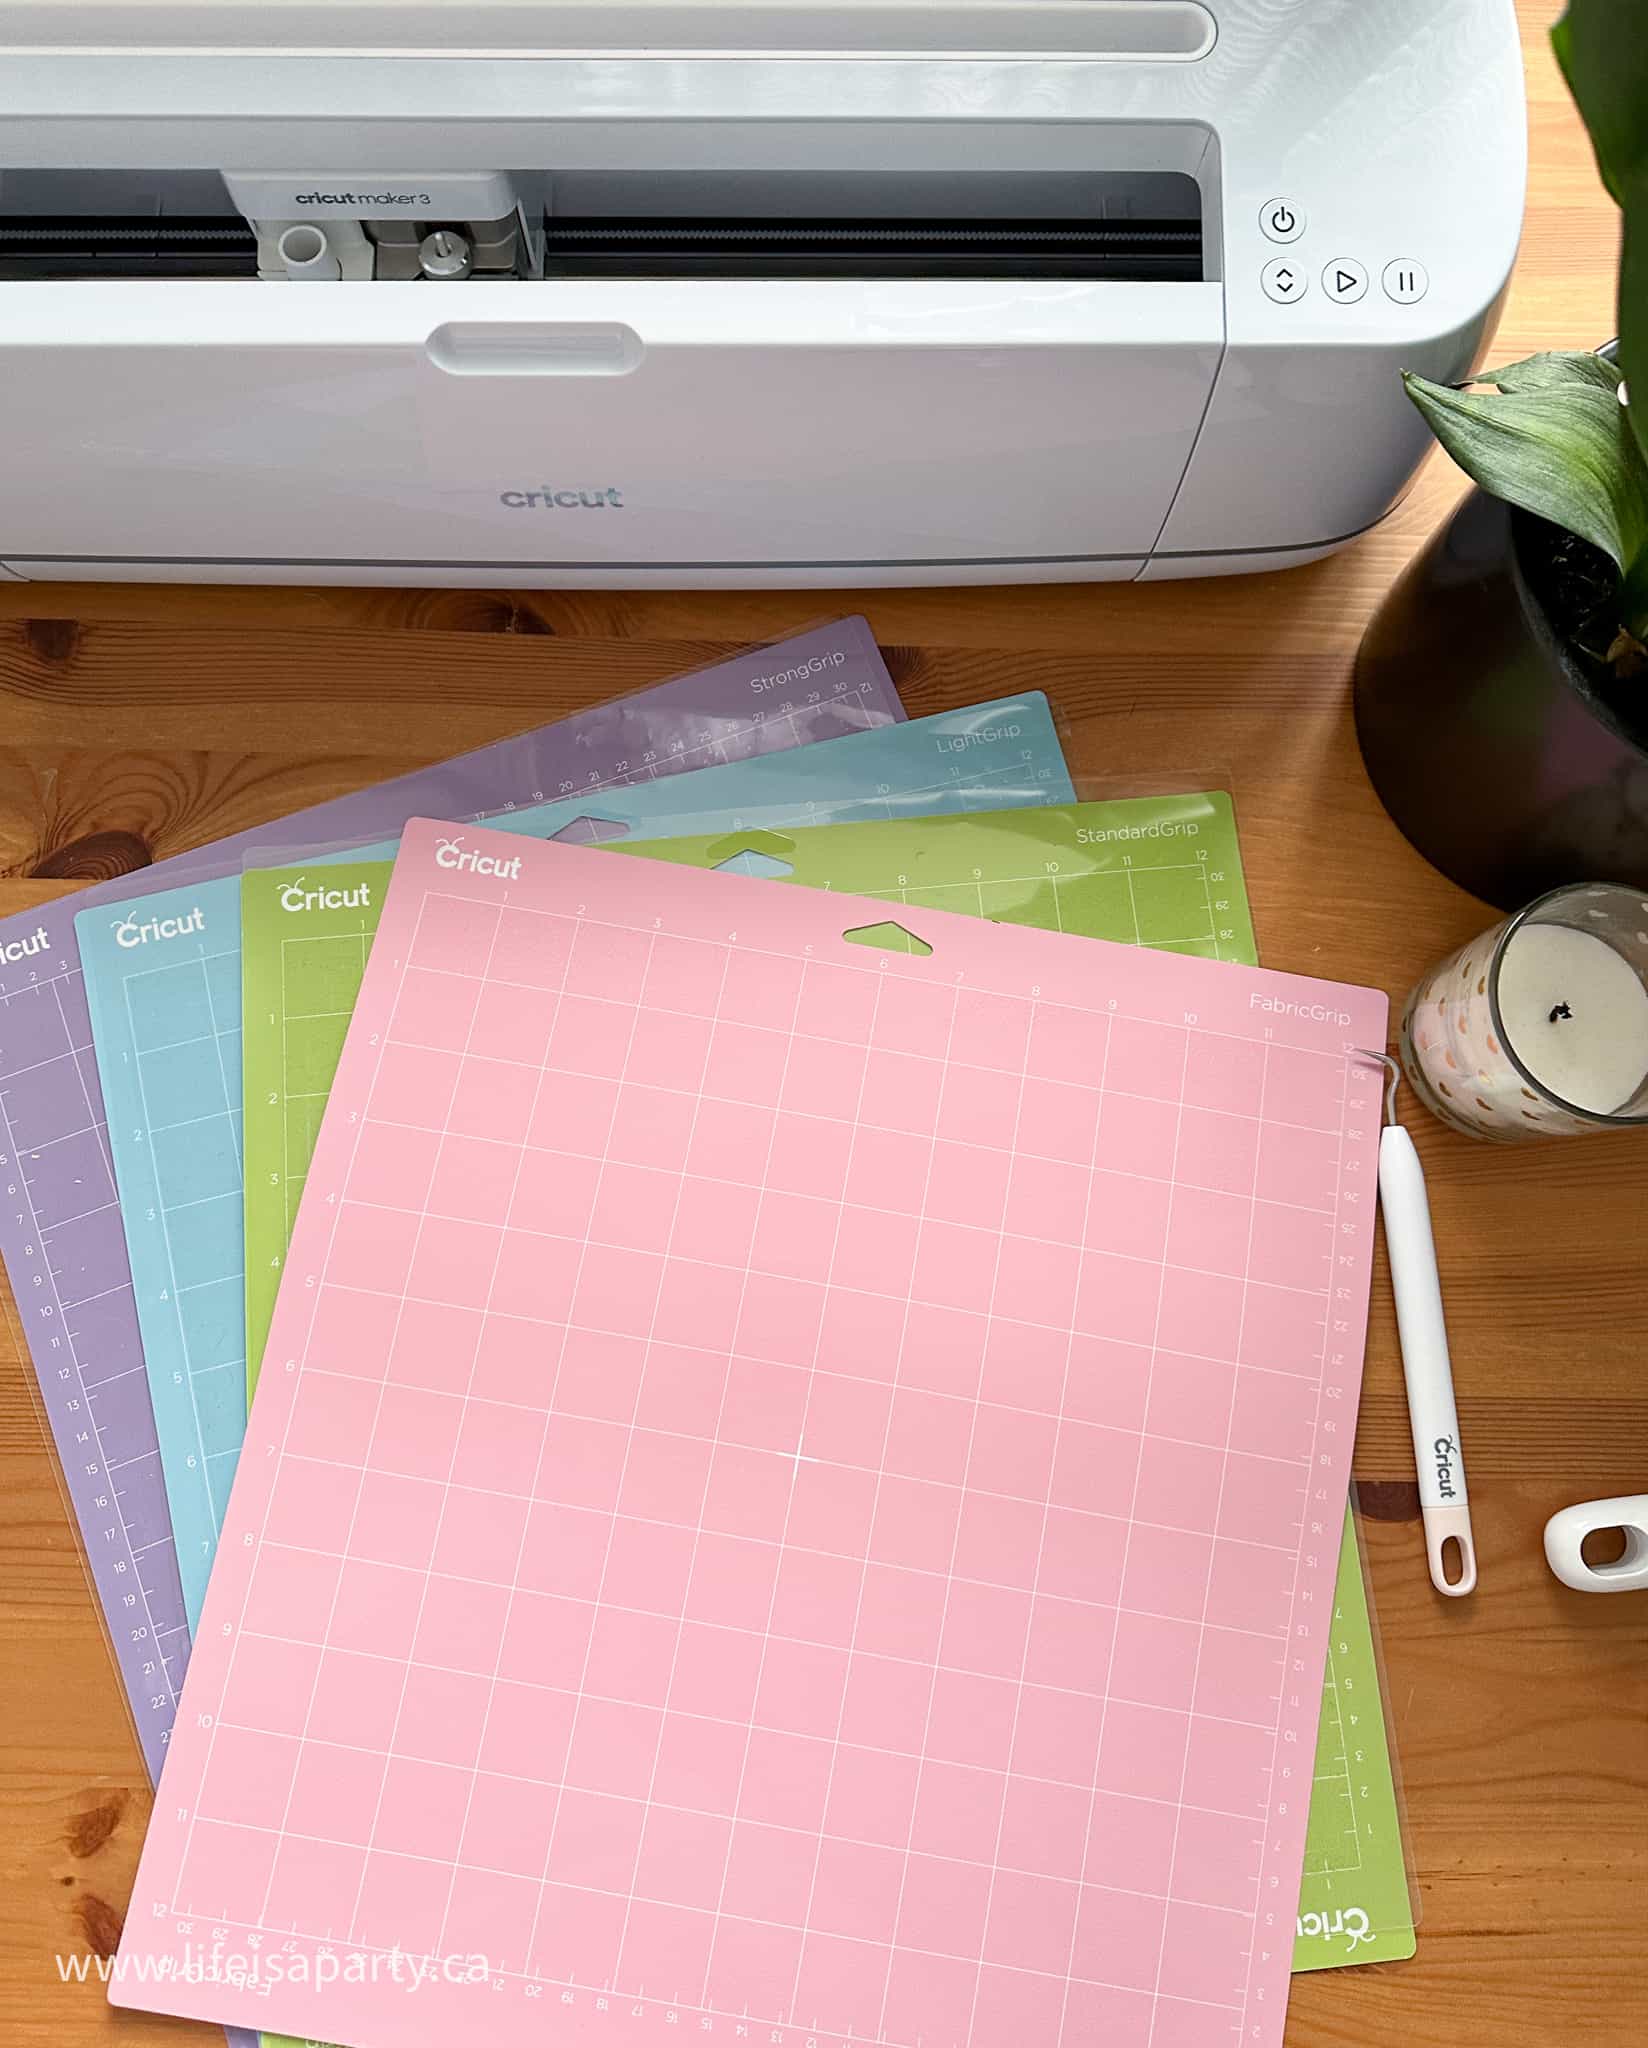
- old cutting mat
- painter's tape
- rotary blade
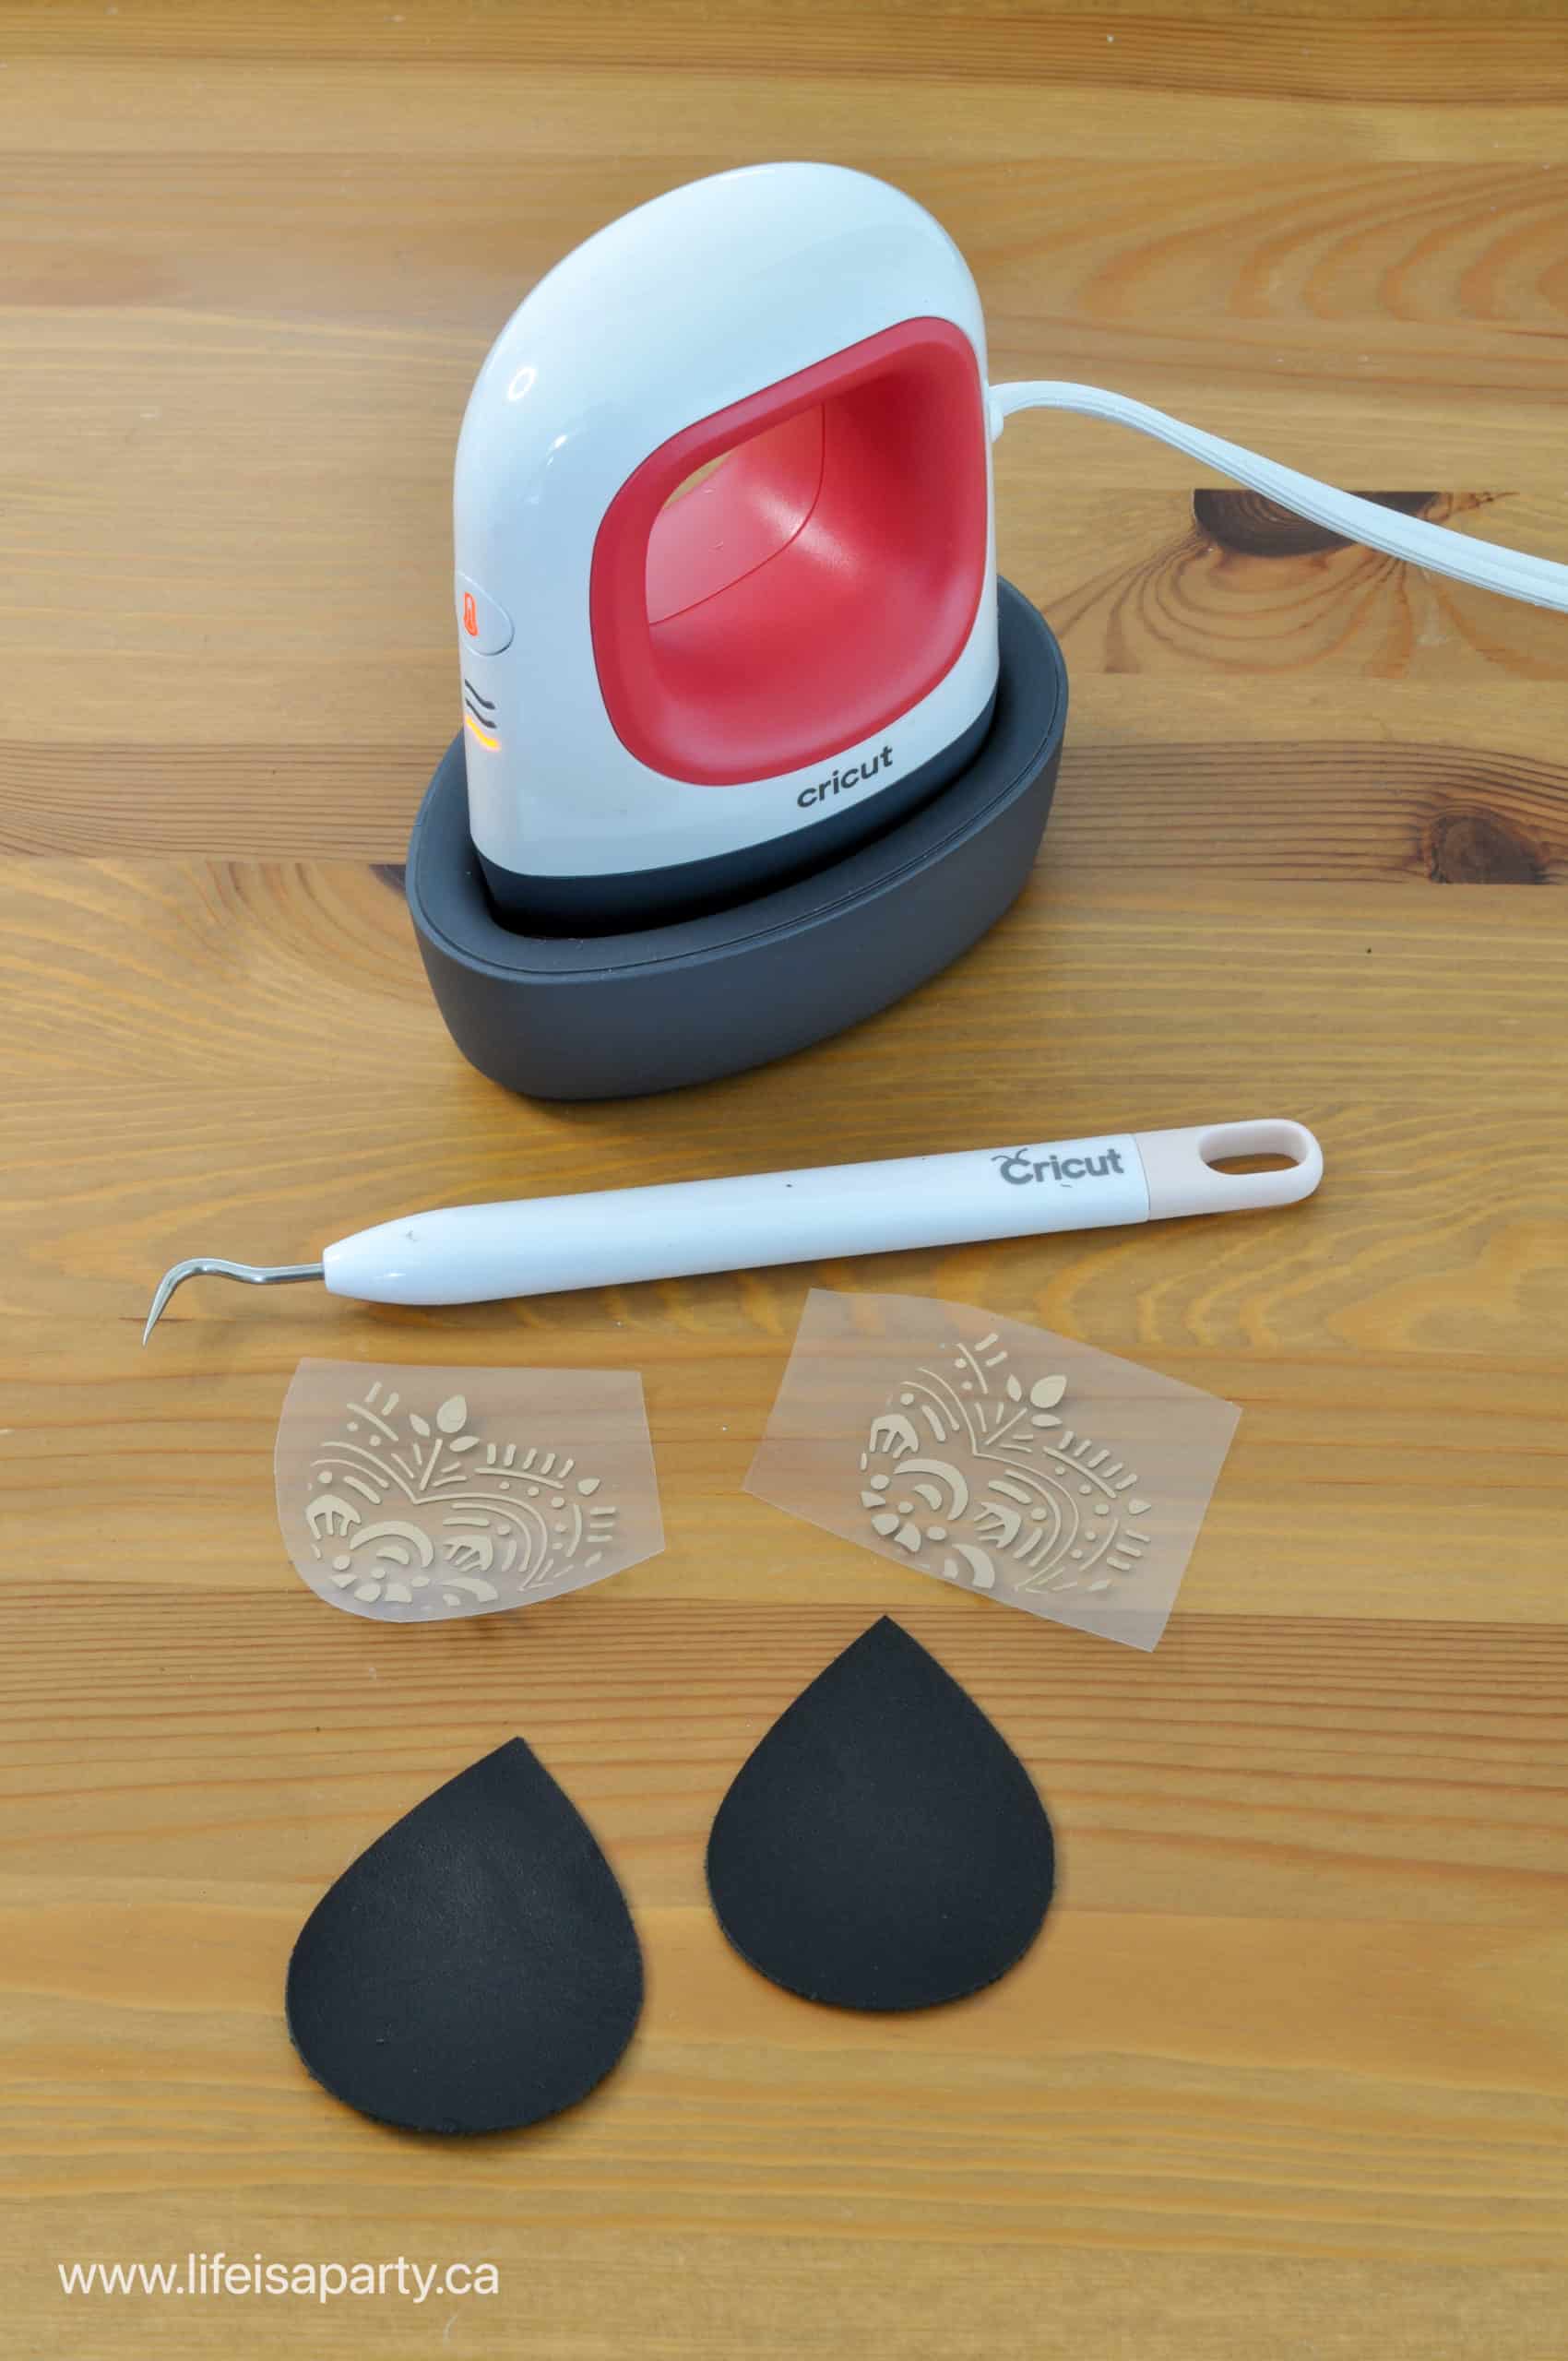
- Cricut Easypress
How To Make The Gingerbread House Felt Banner
Cut File
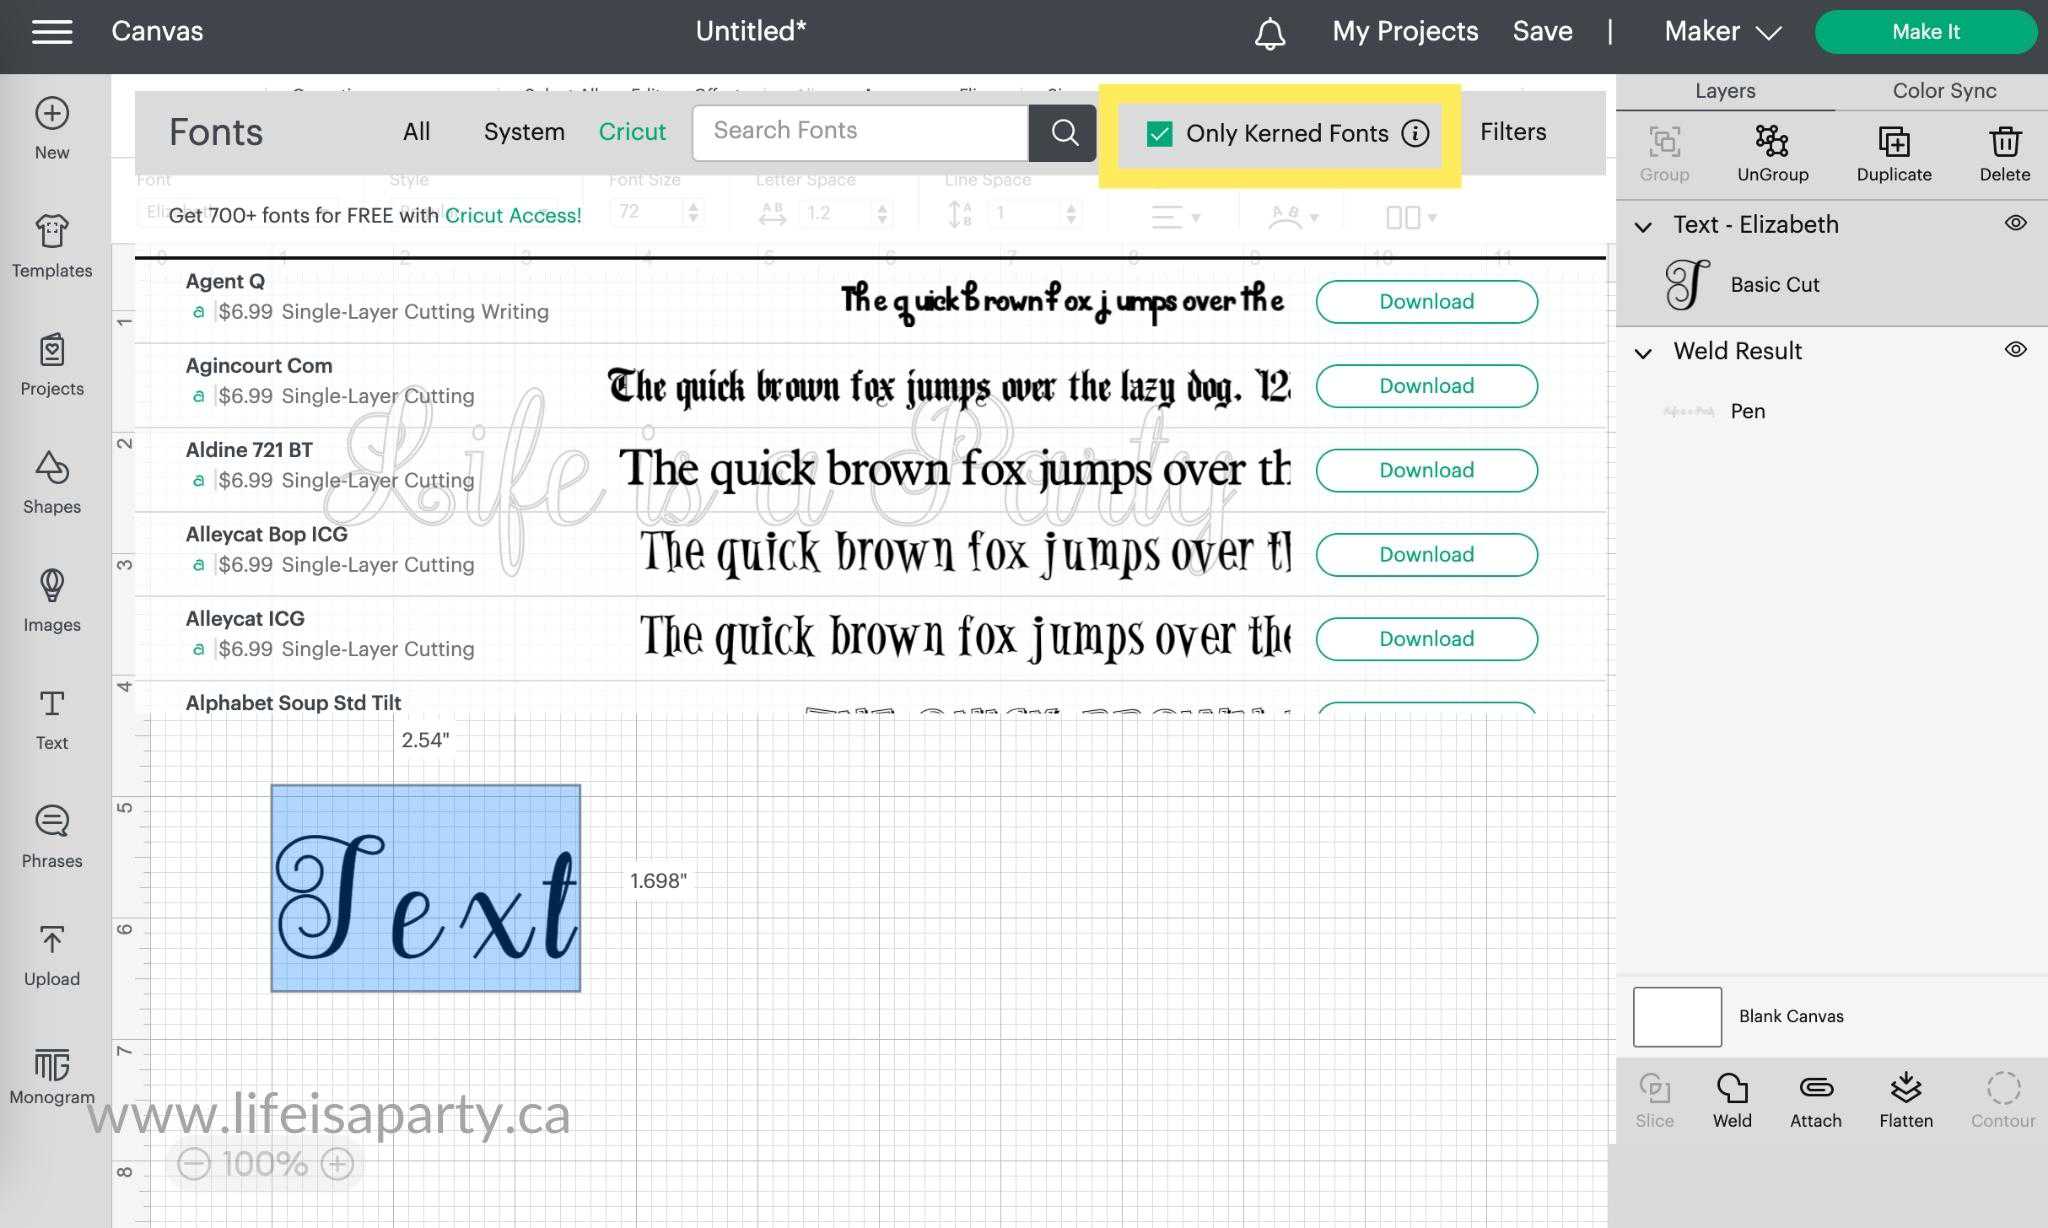
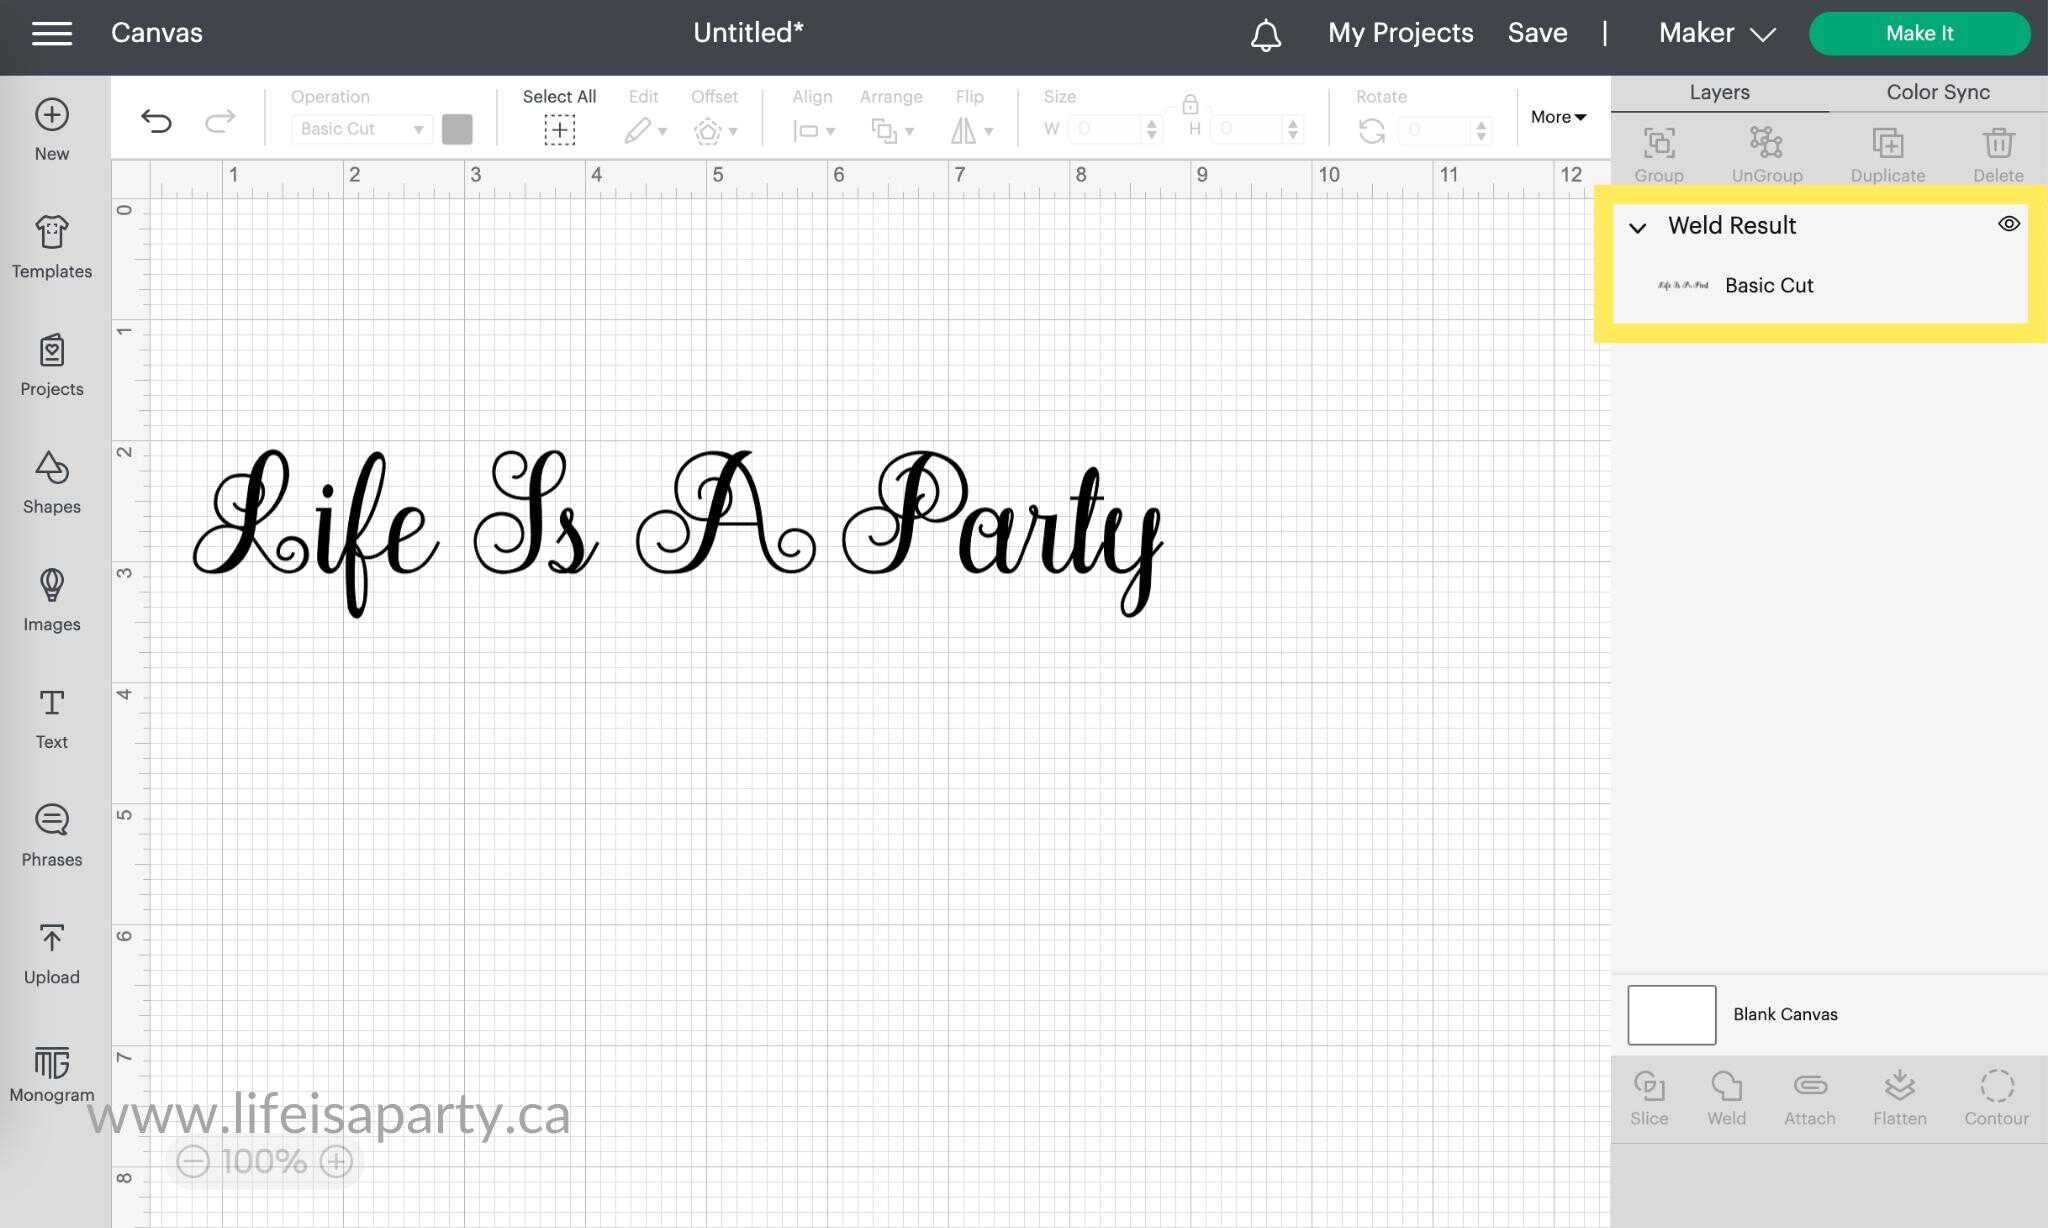
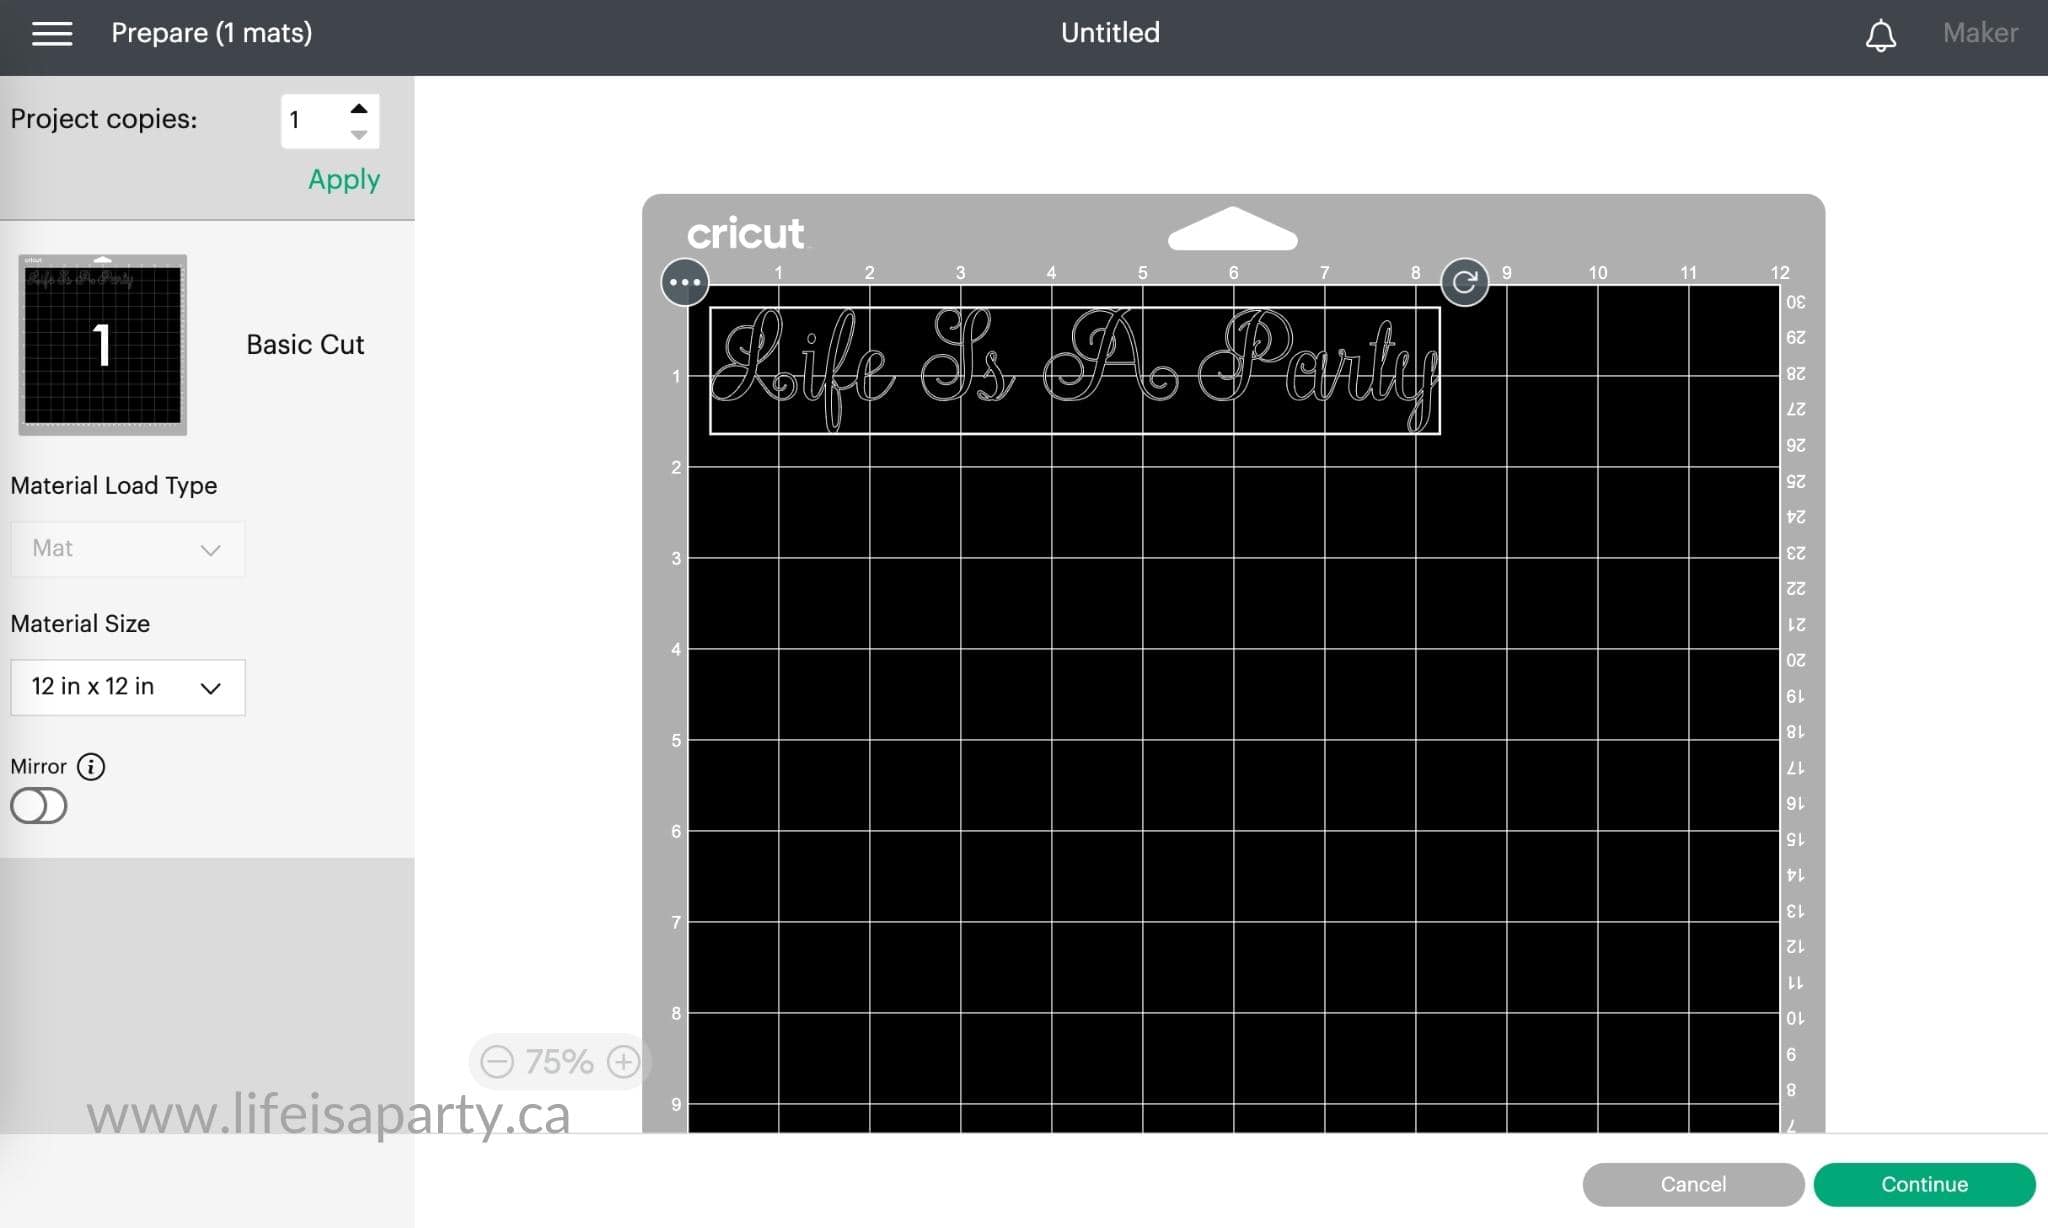
Find the cutting file in Cricut Design Space. Be sure to follow me "Life is a Party -Dannyelle Nicolle-Ramjist" so you can find all the projects I share in Cricut Design Space. You can adjust the size if you want your gingerbread houses larger or smaller. There are five different designs. We cut out two of each for a banner with 10 houses on it. When you're ready to make the project, click Make It.
Using The Rotary Blade
We cut our felt out on the Cricut Maker, using the rotary cutting blade. I highly recommend it. The rotary blade cut through the felt so perfectly and easily. After choosing felt as your material. Click on "Edit Tools" to switch the tool from the fine point blade to the rotary blade. And also switch out the blade on the actual Cricut Maker.
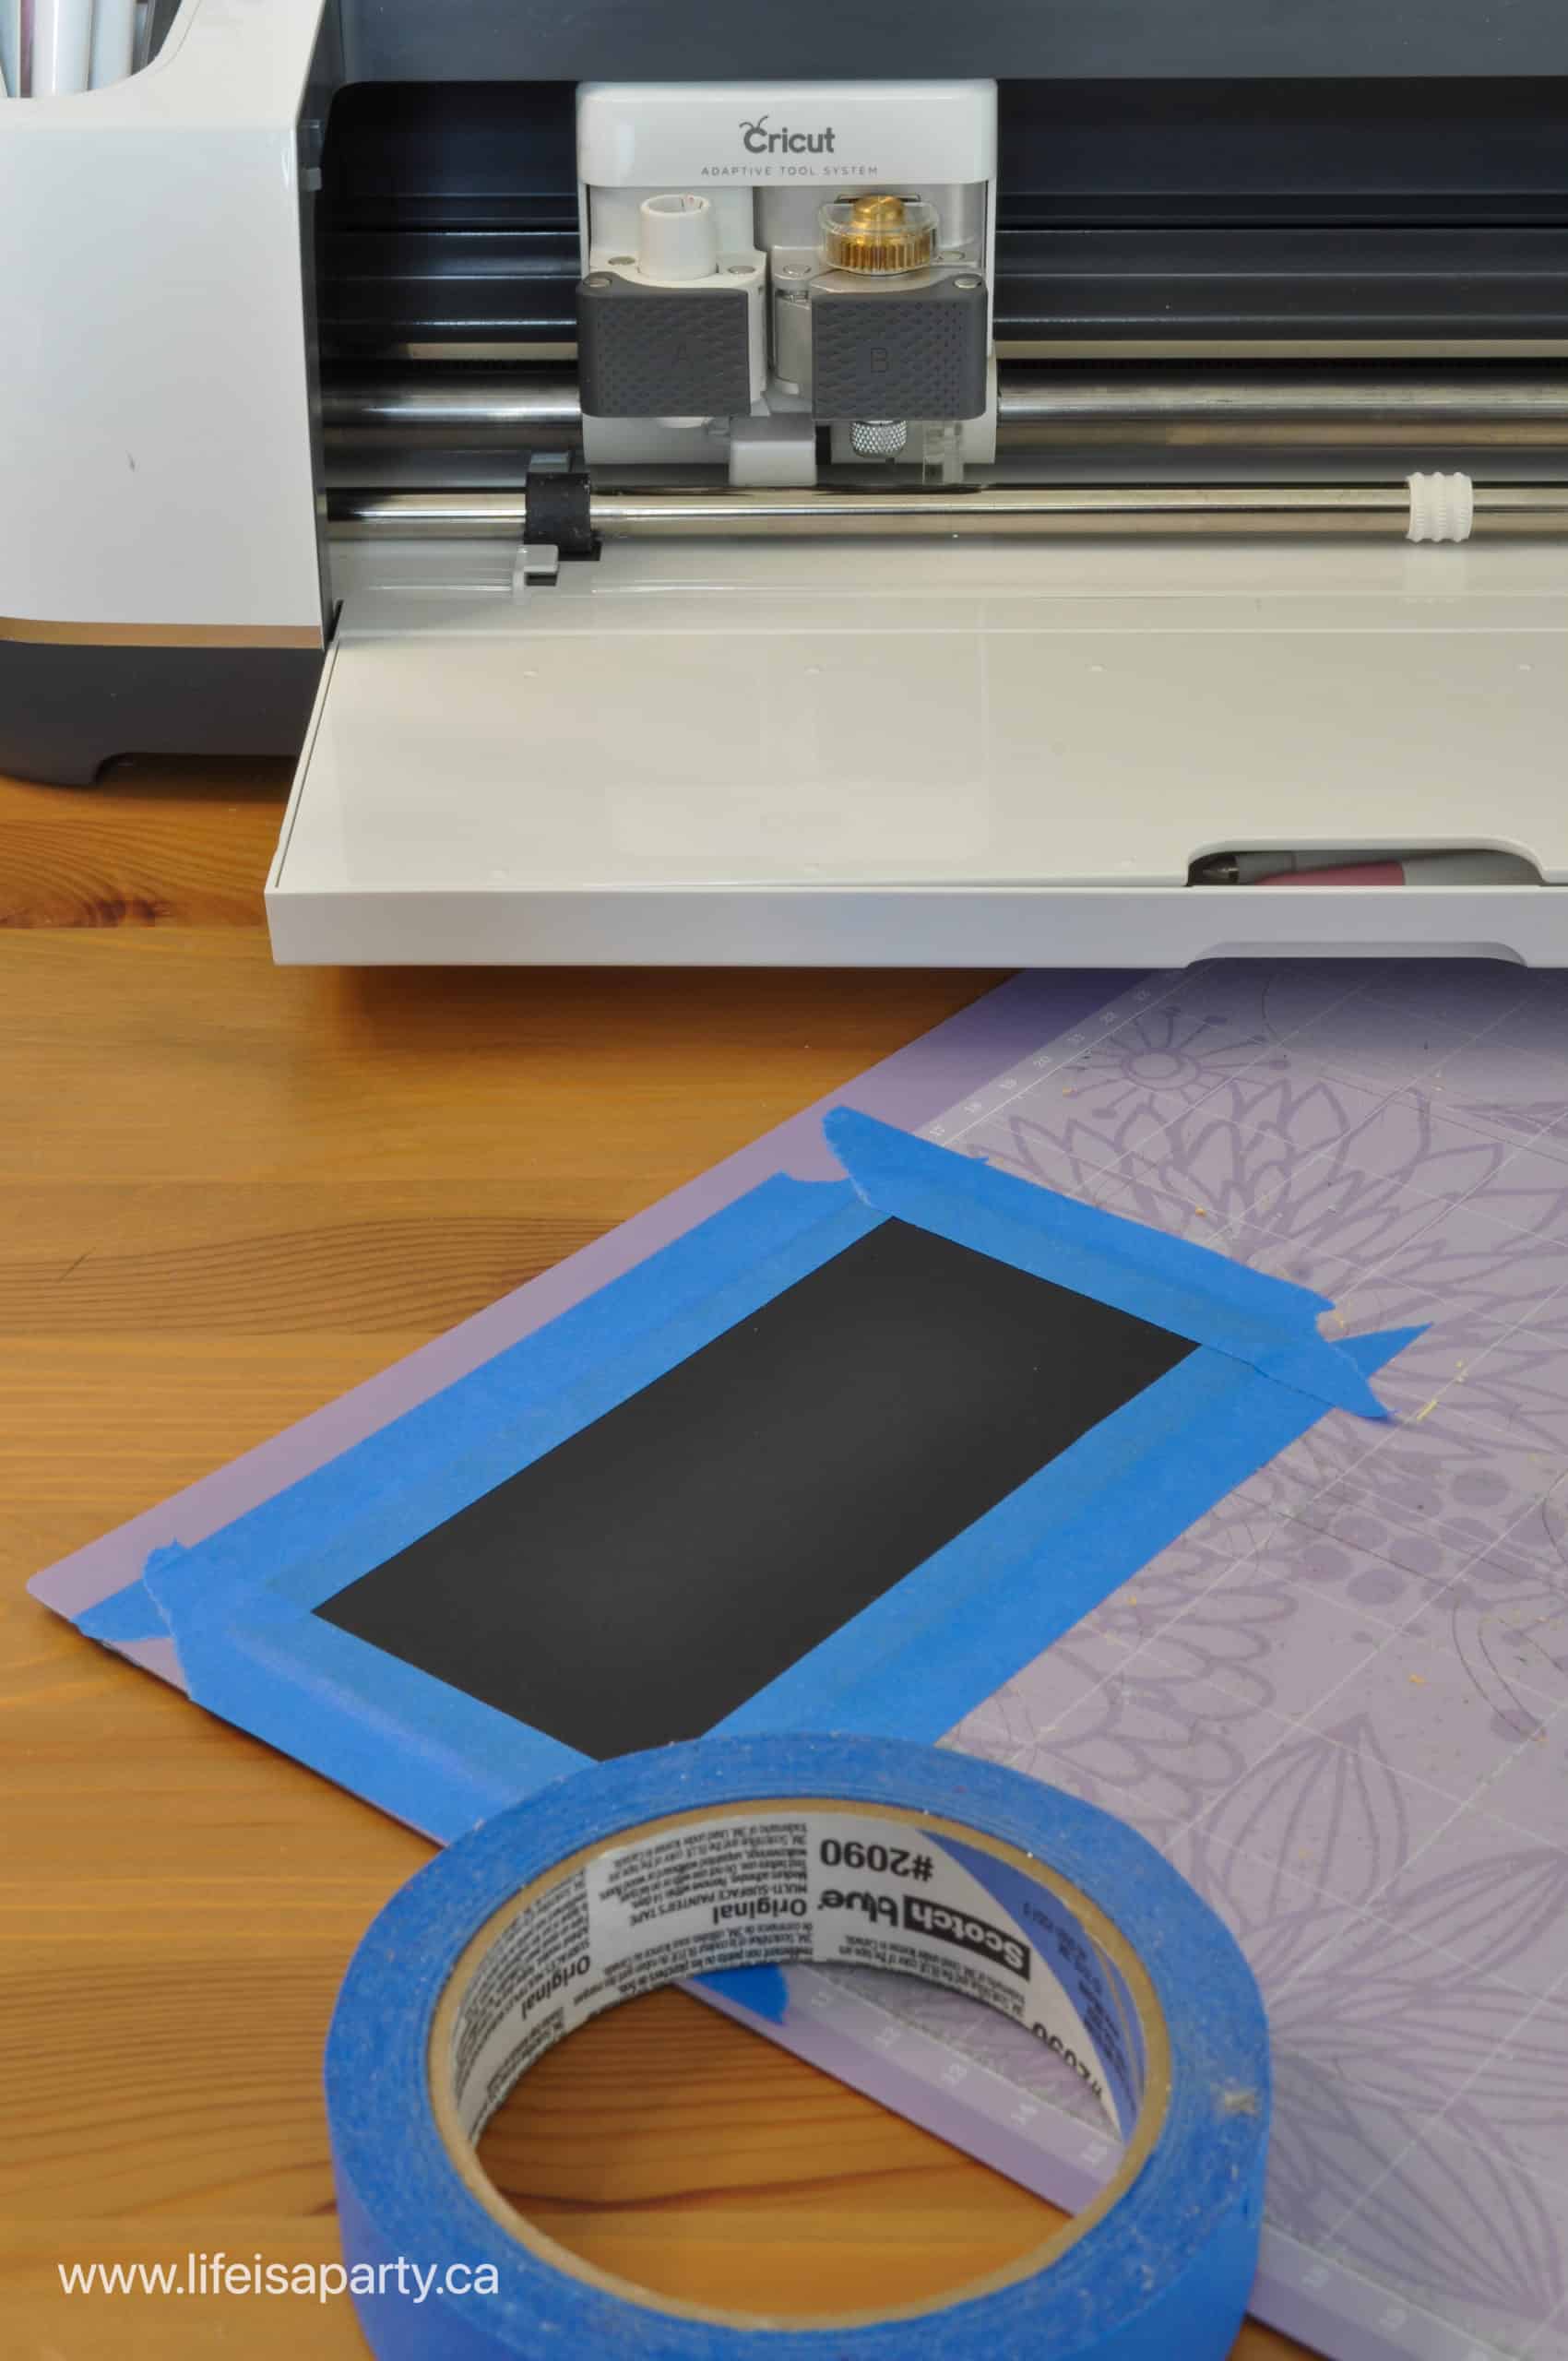
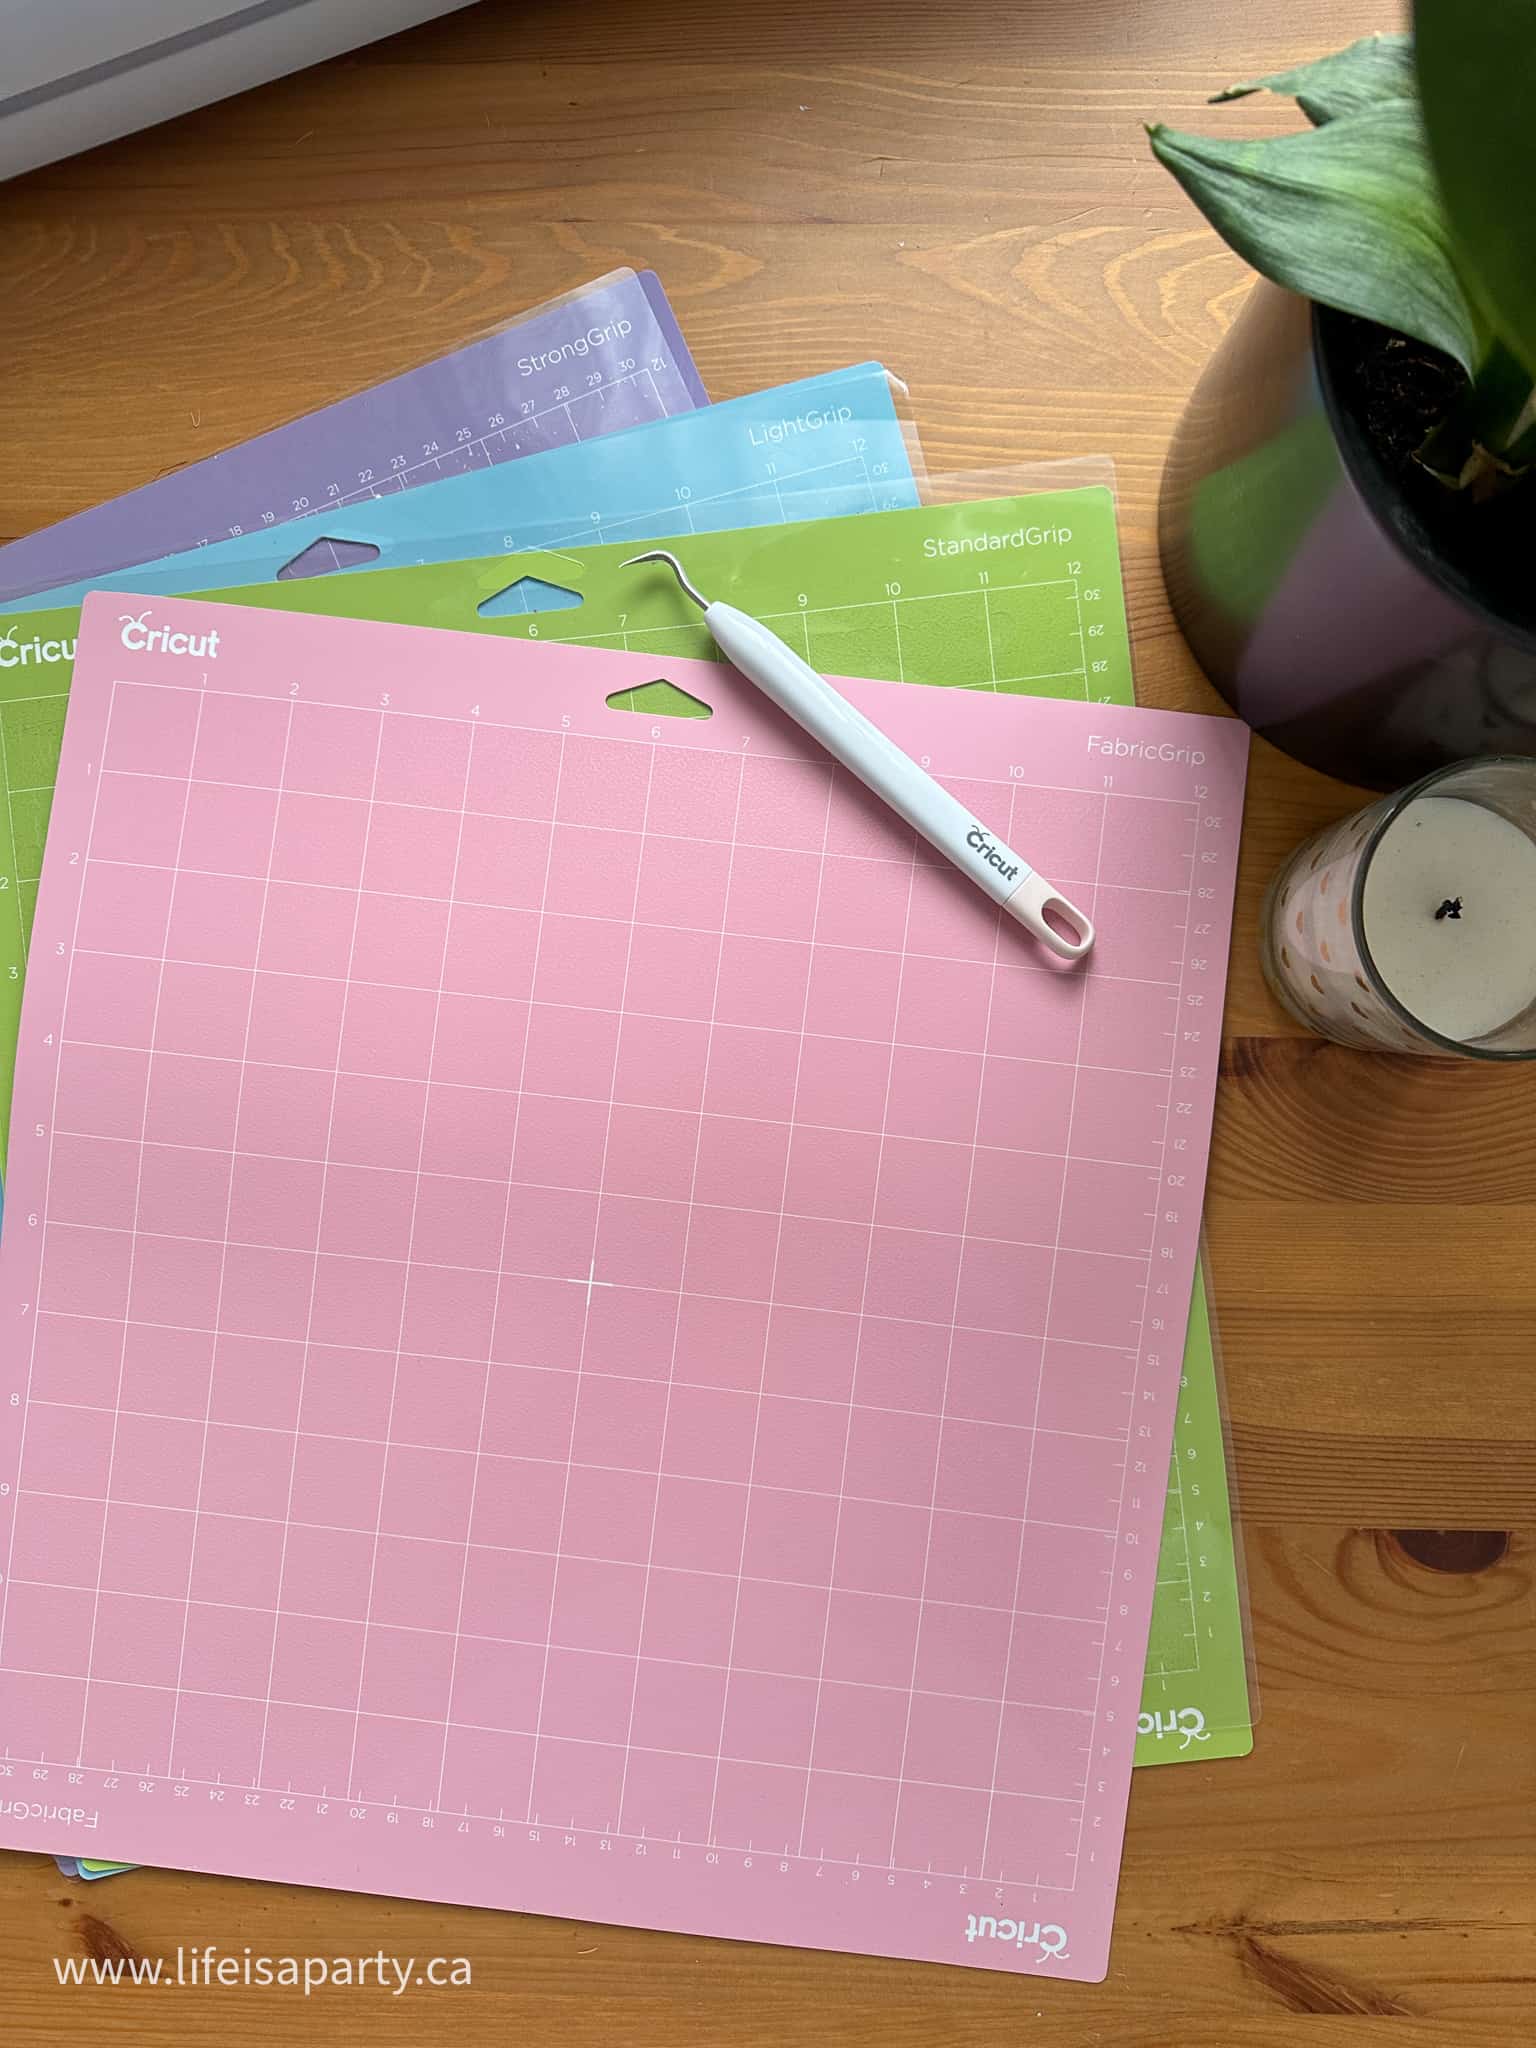
Adding Your Felt To The Cutting Mat
A tip for adding your felt to your cutting mat is to use an old mat so that you don't ruin a new one with all the felt fibers, and reinforce the stickiness by going around the outside with some painter's tape. That will hold your felt in place for the cut perfectly without ruining your Cricut cutting mat.
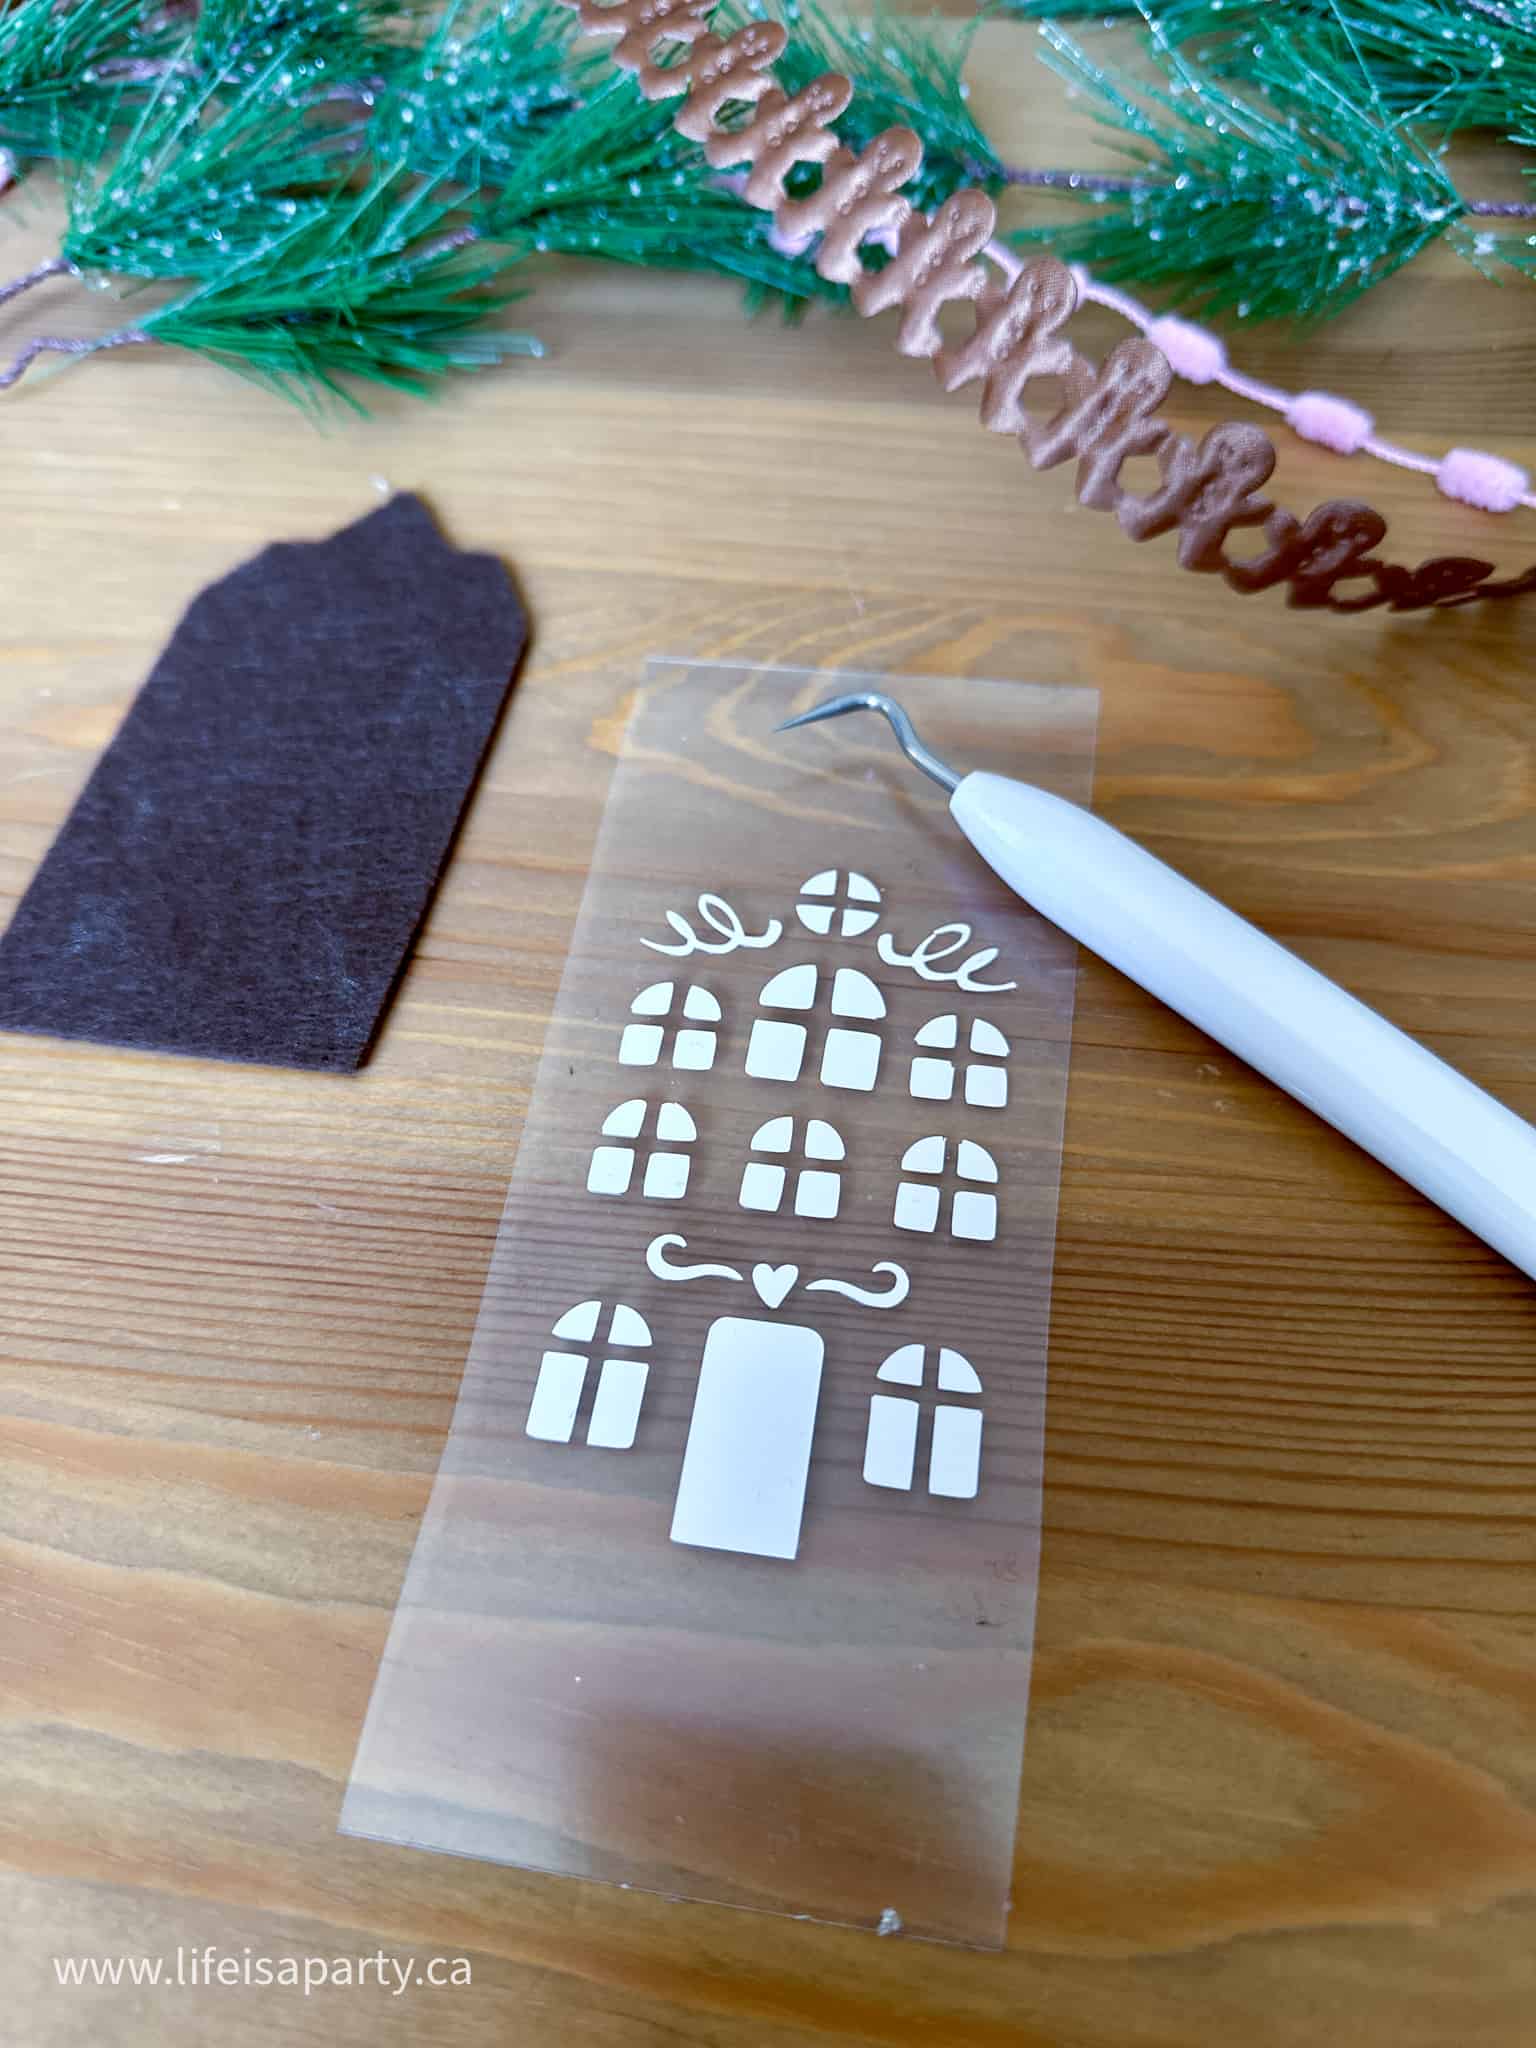
Weeding
Once your felt is cut out, also cut out the iron-on vinyl in white vinyl. And then weed it. This intricate pattern is difficult to weed. Take your time and work carefully using your weeding tools to help you.
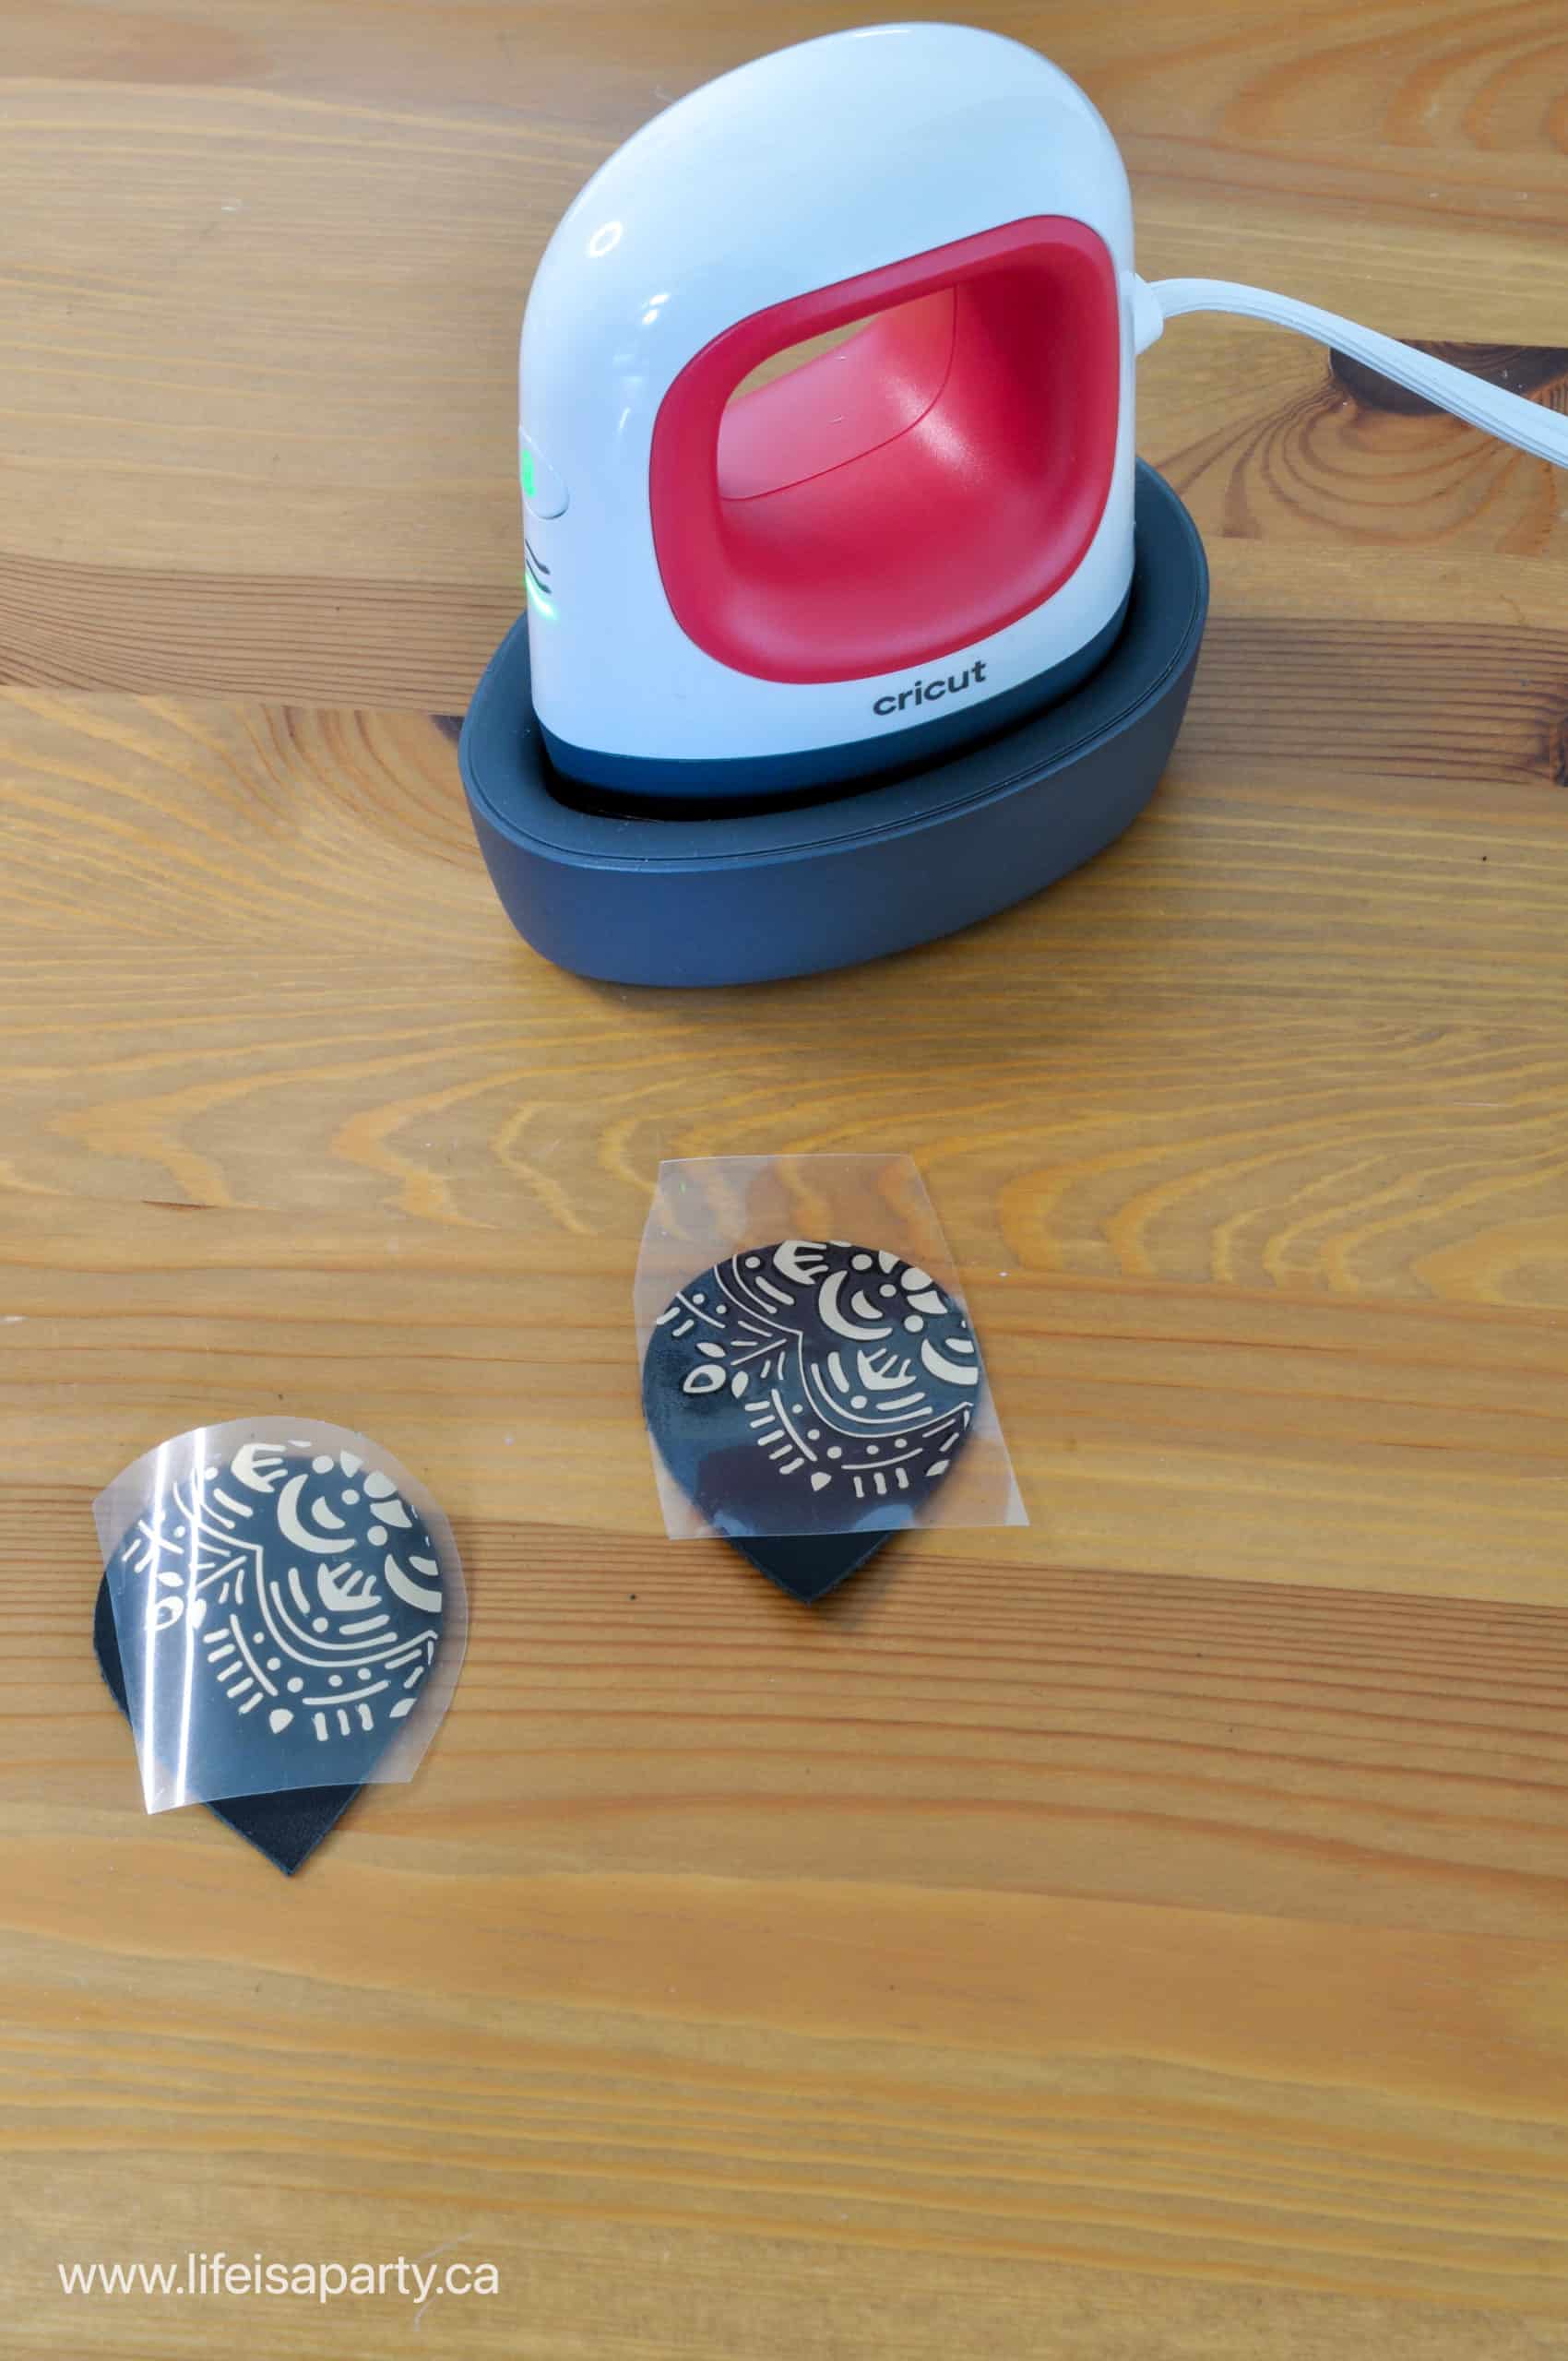
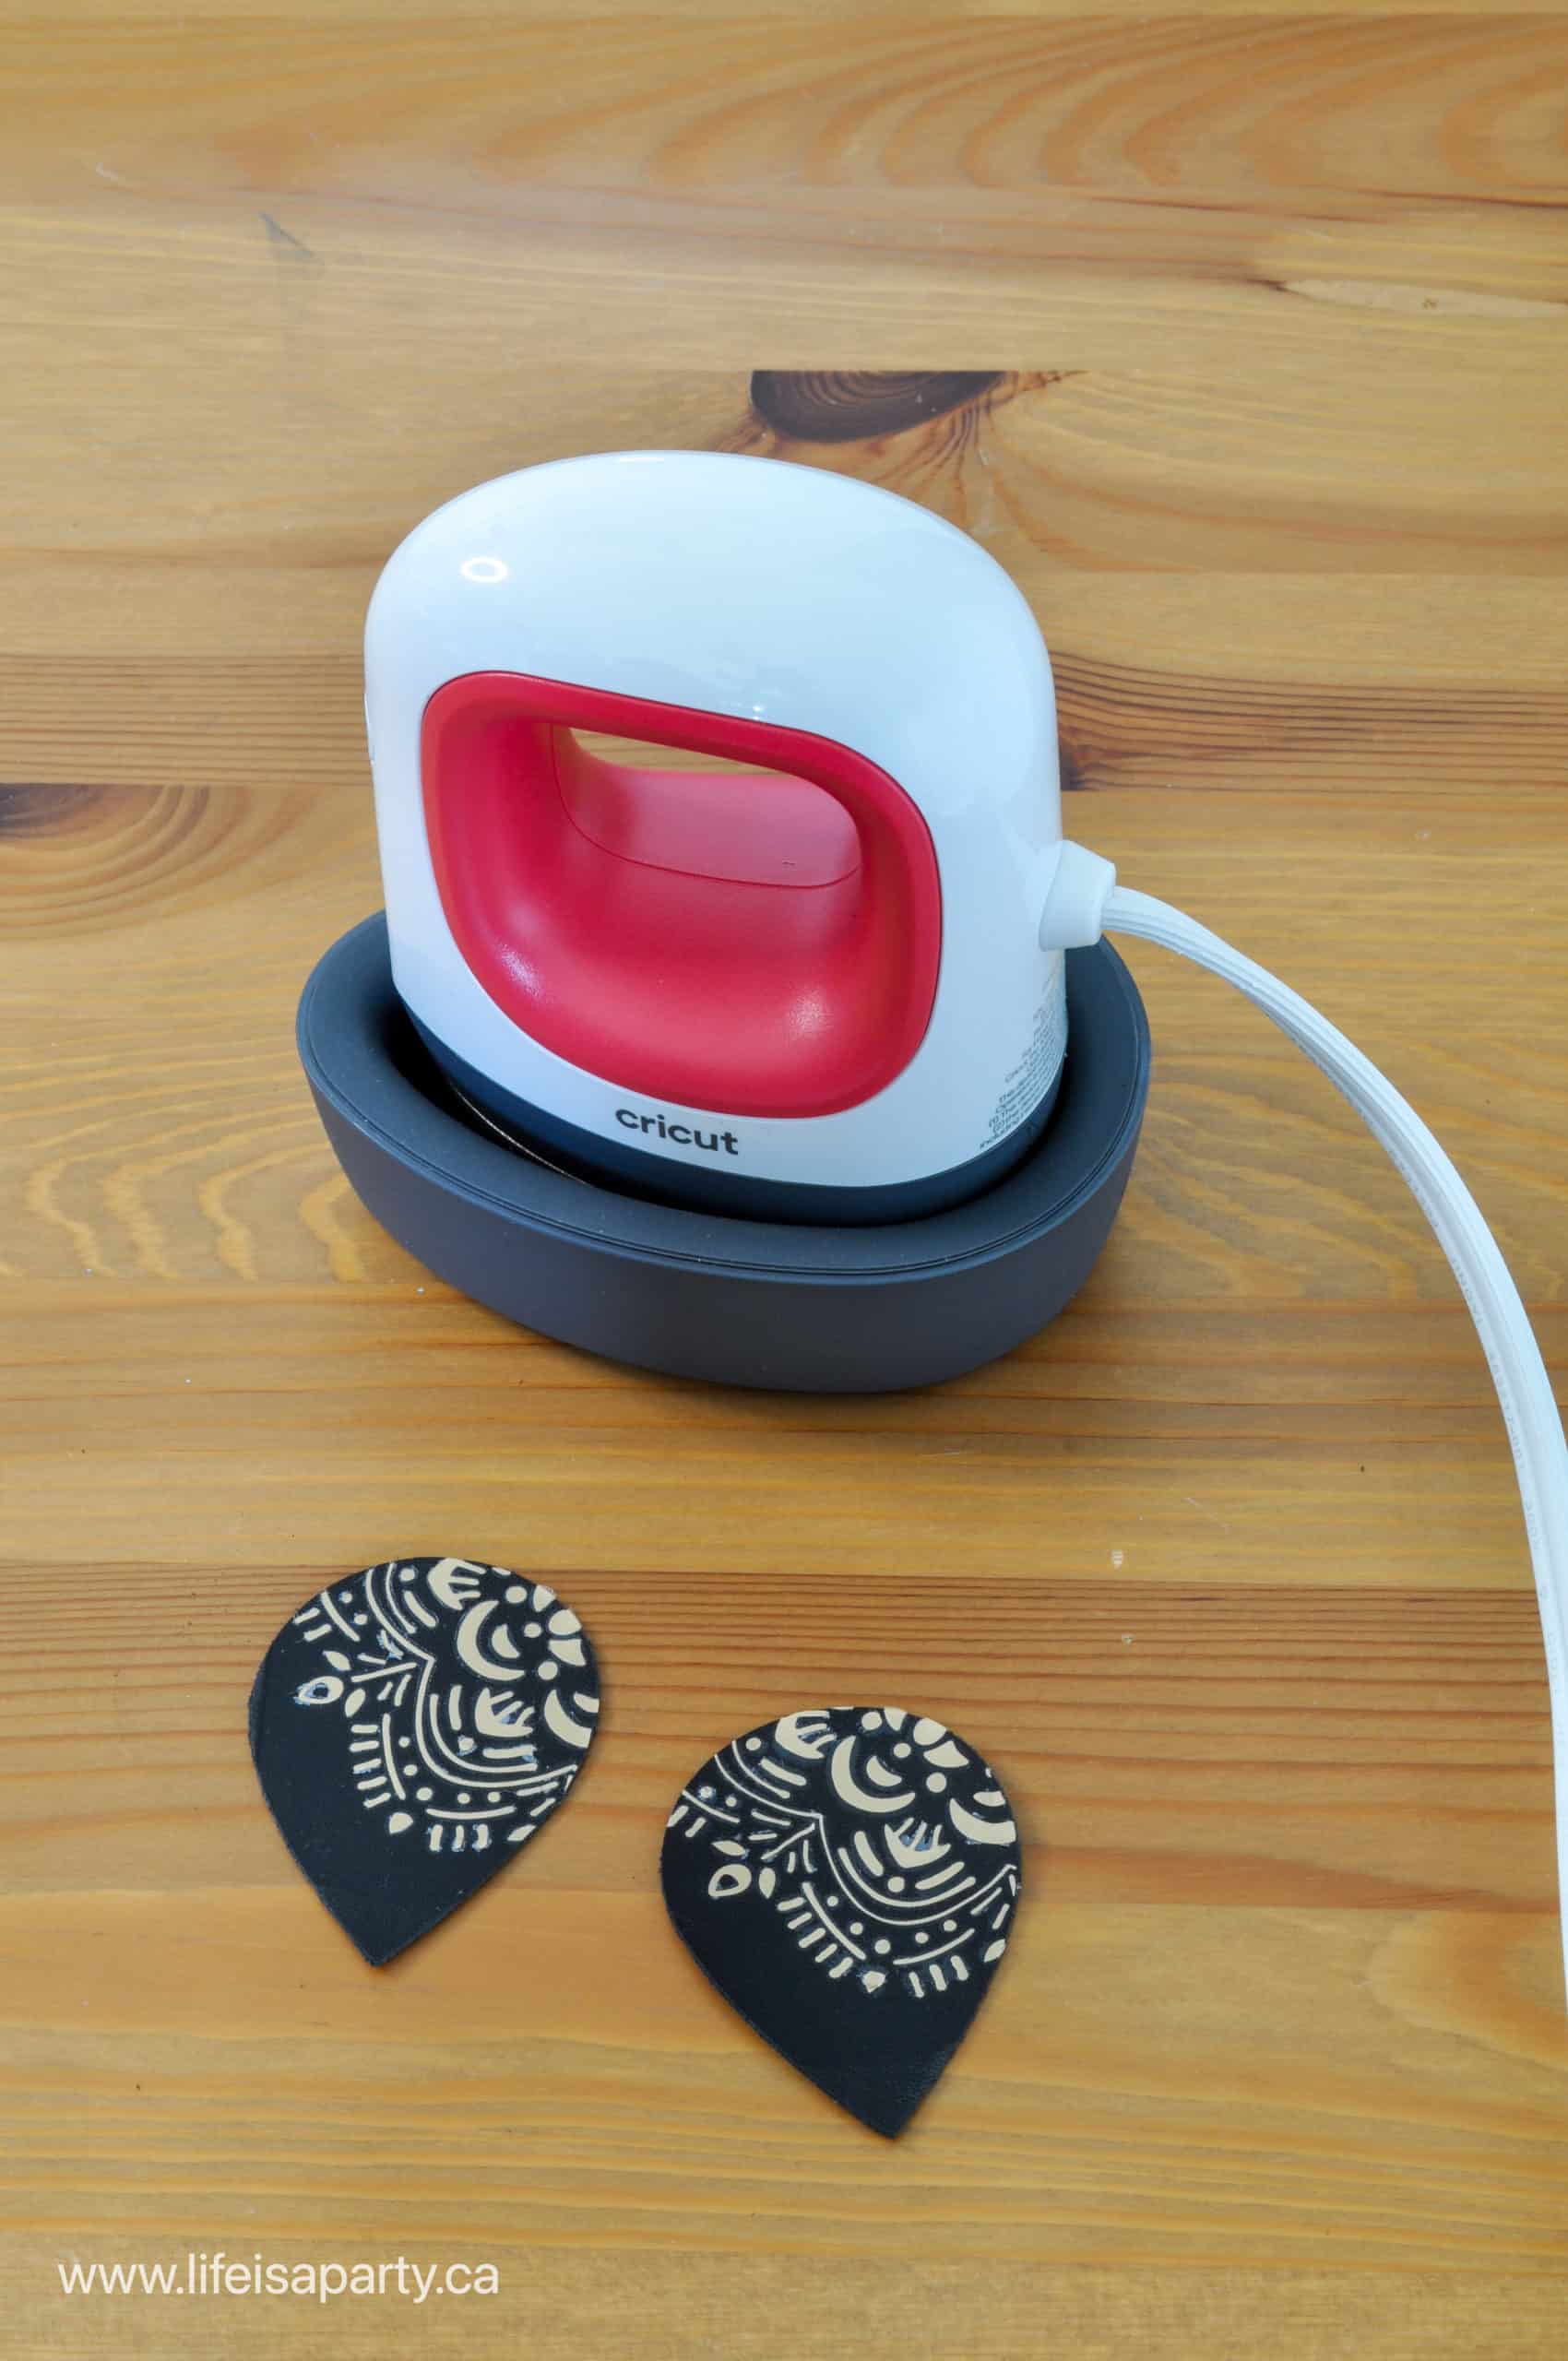
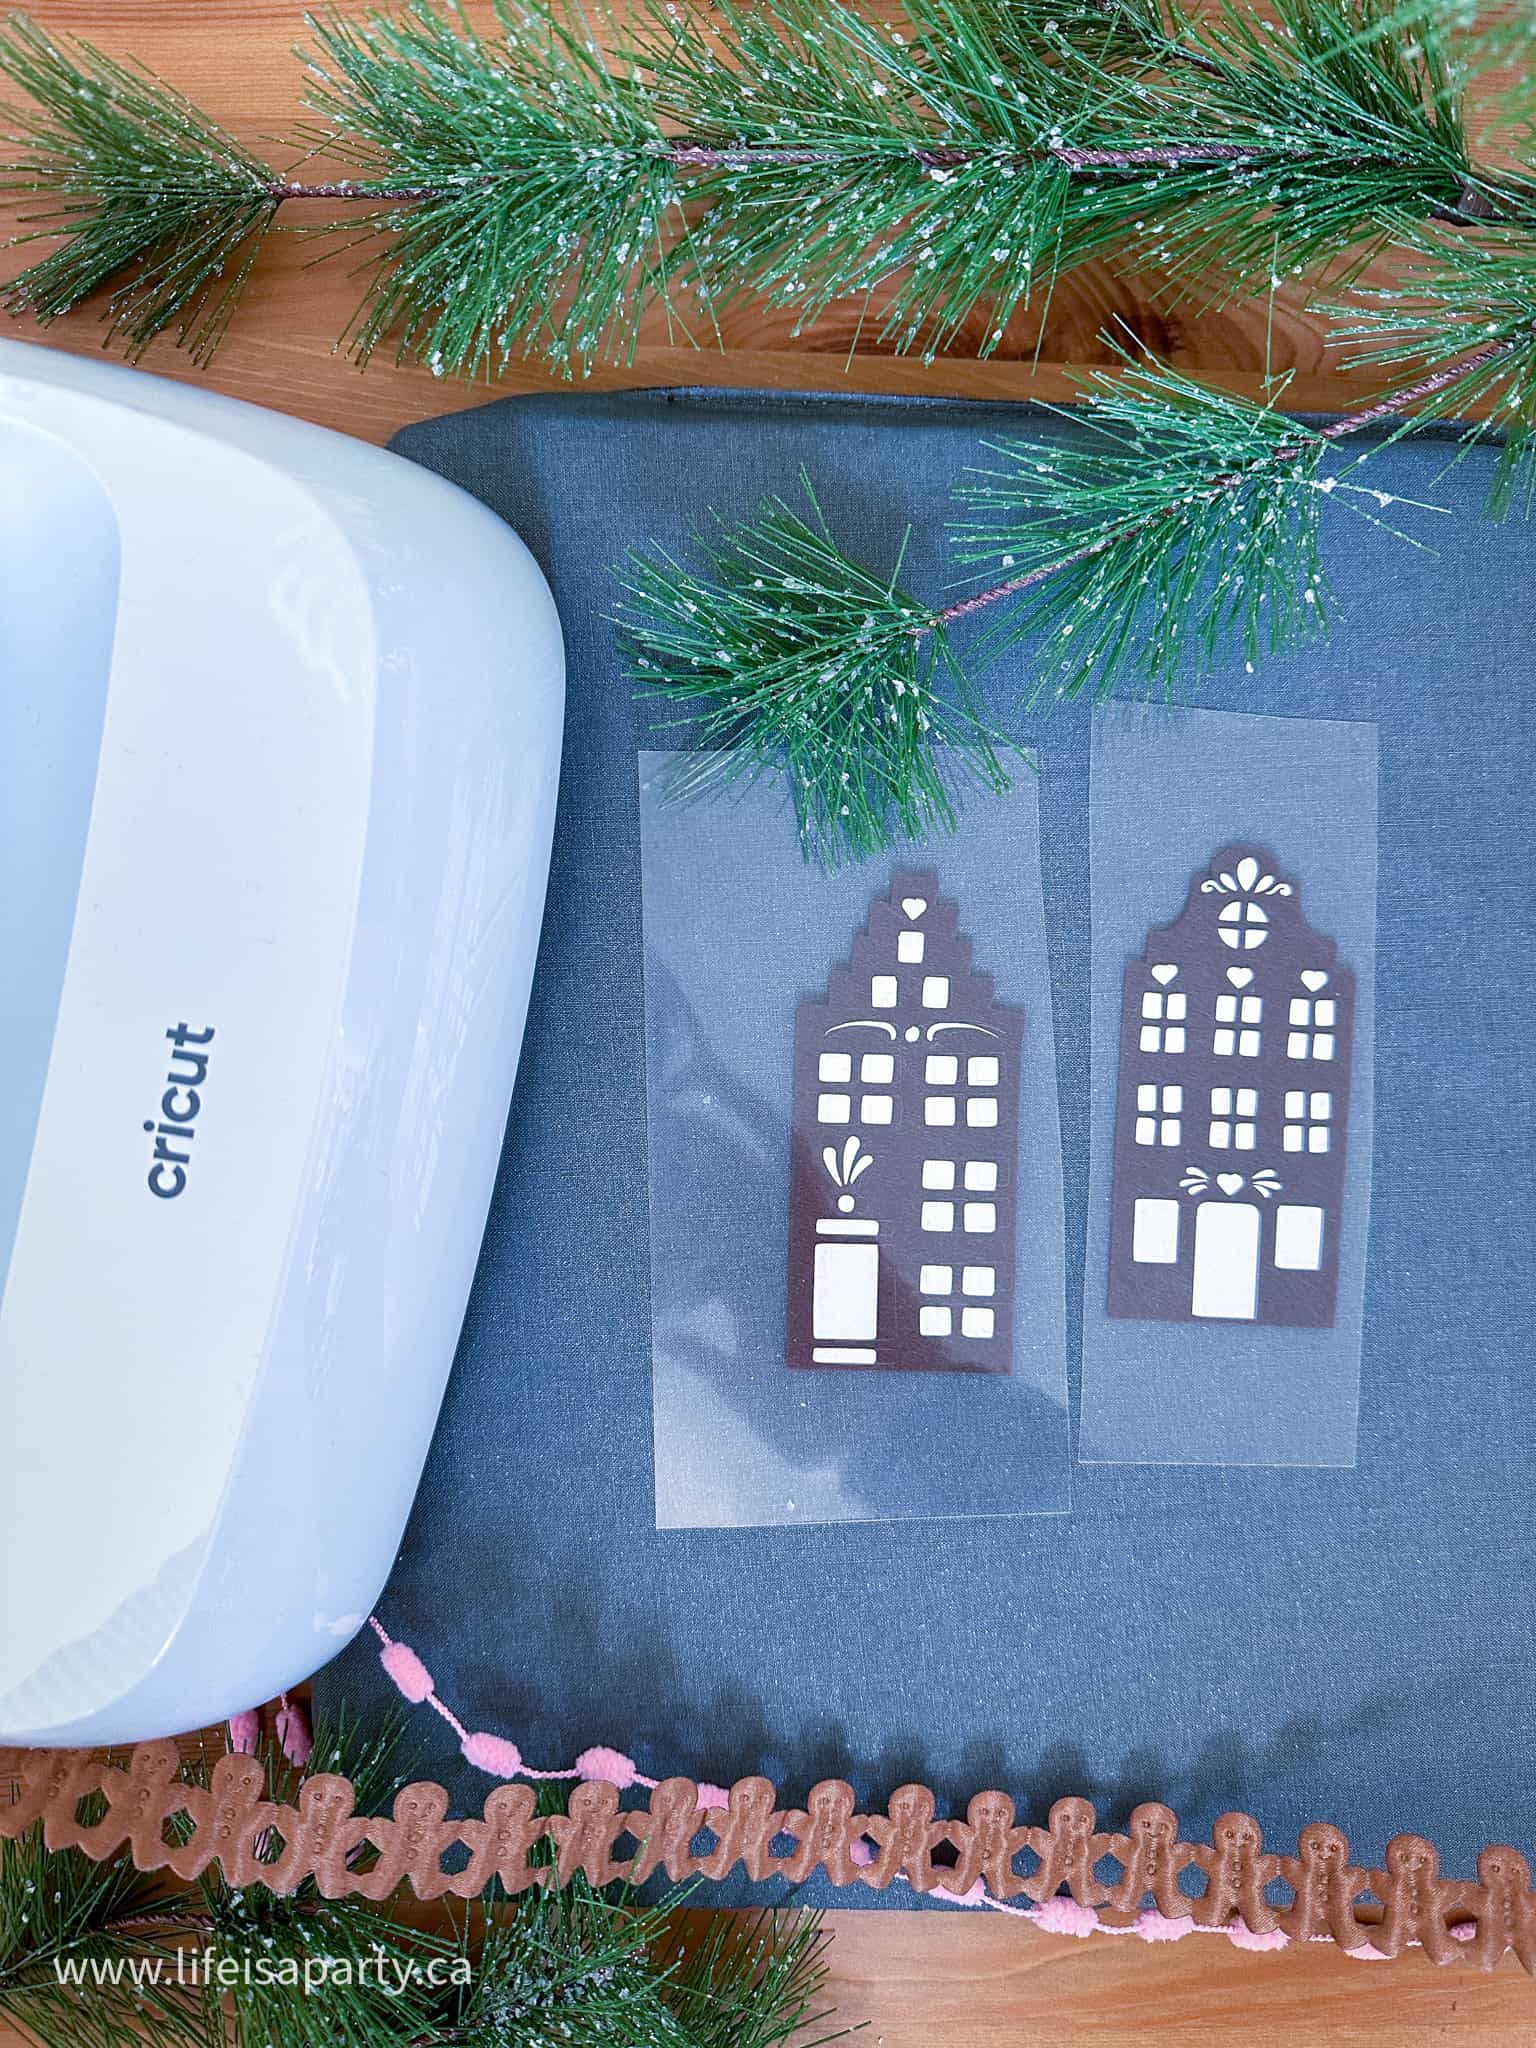
After your design is fully weeded it's time to iron it on. We used the Cricut Easy Press. Choose felt and iron-on vinyl as your materials in the Cricut Heat app, or use the Cricut Heat Guide to check the timings and temperature. Be sure to wait for the transfer to cool before peeling off the backer piece.
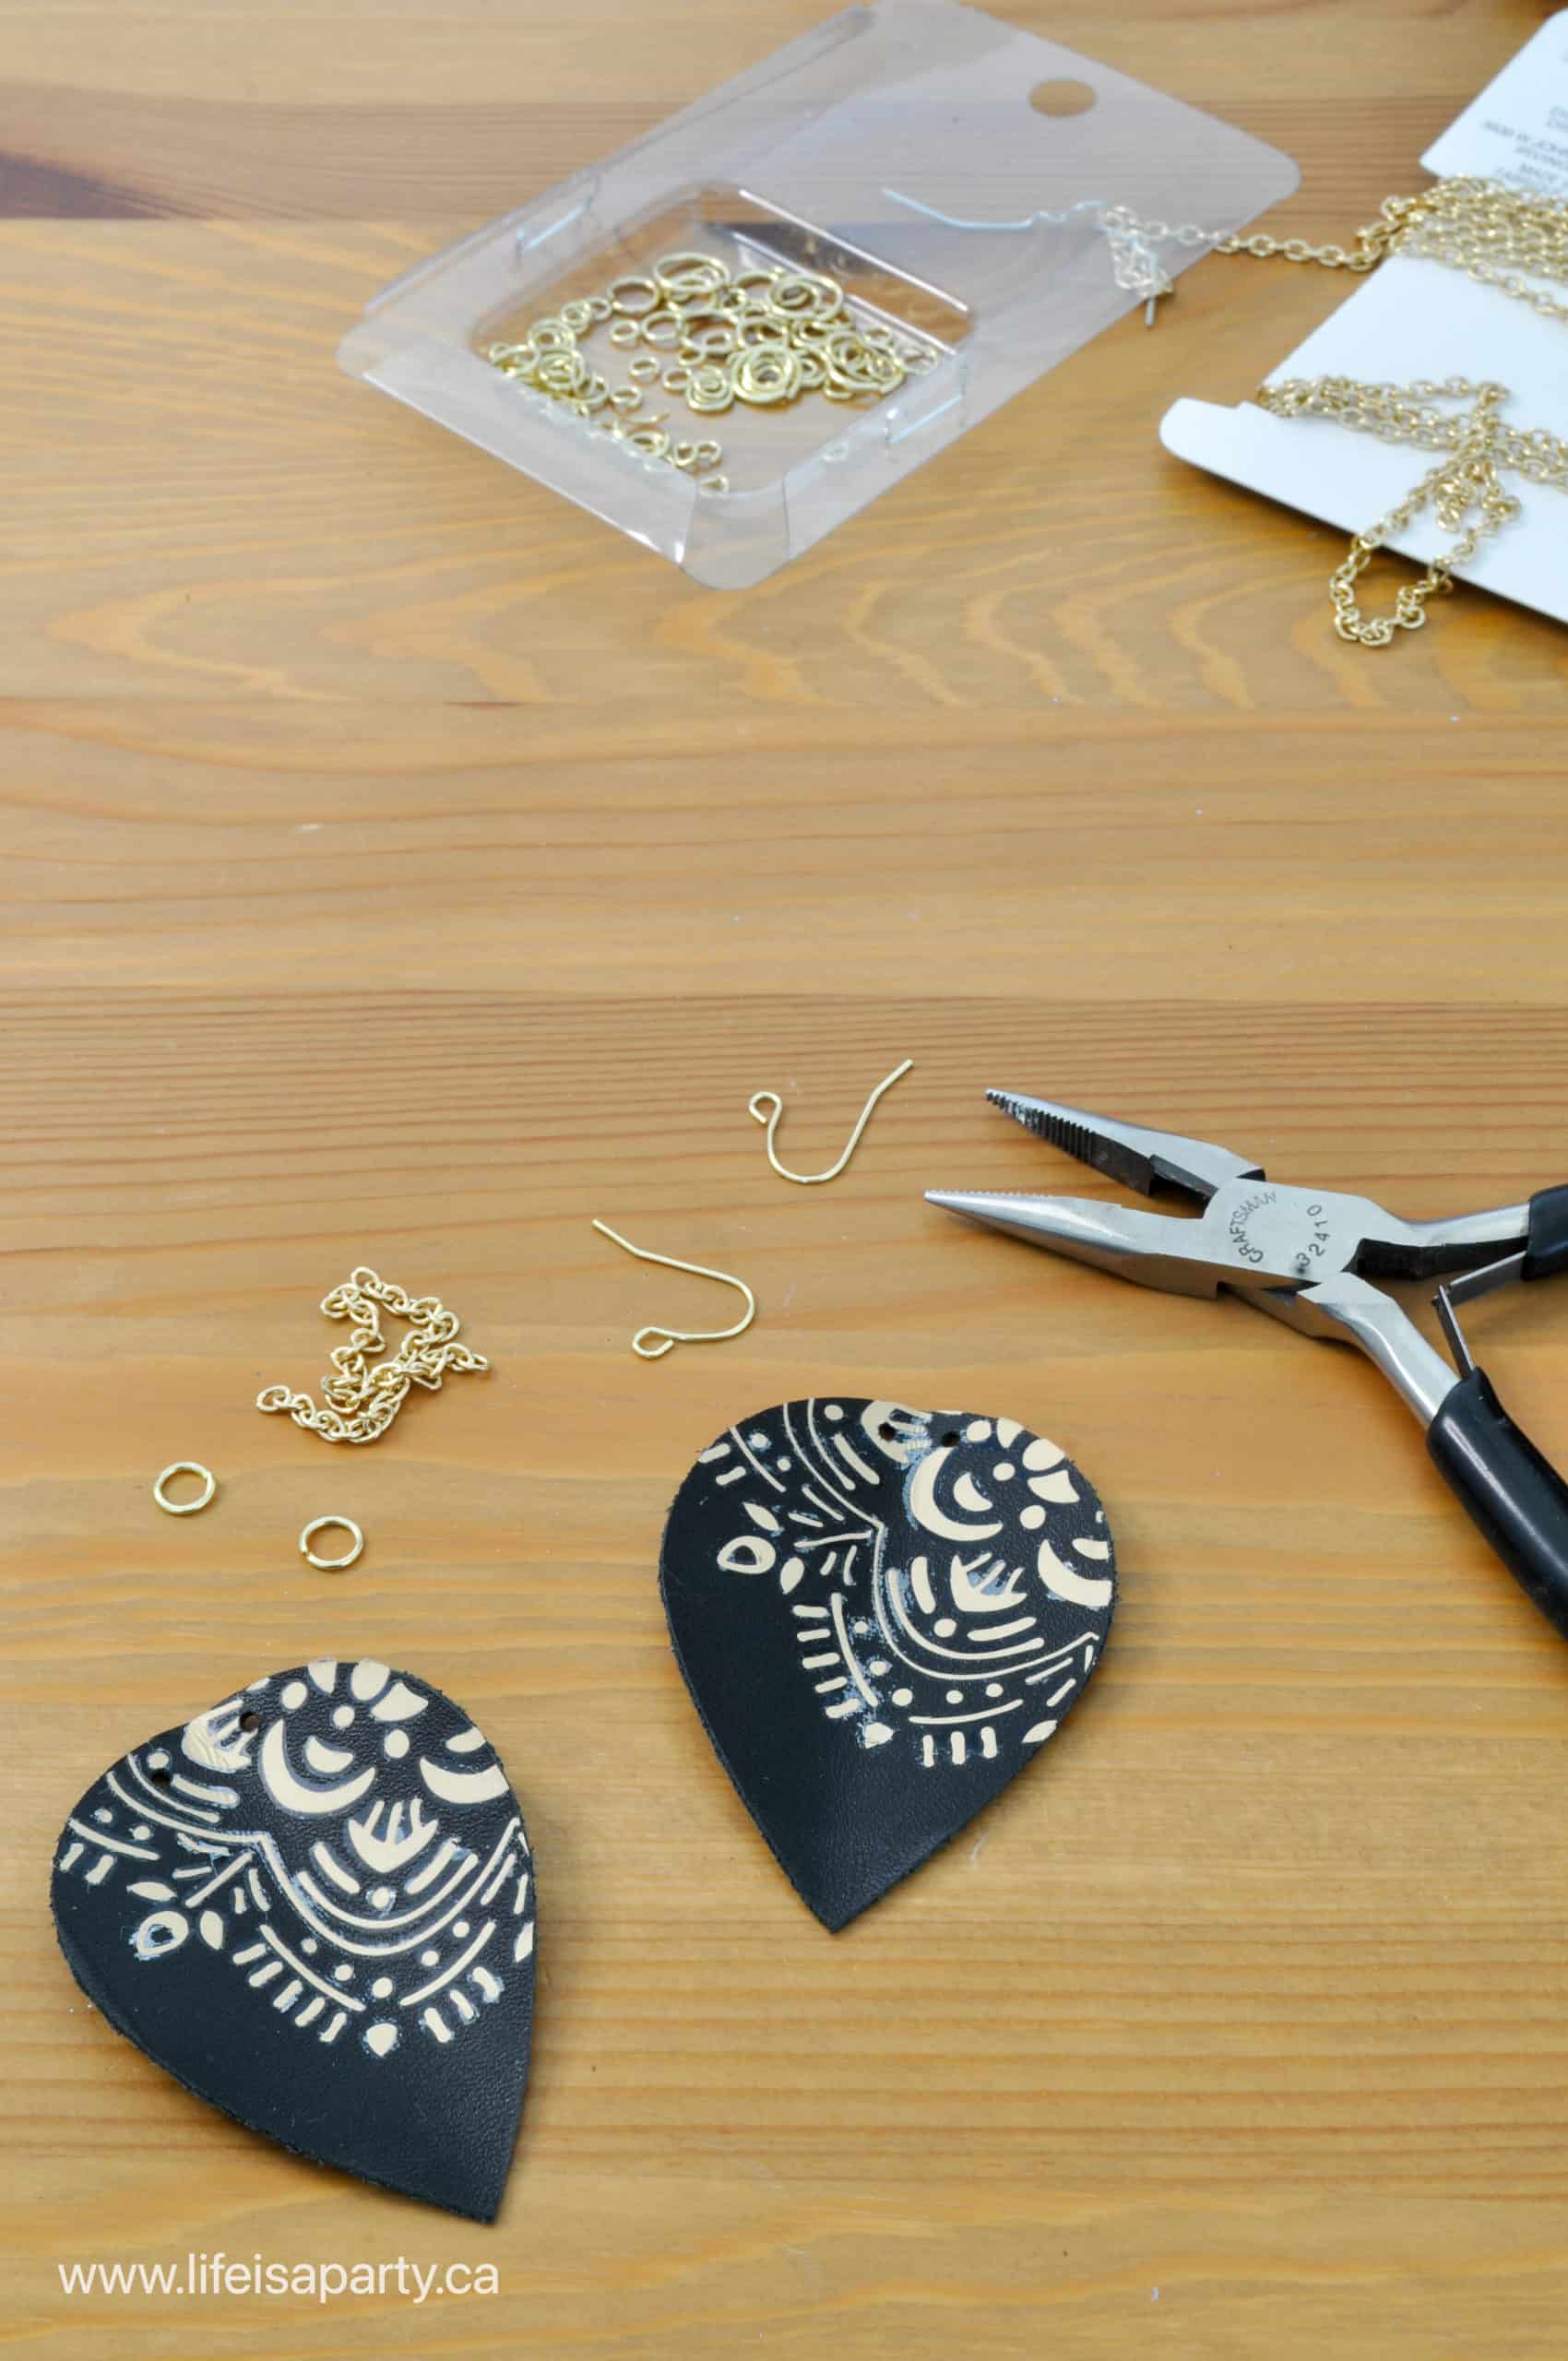
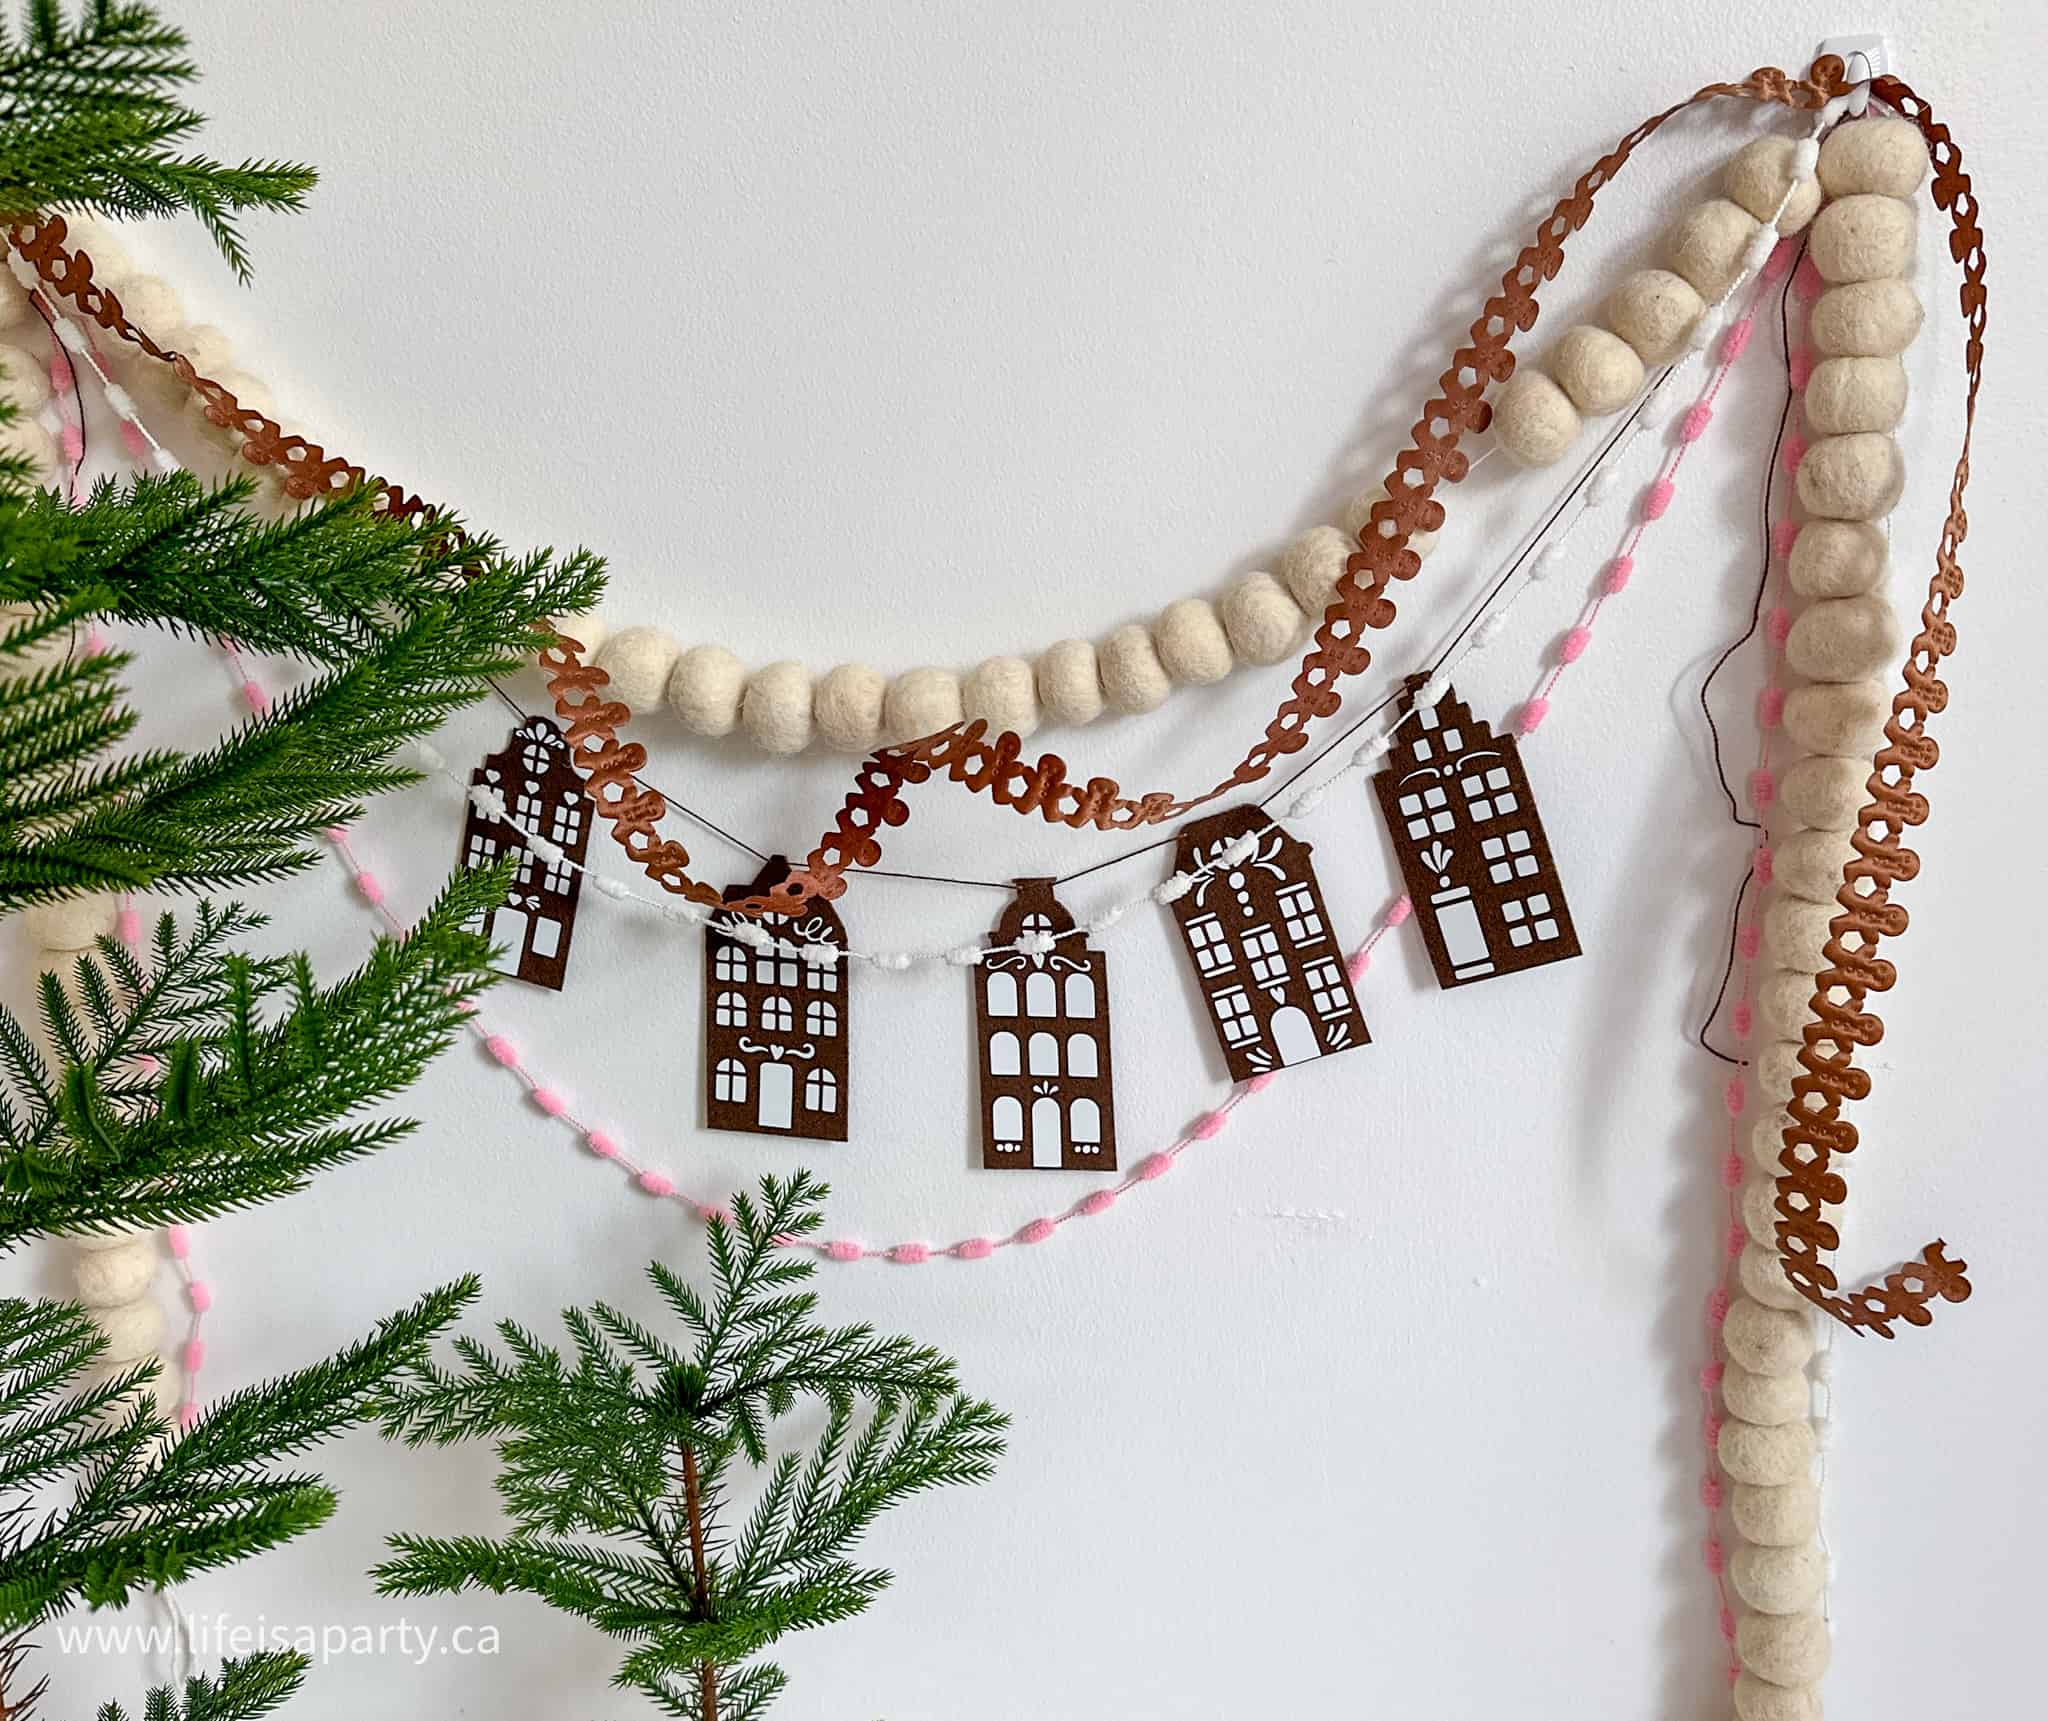
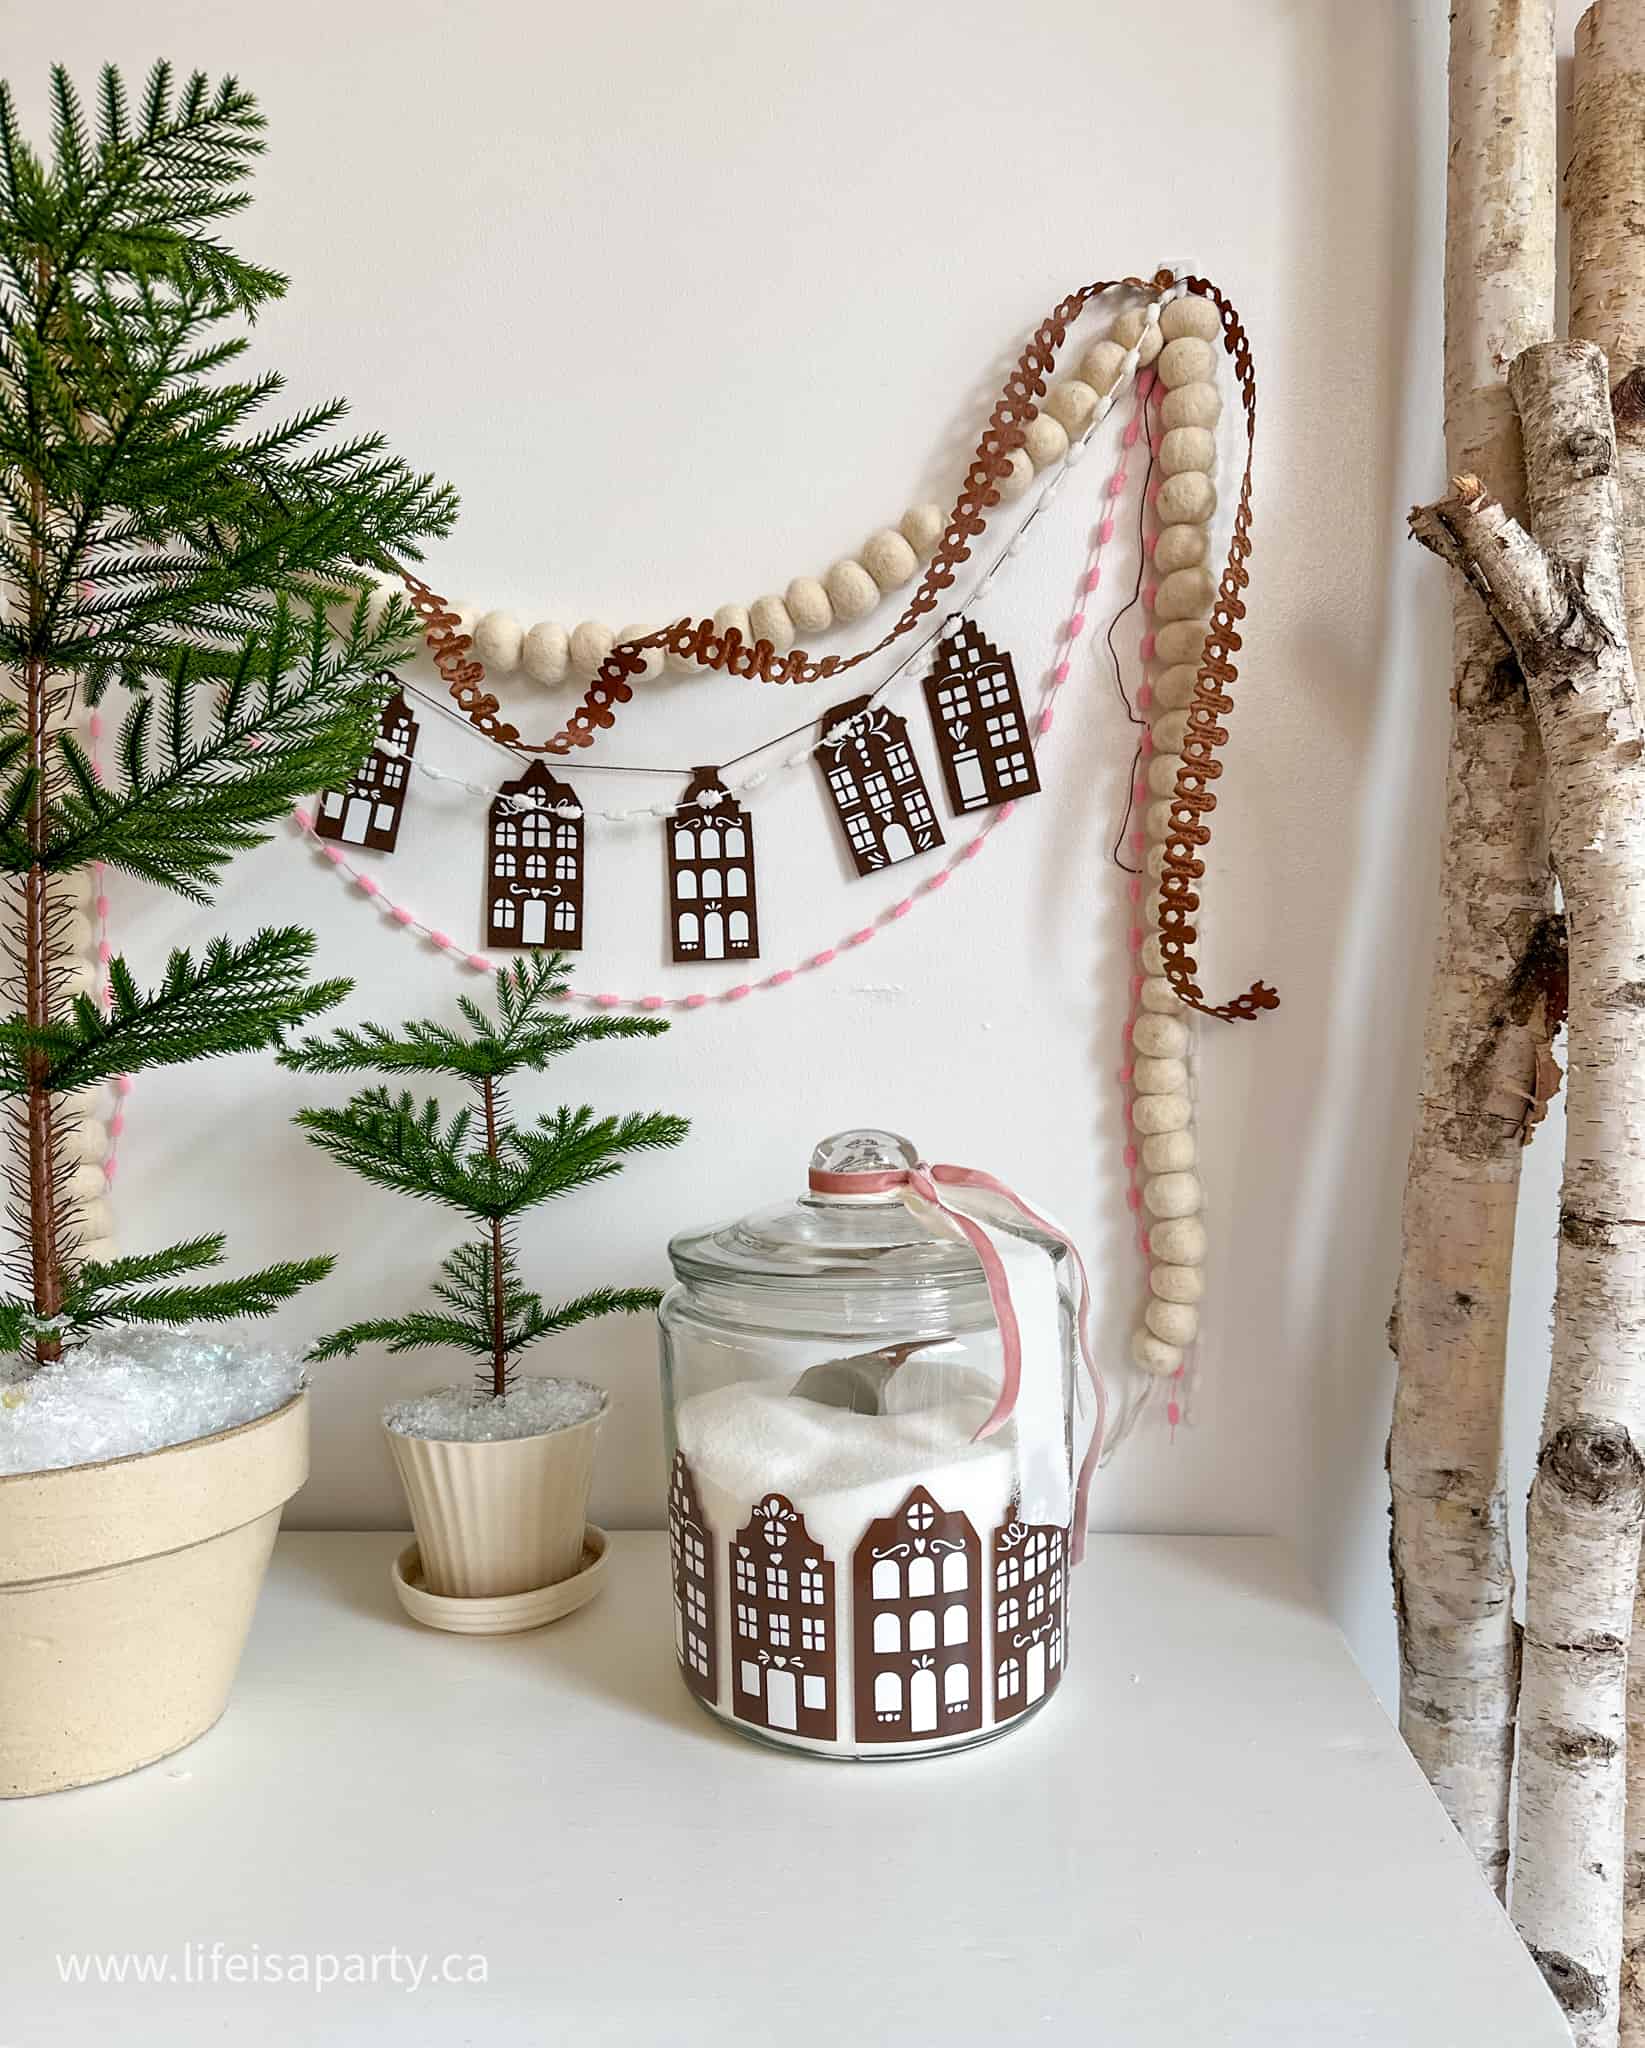
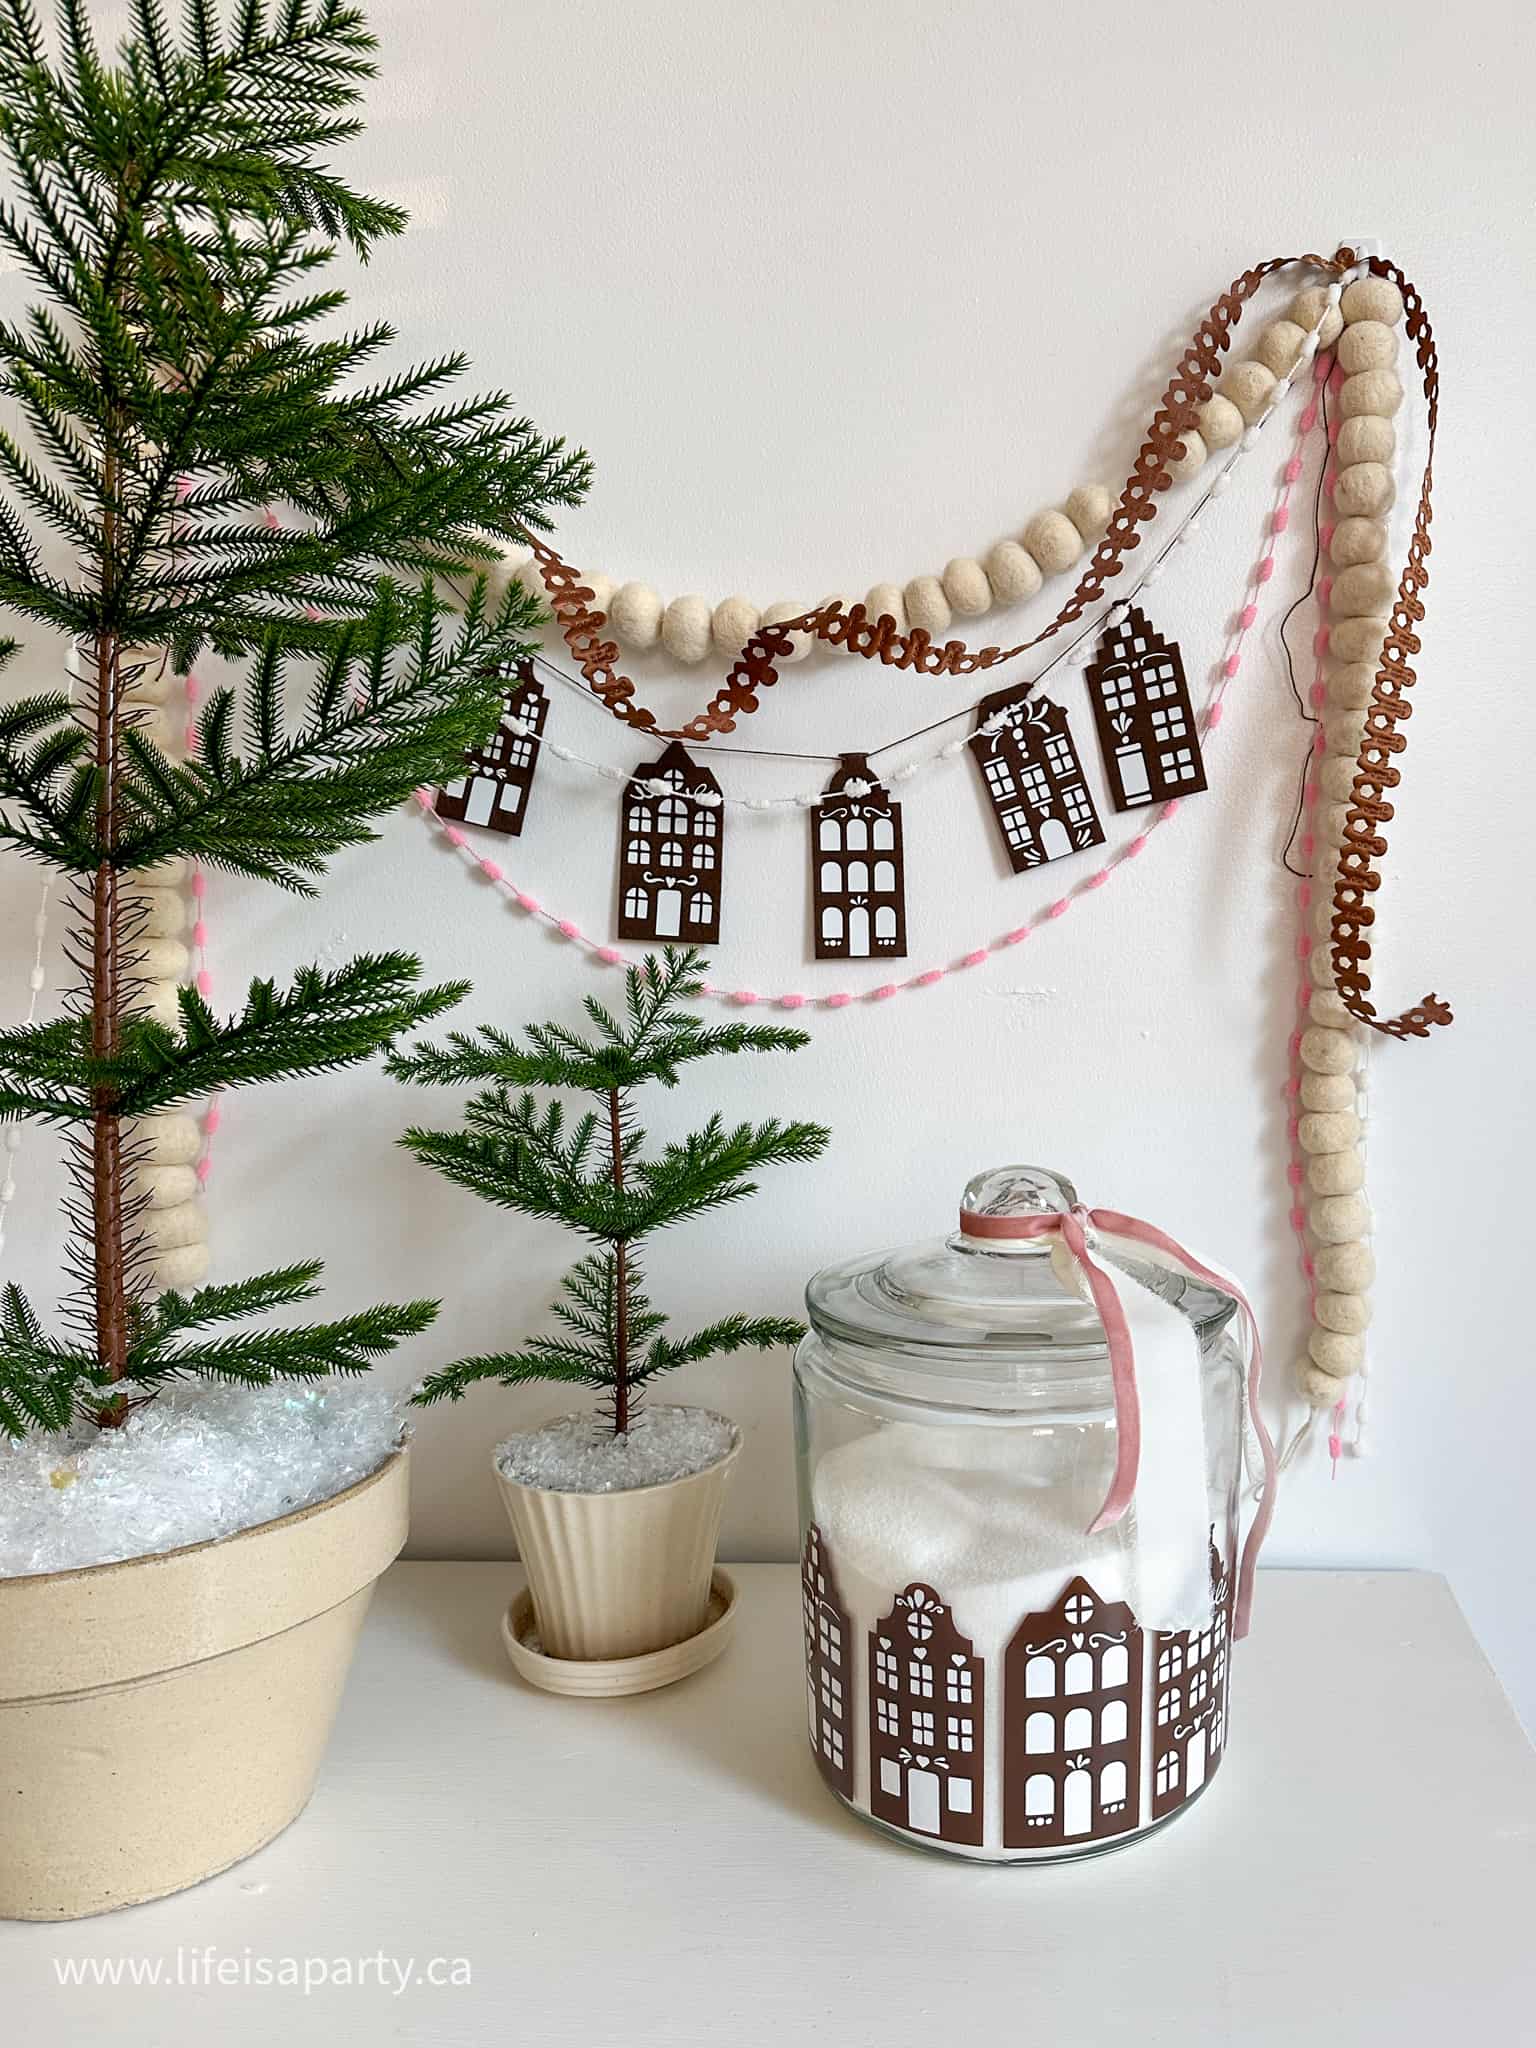
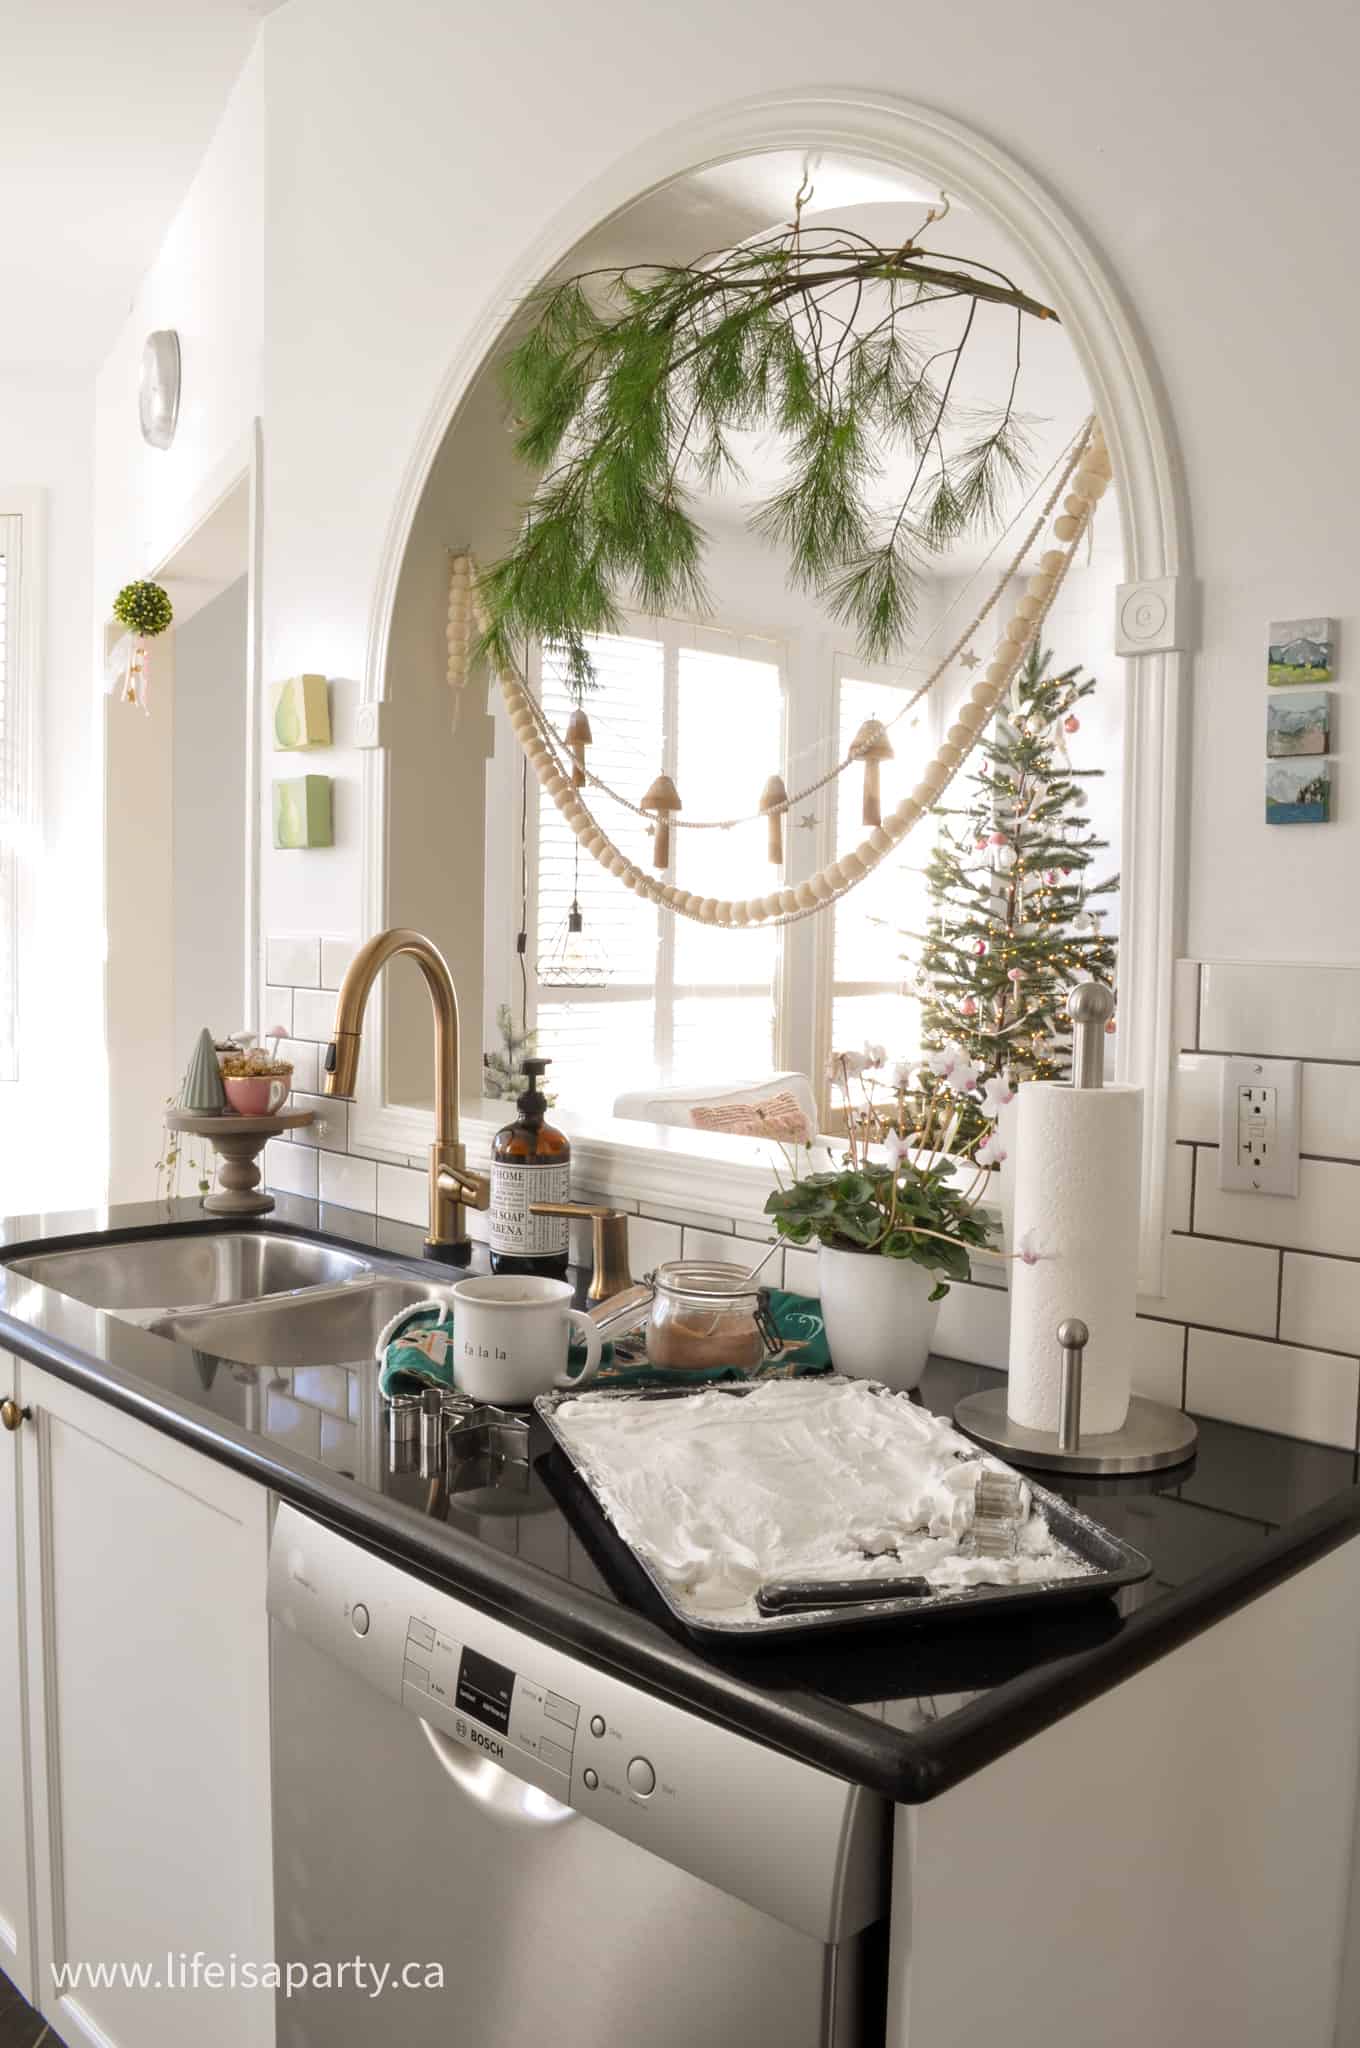
We used some brown embroidery cotton and a needle to stitch our banner together. No need for a hole punch to make a little hole, just use a needle to add one long stitch to each one to create the banner. The finished banner is fun layered with other garland and holiday decorations. We used some stick on removable hooks and tied the ends of the garland for an easy addition to our kitchen decor.
More Banner Options and Ideas
We love the plain and simple look of this banner and made our banner 2-D but you could make it more 3-D, if you prefer, by cutting out two felt pieces, sewing them together and stuffing them. Just be sure to do your iron-on before stitching so you have a nice flat surface. You might to also make your white icing details slightly smaller, to accommodate the sewing seam around the outside.
Other options are to add a heart in red, pink, or white cut from felt and strung between each house. Or you could use beads. Wood beads would be a great addition or felted wool ball beads between the houses in a pattern.

We also thought that these little felt houses would be adorable as individual homemade ornaments. To make these into Gingerbread house ornaments you could either make the 3-D version or flat ones like these. Just add some ribbon sewn to the top for hanging on the Christmas tree, or use ornament hooks. These gingerbread Christmas tree ornaments would be especially perfect for commemorating a new house purchase this year. You could add the house number and year of purchase to the back of the ornament with iron-on as a special keepsake to remember the year you bought the new house. This is such a nice idea as a gift as well.
Another great idea is to make them into felt food for kids to play with, again either the 3-D version, or the flat ones.
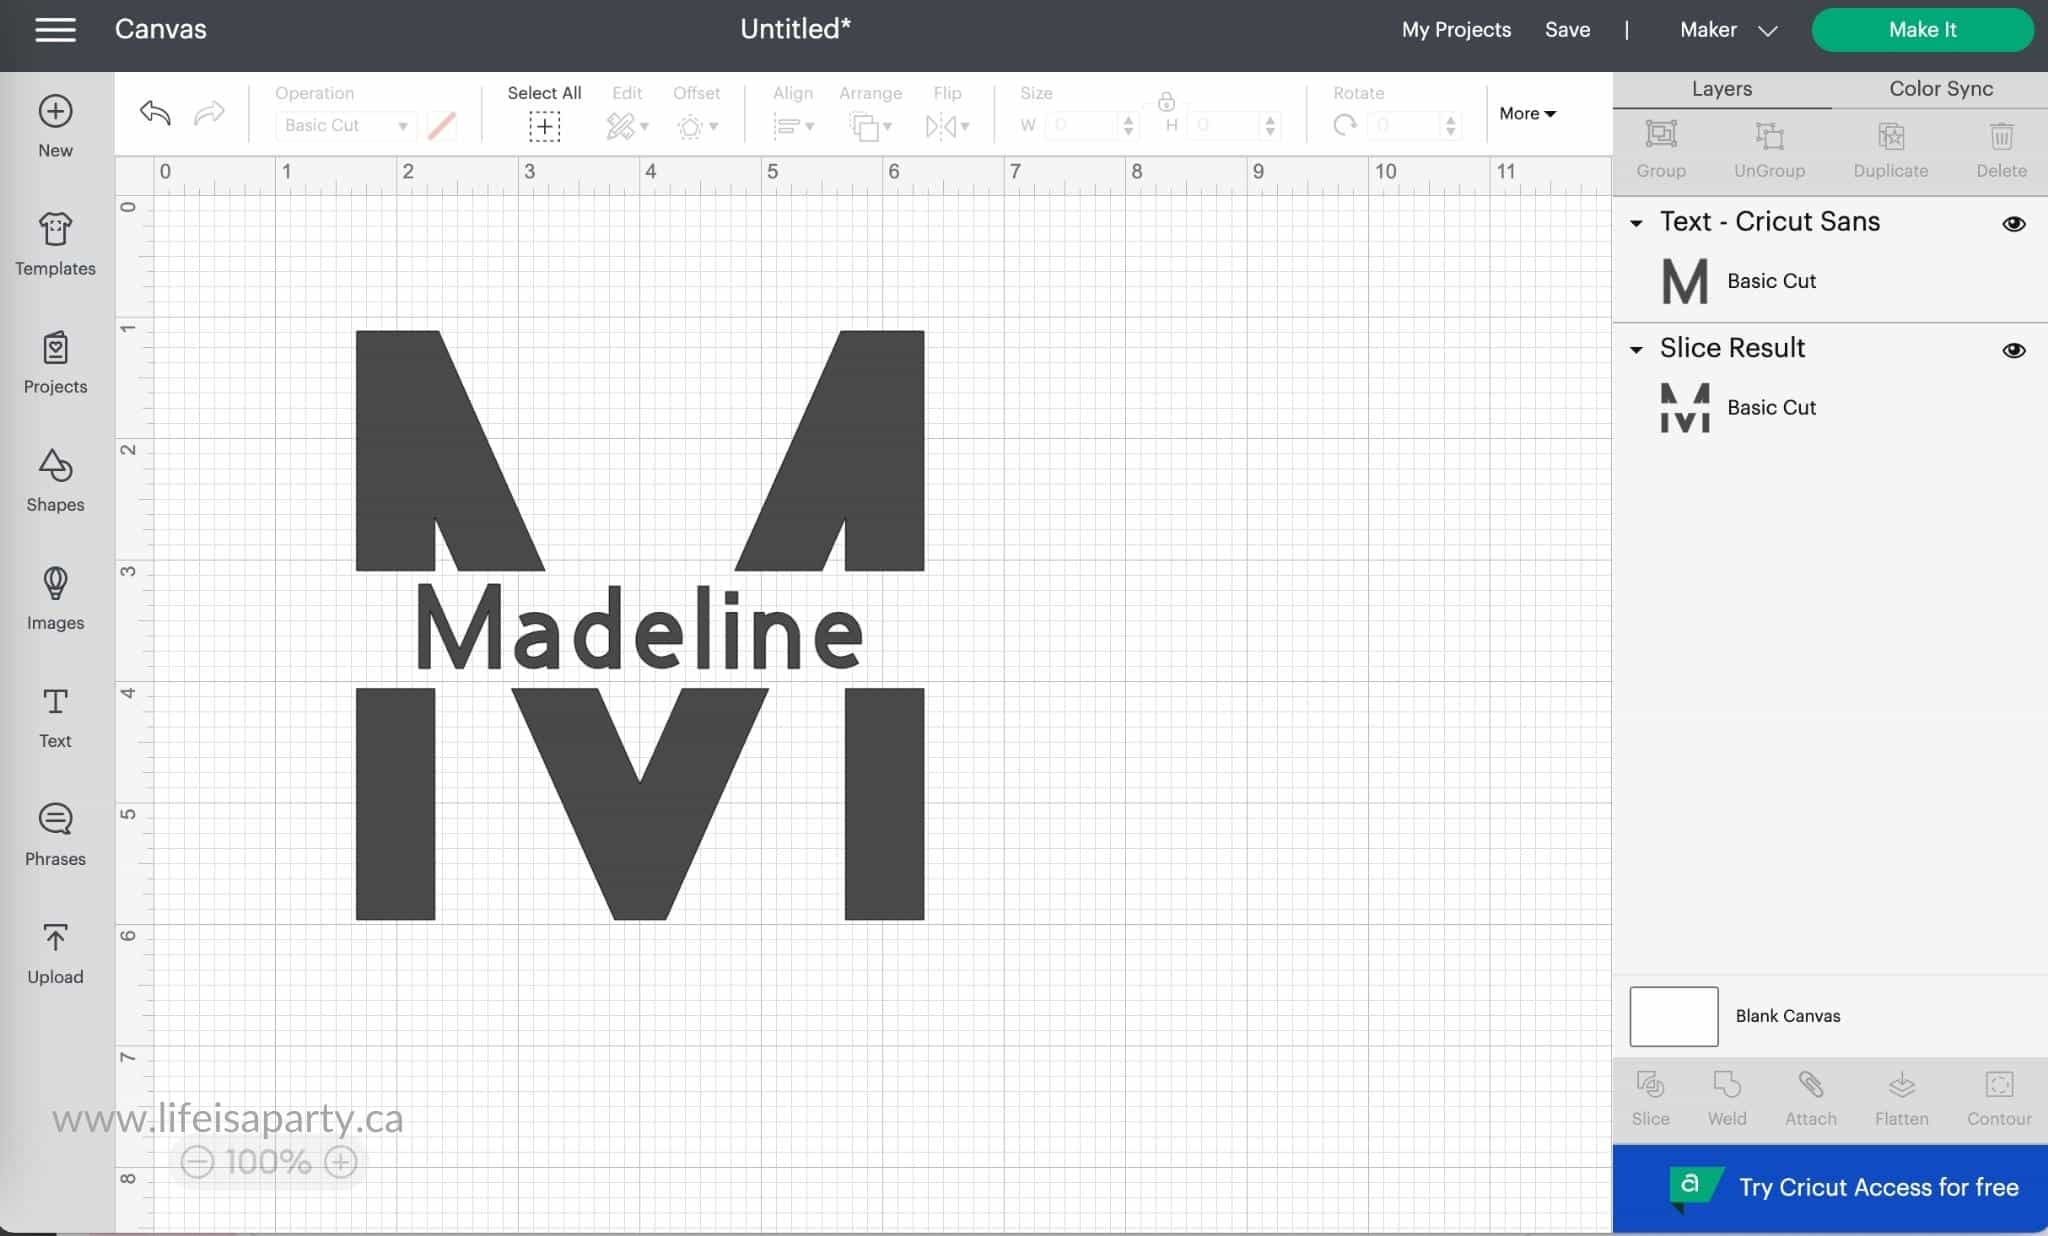
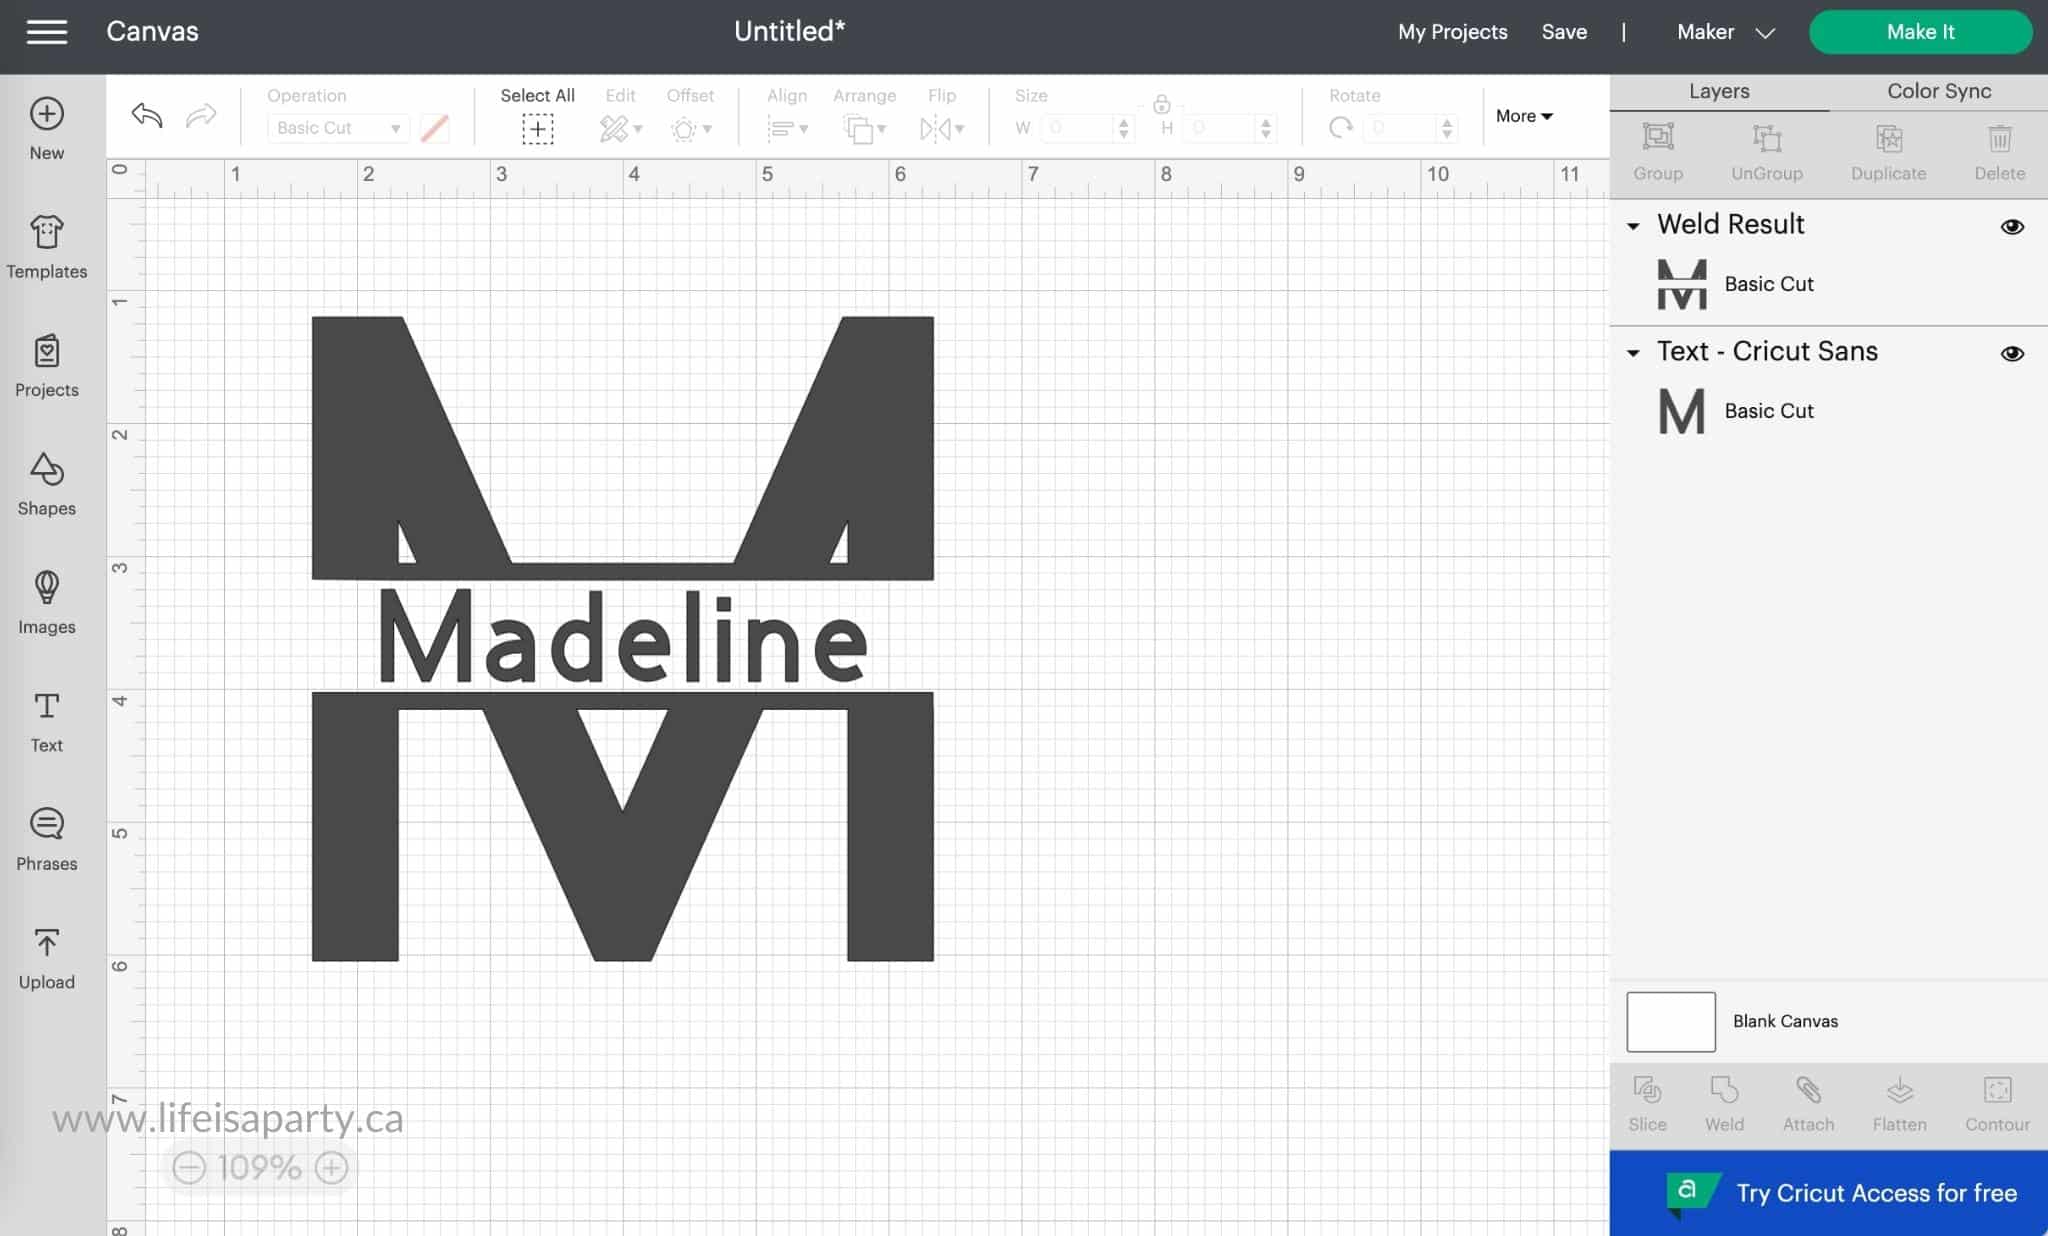
You could even use them as adorable custom made gift tags for a personal touch. Just cut out the gift receiver's name in vinyl and iron it on to the back and tie it to a gift with ribbon.
Gingerbread House Canister Materials
- glass canister with straight sides
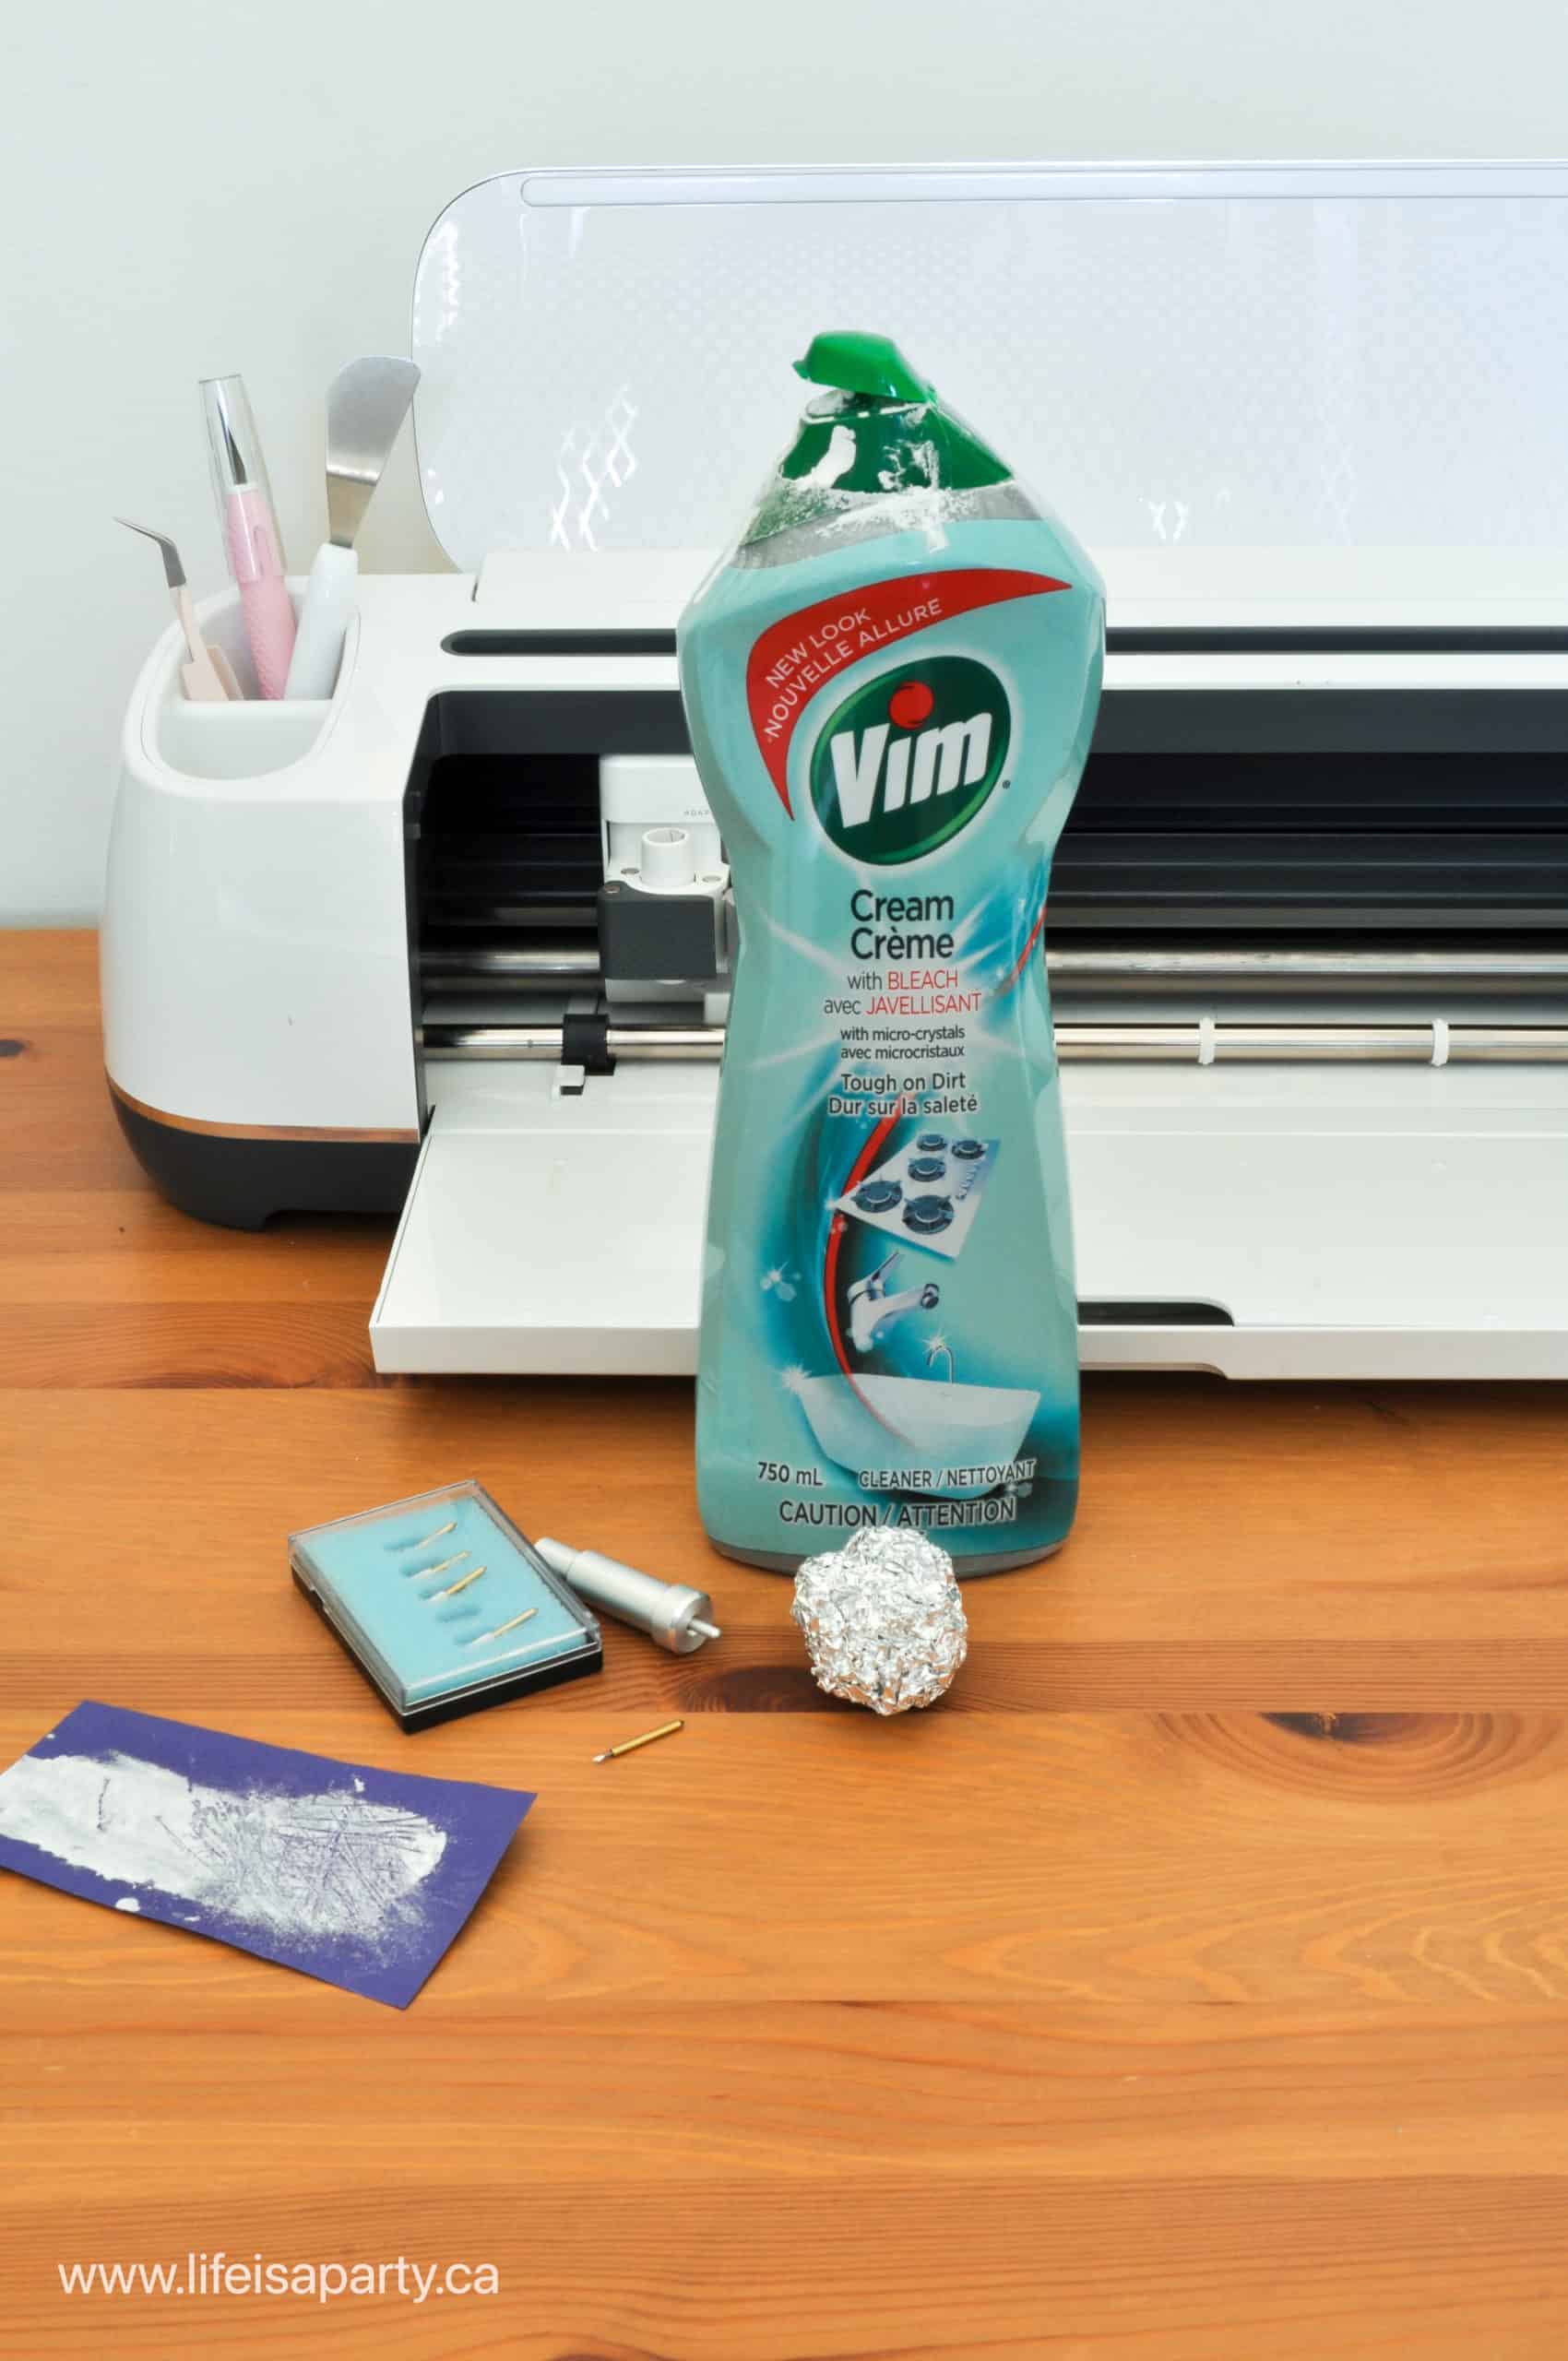
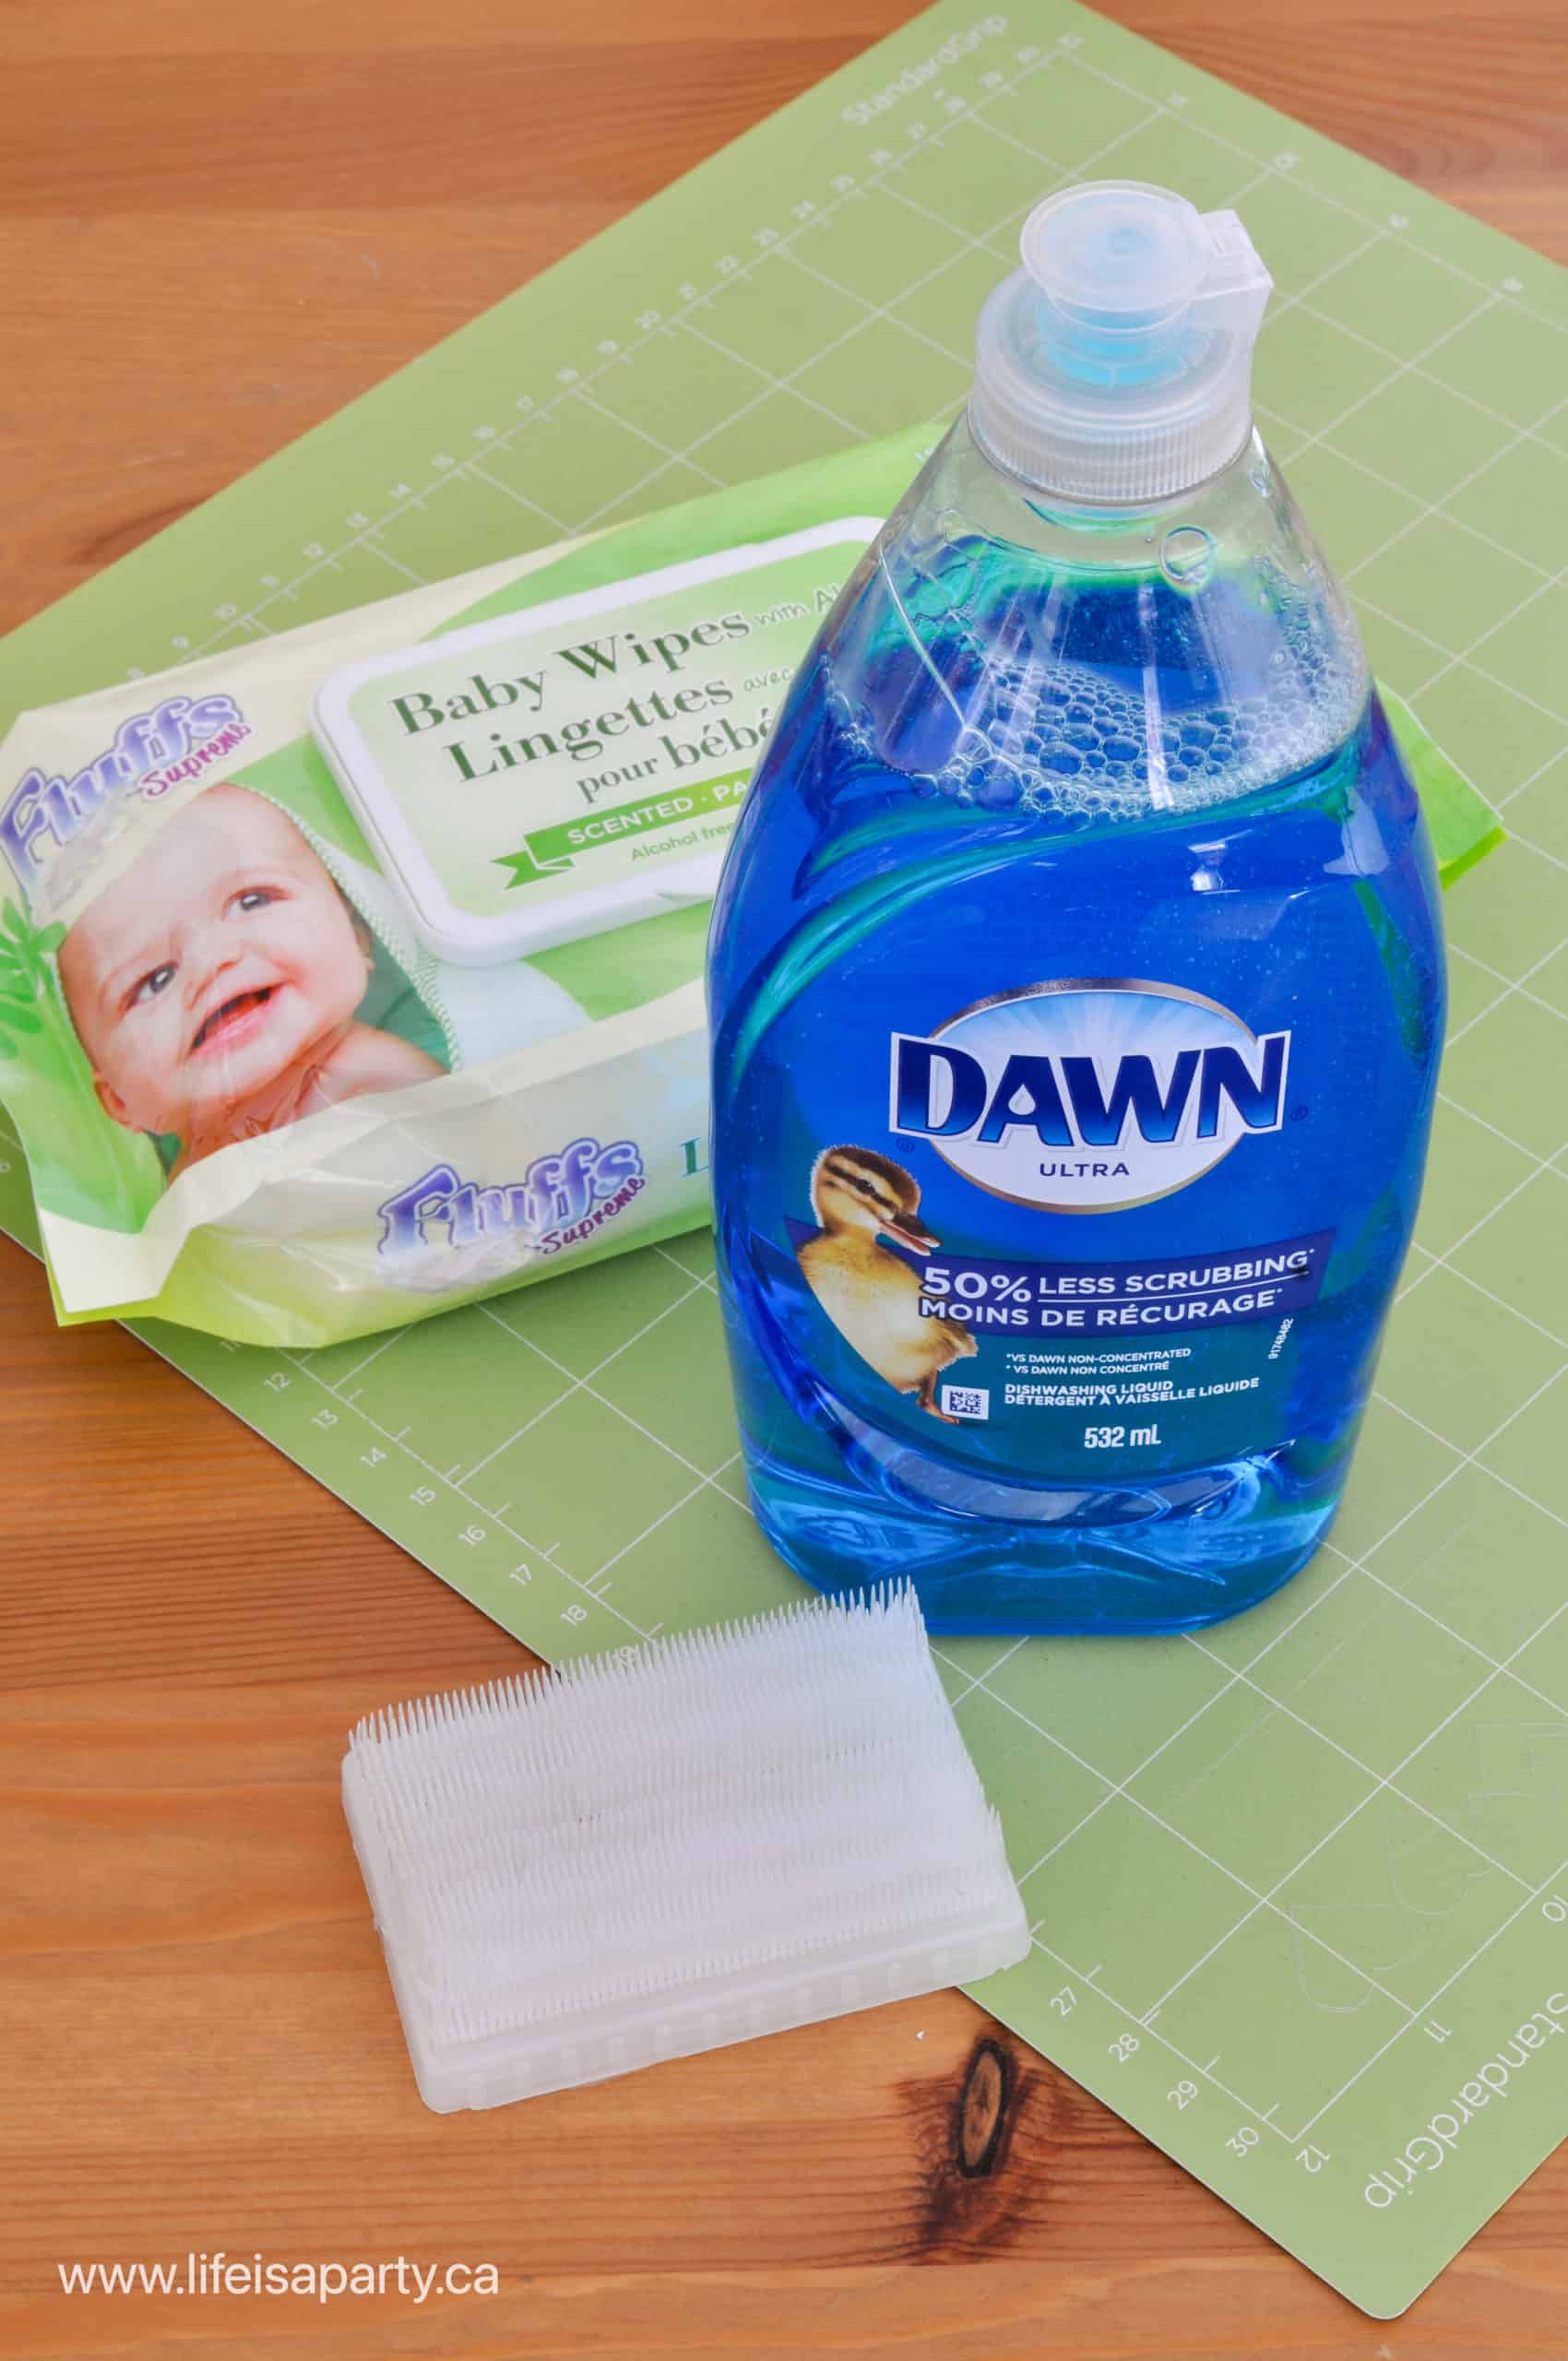
- alcohol wipes
- brown vinyl
- white vinyl
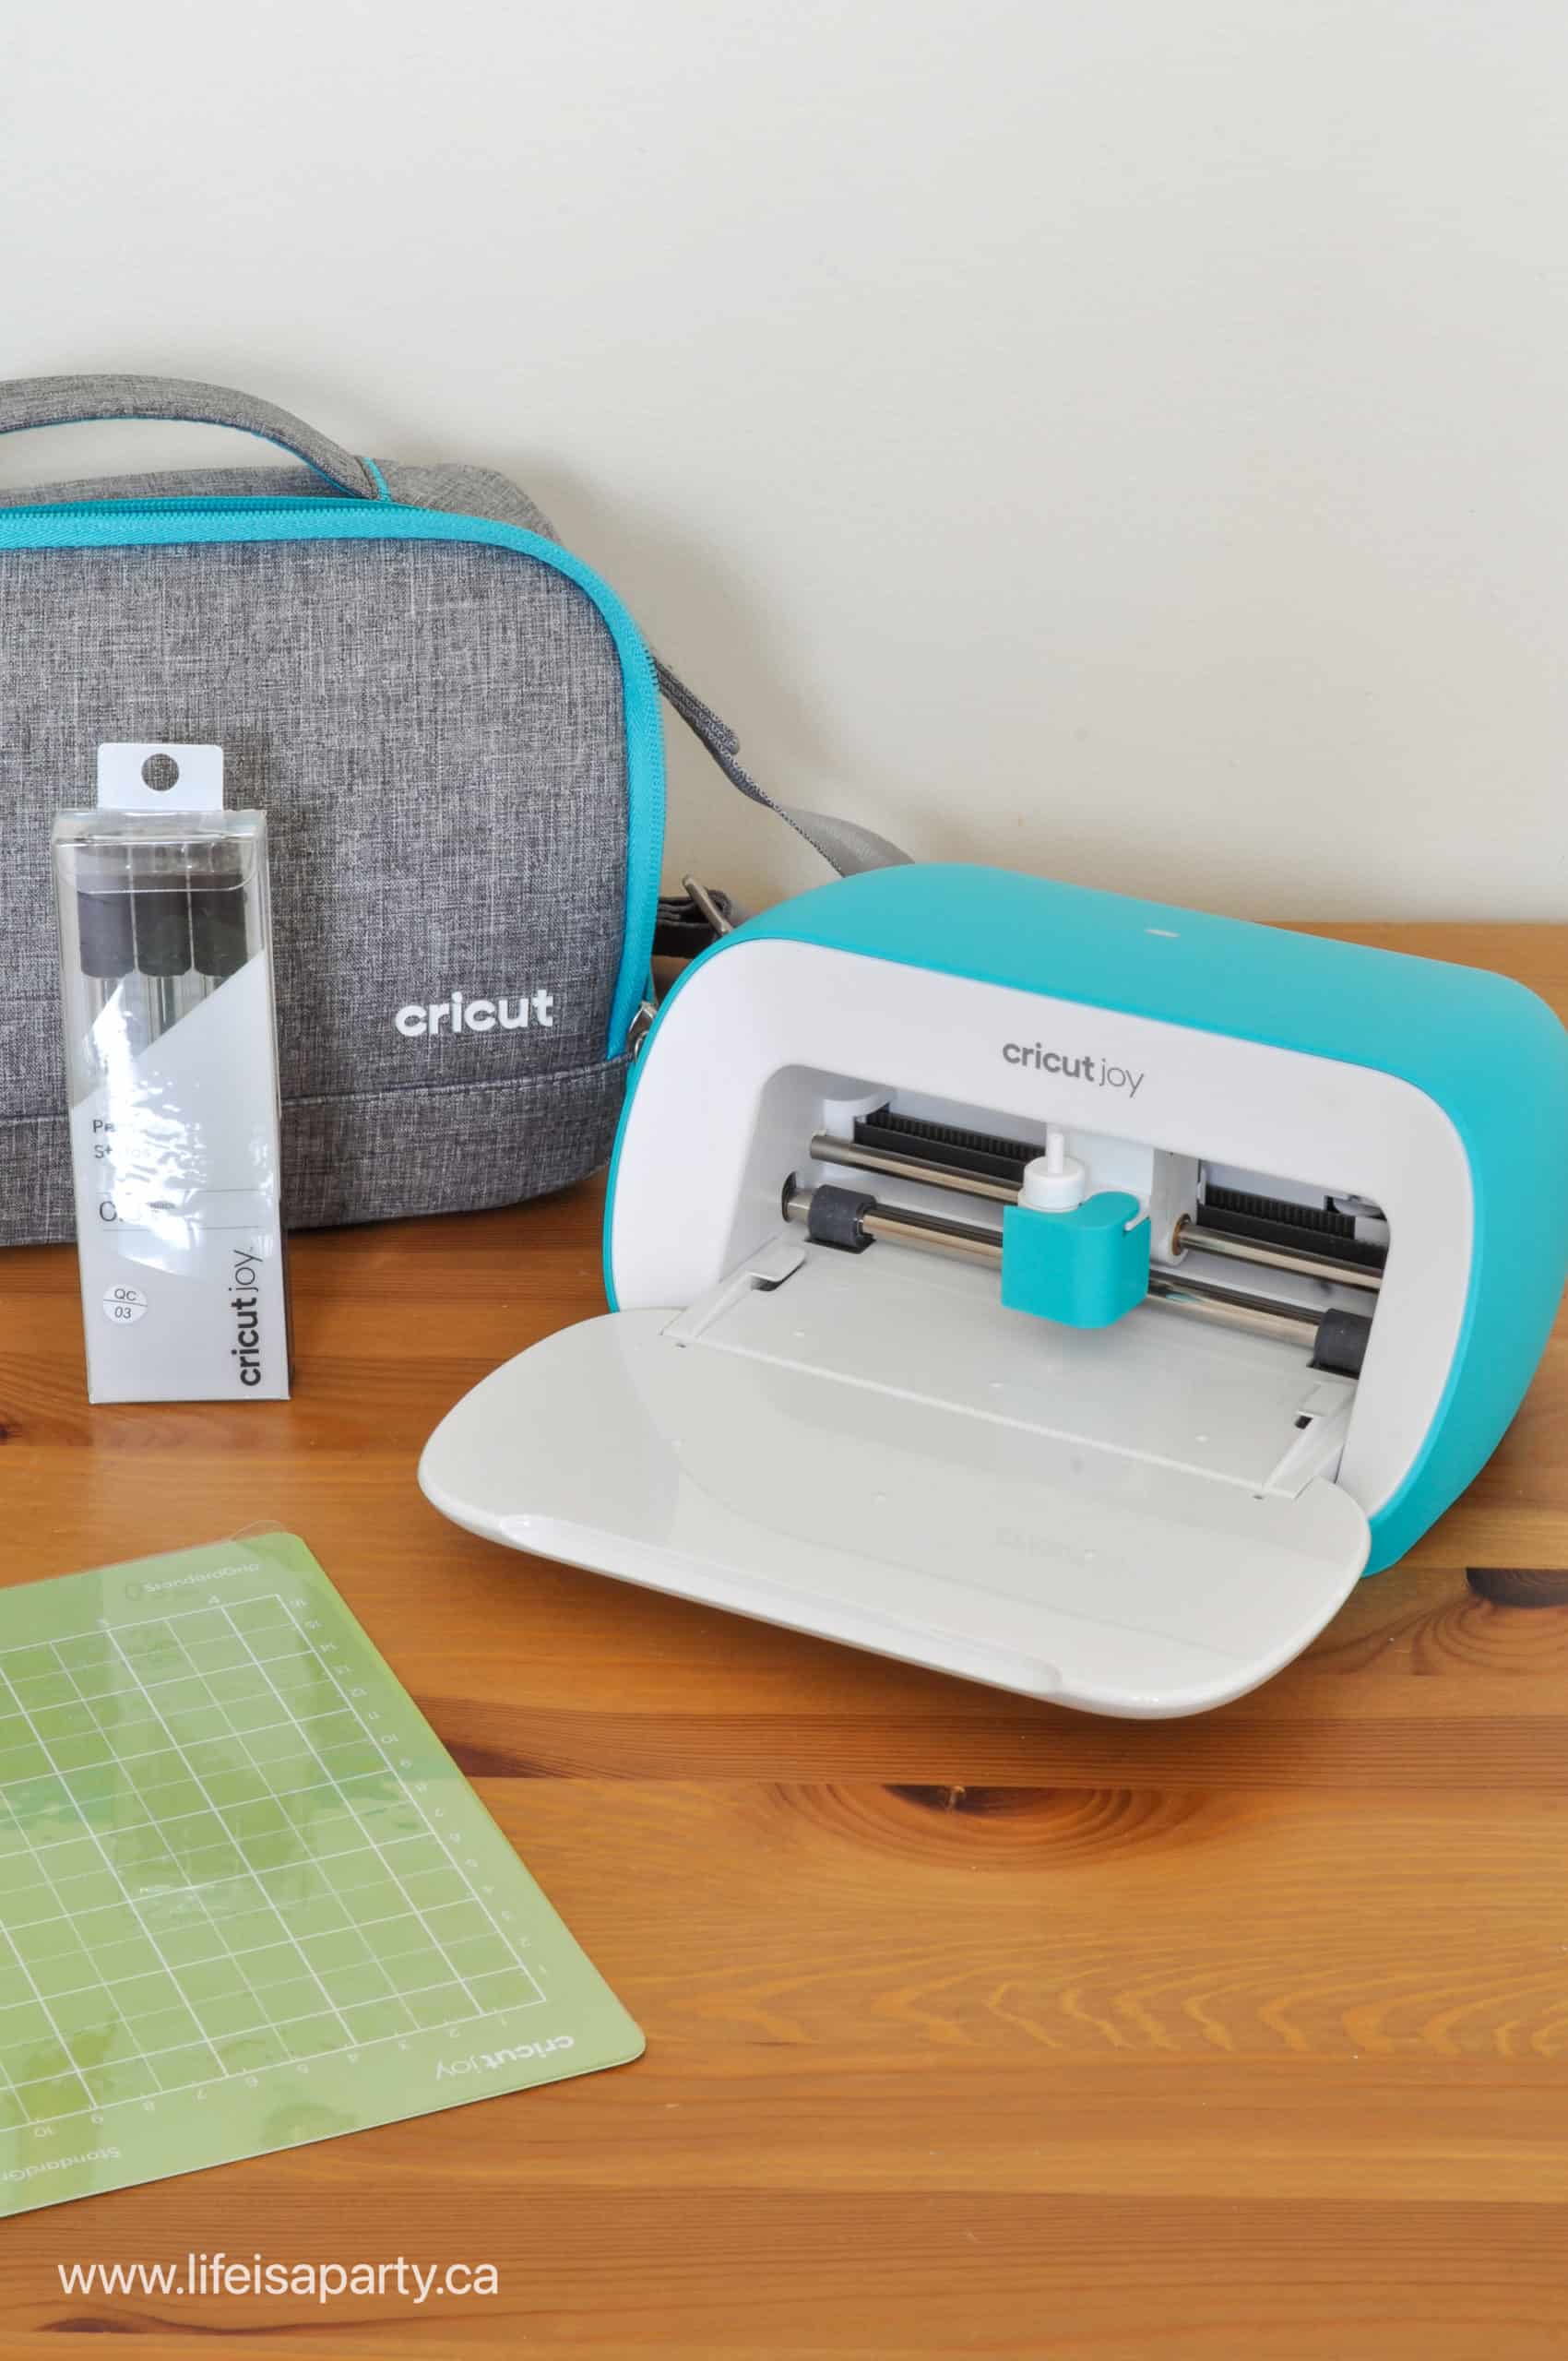
- Cricut
- Cricut Design Space Canister cut files
- Cricut
- cutting mat
Making the Canister
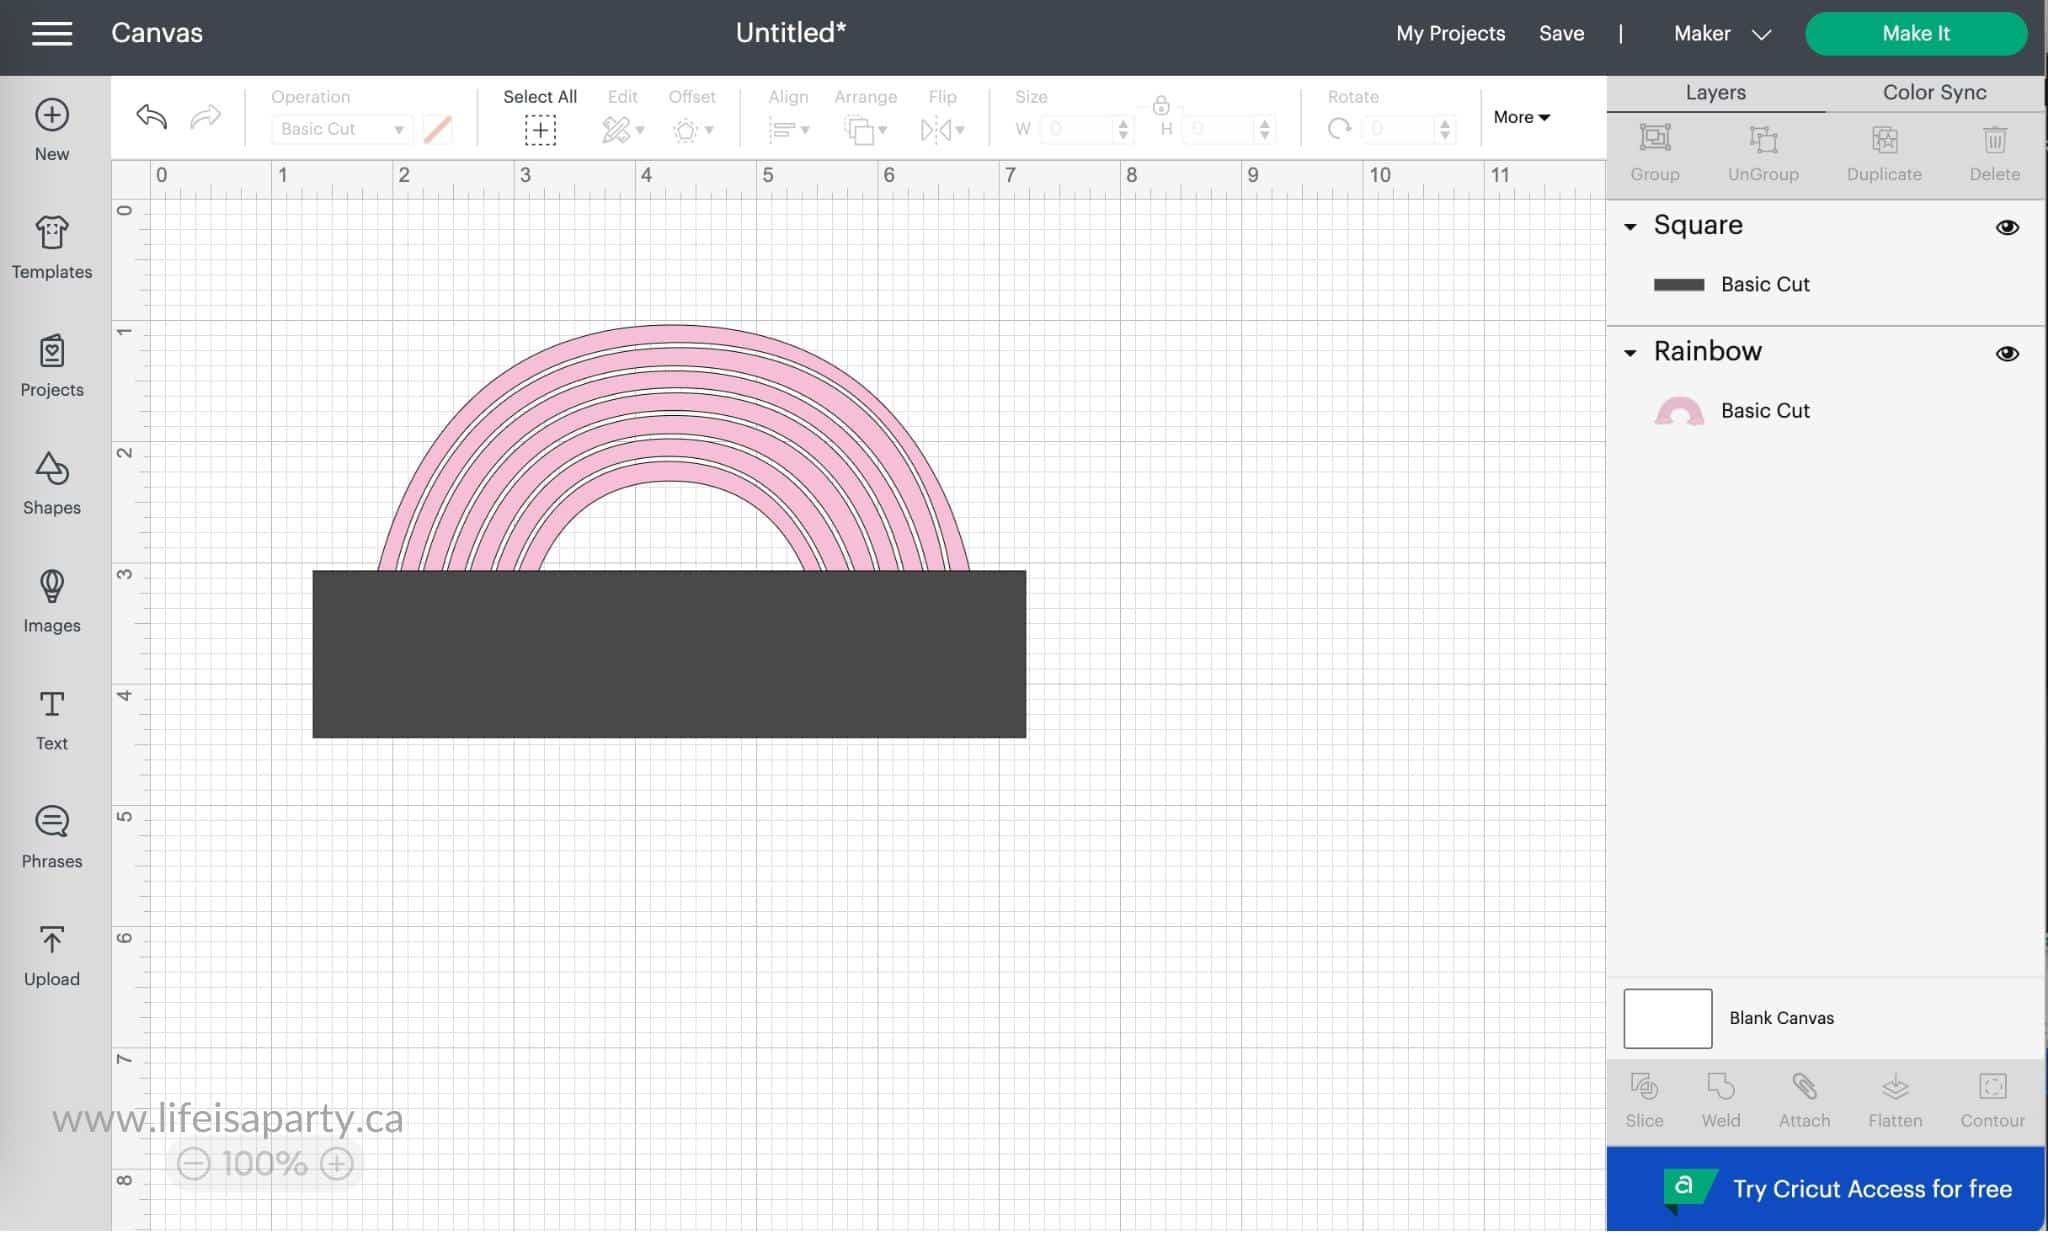
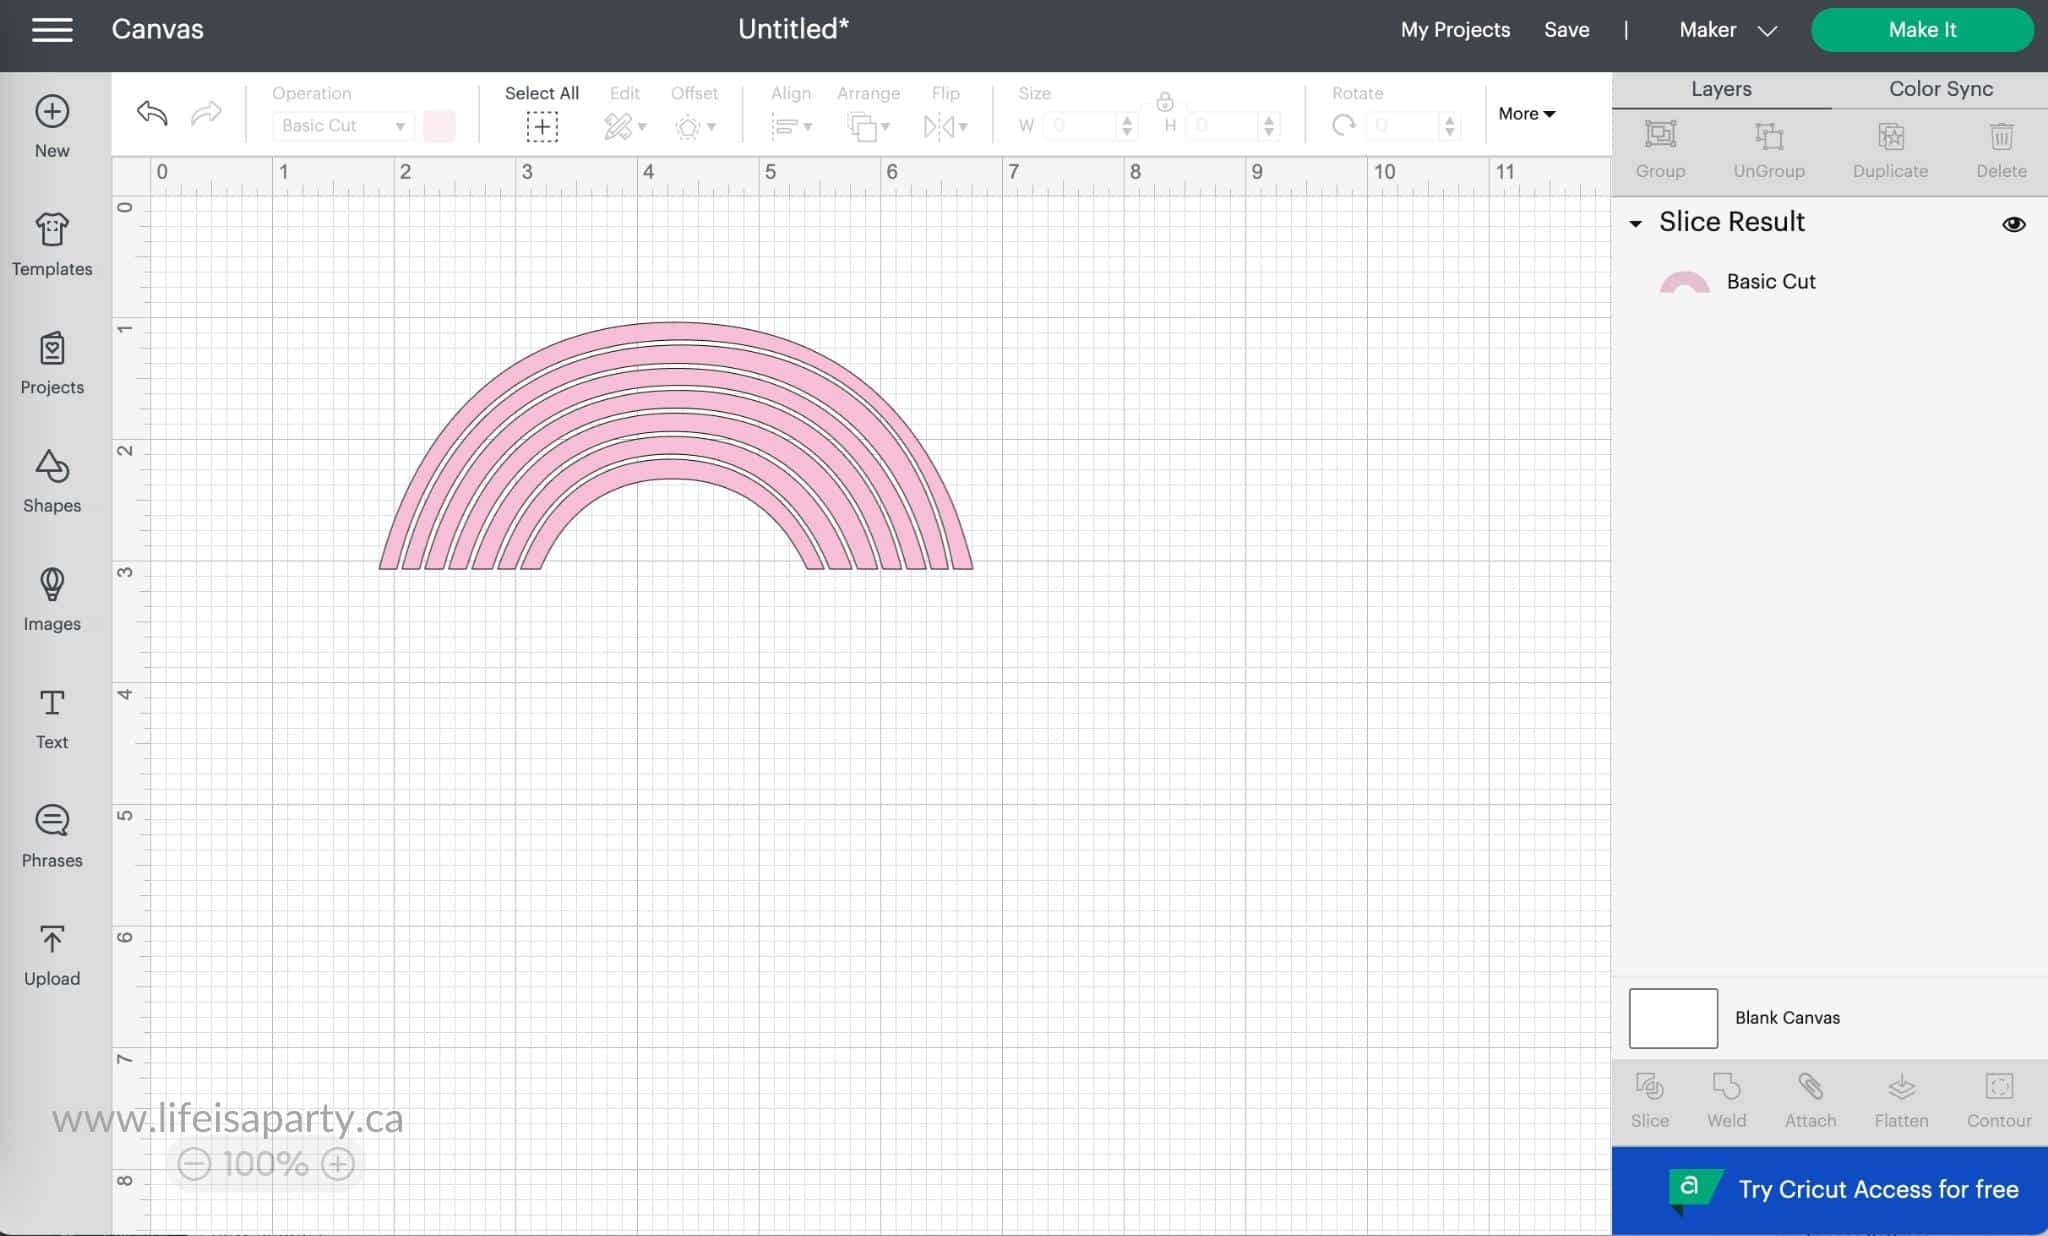
Sizing the Cut File To Fit Your Canister
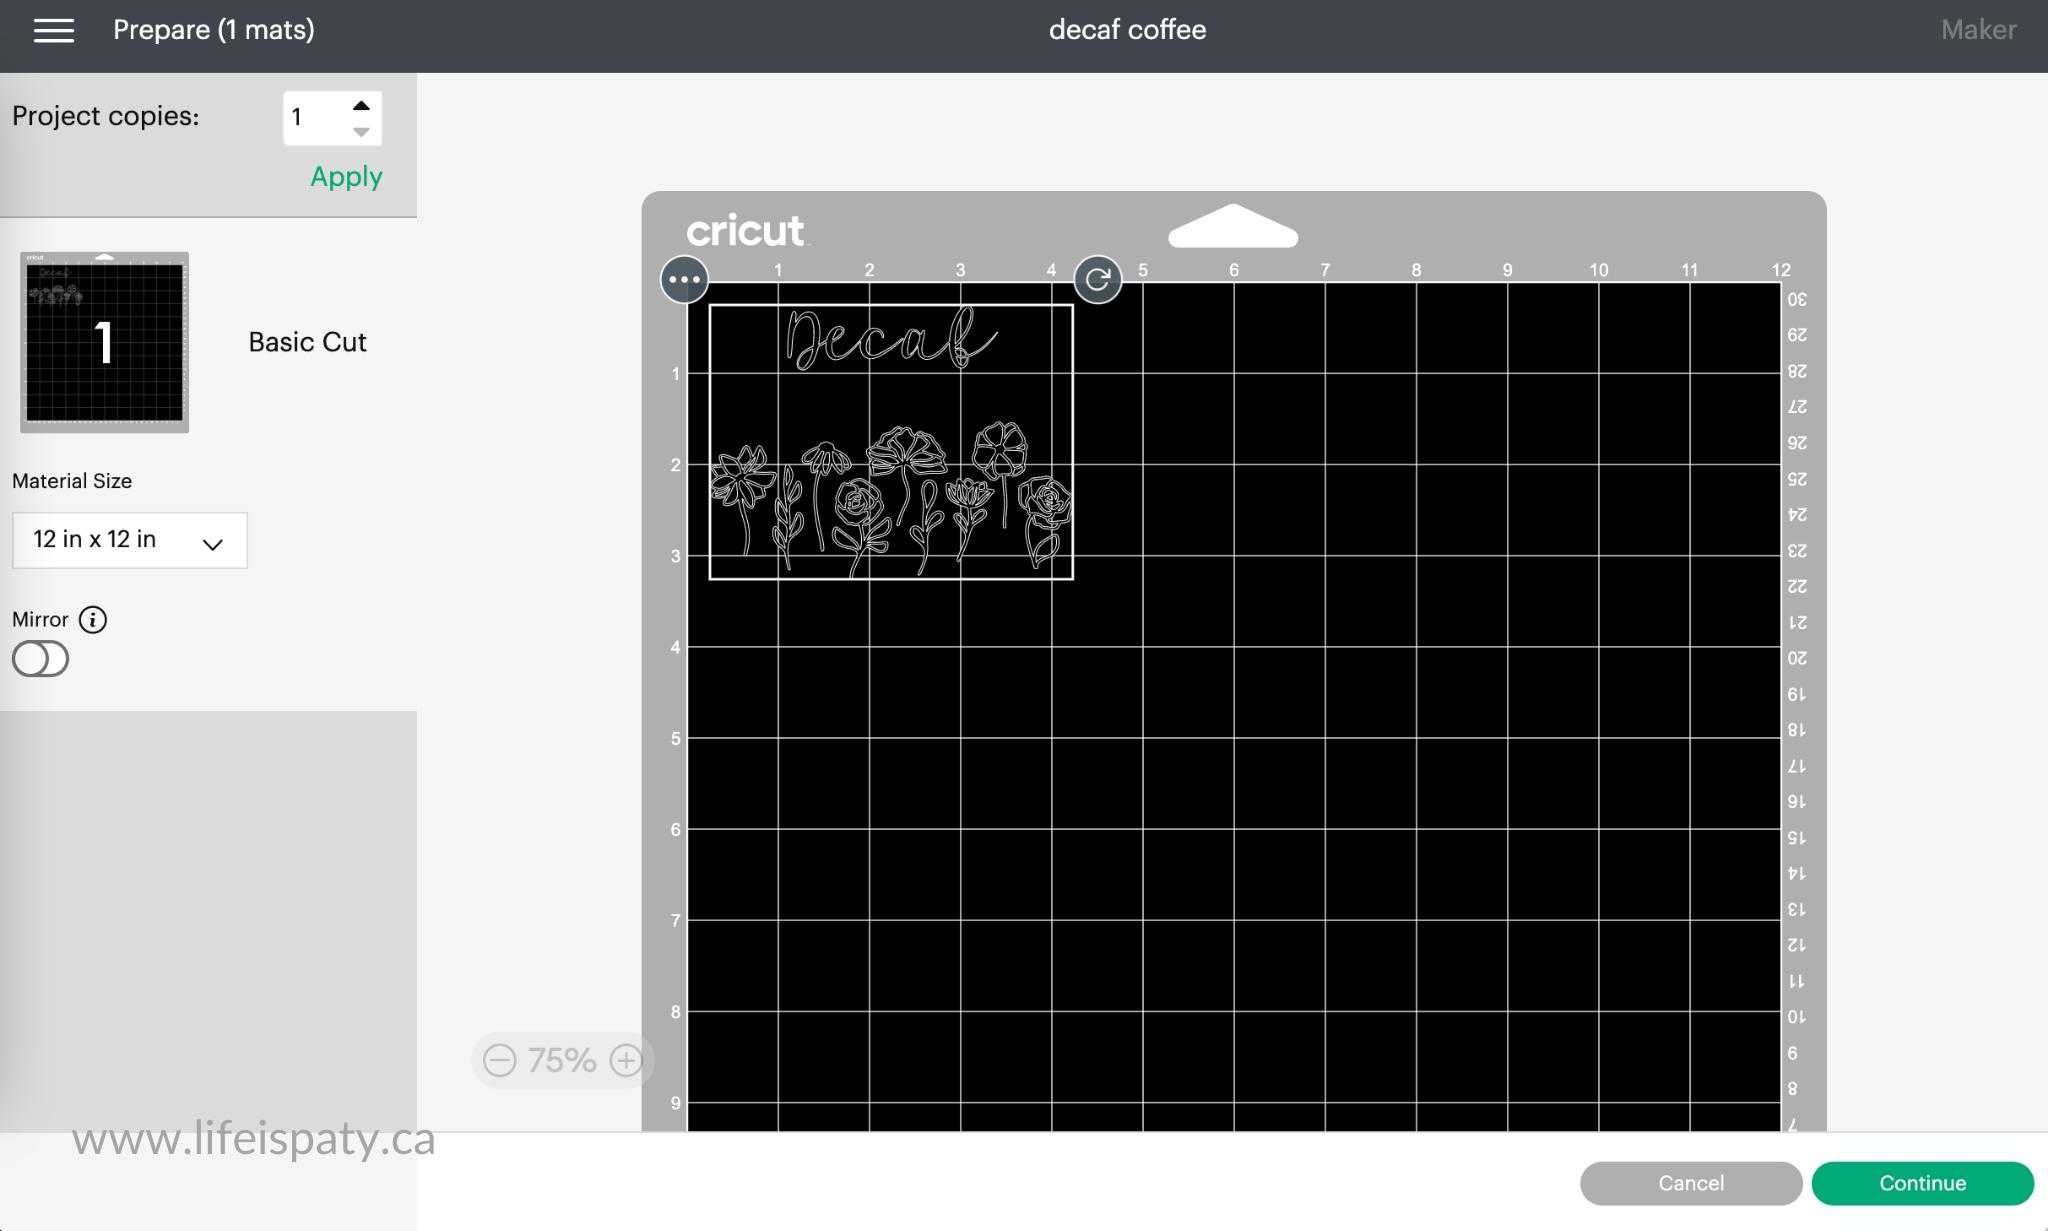
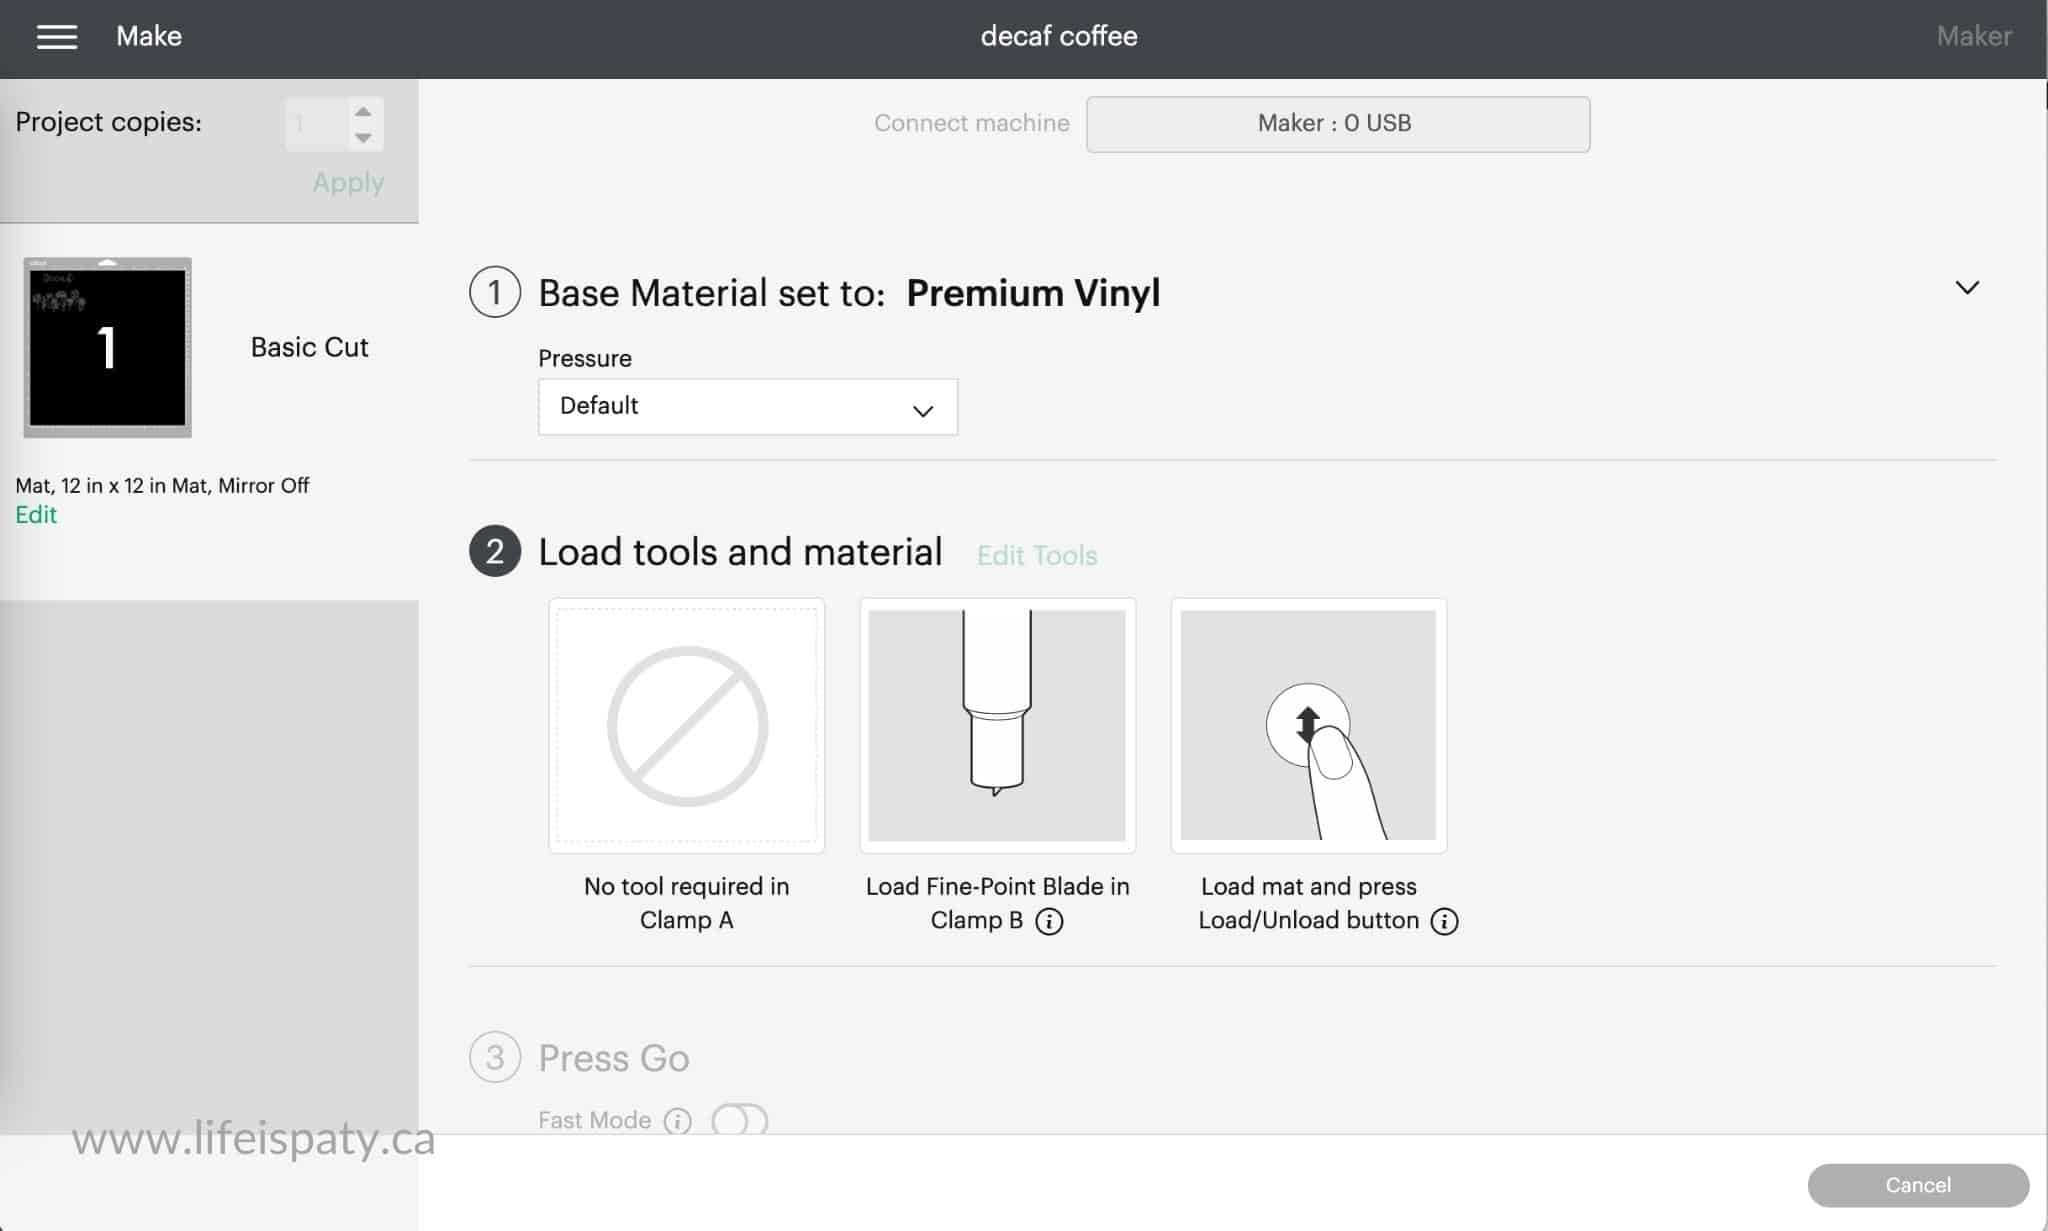
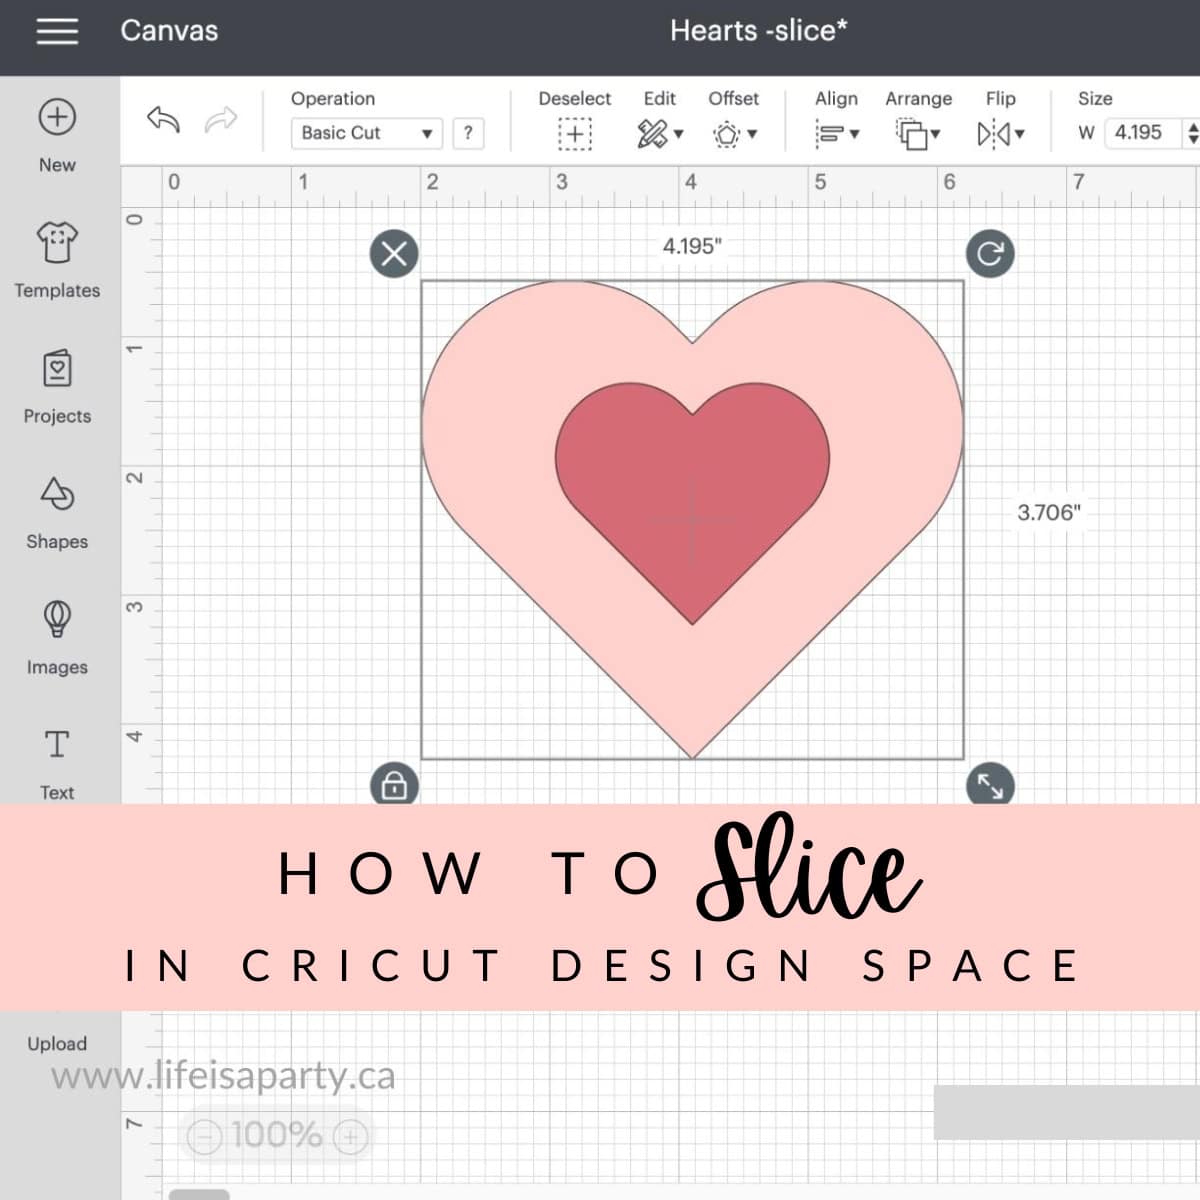
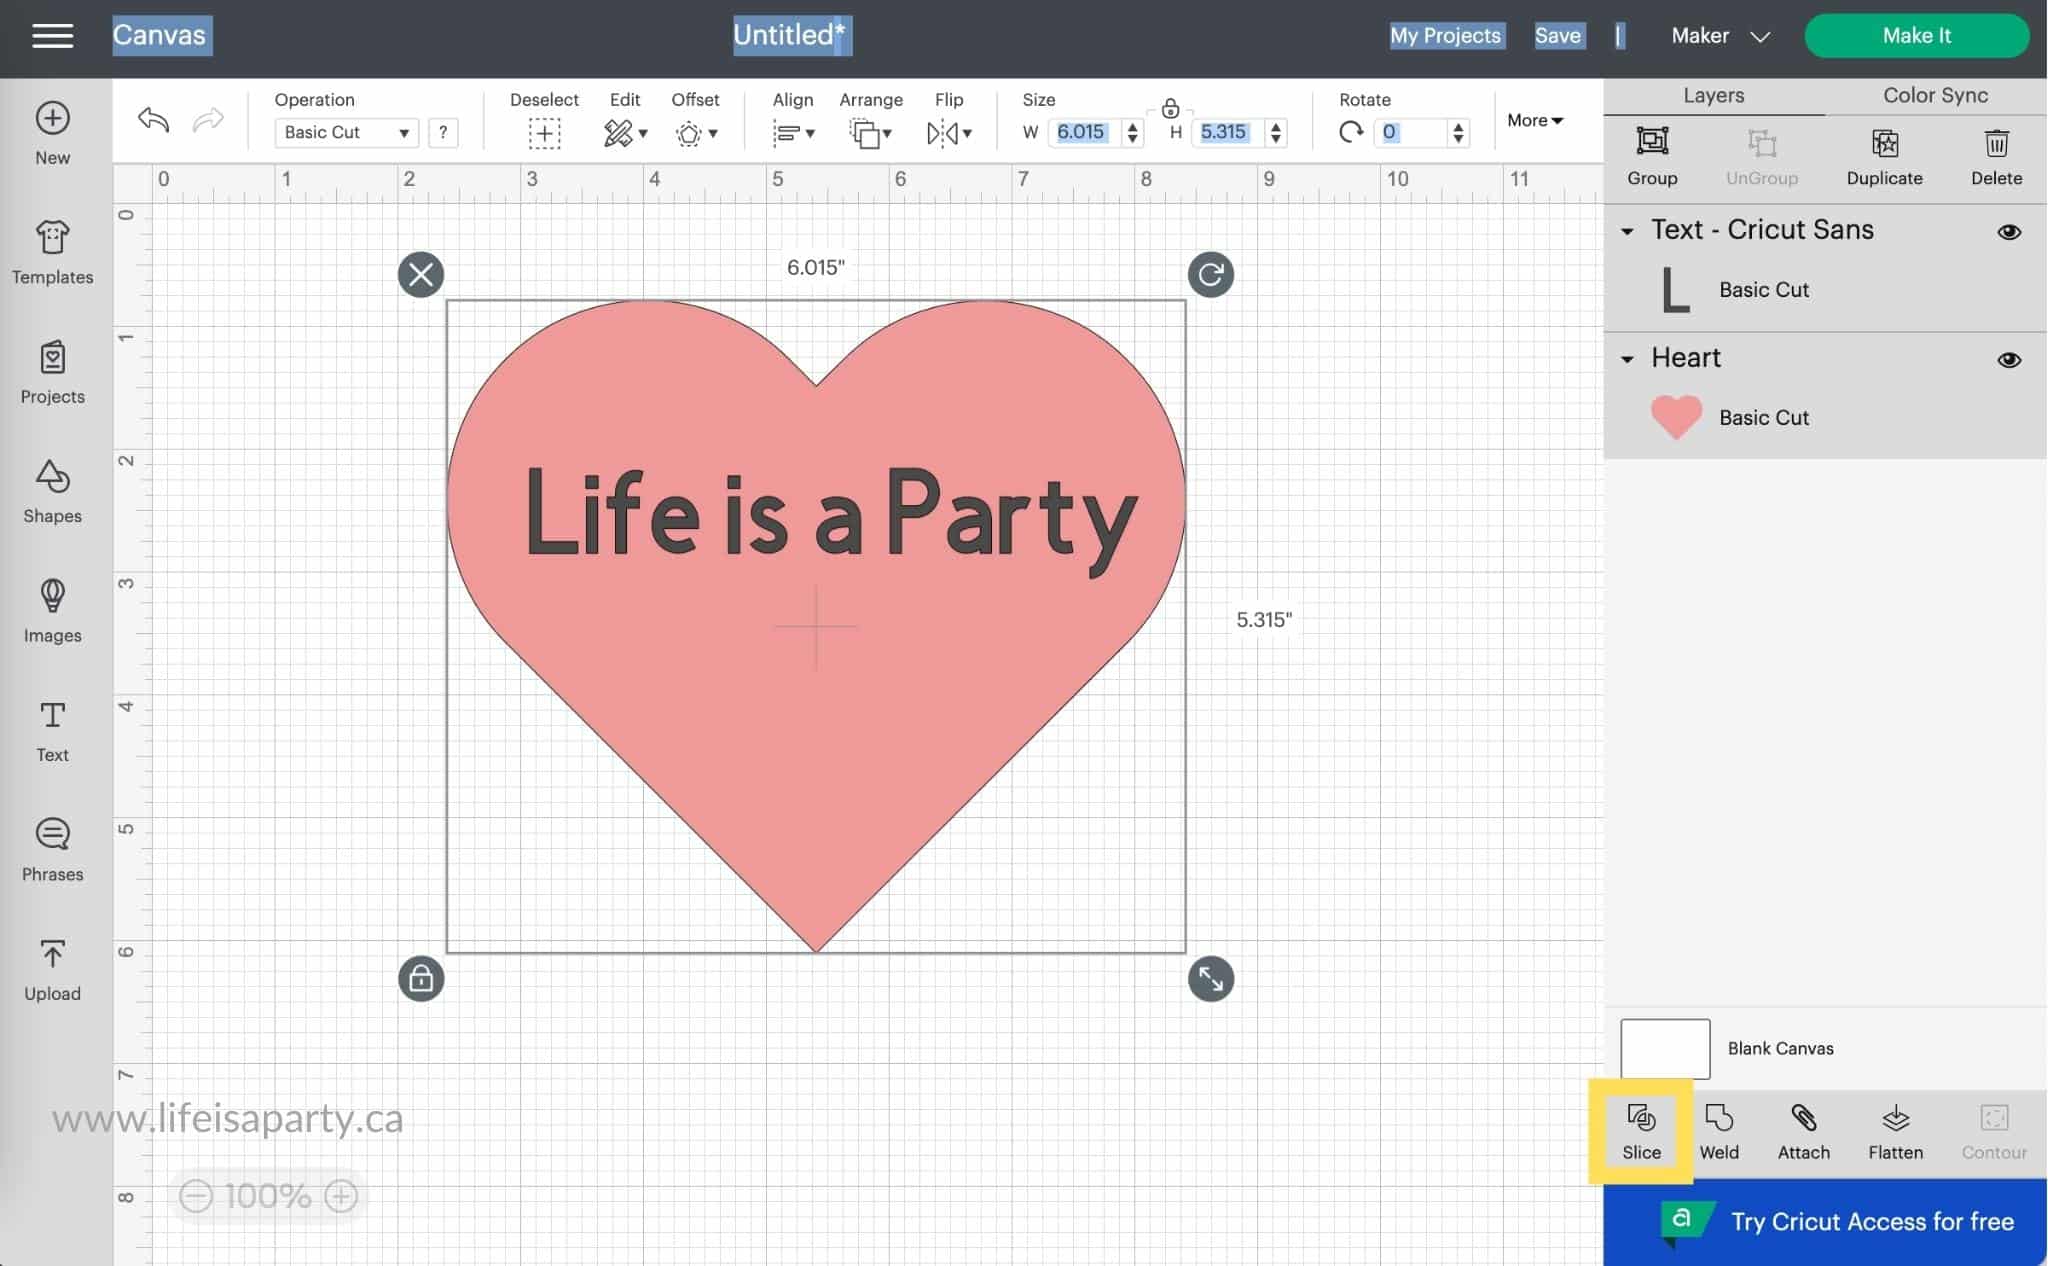
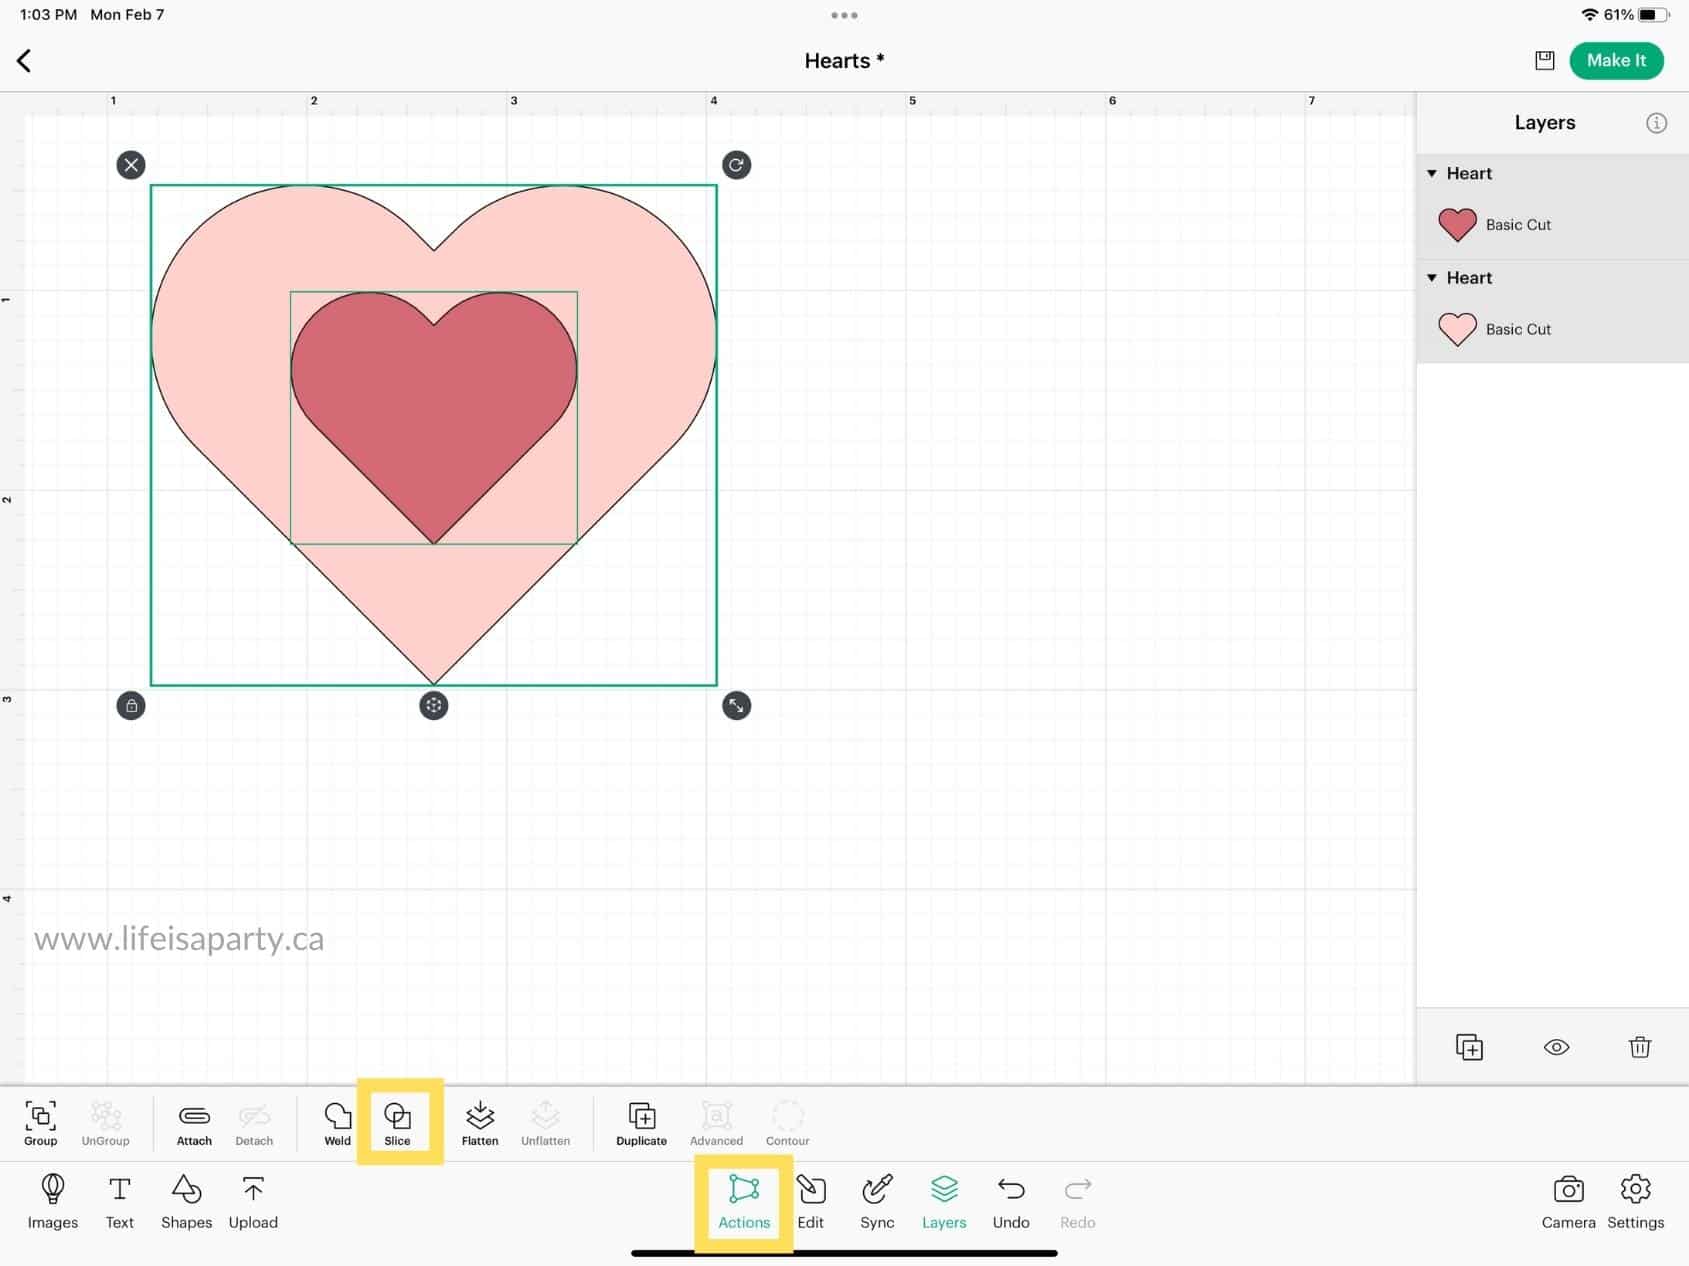
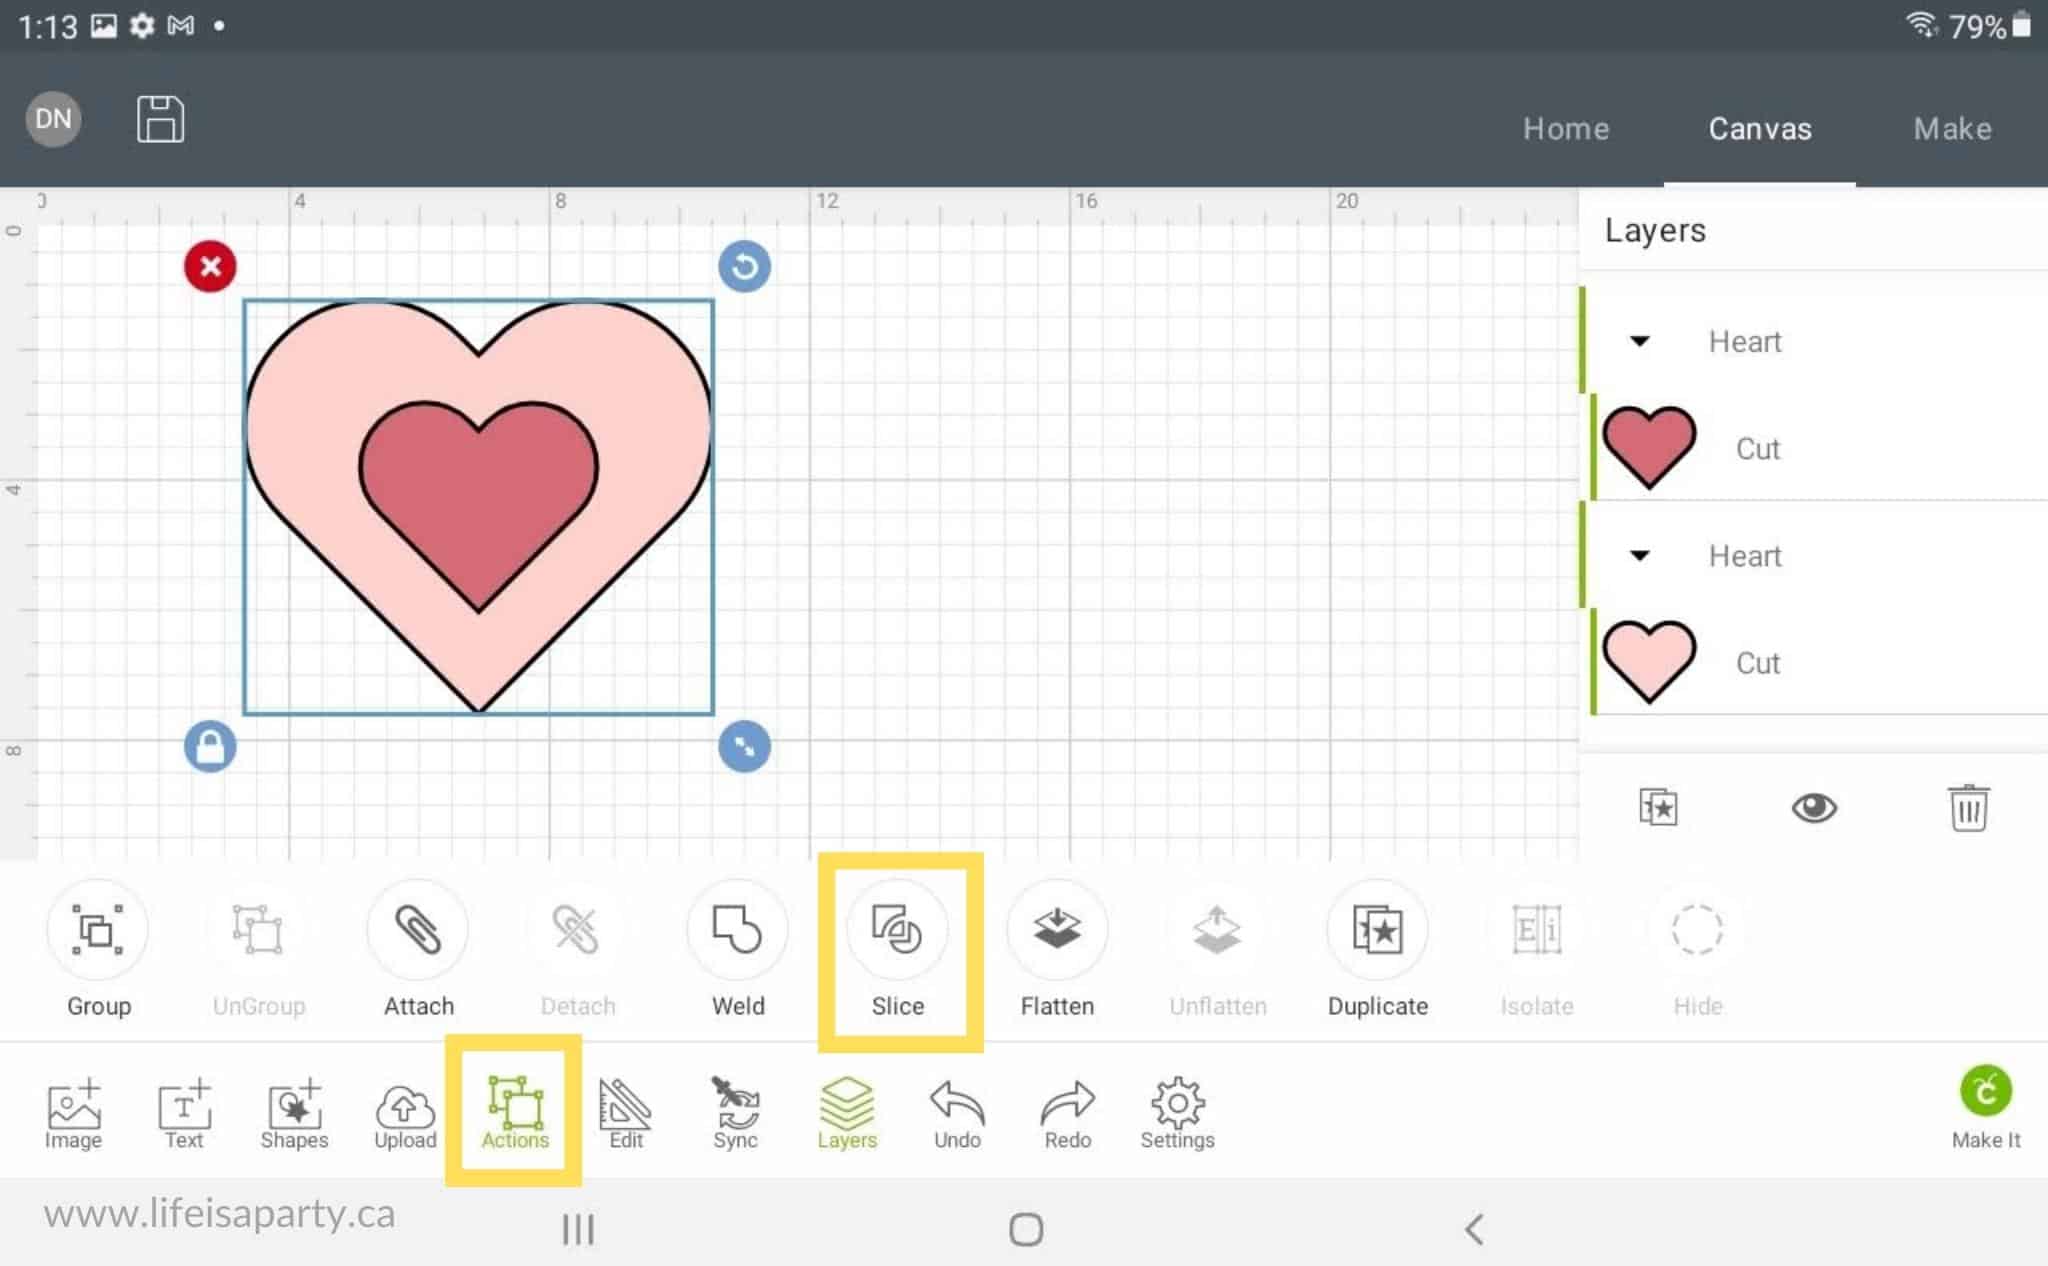
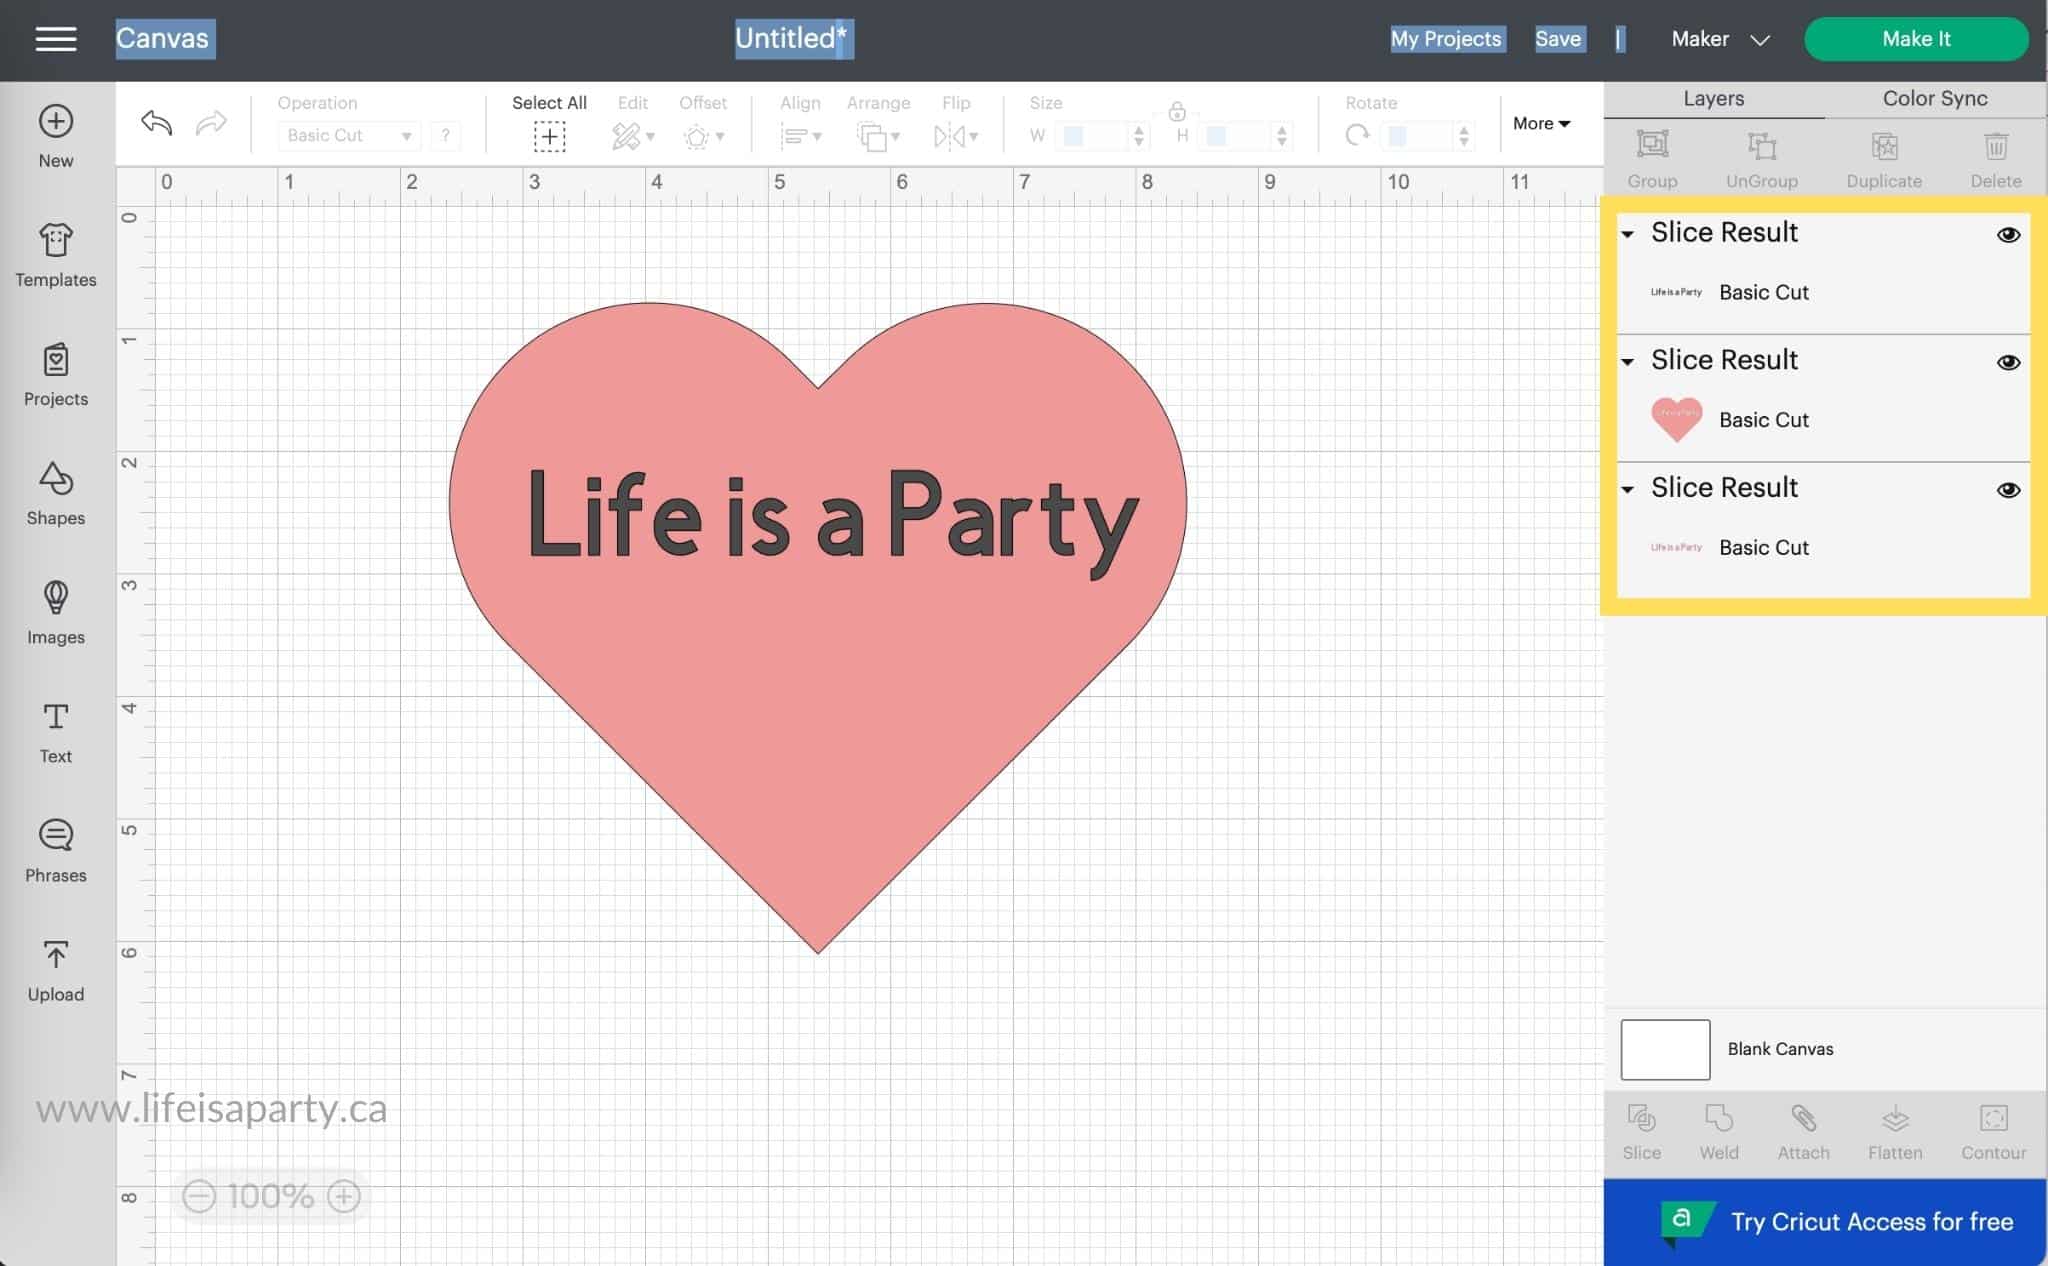
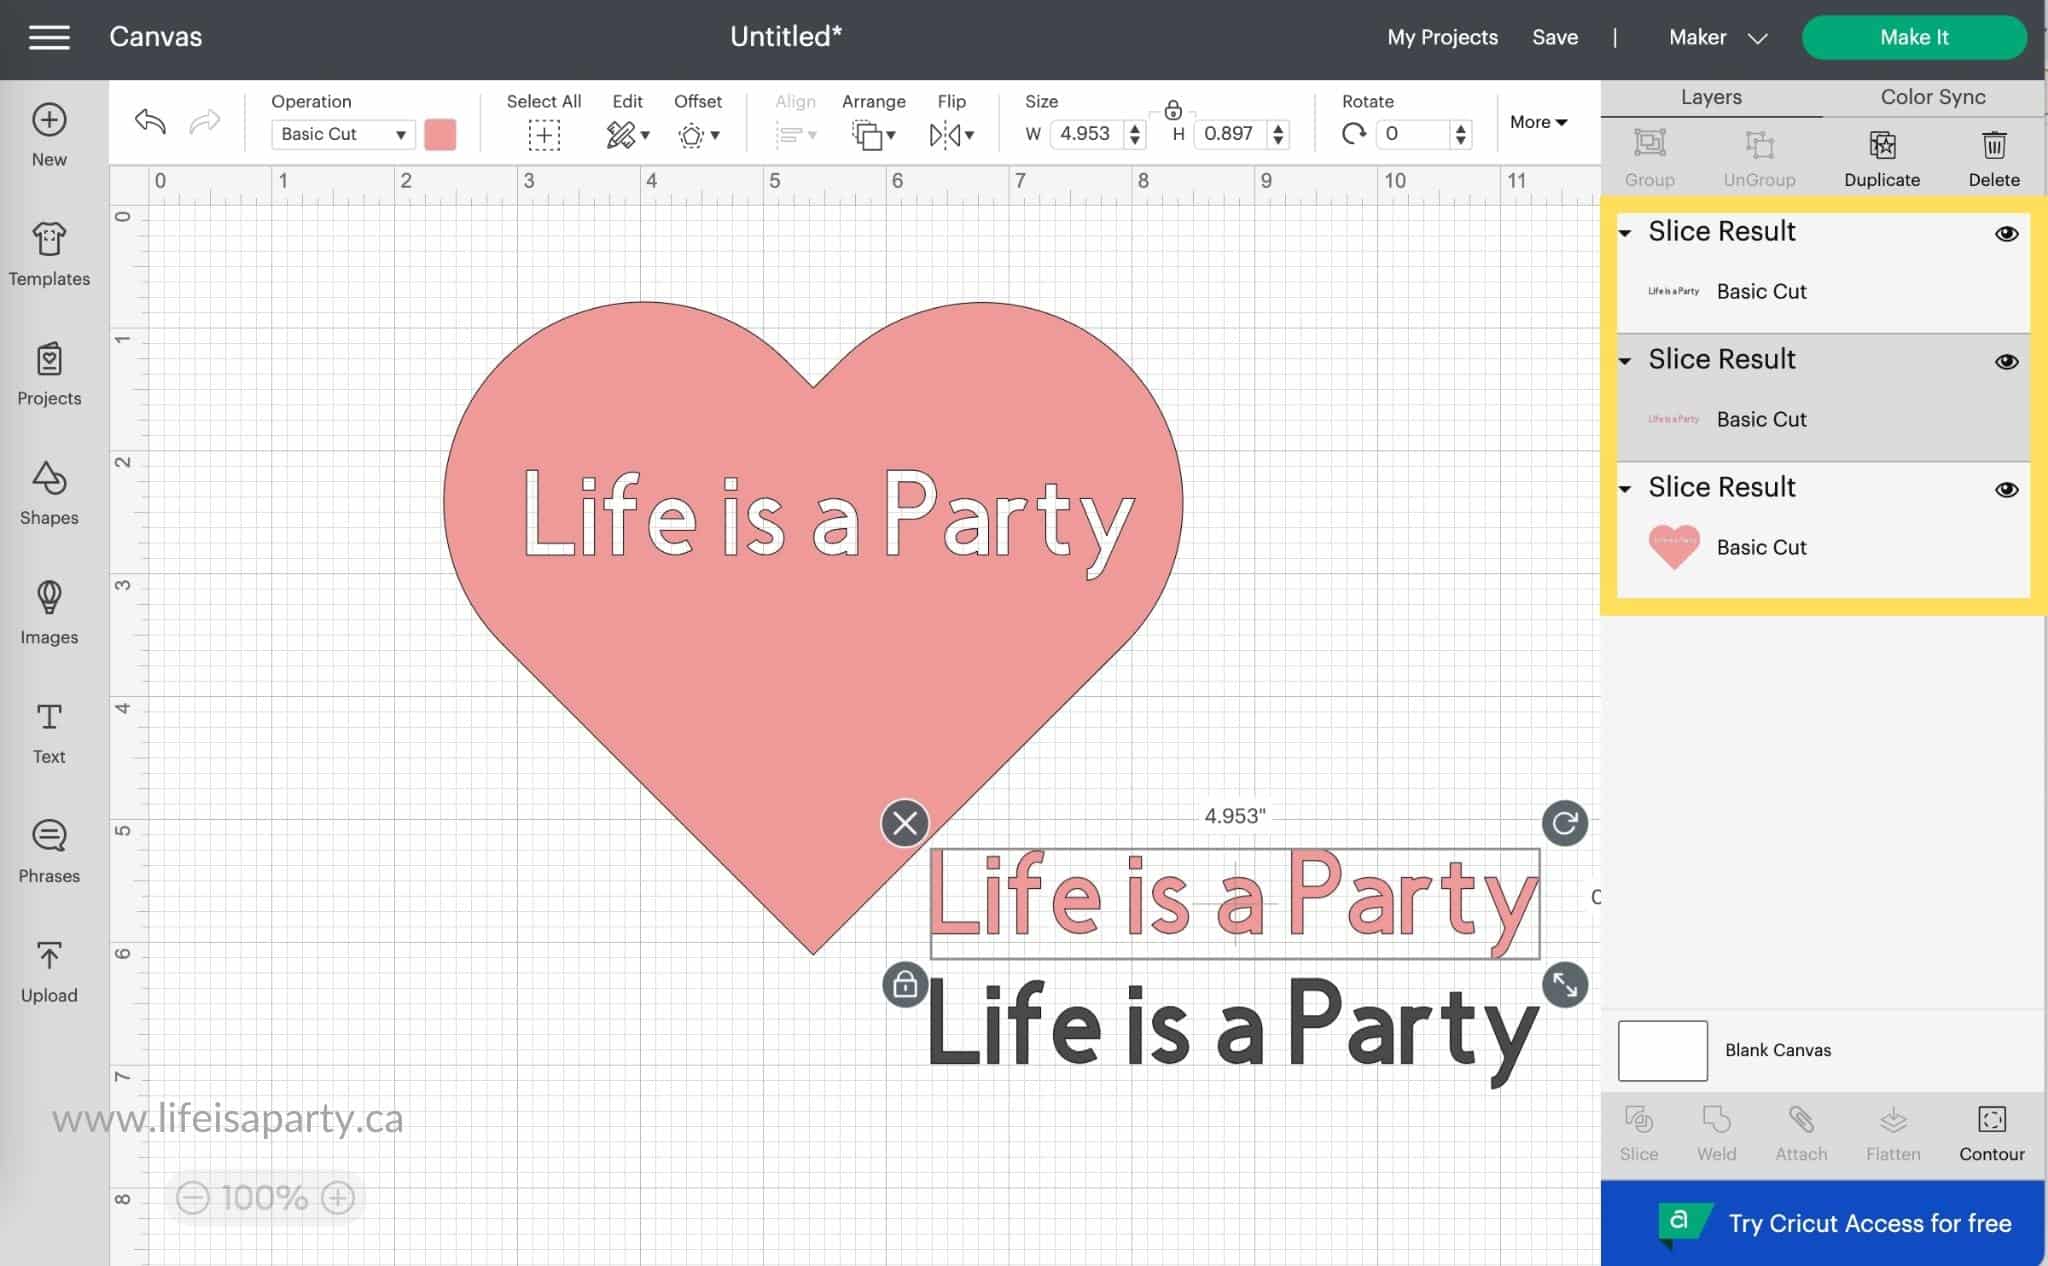
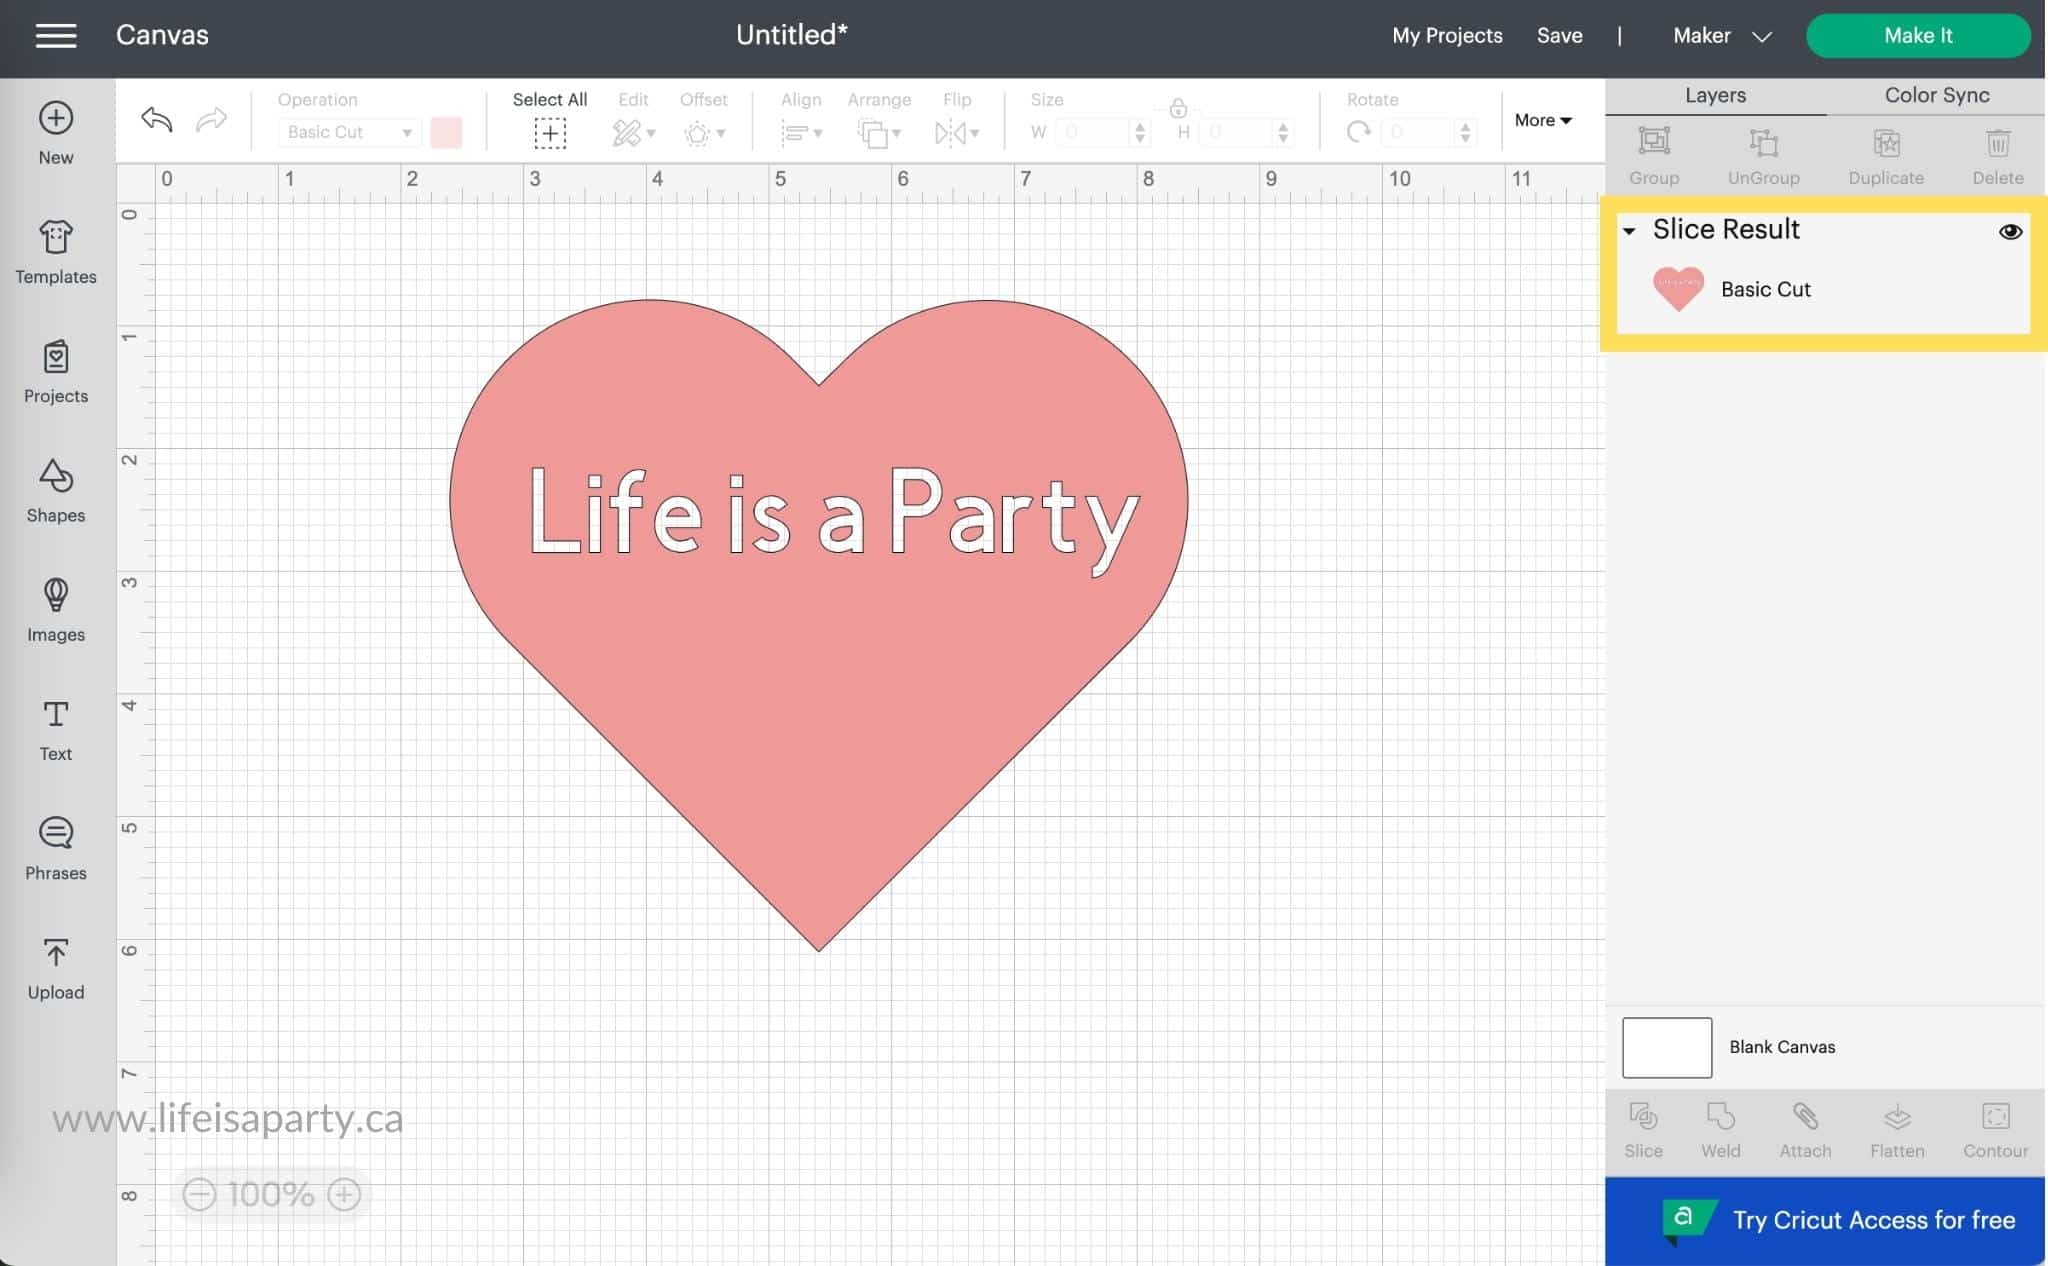
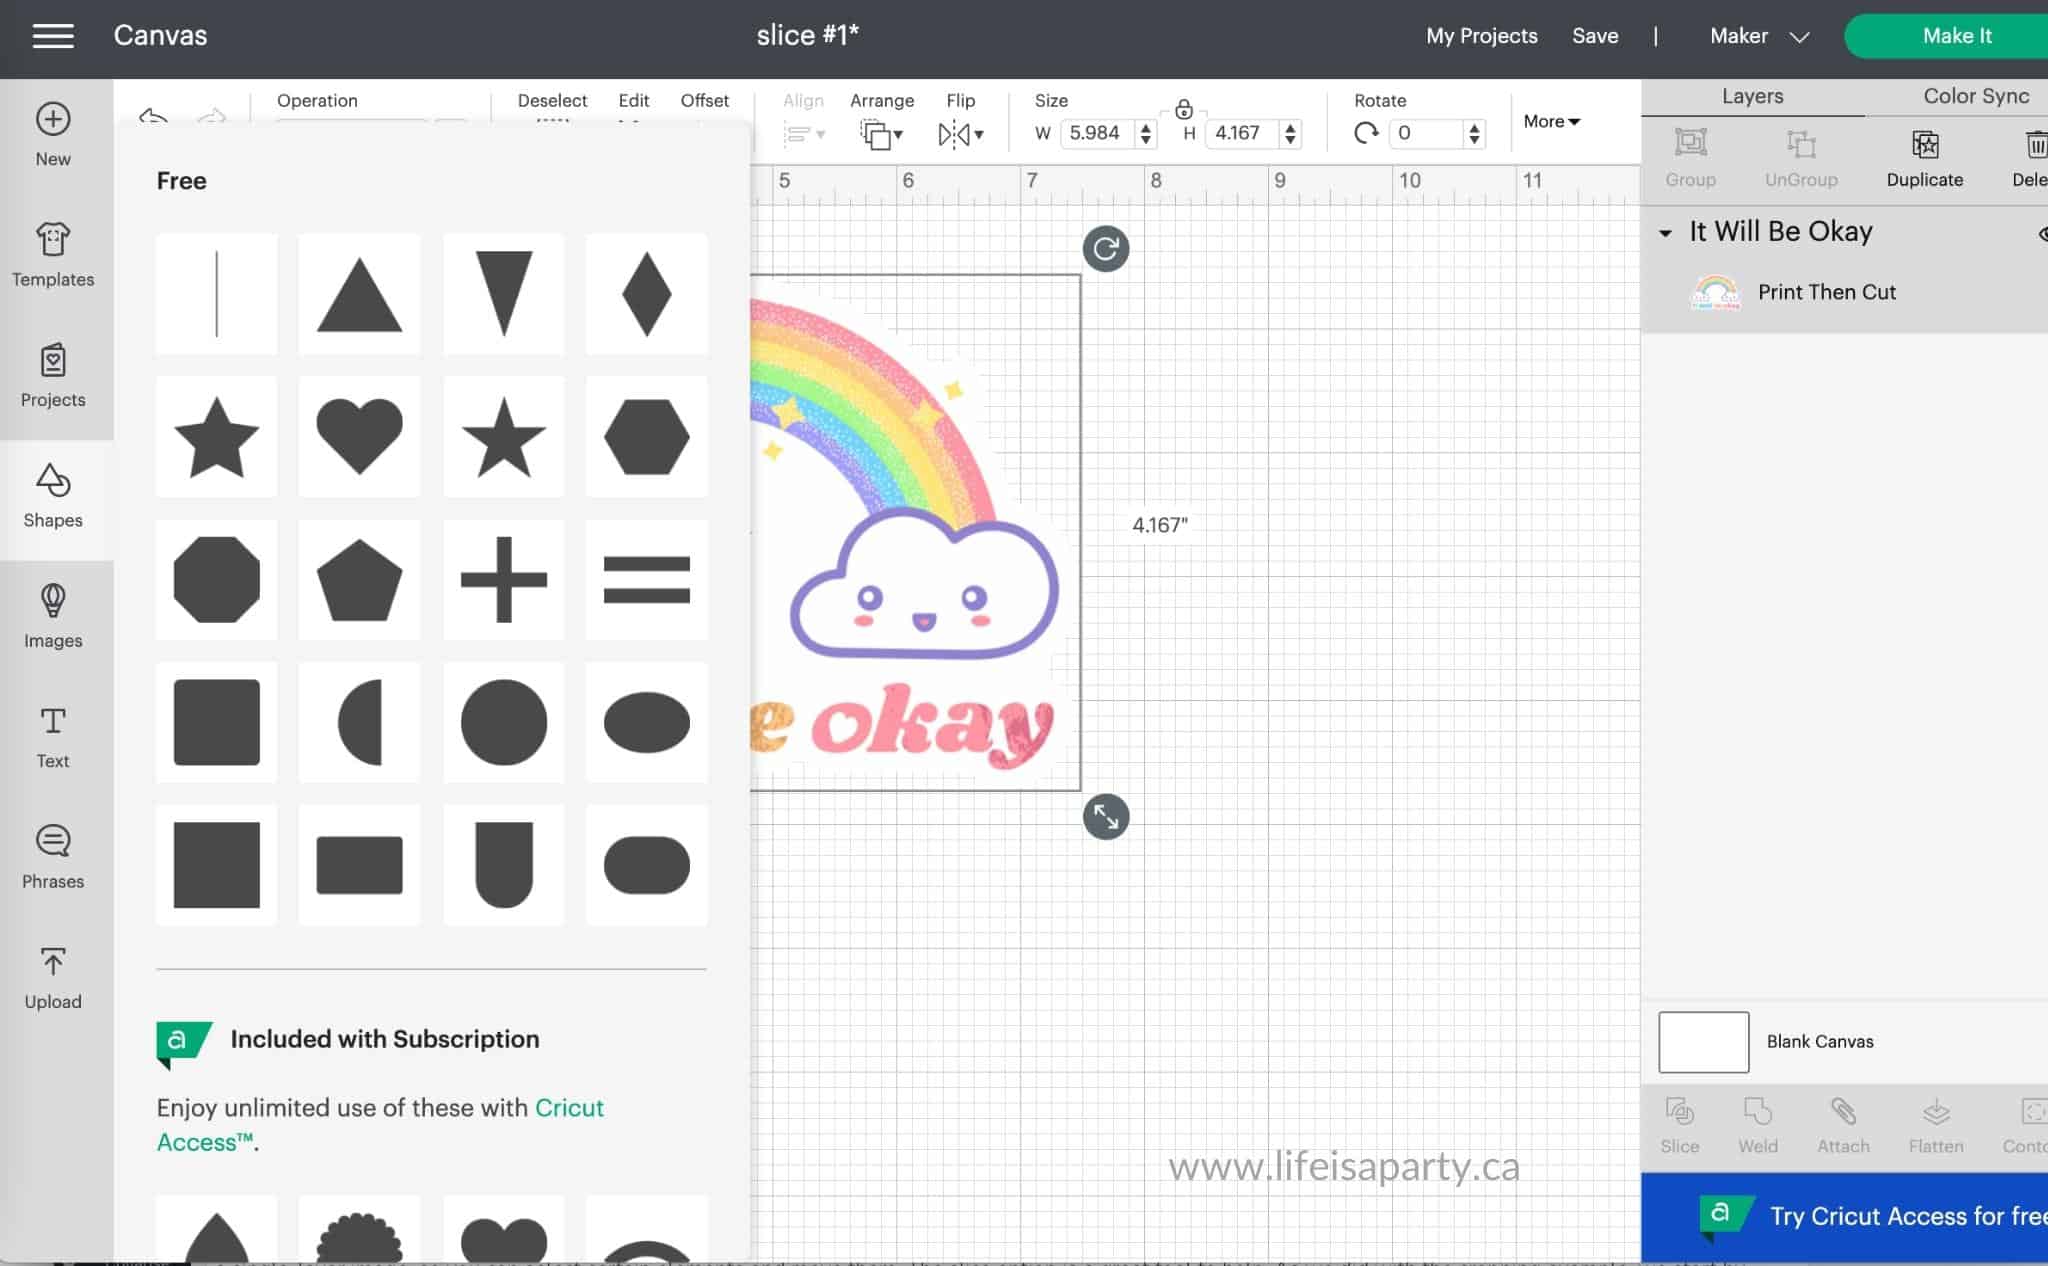
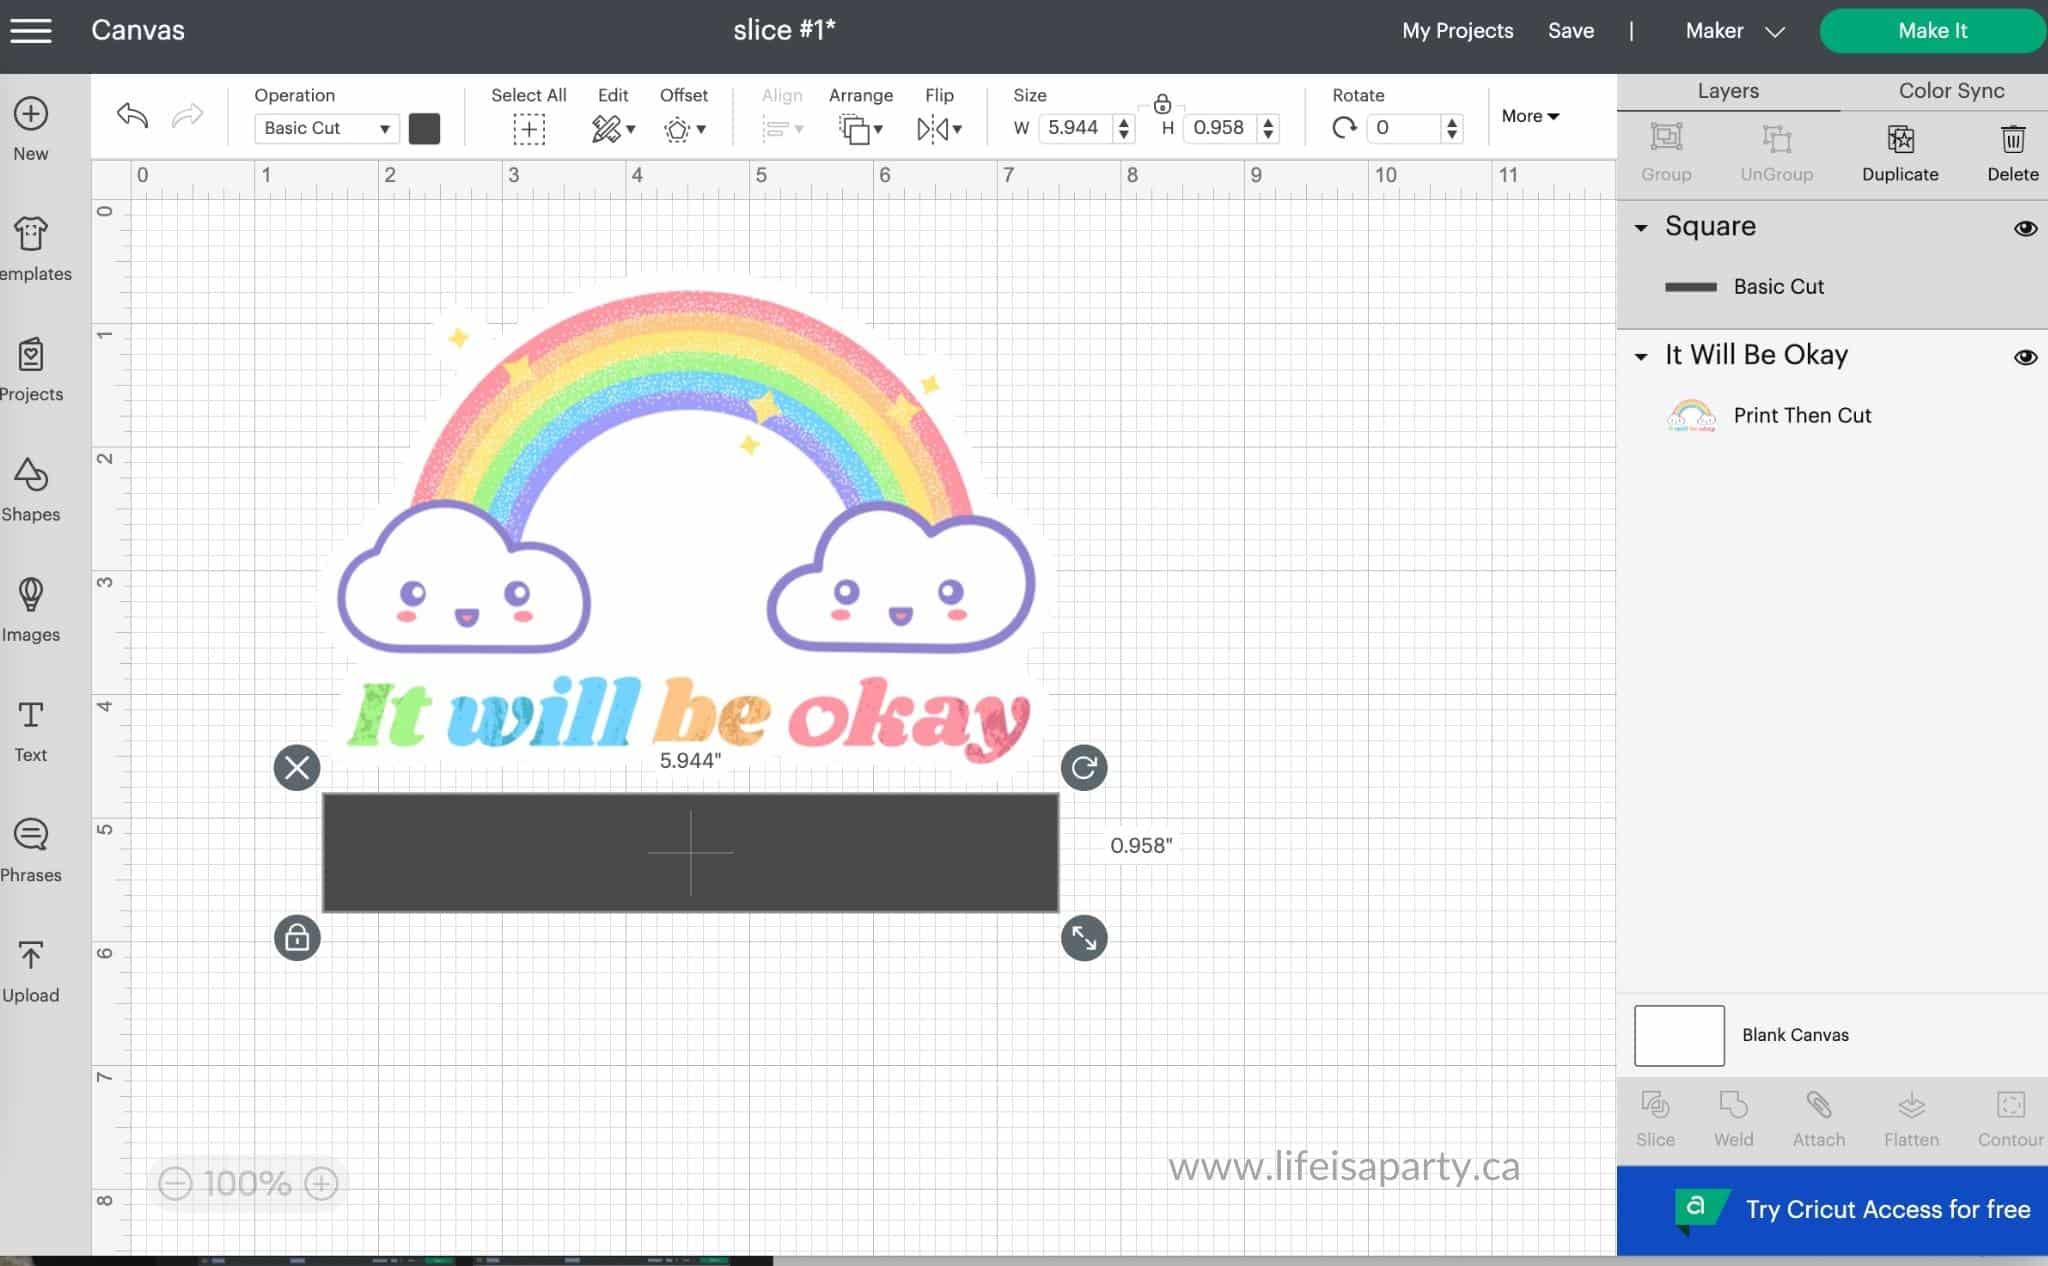
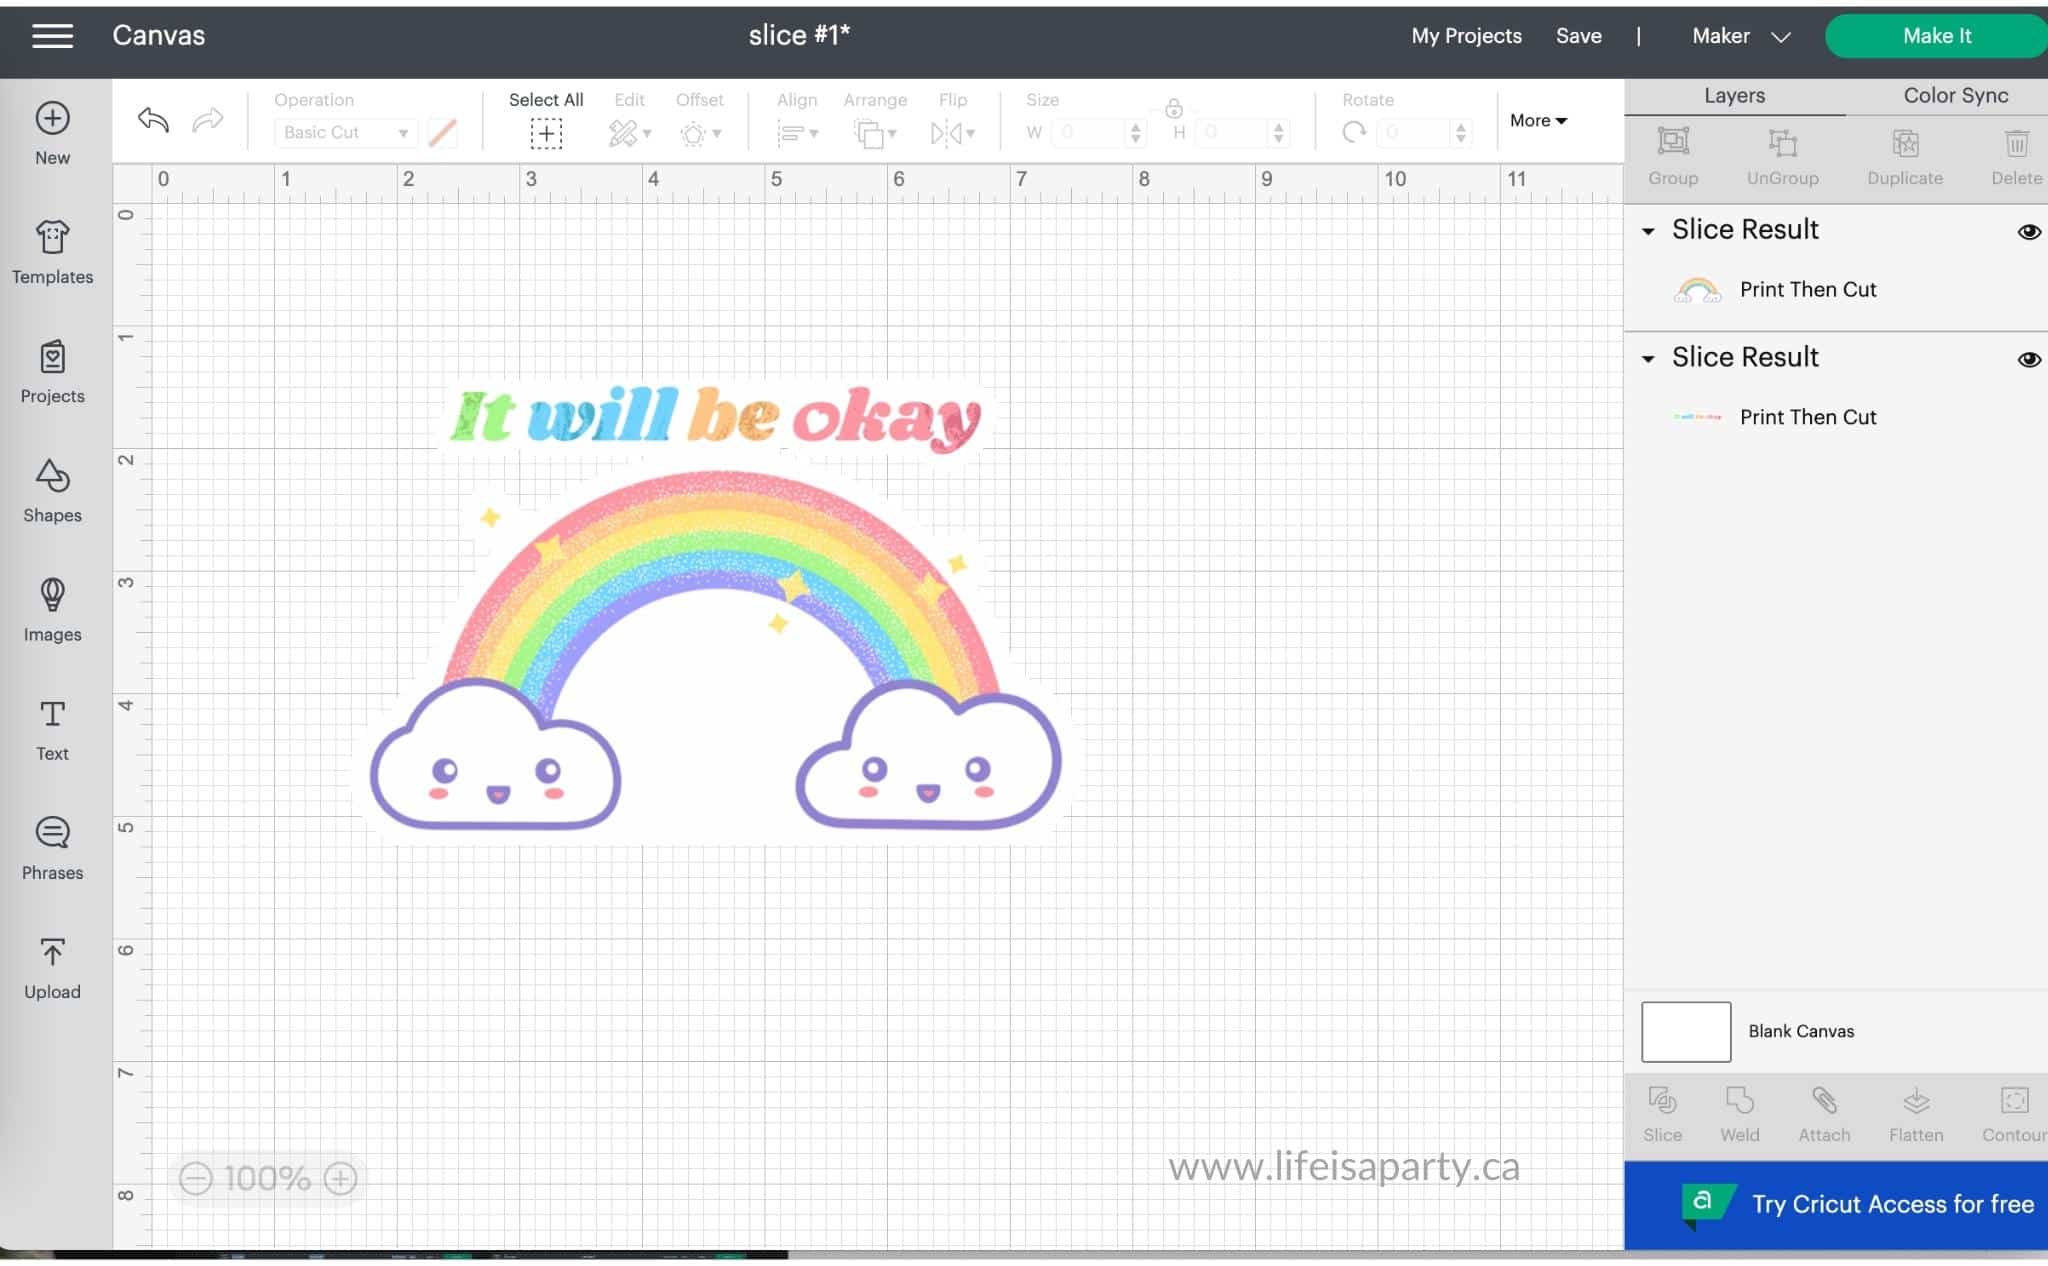
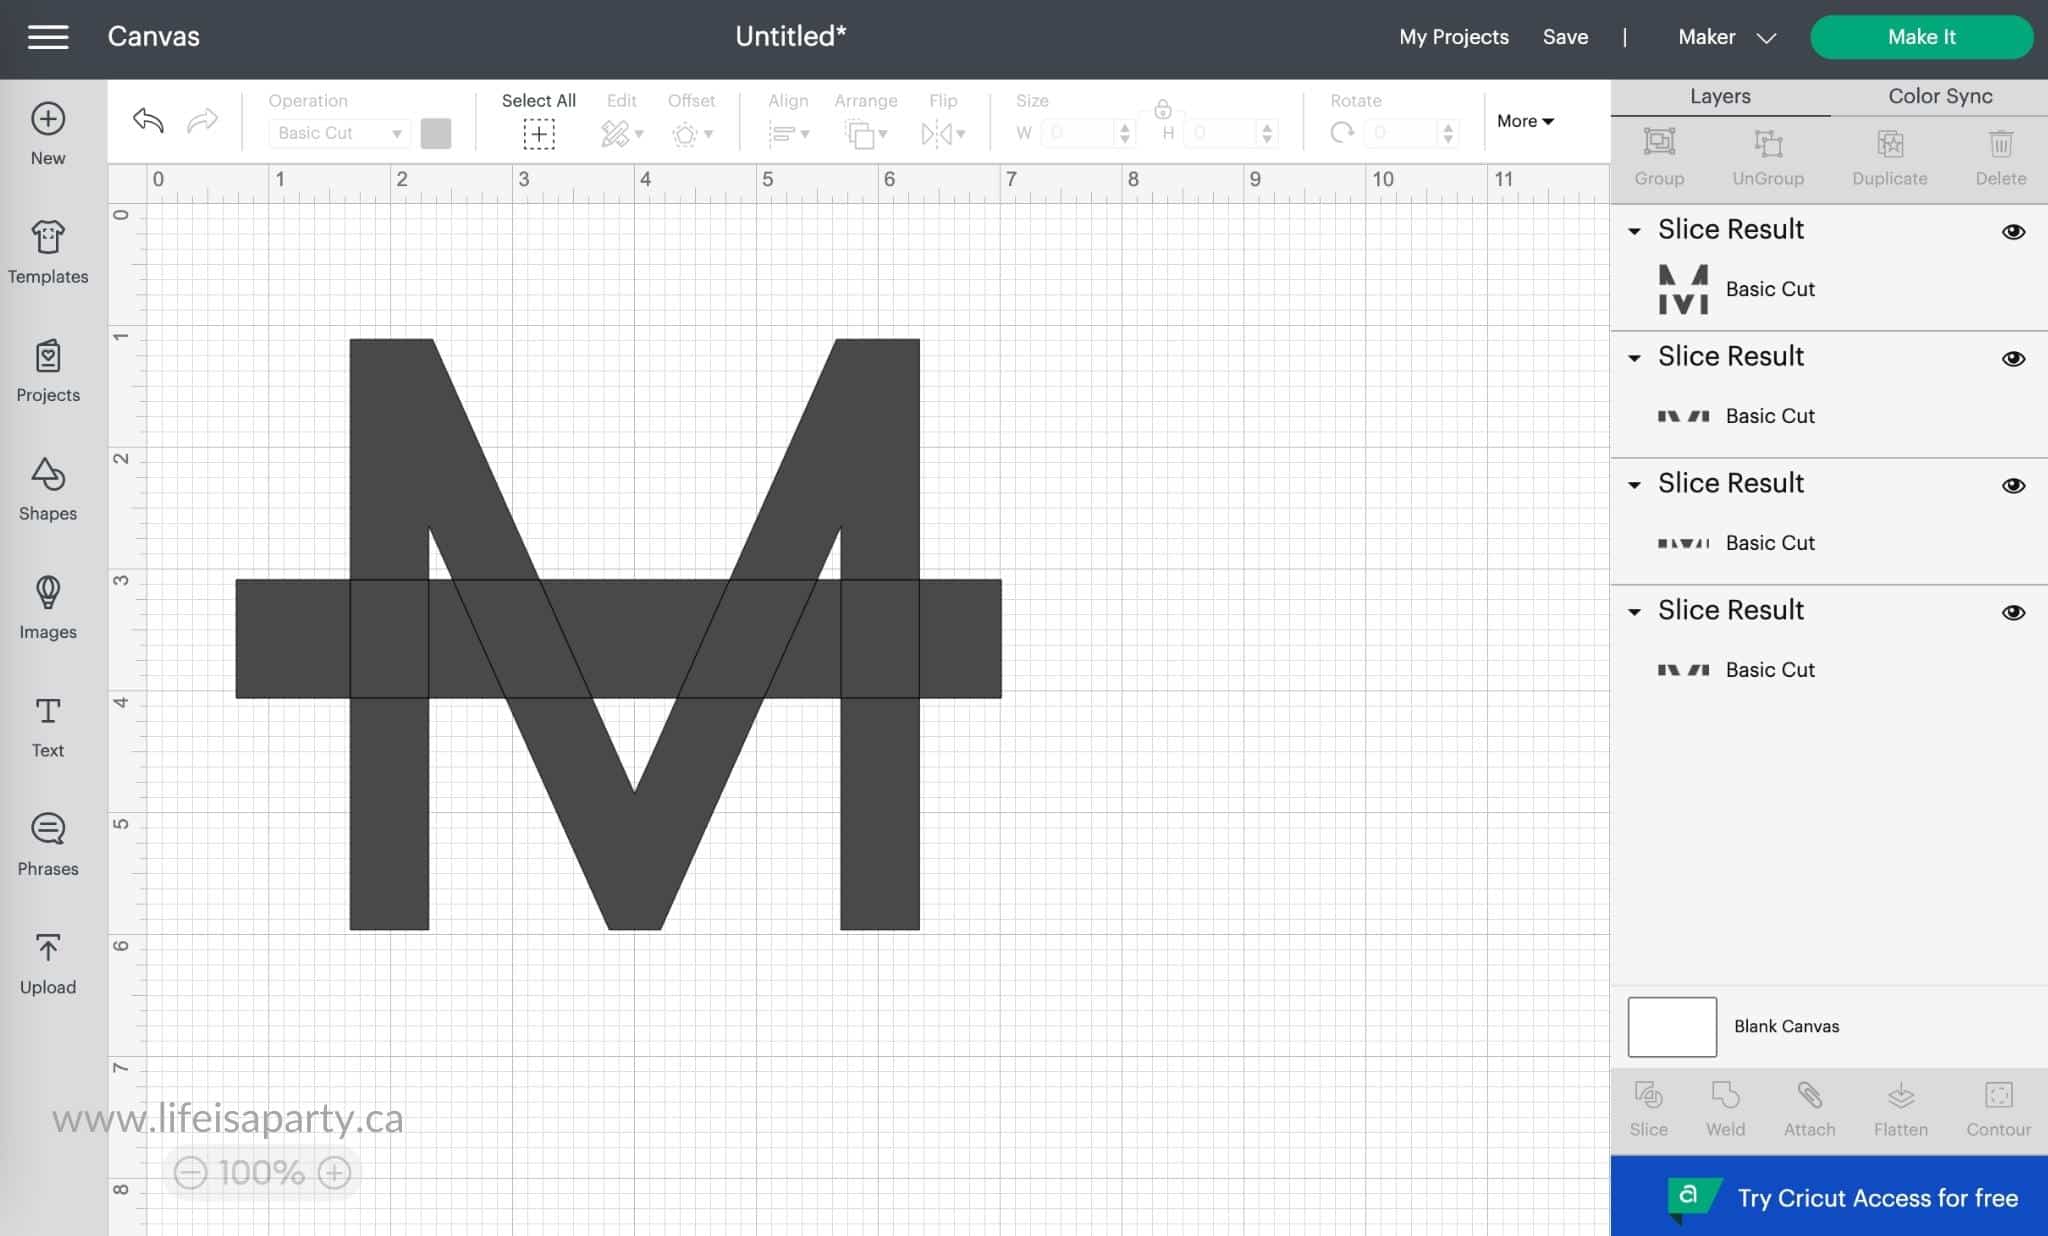
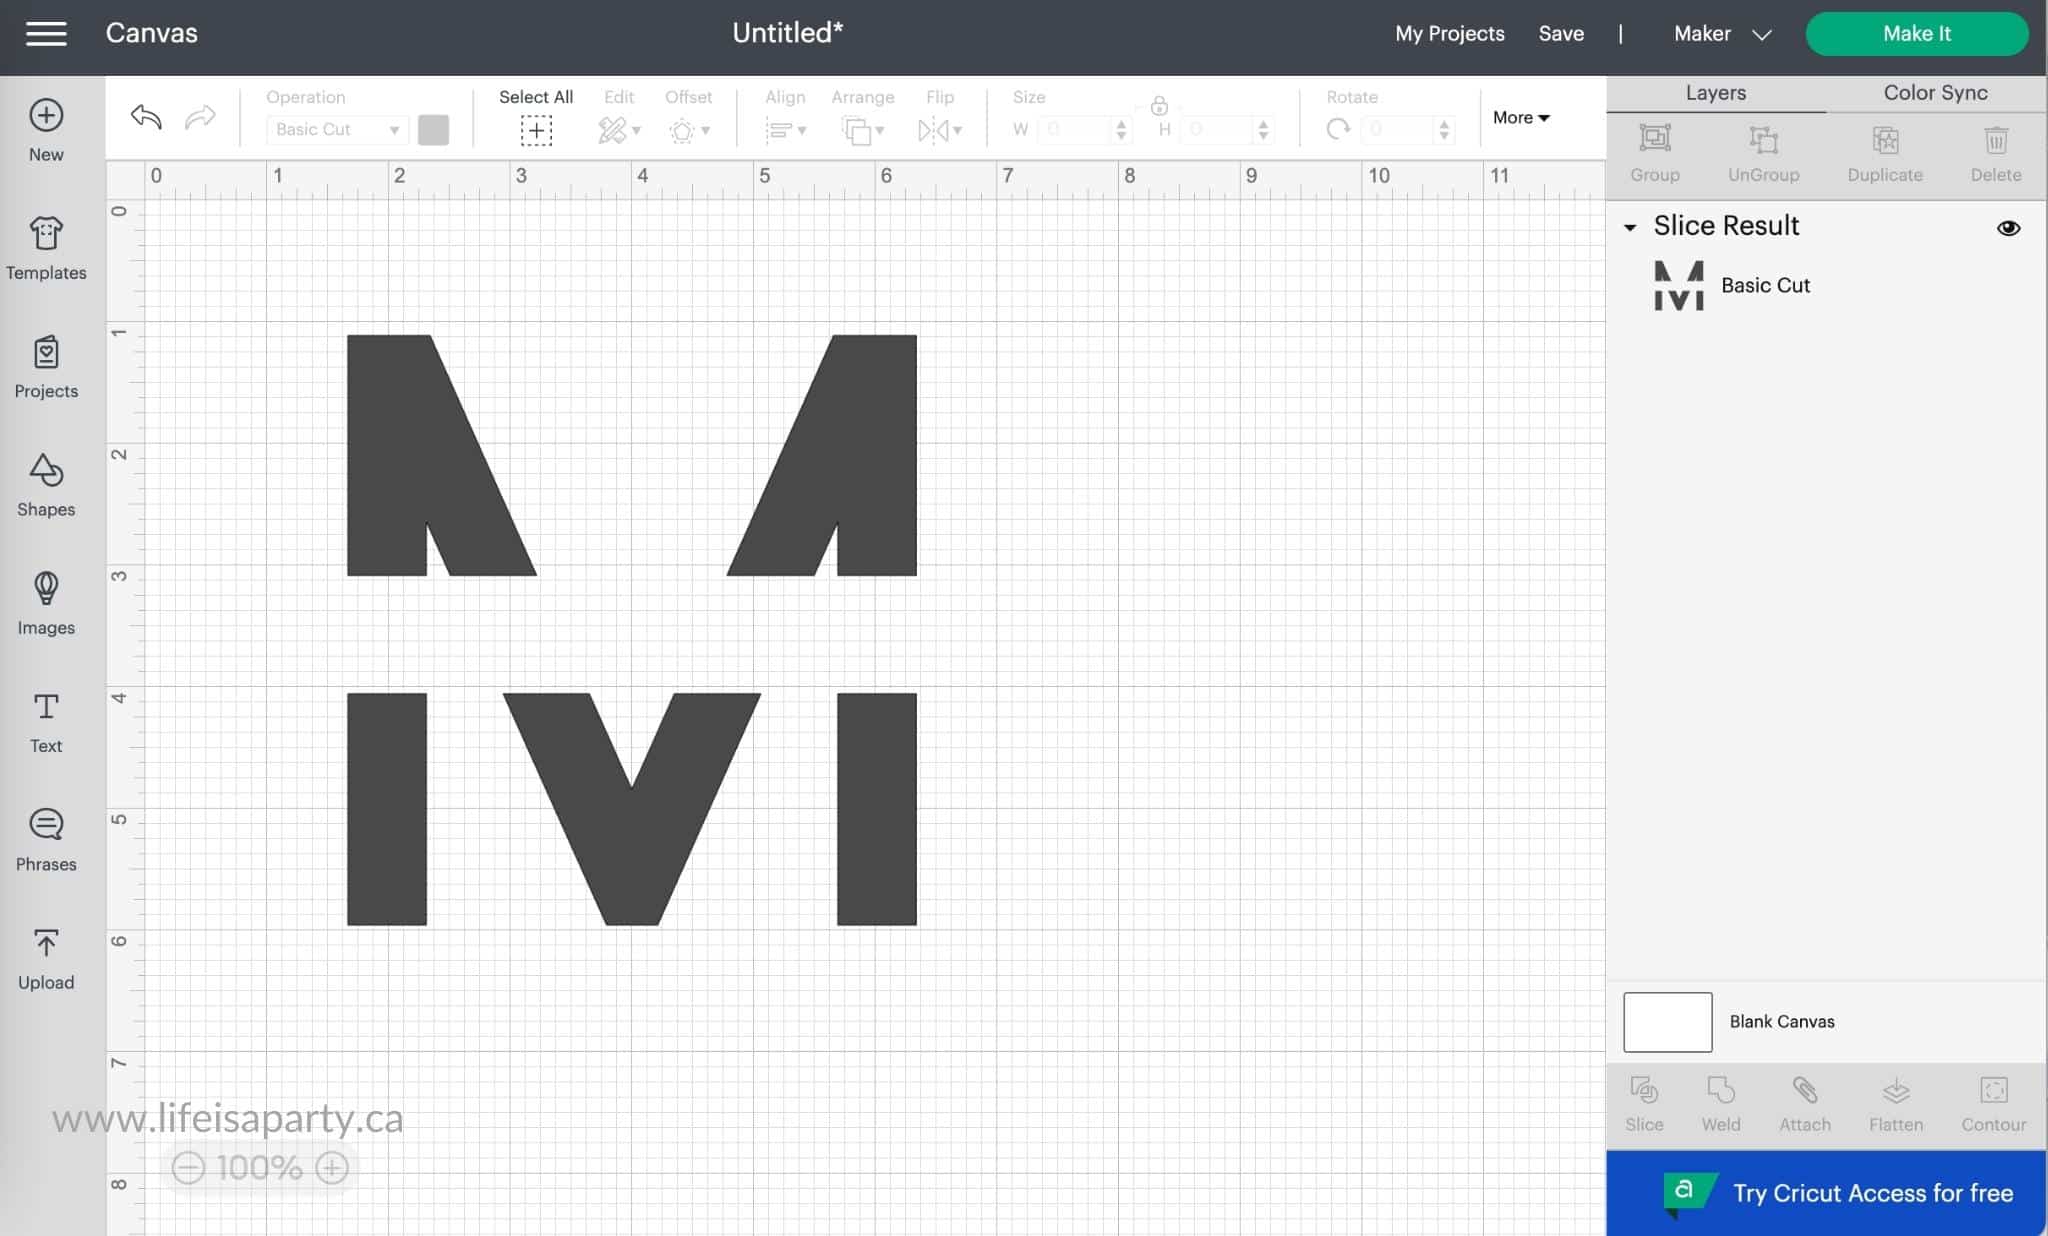
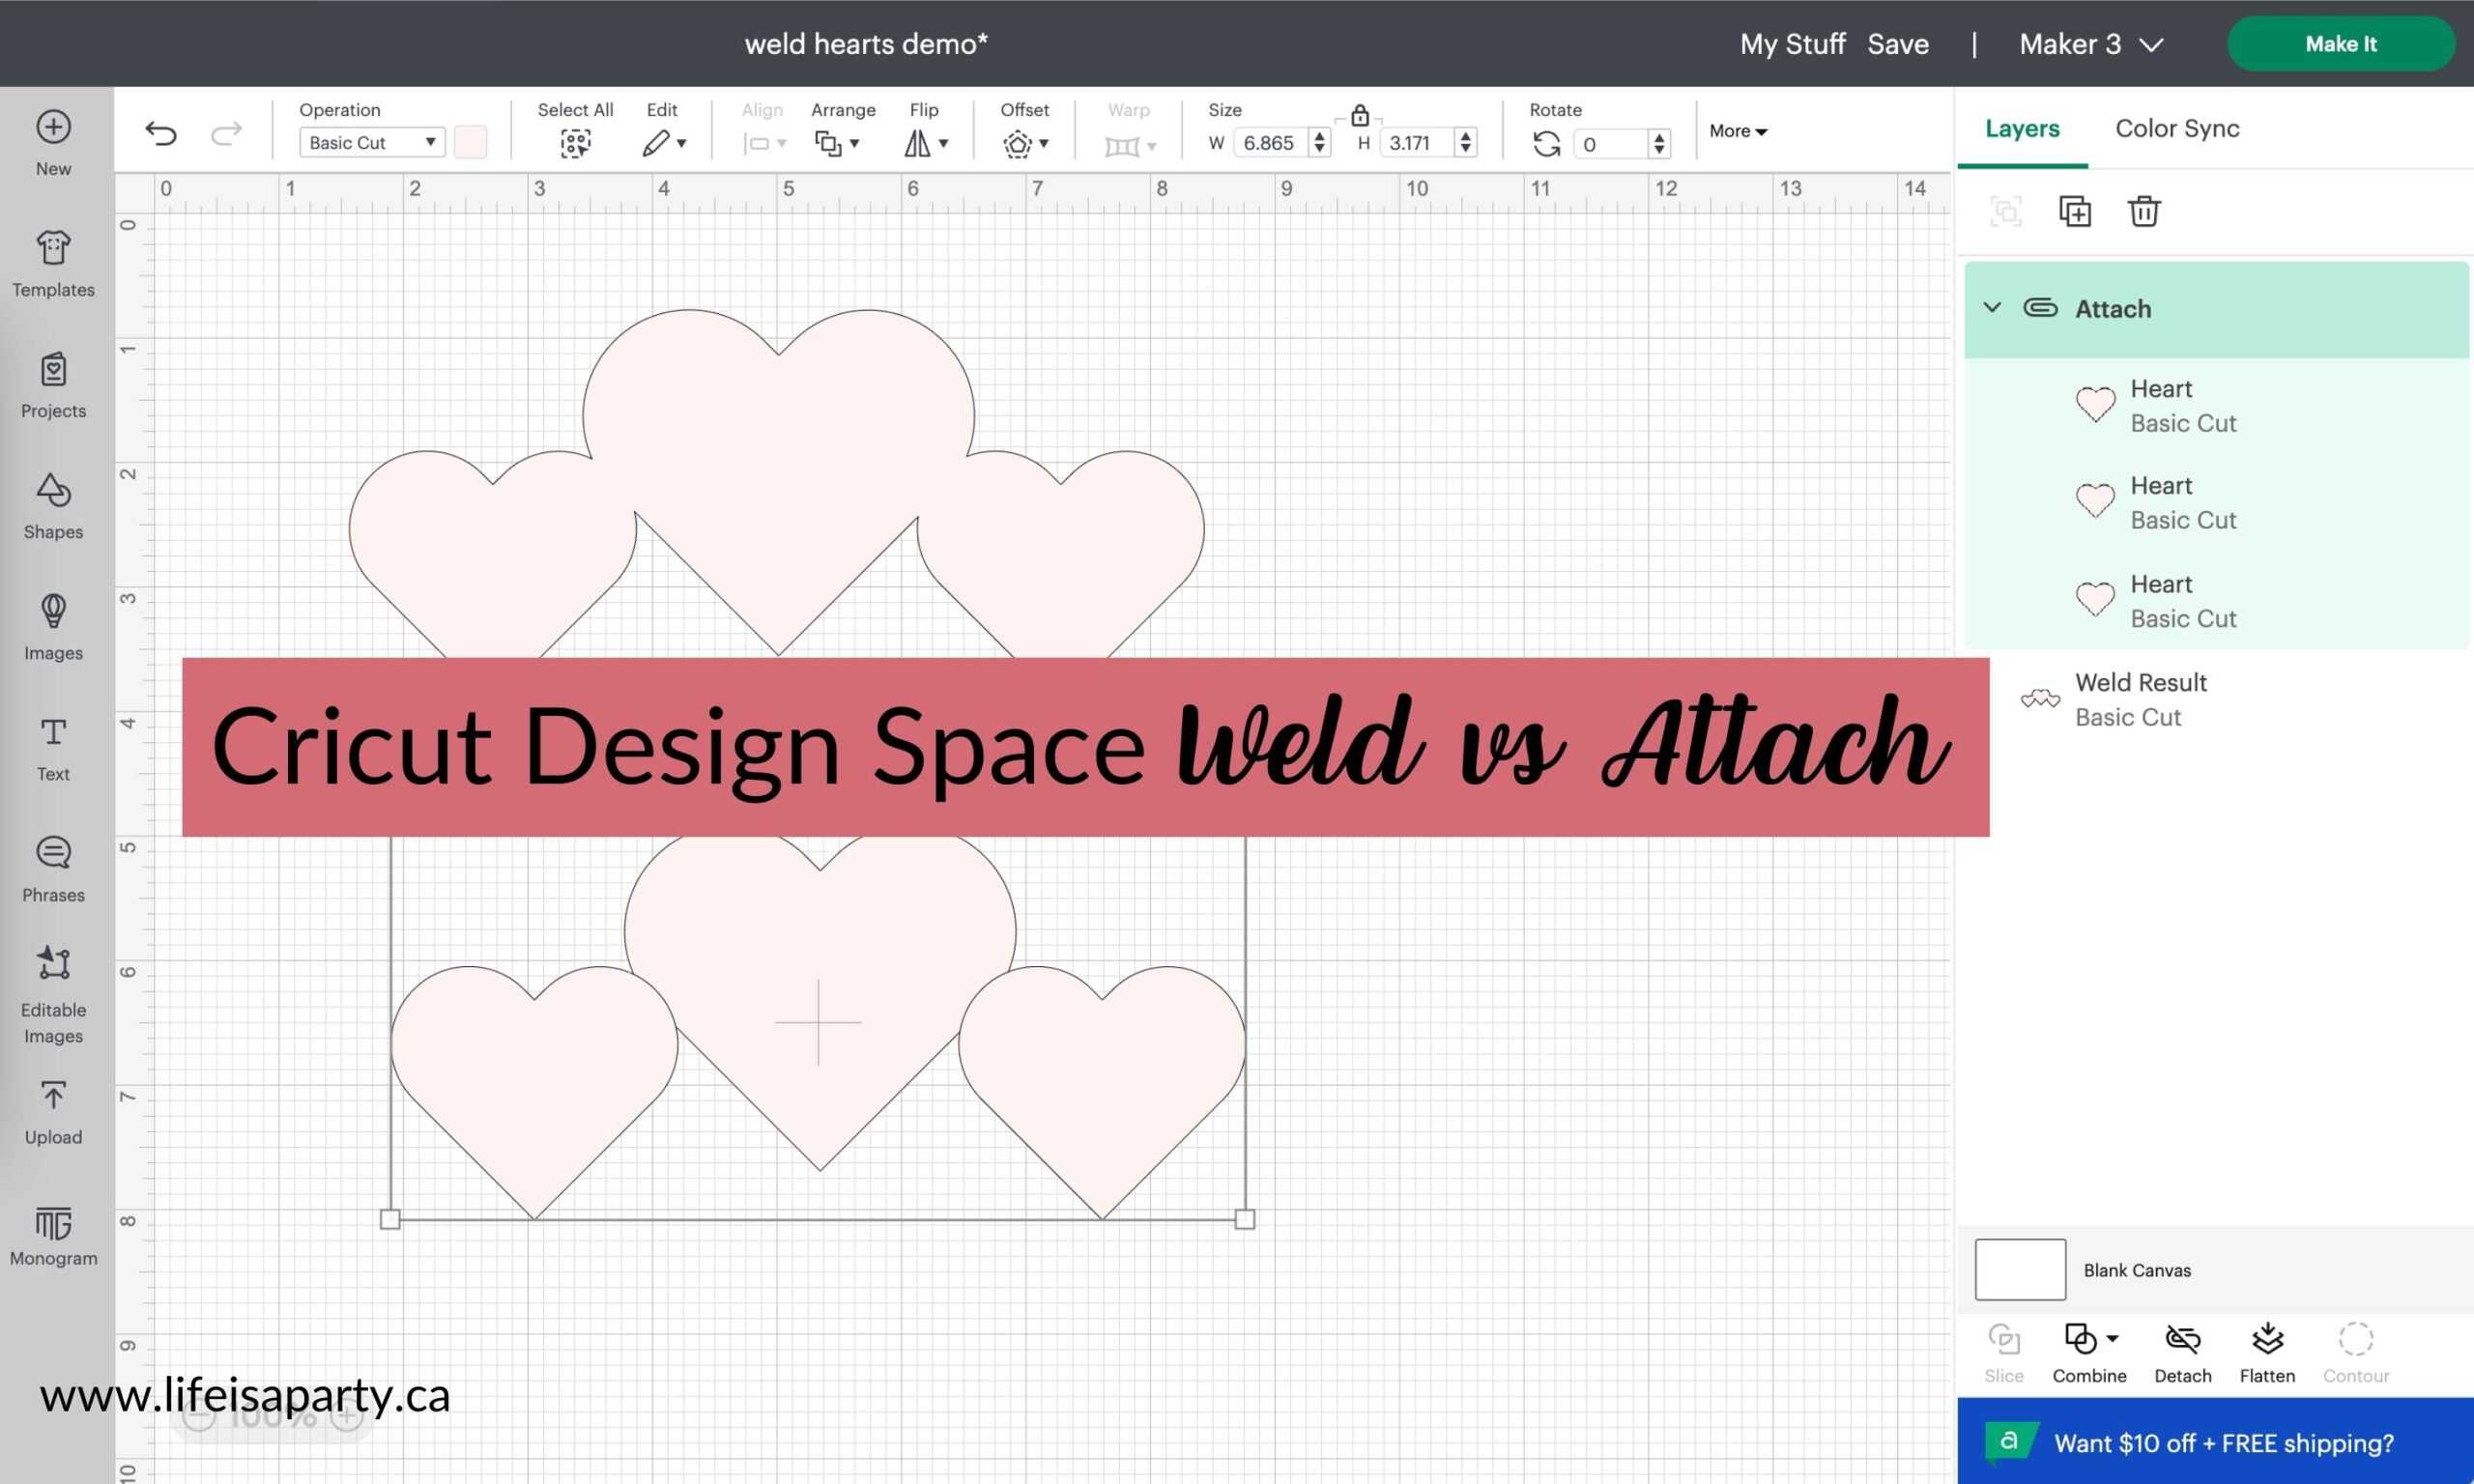
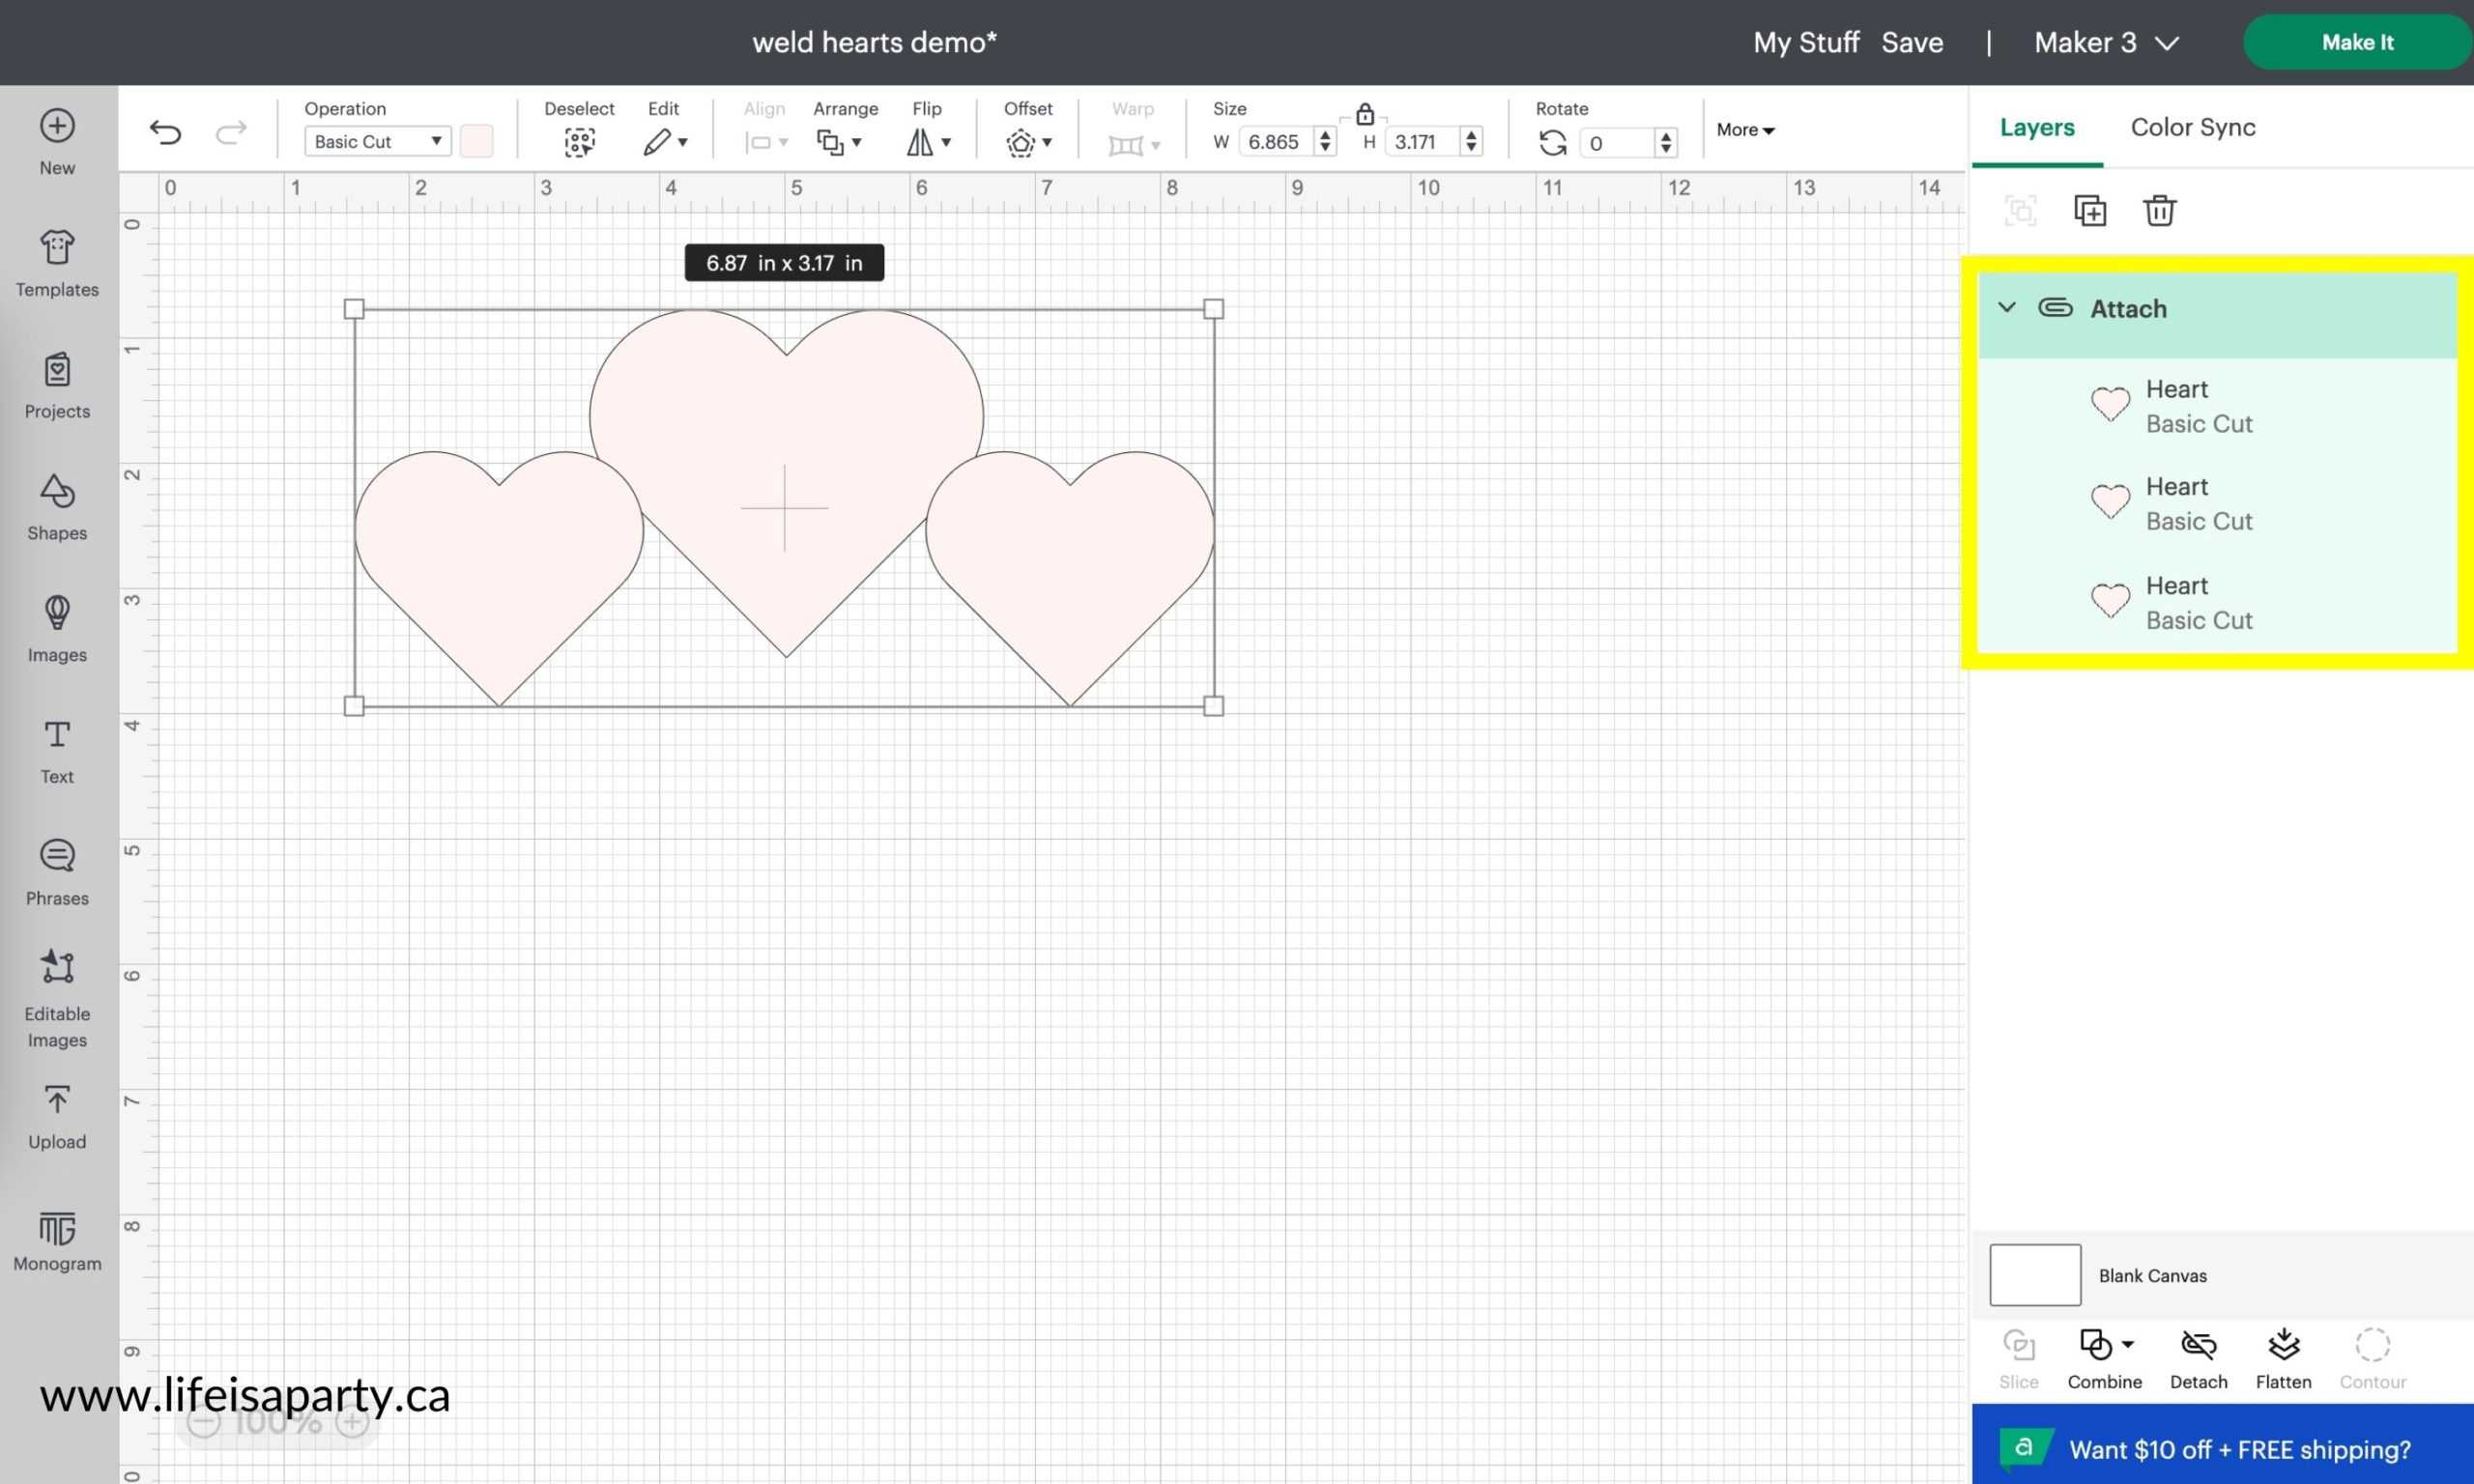
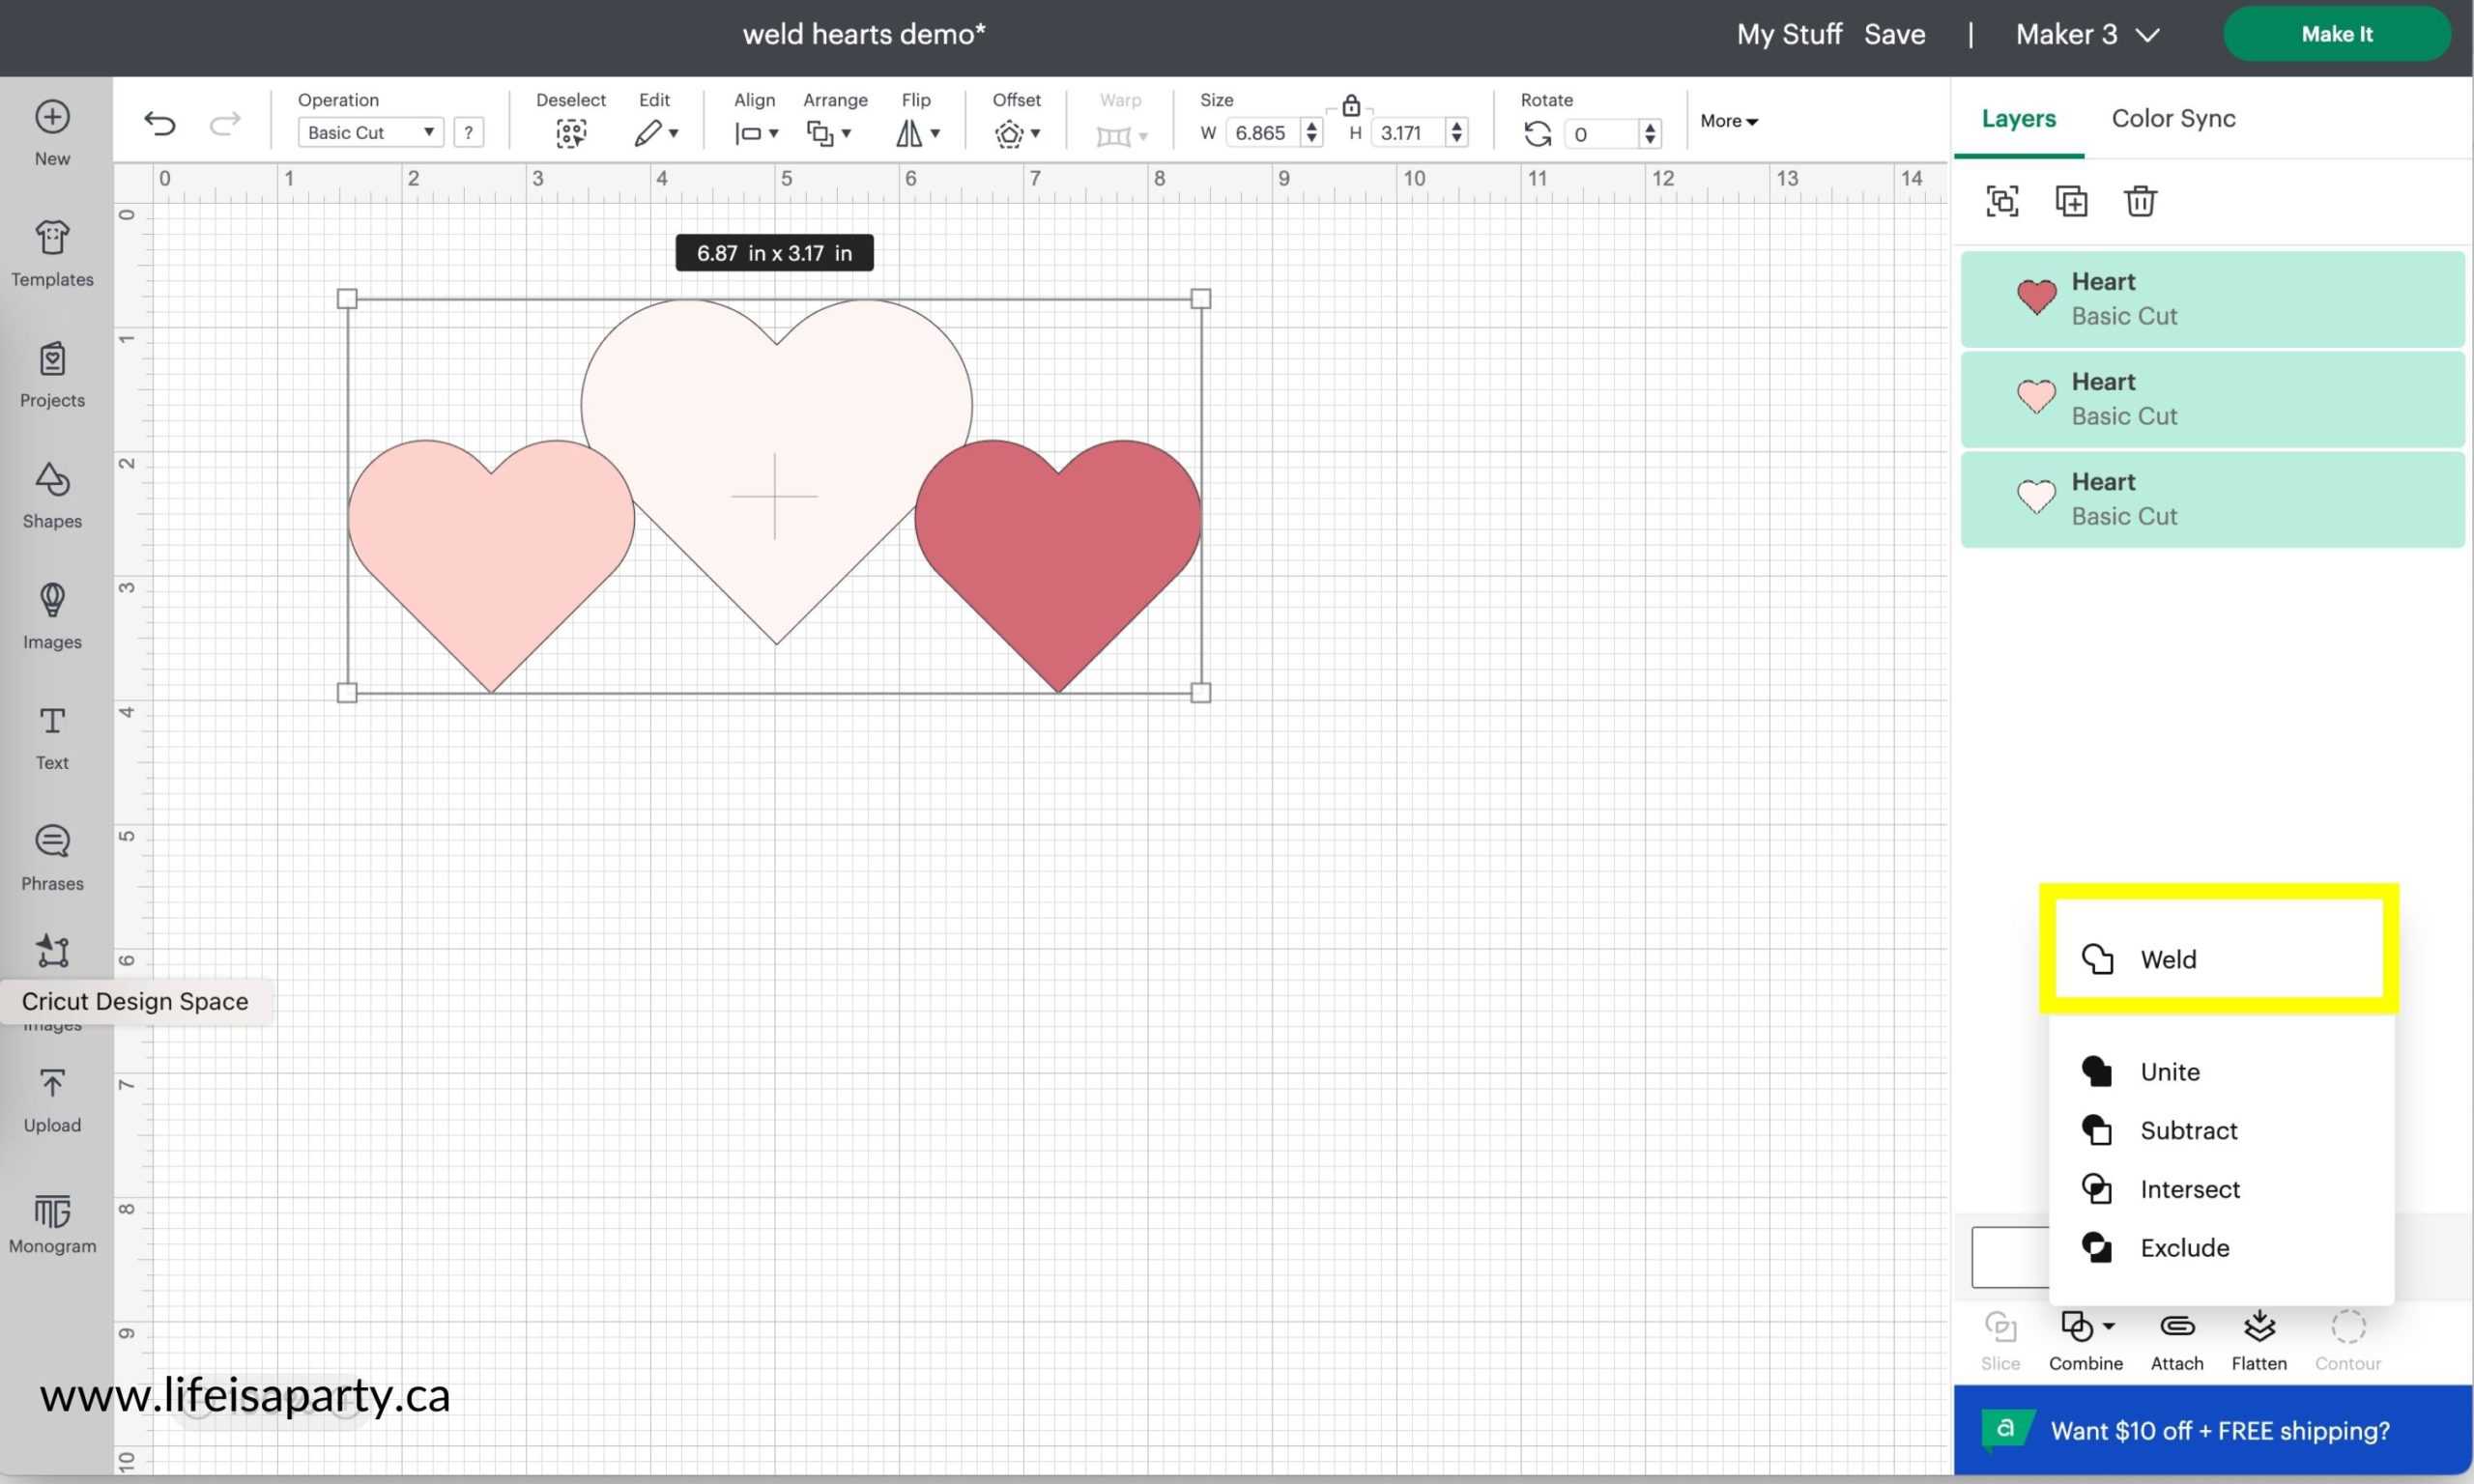
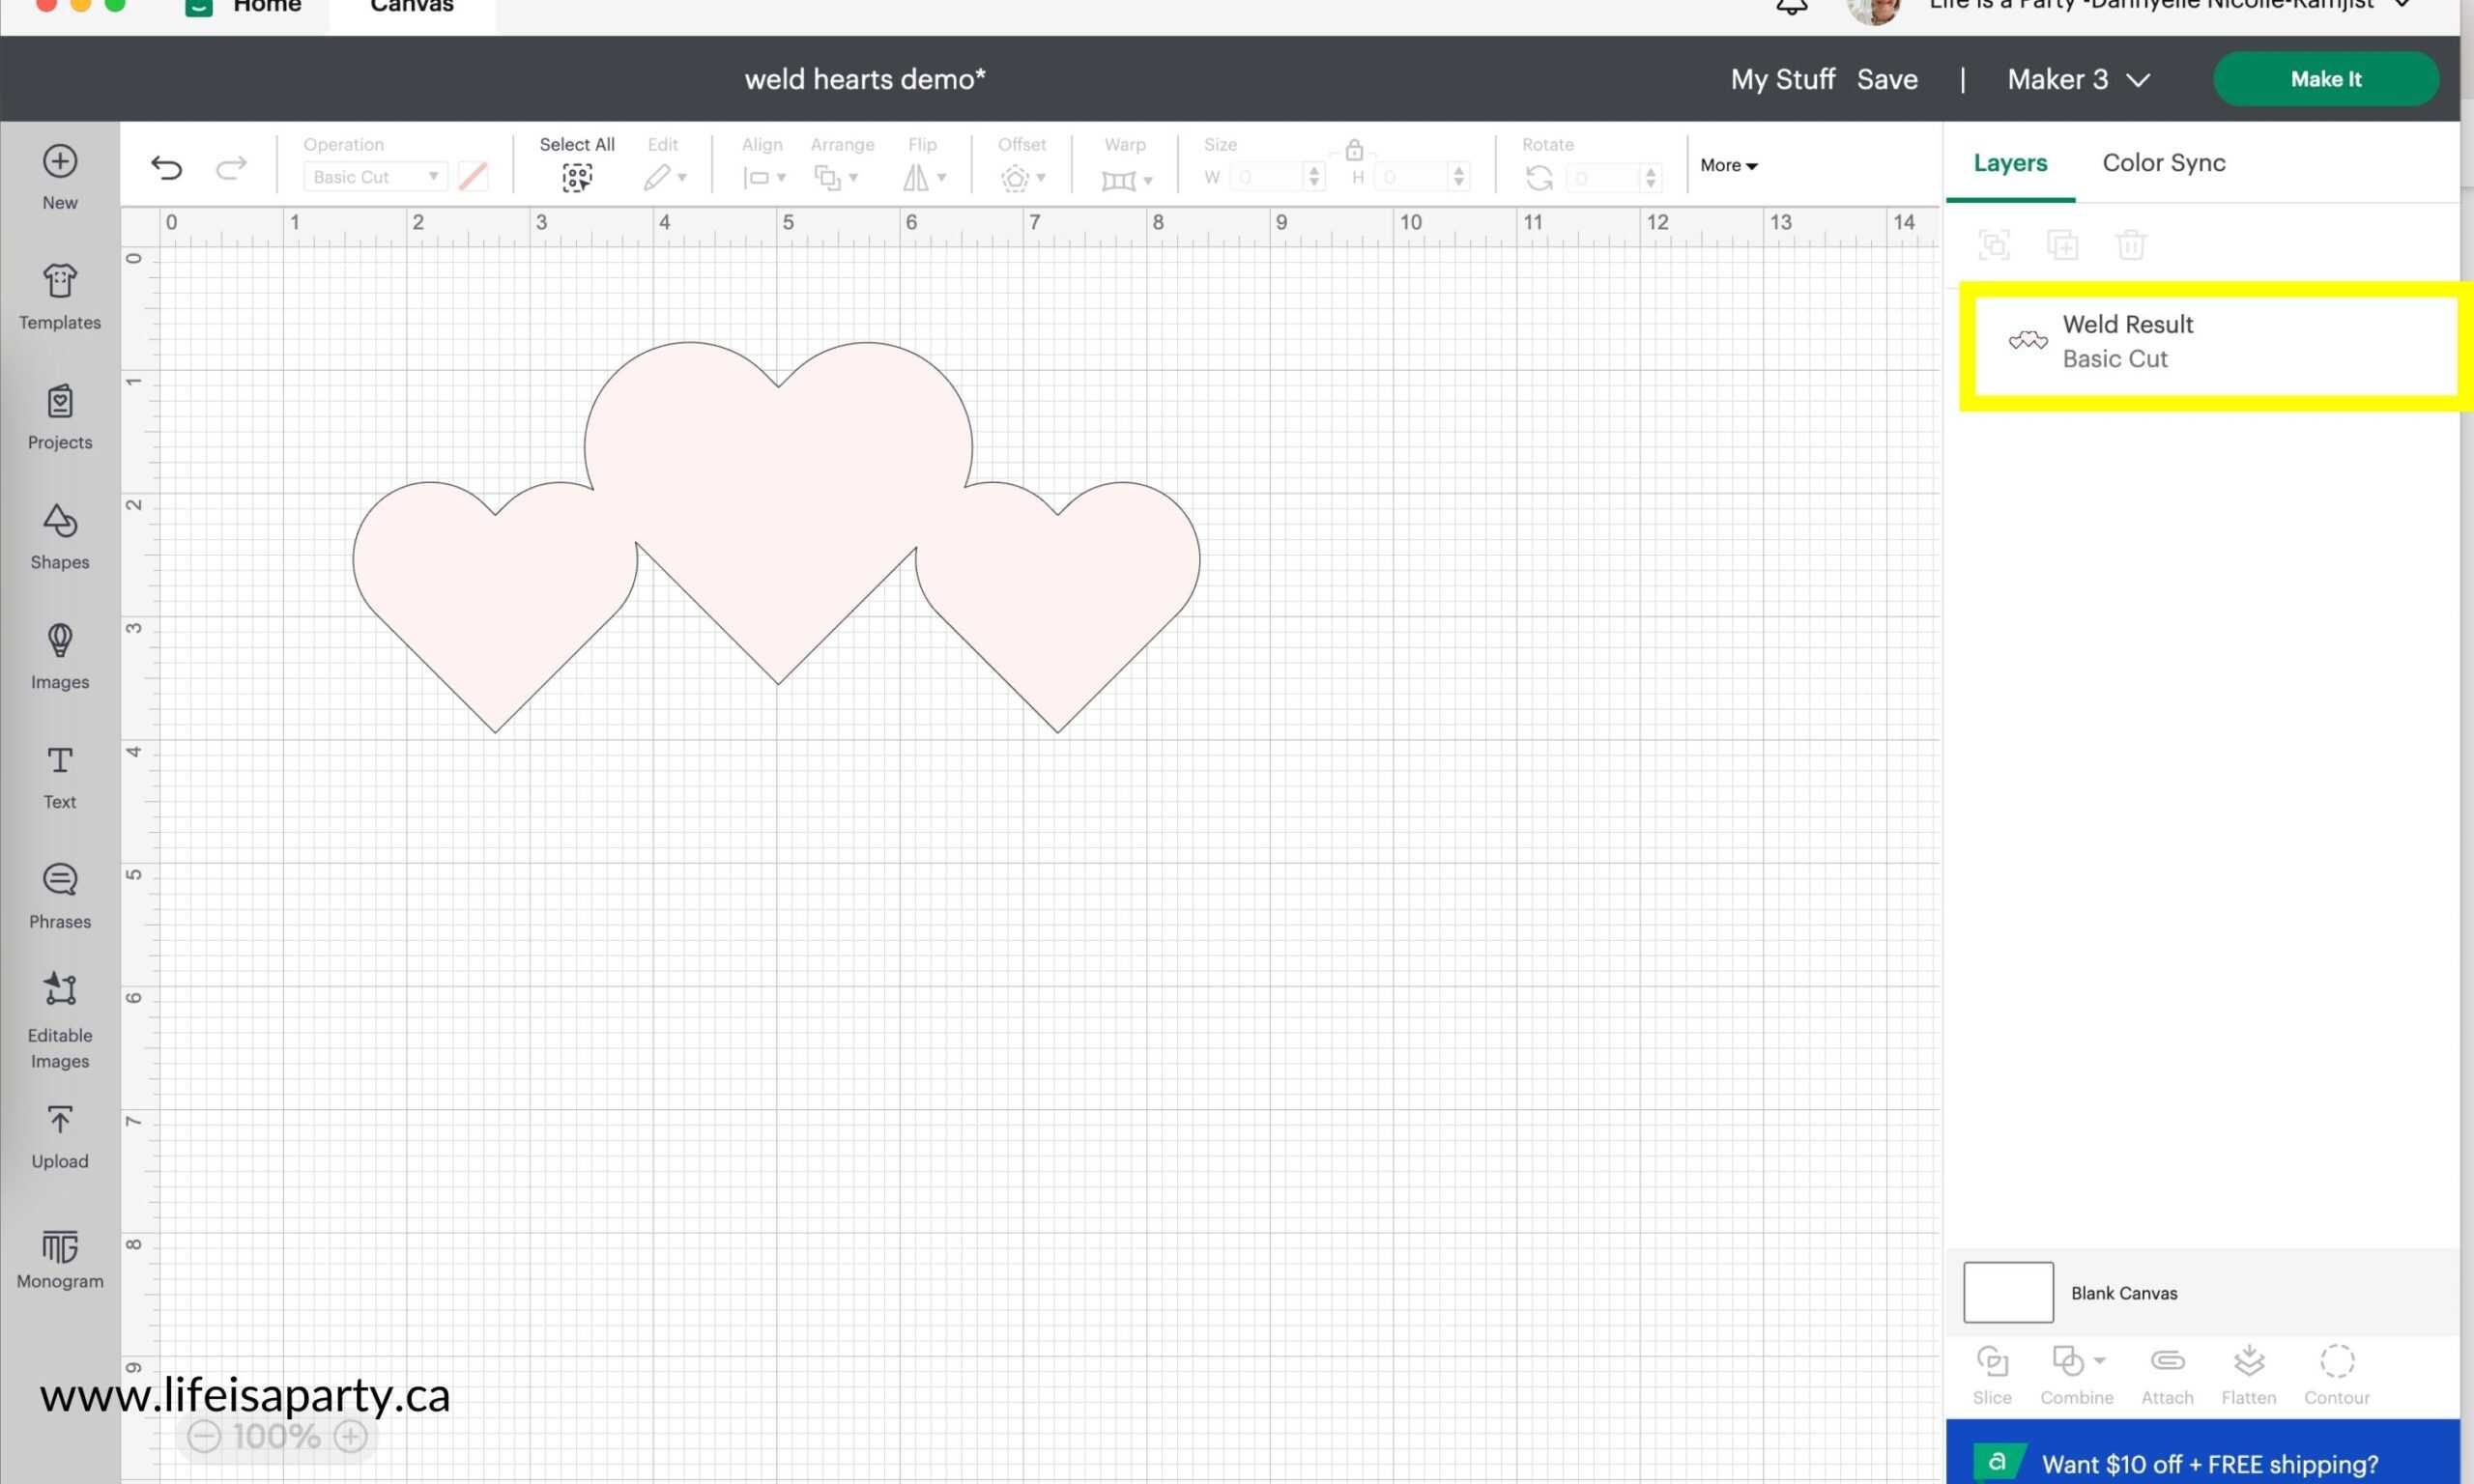
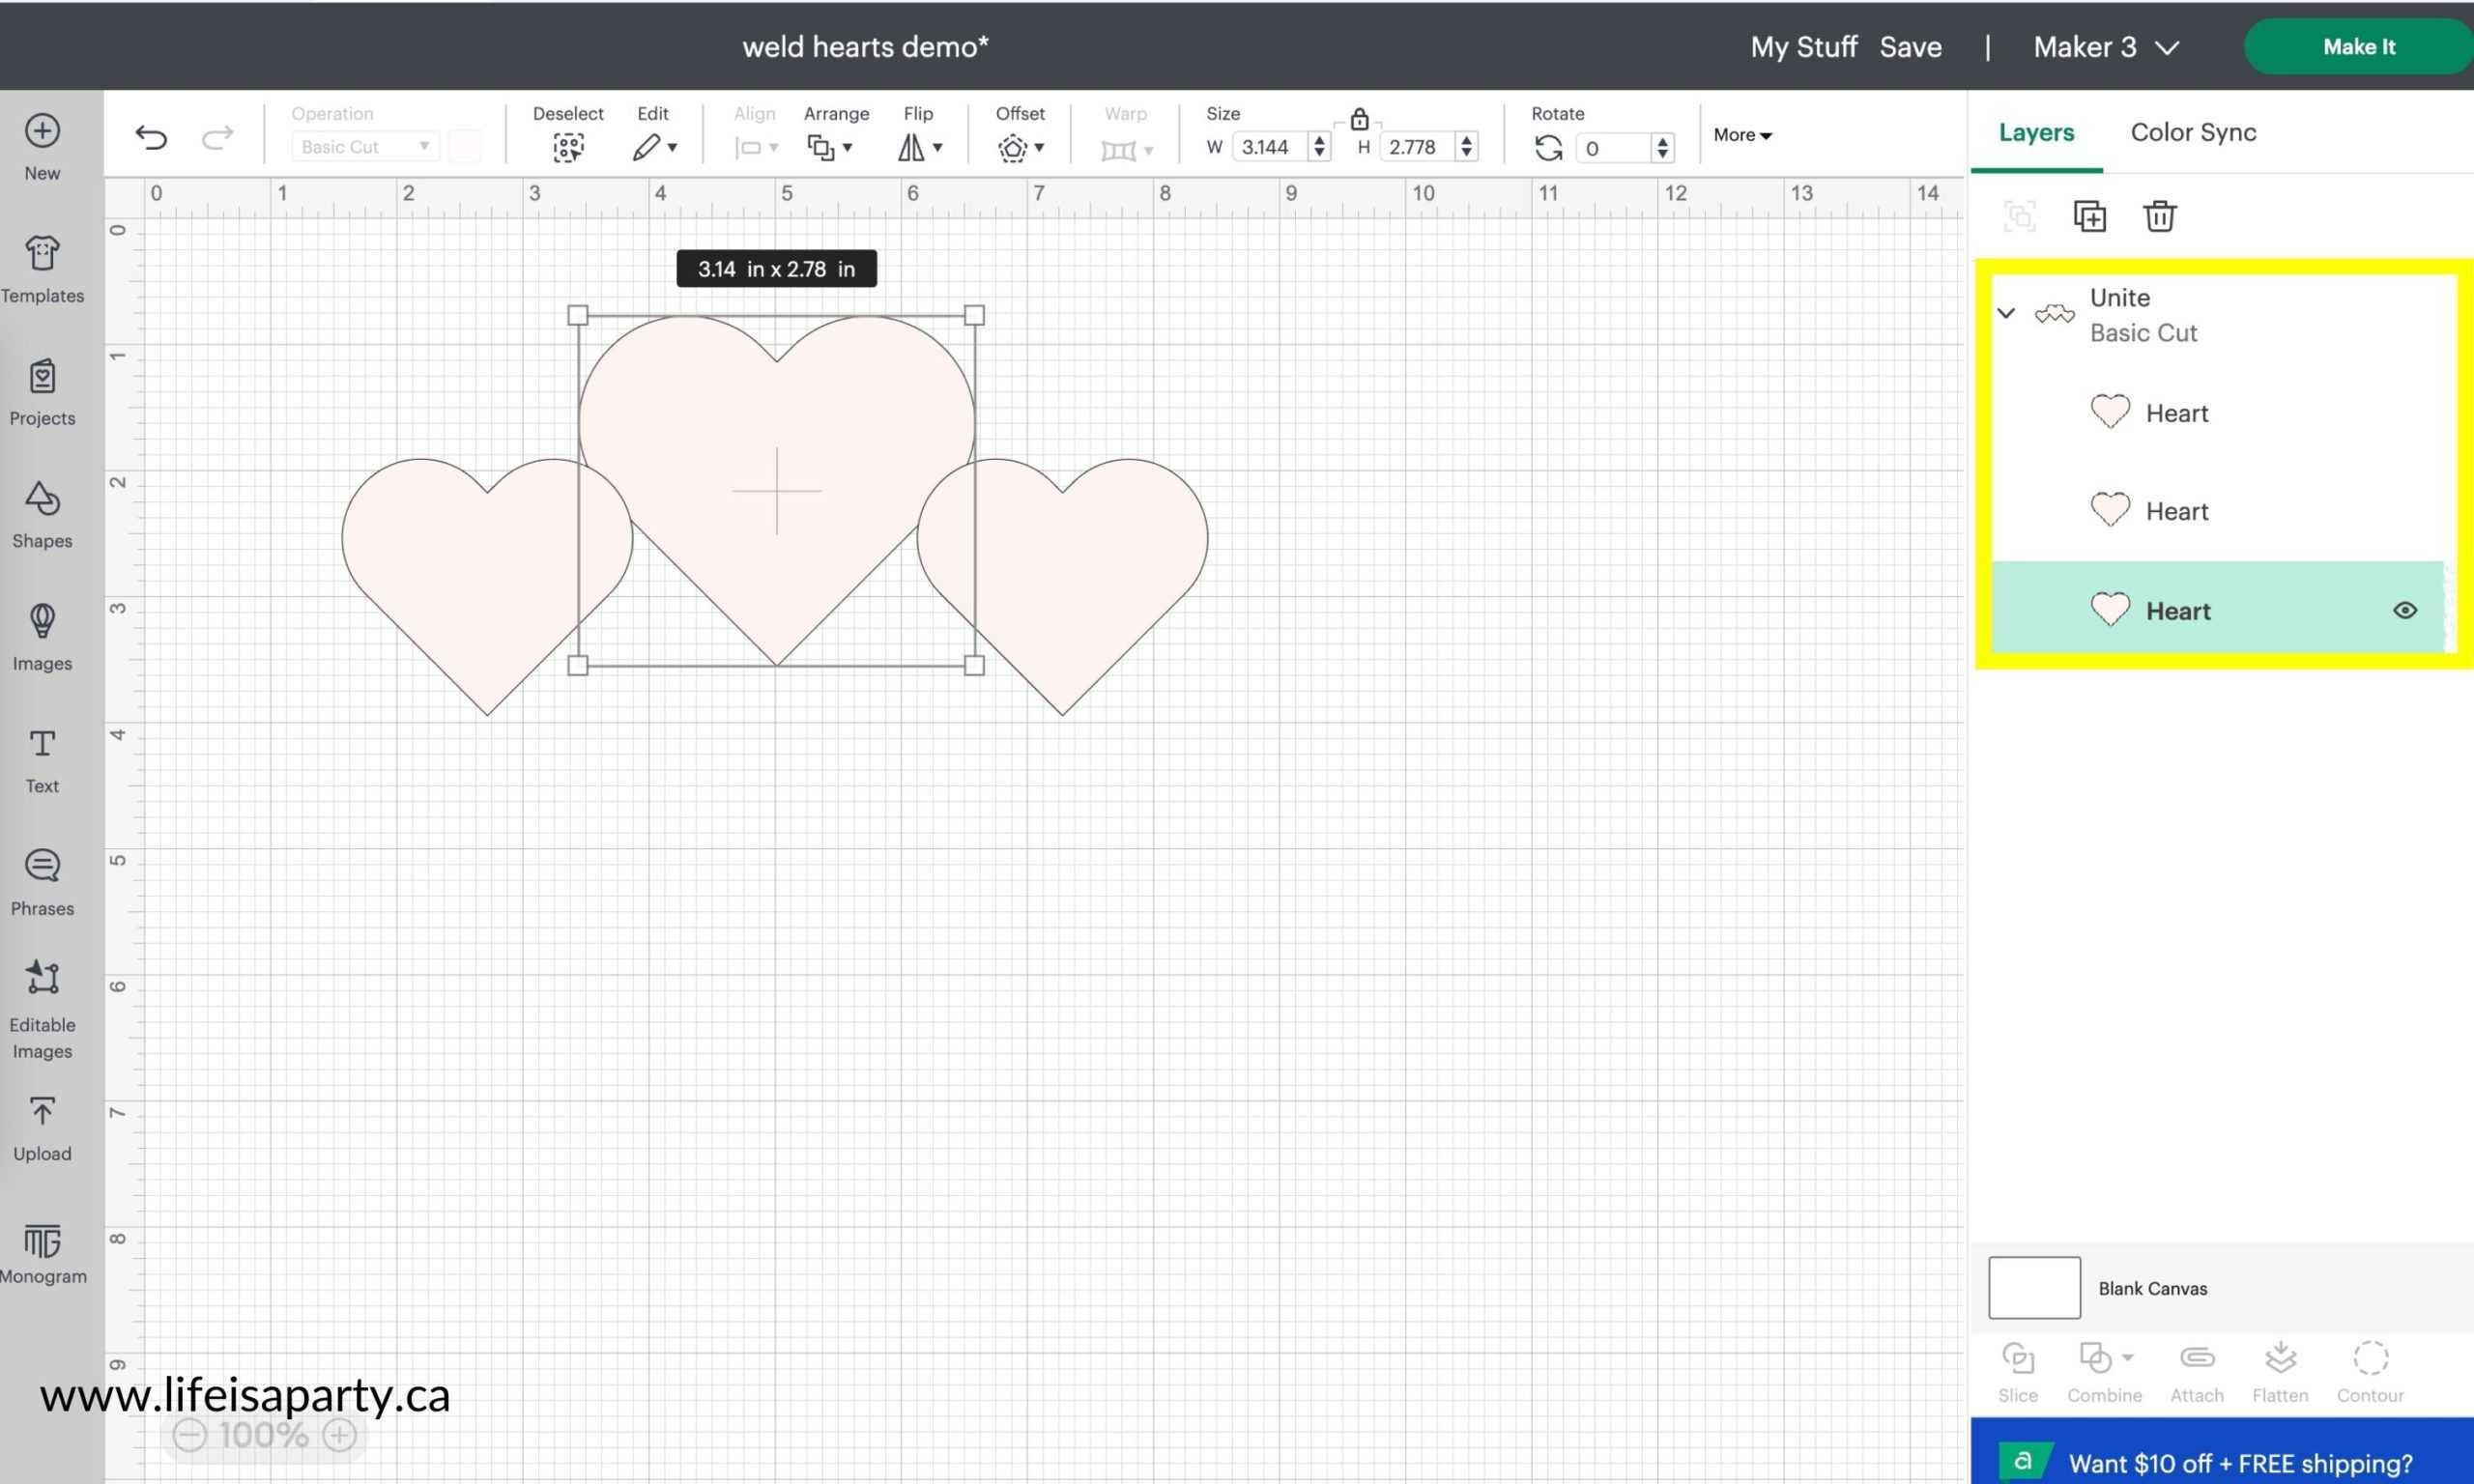
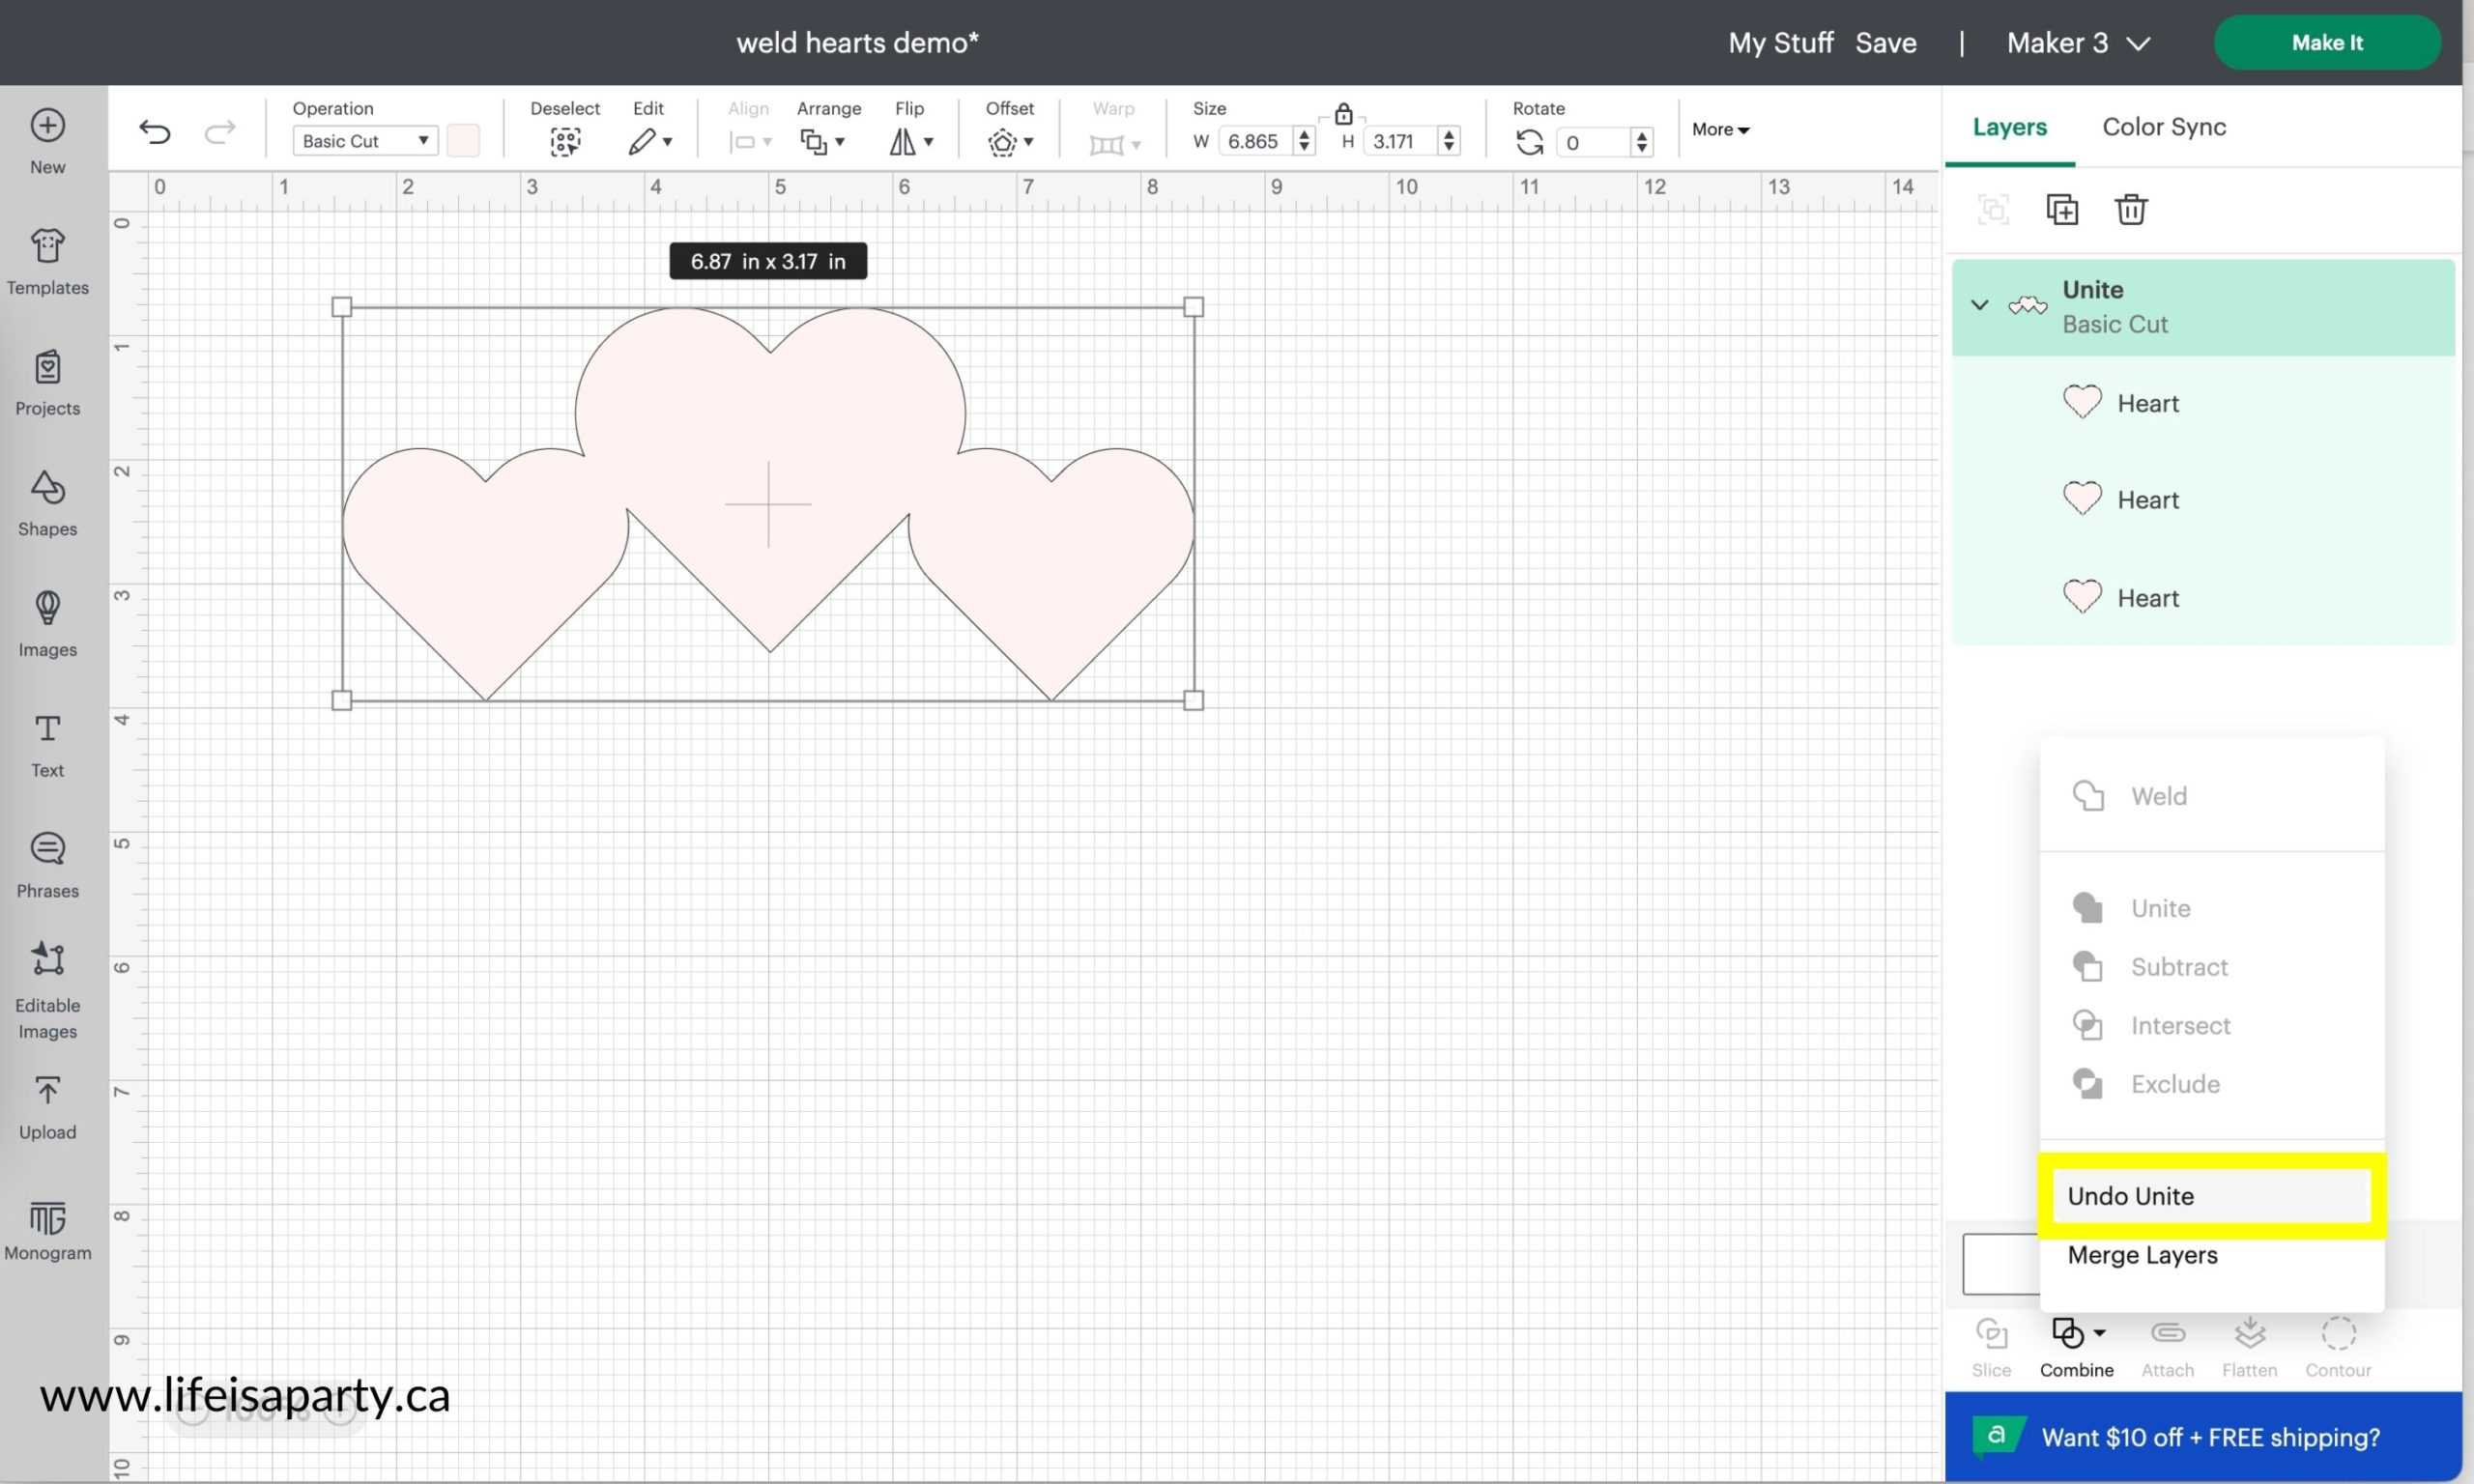
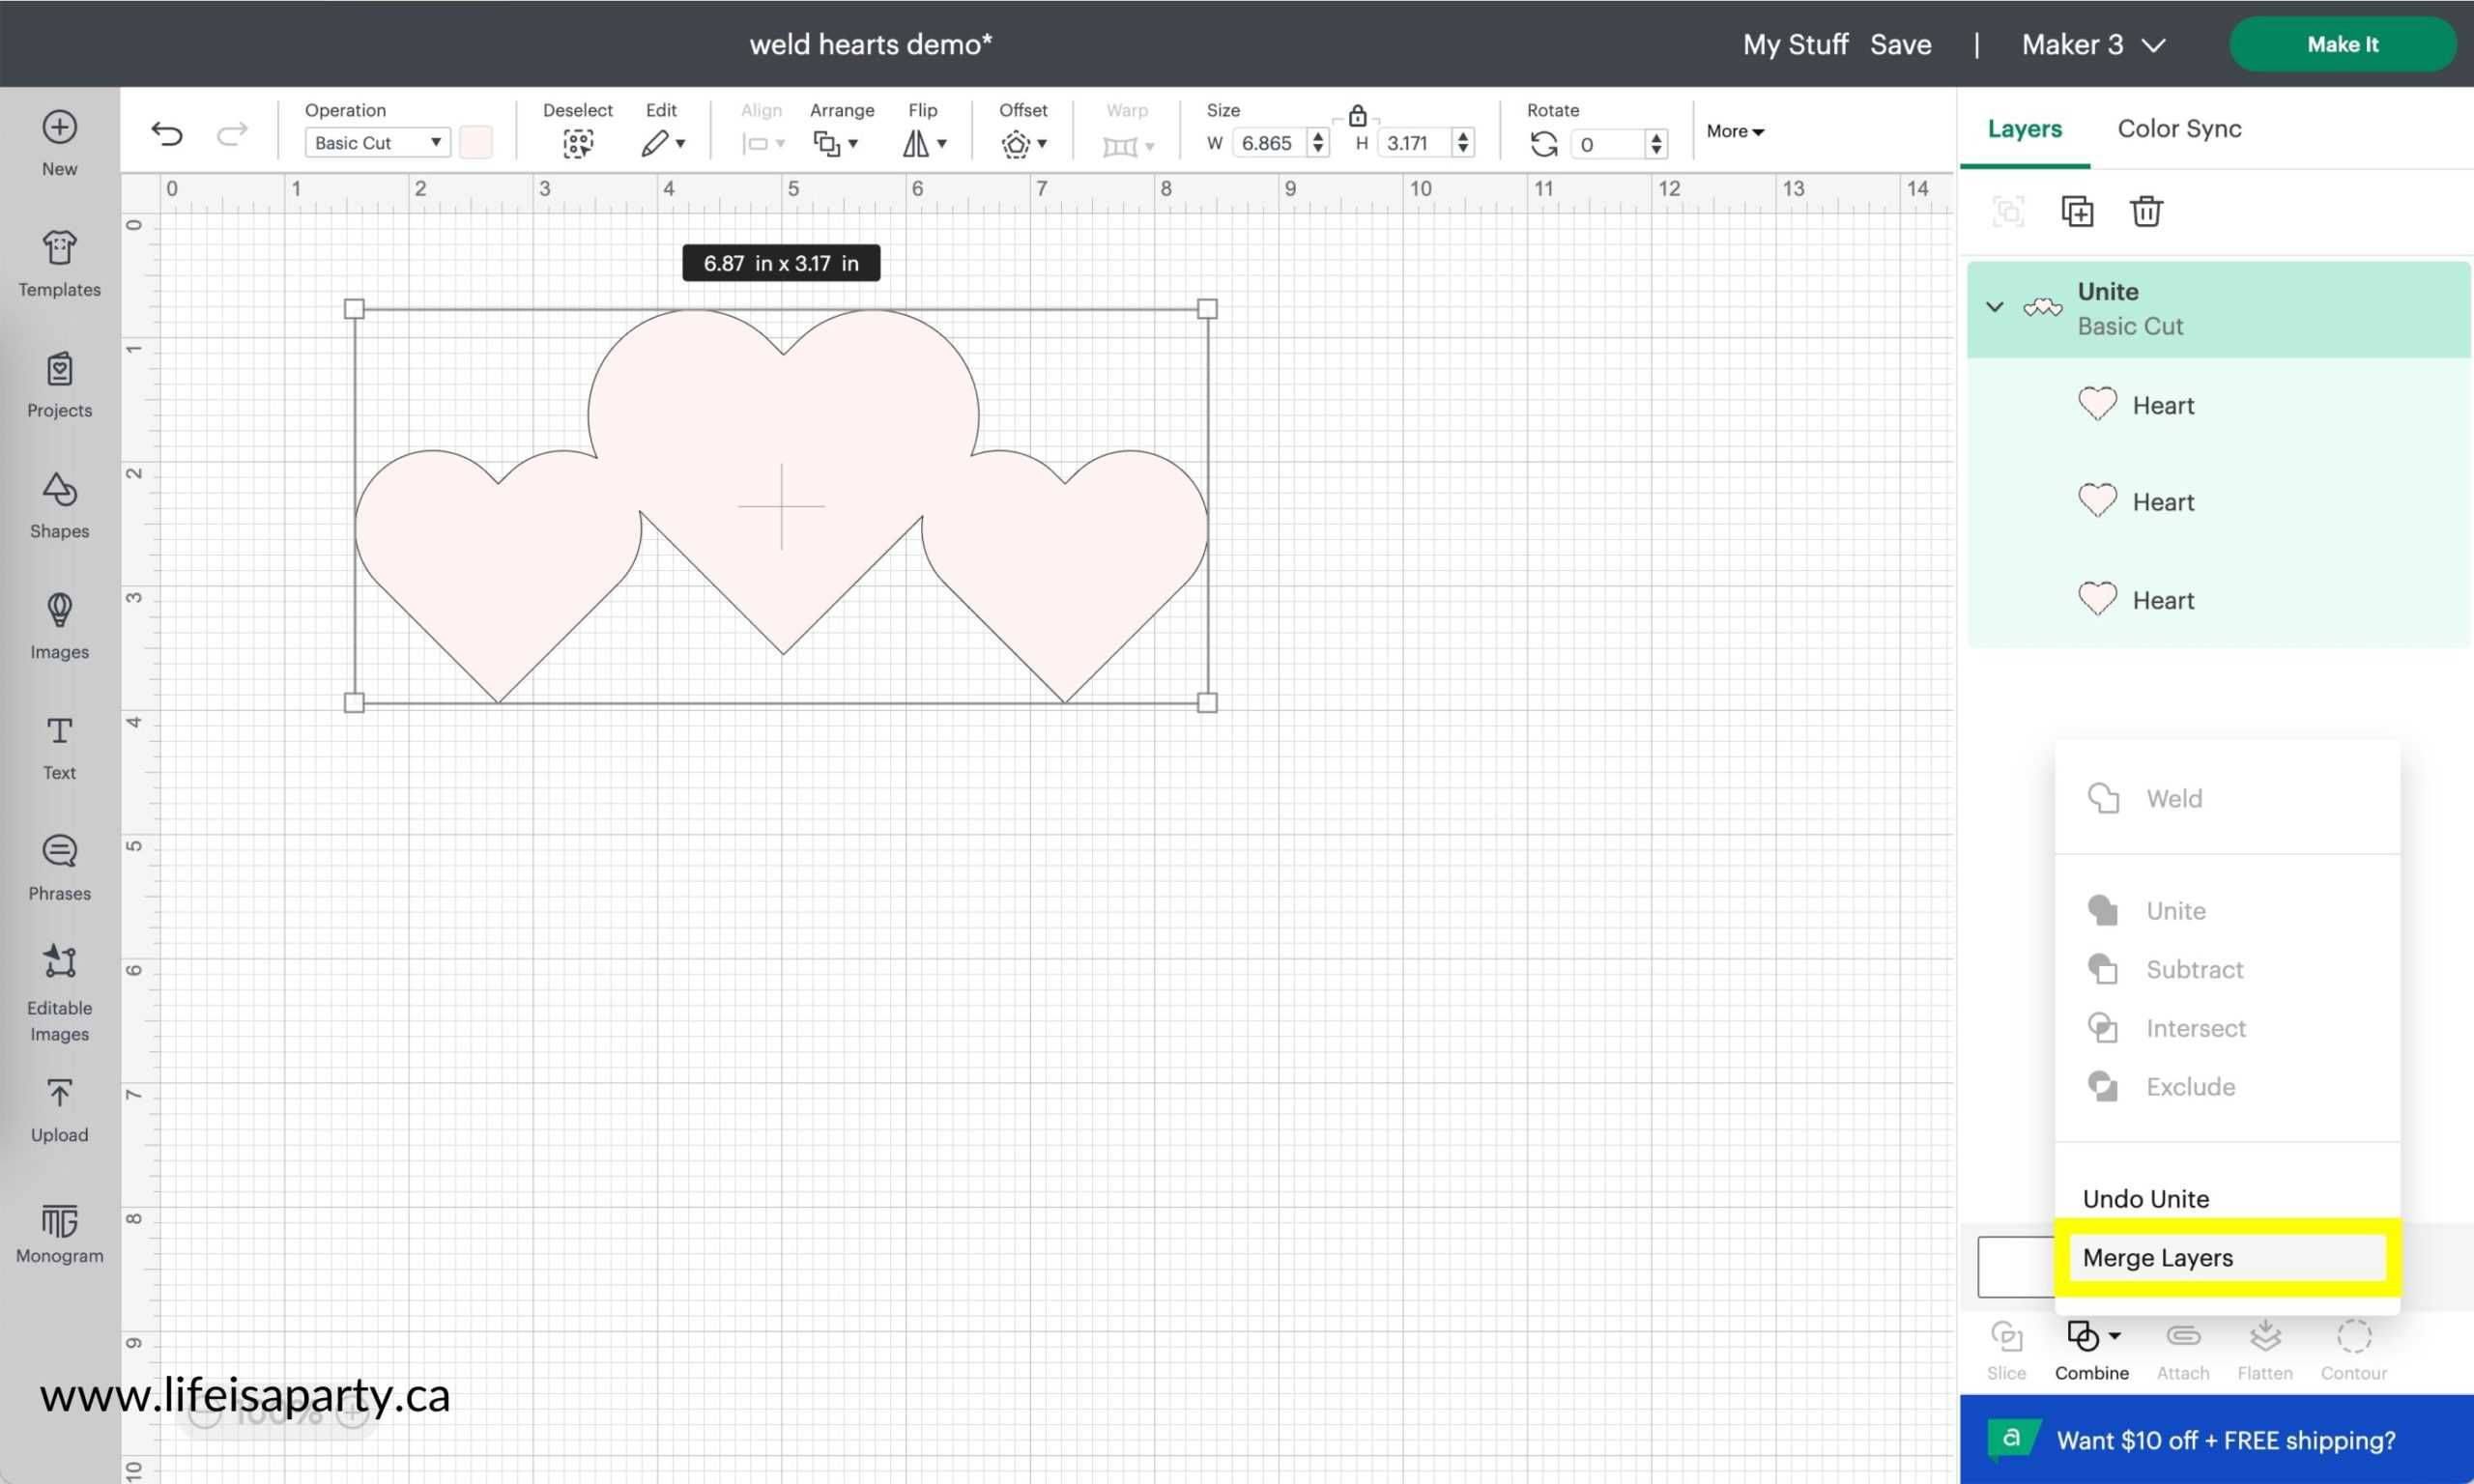
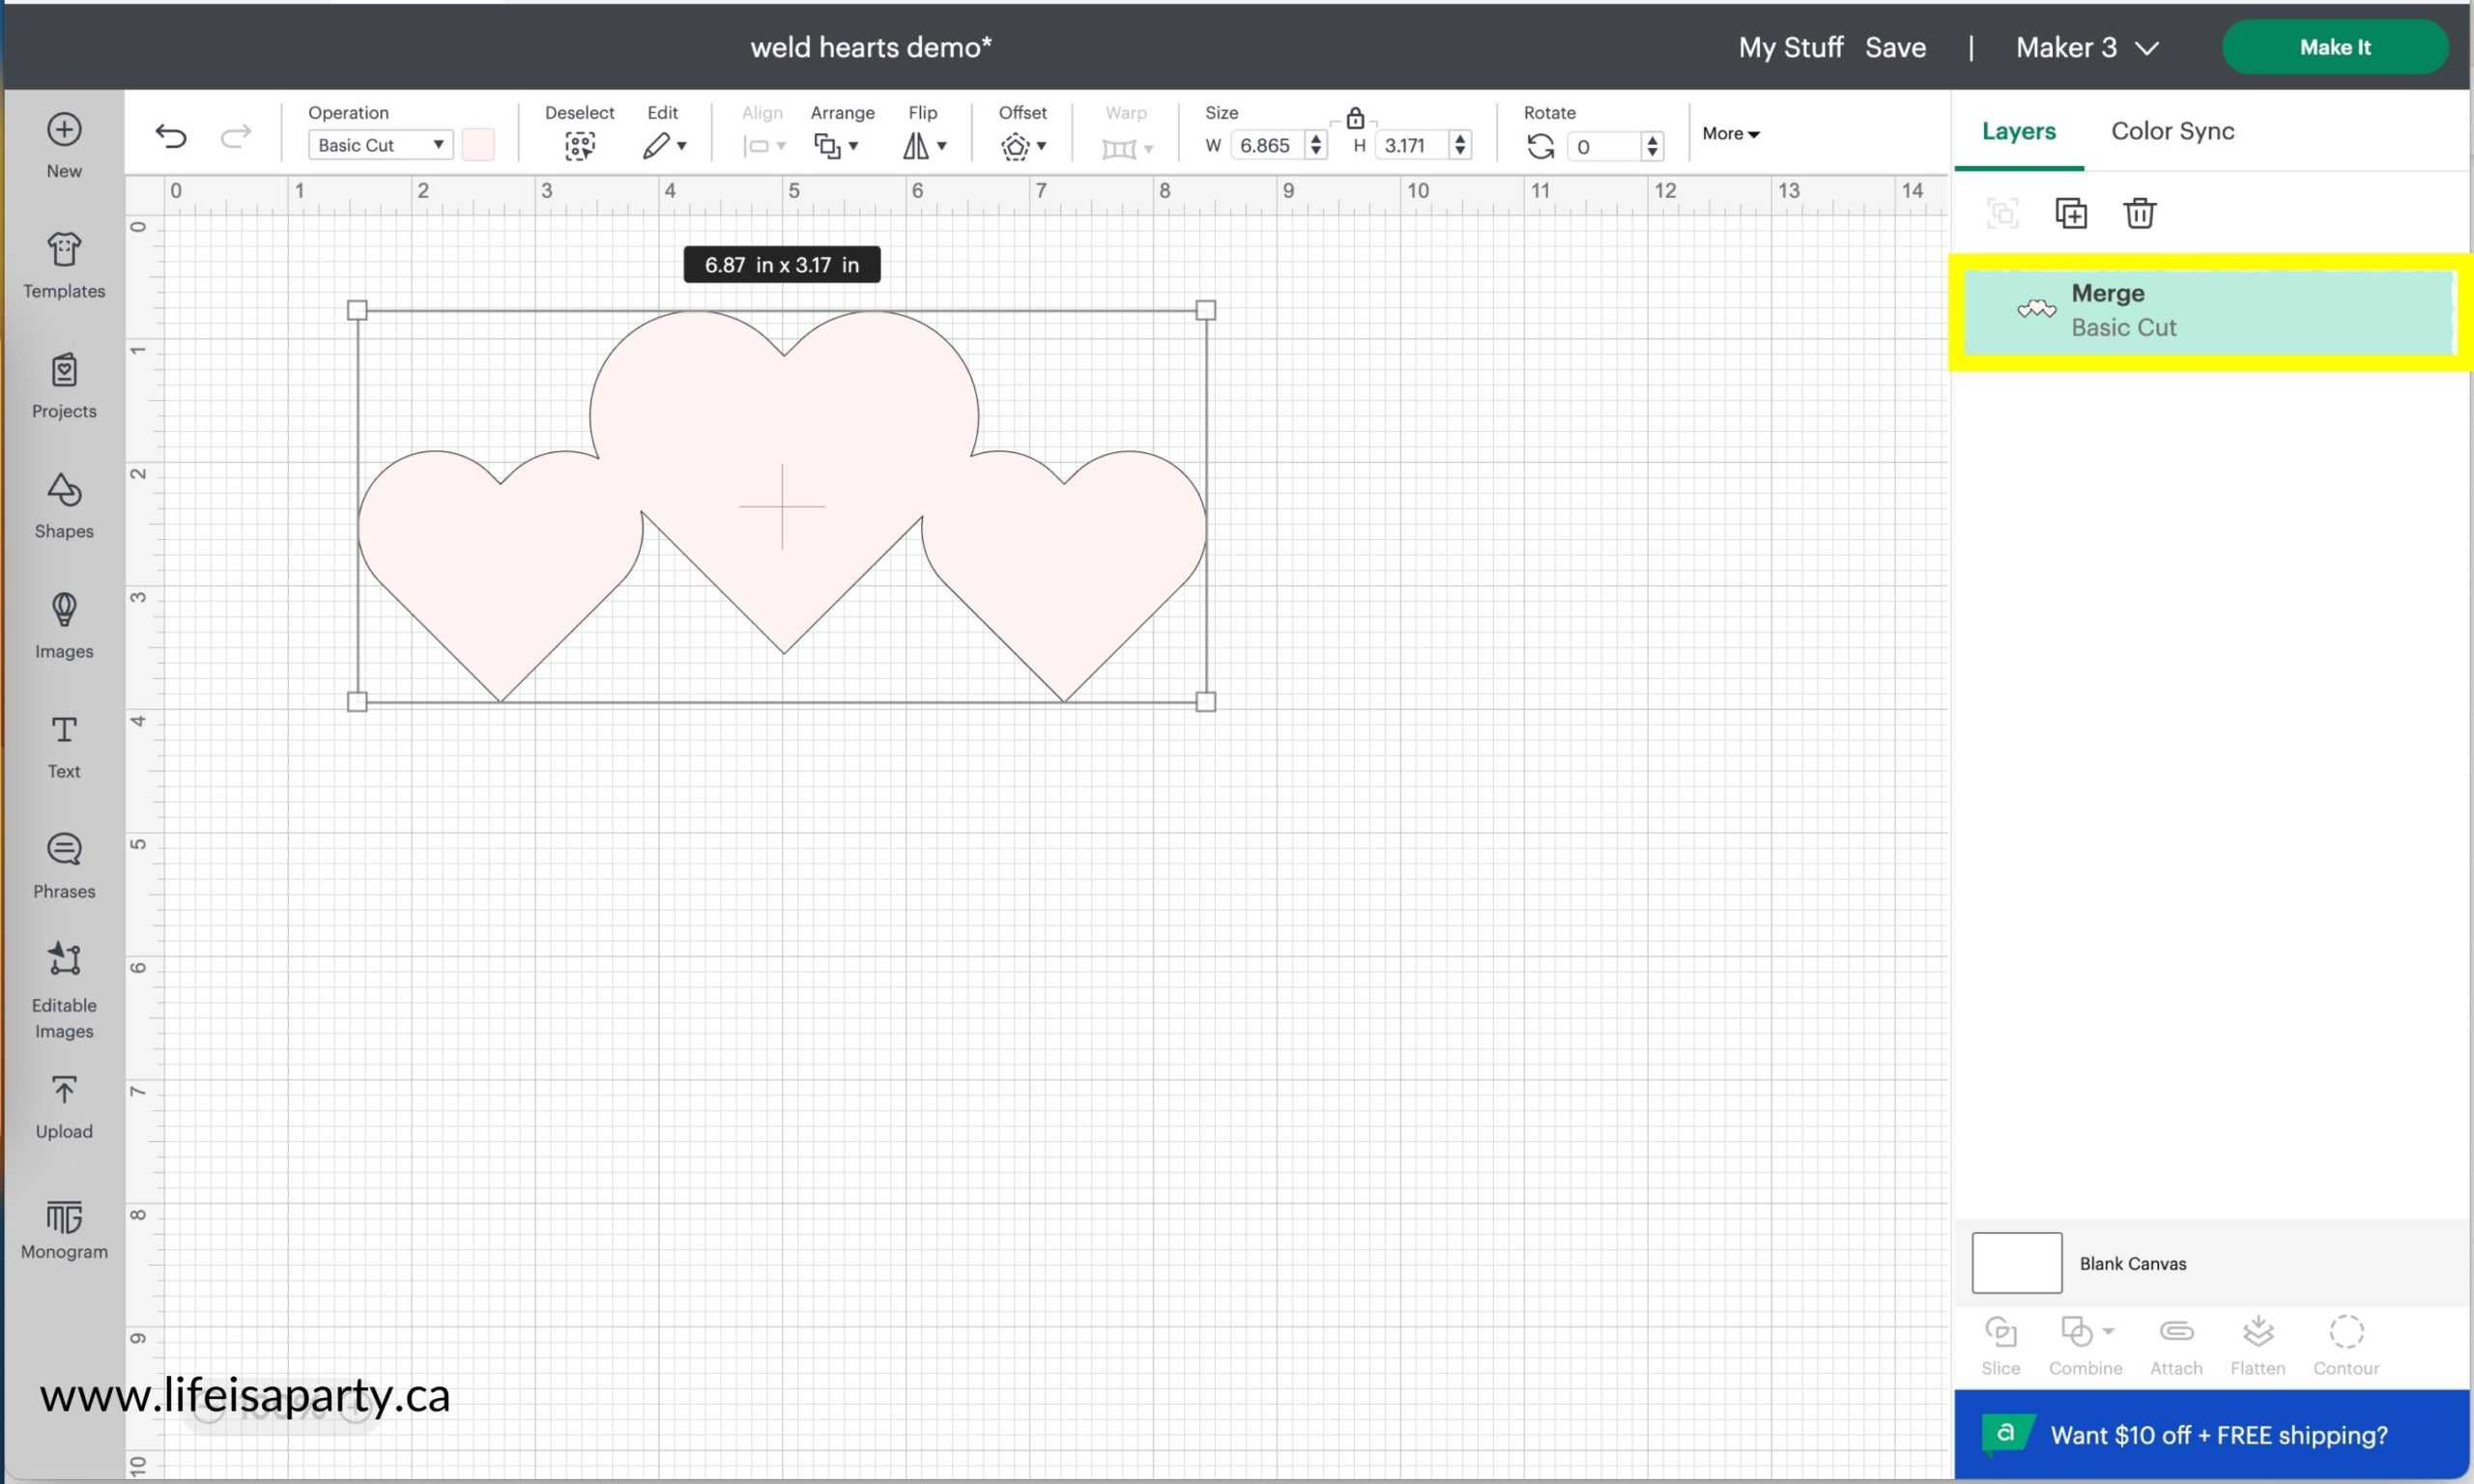
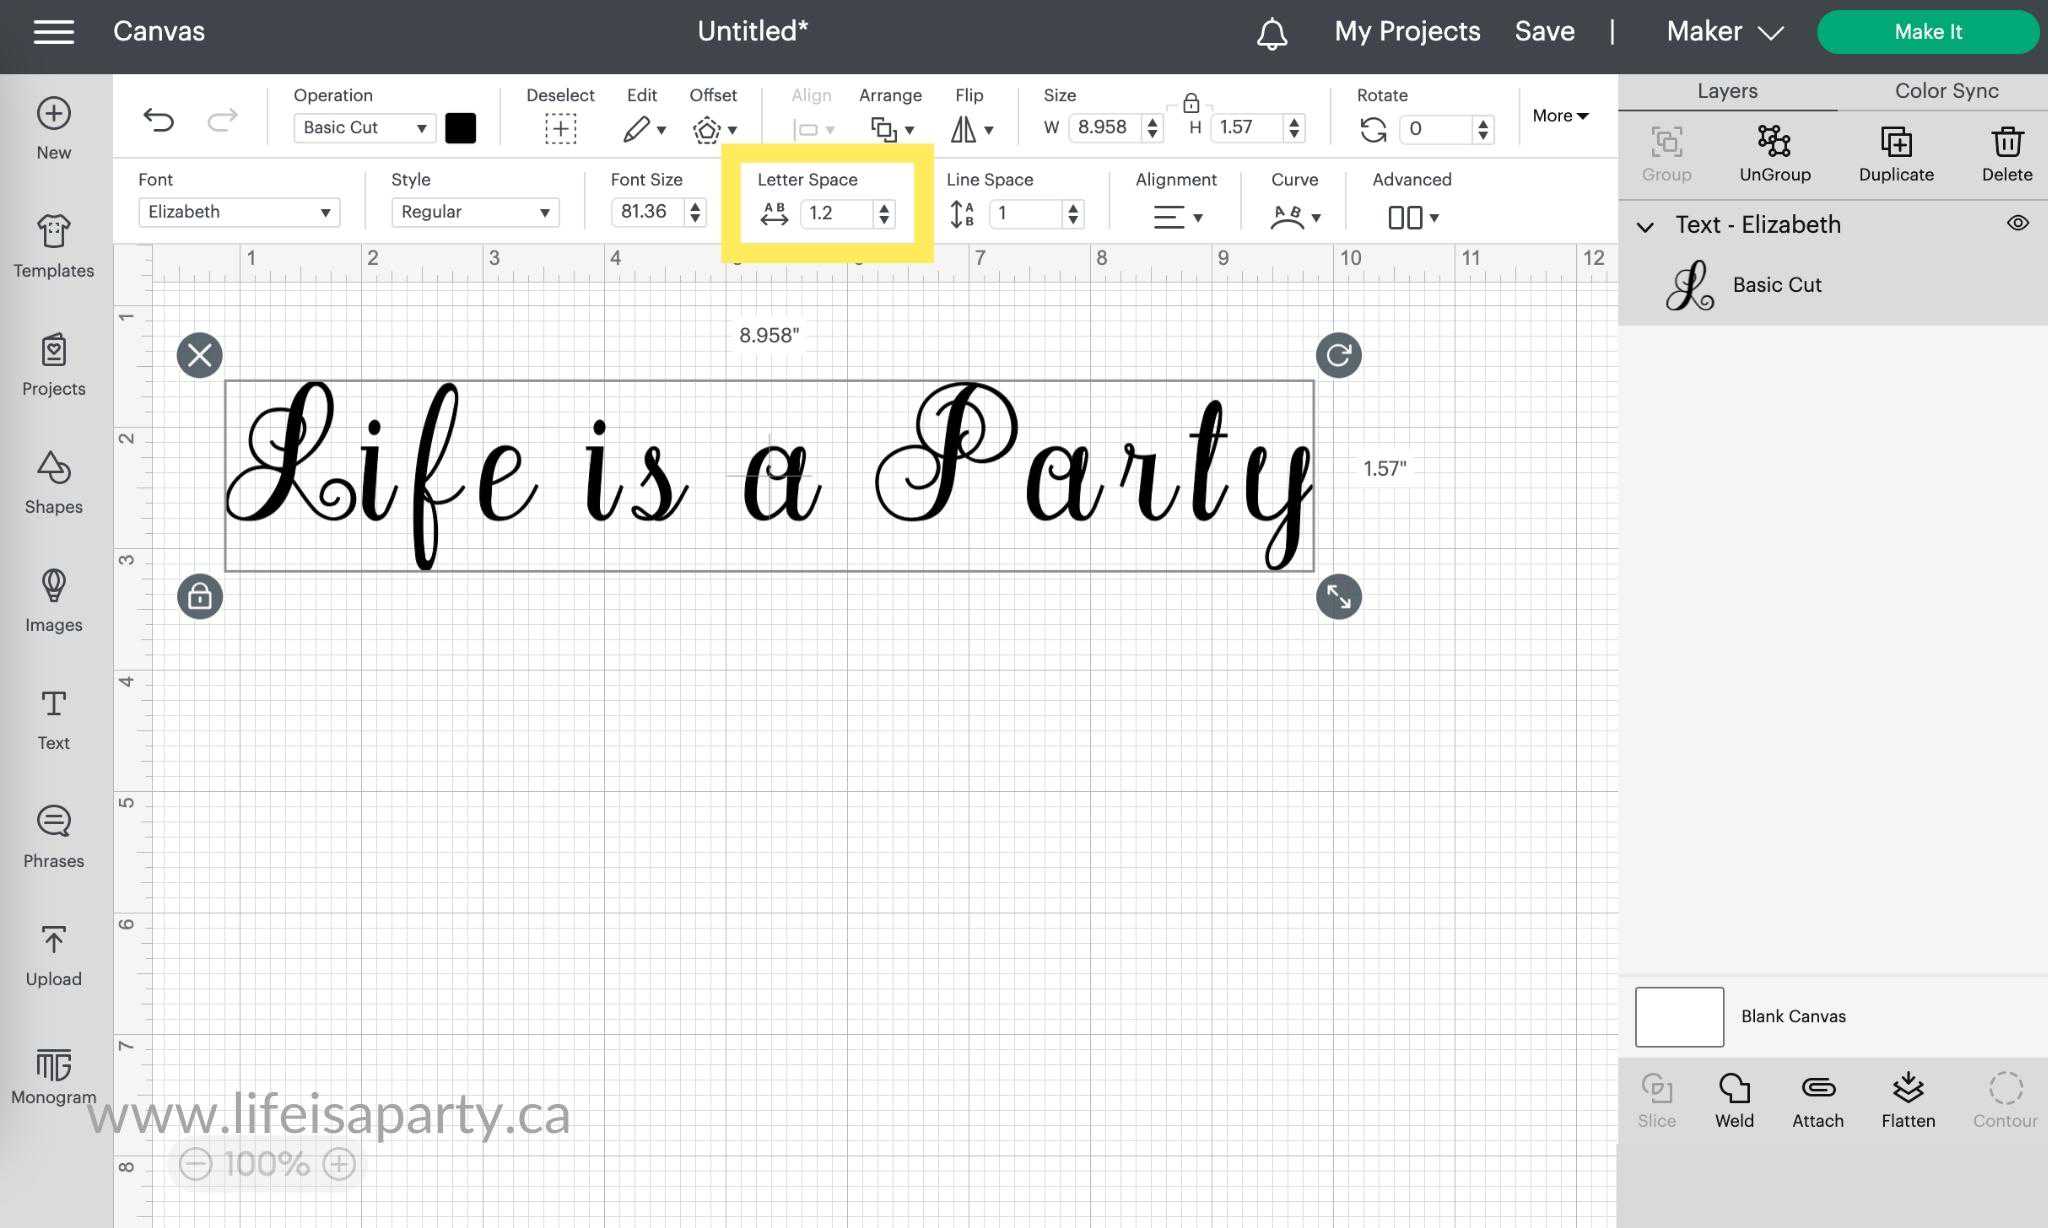
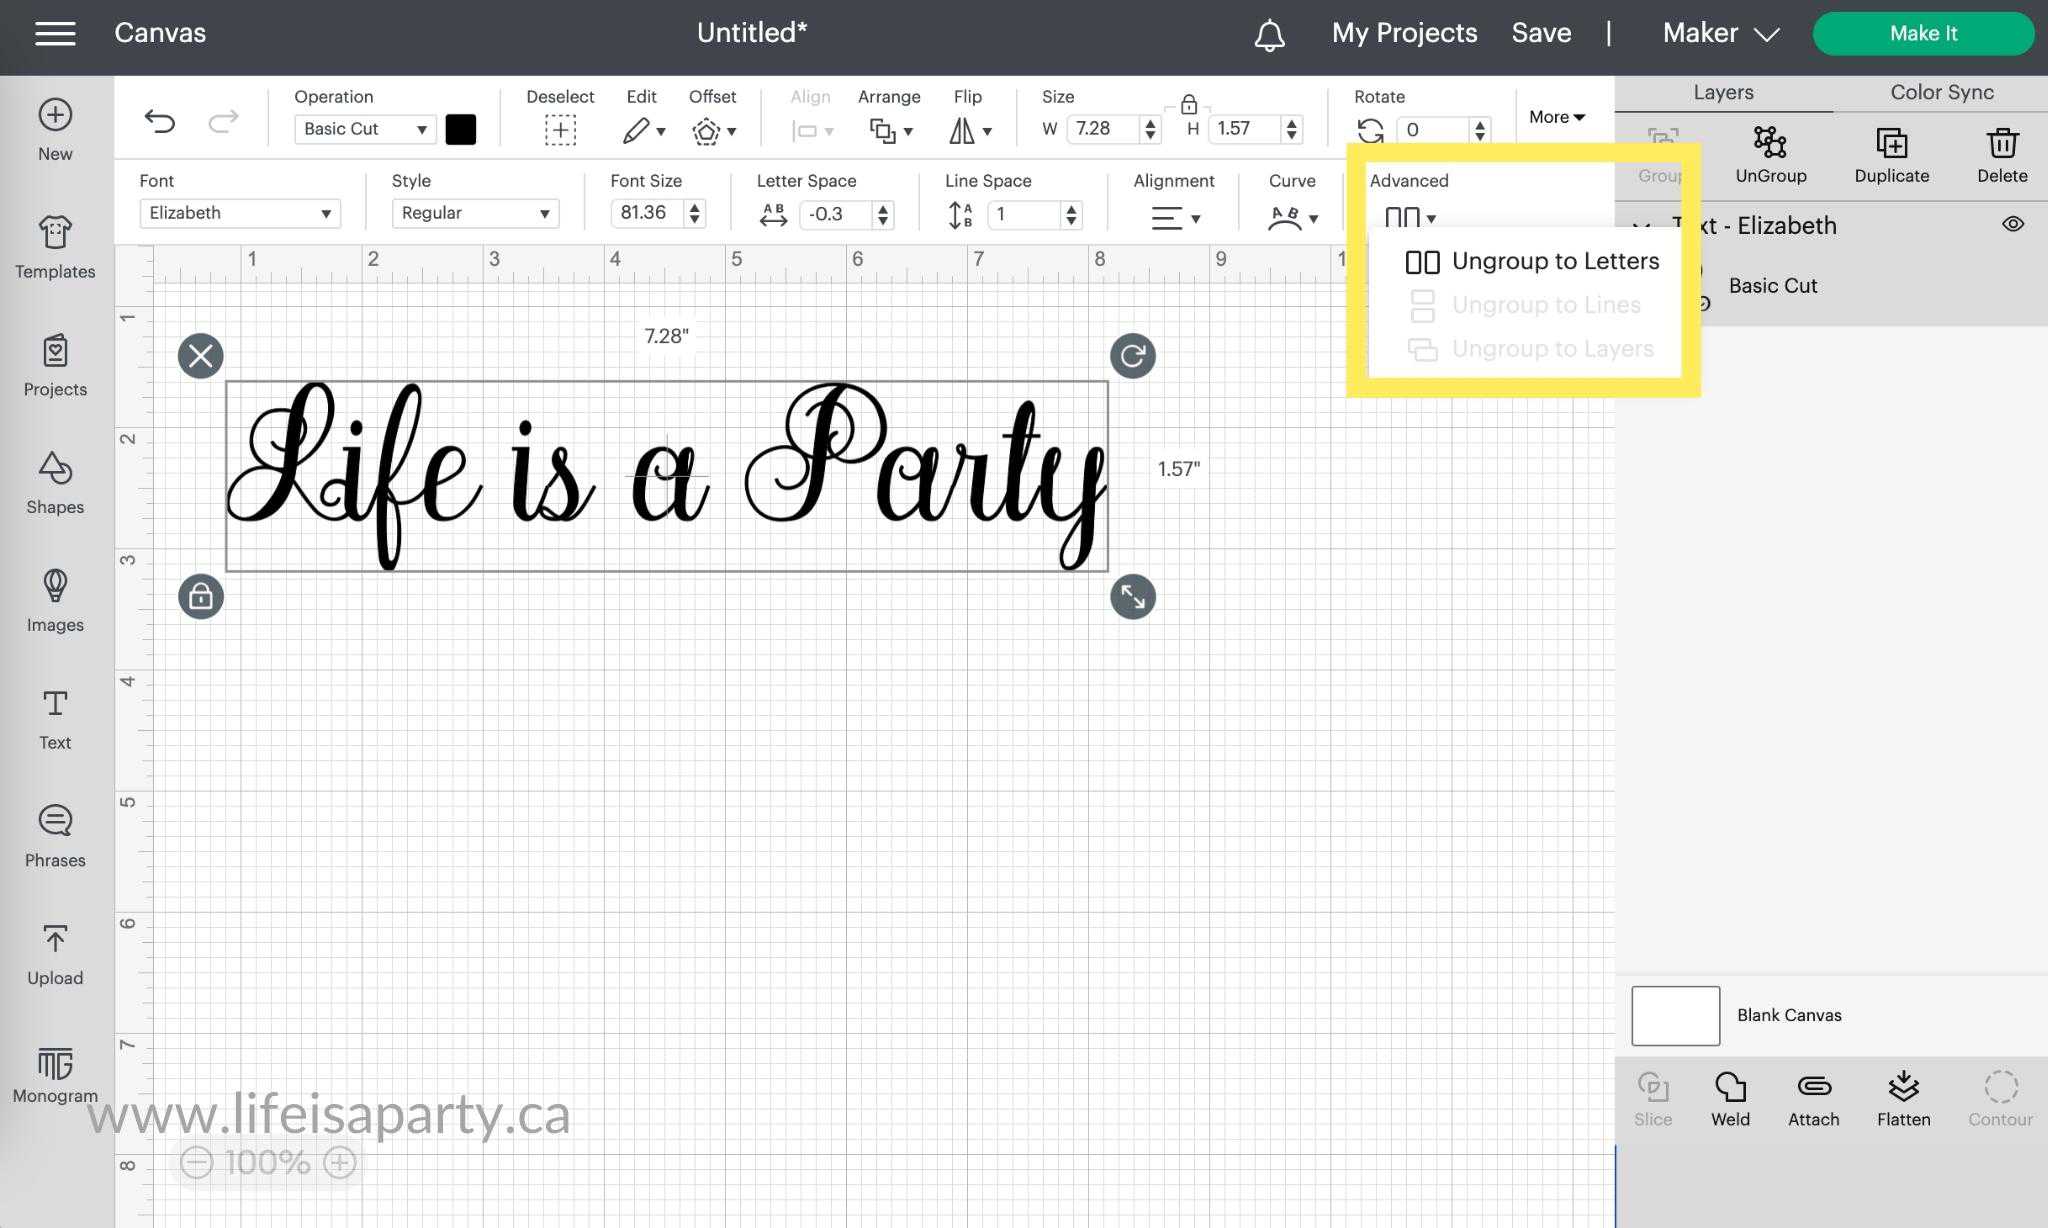
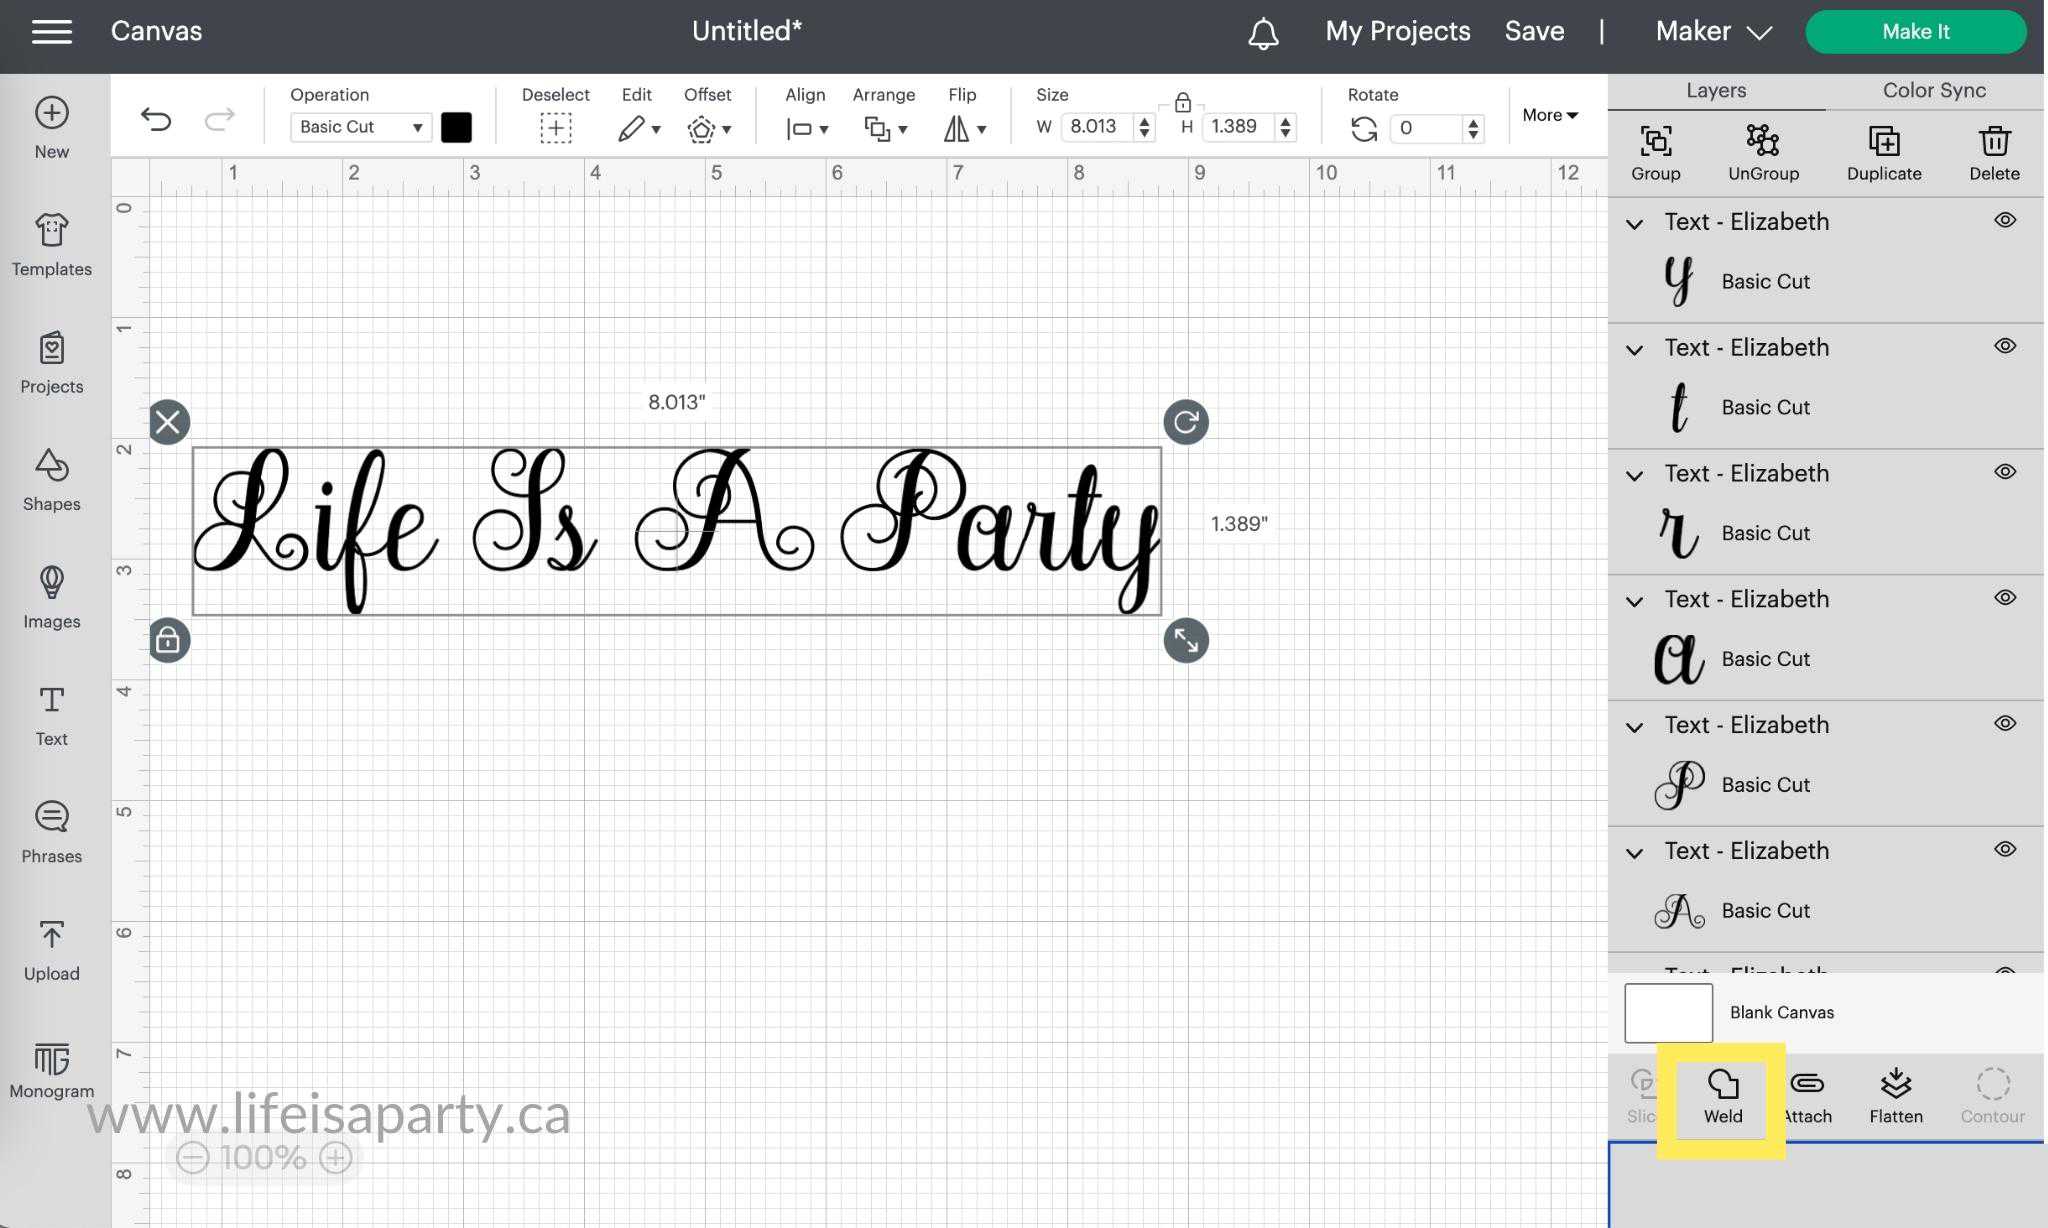
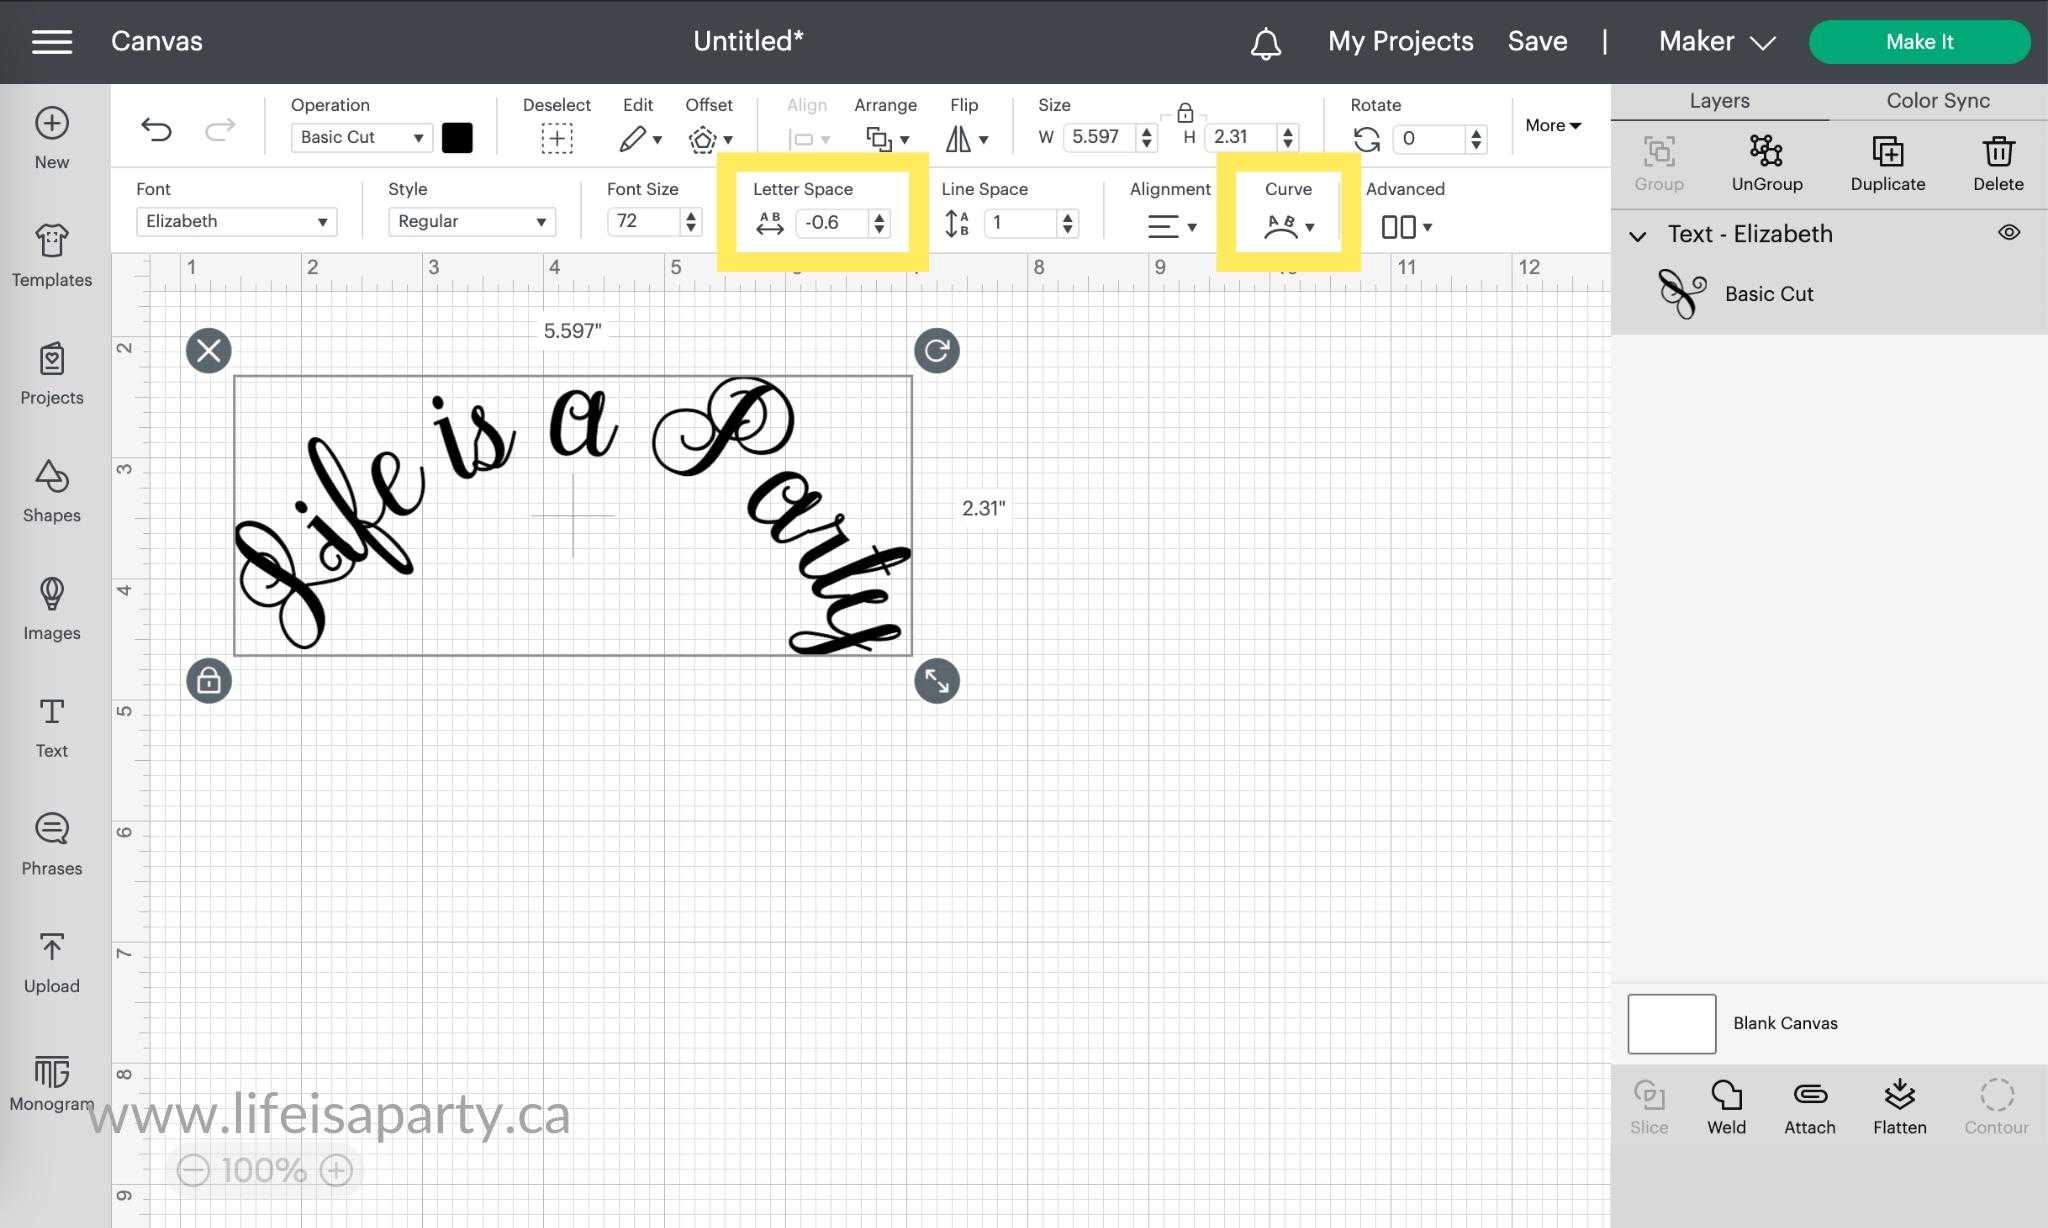
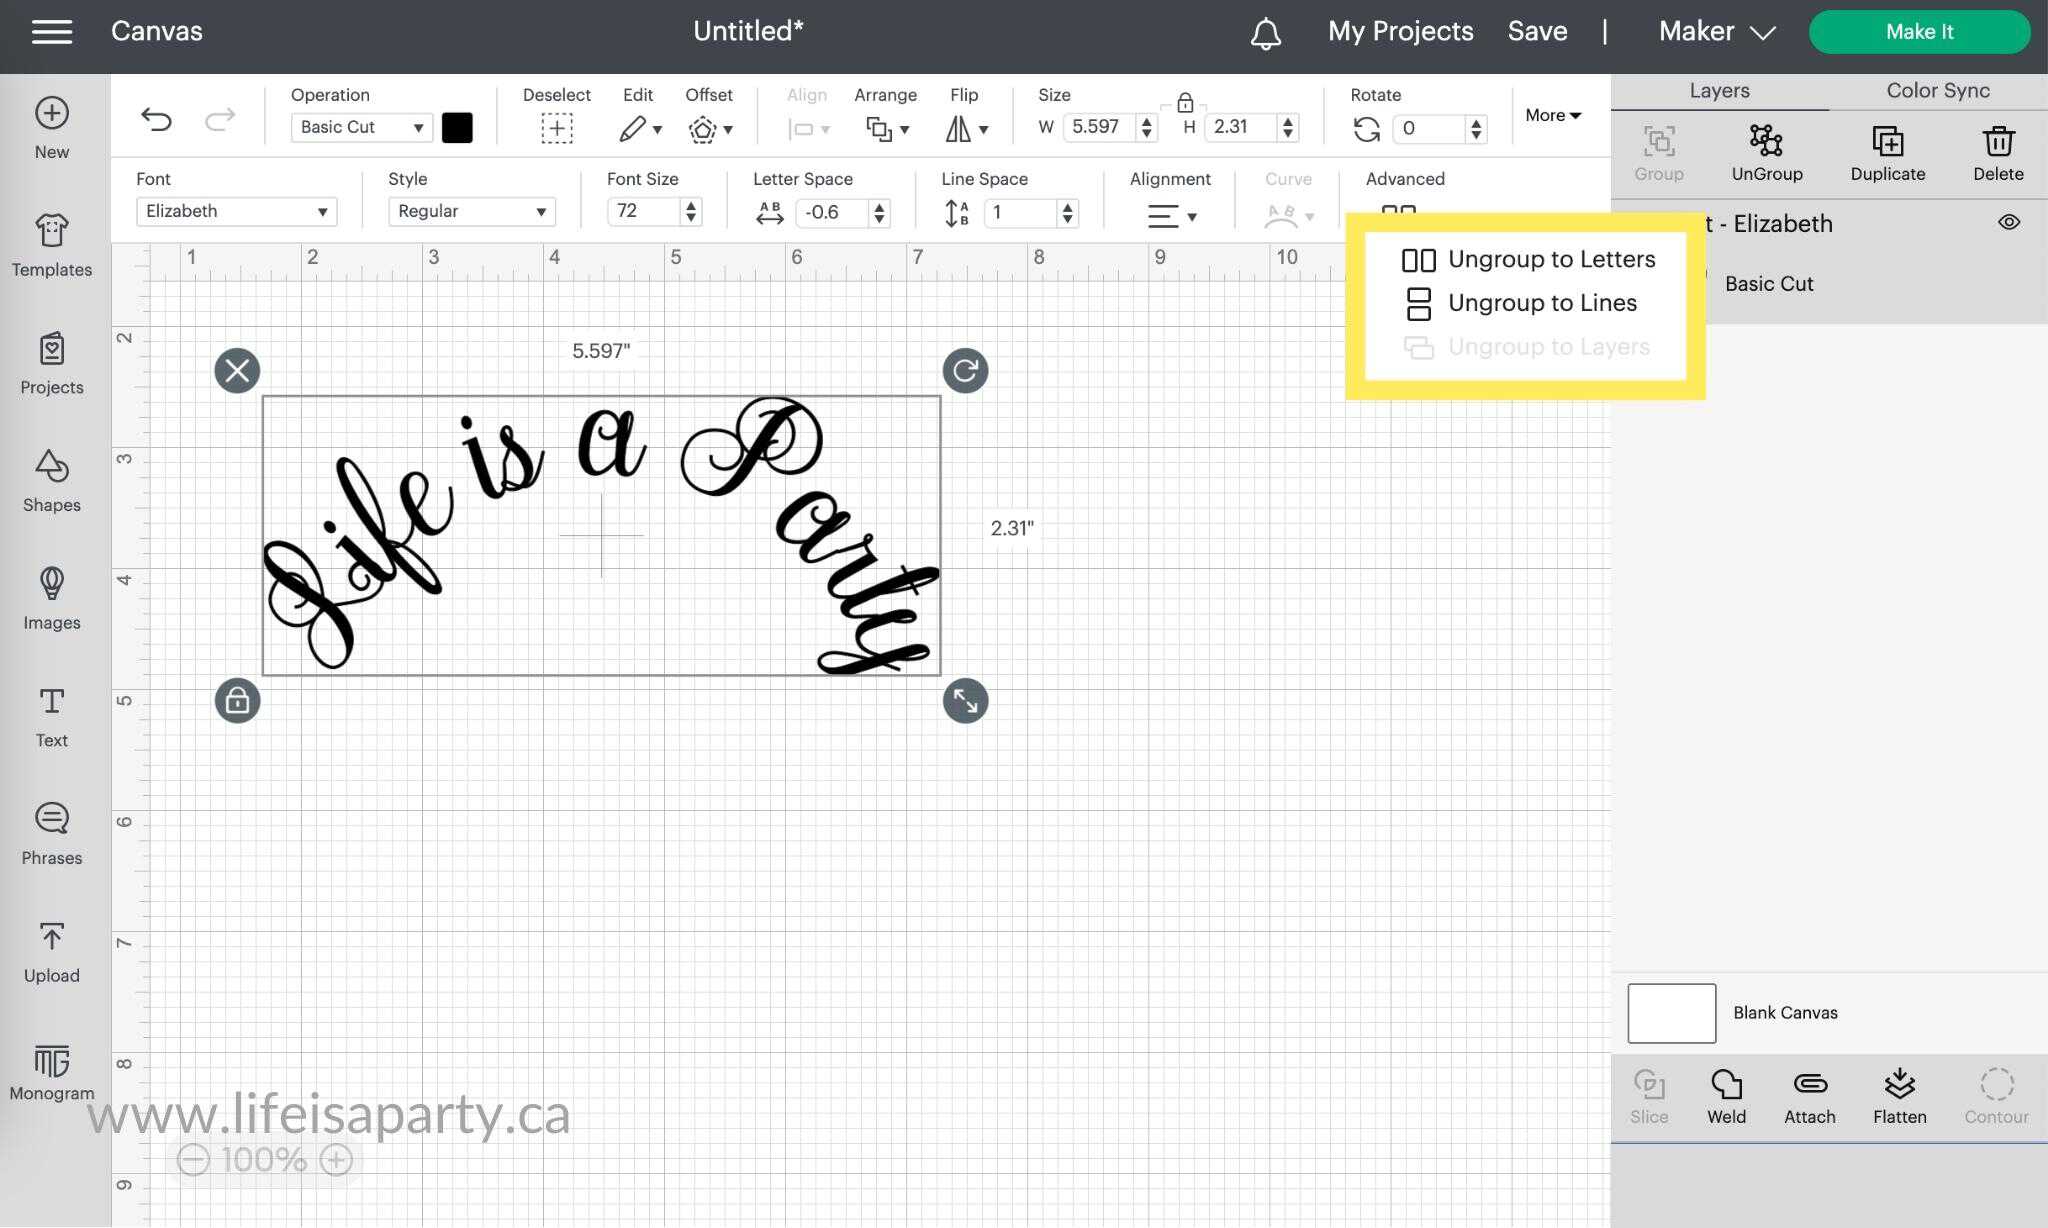
Measure the distance around the circumference of your canister. Open the cut file in Cricut Design Space. Click on "Shapes" on the left side menu and add a square to your canvas. Unlock the squares dimensions on the top menu, adjust the size to be the same as the distance around your canister and the height. Make sure this new rectangle representing your canister size is behind the houses and adjust their size by selecting them all and using the scale button. You can slice or add more houses to get the right number of houses to fit your own canister. Then use the align button and distribute horizontally to get them all as evenly spaced as possible. When you're happy with the design, be sure to attach as many houses together as will fit on your 12 x 12 cutting mat. This will make it easier to apply the house pieces in a straight line. Now cut out the houses in brown vinyl and white details in white vinyl.
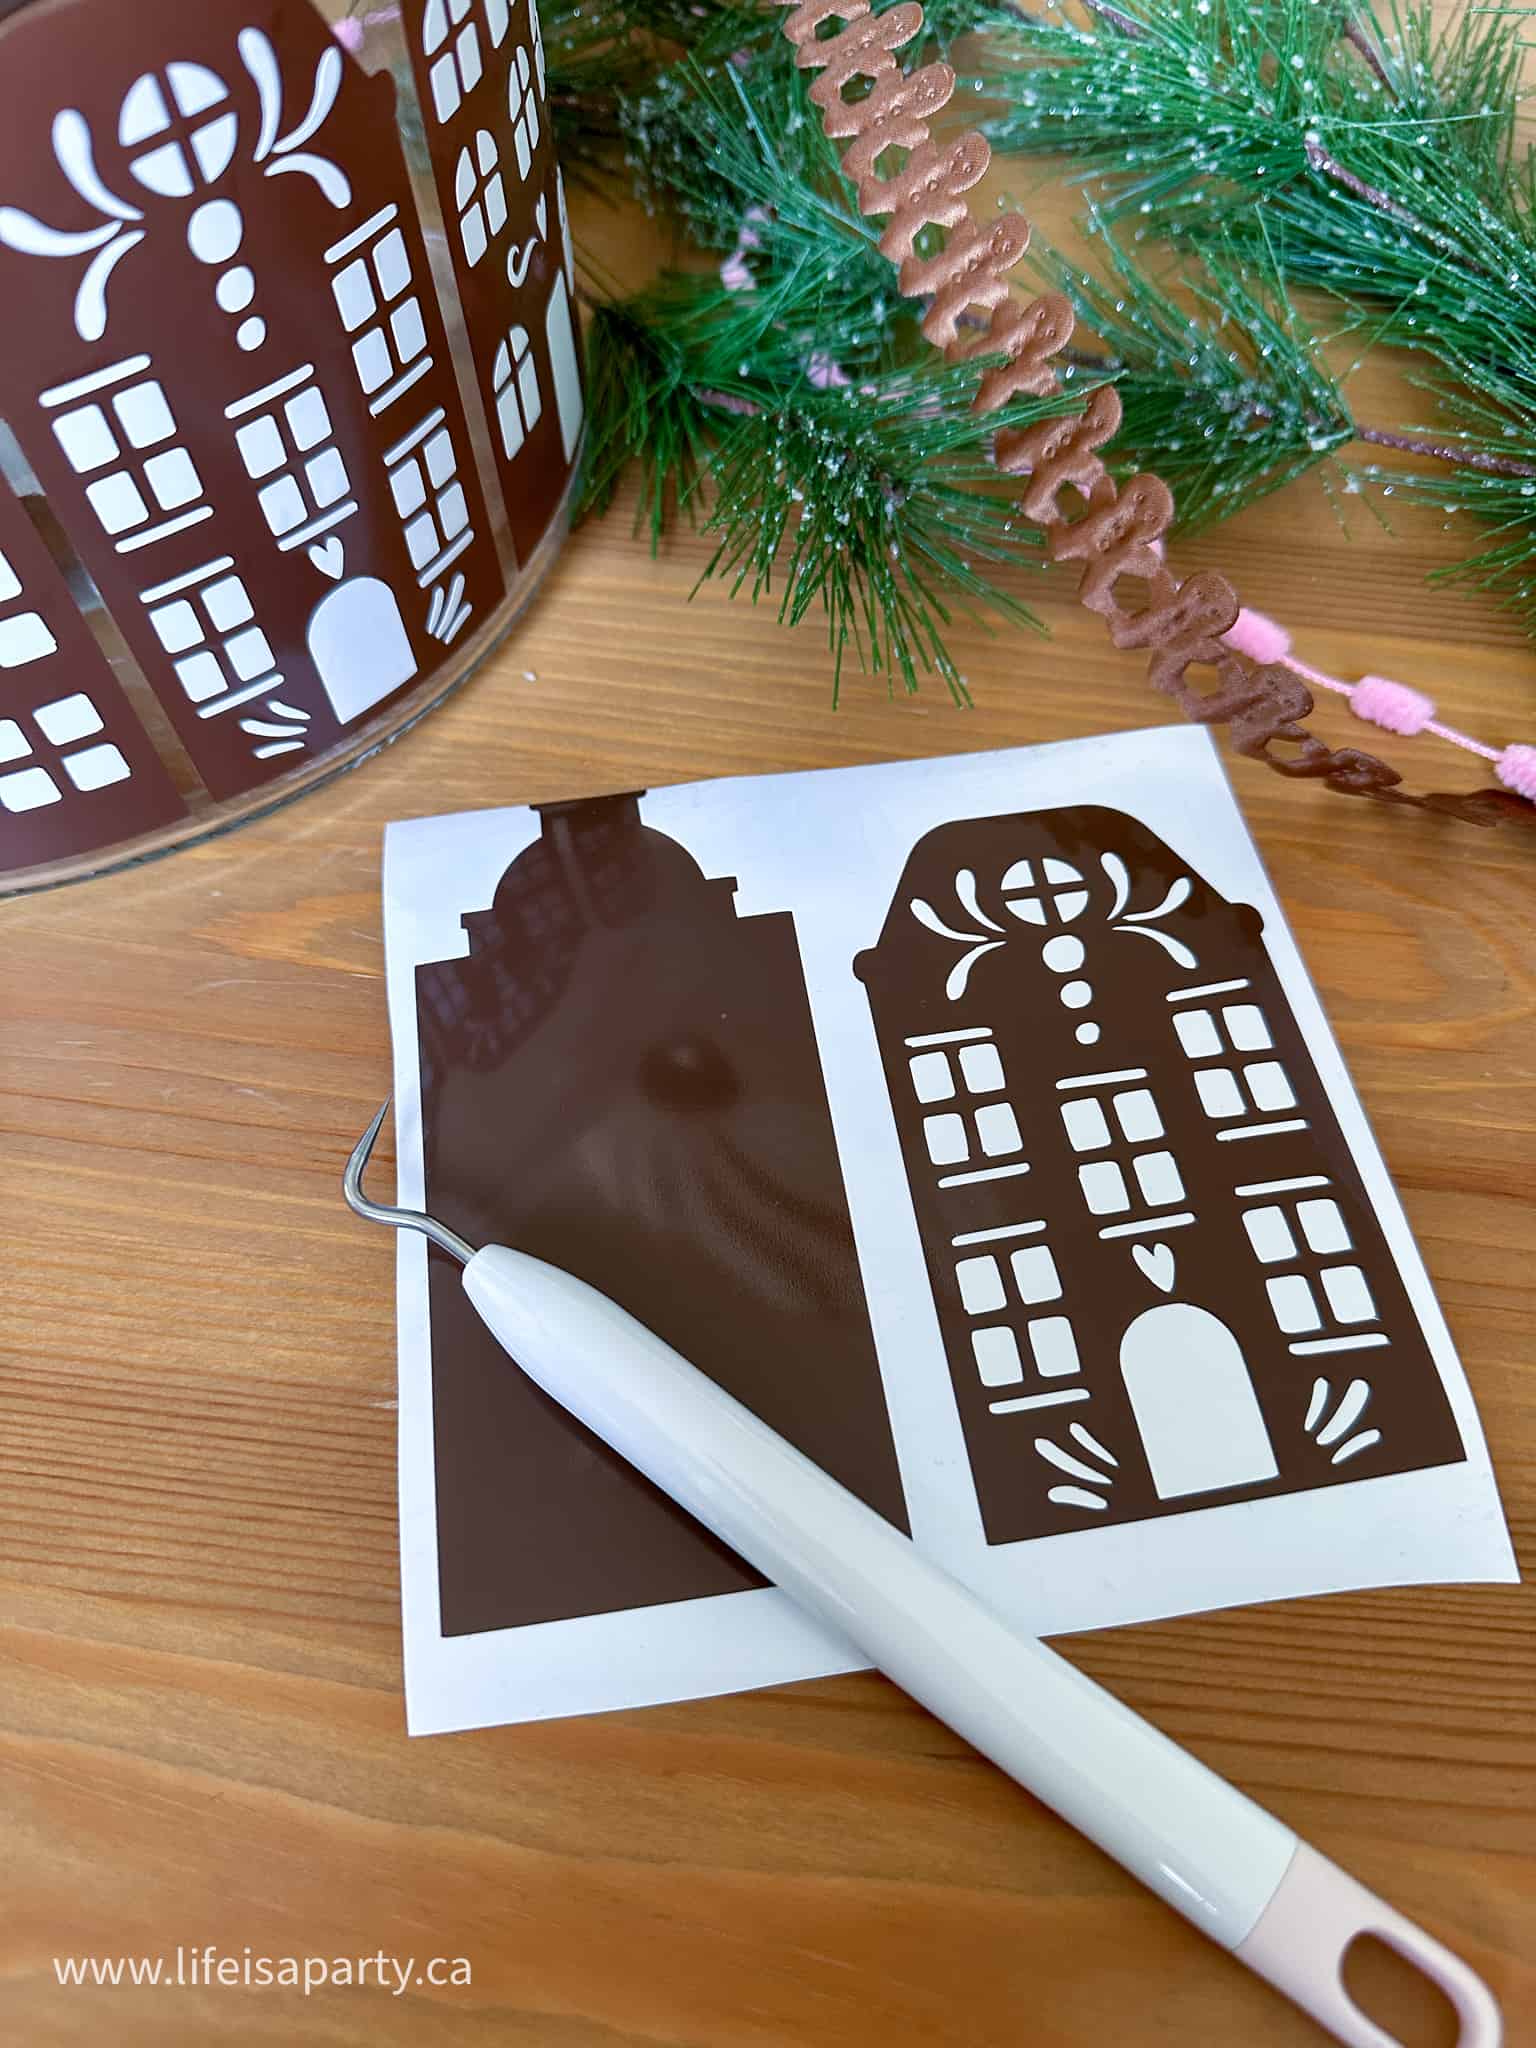
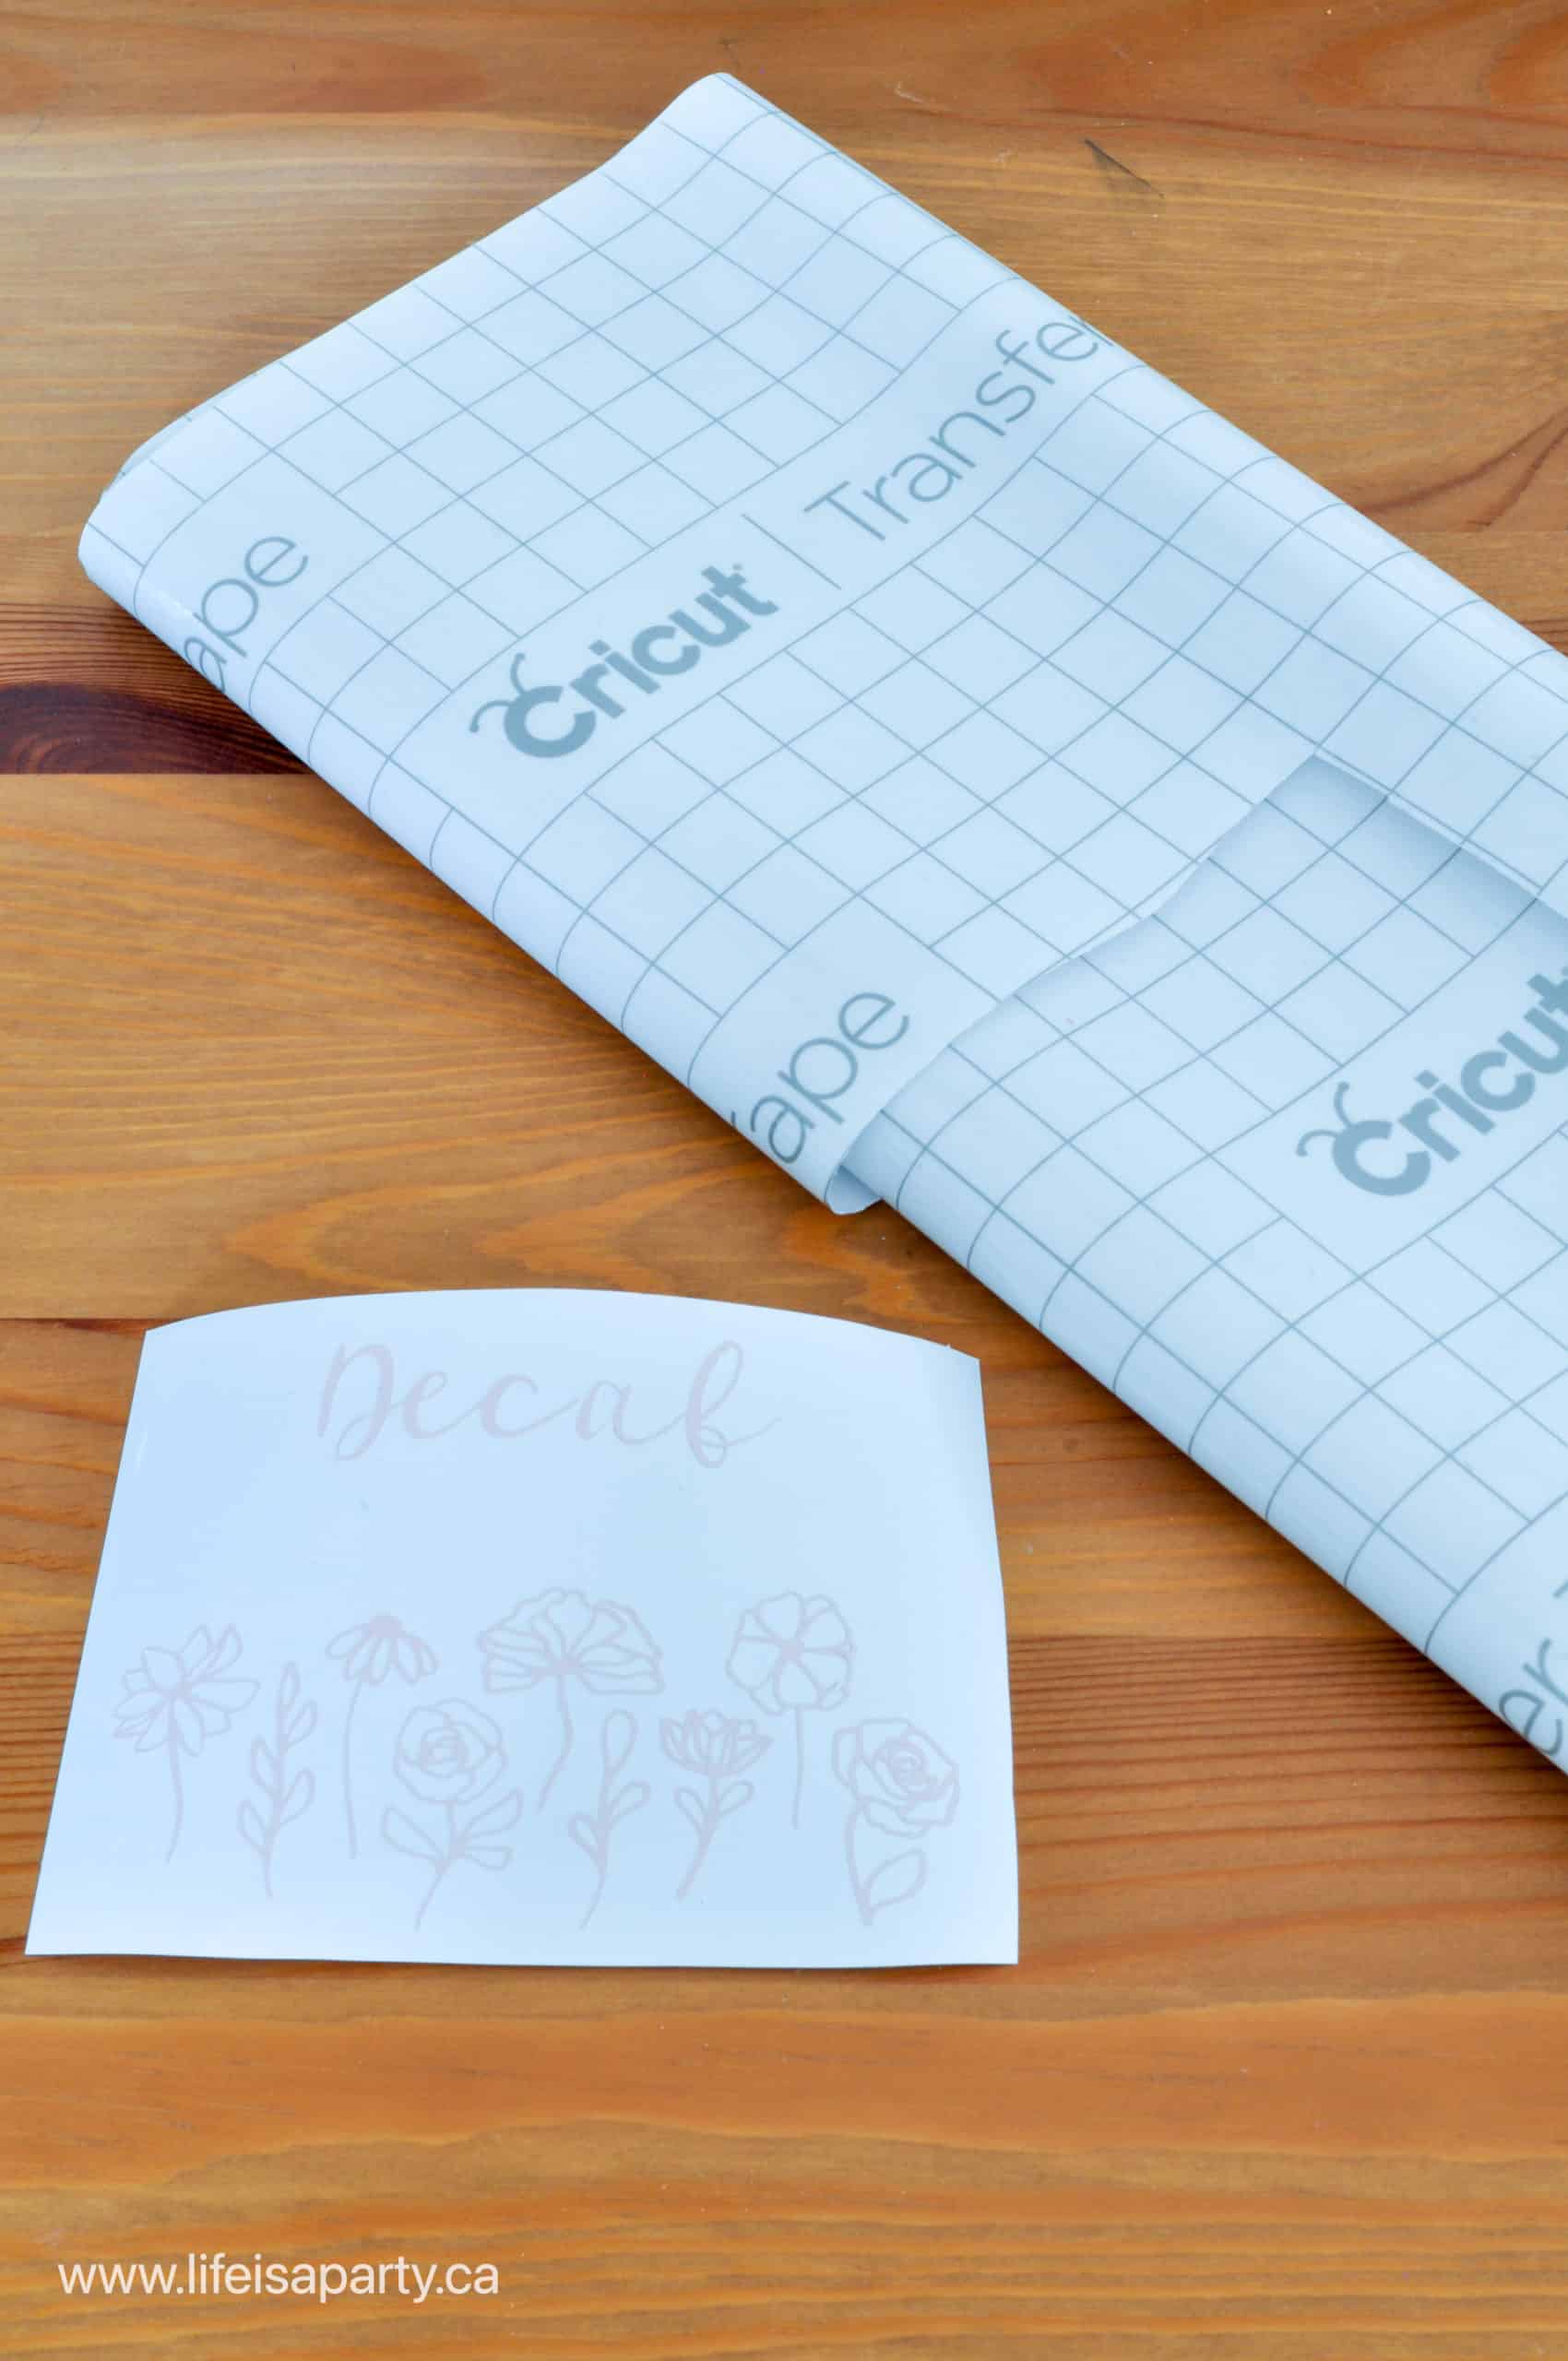
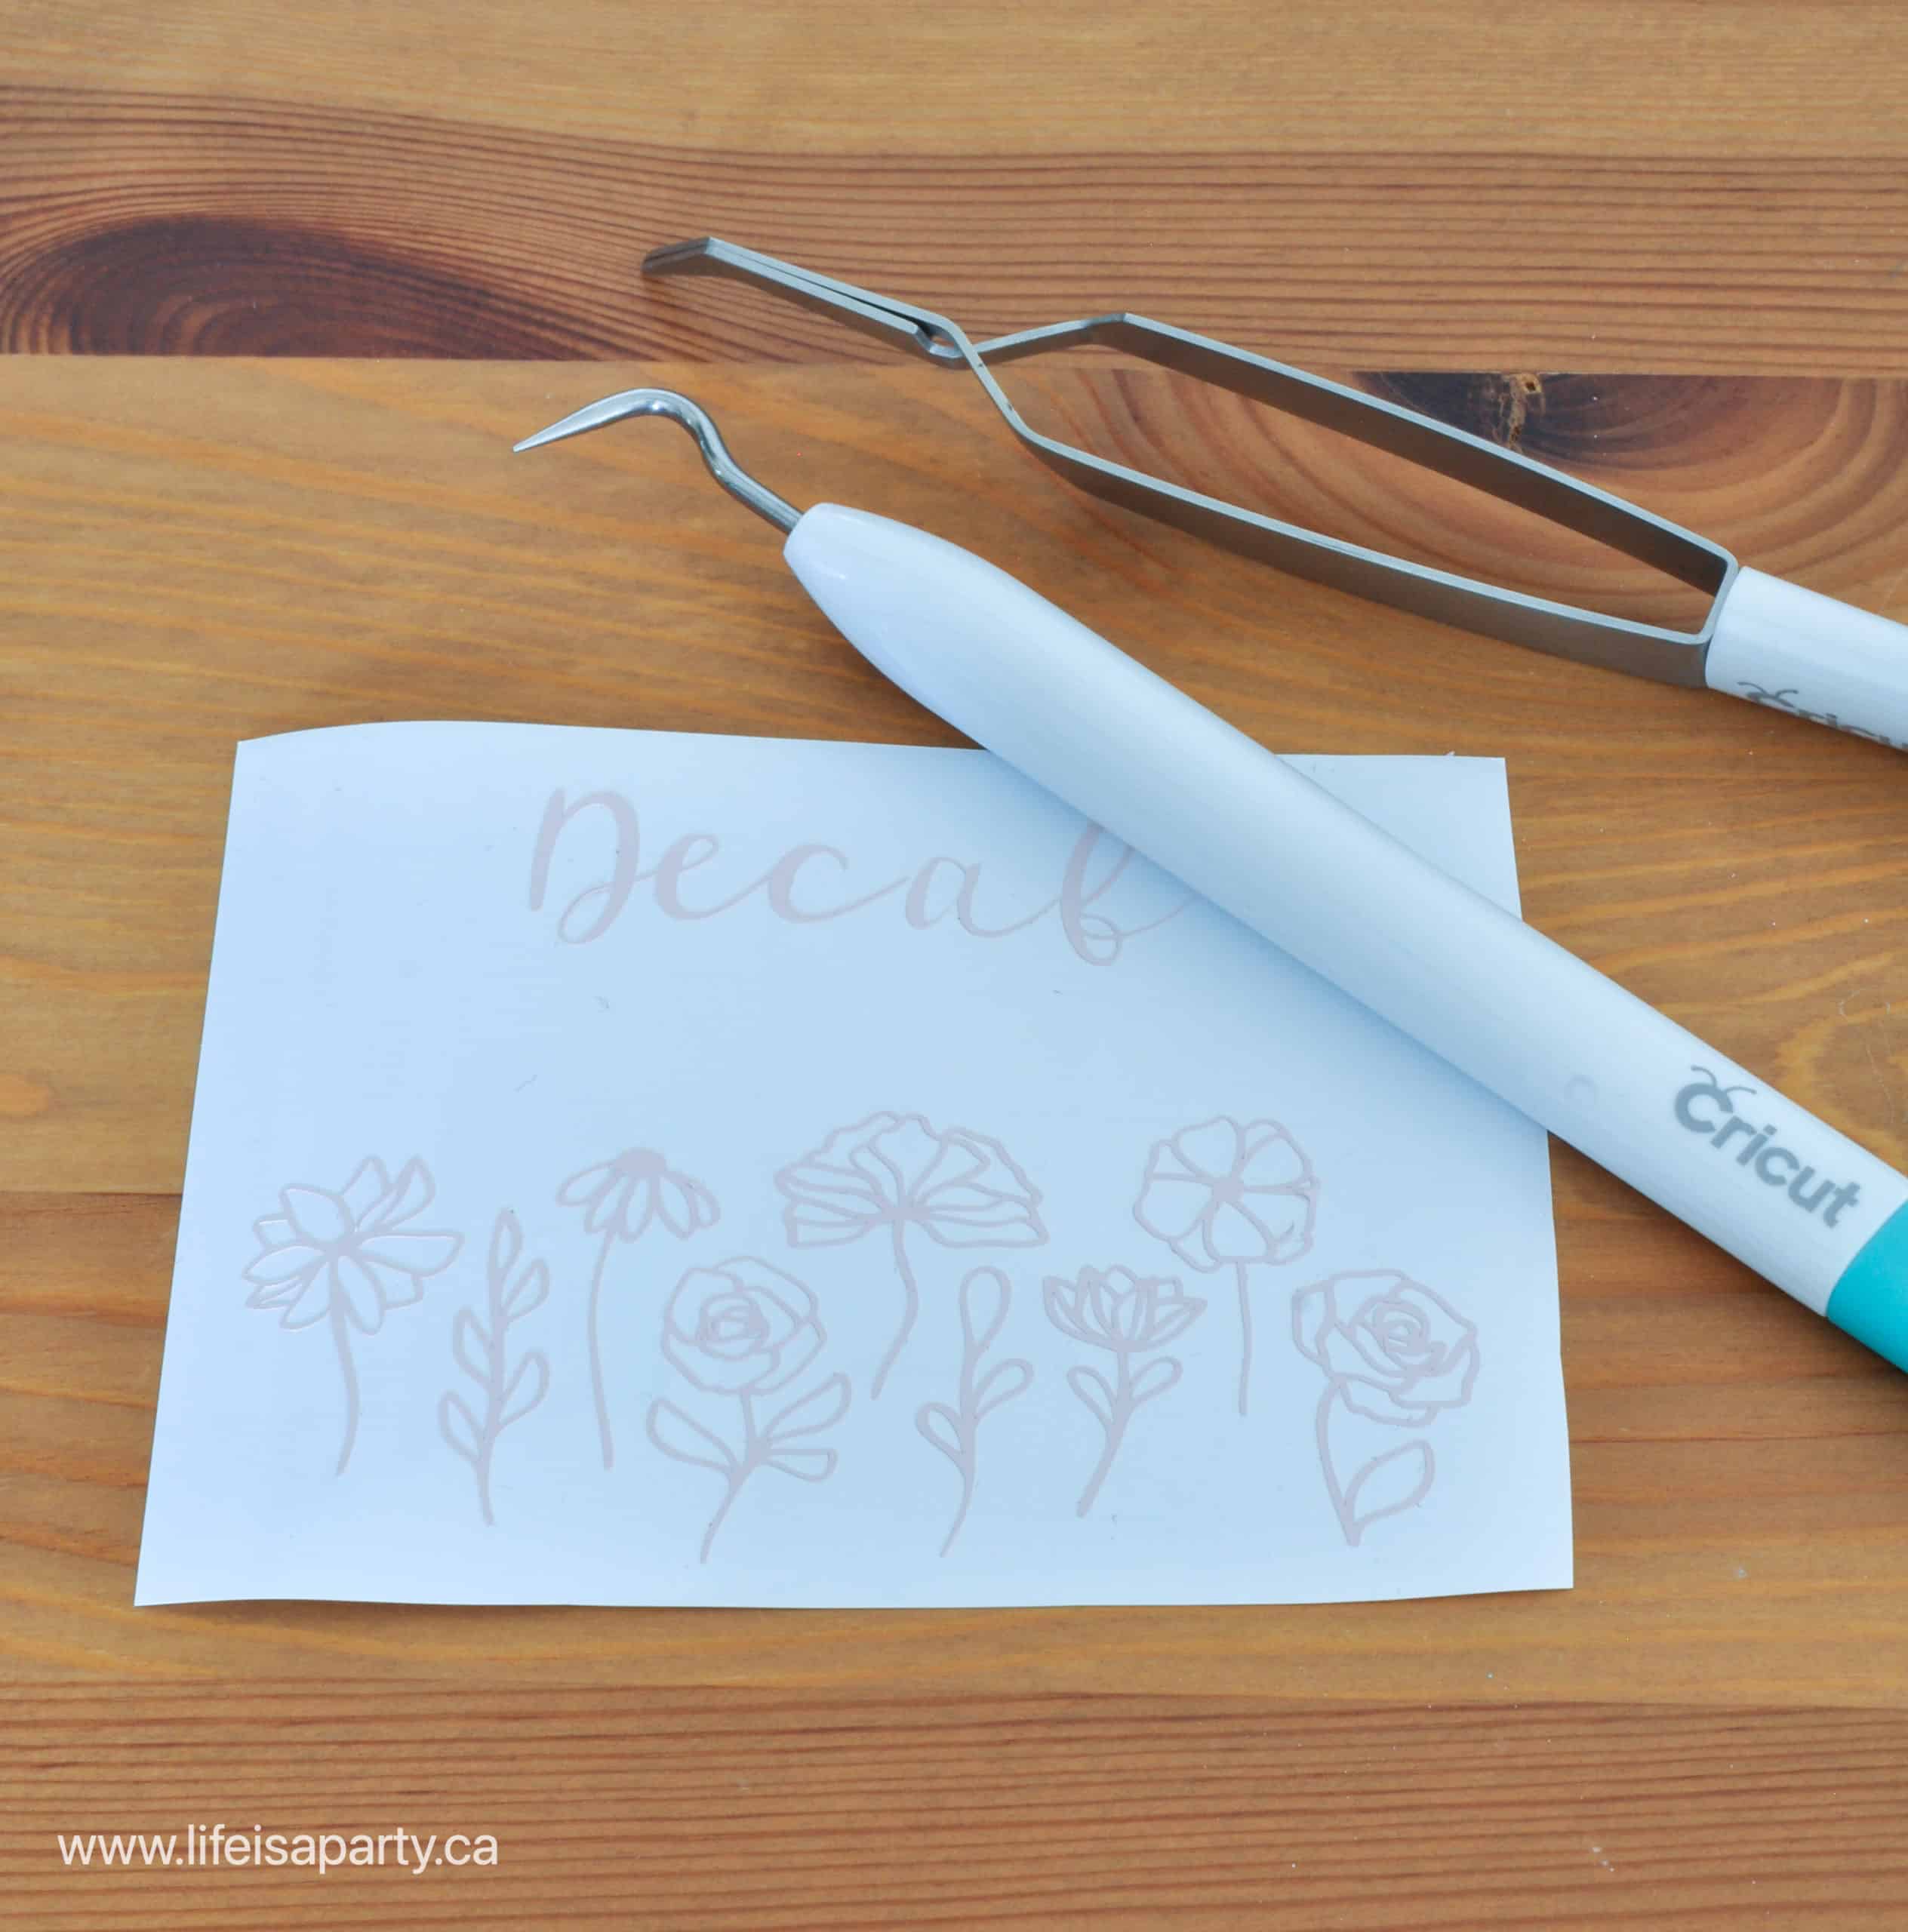
Weeding
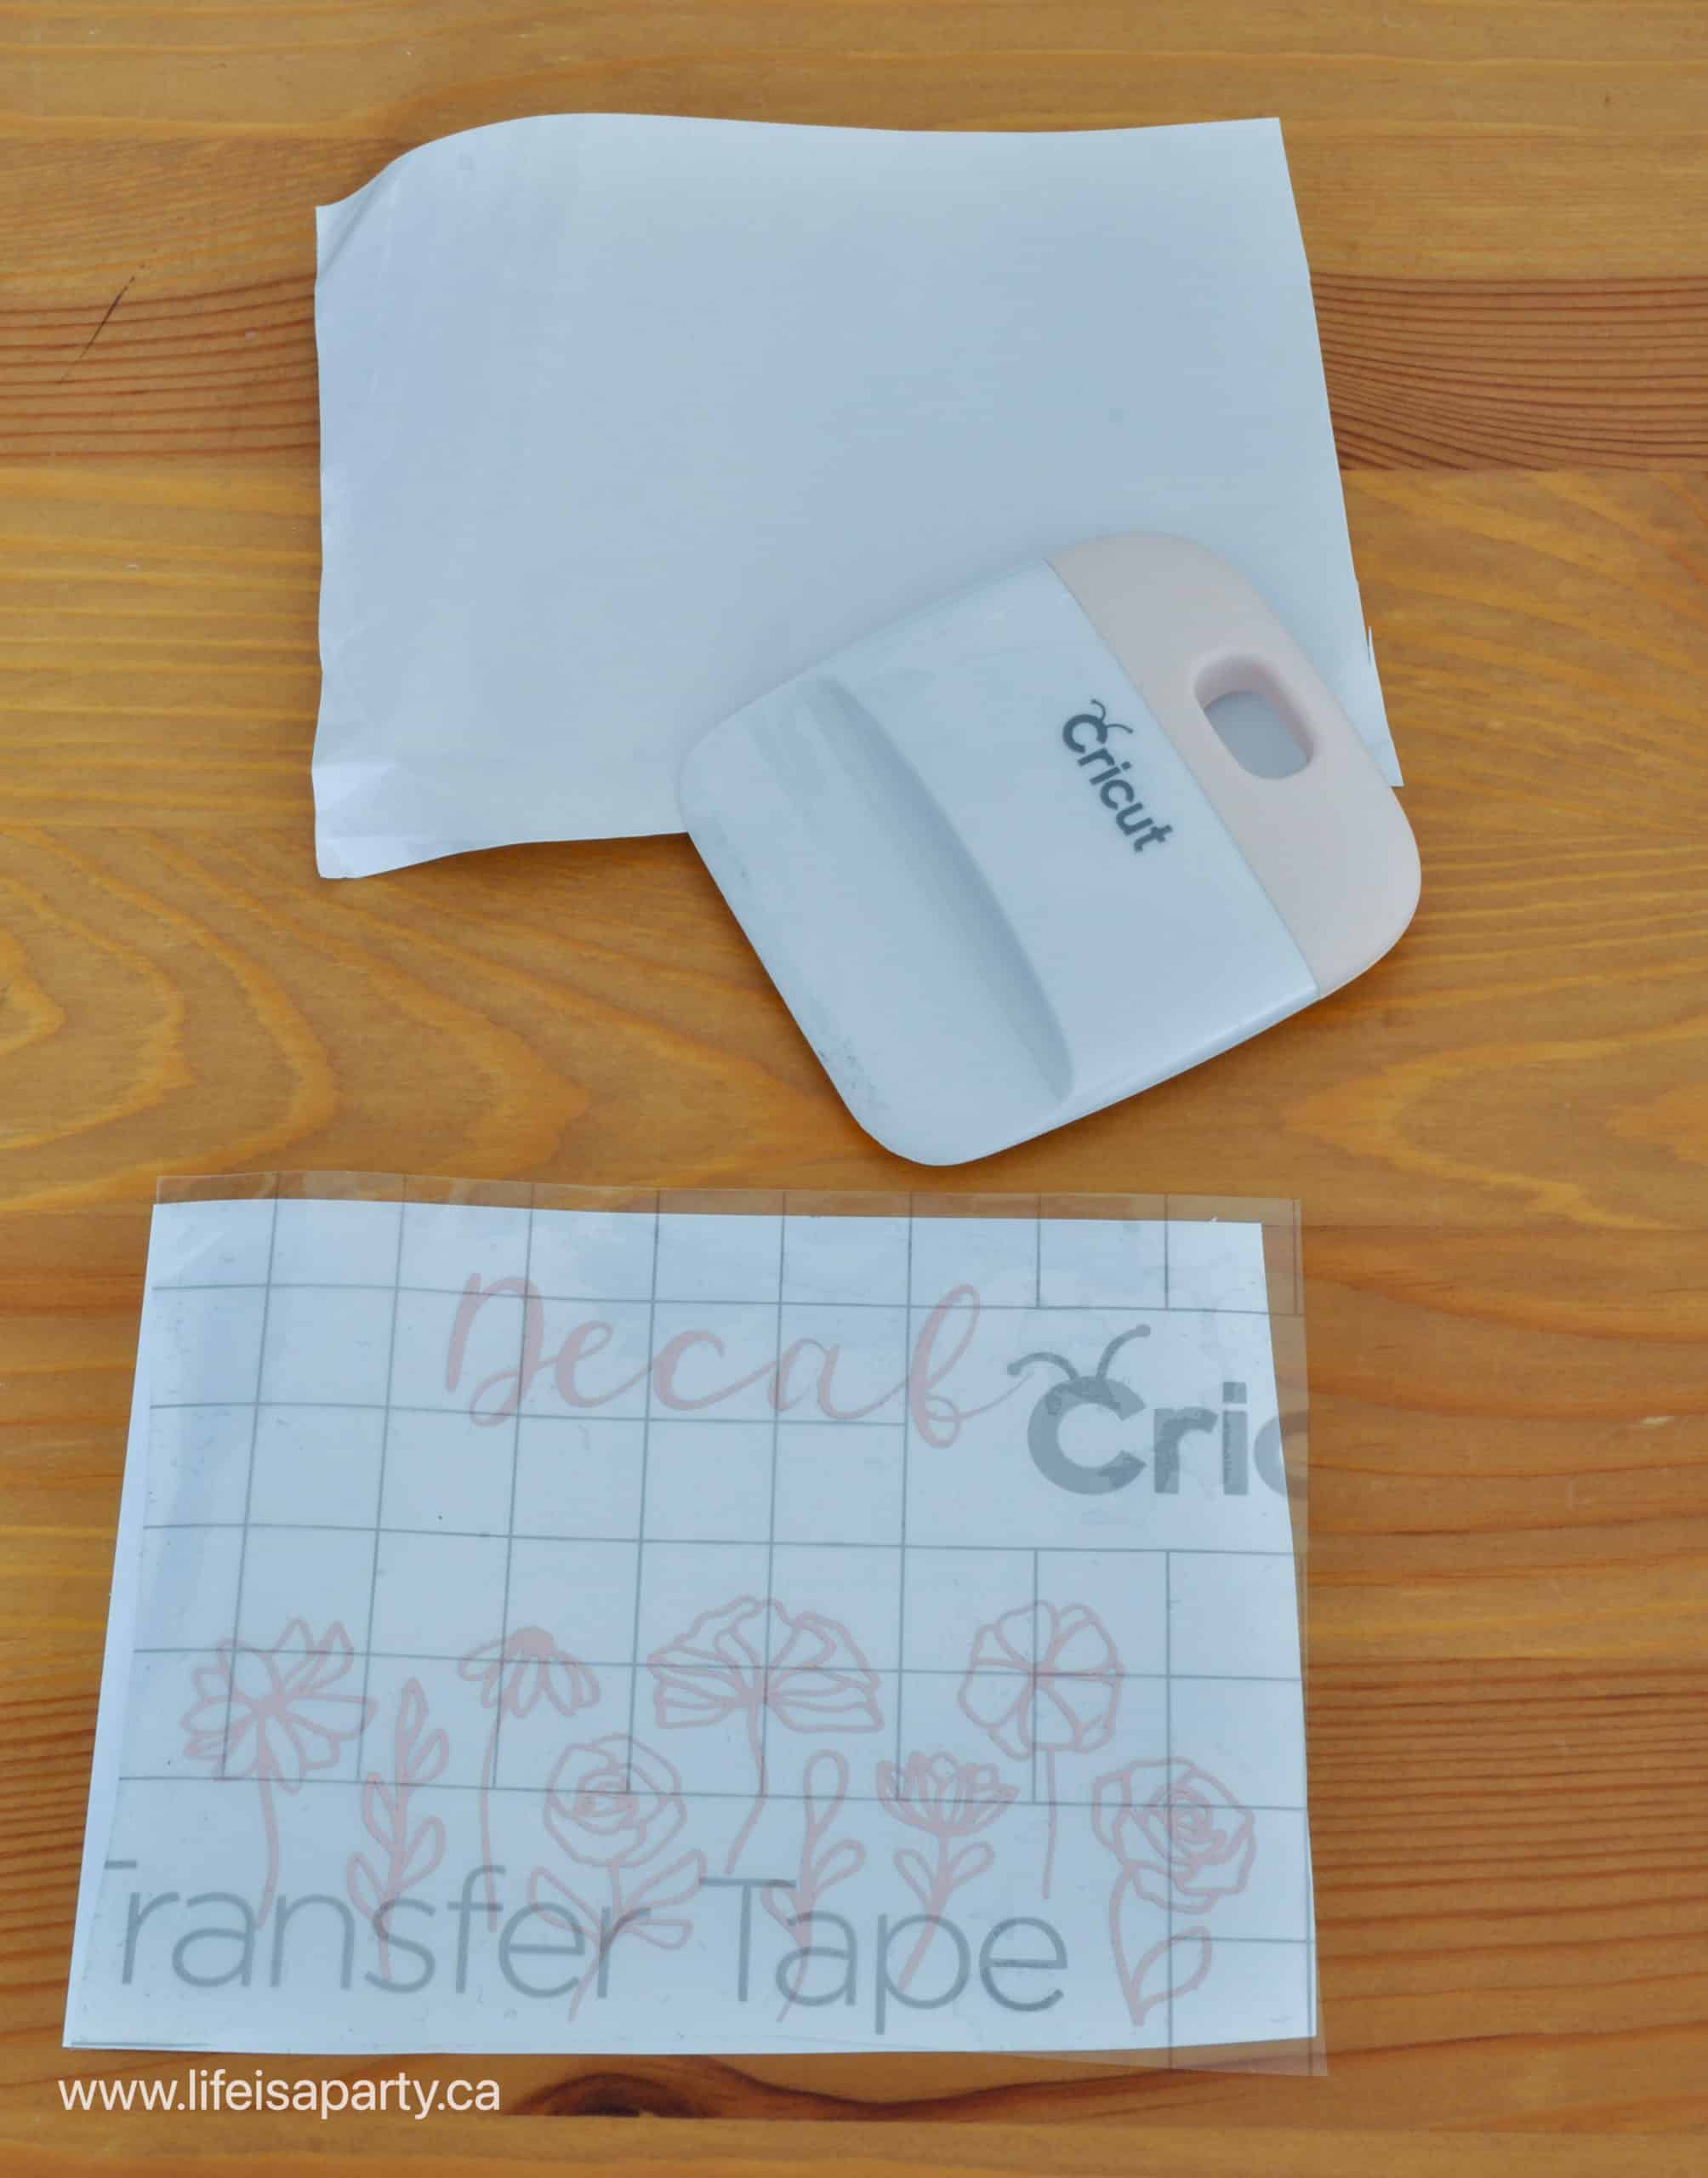
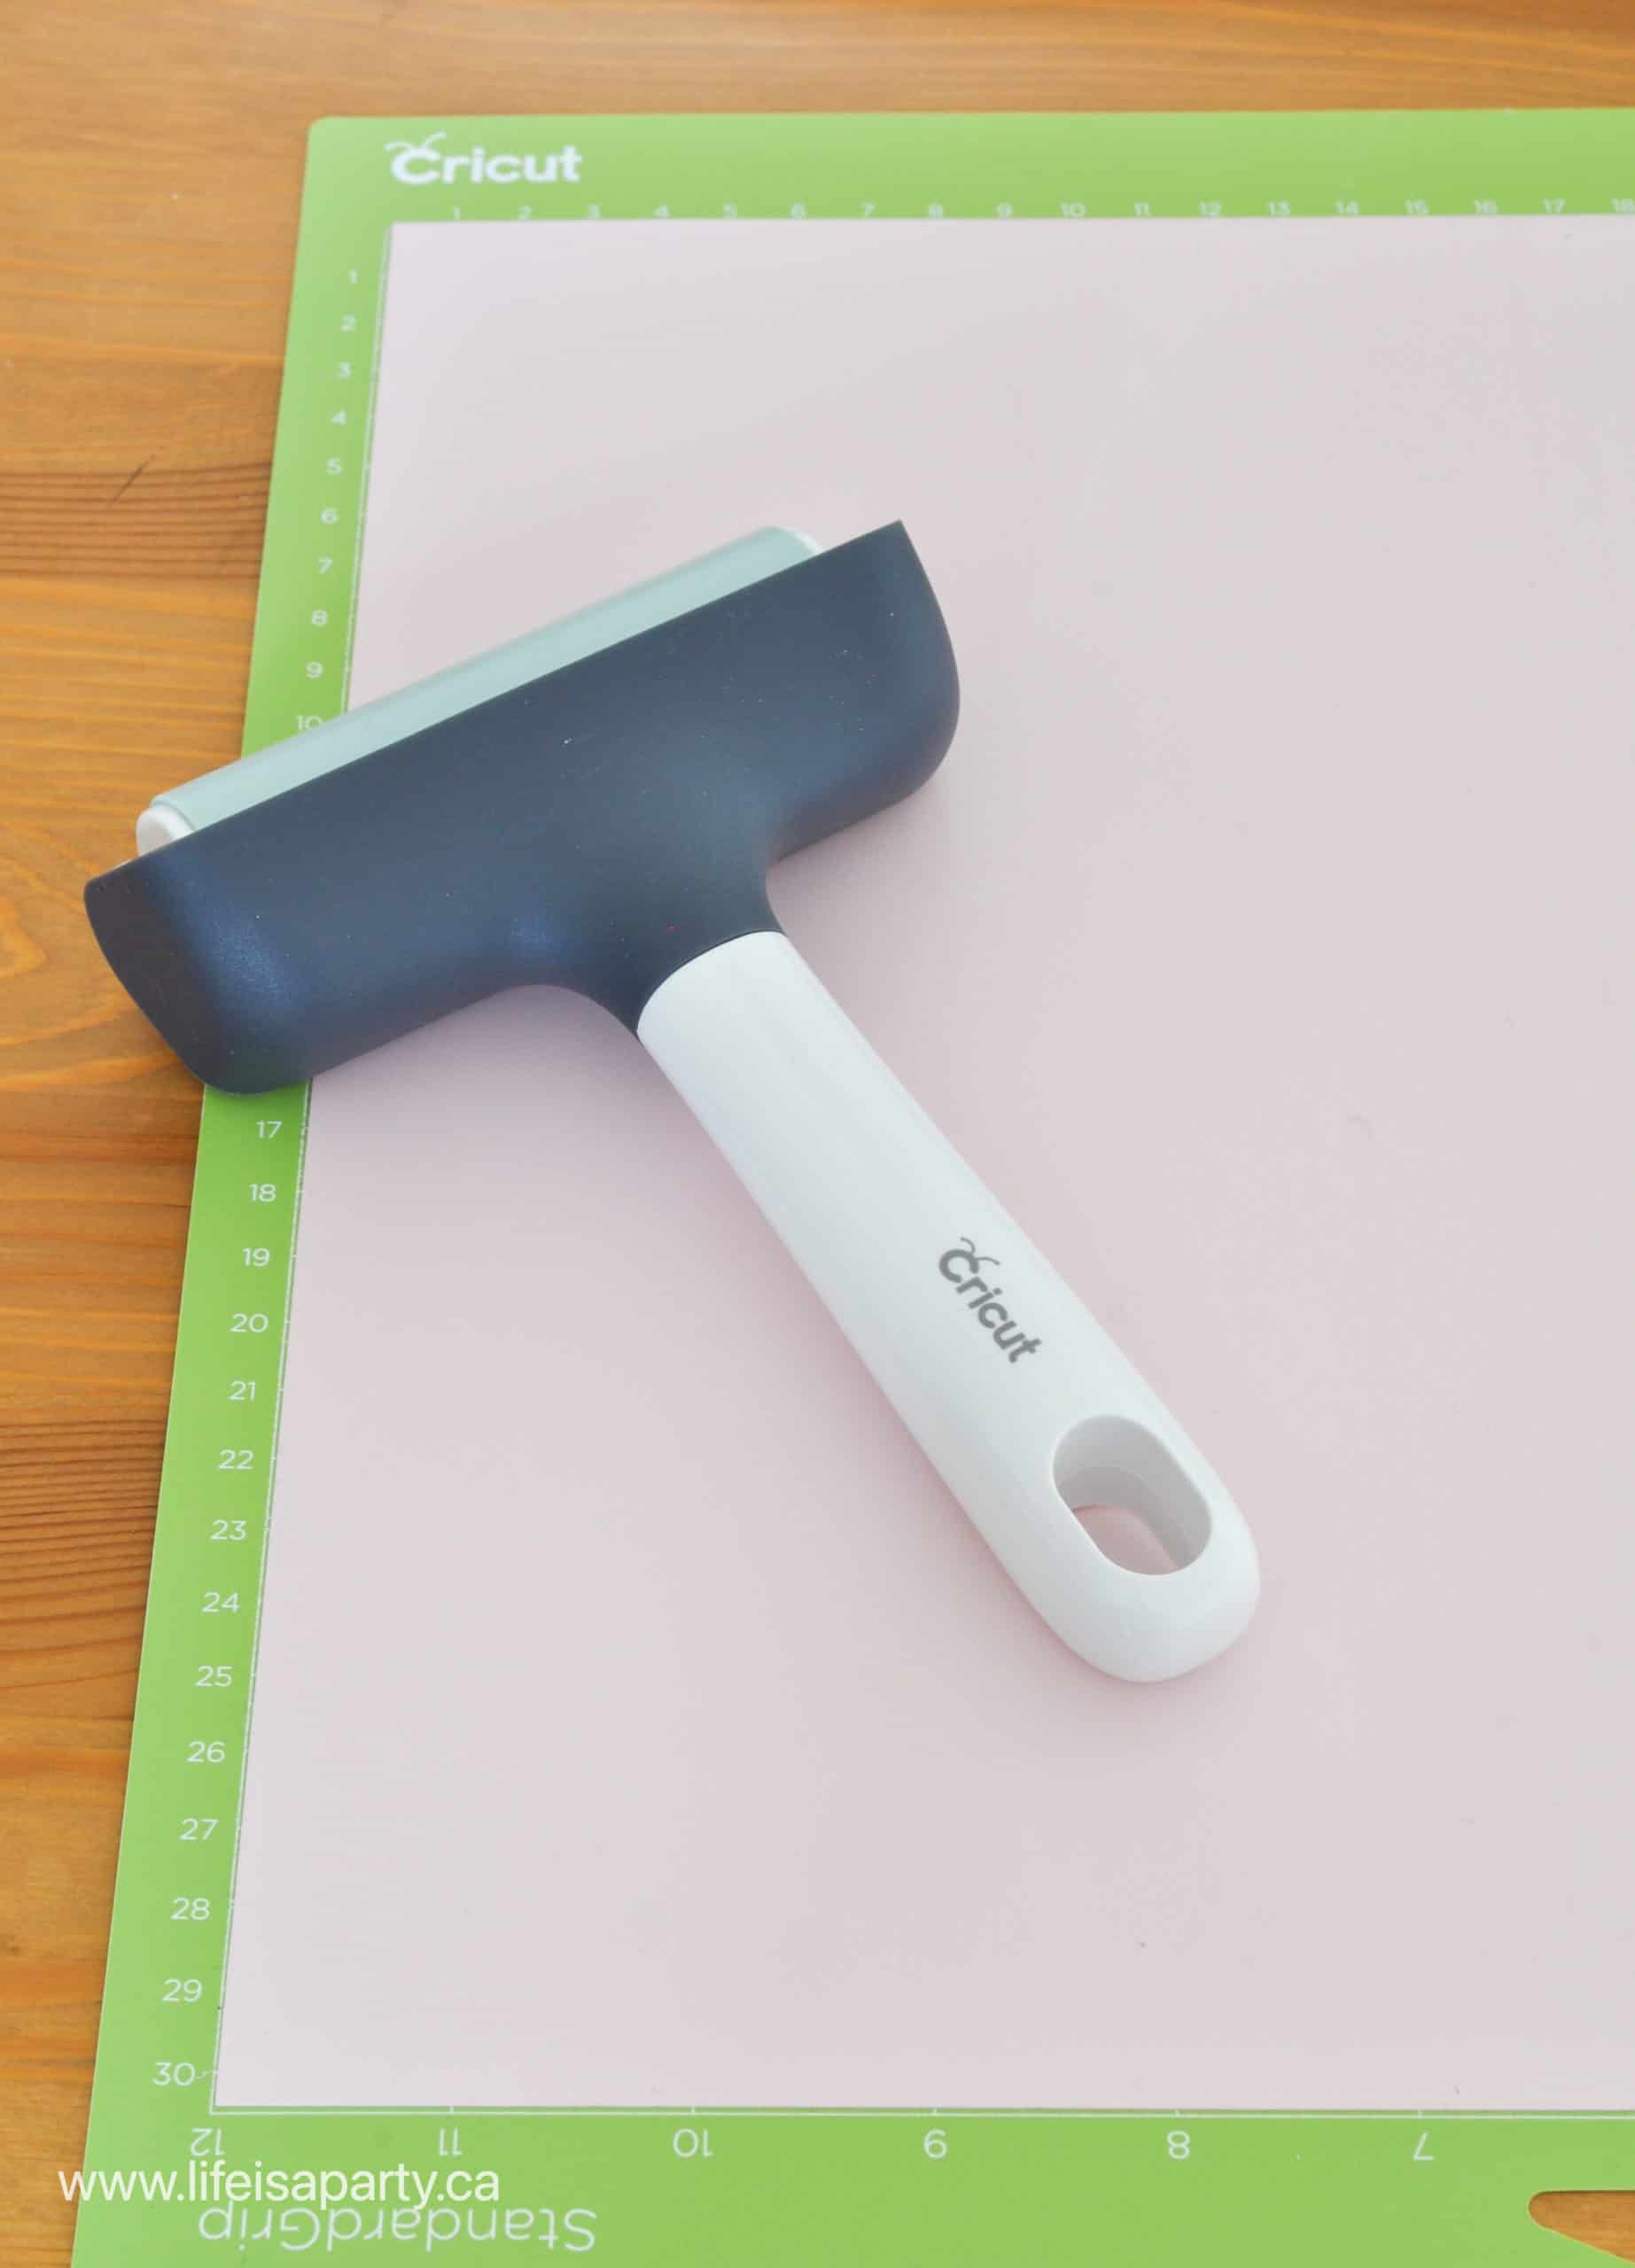
Once the items are all cut out, weed your base of the house and the white icing details. The white vinyl is very intricate and you will have to take your time weeding it, and making sure to get all the tiny details. Now apply transfer tape to each individual section of white, one piece per house. Use your scraper to apply the transfer tape.
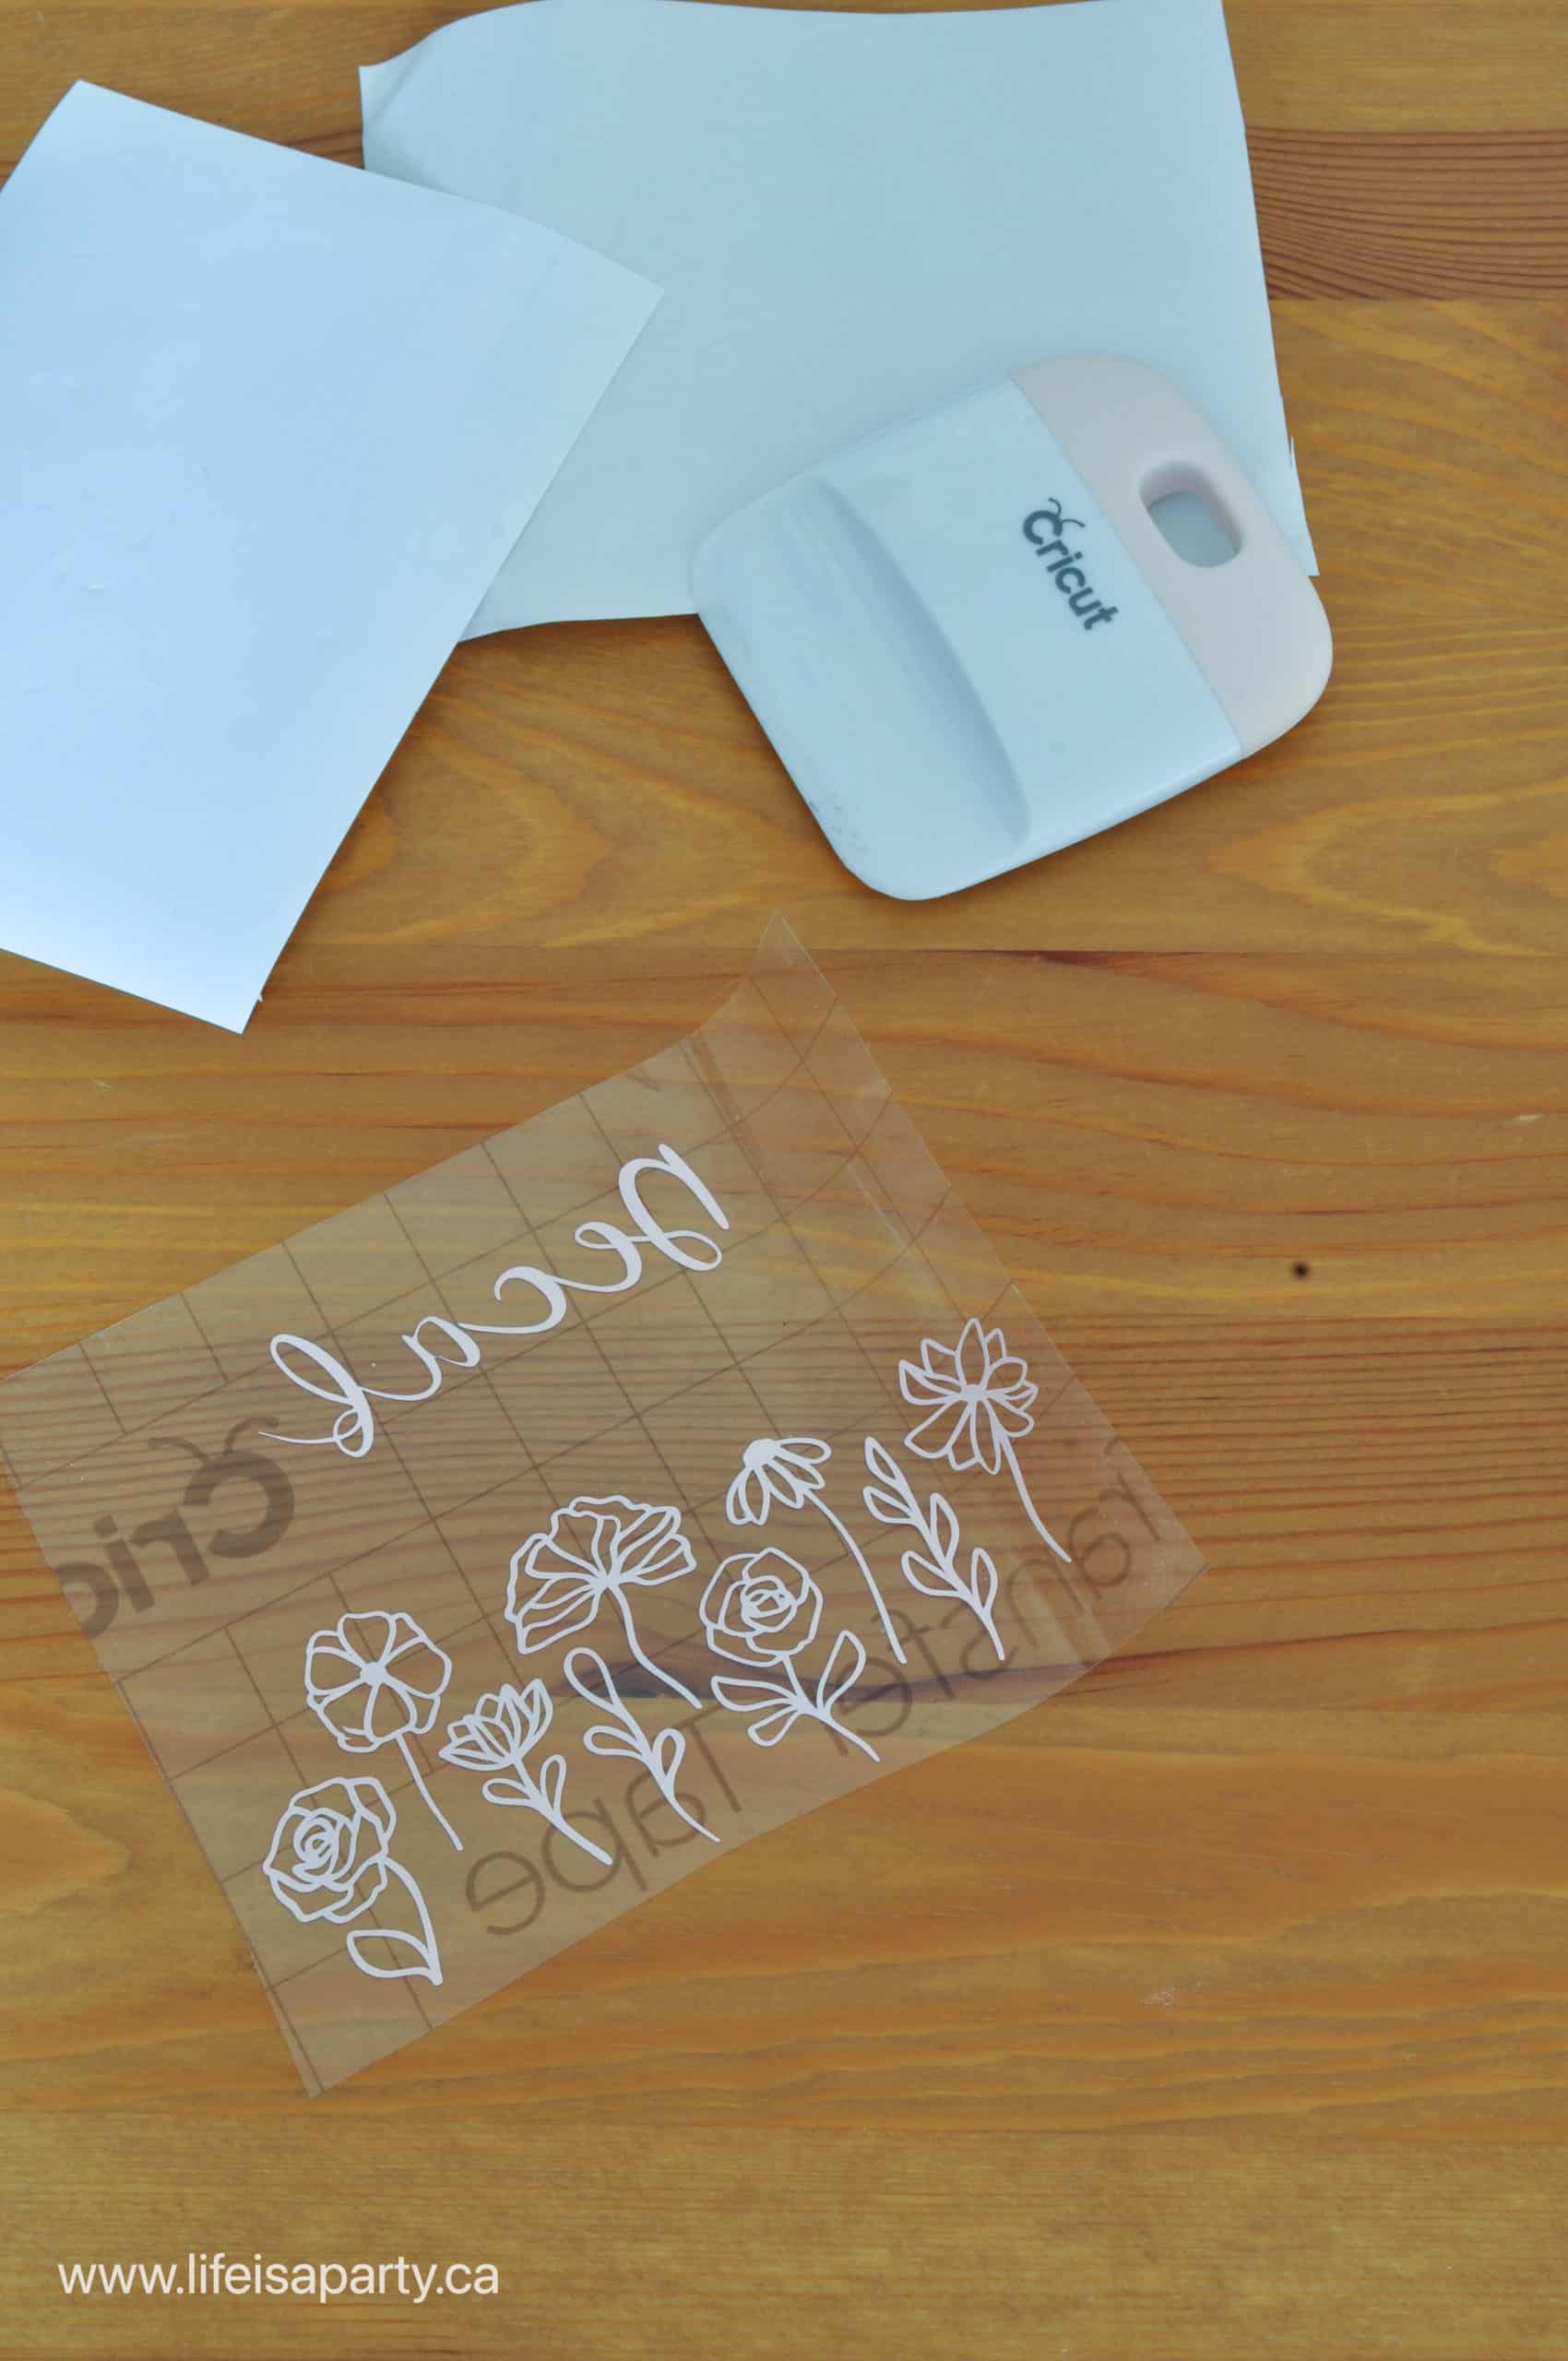
Layering The Vinyl
Next you want to apply the white details pieces onto the brown vinyl, this step is easier to do while it's flat, before it's on the curved surface of the canister. Try and line up the sides of the windows and place them evenly onto the brown background house pieces.
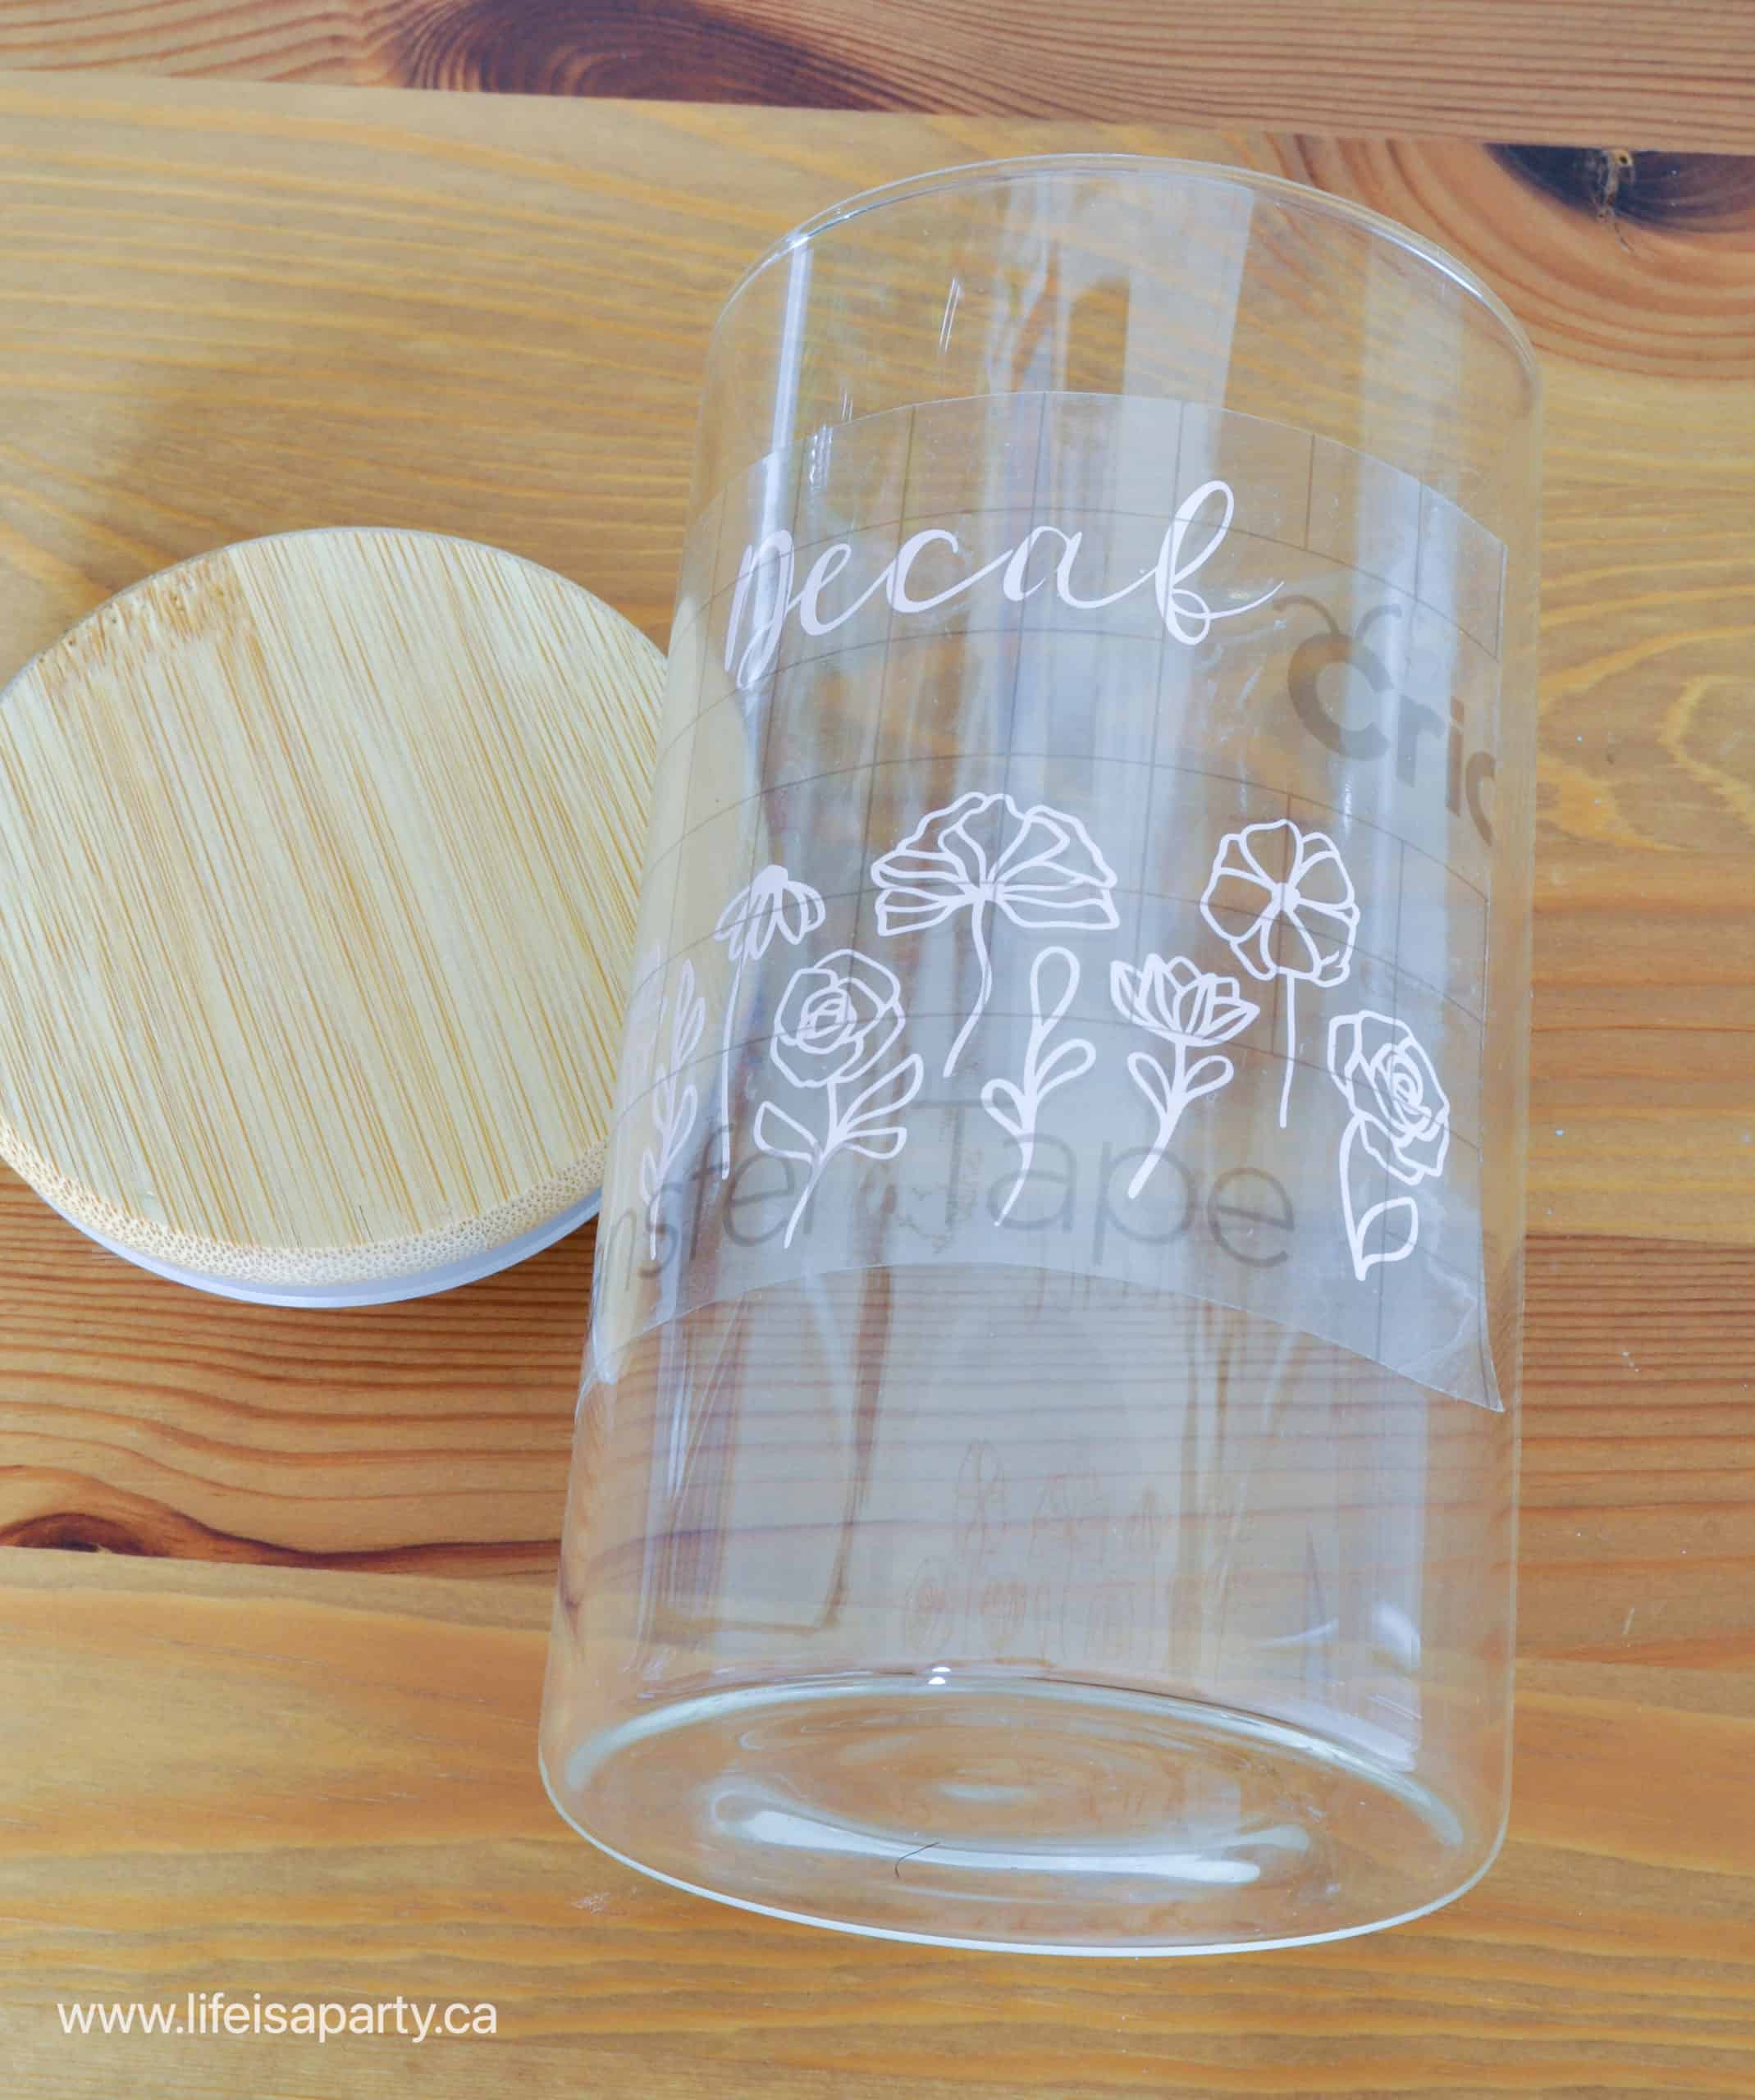
Applying To The Canister
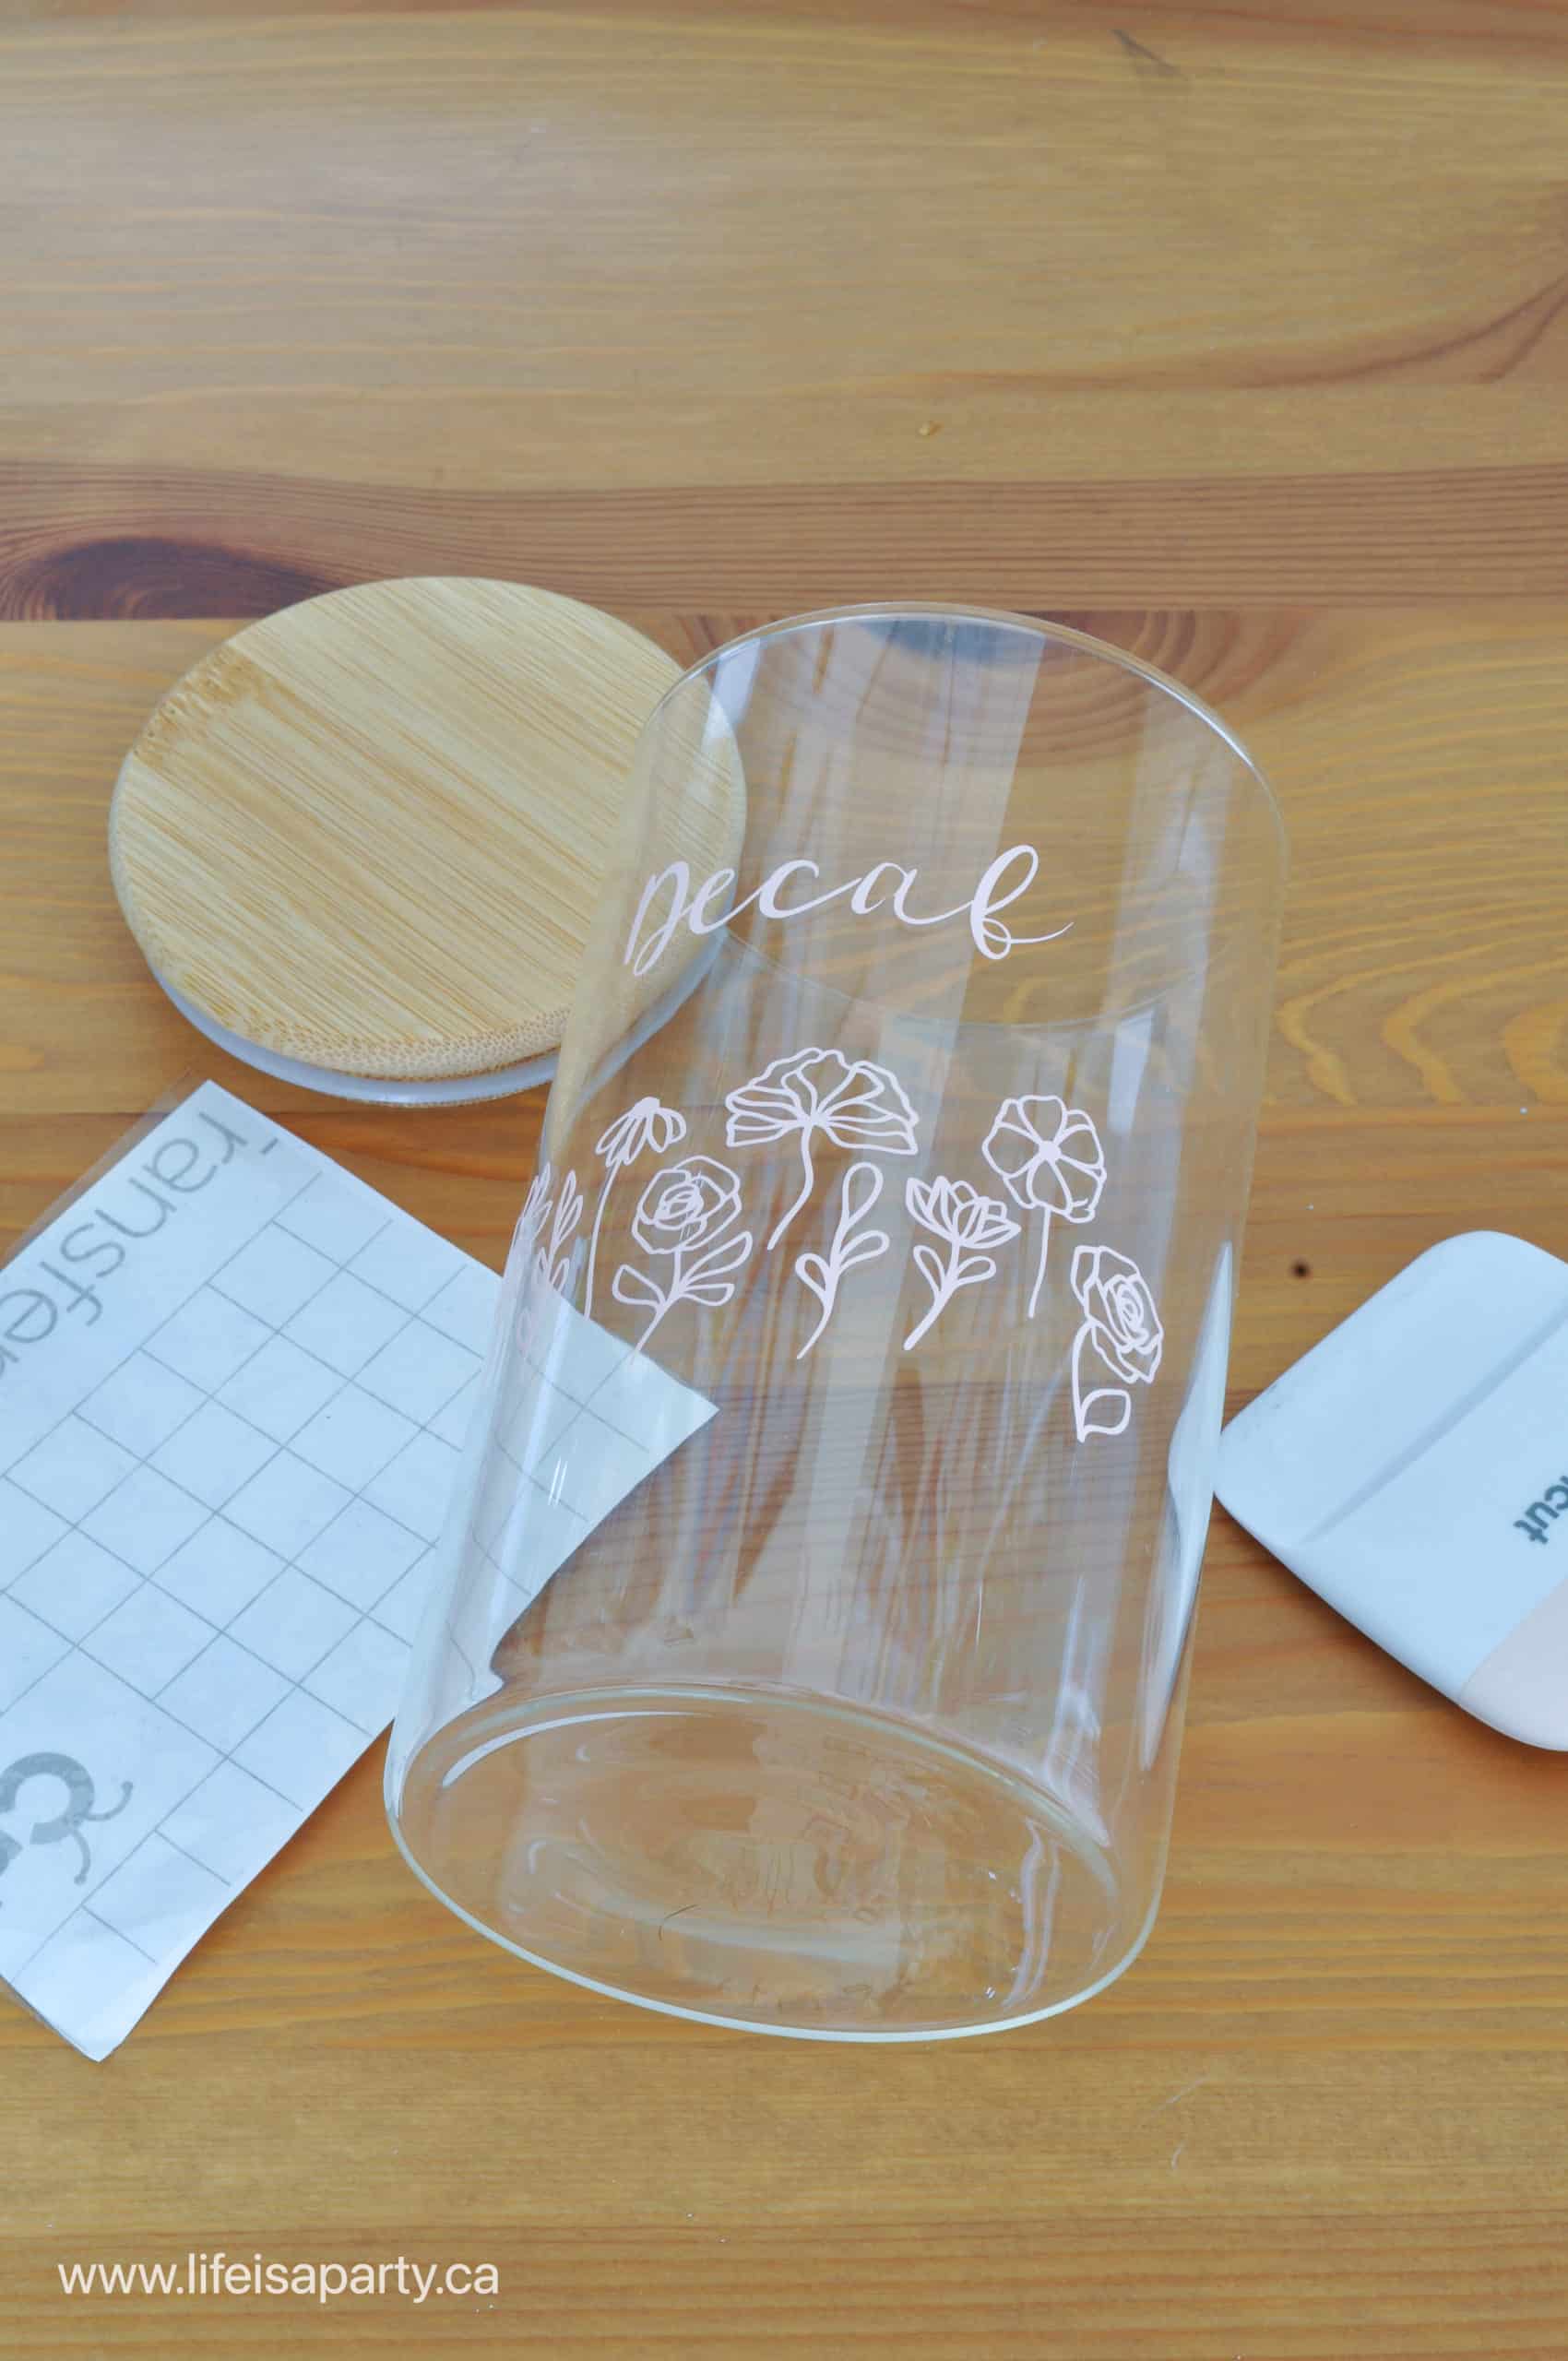
Once all the white house details are in place, it's time to apply the houses to the glass canister. Clean the glass surface with an alcohol wipe to remove any grease or residue. Then apply a large piece of transfer tape over a whole row of houses, and use your scraper to apply it. Without removing the backer piece, position the houses on the canister, making them as straight as possible. Apply a piece of tape to one edge to hold the vinyl in place once you remove the backer. Then starting on one side slowly remove the backer and flatten the vinyl into place, smoothing it out to remove any air bubbles as you go.

I tried several methods of applying the vinyl, and this is the easiest way to get a nice straight line of houses.
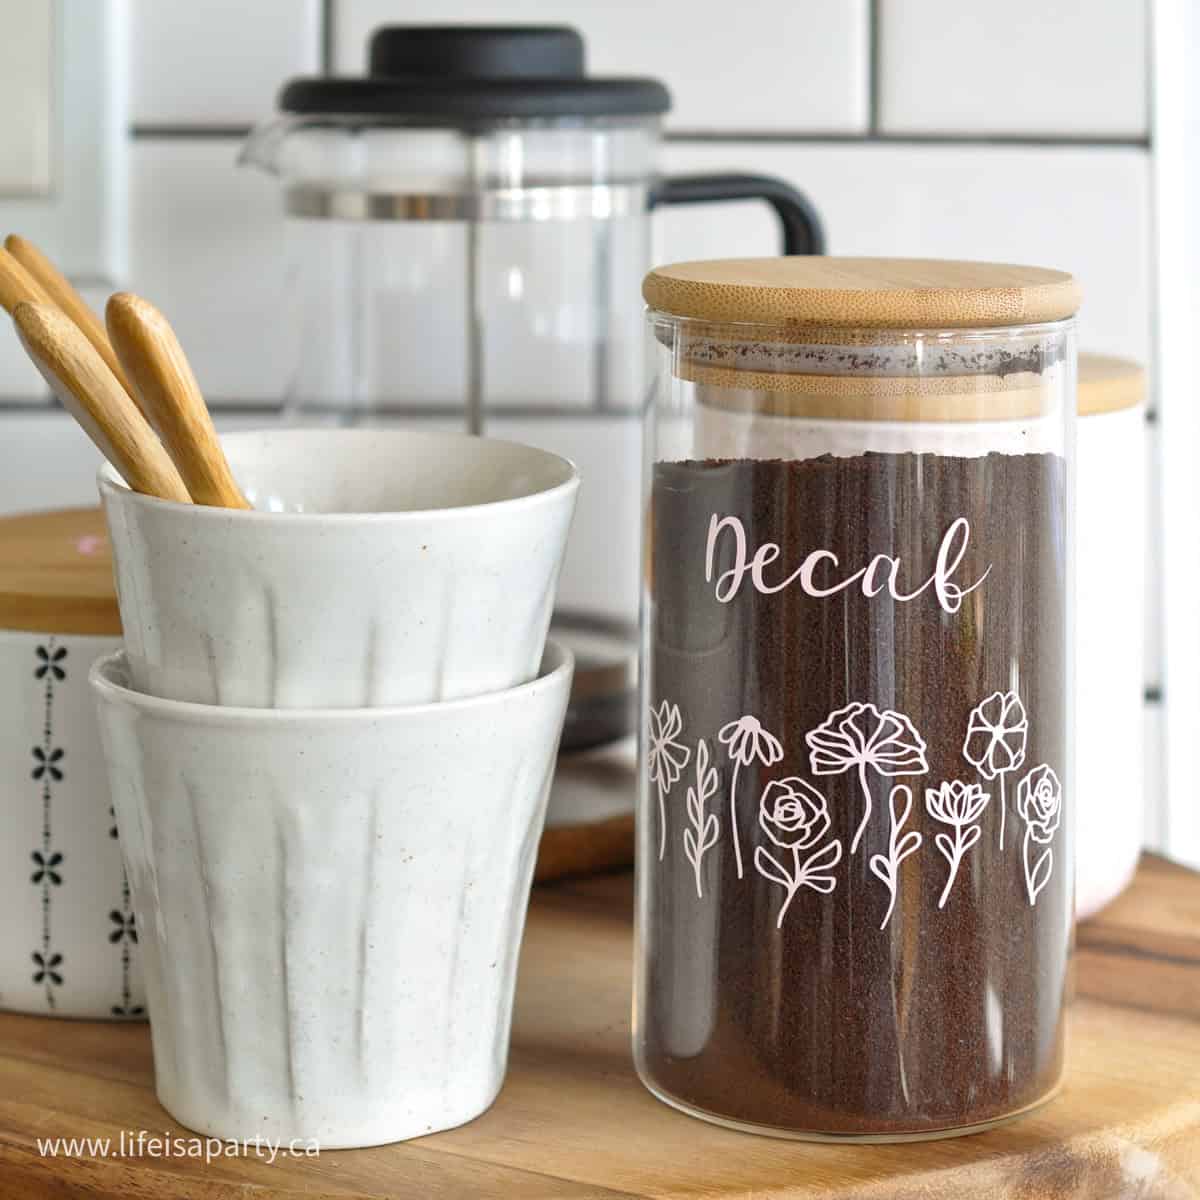
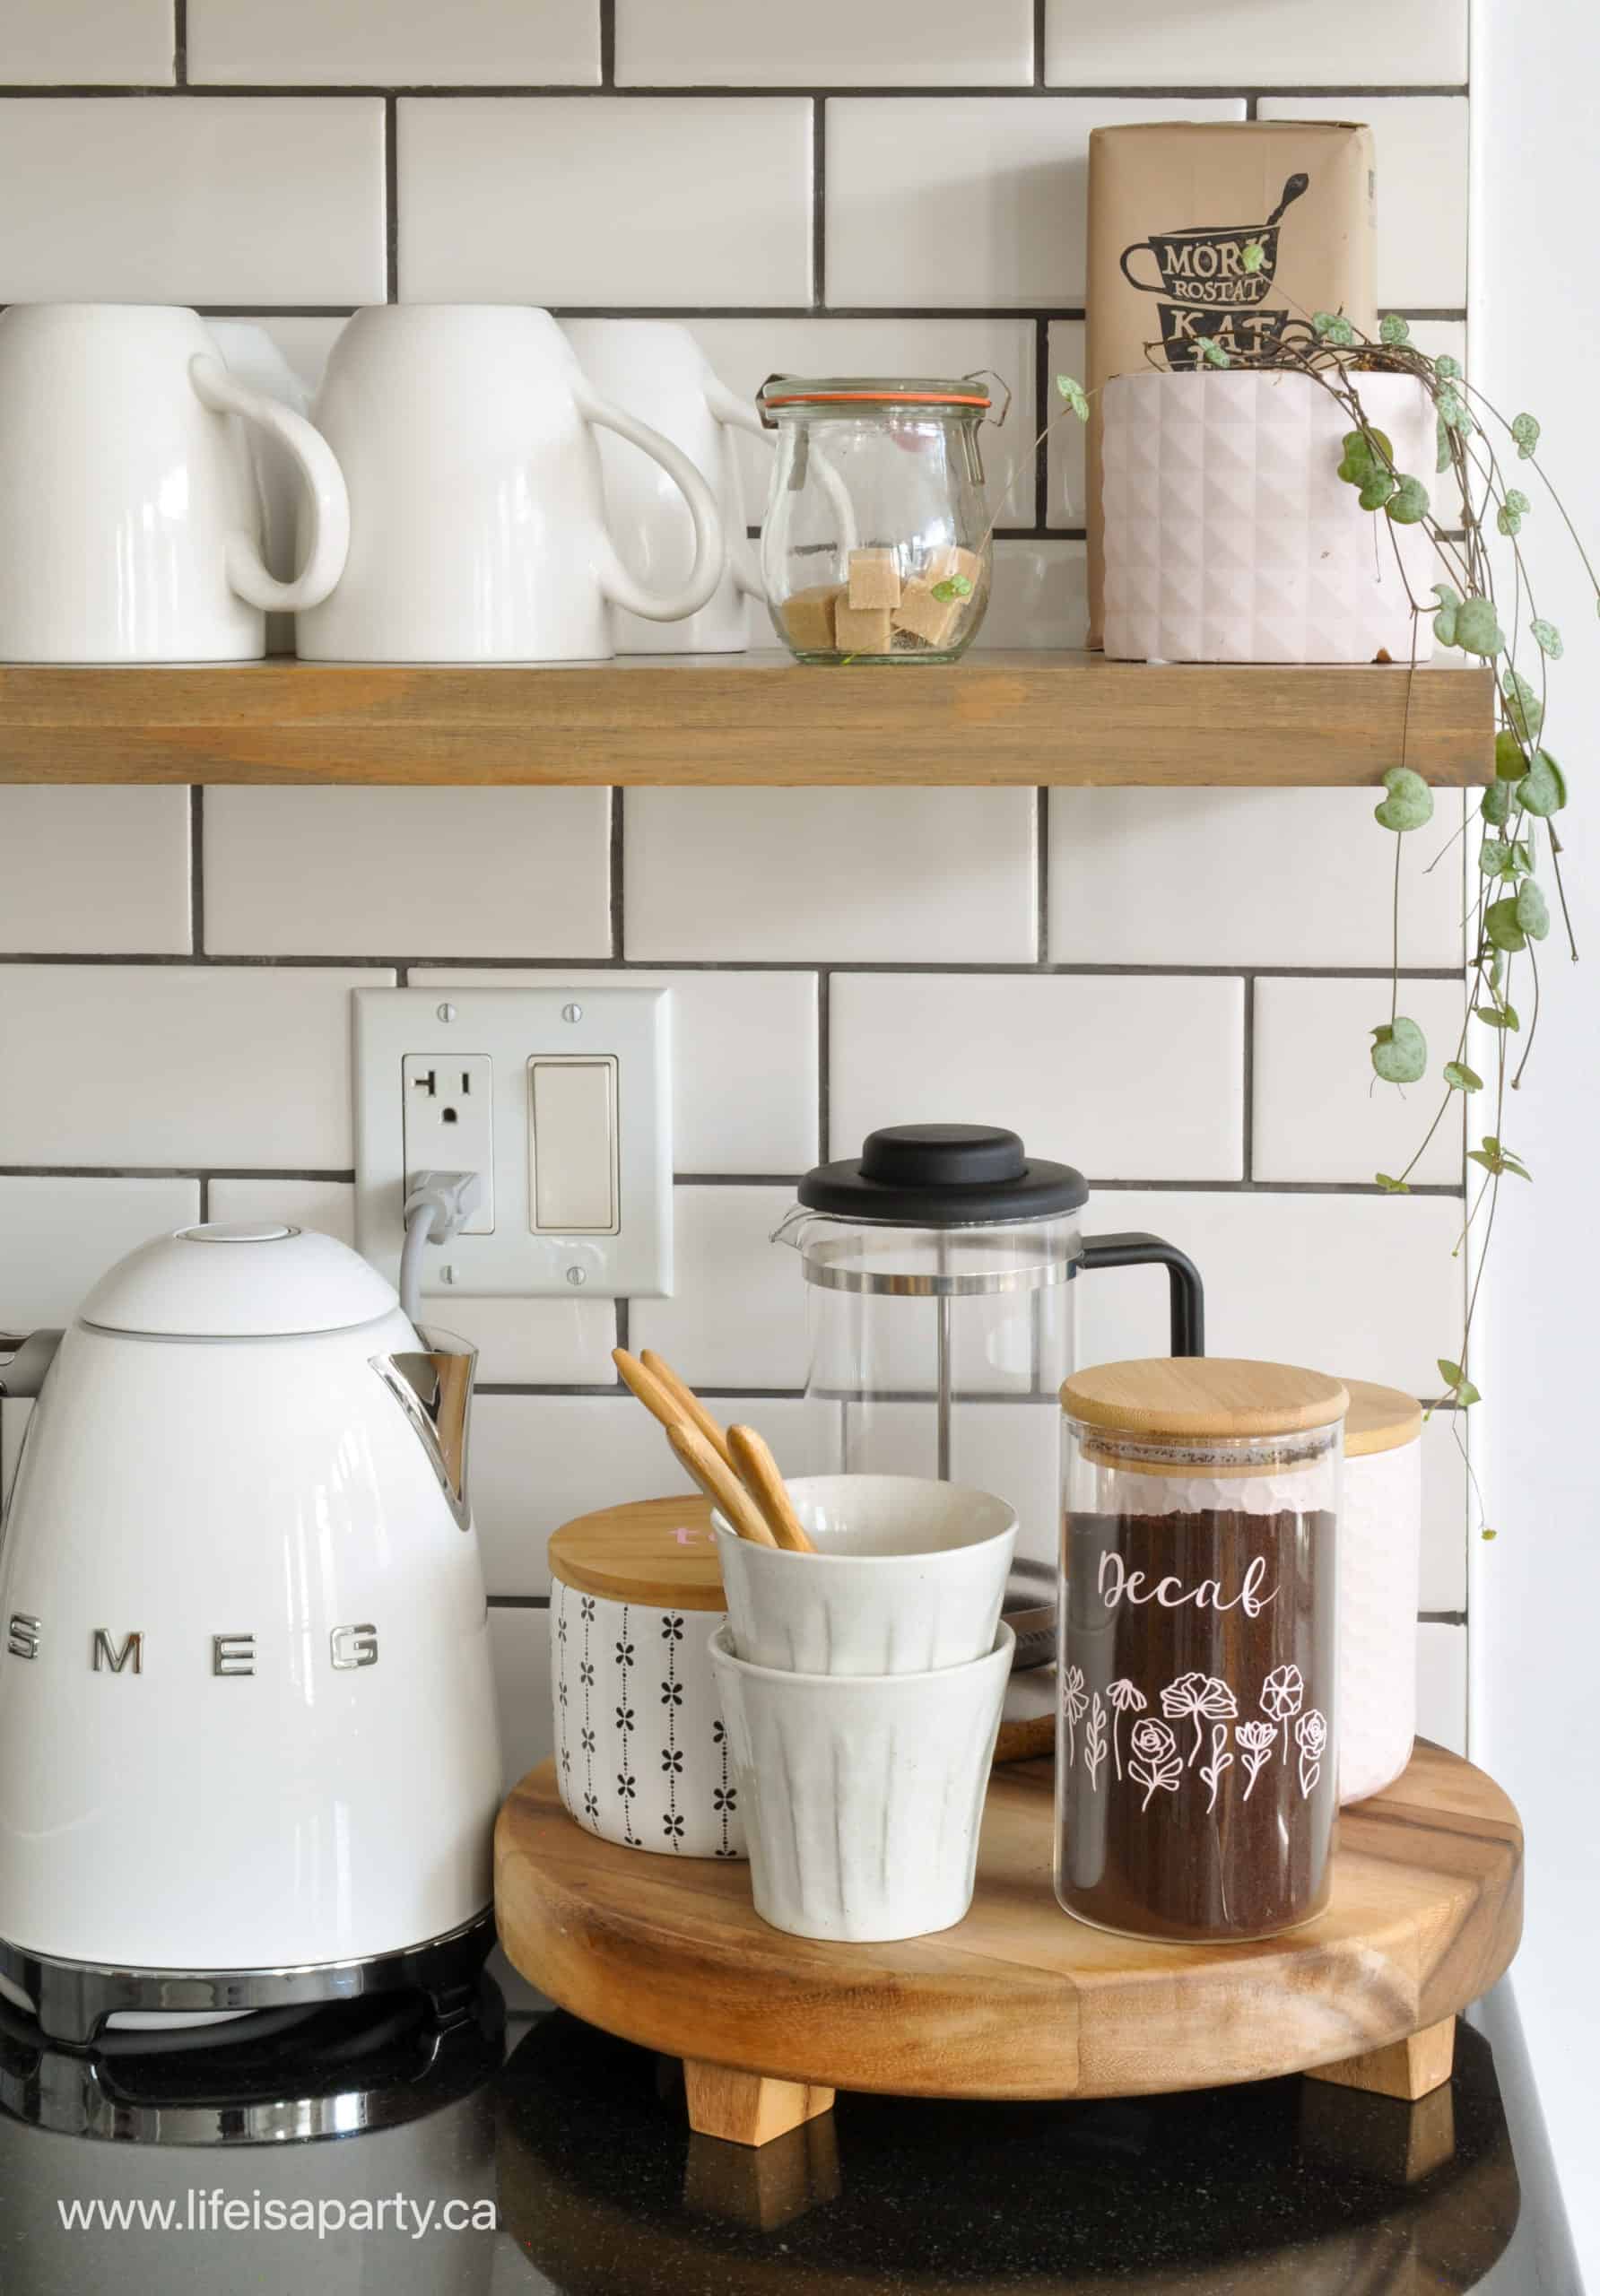
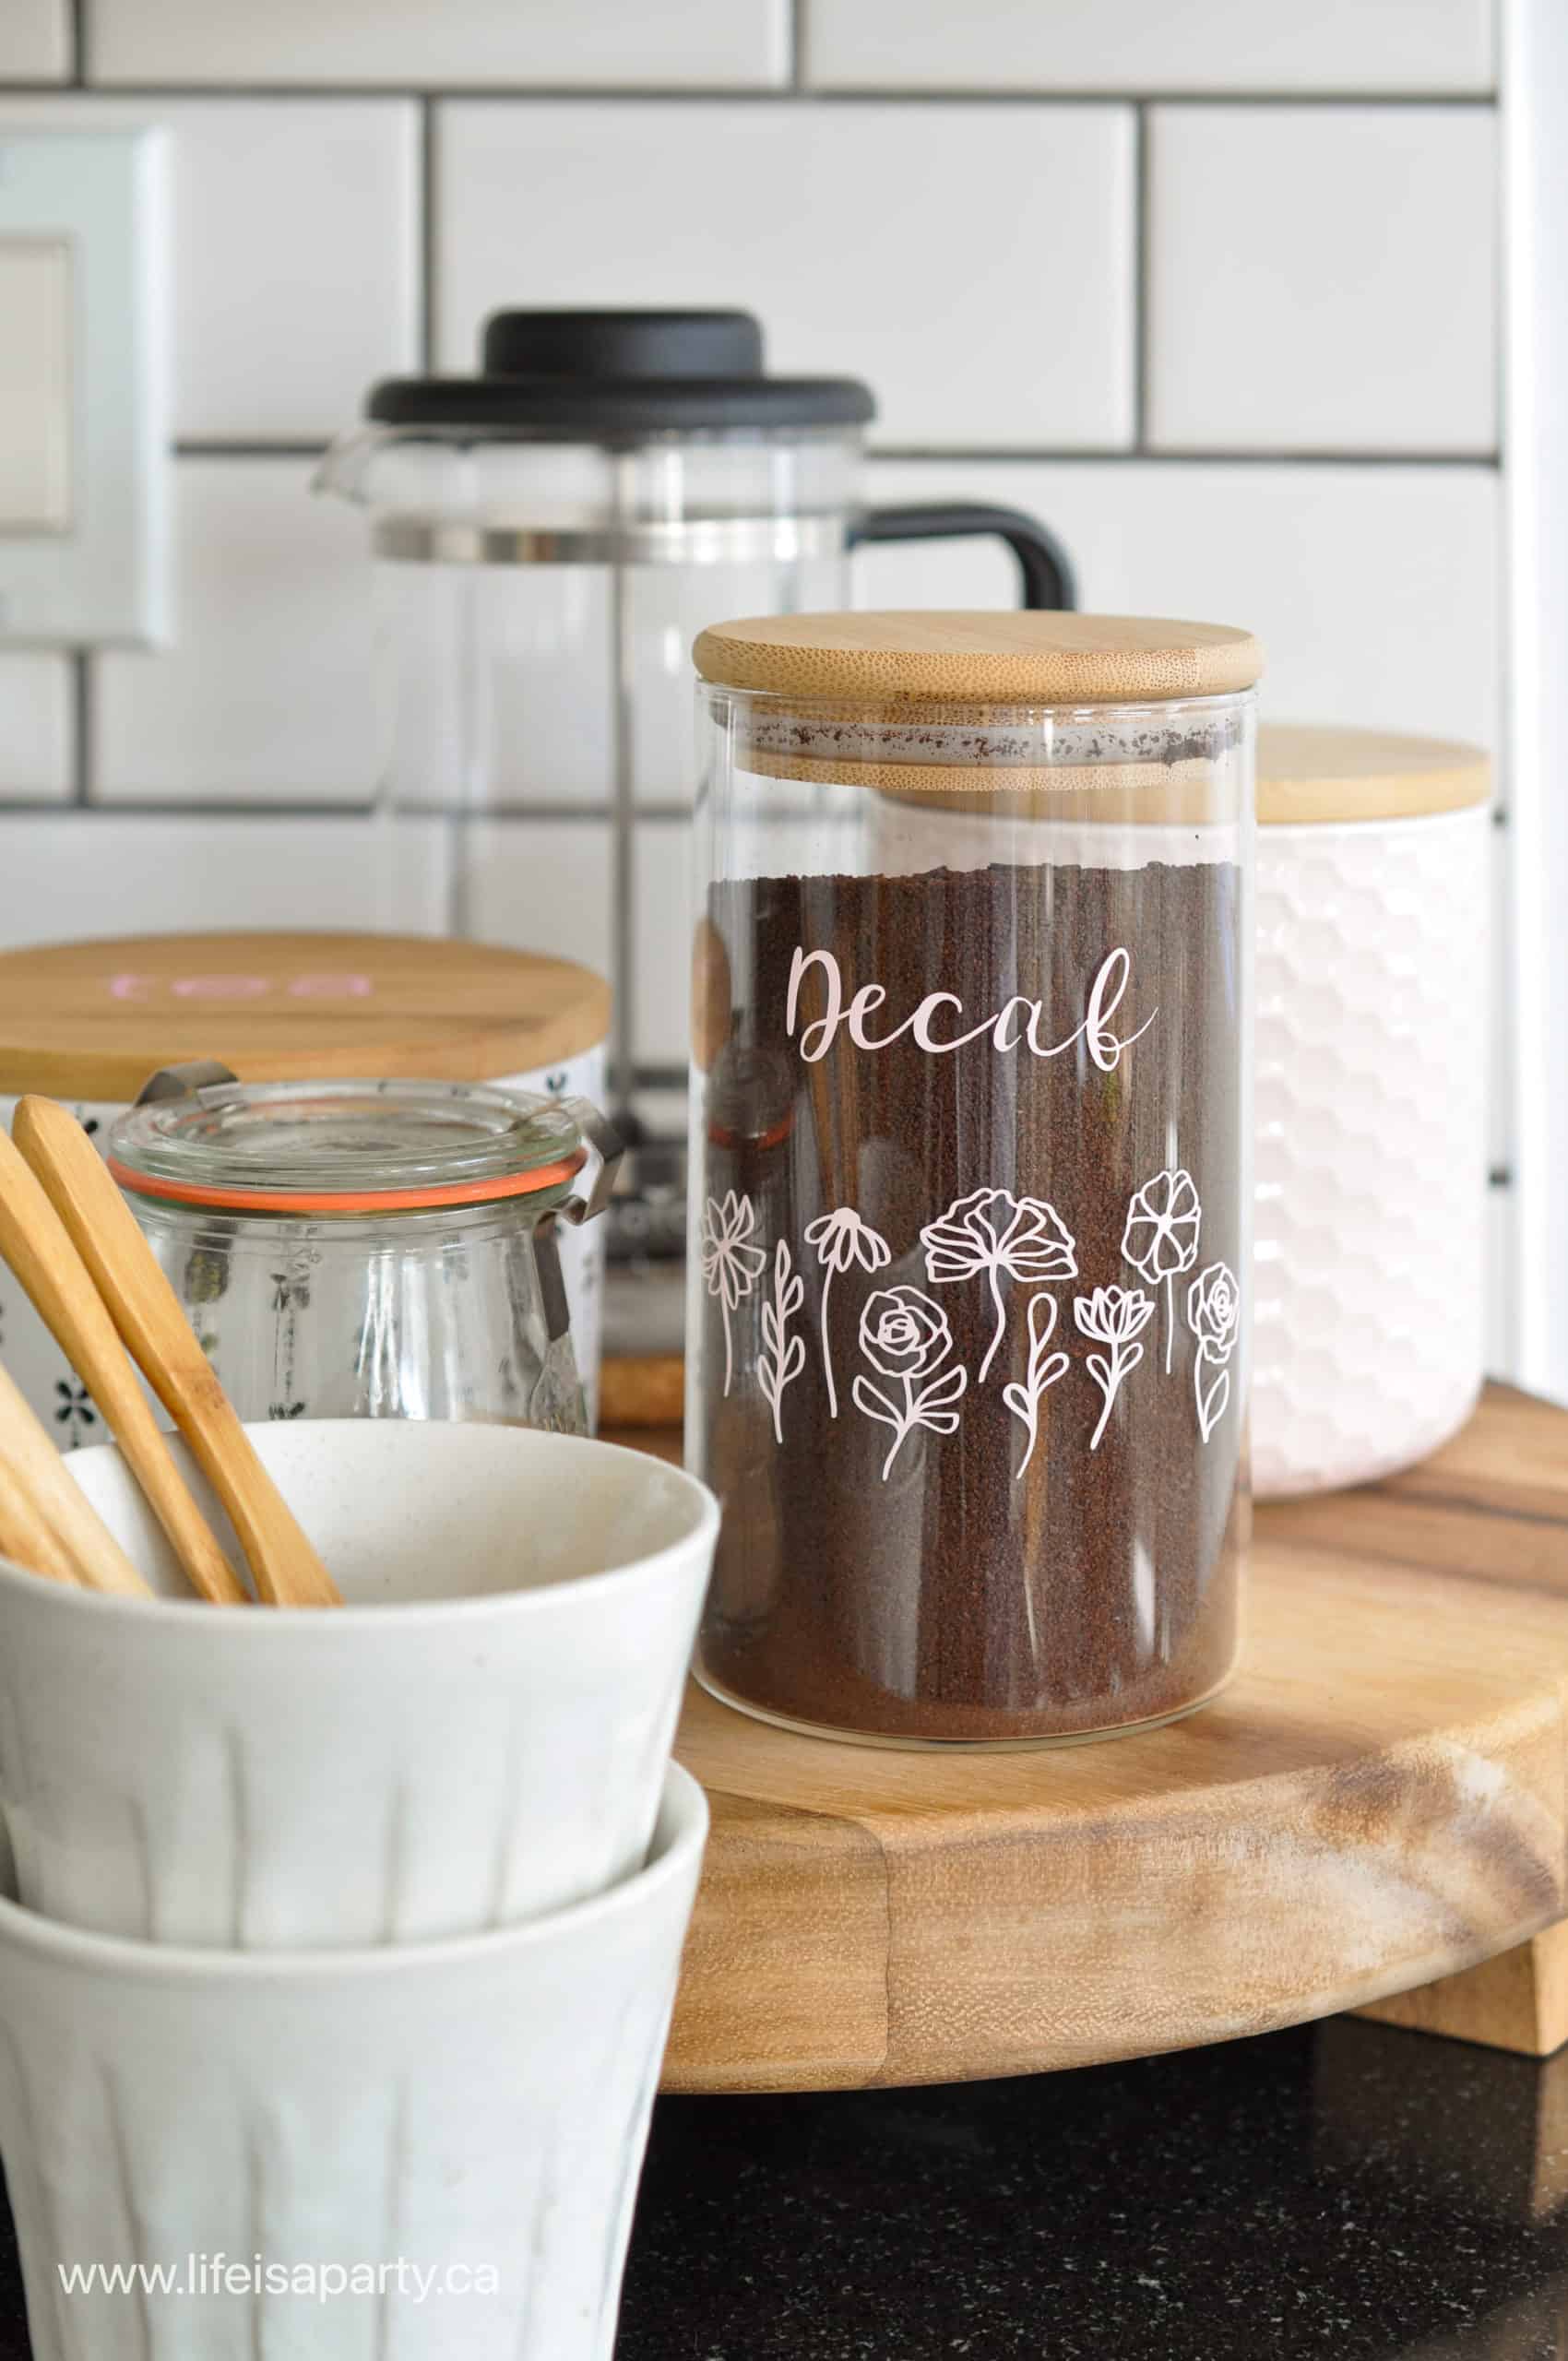
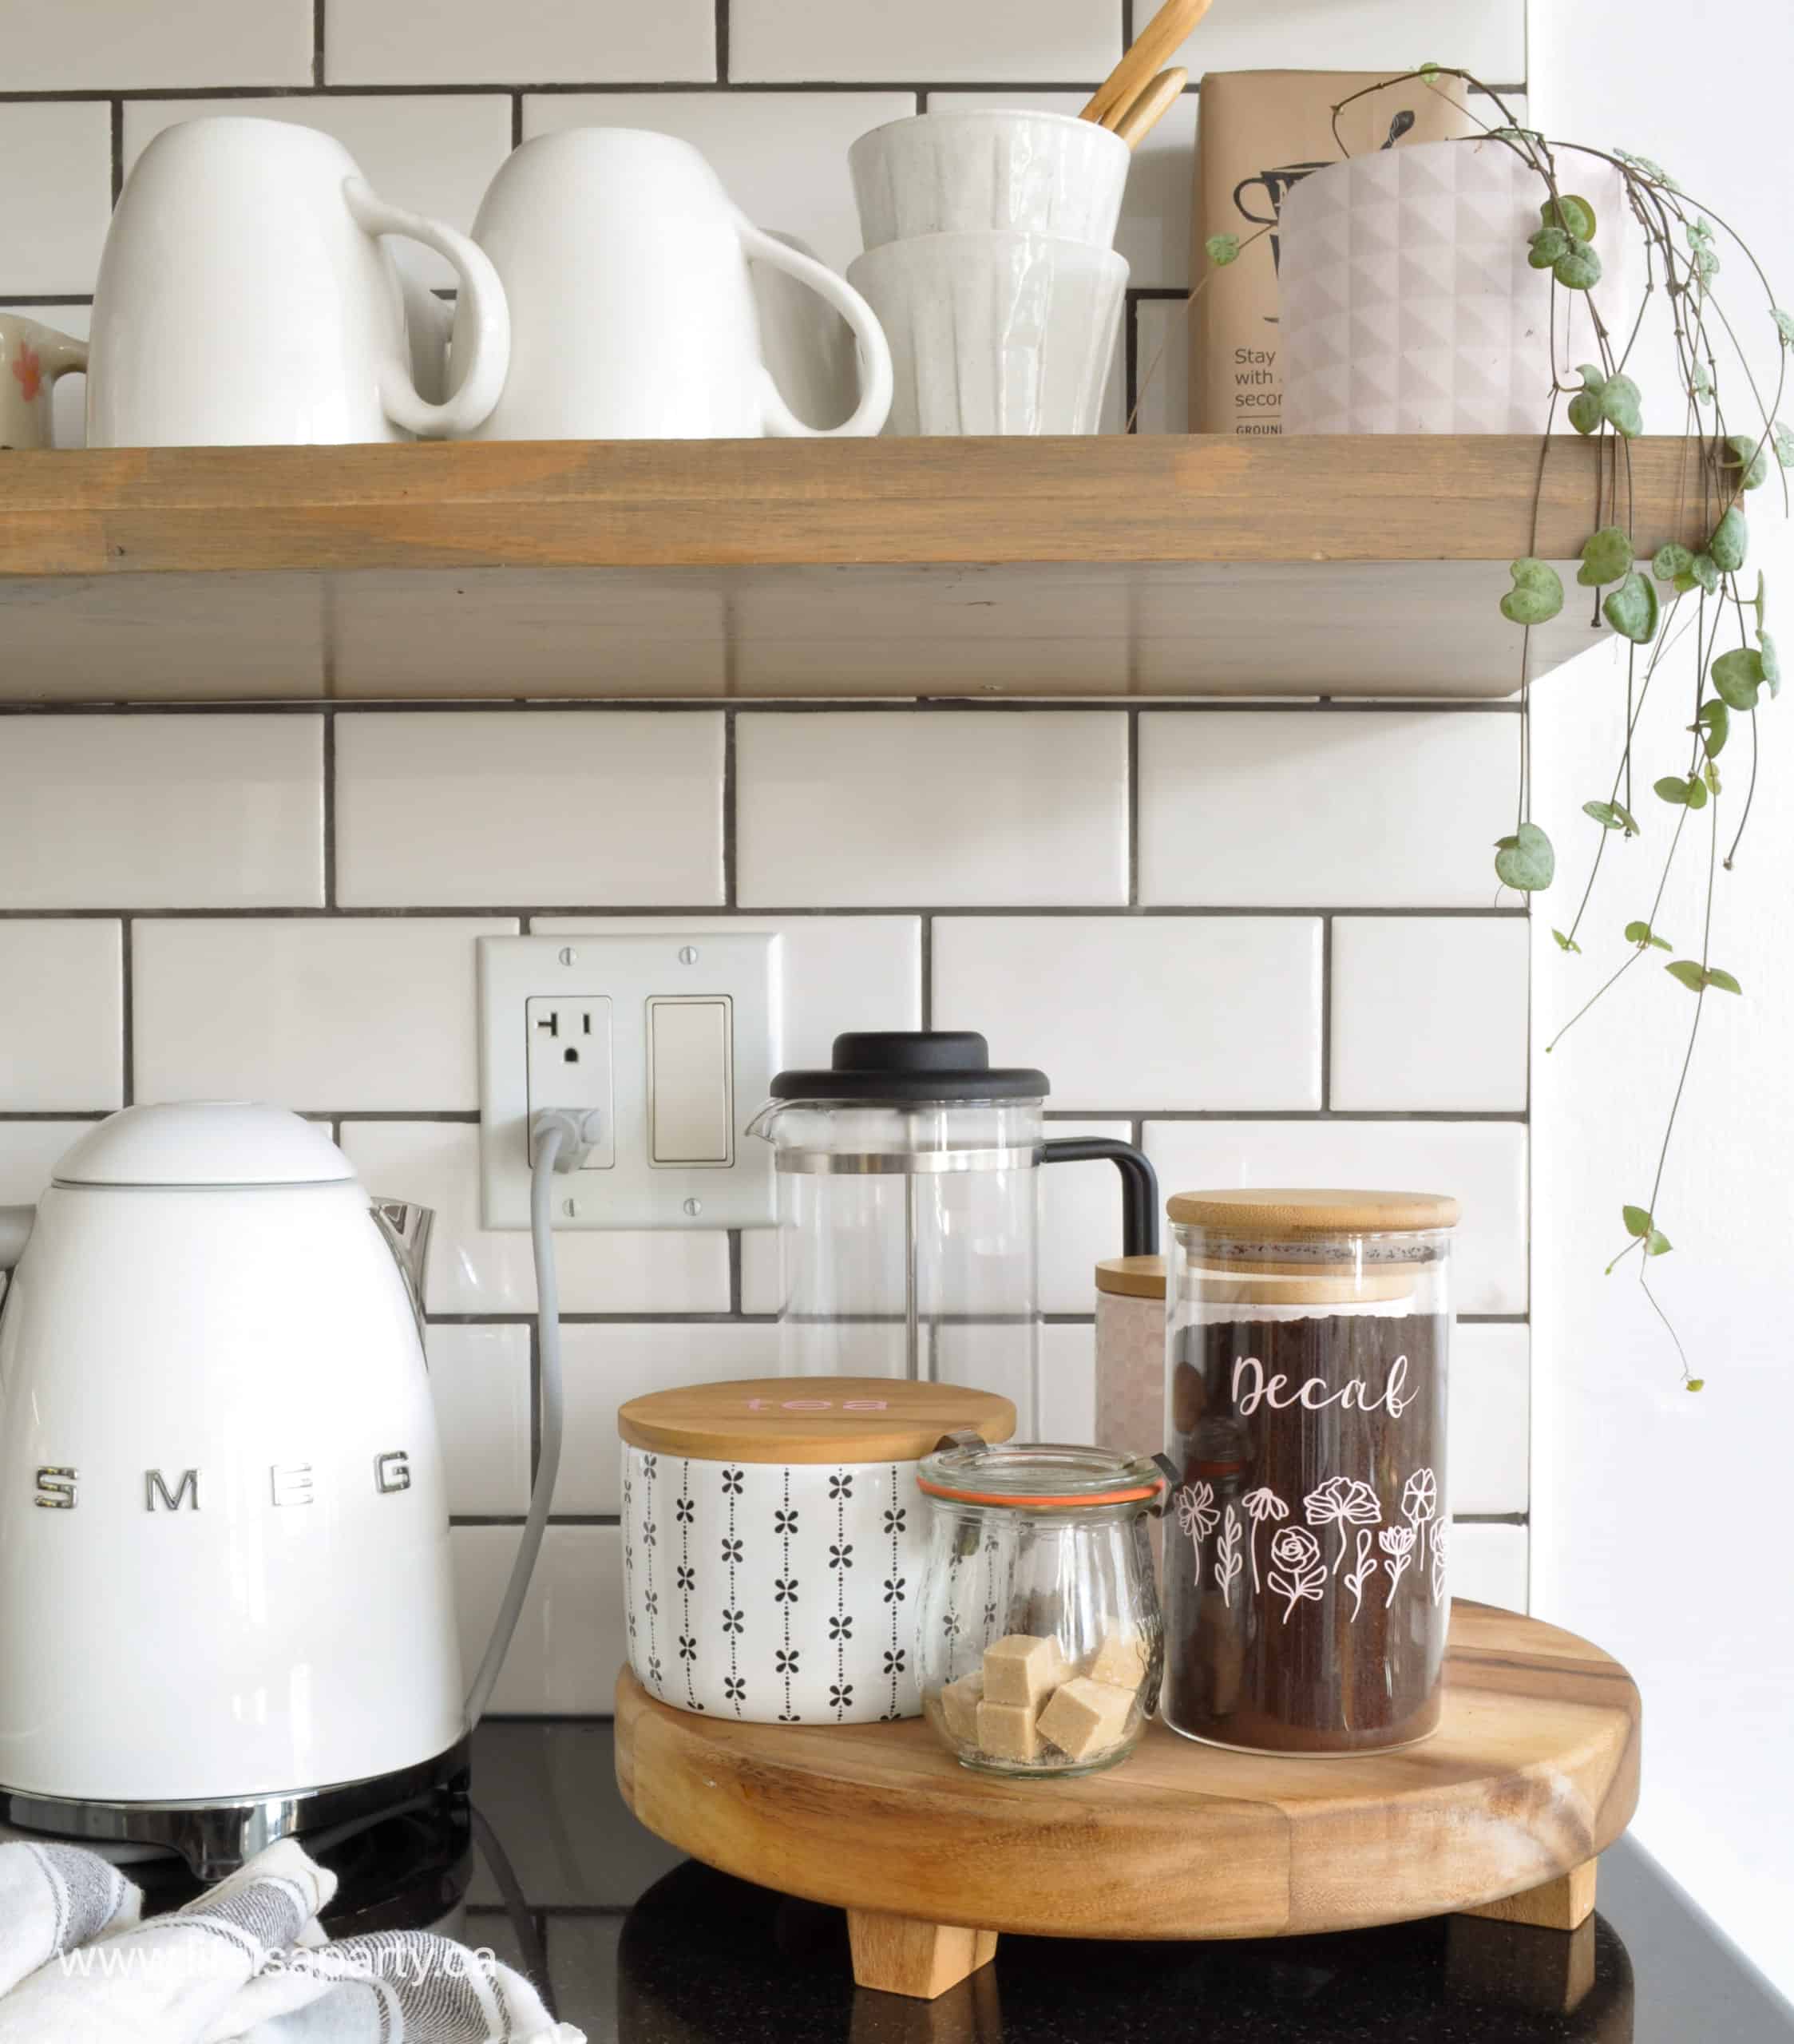
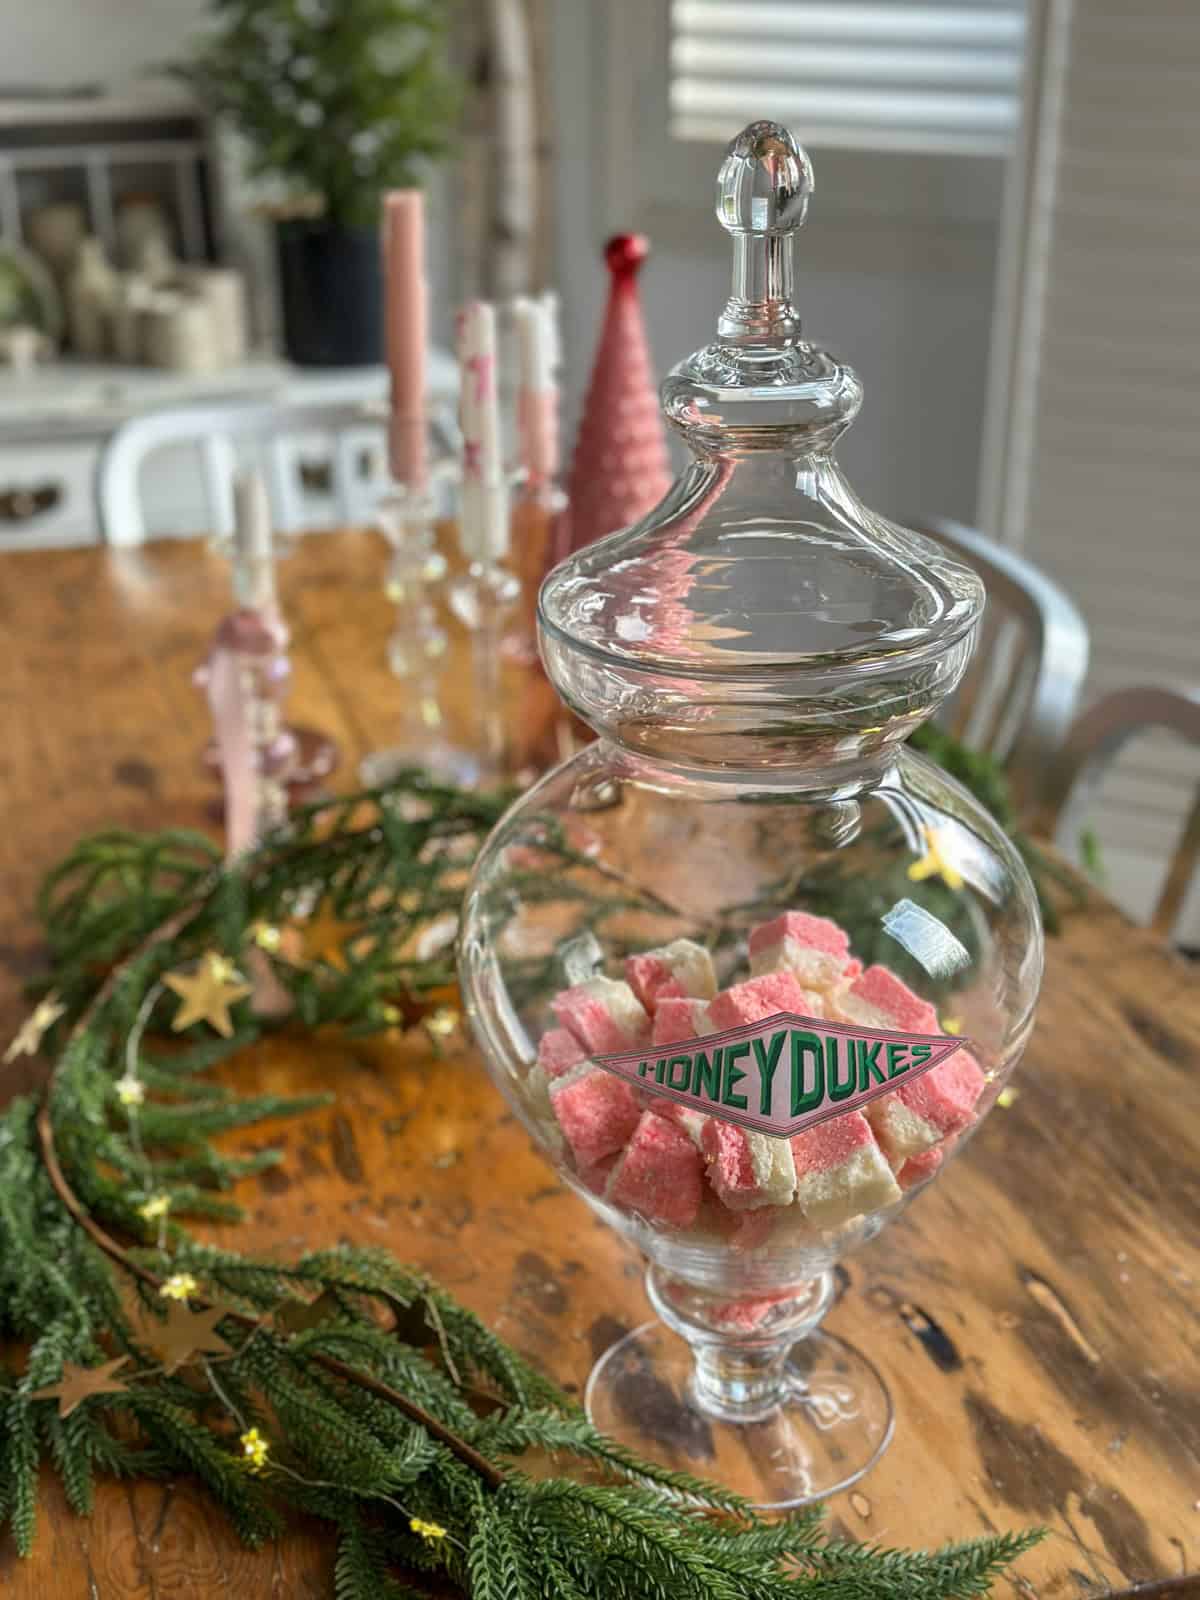
Once the houses are applied all the way around the canister, it's finished and ready to use in the kitchen. We tied a ribbon around ours, we like pink, but red bows would be so festive too.
Canister Ideas
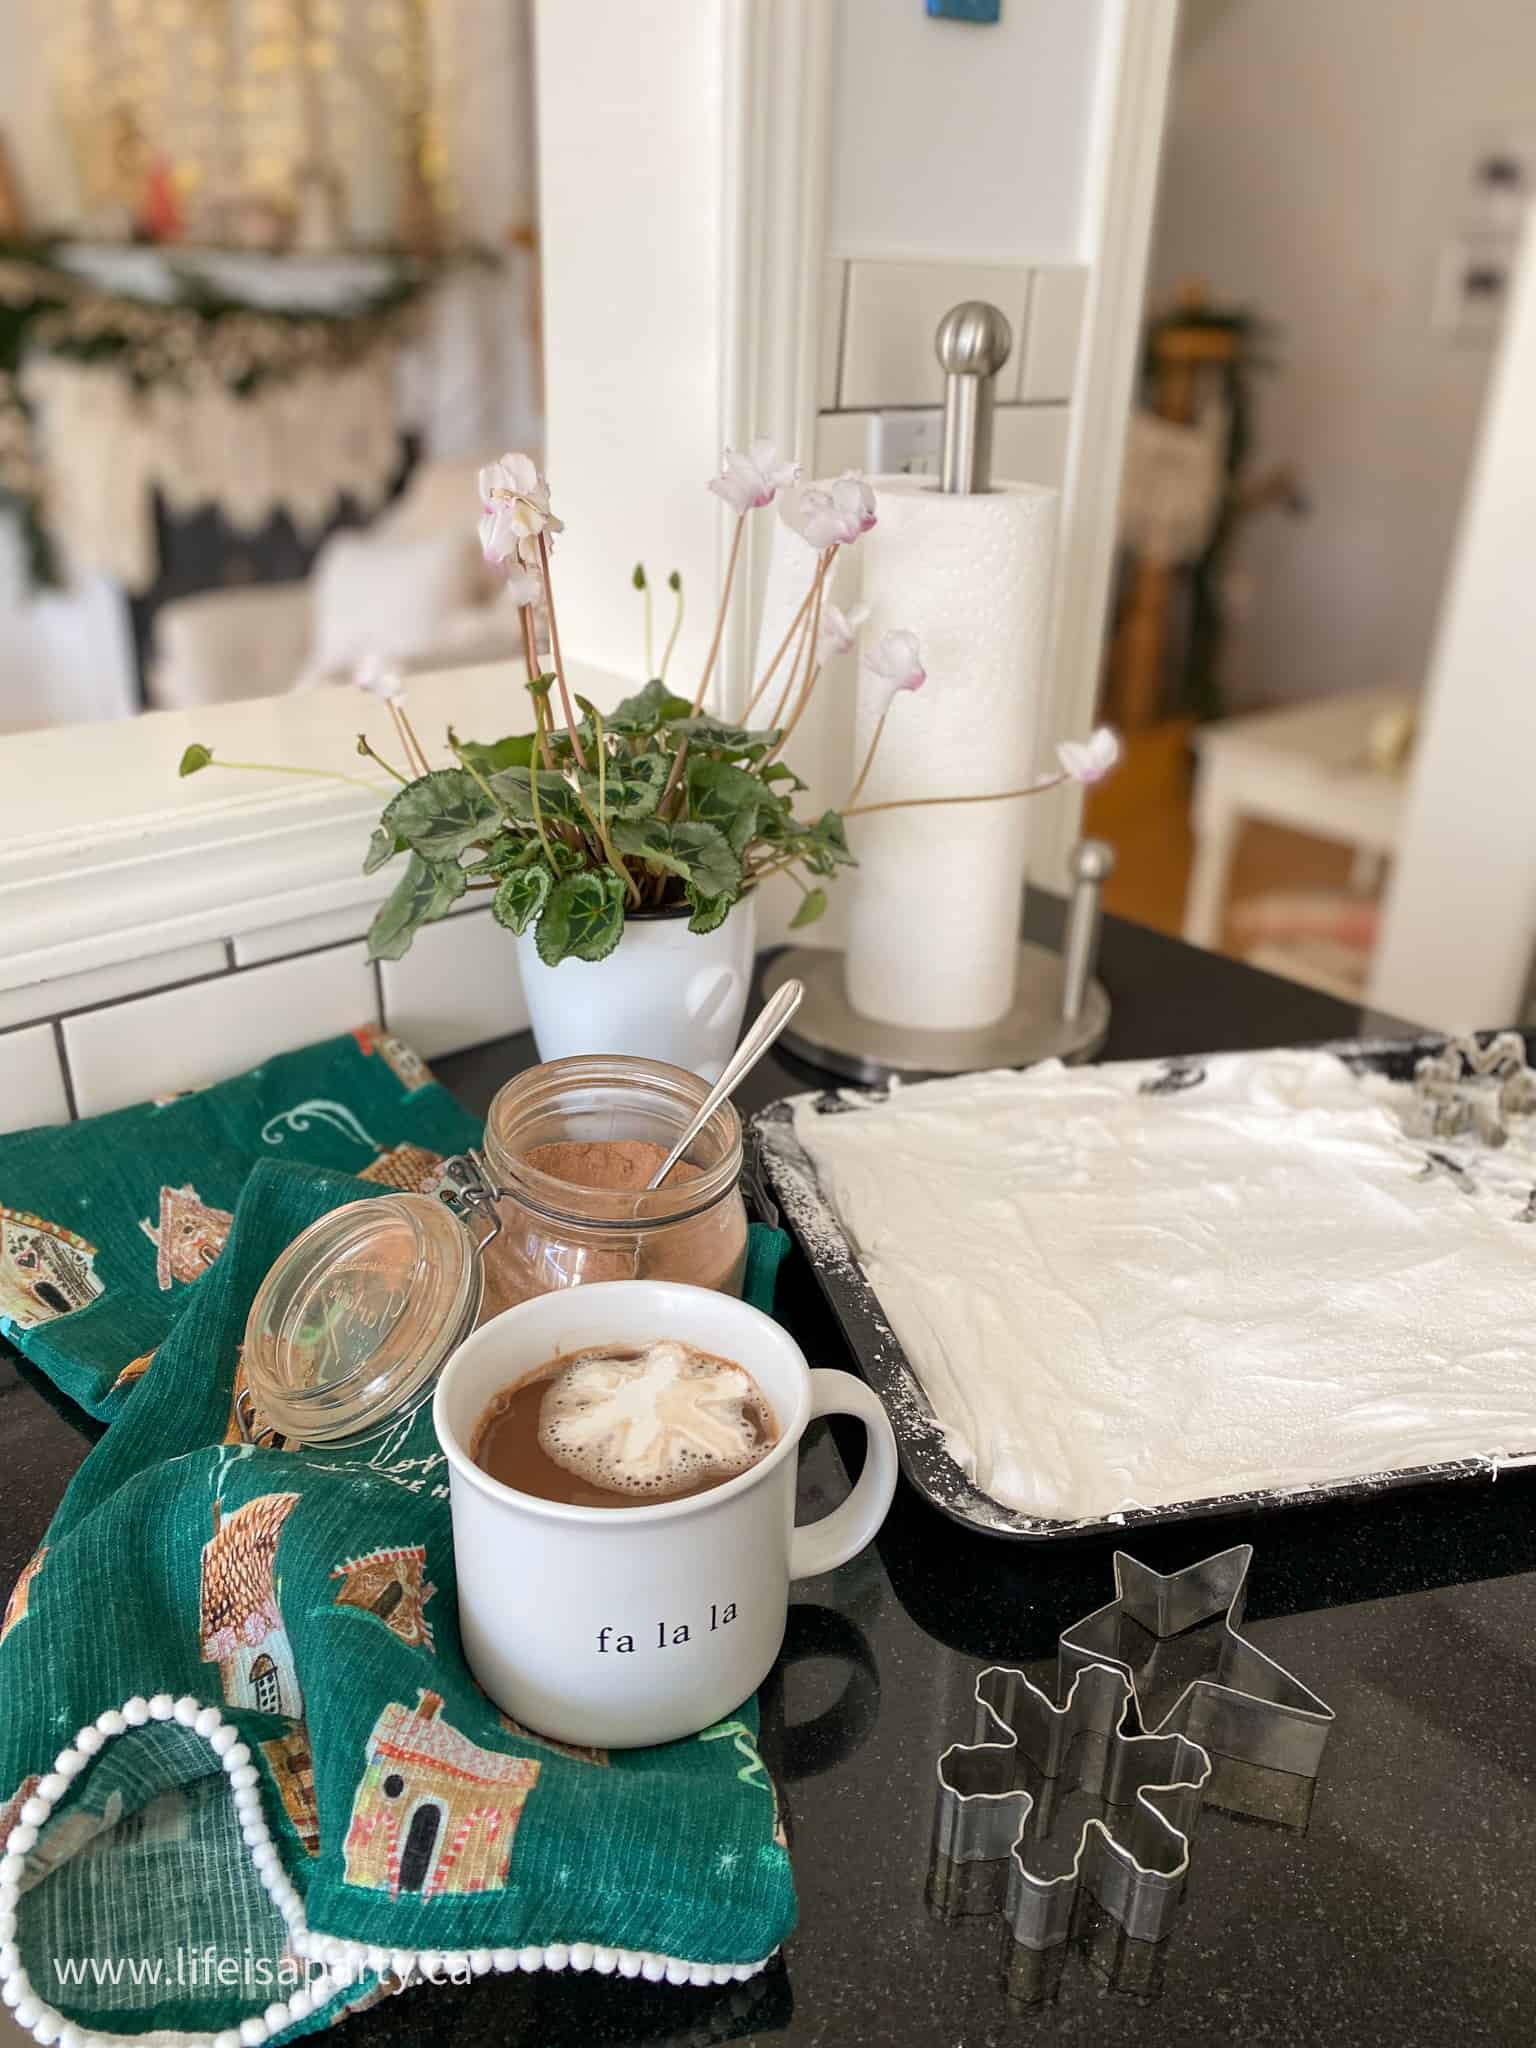
I filled two slightly different sized canisters with dry ingredients all ready for baking. One is holding white sugar, and the other is full of all purpose flour. This airtight container is perfect for holding ingredients, but it would also be so much fun full of actual gingerbread. And how perfect for gift giving would one of these custom canisters with gingerbread men be? You could include the canister with one of your favorite gingerbread recipes, or cookie dough, and a gingerbread cookie cutter, and some cute sprinkles for the top of your cookie. That would be a next level holiday gift. Everyone always loves an edible treat, or what they need to make one. You could even make a smaller version and fill it with hot chocolate mix. Such a fun idea for the holidays. We love creative ways of giving practical gifts.
If you have an annual party making real gingerbread houses, this banner and the canisters would be a great addition to your decor. Happy decorating and we hope we've given you a few new ideas that you love.
These DIY gingerbread decor pieces are so fun to make. The best part is that you can personalize them to whatever size you need. They make a great addition to your Christmas ornaments and decor, or they're also great for gift giving.
With beautiful DIY gingerbread decor like this made with your Cricut, life really is a party!


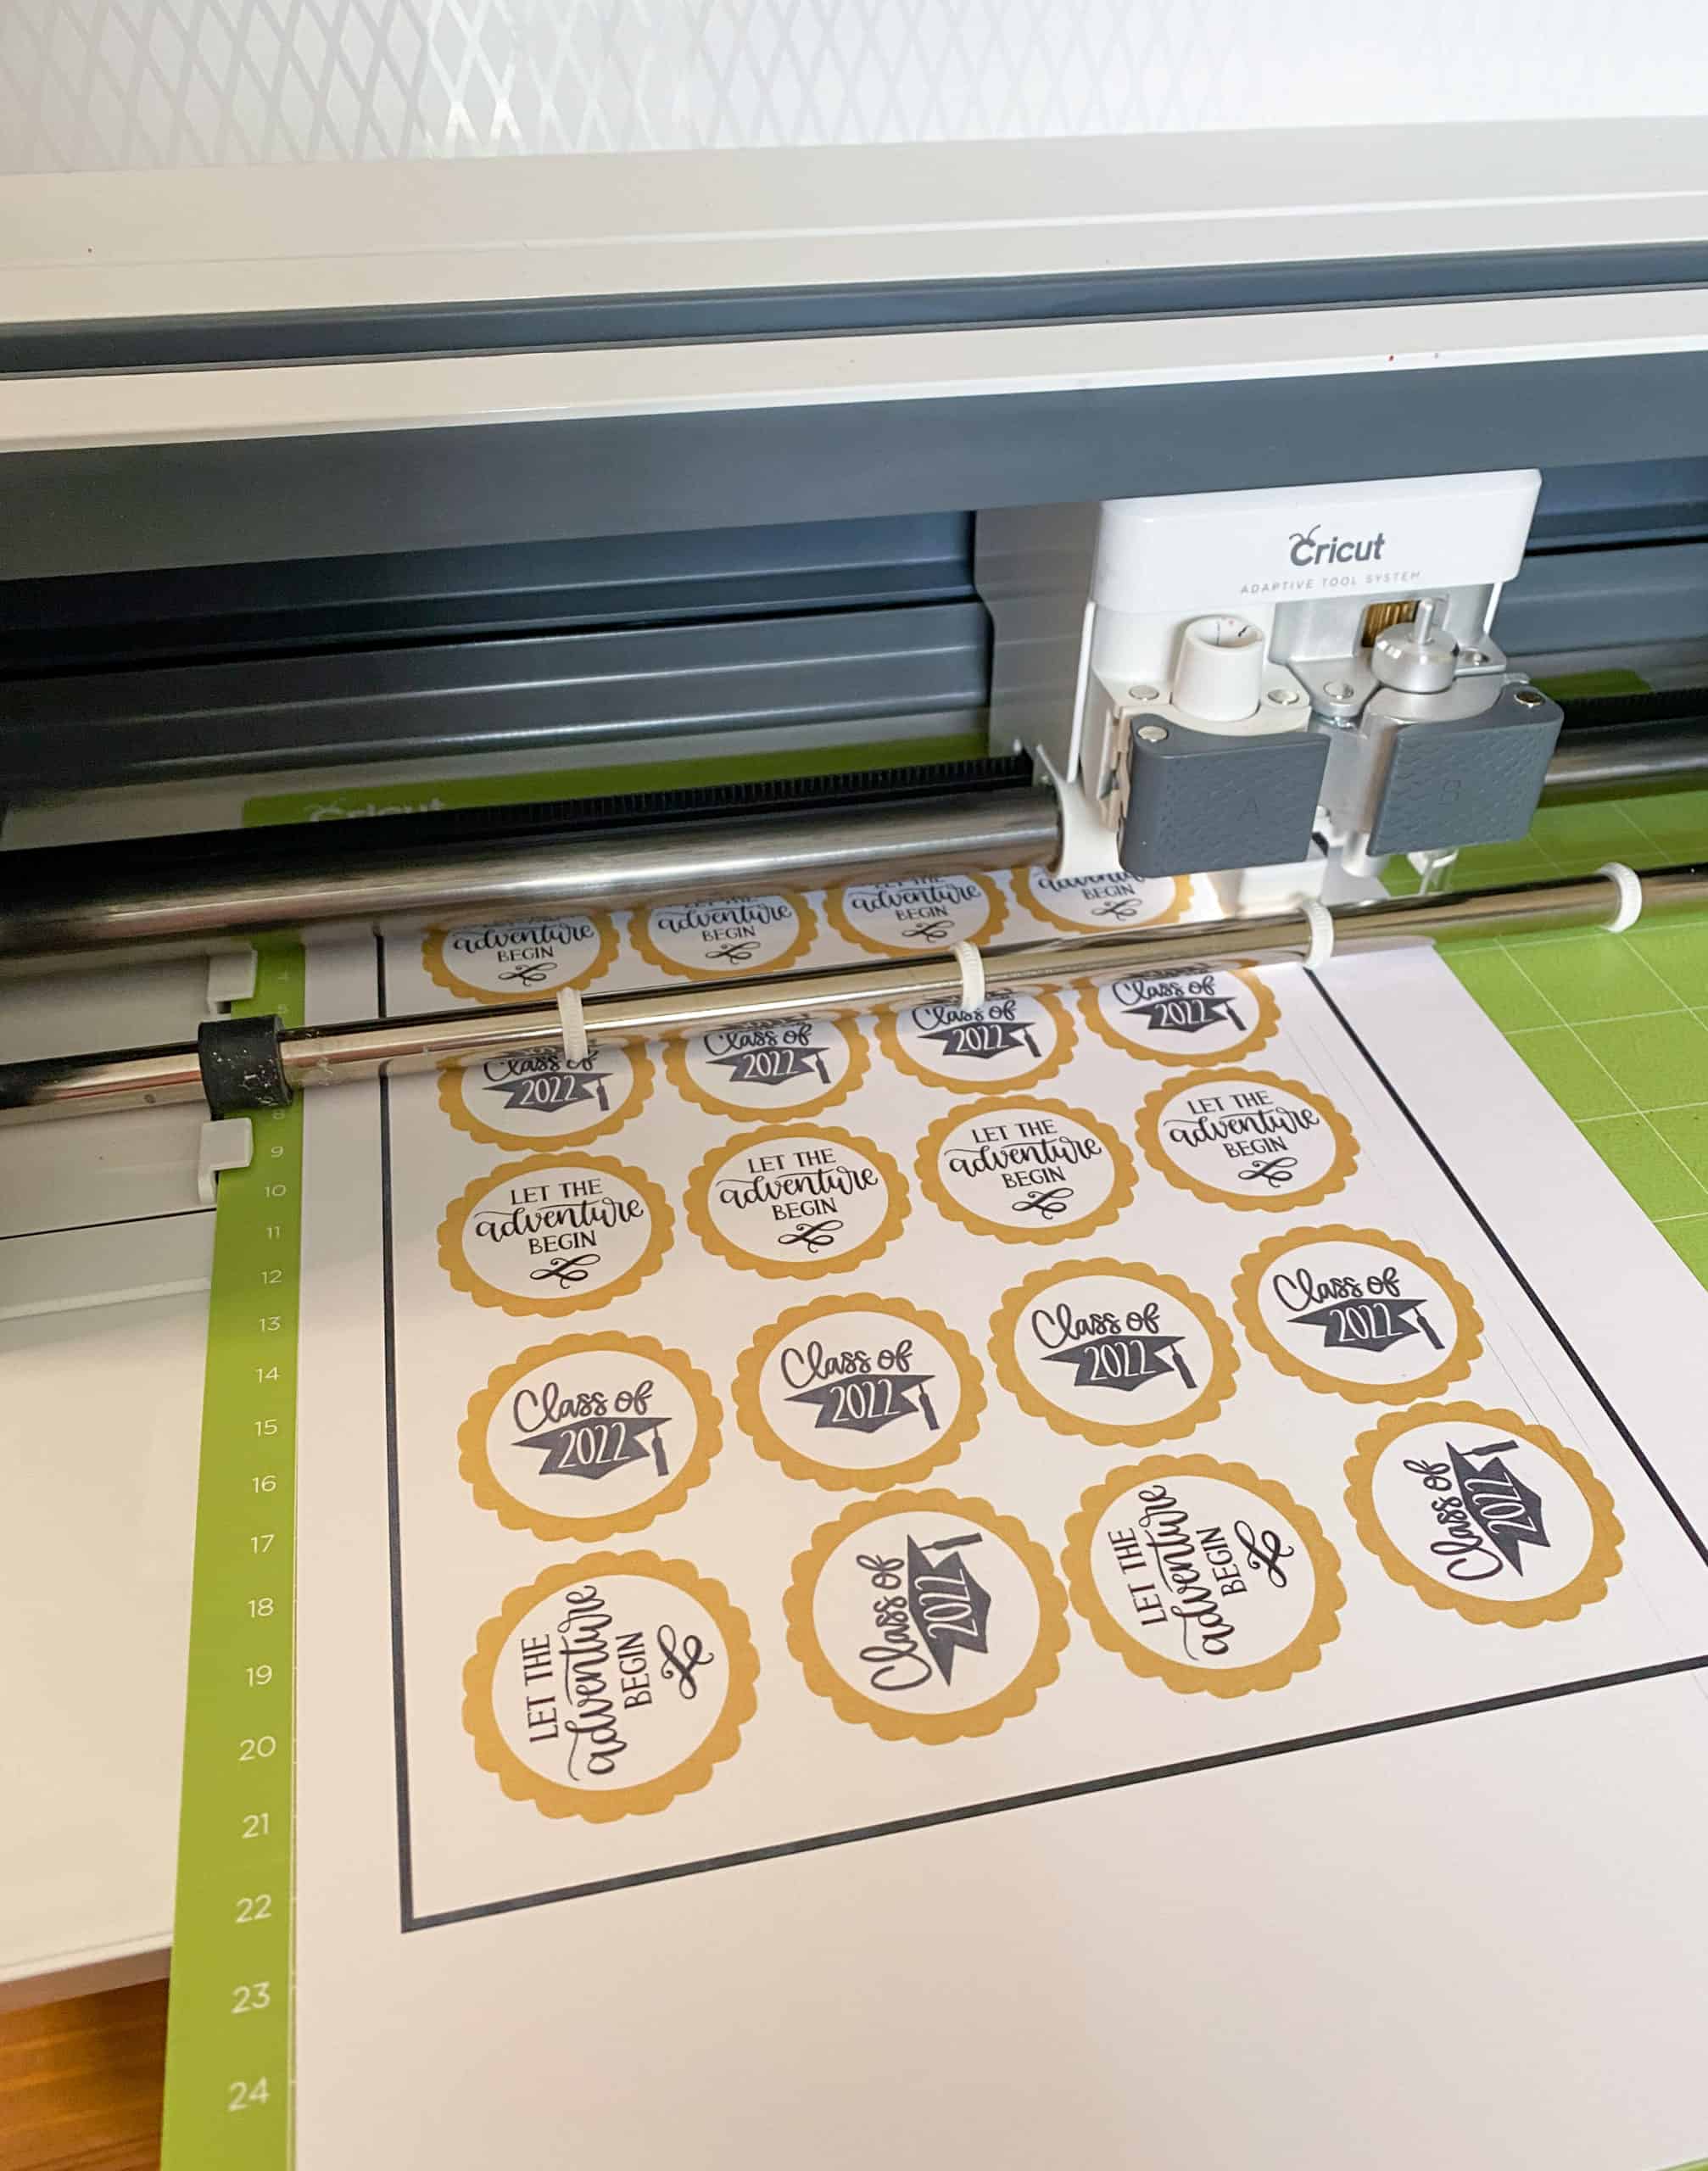


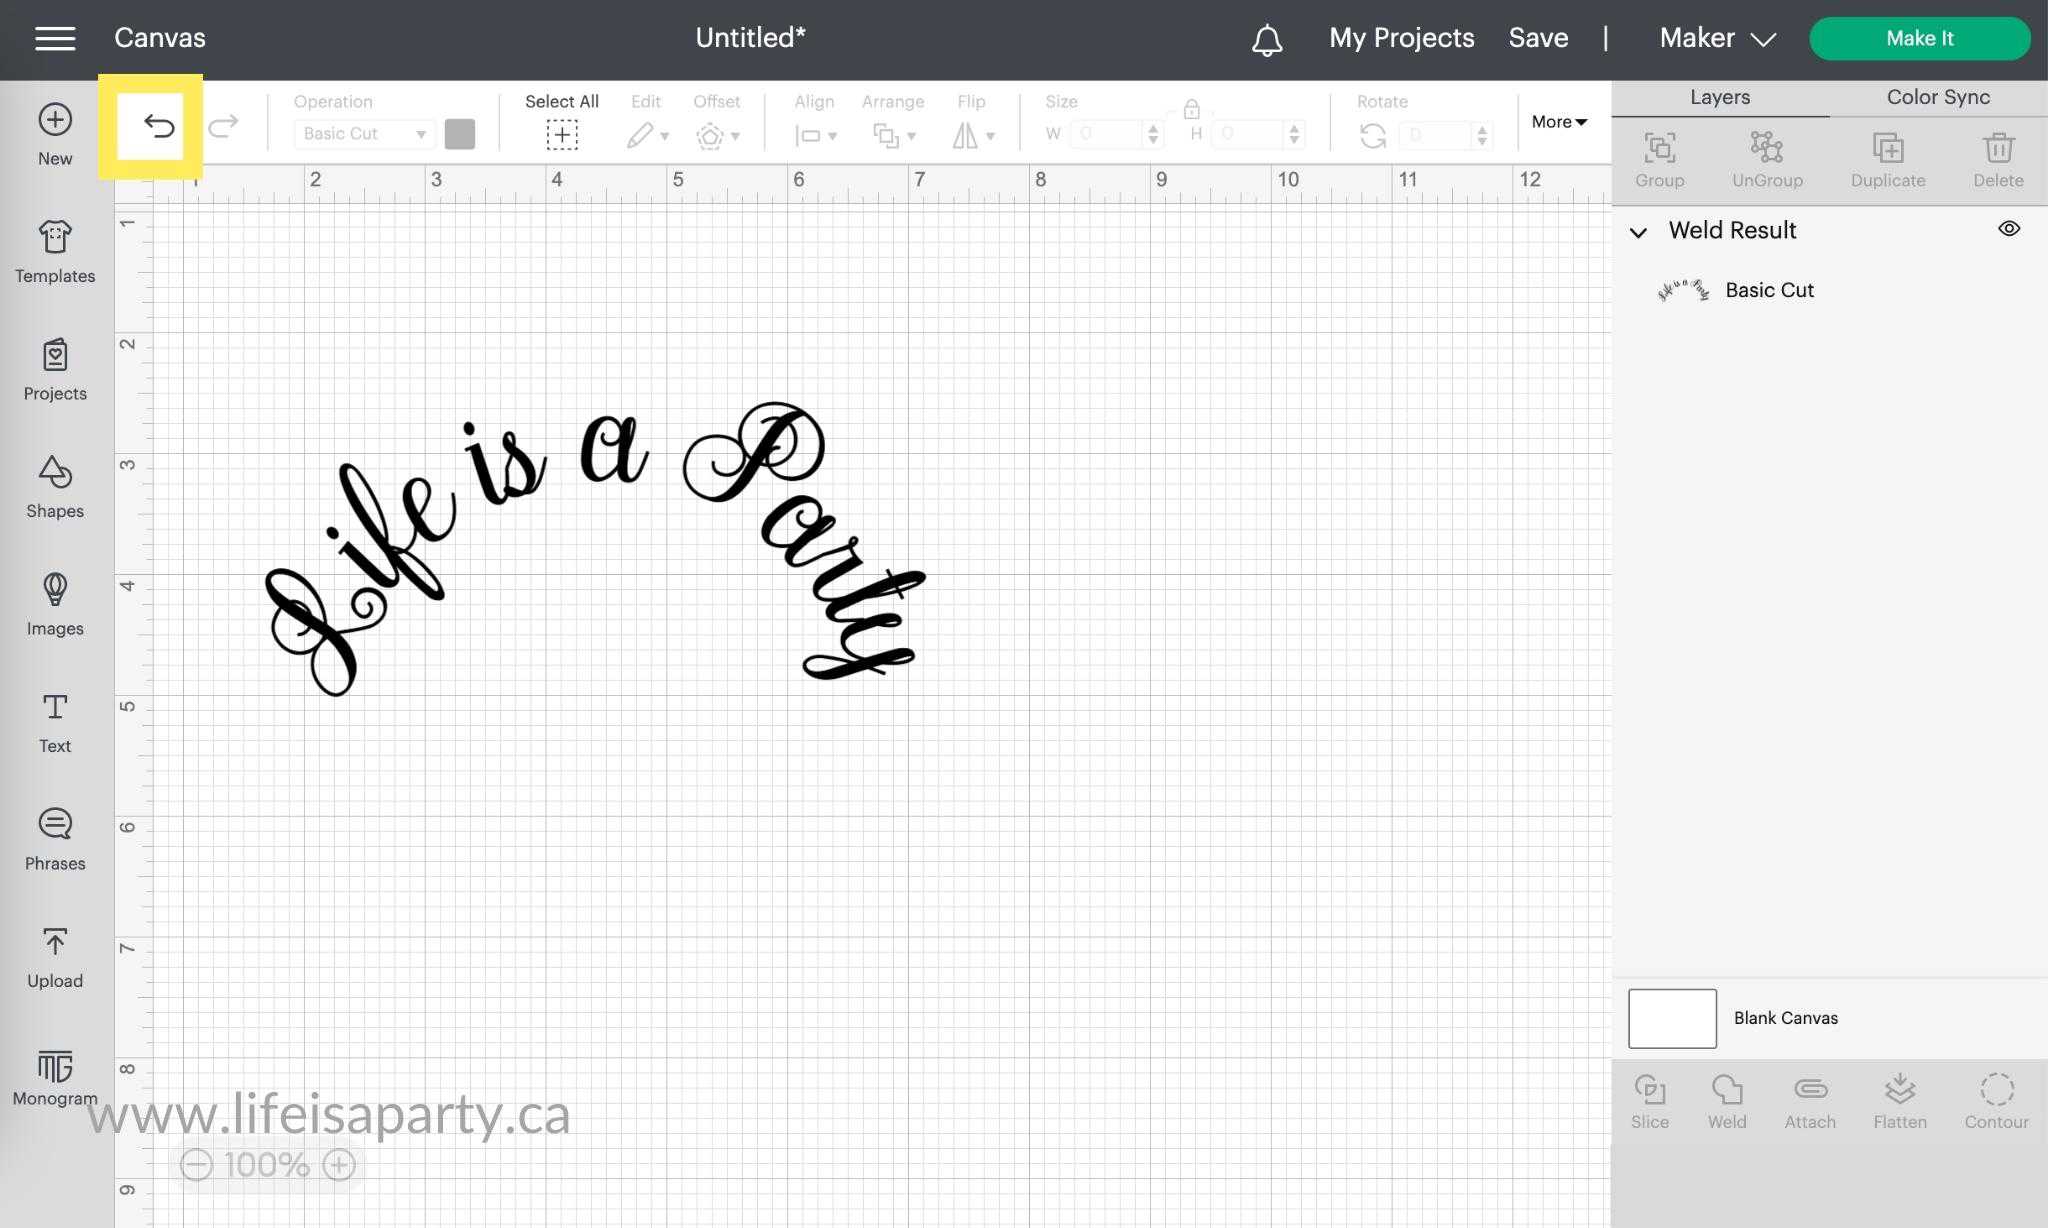


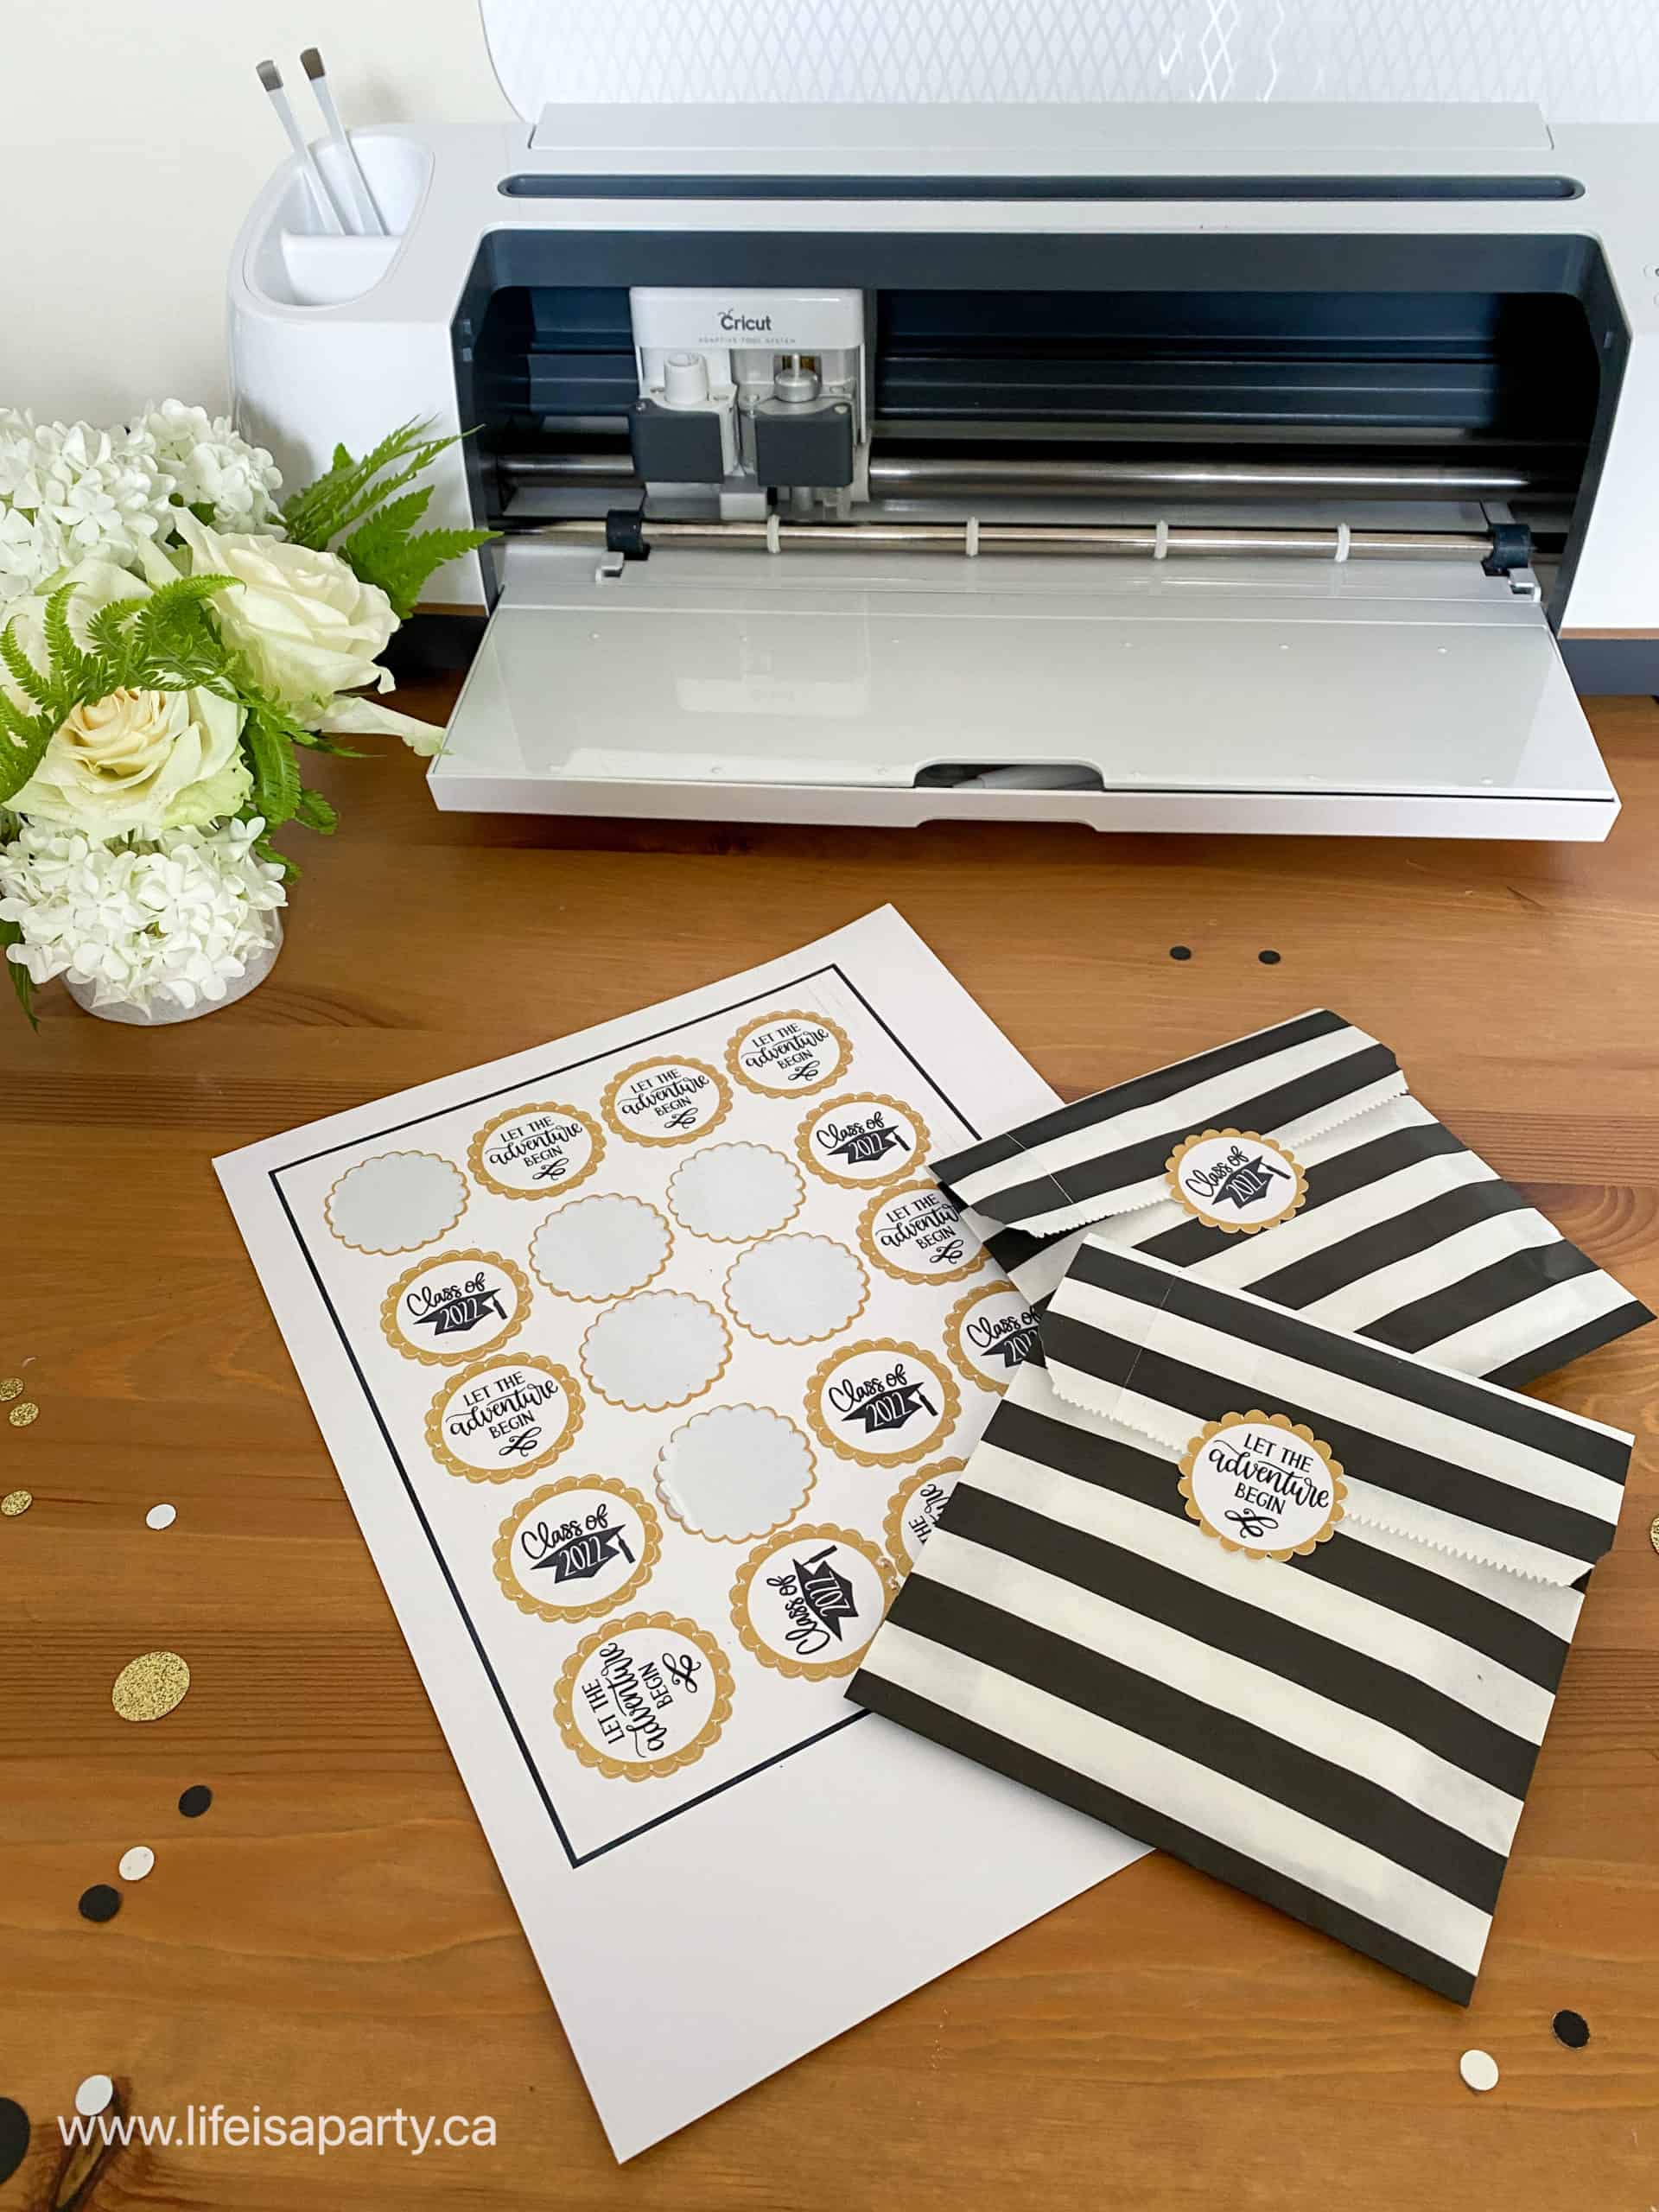 When you're ready to make it, you'll be prompted to print the stickers on your printer. We used Cricut sticker paper, which worked really well. Next you place the sticker paper, backer side down, and cut it out on your Cricut. The black registration marks around the outside of the sticker sheet allow the Cricut to read where the images are and cut them out perfectly. If your stickers are not lined up perfectly, you need to calibrate your Cricut machine. You will see the calibration button on the hamburger menu, by clicking on the top left corner of your screen. Follow the prompts to calibrate your machine for perfect sticker cuts.